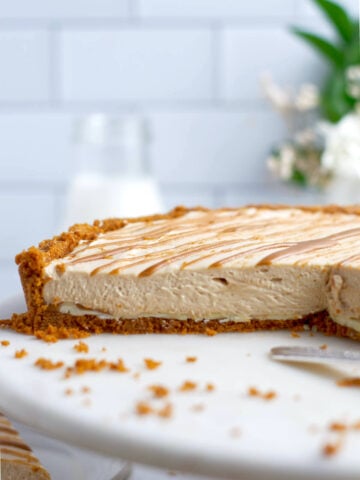
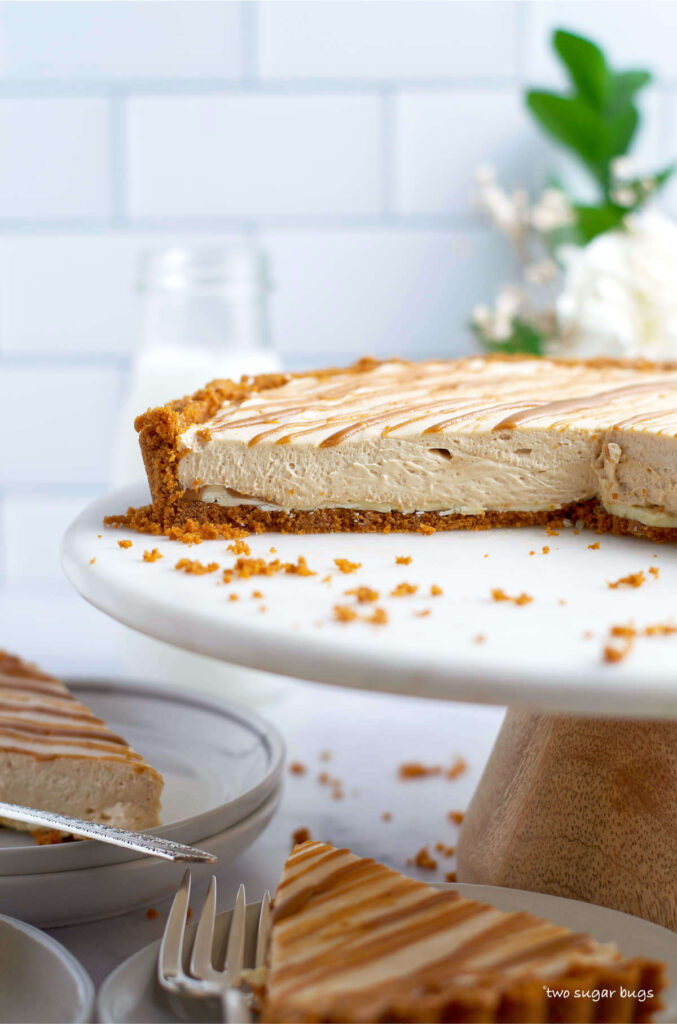
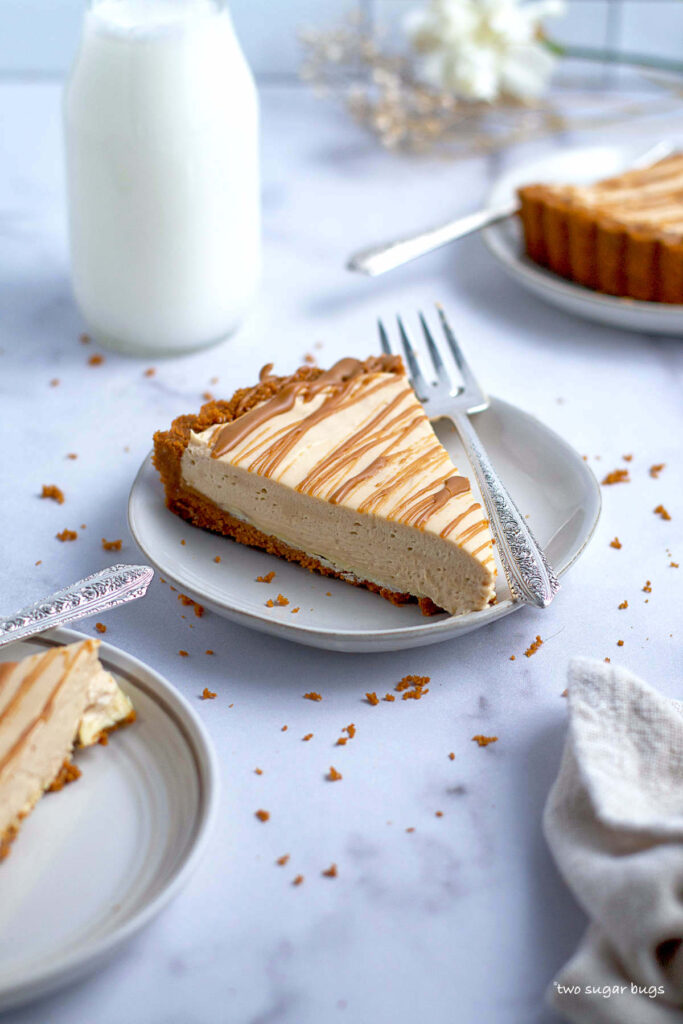
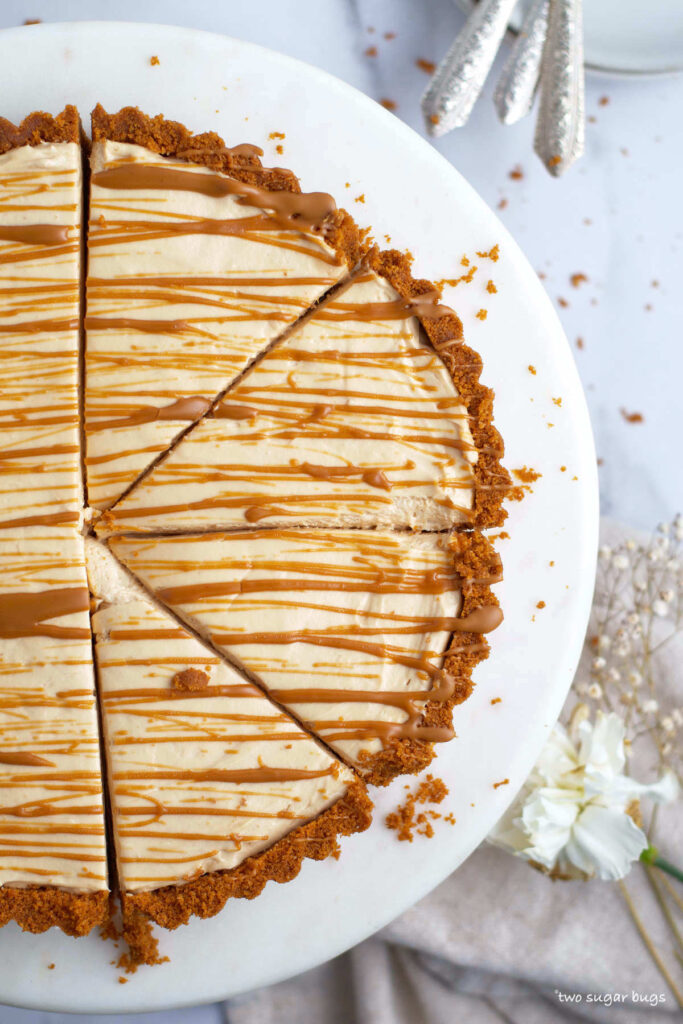
This cookie butter cheesecake recipe is quick and easy to prepare and results in a super delish dessert! It's no bake, sits in a white chocolate lined biscoff cookie crust and has a soft, fluffy cookie butter filling. Perfect for all biscoff and speculoos fans!
Disclosure | This post may contain affiliate links. As an Amazon Associate I earn from qualifying purchases.
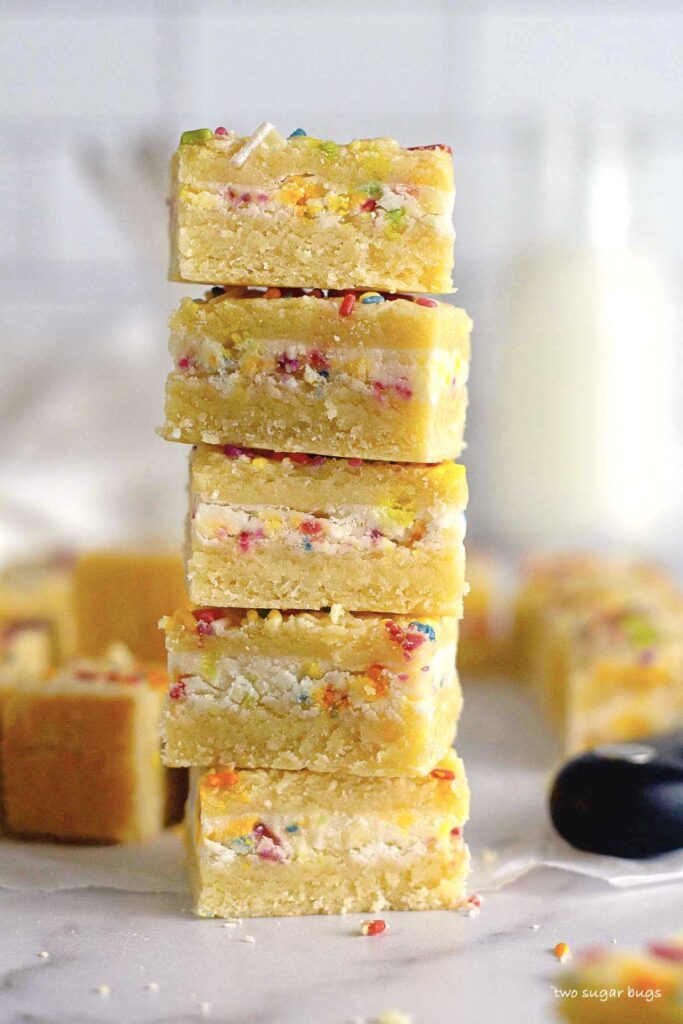
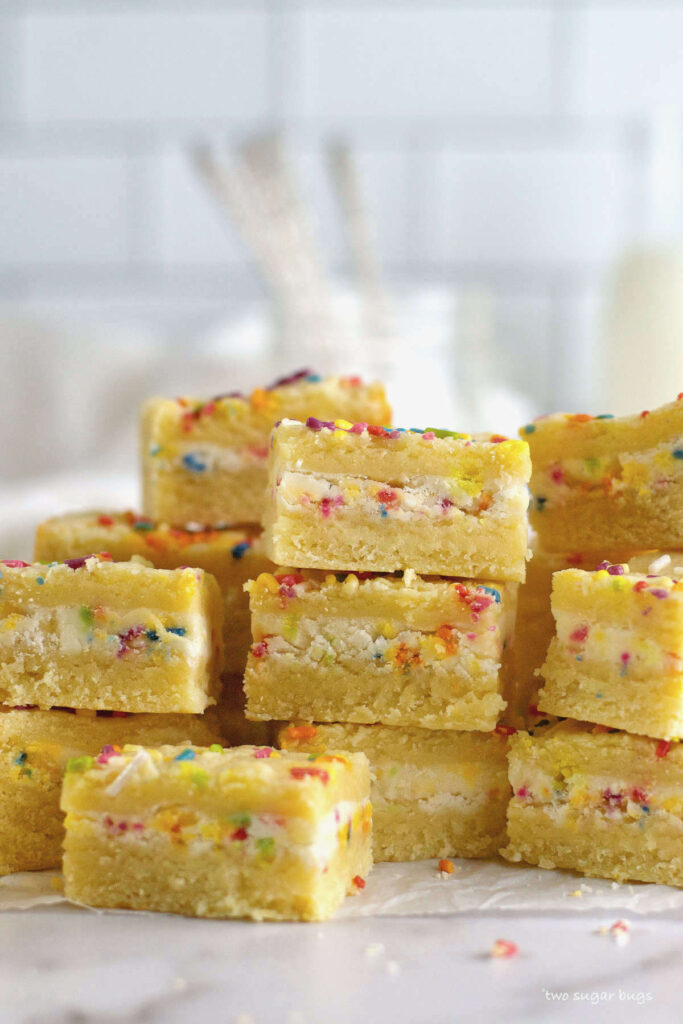
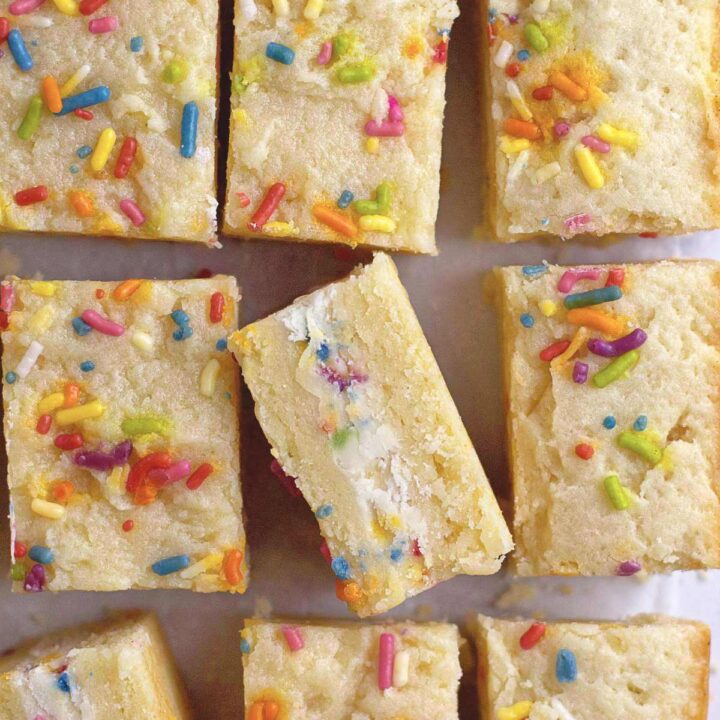
I think ya'll know I have a little Biscoff and cookie butter addiction! The cookie butter bars I posted this summer are still an obsession around here. And everyone still goes crazy for cookie butter cake and cookie butter caramel sauce!
This no bake cheesecake is the newest kid on the block ~ the Biscoff crust comes together in minutes and is the perfect resting place for a velvety smooth, soft and fluffy no bake cheesecake filling. If it's still super hot where you are {lucky you, record rain coming in the PNW😂} or you need a no bake dessert for the holidays, this cookie butter dessert is for you.
why you will love this cookie butter cheesecake
- No bake recipe ~ perfect when your oven is crowded {hello Thanksgiving and Christmas!}
- Simple, quick and easy to prepare!
- Biscoff cookie crust ~ this sturdy crust uses two ingredients; cookies and melted butter.
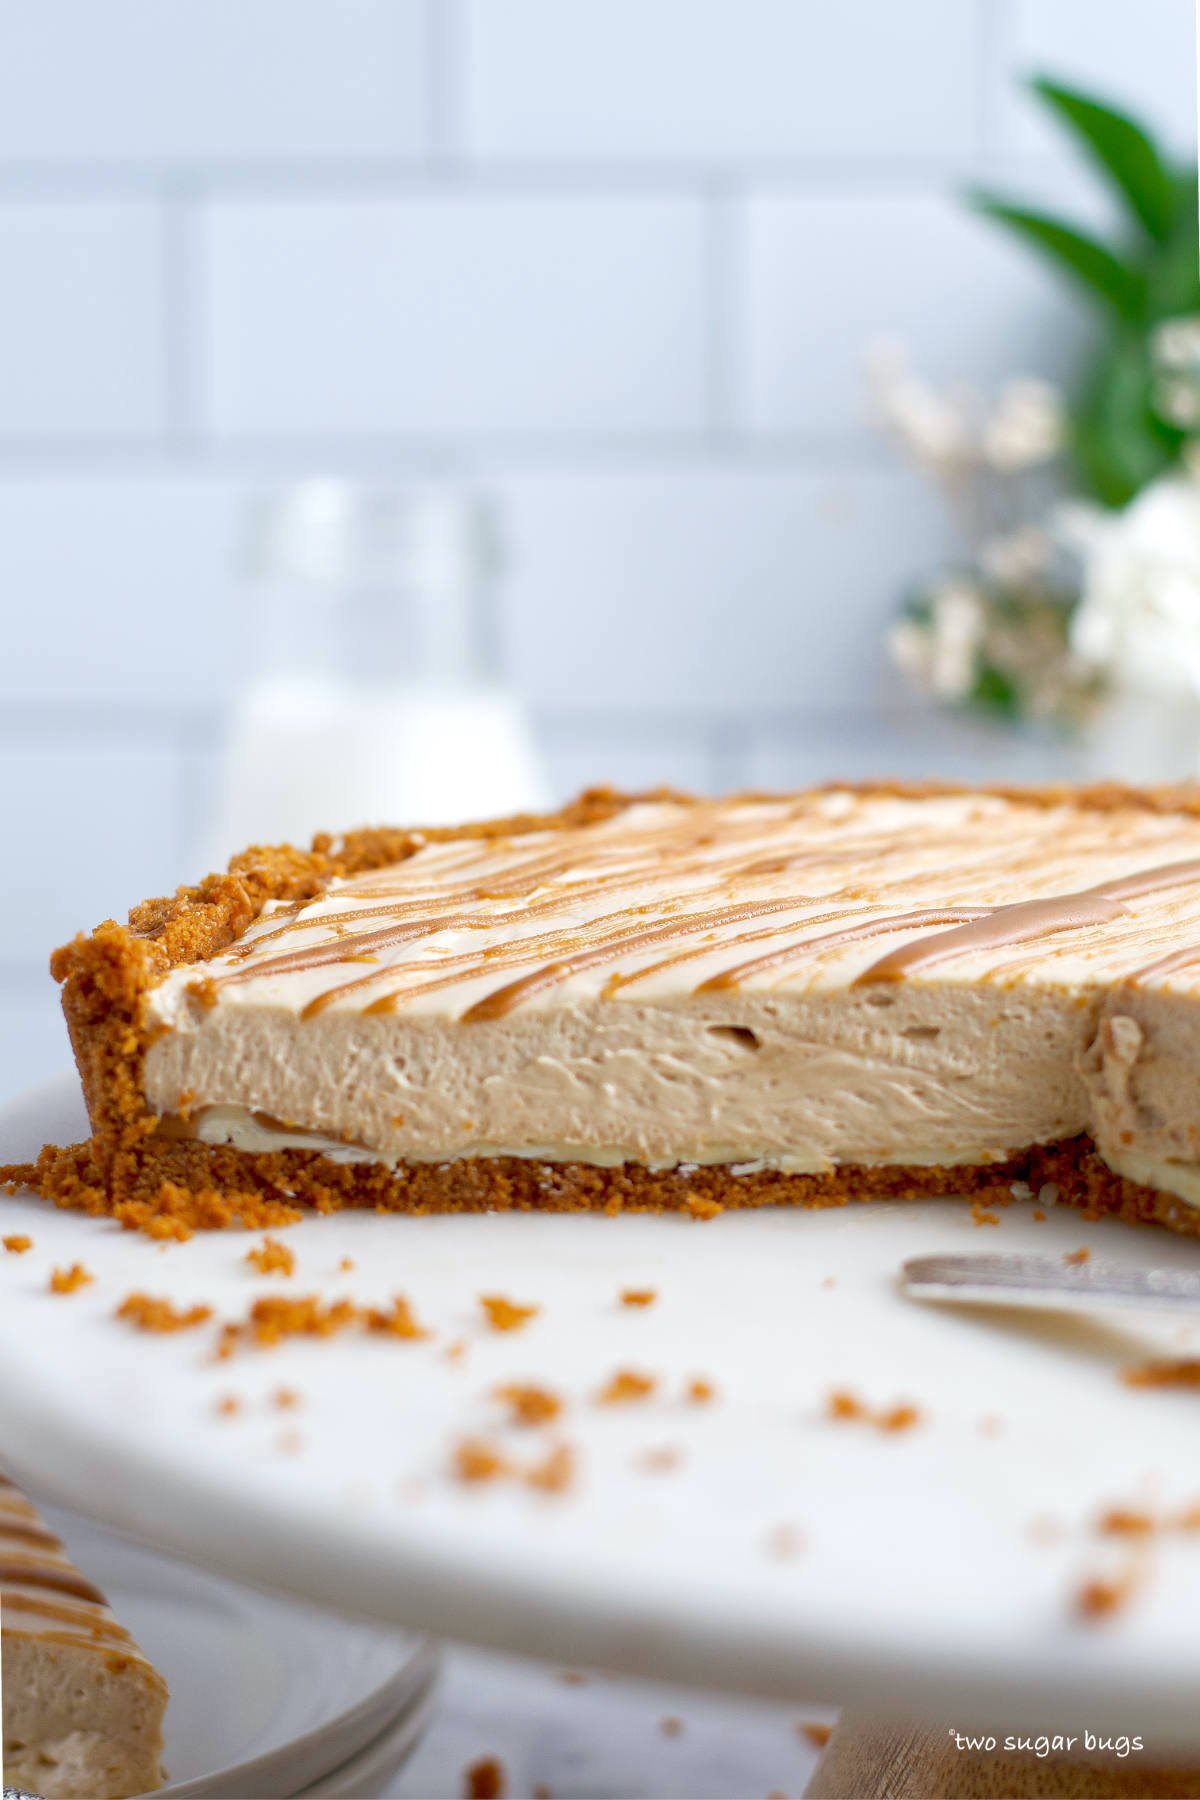
- White chocolate and cookie butter spread line the crust for extra flavor.
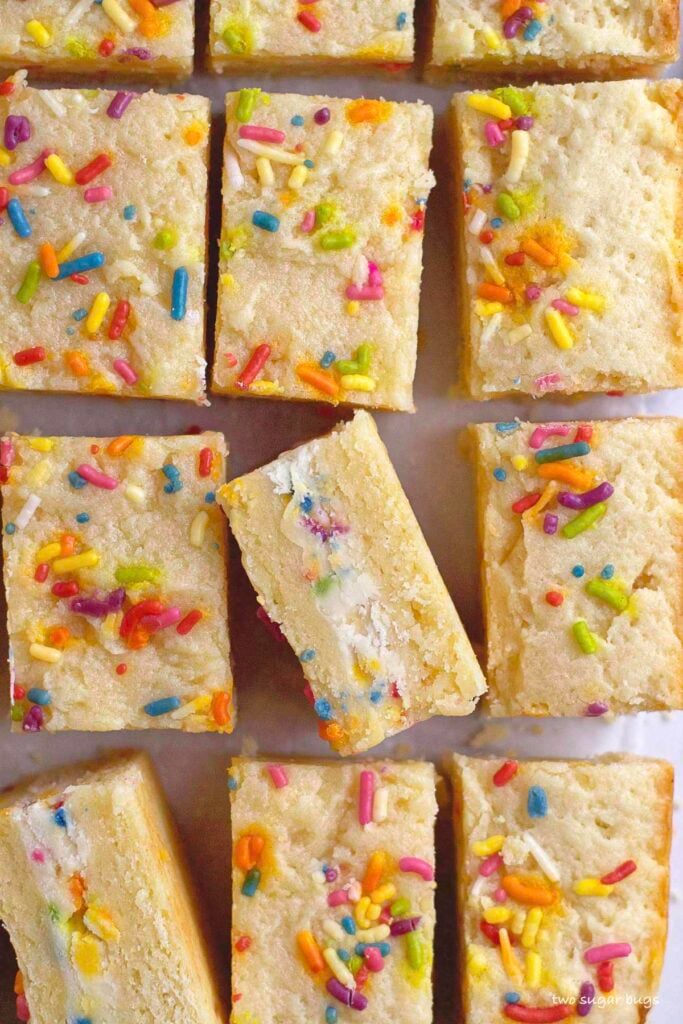
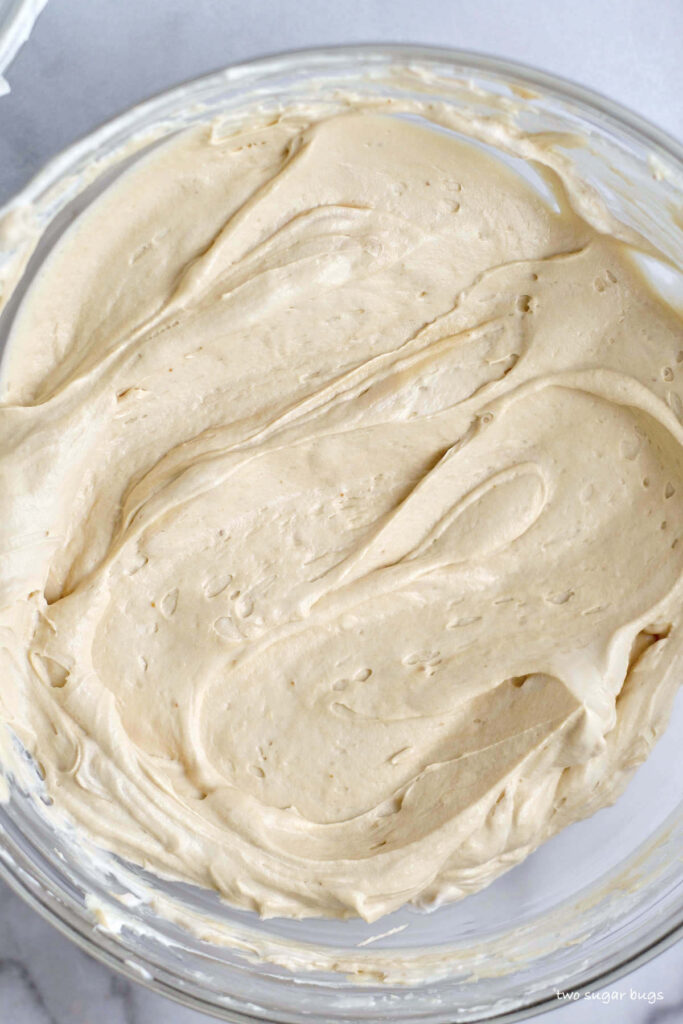
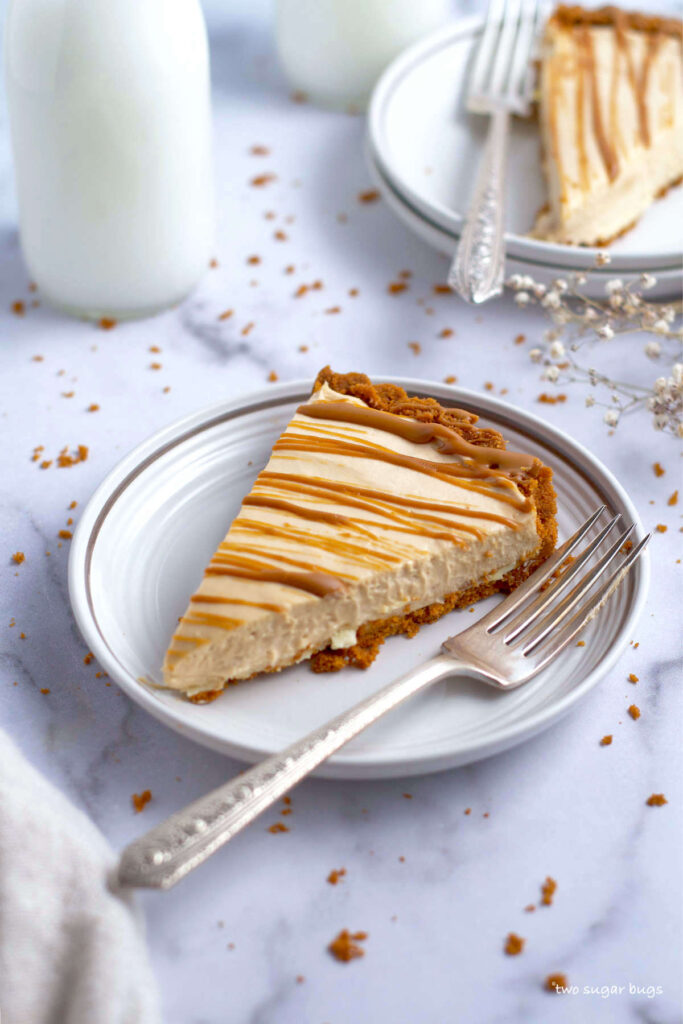
- The filling is smooth, creamy and almost mousse-like.
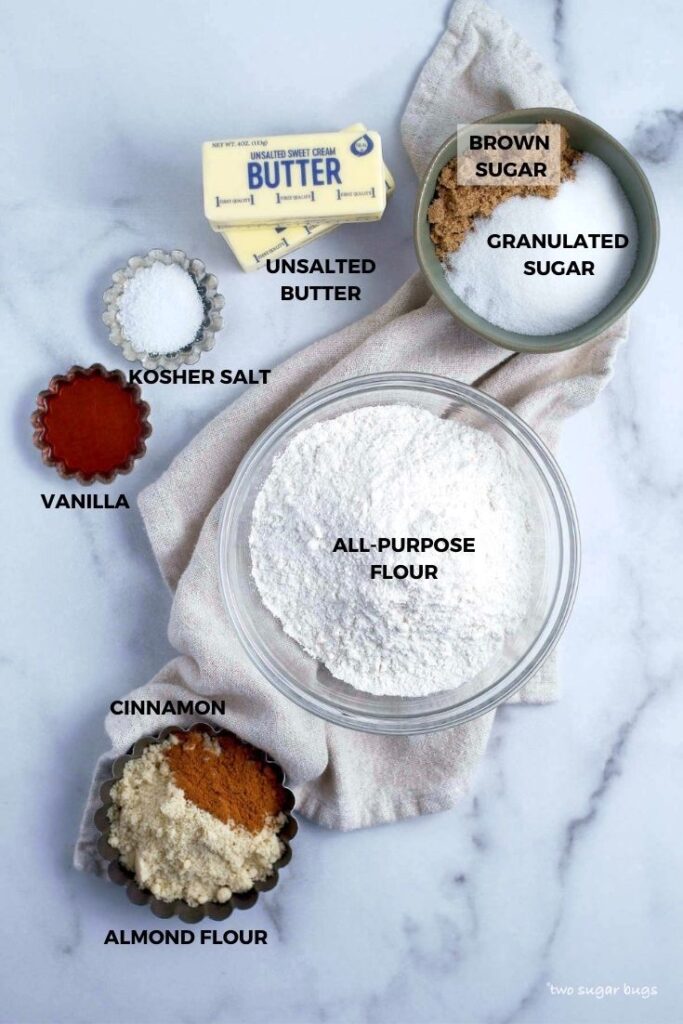
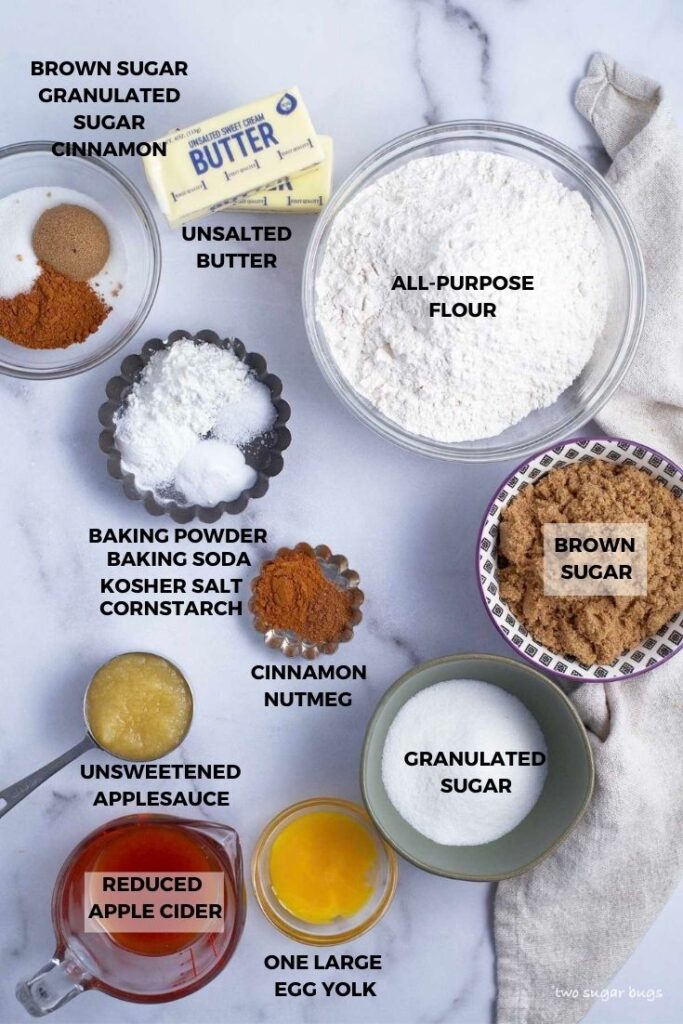
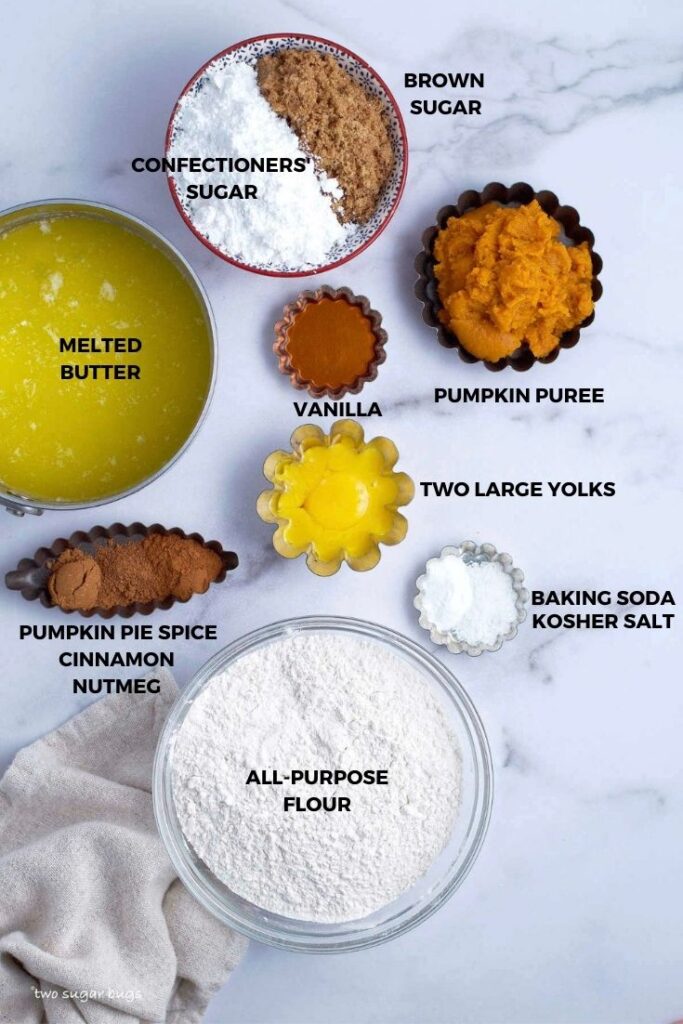
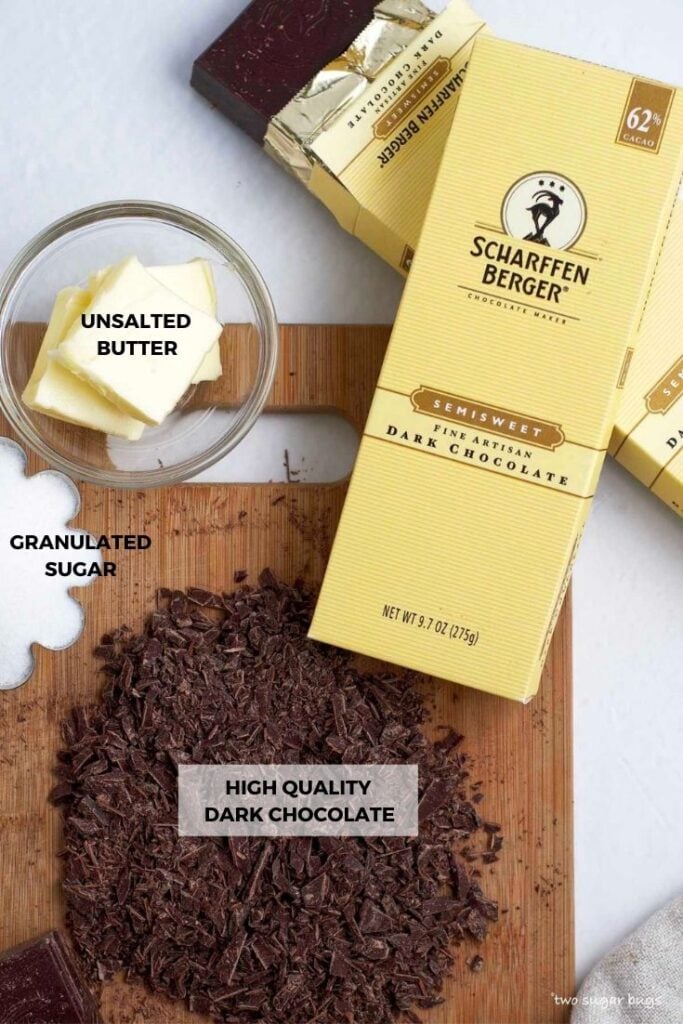
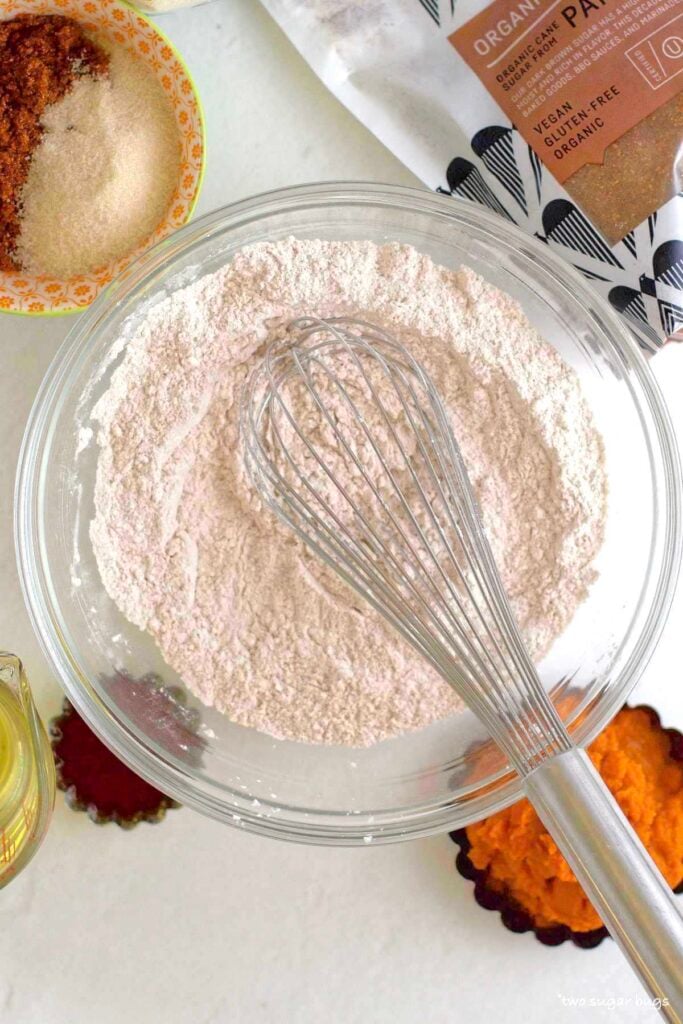
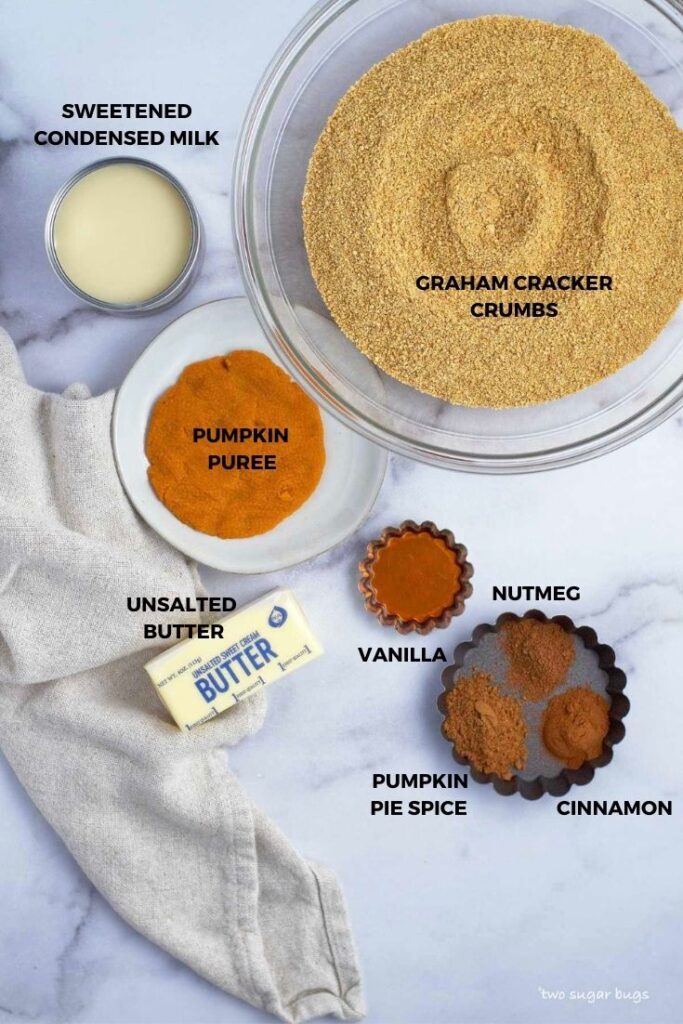
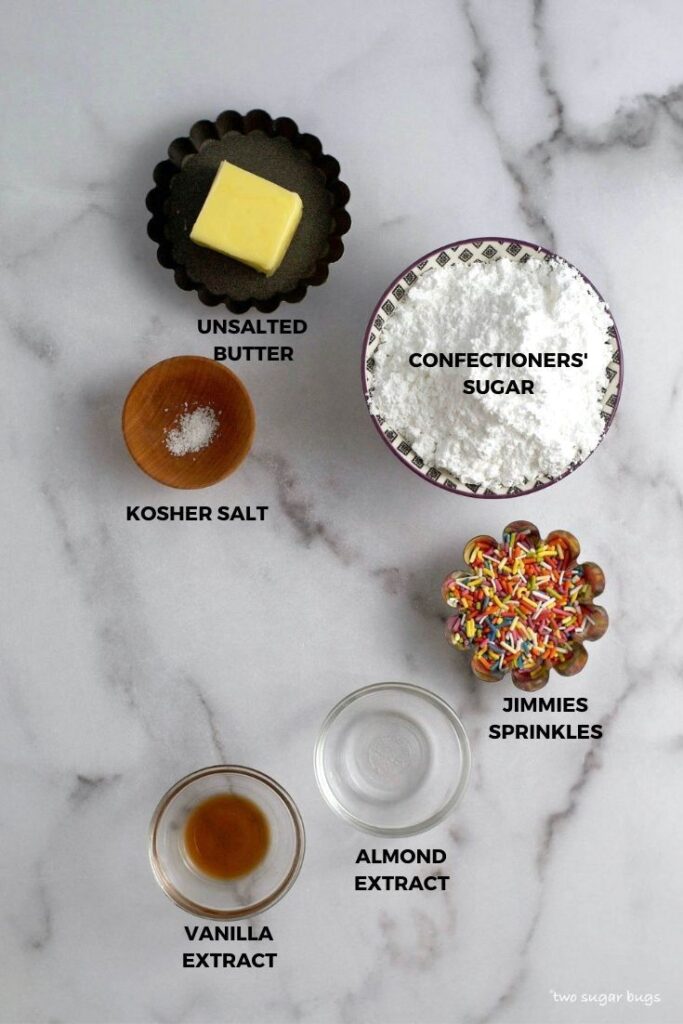
ingredients needed for this easy no bake cheesecake
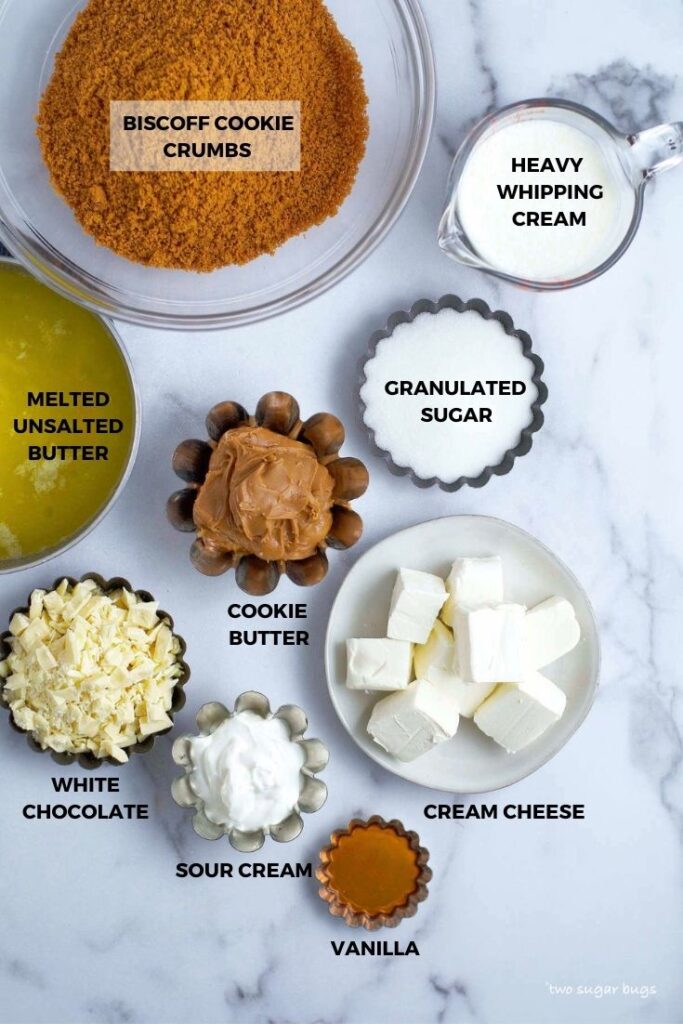
- Biscoff cookie crumbs ~ I buy Biscoff cookies at Target, but Trader Joe's Speculoos cookies would also work great here.
- Unsalted butter ~ melted.
- Heavy whipping cream ~ beat to stiff peaks; this is the ingredient that helps the filling set.
- Cream cheese ~ use blocks of cream cream, not spread, and it needs to be room temperature. My kitchen is chilly so I pull it out about 2 hours ahead.
- Granulated sugar ~ helps to break down the cream cheese and take out a little of the tang.
- Sour cream ~ helps with the creamy and smooth texture. Should also be room temperature.
- Cookie butter ~ Lotus Biscoff cookie butter spread and Trader Joe's cookie butter are the two brands that I regularly use.
- Vanilla ~ adds a balance to the flavors.
- White chocolate ~ adds another flavor layer and helps to keep the crust from getting soggy.
how to make the biscoff cookie crust
Start by preparing the biscoff cookie crust. I use my food processor {this is the updated version of the Cuisinart I have} to crush the cookies into fine crumbs. You can also use a zip-top bag and rolling pin. Just make sure there are no large cookie chunks.
This is also a great time to melt the white chocolate. I use the double boiler method, but if you are comfortable using a microwave, that also works. Set aside to cool slightly.
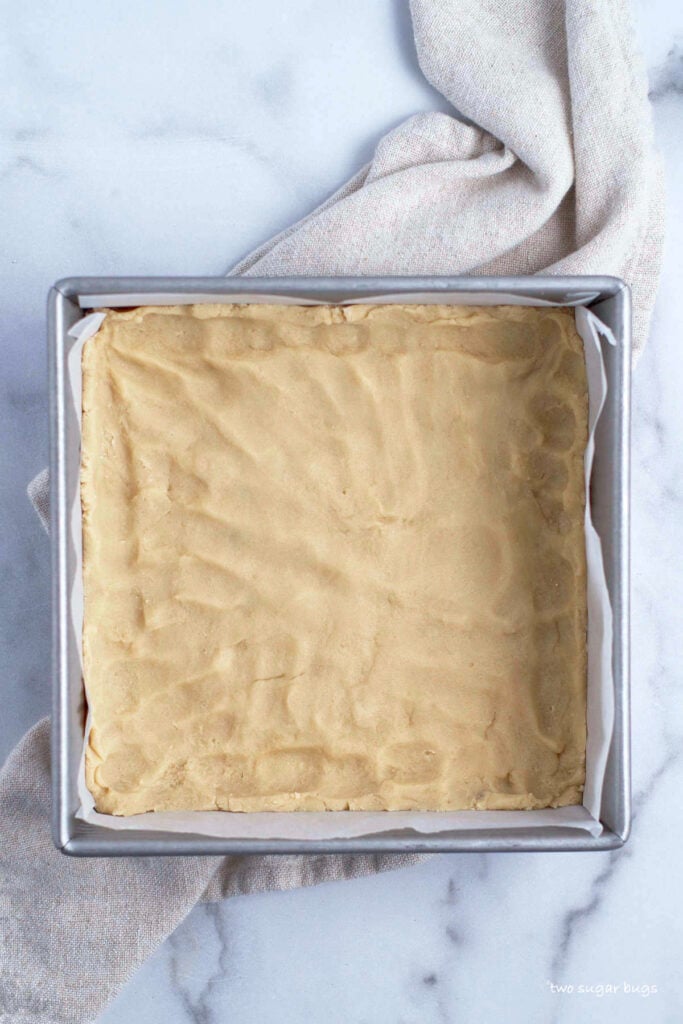
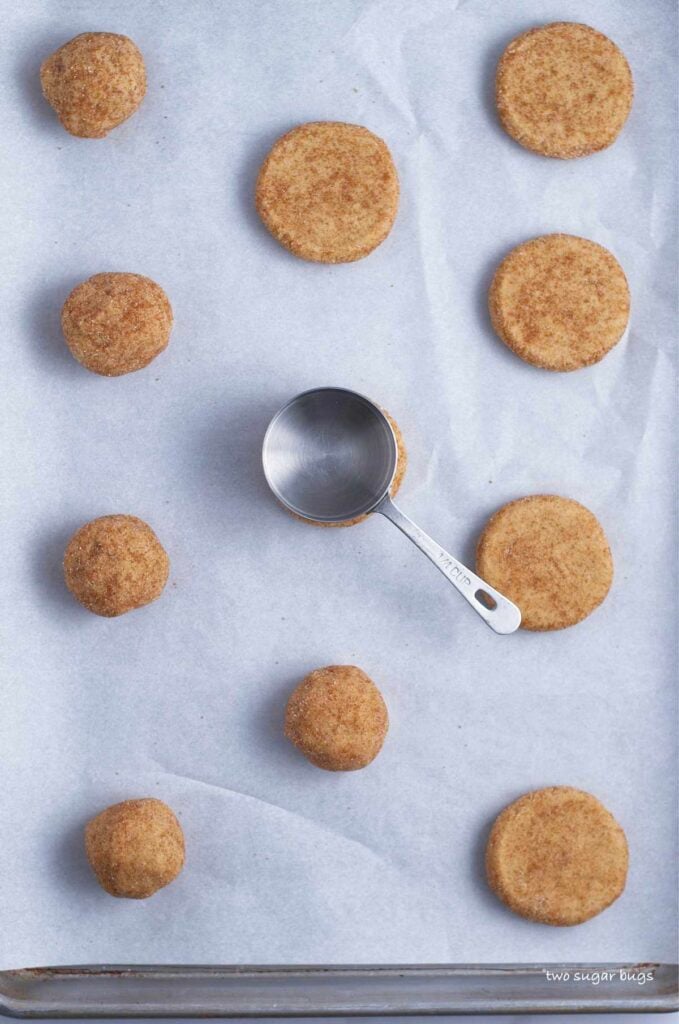
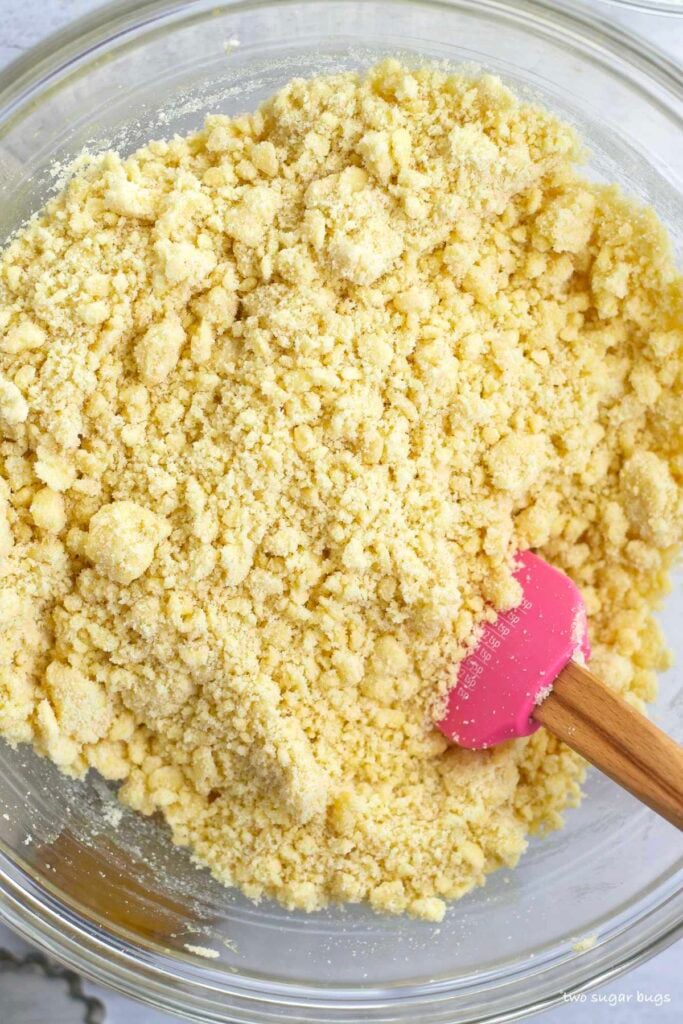
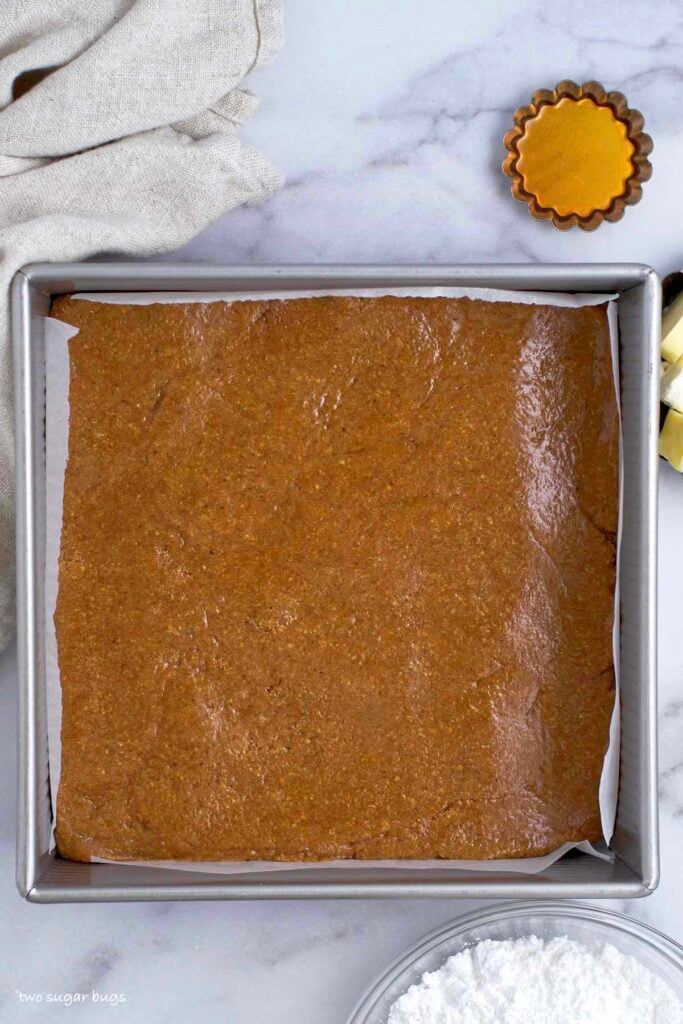
Add the melted butter to the crumbs and mix until it looks like wet sand. Then press tightly into a 9-inch tart pan with a removable bottom. Do your best to make it an even layer along the bottom and sides. I use a flat bottom measuring cup to press the crust tightly into the pan.
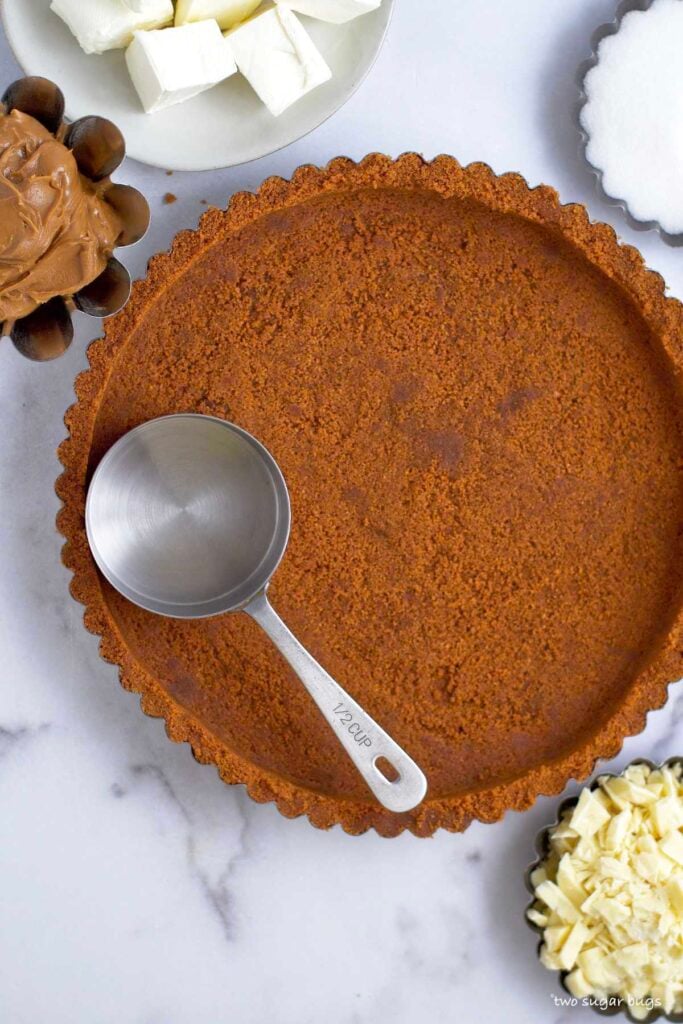
Swirl, drizzle or pour the melted white chocolate into the middle of the crust. An off-set spatula can be used to smooth the white chocolate, but be gentle as the crust is still quite delicate. Pop the crust in the freezer while you prepare the cookie butter cheesecake filling.
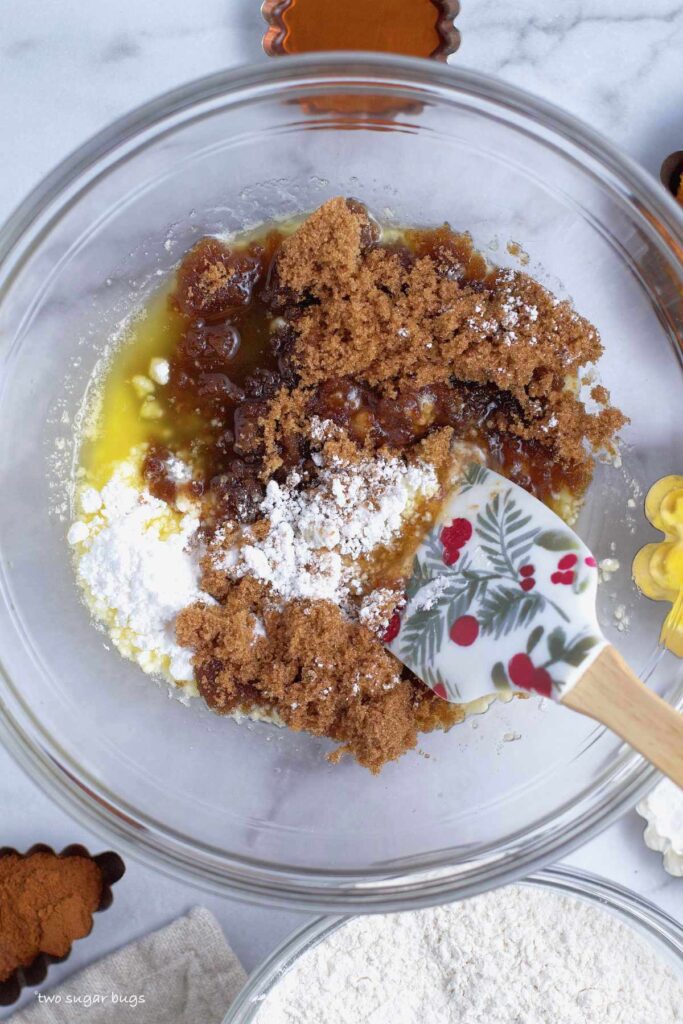
how to make the delish cookie butter filling
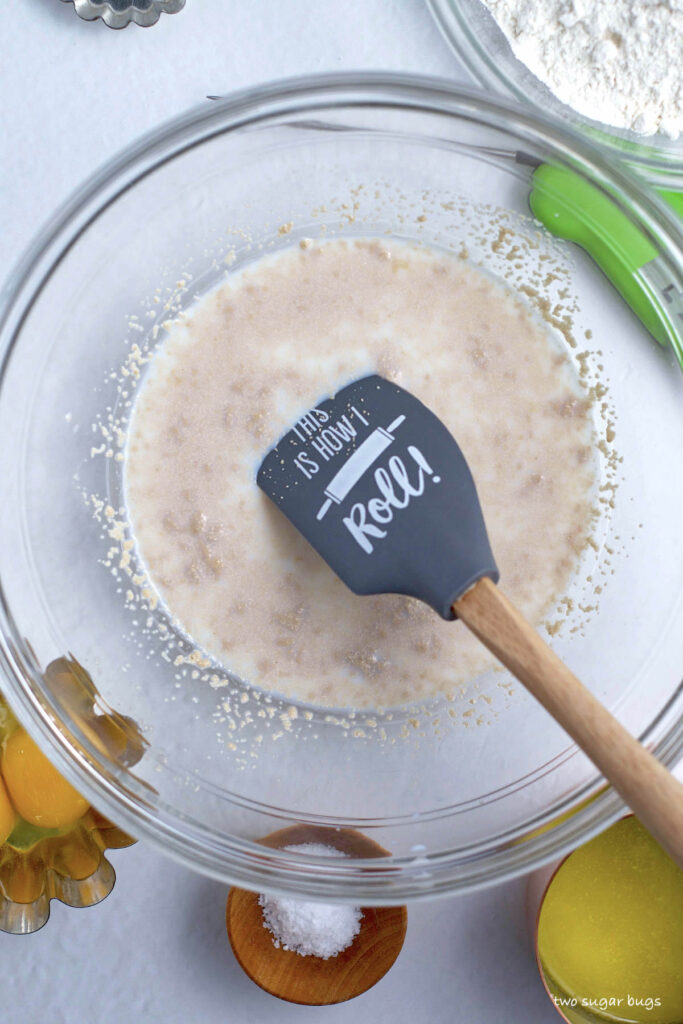
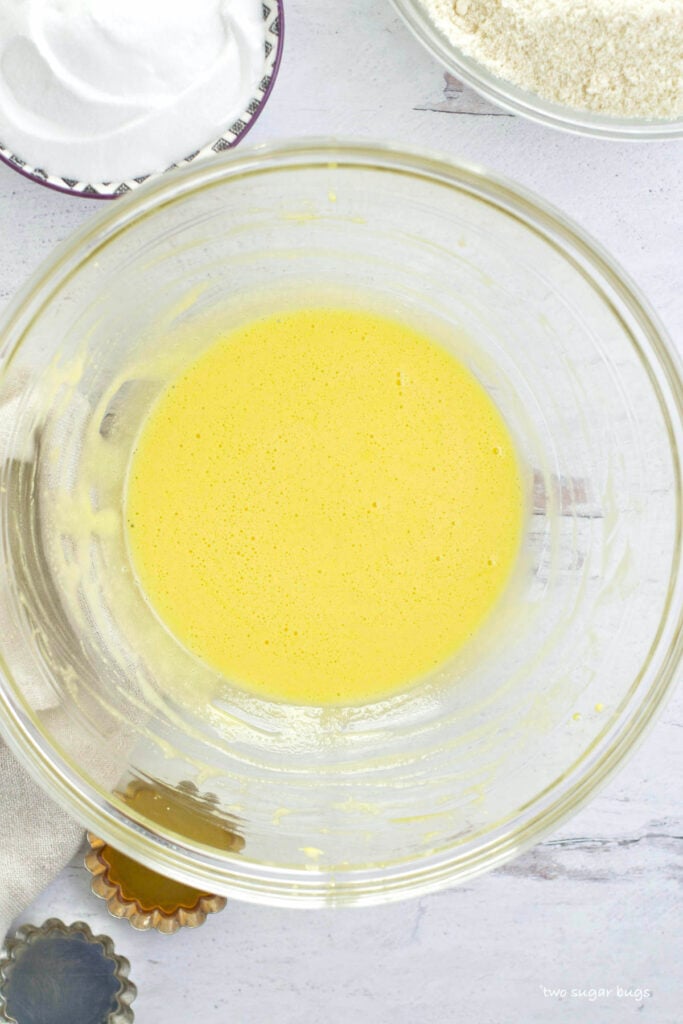
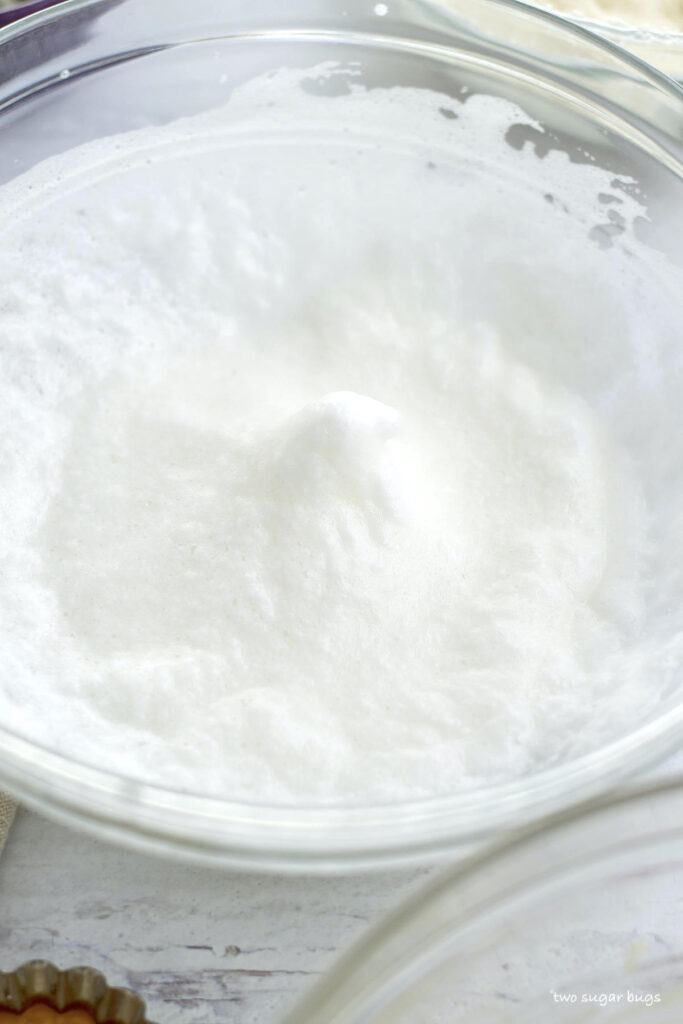
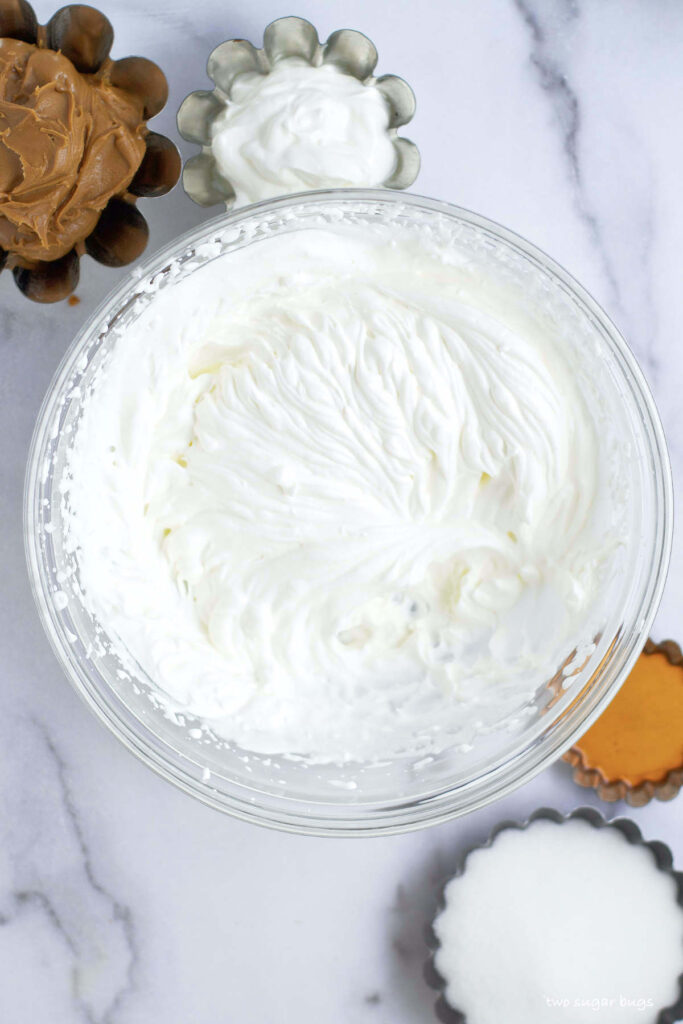
Start by whipping cold heavy whipping cream to stiff peaks. I usually use my hand held mixer, but a stand mixer with the whisk attachment also works well. If you love a good arm workout, feel free to use a hand whisk! Set the whipped cream aside.
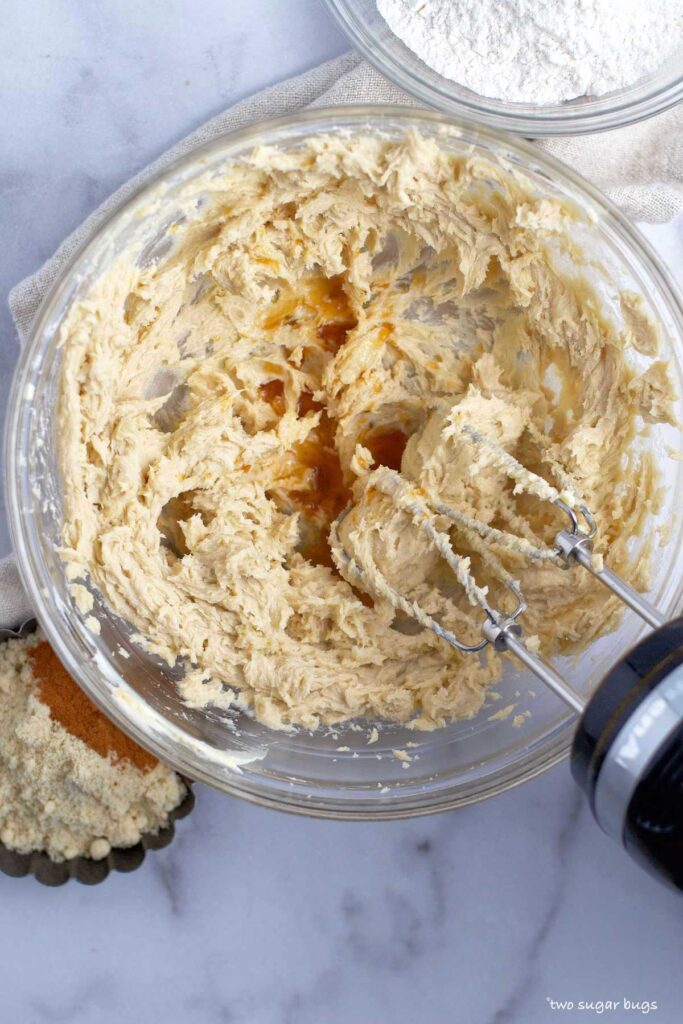
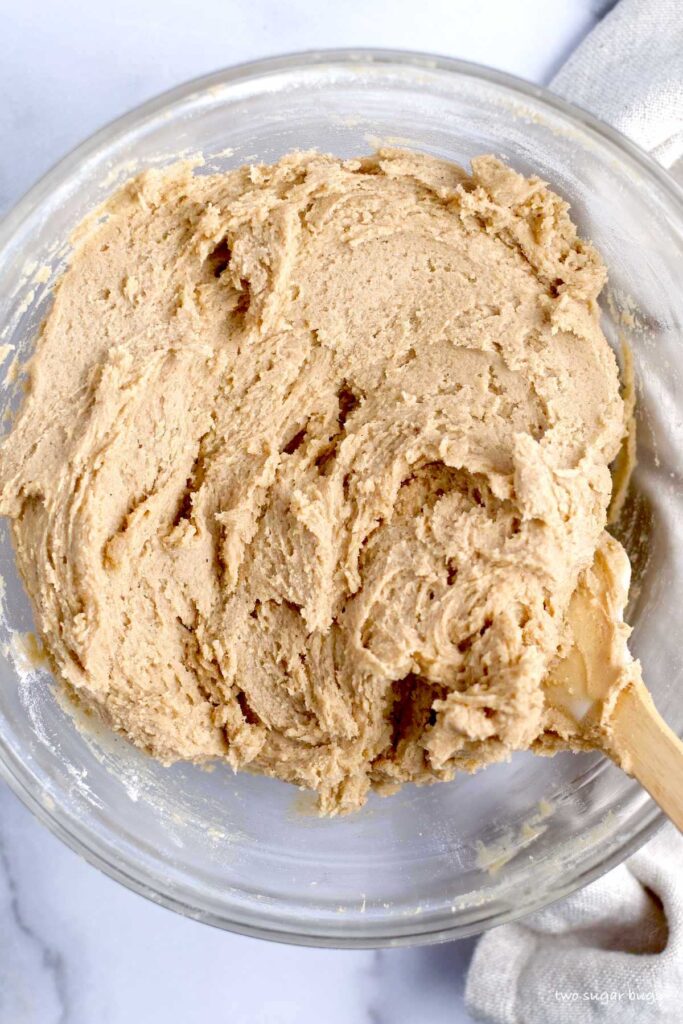
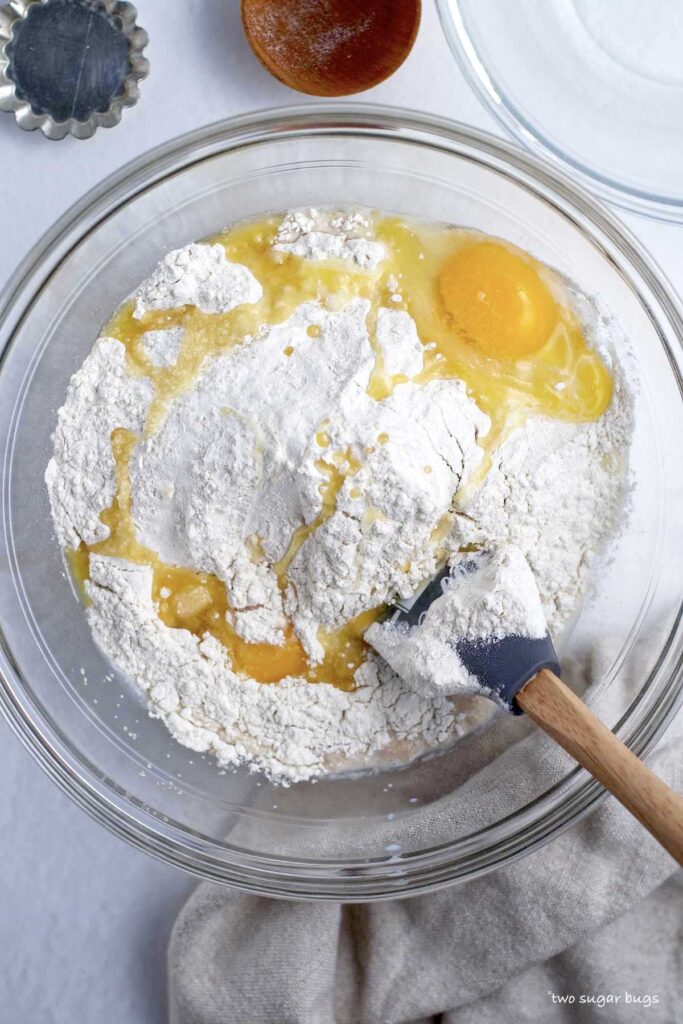
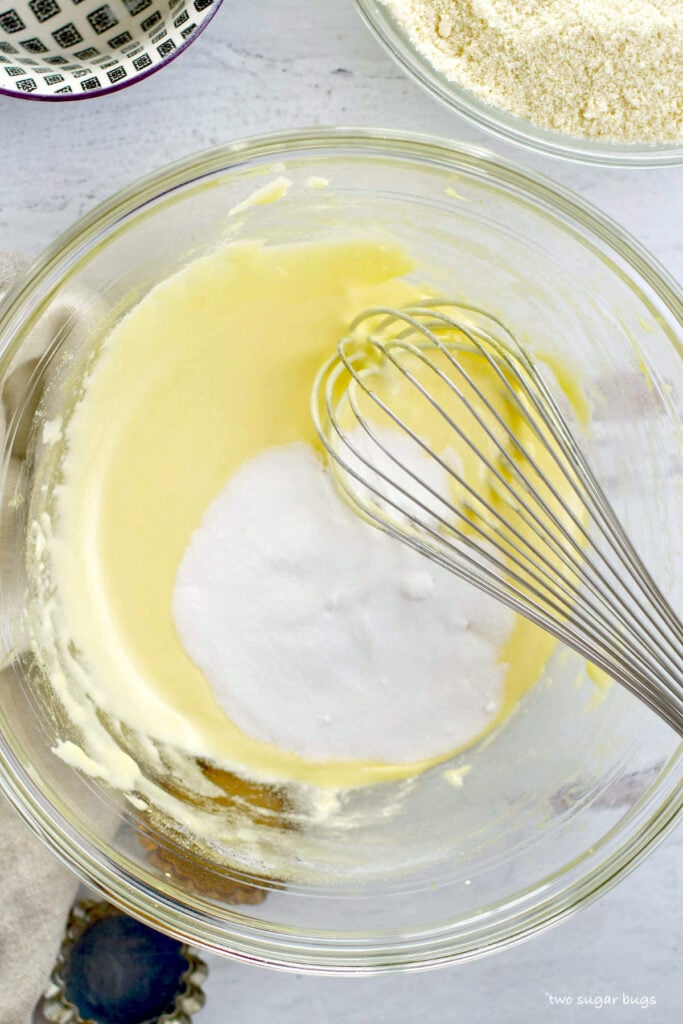
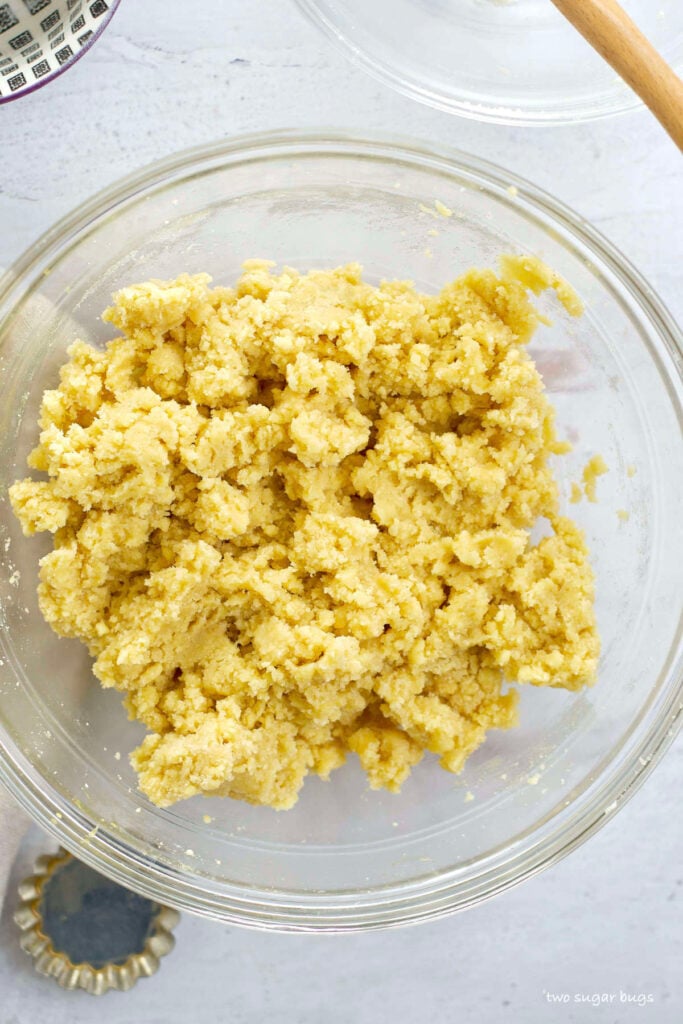
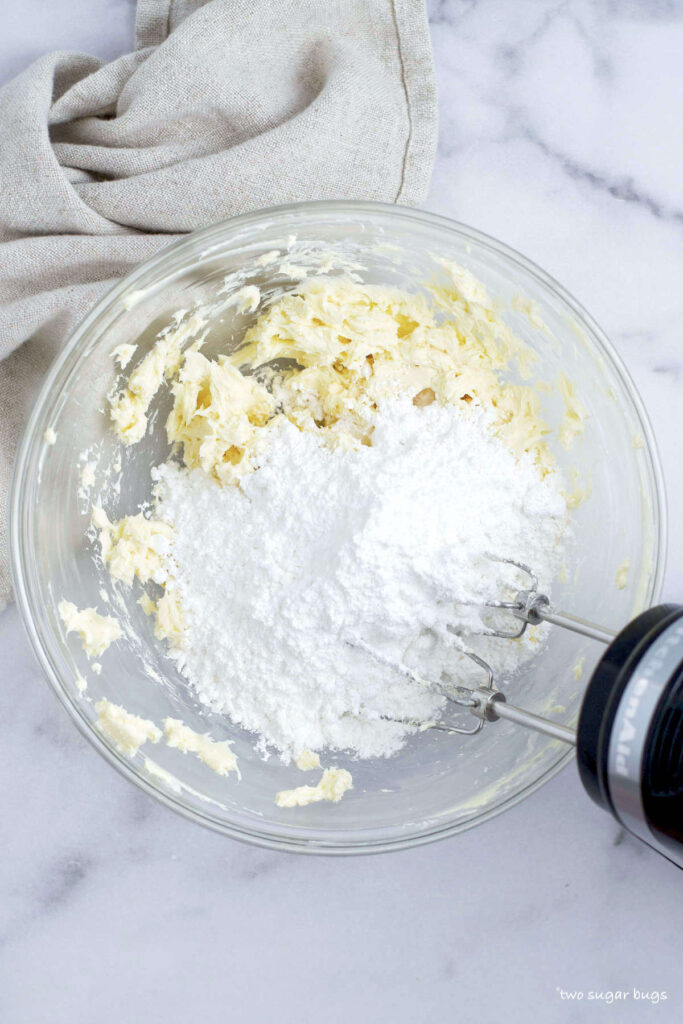
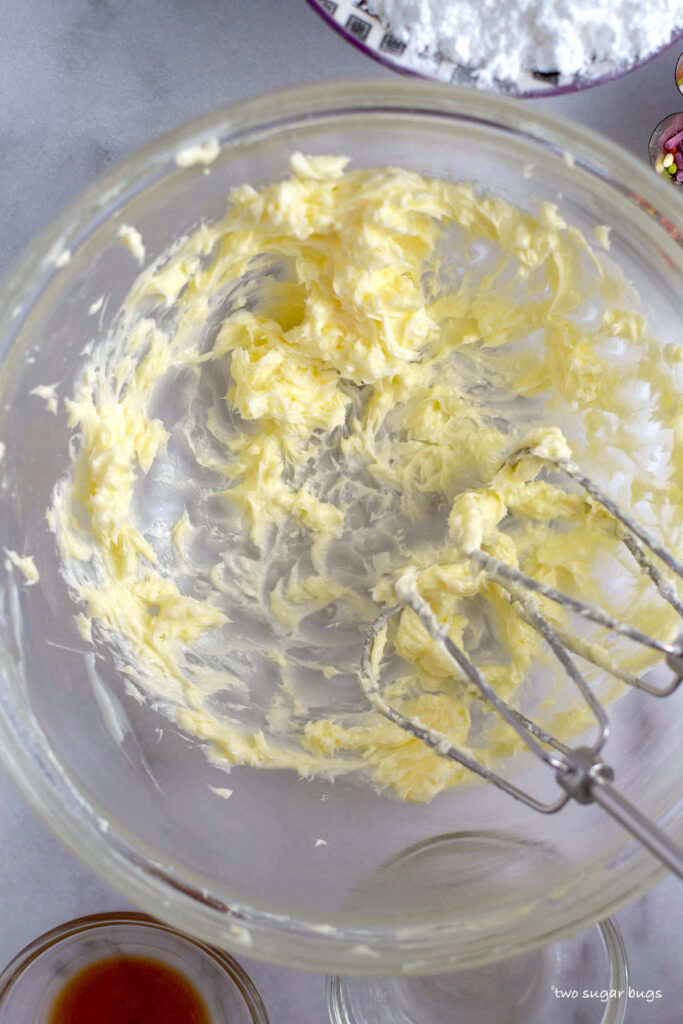
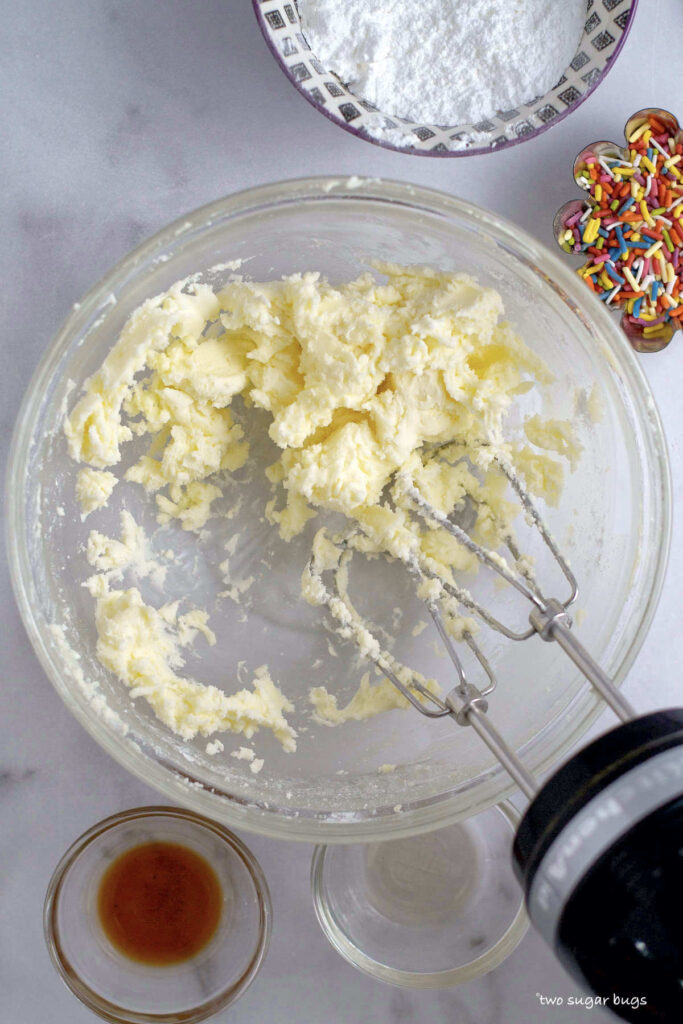
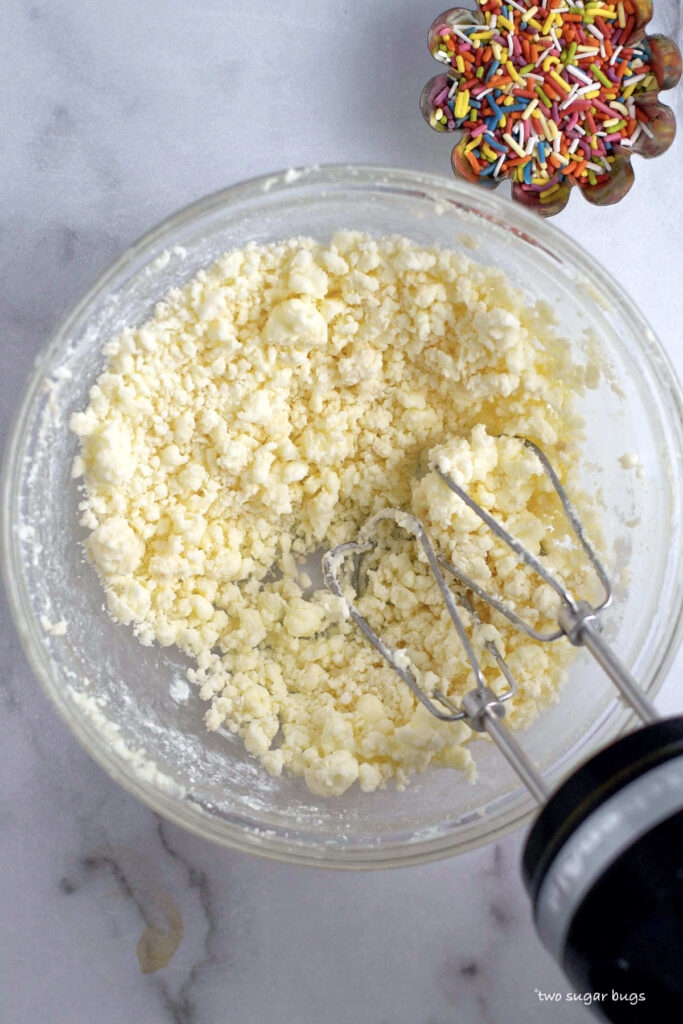
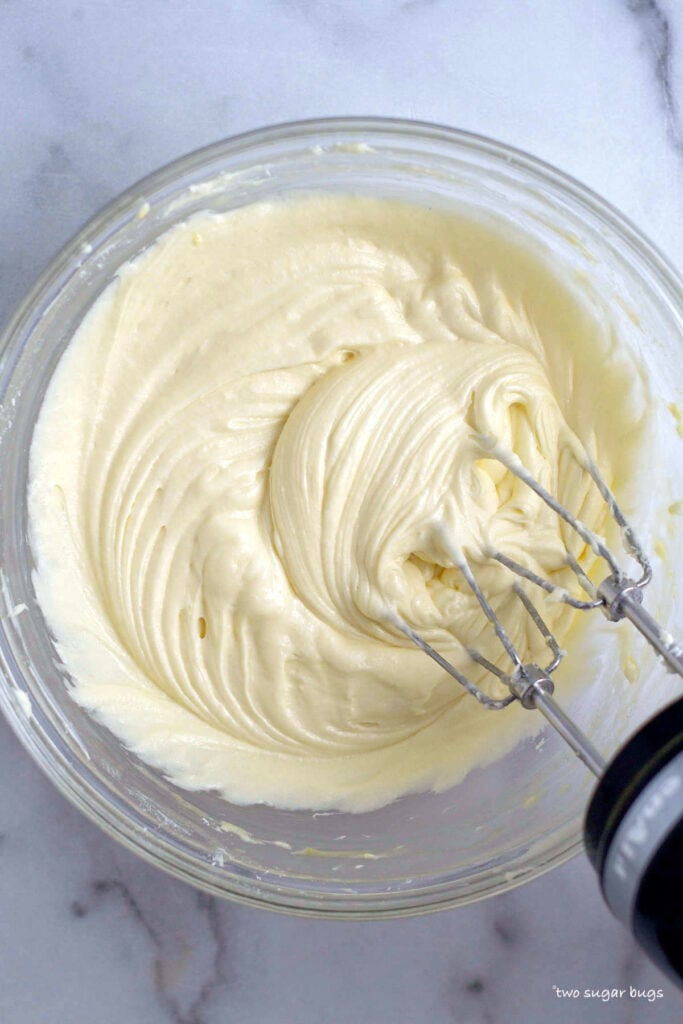
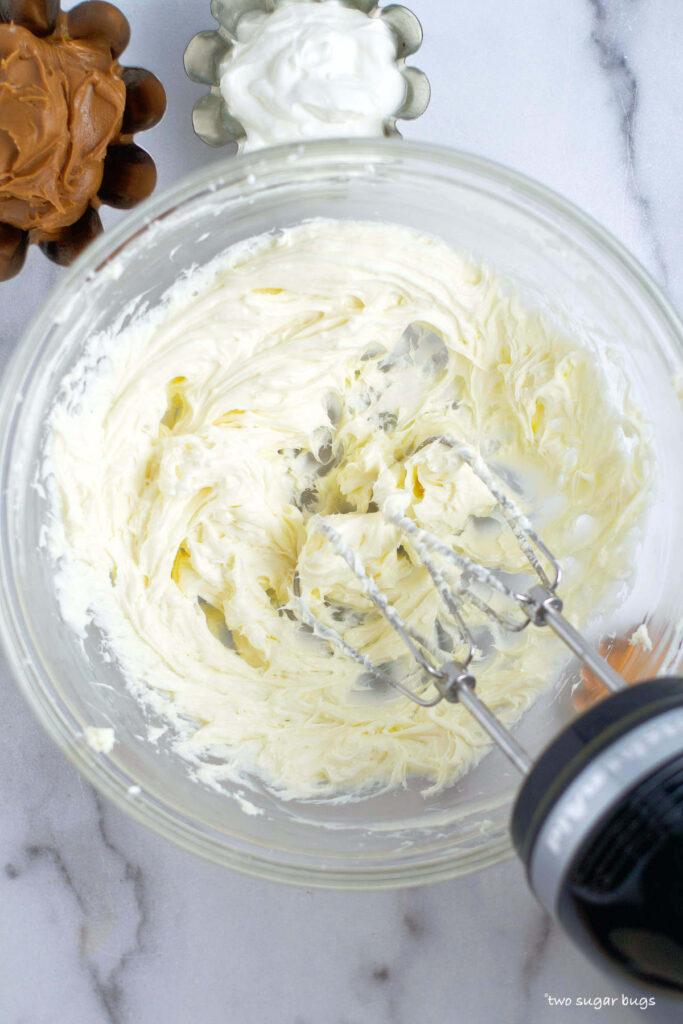
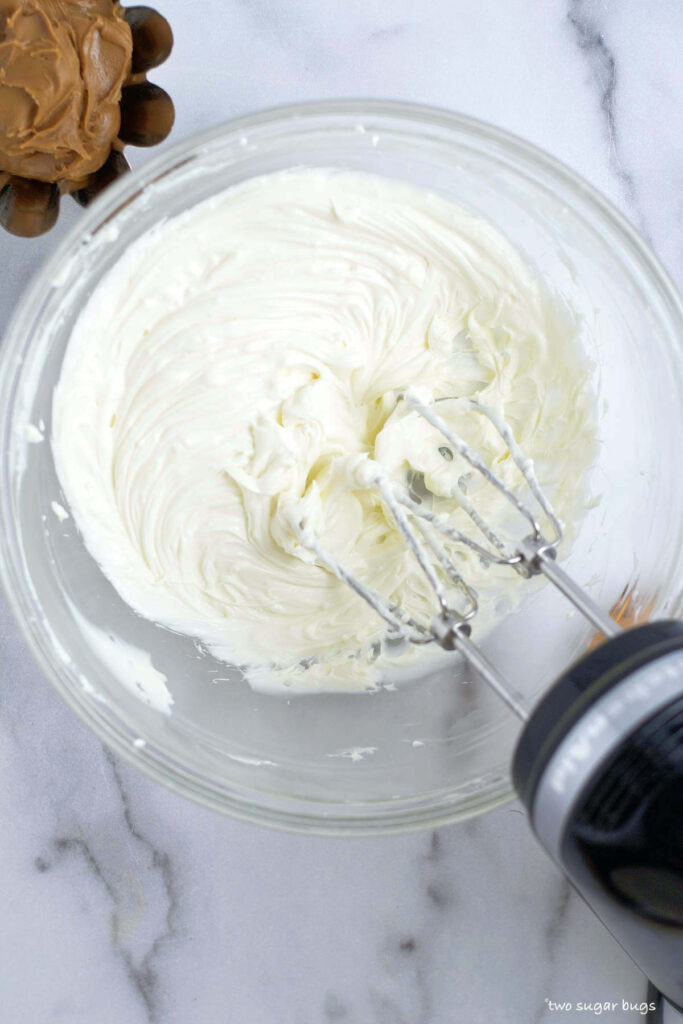
Next beat together the room temperature cream cheese and granulated sugar. Once the mixture is smooth, beat in the sour cream until combined and creamy.
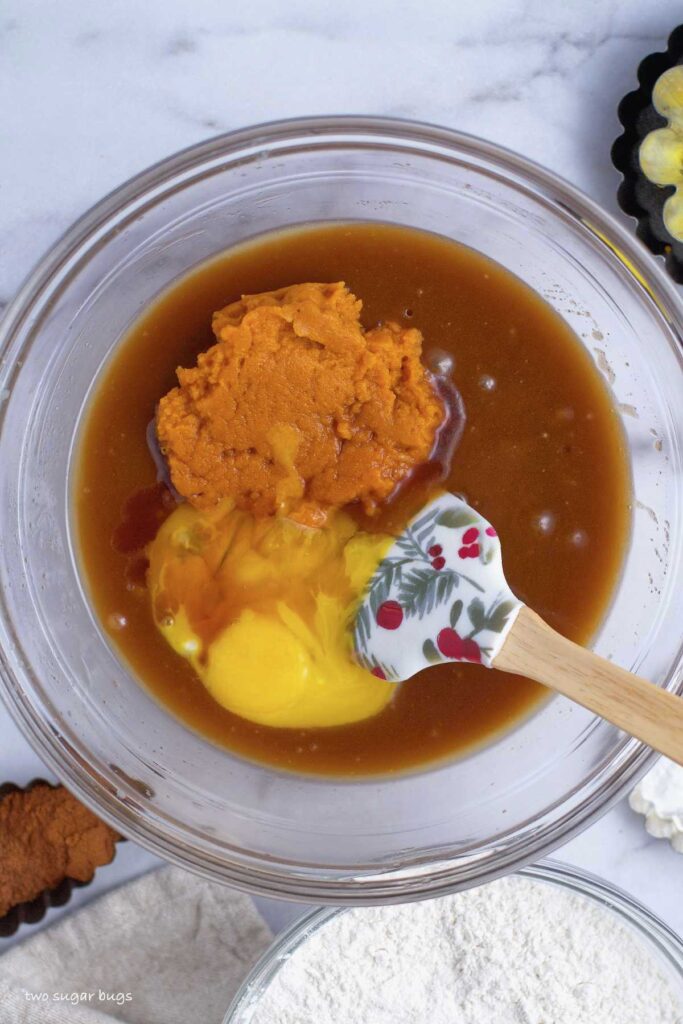
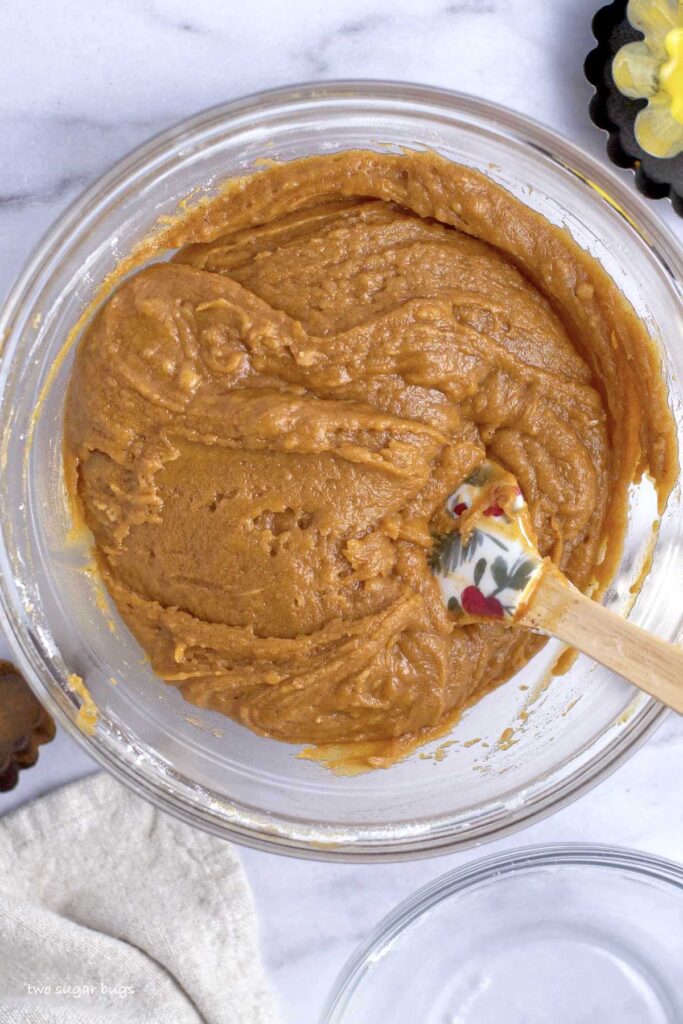
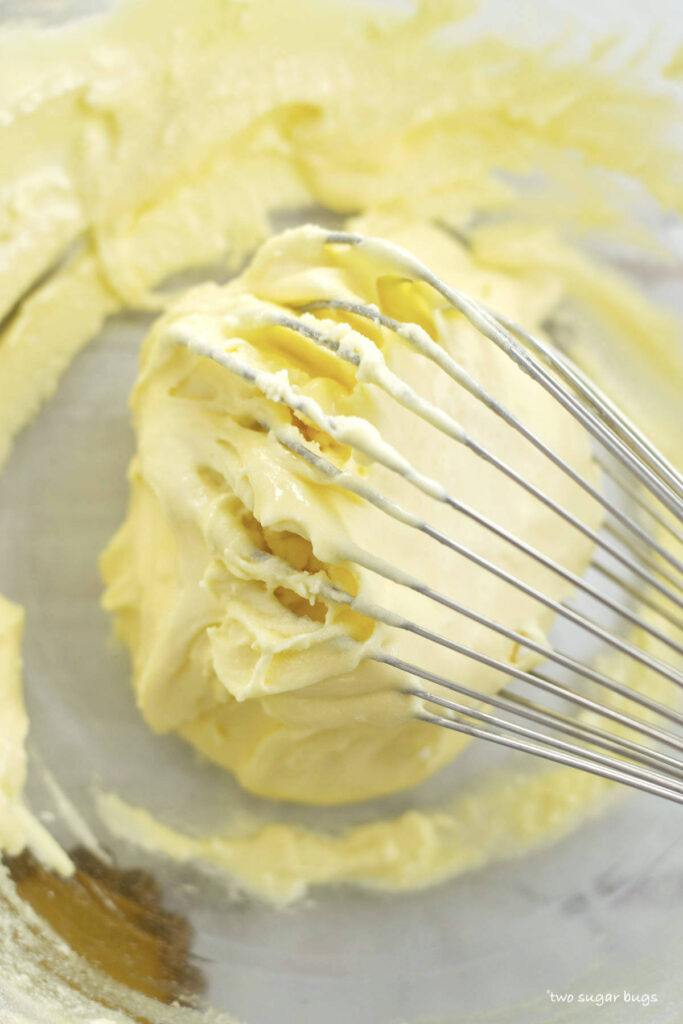
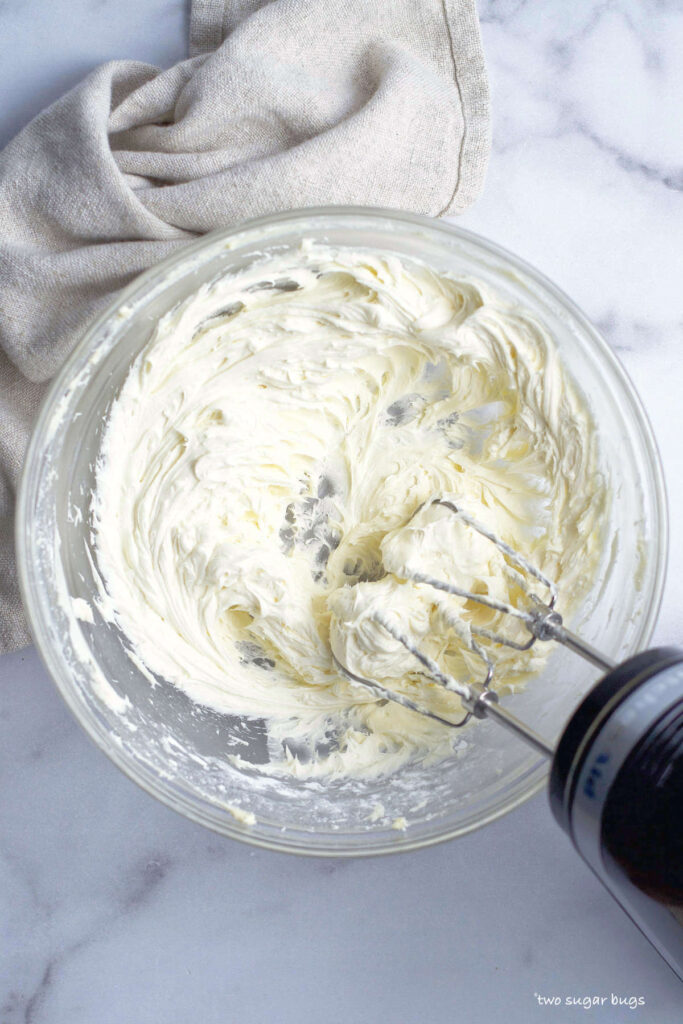
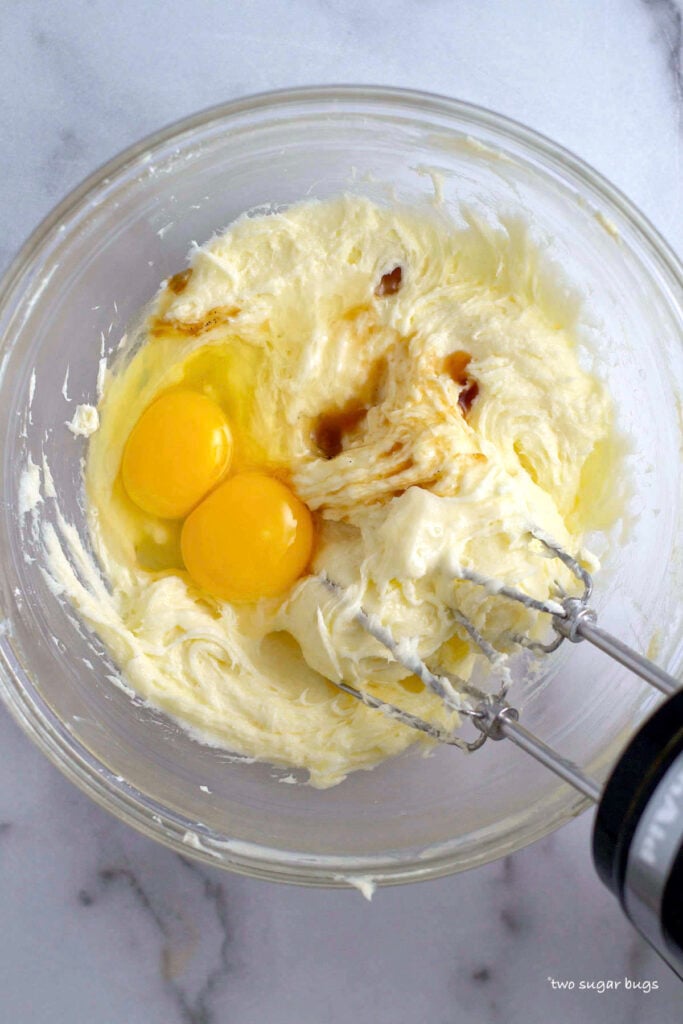
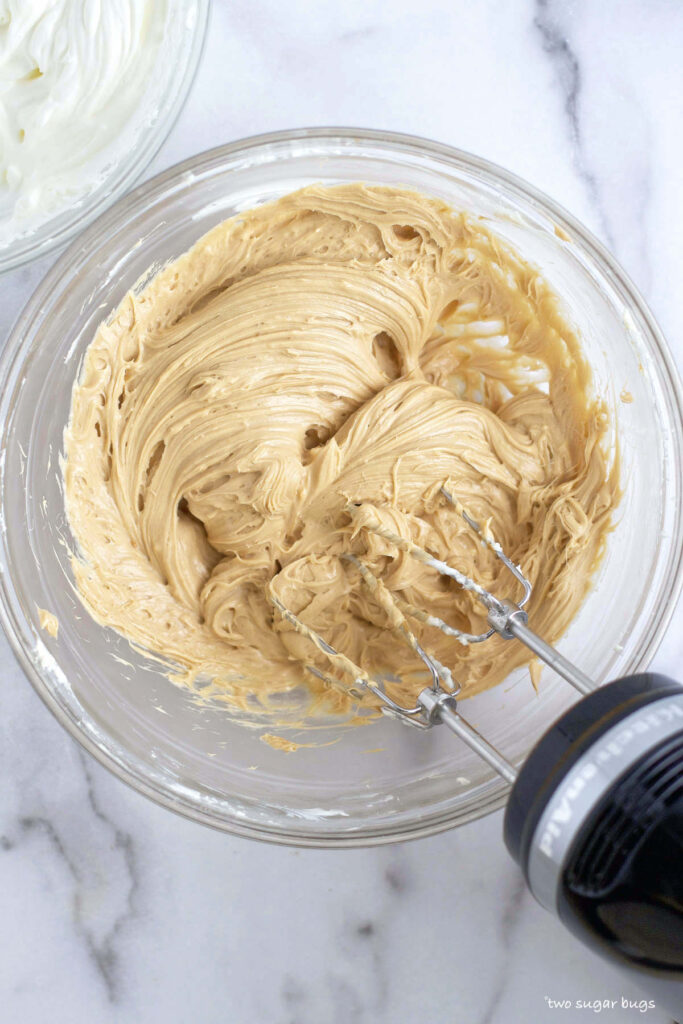
Then add the cookie butter spread and vanilla and beat until fully combined.
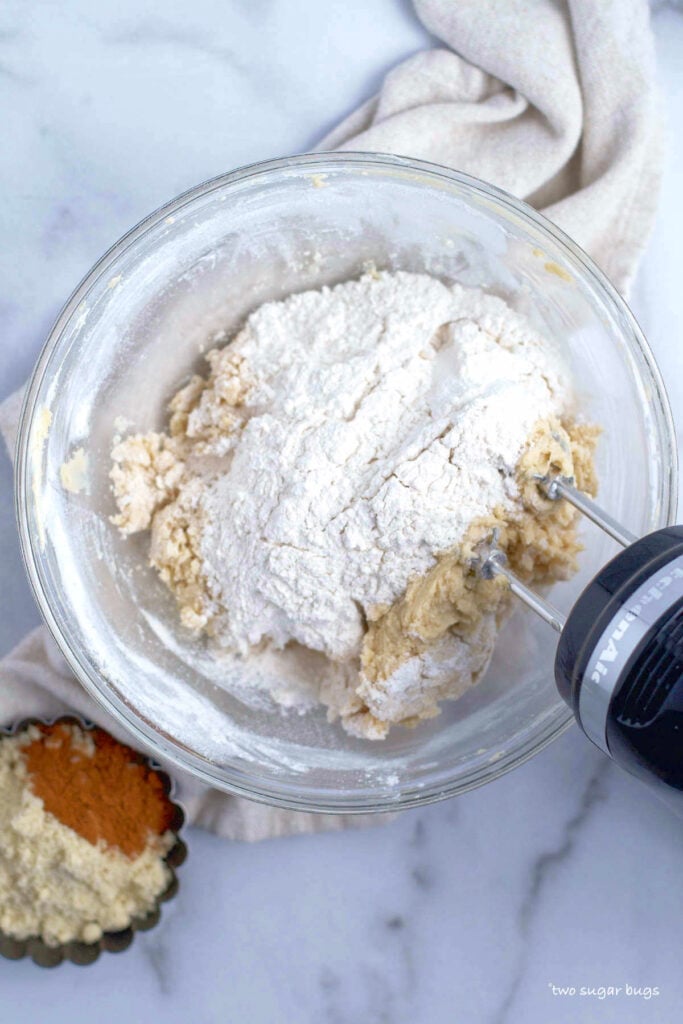
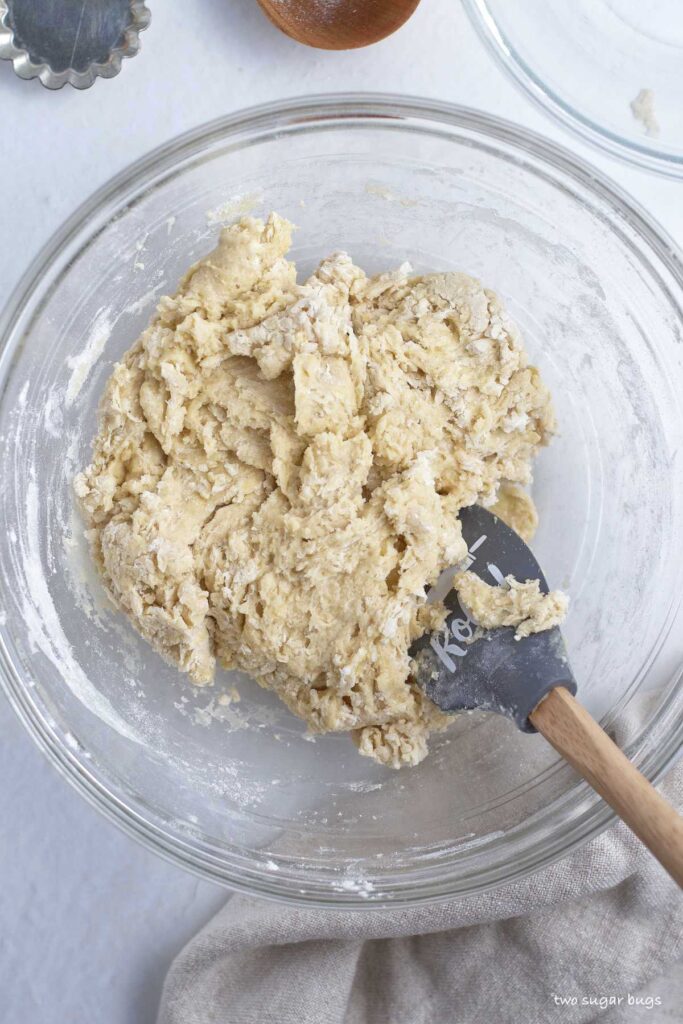
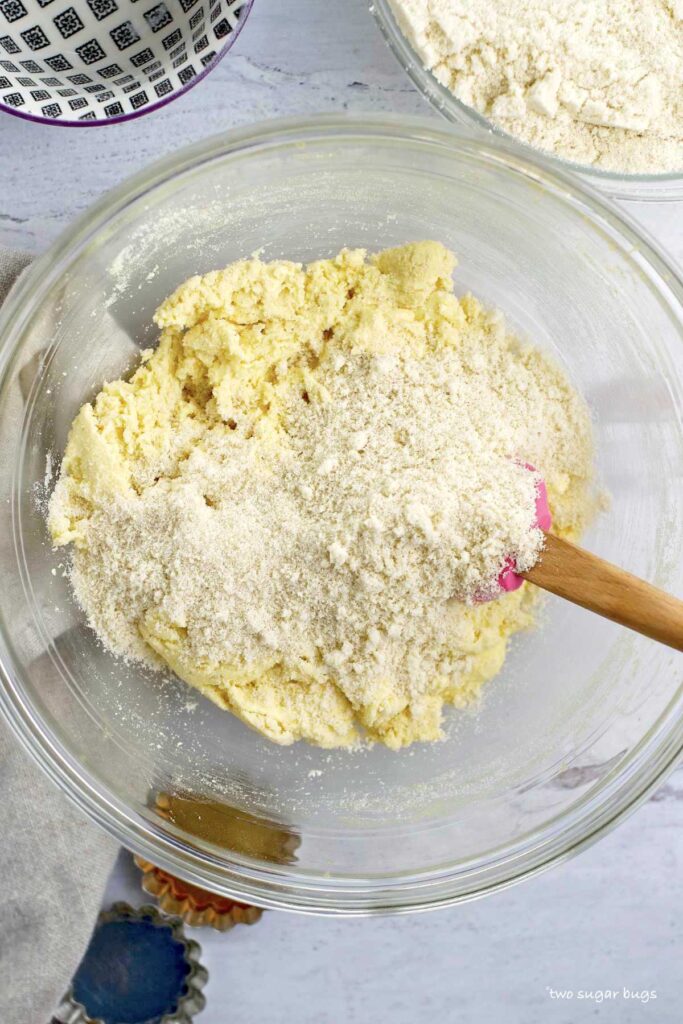
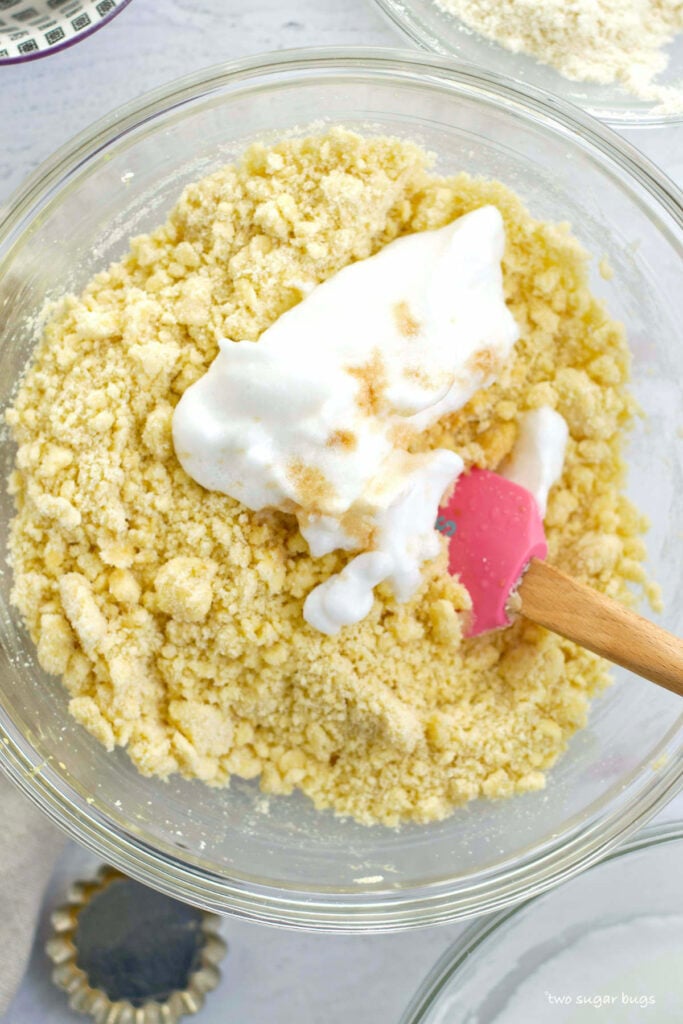
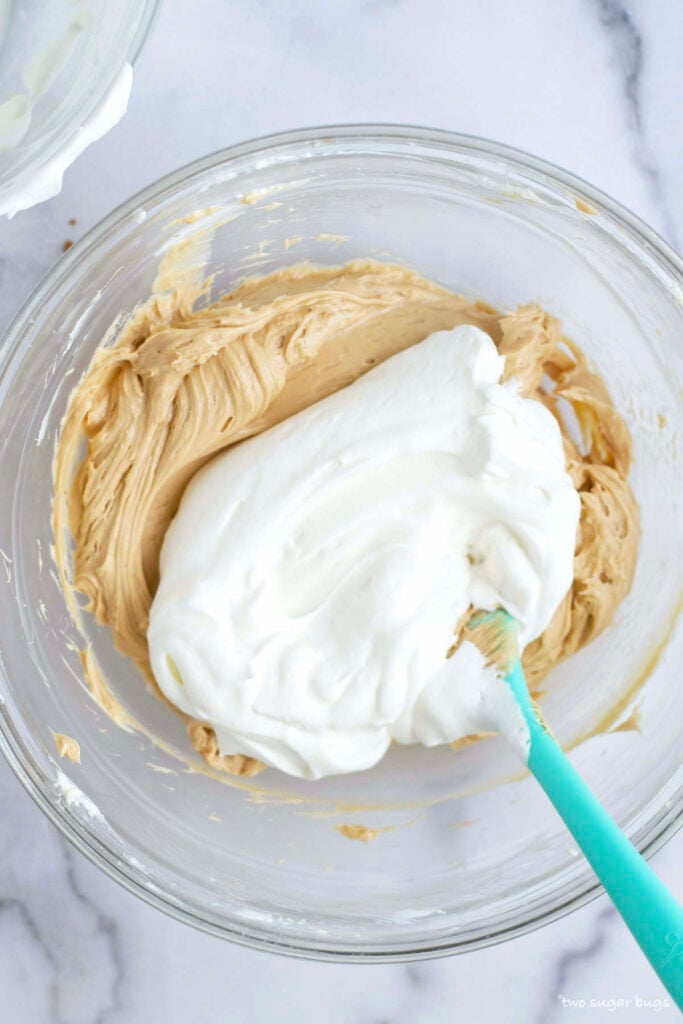
Finally, fold the whipped cream into the cookie butter mixture with a spatula. This takes several turns of the spatula, work gently as not to completely deflate the whipped cream. The air in the whipped cream is what helps to set the cheesecake and create the soft, fluffy, velvety mousse-like texture in the filling.
putting it all together
Remove the chilled biscoff crust from the freezer.
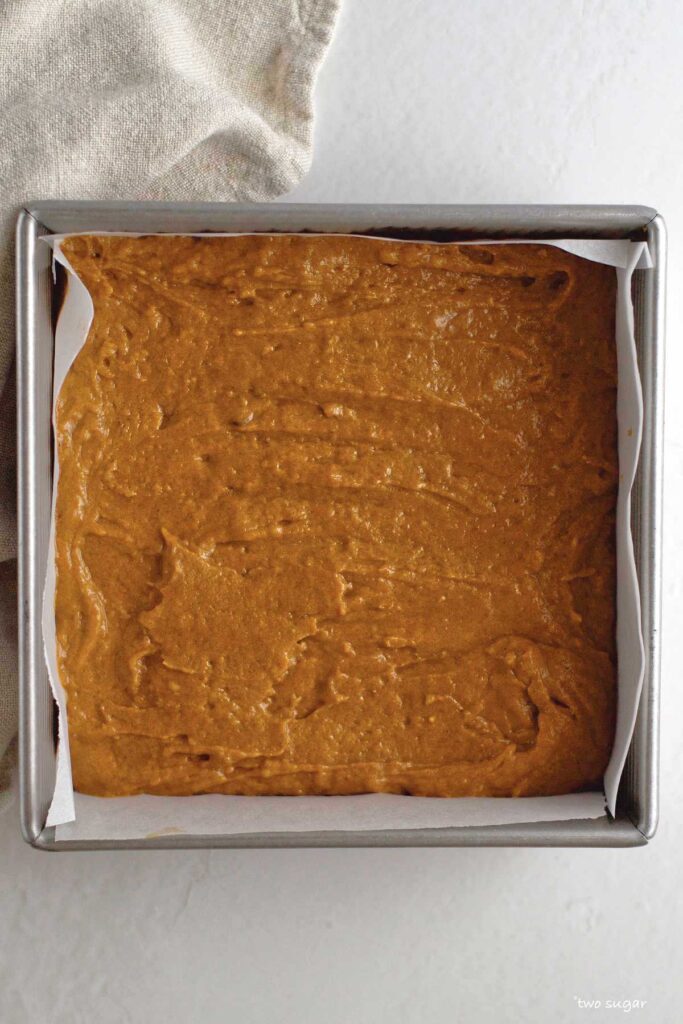
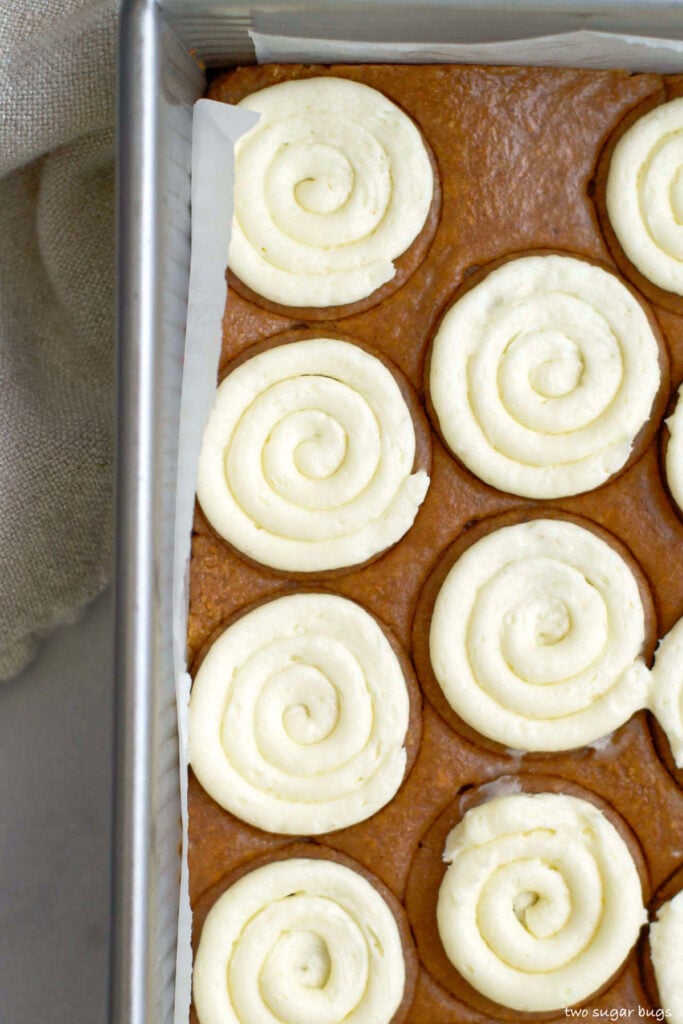
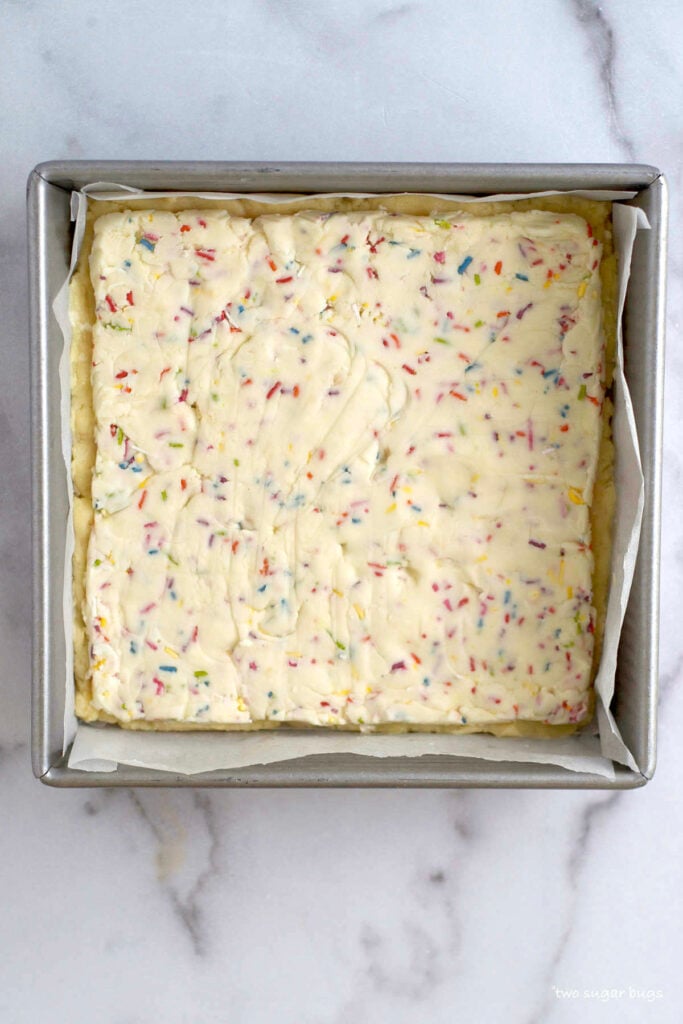
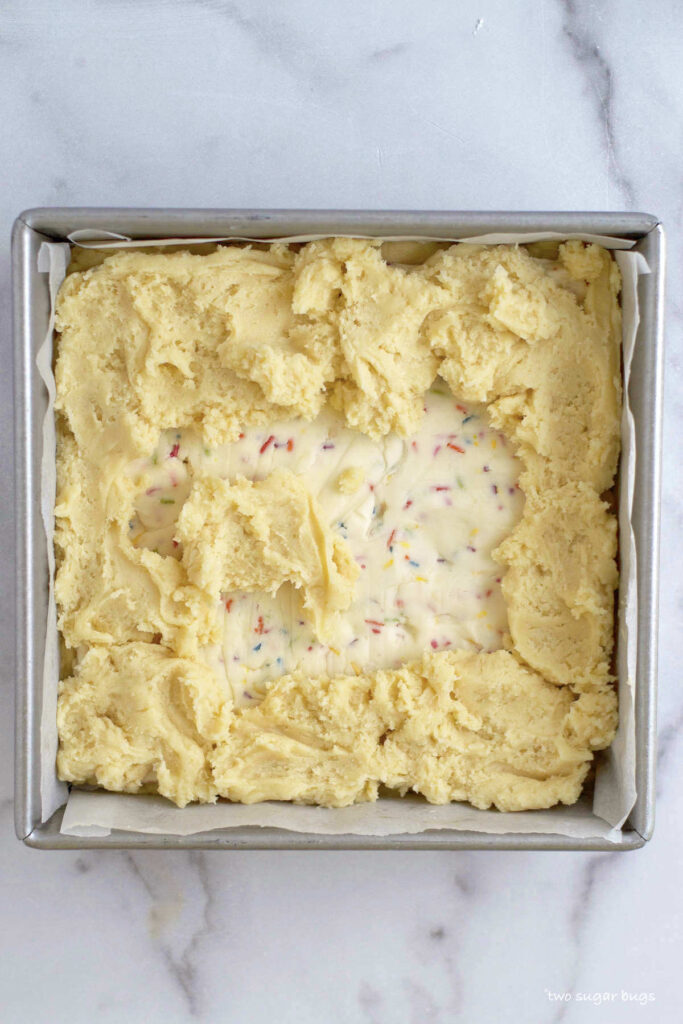
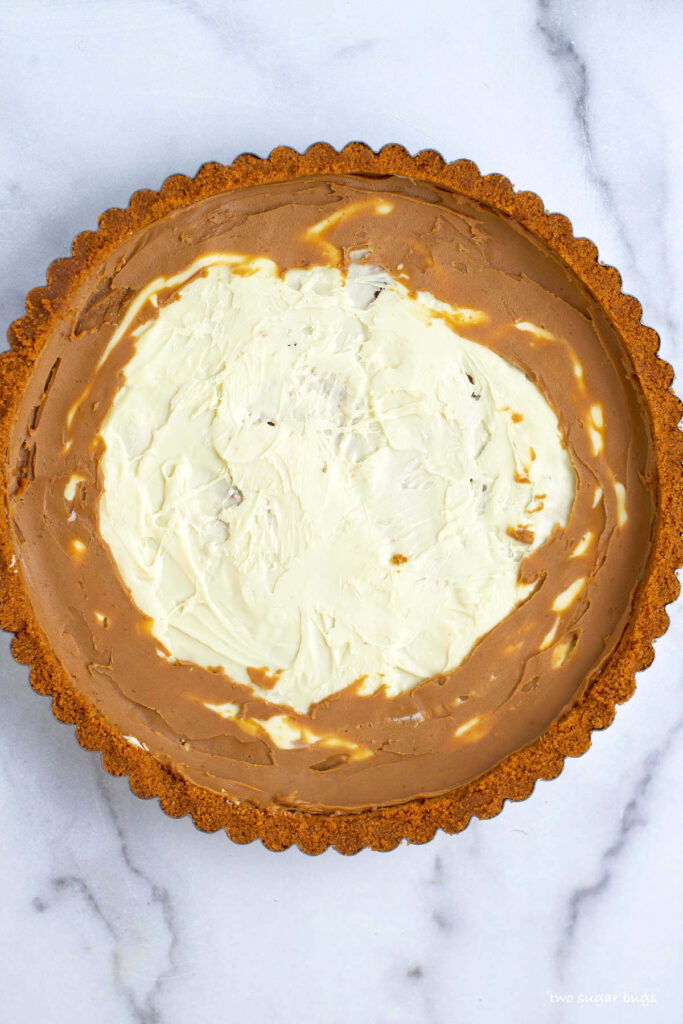
Spread cookie butter spread along the outside edge of the tart bottom. Then layer the cookie butter cheesecake filling over the top. An off-set spatula works well to smooth the filling.
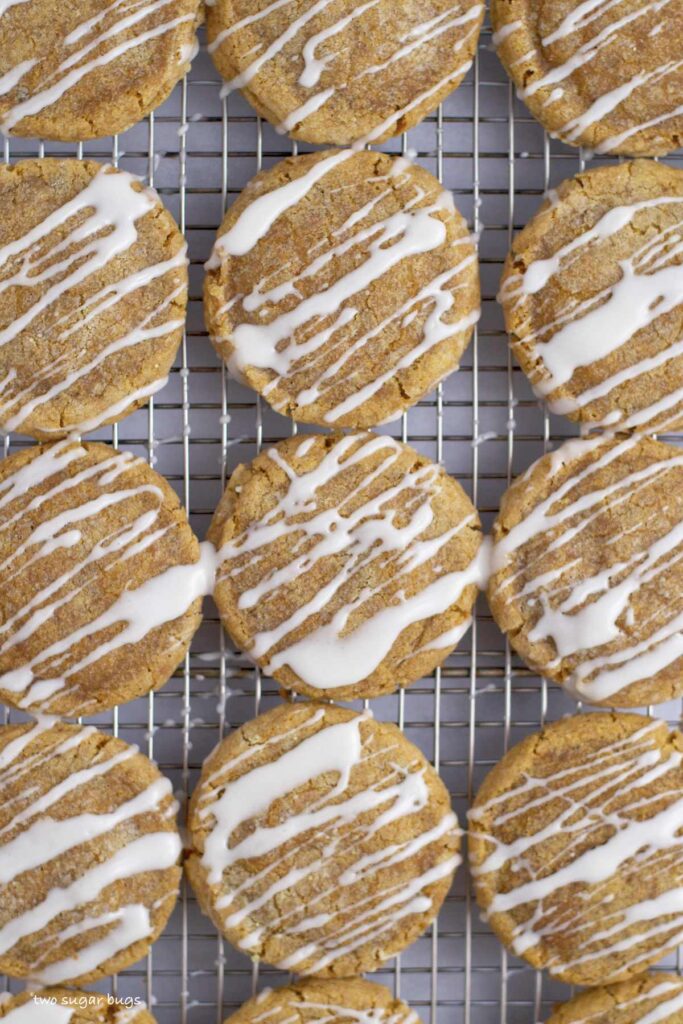
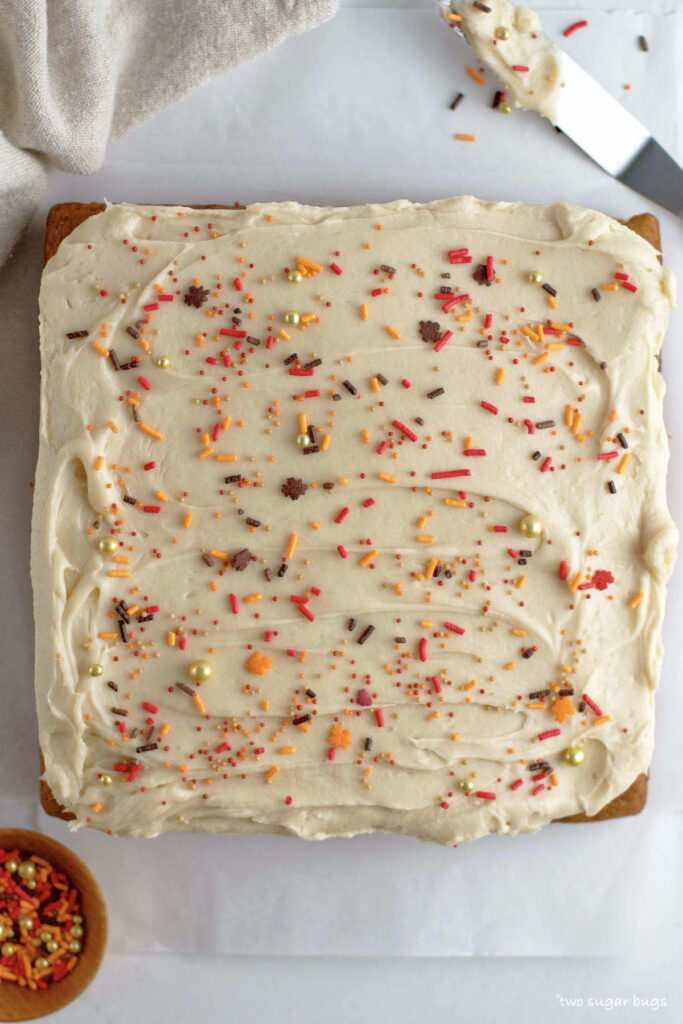
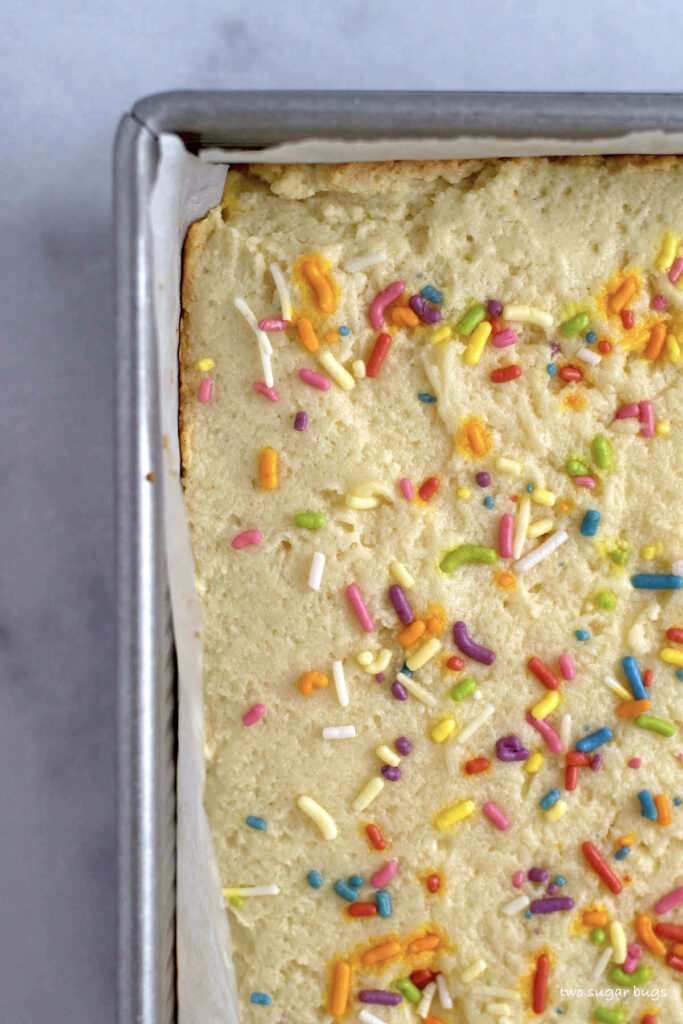
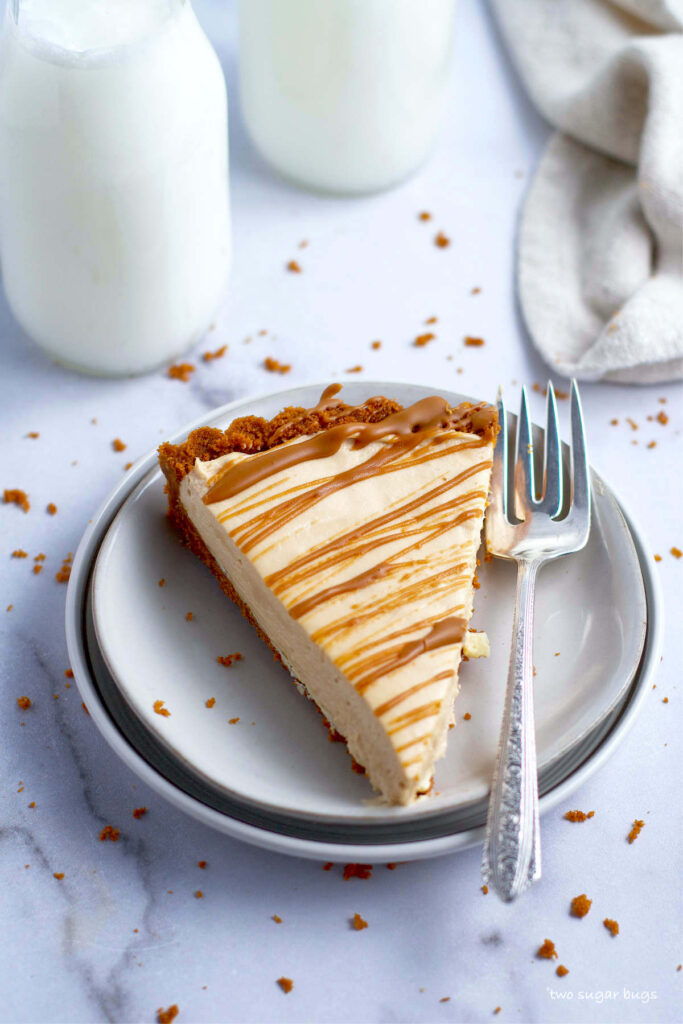
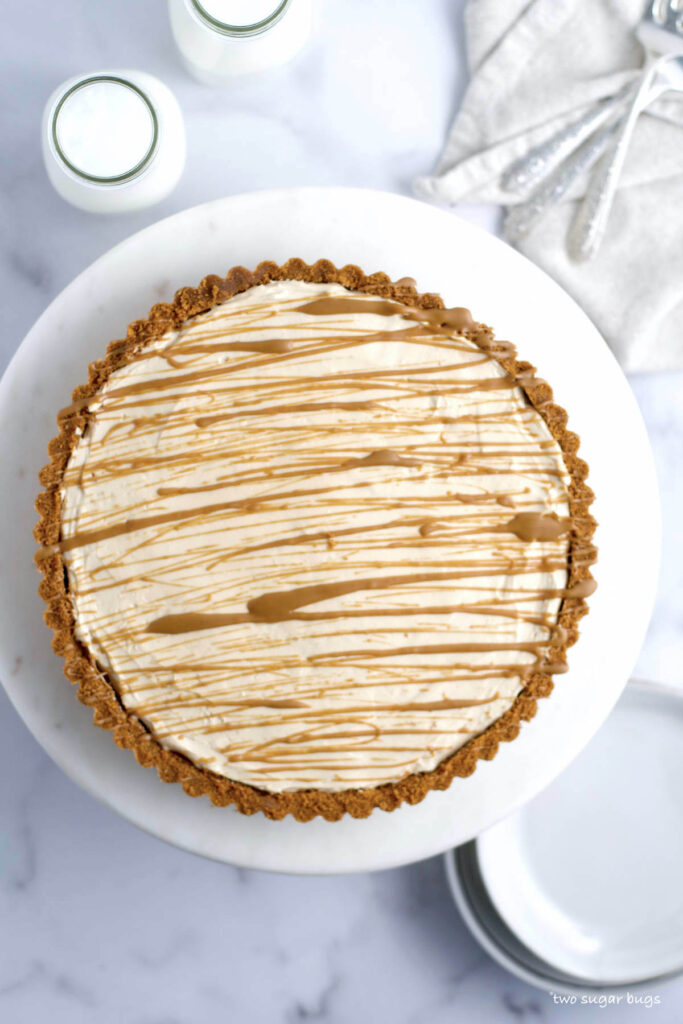
Finally, melt the remaining cookie butter spread and drizzle {like the photo below} or swirl the melted cookie butter over the top of the no bake cheesecake filling.
Now comes the hard part, waiting for the no bake cookie butter cheesecake to chill! Place in the refrigerator and chill about three hours, or until set. Overnight is great too! Please do not be tempted to speed this process in the freezer; it will completely change the texture of this velvety smooth filling.
do my ingredients really need to be at room temperature?
Yes! Room temperature ingredients help to ensure that the filling will be smooth. If you beat together cold ingredients, the filling will be chunky.
On the other hand, the whipping cream does need to be COLD to whip to stiff peaks.
what can you substitute for biscoff cookies?
I find Lotus Biscoff cookies at Target or my local grocery store. World Market often carries them as well and they can be ordered on Amazon.
If you can't get your hands on Biscoff cookies, Trader Joe's Speculoos cookies or gingersnap cookies would be a good replacement.
what can I substitute for a tart pan with a removable bottom?
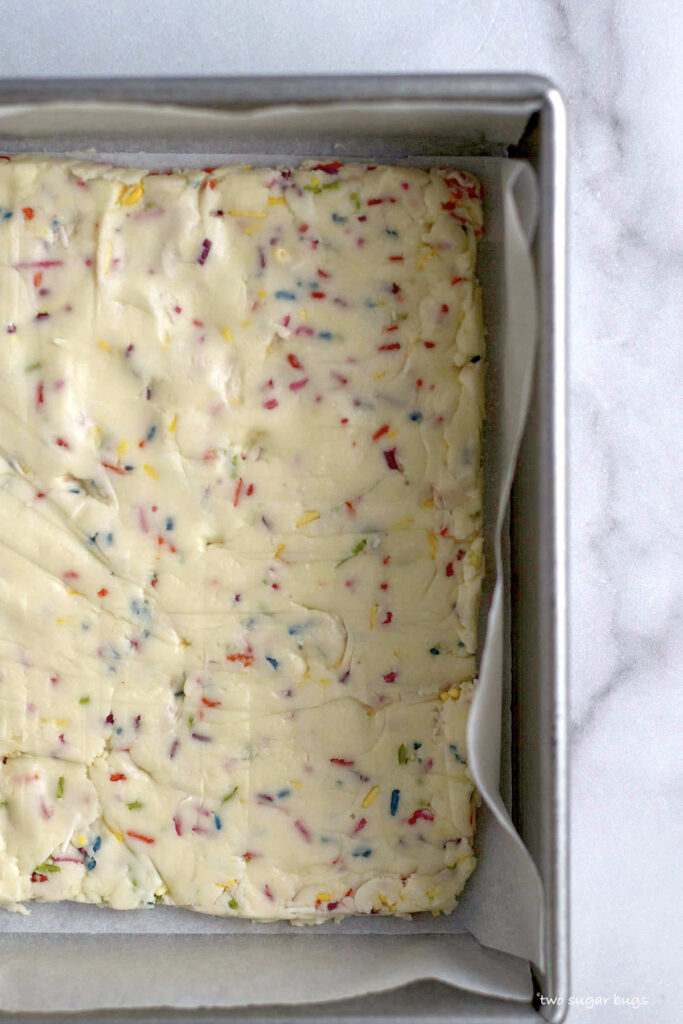
A 9-inch springform pan, an 8x8 baking pan or 9x9 baking pan would all be acceptable substitutions. If using a square baking pan, I would line it with parchment paper to allow you to pull the cheesecake bars out before slicing.
You can also make this no bake cheesecake into mini cheesecakes. See this recipe for instructions on how to use a cupcake pan.
how to store no bake cheesecake
Cover and store any leftover cheesecake in the refrigerator for up to 5 days.
If you would like to freeze left overs, wrap the chilled cheesecake in one layer of plastic wrap and then a layer of aluminum foil. I then like to place it in a zip-top bag. Freeze for up to 3 months; thaw in the refrigerator.
Remember to snap a picture and tag me on Instagram if you make this Cookie Butter Cheesecake. It warms my heart to see you bring these recipes to life! Thank you for being here and happy baking!
more no bake desserts to make for the holidays
- Tom and Jerry Tiramisu
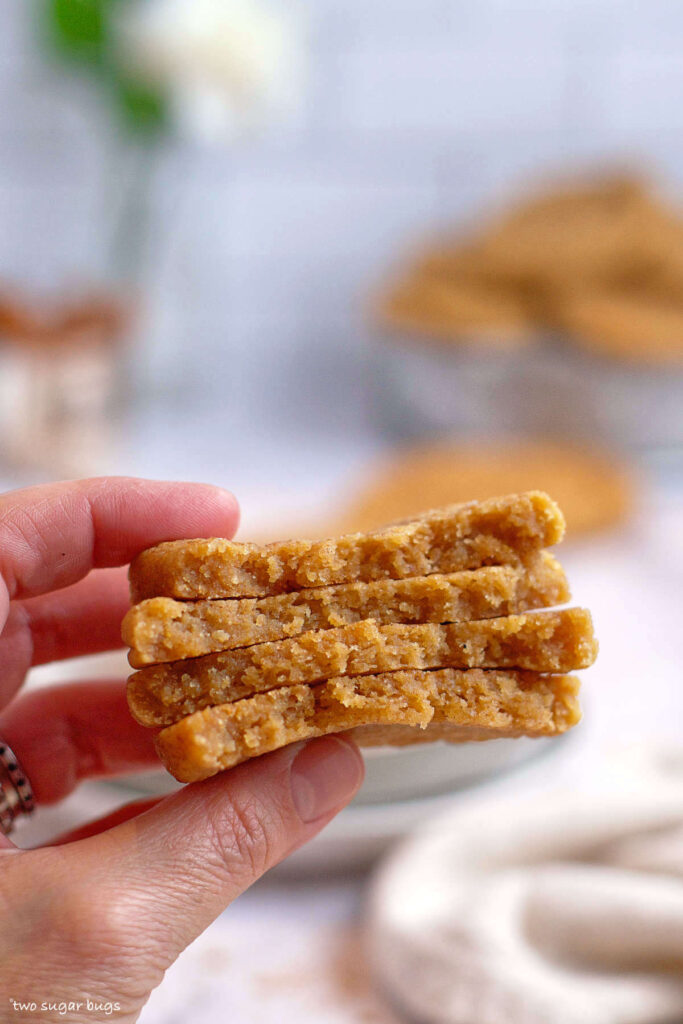
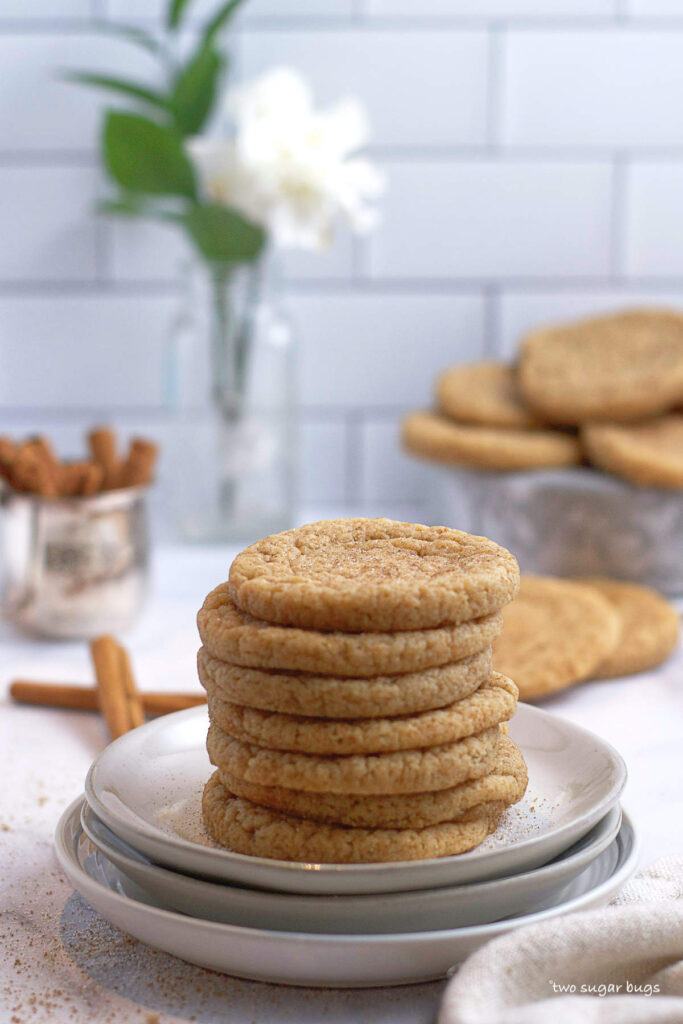
- No Bake Gingerbread Cookie Butter Cookies
- Peanut Butter Pie
- No Bake Mini Peanut Butter Espresso Cheesecakes
- Cookie Butter White Chocolate Bark
- No Bake Mascarpone Cheesecake with Strawberries and Mint
If you make this recipe {or any recipe!} from two sugar bugs please come back and leave a review and a ⭐️⭐️⭐️⭐️⭐️ star rating. I read every comment, and I LOVE hearing from you!
Cookie Butter Cheesecake {No Bake}
Cookie butter cheesecake is no bake and easy to prepare! The soft cookie butter filling sits in a white chocolate lined biscoff cookie crust.
Ingredients
biscoff crust
- 1 - 8.8 ounce package Biscoff/Speculoos cookies (250g)
- 6 tablespoons unsalted butter, melted (85g)
white chocolate and cookie butter layer
- 3 ounces white chocolate, melted (85g)
- 2 tablespoons cookie butter spread (30g)
cheesecake layer
- ¾ cup heavy whipping cream, cold (180mL)
- 8 ounces brick cream cheese, room temperature (226g)
- ¼ cup granulated sugar (50g)
- ¼ cup sour cream, room temperature (60g)
- ½ cup cookie butter spread (120g)
- 1 teaspoon pure vanilla extract
cookie butter drizzle
- 1 tablespoon creamy cookie butter, melted (15g)
Instructions
Melt the white chocolate in a double boiler or in the microwave and set aside.
For the crust: Use a food processor to pulse the cookies into fine crumbs. Add the melted butter and pulse until combined. The mixture will have the texture of wet sand. Press the mixture into the bottom and sides of a 9 inch tart pan with a removable bottom. I like to use a flat bottomed measuring up to make sure the Biscoff crust is tightly pressed in.
Swirl, drizzle or pour the melted white chocolate into the middle of the crust. An off-set spatula can be used to smooth the white chocolate, but be gentle as the crust is still quite delicate.*
For the cookie butter cheesecake layer: Using a handheld or stand mixer with the whisk attachment, whip the cold heavy whipping cream on medium-high until stiff peaks form, about 3-4 minutes. Set aside.
- Using a handheld or stand mixer fitted with the paddle attachment, beat the cream cheese and granulated sugar together on medium-high speed until the mixture is smooth about 2-3 minutes.
- Add the sour cream and beat until fully combined, about 1 minute. Scrape up and down the bowl, then add the cookie butter and vanilla and beat until fully combined.
- Fold in the whipped cream with a spatula until combined. This takes several turns with the spatula. Work gently as you don’t want to deflate all the air out of the whipped cream.
Remove the biscoff crust from the freezer and take the two tablespoons of cookie butter and spread it around the outside border of the crust. Then spoon the cookie butter cheesecake into the prepared crust and use an off-set spatula to smooth it into an even layer.
Melt the remaining tablespoon of cookie butter and drizzle it over the top of the cheesecake.
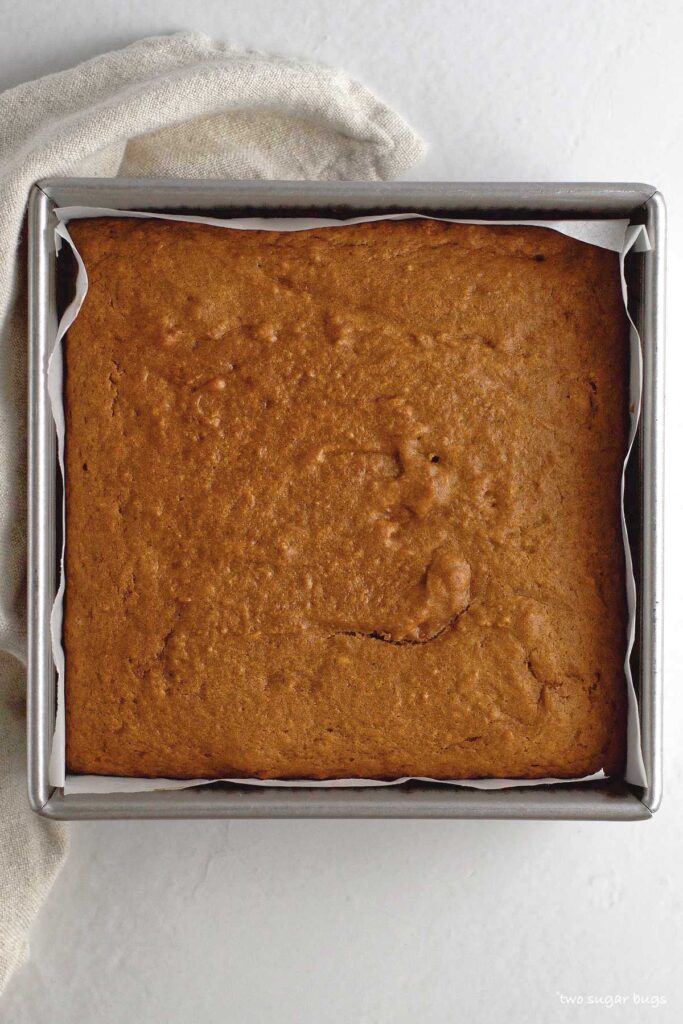
Chill the cheesecake in the refrigerator until set, about 3 hours. If refrigerating for more than 3 hours, I recommend covering the cheesecake with plastic wrap after the first hour (once the cookie butter drizzle has chilled and hardened).
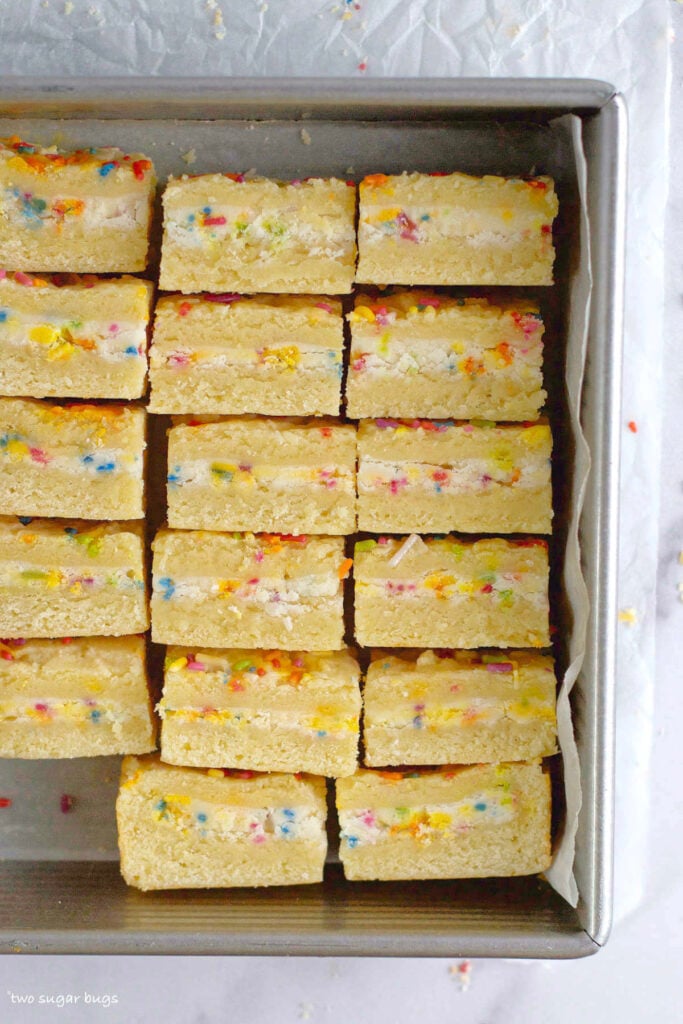
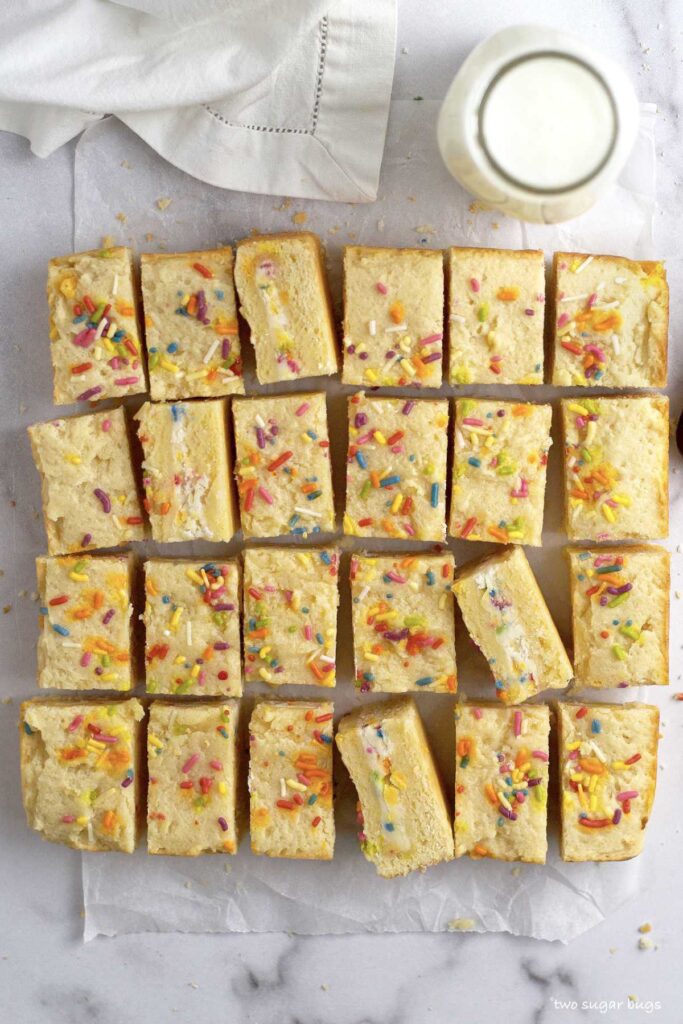
To serve: Remove the cheesecake from the tart pan and slice into desired size pieces.
Notes
This recipe has only been tested with full fat cream cheese and full fat sour cream.
If you want to use a square baking pan (8x8 or 9x9 recommended), line the pan with parchment paper. A 9-inch springform pan can also be used. Or create mini cheesecakes with a standard muffin tin. See Mini No Bake Peanut Butter Espresso Cheesecakes for instructions for mini cheesecakes.
*Alternately, if you would rather not worry about being delicate with adding the white chocolate to the crust, you can add the white chocolate once you remove the crust from the freezer. Drizzle the white chocolate over the center of the crust. Because the crust is cold, the chocolate will harden and seize when it hits the crust, which is fine because you will cover it with the cheesecake. Once all the chocolate is drizzled, take the cookie butter and smooth it along the outside border of the crust.
Cover and store any leftover cheesecake in the refrigerator for up to 5 days.
If you would like to freeze left overs, wrap the chilled cheesecake in one layer of plastic wrap and then a layer of aluminum foil. I then like to place it in a zip-top bag. Freeze for up to 3 months; thaw in the refrigerator.
Nutrition Information:
Yield:
12Serving Size:
1Amount Per Serving: Calories: 419Total Fat: 32gSaturated Fat: 15gTrans Fat: 0gUnsaturated Fat: 15gCholesterol: 62mgSodium: 176mgCarbohydrates: 31gFiber: 0gSugar: 18gProtein: 4g
The nutrition information is an estimate and may not be entirely accurate.