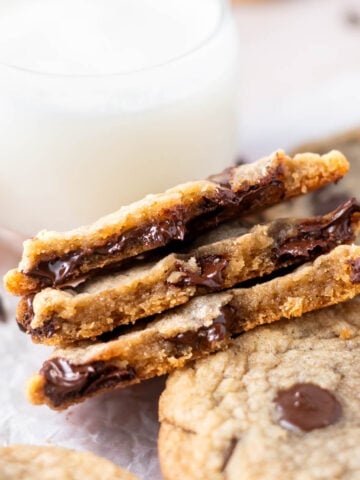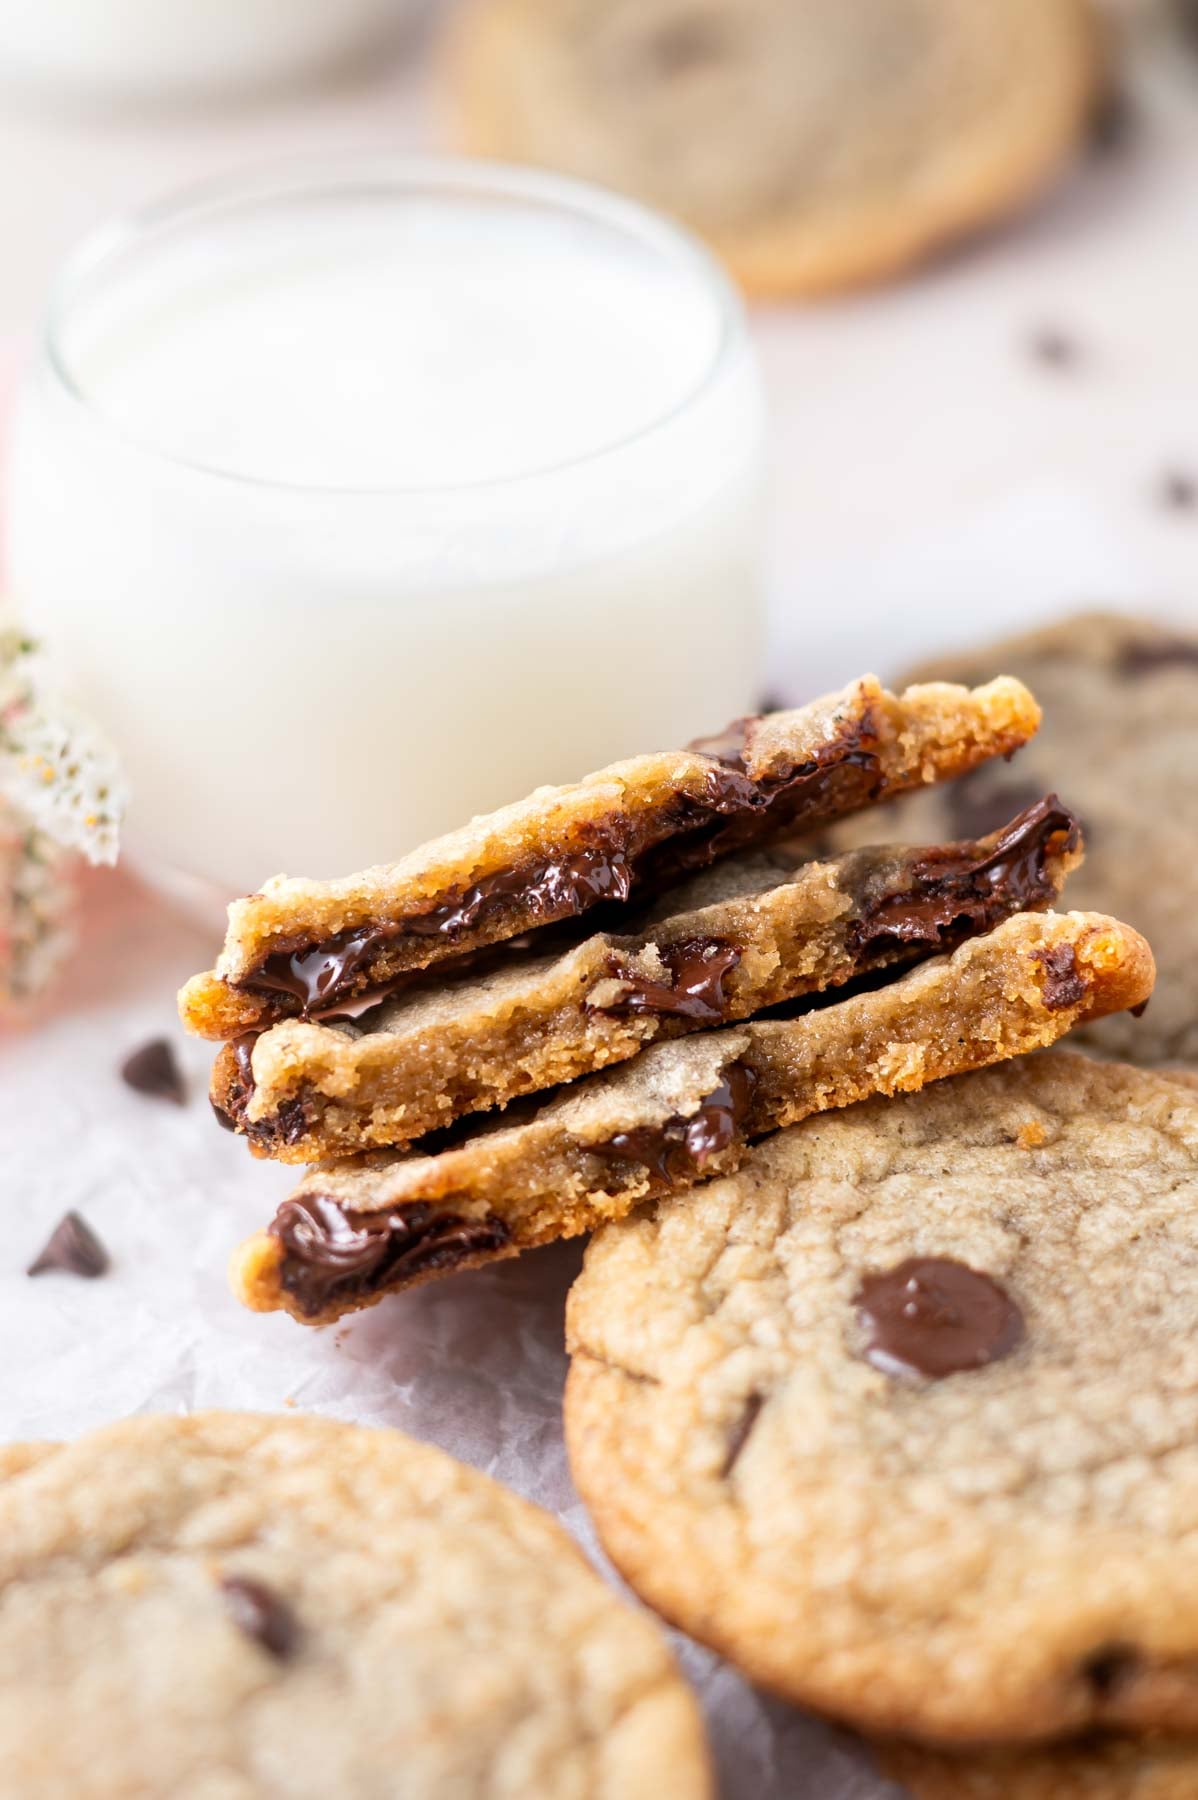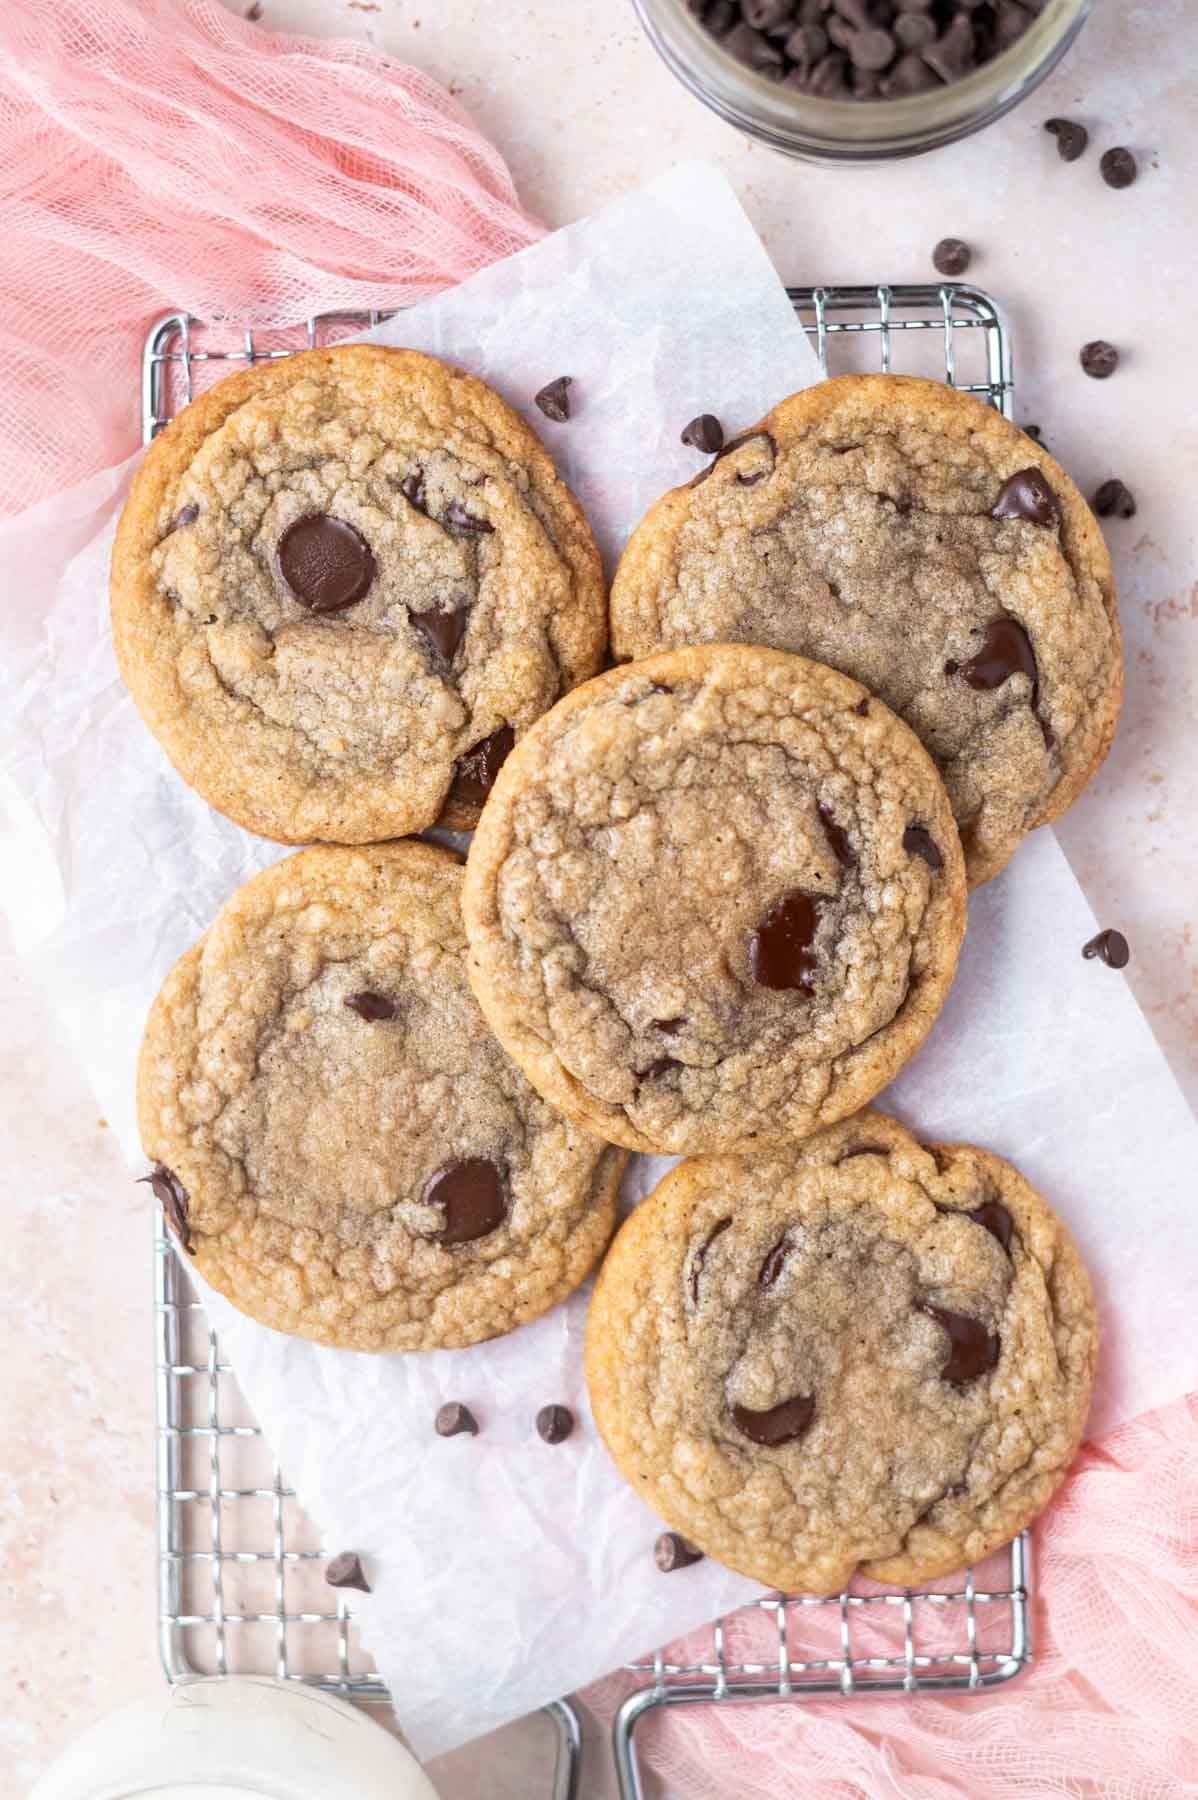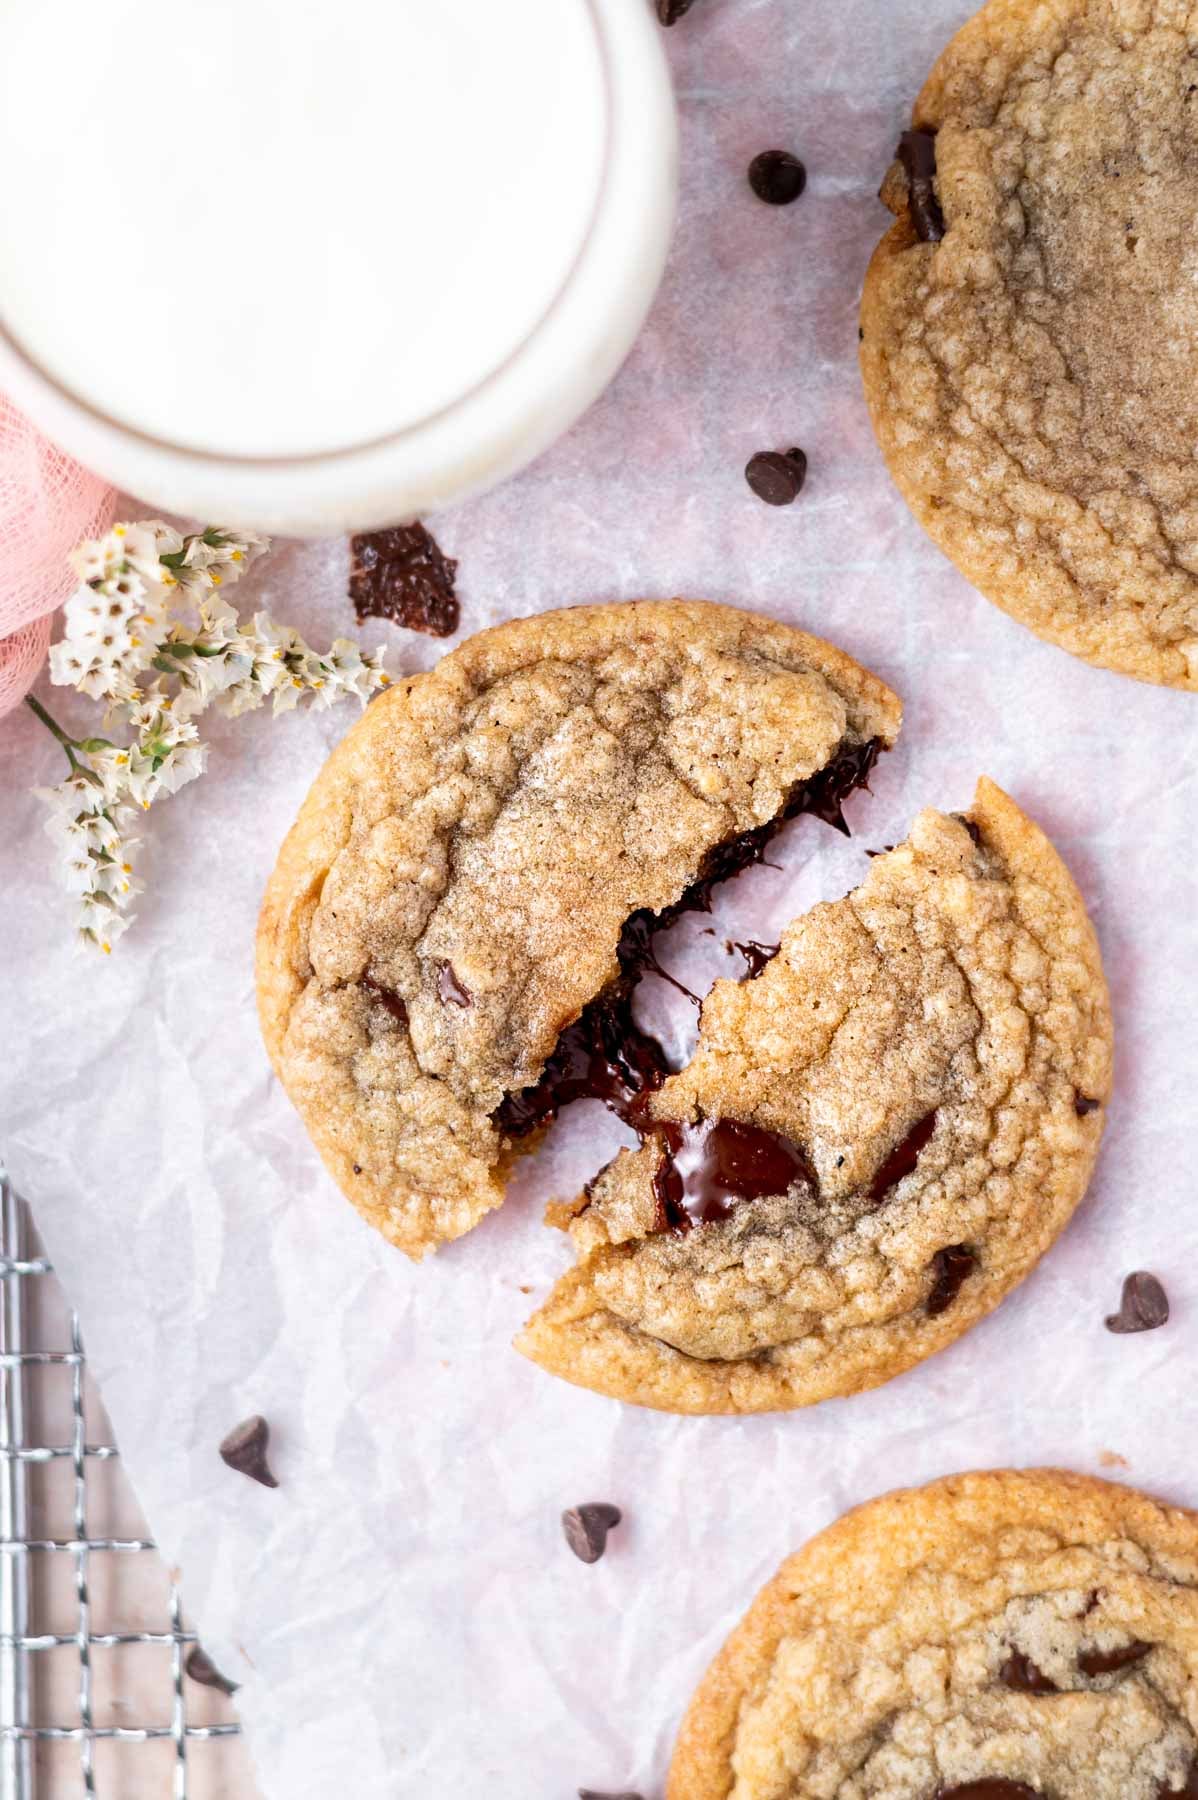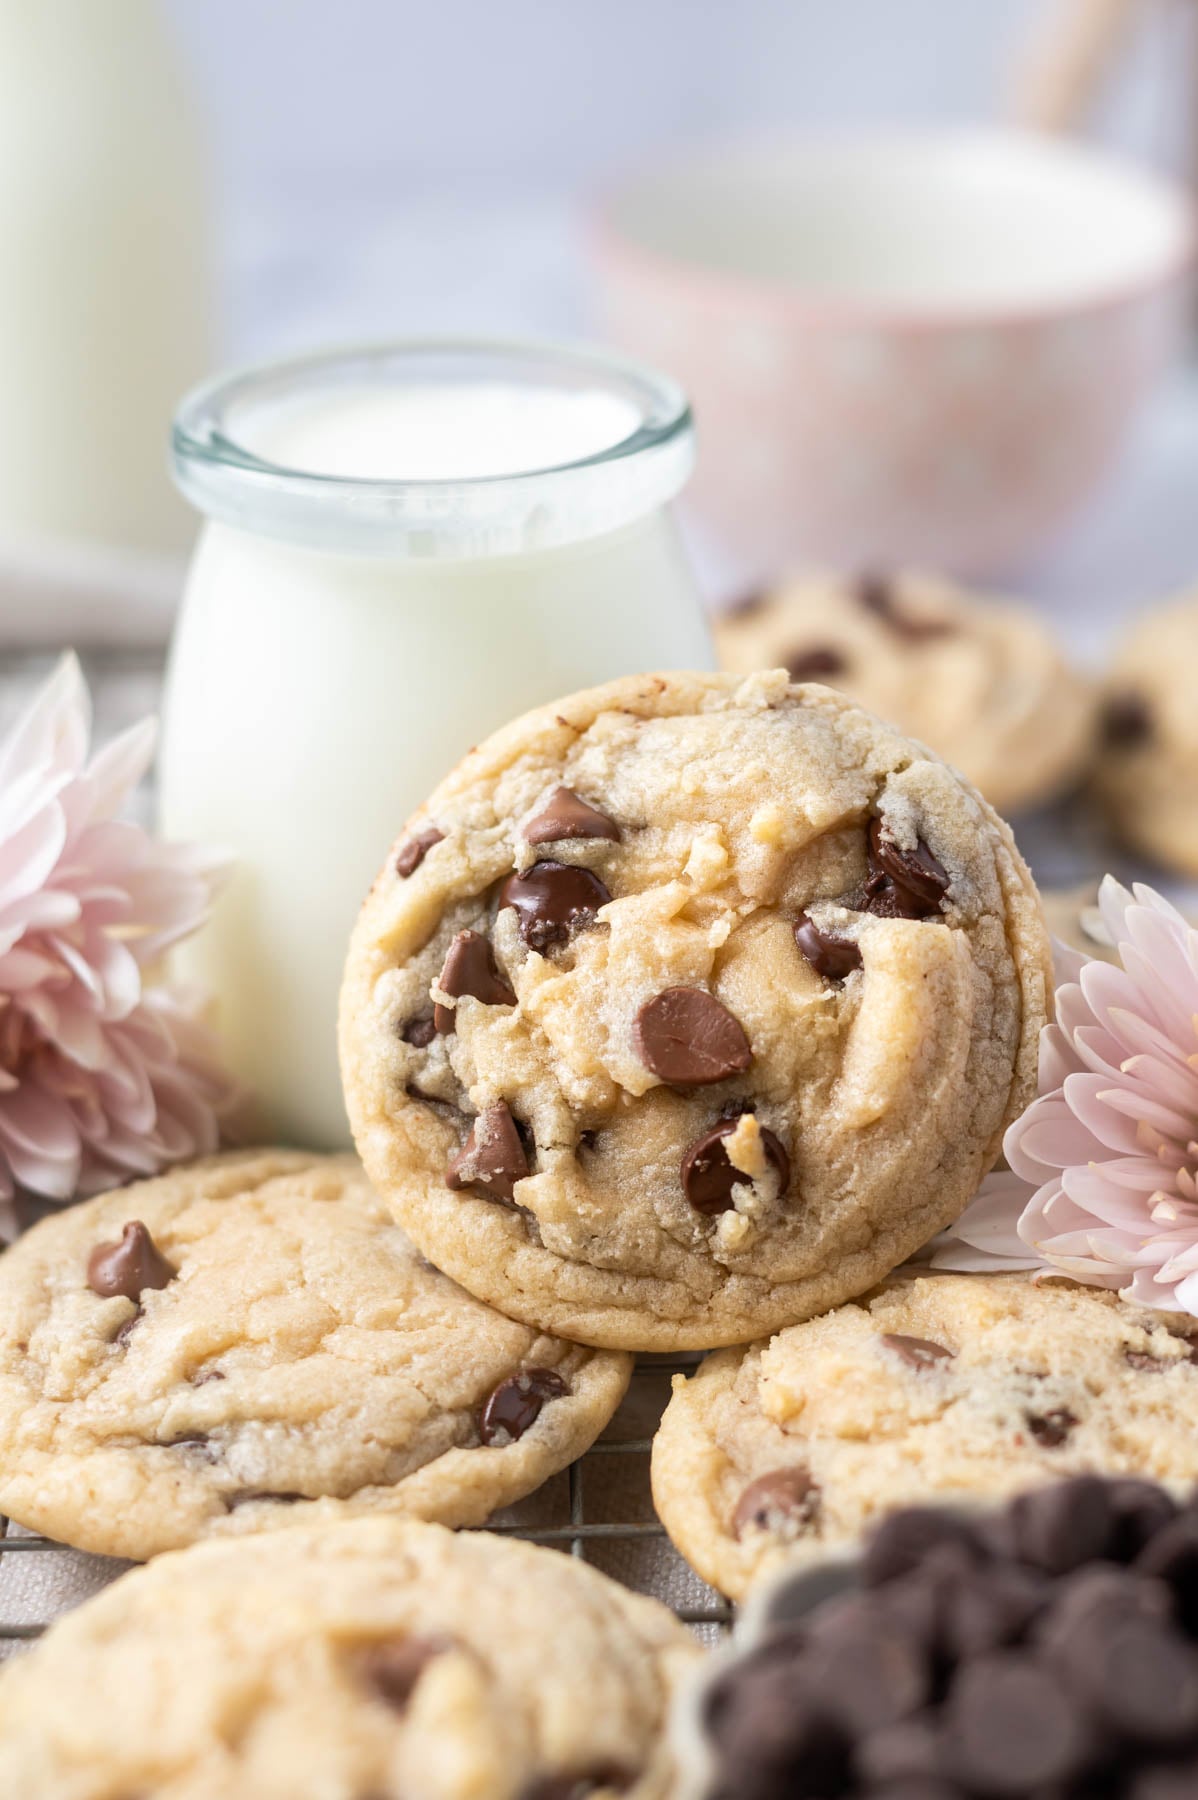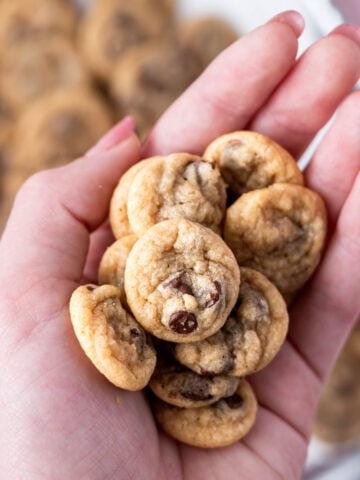
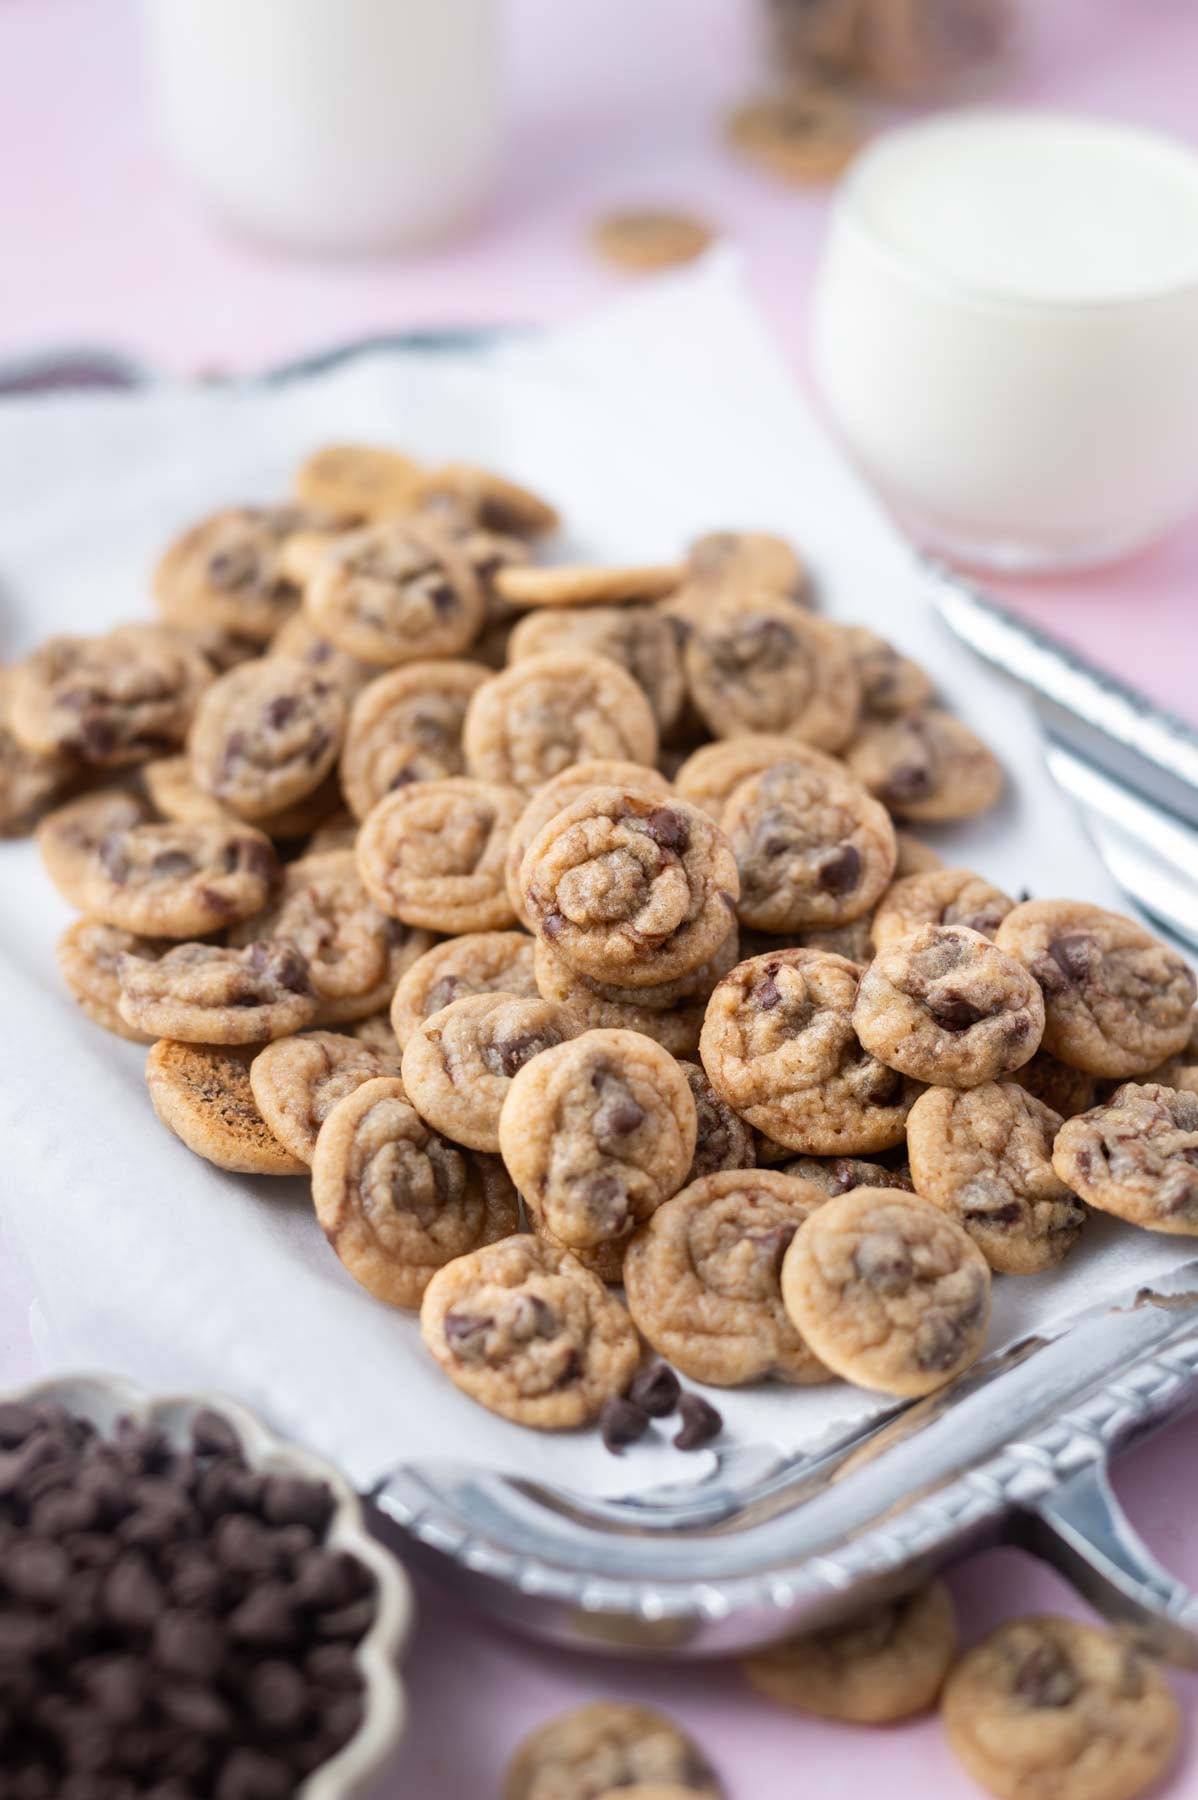
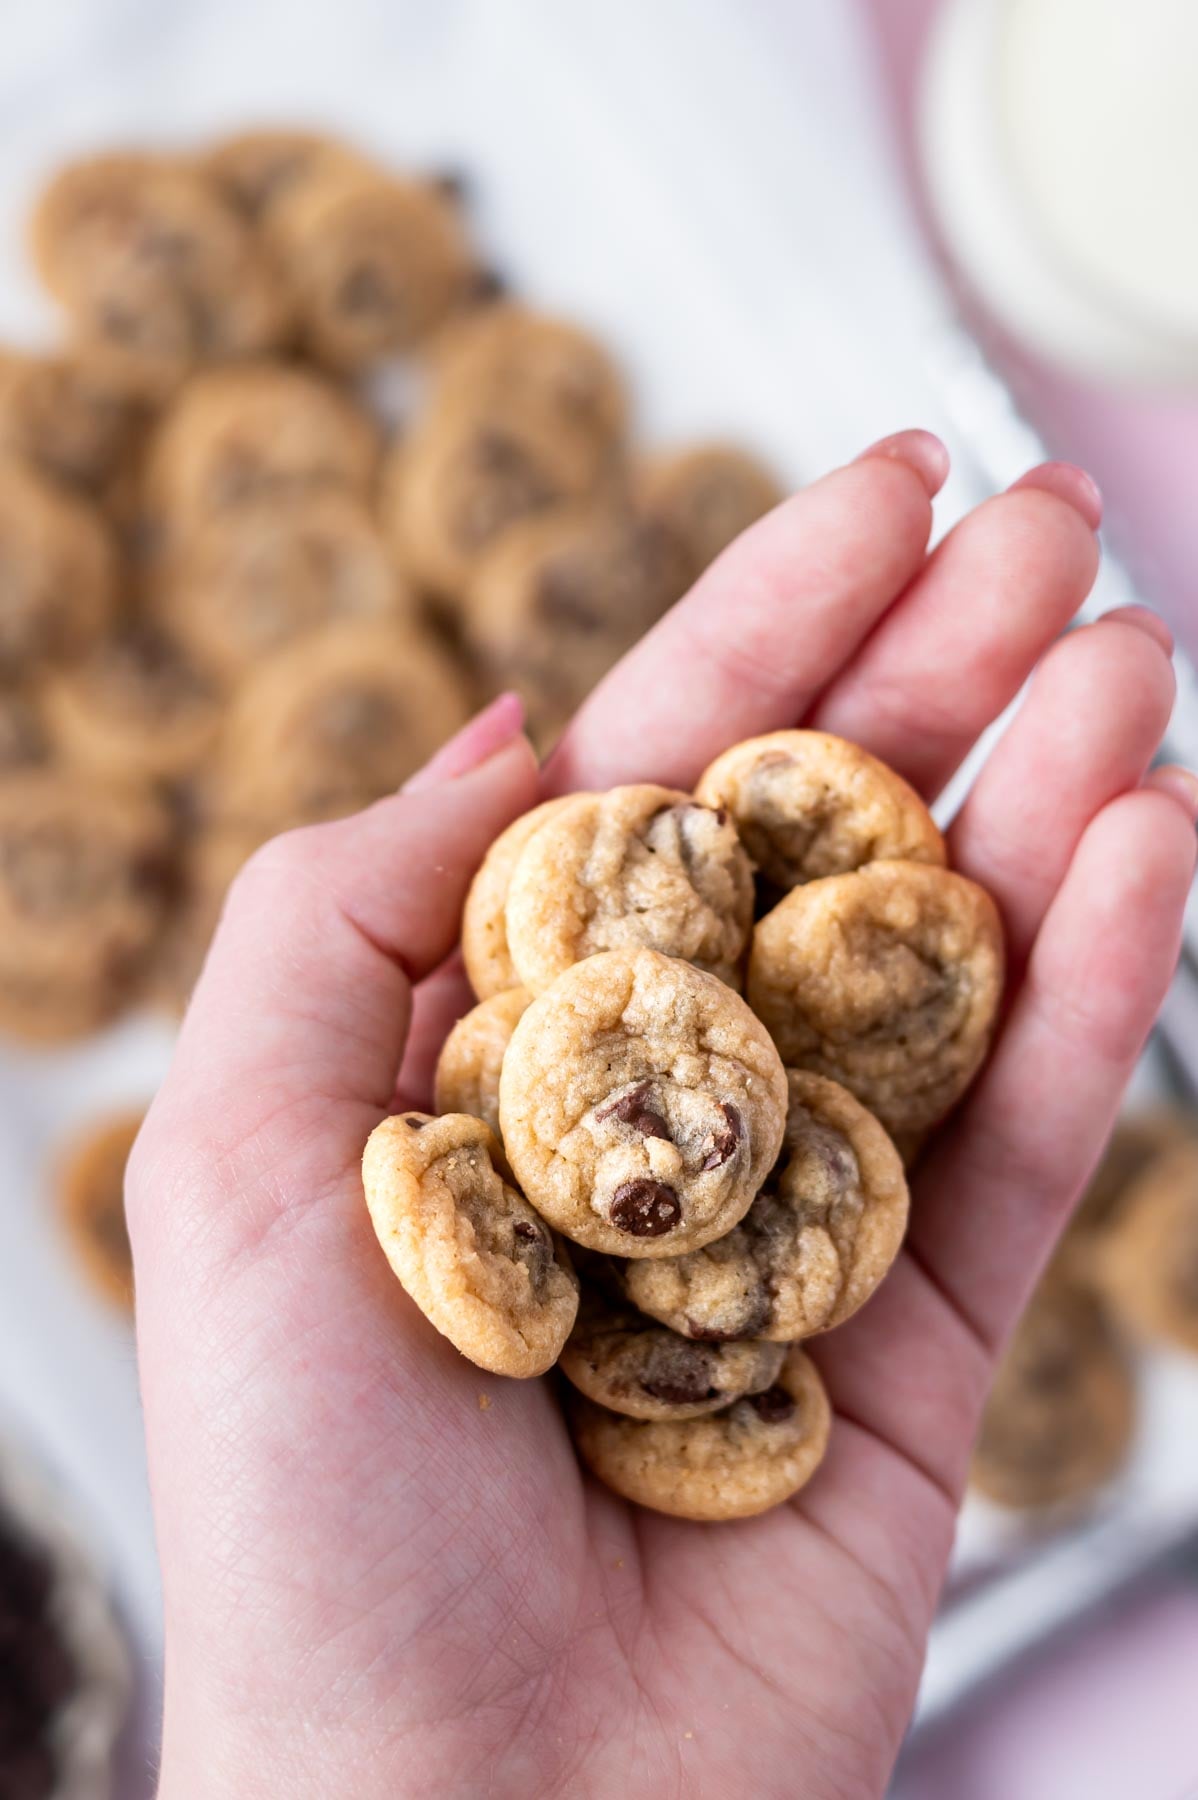
For a fun treat that comes together quickly and easily, mini chocolate chip cookies are it! These tiny cookies have a magic all their own. They come together with melted butter, in one bowl with no mixer and no chill time. Using a piping bag makes them easy to portion and they bake in six minutes. You’ll get about 230 of the most adorable quarter sized chocolate chip cookies that you’ve ever seen.
Disclosure | This post may contain affiliate links. As an Amazon Associate I earn from qualifying purchases.
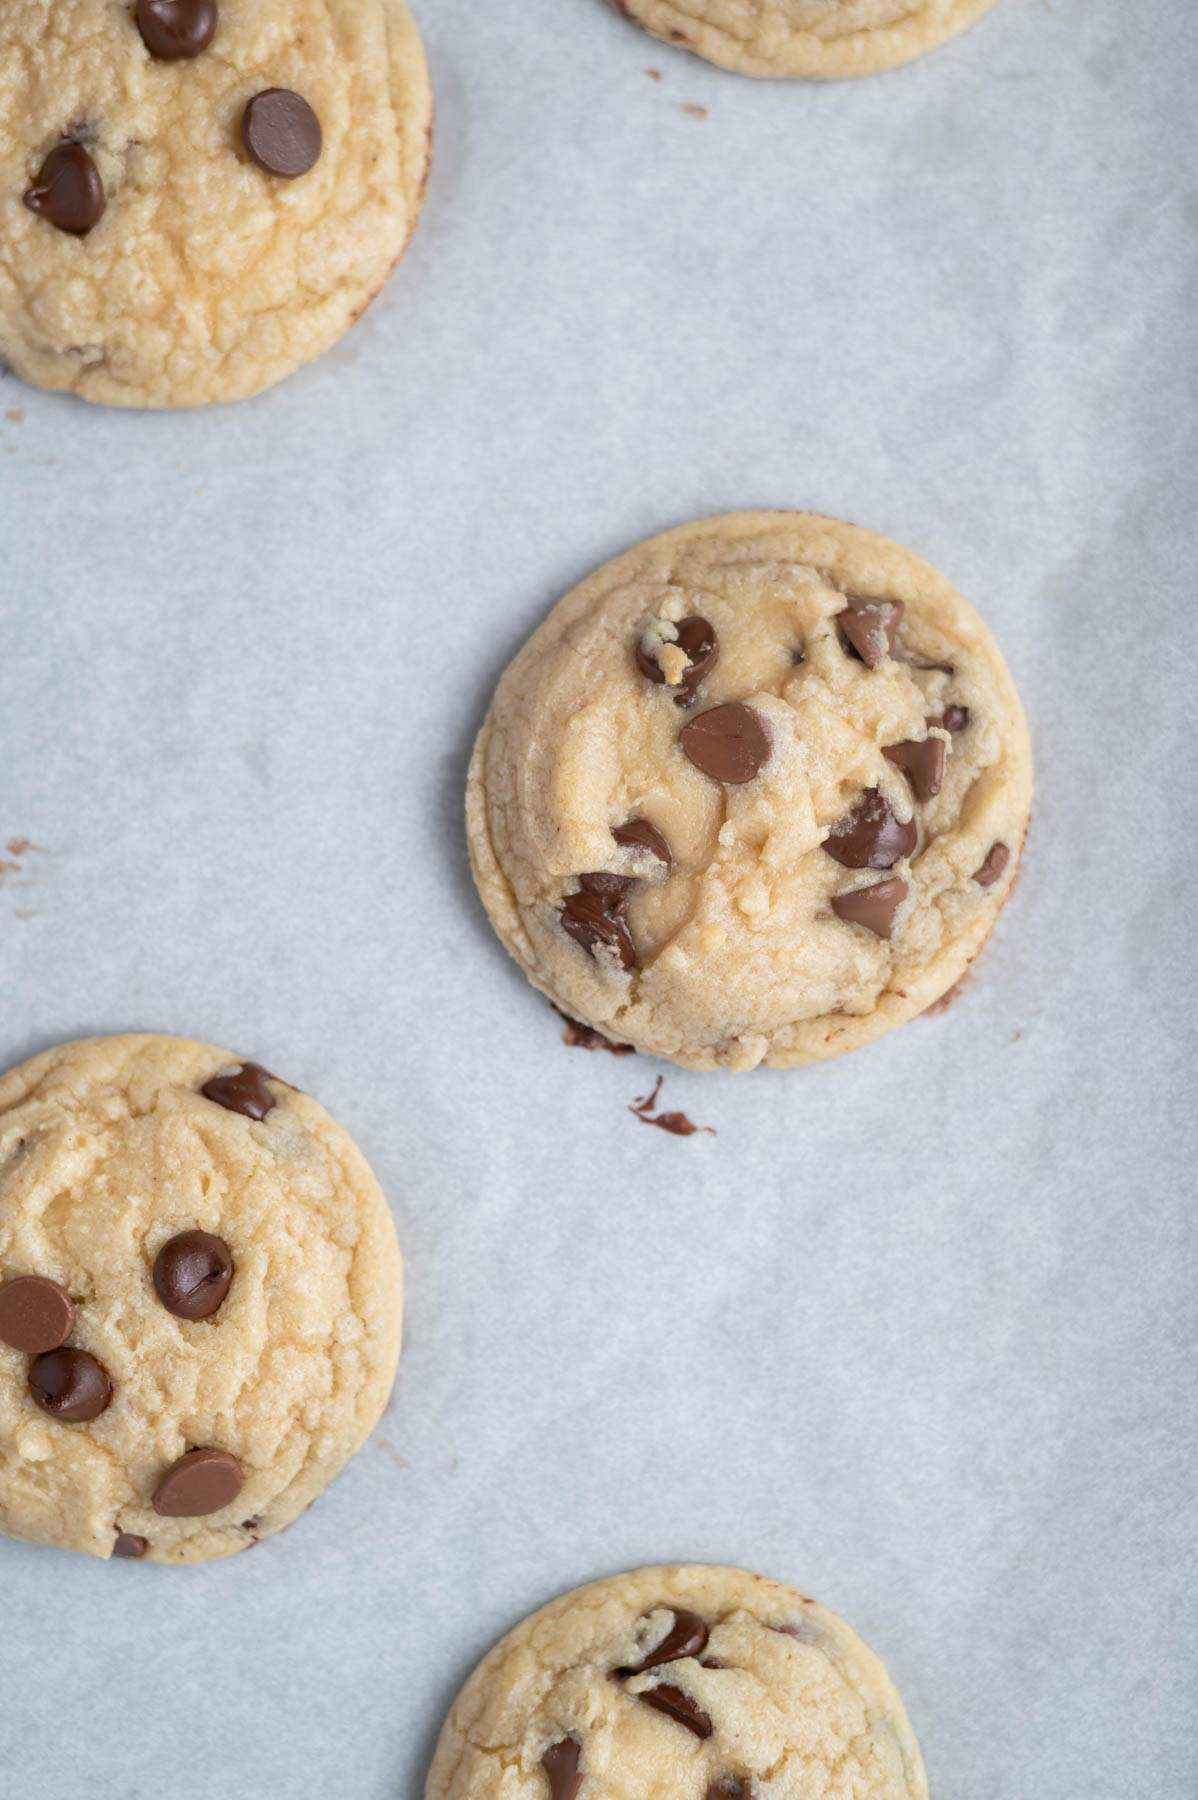
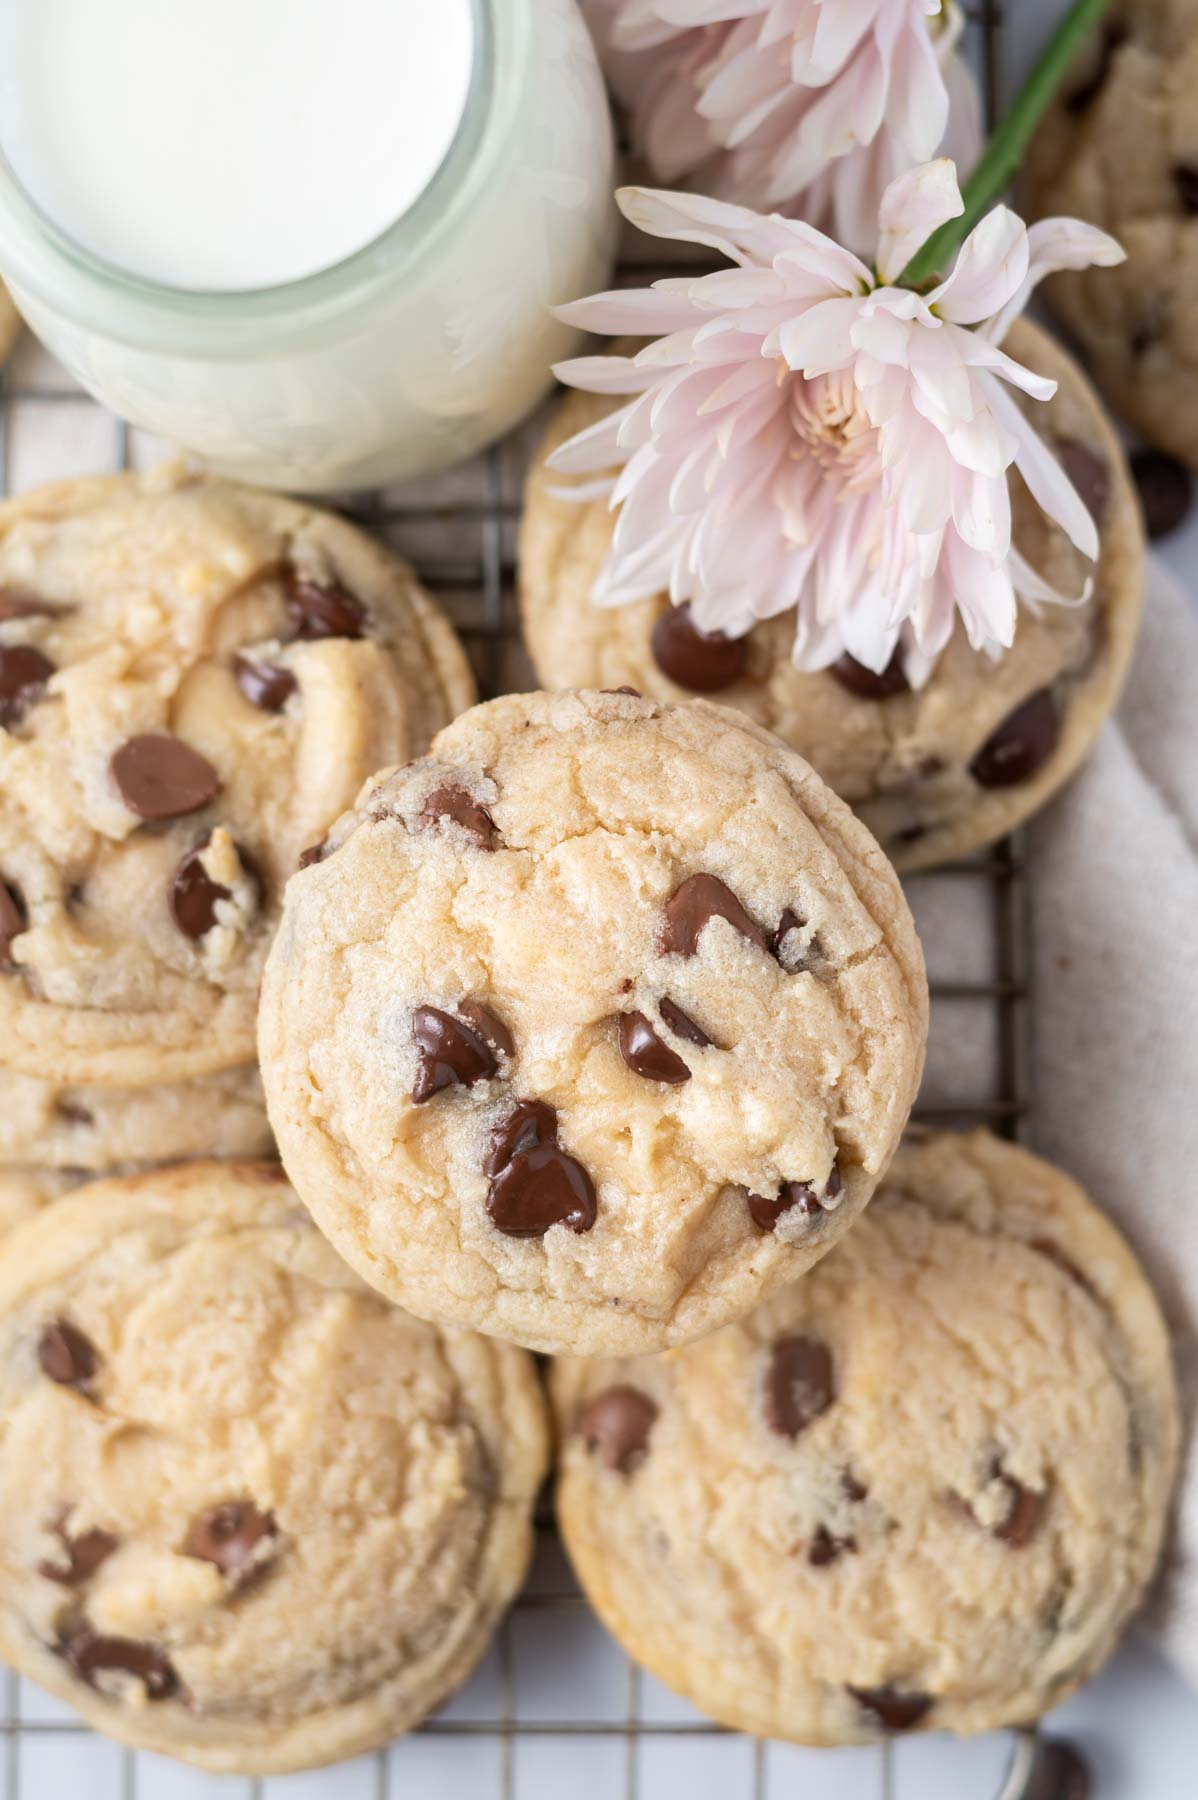
[feast_advanced_jump_to]After decades of baking cookies I can tell you these chocolate chip mini cookies are impossible not to love. You get the classic, buttery brown sugar flavor with a soft and chewy center in the cutest teeny tiny cookies.
I came up with this recipe because I’ve been eyeing Trader Joe’s tiniest chocolate chip cookies for quite some time. As a baking blogger, I always think homemade is better! So I wanted to create a small, snackable size cookie to rival. But instead of being crunchy, my recipe makes soft and chewy cookies (my fave). Something that would satisfy my chocolate chip cookie loving family.
These mini cookies are great for parties, school lunches and cookie trays. The quarter size makes them poppable in one tiny bite. They are perfectly portioned, so you can eat a handful at a time. little e, says she loves that she can eat six and it’s not even a whole cookie! My caramel chocolate chip cookies are another favorite of hers!
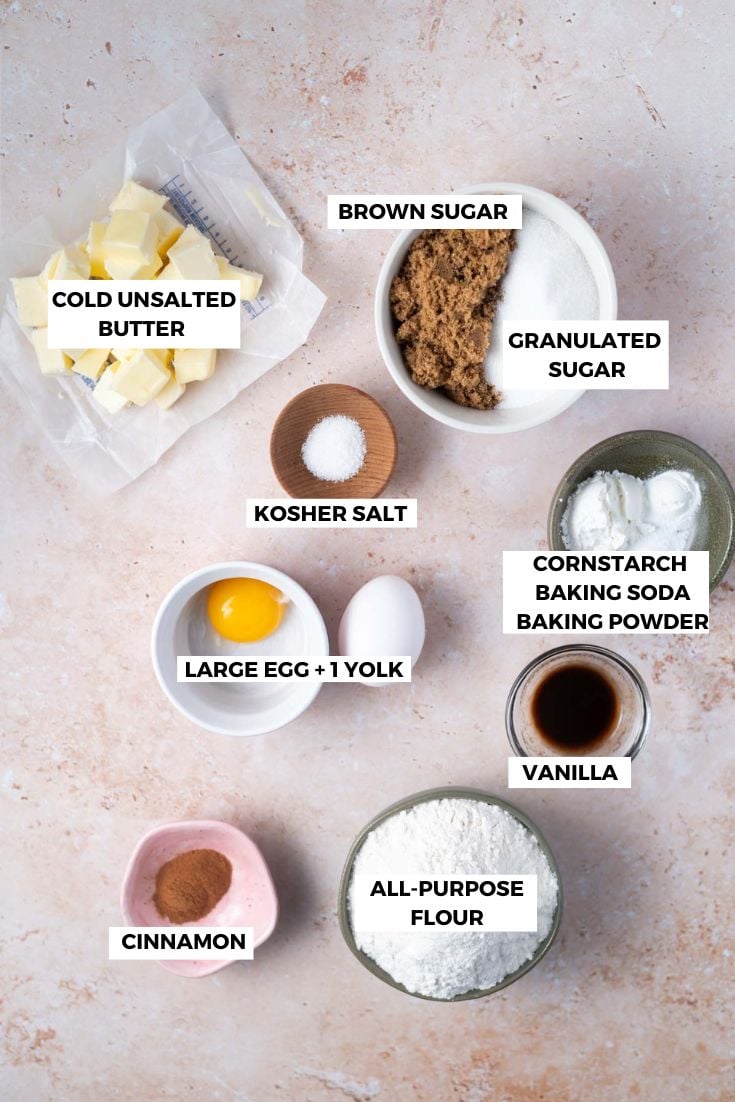
🍪 ingredient notes
In my testing of these miniature cookies, I started with my crispy chocolate chip cookie recipe and made a few adjustments. More brown sugar than white for softness. A tad more flour, so they will hold their shape. And lots of mini chocolate chips!
Please scroll to the printable recipe card at the end of this post for the full list of ingredients and baking directions.
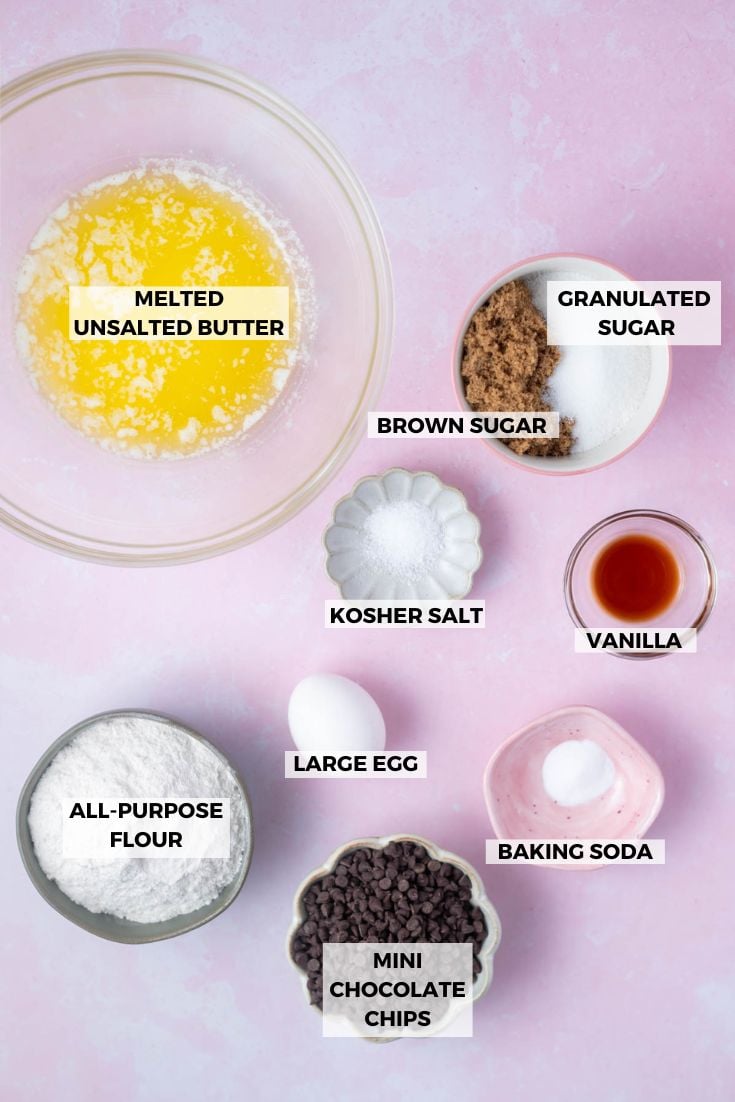
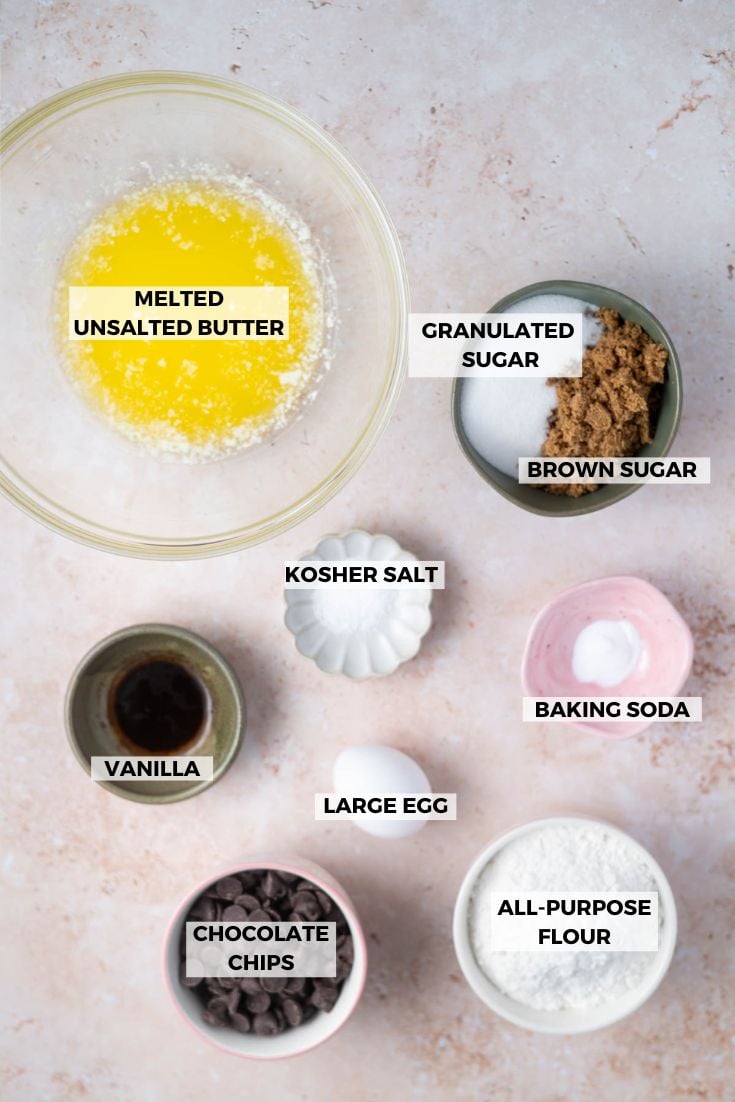
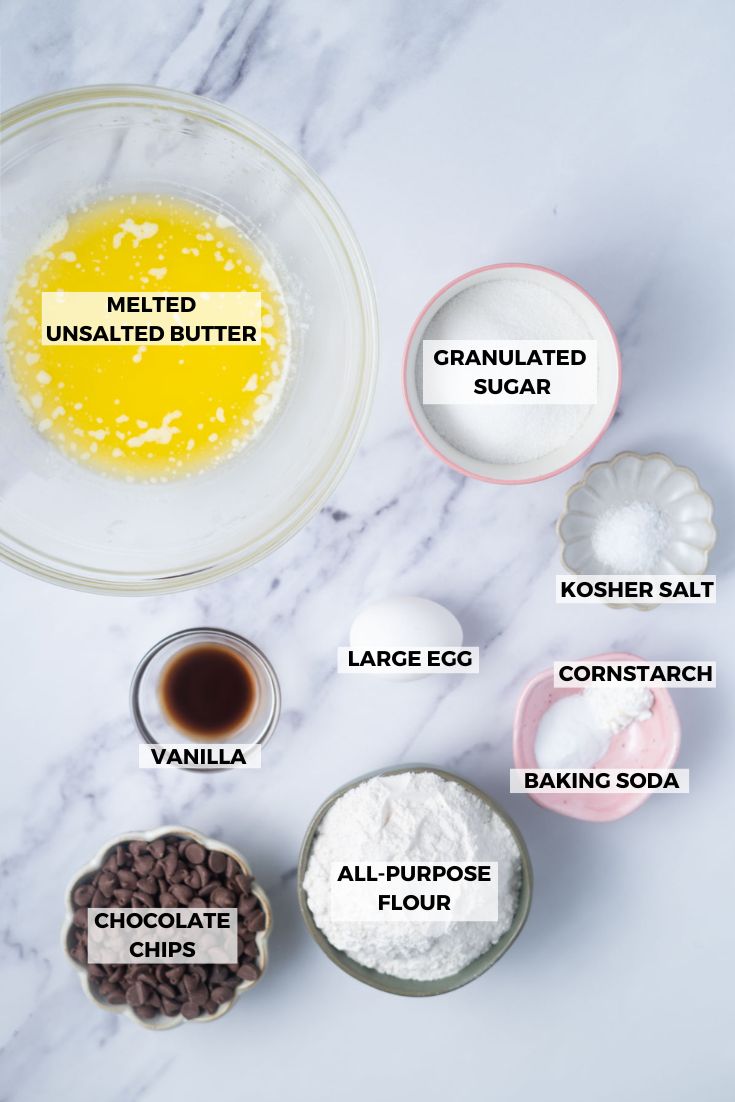
Unsalted butter ~ melted and cooled for five minutes before using. The melted butter gives them the chewy texture and makes them simple to mix by hand.
Brown sugar ~ adds that classic chocolate chip depth of flavor and moisture. I prefer dark brown sugar due to the extra richness it brings in baking. Use light brown sugar if it’s all you have on hand.
Mini chocolate chips ~ these are essential for getting the right chocolate to cookie ratio in every tiny bite. The mini chips are the right scale for these 1-inch cookies and they distribute more evenly through the cookie dough. Regular chips would be too big and bulky for these little cookies. If you love the rich, big chocolate chip flavor, my espresso chocolate chip cookies are a great grown up version to try.
🥣 how to make in photos
Preheat the oven to 350°F and line three half sheet pans with parchment paper. Set aside.
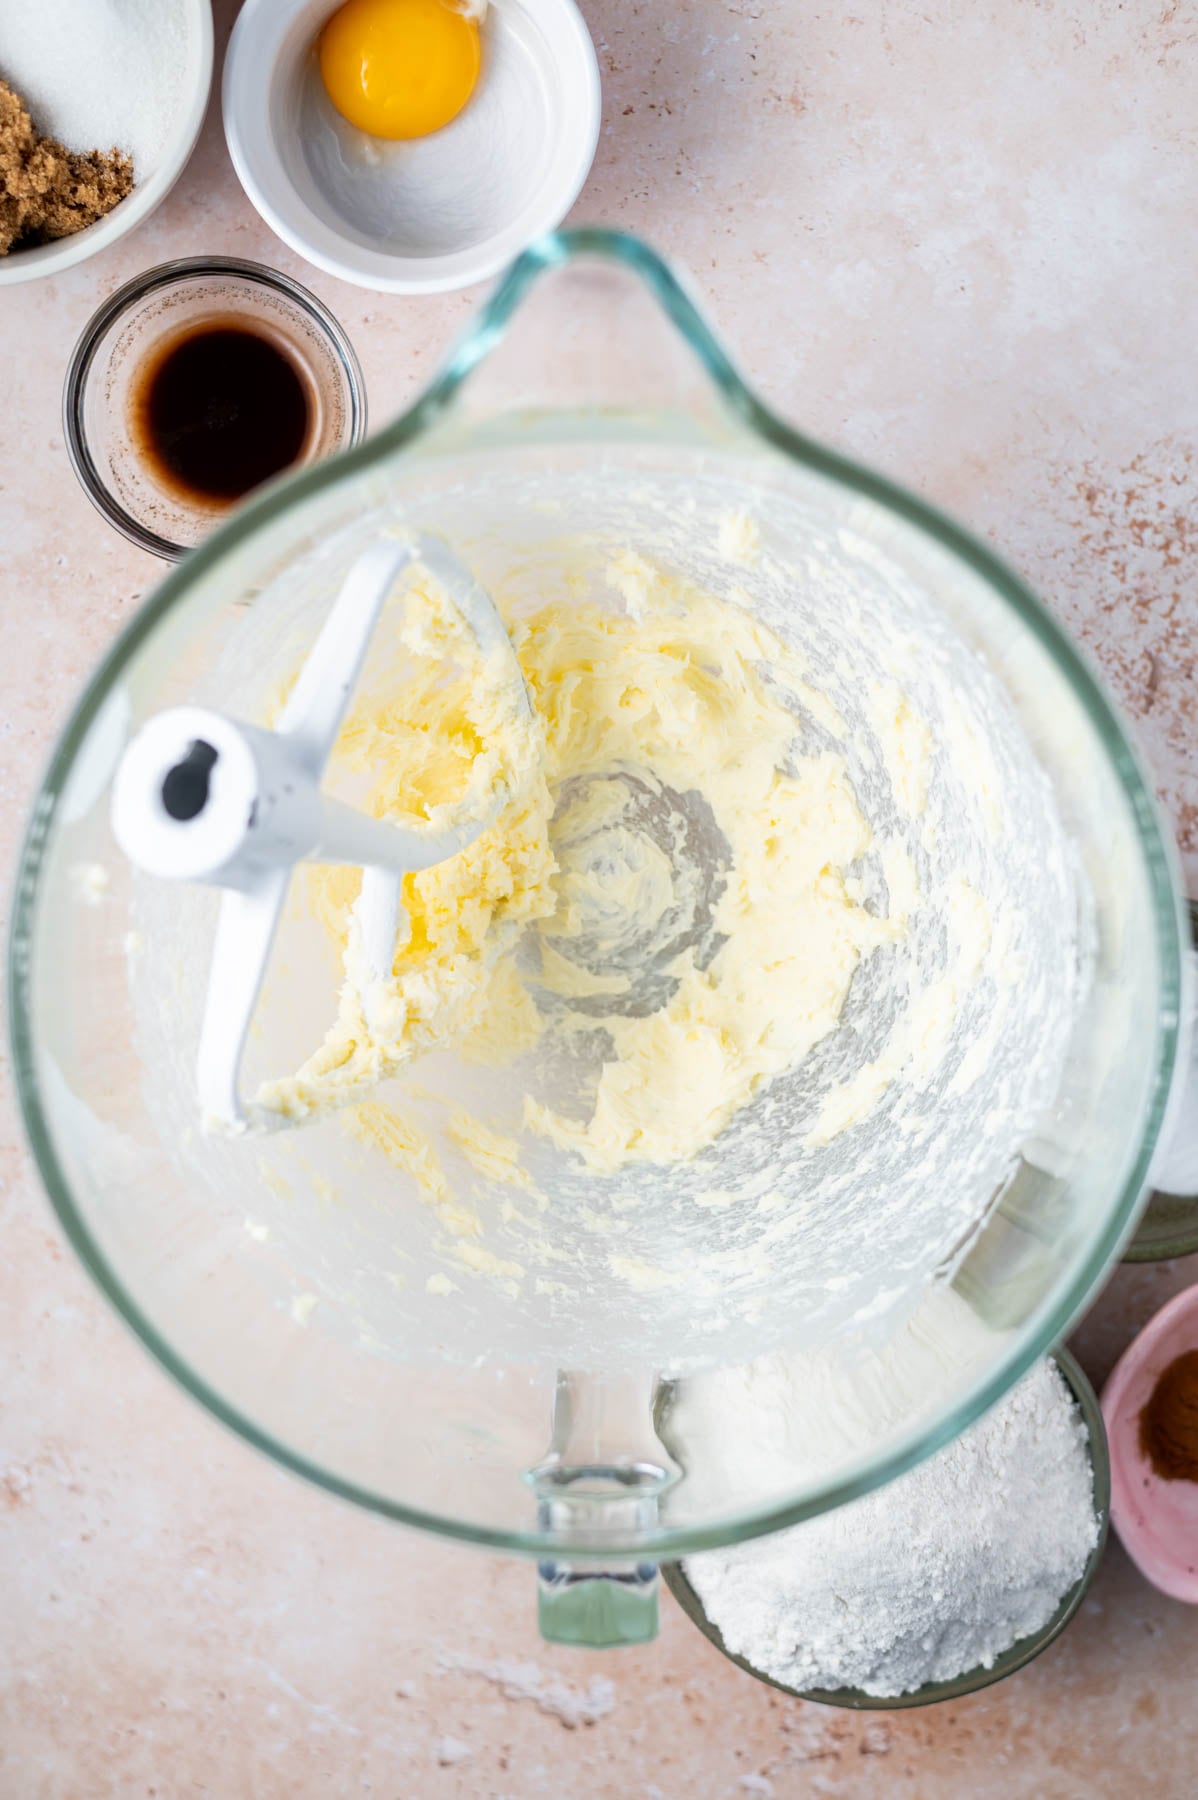
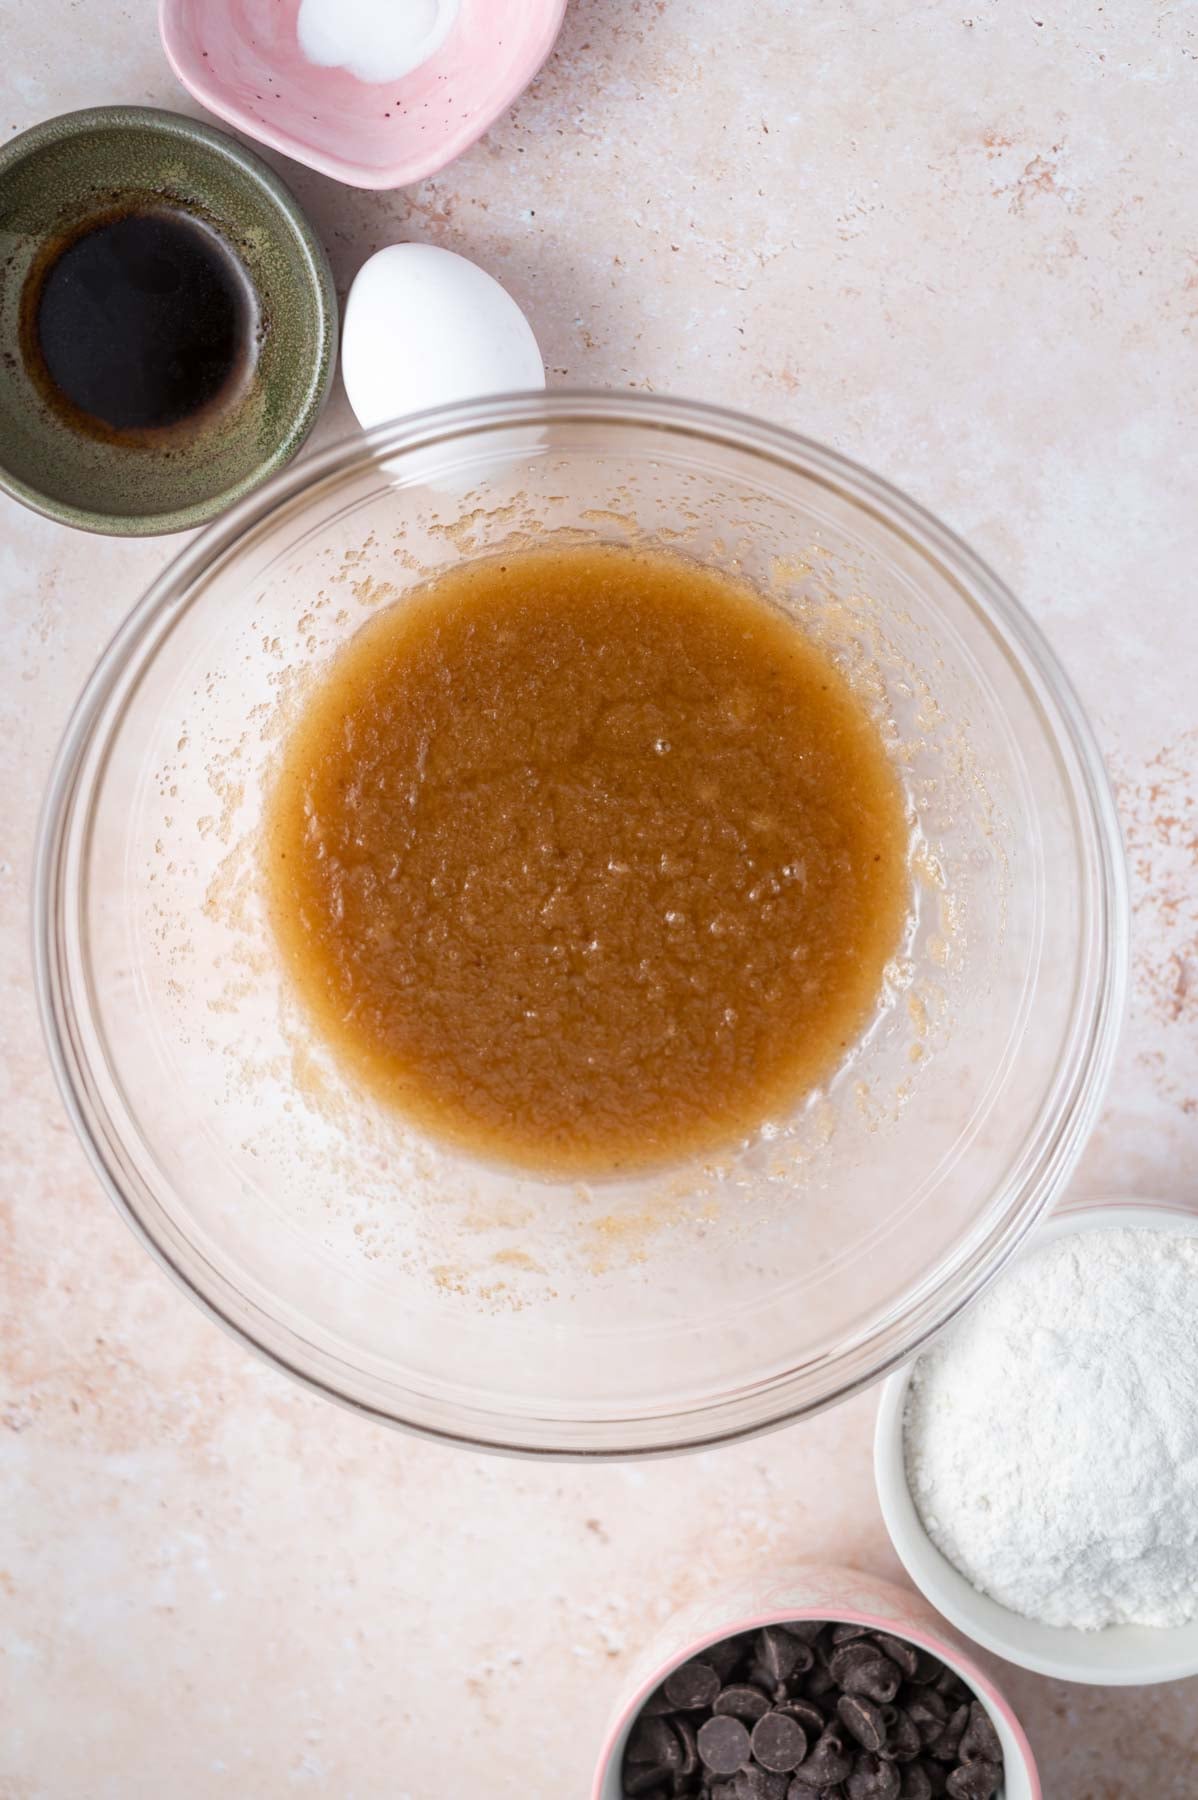
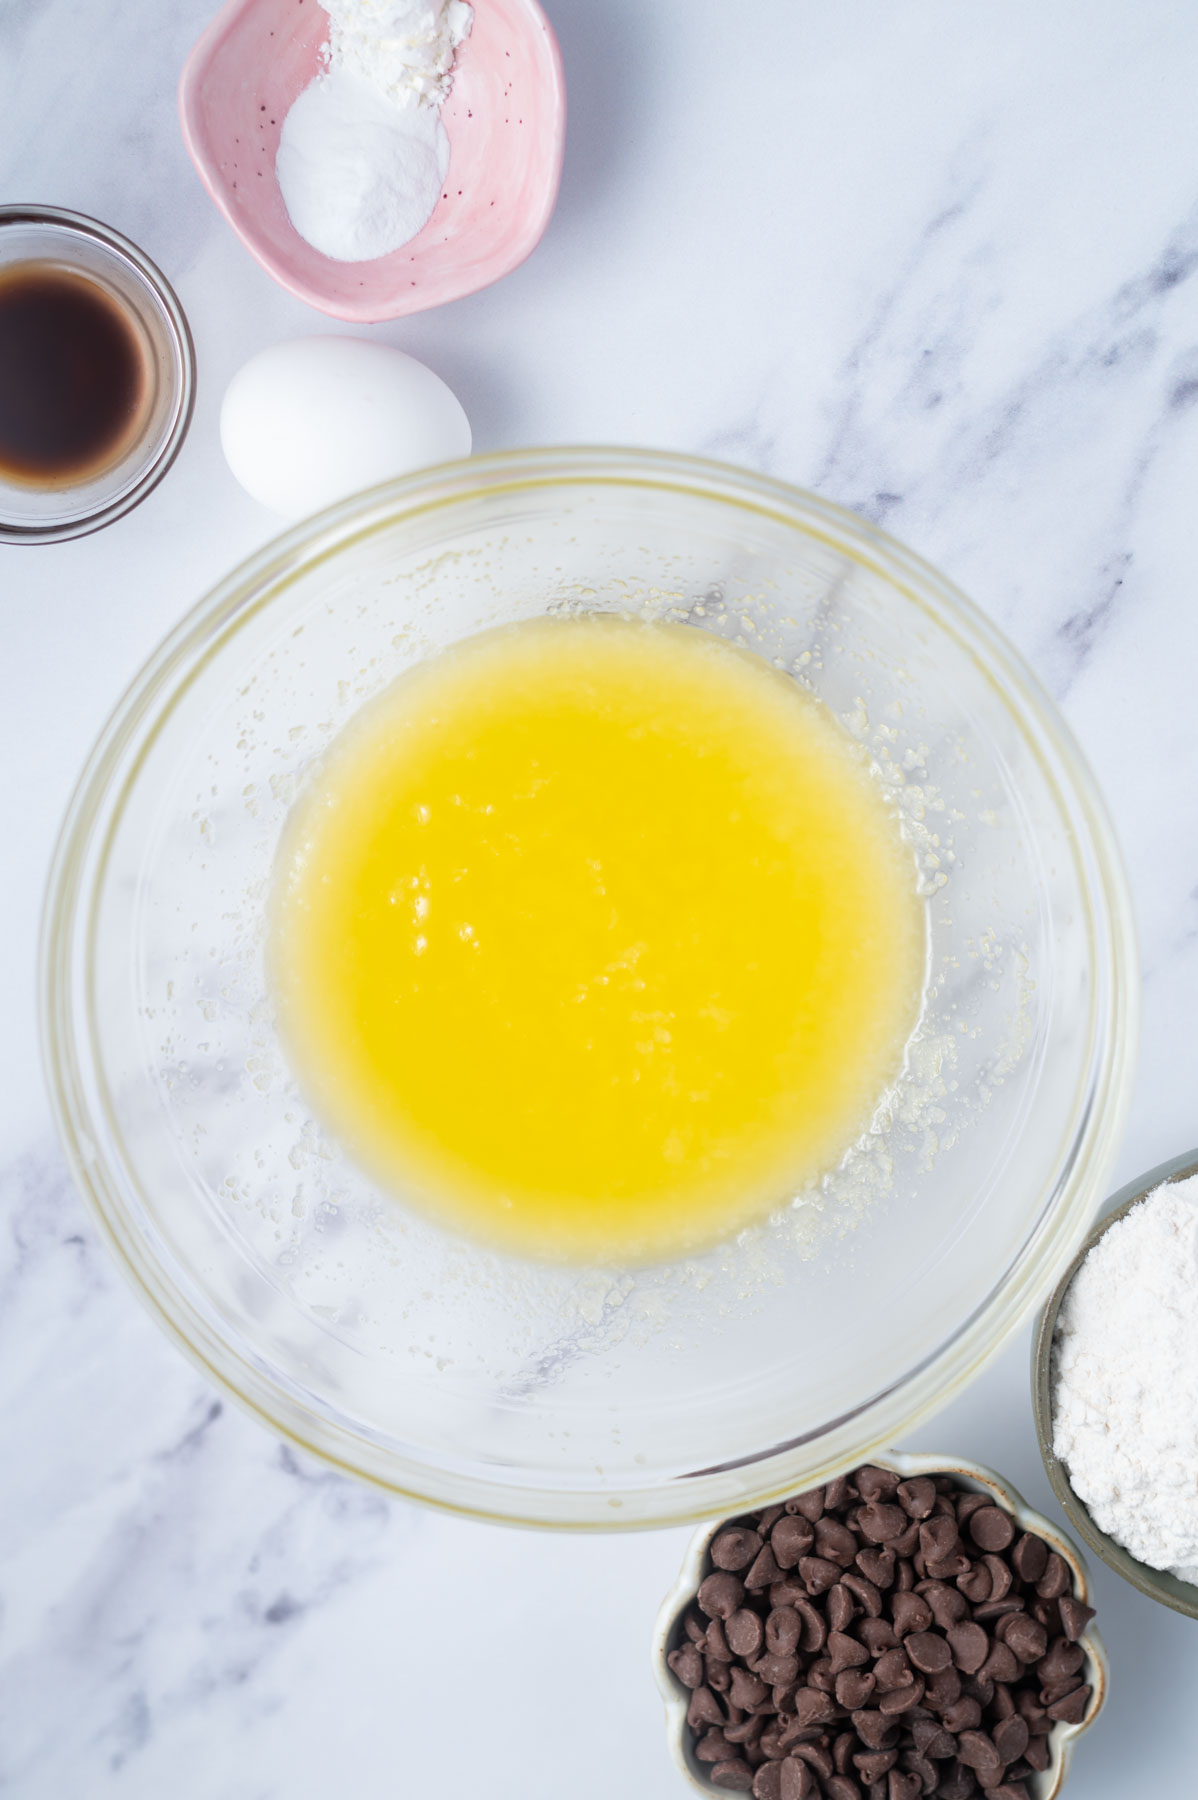
Melt the butter and let it cool for 5 minutes.
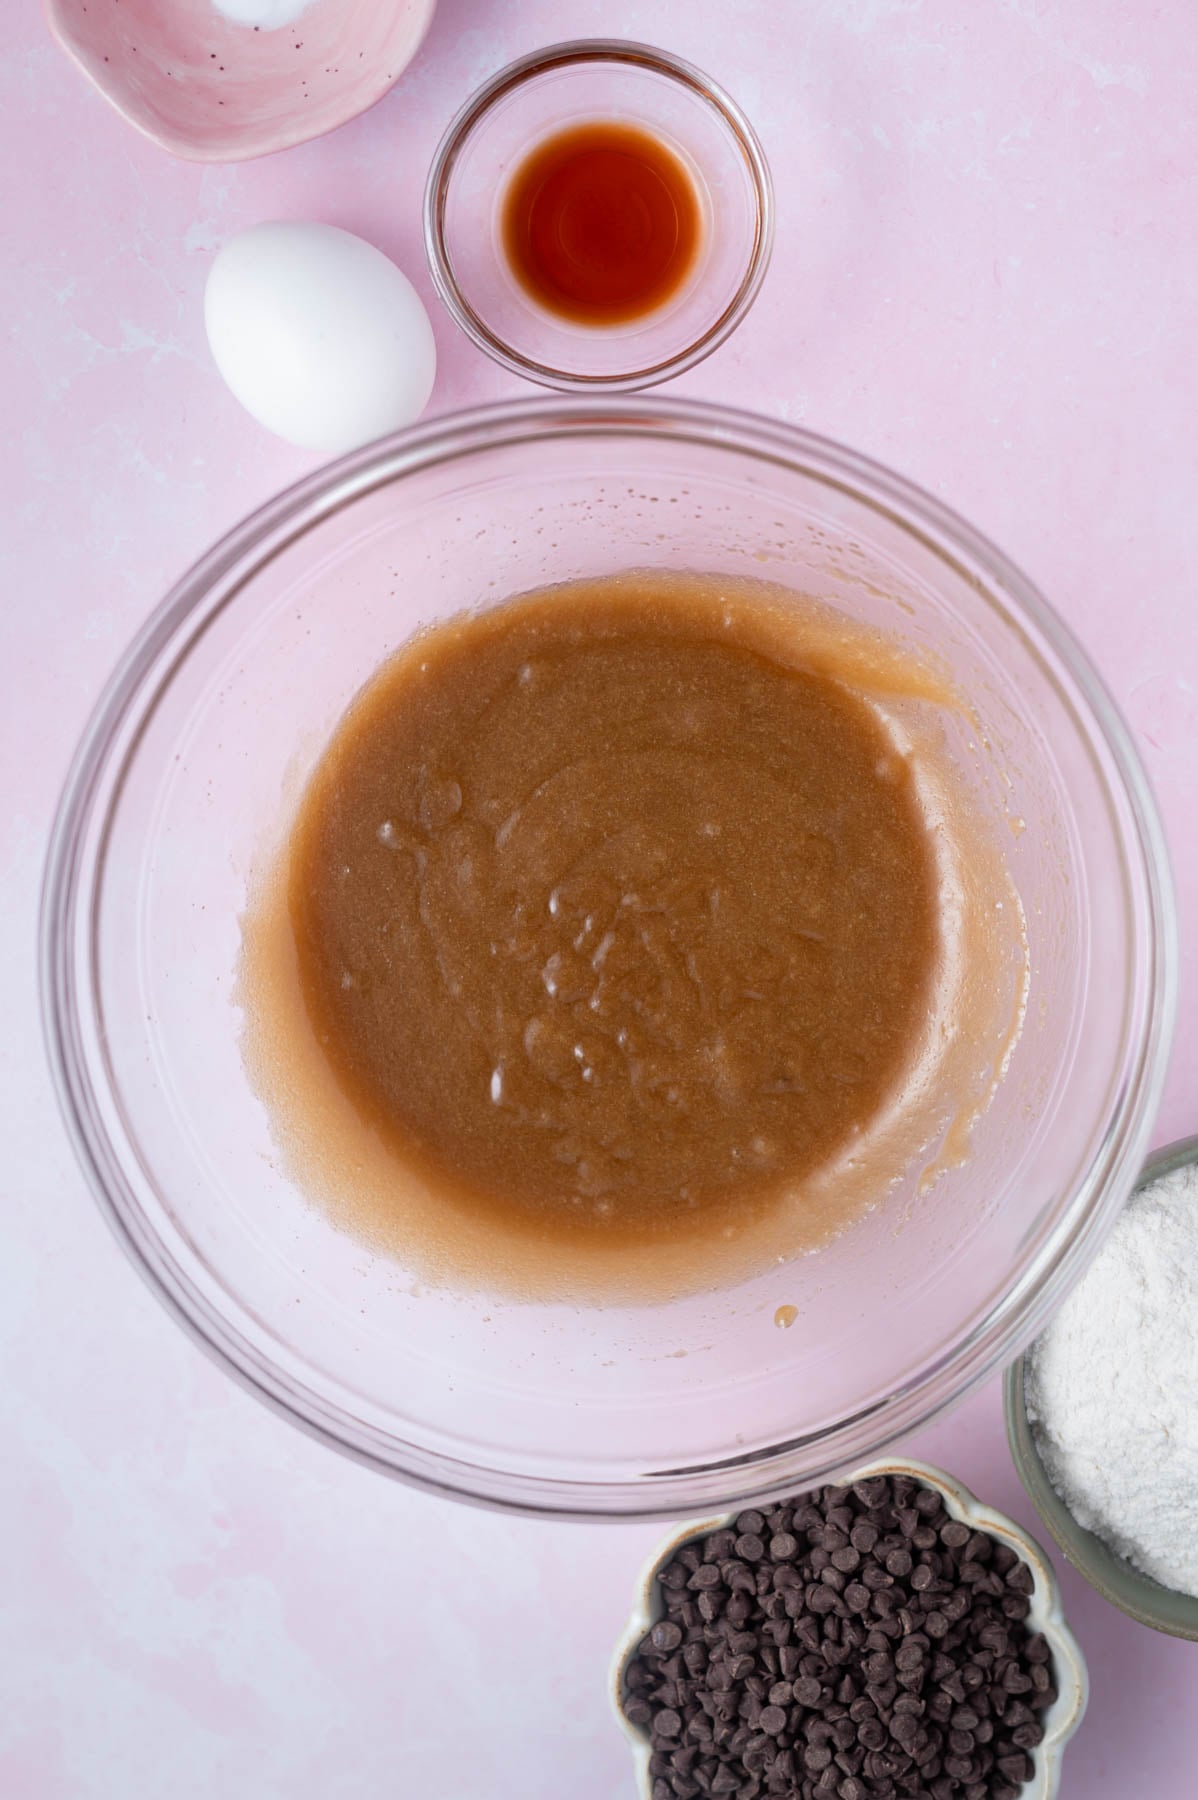
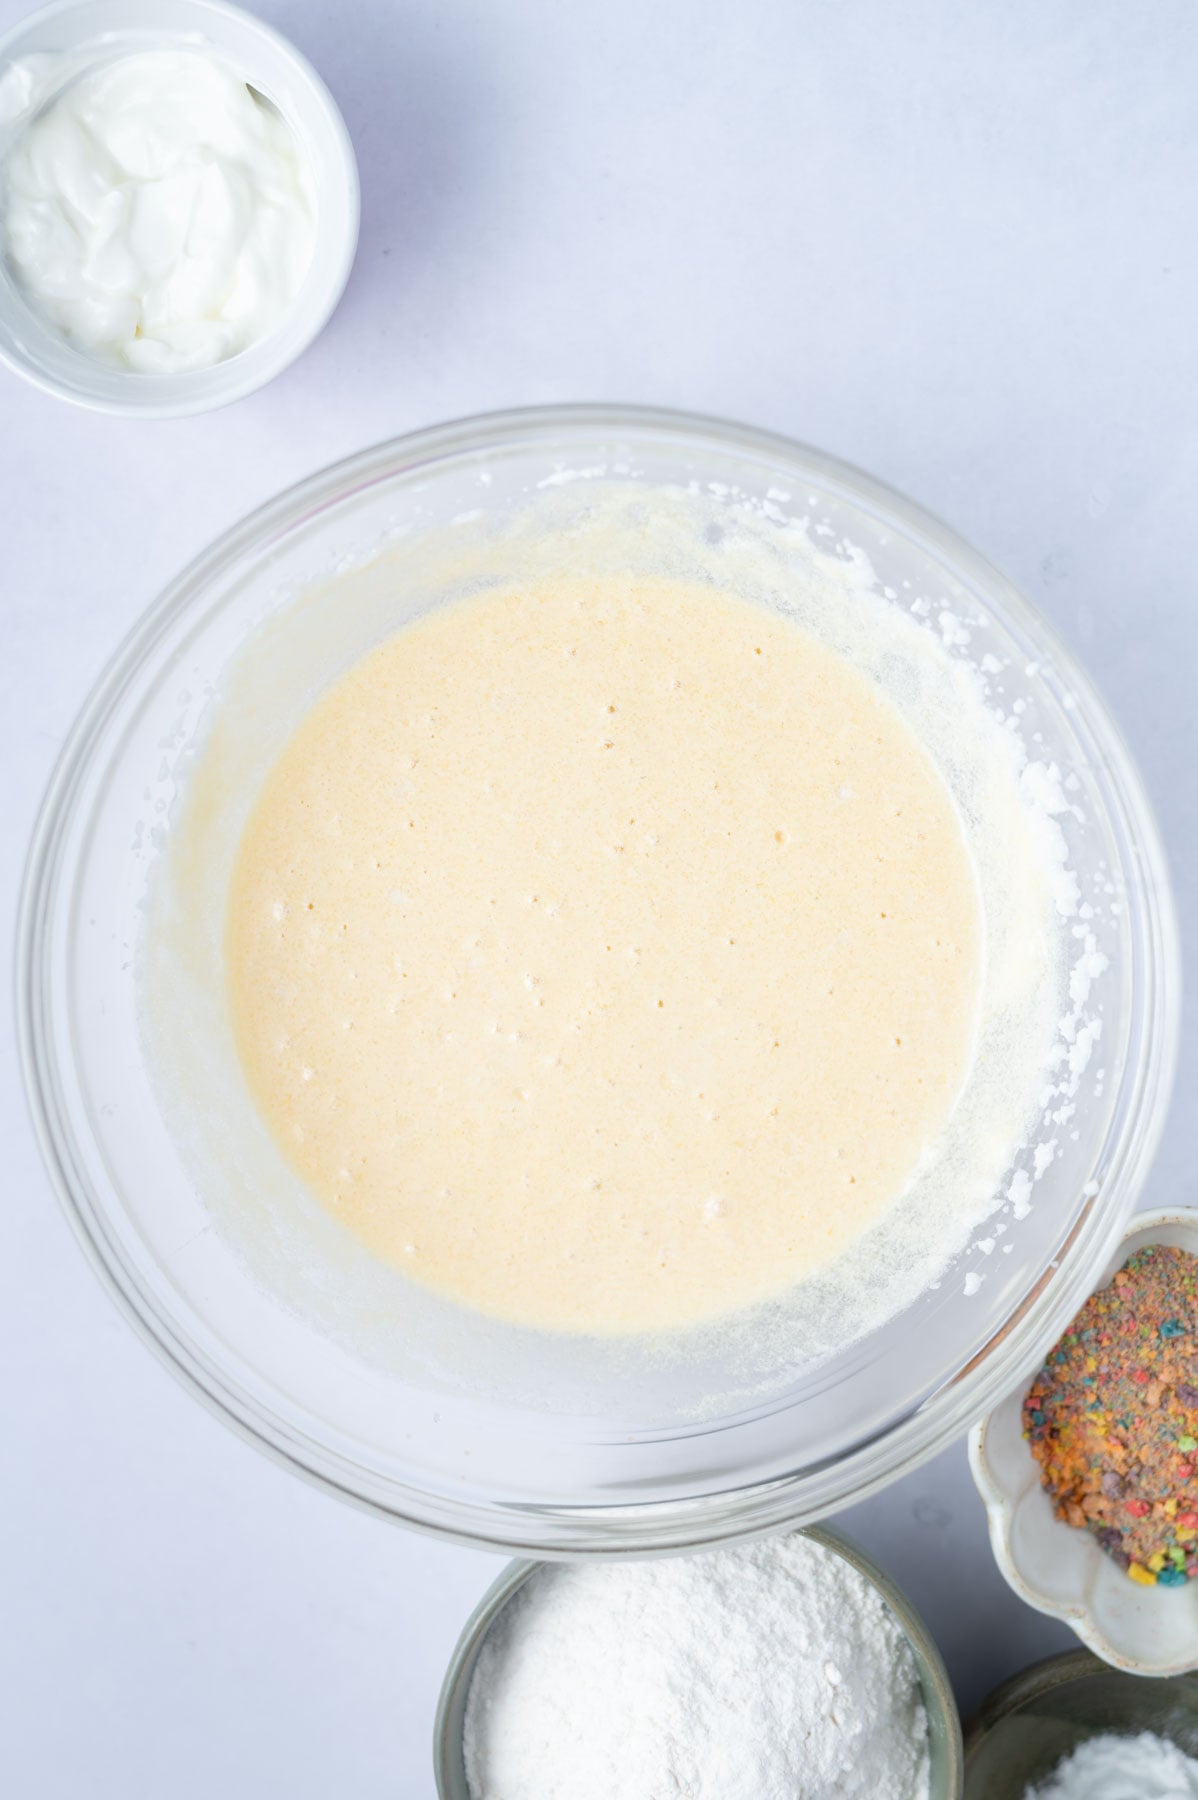
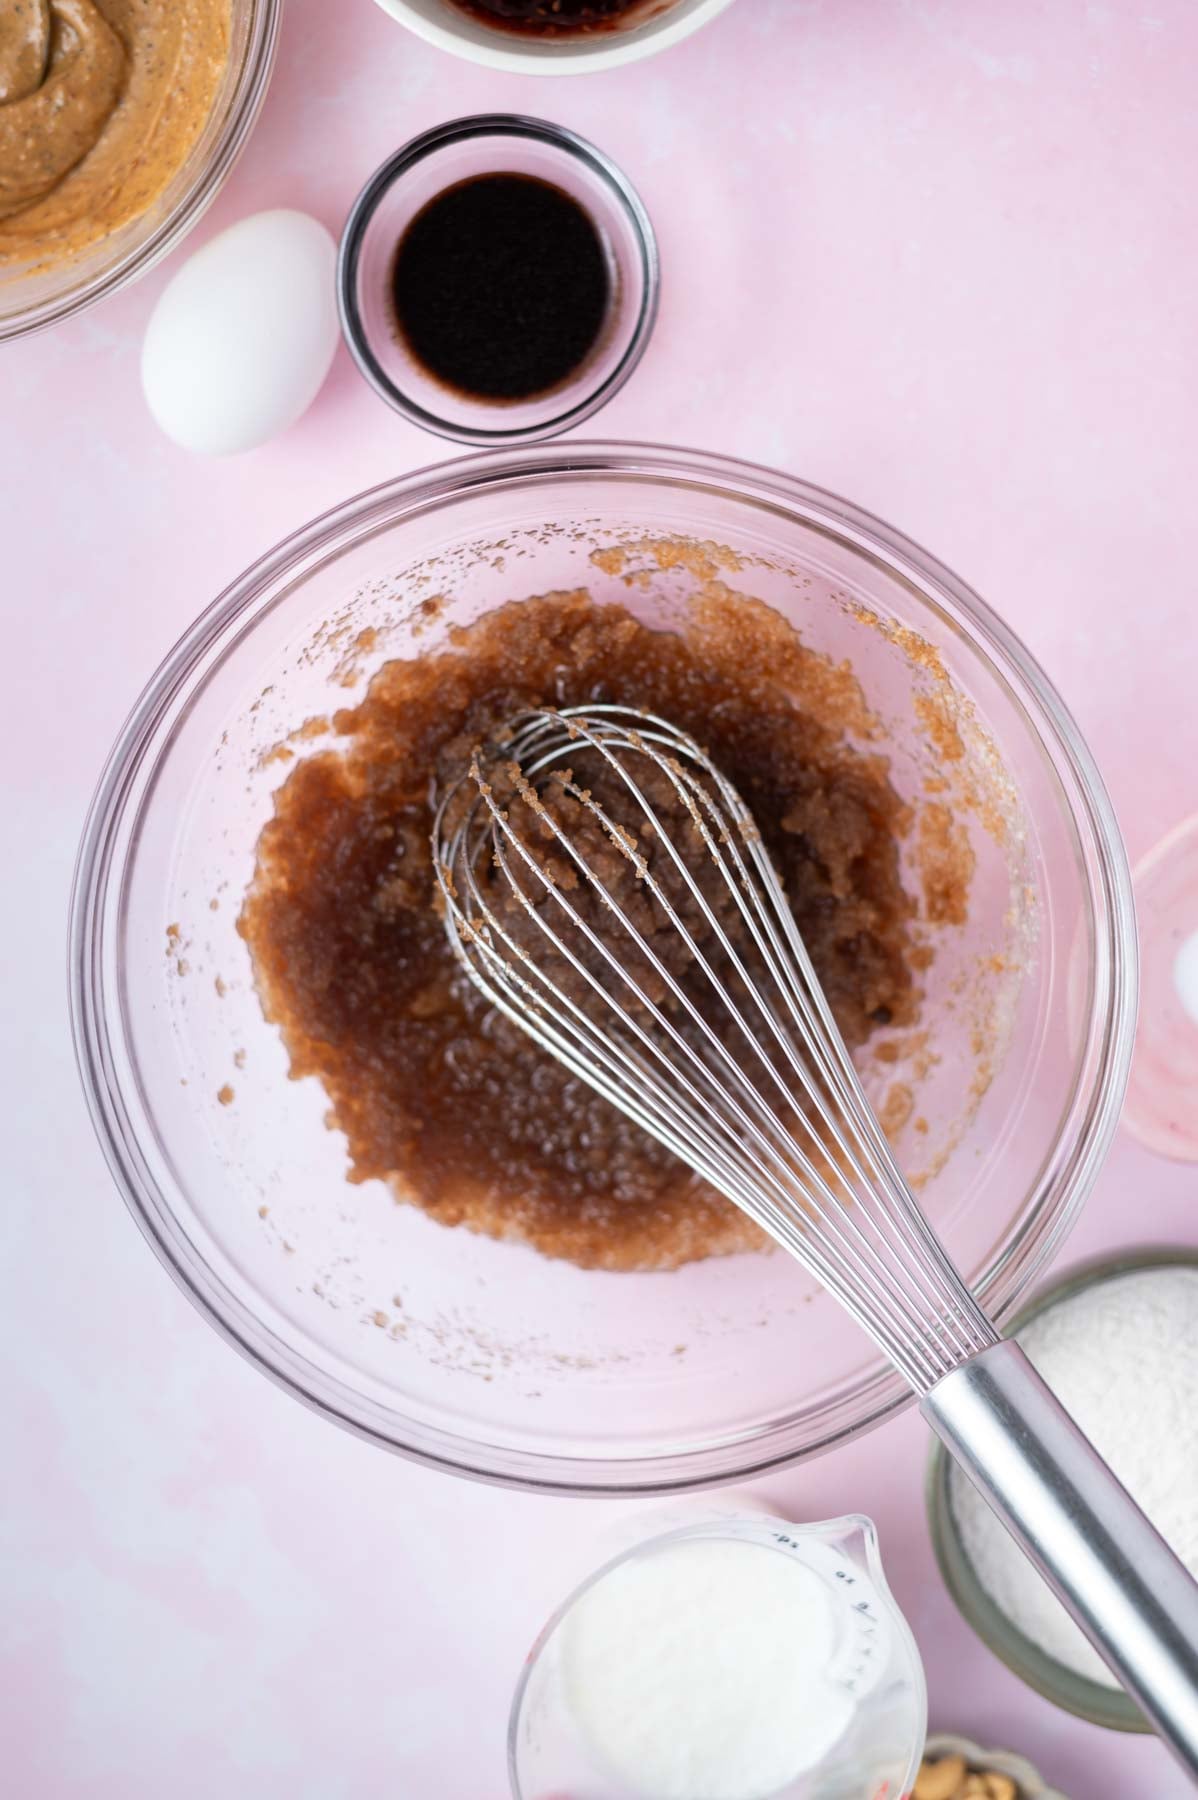
Then add the granulated sugar, brown sugar and kosher salt. Whisk until the mixture becomes smooth and cohesive.
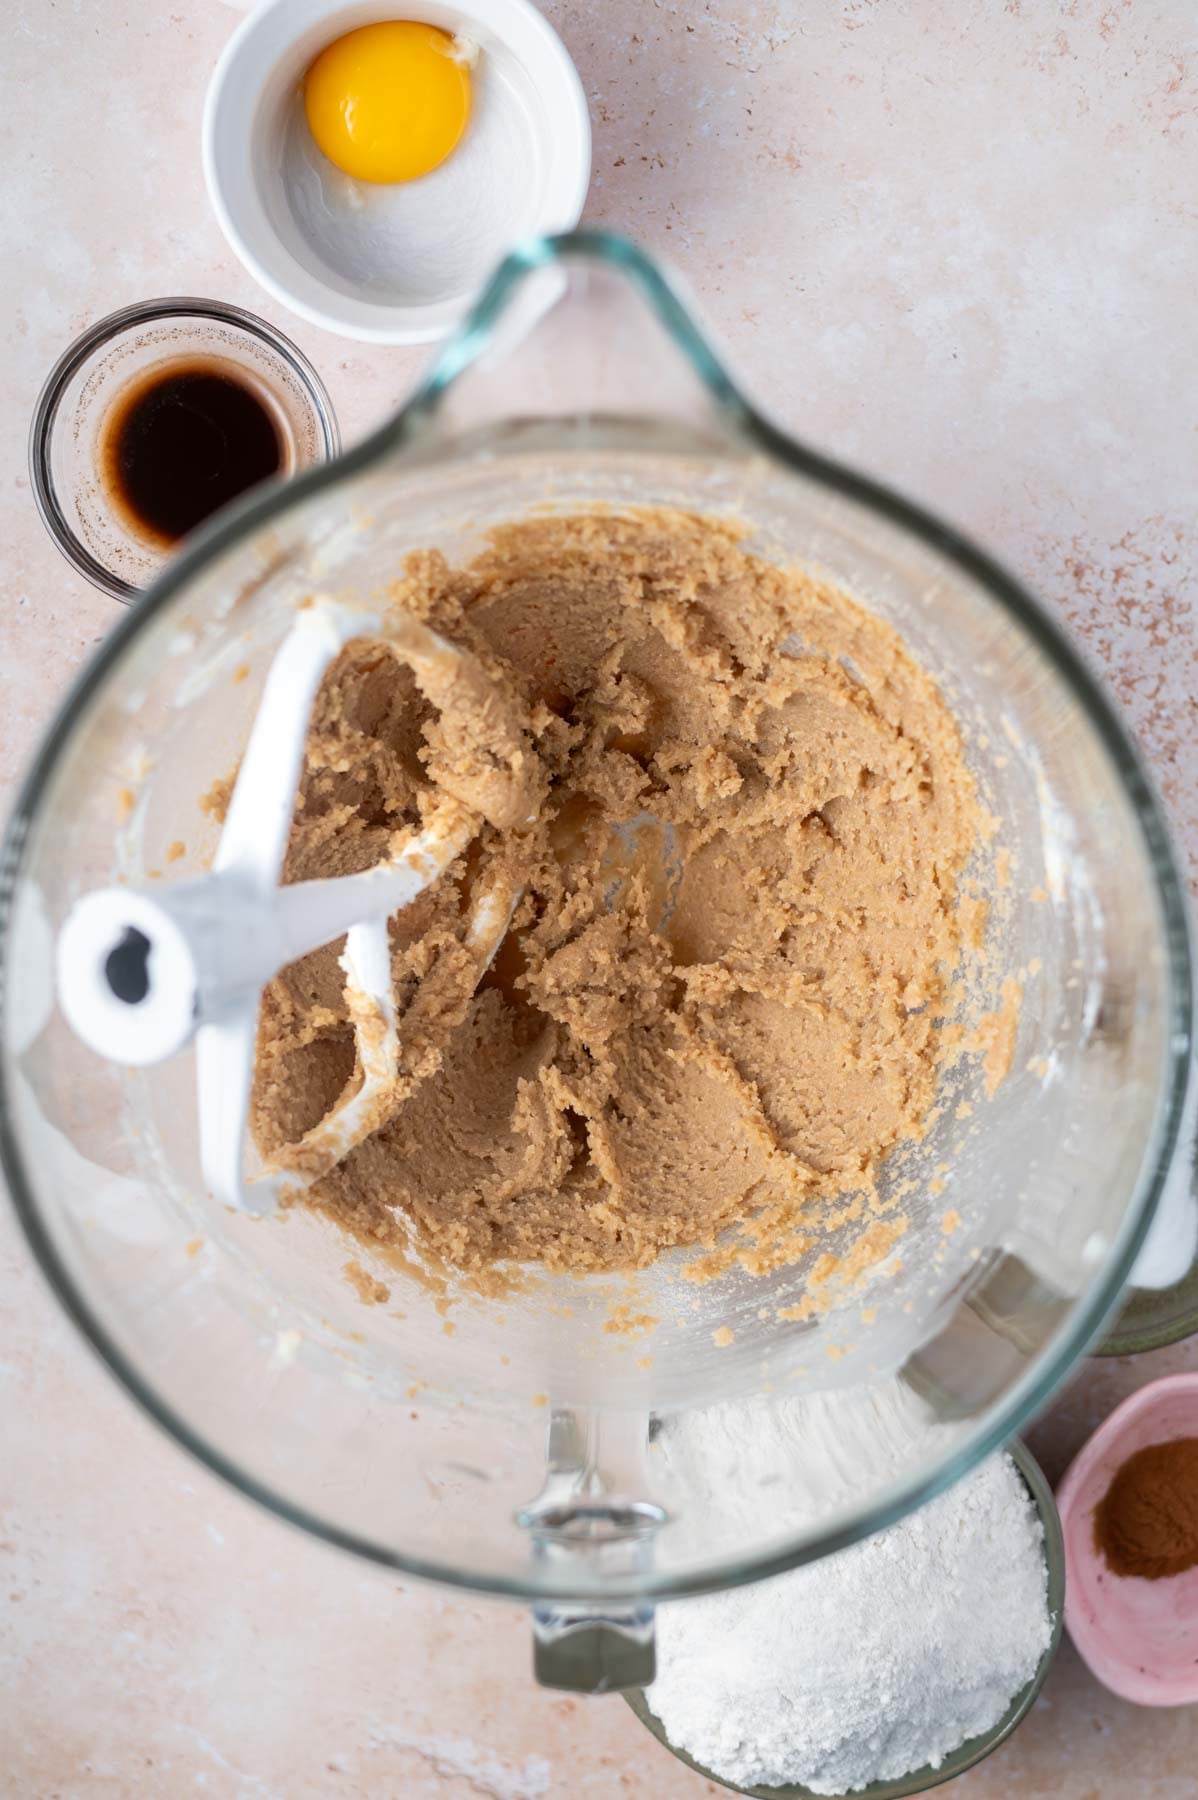
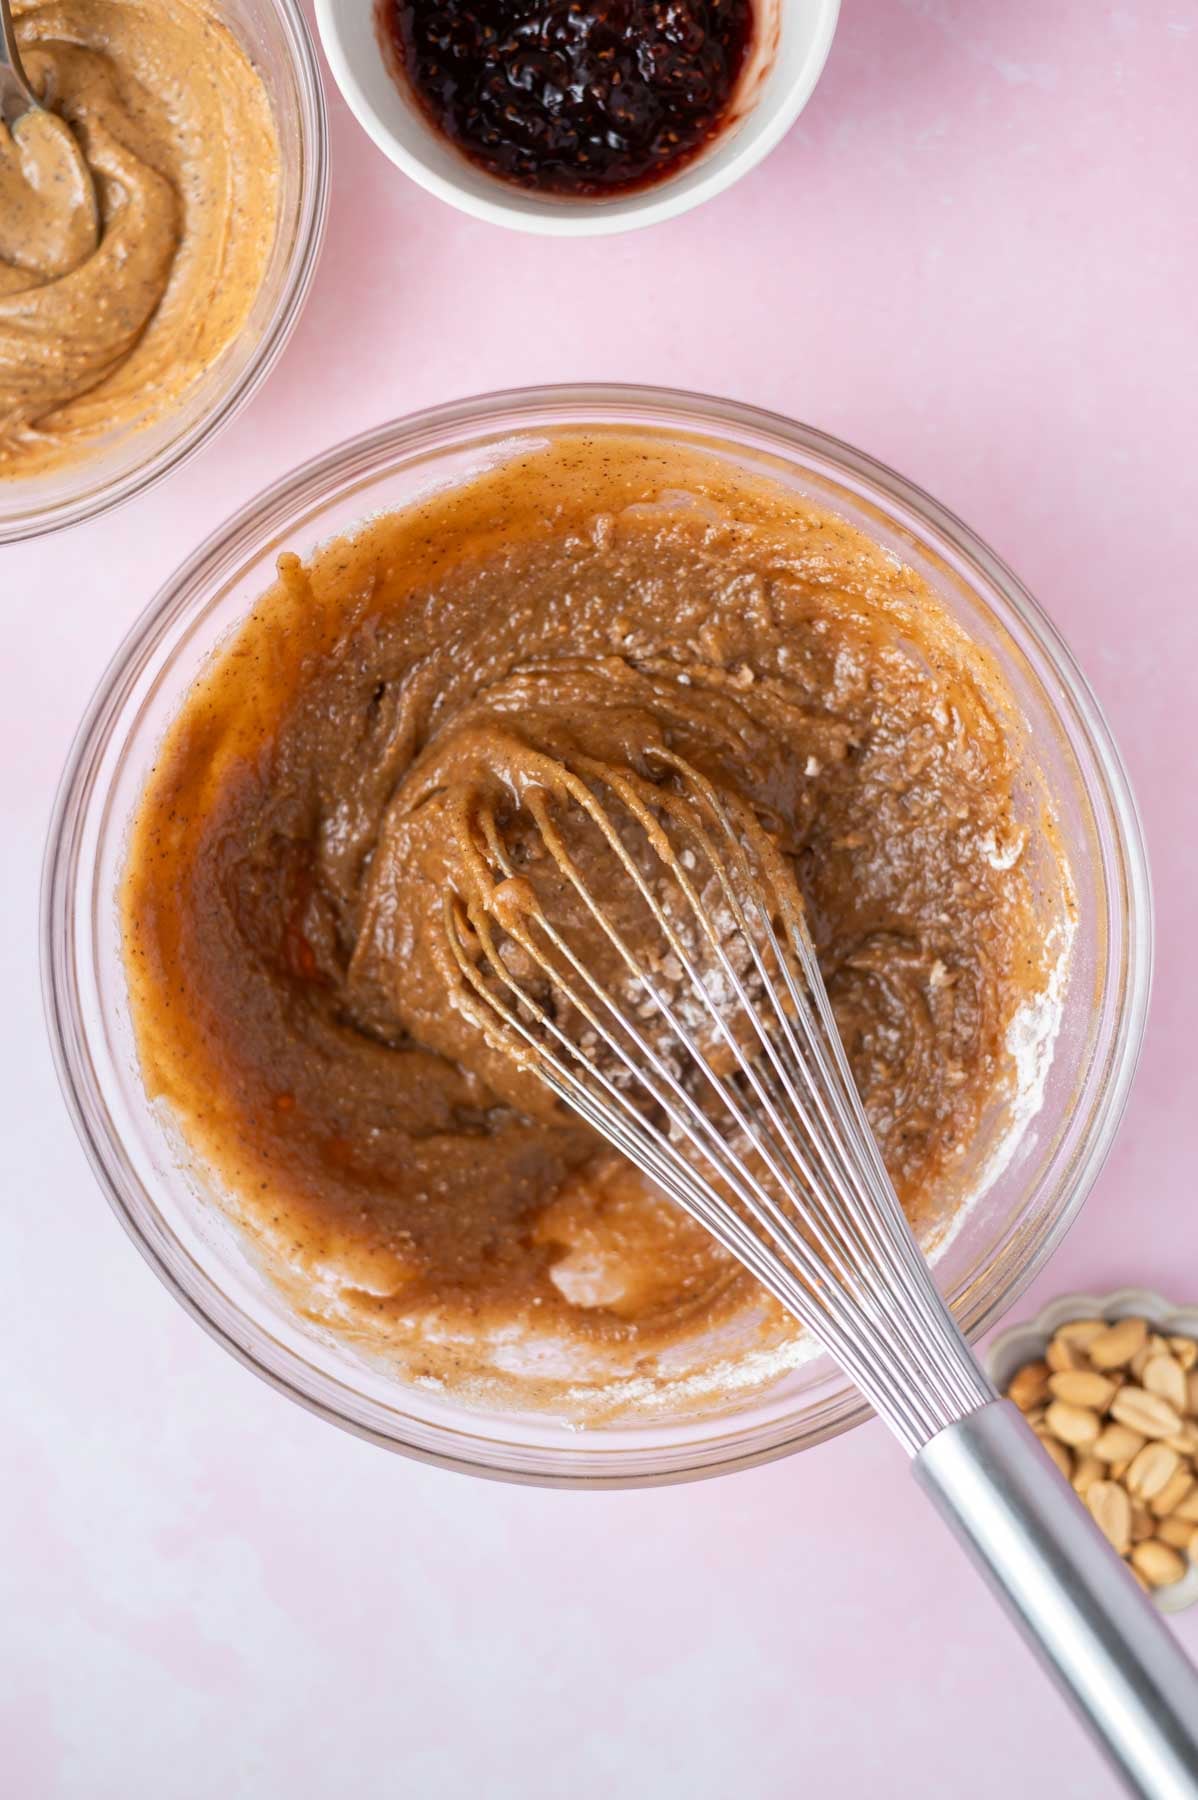
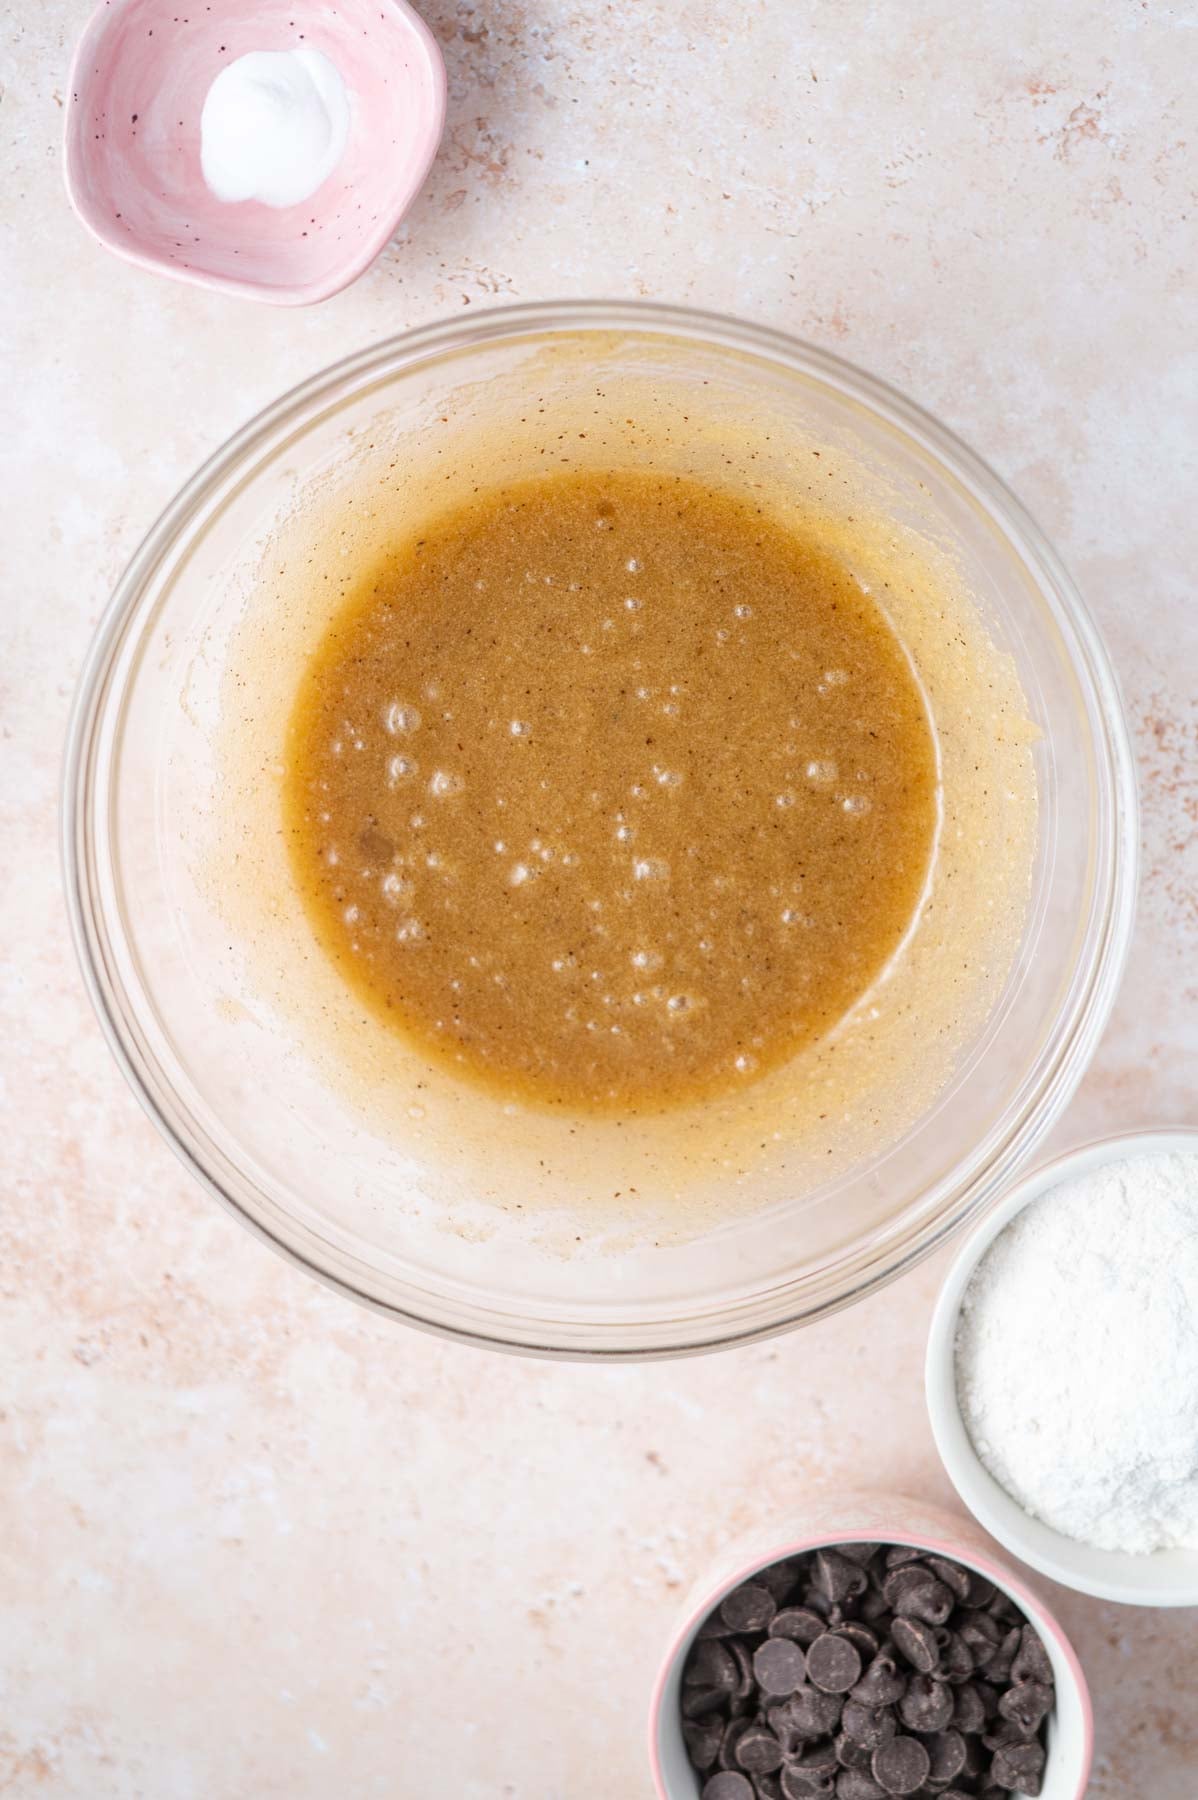
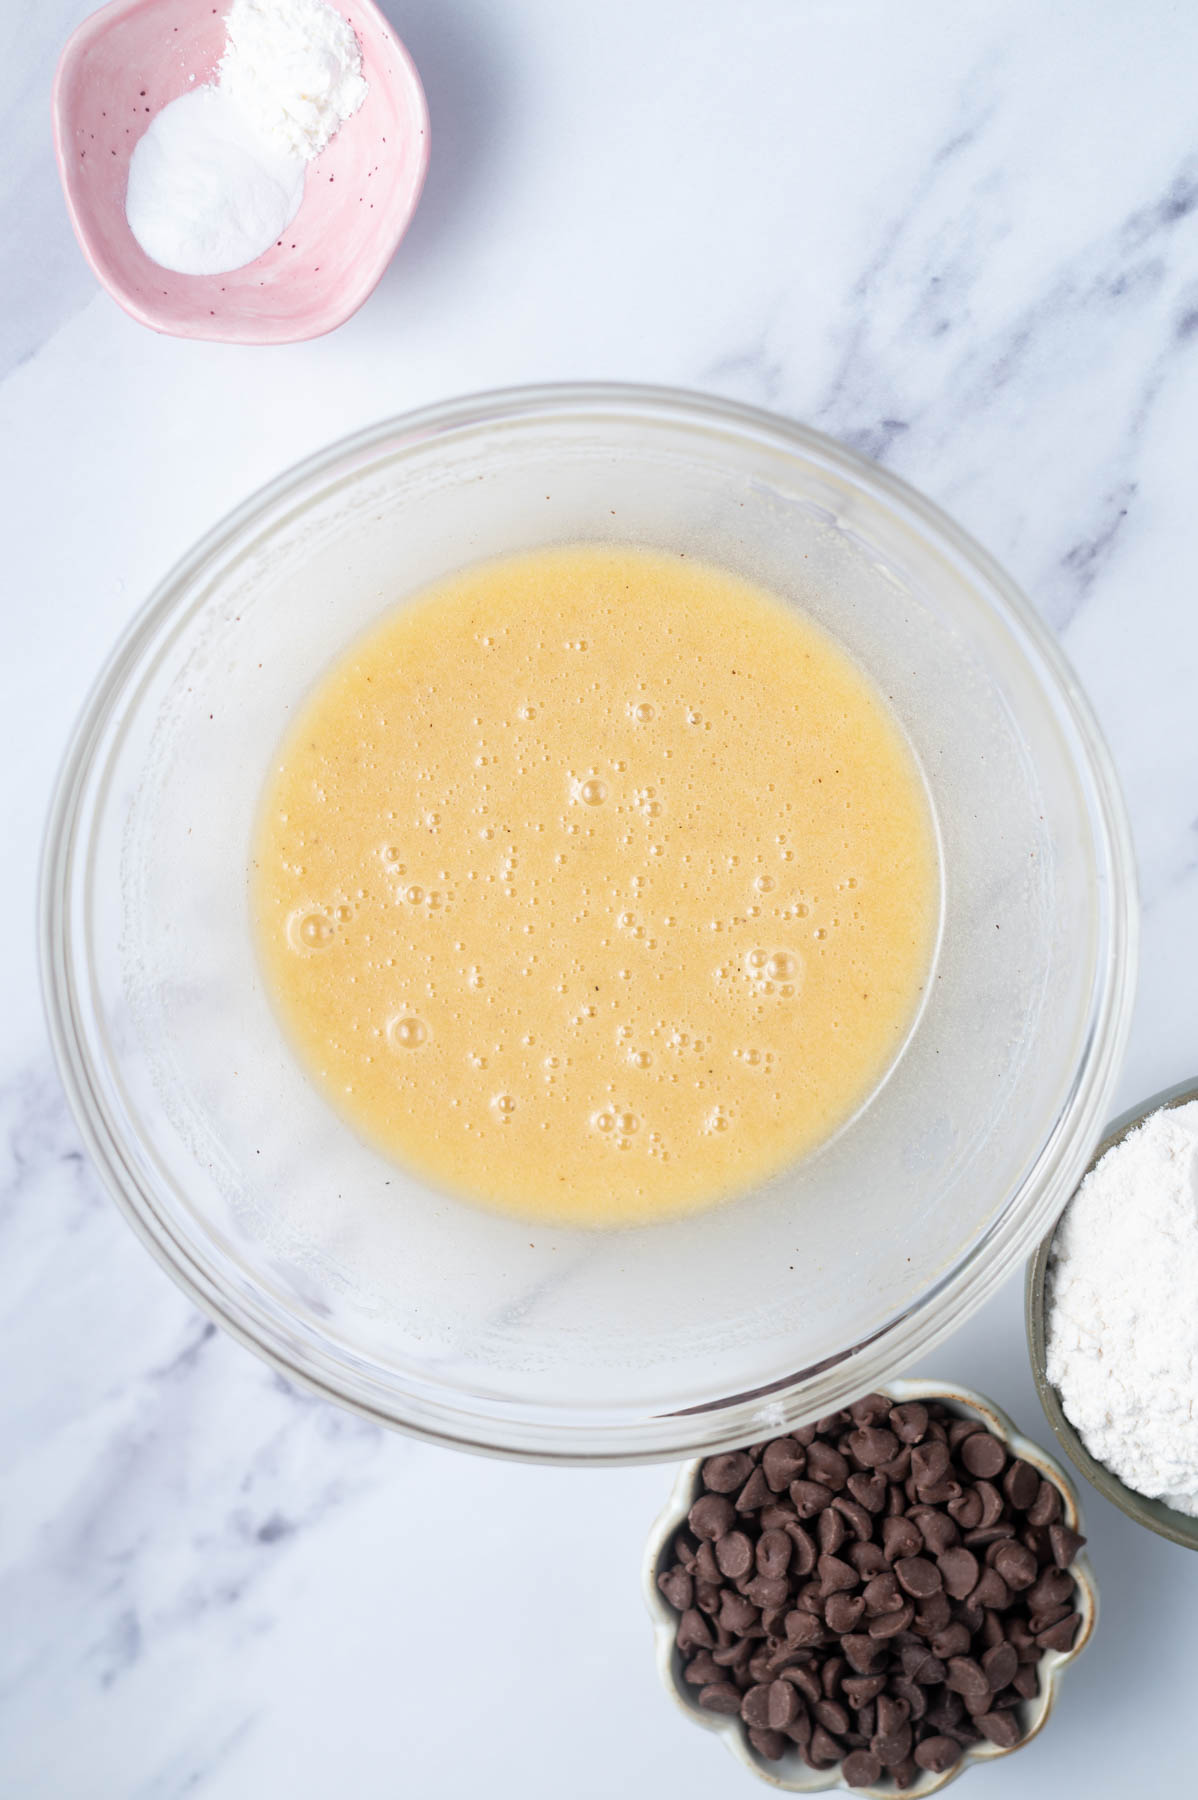
Now add the egg and vanilla and whisk to combine.

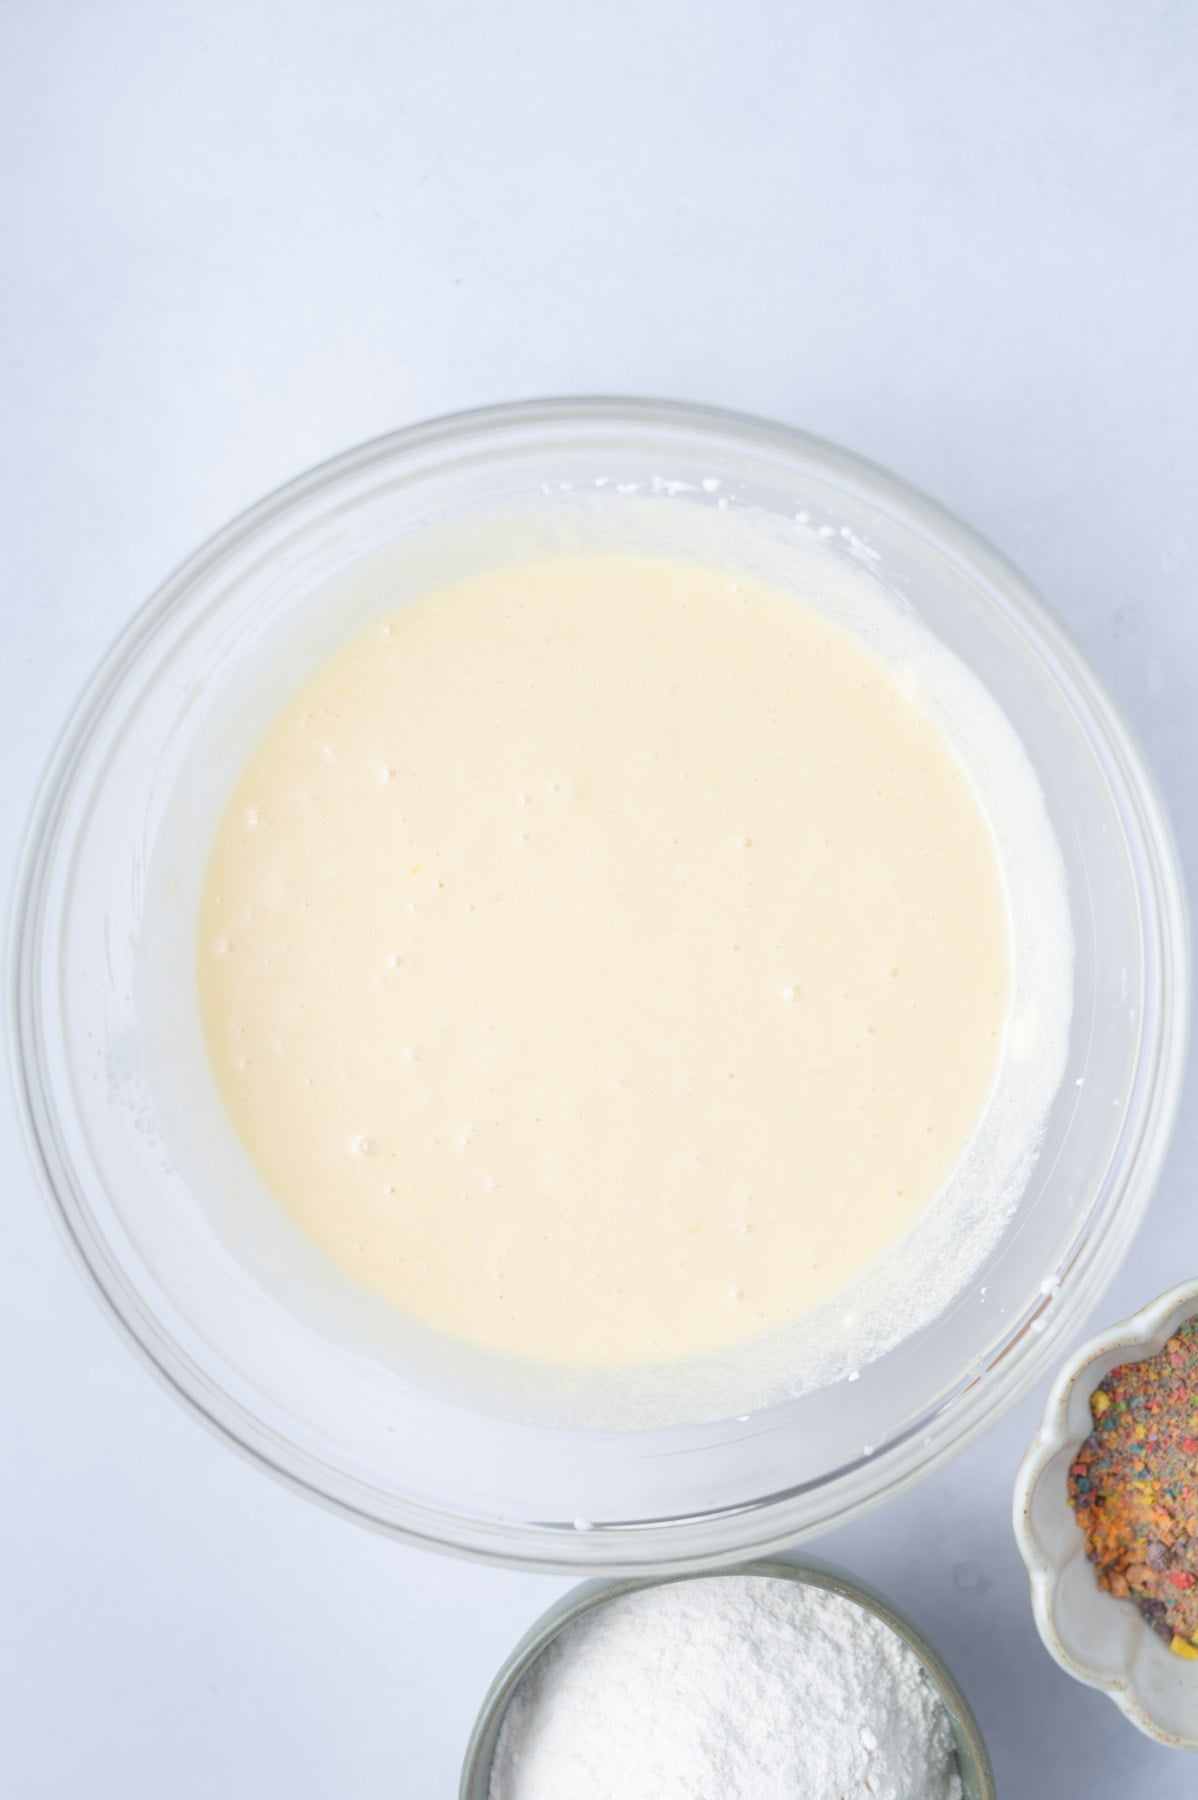
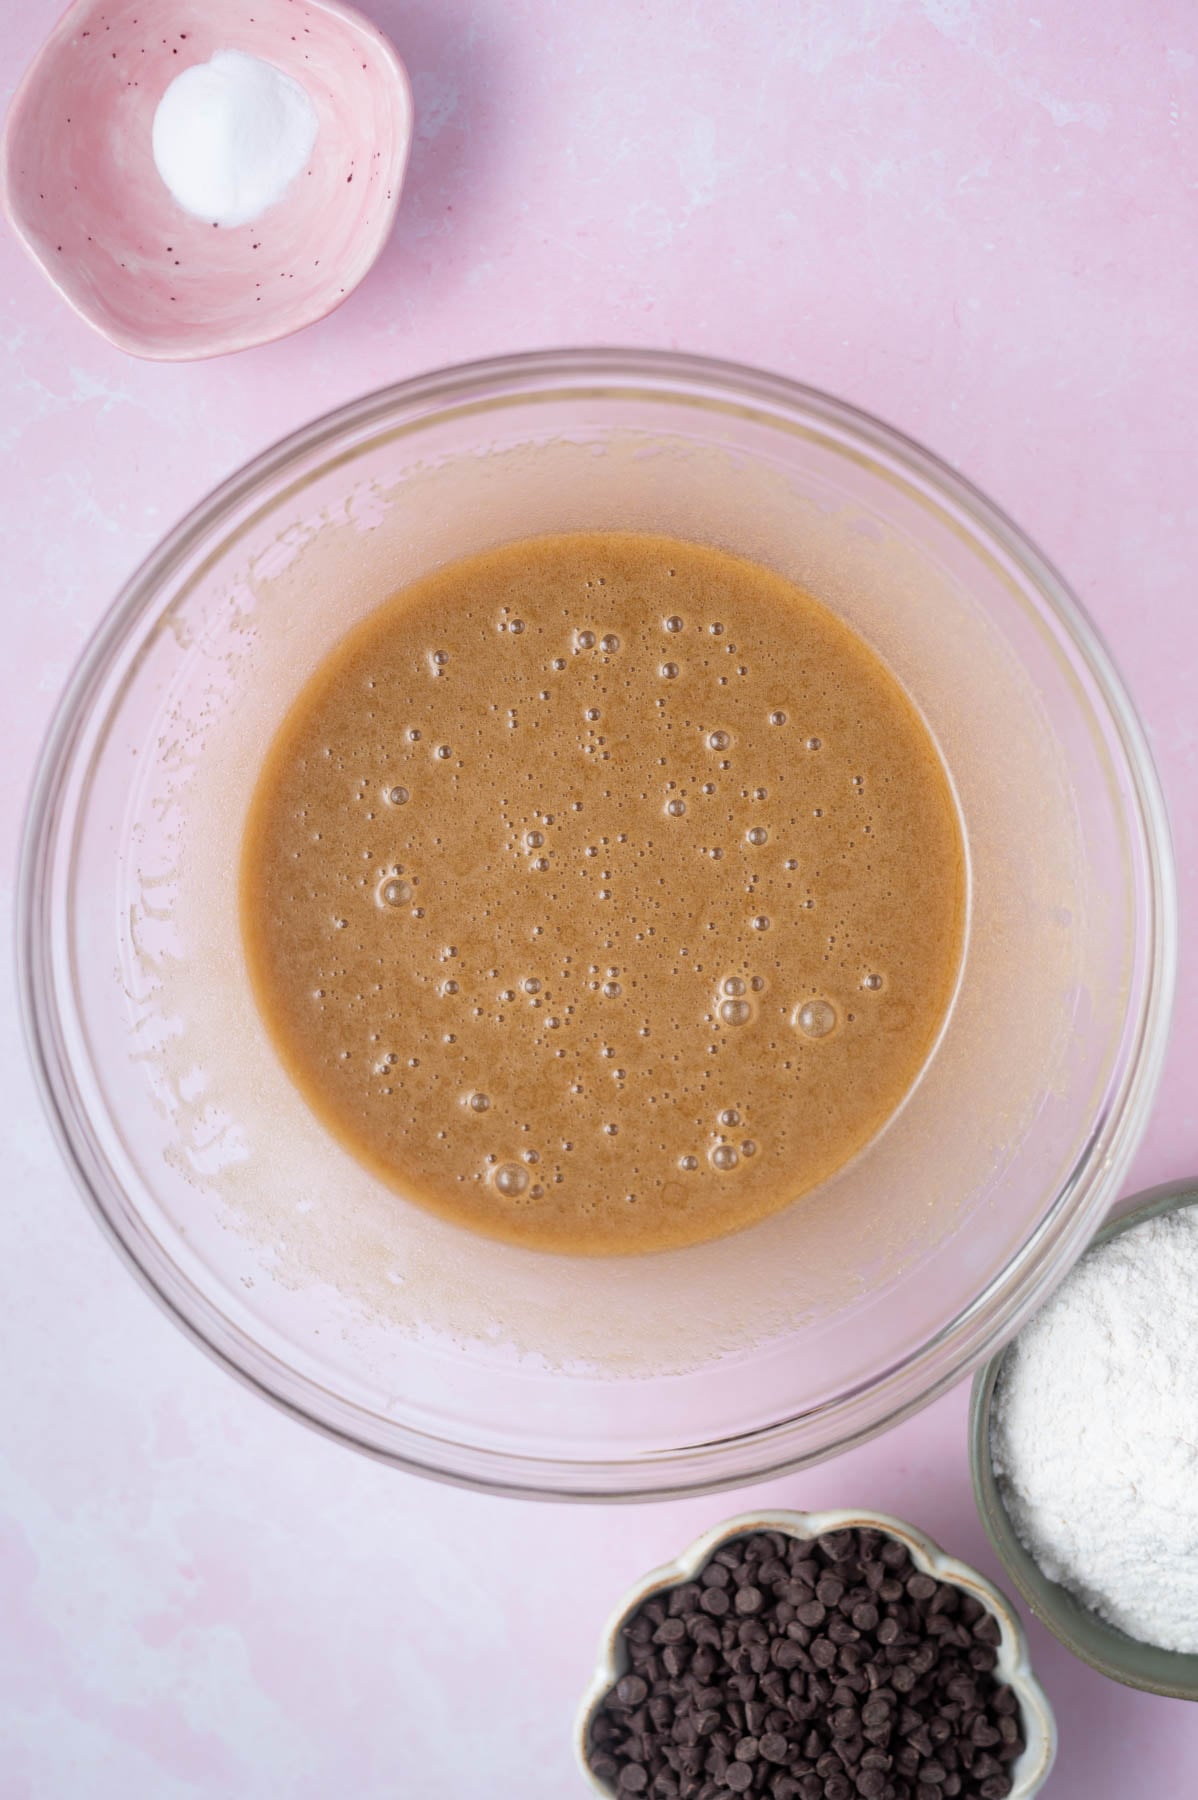
Then whisk in the baking soda until combined.
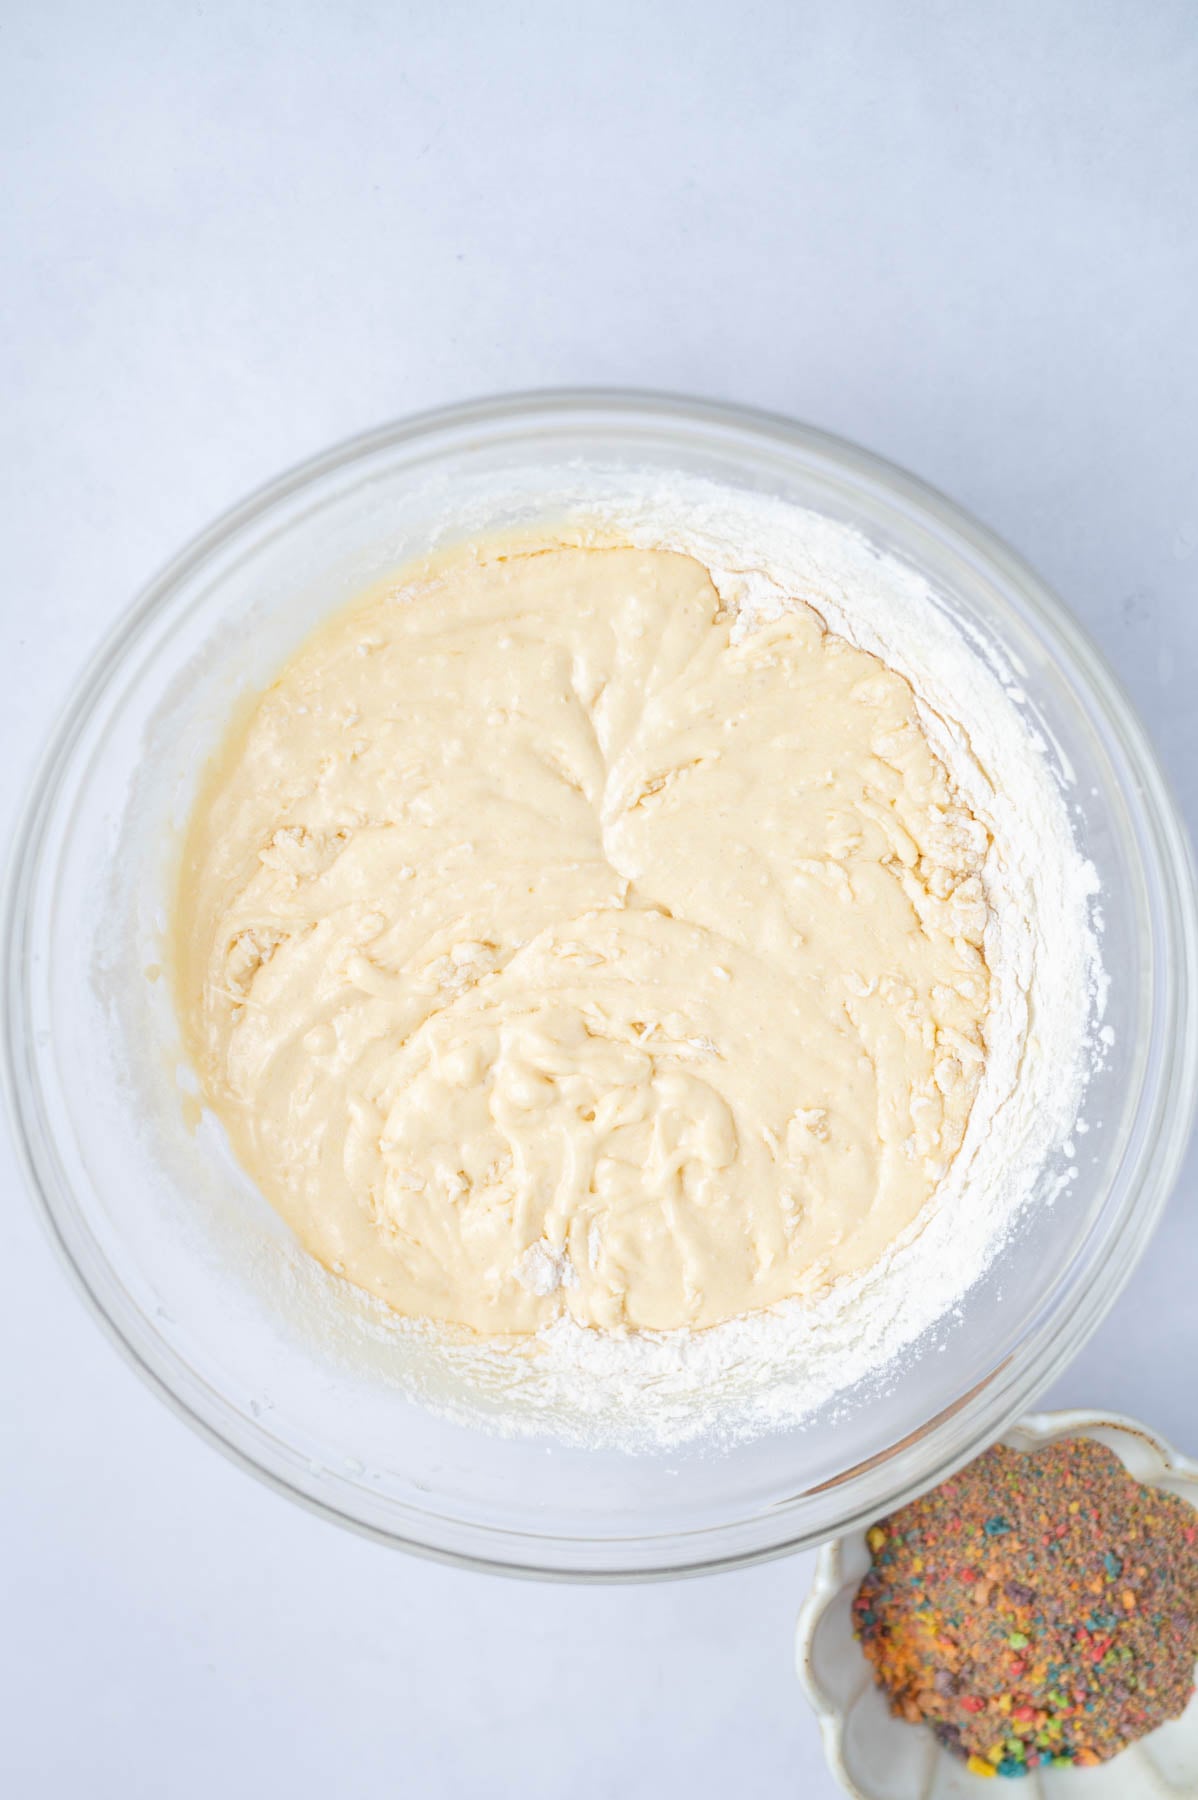
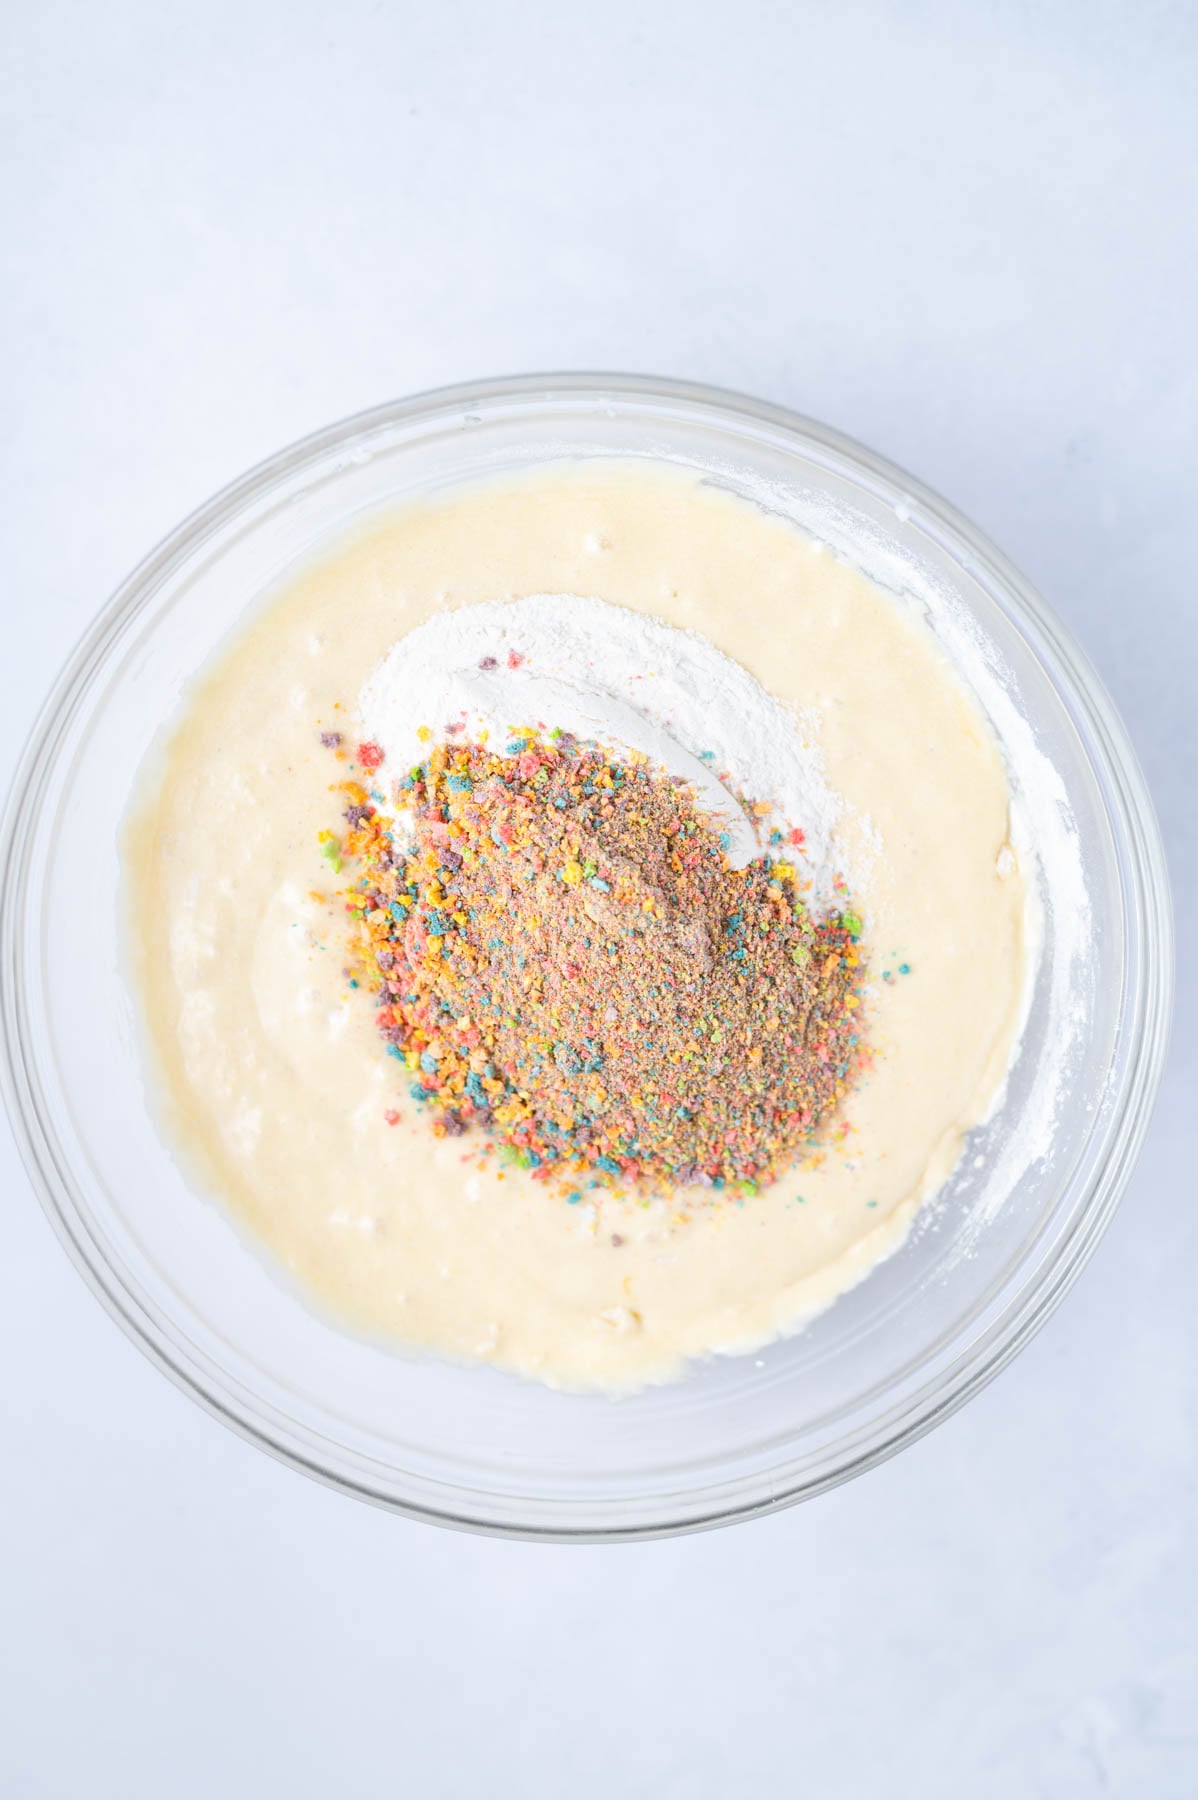
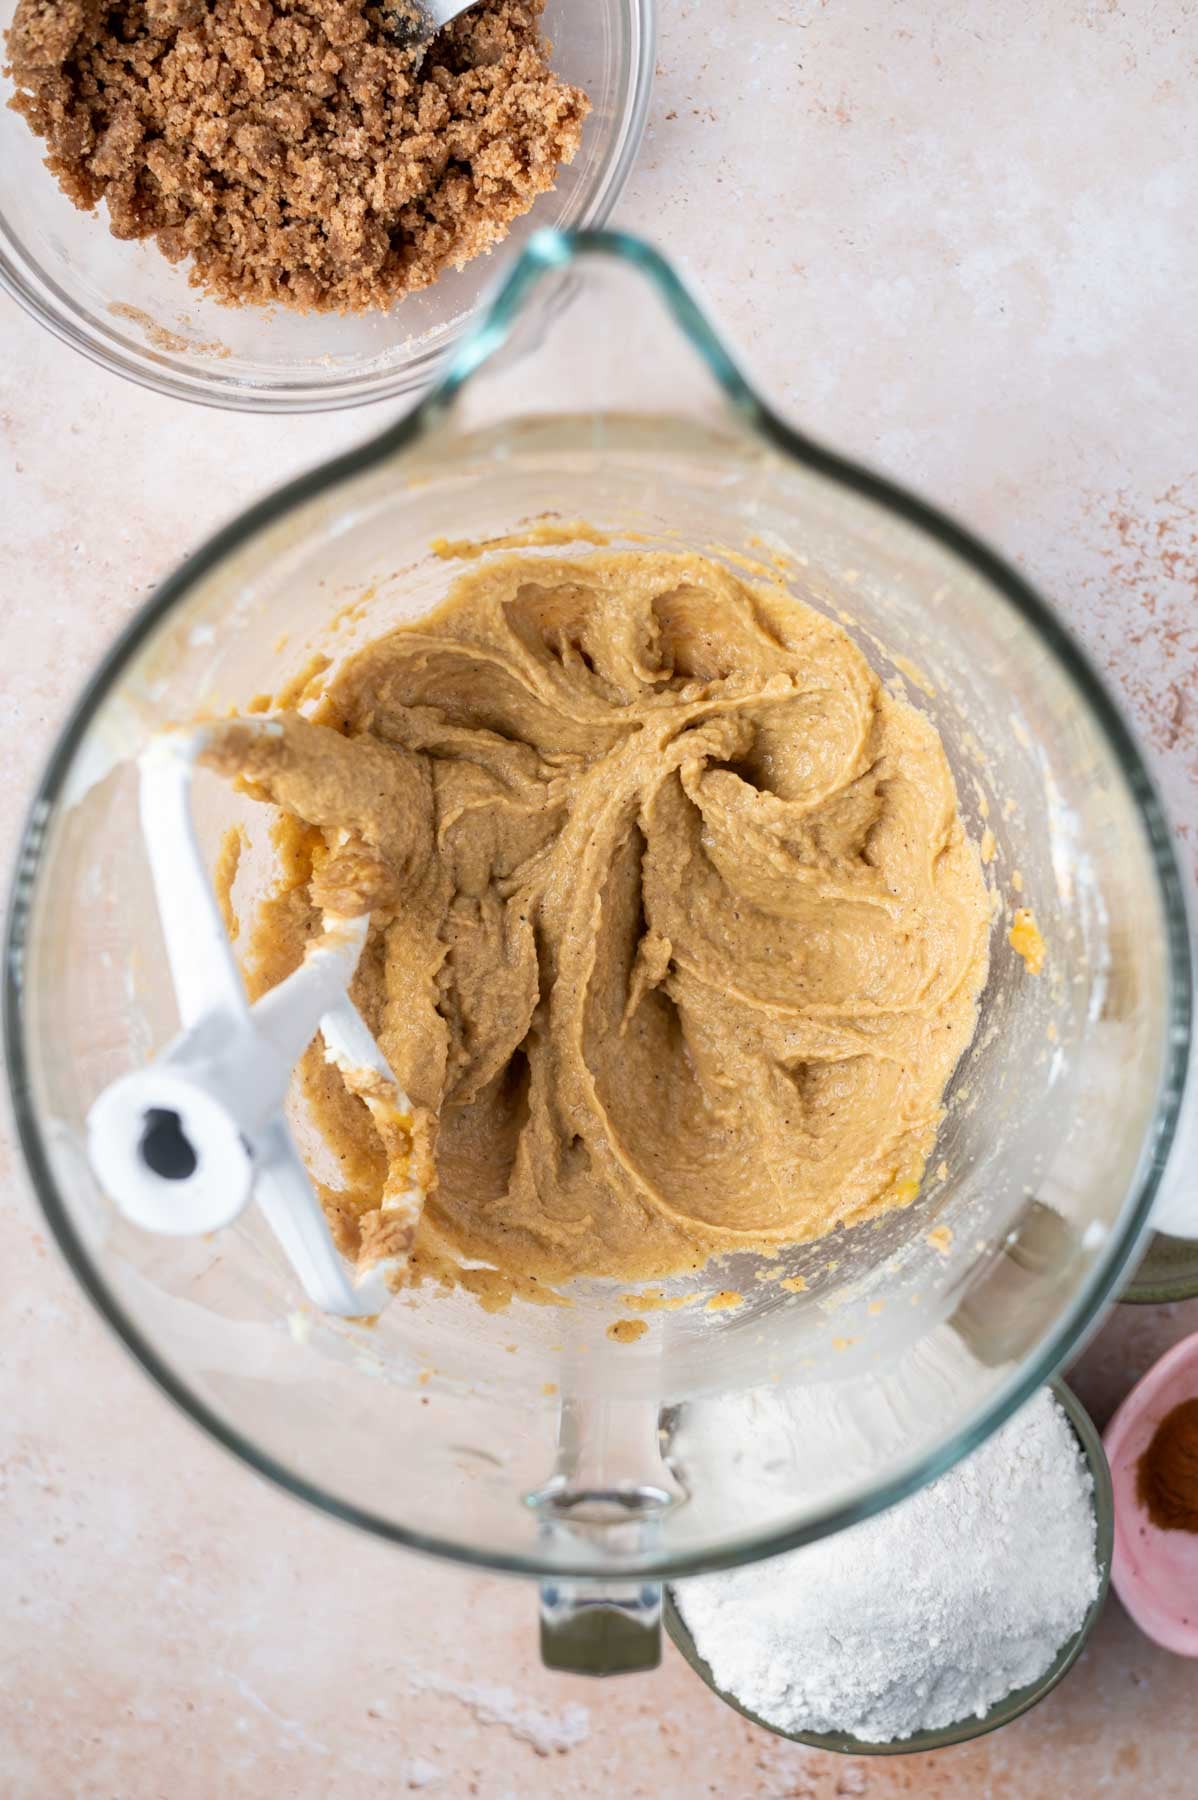
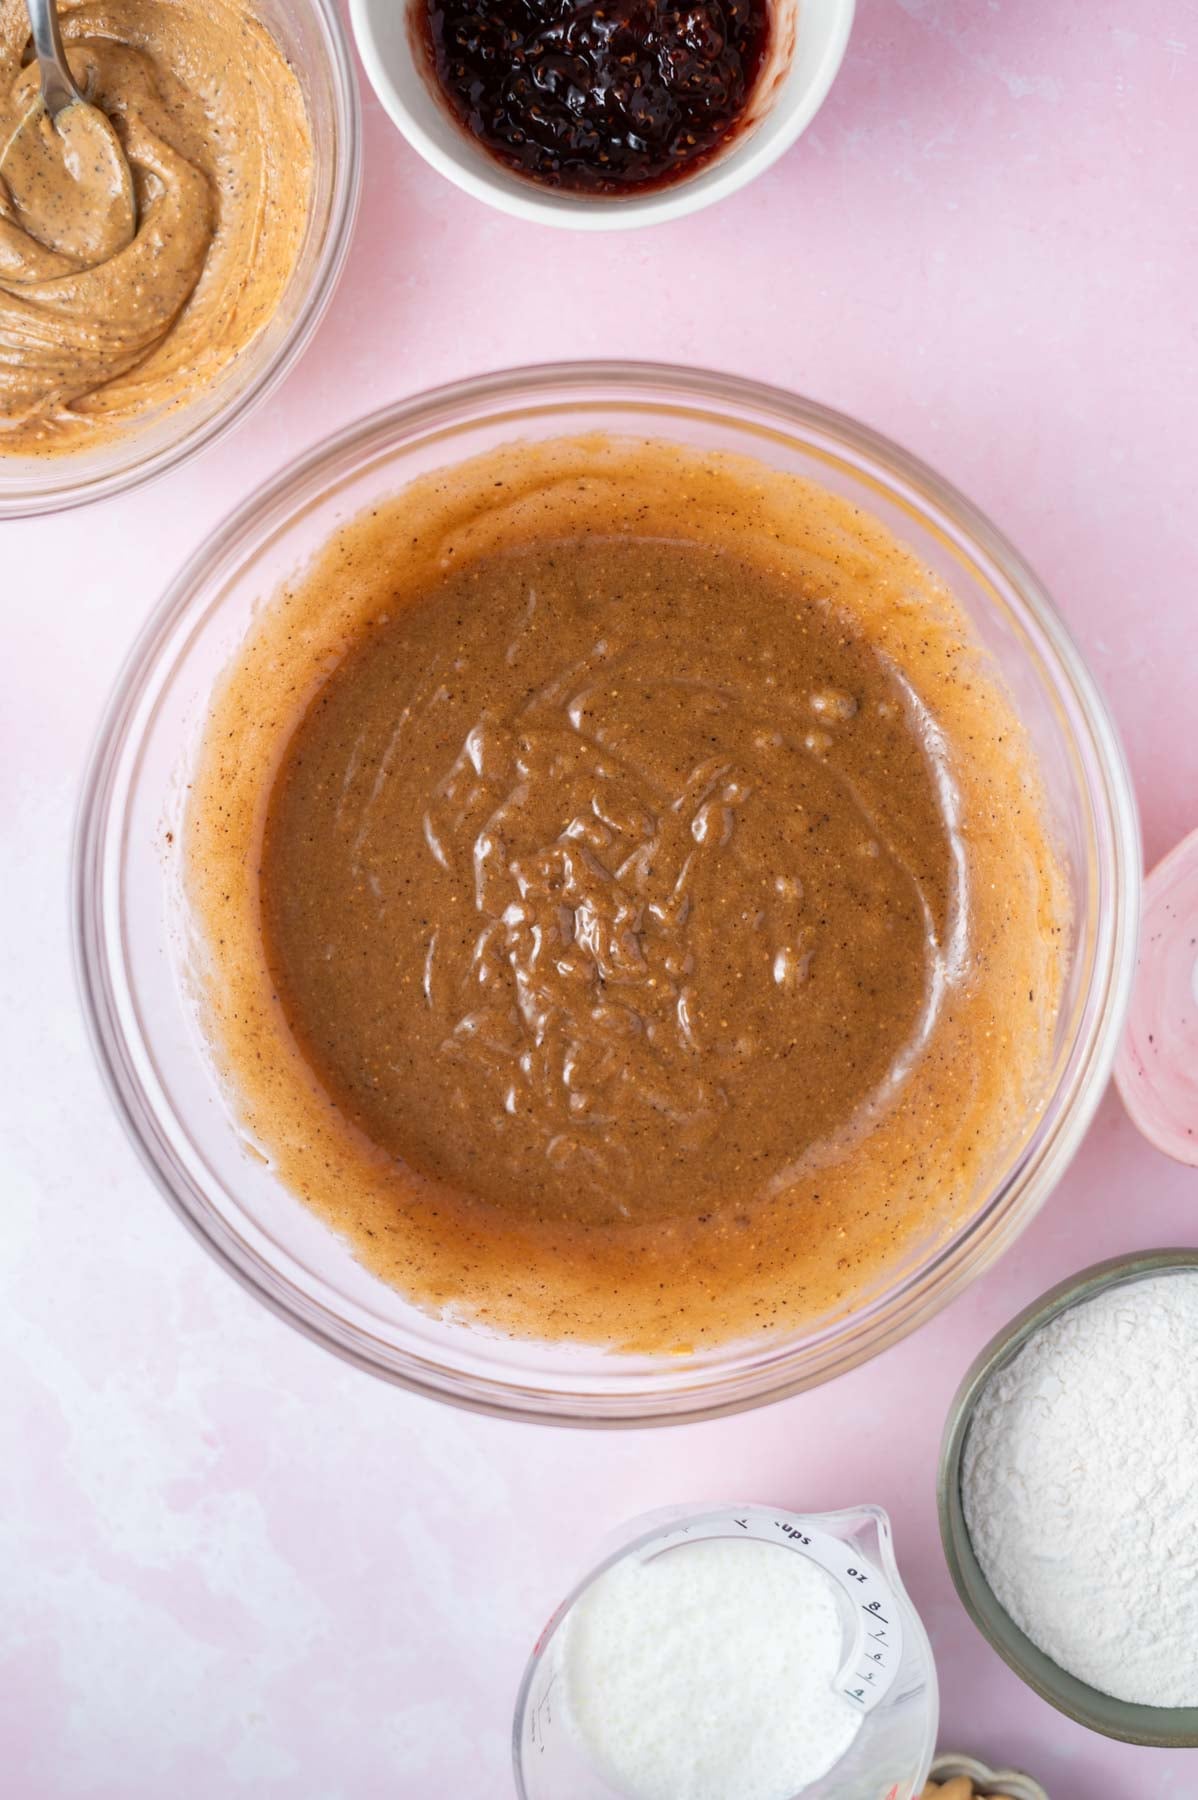
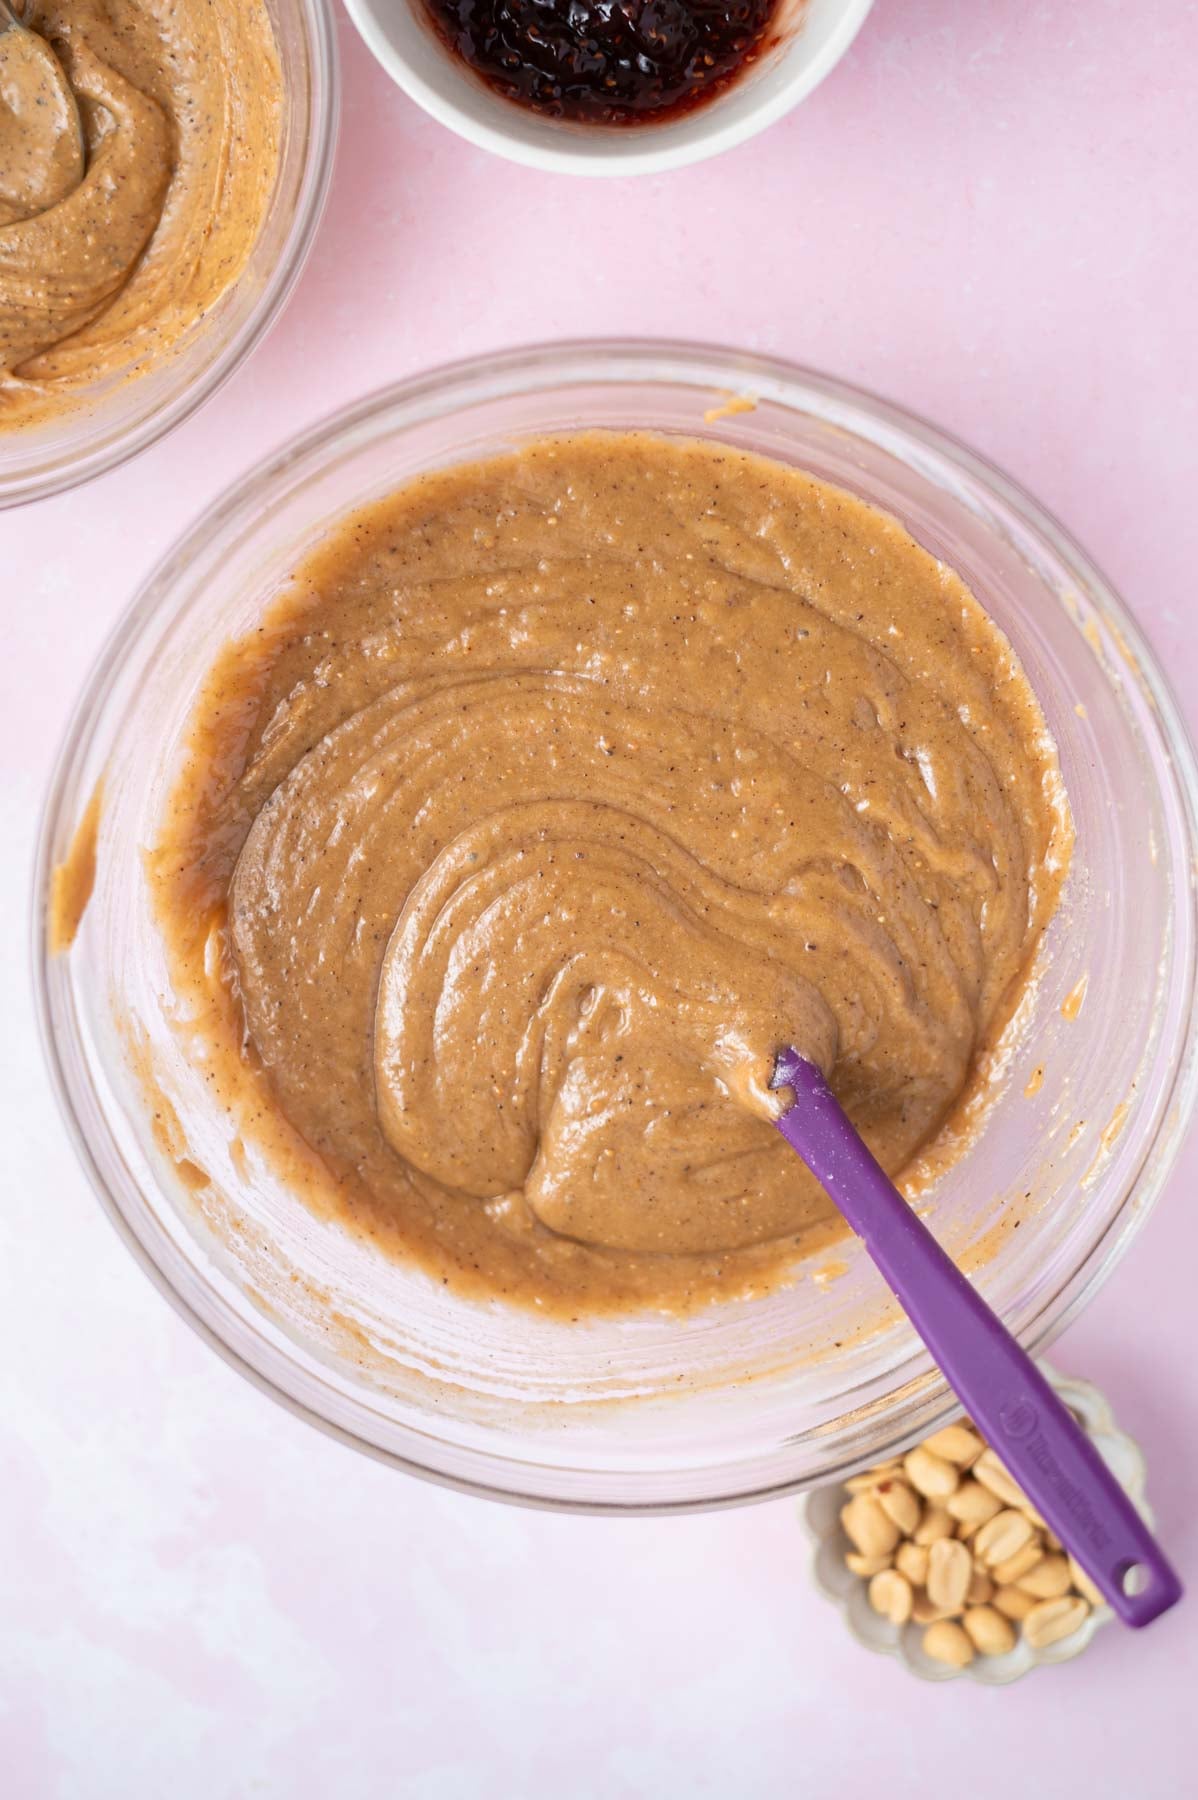
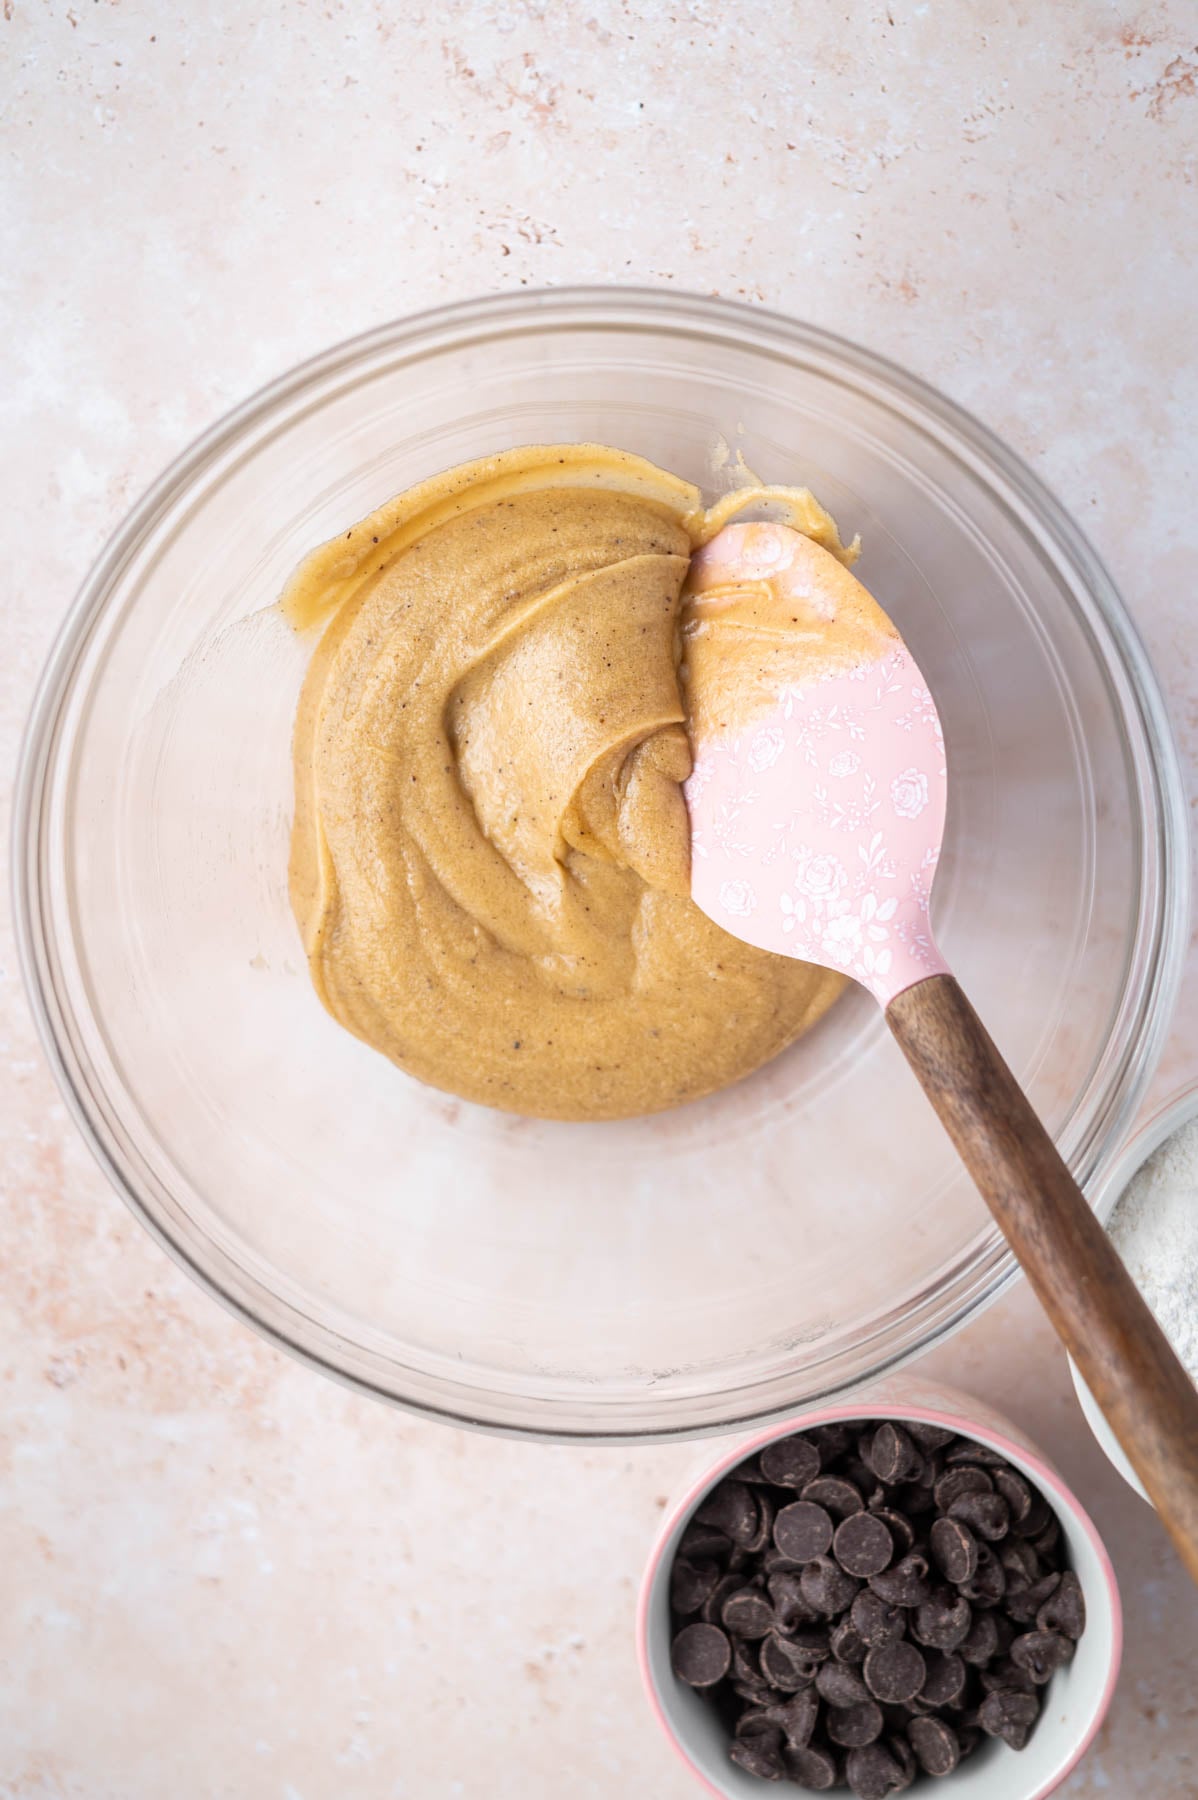
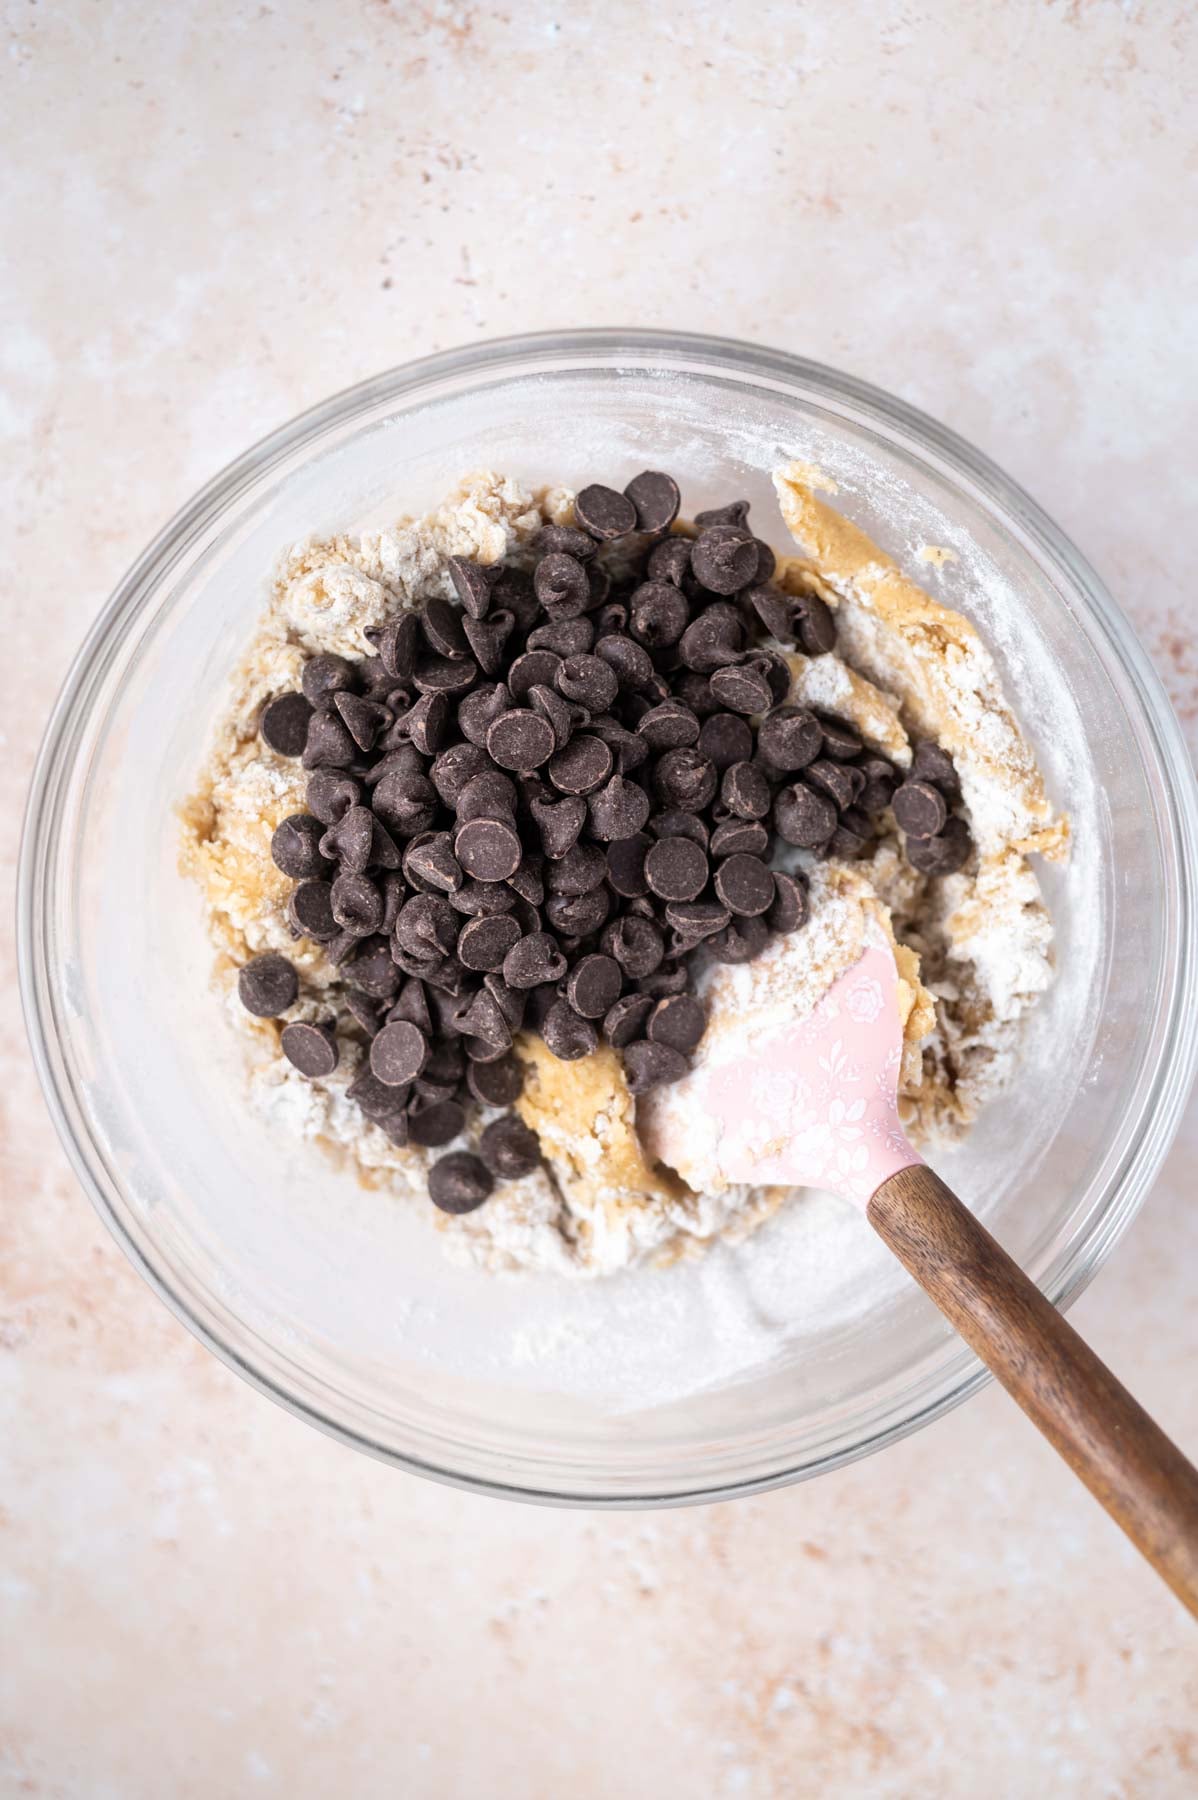
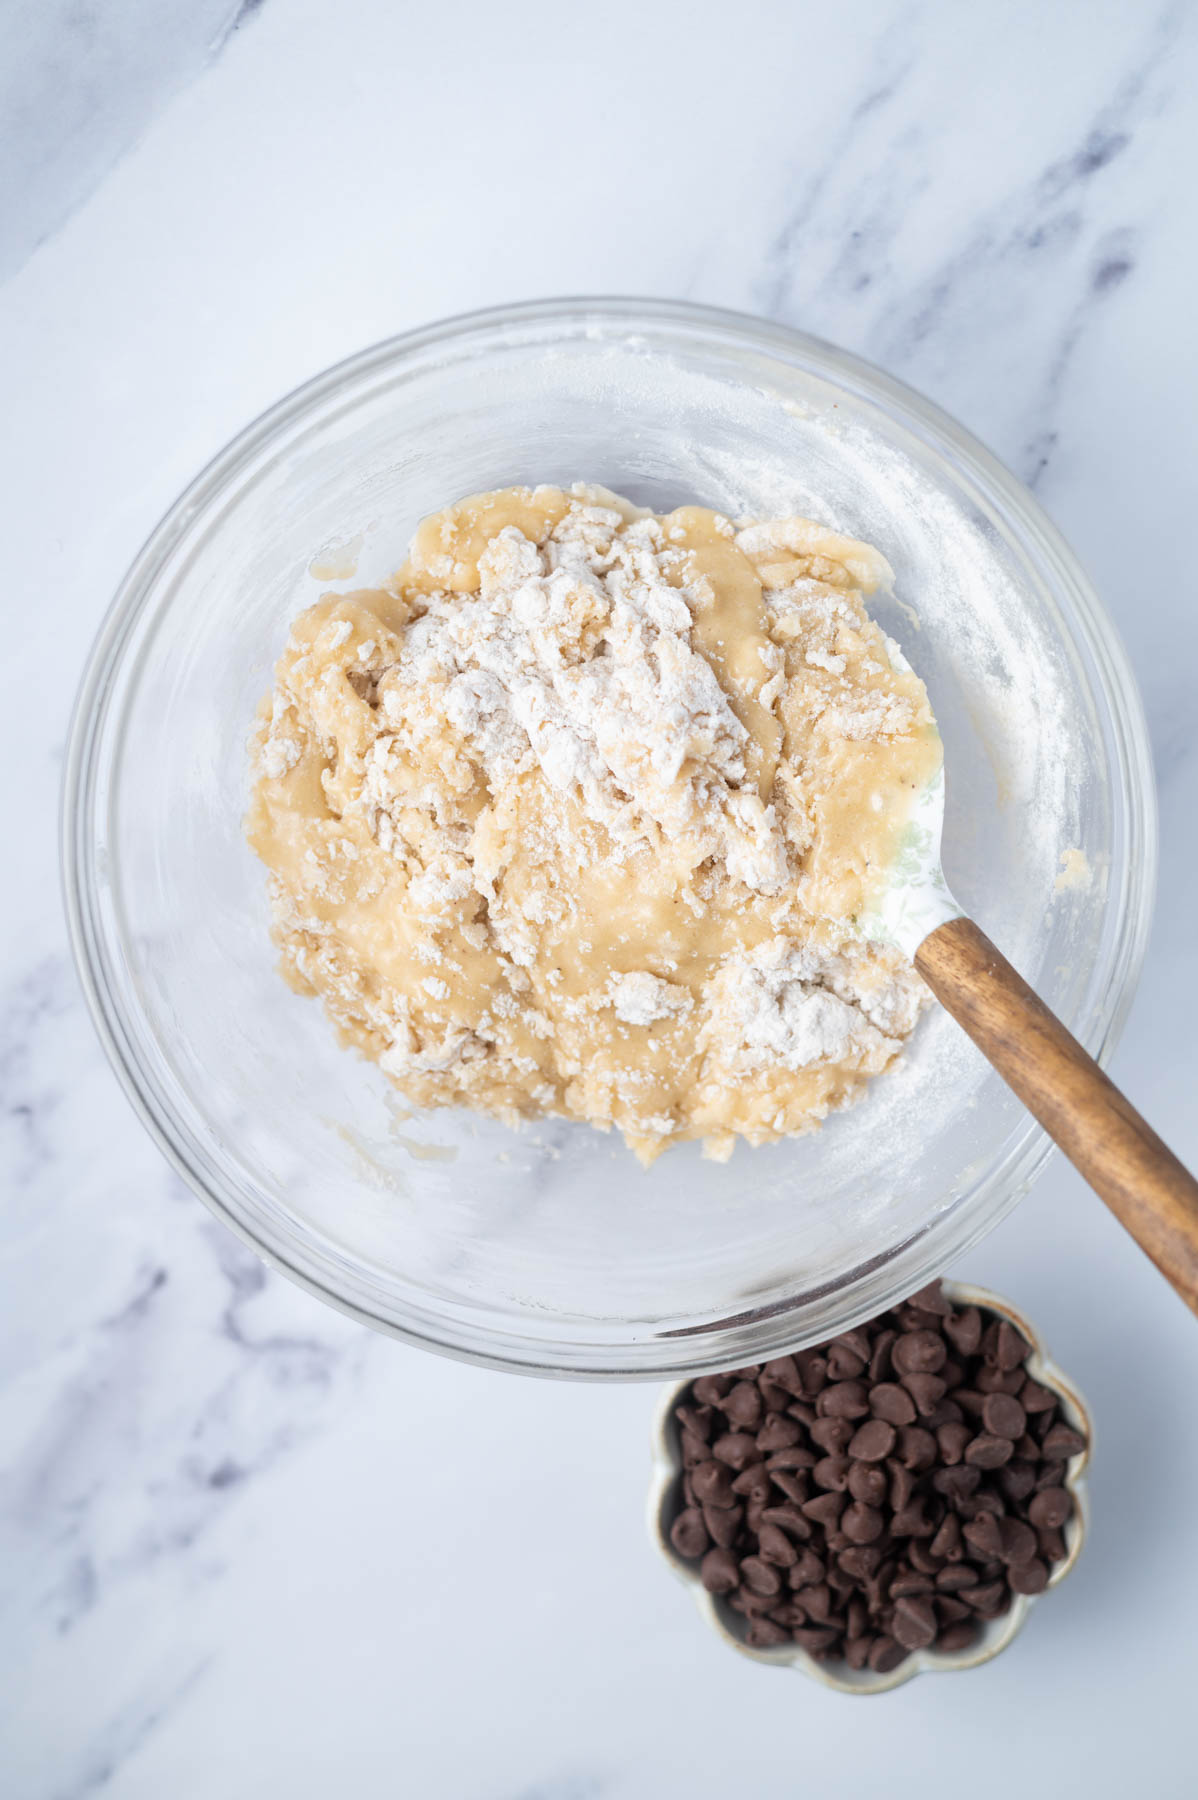
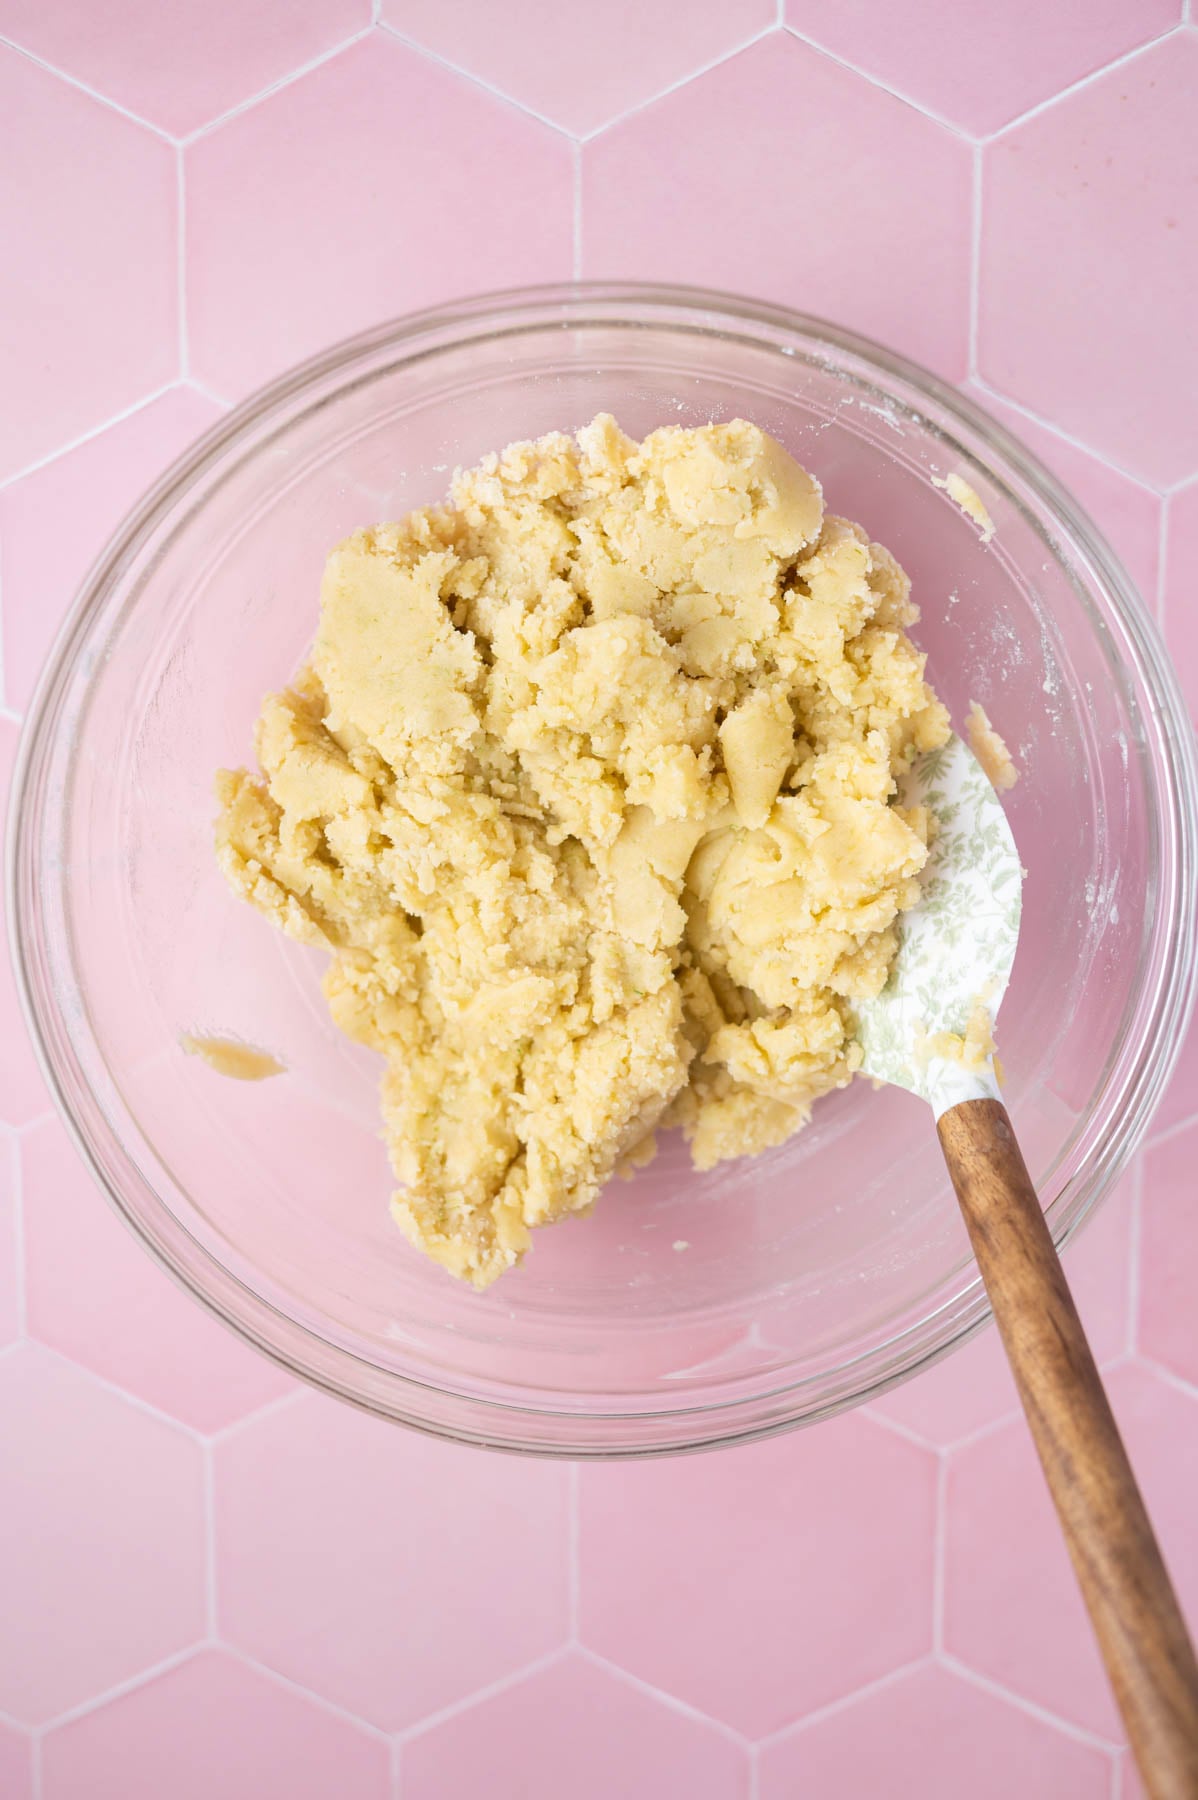
Add the flour and mini chocolate chips and mix in with a spatula until the cookie dough is formed.
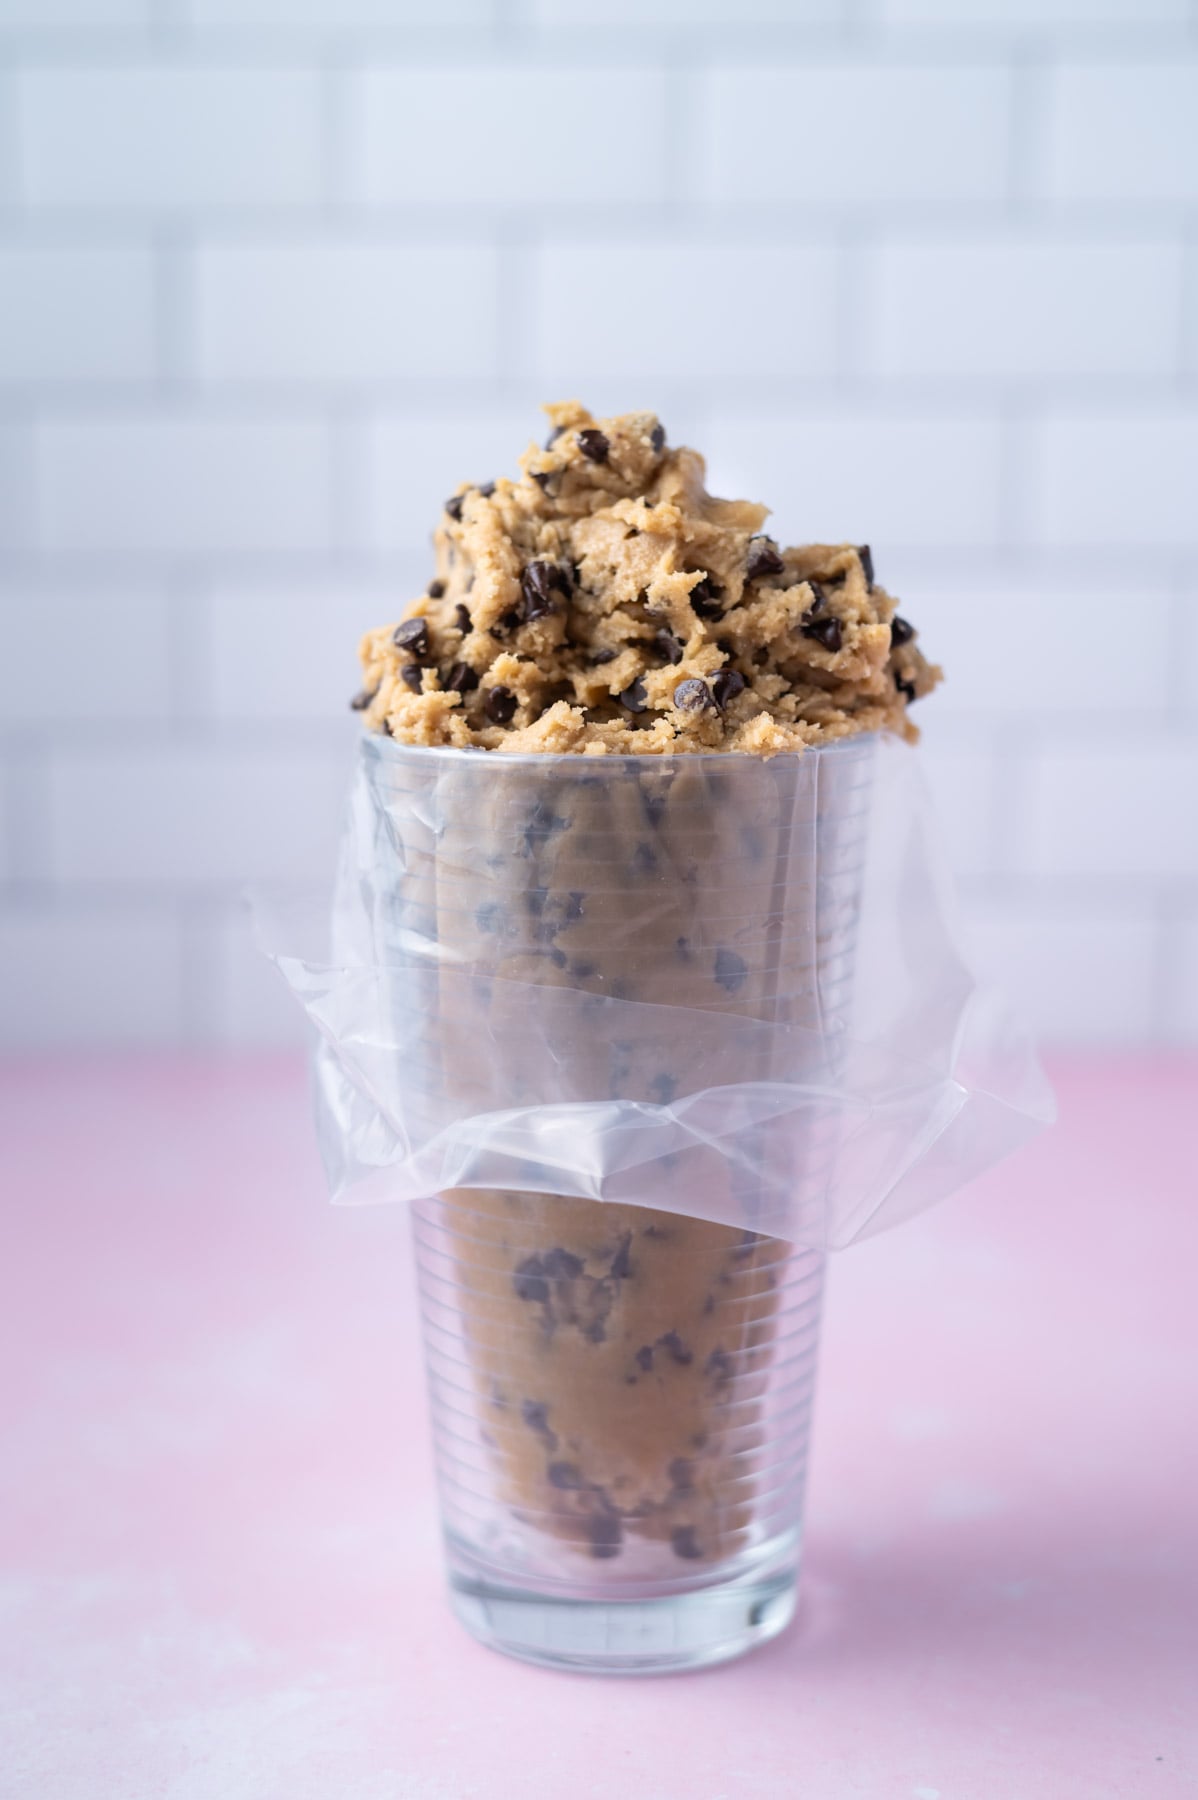
Now transfer the cookie dough to a piping bag or gallon zip-top bag. Snip a half of an inch opening.
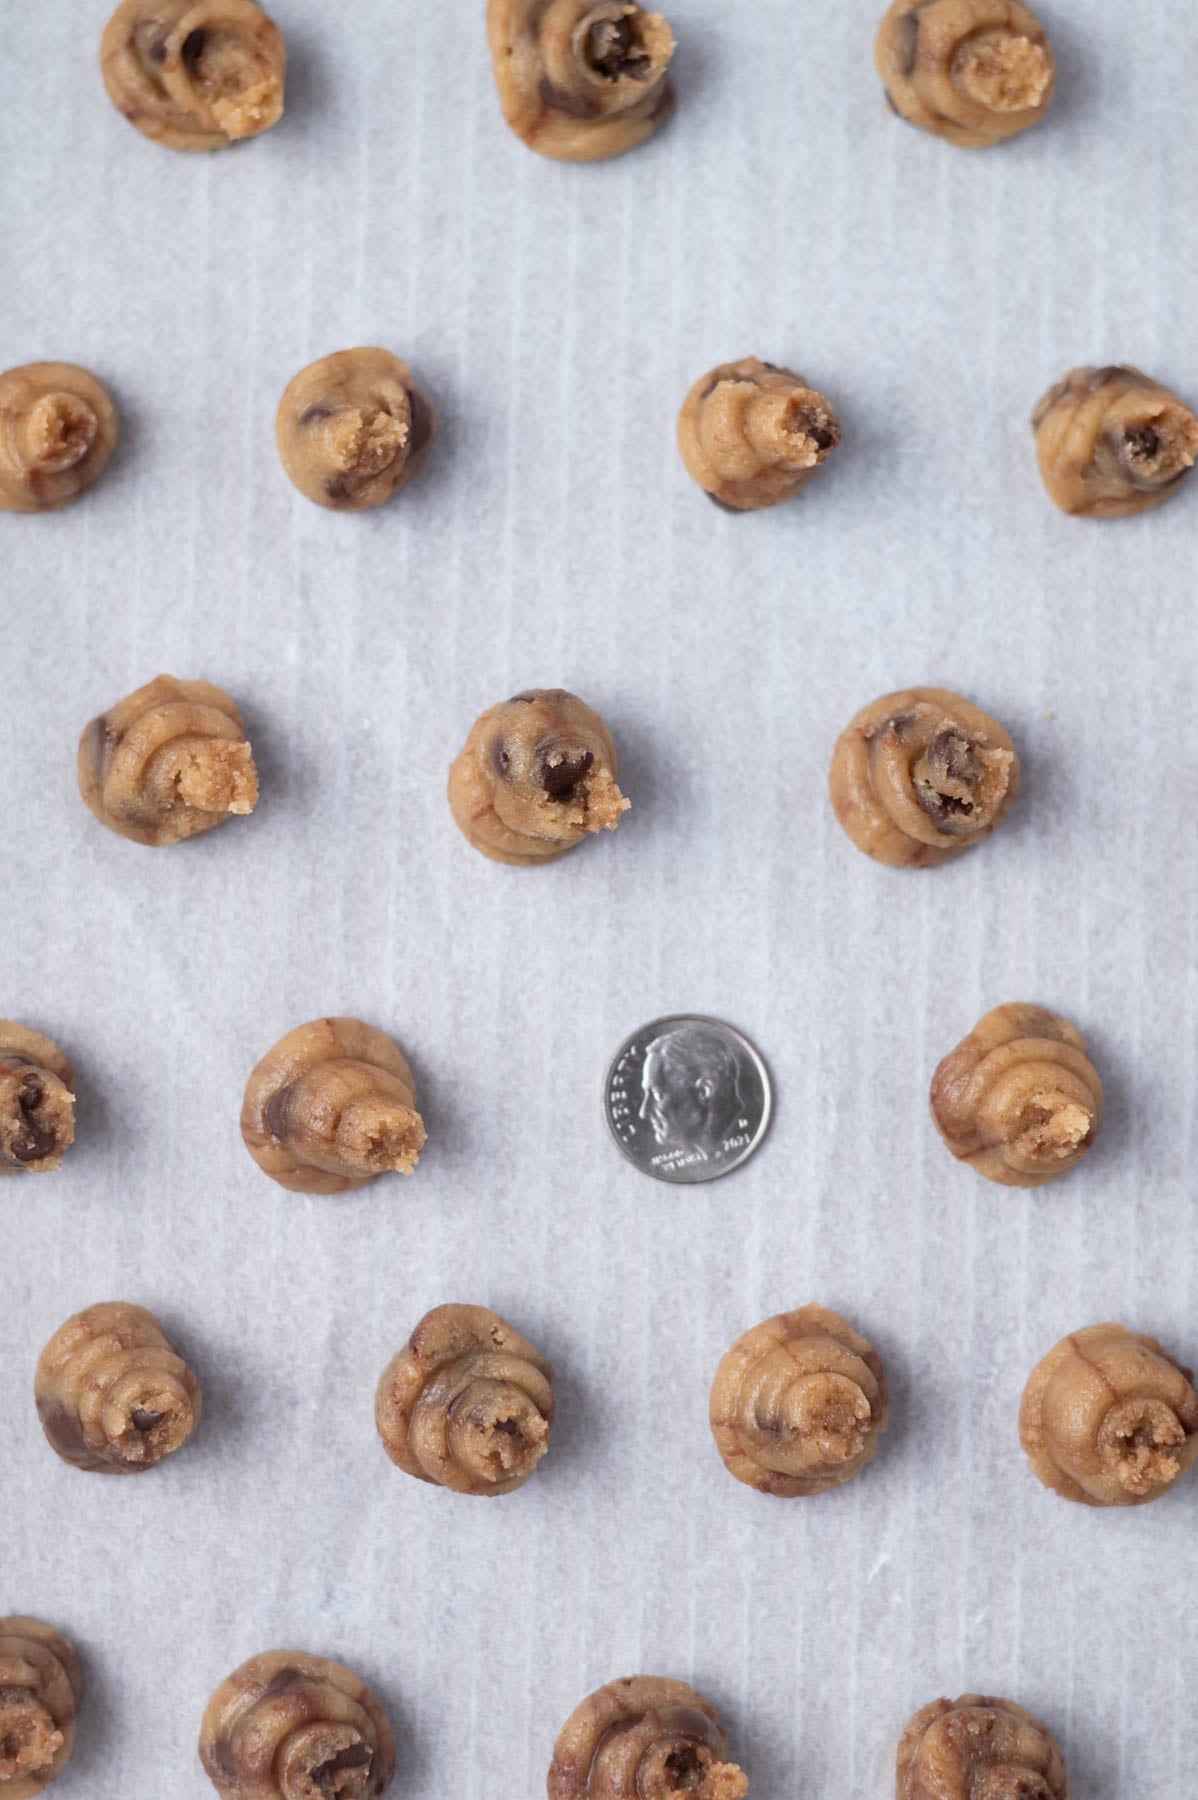
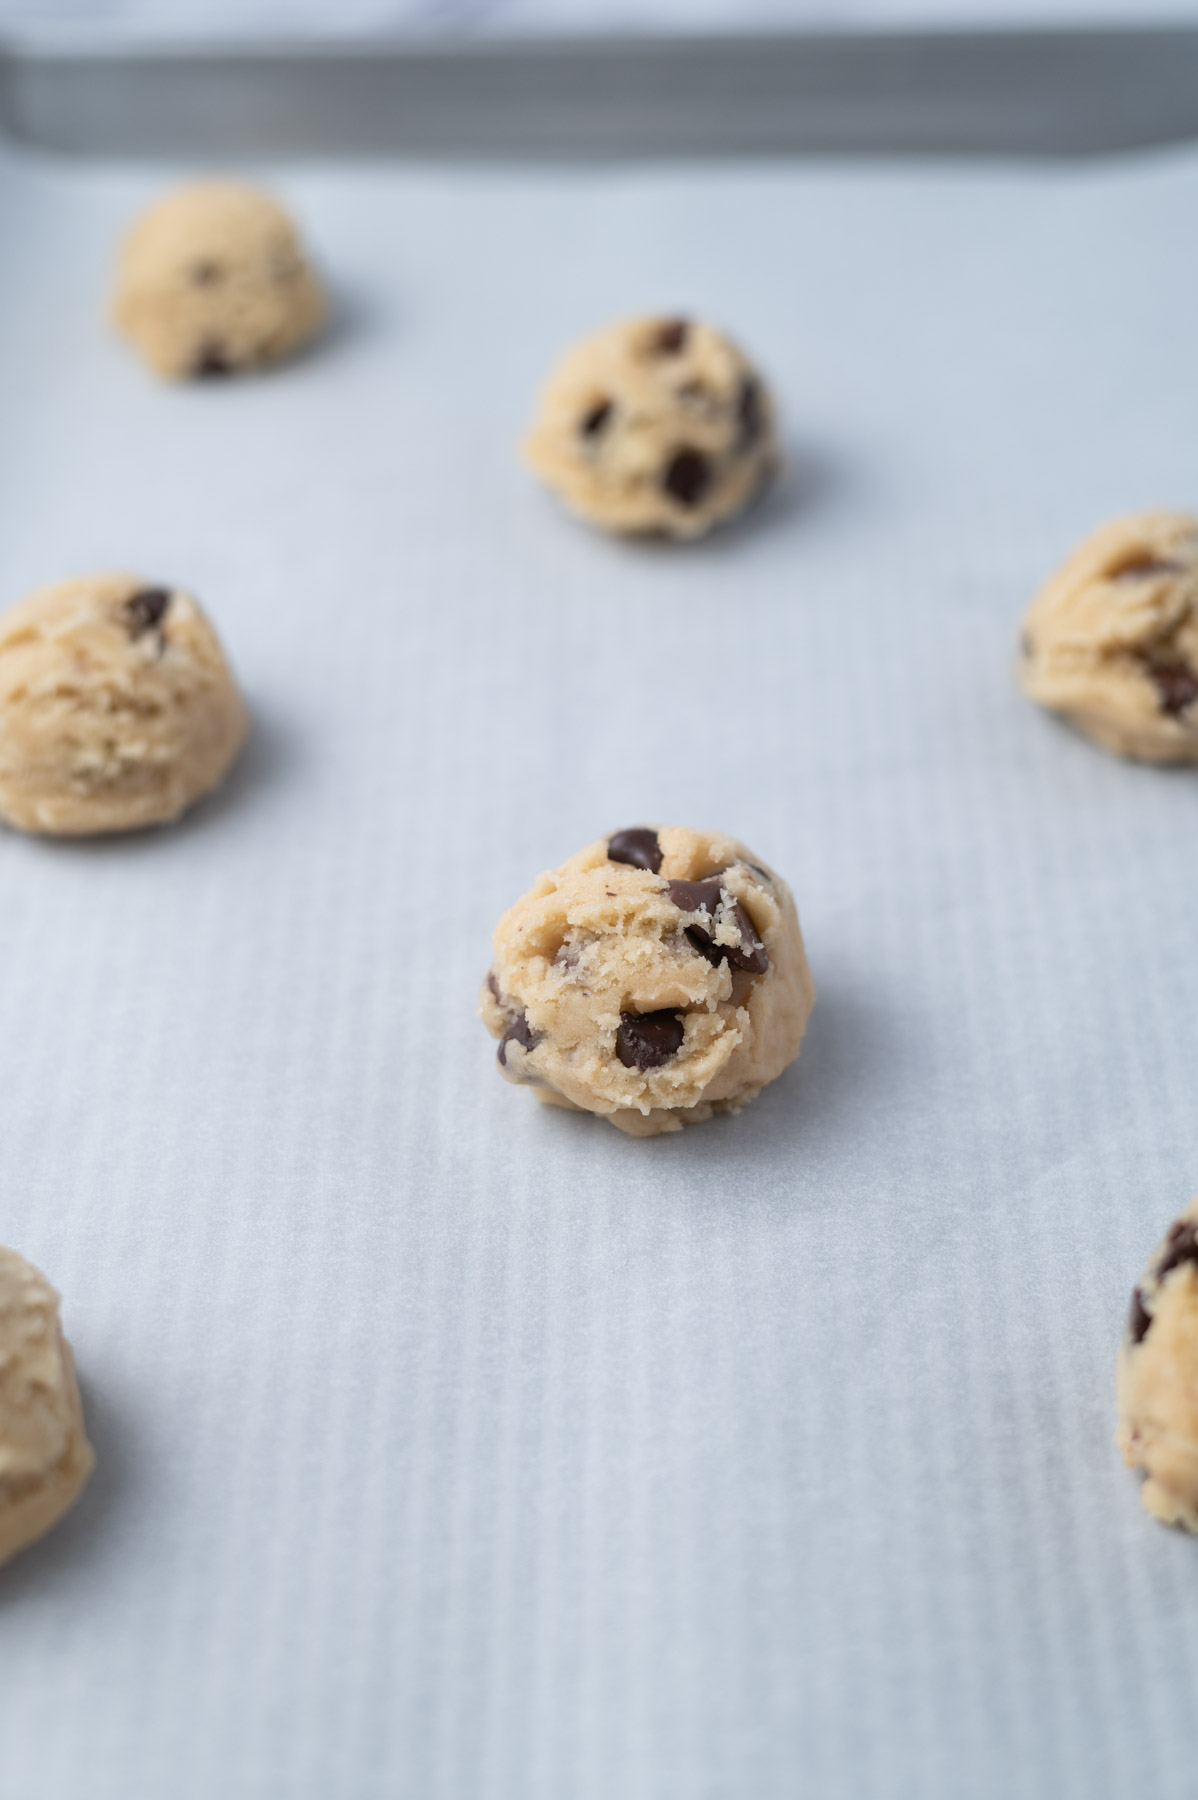
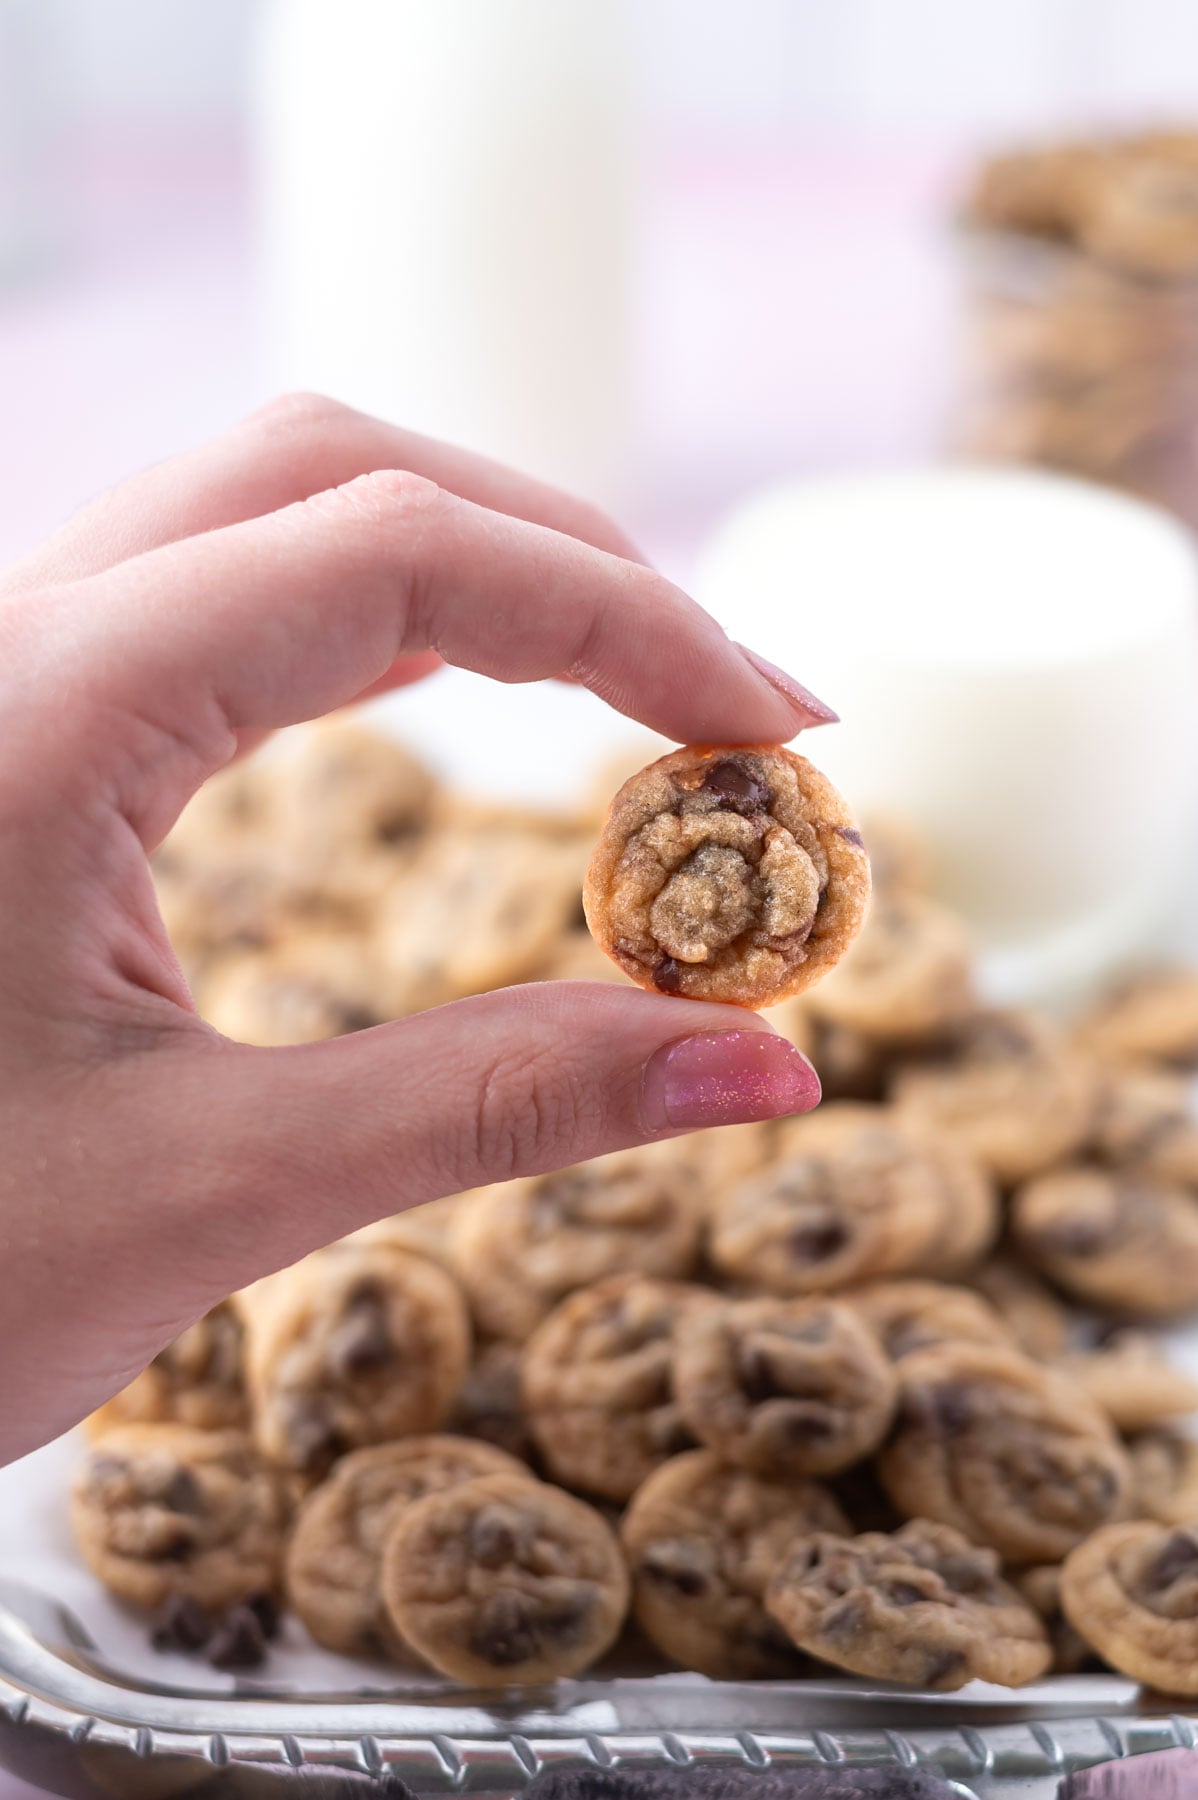
Pipe the cookies onto the prepared baking pans. The piped dough is about the size of an American dime. I got about 92 cookies per pan on the first two pans and did the remaining cookies on the third pan.
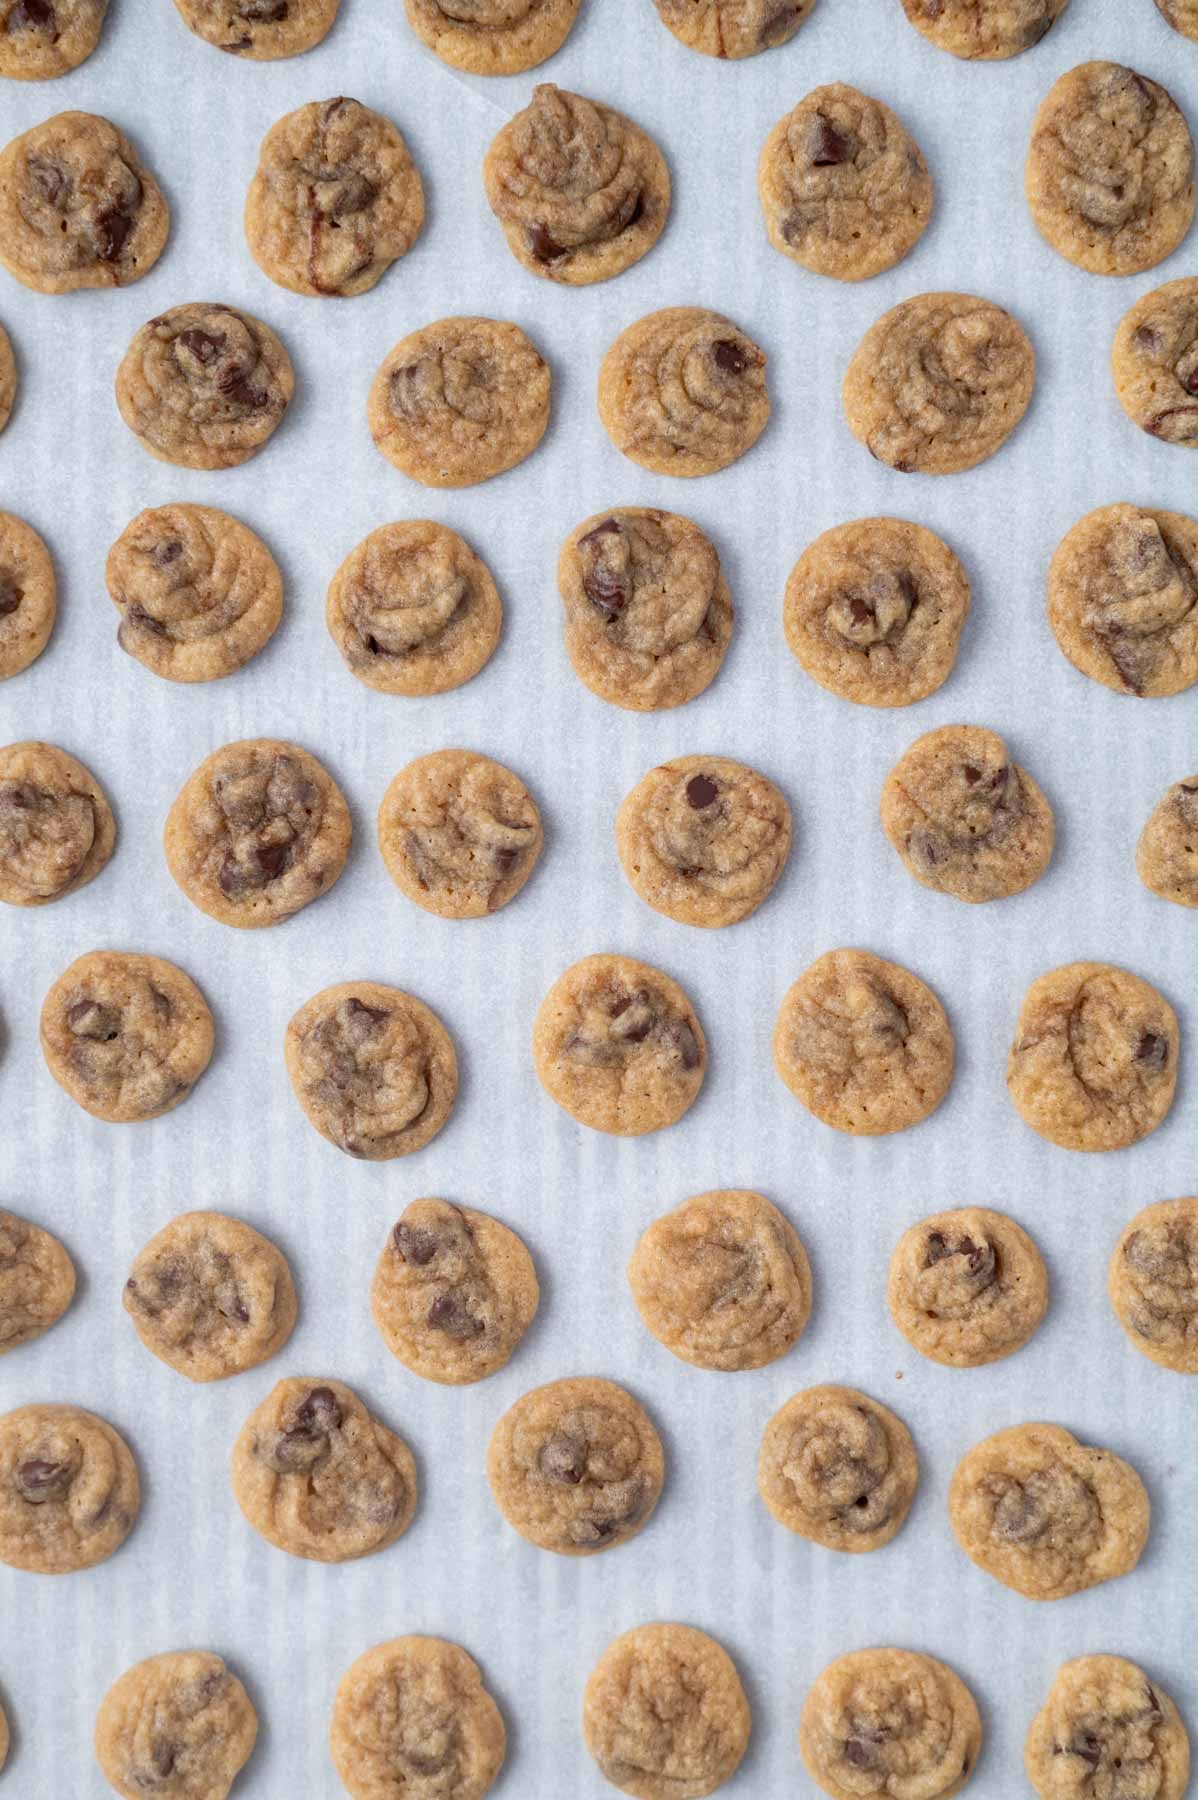
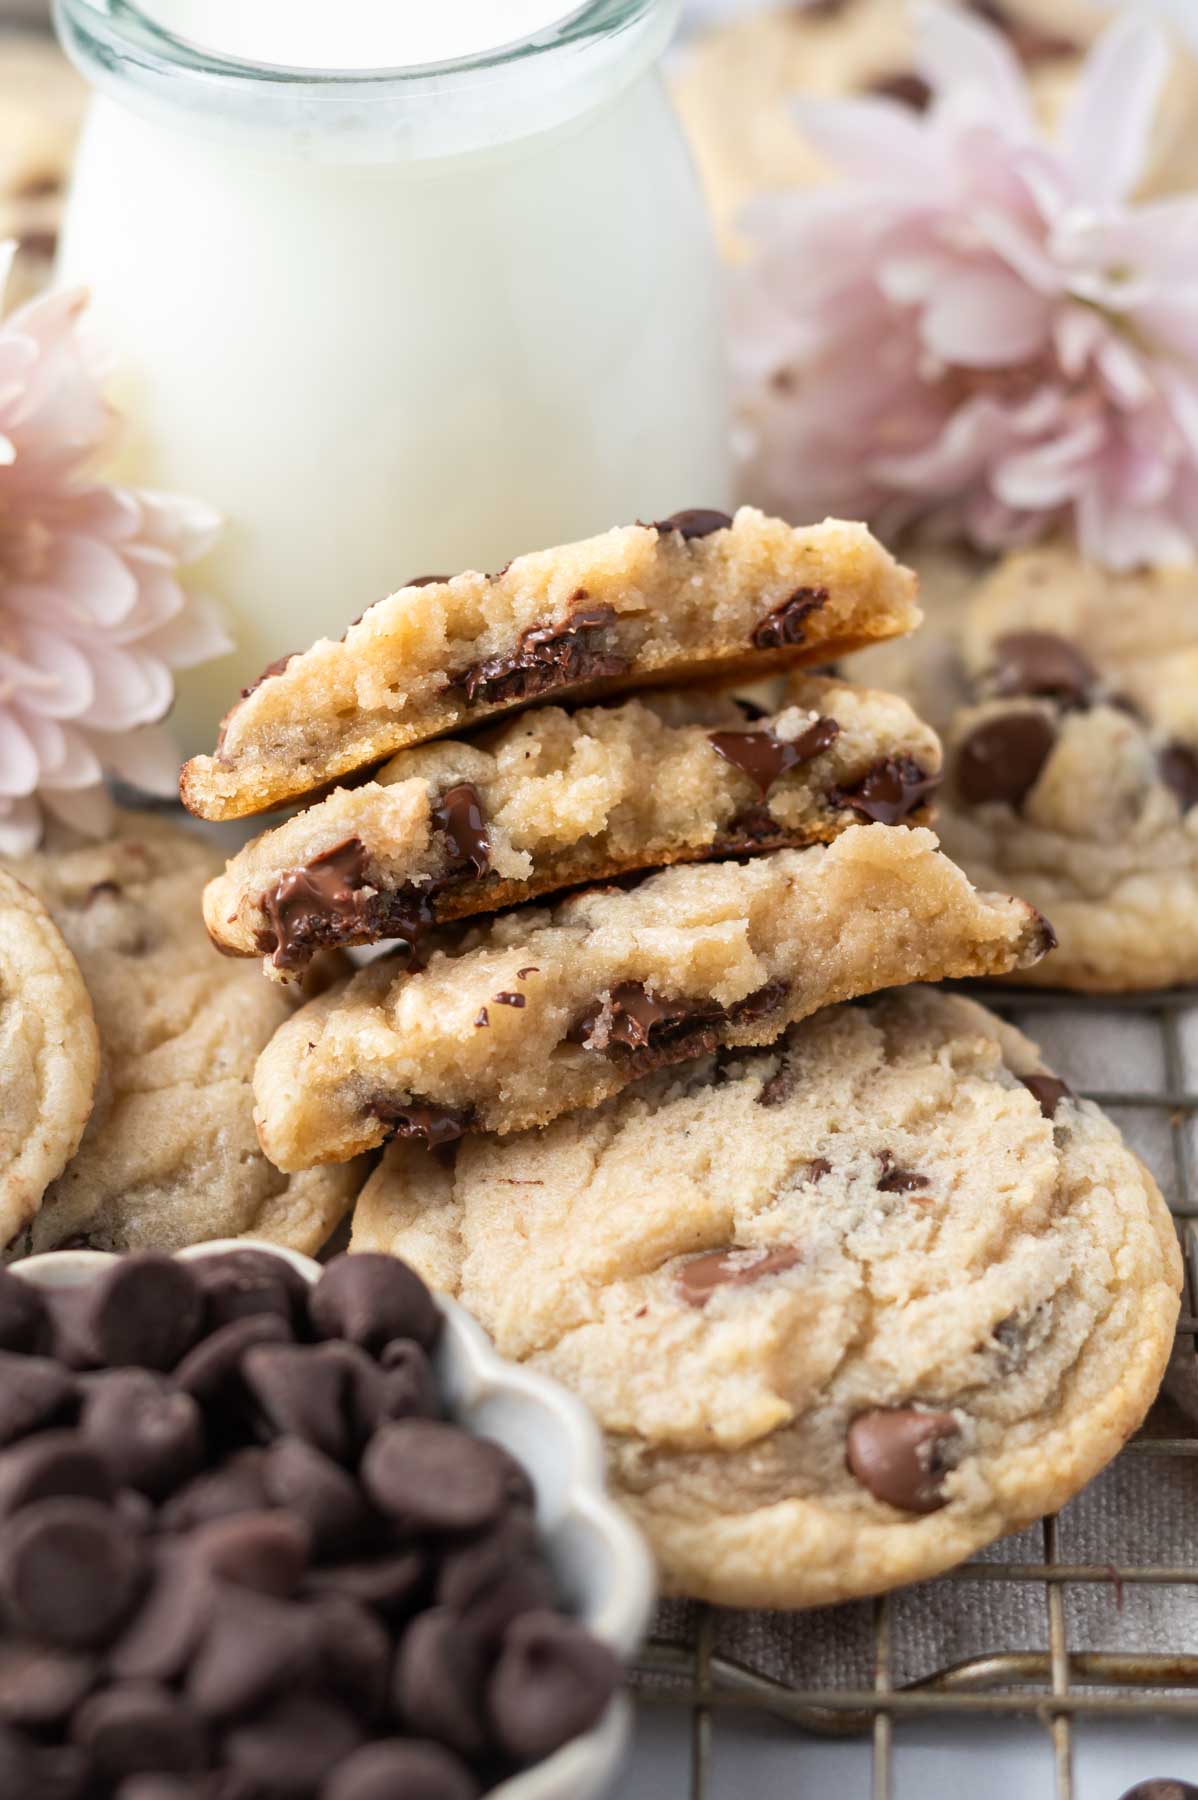
Bake the cookies, one pan at a time. Then remove from the oven and allow to cool completely on the pan. The cookies spread to be about 1 inch in size. I baked mine for 6 minutes and they had a soft bite to them. If you prefer a crunchier cookie, bake for 7 minutes.
can I make these without a piping bag?
Yes, a gallon zip-top bag works great! Just fill it with the dough, press out the air and snip a half-inch opening in the corner. You could roll them into tiny balls, but the piping method is the fastest way to get through all the dough.
why is the dough stiff and hard to pipe at first?
This is totally normal! The cookie dough starts out firm, especially piping the first pan. As the warmth of your hands transfers through the piping bag, the dough softens and becomes easier to pipe.
why are my last batch of cookies darker?
By the time you get to the final tray of cookies, the dough has warmed up quite a bit from your hand and the kitchen heat. This causes the mini chips to melt into the dough and the cookies bake up a little darker in color. They still taste great!
👩🏻🍳 expert tips for the best mini cookies
Use a kitchen scale. I know I say this every time, but it will make you a better baker. Measuring by weight is the most accurate, especially for flour. Too much and the cookies will be dry and dense. If you don’t have a kitchen scale, use the spoon and level method; fluff the flour in the container, spoon into the measuring cup and level it off with a flat edge.
Do not over bake! These are tiny cookies and they bake fast. Check them at five minutes to get a feel for your oven. The edges will be set and the centers may look slightly under done.
Work in batches. You will have three pans going, so pipe one pan and put it in the oven while you pipe the next pan.
If the piping bag breaks, slip the broken bag into a new bag and keep going. It happens! The cookie dough is stiff at first and putting a little pressure on a disposable bag can cause a split.
If you love chocolate chip cookies in all the different variations, my whole cookie recipes collection is worth a browse for your next baking adventure. And if you want another recipe that is just as easy and quicker, my chocolate chip cookies without brown sugar is another great one!
🫙 how to store
Store mini chocolate chip cookies in an airtight container at room temperature for 2-3 days. Because of their small size, they do dry out a little faster than a regular cookie, so an airtight seal is important.
They also freeze well. Allow to cool completely, then store in an airtight container or zip-top bag in the freezer for up to 2 months. They will thaw quickly at room temperature.
Remember to snap a picture and tag me on Instagram if you make these The Cutest Mini Chocolate Chip Cookies You’ll Ever Bake. It warms my heart to see you bring these recipes to life! Thank you for being here and happy baking!
If you make this recipe {or any recipe!} from two sugar bugs please come back and leave a review and a ⭐️⭐️⭐️⭐️⭐️ star rating. I read every comment, and I LOVE hearing from you!
📖 recipe

The Cutest Mini Chocolate Chip Cookies You'll Ever Bake
Ingredients
- ½ cup unsalted butter melted, 113g
- ¼ cup granulated sugar 50g
- ½ cup packed brown sugar 100g
- ½ teaspoon kosher salt
- 1 large egg
- 1 teaspoon pure vanilla extract
- ½ teaspoon baking soda
- 1 ½ cups all-purpose flour 188g
- ¾ cup mini chocolate chips 135g
Instructions
- Preheat the oven to 350°F and line three half sheet pans with parchment paper. Set aside.
- Melt the butter (½ cup/113g) and let it cool for 5 minutes.
- Then add the granulated sugar (¼ cup/50g), brown sugar (packed ½ cup/100g) and kosher salt (½ teaspoon). Whisk for 1-2 minutes, until the mixture becomes smooth and cohesive.
- Now add the egg (1 large) and vanilla (1 teaspoon) and whisk to combine, about 30 seconds.
- Then whisk in the baking soda (½ teaspoon) until combined, about 30 seconds.
- Add the flour (1 ½ cups/188g) and mini chocolate chips (¾ cup/135g) and mix in with a spatula until the cookie dough is formed.
- Now transfer the cookie dough to a piping bag or gallon zip-top bag. Snip a half of an inch opening.
- Pipe the cookies onto the prepared baking pans. Once the first pan is piped, you can bake them while continuing to pipe the remaining cookies. The piped dough is about the size of an American dime. I got about 92 cookies per pan on the first two pans and did the remaining cookies on the third pan.
- The dough will start to get warm from the heat of your hand and will get easier to pipe as you go. By the final tray of cookies, the chocolate chips are melting a little, which will make that batch a tad bit darker in color.
- Bake the cookies, one pan at a time for 5-7 minutes. Then remove from the oven and allow to cool completely on the pan. The cookies spread to be about 1 inch in size. I baked mine for 6 minutes and they had a soft bite to them. If you prefer a crunchier cookie, bake for 7 minutes.