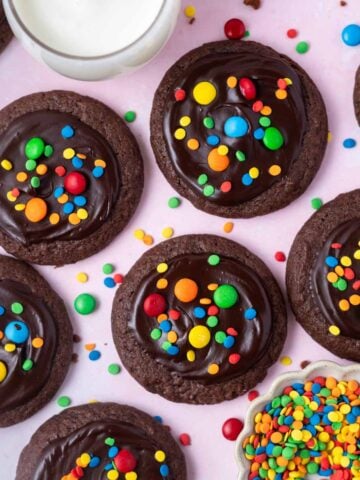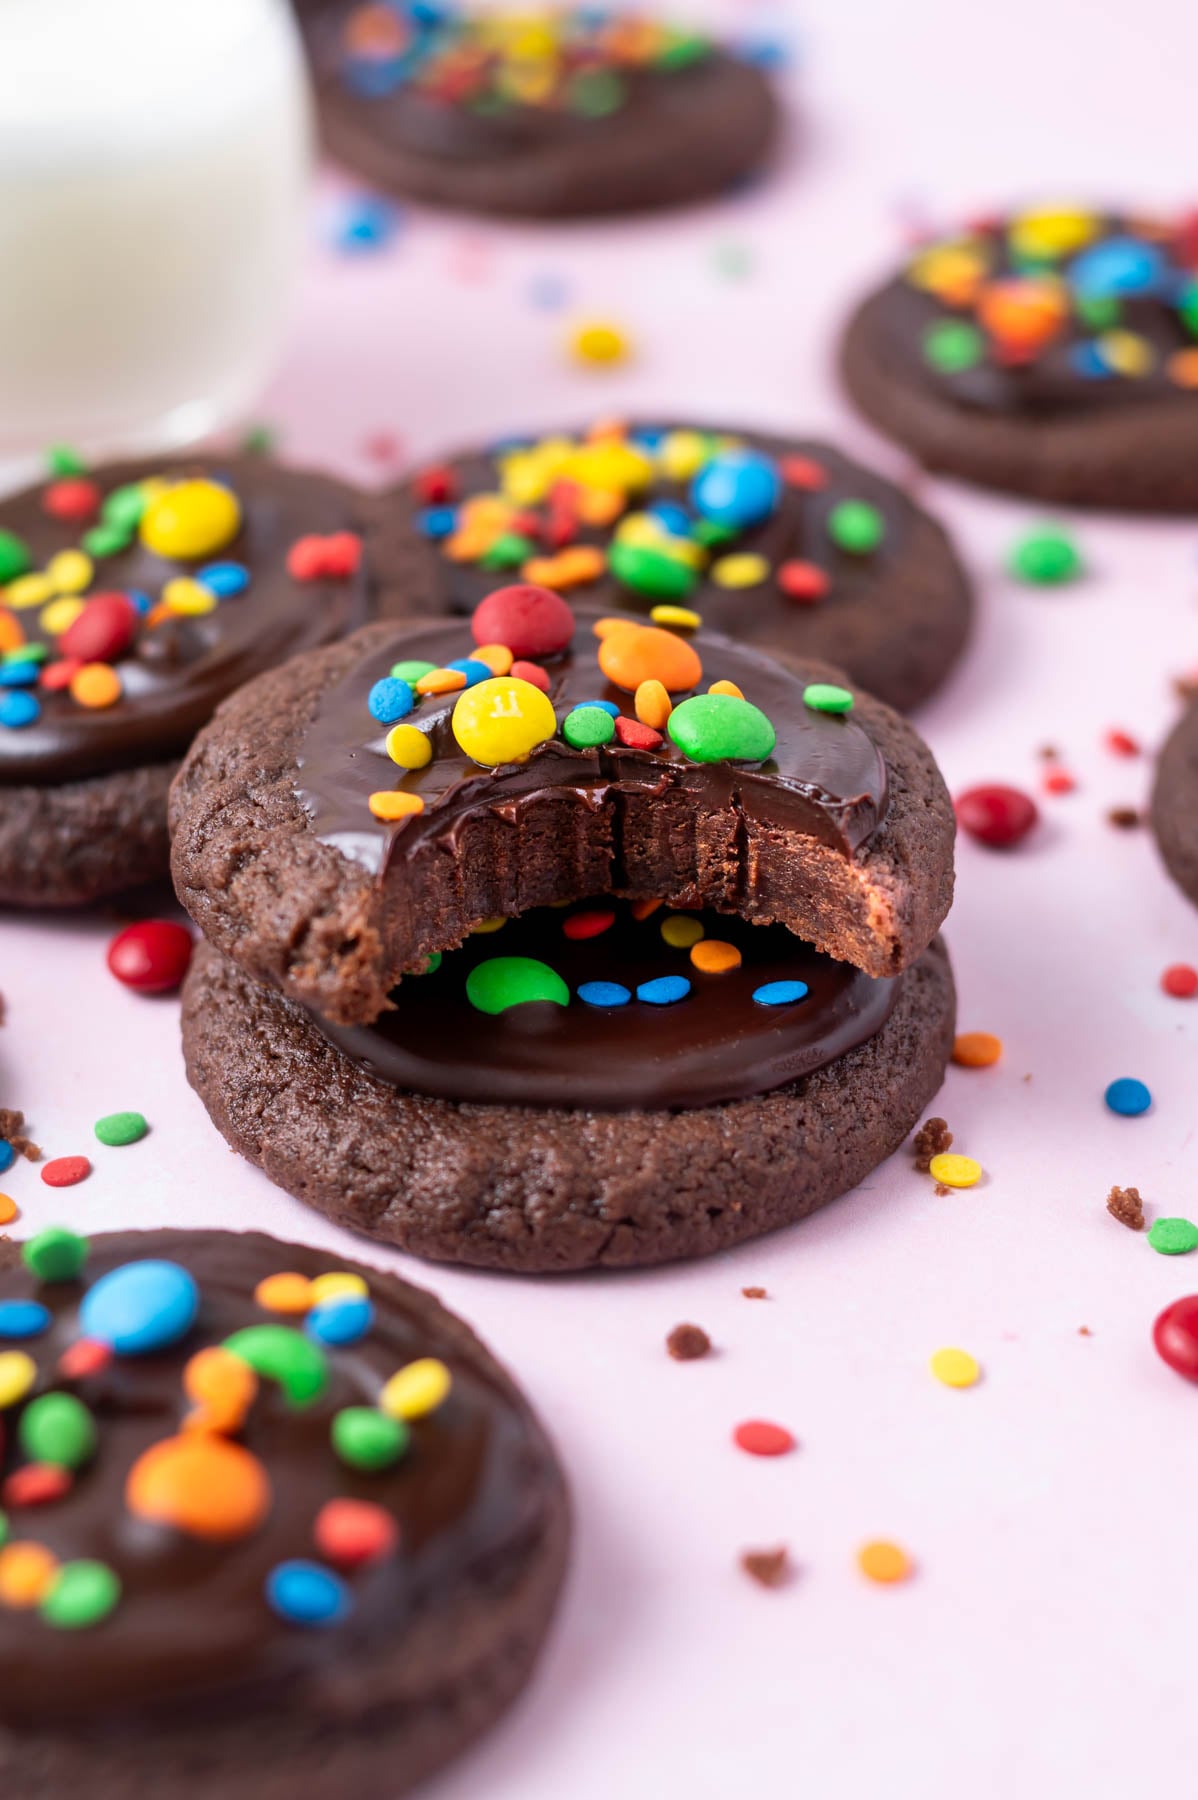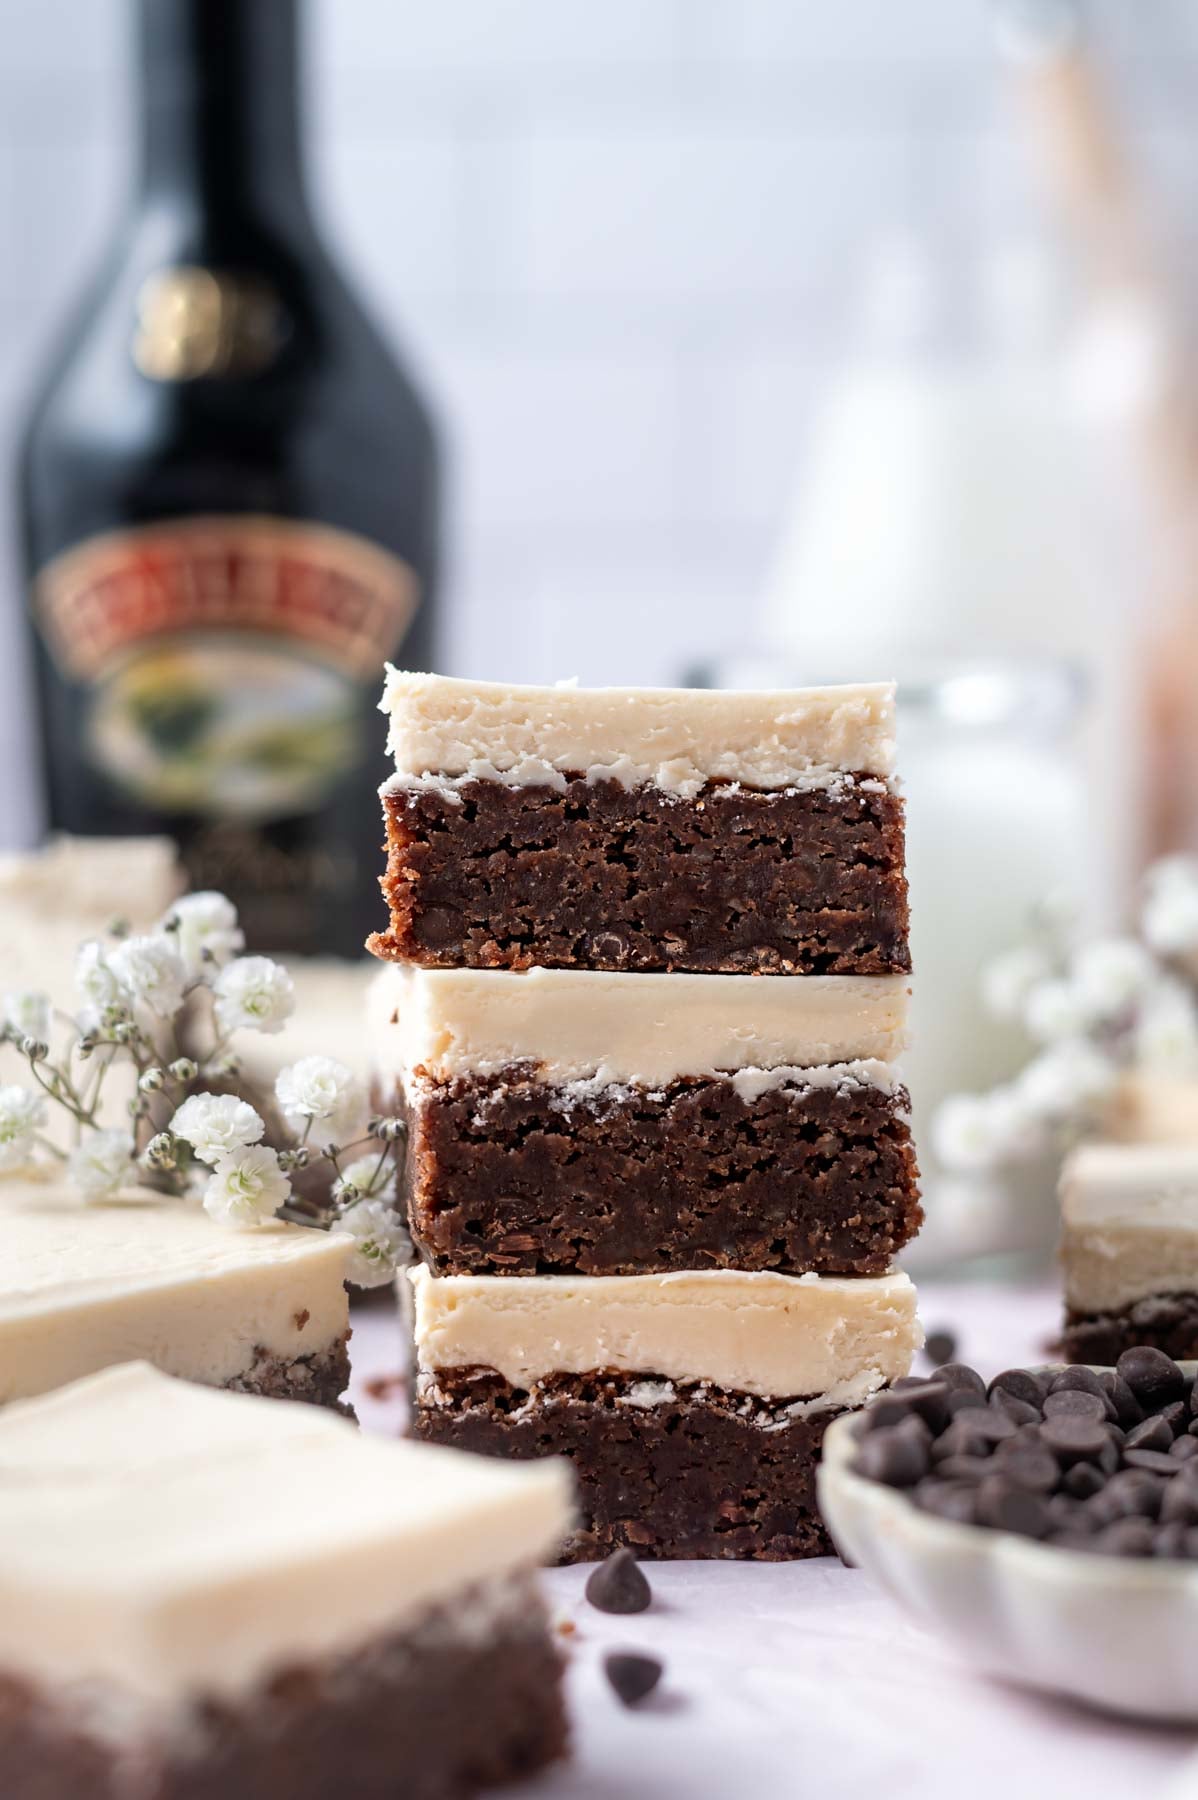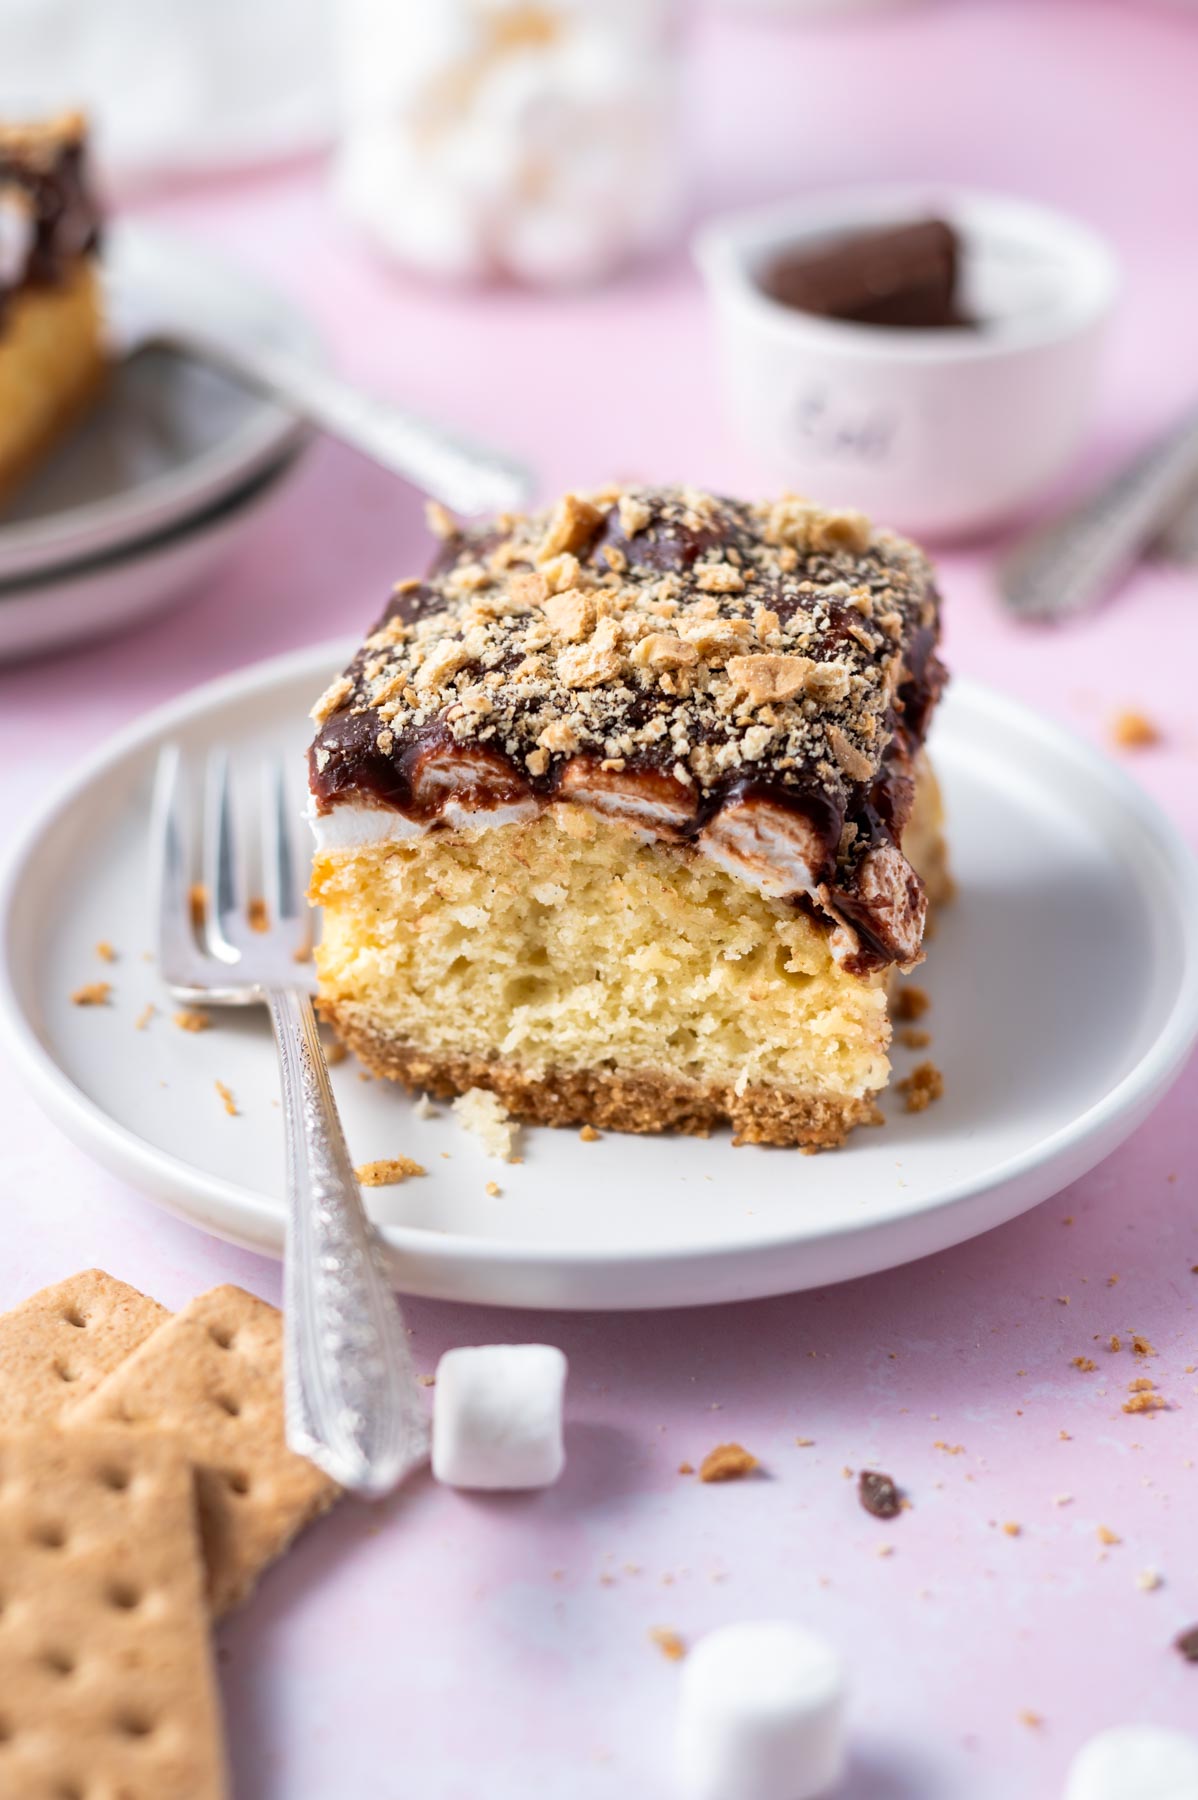
These chunky Kit Kat cookies are loaded with chocolate candy pieces and white chocolate. They are everything you want in a bakery style cookie; thick, soft centers with lightly crisp edges and packed with melty chocolate and crunchy wafer bites. The best part? The easy recipe uses cold ingredients and you don’t have to chill the dough! You will have 24 chunky cookies ready in about 30 minutes.

Disclosure | This post may contain affiliate links. As an Amazon Associate I earn from qualifying purchases.
[feast_advanced_jump_to]As a busy mama and home baker, I am always looking for cookie recipes that are quick and simple to make. Using cold butter and cream cheese keeps the cookies from spreading too much, giving you chunky cookies without the wait! And cold ingredients are ideal when you are busy and didn't plan ahead.
Each bite is stuffed with pieces of Kit Kat candy bar and creamy white chocolate for the ultimate mix of sweetness and crunch. And like my biscoff chocolate chip cookies people may not believe they are homemade.

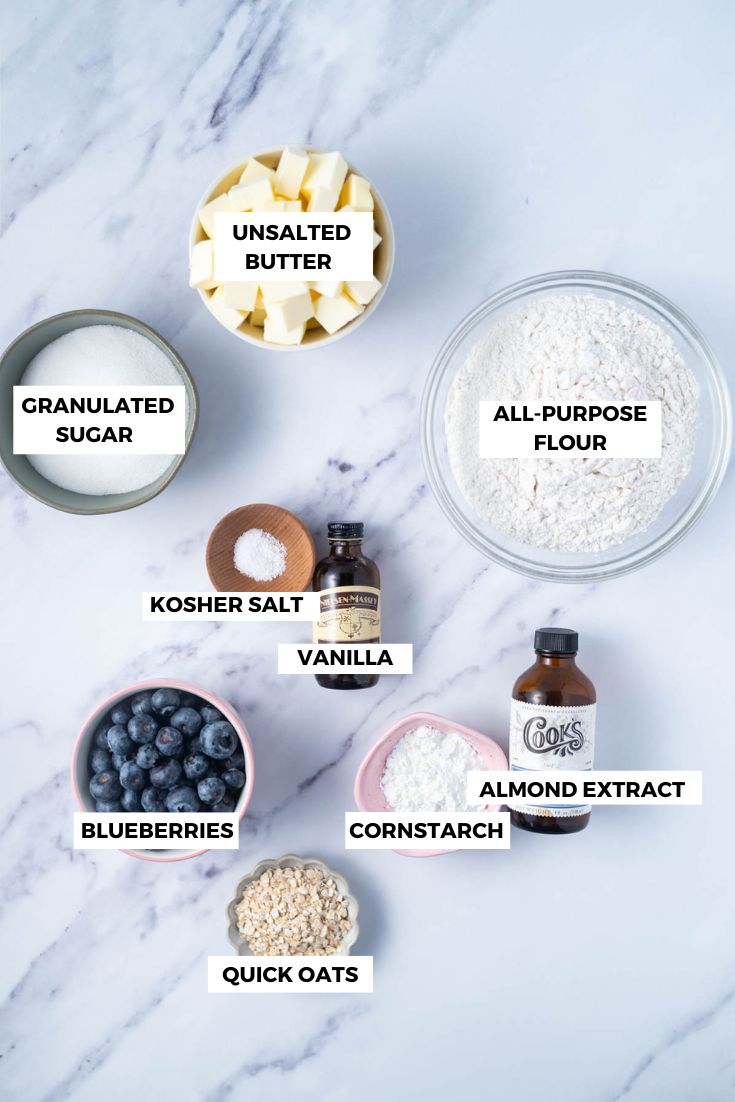
🍫 ingredient notes
I tested this cookie recipe a few times to keep them easy to make while looking like they came from a bakery. The combination of Kit Kat bars with white chocolate creates thick, soft, flavorful cookies. With melty chocolate pockets and crunchy wafer bits in each bite.
Since you're busy, it was important to keep the prep time quick and to eliminate the need for chilling in the refrigerator. I added an egg yolk to the cookie dough to bring an extra chewy texture. And the cream cheese adds to the softness of the cookies, but doesn't impart any tangy flavor.
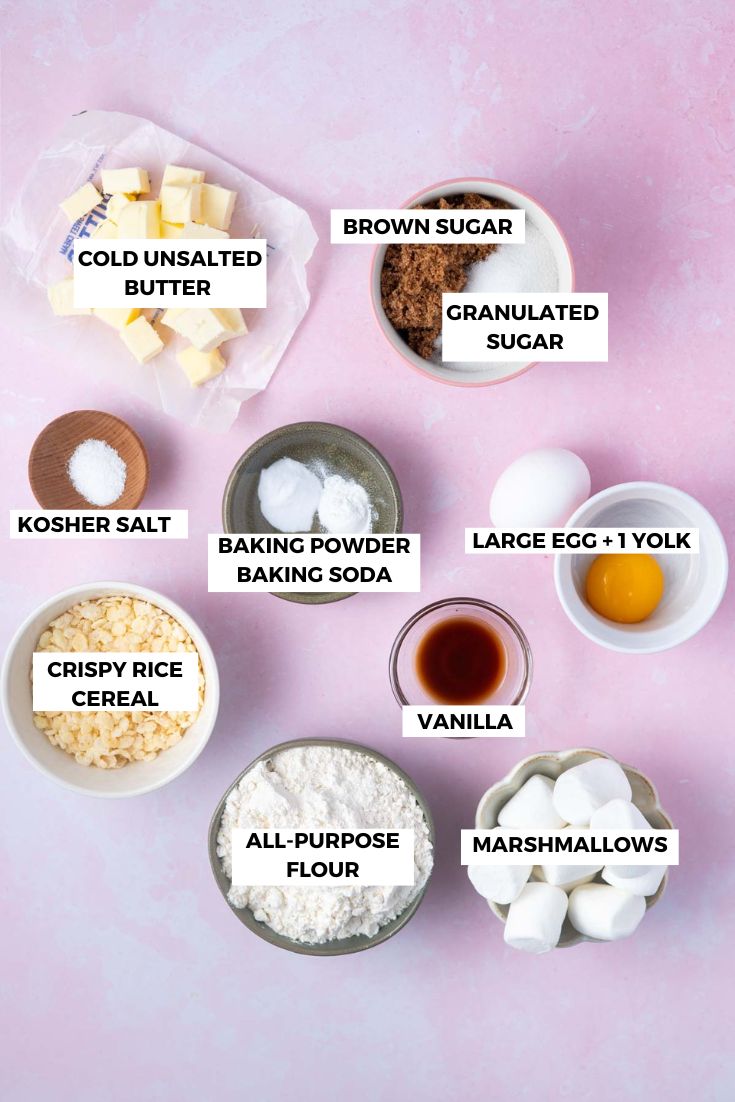
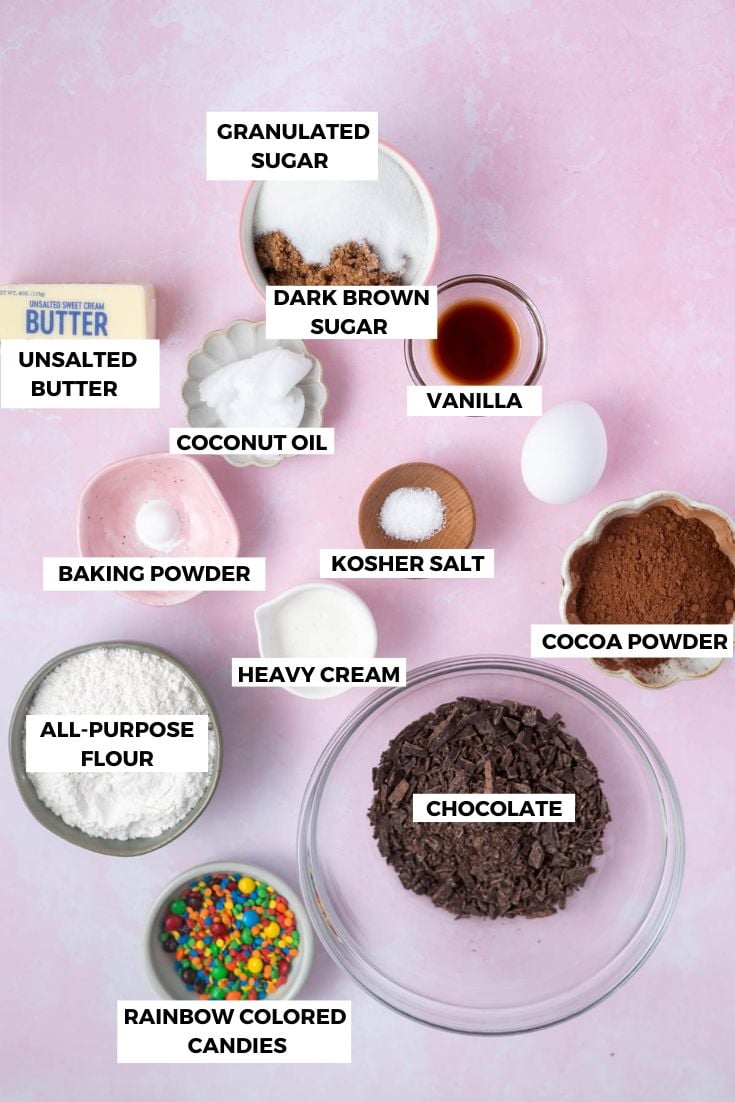
Please scroll to the printable recipe card at the end of this post for the full list of ingredients and baking directions.
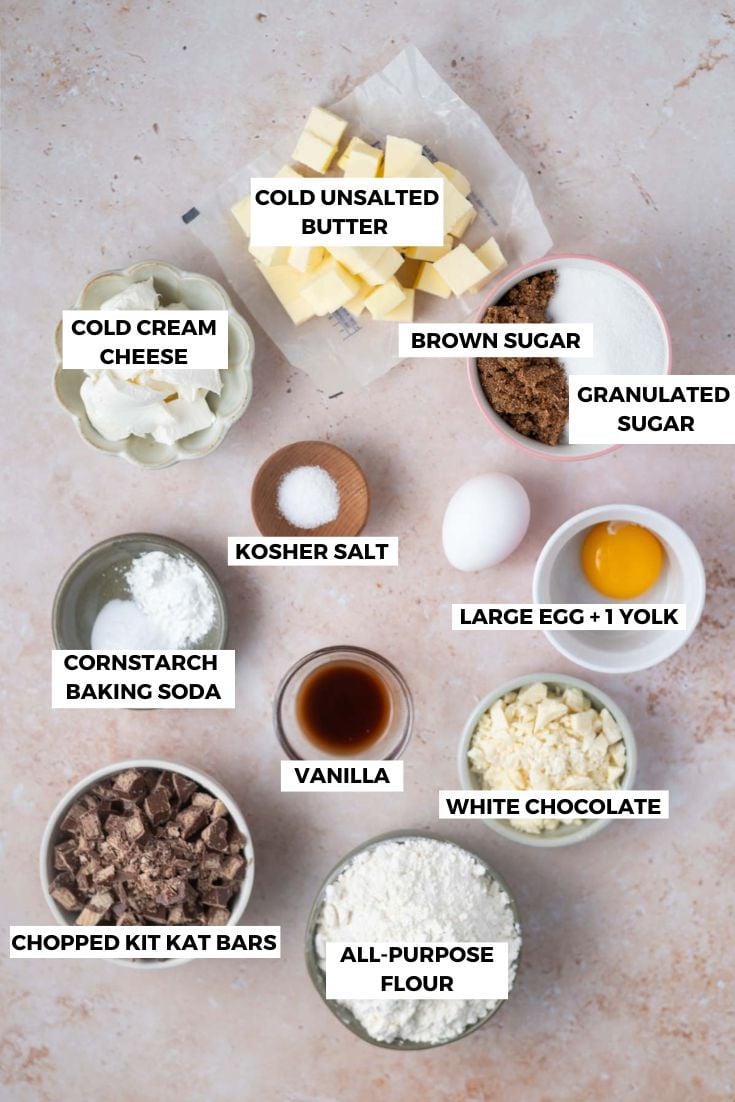
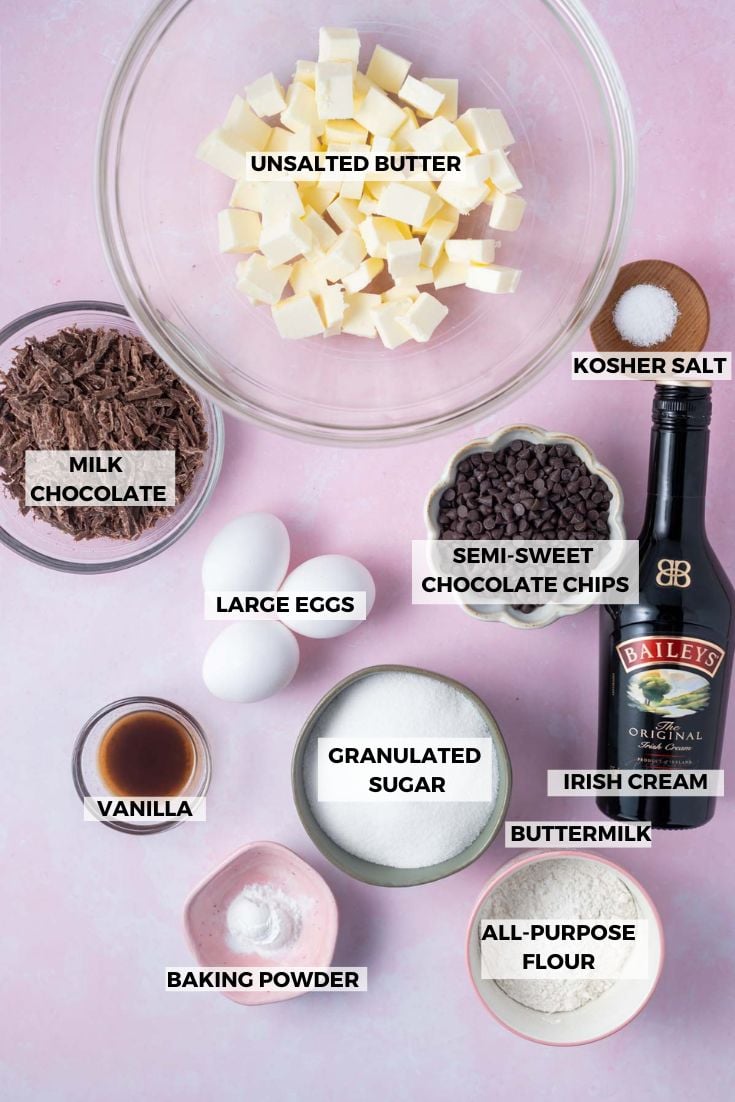
Cream cheese ~ use COLD block cream cheese, cut into cubes. Full fat cream cheese is going to give you the best results.
Kit Kat bars ~ I give you weight measurements, so you can use regular size, king size or fun size bars; just add up the weights to get the right amount.
White chocolate ~ use a chopped white chocolate bar to get melty pools of chocolate in the baked cookies. You can find white chocolate bars in the baking section.
🥣 how to make
Preheat the oven to 350°F (177°C) and prepare two baking sheets with parchment paper or silicone baking mats.
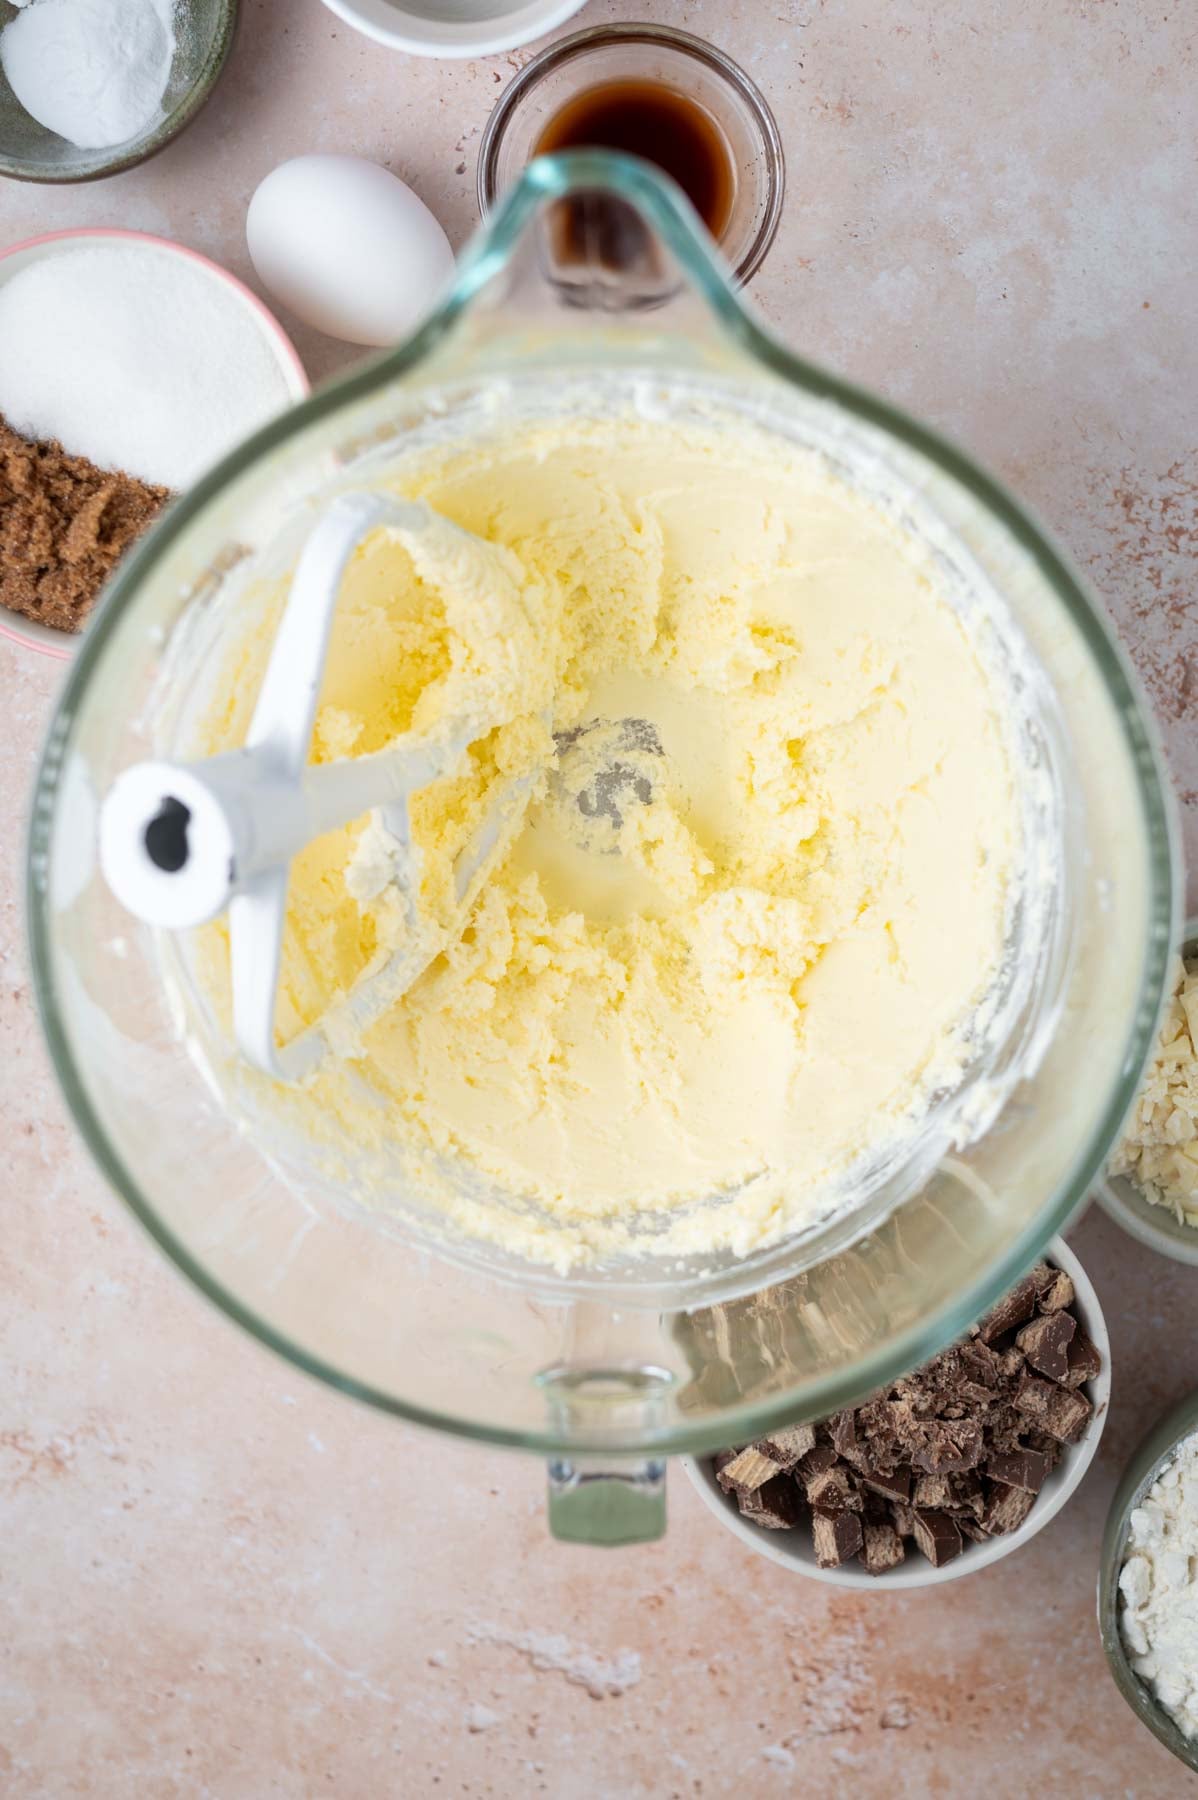
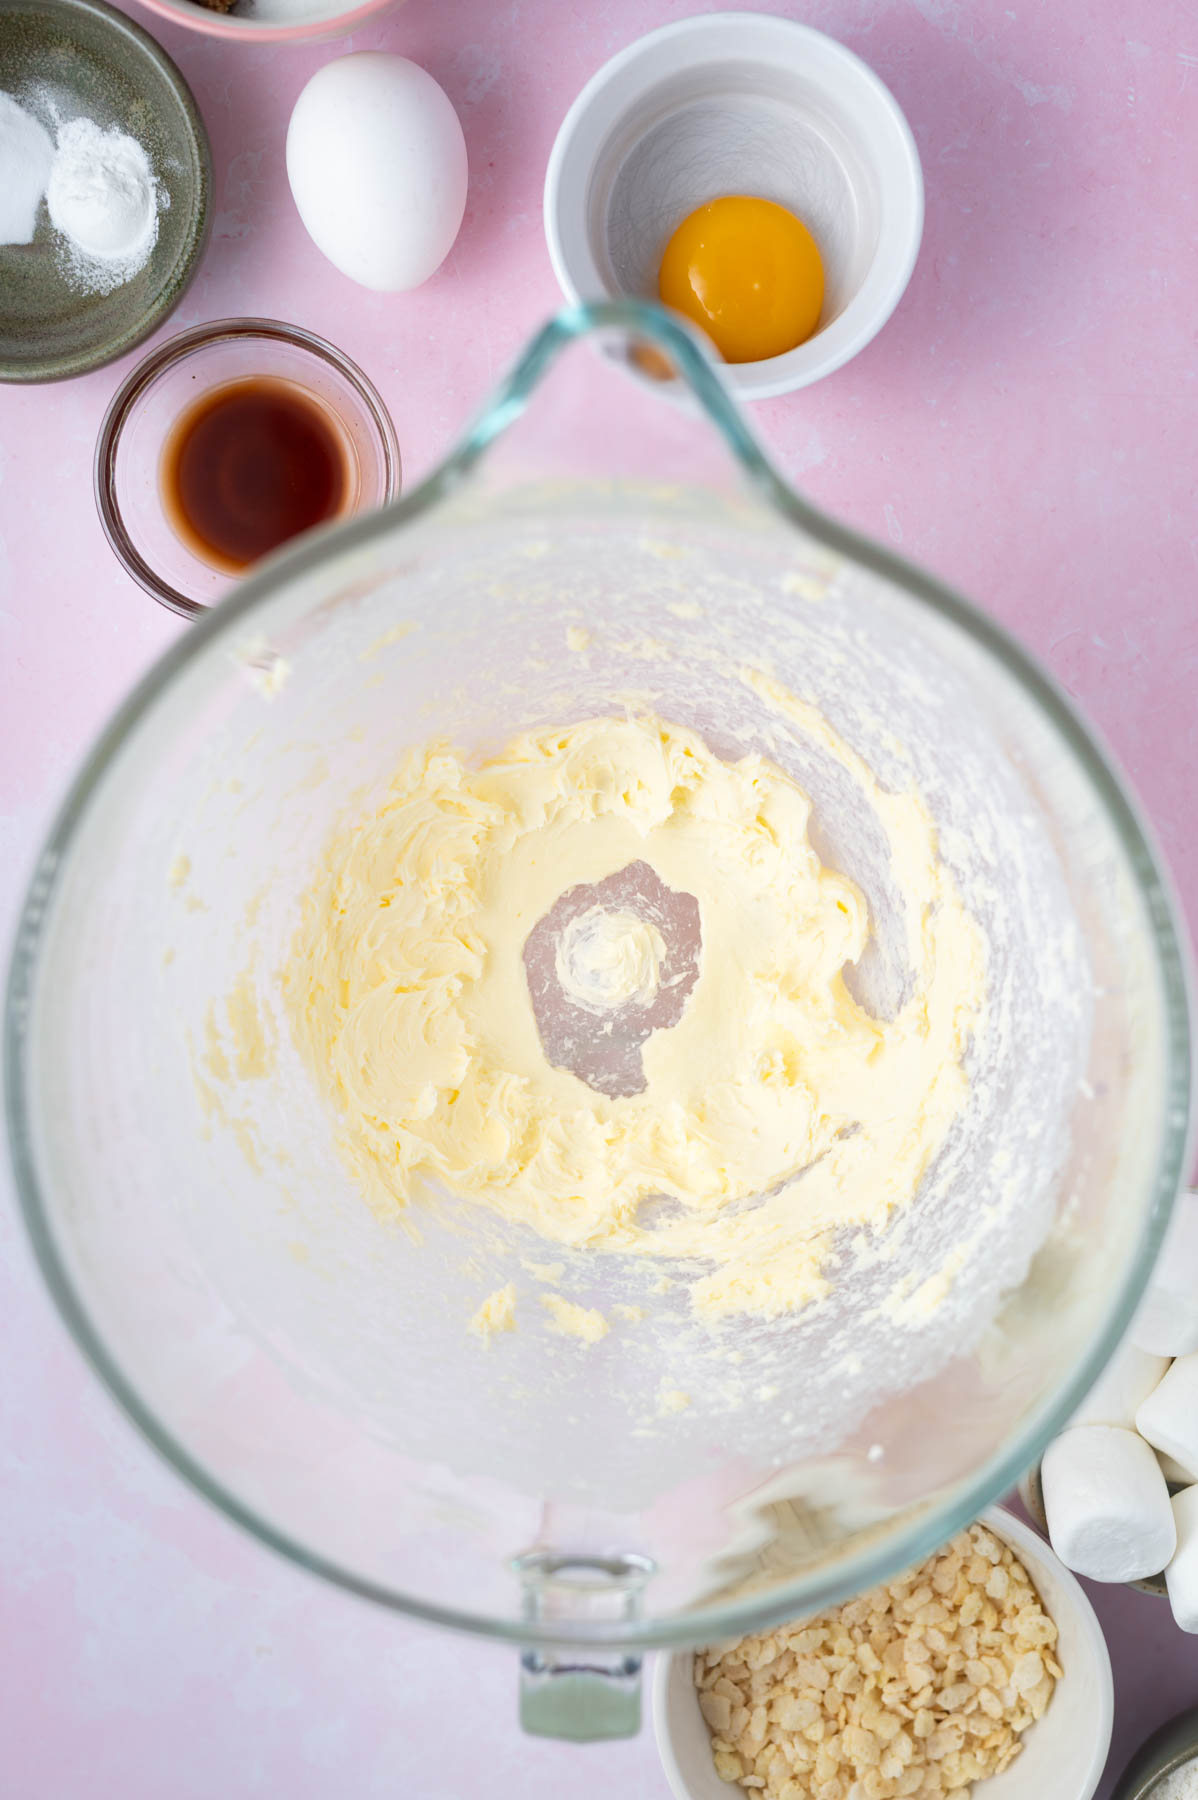
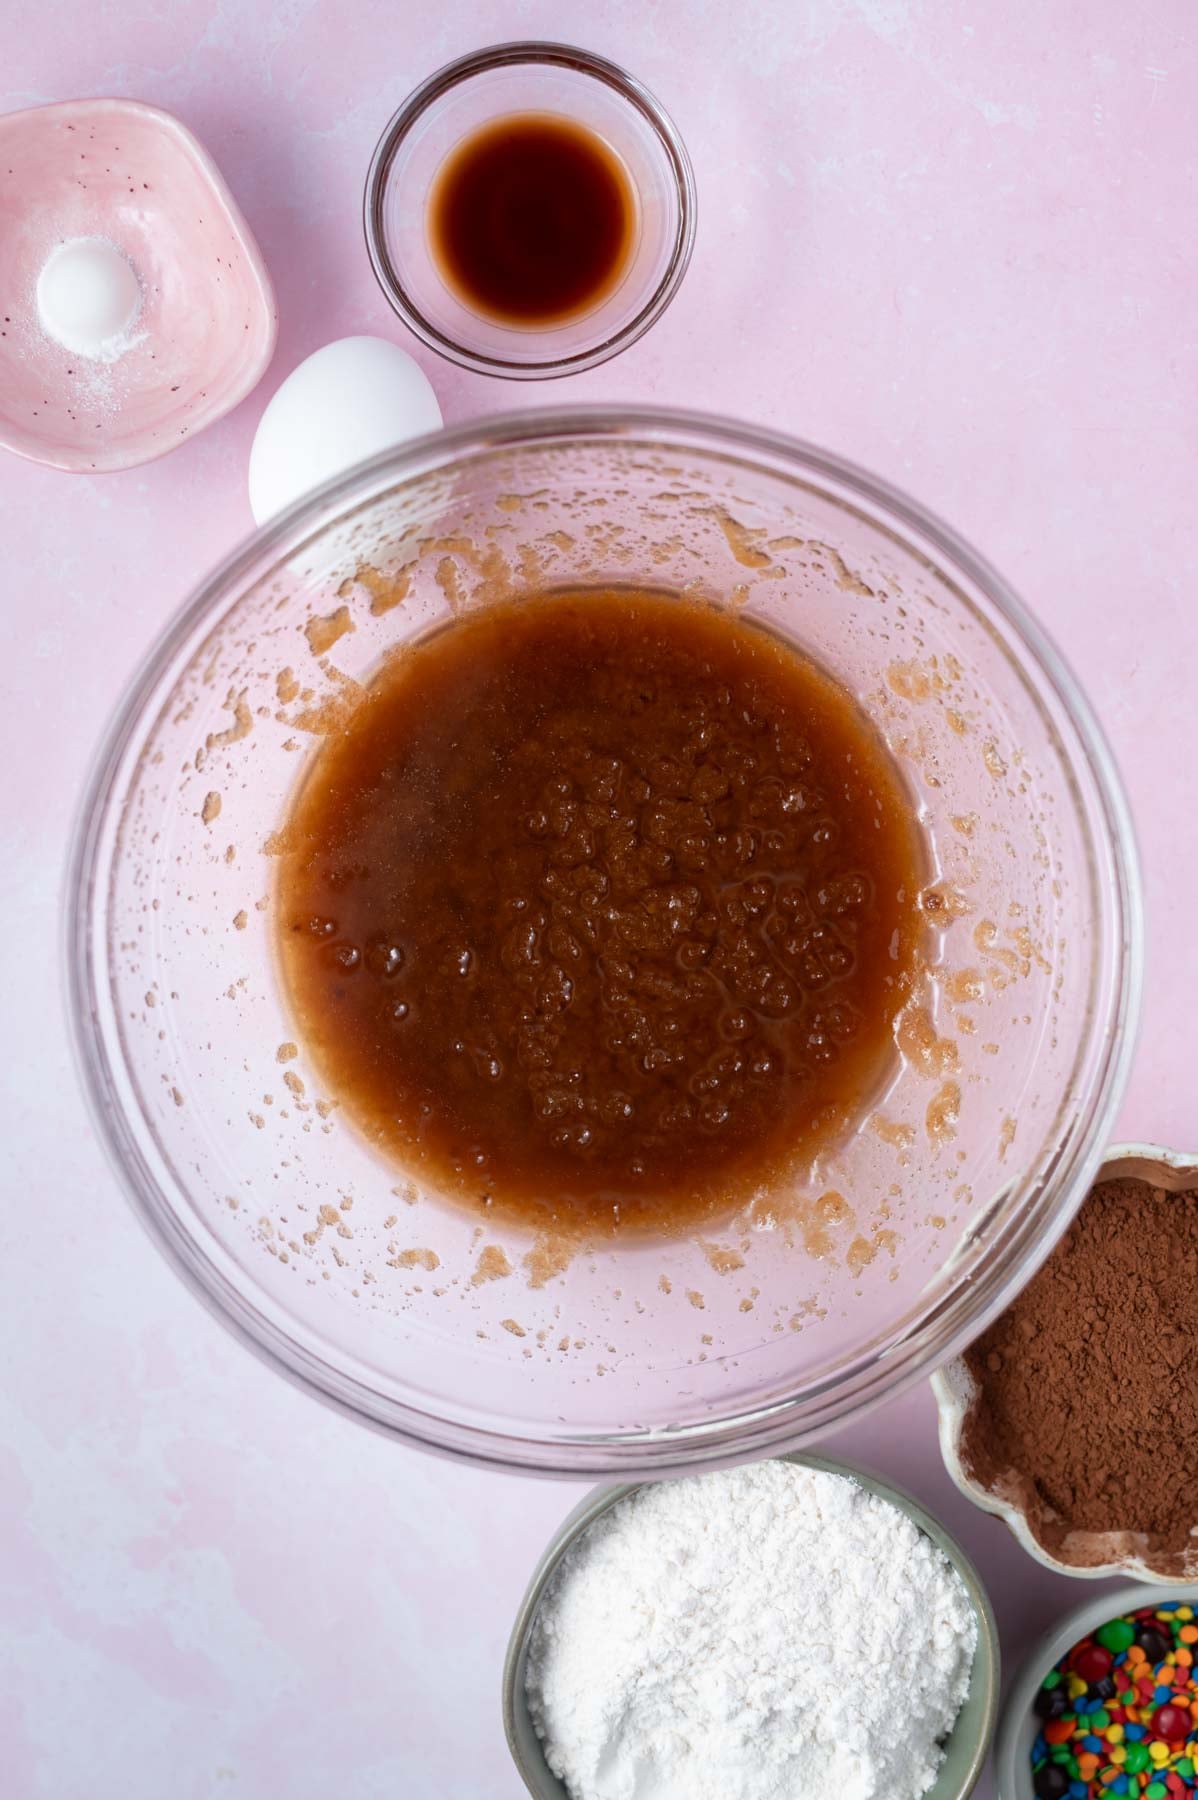
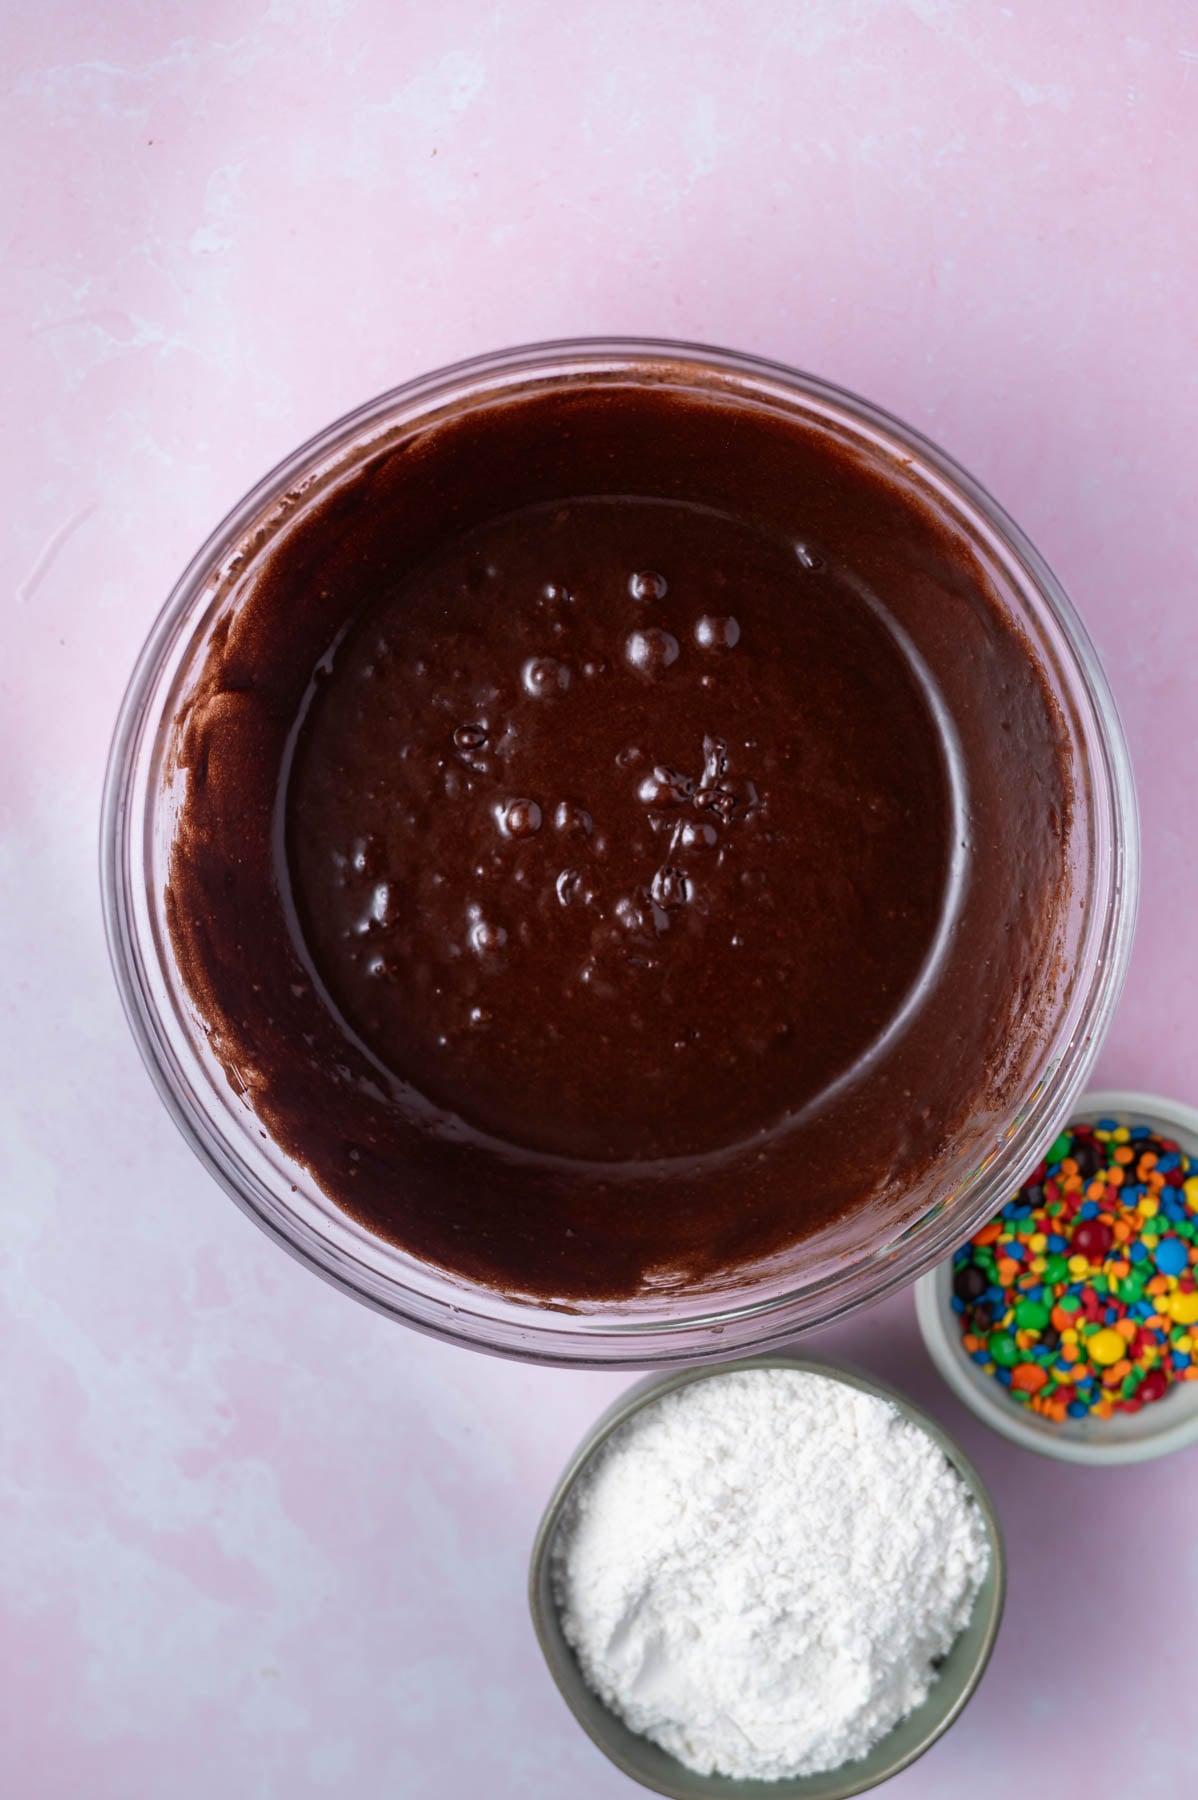
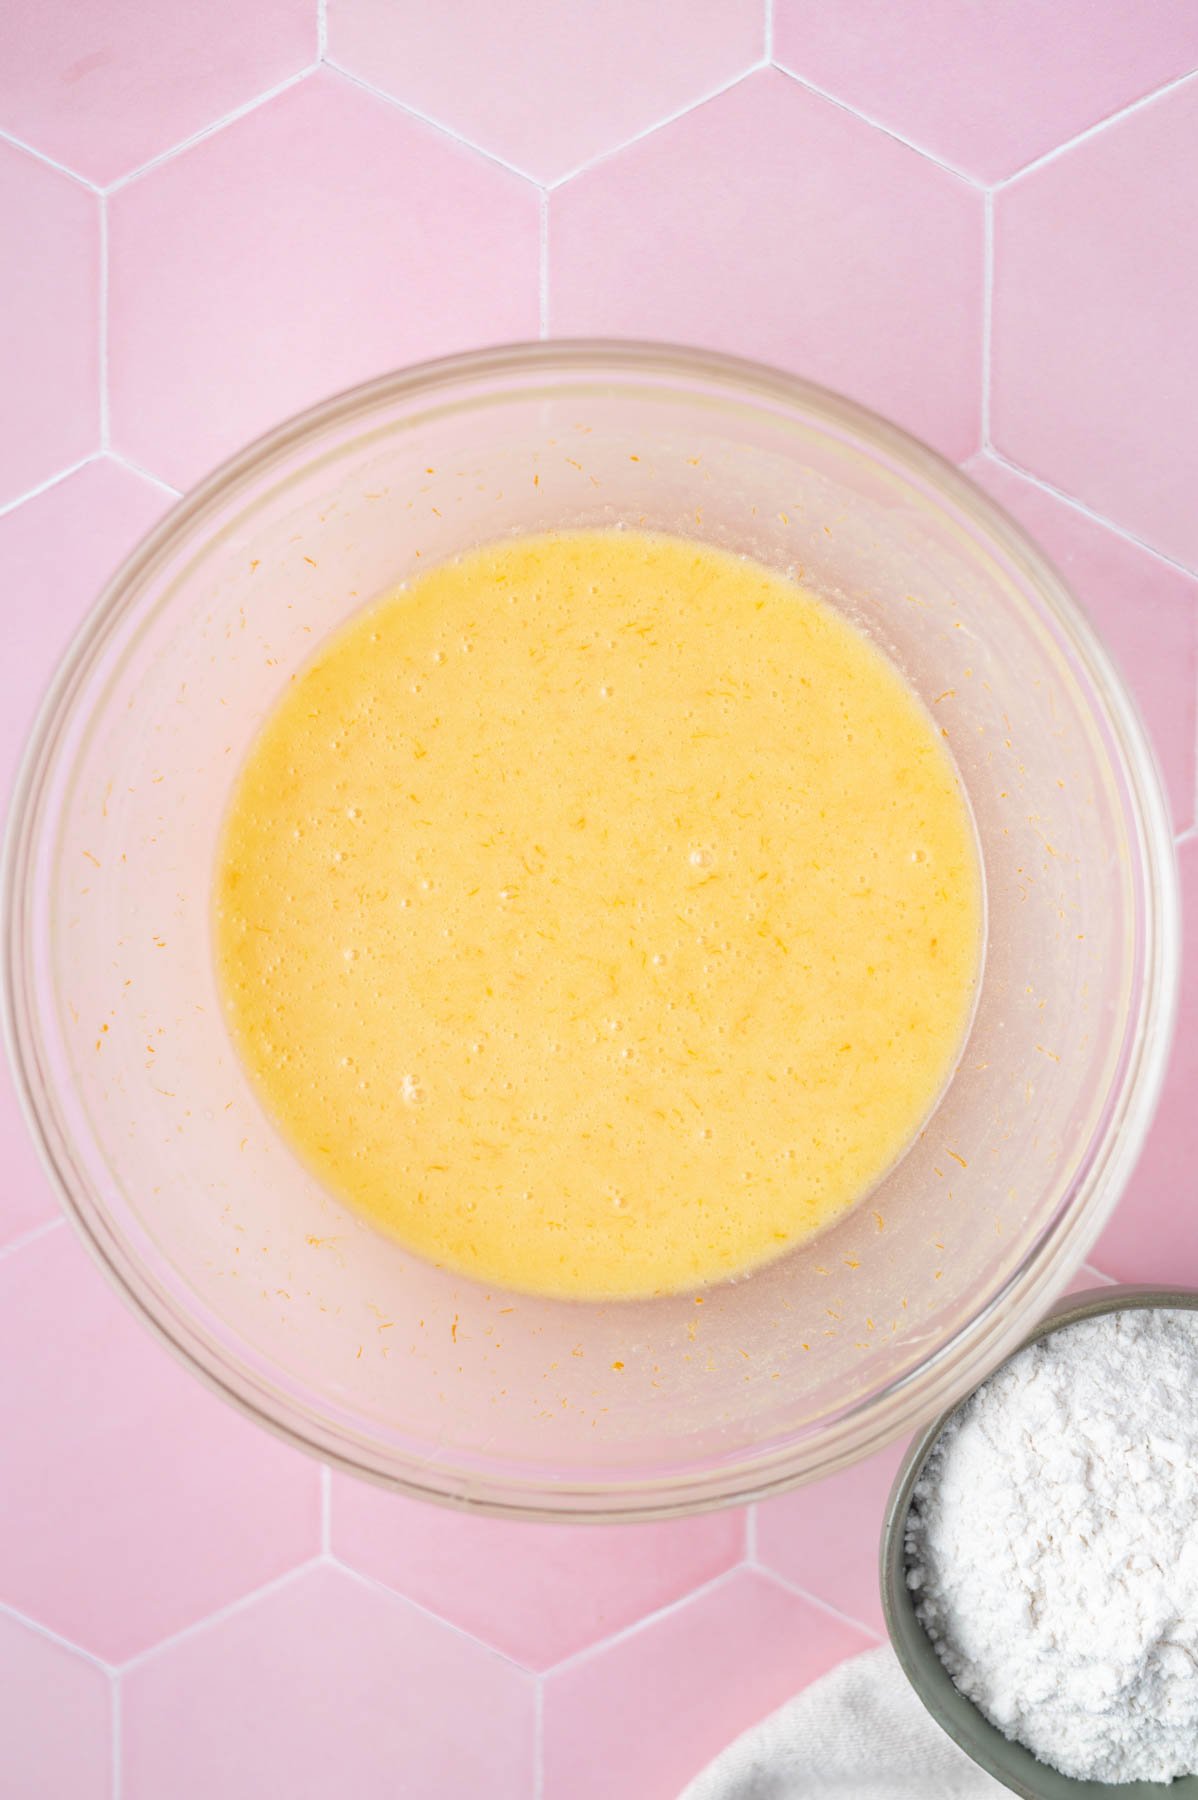
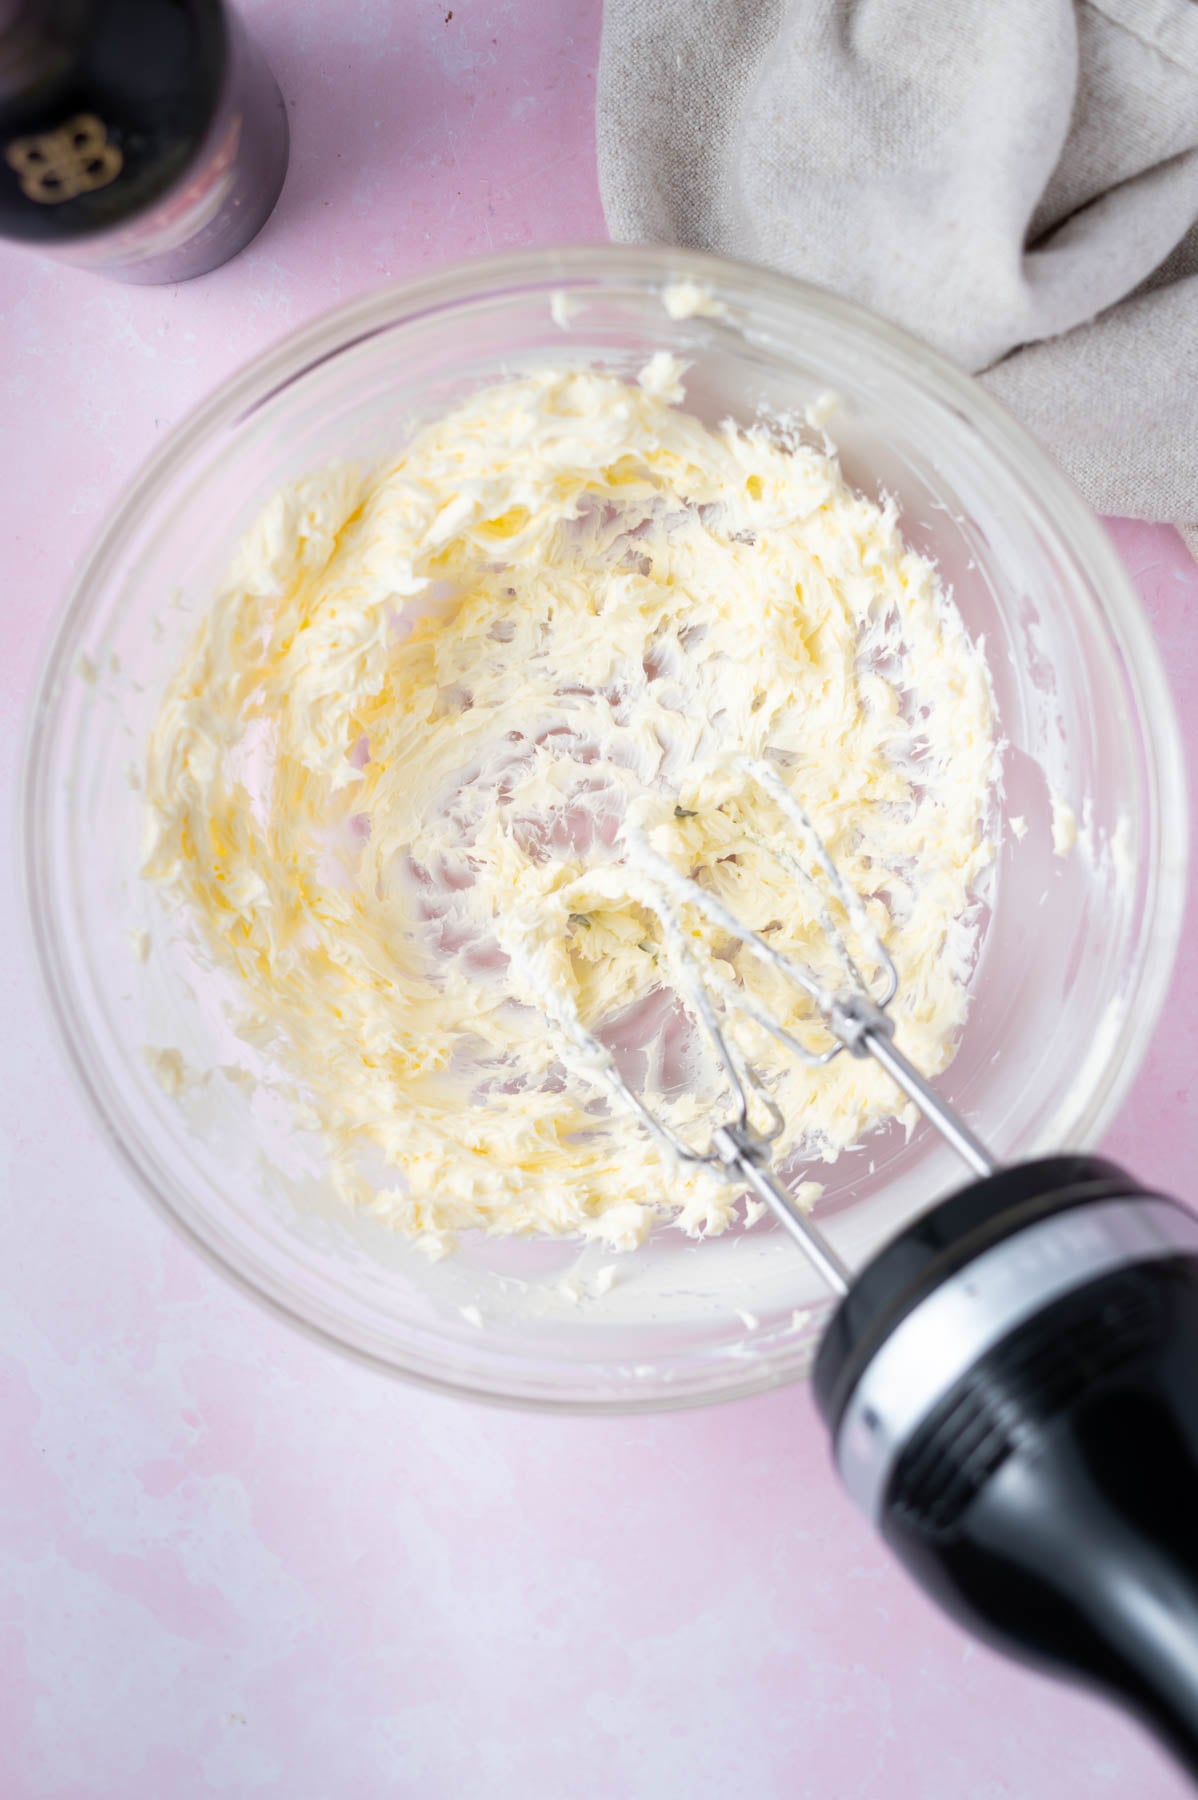
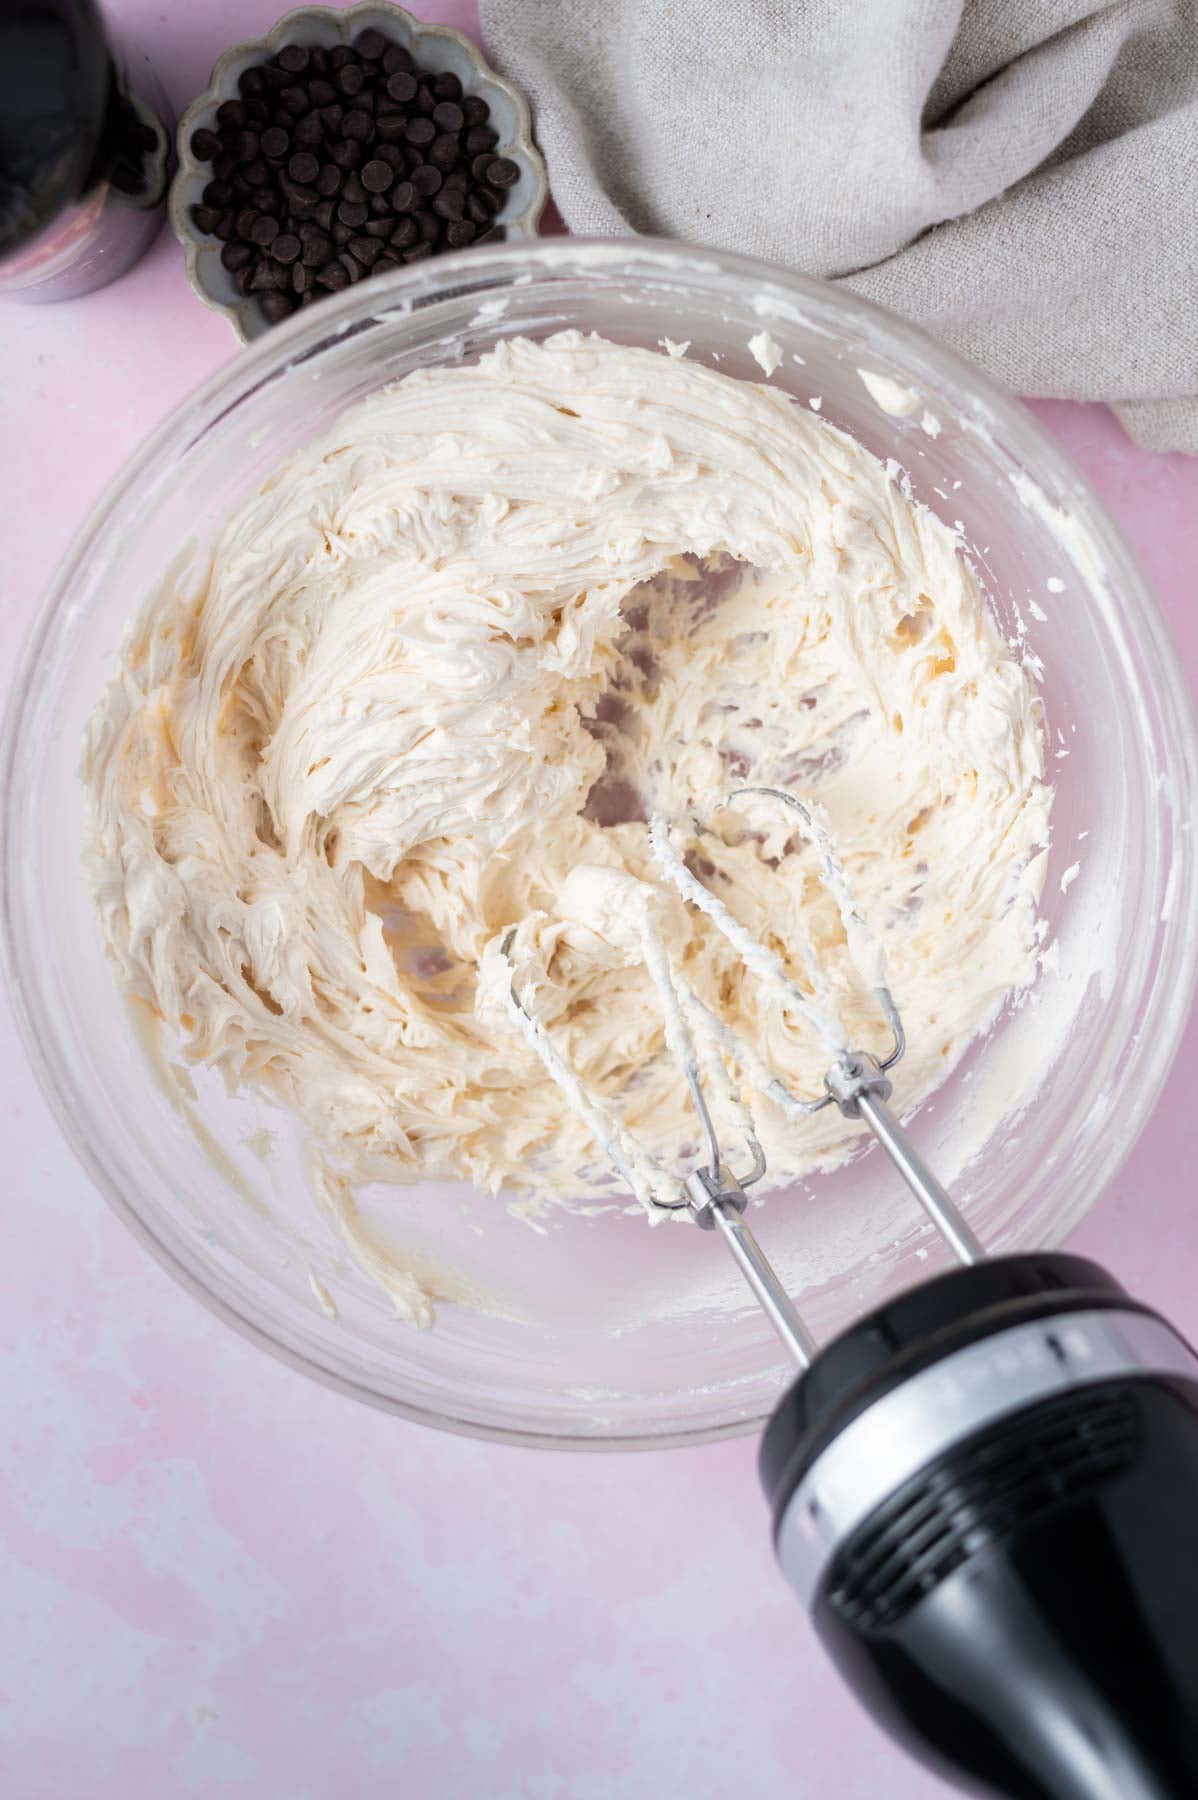
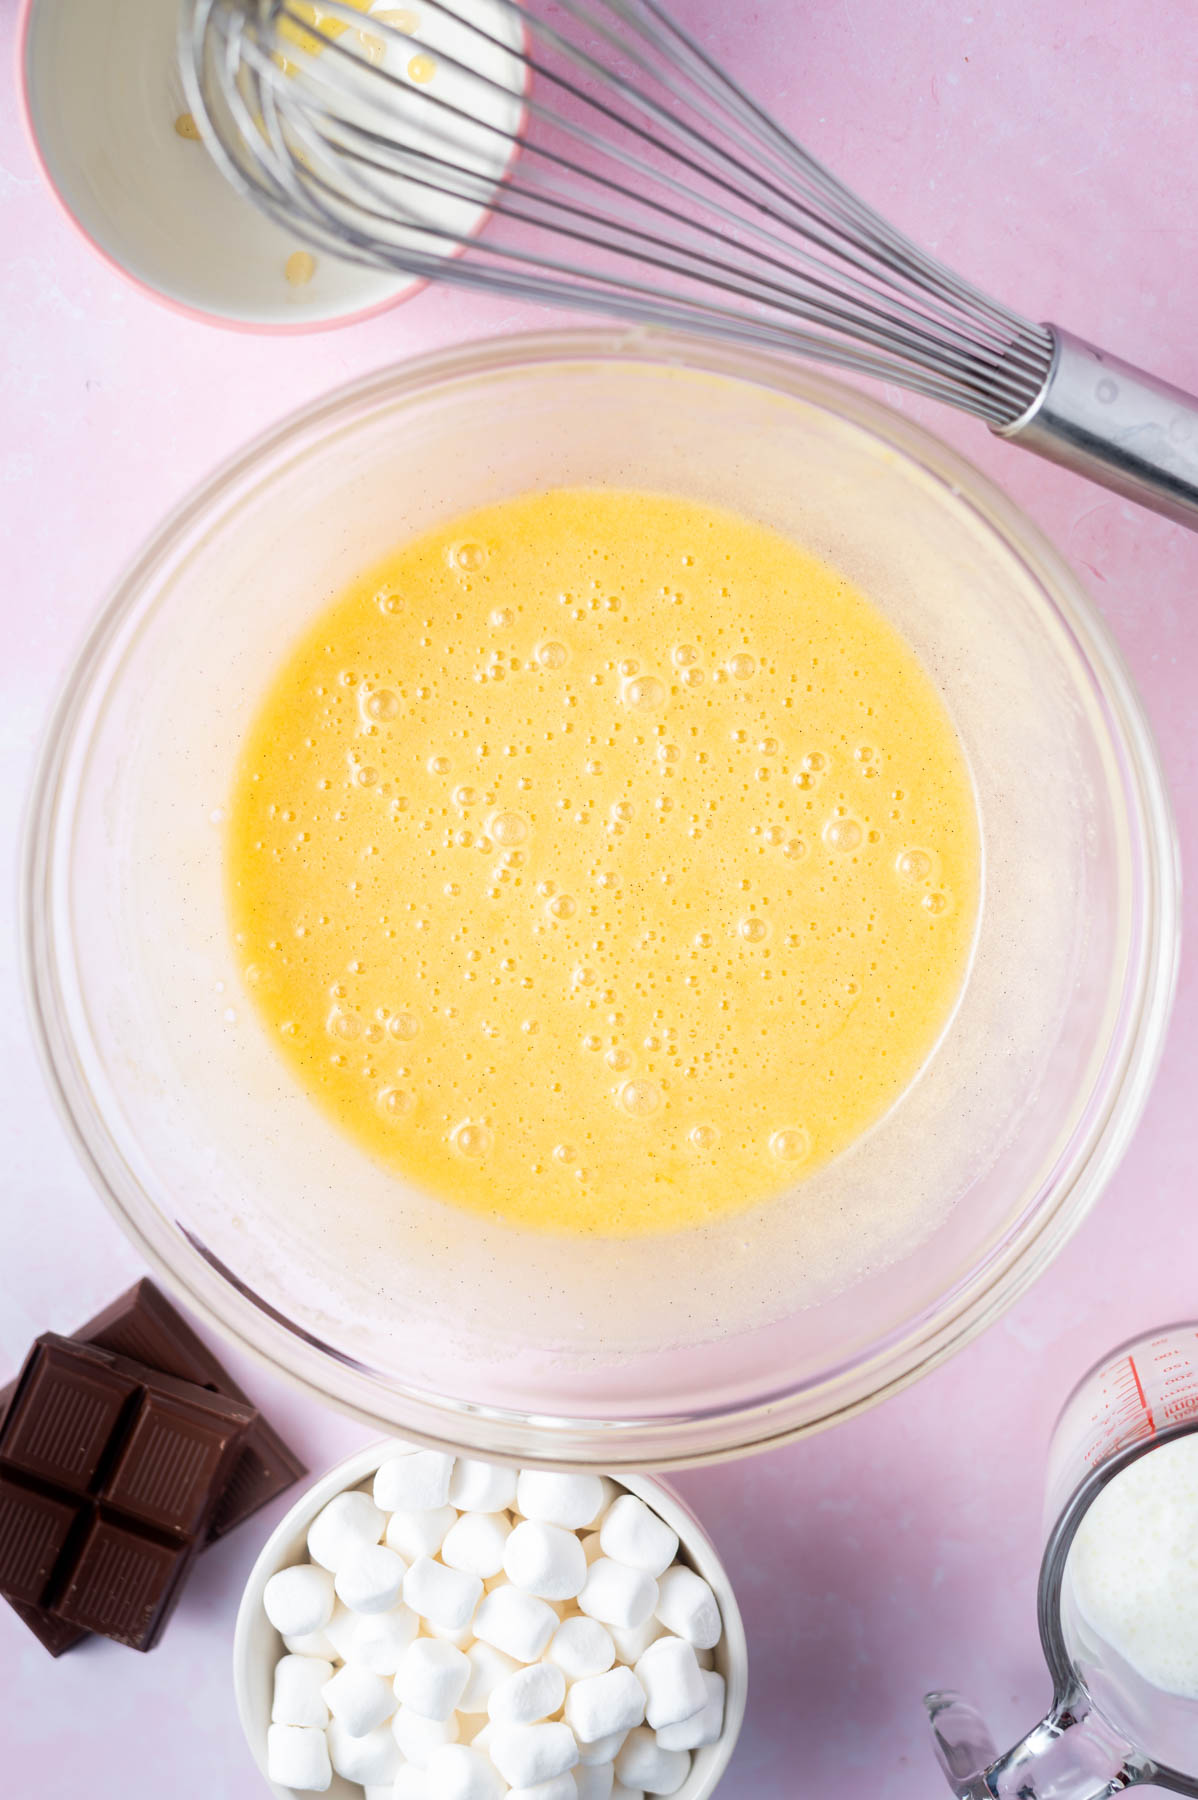
In a stand mixer with the paddle attachment, beat the cold butter, cold cream cheese and kosher salt on medium-high until softened.
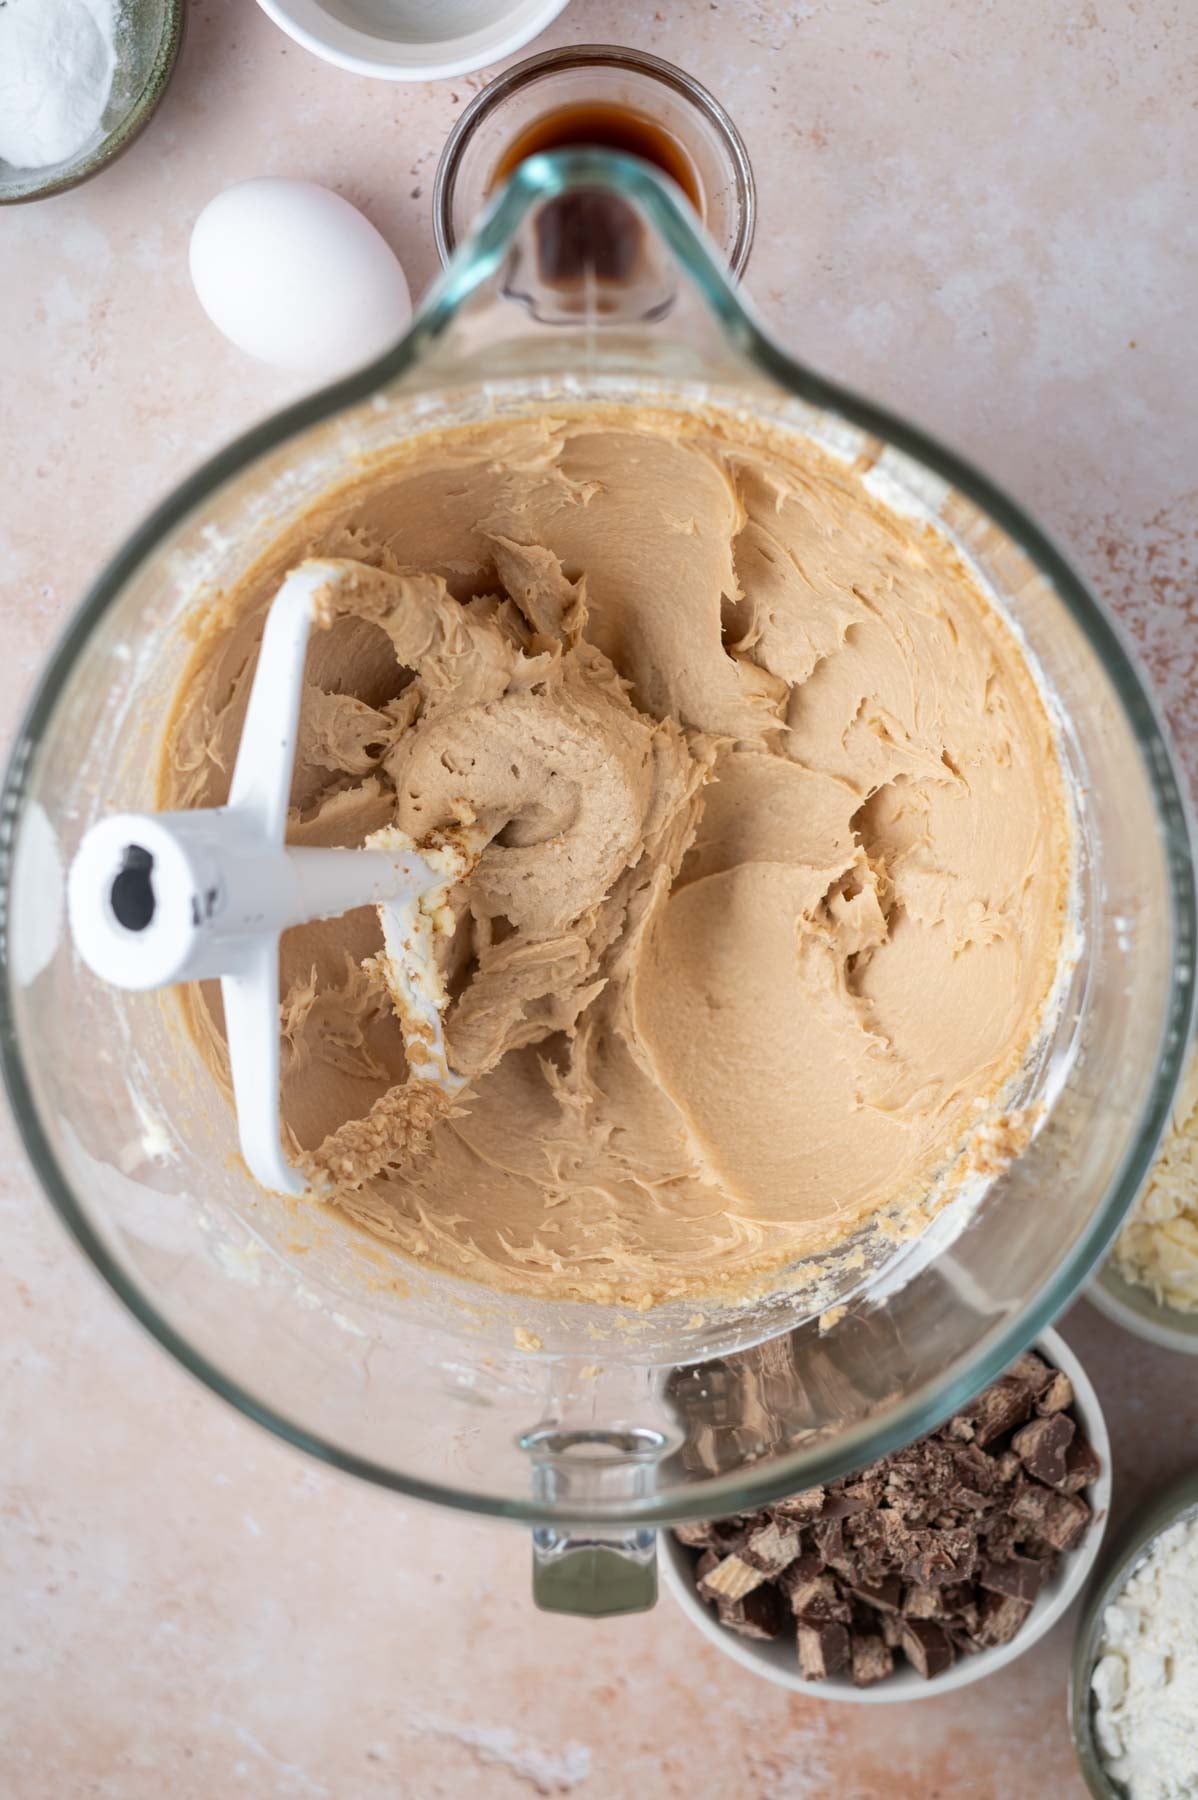
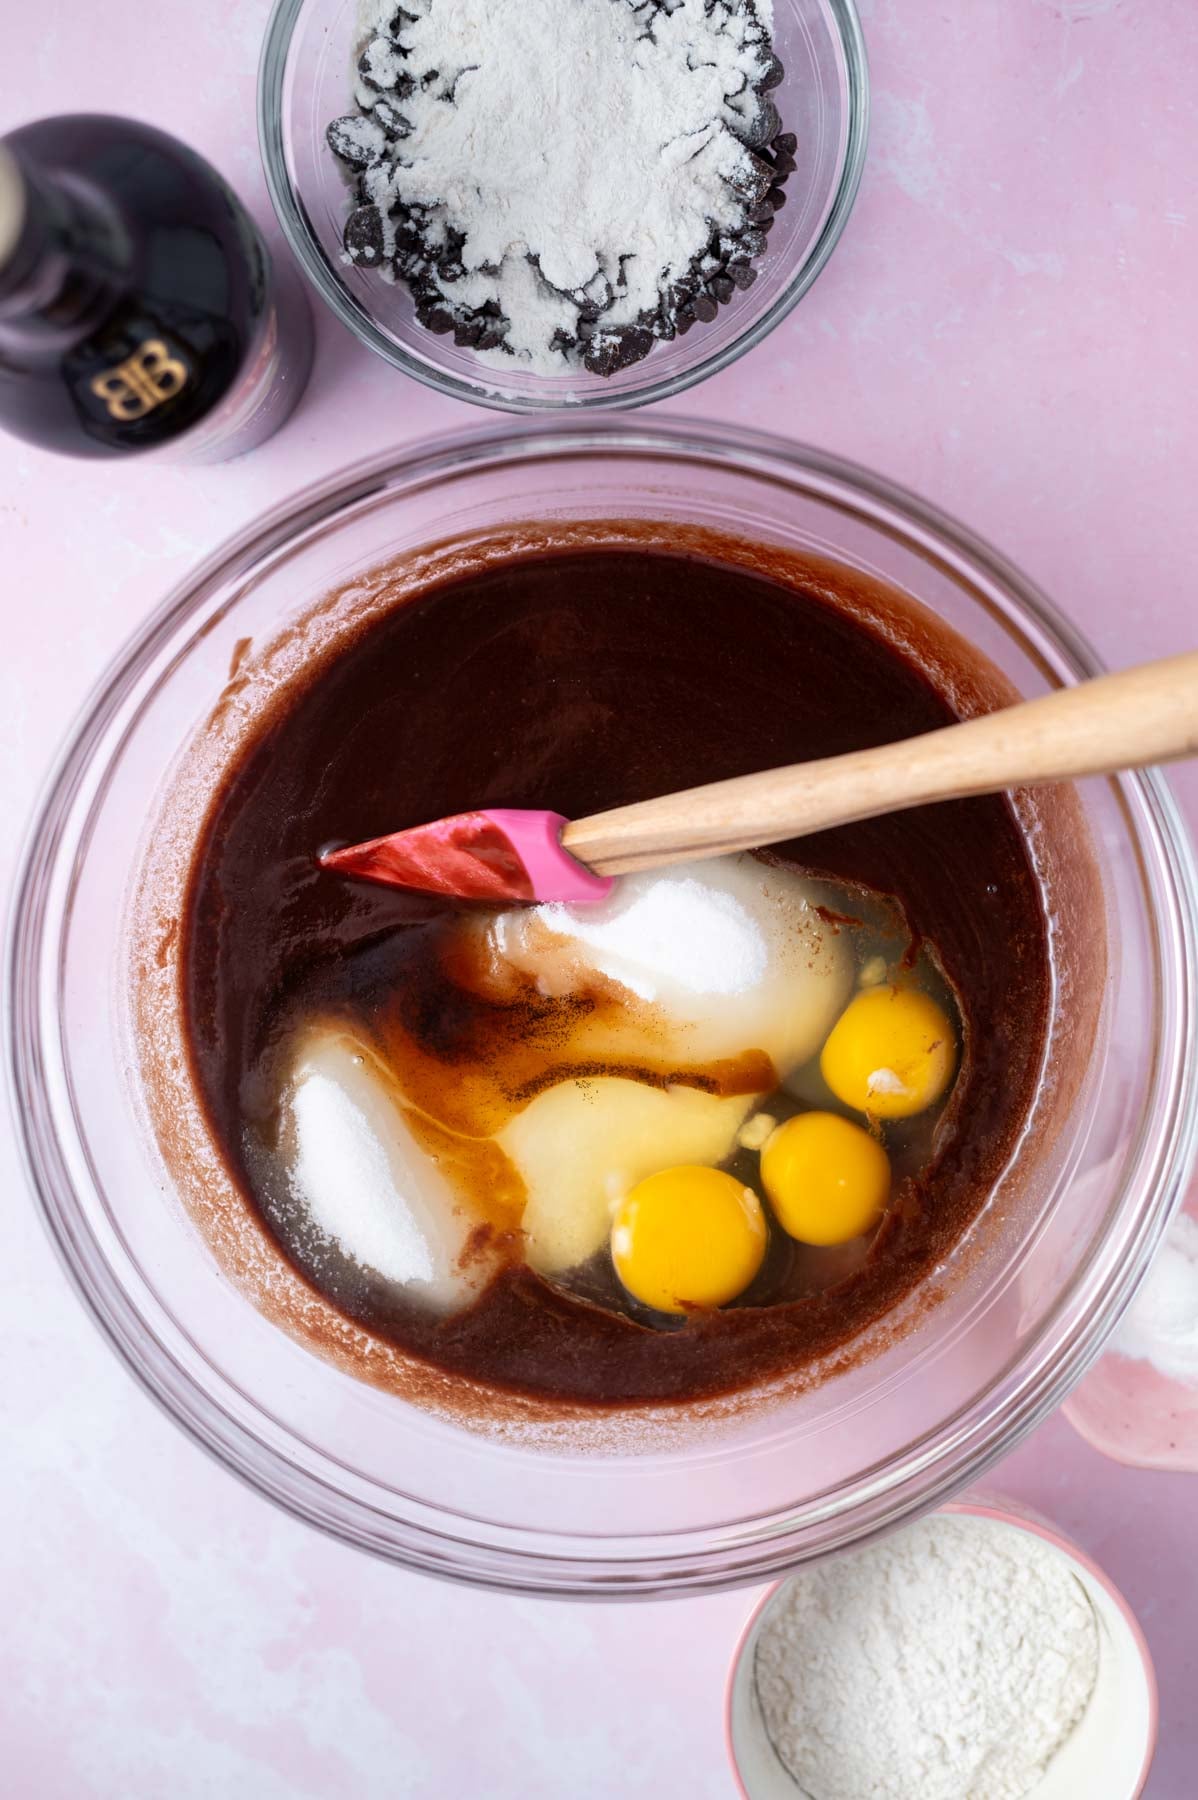
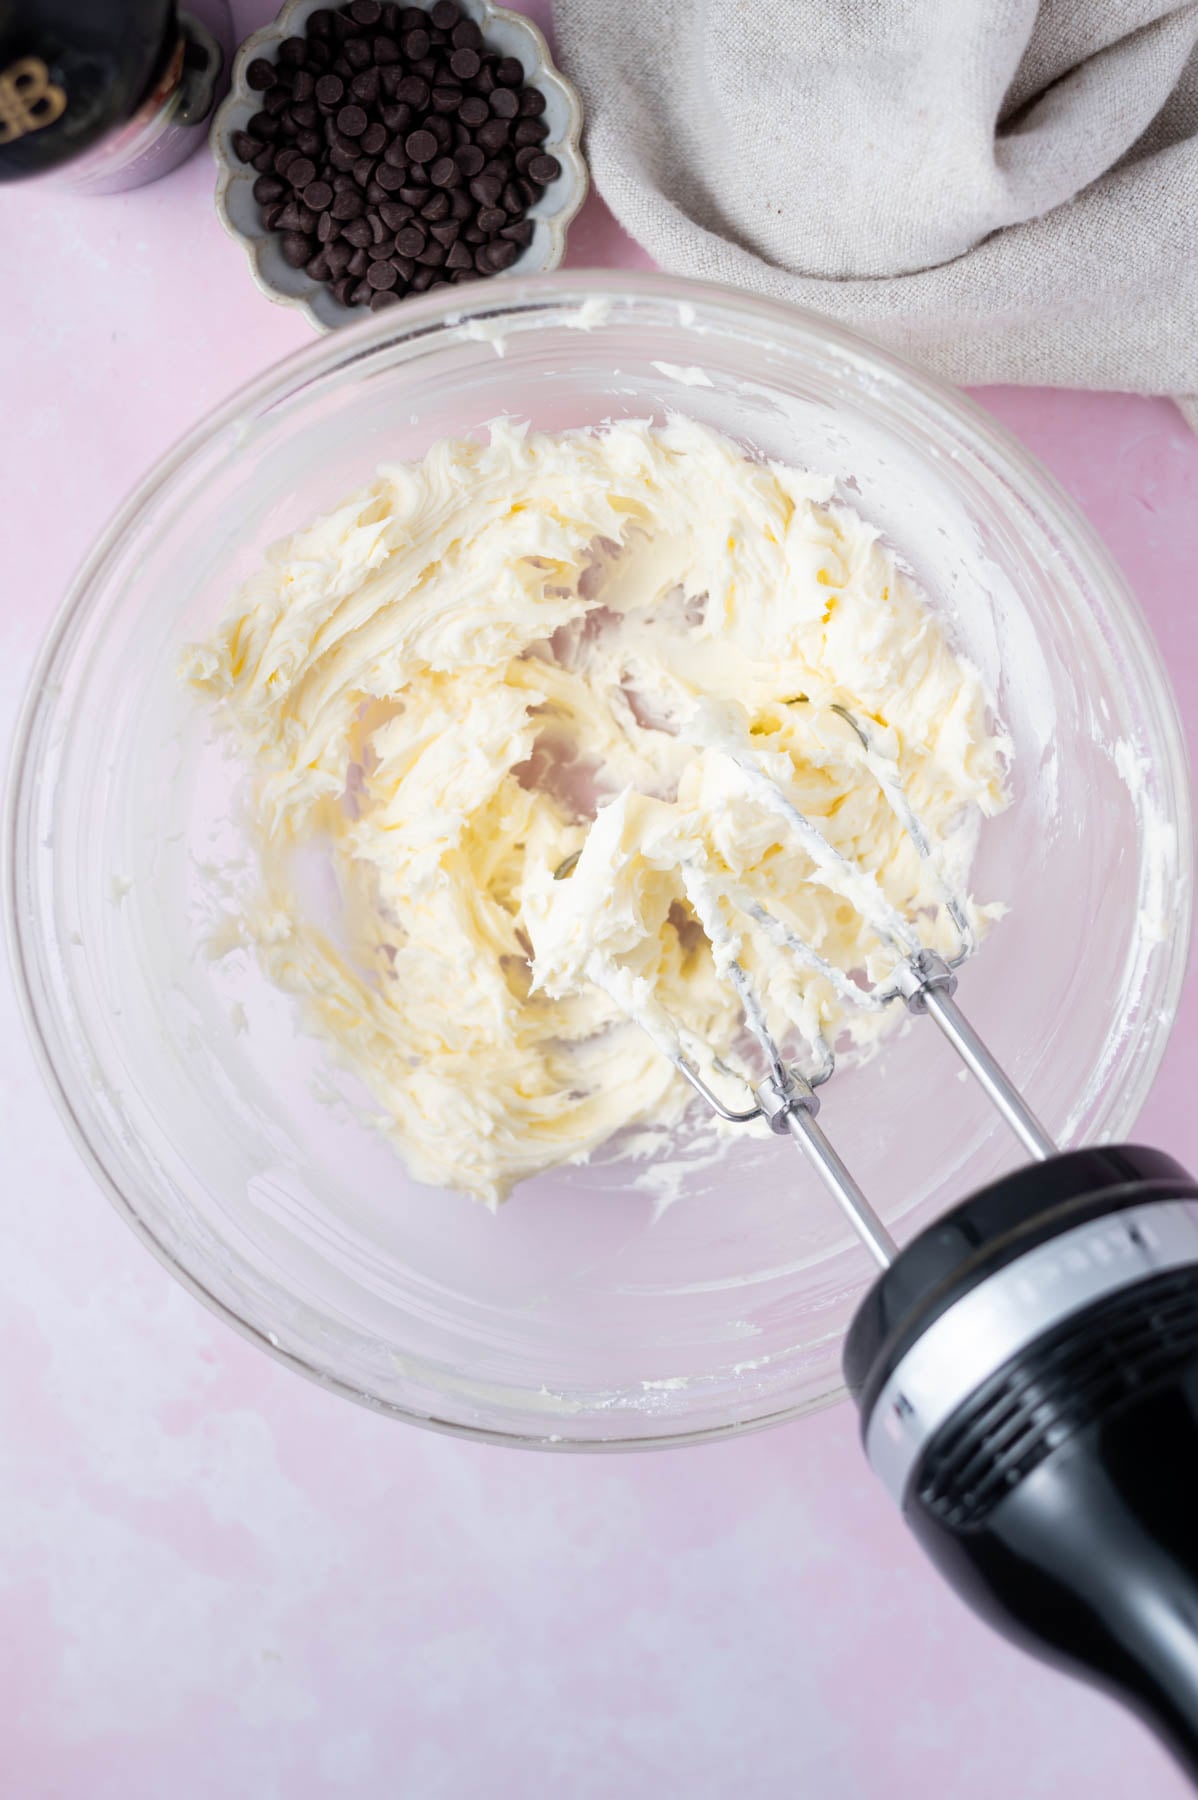
Add the granulated sugar and brown sugar and beat until fully combined and a bit fluffy.
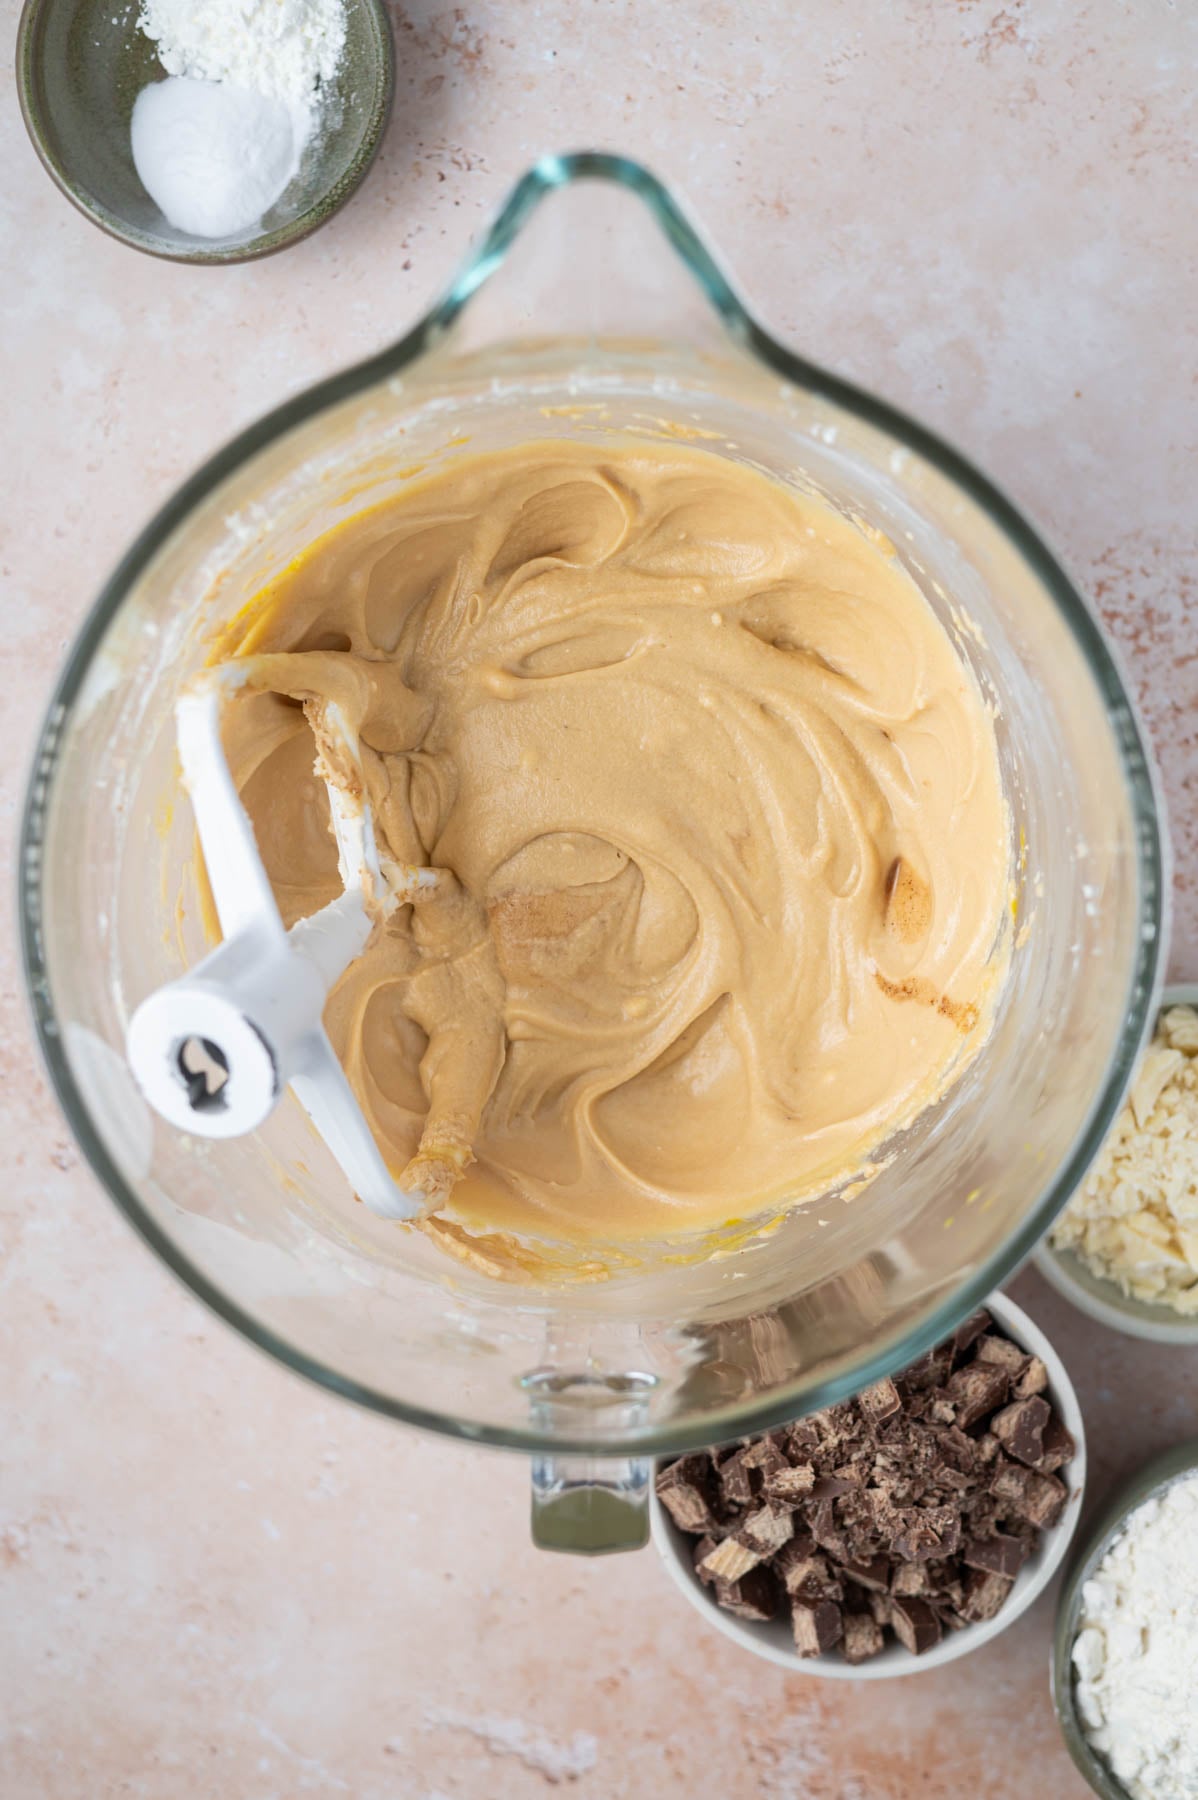
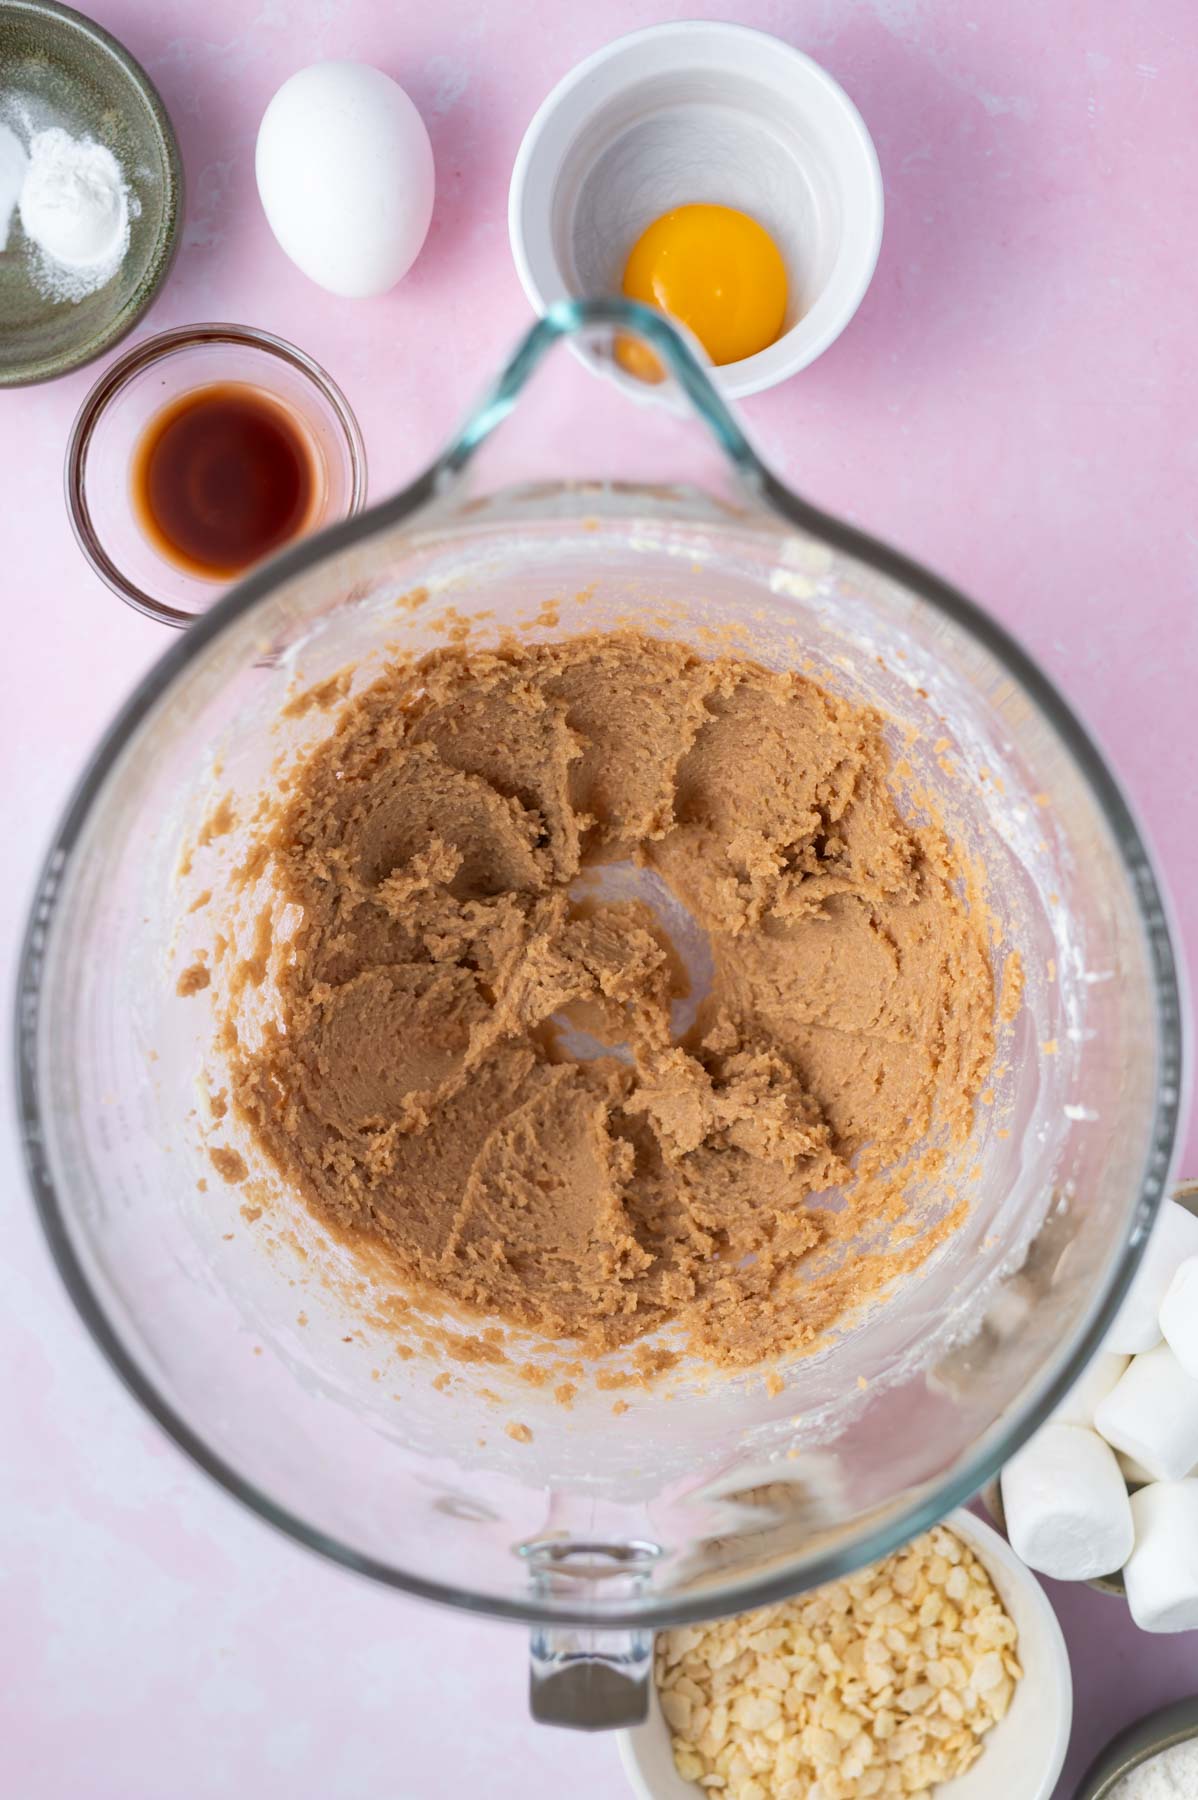
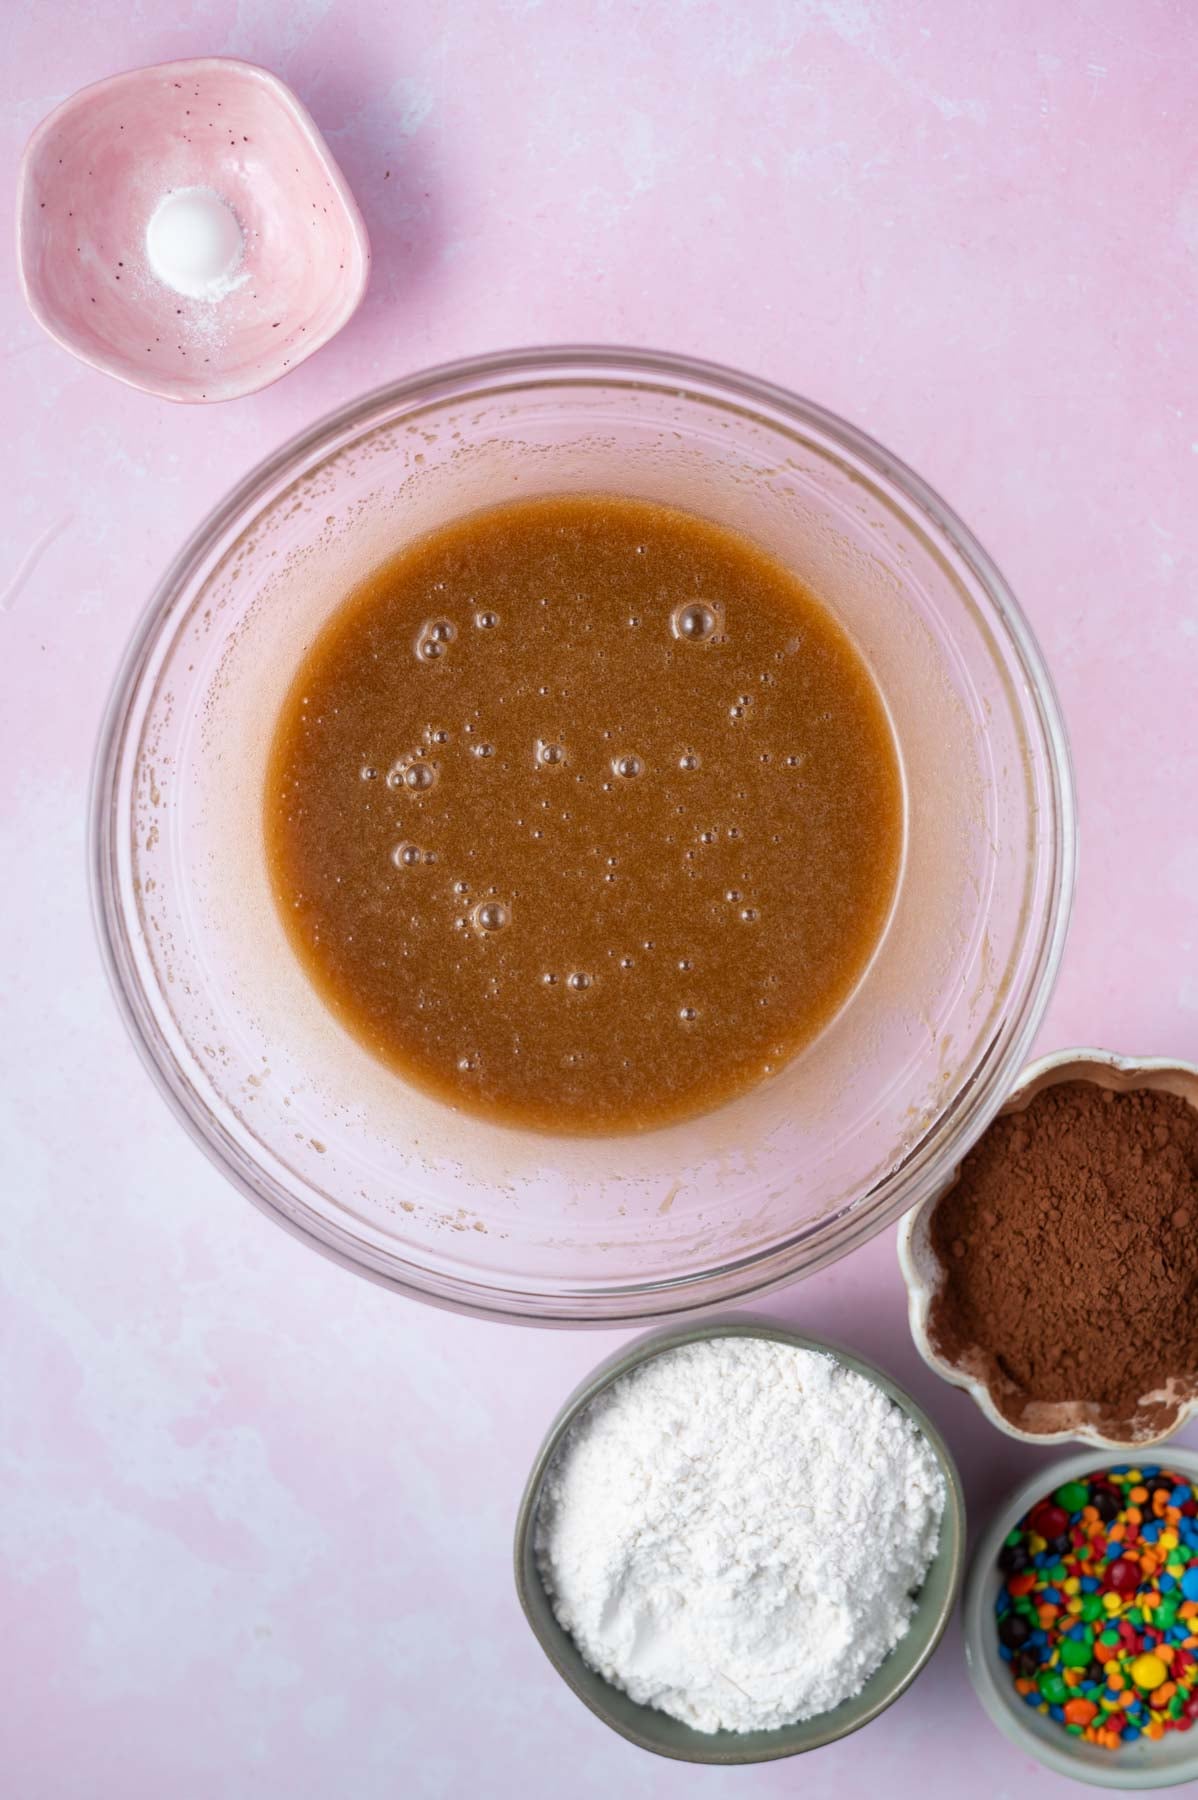
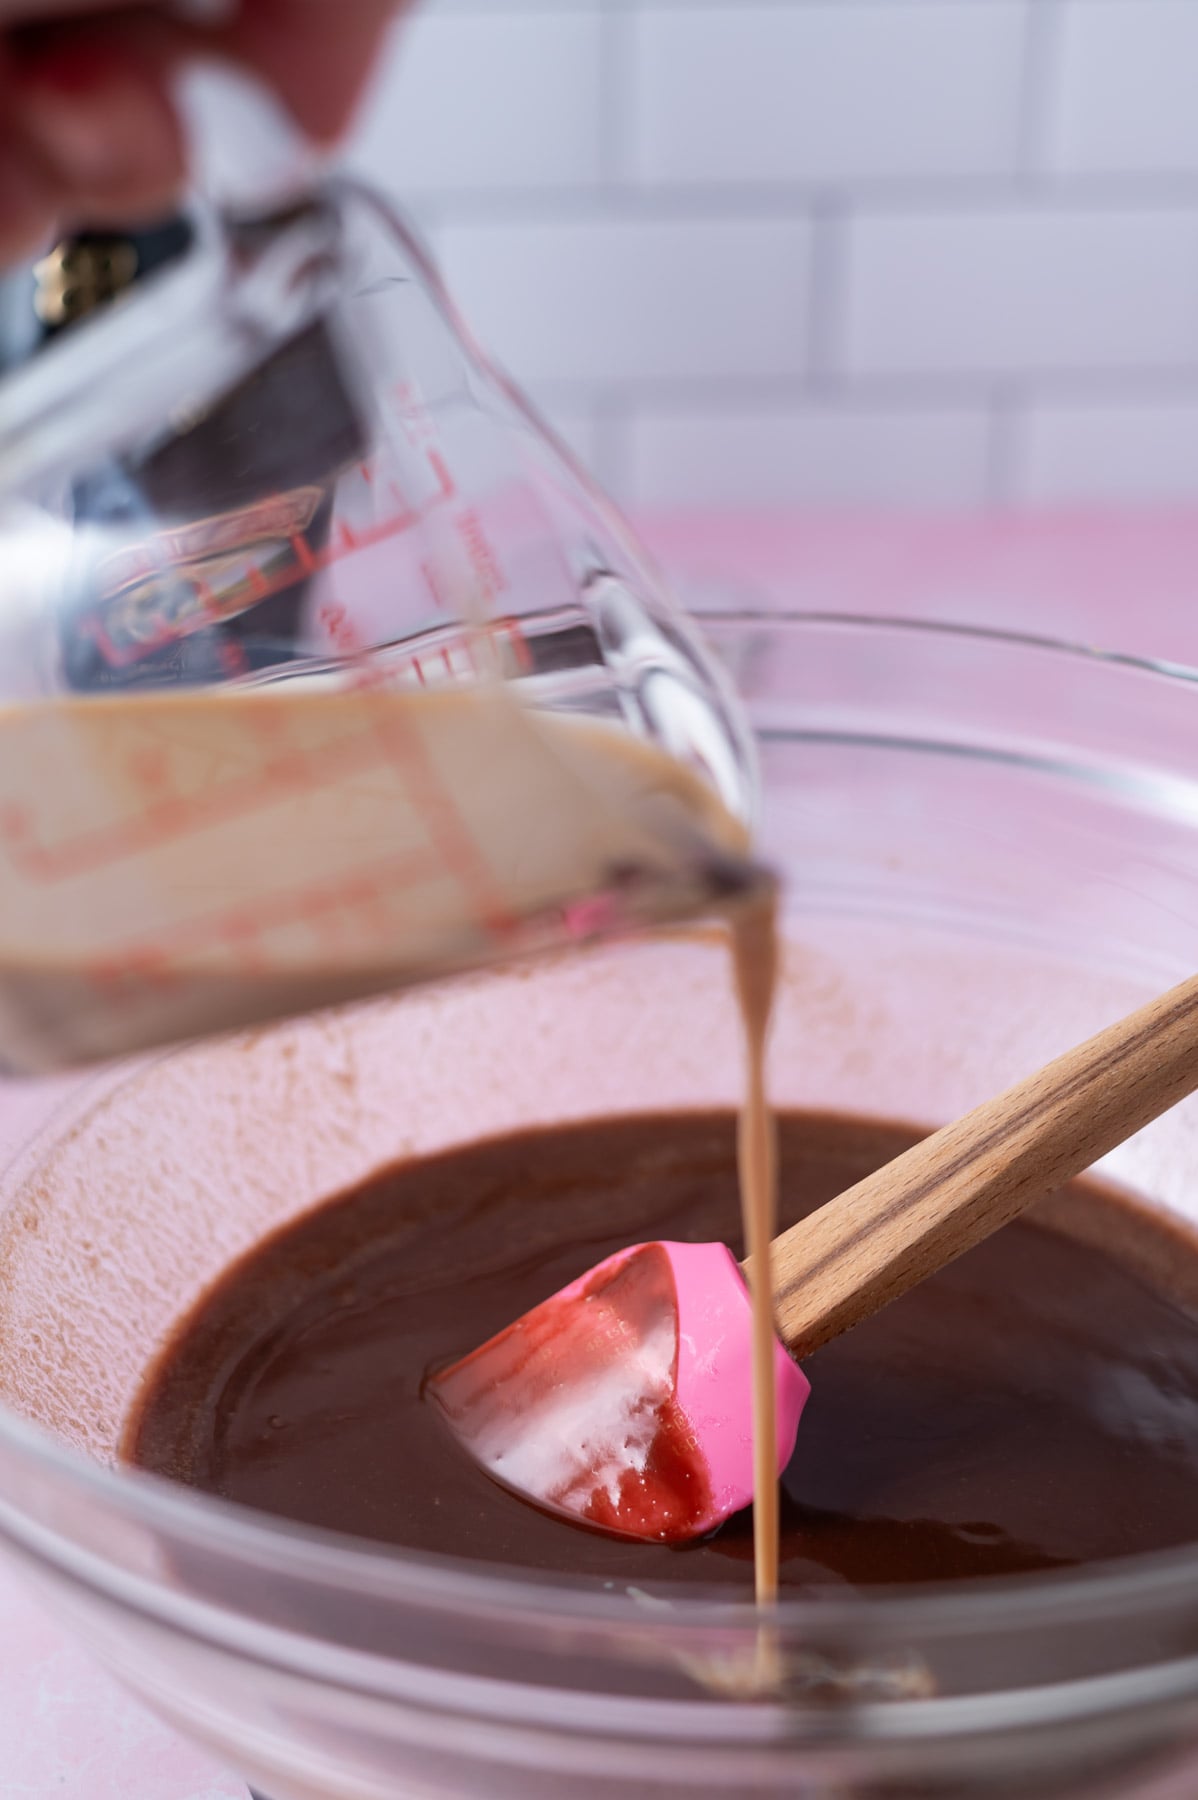
Then add the egg and vanilla and mix on medium until combined. Now add the baking soda and cornstarch and mix until combined.
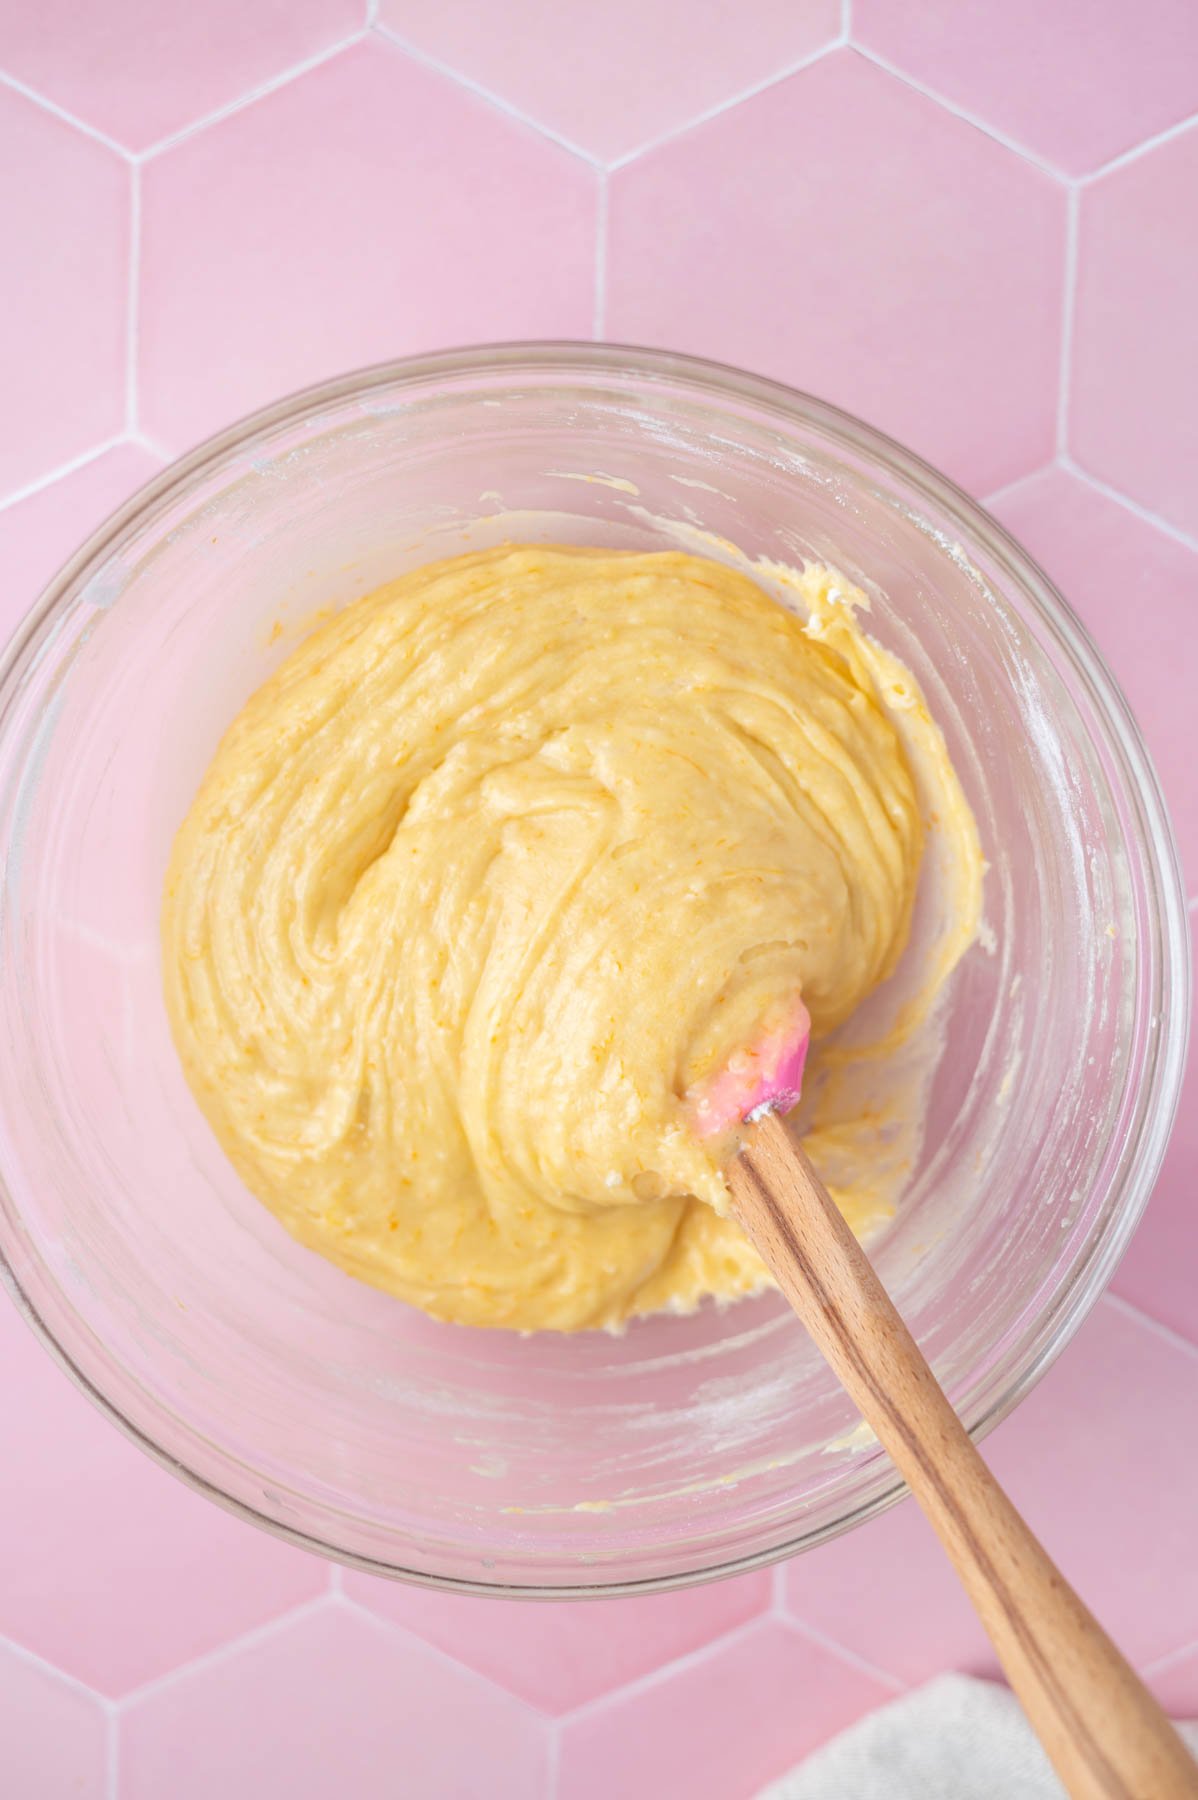
You may spy some small bits of cream cheese in the cookie dough at this point. Don't let them bother you, they will melt into the Kit Kat cookies once baked.
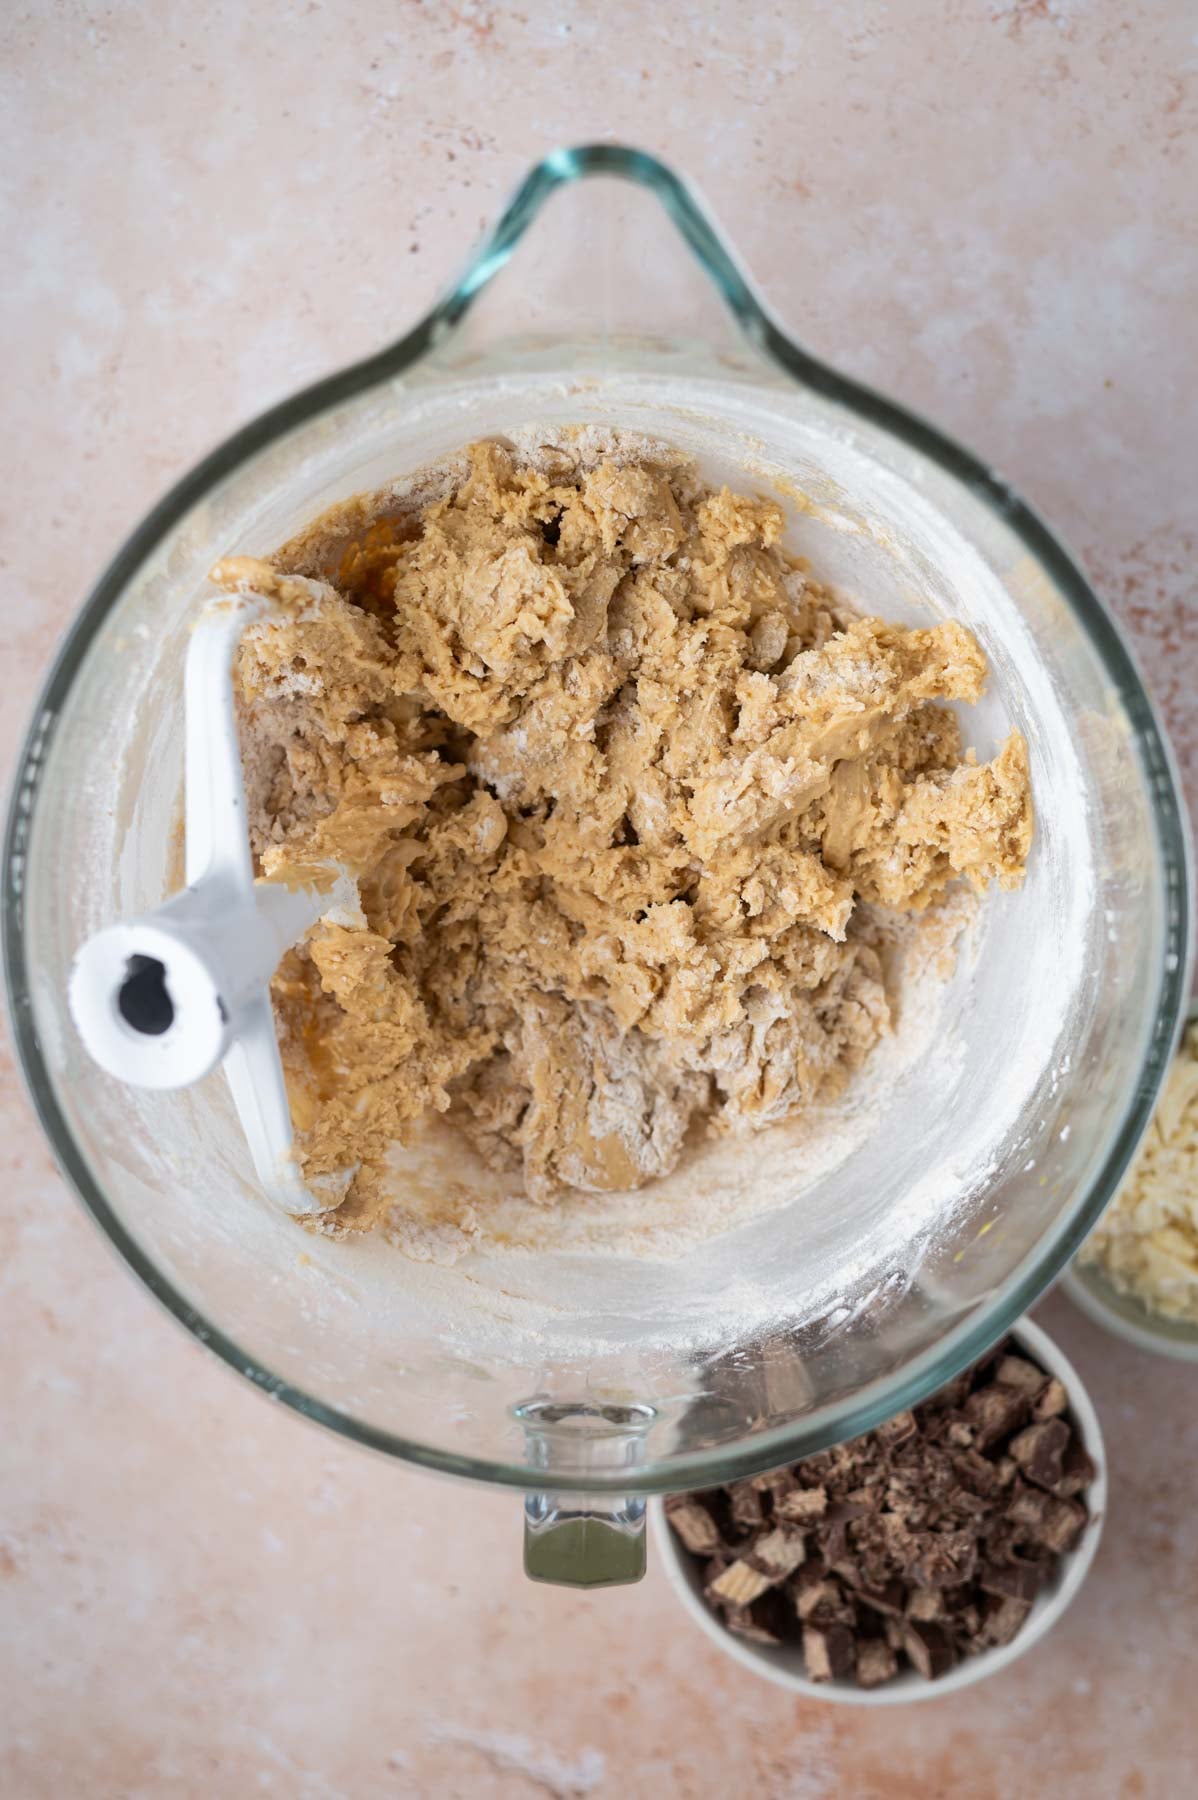
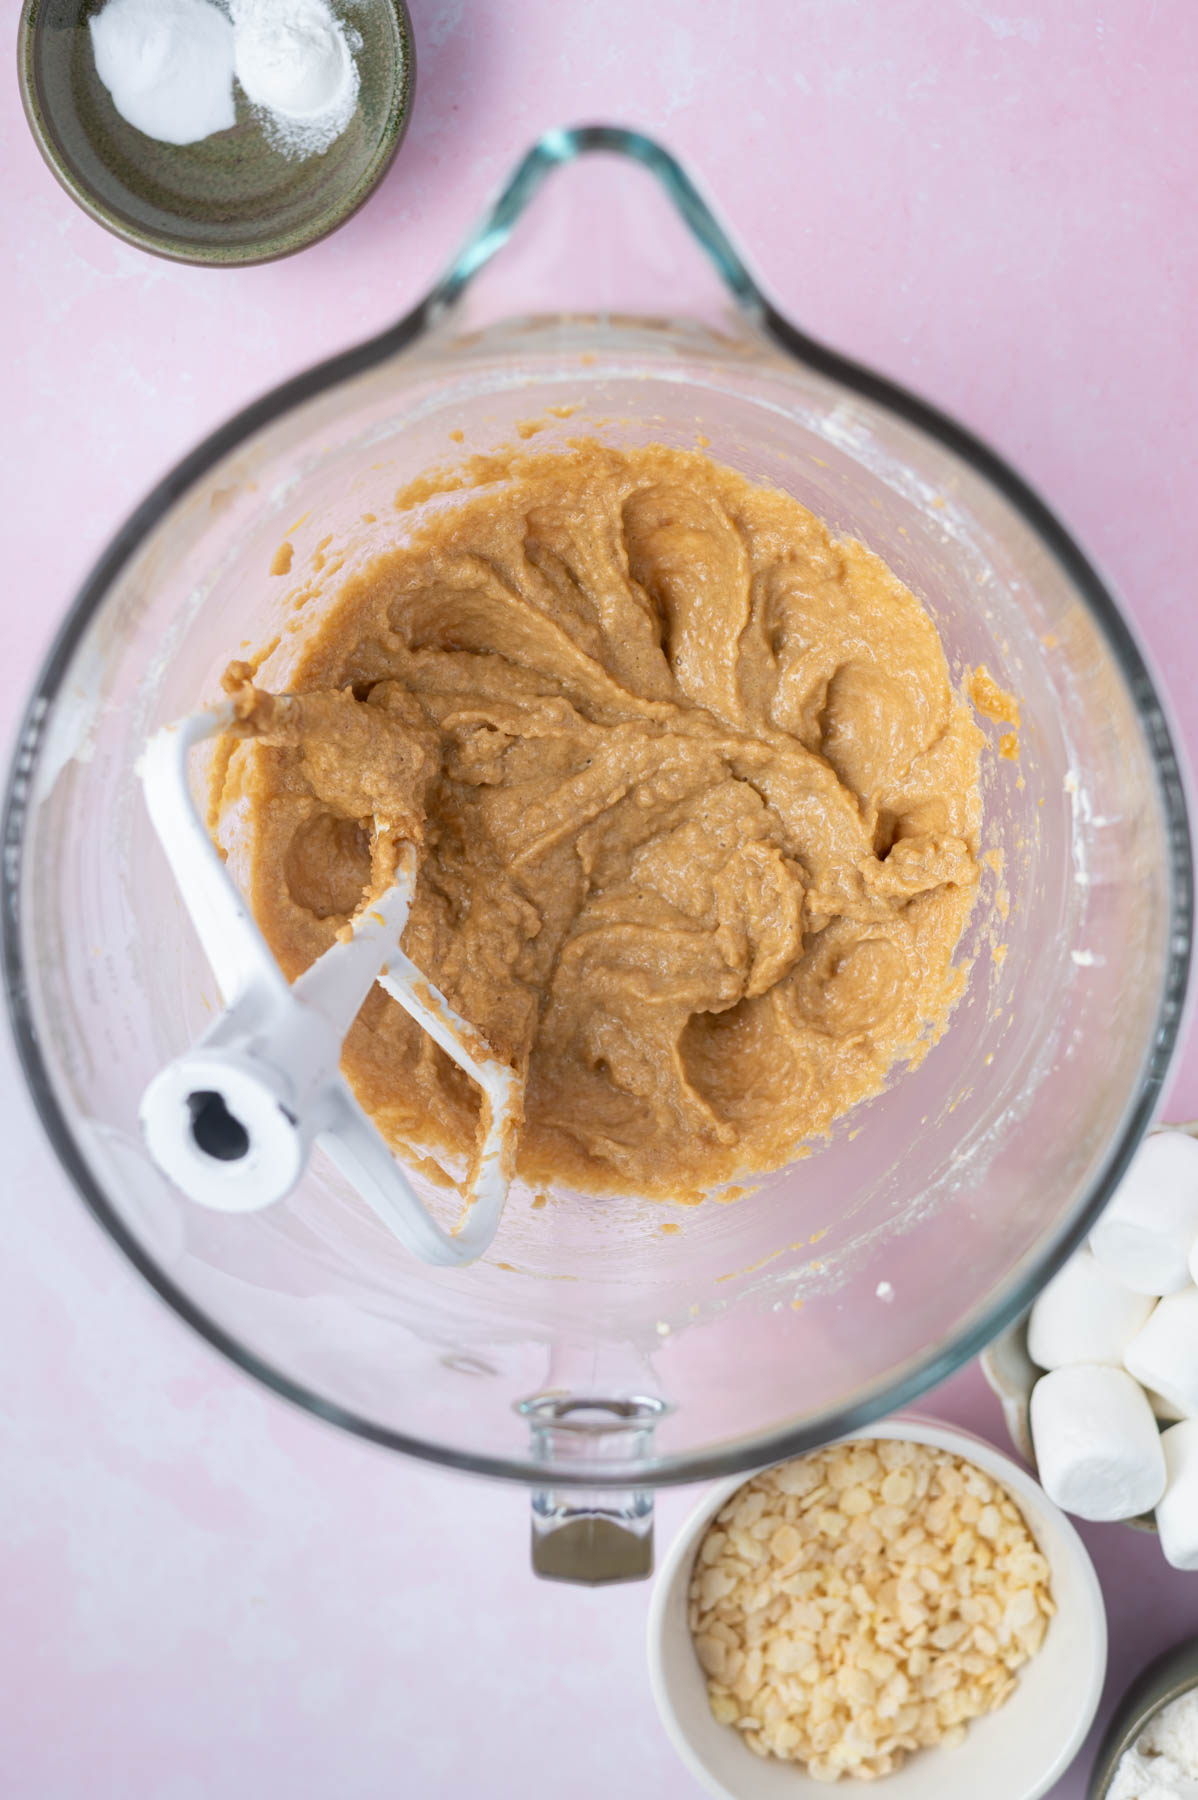
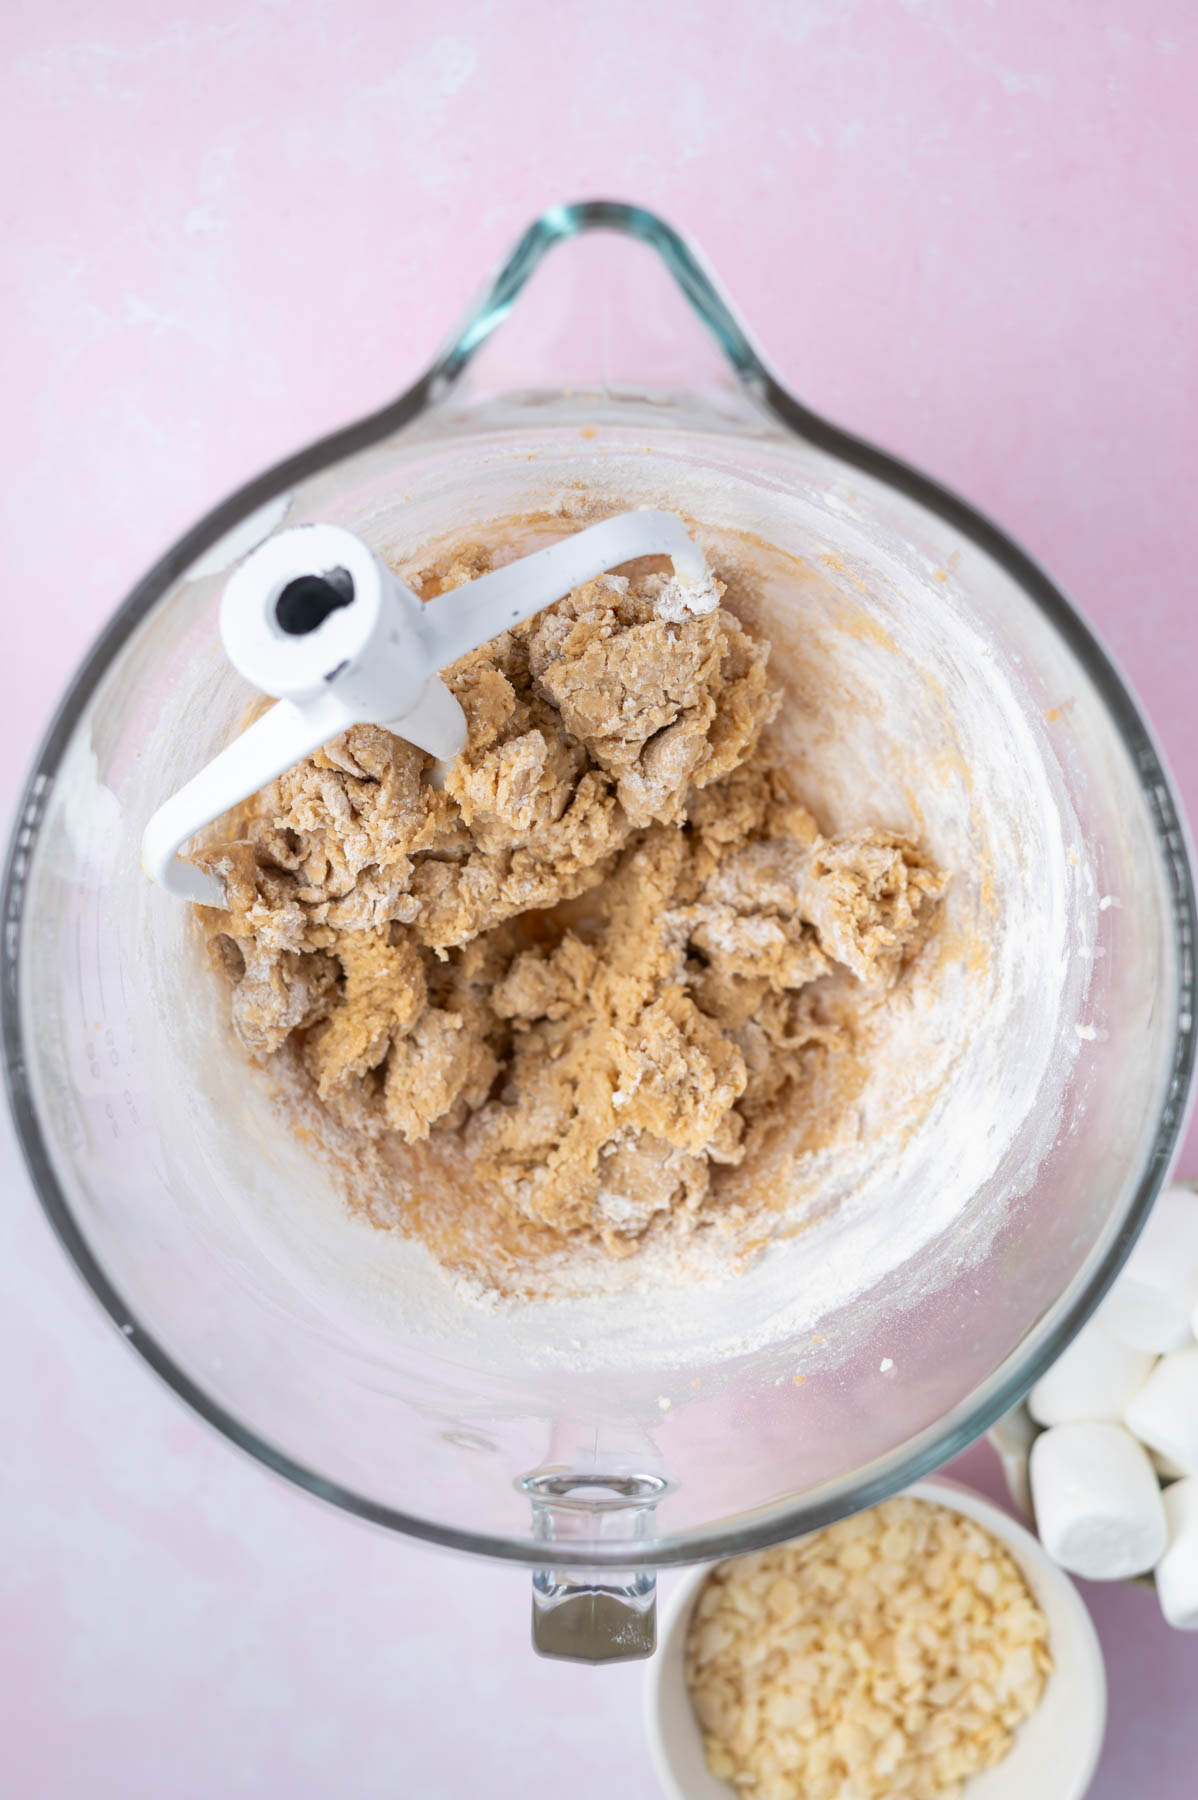
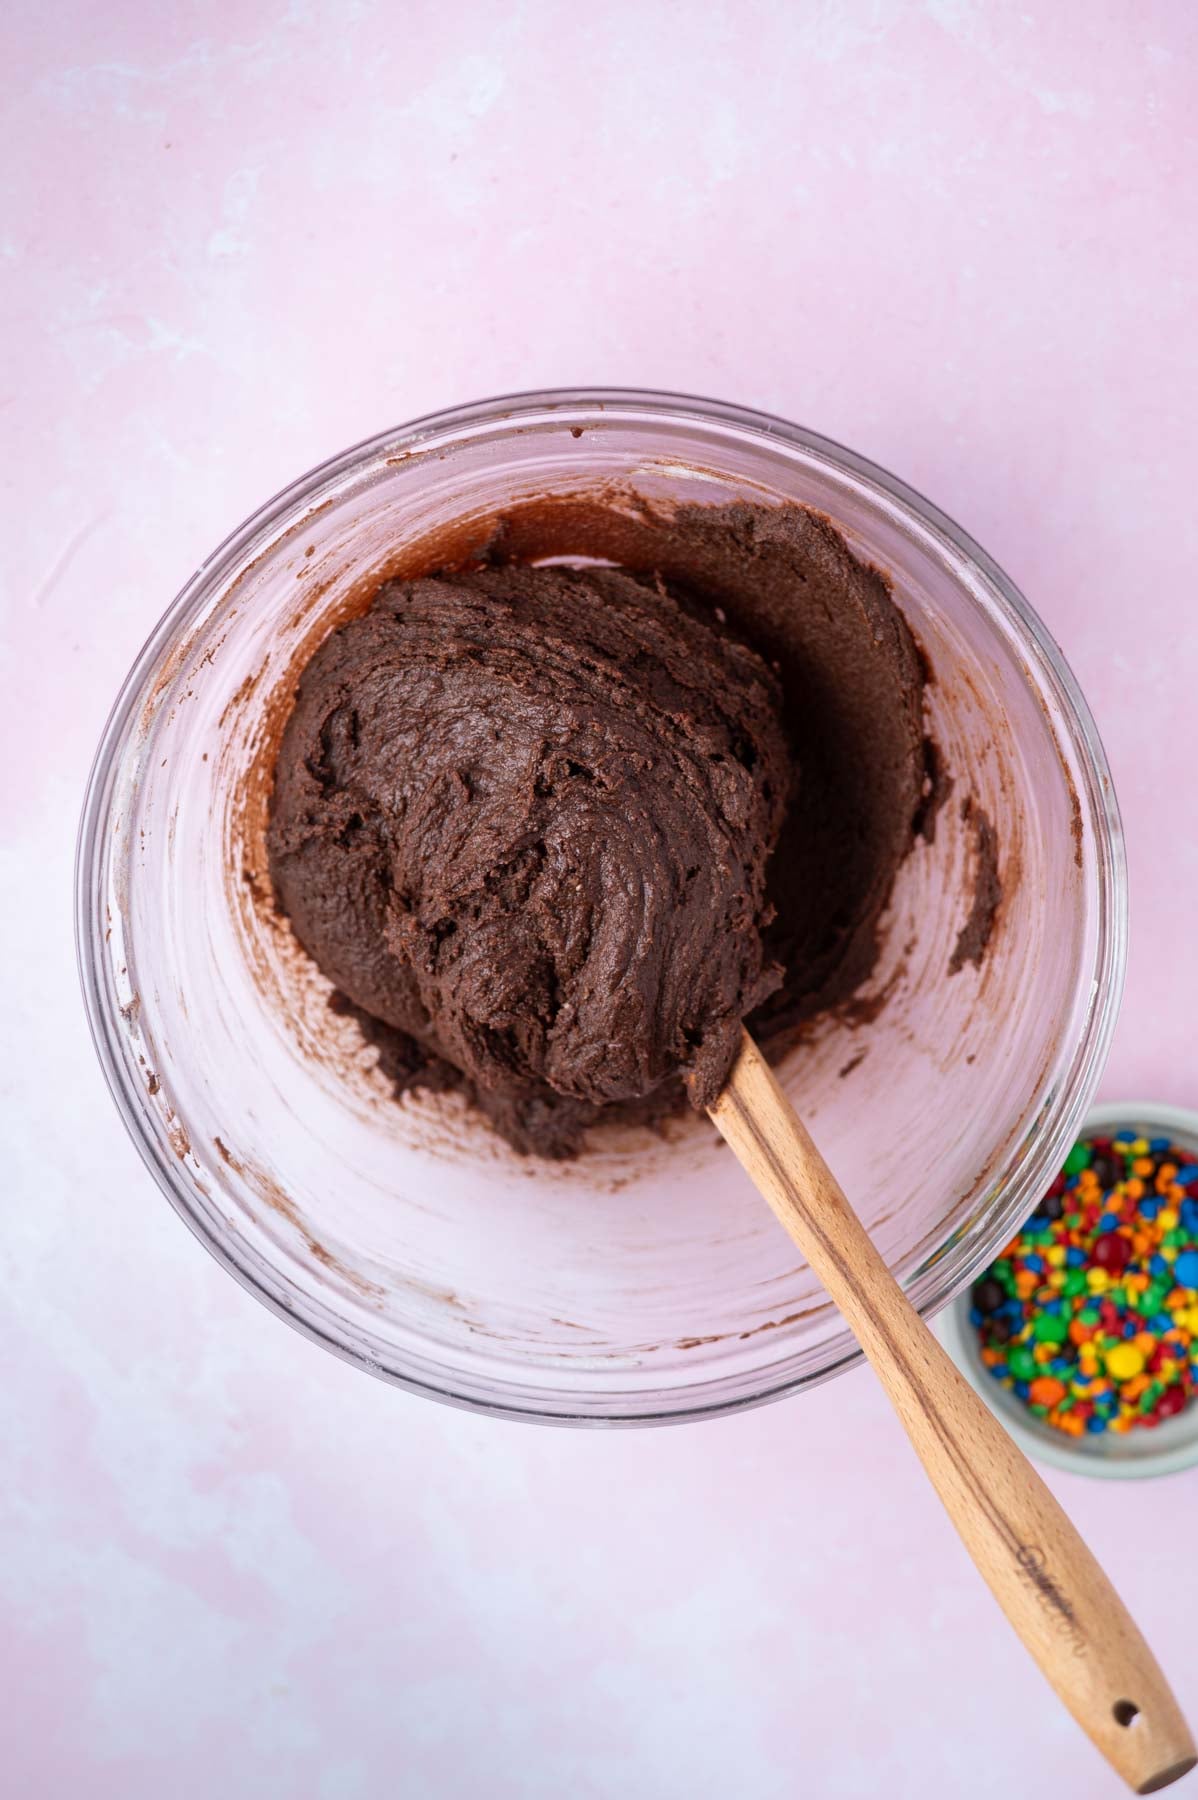
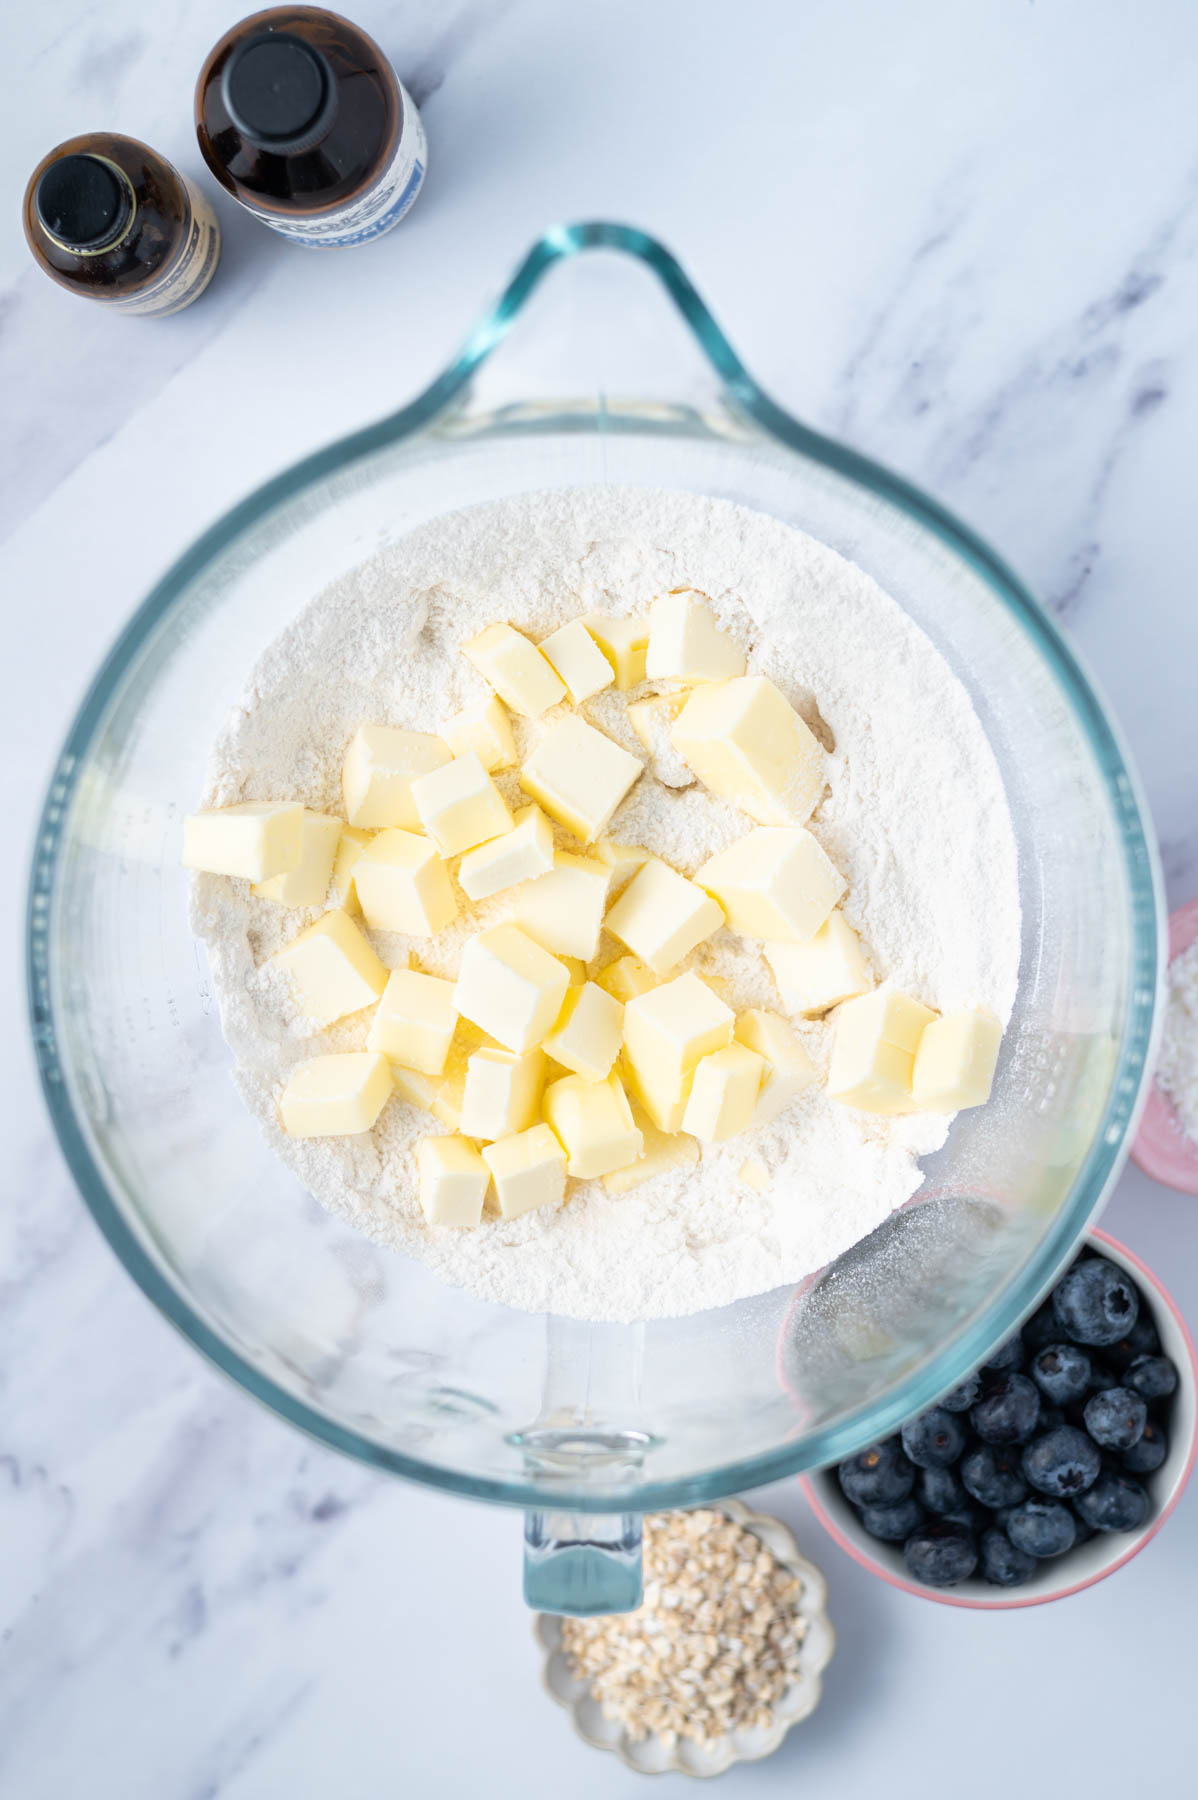
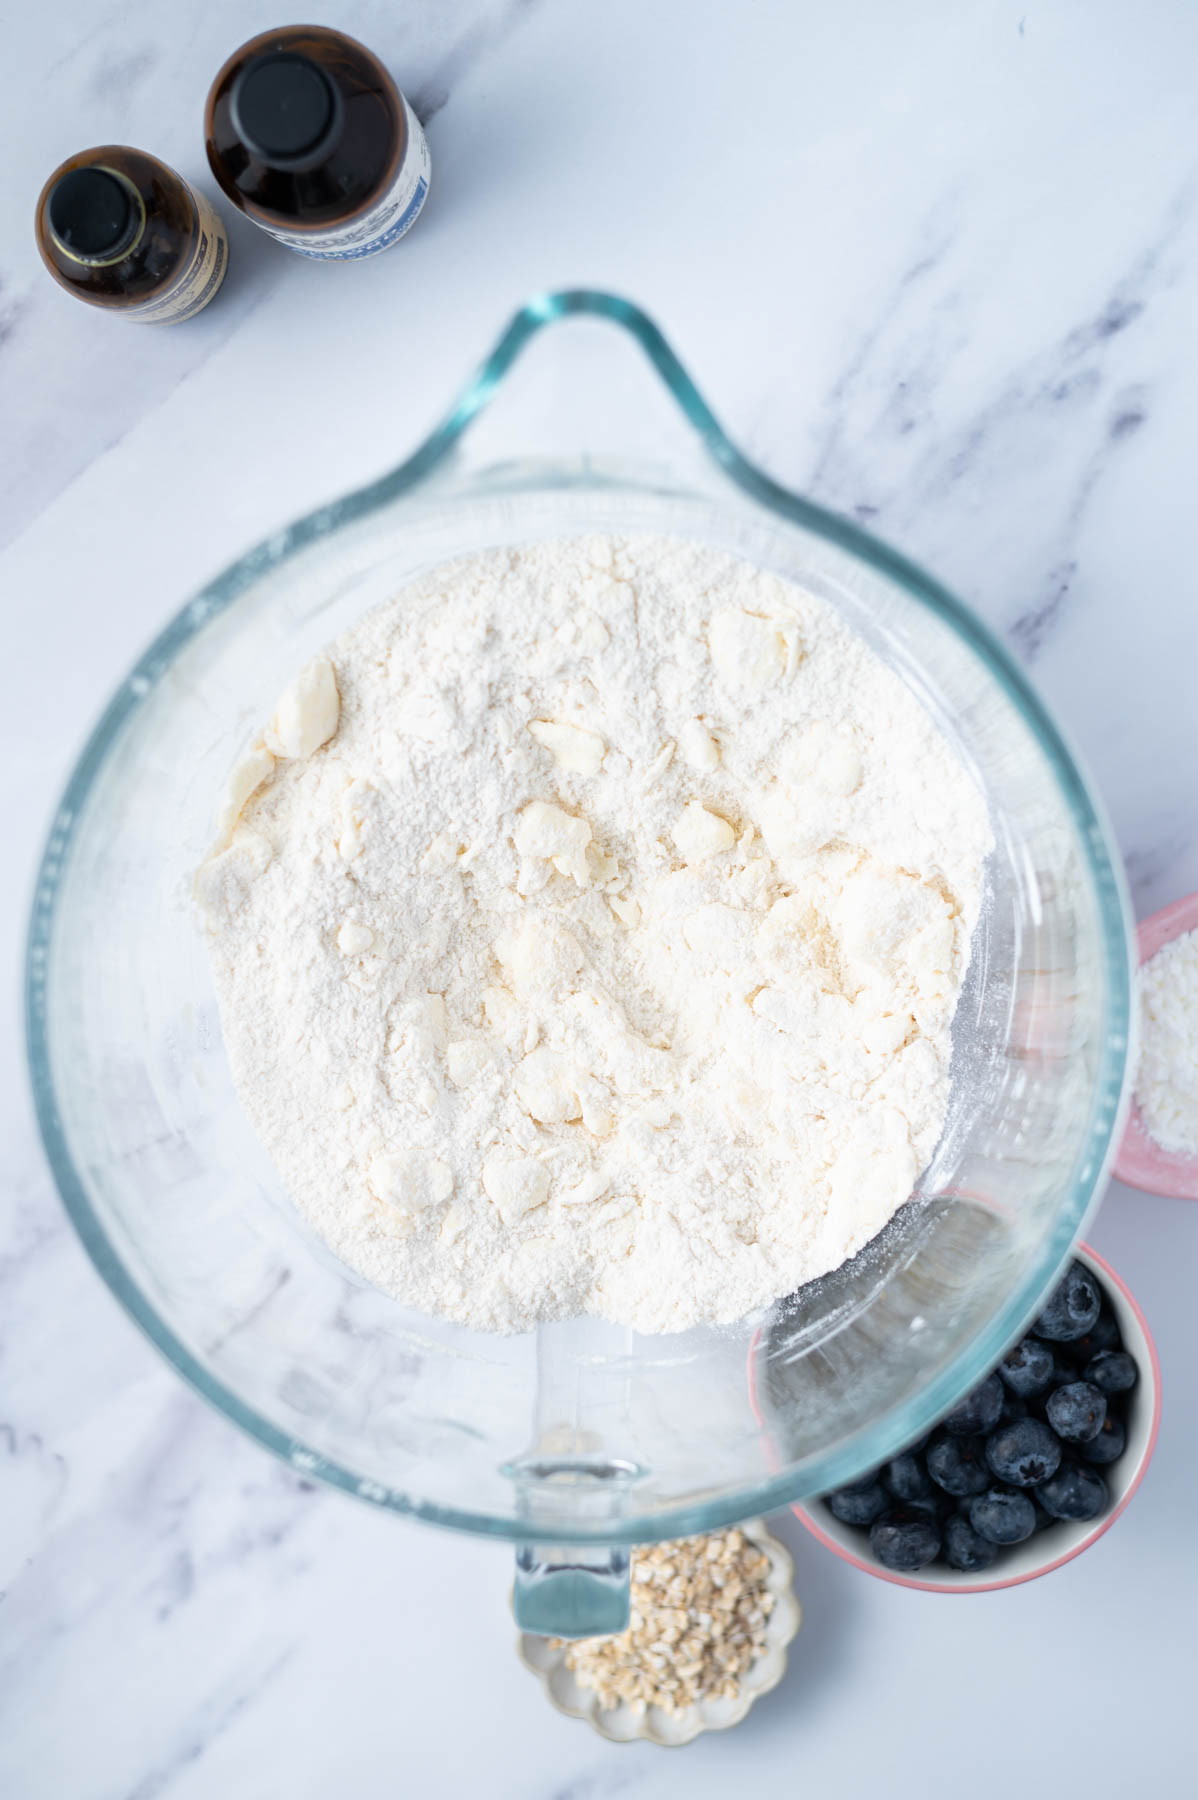
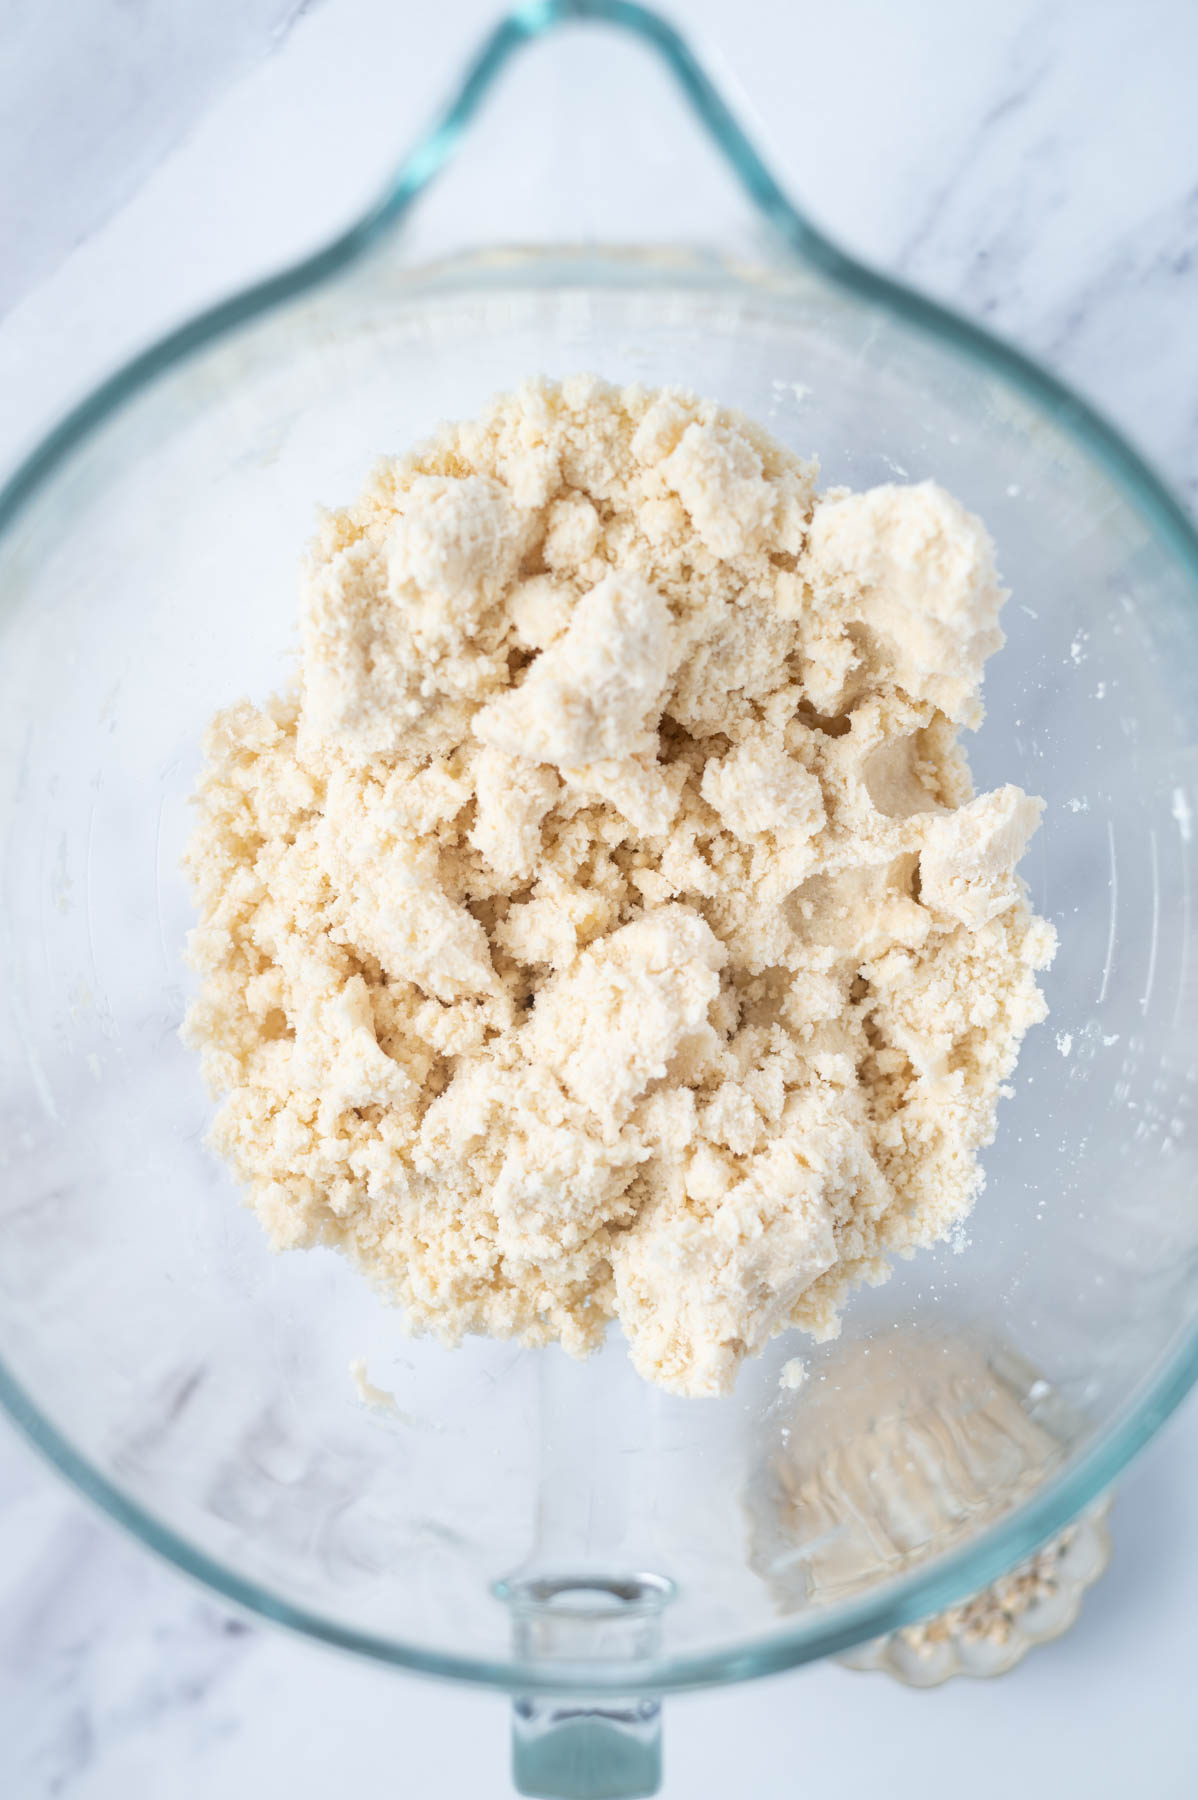
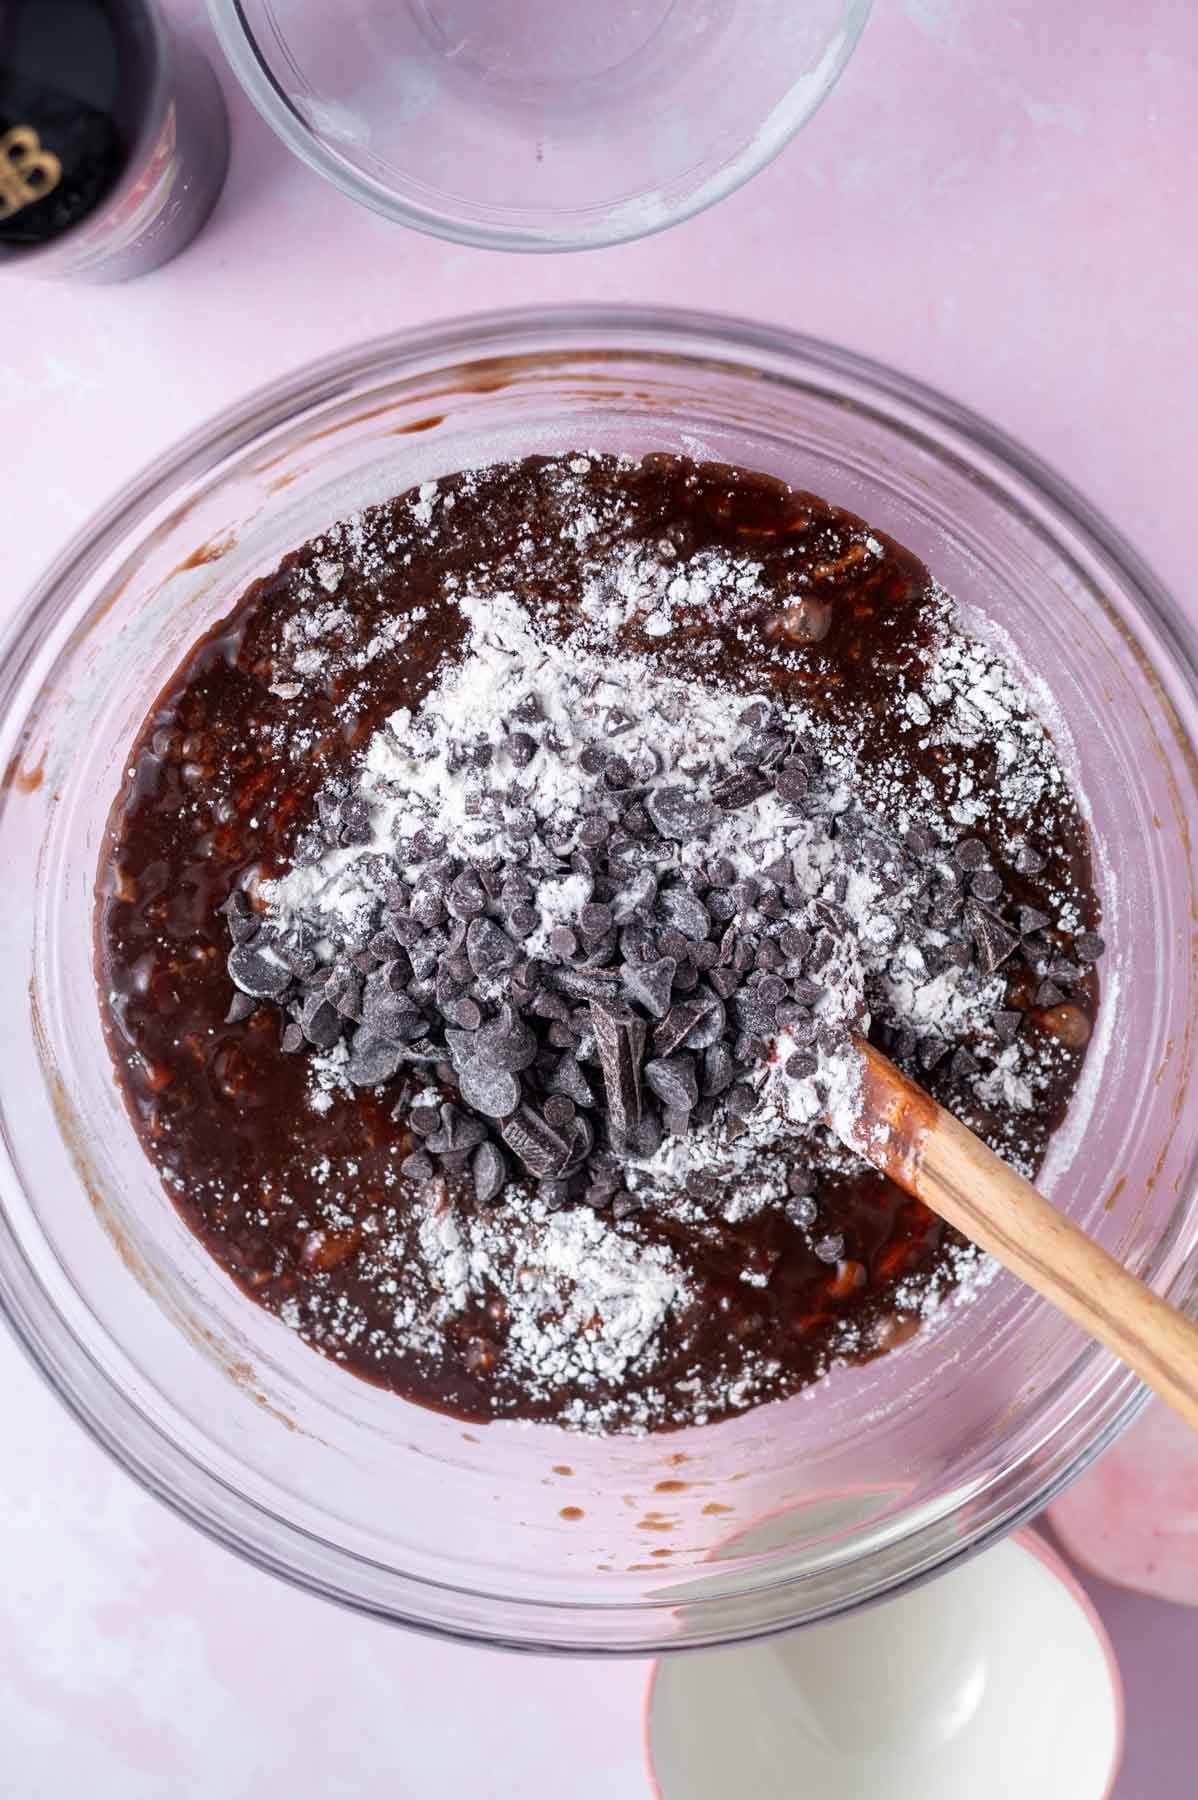
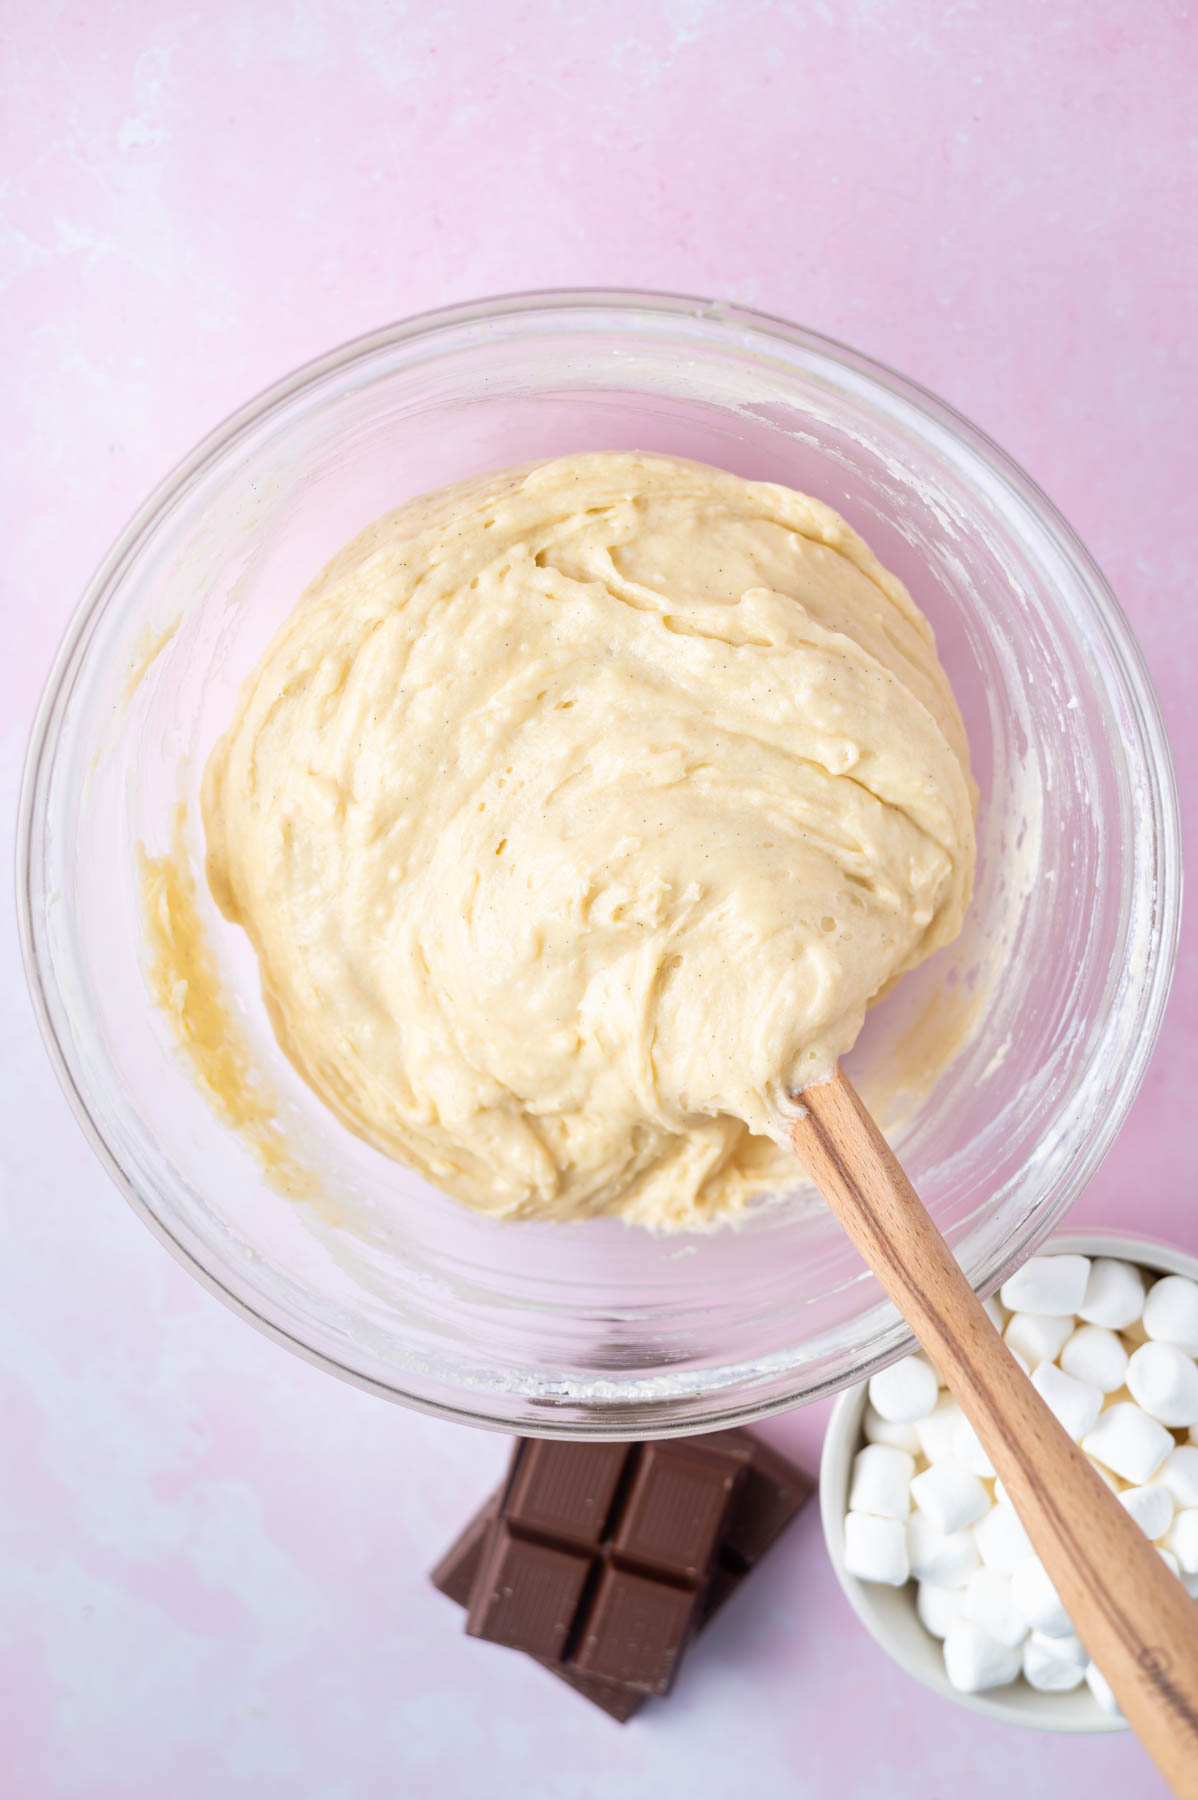
Add the all-purpose flour and mix on low until the dough is showing some large streaks of flour.
Then add the chopped white chocolate and chopped Kit Kat candy bars and mix in with a spatula.
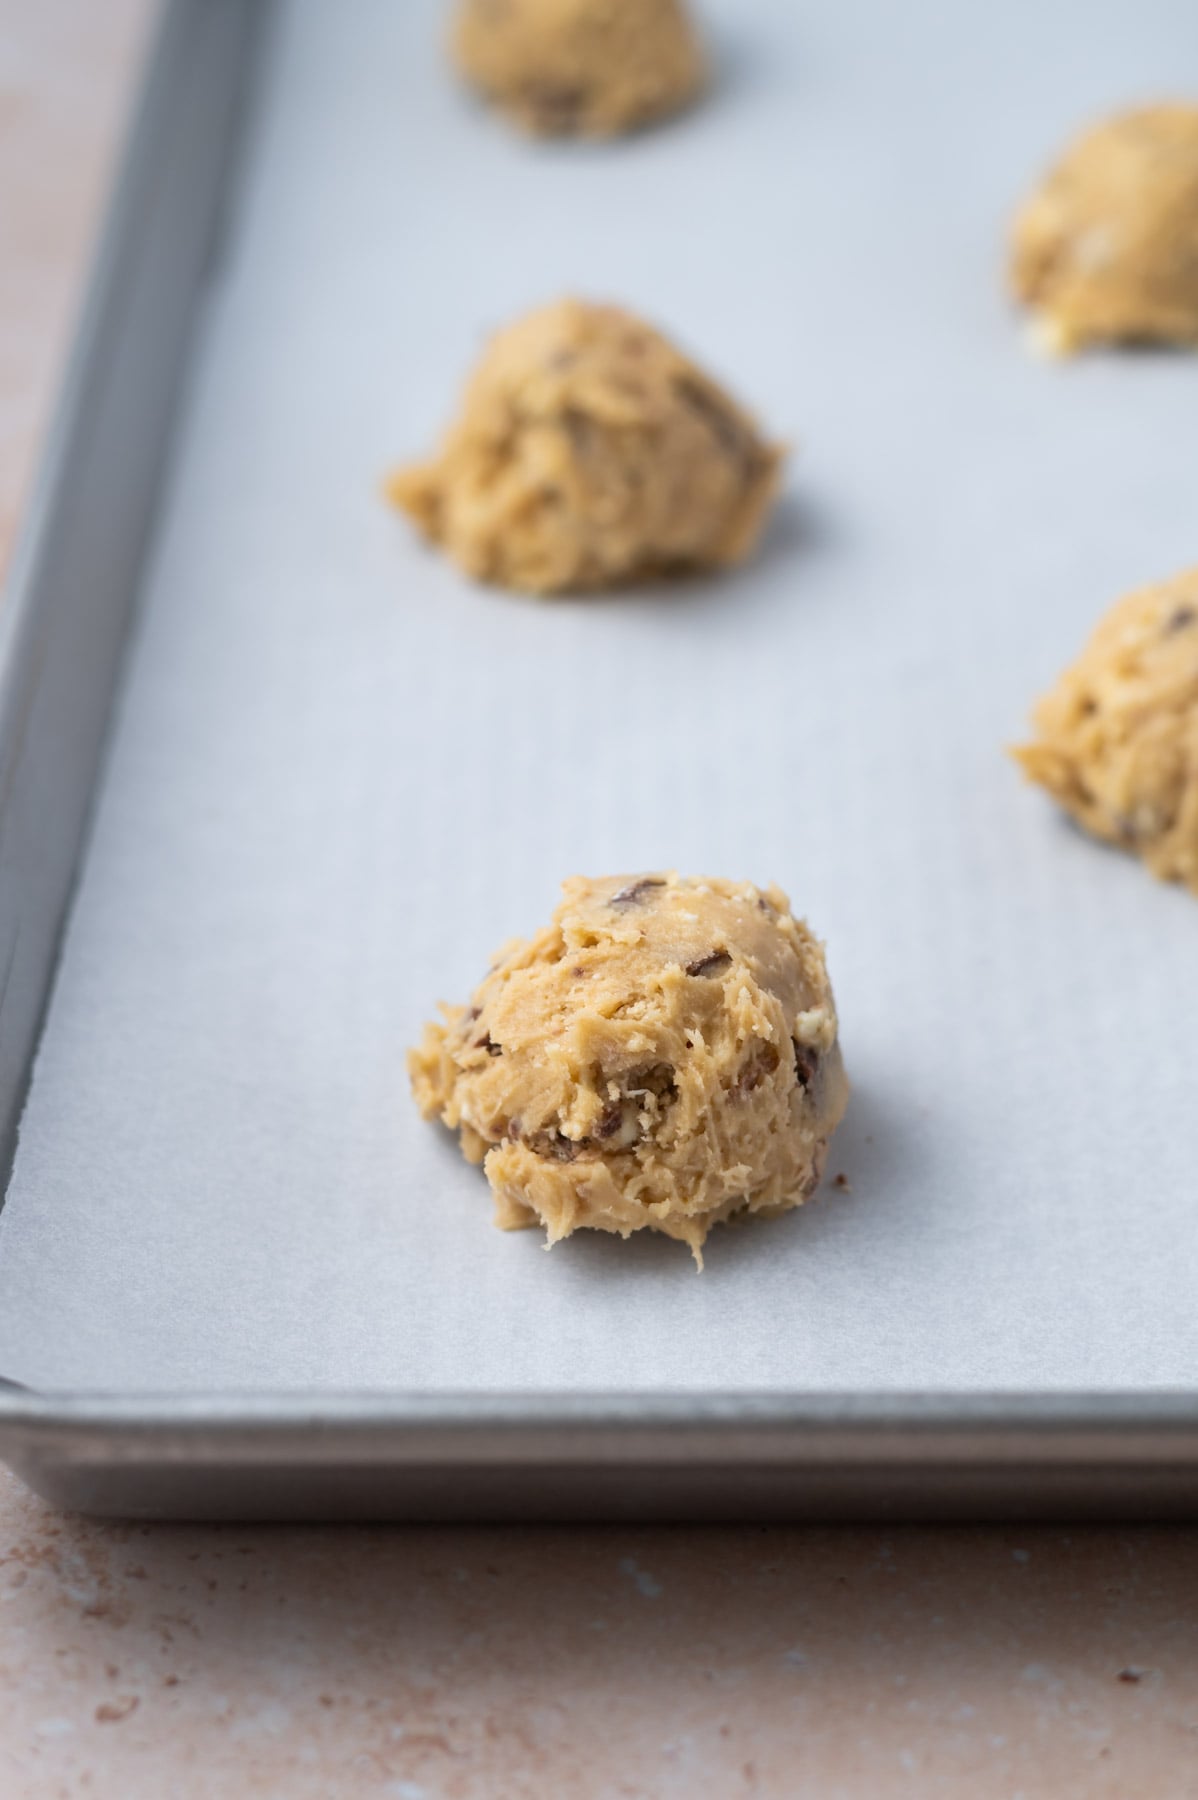
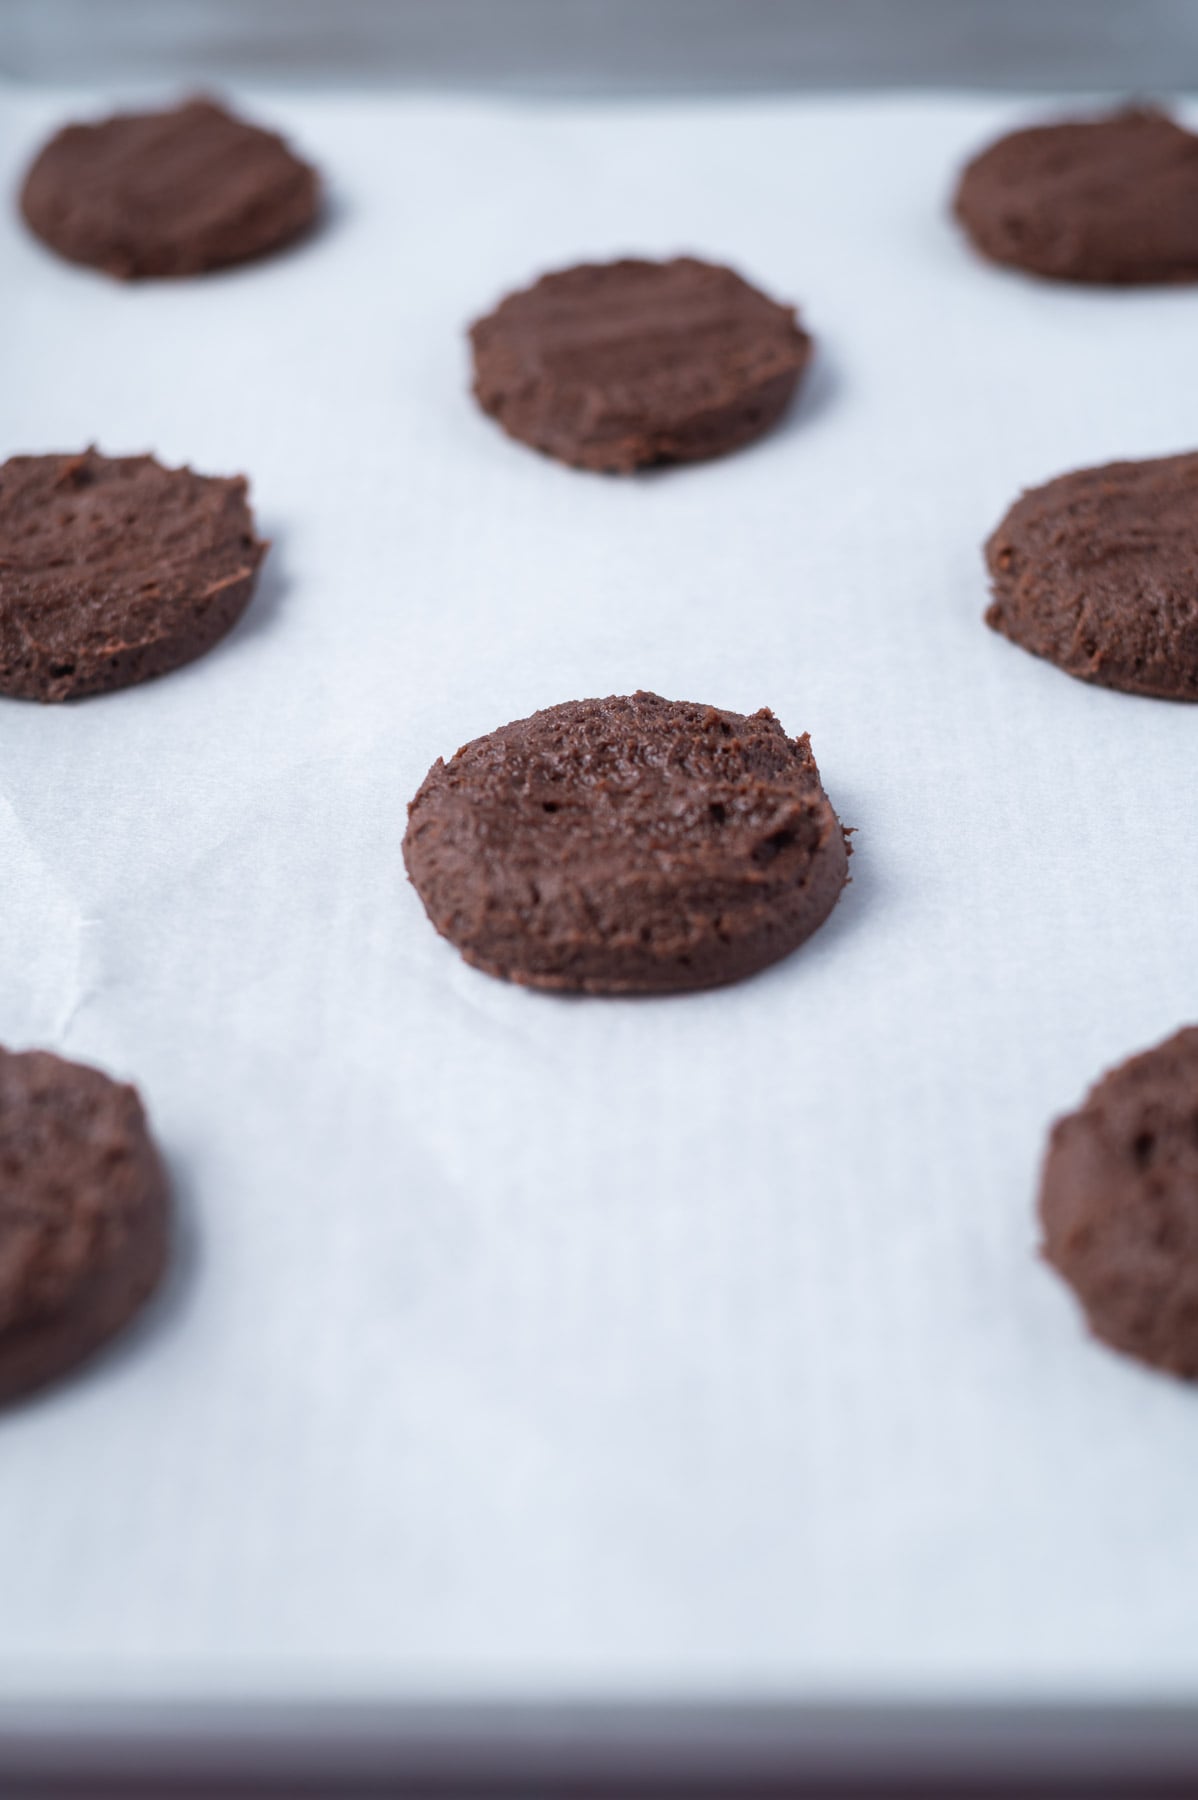
Using around 2 tablespoons of dough (I use a size 30 scoop), scoop out the cookie dough balls and place on prepared baking pans.
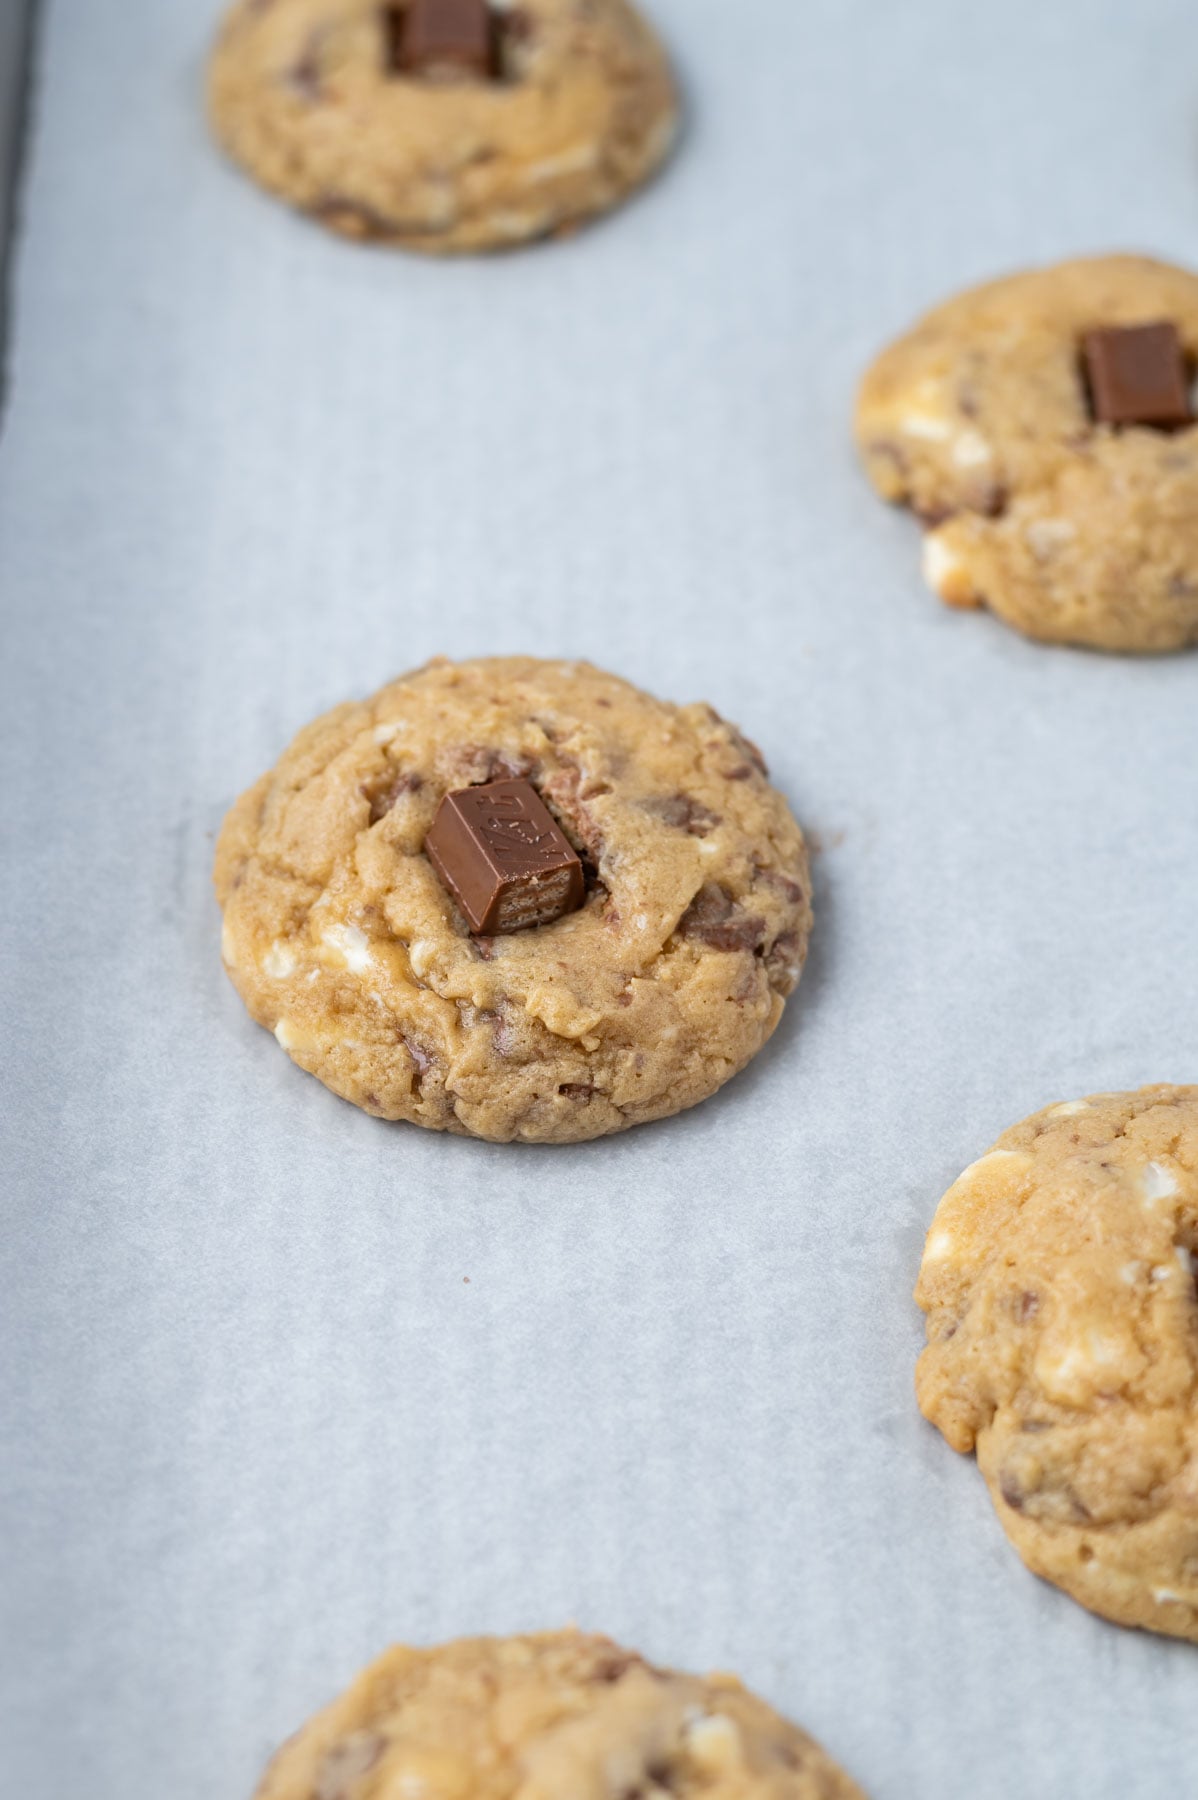
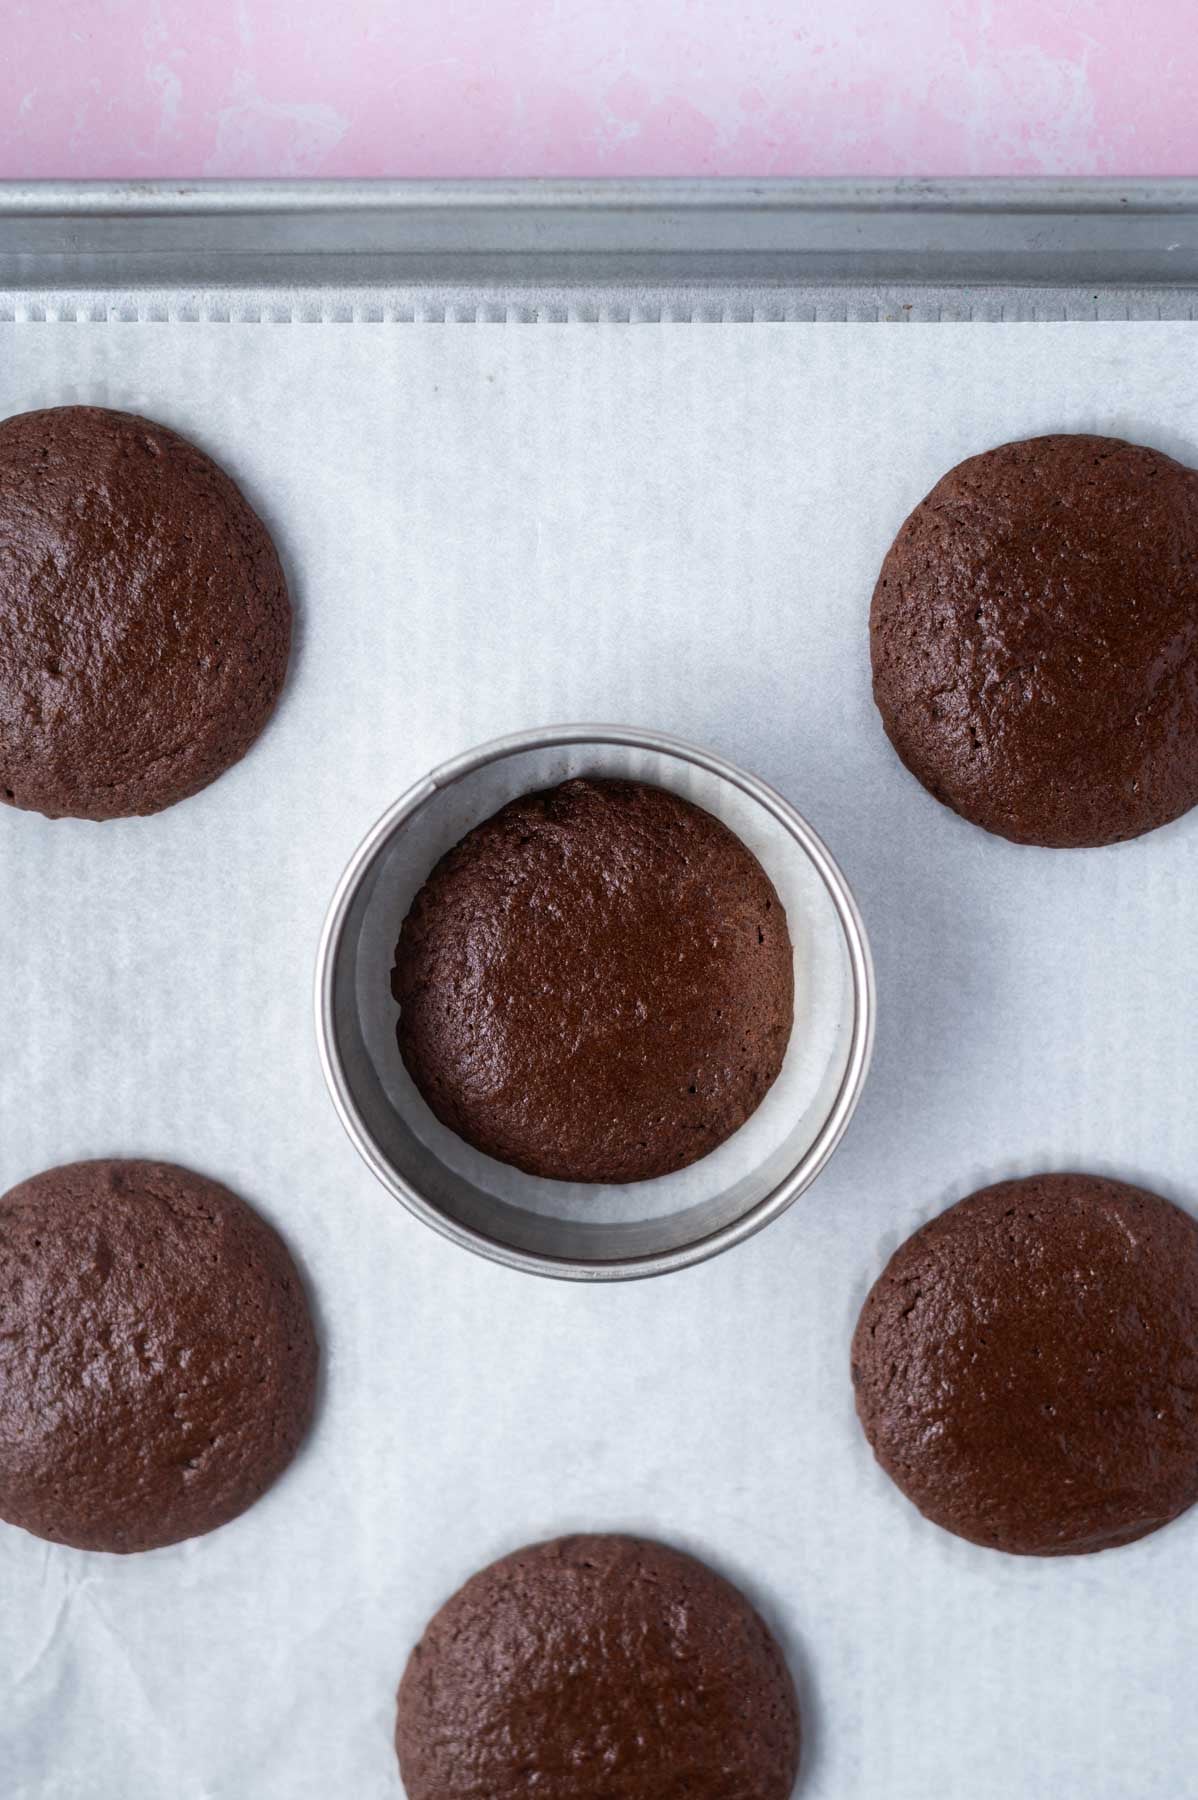
Bake for 9-10 minutes, until the edges are set and the center might still look a little undone. Cookie scoot, if you'd like to make the cookies more round and top with a piece of a Kit Kat candy bar, if desired.
Allow the cookies to cool on the pan for 5 minutes before removing to a wire cooling rack to cool completely.
👩🏻🍳 tips for the best bakery style cookies
Use a scale to measure your ingredients. I know I say this all the time, but weighing your ingredients is the most accurate and will give the best results. This is the kitchen scale I use in my kitchen and if your budget is tight, this Escali scale is also fantastic!
Don't over bake the cookies! You want to remove the Kit Kat cookies from the oven when the edges are set and the middle is still a little soft. They will continue to bake and set up as they cool.
Save aside some of the candy bar pieces for pressing on the tops of the cookies when they are hot out of the oven. This gives them that bakery worthy look.
Remember to snap a picture and tag me @twosugarbugs on Instagram if you make these No Chill Chunky Kit Kat Cookies. It warms my heart to see you bring these recipes to life! Thank you for being here and happy baking!
If you make this recipe {or any recipe!} from two sugar bugs please come back and leave a review and a ⭐️⭐️⭐️⭐️⭐️ star rating. I read every comment, and I LOVE hearing from you!
📖 recipe

No Chill Chunky Kit Kat Cookies
Ingredients
- ½ cup unsalted butter cold and cubed (113g)
- 4 ounces cream cheese cold and cubed (112g)
- ½ teaspoon kosher salt
- ½ cup granulated sugar (100g)
- ½ cup packed brown sugar* (100g)
- 1 large egg + 1 large egg yolk
- 2 teaspoons pure vanilla extract
- 1 teaspoon baking soda
- 2 teaspoons cornstarch
- 2 ½ cups all-purpose flour (313g)
- 2.5 ounces white chocolate chopped (70g)
- 6 ounces Kit Kat candy bars chopped (172g) + more for garnish, if desired
Instructions
- Preheat the oven to 350°F (177°C) and prepare two baking sheets with parchment paper or silicone baking mats. Set aside.
- In a stand mixer with the paddle attachment, beat the cold and cubed butter (½ cup/113g), cold and cubed cream cheese (4 ounces/112g) and kosher salt (½ teaspoon) on medium-high (speed 6 on KitchenAid) until softened, about 1-2 minutes. Scrape up and down the bowl.
- Add the granulated sugar (½ cup/100g) and brown sugar (packed ½ cup/100g) and beat on low until combined, then increase to medium-high and beat until fully combined and a bit fluffy, 1-2 minutes. Scrape up and down the bowl.
- Then add the egg (1 large + large egg yolk) and vanilla (2 teaspoons) and mix on medium (speed 4 on KitchenAid) until combined, about 30-60 seconds.
- Now add the baking soda (1 teaspoon) and cornstarch (2 teaspoons) and mix on medium until combined, about 30 seconds. Scrape up and down the bowl.
- Add the all-purpose flour (2 ½ cups/313g) and mix on low (stir on KitchenAid) until the dough is showing some large streaks of flour.
- Then add the chopped white chocolate (2.5 ounces/70g) and chopped Kit Kat candy bars (6 ounces/172g) and mix in with a spatula.
- Using around 2 tablespoons of dough (I use a size 30 scoop), scoop out the cookie dough balls (40-42g per cookie) and place on prepared baking pans. I place 8 cookies on each pan.
- Bake for 9-10 minutes, until the edges are set and the center might still look a little undone. Cookie scoot, if you'd like to make the cookies more round and top with a piece of a Kit Kat candy bar, if desired.
- Allow the cookies to cool on the pan for 5 minutes before removing to a wire cooling rack to cool completely.