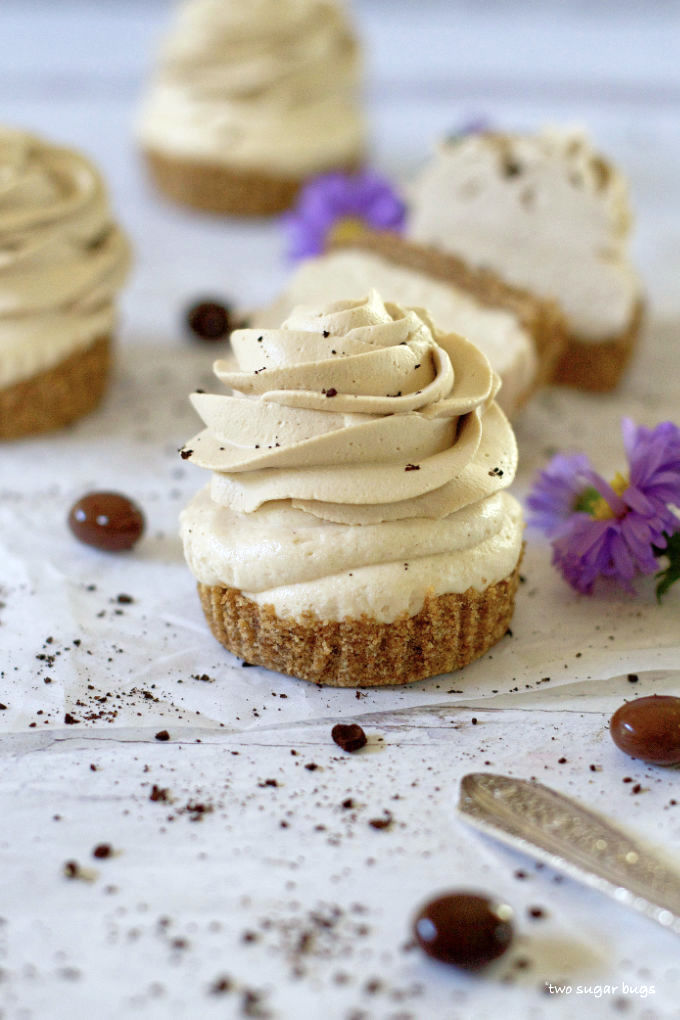
This mini peanut butter espresso cheesecakes recipe has an espresso graham cracker crust, an easy and creamy no bake peanut butter cheesecake filling and are topped with an espresso infused whipped cream. Perfect for coffee and peanut butter fans!
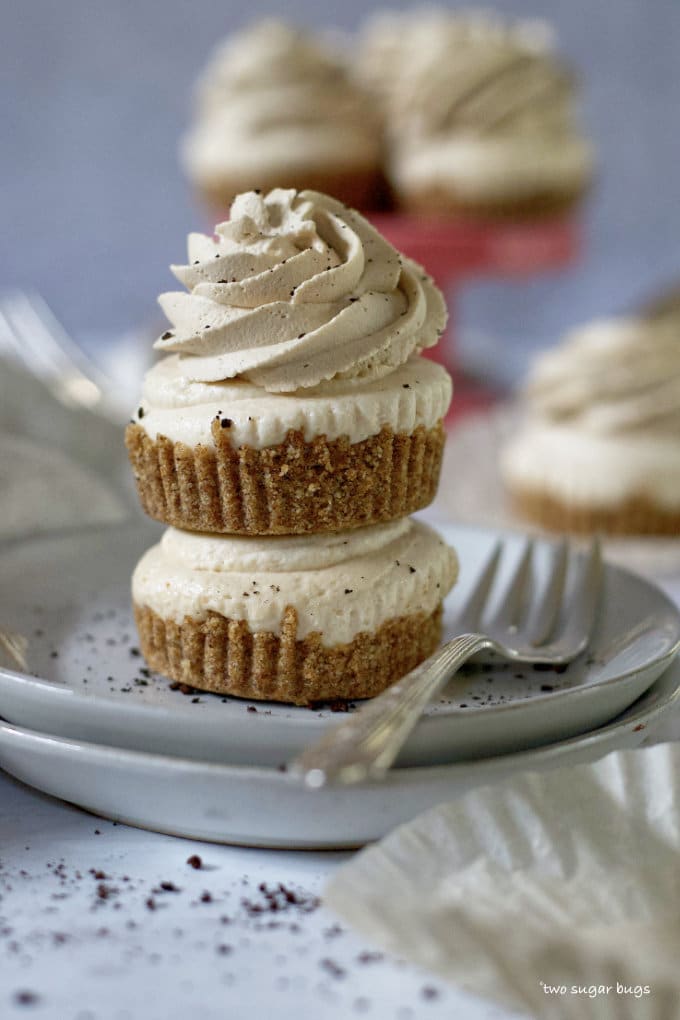
This recipe was inspired by a trip to a friend's newly opened coffee shop this past summer. Her shop also sells local ice cream and offers affagato on the menu. A peanut butter ice cream affagato was ordered and the combination of espresso and peanut butter was divine!! So once again, I came home and knew I needed to create something that offered the same flavors.
Disclosure | This post may contain affiliate links. As an Amazon Associate I earn from qualifying purchases.
Cheesecake is one of those desserts that seems to appeal to so many people! I wanted this recipe to be easy; so it's no bake, which means no taking up valuable oven space if you want to add them to your holiday meal menus {hint, hint}. The creamy peanut butter cheesecake is a splendid match with the espresso in the graham cracker crust! And is it just me or are mini desserts just more fun??
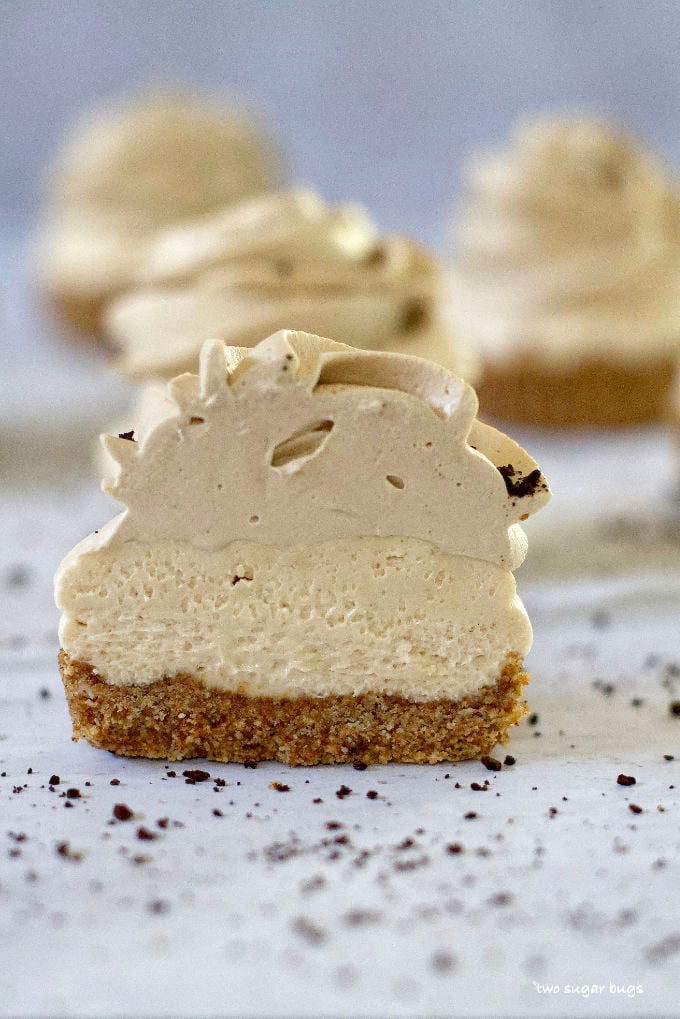
how do you make no bake mini peanut butter espresso cheesecakes?
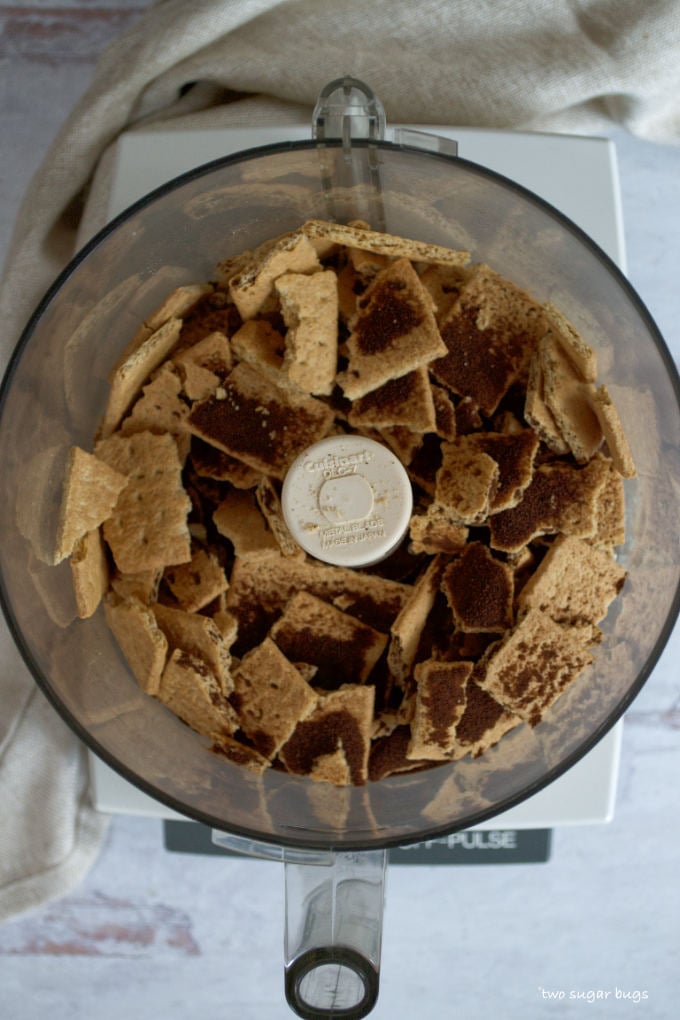
We start with the espresso graham cracker crust. A food processor is your friend here and helps this recipe come together in a snap.
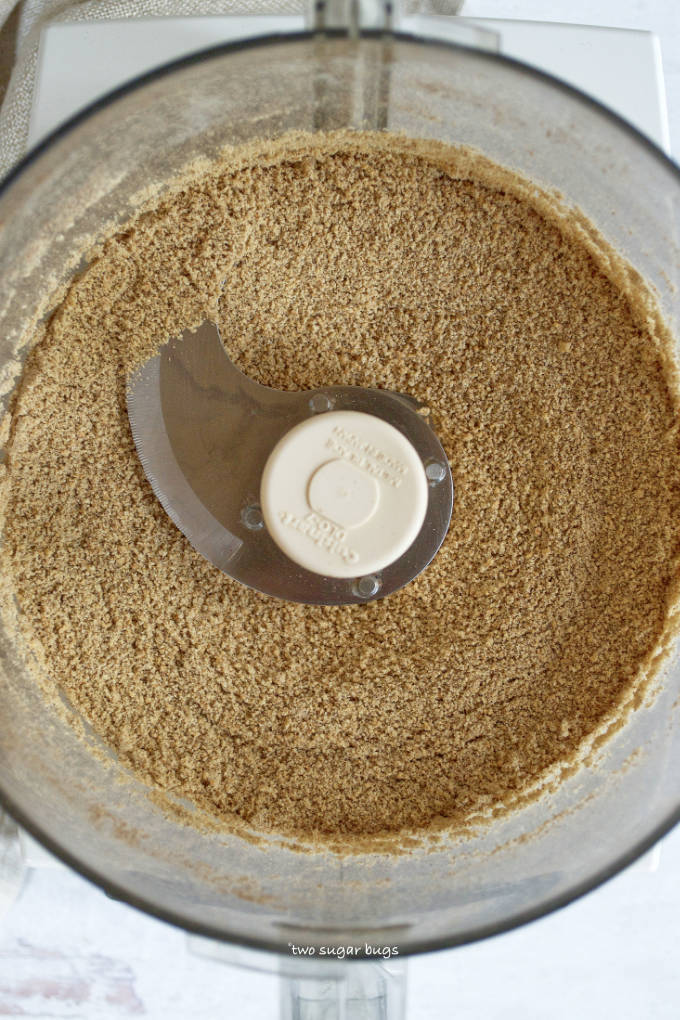
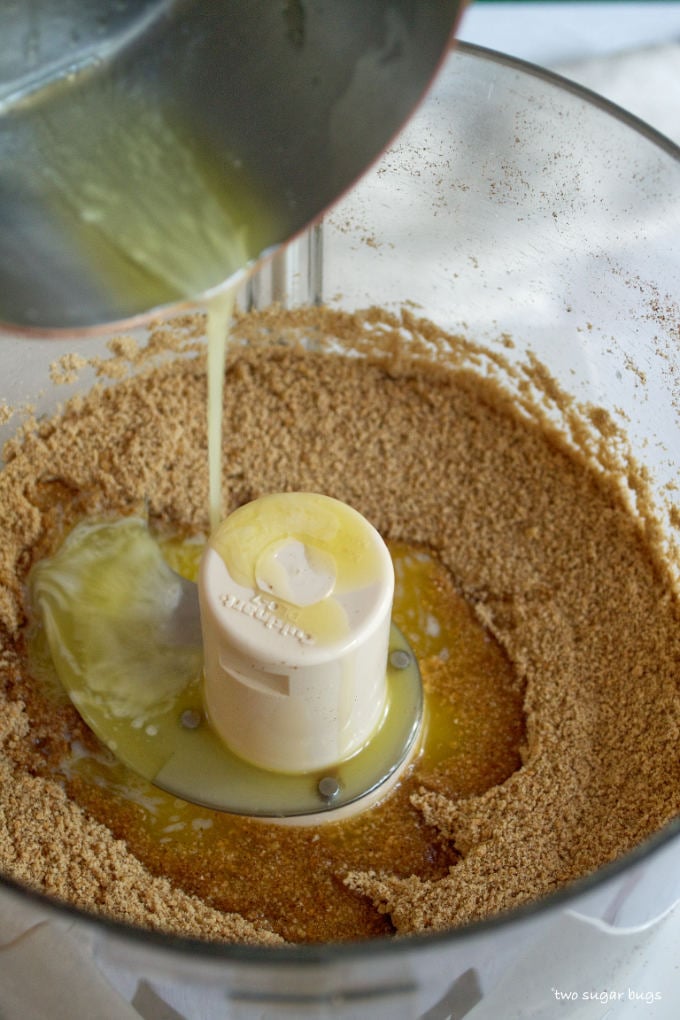
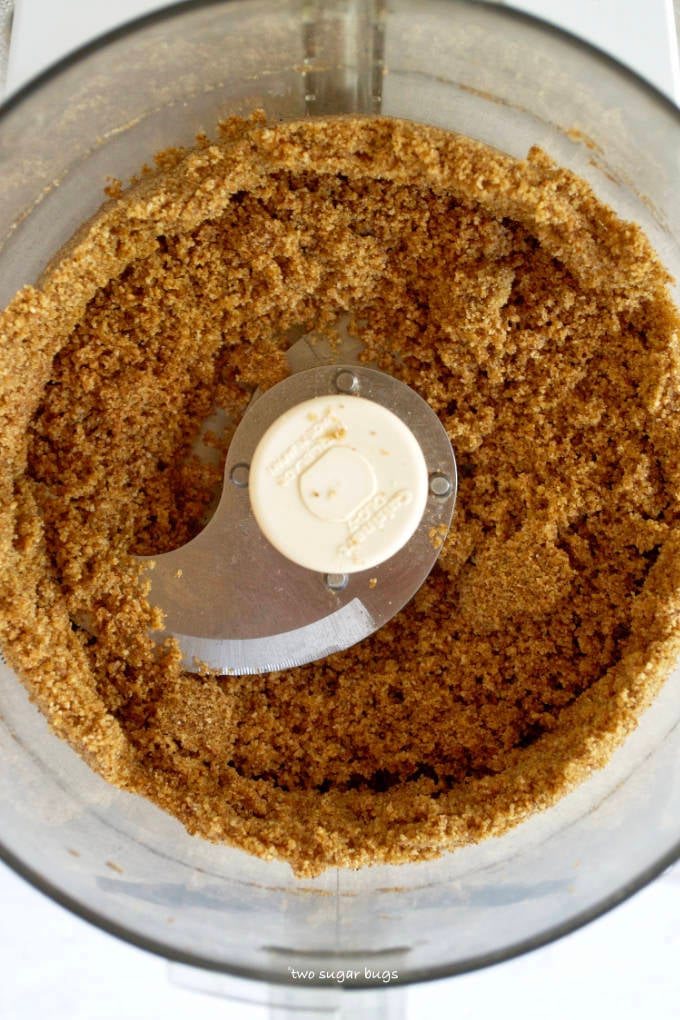
Place graham crackers, brown sugar and instant espresso powder in the bowl of your food processor and pulse until fine crumbs form. Then add melted butter and pulse until combined and the mixture has the texture of wet sand.
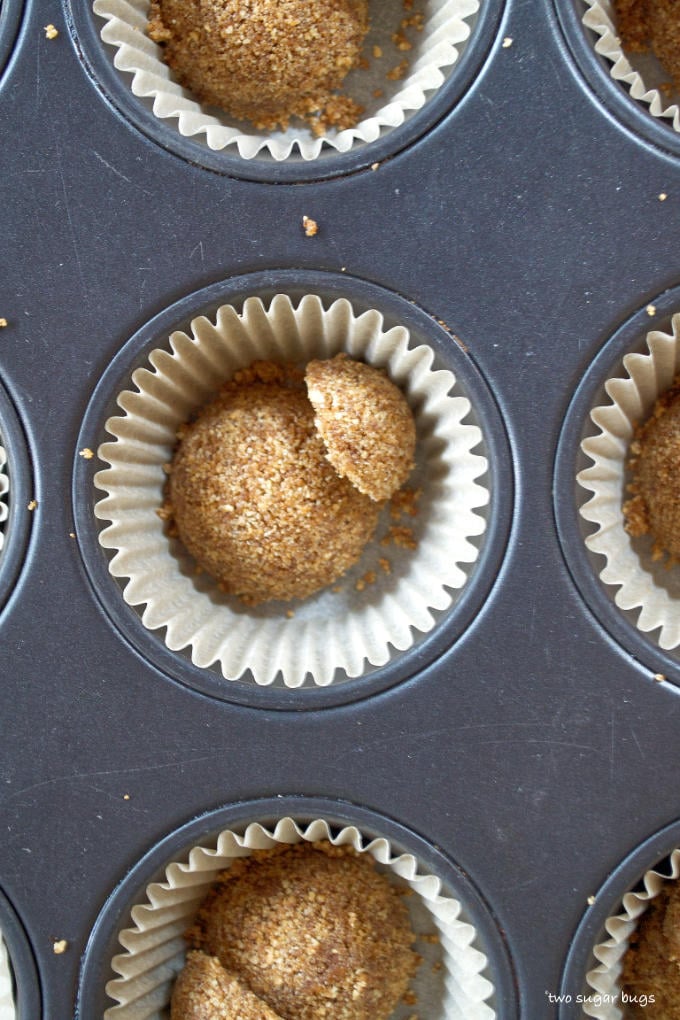
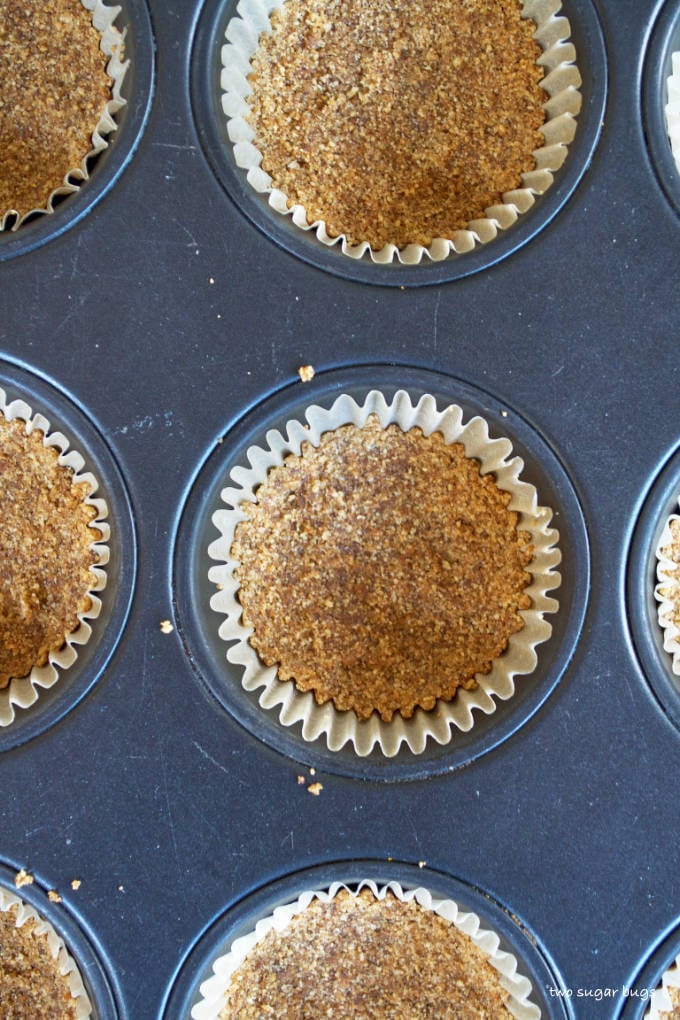
Next measure 1 ½ tablespoons of the espresso graham cracker crust into each well of a standard 12 count muffin pan fitted with cupcake liners. Then use the back of a spoon or clean fingers to firmly pack the crust tightly into the liners. Place the prepared crusts into the freezer or refrigerator while you prepare the peanut butter cheesecake filling.
how to do you make the no bake cheesecake filling?
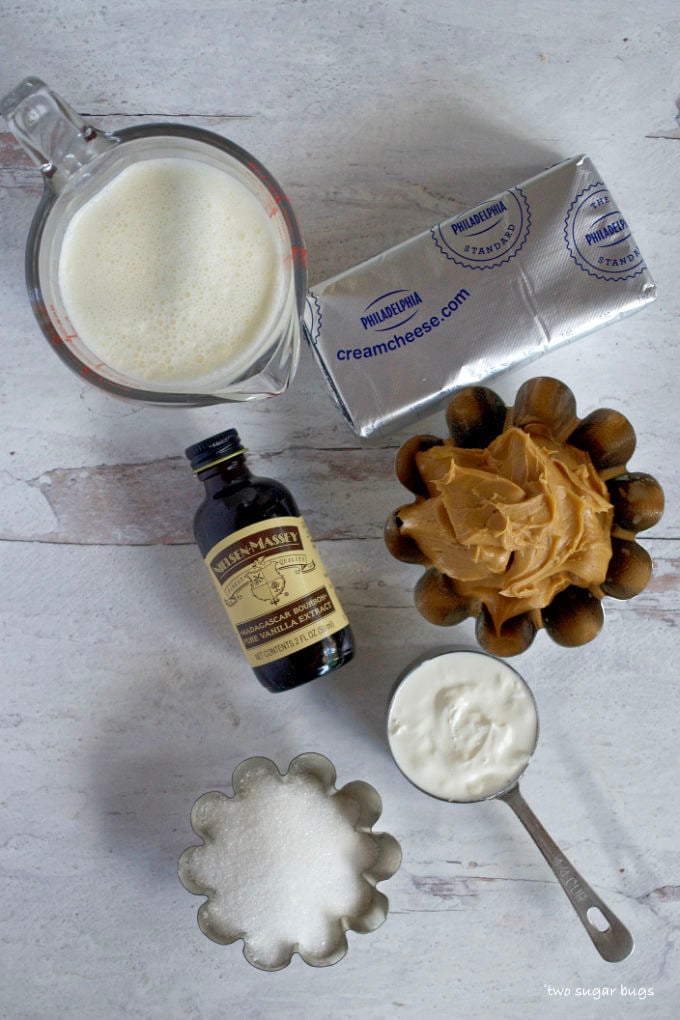
Only seven ingredients are needed for the filling ~ cold heavy whipping cream, room temperature cream cheese and sour cream, peanut butter, granulated sugar and vanilla extract. I forgot to photograph a pinch of salt!
Start by whipping the cold heavy whipping cream to stiff peaks. You can either use a stand mixer with the whisk attachment or a hand-held mixer. Or if you are ambitious and have the arm strength, you could use a hand whisk! Then set the whipped cream aside.
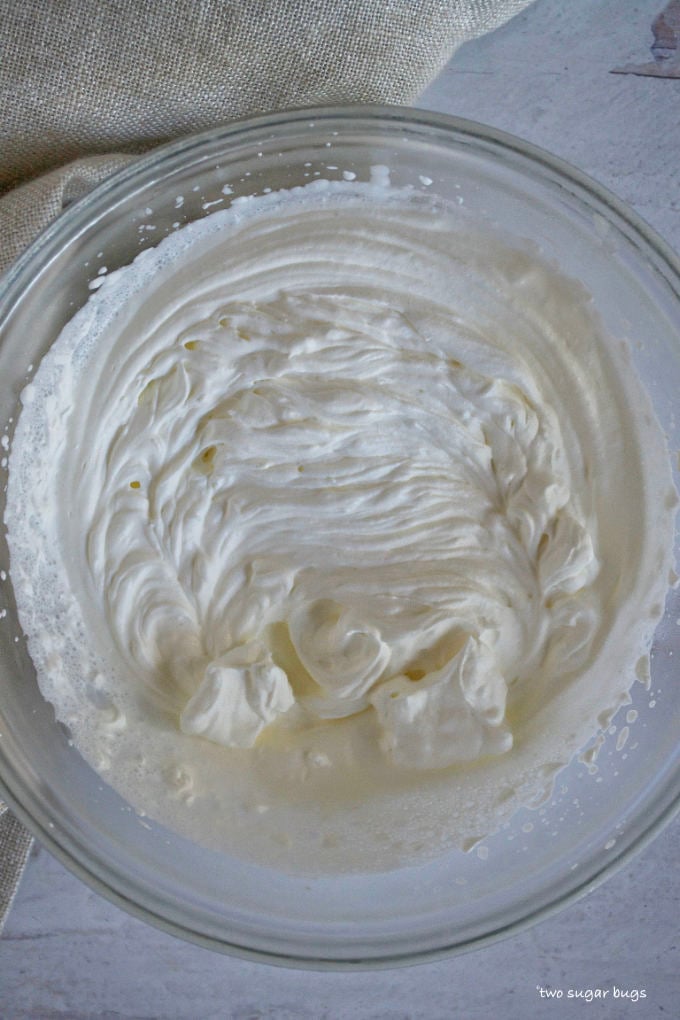
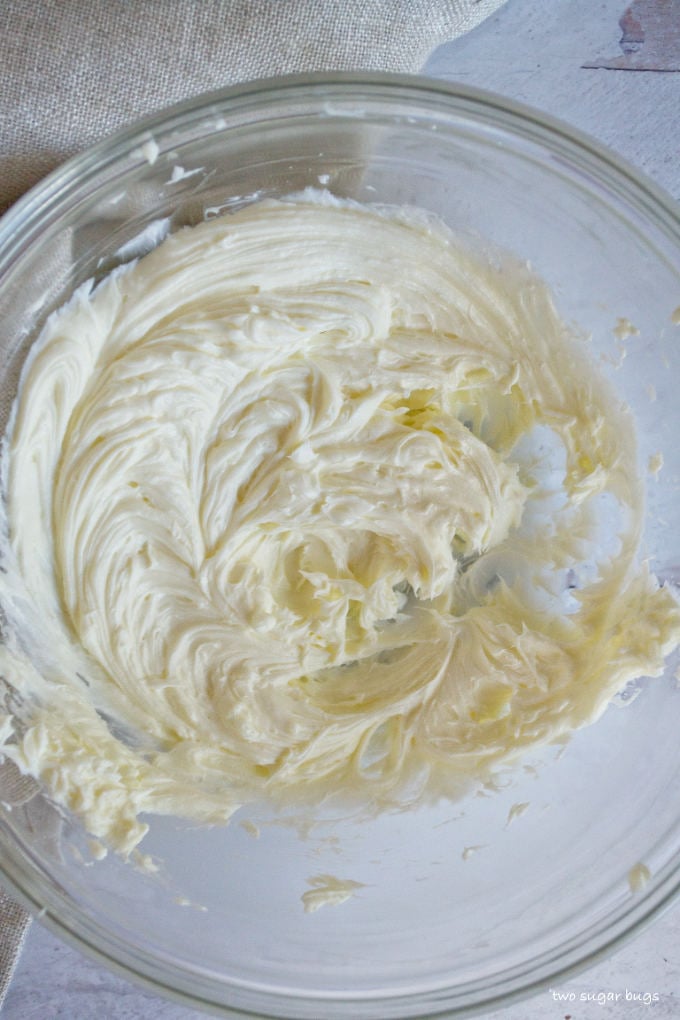
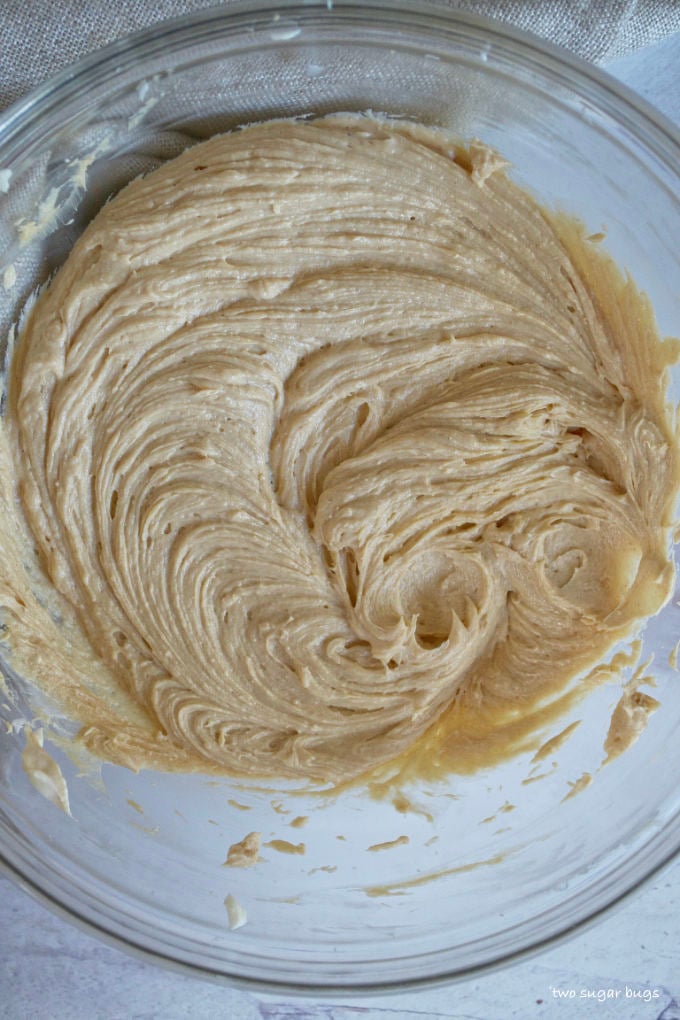
Next beat together the cream cheese and granulated sugar. Once the mixture is smooth, beat in the sour cream until combined.
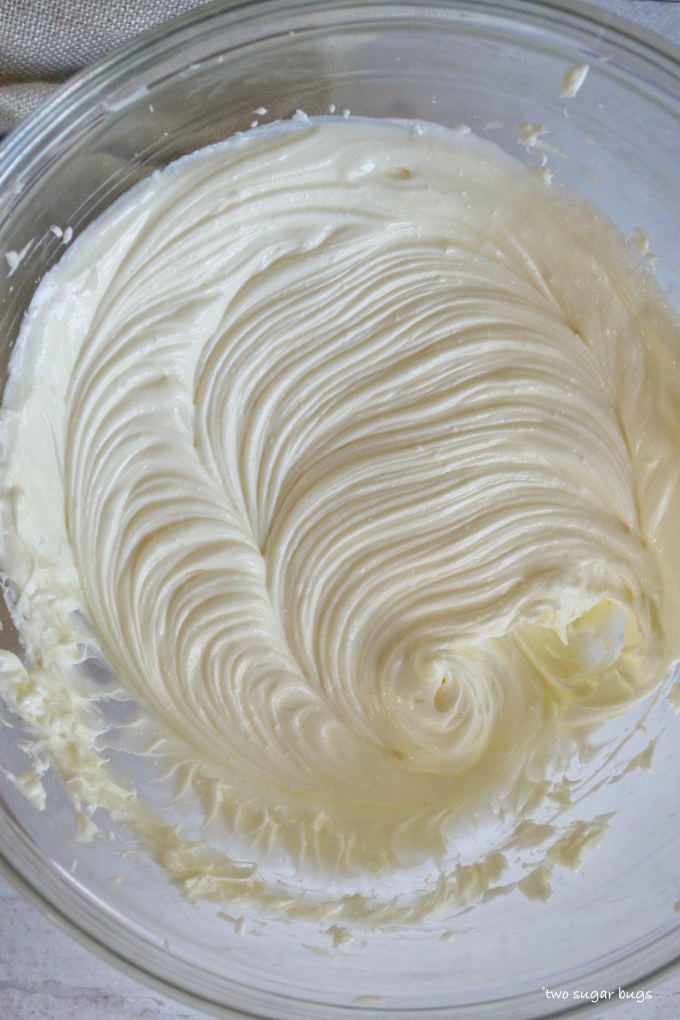
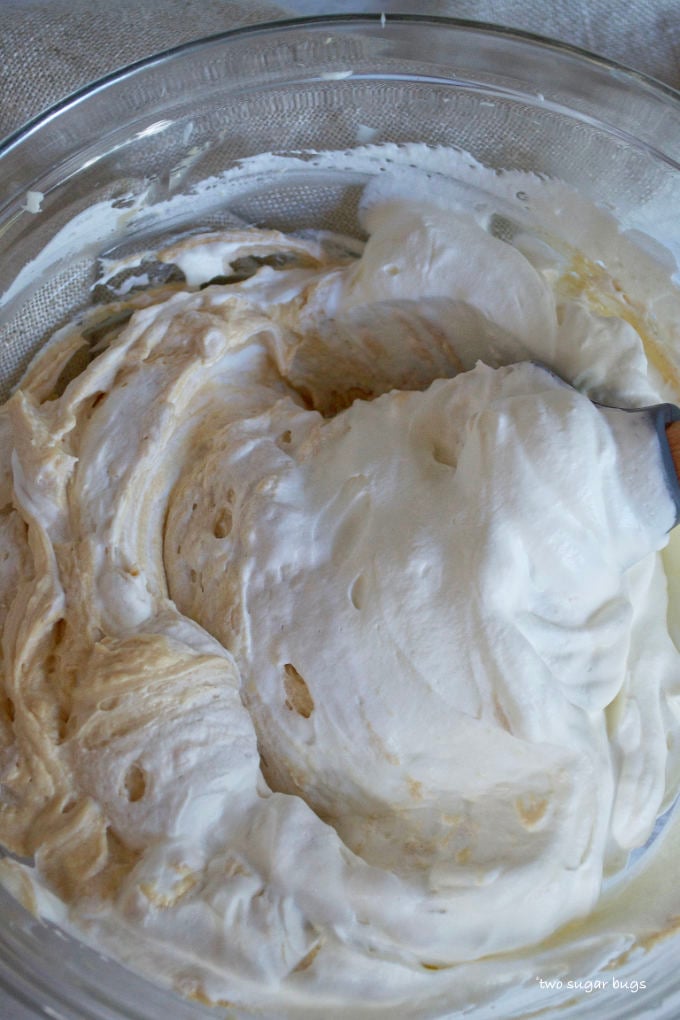
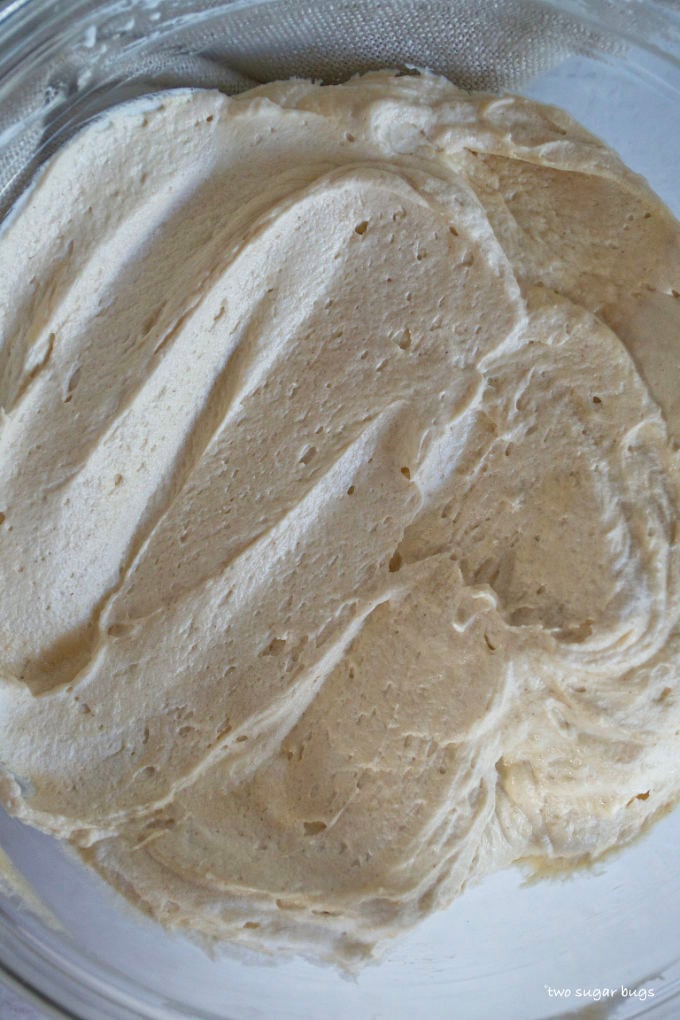
Then add the peanut butter, vanilla and a pinch of salt and beat until fully combined. Finally, fold the whipped cream into the peanut butter mixture with a spatula. This takes several turns of the spatula, work gently as to not completely deflate the whipped cream.
how do you get the peanut butter filling in the espresso crust?
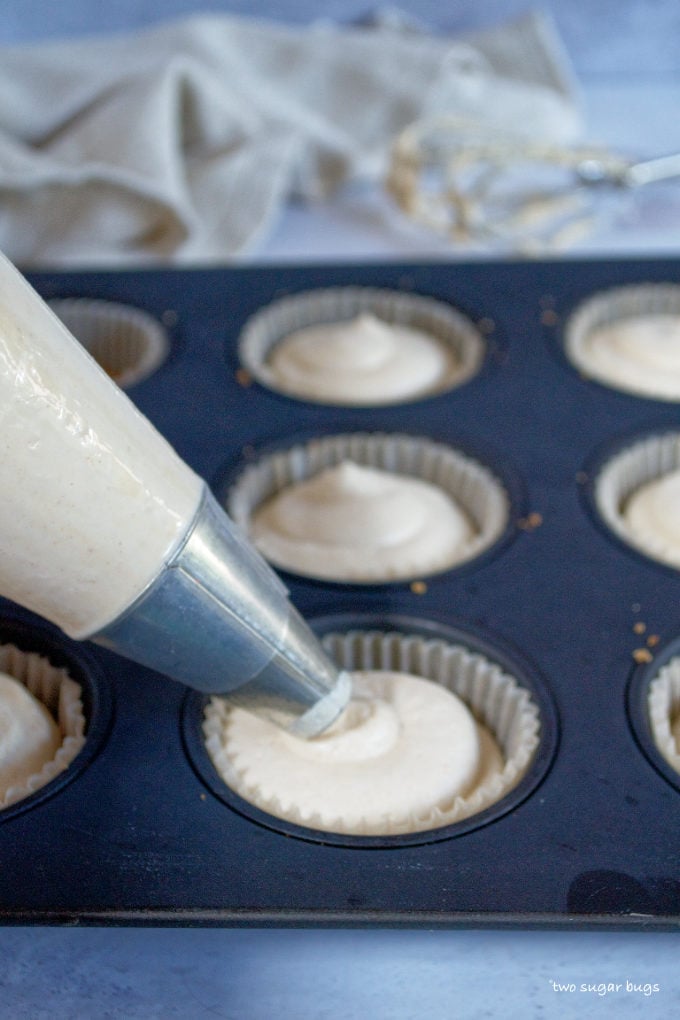
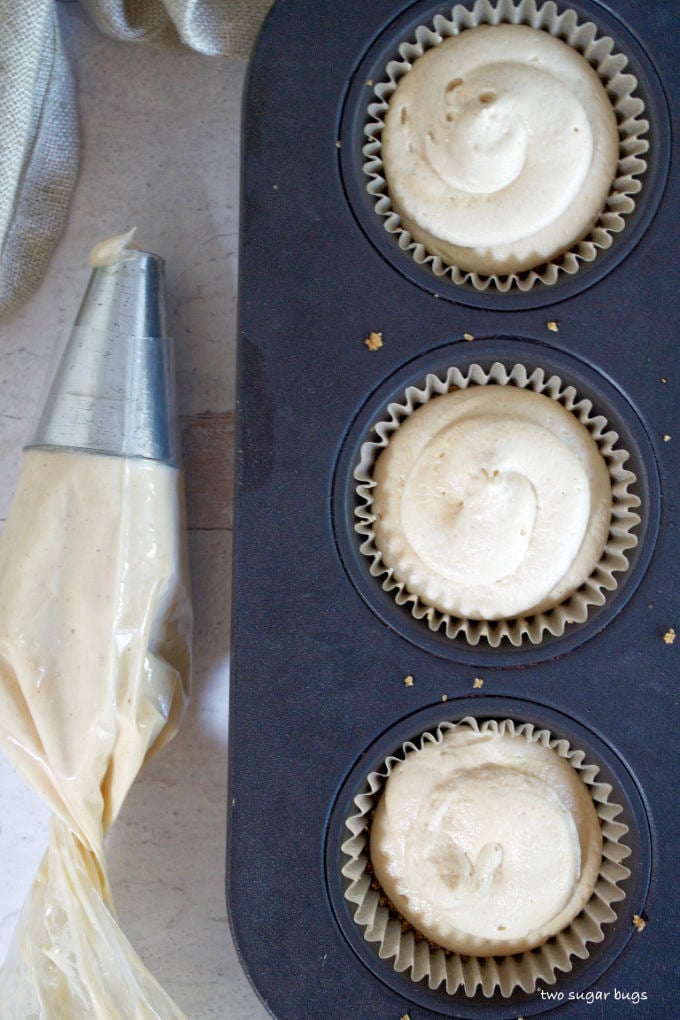
I tested this recipe both using a spoon and a piping bag. The method with a piping bag is much easier and less messy. I fit a disposable piping bag with a large round tip, although you could also just cut off the end of the bag. Then fill each espresso crust with the peanut butter cheesecake filling. Each liner is filled almost to the top.
Now comes the hard part ~ waiting for the cheesecake to chill! Place the cheesecakes in the refrigerator and chill for about three hours or until they are set. You can also prepare the recipe up to this step up to two days ahead of serving, just be sure to cover them with plastic wrap and store in the refrigerator.
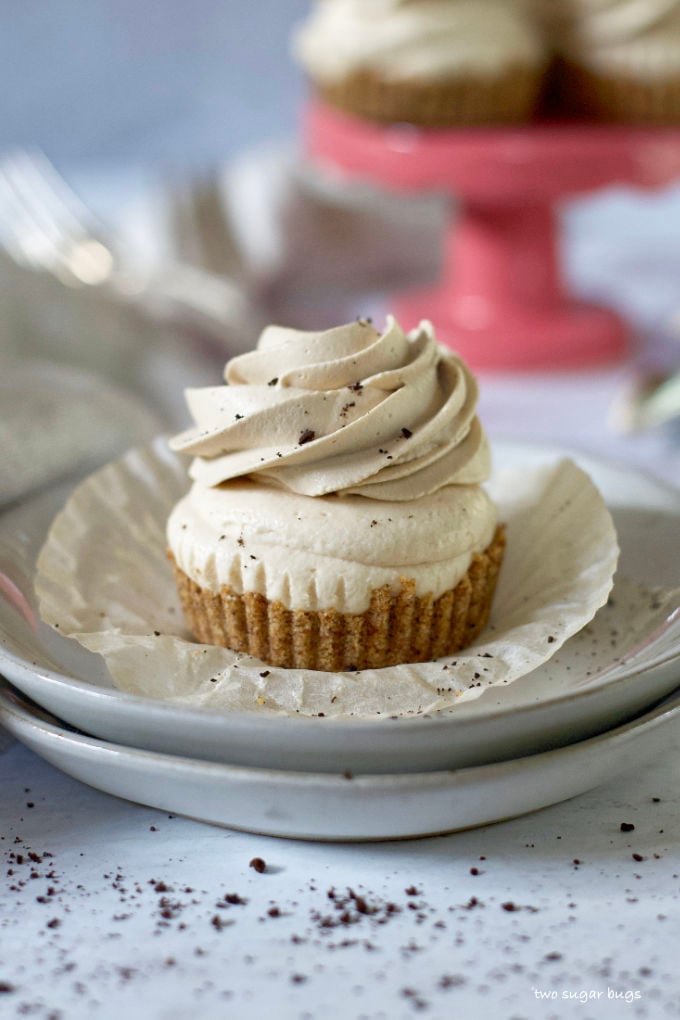
When ready to serve, prepare the espresso whipped cream. Again, a hand-held mixer or stand mixer is a great helper here. Add cold whipping cream, brown sugar, instant espresso powder and vanilla to a bowl and whip on medium high until stiff peaks form. Then spoon or pipe the whipped cream on top of the chilled cheesecakes and enjoy!
I used a Wilton 1M piping tip for these photos.
Do my cheesecake ingredients really need to be at room temperature?
Yes! Room temperature ingredients guarantee that the filling will be smooth. If you beat together cold ingredients, the filling will be chunky. On the other hand, your whipping cream does need to be COLD to whip to stiff peaks. Once you fold the whipped cream into the smooth peanut butter cheesecake filling you get a light and creamy, mousse-like cheesecake! So good!!

Can these peanut butter espresso cheesecakes be made ahead of time?
Yes!! You can prepare the espresso crust and peanut butter cheesecake up to two days ahead of time. I do recommend waiting to top with the espresso whipped cream until just before serving. The brown sugar in the whipped cream doesn't make the whipped cream very stable. It will still taste fine the next day or two, but it starts to look a little wilted. This did not stop us from eating the leftovers!!
Remember to snap a picture and tag me @twosugarbugs on Instagram if you make these No Bake Mini Peanut Butter Espresso Cheesecakes. It warms my heart to see you bring these recipes to life! Thank you for being here and happy baking!
More peanut butter recipes to enjoy ~
- Addictive Peanut Butter Bars
- Peanut Butter White Chocolate Blondies
- Chewy Peanut Buttery PB Cookies
- Peanut Butter Pie
- Oatmeal Peanut Butter Chocolate Chip Cookies
If you make this recipe {or any recipe!} from two sugar bugs please come back and leave a review and a ⭐️⭐️⭐️⭐️⭐️ star rating. I read every comment, and I LOVE hearing from you!
Recipe shared with Meal Plan Monday and Weekend Potluck
No Bake Mini Peanut Butter Espresso Cheesecakes
An espresso graham cracker crust, an easy and creamy peanut butter cheesecake filling and are topped with an espresso infused whipped cream! Perfect for coffee and peanut butter fans and no need to turn on the oven!!
Ingredients
Espresso Graham Cracker Crust
- 1 ¼ cups graham cracker crumbs, 8-9 graham crackers (140g)
- 3 tablespoons brown sugar (39g)
- 5 tablespoons unsalted butter, melted (70g)
- 4 teaspoons instant espresso powder
Peanut Butter Cheesecake
- ¾ cup cold heavy whipping cream (180mL)
- 8 ounces brick cream cheese, room temperature (226g)
- ¼ cup granulated sugar (50g)
- ¼ cup sour cream, room temperature (60g)
- ½ creamy peanut butter, not natural style(125g)
- 1 teaspoon pure vanilla extract
- Pinch of salt
Espresso Whipped Cream
- 1 cup cold heavy whipping cream (240mL)
- 3 tablespoons brown sugar (39g)
- 1 ½ teaspoons pure vanilla extract
- 2-3 teaspoons instant espresso powder
Instructions
- Line one standard 12-count muffin pan with liners. Make sure you have room in your refrigerator for the pan.
- For the espresso graham crust: Use a food processor to pulse the graham crackers, espresso powder and brown sugar into fine crumbs. Add the melted butter and pulse until combined. Mixture will have the consistency of wet sand. Spoon 1 and ½ tablespoons of the crust mixture into each muffin liner and use the back of the spoon or clean fingers to pack it down tightly. Freeze or refrigerate while you prepare the peanut butter cheesecake filling.
- For the peanut butter cheesecake filling: Using a handheld or stand mixer with the whisk attachment, whip the cold heavy whipping cream on medium-high until stiff peaks form, about 3-4 minutes. Set aside. Using a handheld or stand mixer fitted with a paddle attachment, beat the cream cheese and granulated sugar together on medium-high speed in a large bowl until the mixture is smooth, about 2-3 minutes. Add the sour cream and beat until fully combined, about 1 minute. Scrape up and down the sides of the bowl, then add the peanut butter, vanilla extract, and salt and beat until fully combined. Fold in the whipped cream with a spatula until combined. This takes several turns with the spatula. Work gently as you don’t want to deflate all the air out of the whipped cream.
- You can use a spoon or piping bag to transfer the filling to the crusts. I prefer using a piping bag because it’s easier and less messy for distributing. Fit a large piping bag with a round tip or an open star and place the filling in the bag and pipe the filling into each crust.
- Refrigerate the mini cheesecakes in the pan until set, about 3 hours. If refrigerating for longer than 3 hours, I recommend covering the cheesecakes with plastic wrap.
- For the espresso whipped cream: Using a handheld or stand mixer with the whisk attachment, whip the cold heavy whipping cream, brown sugar, vanilla and espresso powder on medium-high until stiff peaks form, about 3-4 minutes.
- To serve: Remove the mini cheesecakes from the refrigerator and place them on a serving platter or plates. Use a piping bag to pipe the espresso whipped cream on top of each cheesecake. Alternately, you can also use a spoon to dollop the whipped cream on top of each cheesecake.
Notes
A natural peanut butter is not ideal for this recipe, a processed creamy peanut butter such as Jif or Skippy will work best.
The recipe can be prepared through step 5 up to two days before serving. I do recommend not topping with the espresso whipped cream until ready to serve. After about 24 hours, the espresso whipped cream will start to wilt a little bit, but it still tastes amazing!
Cover and store any leftover cheesecakes in the refrigerator for up to 5 days.
Nutrition Information:
Yield:
12Serving Size:
1Amount Per Serving: Calories: 425Total Fat: 32gSaturated Fat: 17gTrans Fat: 0gUnsaturated Fat: 13gCholesterol: 74mgSodium: 227mgCarbohydrates: 30gFiber: 1gSugar: 17gProtein: 6g
The nutrition information is an estimate and may not be entirely accurate.


Christie
MMM these little cheesecakes sound amazing with the espresso and PB! A tasty combination of flavours indeed! Bookmarking for later!
Tasia
Thank you Christie! The peanut butter and espresso is a truly fabulous combination, I hope you love the recipe!
Maya
These look amazing - I also love your photos, they look really great. I'm really excited to try these!
Tasia
Thank you for the kind comments Maya! I hope you love the mini cheesecakes as much as we do!
Jules
Possible to sub Greek yogurt for the sour cream?
Tasia
Hi Jules, I think Greek yogurt should substitute just fine.
MaiLyn
Looks great! Excited to try it. Can it be made as a normal sized cheesecake instead of mini?
Tasia
Hi MaiLyn, this recipe should work fine as a regular size cheesecake. I would try a 9-inch springform pan or you could also use a square baking pan; I would use an 8x8.