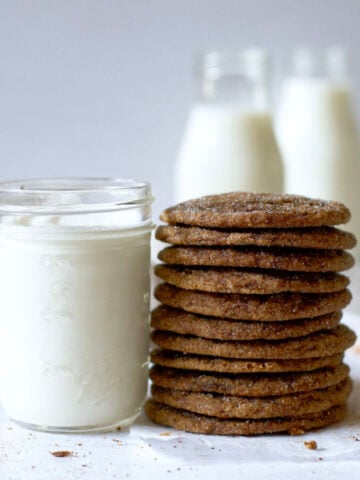
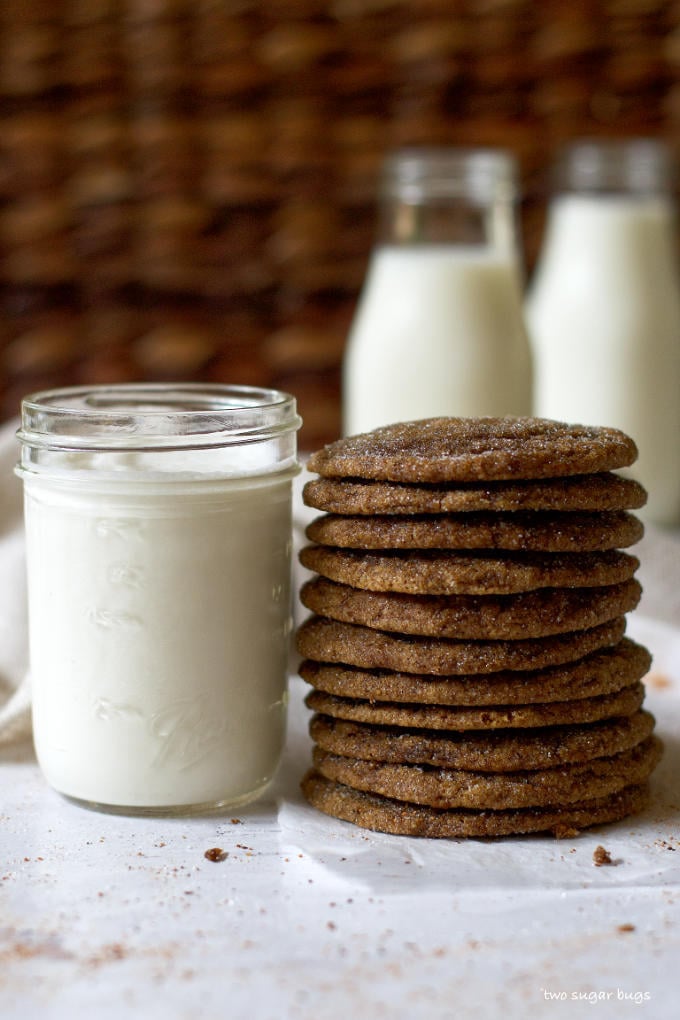
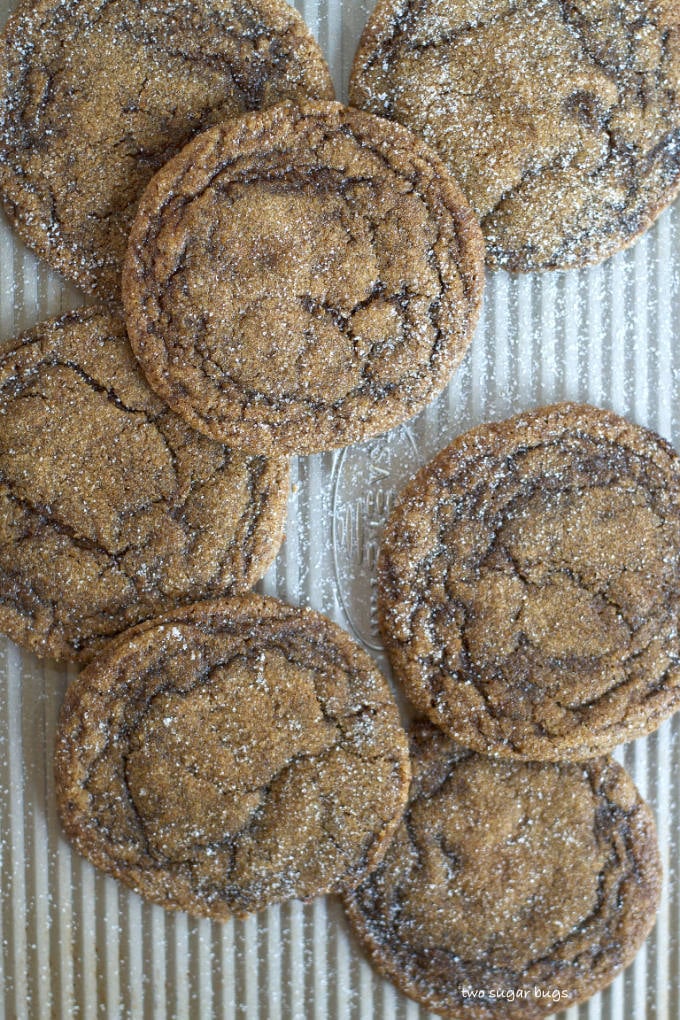
Pumpkin gingerbread cookies are soft, chewy, and full of spices! The addition of pumpkin makes these gingersnap cookies so seriously soft!
Disclosure | This post may contain affiliate links. As an Amazon Associate I earn from qualifying purchases.
My love for molasses or soft gingerbread cookies goes back to middle school. For 50 cents I could buy a pack of Grandma's Cookies in the lunch room (does anyone else remember those cookies??). The iced molasses flavor was my favorite! And don't tell my mom, but most days sometimes that was my lunch.🙄
Reader Ilene commented: "These are fabulous cookies and so perfect for the fall baking season. They have just the right amount of pumpkin and spice and I love the sugary coating and crinkled tops. So soft and chewy. I will definitely make these over and over. Oh and I sooo appreciate that you included weights."
why put pumpkin in gingerbread?
The addition of pumpkin puree makes these gingerbread cookies extra soft and chewy! Pumpkin tends to be very mild in flavor, but adds a layer of richness to baked goods.
For the last several years, pumpkin has dominated the baking world; well the food world in general, during the fall months. The spices that accompany gingerbread recipes pair so well with the cooler months. They are warm and cozy and perfect for a chilly and rainy day! Also excellent for the holidays and Christmas! If you love warm spices in your baked goods too, you may have tried my gingerbread muffins or Biscoff glazed gingerbread scones.
Pumpkin It Up!
This cookie recipe comes from my friend, Eliza Cross. She's an award-winning writer and author and also has a blog at elizacross.com. I was gifted a copy of her cookbook, Pumpkin It Up, and the recipe for Pumpkin Gingersnaps immediately caught my eye!
I've slightly tinkered with the technique in making these cookies and I struggle with calling them gingersnaps. They are so incredibly soft and chewy!!
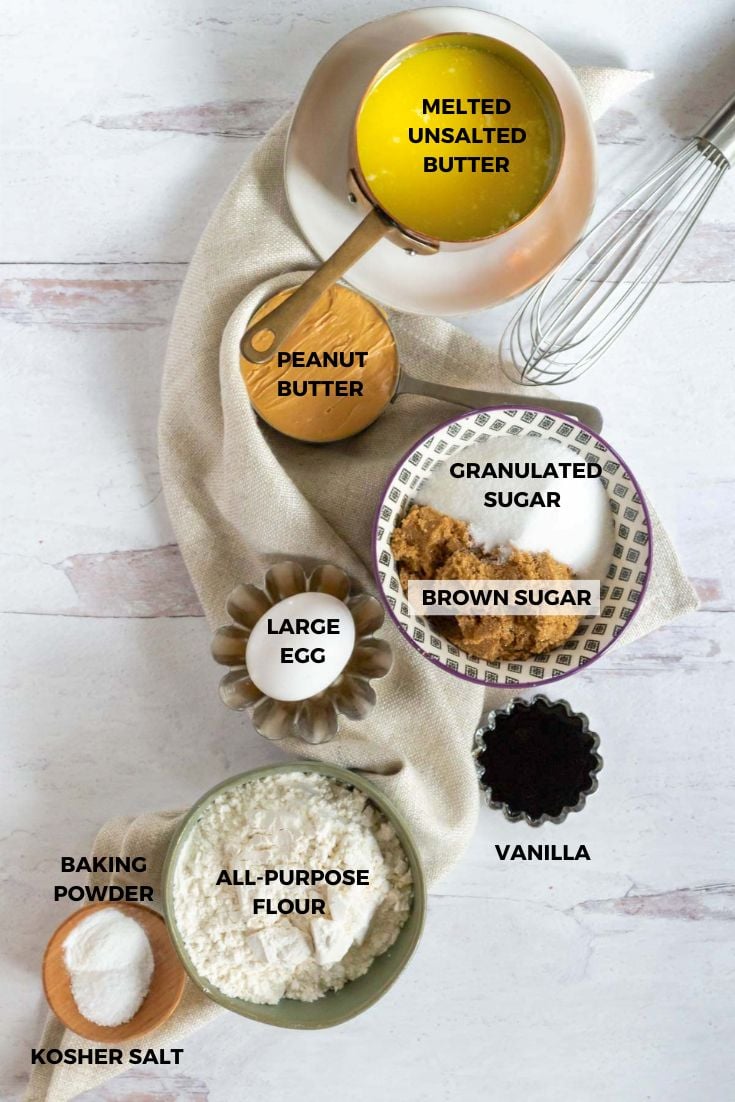
Ingredients for pumpkin gingerbread cookies
- Unsalted butter
- Granulated sugar
- Molasses
- Pumpkin puree
- Pure vanilla extract
- Egg
- All-purpose flour
- Salt
- Baking soda
- Cinnamon
- Ground ginger
- Ground cloves

Let's make cookies!
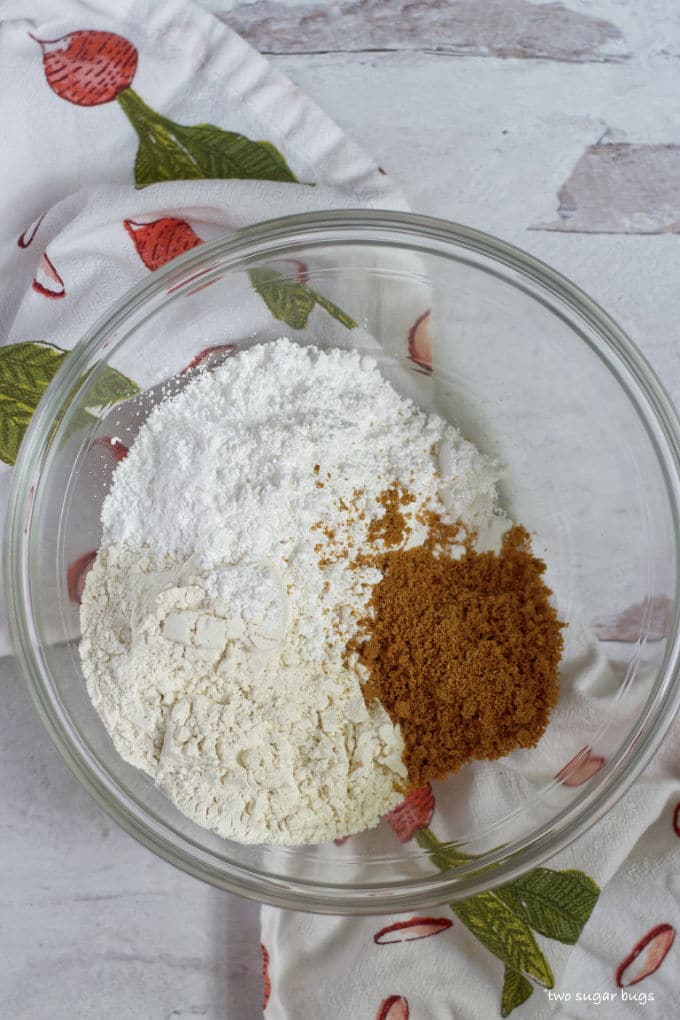
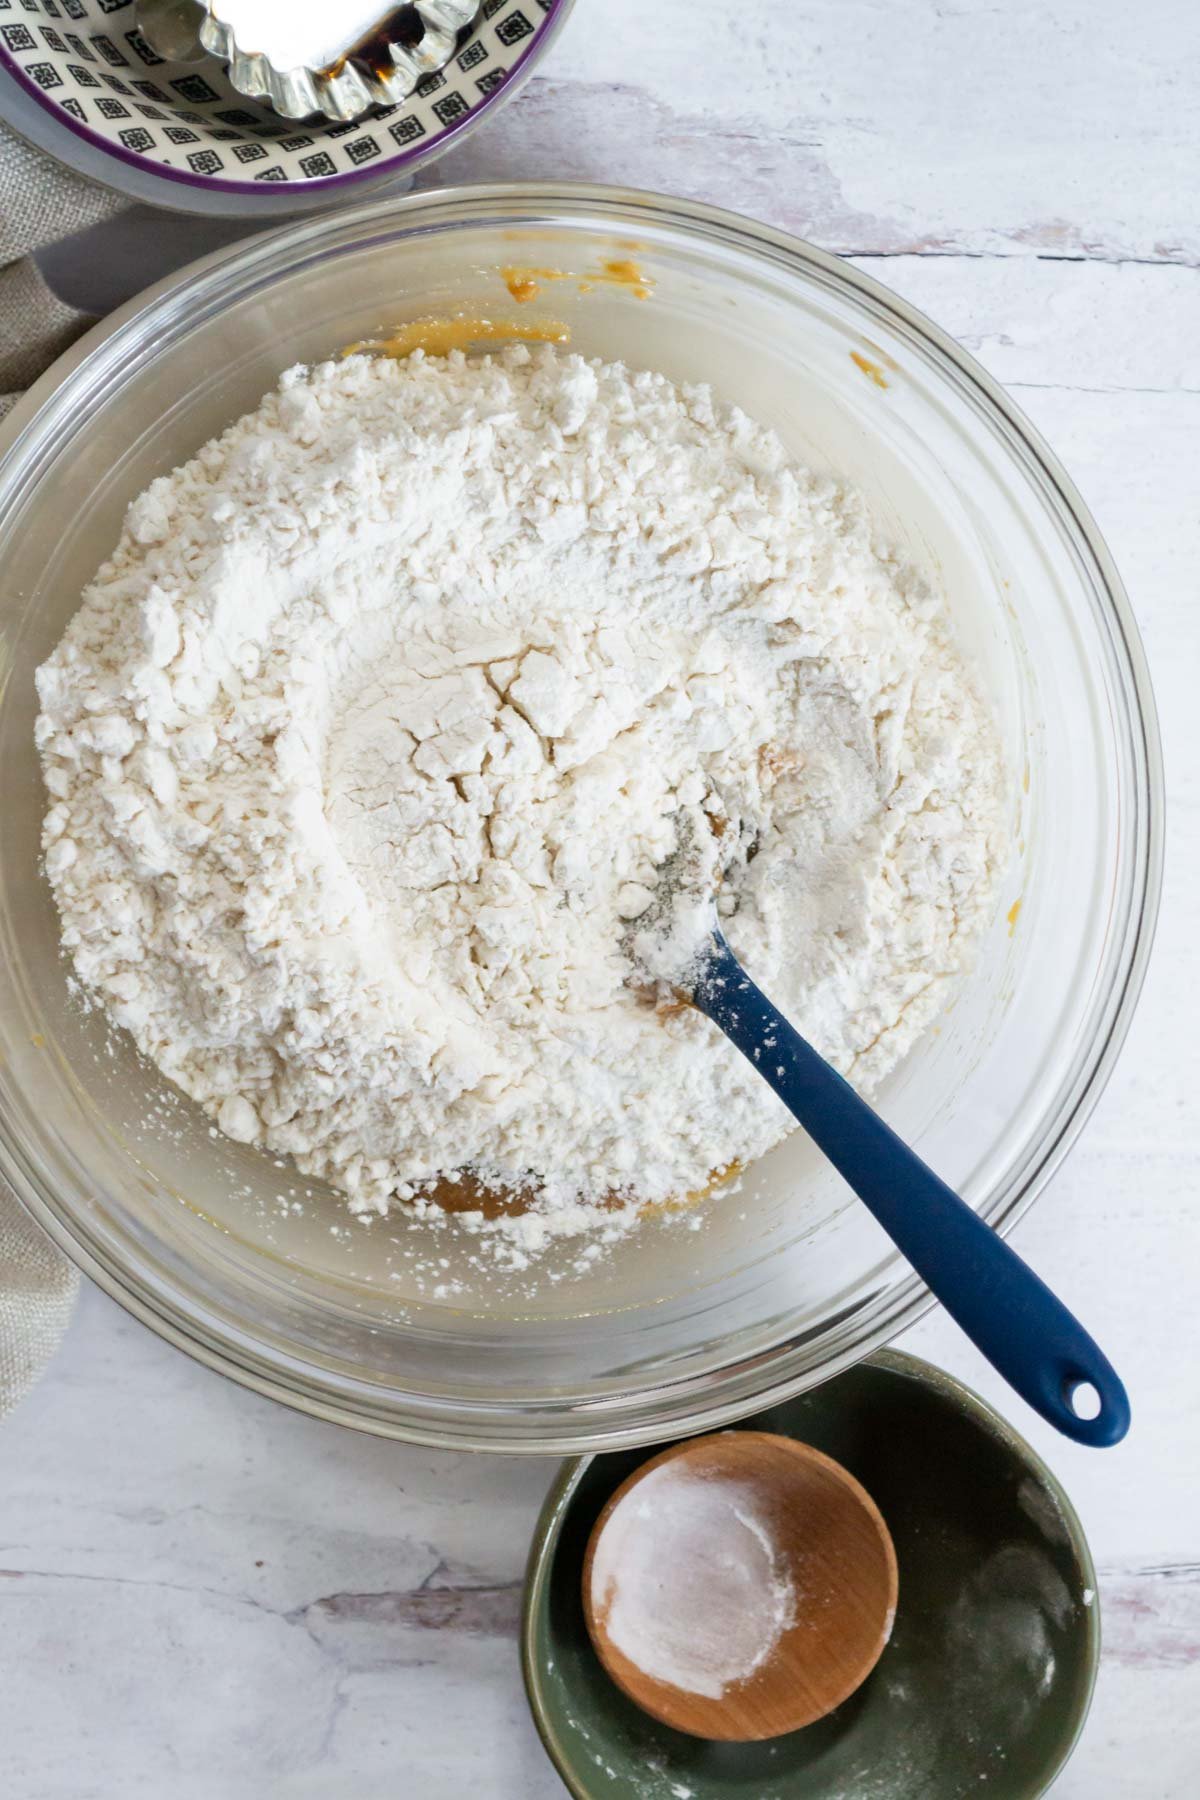
Start by whisking together your dry ingredients. I know this can feel like an extra step, but it ensures that your spices and leavening agent are well dispersed throughout the flour, making more even and consistent cookies.
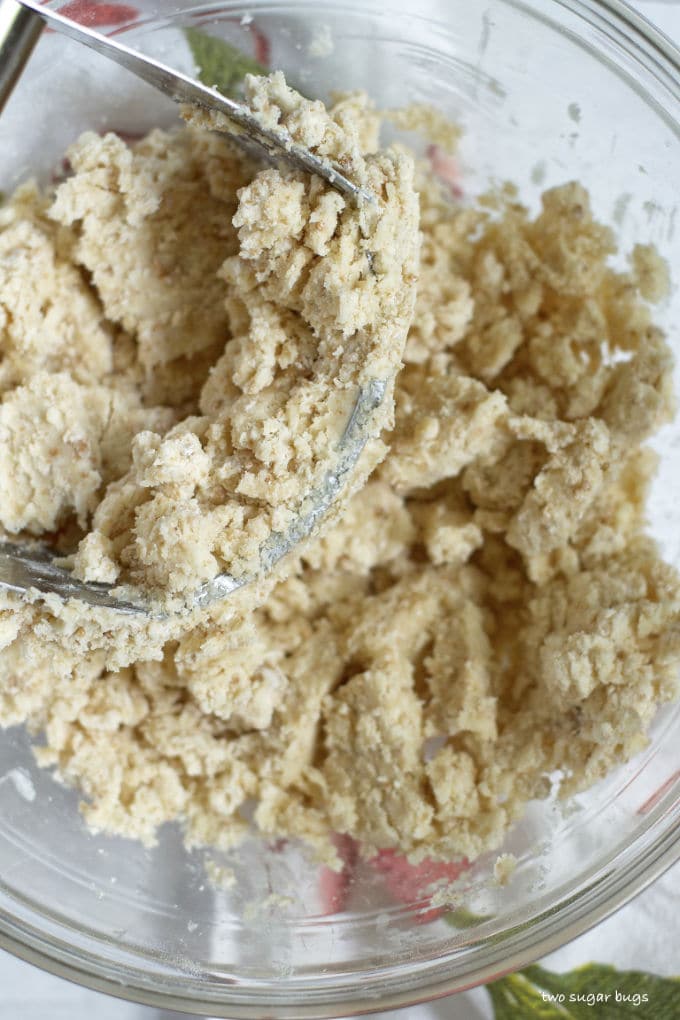
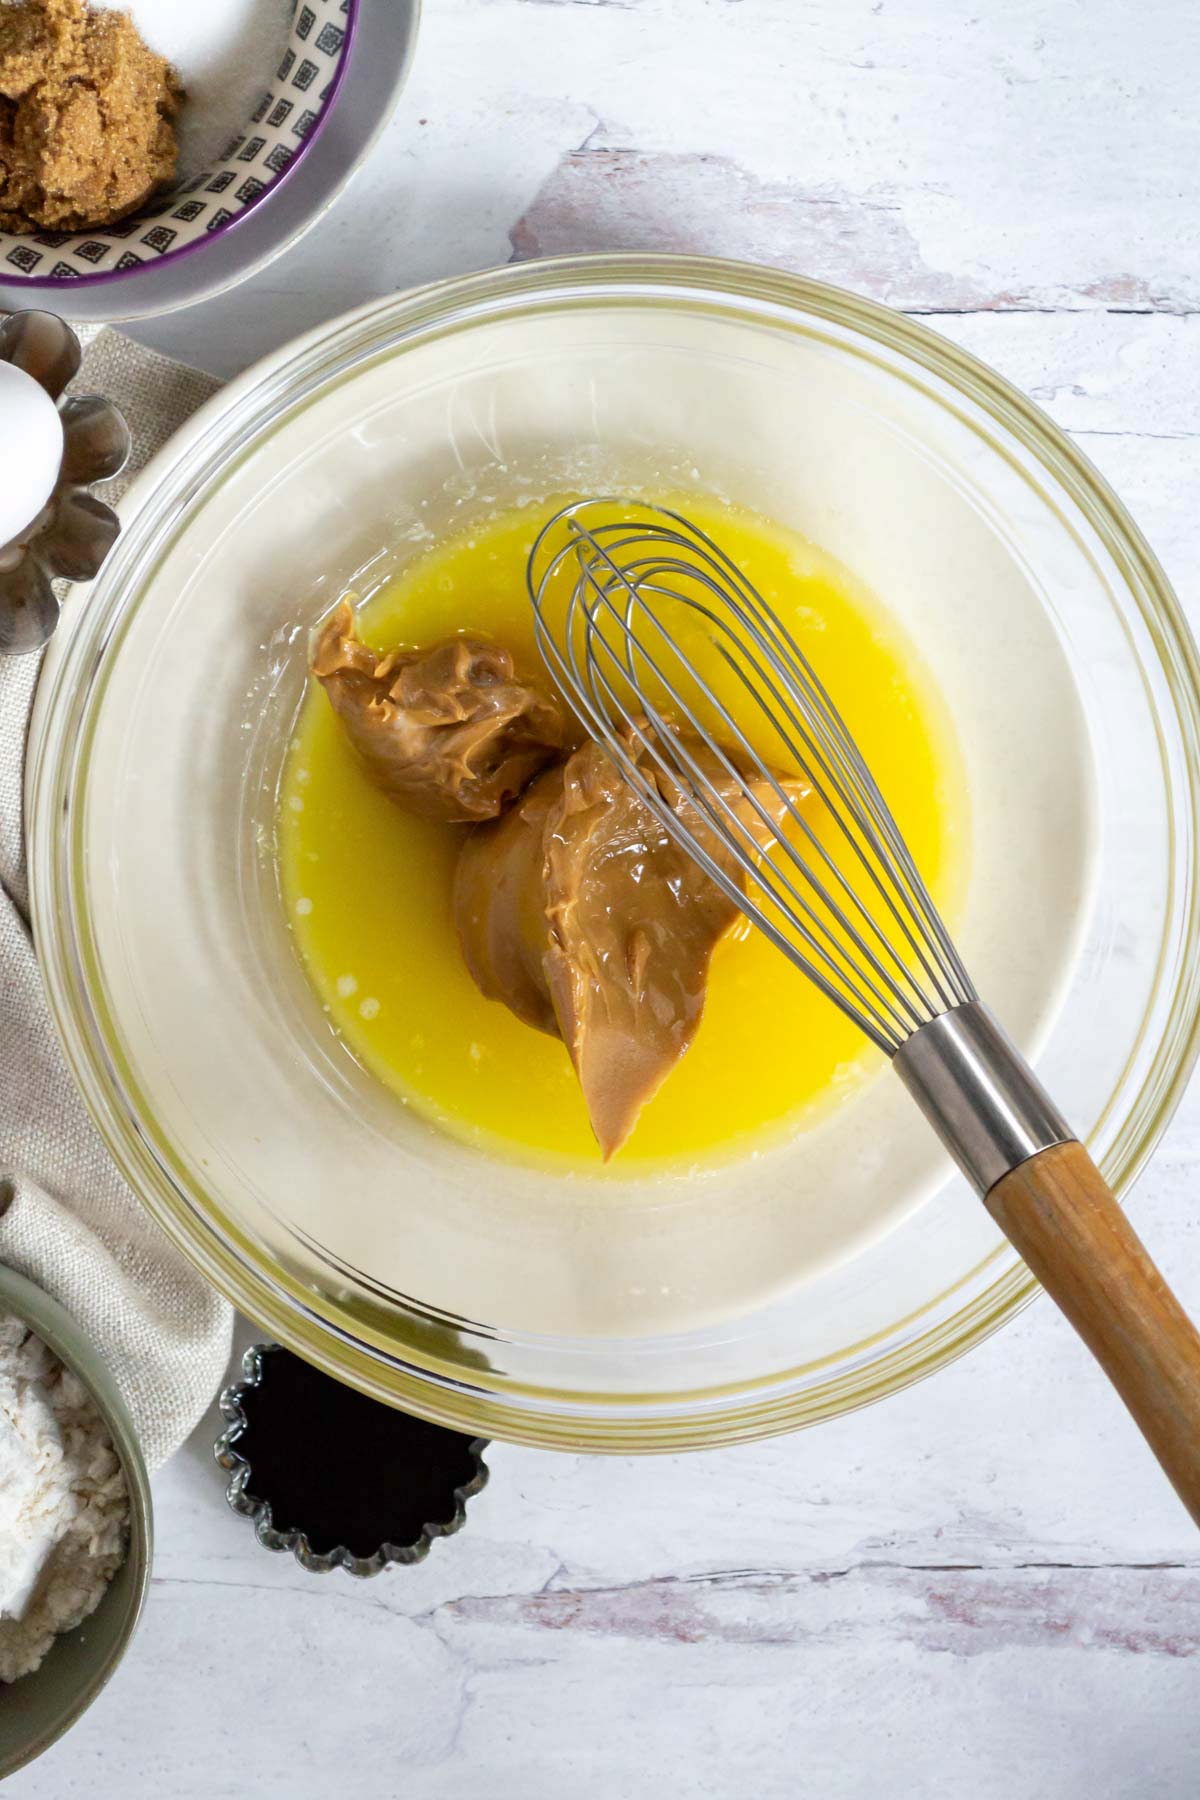
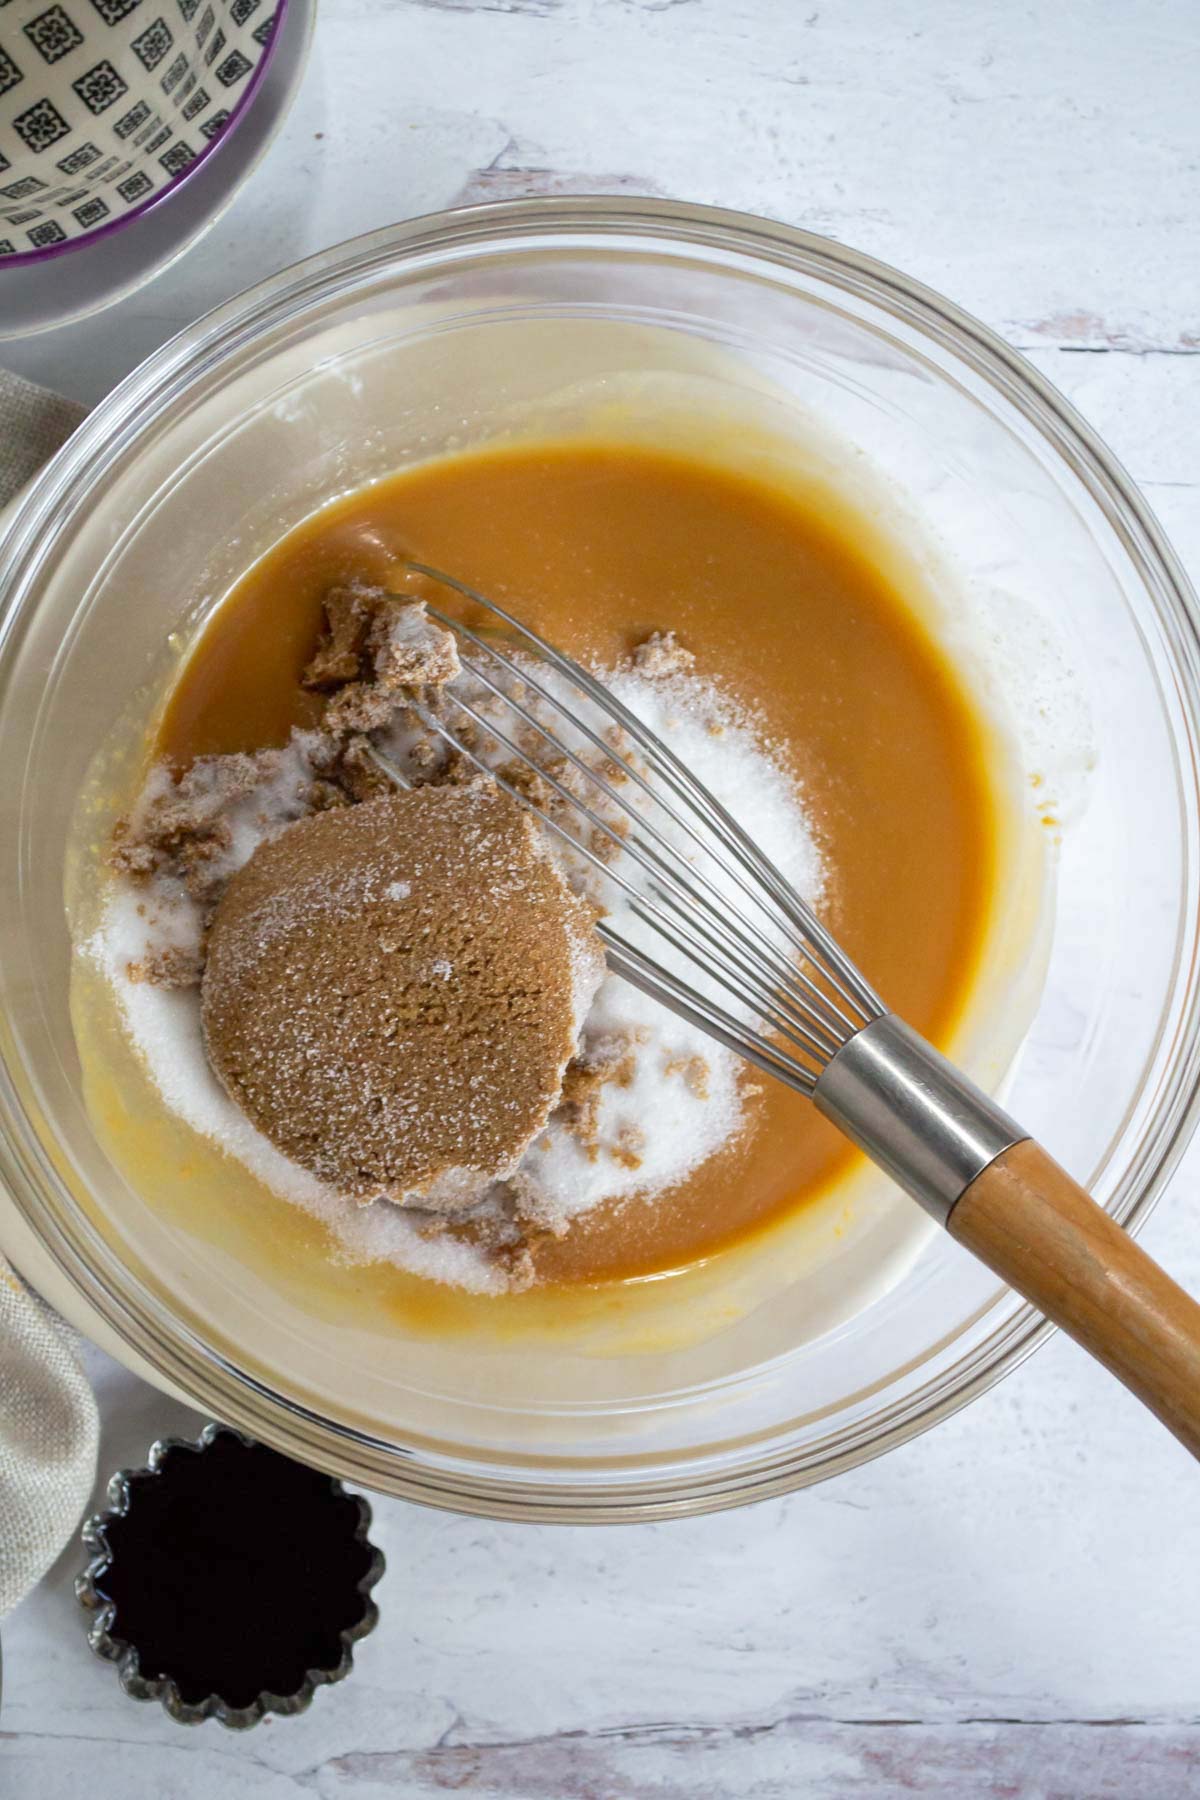
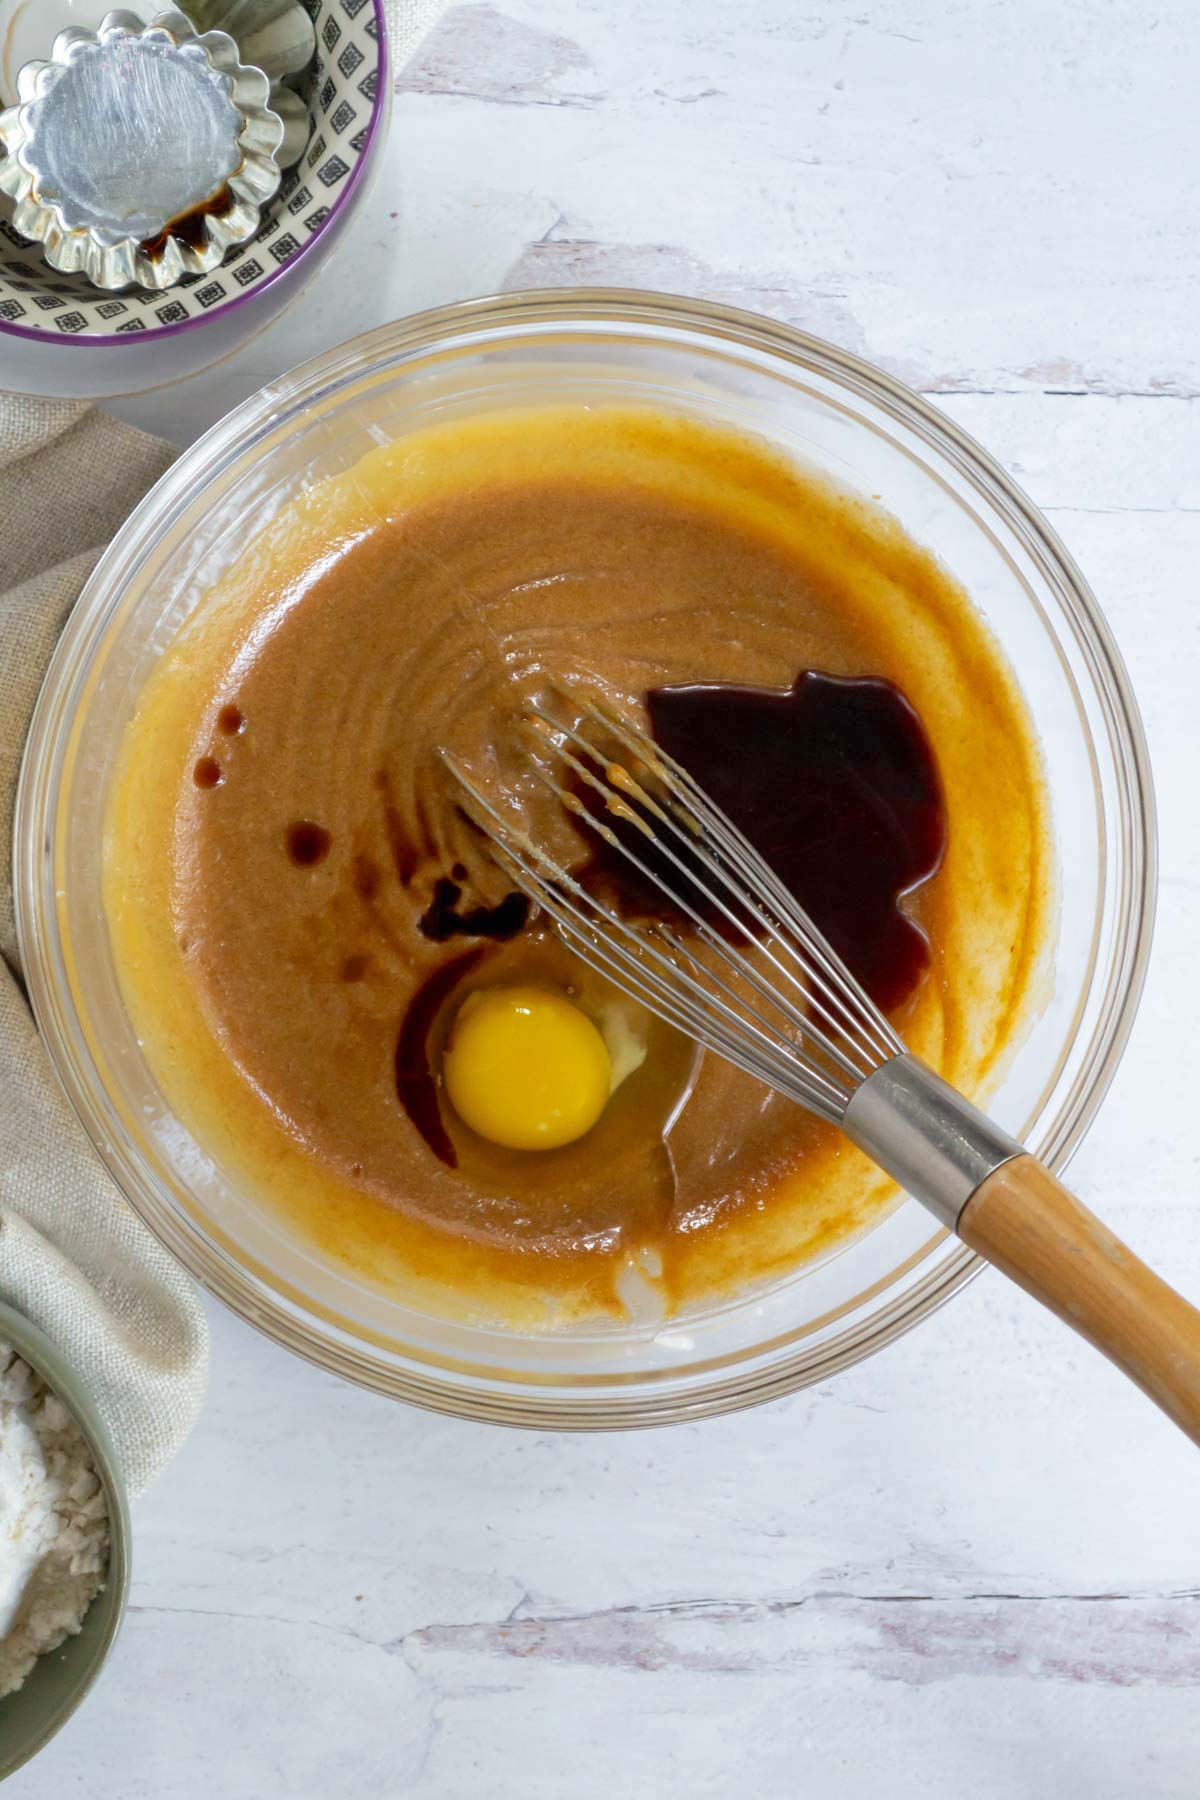
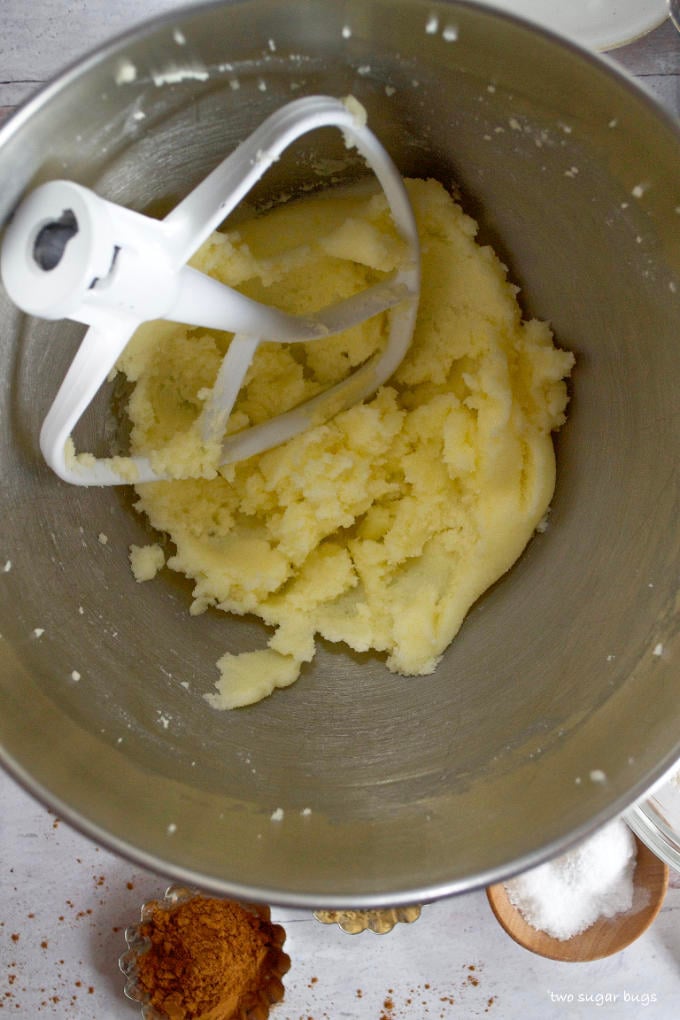
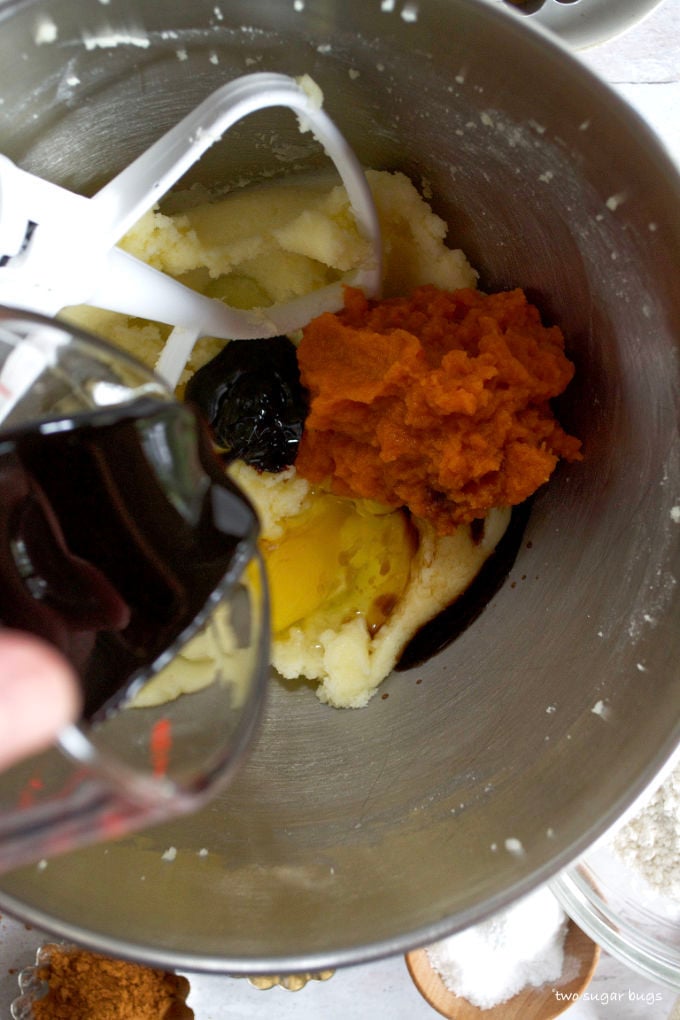
Next, beat together the butter and sugar until creamy. Then add the pumpkin, molasses, egg and vanilla and mix until well combined.
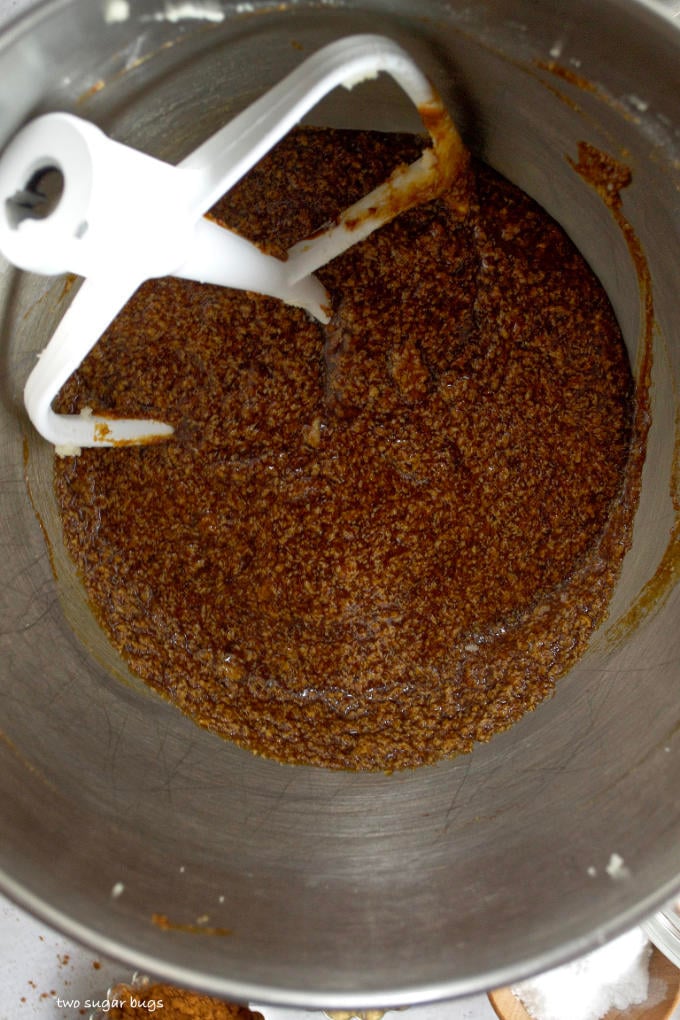
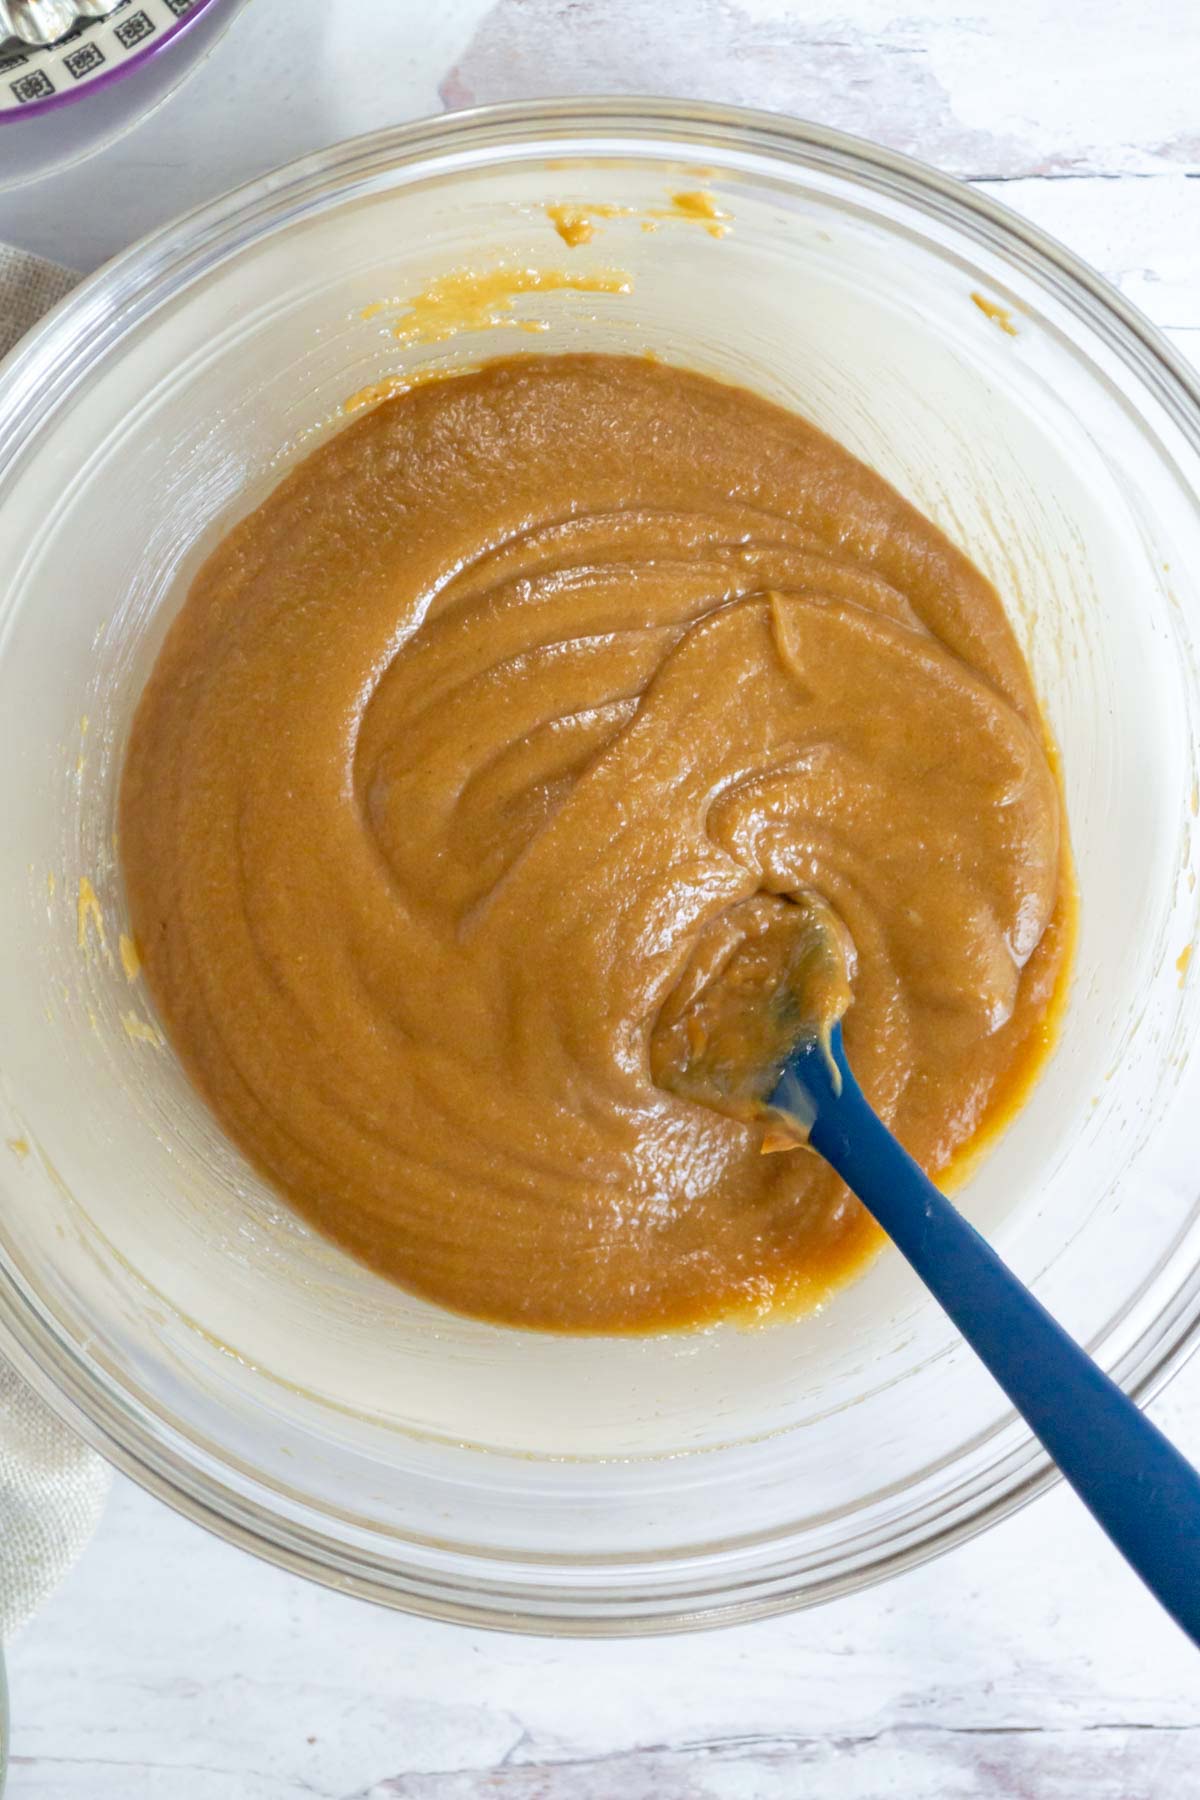
With the mixer on low, slowly add the flour in two additions, mixing until just combined. The cookie batter will be soft.
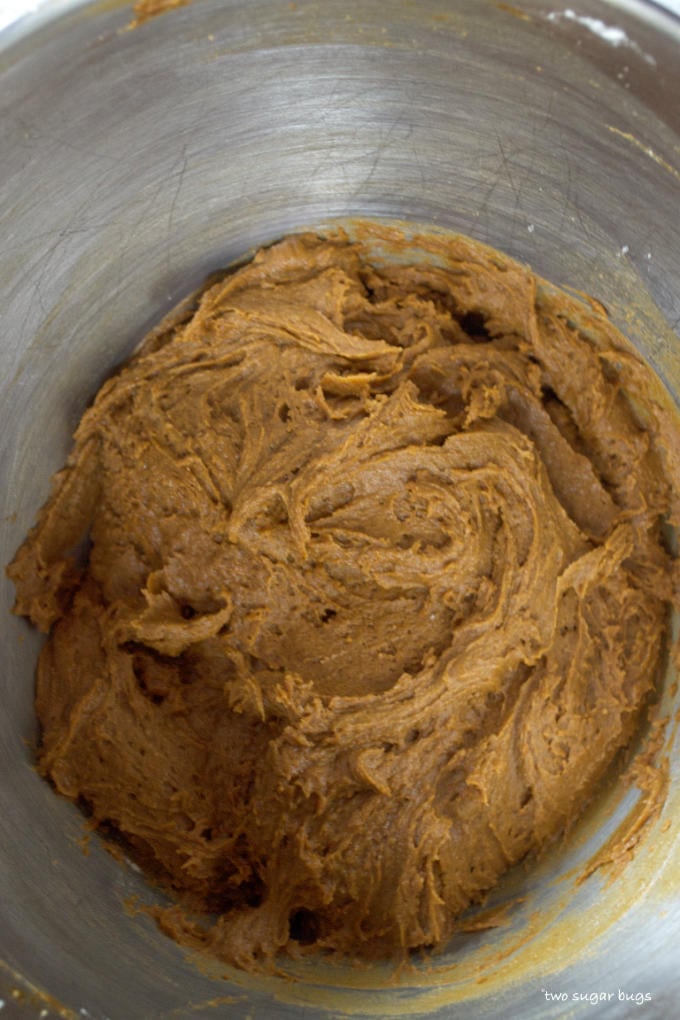
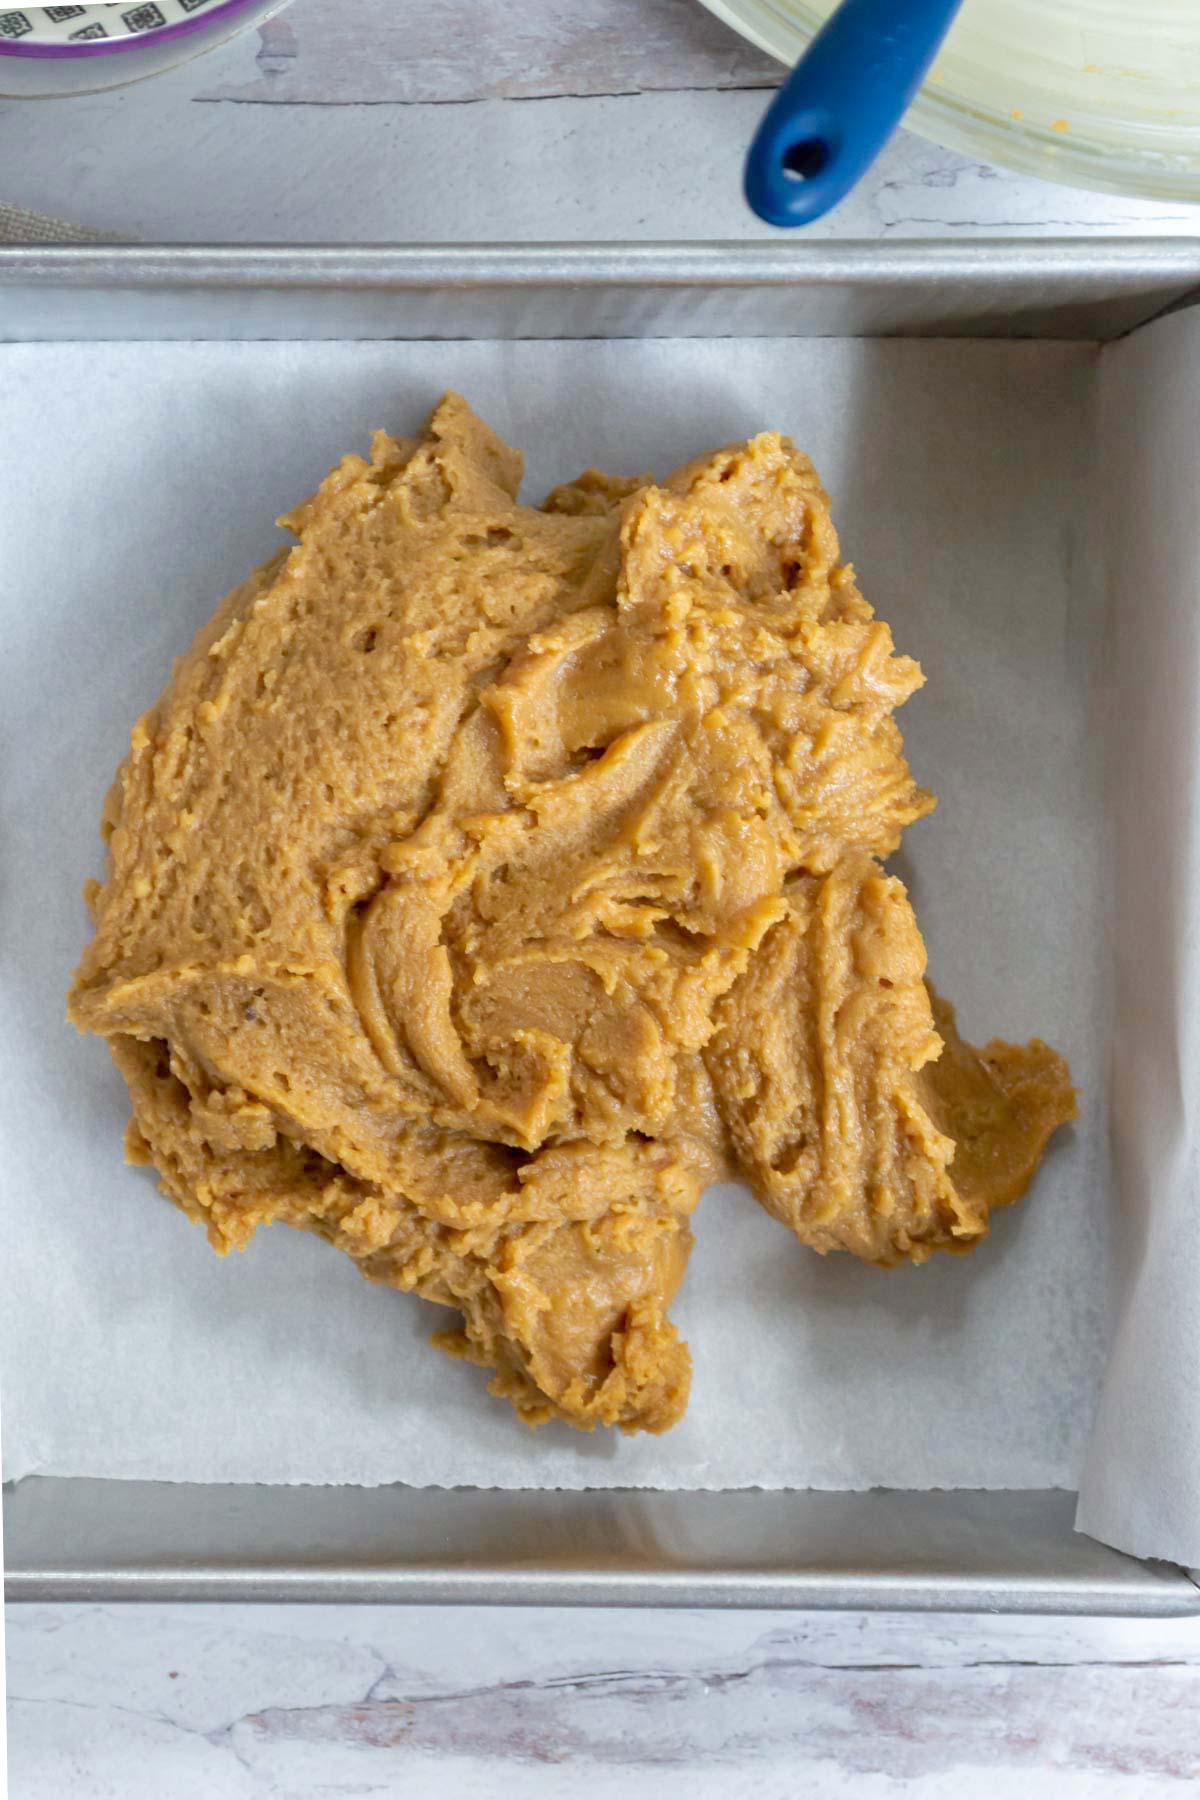
Next, cover and chill the dough for at least one hour and up to two days. If chilling for longer than several hours, allow the dough to sit on the counter for about 10 minutes to warm slightly before scooping. You can prepare your cookie sheets at this time by lining them with parchment paper or silicone baking mats.
how do you roll the gingerbread cookies?
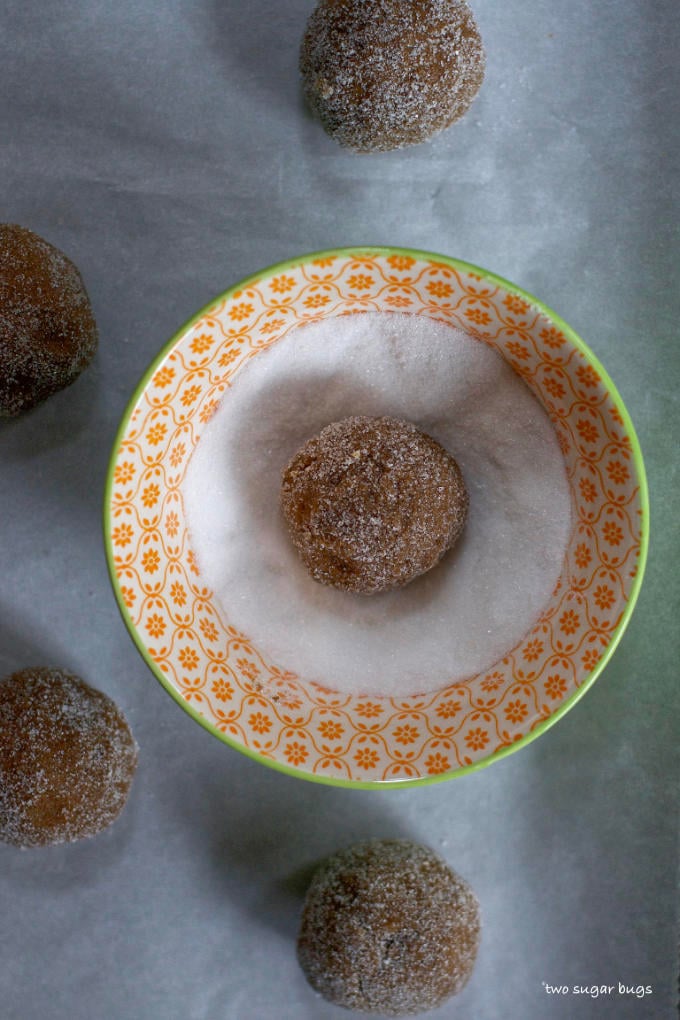
This pumpkin gingerbread cookie dough is sticky! I use a size 30 cookie scoop, which yields about 2 tablespoons of dough per cookie.
Take a scoop of dough and roll it between your hands until it forms a ball. The dough is really sticky and will stick to your hands! Then roll the cookie dough ball into a bowl of granulated sugar until it's fully coated. The dough is soft and the ball gets a little mis-shapened at this point. So, roll the ball between your hands again and then in the sugar a second time. This should give you a nice round, sugar coated cookie dough ball.
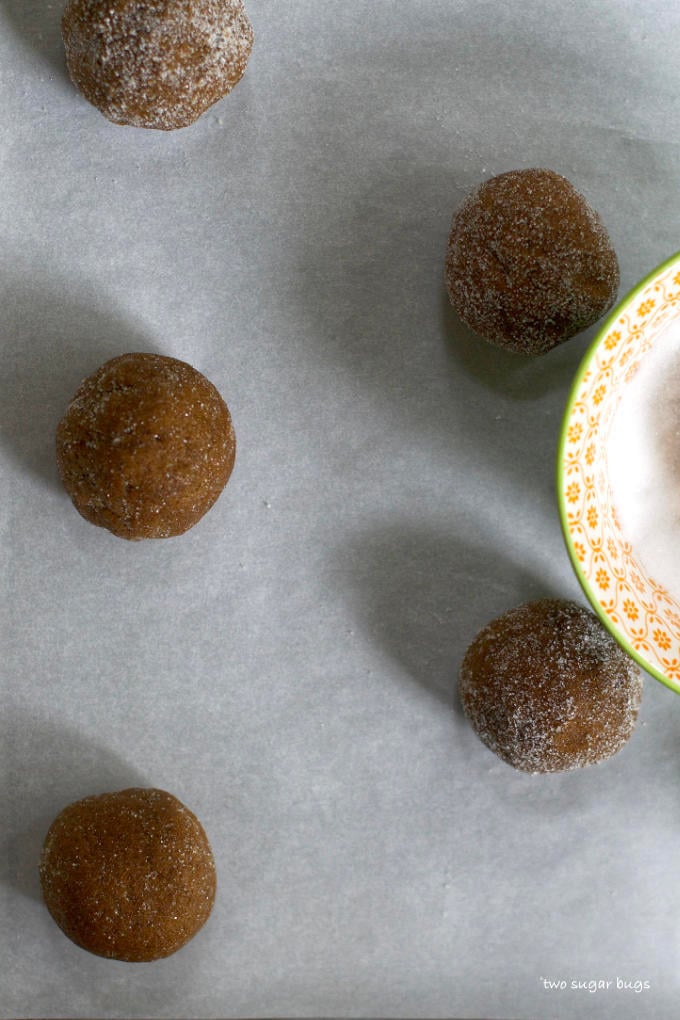
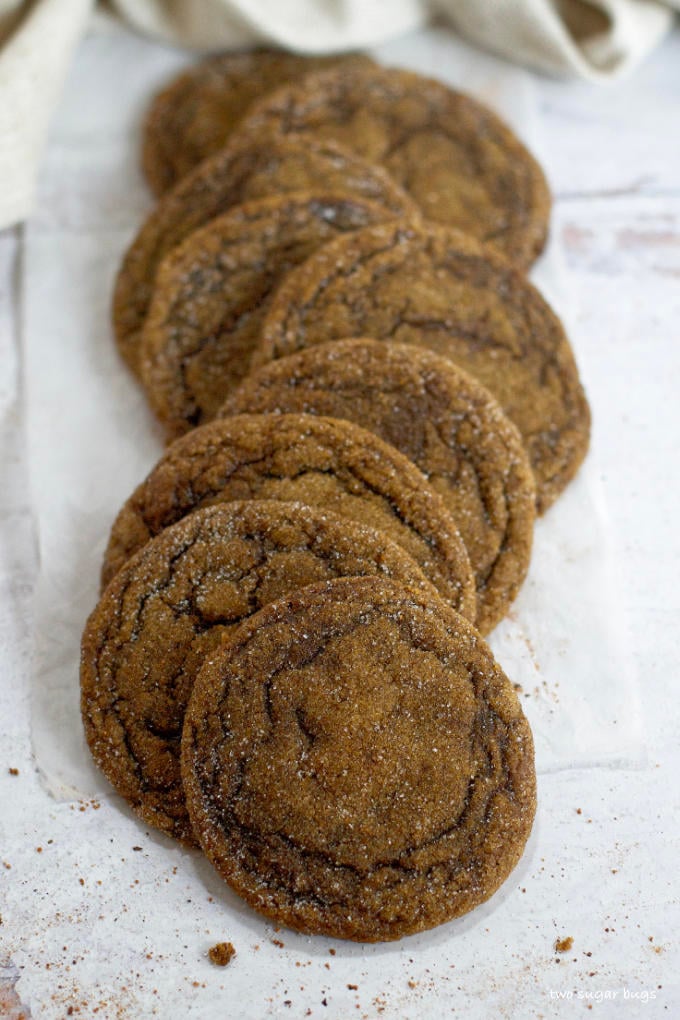
Bake the cookies until the edges are set and the centers are cracked, but still soft. Remove from the oven and allow the cookies to rest on the pan for 5 minutes before moving to a wire cooling rack to cool completely.
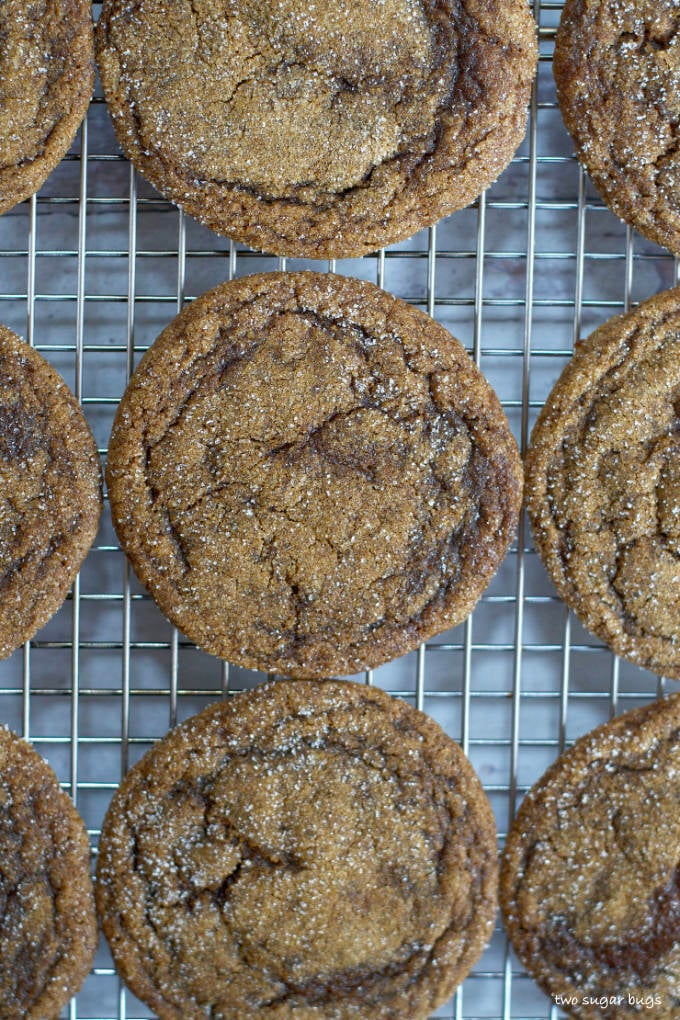
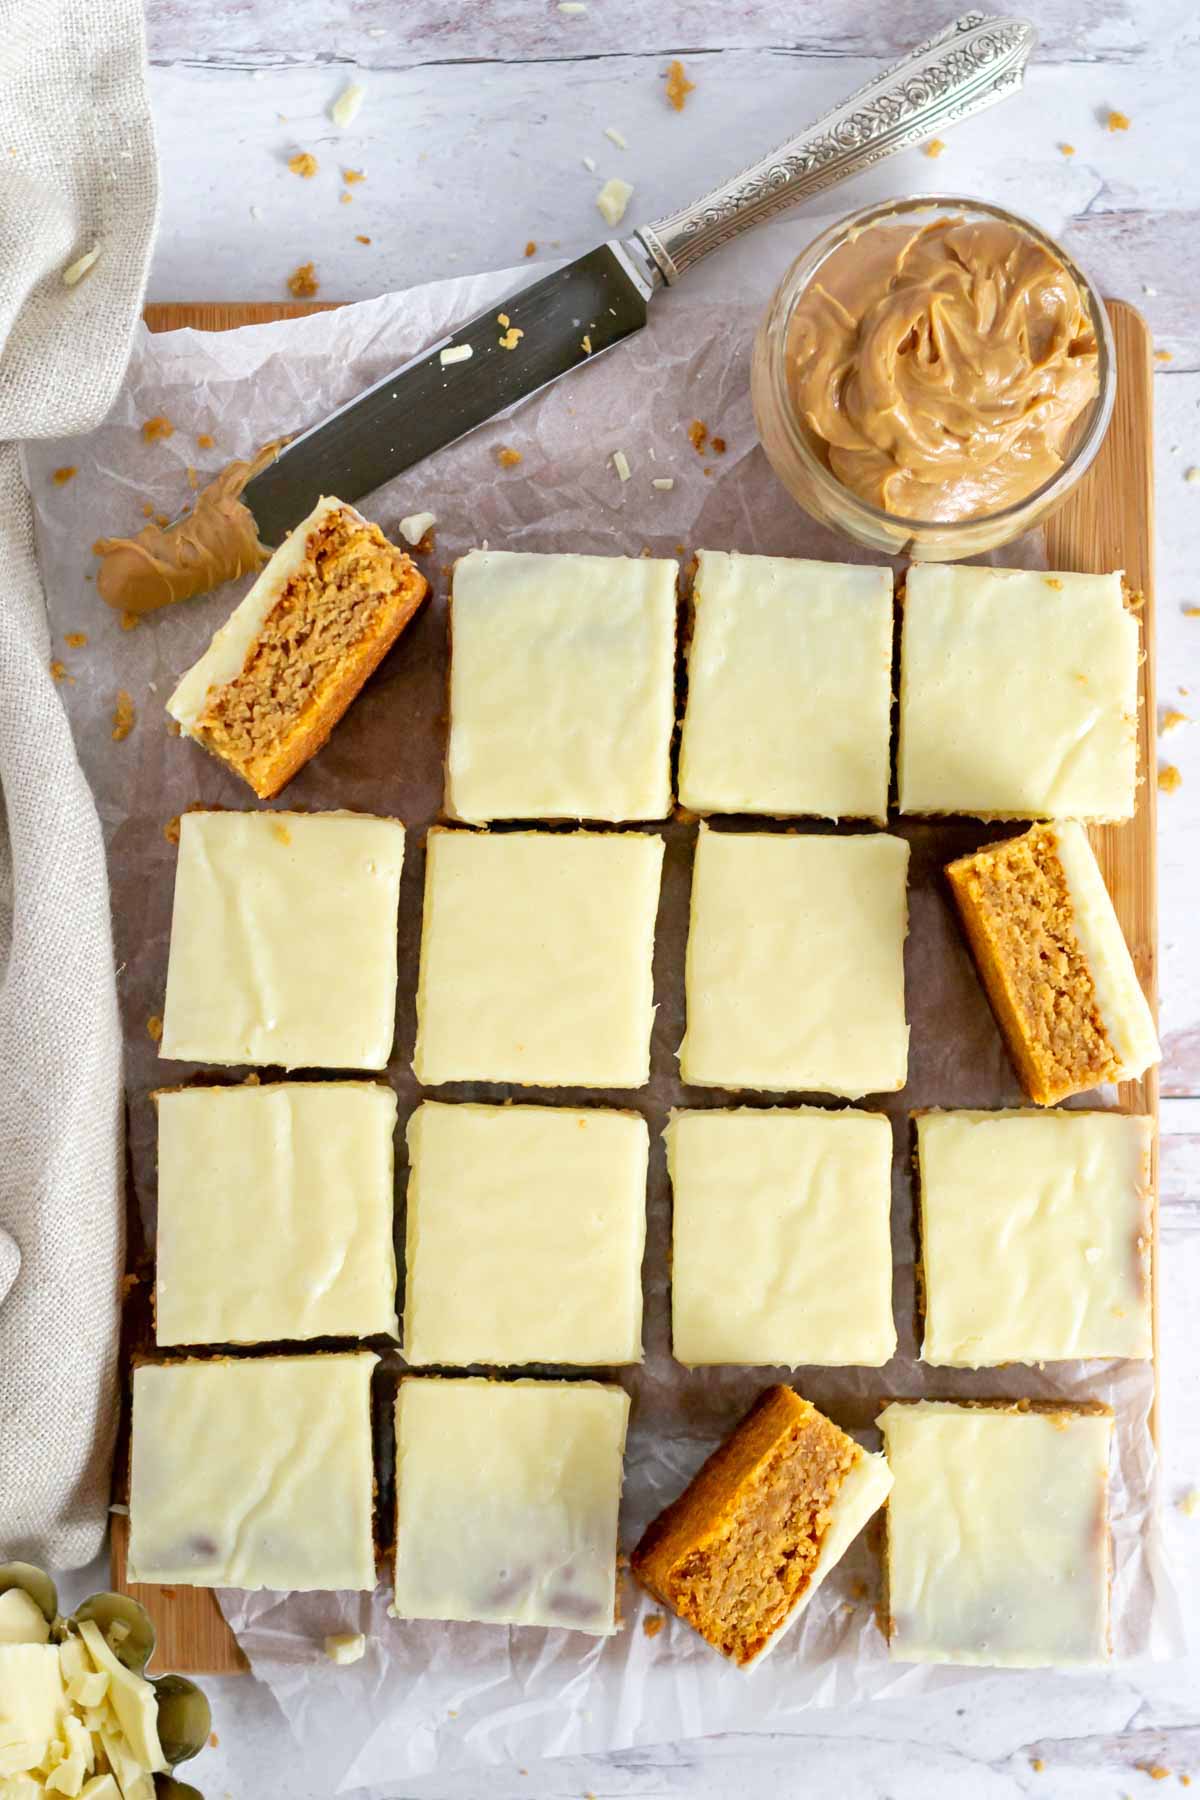
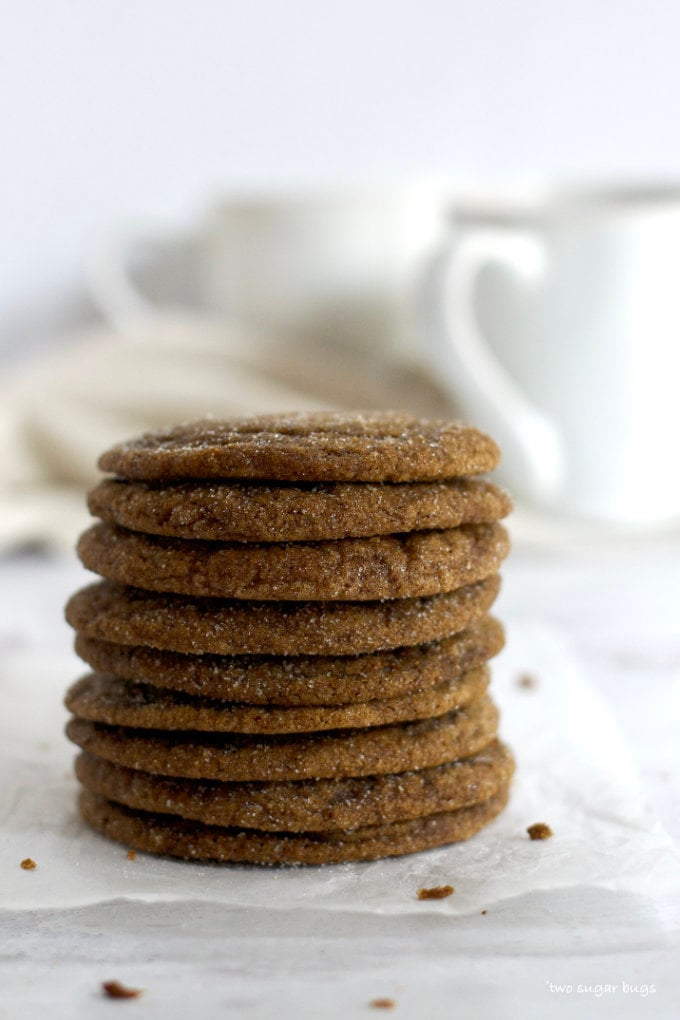
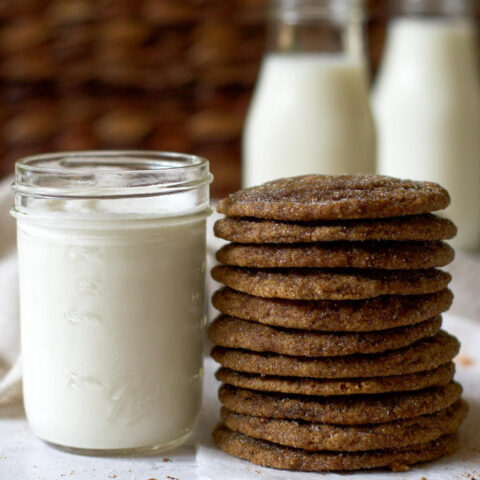
Then take a bite of these super soft and super chewy pumpkin gingerbread cookies and get ready to bake another batch because these won't last long! The cookies are perfect for a Christmas cookie tray or for any holiday or celebration.
Remember to snap a picture and tag me @twosugarbugs on Instagram if you make these Pumpkin Gingerbread Cookies. It warms my heart to see you bring these recipes to life! Thank you for being here and happy baking!
more fall inspired and gingerbread recipes to enjoy ~
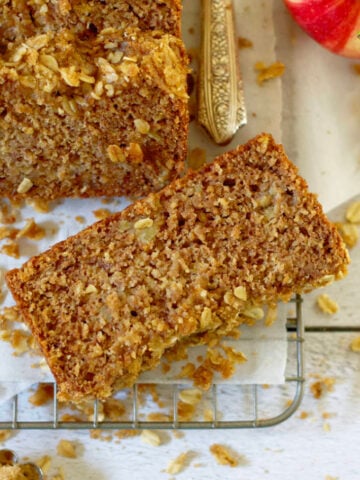
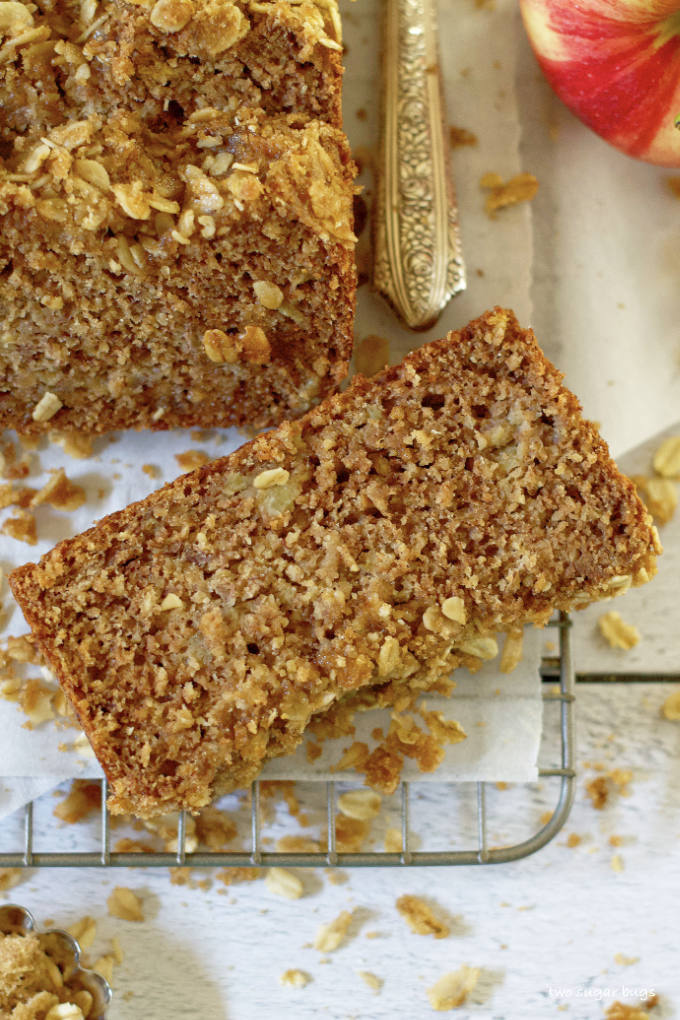
- Apple Cider Banana Bread
- Gingerbread Sandwich Cookies
- Biscoff Glazed Gingerbread Scones
- Gingerbread Muffins with a Cream Cheese Drizzle
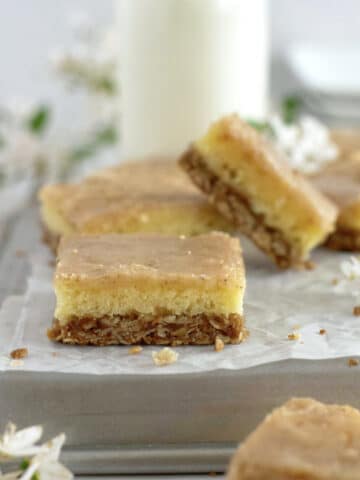
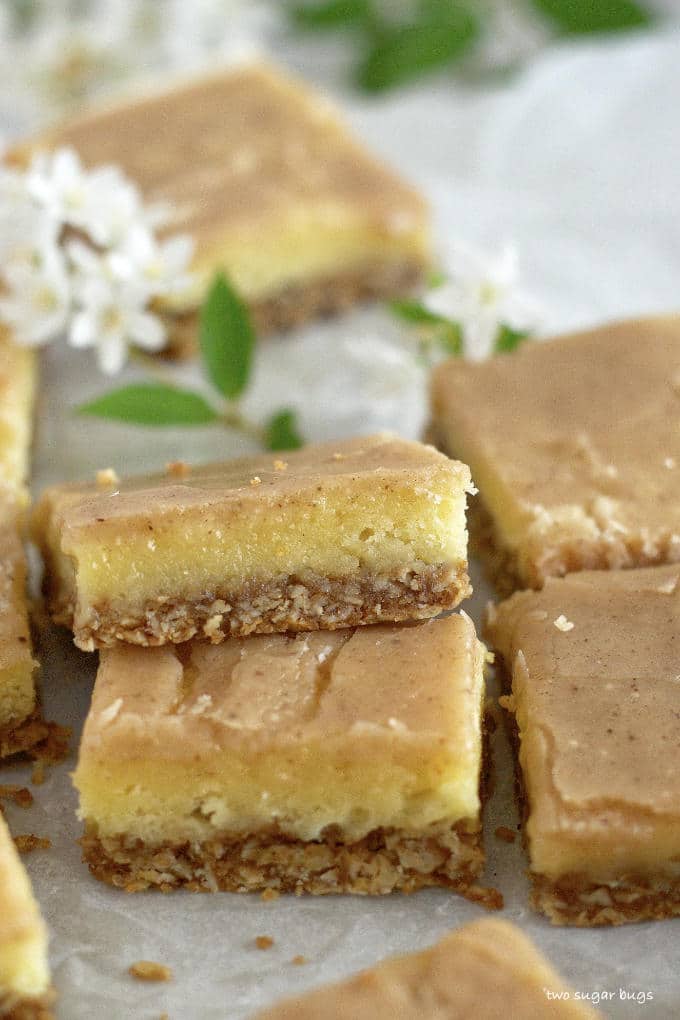
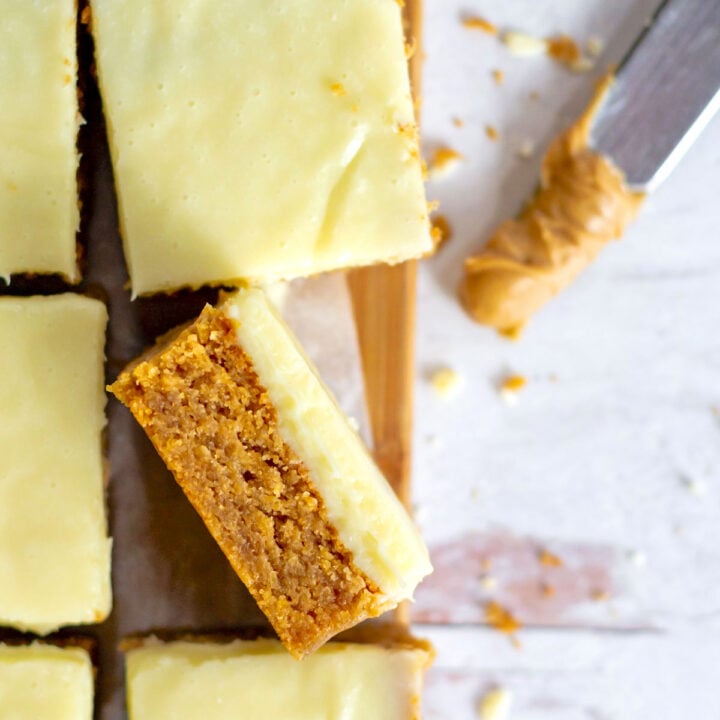
- Pumpkin Caramel Spice Bars
- White Chocolate Chai Brownies
If you make this recipe {or any recipe!} from two sugar bugs please come back and leave a review and a ⭐️⭐️⭐️⭐️⭐️ star rating. I read every comment, and I LOVE hearing from you!
Pumpkin Gingerbread Cookies
Soft, chewy, and full of spices! The addition of pumpkin makes these gingersnap cookies so seriously soft!
Ingredients
- 2 ⅓ cups all-purpose flour (293g)
- 2 teaspoons baking soda
- 2 teaspoons ground cinnamon
- 1 ½ teaspoons ground ginger
- ½ teaspoon ground cloves
- ½ teaspoon salt
- ½ cup butter (113g), room temperature
- 1 cup granulated sugar (200g)
- ½ cup canned or cooked pumpkin puree (122g)
- ¼ cup molasses (60mL)
- 1 large egg
- 1 teaspoon pure vanilla extract
Rolling Sugar
- ½ cup granulated sugar (100g)
Instructions
- In a medium bowl, whisk together the flour, baking soda, cinnamon, ginger, cloves and salt. Set aside.
- In a stand mixer with the paddle attachment, or using hand-held mixer, beat the butter and granulated sugar until creamy, about 3 minutes. Scrape up and down the bowl. Add the pumpkin, molasses, egg and vanilla and mix until well combined, about 2-3 minutes. Scrape up and down the bowl. With the mixer on low, add the flour mixture in 2 additions, mixing until just combined. Cover the bowl and chill the dough for at least 1 hour and for up to 2 days. (if chilling for longer, allow the dough to sit on the counter for 10-15 minutes to warm slightly before scooping)
- Preheat the oven to 350°F and prepare two baking sheet pans with parchment paper.
- Place the ½ cup of sugar in a small bowl. Roll the dough into 2-inch balls and roll them in the sugar. The dough is very sticky! After you have coated in the sugar, re-roll the ball between your hands and roll a second time in the sugar. Arrange the balls on the prepared baking sheets about 2 inches apart.
- Bake until the cookies are set at the edges and slightly cracked, but still soft, about 12-15 minutes. If your cookies don't have the crackly edges, you can bang the cookie sheet on the counter a couple times, which will help the cracks to appear. Allow the cookies to cool on the pan for 5 minutes, then move to a wire rack to cool completely.
Notes
Store cookies coverered at room temperature for 5-7 days. The cookies also freeze well for up to three months.
Recipe barely adapted from Pumpkin It Up! by Eliza Cross, technique was tinkered with.
Nutrition Information:
Yield:
24Serving Size:
1Amount Per Serving: Calories: 145Total Fat: 4gSaturated Fat: 3gTrans Fat: 0gUnsaturated Fat: 1gCholesterol: 18mgSodium: 185mgCarbohydrates: 26gFiber: 1gSugar: 16gProtein: 2g
The nutrition information is an estimate and may not be entirely accurate.