two sugar bugs

  • About
  • Recipes
  • Coffee Talk
  • come say hello
    • Contact
    • Privacy Policy
menu icon
go to homepage
  • About
  • Recipes
  • Coffee Talk
  • Come say hello
  • Work With Me
    • Instagram
    • Pinterest
    • YouTube
  • subscribe
    search icon
    Homepage link
    • About
    • Recipes
    • Coffee Talk
    • Come say hello
    • Work With Me
    • Instagram
    • Pinterest
    • YouTube
  • ×
    Home

    Cherry Nectarine Crostata

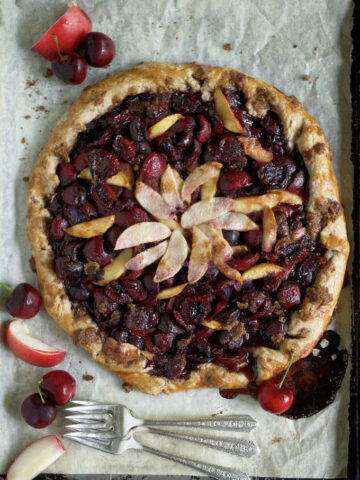
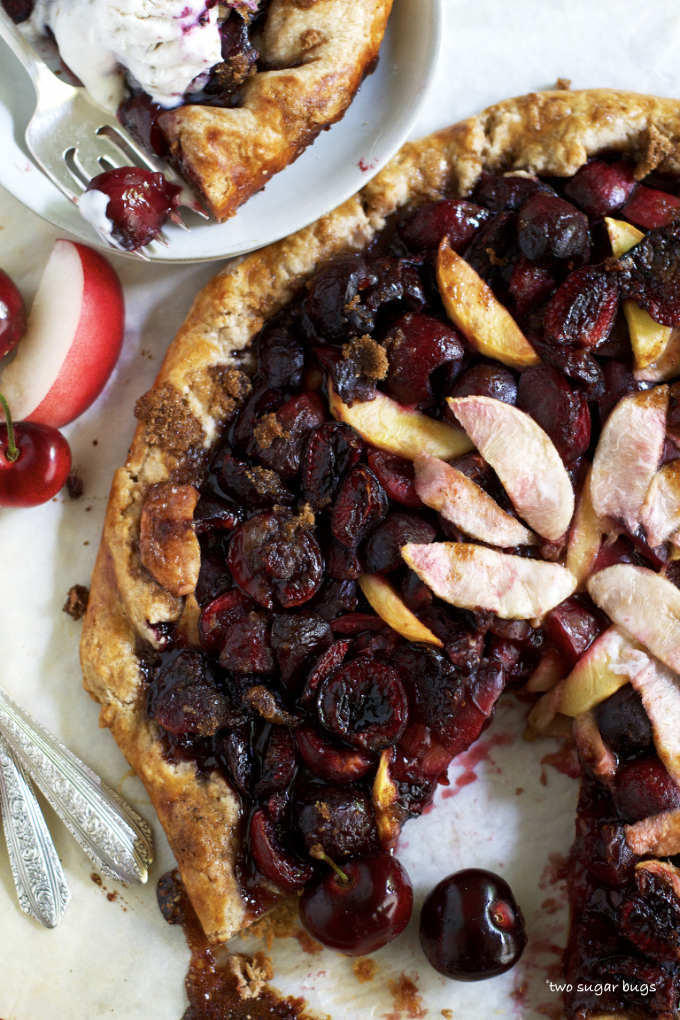
    baked cherry nectarine crostata

    This easy cherry nectarine crostata is the perfect way to celebrate summer's fresh stone fruit. It's a rustic, simple and downright delicious dessert!

    crostata with a slice missing

    It's hard to beat summer in the Pacific Northwest! The sun shines more than it rains. It is typically warm, but not crazy hot, and the daylight lingers well into late evening.

    We frequent several of our local farmer's markets; which are filled to the brim with local fruits and vegetables. We also love to visit some of the local farms to pick our own berries. Greenbluff, in Eastern Washington is one of our favorite places in the summer. It's become a tradition to go cherry picking every year, which has driven me to create lots of cherry centric recipes.

    [Read more...]
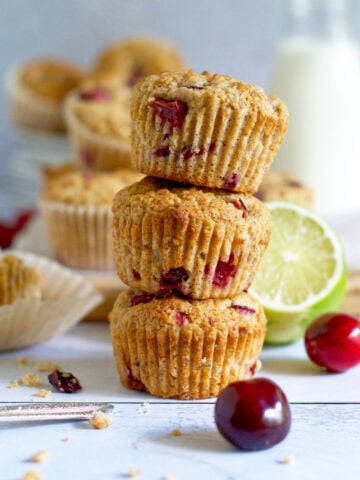
    Cherry Bourbon Crumble No-Churn Ice Cream

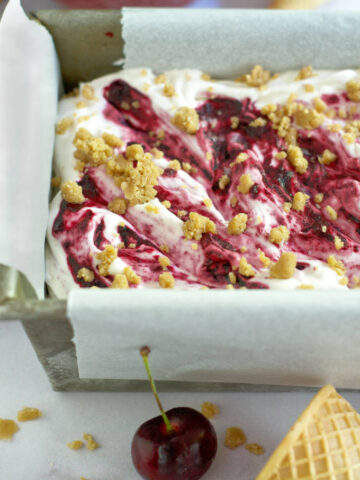
    cherry bourbon crumble ice cream in a loaf pan

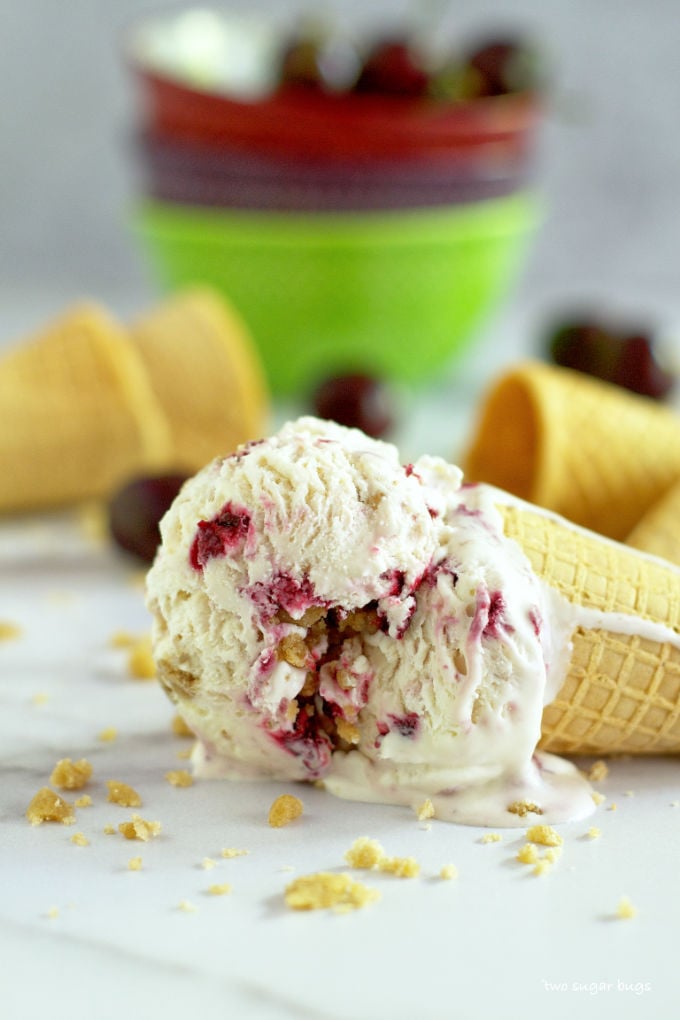
    This cherry bourbon crumble no churn ice cream is an easy vanilla base that is studded with a bourbon crumble and swirled with a cherry bourbon reduction. You are going to fall in love with this creamy homemade recipe that requires no ice cream machine!

    ice cream cone laying melted on it's side

    I kind of feel like I'm cheating on my ice cream maker.

    I professed my love for ice cream when I shared my favorite homemade cinnamon ice cream recipe. That love hasn't changed at all!! Mr. two sugar bugs and I often have a bowl of ice cream in the evenings. I'm pretty sure I finish every bowl and proclaim, "I really, really love ice cream".

    [Read more...]
    Butterscotch Mixed Nut Bars

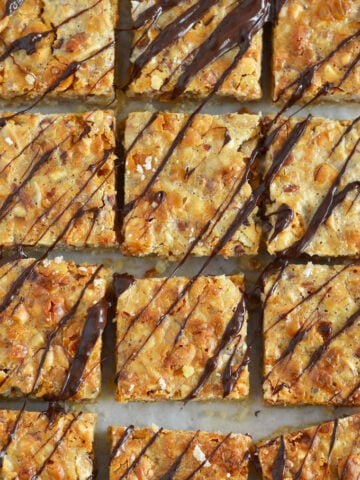
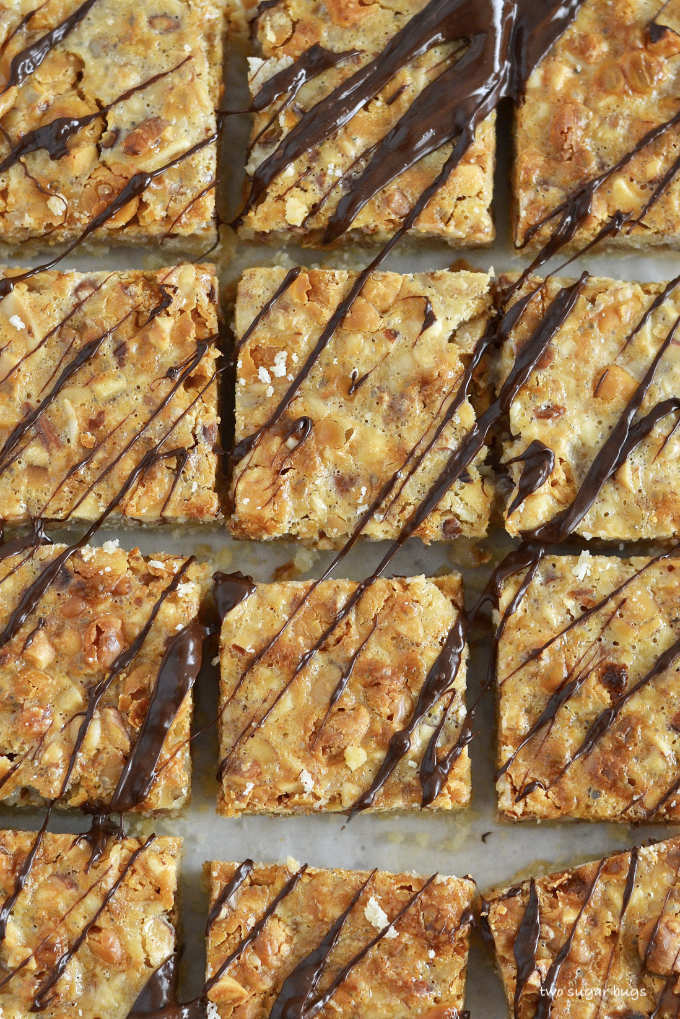
    close up of nut bars with chocolate drizzled over the tops.

    Butterscotch mixed nut bars use butterscotch chips, nuts and sweetened condensed milk. This EASY recipe makes the best sweet and salty cookie bars!

    close up of nut bars with chocolate drizzled over the tops.

    Do desserts with butterscotch chips make you nostalgic? It seems that chocolate, peanut butter and caramel tend to take the spotlight in treat recipes. In all honesty, I don't use butterscotch all that frequently. When I do, it takes me straight back to childhood!

    [Read more...]
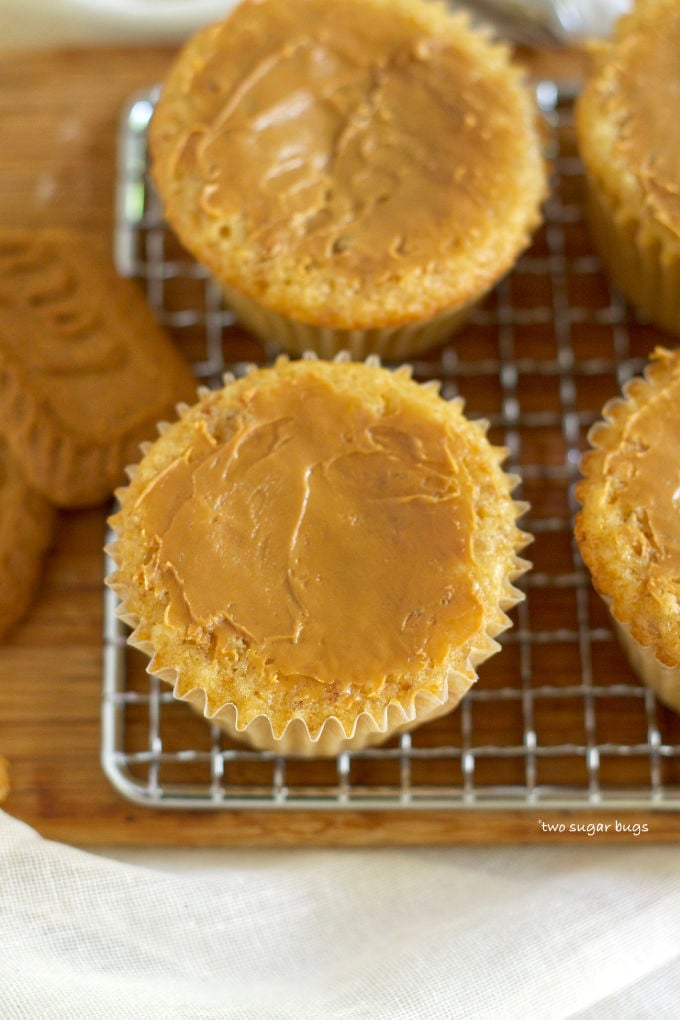
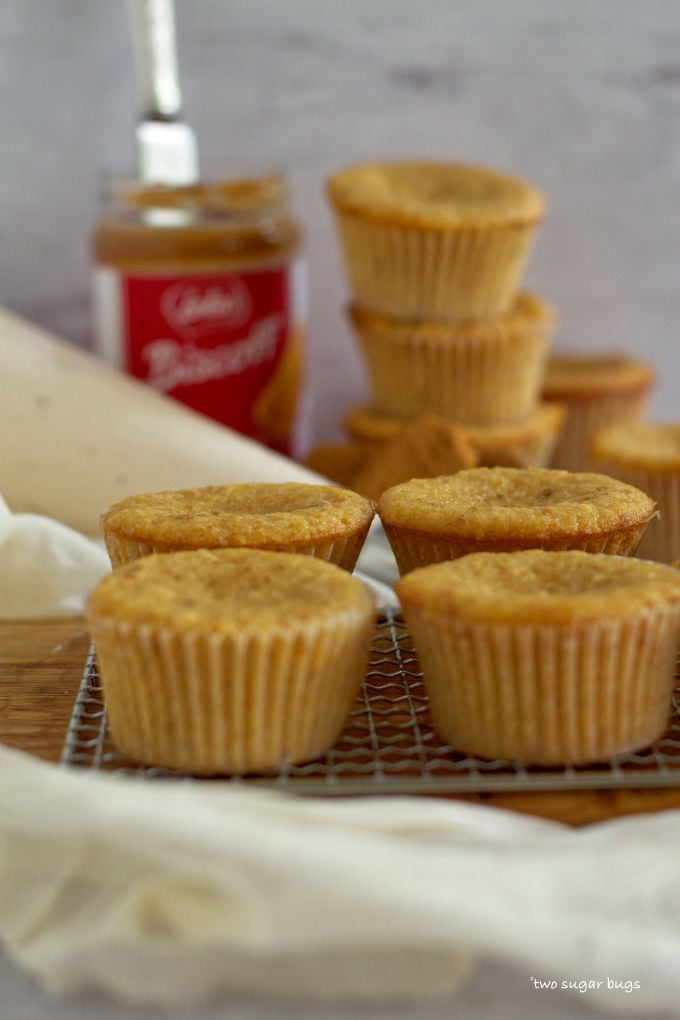
    Homemade Cookie Butter Caramel Sauce

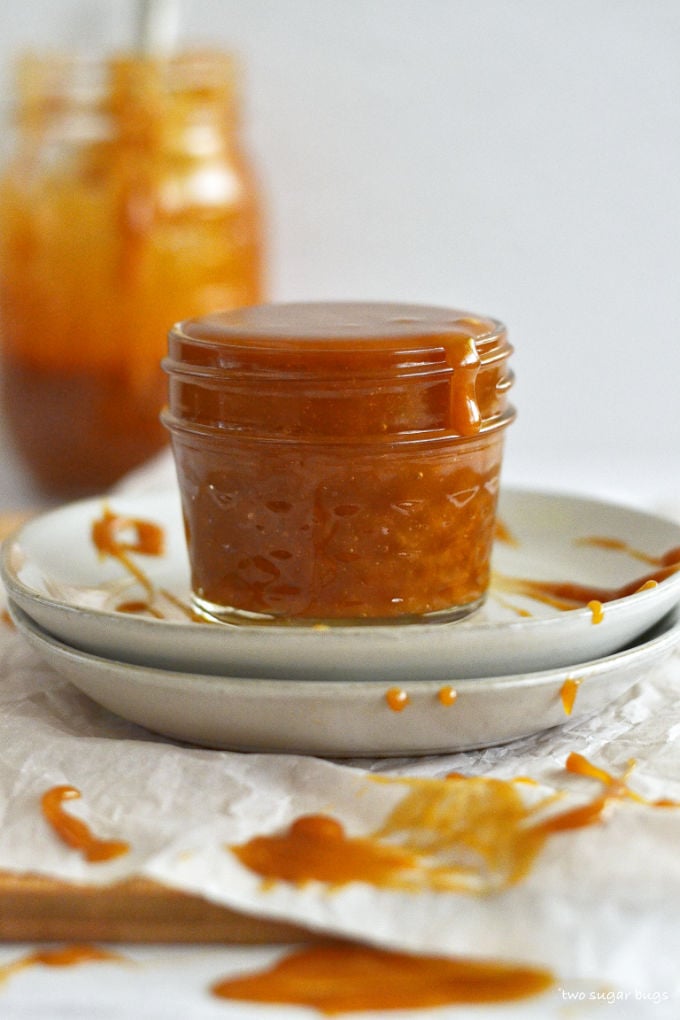
    cookie butter caramel in a jar on a plate

    This is an easy homemade COOKIE BUTTER caramel sauce! A perfect topping for ice cream, brownies, and all kinds of desserts! If you love that Biscoff and speculoos flavor and are looking for other ways to use it, this recipe is for you!

    cookie butter caramel in a jar on a plate

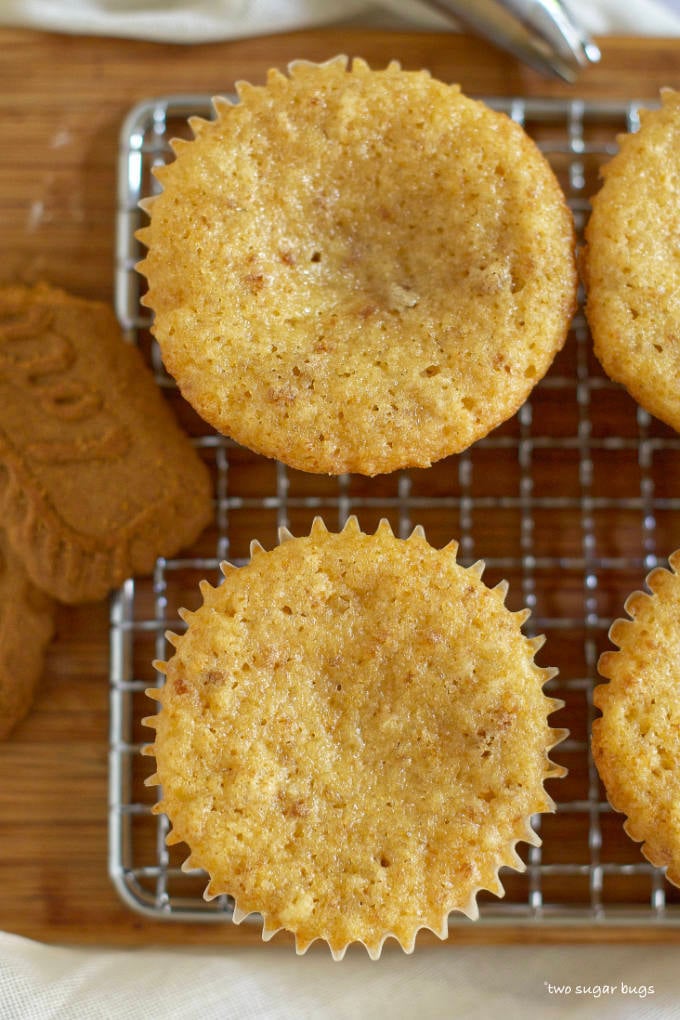
    From my first taste of cookie butter, I've been obsessed! It's essentially cookies (Biscoff or Speculoos) ground to a paste that you can use like peanut butter. It has hints of gingersnaps, cinnamon and brown sugar and it is downright addicting!!

    [Read more...]
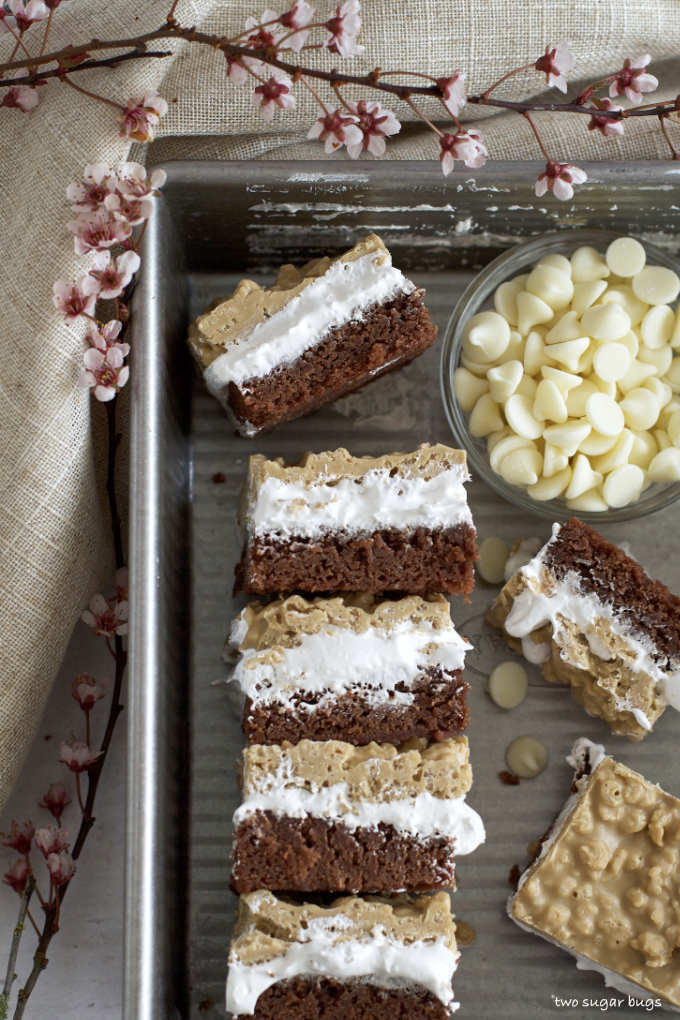
    SunButter Crunch Brownies

    overhead view of bars in a baking pan

    SunButter crunch brownies are an easy triple layer brownie dessert for your recipe box! Chocolate, marshmallow and a crunchy sweet topping create three distinct layers of flavors and textures.

    overhead view of SunButter crunch brownies in a baking pan

    This nut-free recipe makes the most scrumptious bars!! Homemade brownies on the bottom, stuffed with a marshmallow meringue and topped with a crispy, SunButter white chocolate crunch.

    [Read more...]
    Flourless Monster Cookies

    monster cookies and milk with m&m's and chocolate chips

    These flourless monster cookies create soft, chocolate and candy loaded, oatmeal cookies! Made with peanut butter (or easily substitute SunButter) and naturally gluten free.

    monster cookies and milk with m&m's and chocolate chips

    Oatmeal cookies are always high on my list of favorite cookies. Seriously, oatmeal cookie dough is hands down the best cookie dough, ever!! Since flour is still an elusive ingredient in many grocery stores, I wanted to create a flour free cookie recipe. So..... allow me to introduce you to flourless monster cookies!

    [Read more...]
    Margarita Pie with a Pretzel Crust

    slice of margarita pie on a plate

    This margarita pie with a pretzel crust has a creamy and tart, no bake filling; flavored with lime, tequila, triple sec, sweetened condensed milk and lime zest. The pie is chilled, not frozen and sits in an easy, graham pretzel crust.

    slice of margarita pie on a plate

    Disclosure | This post may contain affiliate links. As an Amazon Associate I earn from qualifying purchases.

    Cocktails in pie form? Yes please!

    Those who know me well, know I enjoy a cocktail from time to time. Warm days and sunshine make me think of margaritas (and margarita cookies)! Just in time for Cinco de Mayo, a margarita pie recipe.

    I first learned about this pie when my brother-in-law and his family were visiting and it was my nephew's birthday. Margarita pie was his request for a birthday cake. I had also made homemade s'mores that week and my brother-in-law said that the graham crackers needed to be made into some other sort of dessert as well. It only took me seven years, but I finally made that happen!

    what is margarita pie with a pretzel crust?

    Margarita pie has a creamy and tart filling, not quite as dense as a cheesecake, but somewhat similar in texture. Lime juice, lime zest, tequila, triple sec and a little salt give the filling the margarita flavor. Sweetened condensed milk, whipped cream and gelatin are what give the filling the sweetness and creamy texture.

    The pretzel crust is made from scratch. It starts with an adaptation from my homemade s'mores graham crackers and uses some ground pretzels to give that pretzel crunch and taste.

    Slice of pie on a plate with forks

    is the pretzel crust no bake?

    No. The pretzel crust is essentially homemade graham crackers with some ground pretzels incorporated into the dough. It does need to bake for about 12 minutes, but it's the only baking required in this pie recipe.

    If making a graham pretzel crust from scratch isn't your thing, or you prefer not to turn on the oven; use the graham pretzel crust from my peanut butter pie recipe.

    Slice of margarita pie with a pretzel graham crust on a plate with lime slices

    how to make a graham pretzel crust

    Start by crushing your pretzels. Pretzel sticks are the pretzel of choice at my house, but any variety will work. I break the pretzels into small pieces to measure them, but I also give you ounce measurements in the recipe card. You can use a food processor to grind the pretzels. Or place the pretzels in a zip top bag and crush them with a rolling pin or meat mallet. You will want to leave a few small chunks of pretzels.

    Dry ingredients for pretzel graham crust

    Combine the dry ingredients in a bowl and set aside. Then beat together the butter, brown sugar and honey.

    Pretzel graham batter in a bowl with the paddle attachment

    Once the mixture is fluffy, slowly add the dry ingredients in three additions.

    Then, you will roll out the dough and place it in your pie plate before chilling it.

    Rolled out pie crust under plastic wrap
    Unformed pretzel graham crust in a pie plate
    unbaked pretzel graham crust in pie plate

    The pretzel crust rolls out much easier when the dough is still warm. Place the dough between two pieces of parchment paper, wax paper or plastic wrap. Don't skip this step as the dough is sticky and you need the paper to flip the dough into the pie pan.

    Next chill the dough for one hour.

    Then line the dough with aluminum foil and fill with pie weights (you can also use coins or dried beans if you don't have pie weights). Bake the crust for 10-14 minutes. Do not be tempted to bake it longer. If you do, the crust will be incredibly crisp and hard to get out of the pie plate.

    Pie weights in a foil lined crust

    You can bake the crust up to a day ahead. Cover it tightly and leave at room temperature until ready to make the no bake margarita filling.

    how to make the easy margarita pie filling

    Start by making your whipped cream. You can use a hand mixer or stand mixer (gosh even go with just a whisk, if you want an arm work out!). You want to whip the heavy cream until stiff peaks.

    Whipped cream in a bowl

    Then zest and juice the limes. I also like to have all the ingredients measured and ready to go.

    Ingredients for pie filling

    Next combine the sweetened condensed milk, lime juice, tequila, triple sec, lime zest and salt. Stir until well combined.

    Then prepare the gelatin. Add 2 tablespoons boiling water to 1 packet (just shy of 1 tablespoon) of gelatin. Mix until gelatin has dissolved. You may need to use your clean fingers to work the final bits of gelatin into the water to be fully dissolved. DO NOT let the gelatin set up.

    Working quickly, whisk the gelatin into the sweetened condensed milk mixture. Follow by folding in the prepared whipped cream. The gelatin is what allows this pie to stay firm while chilled, without it having to be frozen.

    whipped cream being folded into margarita pie filling

    Finally, spread the filling into the prepared crust and chill for a minimum of three hours.

    Top with additional whipped cream, lime slices, lime zest and a sprinkle of salt, if desired.

    Full margarita pie with a pretzel graham crust in a pie plate

    other pie and tart recipes to enjoy

    • Almond and Berry Mascarpone Tart
    • Blackberry Cherry Pie
    • Coconut Cream Pie
    • Coconut Pecan Tart
    • Peanut Butter Pie

    If you make this recipe {or any recipe!} from two sugar bugs please come back and leave a review and a ⭐️⭐️⭐️⭐️⭐️ star rating.  I read every comment, and I LOVE hearing from you!

    Remember to snap a picture and tag me @twosugarbugs on Instagram if you make this margarita pie with a pretzel crust! It warms my heart to see you bring these recipes to life! Thank you for being here and happy baking!

    Yield: One 9" pie, 8-10 servings

    Margarita Pie

    Slice of pie with a fork

    This margarita pie recipe has a creamy and tart, no bake filling; flavored with lime, tequila, triple sec and sweetened condensed milk and lime zest. The pie is chilled, not frozen and sits in an easy, pretzel graham crust.

    Prep Time 30 minutes
    Bake Time 14 minutes
    Chill Time 4 hours
    Total Time 4 hours 44 minutes

    Ingredients

    Graham Pretzel Crust

    • ½ cup all-purpose flour
    • ½ cup (1.5 ounces) pretzels, ground/crushed*
    • 3 tablespoons whole wheat flour
    • ¼ teaspoon salt
    • ½ cup unsalted butter, room temperature
    • ¼ cup brown sugar
    • 1 tablespoon honey

    Margarita Pie Filling

    • 1 cup heavy whipping cream
    • 14 ounces sweetened condensed milk
    • ⅓ cup lime juice
    • 2 tablespoons silver tequila
    • 1 tablespoon triple sec or orange liqueur
    • 1 tablespoon lime zest
    • 1 tablespoon gelatin**
    • 2 tablespoons boiling water

    Whipped Cream Garnish

    • ½ cup whipping cream
    • Lime zest
    • Lime slices
    • Coarse salt, if desired

    Instructions

      1. In medium bowl, combine the flour, ground pretzels, whole wheat flour and salt and set aside.
      2. In a stand mixer with the paddle attachment, beat the butter, brown sugar and honey on medium-high until fluffy, about 4 minutes. Scrape up and down sides of the bowl.
      3. With the mixer on low speed add the flour mixture in three additions, mixing until just combined after each addition.
      4. Place the graham pretzel crust dough between two sheets of parchment paper/wax paper or plastic wrap. Roll the dough into about a 12 inch circle. You may have to rearrange the paper a few times during the rolling process and some of the completed circle will not all fit under the paper.
      5. Once the crust is rolled into about a 12 inch circle, remove the top piece of paper. Butter your pie plate well. Lay the pie plate over the crust and then flip the whole thing over so the crust has flipped into the pie plate. Press the dough into the sides and bottom of the pie plate and then gently remove the paper. If the crust breaks in any areas, just press it back together. Trim any excess crust and use it to fix any broken areas. Chill the crust for a minimum of 1 hour.
      6. Preheat the oven to 350°F. Line the pie crust with aluminum foil and pie weights. Bake for about 10 - 14 minutes. The crust will look a little under done, but do not over bake it.
      7. Allow the crust to cool completely on a wire cooling rack. Crust can be baked up to a day ahead, cover tightly and keep at room temperature.
      8. Margarita Filling
        With a hand-held or stand mixer with the whisk attachment, beat the whip cream until stiff peaks, about 3-4 minutes. Set in the refrigerator.
      9. In a medium to large bowl, mix sweetened condensed milk, lime juice, tequila, triple sec, salt and lime zest.
      10. Add 2 tablespoons boiling water to 1 packet (just shy of 1 tablespoon) of gelatin. Mix until gelatin has dissolved. You may need to use your clean fingers to work the final bits of gelatin into the water to be fully dissolved. DO NOT let the gelatin set up. Once the gelatin is fully dissolved, quickly whisk it into the margarita base. Then gently fold in the whipped cream. Work quickly as the gelatin will start to thicken the margarita pie base.
      11. Spoon the filling into the prepared graham pretzel crust and top with additional lime zest, if desired. Chill for a minimum of 3 hours before serving.
      12. If you want to decorate the top of the pie, whip another ½ cup of whipping cream and spoon or pipe the whipped cream on top of the chilled pie. Garnish with additional lime zest and lime slices. Sprinkle with a few pinches of coarse salt, if desired.

    Notes

    *You can use a food processor or you can place pretzels in a zip-top bag and crush with a rolling pin or mallet. The pretzels should be mostly ground with a few small chunks left.

    **If using Knox gelatin, just use one packet.

    Store covered in the refrigerator for 4-5 days.

    Nutrition Information:

    Yield:

    10

    Serving Size:

    1

    Amount Per Serving: Calories: 457Total Fat: 27gSaturated Fat: 17gTrans Fat: 0gUnsaturated Fat: 8gCholesterol: 83mgSodium: 193mgCarbohydrates: 46gFiber: 1gSugar: 38gProtein: 7g

    The nutrition information is an estimate and may not be entirely accurate.

    Did you make this recipe?

    Please make my day and PIN to Pinterest and share a photo on Instagram ~ making sure to tag @twosugarbugs! THANK YOU!!

    © Tasia
    Cuisine: American / Category: Pies and Tarts

    Dairy Free Chocolate Cupcakes and Peanut Butter Frosting

    chocolate peanut butter cupcake with the wrapper off

    Dairy free chocolate cupcakes are also egg free and topped with a dairy free frosting. An easy, one bowl, chocolate cupcake recipe. Also known as crazy cake, depression cake or wacky cake. It's chocolate peanut butter at it's finest!

    up close photo of chocolate peanut butter cupcake with the liner off

    I haven't been to the grocery store much these last six weeks. Which still feels a bit strange considering I used to go to the market 2-3 times a week! My last two trips have shown a very empty baking aisle and next to no eggs available.

    The good news: everyone is baking. Yay! The bad news: some baking ingredients are hard to find. Boo hoo! So what's a die-hard baking girl going to do? Well, for some needed inspiration, I reached out to my dear aunt in Ohio who shared this great idea...

    [Read more...]
    Easy Treats with Minimal Ingredients

    pinterest graphic for easy treats made with minimal ingredients

    Can I make cookies or sweet treats with minimal ingredients? You bet you can! Today I'm sharing easy cookies and dessert recipes made with just a few ingredients.

    pinterest graphic for easy treats made with minimal ingredients
    [Read more...]
    Homemade Vanilla Snack Cake

    slice of vanilla snack cake on parchment paper

    This simple homemade vanilla snack cake is perfect for a small family! Makes a moist 8x8 sheet cake OR a small 2-layer 6-inch cake.

    slice of vanilla snack cake on parchment paper

    Disclosure | This post may contain affiliate links. As an Amazon Associate I earn from qualifying purchases.

    Do you wake up craving cake? A big, fluffy slice of cake with your morning coffee? No? Just me? Please tell me I'm not the only one! 🙈 {this Italian almond cake and ricotta bundt cake are two of my breakfast faves}

    Maybe it's the state of the current times {hello week four of our "stay home, stay healthy" initiative in Washington}. Or maybe it's just me with a crazy addiction to cake. Any way you slice it {sorry! the kids puns and jokes are consuming me right now!}; this homemade vanilla snack cake is perfect for when a cake craving hits.

    simply decorated snack cake with yellow frosting and sprinkles

    what exactly is a simple homemade vanilla snack cake?

    To be honest, I don't think there is a true definition. I was highly entertained reading this article by Food & Wine. It discusses the difference between a snacking cake and a snack cake. To me, a snack cake is a smaller, basic and easy to make cake. One that's prepared in a square baking pan and doesn't feed a small army.

    ingredients for a homemade vanilla cake

    This simple homemade cake uses basic ingredients from your pantry and refrigerator. All-purpose flour, cornstarch, baking powder, salt, granulated sugar and pure vanilla extract from your pantry. You will need butter, buttermilk, one large egg and one large egg white from your refrigerator.

    side view of vanilla snack cake

    let's bake this cake!

    Start by preheating the oven and preparing an 8x8 baking pan. I like to butter my pan, line it with parchment paper, and then butter the paper. The parchment paper isn't a necessity. I like to use it so I can easily pull the cake out of the pan to slice and serve it. If you are not using parchment paper be sure to butter your pan well.

    Next, you will sift all the dry ingredients together. I added cornstarch to this recipe to add some softness to the cake. Sifting the ingredients helps to make sure the cornstarch is well distributed in the dry ingredients.

    overhead shot of shifter with dry ingredients

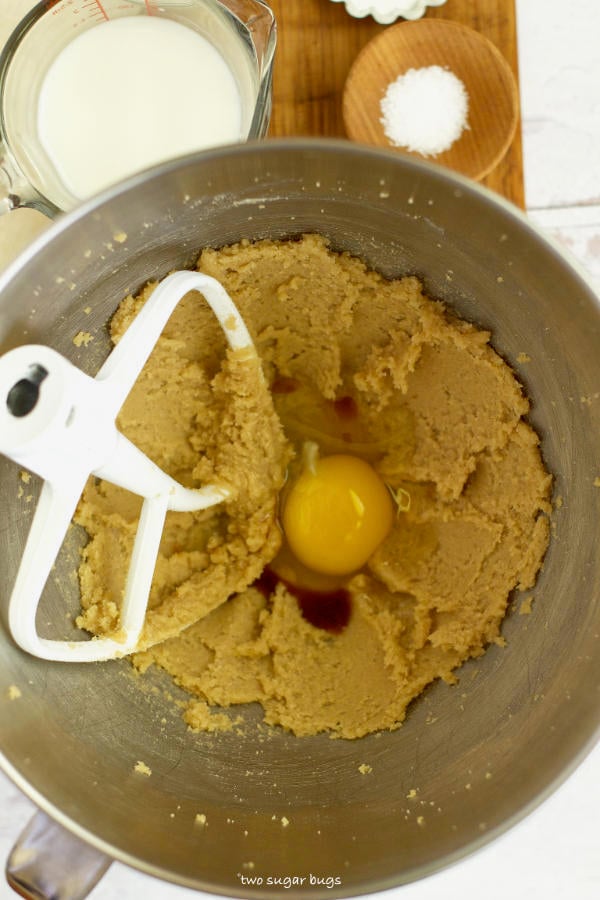
    Then you will cream the butter and sugar together, add the egg, egg white and vanilla and beat until light and fluffy.

    creamed butter and sugar with eggs and vanilla added
    butter, sugar, eggs and vanilla creamed together in mixing bowl

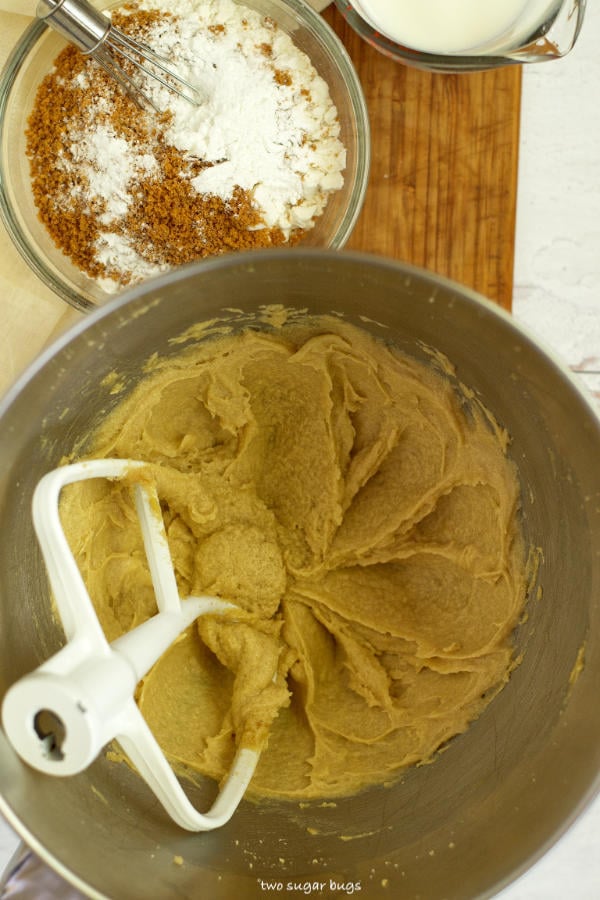
    Next you will add the dry ingredients and buttermilk; alternating the flour mixture and buttermilk. Start with ⅓ of the flour mixture, then add ½ of the buttermilk followed by the next ⅓ of the flour mixture. Once this has started to incorporate, stop and scrape up and down the mixer bowl. Then add the second ½ of the buttermilk followed by the final ⅓ of the flour mixture. Mix until the flour is mostly incorporated and only a streak or two of flour remain. You can fold the last couple streaks of flour in with a spatula.

    cake batter mid mixing in mixer bowl with mixing paddle
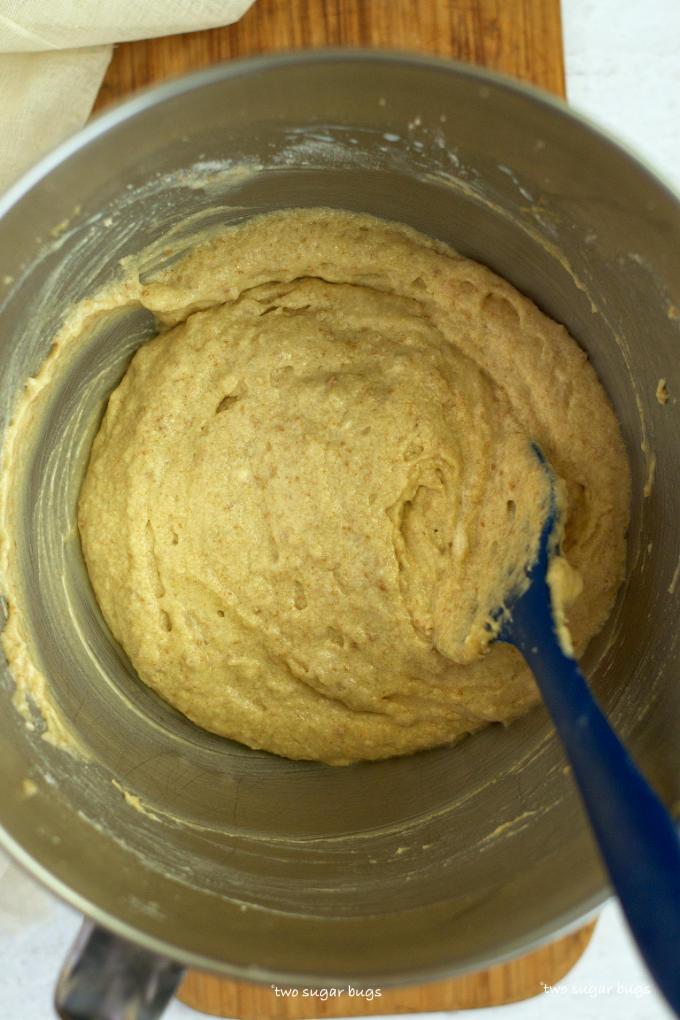
    finished cake batter in mixing bowl with a spatula

    Pour the batter into the prepared pan and bake for about 30 minutes or until a cake tester comes out with just a few moist crumbs attached. The edges will be lightly browned and be starting to pull away from the edges of the pan.

    baked vanilla cake in 8x8 pan

    how do you decorate a snack cake?

    The decorating is my favorite part! If you want an easy, simple design, just use an offset spatula and smooth the buttercream over the cake. Add some sprinkles if you wish!

    yellow frosting on 8x8 cake

    If you want to make this moist, homemade vanilla cake a little fancier, grab some piping tips and create away. I used a Wilton 1M for the rosettes, a Wilton 104 for the squiggles, a Wilton 4B, Wilton 32 and Wilton 21. I also added a few Sweetapolita sprinkles. This is a design that I love because there are no rules and it's great piping practice!

    overhead shot of piped snack cake with forks next to it

    Here's a little video to show you how this style came together.

    Personally, Swiss meringue buttercream is my favorite for cakes. It's light and not overly sweet, but it does take longer to prepare and is more technique sensitive. You can find my recipe for vanilla Swiss meringue buttercream here.

    I've been on a quest to create a less sweet American buttercream and am providing that recipe with this cake. Please let me know how you like it!

    How to make this recipe into a small two layer cake

    This basic vanilla snack cake can also be baked into a simple layer cake. Use two 6-inch baking pans. Prep them the same way, except the parchment paper isn't optional. Butter the pans, line with a parchment round and butter again. Divide the batter between the two pans and bake for about 25 minutes. This small layer cake is just shy of 3 inches tall and has about 8 servings.

    simply decorated small layer cake

    I decorated this one with a semi-naked look and spiral on the top. To create the spiral use an off-set spatula and a turntable (this is the updated version of the one I use). Use light pressure on the tip of the spatula and turn the turntable while you lightly drag the spatula in a circular pattern moving all the way to the outside edge. This is one of my all time favorite looks for a cake! It's also a great technique for beginners.

    Stay safe and healthy my friends! xoxo

    more cake recipes to enjoy!

    • Chocolate Malt Cake
    • Cookie Butter Cake
    • Homemade Raspberry Cake
    • Pink Velvet Cake

    To pin this recipe, you can use the button on the recipe card or the share buttons on the side or bottom of the page. Remember to snap a picture and tag me @twosugarbugs on Instagram if you make this homemade vanilla snack cake! It warms my heart to see you bring these recipes to life! Thank you for being here and happy baking!

    Yield: 9 servings

    Homemade Vanilla Snack Cake

    slice of vanilla snack cake on parchment paper

    I highly recommend using weight {metric} measurements when available for more accuracy and the best results.

    This basic vanilla snack cake is perfect for a small family!

    Prep Time 15 minutes
    Bake Time 30 minutes
    Total Time 45 minutes

    Ingredients

    • 1 ¼ cups all-purpose flour (157g)
    • 3 tablespoons cornstarch (24g)
    • 2 teaspoons baking powder
    • ½ teaspoon kosher salt
    • ½ cup unsalted butter, room temperature (113g)
    • ¾ cup granulated sugar (150g)
    • 1 large egg
    • 1 large egg white
    • 2 teaspoons pure vanilla extract
    • ⅔ cup buttermilk*, room temperature (160mL)

    Vanilla Buttercream

    • ½ cup unsalted butter, room temperature (113g)
    • 1 cup plus 2 tablespoons powdered sugar (135g)
    • 2 tablespoons heavy whipping cream (30mL)
    • 1 teaspoon pure vanilla extract
    • Pinch of salt

    Instructions

      1. Preheat oven to 350°F and prepare an 8x8 baking pan OR 2-6" cake pans. Butter the pan(s), line with parchment paper and butter again. Set aside.
      2. Sift the flour (1 ¼ cups/157g), cornstarch (3 tablespoons/24g), baking powder (2 teaspoons) and kosher salt (½ teaspoon) together in a medium bowl and set aside.
      3. In a stand mixer with the paddle attachment (or using a hand-held mixer), cream the butter (½ cup/113g) and sugar (¾ cup/150g) on medium-high (6 on a KitchenAid) until light. Scrape up and down the bowl and add the whole egg, mixing on medium-high for about a minute. Scrape the bowl again and add the egg white and vanilla (2 teaspoons) and mix for another 2 minutes.
      4. With the mixer on low, alternate adding the flour mixture and the buttermilk (⅔ cup/160mL). (⅓ flour mixture, ½ buttermilk, ⅓ flour mixture, ½ buttermilk, stop and scrape up and down bowl, final ⅓ of flour mixture). Mix until just combined or stop with just a streak or two of flour remaining and give it a stir or two with a spatula.
      5. Pour/spread batter into a prepared 8x8 baking pan or equally split between two prepared six-inch cake pans. Bake for about 30 minutes or until a cake tester comes out with just a few moist crumbs (if making a two layer cake - start checking around 20 minutes). Allow to cool with the pans on a wire cooling rack.
      6. Decorate as desired once cool.
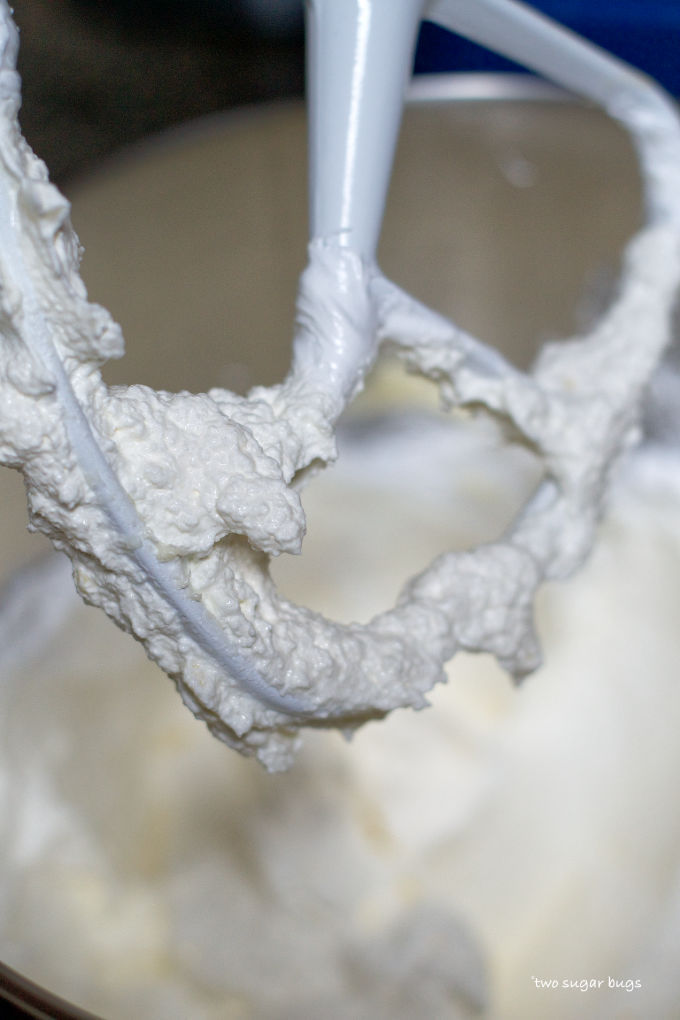
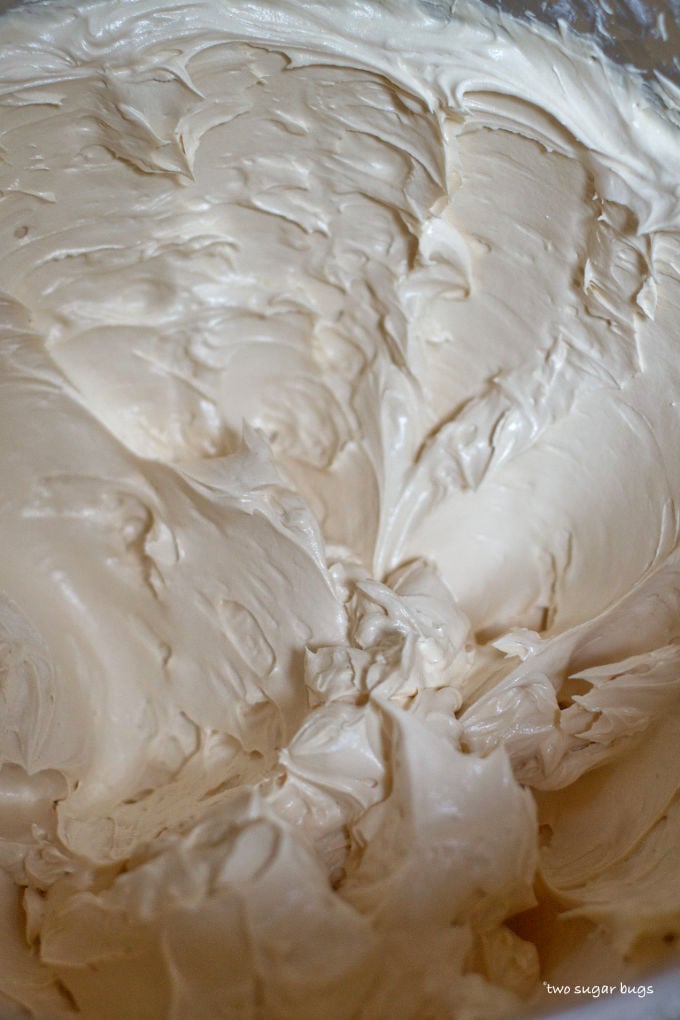
      7. Vanilla buttercream: Beat the butter (½ cup/113g) in a stand mixer with the paddle attachment (or using a hand-held mixer) on high for 5 minutes. Stop about half way through to scrape up and down the bowl. Add the powdered sugar (1 cup + 2 tablespoons/135g) and mix on low until the sugar is incorporated. Add the heavy cream (2 tablespoons/30mL) and beat on high for another five minutes. Scrape up and down the bowl, add the vanilla (1 teaspoon) and a pinch of salt and beat 2 minutes more.

    Notes

    *I prefer using store-bought buttermilk, but if you find yourself without it you can make your own. Place 2 teaspoons of white vinegar or lemon juice in your measuring cup and add milk to equal ⅔ cup, stir and let stand until room temperature (about one hour). The milk will appear curdled.

    Recommended Products

    As an Amazon Associate and member of other affiliate programs, I earn from qualifying purchases.

    • KitchenAid KSM150PSER Artisan Tilt-Head Stand Mixer with Pouring Shield, 5-Quart, Empire Red
      KitchenAid KSM150PSER Artisan Tilt-Head Stand Mixer with Pouring Shield, 5-Quart, Empire Red
    • PaperChef Parchment Paper for Baking: Multipurpose Nonstick Parchment Sheets, Oven Safe, No Grease or Butter Needed, Ideal for Cooking and Roasting, Biodegradable, Kosher-Certified (205 sq ft roll)
      PaperChef Parchment Paper for Baking: Multipurpose Nonstick Parchment Sheets, Oven Safe, No Grease or Butter Needed, Ideal for Cooking and Roasting, Biodegradable, Kosher-Certified (205 sq ft roll)
    • USA Pan Bakeware Square Cake Pan, 8 inch, Nonstick & Quick Release Coating, Made in the USA from Aluminized Steel
      USA Pan Bakeware Square Cake Pan, 8 inch, Nonstick & Quick Release Coating, Made in the USA from Aluminized Steel
    • Fat Daddio's PRD-62 Round Cake Pan, 6 x 2 Inch, Silver
      Fat Daddio's PRD-62 Round Cake Pan, 6 x 2 Inch, Silver

    Nutrition Information:

    Yield:

    9

    Serving Size:

    1

    Amount Per Serving: Calories: 364Total Fat: 23gSaturated Fat: 14gTrans Fat: 0gUnsaturated Fat: 8gCholesterol: 100mgSodium: 248mgCarbohydrates: 35gFiber: 0gSugar: 19gProtein: 4g

    The nutrition information is based on third-party calculations, is an estimate only and may not be entirely accurate. Actual nutritional values will vary based on brands used and portion sizes.

    Did you make this recipe?

    Please make my day and PIN to Pinterest and share a photo on Instagram ~ making sure to tag @twosugarbugs! THANK YOU!!

    © Tasia
    Cuisine: American / Category: Cakes and Cupcakes
    • « Previous Page
    • 1
    • …
    • 30
    • 31
    • 32
    • 33
    • 34
    • …
    • 39
    • Next Page »
    welcome graphic

    Hi, I'm Tasia, a self-taught baker and enthusiastic home cook with over 25 years experience in the kitchen! I'm here to inspire you to have fun while creating food from scratch. I make approachable and nostalgic recipes for busy bakers that you will want to make again and again. The recipes you find here will mostly be sweet and sometimes savory.

    More about me →

    https://thefeedfeed.com/

    Reader Favorite Recipes

    • stack of cookies with the sun hitting them
      Espresso Brown Butter Toffee Cookies
    • buttercream sugar cookie with sprinkles
      Buttercream Sugar Cookies
    • cookies and sprinkles on a cooling rack
      Sprinkle Cookies
    • slice of cookie butter cake on a plate with a fork
      Moist Cookie Butter Cake

    ©two sugar bugs.  All images and content are copyright protected.  Please do not use our images without prior permission.  If you would like to republish a two sugar bugs recipe, please rewrite the recipe in your own words and link back to the blog post and one to the home page.  See my privacy policy for full details.

    Footer

    ↑ back to top

    About

    • Meet Tasia
    • Privacy Policy
    • Comment Policy
    • Terms & Conditions
    • Disclosure

    Shop

    • My favorite kitchen supplies via my Amazon Store

    Contact

    • Work with Me
    • Come Say hello
    • Sign Up! for emails and updates

    All images and content are copyright protected.  Please do not use our images without prior permission. 

    © 2026 two sugar bugs. All rights reserved.