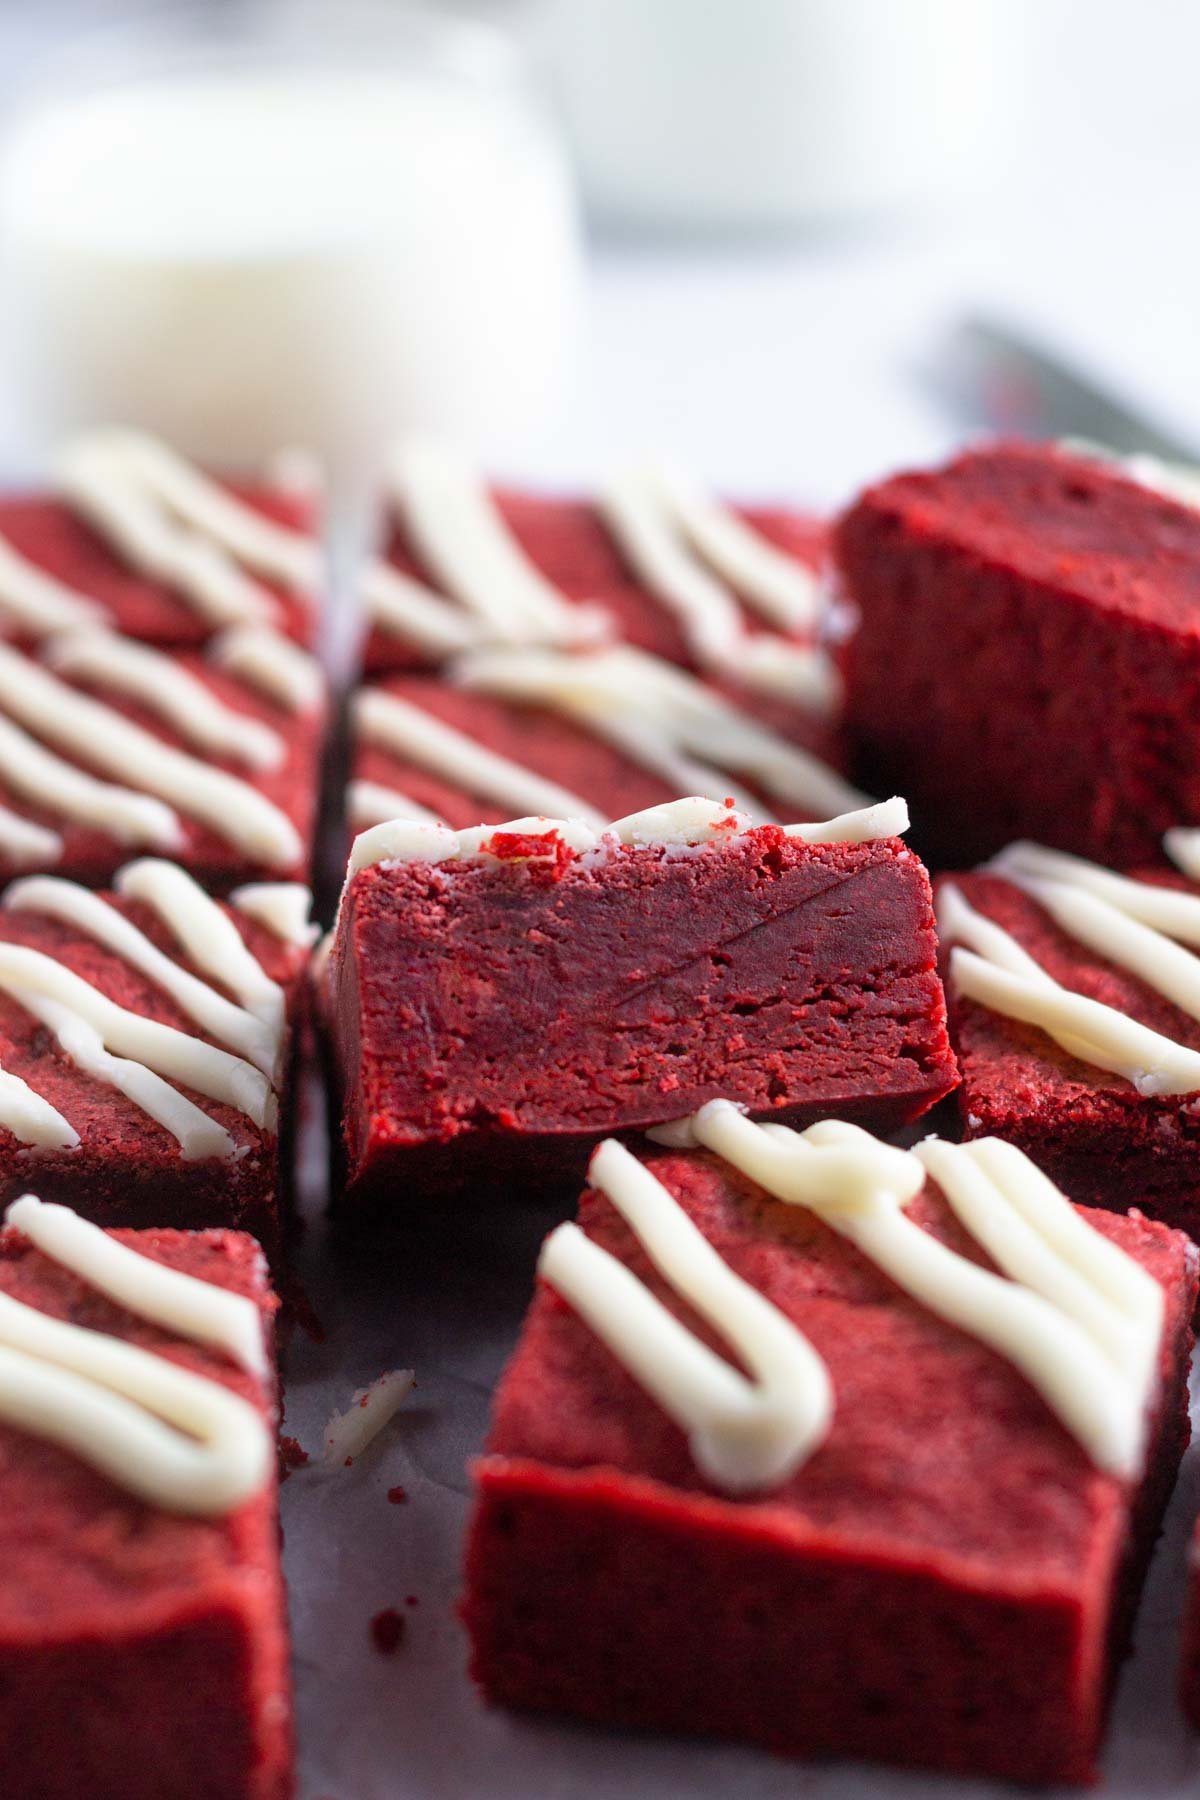
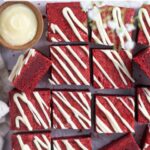
Fudgy, EASY red velvet brownies! This homemade brownie recipe makes the best, chewy and indulgent brownies. Made with cocoa powder and drizzled with a simple cream cheese icing.
Disclosure | This post may contain affiliate links. As an Amazon Associate I earn from qualifying purchases.
Want to know a secret?
Chocolate isn't my favorite. Often times it's too overwhelming for me, which is why red velvet is a flavor I adore. I know, I know; people have all kinds of opinions about red velvet! But I personally think it's great for Valentine's Day or Christmas or just because.
If red velvet is your thing; try my red velvet sugar cookies, red velvet loaf or pink velvet cake.
If rich, fudgy, chocolatey brownies are more your thing; try one bowl brownies, funfetti brownies or Irish cream brownies.
why you will love this from scratch brownie recipe
- One bowl ~ #winning with less dishes to wash!
- Easy ~ it takes about 10 minutes to prep the brownies and get them in the oven.
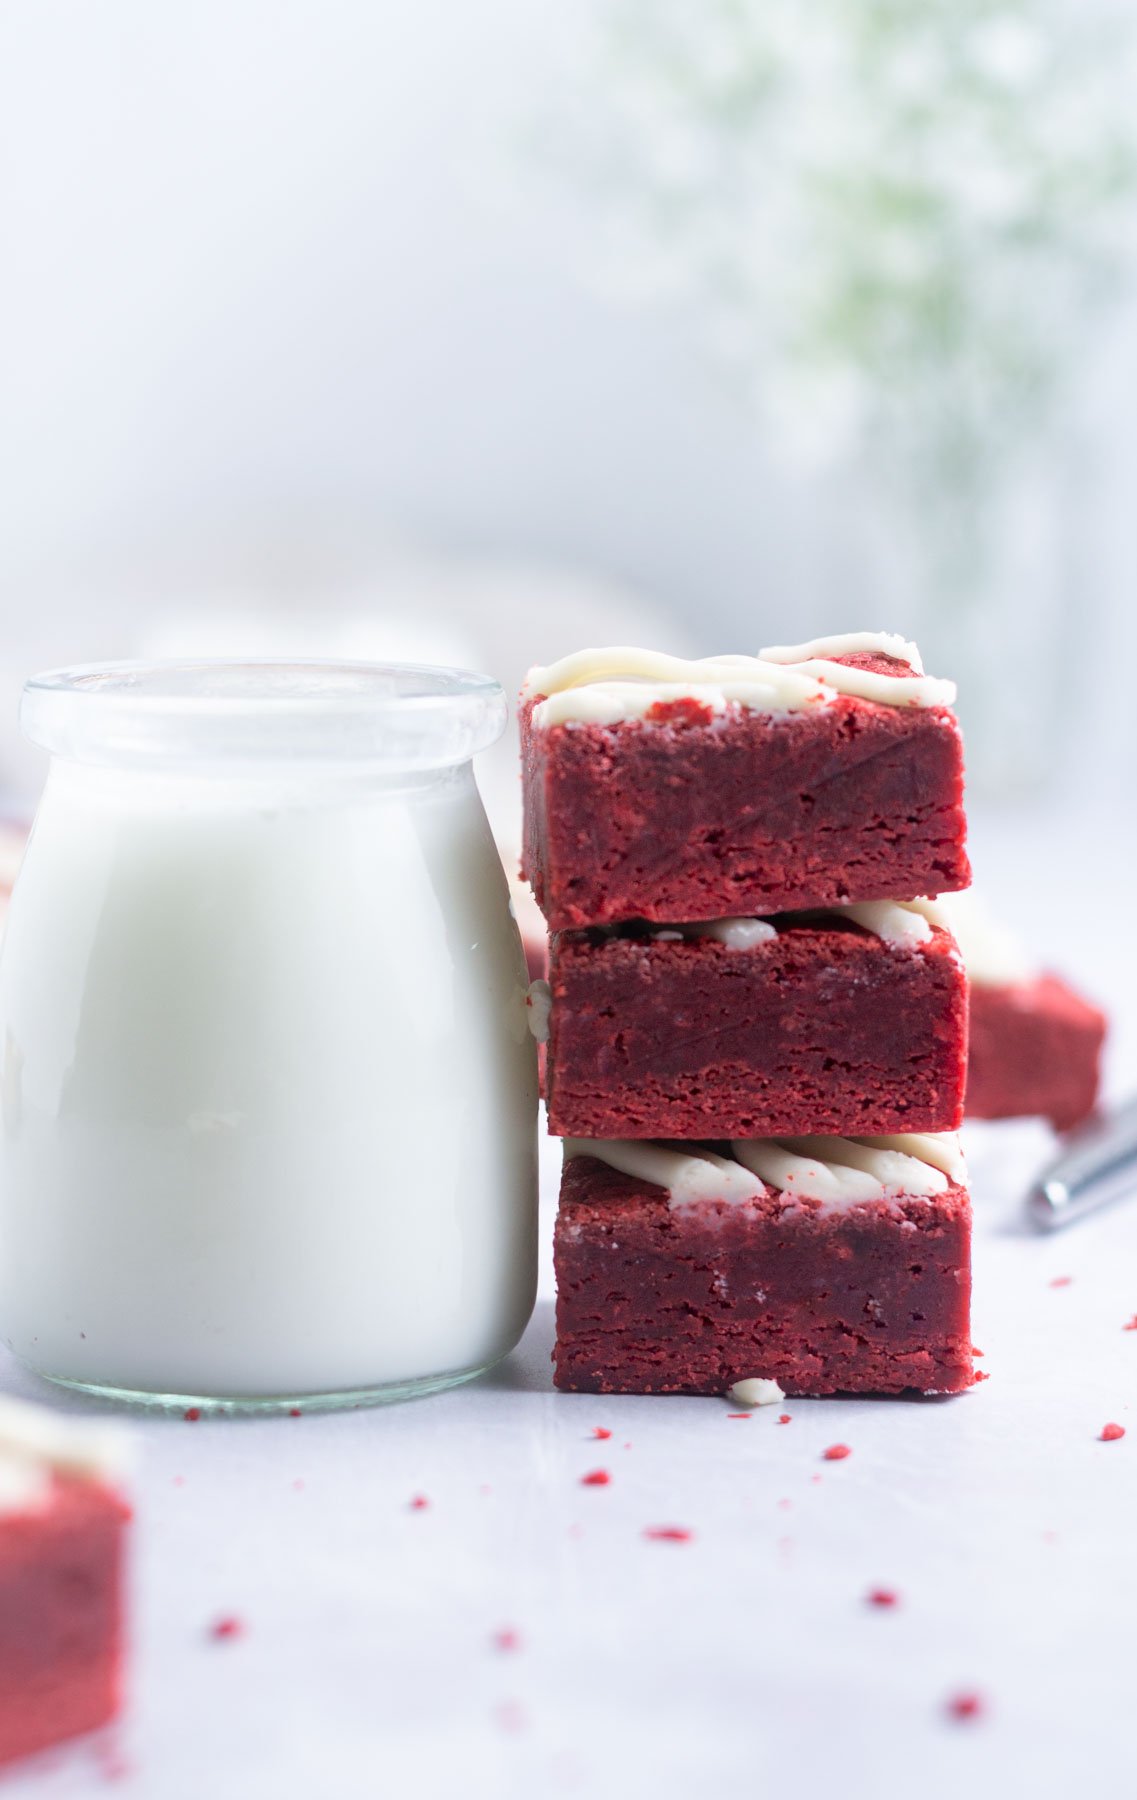
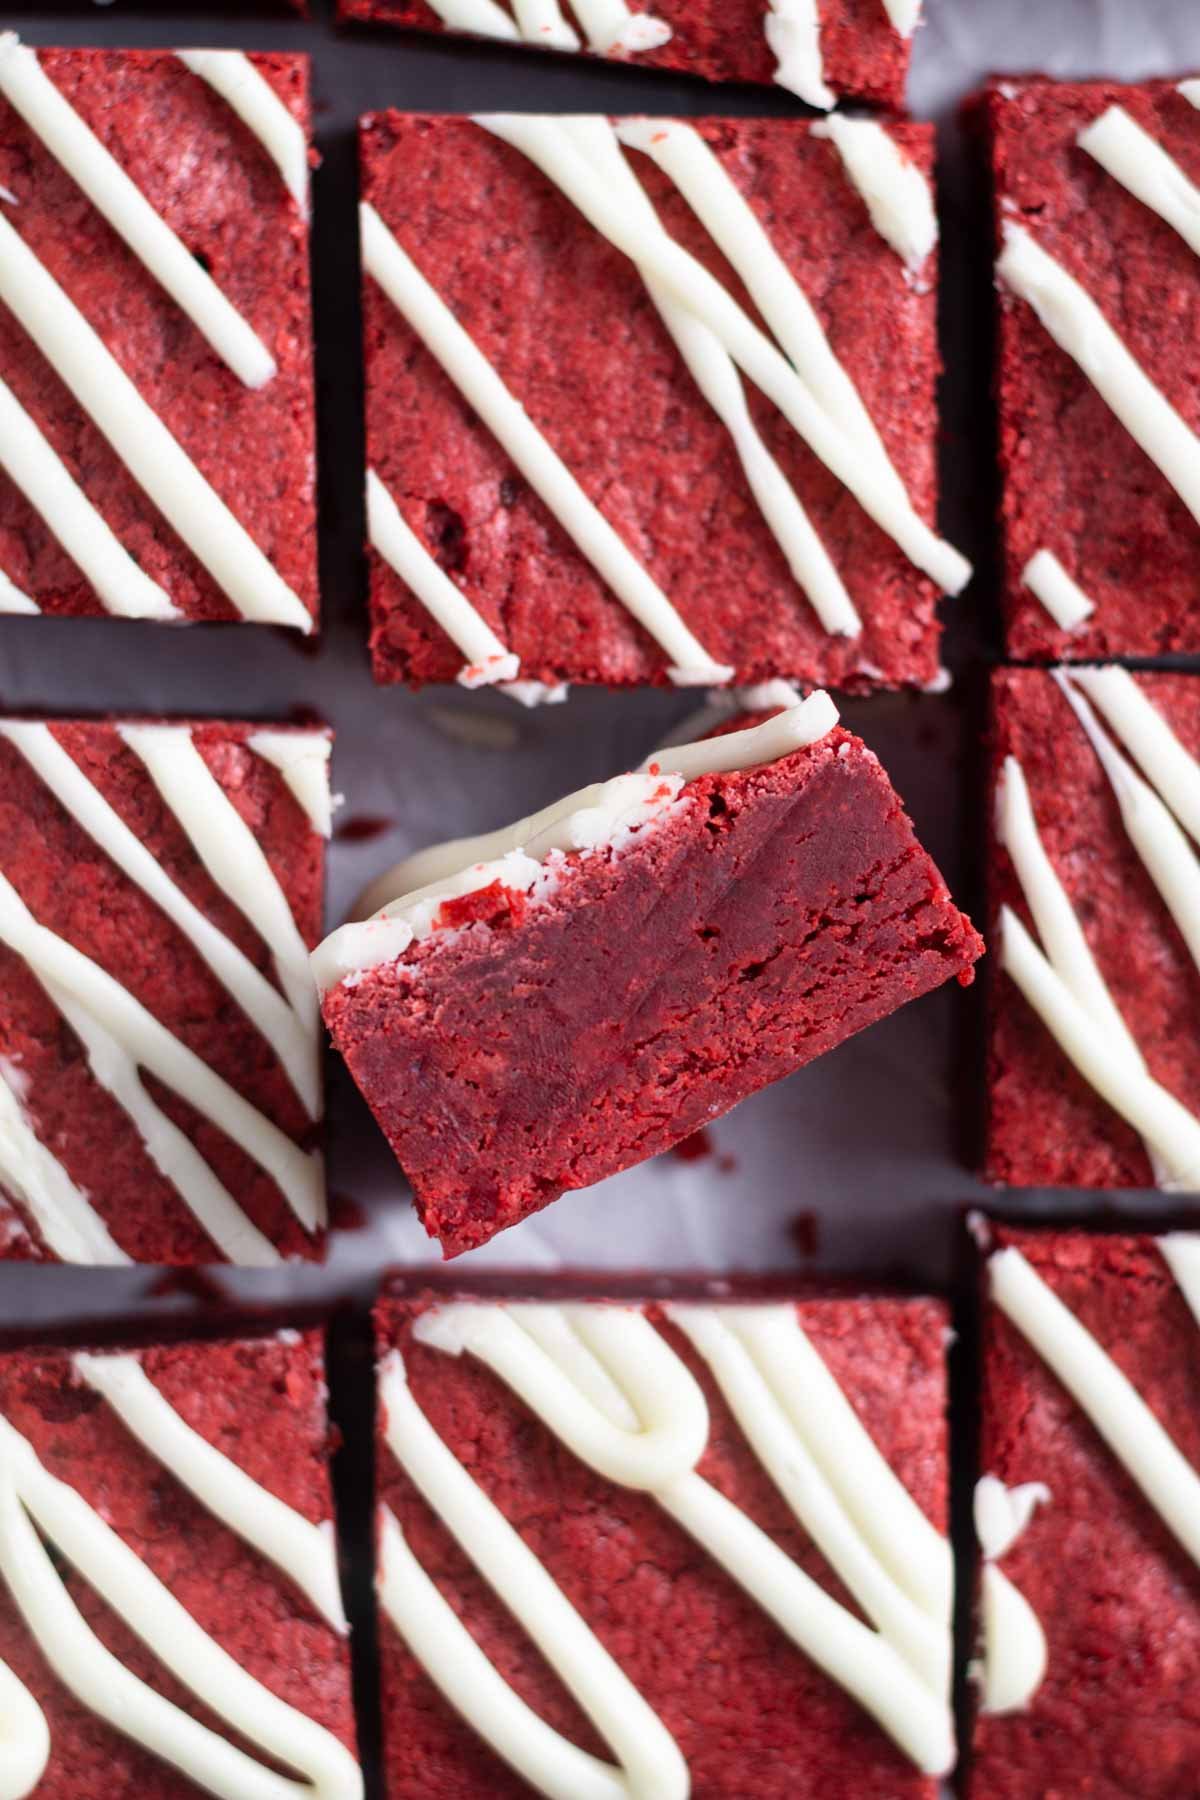
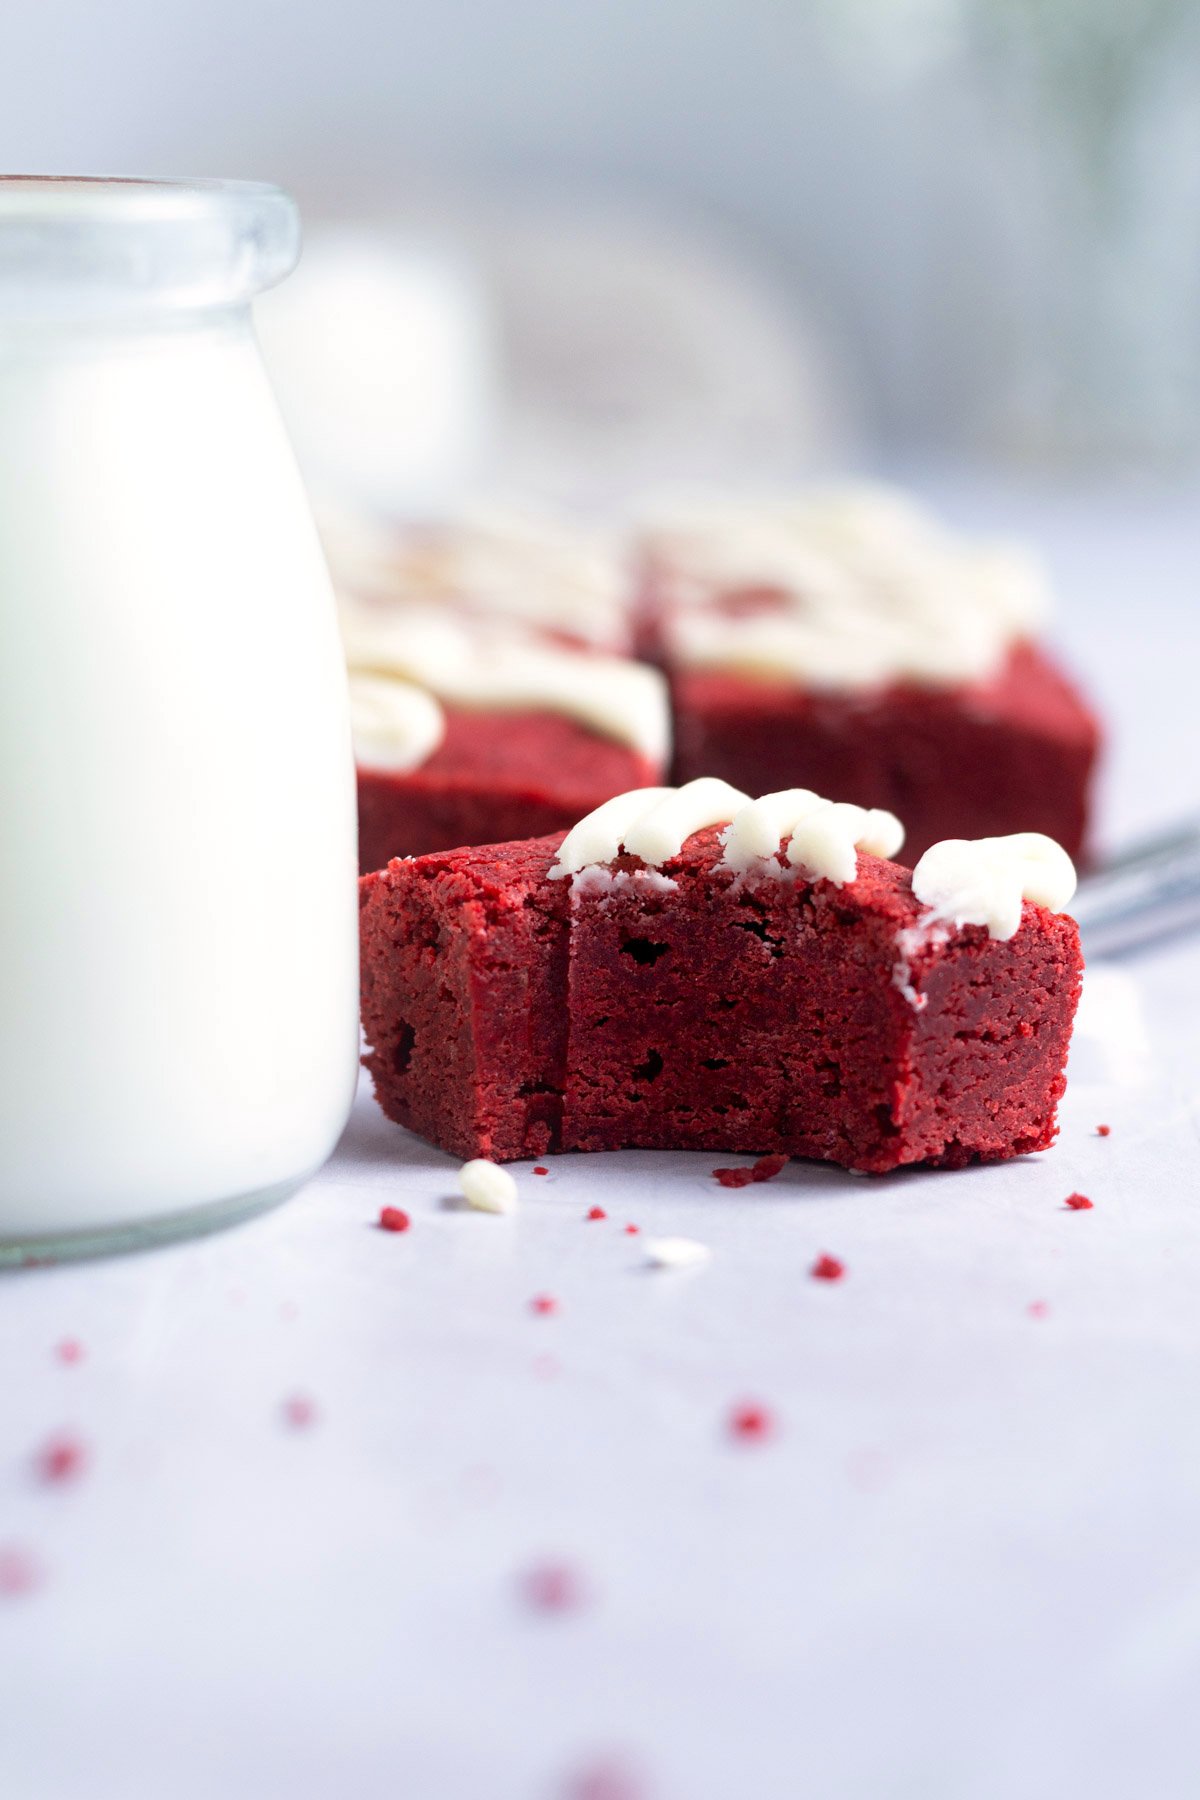
- Texture ~ the brownies bake up thick with a soft, chewy and fudgy bite.
what do red velvet brownies taste like?
This red velvet brownies recipe is made with cocoa powder, a decent amount of vanilla and some red food coloring. They are not as rich as a chocolate brownie, but have a light chocolate taste.
Big E has been calling them "red-ies". She says if we call chocolate brownies "brownies", then "red-ies" is what this version should be!
ingredient notes
Please scroll to the printable recipe card at the end of this post for the full list of ingredients and baking directions.
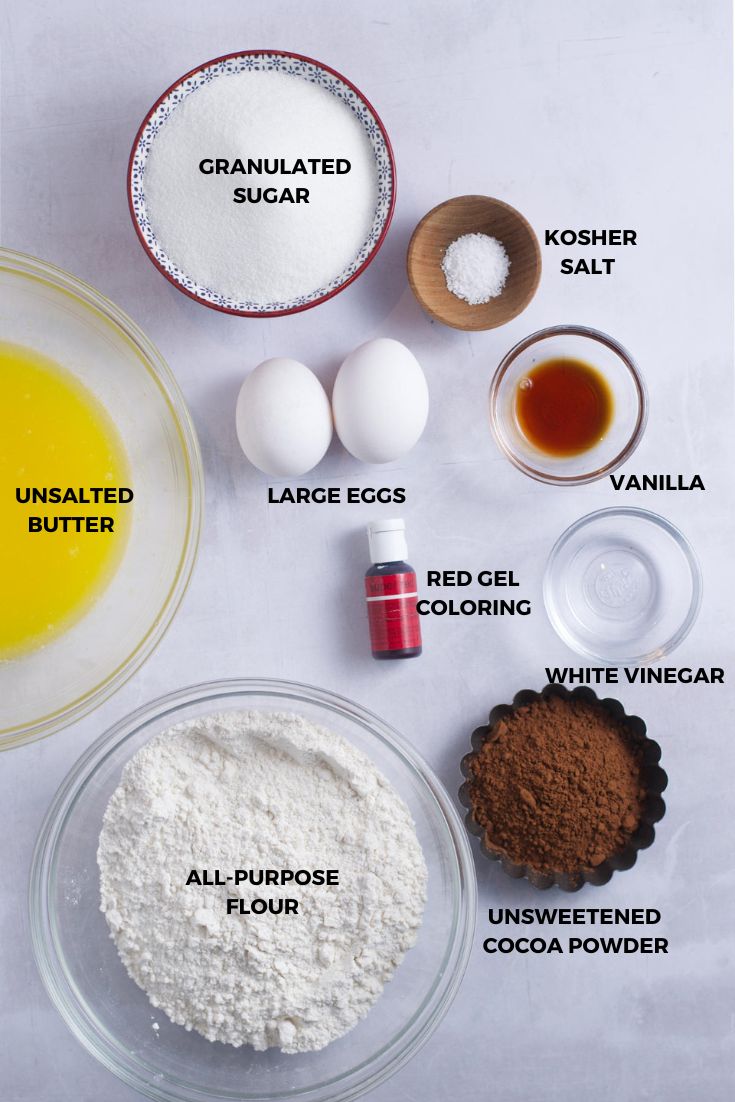
- Unsalted butter ~ melt with your preferred method. If you only have salted butter, leave the kosher salt out.
- Granulated sugar ~ brings sweetness and structure to the easy brownies.
- Kosher salt ~ balances all the flavors. Use half the amount if using table salt.
- Eggs ~ 2 large eggs are needed and add structure to the brownies. It's ideal if they are room temperature.
- Food coloring ~ I use gel coloring and specifically like the Chefmaster Super Red for this recipe. The gel coloring is more concentrated so you use less of it. {you can use no food coloring, if you choose. The brownies just won't be red.}
- Vanilla ~ adds flavor. If you can afford it, a pure vanilla extract is best.
- All-purpose flour ~ provides structure. I haven't tested this with a 1 to 1 gluten free flour, but suspect it will work. Let me know if you try it!
- Unsweetened cocoa powder ~ I typically use Scharffen Berger Unsweetened Natural Cocoa Powder, but Hershey's {I buy mine at Target} is also a good option.
- White vinegar ~ gives the brownies a slight red velvet tang. If you would rather have no vinegar; just leave it out.
how to make one bowl brownies
Start by preheating the oven to 350°F and line an 8x8 baking pan with parchment paper.
In a medium to large bowl, whisk granulated sugar into the melted butter until well combined.
Then whisk in the kosher salt, eggs, vanilla, white vinegar and red gel food coloring, making sure everything is very well combined.
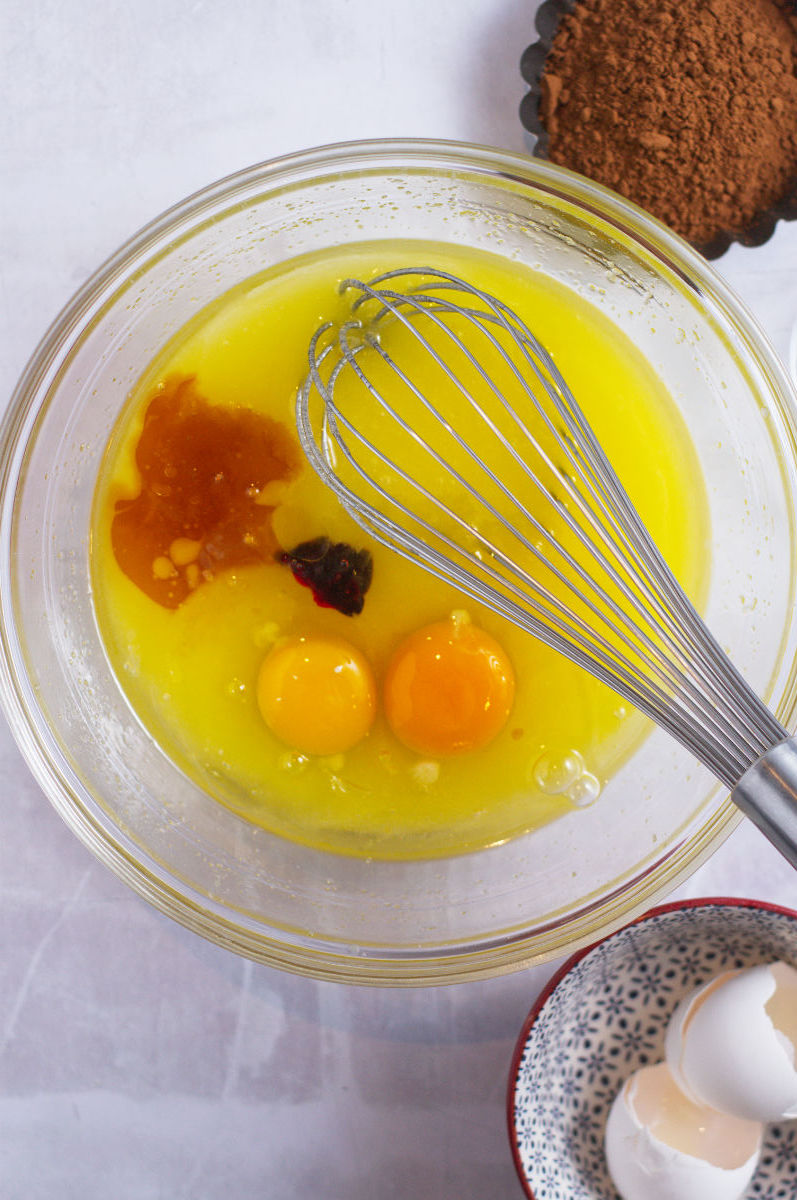
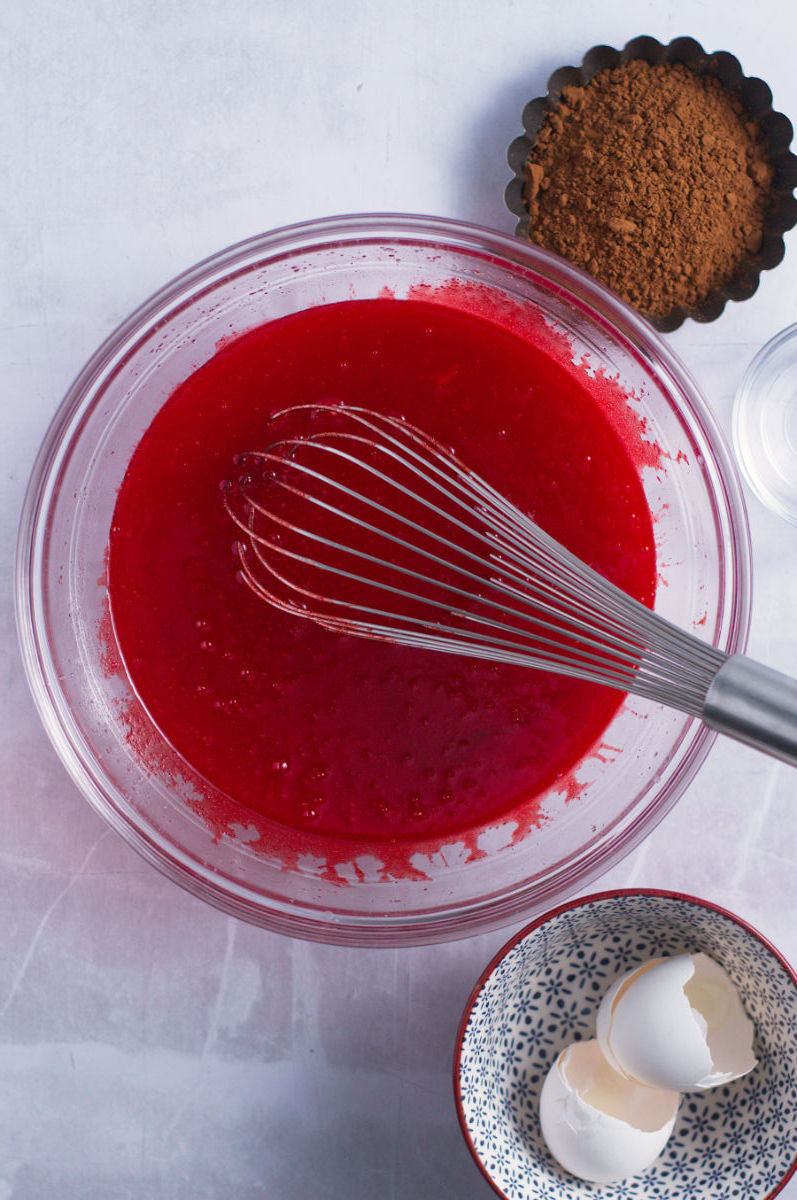
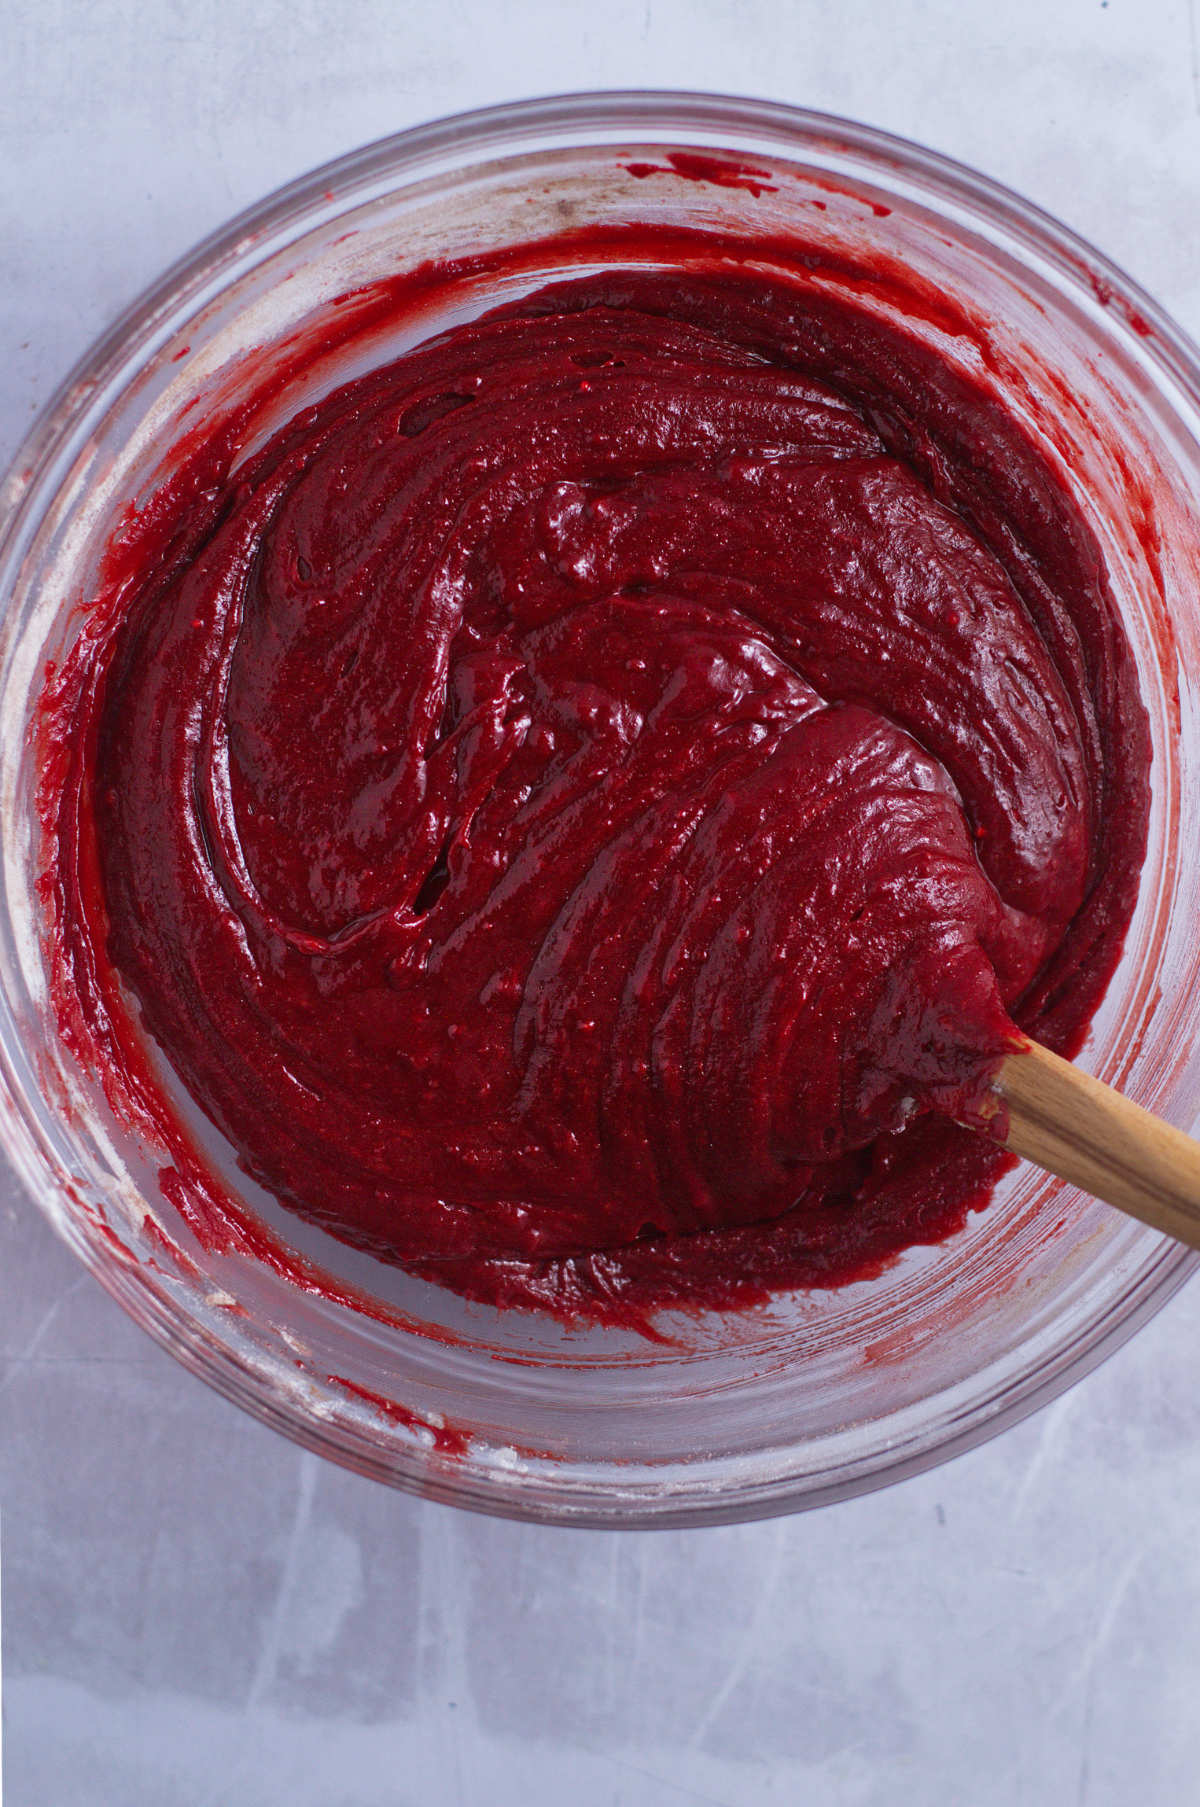
Next, add the cocoa powder and all-purpose flour. Give it a little mix together and then stir the dry ingredients in until just combined.
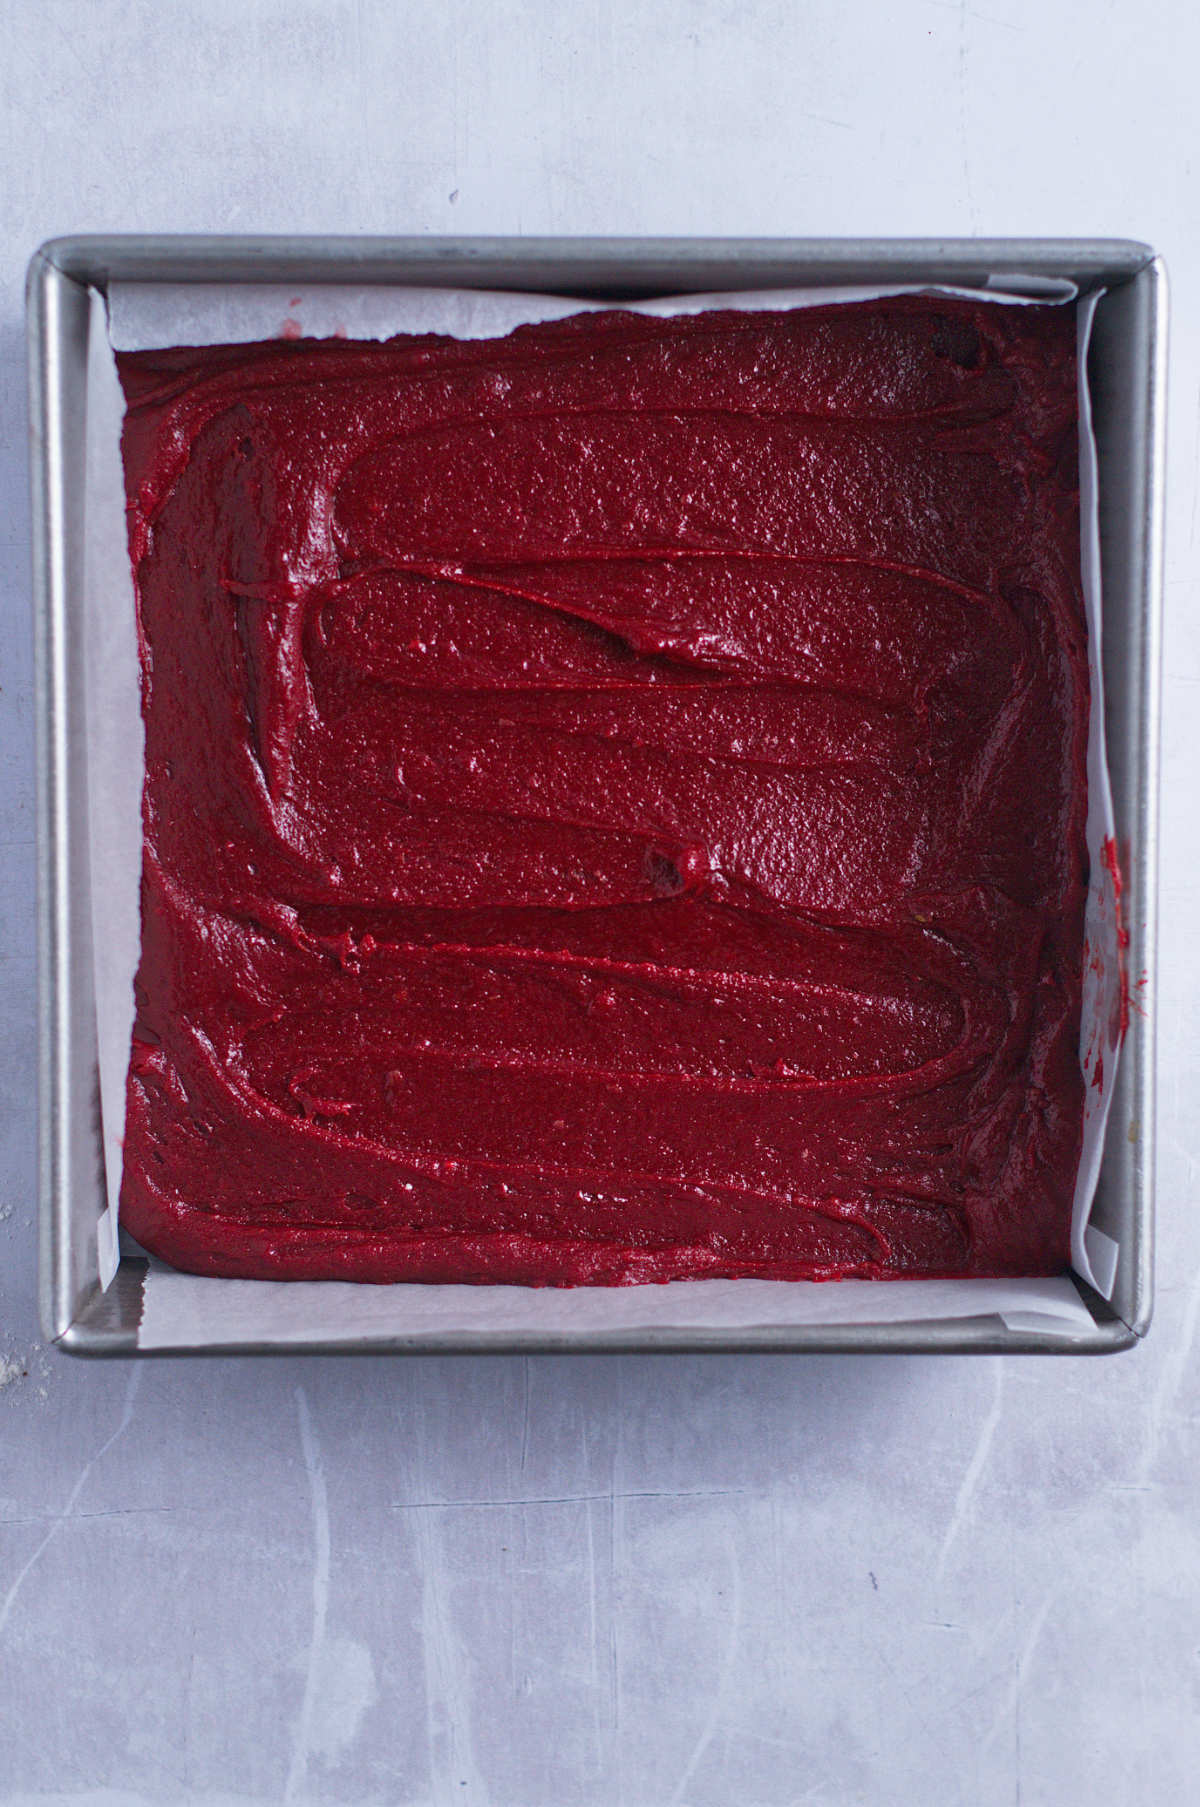
Drop or pour the brownie batter into the prepared baking pan. Smooth with an off-set spatula or spatula, if needed and bake.
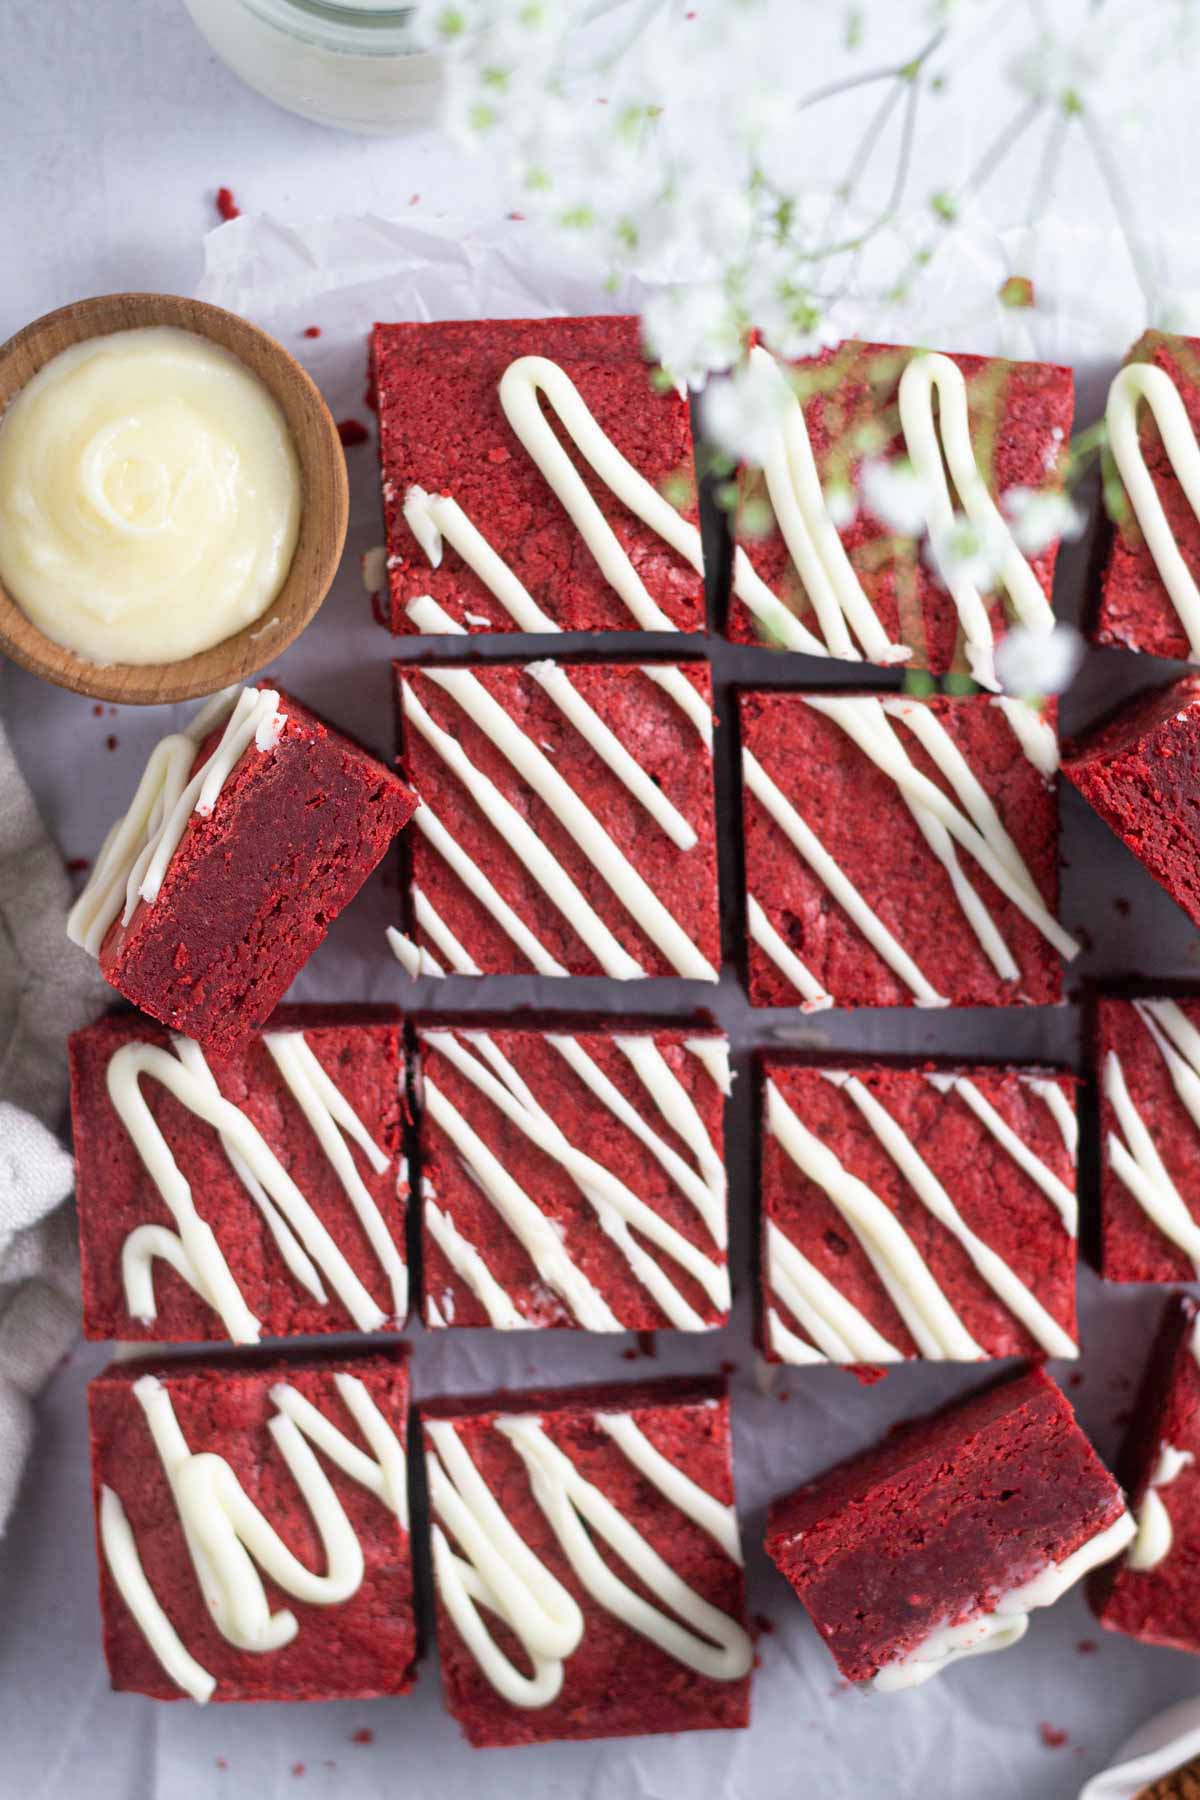
Allow the fudgy red velvet brownies to cool completely before drizzling on the cream cheese frosting. They can be moved to the refrigerator to cool once the pan is cool enough for you to pick up with bare hands.
how do you know when fudgy brownies are done baking?
The top will be firm and beginning to pull away from the sides of the pan. A toothpick test may still have a little wet batter. If you would like a gooey center {like these cookie butter brownies}; bake the red velvet brownies for 25 minutes. For a fudgy doneness like the photos in this post; go closer to 30 minutes.
For most brownie recipes use the "toothpick test";
- If the toothpick still has thick batter on it, the brownies are not done.
- When the toothpick comes out clean, it means the brownies are over baked.
- If the toothpick comes out with some moist crumbs, they are done!
Remember to pin this recipe to Pinterest! Use the button on the recipe card or the share buttons on the side or bottom of this page.
tips for the best homemade brownies
- Don't over bake the red velvet brownies! No one likes a dry brownie. It's better to air on the side of less done than over done. The brownies will firm up and continue to cook as they cool. This is how you will get a fudgy and chewy brownie.
- Remember your oven is different than mine and the baking time may be slightly different. I use this oven thermometer to ensure my oven is at the temperature I think it is.
- For less dishes to wash, use a food scale and skip the measuring cups! This is the scale that I use and love.
- If you need to speed up the cooling process, once the brownies have cooled enough that you can pick up the pan with your bare hands, place the brownies in the refrigerator to cool completely.
- For the cleanest looking cuts, chill the brownies first. Pull the brownies out of the pan with the parchment paper and set them on a solid surface. Then use a sharp knife and wipe it clean between each cut.
variations and serving ideas
- White chocolate version ~ add a half cup of white chocolate chips to the batter before baking. I would toss them with a little of the flour before mixing them in. This helps prevent them from all sinking to the bottom.
- Dark chocolate version ~ add a half cup of semi-sweet or dark chocolate chips to the batter.
- Replace the cream cheese icing with a white chocolate drizzle. Melt about 2 ounces of white chocolate and drizzle it over the cooled red velvet brownies.
- Double or triple the cream cheese icing to give more of a frosting look.
- They'd be super cute for Valentine's Day cut into heart shapes!
- Serve with a scoop of vanilla or your favorite ice cream.
- Use the brownies for the base of a brownie sundae.
storage instructions
Red velvet brownies can be stored at room temperature in an airtight container for up to 5 days or in the freezer for up to 3 months.
Remember to snap a picture and tag me @twosugarbugs on Instagram if you make these Red Velvet Brownies. It warms my heart to see you bring these recipes to life! Thank you for being here and happy baking!
more brownie recipes to try
- Shortbread Brownies
- Cookie Butter Brownies
- Peanut Butter Caramel Pretzel Brownies
- White Chocolate Brownies
- Double Chocolate Oat Bottom Brownies
- Funfetti Brownies
If you make this recipe {or any recipe!} from two sugar bugs please come back and leave a review and a ⭐️⭐️⭐️⭐️⭐️ star rating. I read every comment, and I LOVE hearing from you!
Fudgy EASY Red Velvet Brownies
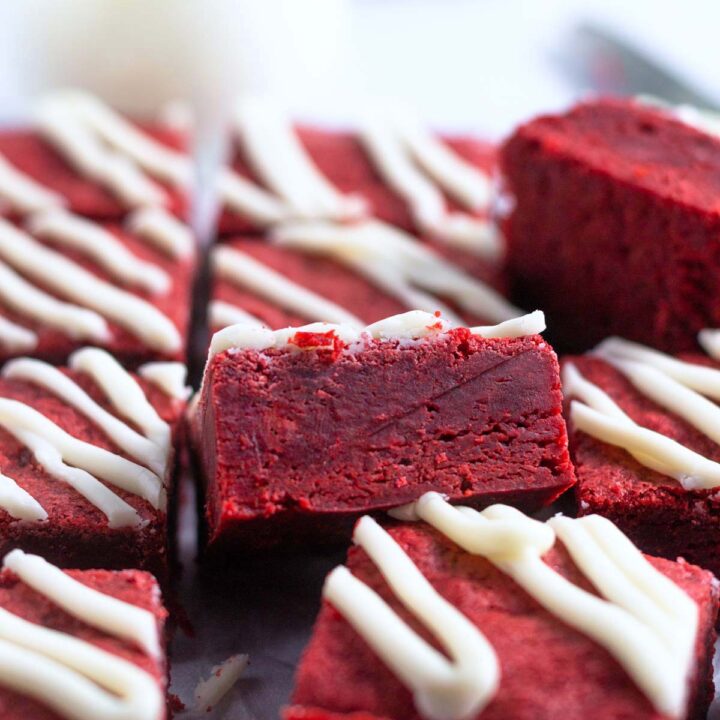
This EASY homemade red velvet brownie recipe makes the best, gooey and indulgent brownies. Made with cocoa powder and drizzled with a simple cream cheese icing.
Ingredients
brownies
- 1 cup unsalted butter, melted (226g)
- 1 ½ cups granulated sugar (300g)
- ½ teaspoon kosher salt
- 2 large eggs
- 2 teaspoons pure vanilla extract
- 1 ½ teaspoons white vinegar
- ¼-½ teaspoon red gel food coloring*
- ¼ cup unsweetened cocoa powder (20g)
- 2 cups all-purpose flour (250g)
cream cheese icing
- 1 ounce cream cheese (28g)
- 1 tablespoon unsalted butter, room temperature (14g)
- ½ cup confectioners' sugar (60g)
Instructions
- Preheat oven to 350°F and line an 8x8 baking pan with parchment paper.
- In a medium to large bowl, whisk granulated sugar (1 ½ cups/300g) into the melted butter (1 cup/226g). Whisk until well combined. Then whisk in the kosher salt (½ teaspoon), eggs (2 large), vanilla (2 teaspoons), white vinegar (1 ½ teaspoons) and red gel food coloring (¼-½ teaspoon), making sure everything is very well combined.
- Next, add the cocoa powder (¼ cup/20g) and all-purpose flour (2 cups/250g). Give it a little mix together and then stir the dry ingredients in until just combined.
- Drop or pour the brownie batter into the prepared baking pan. Smooth with an off-set spatula or spatula, if needed.
- Bake for 25-30 minutes. The top will be firm and beginning to pull away from the sides of the pan. A toothpick test may still have a little wet batter. (for a gooey center, stop at 25 minutes)
- Allow the brownies to cool completely before frosting. They can be moved to the refrigerator to cool once the pan is cool enough for you to pick up with bare hands.
- To make the cream cheese frosting: combine the cream cheese (1 ounce/28g) and butter (1 tablespoon/14g) in a small-medium bowl with a spoon. Once well combined, stir in the confectioners' sugar (60g). The mixture will be thick and takes a little stirring to bring it all together. Then lightly warm the mixture over a small pot of simmering water (or in the microwave) until it reaches a consistency where you can drizzle it.
- Use a spoon or small zip-top bag with the corner snipped off to drizzle the cream cheese icing over the cooled brownies.
Notes
*Use as much or as little food coloring to get the red velvet brownies the color you would like them. If using liquid food coloring, you will need more coloring than with a gel. Food coloring can also be eliminated if you don't want red brownies.
If you would like more than a drizzle of cream cheese icing; feel free to double or triple the recipe for it.
If you would like to add white chocolate chips or chocolate chips to the batter ~ toss a half cup of chocolate chips with a few tablespoons of the flour before gently mixing them in.
Brownies can be stored at room temperature in an airtight container for up to 5 days or in the freezer for up to 3 months.
Nutrition Information:
Yield:
16Serving Size:
1Amount Per Serving: Calories: 273Total Fat: 14gSaturated Fat: 8gTrans Fat: 0gUnsaturated Fat: 5gCholesterol: 57mgSodium: 56mgCarbohydrates: 35gFiber: 1gSugar: 22gProtein: 3g
The nutrition information is an estimate and may not be entirely accurate.



Michelle
Love the color of these red velvet brownies! Perfect for Valentine's Day coming up1
Tasia
Thank you Michelle! They do look perfect for Valentine's Day don't they?
Kathleen
These brownies are perfect and I'm with you Tasia, I'm not a fan of chocolate -- but I do enjoy red velvet! Go figure! Making these tomorrow to send to my boys in college, they will adore them!
Tasia
Thank you Kathleen; I know your boys are going to love them!
Ben | Havocinthekitchen
I'm not a huge Red Velvet guy (The flavour is too simple/ boring to me), but I admit these desserts always look wonderful - so dramatic and vibrant! And yeah, these brownies sound great, especially the cream cheese glaze 🙂
Tasia
Thank you Ben! Red velvet is definitely more mellow than a rich chocolate dessert. And that glaze....I'm trying to figure out how to put it on everything these days!
Jill
So good and fudgy. I made them for a girls night and everyone raved about them!
Tasia
Hi Jill, thank you for making them and coming back to leave a comment. I'm so happy to hear they were loved!