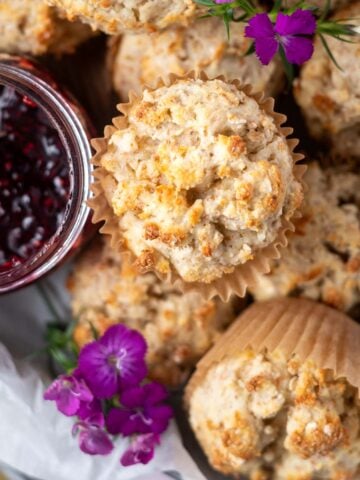
Irish soda bread transformed into moist muffins. This quick and easy recipe makes 12 muffins with no raisins in sight! Cottage cheese is blended until smooth to add moisture and upgrade the flavor. You’ll love this twist on a traditional recipe that takes about 30 minutes from start to finish.
Disclosure | This post may contain affiliate links. As an Amazon Associate I earn from qualifying purchases.
As a busy mama and home baker, I’m always looking for easy breakfast options. I have a super soft spot in my heart for bread, especially quick breads. I spent a week of my senior year of high school in Ireland and fell in love with soda bread. But I find it hard to make it through a whole loaf before it spoils.
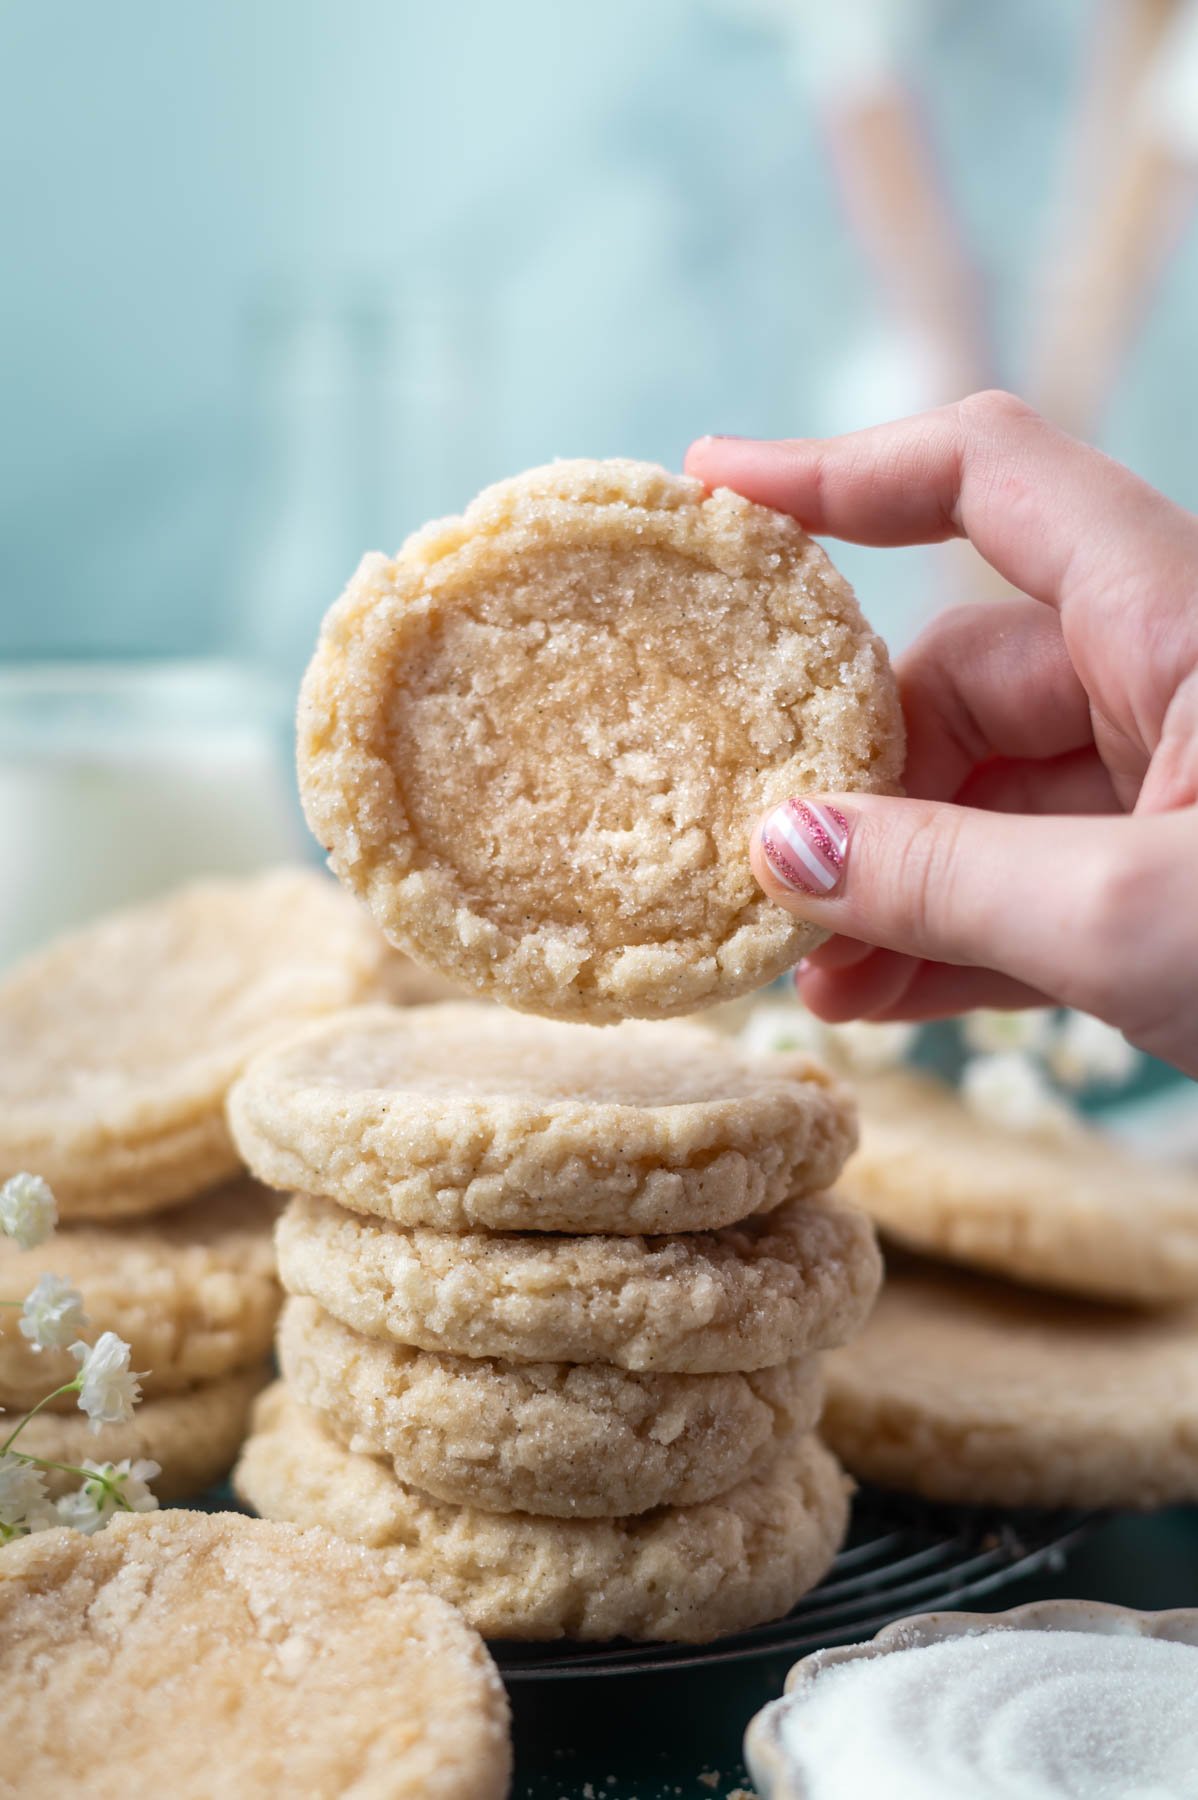
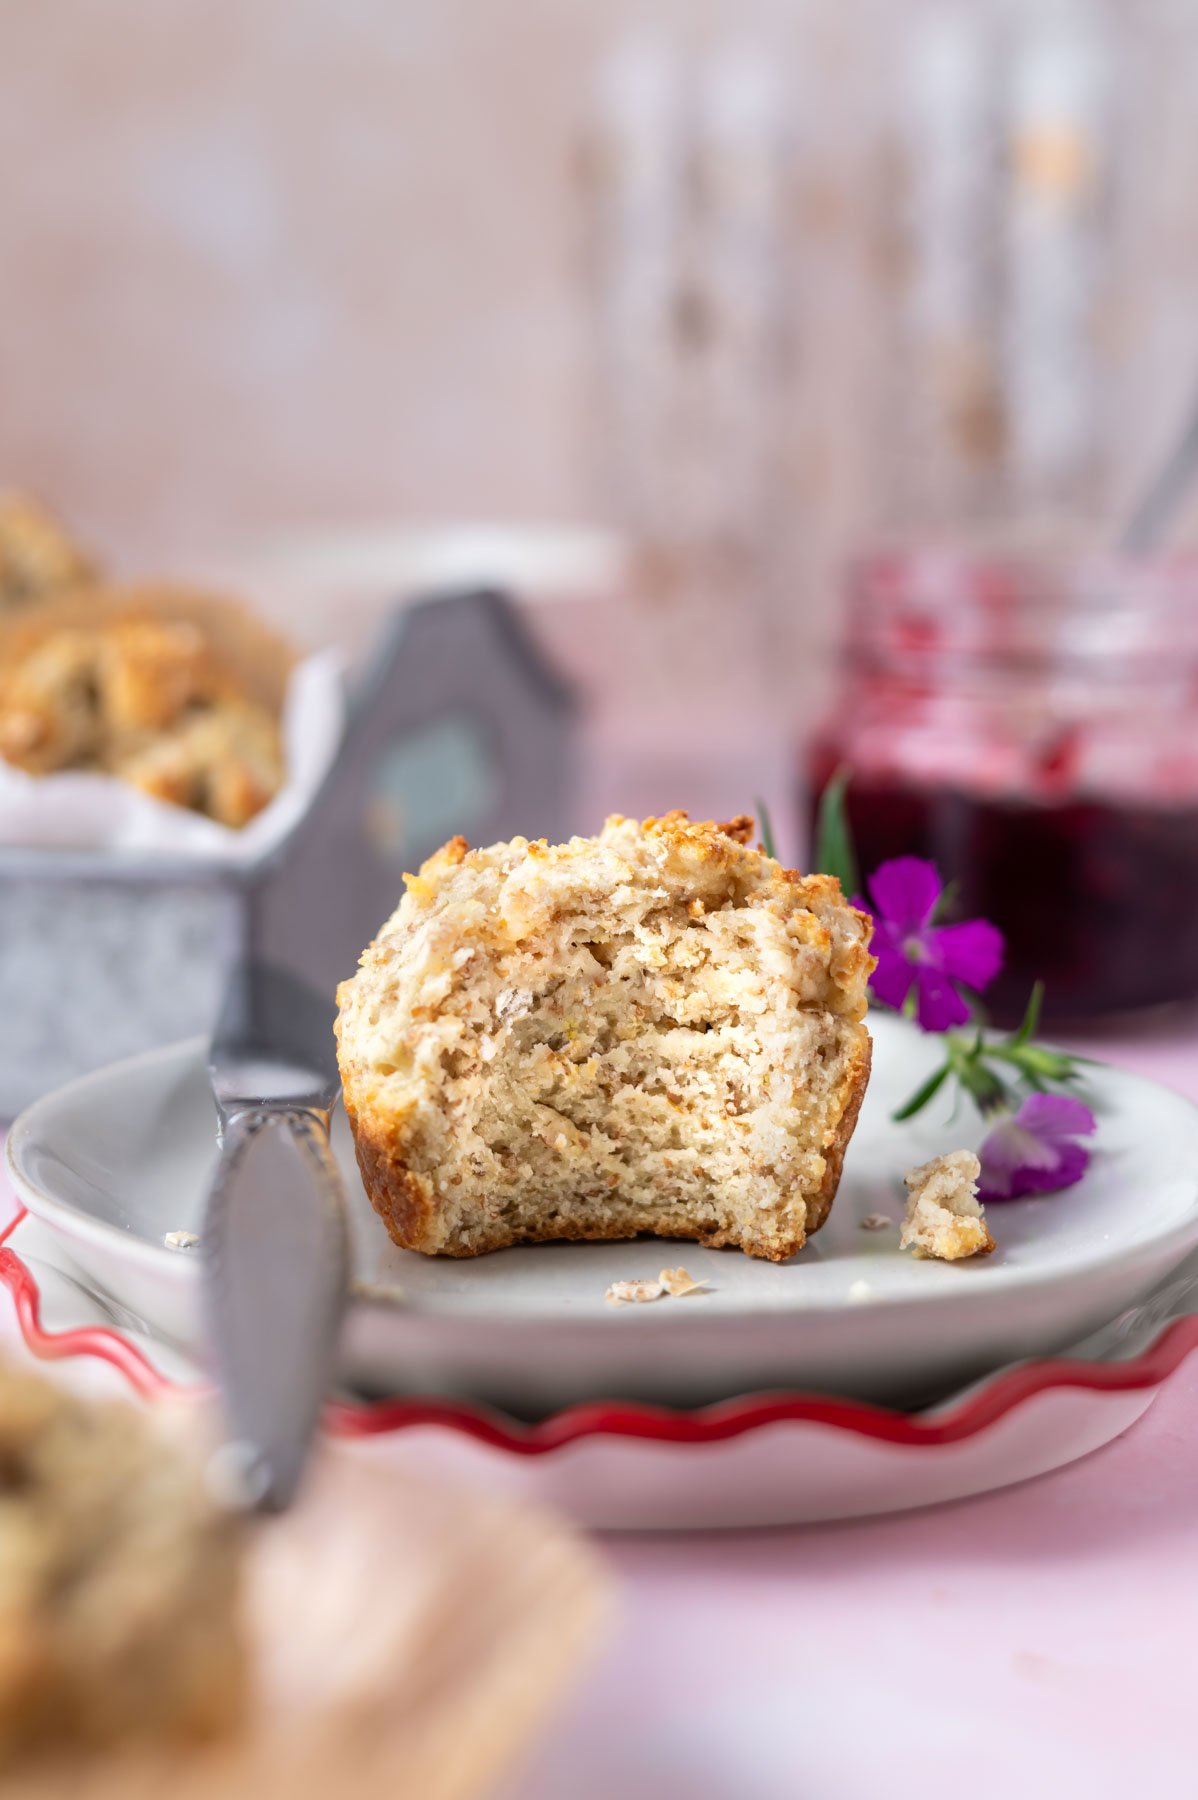
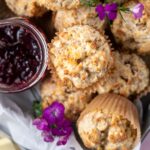
Muffins are a fantastic way to enjoy Irish soda bread. There's no having to "shape" a loaf, just scoop the batter into a muffin tin and bake. The smaller size, lets them have a soft and moist inside with more golden crust on the edges.
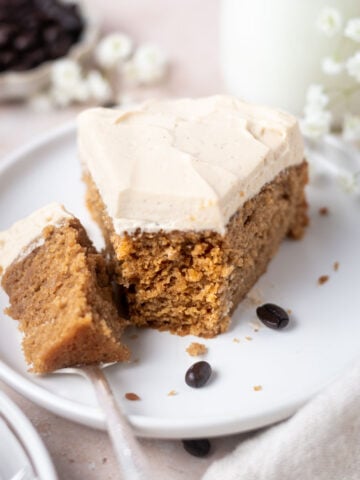
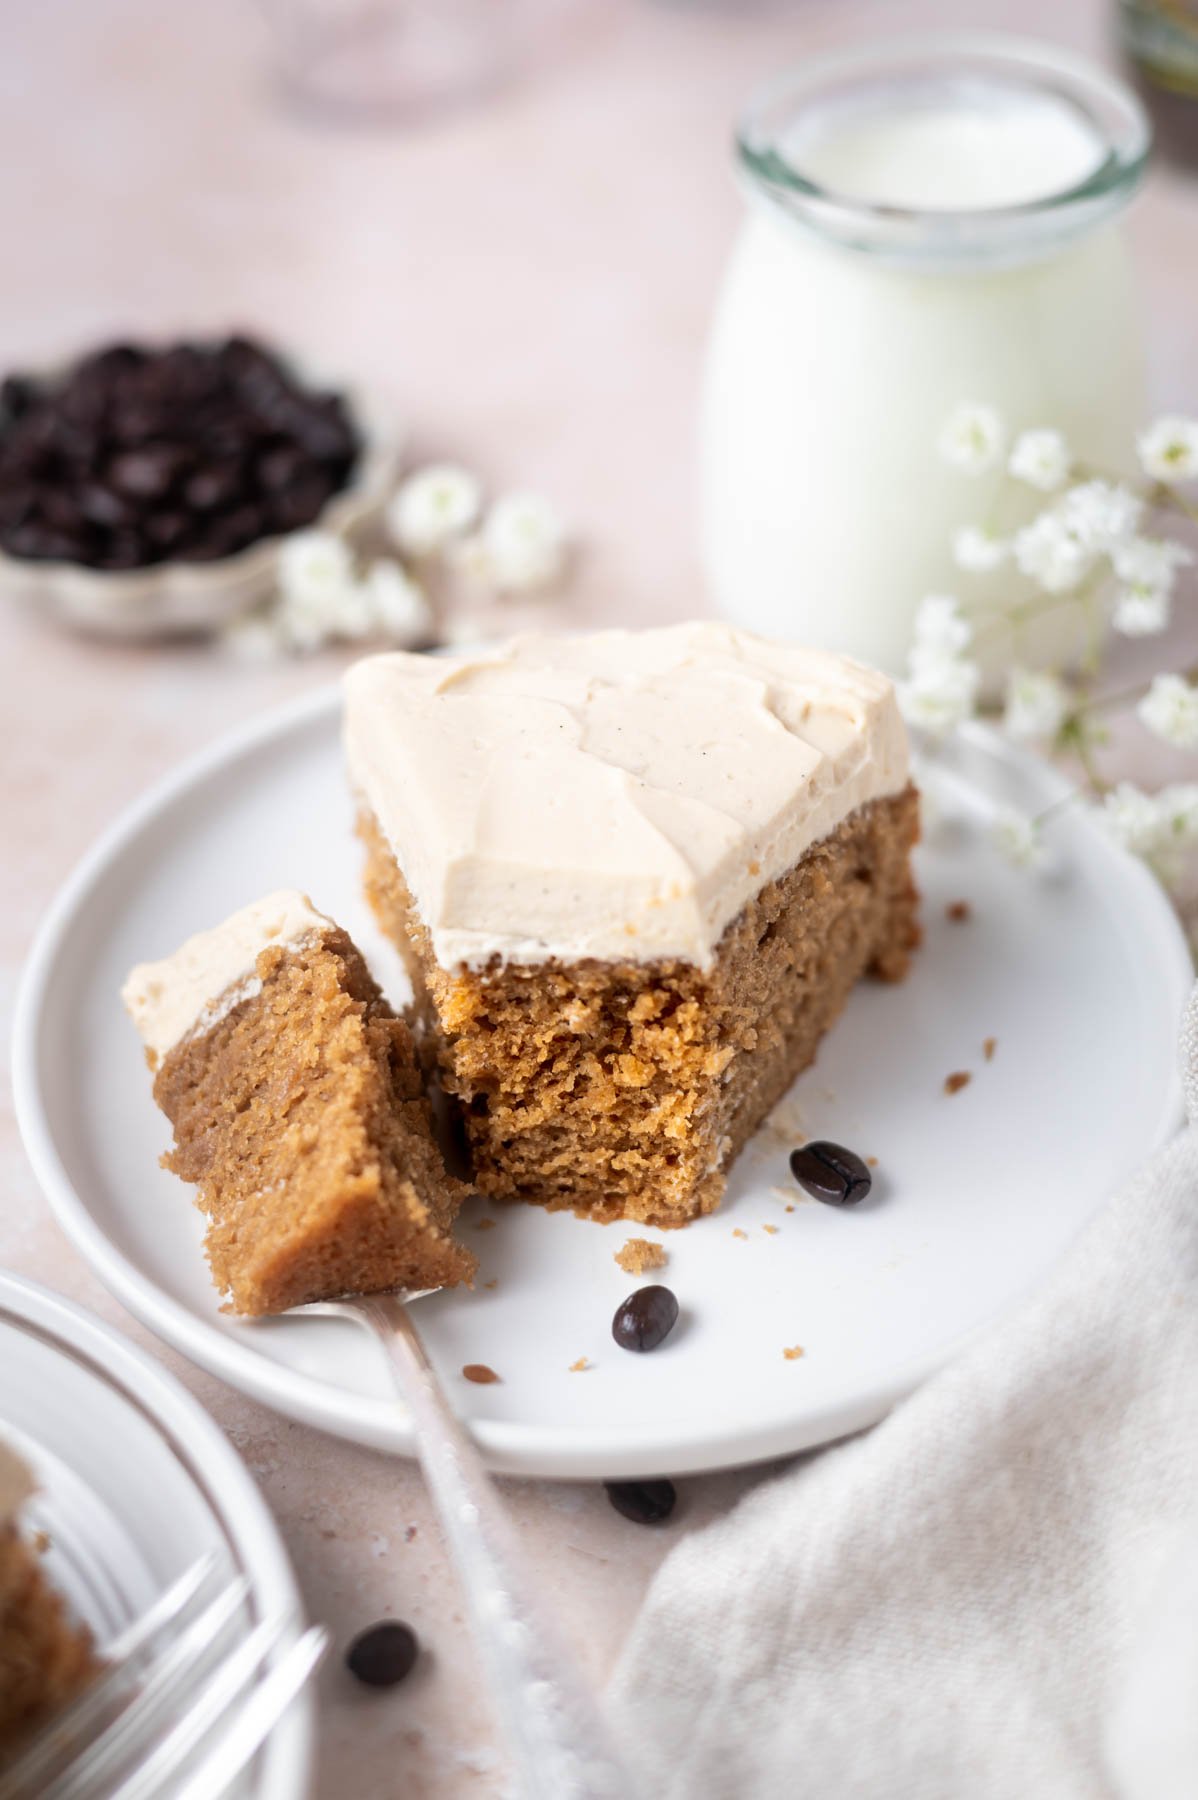
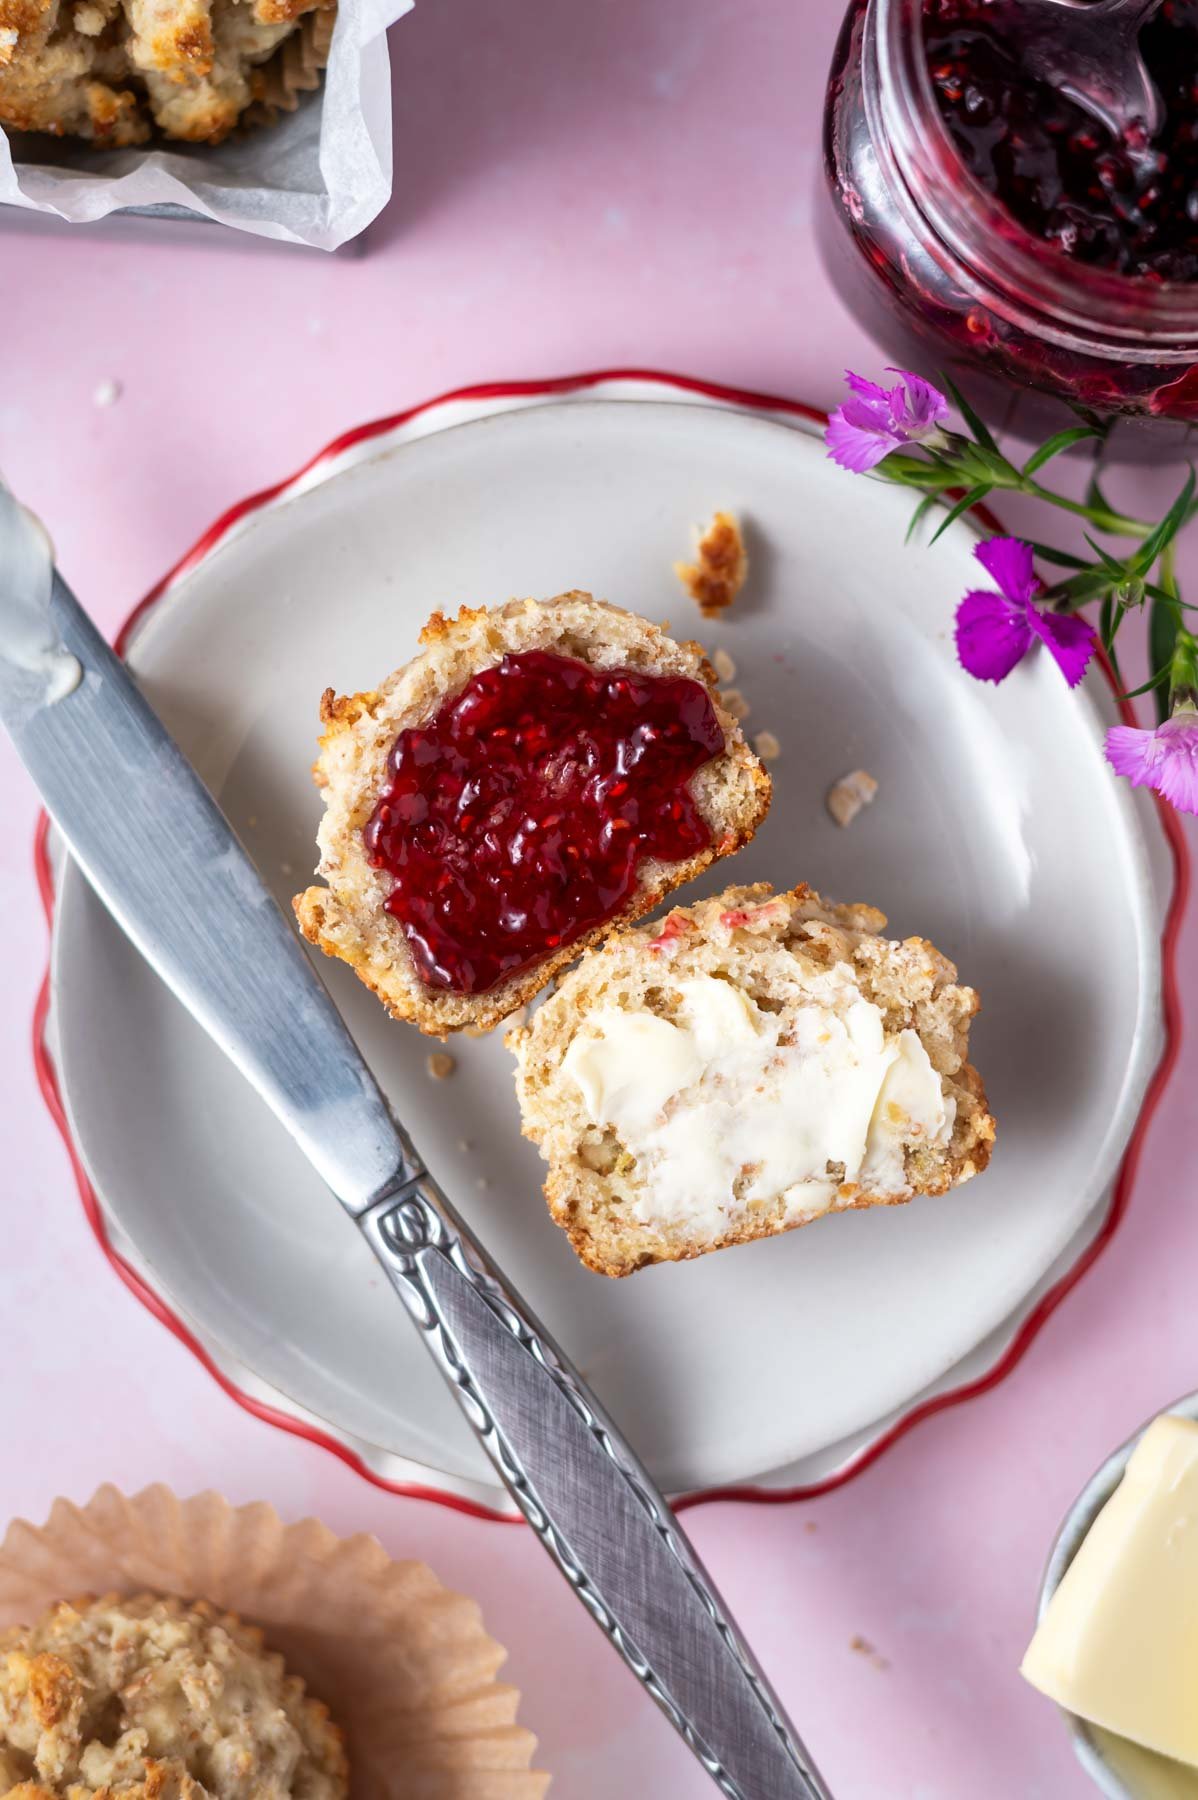
Irish soda bread muffins are easy for grab and go mornings. My recipe adds some wheat bran and cottage cheese to the ingredients, which makes it fit into my wholesome definition. Whether you eat them plain or slather them with butter or jam, I know you’ll love them. We also really enjoyed the muffins paired with soup! And if you're going for a St. Patrick's Day type meal, why not pair it with Baileys cupcakes or Irish cream brownies for dessert??
[feast_advanced_jump_to]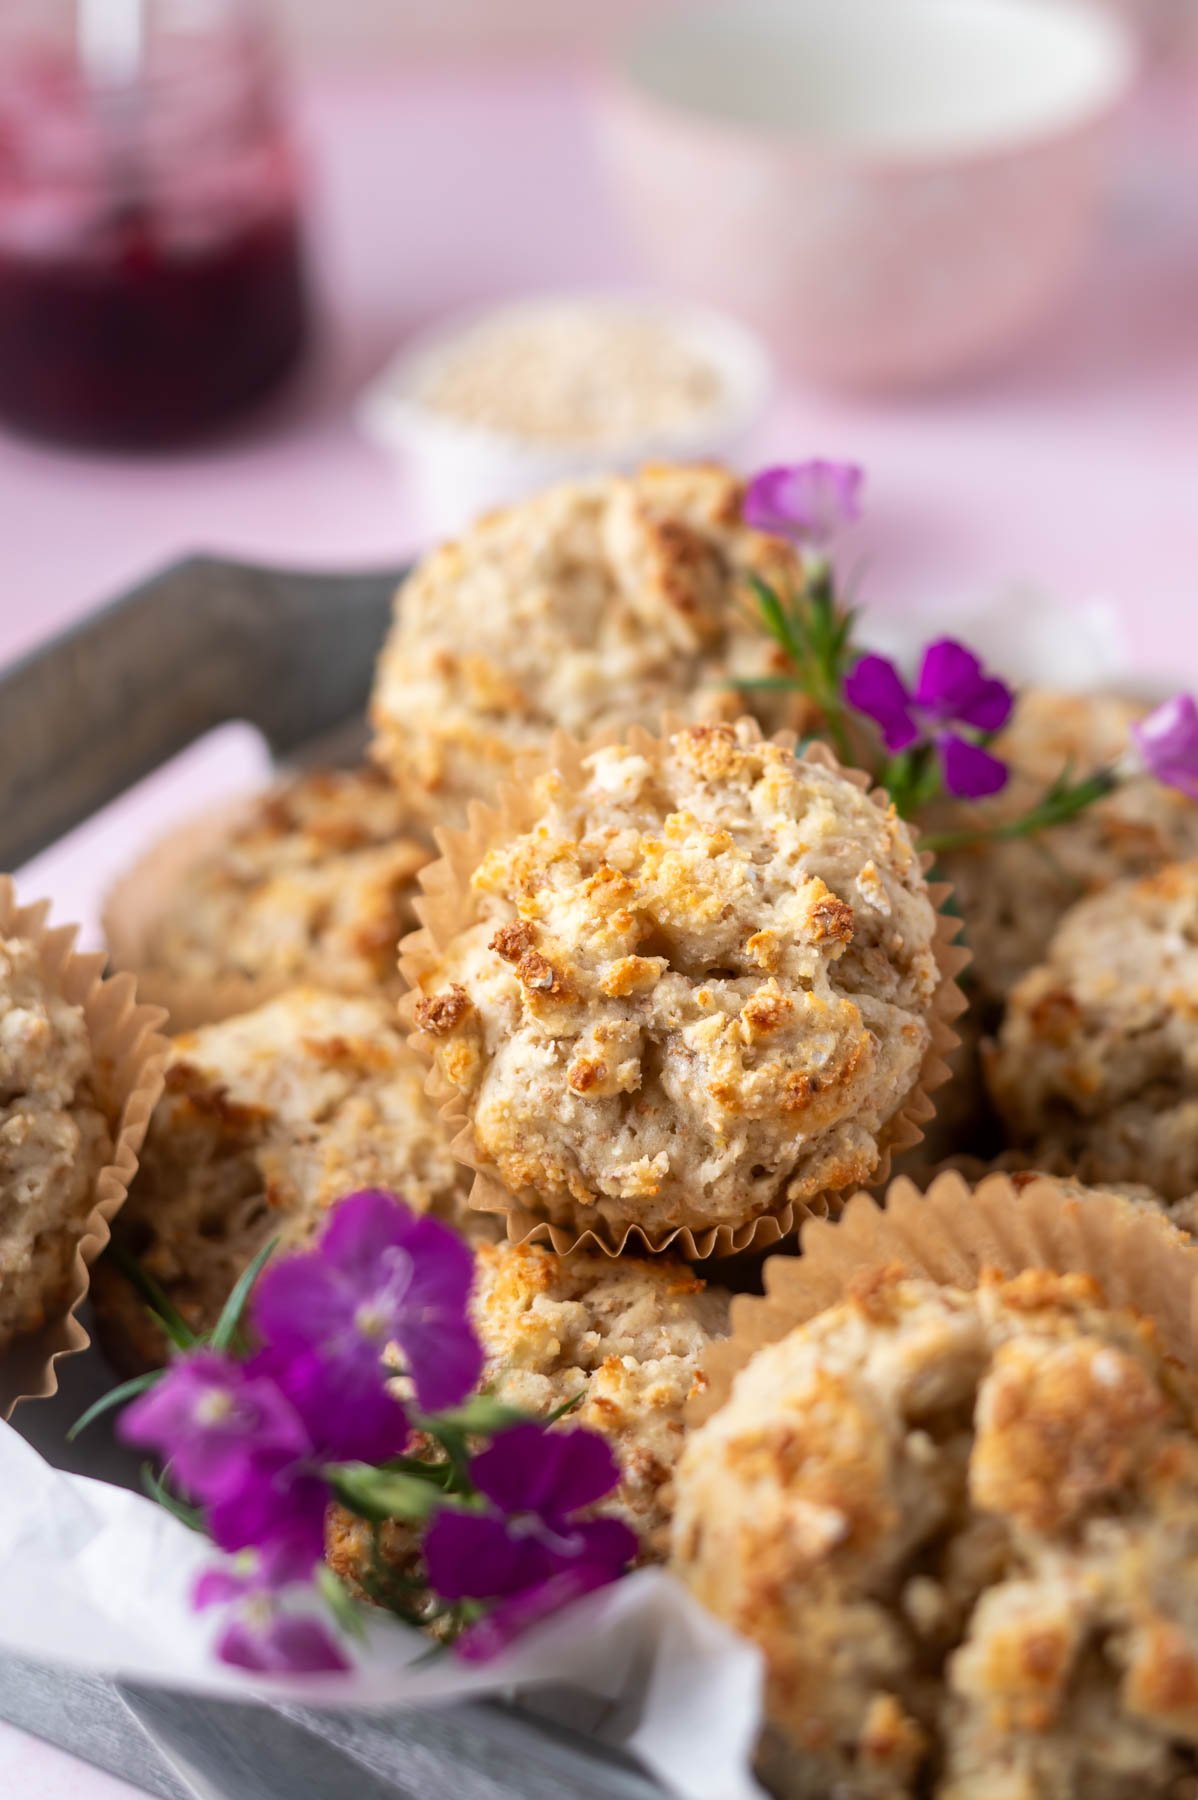
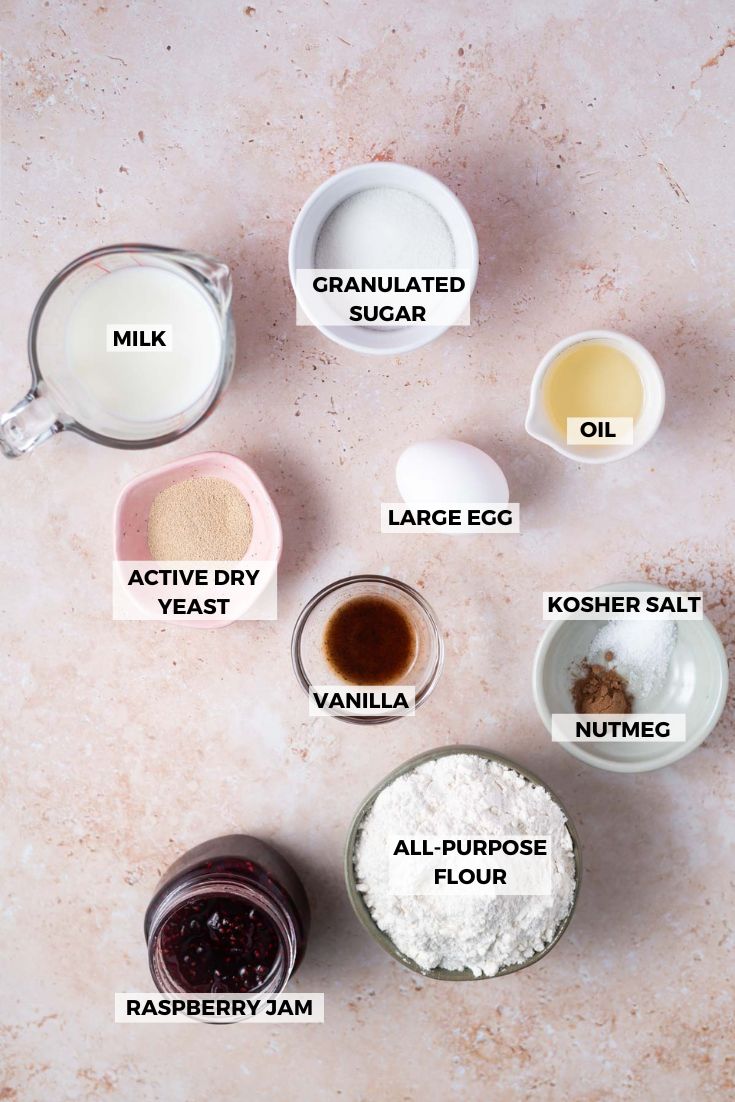
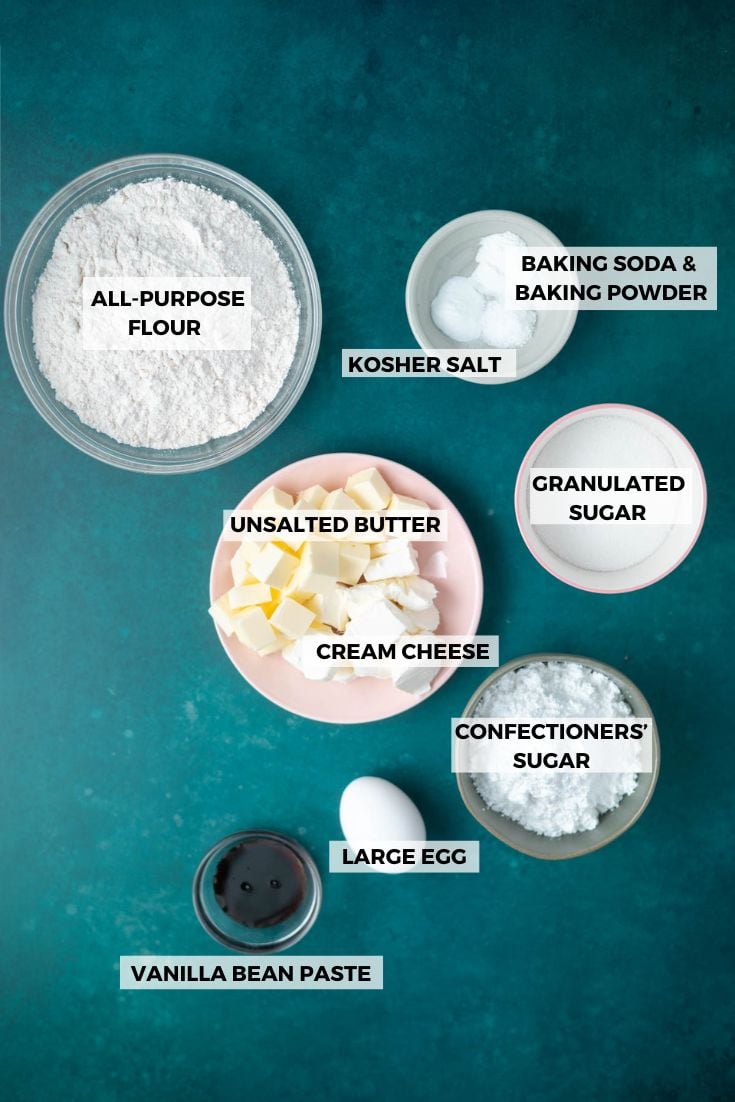
☘️ ingredient notes and substitutions
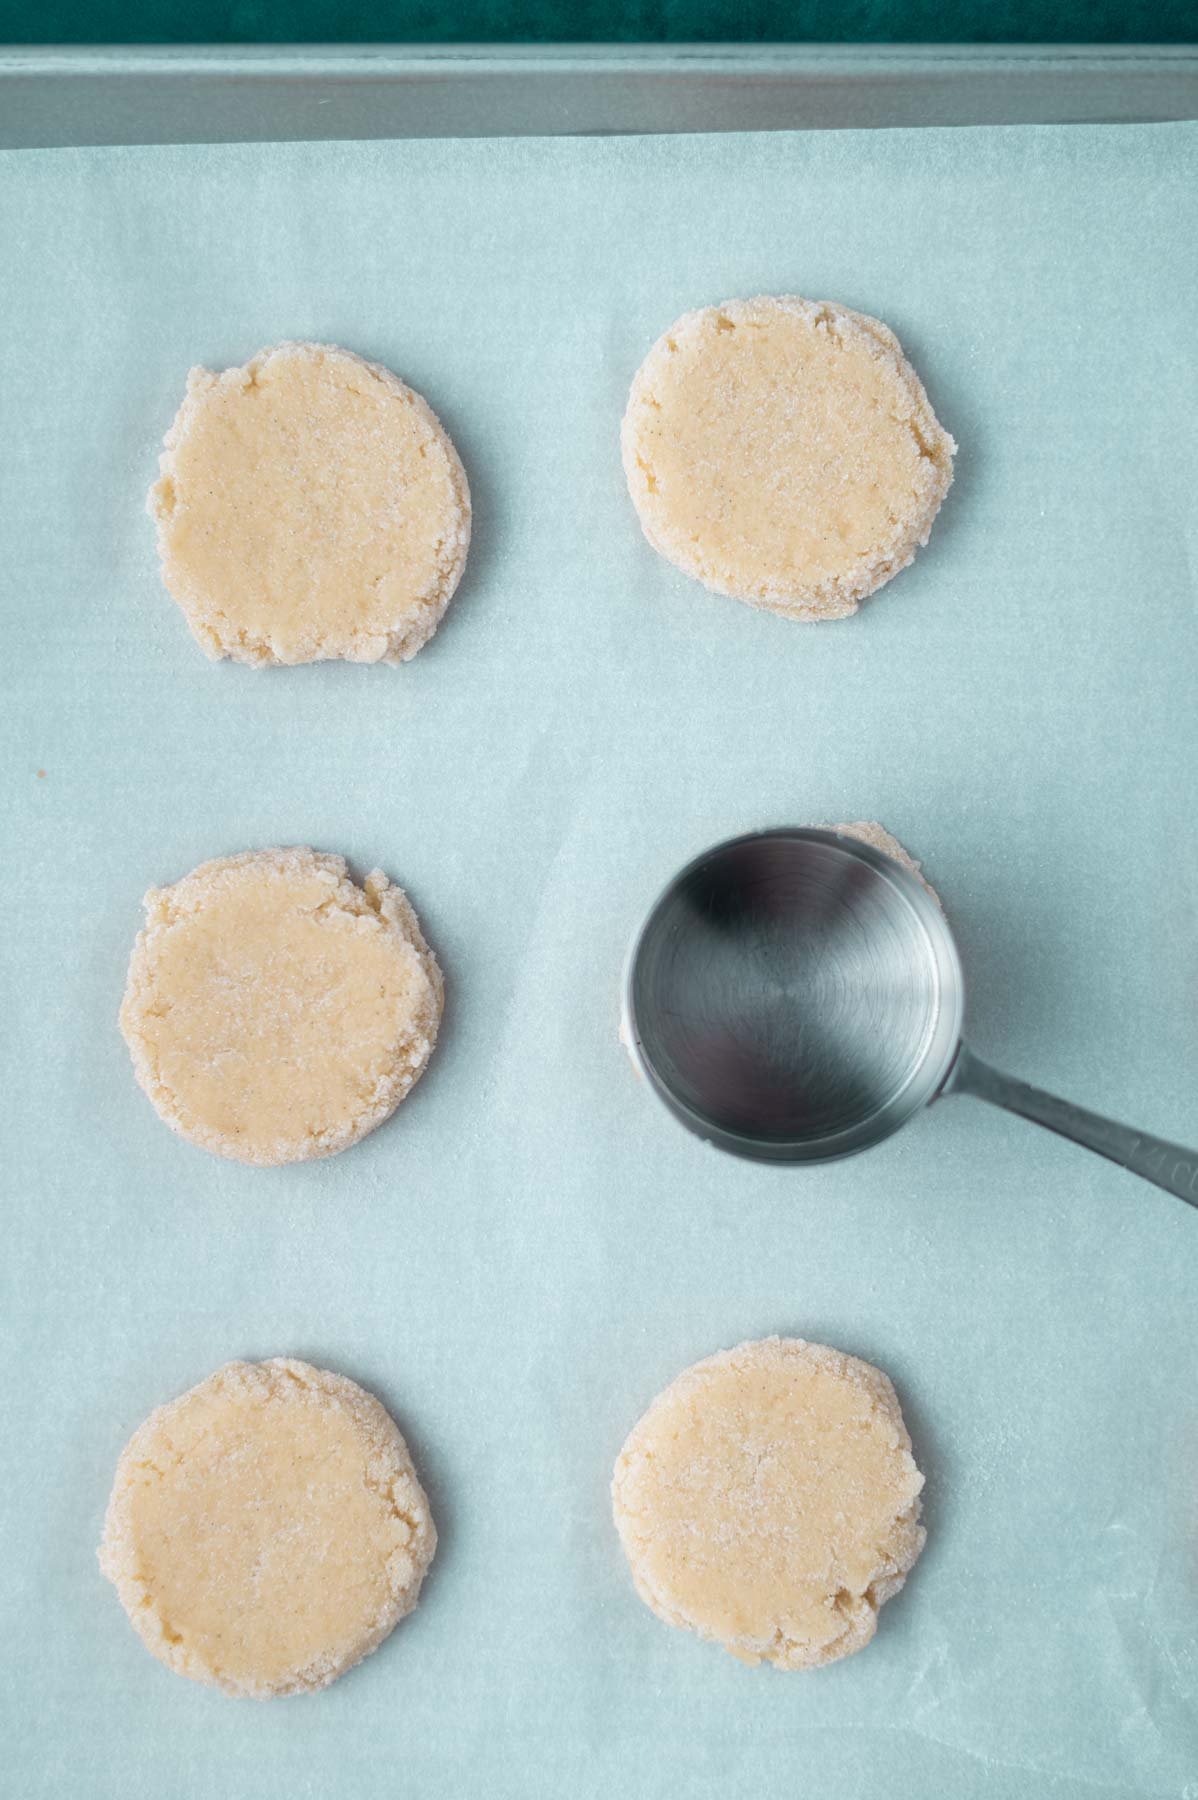
This muffin batter is quite thick and a bit sticky. I use a spring-loaded scoop to fill the muffin tin with the batter. I also tested using paper liners and leaving my USA muffin pan without liners; both options work. The muffins baked with paper liners did stay moist longer.
Please scroll to the printable recipe card at the end of this post for the full list of ingredients and baking directions.
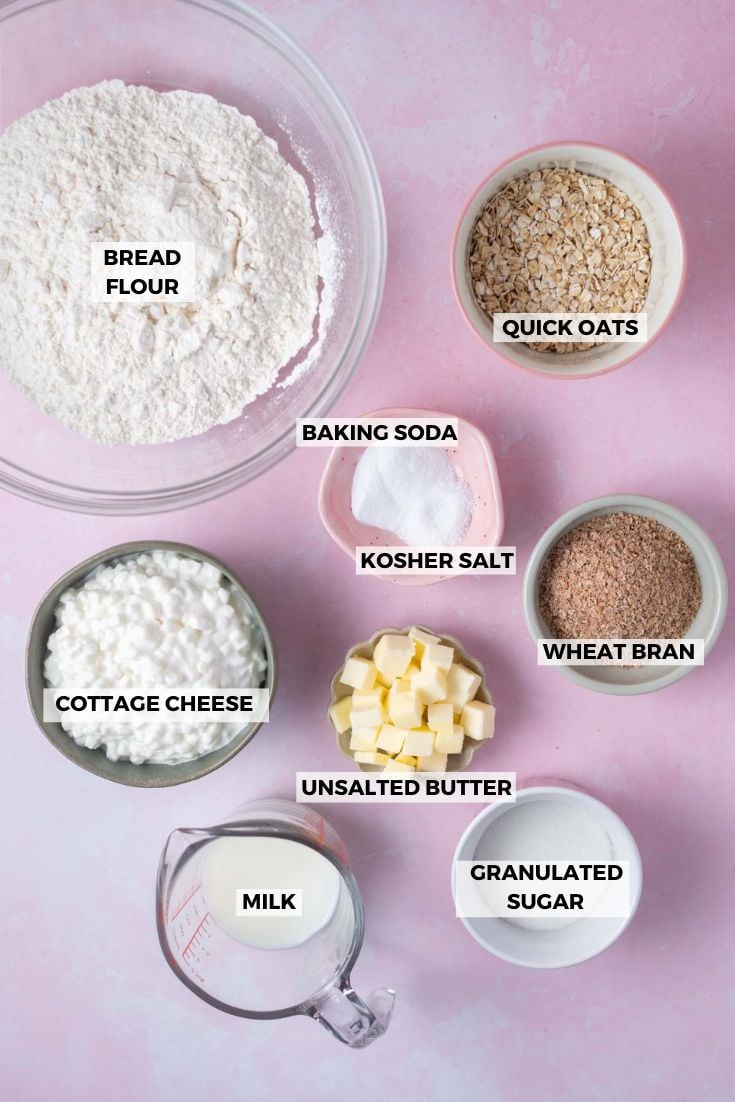
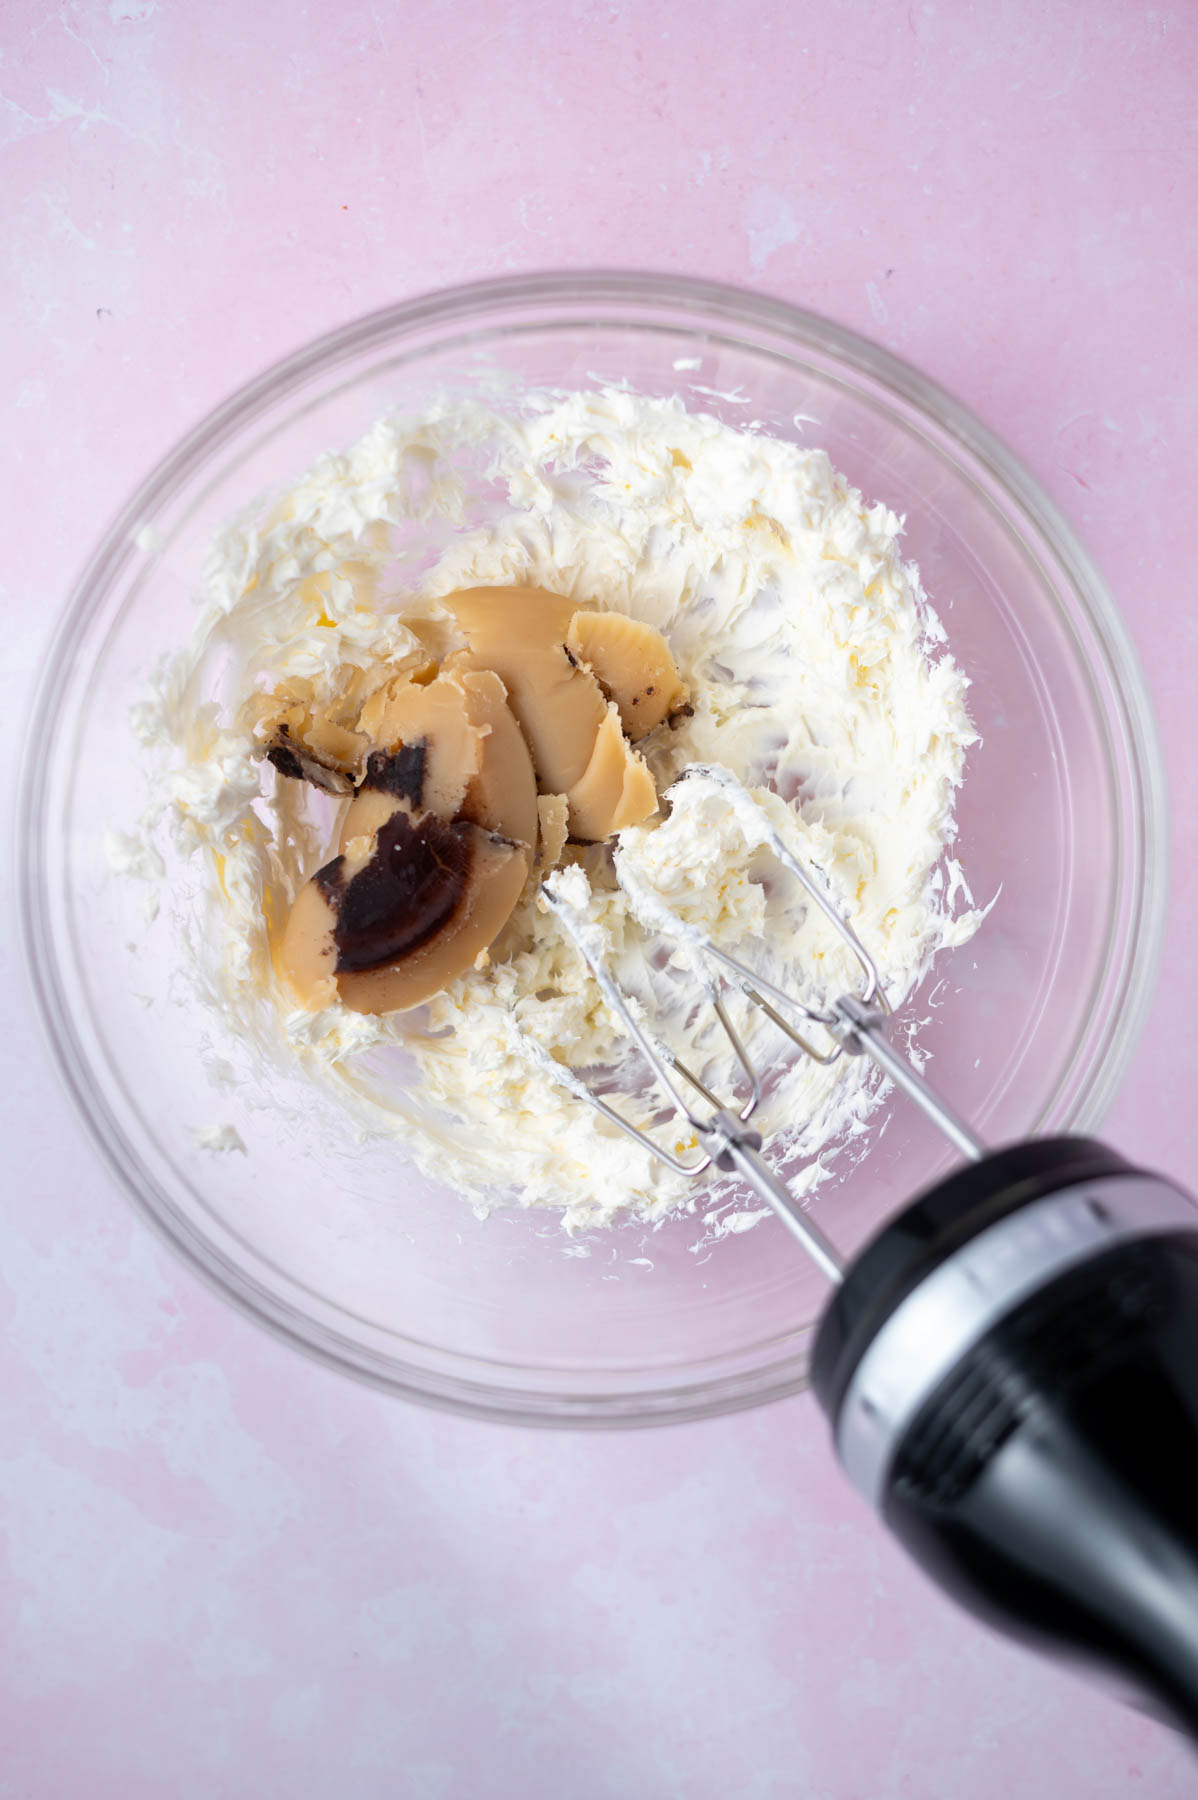
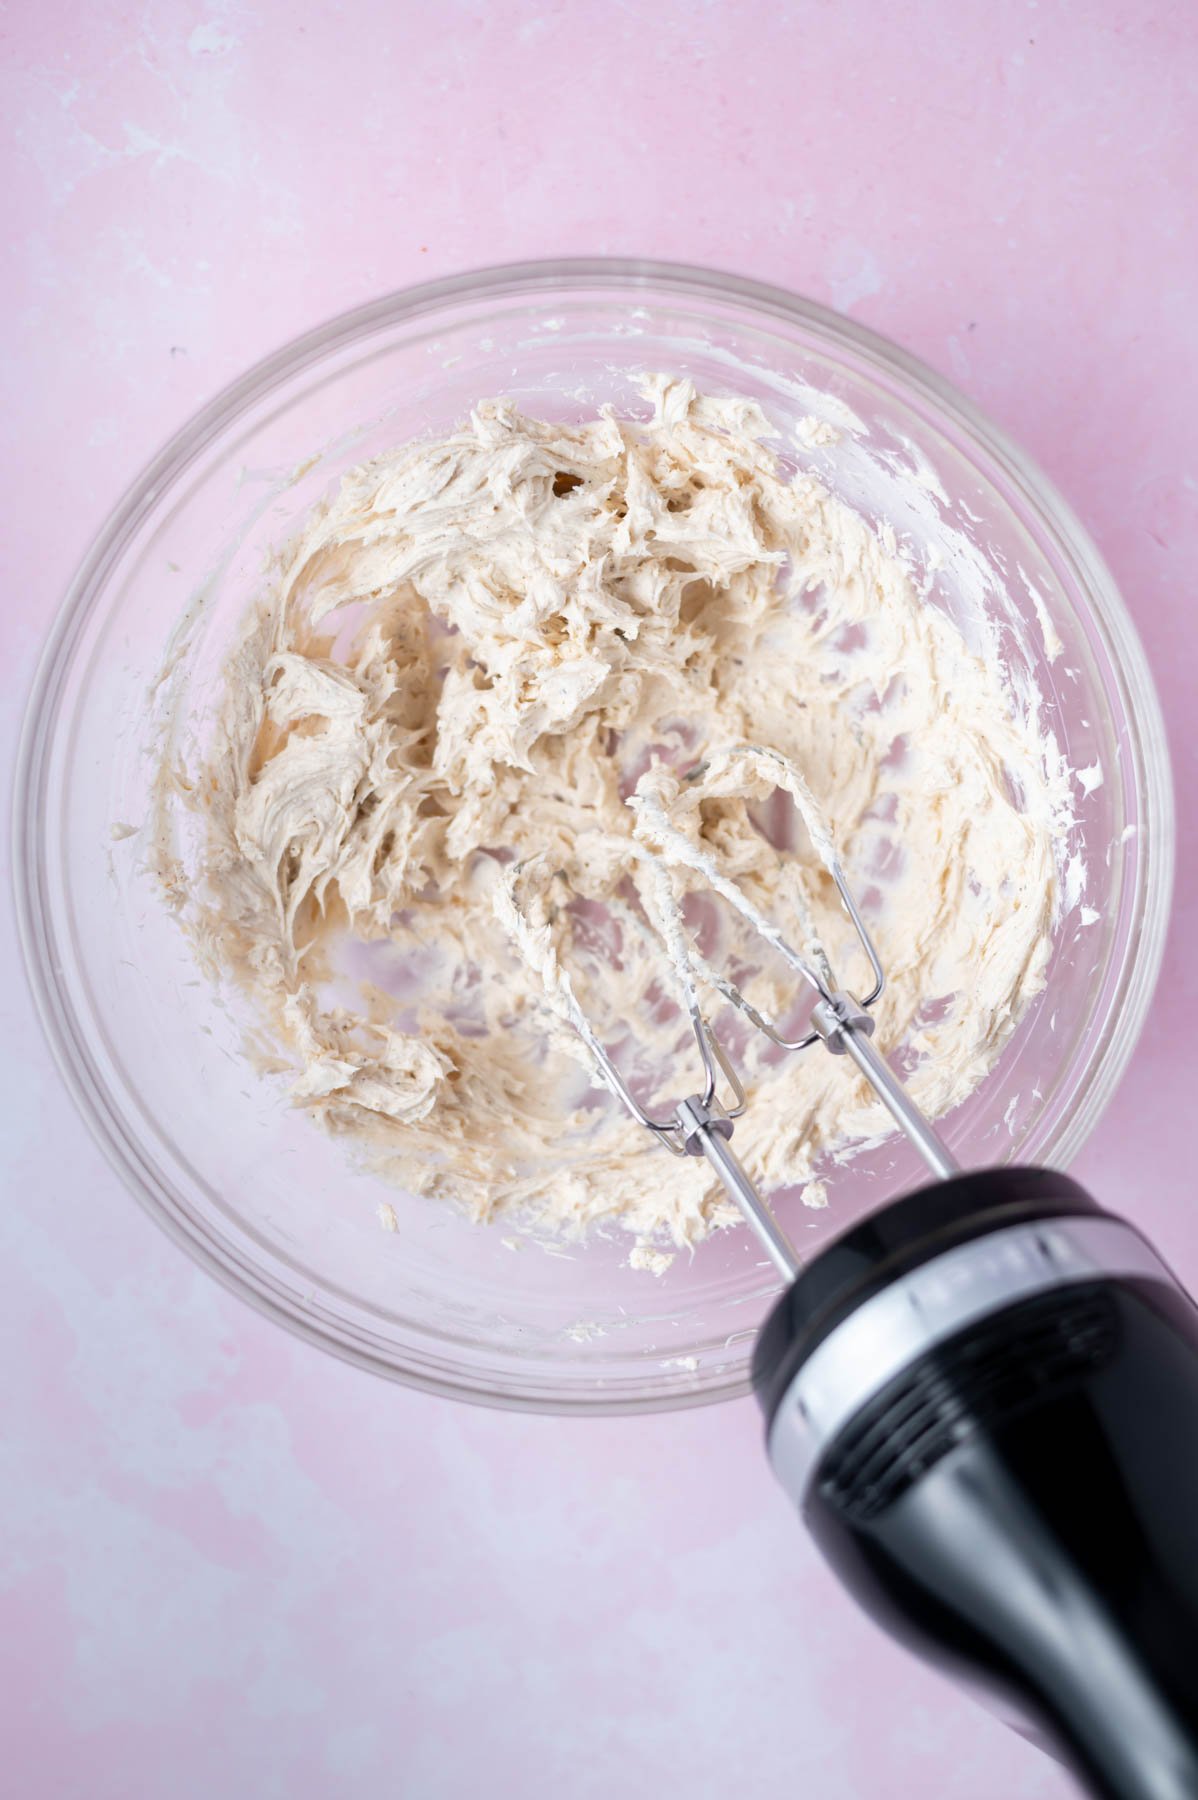
Cottage cheese ~ a full fat cottage cheese will yield the best results. Use an immersion blender, food processor or high-speed blender to blend until smooth. Can be substituted with Greek yogurt.
Oats ~ this recipe uses quick oats, which add softness and texture to the muffins. My testers liked the finer texture of quick oats, but you can use old-fashioned oats.
Flour ~ I used bread flour, but you can absolutely substitute with all-purpose flour, if needed.
🥣 how to make these quick and easy muffins
Preheat oven to 400°F and place paper liners in a 12 well muffin tin or grease each well, if needed. My USA muffin tin doesn't need any greasing.
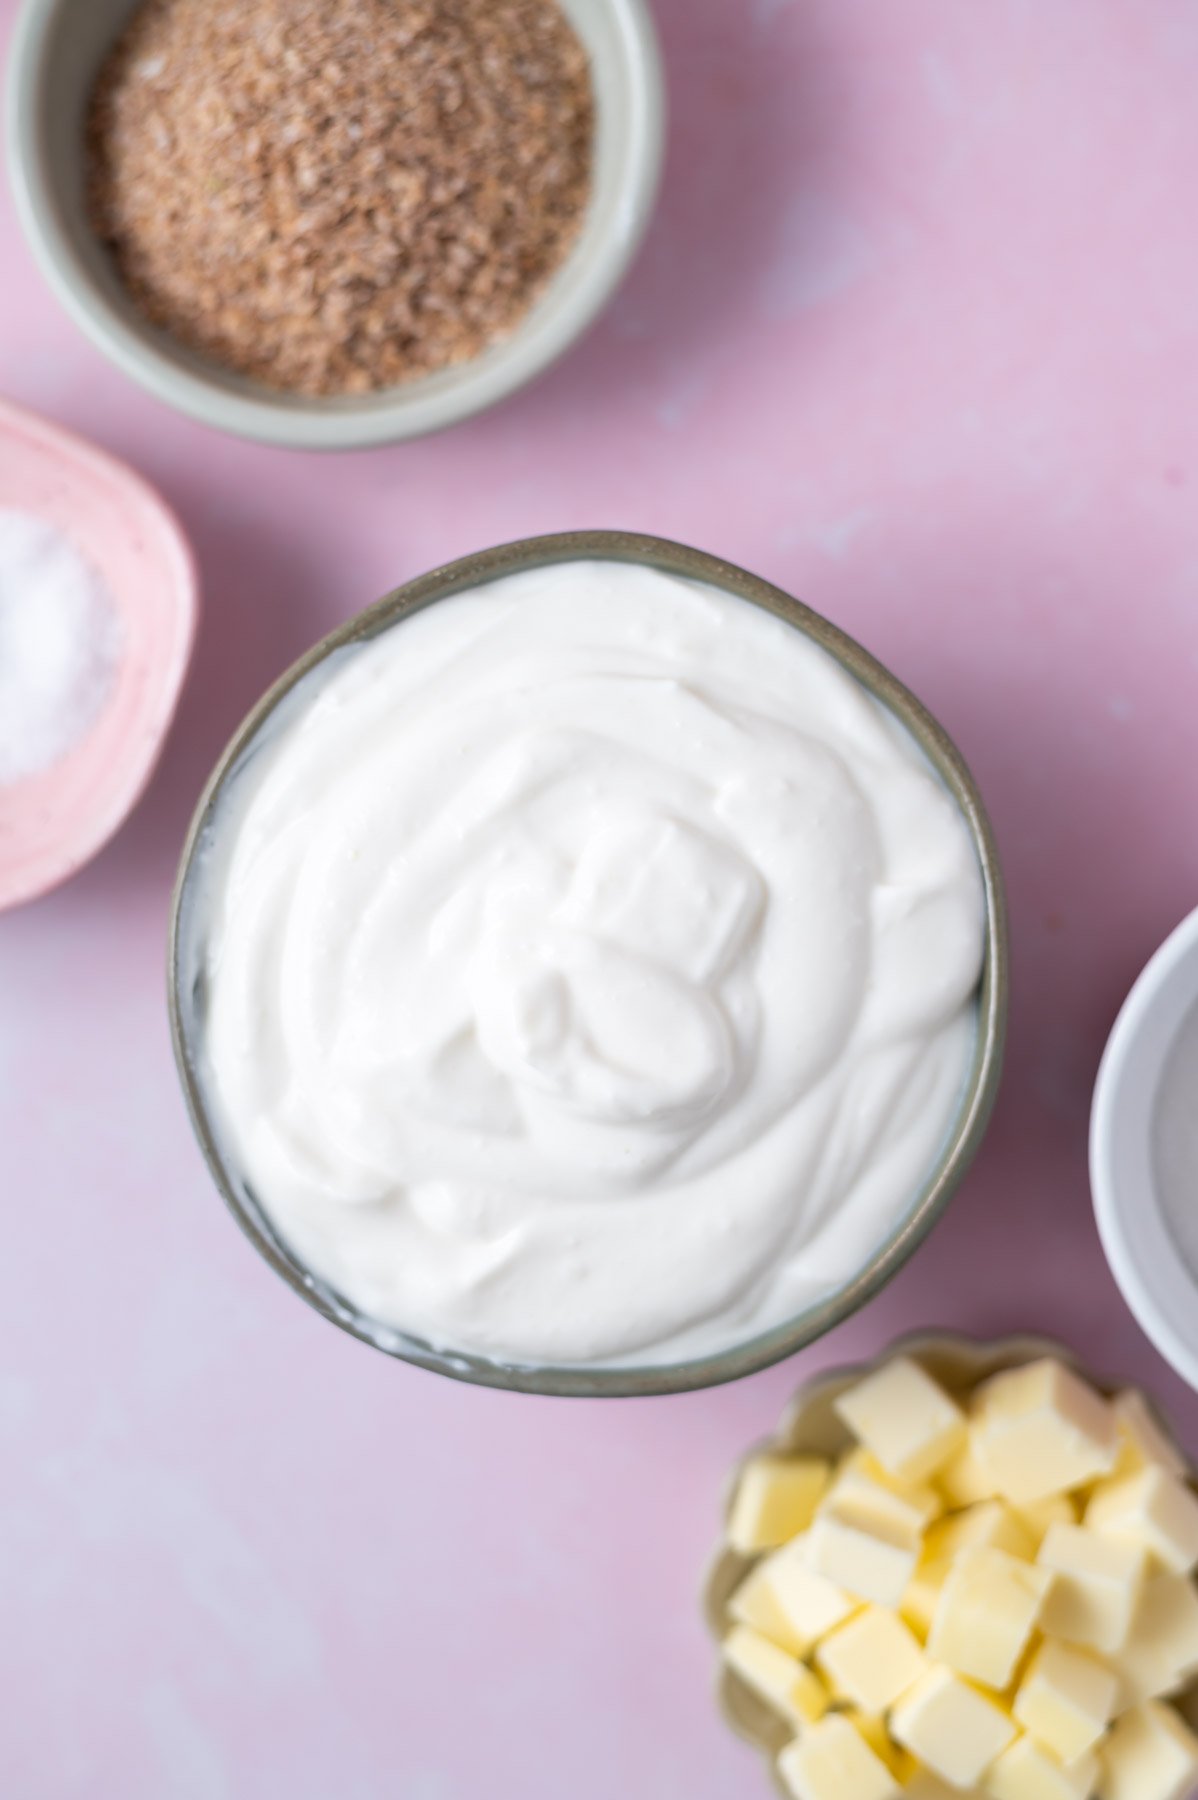
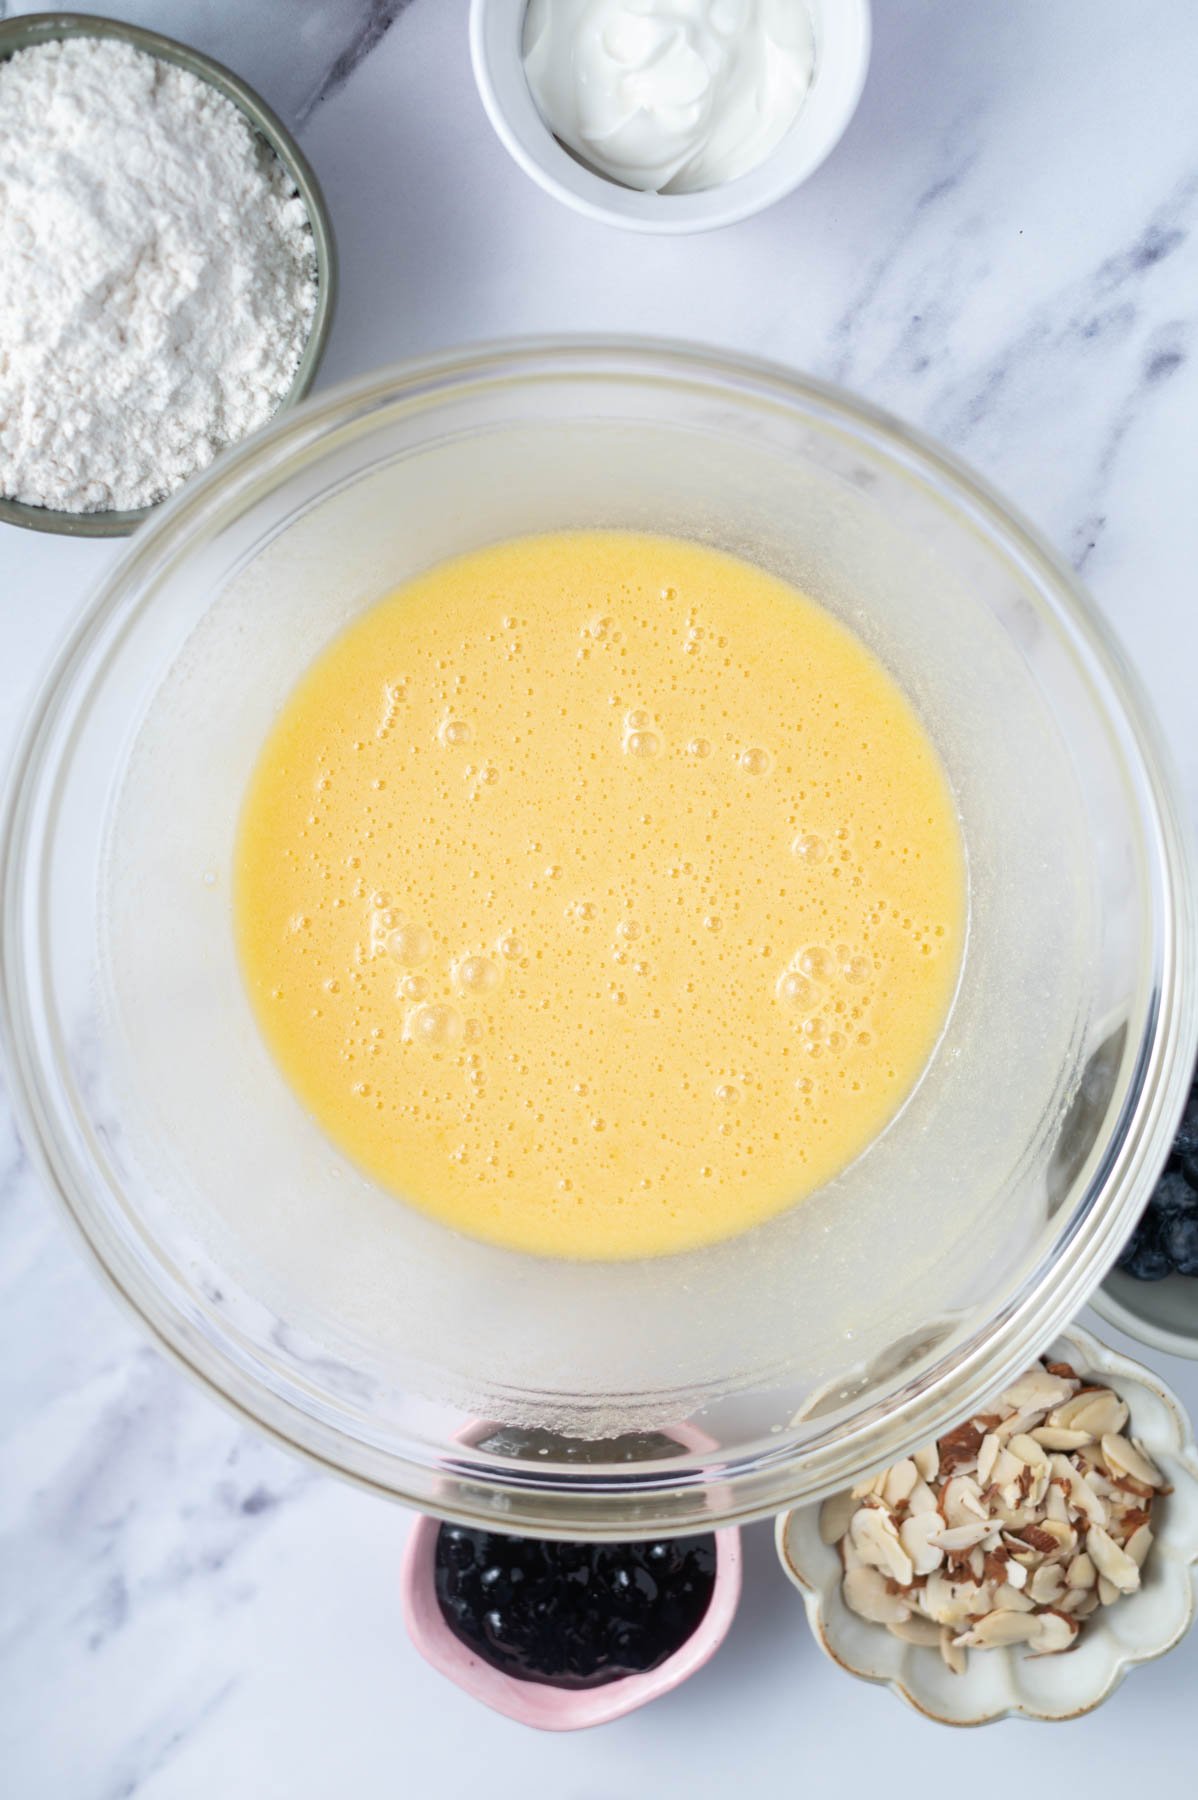
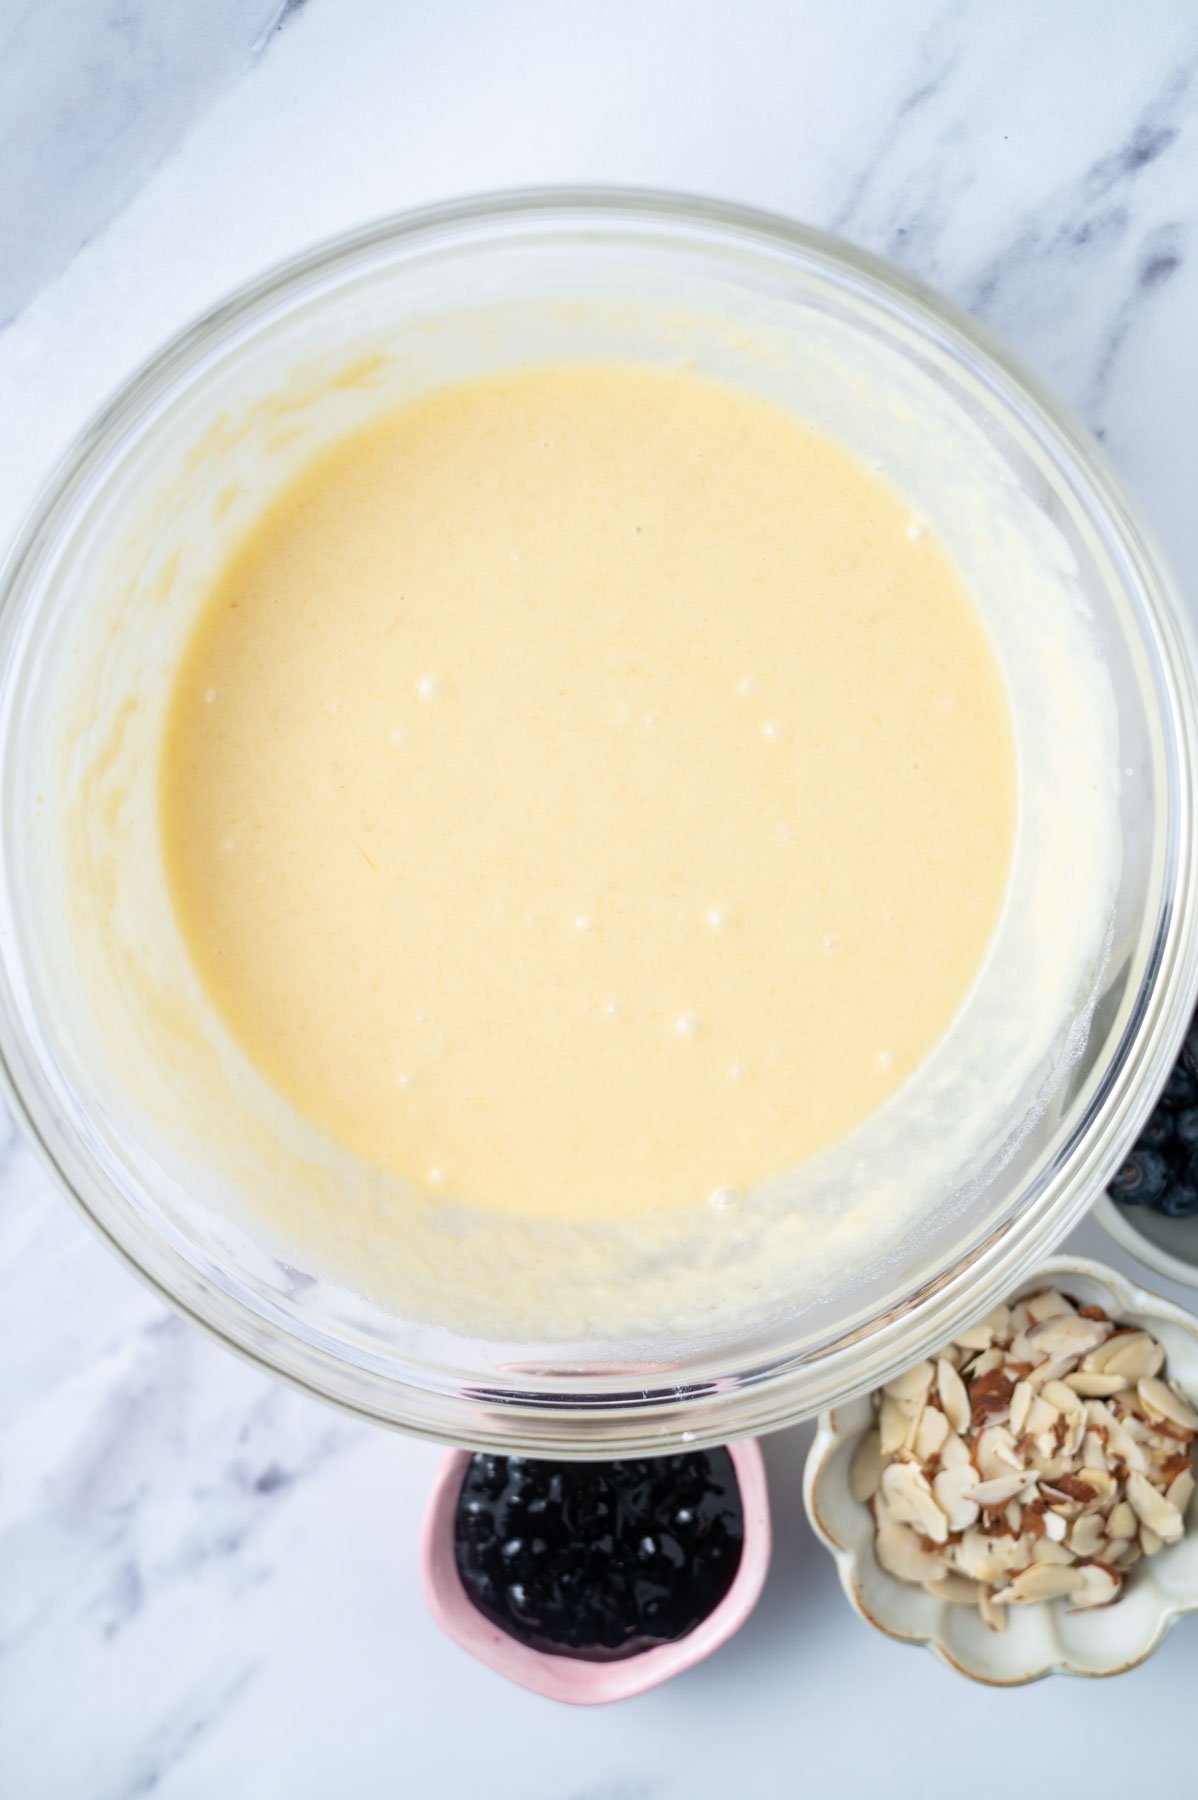
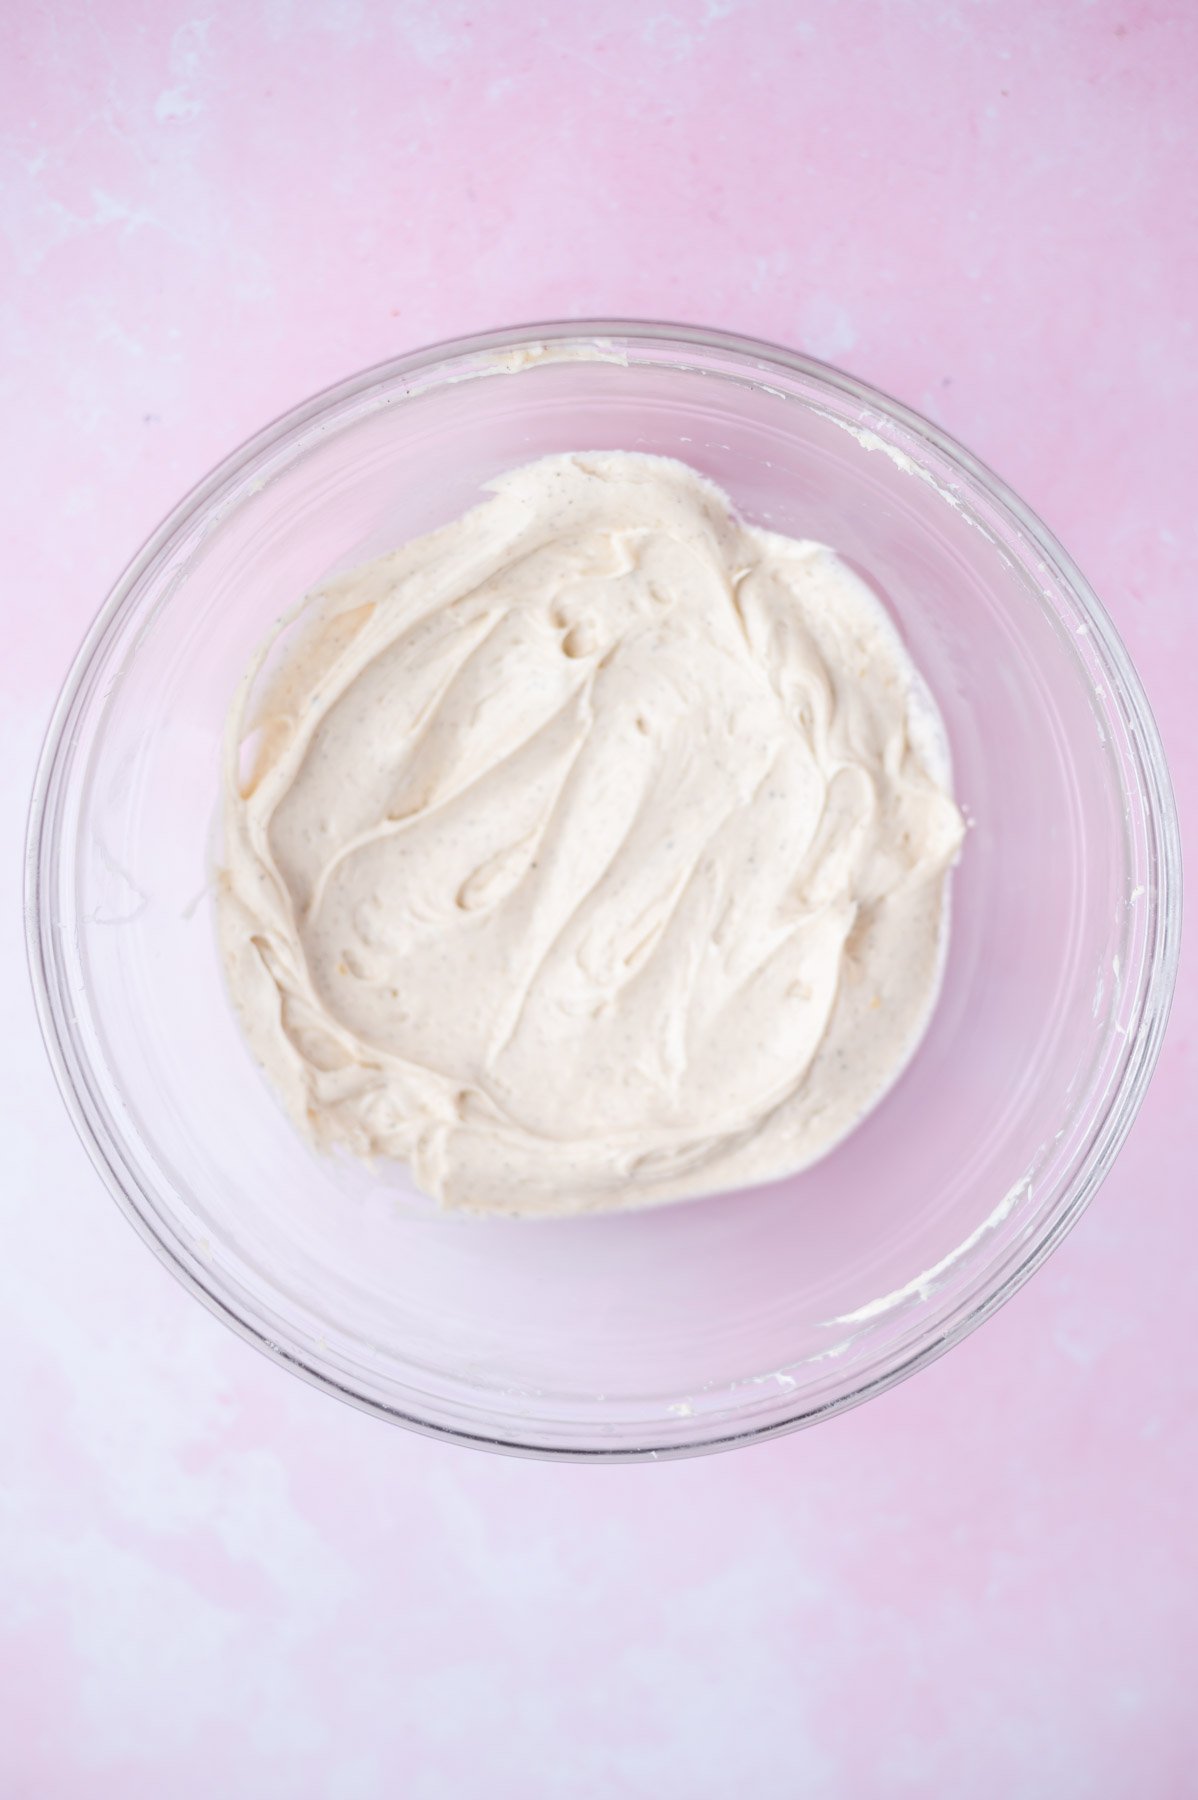
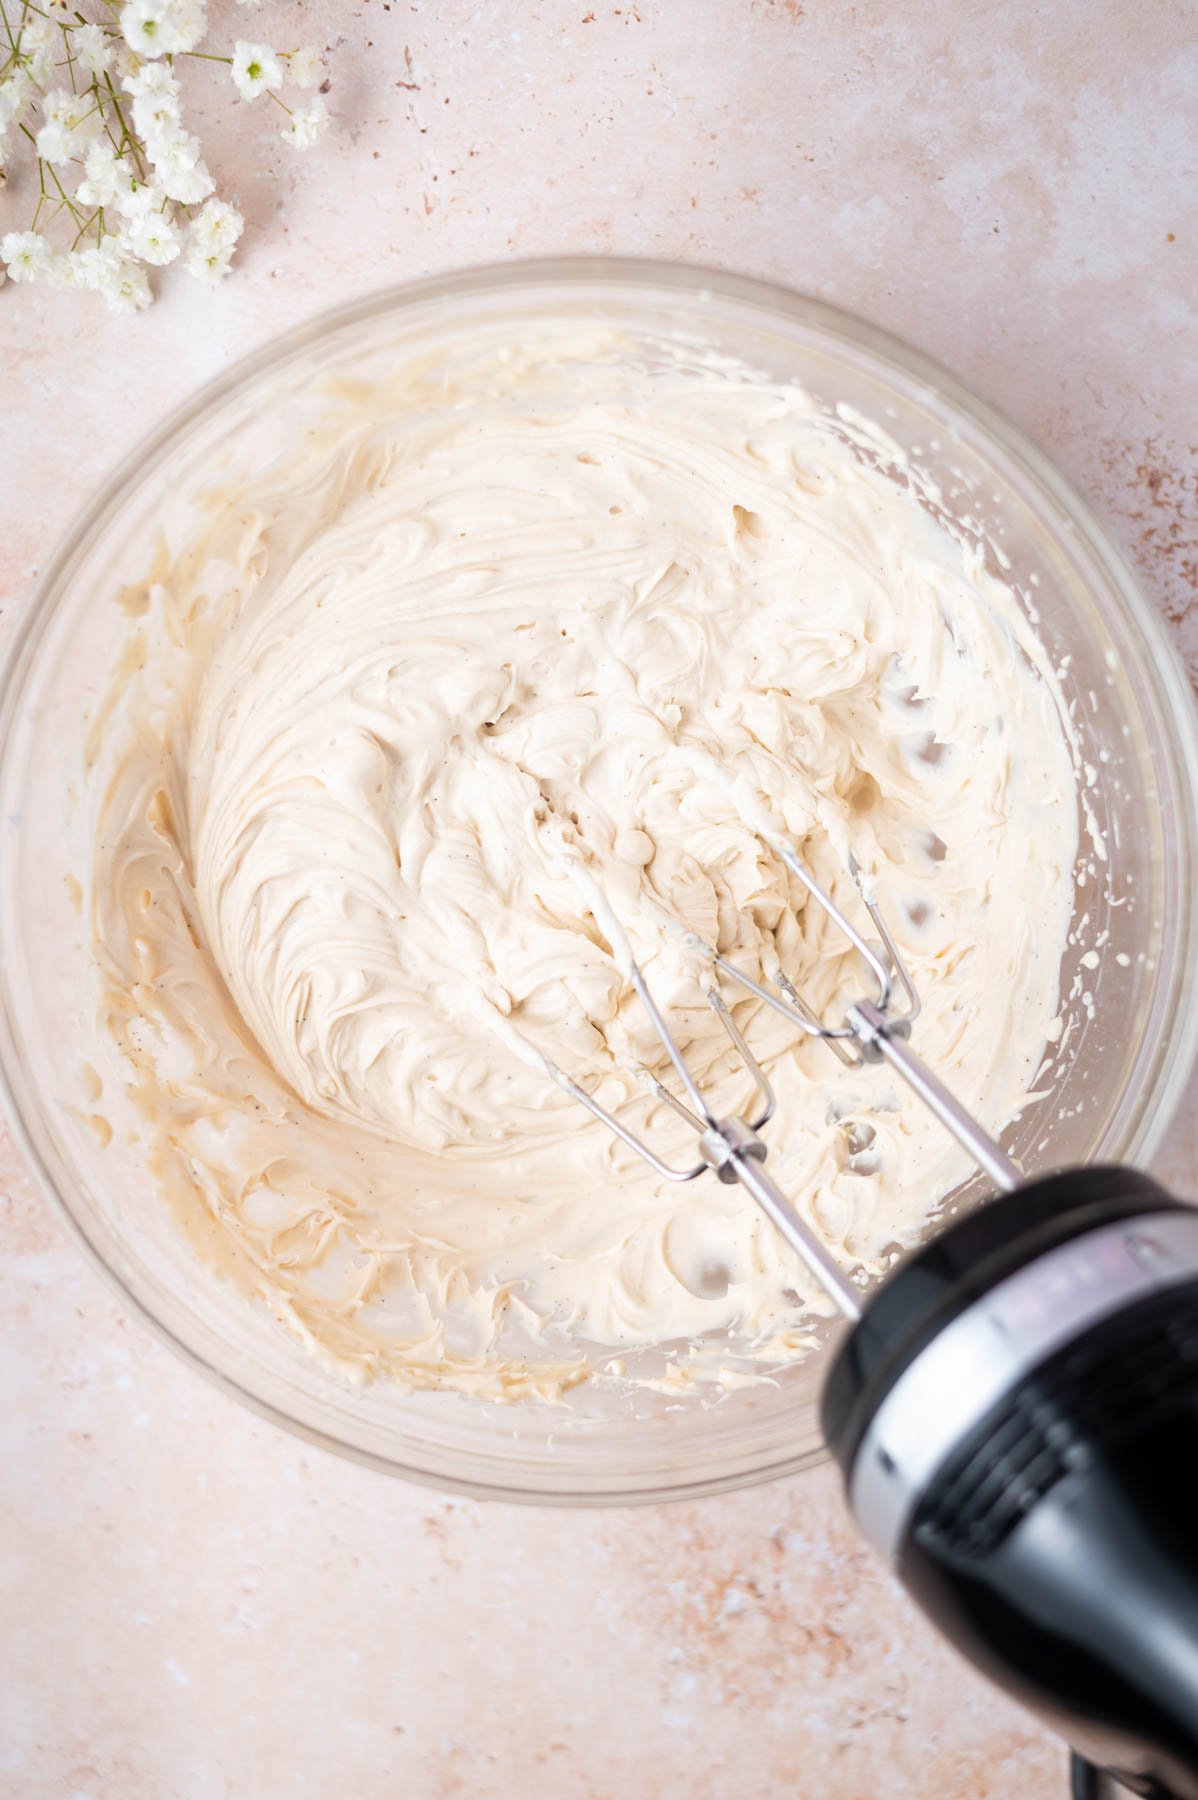
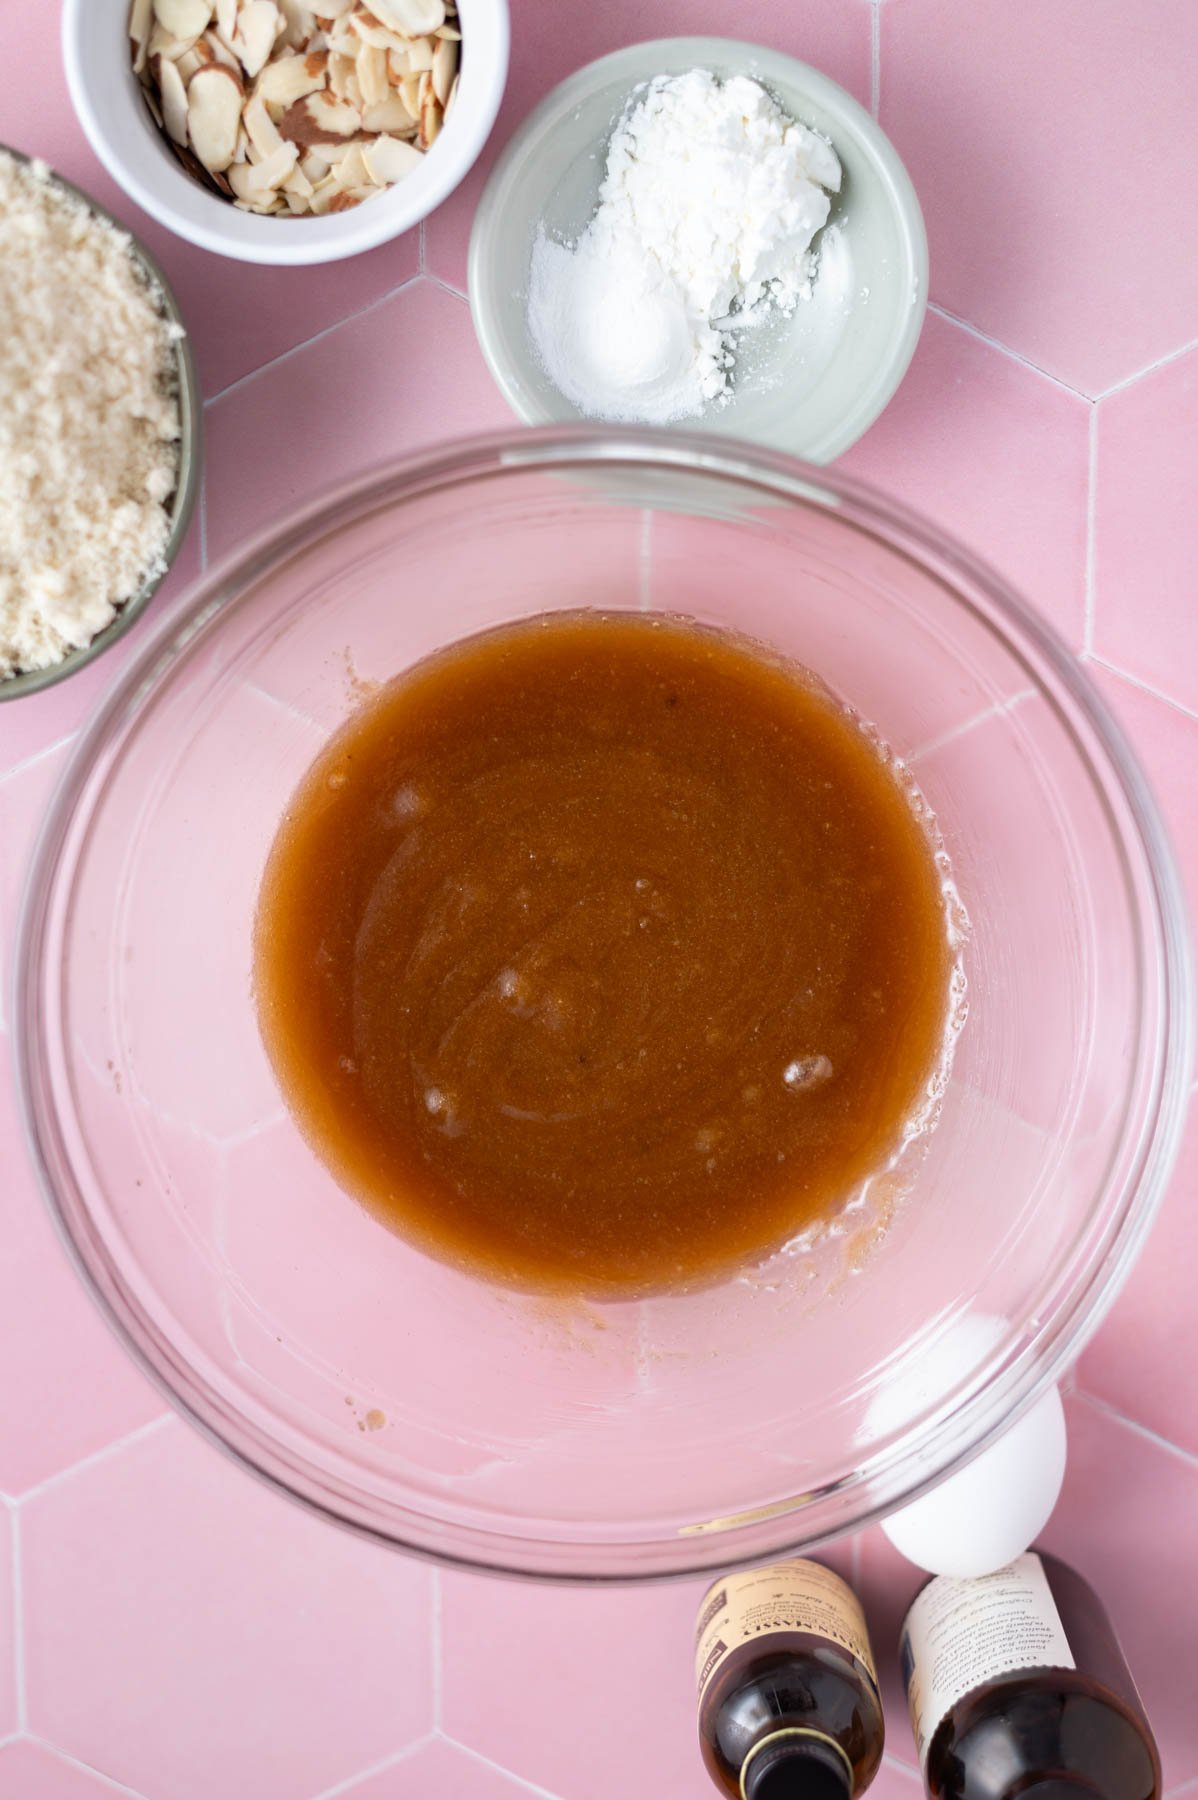
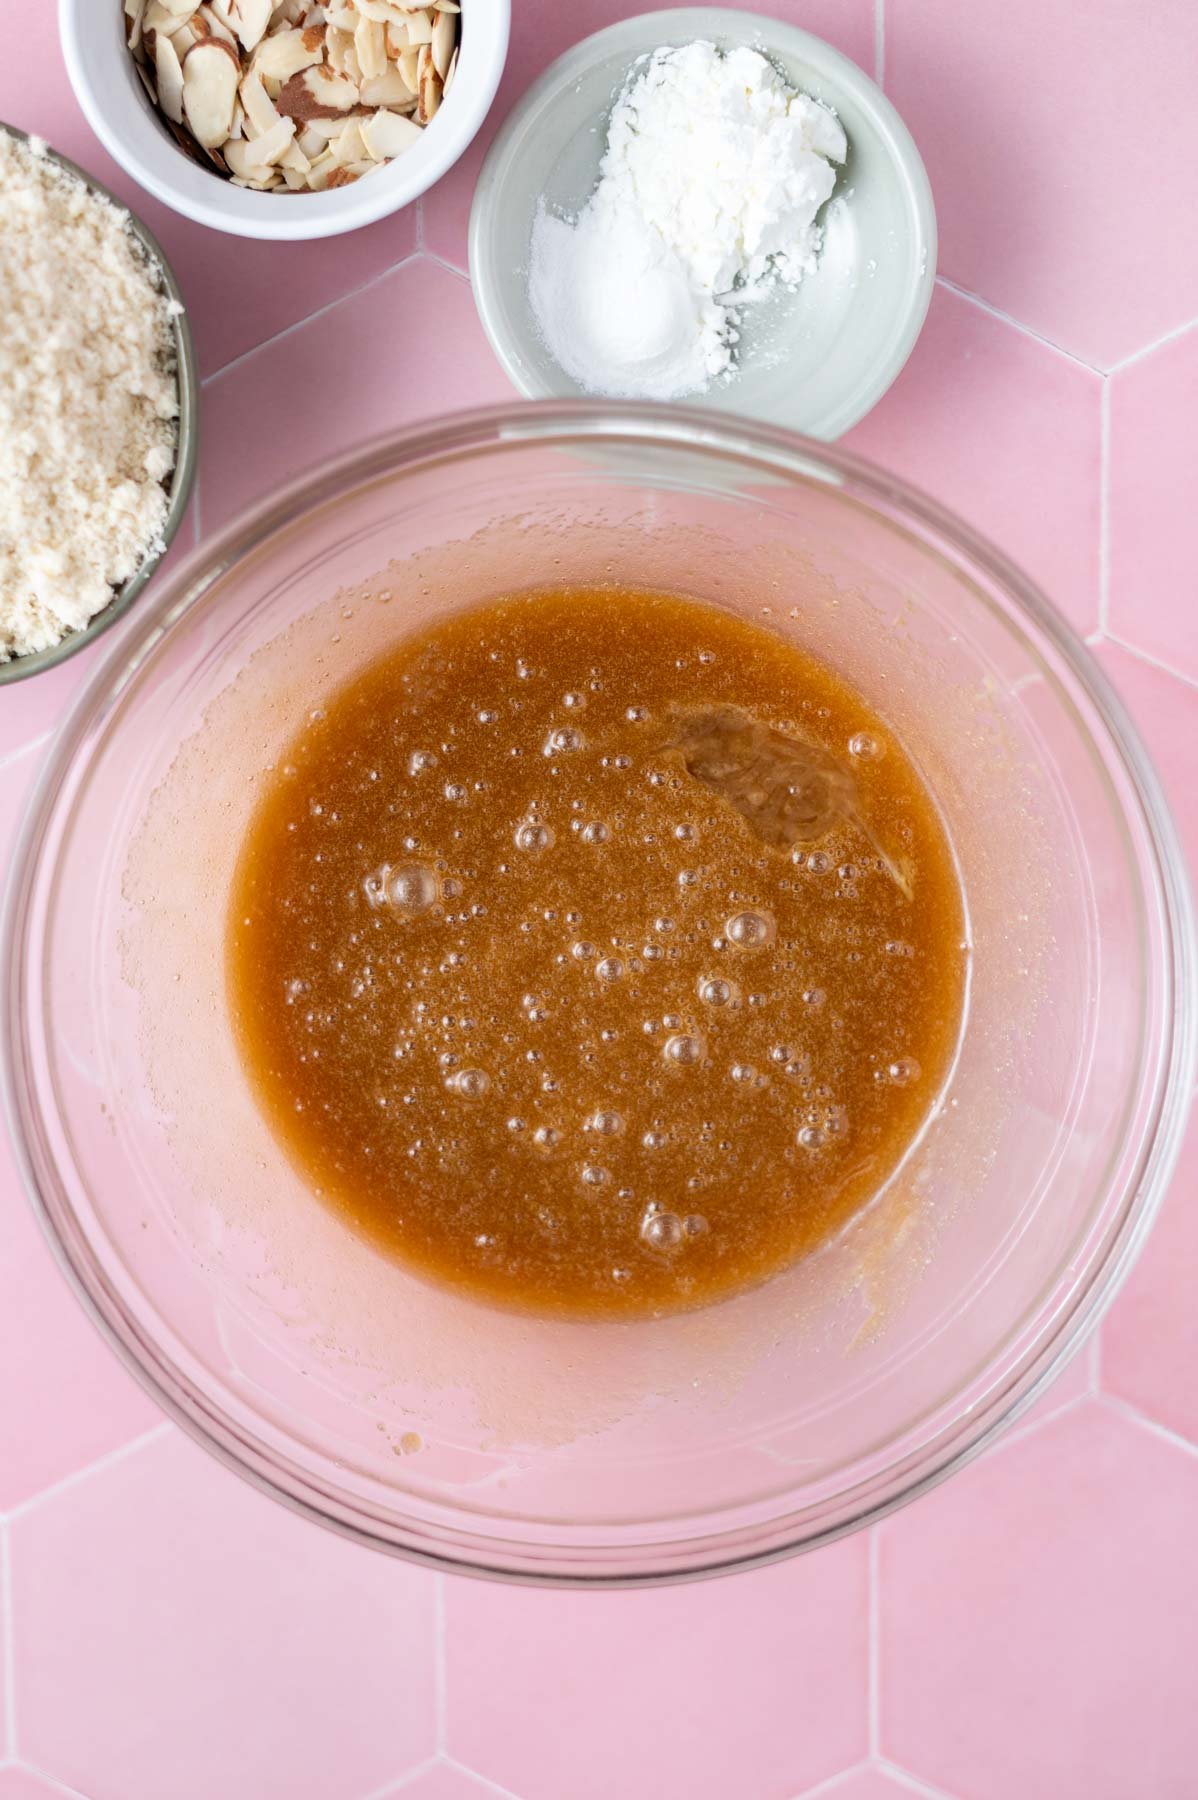
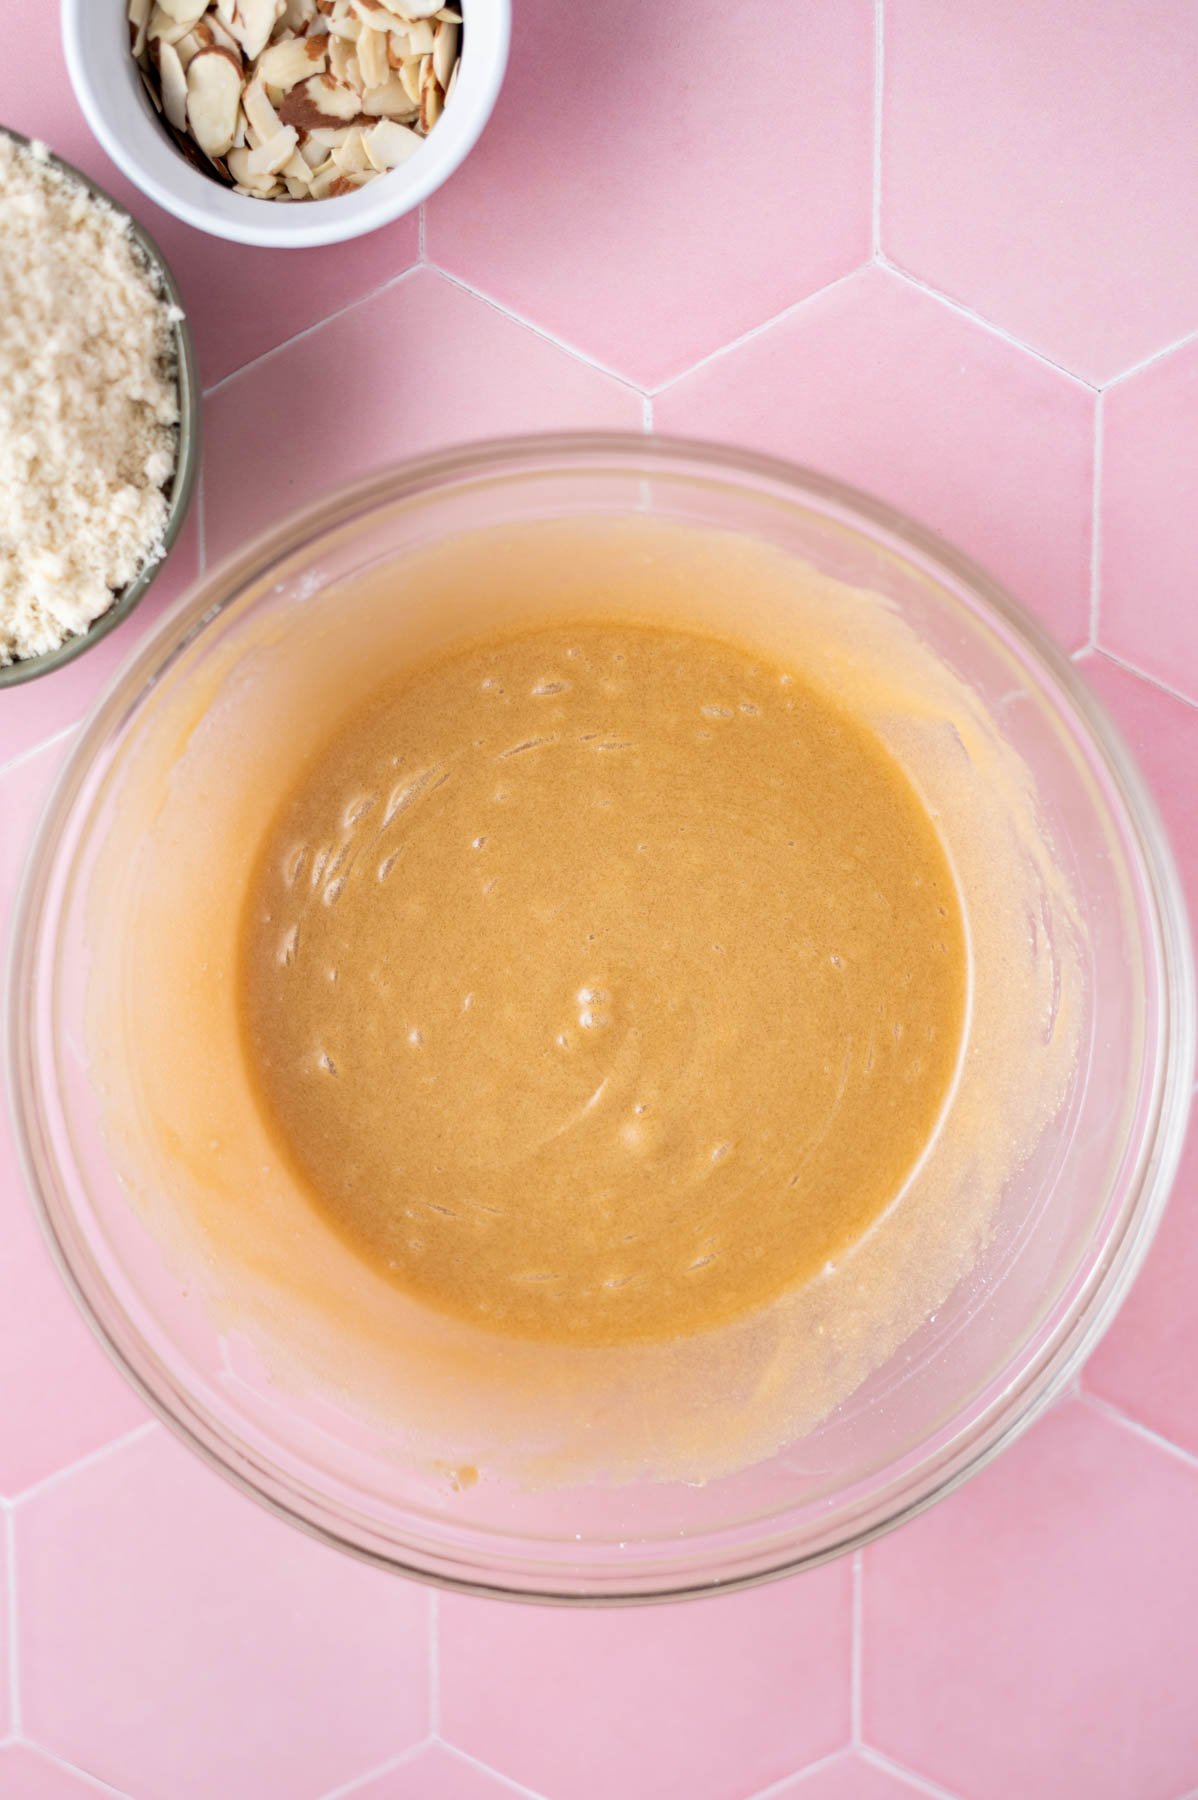
Blend the cottage cheese and milk with an immersion blender, food processor or high-speed blender (this is the Ninja blender I have.
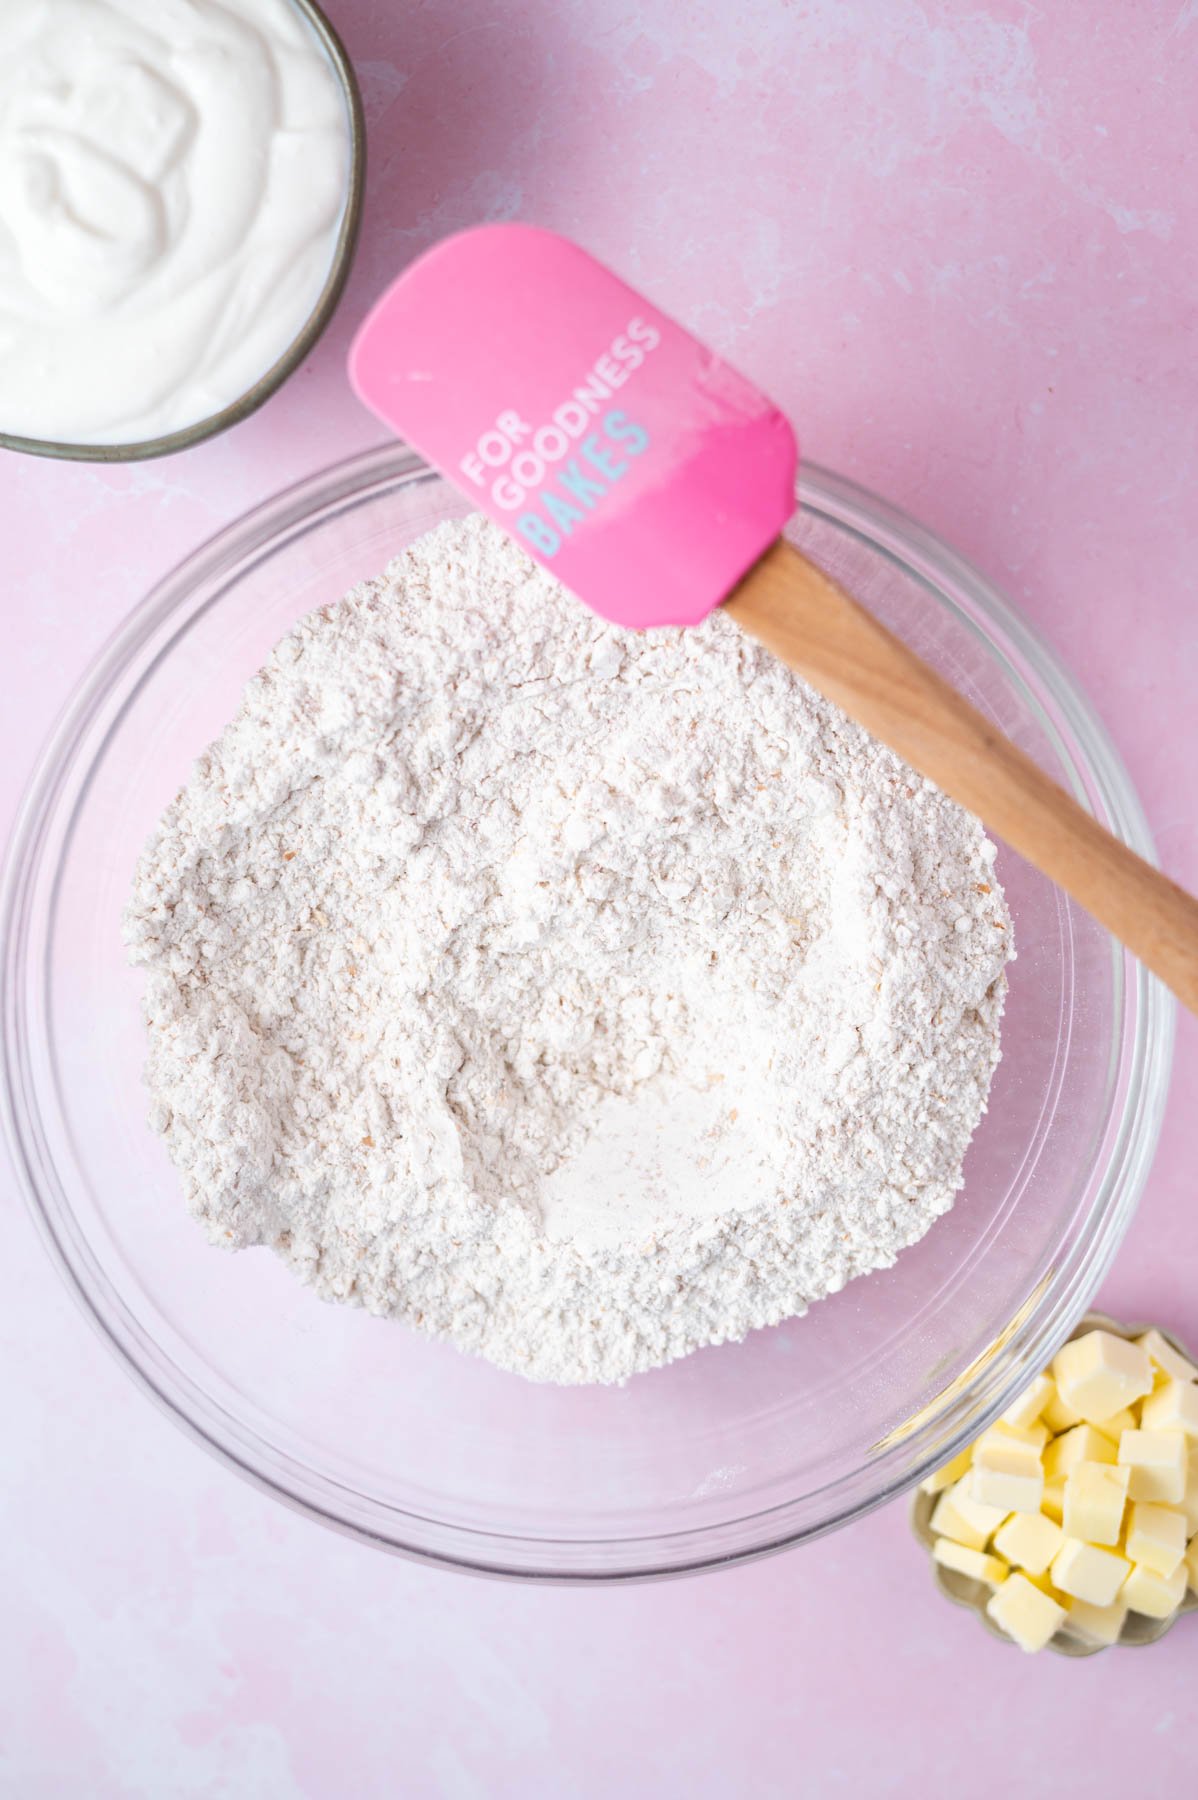
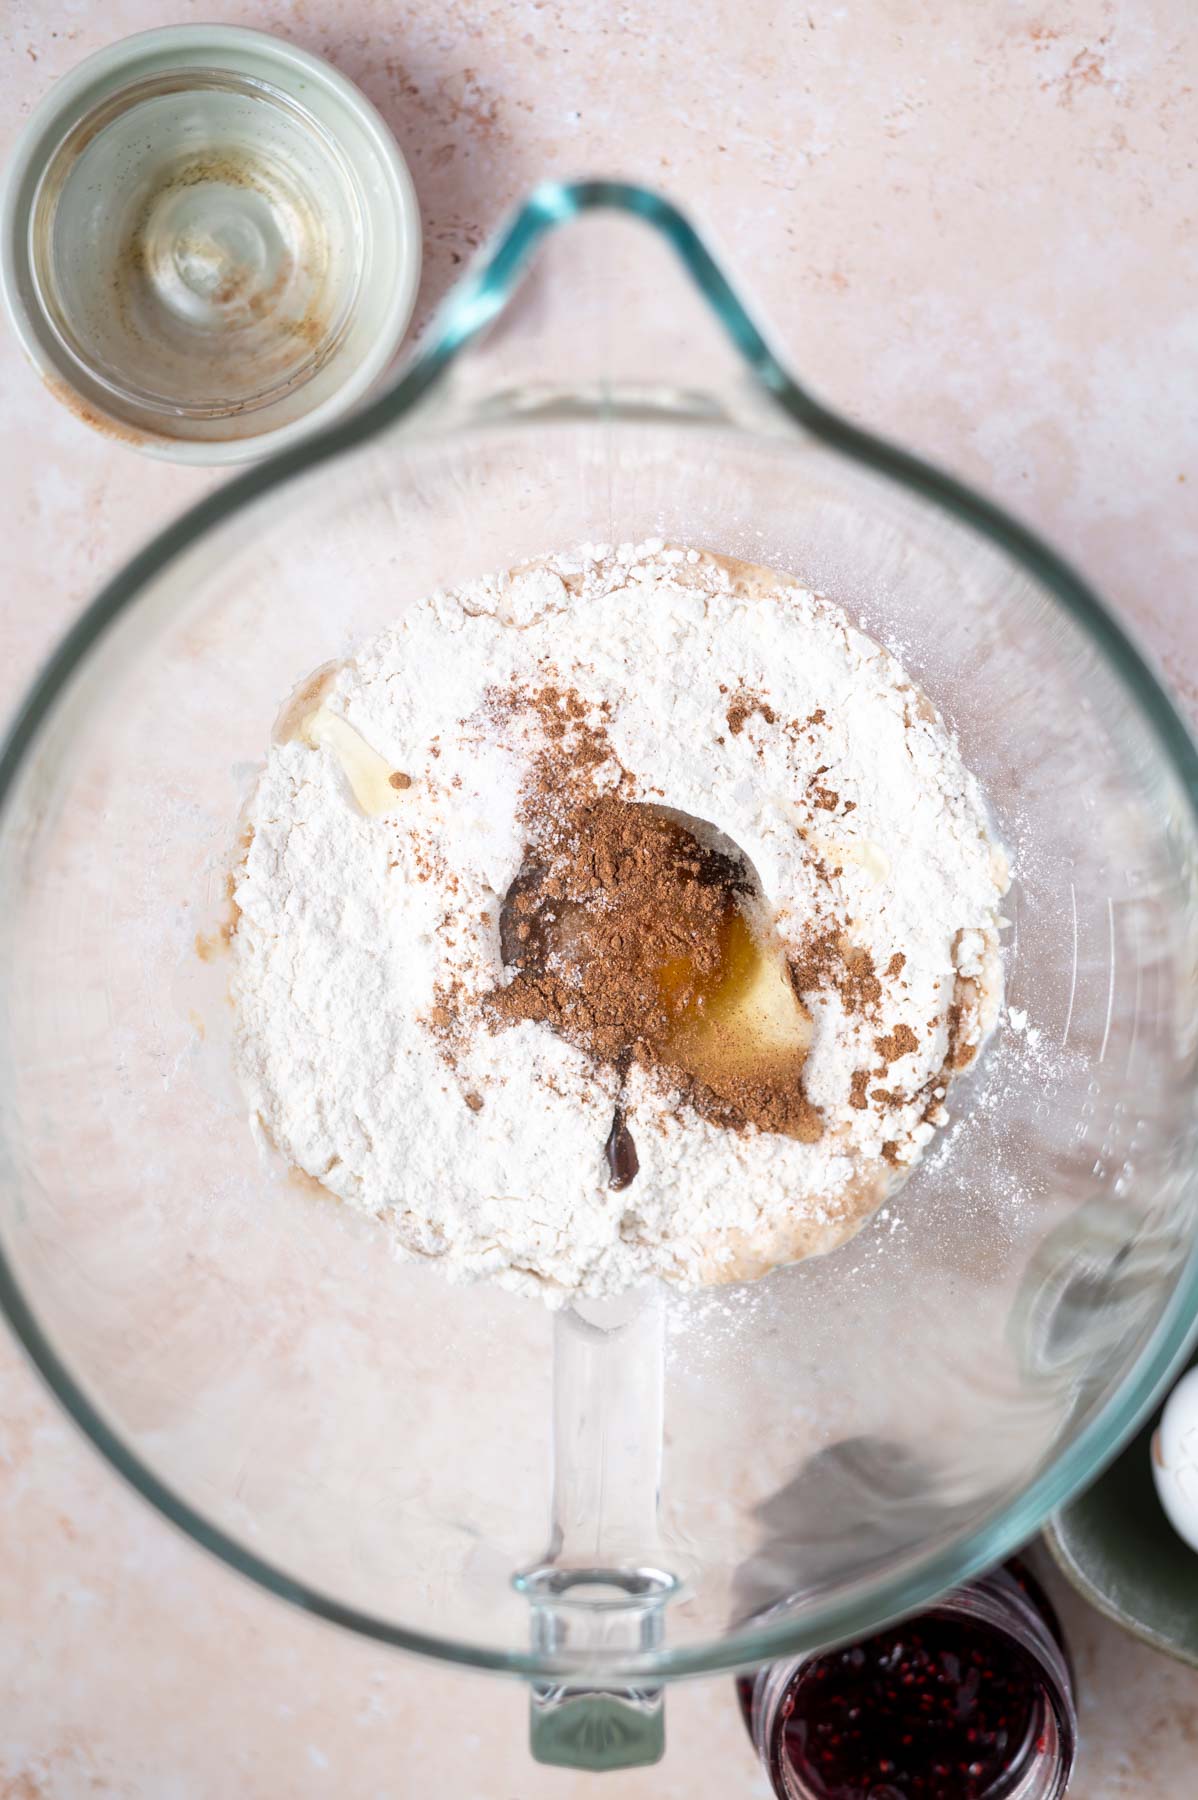
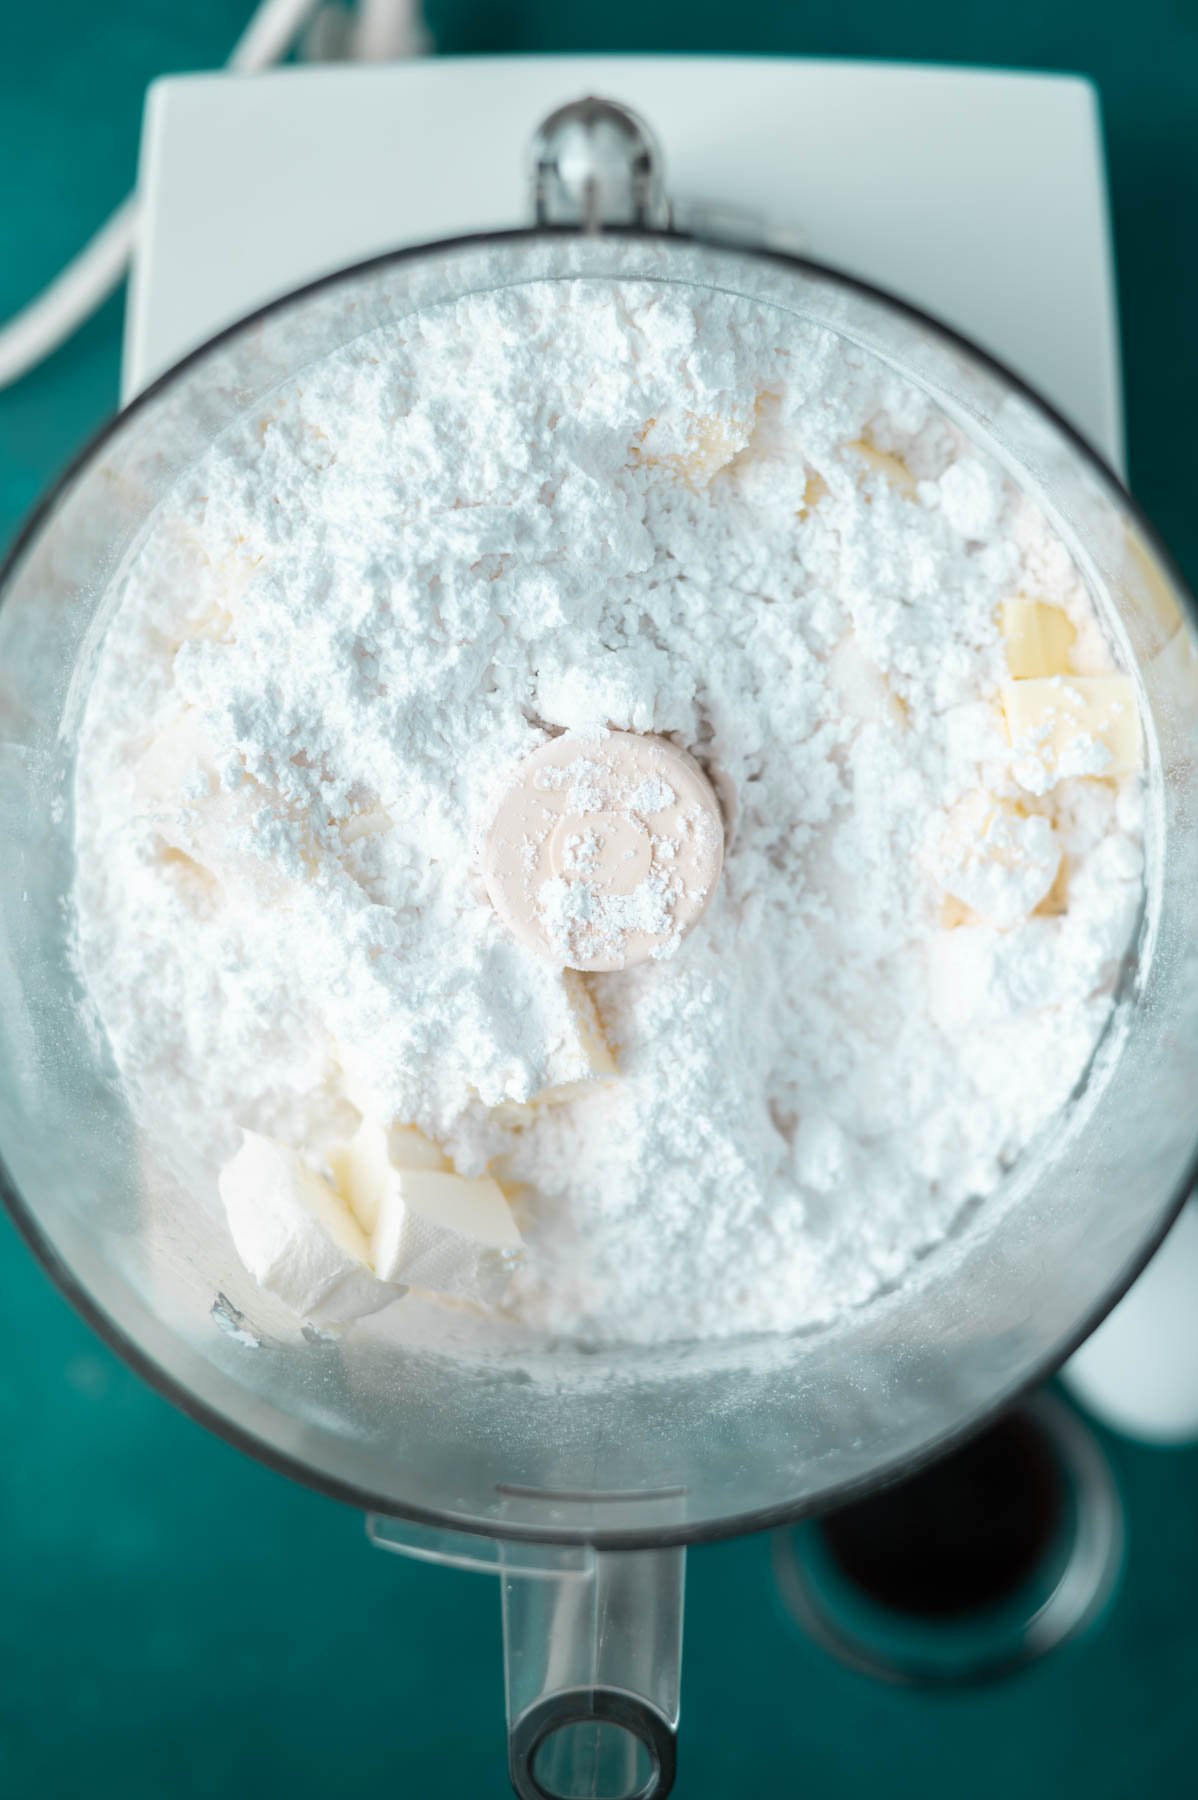
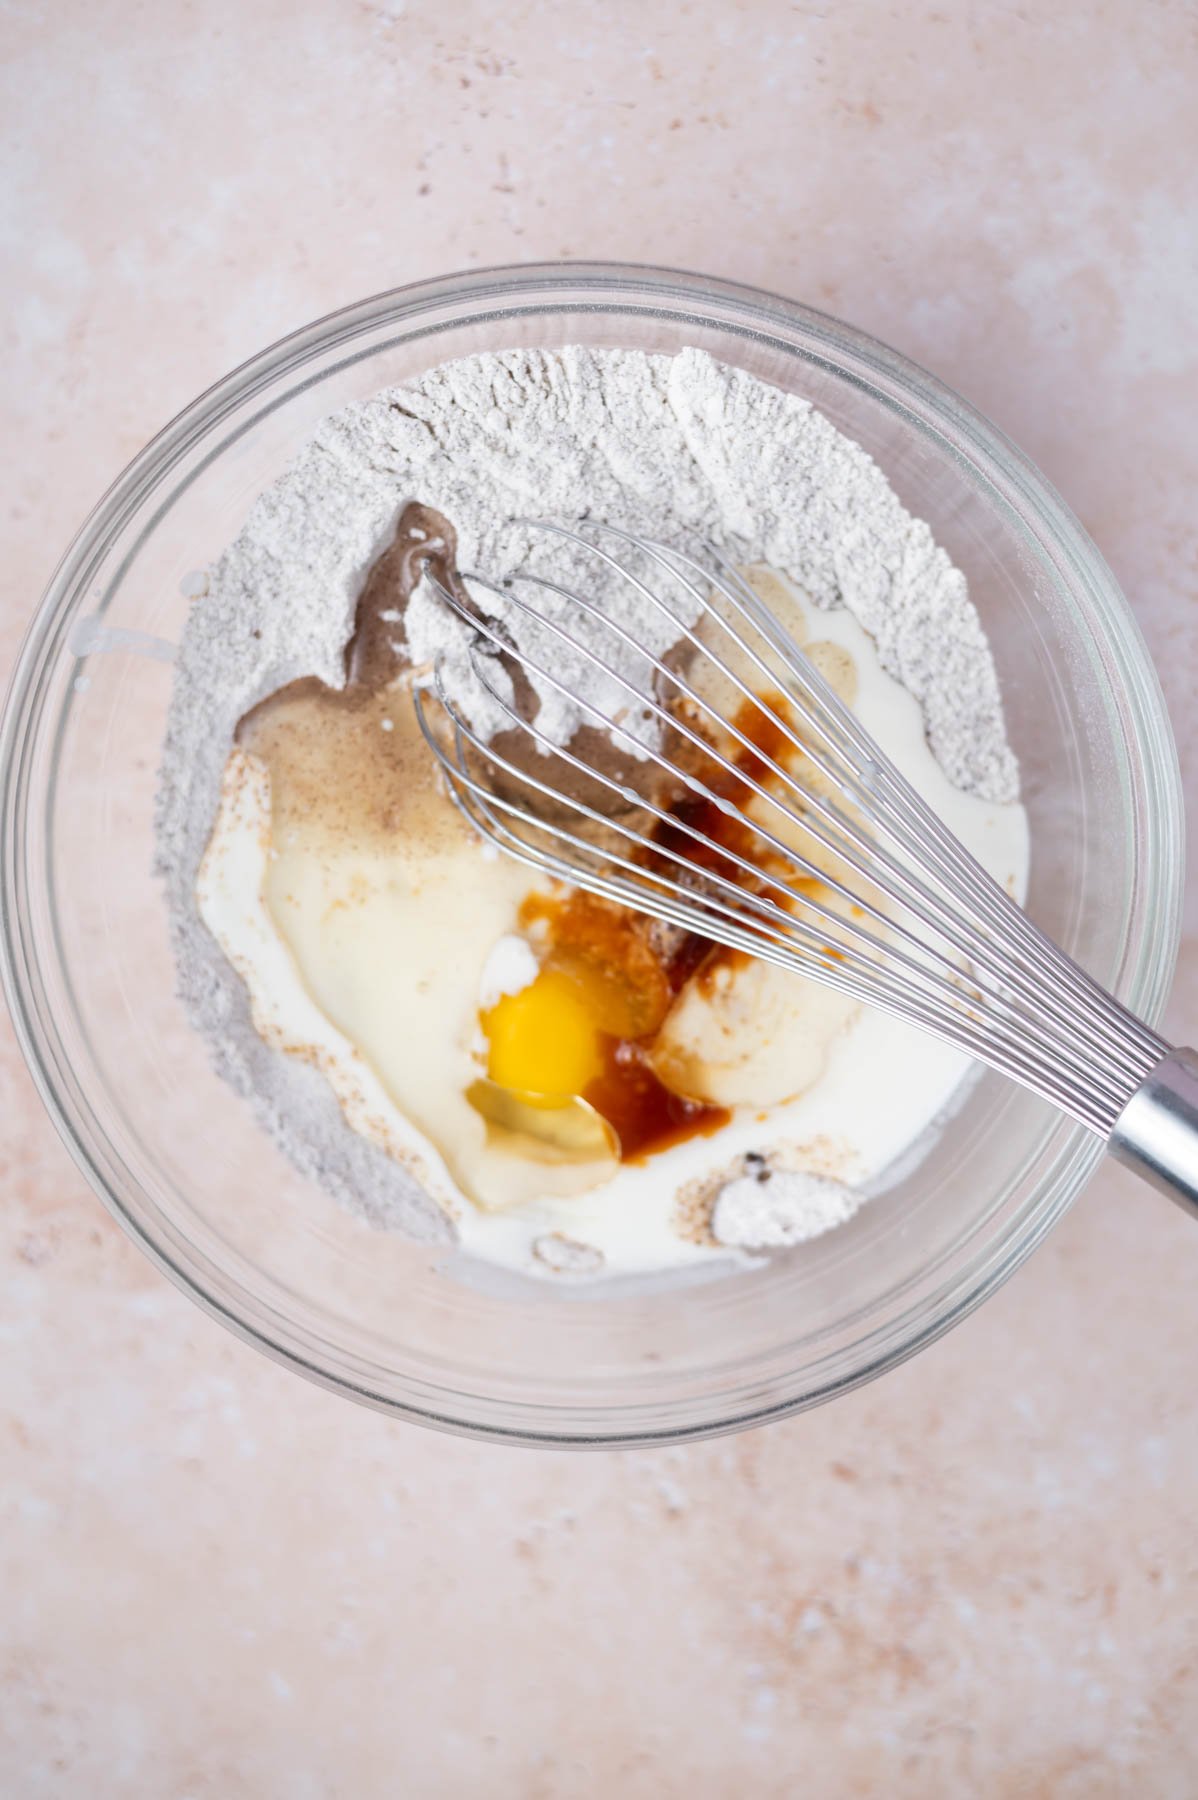
In a medium bowl mix together the bread flour, quick oats, wheat bran, granulated sugar and kosher salt.
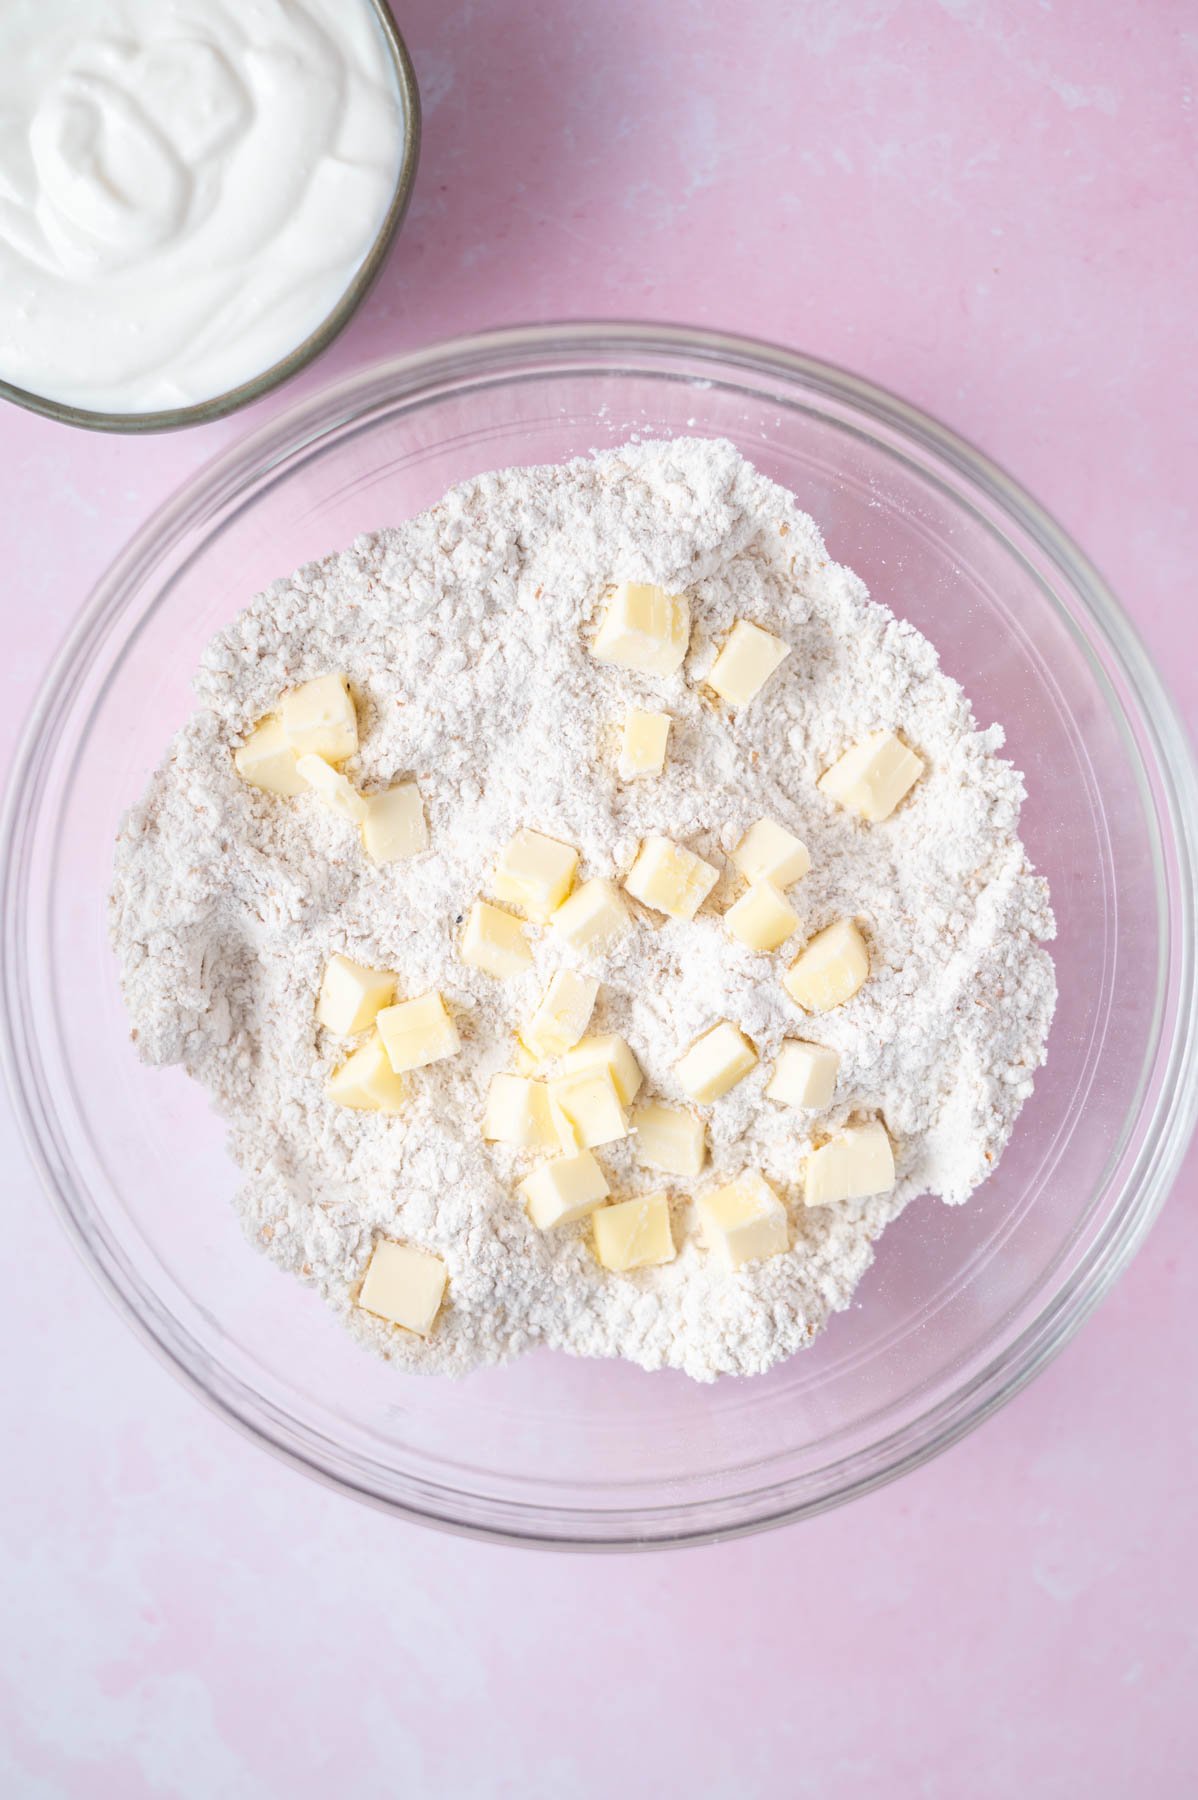
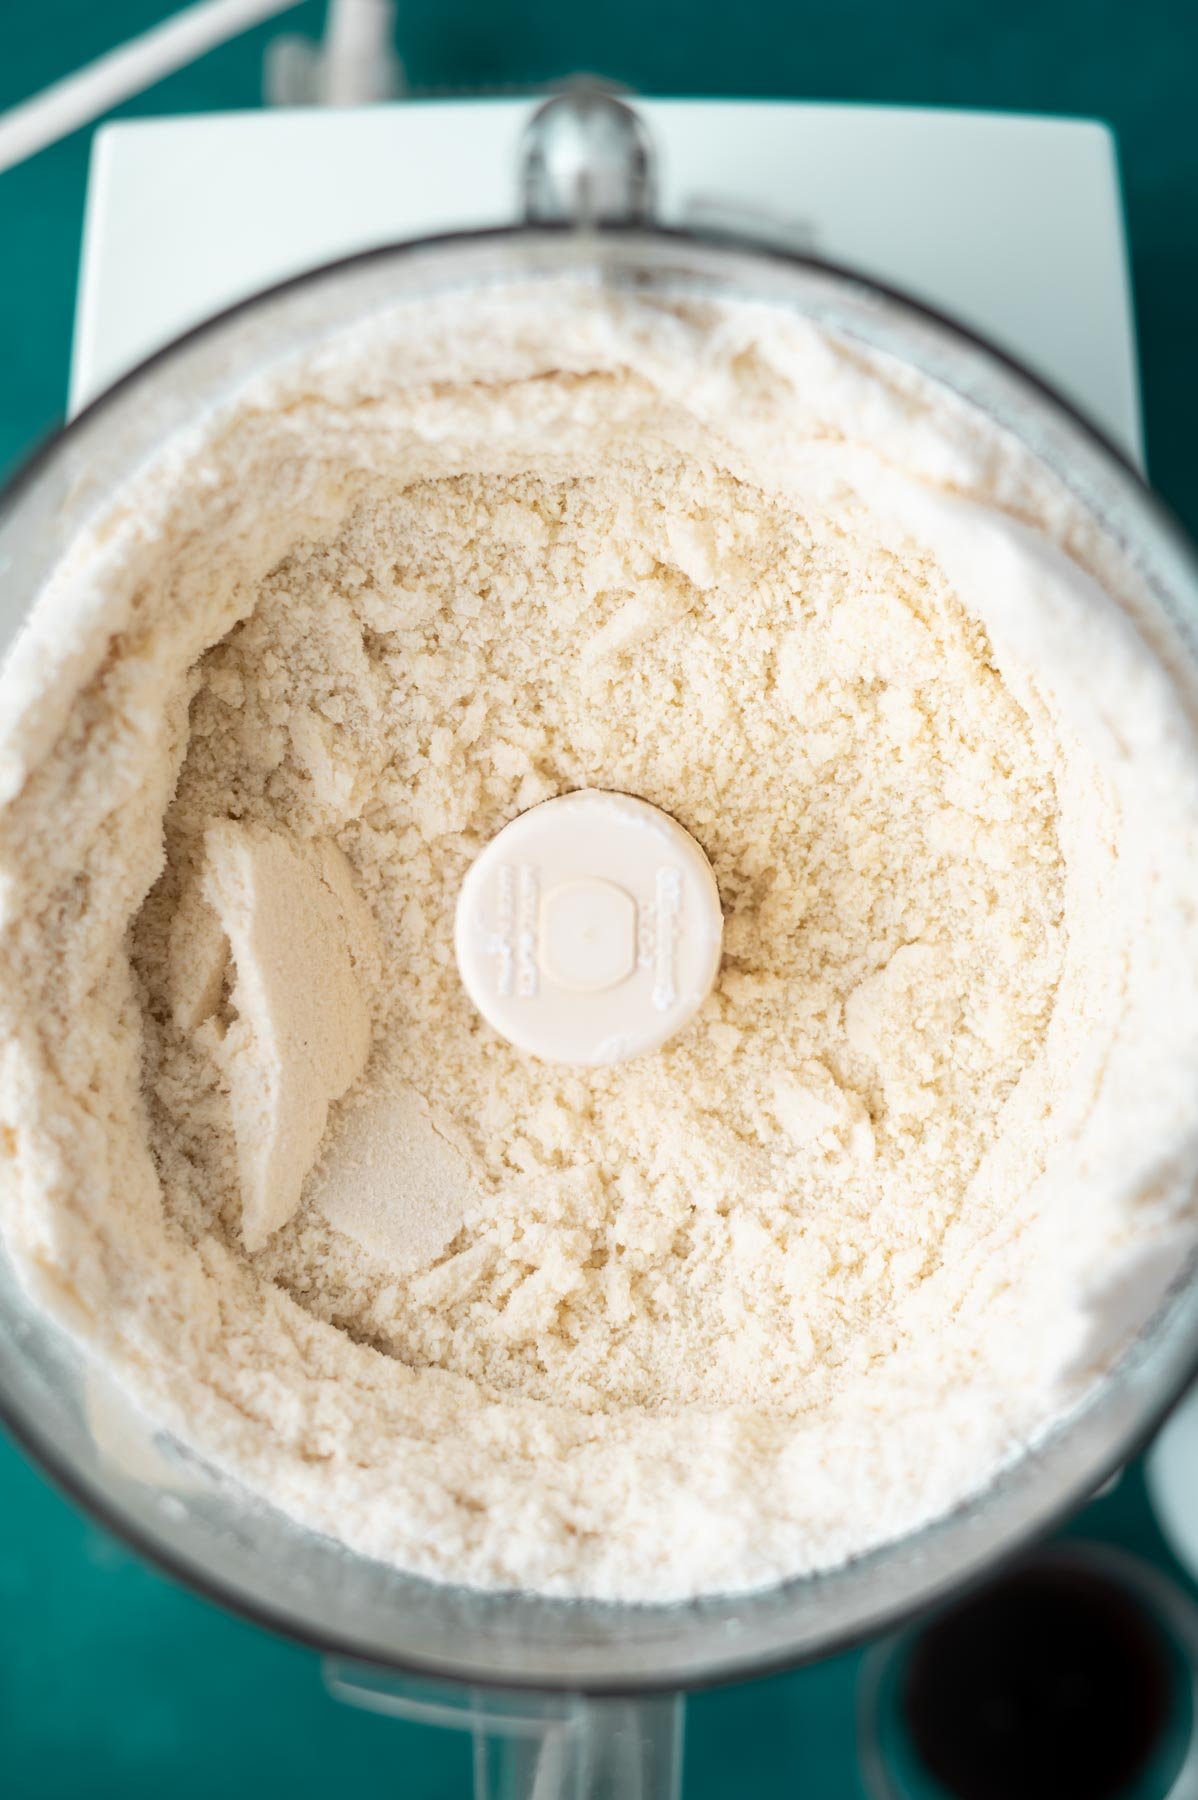
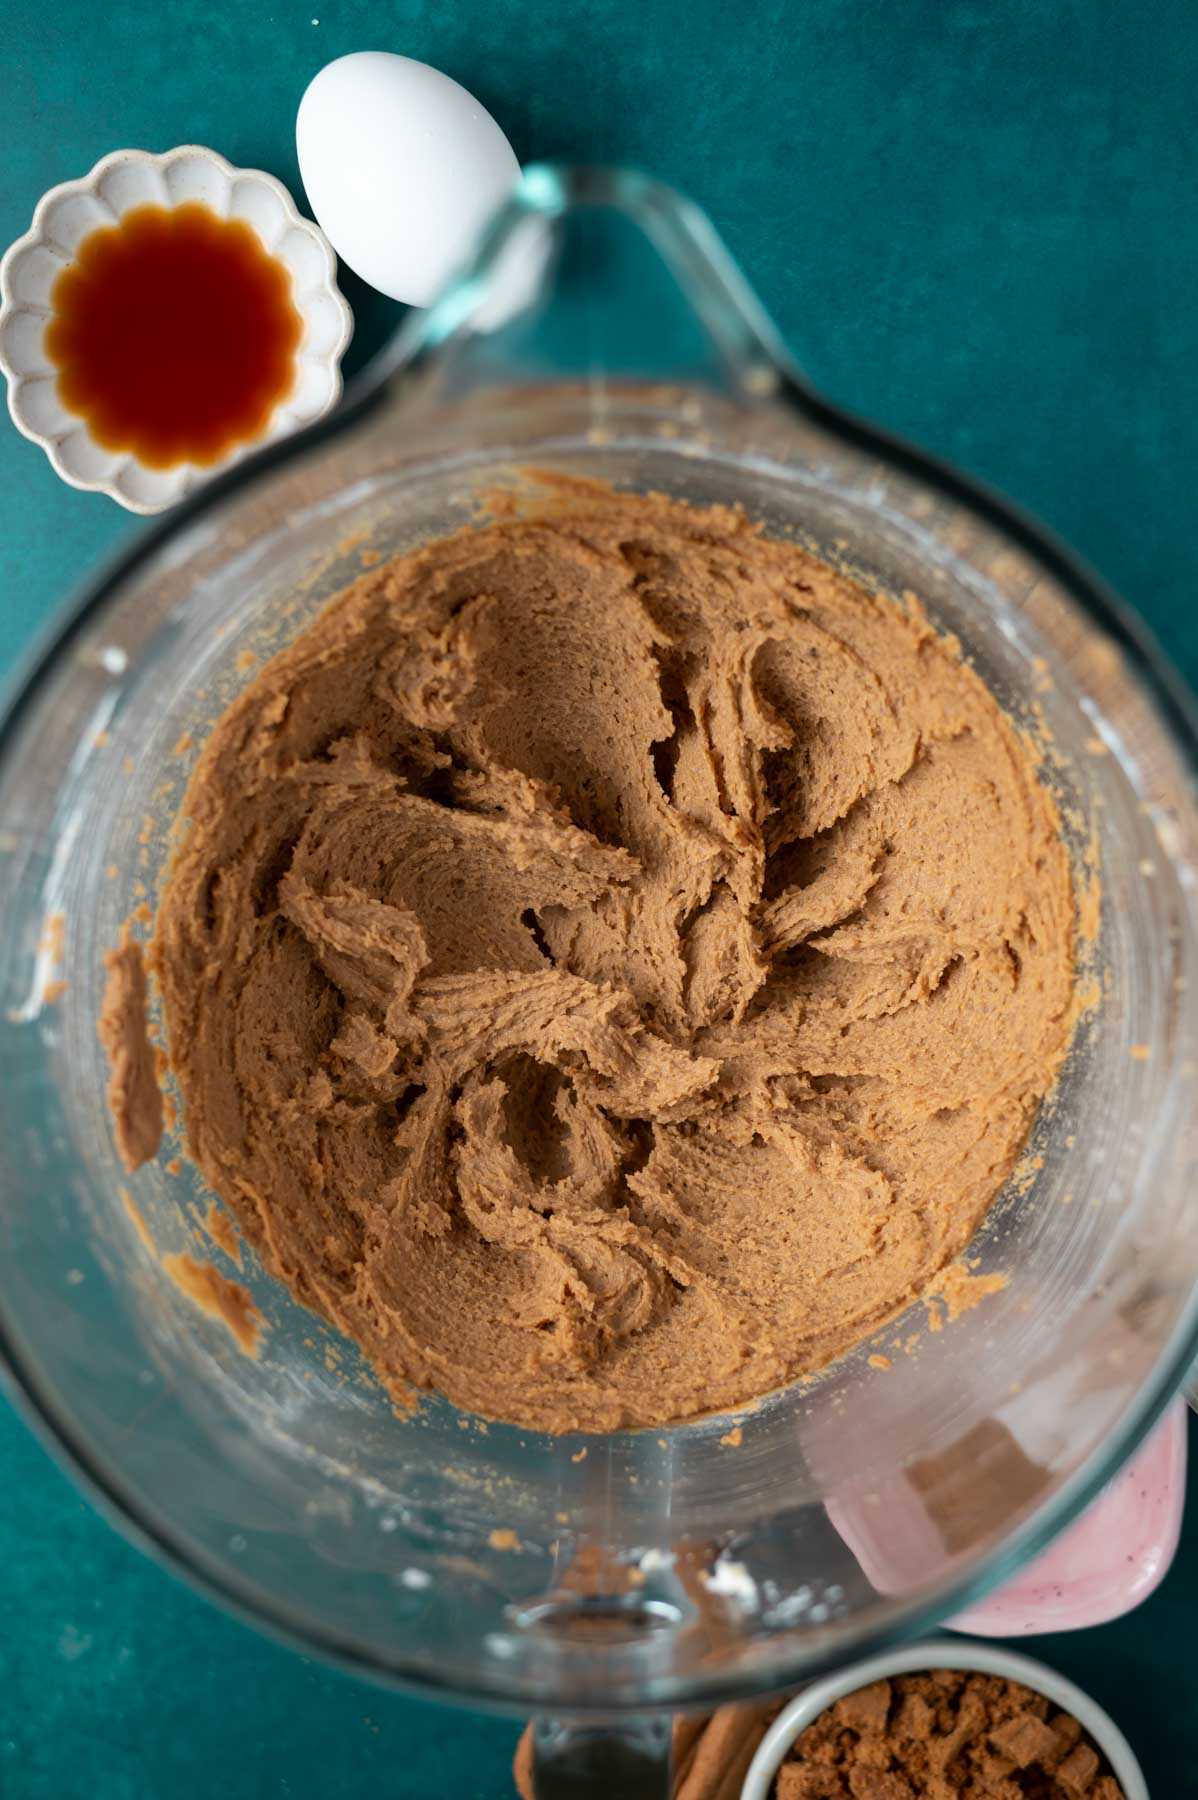
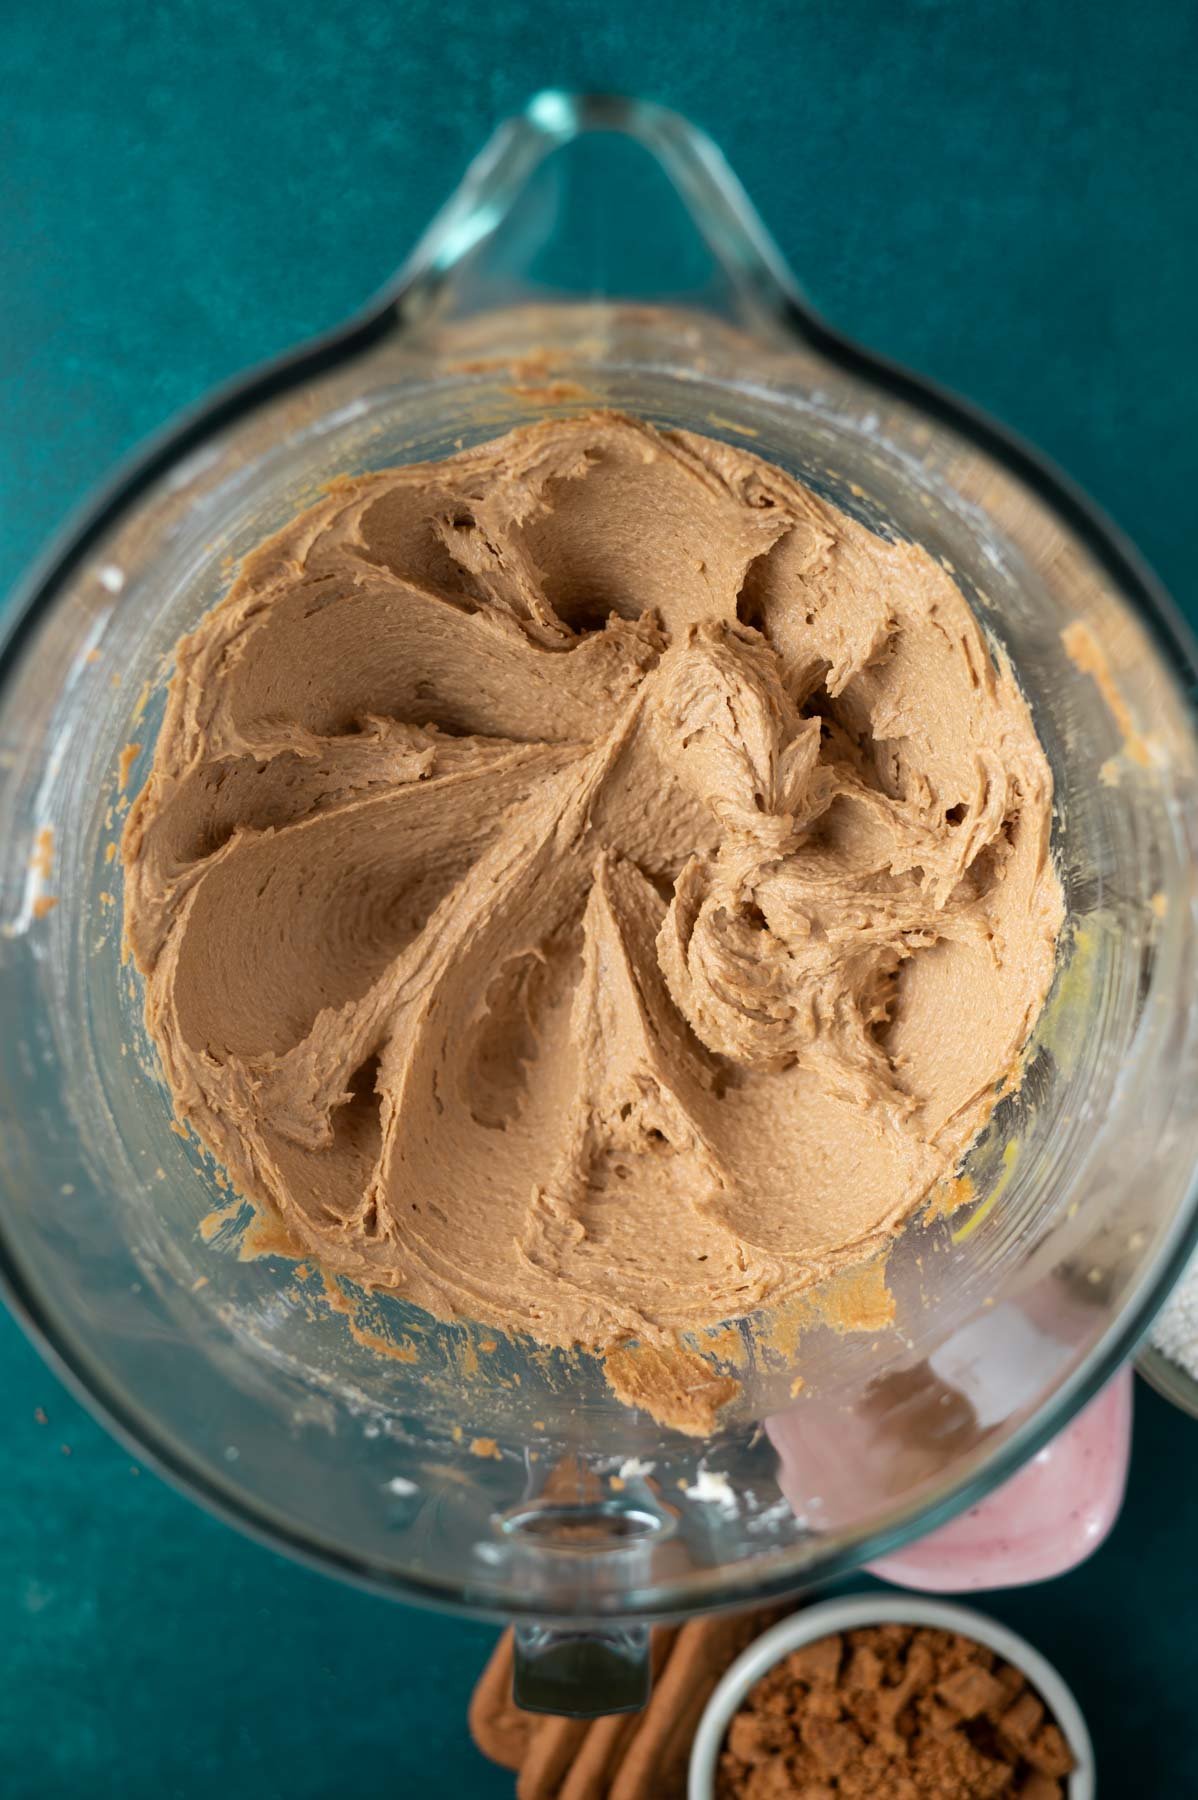
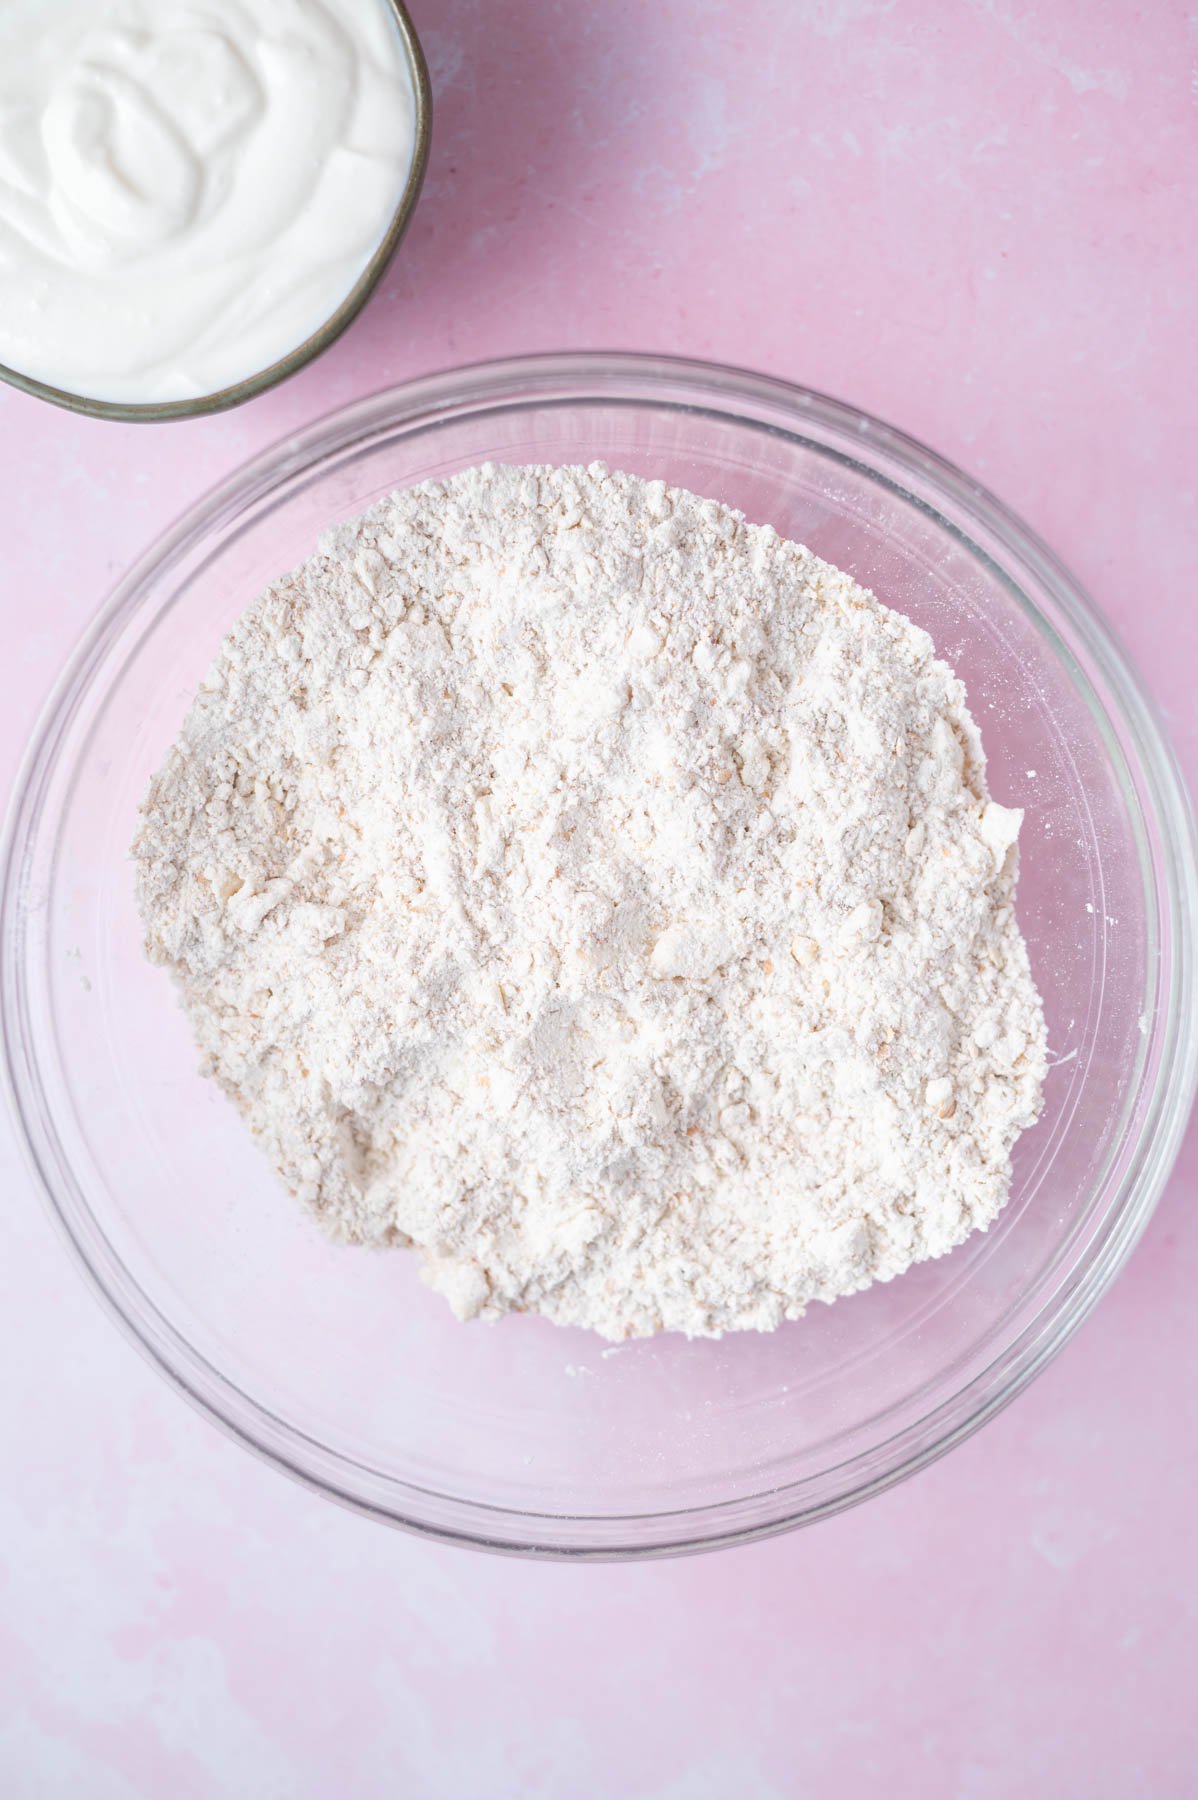
Now use your clean fingers to work the cold and chopped butter into the dry mixture until it resembles coarse meal.
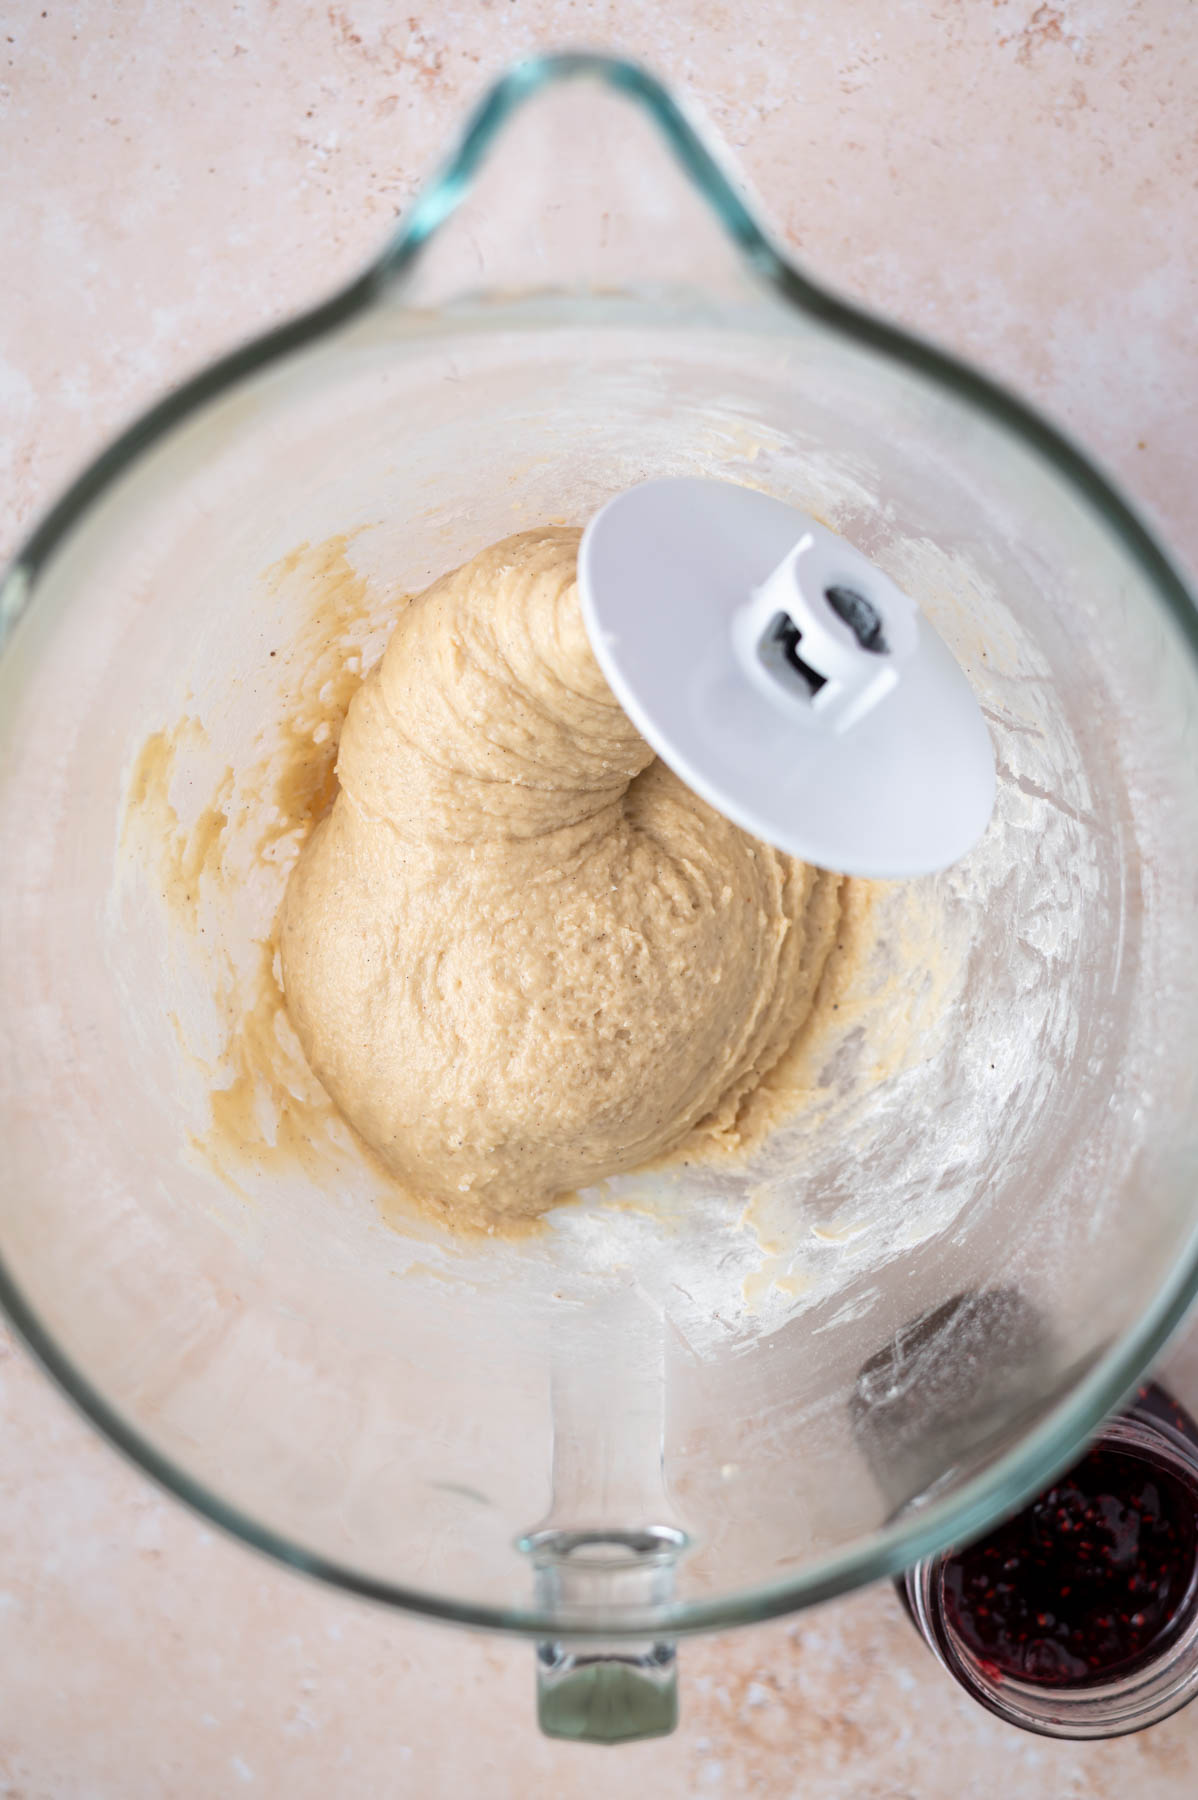
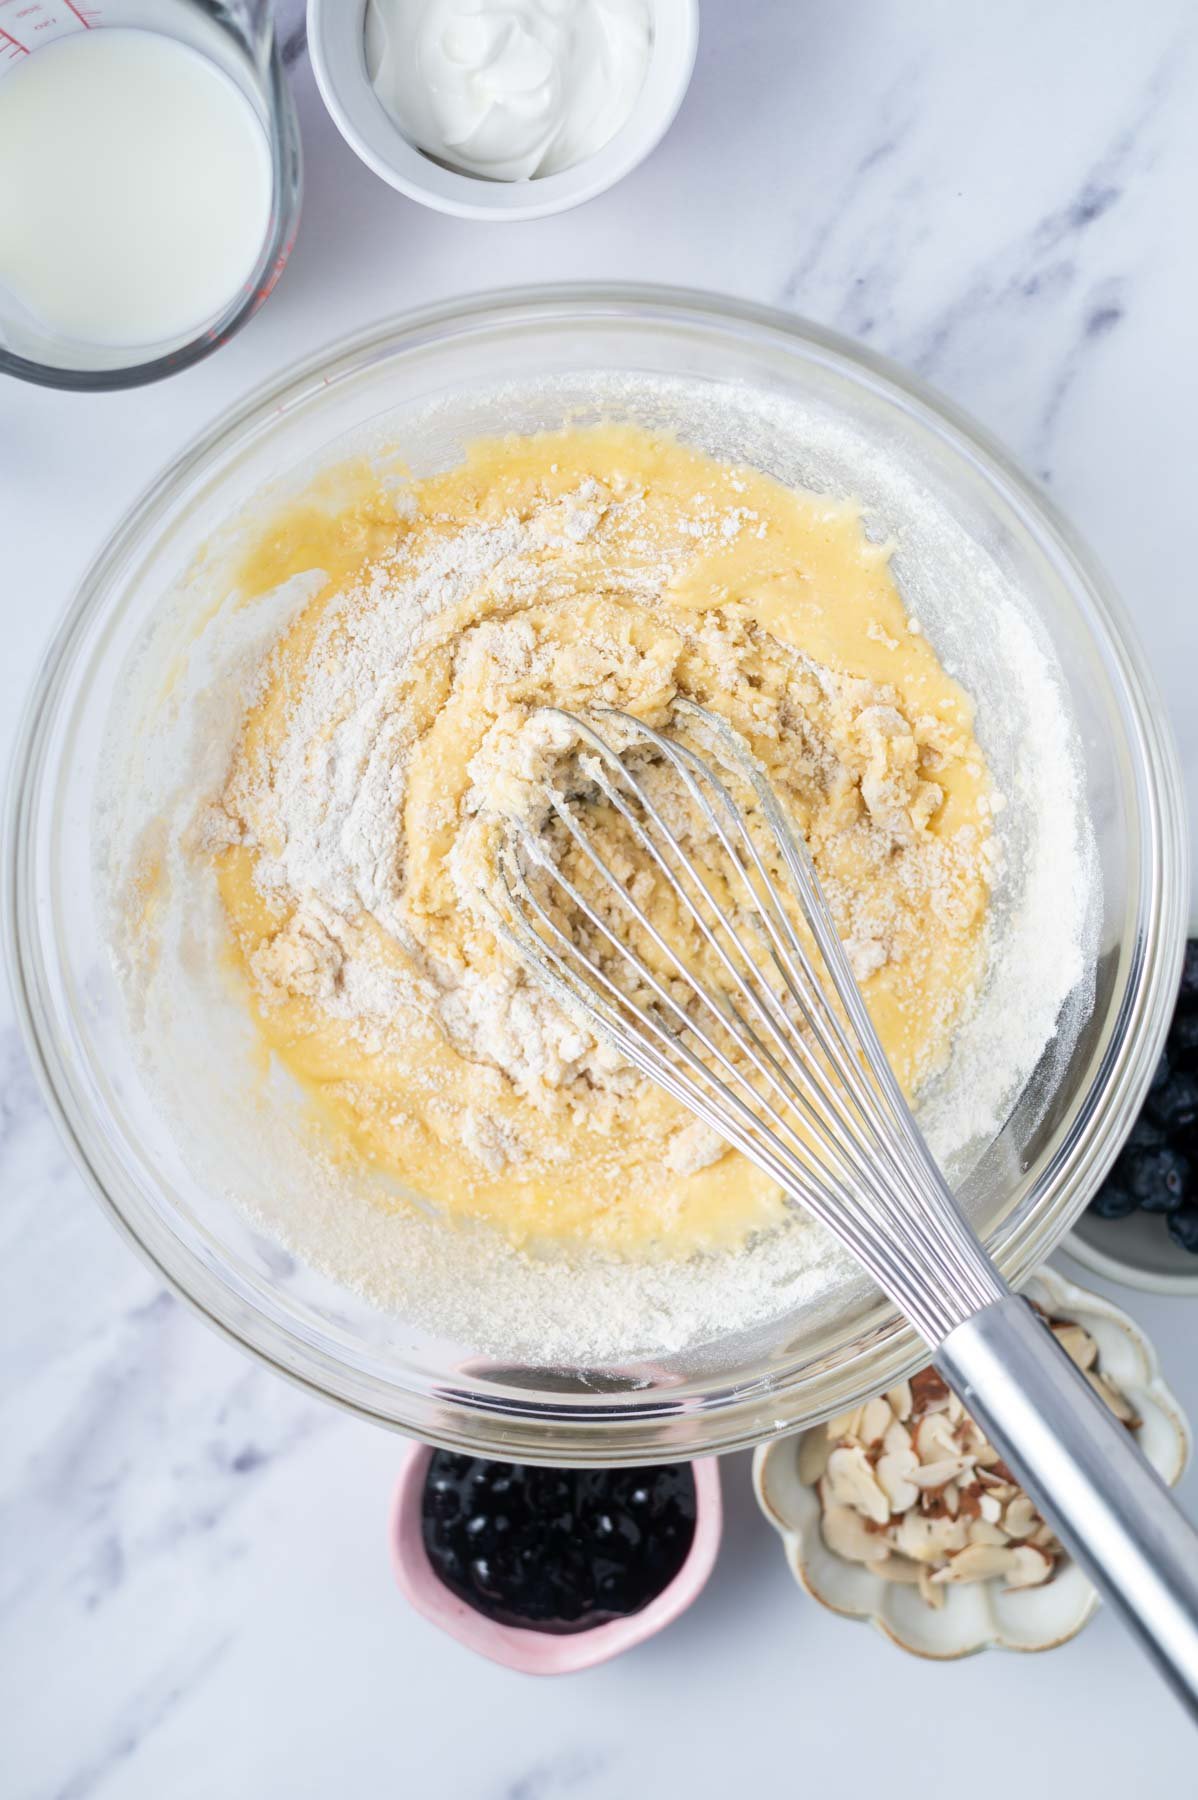
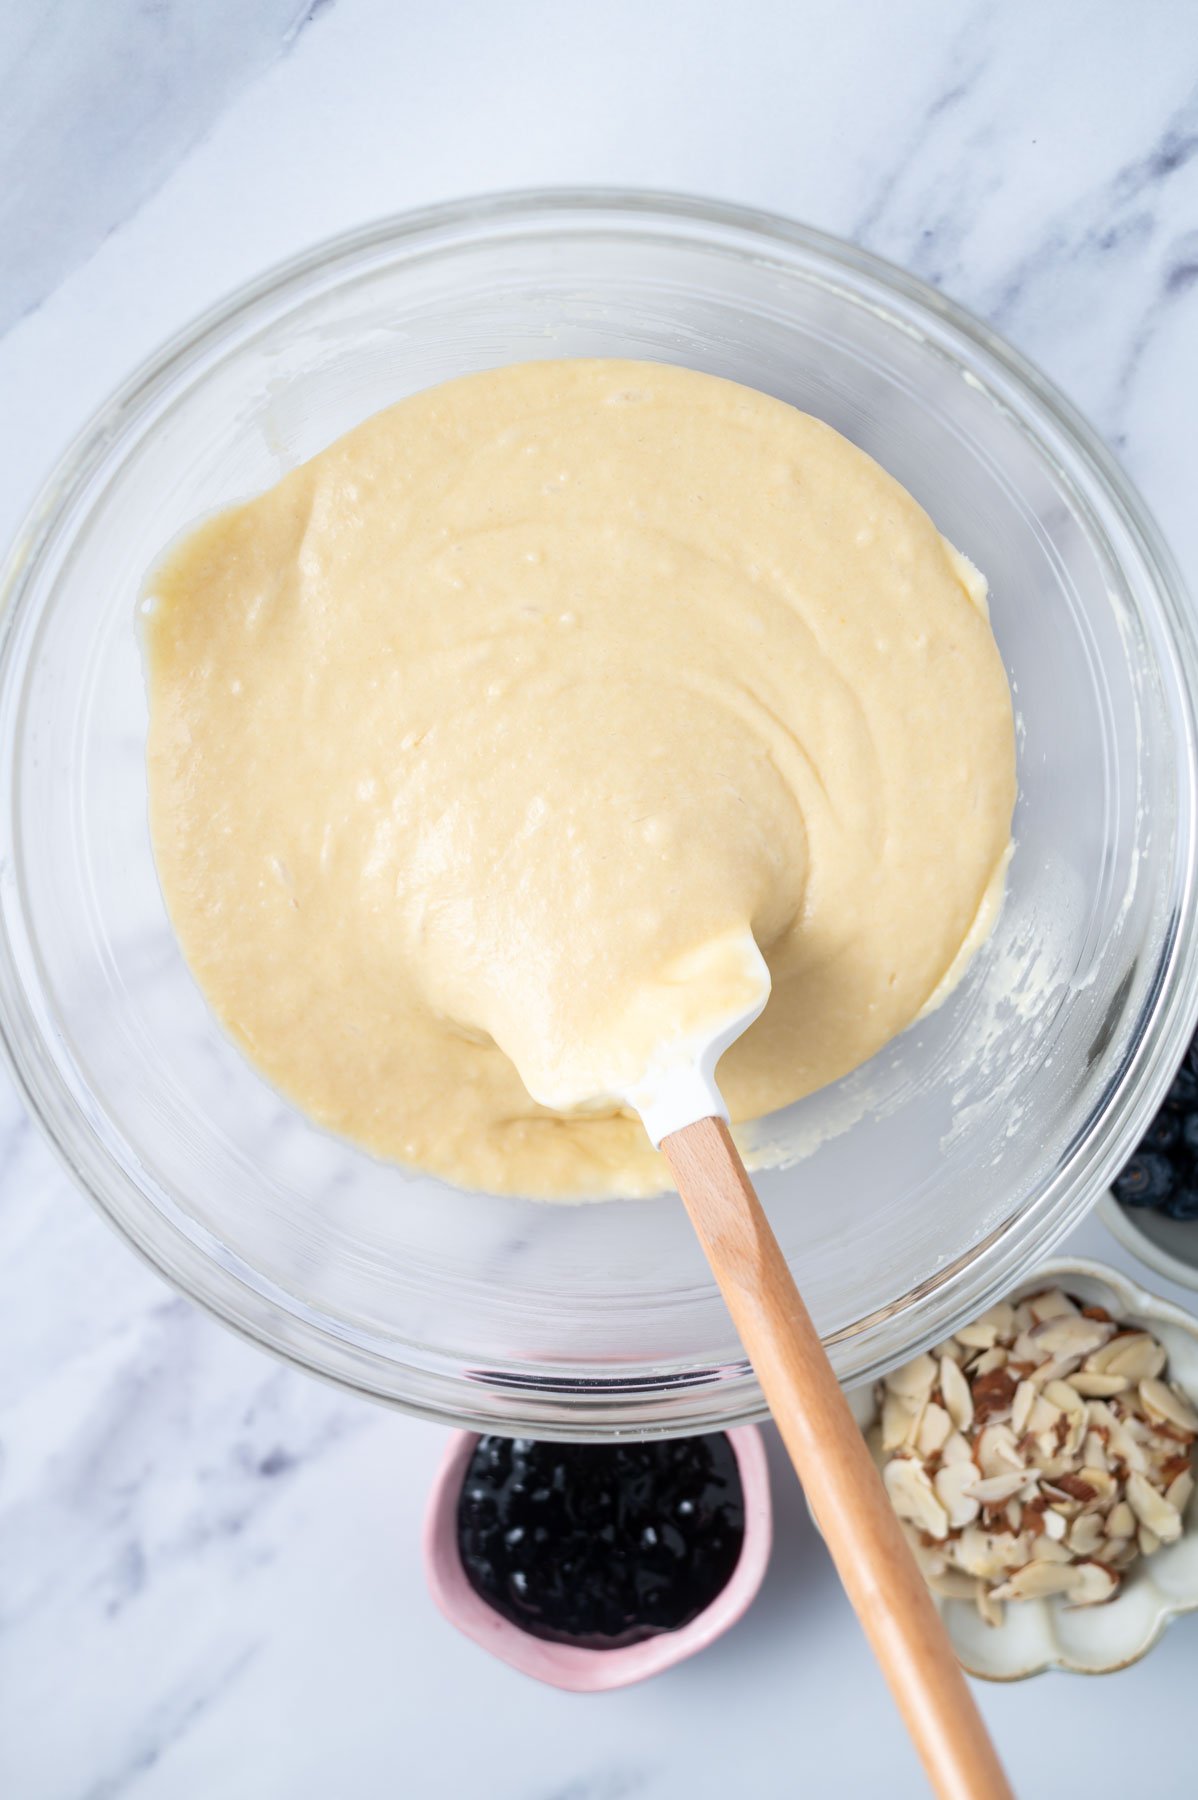
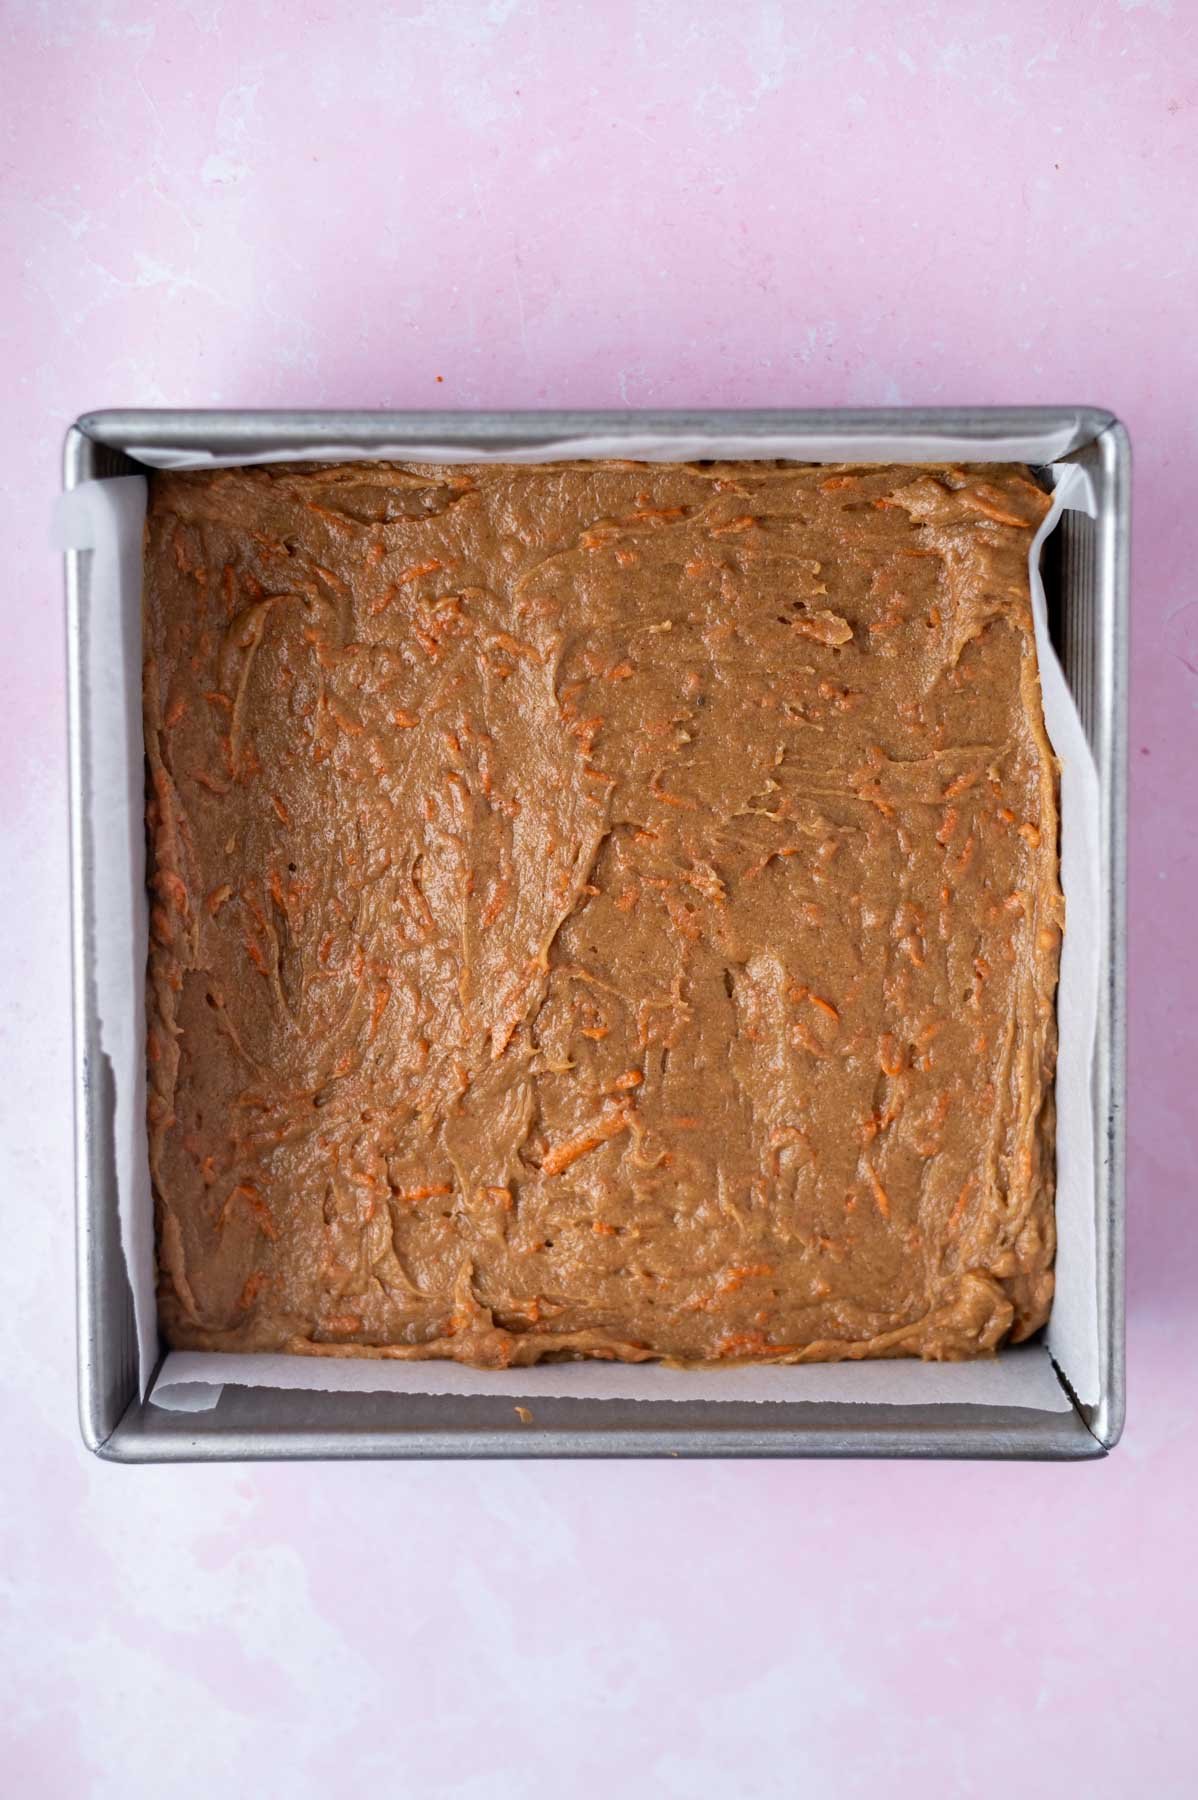
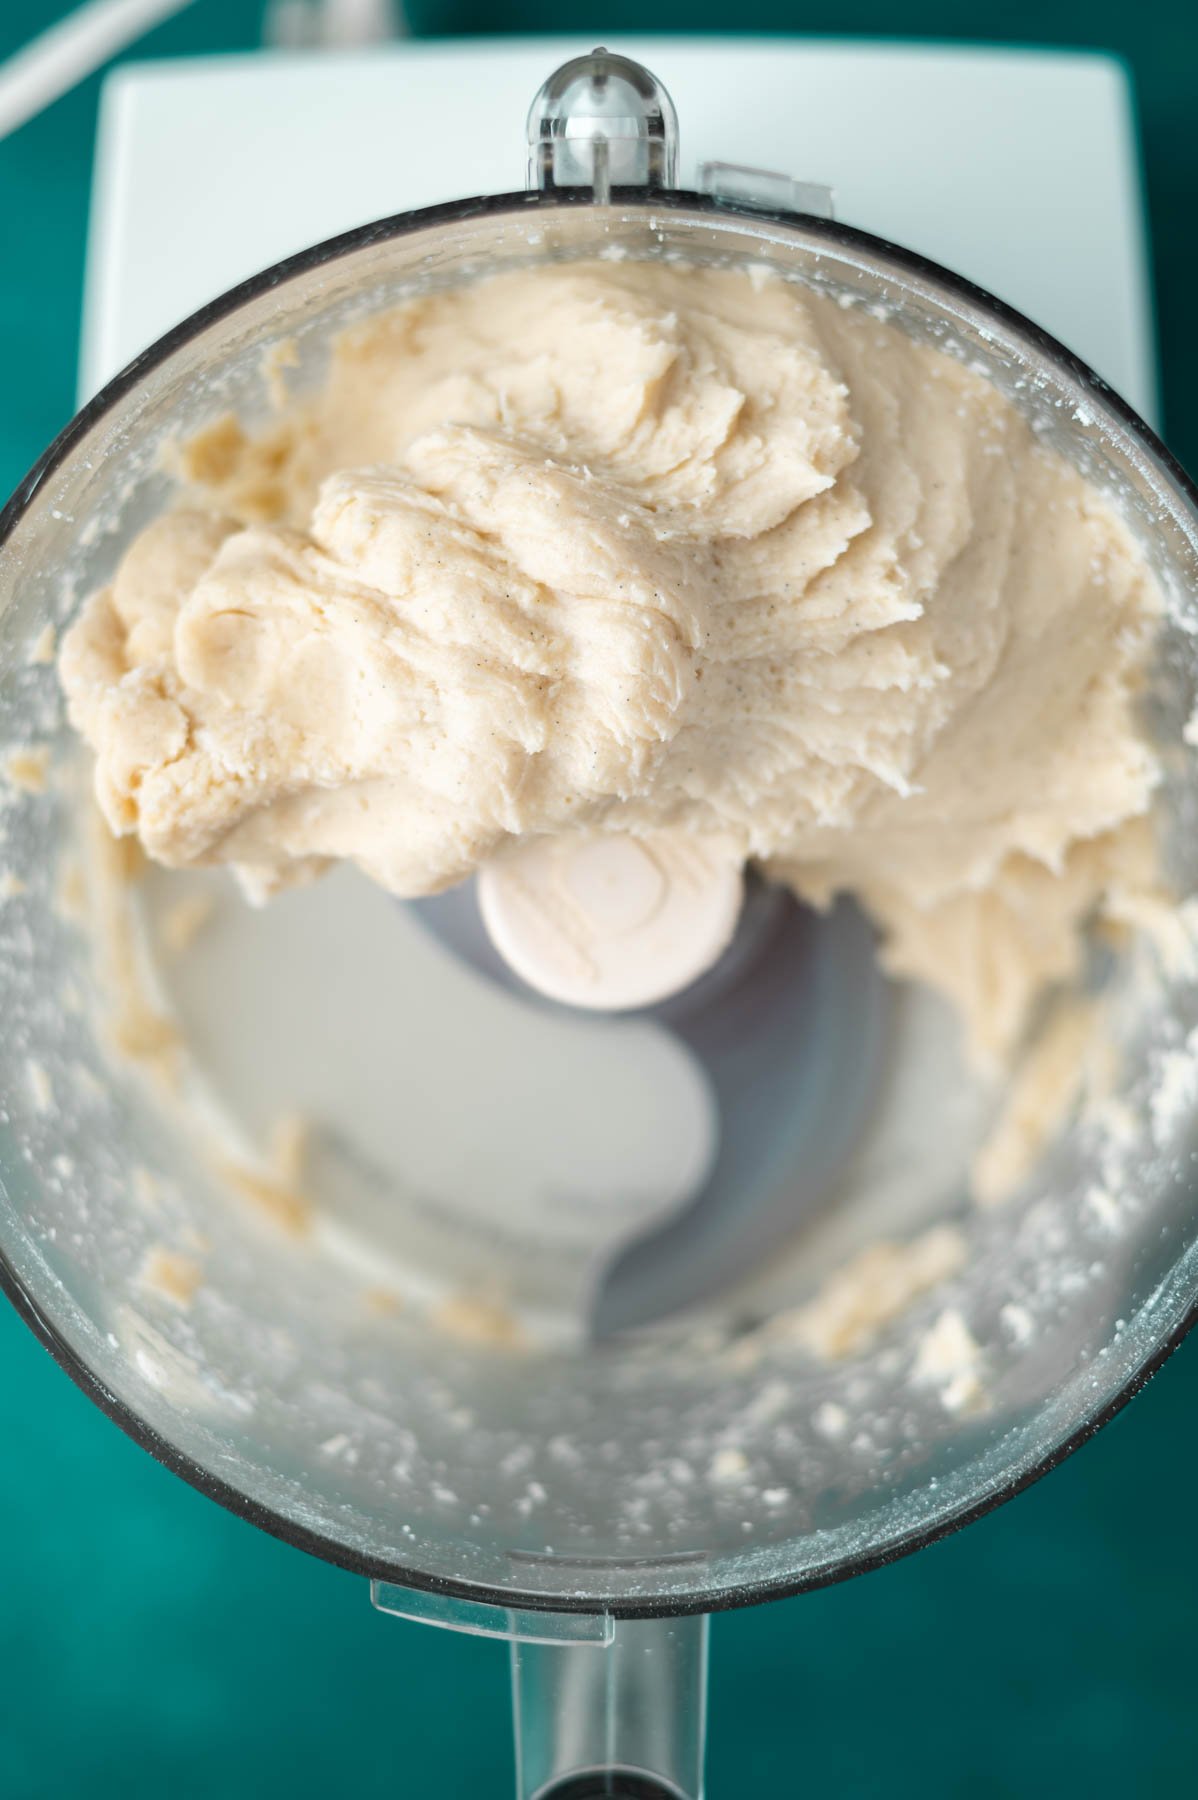
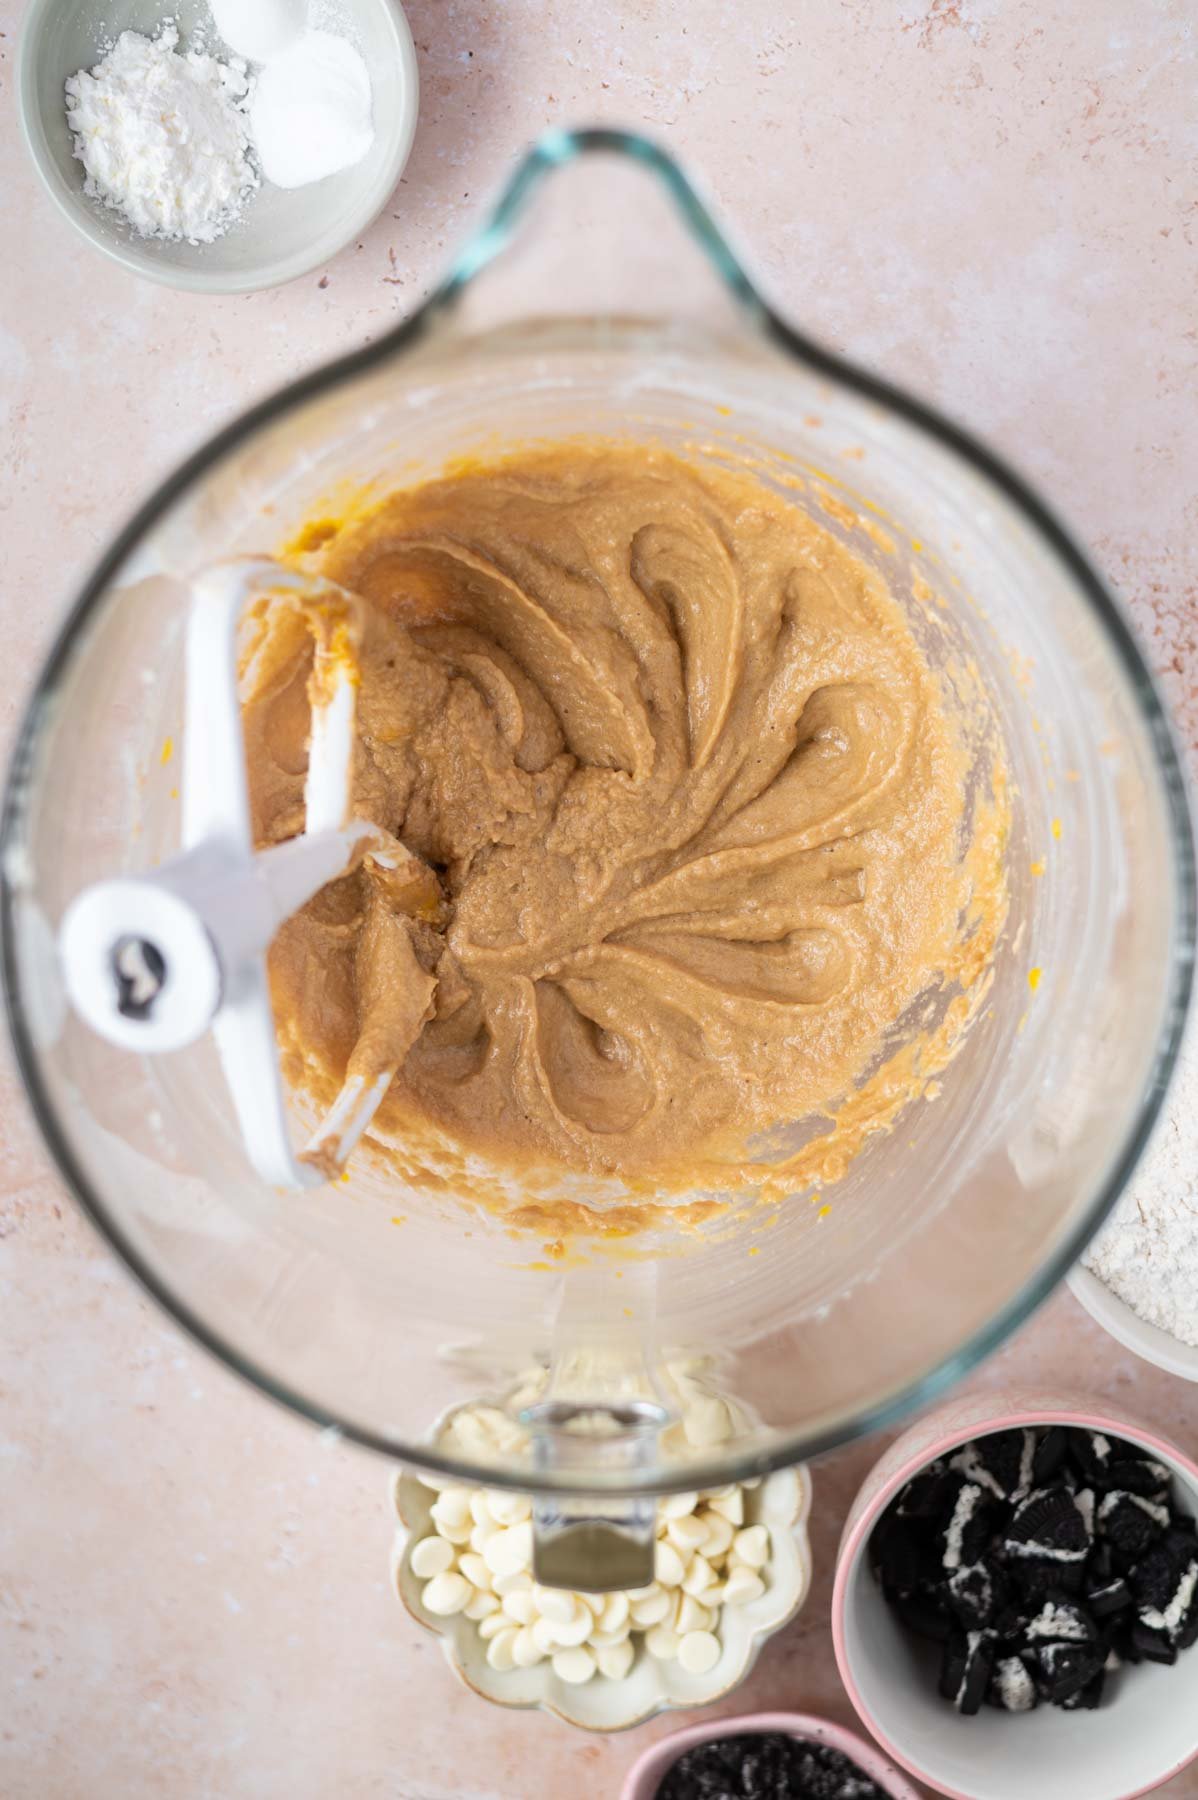
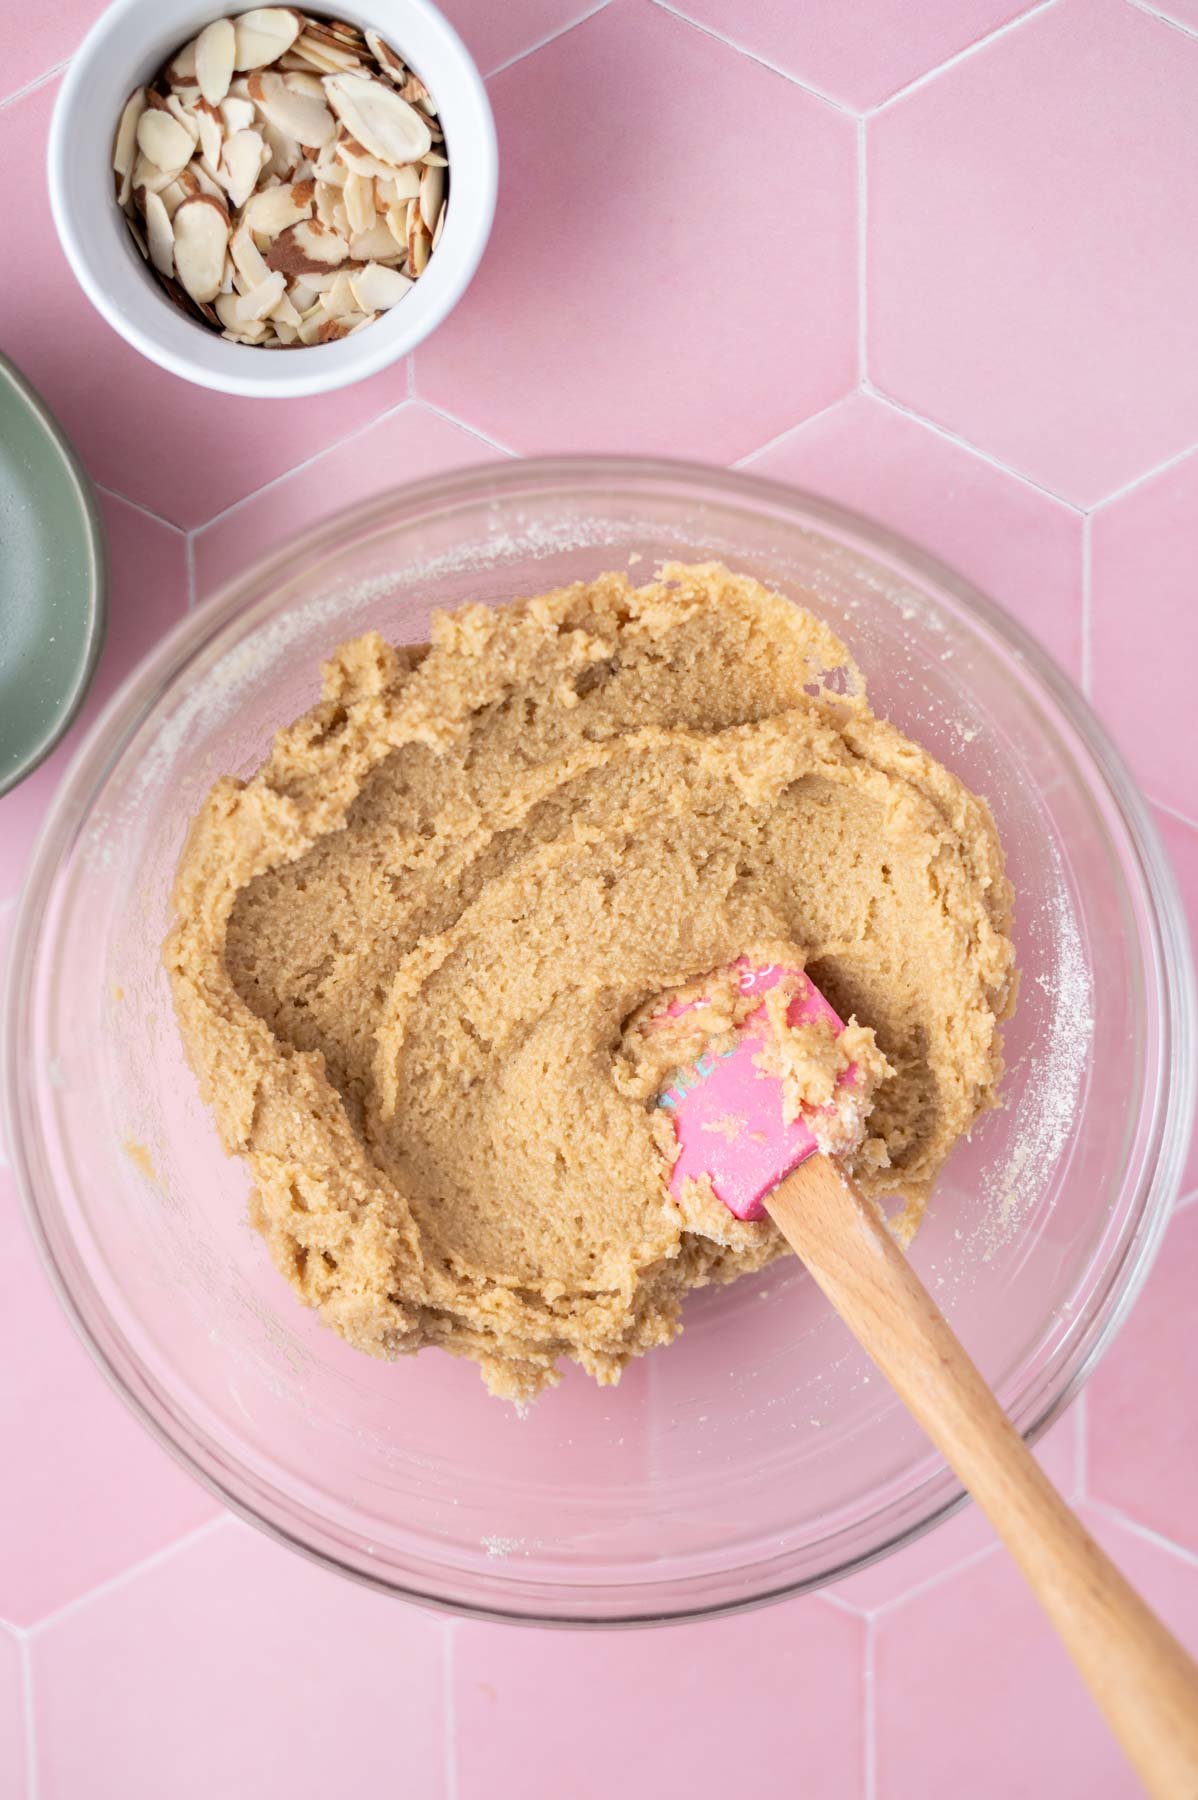
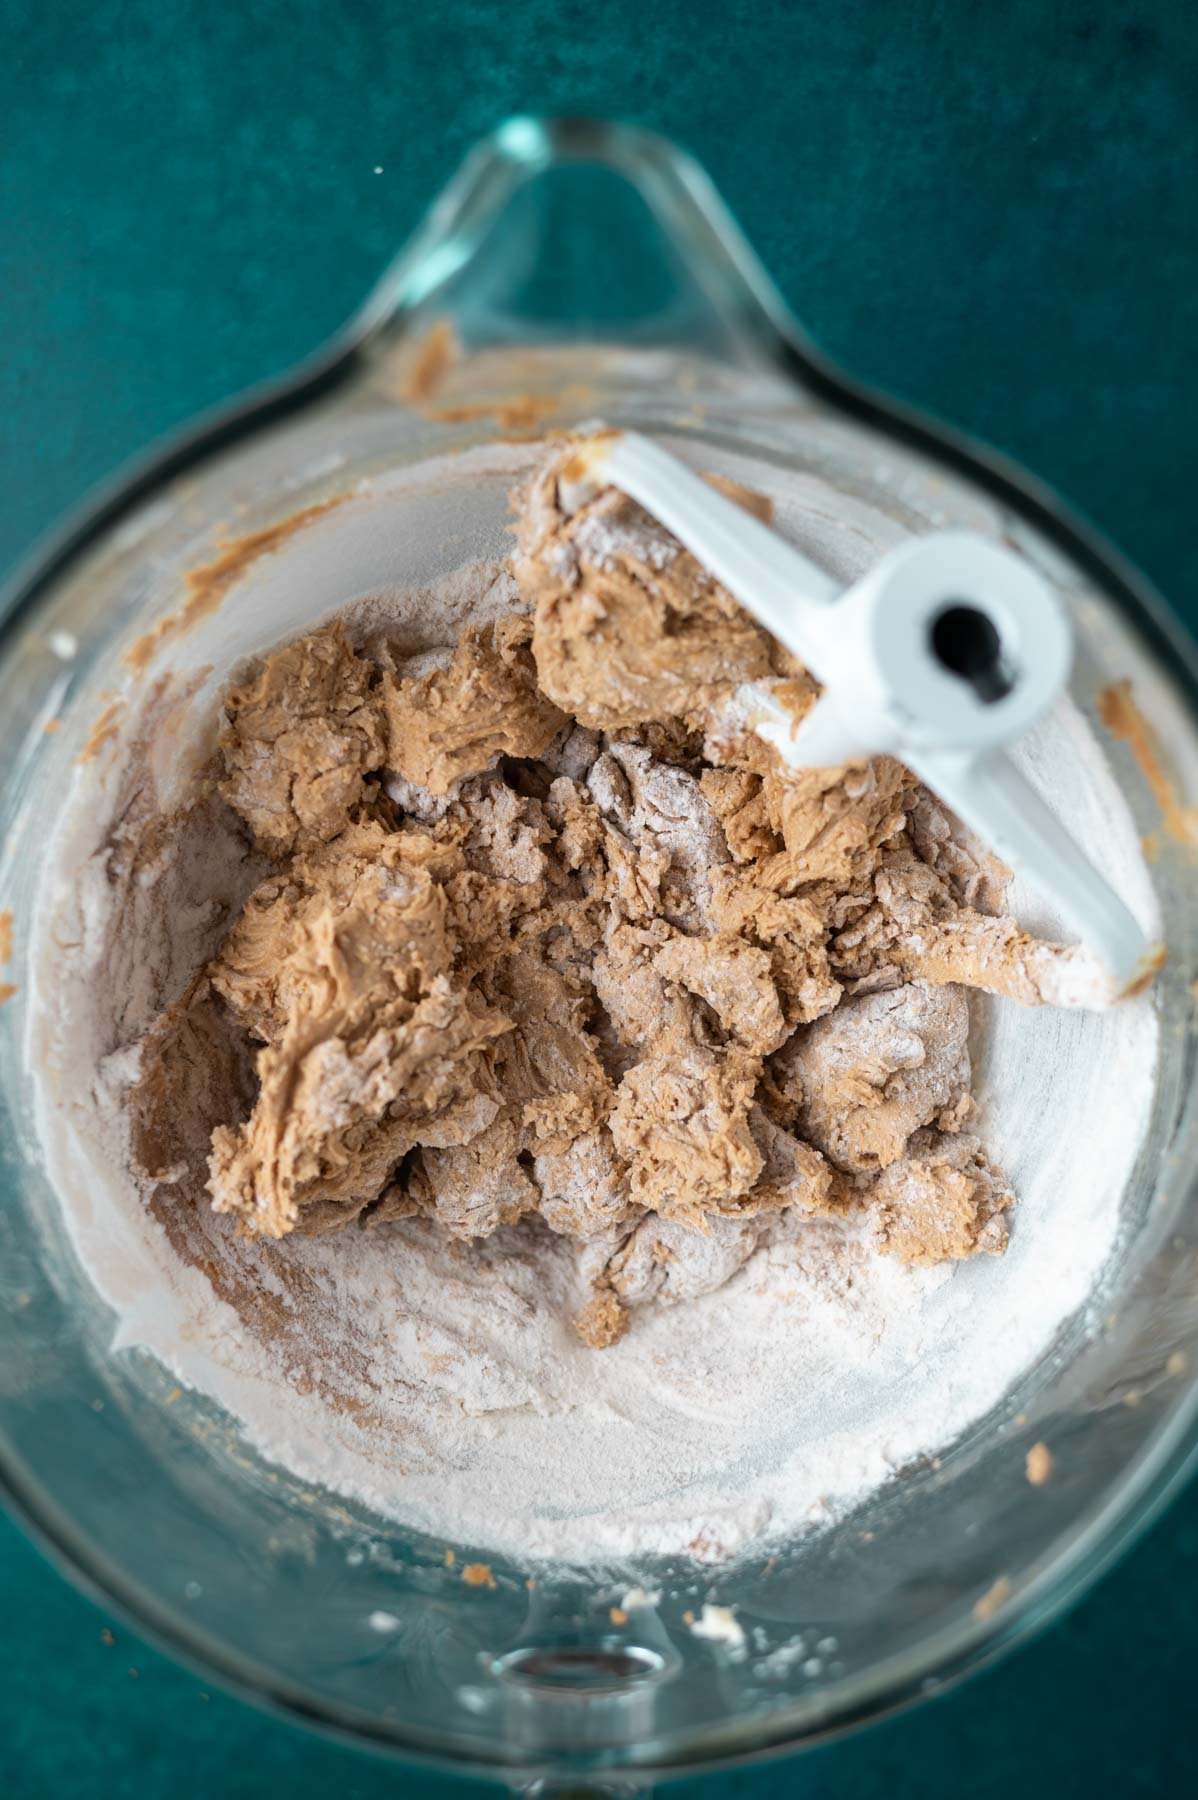
Then add the blended cottage cheese and milk mixture to the dry ingredients and mix as evenly as possible, forming a rough dough.
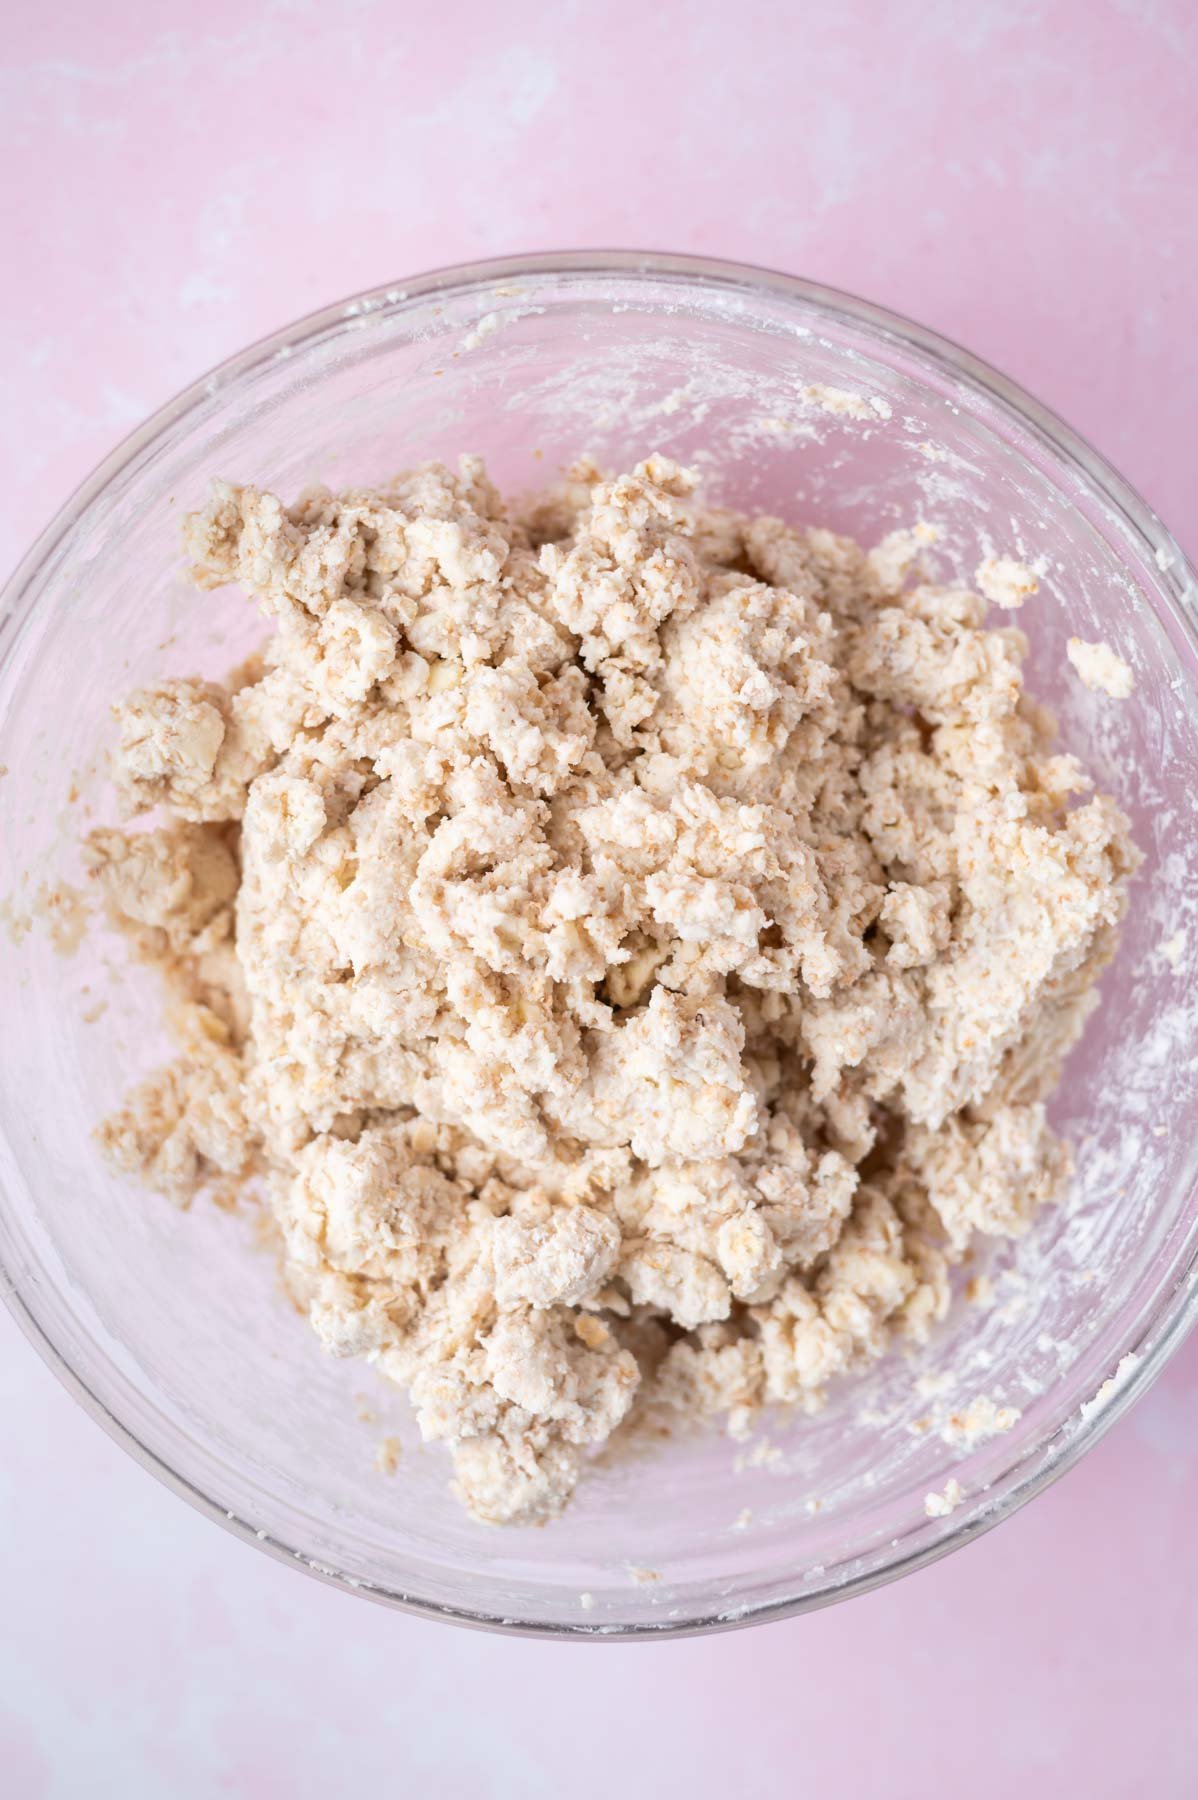
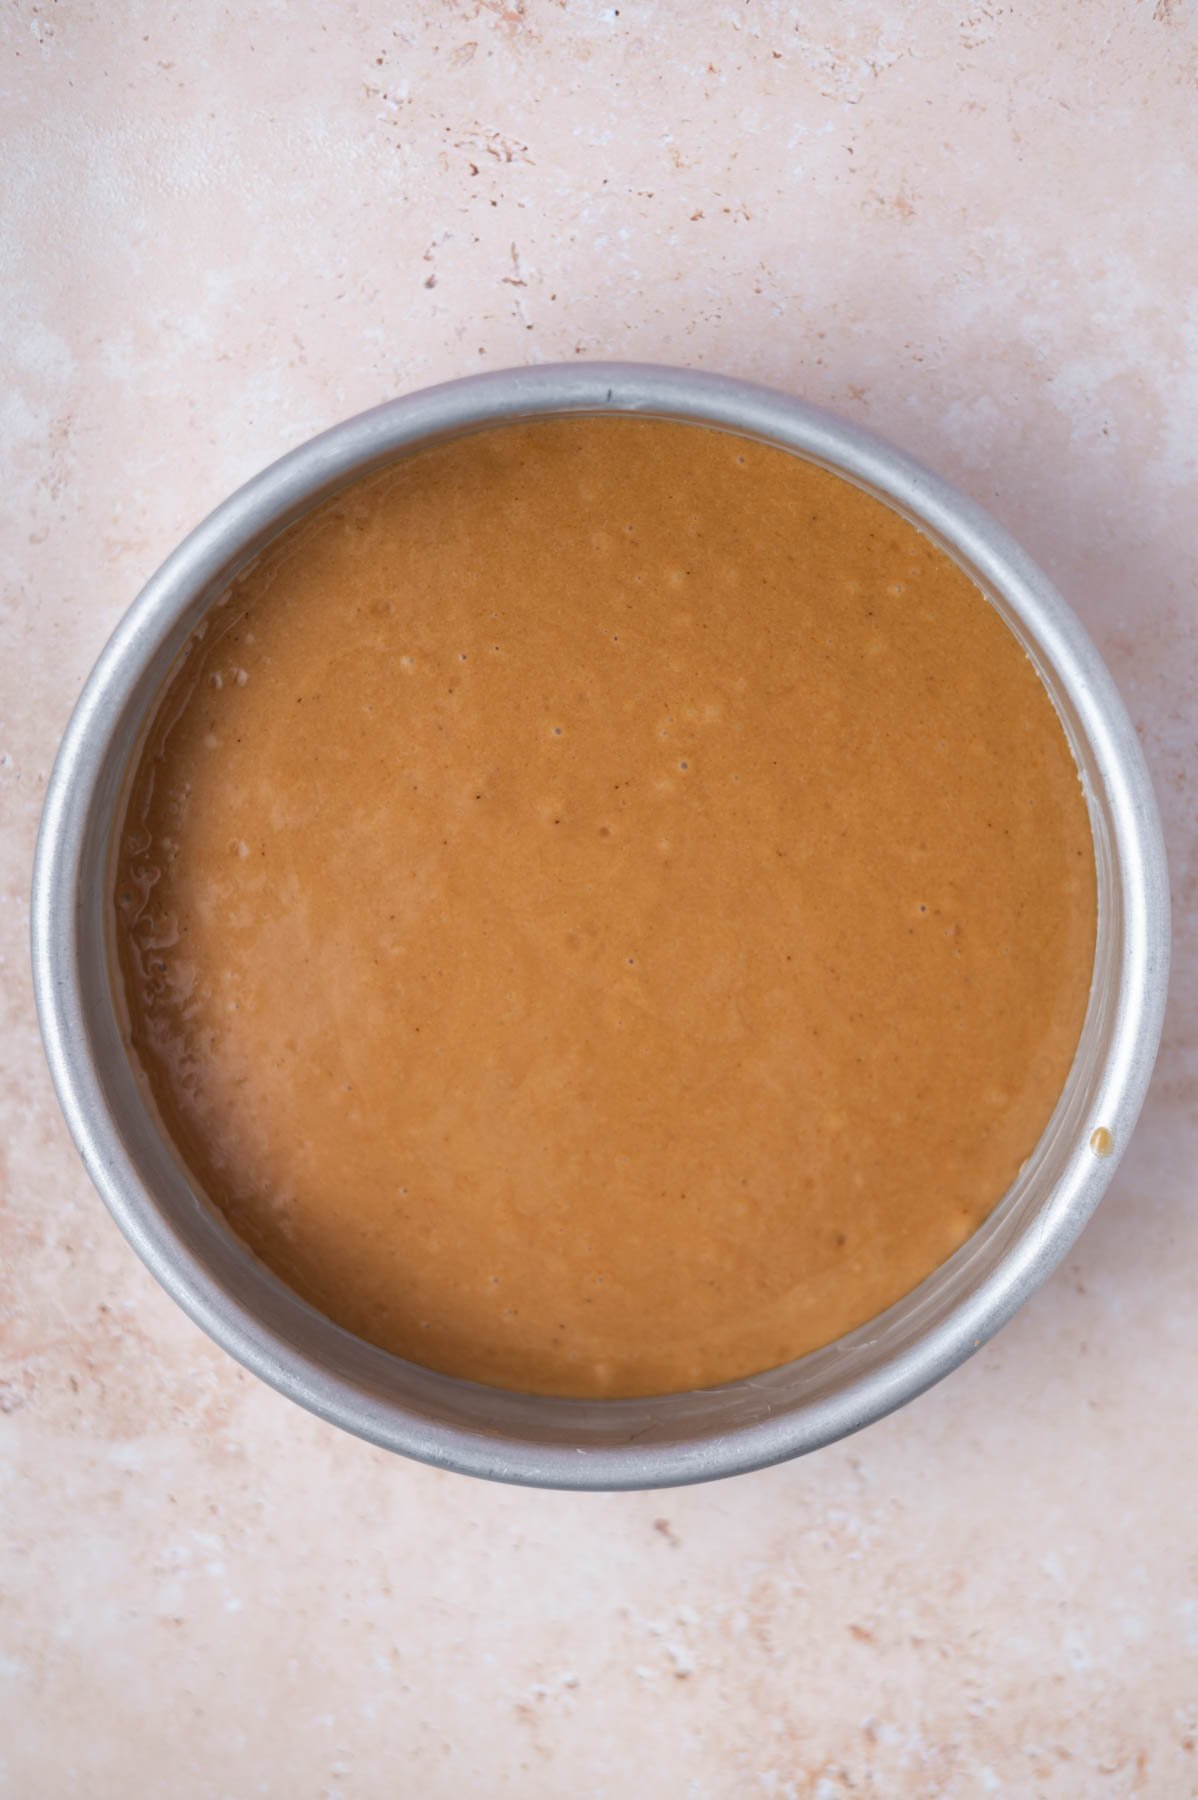
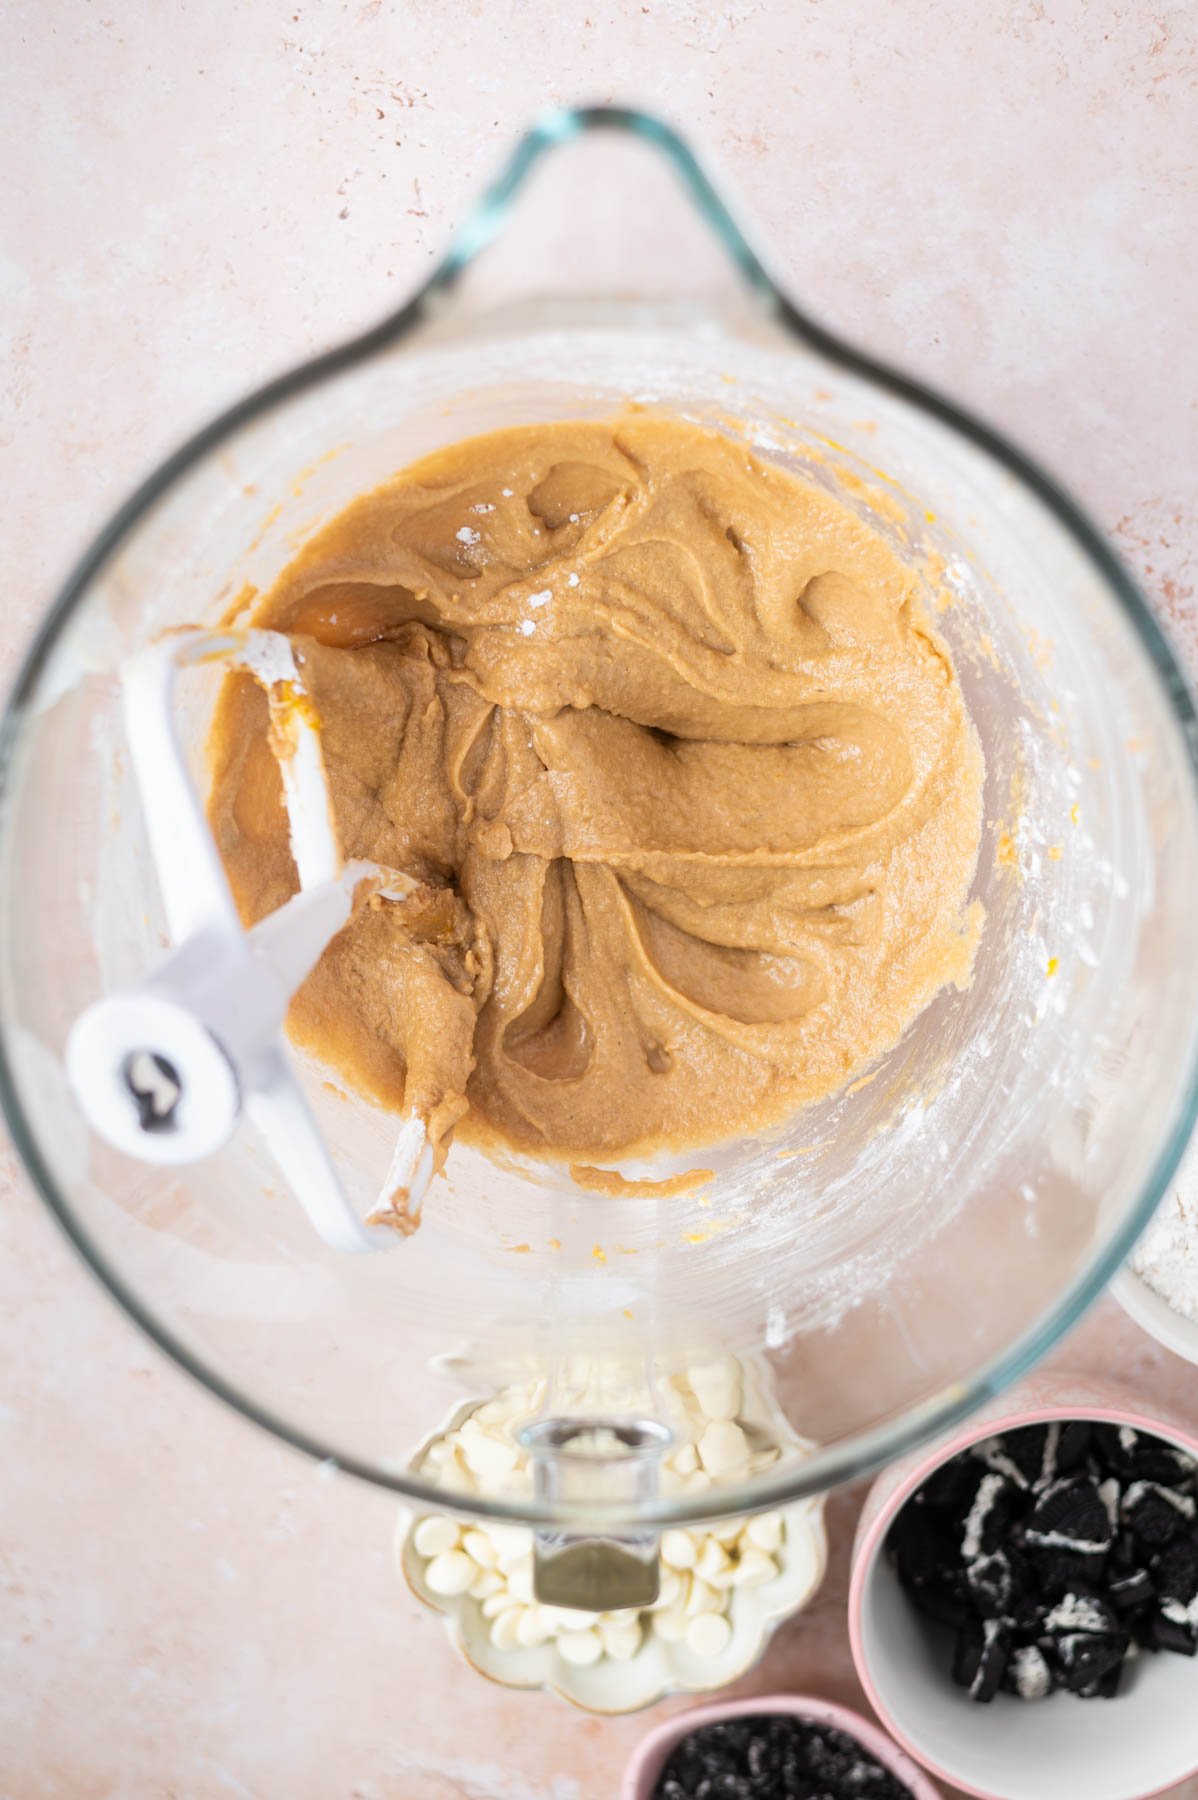
Try not to over work the dough. It will be thick, sticky and a bit shaggy.
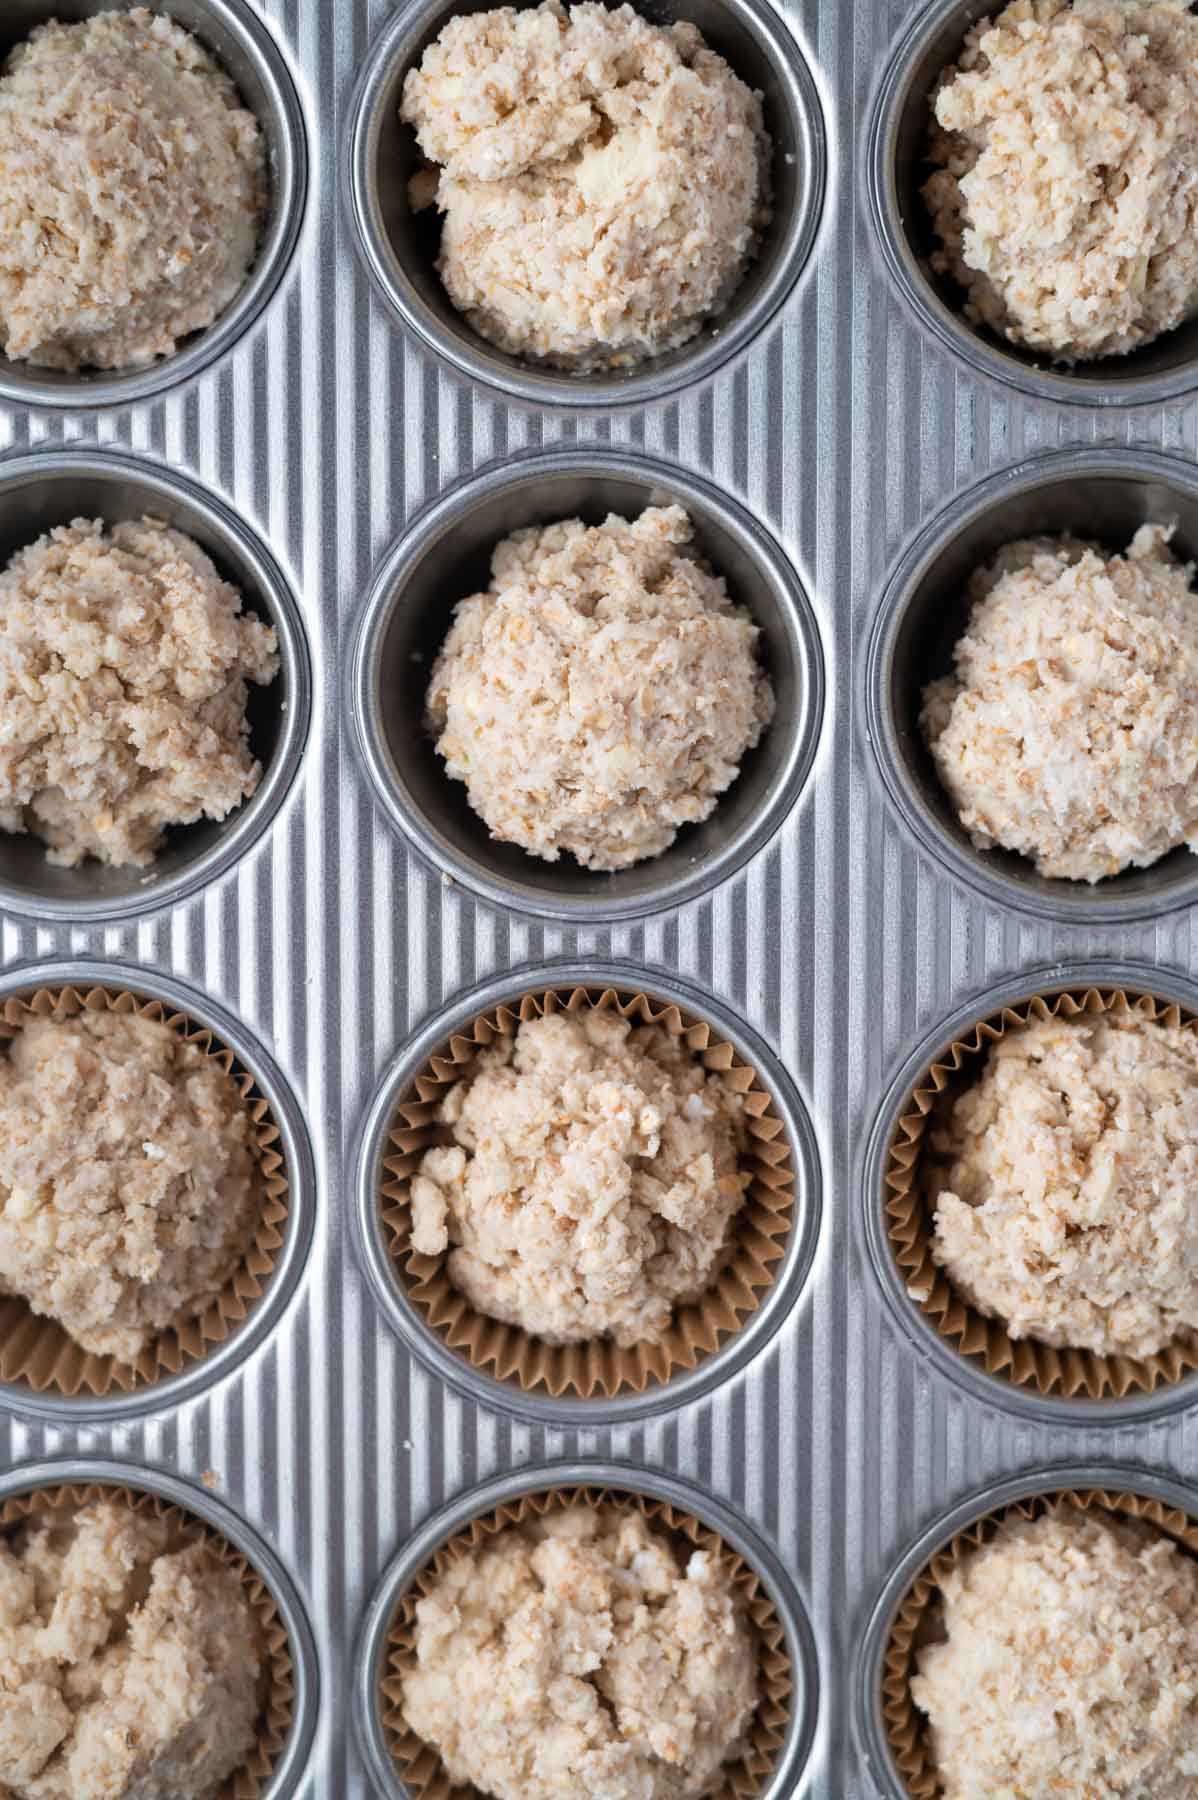
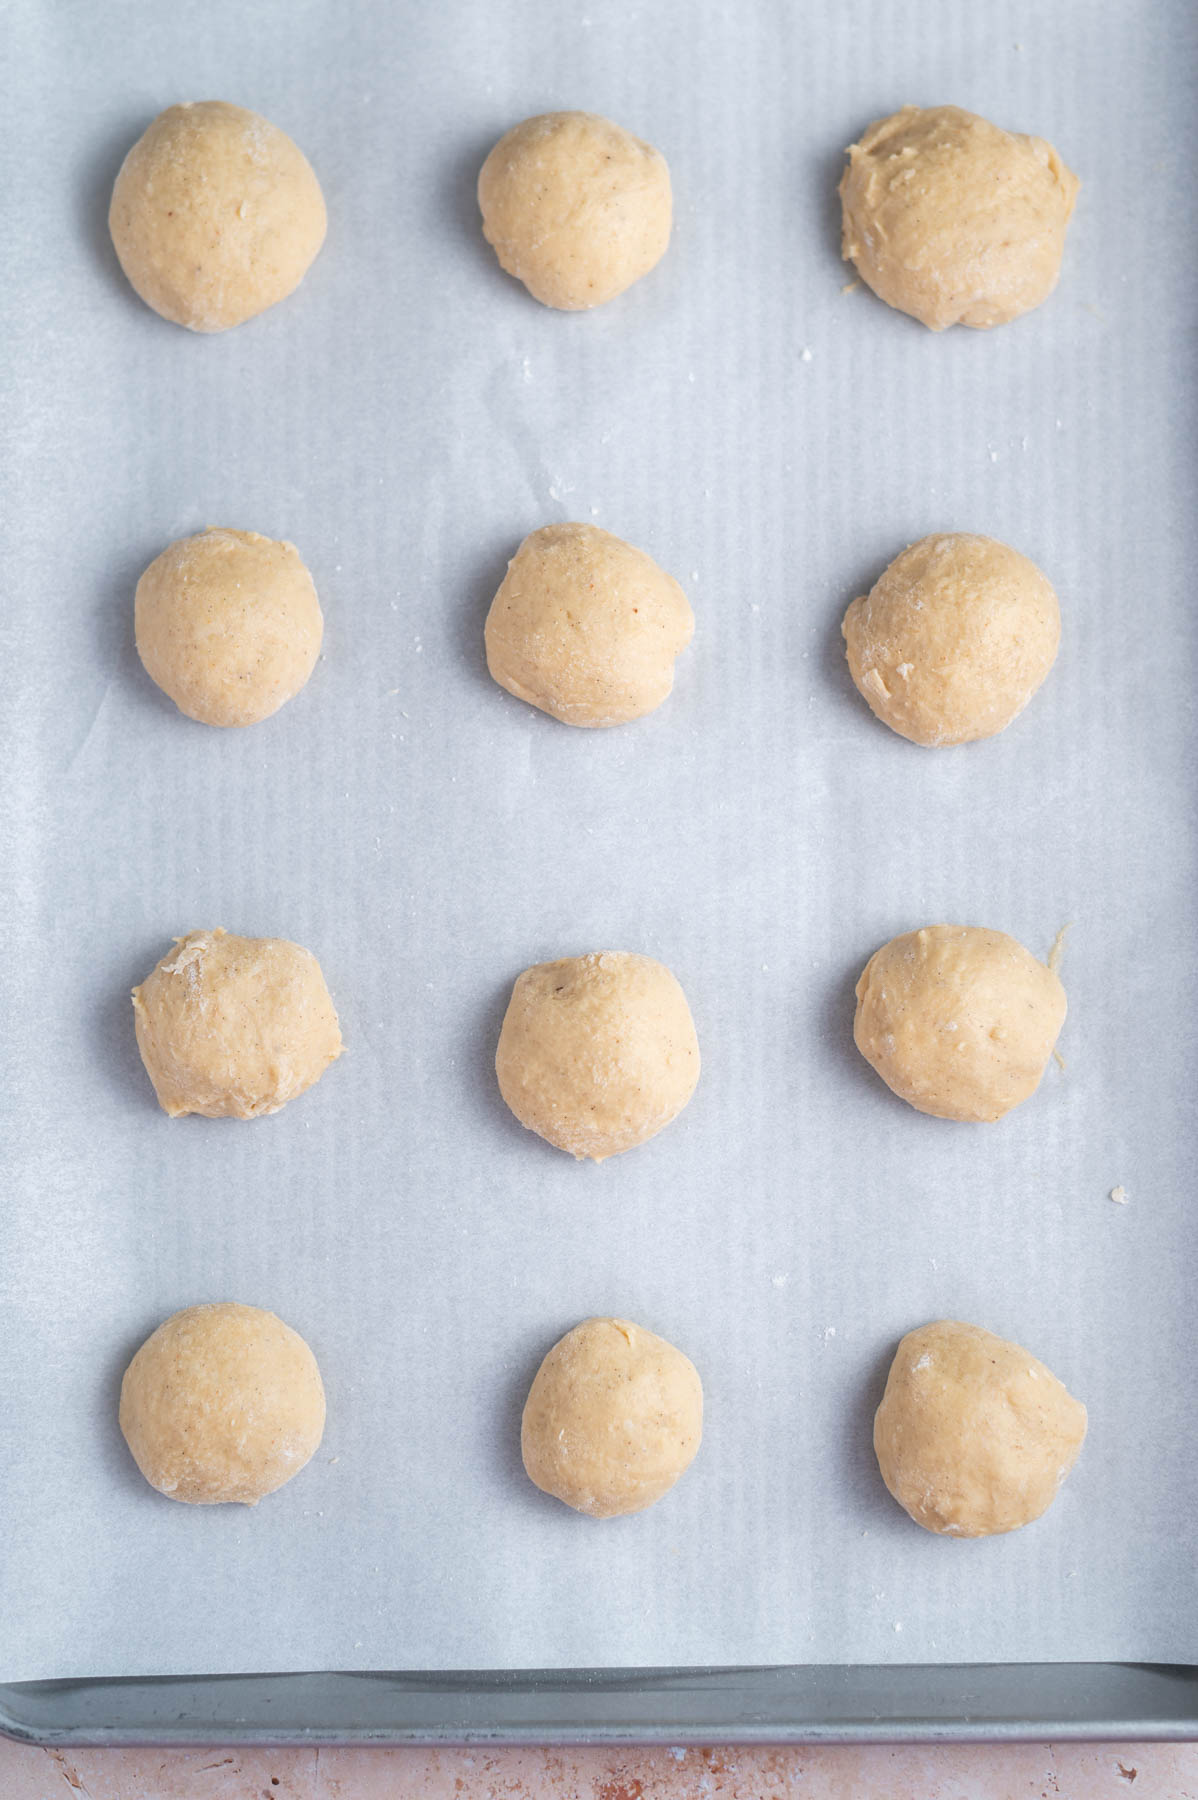
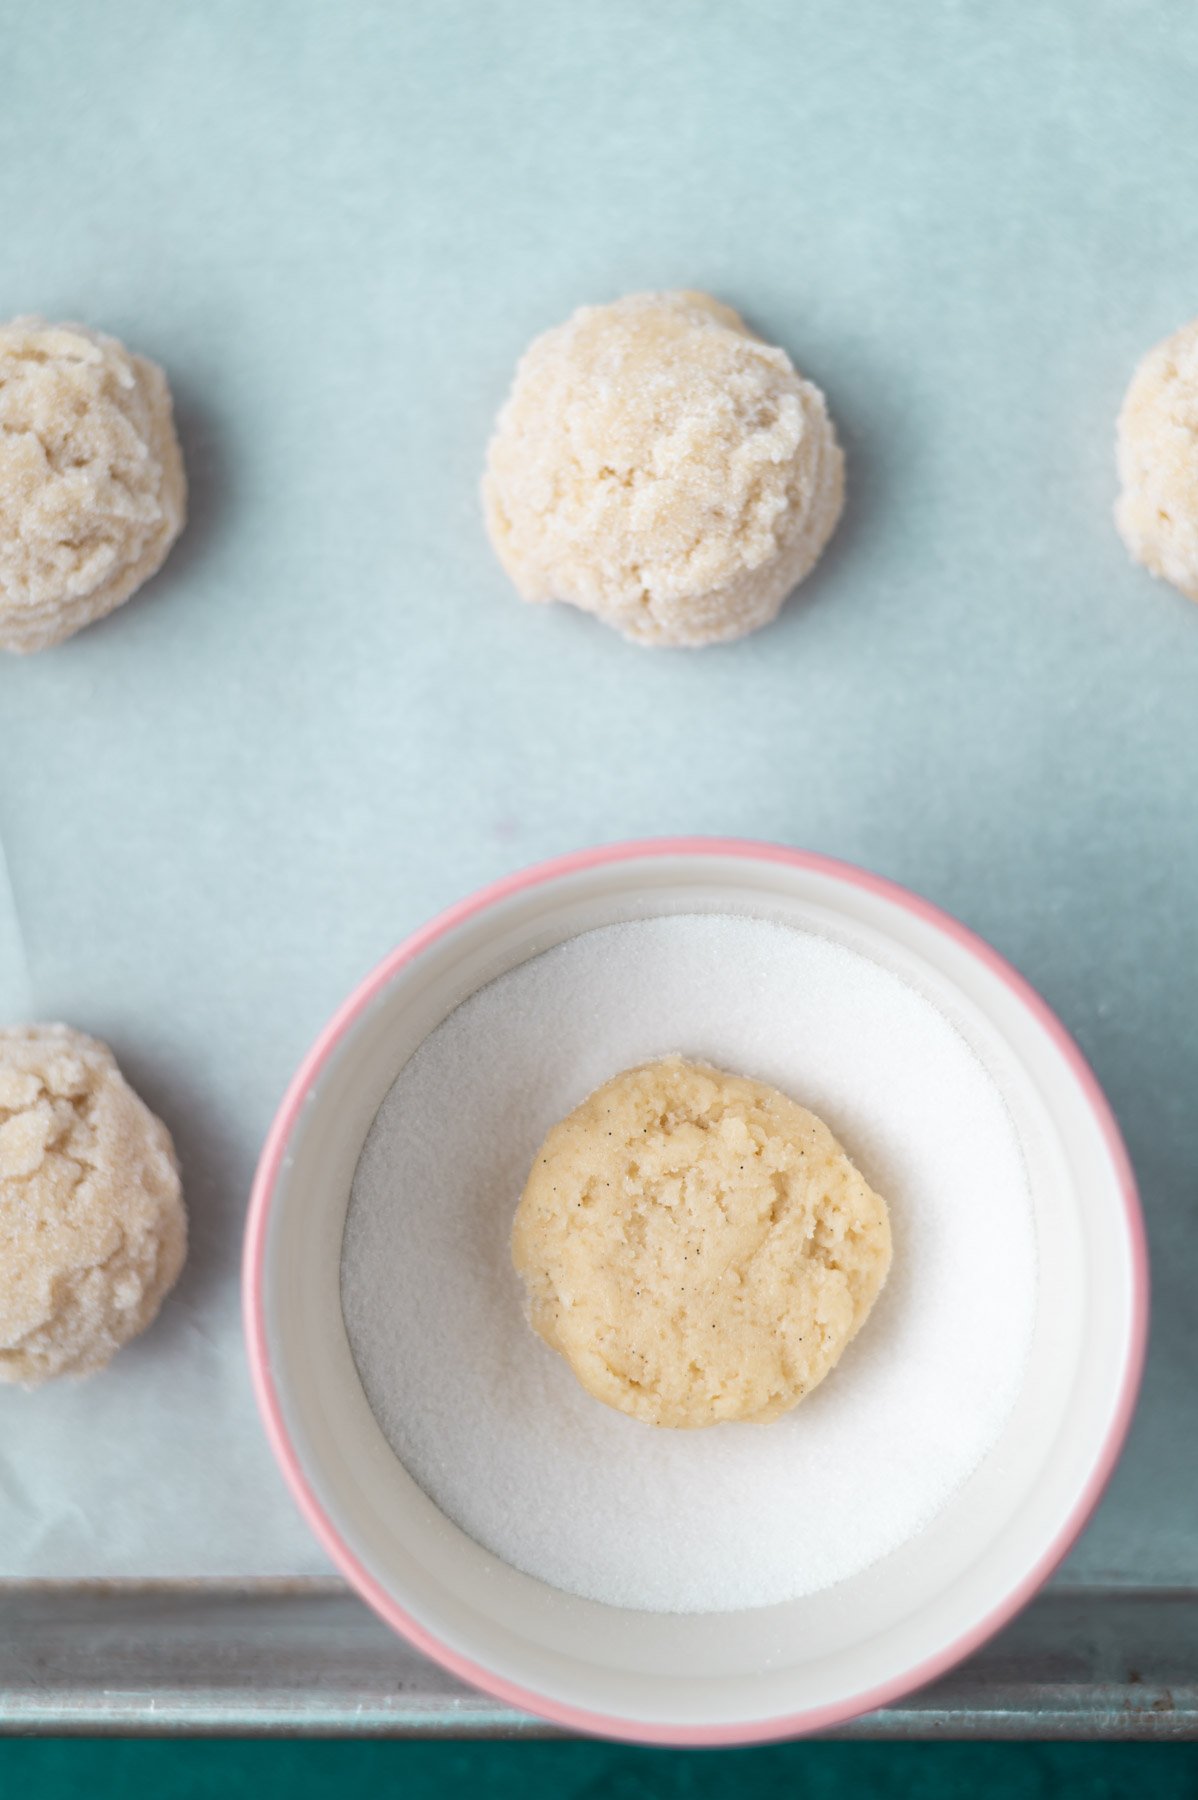
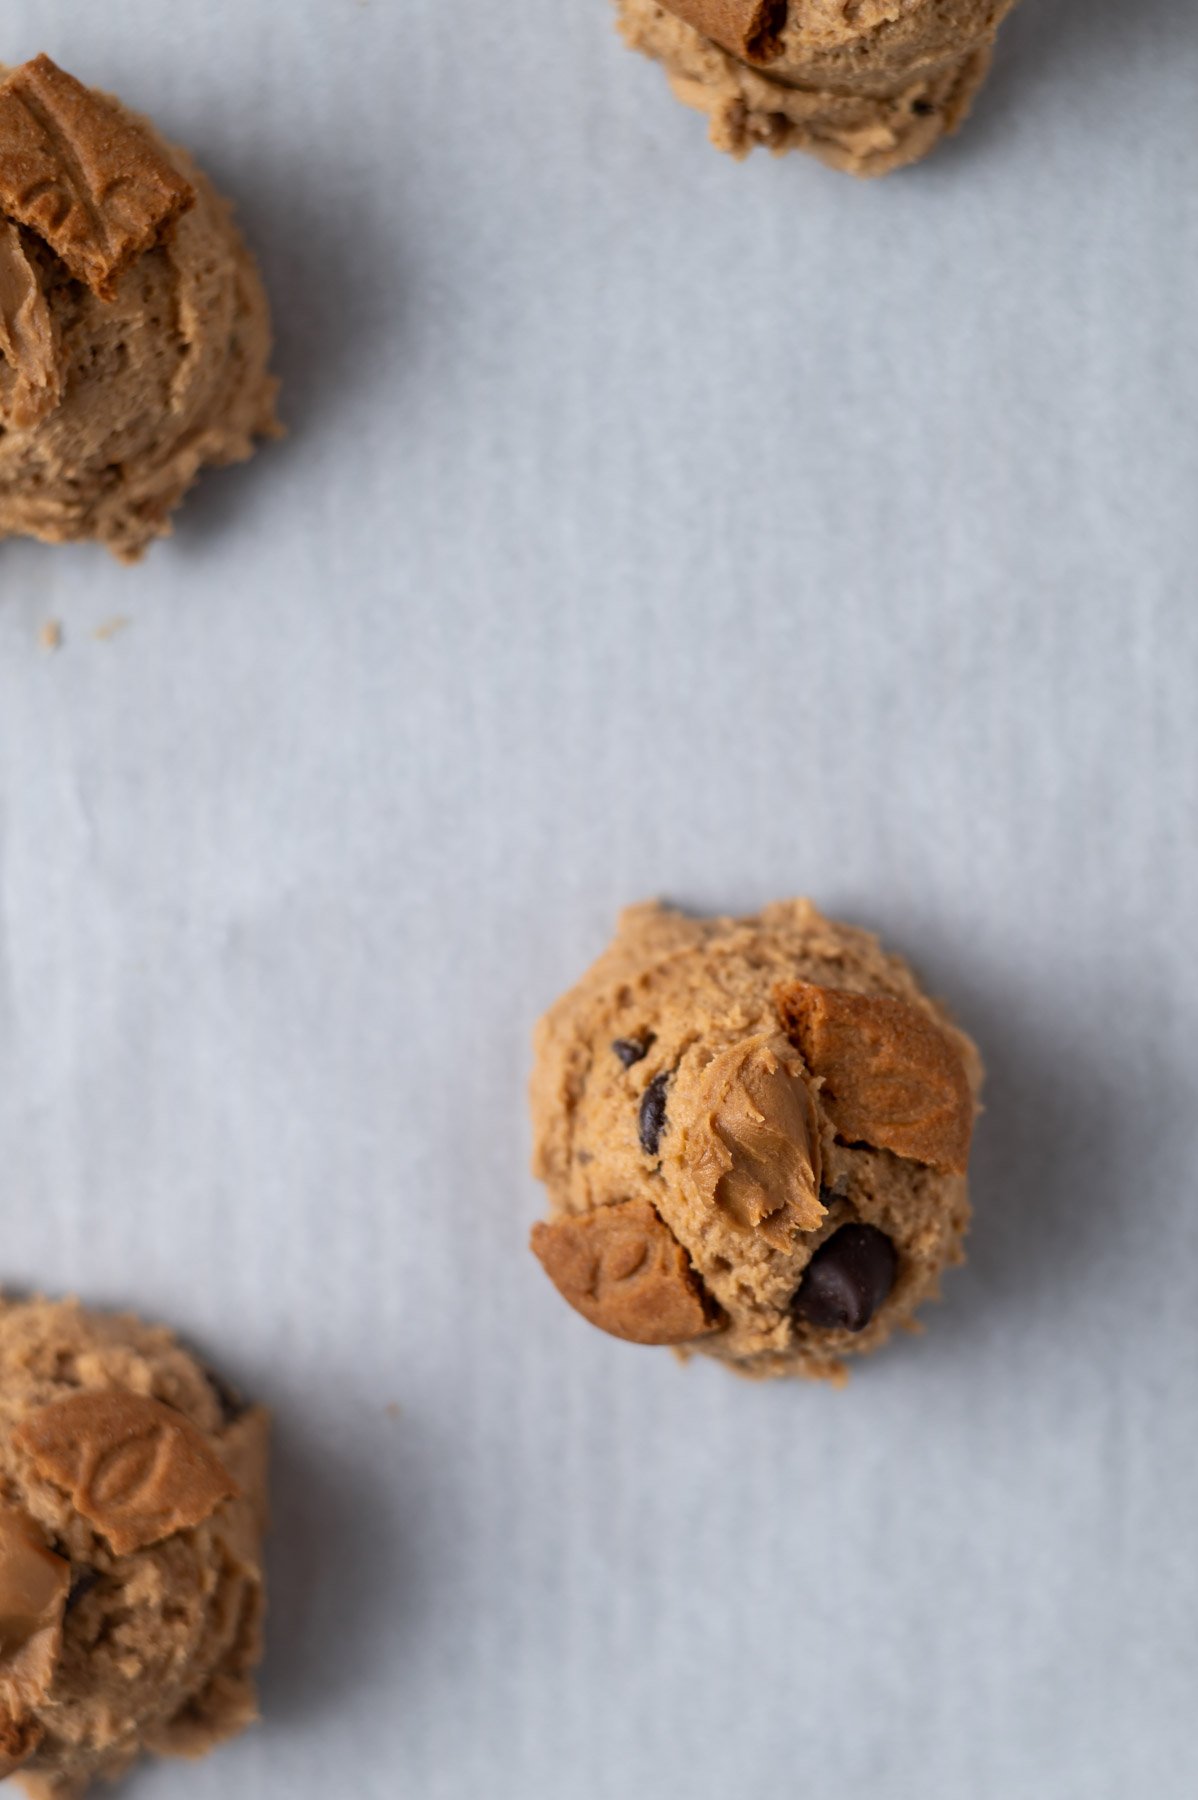
Divide the dough evenly between the 12 wells in the muffin tin. I find ¼ cup scoop works well. The batter is stiff and looks mounded in the wells.
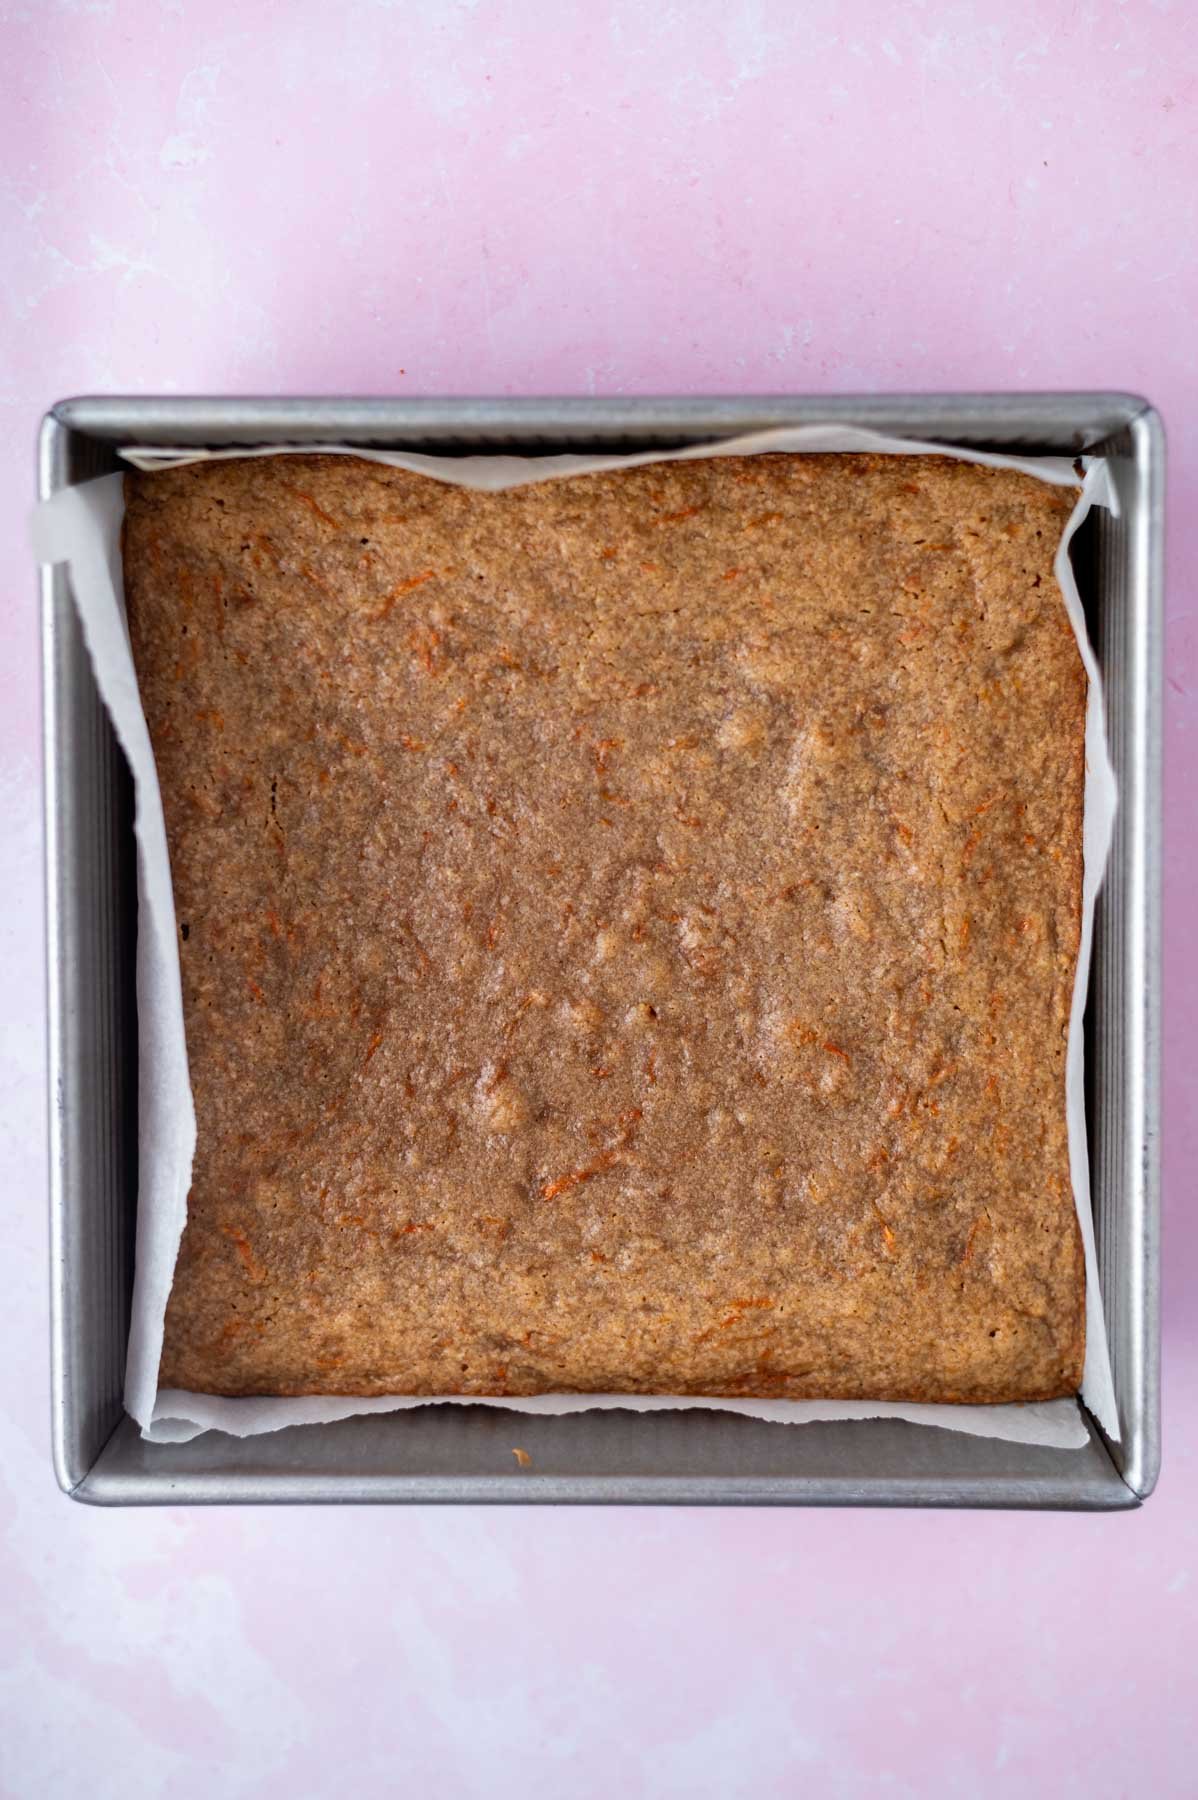
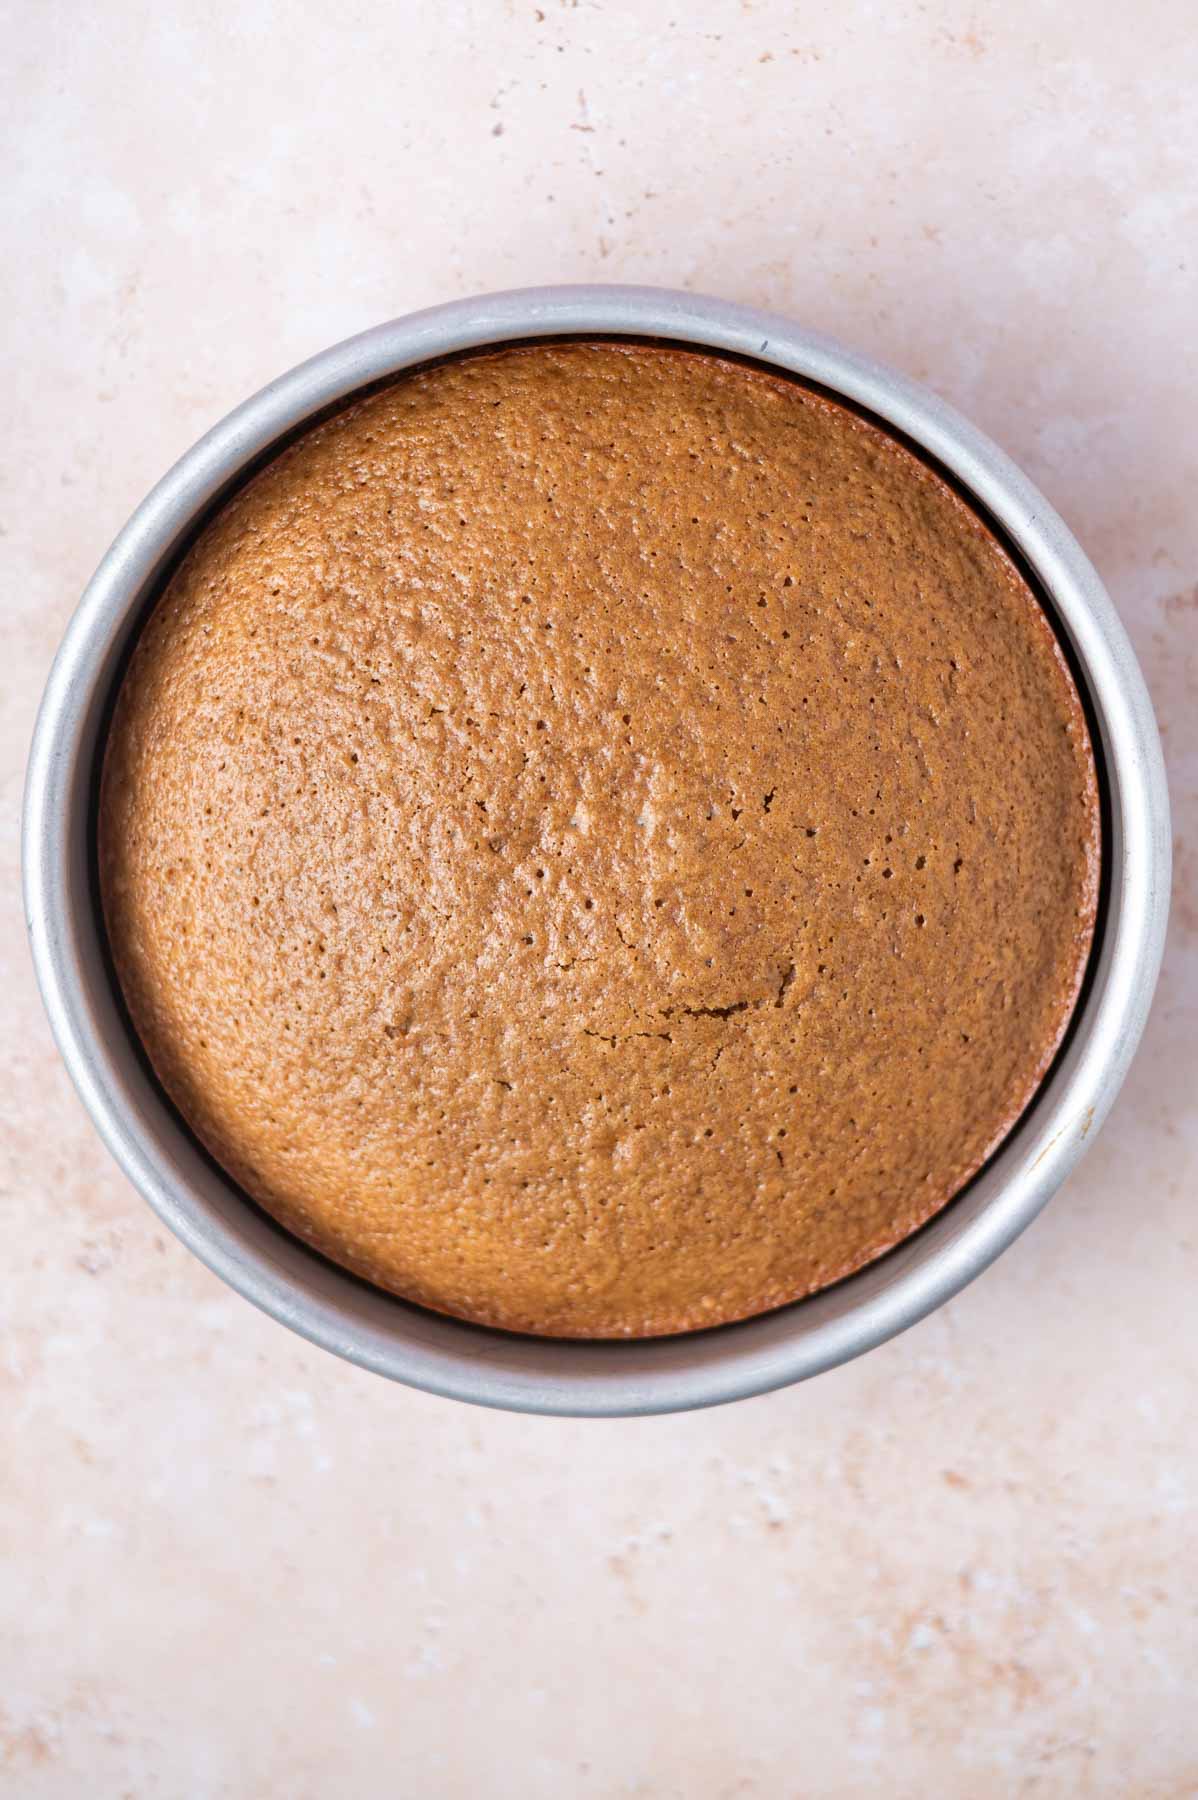
Bake in the preheated oven until light brown and crusty on top and a toothpick comes out with just a few moist crumbs, about 15-20 minutes. Allow to cool for 5 minutes, then turn the muffins out onto a wire rack to cool completely.
👩🏻🍳 make these Irish soda bread muffins your own
Add up to 1 cup of currants, raisins or craisins.
For caraway seeds, use ½ to 1 teaspoon.
If you’d like a sweeter version, mini chocolate chips would be a delicious addition. Start with ½ cup and adjust to your liking.
🫙 how to store
Store any leftover Irish soda bread muffins in an airtight container at room temperature for up to three days.
The muffins can also be frozen for up to three months in an airtight container.
Remember to snap a picture and tag me @twosugarbugs on Instagram if you make these Quick and Easy Irish Soda Bread Muffins. It warms my heart to see you bring these recipes to life! Thank you for being here and happy baking!
If you make this recipe {or any recipe!} from two sugar bugs please come back and leave a review and a ⭐️⭐️⭐️⭐️⭐️ star rating. I read every comment, and I LOVE hearing from you!
📖 recipe
Quick and Easy Irish Soda Bread Muffins
Ingredients
- 1 ½ cups cottage cheese blended until smooth* (339g)
- ¼ cup milk** (60mL)
- 2 ¼ cups bread flour (292g)
- ½ cup quick oats (45g)
- ¼ cup wheat bran (15g)
- ¼ cup granulated sugar (50g)
- 1 ½ teaspoons baking soda
- 1 teaspoon kosher salt
- ¼ cup unsalted butter cold and chopped in small pieces (56g)
Instructions
- Preheat oven to 400°F and place paper liners in a 12 well muffin tin or grease each well.
- Blend the cottage cheese (1 ½ cups/339g) and milk (¼ cup/60mL) until smooth and creamy.
- In a medium bowl whisk together the bread flour (2 ¼ cups/292g), quick oats (½ cup/45g), wheat bran (¼ cup/15g), granulated sugar (¼ cup/50g) and kosher salt (1 teaspoon).
- Now use your clean fingers to work the cold and chopped butter (¼ cup/56g) into the dry mixture until it resembles coarse meal.
- Then add the cottage cheese and milk mixture to the dry ingredients and mix as evenly as possible, forming a rough dough. Try not to over work the dough. It will be thick, sticky and a bit shaggy.
- Divide the dough evenly between the 12 wells in the muffin tin. I find ¼ cup scoop works well. The batter is stiff and looks mounded in the wells.
- Bake in the preheated oven until light brown and crusty on top and a toothpick comes out with just a few moist crumbs, about 15-20 minutes.
- Allow to cool for 5 minutes, then turn the muffins out onto a wire rack to cool completely.
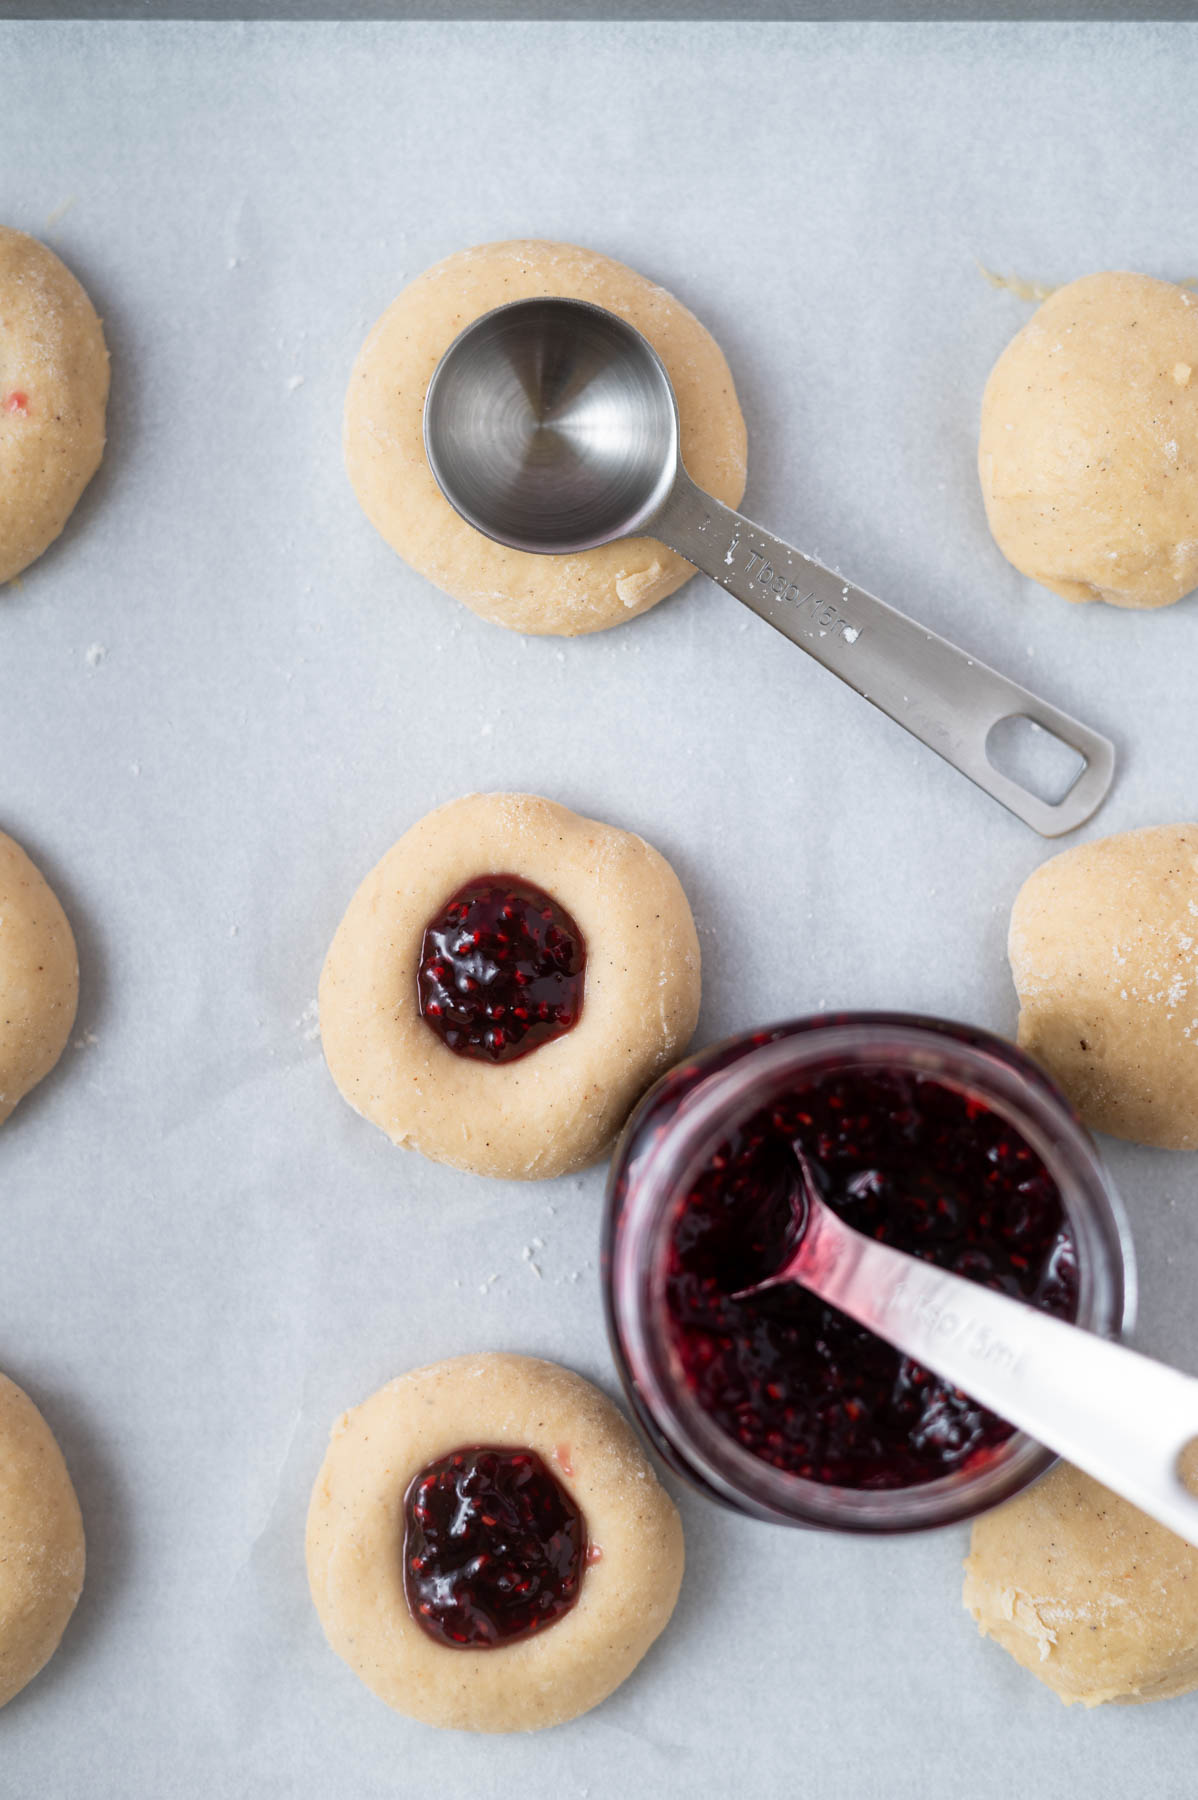
- Serve plain, with butter, honey or jam.