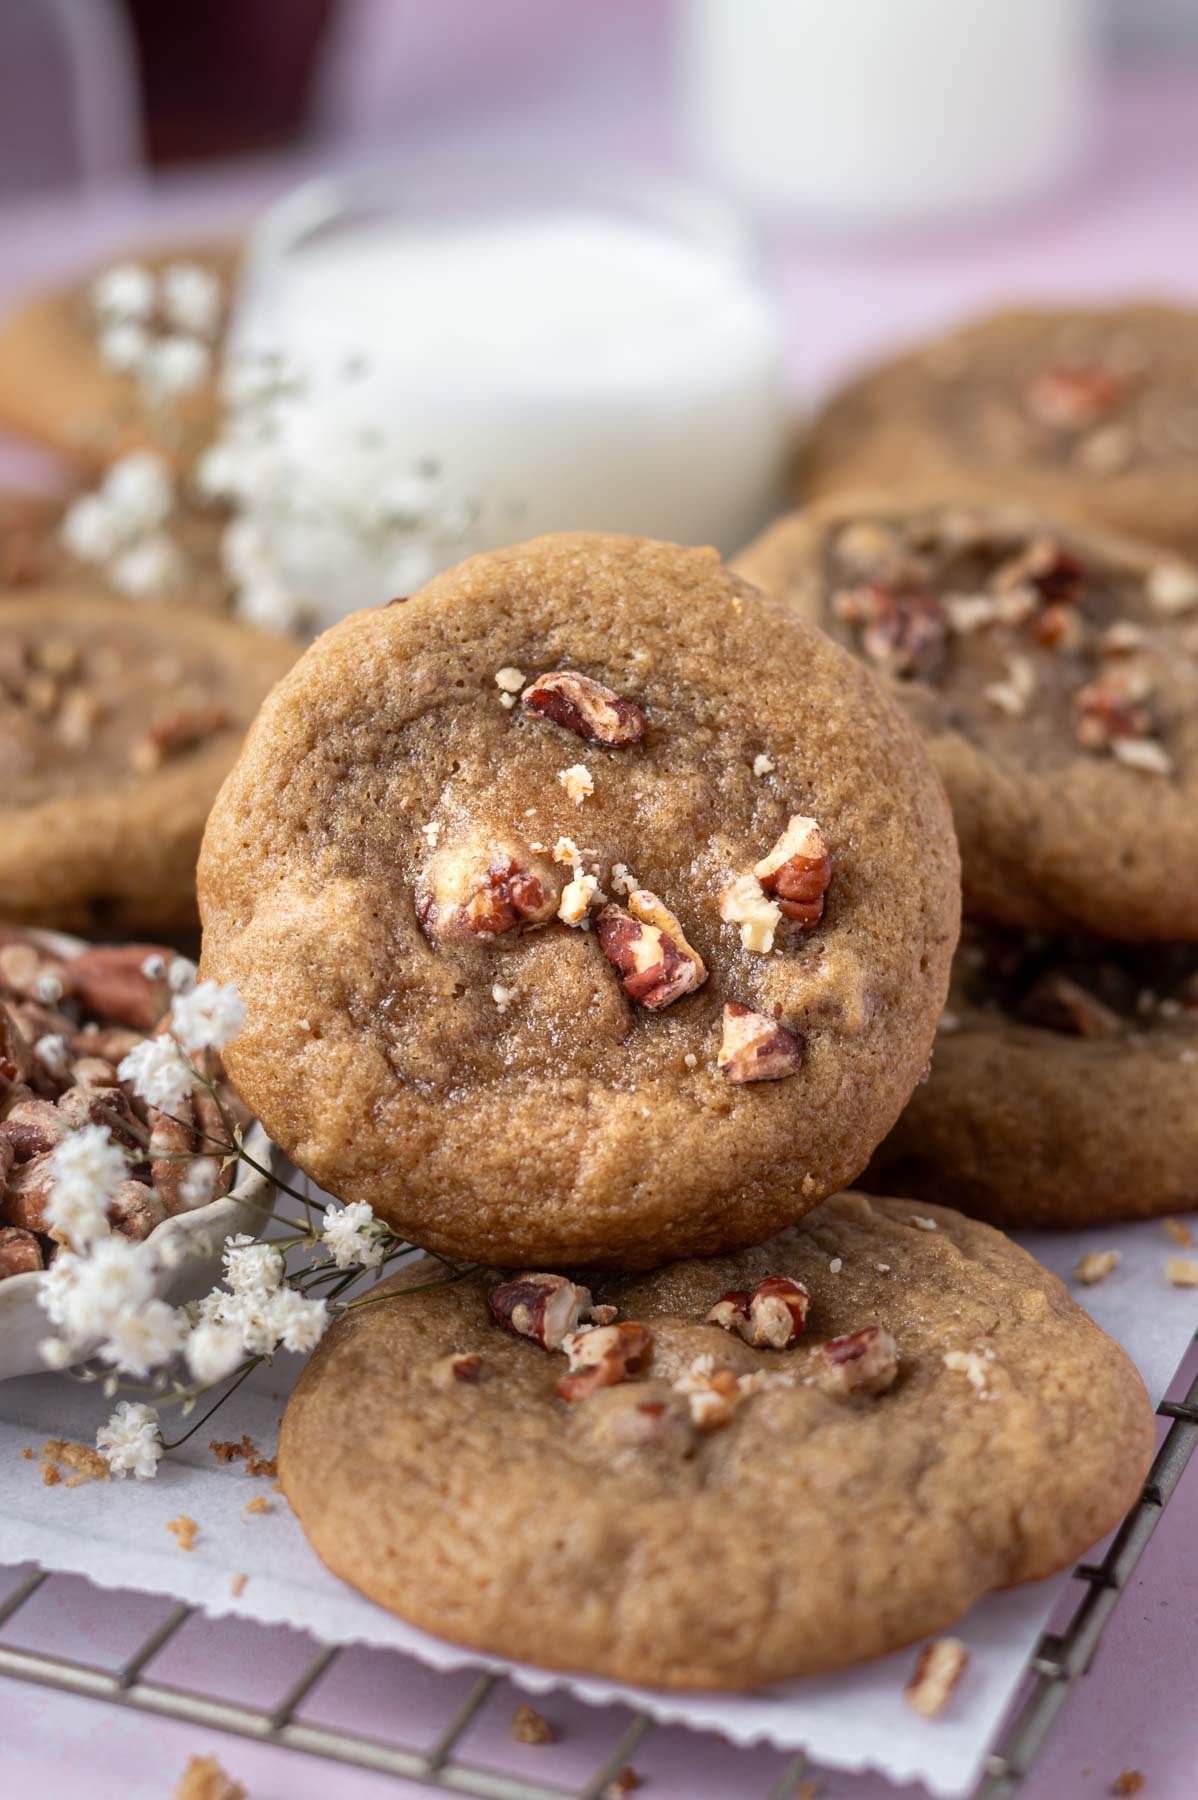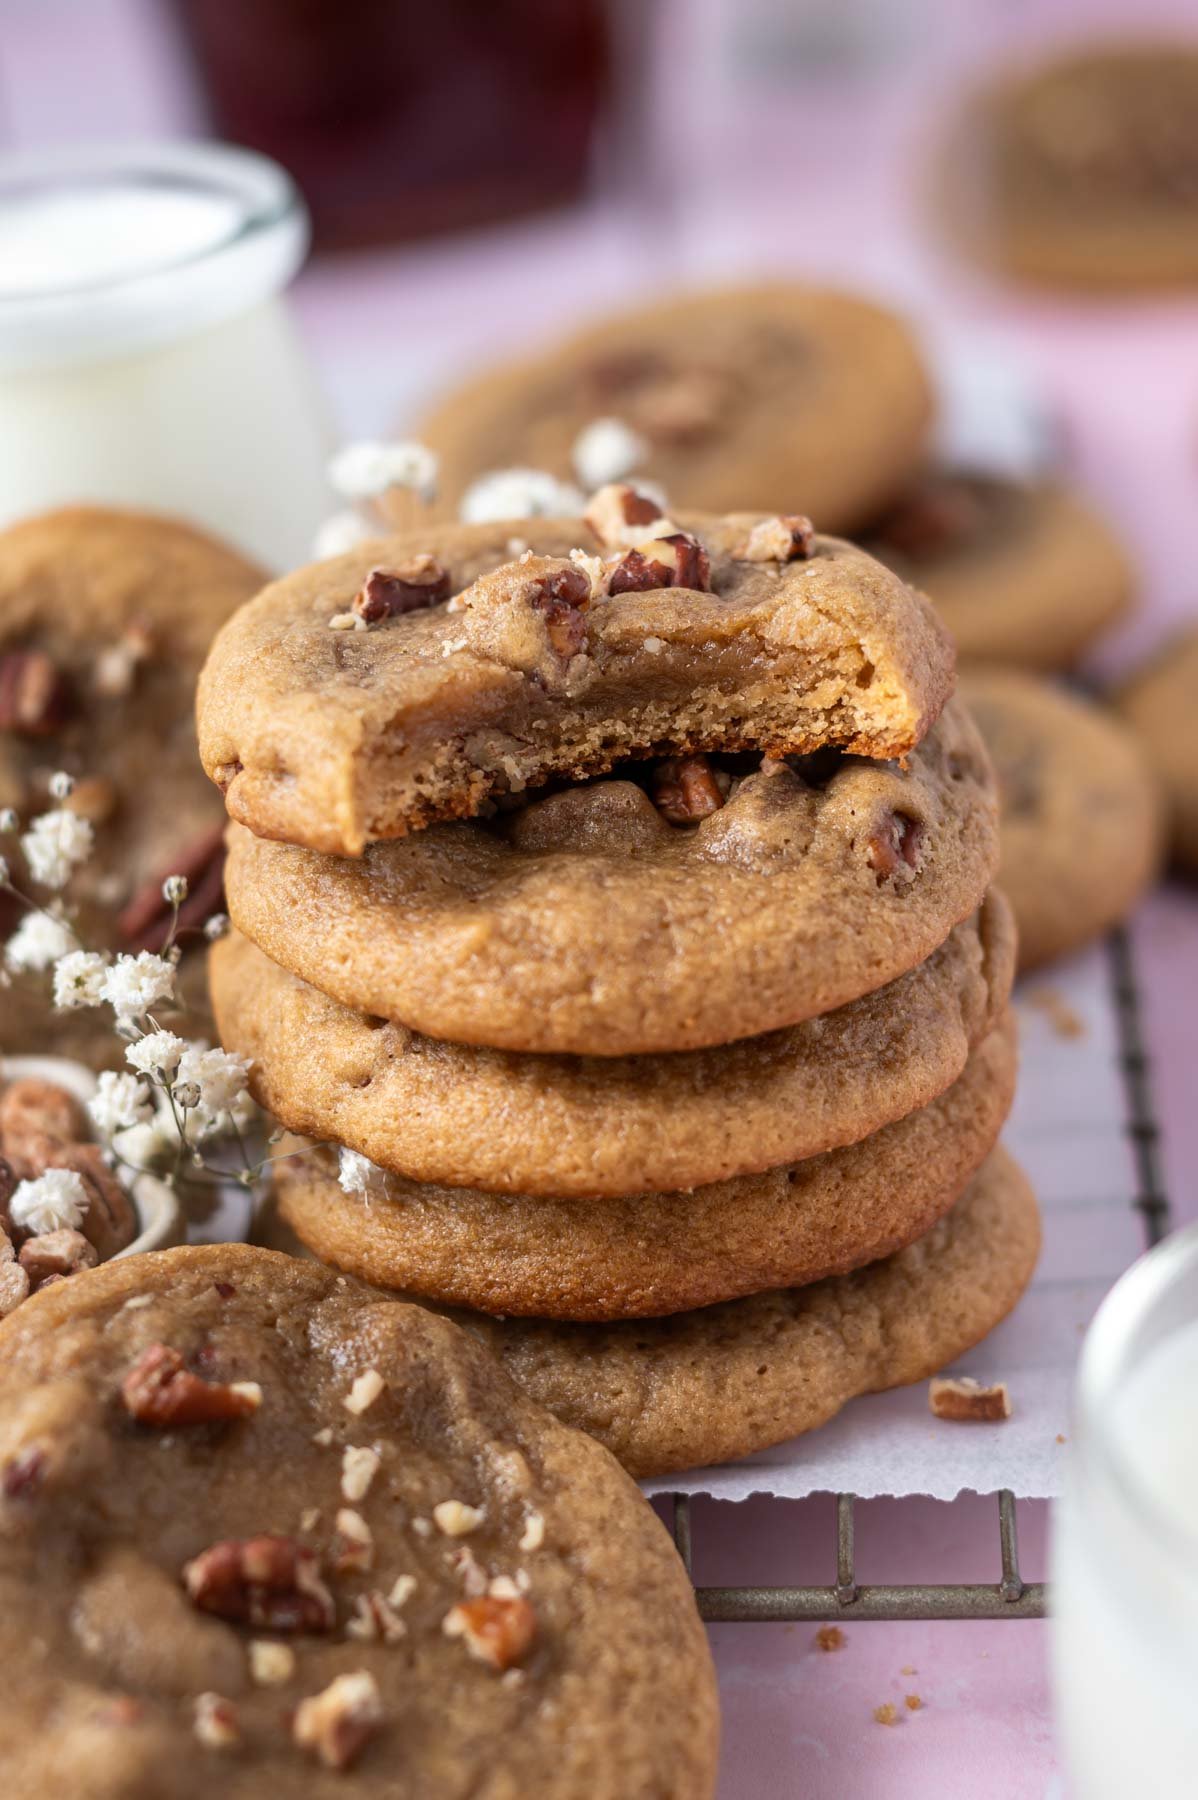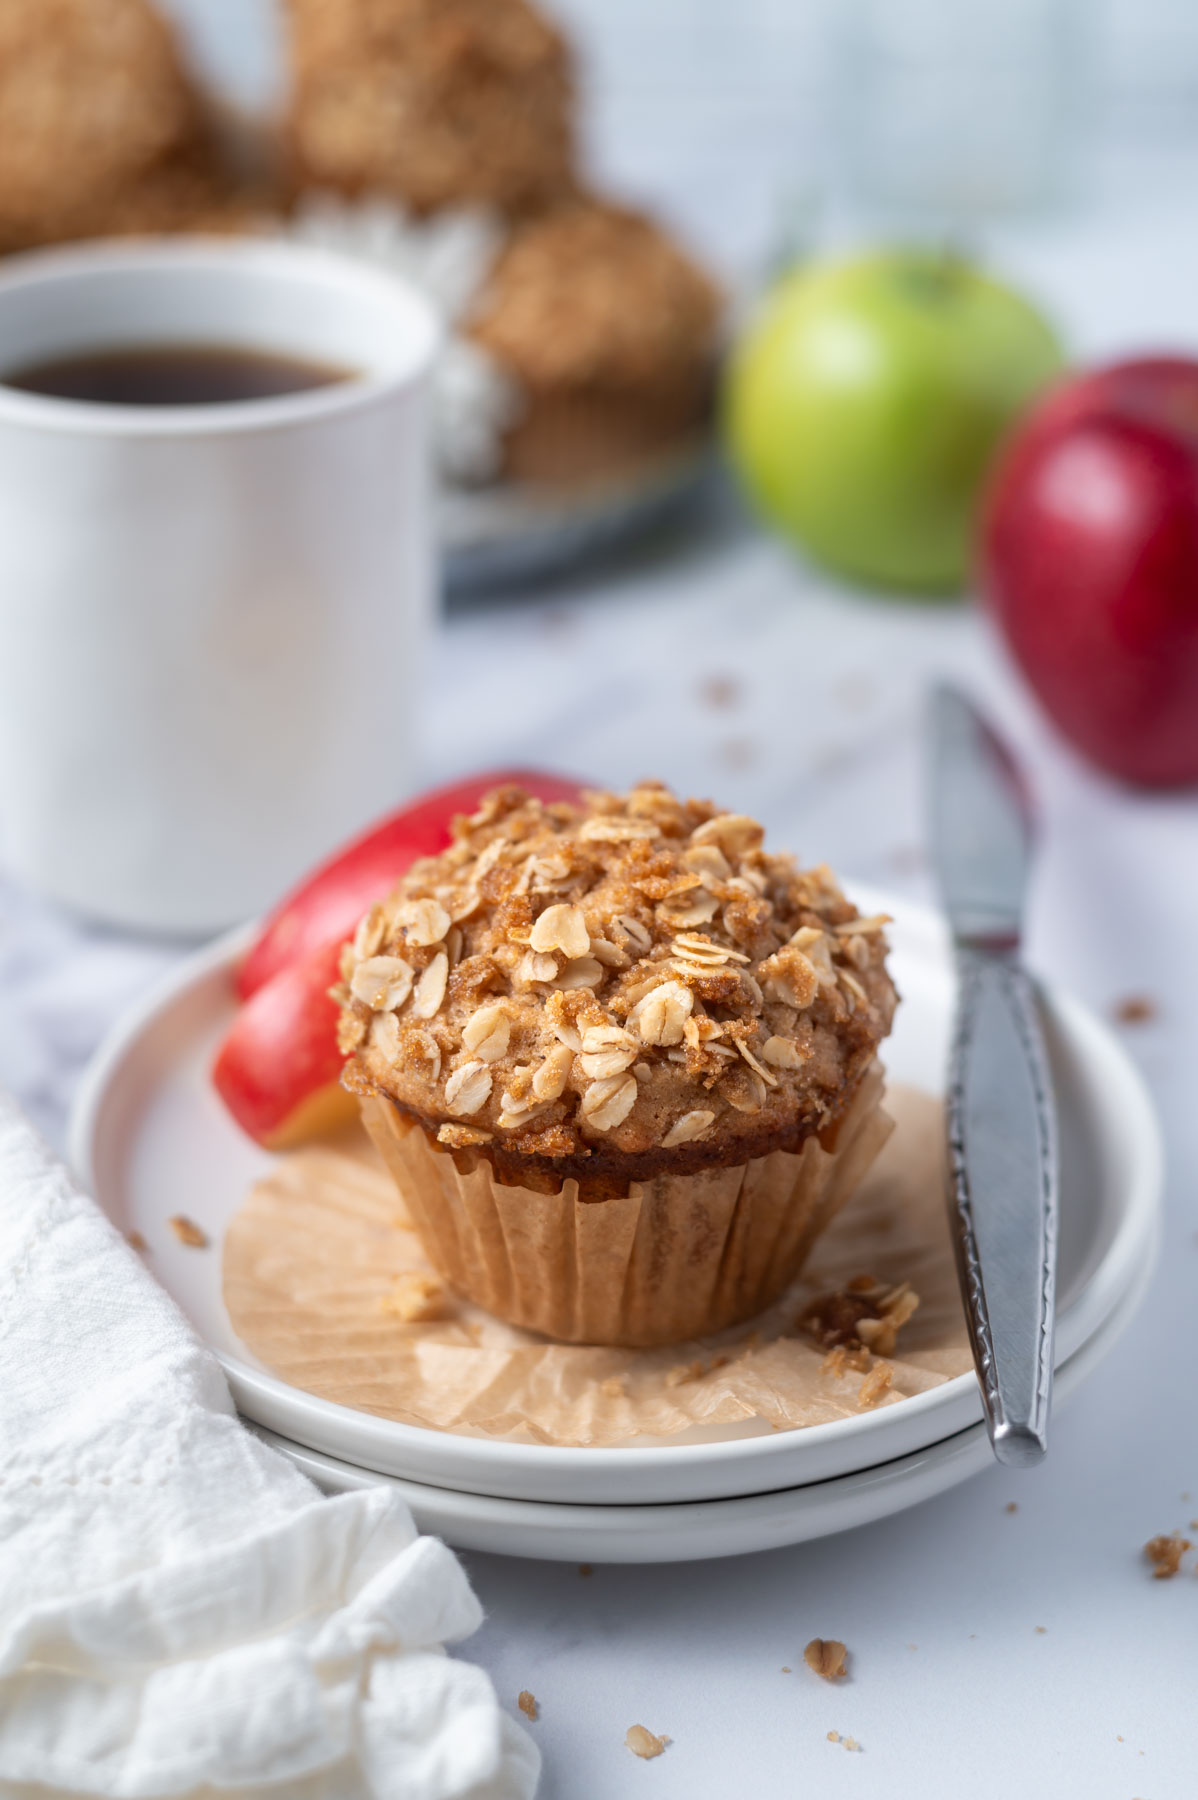
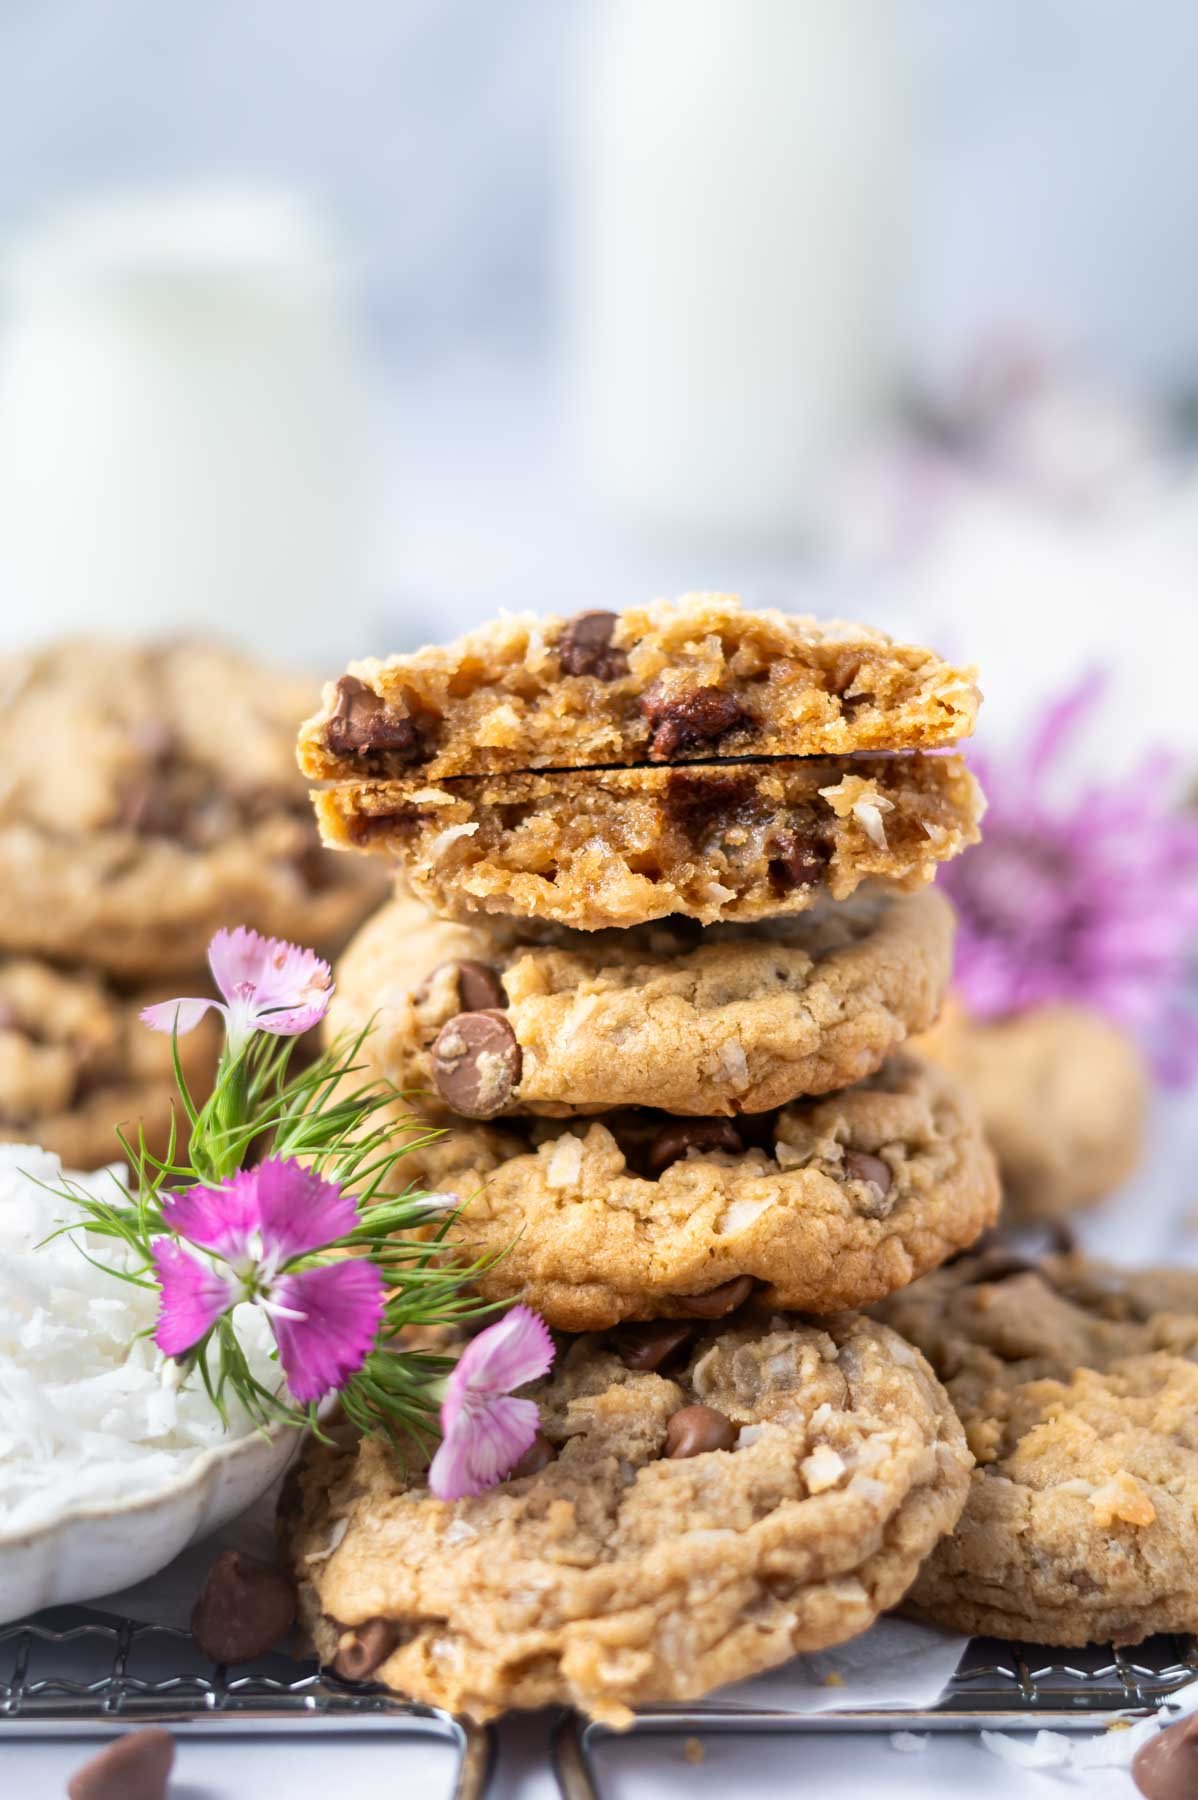
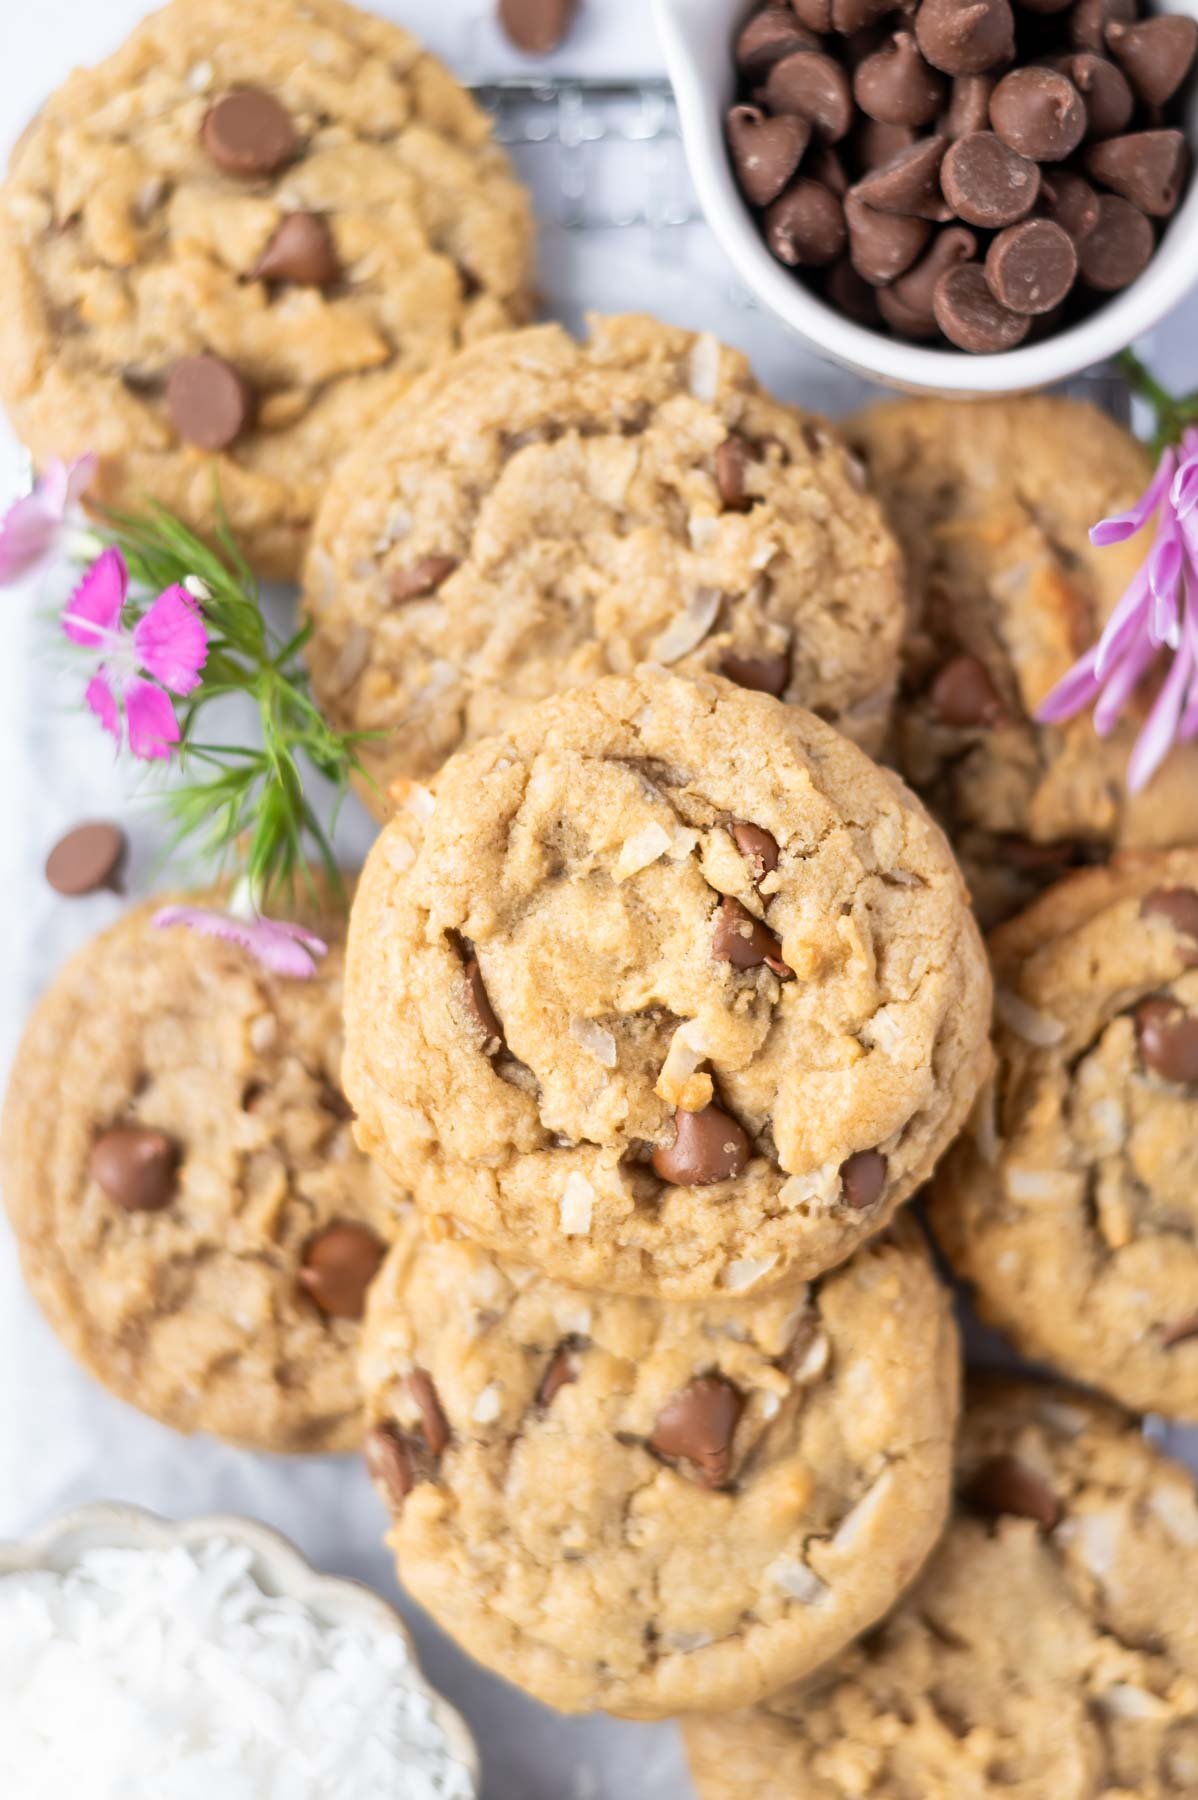
This simple coconut chocolate chip cookies recipe uses melted butter, is mixed in one bowl and needs no chill time. You’ll be rewarded with soft and chewy cookies loaded with sweet coconut and melty chocolate.
Disclosure | This post may contain affiliate links. As an Amazon Associate I earn from qualifying purchases.
Coconut is a well loved ingredient in the two sugar bugs household. Coconut cake is my birthday request every year and coconut cream pie has been known to be our Easter dessert. It only seemed fitting to combine coconut with the classic chocolate chip cookie!
As a self diagnosed cookie monster, with decades of cookie baking in my back pocket, I adore a quick and easy drop cookie recipe! This is a no mixer needed, uses melted butter recipe, which makes these coconut chocolate chip cookies simple to make.
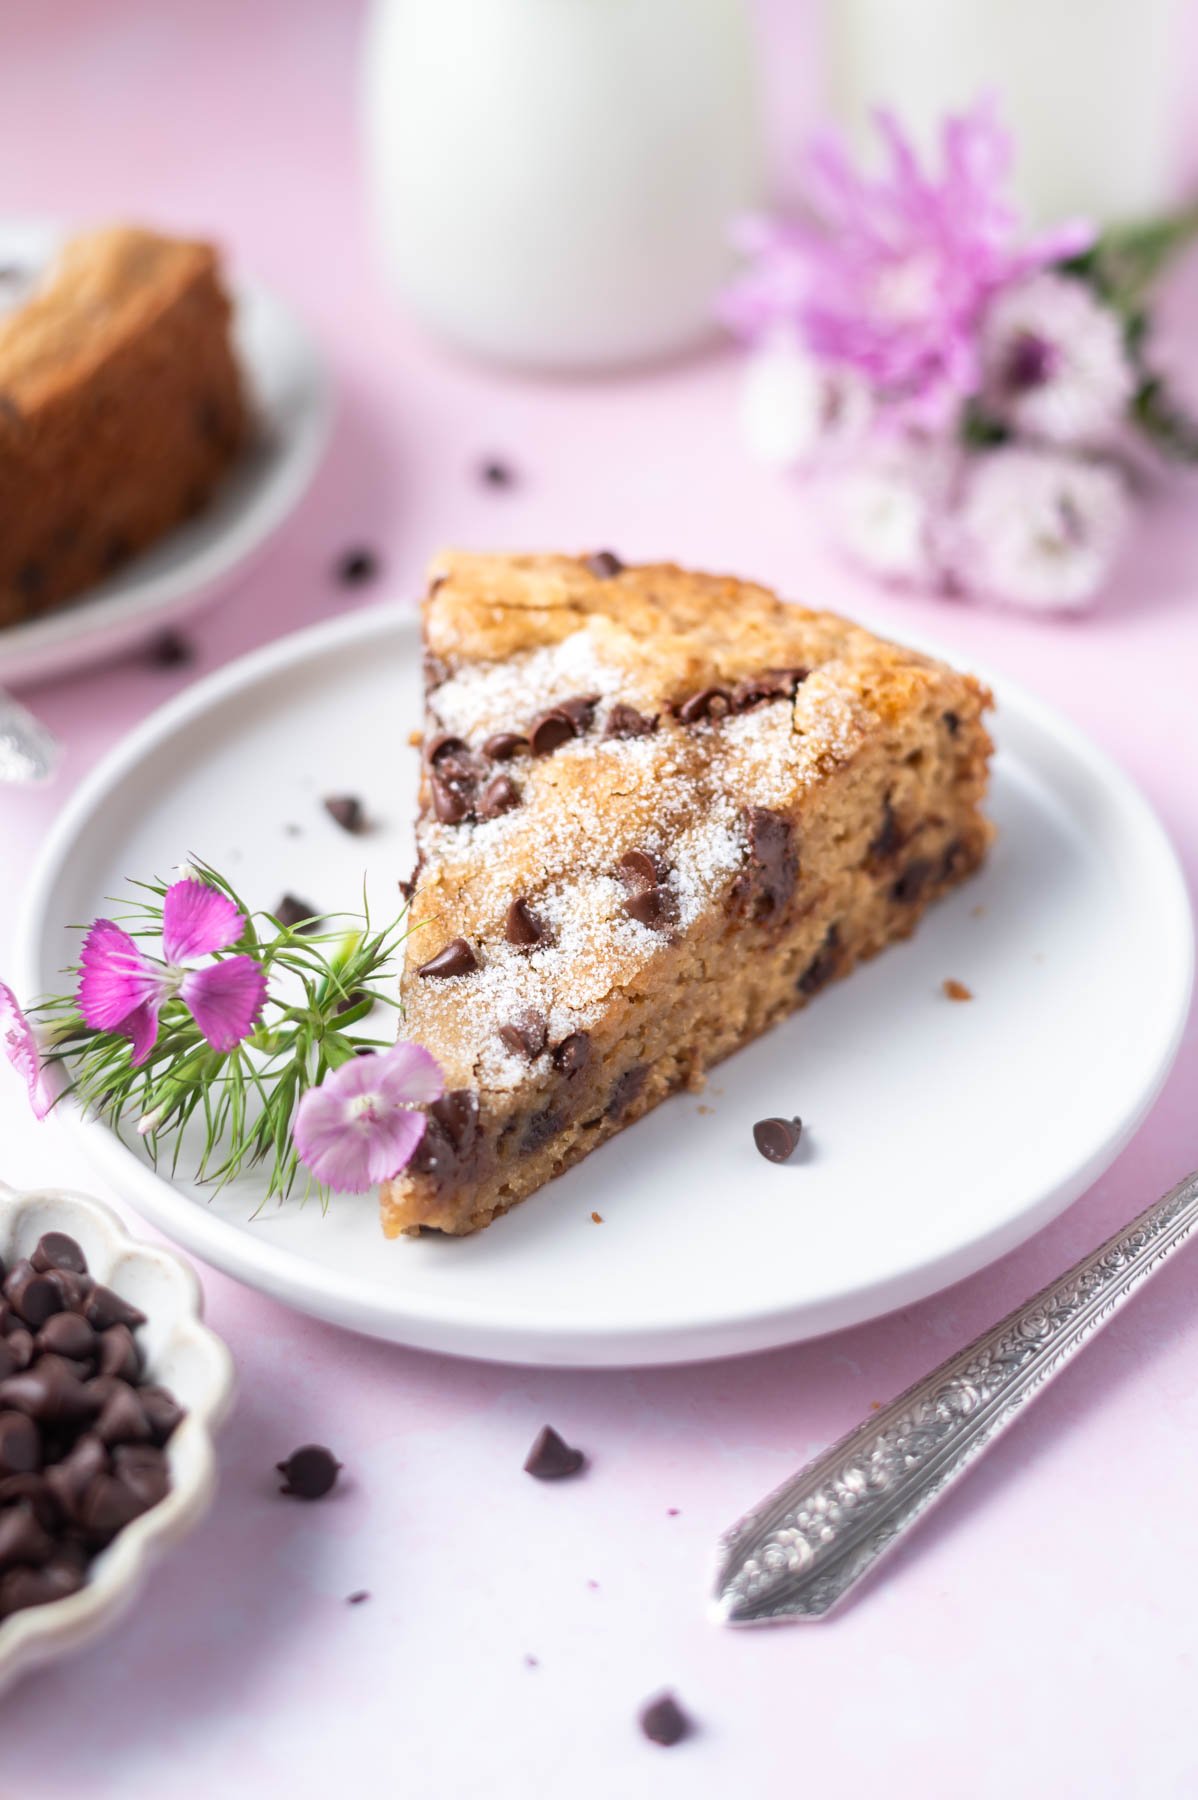
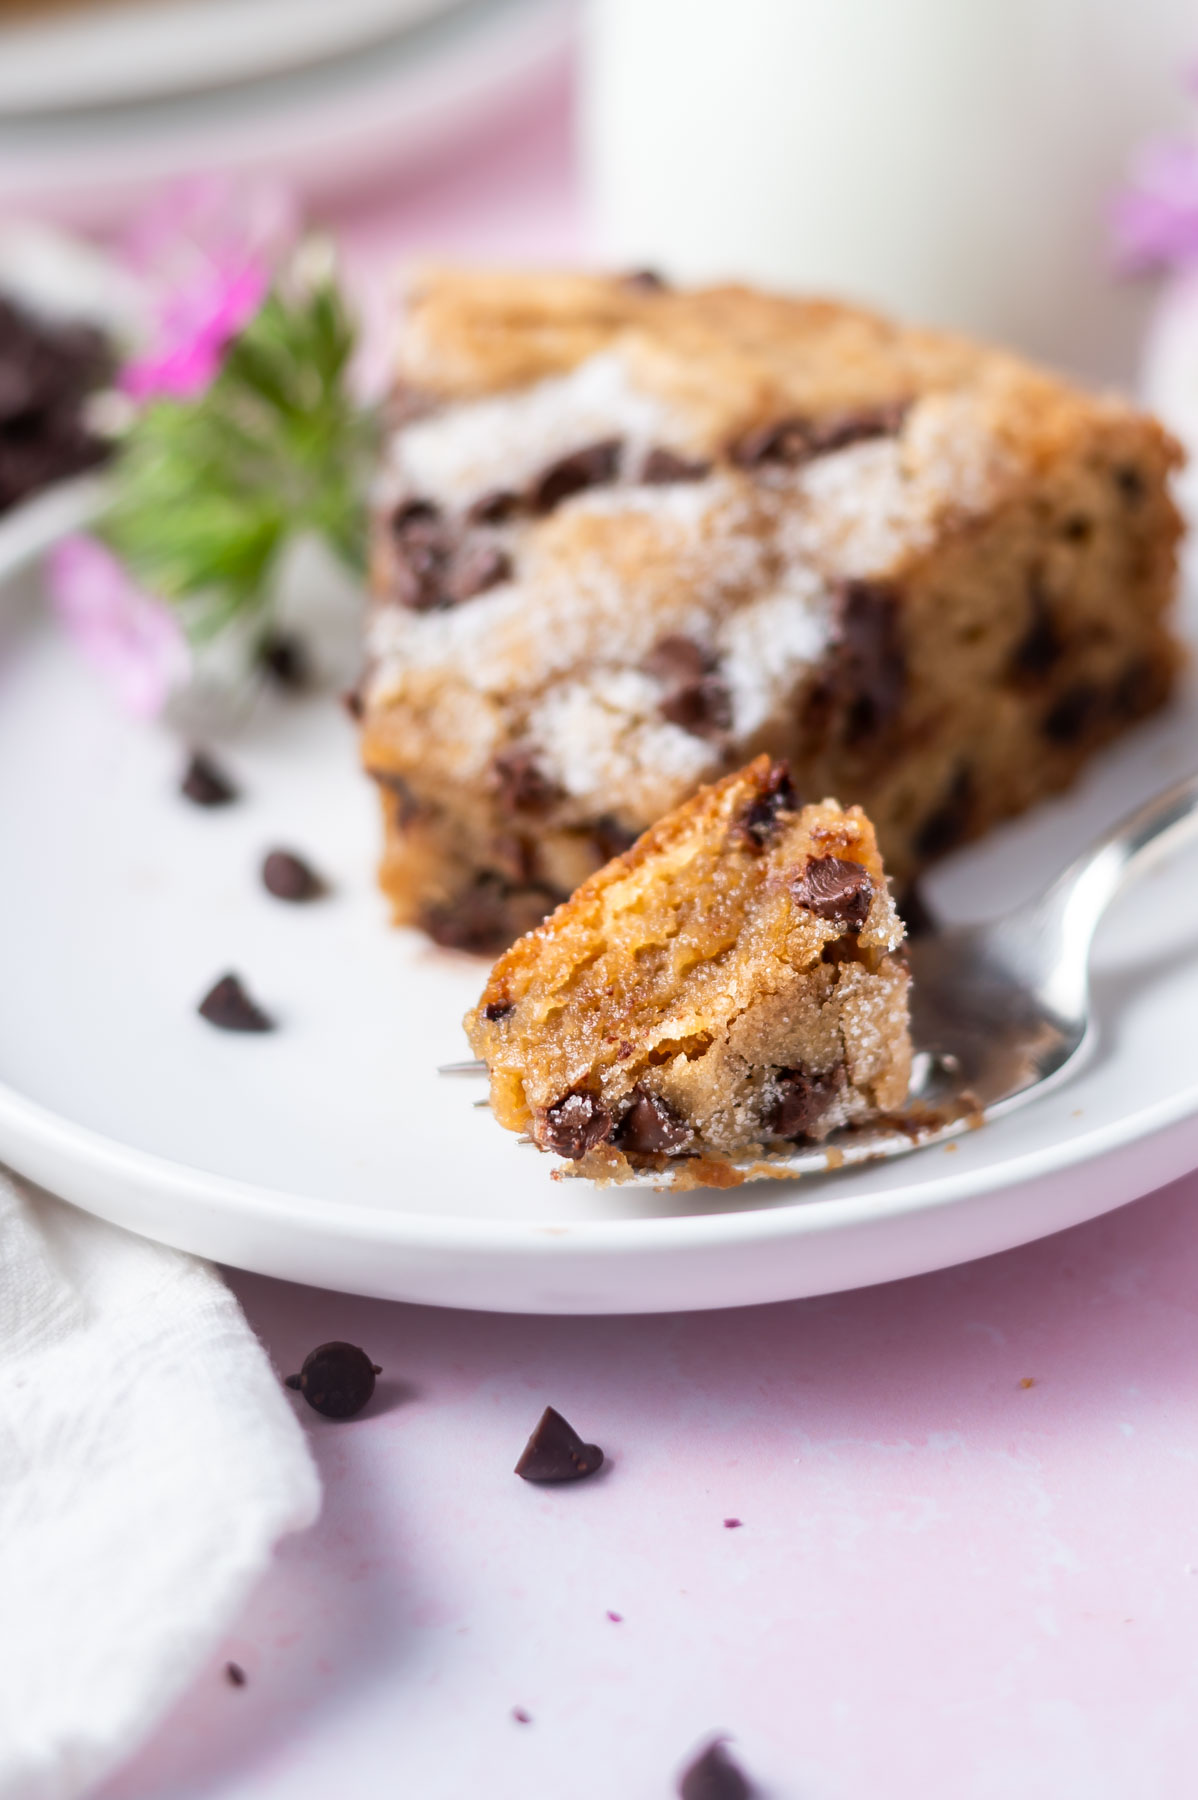
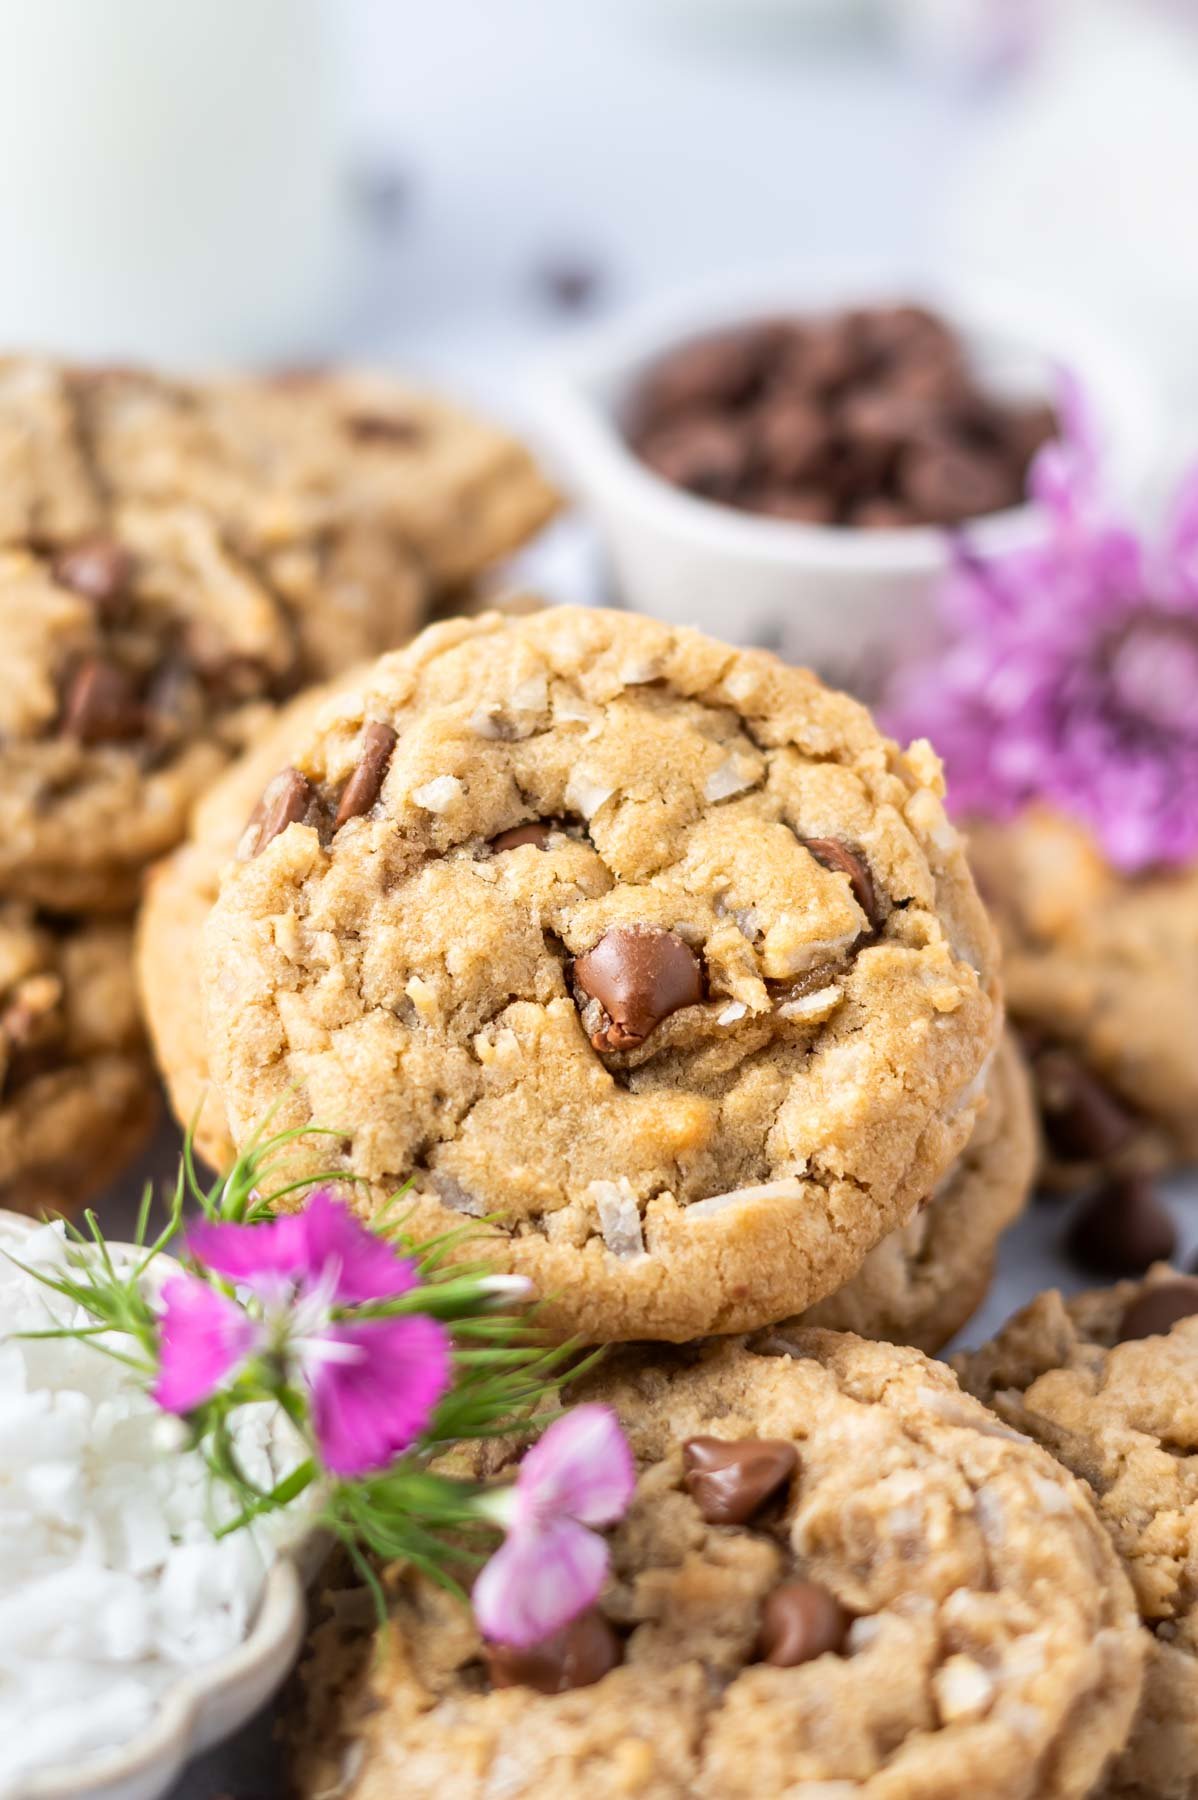
The texture of these chocolate chip cookies is soft with a chewy center and they have a rich and sweet flavor, much like my white chocolate coconut cookies, coconut sugar cookies and lemon coconut cookies. If you happen to like oatmeal in your cookies, try these coconut oatmeal cookies.
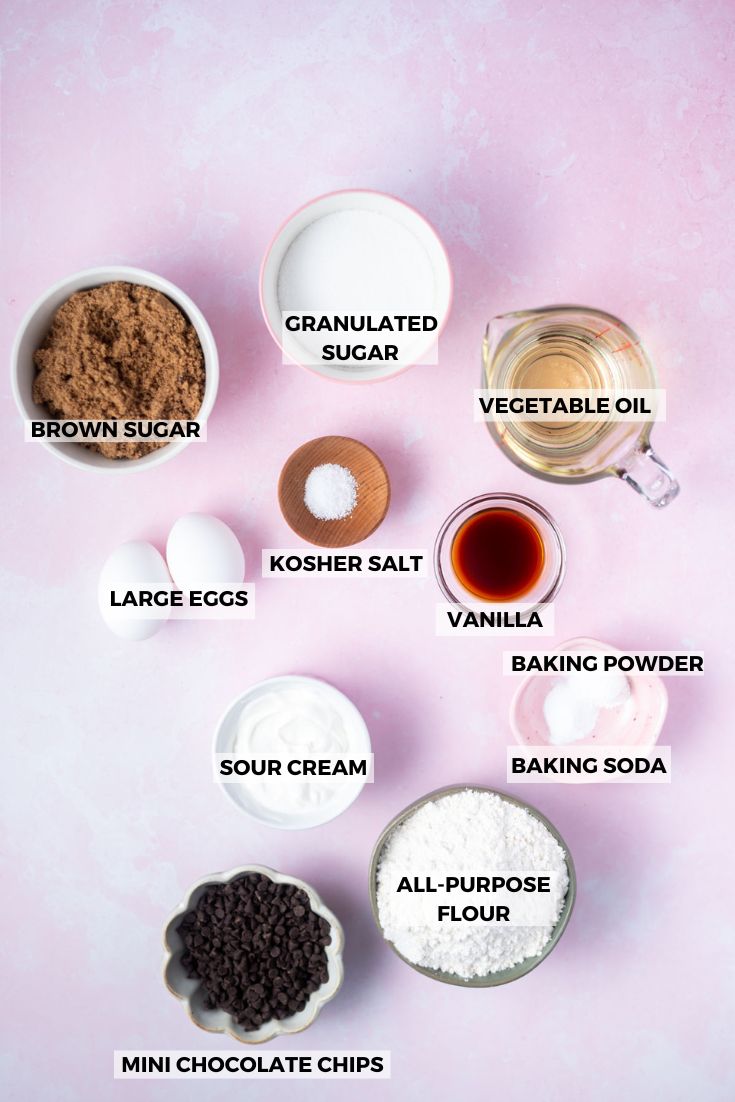
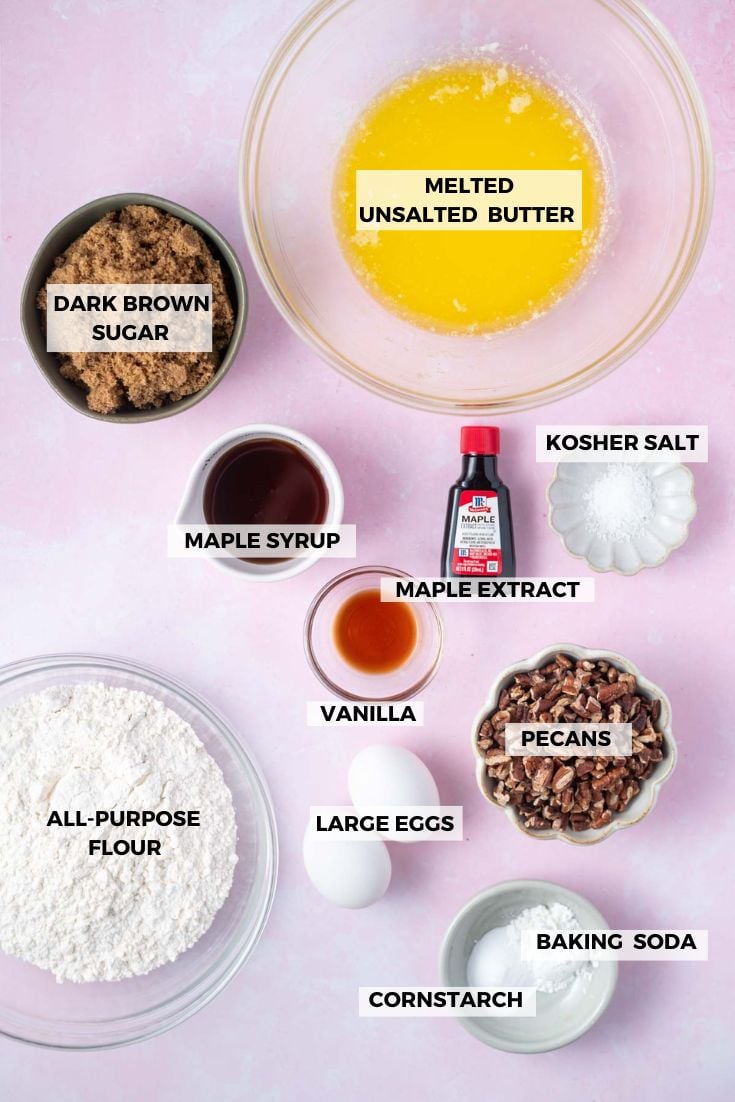
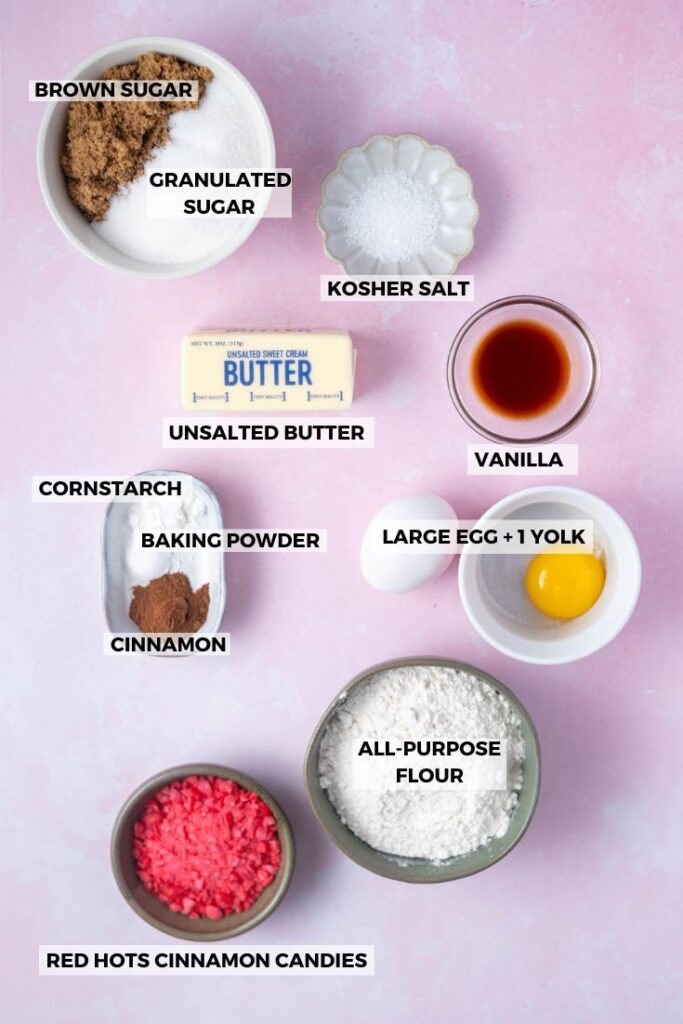
[feast_advanced_jump_to]🍪 ingredients that make the best homemade cookies
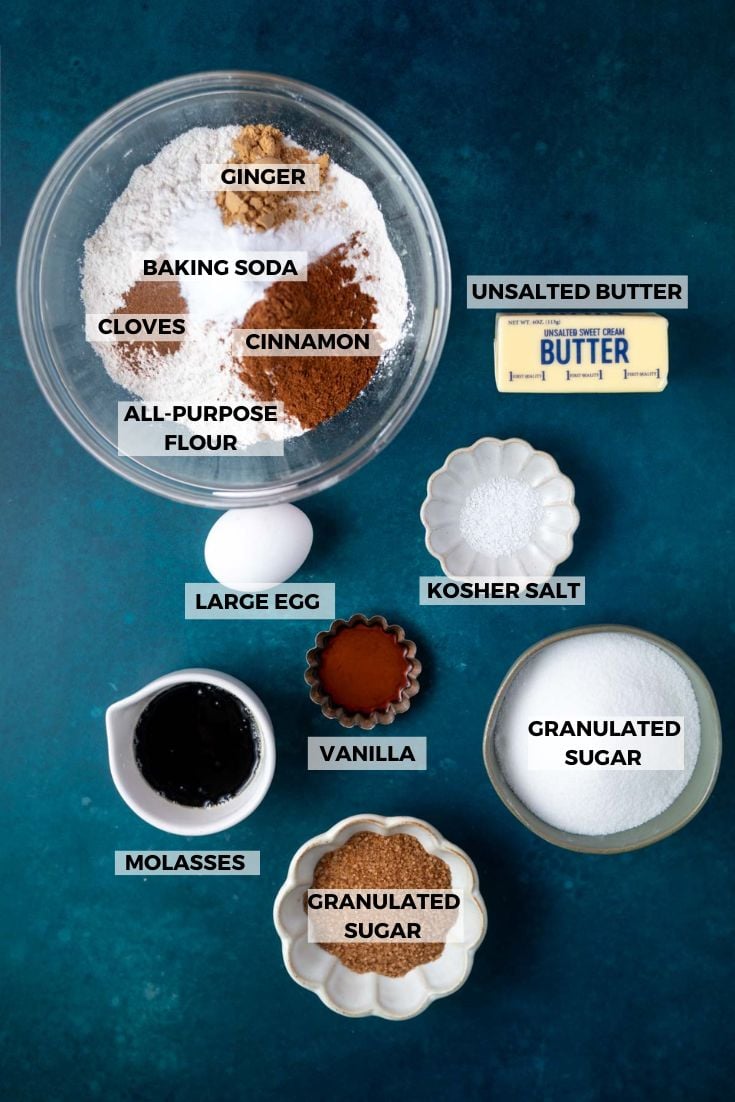
Please scroll to the printable recipe card at the end of this post for the full list of ingredients and baking directions.
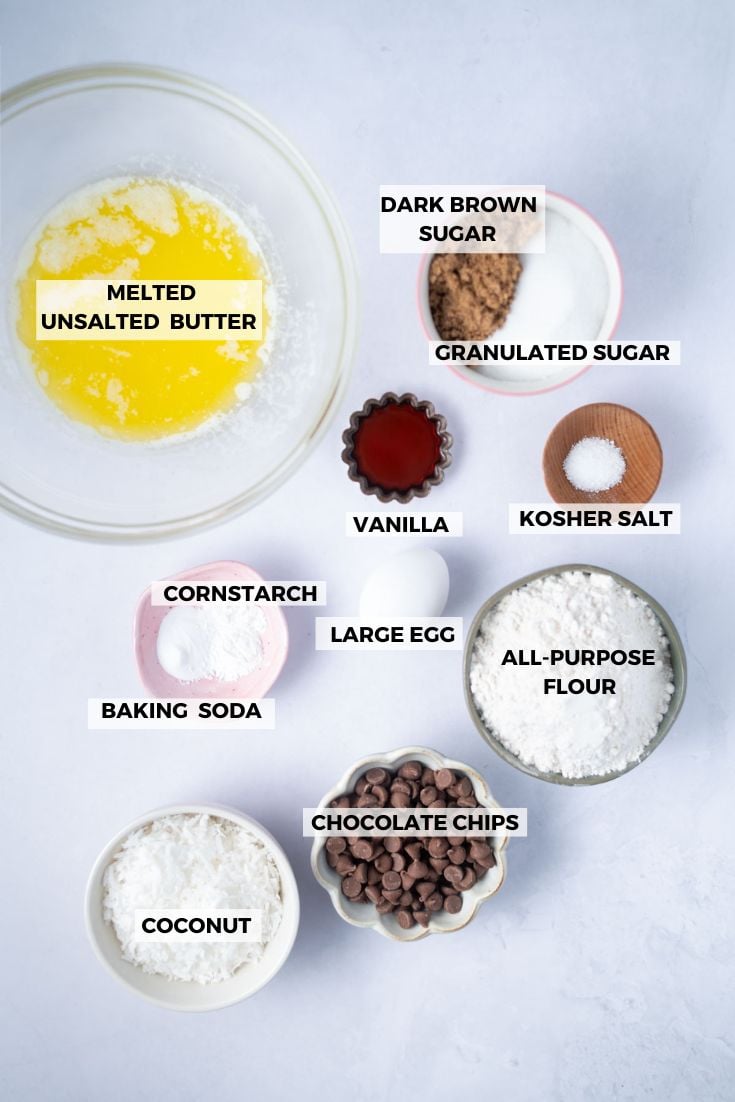
Coconut - add flavor and texture. Sweetened coconut flakes can be found in the baking aisle. This recipe is quick and easy, so no need to toast the coconut. I did not test unsweetened coconut in this cookie recipe. I worry that the cookies won’t be as soft and chewy as unsweetened coconut is a drier ingredient, which will affect the texture of the cookies.
Chocolate - milk chocolate or dark chocolate chips can be used, you do you and use your favorite. A chopped chocolate bar can also be used, if you prefer more melty chocolate in your cookies.
Sugar - a mixture of granulated (white) sugar and dark brown sugar adds a greater depth of flavor and more chewiness to the drop cookies.
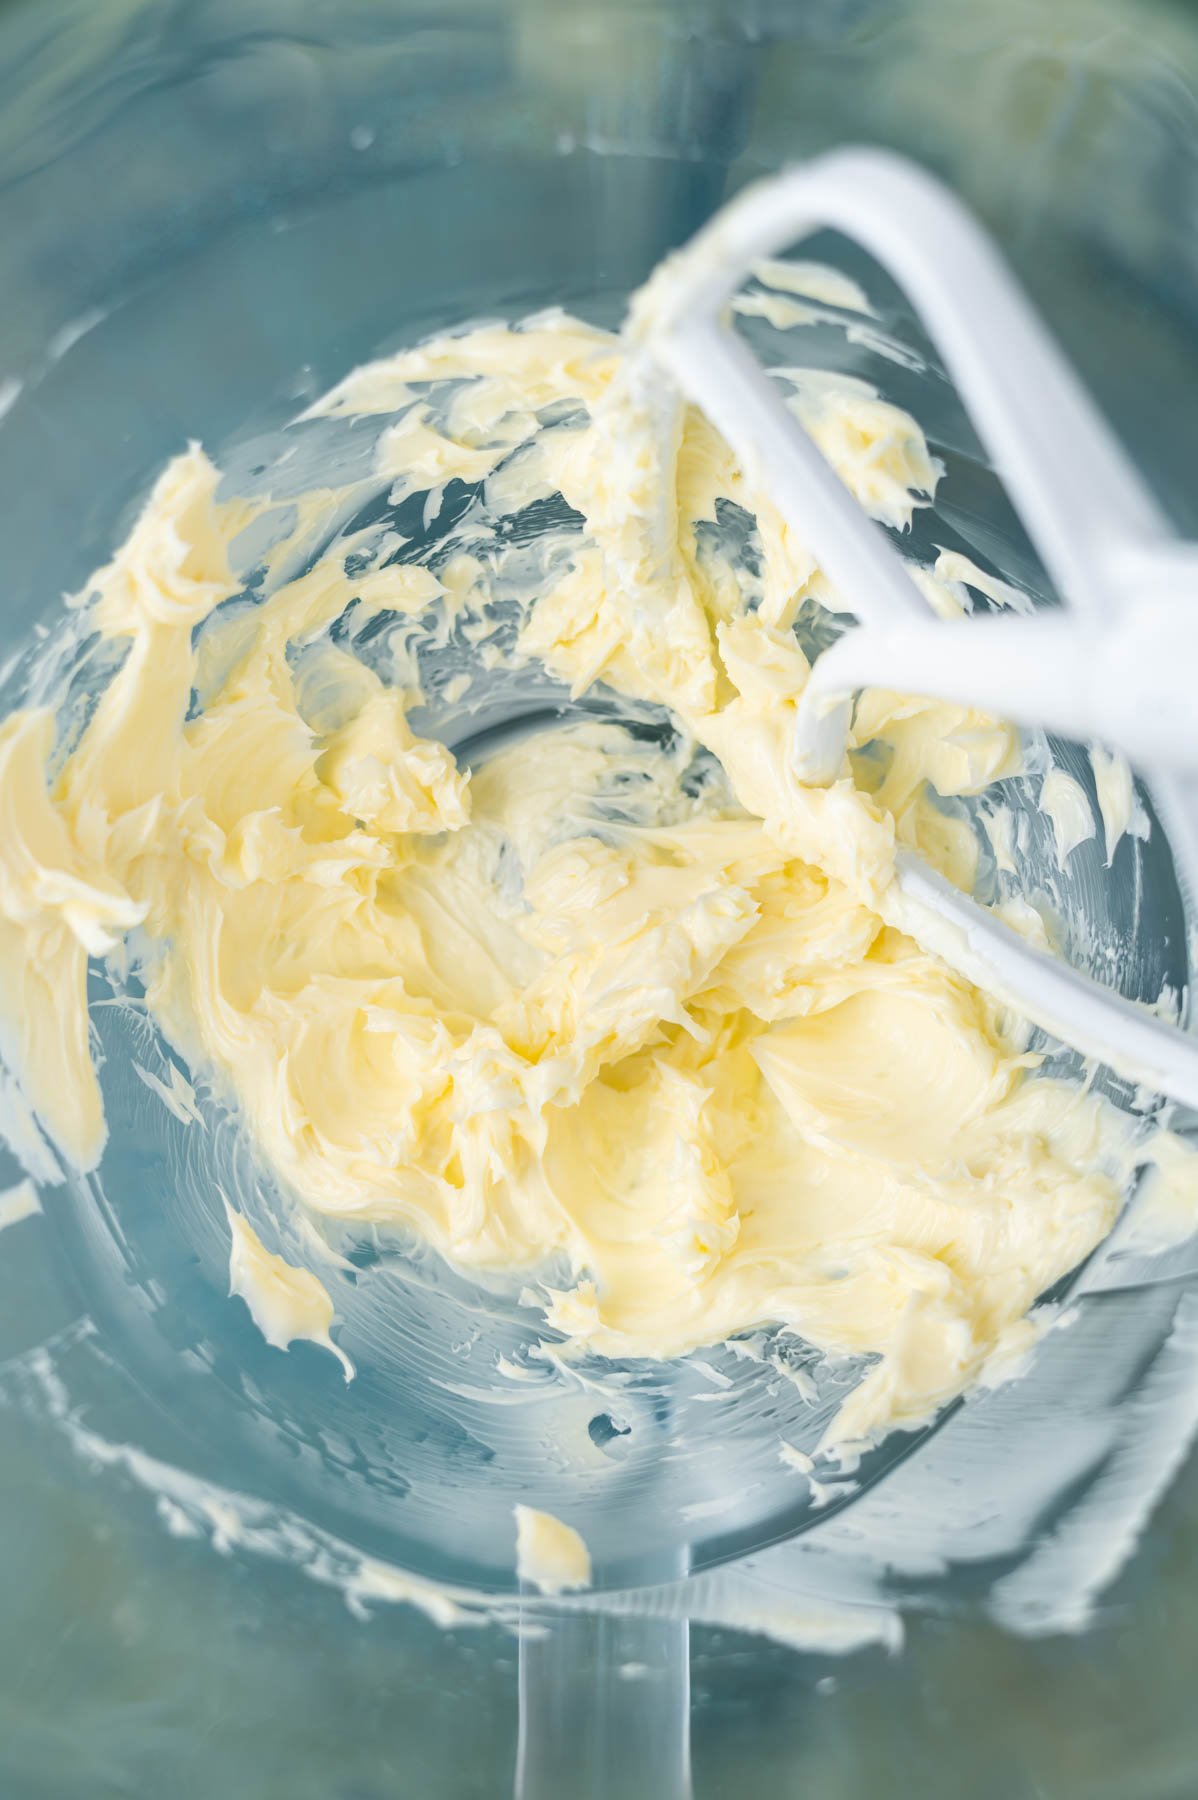
Unsalted butter - no need to let it come to room temperature, we are going to melt it. Just let it cool for five minutes before proceeding with the recipe.
🥣 how to make instructions
Preheat oven to 350°F and prepare two sheet pans with parchment paper or silicone baking mats and set aside.
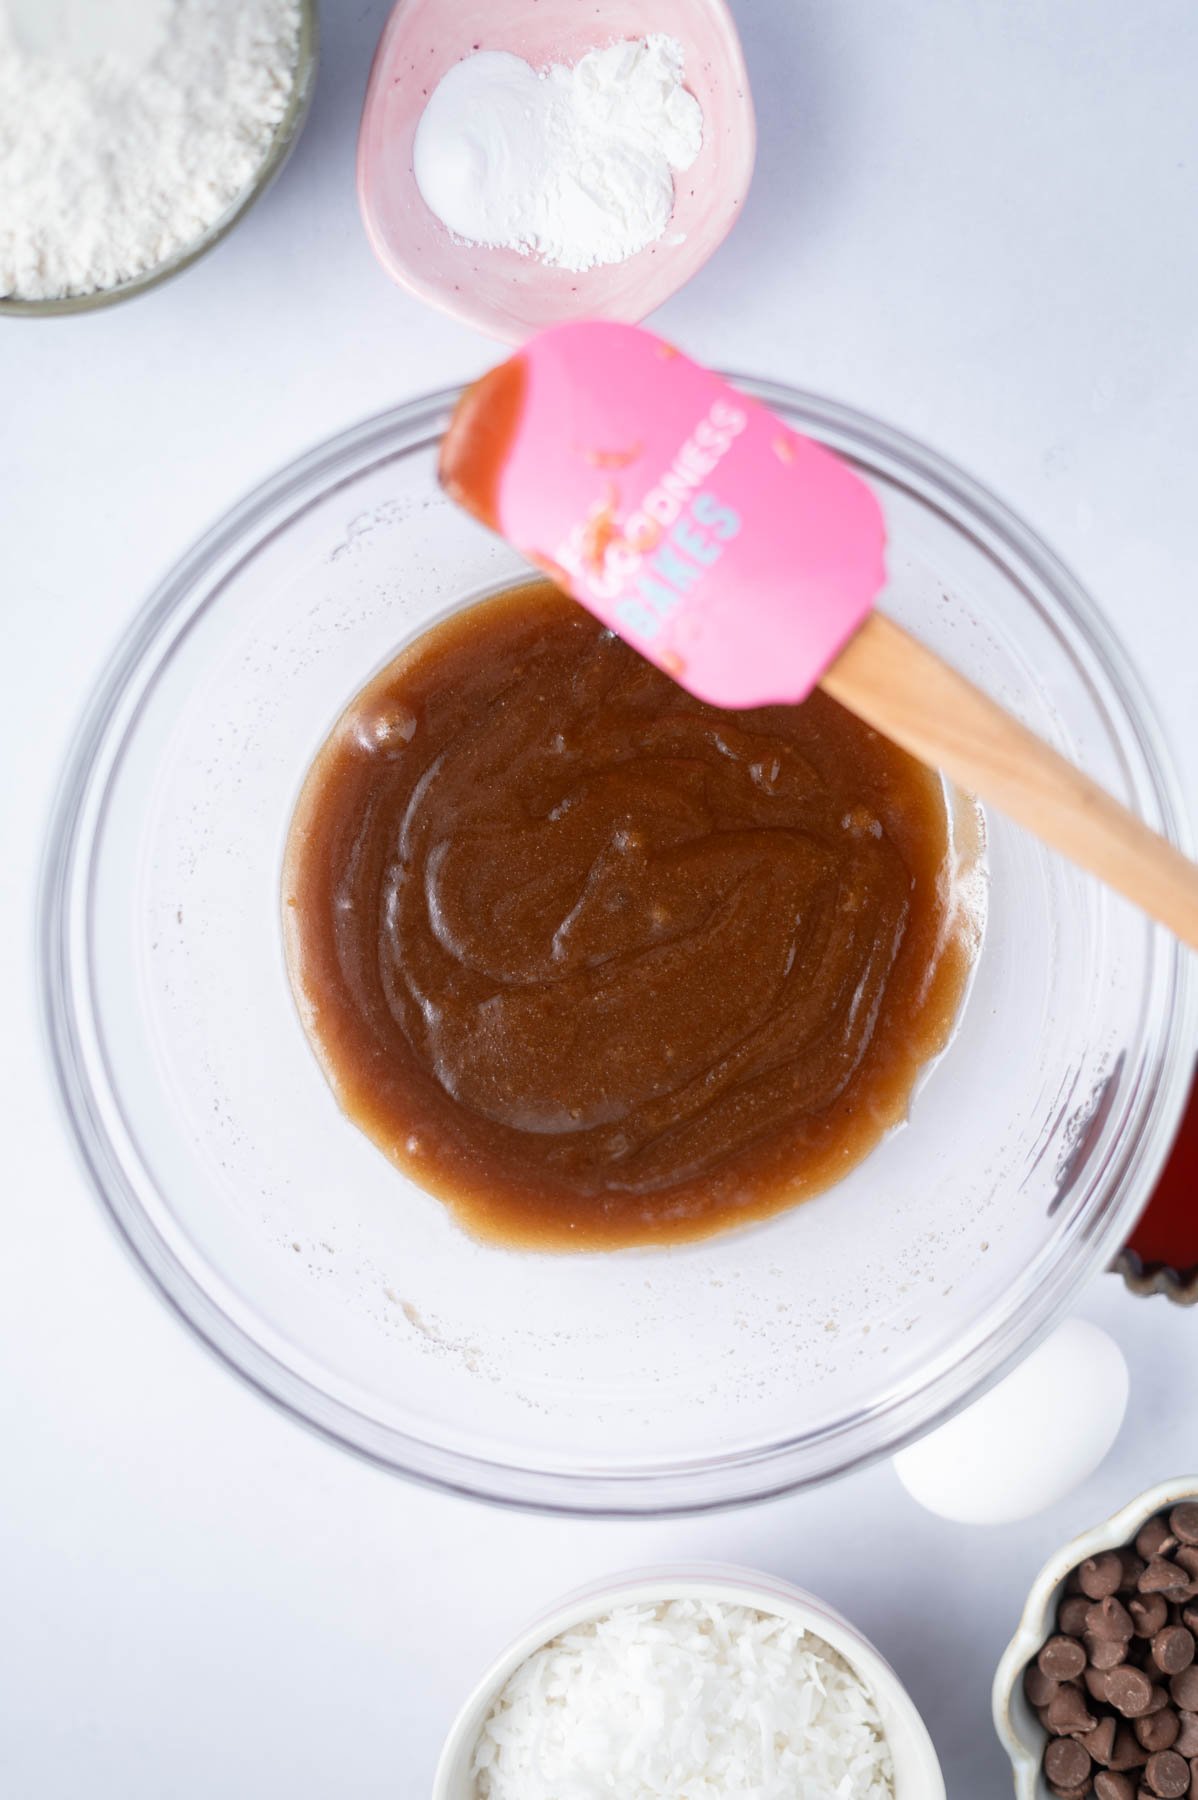
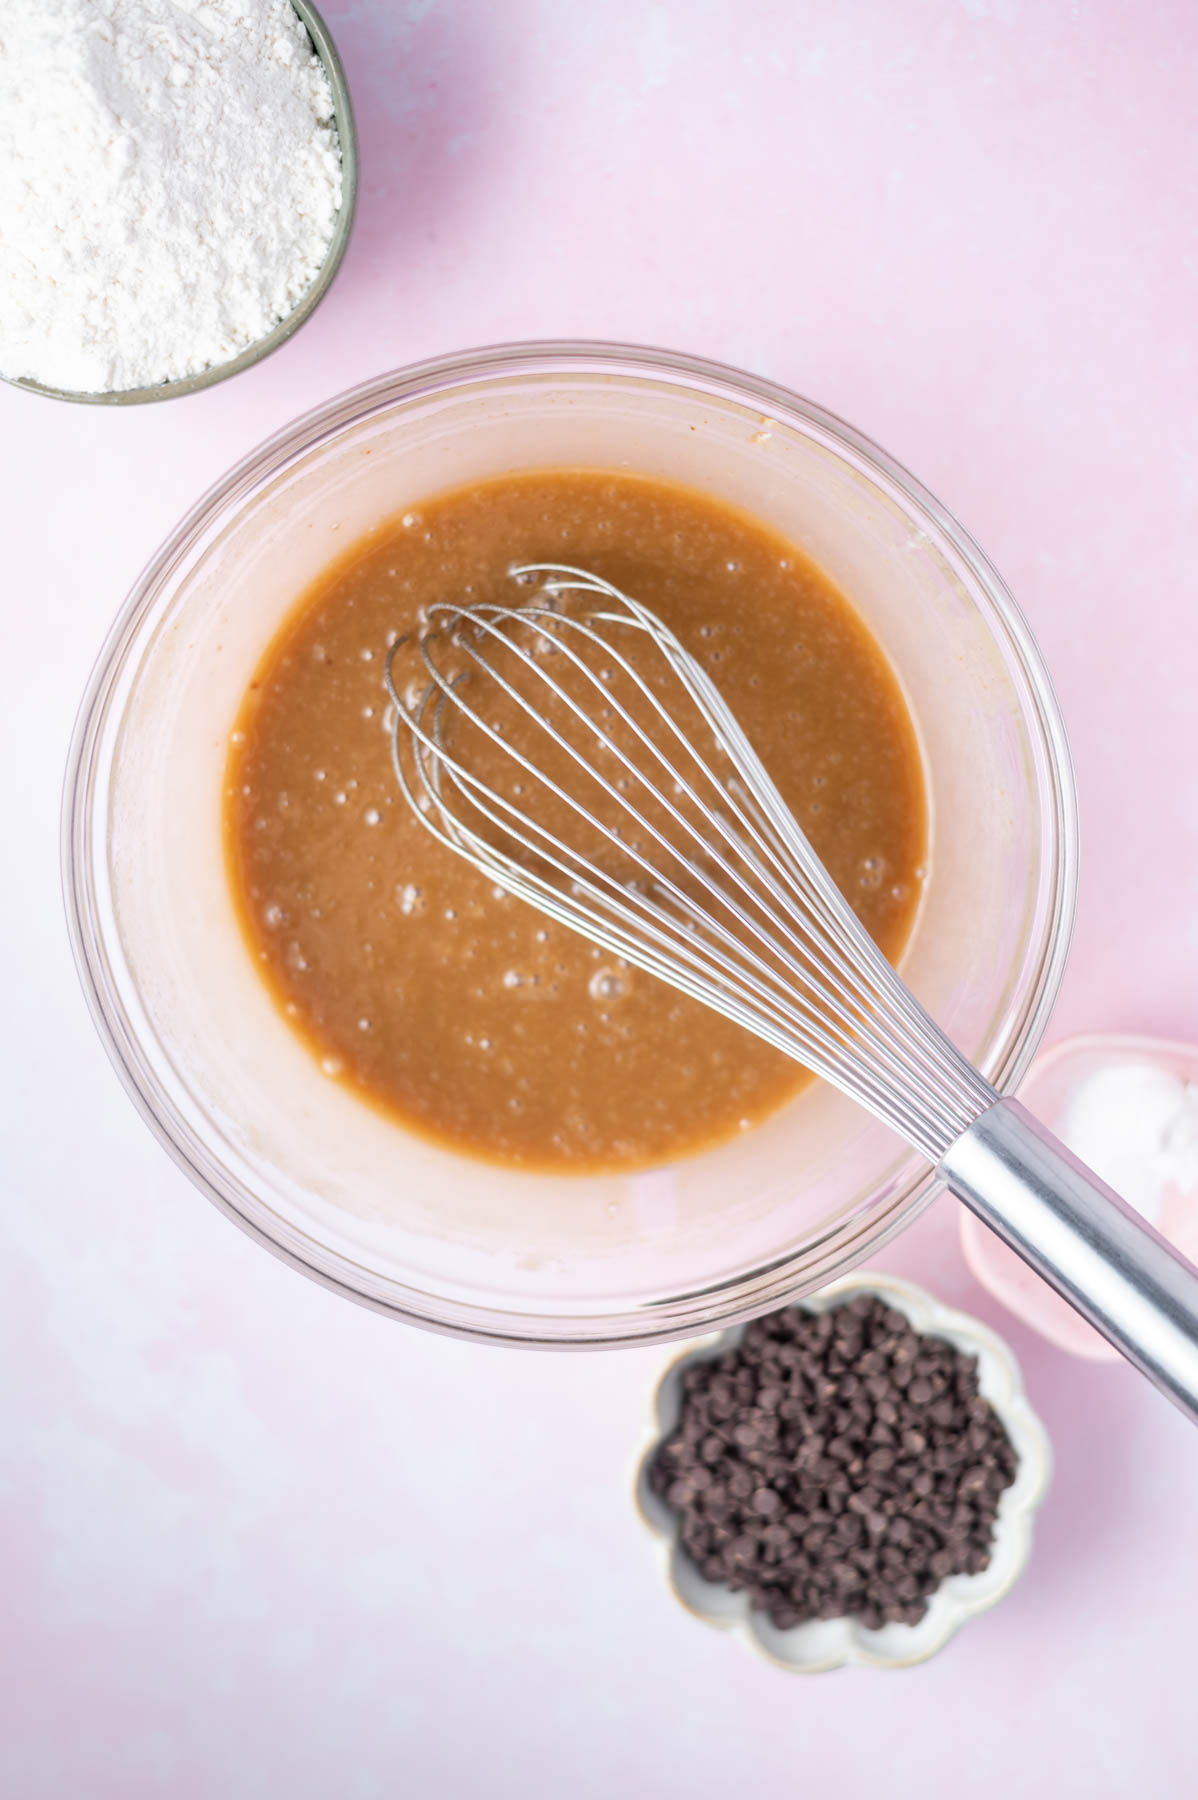
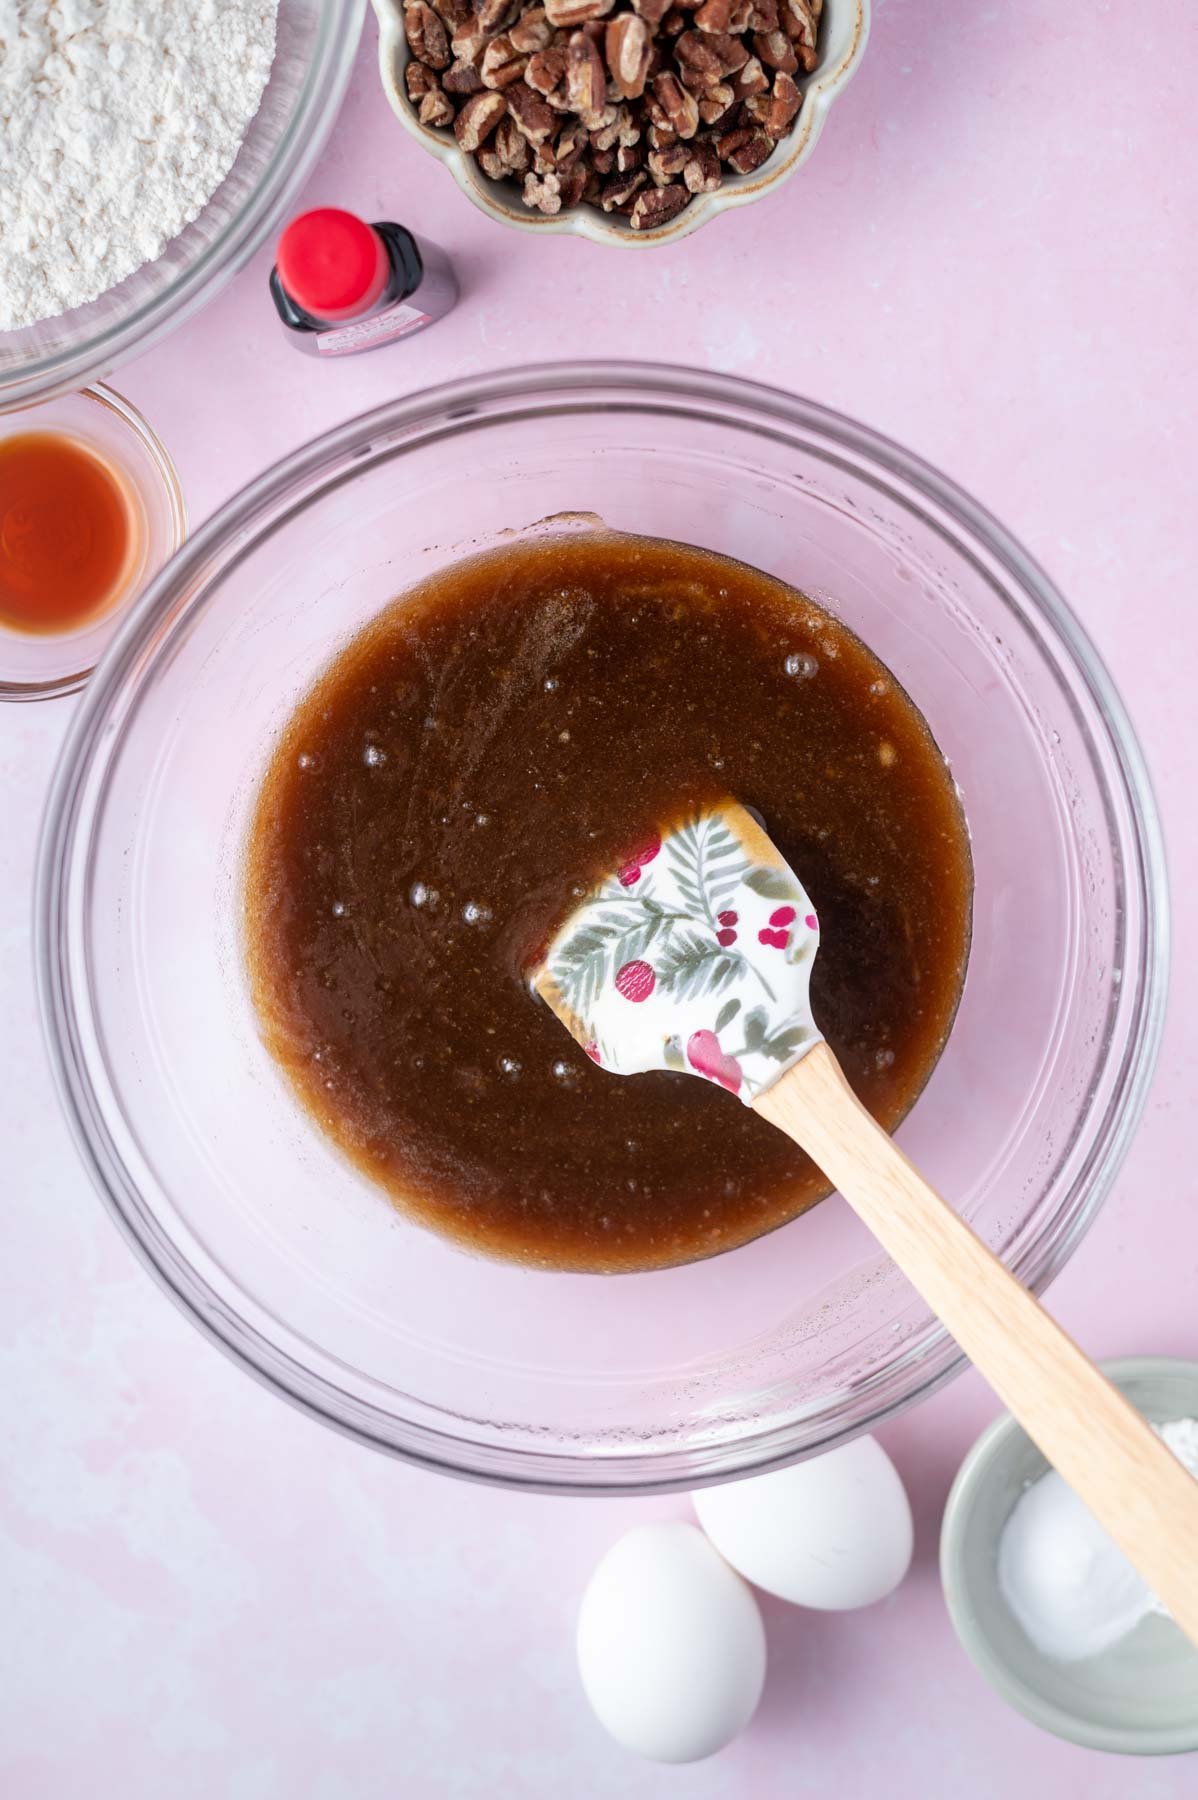
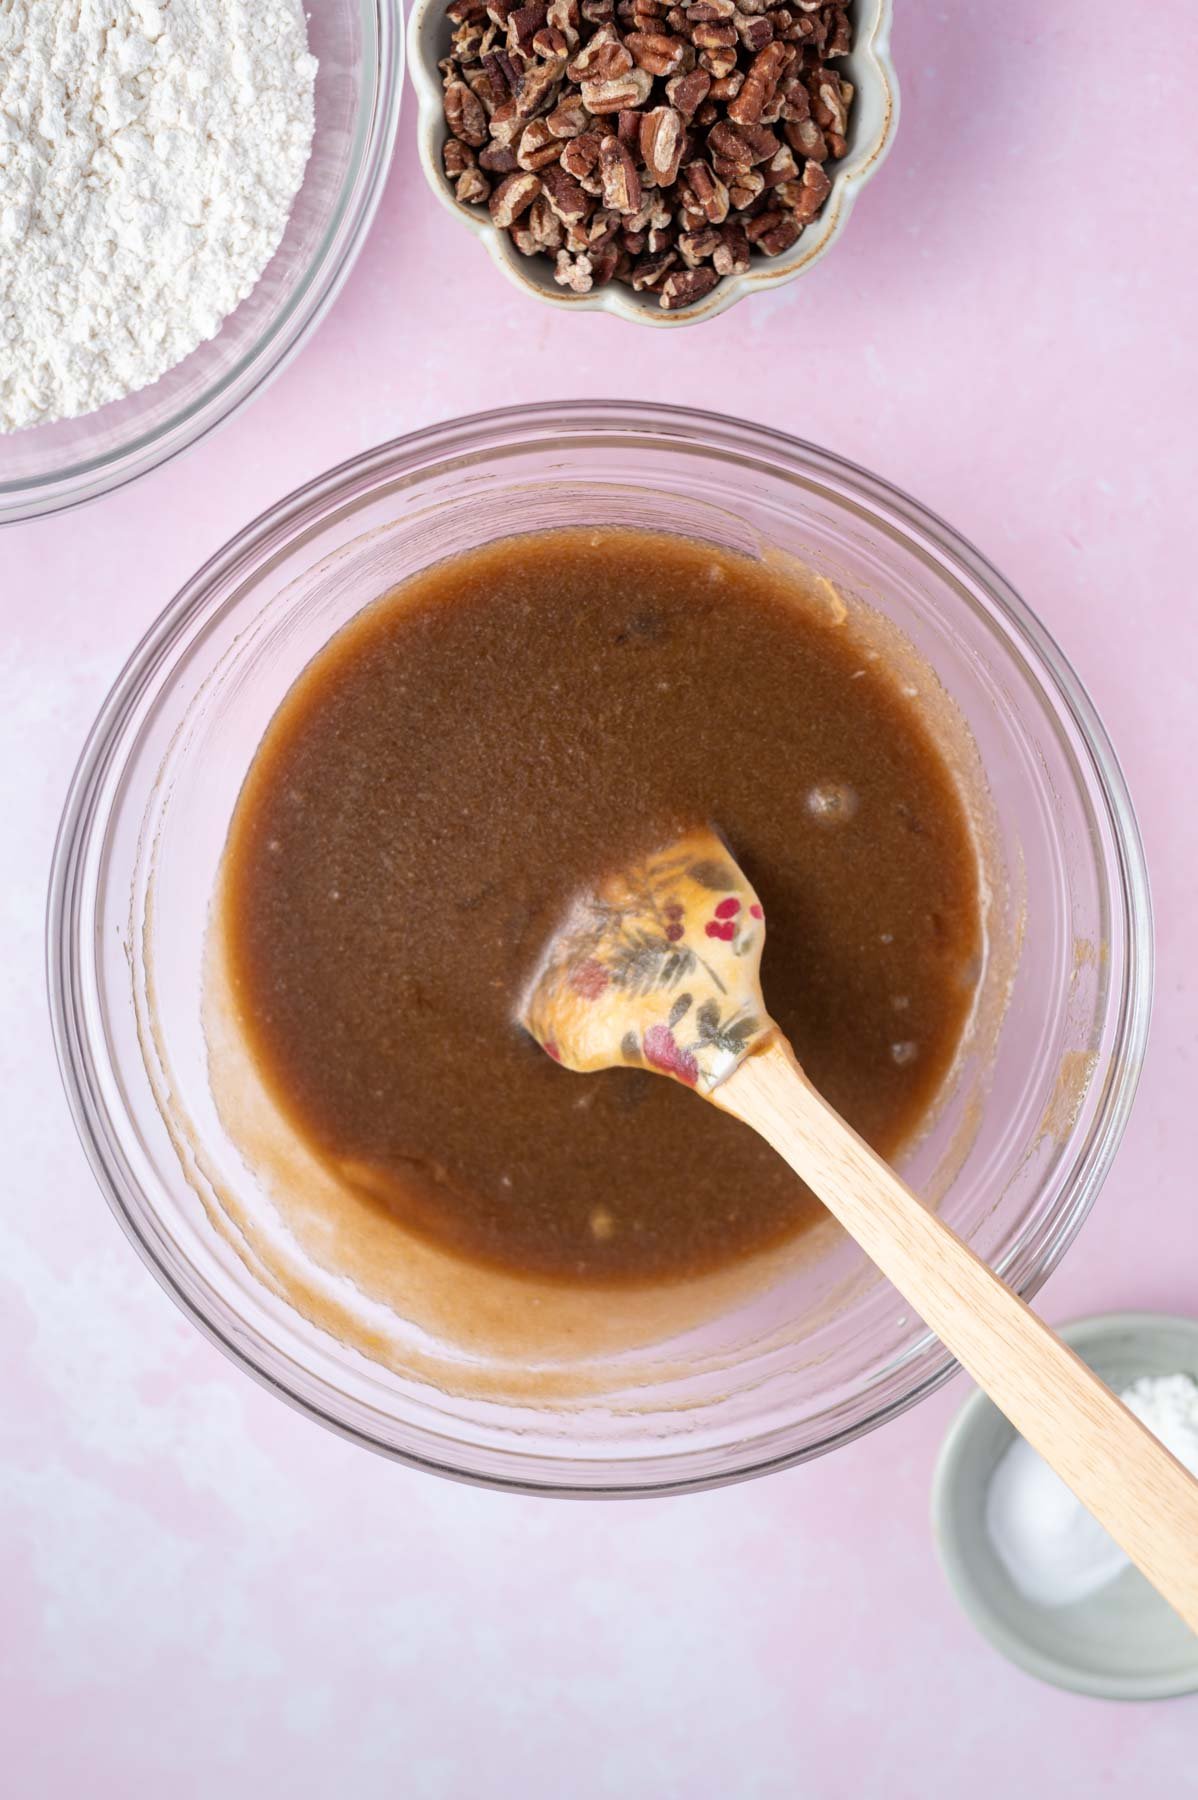
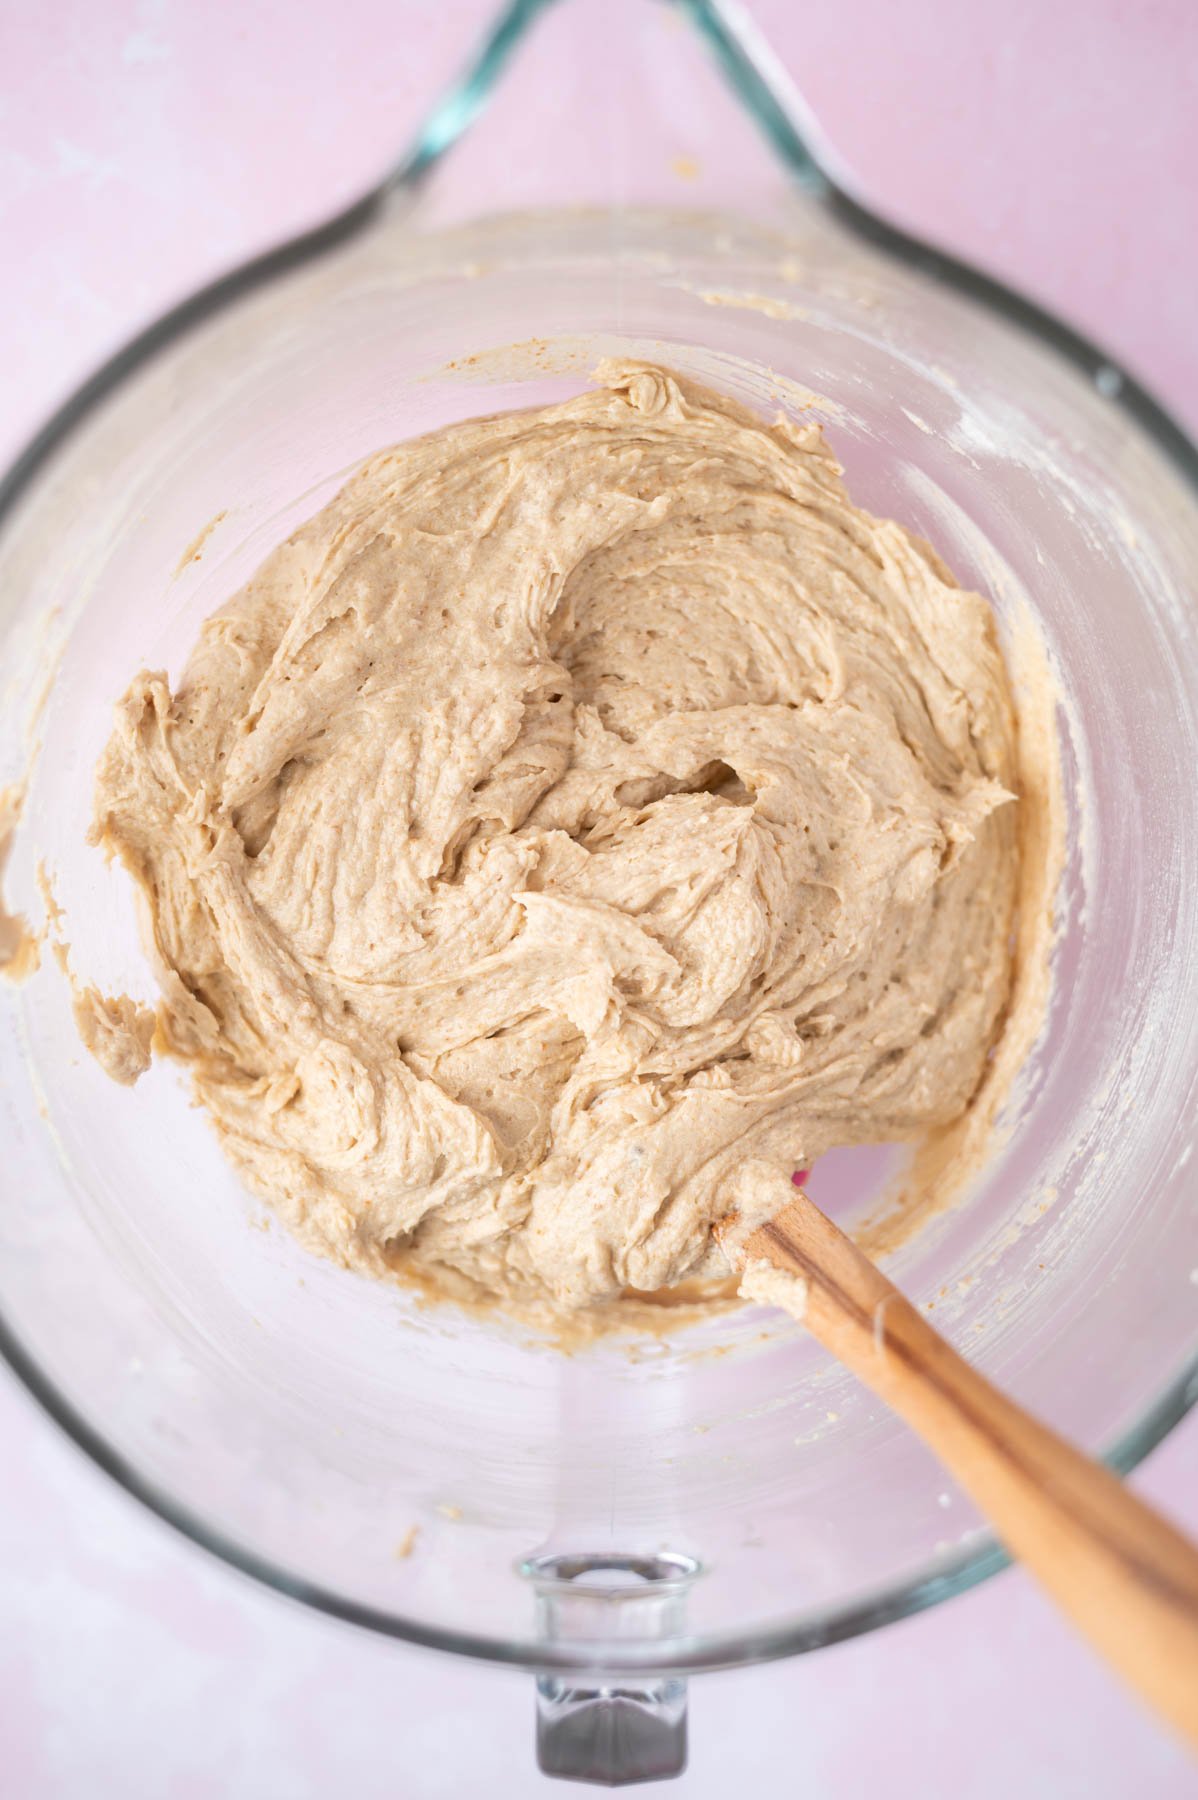
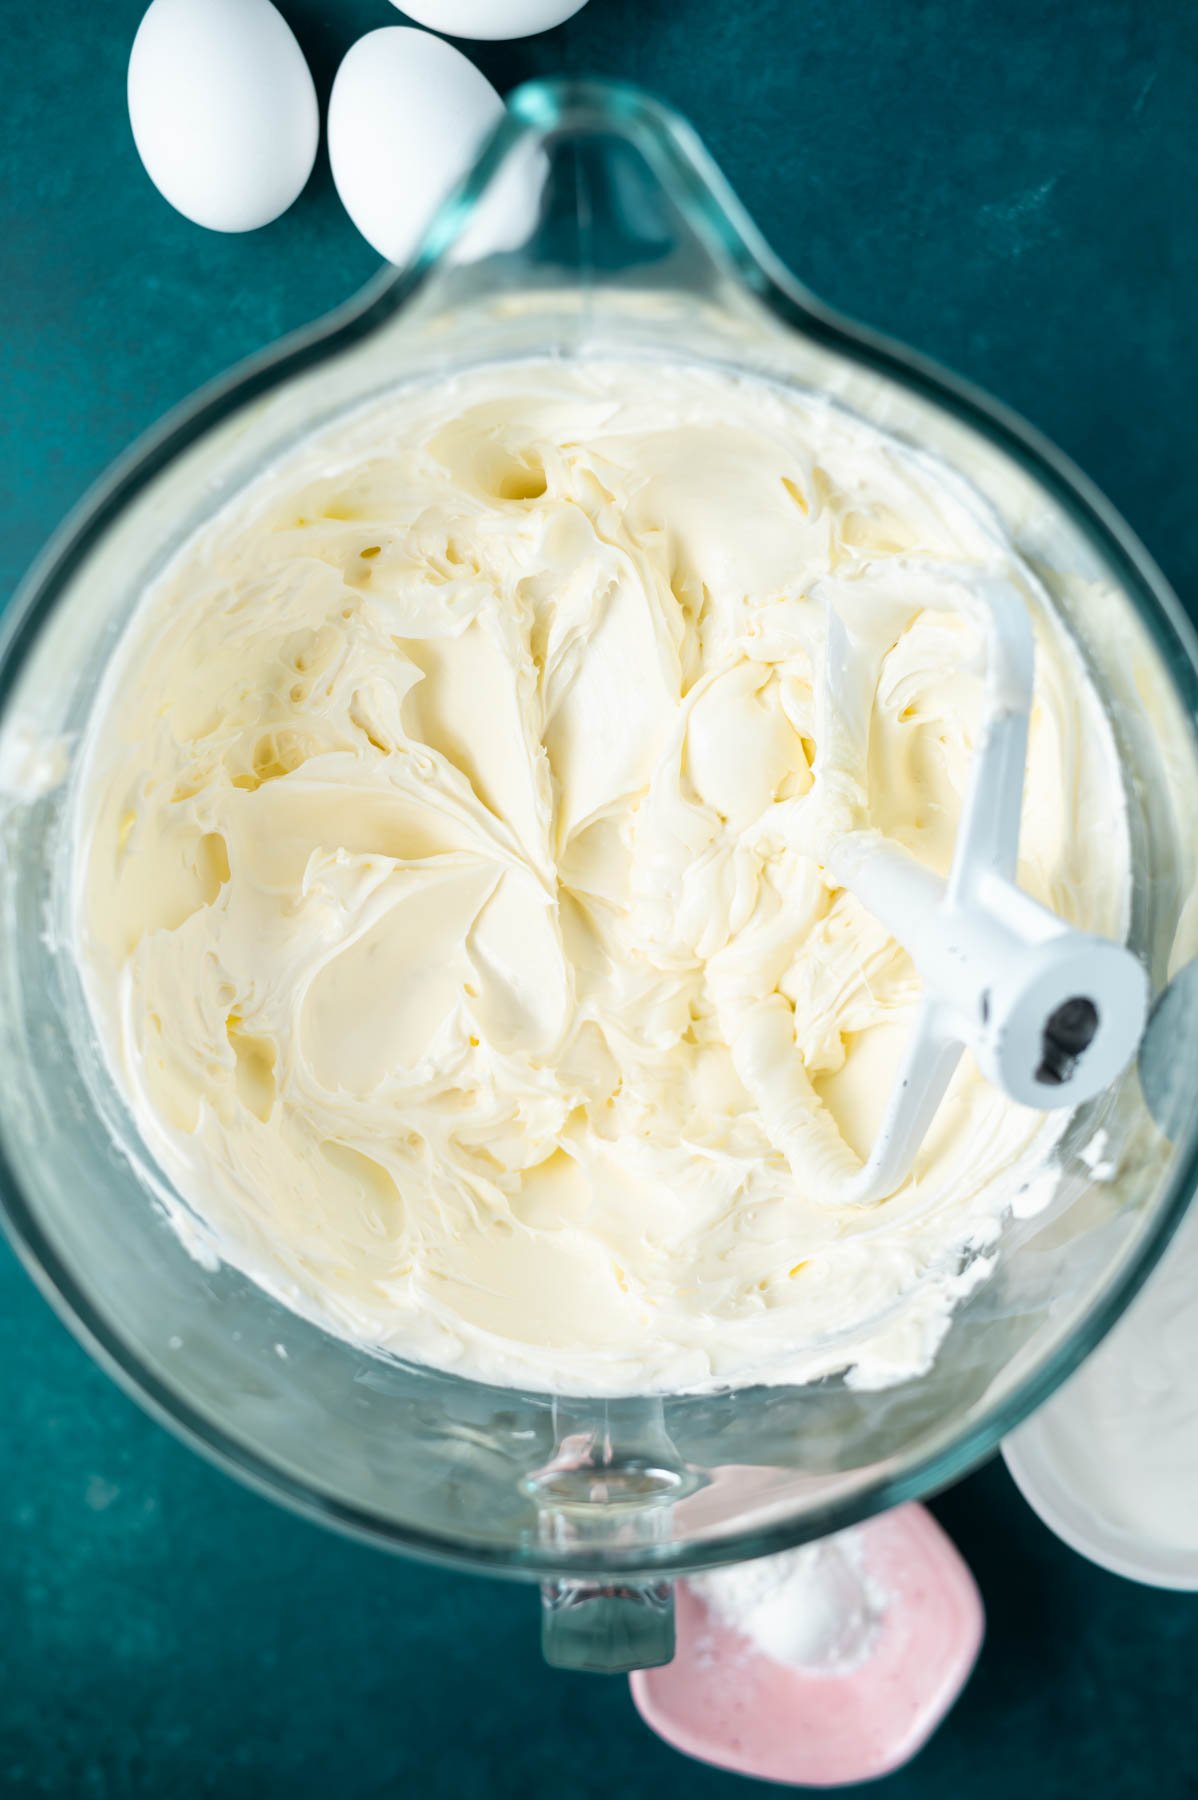
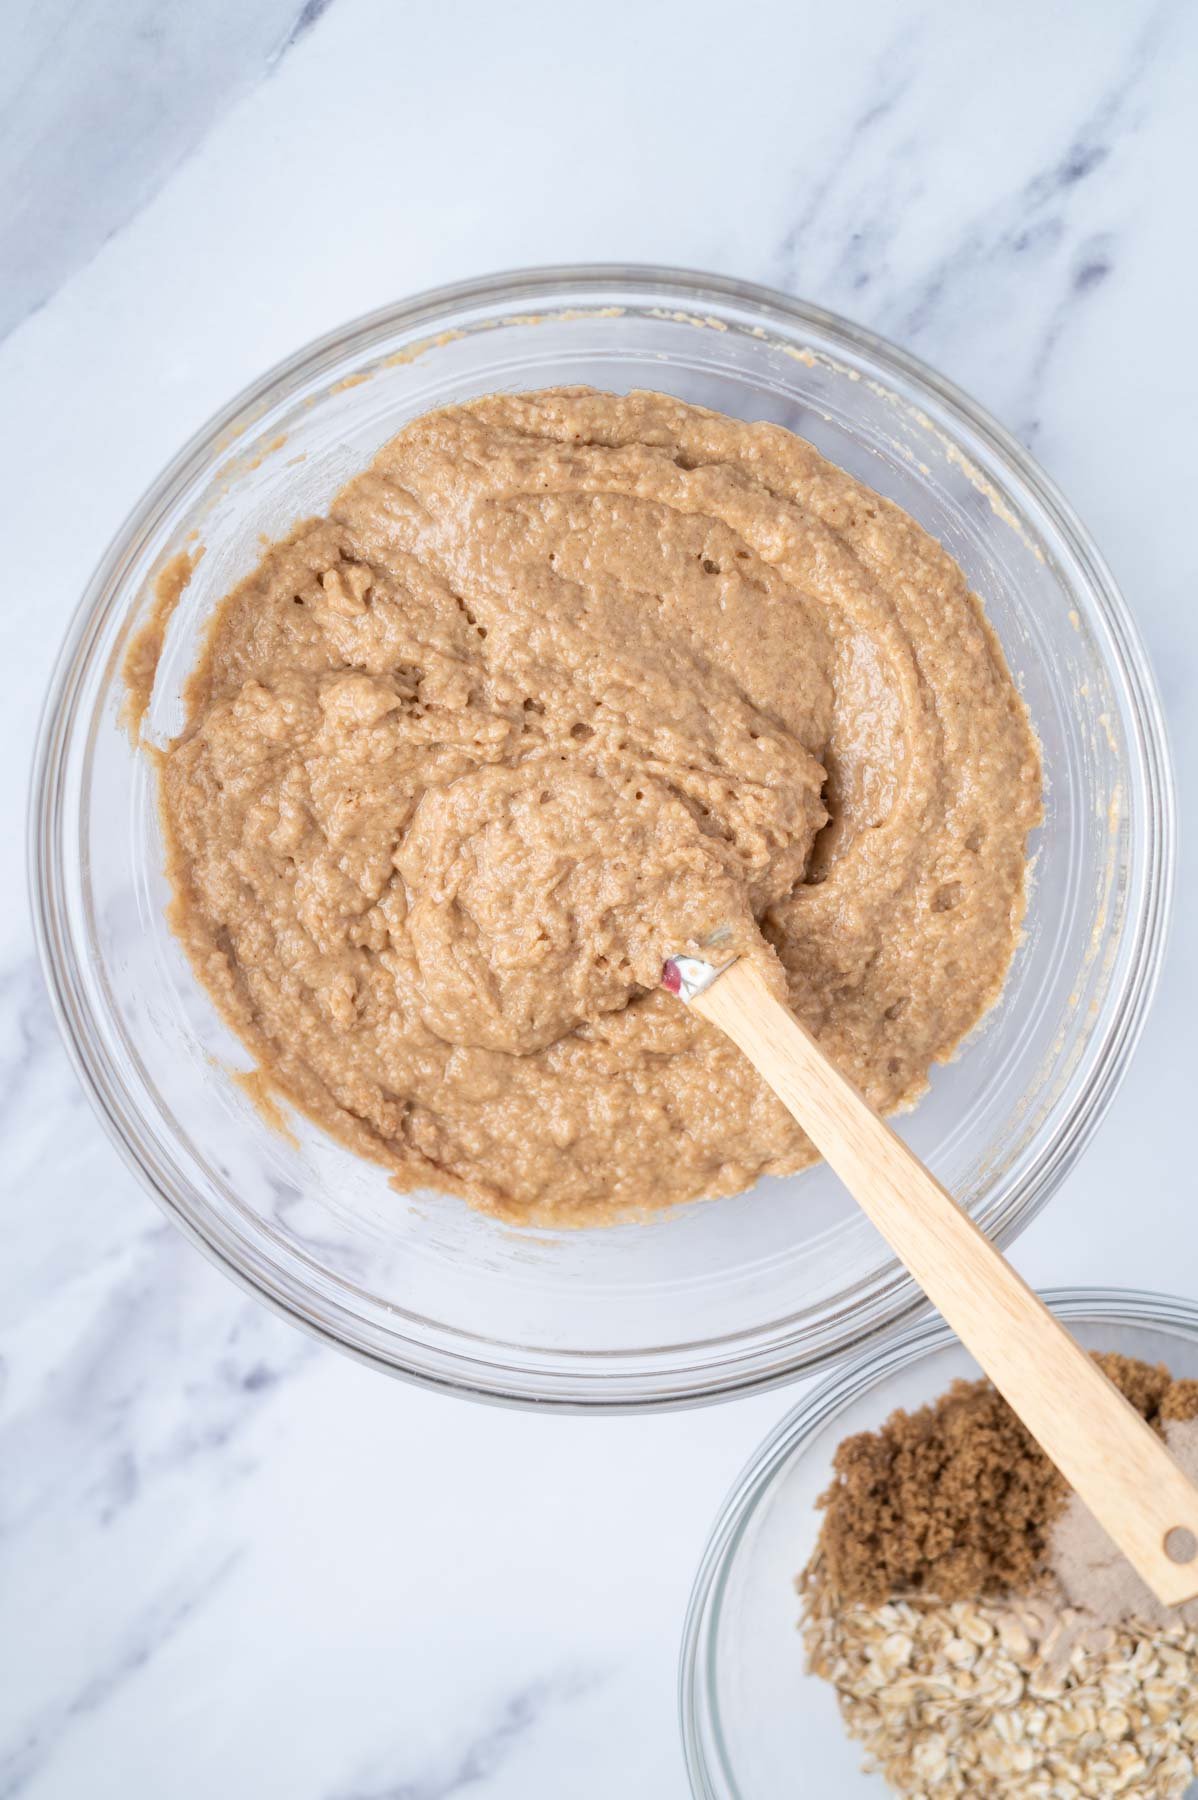
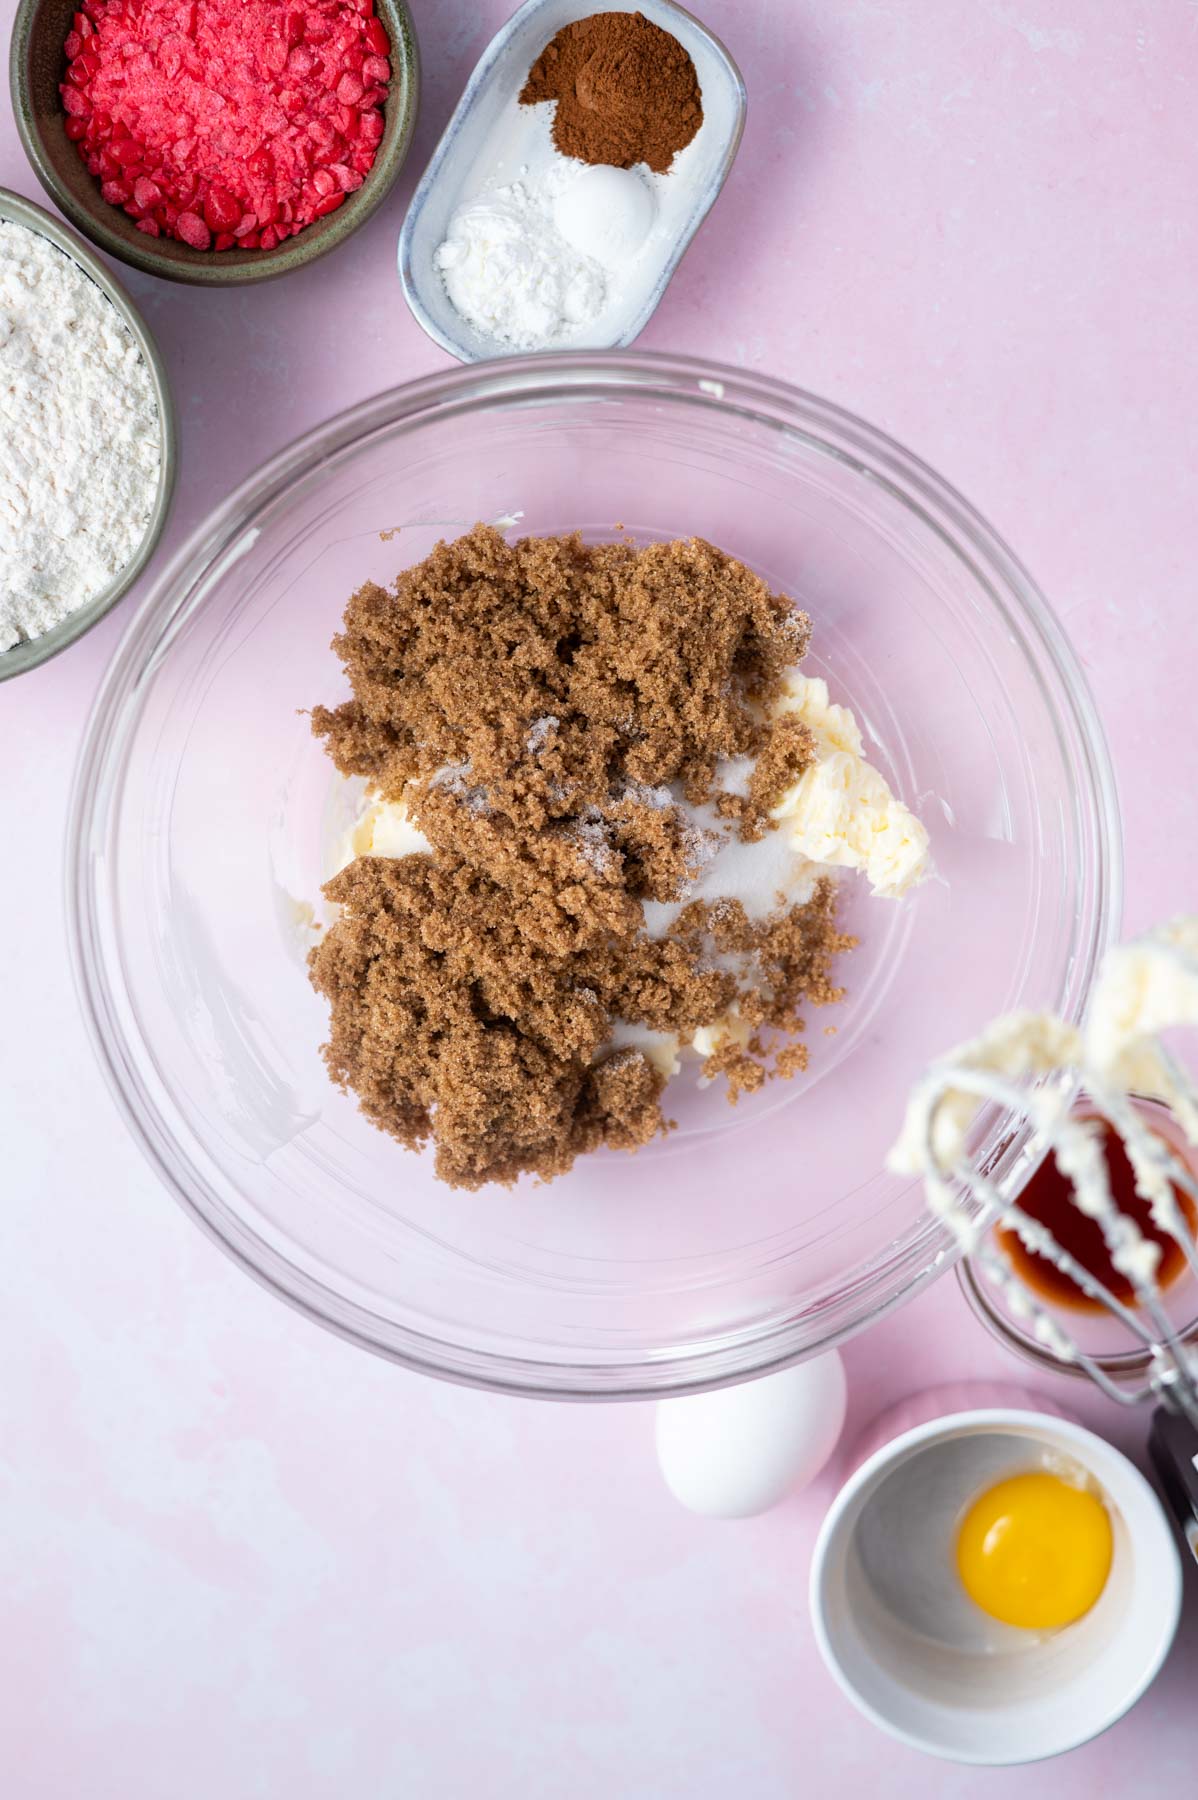
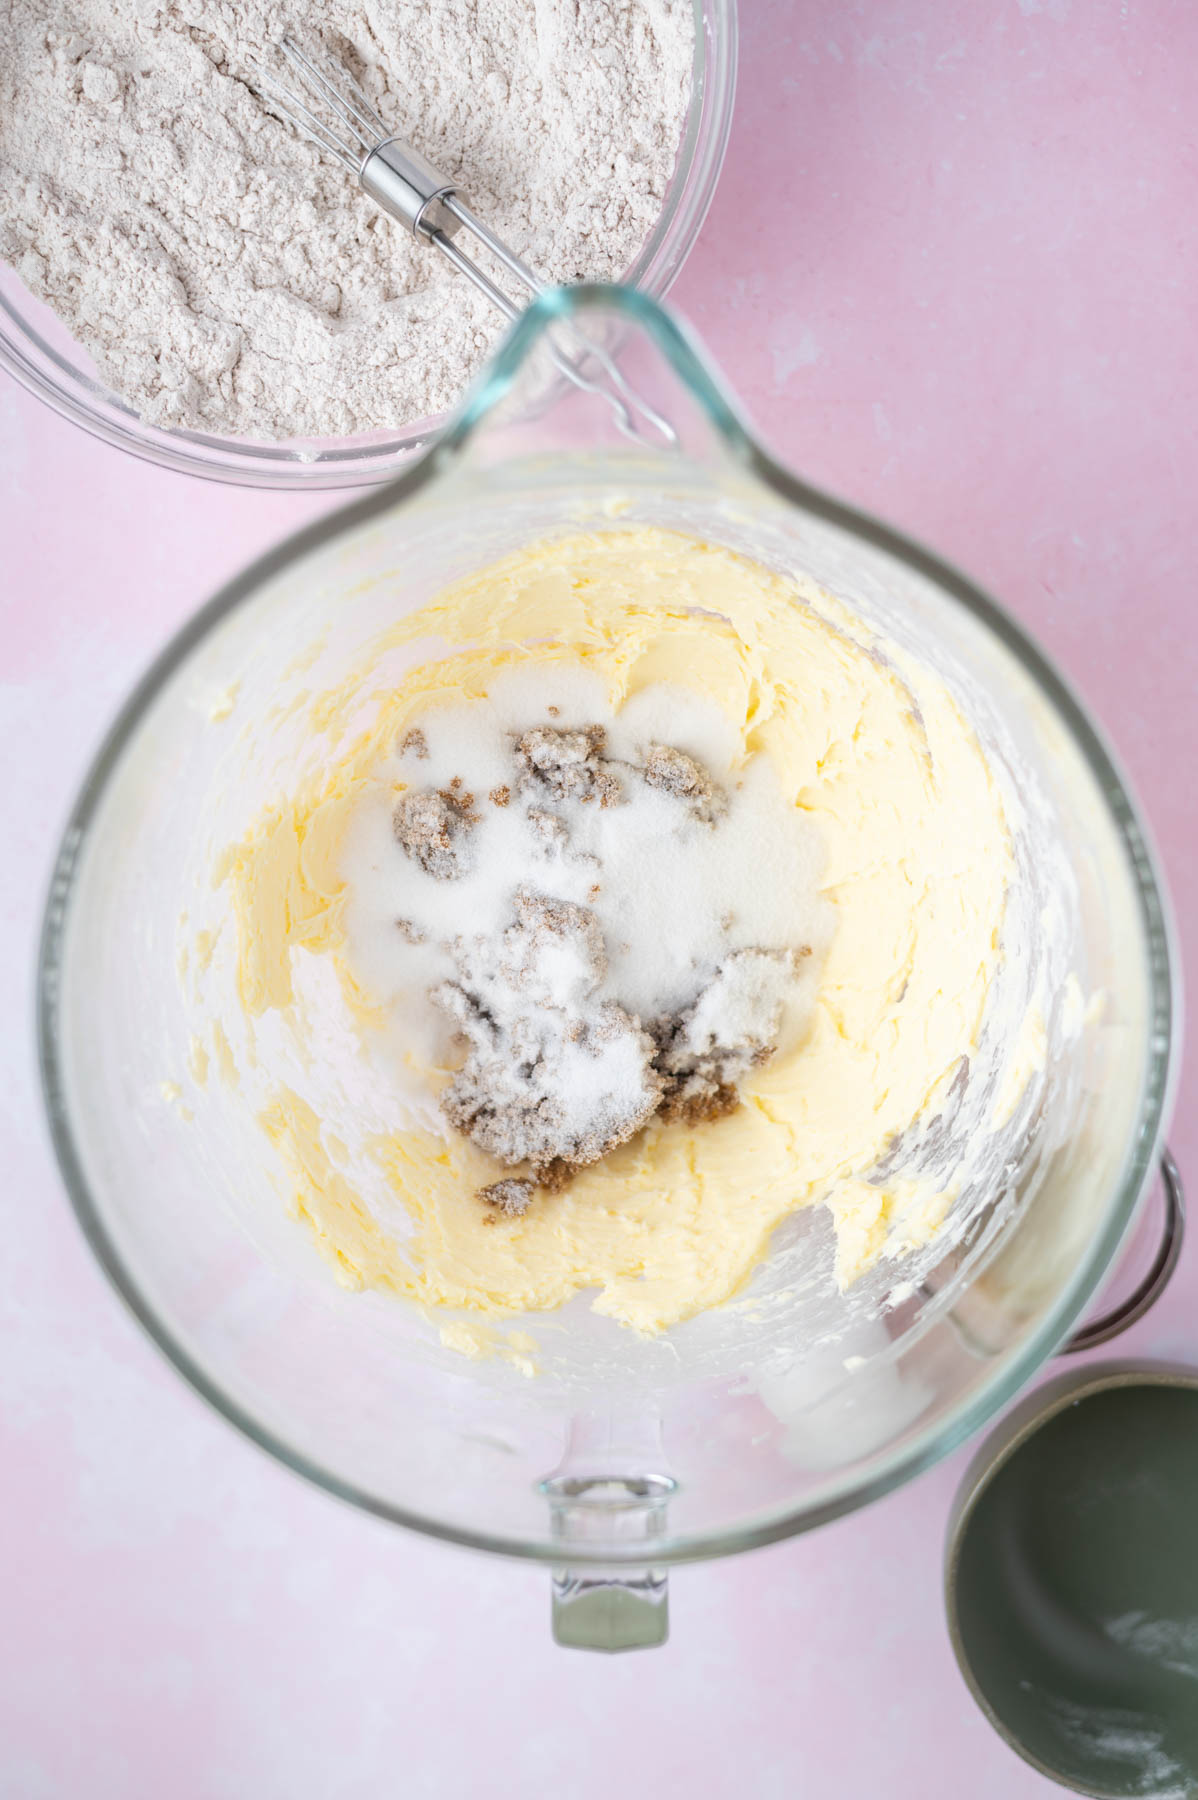
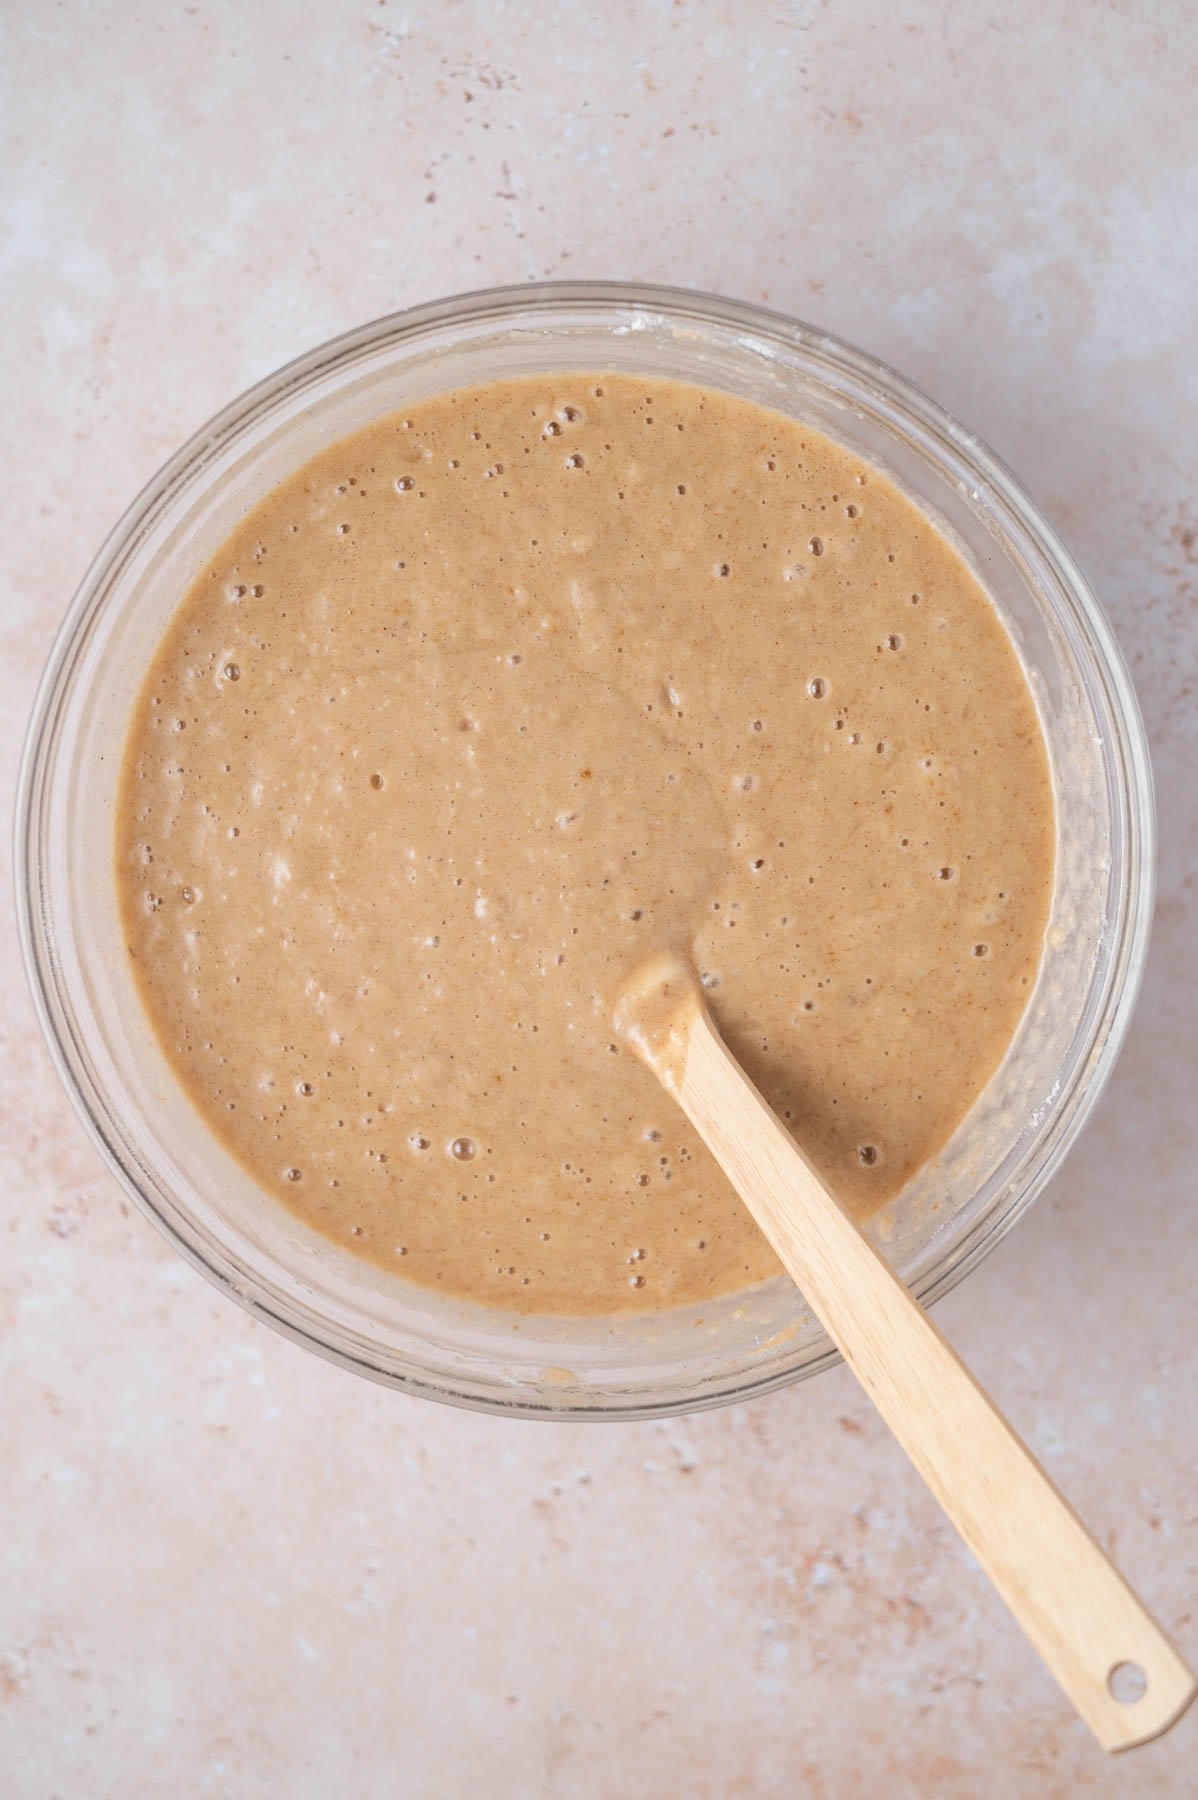
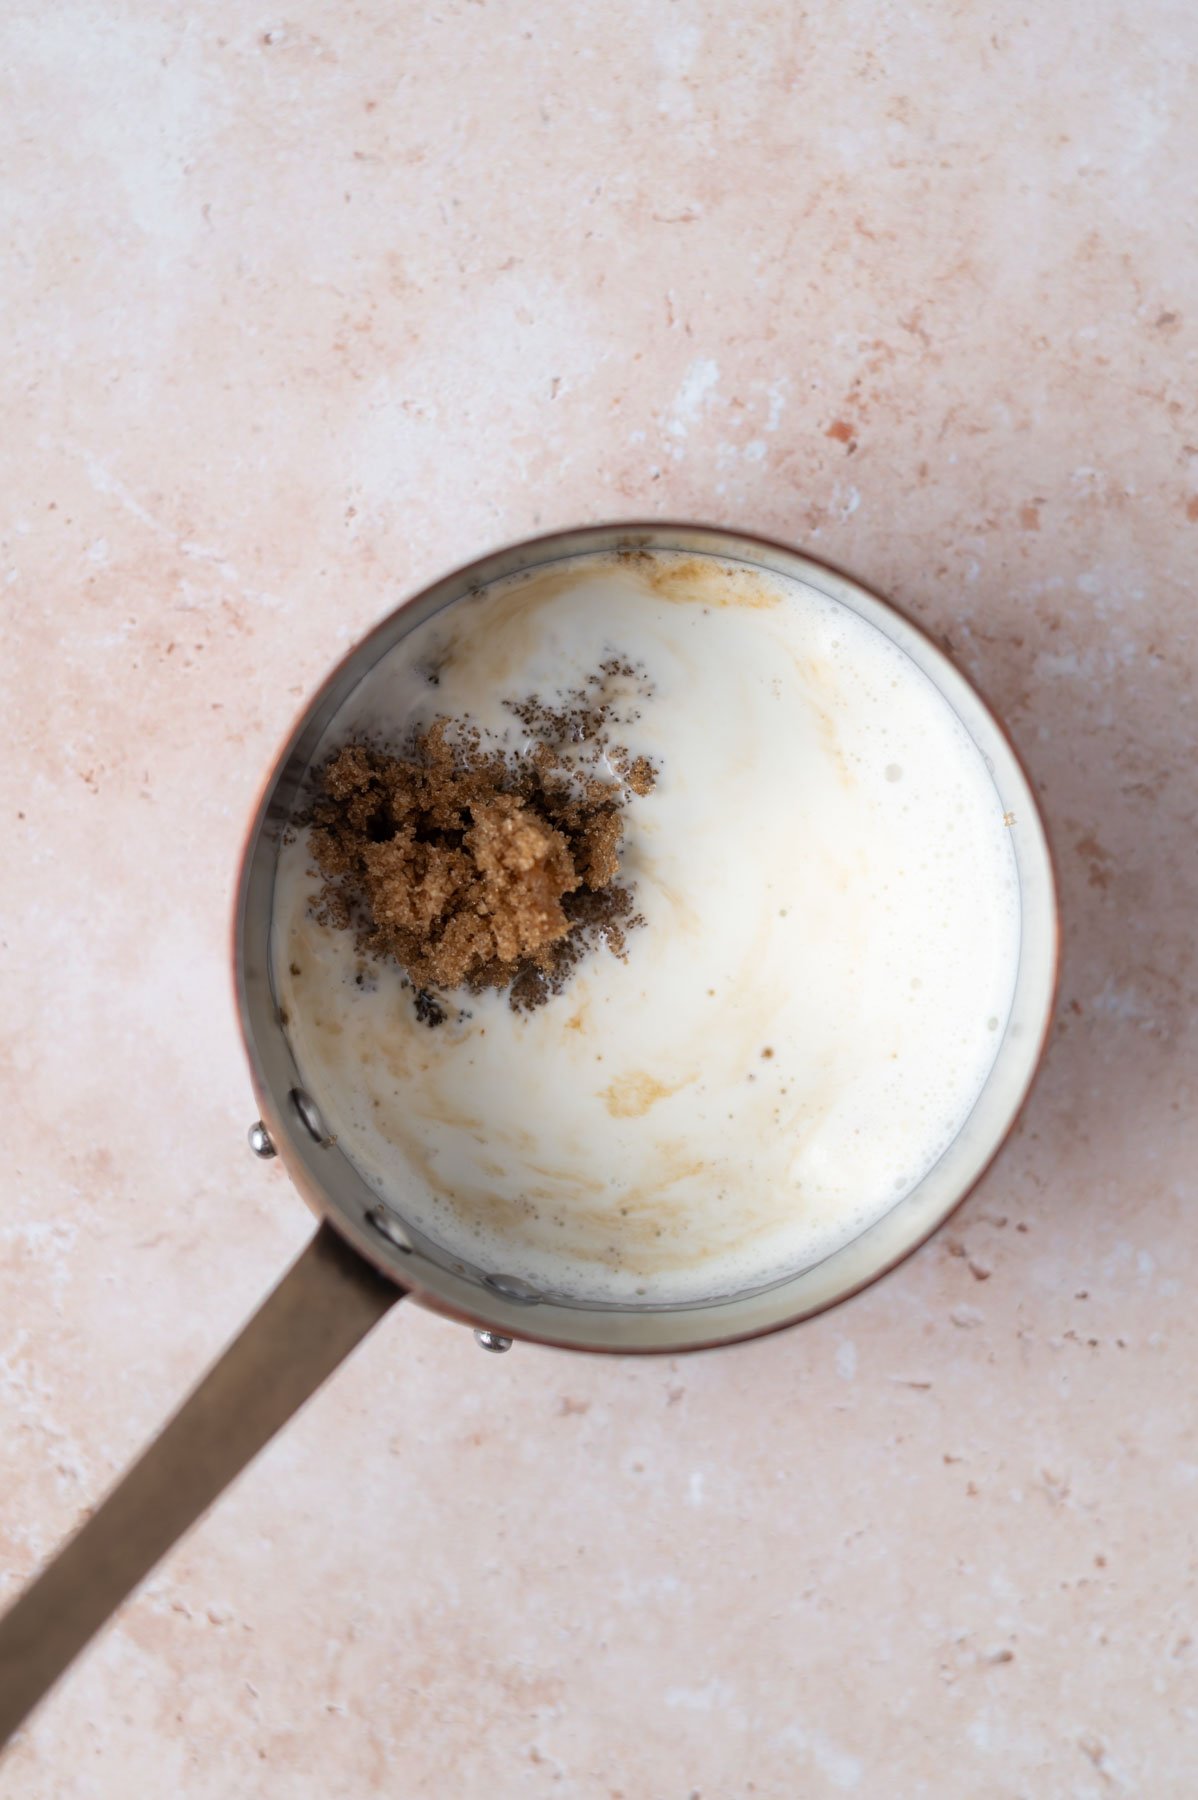
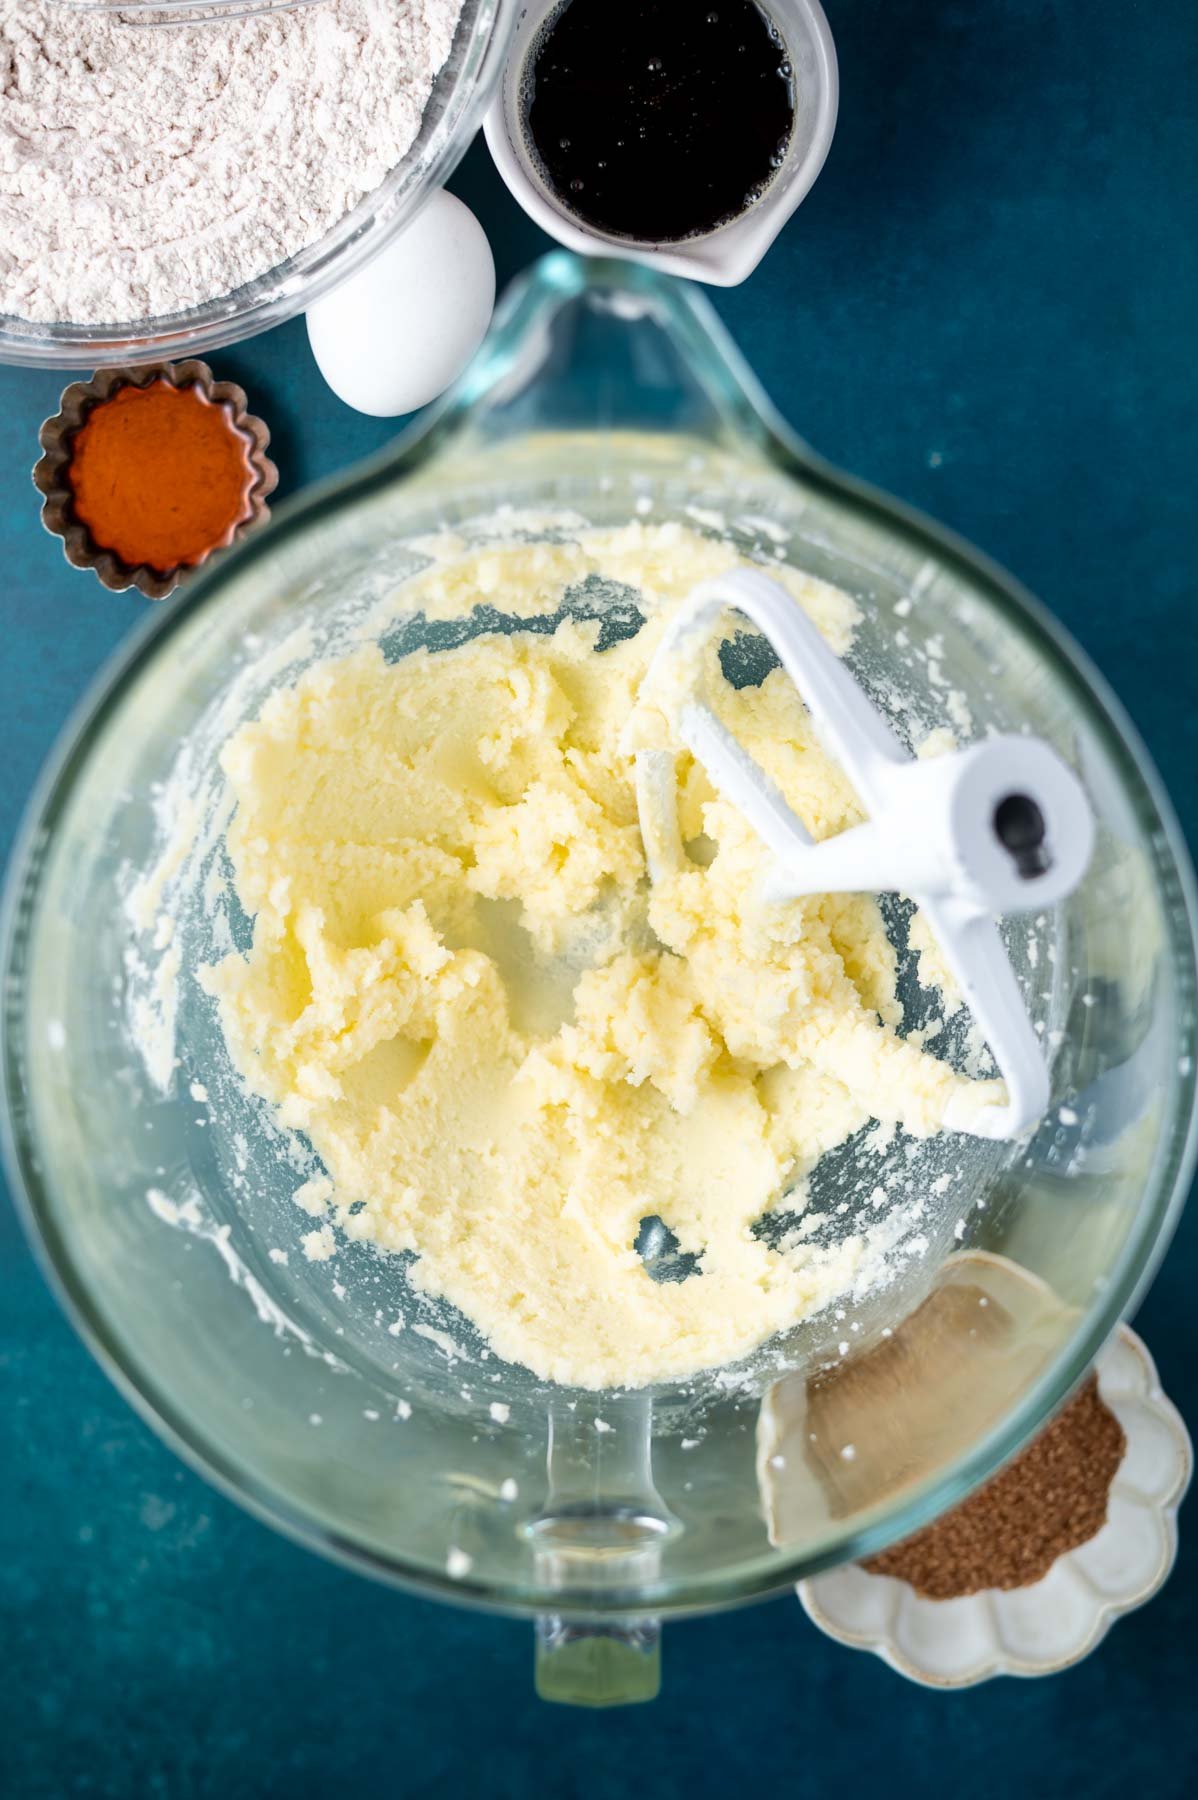
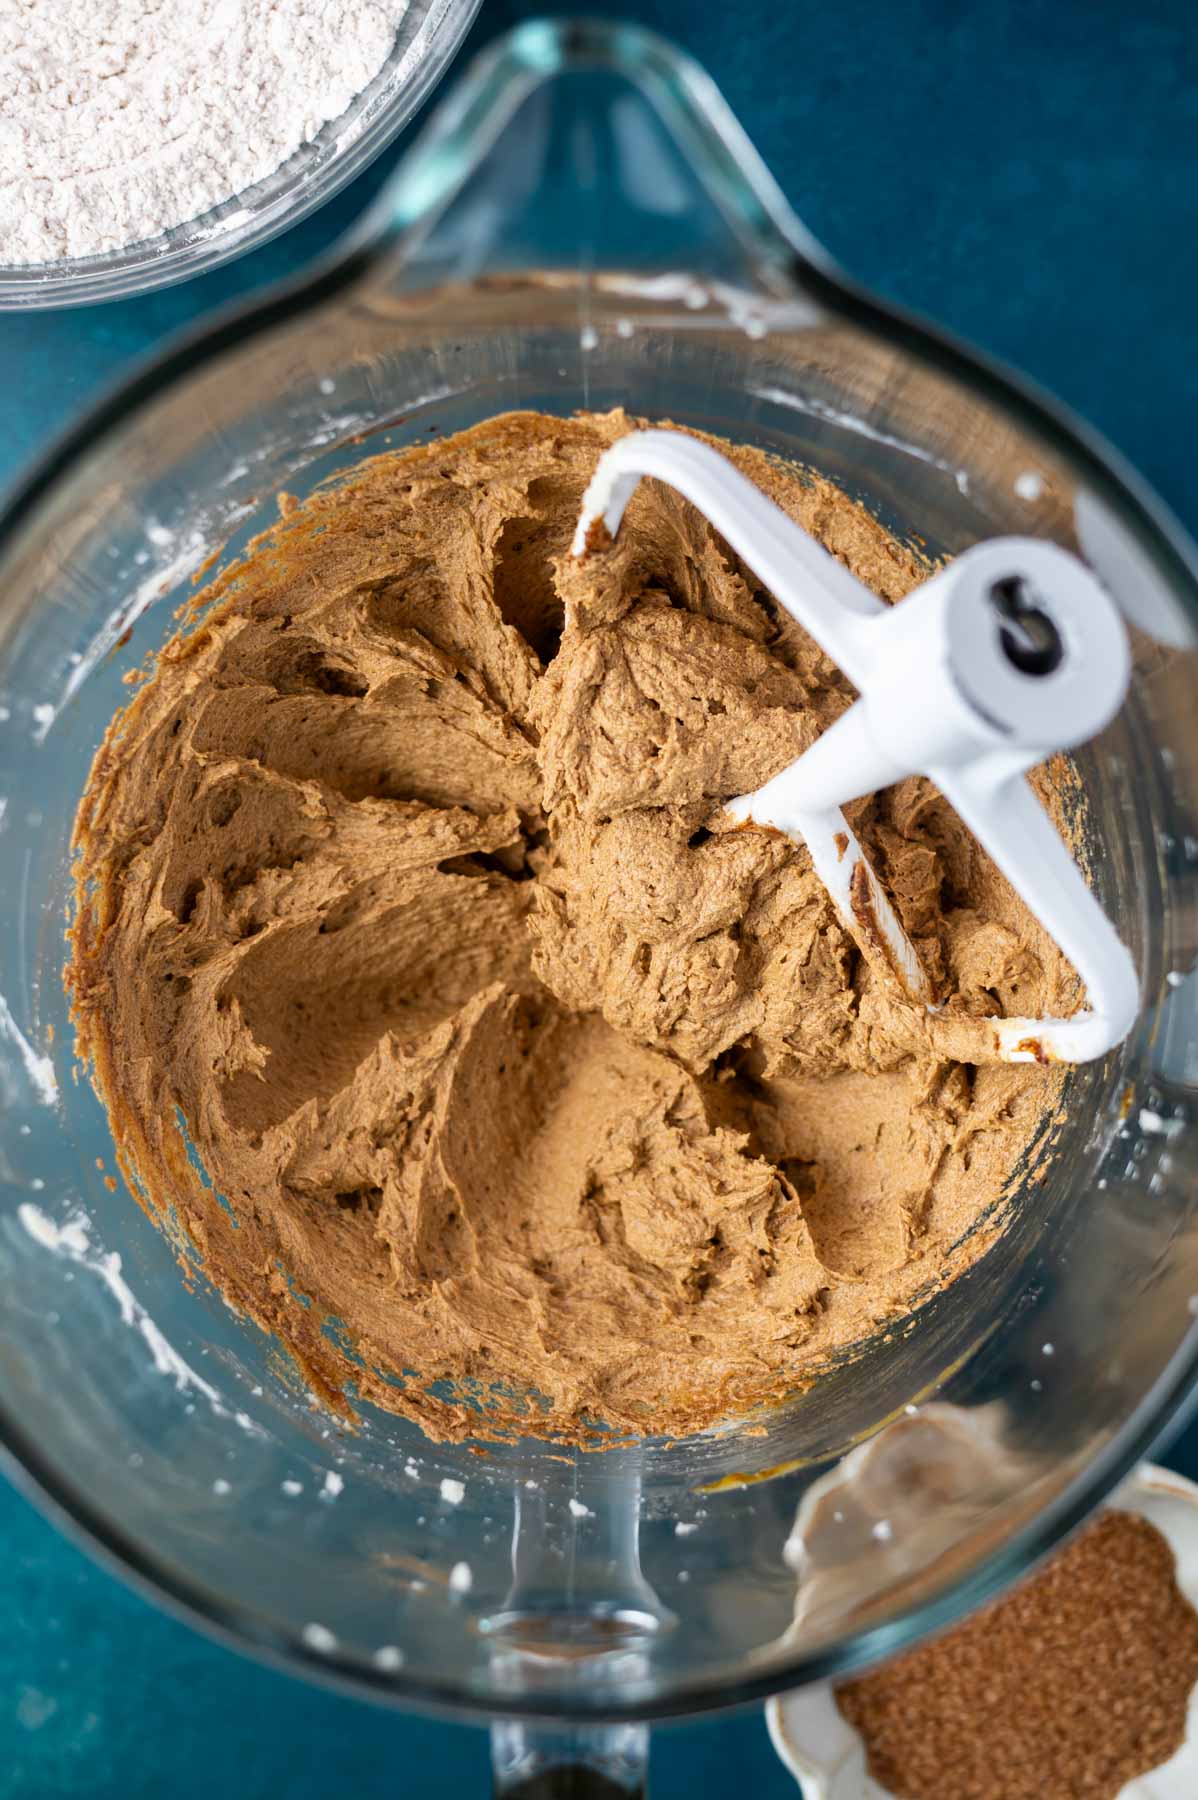
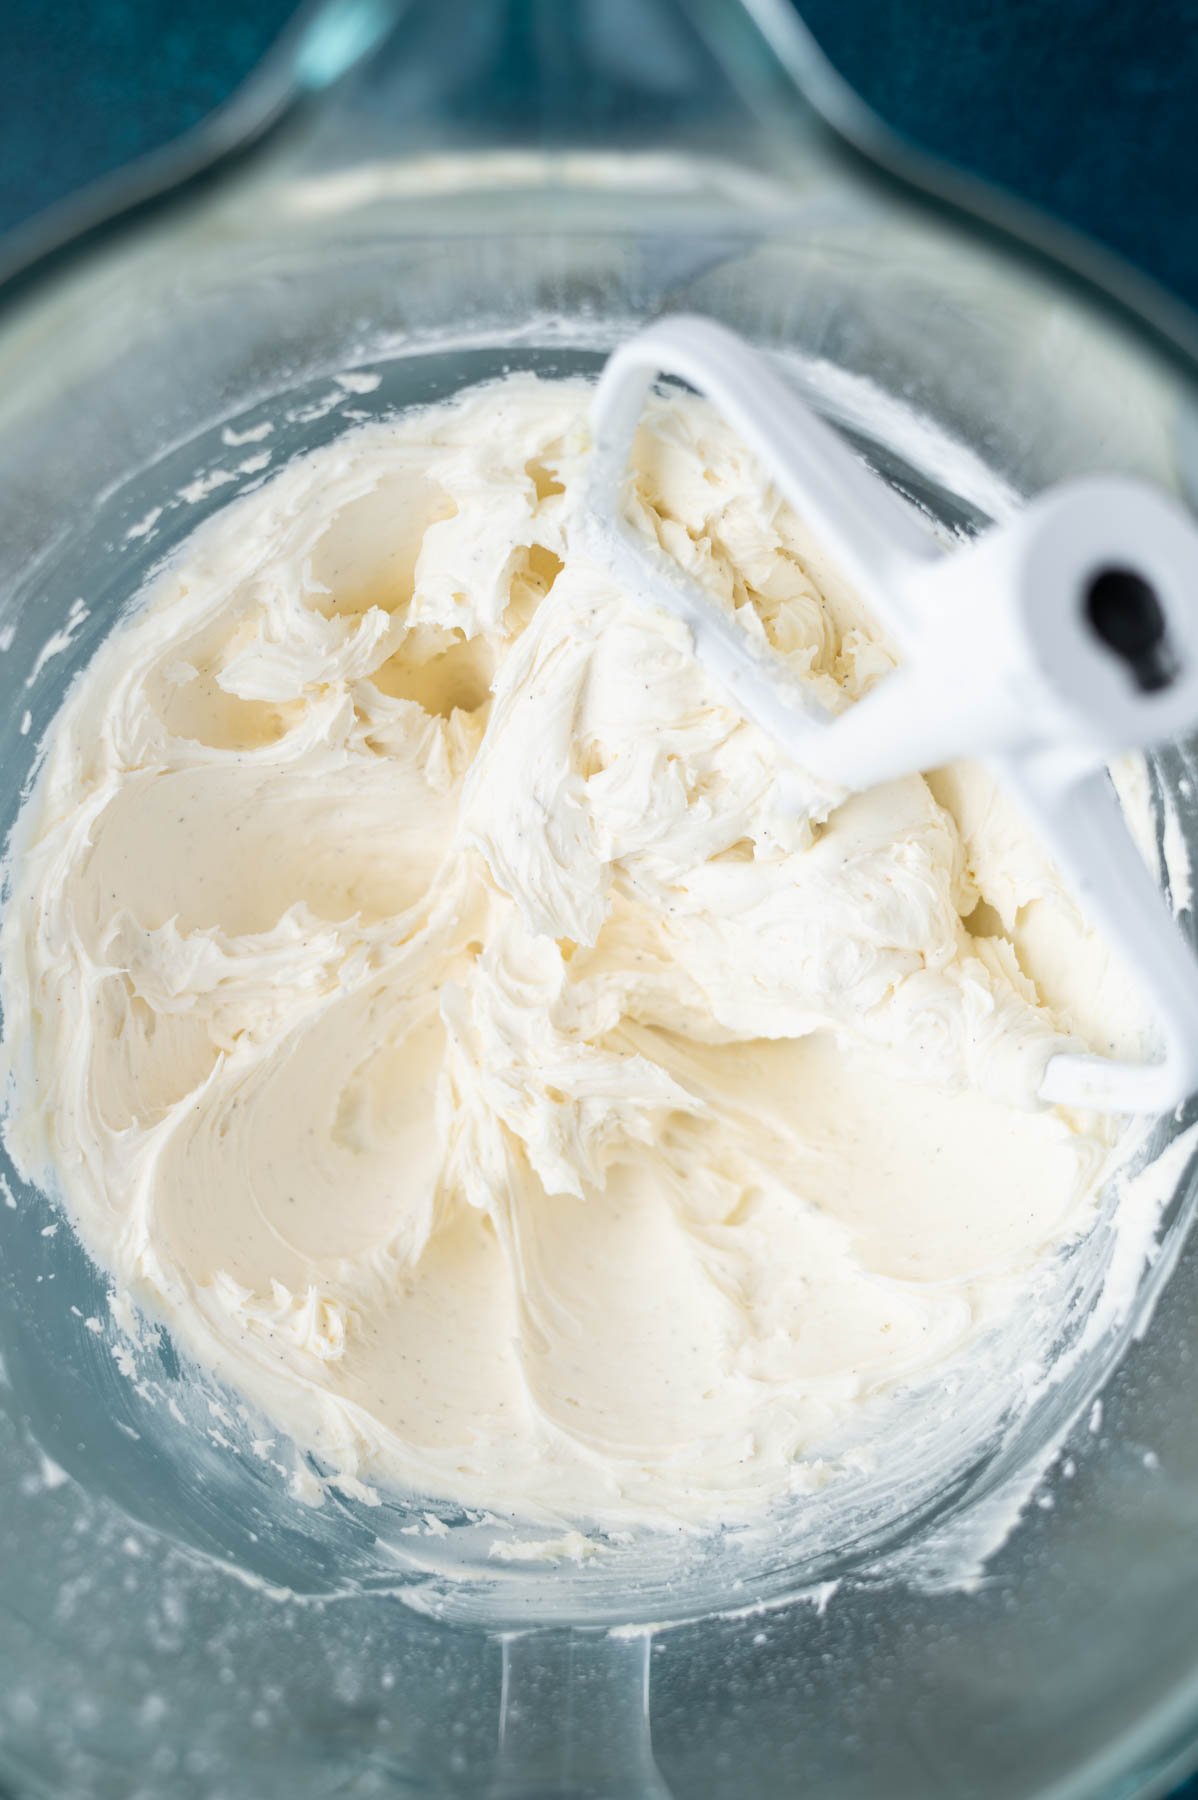
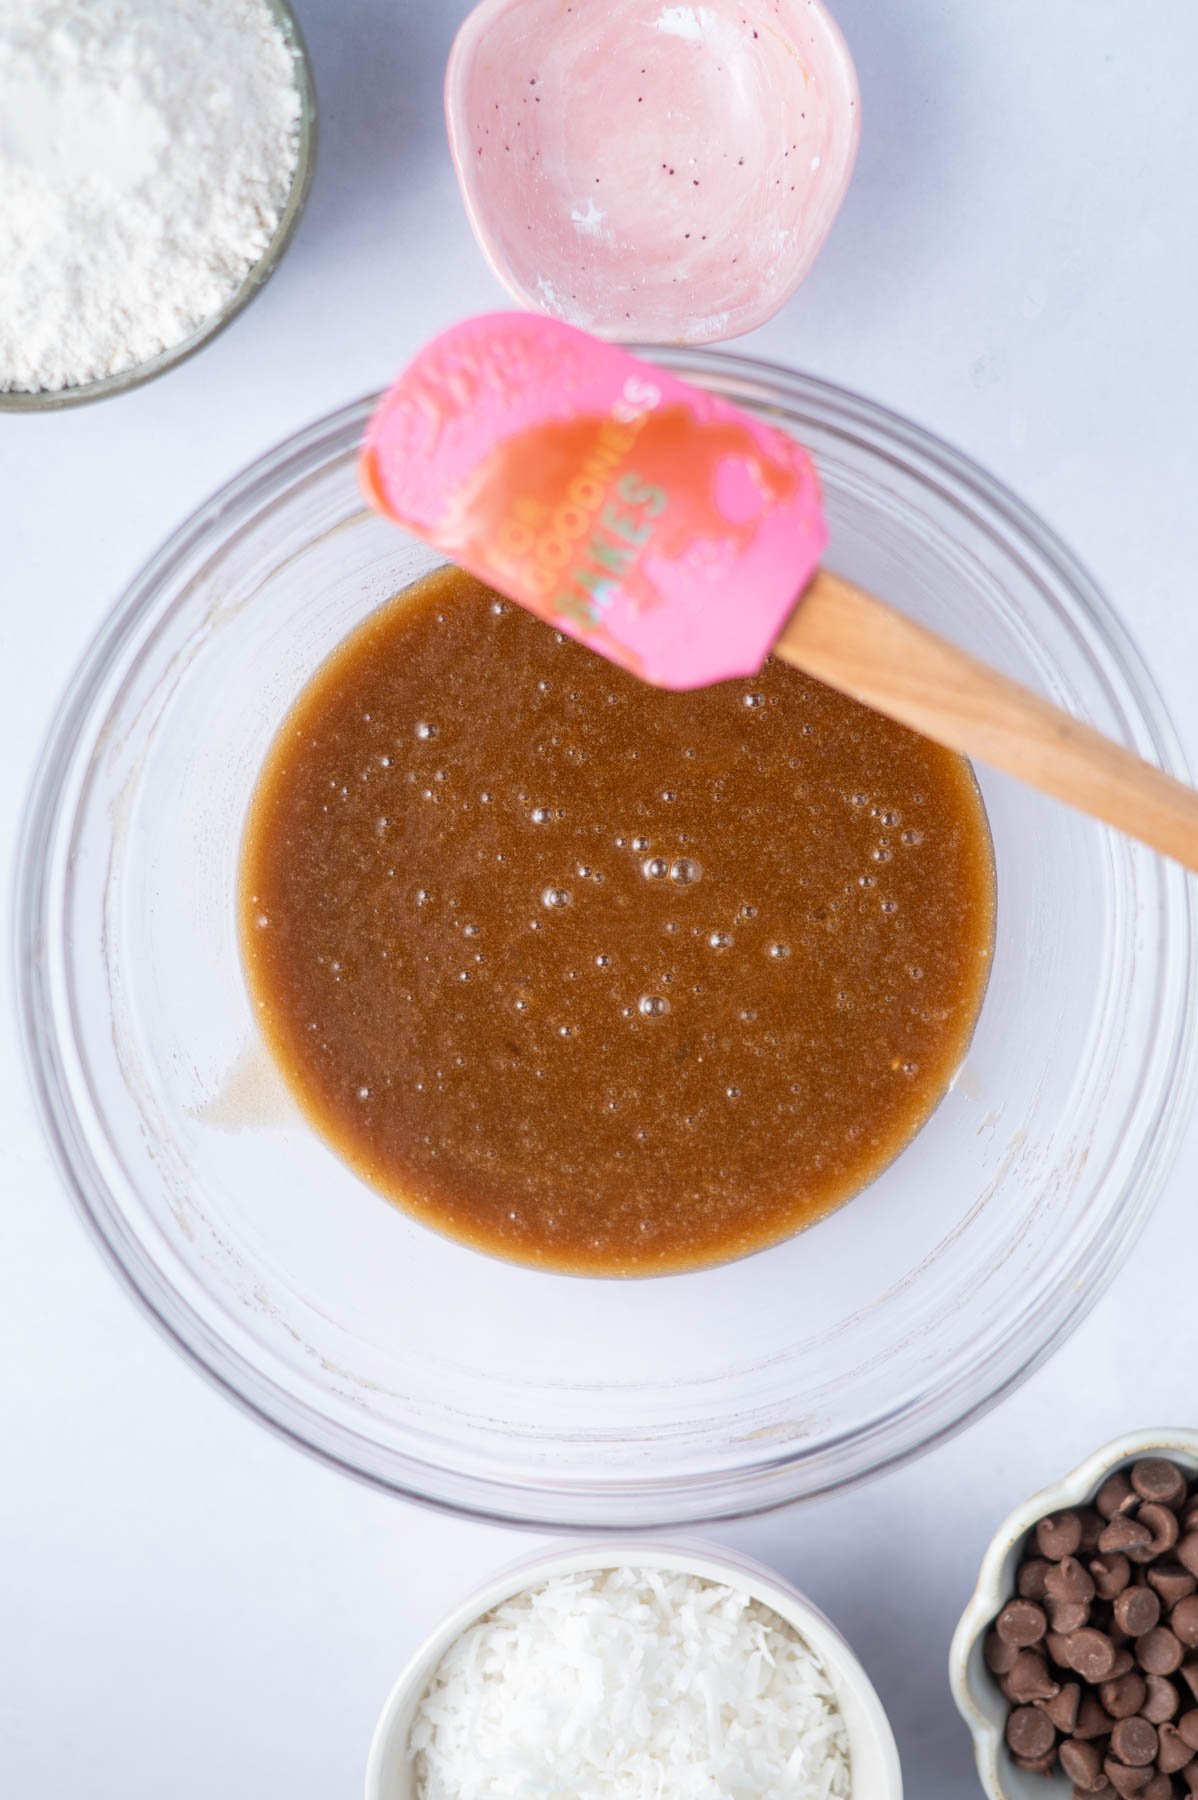
In a medium to large bowl, melt the butter and allow it to cool for 5 minutes. Add the dark brown sugar, granulated sugar and kosher salt and mix until fully incorporated.
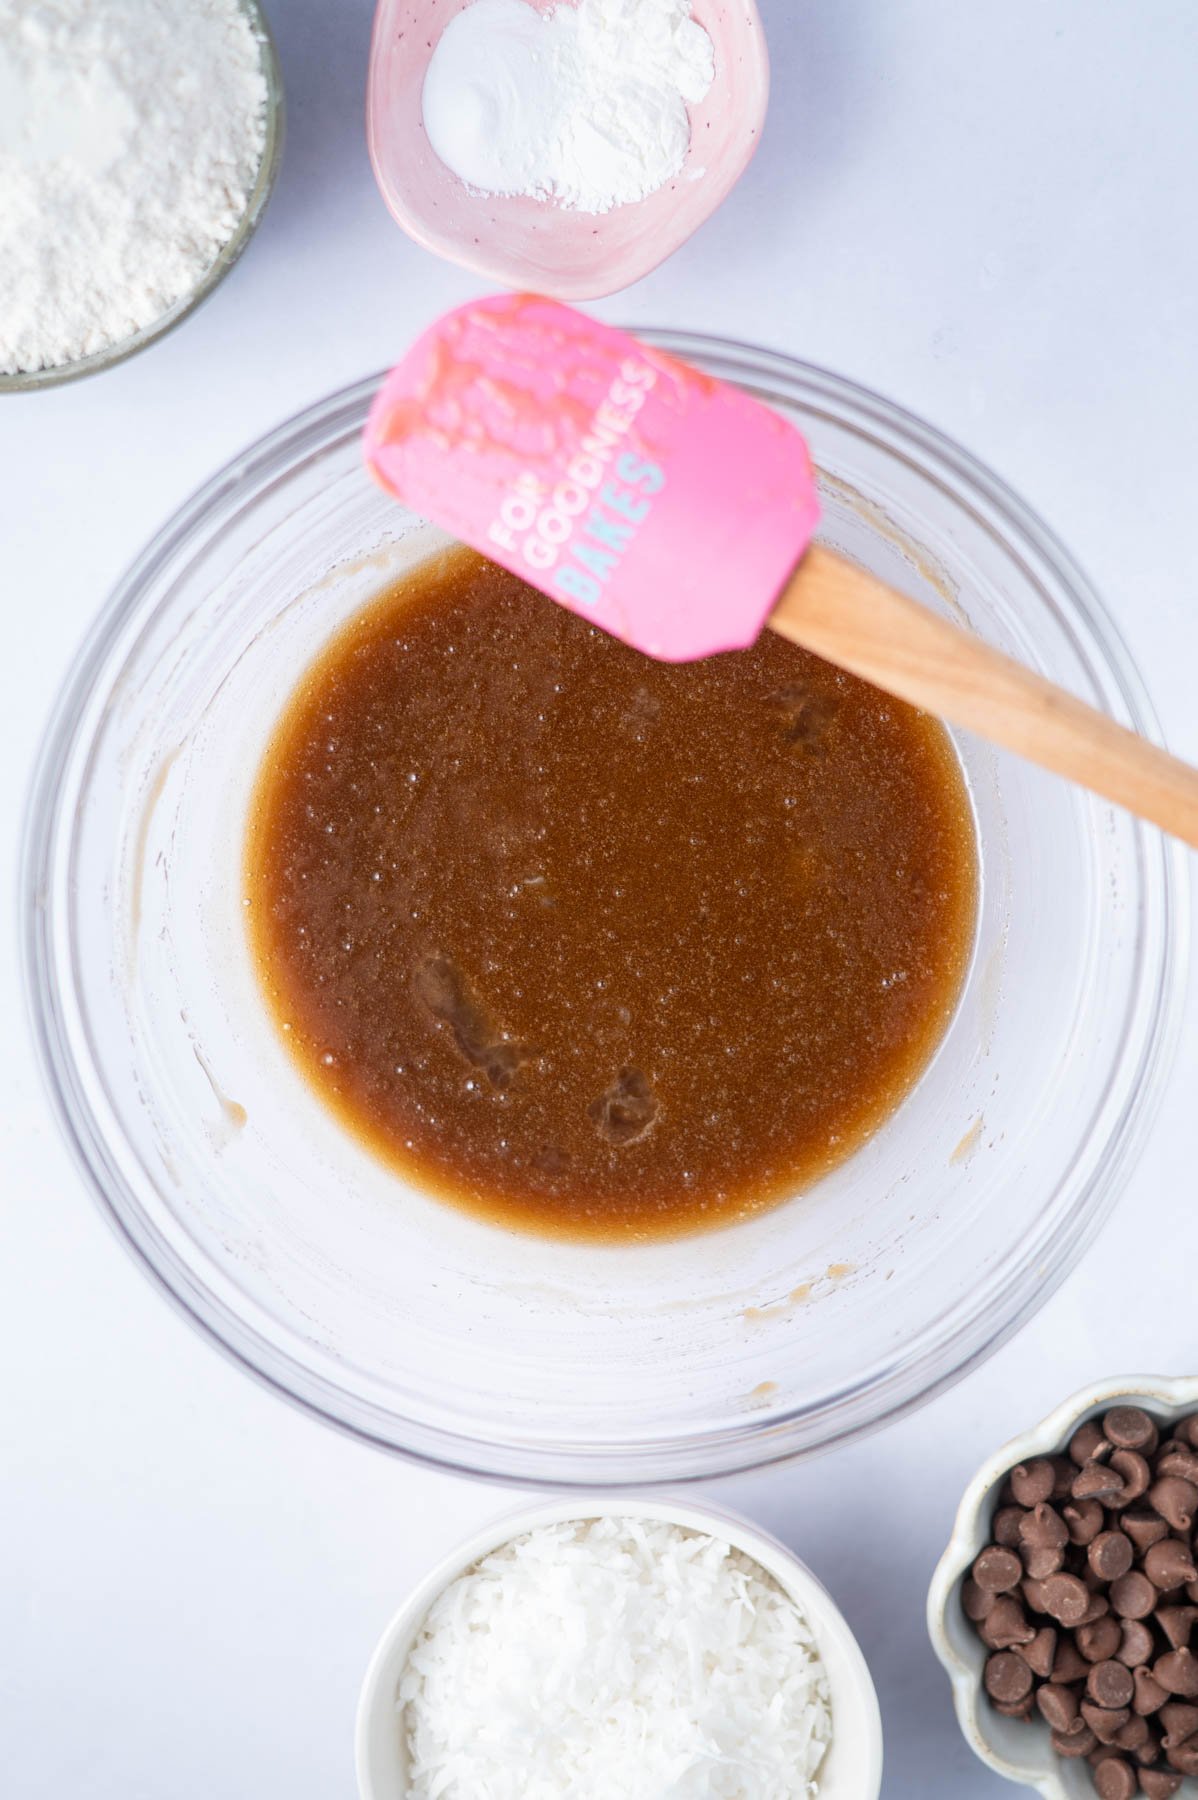
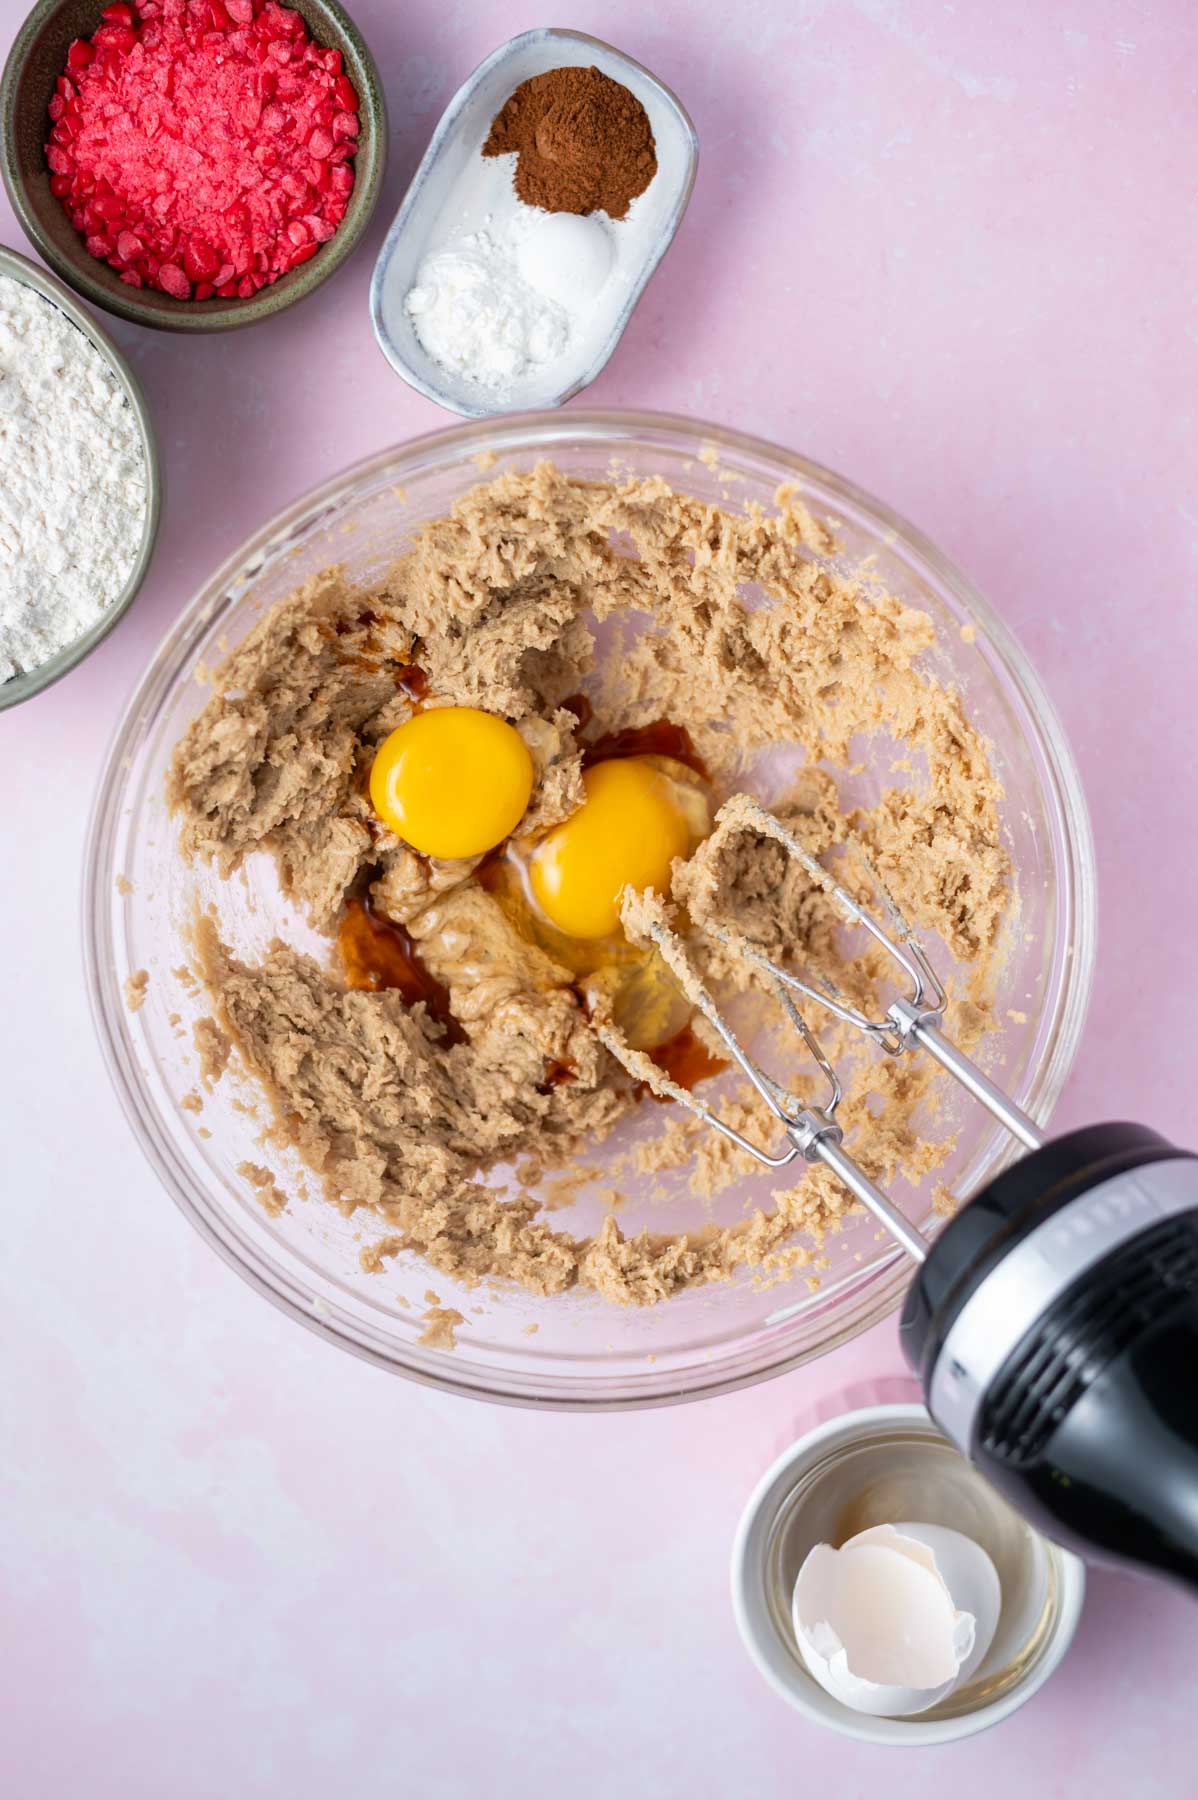
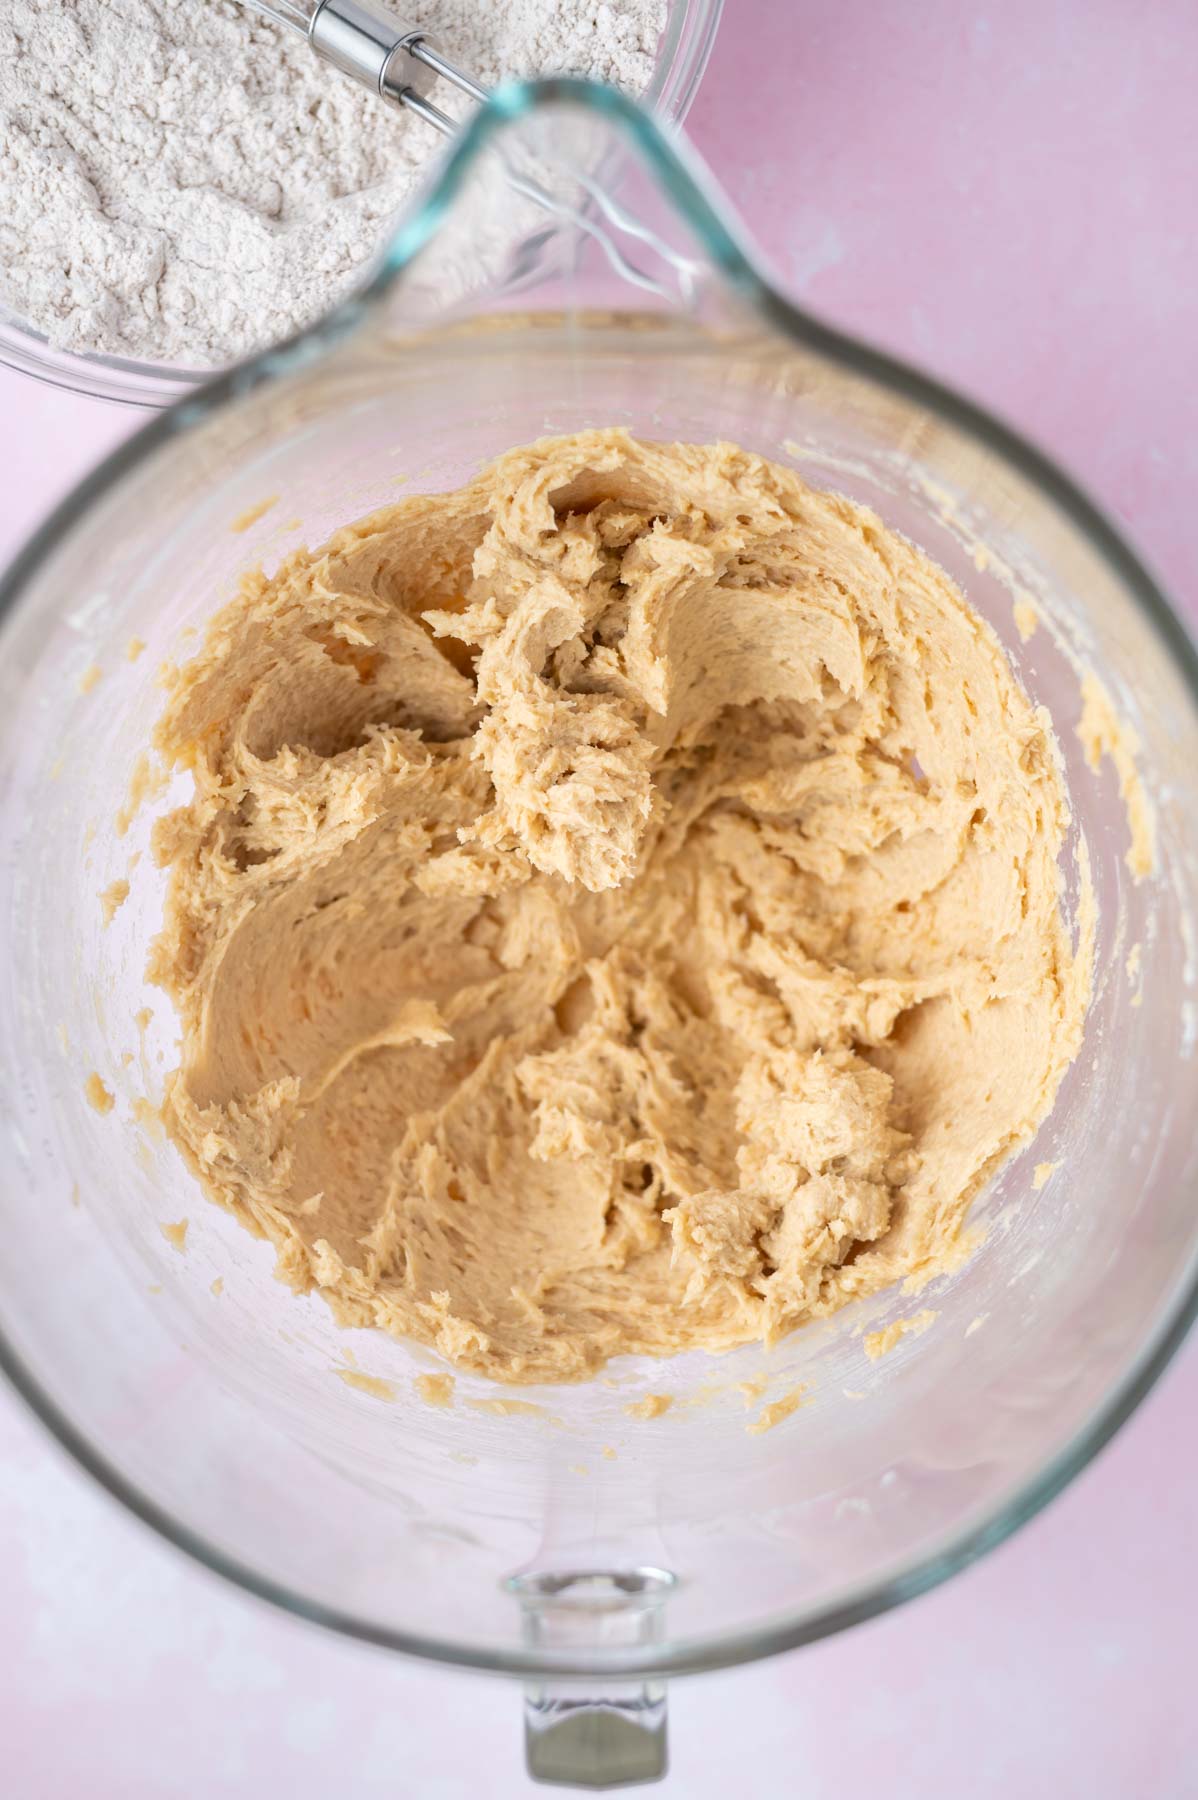
Now add in the egg and vanilla. Stir until the mixture is combined and smooth.
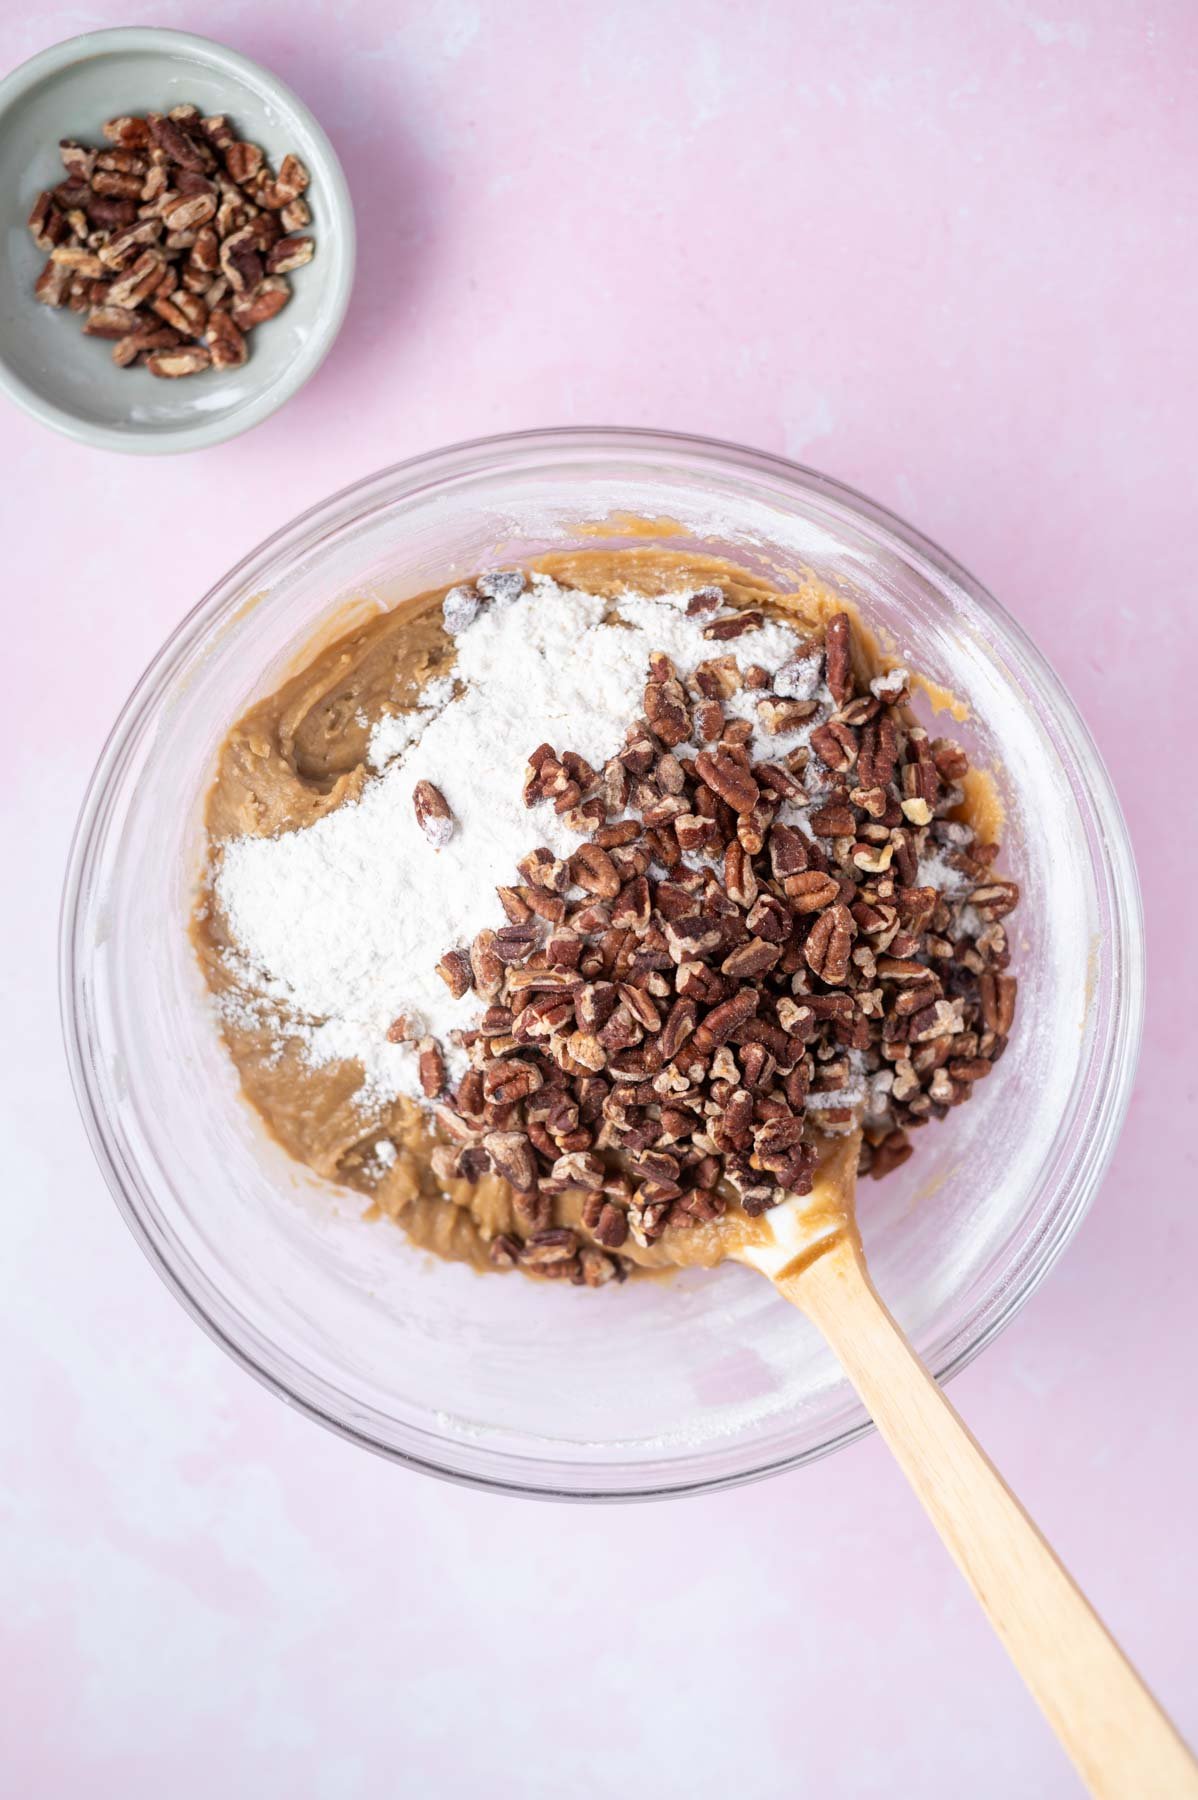
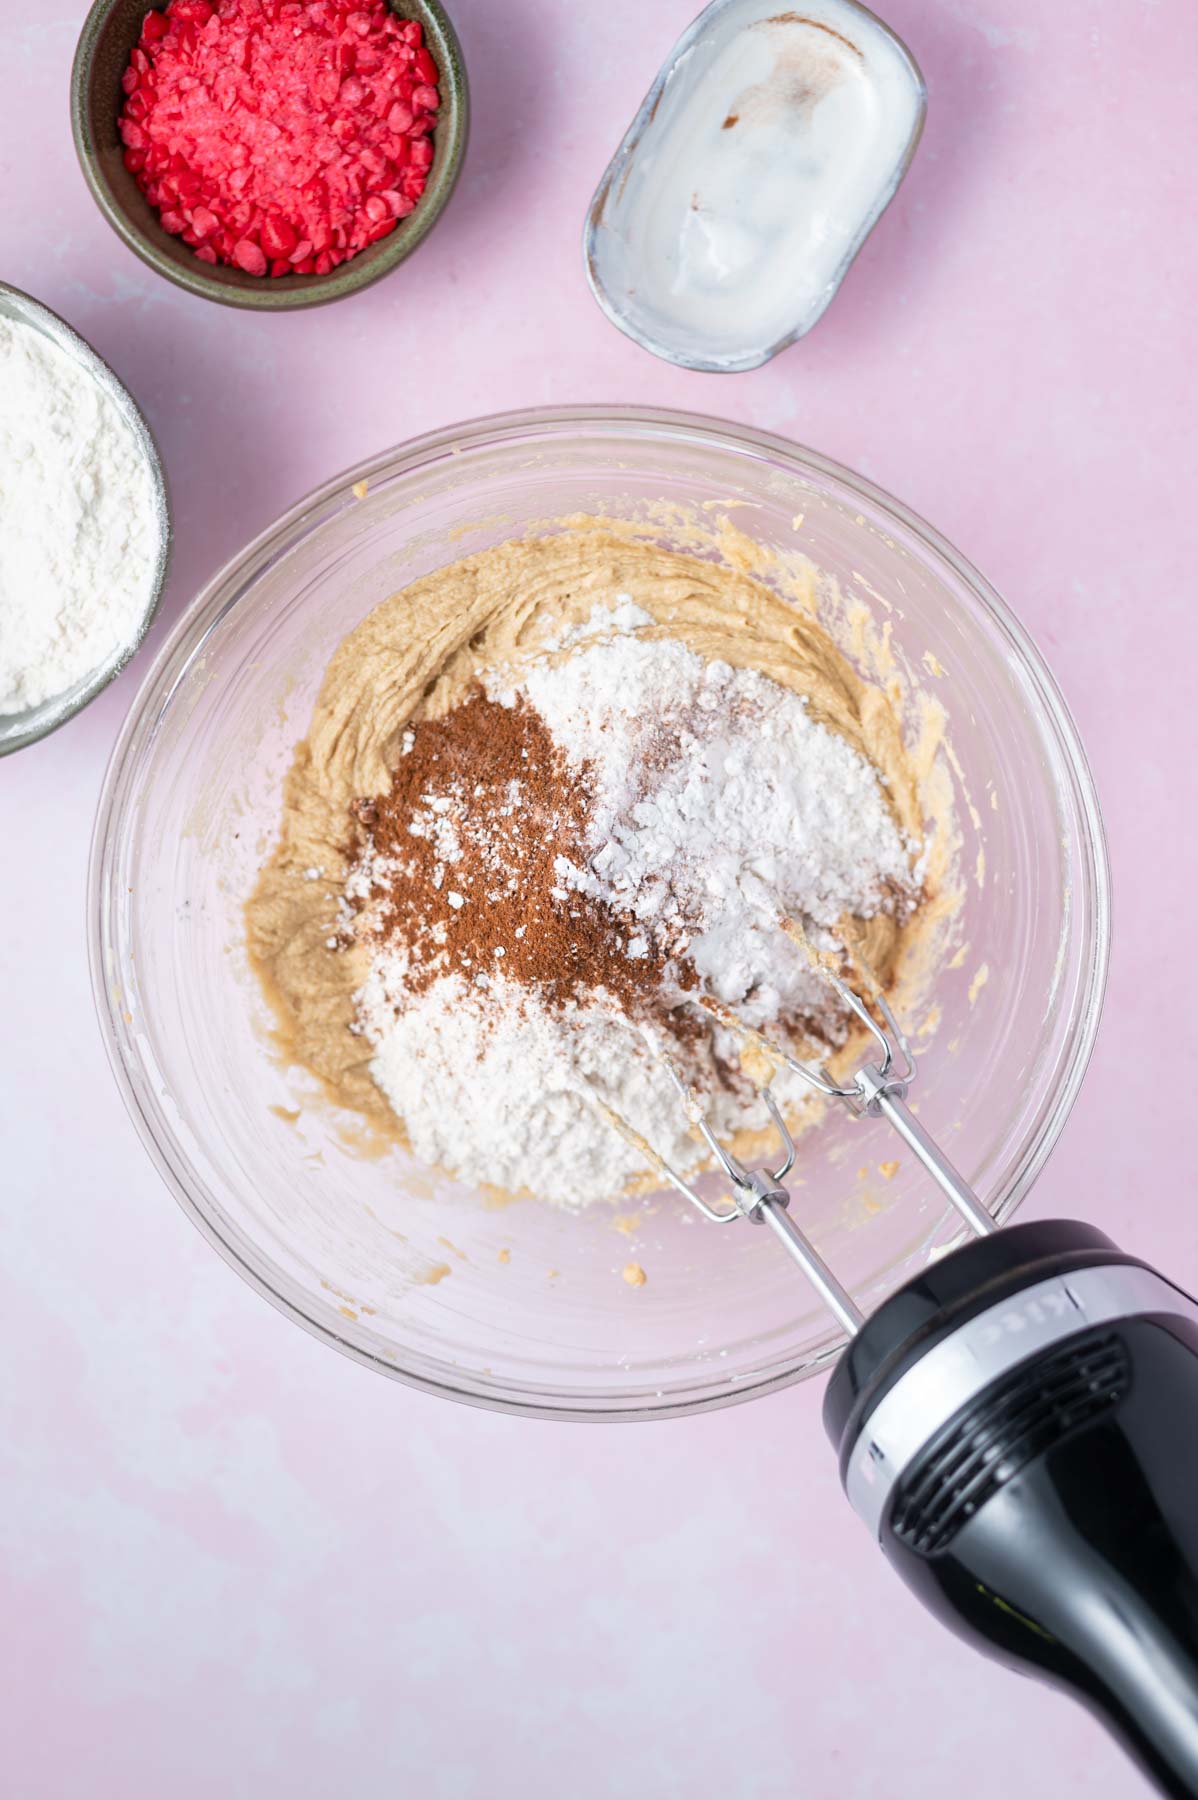
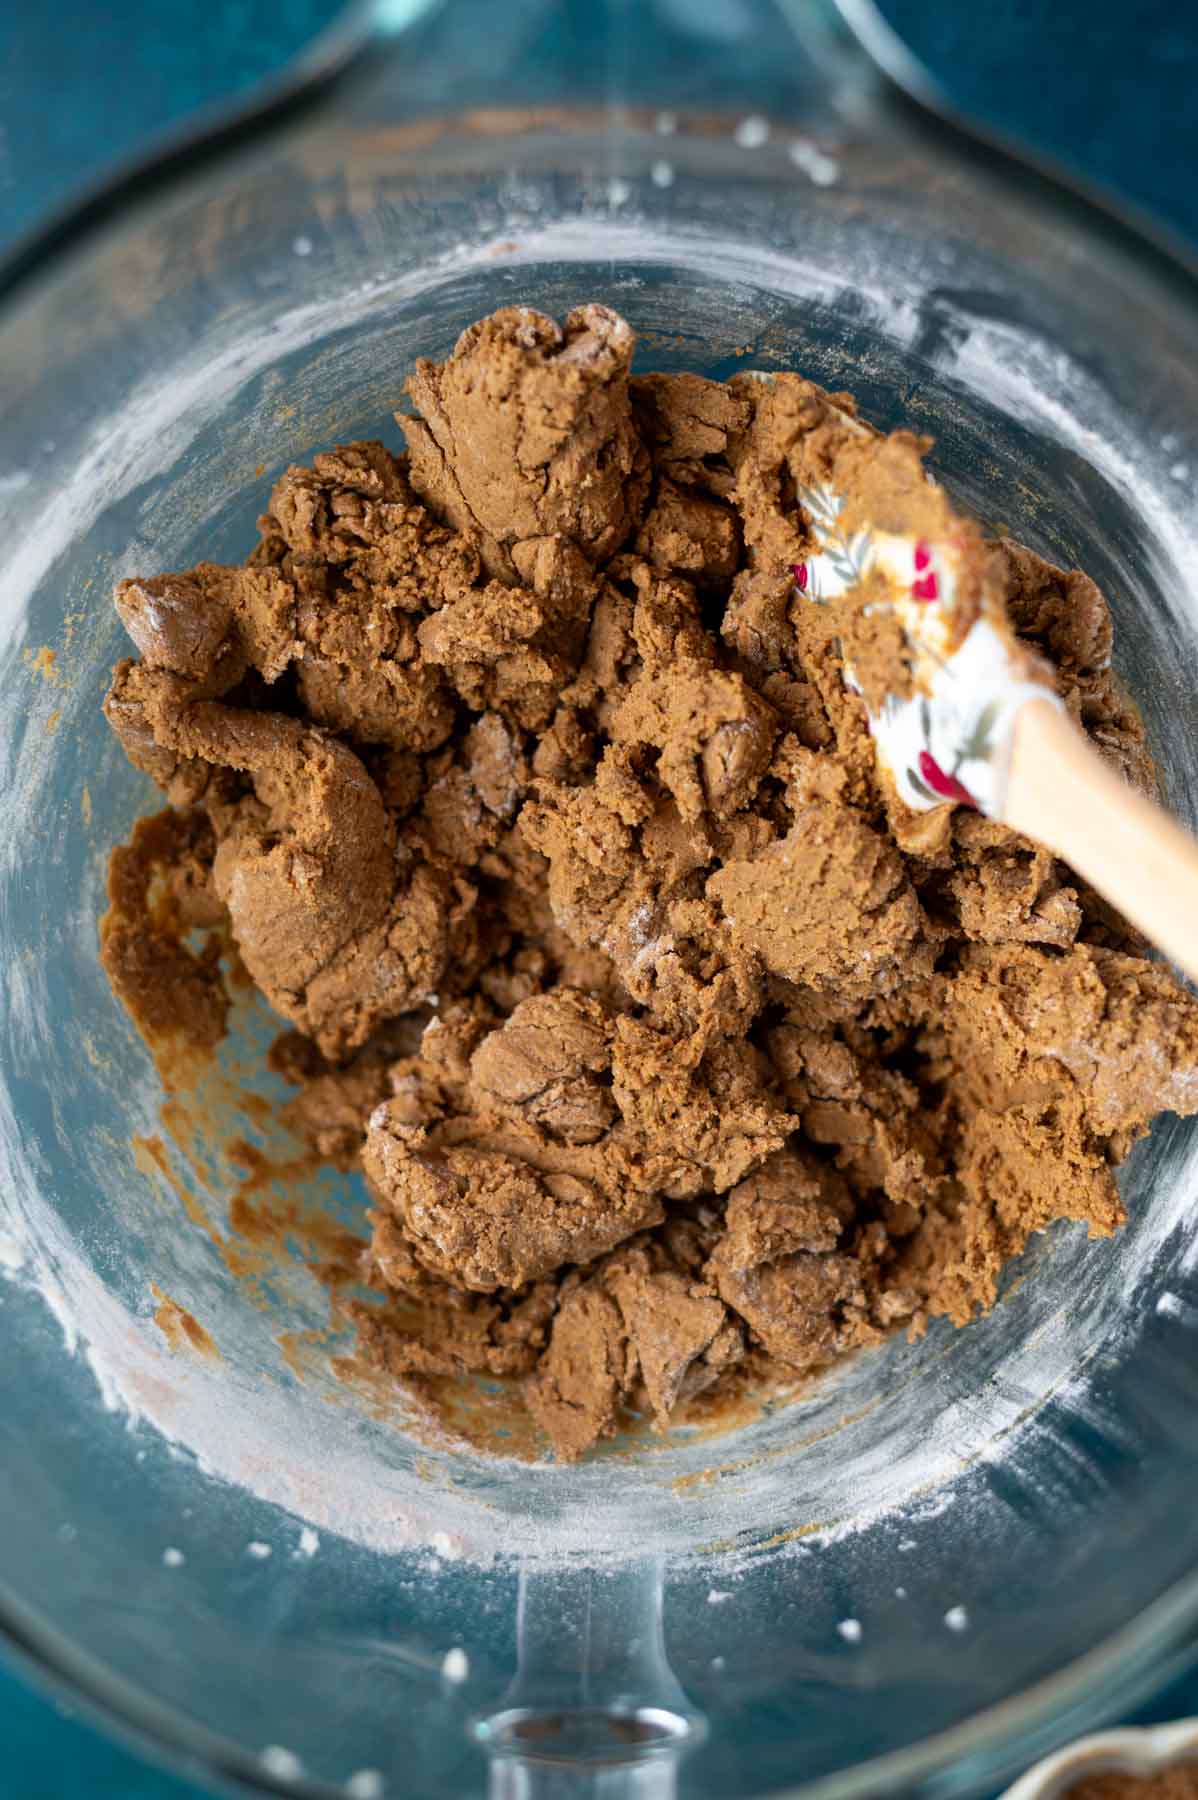
Then sprinkle the baking soda and cornstarch over the mixture and stir well.
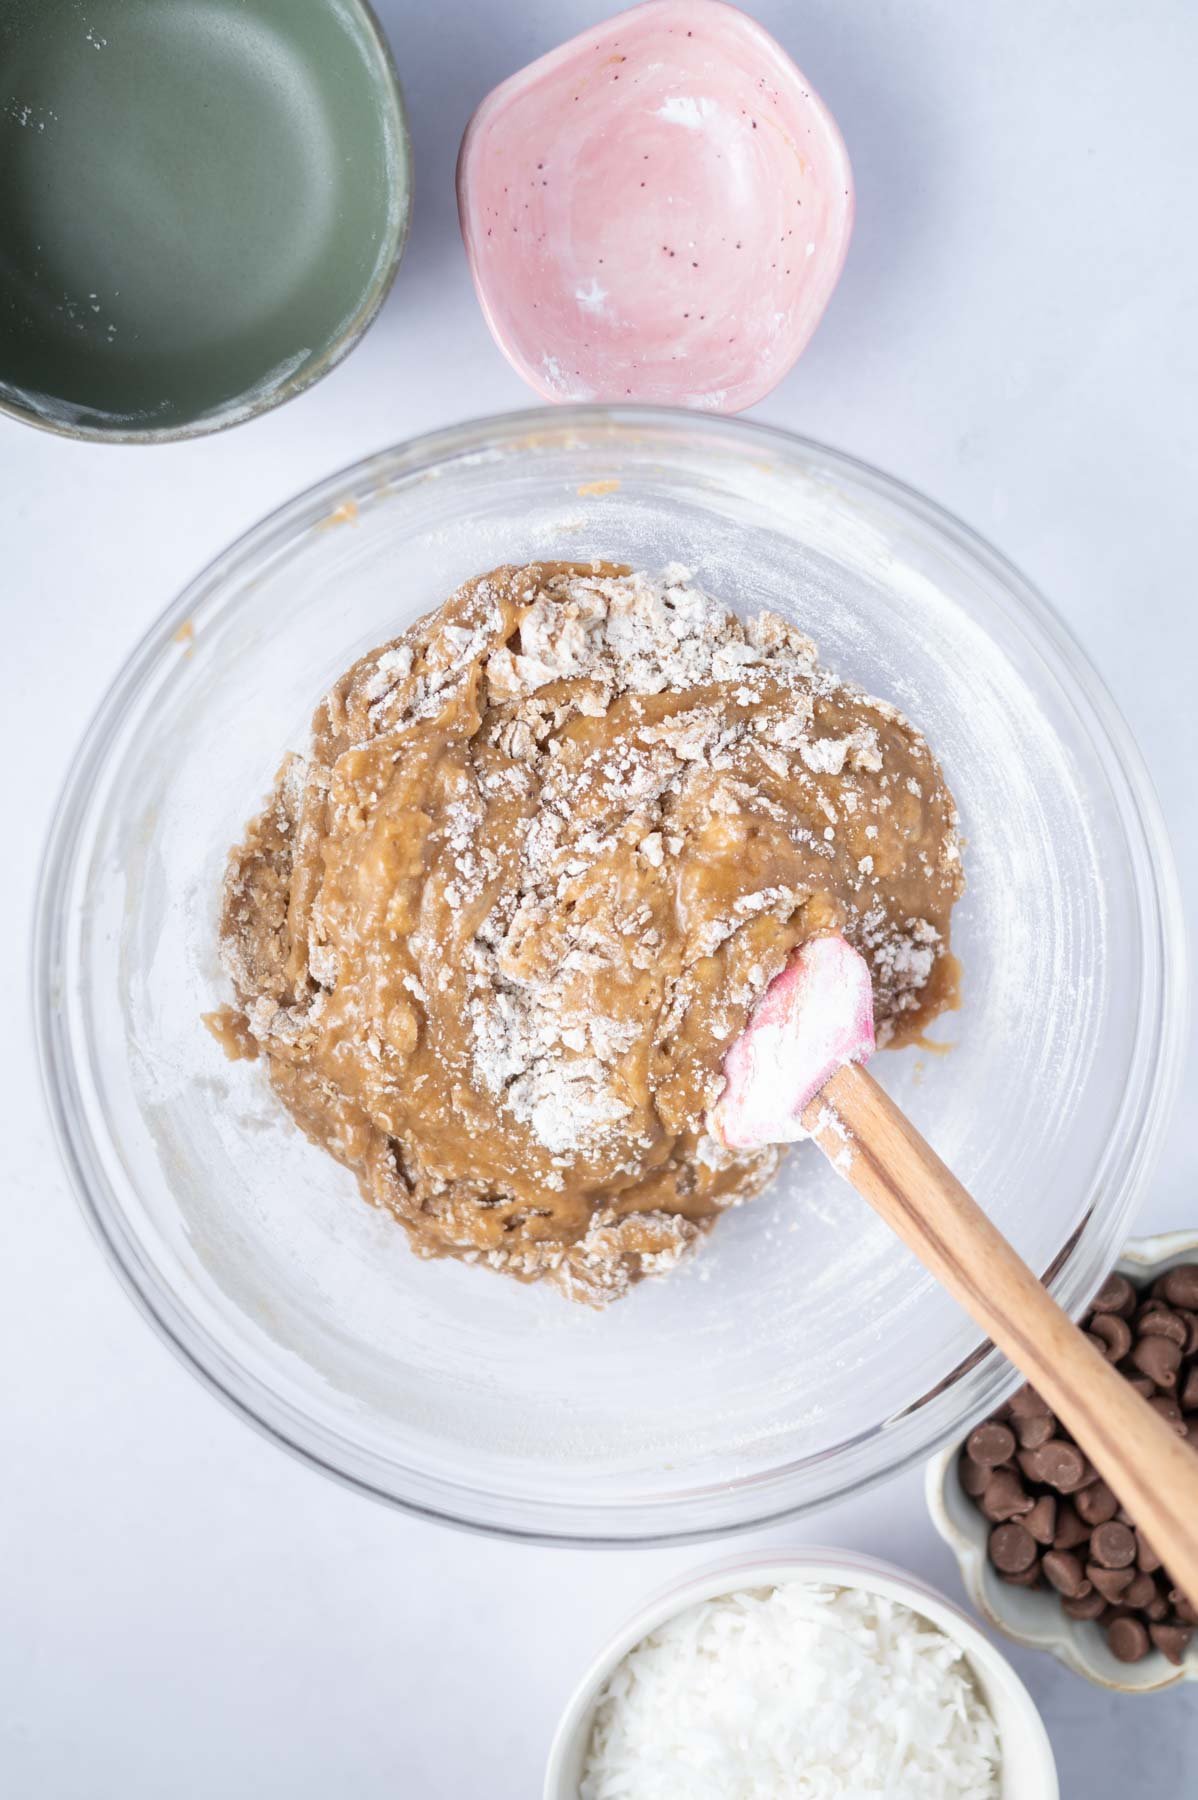
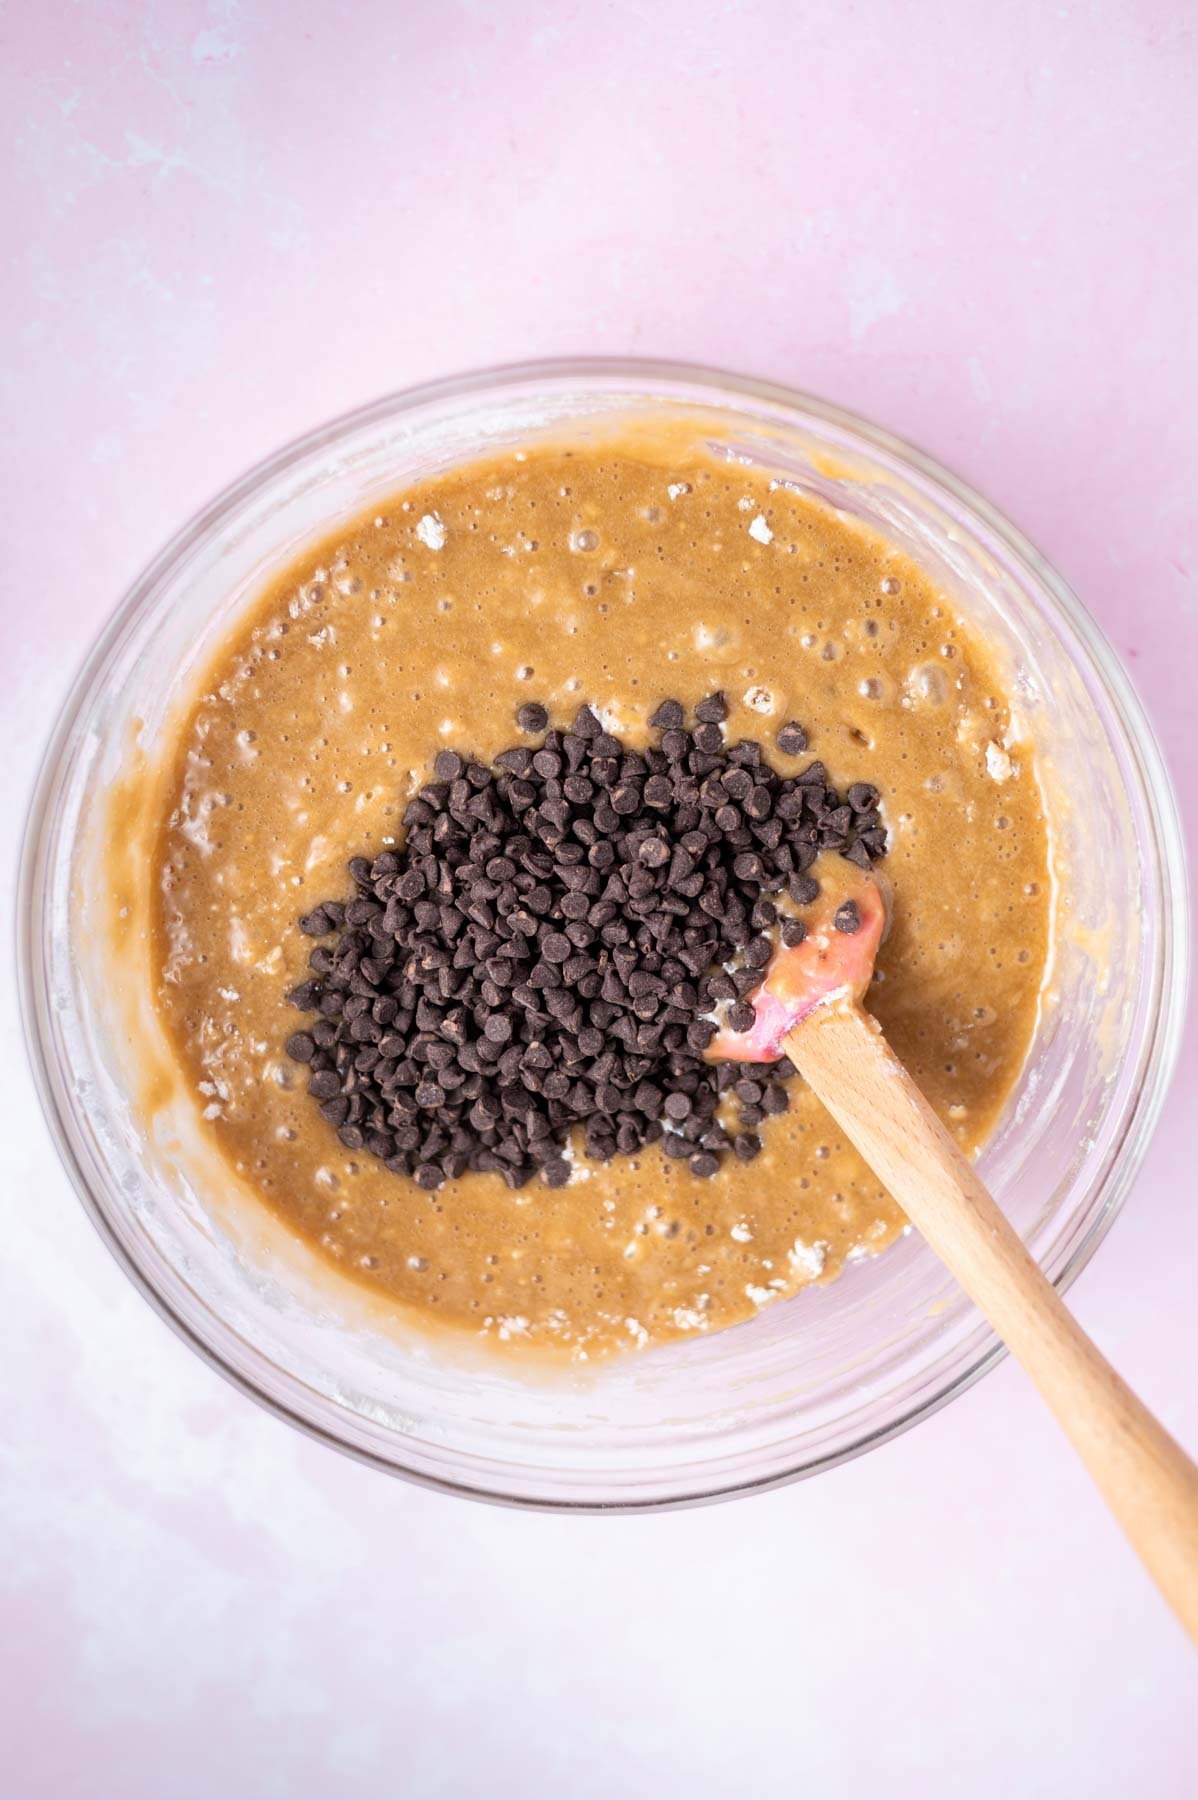
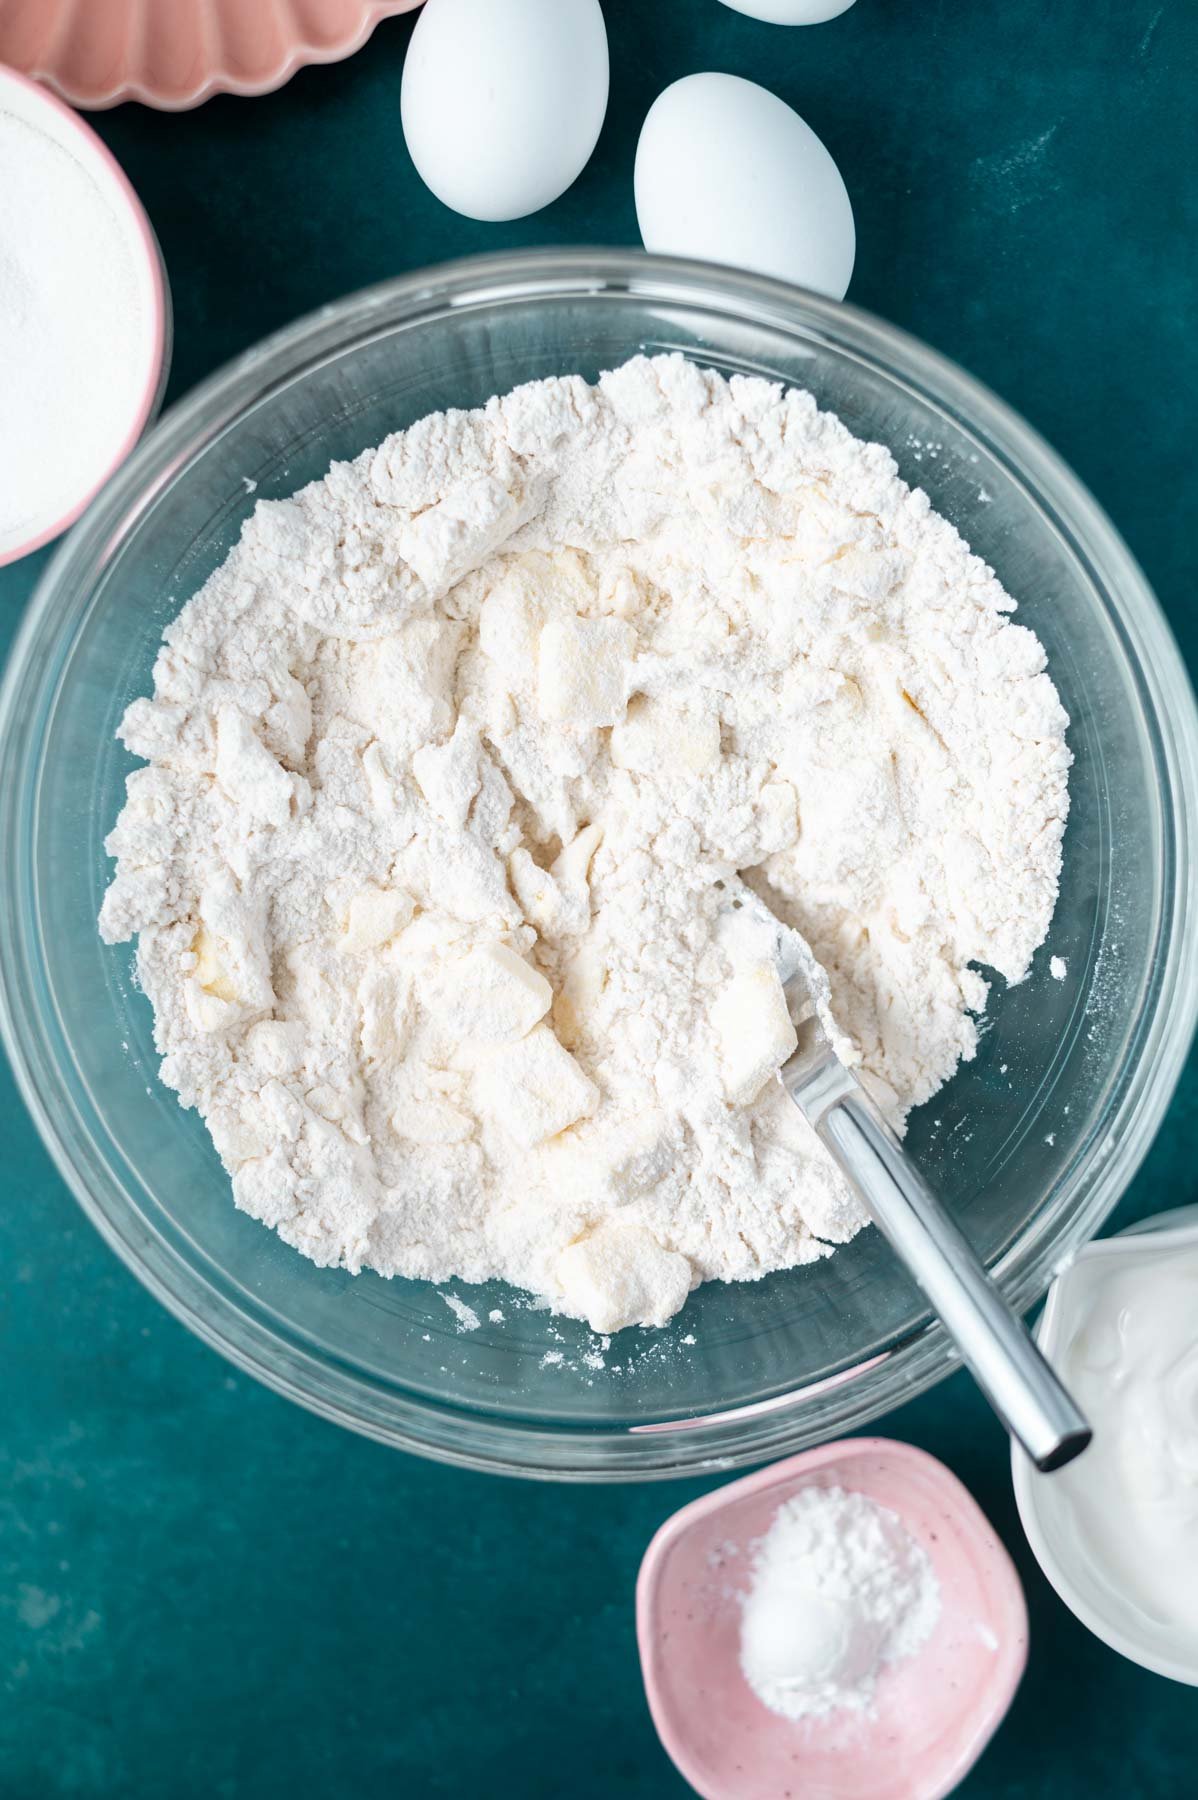
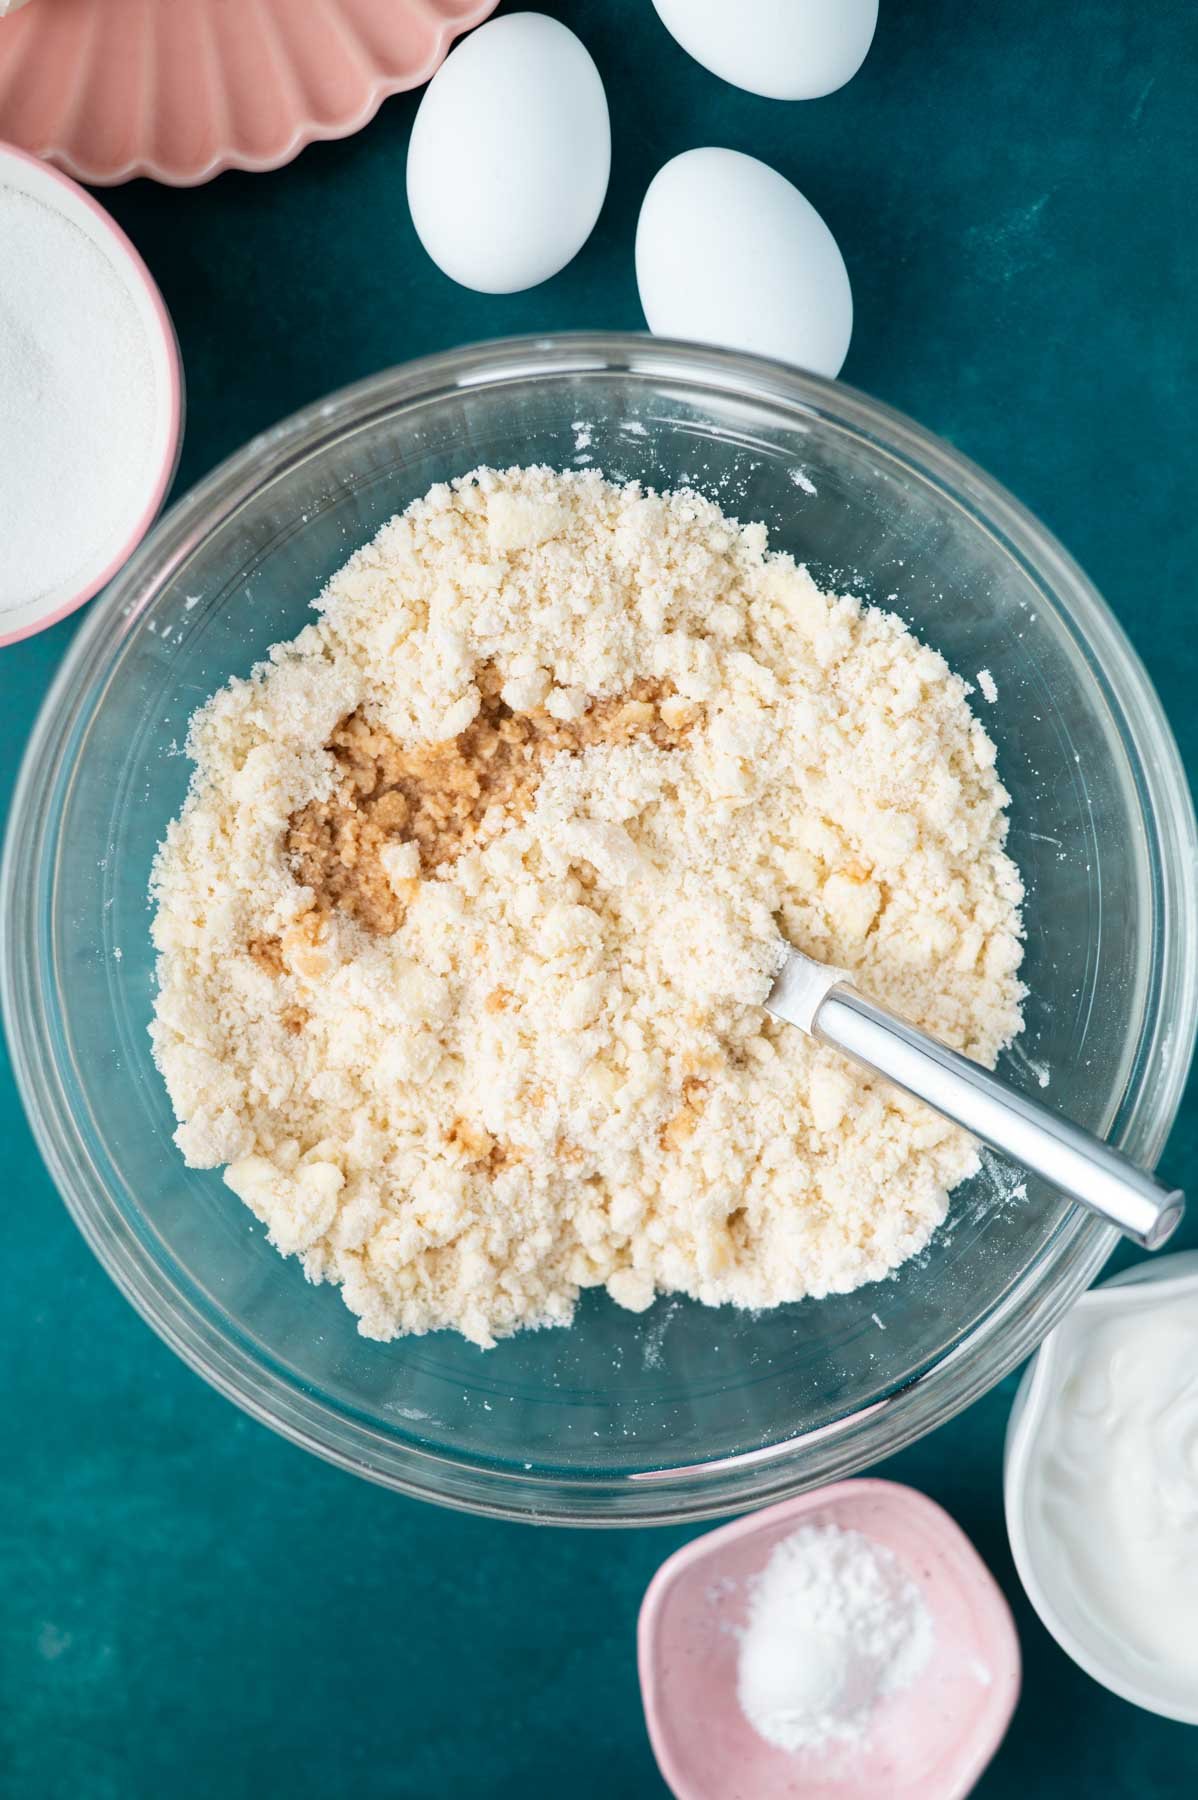
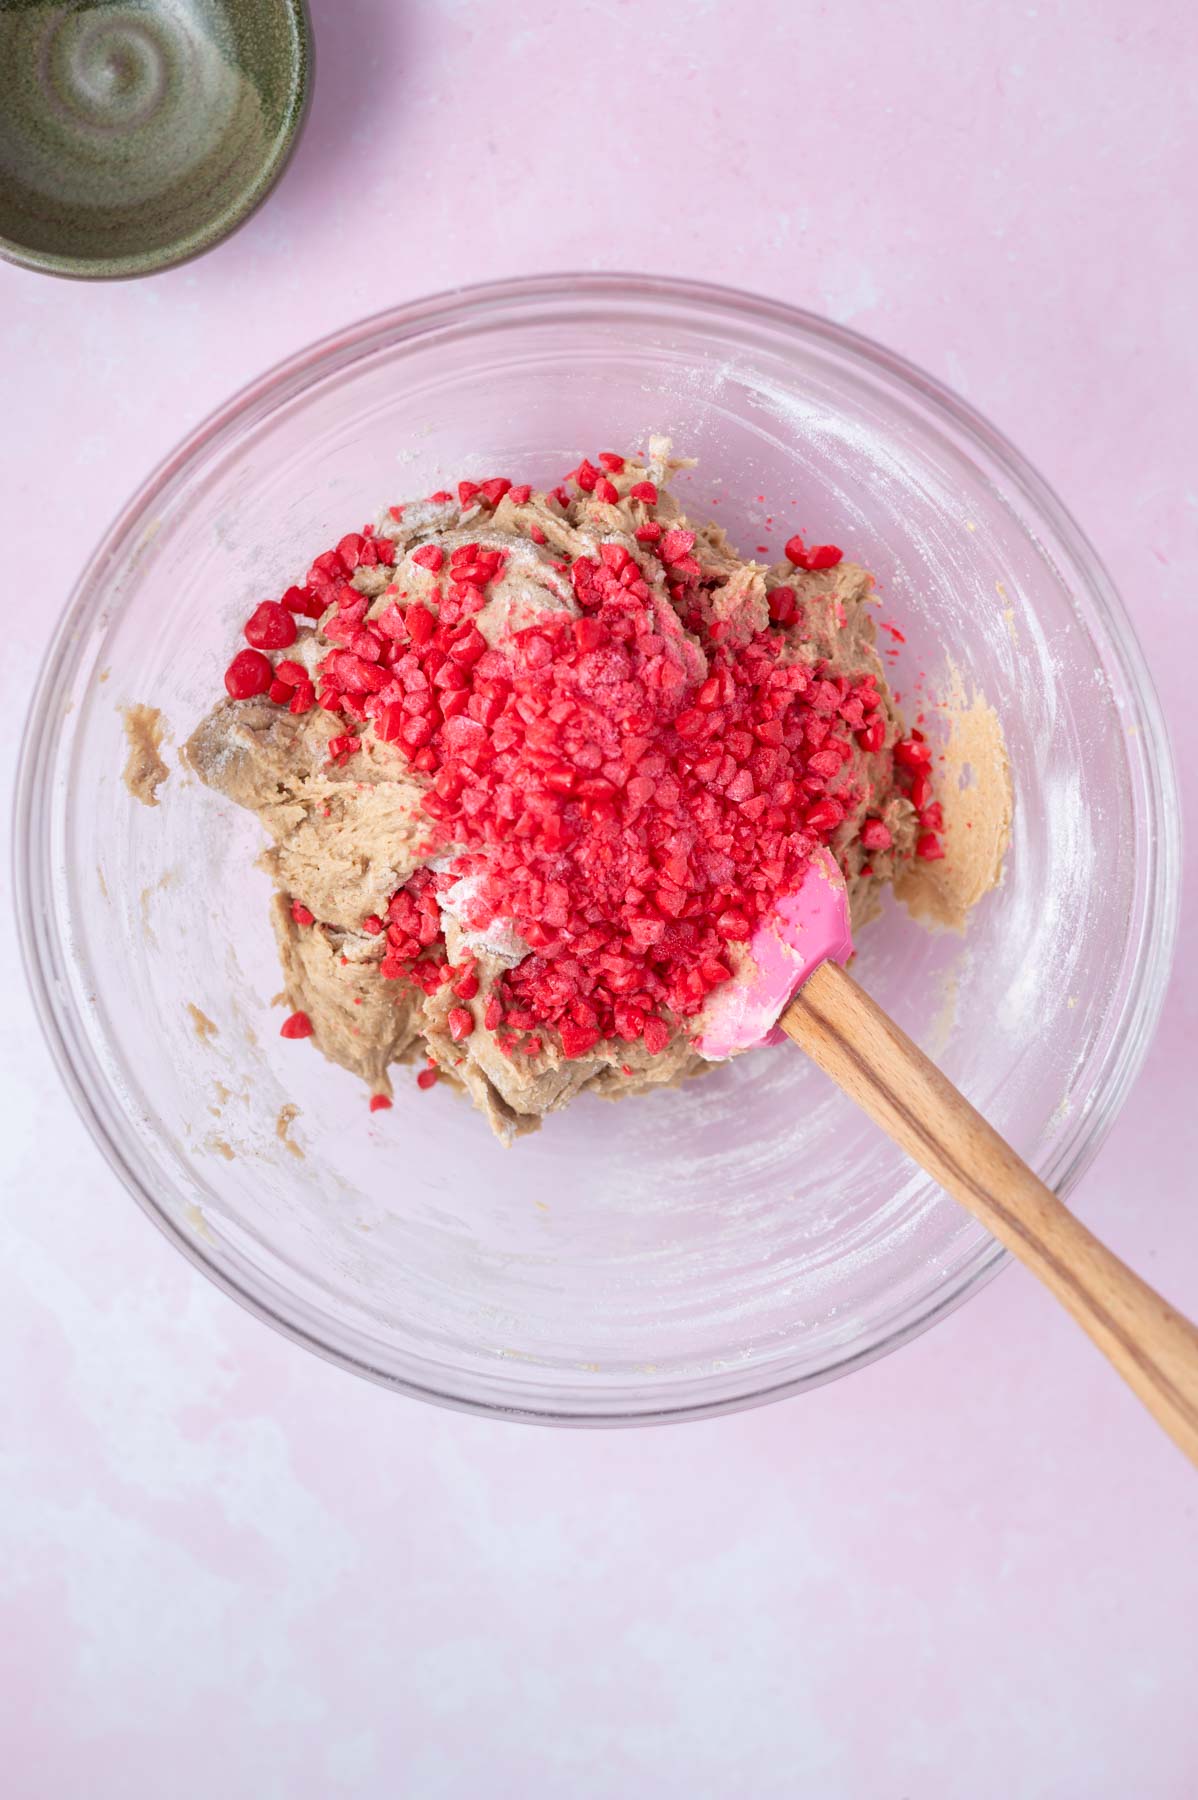
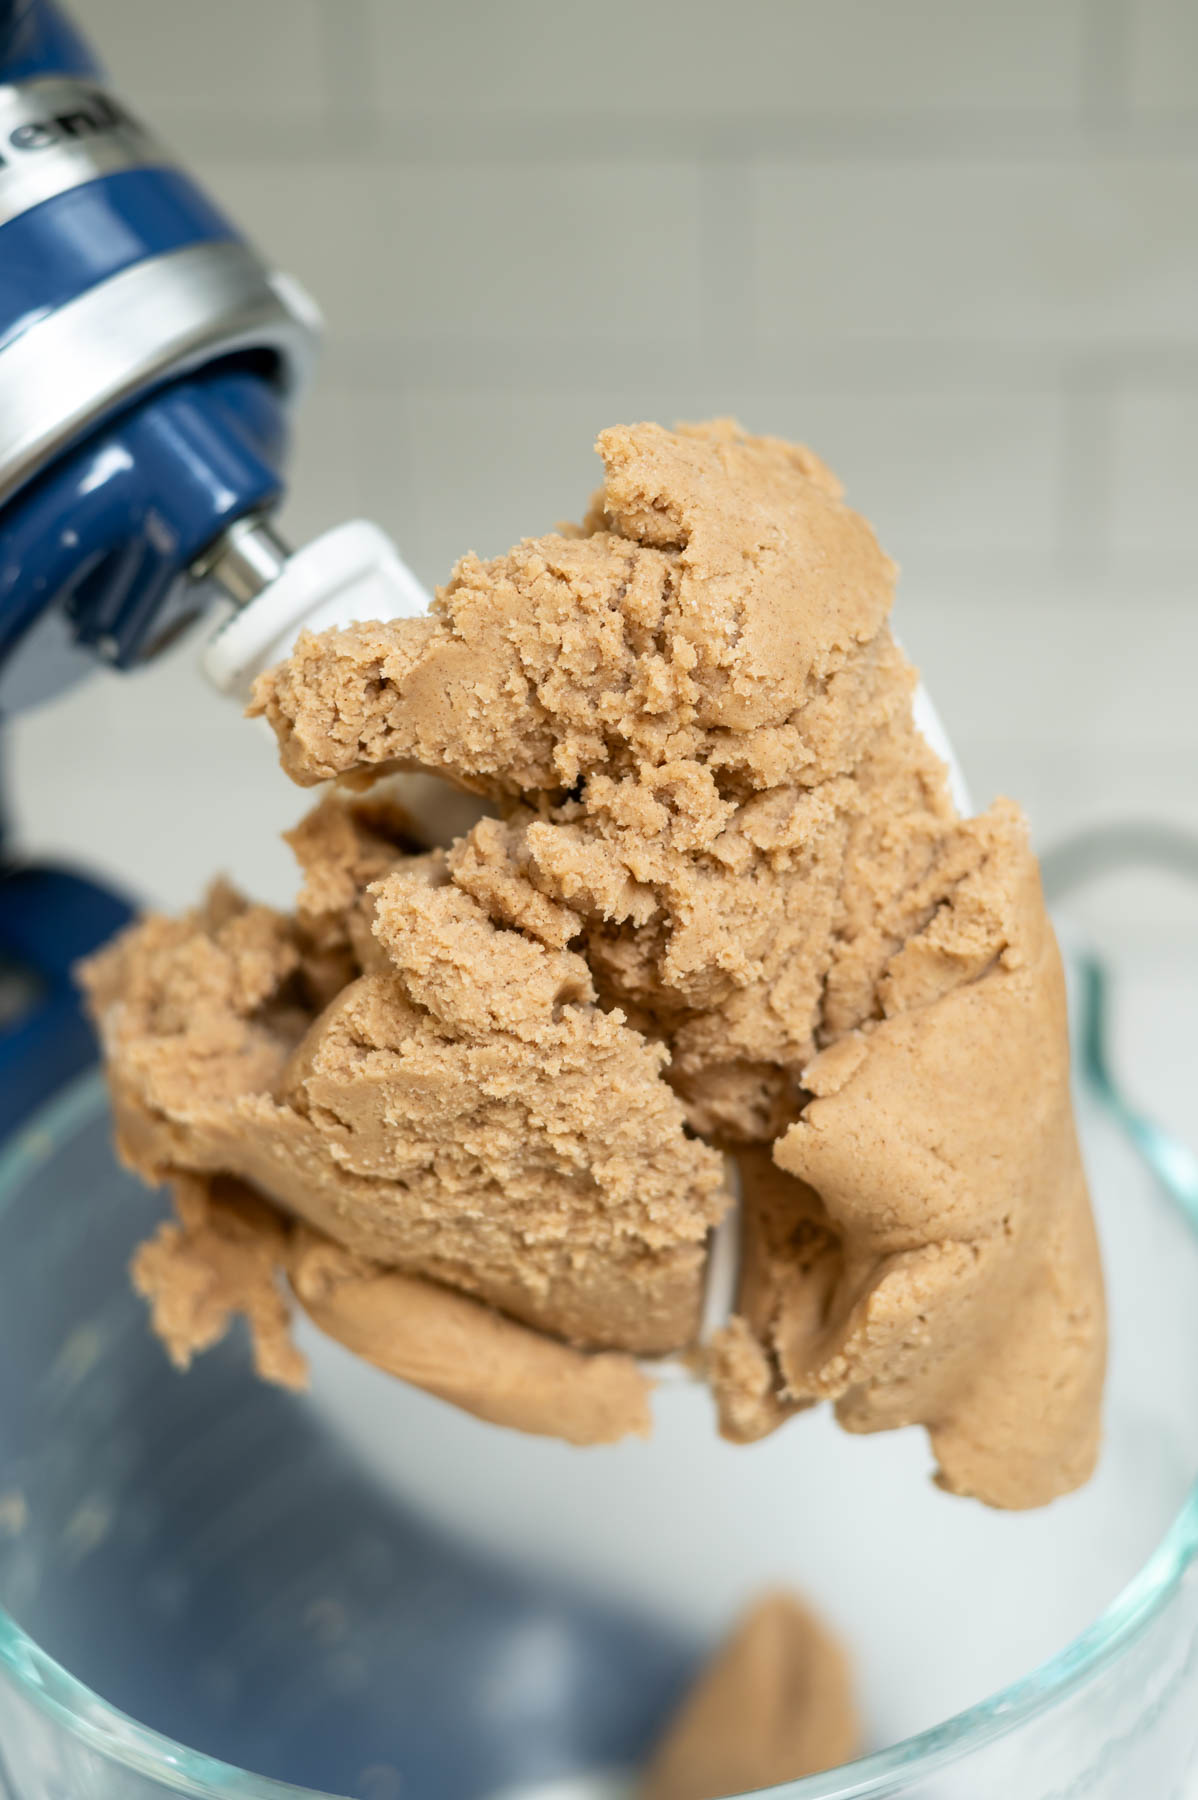
Then add the flour and stir until just a few streaks of flour remain. Fold in the both the chocolate chips and sweetened coconut flakes. If desired, save aside a few of the chocolate chunks to press into the tops of the cookies before baking.
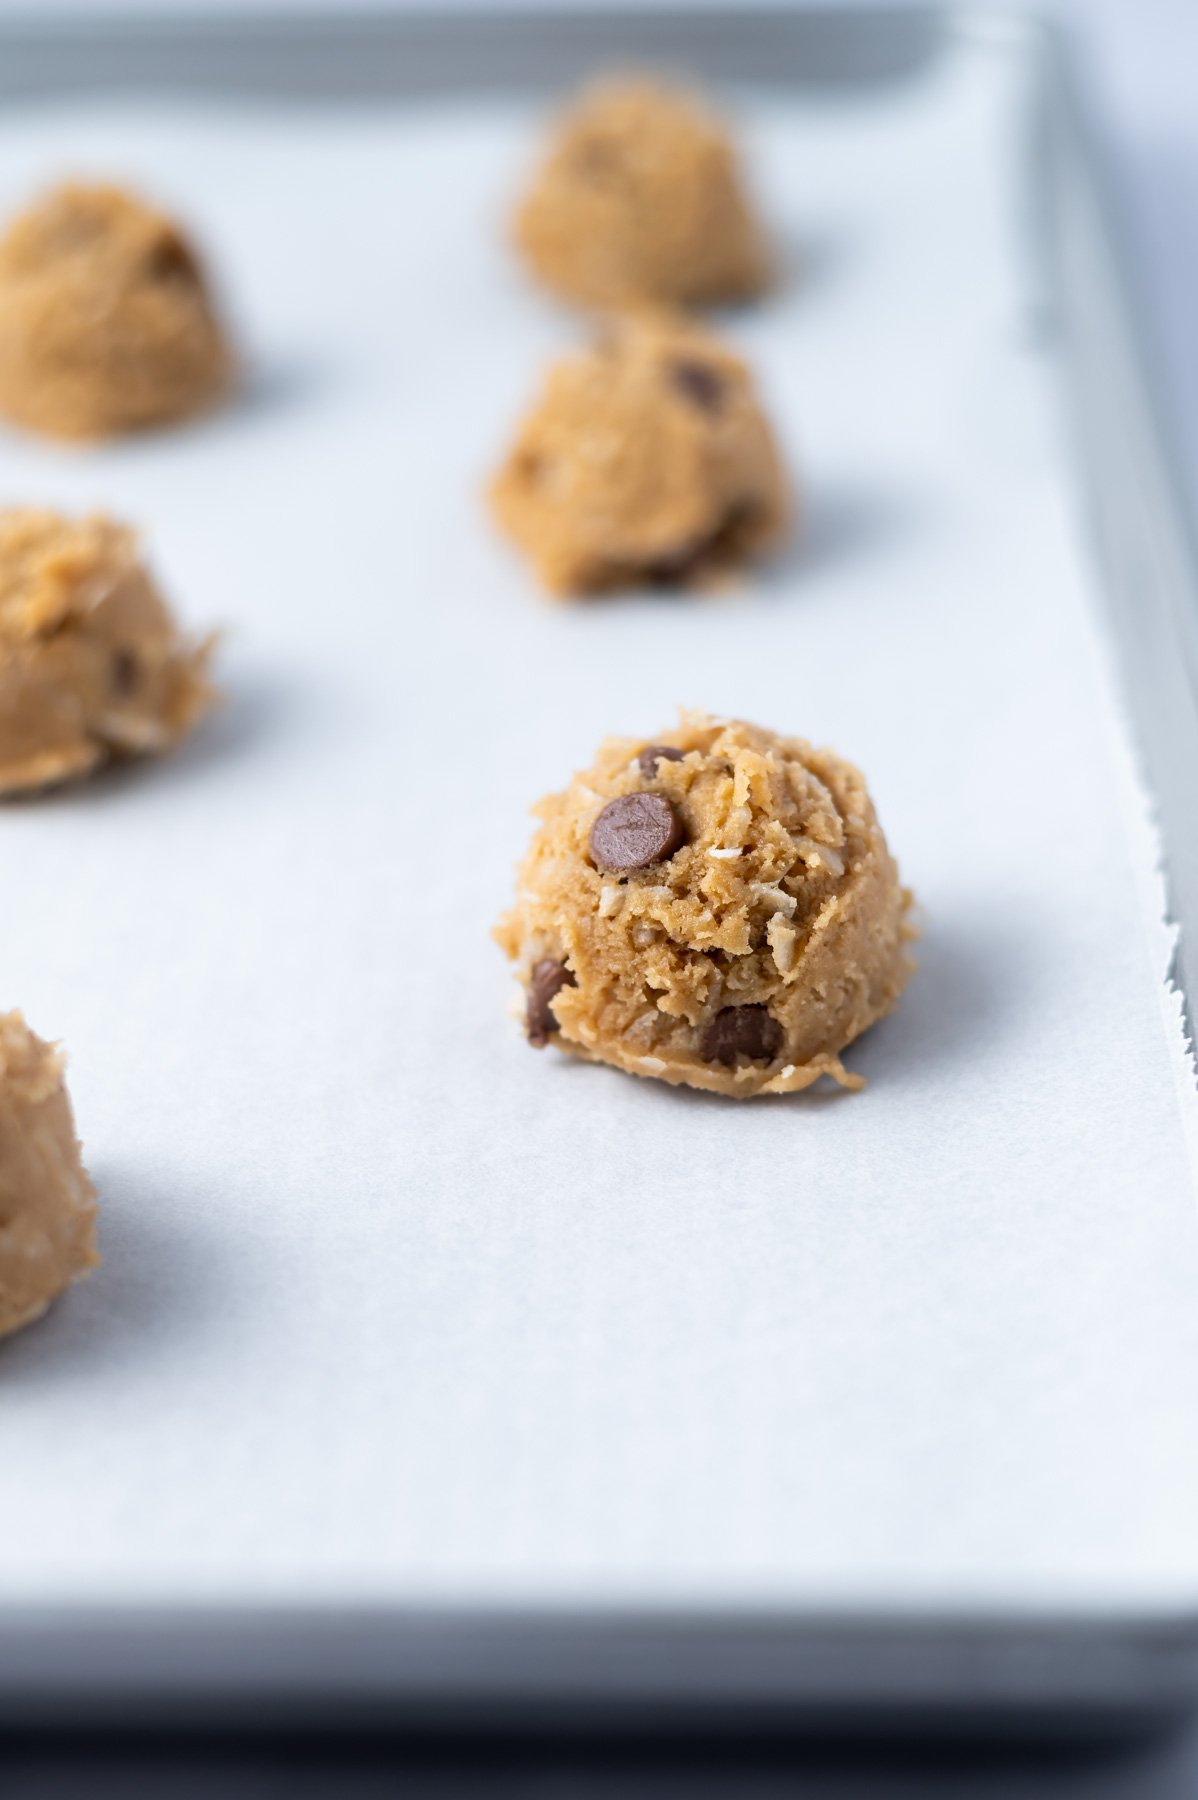
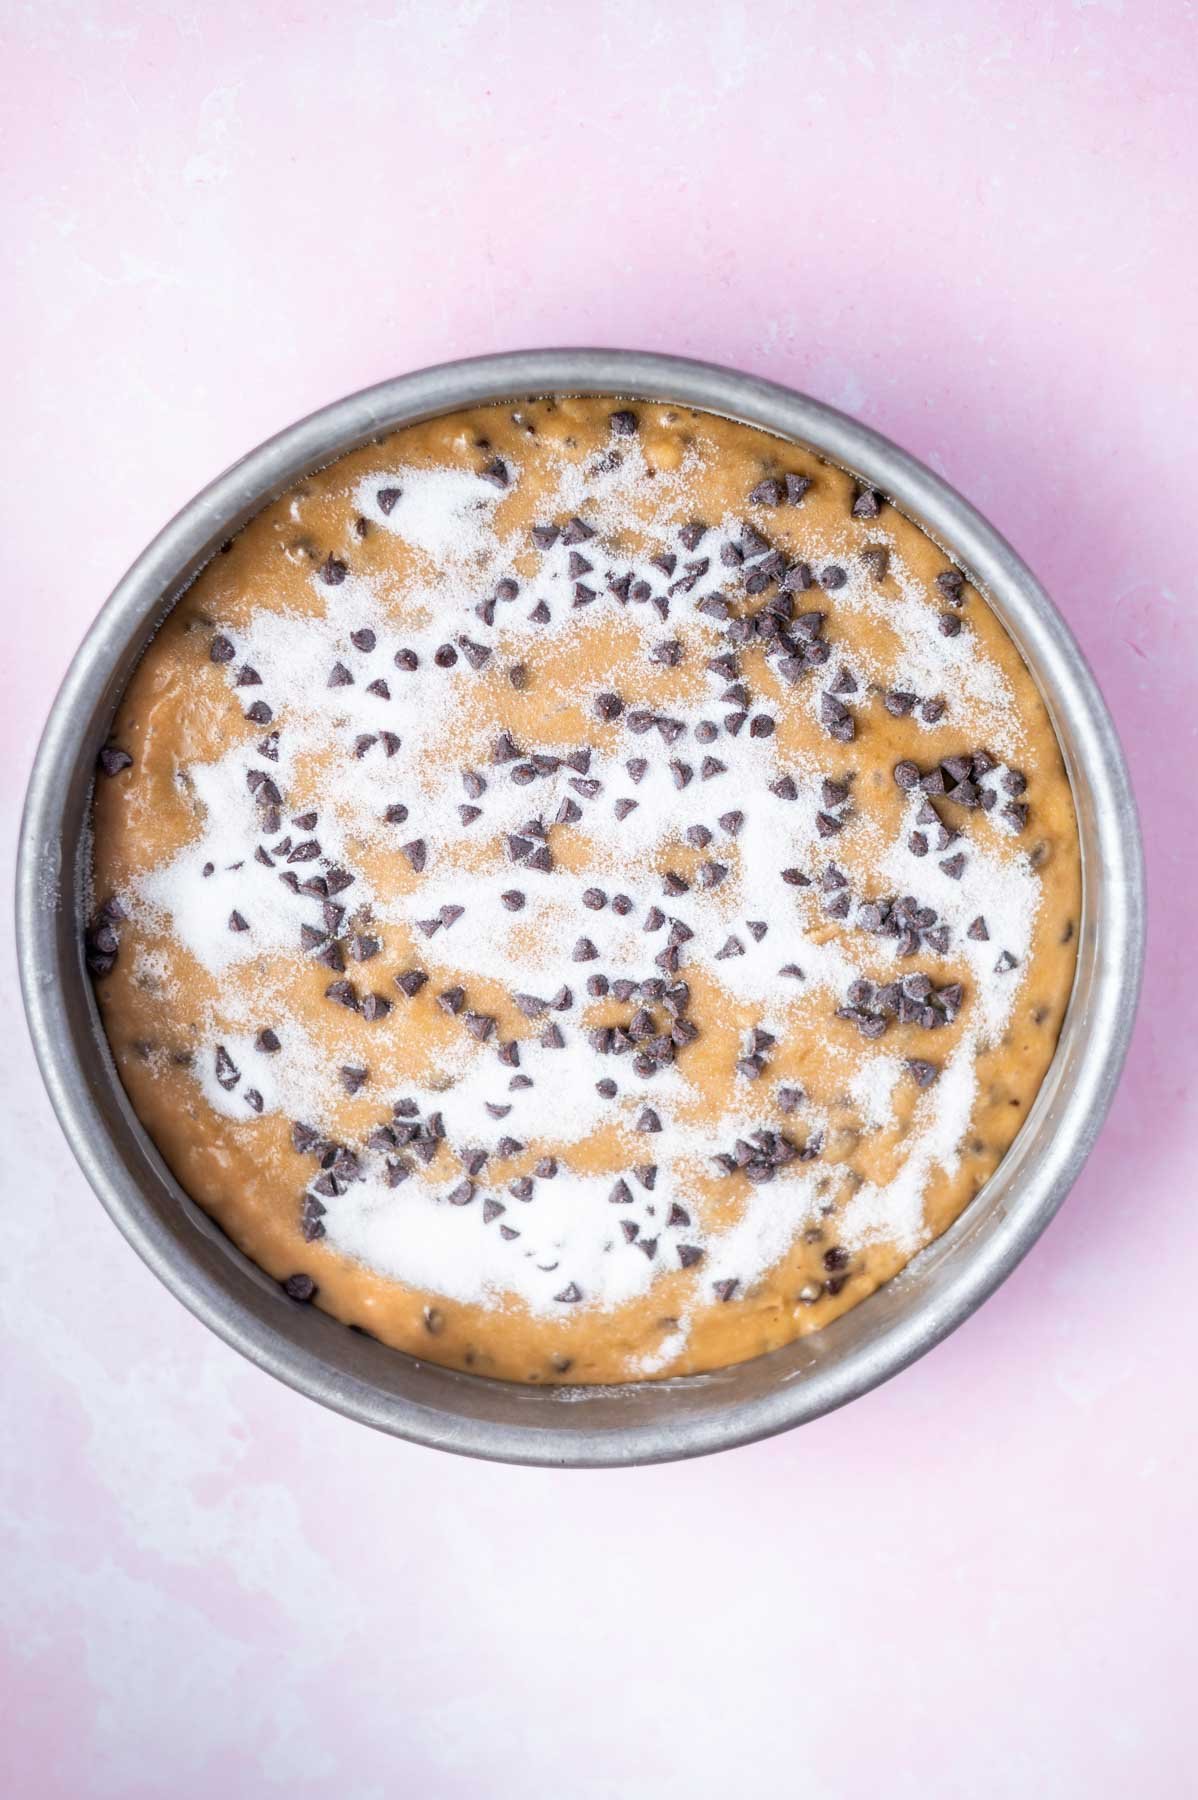
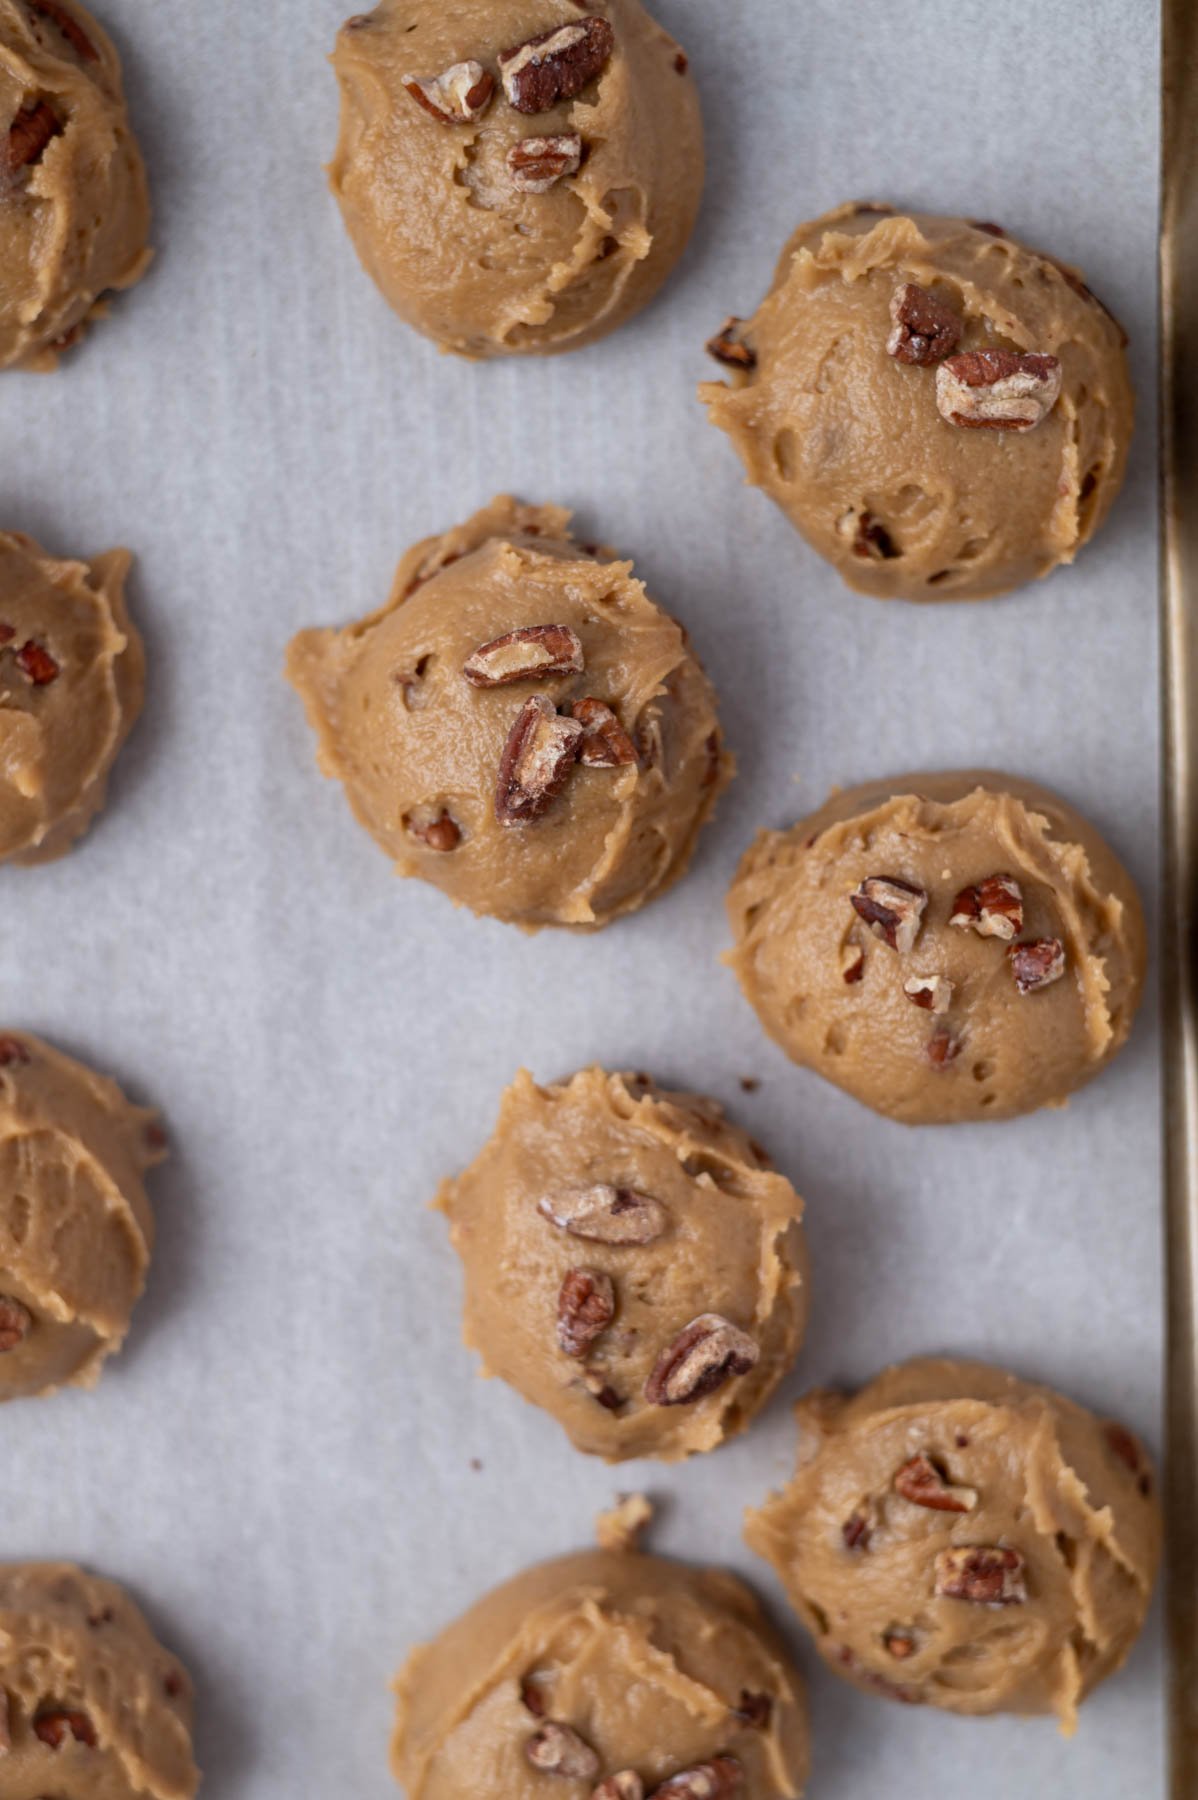
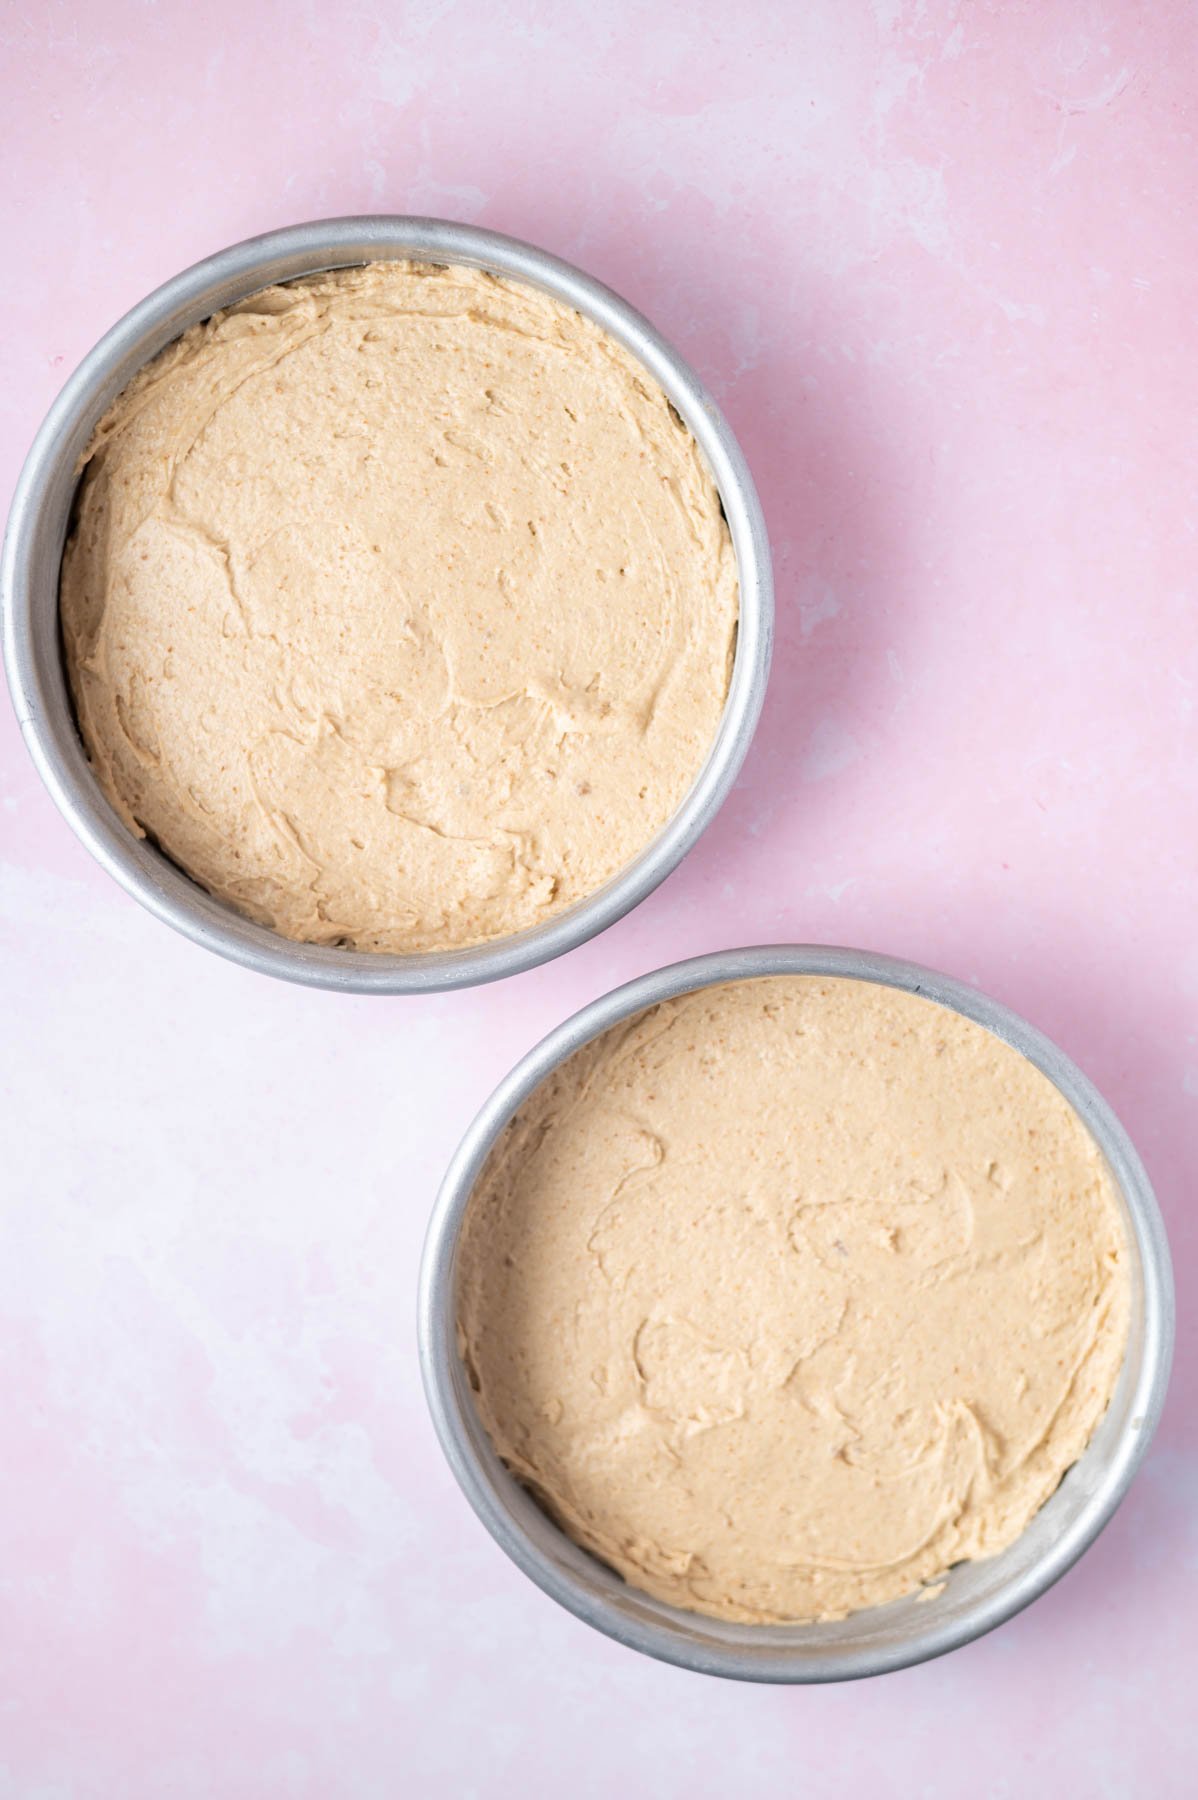
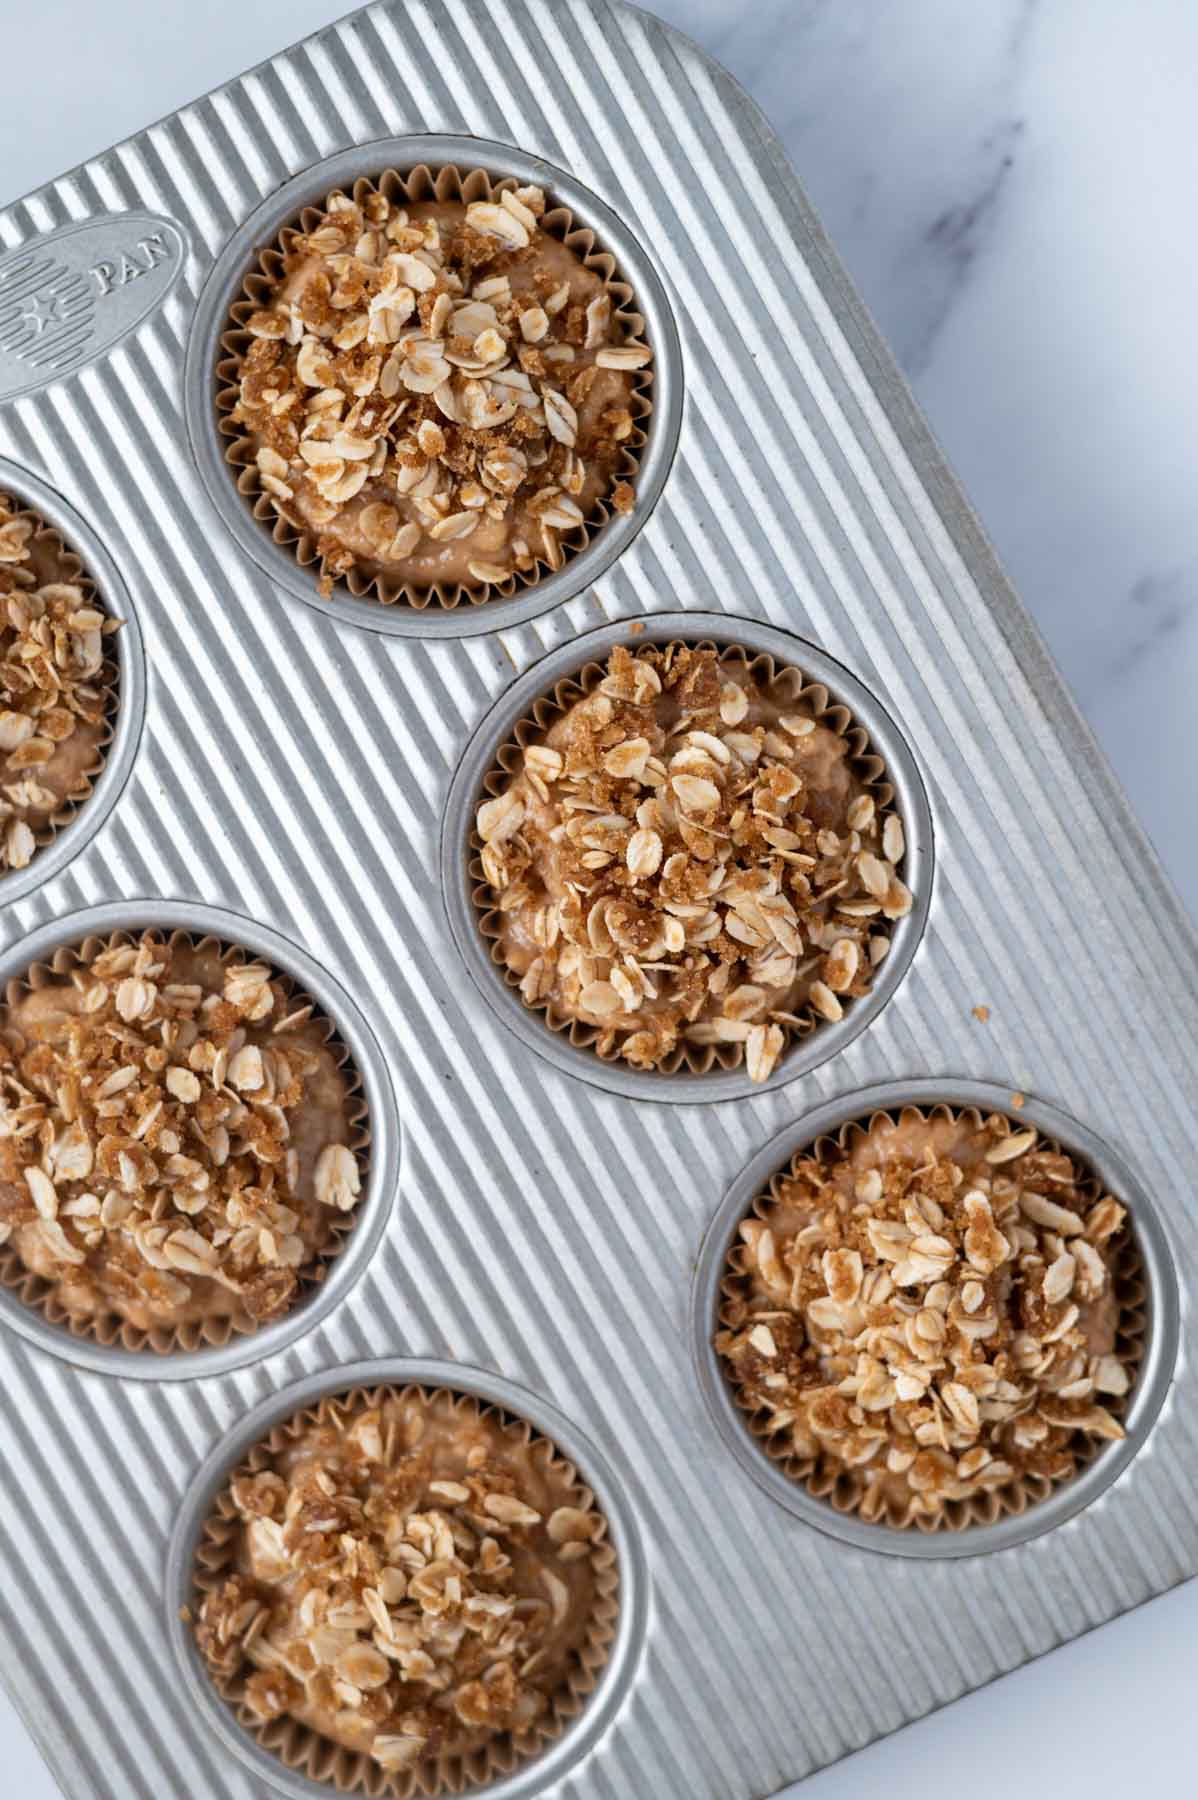
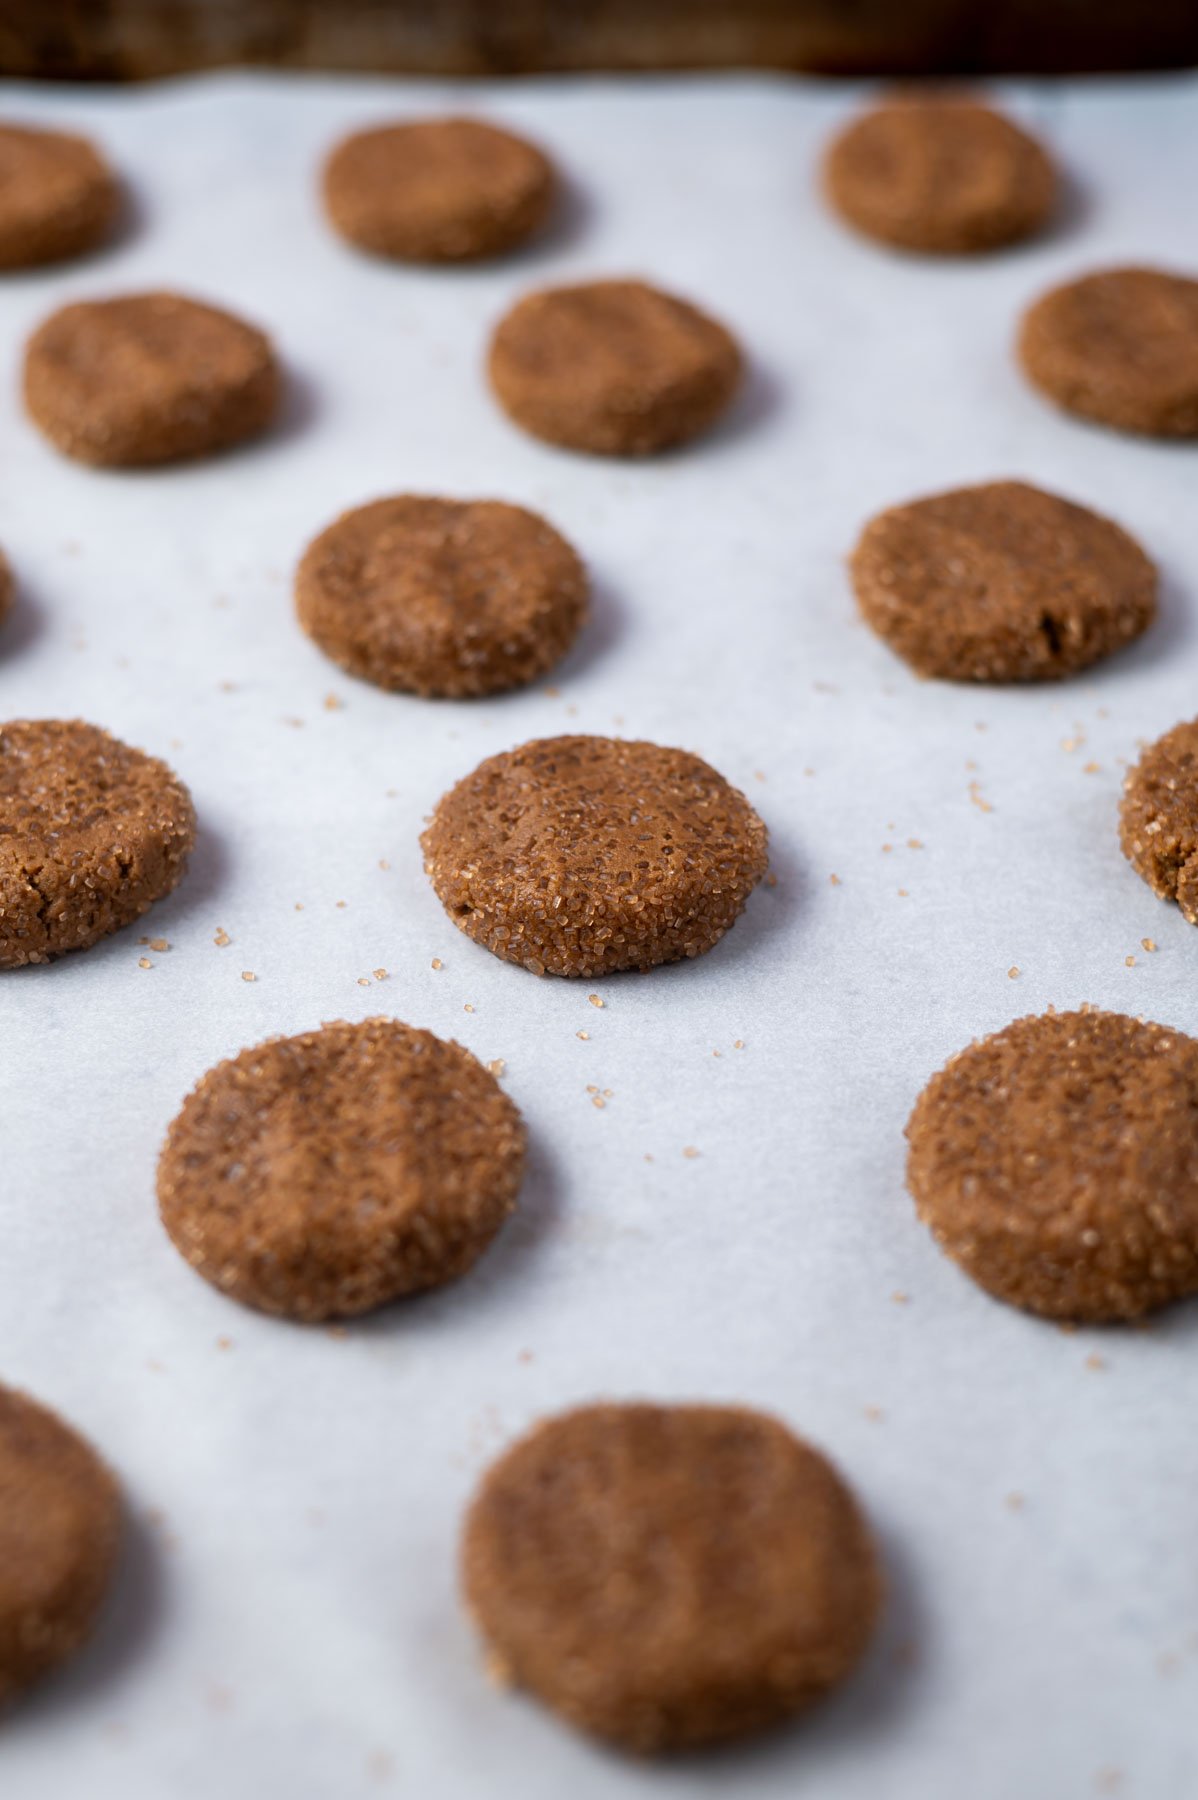
Use about 2 tablespoons of dough per cookie (I like using a size 30 scoop) and place the dough onto the prepared baking sheets, spacing them about 2 inches apart.
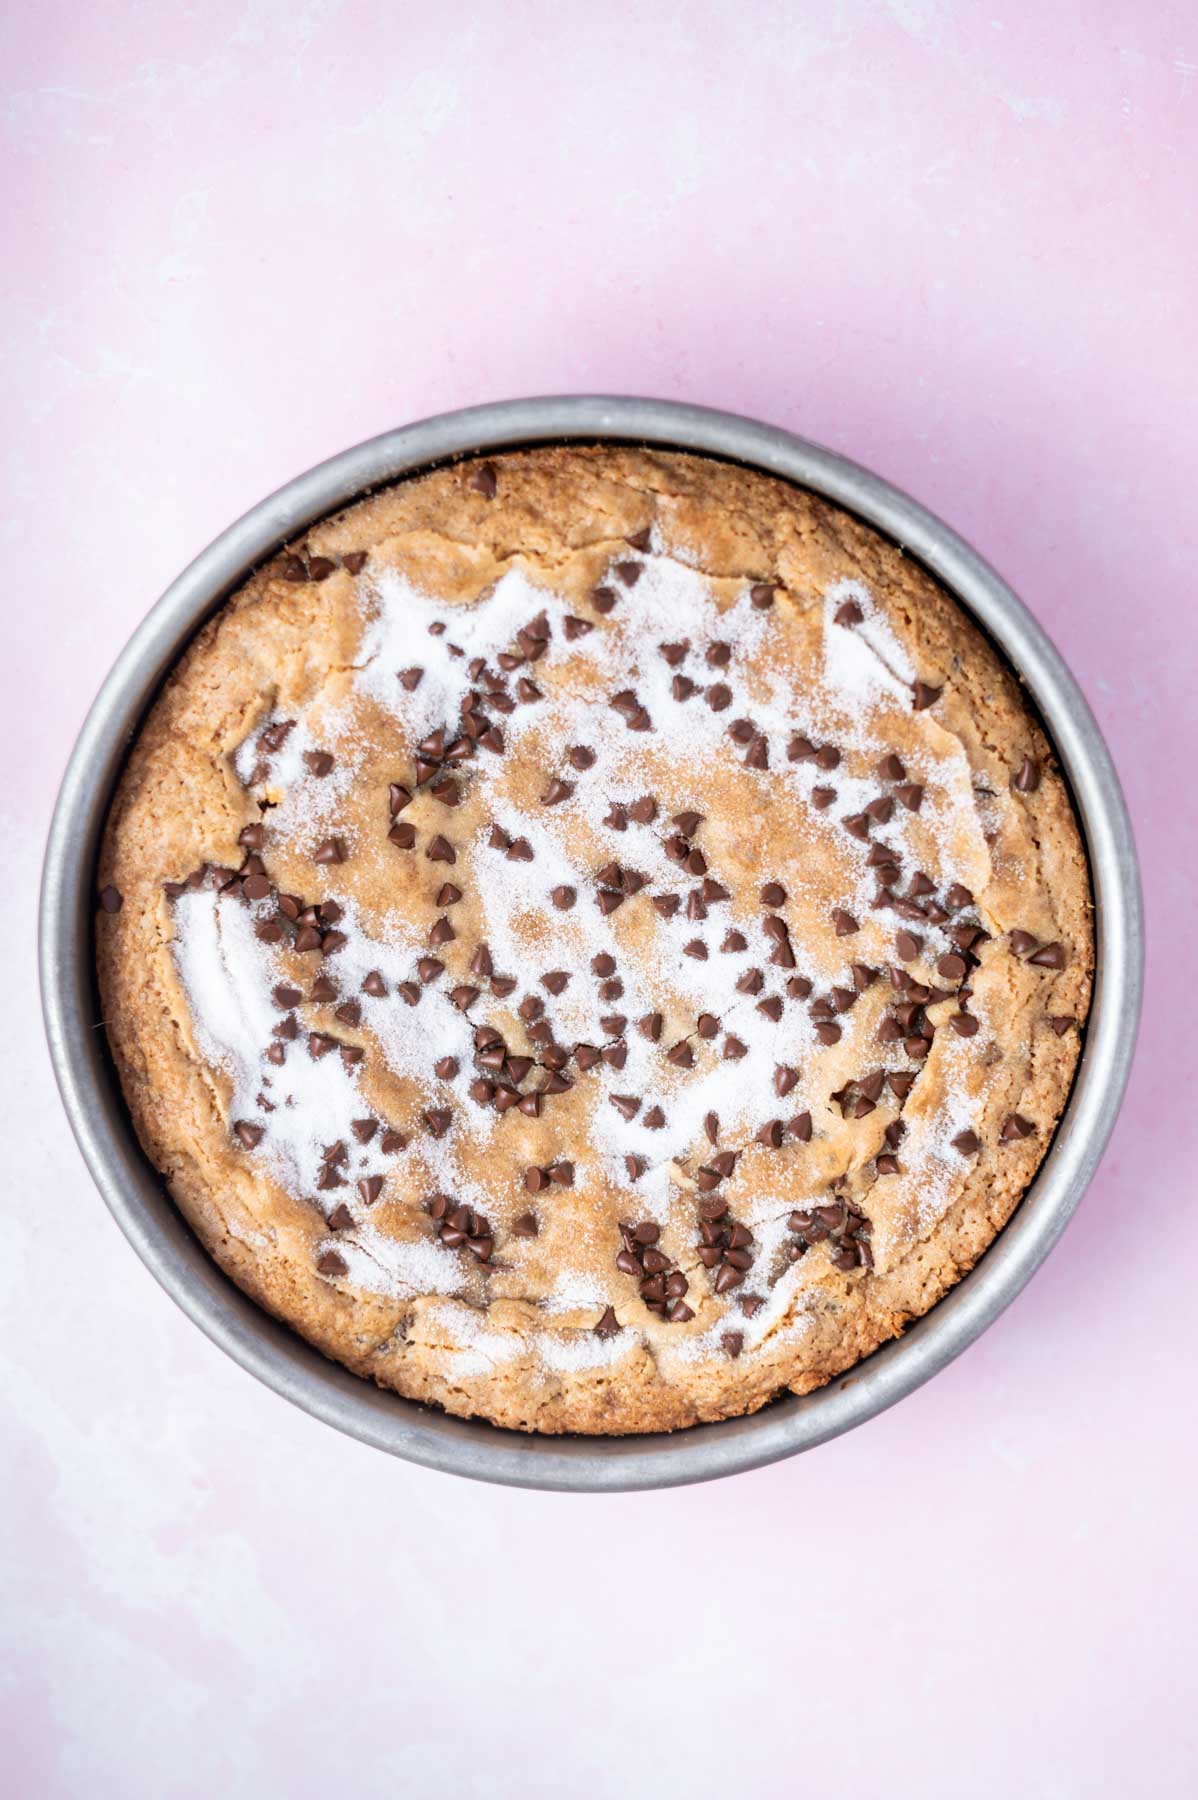
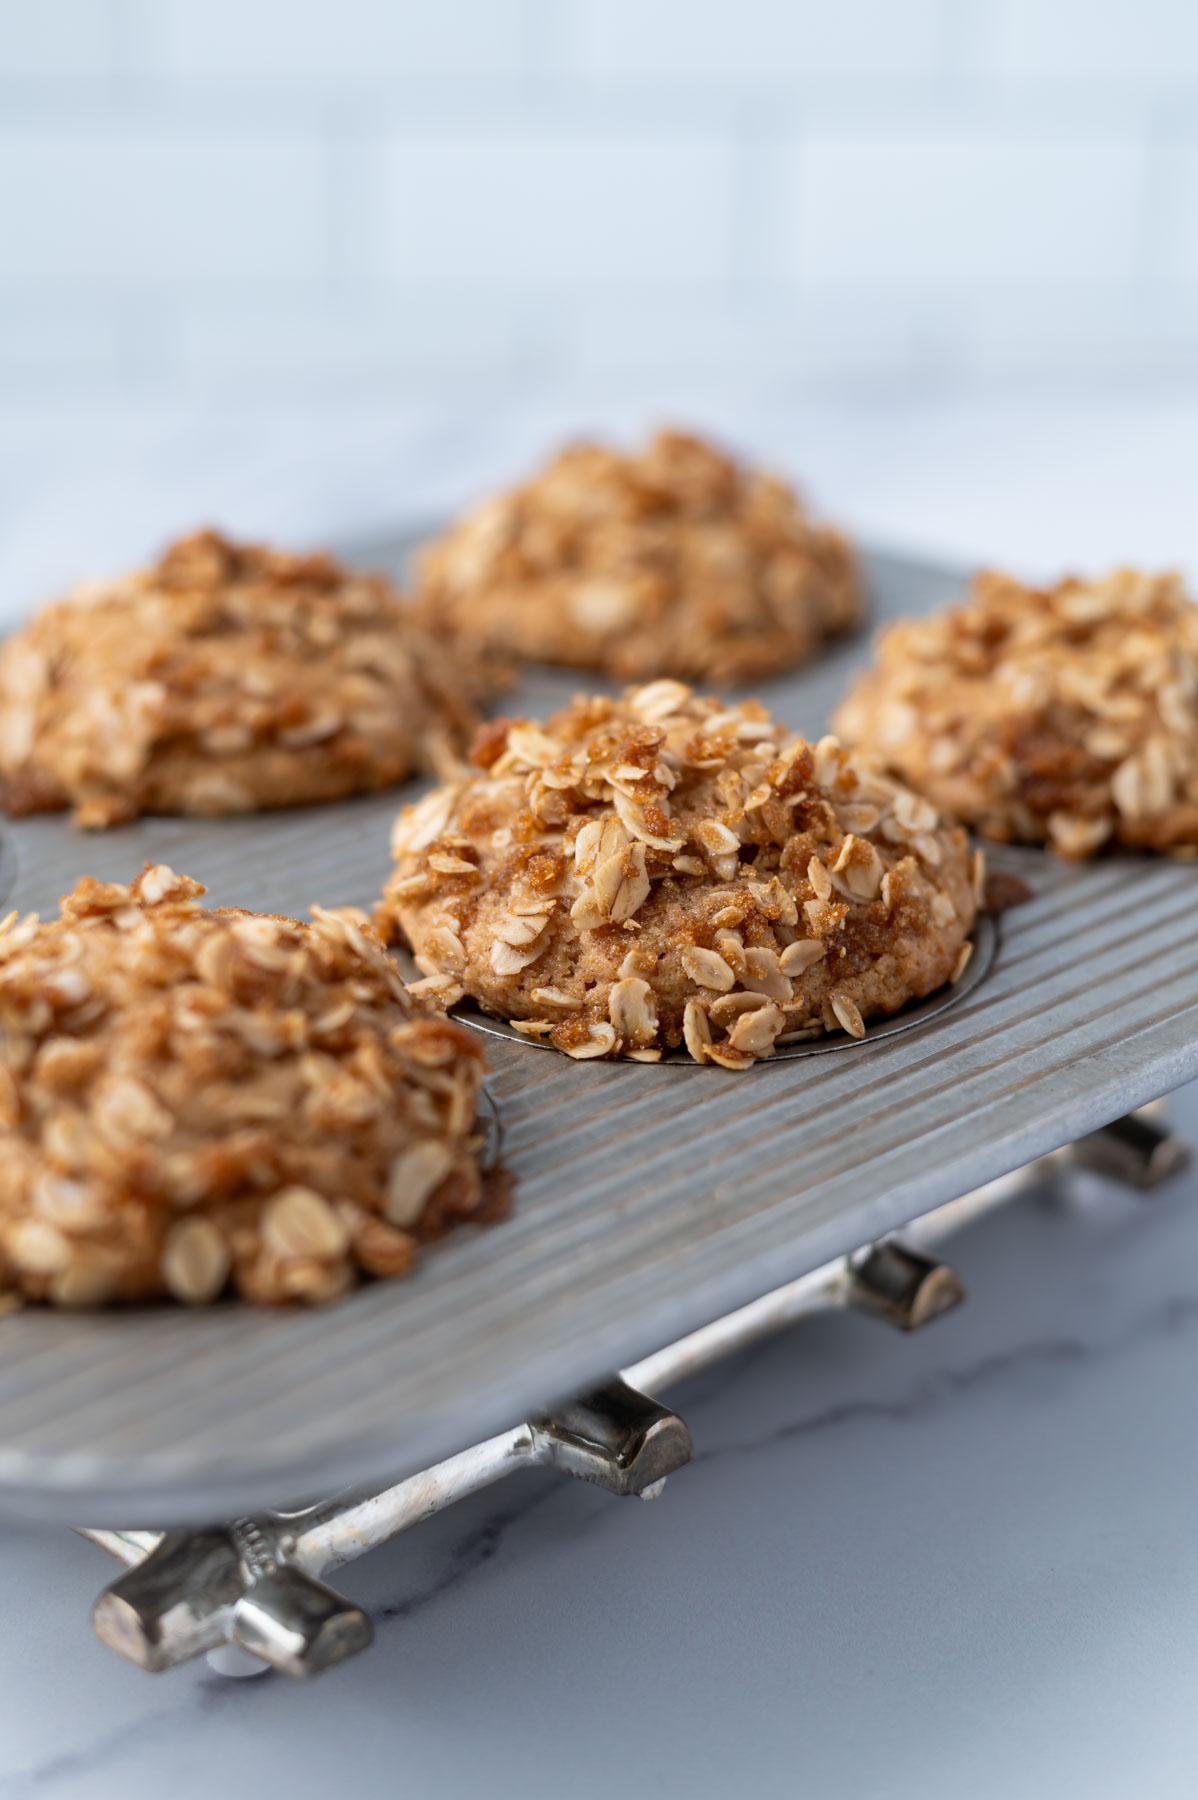
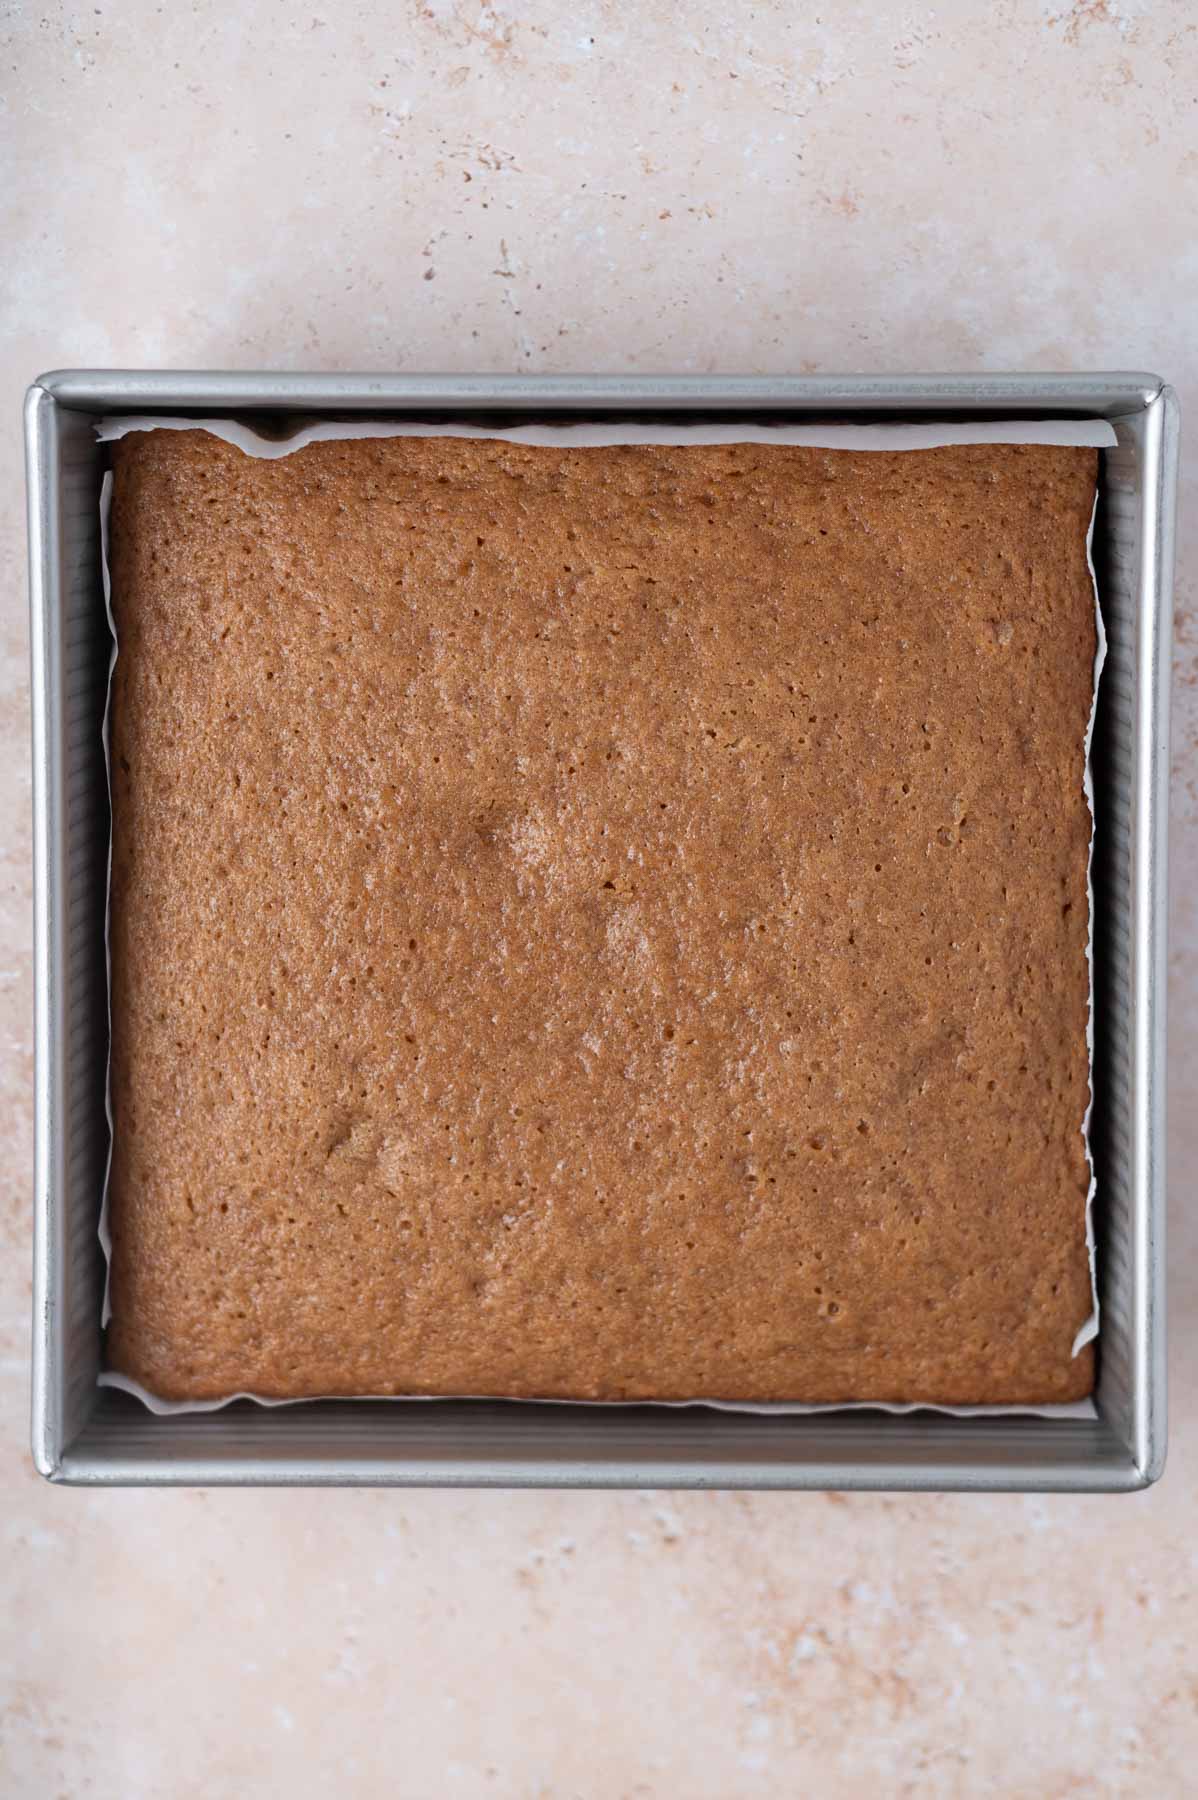
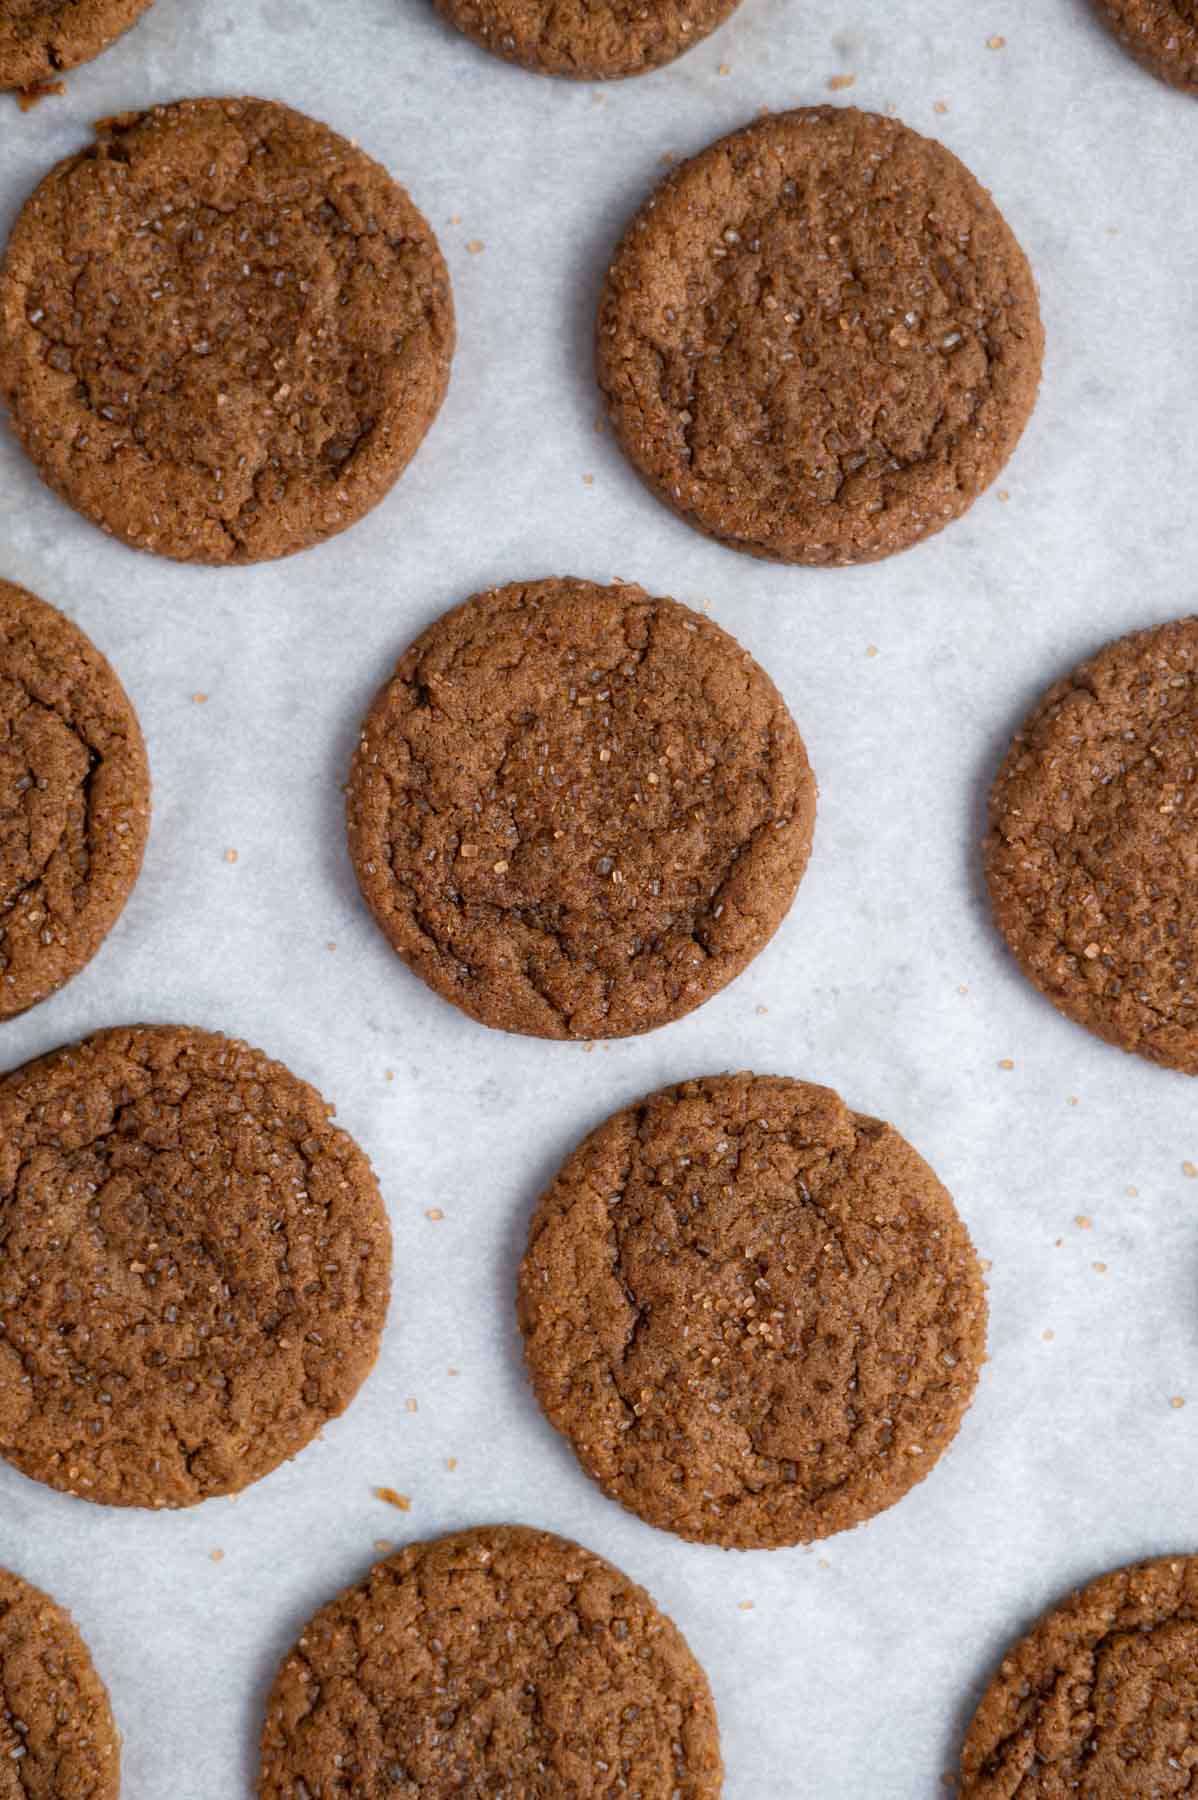
Bake the cookies for 10-12 minutes, until the edges are set. Allow the cookies to rest on the pan 2 minutes, then remove to a wire rack to cool completely. If desired, sprinkle with sea salt when hot from the oven.
👩🏻🍳 tips for the best coconut chocolate chip cookies
Follow the recipe ~ I develop recipes and test them multiple times, making lots of mistakes along the way. Once I am happy with a recipe, I test it a few more times to make sure it is consistent. Even one small change by you can change the outcome.
Weigh your ingredients ~ I know I say this all the time. Weighing your ingredients is the most accurate and will give the best results. This is the scale I use in my kitchen, but if you are looking for a more economical option this Escali digital scale is also a great one.
Hold some chocolate chips or chopped chocolate pieces aside to press on top of the cookies prior to baking. This gives them that bakery style look.
Don't over bake the cookies! Remove the cookies from the oven when the edges are set and the middle is still a little soft.
Use the cookie scoot for perfectly round and thick cookies. Use a biscuit/round cookie cutter, glass or bowl that is slightly larger than the cookies and scoot them back into a thicker and perfectly round cookie. Do this when the cookies are still hot right out of the oven.
🫙 what is the best way to store cookies?
Cookies stay fresh in an air-tight container at room temperature for up to 5 days.
Coconut chocolate chip cookies freeze well, in an airtight container or zip-top bag for up to 3 months. This is by far my favorite way to store cookies for freshness. The cookies will thaw at room temperature in about 20-30 minutes.
Remember to snap a picture and tag me on Instagram if you make these No Chill Coconut Chocolate Chip Cookies. It warms my heart to see you bring these recipes to life! Thank you for being here and happy baking!
If you make this recipe {or any recipe!} from two sugar bugs please come back and leave a review and a ⭐️⭐️⭐️⭐️⭐️ star rating. I read every comment, and I LOVE hearing from you!
📖 recipe

No Chill Coconut Chocolate Chip Cookies
Ingredients
- ½ cup unsalted butter melted (113g)
- ½ cup dark brown sugar (100g)
- ⅓ cup granulated sugar (67g)
- ½ teaspoon kosher salt
- 1 large egg room temperature preferred
- 2 teaspoons pure vanilla extract
- 1 teaspoon baking soda
- 1 teaspoon cornstarch
- 1 ¾ cups all-purpose flour (219g)
- ¾ cup chocolate chips chocolate chunks or chopped chocolate bar (90g)
- ¾ cup sweetened flaked coconut (90g)
- Flaky sea salt optional for sprinkling over the finished cookies
Instructions
- Preheat oven to 350°F and prepare two sheet pans with parchment paper or silicone baking mats and set aside.
- In a medium to large bowl, melt the butter (½ cup/113g) and allow it to cool for 5 minutes. Add the dark brown sugar (½ cup/100g), granulated sugar (⅓ cup/67g) and kosher salt (½ teaspoon) and mix until fully incorporated.
- Add in the egg (1 large) and vanilla (2 teaspoons). Stir until the mixture is combined and smooth.
- Sprinkle the baking soda (1 teaspoon) and cornstarch (1 teaspoon) over the mixture and stir well. Then add the flour (1 ¾ cups/219g) and stir until just a few streaks of flour remain. Fold in the both the chocolate chips (¾ cup/135g) and sweetened coconut flakes (¾ cup/90g). If desired, save aside a few of the chocolate chunks to press into the tops of the cookies before baking.
- Use about 2 tablespoons of dough per cookie (I like using a size 30 scoop) and place the dough onto the prepared baking sheets, spacing them about 2 inches apart. You should get 16-18 cookies. Press the chocolate chunks you set aside into the tops of the cookie dough now, if desired.
- Bake the cookies for 10-12 minutes, until the edges are set. Allow the cookies to rest on the pan 2 minutes, then remove to a wire rack to cool completely. If desired, sprinkle with sea salt when hot from the oven.