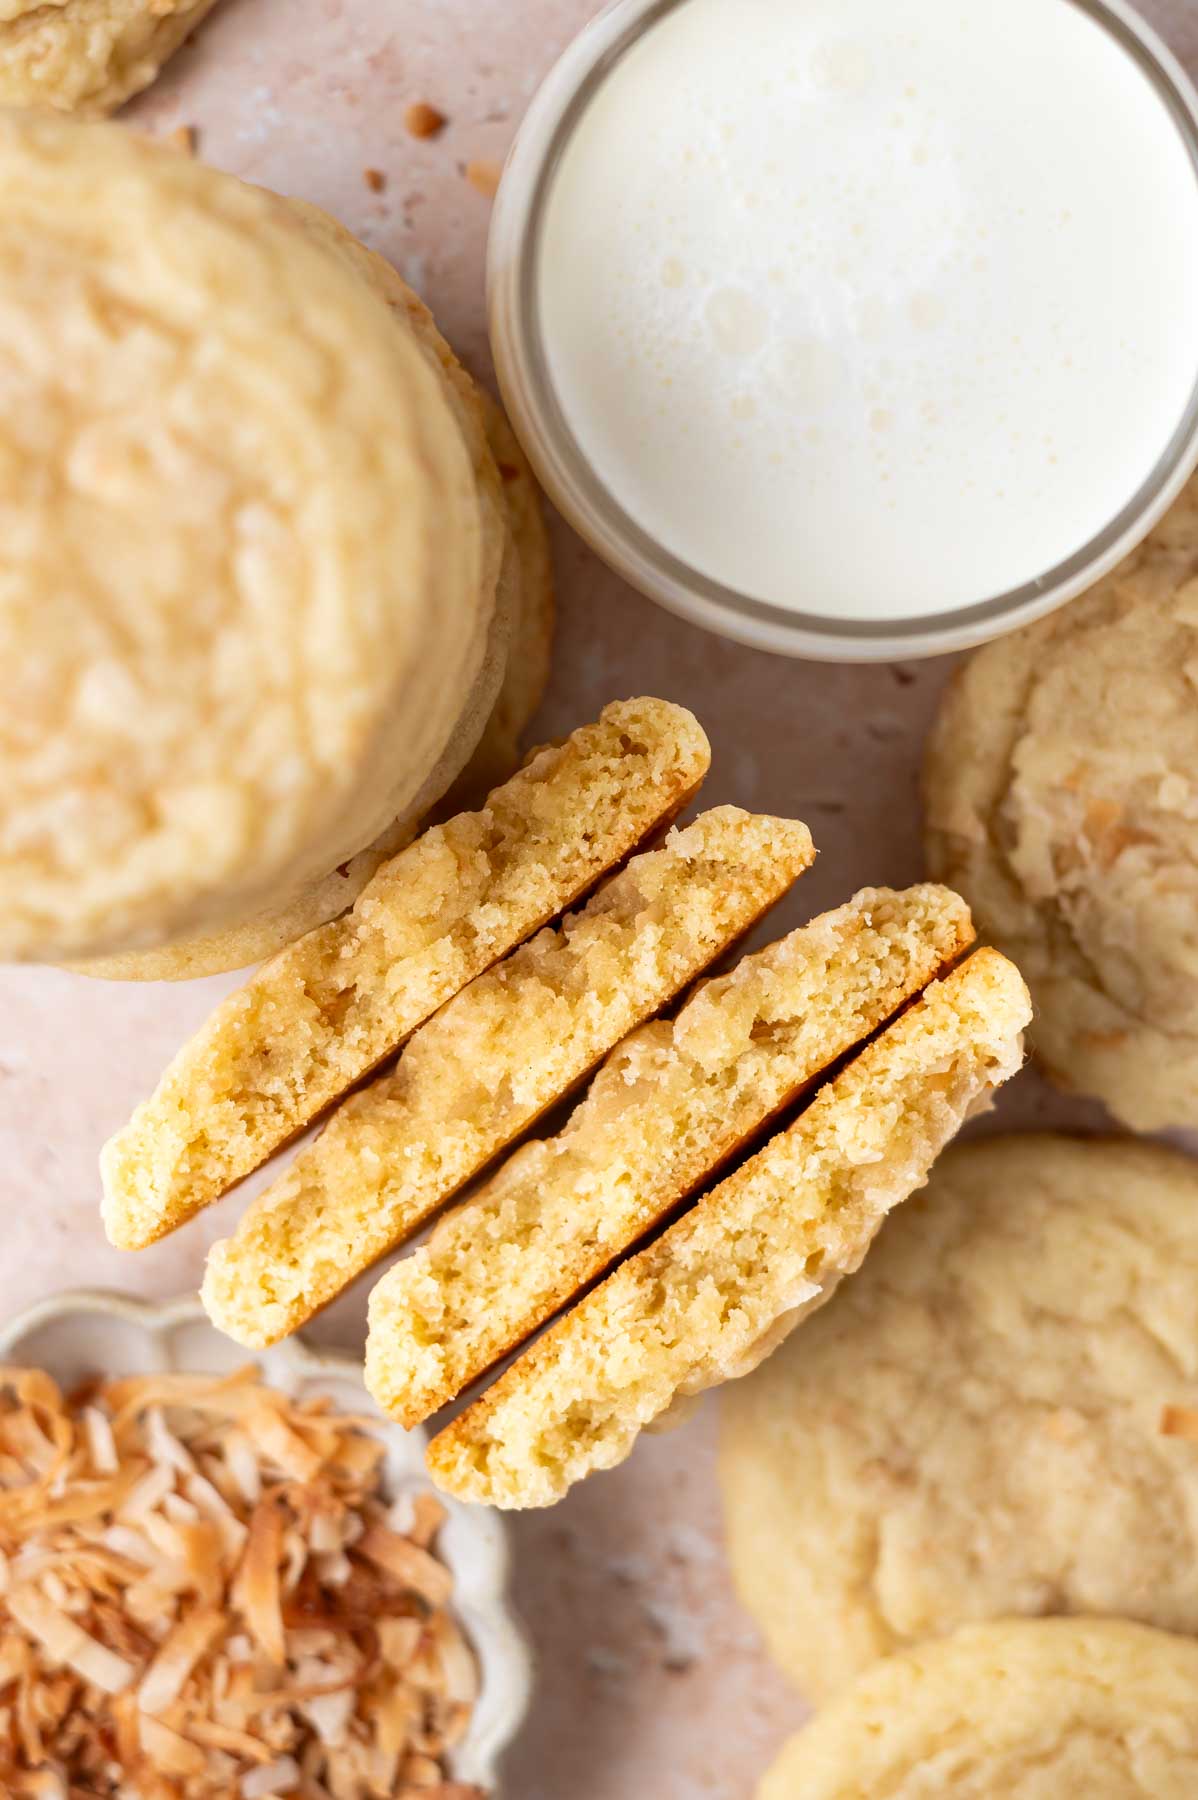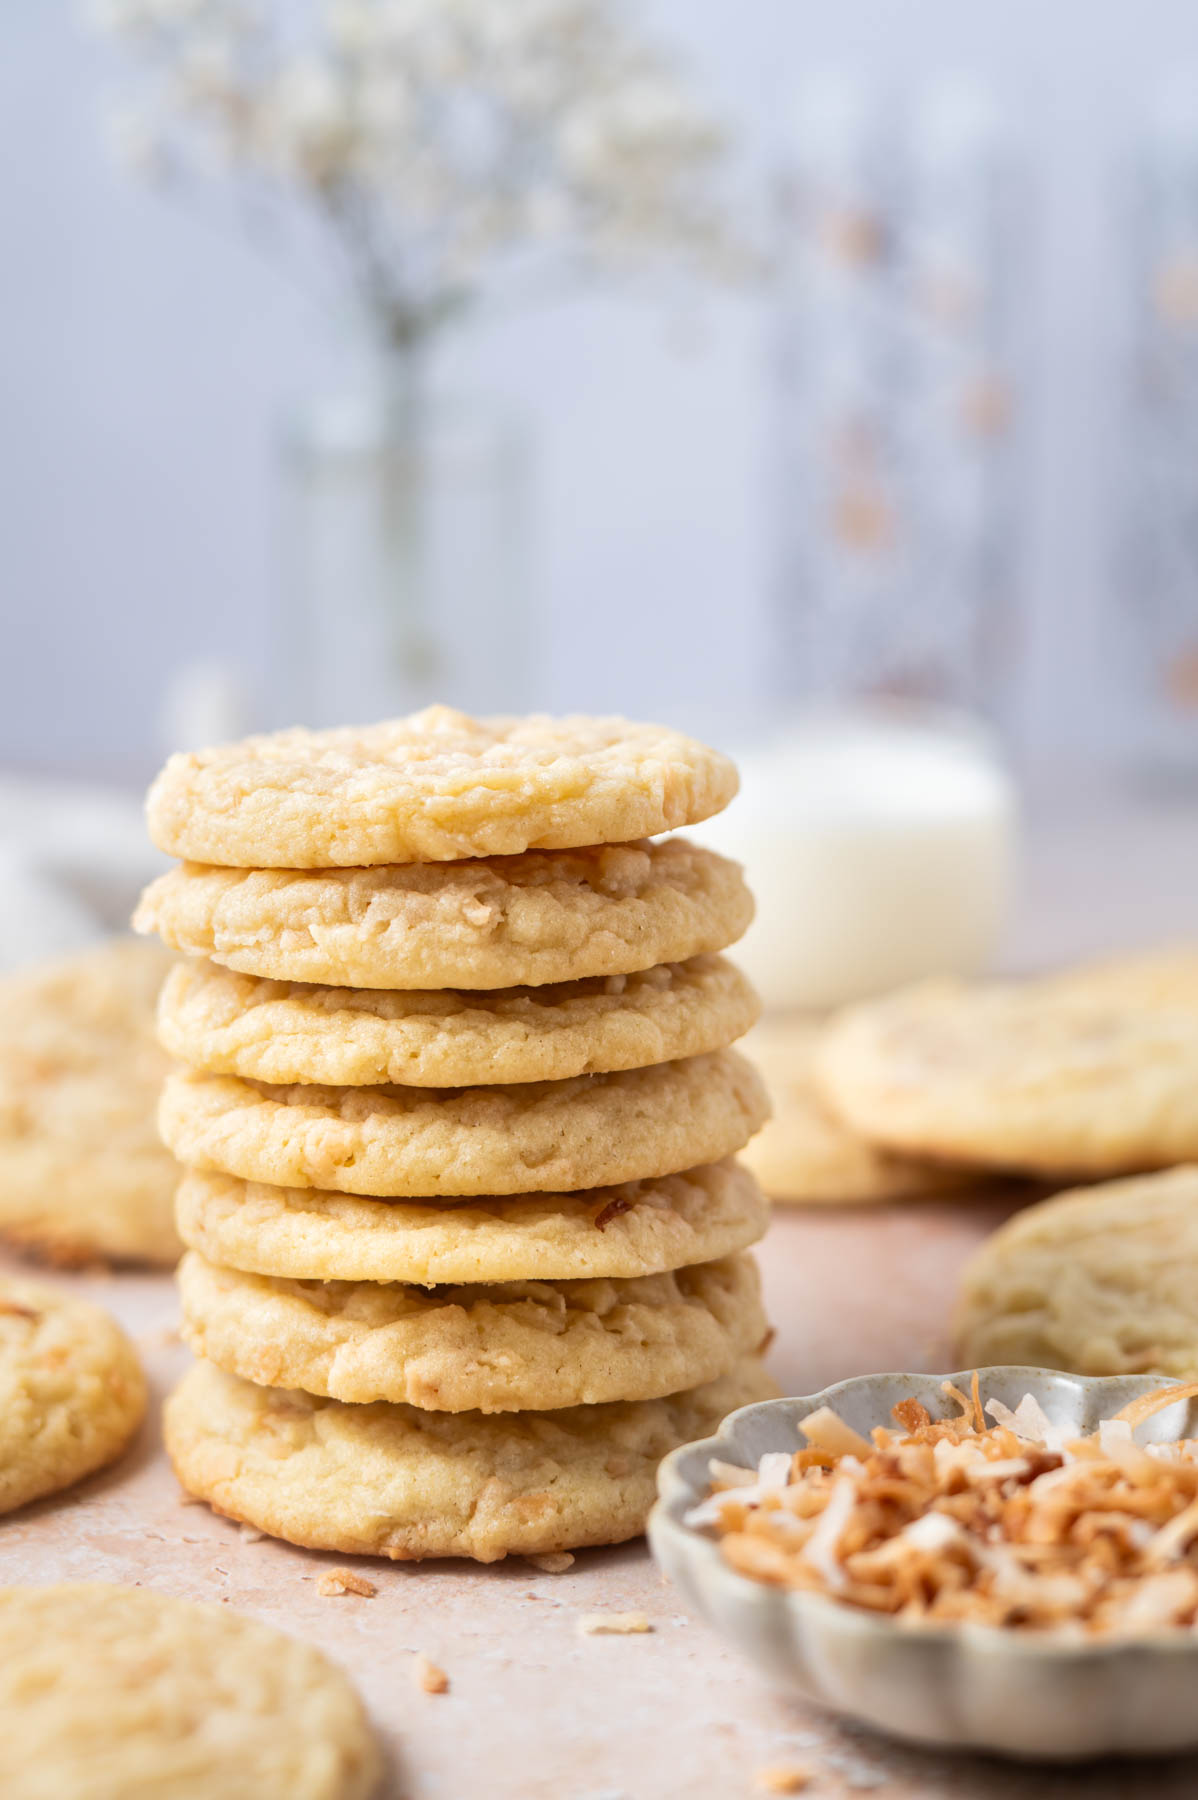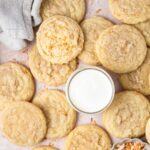
These orange sugar cookies are soft and simple to make. The cut out cookie recipe uses orange zest and orange juice for a bright citrus flavor. Feel free to leave them plain, decorate them with buttercream or dip them in chocolate.

Disclosure | This post may contain affiliate links. As an Amazon Associate I earn from qualifying purchases.
As a busy mama and lifetime baker, I've got decades of sugar cookie making under my belt. And I've made plenty of mistakes and run into problems along the way! I am an open book and share all my tips and secrets for making the best soft and chewy sugar cookies.
two sugar bugs has over two dozen sugar cookie recipes on it. From lemon cut-out cookies to almond sugar cookies to orange creamsicle cookies, I've got you covered on flavors! I have orange sugar cookie bars and orange creamsicle bars already on the blog, so I thought it was time for an orange cut out version.
I find piping decorated sugar cookies to be super therapeutic, but know y'all are busy and don't always have time for that! An offset spatula also works great for applying the cookie frosting. Or if the flavor of fresh orange and chocolate is your thing; dip half of the cookie in some melted chocolate. You do you, they will be delicious either way!
[feast_advanced_jump_to]💬 Can I freeze with frosting?
Yes! Freezing cookies is actually my favorite way to store cookies. It keeps them fresh without drying them out.
If freezing decorated sugar cookies, chill the cookies in a single layer first. Once cold, the cookies can be stacked and frozen in an airtight container. When you take the frozen cookies out of the freezer, be sure to unstack them before they thaw or the buttercream will stick the cookies together.
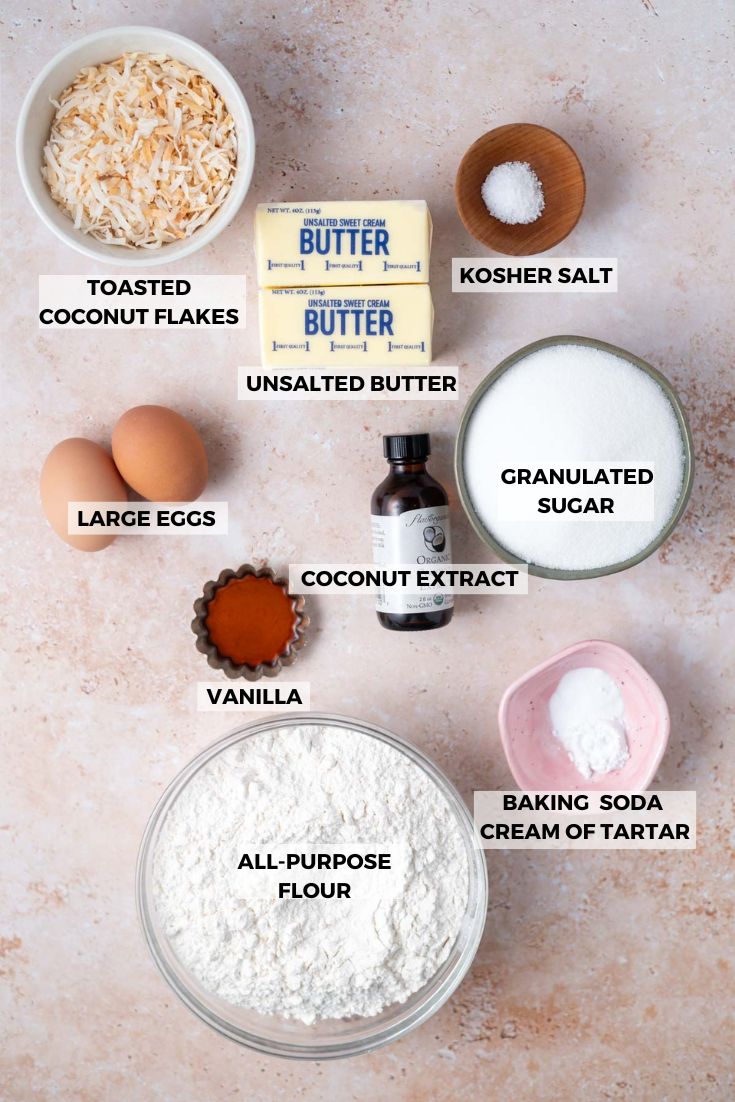
🍊 ingredients and substitutions
Please scroll to the printable recipe card at the end of this post for the full list of ingredients and baking directions.
- Orange zest and juice ~ orange sugar cookies are made with fresh orange zest and juice; be sure to zest your orange first! I use one-two large navel oranges which yields about 1-2 tablespoons of zest. My microplane zester is my fave. My testing found that 1 tablespoon orange zest and orange juice brought the right balance of citrus flavor. If you like an extra punch of orange, you can increase the orange zest by 1 tablespoon and/or add ¼ -½ teaspoon of orange extract.
- Baking powder ~ this recipe calls for aluminum free baking powder. For sugar cookies that taste good, I highly recommend making sure your baking powder is aluminum free. I use Trader Joe's or Rumford.
- Sugars ~ granulated {white} sugar brings the classic sugar cookie taste and provides structure to the cookie. The confectioners' sugar, also known as powdered or icing sugar, adds extra softness to the cookies. If you want to use all white sugar, use 1 full cup.
- Egg ~ one large egg is needed to bind the ingredients together. I have not tested this recipe with any egg substitutes.
🥣 how to make soft and chewy cookies
Start by combining flour and aluminum free baking powder with a whisk in a bowl. Set aside.
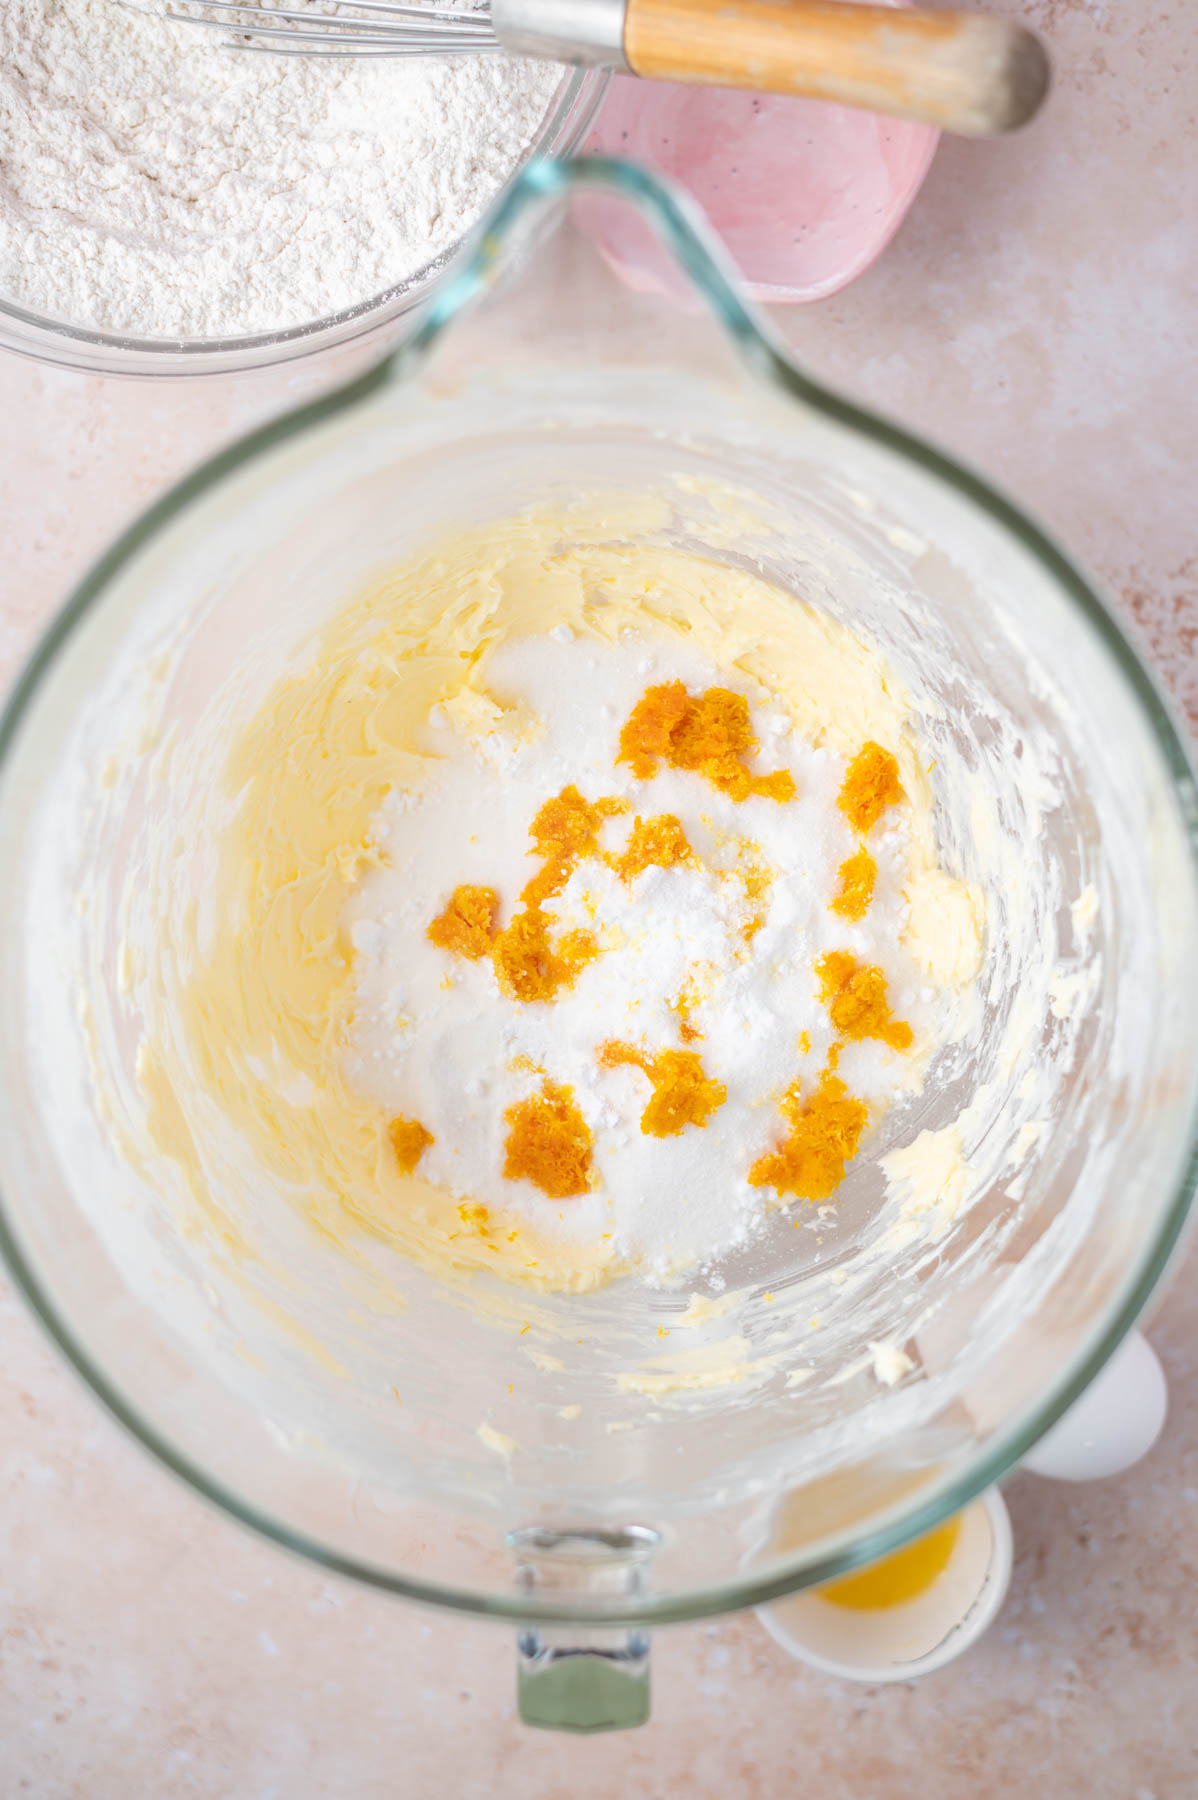
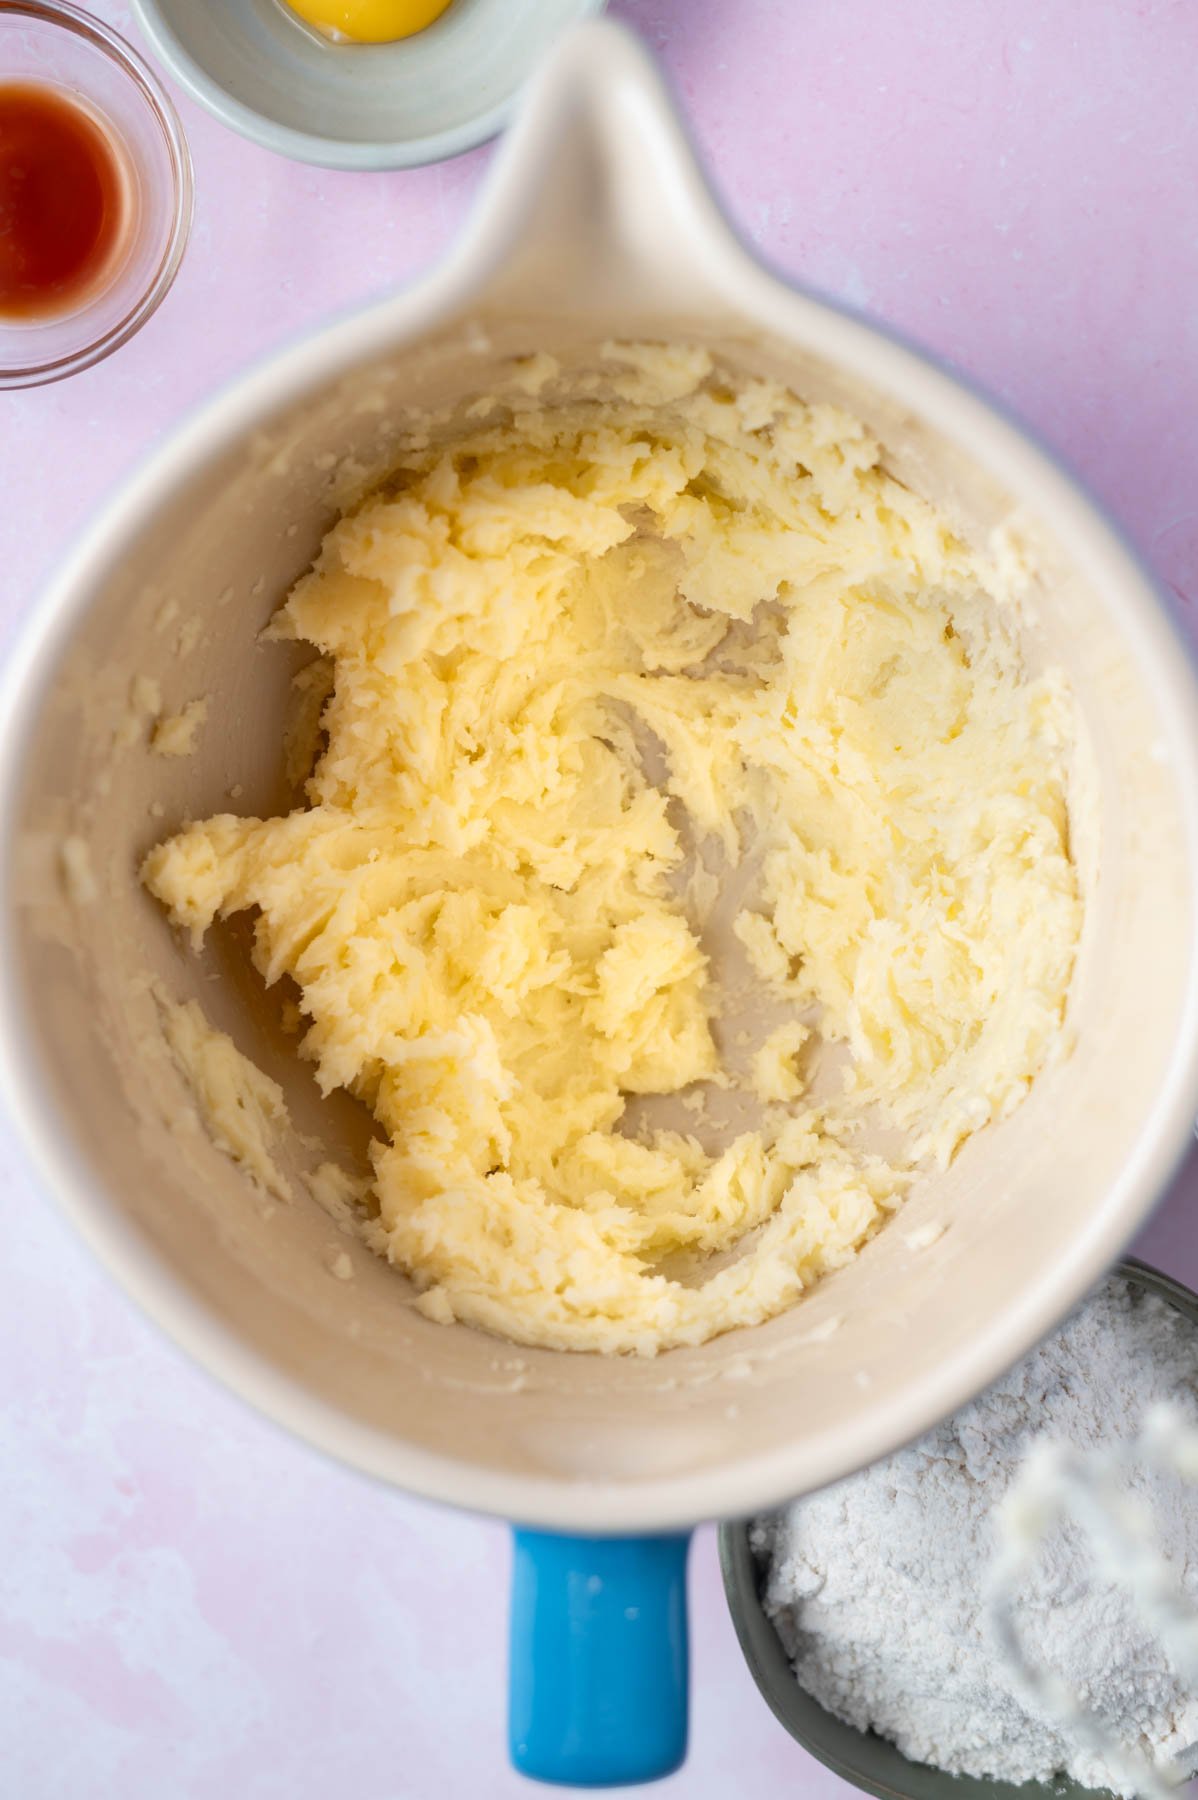
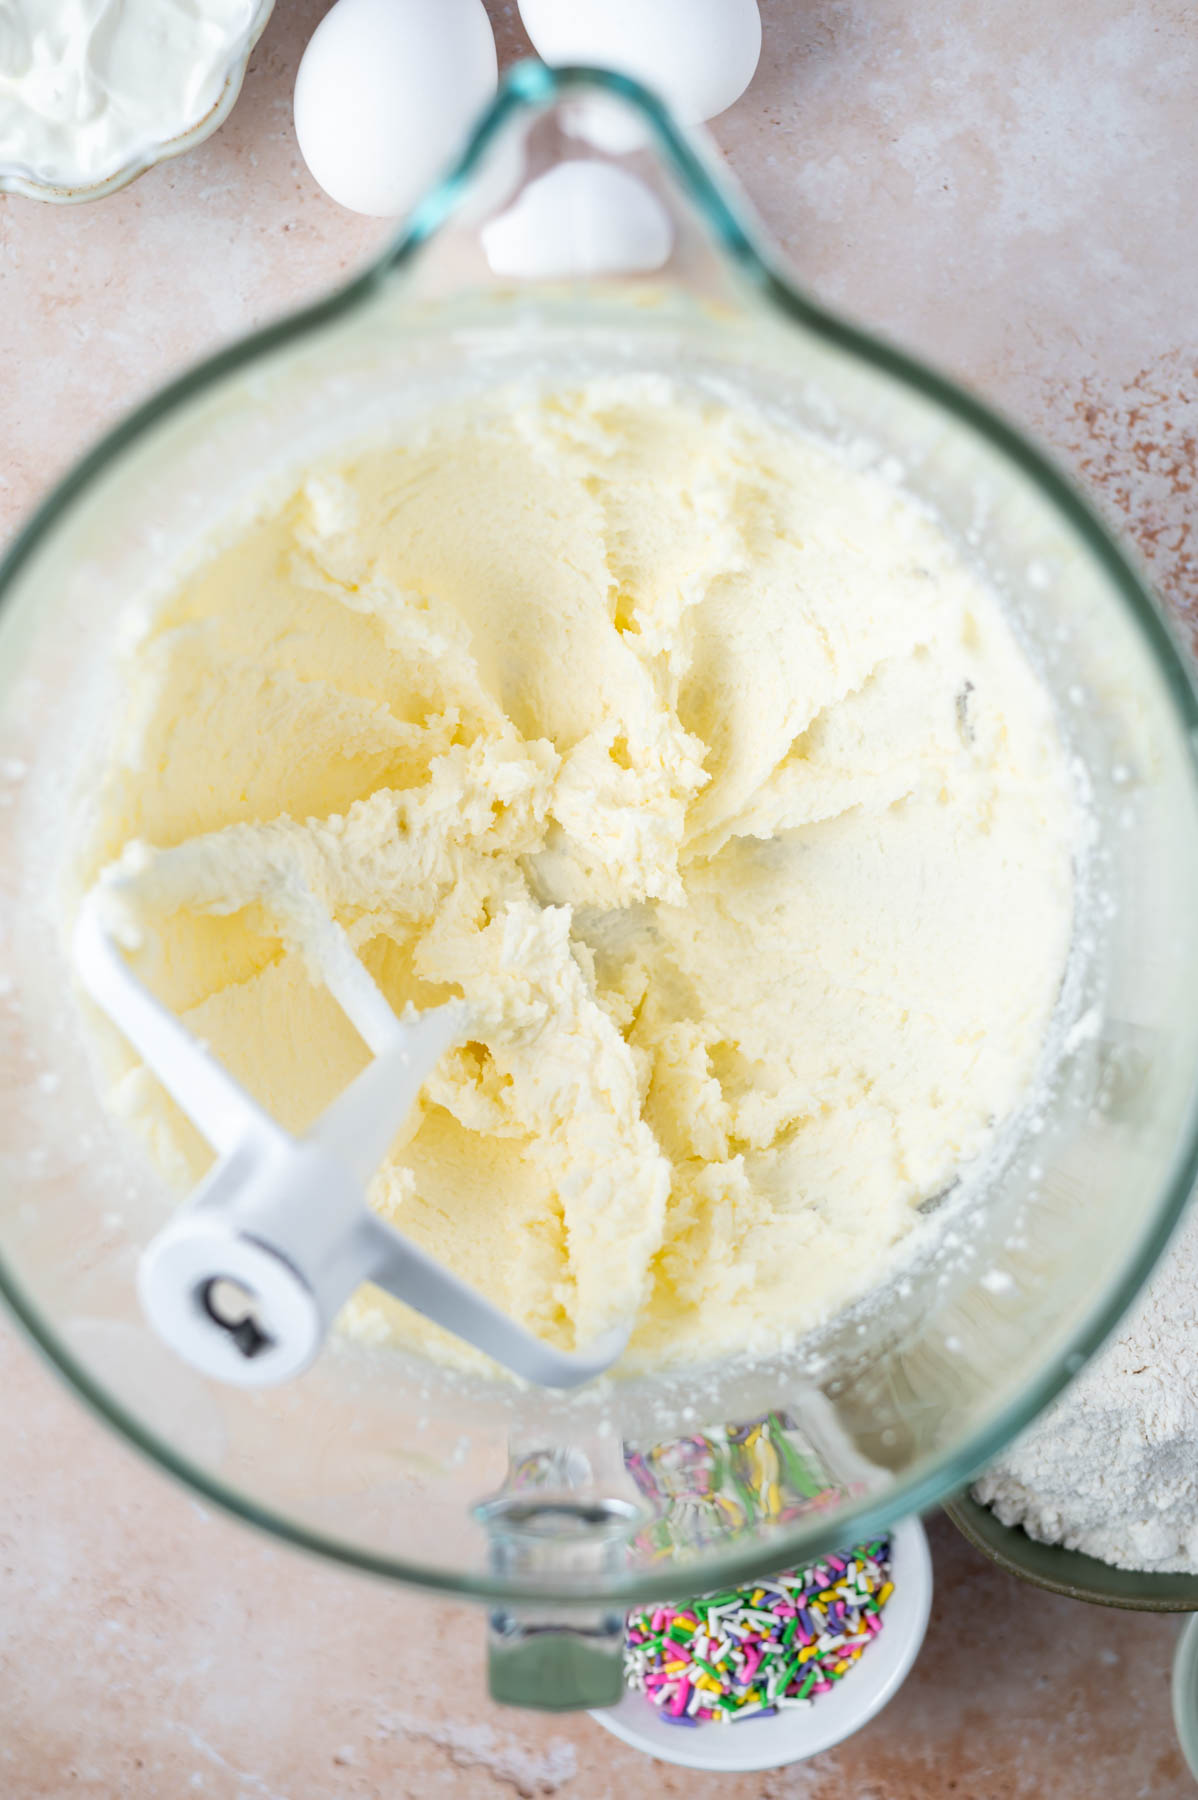
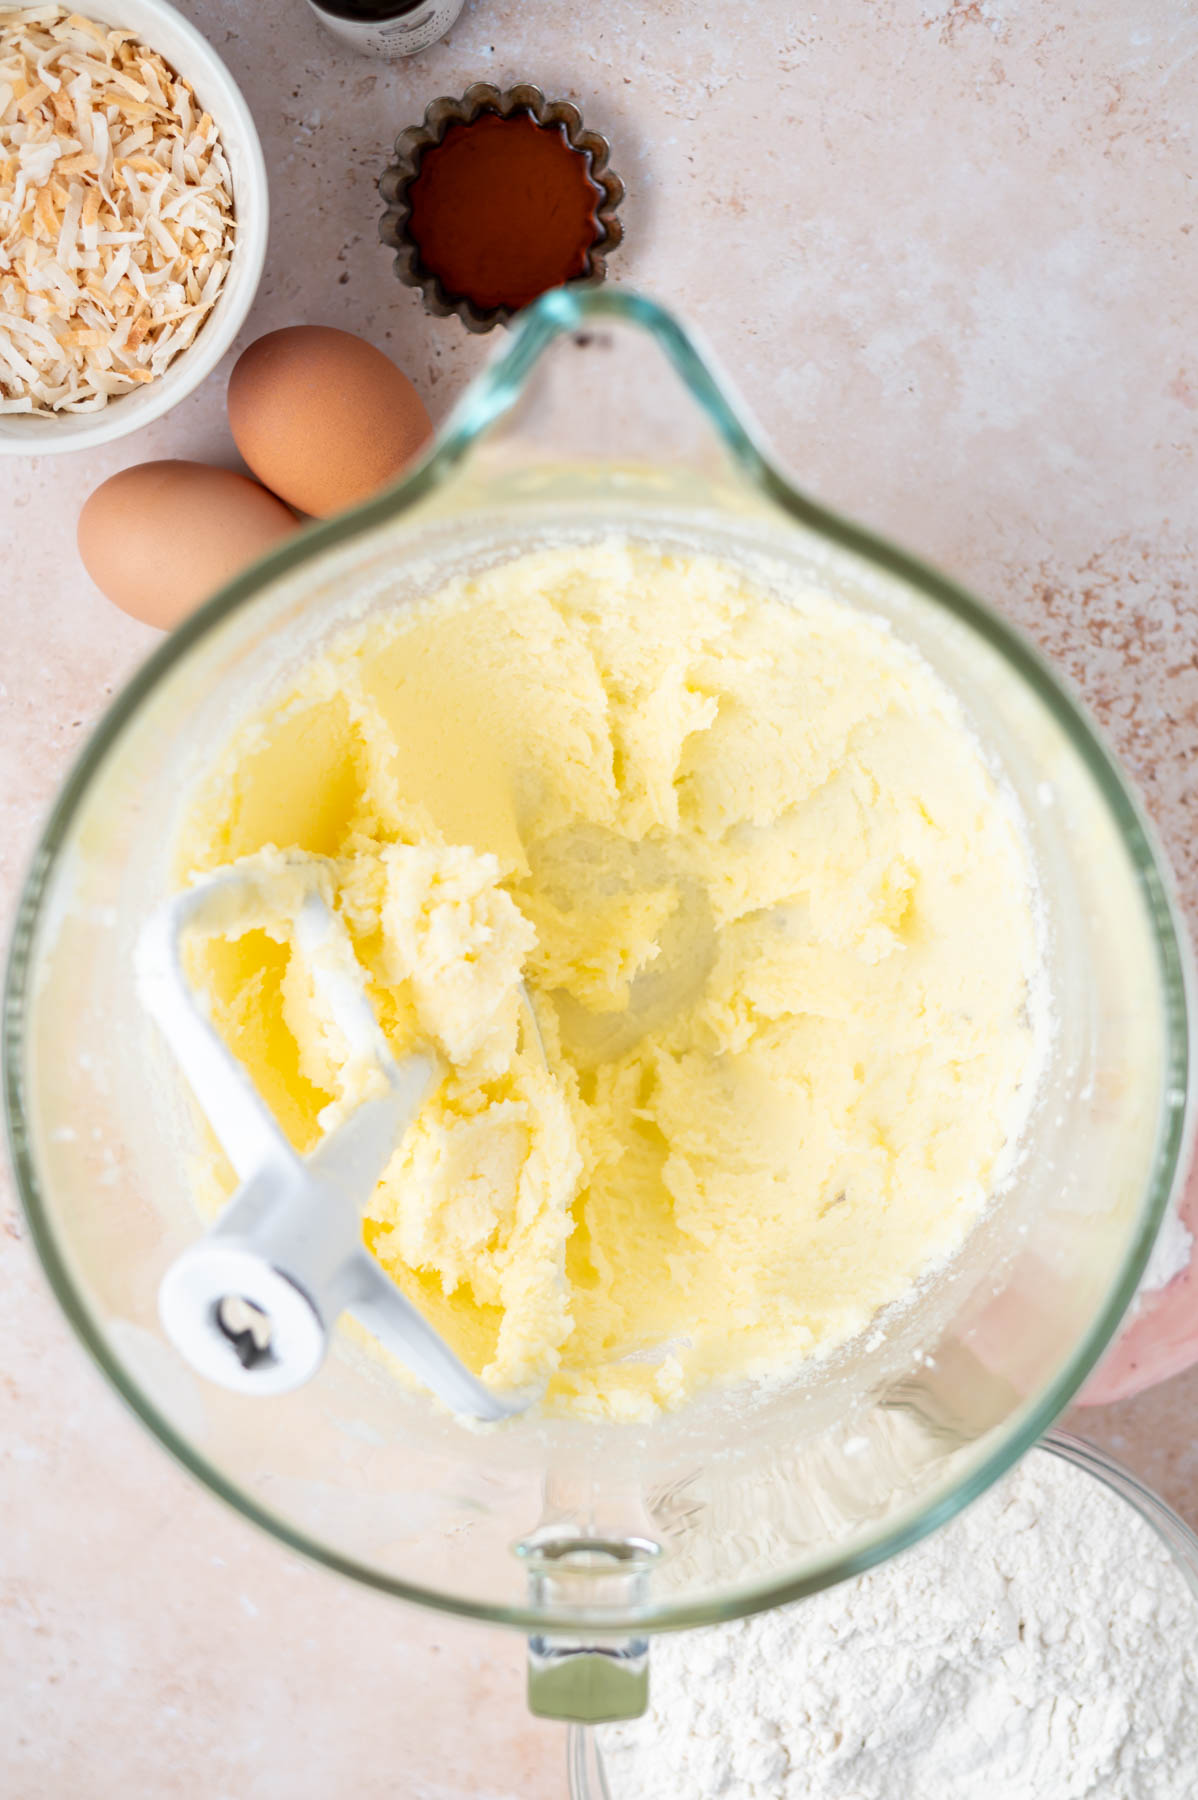
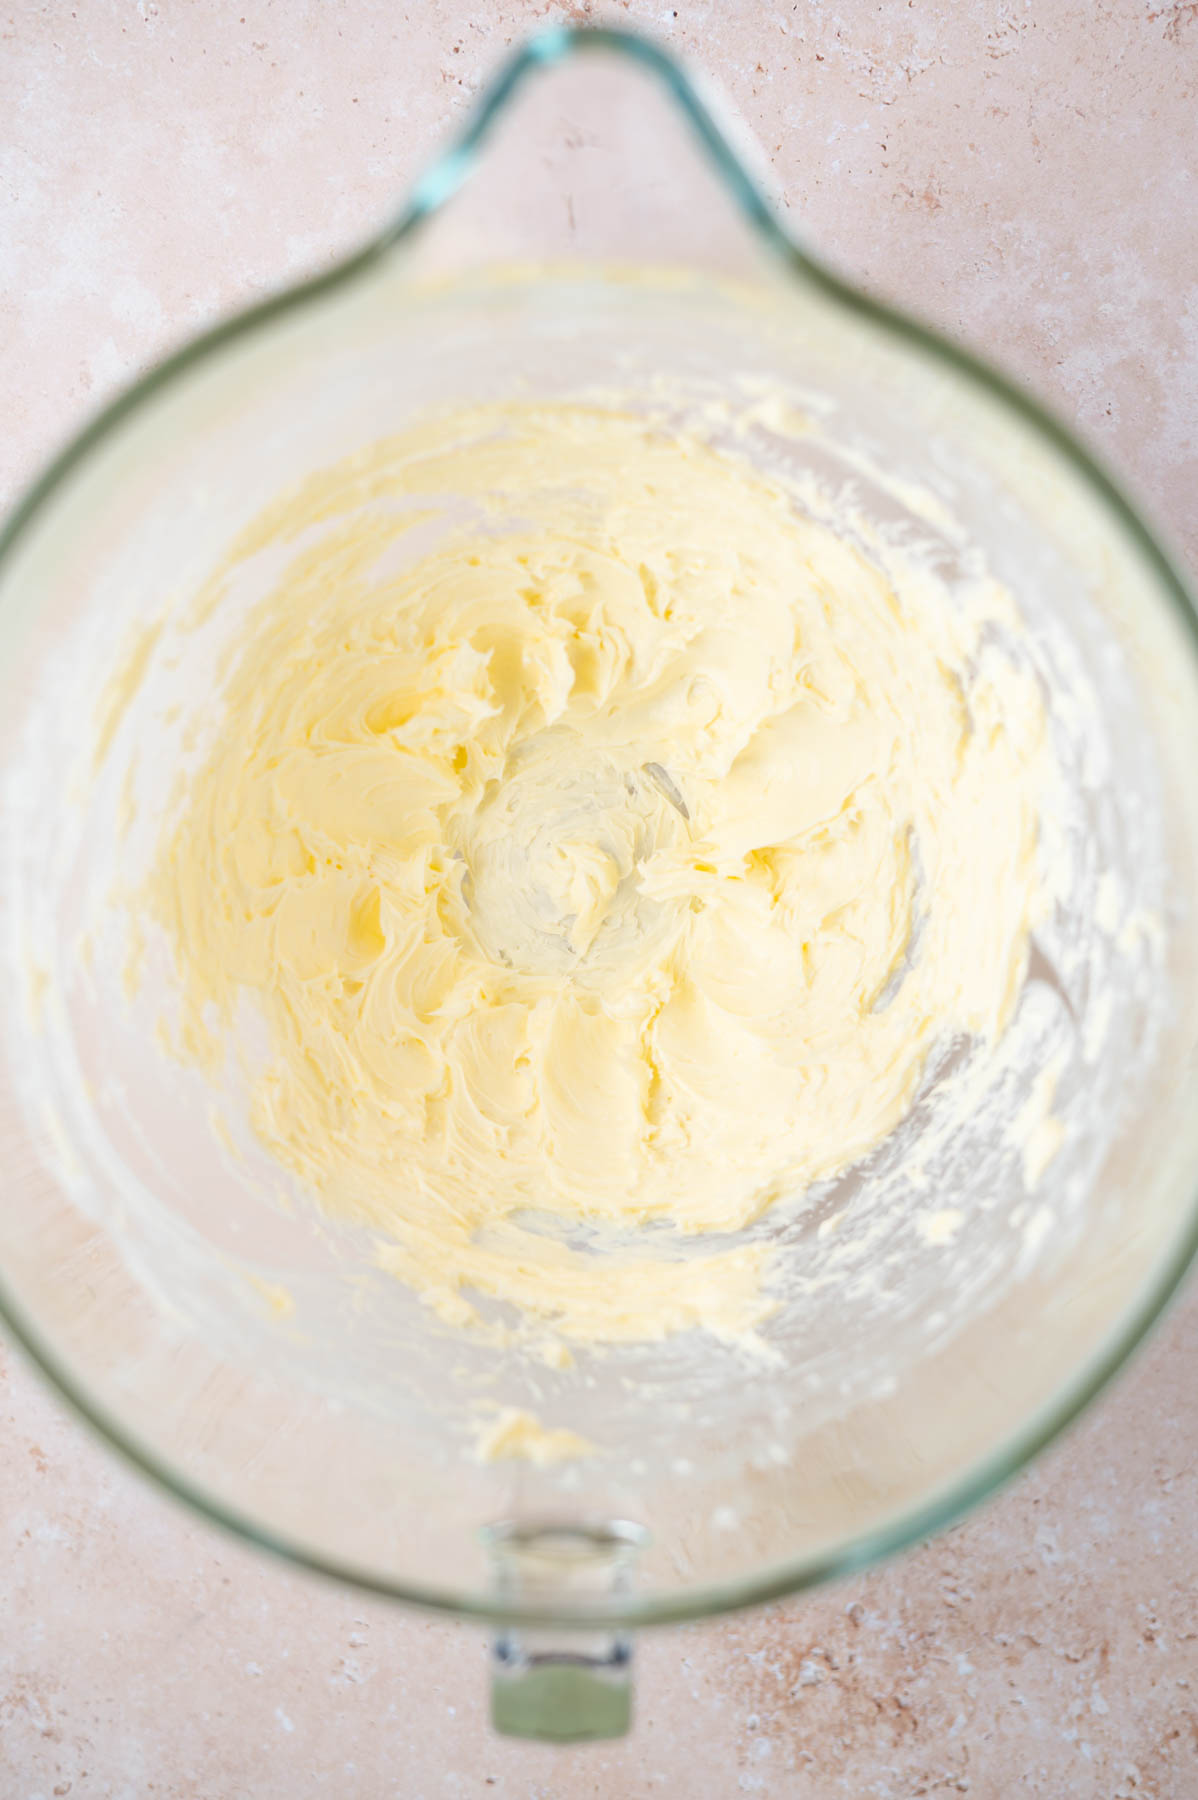
Using a hand mixer or a stand mixer fitted with the paddle attachment, beat the butter and kosher salt until combined, about 1 minute.
Add in both sugars and the orange zest and beat until smooth.
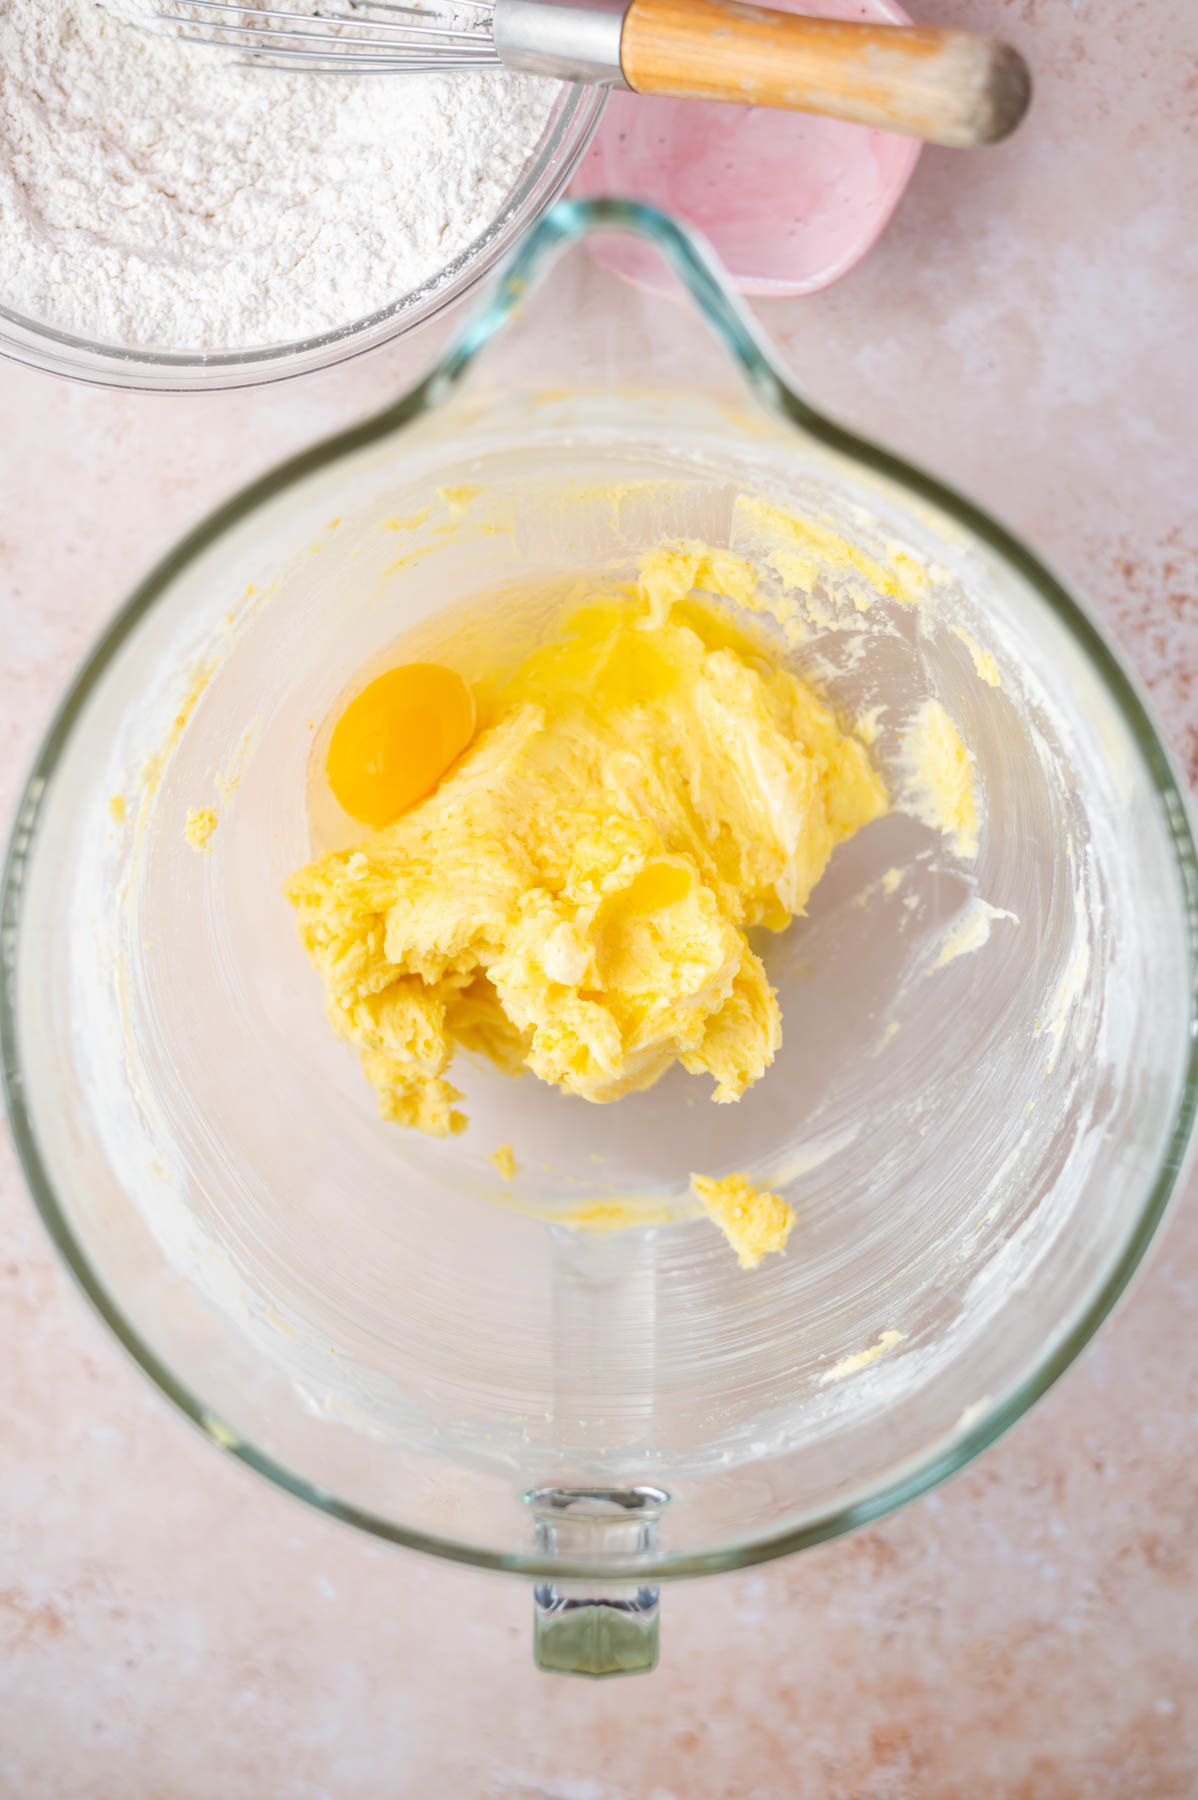
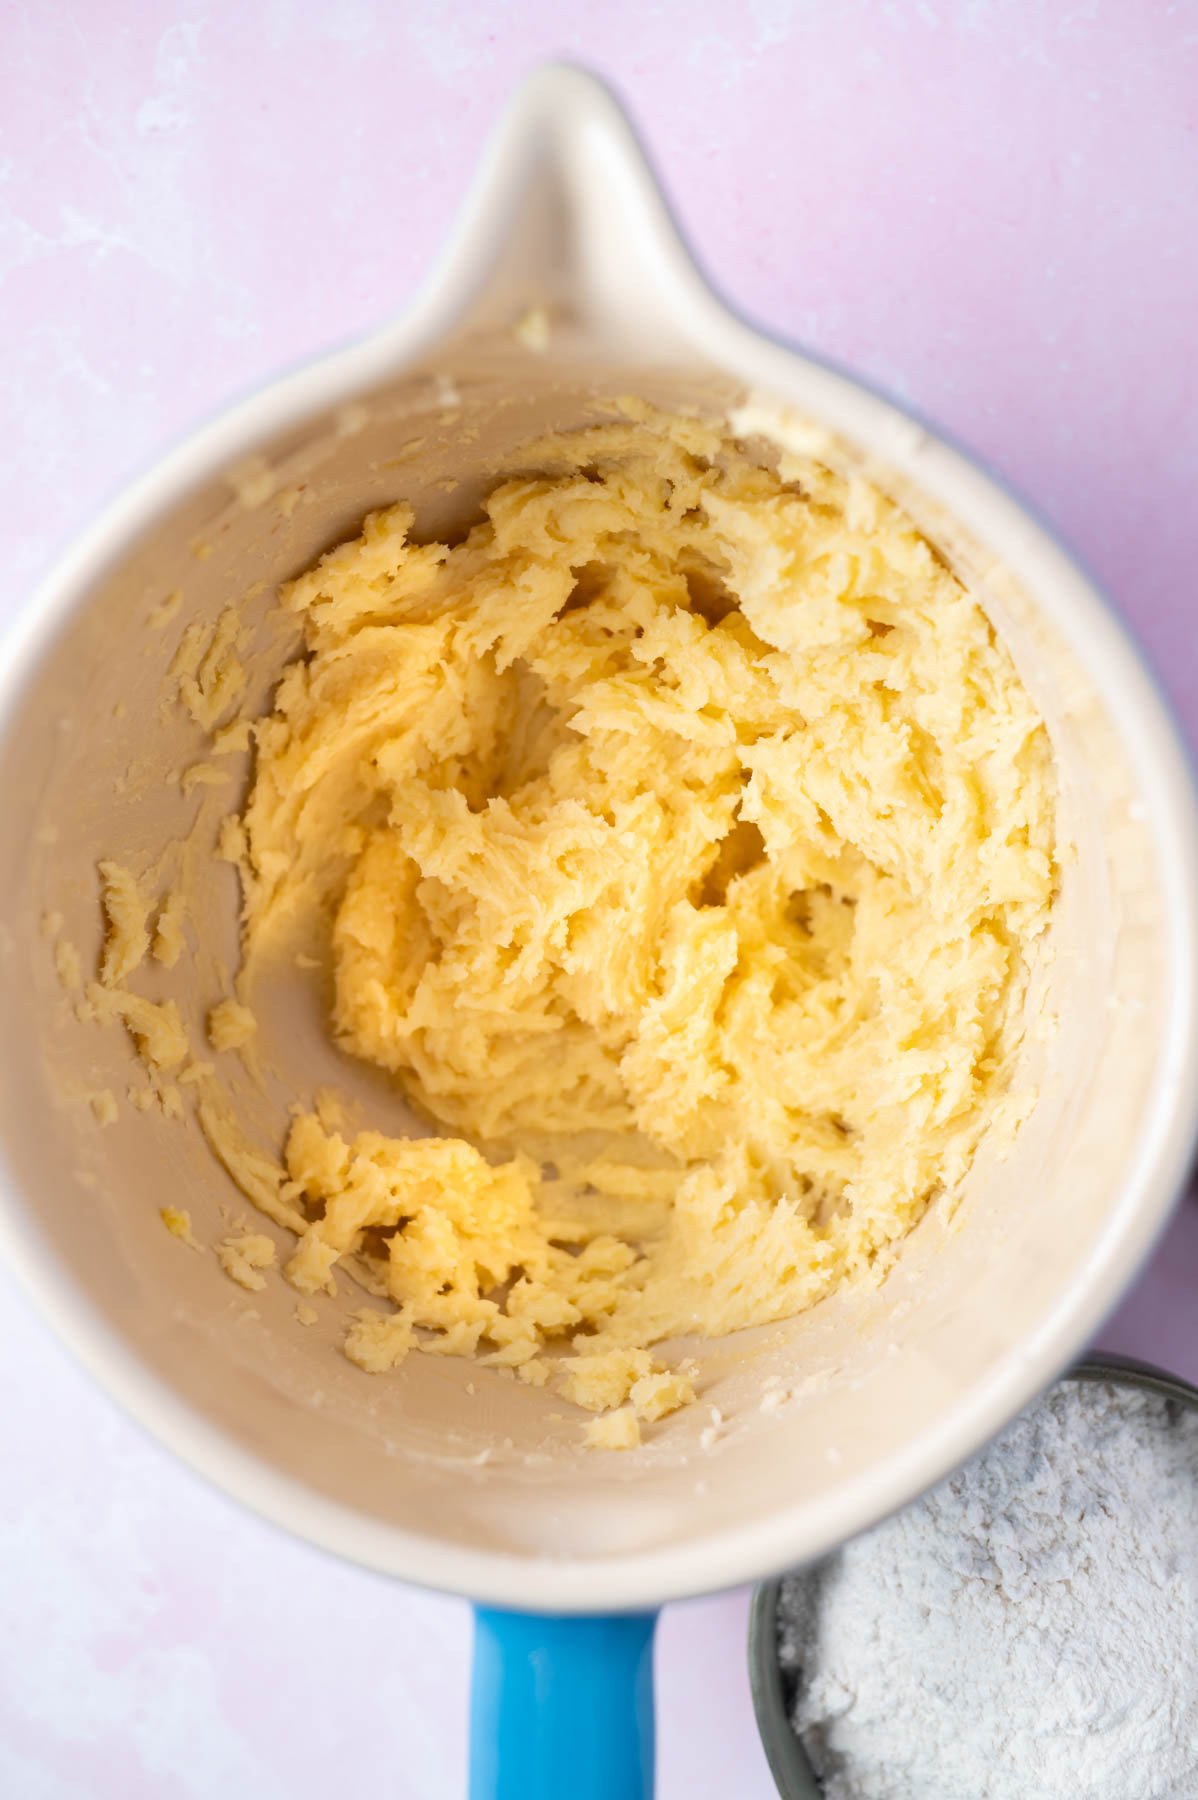
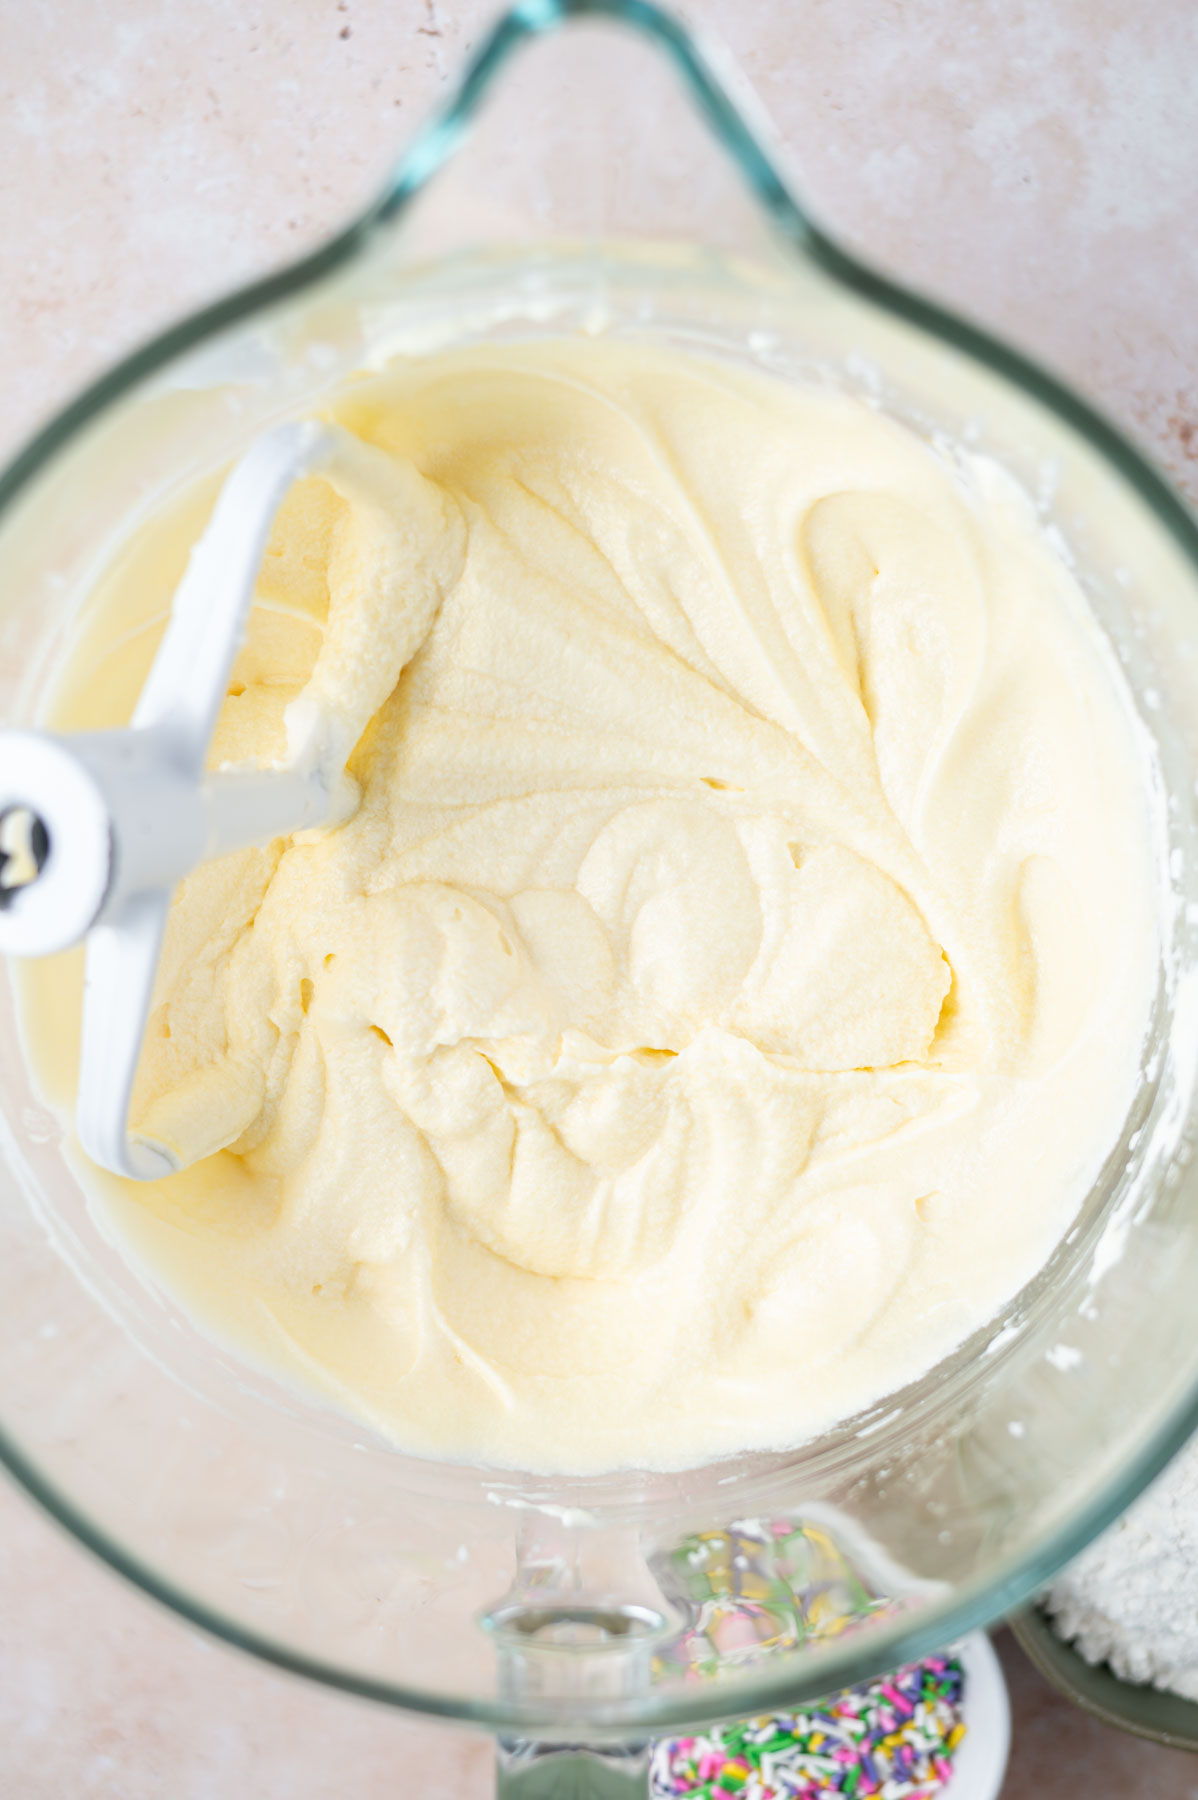
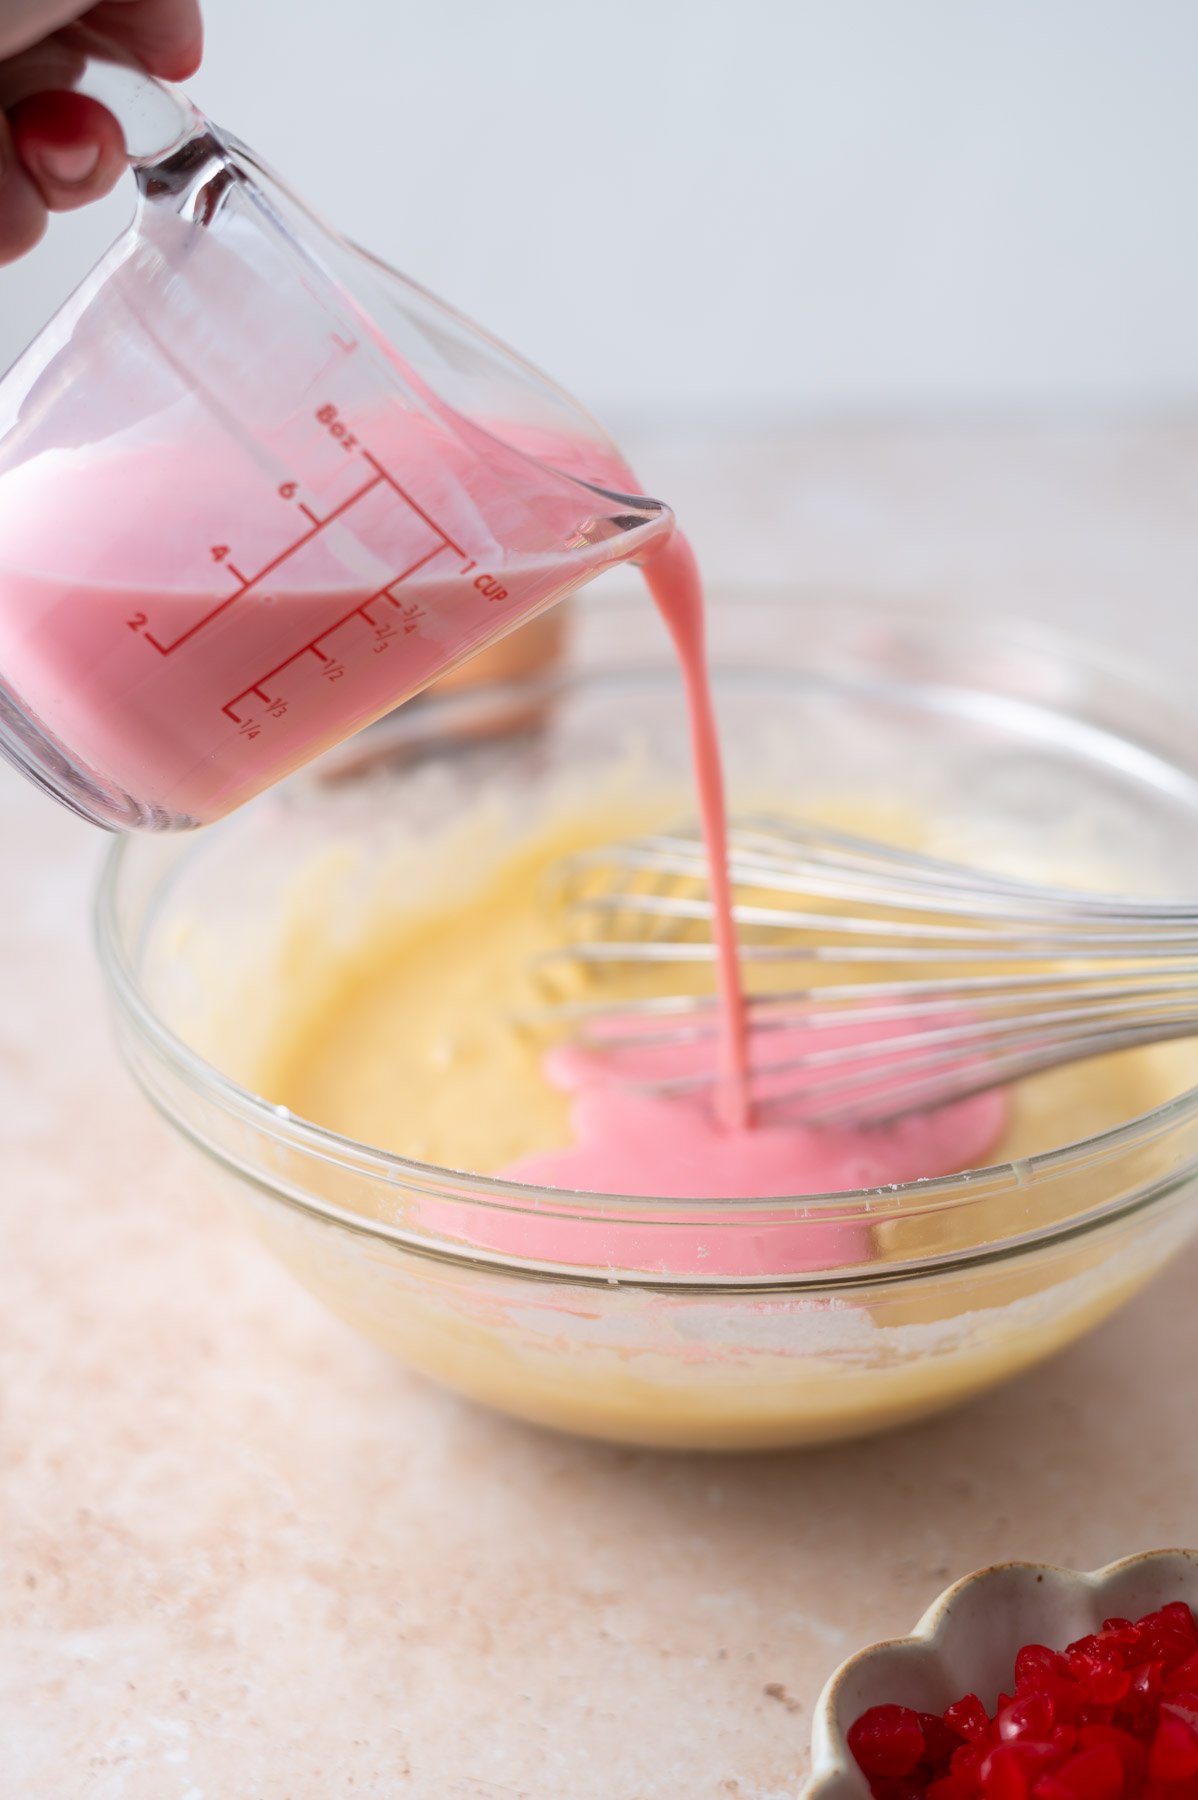
Now scrape up and down the bowl, then beat in the egg and orange juice and mix until well combined.
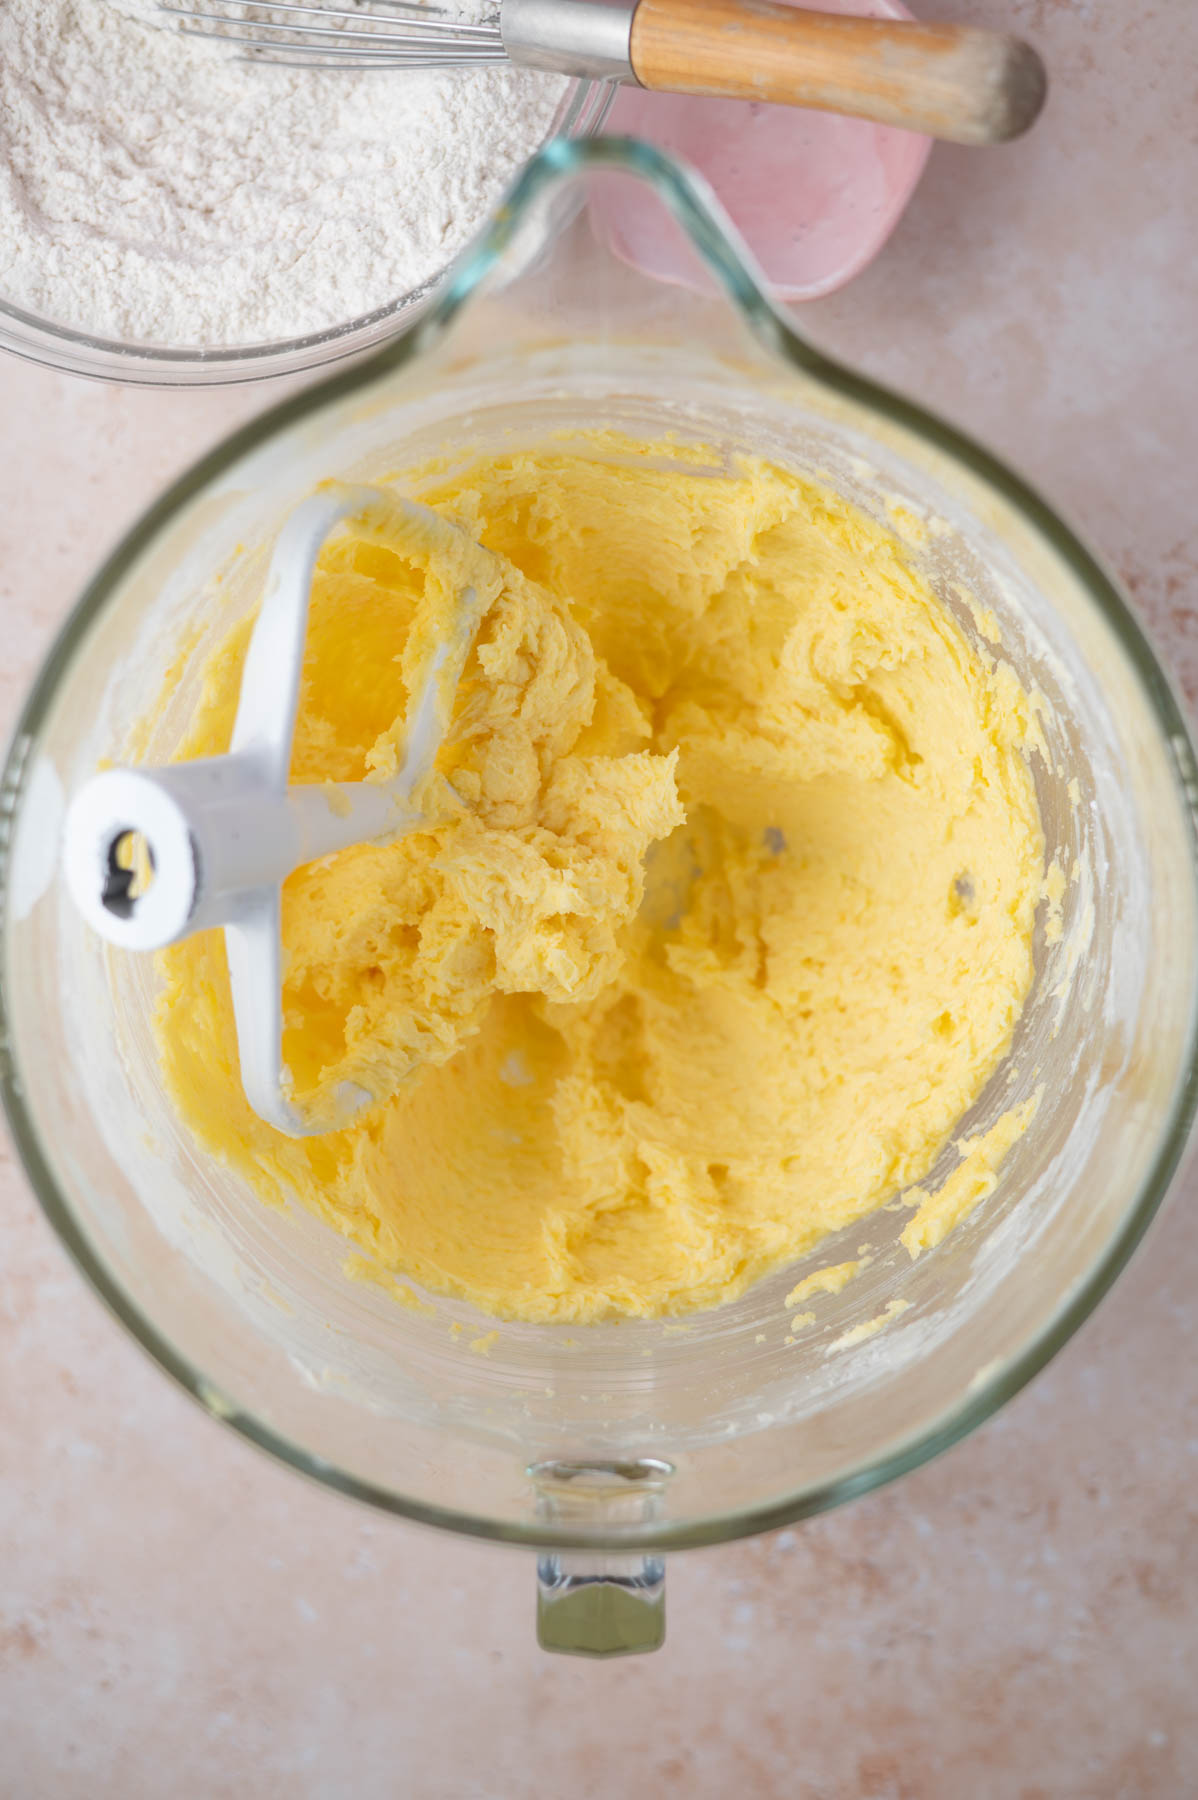
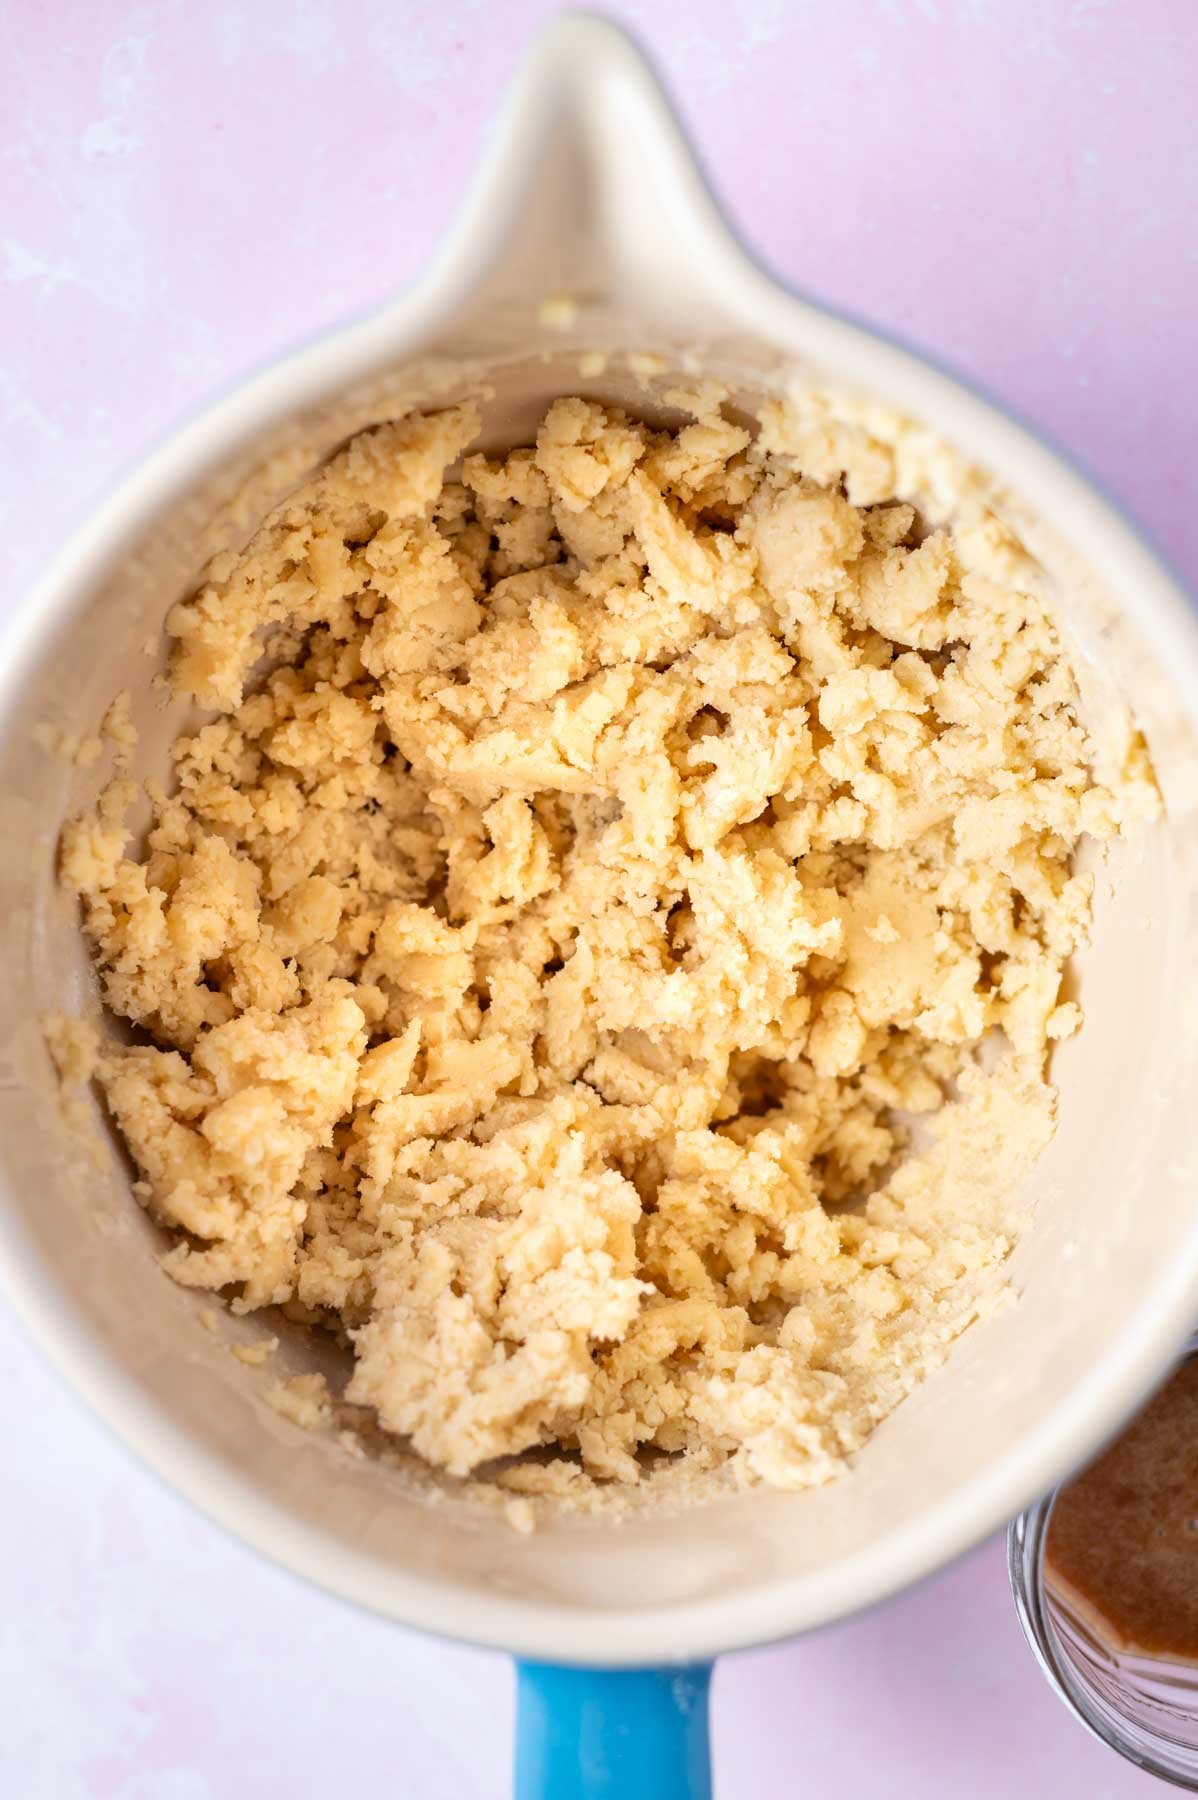
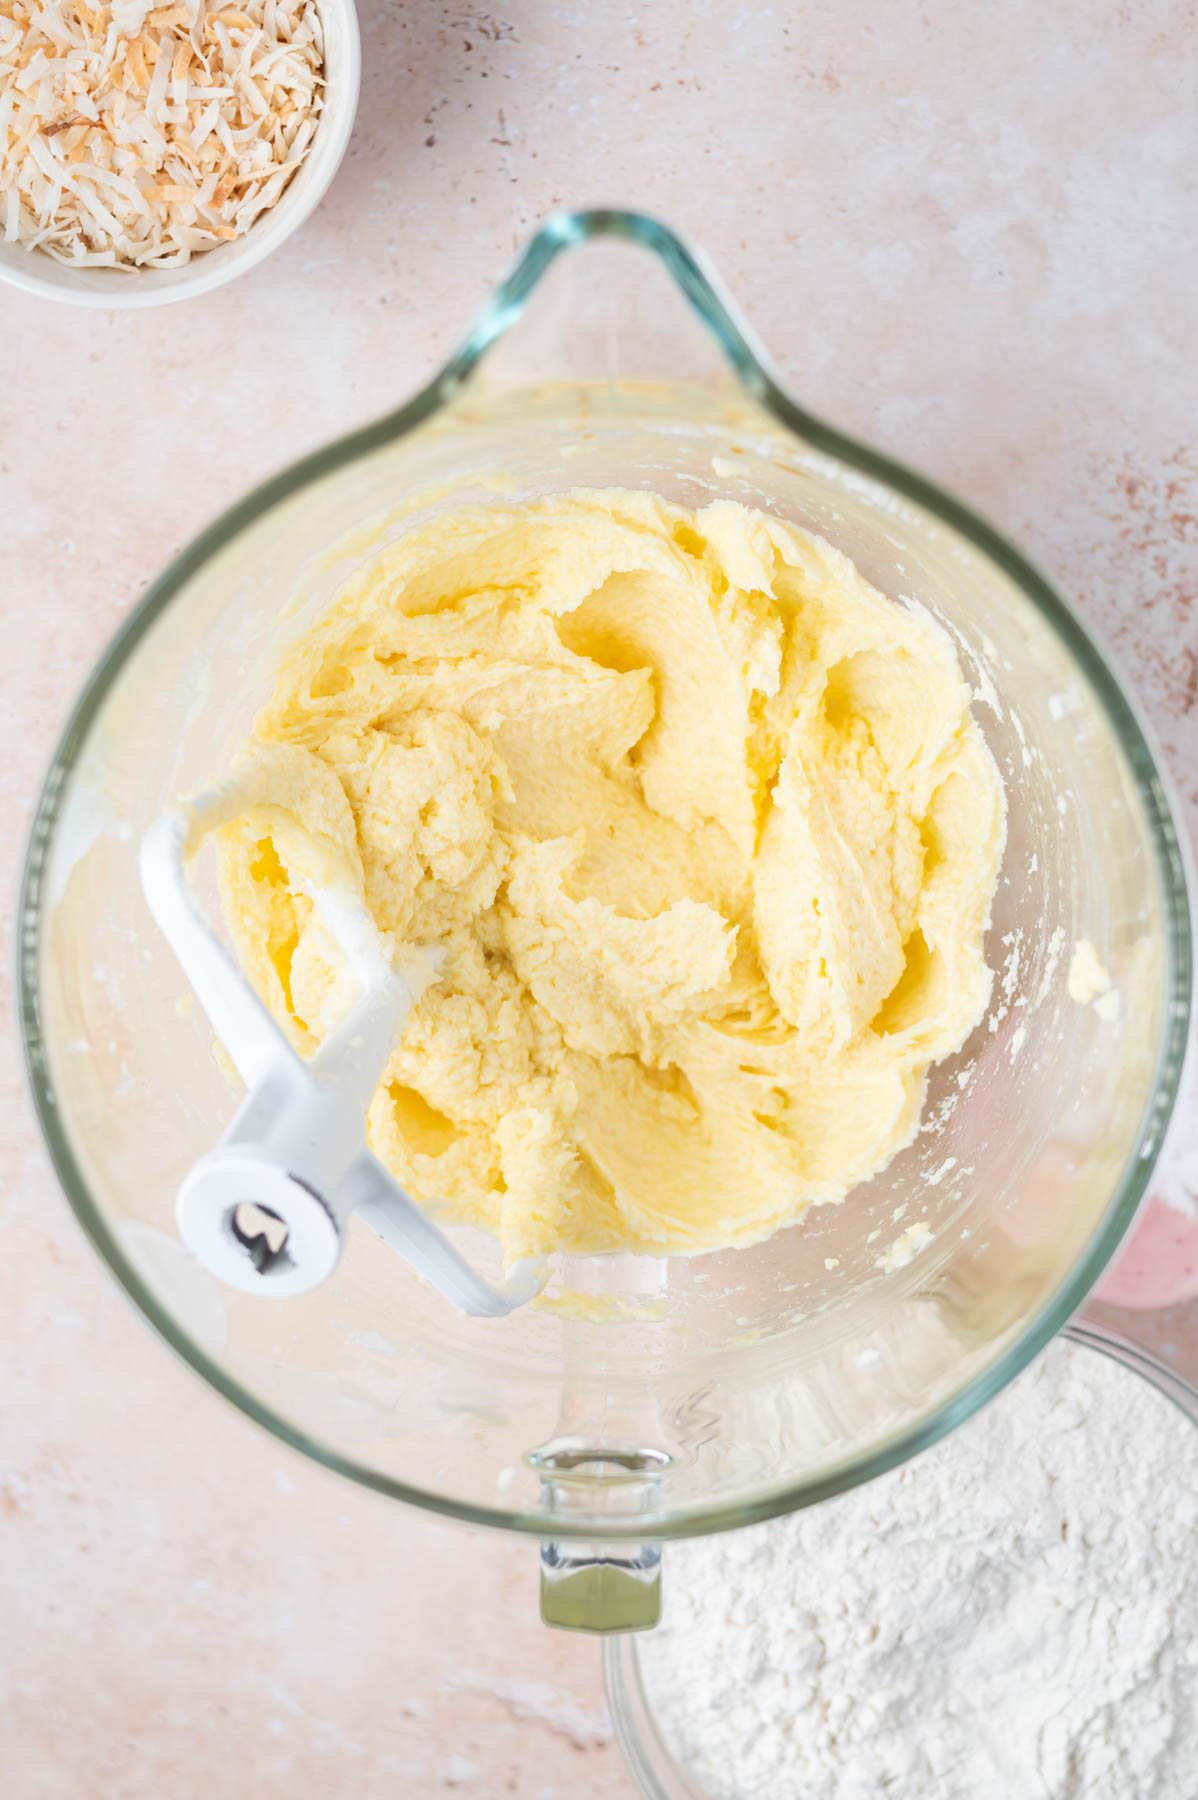
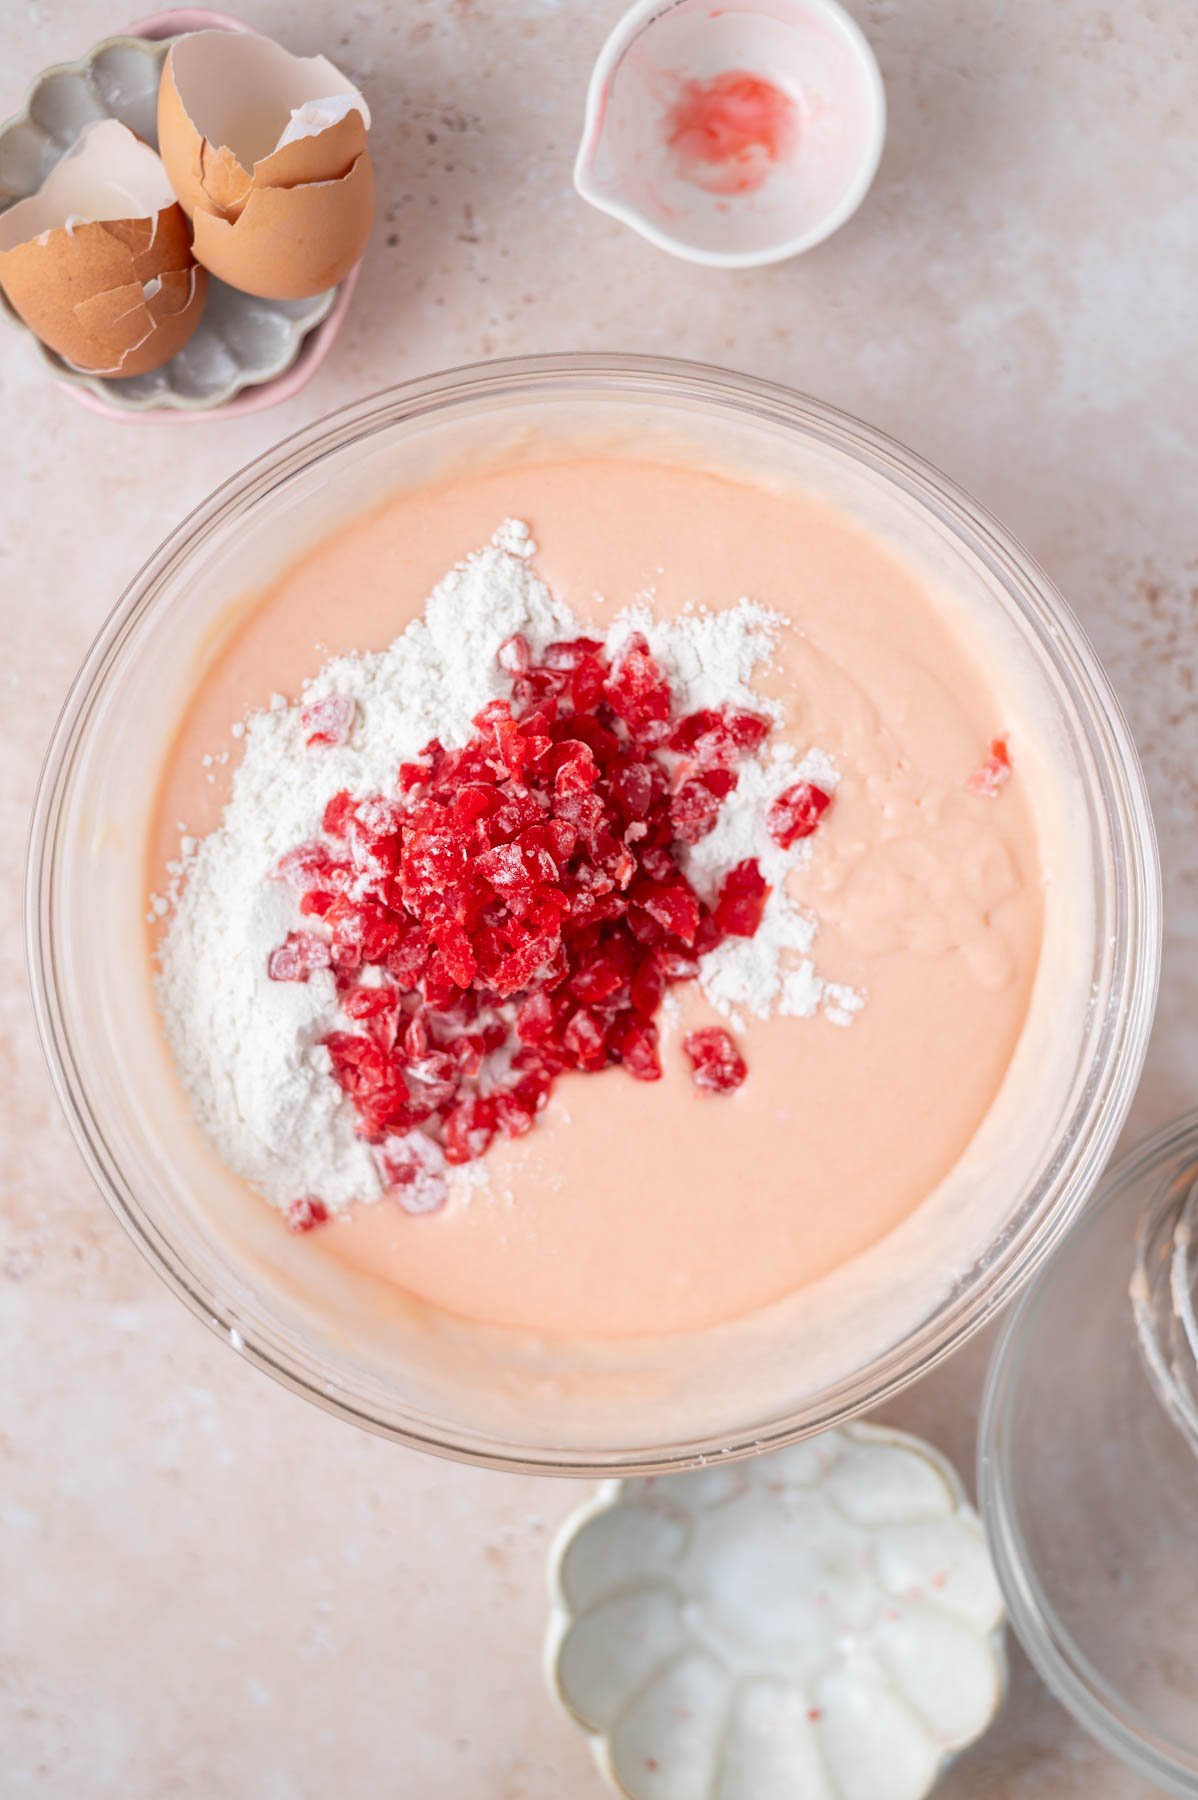
With the mixer on low, add the flour mixture a little at a time, occasionally stopping to scrape your bowl.
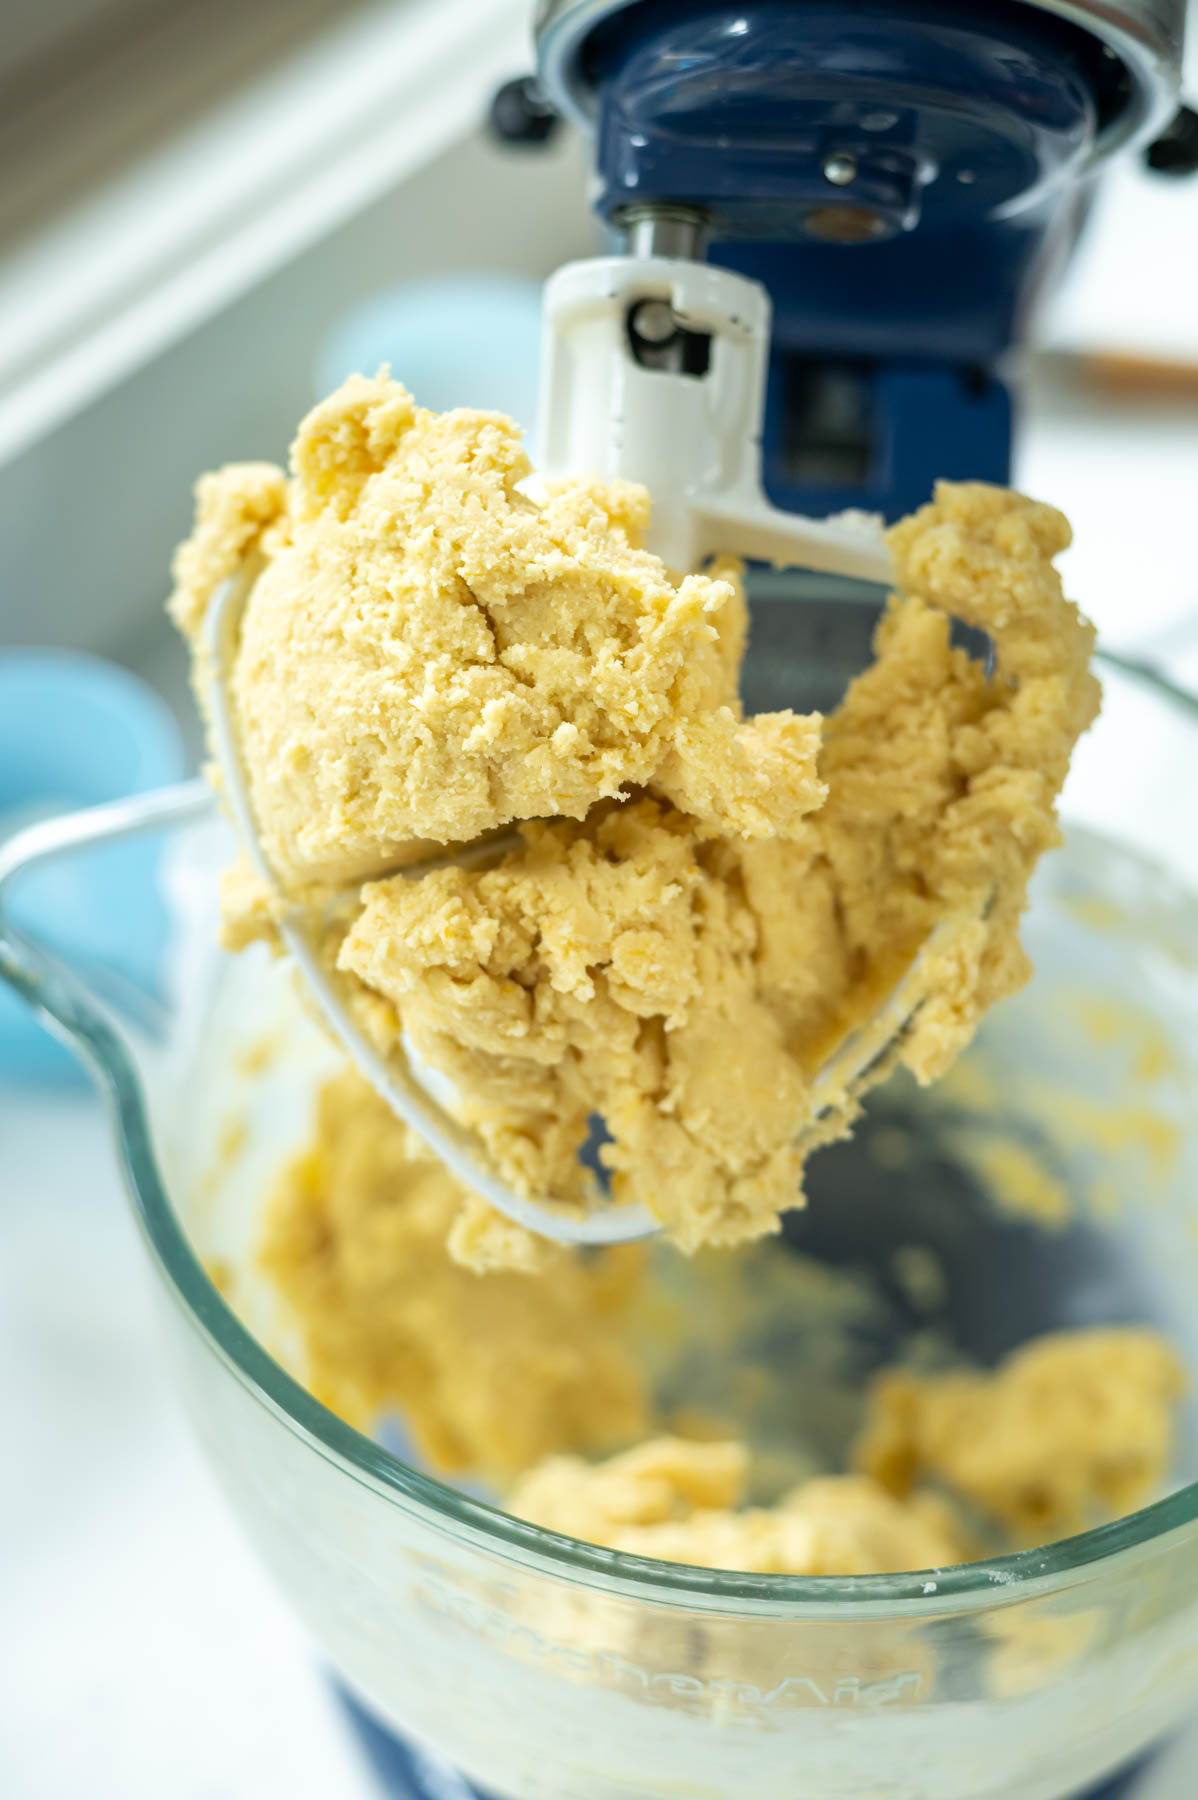
Now mix until combined and the dough starts to ball up on the paddle. The dough should be soft, but not sticky.
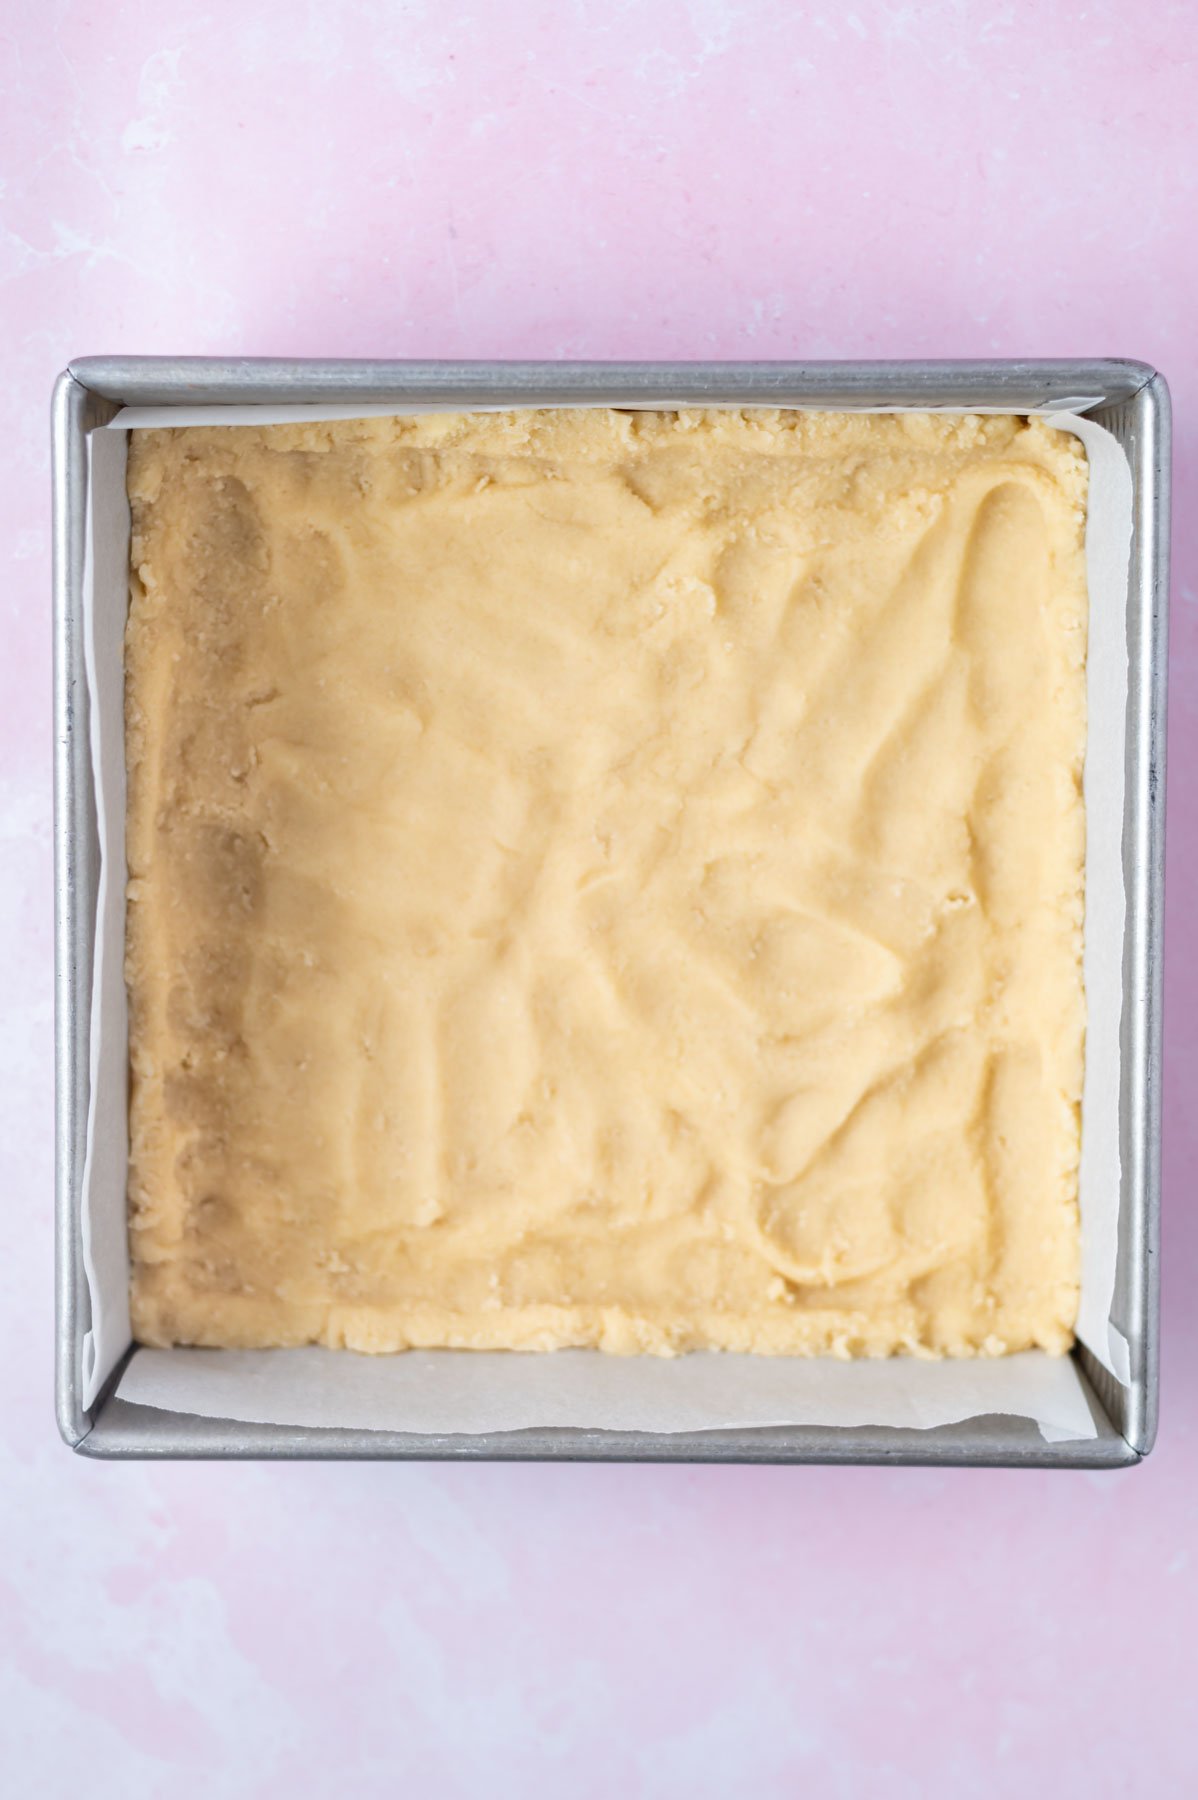
Gently press the dough into a ball. Wrap the dough ball in plastic wrap and press into a 1 inch thick disk. Chill for a minimum of 30 minutes {and up to three days} before rolling out.
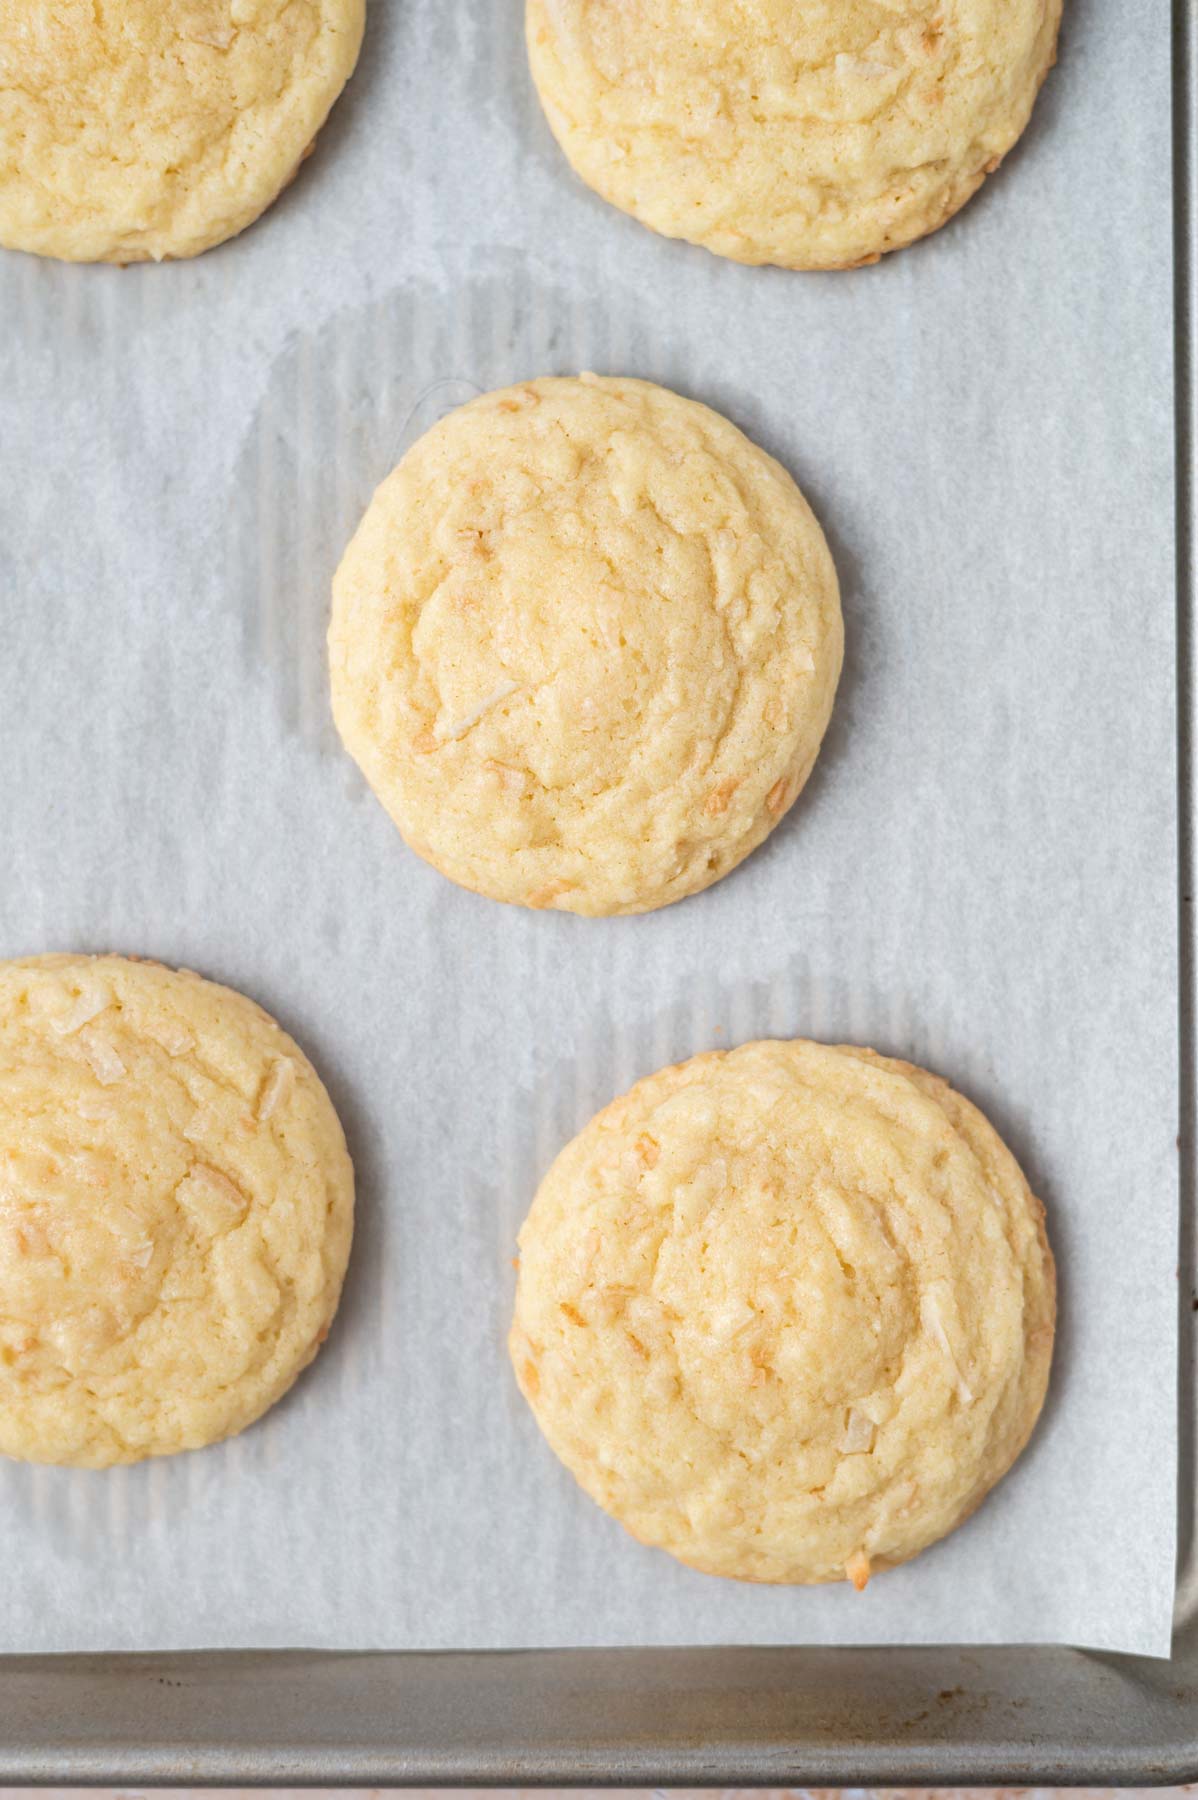
Once the dough has chilled, preheat the oven to 375°. Prepare baking sheets with parchment paper or silicone baking mats.
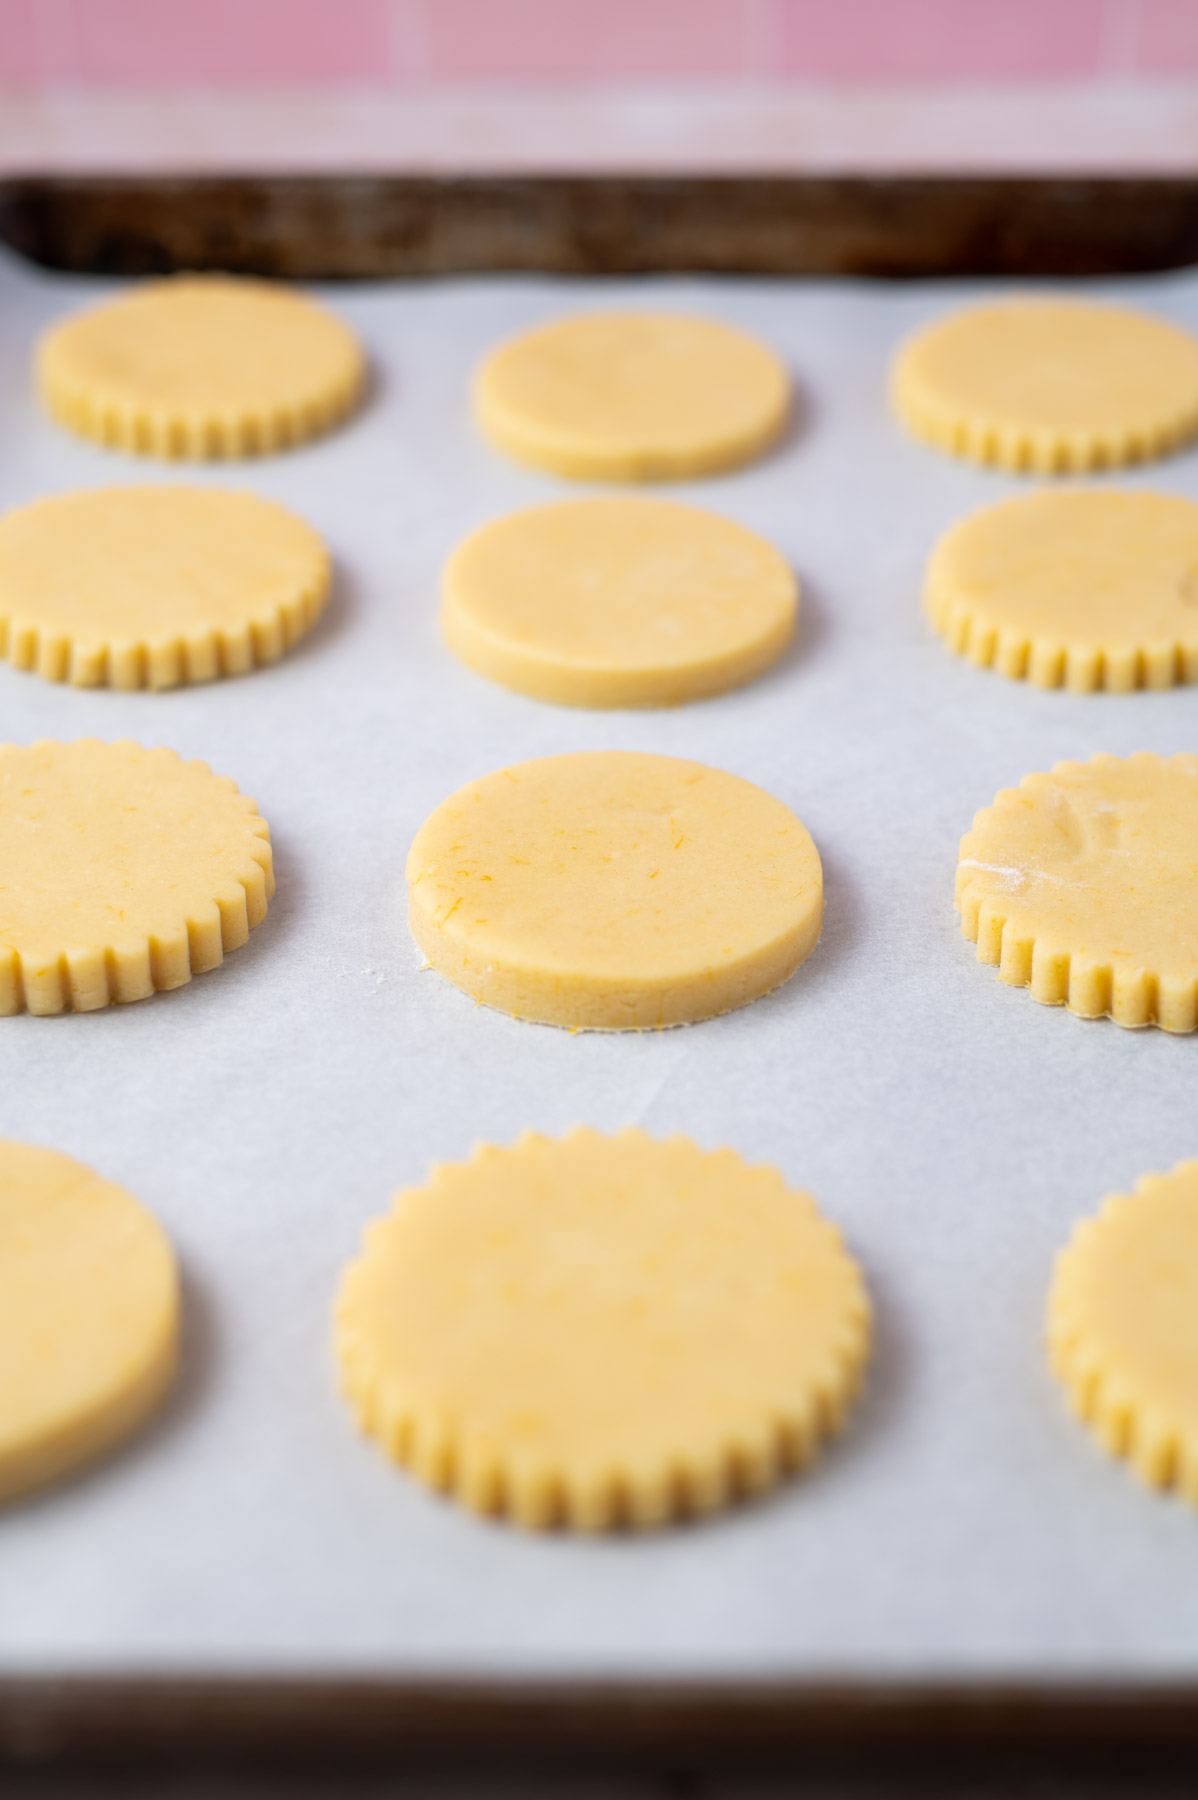
On lightly floured surface, roll the dough to about a ¼ inch thickness. Cut into shapes with cookie cutters. Re-roll the remaining dough and continue cutting until all is used. Arrange cookies on baking sheets about 1 inch apart.
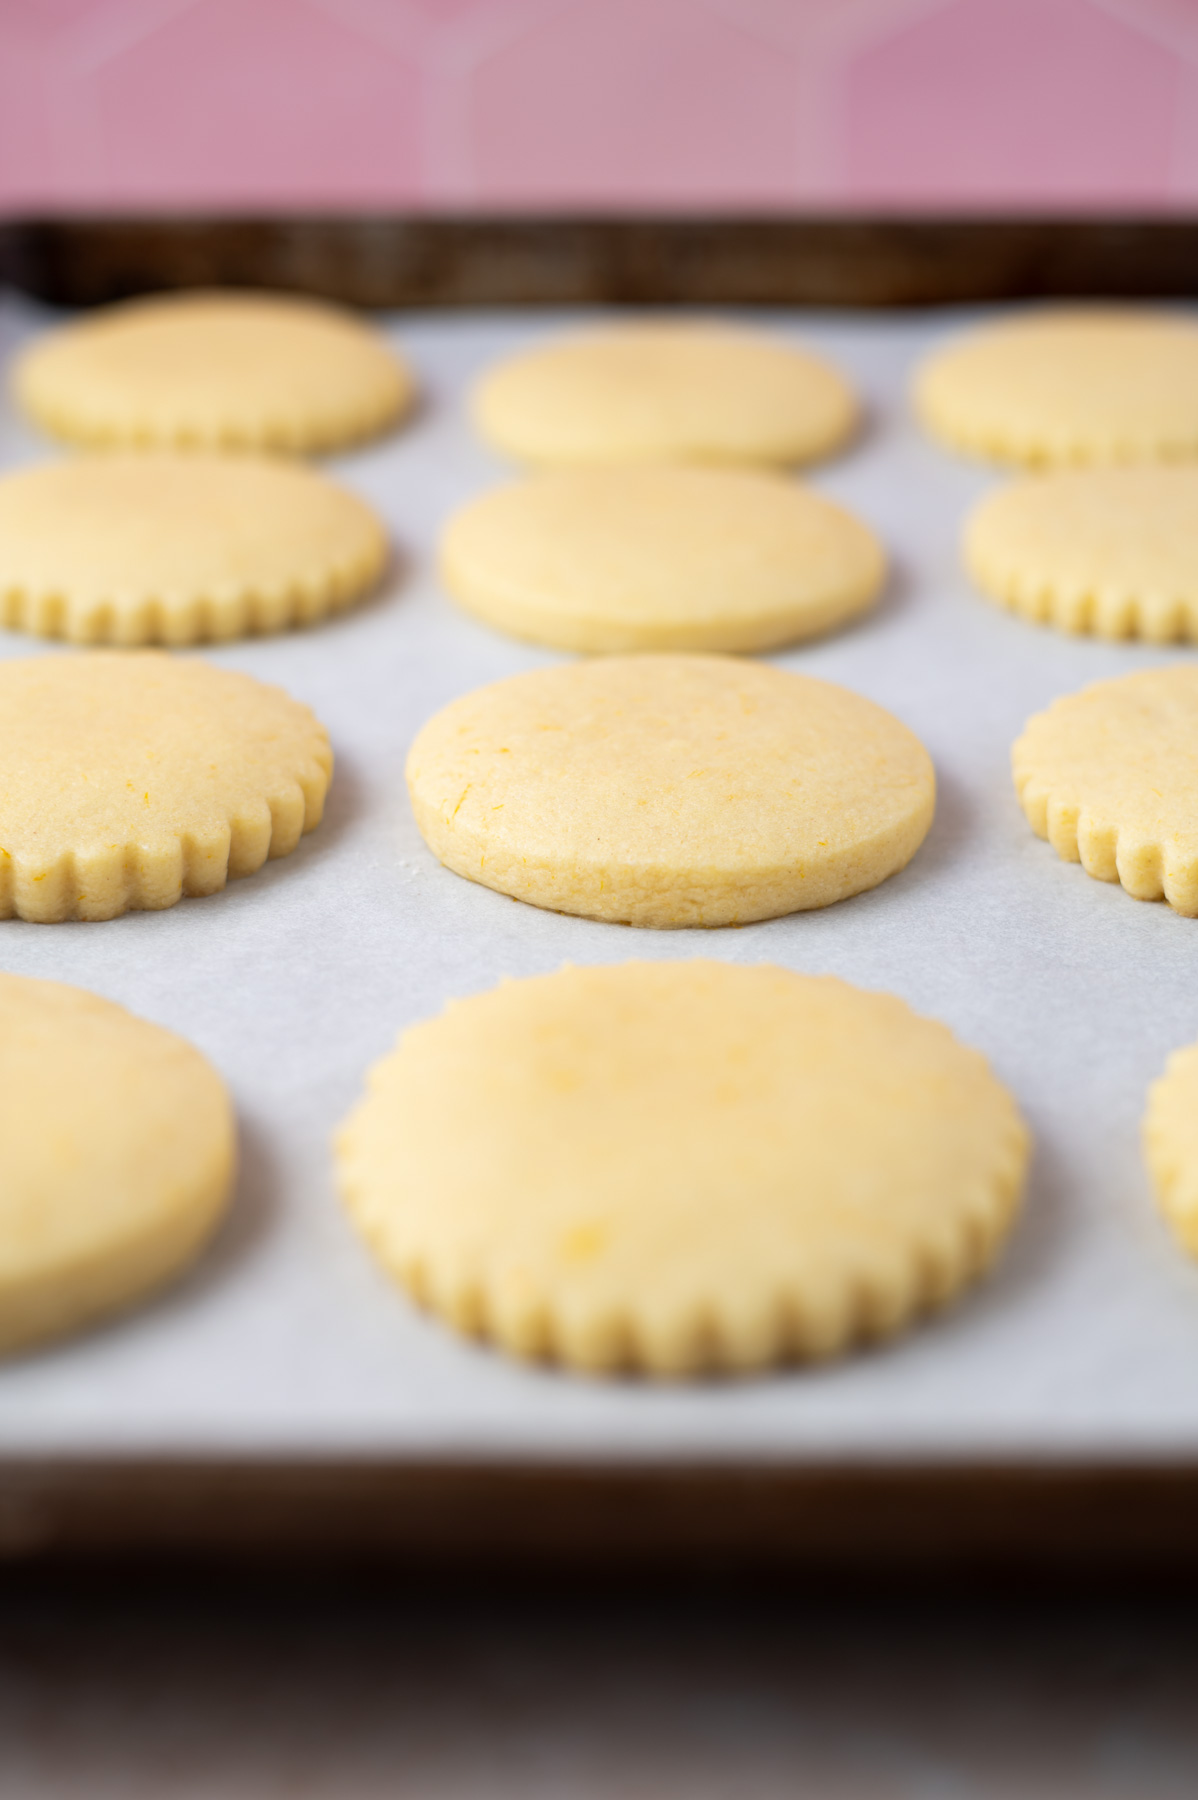
Bake one sheet at a time in the middle of the oven, about 7-8 minutes, until puffy. Allow the cookies to rest for 2 minutes on the pan and then transfer to a wire rack to cool completely.
🍊 how to make the easy orange buttercream
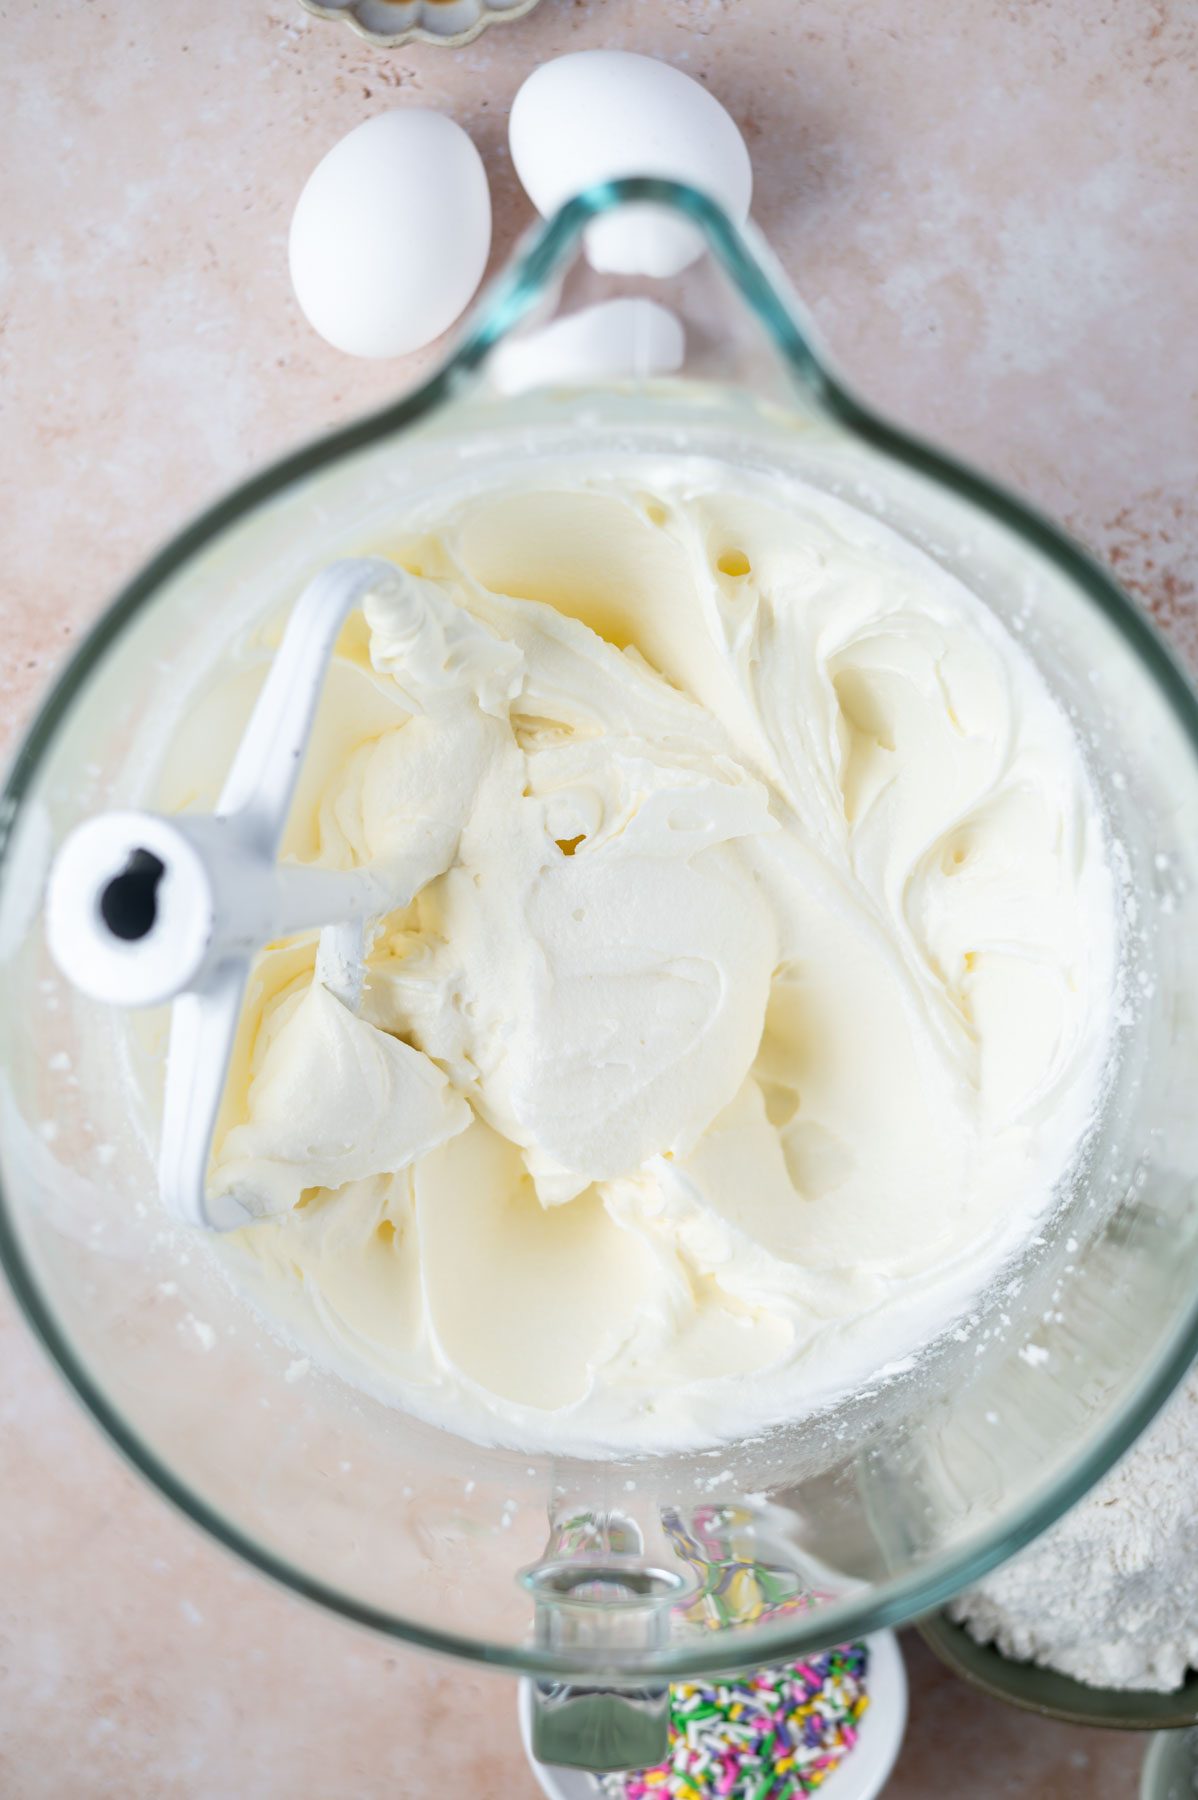
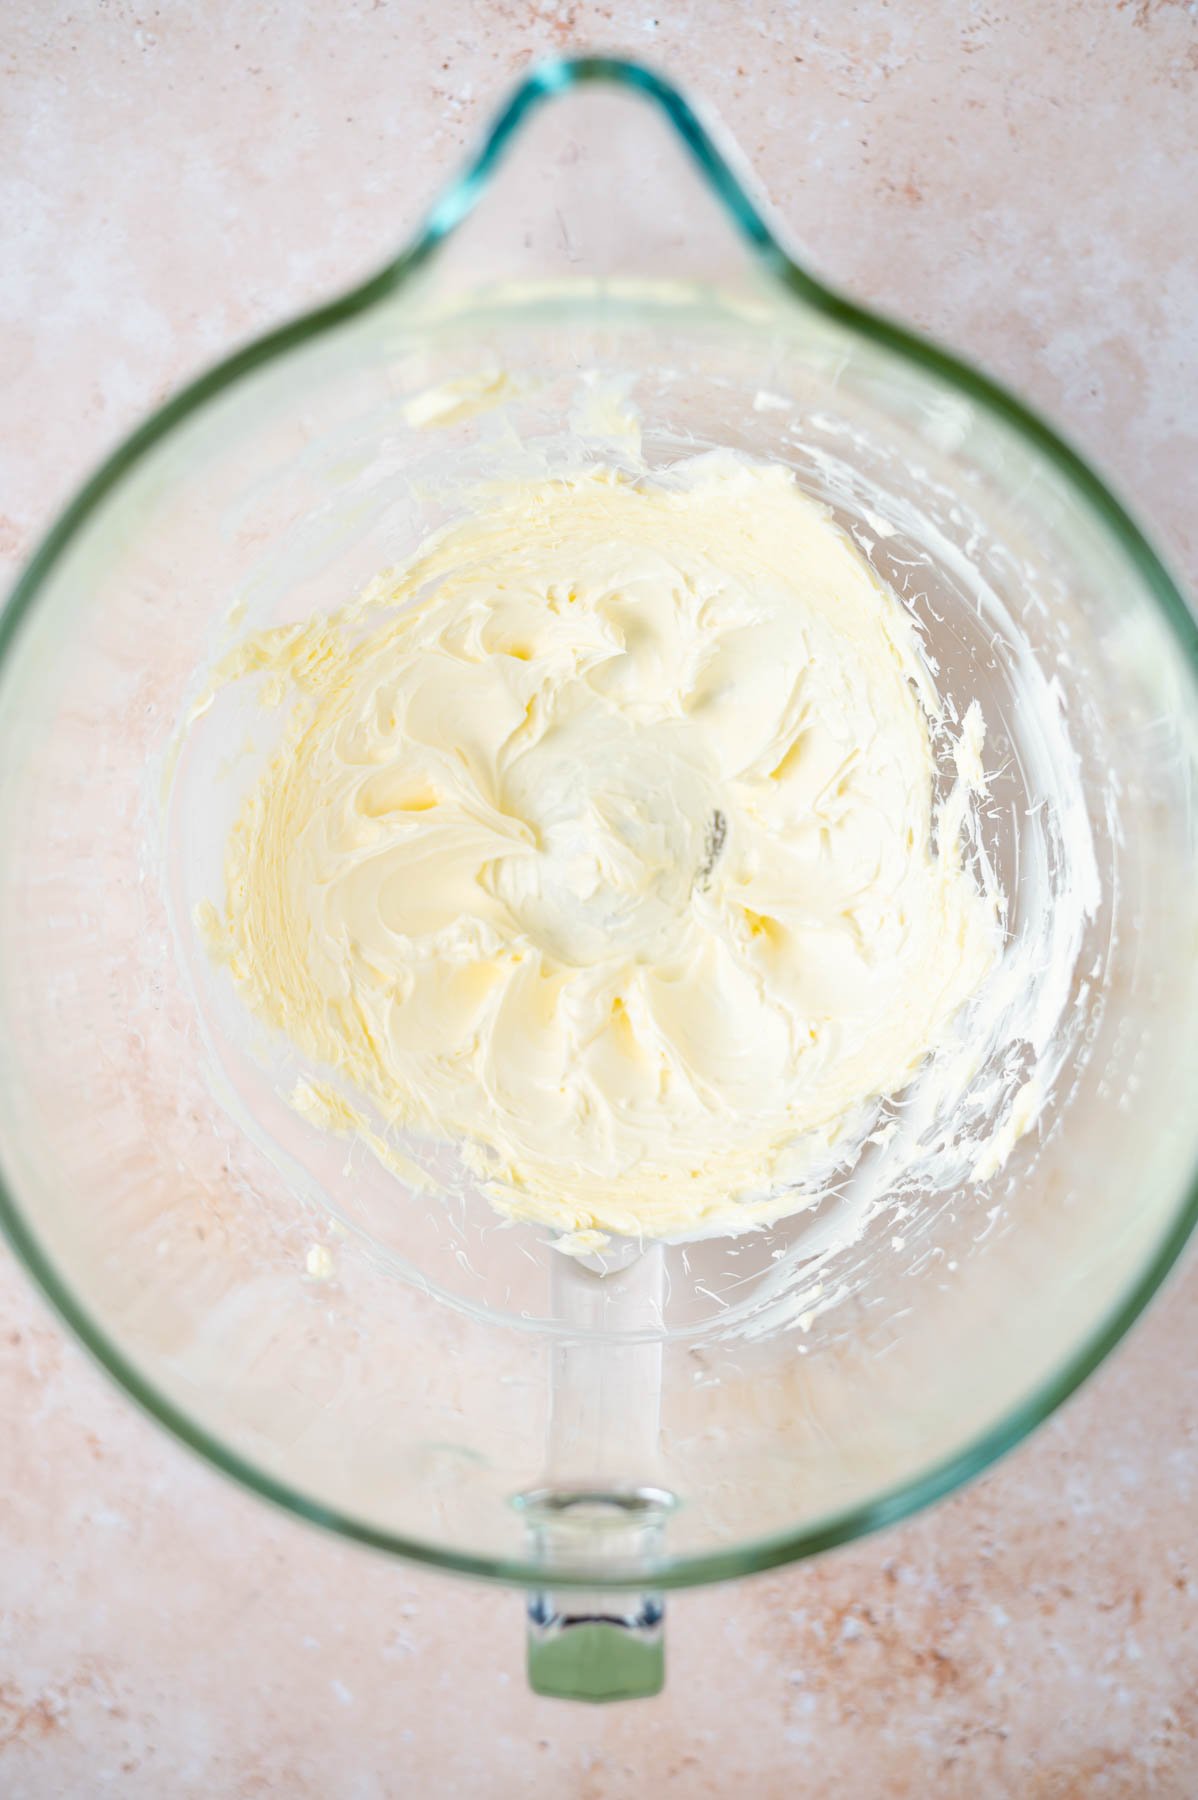
Start by beating butter until softened and slightly lighter in color. This takes about 2 minutes.
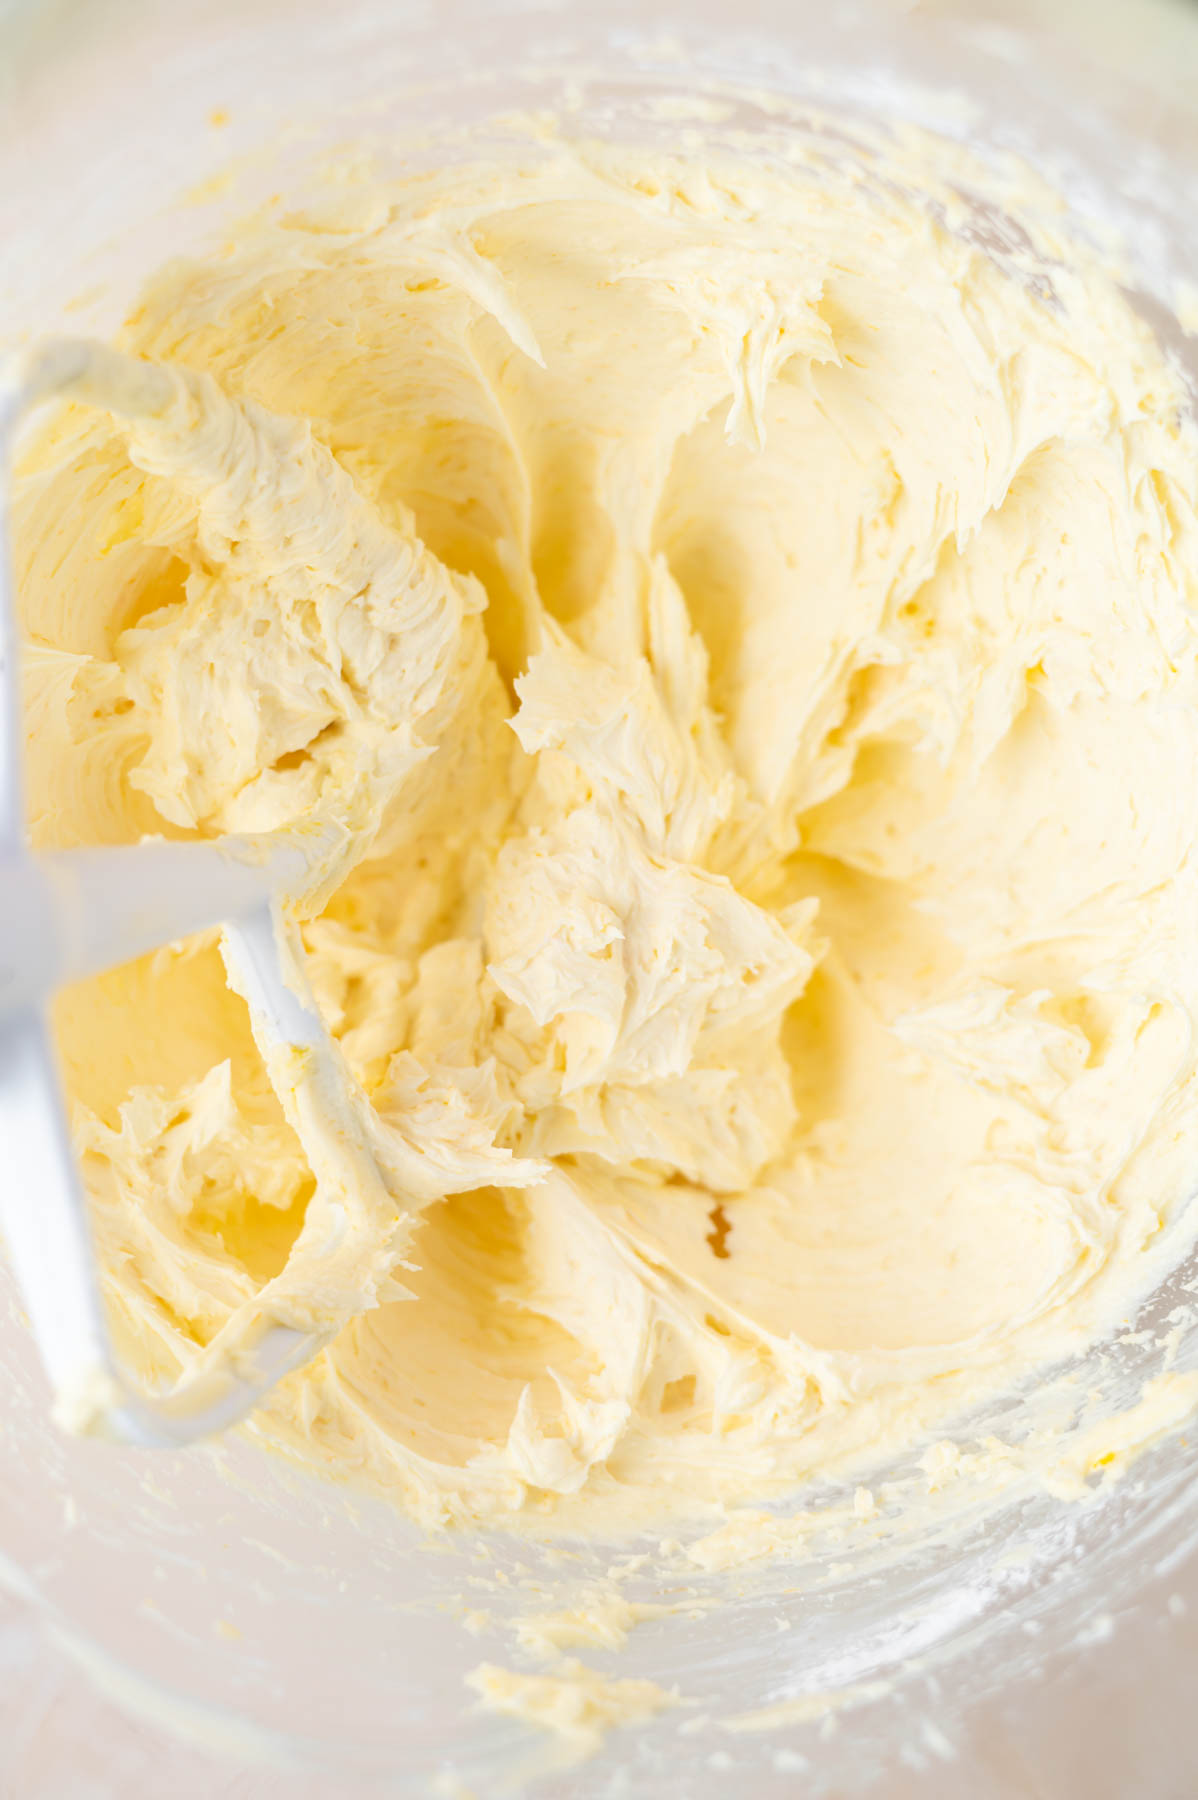
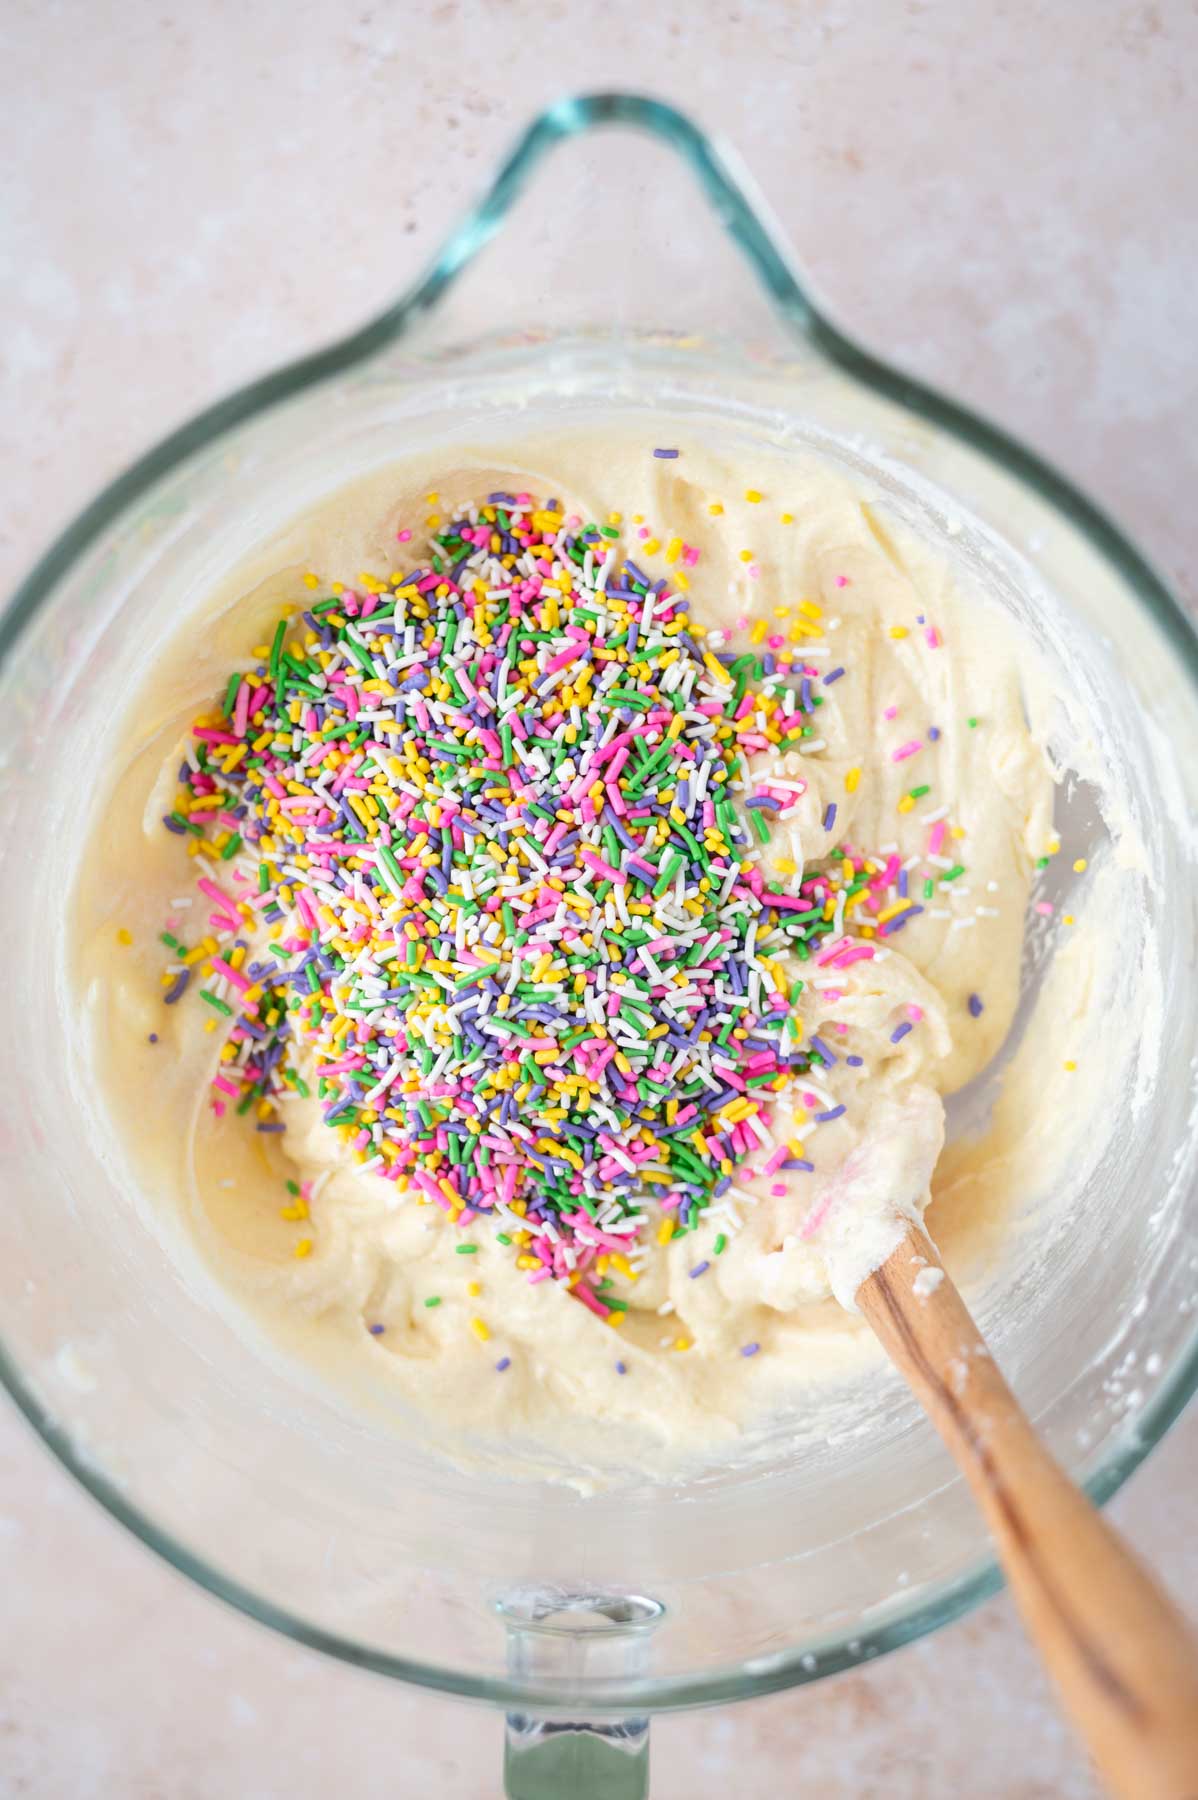
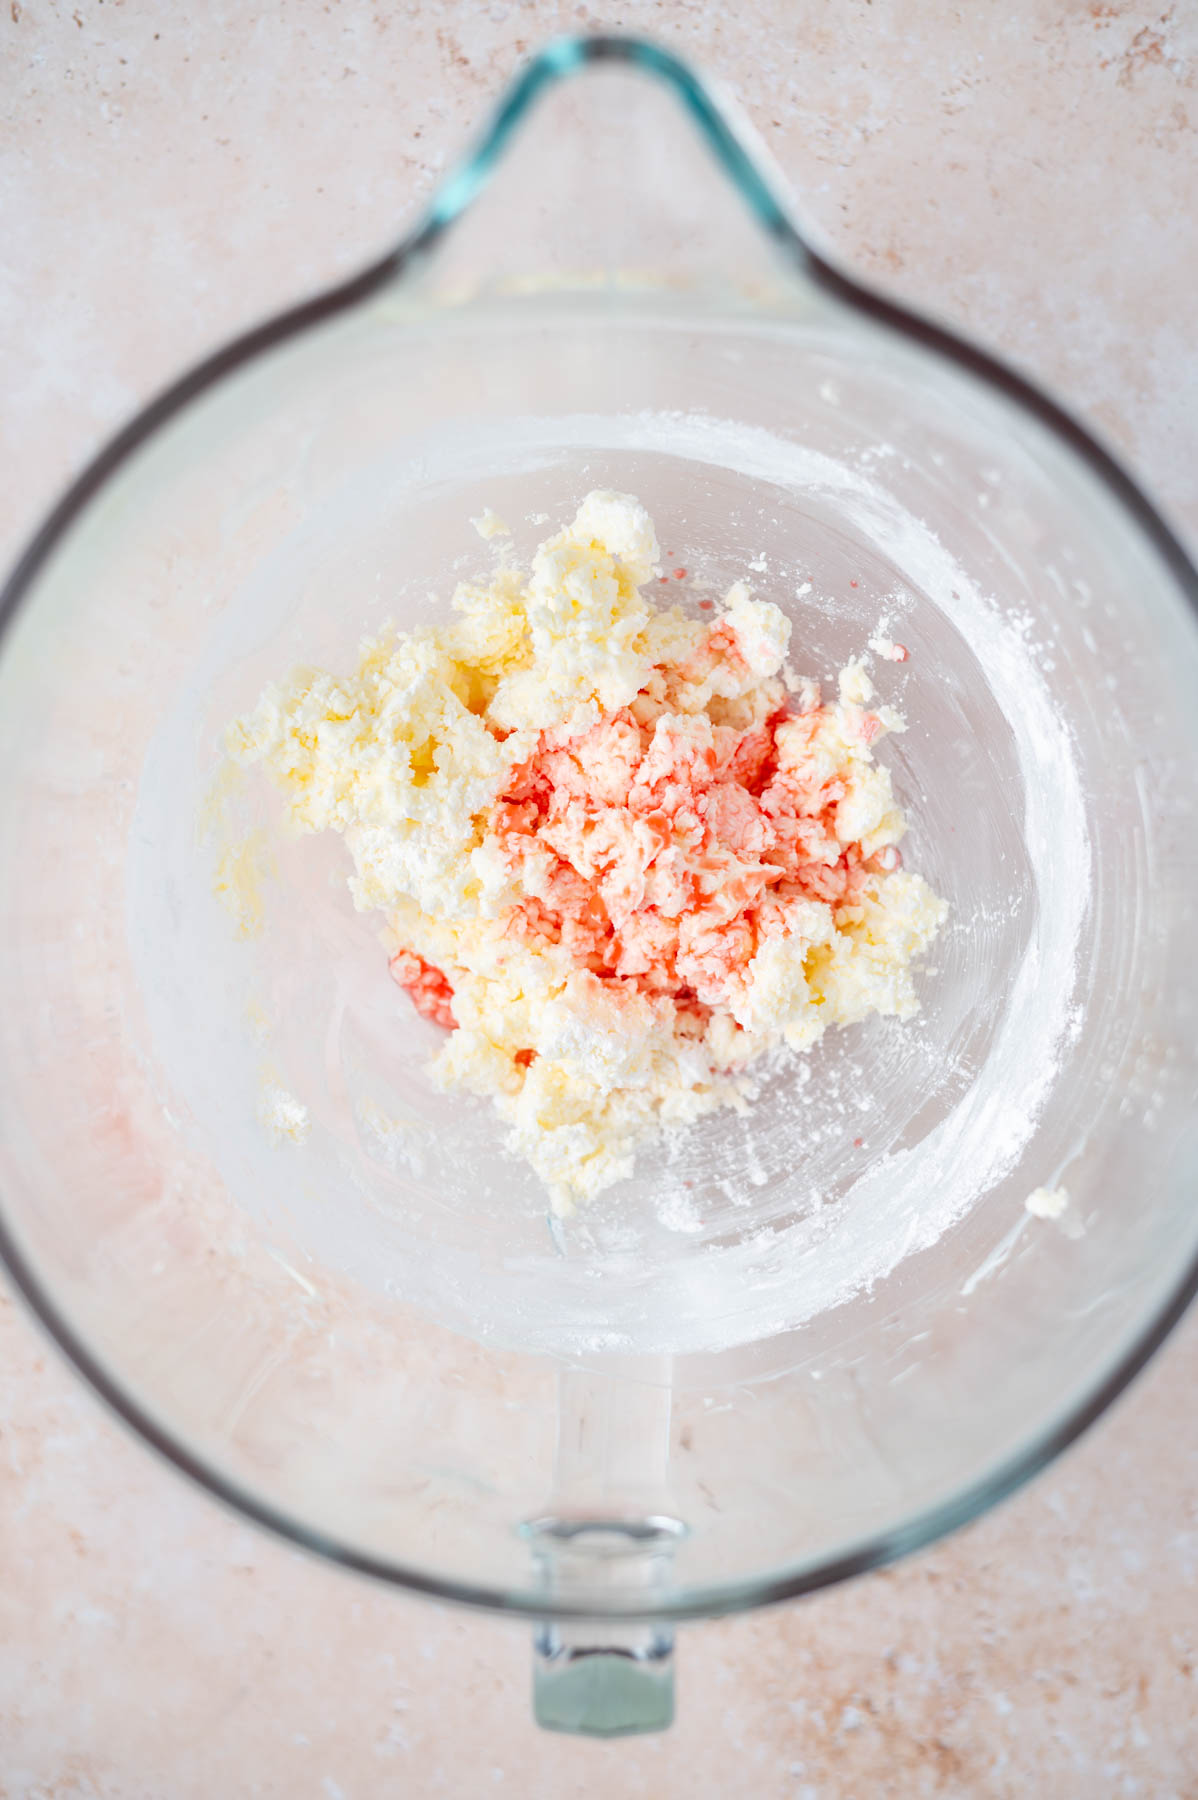
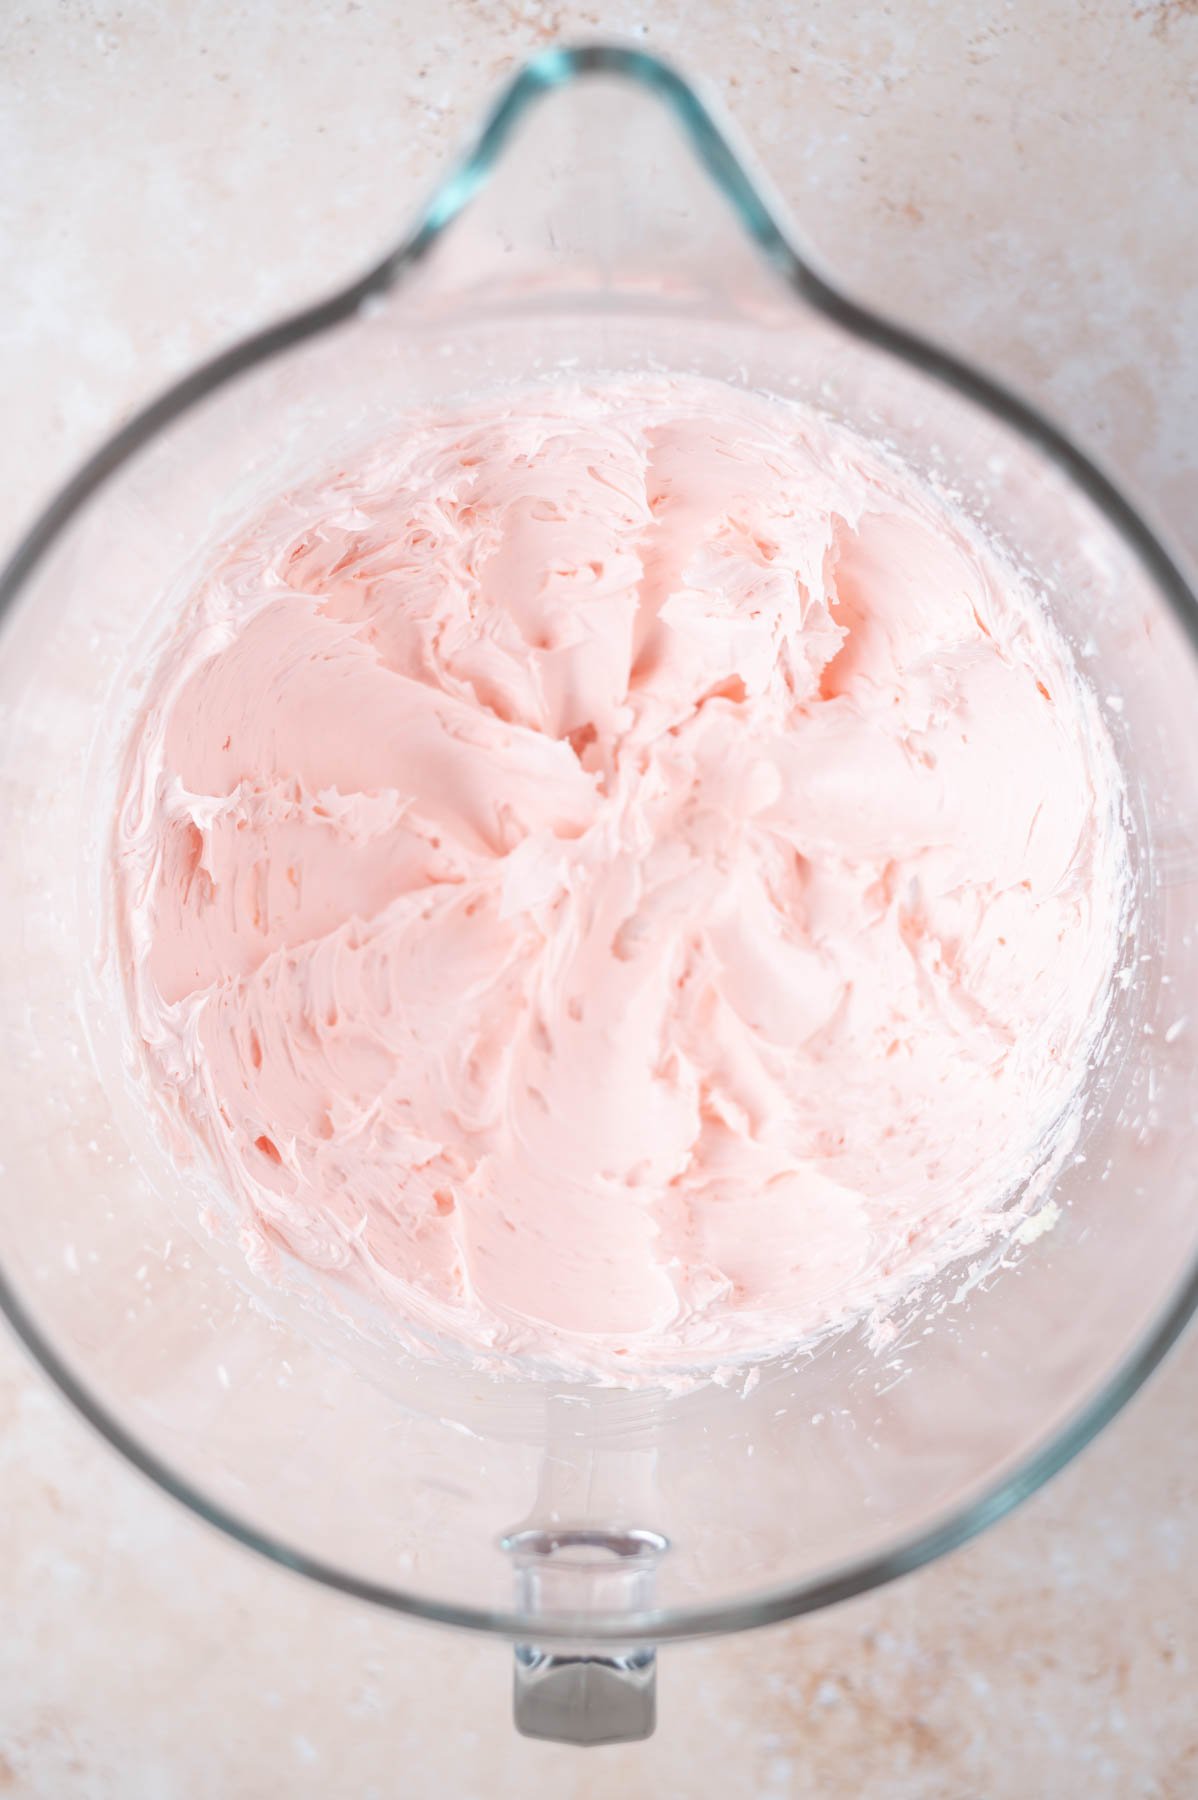
Then add the rest of the ingredients and mix on low until incorporated. Now scrape the bowl and then mix on medium-high until fluffy, another 2-3 minutes. If desired, add a tiny bit of orange food coloring.
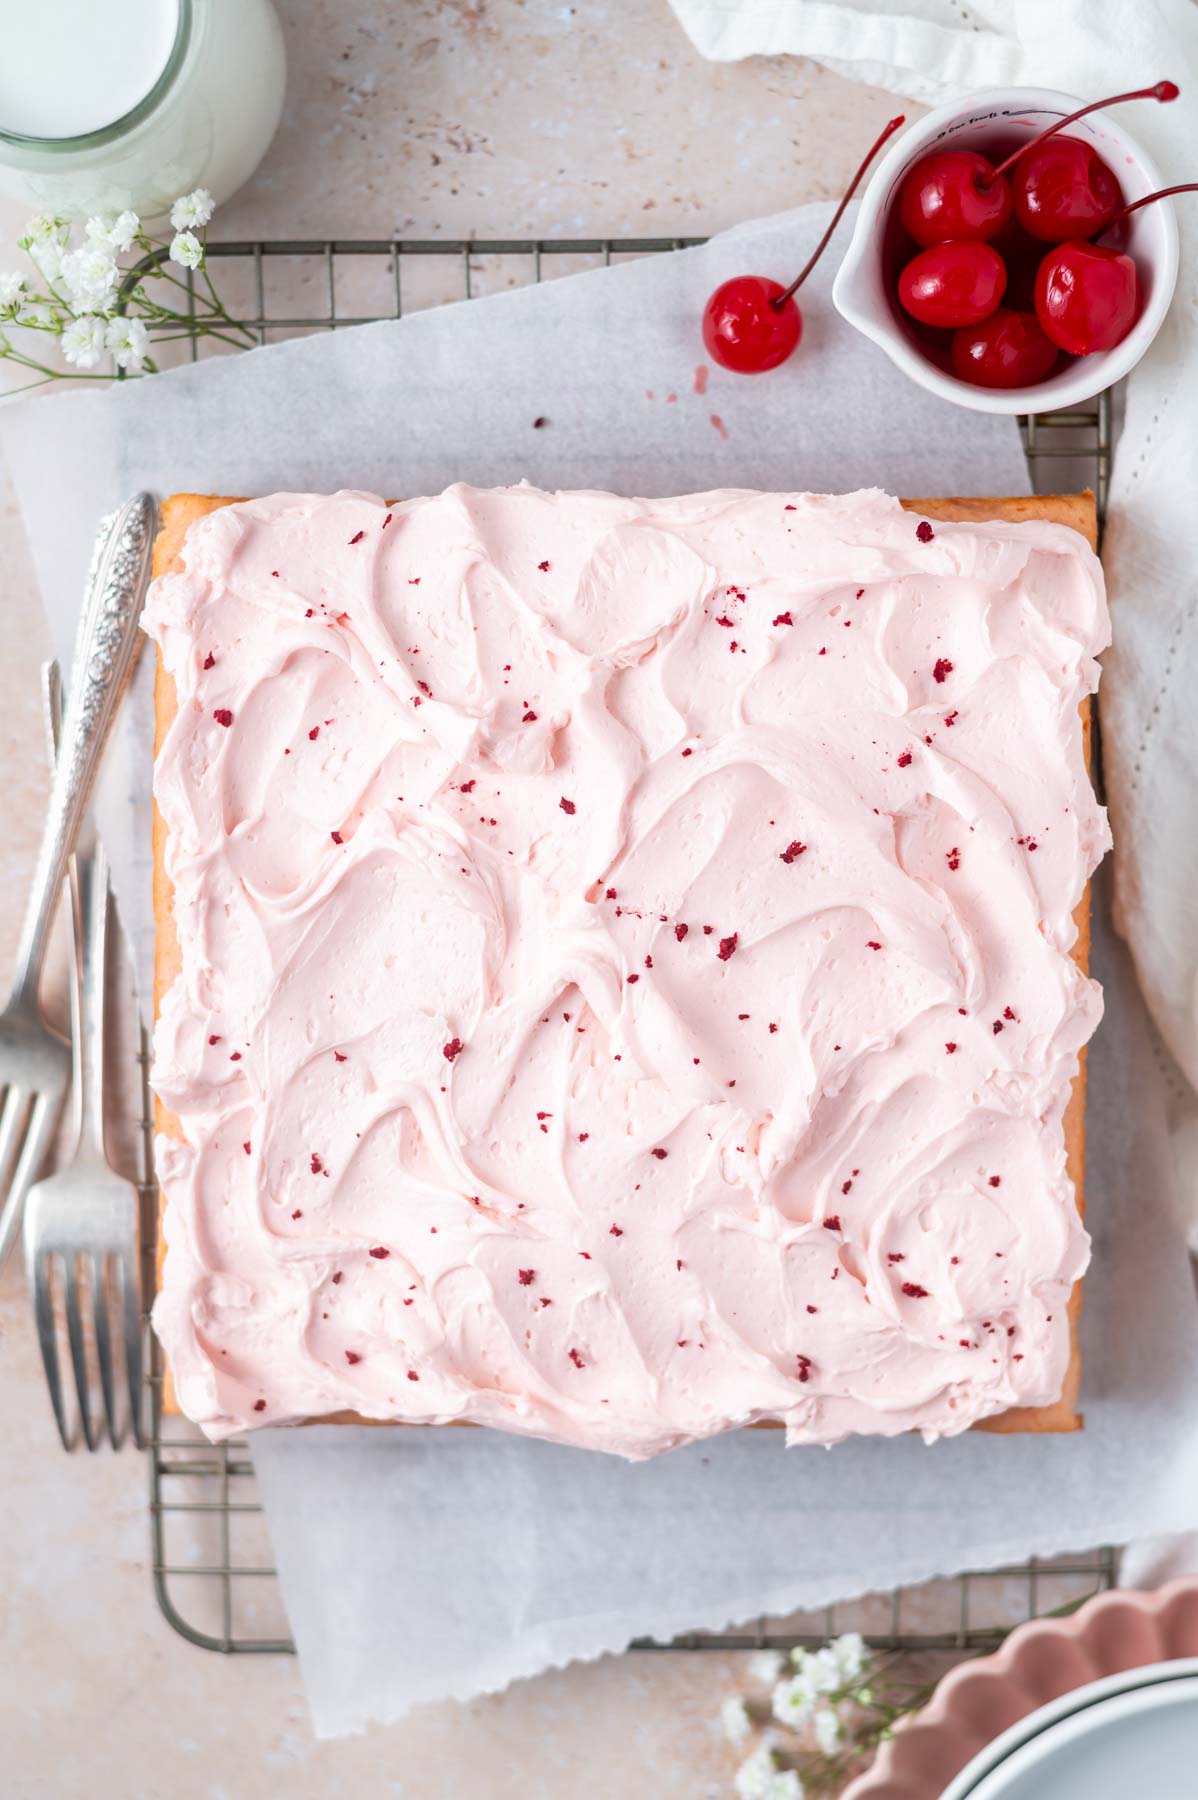
Feel free to use a knife or offset spatula to frost the cooled cookies. If you want them decorated more like some in these photos, I used a Wilton 104 for all the designs you see. Big E described the taste of the orange sugar cookies with buttercream as orange creamsicle. I know you will love this nostalgic combo too!
Remember to pin this recipe to Pinterest! Use the button on the recipe card or the share buttons on the side or bottom of this page.

👩🏻🍳 expert tips
- Start with room temperature butter and a room temperature egg. This usually takes 1-2 hours of sitting on the counter {depending on the temperature of your kitchen}. To test, your finger should make an indent without sinking or sliding down into the butter. The butter should not be warm to the touch or shiny or greasy. If you want to test with a thermometer, room temperature butter is considered 65°F.
- Chill the dough. This recipe requires a minimum of 30 minutes; I typically go somewhere between 30 and 60 minutes of chill time. The dough can chill for up to three days. If it is chilled longer than 1-2 hours, allow it to sit on the counter for 15-20 minutes to warm up before rolling out.
- Try not to overwork the dough. Overworked dough = tough cookies.
- If the orange sugar cookie dough seems too warm after you've rolled and cut out the cookies, pop it in the freezer or refrigerator for 10 minutes to cool back down before baking them.
- Do not over bake the cookies! It takes about 8 minutes for the cookies to bake. They should not have brown edges, but will appear slightly puffy on top when they are done. Allow them to cool on the pan for 2 minutes before moving to a wire cooling rack to cool completely.
💗 troubleshooting for cut out sugar cookies
- Help, my dough is crumbly! The dough should be soft, but not sticky when it goes in for a chill. If the dough seems dry and crumbly when you press it into a ball, you likely added too much flour or overworked the dough. Add a little egg white {start with one tablespoon} and gently work it into the dough until it is soft, but not sticky.
- Help, my dough is super hard after chilling! If the dough chills for more than an hour, it will need time to warm up on the counter before rolling. Let it sit out for 10-20 minutes before rolling it out.
- Help, my dough is crumbly when I try to roll it! If the cookie dough is too cold, it will crumble when you go to roll it out. Let it warm slightly on the counter for 10-20 minutes and try again.
- Help, my cookies spread when they baked! Your dough likely got too warm when you rolled it out. You can always pop the cut out dough in the freezer or refrigerator for a 10 minute chill before baking them. {I have never had to do this, but my kitchen doesn't get overly warm most of the year}.
- Help, my cookies aren't soft after they cooled! Most likely they were over baked. This orange sugar cookie recipe only needs about 8 minutes in the oven. The edges should not be browned, but the cookies will be slightly puffy in the middle when they are done.

Remember to snap a picture and tag me on Instagram if you make these Soft Orange Cut Out Sugar Cookies. It warms my heart to see you bring these recipes to life! Thank you for being here and happy baking!
If you make this recipe {or any recipe!} from two sugar bugs please come back and leave a review and a ⭐️⭐️⭐️⭐️⭐️ star rating. I read every comment, and I LOVE hearing from you!
📖 recipe

Soft Orange Sugar Cookies {Cut-Out}
Ingredients
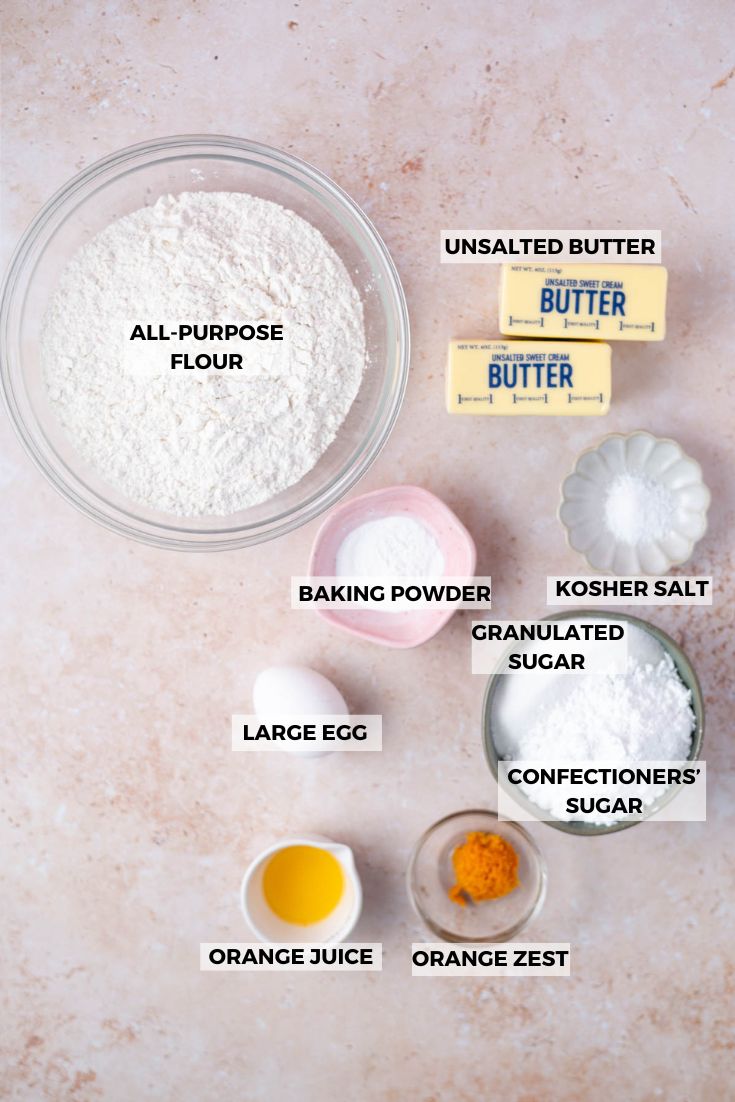
- 3 cups all-purpose flour (375g)
- 2 teaspoons aluminum-free baking powder
- 1 cup unsalted butter room temperature (226g)
- ½ teaspoon kosher salt
- ¾ cup granulated sugar (150g)
- ½ cup confectioners’ sugar (60g)
- 1 tablespoon orange zest about 1-2 navel oranges*
- 1 large egg room temperature)
- 1 tablespoon orange juice (15mL)
orange buttercream
- ¾ cup unsalted butter room temperature (170g)
- 2 cups confectioners' sugar (240g)
- 1 tablespoon orange zest about 1-2 navel oranges
- 1 tablespoon orange juice (15mL)
- ½ teaspoon pure vanilla extract
- 1 tablespoon heavy cream (15mL)
Instructions
- In a medium bowl, combine flour (3 cups/375g) and baking powder (2 teaspoons) with a whisk. Set aside.
- Using a hand mixer or a stand mixer fitted with the paddle attachment, beat the butter (1 cup/226g) and kosher salt (½ teaspoon) on medium speed (4-6 on KitchenAid) until combined, about 1 minute. Add in granulated (¾ cup/150g) and confectioners' sugars (½ cup/60g) and orange zest (1-2 tablespoons) and beat on medium until smooth, about 1 ½ minutes.
- Beat in egg (1 large) and orange juice (1 tablespoon/15mL) and mix until well combined, about 1 minute. Scrape up and down the sides of the bowl.
- With the mixer on low (stir on KitchenAid), add the flour mixture a little at a time, occasionally stopping to scrape your bowl. The dough should form a ball around the paddle when the mixing is finished. The dough should be soft, but not sticky.
- Wrap the dough in plastic wrap and press into a 1 inch thick disk. Chill for a minimum of 30 minutes before rolling and for up to five days.
- Preheat the oven to 375°F and prepare baking sheets with parchment paper or silicone baking mats.
- On lightly floured surface, roll the dough to about a ¼ inch thickness, use additional flour as needed to prevent sticking. Cut into shapes with cookie cutters. Re-roll the remaining dough and continue cutting until all the dough is used.
- Arrange cookies on baking sheets about 1 inch apart. Bake one sheet at a time in the middle of the oven, about 7-8 minutes, until slightly puffy. Allow the cookies to rest for 2 minutes on the pan and then transfer to a wire rack to cool completely.**
- Orange buttercream: using a stand mixer with the paddle attachment or a hand held mixer, beat the unsalted butter (¾ cup/170g) on medium-high (speed 6 on KitchenAid) until creamy and lighter in color, about 2 minutes.
- Scrape up and down the bowl and add the confectioners' sugar (2 cups/240g), orange zest (1 tablespoon), orange juice (1 tablespoon/15mL), vanilla (½ teaspoon) and heavy cream (1 tablespoon/15mL). Mix on low until the ingredients are incorporated and stop and scrape the bowl. Then increase the speed to medium-high and beat until light and fluffy, about 2-3 minutes.
- Decorate as desired.