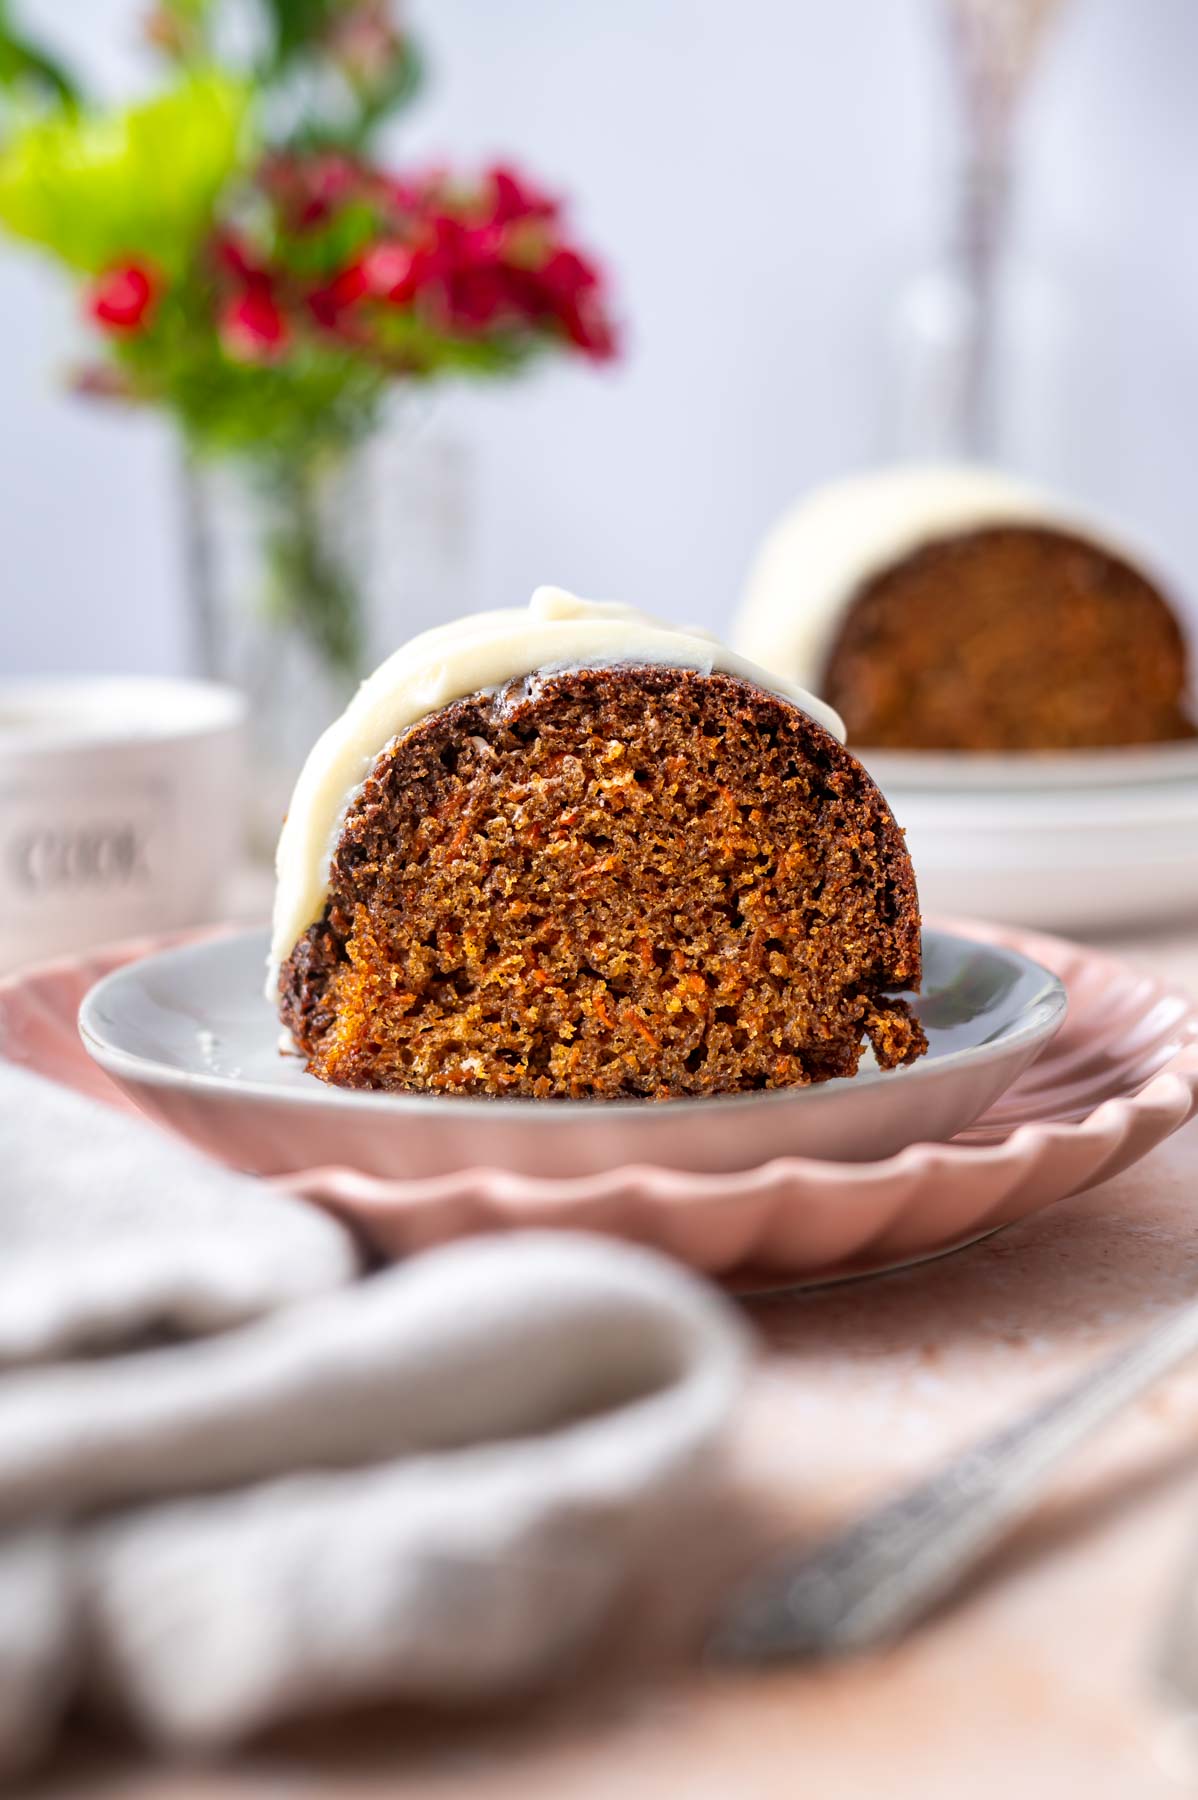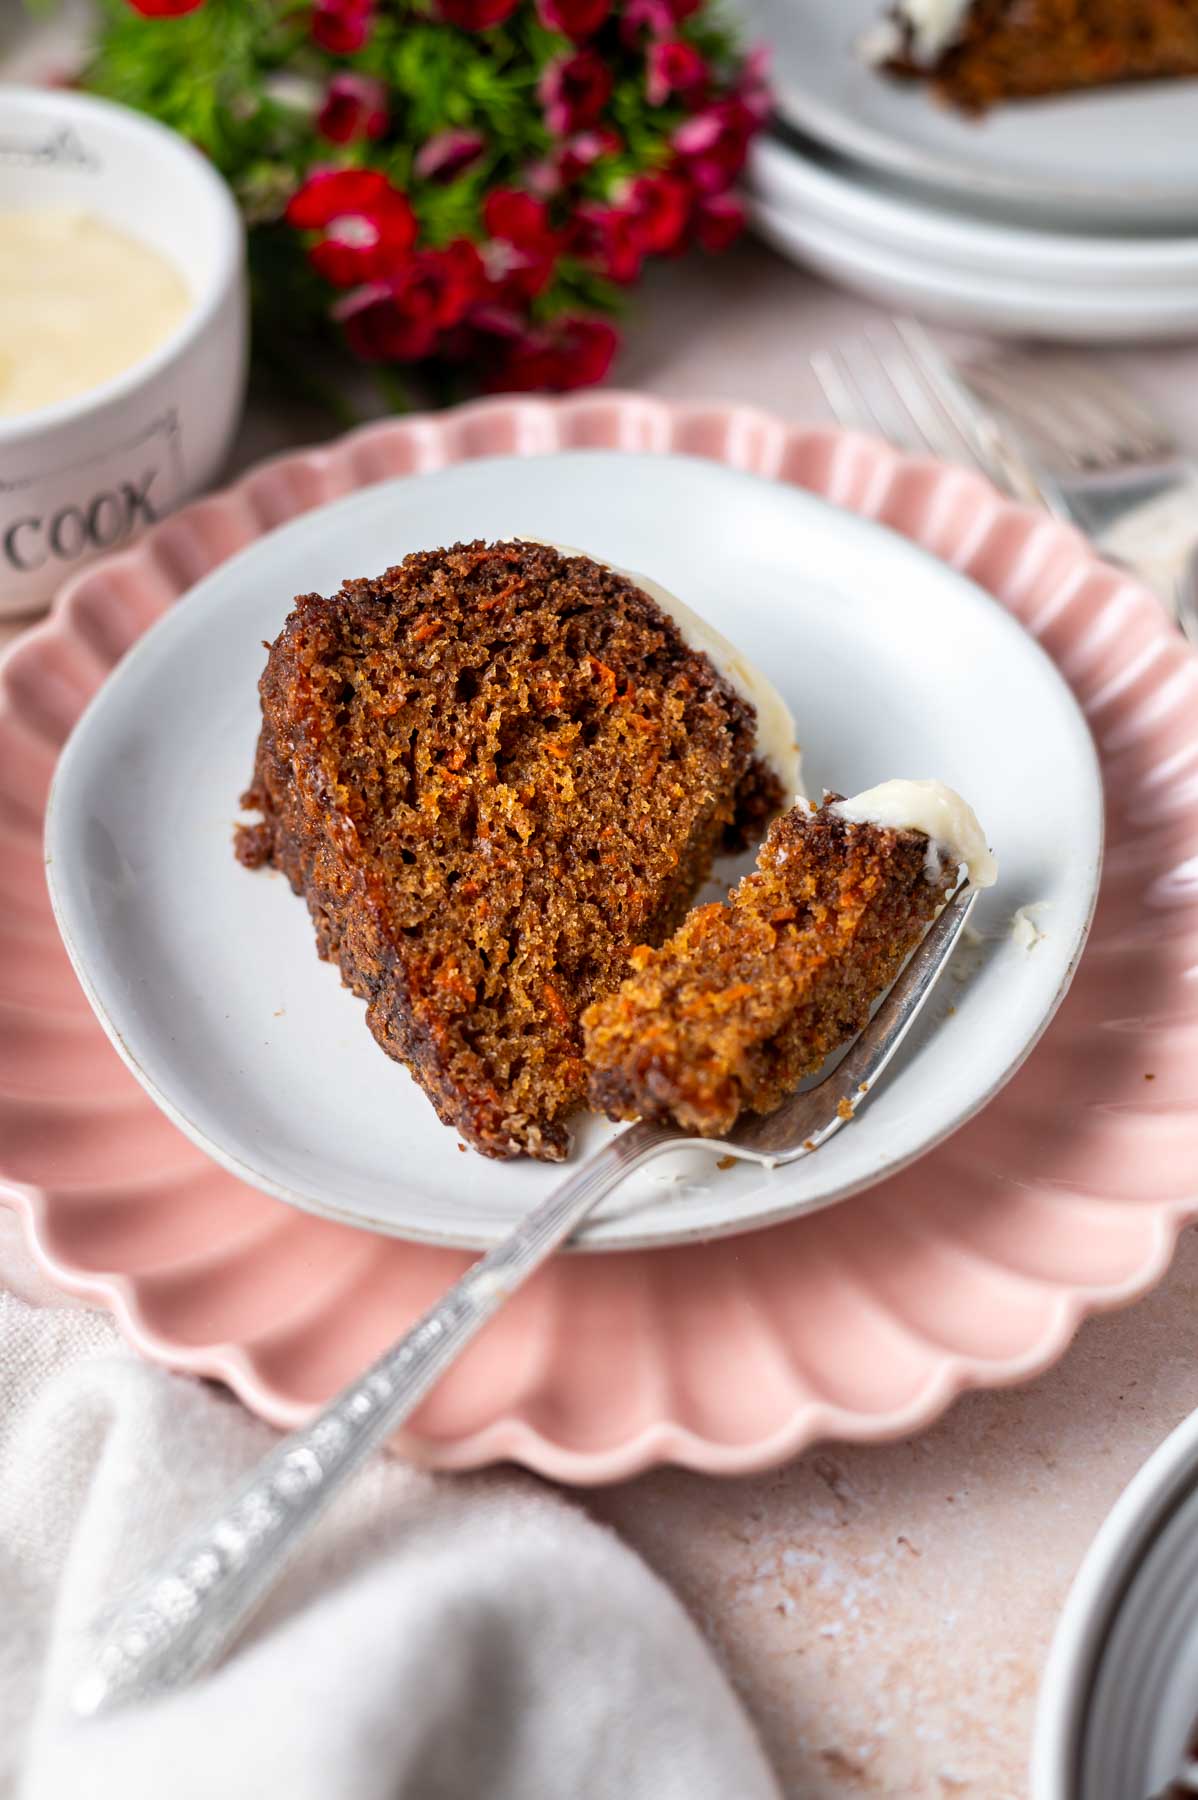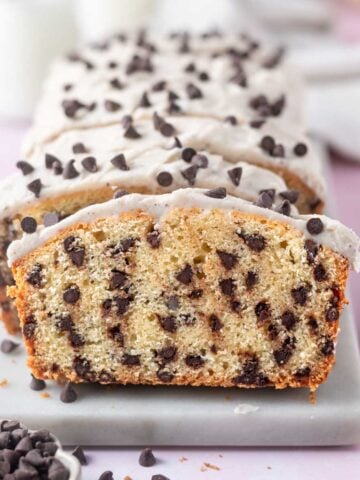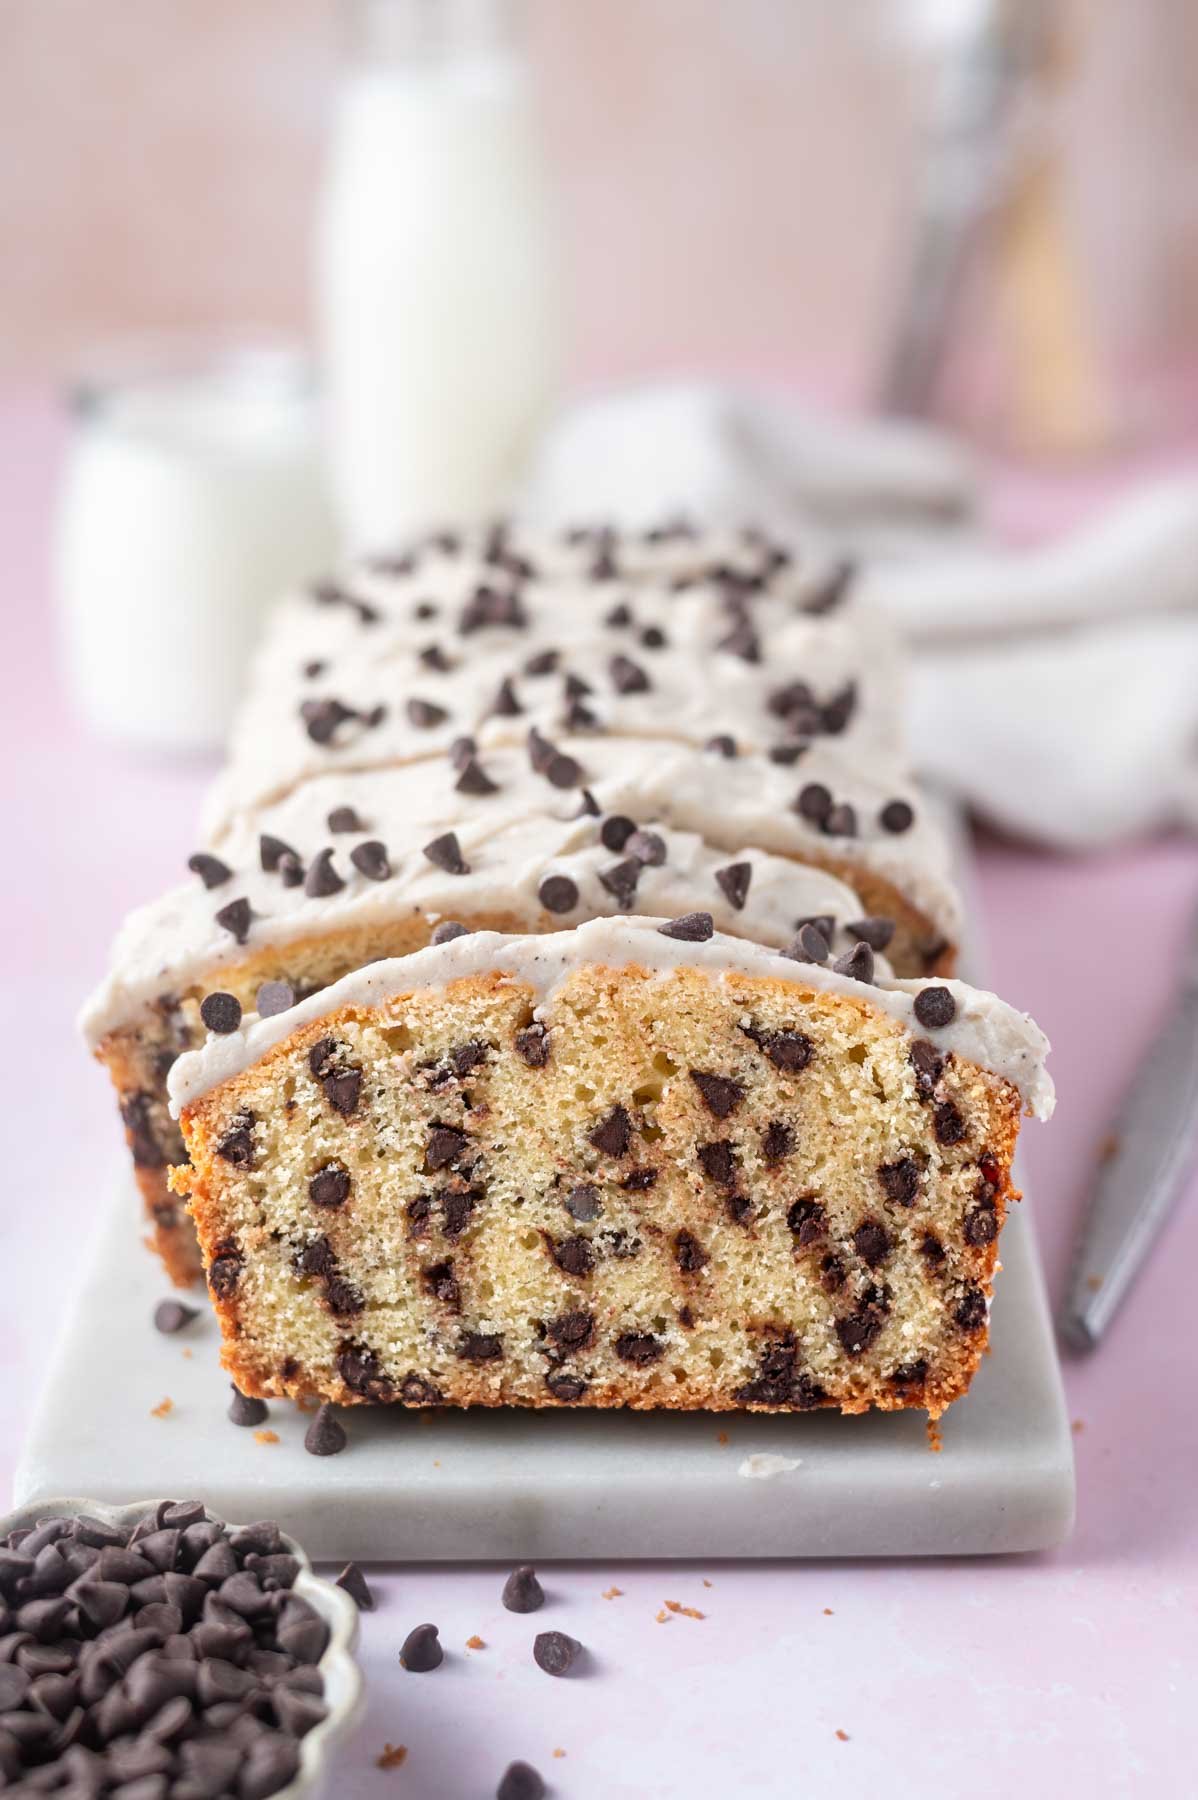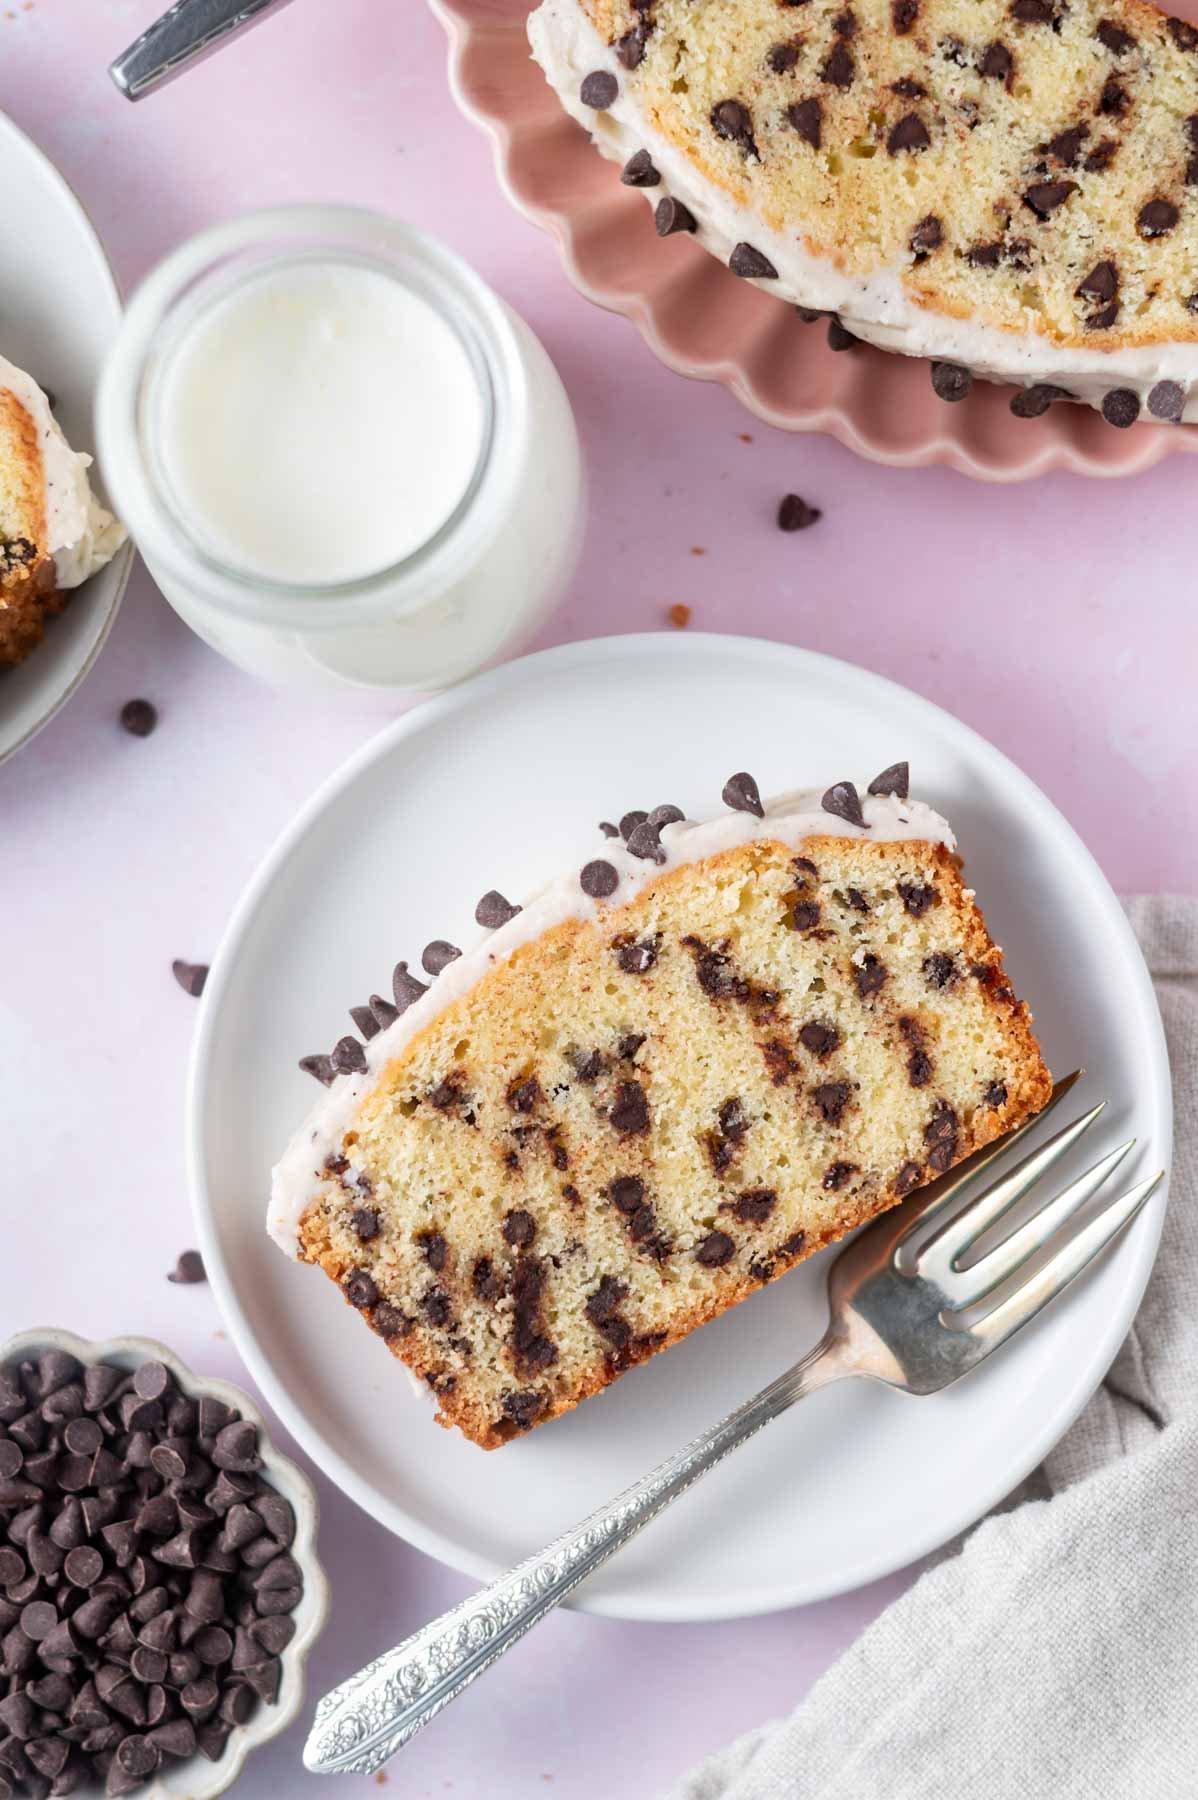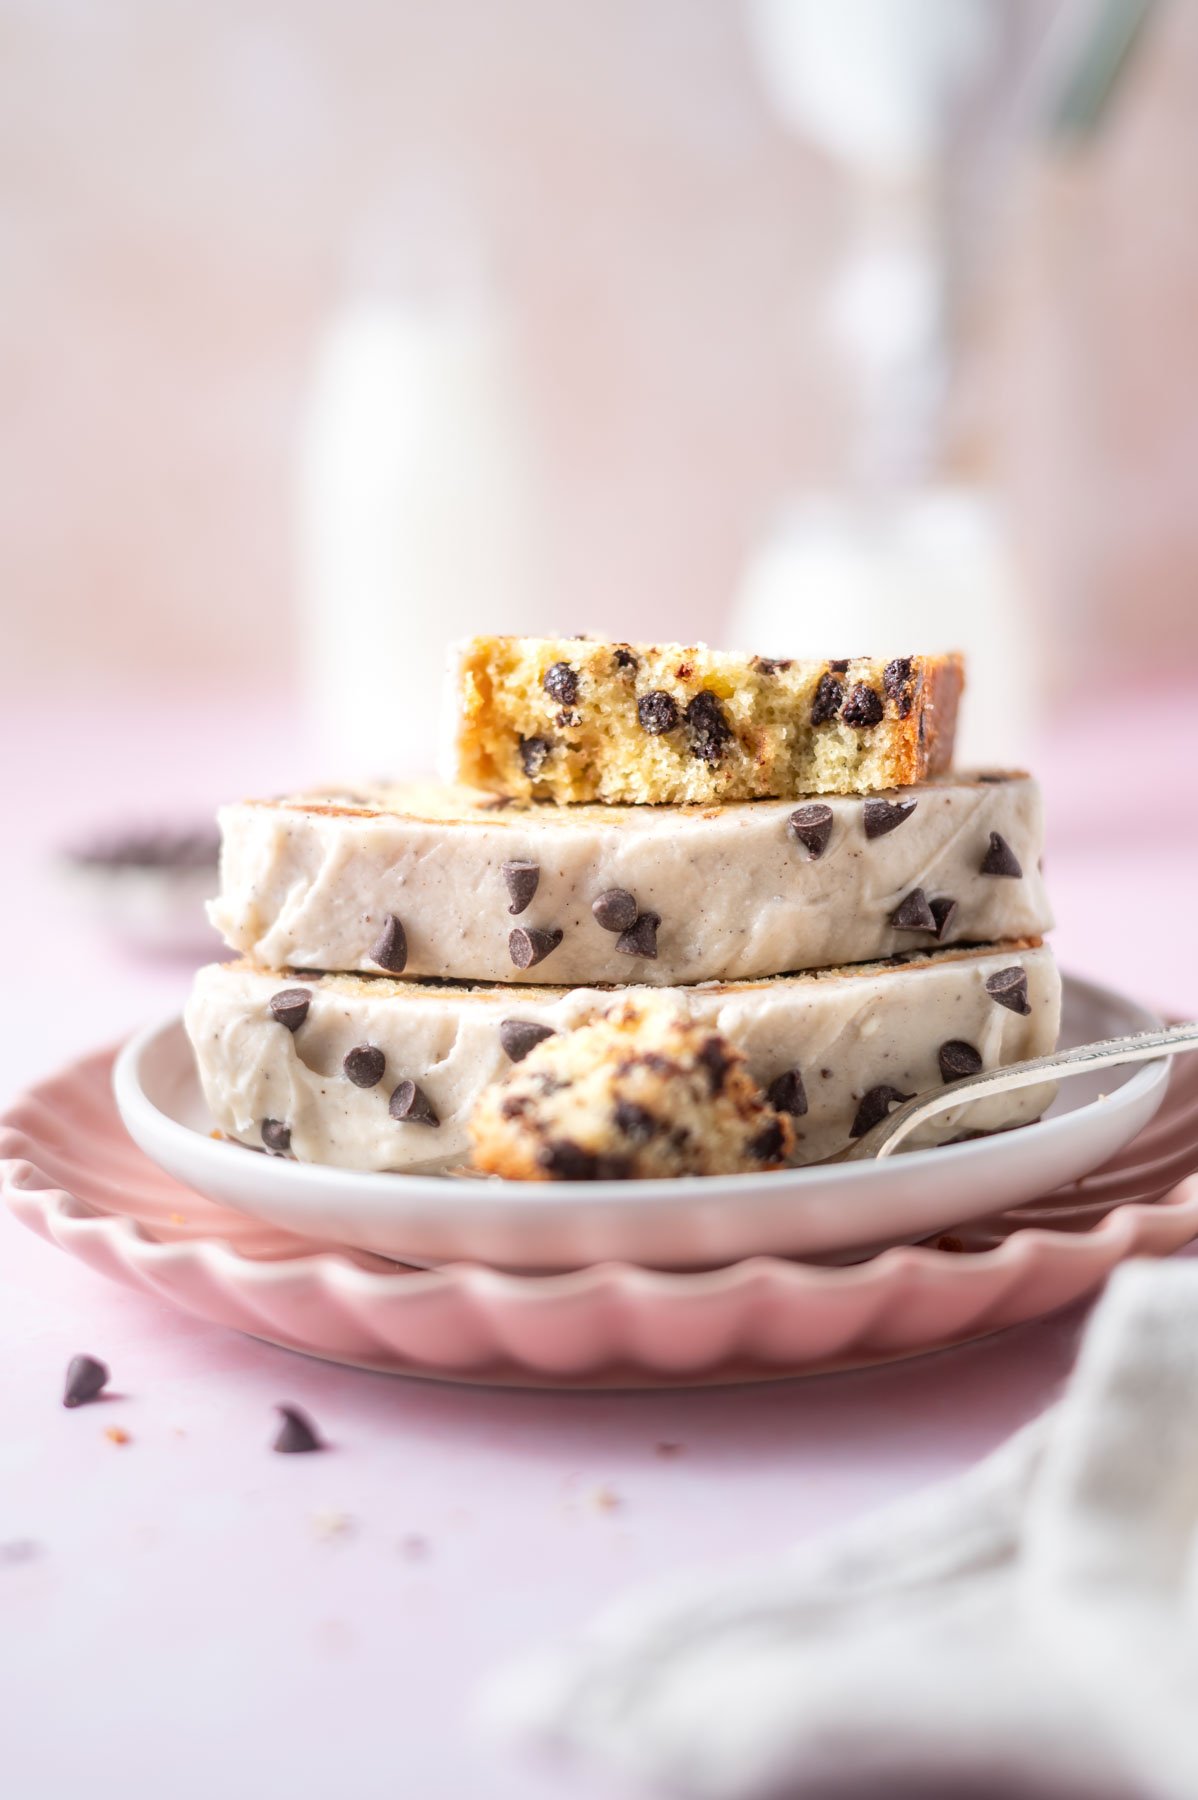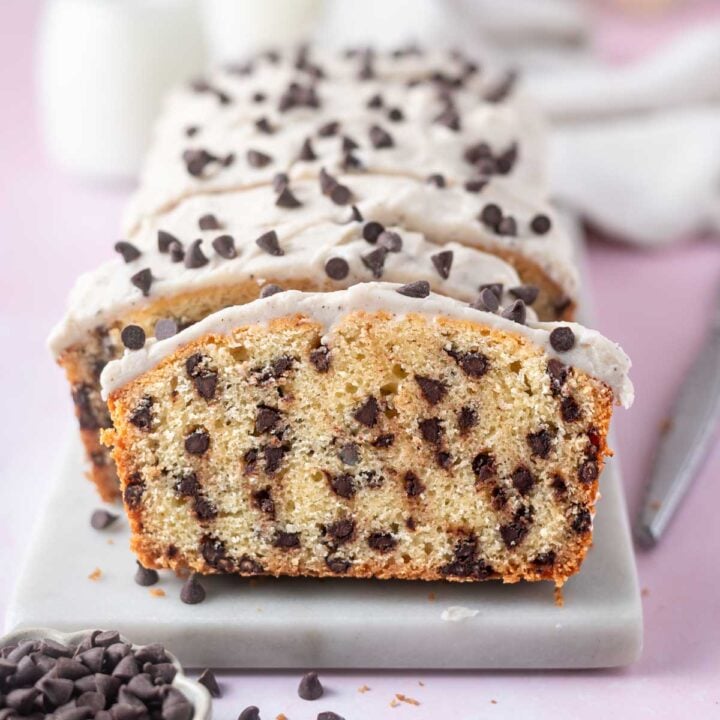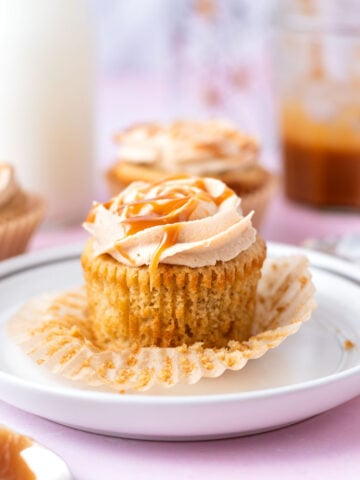
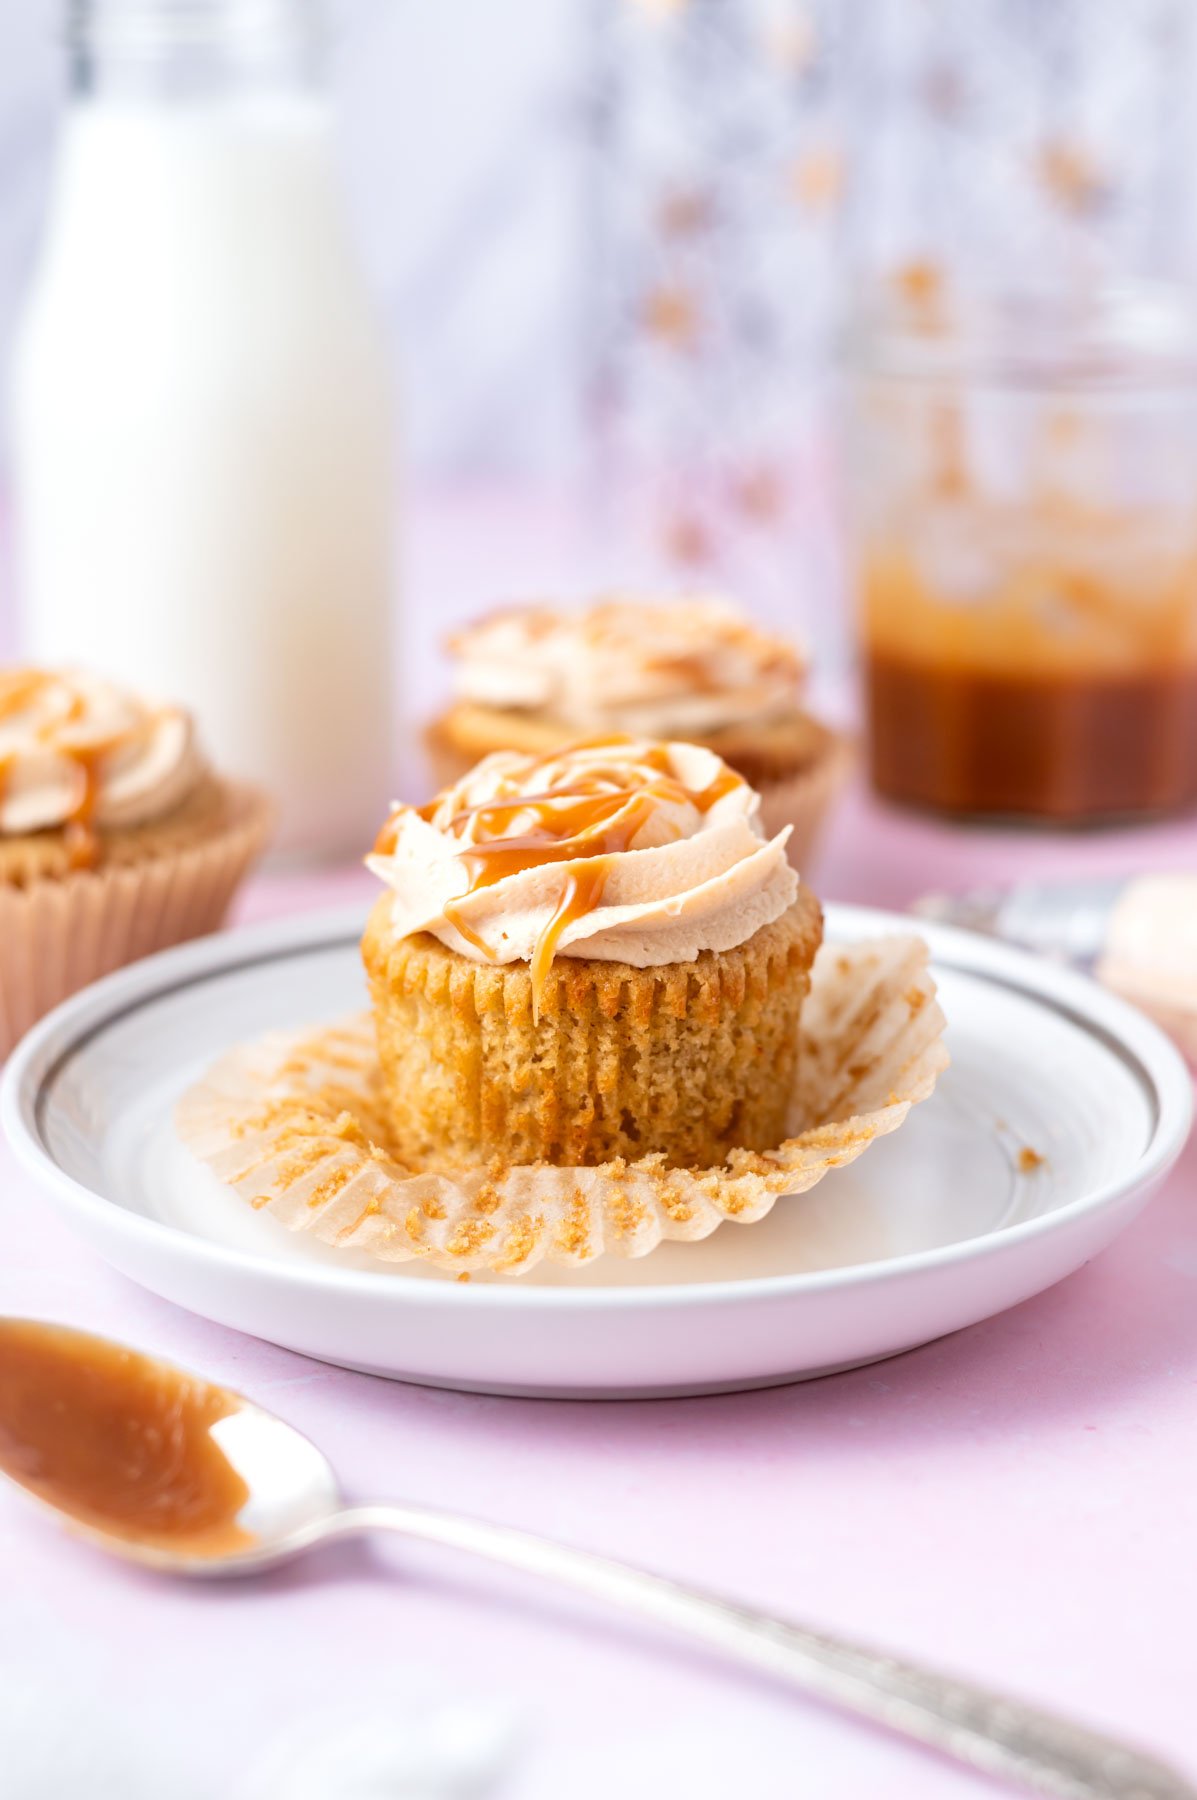
Tender and flavorful brown butter cupcakes give a vanilla cupcake recipe an upgrade with brown butter. Topped with the best salted caramel frosting!
Disclosure | This post may contain affiliate links. As an Amazon Associate I earn from qualifying purchases.
As a busy mama and self taught baker, I have been making cupcakes for decades. I have loads of tips and helpful information to help you make cupcakes that look as good as they taste, like these chocolate chip cupcakes or raspberry cupcakes.
The browned butter adds so much flavor and depth to this vanilla cupcake recipe and the salted caramel frosting pairs perfectly with the nutty flavor of brown butter. If you've never baked with brown butter before, you are in for a treat.
Reader Liz says: ⭐️⭐️⭐️⭐️⭐️ These are delicious! Easy to follow the recipe and my finished product looked just as good as the picture!
This cupcake recipe has a few more steps than some of my recipes. I know you are busy, so feel free to brown the butter and make the caramel sauce a few days before you want to bake.
This post was originally published in February of 2019 and has been updated with helpful information and new photos. The recipe remains the same.
[feast_advanced_jump_to]💗 why you will love these cupcakes with brown butter
Easy to make ~ the cupcake batter is made from scratch and comes together quickly.
Simple ingredients ~ made without cake flour, I bet you've got all the ingredients in your kitchen right now.
Salted caramel frosting ~ the buttercream uses a homemade salted caramel sauce.
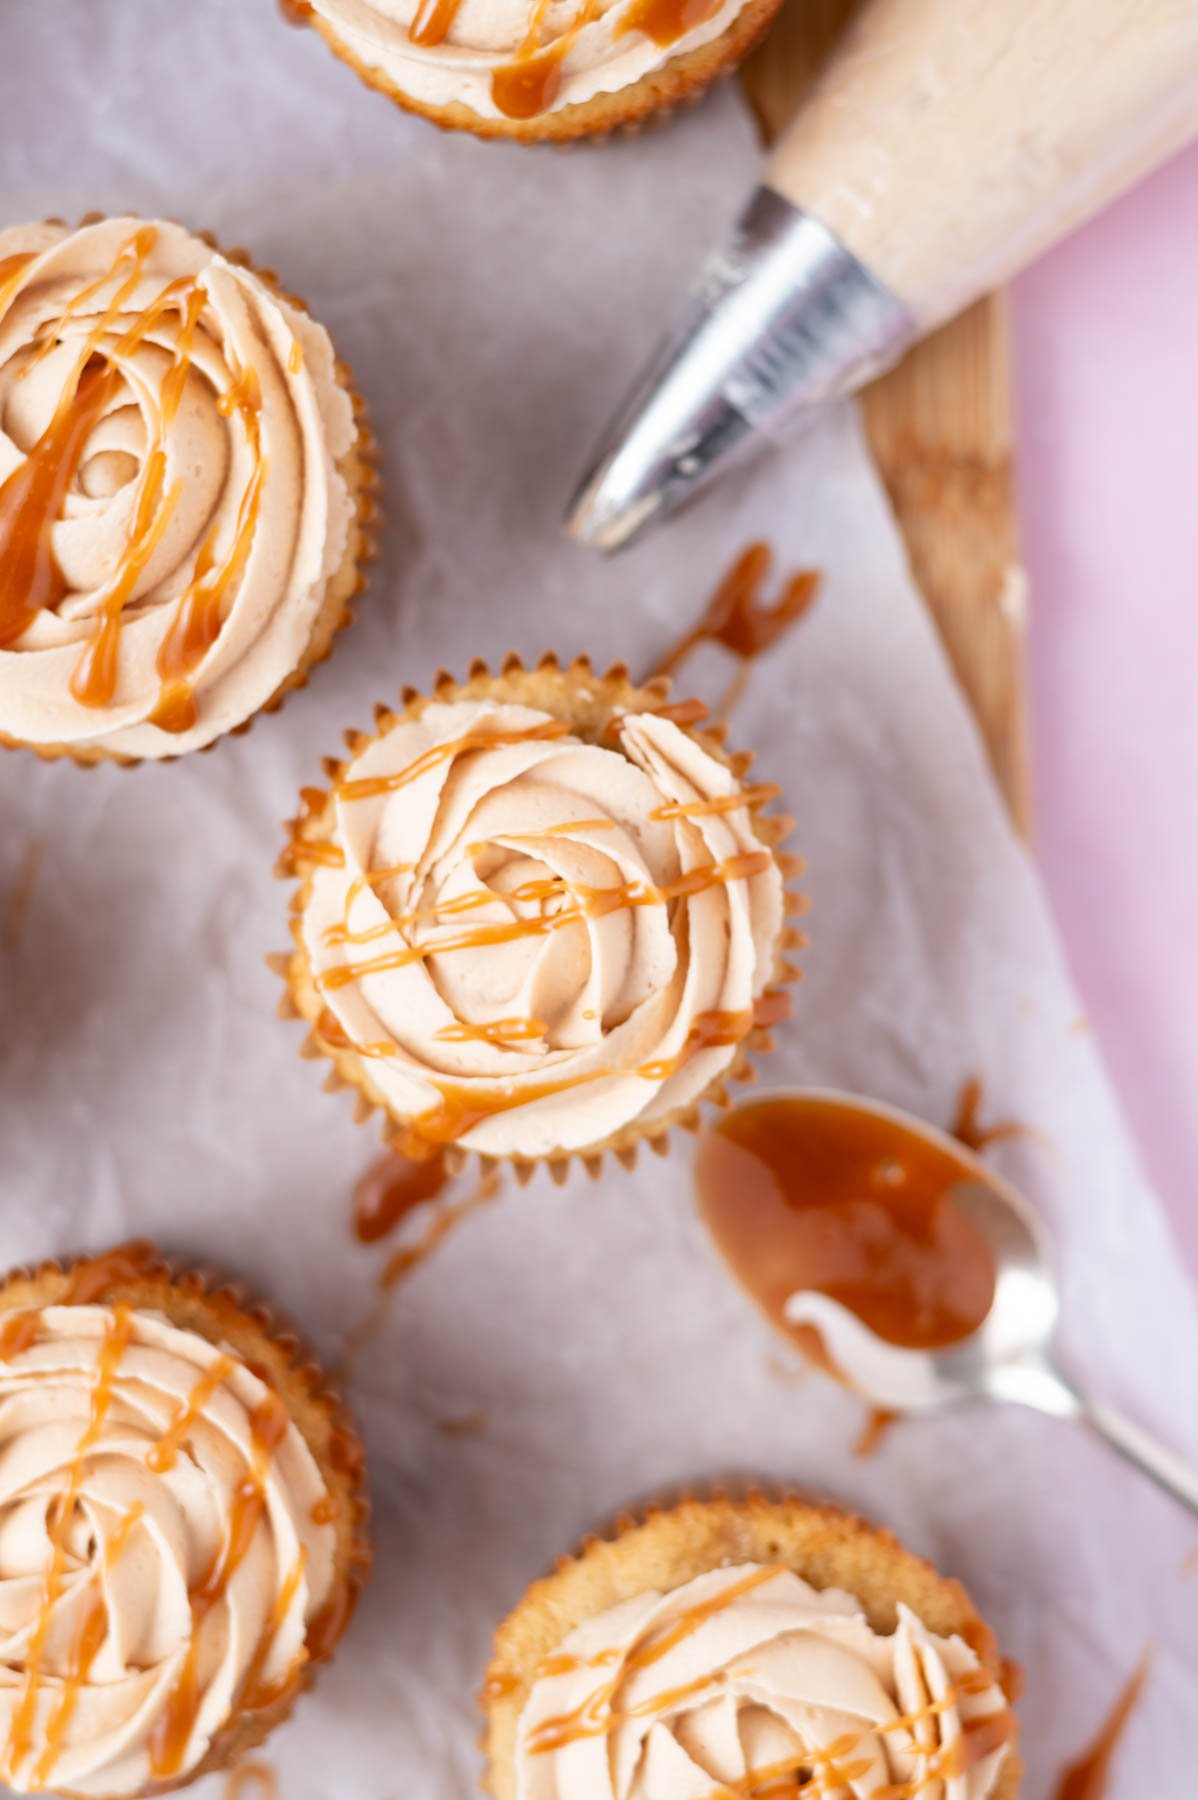
Caramel drizzle ~ use extra caramel sauce to drizzle over the frosted cupcakes, which makes them look fancy while being easy to do.
💭 why use brown butter in baking?
Brown butter adds a wonderful depth, richness and nutty flavor to baked items. It's also amazing in cookies and other foods; sweet and savory. See this blondie cookie bar recipe if you need a visual of how to brown butter.
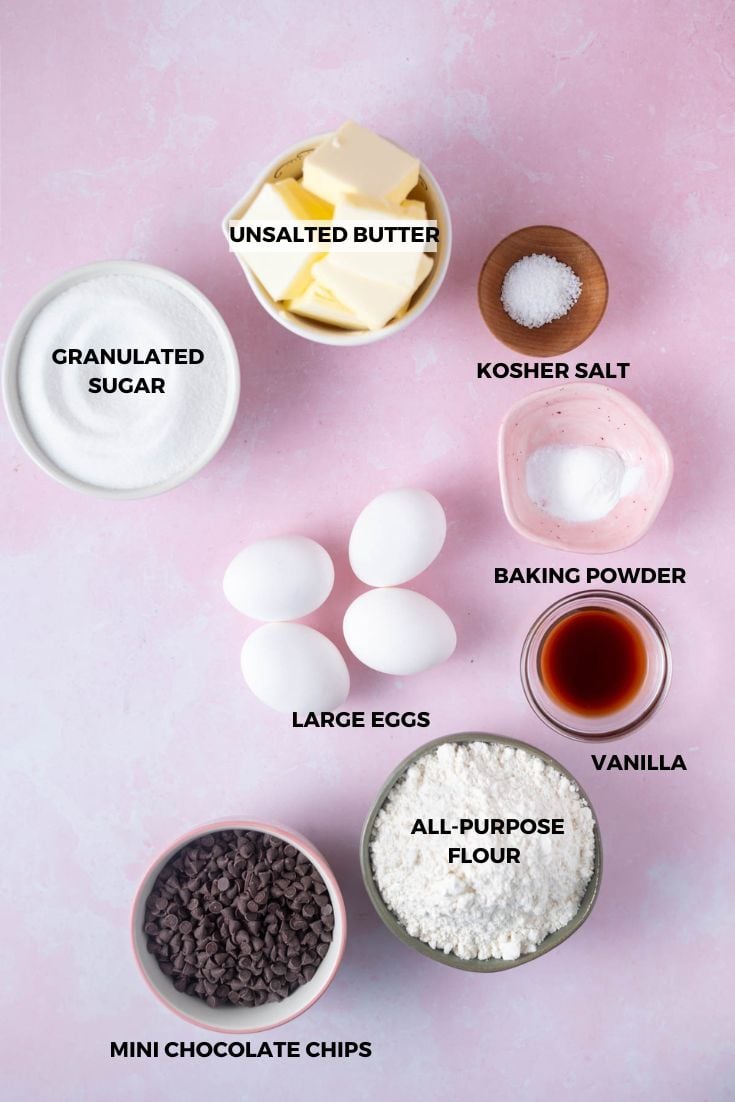
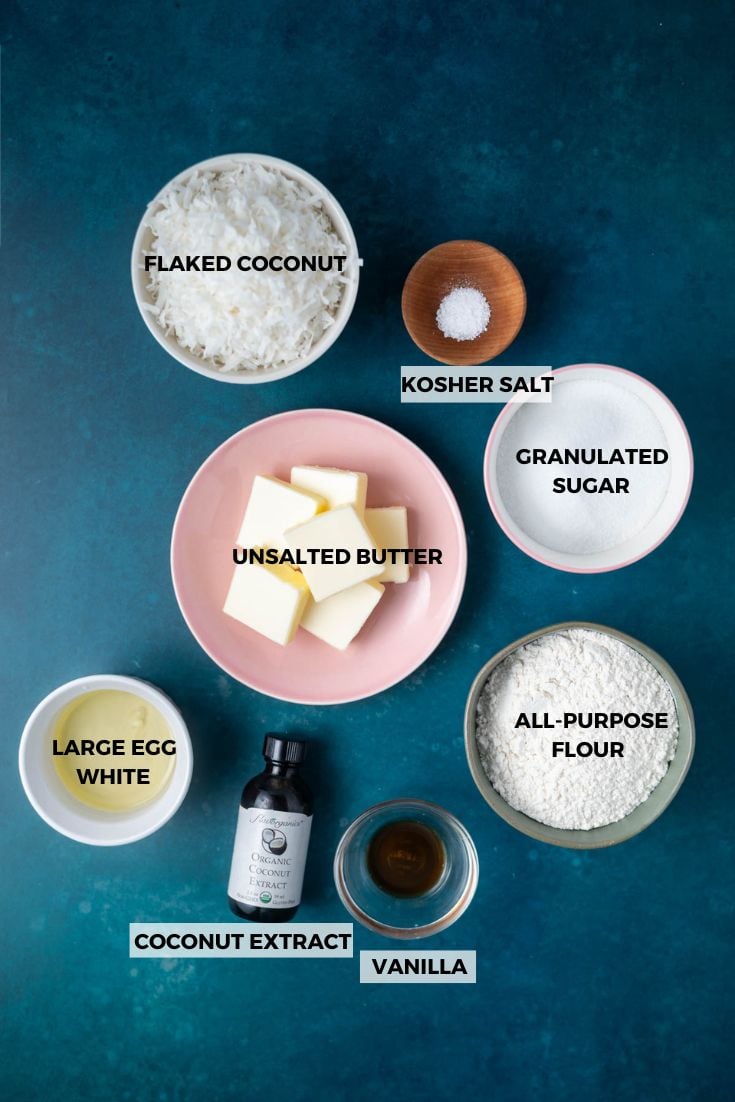
🛒 ingredients and substitutions
Please scroll to the printable recipe card at the end of this post for the full list of ingredients and baking directions.
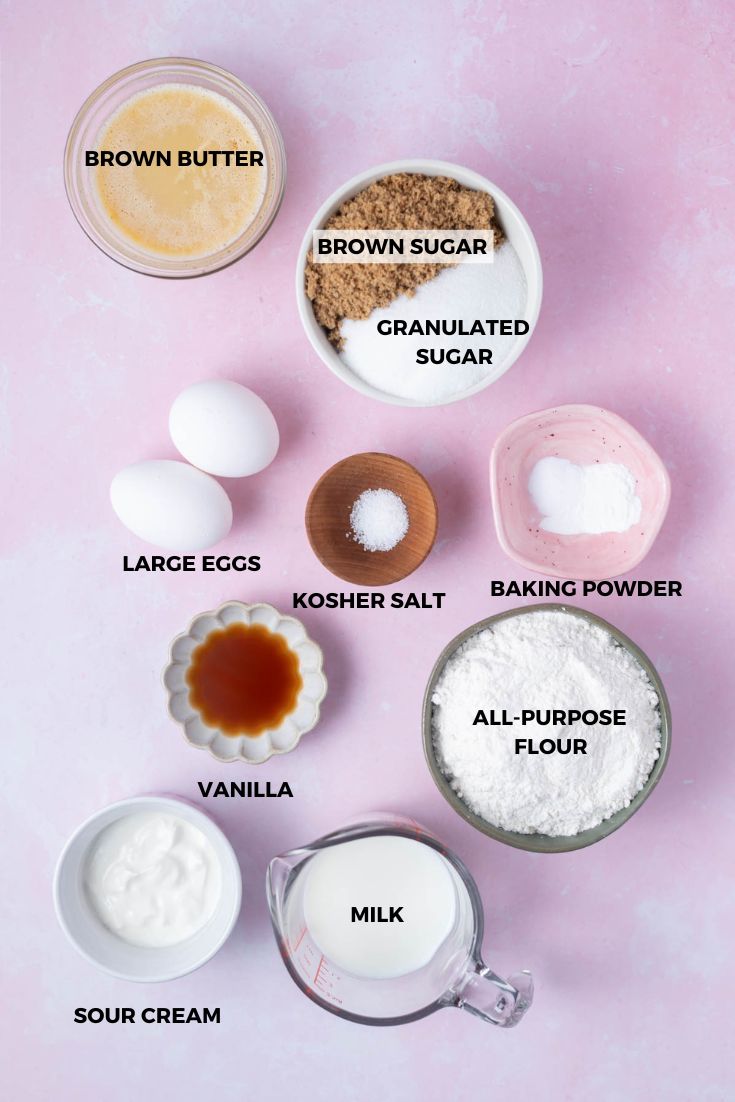
Brown butter ~ brings richness and a nutty flavor to the cupcakes. The unsalted butter gets browned and cooled to a solid state before adding to the cupcake ingredients. If you only have salted butter, leave out the kosher salt. Unsalted butter is also used in the salted caramel frosting.
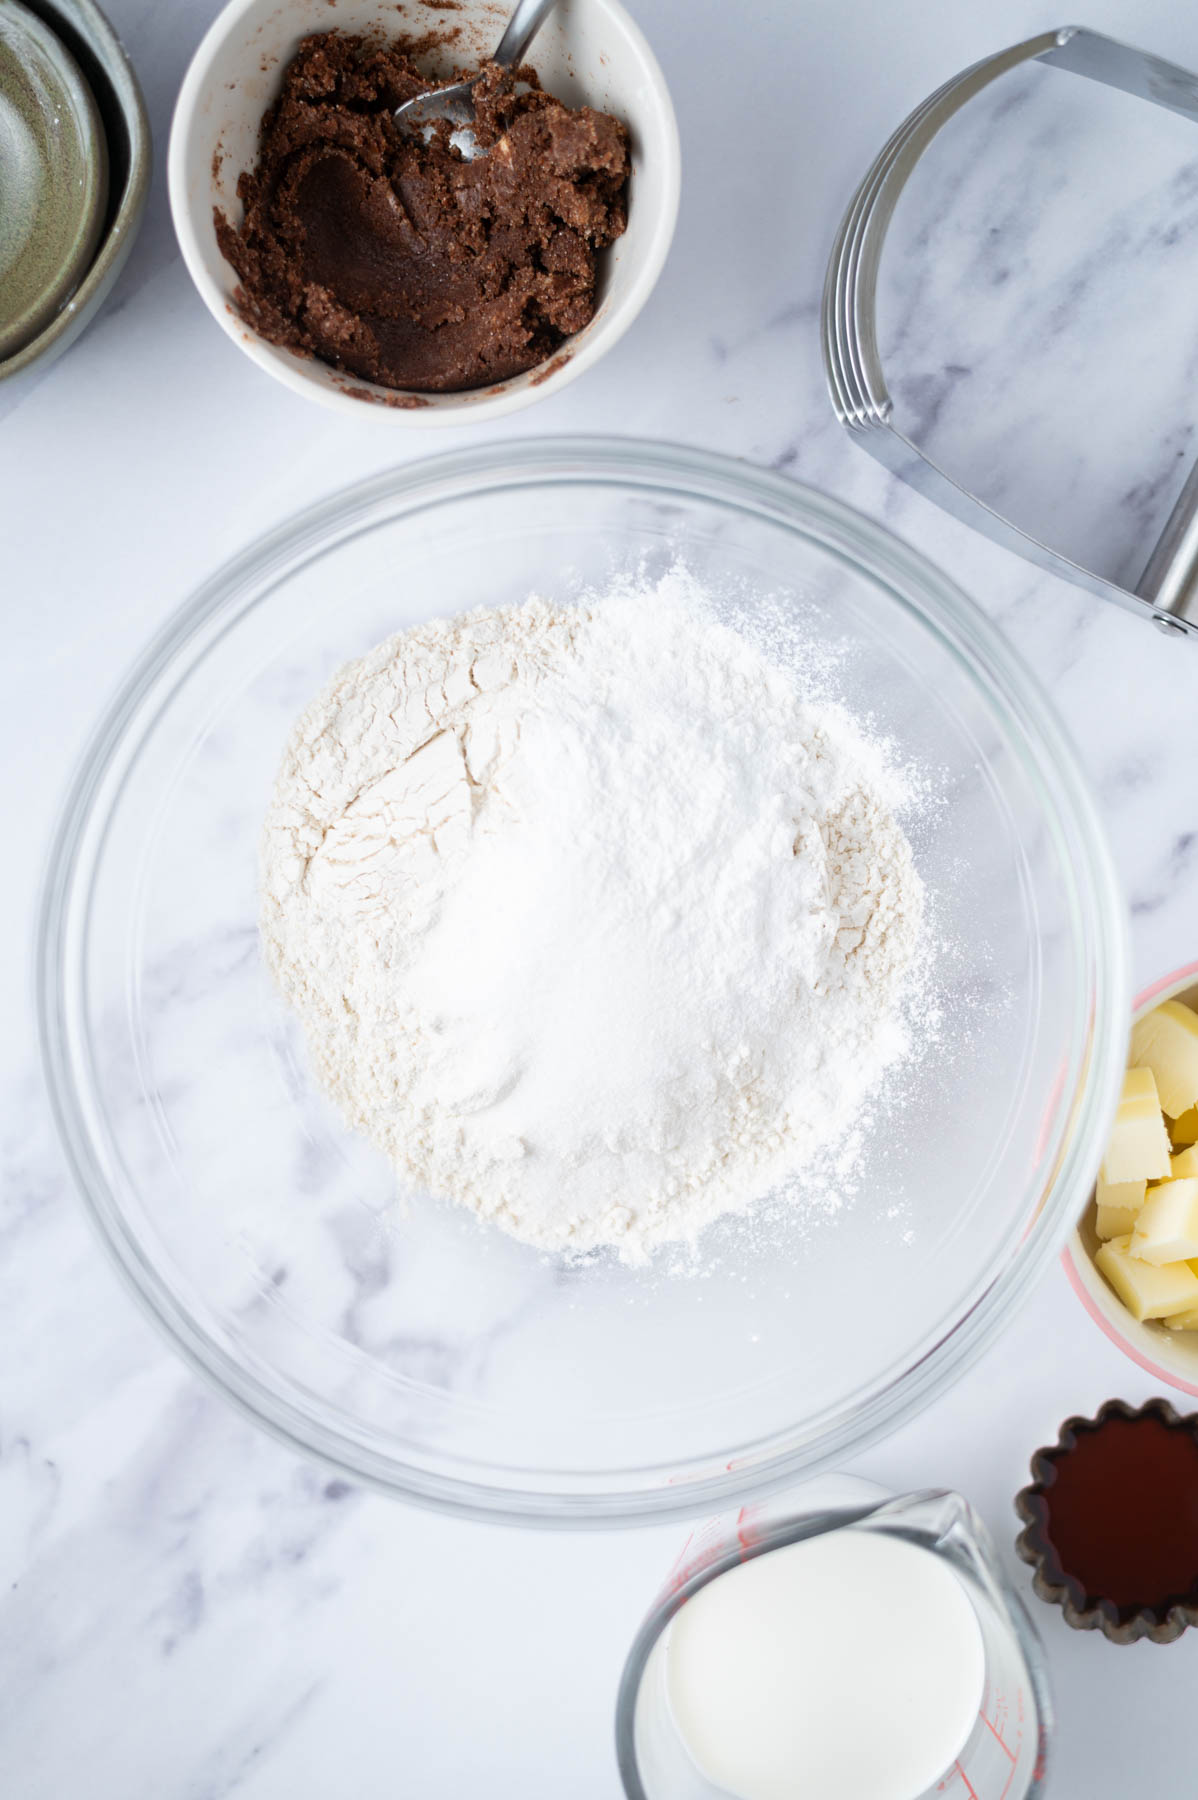
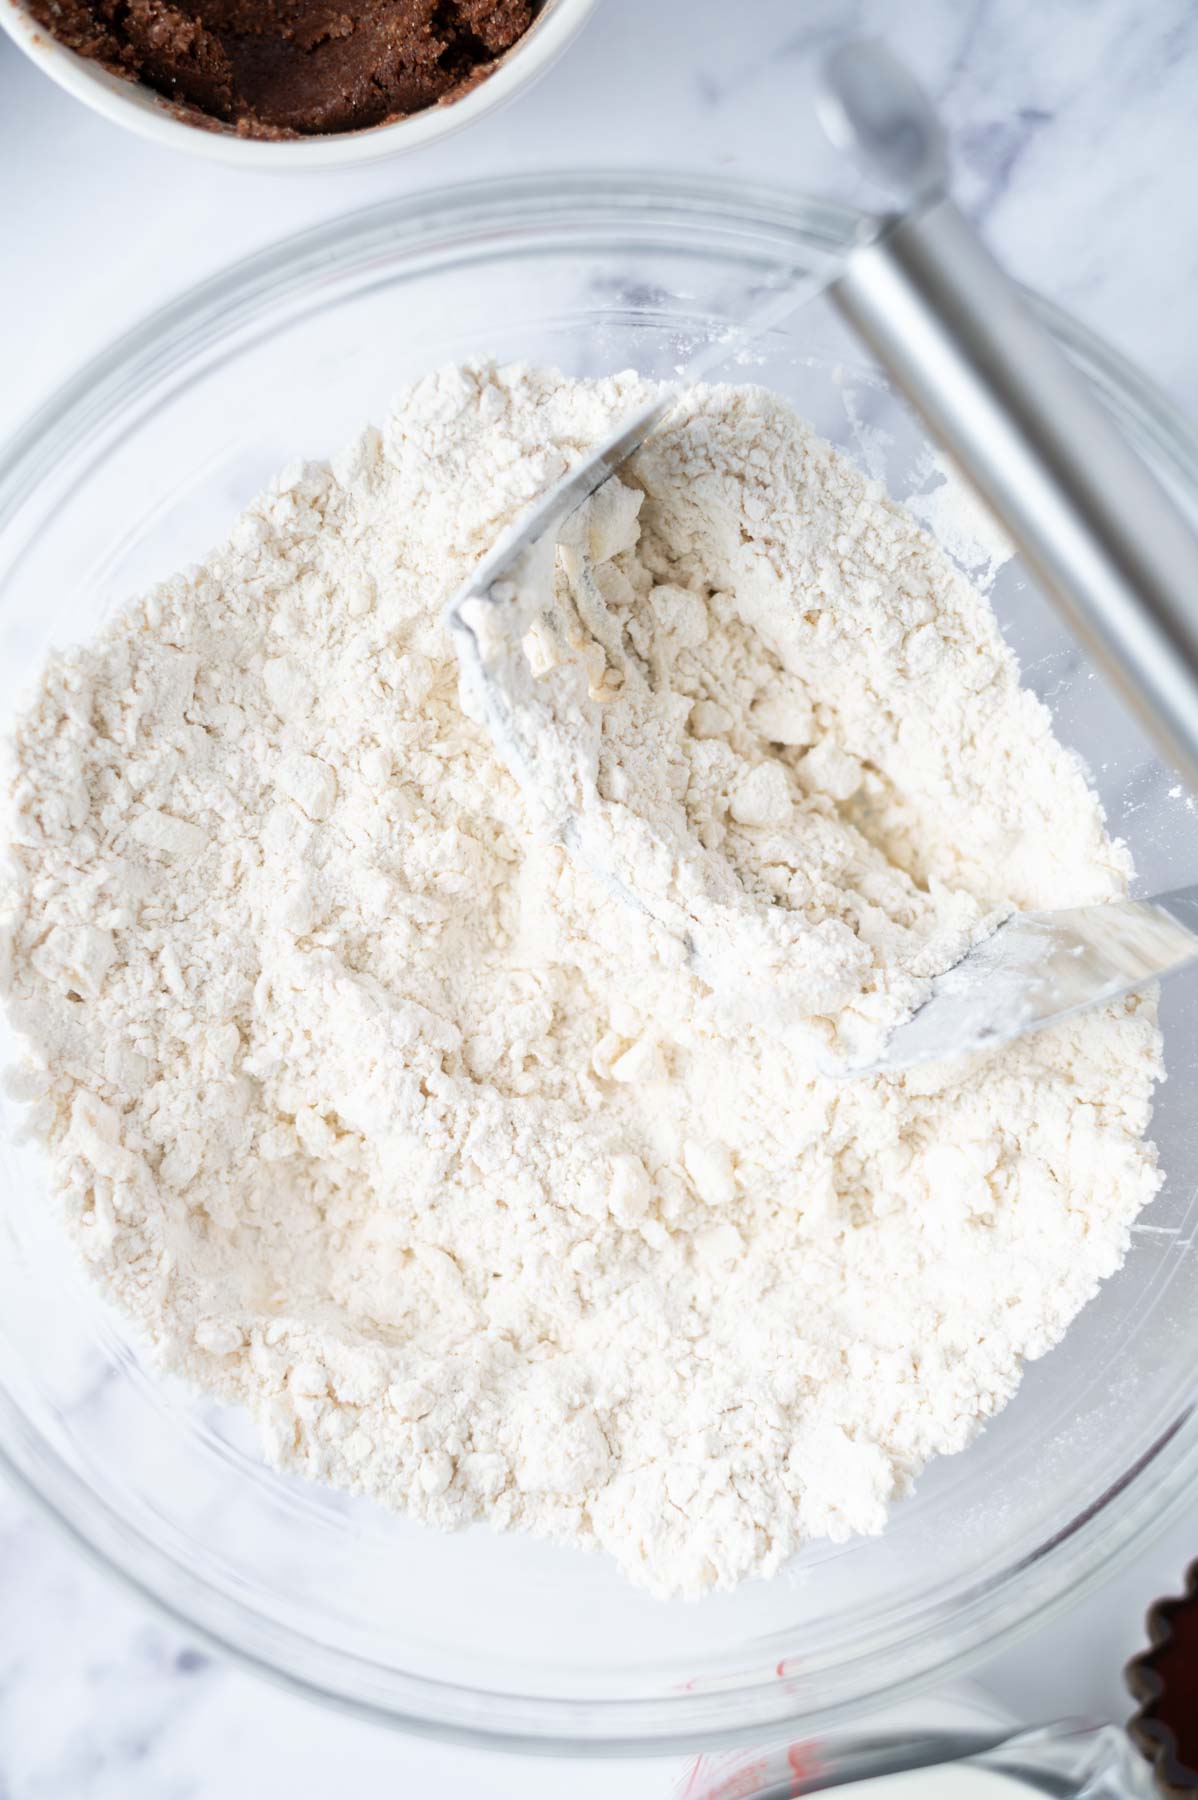
All-purpose flour ~ adds structure. If not using a kitchen scale, be sure to use the spoon and level method. {Fluff the flour in the container, then spoon it into your measuring cup and level it off with the back of a knife}.
Baking powder and soda ~ adds some height to the cupcakes.
Kosher salt ~ helps to balance the flavors, if you only have table salt use half the amount.
Sugars ~ granulated {white} sugar and brown sugar for sweetness and for a little moisture in the cupcakes. Granulated sugar is used for the caramel sauce as well and confectioners’ sugar {or powdered sugar} is used in the frosting.
Eggs ~ 2 large eggs needed. Having the eggs at room temperature will provide the best results.
Vanilla ~ adds a nice burst of flavor to the cupcakes and frosting. For the best brown butter cupcakes, use a pure vanilla extract or vanilla bean paste.
Milk ~ brings moisture to the baked cupcakes. Having the milk at room temperature will give you the best cupcakes. I use 1% milk, but 2% or whole milk will also work.
Sour cream ~ making cupcakes with sour cream brings extra moisture by working to shorten the gluten strands in the flour, which results in a tender and soft cupcake. For the best cupcakes, use full fat sour cream and bring it to room temperature. Plain Greek yogurt can be substituted.
Heavy cream or half and half {not shown} ~ optional for a fluffier salted caramel frosting.
🥣 how to make
Once browned butter has cooled at room temperature and is solid {about 1-2 hours}, preheat your oven to 350°F/177°C.
Prepare a 12 count muffin pan with liners, you may need another pan with two additional liners. Set aside.
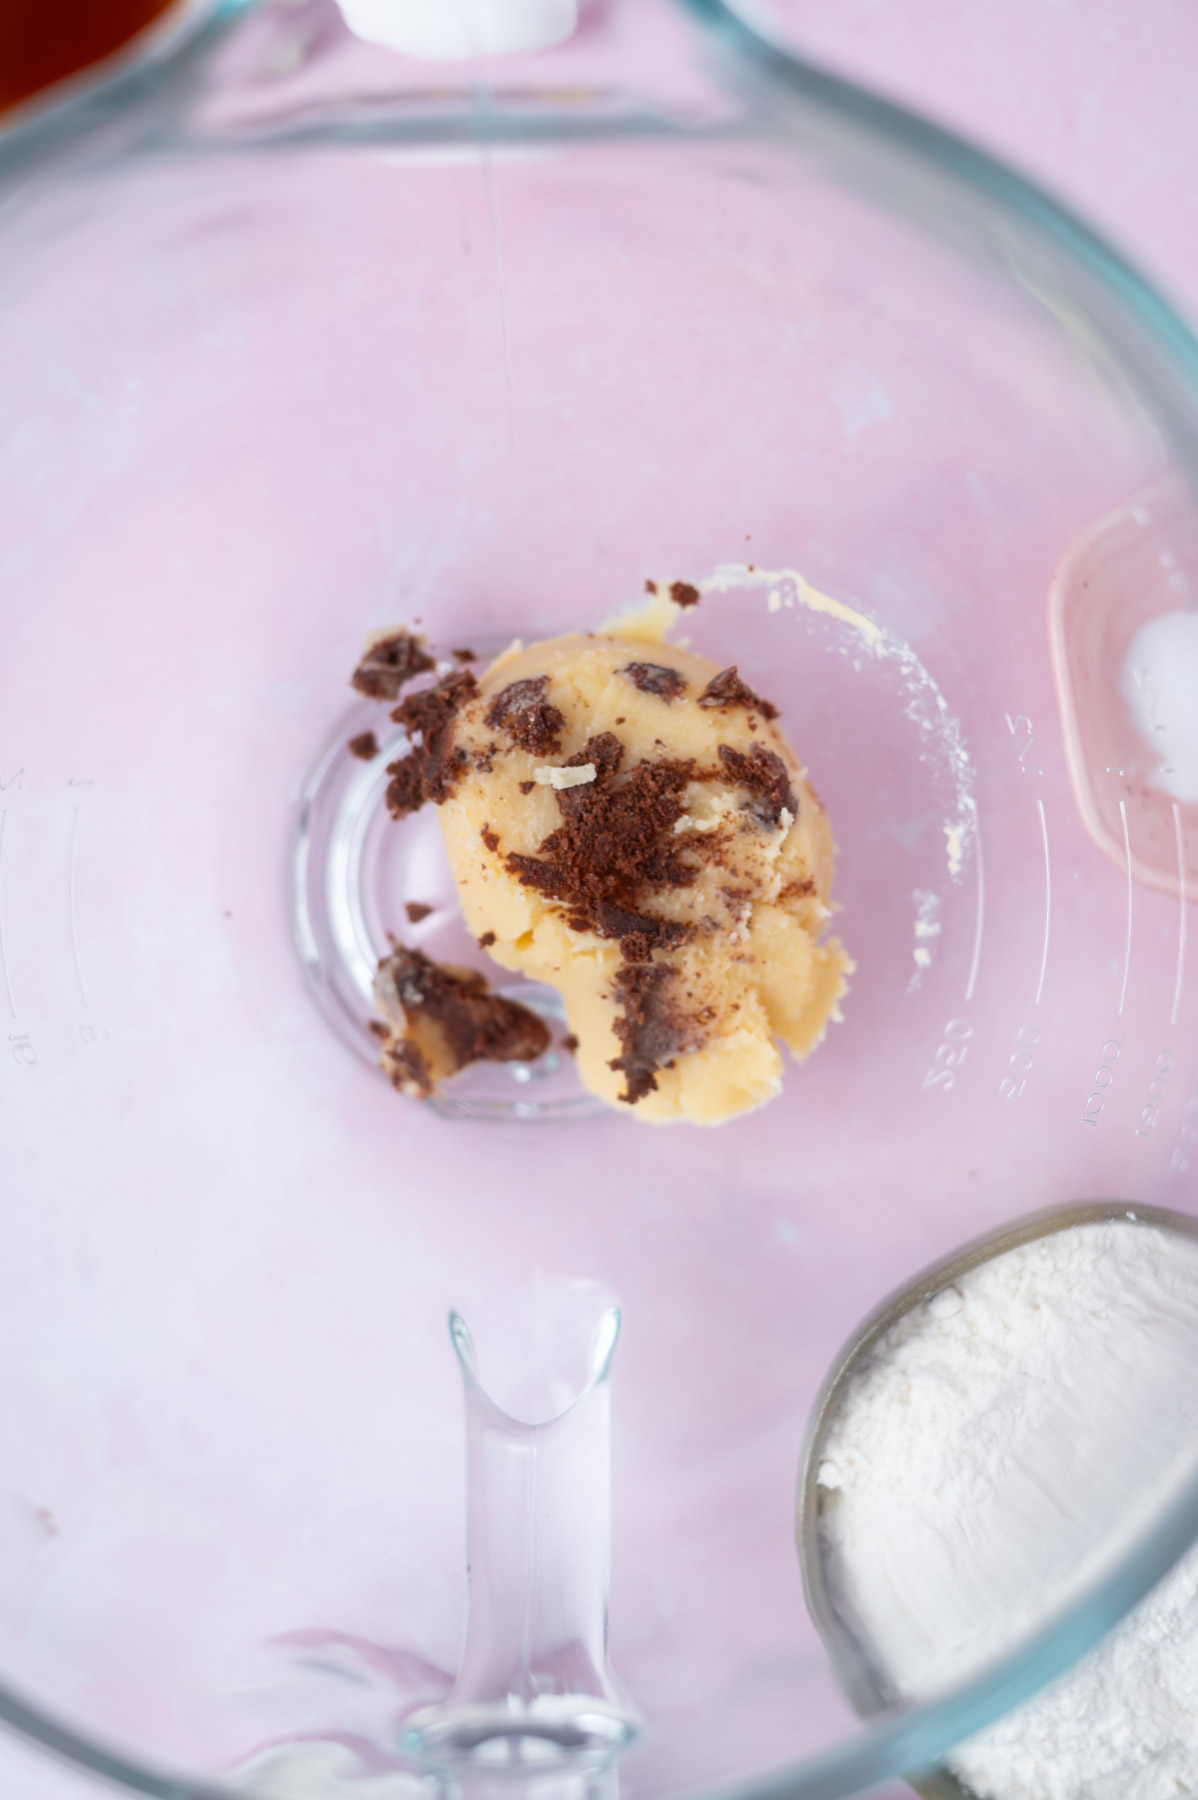
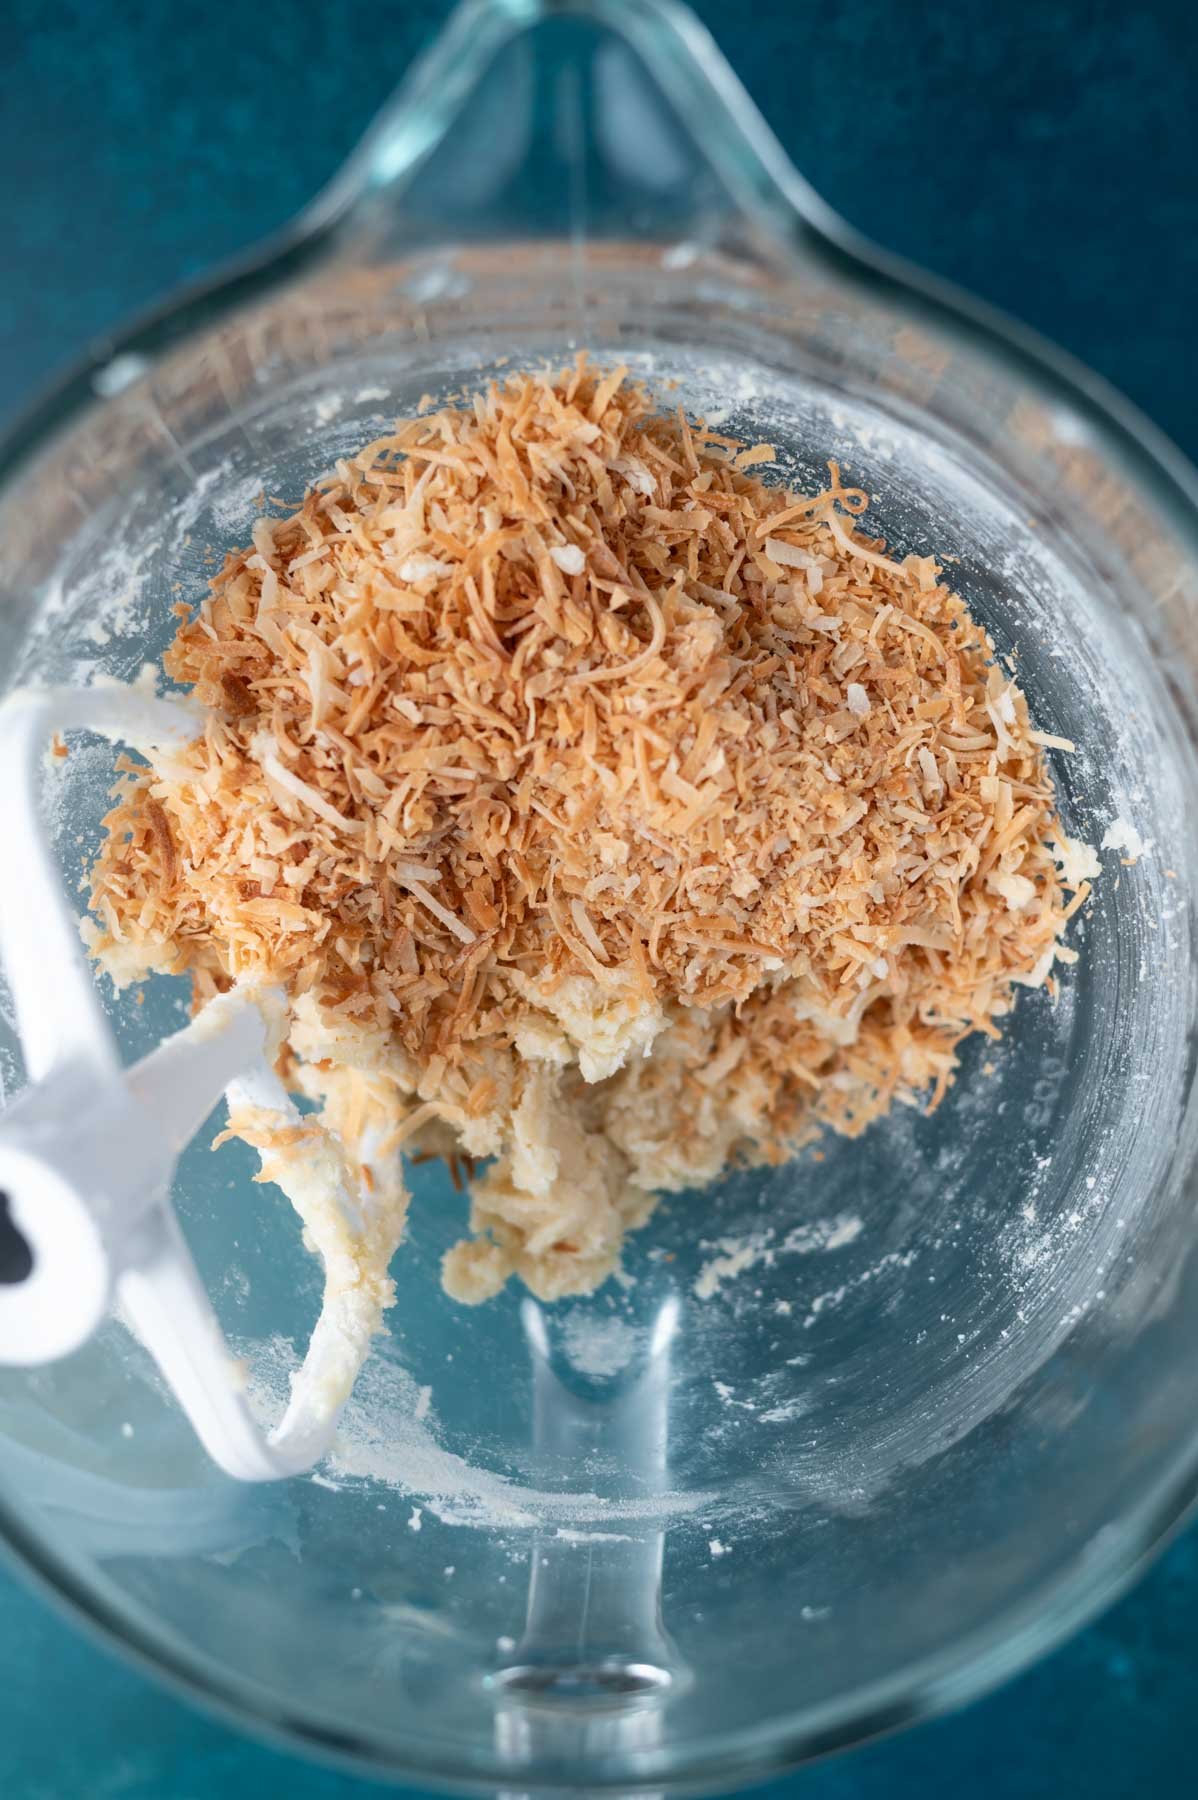
Make sure you include all the dark brown bits with the brown butter. That is what brings the nutty flavor.
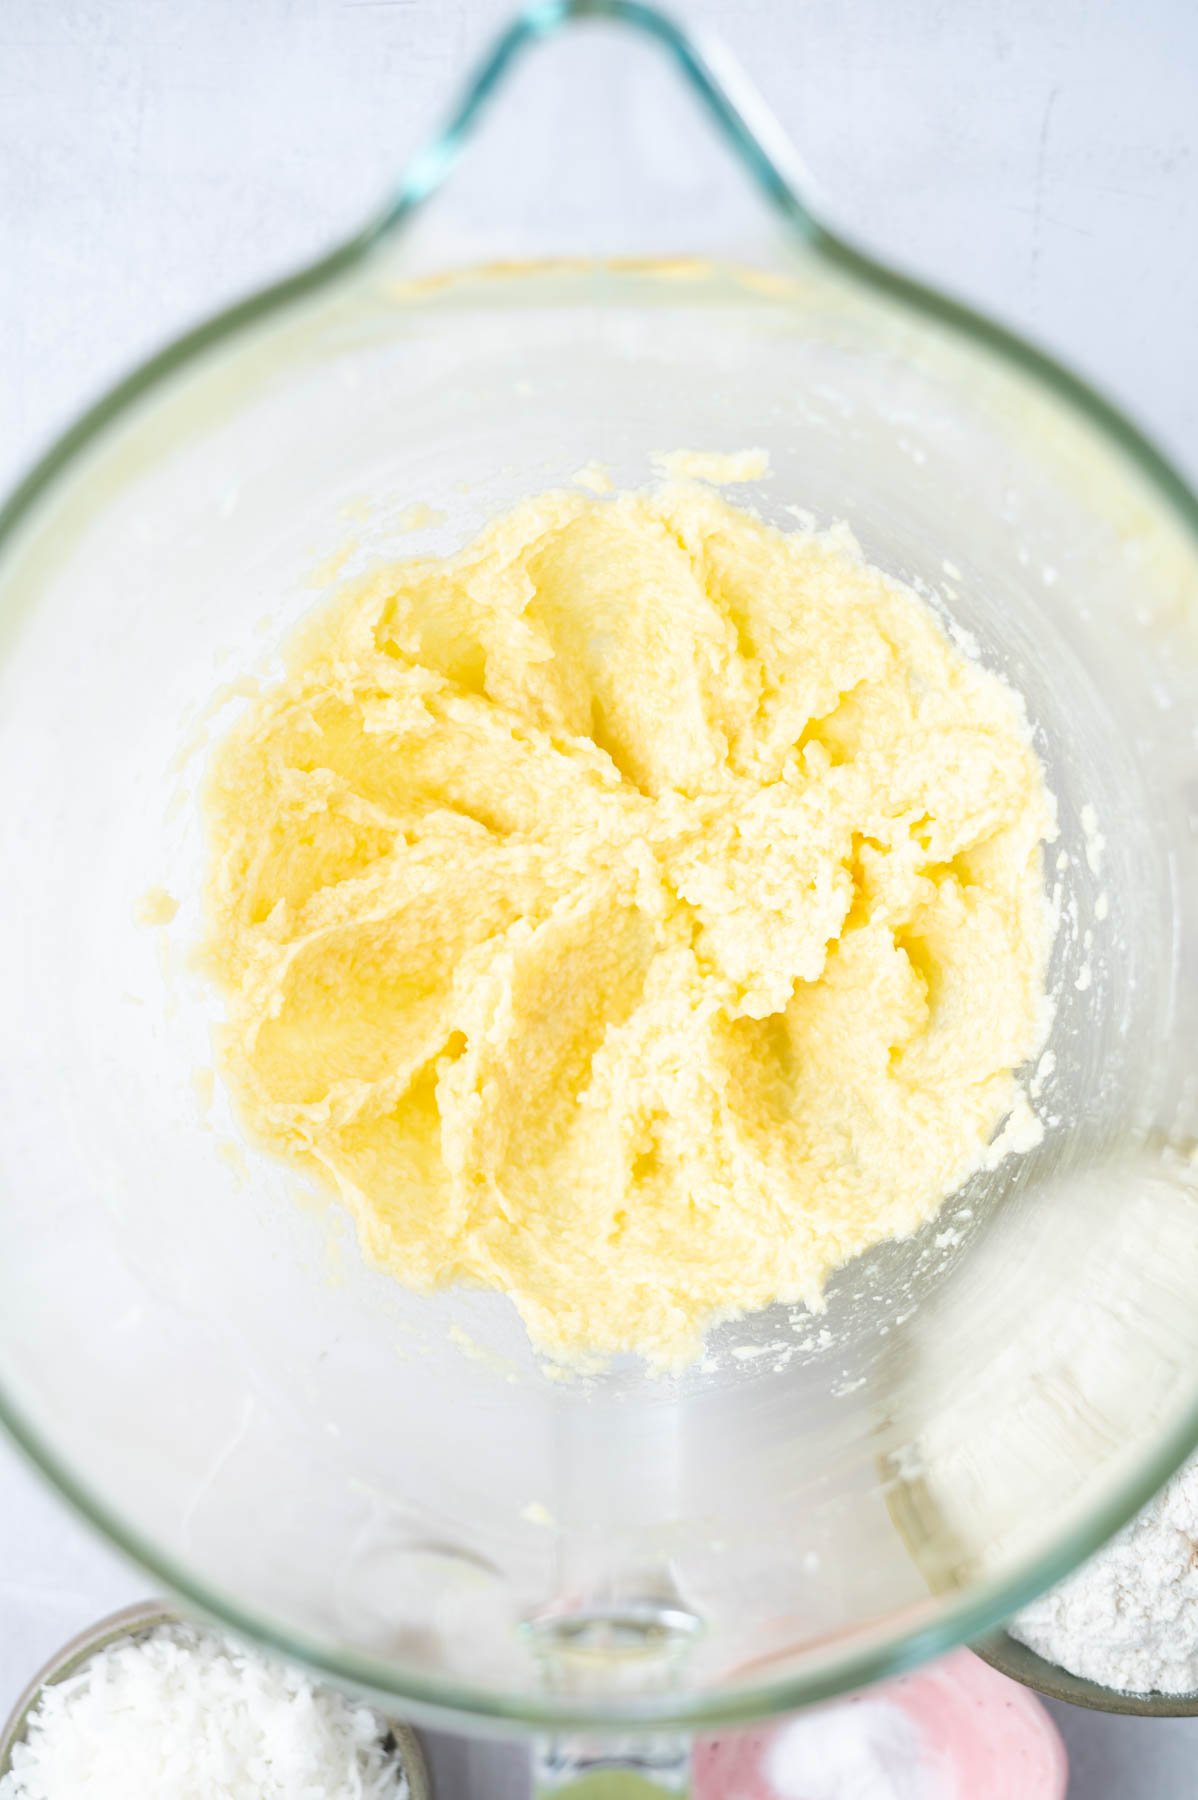
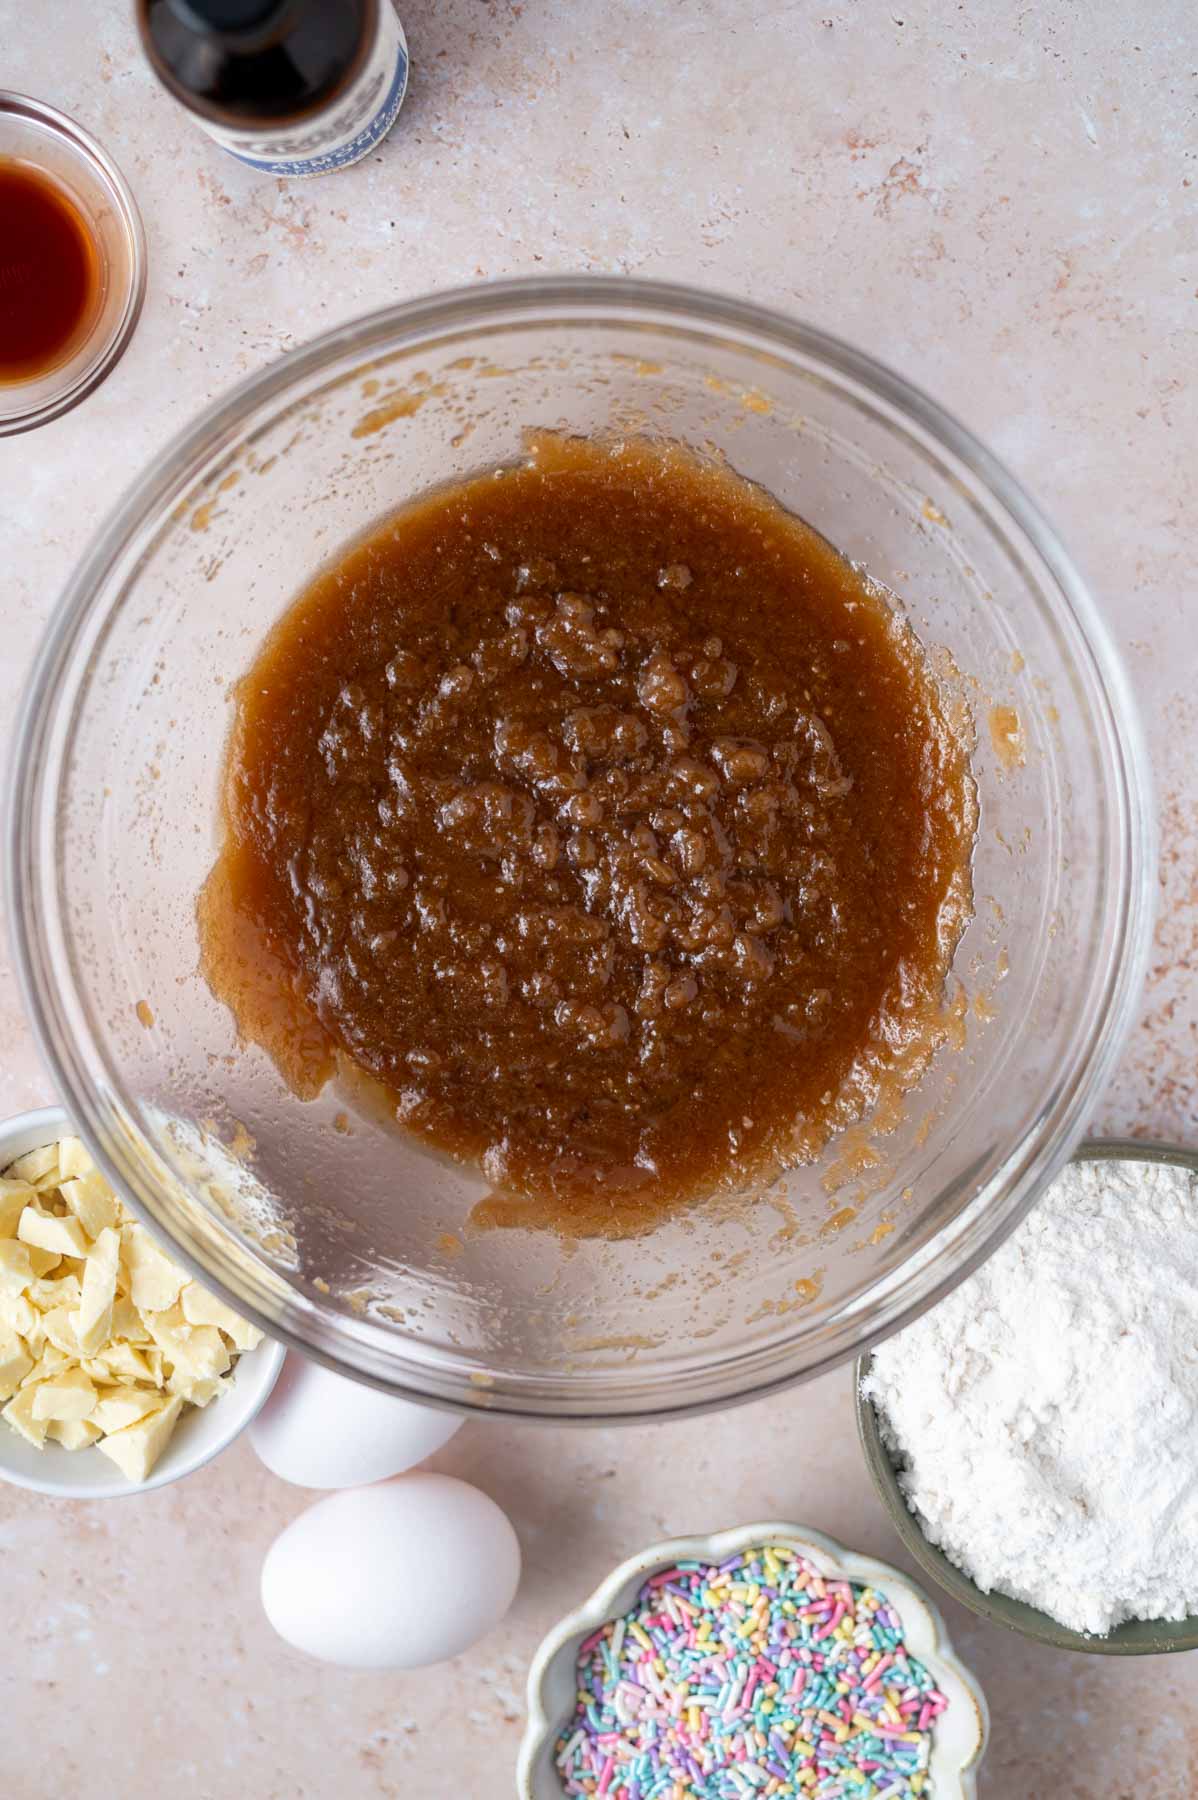
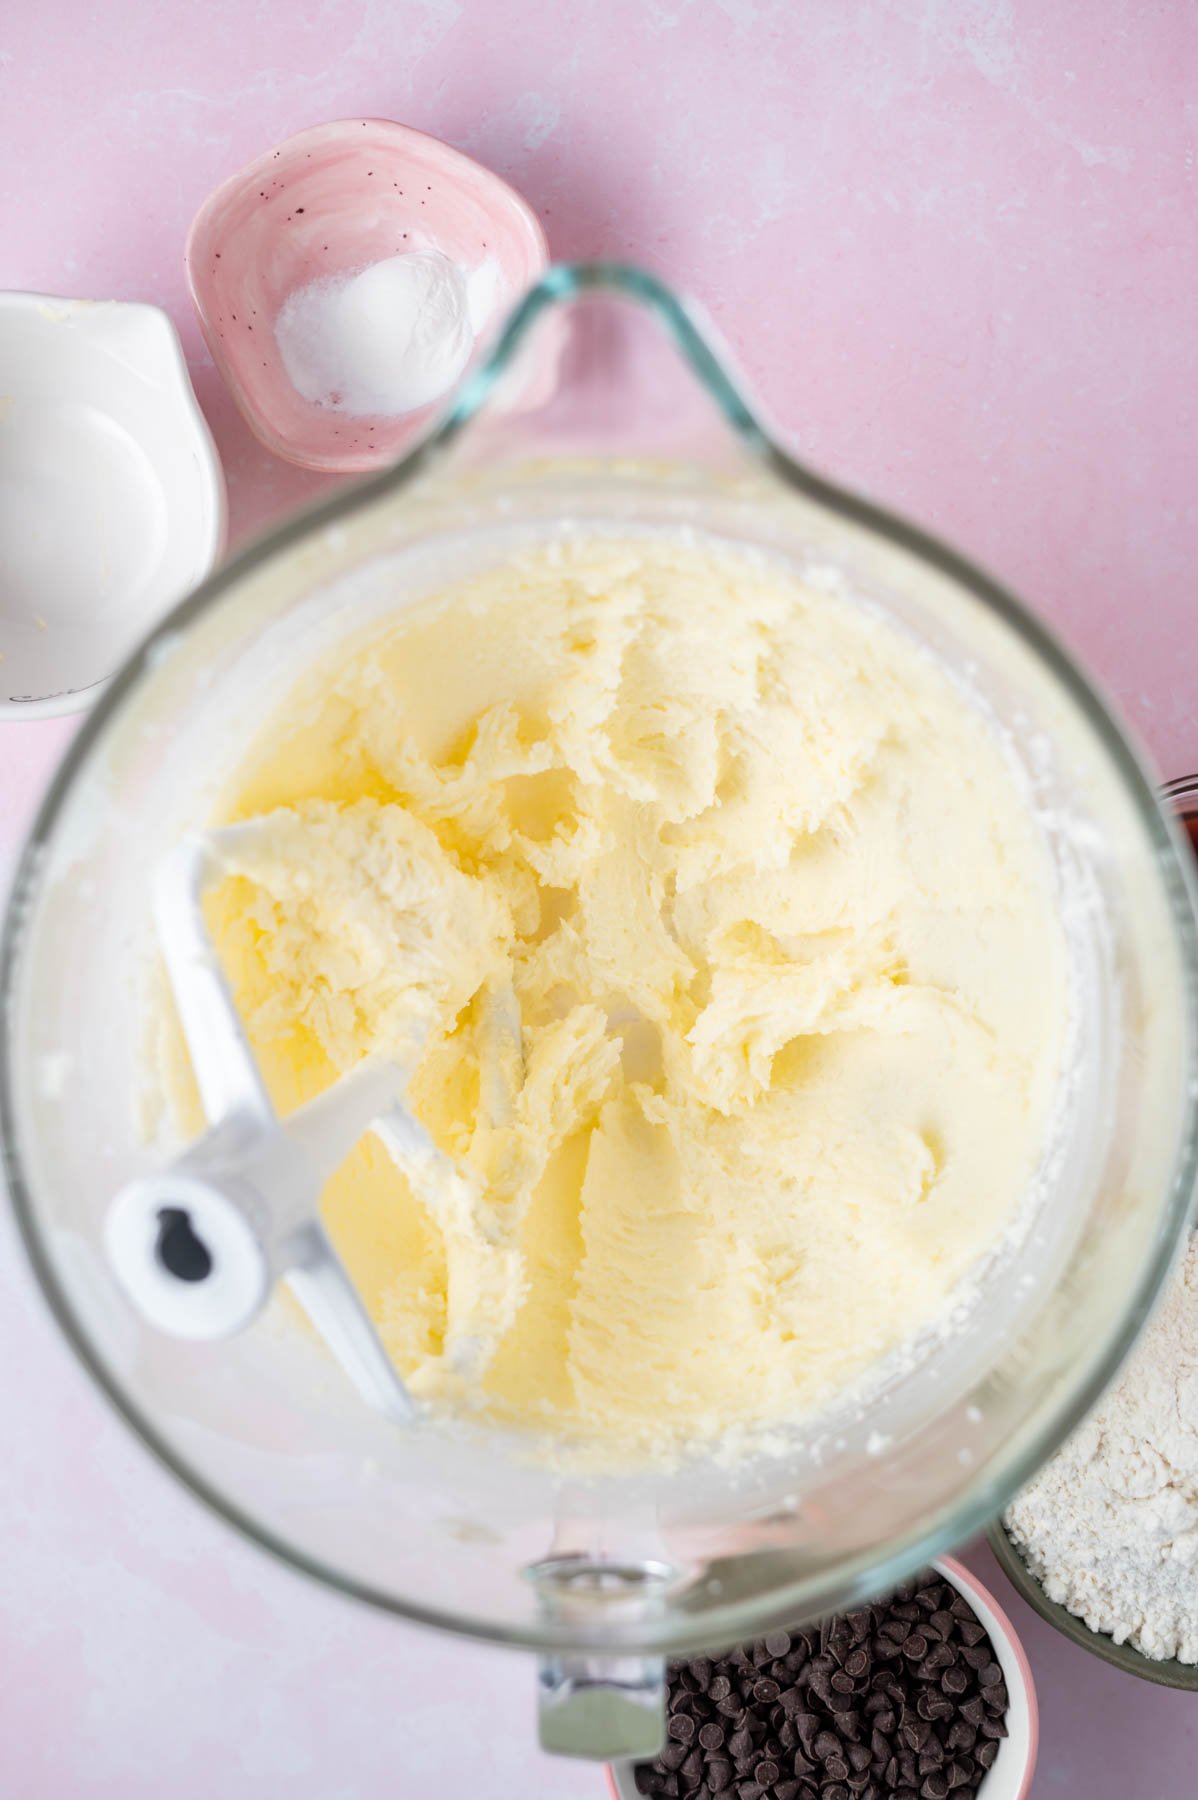
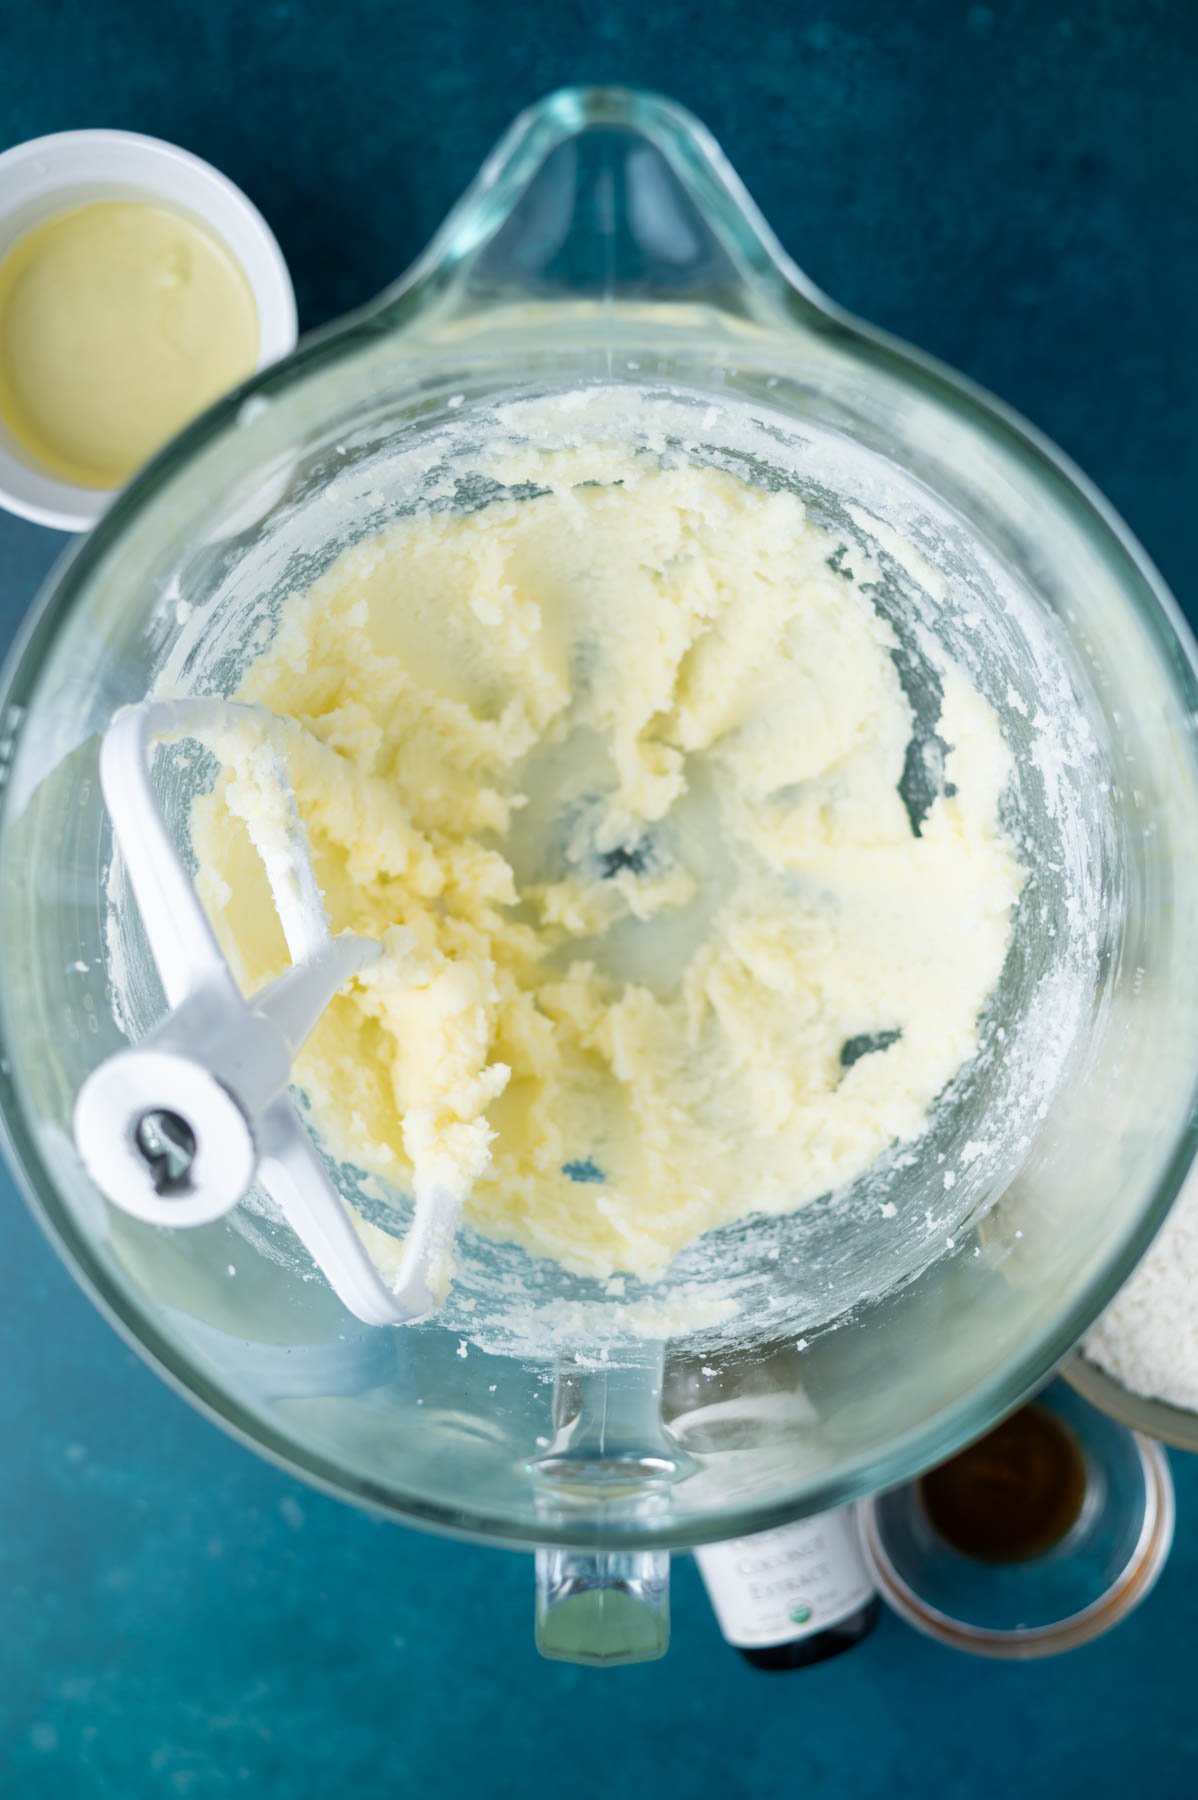
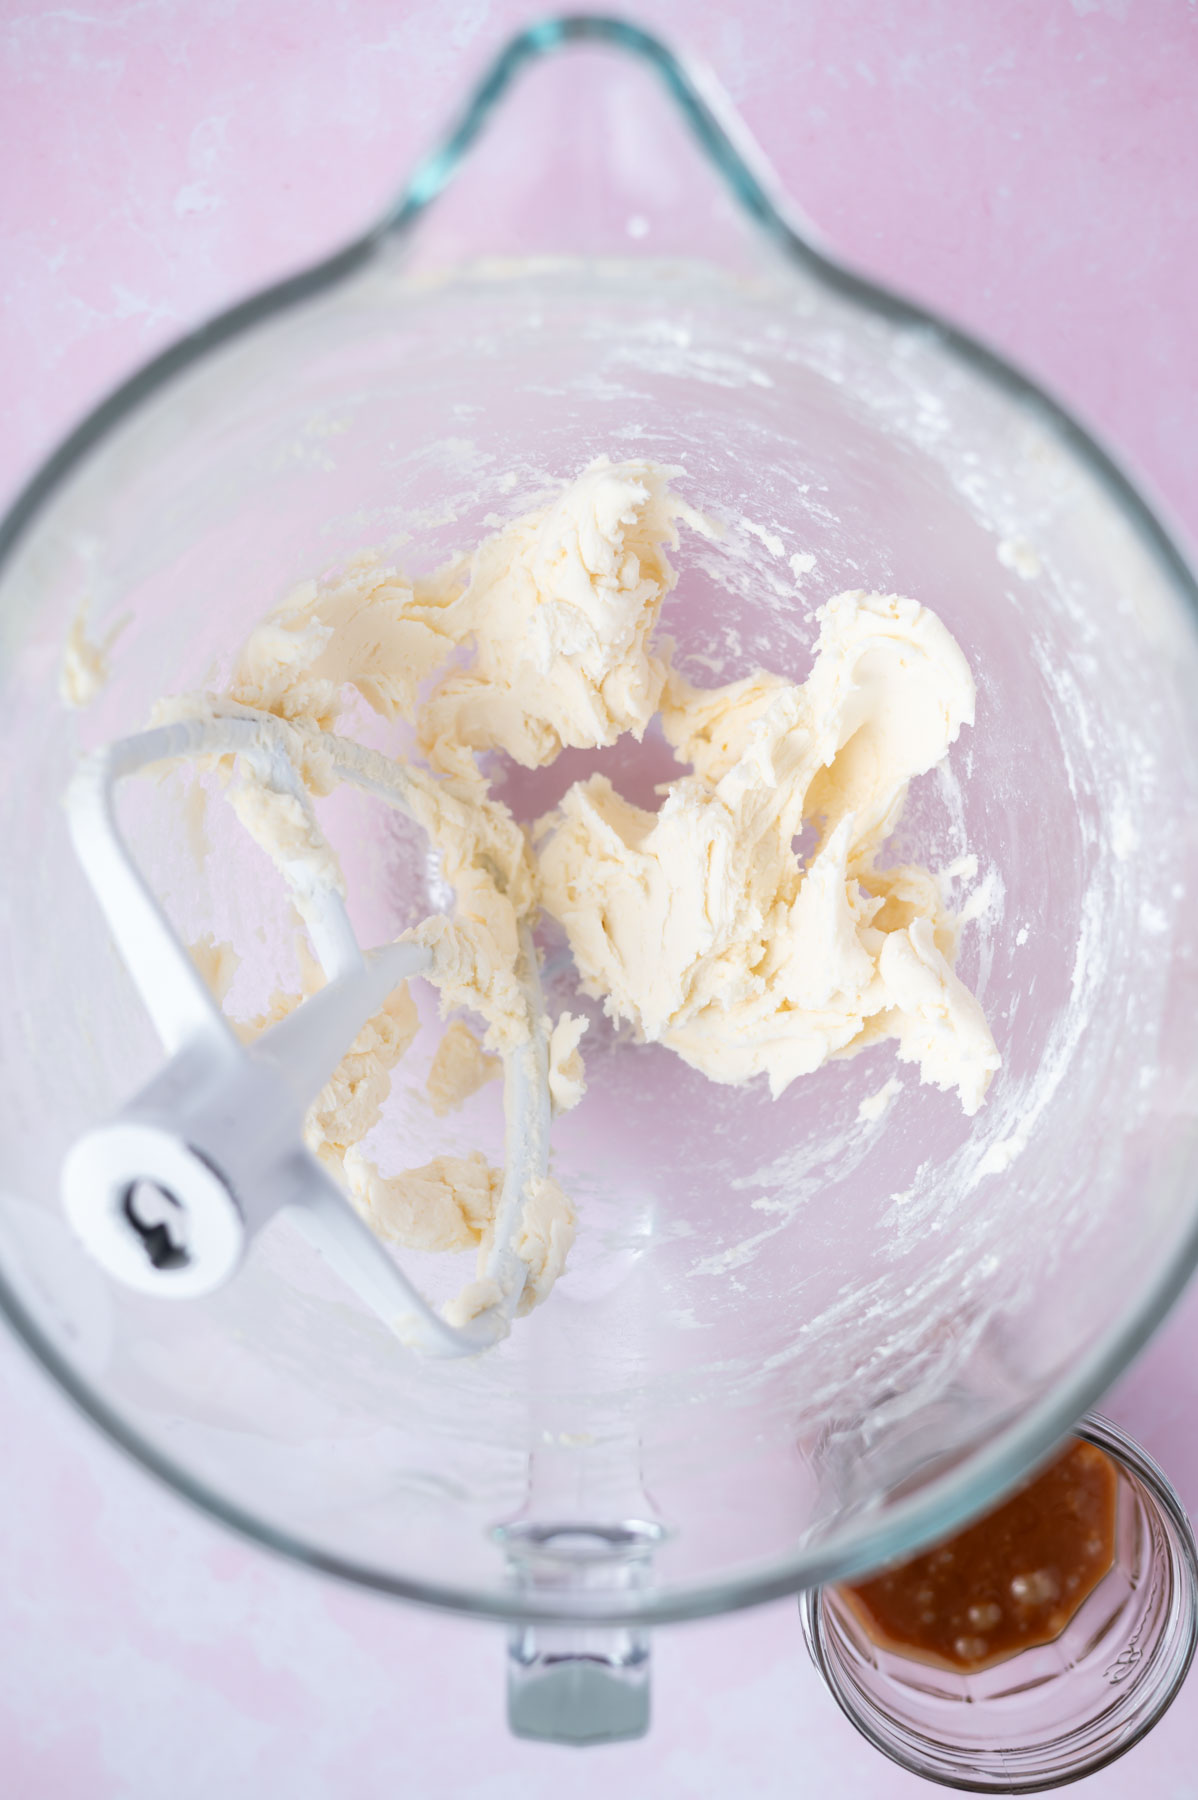
In your stand mixer fitted with the paddle attachment or with a hand-held mixer, cream your solidified browned butter with the brown sugar, granulated sugar and kosher salt. Start on low until the butter and sugars are incorporated, then increase to medium until fluffy. You may need to scrape the bowl once or twice.
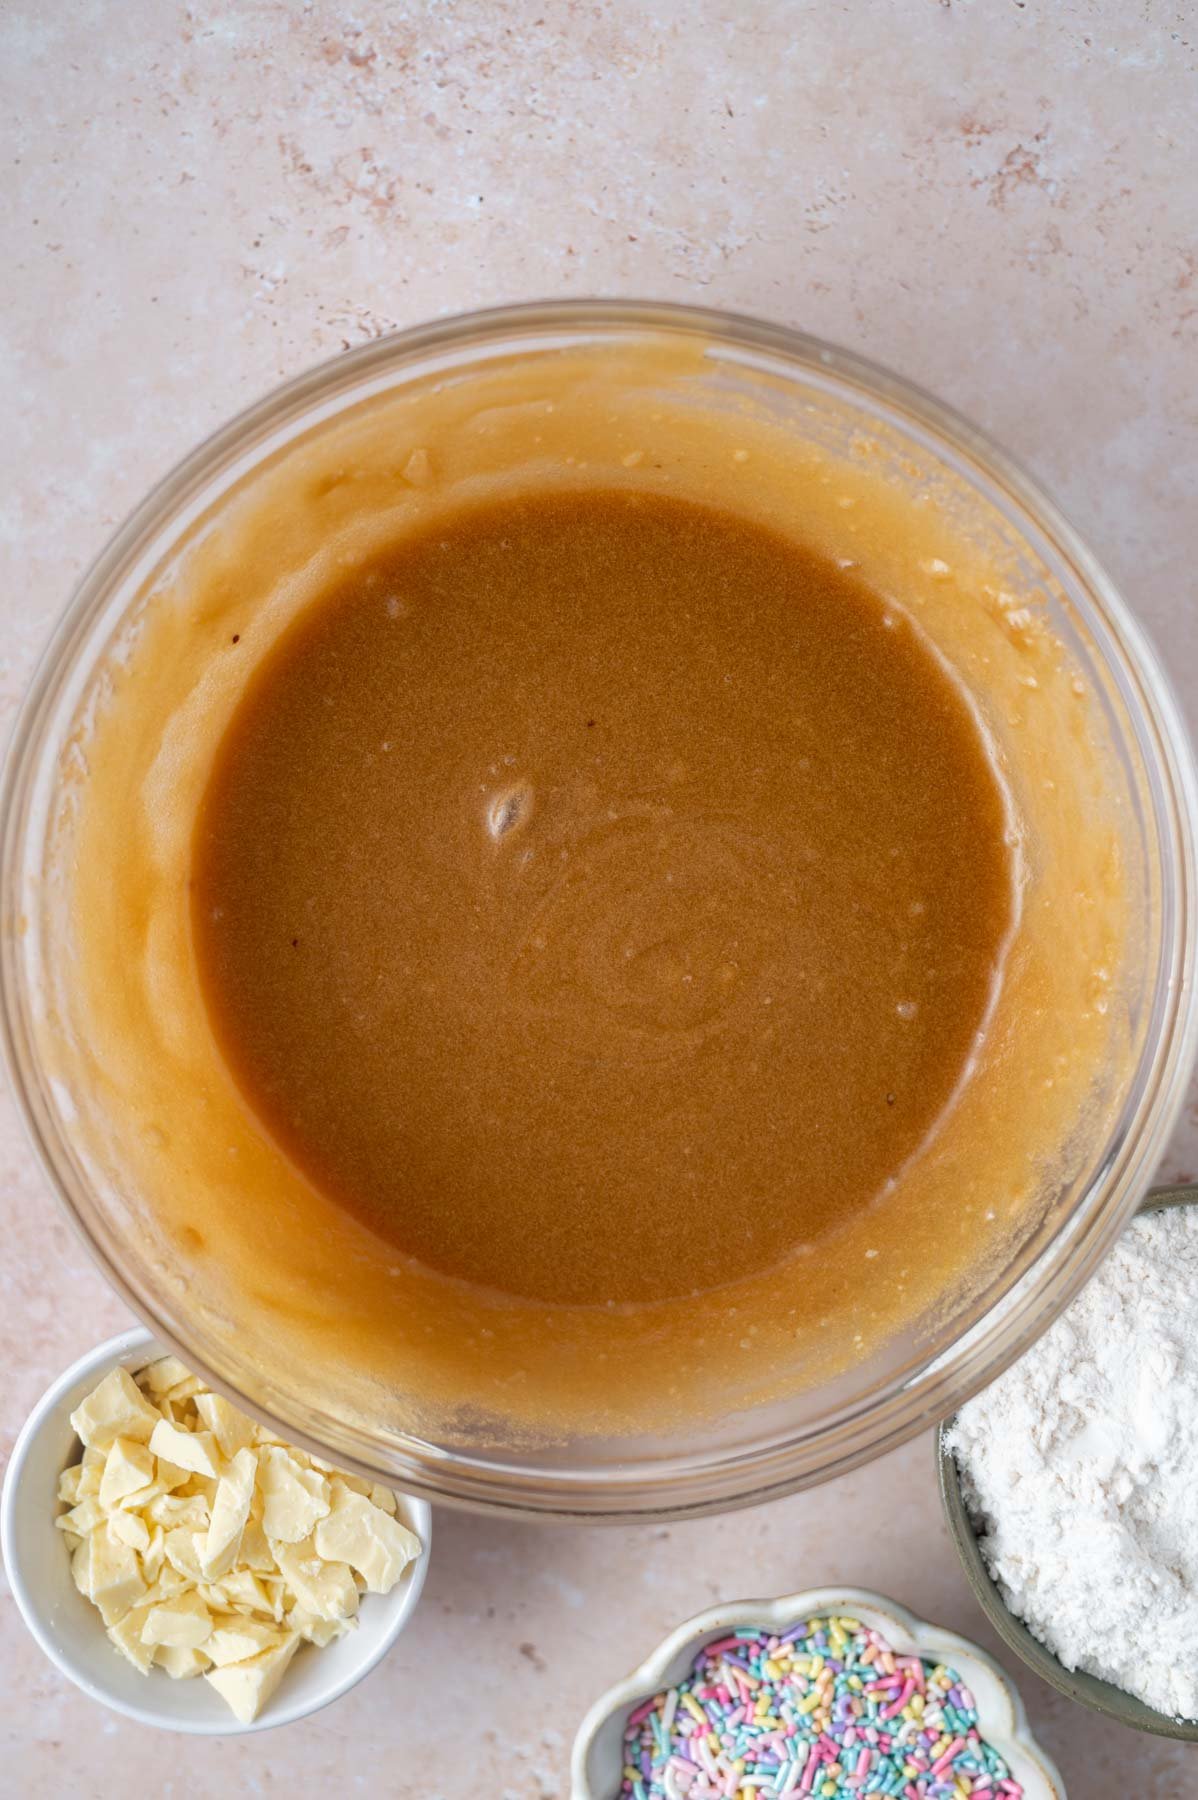
Now add the eggs and vanilla and mix on medium for approximately 1 - 2 minutes. Then scrape up and down the bowl.
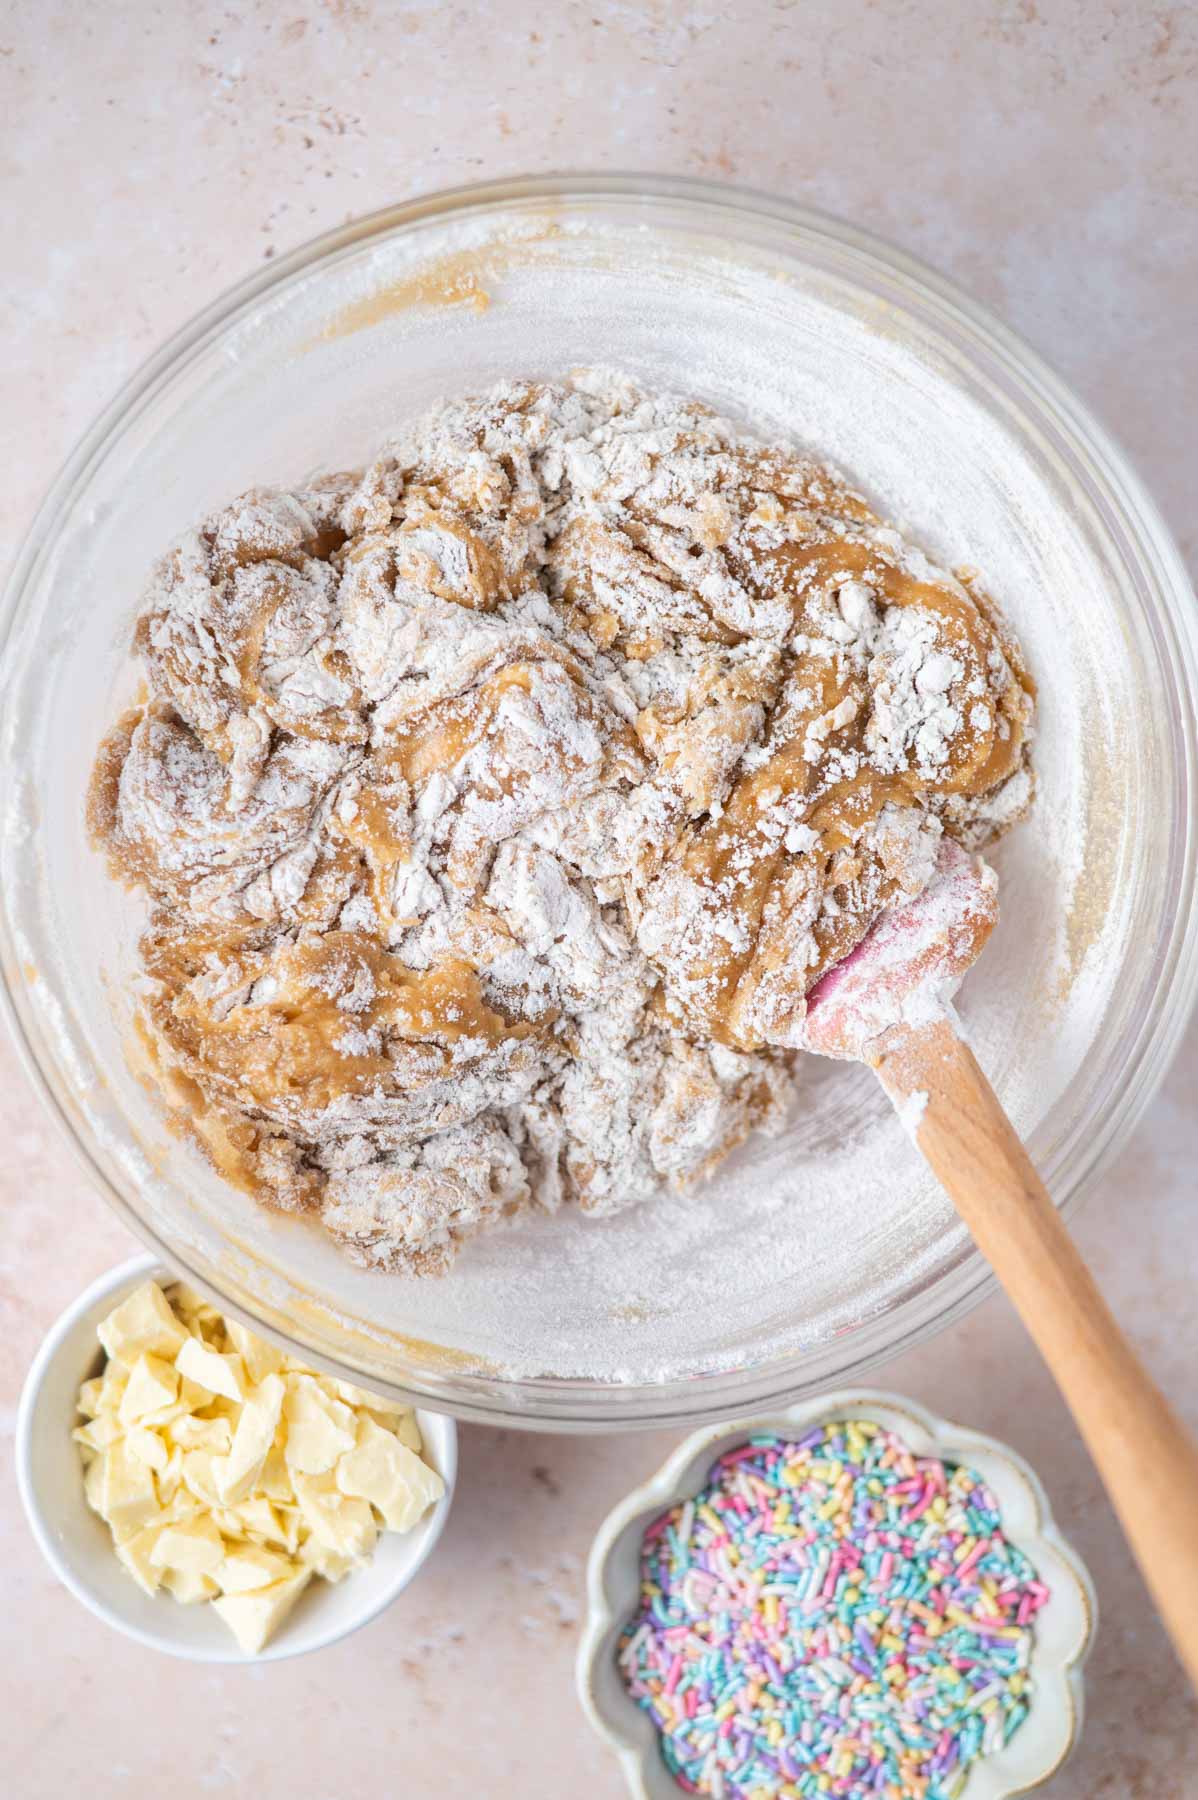
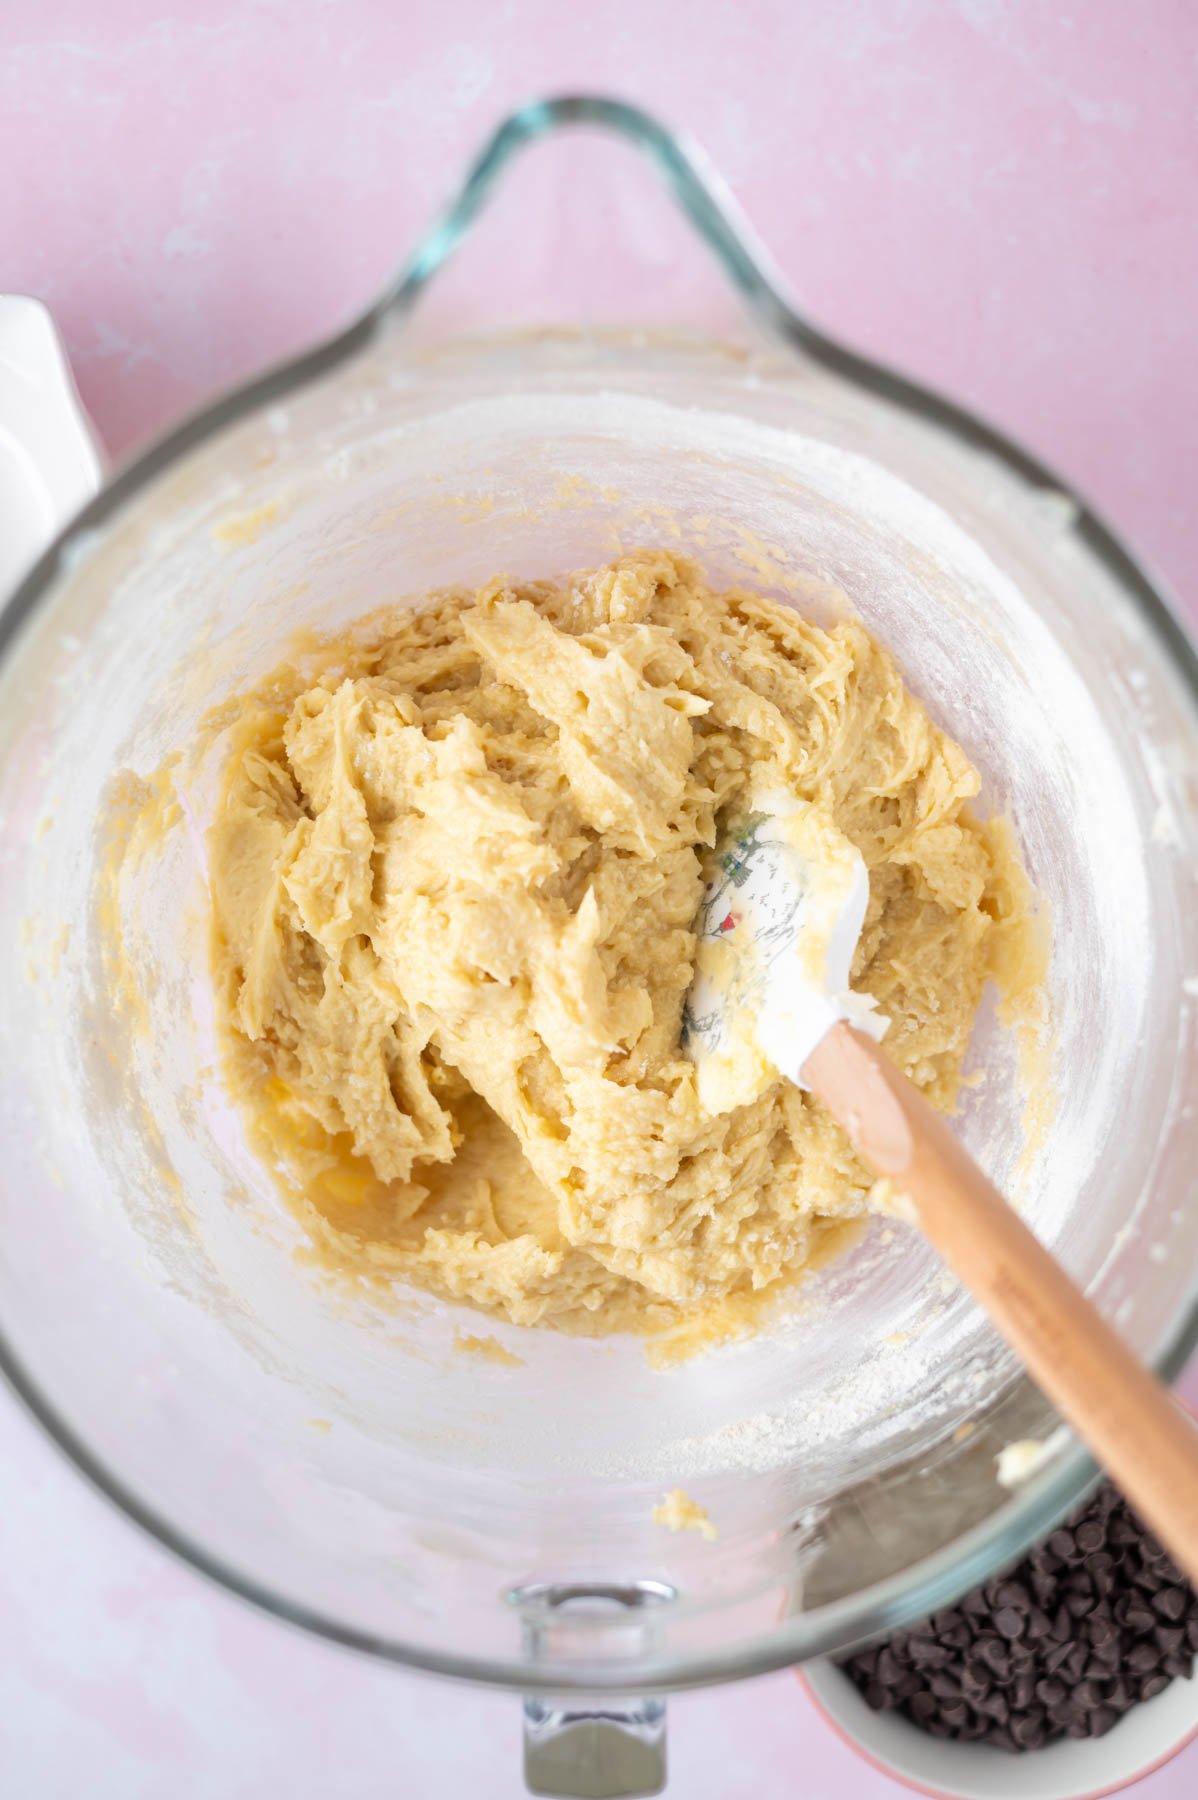
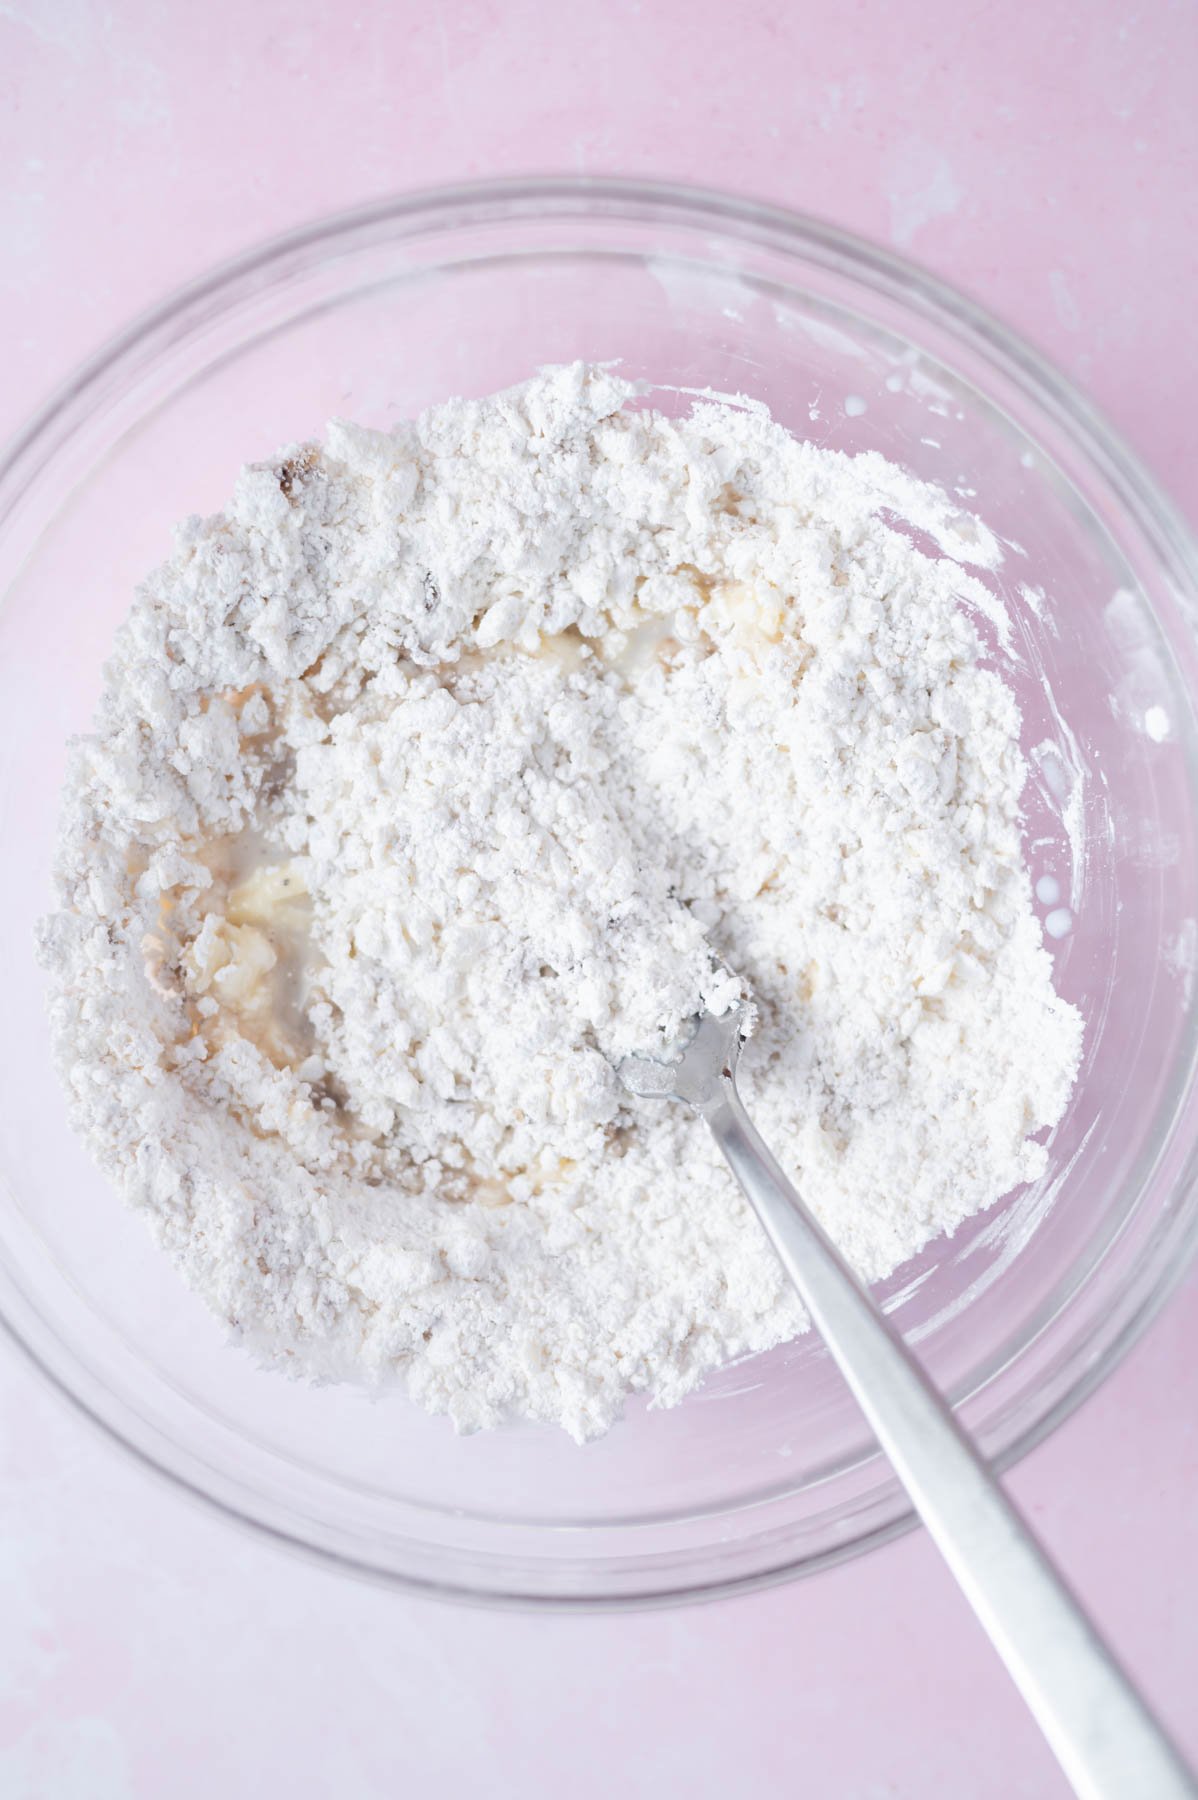
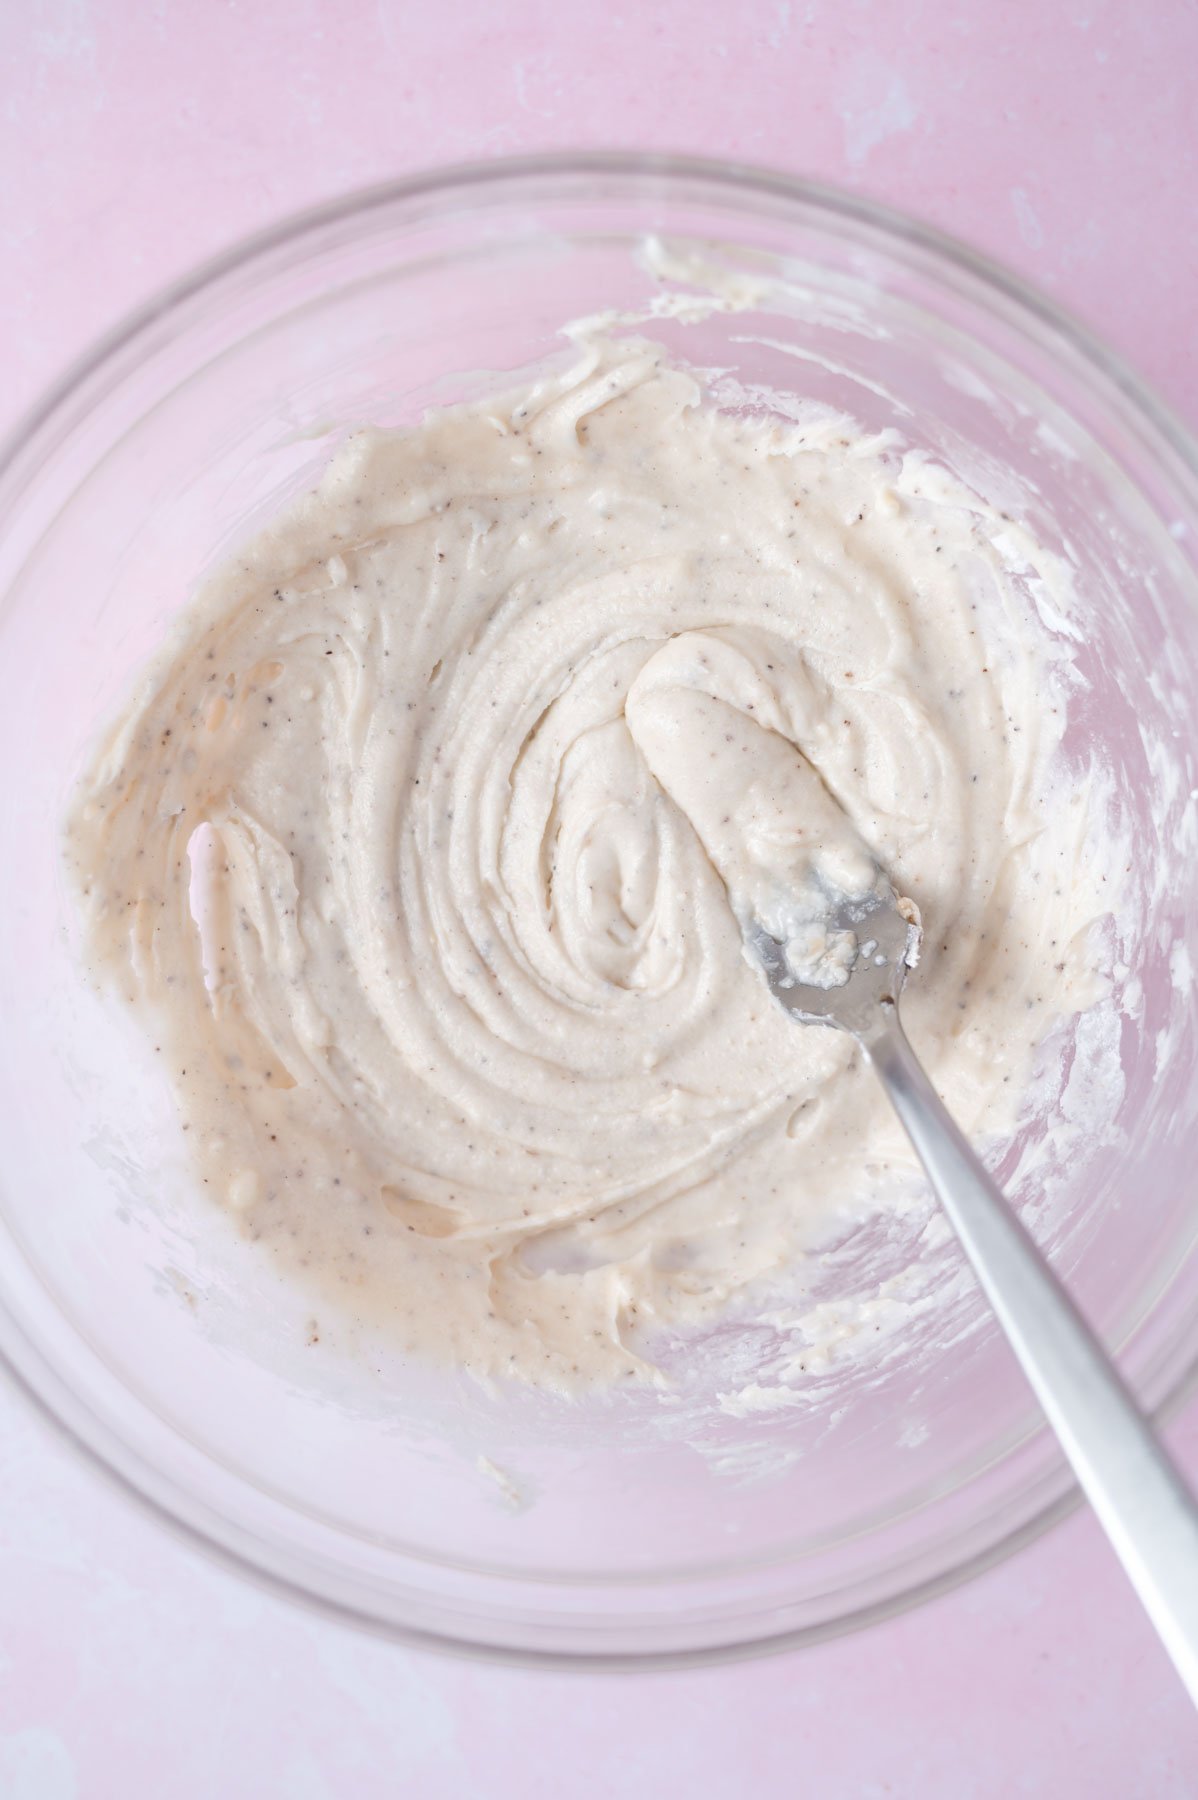
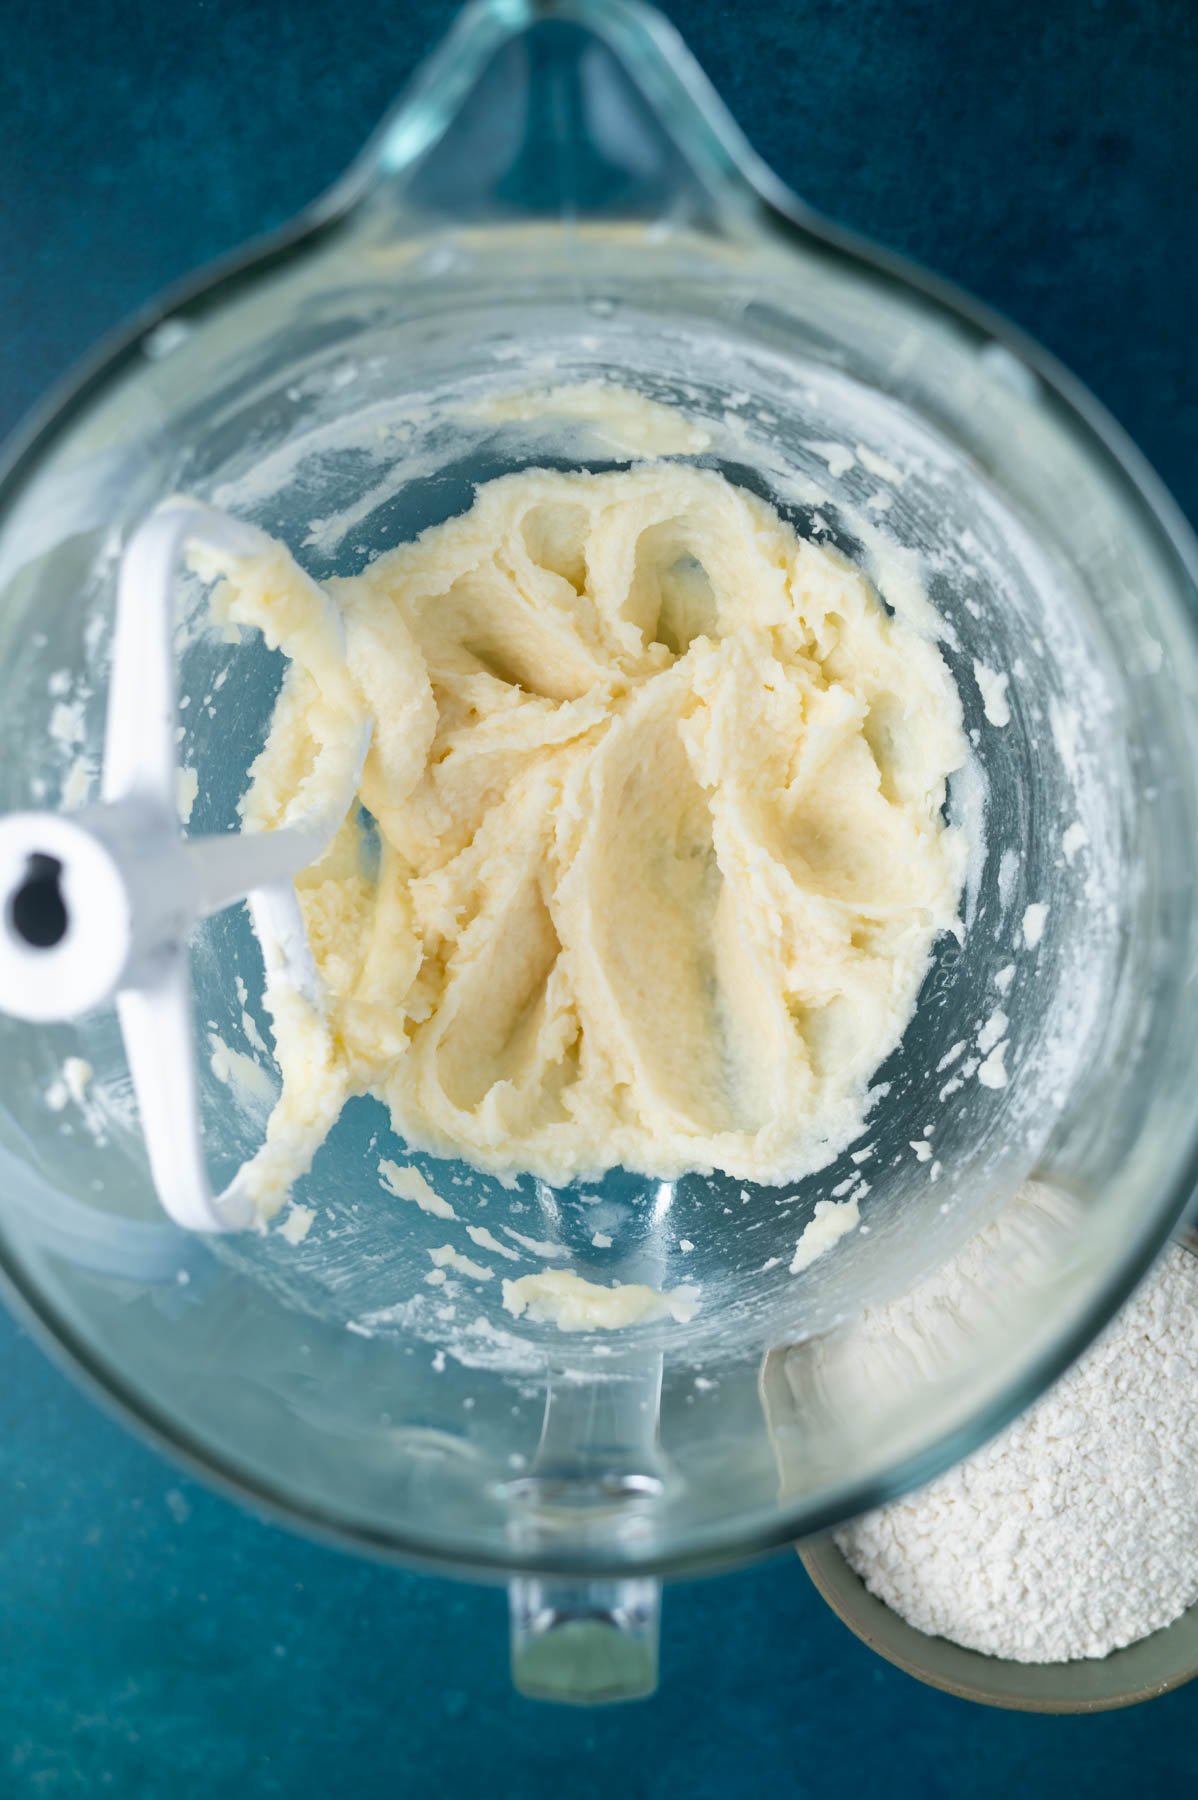
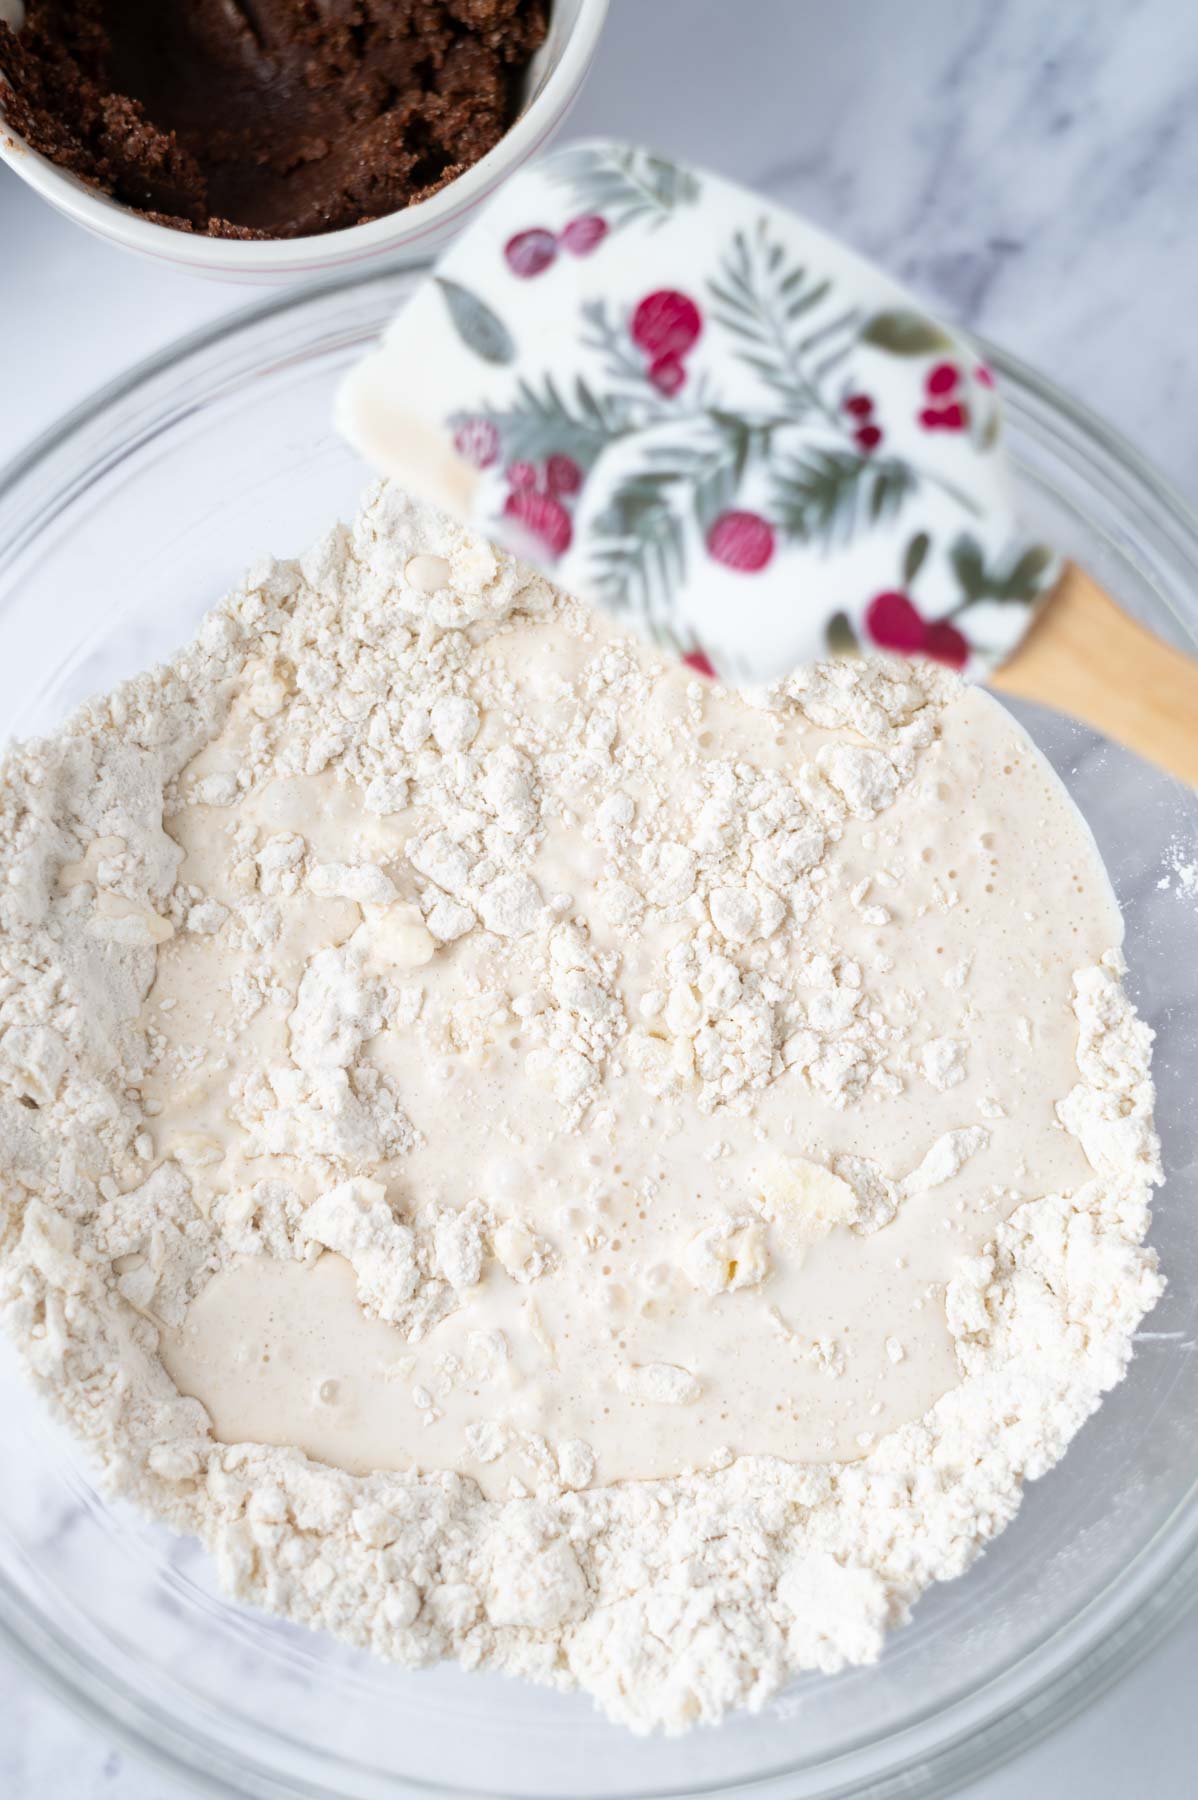
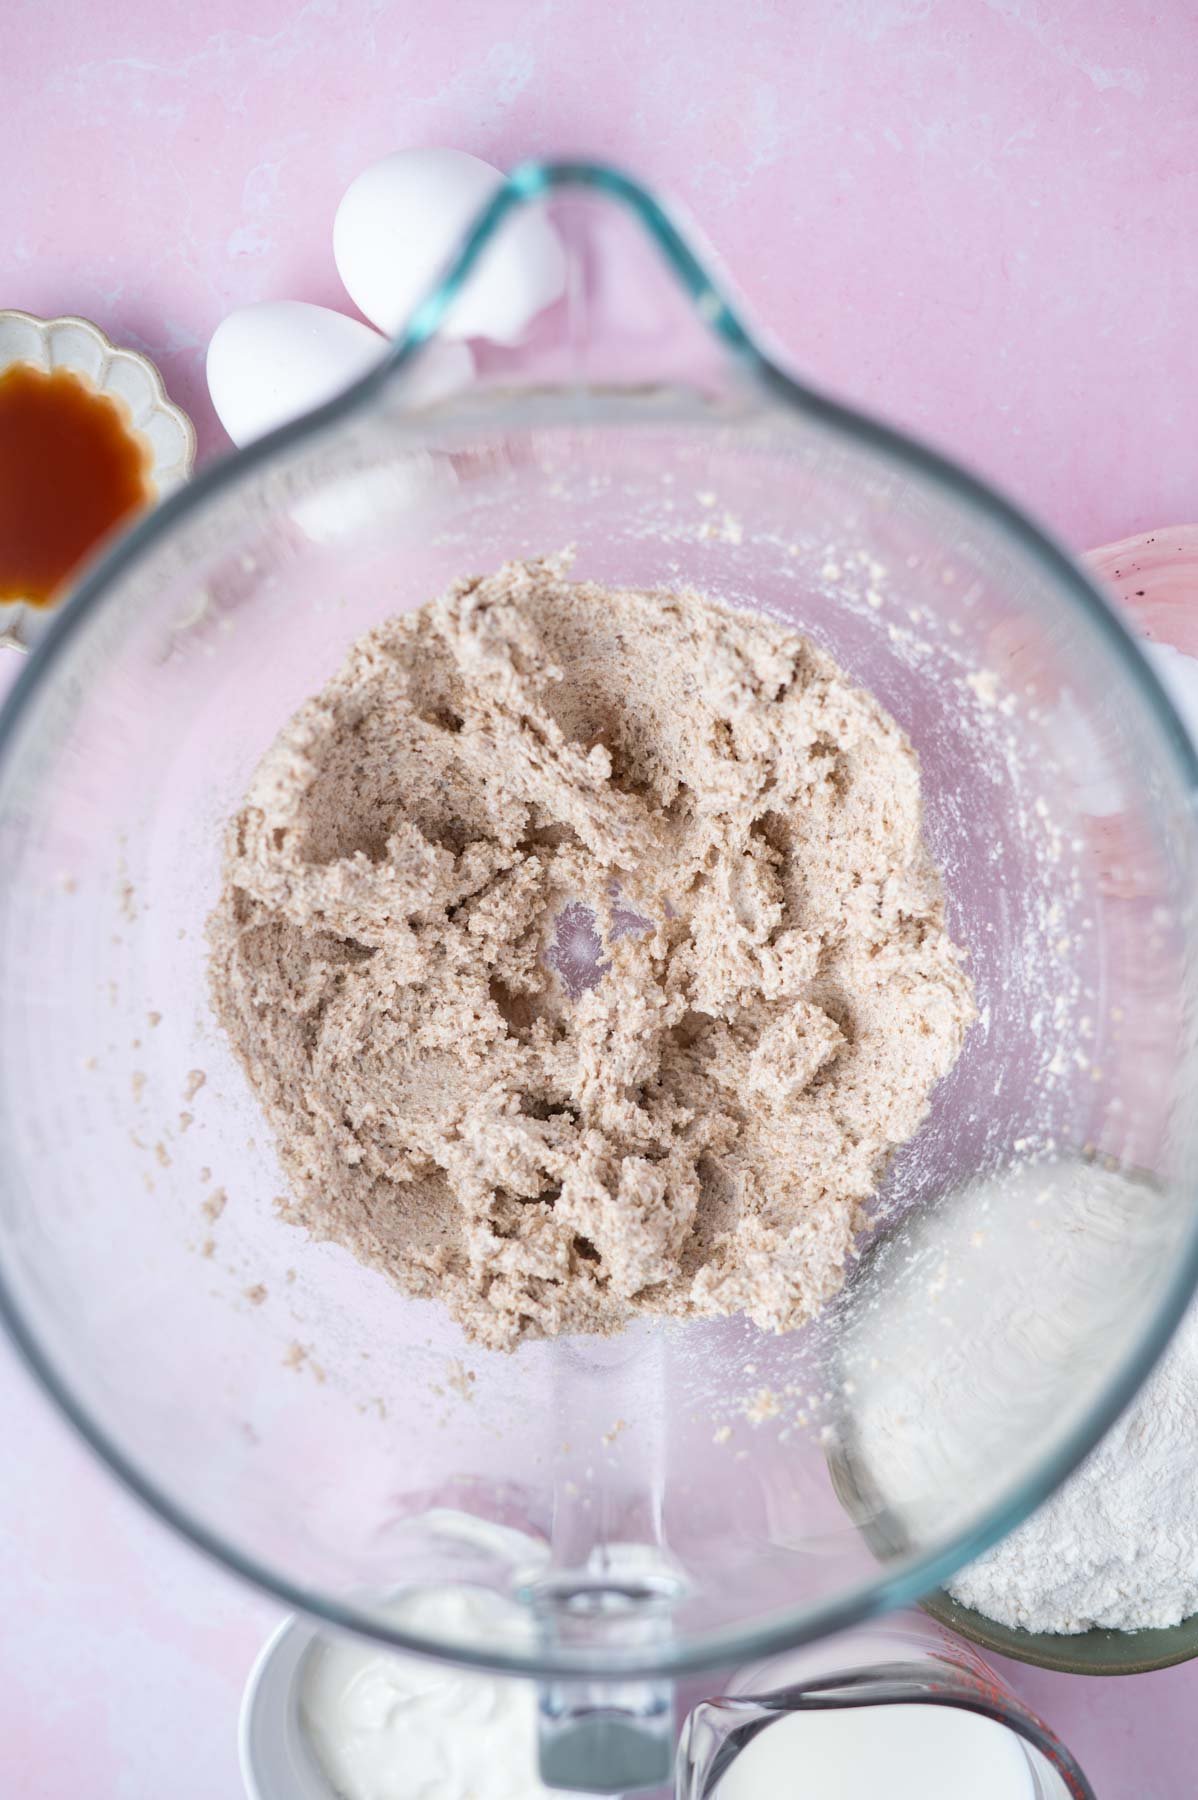
With the mixer on low, add half the flour, baking powder and baking soda and mix until mostly incorporated. Add the milk and sour cream and mix on low until mostly incorporated.
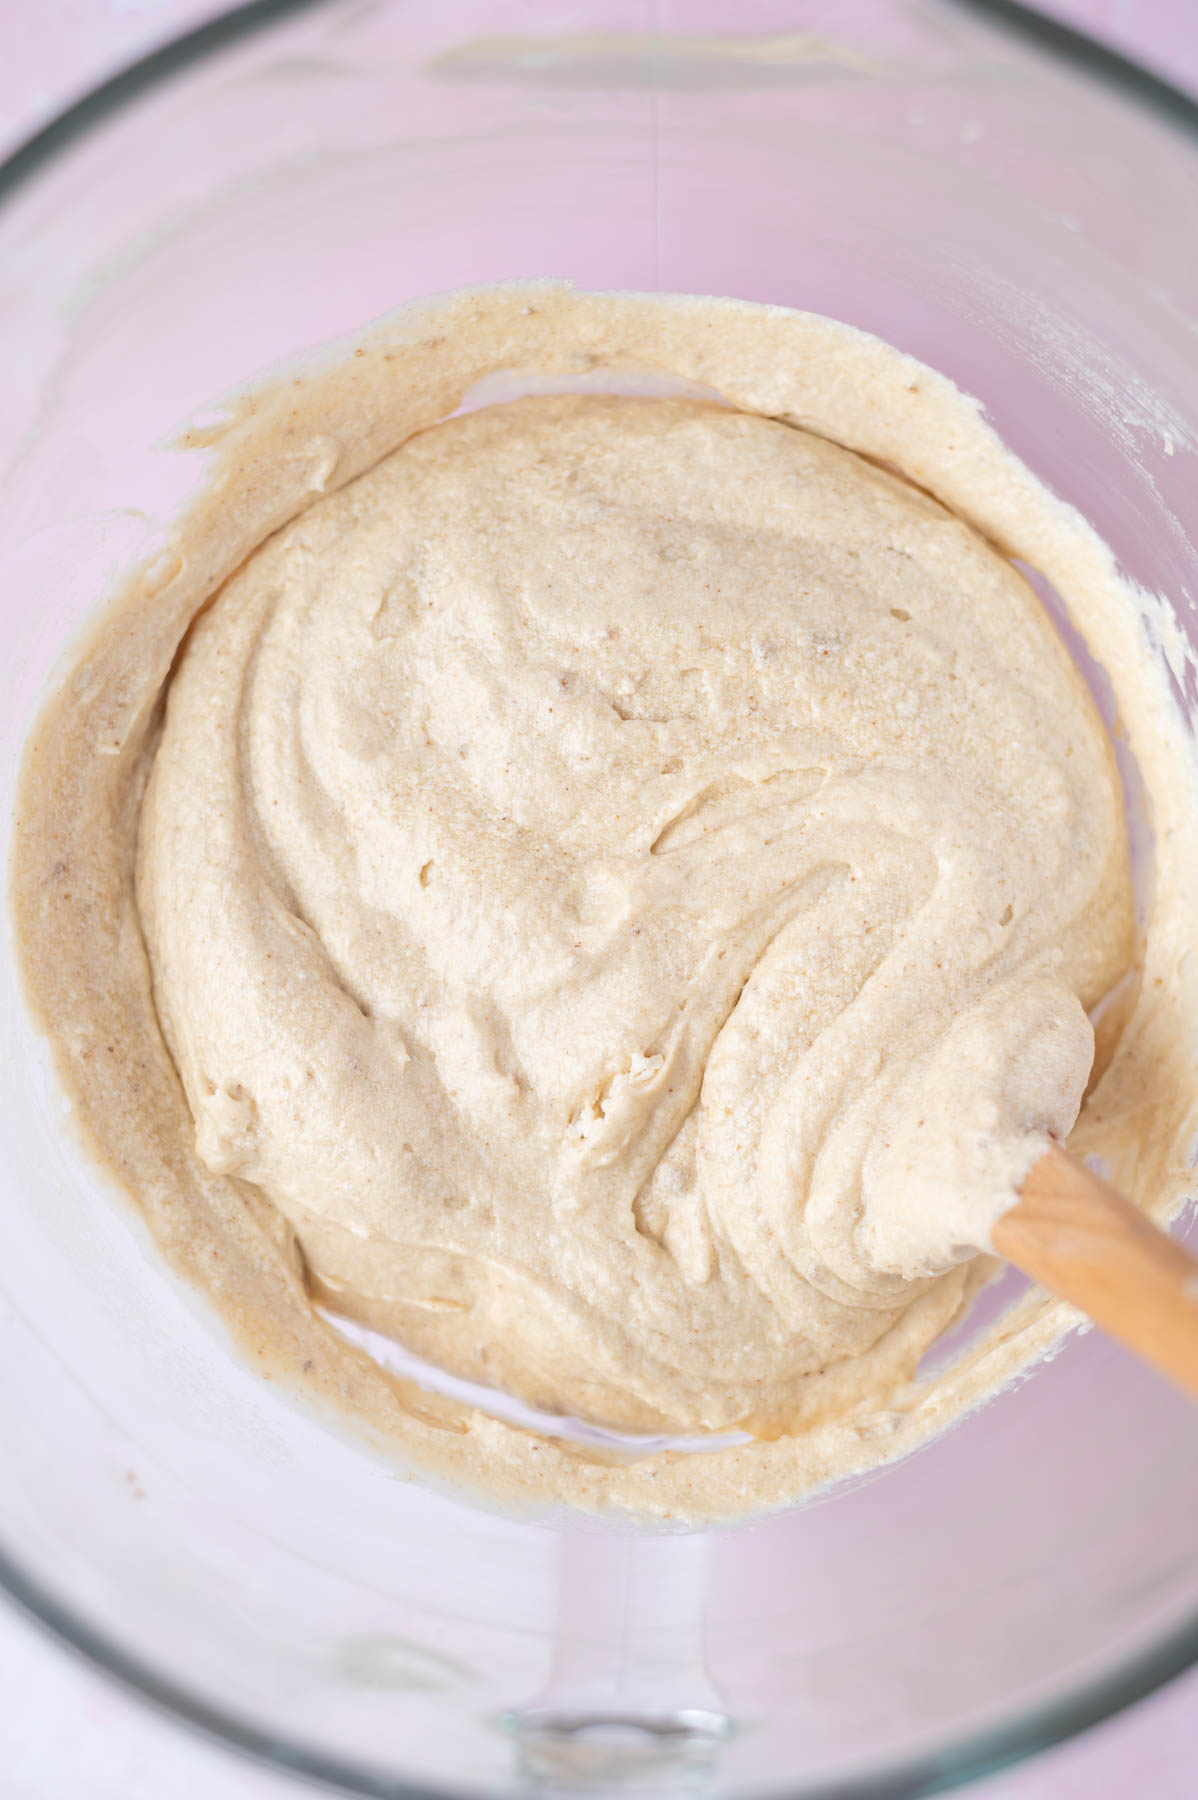
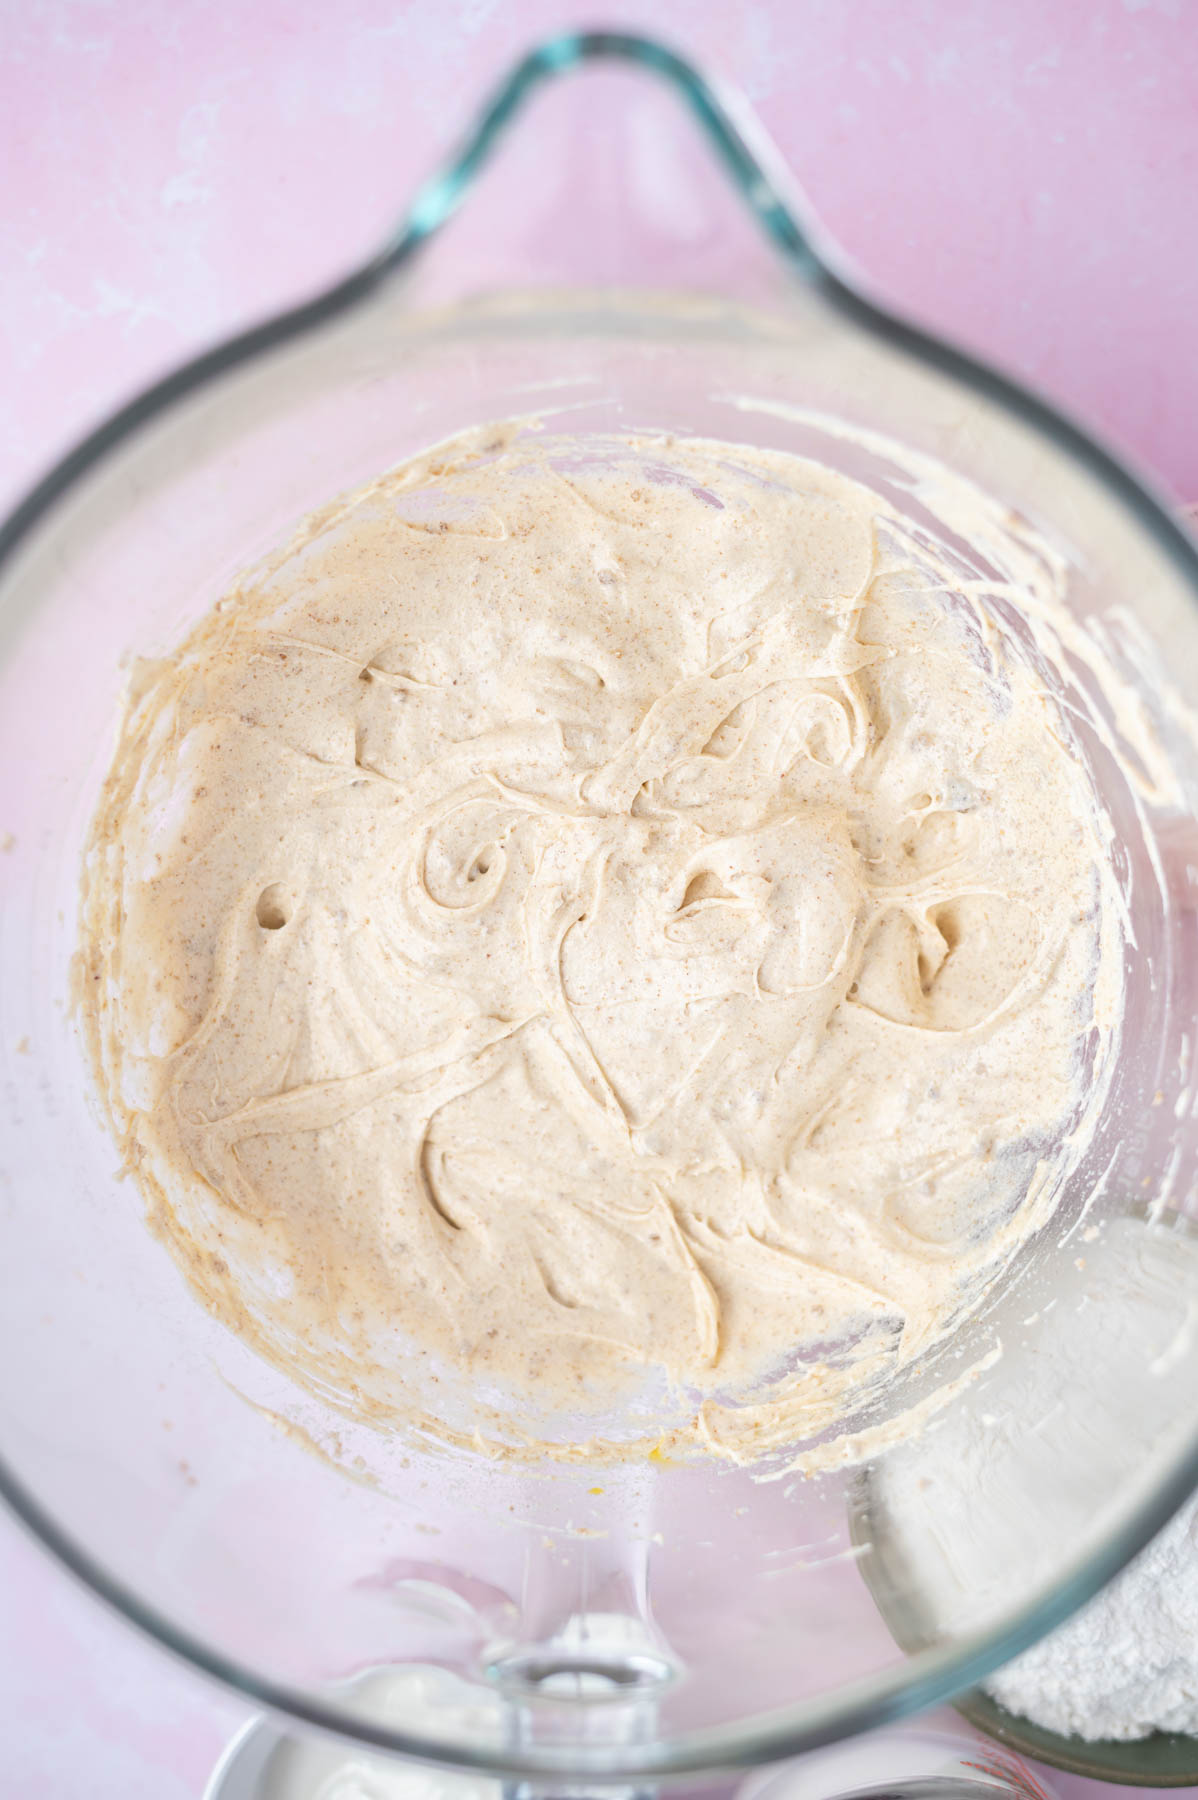
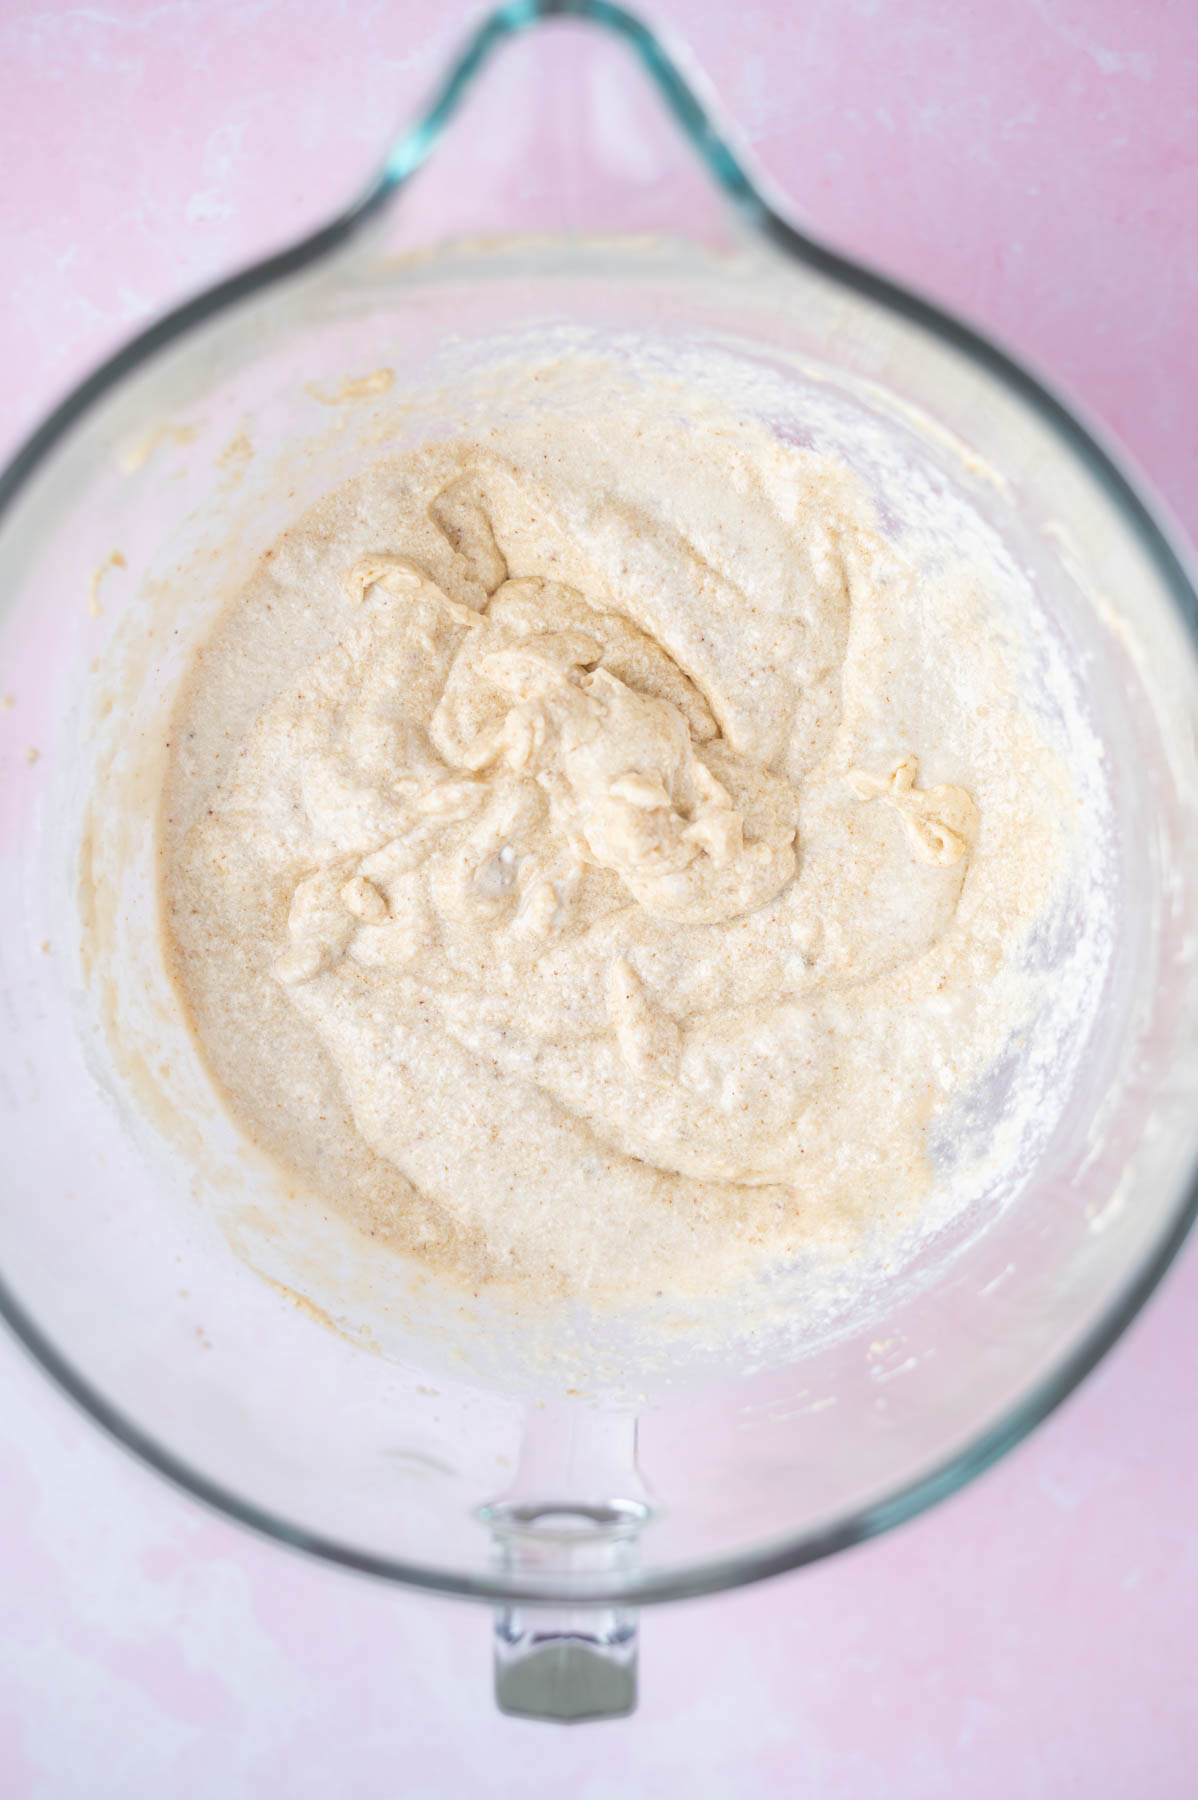
Scrape up and down your mixer bowl and then add the final half of the flour and mix on low until just combined.
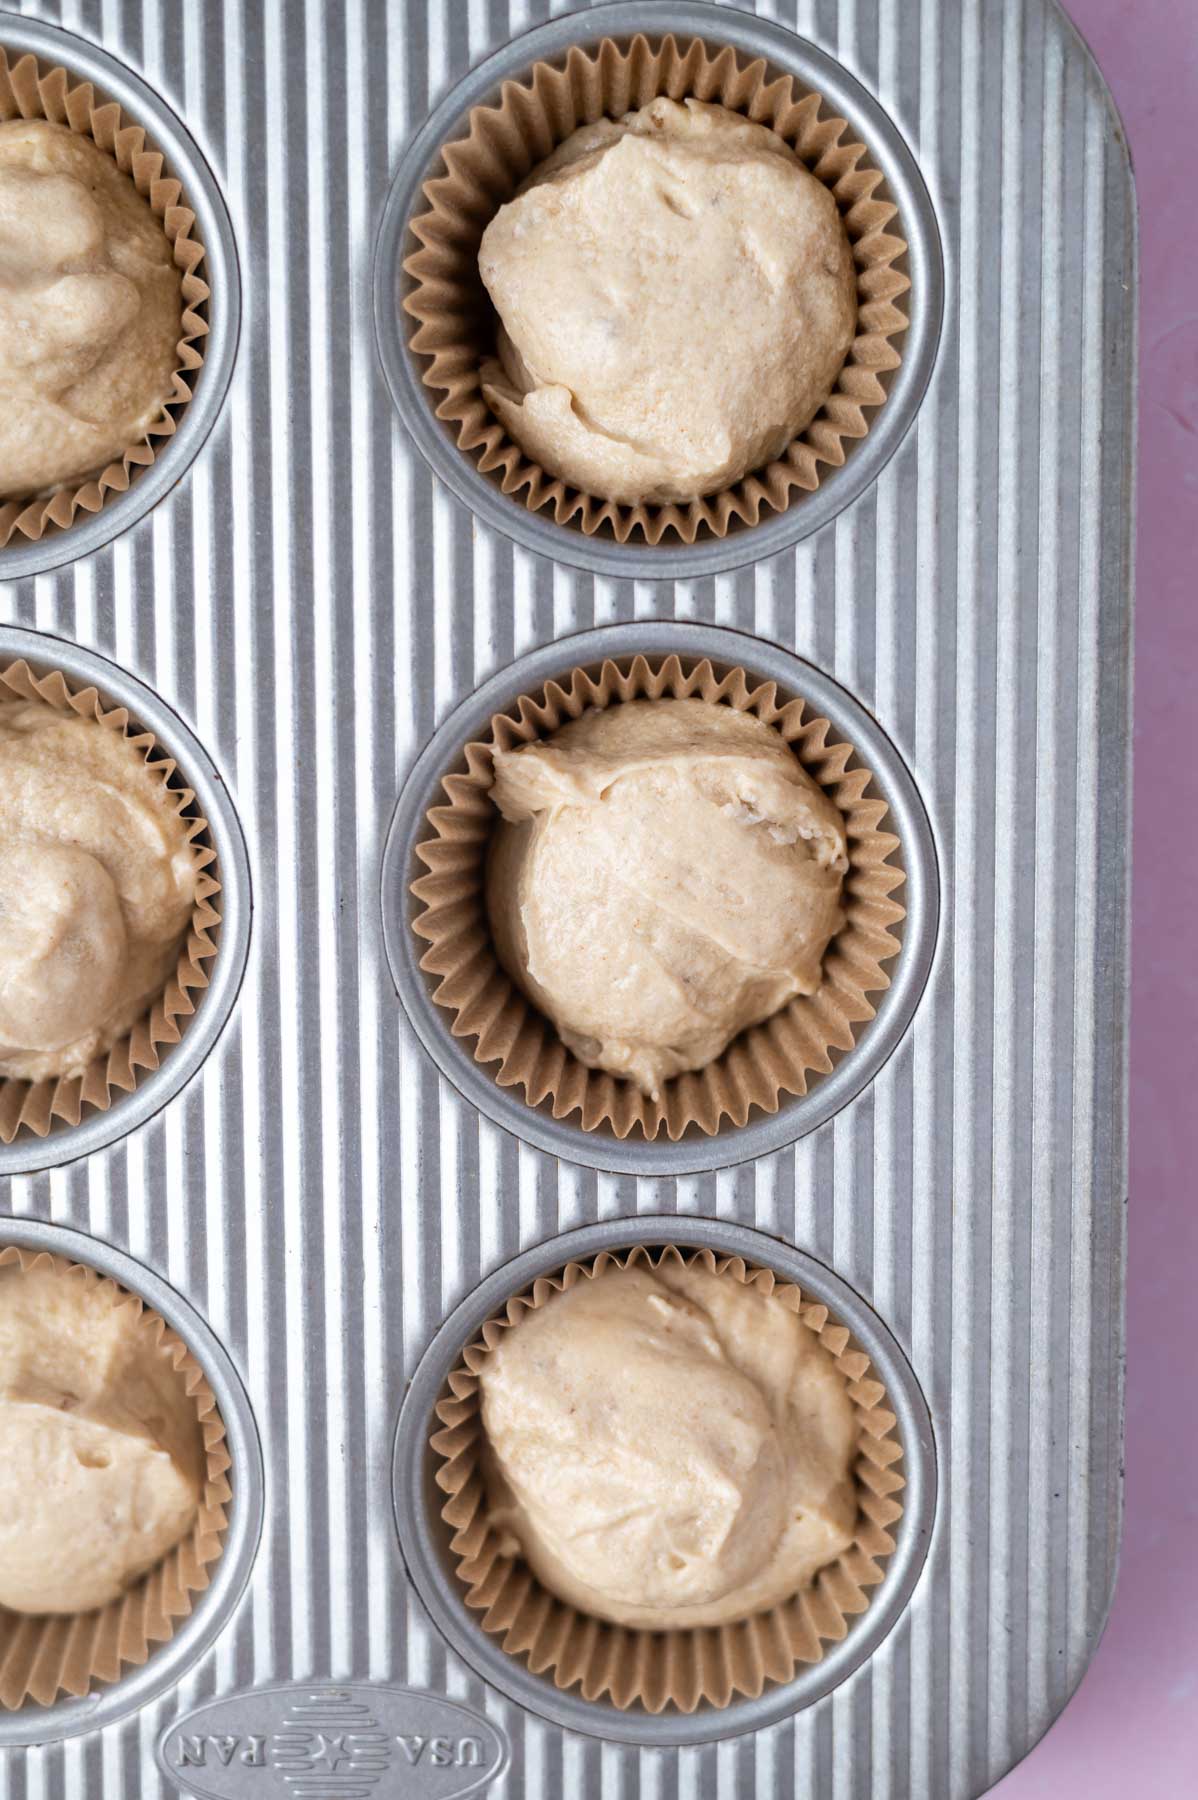
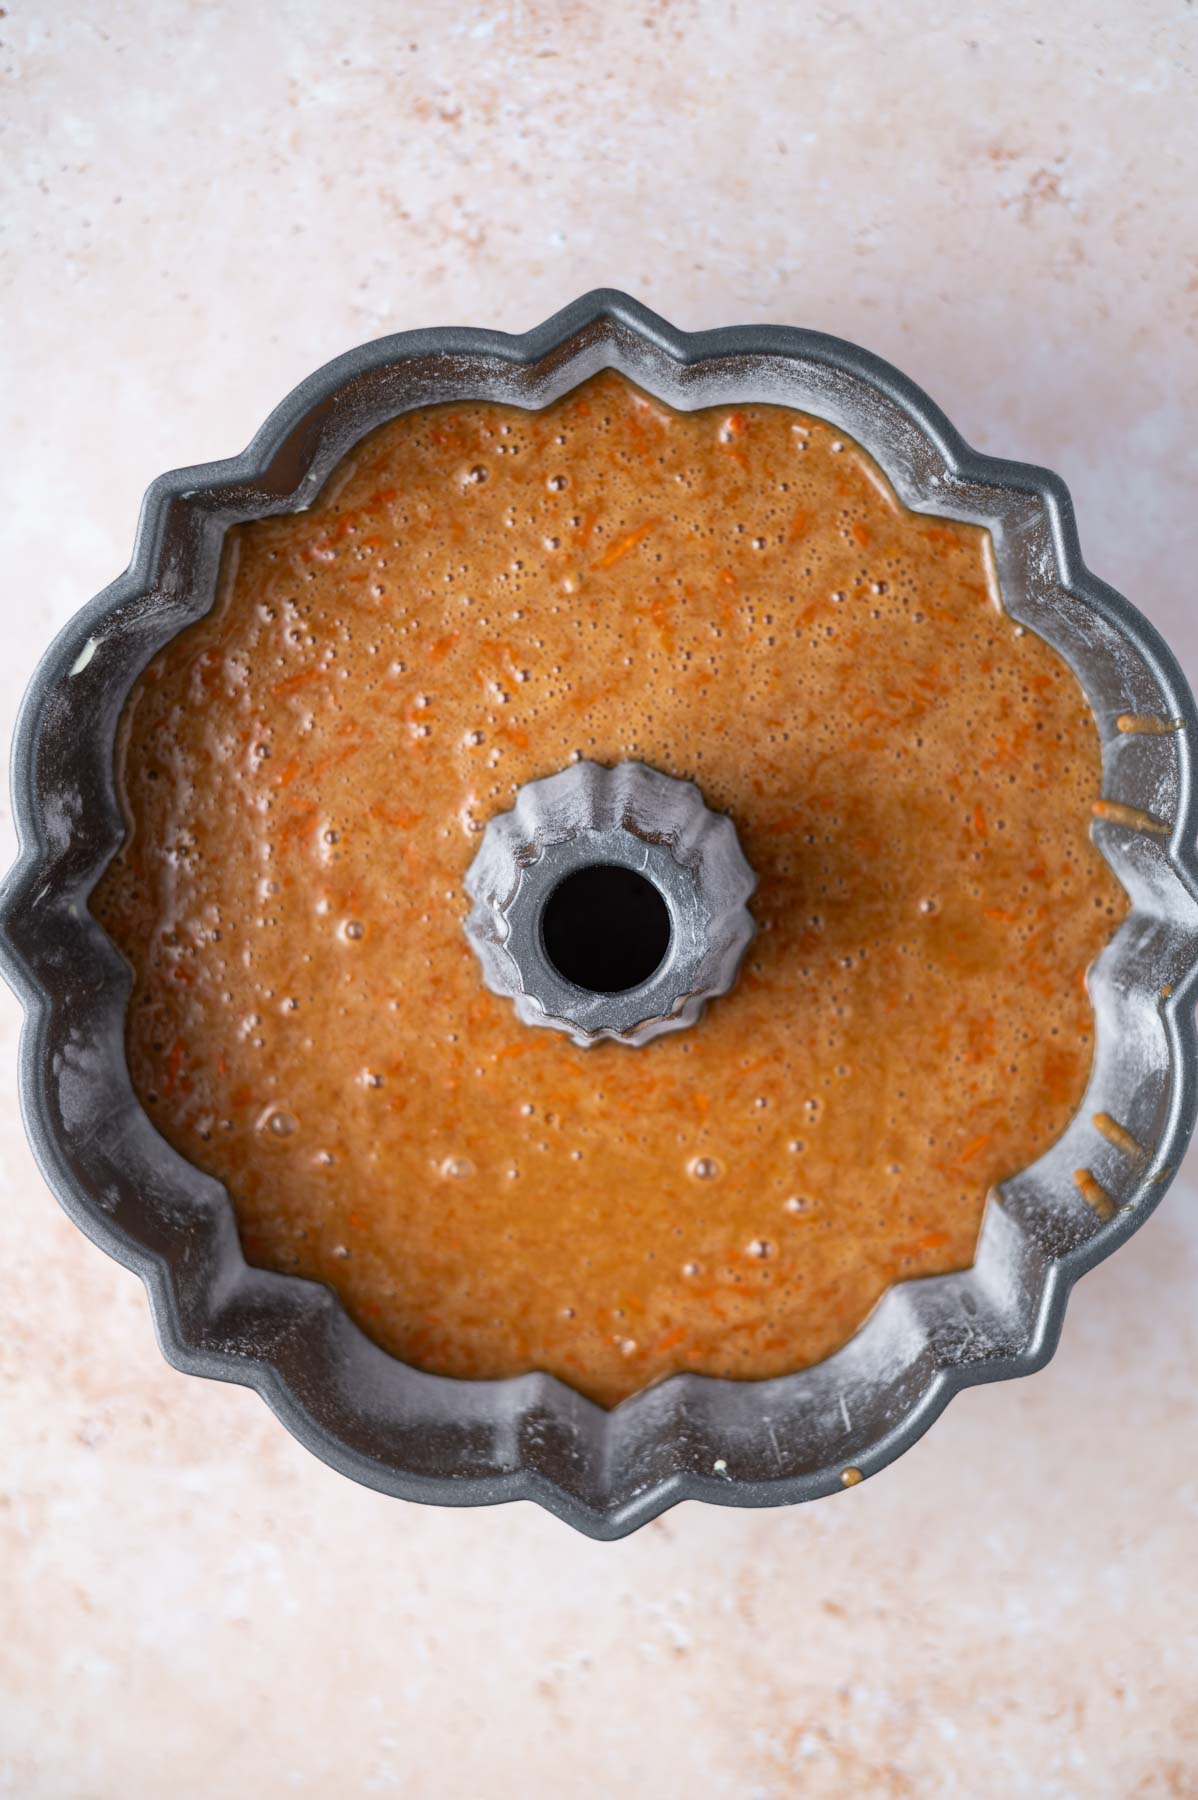
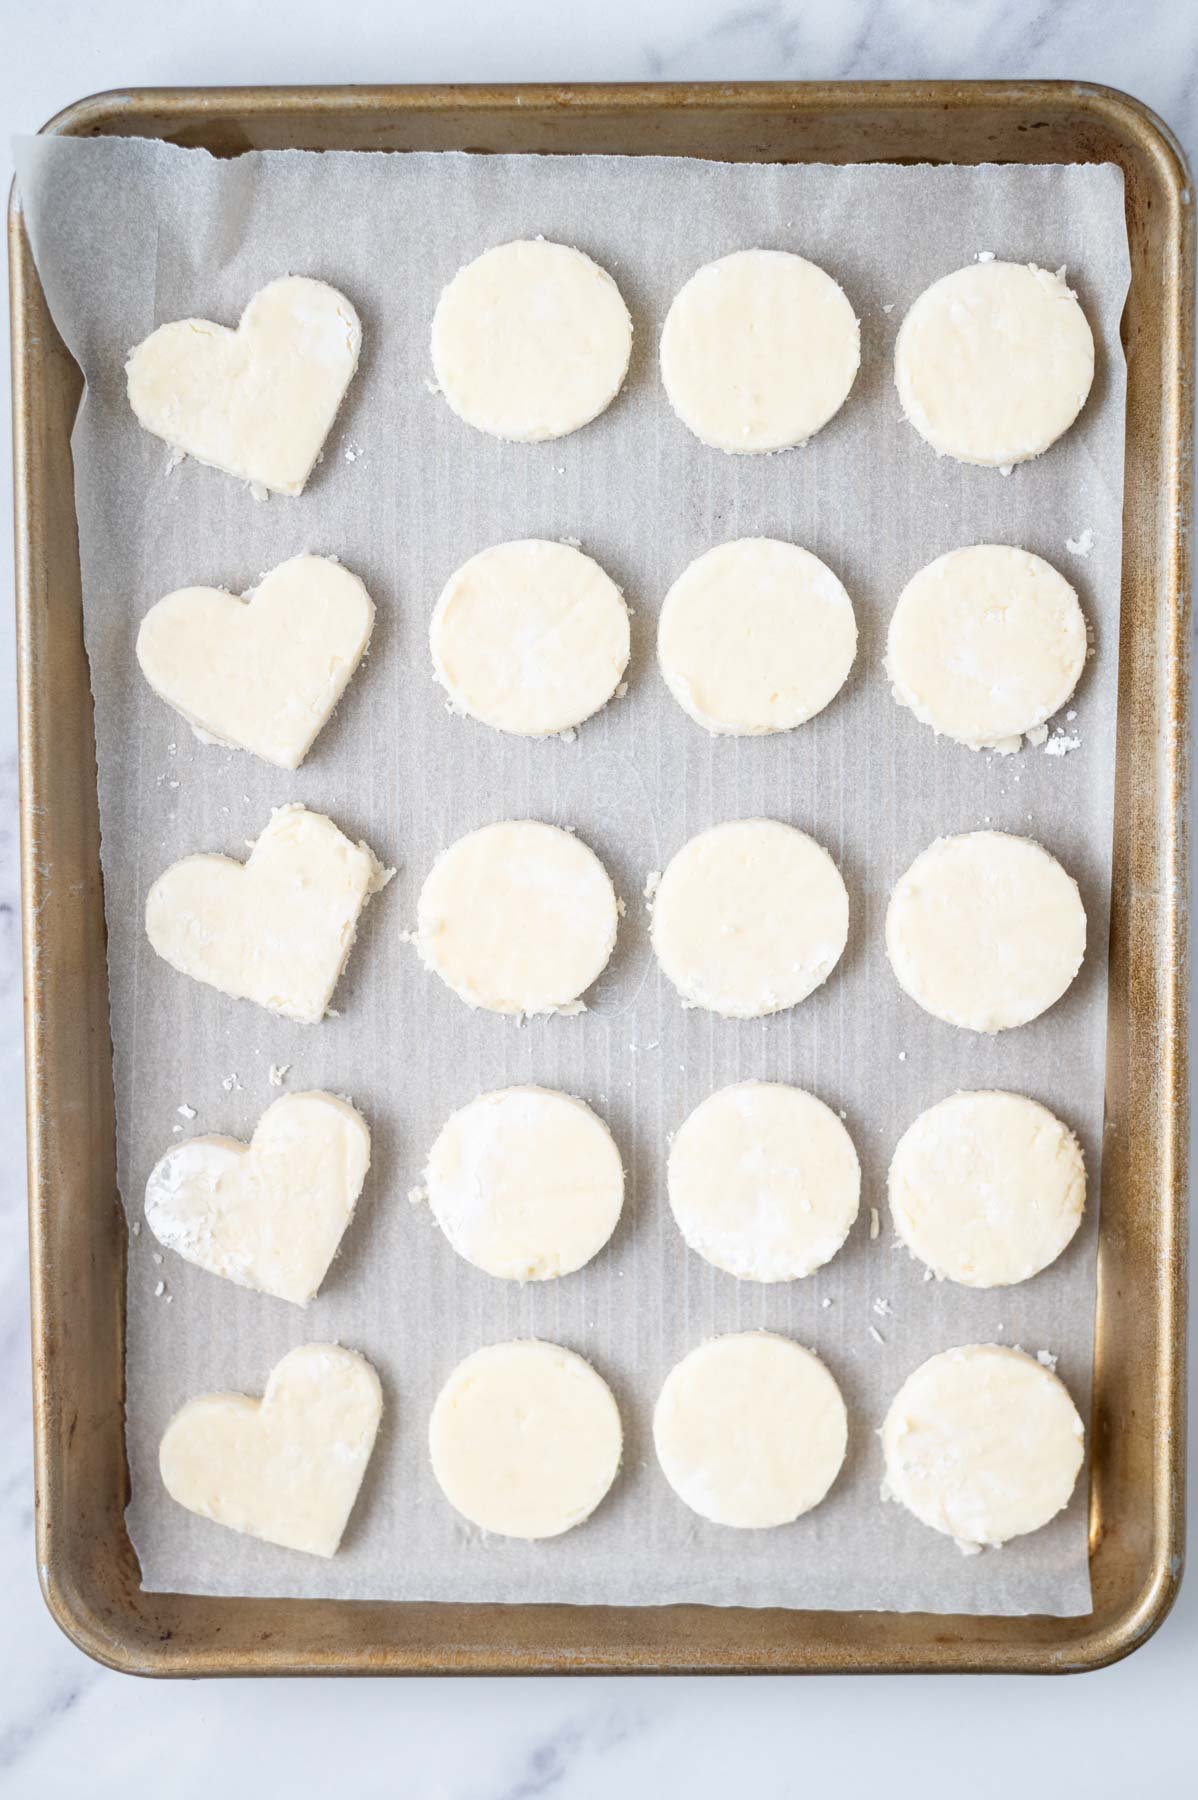
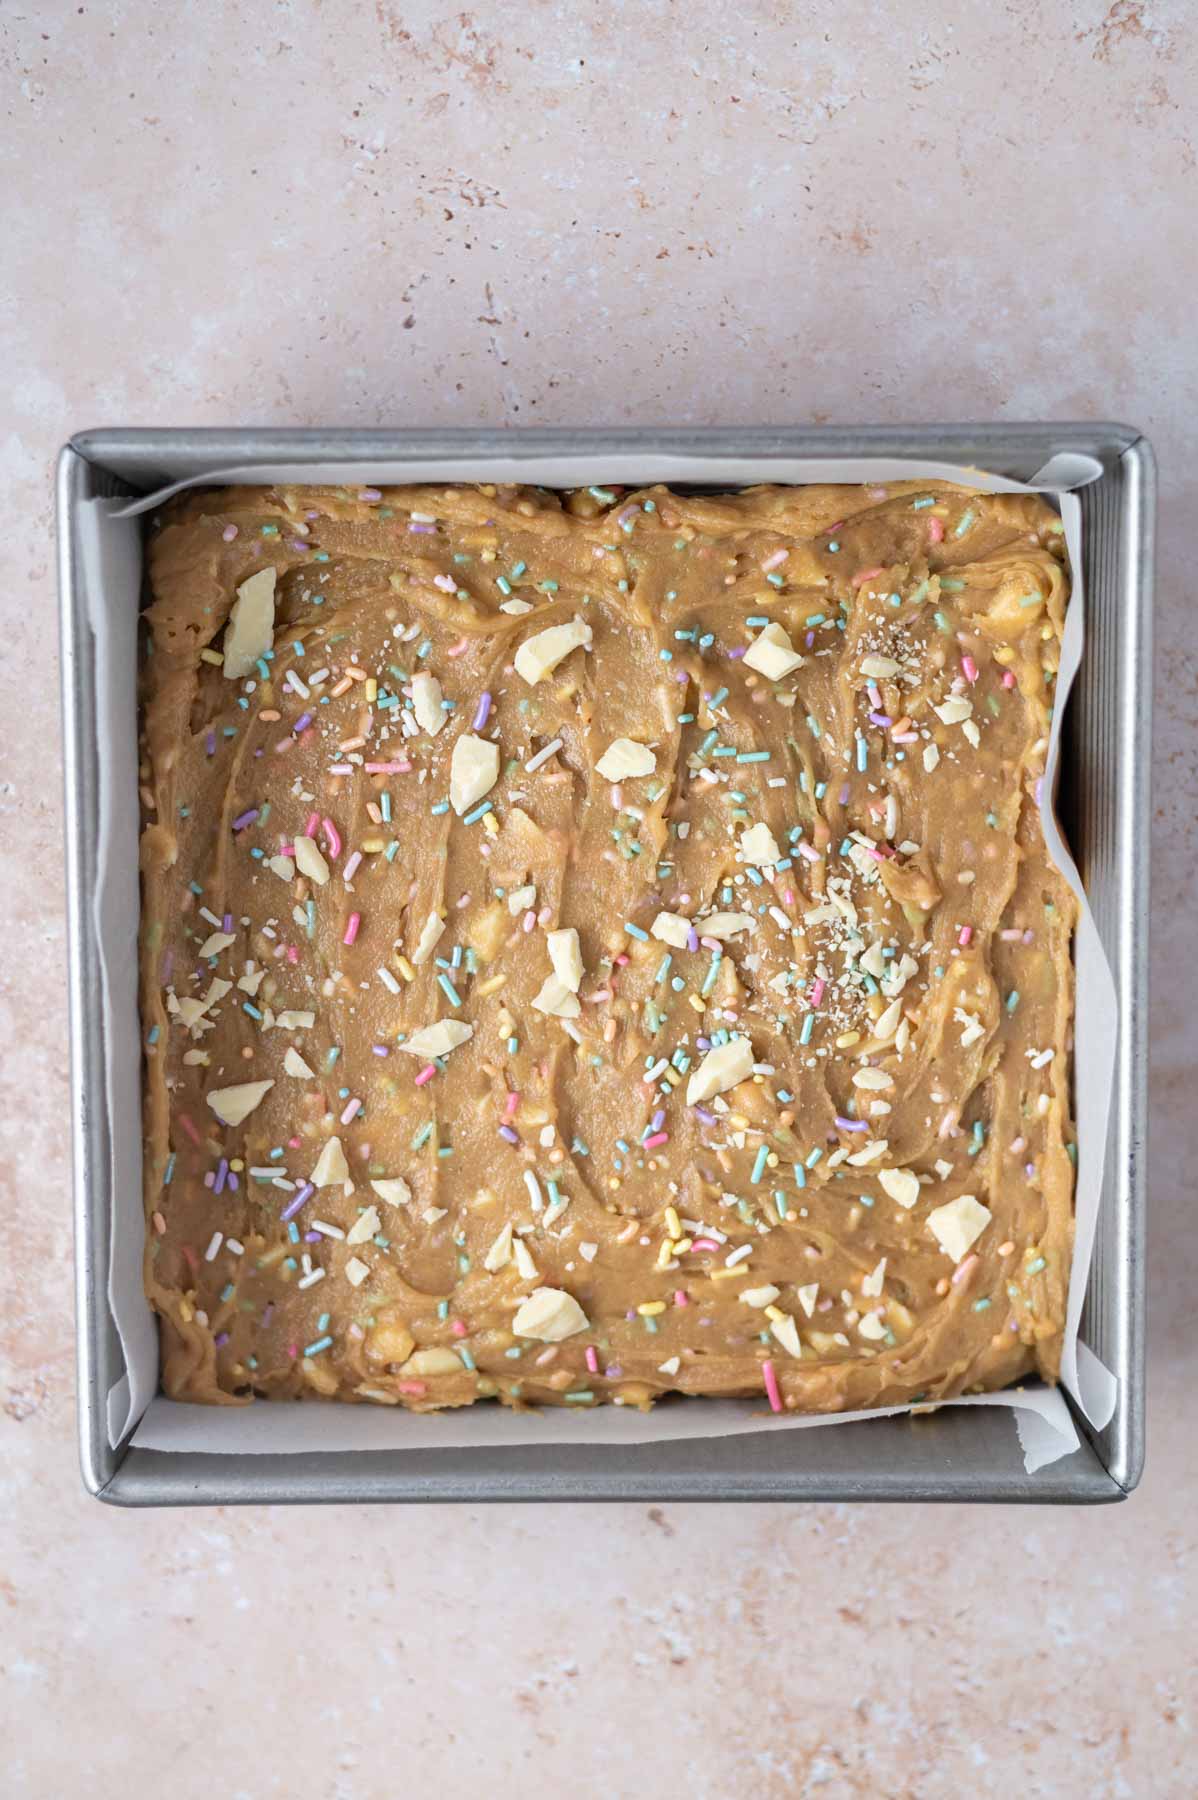
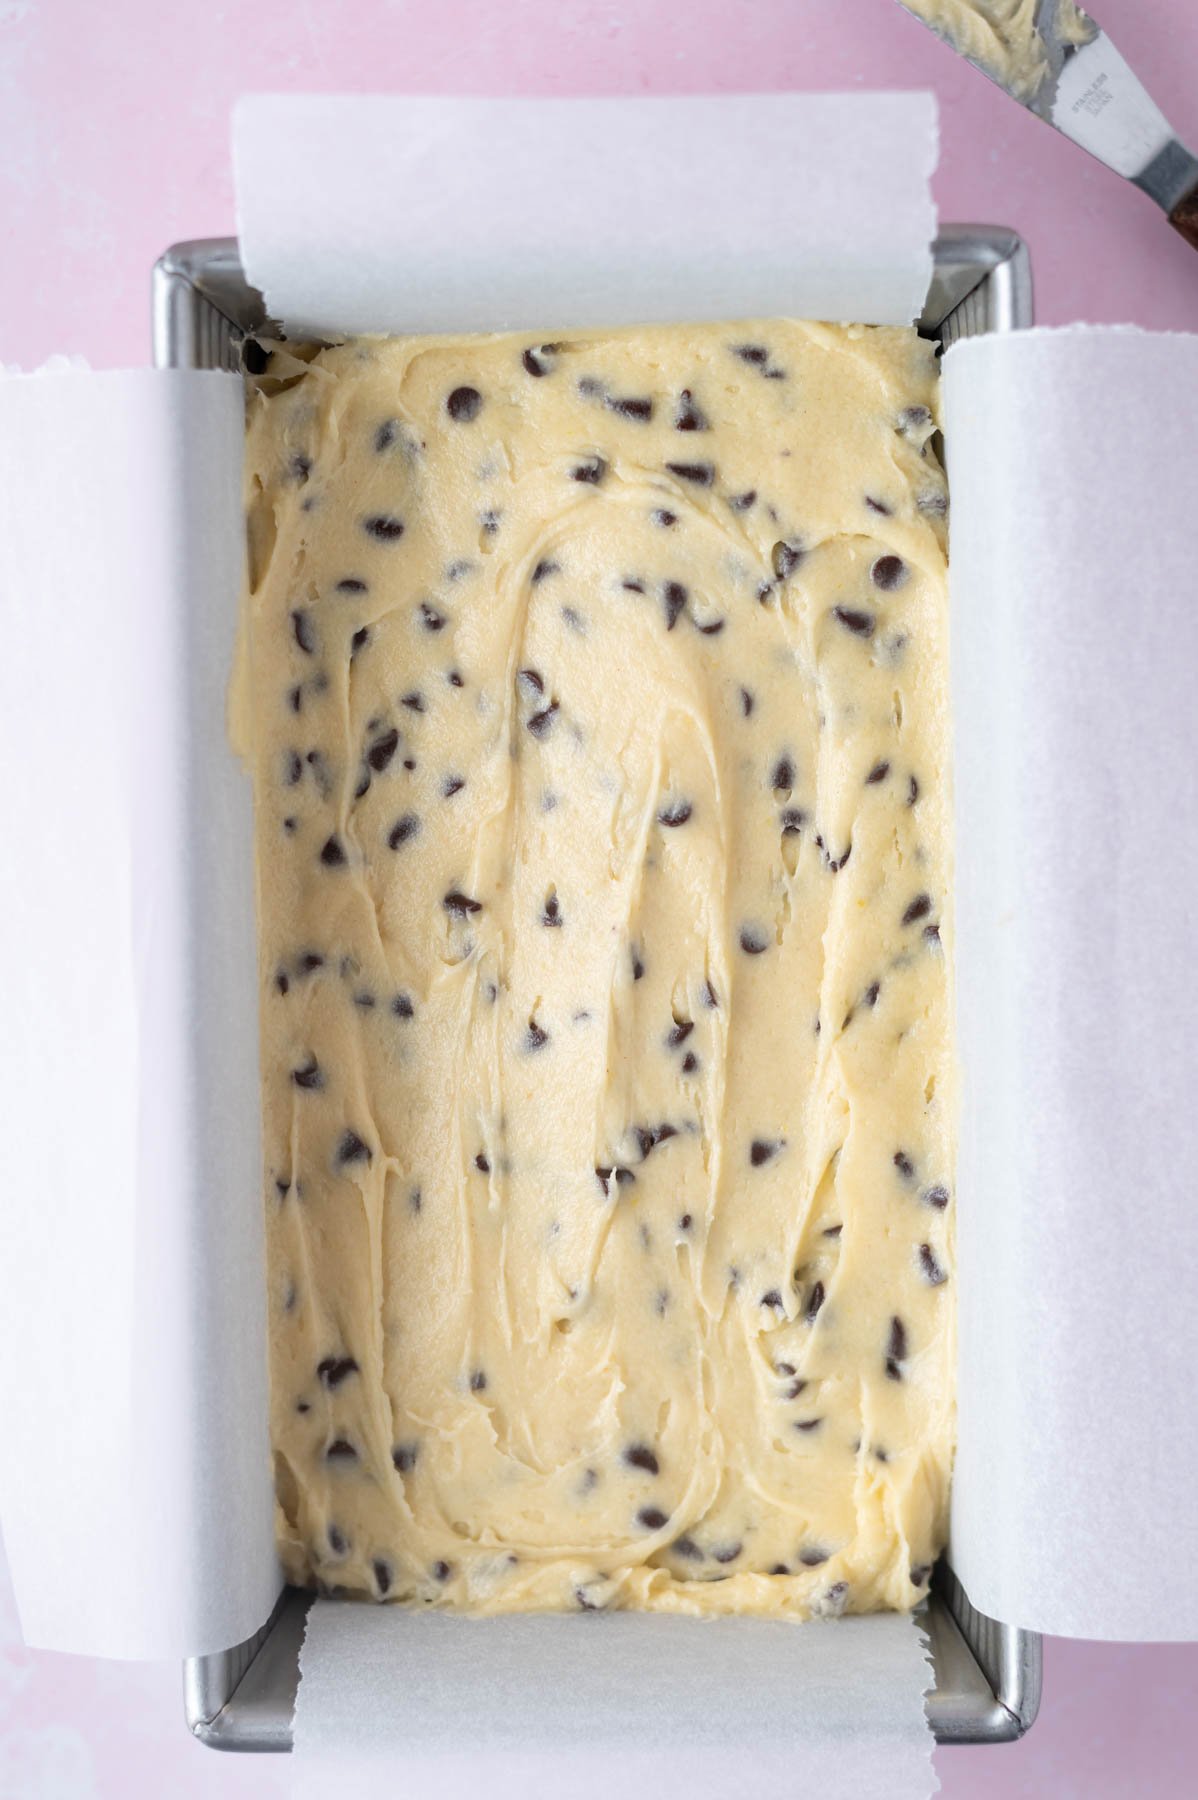
Divide the batter between the 12 liners, filling them about ¾ full. You’ll get at least 12 cupcakes and potentially up to 14.
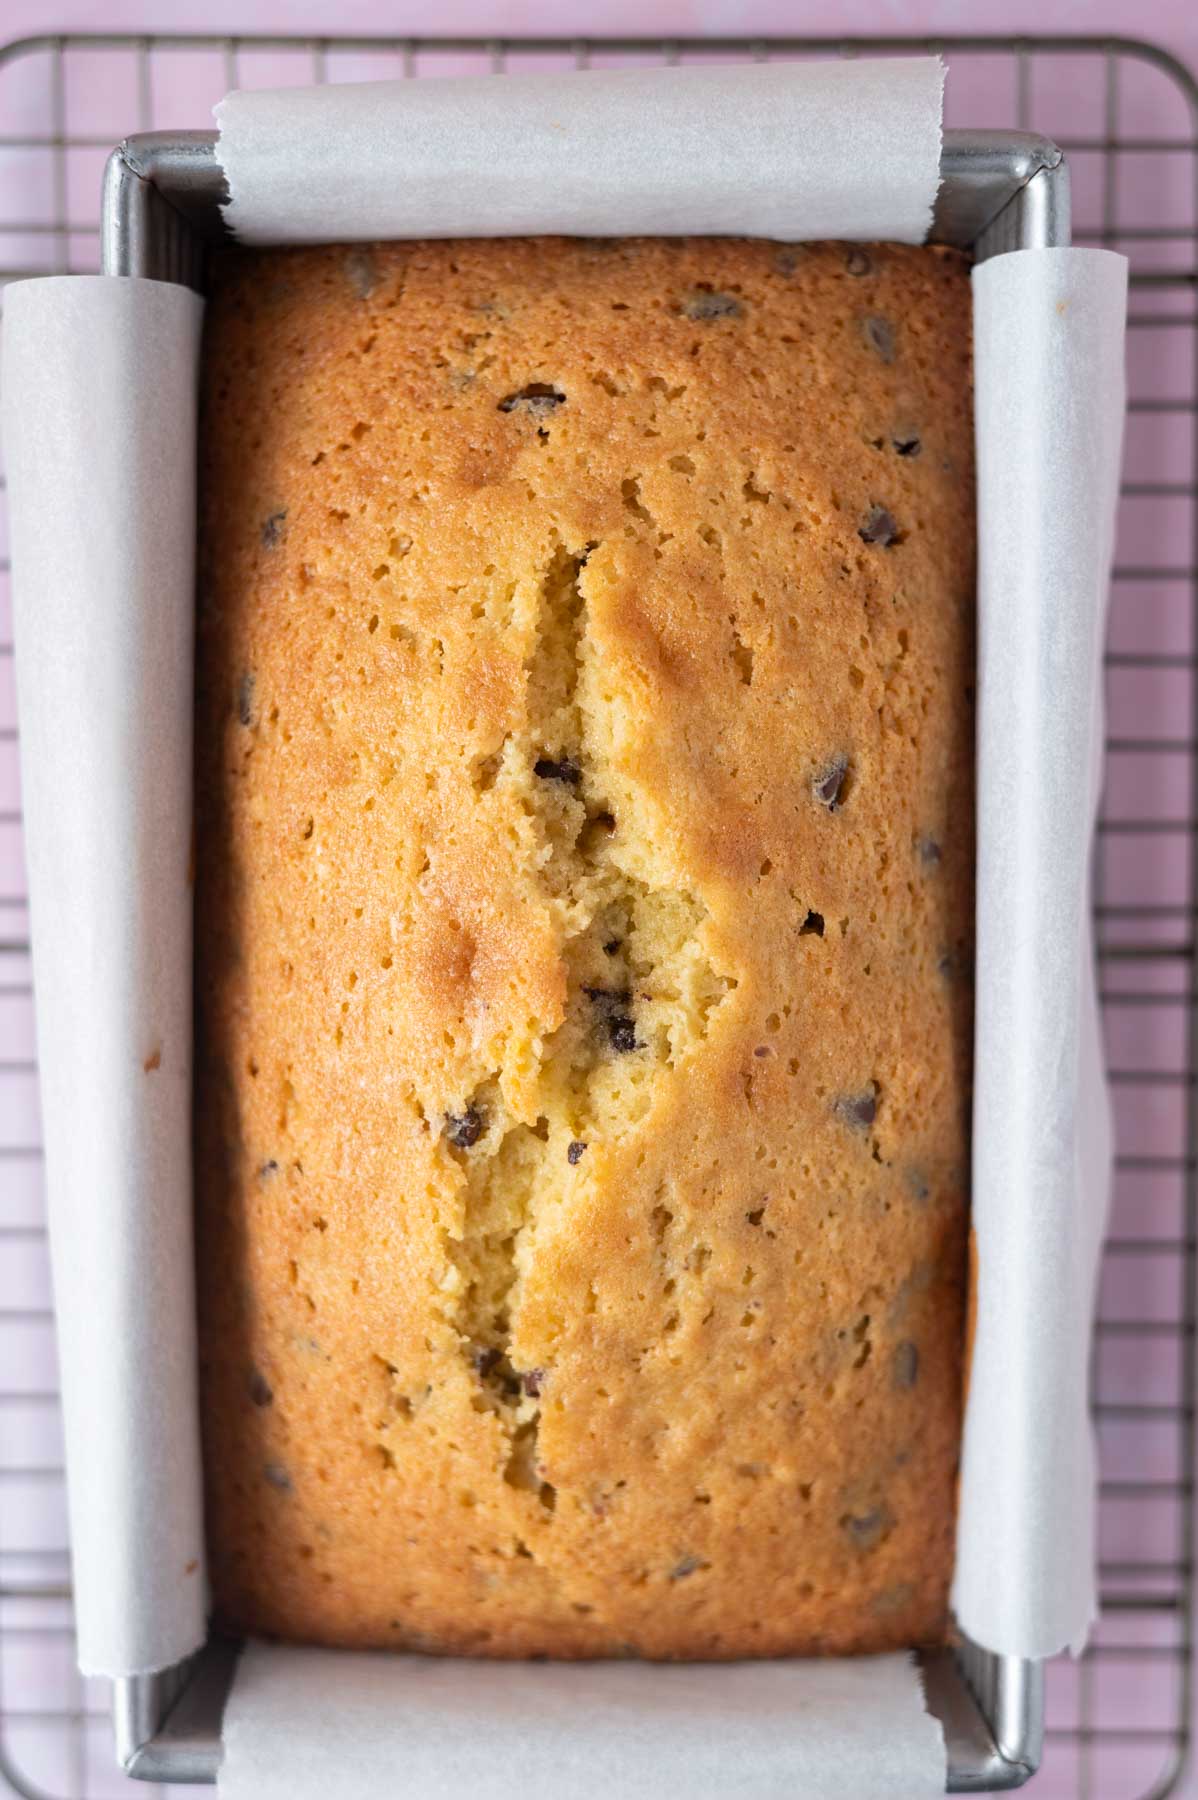
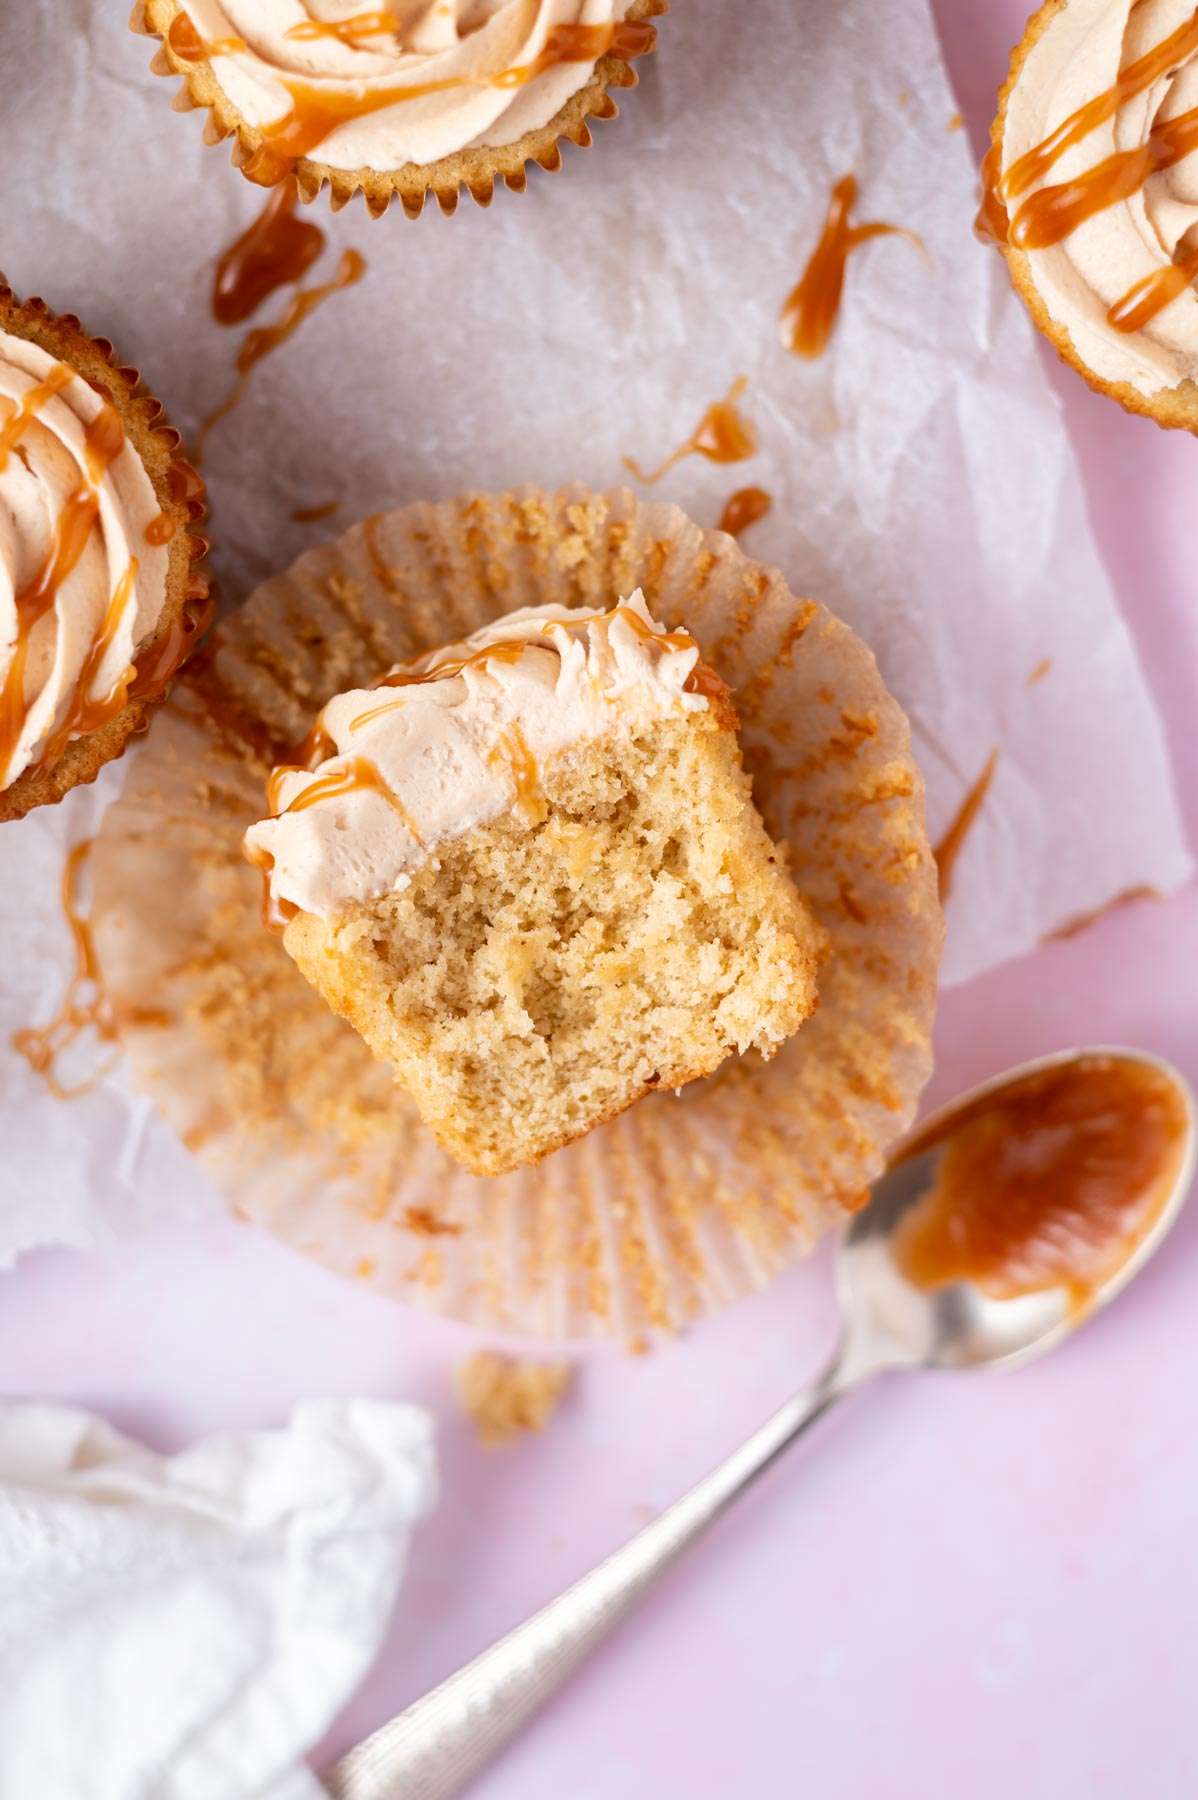
Bake for 16-20 minutes or until a toothpick inserted in the center comes out mostly clean. Allow to cool completely before frosting. Please know these brown butter caramel cupcakes bake with fairly flat tops.
how to make the best salted caramel frosting
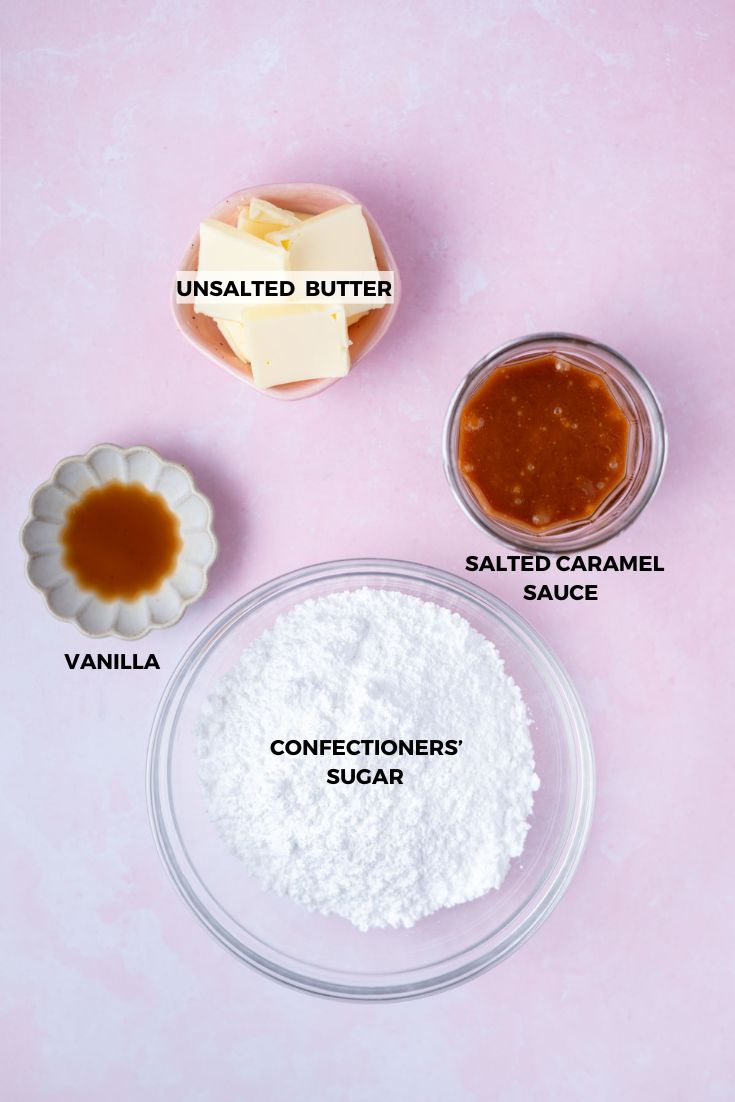
Gather the ingredients for the salted caramel frosting.
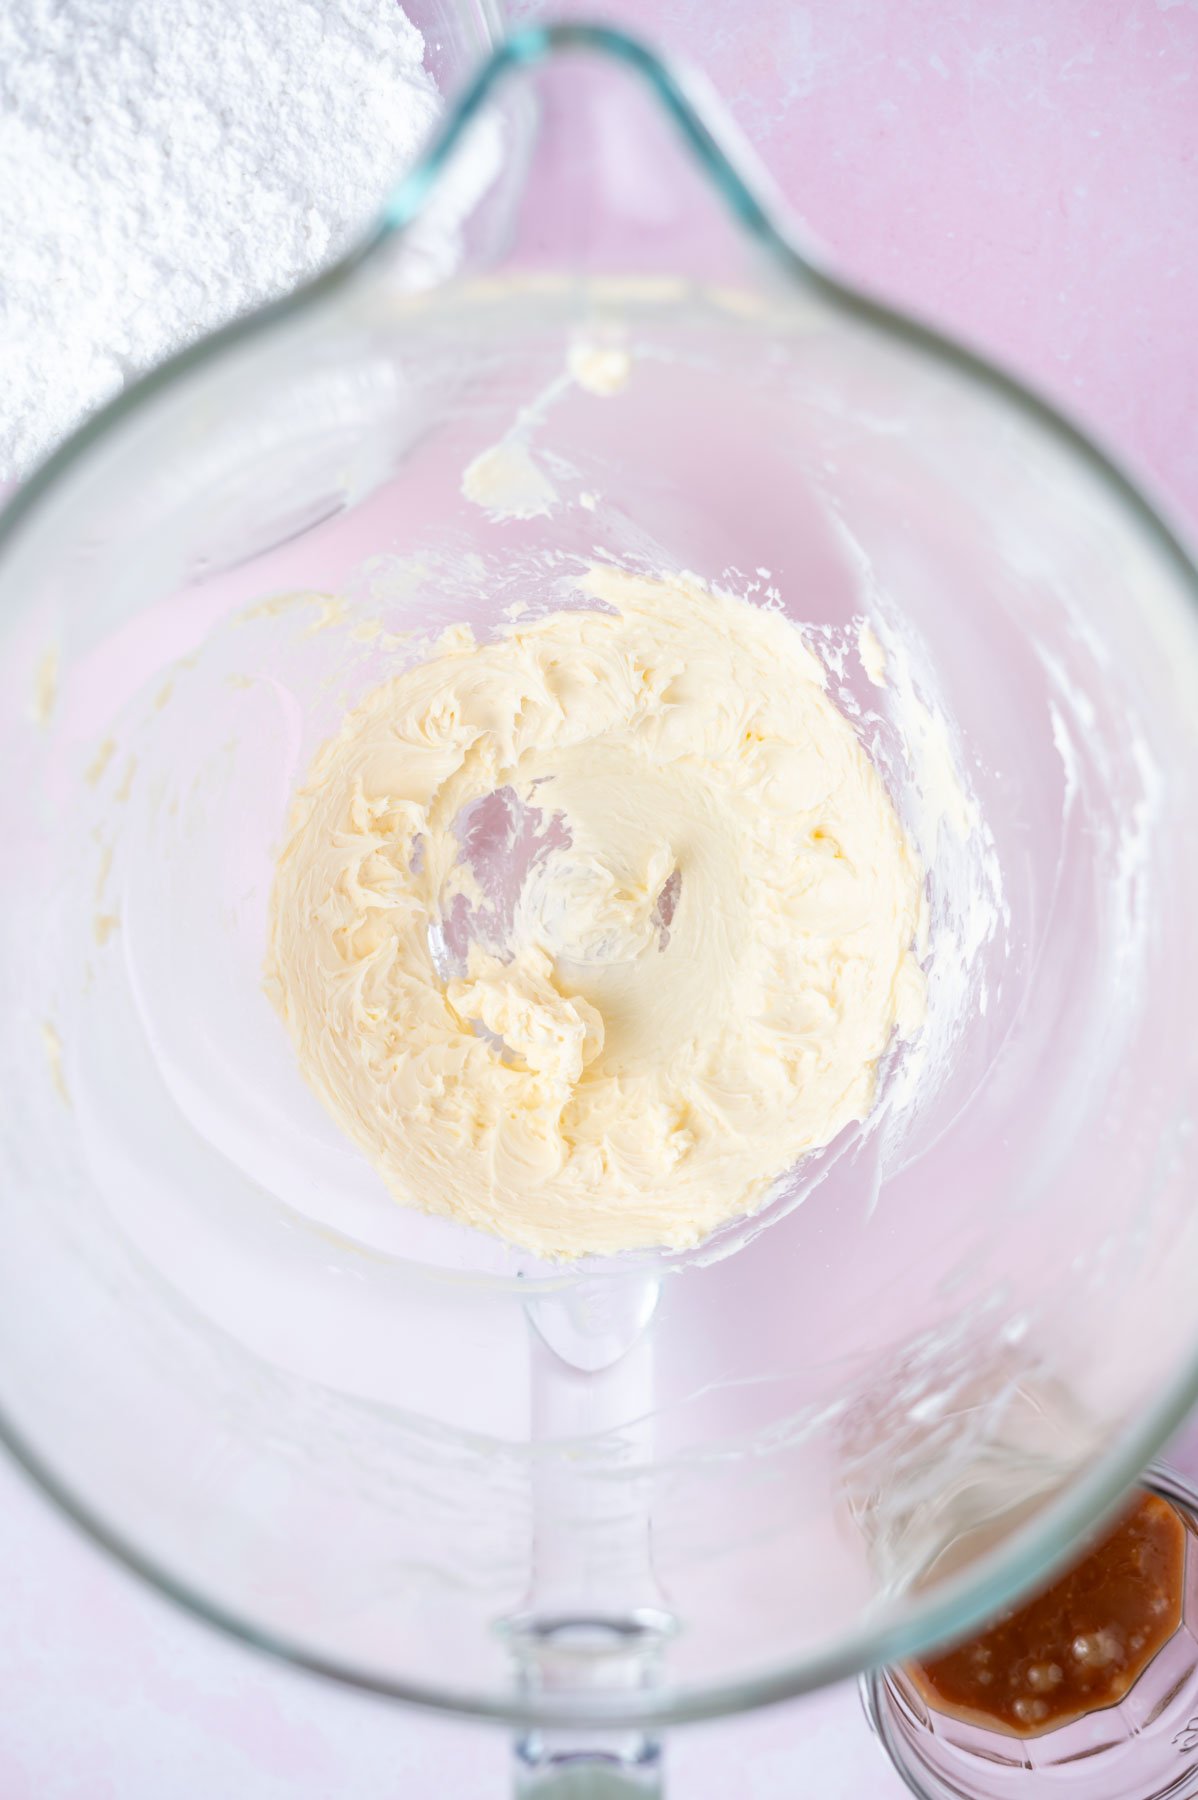
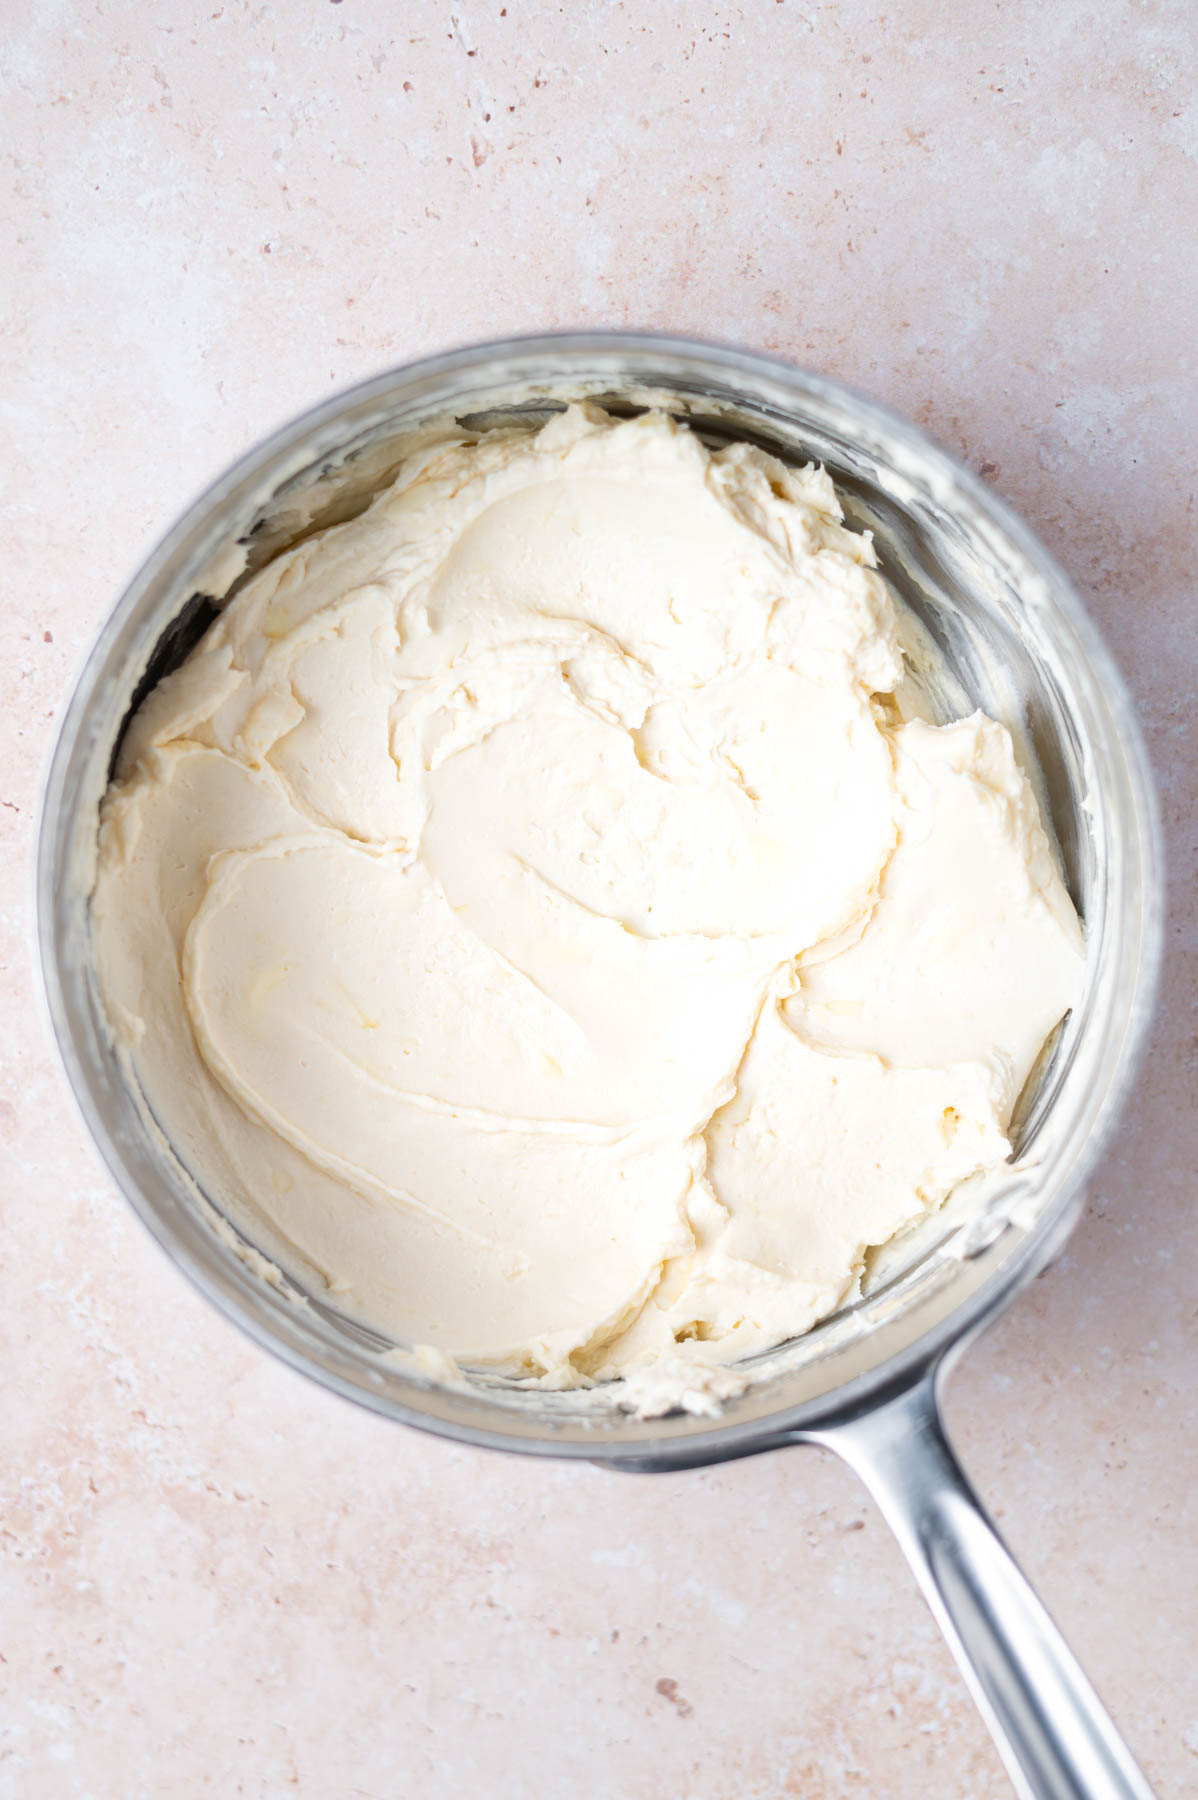
In a stand mixer with the paddle attachment or with a hand-held mixer, cream butter and vanilla on medium for approximately 2 minutes. You will likely need to scrape the bowl once during this time.
Scrape up and down the sides of the bowl and add the confectioners' sugar in 2 additions. Mix on low until incorporated, then increase the speed to medium-high and beat until well combined. Then add the final half of the confectioners's sugar, mixing on low and then up to medium-high until well combined. You will need to scrape the bowl a couple of times.
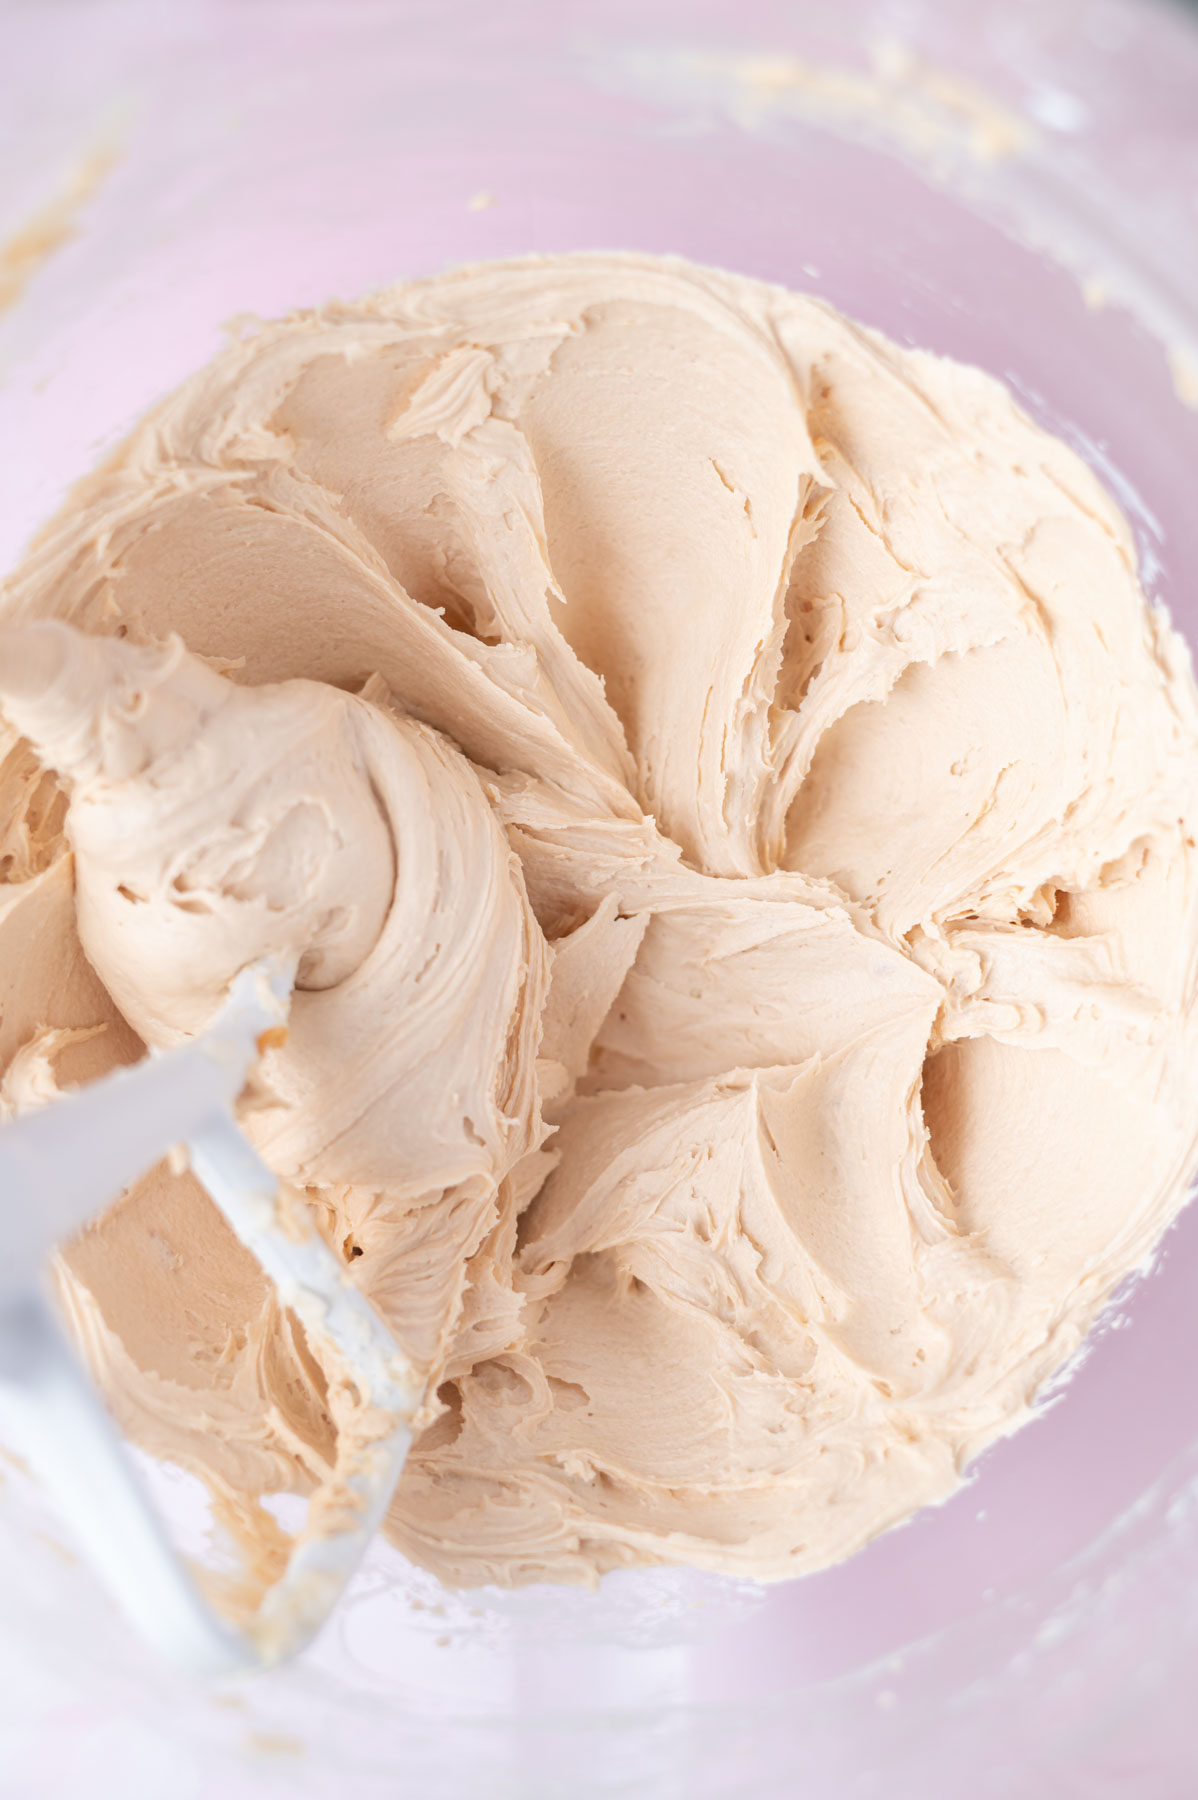
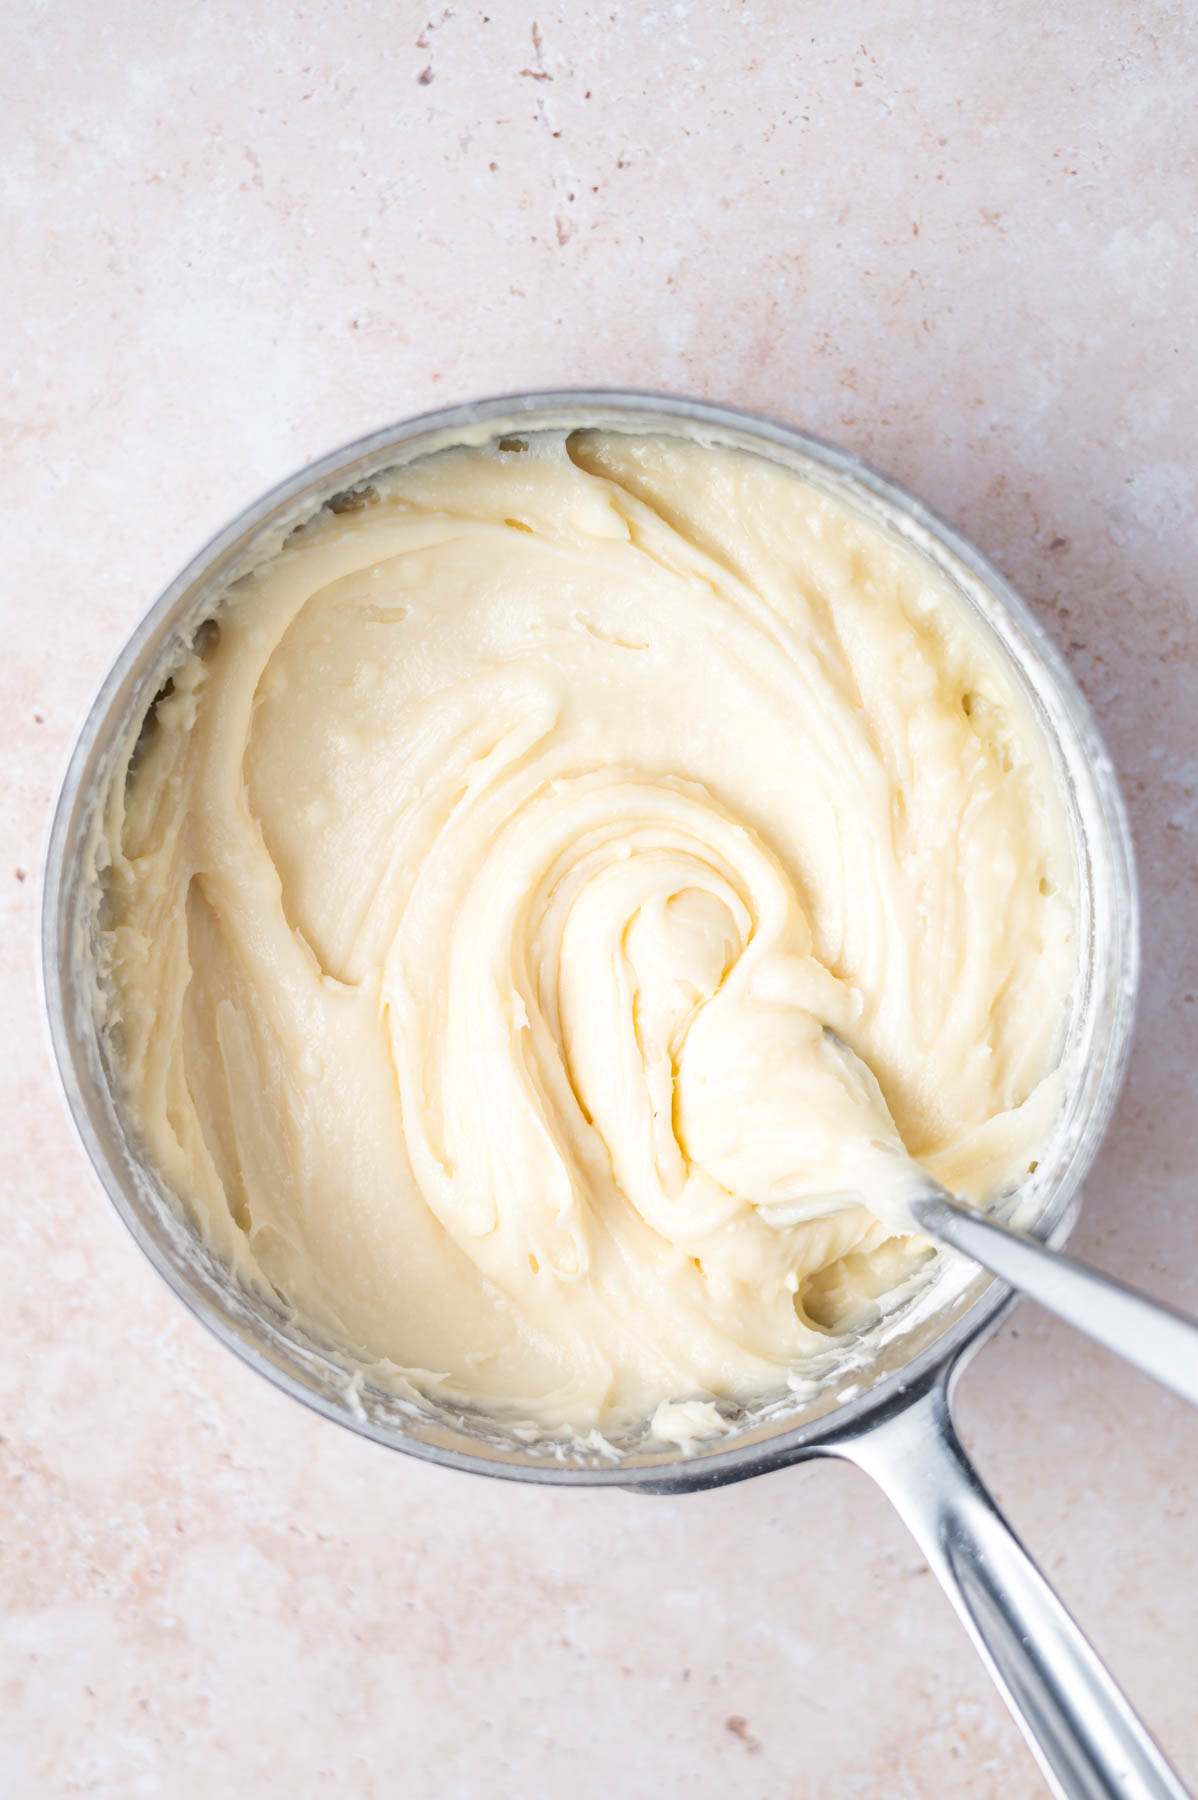
Add the cool and room temperature salted caramel and mix on medium-high until light and fluffy. Add a pinch of salt if too sweet and 1 - 2 tablespoons of heavy cream or half and half if needed for a fluffier frosting.
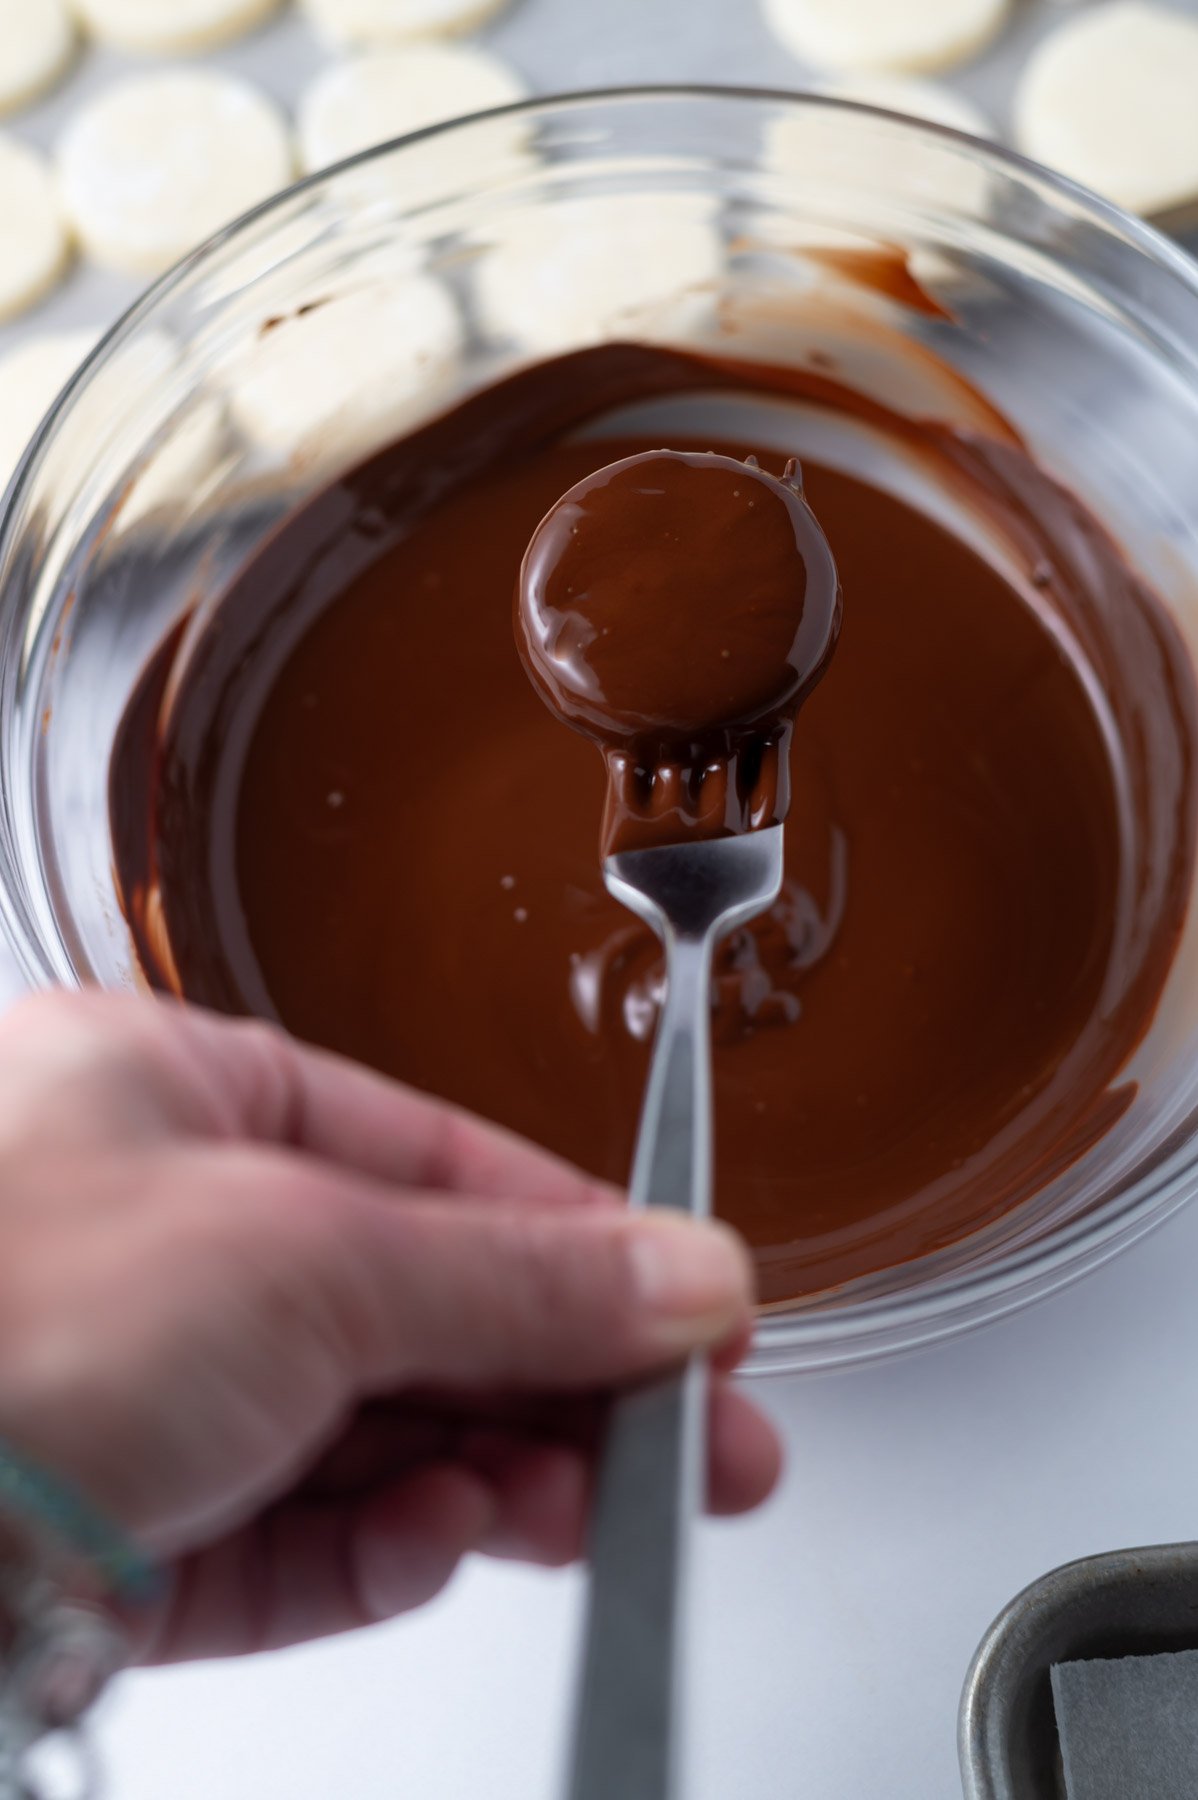
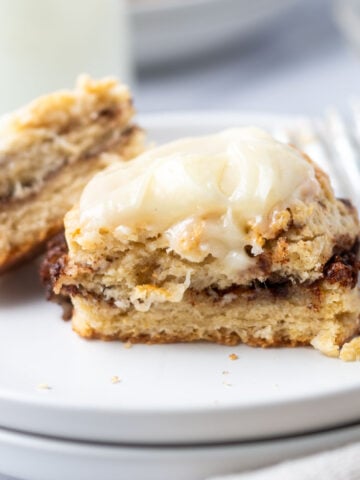
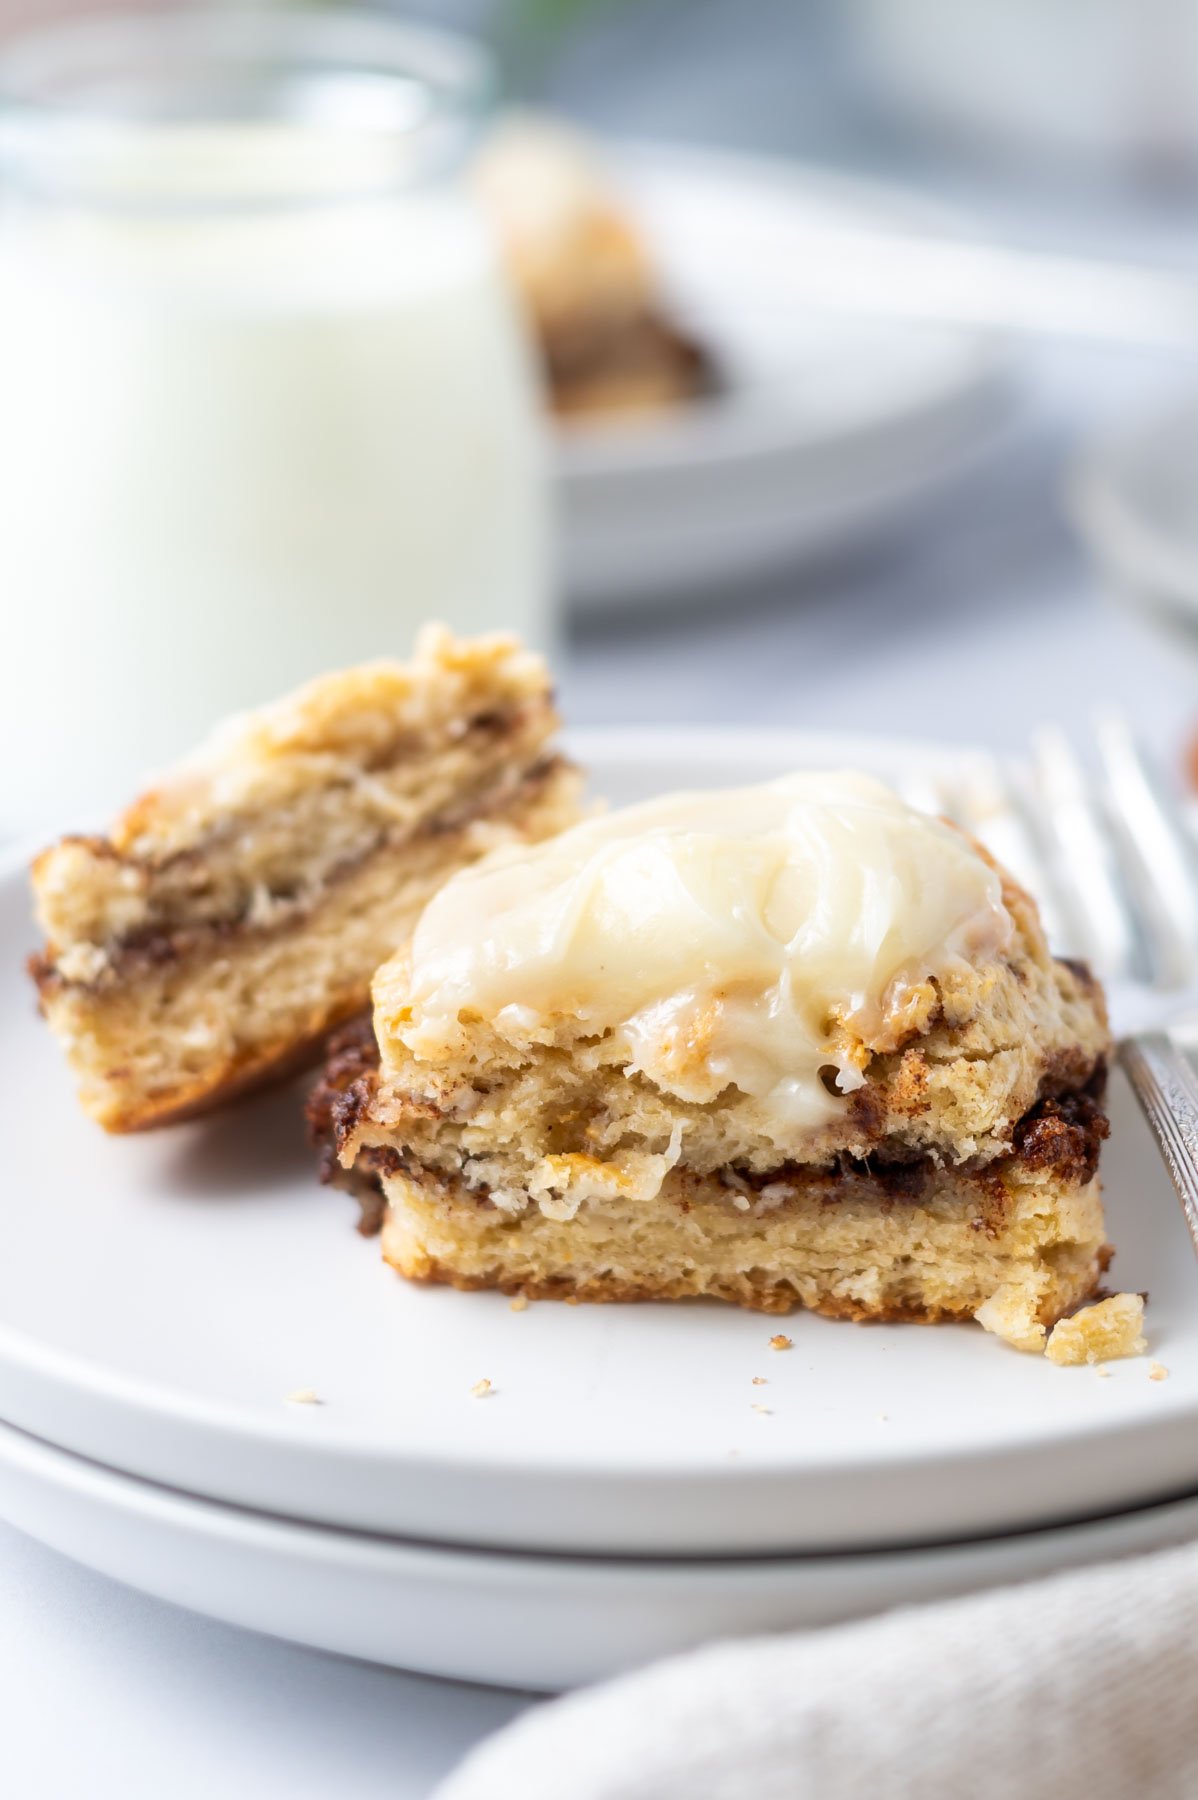
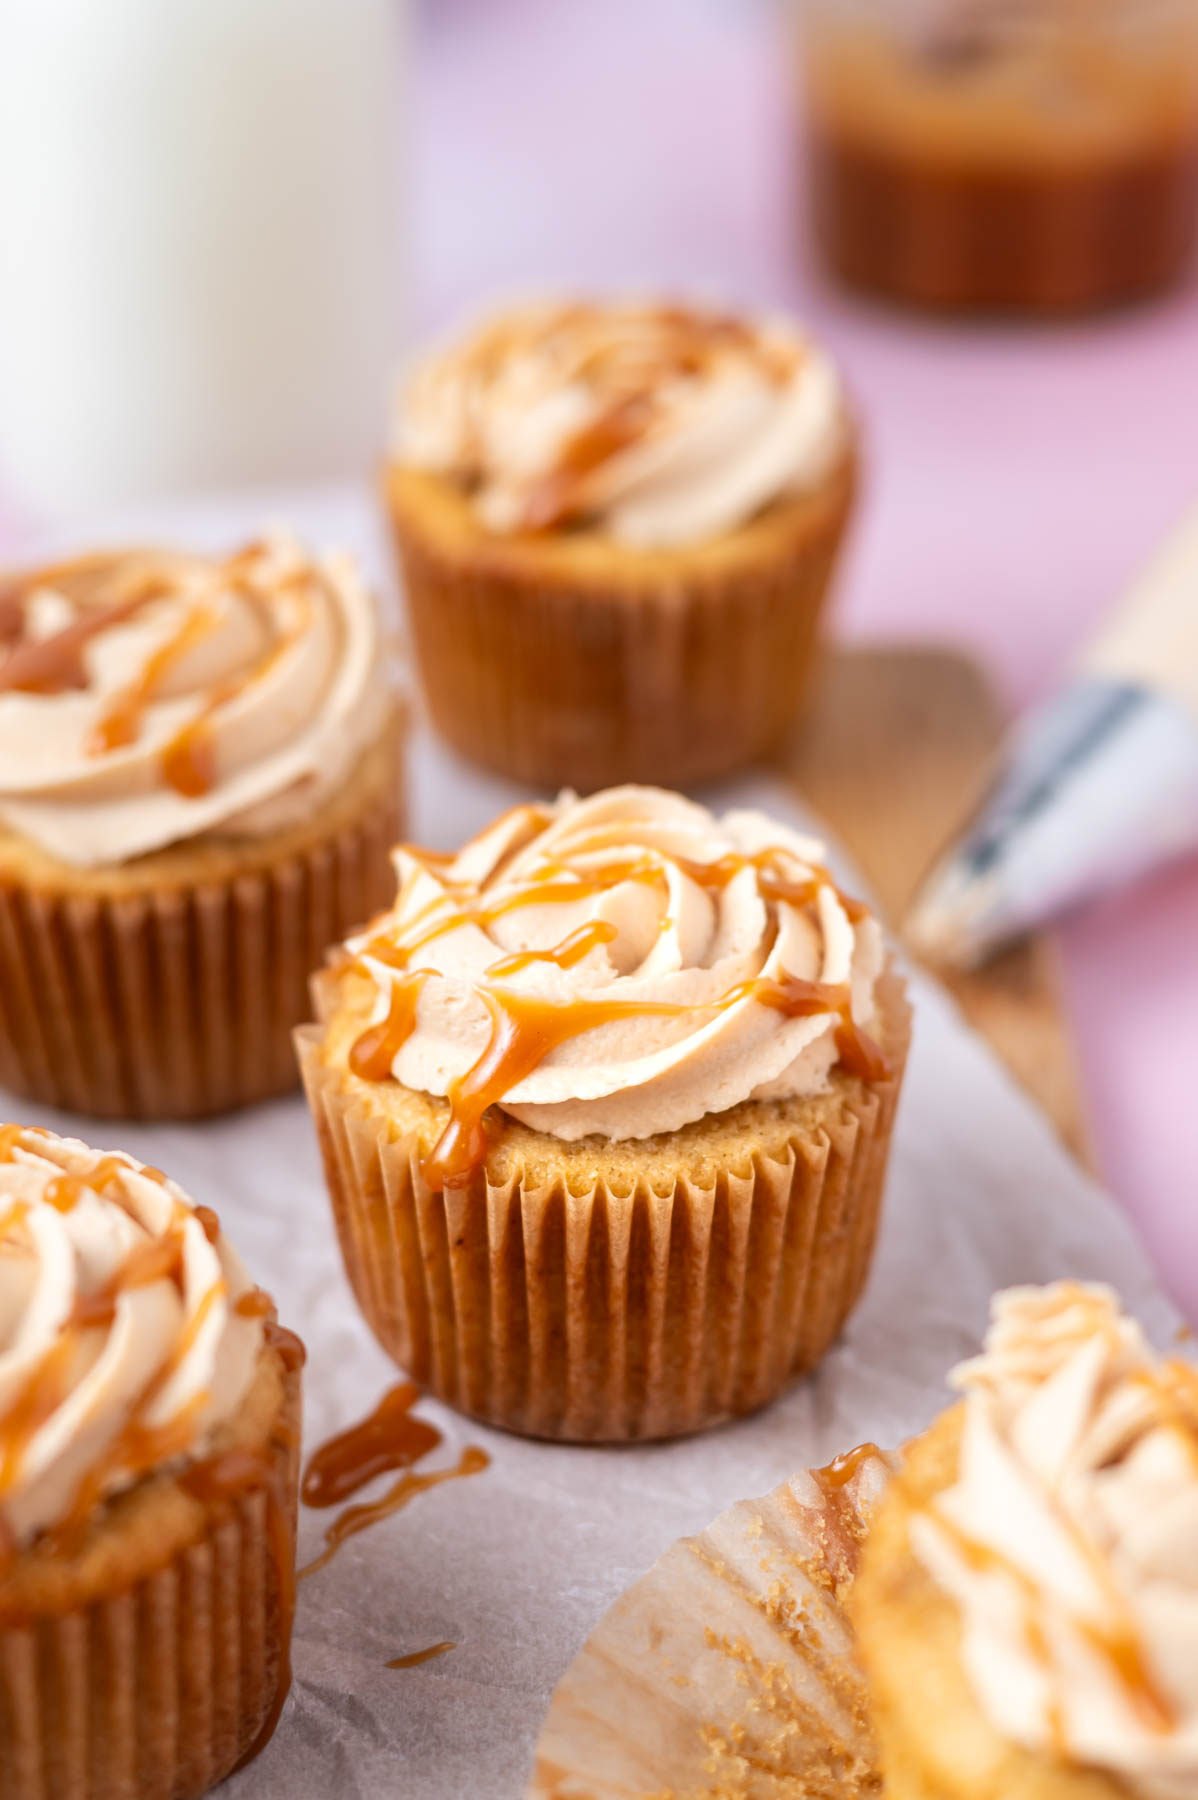
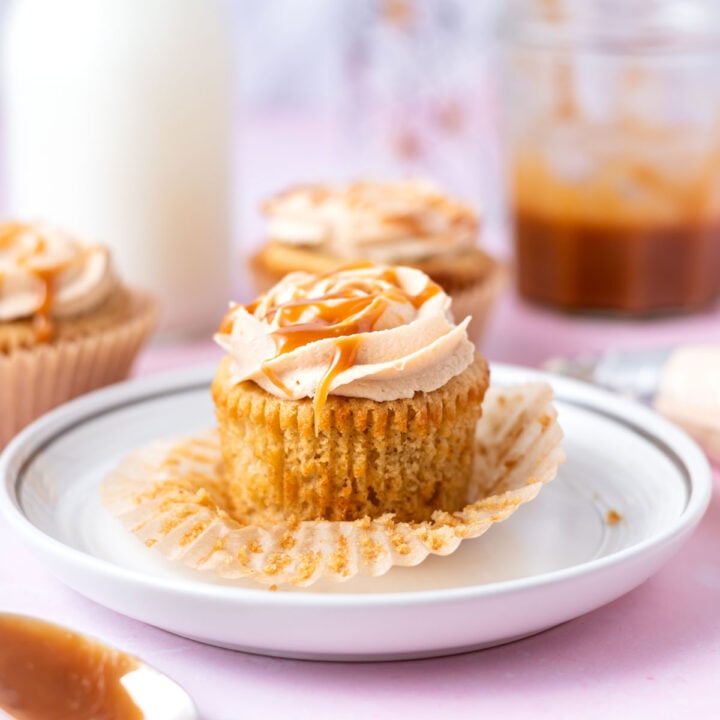
You can frost the completely cooled browned butter cupcakes in any way you like. To get the look in these pictures, I used a Wilton 1M tip and a disposable piping bag. The frosting yields just enough to give one rosette to each cupcake. Which is a very good thing in my case as I would just eat any remaining frosting with a spoon or spatula.🙈 It's just that good!!
I used a little of the remaining salted caramel sauce to drizzle over the tops of the frosted brown butter cupcakes. This is completely optional, but in my opinion a little more caramel sauce is never a bad thing!😉
💬 frequently asked questions
can I make the cupcakes in advance?
Yes, the brown butter caramel cupcakes can be made a day ahead; store cooled cupcakes in an airtight container at room temperature.
If you need to bake even farther ahead, the freezer is your best friend when wanting to bake cupcakes ahead of time. Allow cupcakes to cool completely, then store in an airtight container in the freezer for up to 2 weeks. Let the cupcakes defrost, then decorate them.
Or freeze the decorated cupcakes for up to three months. I freeze them with frosting all the time! Allow them to defrost at room temperature before serving, this takes about 30-45 minutes.
what can I do with the leftover salted caramel sauce?
Homemade salted caramel sauce is great on top of ice cream, drizzled over espresso brownies or as filling in brown sugar shortbread or peanut butter thumbprint cookies.
why are my cupcakes dry?
Dry cupcakes are often a result of too much flour or over baking. A kitchen scale will ensure that you have the correct amount of flour; this is the scale I use. Remember your oven is different from mine and baking times may vary slightly.
what if I don't want to make salted caramel frosting?
Chocolate frosting ~ small batch chocolate Swiss meringue buttercream or the chocolate fudge buttercream from my chocolate snack cake would both be great options.
Vanilla buttercream ~ my not-too-sweet American buttercream from vanilla snack cake would pair nicely with these browned butter cupcakes.
👩🏻🍳 tips for the best homemade cupcakes
Use room temperature ingredients for the best cupcakes with browned butter. Depending on the temperature of your kitchen you will want to pull out the milk, sour cream and eggs about 2 hours before baking. {My kitchen is on the cooler side, so I usually go 2-3 hours before baking}.
Weigh the ingredients by using a food scale to ensure you have the correct amounts.
Don't over mix the batter. When cake and cupcake batter is over mixed, it creates a more dense cake crumb. We are going for fluffy and moist!
Use a cookie or ice cream scoop to get even amounts of batter into each liner. This helps the cupcakes to bake uniformly. Fill each cupcake liner about ¾ full of cupcake batter.
Use good liners. These Paper Chef liners are my very favorite brand that I use in my kitchen. {not sponsored, just a fan!}
For the best, moist and tender cupcakes, don't over bake them. Remove them from the oven when a toothpick or cake tester comes out with just a few moist crumbs.
🫙 how to store
Store any leftover cupcakes in an airtight container at room temperature for up to 3 days.
The browned butter cupcakes also freeze well for up to three months. I freeze them with frosting all the time.
The cupcakes taste best at room temperature, so let them sit out for 30 -45 minutes prior to serving. {although I've eaten many cold from the refrigerator too! And my kids like them frozen!}
Remember to snap a picture and tag me @twosugarbugs on Instagram if you make these Brown Butter Cupcakes with Salted Caramel Frosting. It warms my heart to see you bring these recipes to life! Thank you for being here and happy baking!
🧁 more easy cupcake recipes
If you make this recipe {or any recipe!} from two sugar bugs please come back and leave a review and a ⭐️⭐️⭐️⭐️⭐️ star rating. I read every comment, and I LOVE hearing from you!
Brown Butter Cupcakes with Salted Caramel Frosting
Tender and flavorful brown butter cupcakes give a vanilla cupcake recipe an upgrade with brown butter. Topped with the best salted caramel frosting!
I highly recommend using weight {metric} measurements when available for more accuracy and the best results.
Ingredients
brown butter cupcakes
- ½ cup browned butter* (unsalted butter) cooled at room temperature to solid state (113g)
- ¼ teaspoon kosher salt
- ⅓ cup packed brown sugar (67g)
- ⅔ cup granulated sugar (134g)
- 2 large eggs, room temperature
- 1 ½ teaspoons pure vanilla extract
- 1 ½ cups all-purpose flour (188g)
- ½ teaspoon baking powder
- ¼ teaspoon baking soda
- ½ cup milk**, room temperature (120mL)
- ¼ cup sour cream, room temperature (60g)
salted caramel sauce
- 1 cup granulated sugar (200g)
- 6 tablespoons unsalted butter, room temperature (85g)
- ½ cup heavy cream, room temperature (120mL)
- ½ teaspoon kosher salt
salted caramel frosting
- 5 tablespoons unsalted butter, room temperature (70g)
- ½ teaspoon pure vanilla extract
- 1 ½ cups confectioners' sugar (180g)
- ½ cup salted caramel sauce (135g)
- 1 -2 tablespoons heavy cream or half and half, if needed (15-30mL)
- Pinch of salt if needed
Instructions
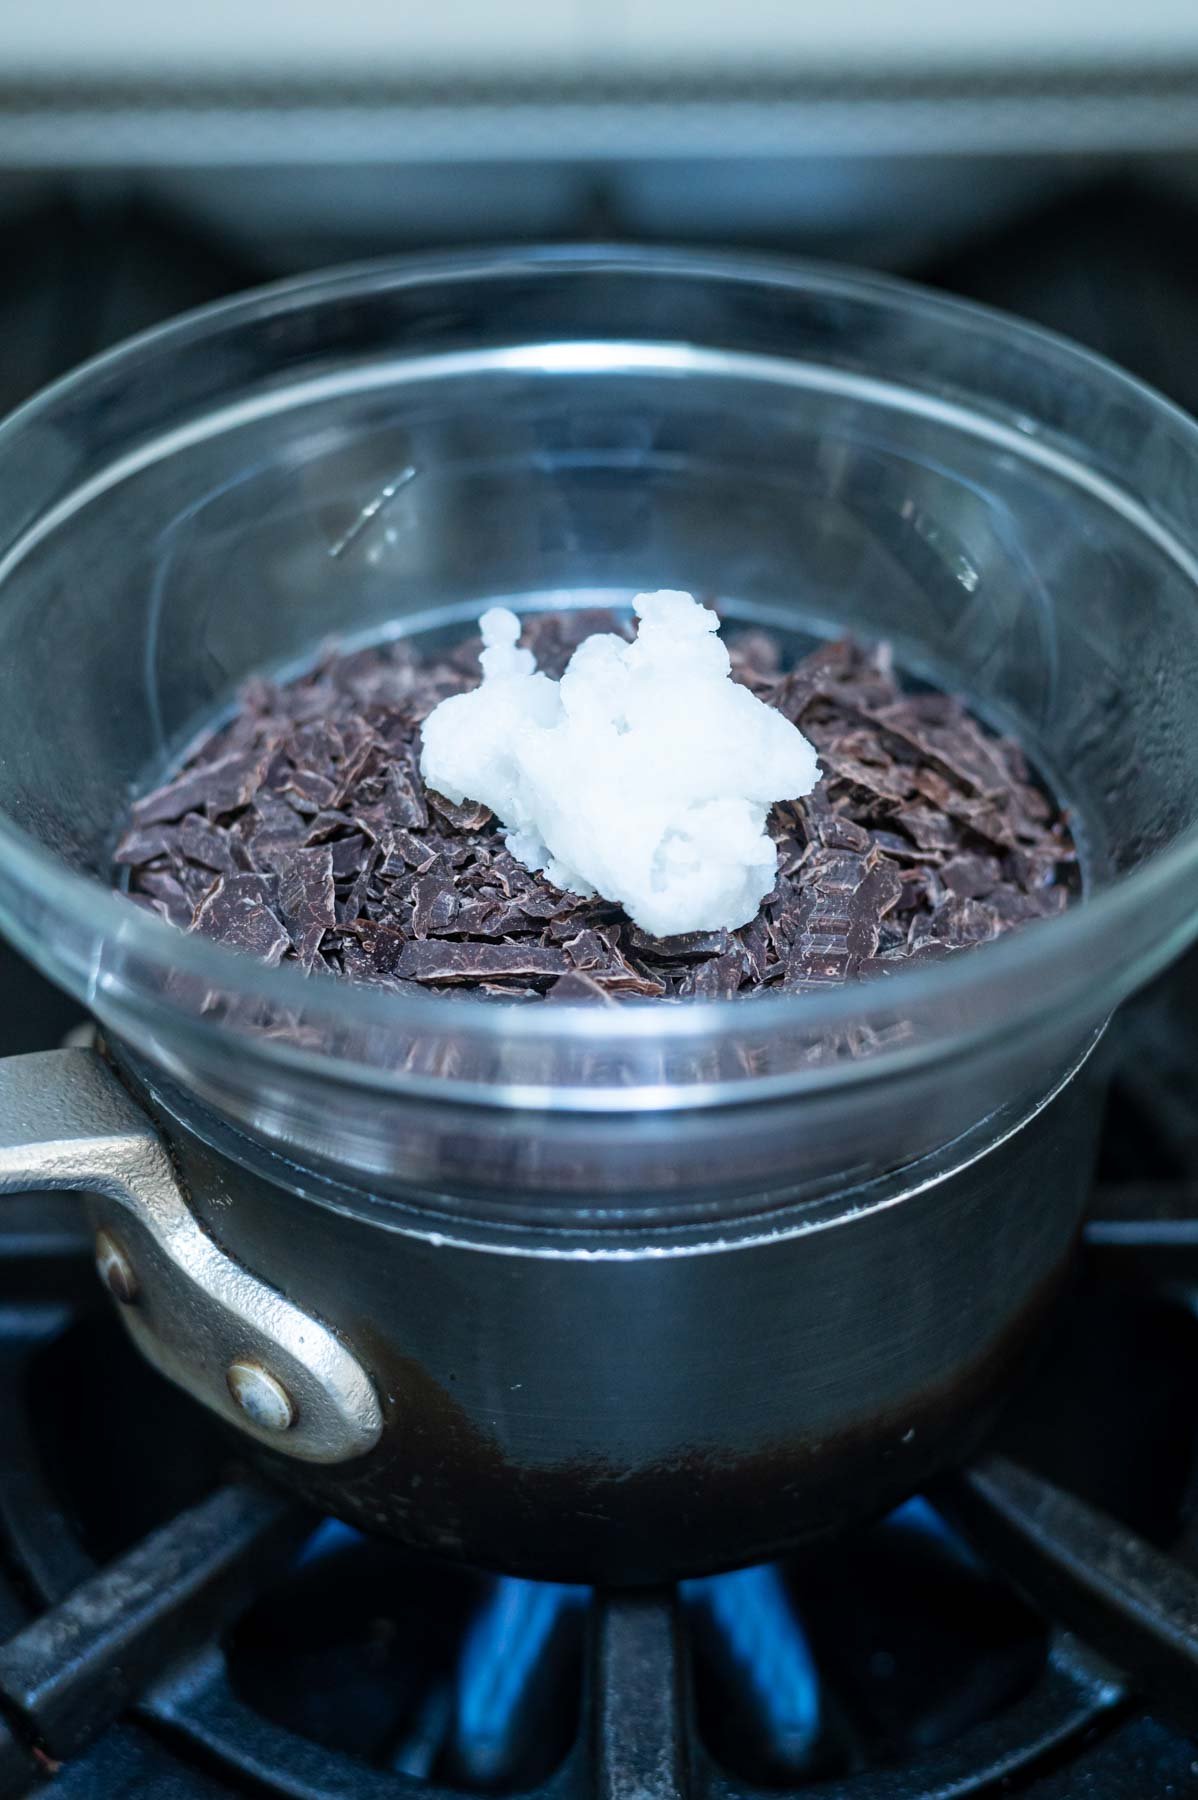
- To brown the butter: cut cubes of unsalted butter (½ cup/113g) and put in a light colored sauce pan and place over medium-low to medium heat and let it cook until small brown flakes form. You will want to stir or swirl the pan frequently after the butter has fully melted to keep it from burning. The butter will foam and bubble up along the process, just keep stirring/swirling and move the foam aside from time to time to check the color. The butter will turn an amber/brown color and will smell nutty and toasted when it's ready; it should take about 5-8 minutes. Pour melted butter and all the browned bits into a bowl to cool and solidify. You will have about 95g of butter after browning due to the water loss.
- Now is the time to make your salted caramel sauce: Add one cup of granulated sugar (200g) to a medium saucepan and heat over medium, stirring constantly. Use a wooden spoon or a high heat resistant rubber spatula.
- The sugar will start to melt. Then it will clump together before melting into a thick amber colored liquid.
- When the sugar is fully melted, add the room temperature butter (6 tablespoons/85g). The butter will cause the sugar to bubble rapidly, so use caution in this step.
- Whisk the butter into the caramel until it is completely incorporated. I prefer using a whisk to keep the butter and sugar from separating, but your wooden spoon or spatula can work as well. When the butter and sugar are fully incorporated, slowly add the room temperature heavy cream (½ cup/120mL) while continuing to whisk (or stir). Again, the mixture will bubble rapidly, so use caution.
- Let the mixture boil for 30-60 seconds.
- Remove from the heat and stir in ½ teaspoon of kosher salt. Carefully pour caramel into a heatproof container and allow to cool to room temperature before using. (you can always place it in the refrigerator for 15 minutes or so if needed, but you want it at room temperature before adding it to the frosting).
You will have left over caramel sauce, store covered in the refrigerator for up to two - three weeks.
To make the cupcakes: Once browned butter has cooled at room temperature and is solid (about 1-2 hours), preheat your oven to 350°F/177°C. Prepare a 12 count muffin pan with liners, you may need another pan with two additional liners. Set aside.
In your stand mixer fitted with the paddle attachment or with a hand-held mixer, cream your solidified browned butter with the brown sugar (⅓ cup/67g), granulated sugar (⅔ cup/134g) and kosher salt (¼ teaspoon). Start on low until the butter and sugars are incorporated, then increase to medium (speed 6 on KitchenAid) for 2-3 minutes or until fluffy. You may need to scrape the bowl once or twice.
Now add the eggs (2 large) and vanilla (1 ½ teaspoons) and mix on medium for approximately 1 - 2 minutes. Then scrape up and down the bowl.
With the mixer on low, add half the flour (total flour amount is 1 ½ cups/188g), baking powder (½ teaspoon) and baking soda (¼ teaspoon) and mix until mostly incorporated. Add the milk (½ cup/120mL) and sour cream (¼ cup/60g) and mix on low until mostly incorporated. Scrape up and down your mixer bowl and then add the final half of the flour and mix on low until just combined.
Divide the batter between the 12 liners, filling them about ¾ full. You’ll get at least 12 cupcakes and potentially up to 14. Bake for 16-20 minutes or until a toothpick inserted in the center comes out mostly clean. Allow to cool completely before frosting.
For the salted caramel frosting: in a stand mixer with the paddle attachment or with a hand-held mixer, cream butter (5 tablespoons/70g) and vanilla (½ teaspoon) on medium for approximately 2 minutes. You will likely need to scrape the bowl once during this time.
Scrape up and down the sides of the bowl and add the confectioners' sugar in 2 additions (total amount is 1 ½ cups/180g). Mix on low until incorporated, then increase the speed to medium-high (speed 8 on KitchenAid) and beat until well combined, about 2-3 minutes. Then add the final half of the confectioners's sugar, mixing on low and then up to medium-high until well combined. You will need to scrape the bowl a couple of times.
Add the cool and room temperature salted caramel (½ cup/135g) and mix on medium-high until light and fluffy, approximately 3-4 minutes. Add a pinch of salt if too sweet and 1 - 2 tablespoons of heavy cream or half and half (15-30mL) if needed for a fluffier frosting.
Then decorate the cupcakes by piping or spooning the frosting on top and drizzle with a little more caramel sauce, if desired.
Notes
*a half cup of butter is what you need to brown, this will be a little under a half cup after browning, which has been accounted for in the recipe.
**I use 1% milk for the brown butter cupcakes, but 2% or whole milk also works.
You will have left over caramel sauce, store covered in the refrigerator for up to two - three weeks. Recipe was slightly adapted from Sally's Baking Addiction.
I used a Wilton 1M for decorating the cupcakes in the photos.
Store any leftover cupcakes in an airtight container at room temperature for up to 3 days. The cupcakes also freeze well for up to three months. I freeze them with frosting all the time. Allow them to defrost at room temperature before serving.
Nutrition Information:
Yield:
14Serving Size:
1Amount Per Serving: Calories: 410Total Fat: 21gSaturated Fat: 13gTrans Fat: 0gUnsaturated Fat: 7gCholesterol: 83mgSodium: 201mgCarbohydrates: 53gFiber: 0gSugar: 42gProtein: 3g
The nutrition information is based on third-party calculations, is an estimate only and may not be entirely accurate. Actual nutritional values will vary based on brands used and portion sizes.
Recipe shared with Meal Plan Monday, Full Plate Thursday and Weekend Potluck