

Decorate cable knit sweater cookies like a pro with this step-by-step tutorial! Photos and a video included to create these cozy cookies.
Learn how to create these cozy cable knit sweater patterns on sugar cookies with buttercream. I walk you through the process step-by-step with photos and videos. The process isn't as hard as you might think!
Disclosure | This post may contain affiliate links. As an Amazon Associate I earn from qualifying purchases.
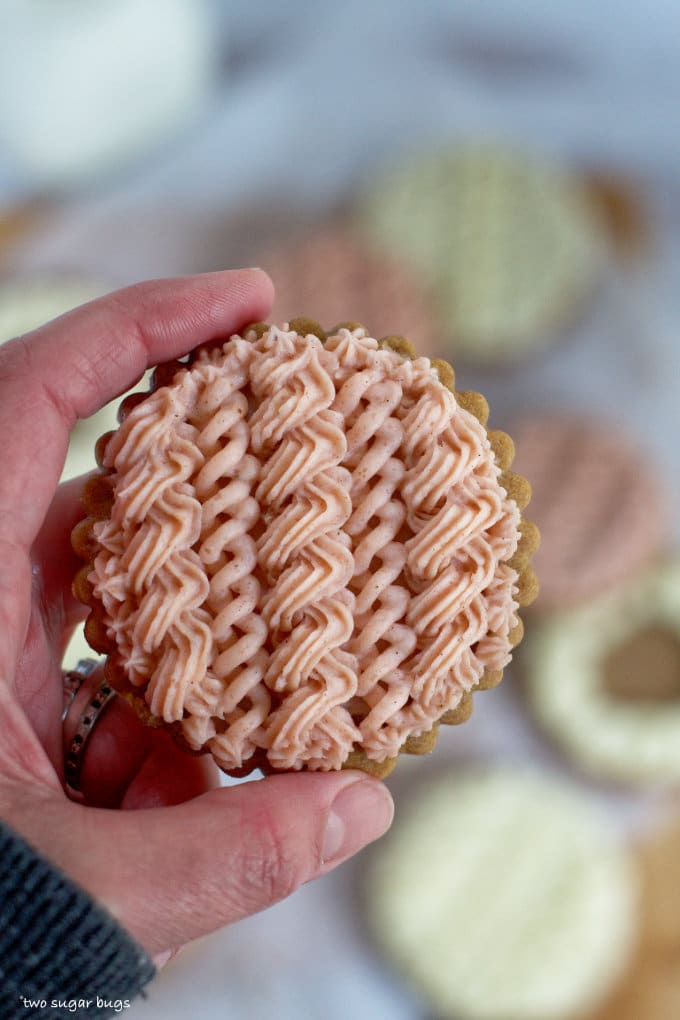
Fall is full upon us and these cozy sweater cookies are a great way to spread some cheer! I've been smitten with this cable knit pattern showing up on cakes over the past few years and I wanted to share how you can create this look on sugar cookies. Just imagine how wonderful these will look on a cookie tray for Christmas!
Tools you need to decorate cable knit sweater cookies
- baked sugar cookies {classic recipe, chocolate recipe, cinnamon recipe, gingerbread recipe}
- buttercream {here's the recipe for my favorite American buttercream}
- off-set spatula
- piping bags {here are the disposable bags that I use}
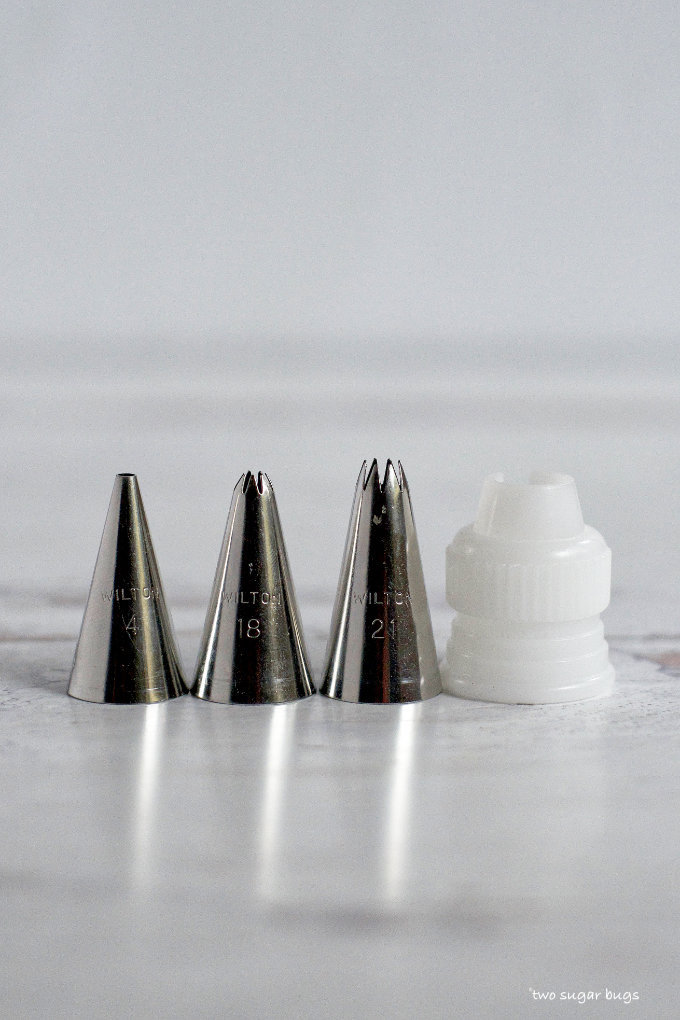
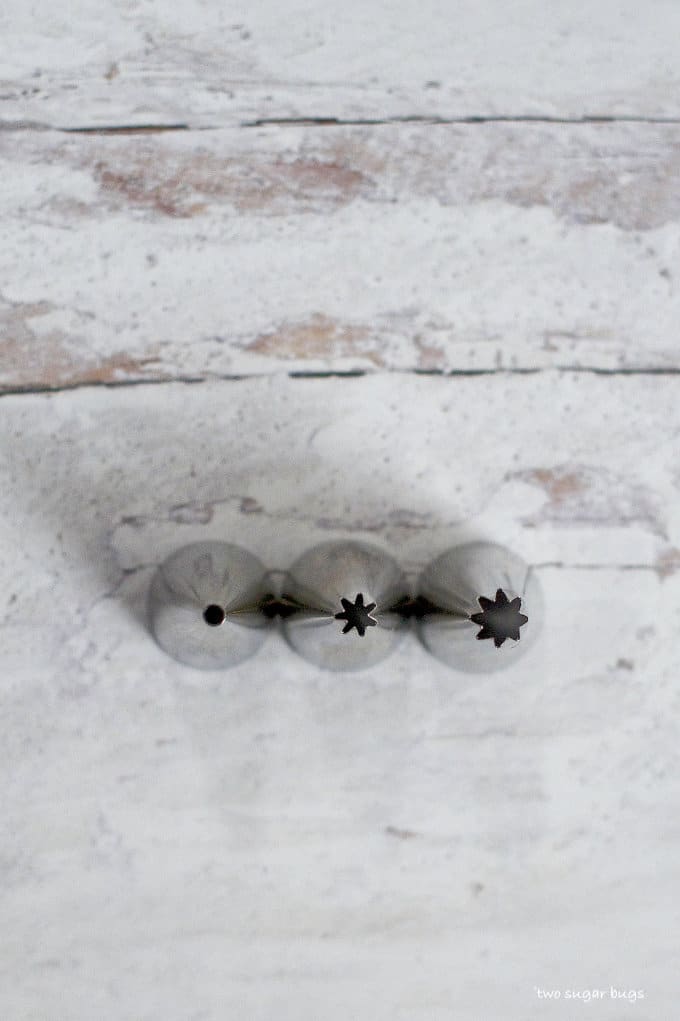
- piping tips {here are the Wilton tips used 4, 18, 21}
- assorted gel colors {optional}
- couplers {optional}
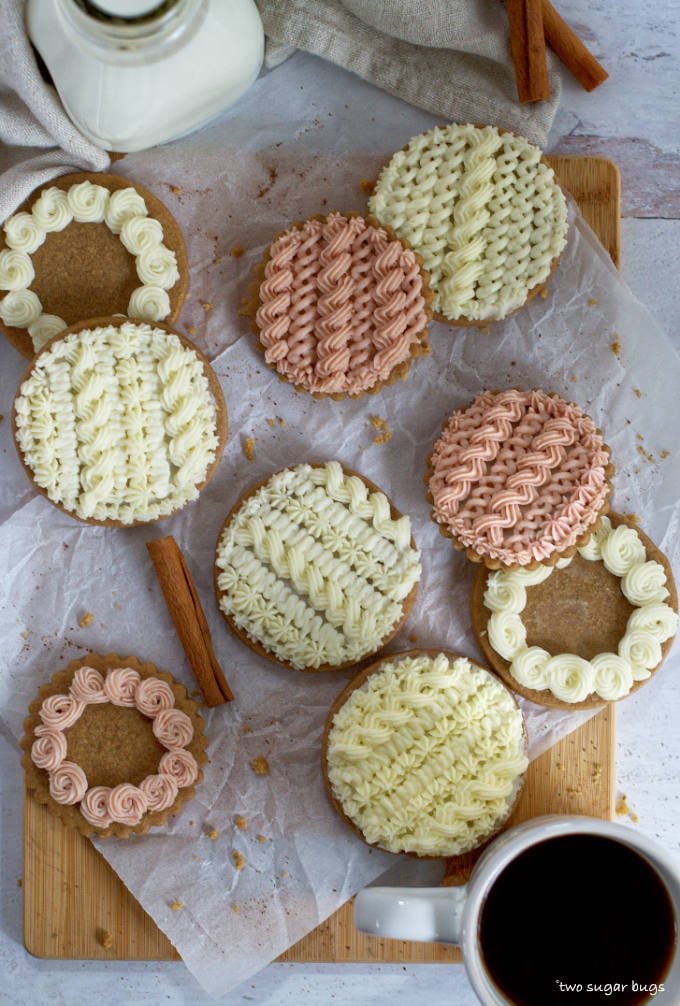
All the cookies shown in this post are my soft gingerbread sugar cookies. The white patterns are created on a 3 ¼ inch cookie and the pink patterns are created on a 3 inch cookie using this fluted cookie cutter.
Prepare the cookies
The sugar cookies need to be fully cooled before piping. I like to freeze my cookies for at least a few hours prior to decorating. Cold cookies are easier to decorate {in my opinion} and freezing them helps to create a softer final cookie.
Start by taking a small amount of buttercream and smooth it over the circumference of the cookie, leaving a small edge. An off-set spatula works perfectly for this part. This does not need to be perfect!! It keeps the cookie from showing through in the pattern.
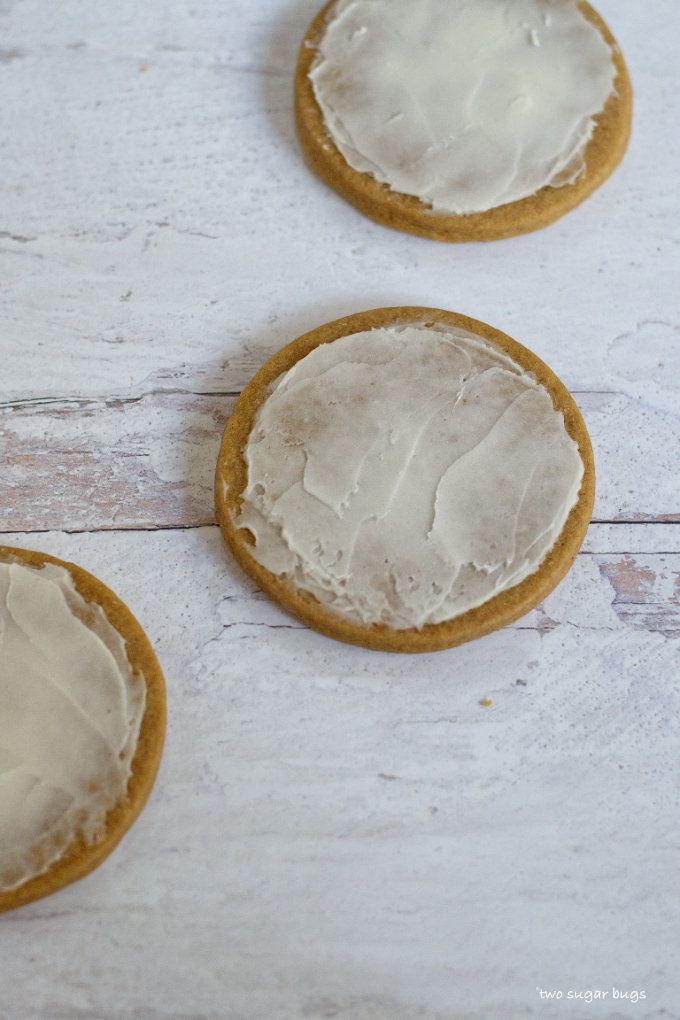
There is no correct pattern to create with these cookies. Just have fun!! I will walk you through one pattern to give you some ideas.
Let's decorate cable knit sweater cookies!
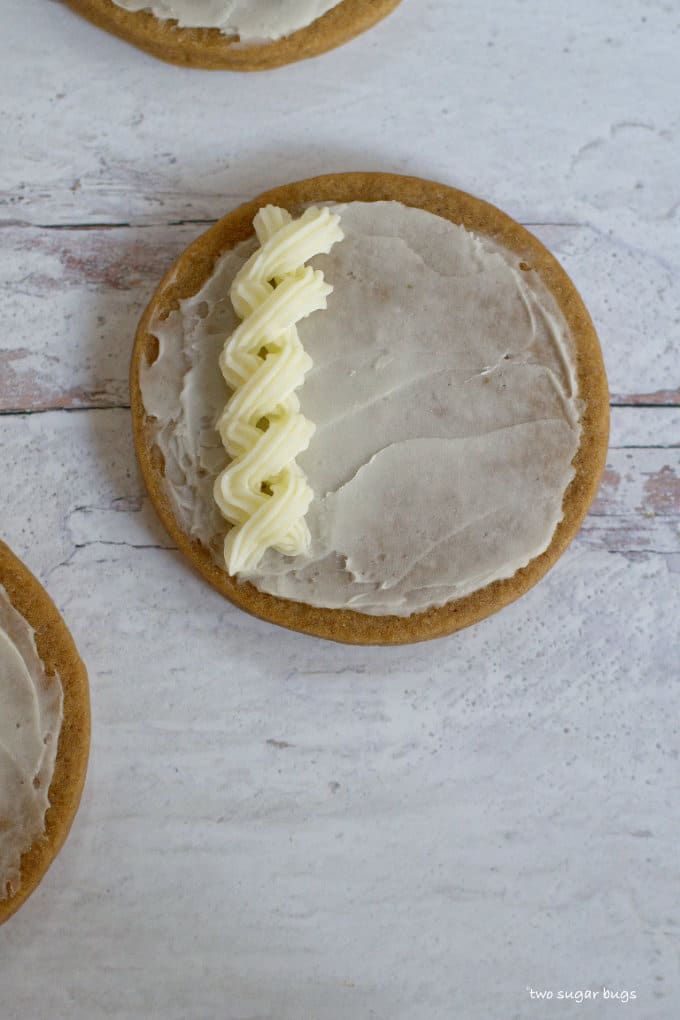
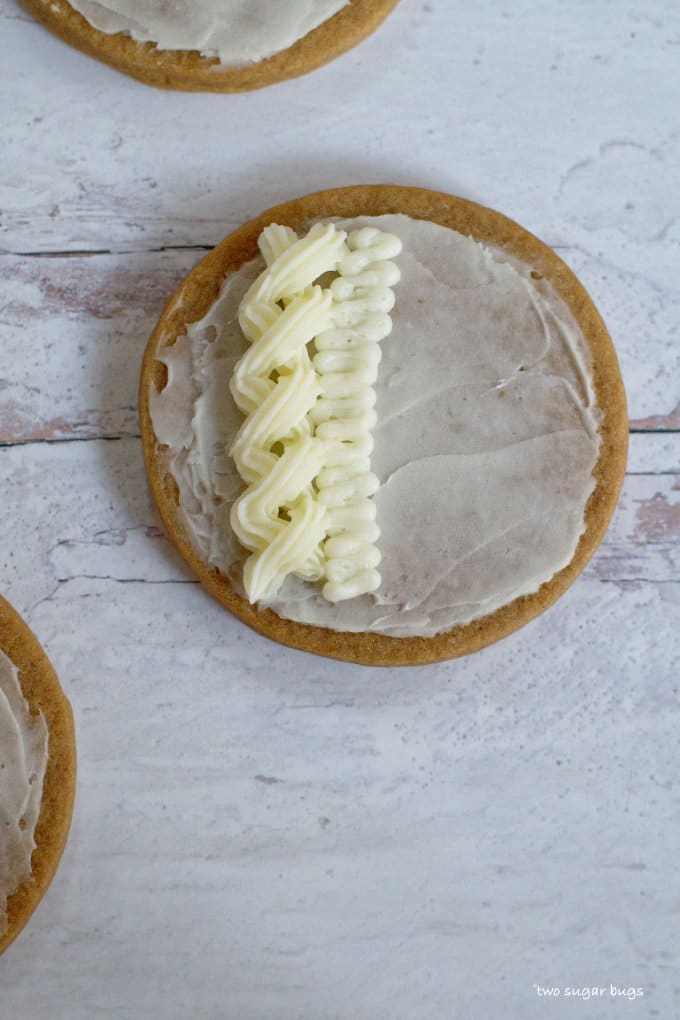
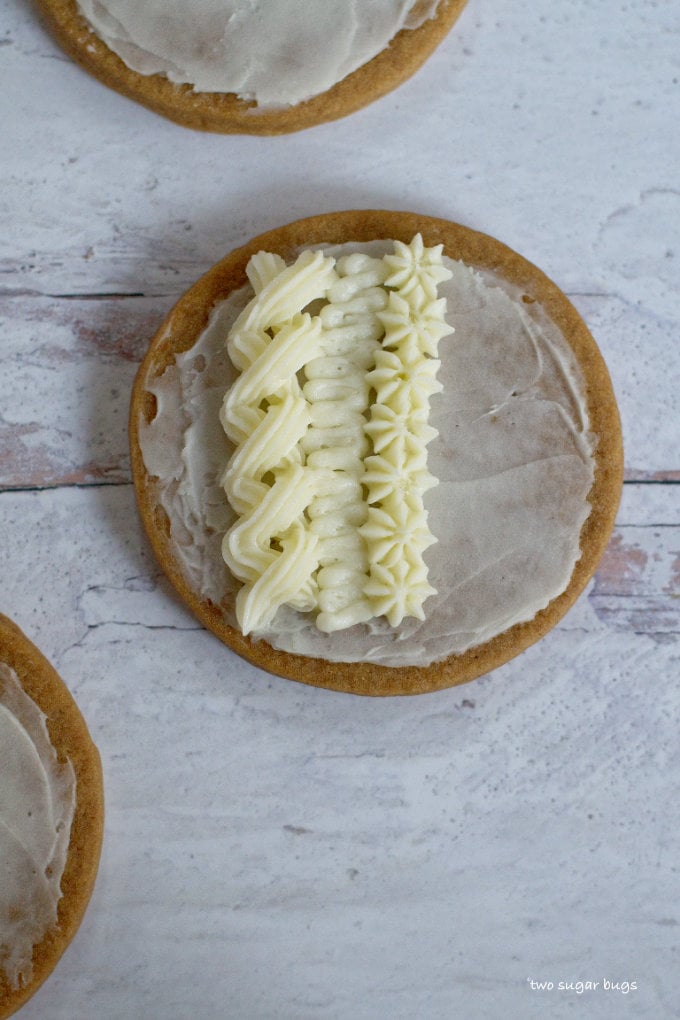
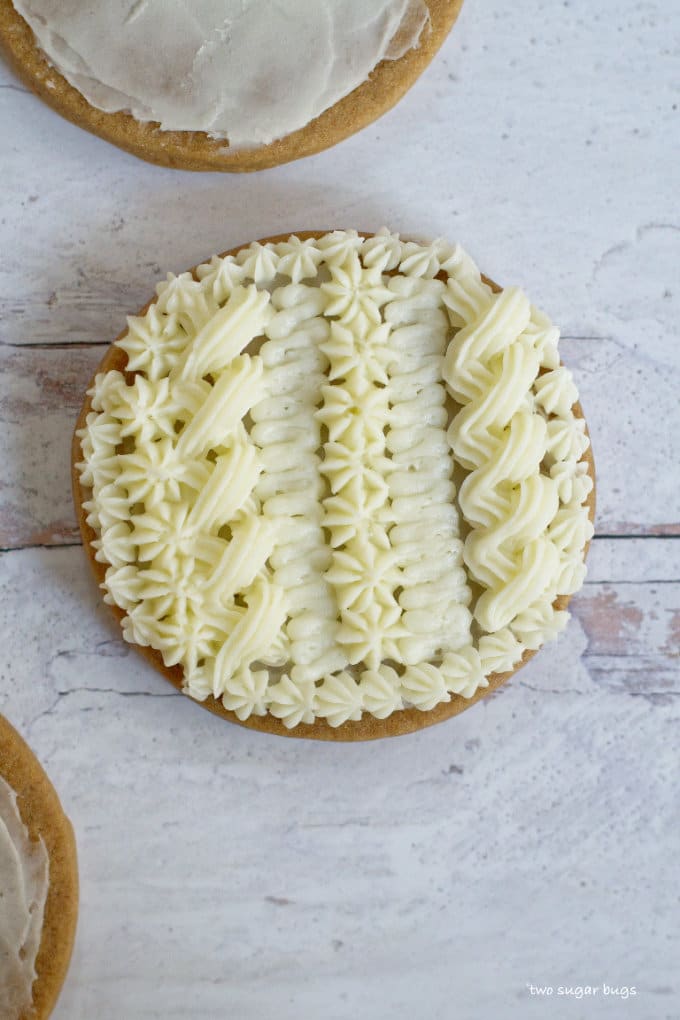
First pipe an "x" with the Wilton 18 tip. You will make a column of x's down the length of the cookie.
For the second row, use a Wilton 4 and create horizontal lines in a short pattern down the length of the cookie.
For the third row, use a Wilton 21 and pipe individual stars in a column down the cookie. Hold the piping bag directly over the cookie and apply some pressure and then release to create each star.
The fourth row will repeat the horizontal lines with a Wilton 4.
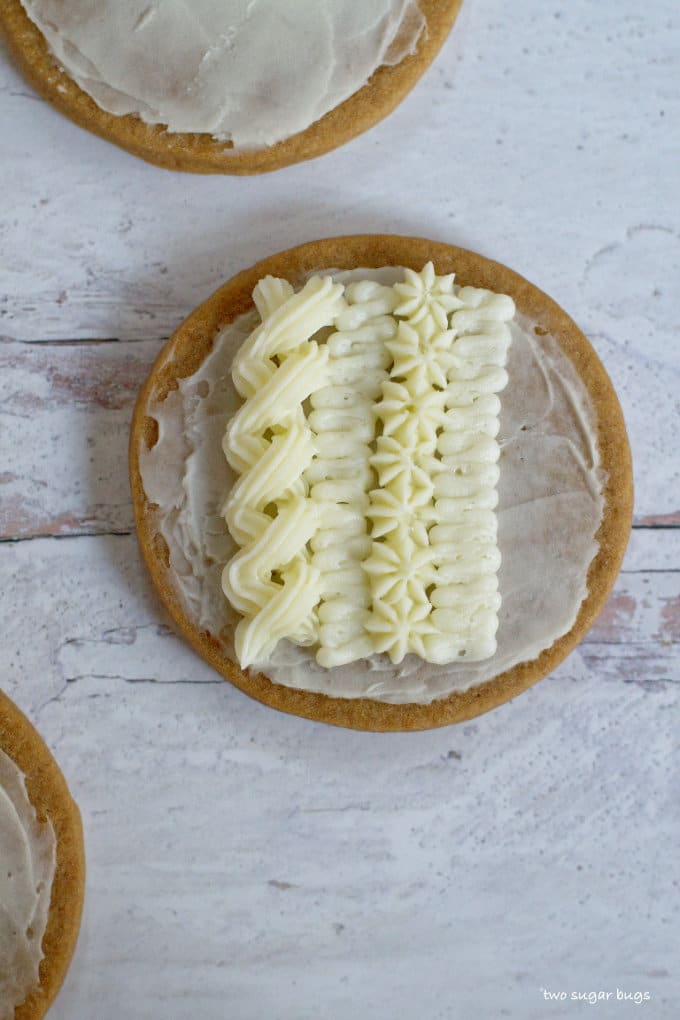
Now create another column of x's going down the length of the cookie.
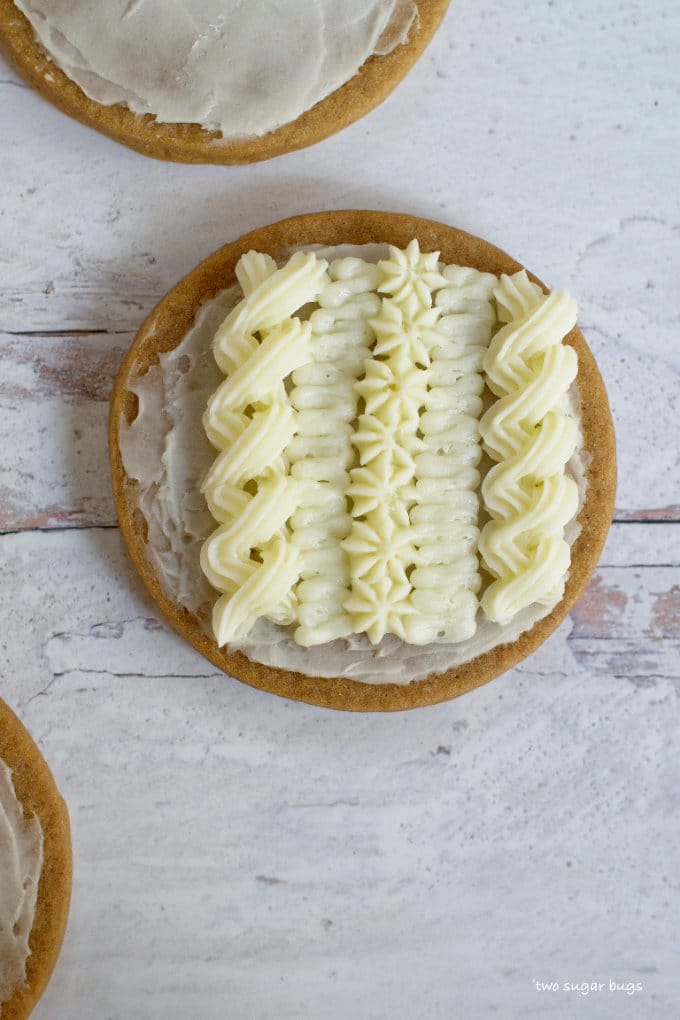
I left a little bit too much room on the left side of the cookie, so I created another row of stars at the beginning with the Wilton 21.
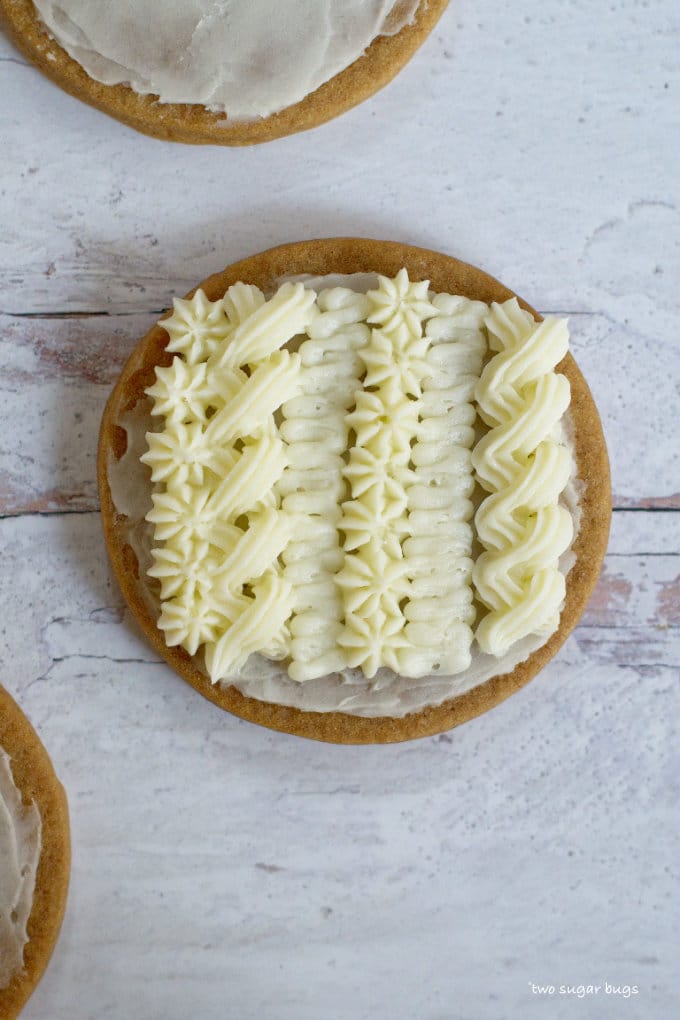
Finally, use the Wilton 18 to pipe stars around the outside of the cookie. Use the same method as you used with the Wilton 21, hold the tip directly over the cookie, use some pressure and then release to create each star. Ta da! All done! For your information, each cookie took about 2 minutes to pipe in real time.
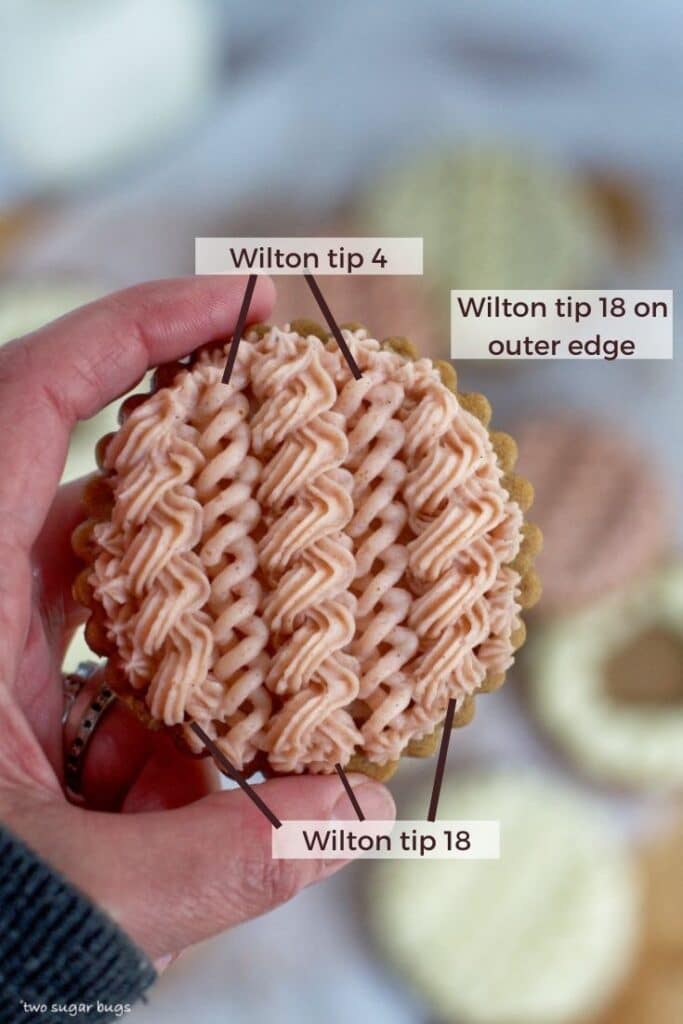
Another pattern using the same tips
This pattern turned out to be my favorite and I did not video or photograph it being created. 🤦🏻♀️ Murphy's law, right??
what is a coupler and why would I want to use one?
A coupler is plastic device that goes in the bottom of your piping bag before adding the buttercream. It allows you to quickly change piping tips on the same piping bag.
It's helpful to use a coupler when you may want to use the same piping tip on different bags of buttercream. They are not a necessity for this type of cookie, but they can be very useful when decorating cookies, cupcakes and cakes. {You can see that I did use them during the video}
I hope this tutorial is helpful and I cannot wait to see what you create!
Remember to snap a picture and tag me @twosugarbugs on Instagram if you make these Cable Knit Sweater Cookies. It warms my heart to see you bring these recipes to life! Thank you for being here and happy baking!


Christie says
You're so talented Tasia! I loved seeing the step by step pictures of how you decorated these gorgeous cookies!
Tasia says
Aww, thank you for always being so kind Christie!💗. Piping cookies is a very happy and therapeutic activity for me and I hope to pass that on to others!