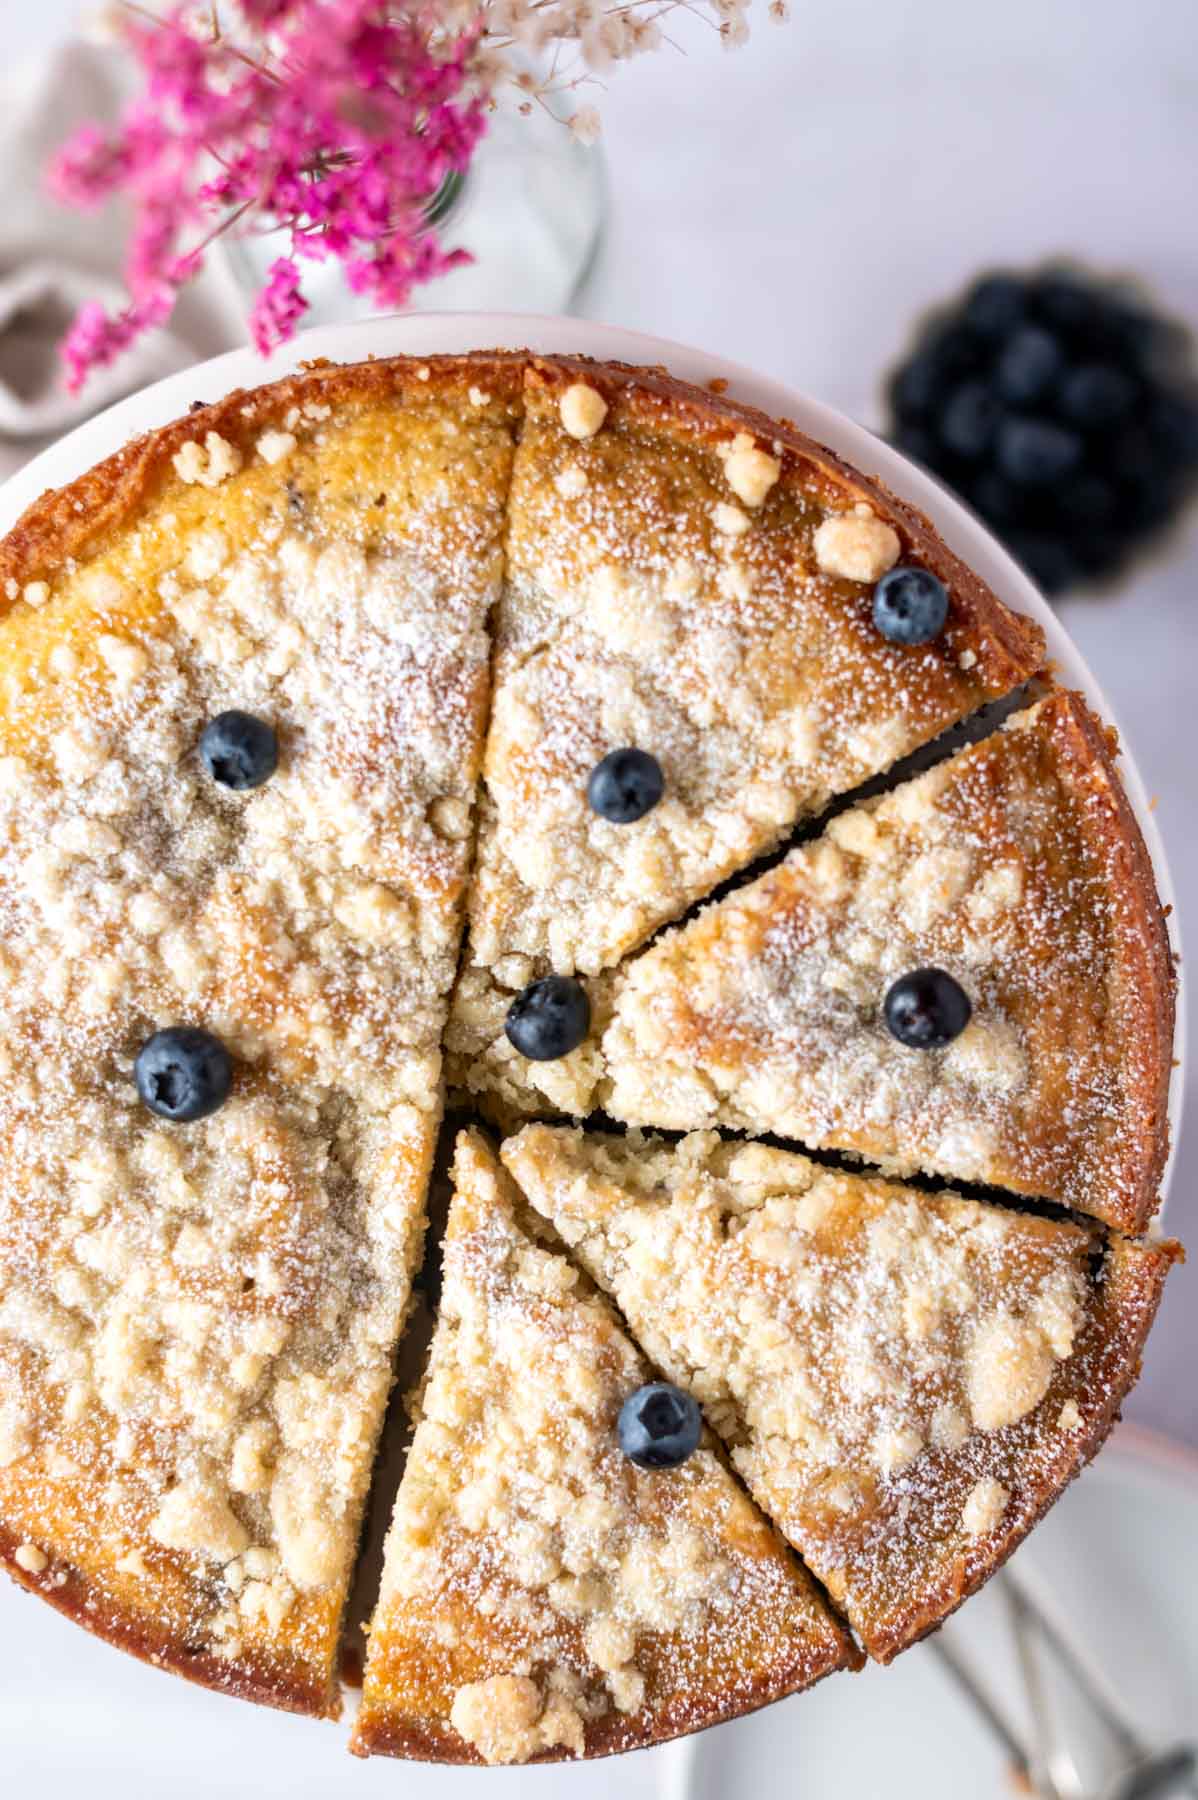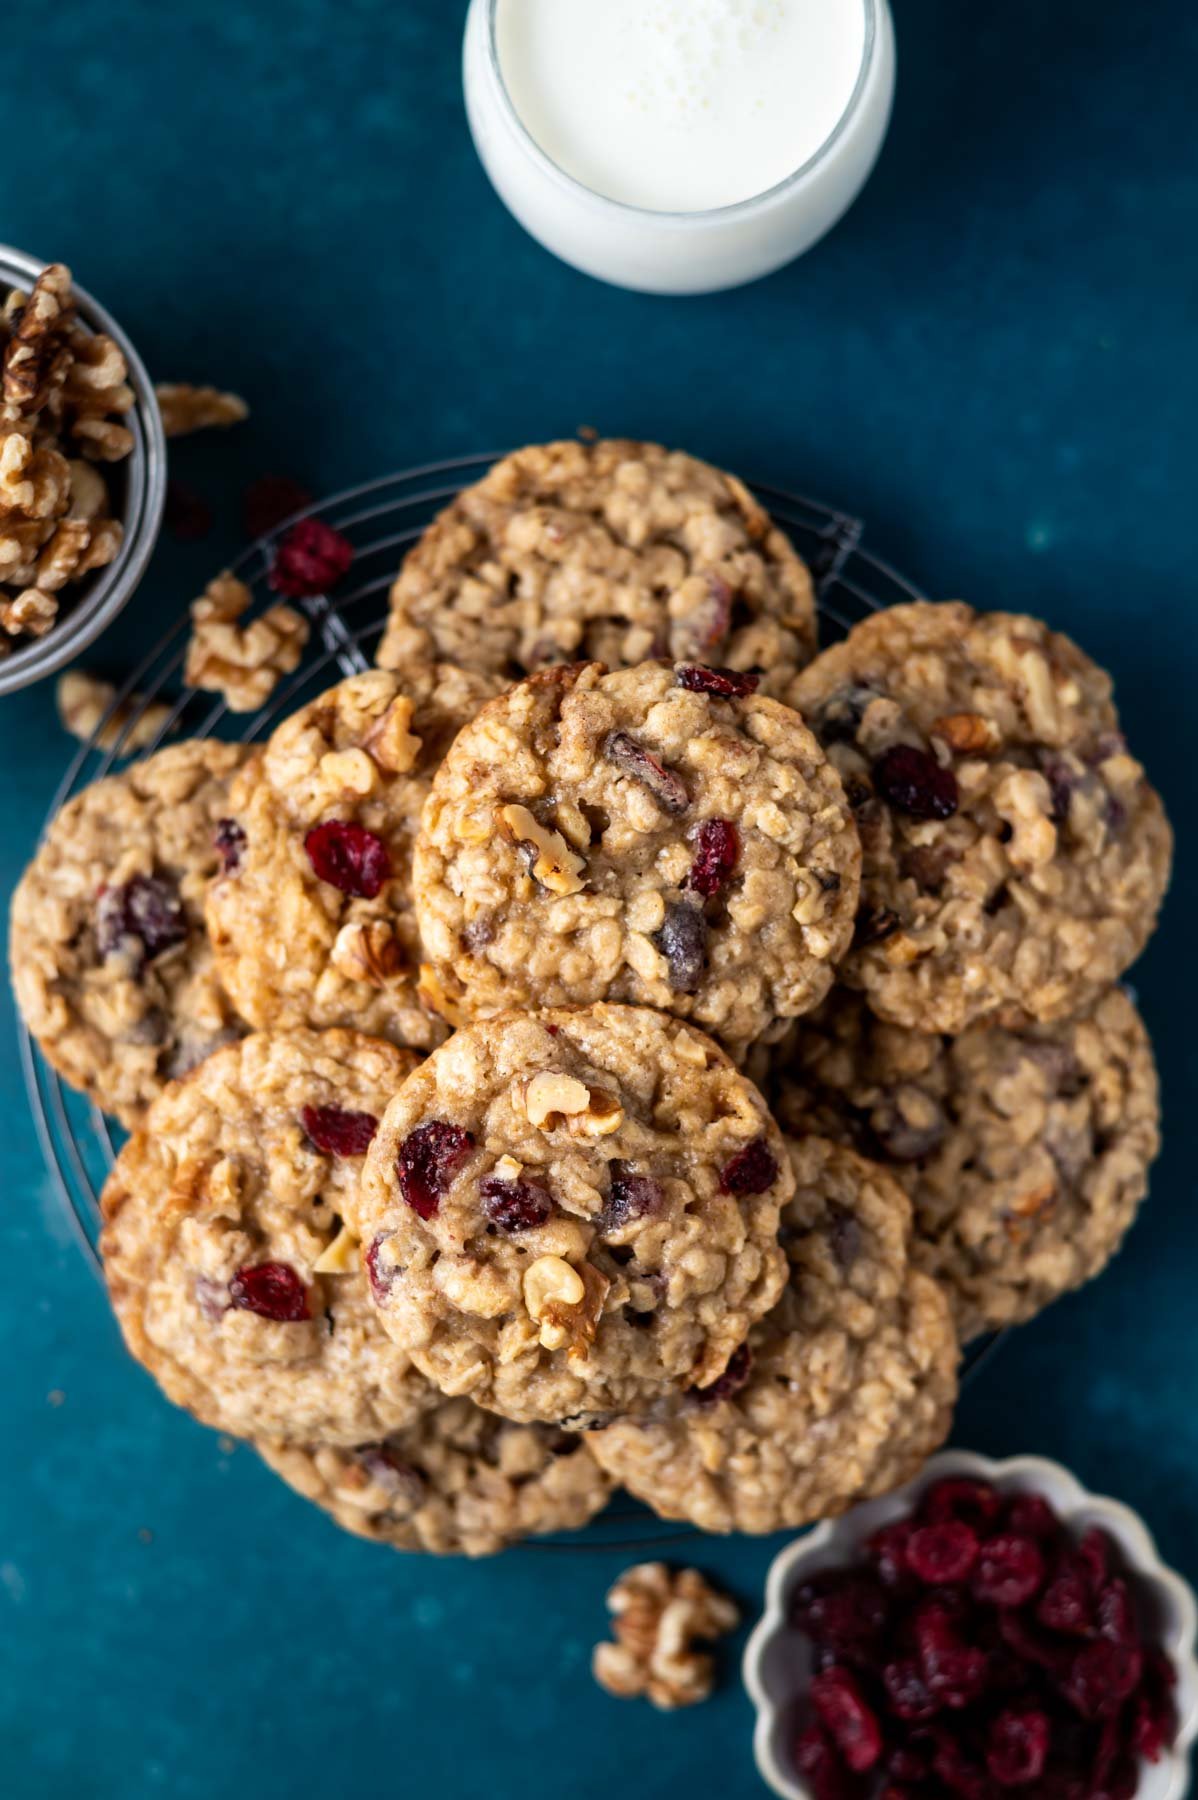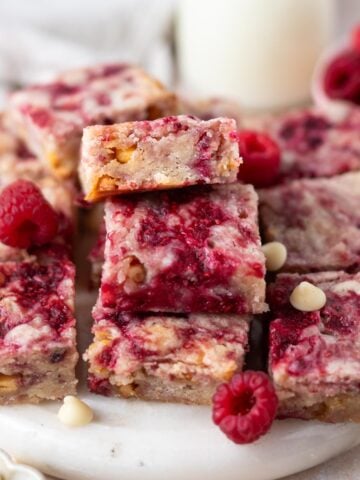
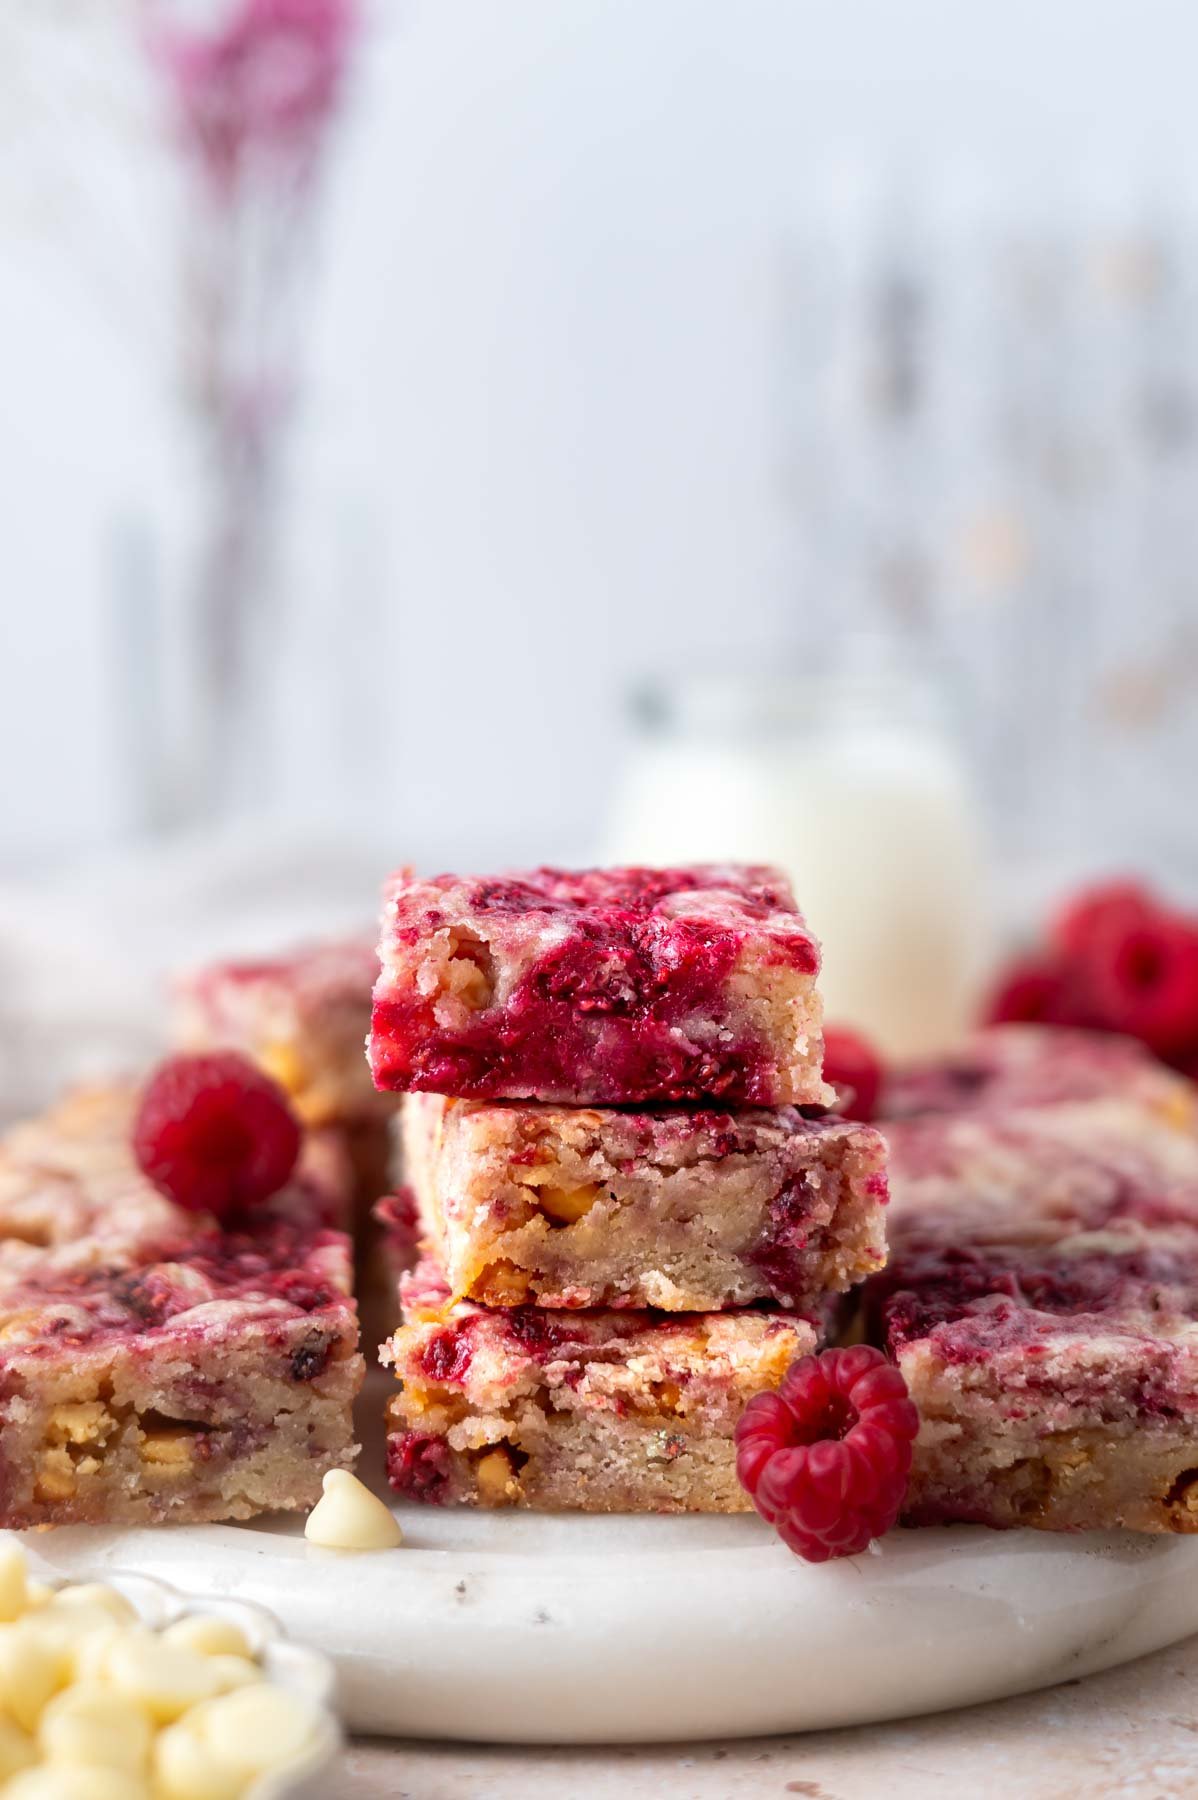
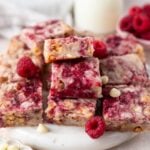
Raspberry blondies with white chocolate are a quick and easy to make dessert recipe. They mix in one bowl and bake up with a chewy and fudgy texture. And the sweet white chocolate with tart raspberries is a perfect match!
Disclosure | This post may contain affiliate links. As an Amazon Associate I earn from qualifying purchases.
Blondie bars are super simple to make when you are a busy baker. I have been baking cookie bars for several decades now and I love how quick and easy they are to create. Just like my biscoff blondies, lemon blondies and strawberry blondies, you only need one bowl for mixing!
Like my raspberry cupcakes, frozen raspberries are my choice for this raspberry blondie recipe. It means they can be baked year round, not just when fresh raspberries are in season.
[feast_advanced_jump_to]💗 why you should make these blondie bars
- Raspberry and white chocolate ~ one of the great classic flavor combinations!
- Easy ~ quick to make with melted butter.
- You can make the blondies with frozen or fresh raspberries.
- No mixer required!
💭 what is the difference between a blondie and a brownie?
The main difference is chocolate. Blondies are made without cocoa powder or chocolate. Blondies typically rely on brown sugar and vanilla for their rich and indulgent taste. This raspberry blondie recipe relies on just granulated {white} sugar so the raspberry flavor can really shine.
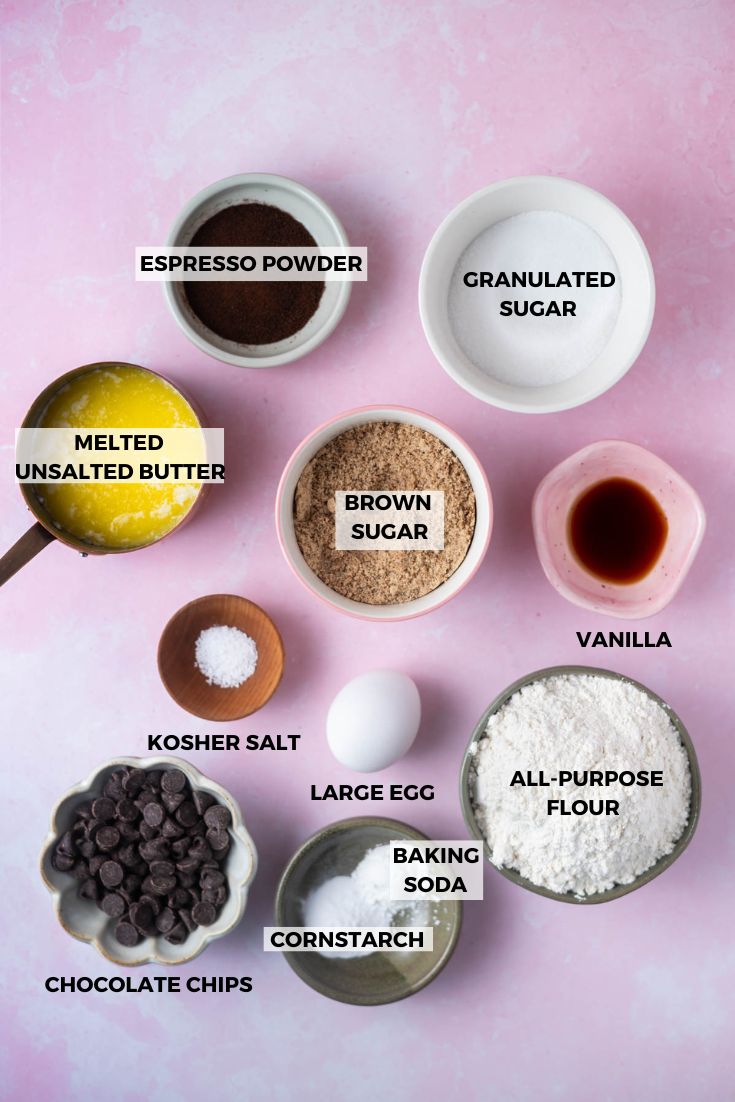
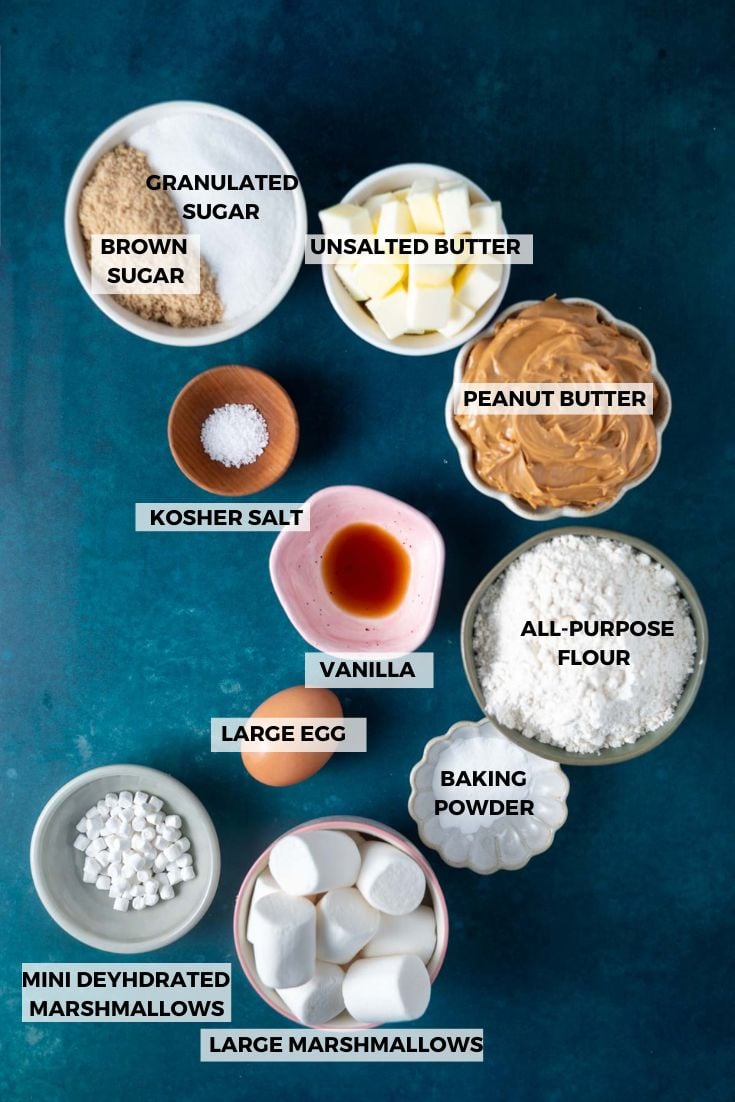
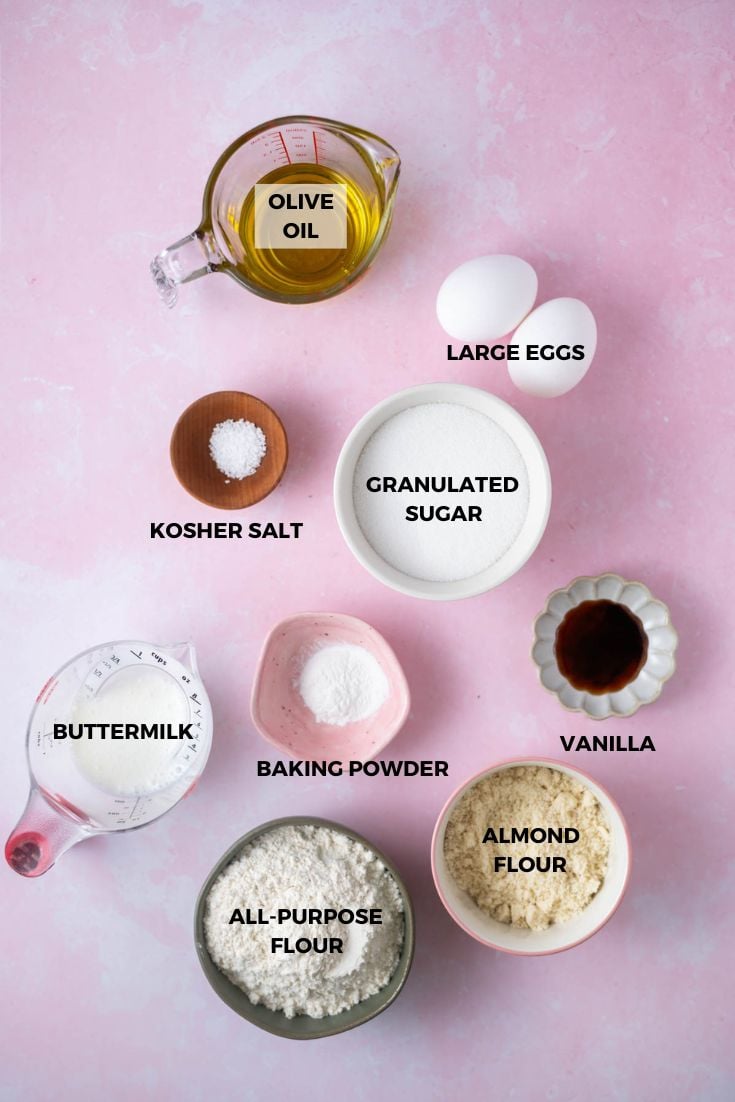
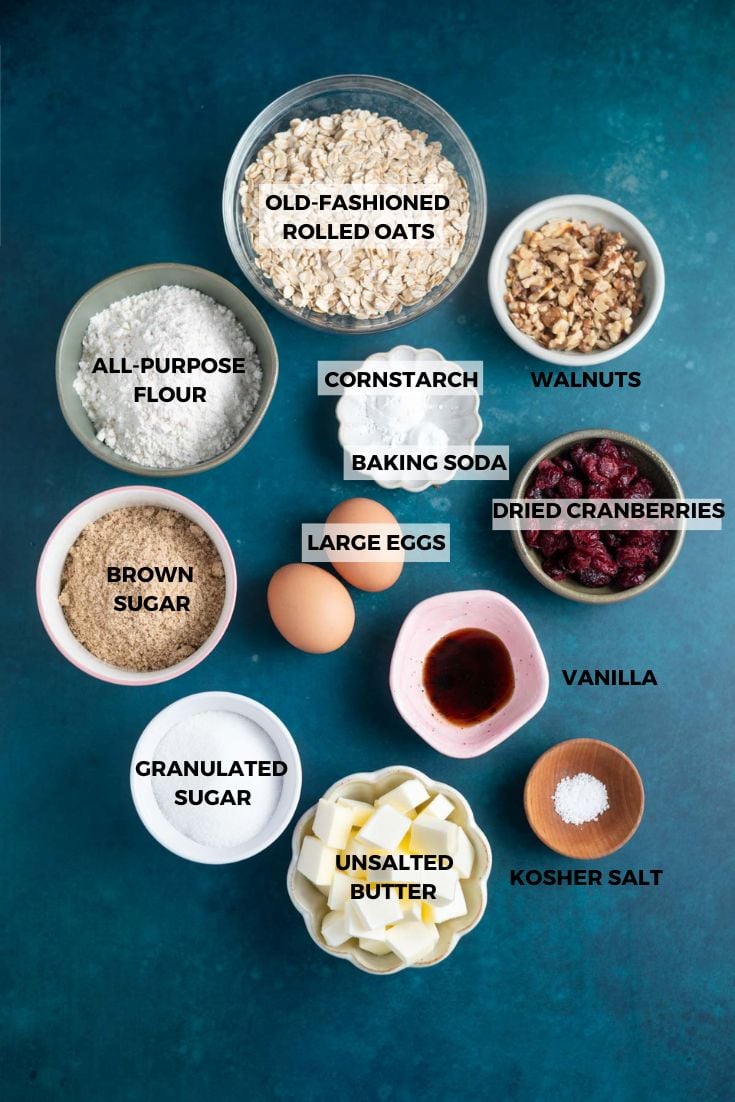
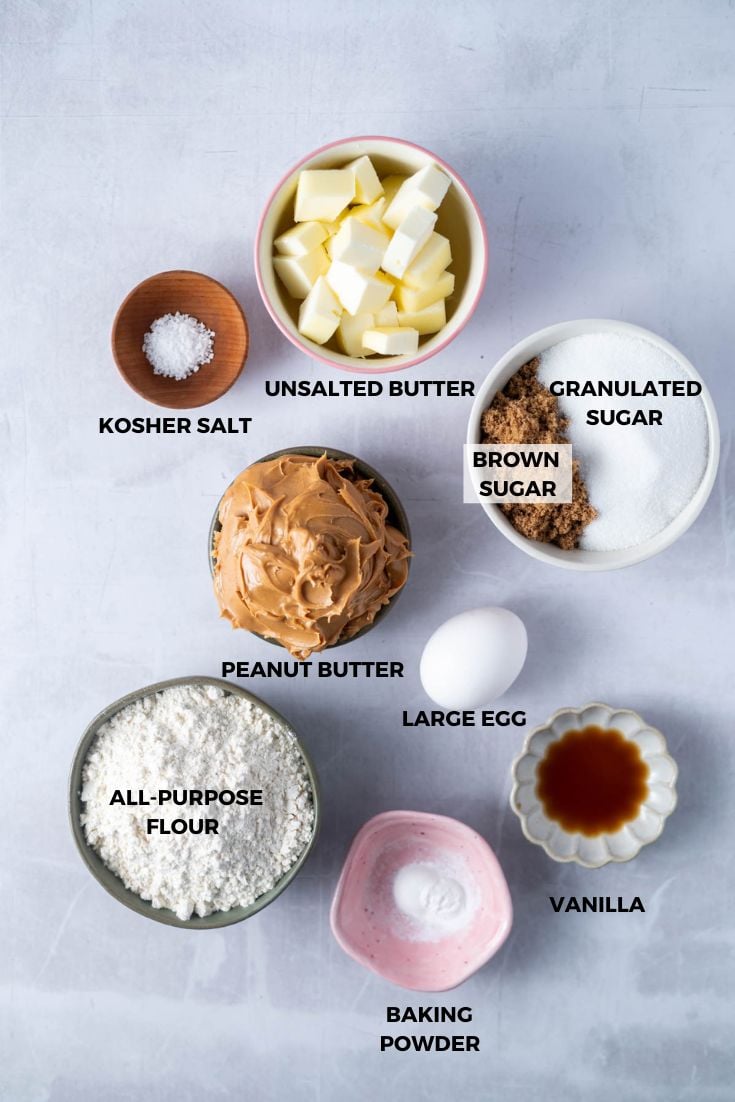
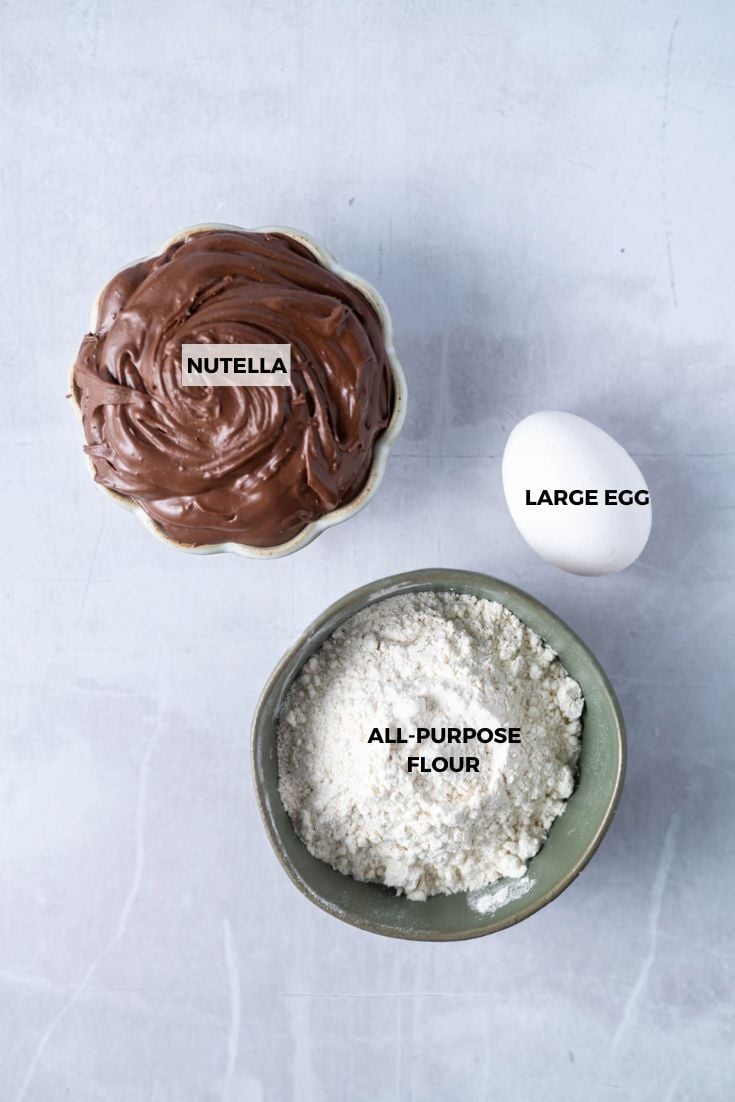
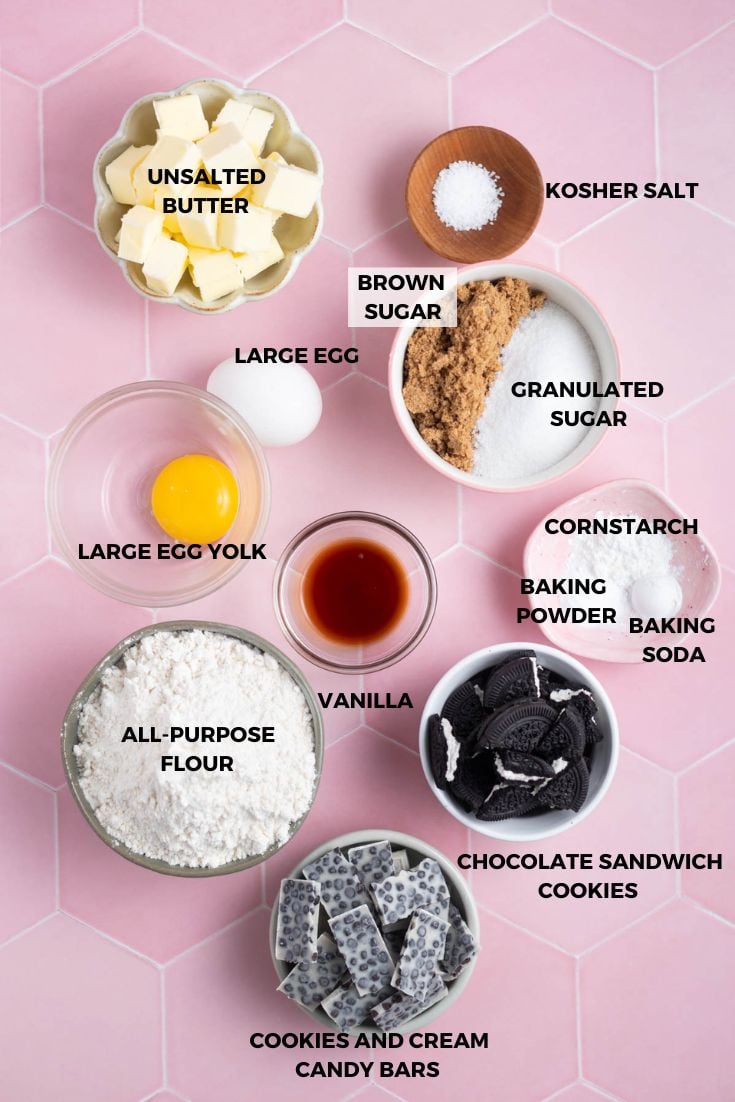
🛒 ingredients and substitutions
Please scroll to the printable recipe card at the end of this post for the full list of ingredients and baking directions.
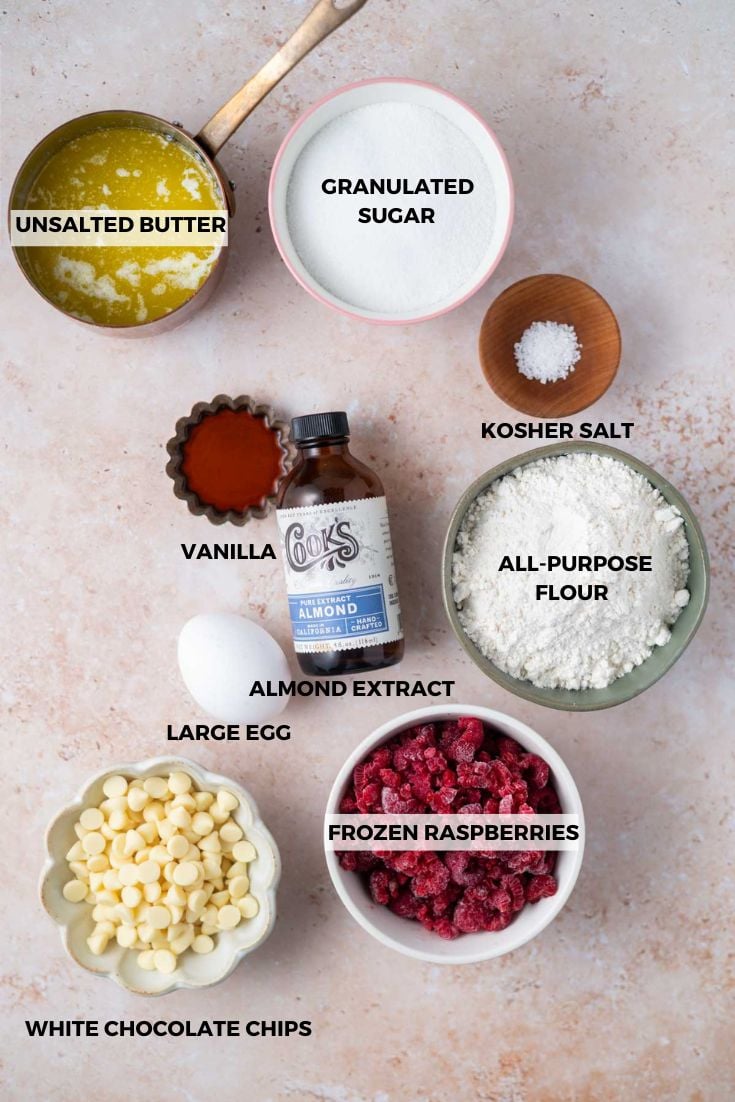
- Raspberries ~ I use frozen raspberries, see the frequently asked questions about using fresh raspberries. I haven't tested it, but suspect you could use freeze dried raspberries too. See the notes in the recipe card for how to substitute.
- Butter ~ you need melted unsalted butter for the blondies. If you only have salted butter, leave out the kosher salt.
- Sugar ~ granulated or white sugar is needed. This helps the blondies shine with raspberry flavor.
- Egg ~ one large egg is needed at room temperature.
- Kosher salt ~ helps to balance all the flavors. If you only have table salt use half the amount.
- Vanilla and almond ~ pure vanilla extract and almond extract adds another layer of flavor. If you don’t care for almond, just replace it with vanilla.
- All-purpose flour ~ gives structure to the raspberry blondies. For gluten free blondies, use a one-to-one flour replacement.
- White chocolate chips ~ Ghirardelli are my favorite brand as I think they taste the best. You could also use a chopped white chocolate baking bar. A baking bar will melt a little more into the bars, which is also super yummy! Milk or dark chocolate can also be used. They are also delicious blondies with raspberries and no chocolate, if you prefer.
Pro tip ~ to quickly bring eggs to room temperature, place them in a bowl of warm tap water for 5-10 minutes.
🥣 how to make one bowl raspberry white chocolate blondies
Preheat oven to 350°F and line a 8x8 baking pan with parchment paper.
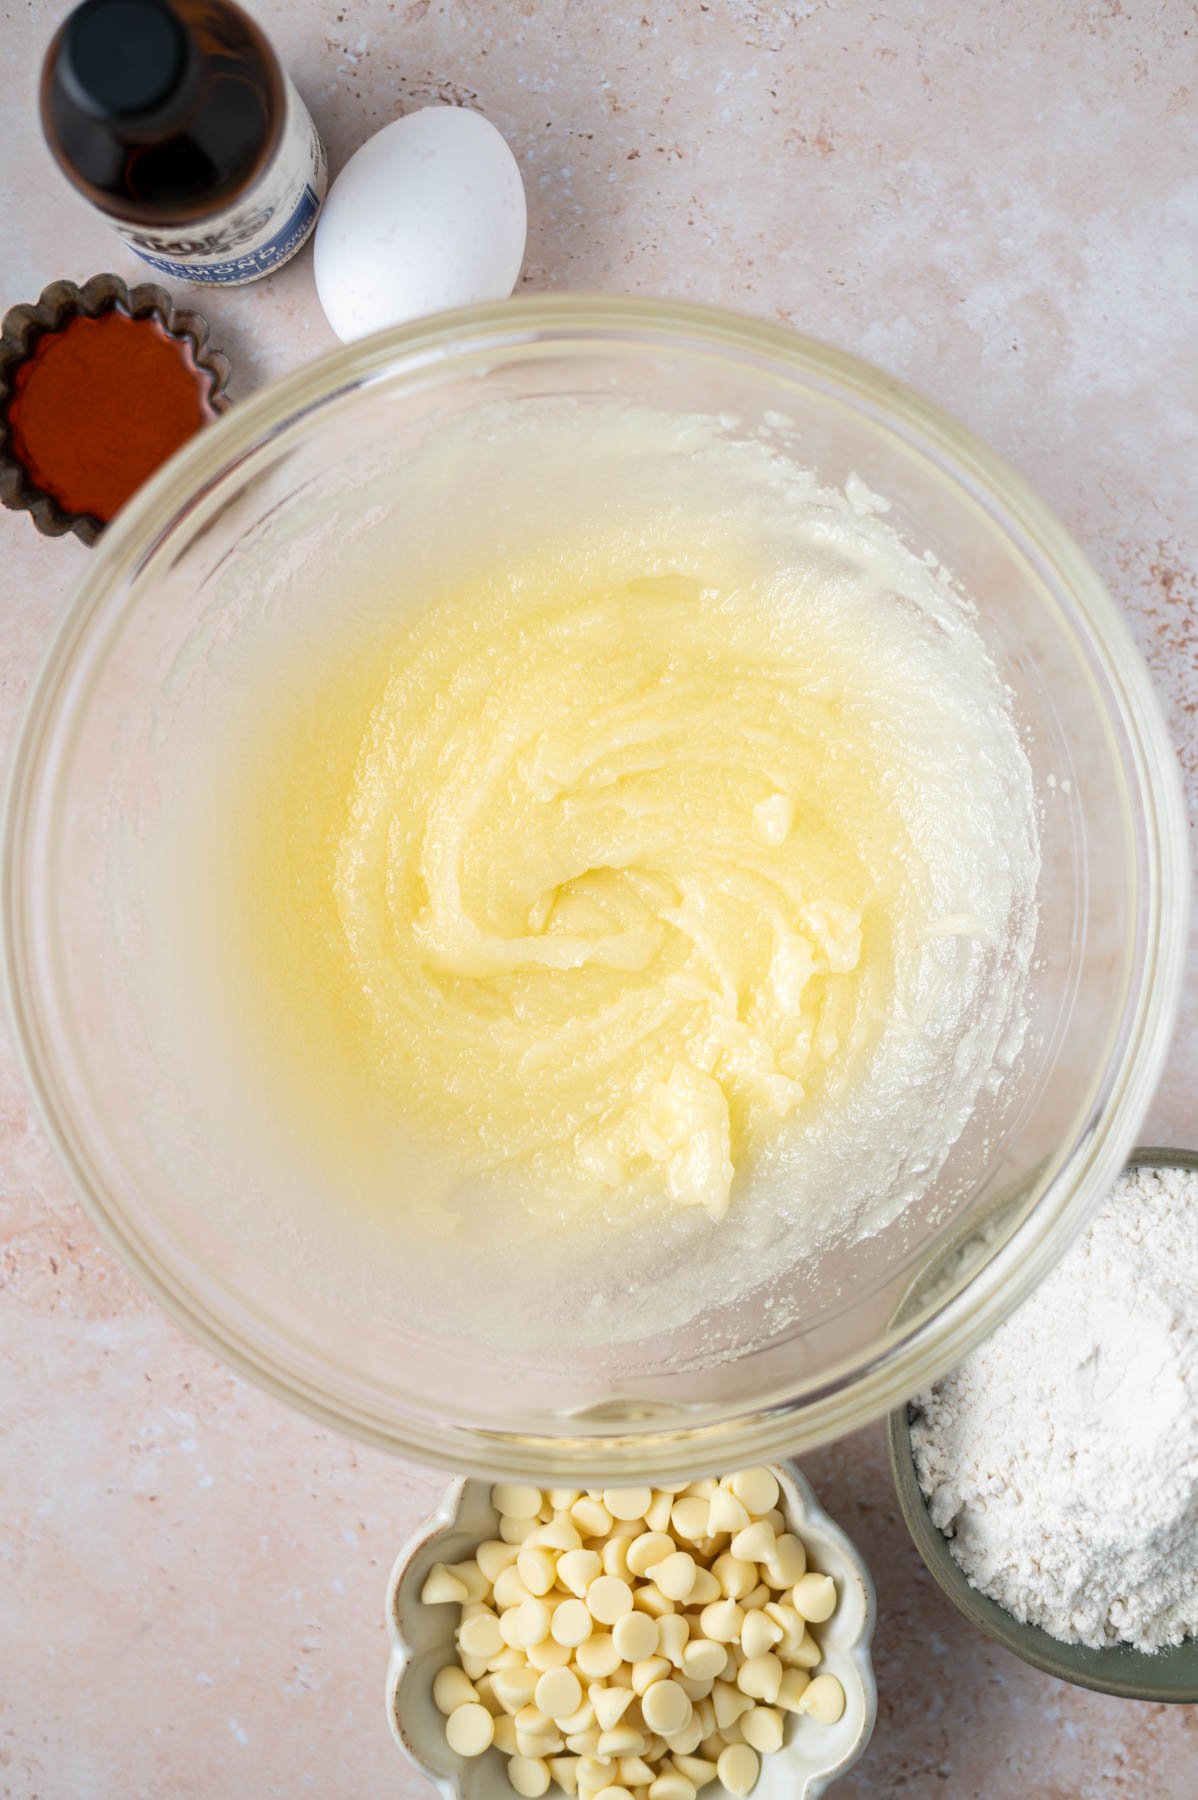
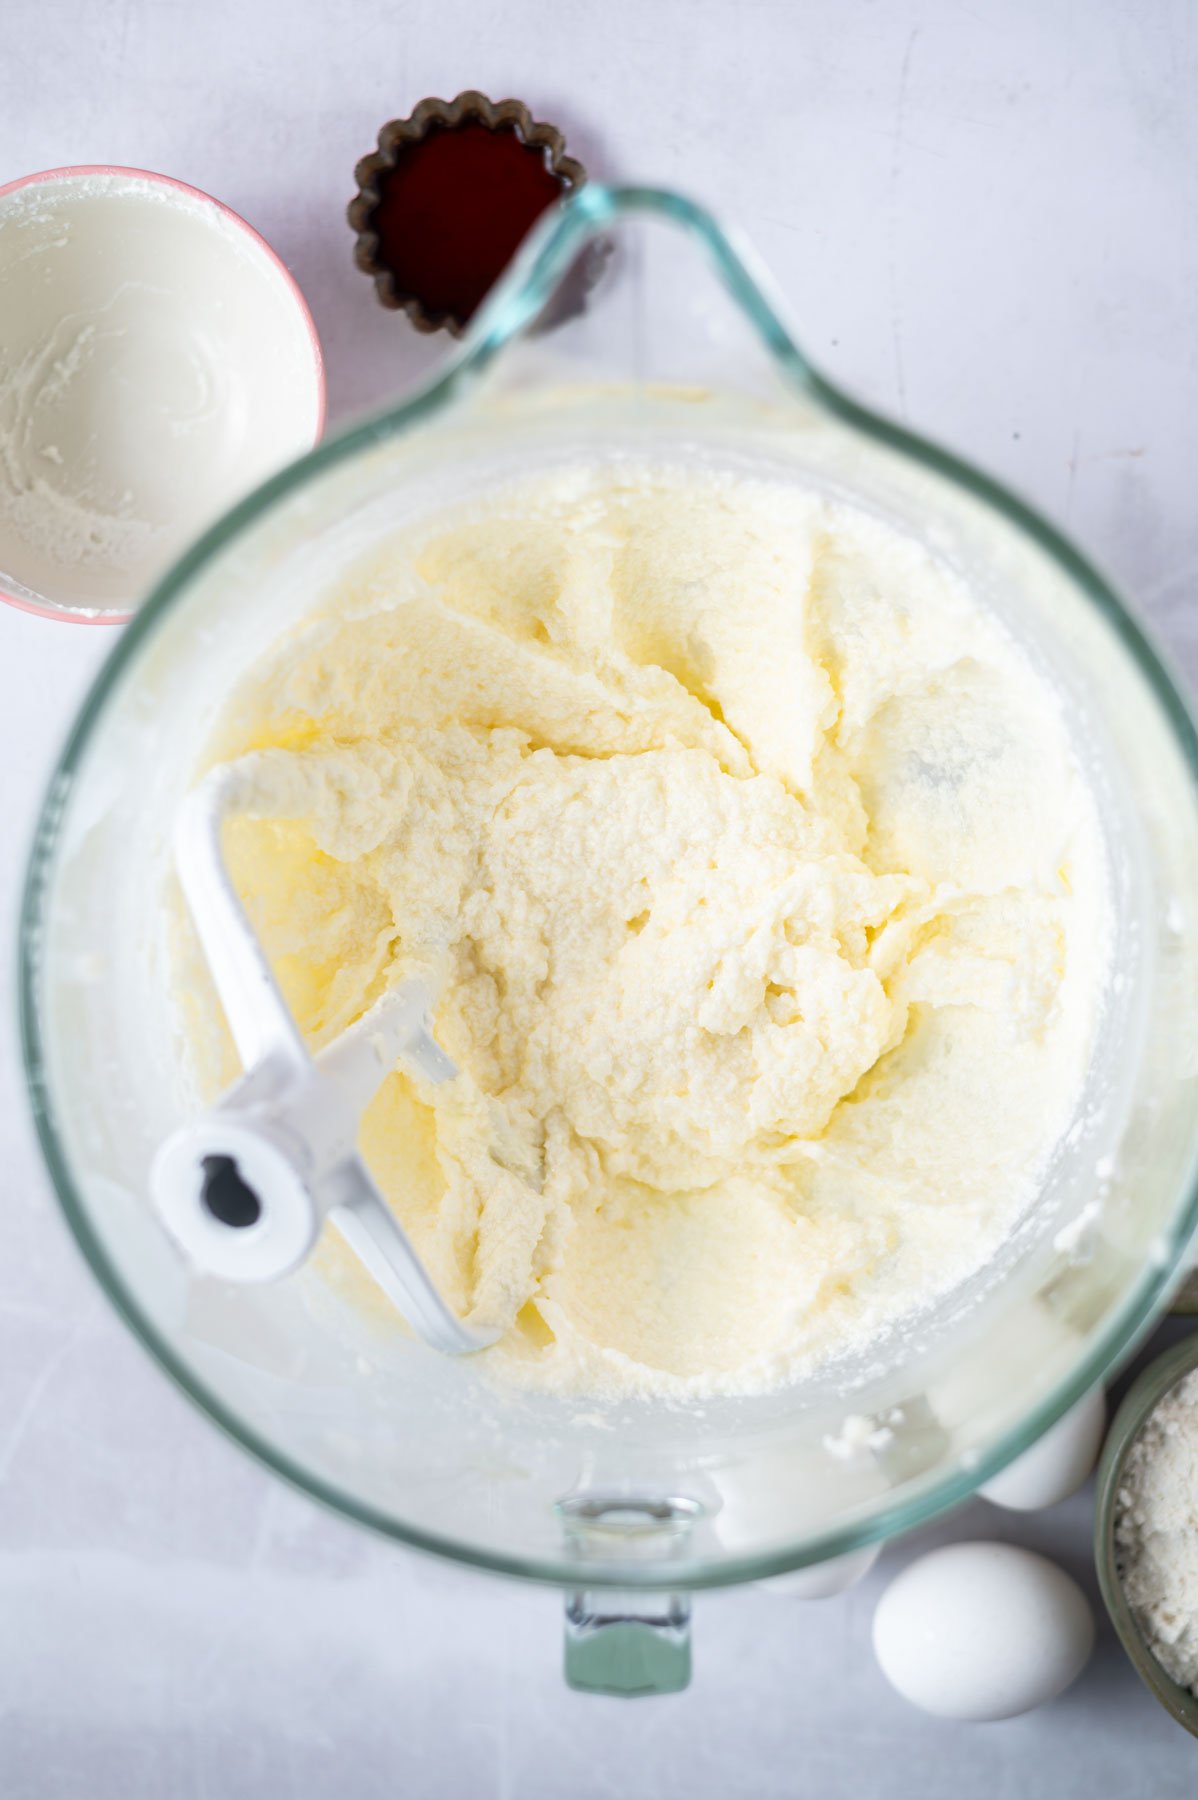
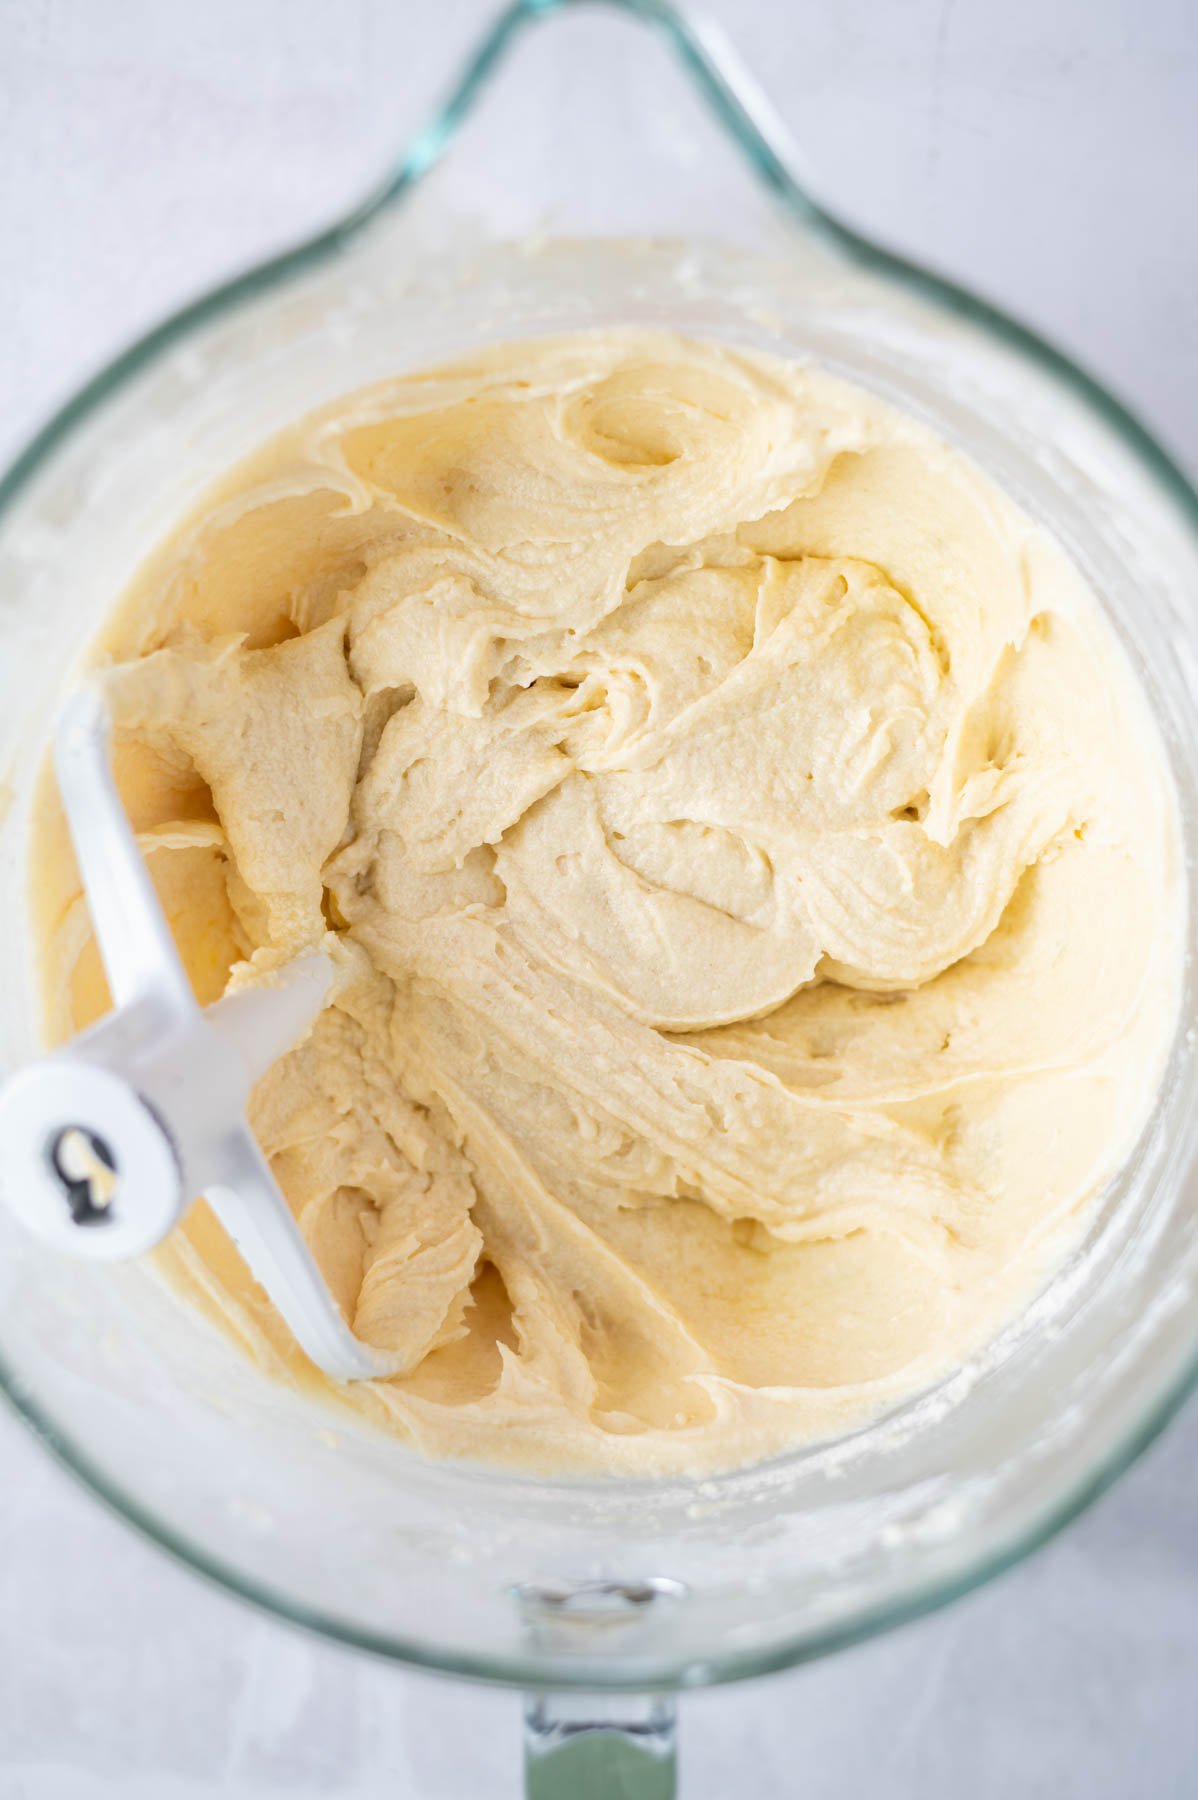
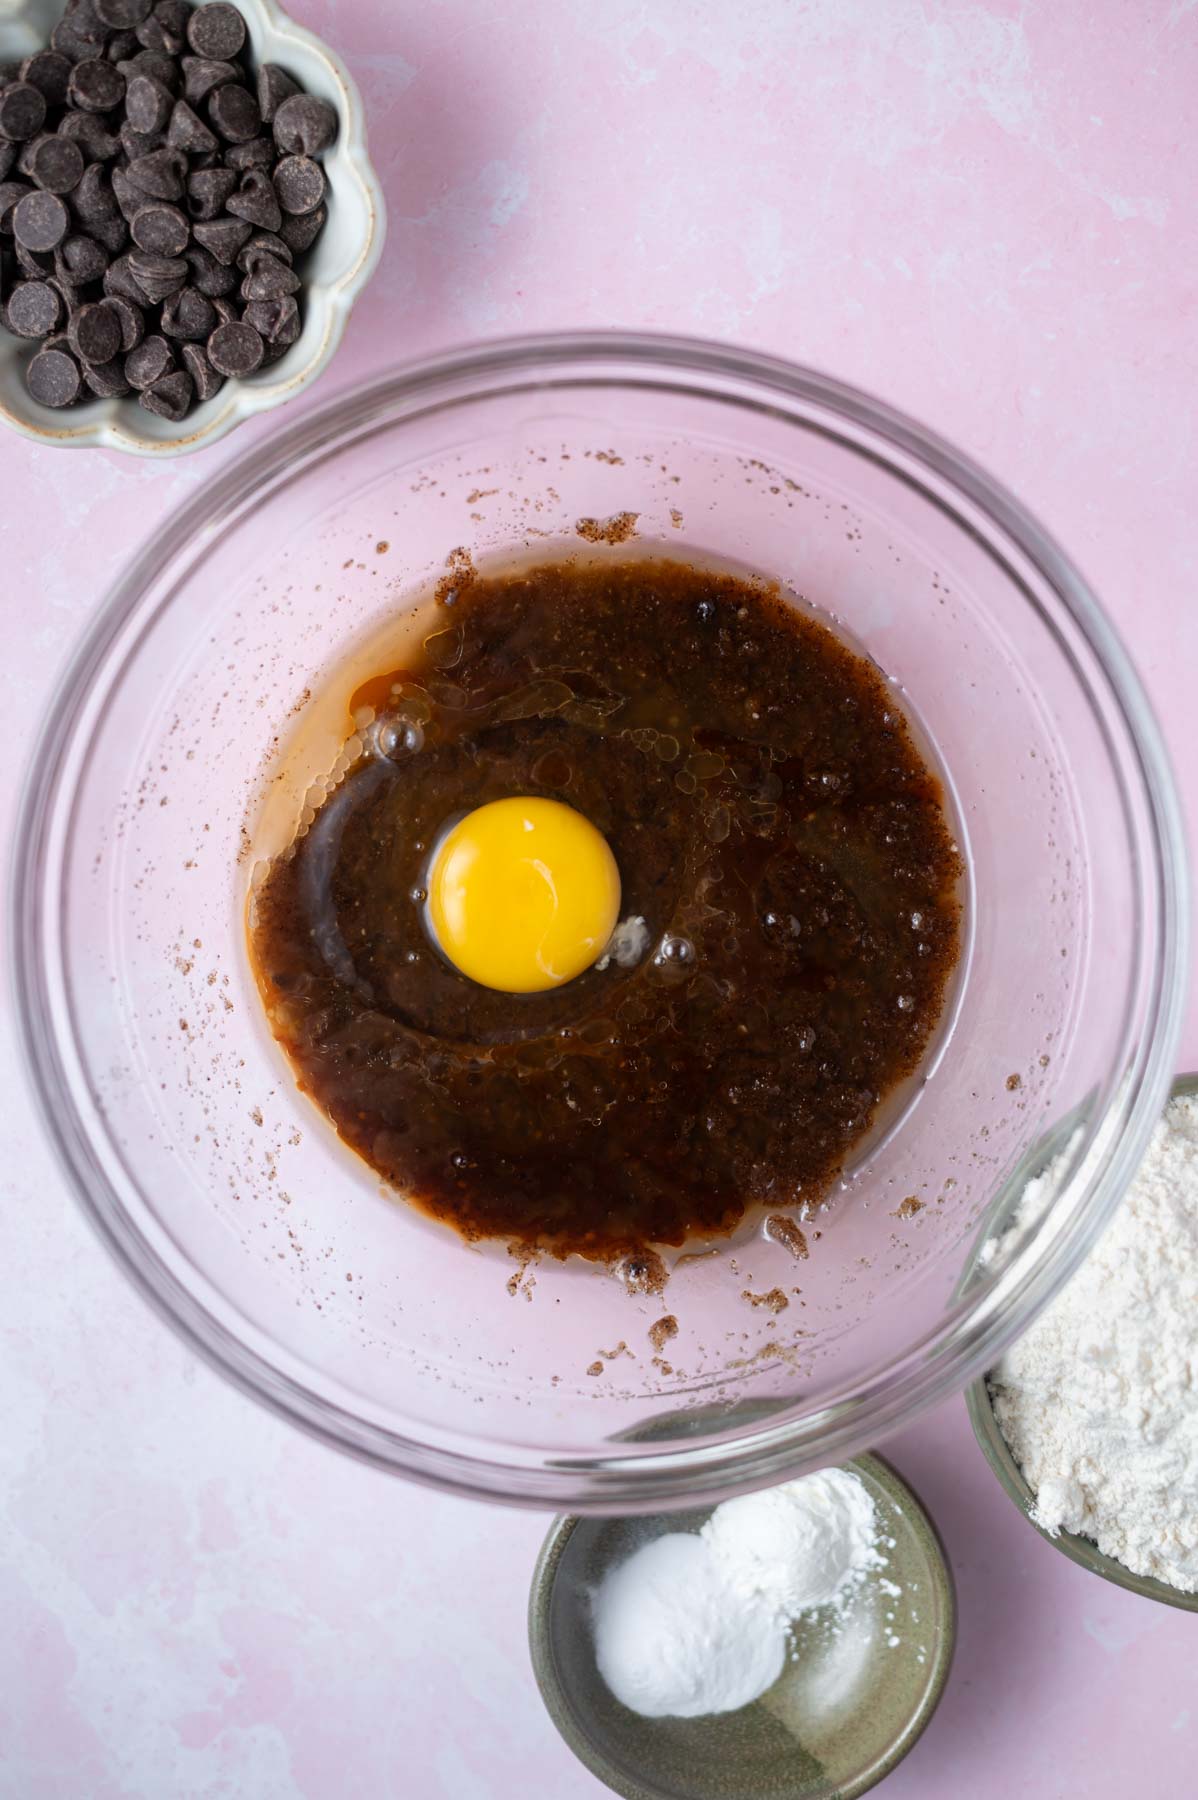
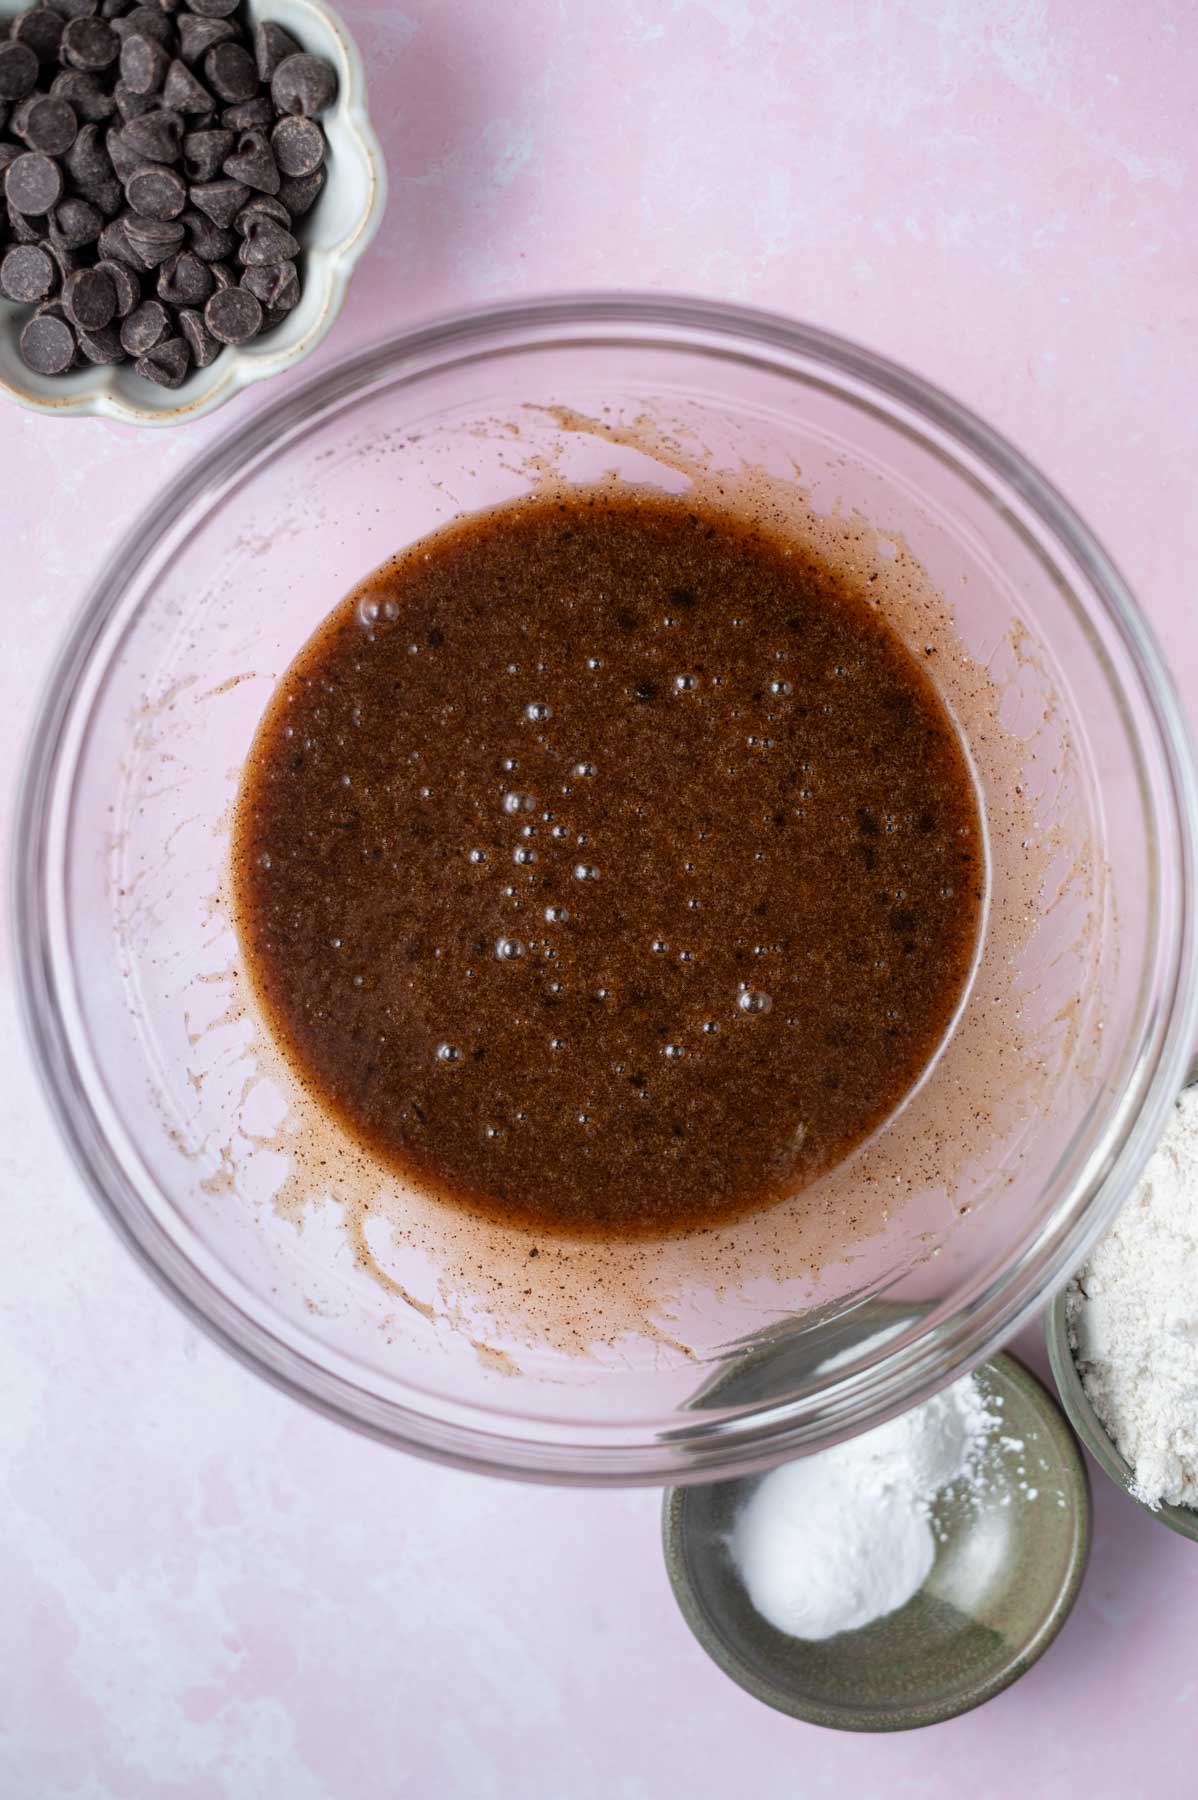
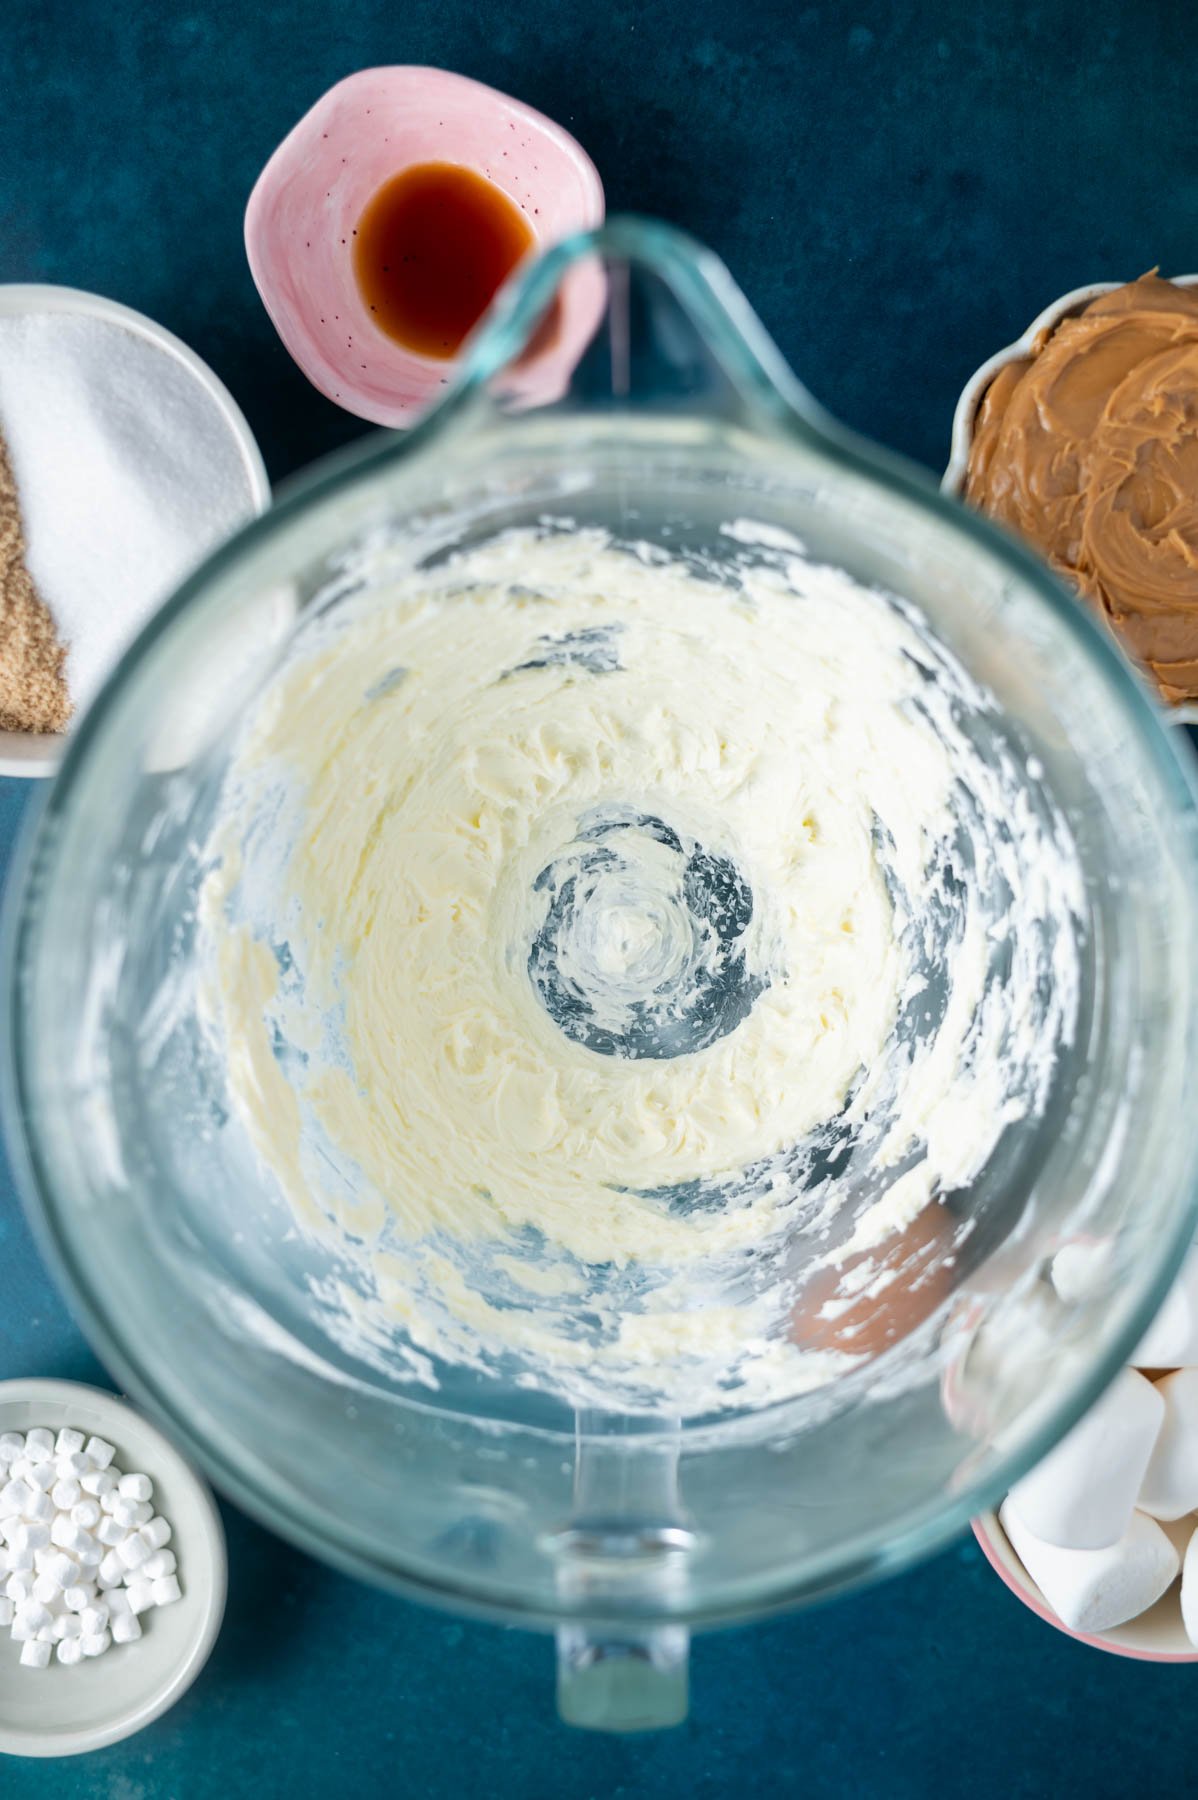
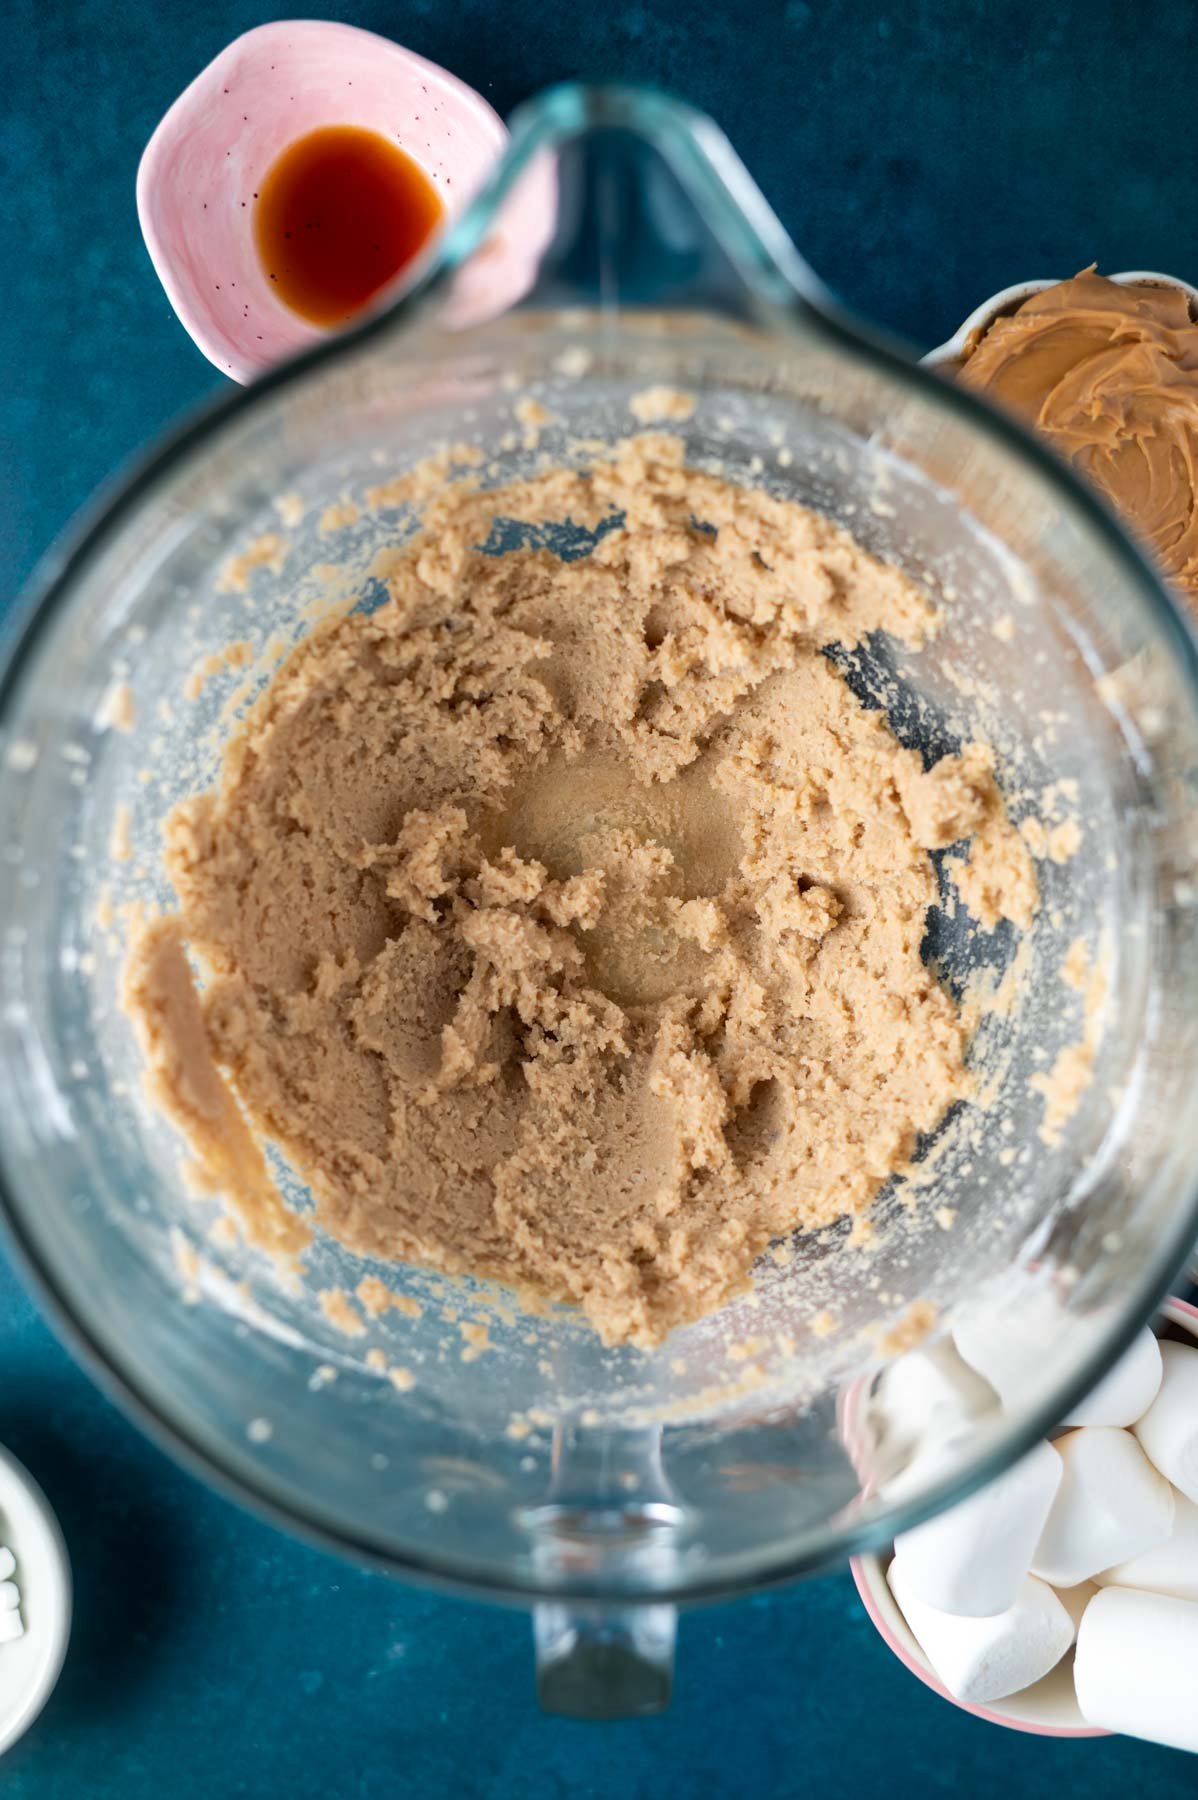
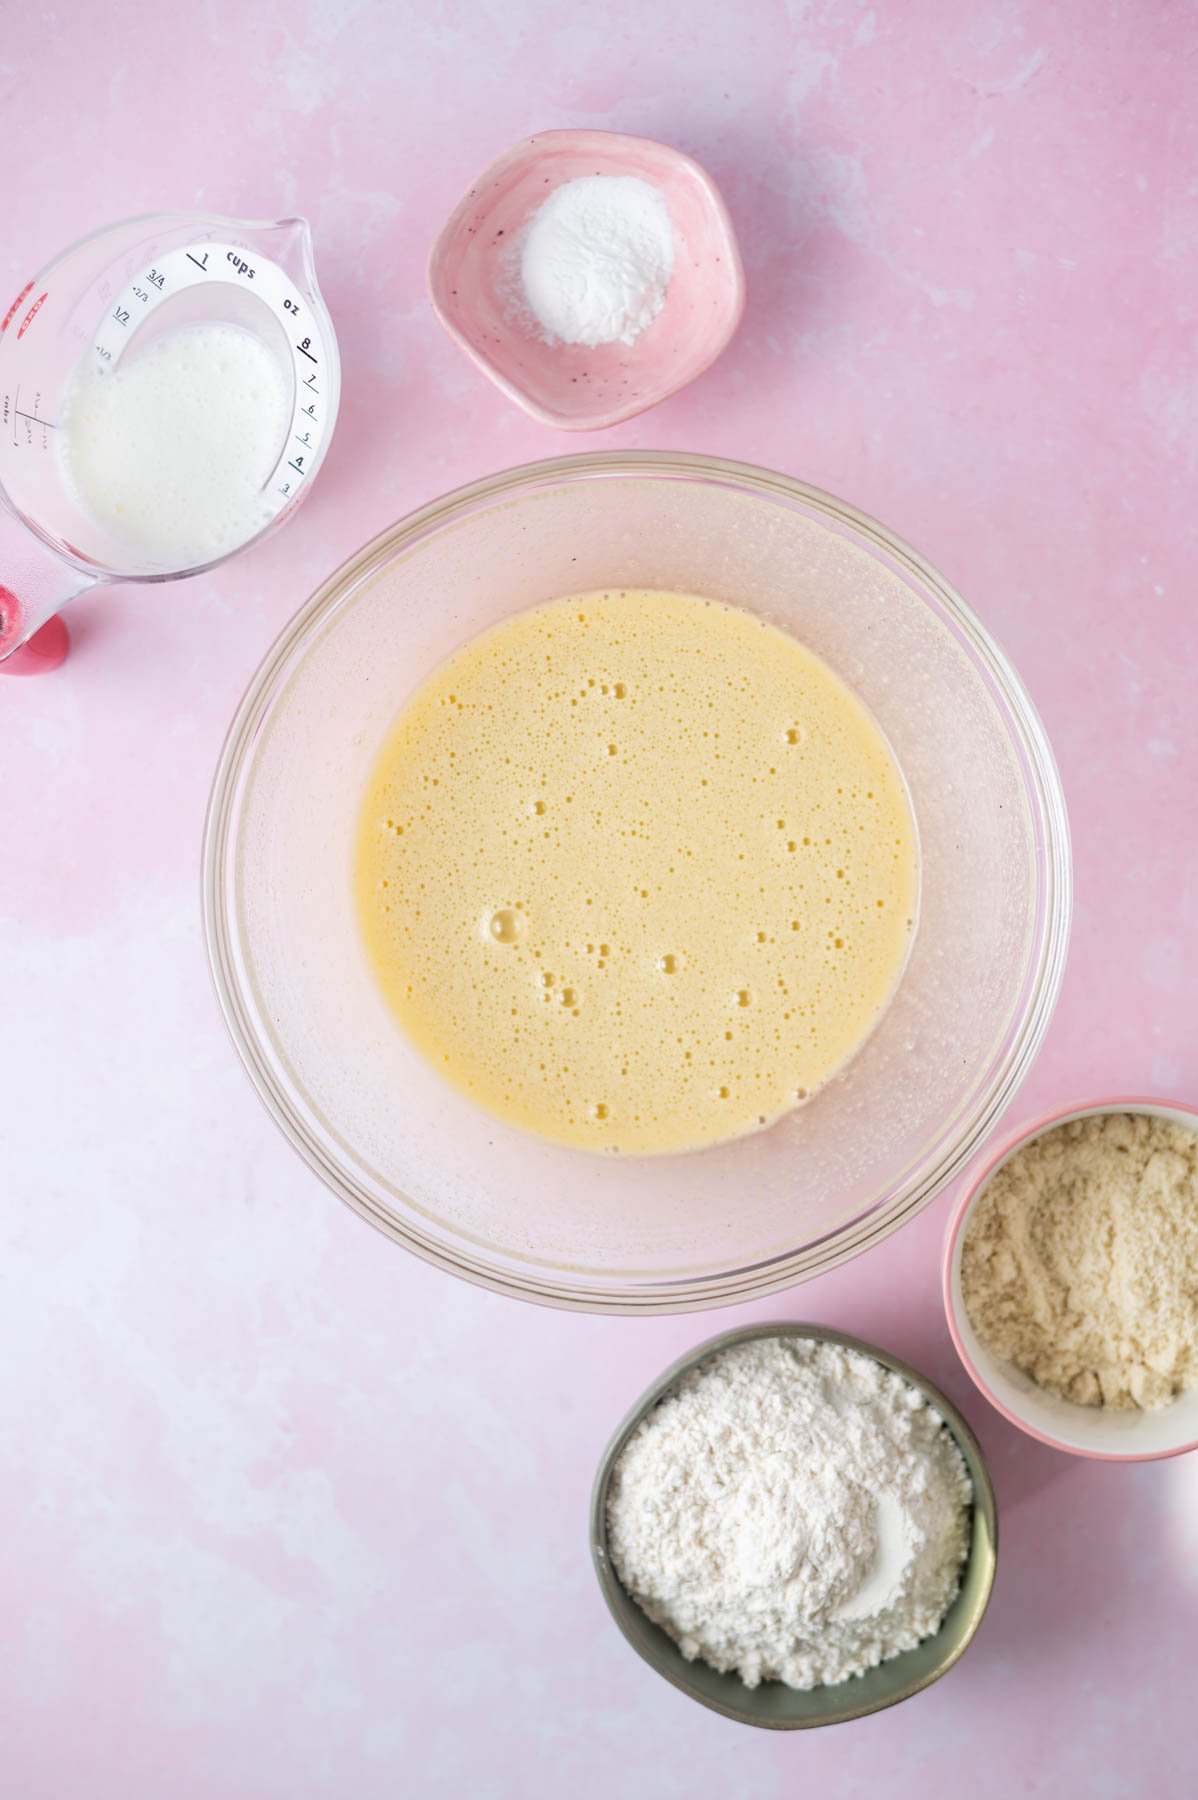
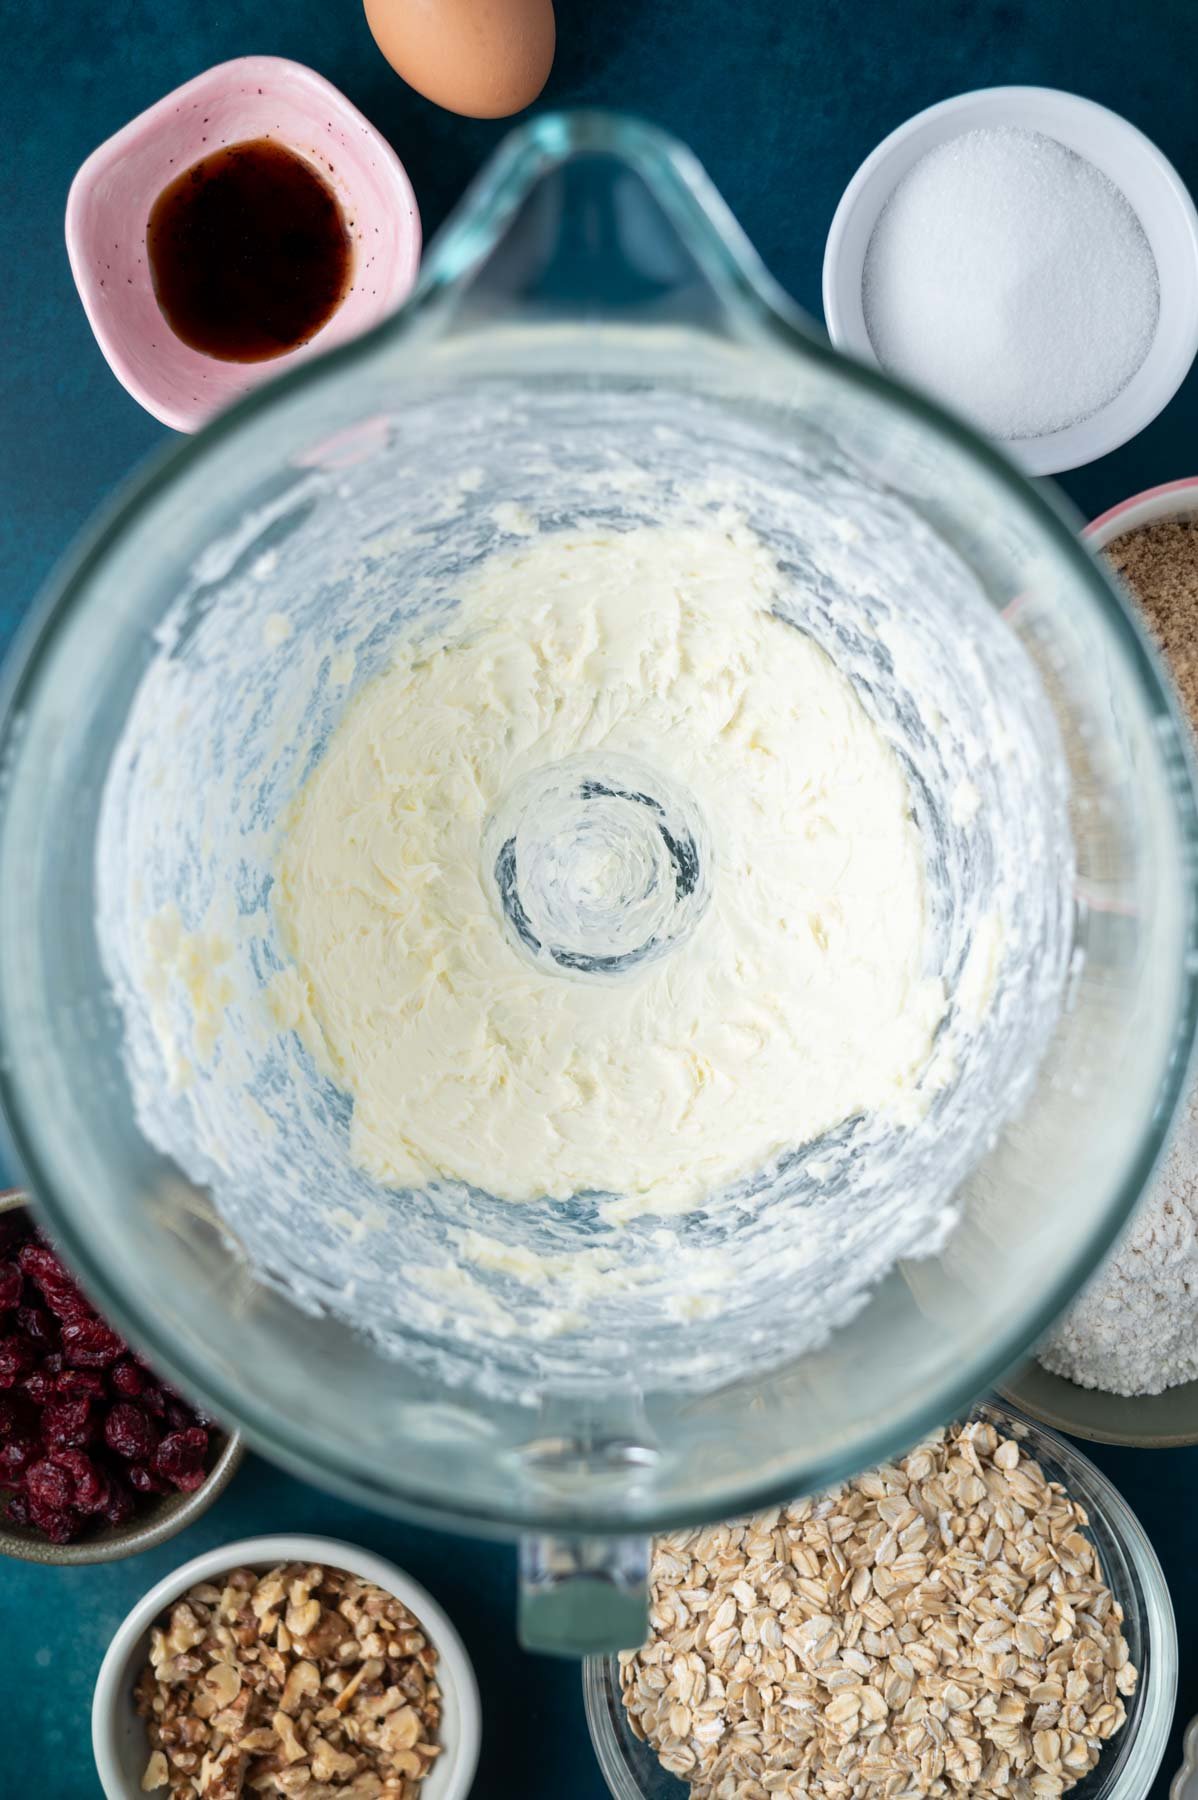
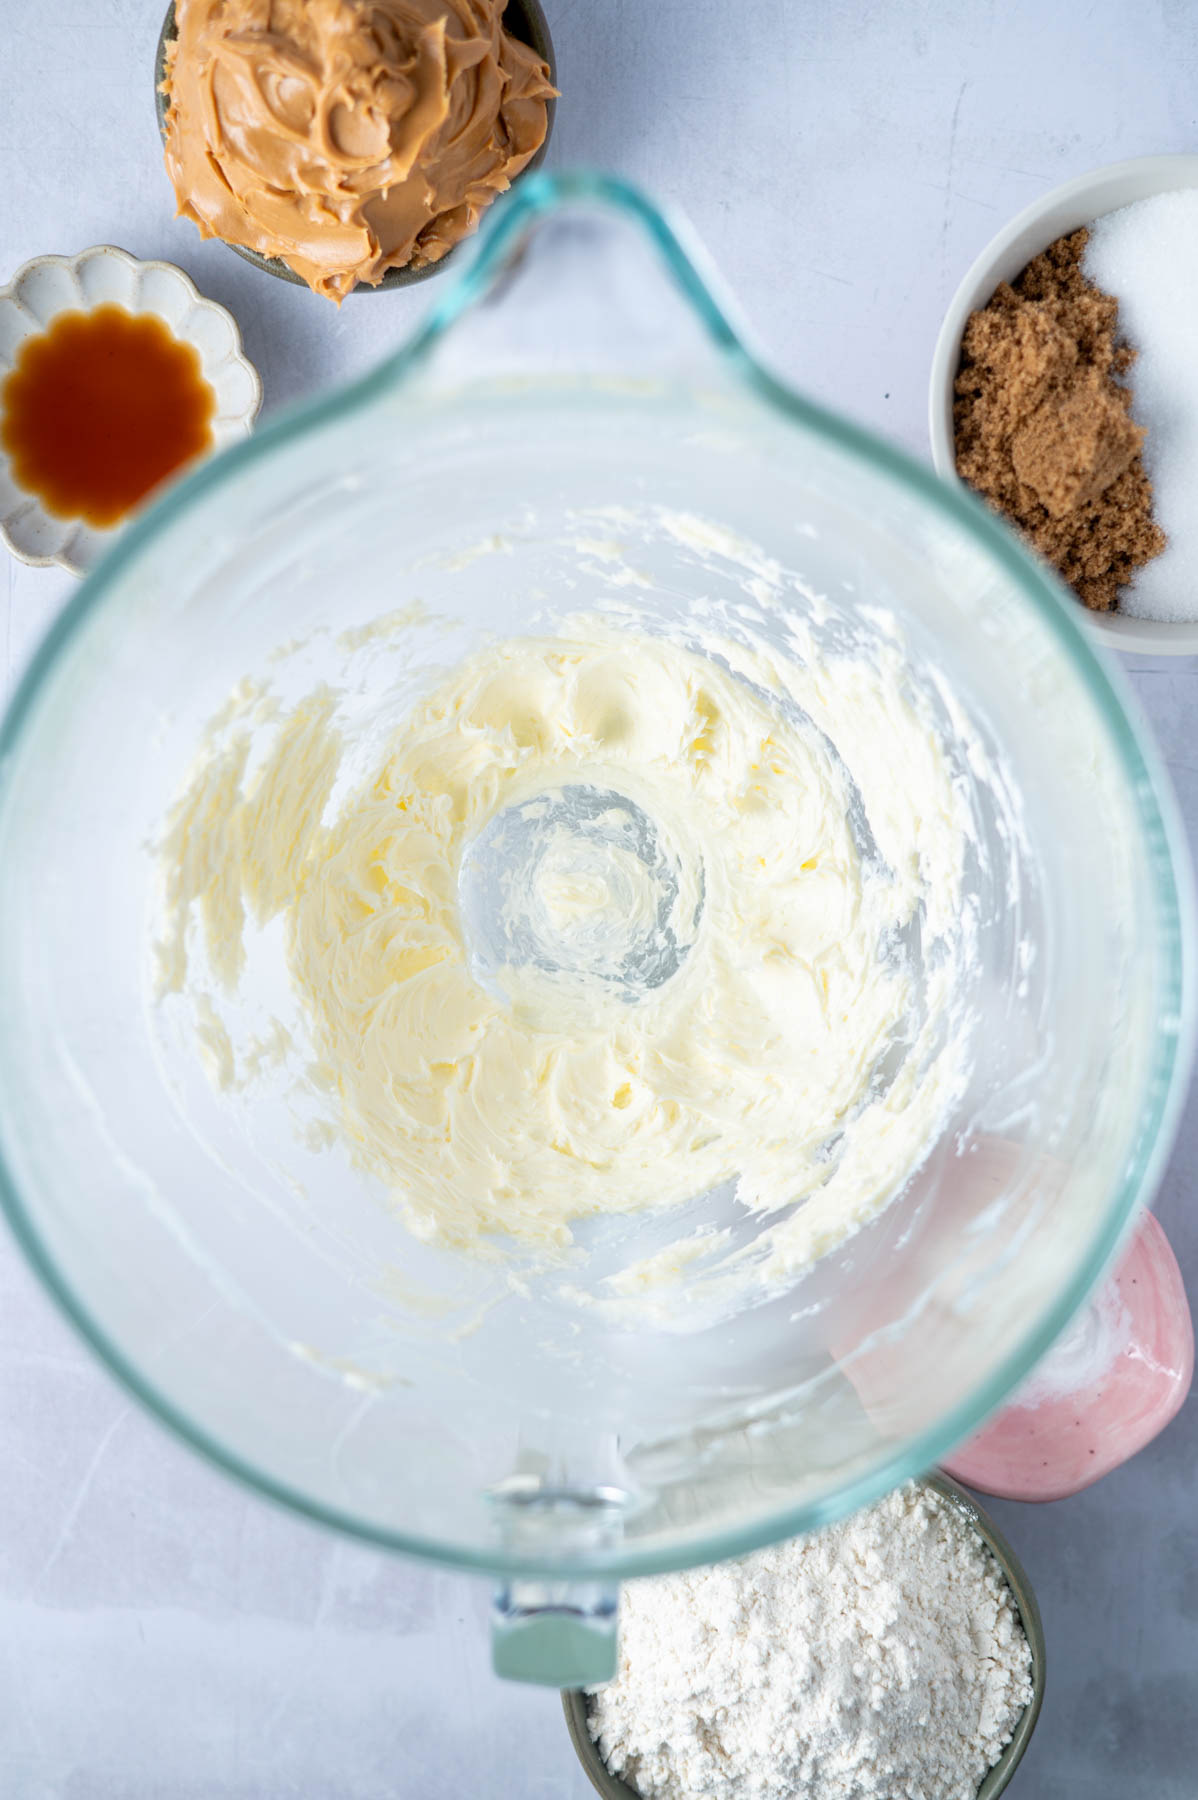
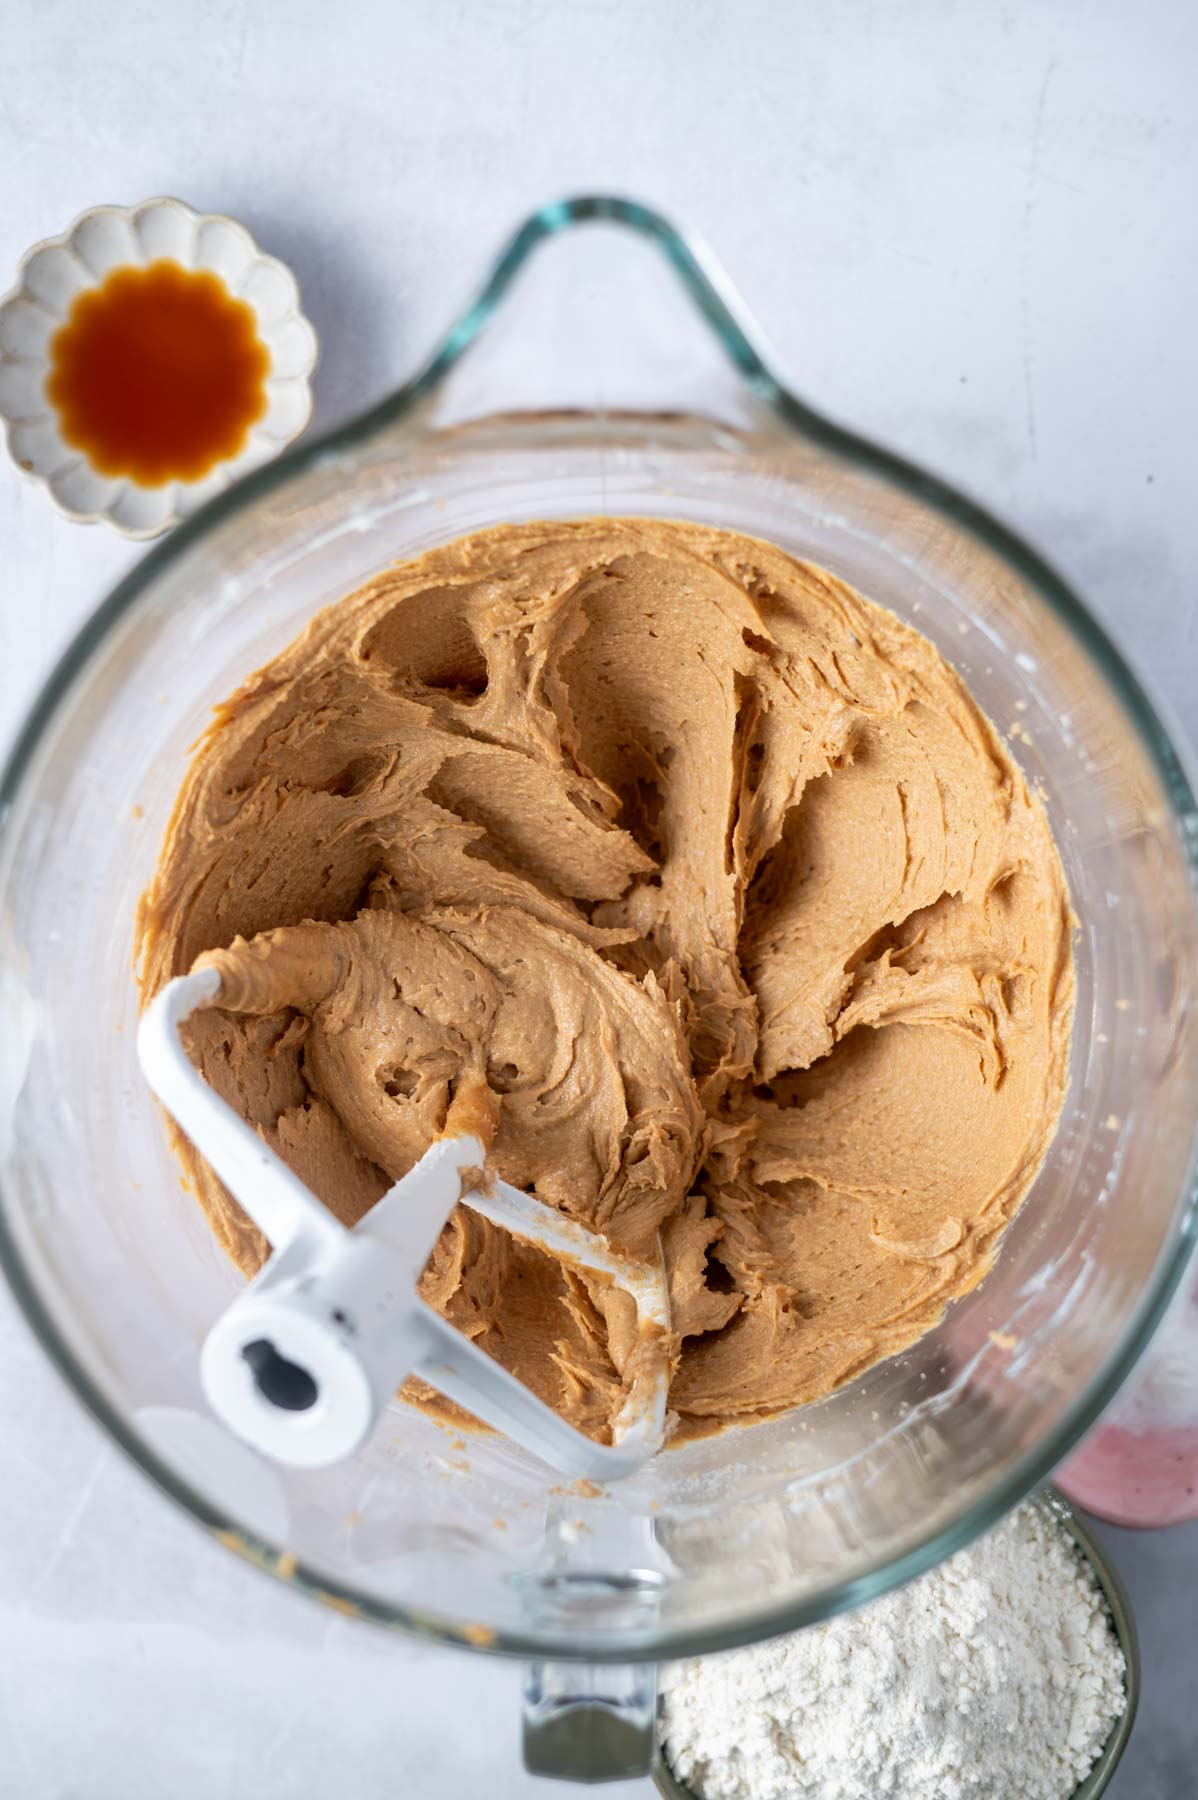
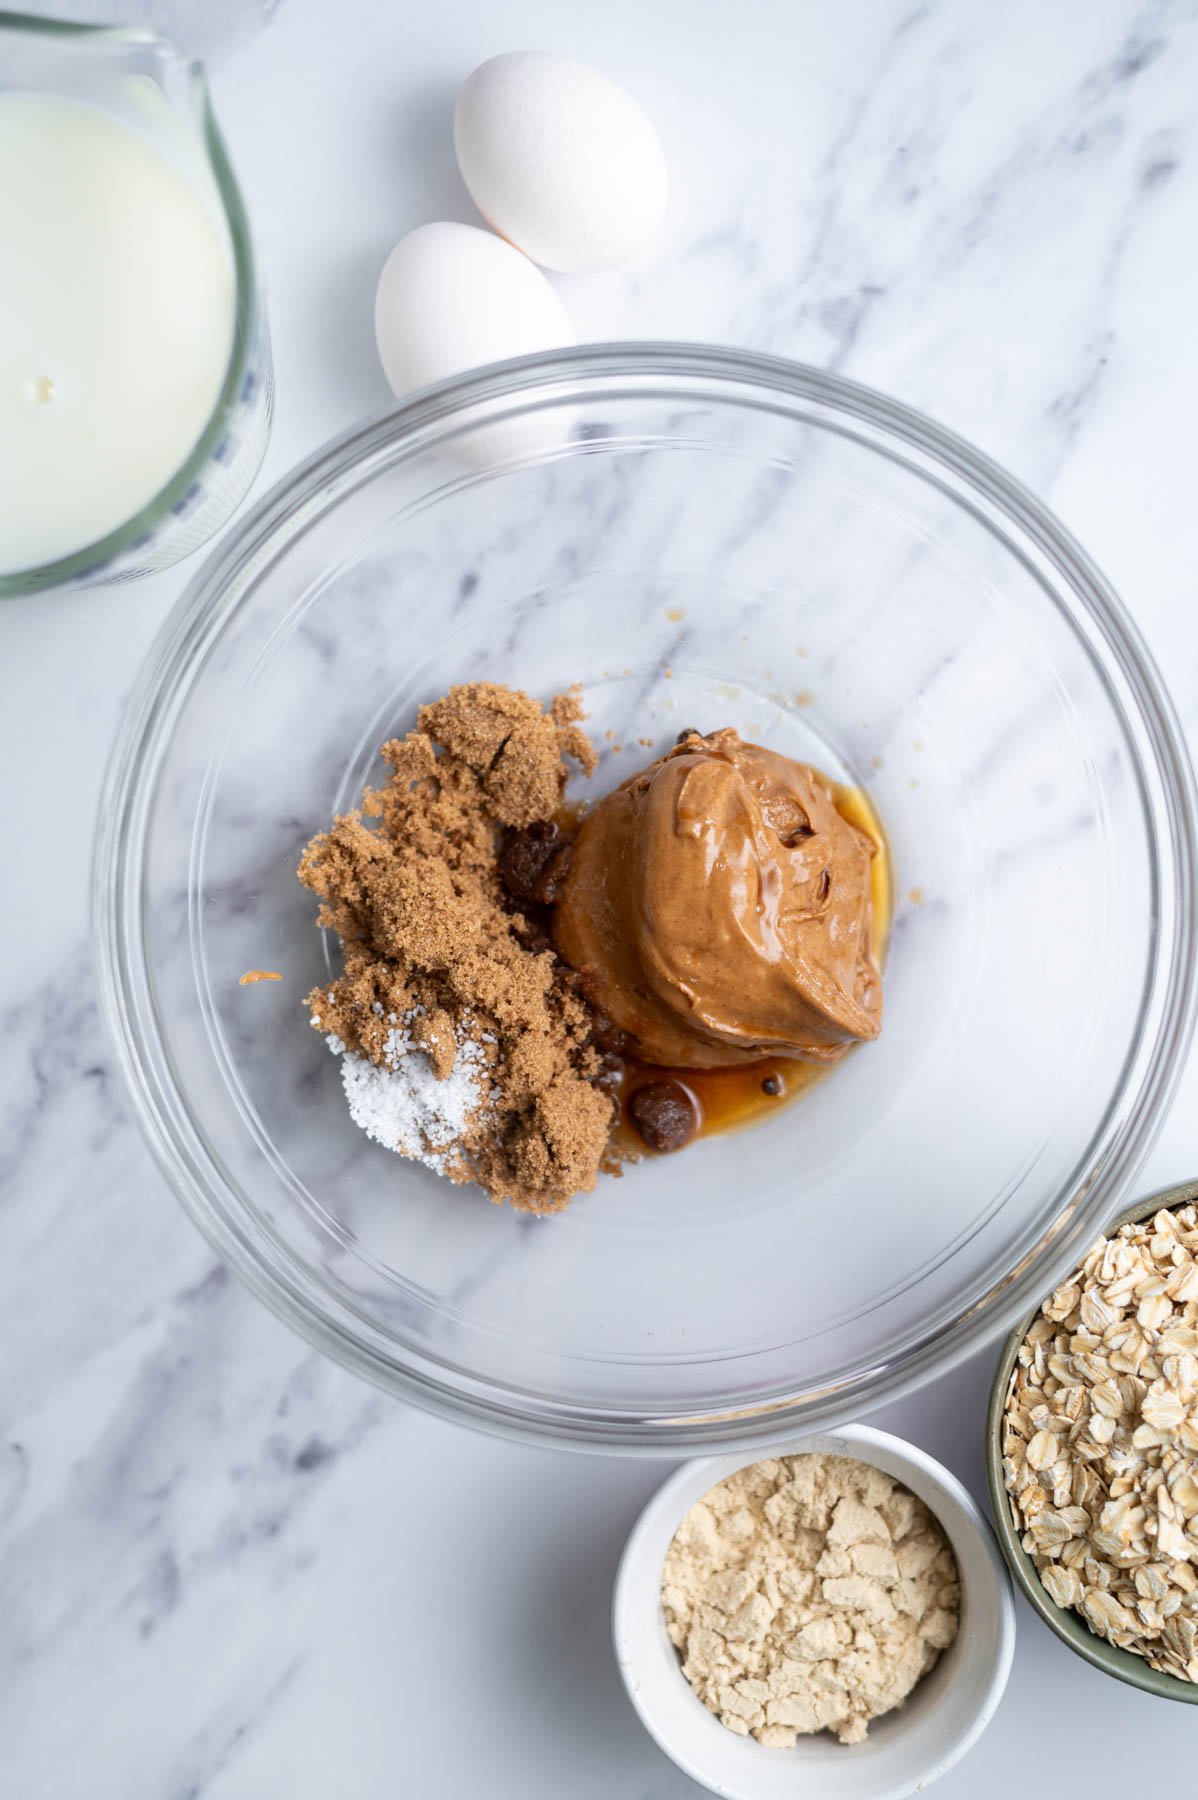
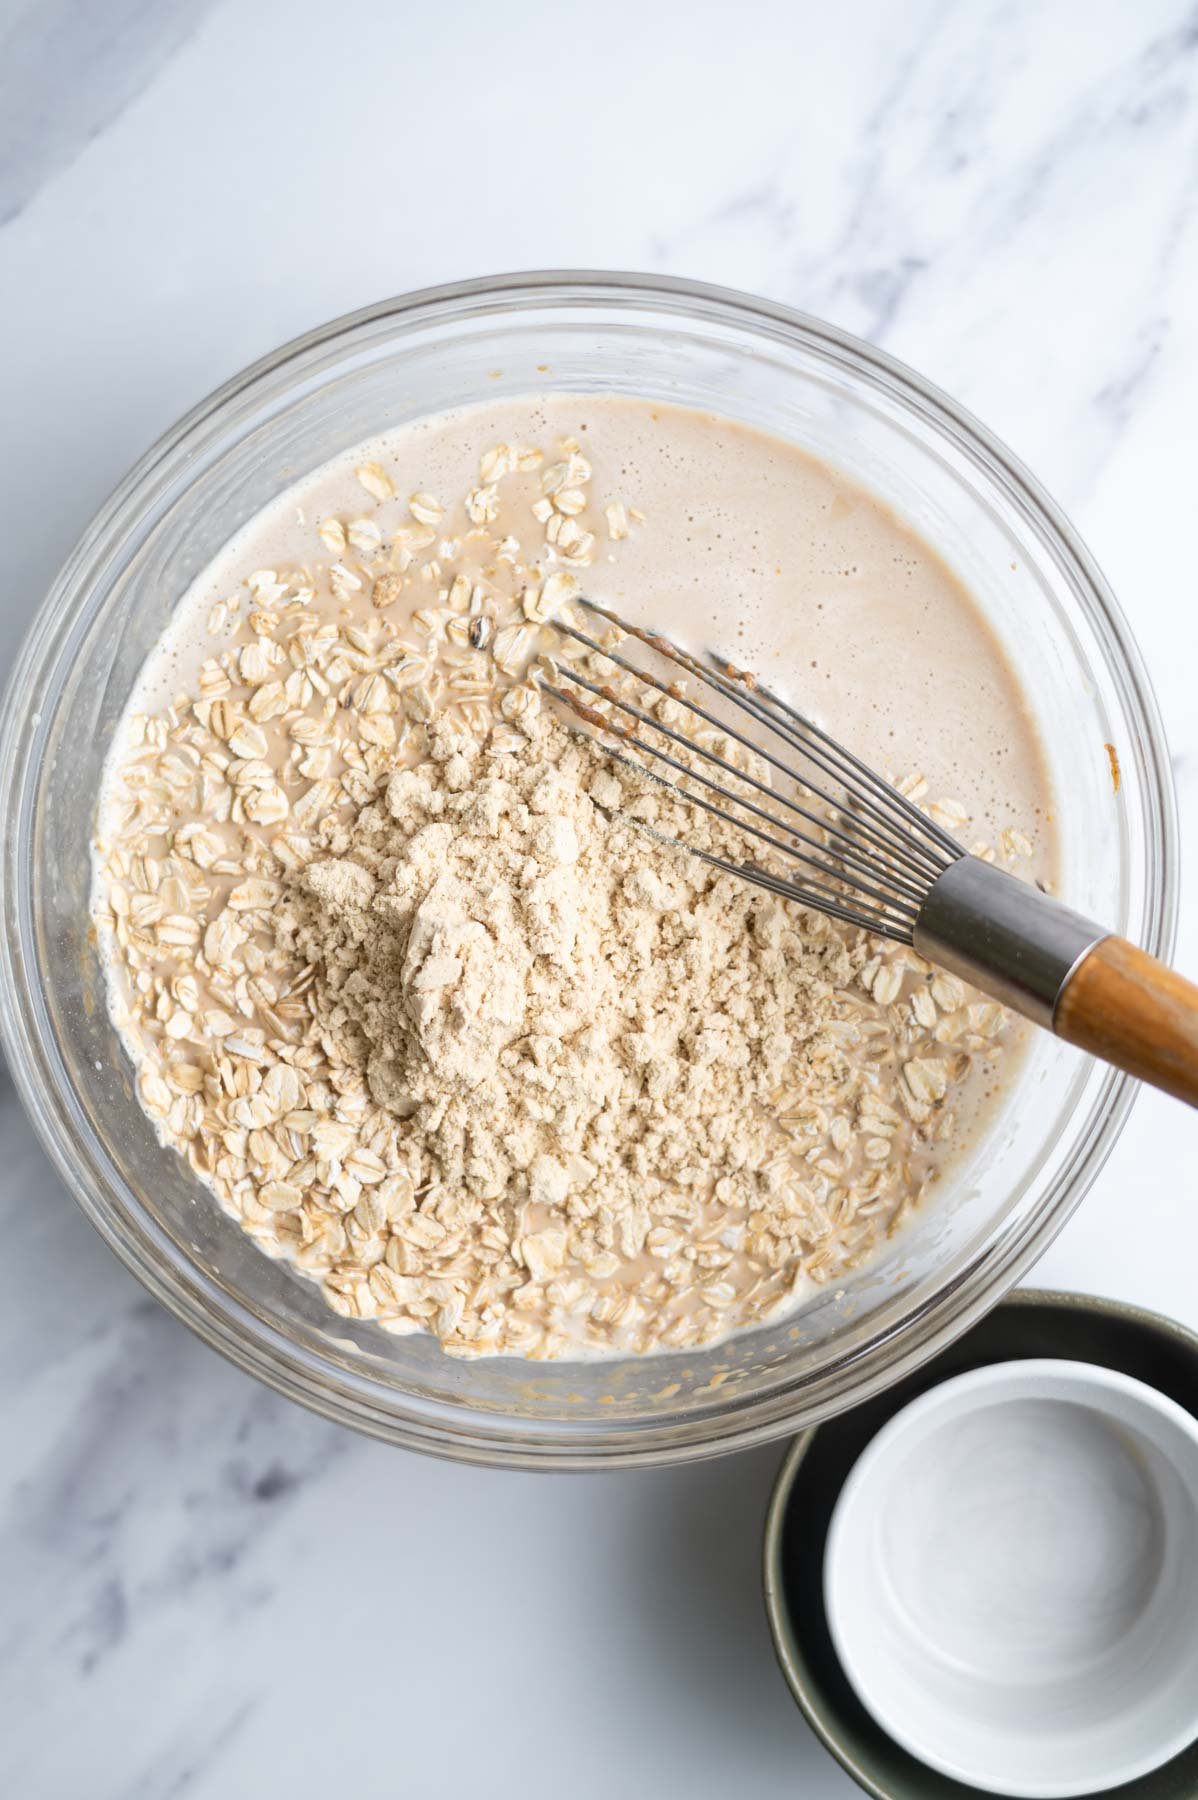
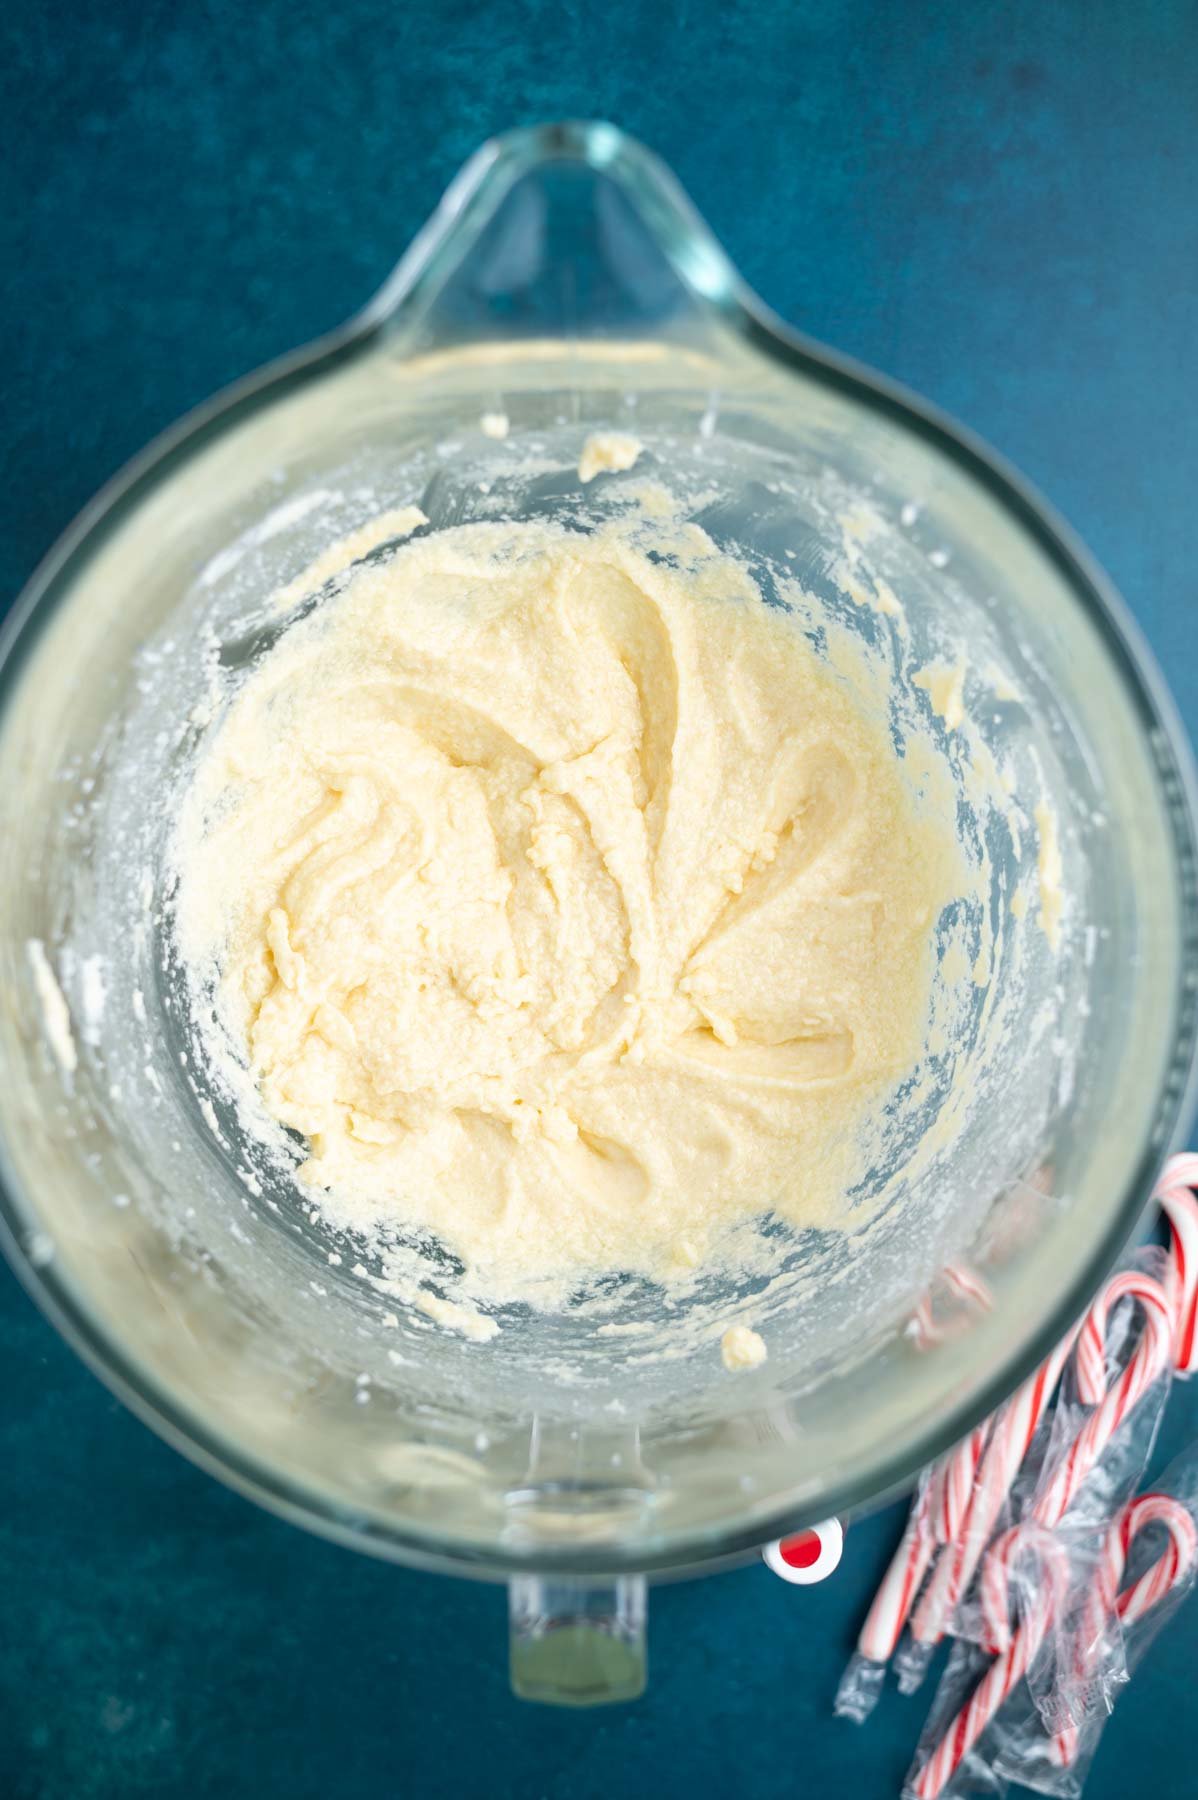
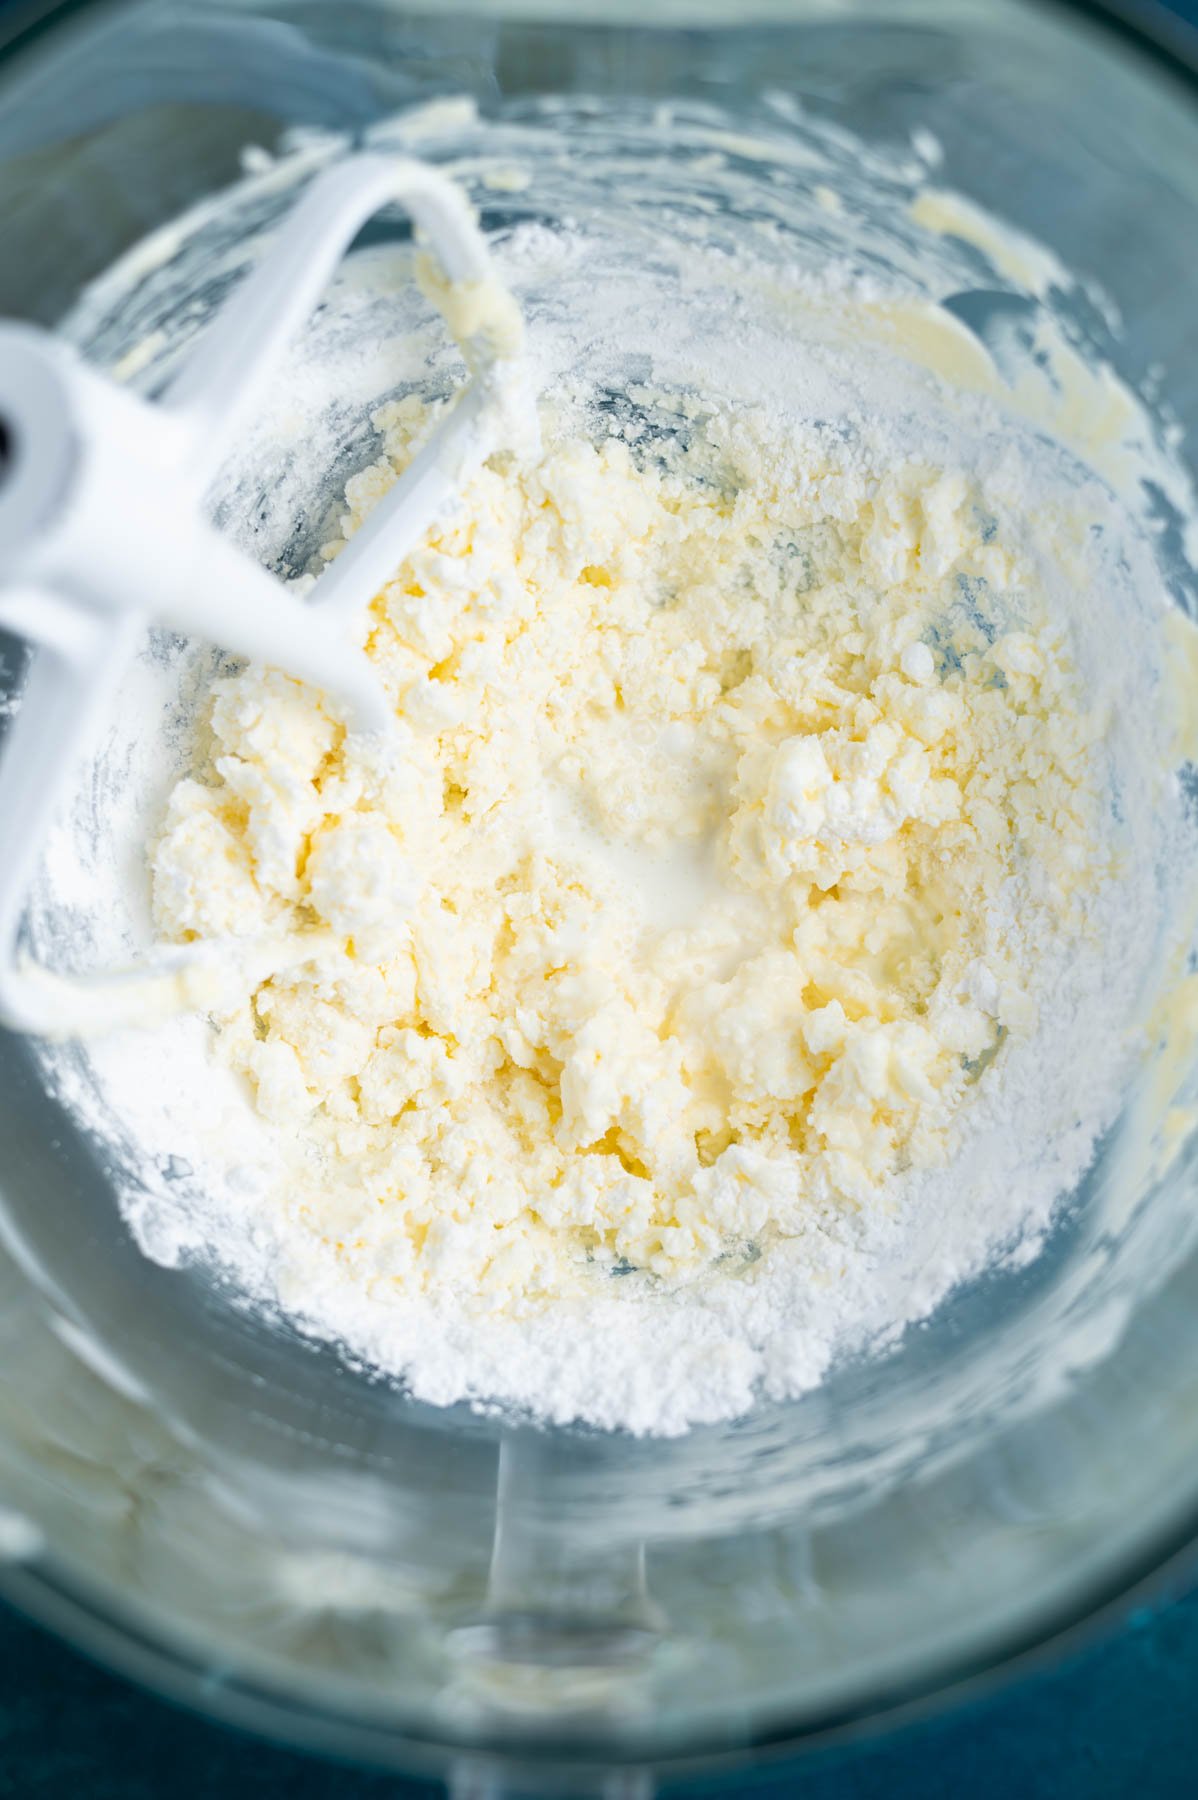
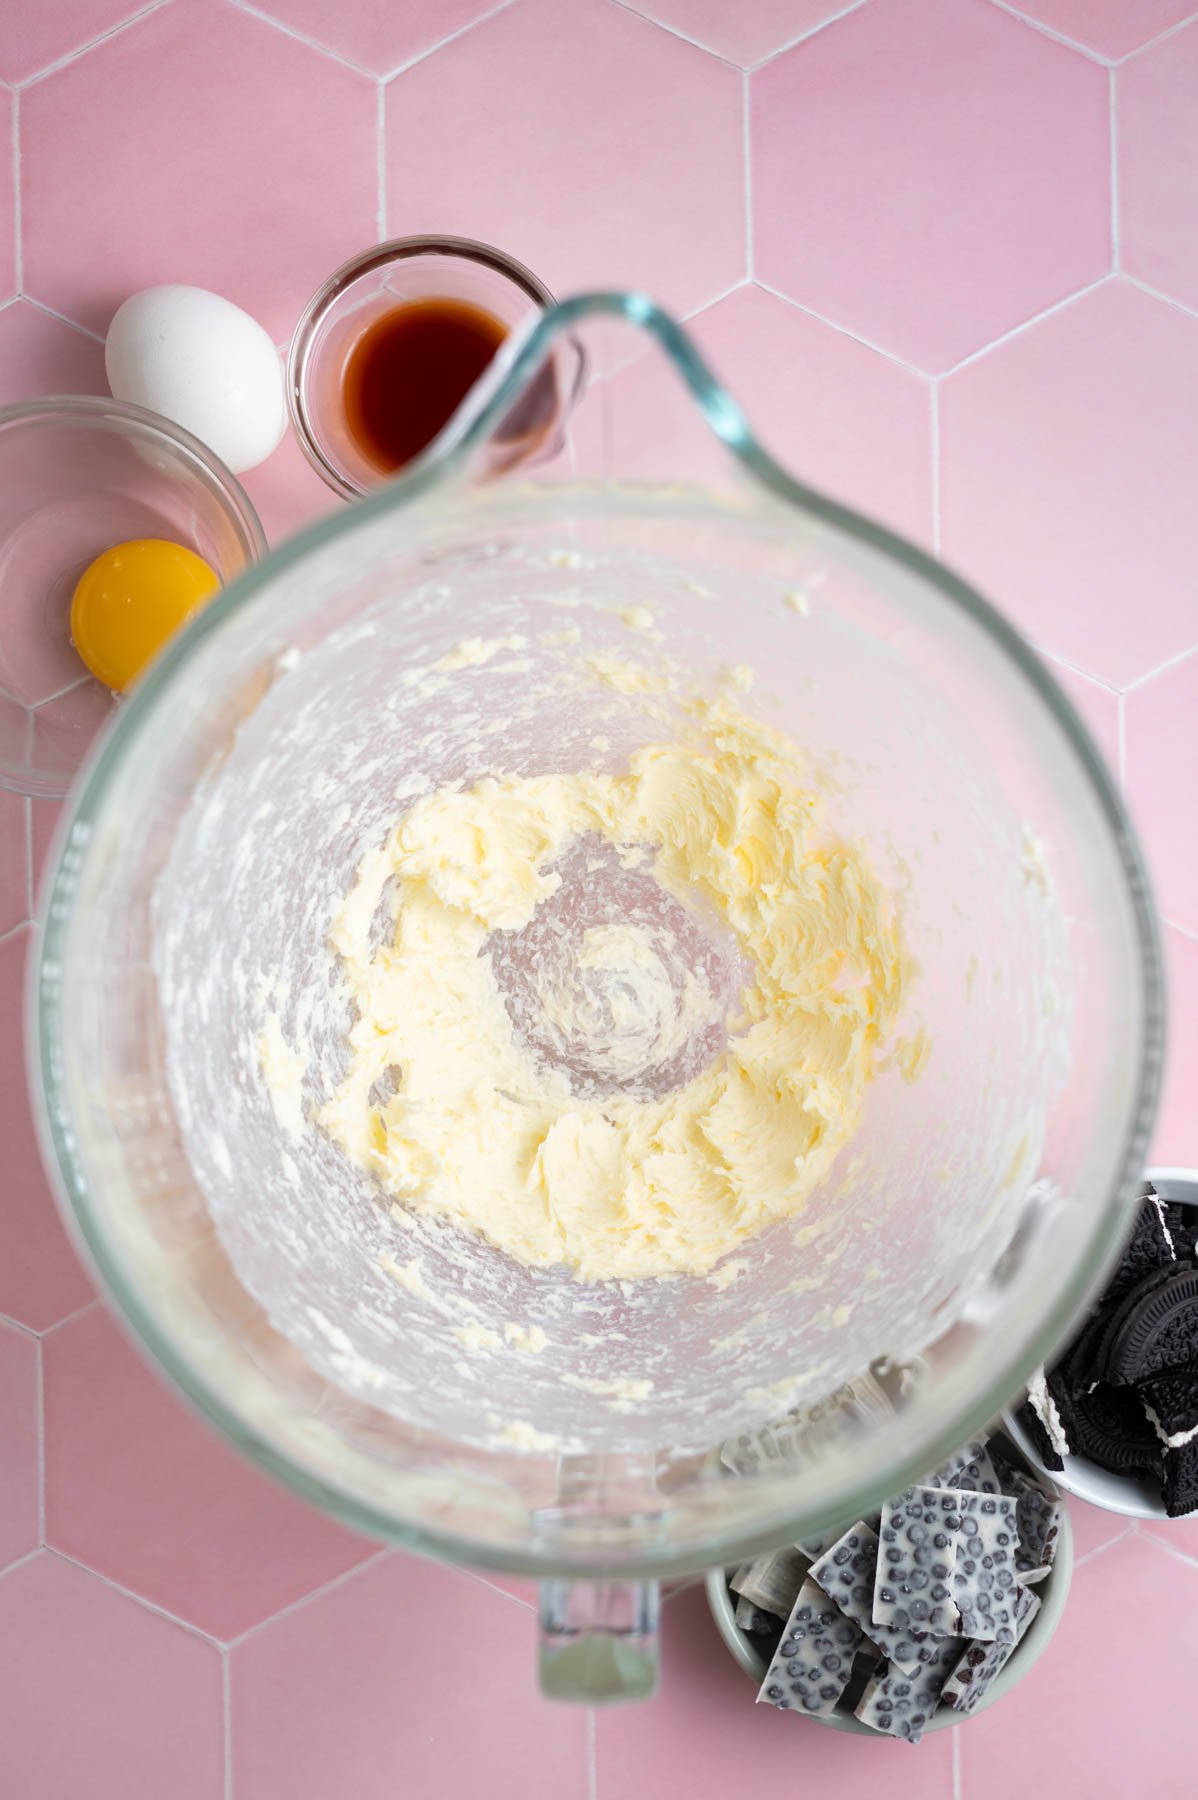
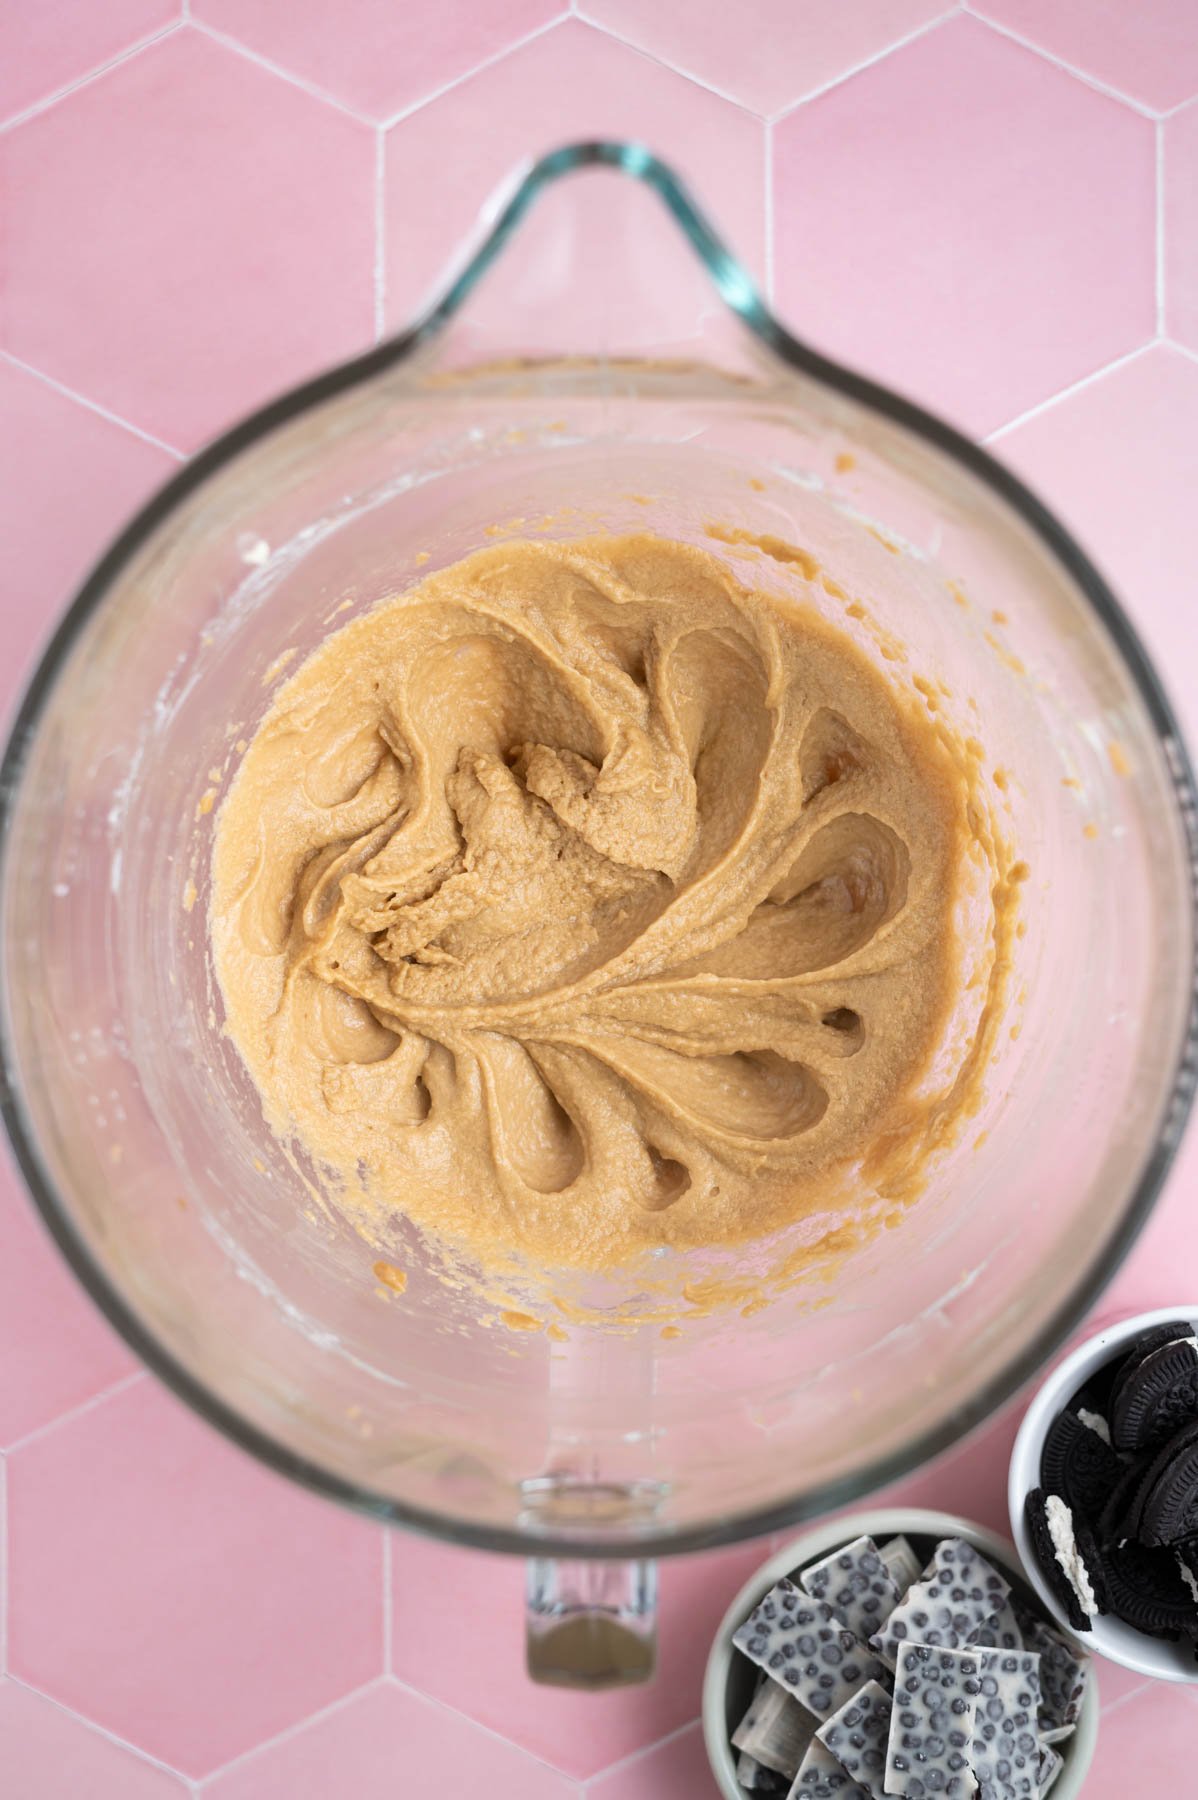
In a medium to large bowl, whisk together the melted butter, granulated sugar and kosher salt until well combined.
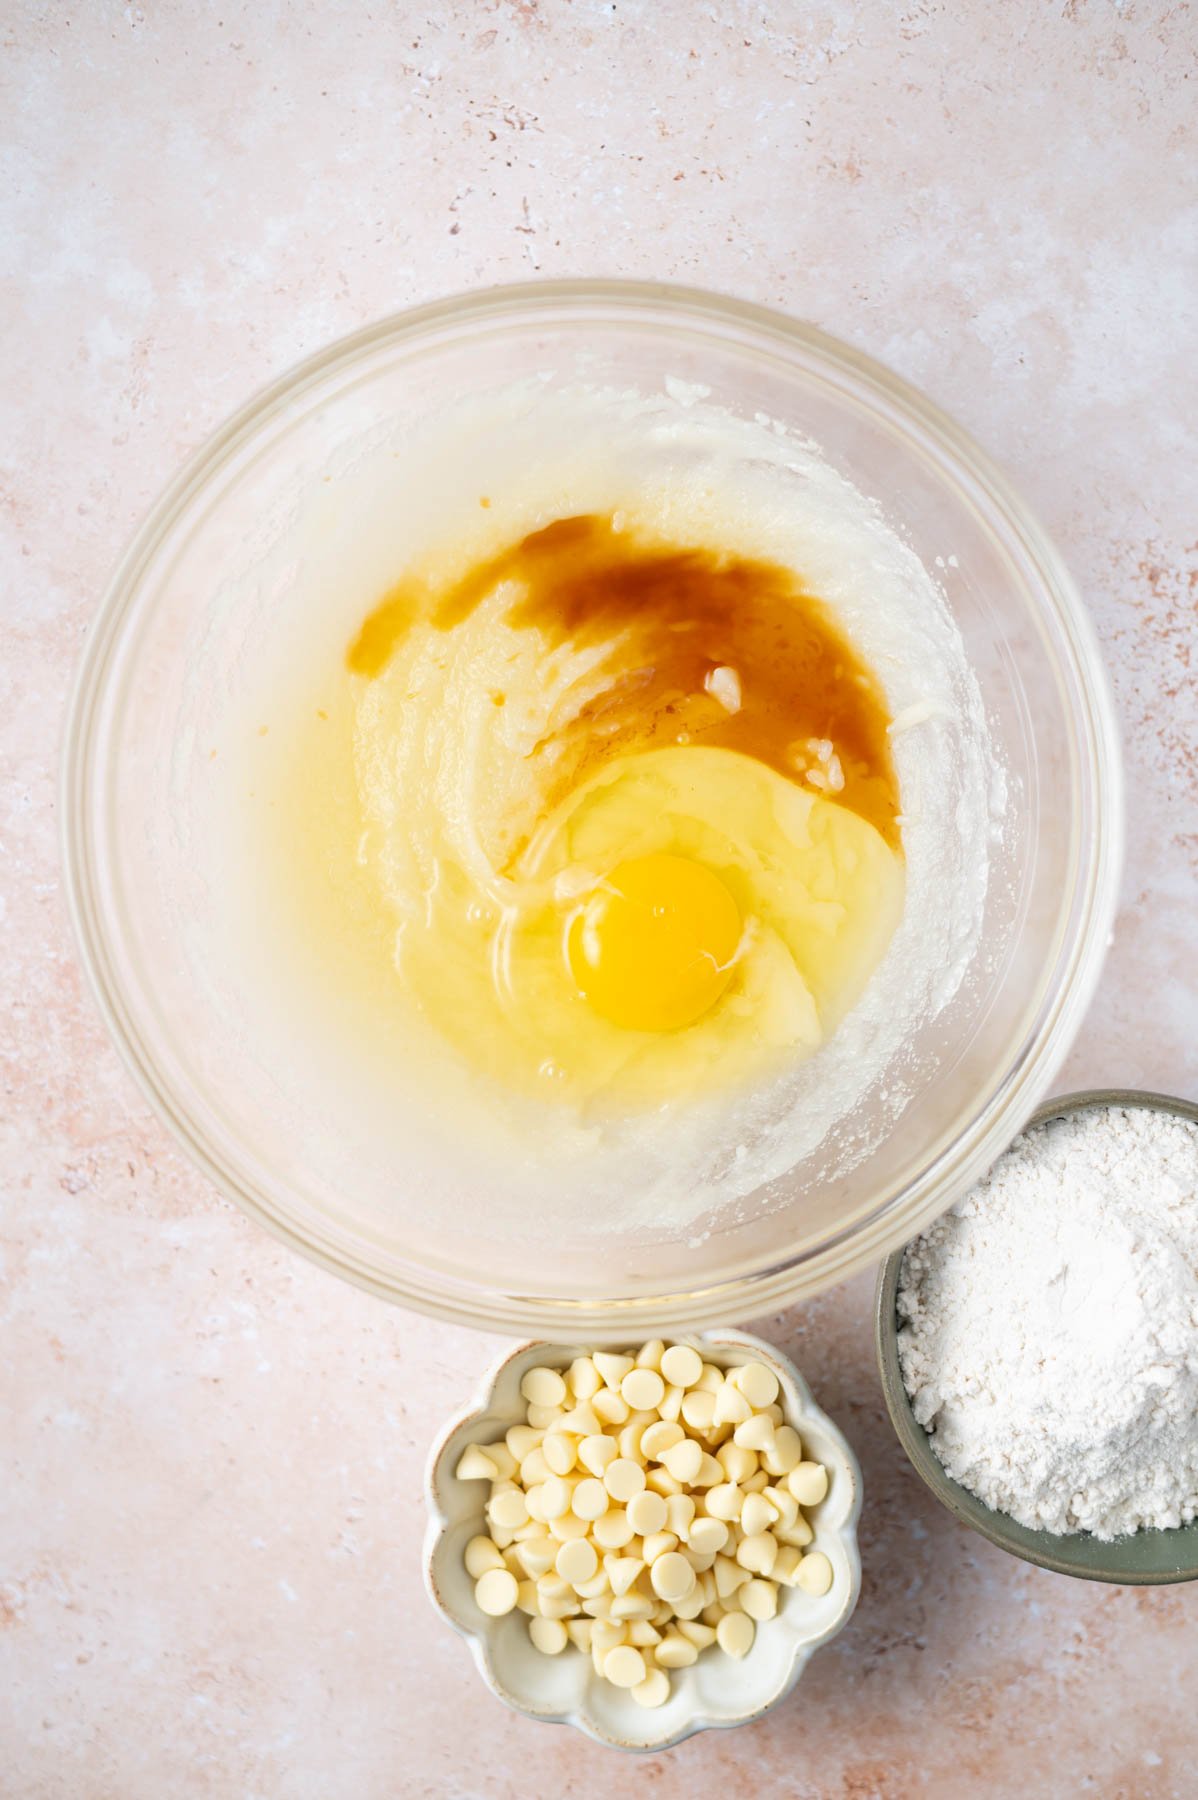
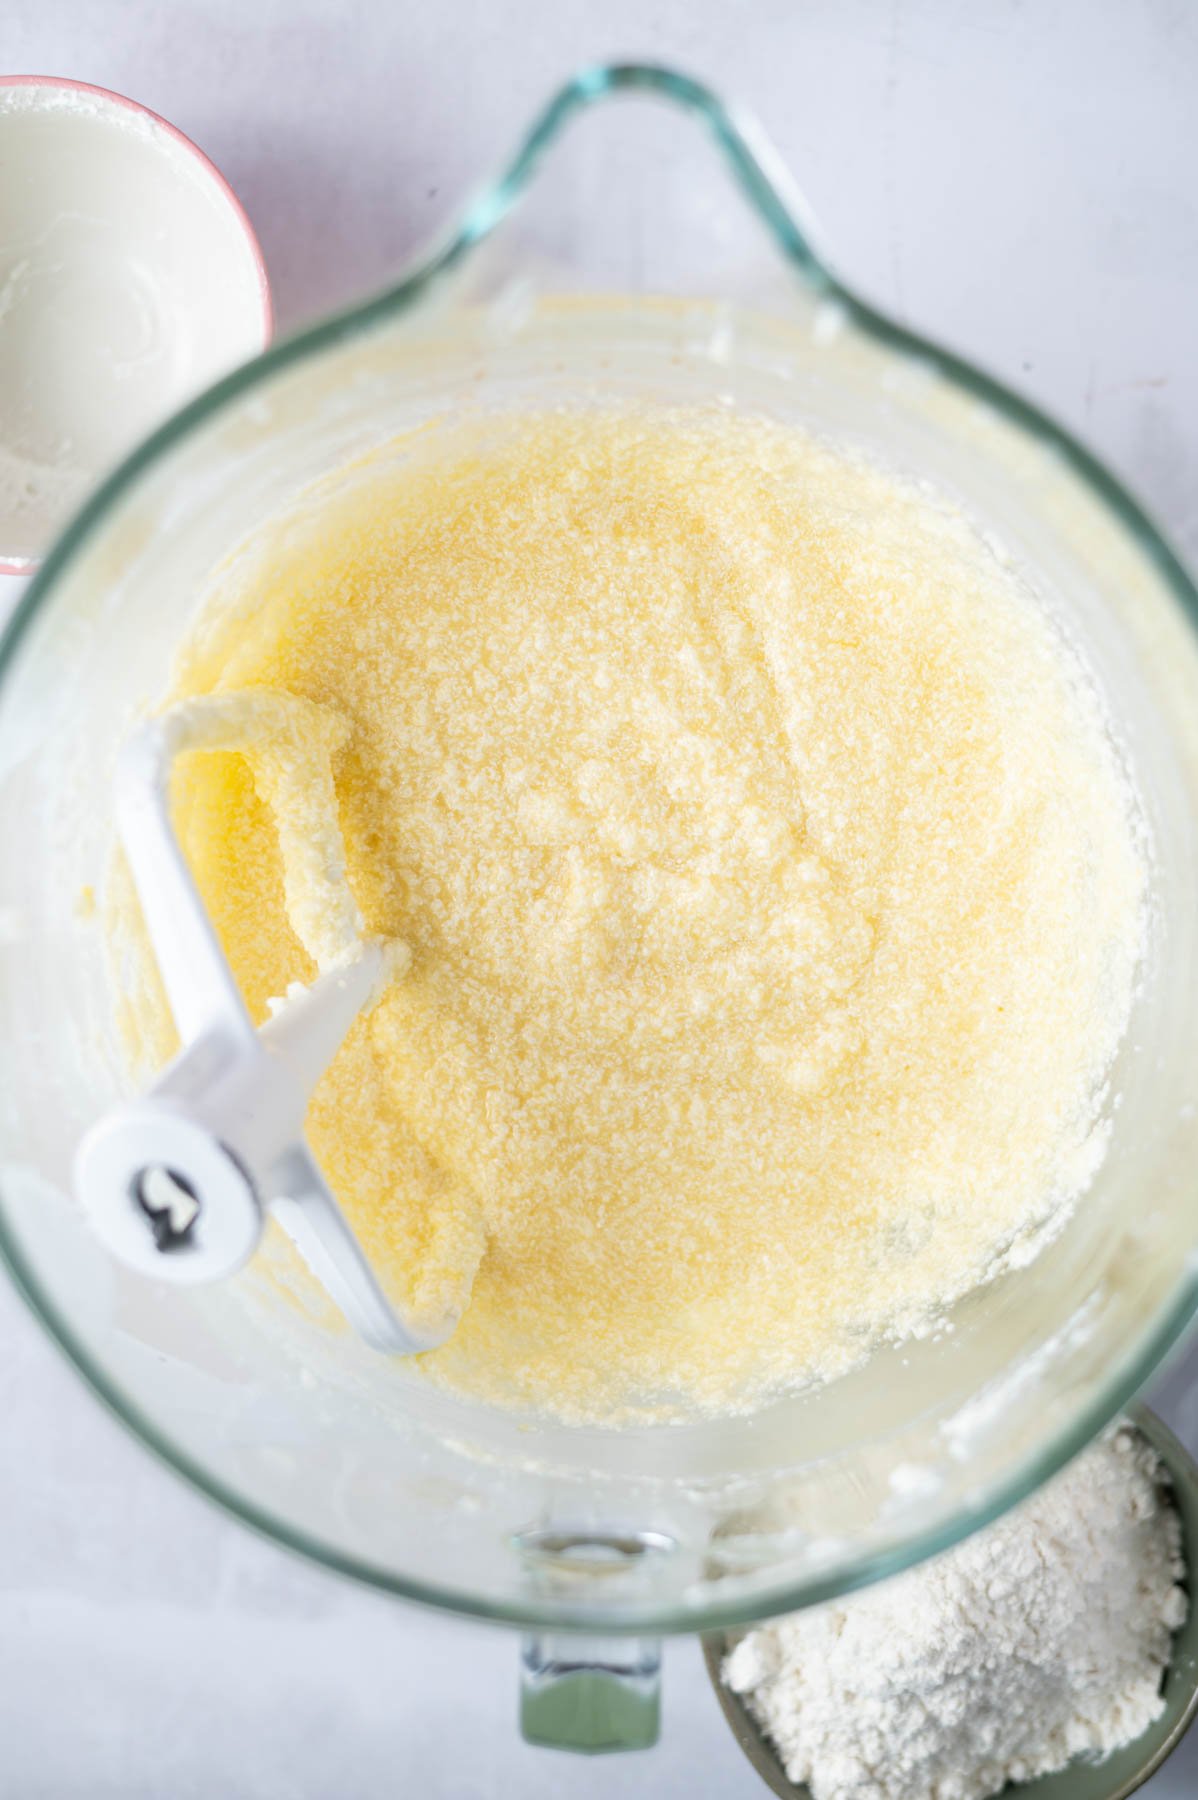
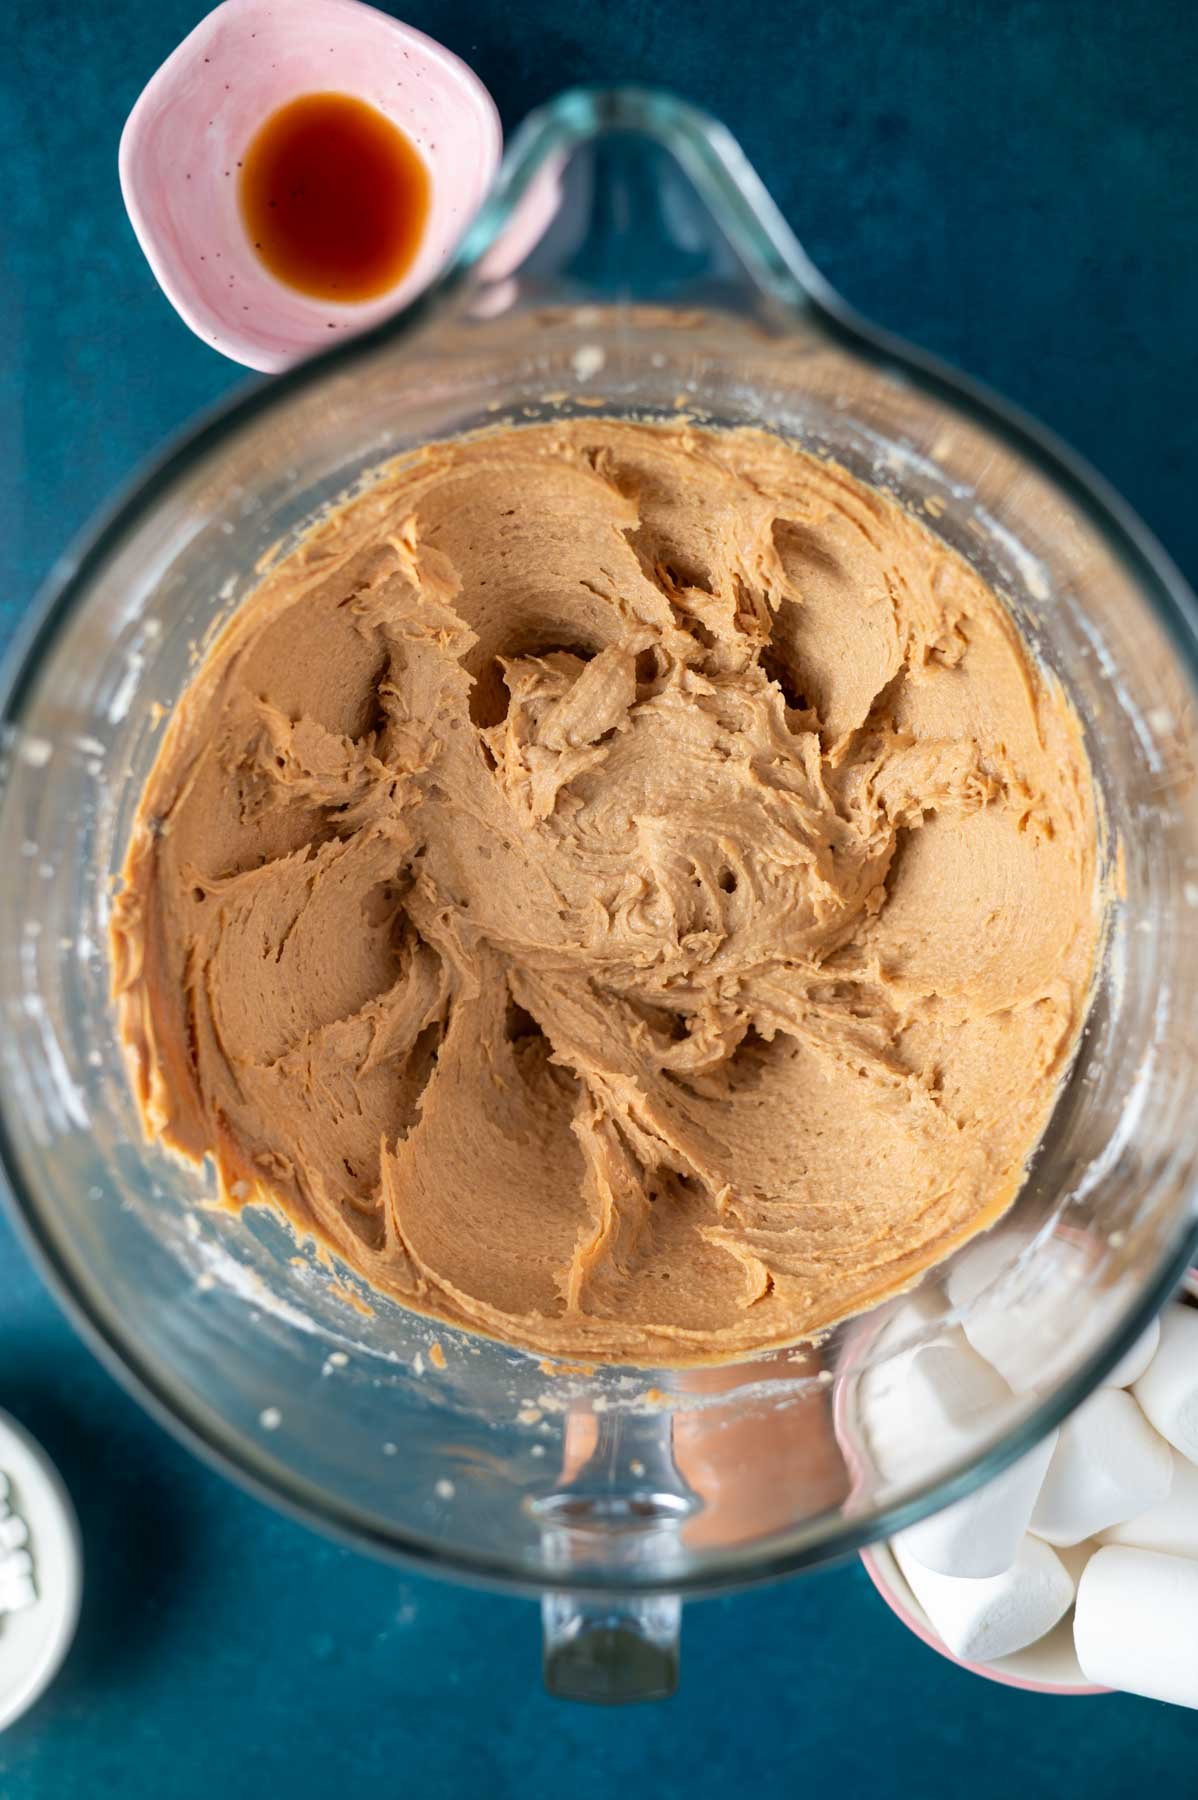
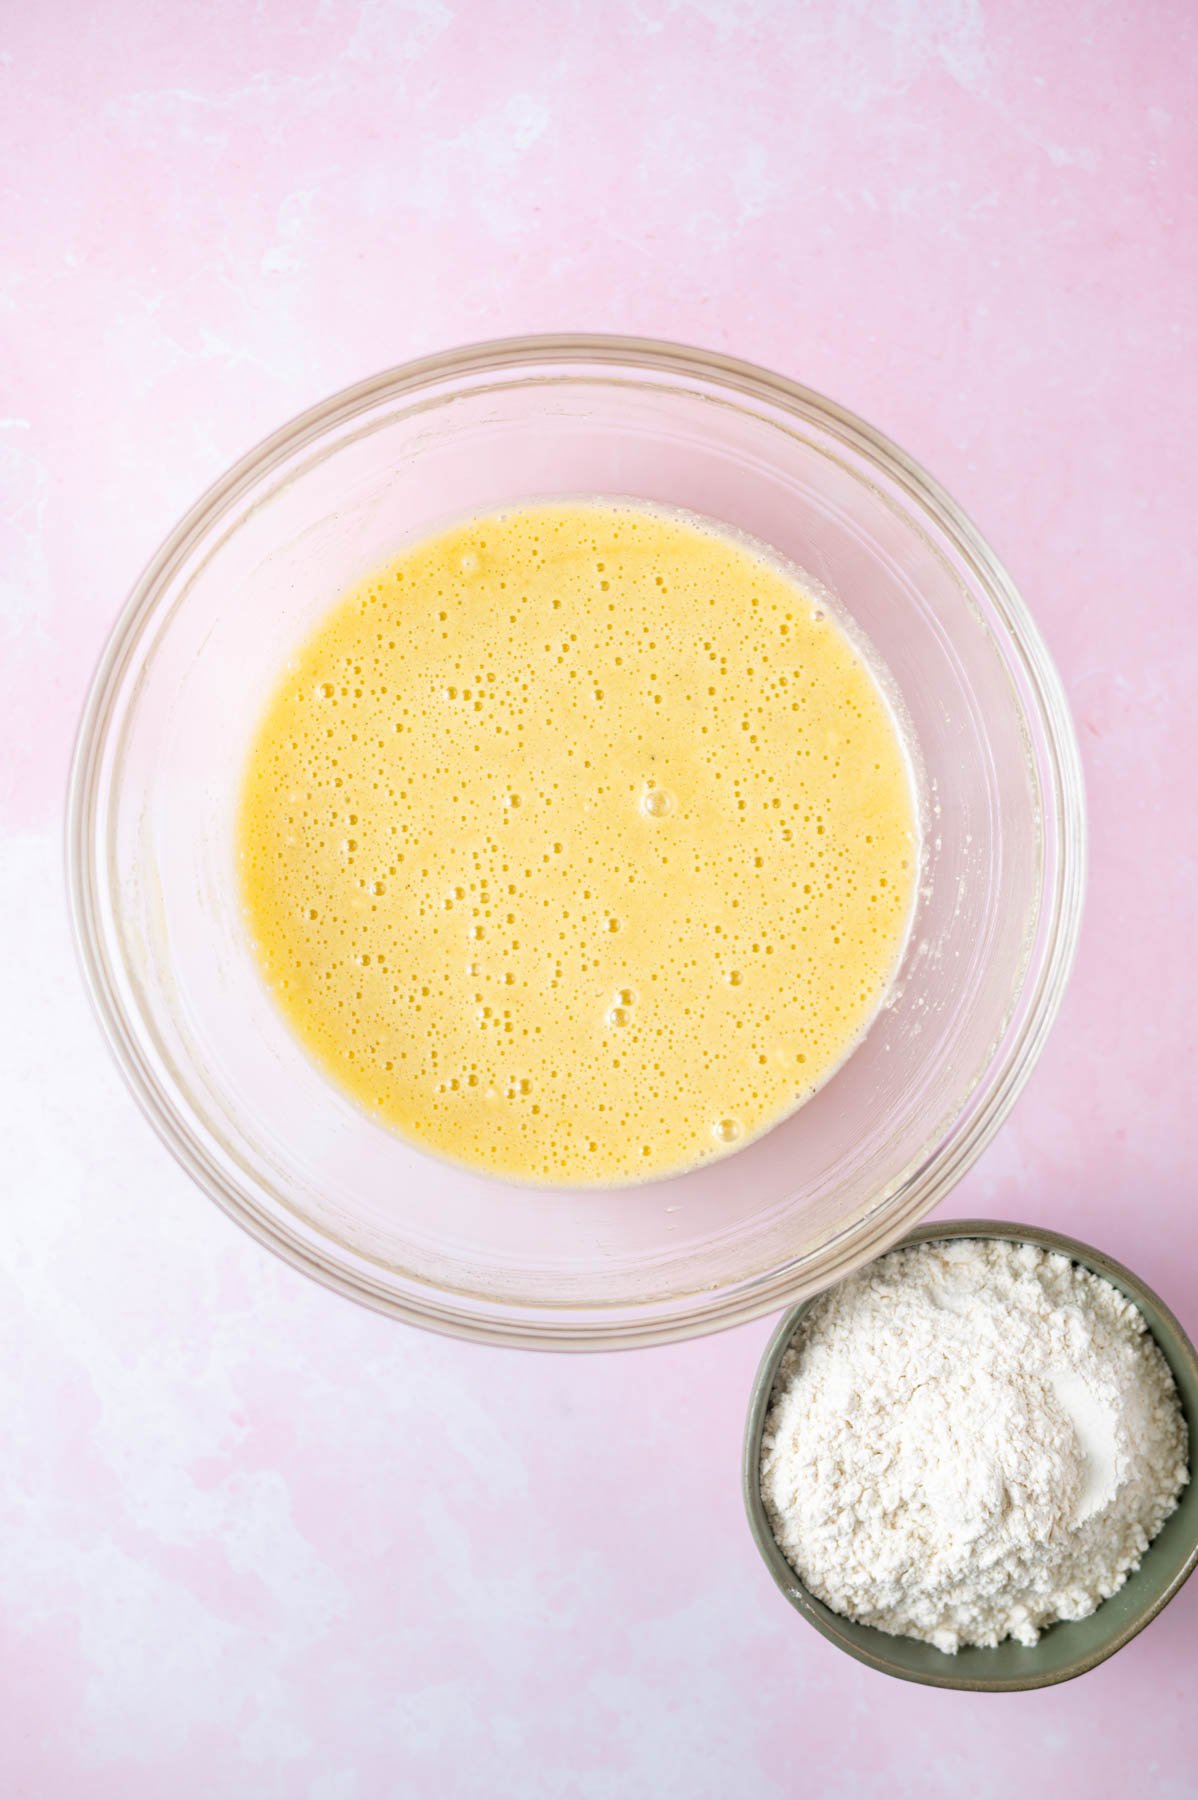
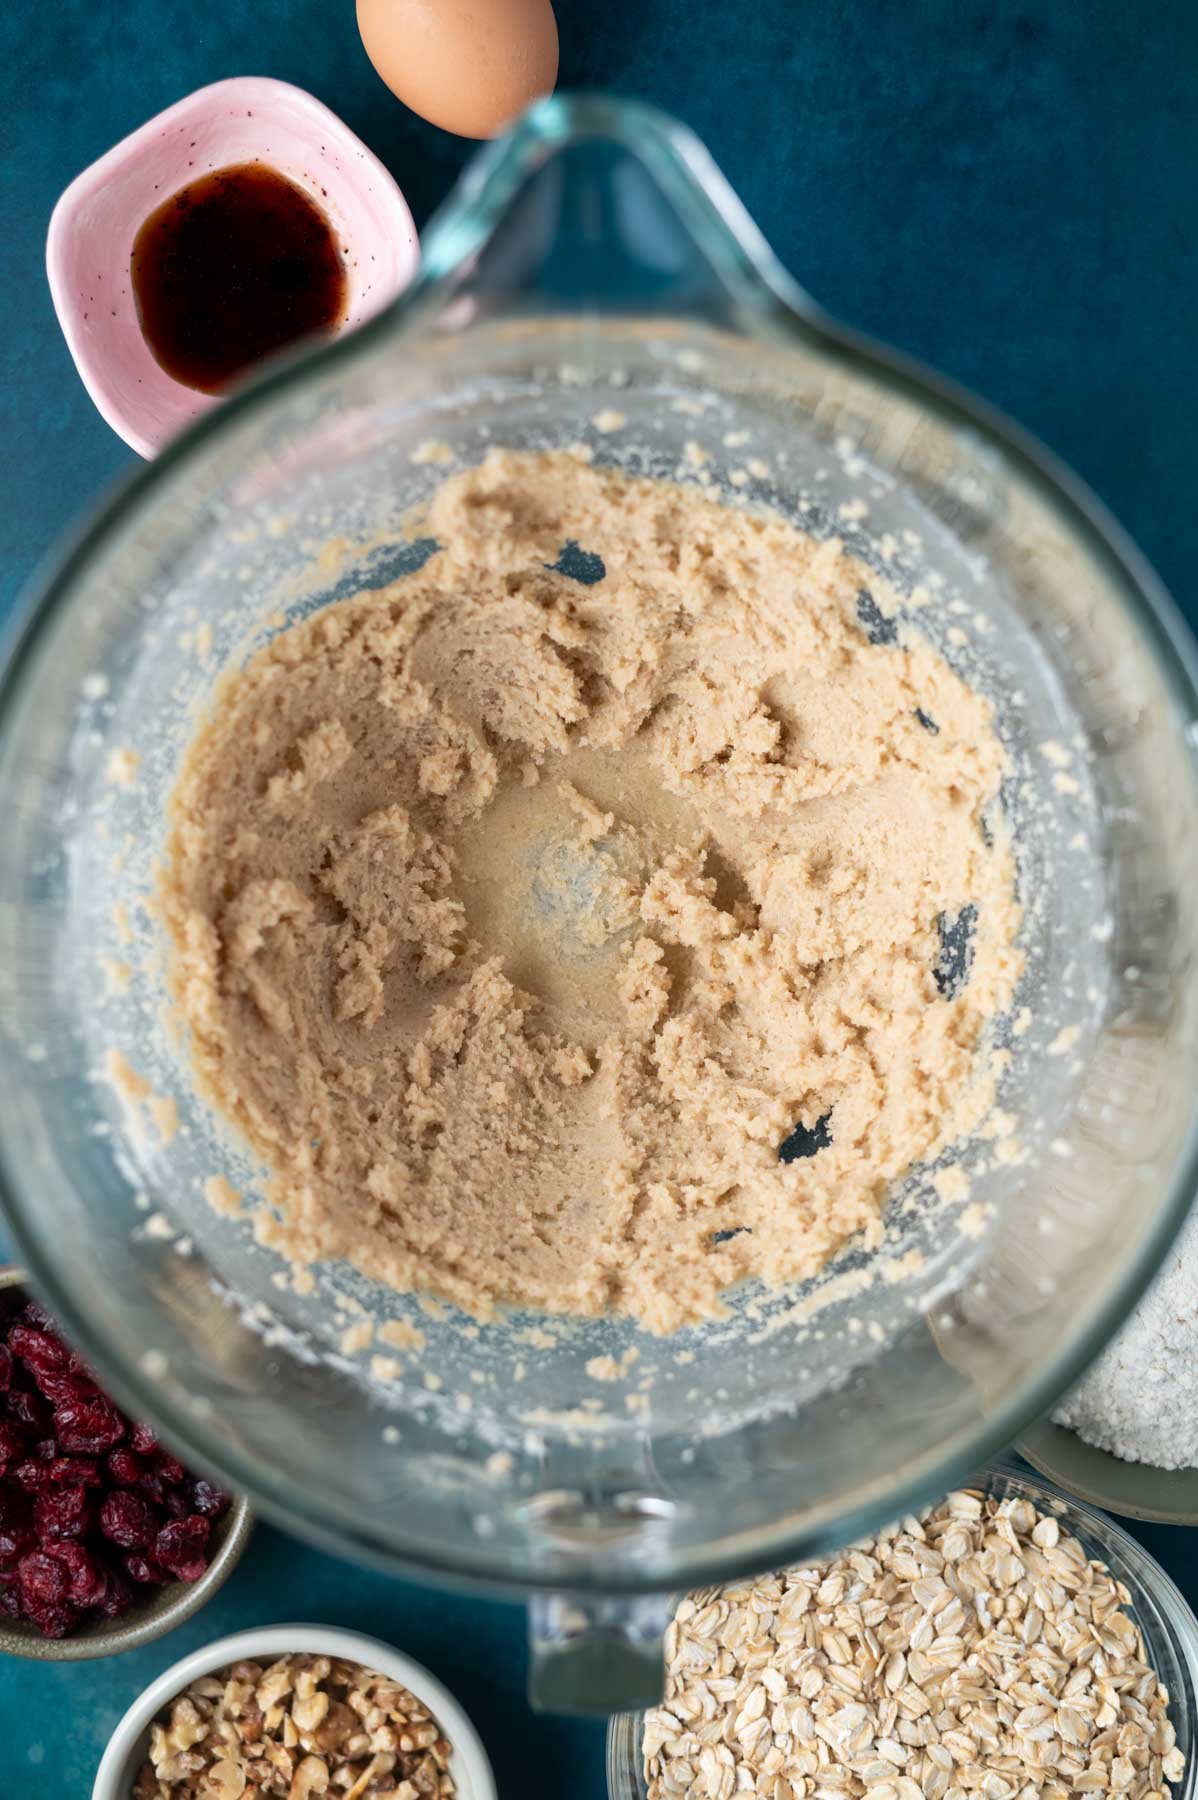
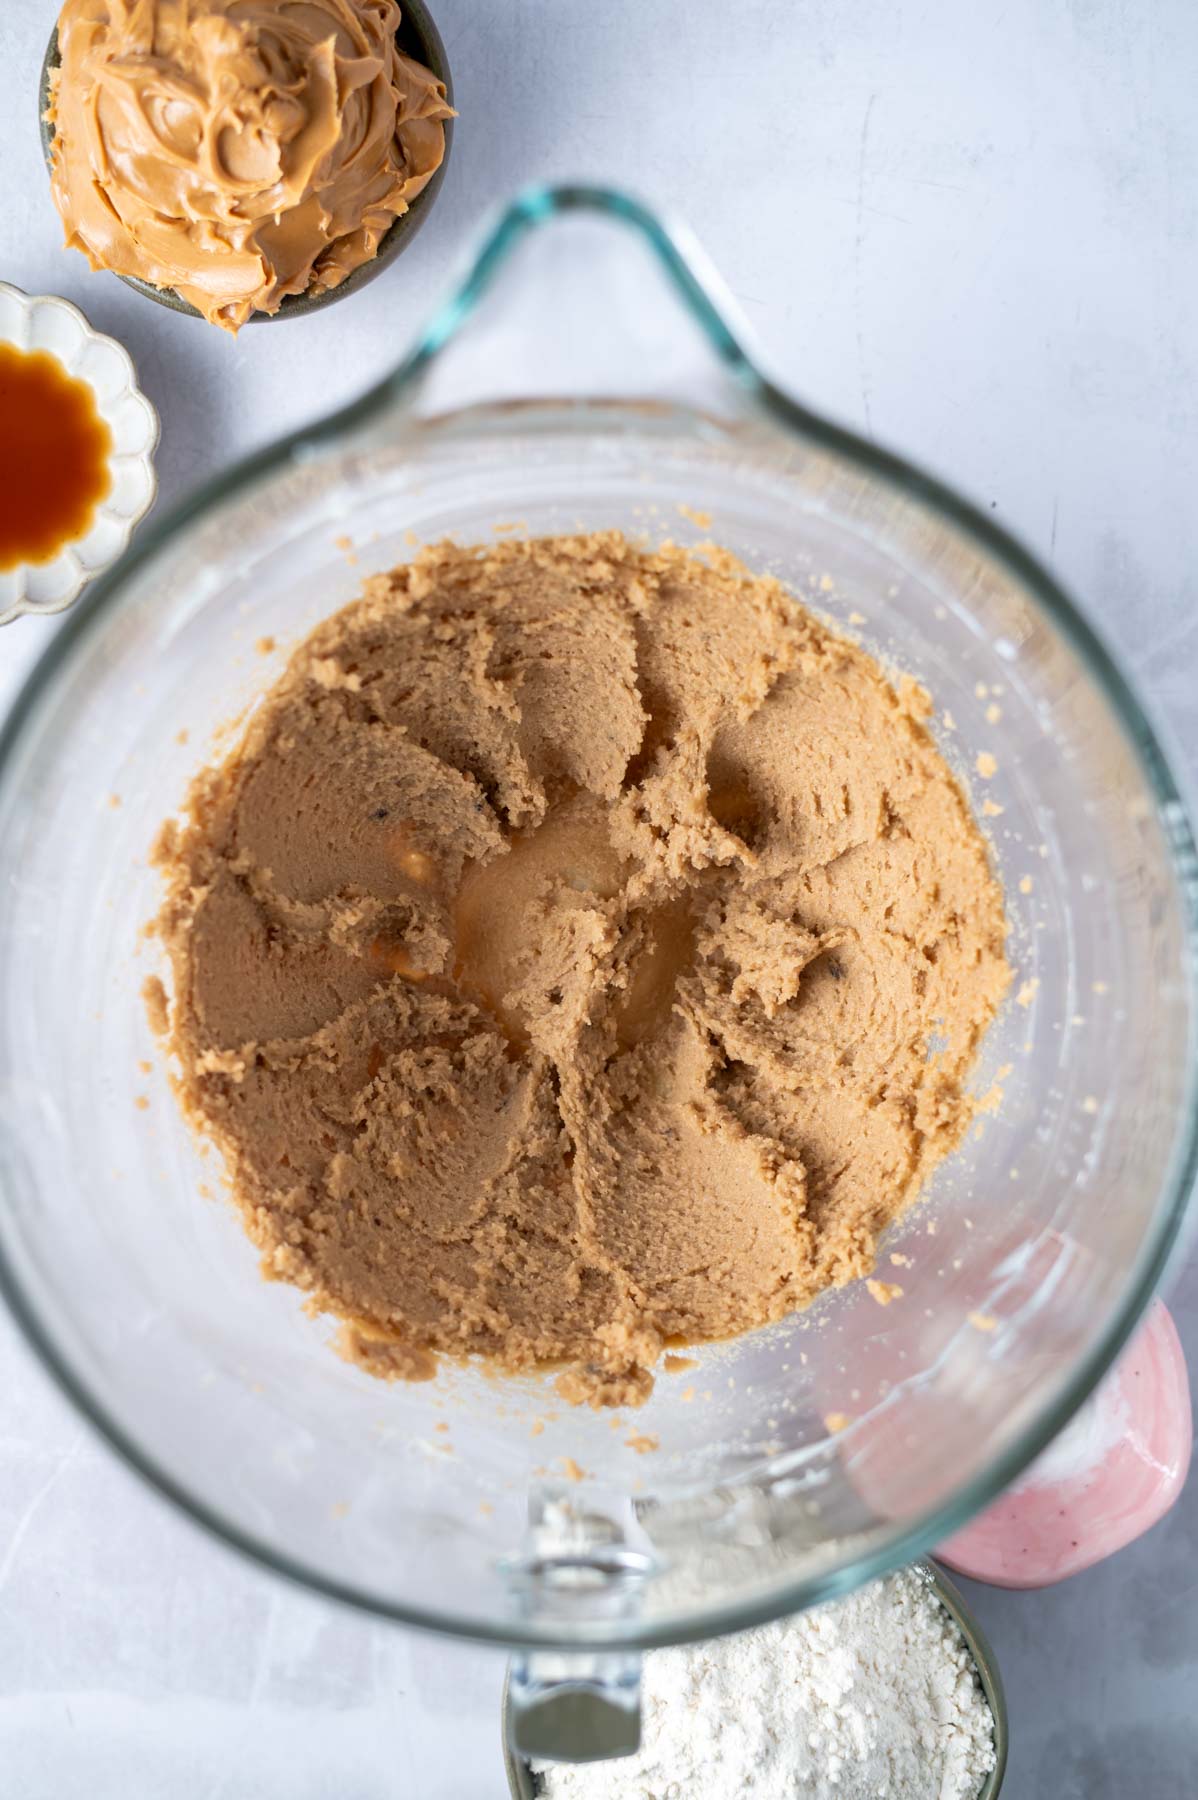
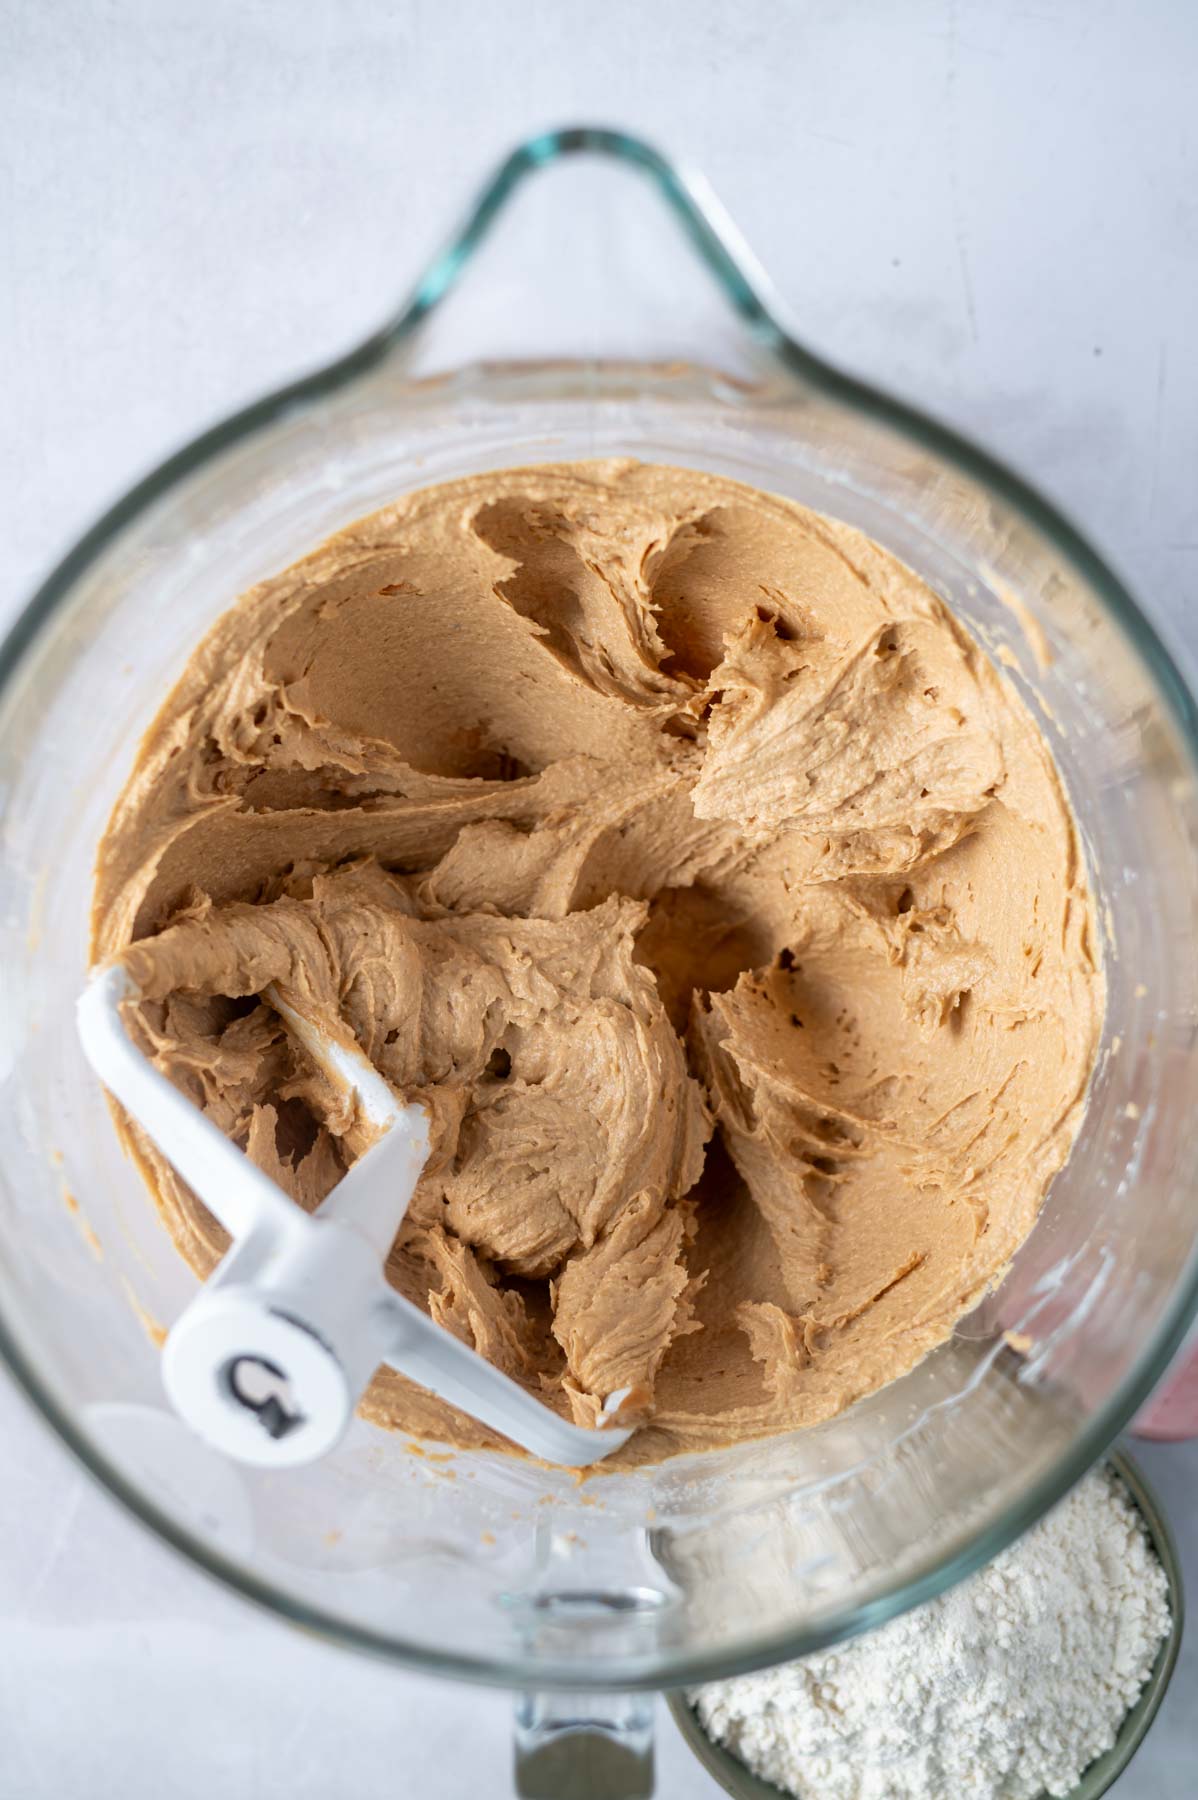
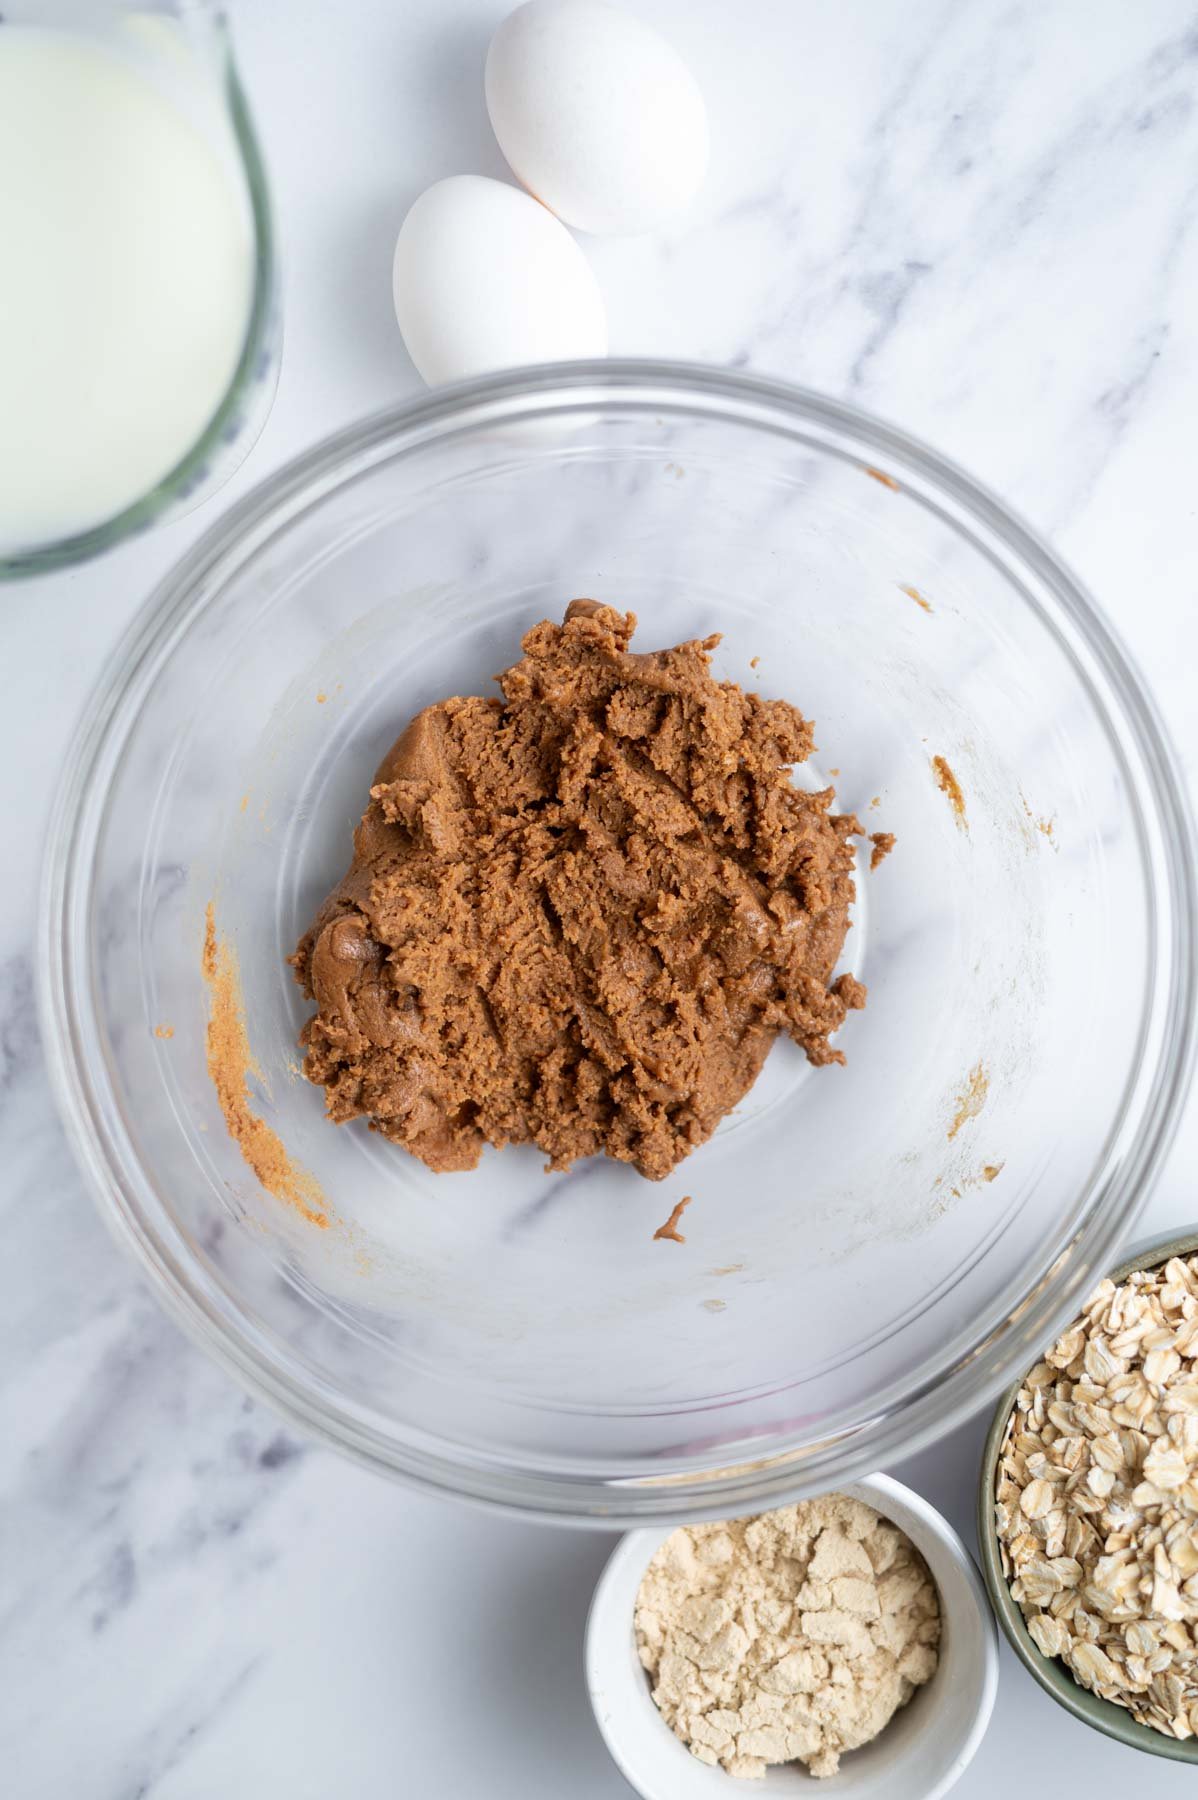
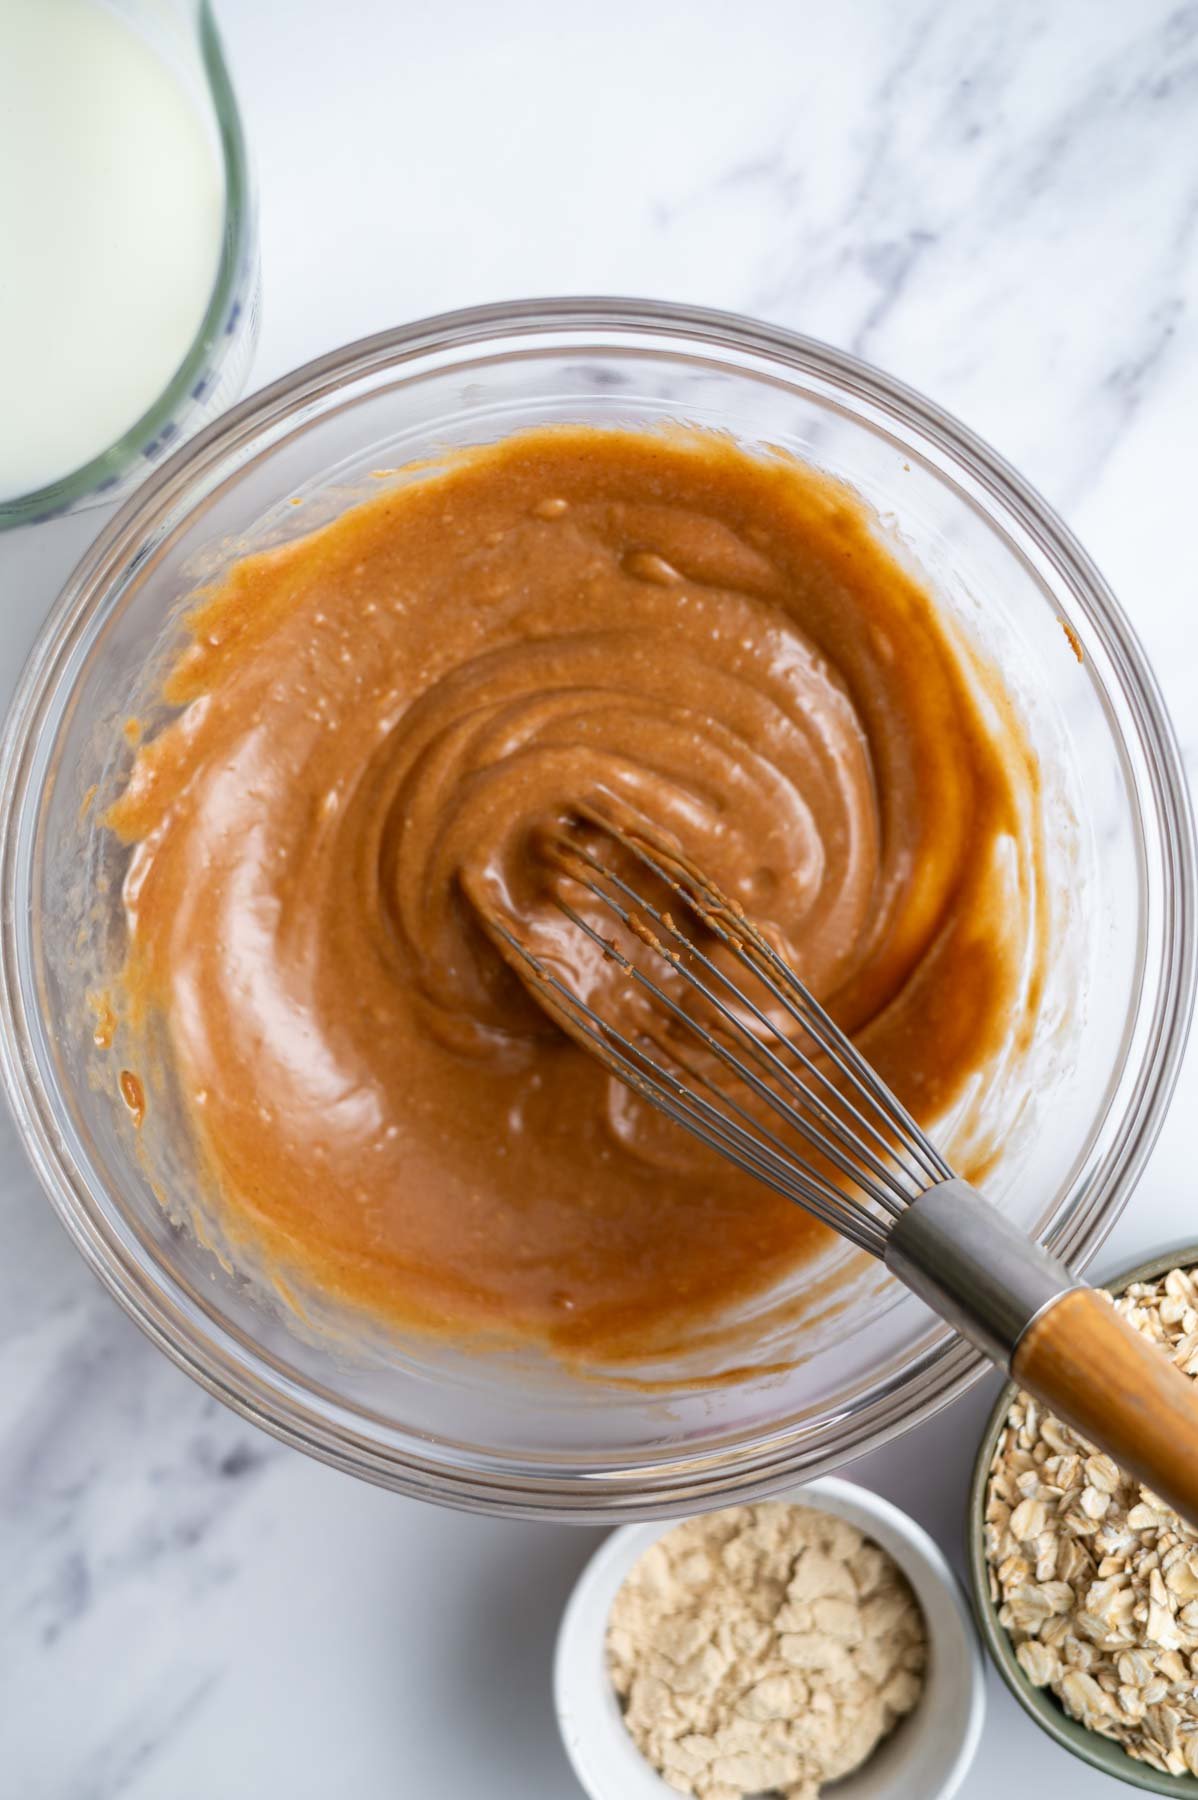
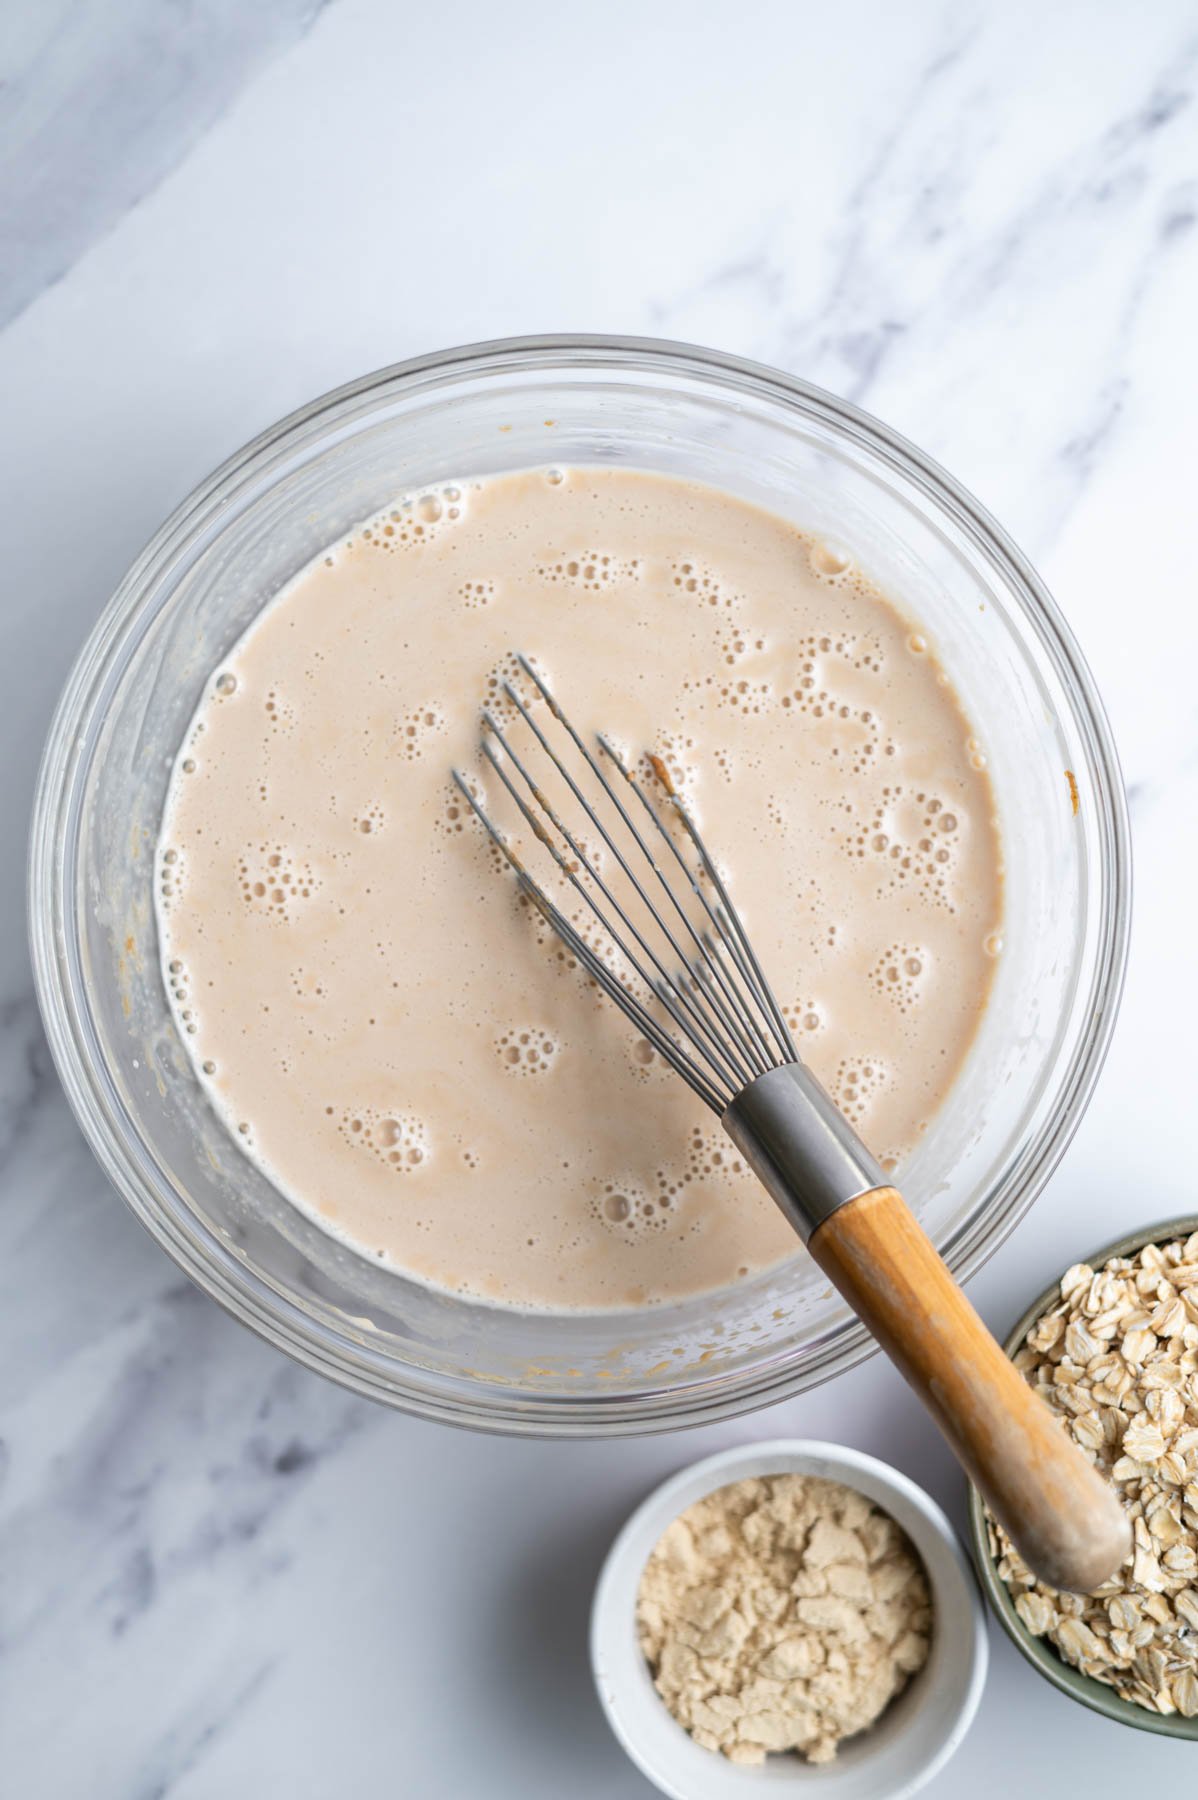
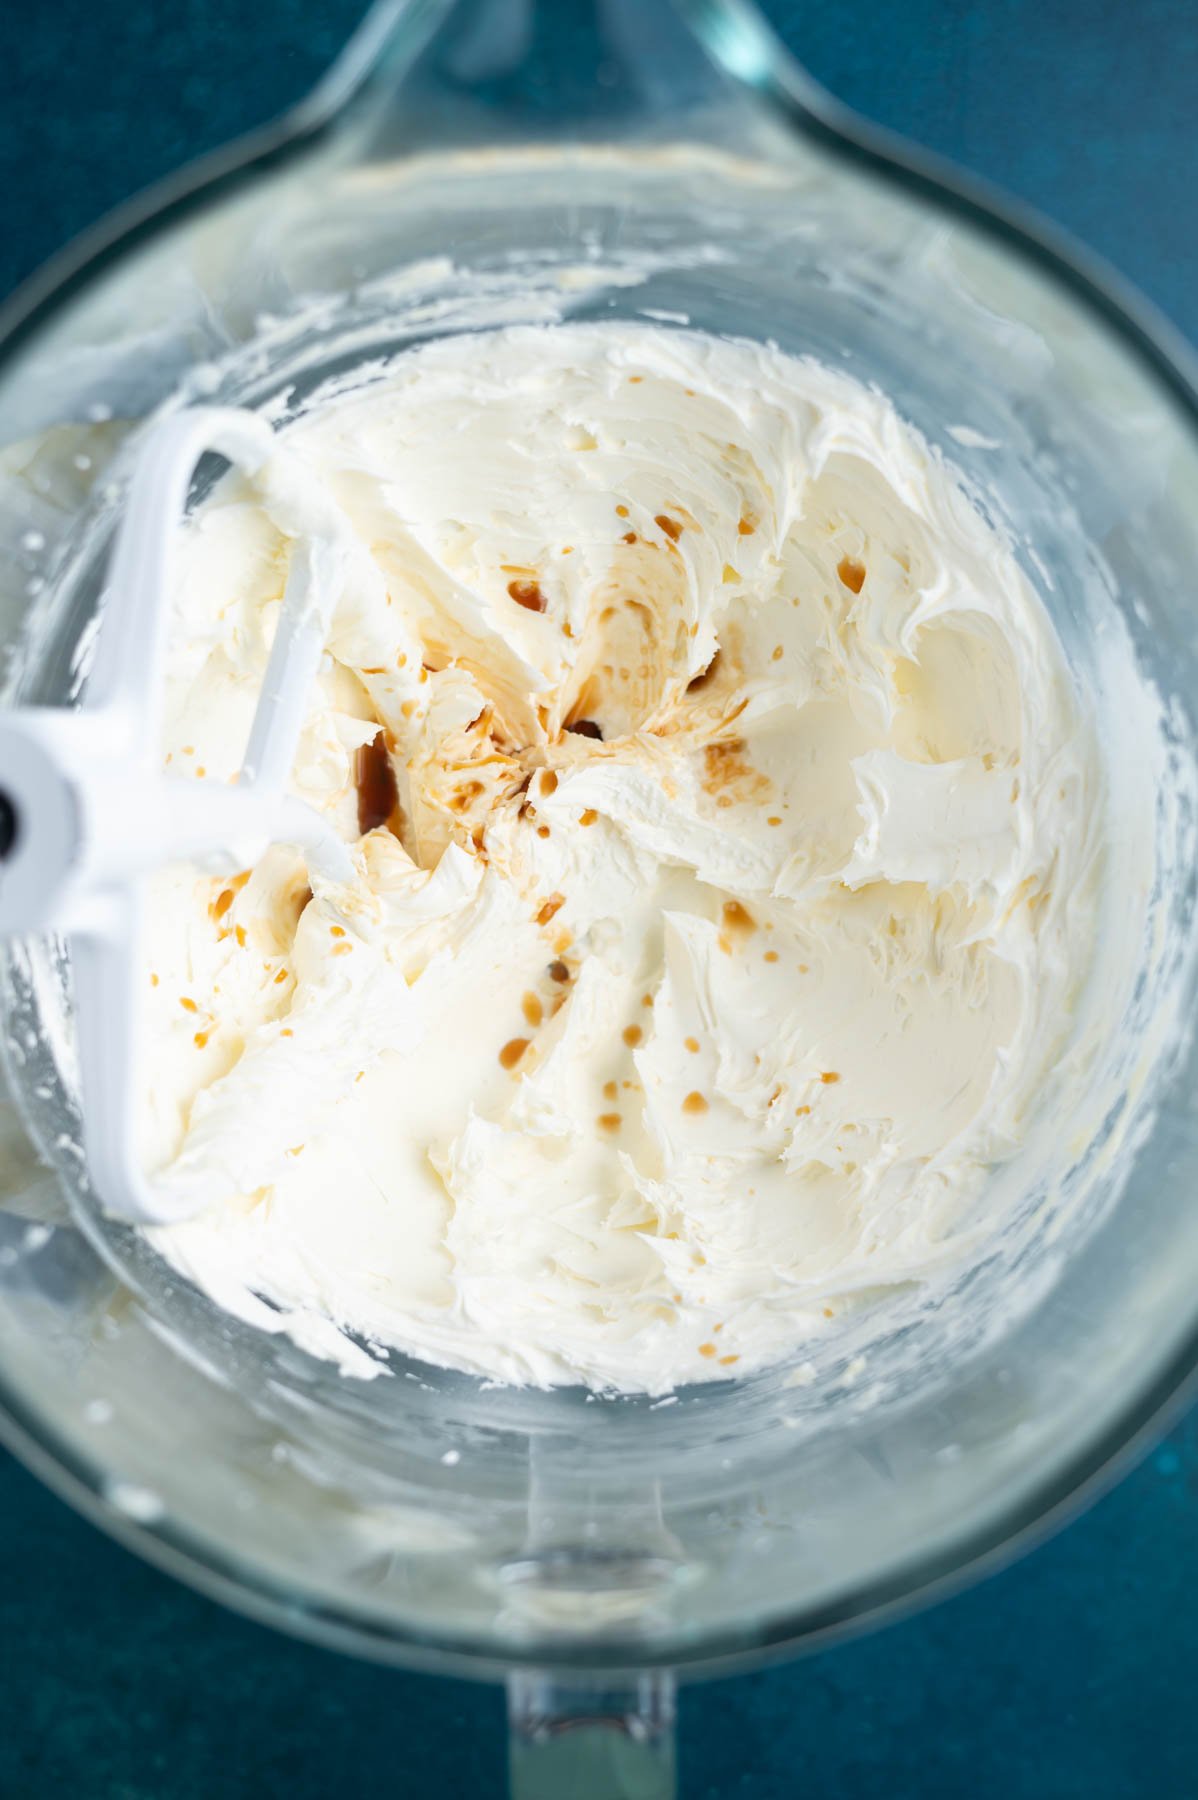
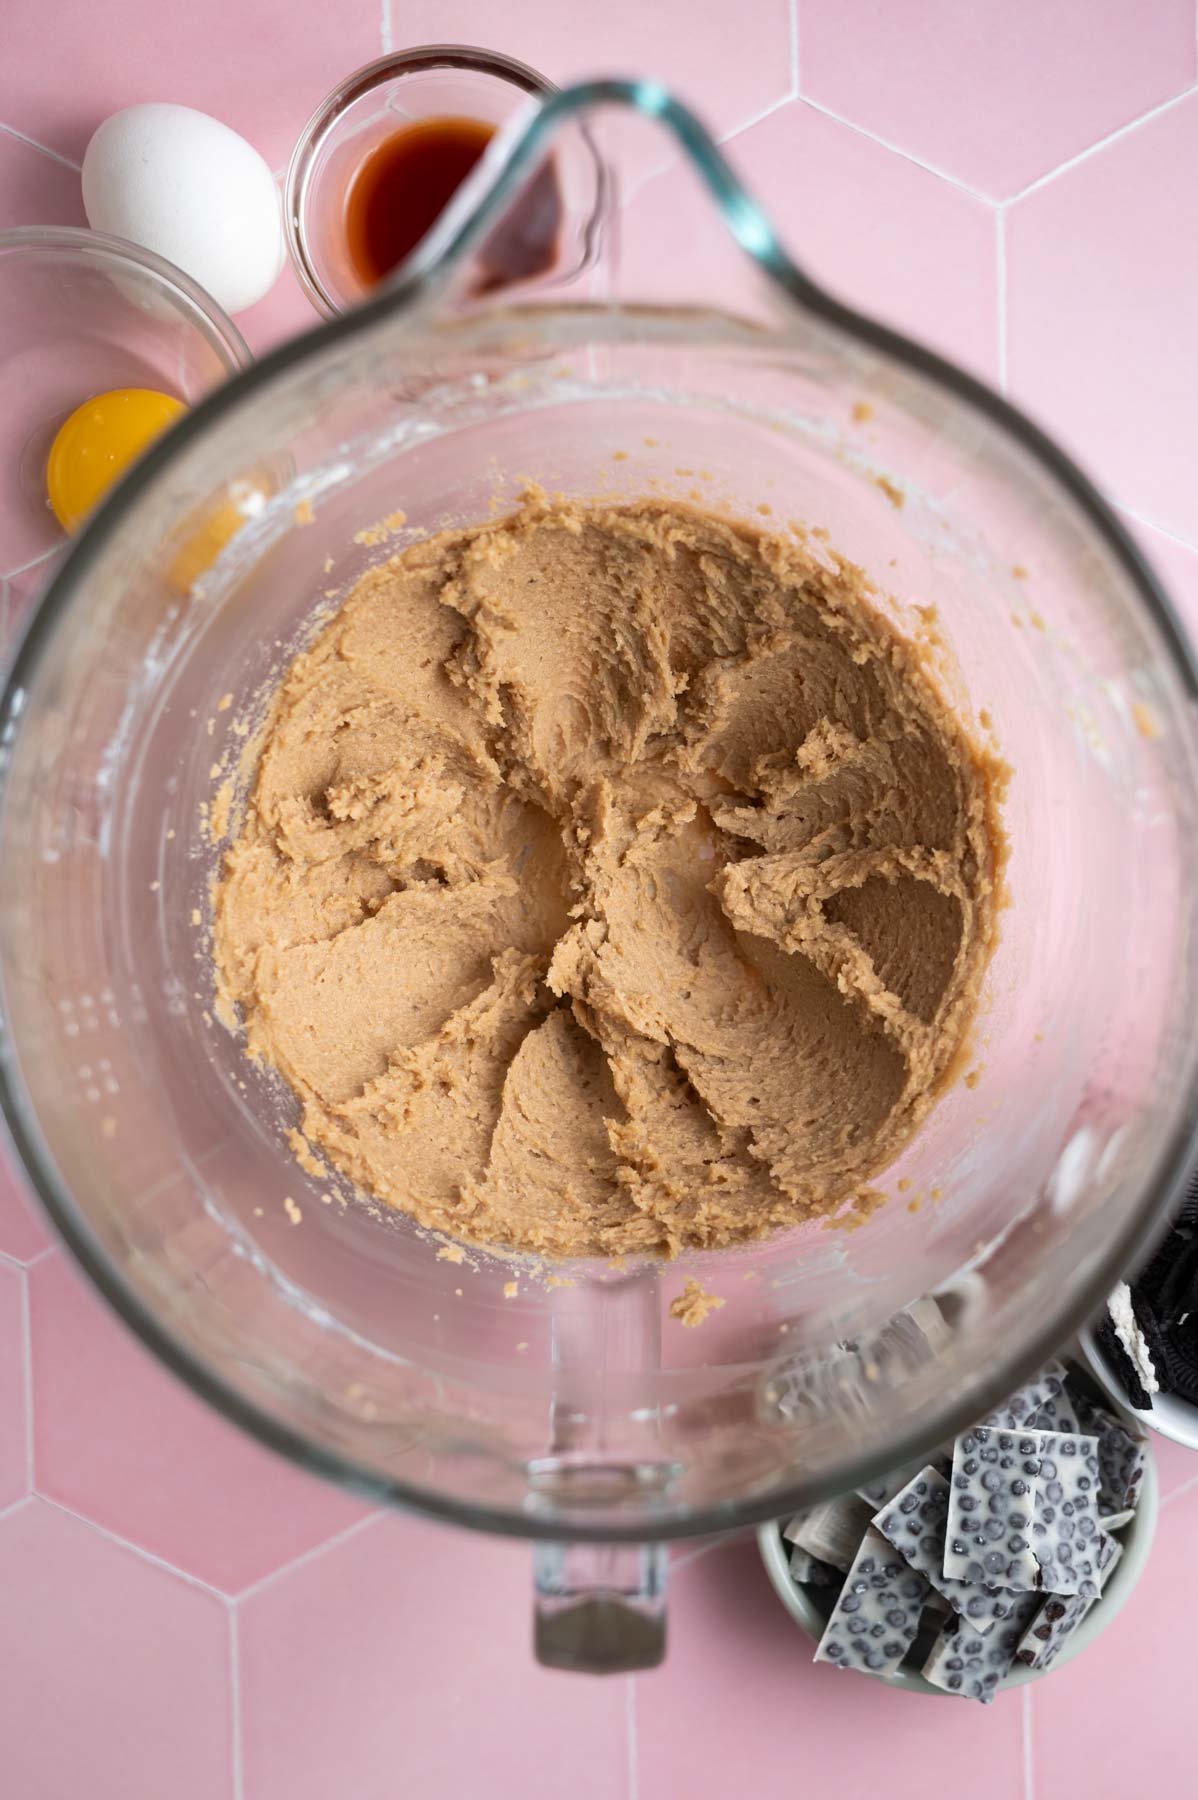
Then add the egg, vanilla and almond extract. Scrape up and down the bowl as needed and whisk until combined.
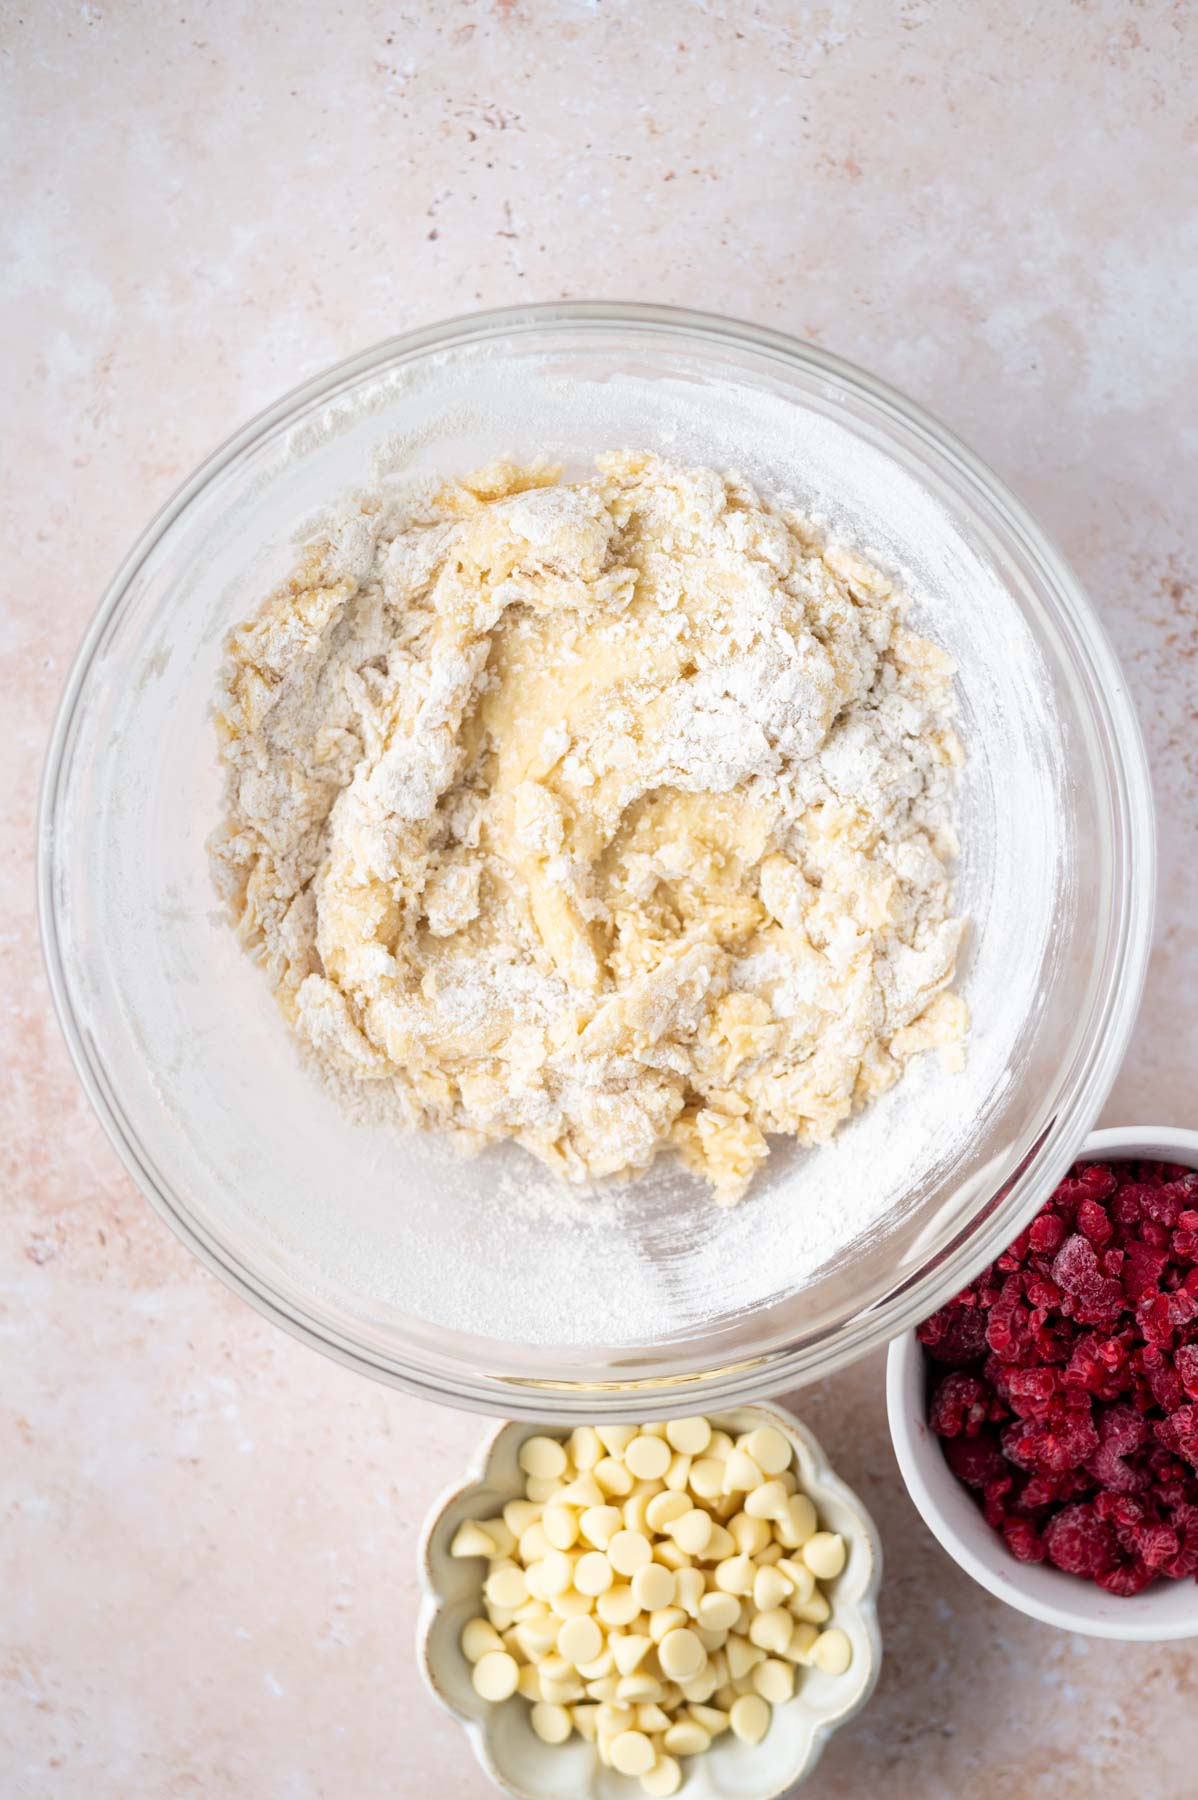
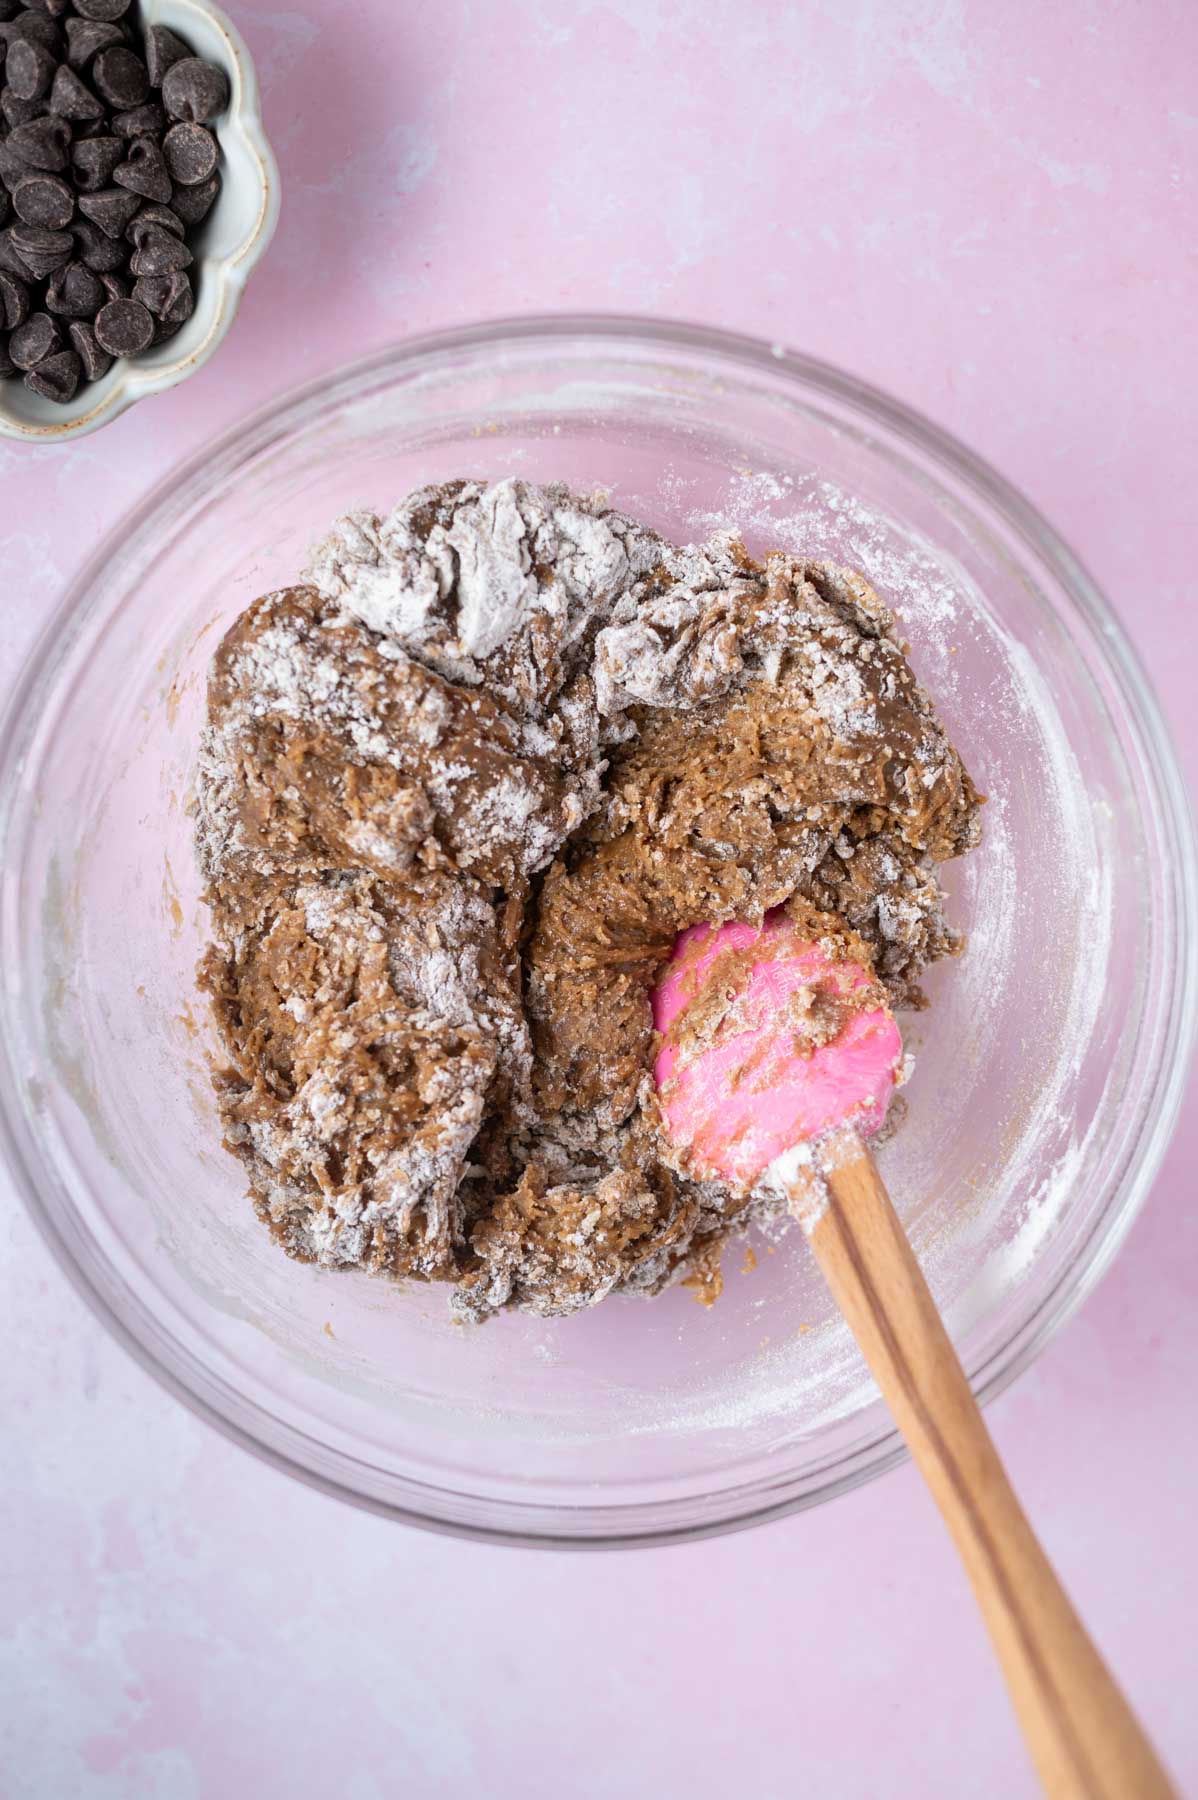
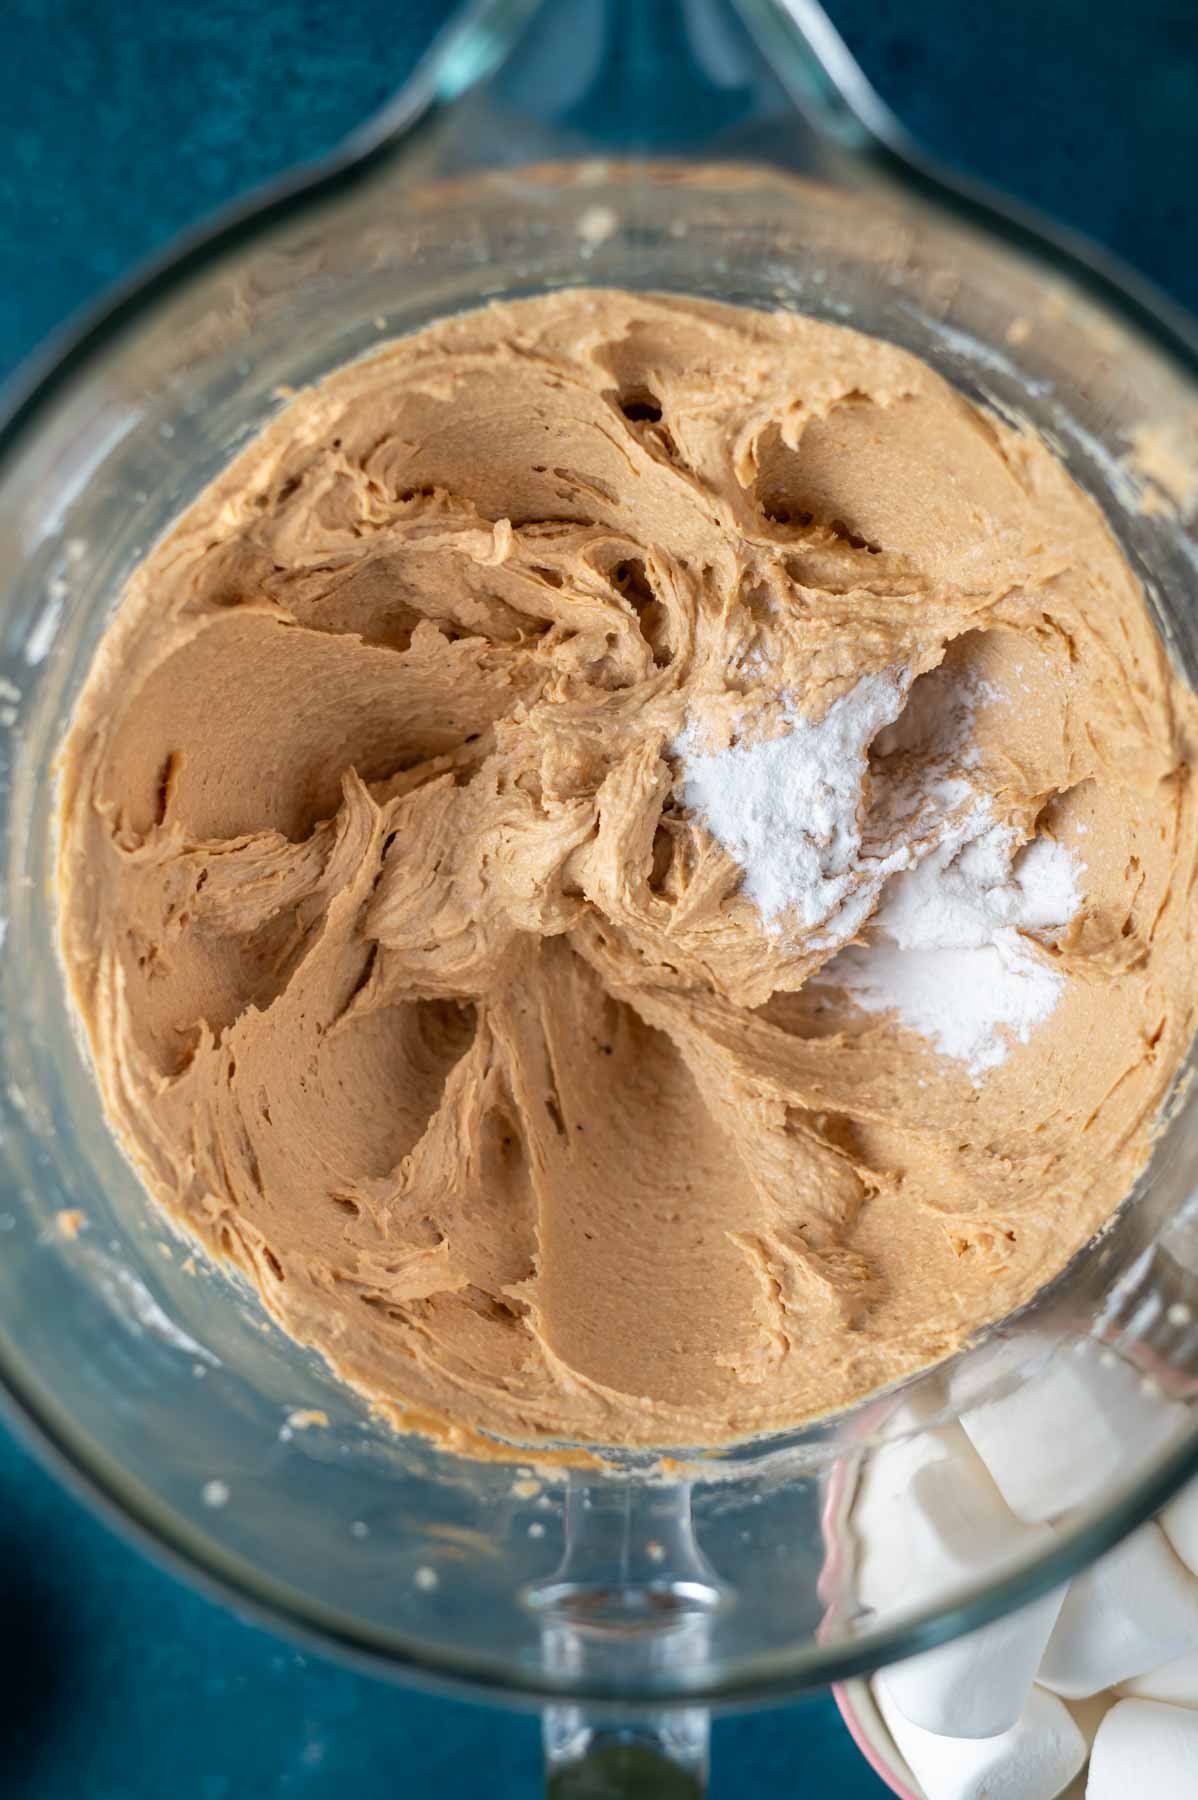
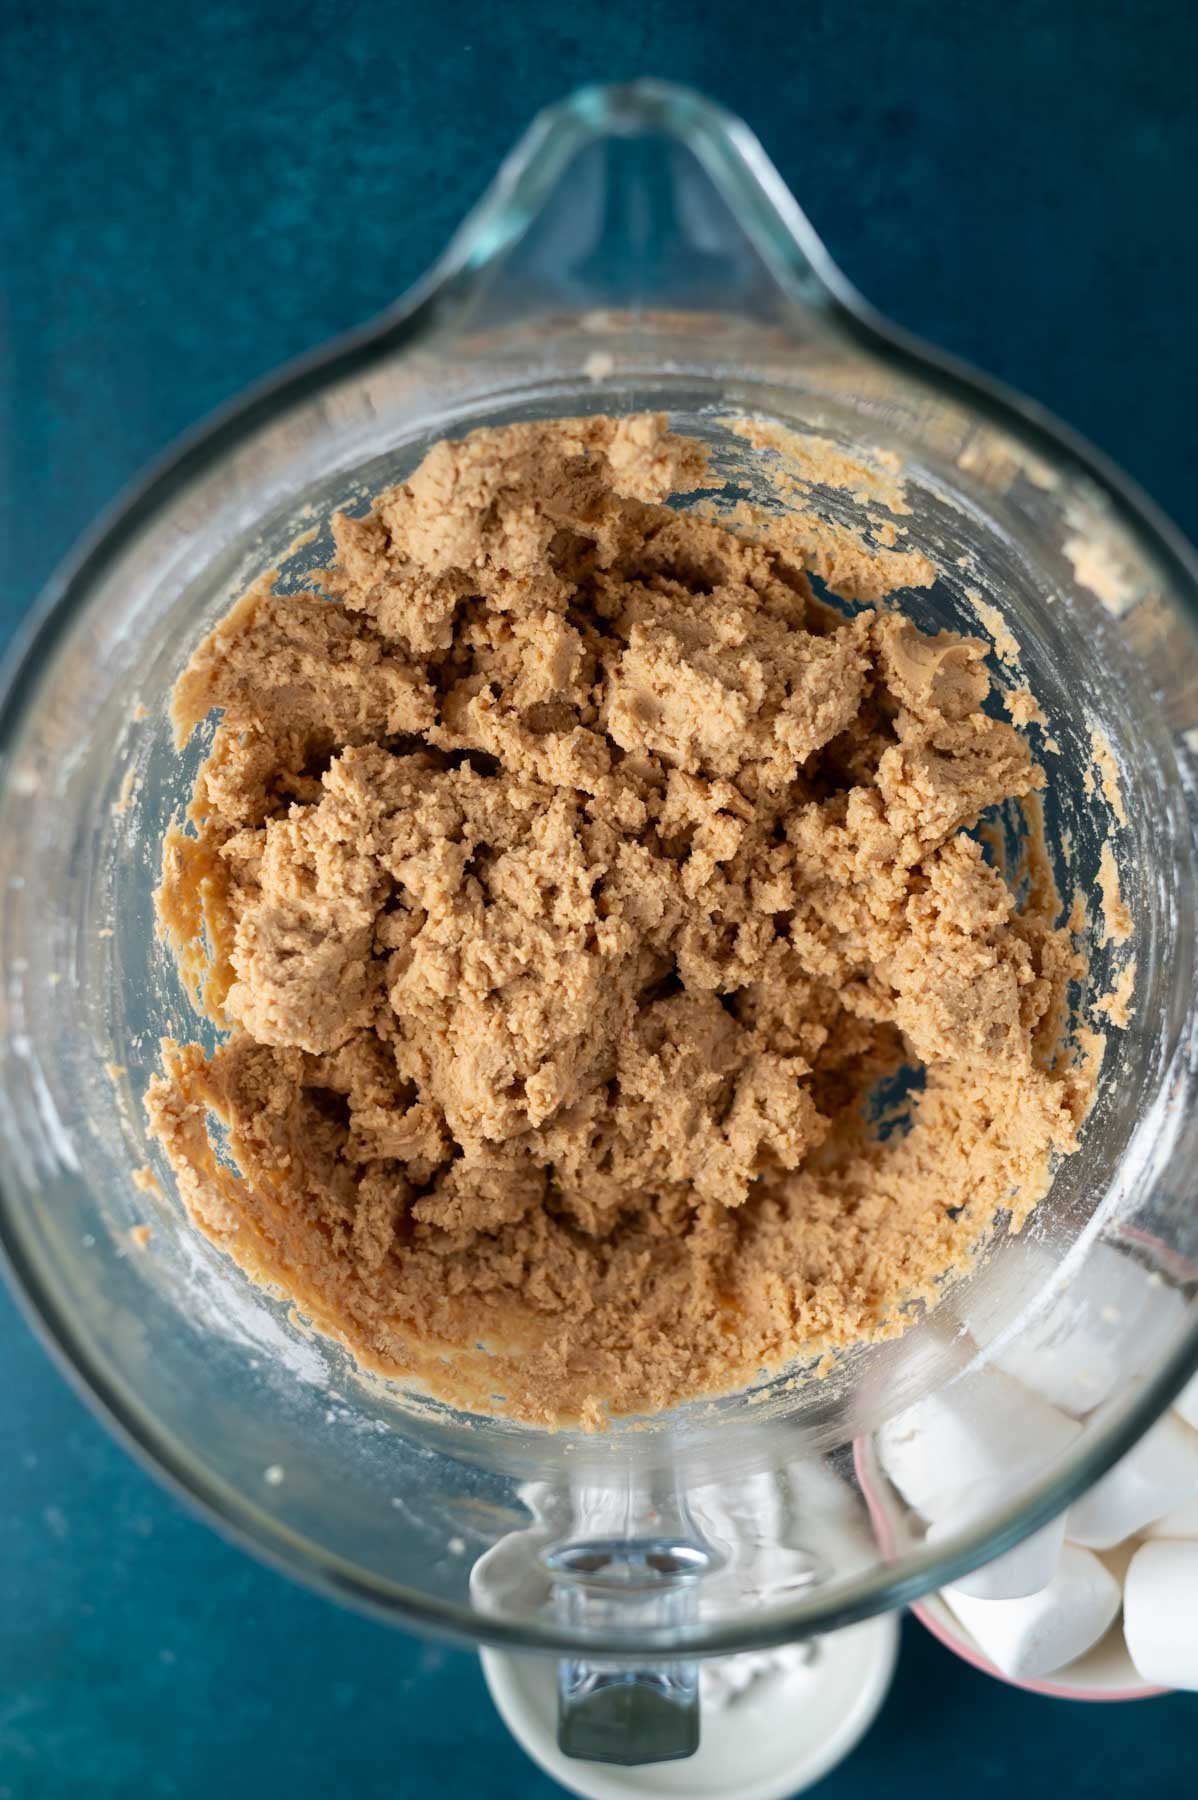
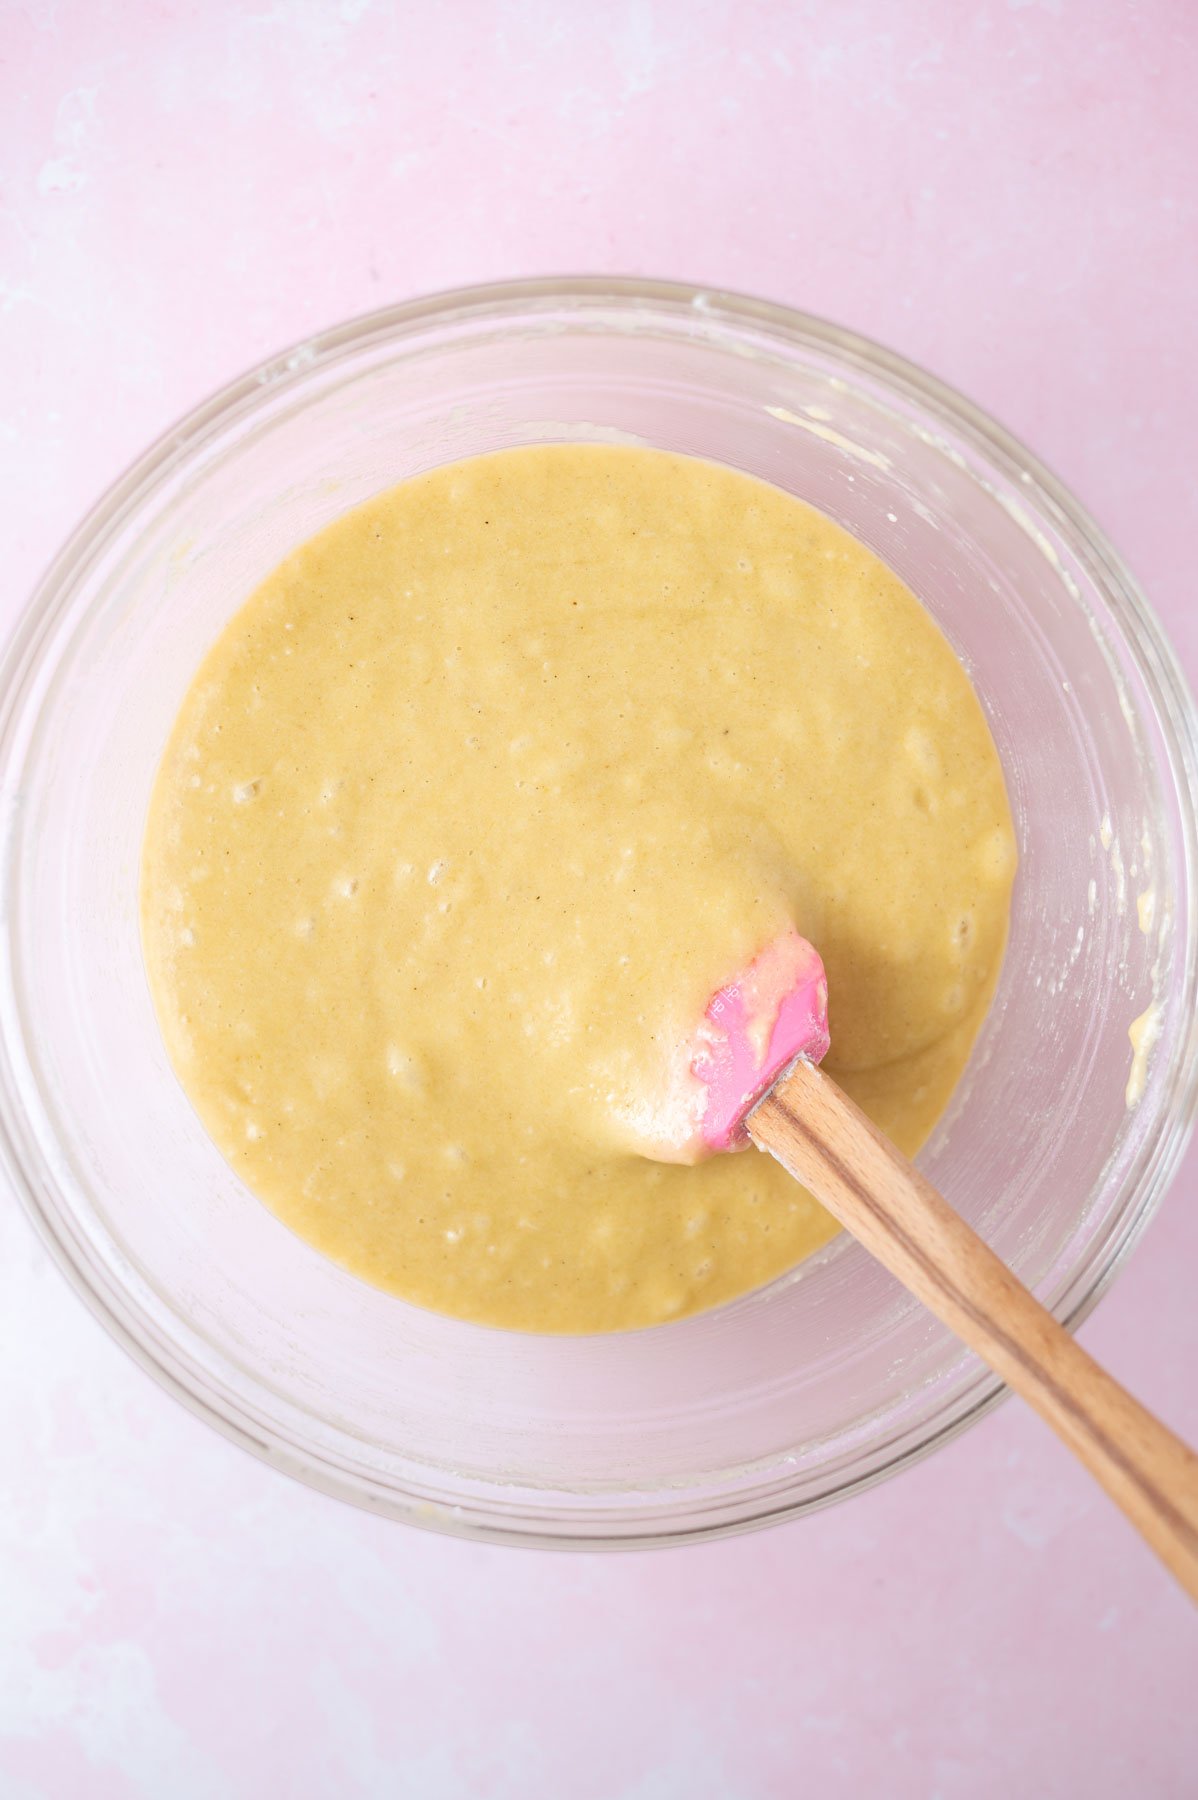
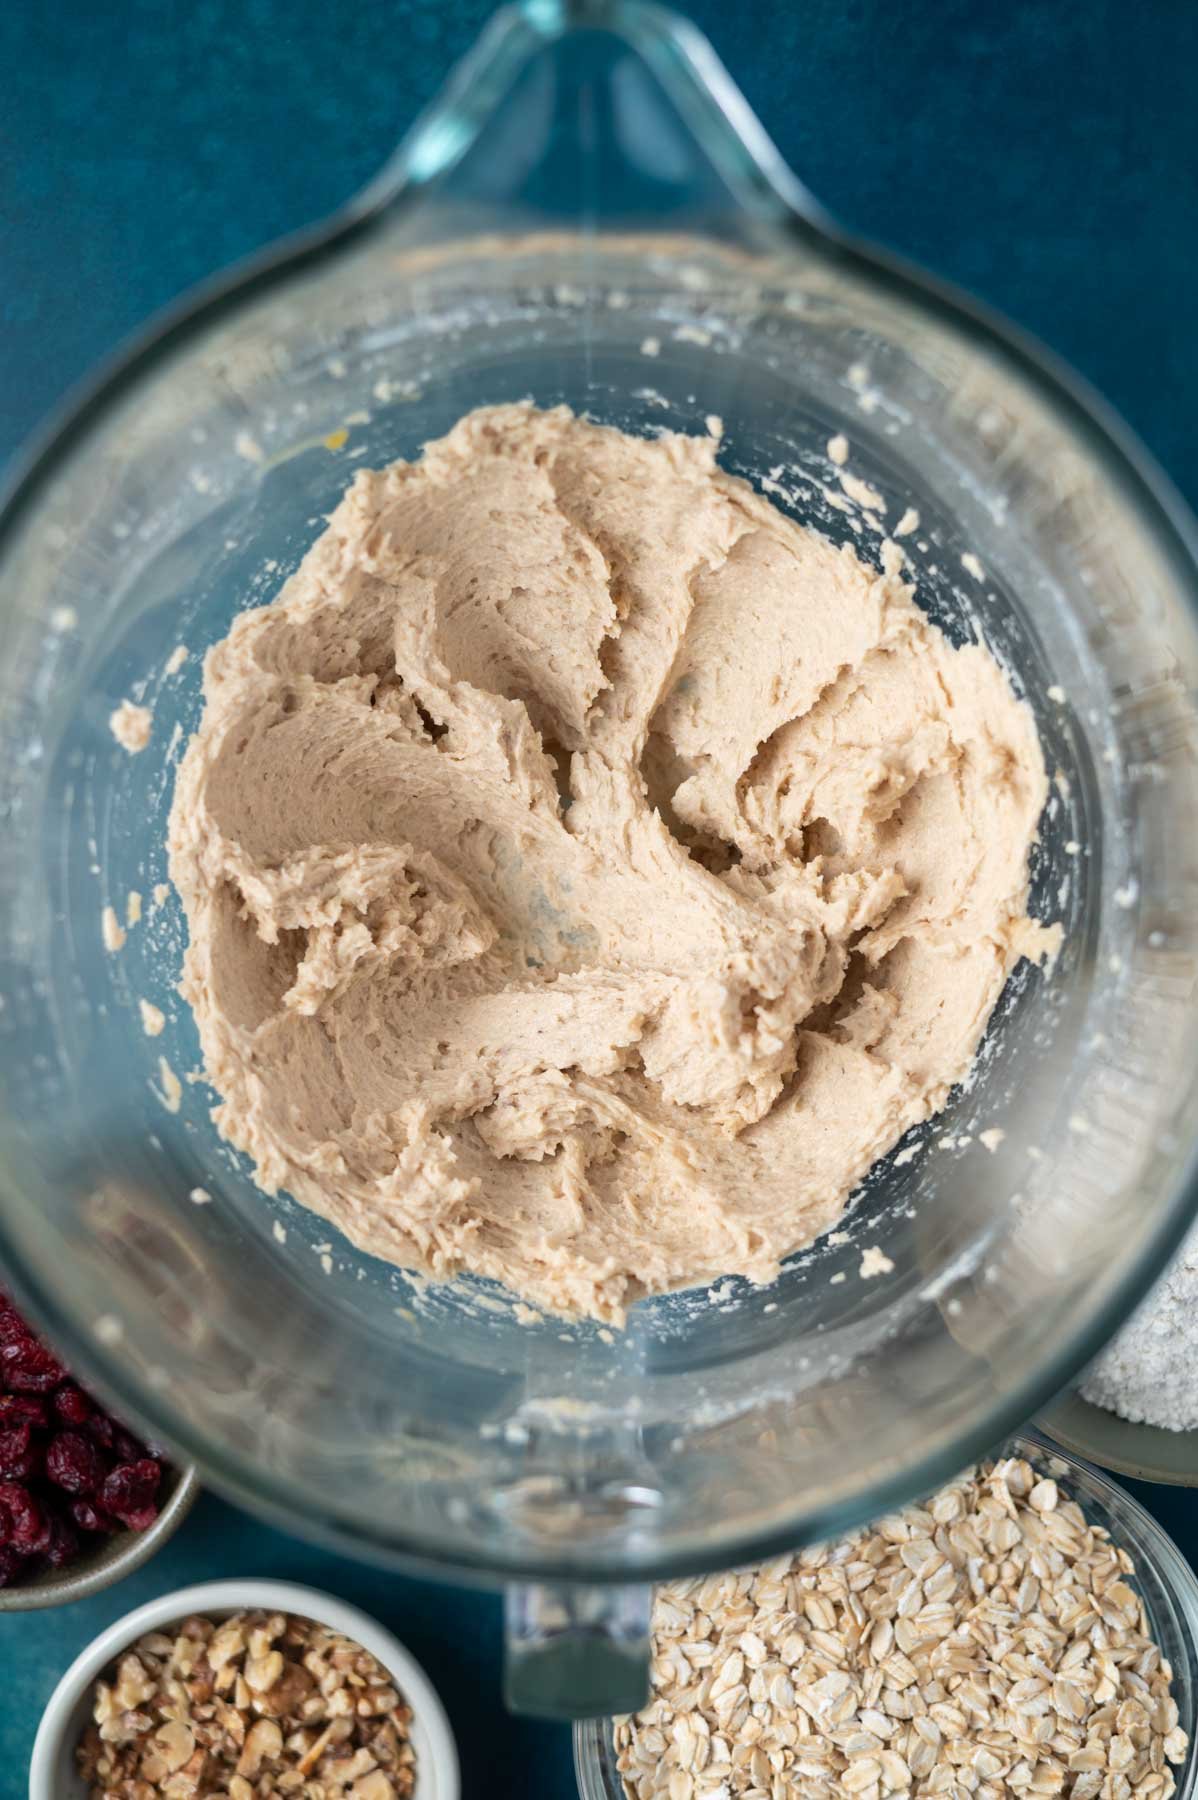
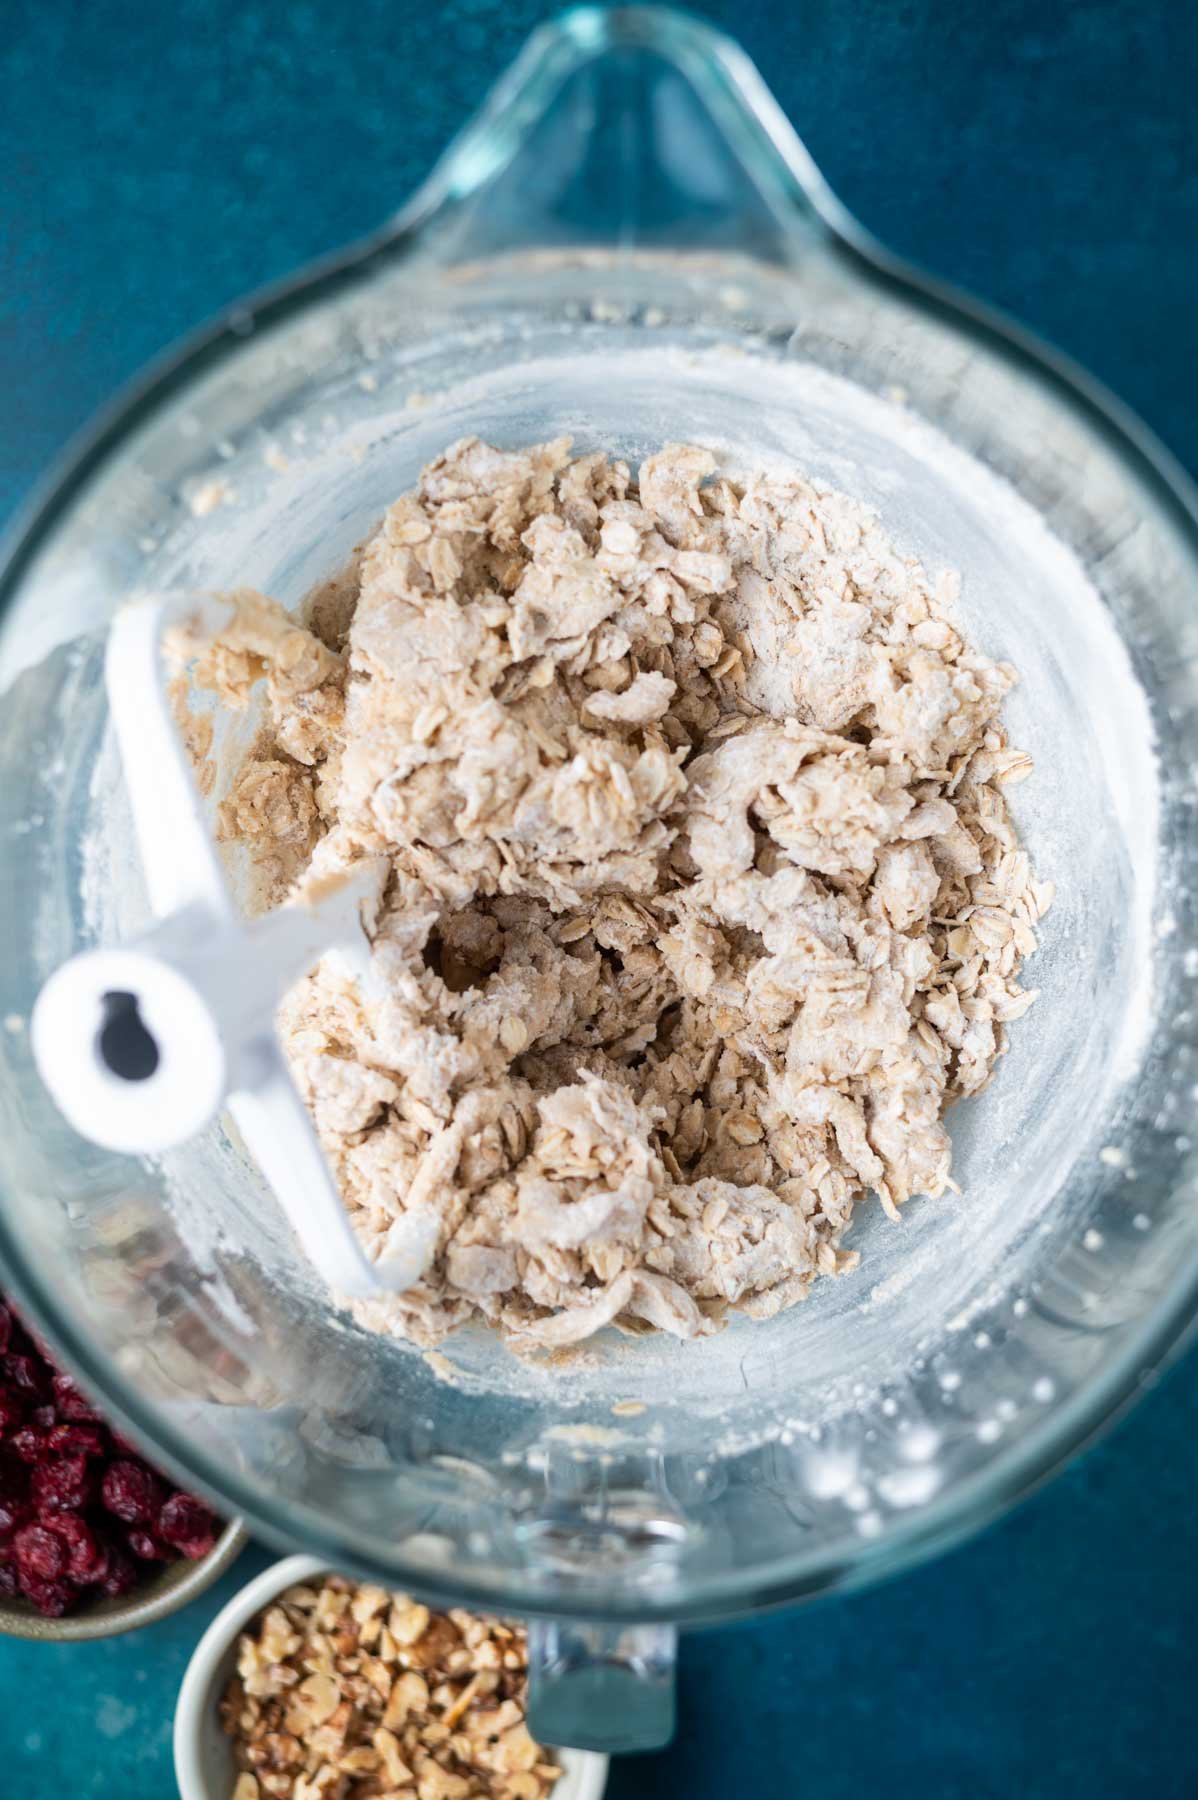
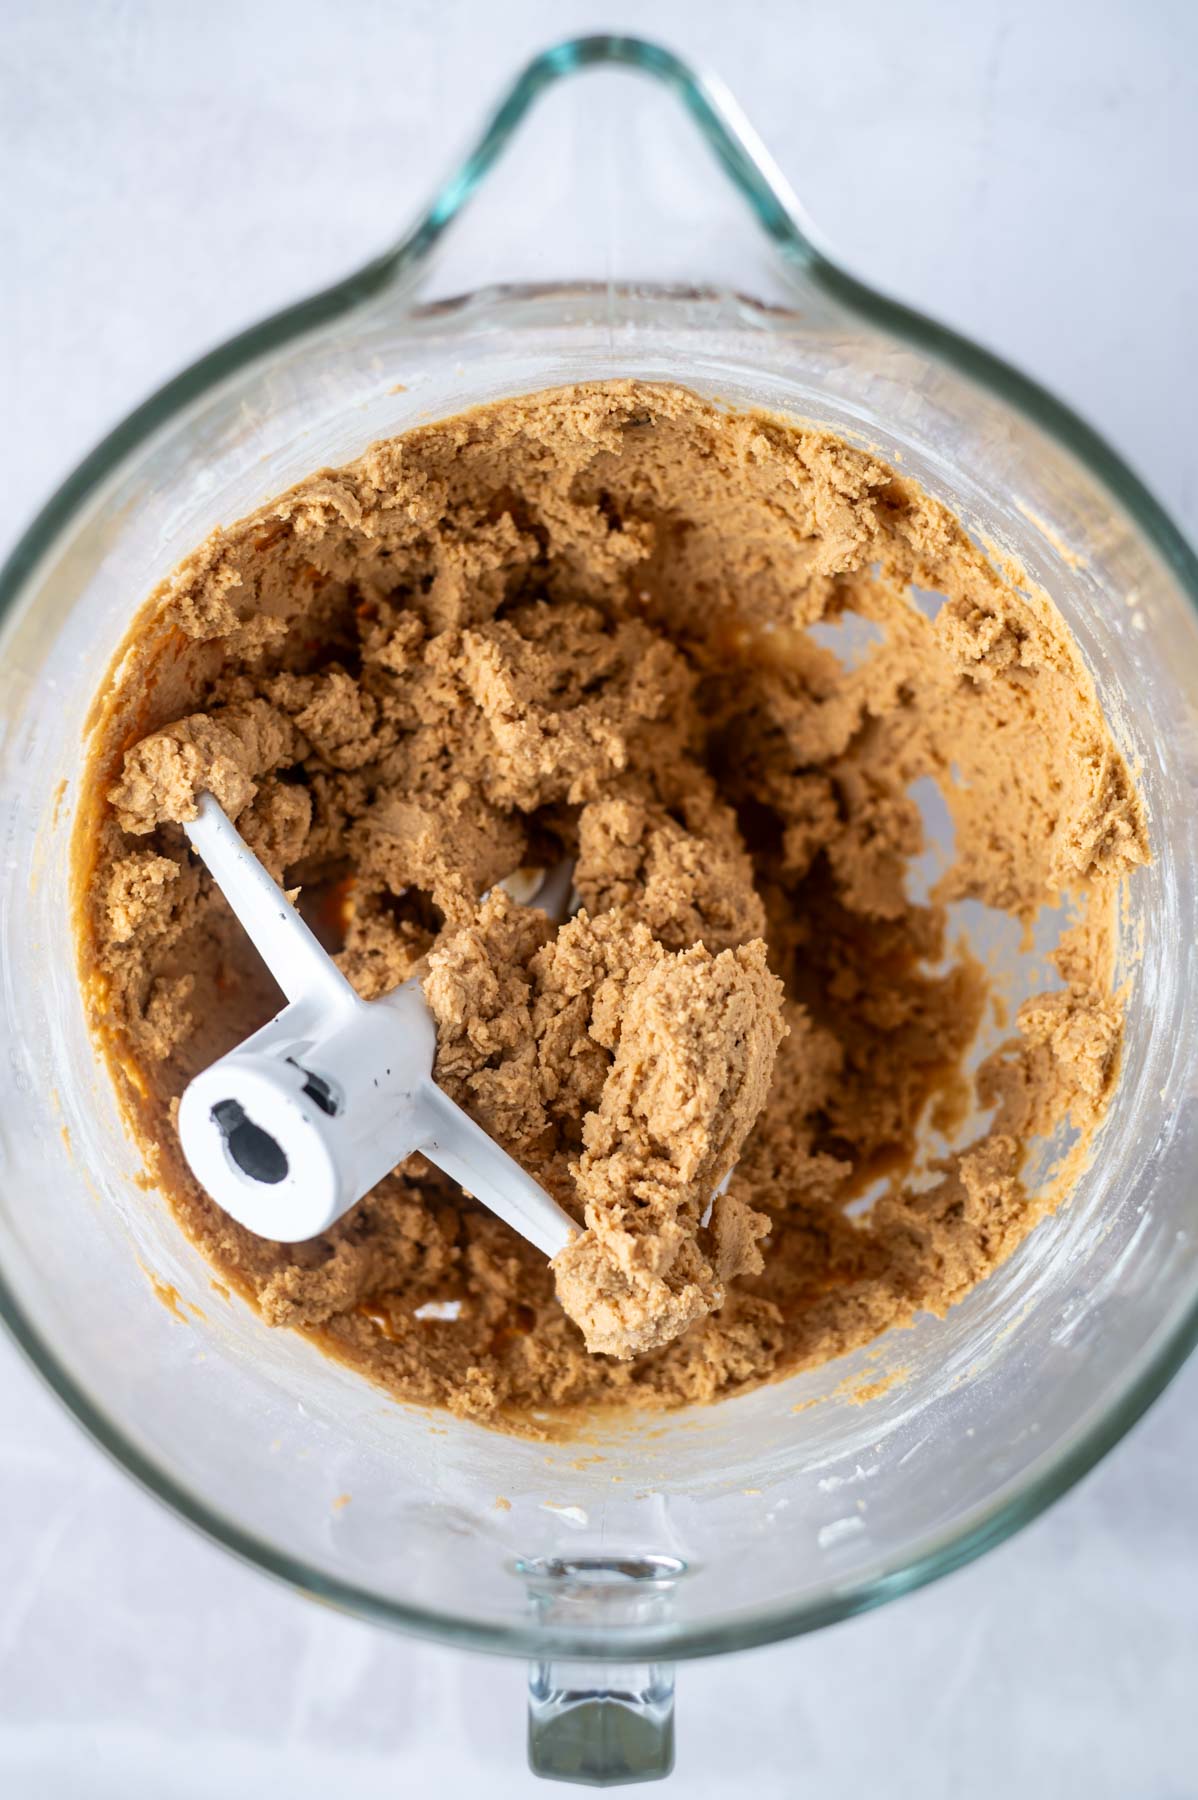
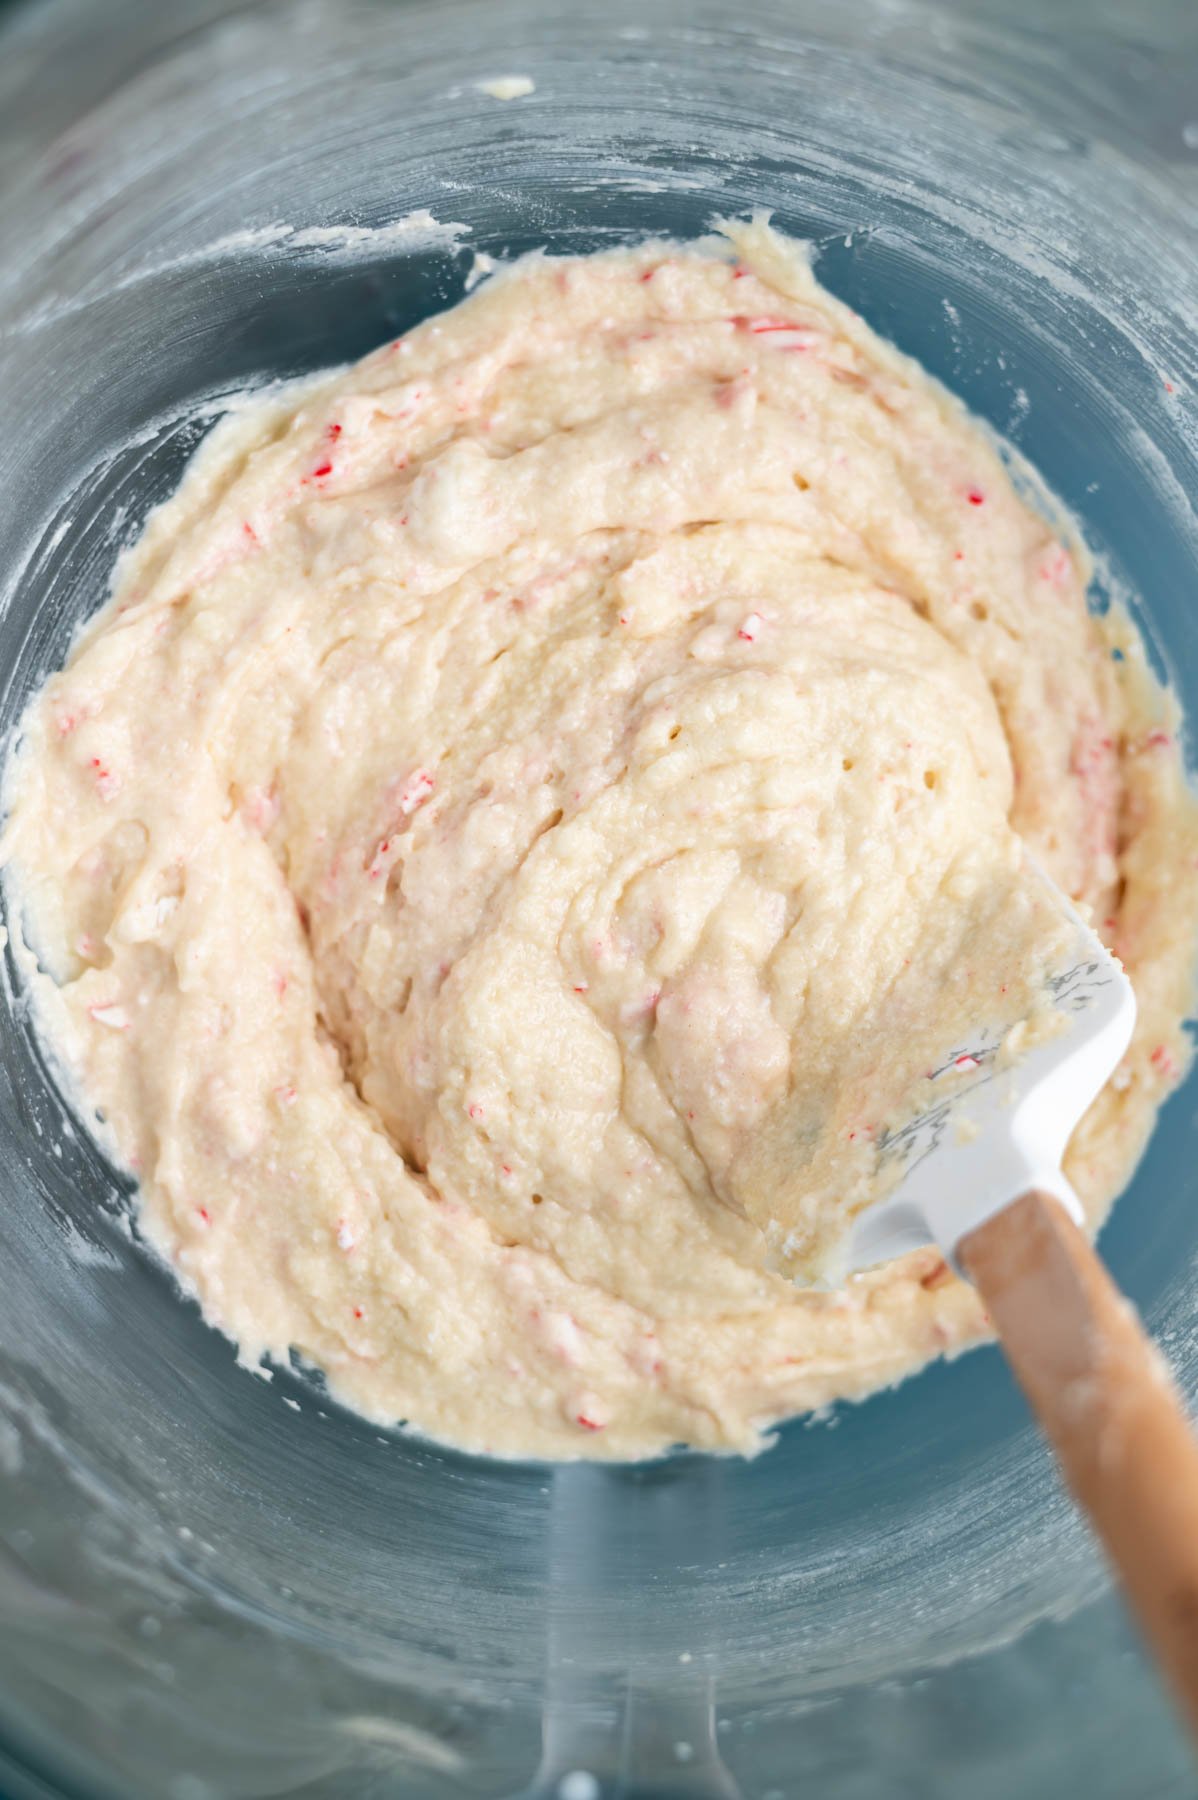
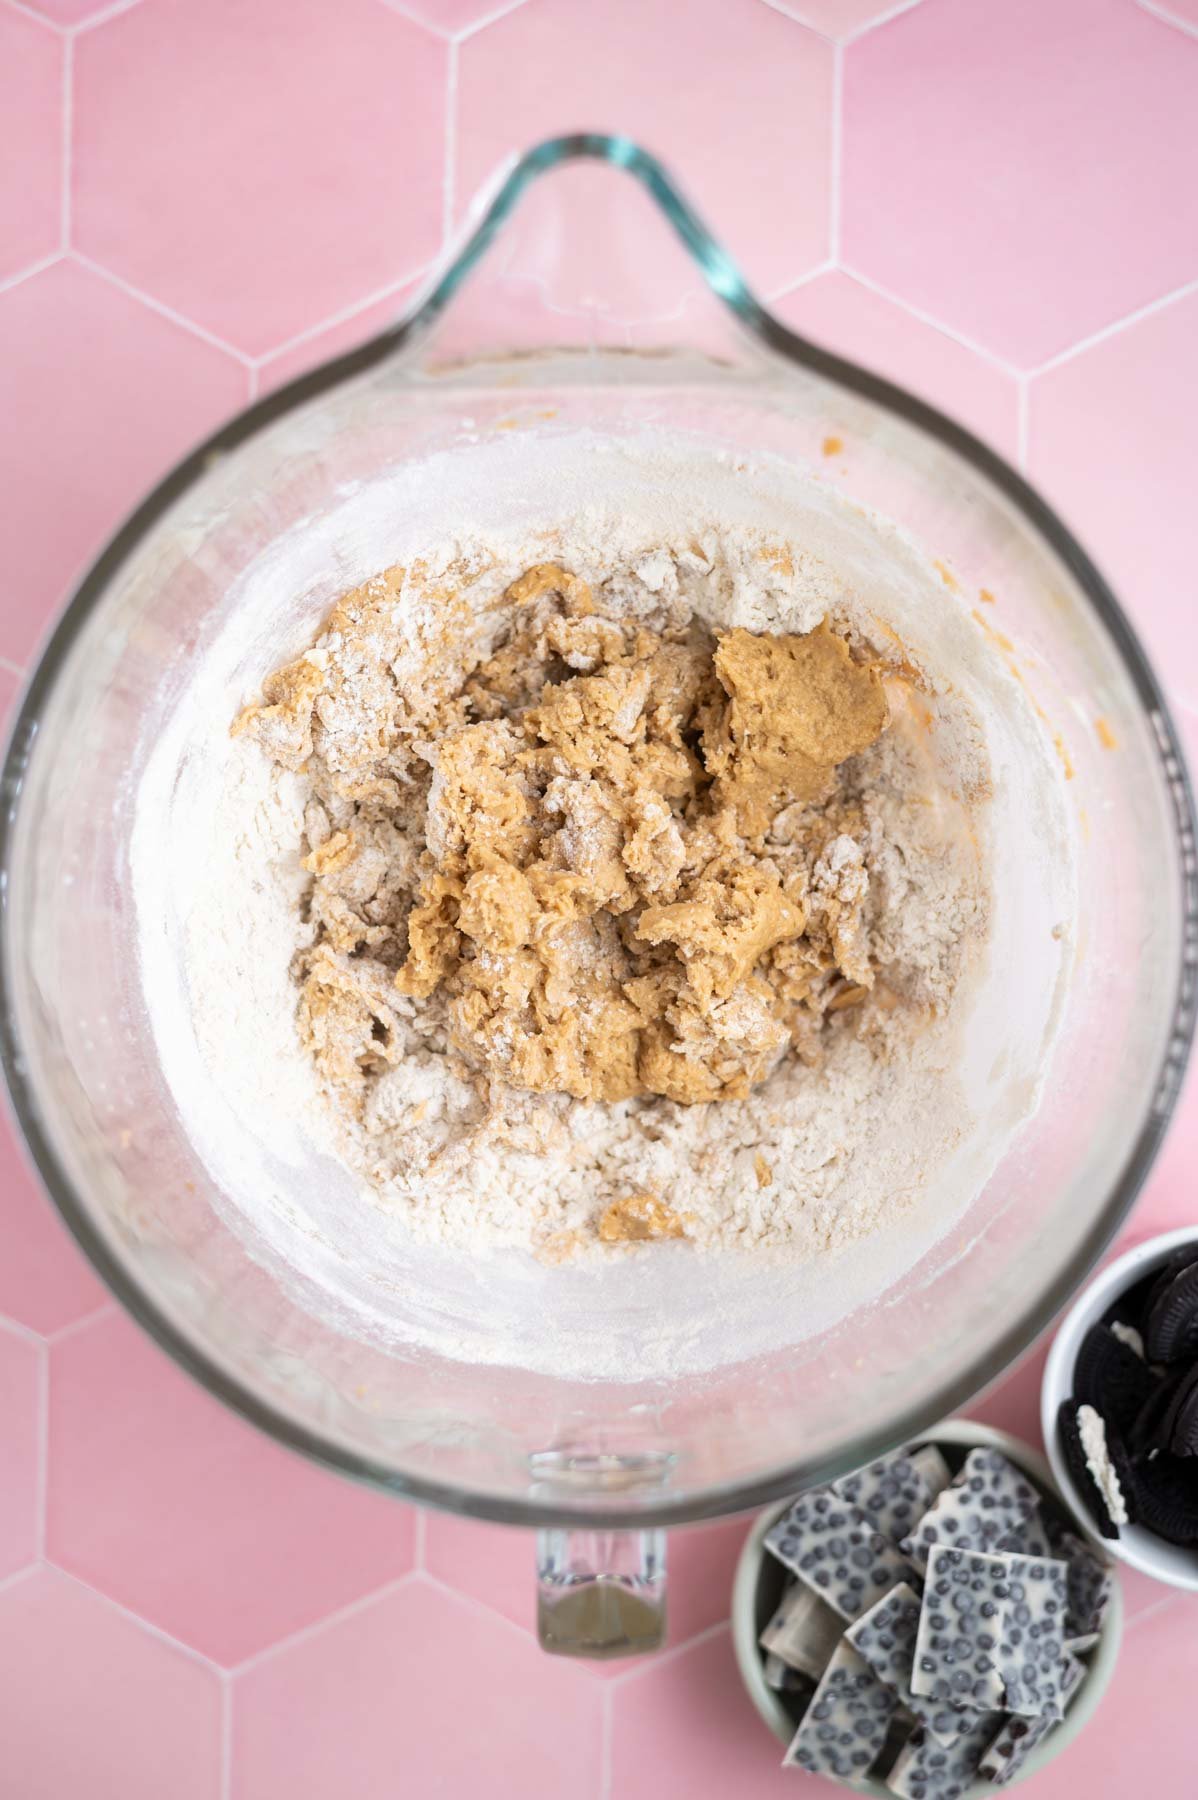
Next add most of the all-purpose flour and mix until some large flour streaks remain {save aside a tablespoon or two to toss with the raspberries}. Then add the white chocolate chips and mix with a spatula until just a few streaks of flour remain.
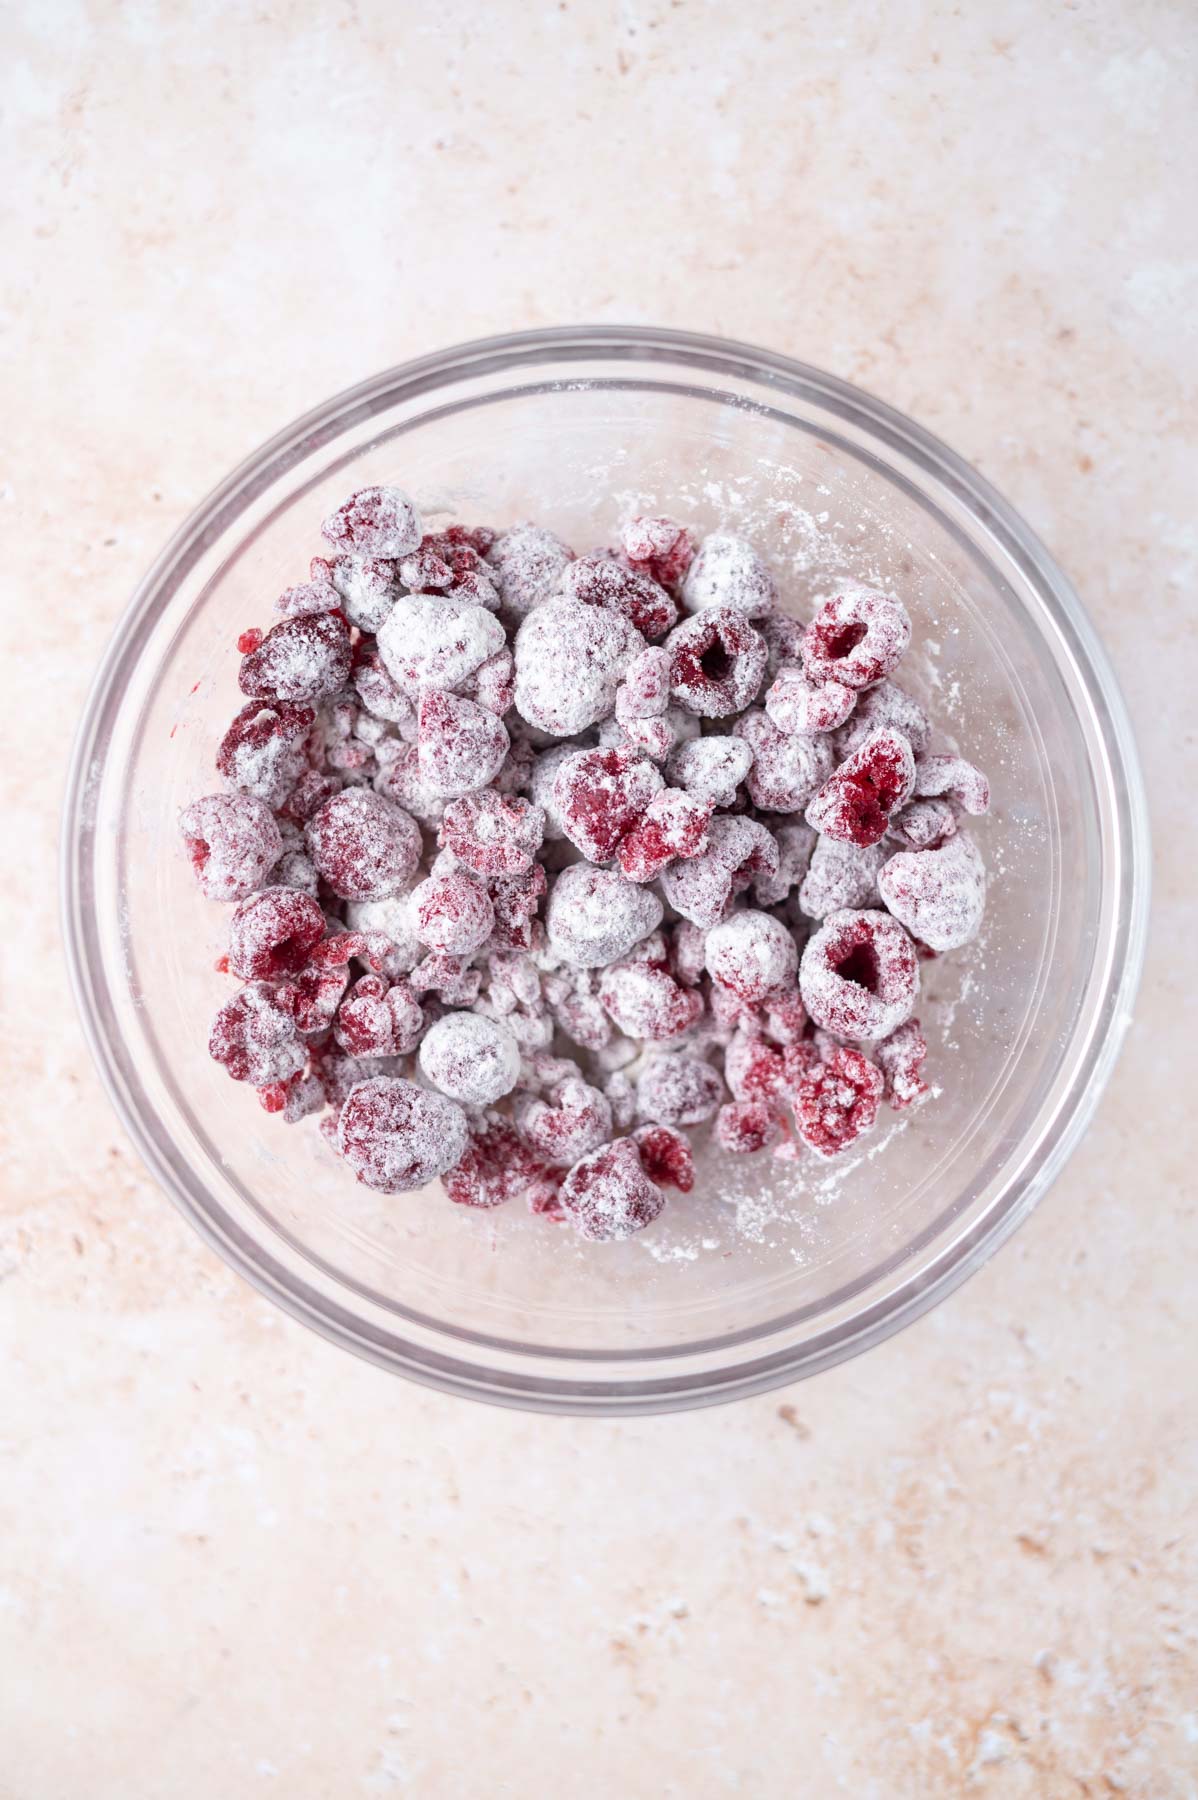
Toss the remaining flour with the frozen raspberries and gently fold them into the blondie dough.
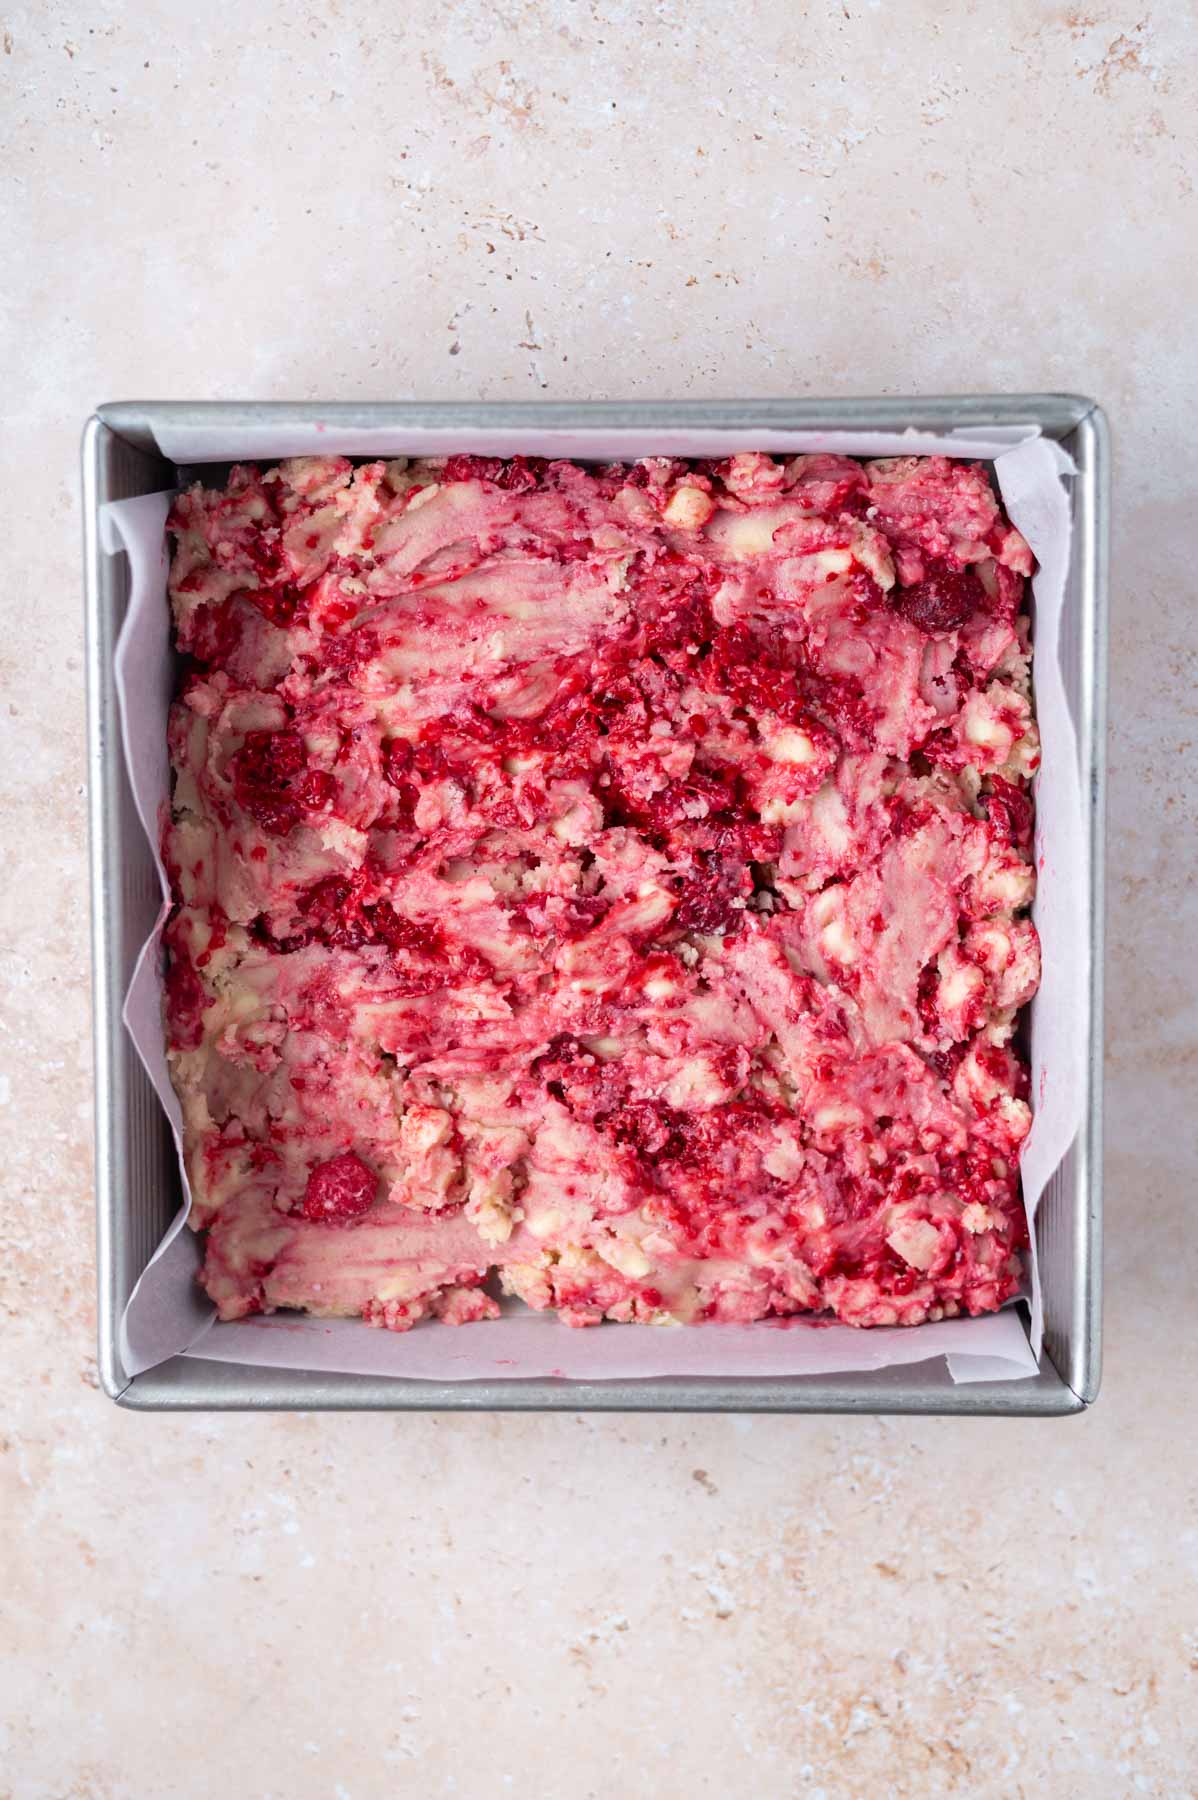
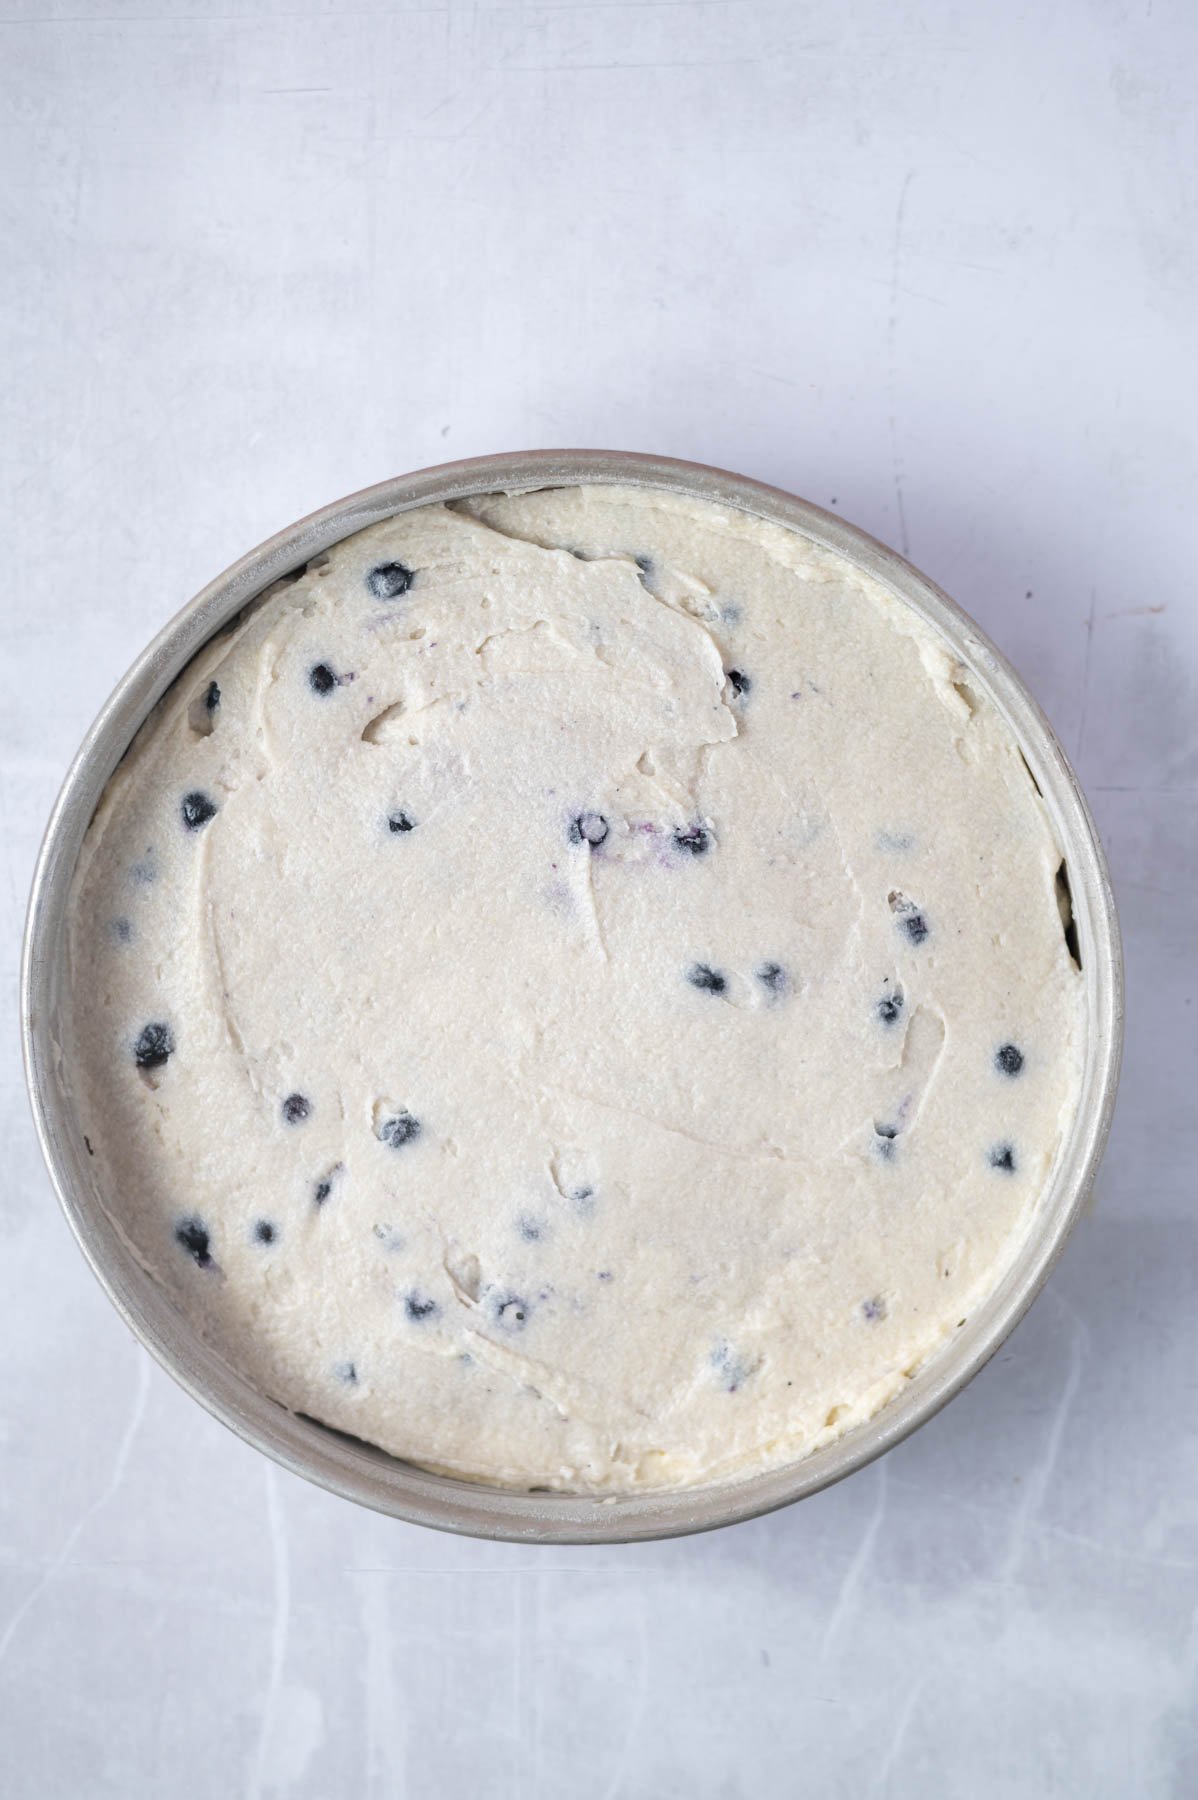
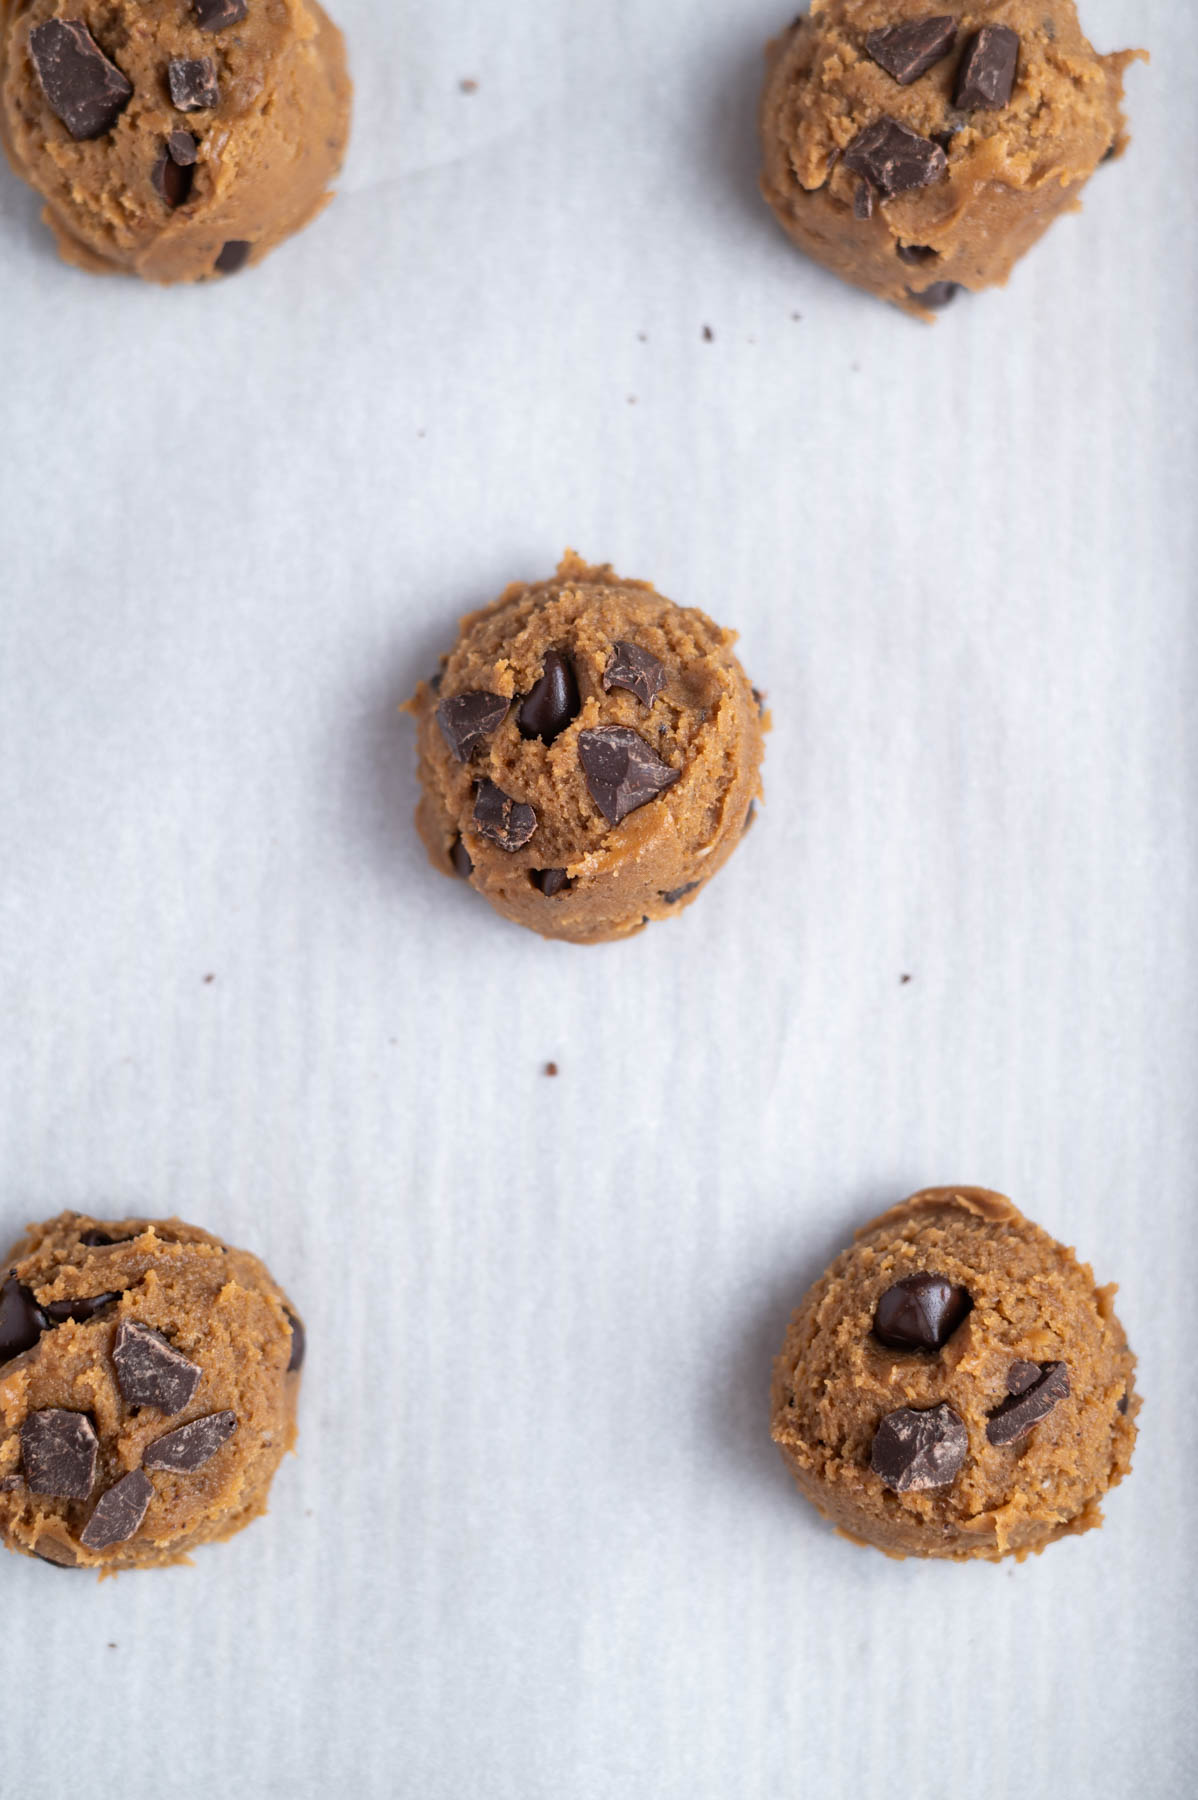
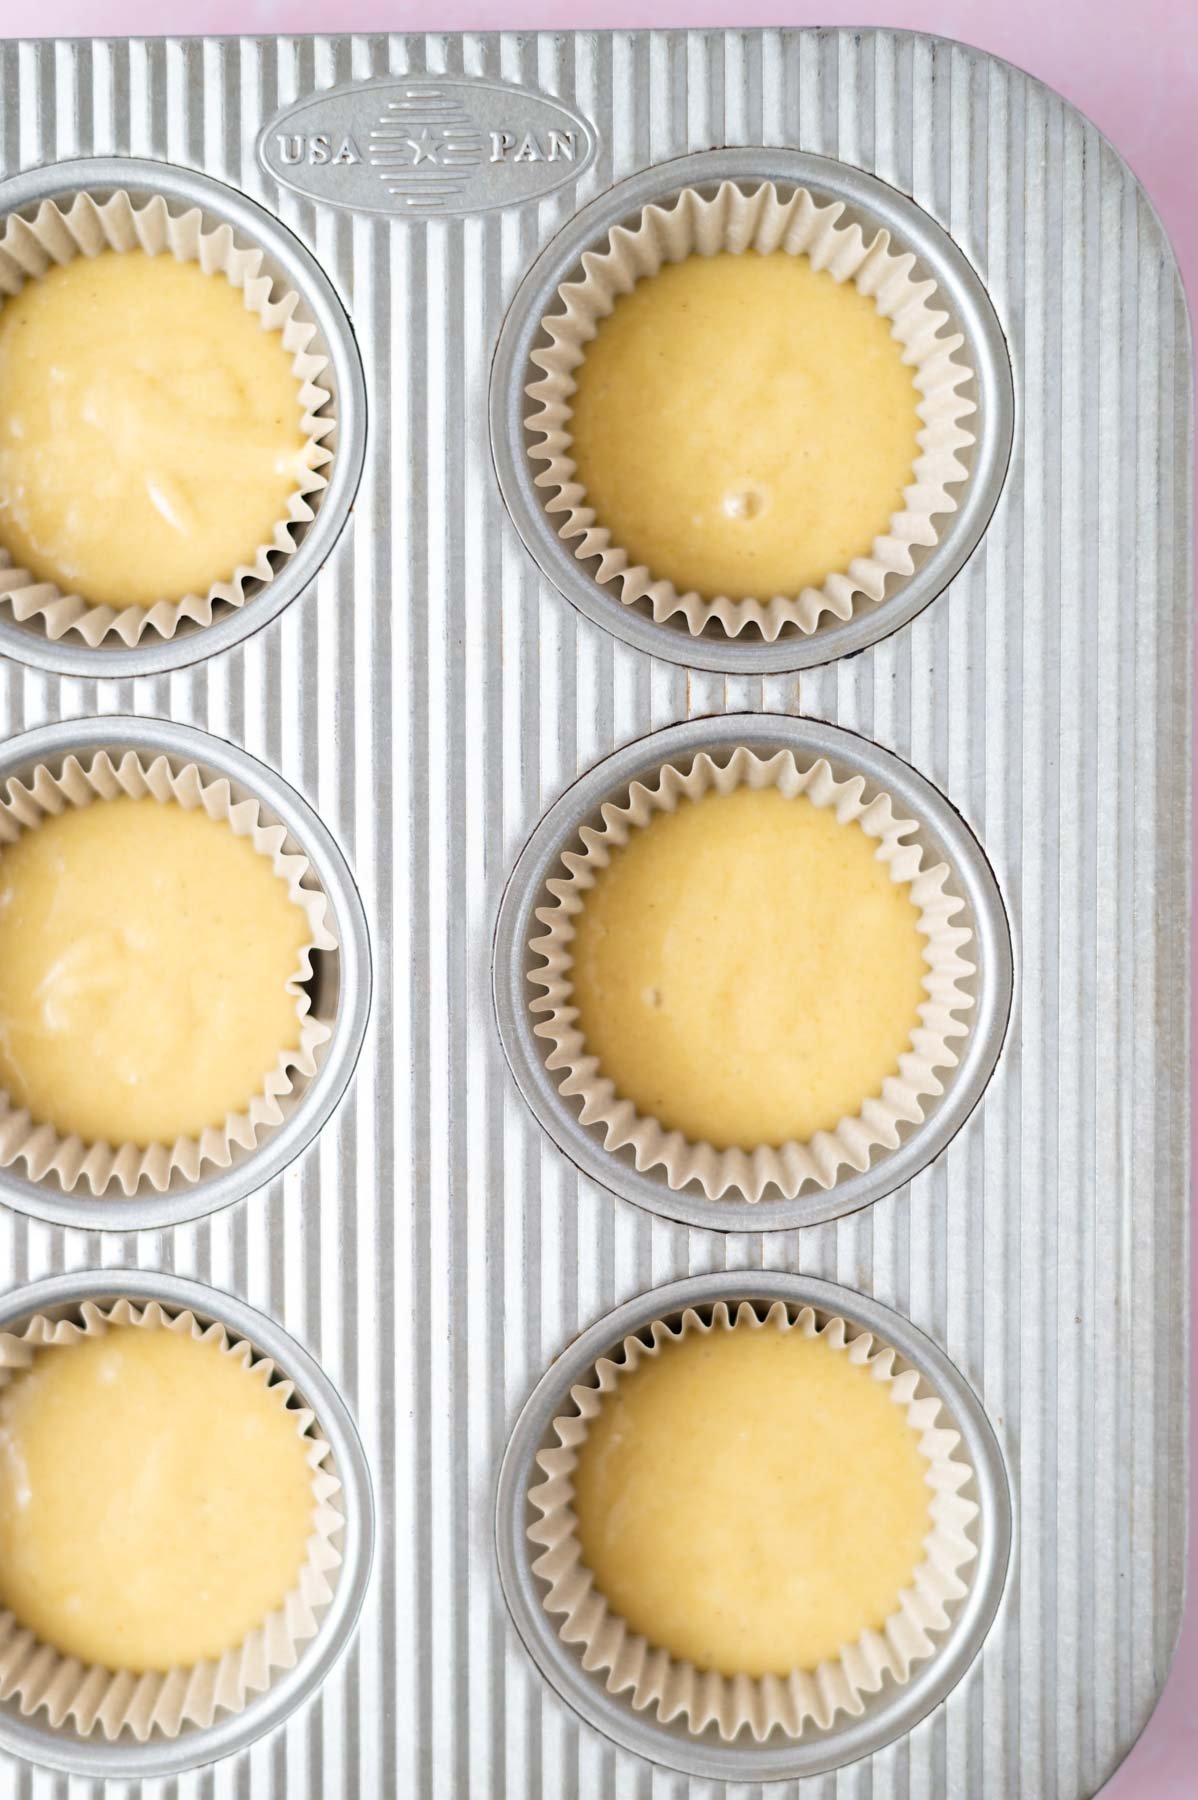
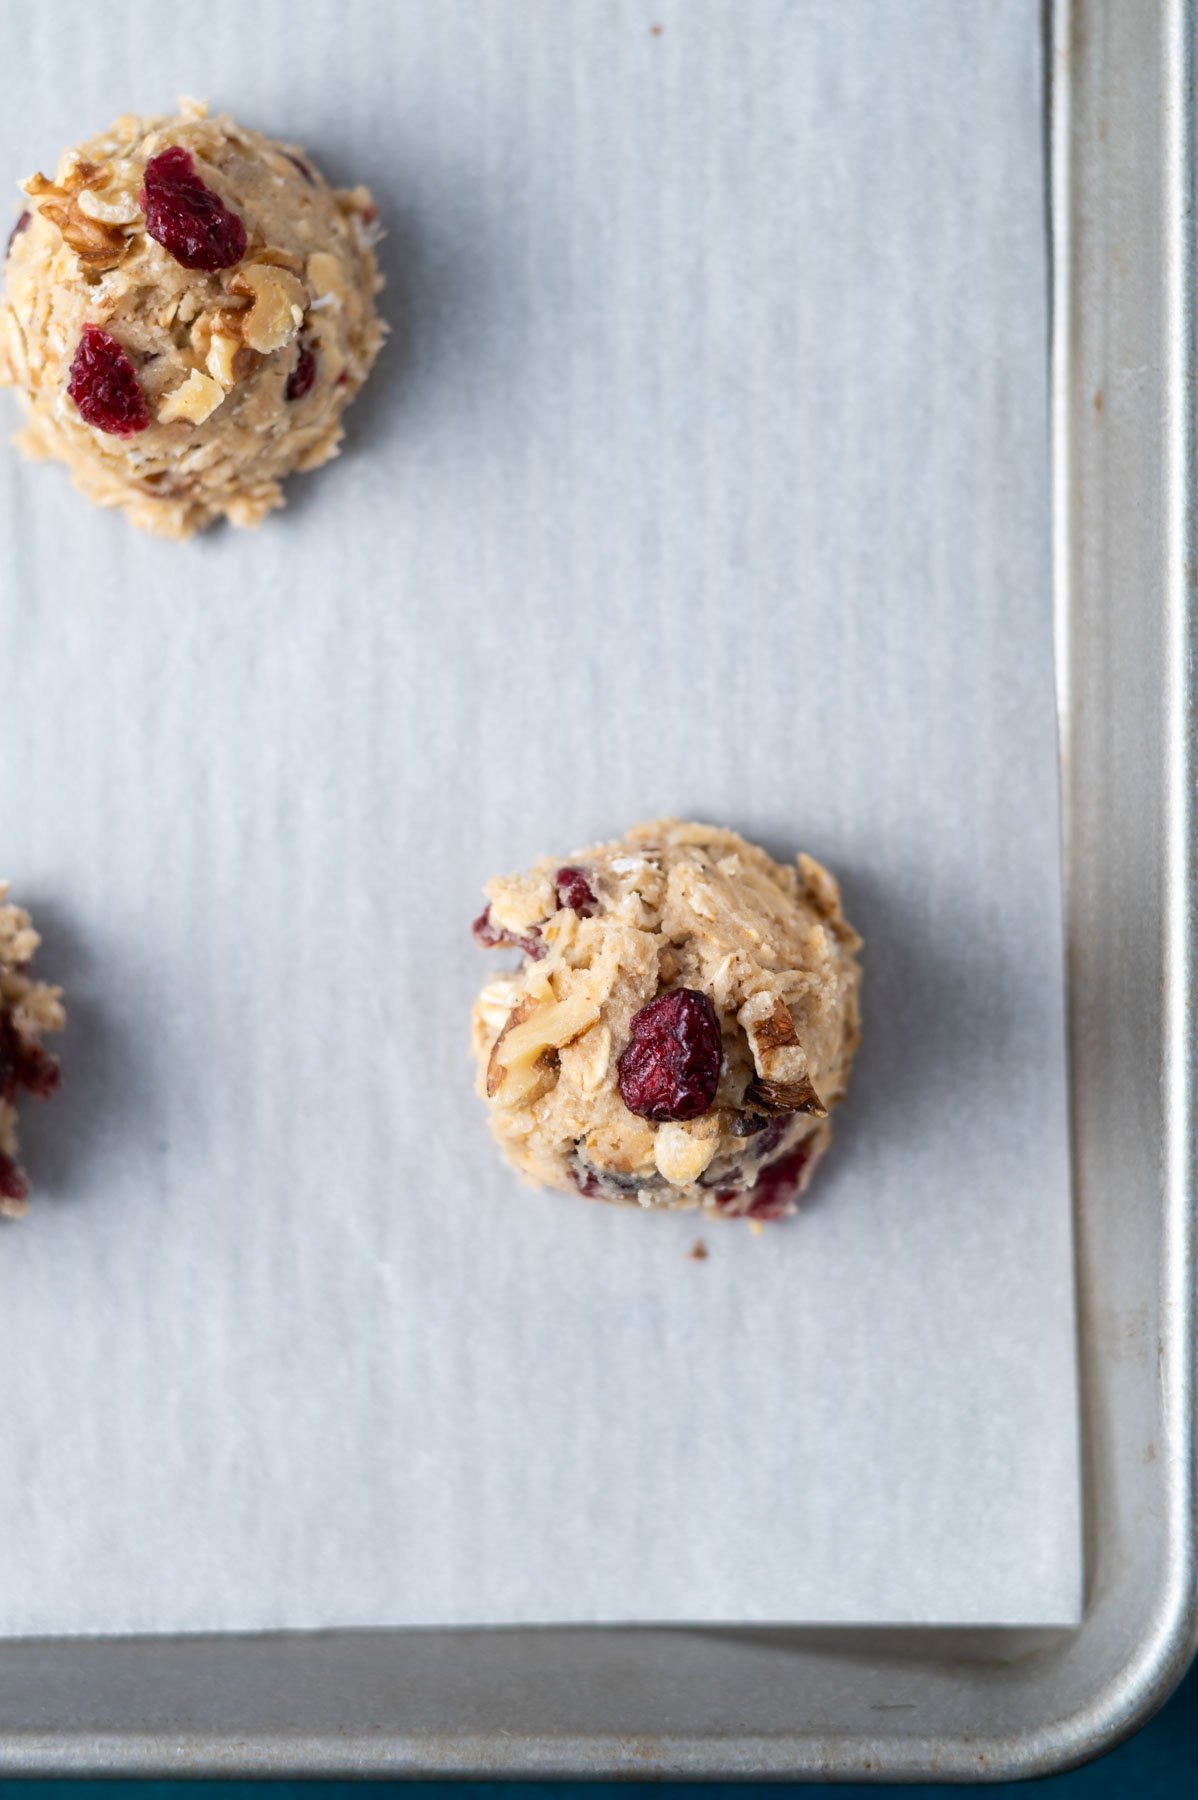
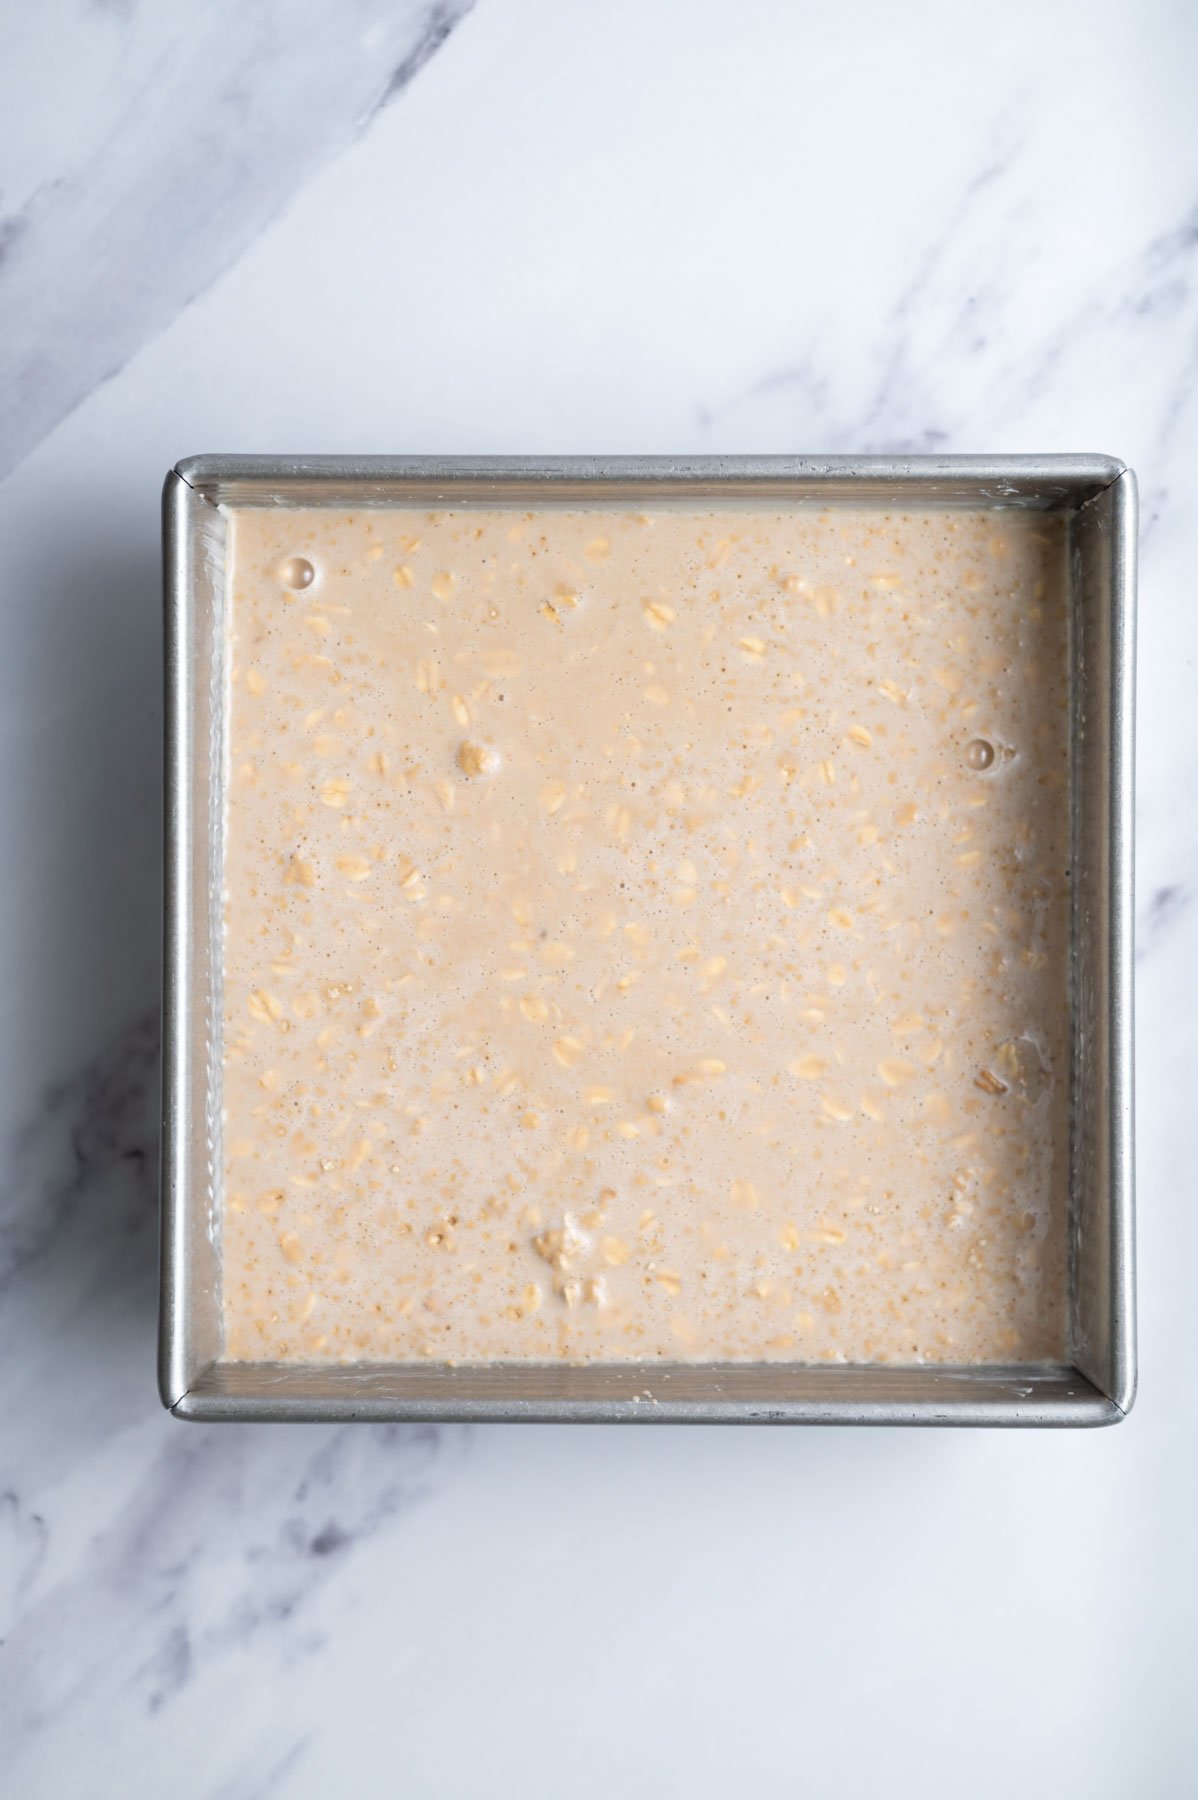
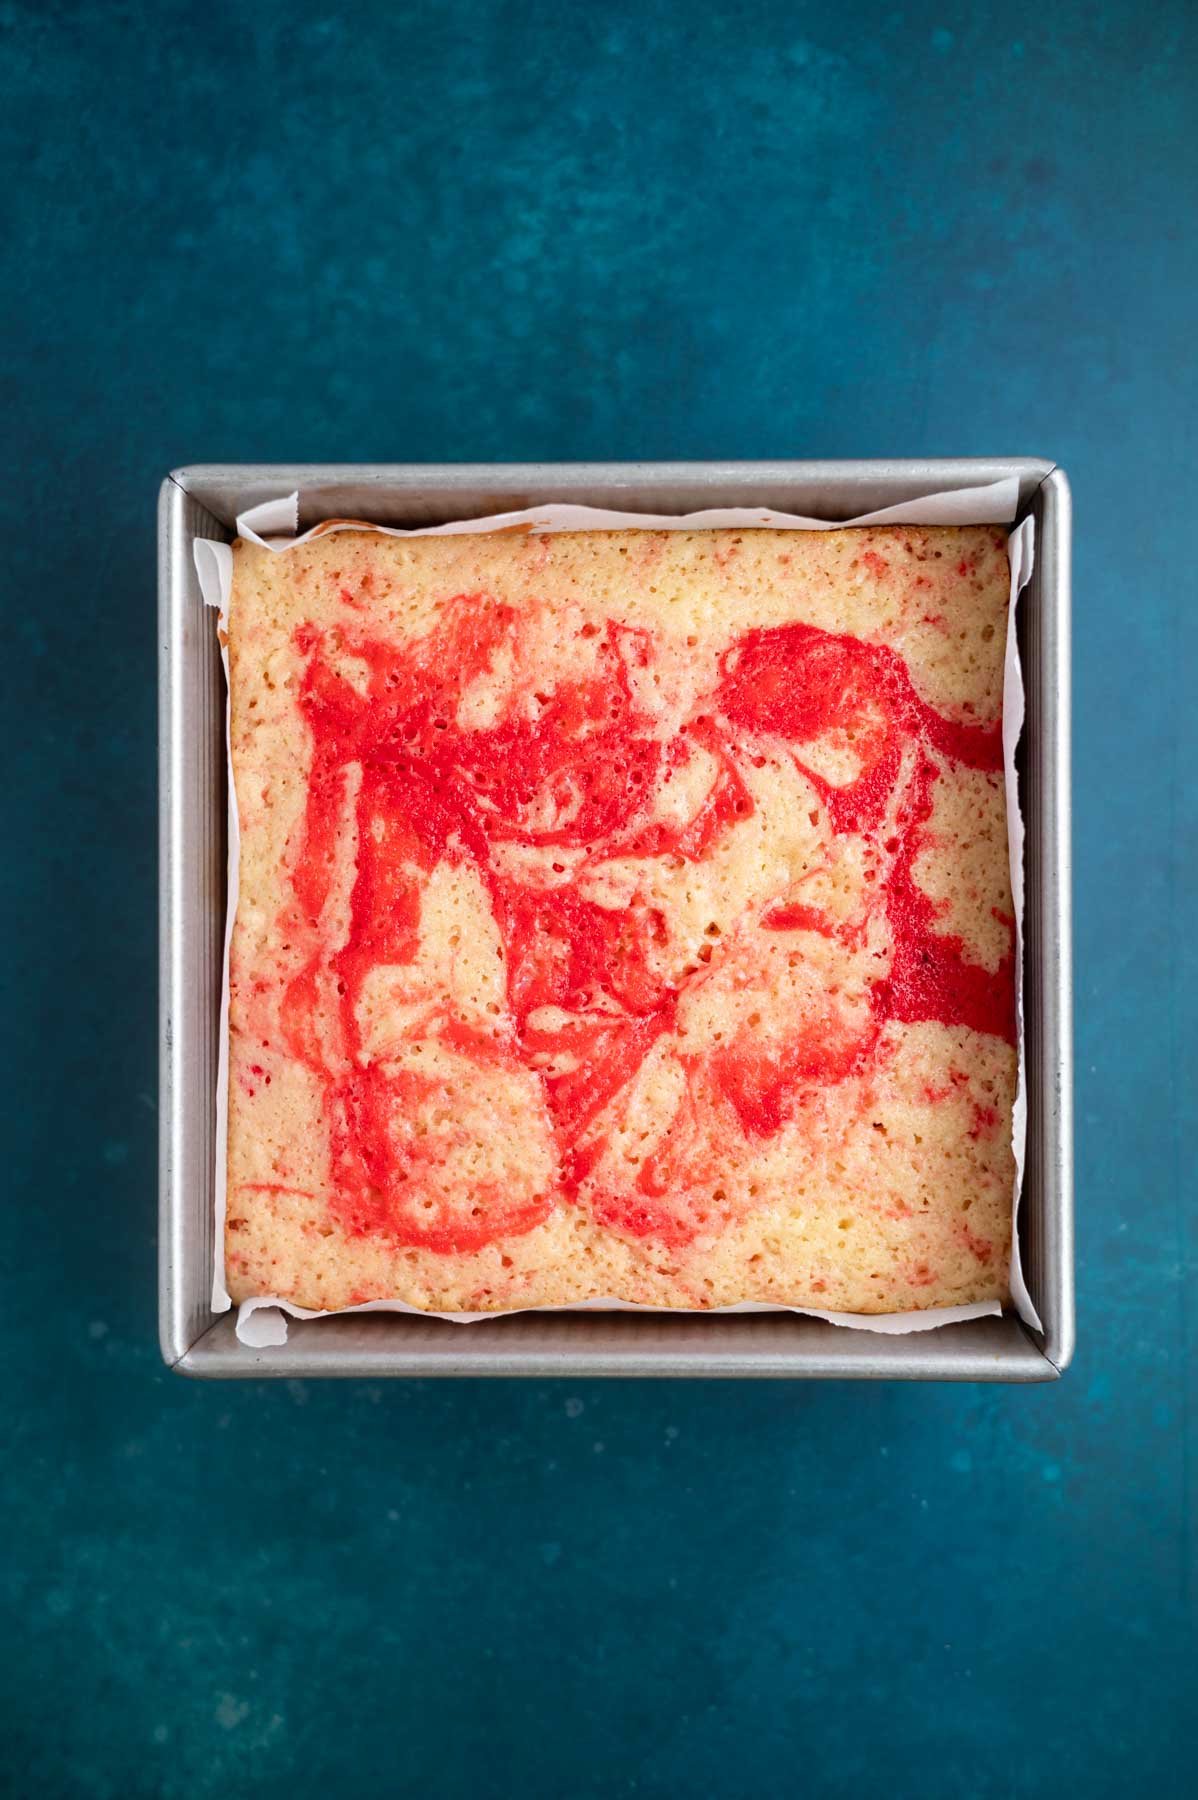
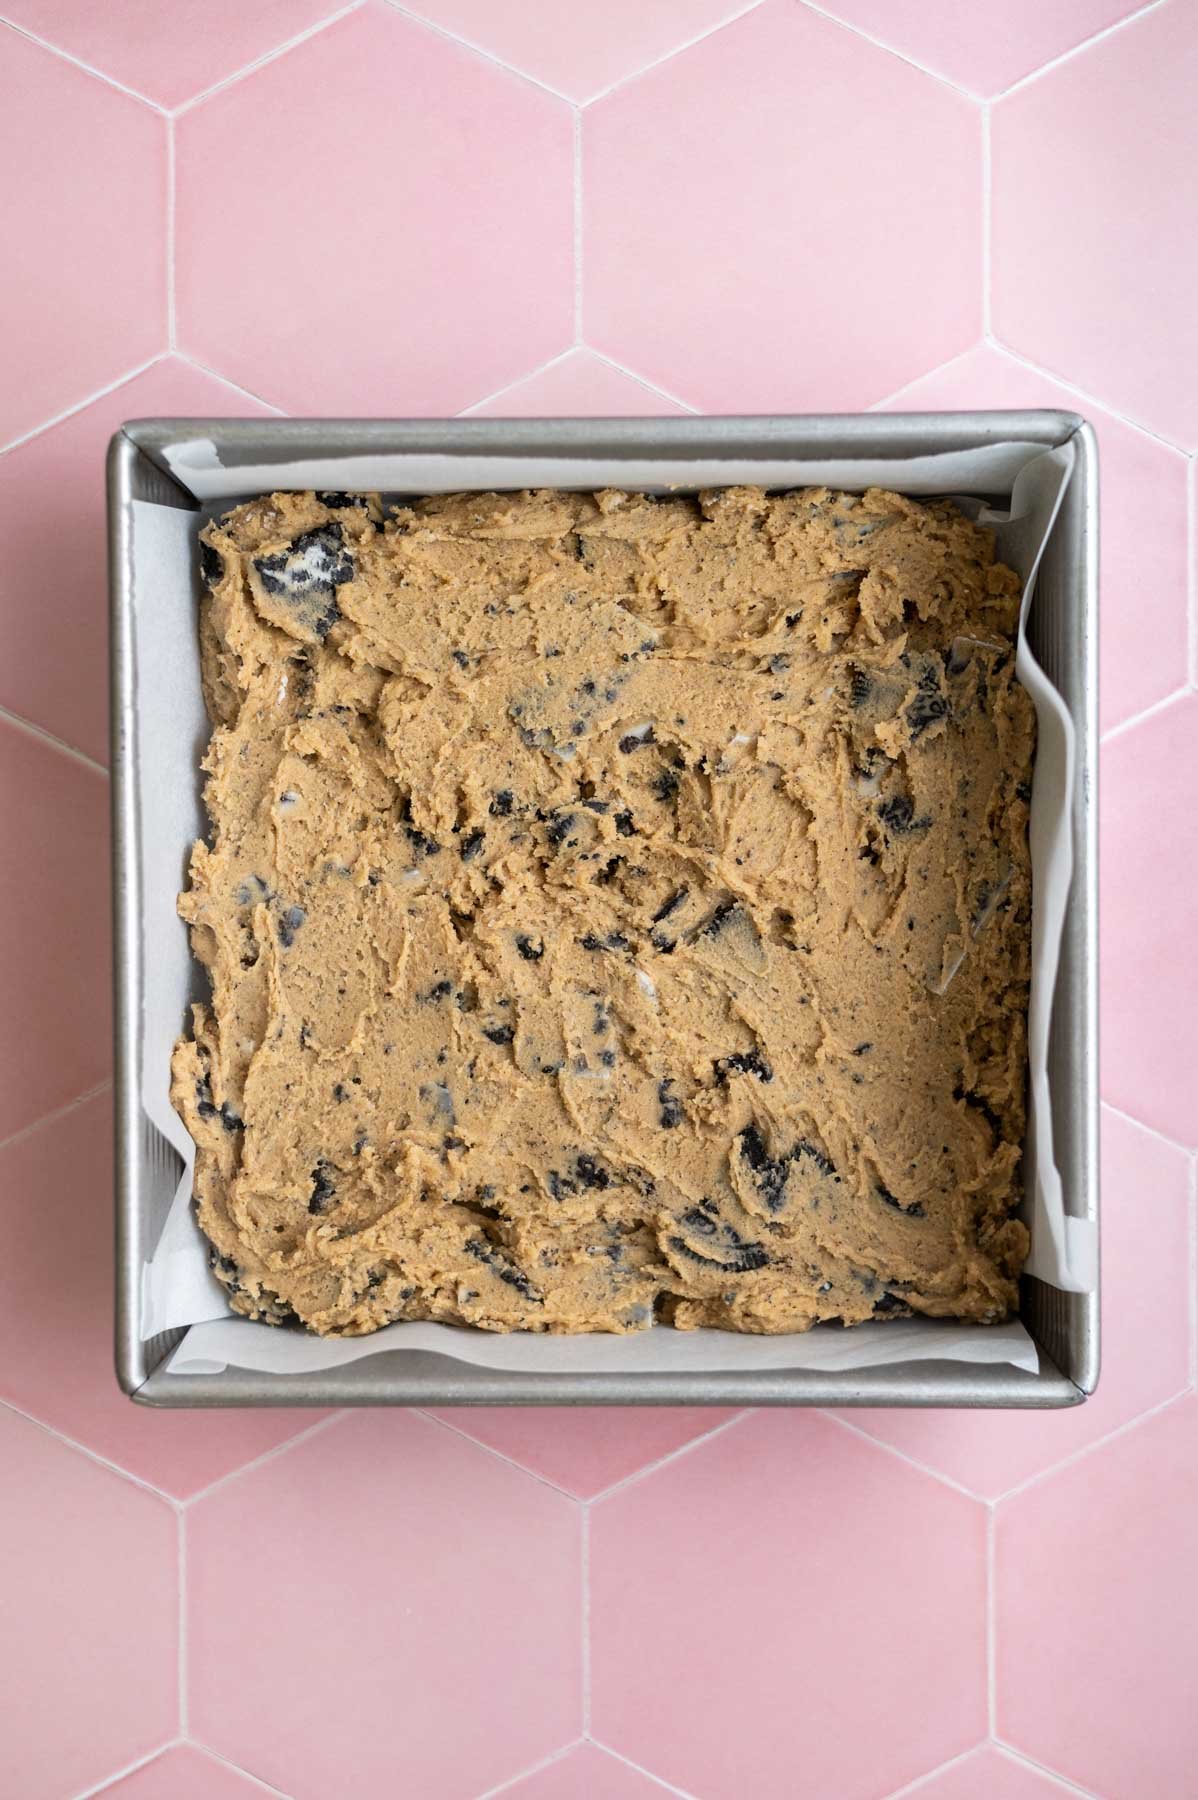
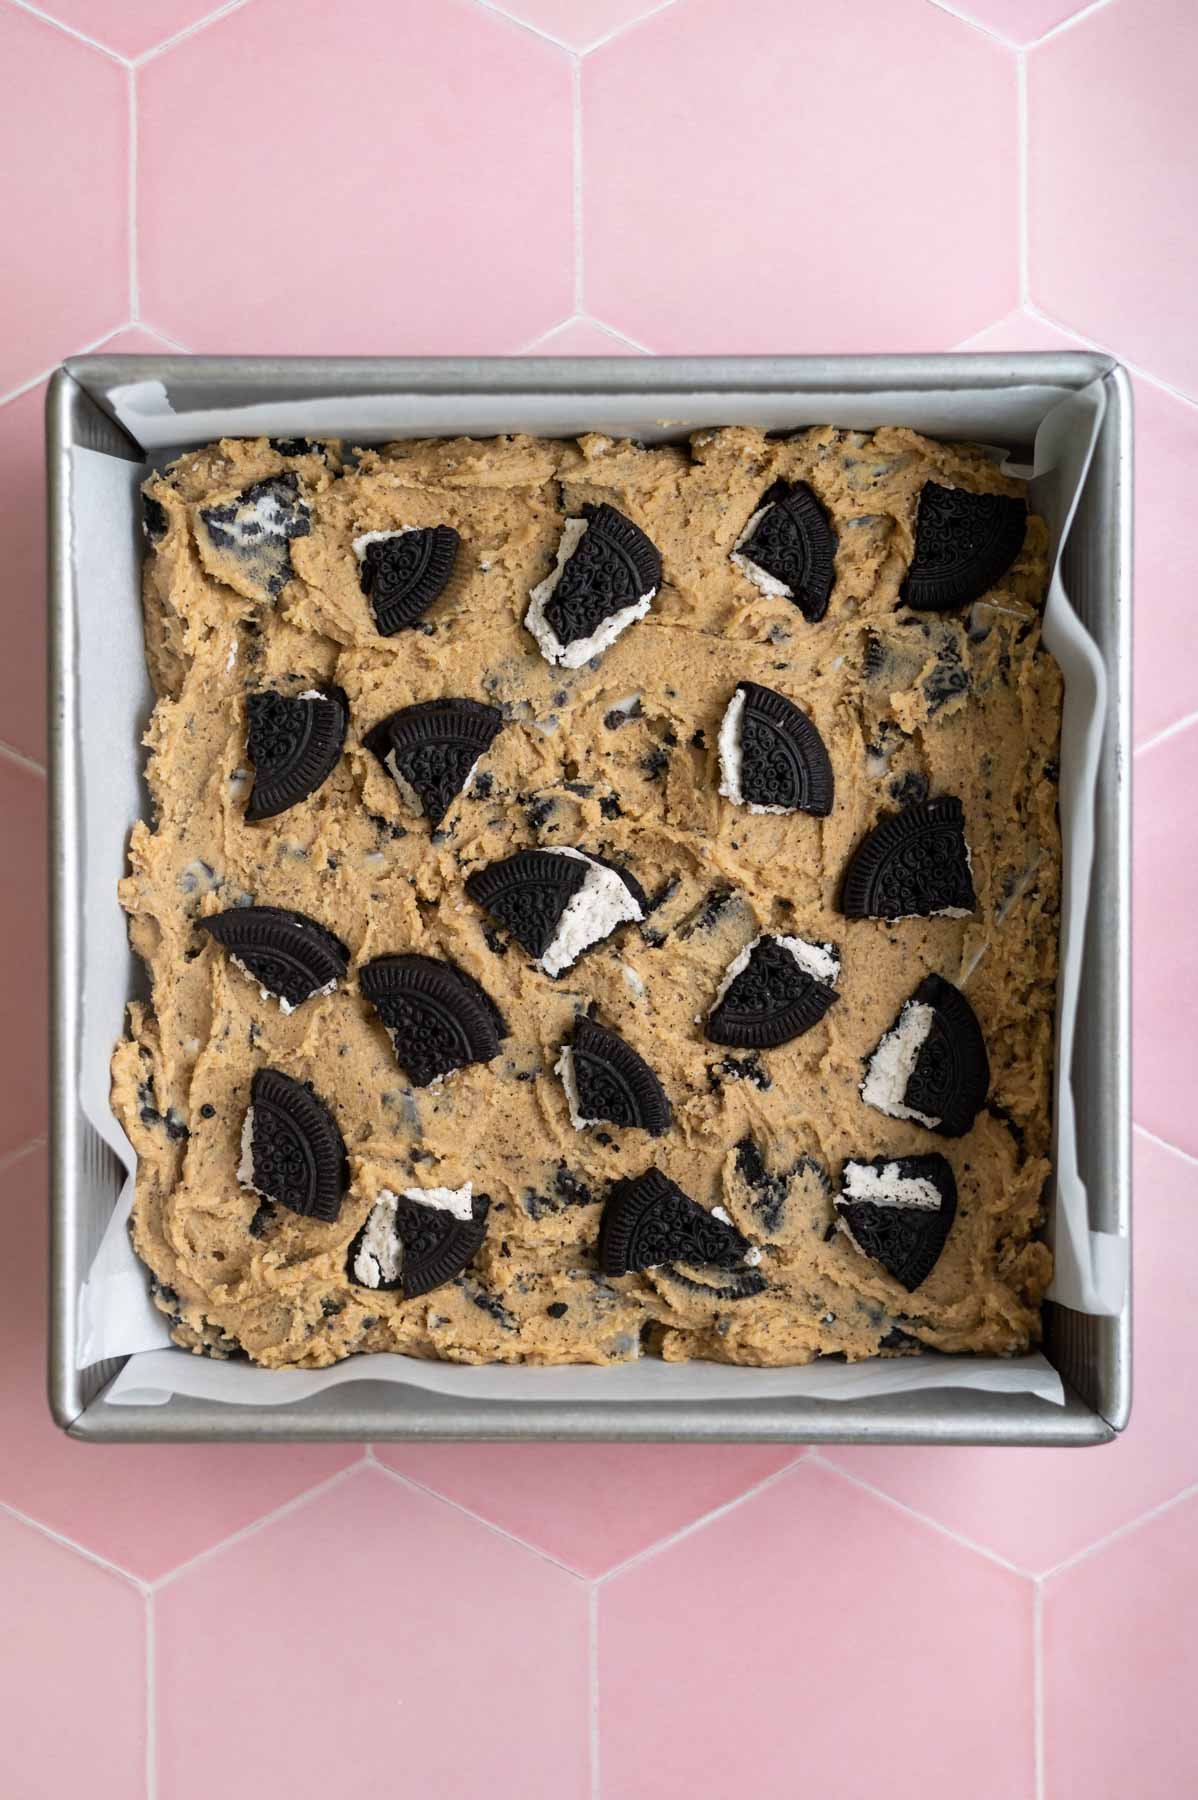
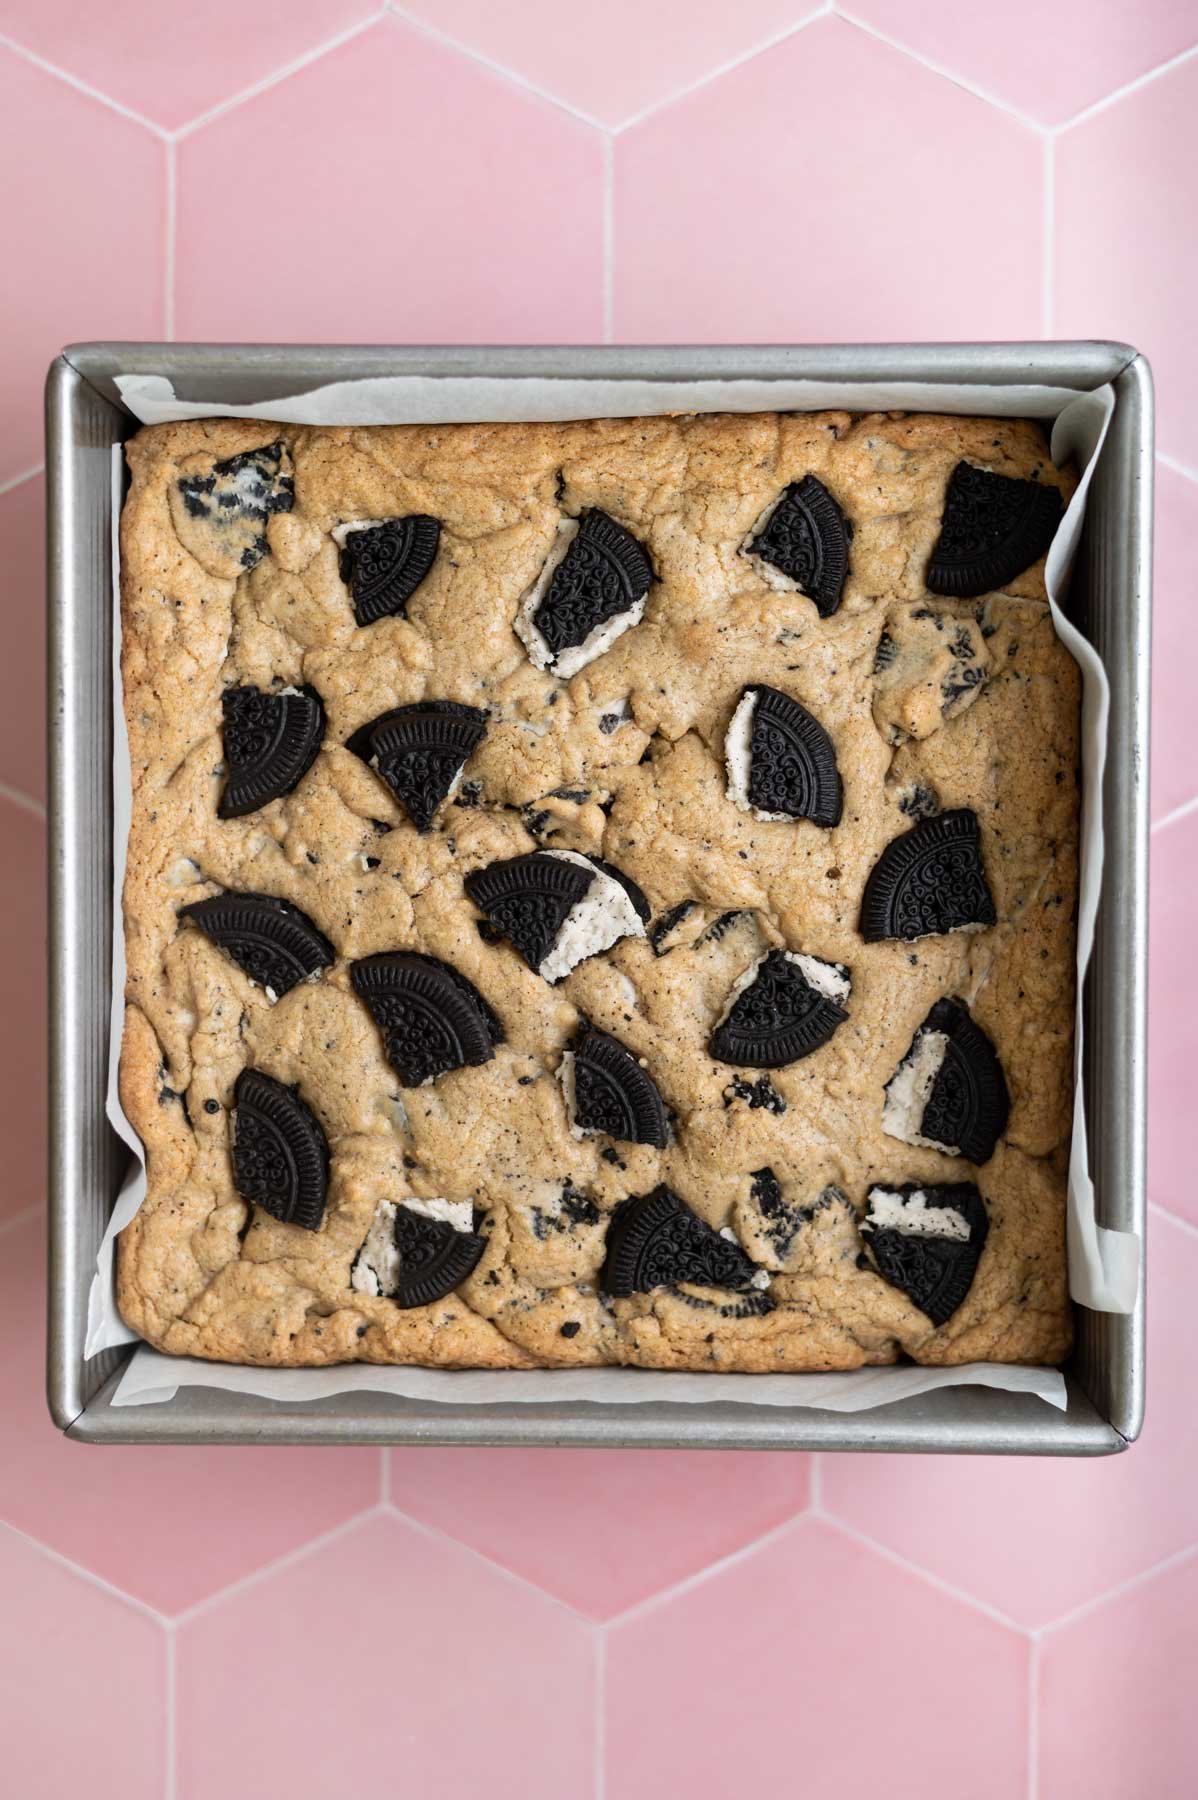
Drop the batter {it’s thick} into the prepared baking pan and smooth to an even layer.
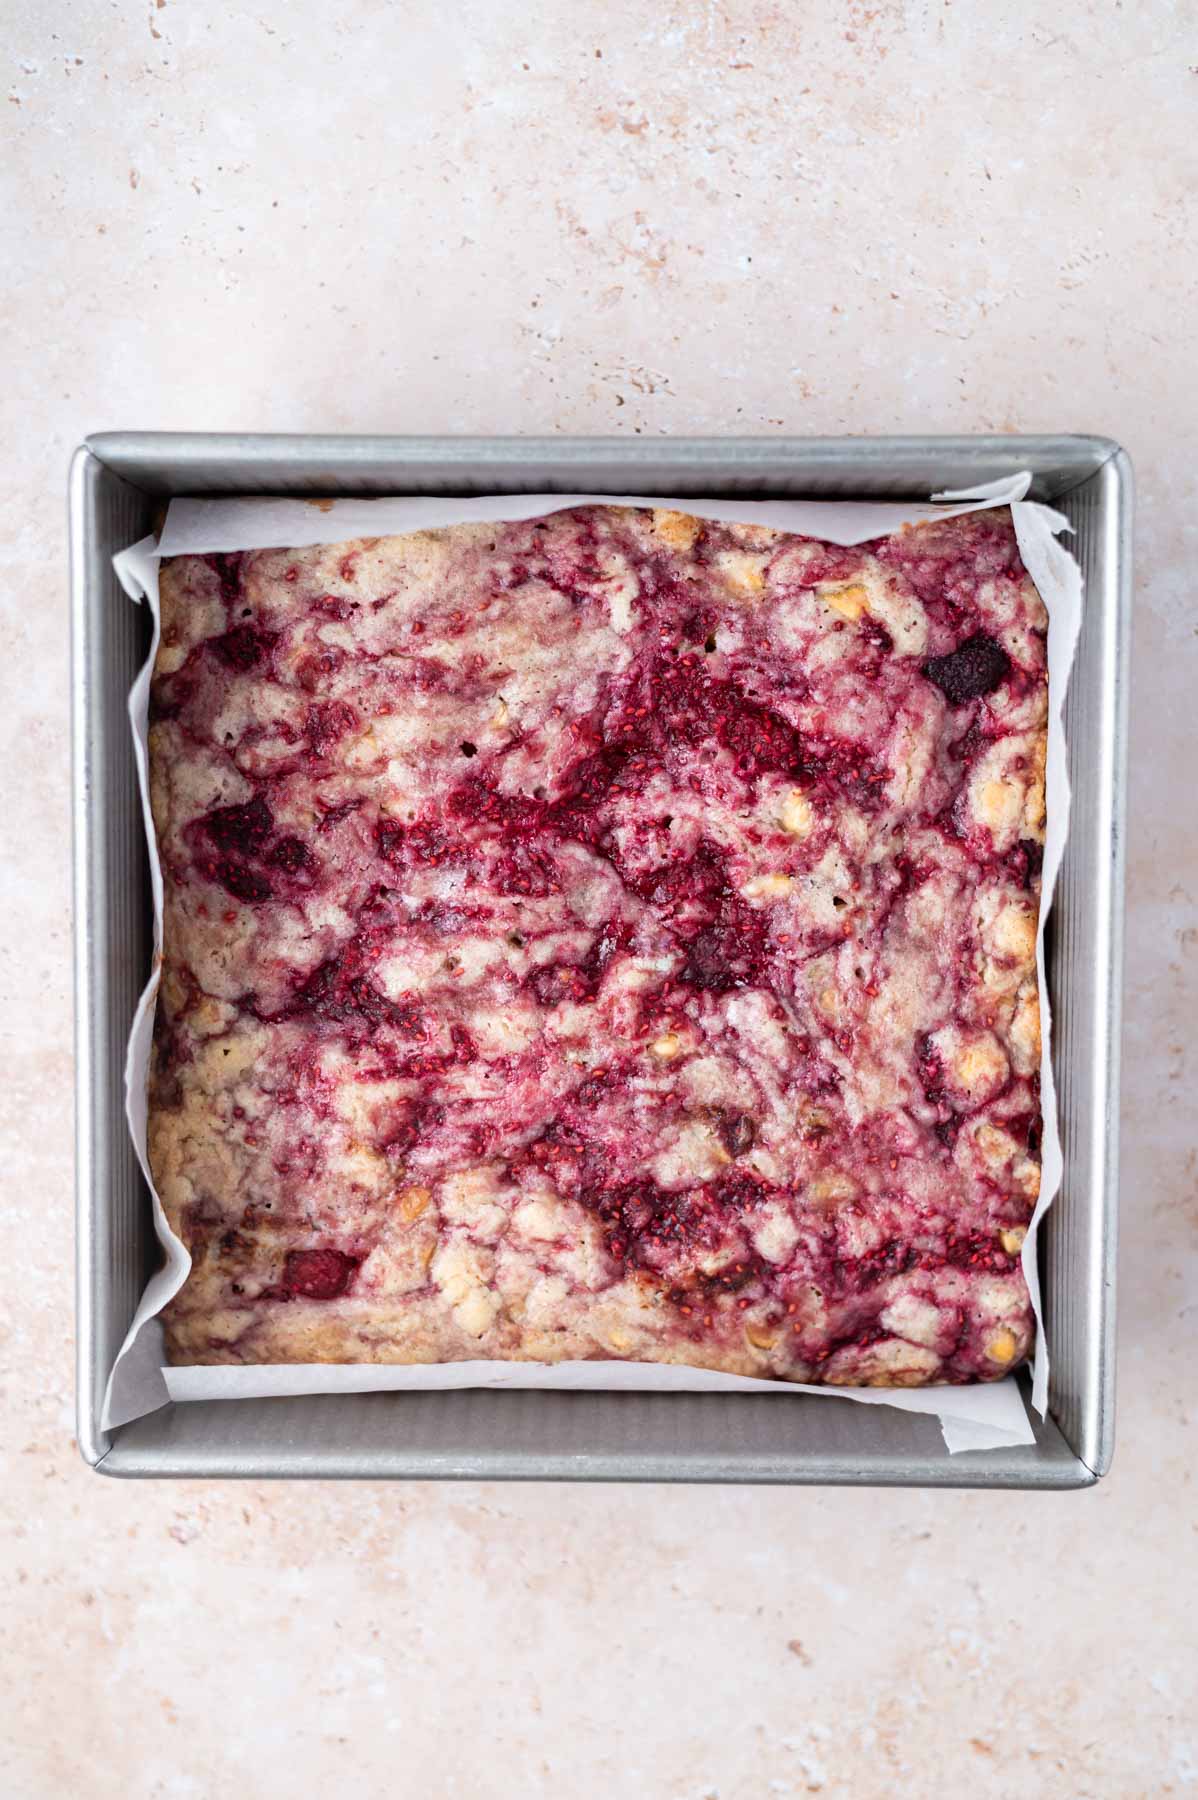
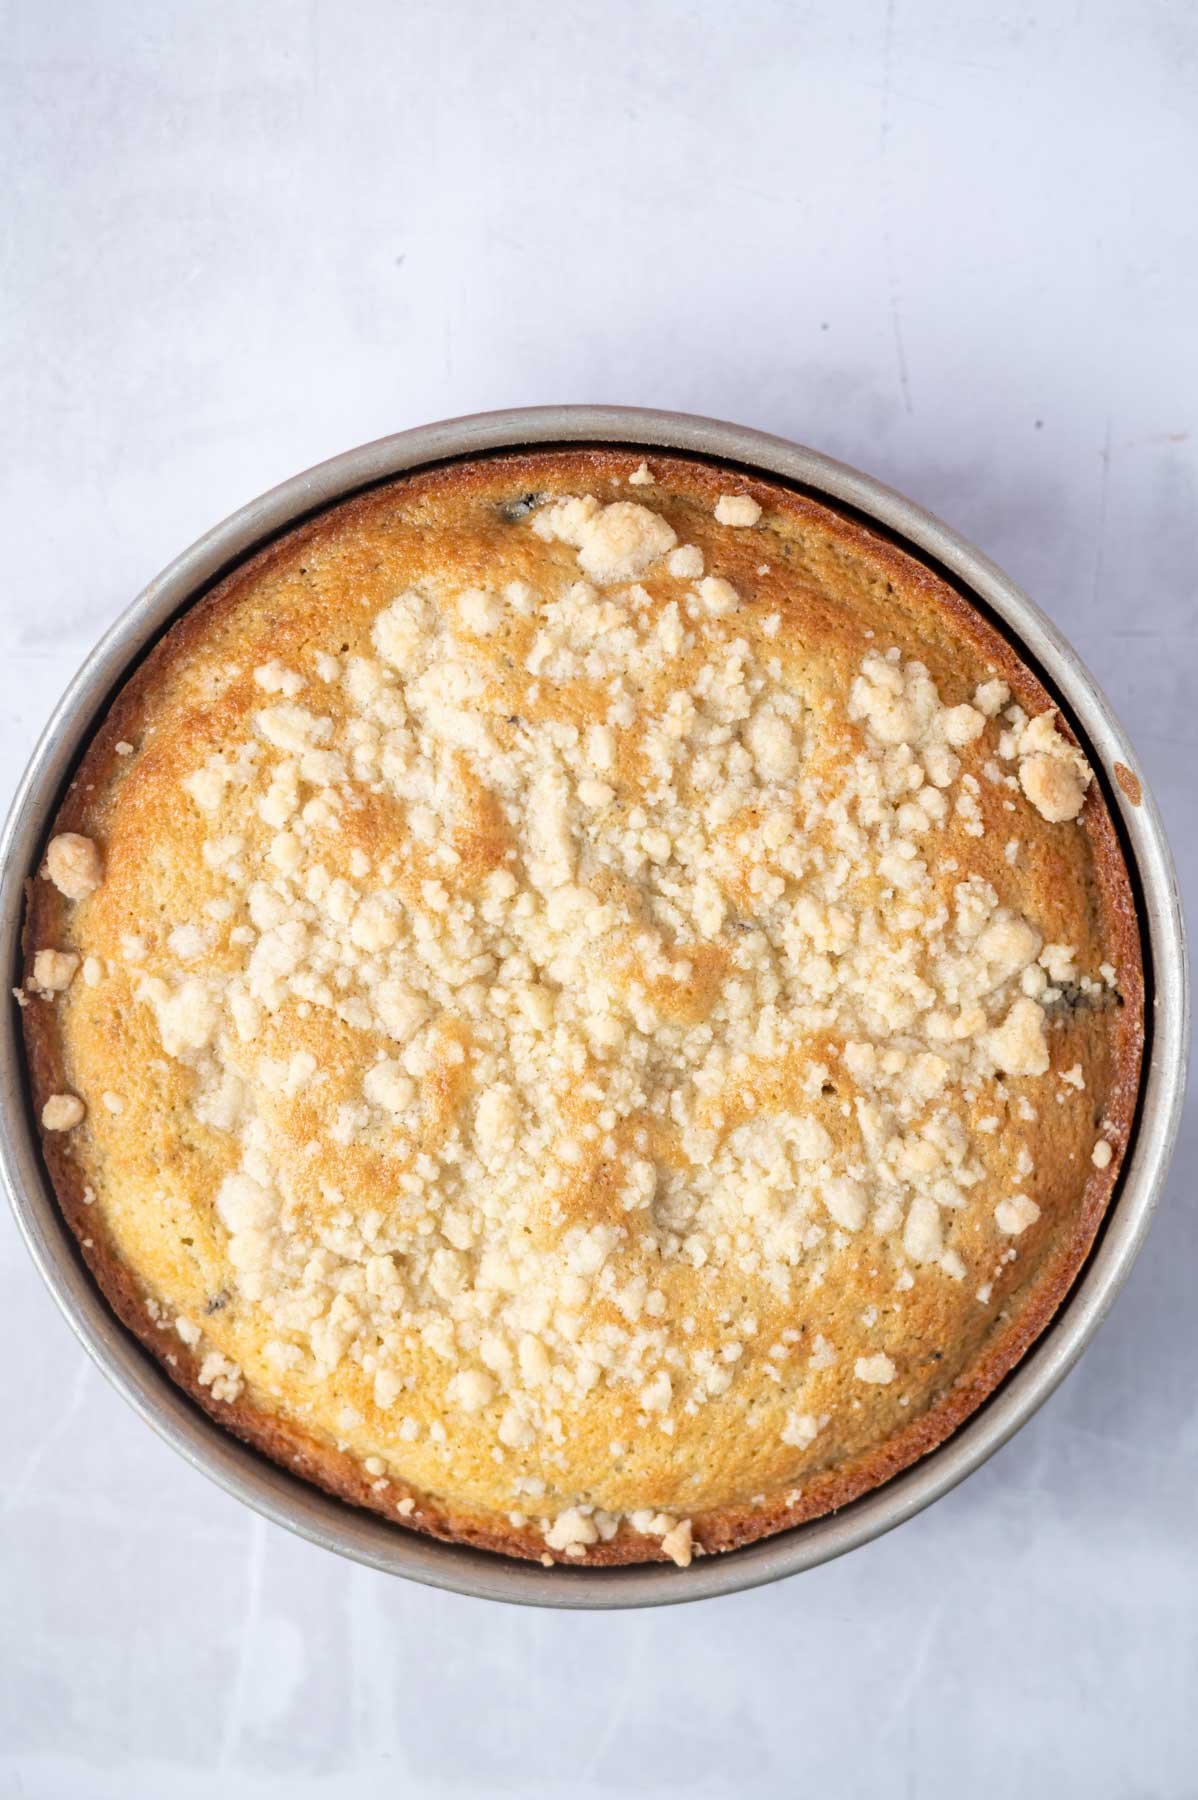
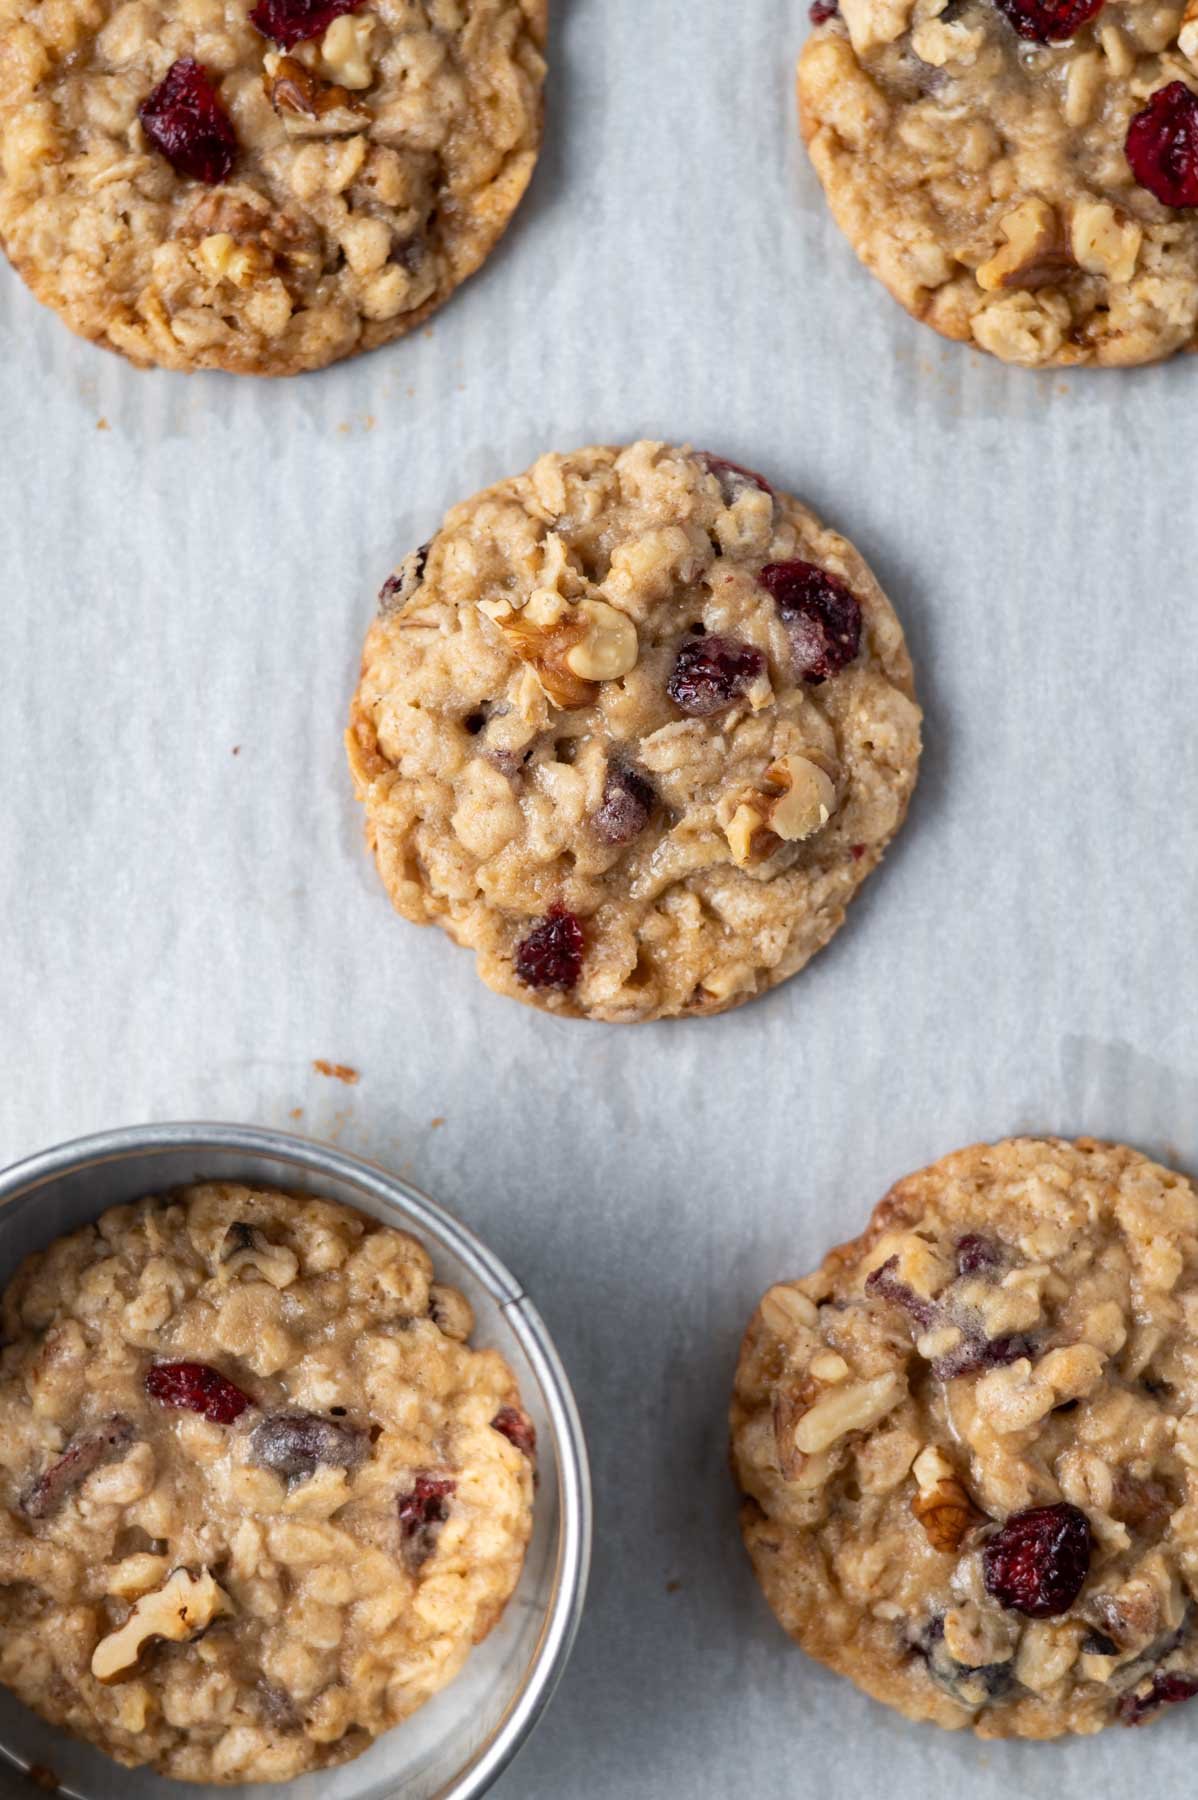
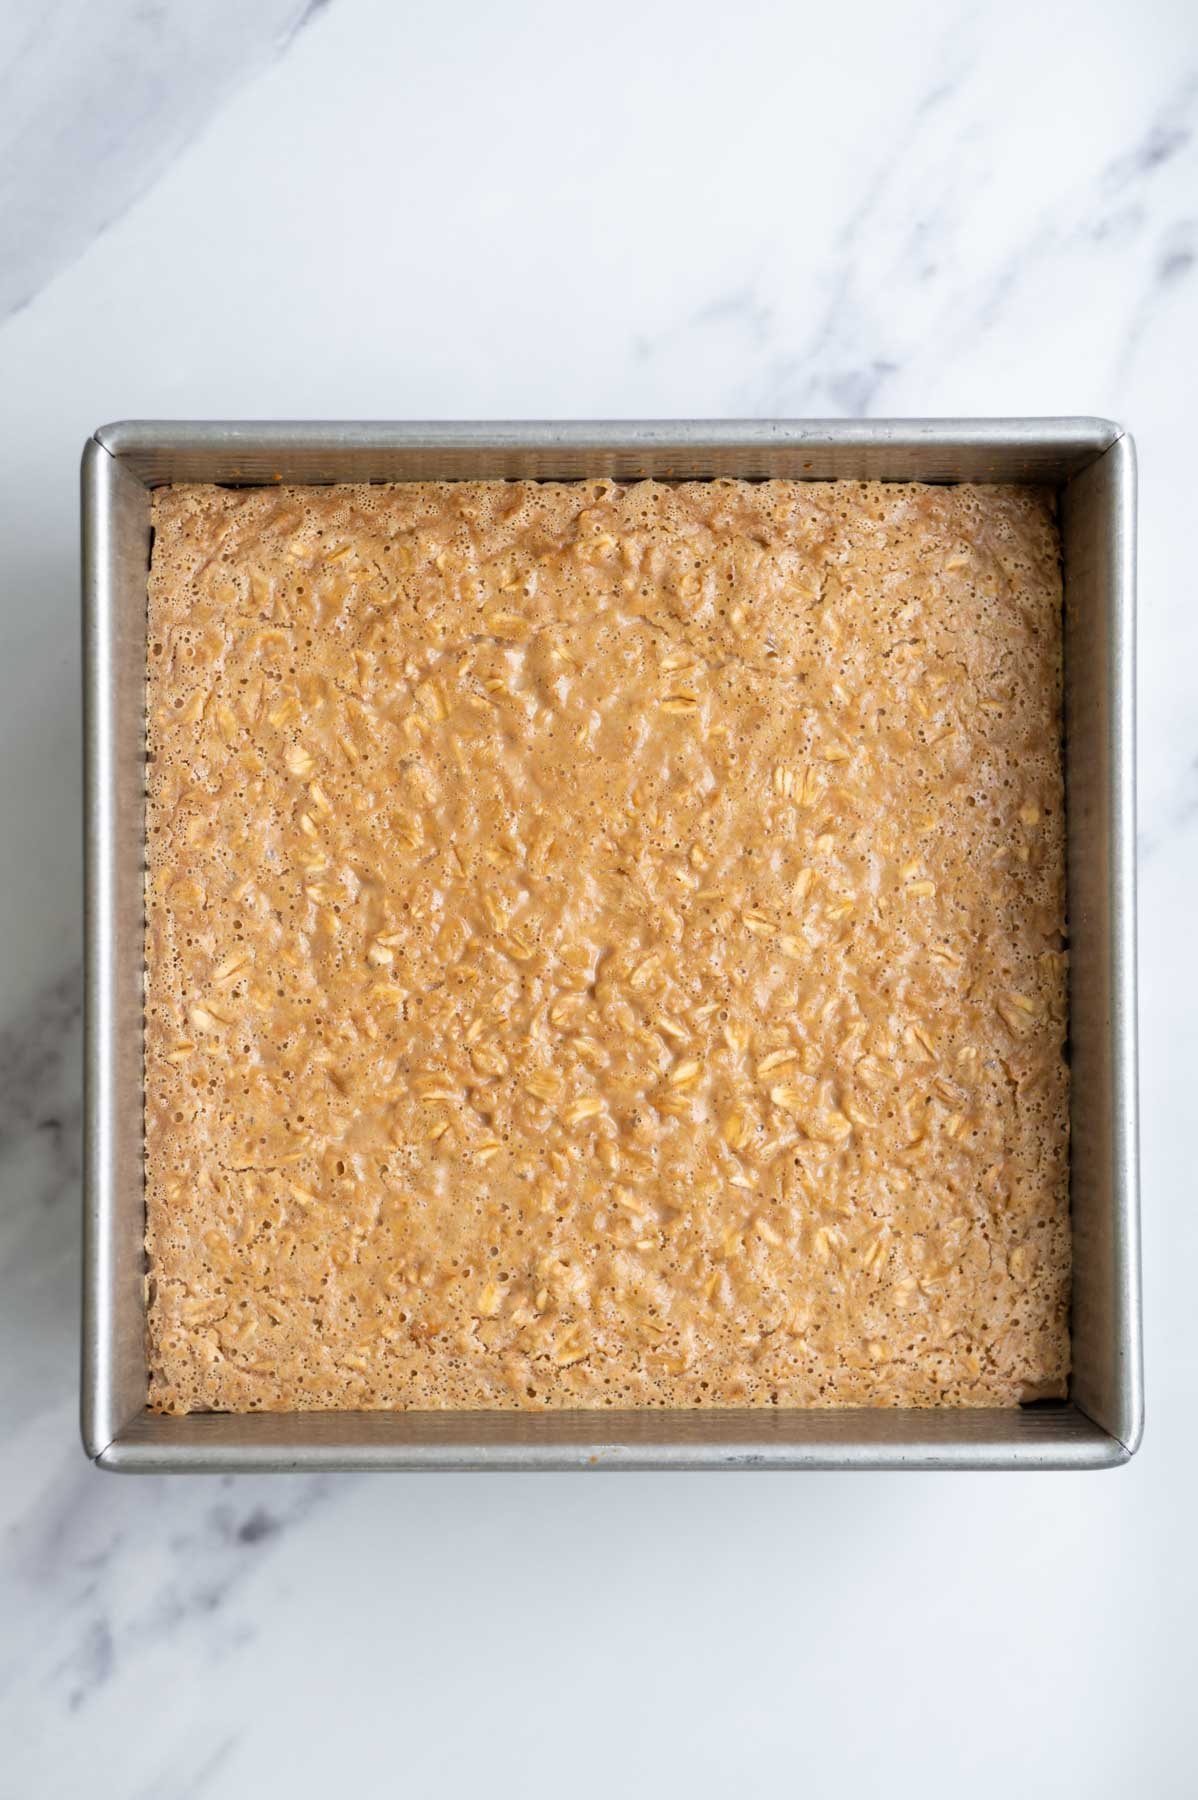
Bake for 30 - 35 minutes or until the edges have lightly browned and a tester in the center comes out with just a few moist crumbs.
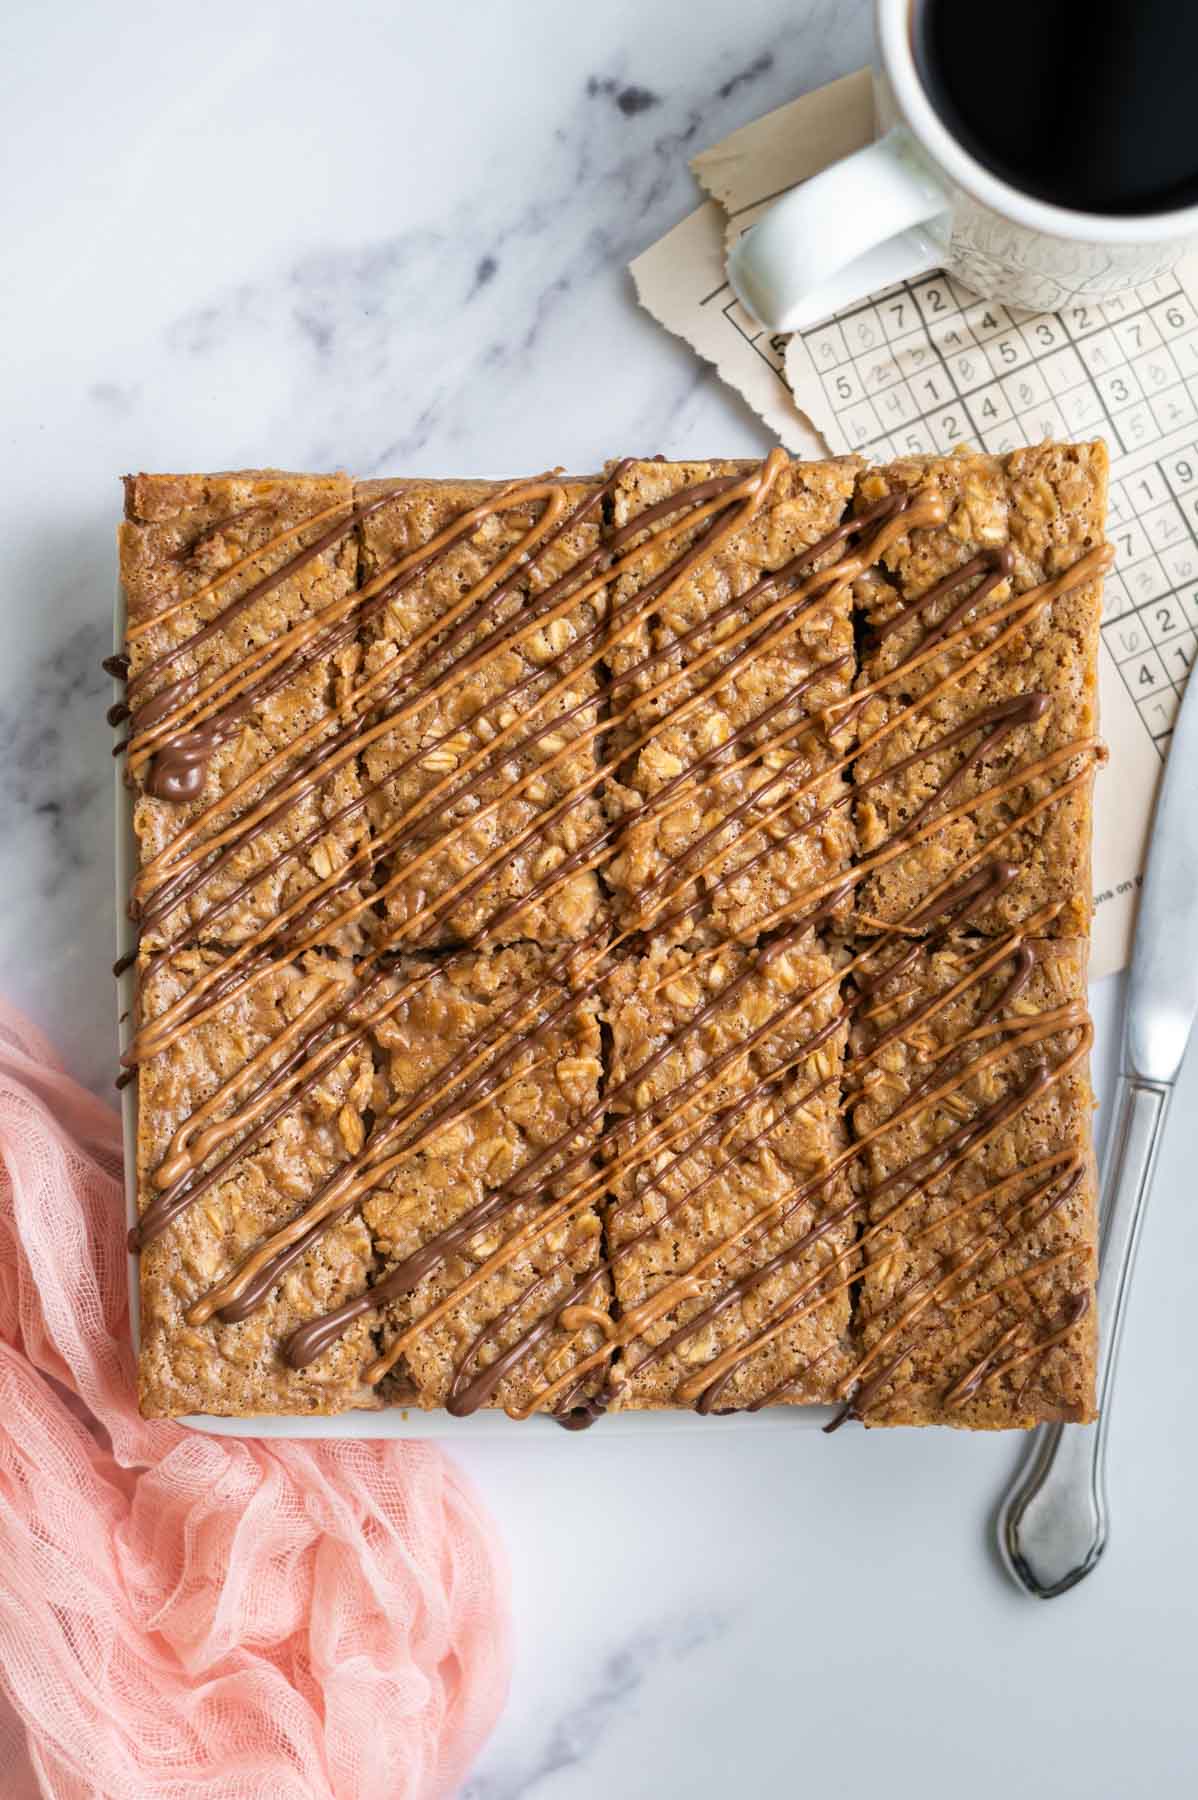
Allow the white chocolate and raspberry blondies to cool in the pan on a wire cooling rack. Then use the parchment to pull the bars out of the pan and cut into desired sizes.
Remember to pin this recipe to Pinterest! Use the button on the recipe card or the share buttons on the side or bottom of this page.
💬 frequently asked questions
do I have to use frozen raspberries?
No, you can use fresh raspberries. Be sure to wash and dry them prior to baking. I like using frozen raspberries because it means they can be made year round, not just when fresh raspberries are in season. Fresh raspberries do have a tendency to break apart and bleed more when combined in the blondie batter.
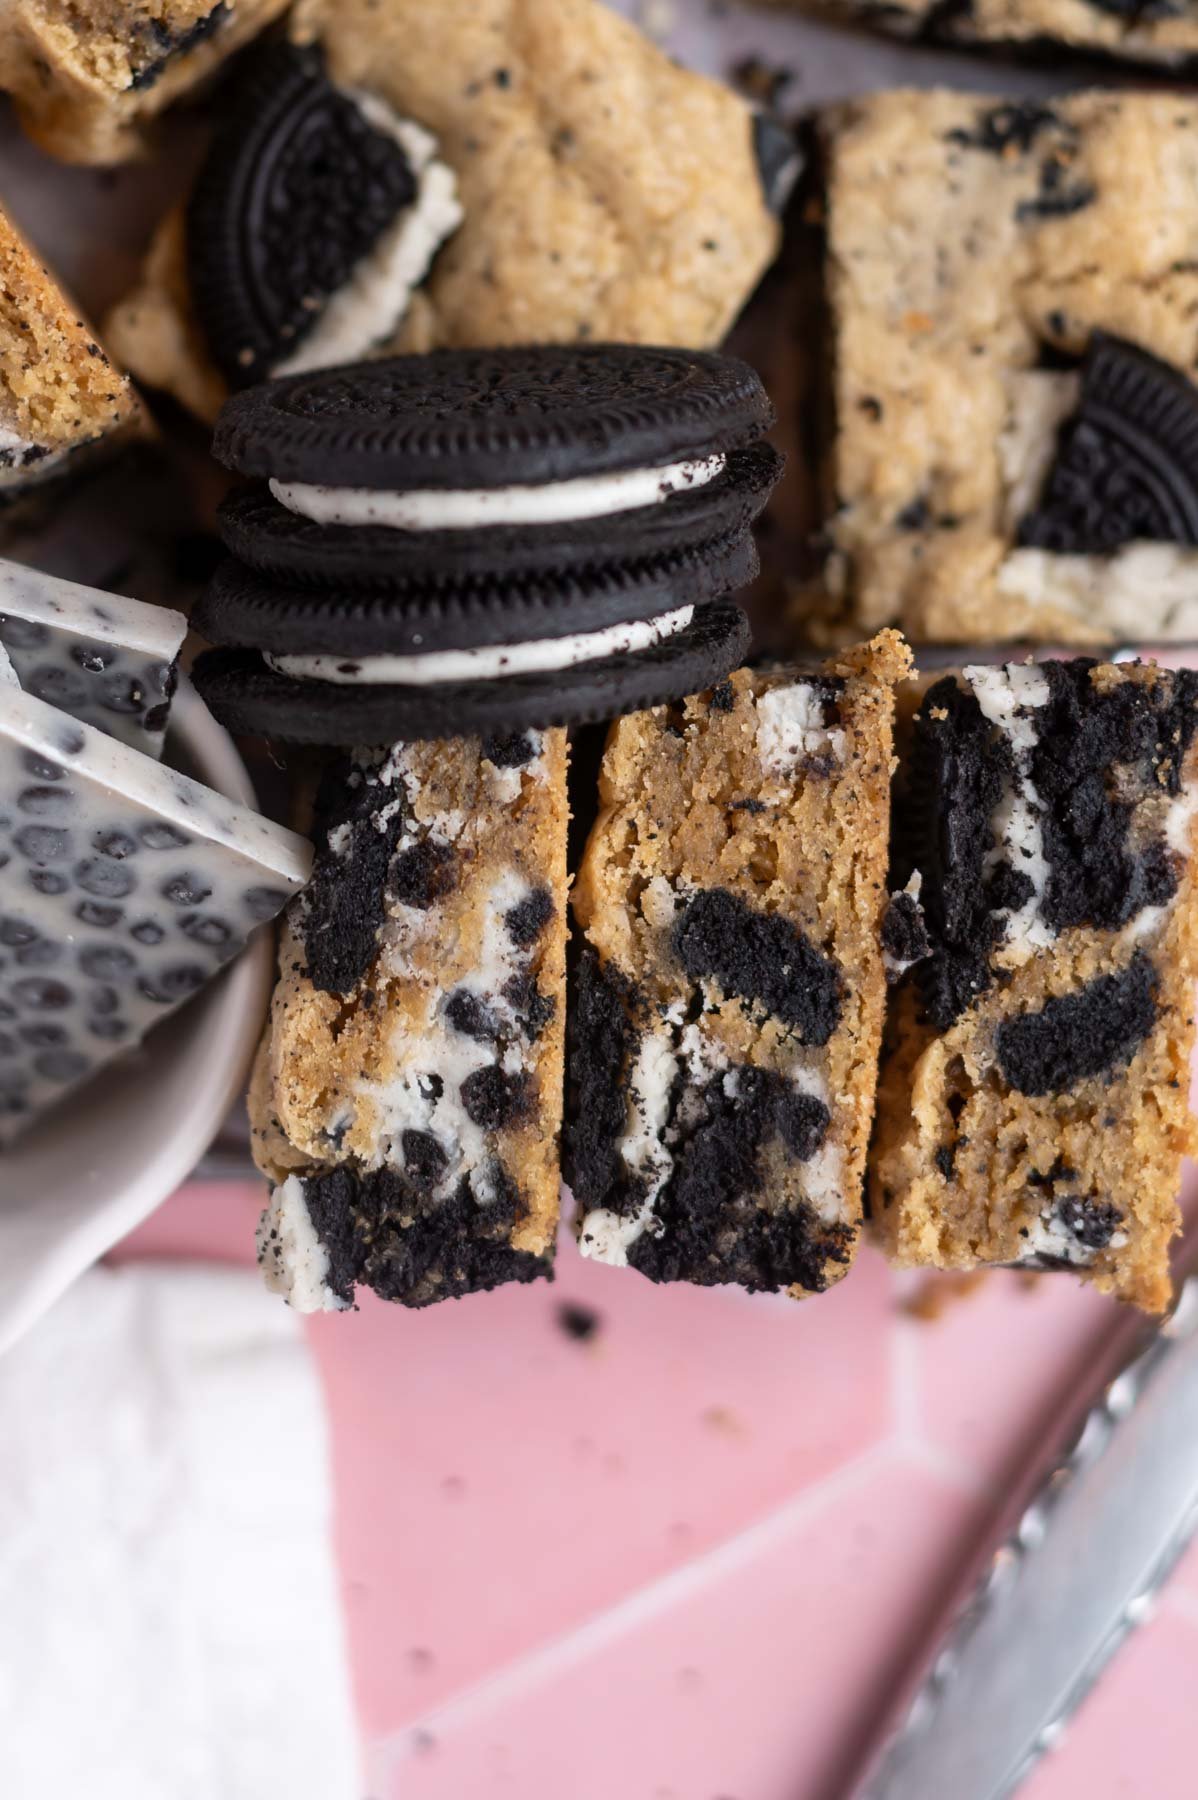
how do you cut blondies?
The raspberry white chocolate blondies slice best when completely cool or chilled. To cut the cookie bars into clean slices, lift them out of the pan by grabbing the edges of the parchment paper and lifting the whole slab onto a cutting board. Use a sharp knife to cut the blondies, wiping the knife clean in between each cut.
why use a room temperature egg?
A room temperature egg will blend more easily with the other ingredients, which helps to create a soft and chewy blondie bar.
Pro tip ~ to quickly bring eggs to room temperature, place them in a bowl of warm tap water for 5-10 minutes.
👩🏻🍳 tips for the best blondies with raspberries
I know I am a broken record here, but weighing your ingredients is the most accurate and will give the best results. This is the kitchen scale I use in my kitchen and if your budget is tight, this Escali scale is also fantastic!
Do NOT thaw the frozen raspberries before adding them to the batter.
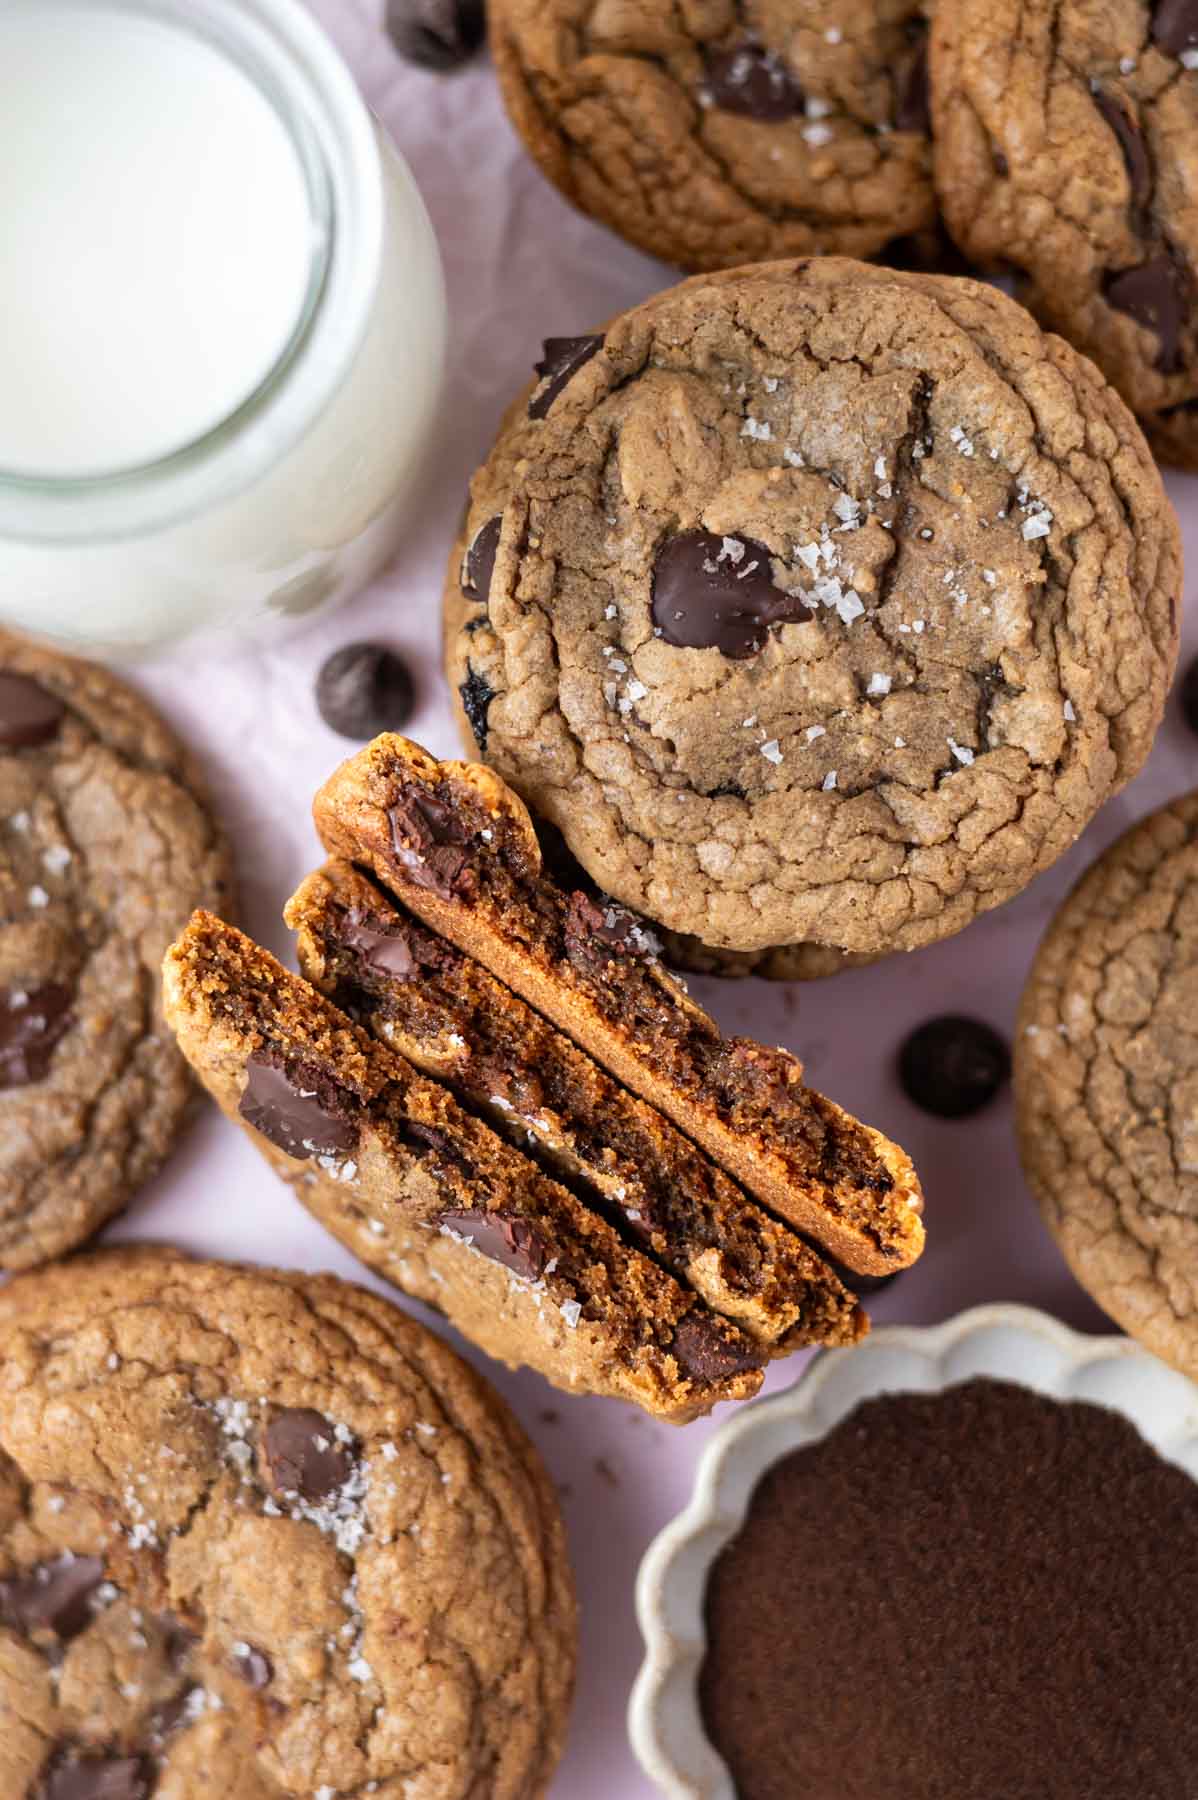
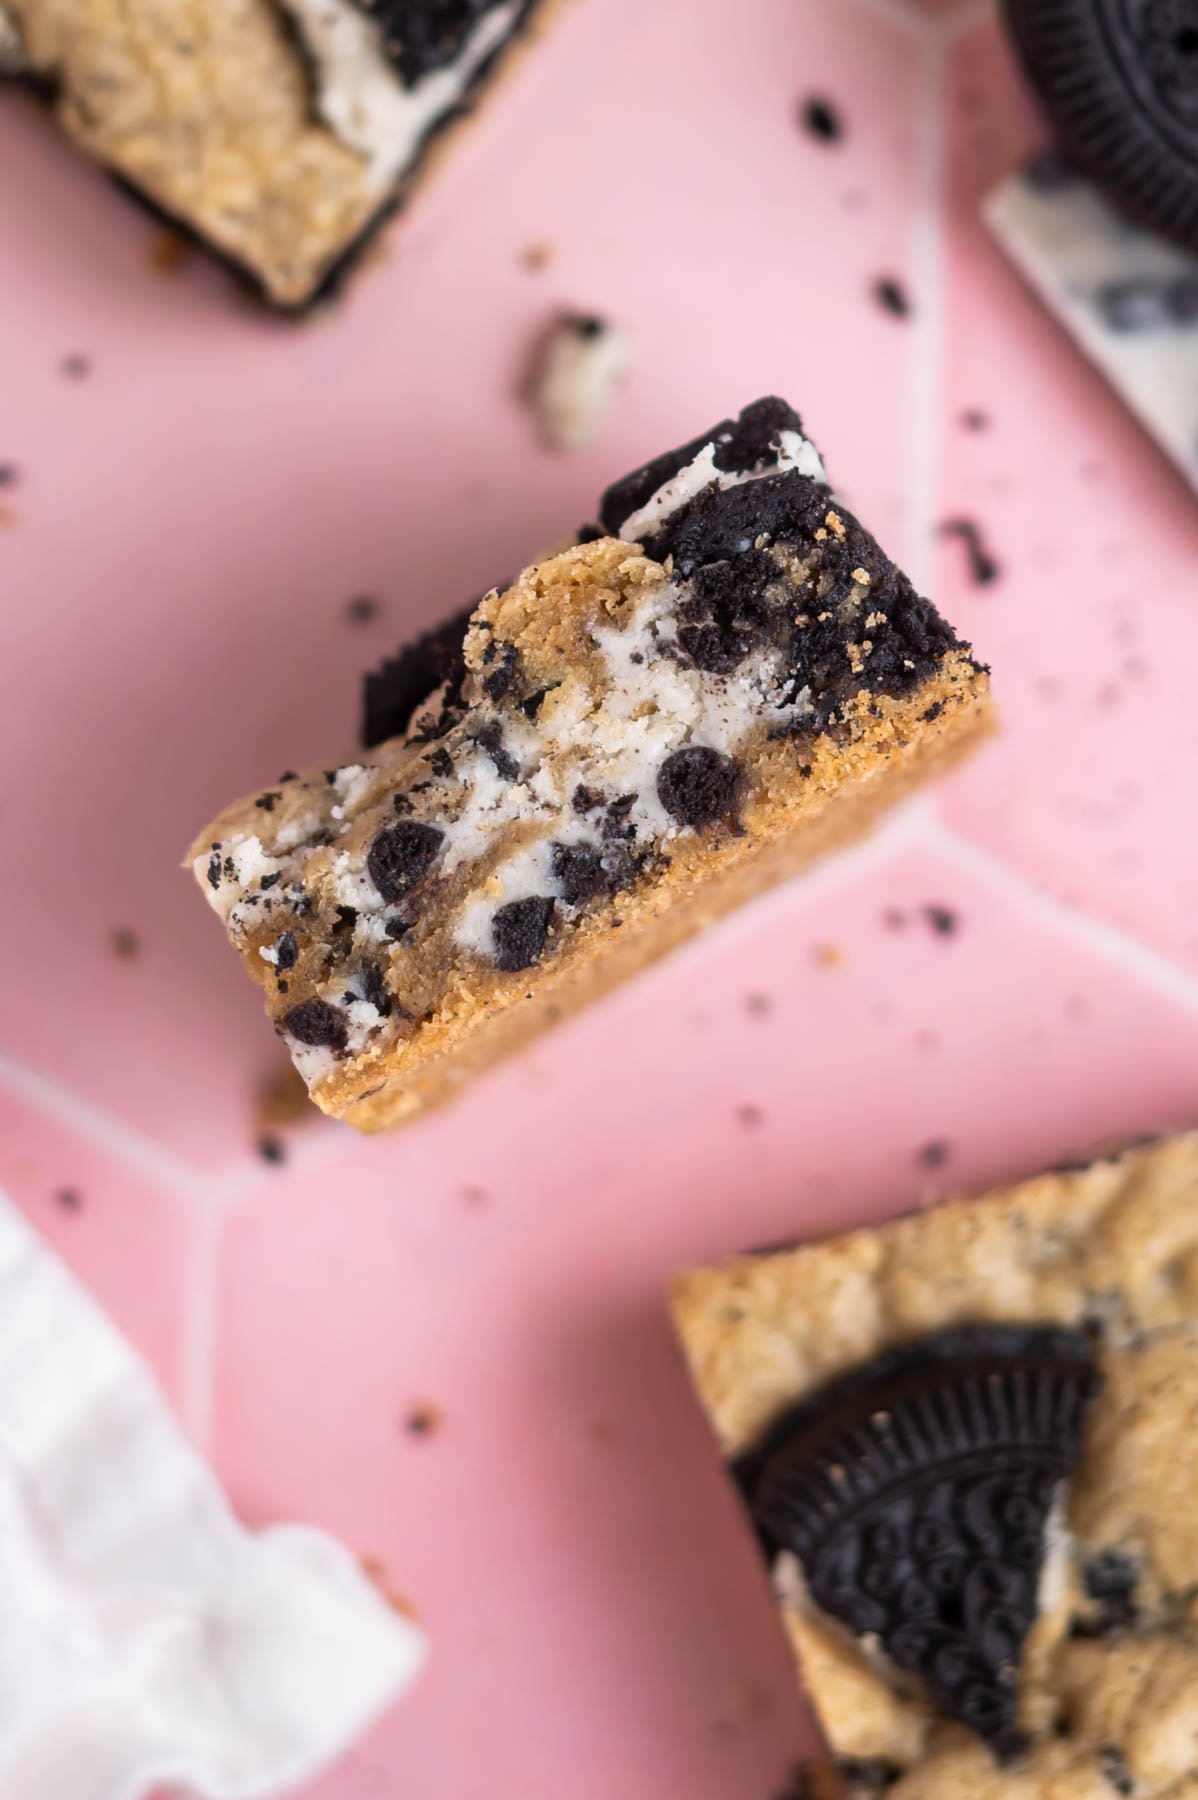
This recipe for raspberry and white chocolate blondies makes chewy and fudgy blondies. To create this texture, be sure to not overmix the batter and don’t over bake the blondies! No one likes a dry blondie. It's better to err on the side of less done than over done. The blondies will firm up and continue to cook as they cool.
Remember your oven is different than mine and the baking time may be slightly different. I use this oven thermometer to ensure my oven is at the temperature I think it is.
For the best blondies, I recommend baking in a light colored 8x8 baking pan. Dark pans absorb more heat and can cause the edges to burn while the middle is undercooked. Glass pans also distribute the heat differently and can have similar results to dark colored baking pans.
If you need to speed up the cooling process, once the blondies have cooled enough that you can pick up the pan with your bare hands, place the pan in the refrigerator to cool completely.
🫙 how to store
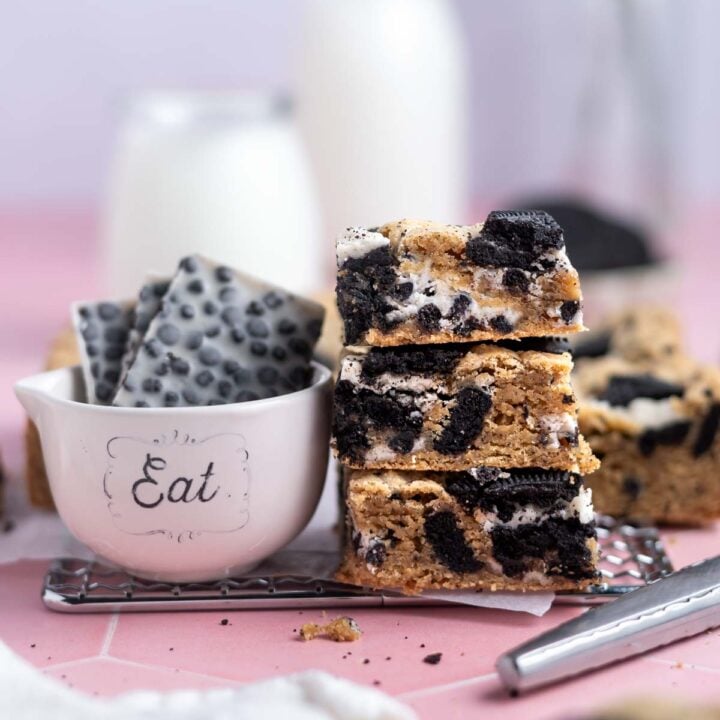
Raspberry blondies will stay fresh in an airtight container at room temperature for 1 day, but are best stored in an airtight container in the refrigerator for up to 5 days. Serve chilled or at room temperature.
They also freeze well for up to three months; allow to defrost before serving.
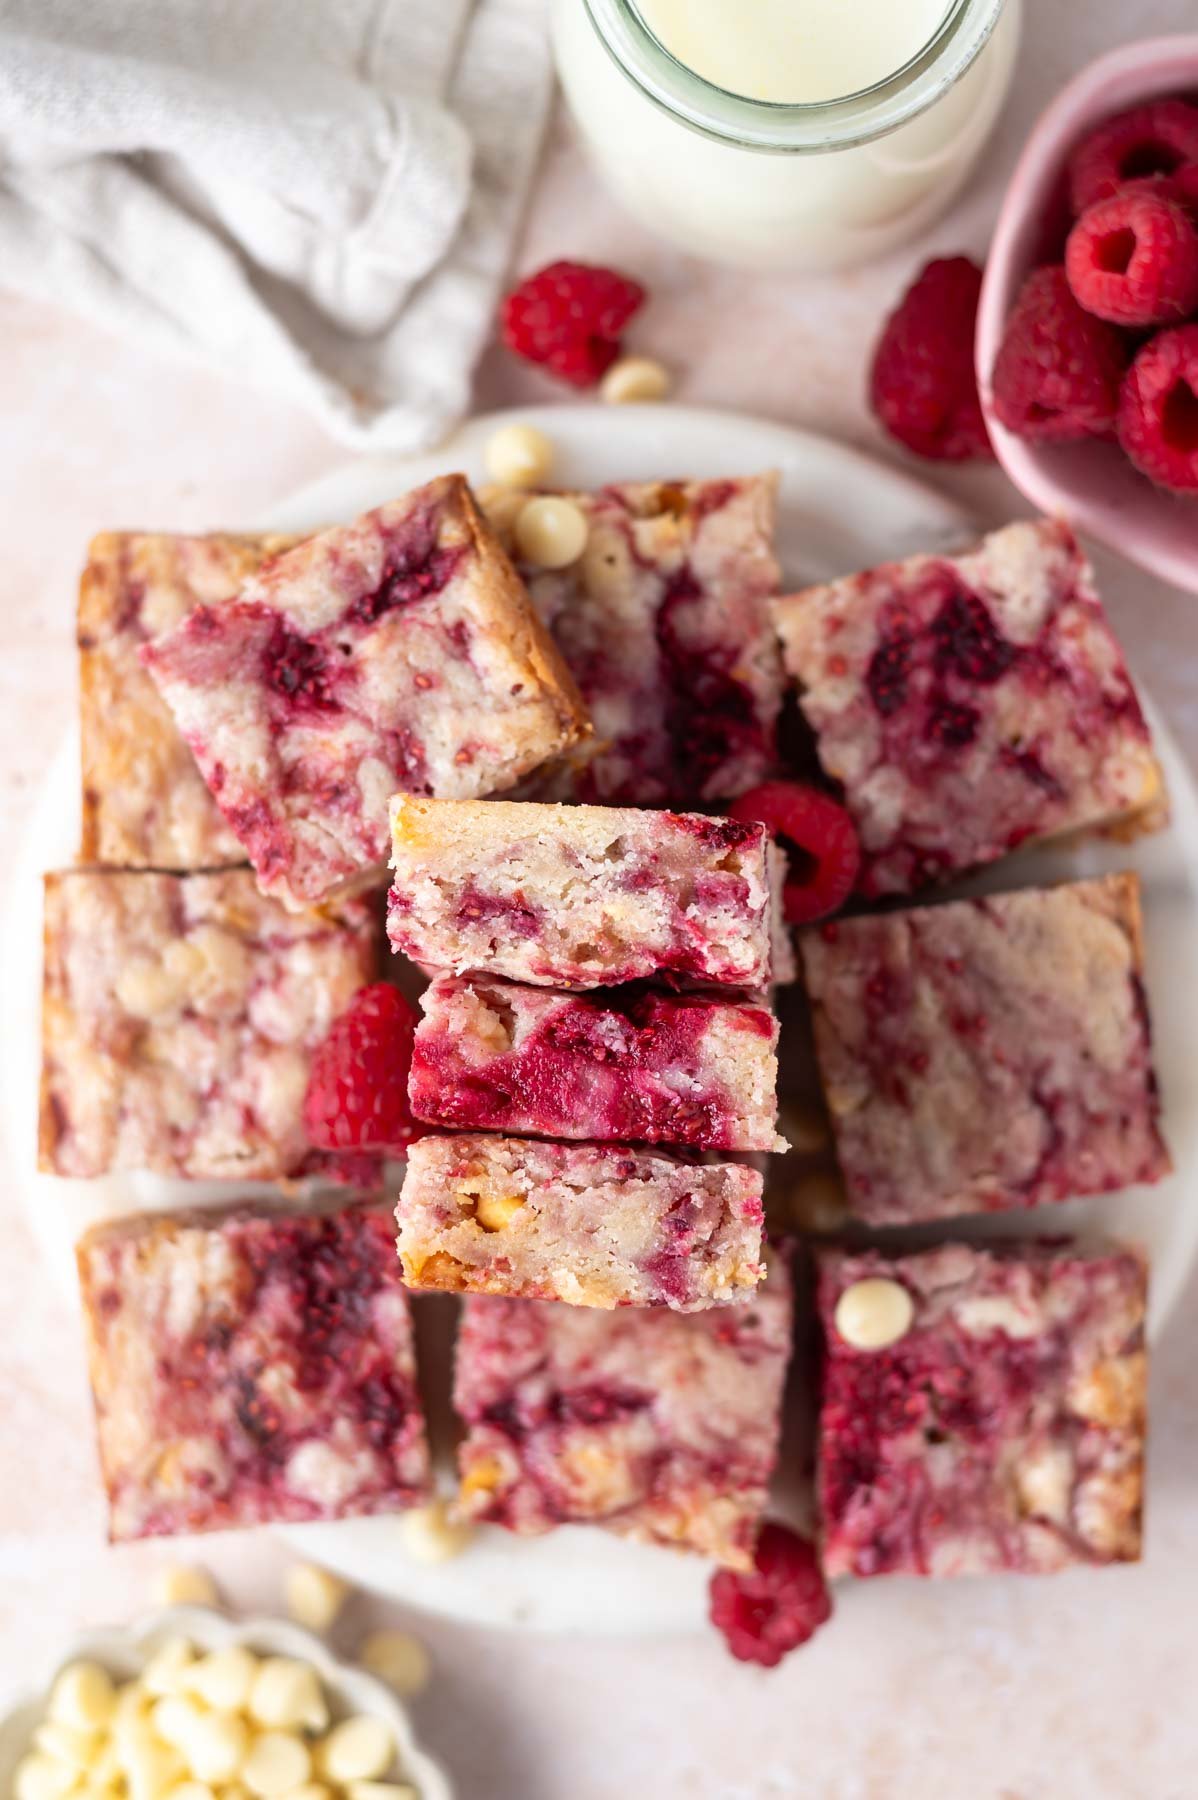
Remember to snap a picture and tag me @twosugarbugs on Instagram if you make these Raspberry Blondies with White Chocolate. It warms my heart to see you bring these recipes to life! Thank you for being here and happy baking!
🍪 more recipes using white chocolate
- Peanut Butter Blondies
- White Chocolate Raspberry Cookies {no chill}
- Blueberry White Chocolate Cookies
If you make this recipe {or any recipe!} from two sugar bugs please come back and leave a review and a ⭐️⭐️⭐️⭐️⭐️ star rating. I read every comment, and I LOVE hearing from you!
📖 recipe
Raspberry Blondies with White Chocolate
Ingredients
- ½ cup unsalted butter melted (113g)
- 1 cup granulated sugar (200g)
- ¼ teaspoon kosher salt
- 1 large egg room temperature
- 1 teaspoon pure vanilla extract
- ½ teaspoon pure almond extract*
- 1 ¼ cup all-purpose flour (157g)
- 1 cup frozen raspberries** (140g)
- ½ cup white chocolate chips*** (90g)
Instructions
- Preheat oven to 350°F (177°C) and line a 8x8 baking pan with parchment paper.
- In a medium to large bowl, whisk together the melted butter (½ cup/113g), granulated sugar (1 cup/200g) and kosher salt (¼ teaspoon) until well combined.
- Then add the egg (1 large), vanilla (1 teaspoon) and almond extract (½ teaspoon). Scrape up and down the bowl as needed and whisk until combined, about 1 minute.
- Next add most of the all-purpose flour (1 ¼ cup/157g) and mix until some large flour streaks remain (save aside a tablespoon or two to toss with the raspberries). Then add the white chocolate chips (½ cup/90g) and mix with a spatula until just a few streaks of flour remain. Toss the remaining flour with the frozen raspberries (1 cup/140g) and gently fold them into the blondie dough.
- Drop the batter (it’s thick) into the prepared baking pan and smooth to an even layer.
- Bake for 30 - 35 minutes or until the edges have lightly browned and a tester in the center comes out with just a few moist crumbs. Allow to cool in the pan on a wire cooling rack.
- Then use the parchment to pull the bars out of the pan and cut into desired sizes.