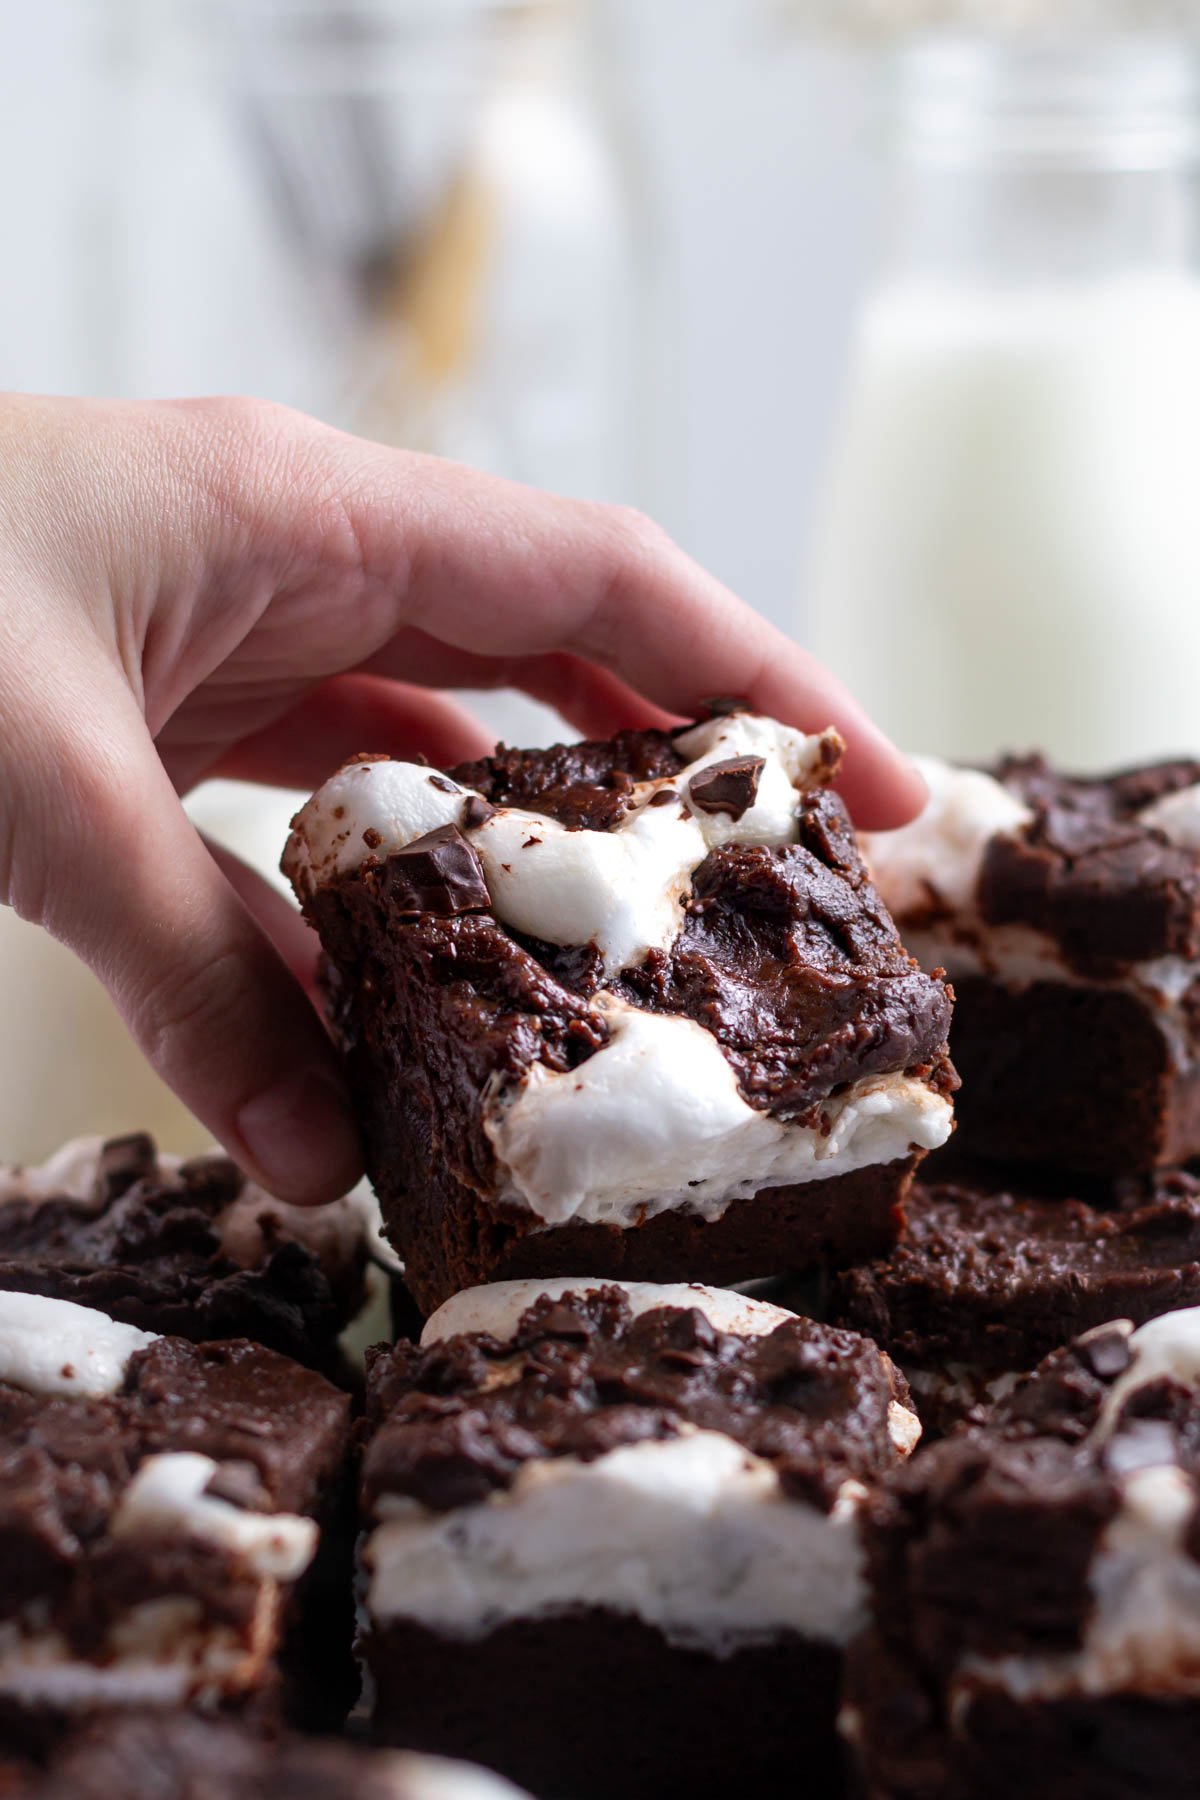
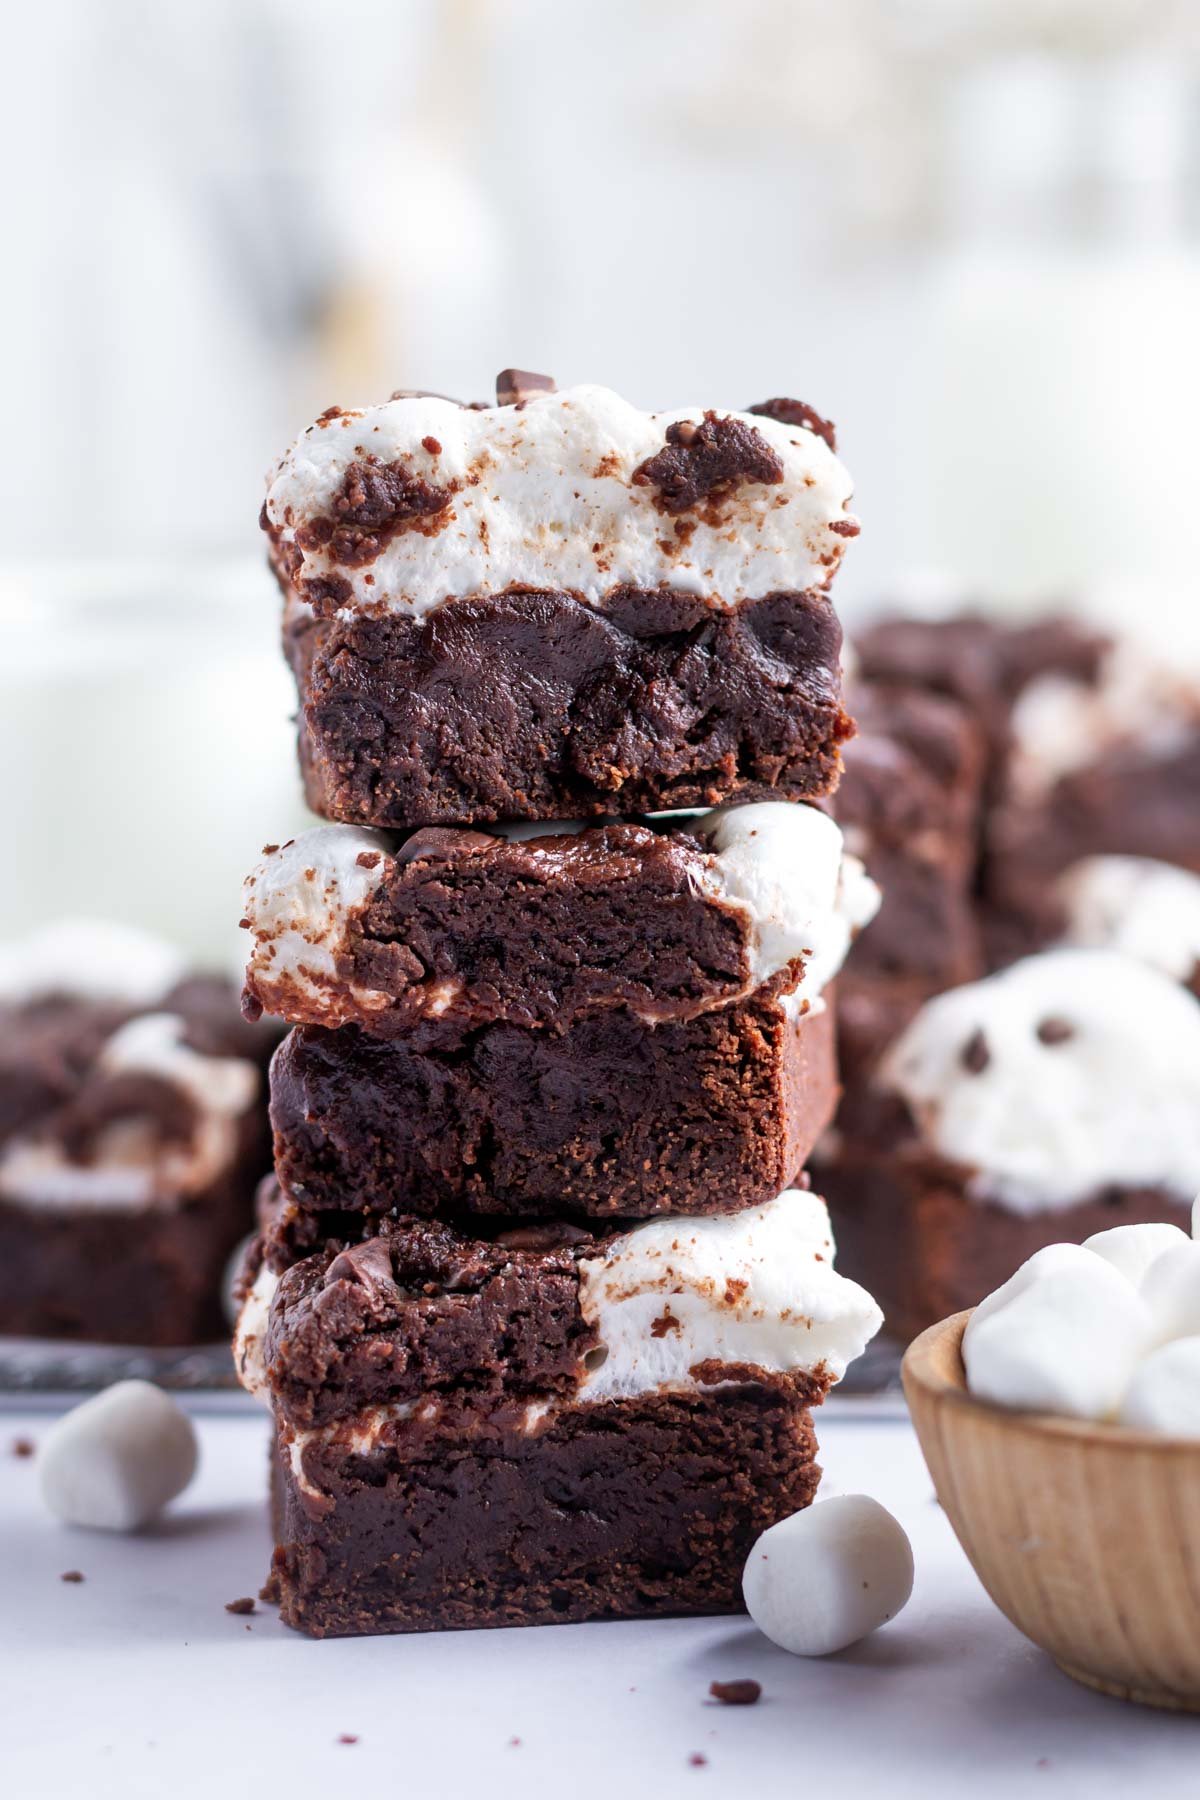
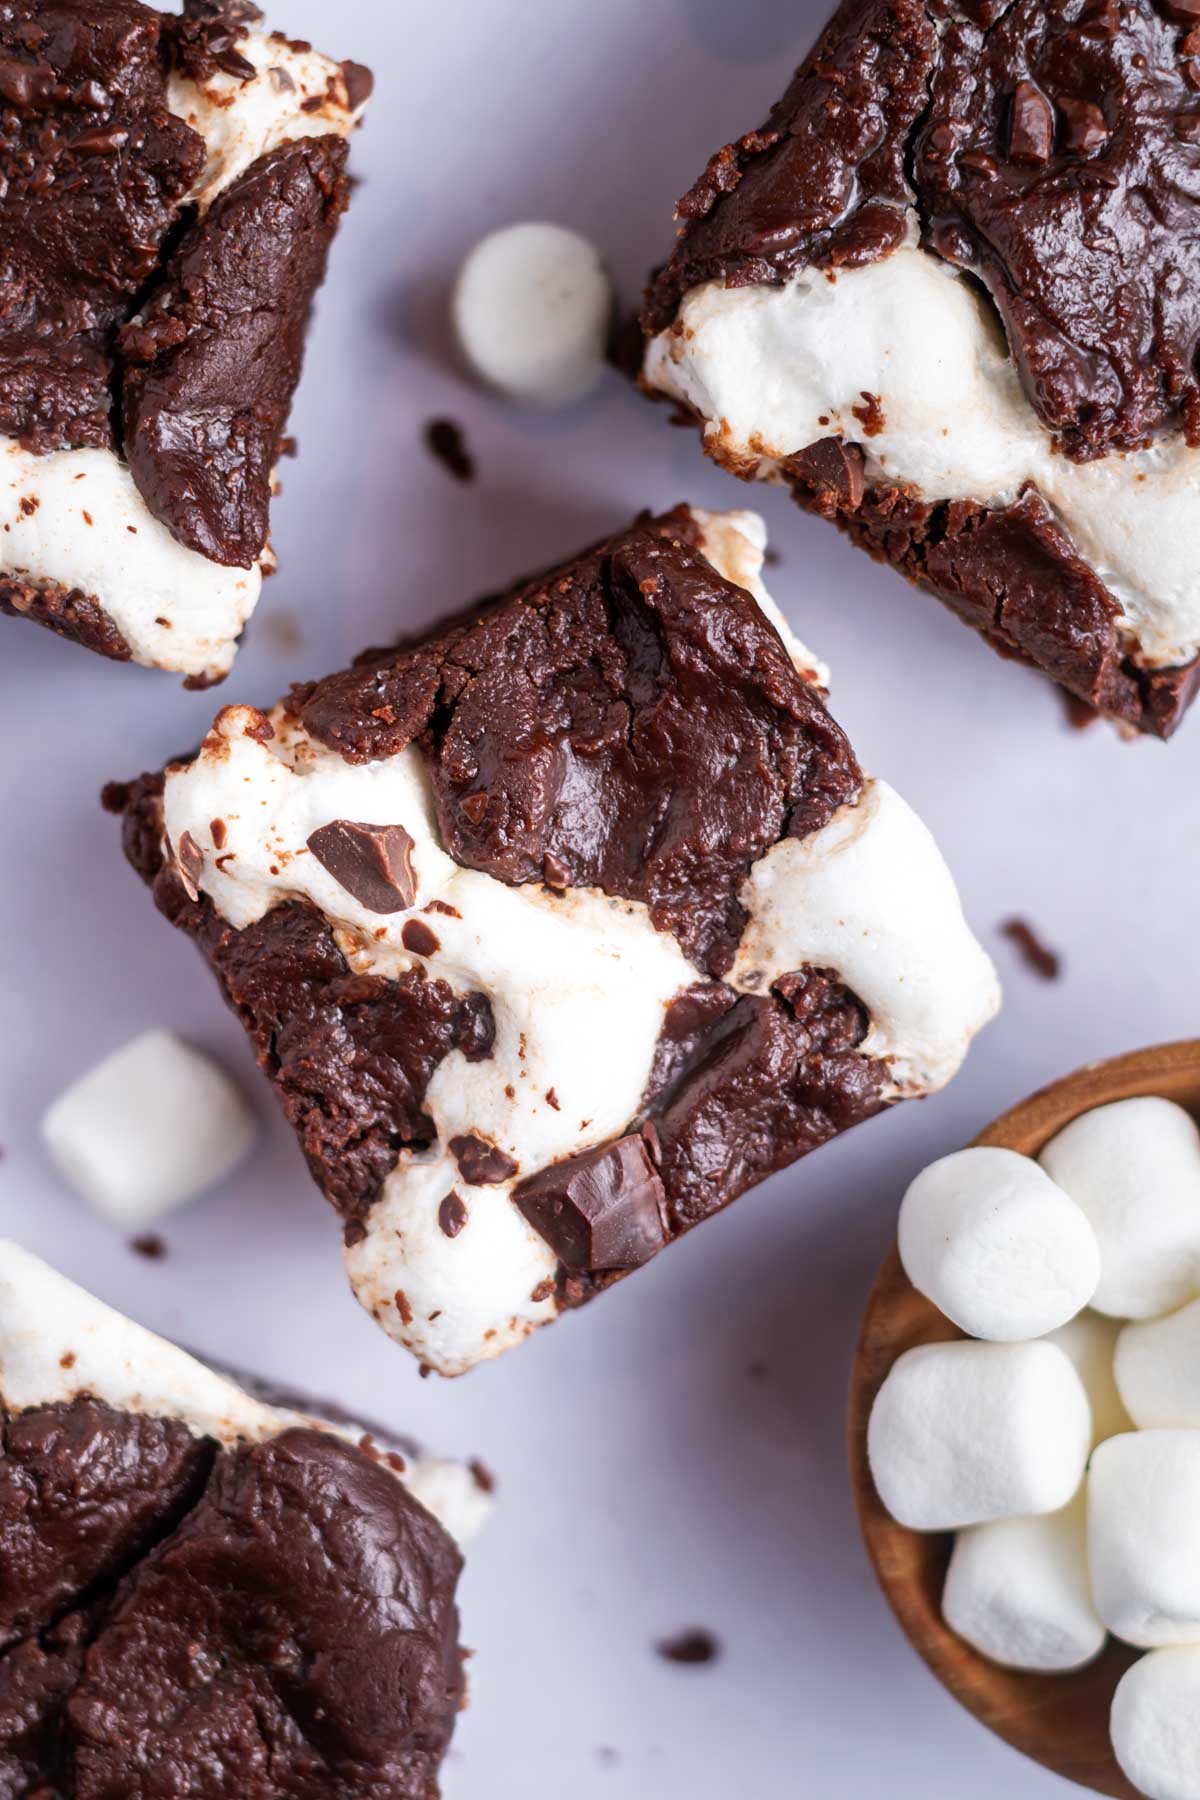
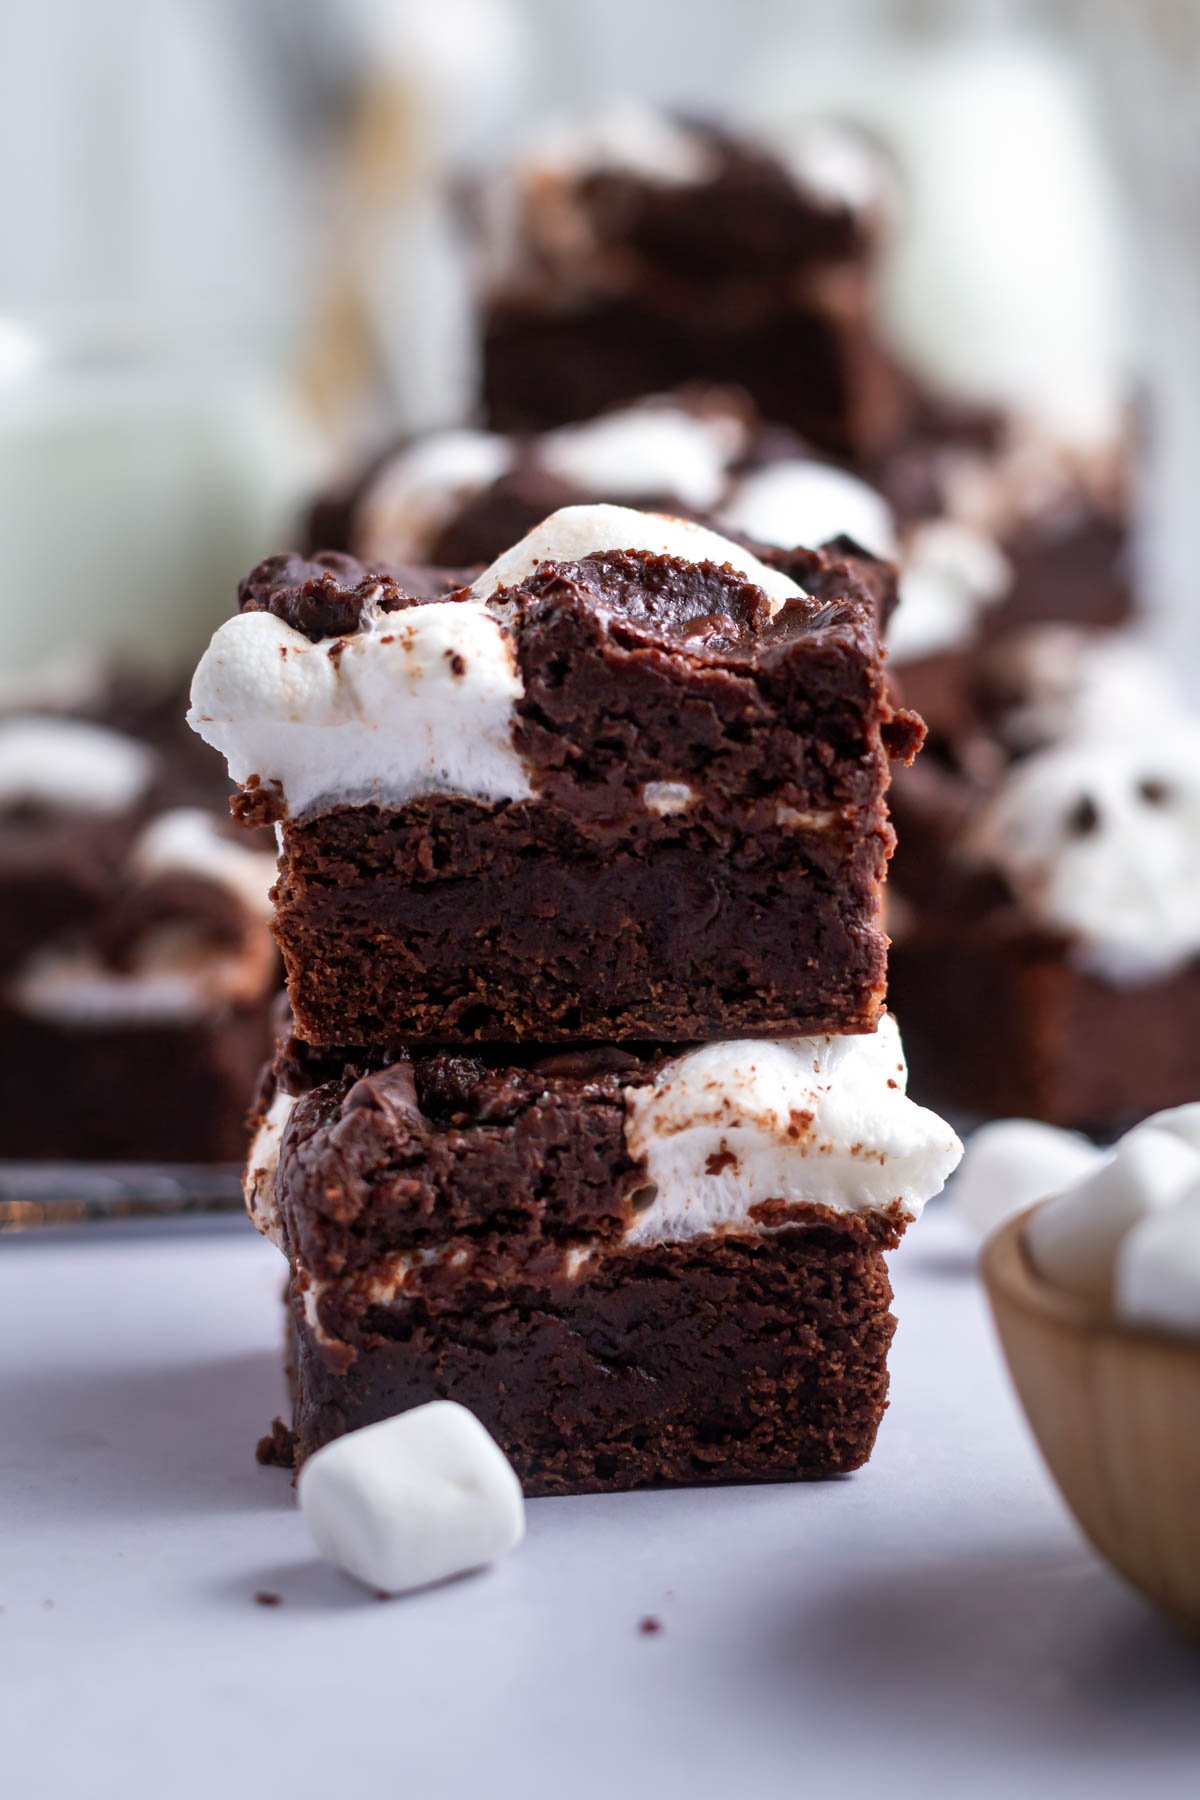
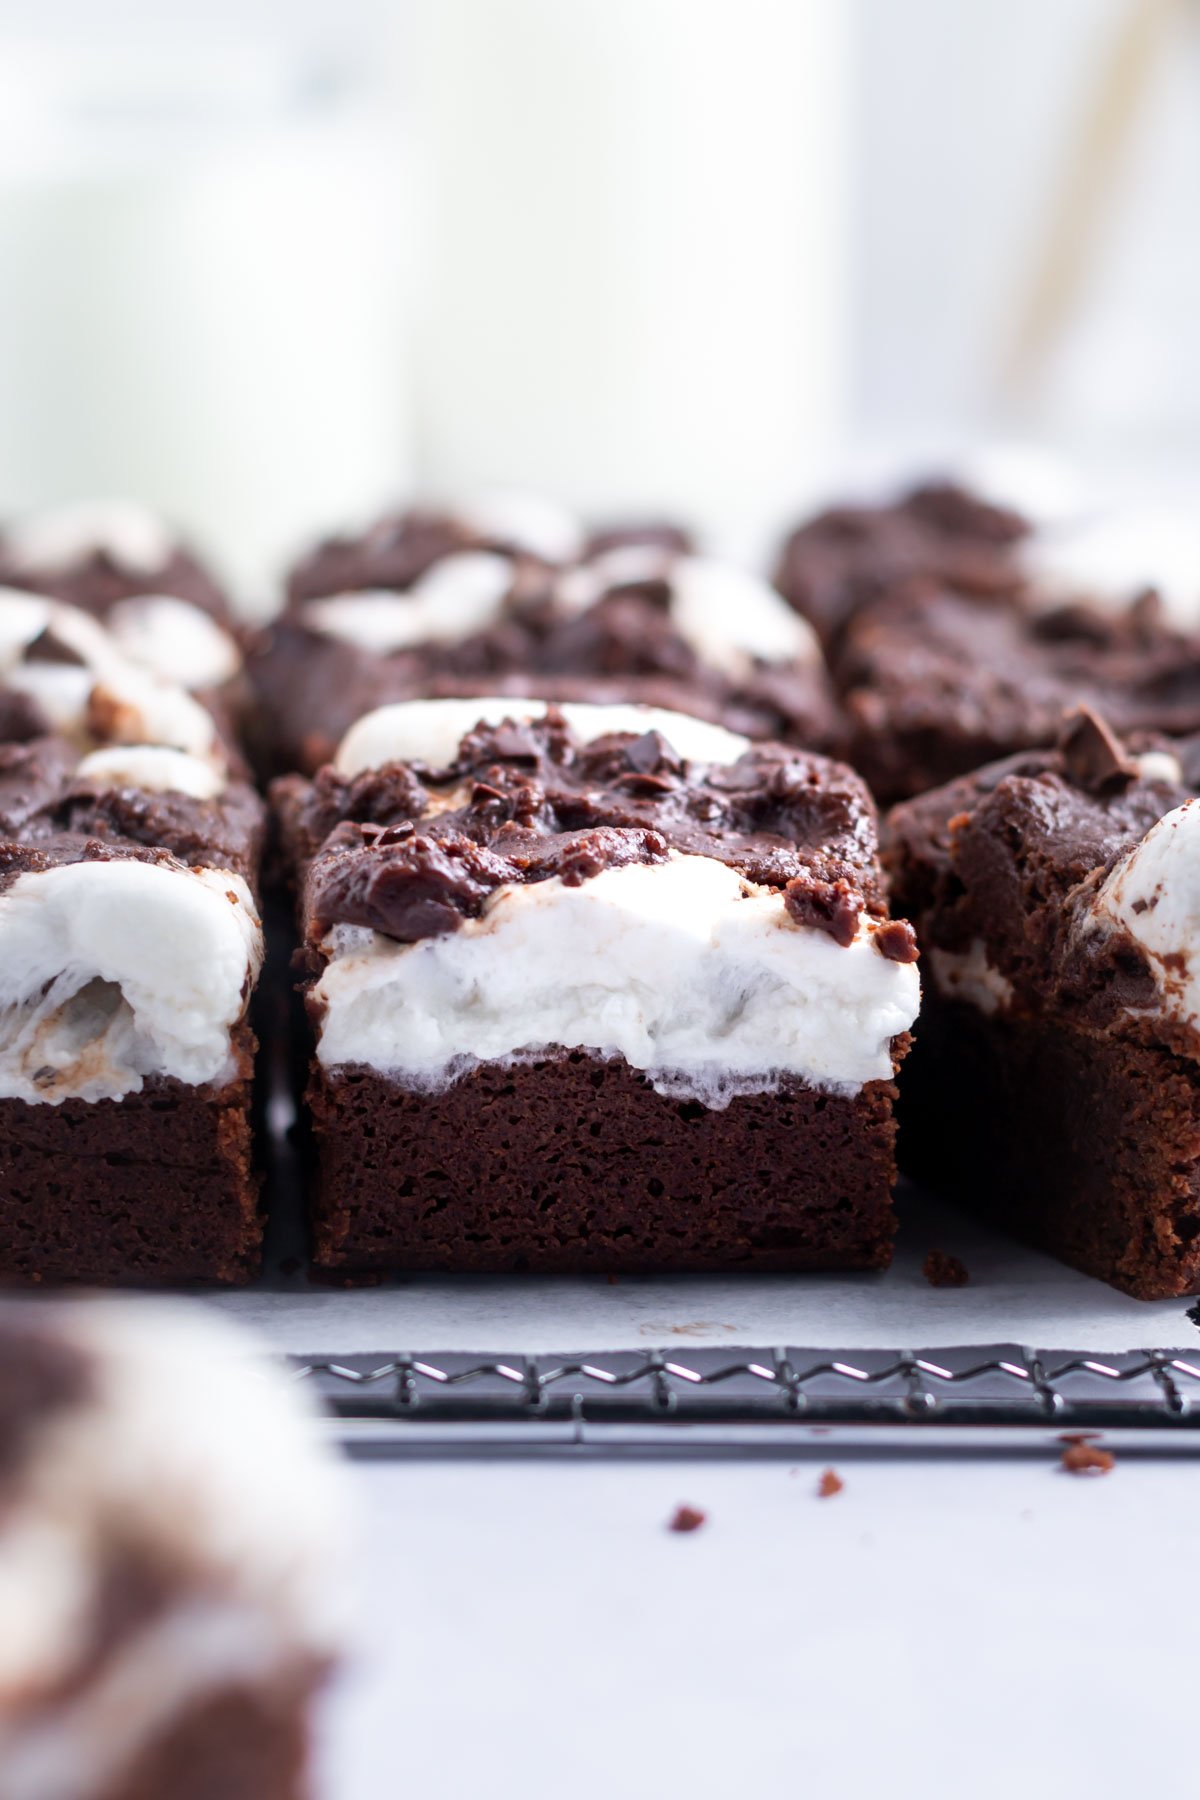
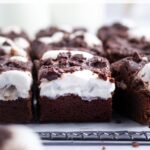
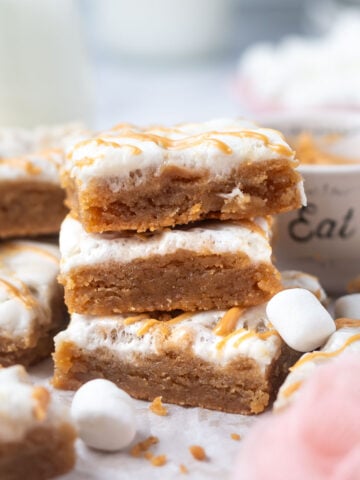
Marshmallow brownies are super fudgy, layered with mini marshmallows and have a brownie batter topping. Simple to make, they are sure to be a disappearing dessert at any party!
Disclosure | This post may contain affiliate links. As an Amazon Associate I earn from qualifying purchases.
Brownies {and brownie batter!} are a well loved treat at my house! My girls also love marshmallow treats, so I decided to stuff marshmallows in brownies and make another layered brownie recipe.
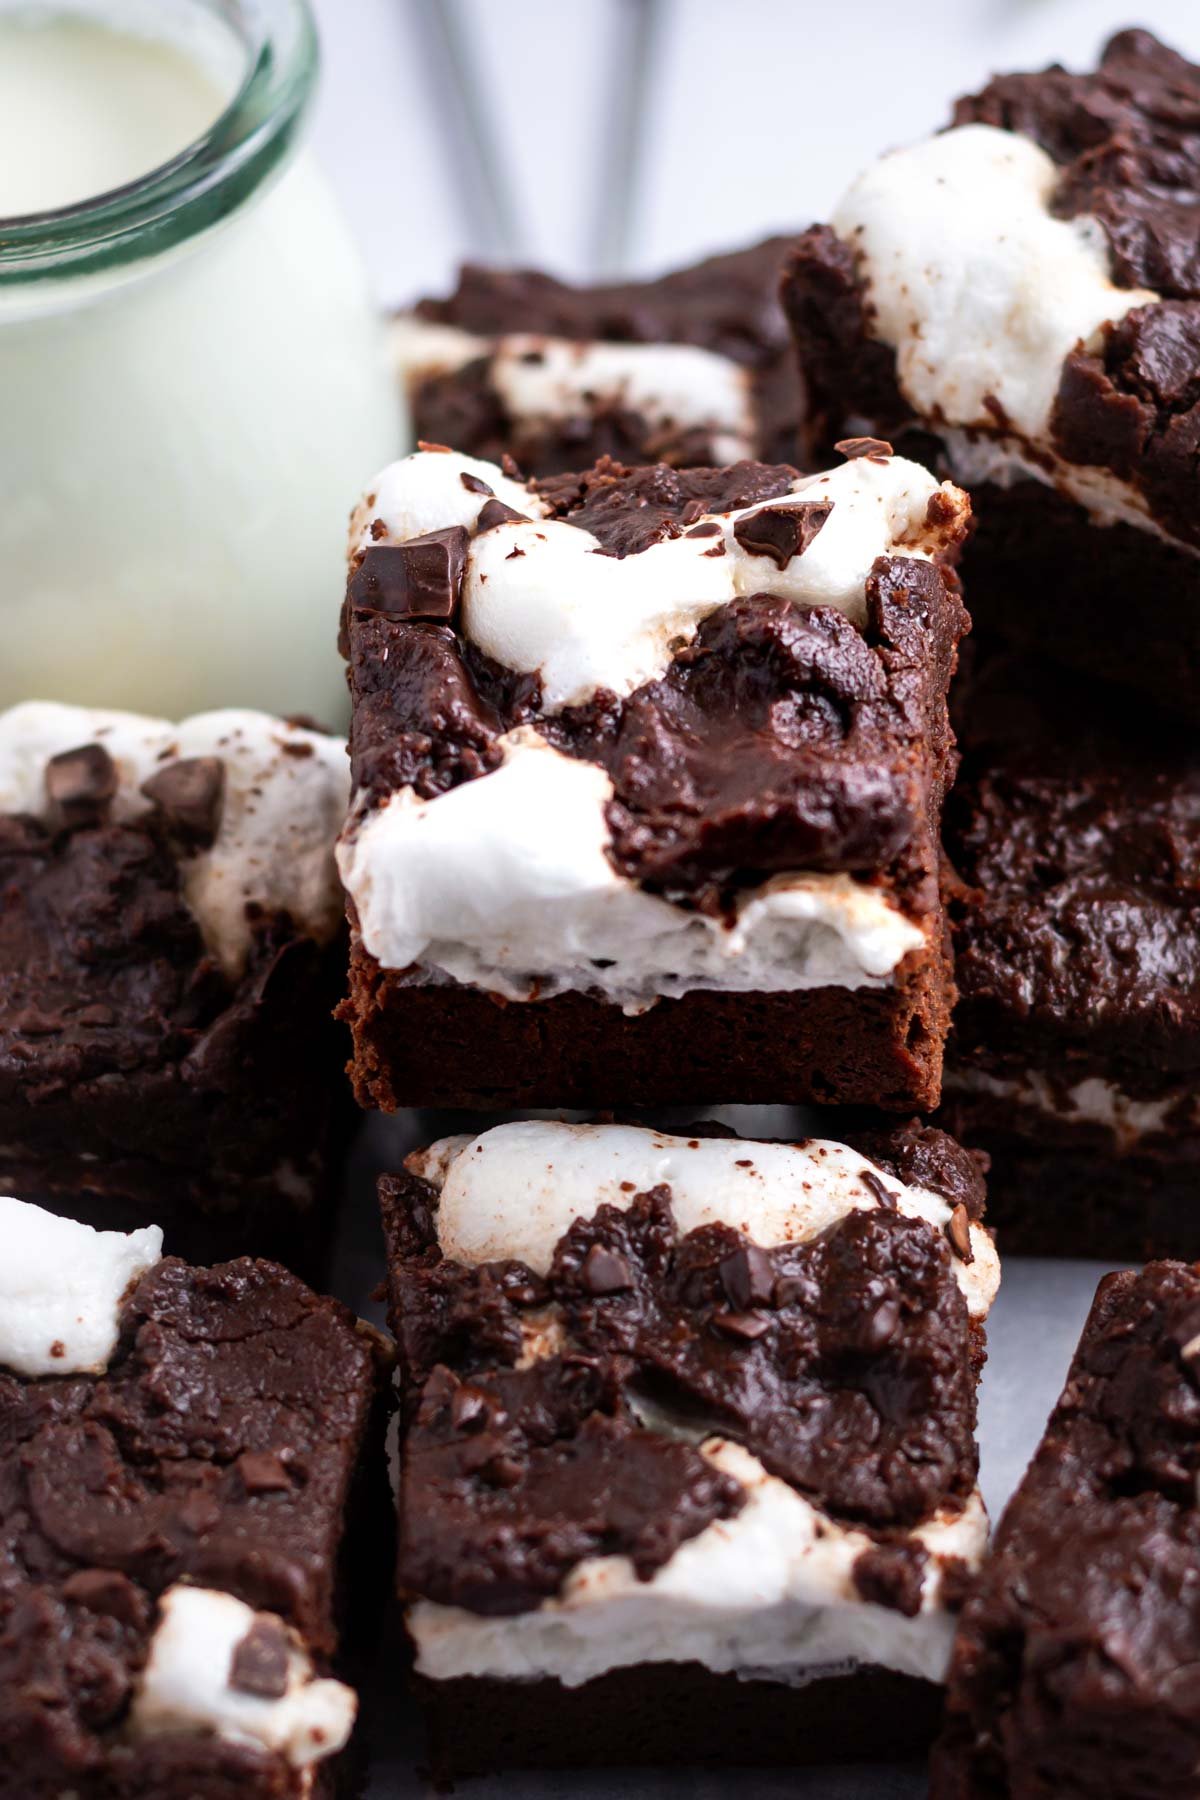
What makes my recipe different is that an edible brownie batter layer is added over the melty marshmallow layer. The brownies and brownie batter are made from scratch with melted chocolate and cocoa powder and are full of chocolate flavor and a fudge like texture.
Tester Dana commented, "I originally looked at them and thought they were going to be too sweet; but the bittersweet chocolate works so well with the marshmallows. It was a perfect fudgy and gooey brownie".
💗 why you will love this chocolate brownie recipe
- Quick and easy homemade brownies!
- Dense and fudgy simple brownie recipe!
- Gooey melted mini marshmallows!
- Edible brownie batter topping!
🍫 ingredients and substitutions
Please scroll to the printable recipe card at the end of this post for the full list of ingredients and baking directions.
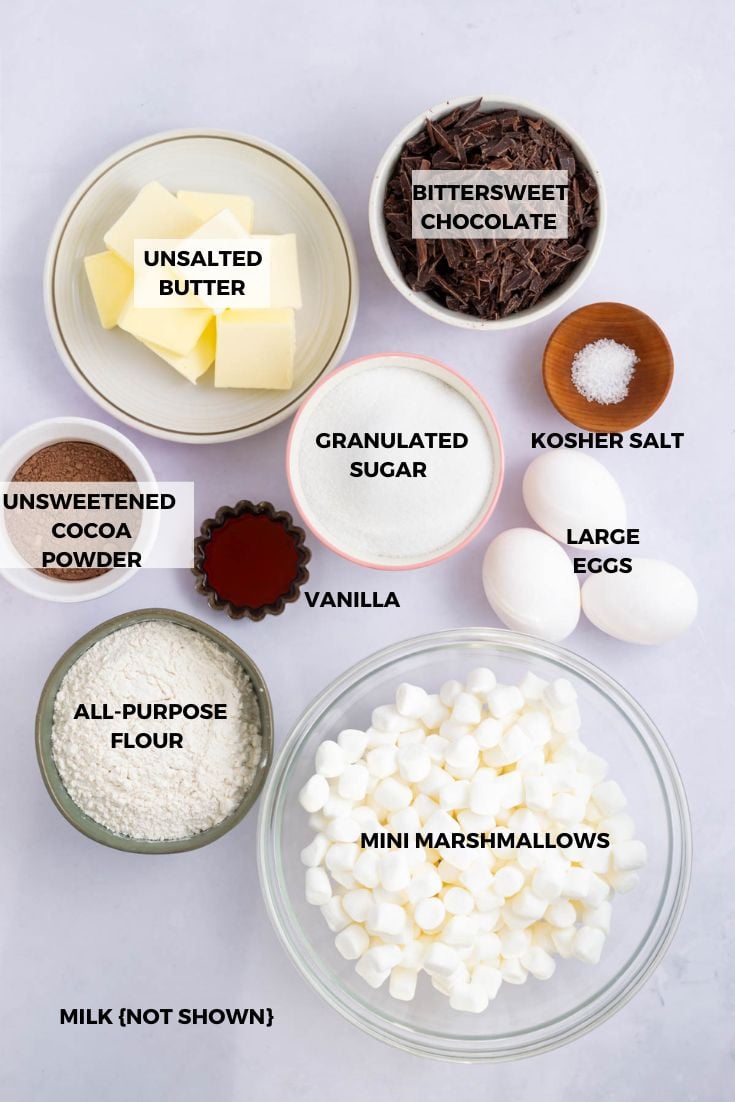
- Chocolate ~ Go with a bittersweet variety {something in the 60-72% cacao range}. Scharffen Berger and Callebaut are my typical go-to chocolates for baking. Ghirardelli, Trader Joe's pound plus bars and Baker's are also good options.
- Unsalted butter ~ helps the brownies to have the rich and fudgy texture, also used in the edible brownie batter layer.
- Granulated sugar ~ brings sweetness and structure to the marshmallow brownies and the brownie batter topping.
- Kosher salt ~ balances all the flavors. Use half the amount if using table salt.
- Eggs ~ 3 large eggs are needed and add structure to the brownies.
- Vanilla ~ adds flavor in both layers, I prefer pure vanilla extract.
- All-purpose flour ~ provides structure, use your favorite brand. Use a heat treated all-purpose flour for the edible brownie batter layer. See recipe card for directions.
- Cocoa powder ~ I use Scharffen Berger most of the time or Hershey's; used in both chocolate layers.
- Mini marshmallows ~ the mini version works best, but if you only have large marshmallows I would cut them into fourths so they melt more quickly.
- Milk {not shown} - for the edible brownie batter. Any milk works here; I usually use almond milk or 1%.
👩🏻🍳 how to make
Start by preheating the oven to 350°F and line an 8x8 baking pan with parchment paper, leaving a little overhang. Lightly butter or grease the parchment paper making sure to get the sides. {The gooey, melted marshmallows will stick to the sides if not well greased}.
In a medium bowl, melt together the butter and chopped dark chocolate and stir until well combined. {I like to chop the chocolate small so it melts faster. I use the double boiler method, but if you are comfortable doing this in the microwave, that also works}. Add the granulated sugar and kosher salt and mix until combined. Then add the eggs and vanilla and stir until well combined.
Add the flour and cocoa powder on top of the wet ingredients and stir until everything is just combined.
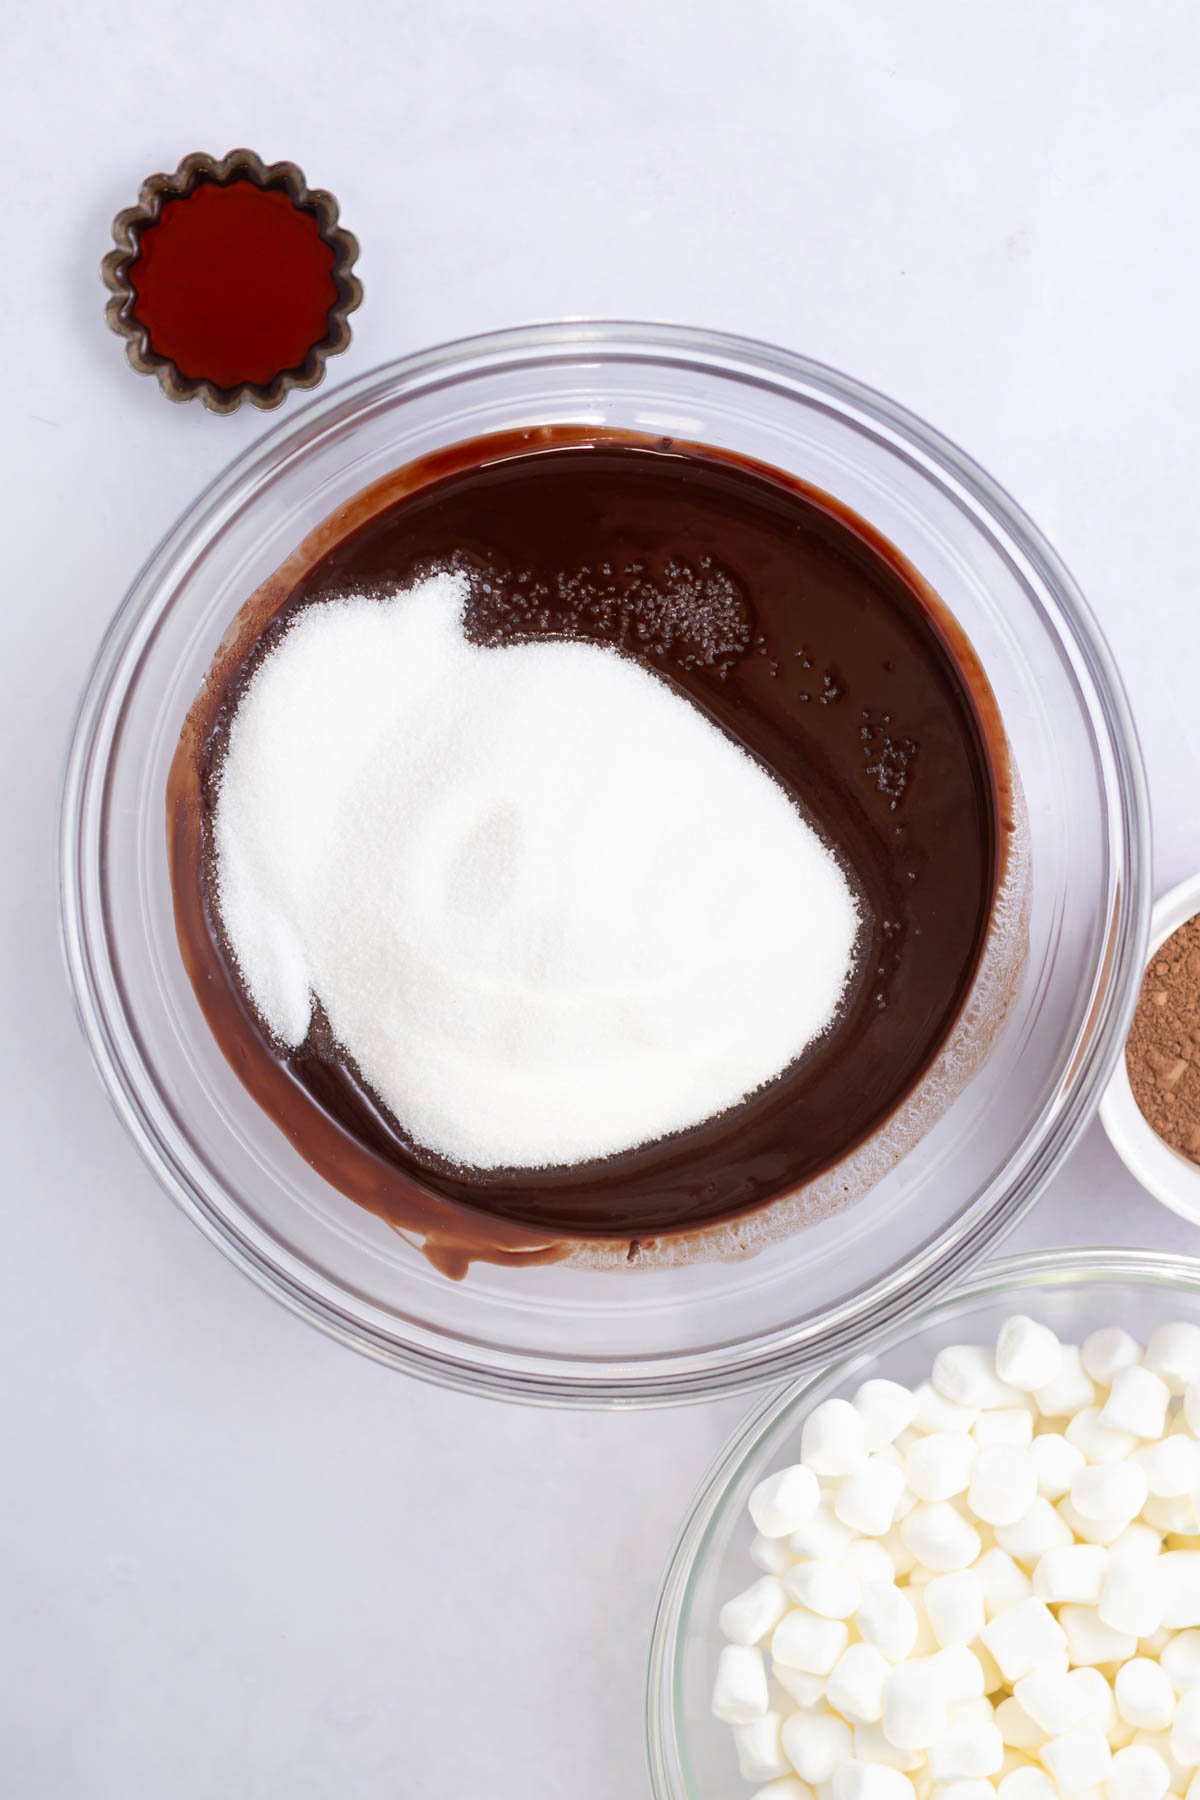
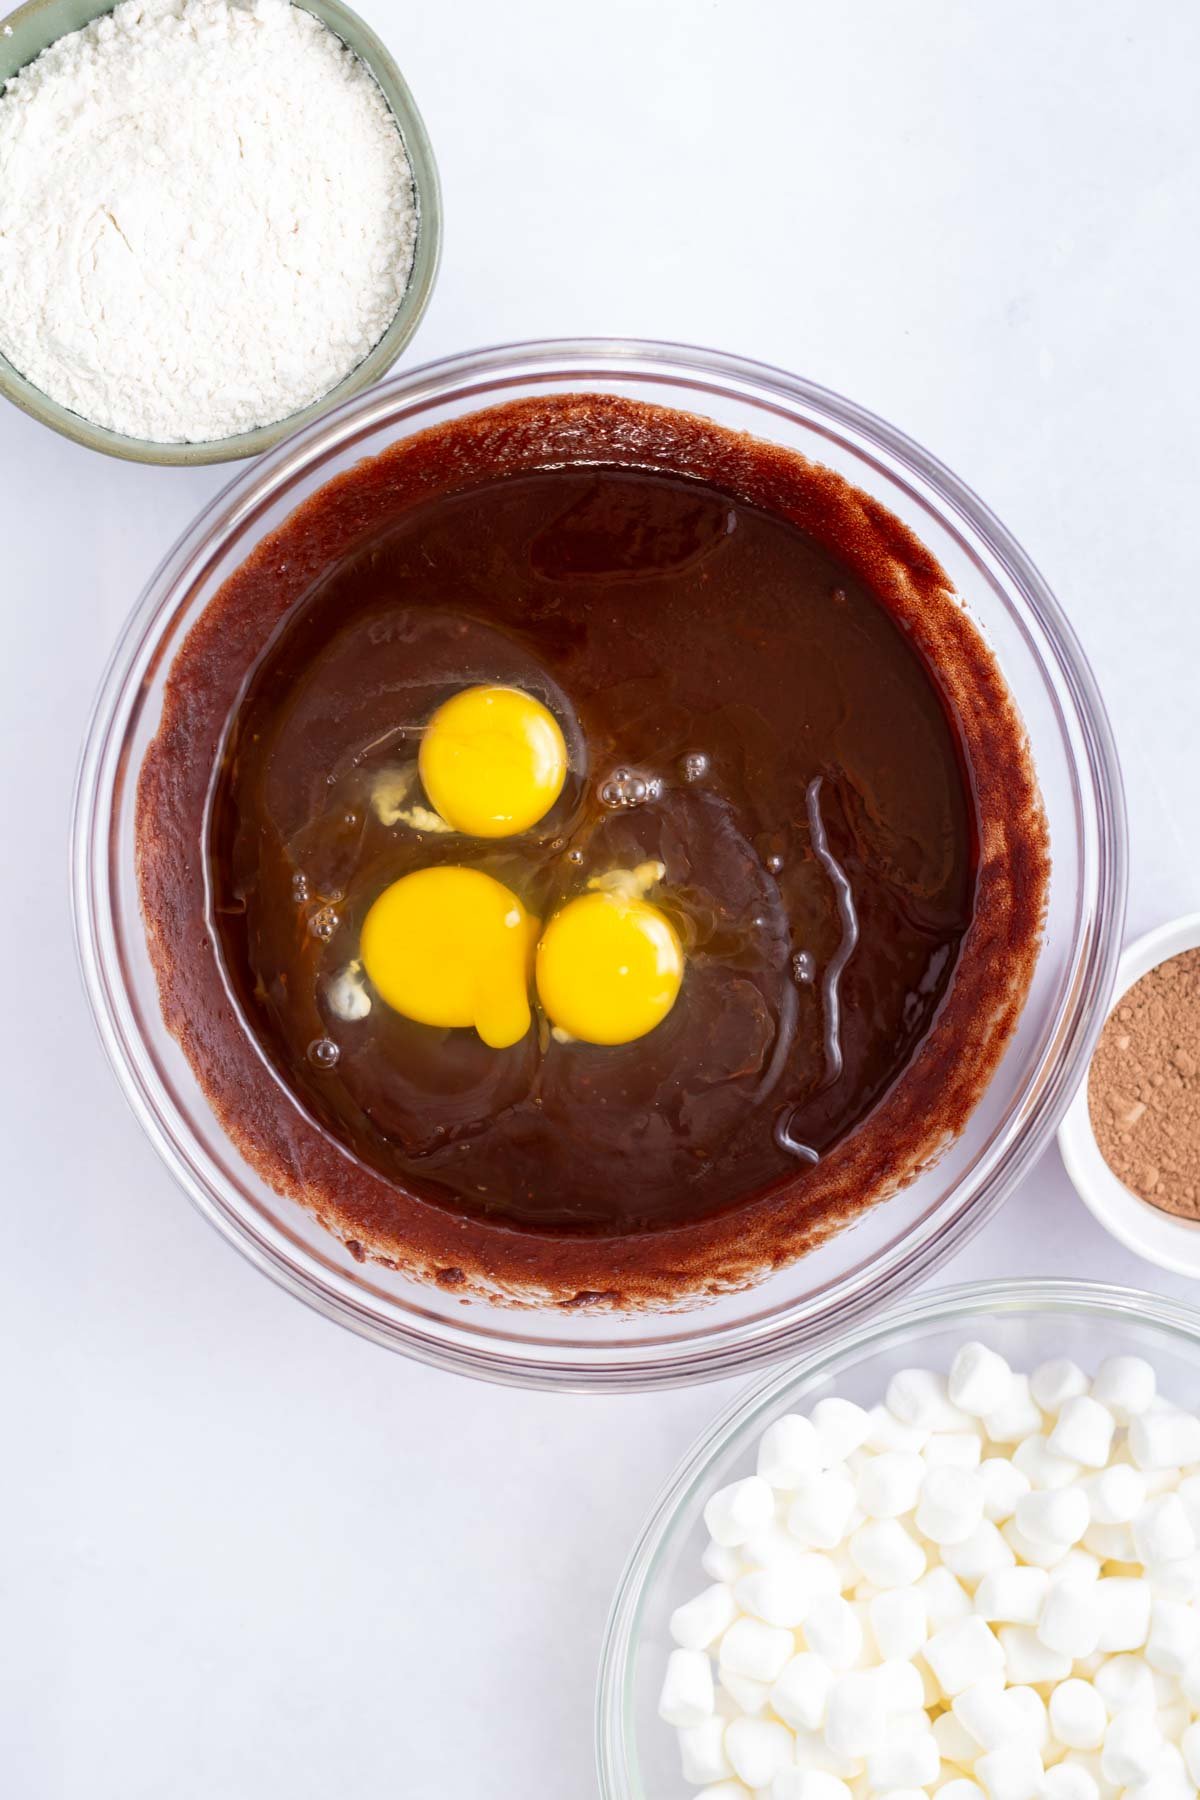
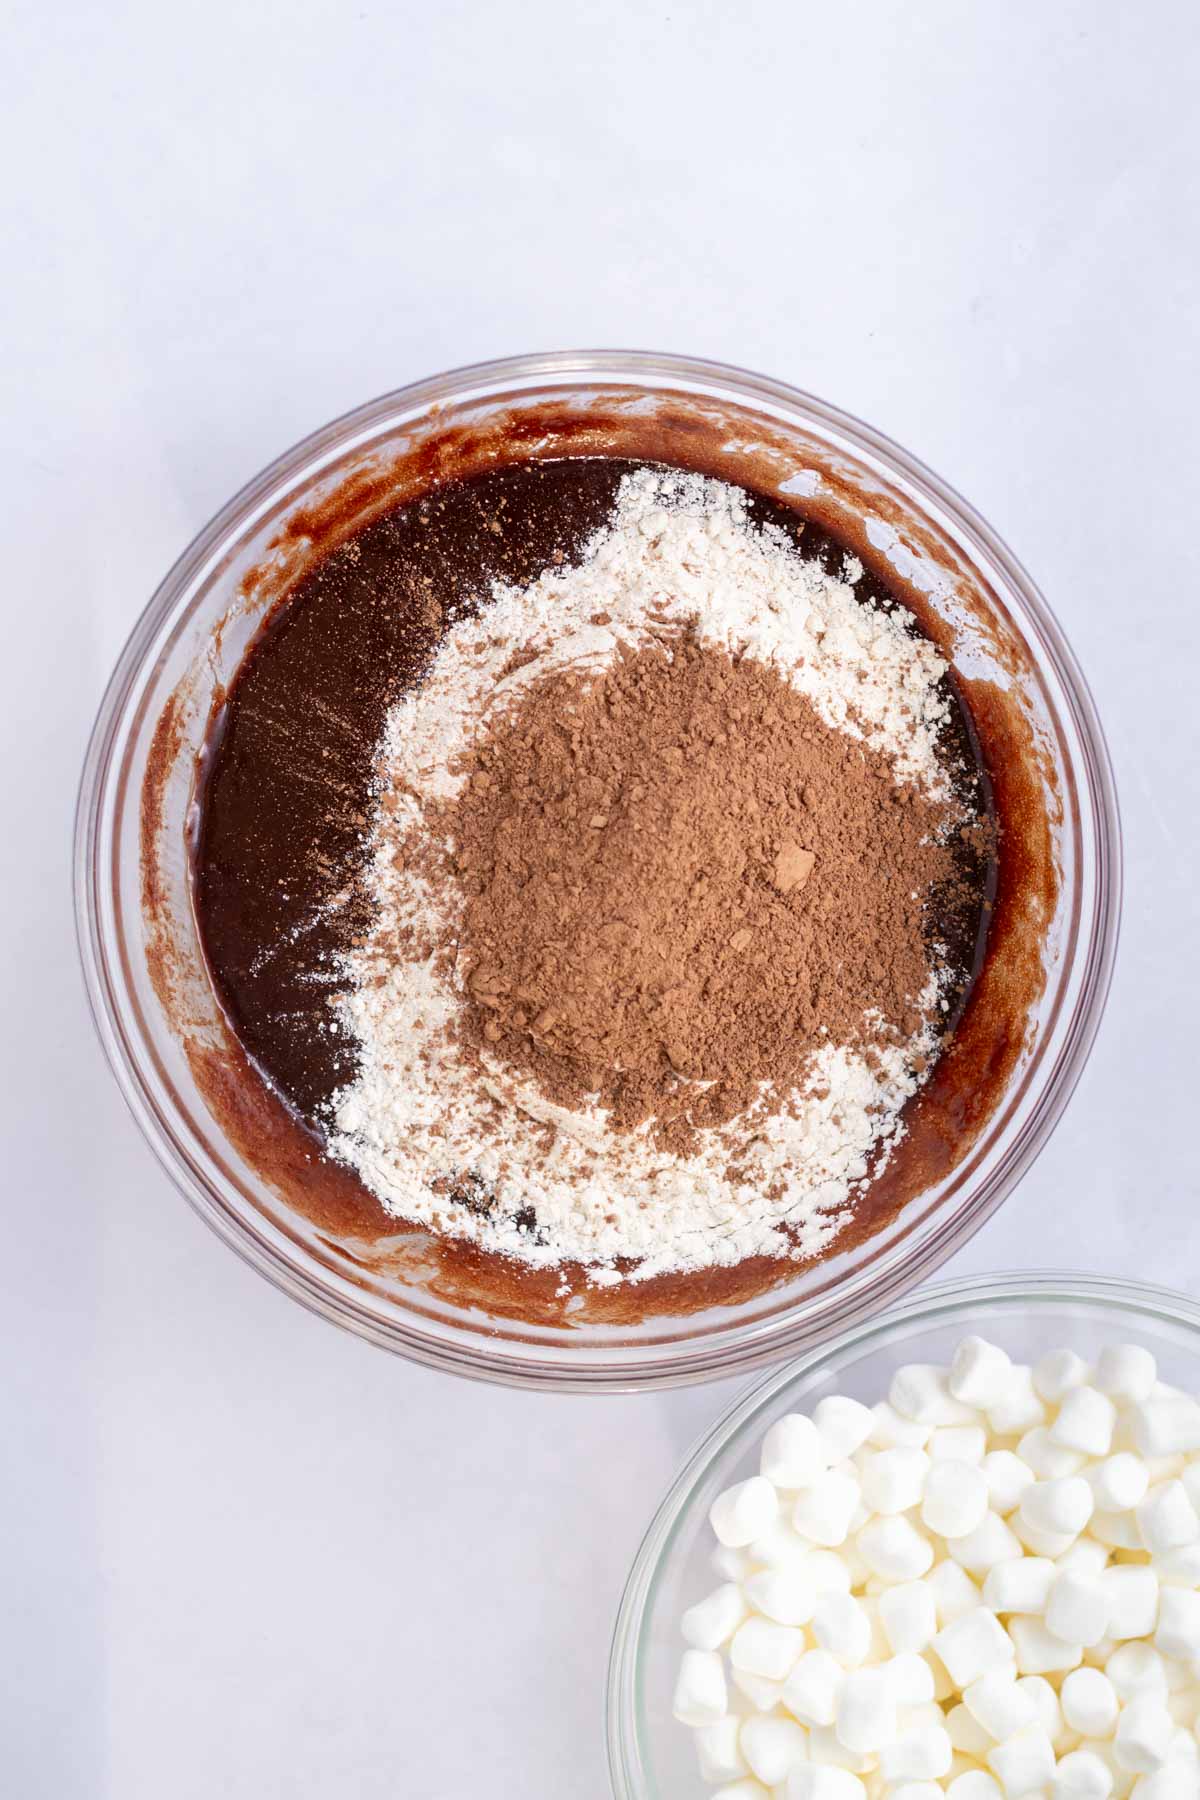
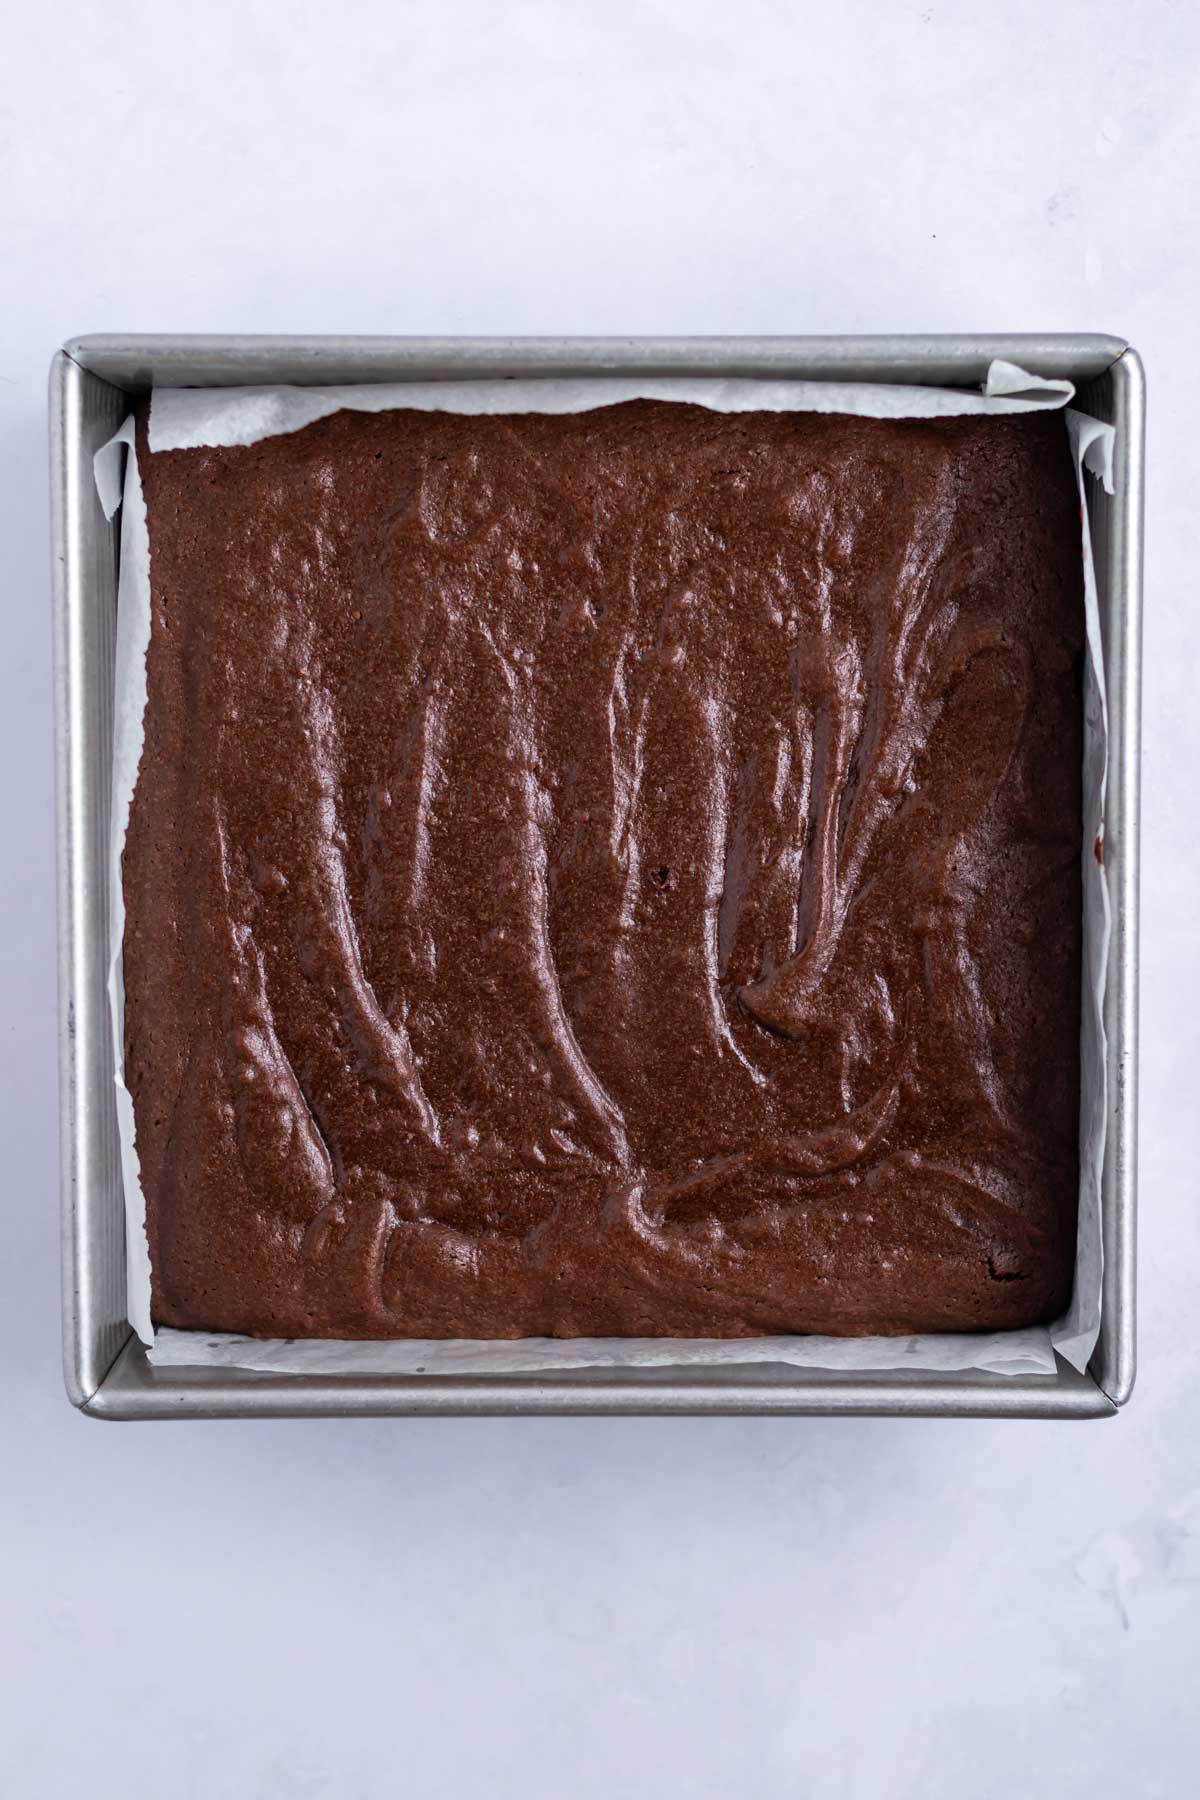
Pour the batter into the prepared baking pan {smoothing to the edges, if needed}. Then bake until a tester comes out with some moist crumbs.
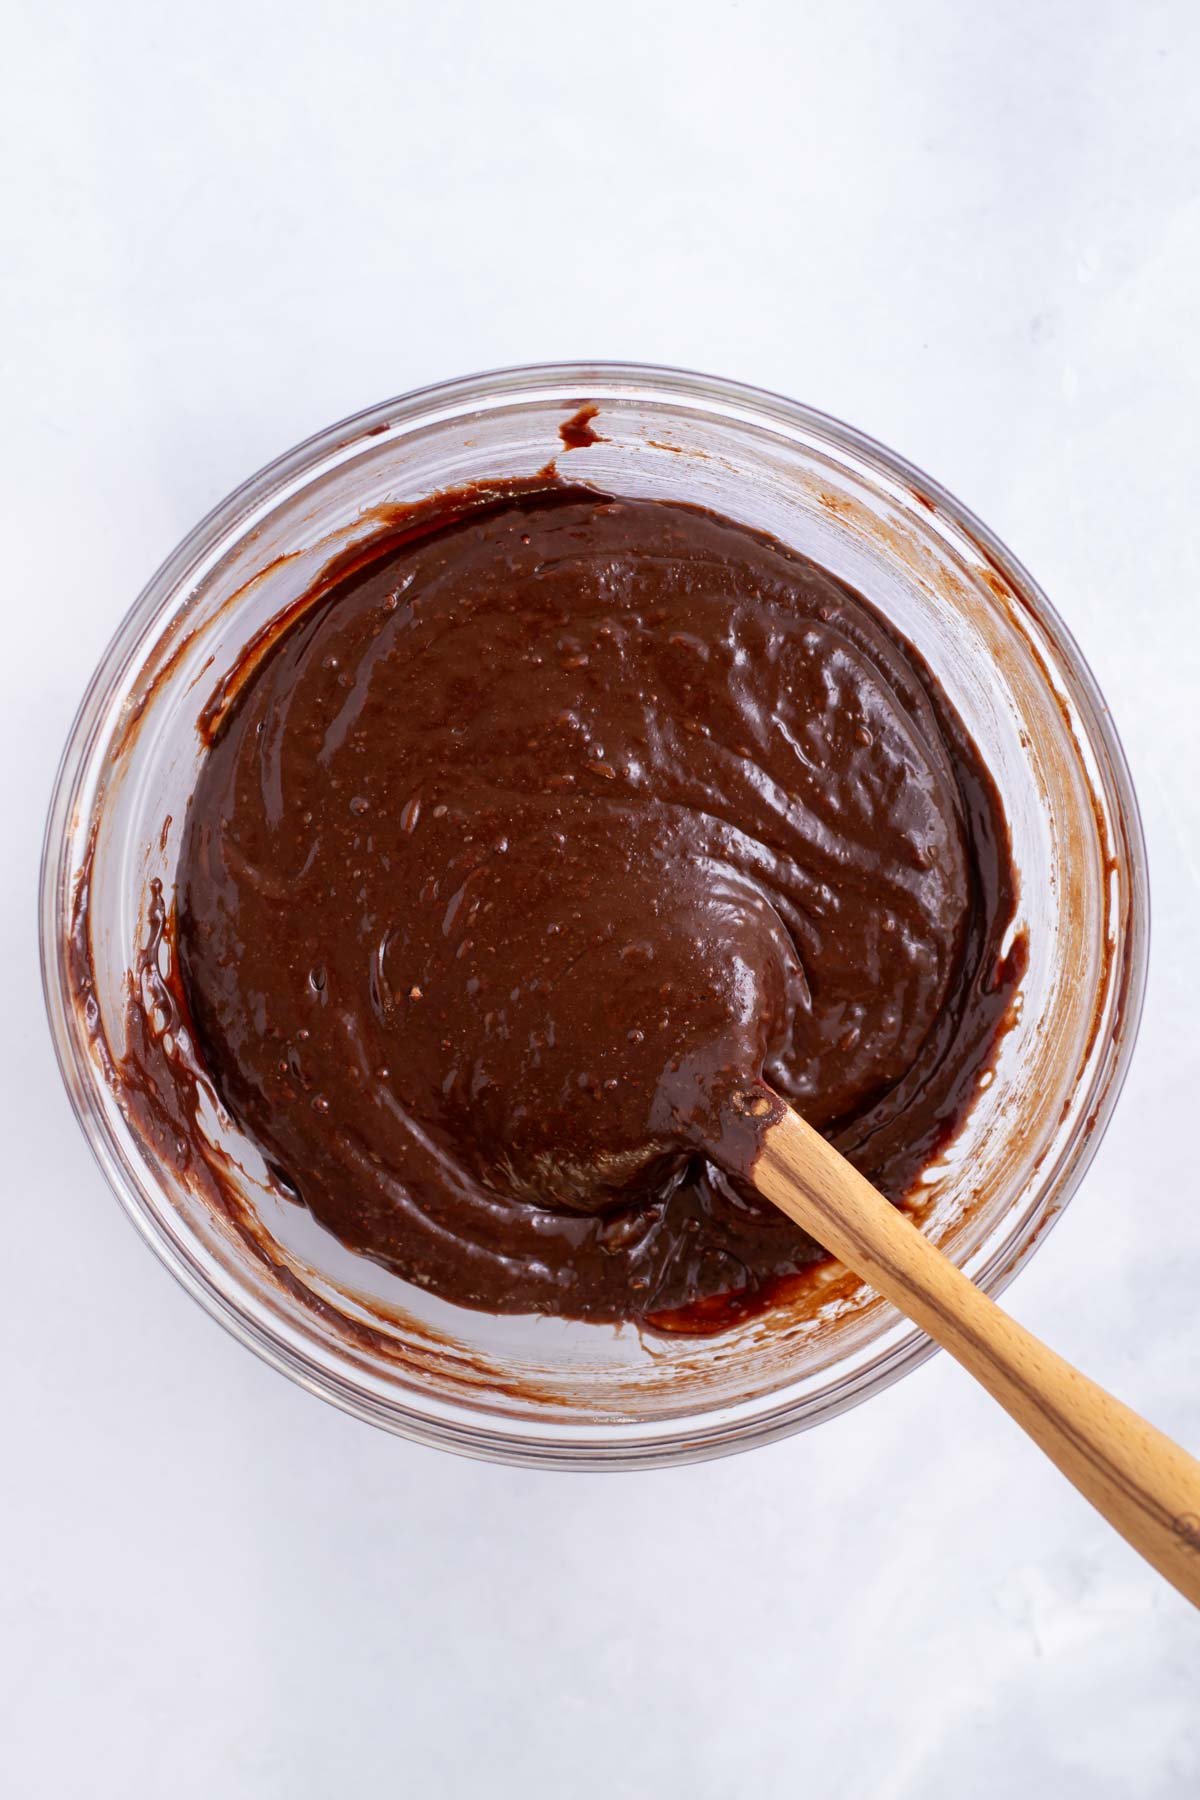
brownie batter topping
While the brownies are baking, prepare the edible brownie batter.
In a medium size bowl whisk the melted unsalted butter, brown sugar, and granulated sugar until fully combined. Then whisk in the vanilla. Add the cocoa powder and heat treated flour and stir with a spatula until you have a dry dough. Finally add the milk and stir until you have a thick brownie batter.
If you need visuals for this topping; see my brownie batter ice cream post.
how to layer the marshmallows in brownies
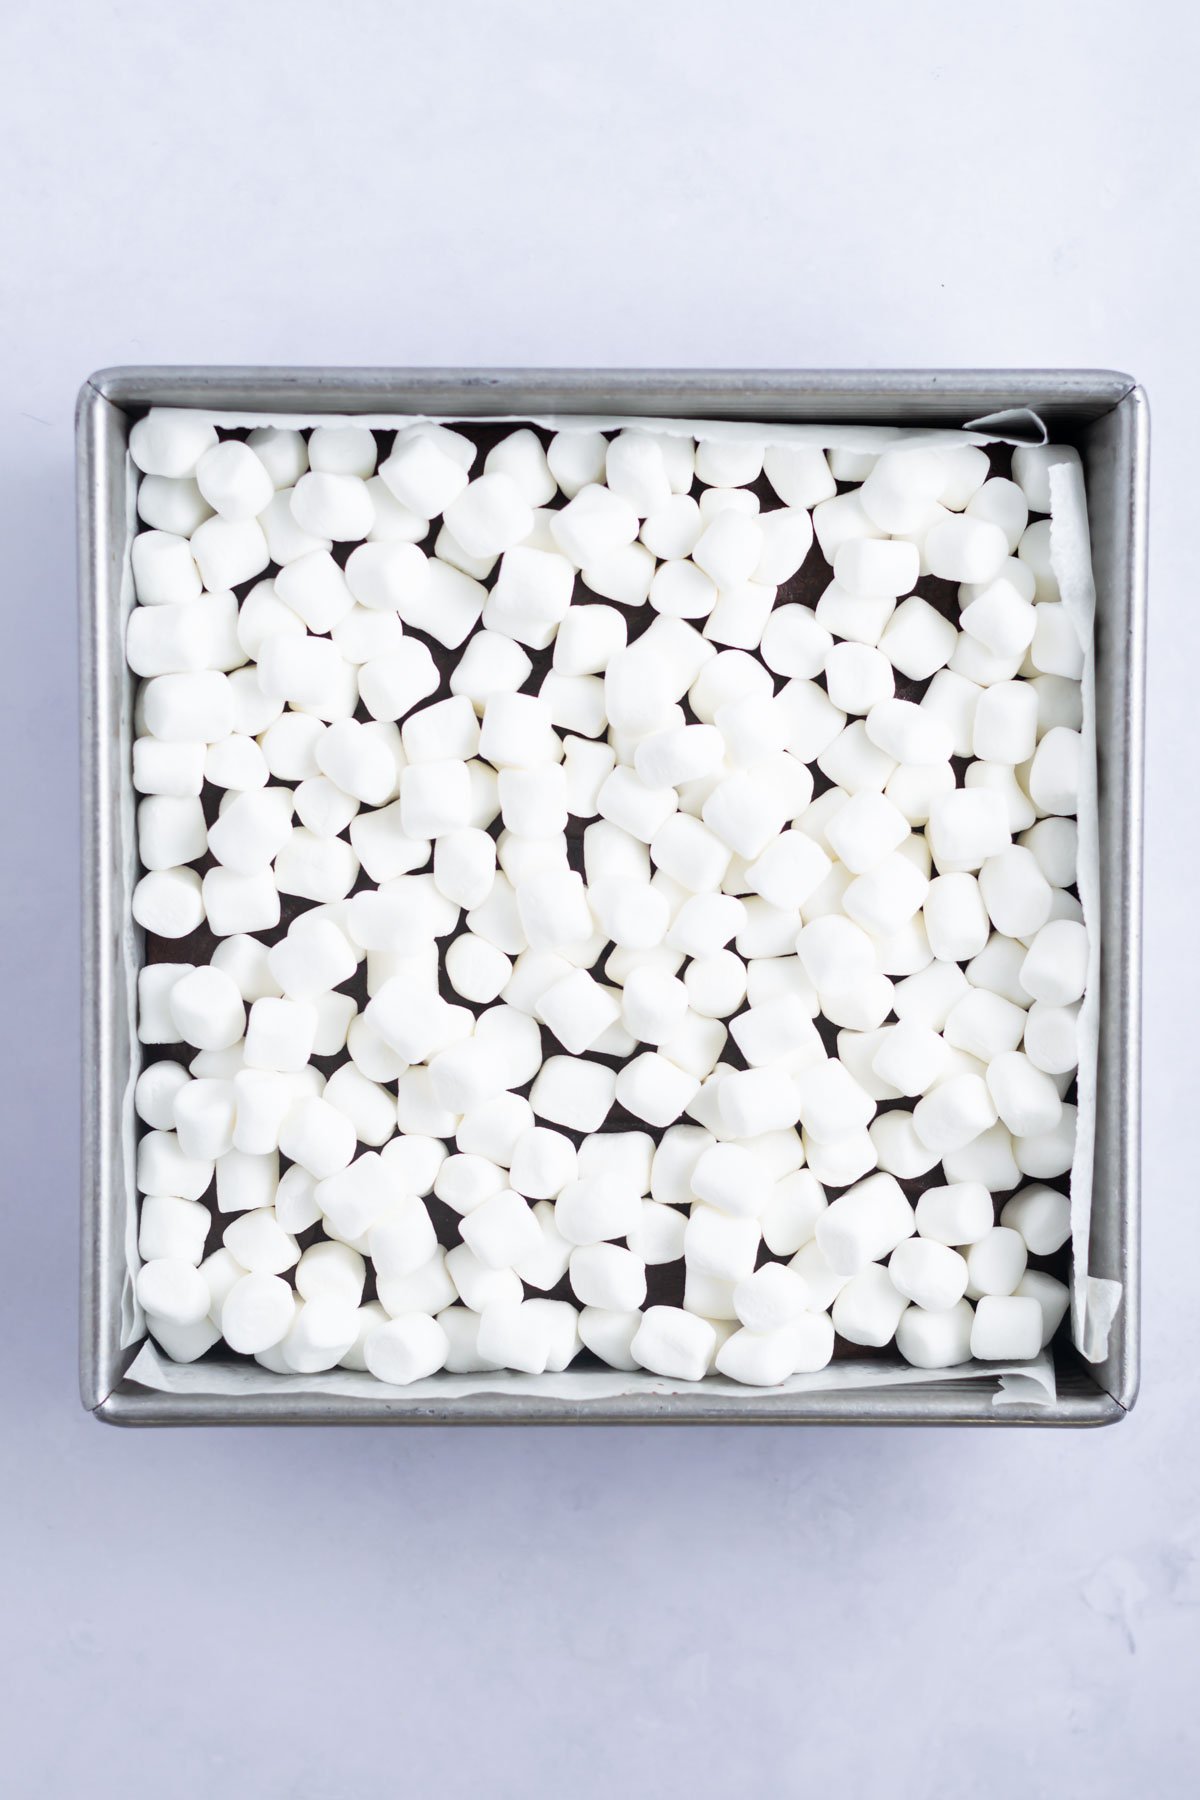
When the brownies have finished their 20-25 minutes of baking, remove the pan from the oven {but leave the oven on} and sprinkle the mini marshmallows over the top of the brownies.
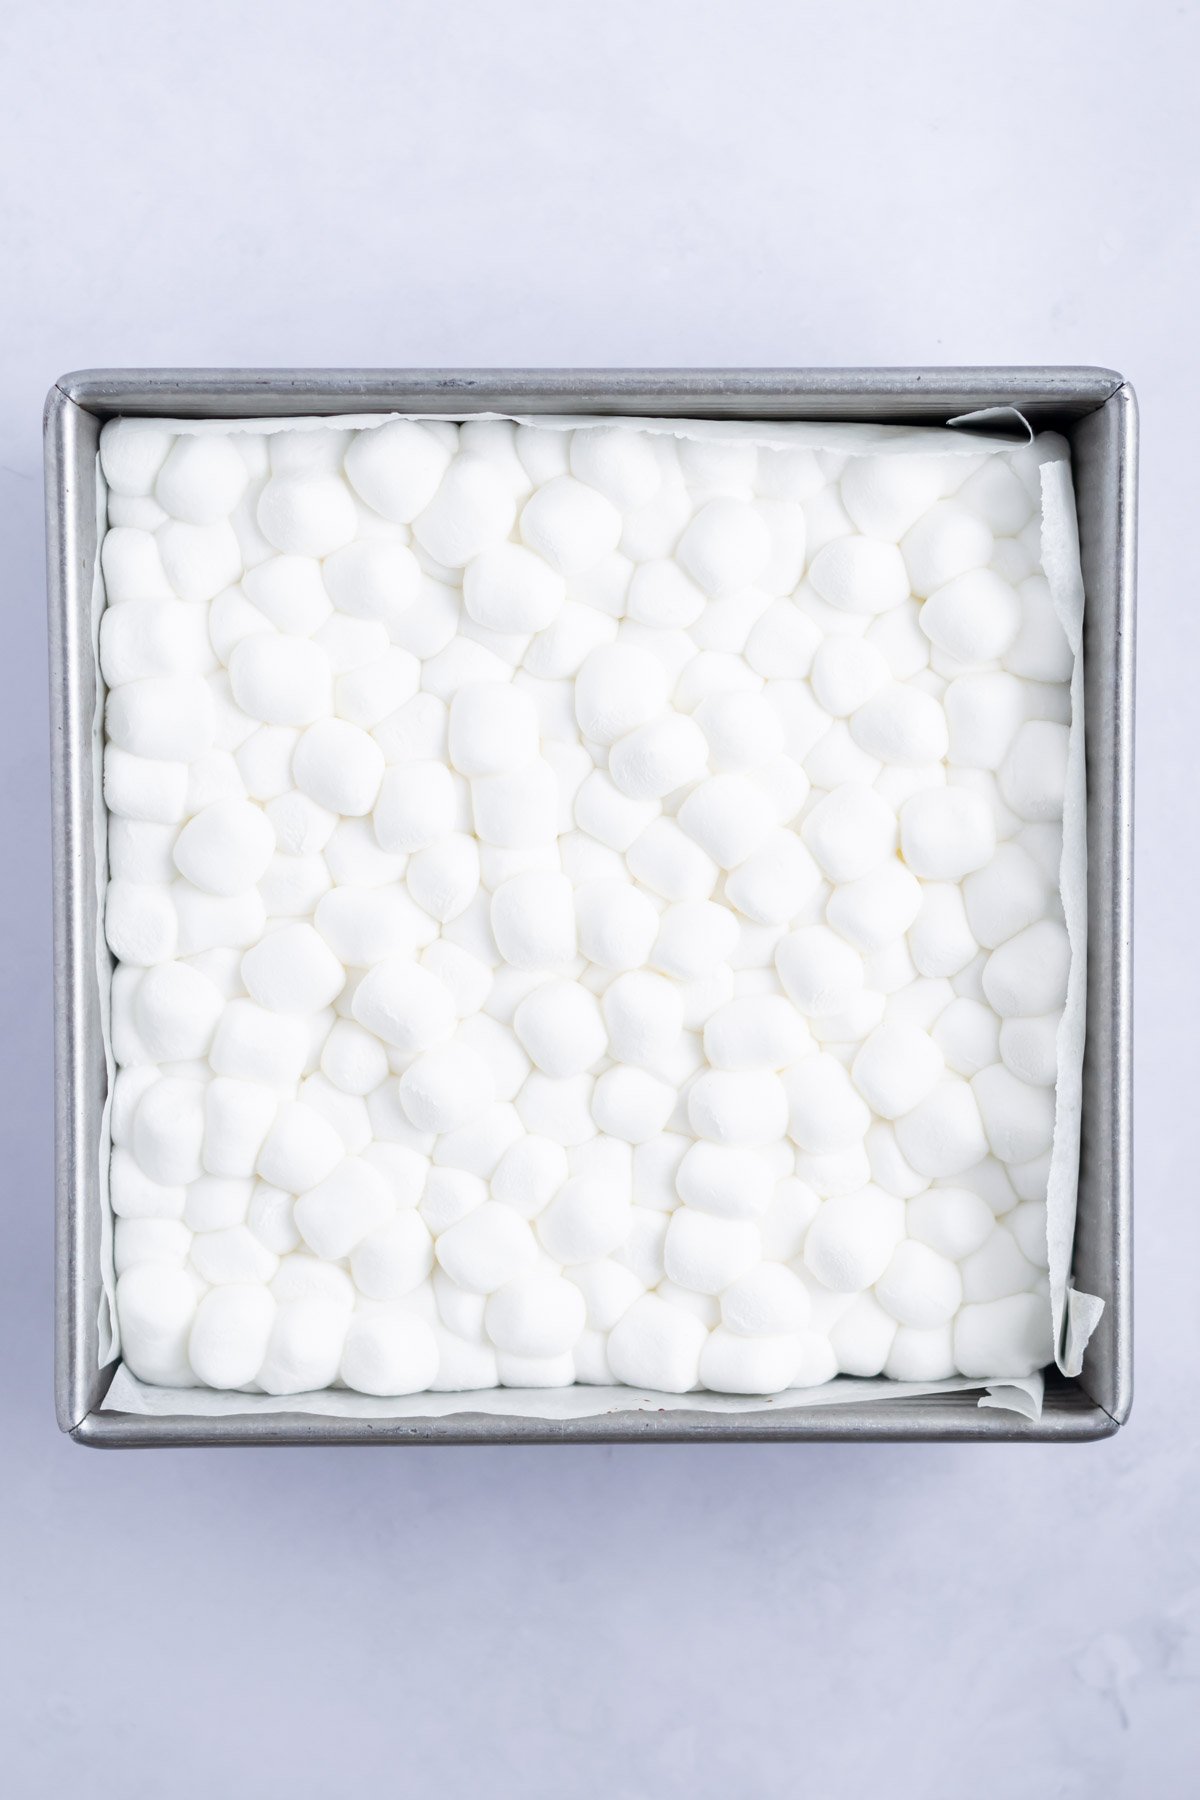
Return the pan to the oven for 4-5 minutes until the marshmallows are starting to get melty and gooey.
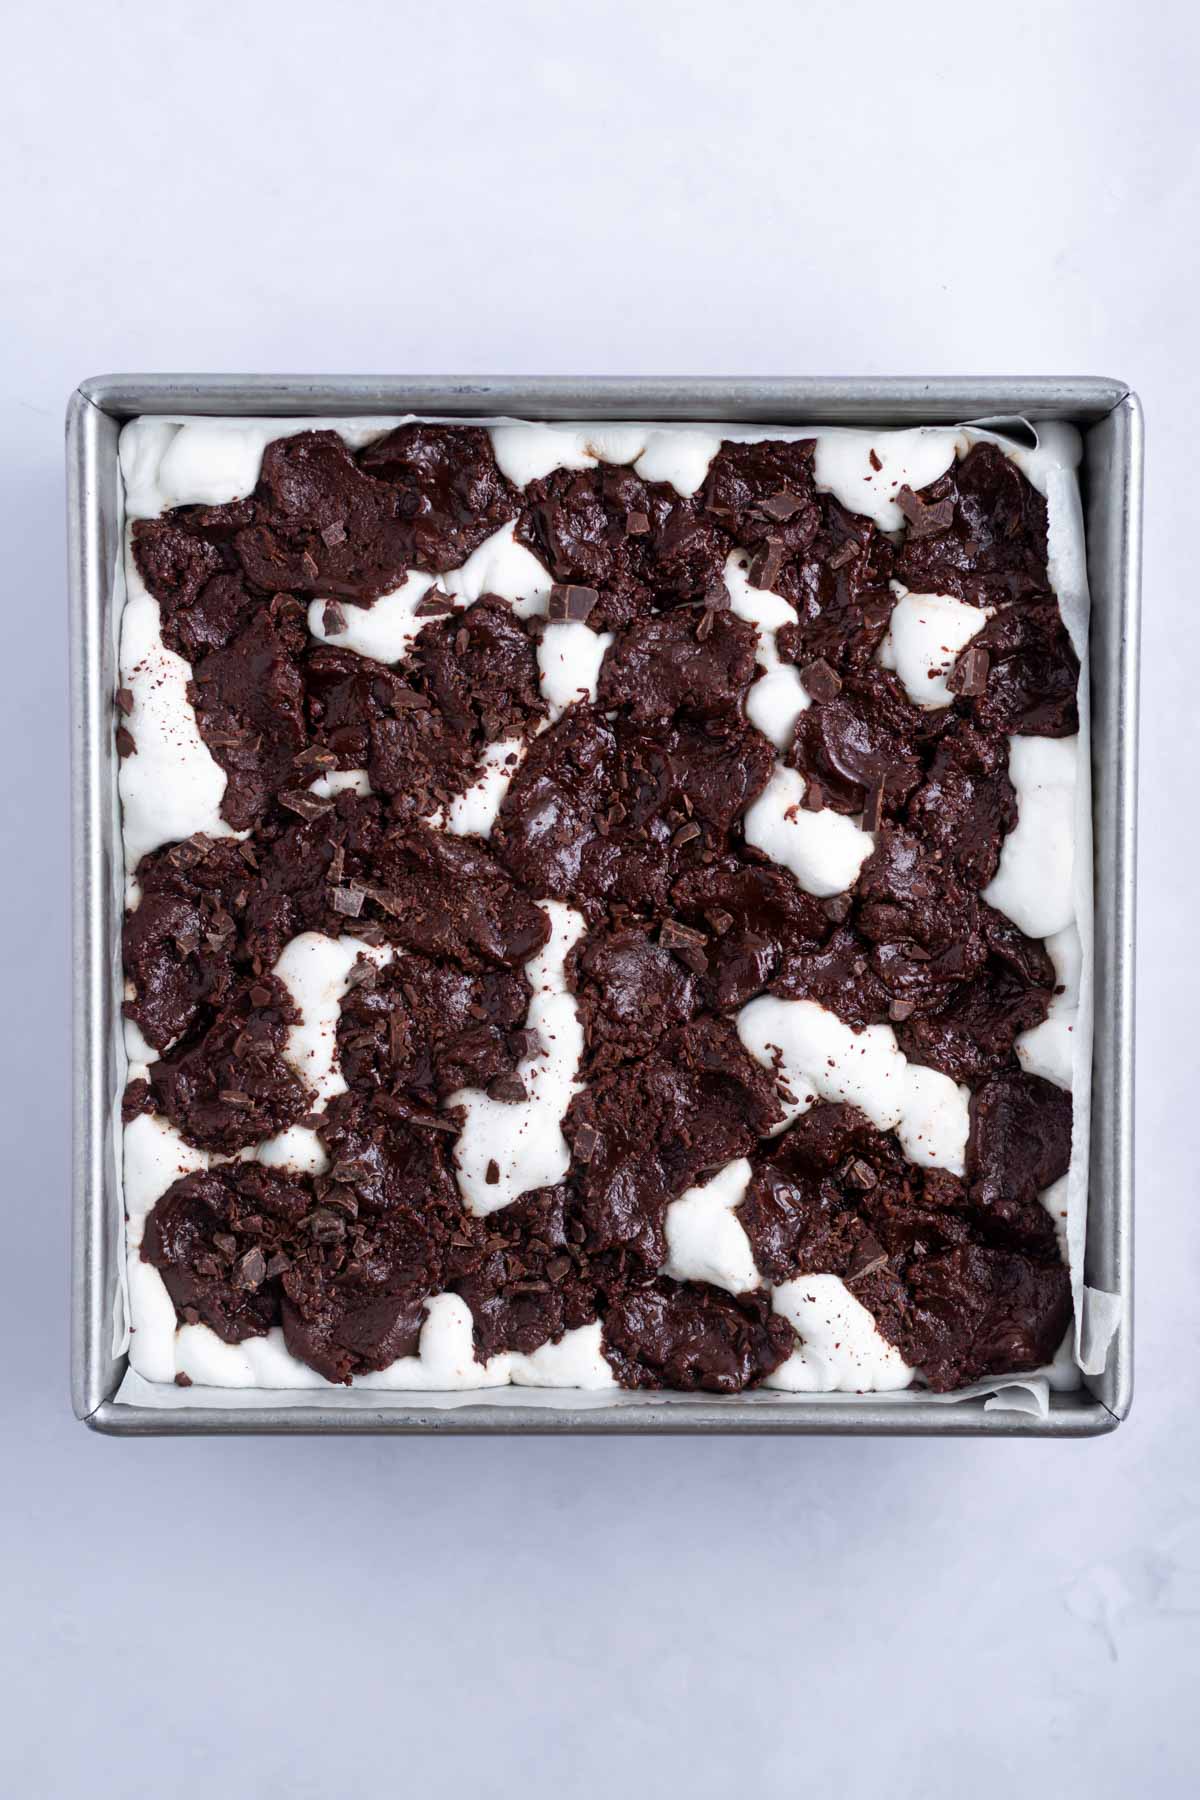
Remove the marshmallow brownies from the oven and set on a wire cooling rack. Take the edible brownie batter and drop spoonfuls of the brownie batter over the top of the marshmallow layer leaving some marshmallows showing through. Top with a little extra chopped chocolate or mini chocolate chips, if desired.
tips for the best homemade brownies
- Line the 8x8 baking pan with parchment paper and lightly butter or spray the sides with baking release spray. The marshmallow layer makes them sticky and you will thank me for this tip when removing them from the pan.
- Don't over bake the brownies! No one likes a dry brownie. It's better to err on the side of less done than over done. The marshmallow brownies will firm up and continue to cook as they cool. This is the metric I use to test when brownies are done baking ~
- If the toothpick still has thick batter on it, the brownies are not done.
- When the toothpick comes out clean, it means the brownies are over baked.
- If the toothpick comes out with some moist crumbs, they are done!
- Remember your oven is different than mine and the baking time may be slightly different. I use this oven thermometer to ensure my oven is at the temperature I think it is.
- For less dishes to wash, use a food scale and skip the measuring cups! This is the scale that I use and love. Using a scale also helps to make sure you have the correct quantities of ingredients.
- If you need to speed up the cooling process, once the marshmallow brownies have cooled enough that you can pick up the pan with your bare hands, place the brownies in the refrigerator to cool completely. I find doing this makes them have an even more fudgy consistency.
Remember to pin this recipe to Pinterest! Use the button on the recipe card or the share buttons on the side or bottom of this page.
variation ideas
S'mores brownies ~ crush some graham crackers and sprinkle them over the marshmallow layer before adding the edible brownie batter.
Peppermint brownies ~ crush some peppermints or candy canes and sprinkle them over the marshmallows before you add the edible brownie batter. If you love peppermint, add ½ teaspoon of peppermint extract to the brownies prior to baking.
Biscoff brownies ~ slightly warm some cookie butter and drizzle it over the marshamallow layer. You could also add some biscoff cookie crumbs. Or just make my cookie butter brownies.
Fluffernutter brownies~ drizzle warmed peanut butter over the marshmallow layer and top the edible brownie batter with some chopped Reeces Pieces candies. If you are looking for a peanut butter blondie recipe, I've got you covered there too!
Rocky road brownies ~ add chopped almonds and/or pecans to the mini marshmallow layer.
You could also make my {gluten free} almond brownies, raspberry brownies or brownie pie. For marshmallow crunch brownies be sure to try my SunButter crunch brownie recipe.
💬 frequently asked questions
Yes, but mini marshmallows work better. If you only have large marshmallows, I would cut each large marshmallow into three to four smaller pieces.
I find chilling brownies helps to get the cleanest cuts on brownies. Use a sharp knife and wipe it clean between cuts.
Yes, but let the brownies cool for about 15 minutes before adding the marshmallow fluff and do not place them back in the oven. You will need about 2 cups.
Yes, if you don't want to make the brownies from scratch use your favorite box mix instead.
how to store
Brownies can be stored in an airtight container on the counter or in the refrigerator for 4-5 days.
The marshmallow brownies also freeze well for up to 3 months.
Remember to snap a picture and tag me on Instagram if you make these Marshmallow Brownies. It warms my heart to see you bring these recipes to life! Thank you for being here and happy baking!
more recipes with marshmallows
- Sprinkle Rice Krispie Treats
- Peanut Butter Marshmallow Cookies
- SunButter Crunch Brownies
- Homemade S'mores
- Funfetti Brownies
If you make this recipe {or any recipe!} from two sugar bugs please come back and leave a review and a ⭐️⭐️⭐️⭐️⭐️ star rating. I read every comment, and I LOVE hearing from you!
Marshmallow Brownies
Marshmallow brownies are super fudgy, layered with mini marshmallows and have a brownie batter topping. Simple to make, they are sure to be a disappearing dessert at any party!
Ingredients
brownie layer
- 9 tablespoons unsalted butter (128g)
- 6 ounces dark chocolate*, chopped (170g)
- 1 cup + 2 tablespoons granulated sugar (225g)
- ½ teaspoon kosher salt
- 3 large eggs
- 1 ½ teaspoons pure vanilla extract
- 1 cup all-purpose flour (125g)
- ¼ cup unsweetened cocoa powder (20-24g**)
marshmallow layer
- 3 cups mini marshmallows (144g
edible brownie batter topping
- 6 tablespoons unsalted butter, melted (85g)
- ¼ cup packed brown sugar (50g)
- ½ cup granulated sugar (100g)
- 1 teaspoon pure vanilla extract
- ½ cup natural unsweetened cocoa powder (40-48g**)
- 1 cup heat treated all-purpose flour****(125g)
- ¼ cup milk***** (60mL)
Instructions
- Preheat oven to 350°F and line an 8x8 baking pan with parchment paper, leaving a little overhang. Lightly butter or grease the parchment paper making sure to get the sides.
- In a medium bowl, melt together the butter (9 tablespoons/128g) and chopped dark chocolate (6 ounces/170g) and stir until well combined. (I like to chop the chocolate small so it melts faster. I use the double boiler method, but if you are comfortable doing this in the microwave, that also works).
- Add the granulated sugar (1 cup + 2 tablespoons/225g) and kosher salt (½ teaspoon) and mix until combined.
- Then add the eggs (3 large) and vanilla (1 ½ teaspoons) and stir until well combined.
- Add the flour (1 cup/125g) and cocoa powder (¼ cup/20-24g**) on top of the wet ingredients and stir until everything is just combined.
- Pour the batter into the prepared baking pan {smoothing to the edges, if needed}. Then bake 20-25 minutes, until a tester comes out with some moist crumbs***.
- While the brownies are baking, prepare the edible brownie batter. In a medium size bowl whisk the melted unsalted butter (6 tablespoons/85g), brown sugar (¼ cup/50g), and granulated sugar (½ cup/100g) until fully combined. Then whisk in the vanilla (1 teaspoon).
- Add the cocoa powder (½ cup/40-48g) and heat treated flour**** (1 cup/125g) and stir with a spatula until you have a dry dough. Finally add the milk (¼ cup/60mL) and stir until you have a thick brownie batter. Set aside.
- When the brownies have finished their 20-25 minutes of baking, remove the pan from the oven (but leave the oven on) and sprinkle the mini marshmallows (3 cups/144g) over the top of the brownies. Return the pan to the oven for 4-5 minutes until the marshmallows are starting to get melty and gooey.
- Remove the marshmallow brownies from the oven and set on a wire cooling rack. Take the edible brownie batter and drop spoonfuls of the brownie batter over the top of the marshmallow layer leaving some marshmallows showing through. Top with a little extra chopped chocolate or mini chocolate chips, if desired.
- Allow the brownies to cool in the baking pan set on a wire cooling rack. If you need to speed the cooling process, once the pan has cooled enough that you can pick it up bare-handed, you can place the pan into the refrigerator.
Notes
*Ideally a chocolate in the 60-72% cacao range, usually labeled as bittersweet. Use a baking bar versus chocolate chips for the best results.
**Different brands of cocoa powder have different weights, typically 5g or 6g per tablespoon.
***It is better to air on the side of under baked versus over baked! The brownies will continue to cook in the pan after removed from the oven and will firm up once cool. You don't want wet batter on the tester, but you don't want it dry either. A few moist crumbs is perfect!
****Using a commercially heat treated flour is the best way to assure your flour does not contain any bacteria. You can also heat treat the flour at home to kill off any bacteria that may be growing on it that could potentially make you sick. To heat treat flour at home; place the 1 cup plus 2 Tablespoons flour (140g) on a rimmed baking sheet and place in a 300°F oven. Check the flour every 2 minutes by stirring it and checking with a thermometer, you want it to reach 165°F. This should take 4-8 minutes. You can also place the flour in a microwave safe bowl and cook on high for 30 second intervals; stirring and checking the temperature at each 30 second interval. Allow to cool completely (about 30 minutes) prior to using. You can place the heat treated flour in the refrigerator to speed the cooling process.
*****Whatever type of milk you have on hand will work. I often use almond milk, 1% milk or fat free milk.
Brownies can be stored in an airtight container on the counter or in the refrigerator for 4-5 days. The brownies also freeze well for up to 3 months.
Nutrition Information:
Yield:
16Serving Size:
1Amount Per Serving: Calories: 314Total Fat: 16gSaturated Fat: 9gTrans Fat: 0gUnsaturated Fat: 5gCholesterol: 65mgSodium: 67mgCarbohydrates: 39gFiber: 2gSugar: 21gProtein: 4g
The nutrition information is based on third-party calculations, is an estimate only and may not be entirely accurate. Actual nutritional values will vary based on brands used and portion sizes.



Michelle says
Two of my favorite things combined into one! These brownies are so decadent and perfect for celebrating! Love that fudgy chocolatey goodness 🙂
Tasia says
Yay, you will love them Michelle!
Kathleen says
These are the fudge-iest and I agree with your tester, Dana, the perfect balance of sweet, marshmallowy and fudgy!
Ben | Havocinthekitchen says
Dark chocolate, marshmallows, and vanilla - this combination has such a cozy, nostalgic vibe that is associated with winter and holidays to me. And the brownies look terrific - so rich and fudgy!