


This easy homemade sandwich bread uses whole wheat flour and simple pantry ingredients. It's a perfect old fashioned loaf of bread for the best toast and sandwiches!
Disclosure | This post may contain affiliate links. As an Amazon Associate I earn from qualifying purchases.
I've said it before and I will say it again, there is nothing more intoxicating than the smell of fresh bread baking! I have been baking bread since I was a little girl and I will share my several decades of tricks with you!
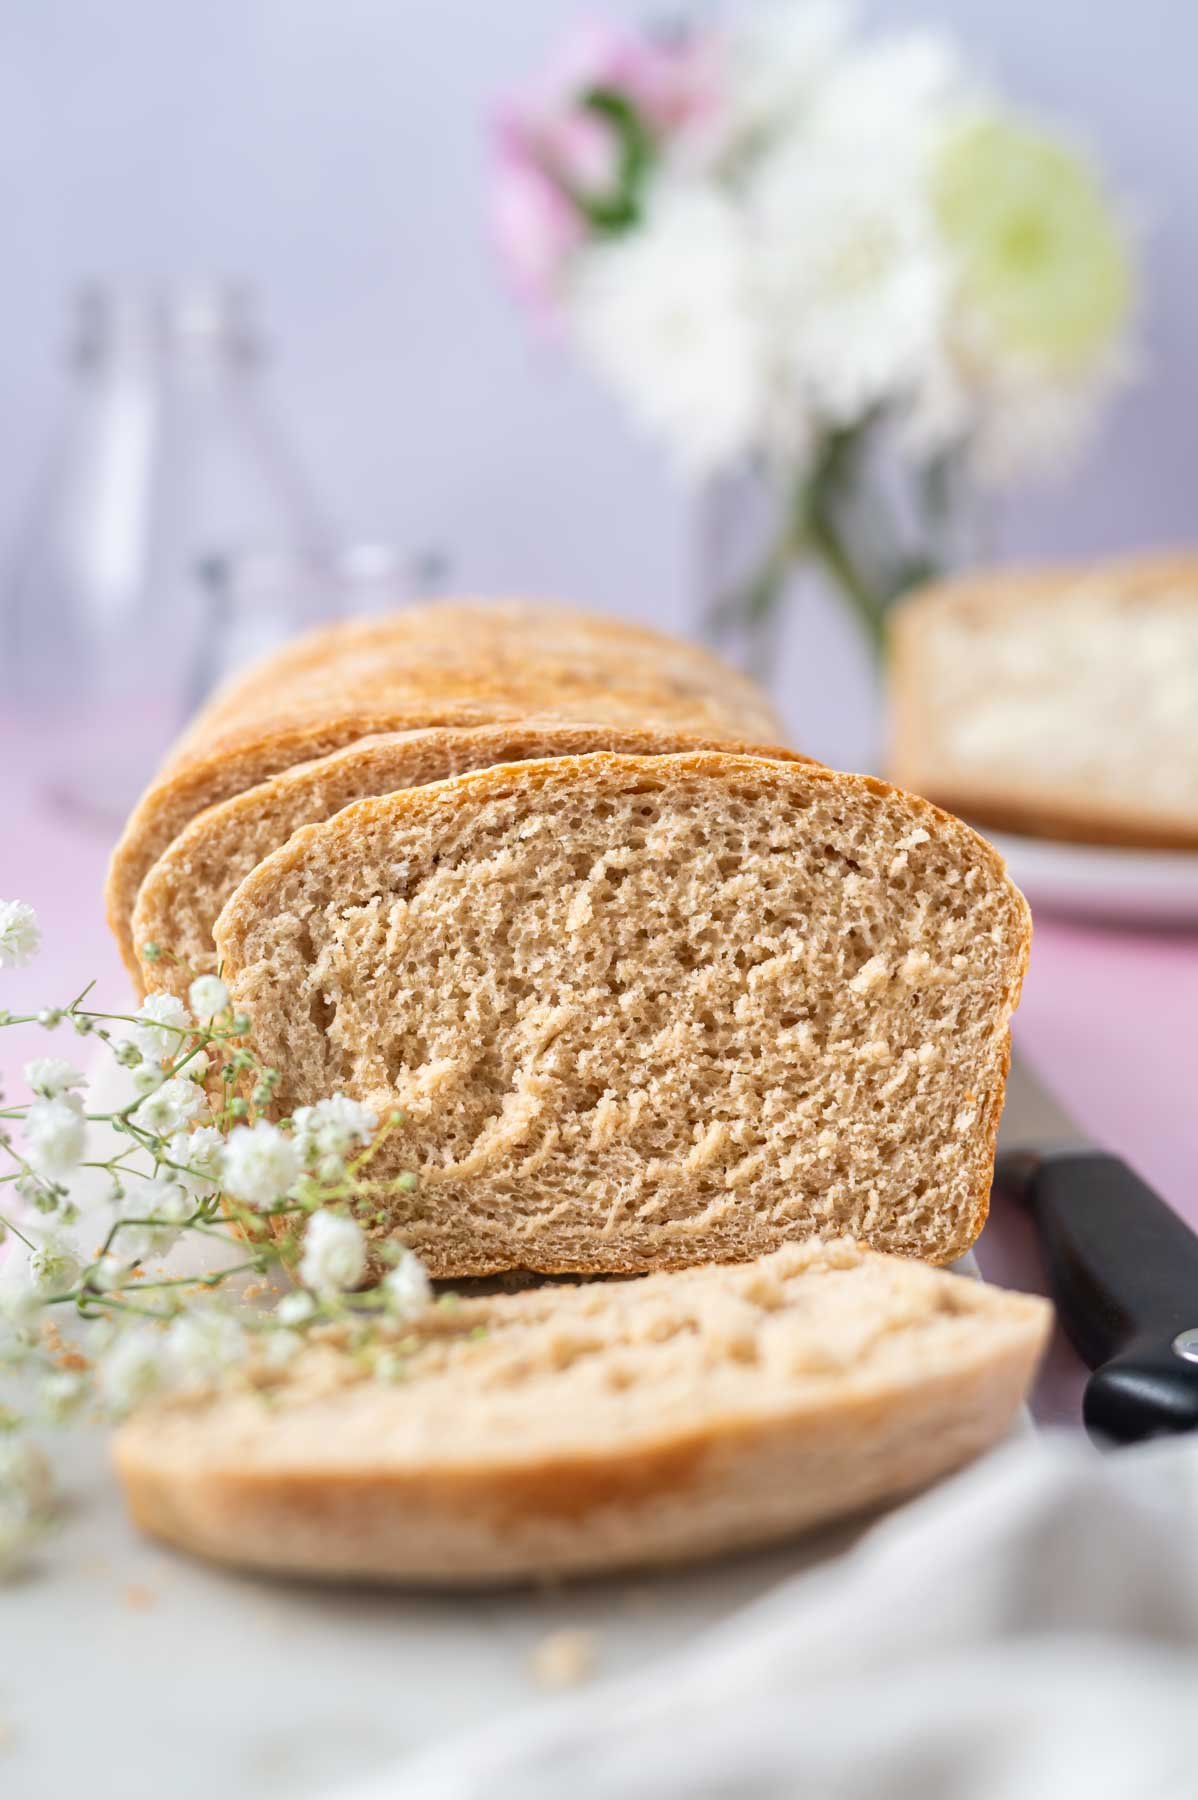
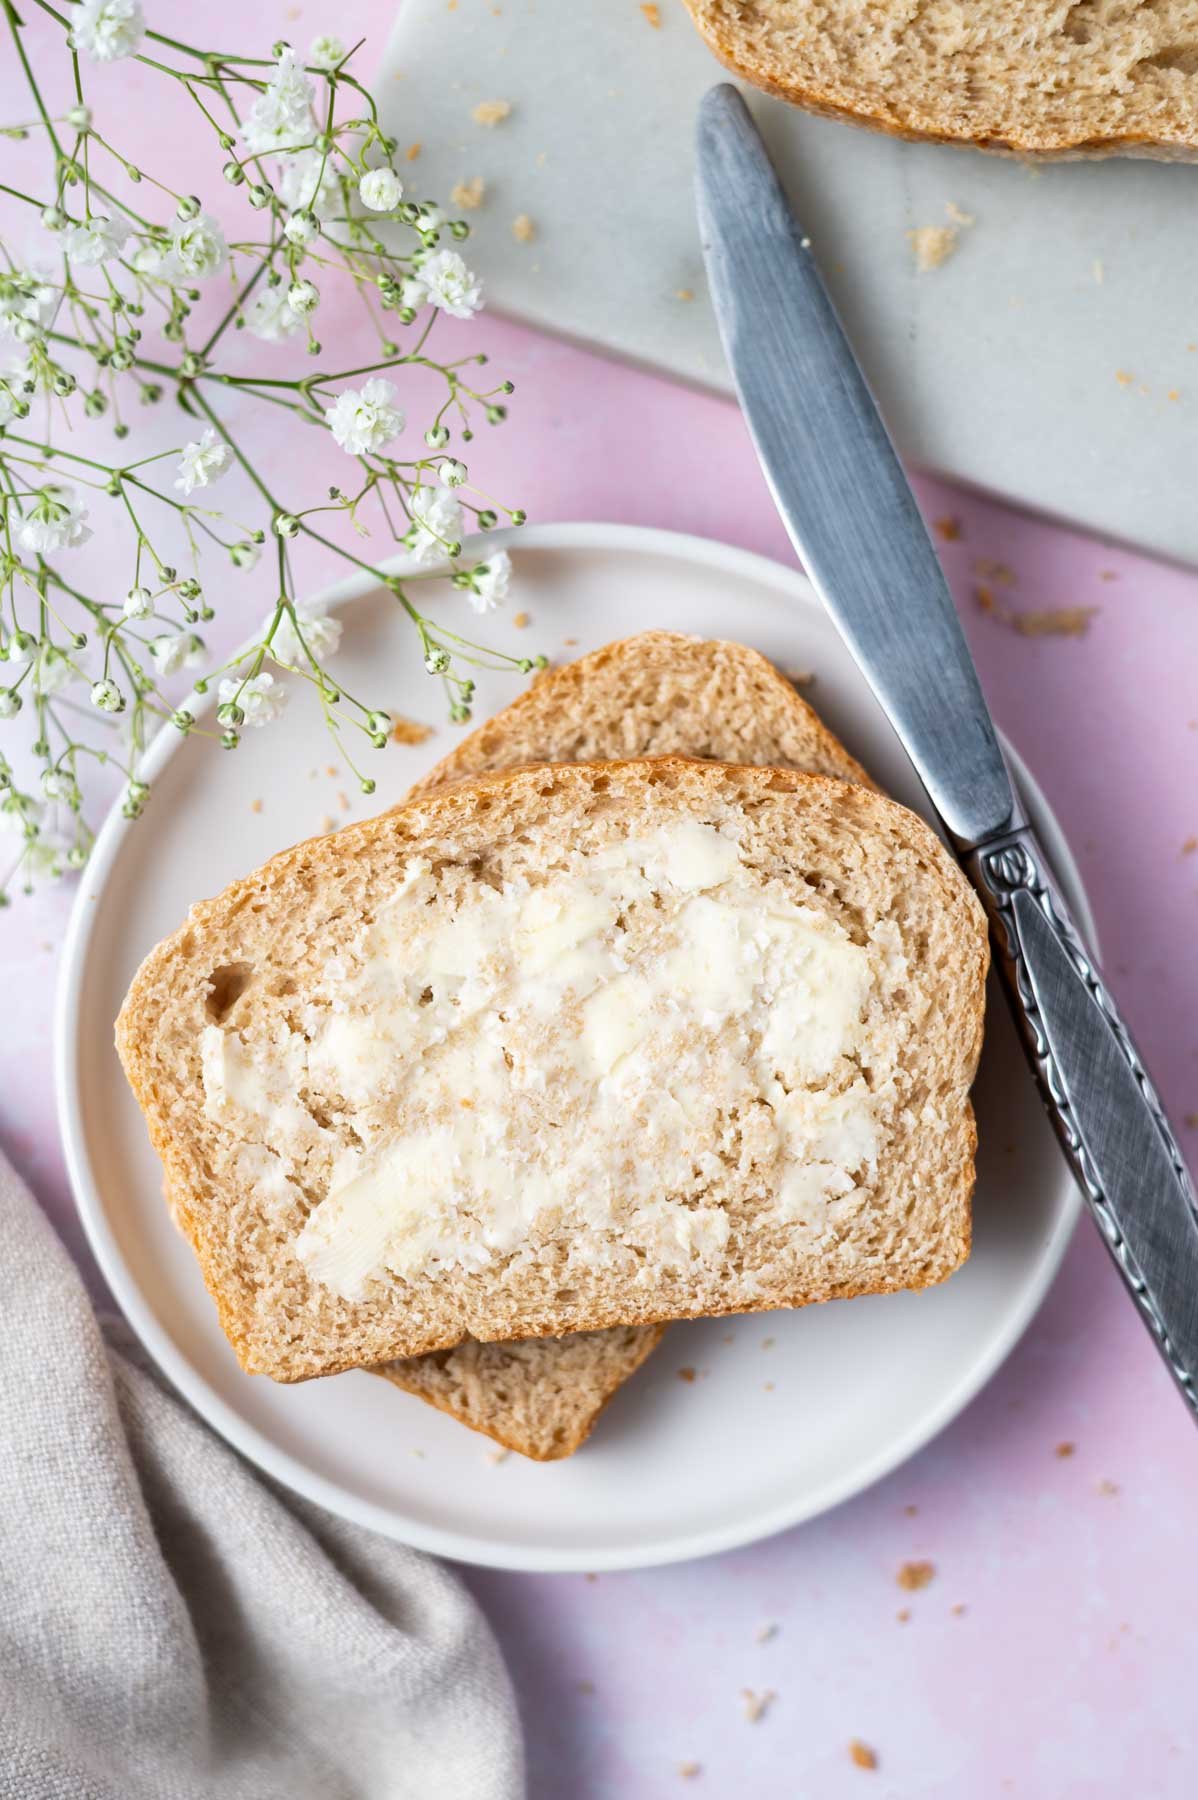
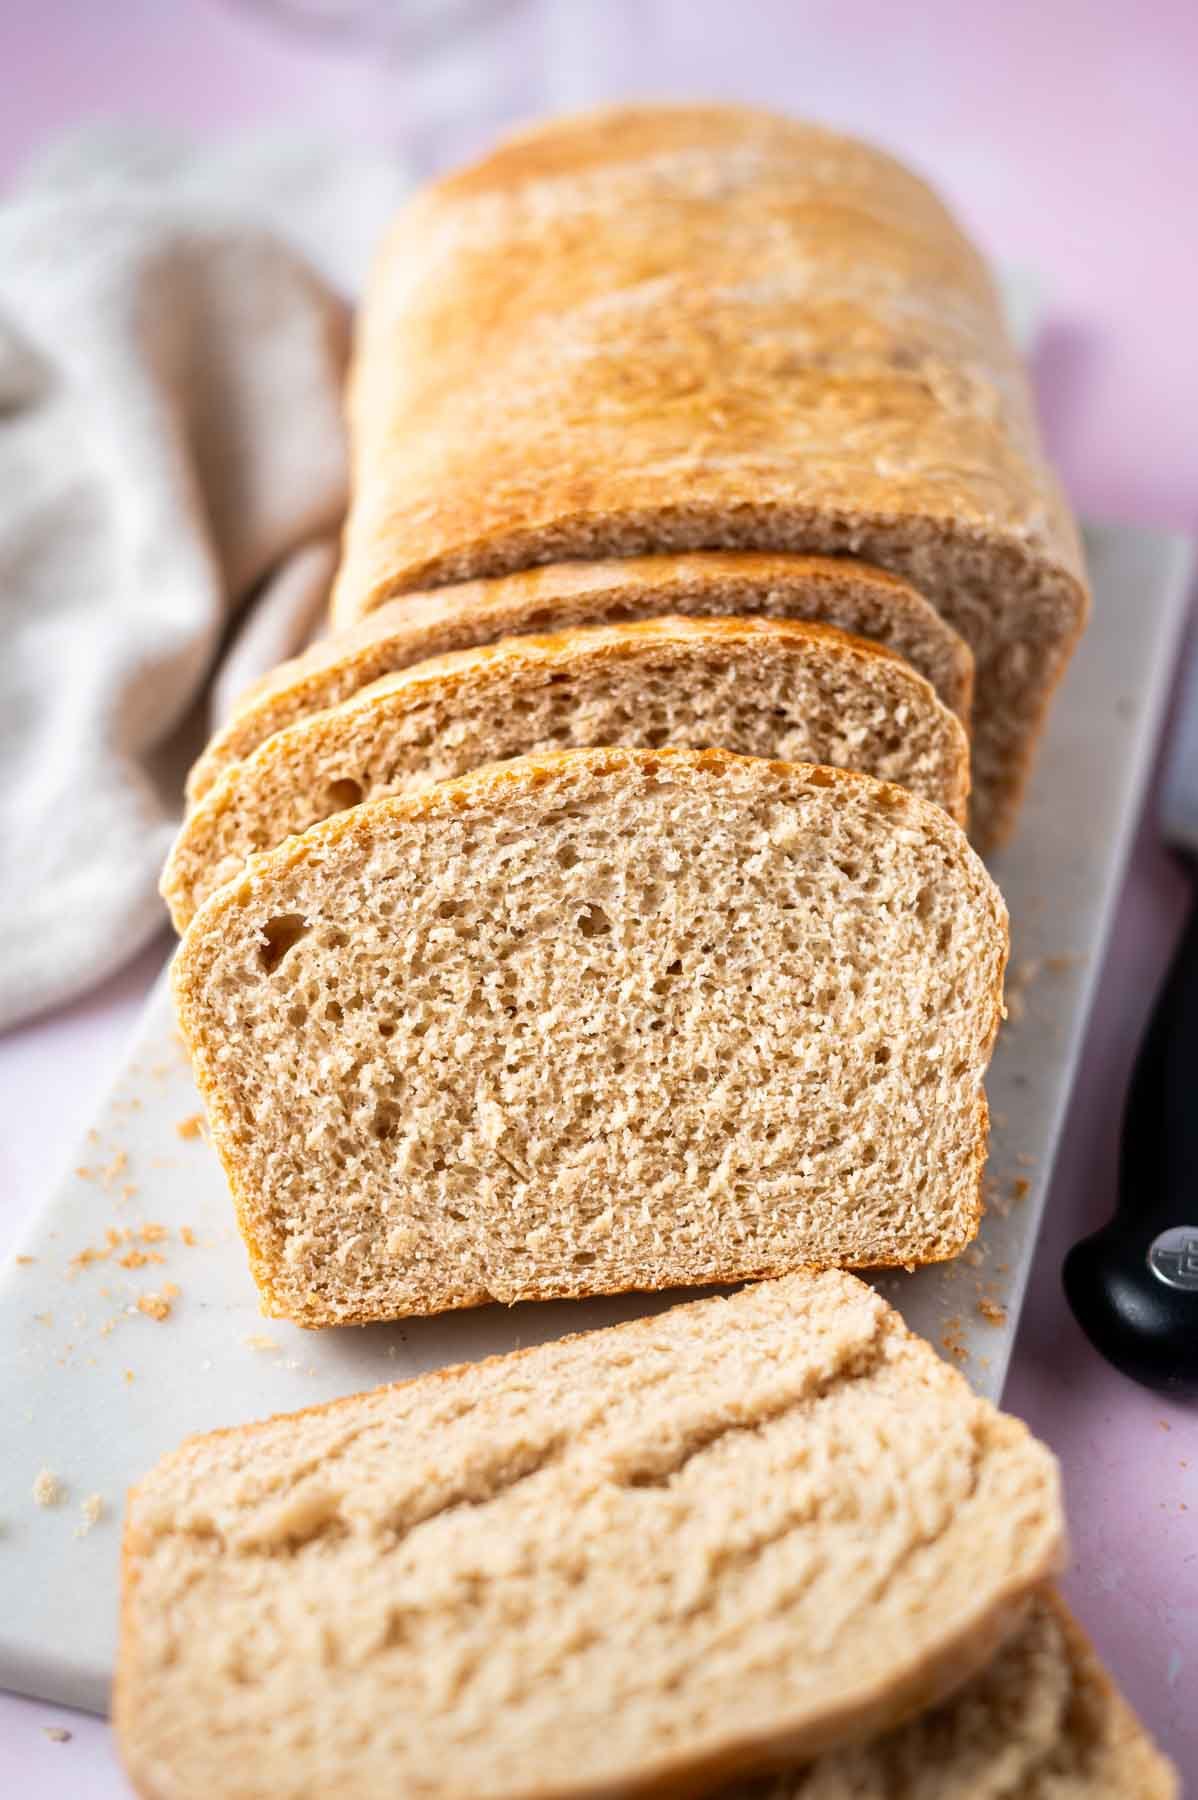
The finished loaf has a soft inside texture and a thin crust that is perfect for your favorite grilled cheese sandwich, French toast or slicing, toasting and serving with homemade cookie butter.
Jump to:
🛒 ingredient notes
Please scroll to the printable recipe card at the end of this post for the full list of ingredients and baking directions.
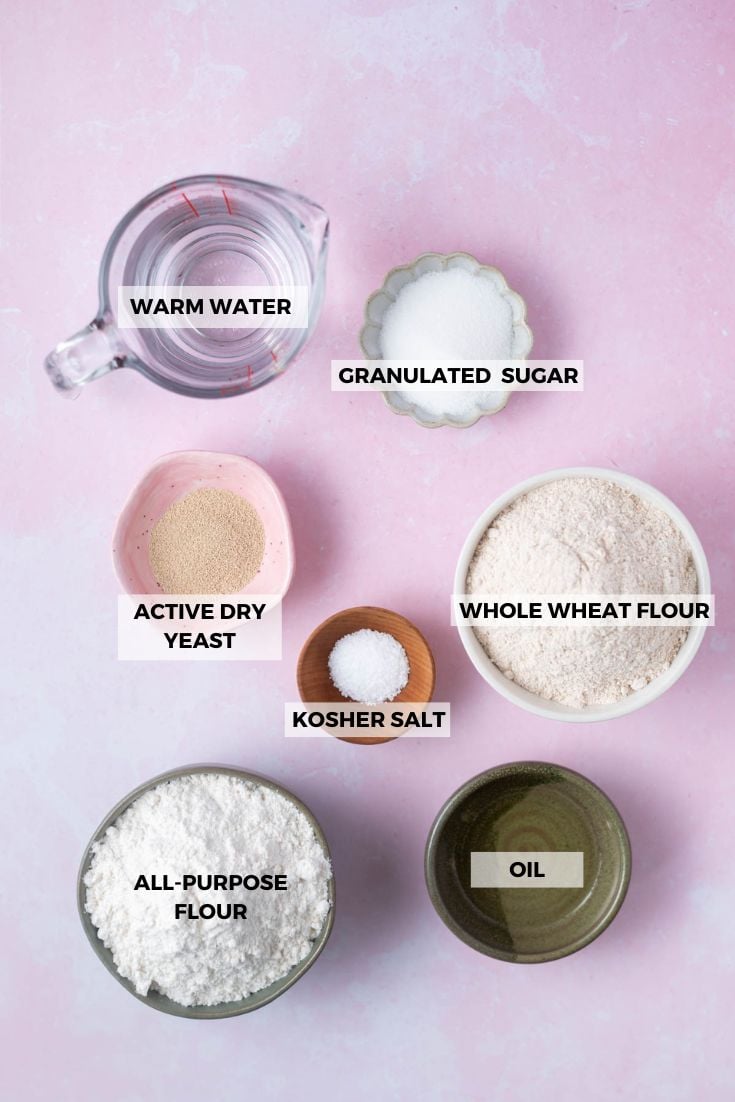
Many sandwich bread recipes rely on the fats from dairy and eggs to give the bread a soft texture, but making this loaf dairy and egg-free was a request from a reader. This simple recipe relies on oil to give the best soft loaf.
- Active dry yeast ~ this is the ingredient that helps the sandwich bread to rise and give the soft and fluffy texture. If you prefer to use "quick" or "rapid rise" yeast, one 7g packet can be substituted and does not need to be activated first.
- Whole wheat flour ~ in the testing of this recipe, we like the slightly nutty flavor that whole wheat flour adds to this homemade bread. If you don't have it, or prefer not to use it, see the recipe card for how to substitute all all-purpose flour.
- Oil ~ adds fat to the dough, giving it a super soft texture. You can use canola oil, vegetable oil or even olive oil.
🍞 how to make this simple bread dough
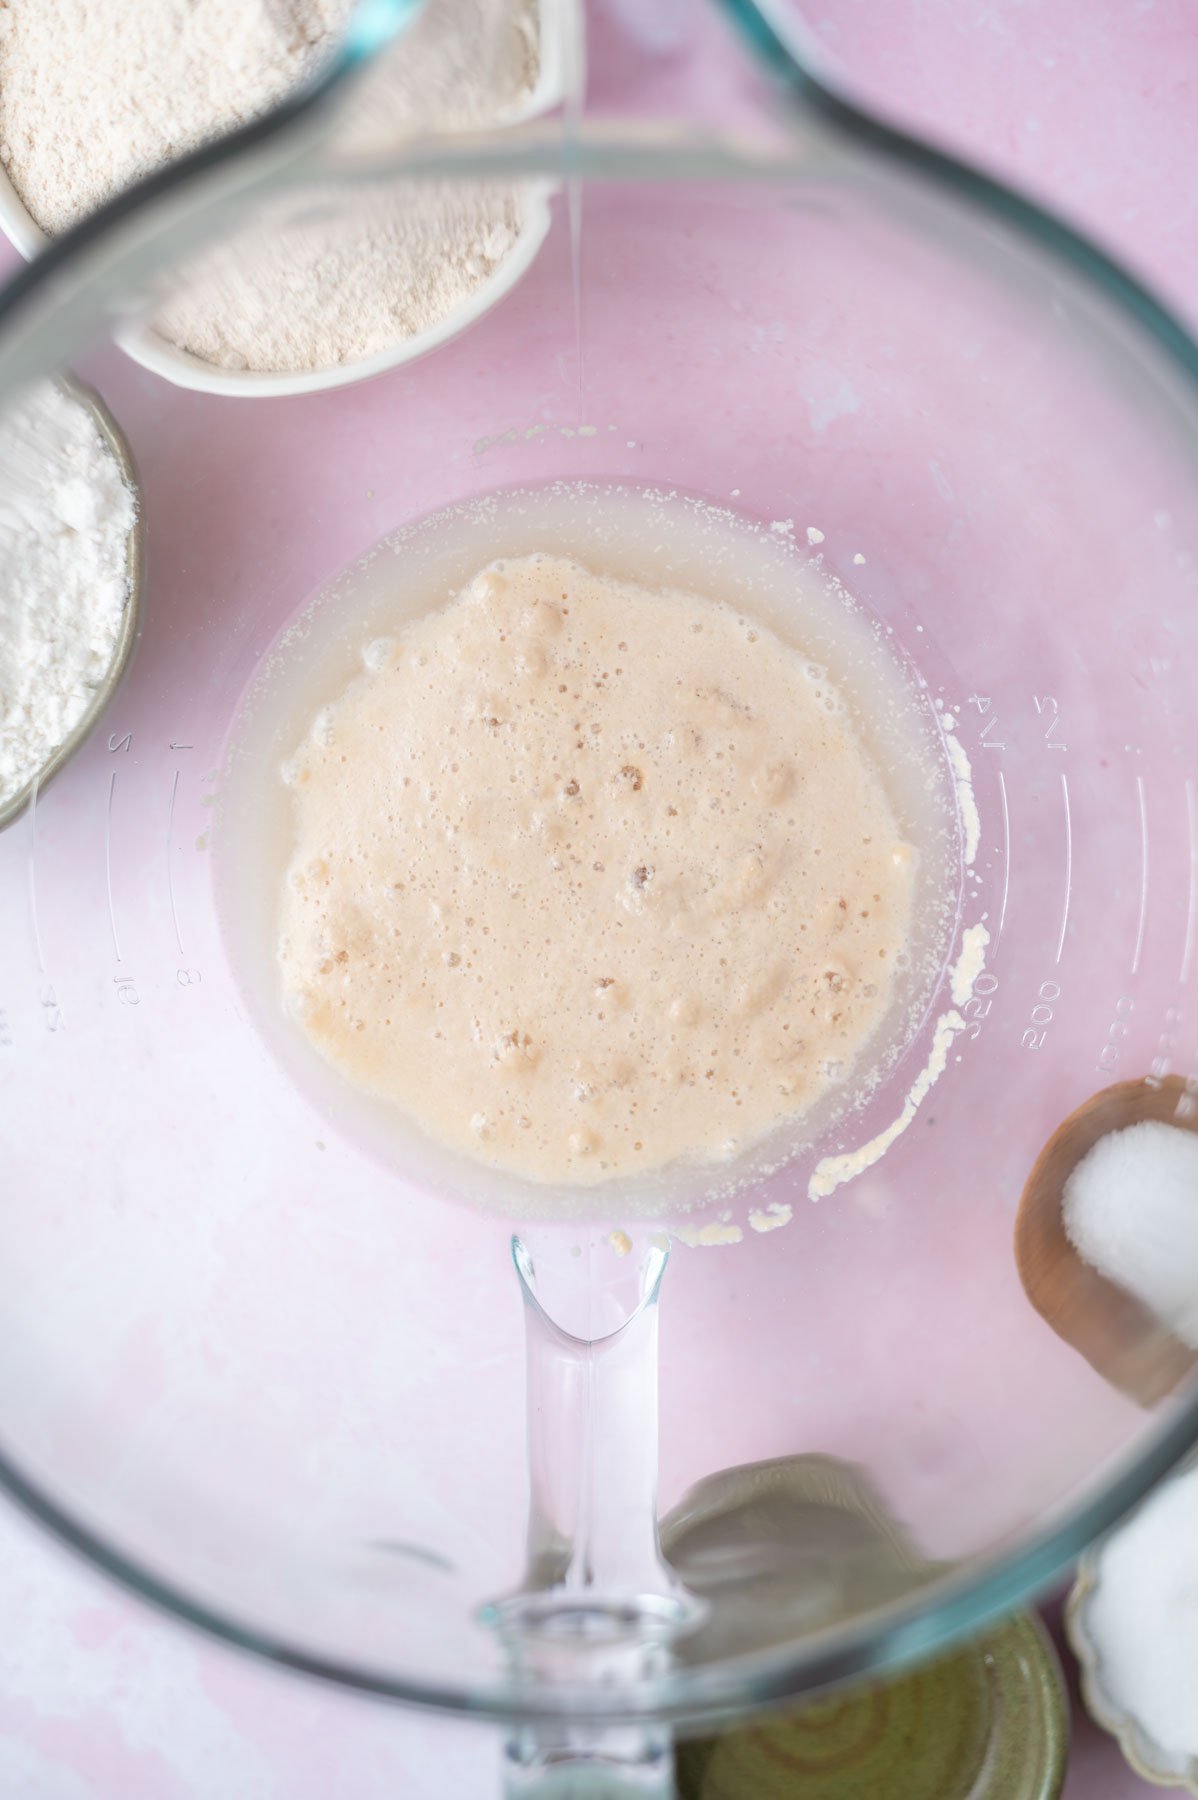
In the bowl of a stand mixer add the warm water, active dry yeast and 1 teaspoon of the sugar and give it a little stir. Let the mixture sit for 10 minutes until bubbly and foamy.
Now add the remaining sugar, 1 cup of the whole wheat flour, ¾ cup of the all-purpose flour, the oil and the kosher salt Mix on low with the bread hook to combine. Then scrape the bowl and add the remaining whole wheat flour and all-purpose flour and continue mixing on low until the dough begins to pull away from the sides of the bowl. Stop and scrape the bowl to add in any flour remaining on the bottom of the bowl. Now knead the bread by mixing on low for 3-5 minutes.
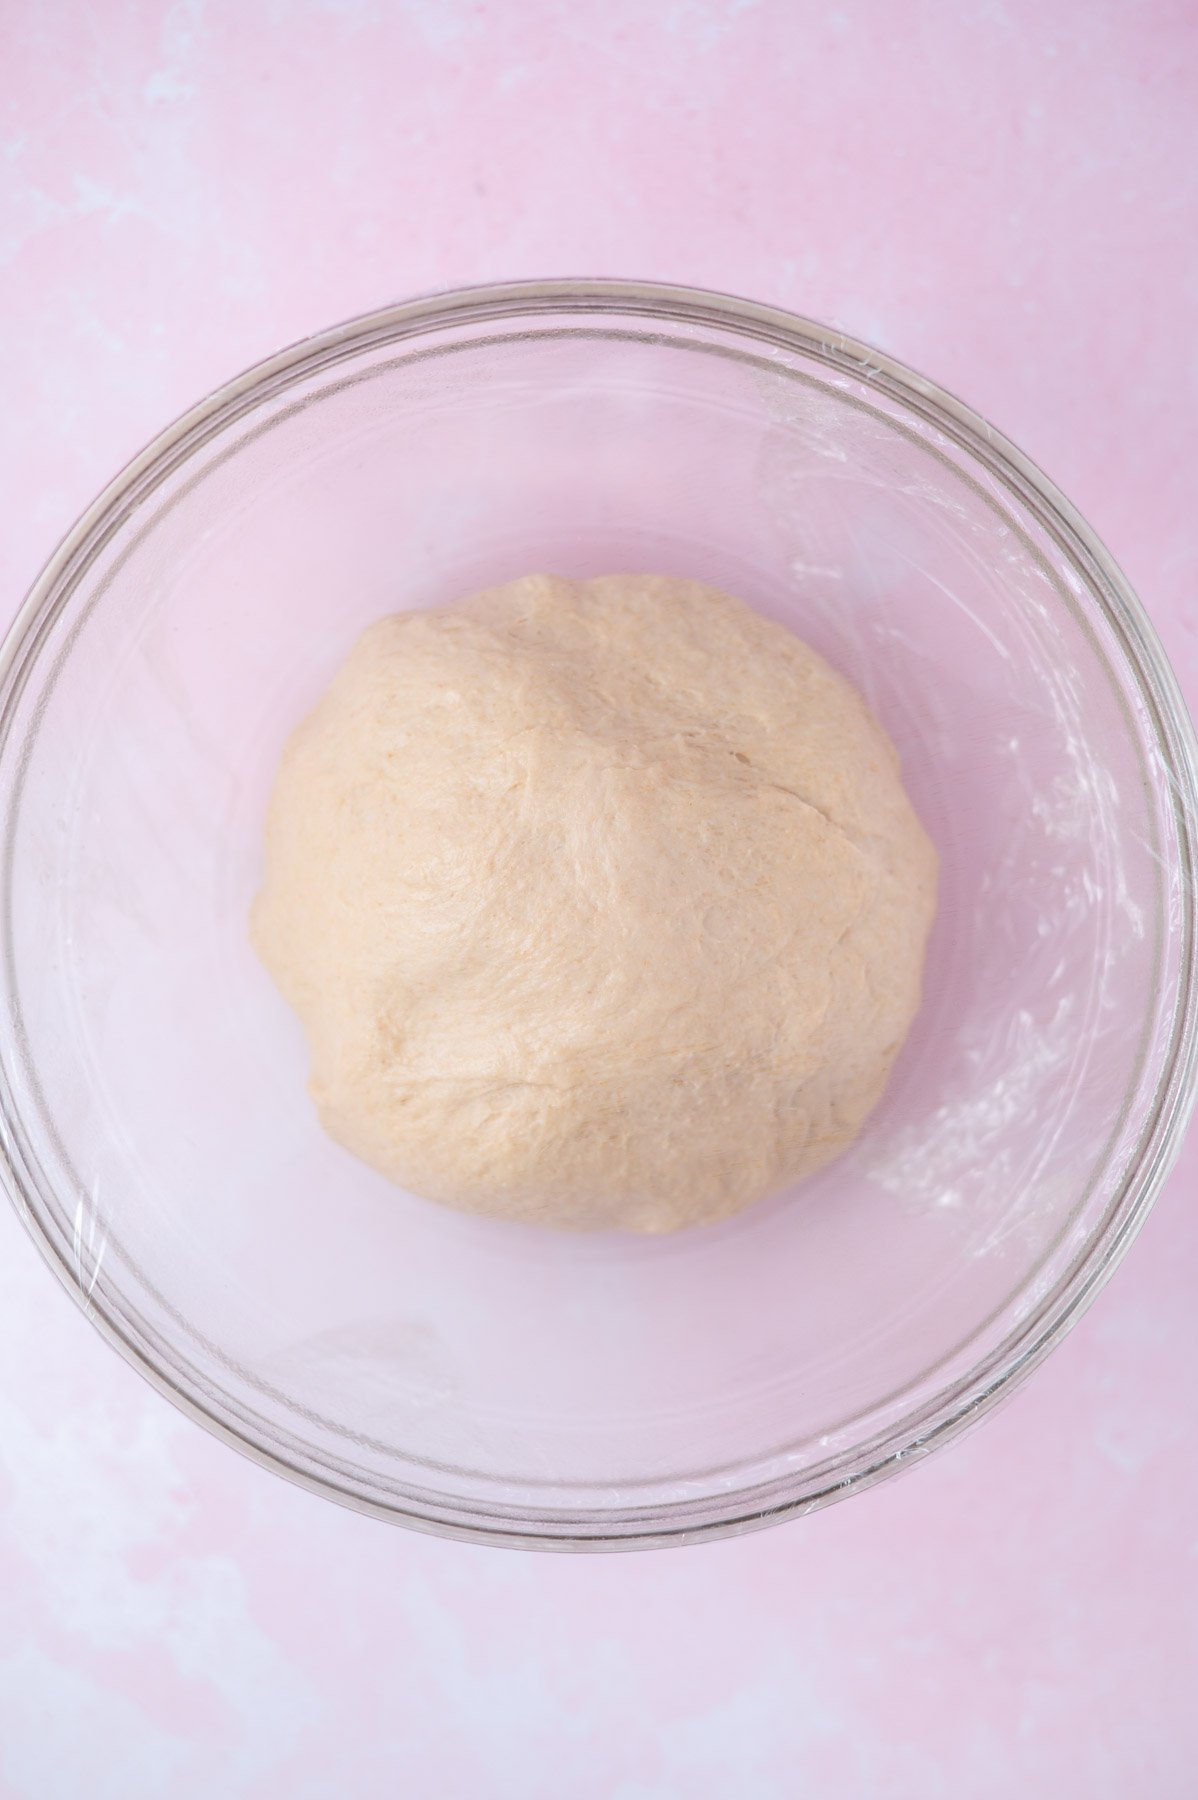
The dough should be soft, smooth and elastic. Grease a large bowl with oil or cooking spray, then place the dough into the bowl turning to coat it with the oil. Cover the bowl with plastic wrap or a tea towel and place in a warm area to rise until doubled in size, about 1 hour.
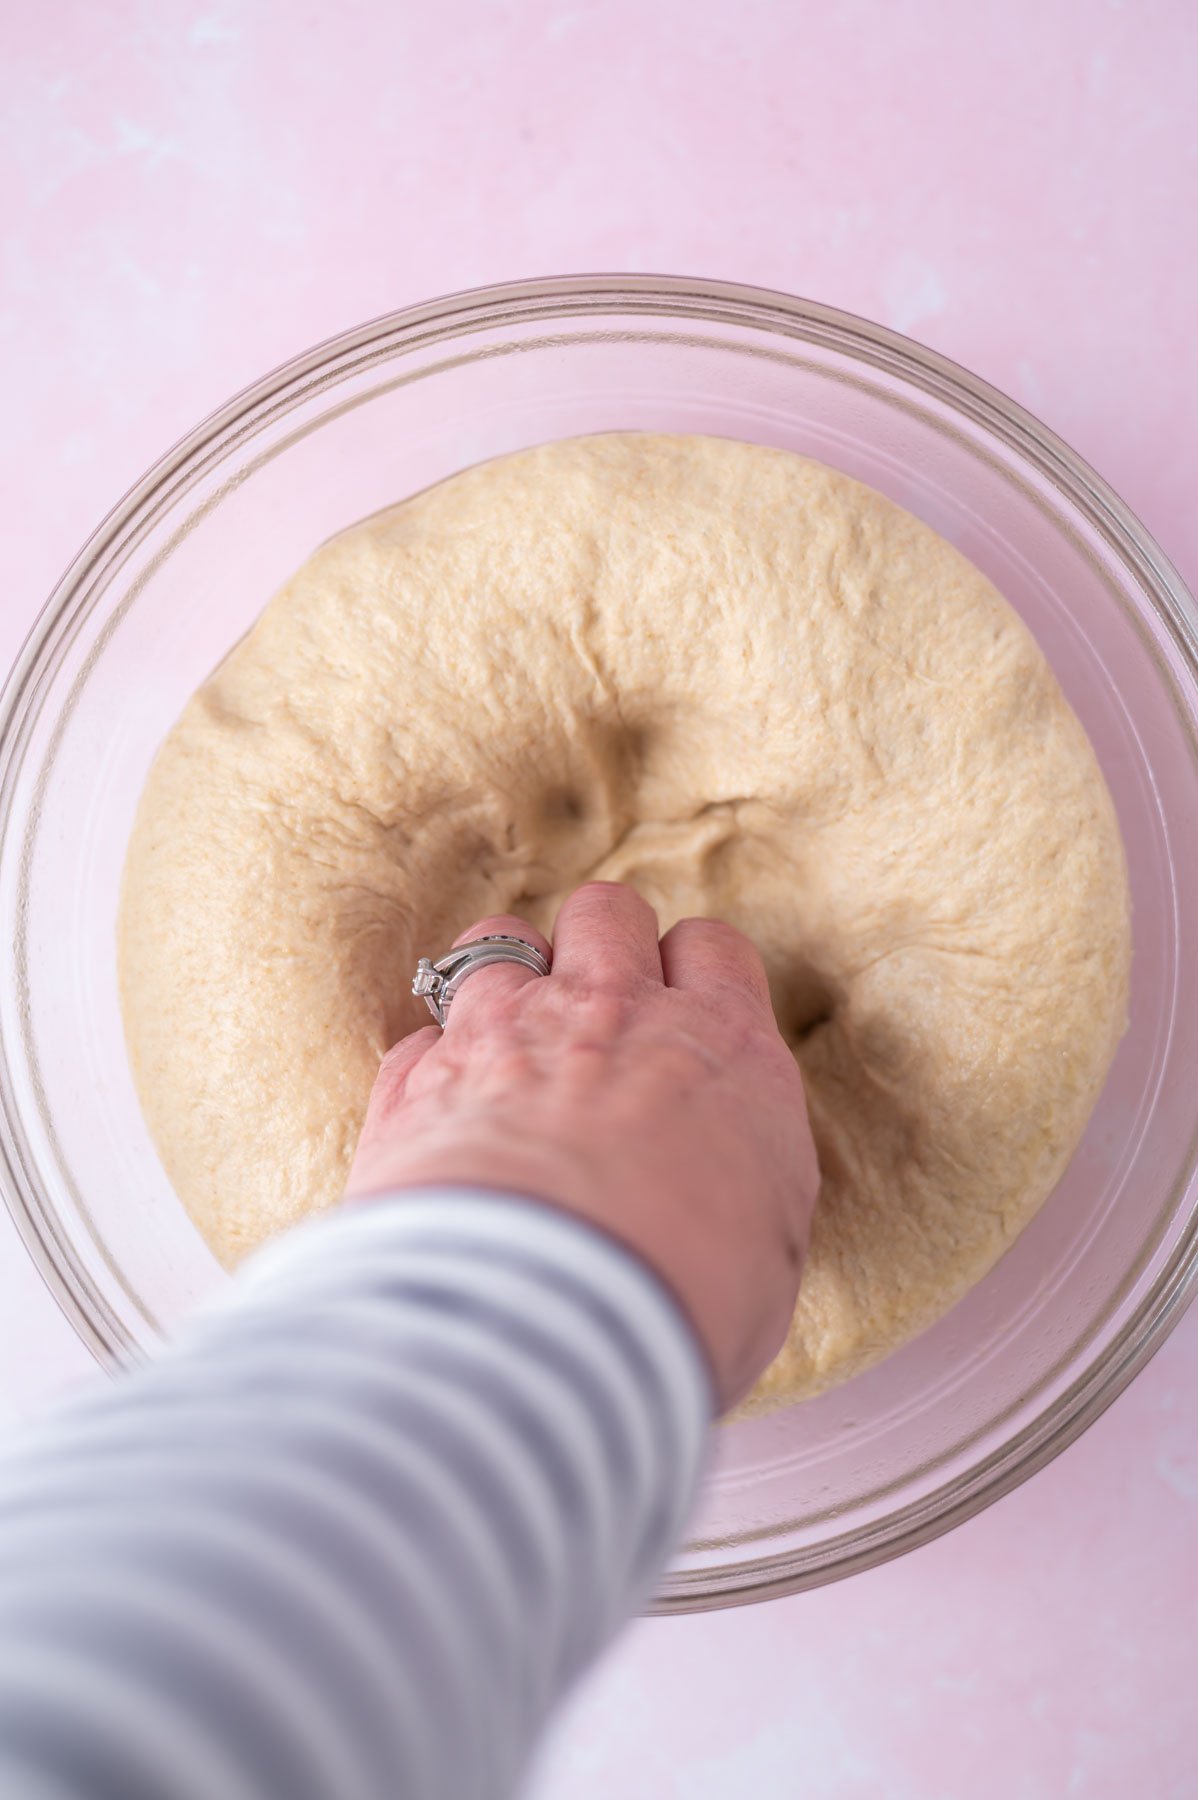
Oil {or use cooking spray} one 9x5 loaf pan. Remove the plastic wrap or tea towel and punch down the bread dough to remove air bubbles.
🥖 how to shape the bread loaf
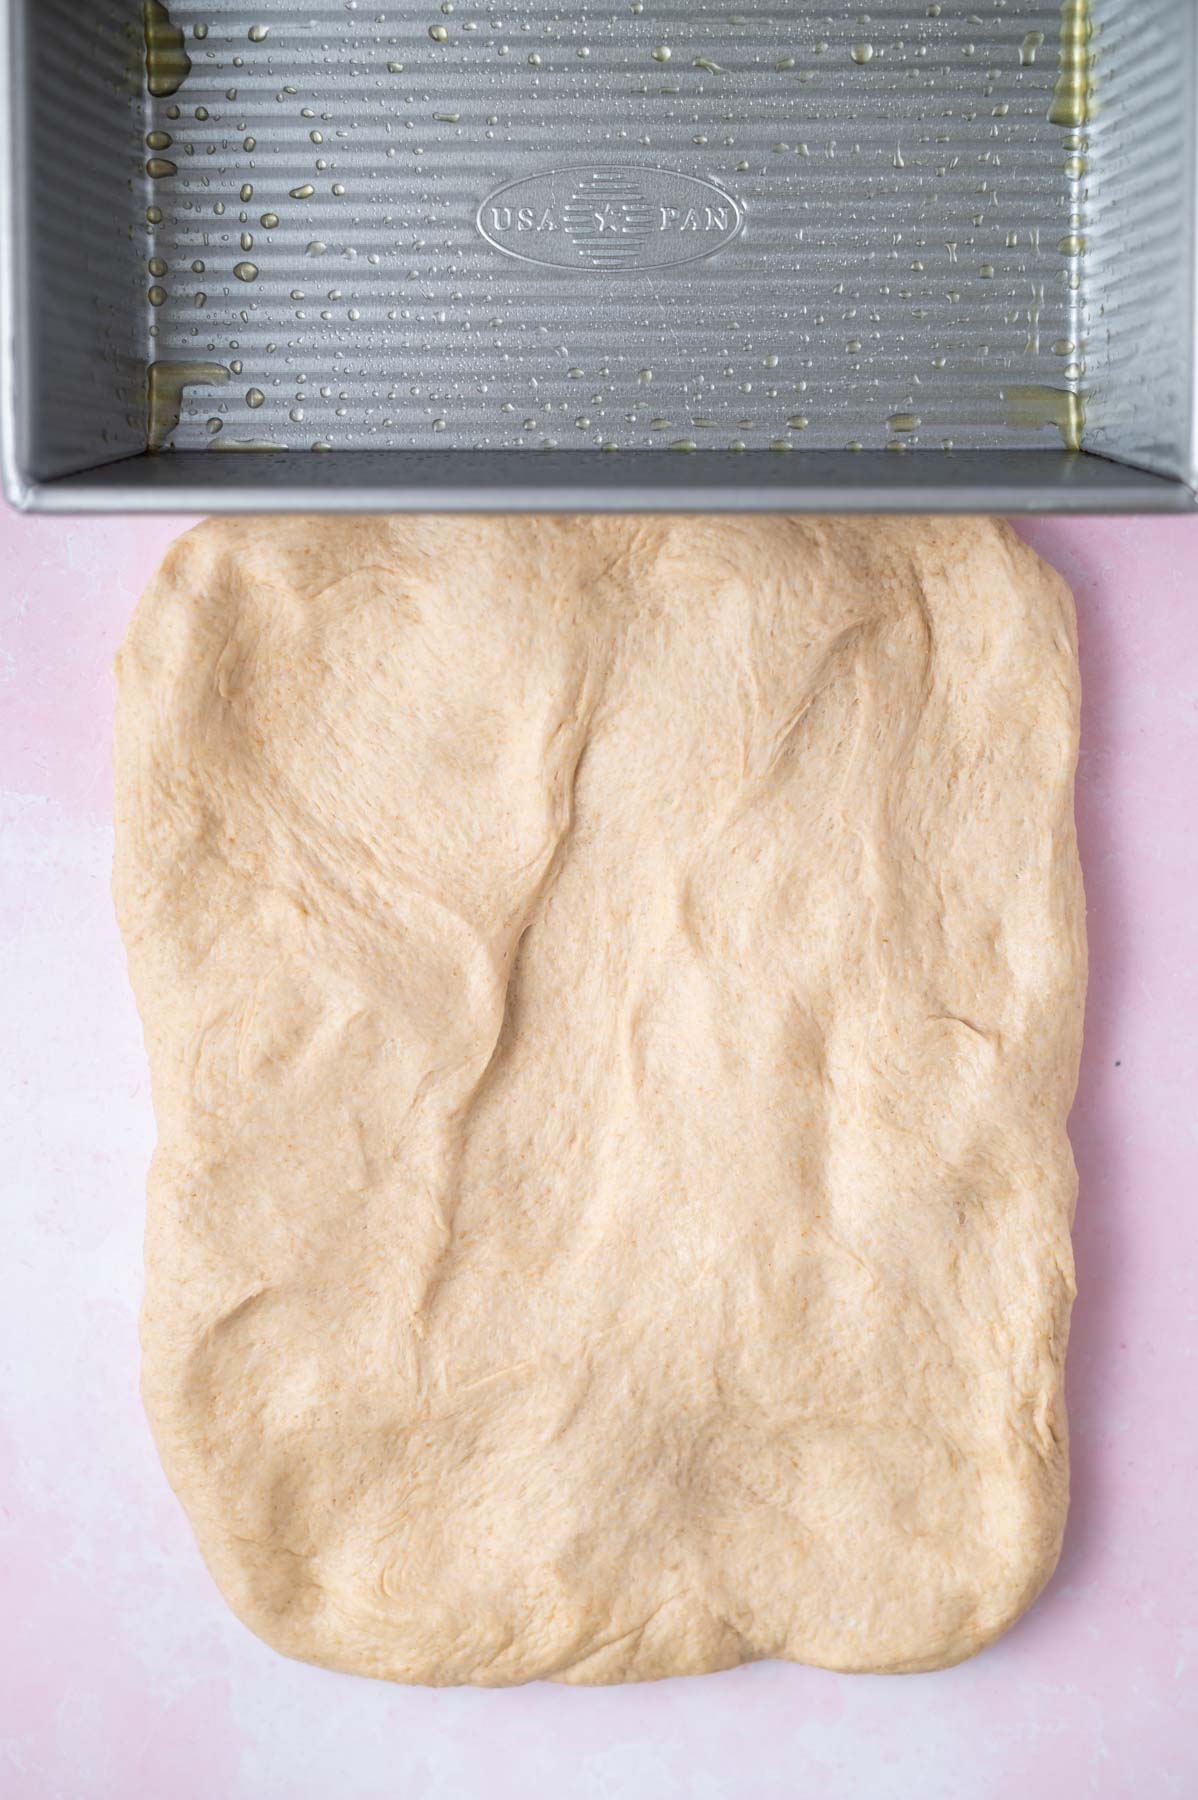
Gently pull the dough into a rectangular shape about the length of the pan and about double the width {it doesn't have to be perfect!}.
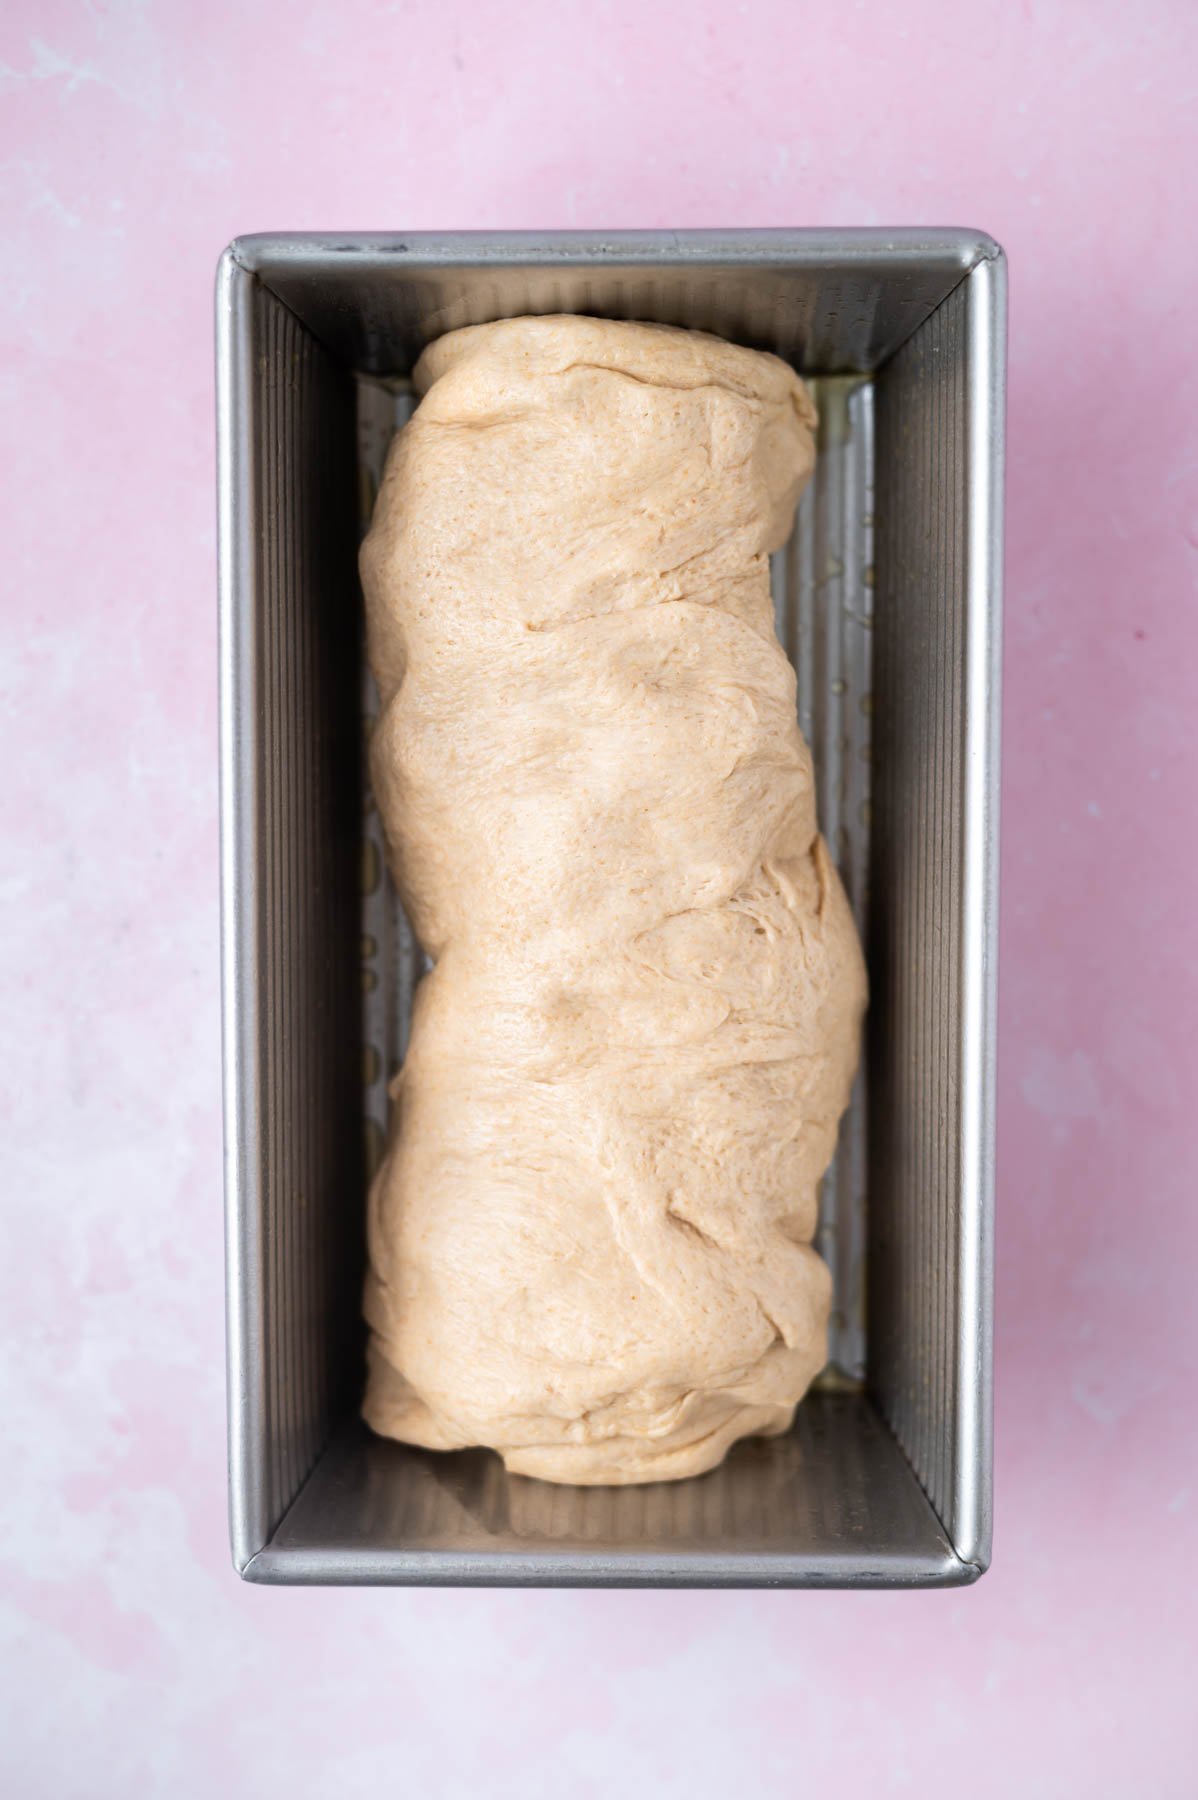
Then lightly roll the rectangle from a short side and place in the oiled loaf pan and lightly cover with plastic wrap or a tea towel and allow to rise in a warm area a second time.
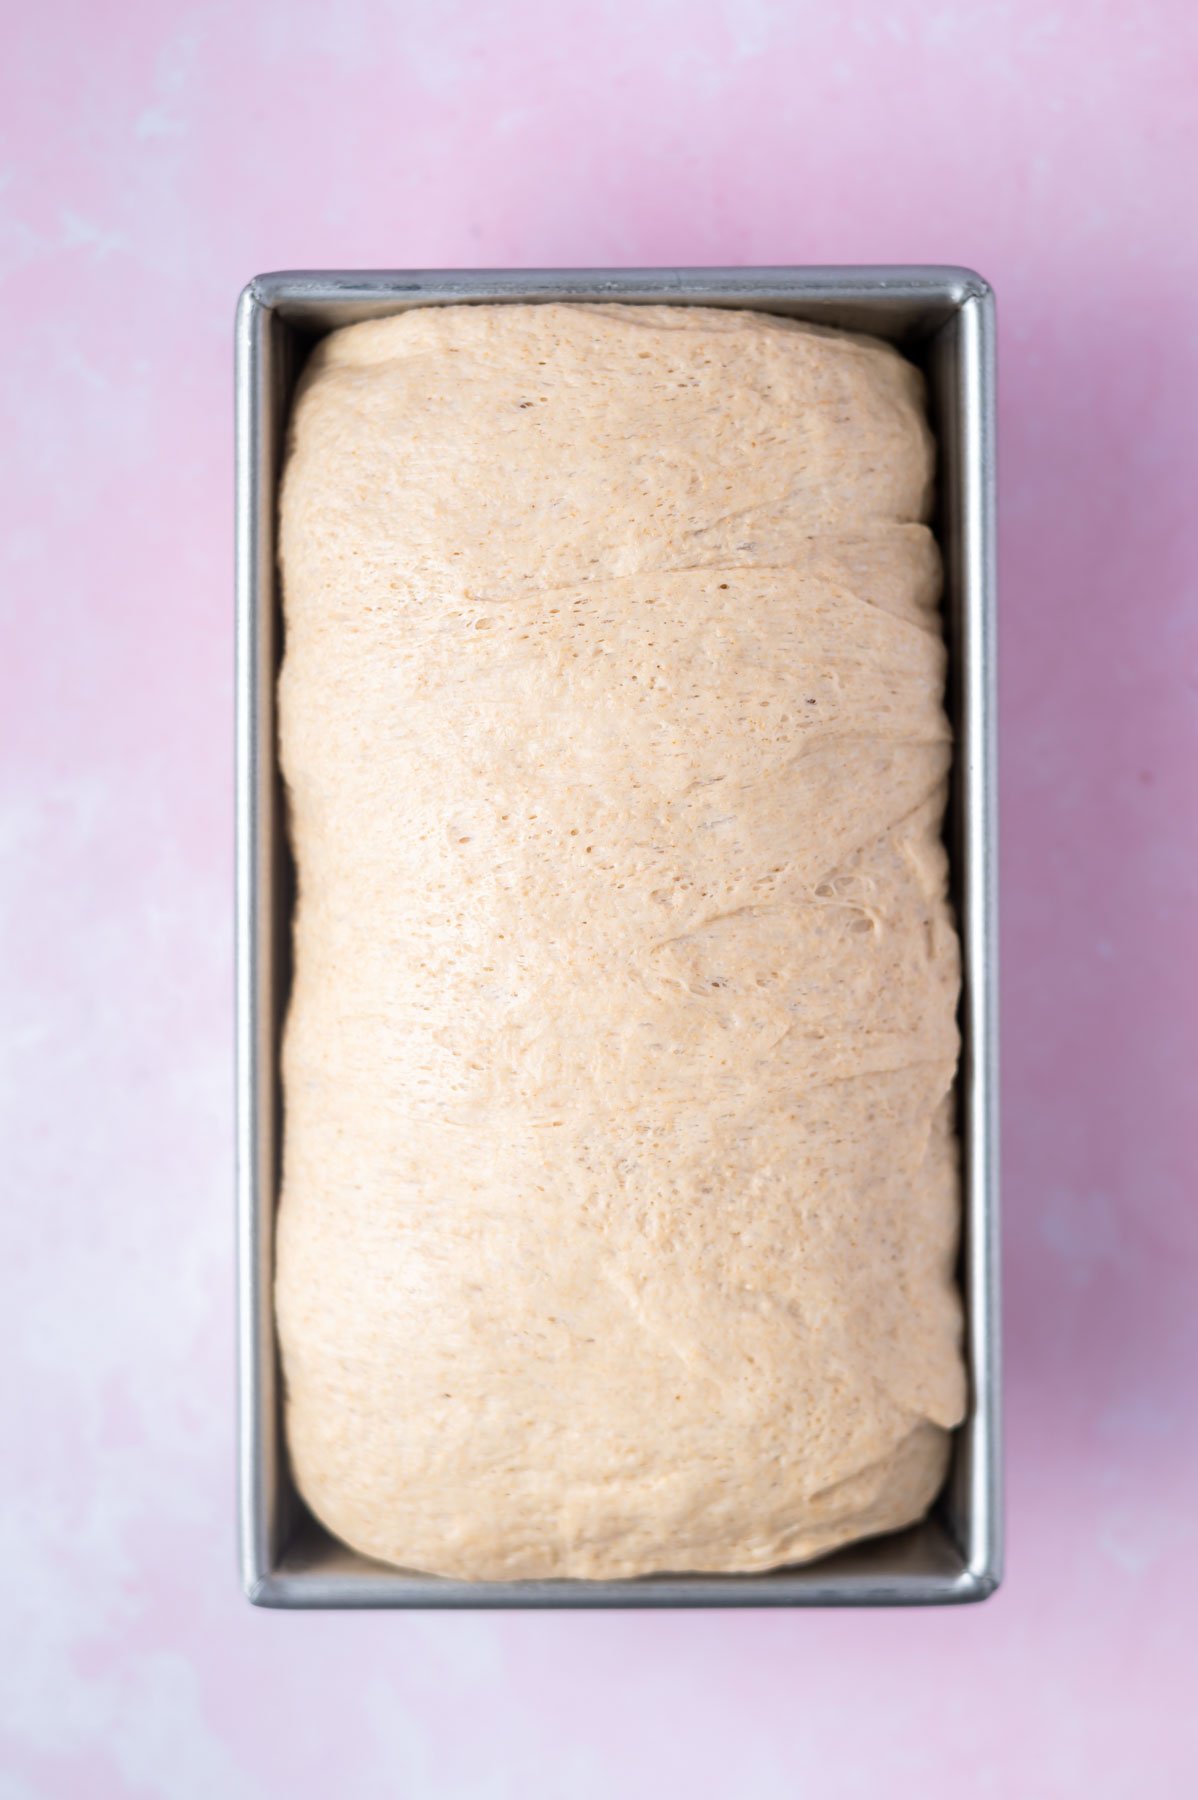
When the sandwich bread has filled the loaf pan and slightly risen over the top of the pan, the second rise is done. Towards the end of the second rise, preheat the oven to 350°F.
Then gently remove the covering from the top of the bread dough. If desired, brush the top of the loaf with an egg white.
Bake for about 30 minutes or until the top is golden brown. If you'd like to test the bread with a thermometer, it should be between 190-200°F. If you give the top of the loaf a gentle tap, it should sound hollow. Carefully remove the bread from the pan and allow to cool on a wire cooling rack before slicing.
👩🏻🍳 tips for making bread with yeast
If your kitchen is cold like mine, you can create a warm spot! I usually create a warm environment in our Breville Smart Oven. A regular oven also works. Preheat the oven to the lowest temperature setting {ideally less than 200°F, you really don't want it warmer than about 90°F in there}. Leave the oven on for 2-3 minutes, then turn off the oven, but leave the door closed. When the dough is ready to rise, place it in the barely warm oven.
Check that your yeast has not expired!
Ideally, you want the water between 100-110°F to activate the yeast. I use my ThermoWorks Thermapen for a quick and easy temperature reading. Using a thermometer is the most accurate way to determine the temperature of your water. Any thermometer that reads between 75°-135°F will work.
If the water is too warm, you run the risk of killing the yeast. If the water is too cold, the yeast won't activate and the bread may rise too slowly or not at all.
For a shiny top on your bread loaf, gently brush the top of the the bread dough with an egg white before baking.
🫙 how to store
The homemade sandwich bread is best eaten within the first 2-3 days after baking. Store it in an airtight bag or bread bag at room temperature for up to five days. Please do not refrigerate it, which will make it go stale more quickly.
This sandwich bread also freezes beautifully. You can freeze the whole loaf or slice it first and then freeze in an airtight bag with as much air squeezed out as possible. Allow to defrost at room temperature before serving.
Remember to snap a picture and tag me on Instagram if you make this Homemade Sandwich Bread. It warms my heart to see you bring these recipes to life! Thank you for being here and happy baking!
If you make this recipe {or any recipe!} from two sugar bugs please come back and leave a review and a ⭐️⭐️⭐️⭐️⭐️ star rating. I read every comment, and I LOVE hearing from you!
📖 recipe
Homemade Sandwich Bread
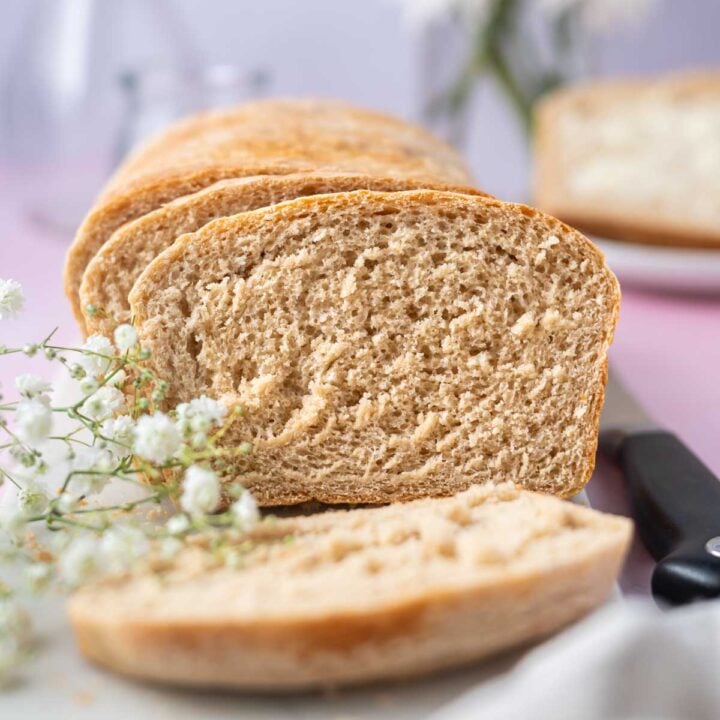
This easy homemade sandwich bread uses whole wheat flour and simple pantry ingredients. It's a perfect old fashioned bread loaf for the best toast and sandwiches.
I highly recommend using weight {metric} measurements when available for more accuracy and the best results.
Ingredients
- 1 cup warm water (100-110°F) (240mL)
- 2 teaspoons active dry yeast (8g)
- 2 tablespoons granulated sugar (25g)
- 1 ½ cups whole wheat flour (180g)
- 1 ¾ cup all-purpose flour (219g)
- 1 tablespoon + 1 teaspoon oil (vegetable or canola)
- 1 teaspoon kosher salt
Instructions
- In the bowl of a stand mixer add the warm water (1 cup/240mL), yeast (2 teaspoons/8g) and 1 teaspoon of the sugar (5g) and give it a little stir. Let the mixture sit for 10 minutes until bubbly and foamy**.
- Once the yeast mixture is foamy, add the remaining sugar (20g), 1 cup of the whole wheat flour (120g), ¾ cup of the all-purpose flour (96g), the oil (1 tablespoon + 1 teaspoon) and the kosher salt (1 teaspoon). Mix on low (speed 2 on KitchenAid mixer) with the bread hook to combine.
- Then scrape the bowl and add the remaining whole wheat flour (½ cup/60g) and all-purpose flour (1 cup/125g) and continue mixing on low until the dough begins to pull away from the sides of the bowl. Stop and scrape the bowl to add in any flour remaining on the bottom of the bowl.
- Now knead the bread by mixing on low for 3-5 minutes. Alternatively, you can knead the dough by hand on a lightly floured surface for 5-10 minutes. The dough should be soft, smooth and elastic.
- Grease a large bowl with oil or cooking spray, then place the dough into the bowl turning to coat it with the oil. Cover the bowl with plastic wrap or a tea towel and place in a warm area to rise until doubled in size, about 1 hour.
- Oil (or use cooking spray) one 9x5 loaf pan. Remove the plastic wrap or tea towel and punch down the bread dough to remove air bubbles. Gently pull the dough into a rectangular shape about the length of the pan and about double the width (it doesn't have to be perfect!).
- Then lightly roll the rectangle from a short side and place in the oiled loaf pan and lightly cover with plastic wrap or a tea towel and allow to rise in a warm area a second time until it has filled the loaf pan and slightly risen over the top of the pan.
- Towards the end of the second rise, preheat the oven to 350°F. Then gently remove the covering from the top of the bread dough. If desired, gently brush the top of the loaf with an egg white.
- Bake for about 30 minutes or until the top is golden brown. If you'd like to test the bread with a thermometer, it should be between 190-200°F. If you give the top of the loaf a gentle tap, it should sound hollow.
- Carefully remove the bread from the pan and allow to cool on a wire cooling rack before slicing.
Notes
* The number of slices will depend on how thick you slice them.
** If the yeast doesn't get bubby and foamy, it's not active and you need to start over with fresh yeast. If you prefer to use instant or rapid rise yeast, skip the proofing of the dough in step one and add the yeast with the flours in step two. Use on 7g package of instant/rapid rise yeast.
If you prefer to use only all-purpose flour, use 3 cups + 3 tablespoons/398g
This homemade sandwich bread is best eaten within the first 2-3 days after baking, though you can store it in an airtight bag or bread bag at room temperature for up to five days. Please do not refrigerate it. Refrigeration will make it go stale more quickly.
This sandwich bread also freezes beautifully. You can freeze the whole loaf or slice it first and then freeze in an airtight bag with as much air squeezed out as possible. Allow to defrost at room temperature before serving.
Nutrition Information:
Yield:
16Serving Size:
1Amount Per Serving: Calories: 98Total Fat: 1gSaturated Fat: 0gTrans Fat: 0gUnsaturated Fat: 1gCholesterol: 0mgSodium: 80mgCarbohydrates: 20gFiber: 2gSugar: 2gProtein: 3g
The nutrition information is based on third-party calculations, is an estimate only and may not be entirely accurate. Actual nutritional values will vary based on brands used and portion sizes.


Please take a moment to leave a comment, review or ask a question.