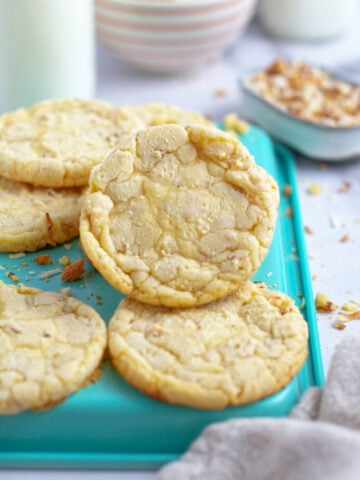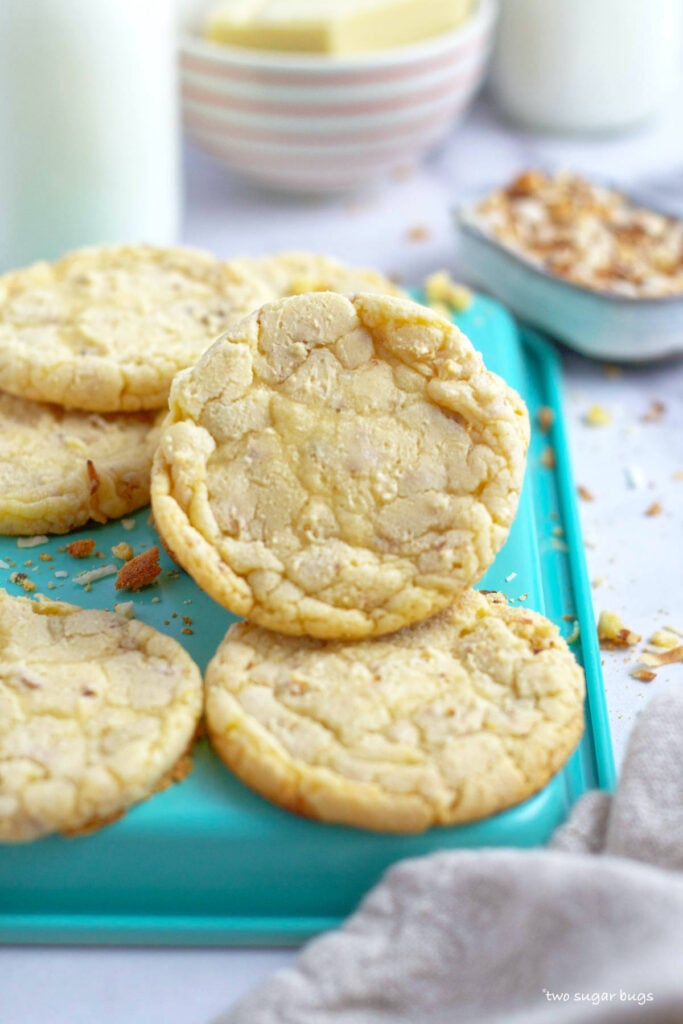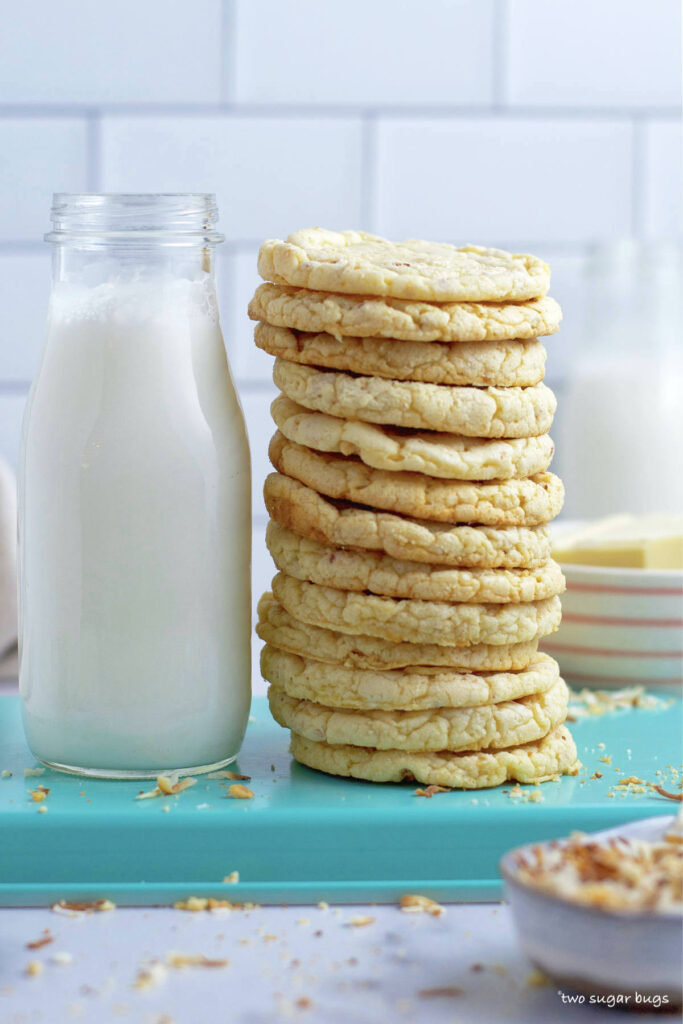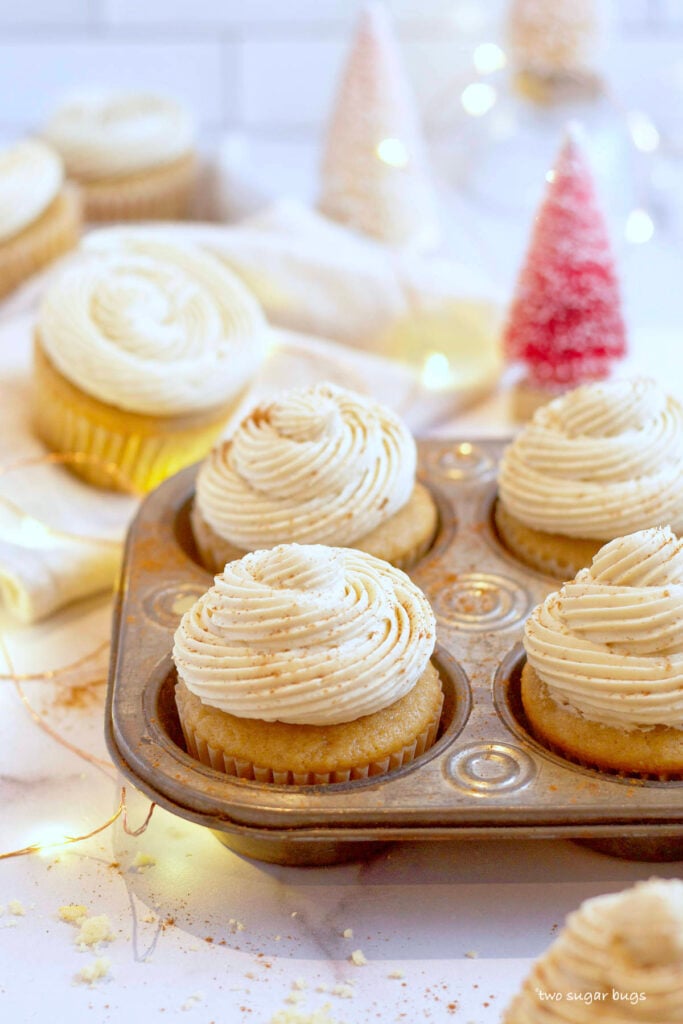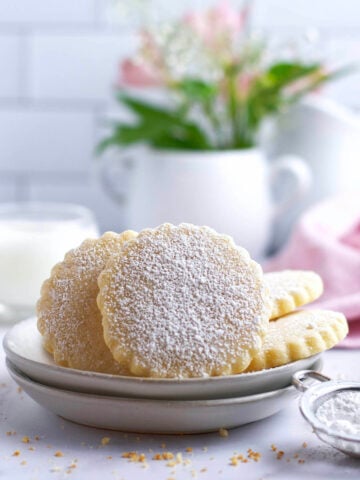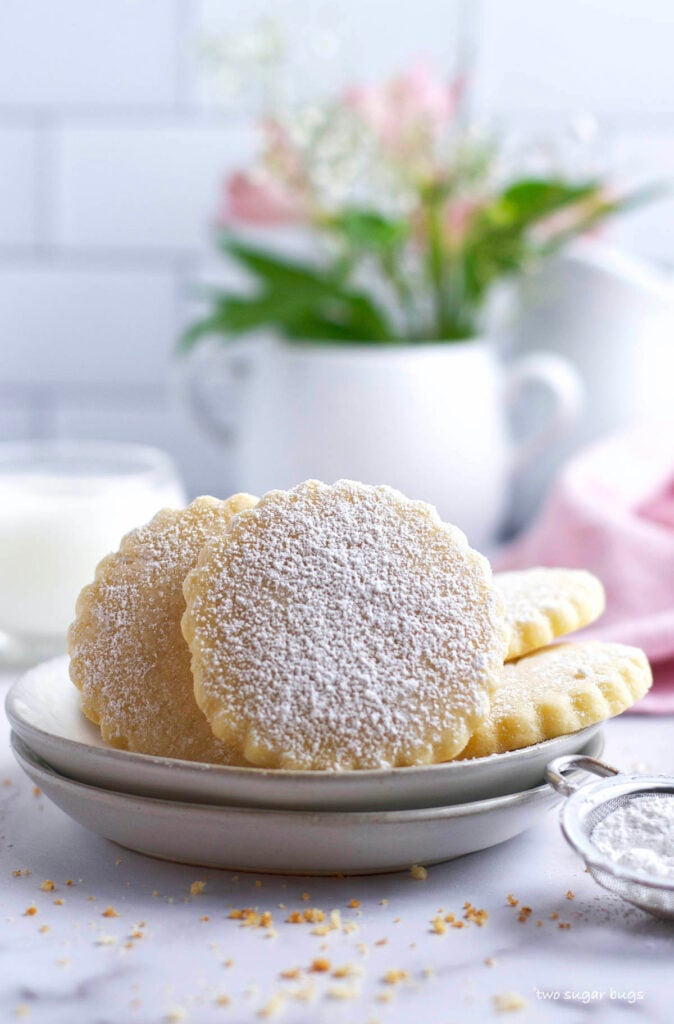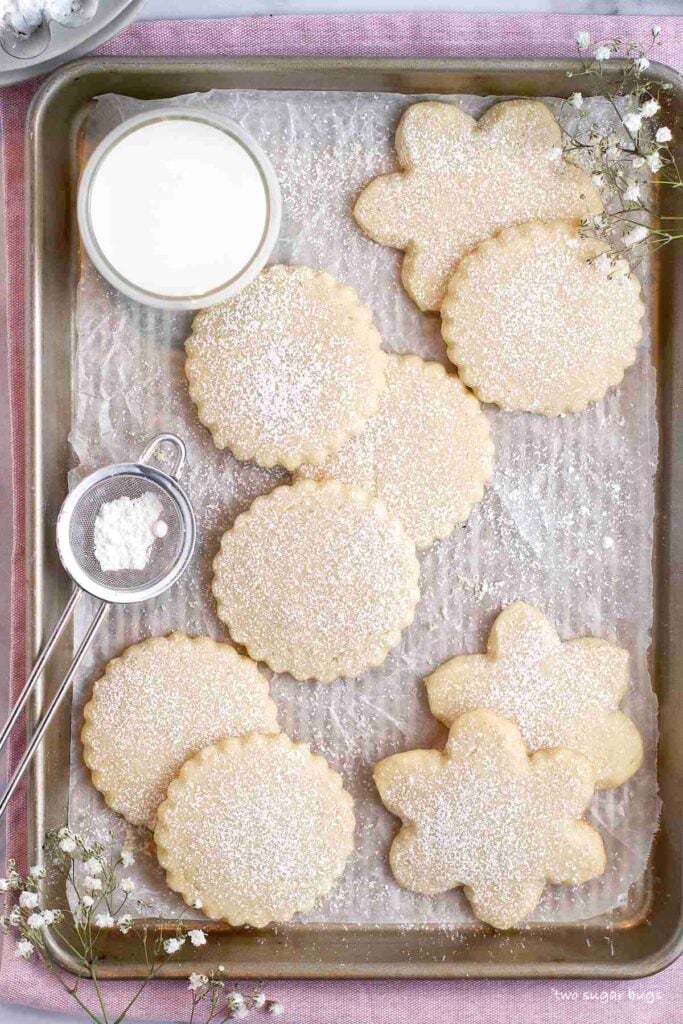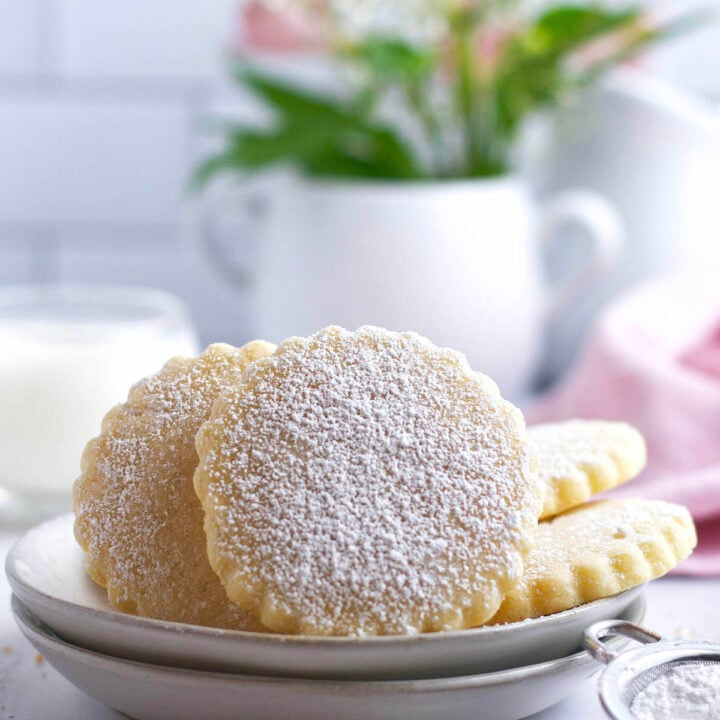
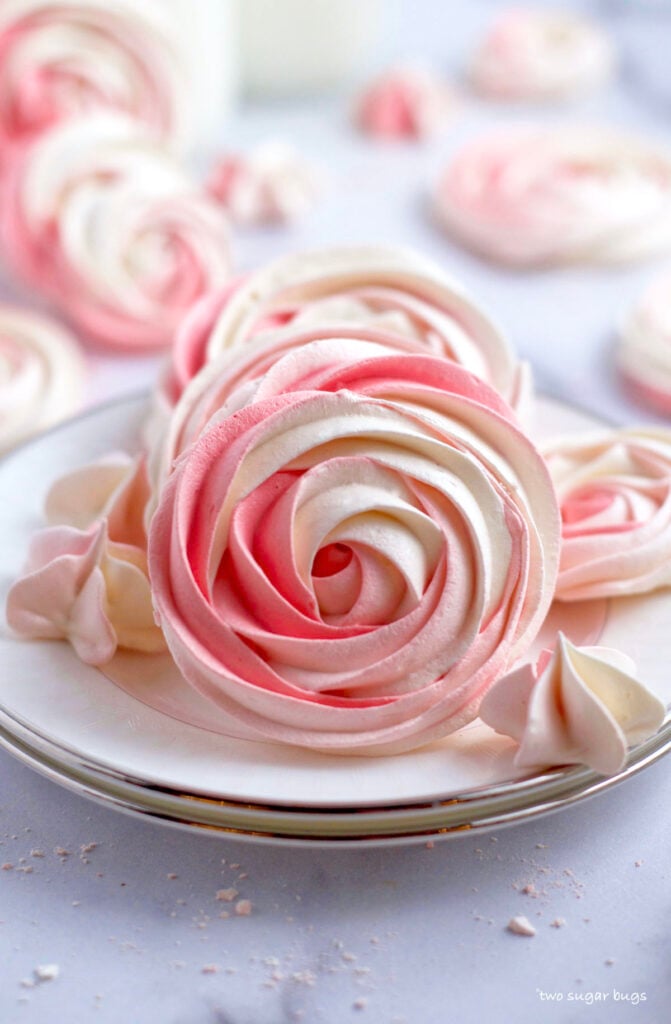
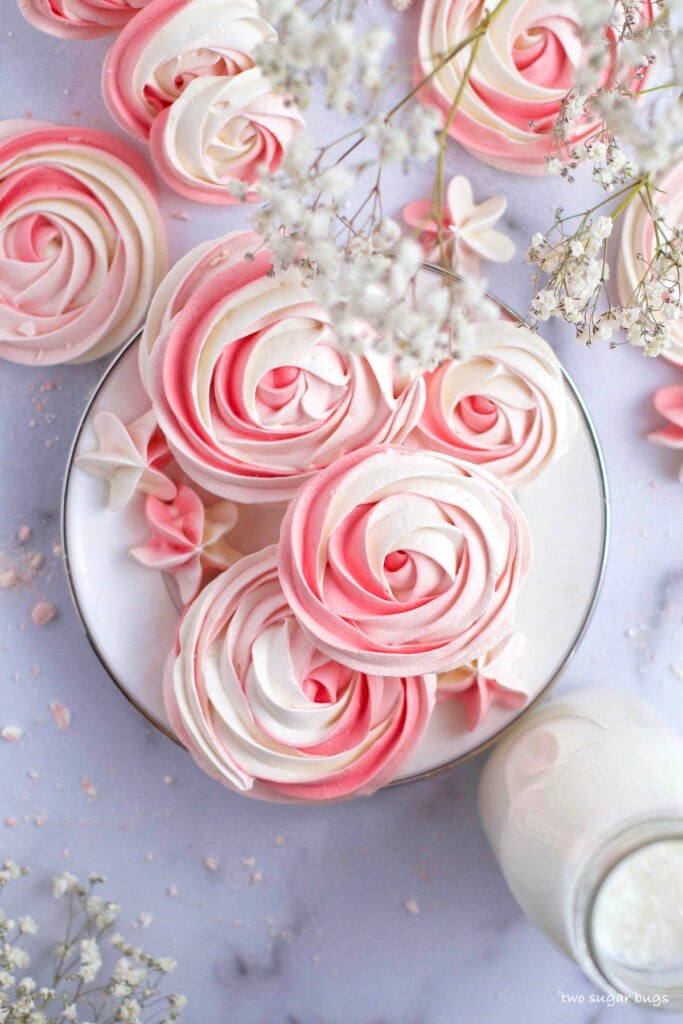
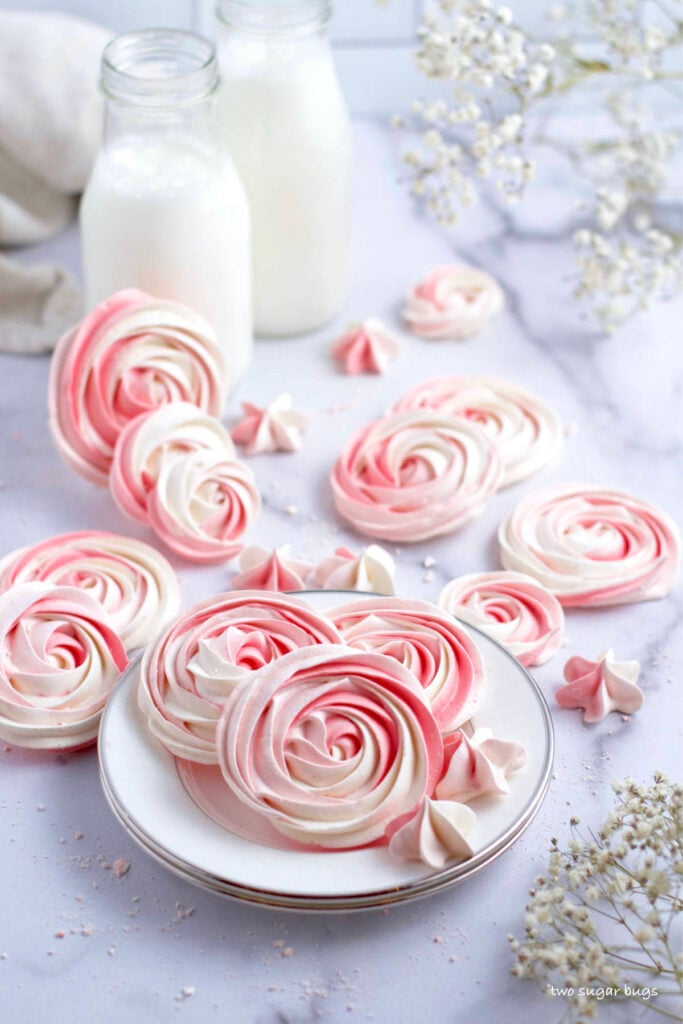
Meringue cookies are light, airy, crisp and quick and easy to make! This cookie recipe comes together with only 4 ingredients {without cream of tartar!} to create a delicate, soft, yet crunchy melt-in-your-mouth dessert. Perfect for any holiday or celebration or just because!
Disclosure | This post may contain affiliate links. As an Amazon Associate I earn from qualifying purchases.
Meringue cookies are requested very frequently at my house. I am lucky if a batch lasts longer than 24 hours! I've made hundreds {if not thousands} of meringues and used many different versions before settling on the best version that I am sharing here.
You likely have all the ingredients you need for this Swiss meringue version in your kitchen right now. So what are you waiting for? Let's make this classic cookie!
can I really make meringue without cream of tartar?
Yes! You can! This meringue cookie recipe is made without cream of tartar as an ingredient. Typically cream of tartar is added to help stabilize the egg whites to ensure they will whip into a glossy and thick meringue. But, I find the addition of it makes my teeth hurt when I eat them. Cream of tartar has a tinny or metallic taste, which is perfect for snickerdoodle cookies, but not what we want in a light and airy meringue!
why you will love these meringue cookies
- They only have four very common ingredients!
- The cookies are quick and easy to make.
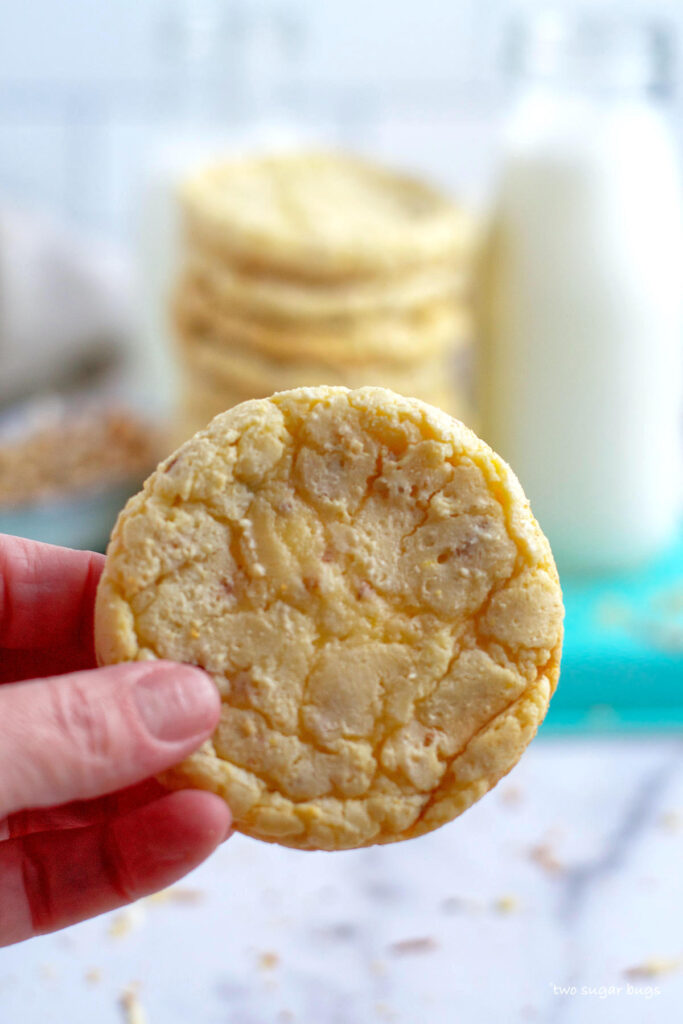
- The texture is light and airy, yet soft and crisp.
- They are a dairy free cookie and are lower in calories than a traditional cookie.
- You can customize them to any holiday; Valentine's Day, Easter, Christmas and birthdays.
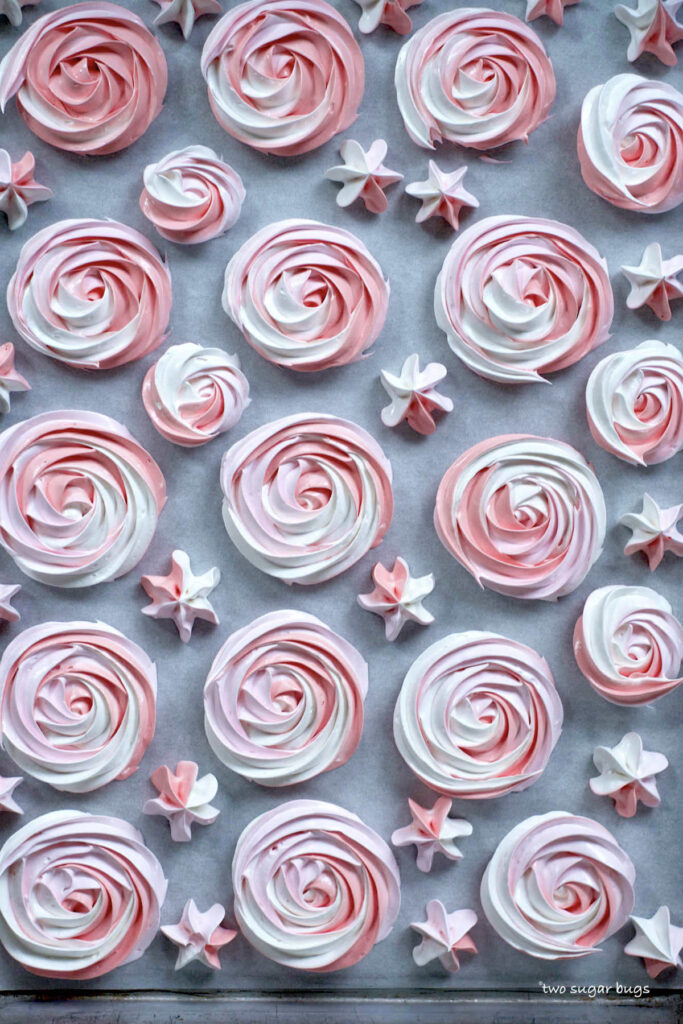
- Make them whatever size and shape you desire. I do rosettes, "kisses", stars, Christmas trees, and sometimes bake them on a stick for birthday favors. Add sprinkles before baking, if desired.
- This recipe is for vanilla, but peppermint and almond are also delicious.
- Big E says, "They are the BEST cookie you will ever eat"!
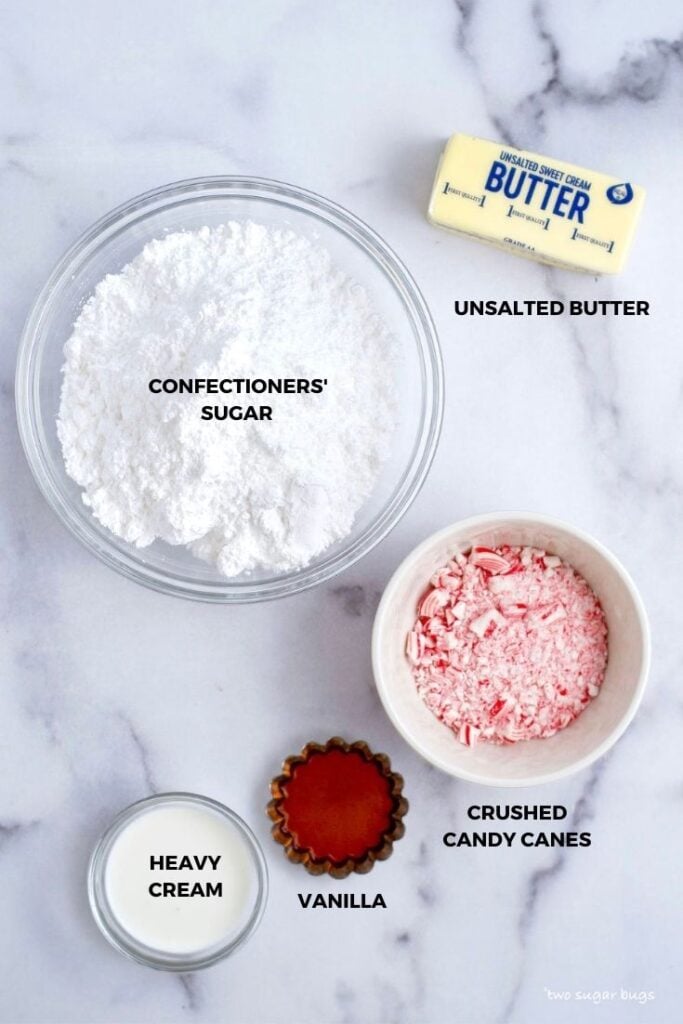
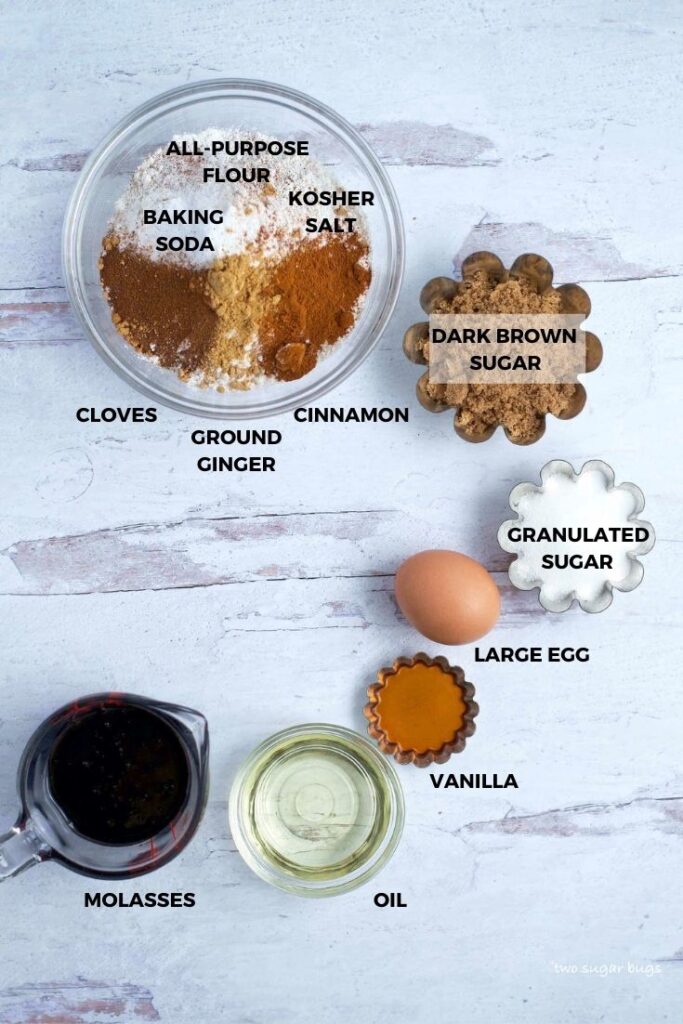
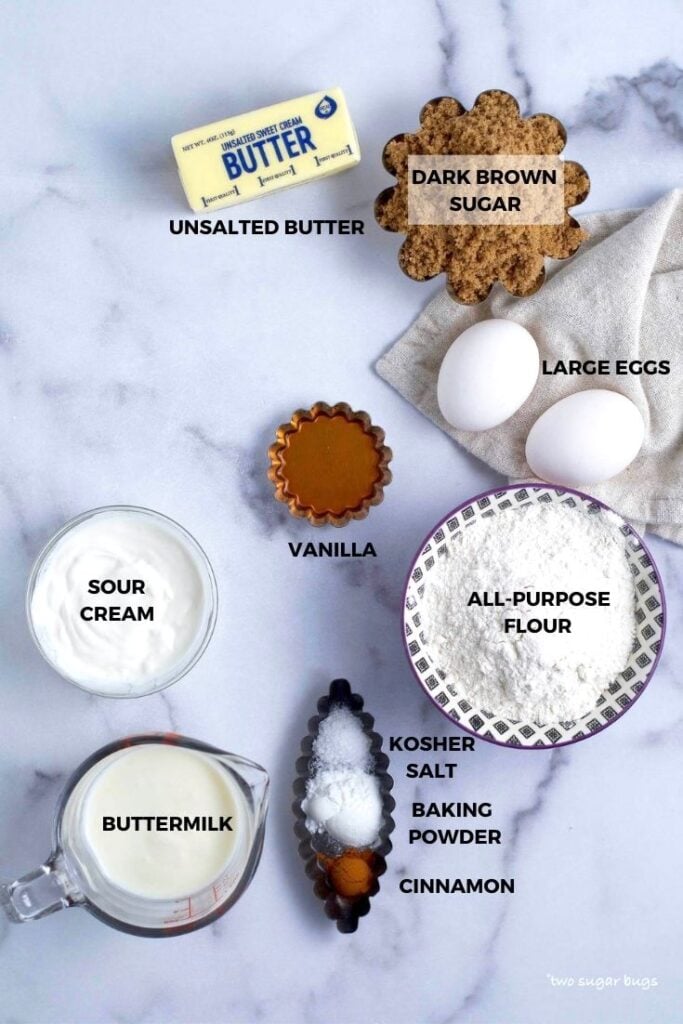
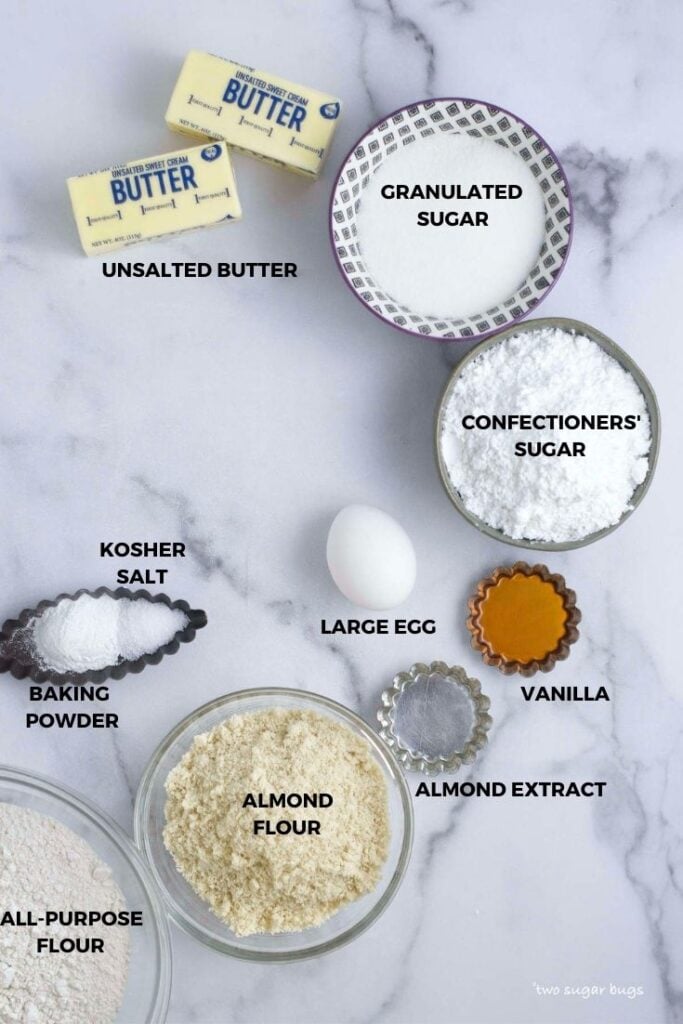
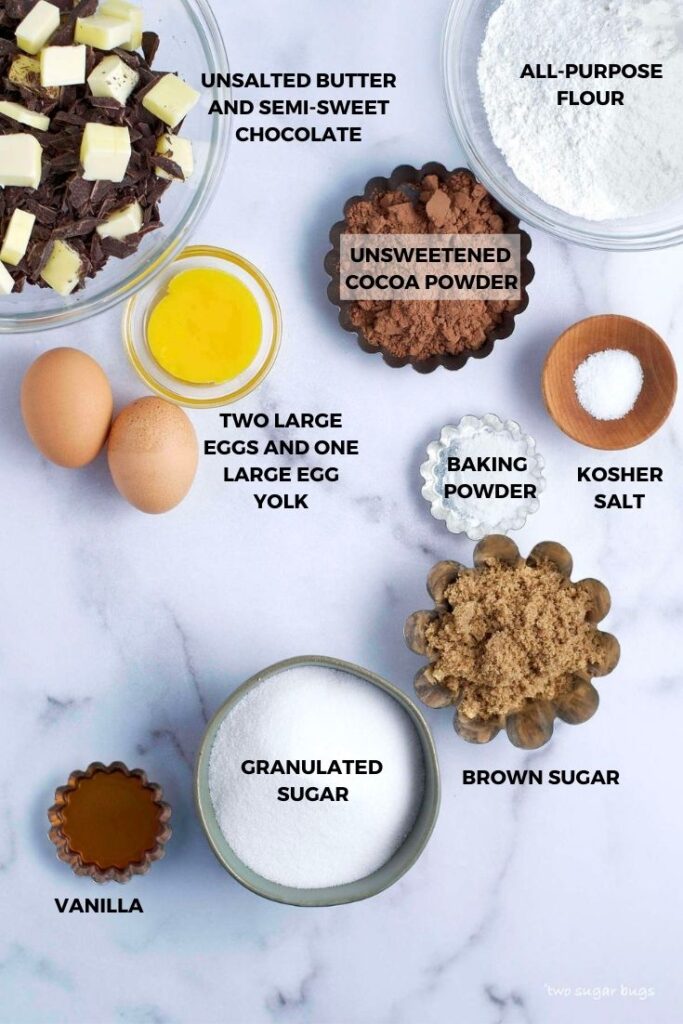
ingredients needed for swiss meringue
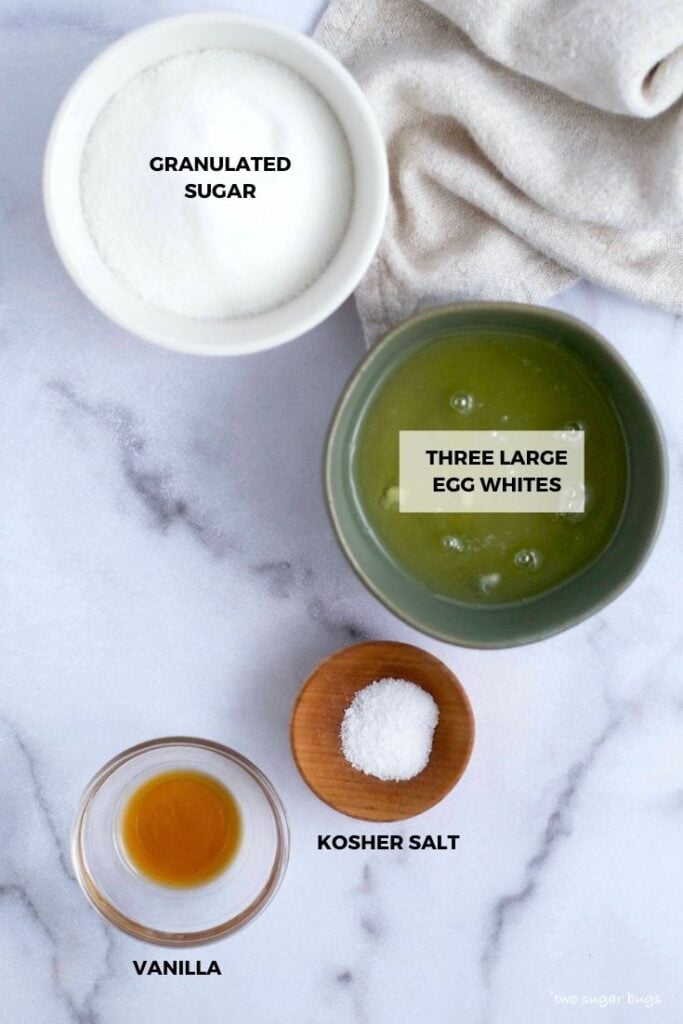
- Granulated sugar ~ use your favorite brand. It gets dissolved in the egg whites over heat, then whipped to a glossy meringue.
- Large egg whites ~ use fresh eggs, not egg whites from a carton. Eggs separate easier when they are cold. I recommend separating each egg into a small bowl before adding it to the mixing bowl. This way you won't contaminate the whole batch if you get a little yolk into one of the egg whites. Make a batch of our favorite pasta carbonara with the yolks.
- Kosher salt ~ just a little to balance the cookies. If you don't have kosher, use half the amount of table salt.
- Vanilla ~ brings a classic flavor to the finished meringue. I've also made them with almond or peppermint extract; if substituting these flavors I would start with a half teaspoon of vanilla and ¼ - ½ teaspoon of the other flavor and adjust to your own taste.

how to make these light and airy cookies
Grease is meringue's biggest enemy! To help ensure your success with this cookie recipe, I highly recommend wiping down all your tools prior to beginning.
I use white vinegar {lemon juice also works} and wipe down the mixing bowl, any whisks being used and any measuring tools. Plastic tools are not recommended as they can hold onto residual grease.
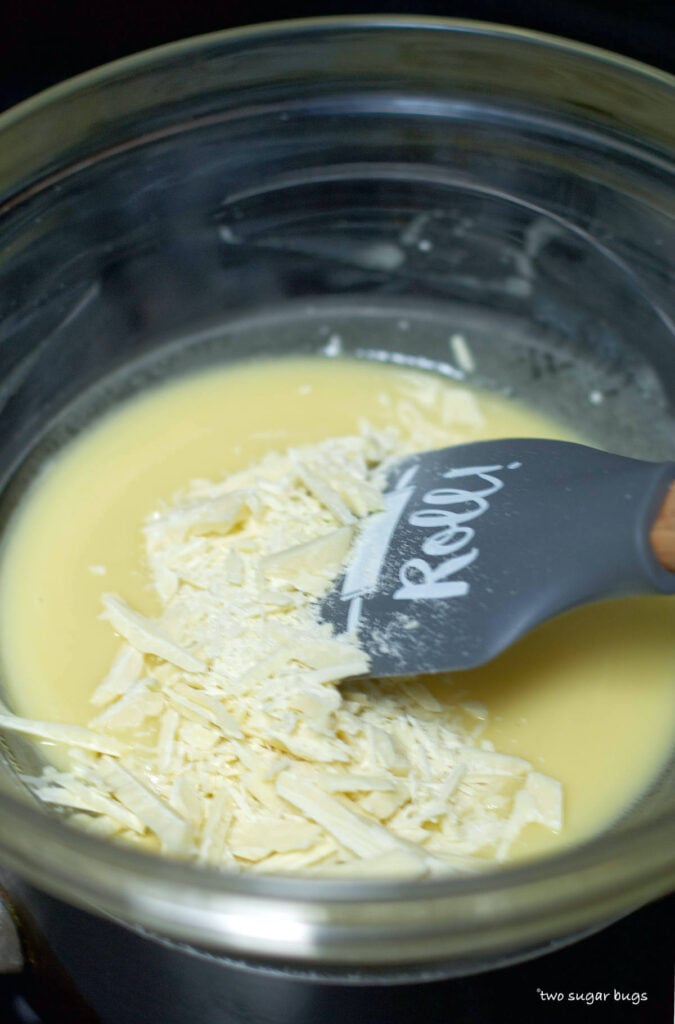
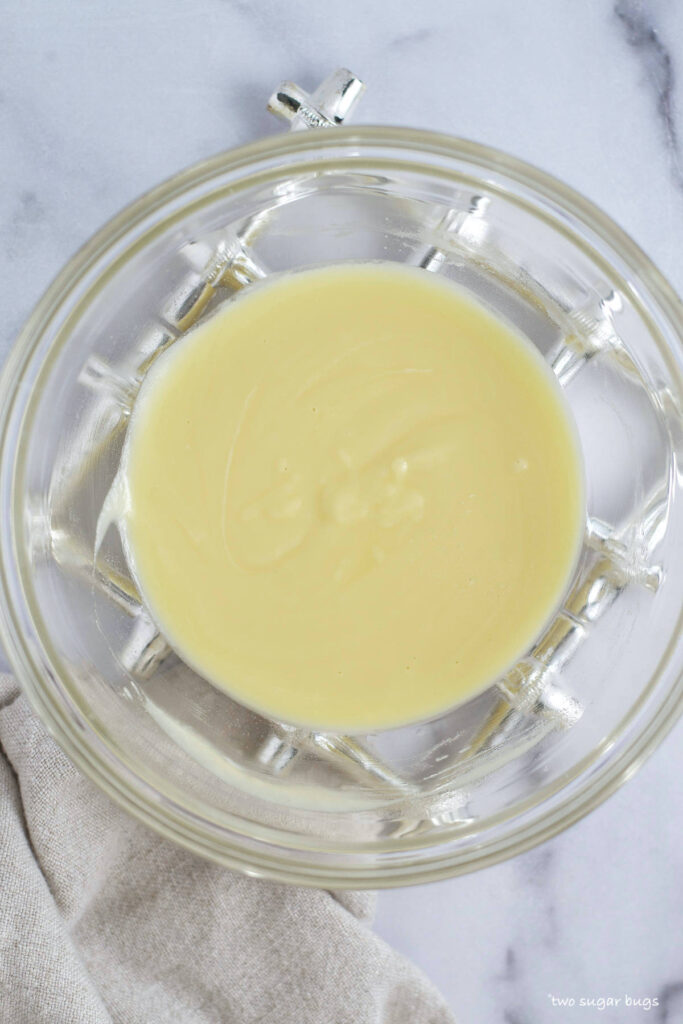
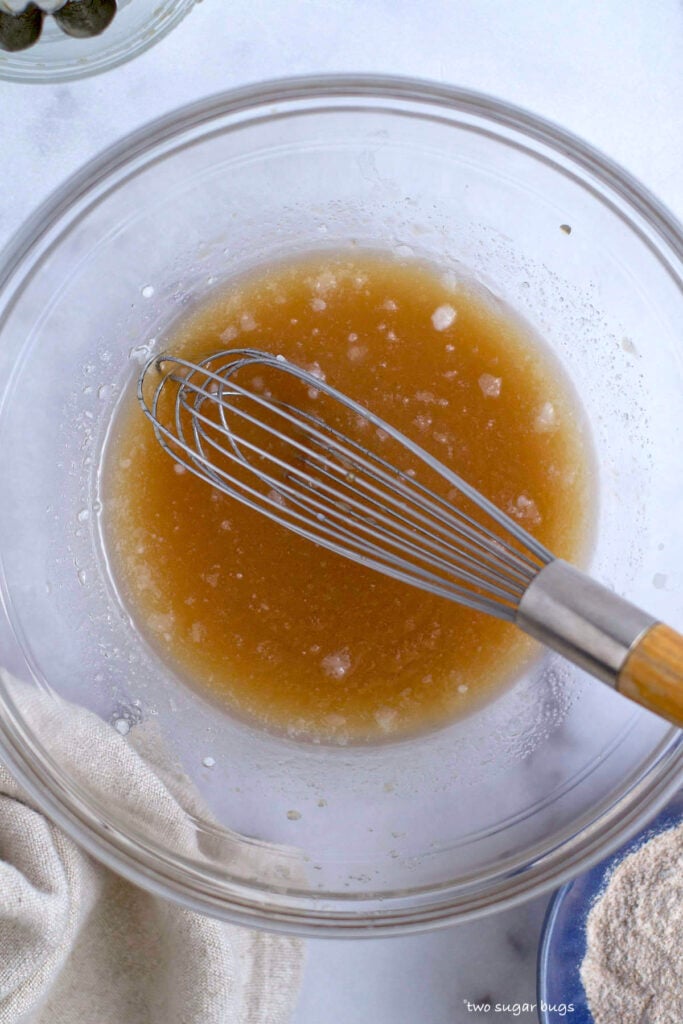
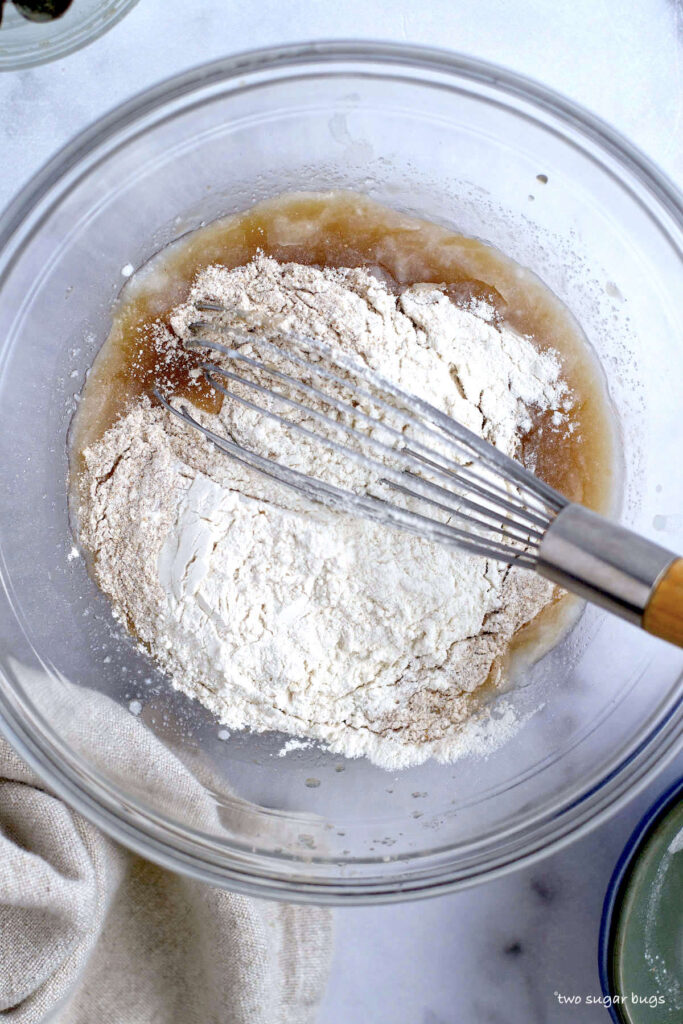
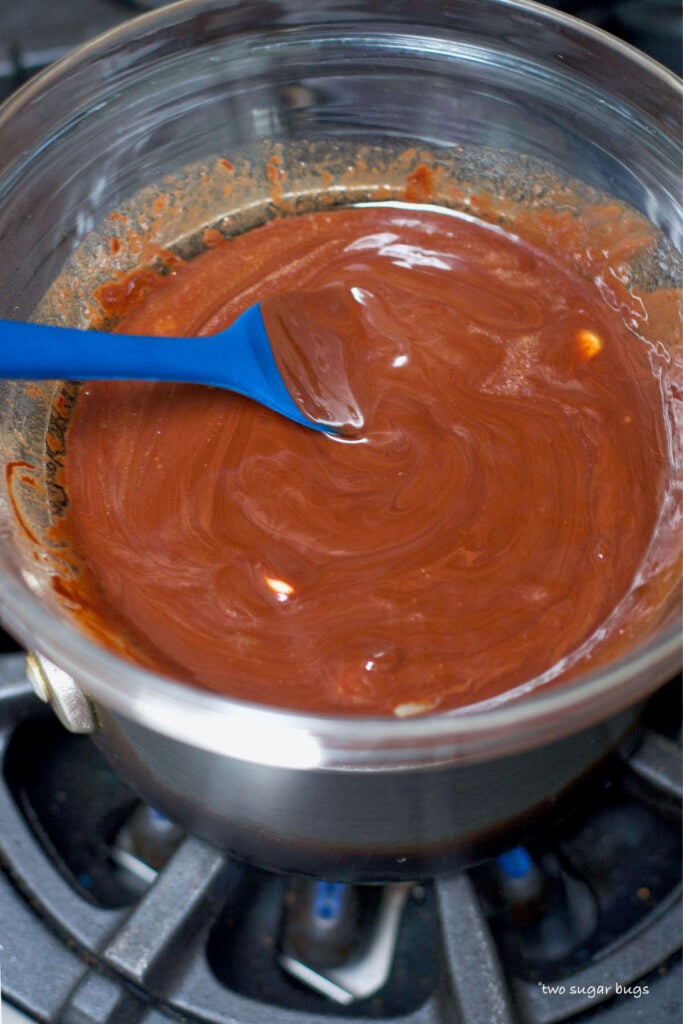
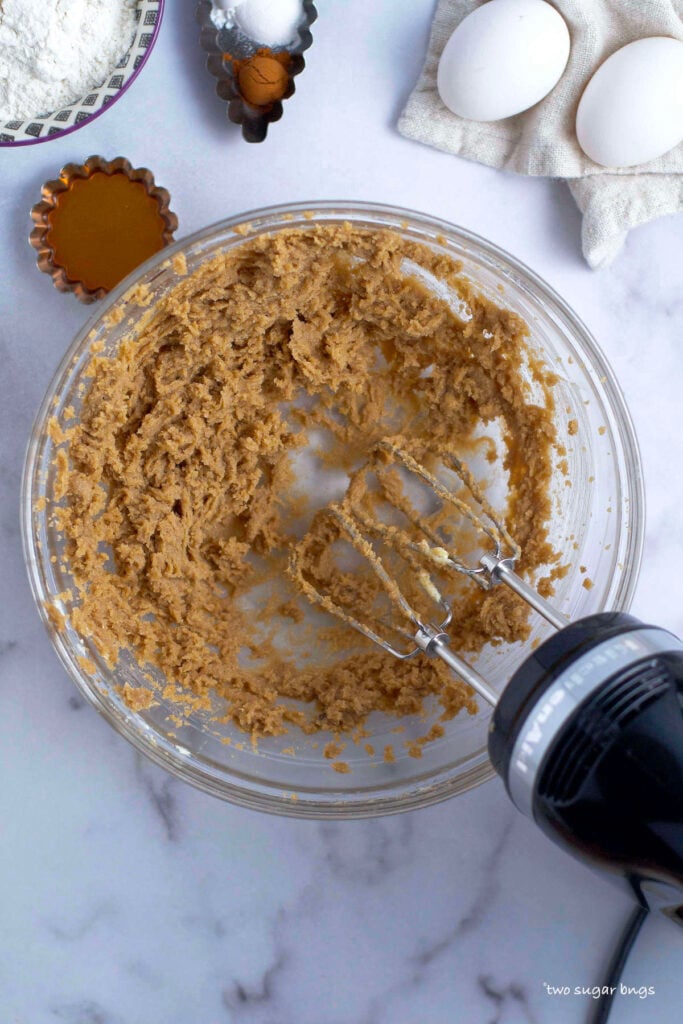
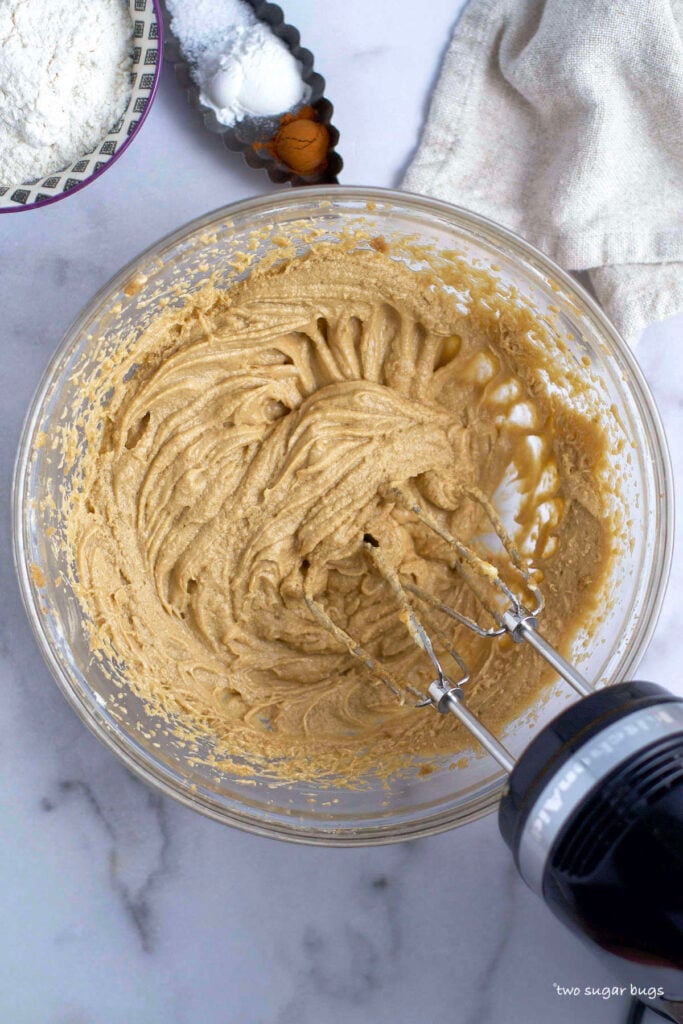
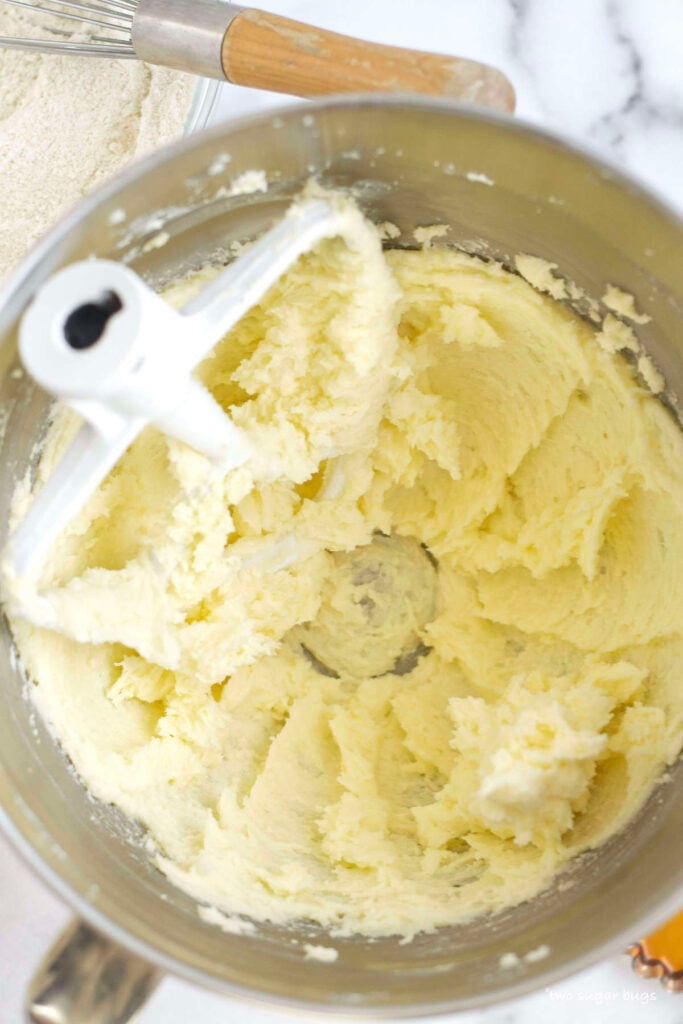
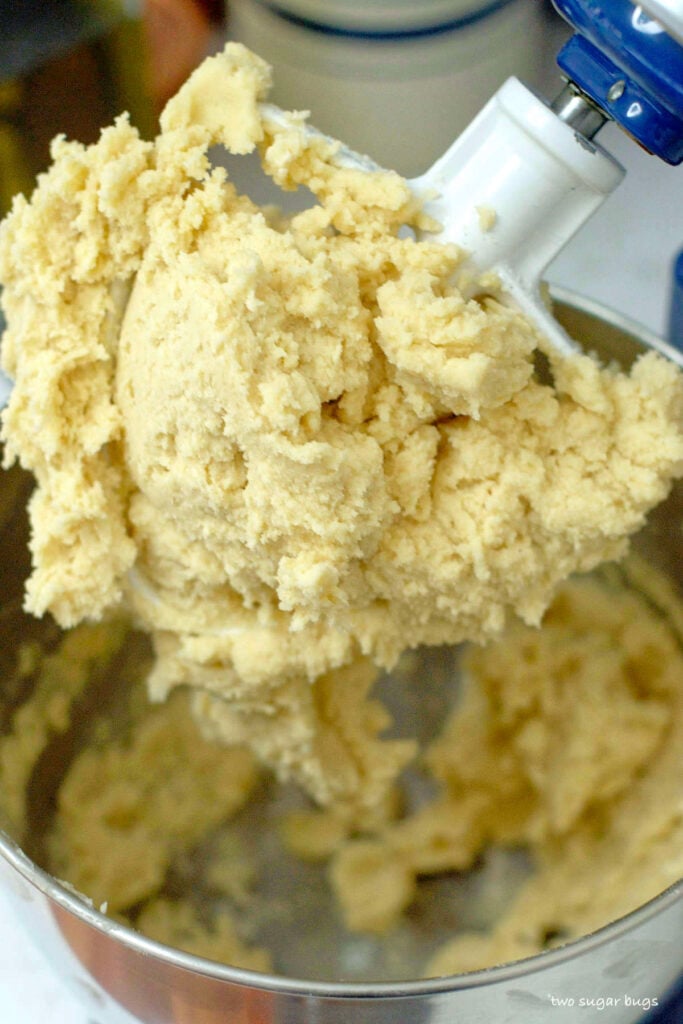
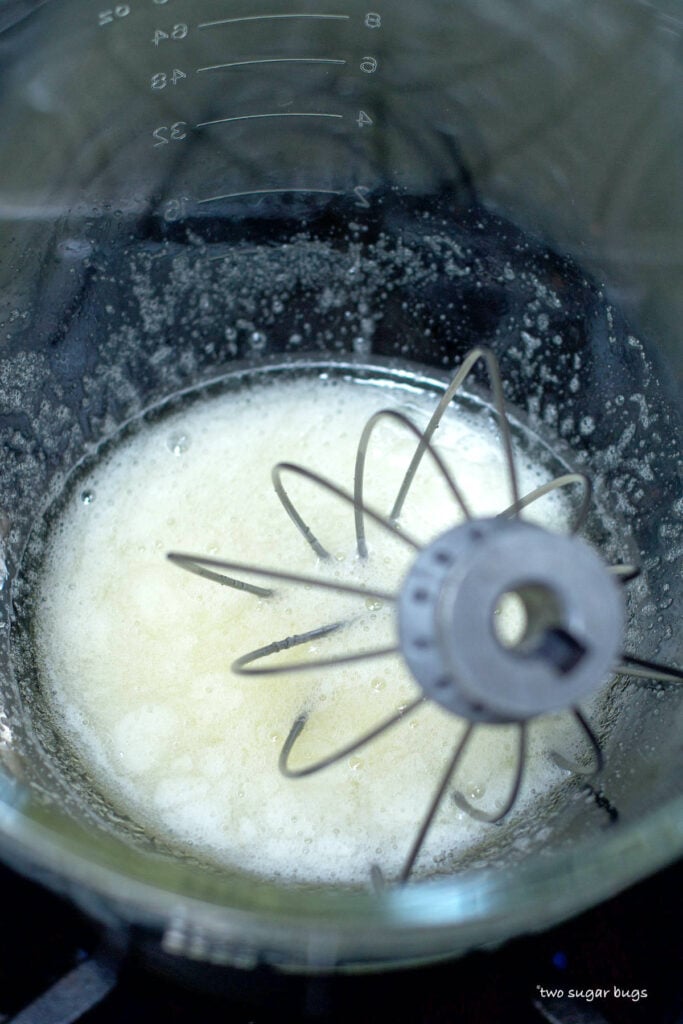
Then add the egg whites, granulated sugar and kosher salt to the bowl of your stand mixer and whisk it all together {I use the mixer whisk #lessdishesforthewin}. Place this bowl over a pot of simmering water and whisk until the mixture is hot to touch, sugar is fully dissolved {you should not feel any granules when rubbed between your clean fingers} and it’s a bit frothy, approximately 3-4 minutes.
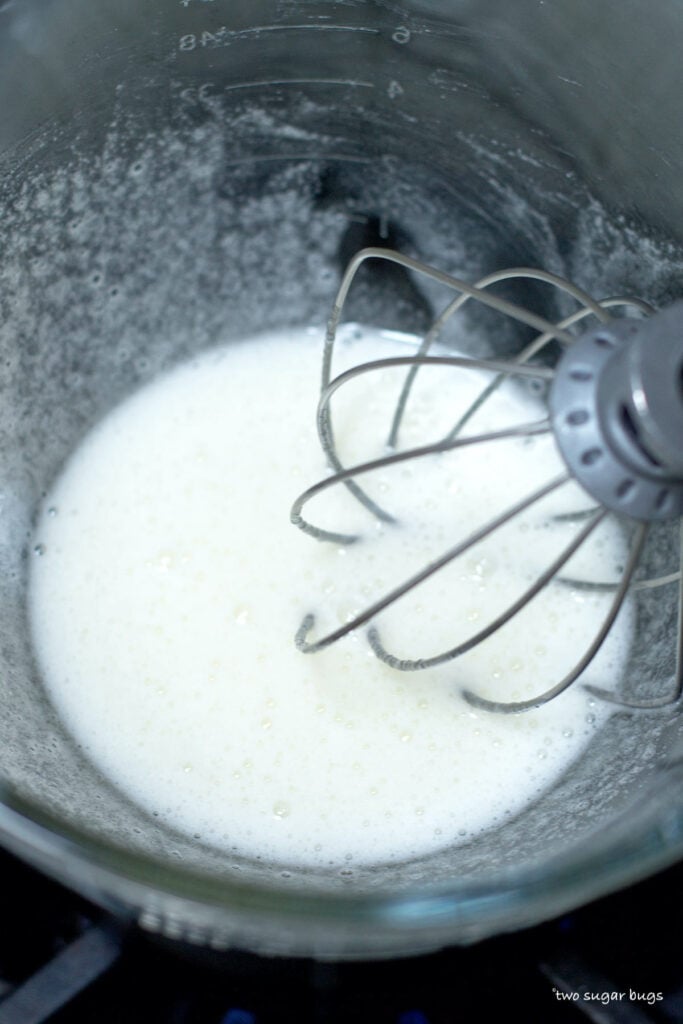
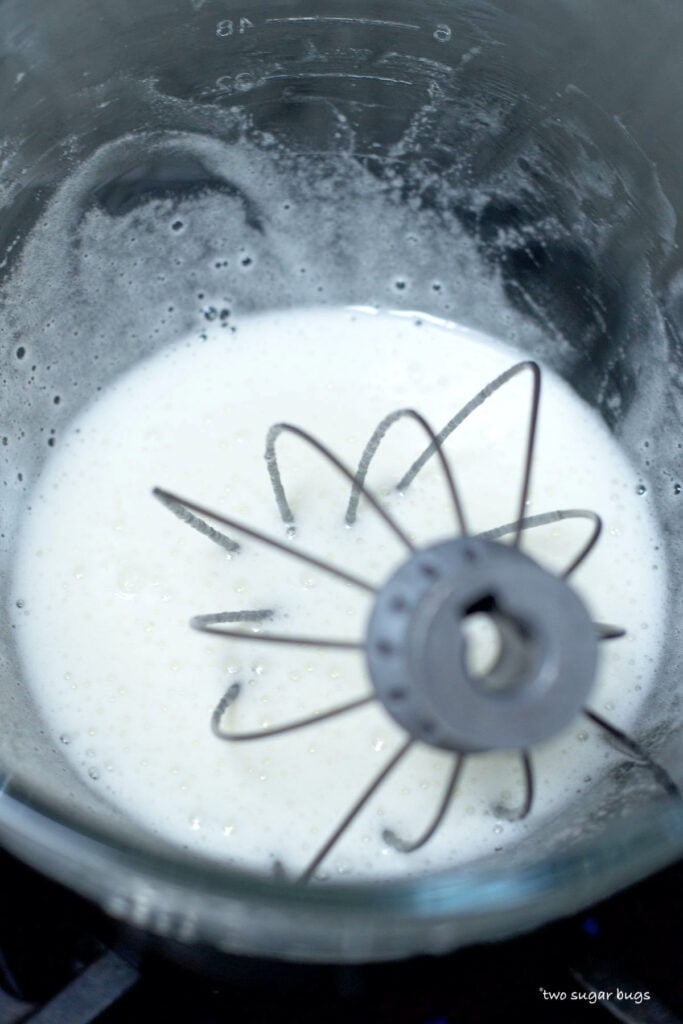
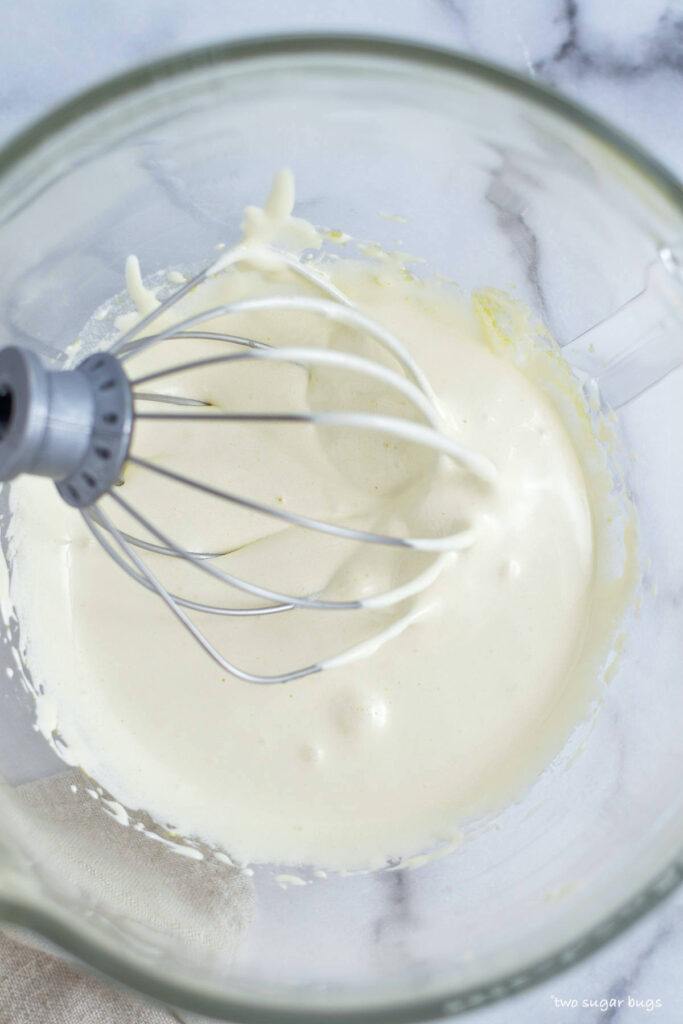
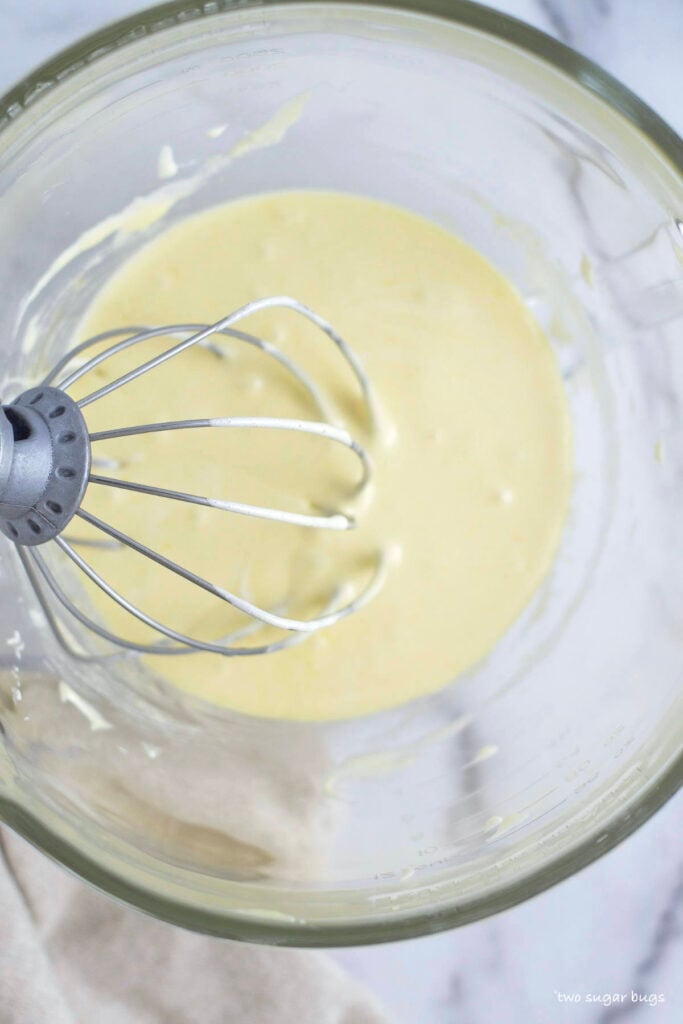
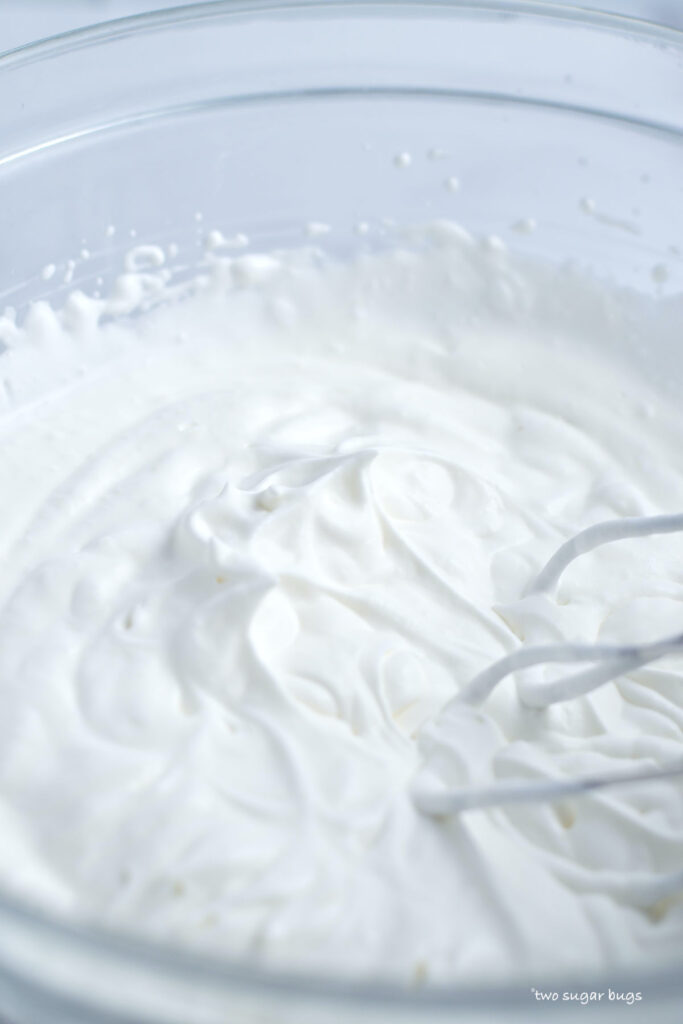
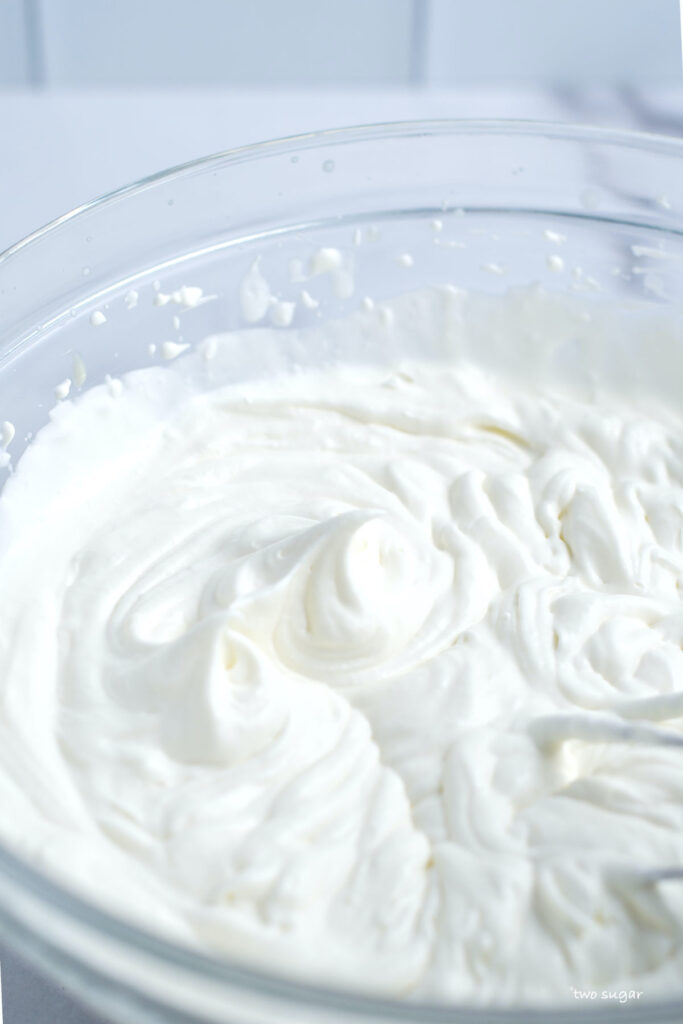
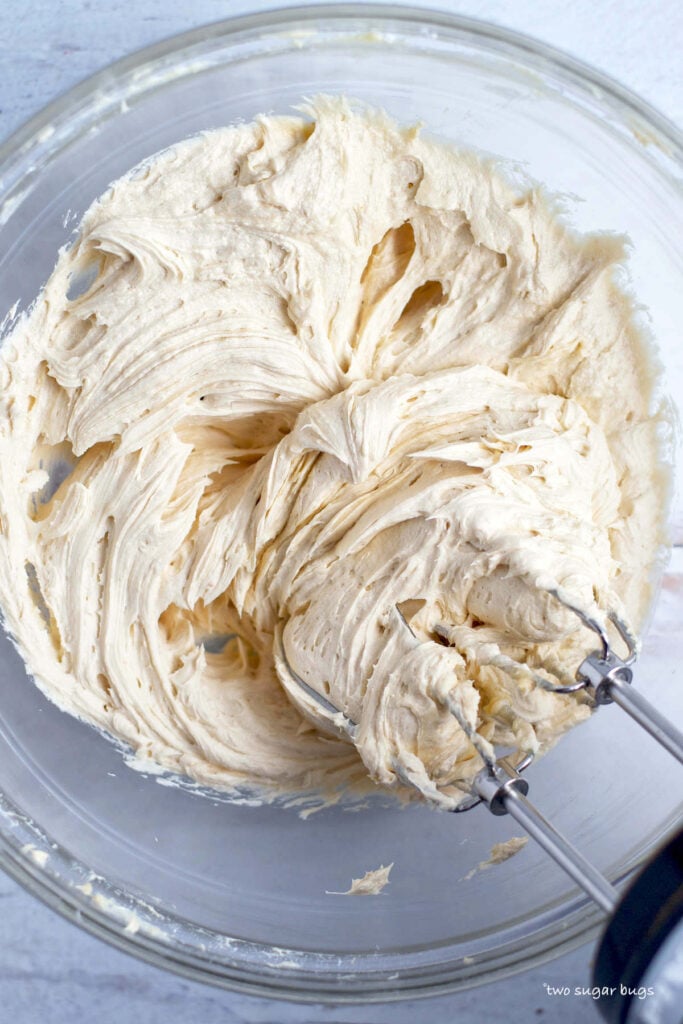
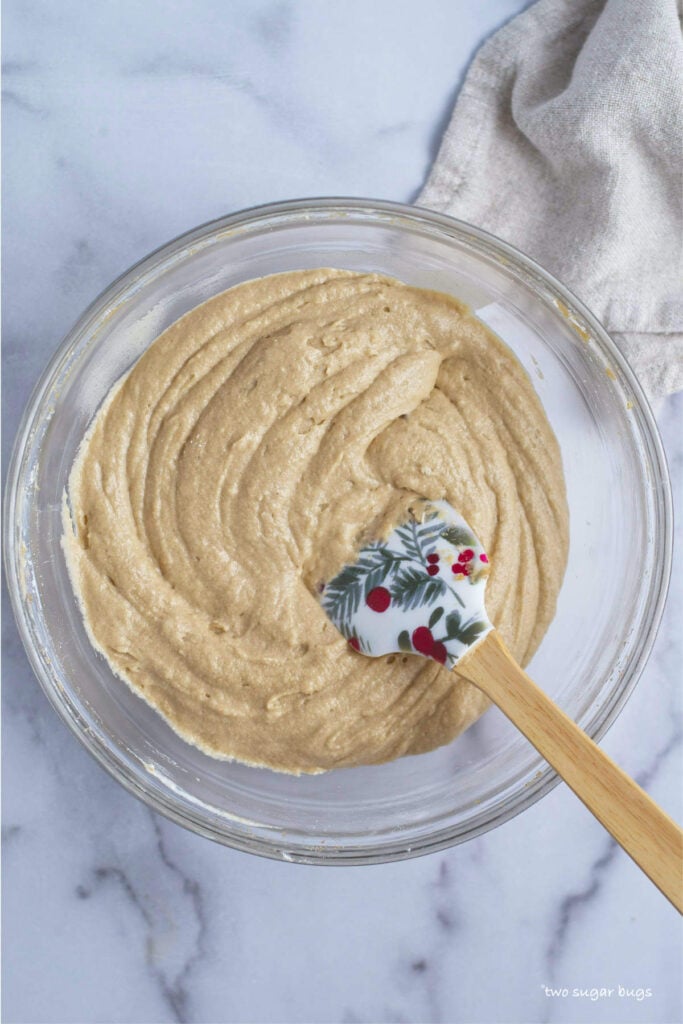
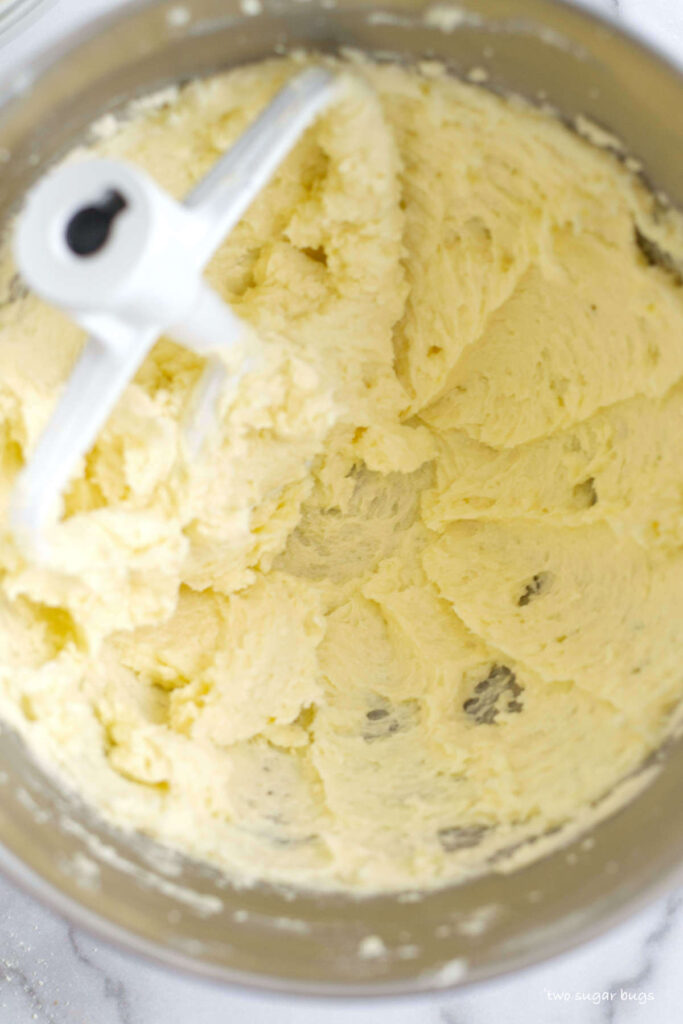
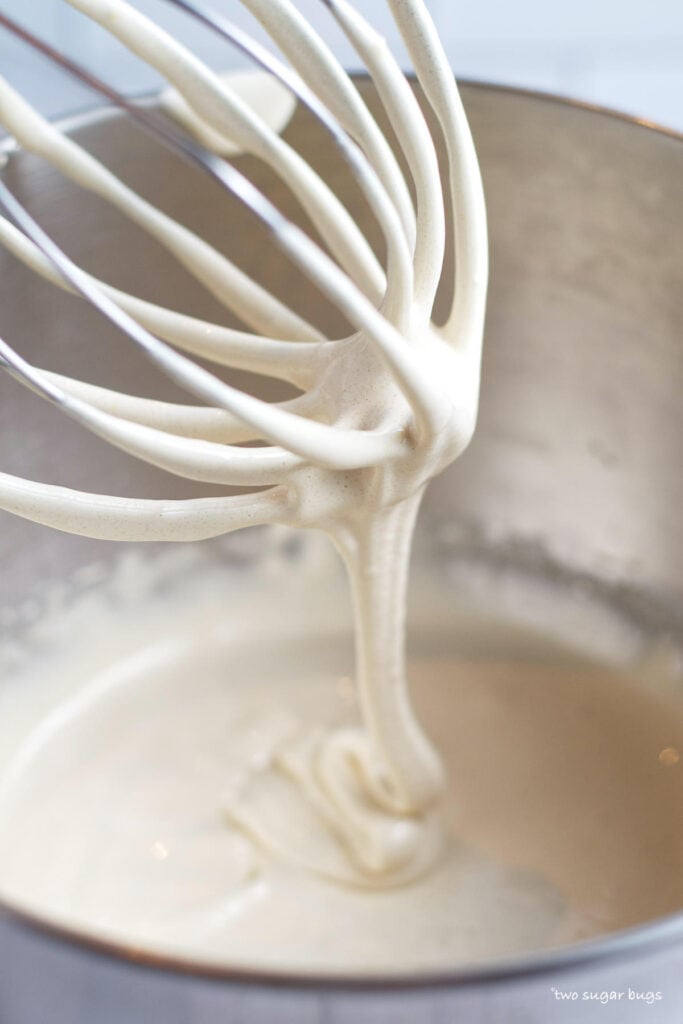
When the meringue passes the dissolved sugar test, remove the bowl from the pot, wipe the bottom dry and place it on your stand mixer fitted with the whisk attachment. I set my Kitchen Aid to speed 8 {medium-high} and whisk for a few minutes, then add the vanilla and continue whisking until the mixture has increased in volume, is glossy and thick and the meringue holds a stiff peak. This takes about 10 minutes {maybe a little longer depending on the strength of your mixer}.
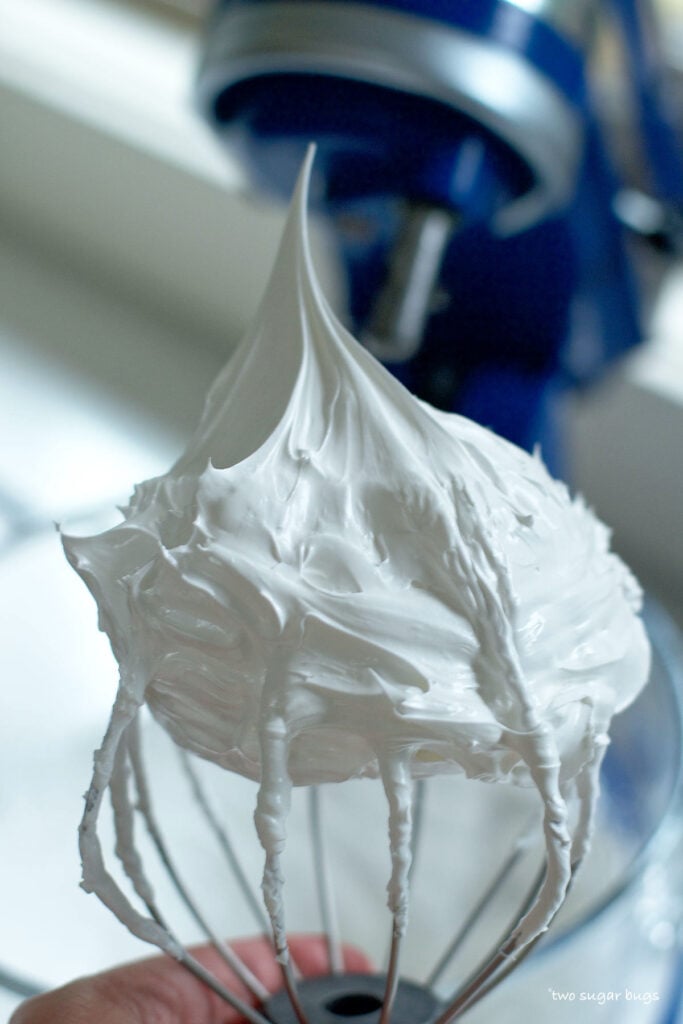
If your meringue doesn't hold a stiff peak after 10-15 minutes it was likely affected by yolk in your egg whites or grease on your equipment. Sadly, if this happens you will have to start over.
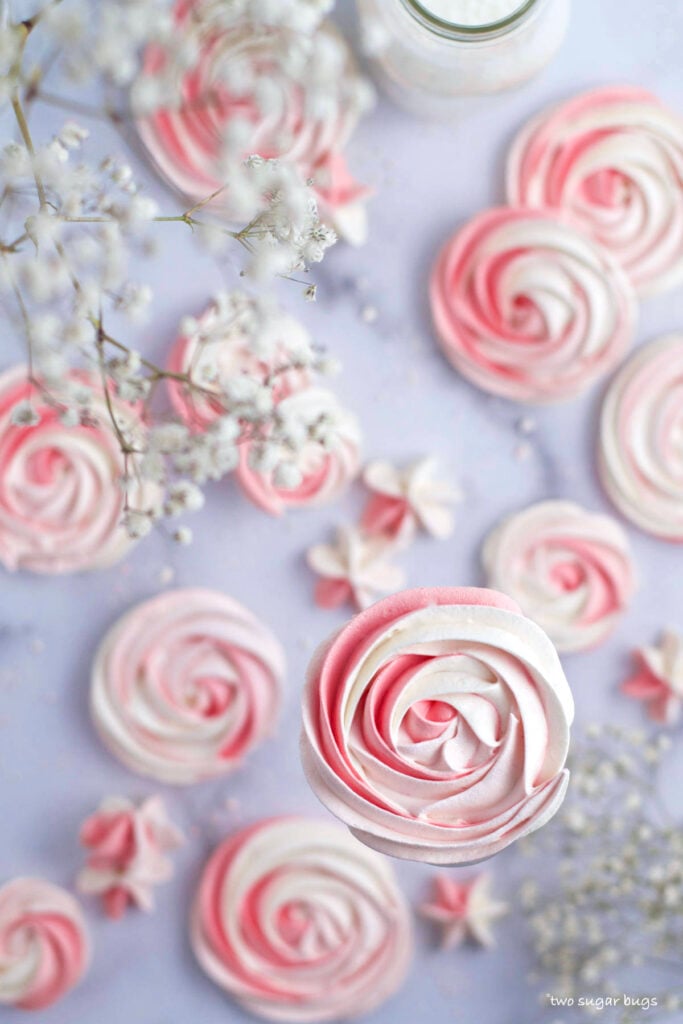
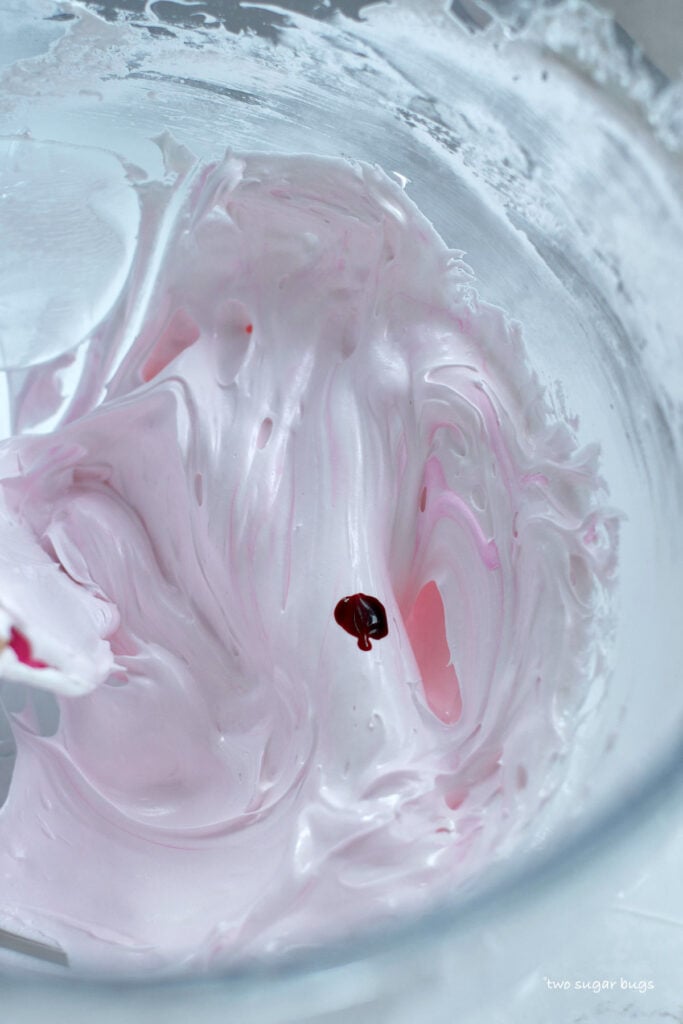
how to color meringue
Now it's time to color the meringue, if desired. You will want to use a gel based food coloring such as Chefmaster or Americolor. I also use Wilton's Color Right. Start with a small amount and adjust to get your desired color.
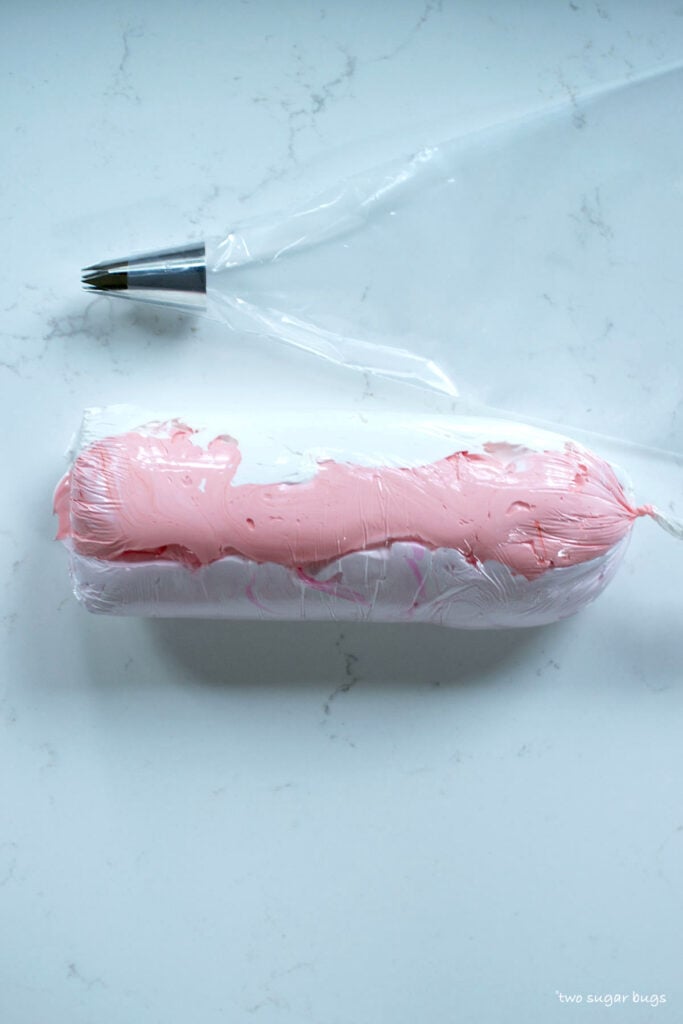
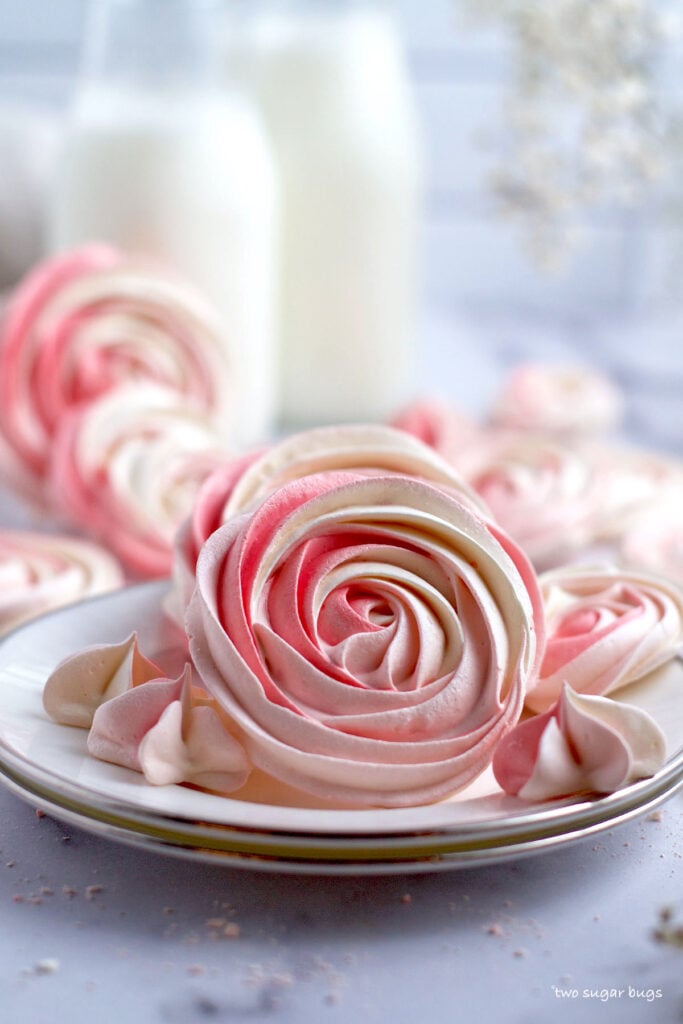
For a multi-colored cookie, spread the meringue colors on a flat piece of plastic wrap and close the plastic wrap to create a "roll". Then cut off one end of the "roll" and place that open end into a pastry bag fitted with the piping tip of your choice {I used a Wilton 1M}.
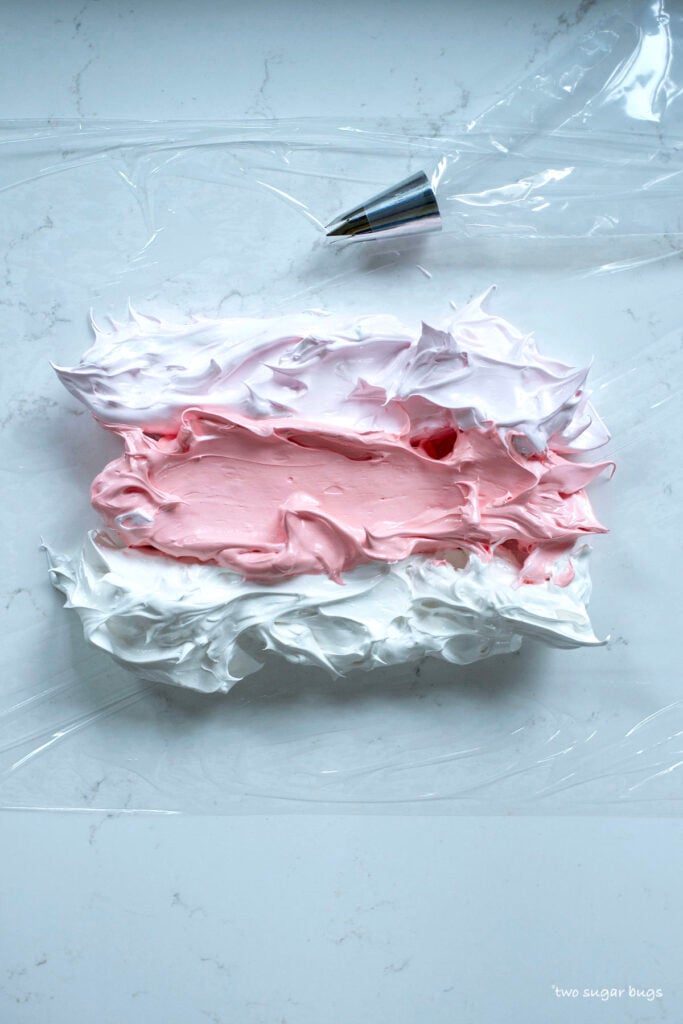
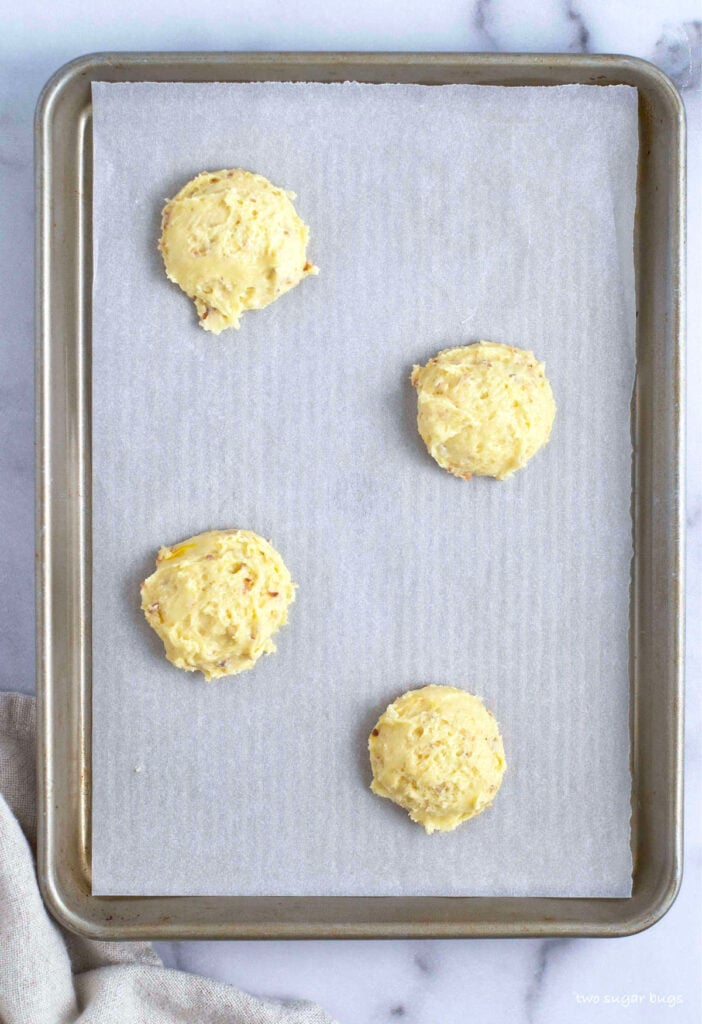
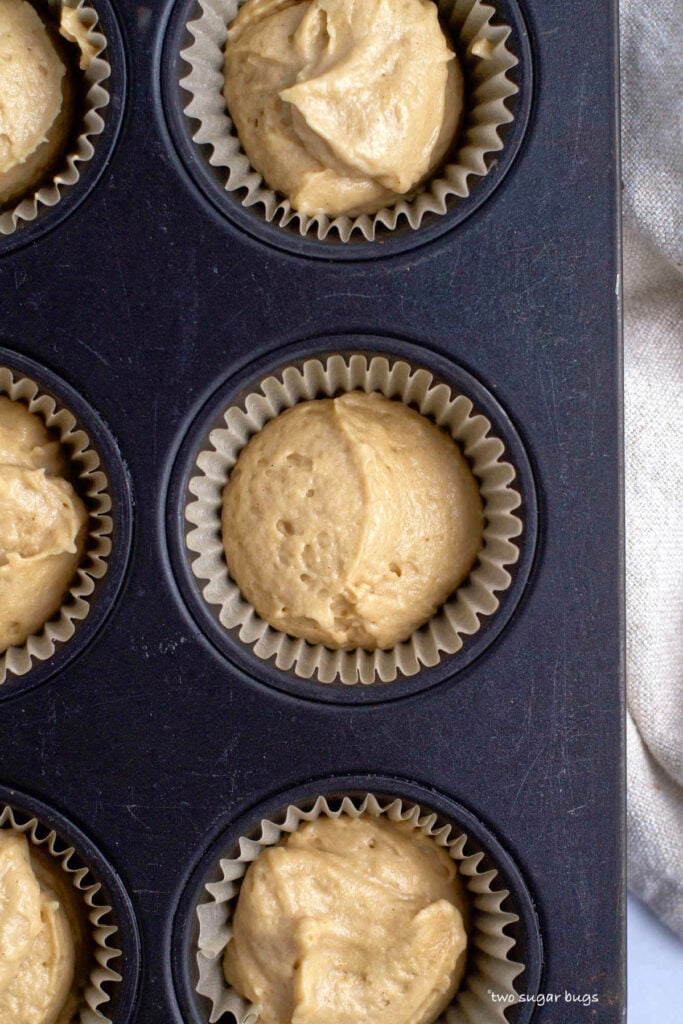
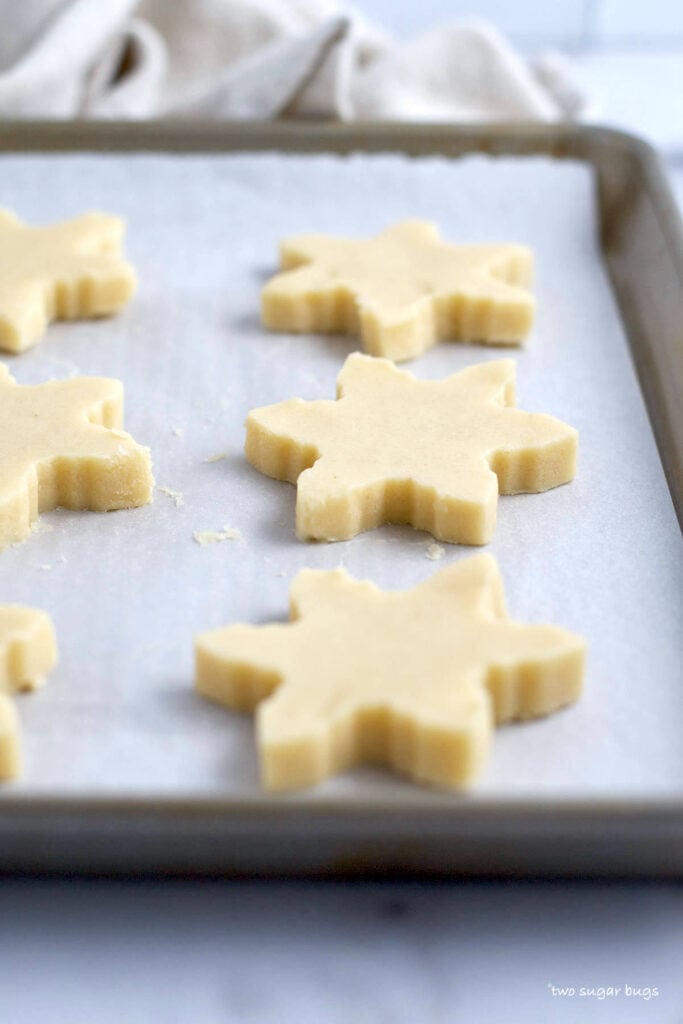
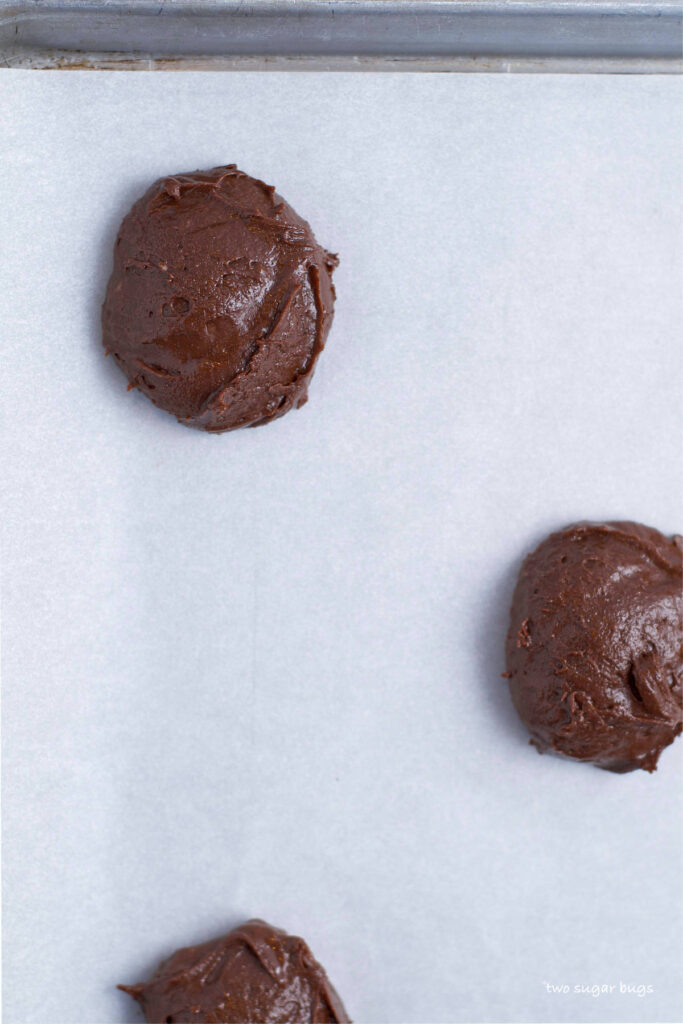
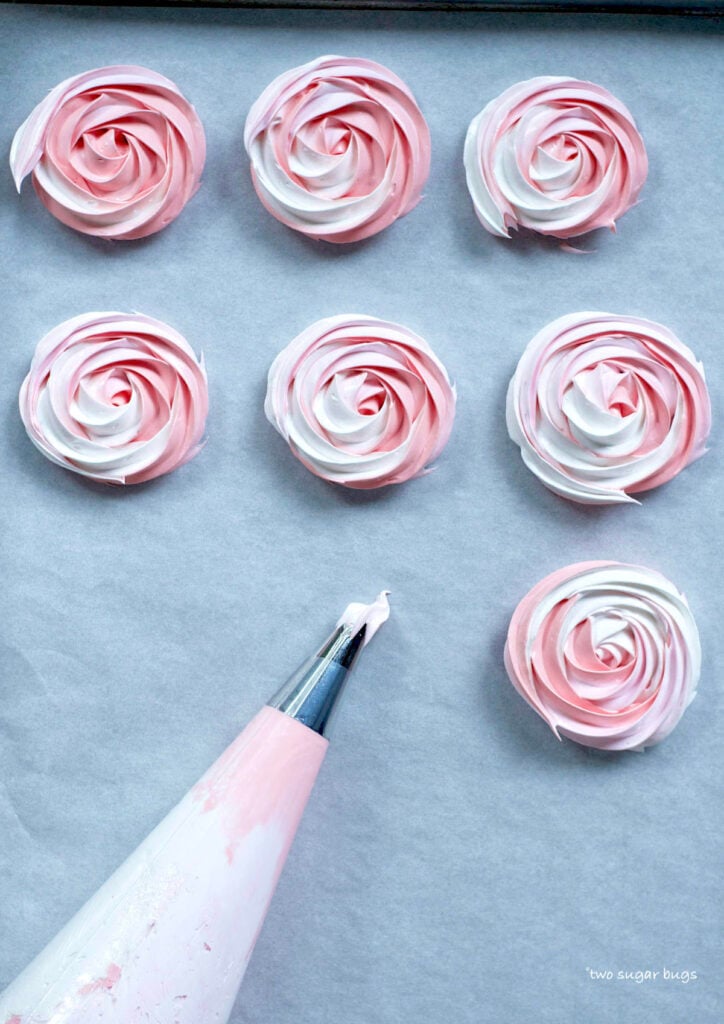
Next pipe your desired shapes onto a parchment lined baking pan. Have fun and practice your piping! I often do squiggles, rosettes, stars and kisses {a Wilton 1A works great for this one}. The cookies don't spread so they can be placed fairly close together.
how long do meringues need to bake?
Meringue cookies need to go low and slow, meaning a low oven temperature and a long baking time. The length of baking time will vary depending on the size of your cookies, but on average {in generally humid Seattle} it's about 2 hours.
how do you know when the cookies are done?
I do my first check after the cookies have baked for one hour. Lightly touch a cookie, is it firm and dry or still a little sticky?
If the cookie is still sticky, set the timer for 15 minutes and check again.
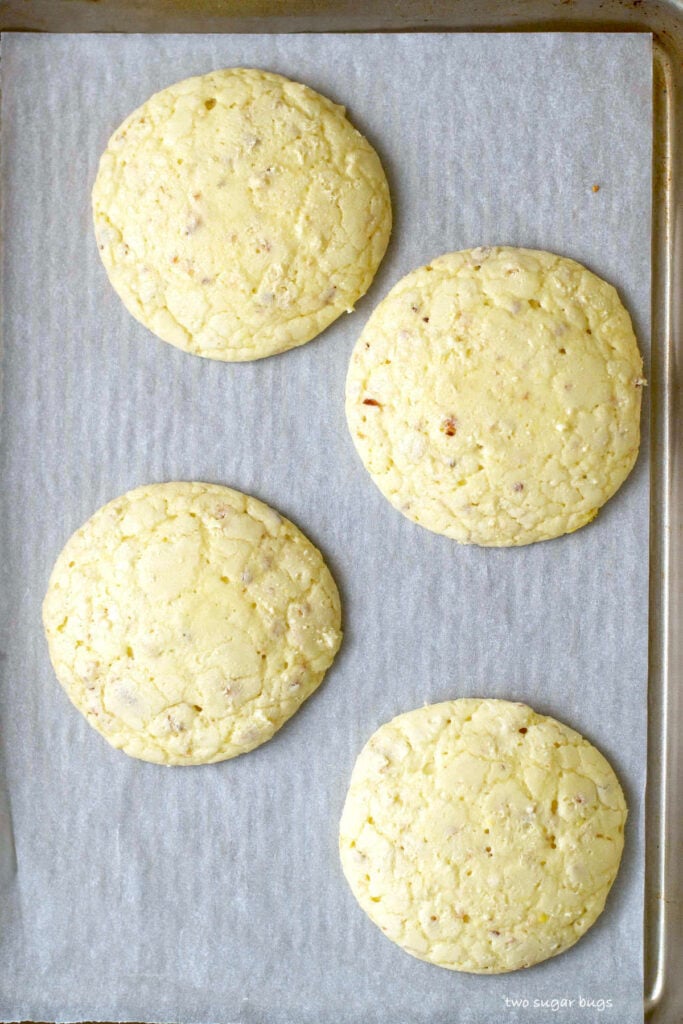
If the cookie feels dry, gently attempt to lift it from the parchment paper. The cookie should easily lift off the paper with the bottom of the cookie intact. If this is the case, the cookies are done. Turn the oven off, but leave the cookies in to cool completely. But I won't tell anyone if you sneak one now!
Did the cookie feel dry, but didn't lift from the parchment? Let them bake another 15 minutes and check again.
how long do meringue cookies last?
If stored in an airtight container, they should last up to two weeks. Good luck getting them to last that long!
tips for success
- Make sure all your tools are grease free and dry prior to beginning.
- Separate each egg white in a small bowl before adding it to the mixing bowl. This way, if a yolk breaks you won't lose all the egg whites.
- Make sure there is no grittiness in the egg white and sugar mixture before removing it from the heat of the double boiler.
- After whisking to a thick and glossy meringue, pipe the meringue right away. If it sits for a while it can lose it's thick consistency.
- Bake on the middle oven rack.
- Allow the cookies to cool completely in the oven with the door closed for at least an hour. I often bake my meringue cookies in the evening and leave them in the turned off oven overnight.
Remember to snap a picture and tag me on Instagram if you make these Meringue Cookies {without cream of tartar}. It warms my heart to see you bring these recipes to life! Thank you for being here and happy baking!
more dessert recipes you might like
If you make this recipe {or any recipe!} from two sugar bugs please come back and leave a review and a ⭐️⭐️⭐️⭐️⭐️ star rating. I read every comment, and I LOVE hearing from you!

Meringue Cookies {without cream of tartar}
Ingredients
- 3 large egg whites (~90g)*
- ¾ cup granulated sugar (150g)
- ¼ teaspoon kosher salt
- ¾ teaspoon pure vanilla extract
Instructions
- Wipe the bowl, the whisk of your stand mixer and the whisk you are using to mix with vinegar or lemon juice to make sure it is grease free or your egg whites may not stiffen.
- Preheat oven to 200°F.
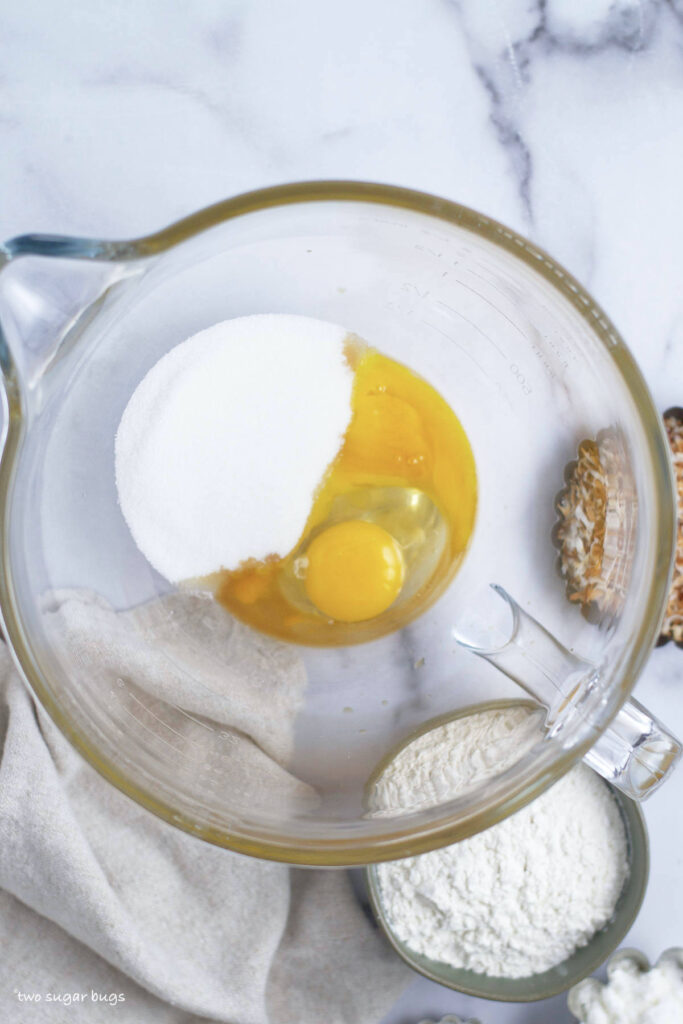
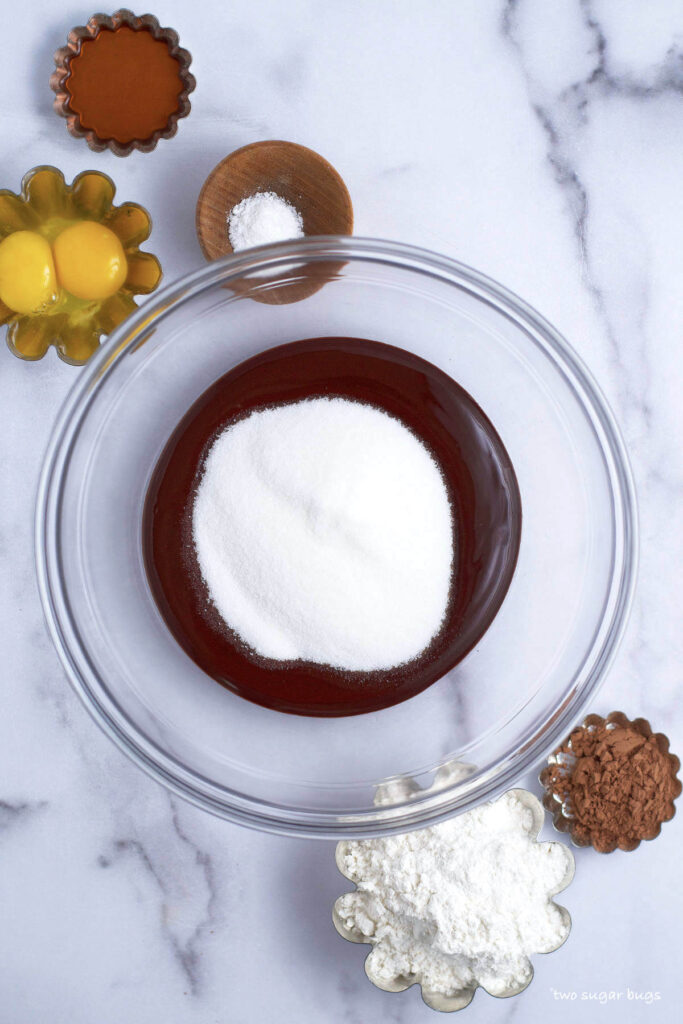
- Whisk egg whites (3 large/~90g), granulated sugar (¾ cup/150g) and kosher salt (¼ teaspoon) in a heatproof bowl (I use the bowl of my Kitchen Aid mixer). If you want less dishes to wash use the whisk to your mixer.
- Set the mixture over a saucepan filled with 2 inches of simmering water. Do not let the bottom of the bowl touch the water. Whisk constantly until the sugar is dissolved and is getting a little frothy, about 3-4 minutes. (if you rub a little of the hot mixture between your fingers, it will be completely smooth with no grittiness). Remove the meringue mixture from the saucepan and wipe the bottom of the bowl dry.
- Transfer the mixture to an electric mixer fitted with the whisk attachment. Beat on high (speed 8 on a Kitchen Aid) for 2-3 minutes, then add the vanilla (¾ teaspoon) and continue beating until stiff peaks form, about 7-8 minutes more. This time can vary based on the strength of your mixer. The meringue should have increased in volume and be thick and glossy.
- Transfer the meringue to a piping bag fitted with the tip of your choice (I used a Wilton 1M) and pipe cookies onto a parchment lined baking pan.
- Bake for 1 hour to 2+ hours, smaller cookies tend to finish more quickly. Check the cookies after 1 hour, if they feel dry and easily release from the parchment paper with the bottom intact, they are done. If they stick a little go another 15 minutes and check again. Occasionally, they may take closer to 2 ½ hours (especially in a humid climate). When the cookies release from the parchment, turn off the oven and allow cookies to cool completely while still in the oven with the door closed, at least one hour. I often bake meringues in the evening and let them sit in the turned off oven overnight.