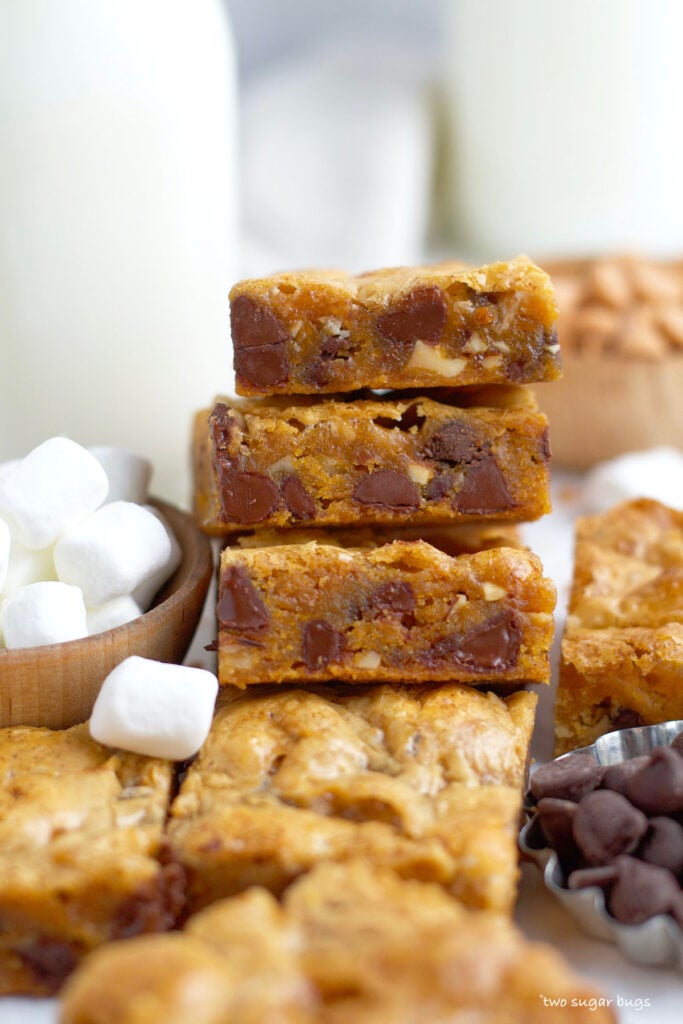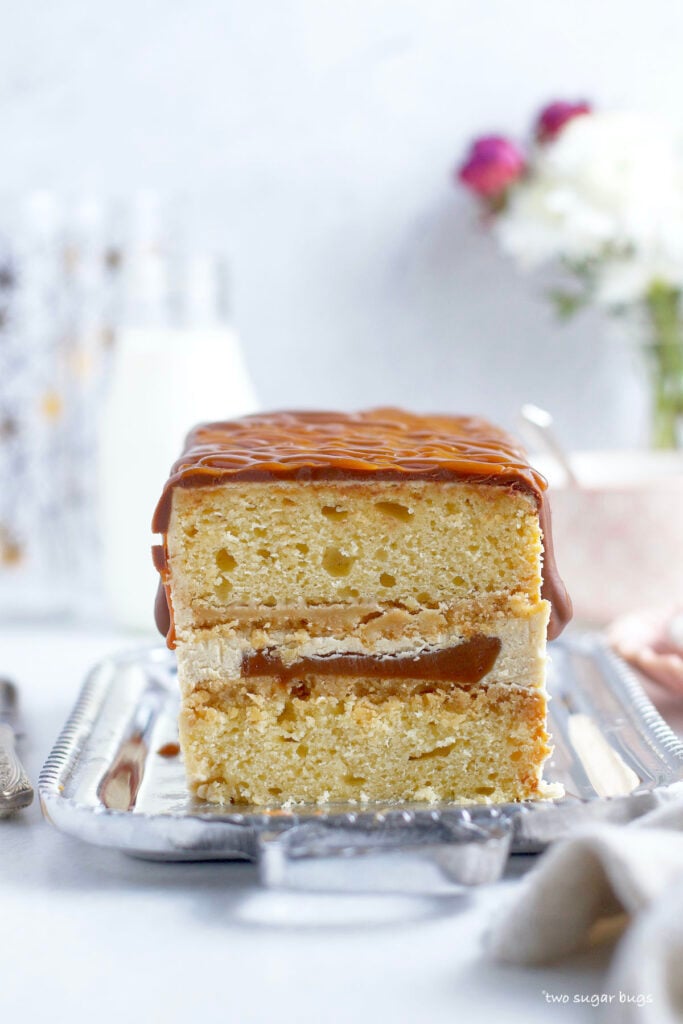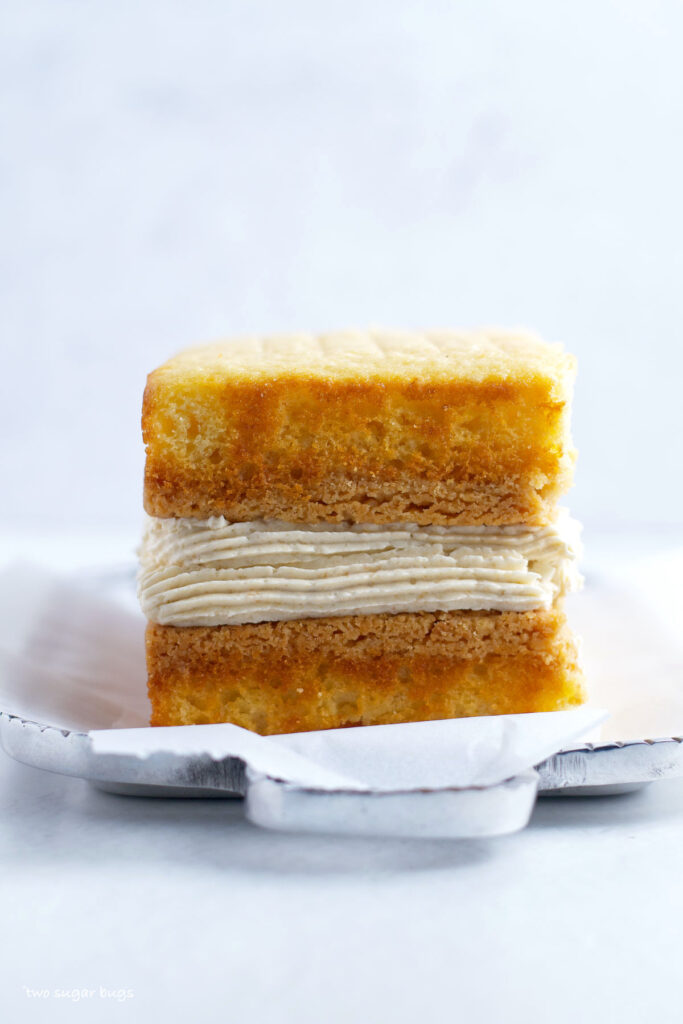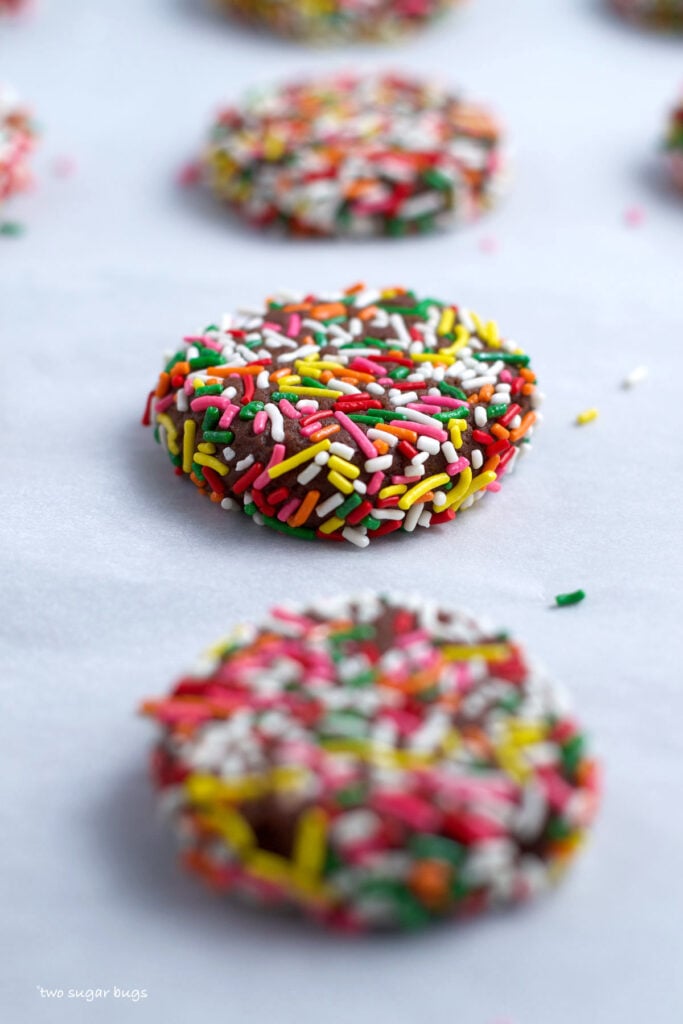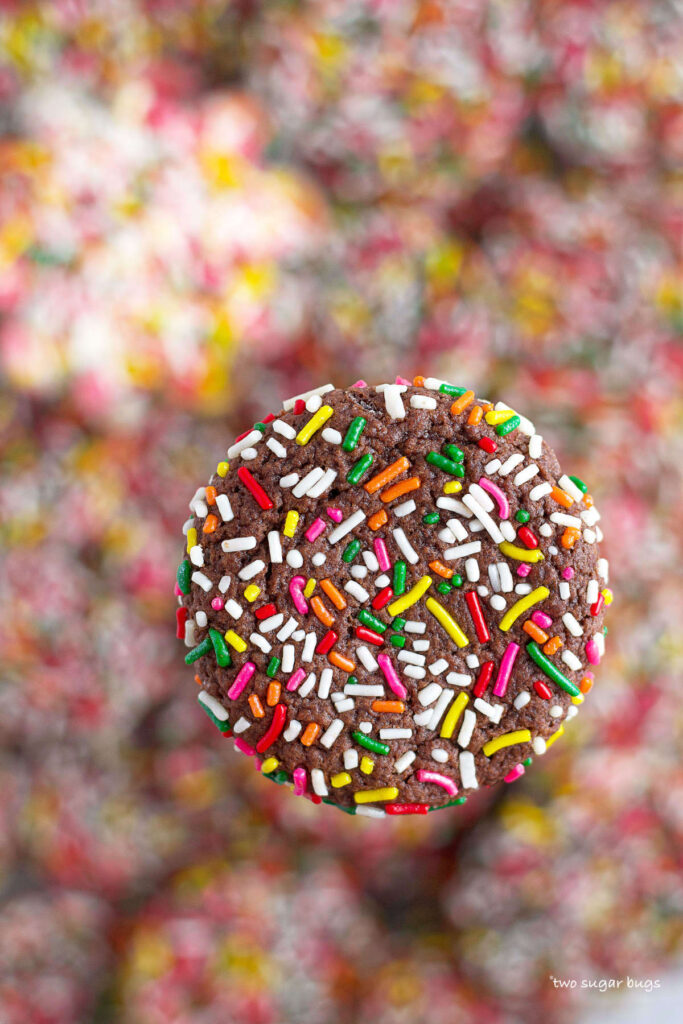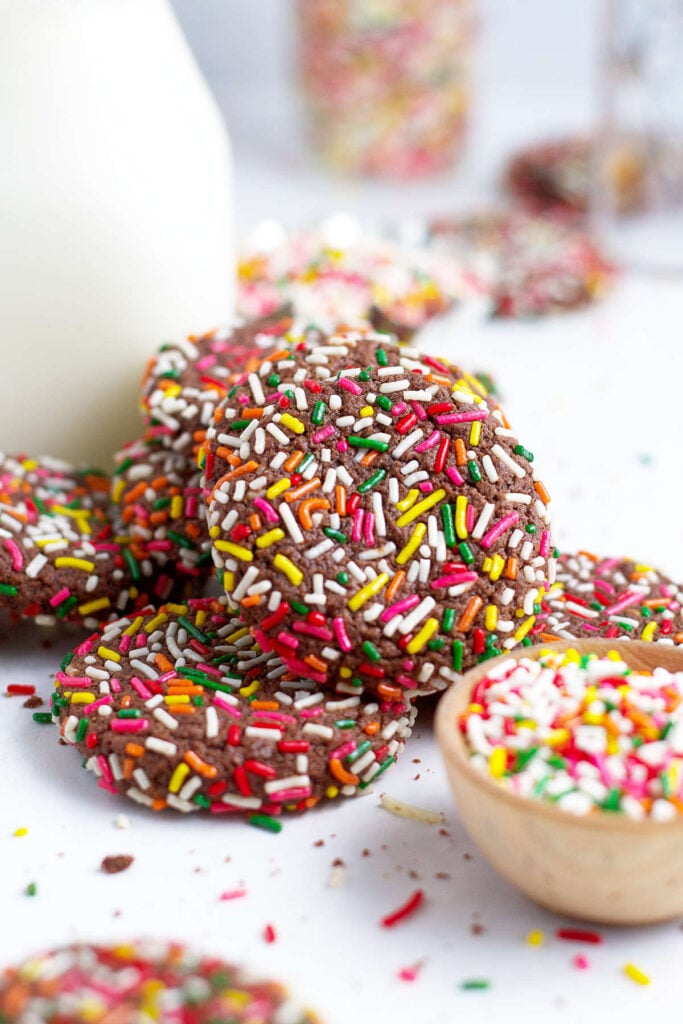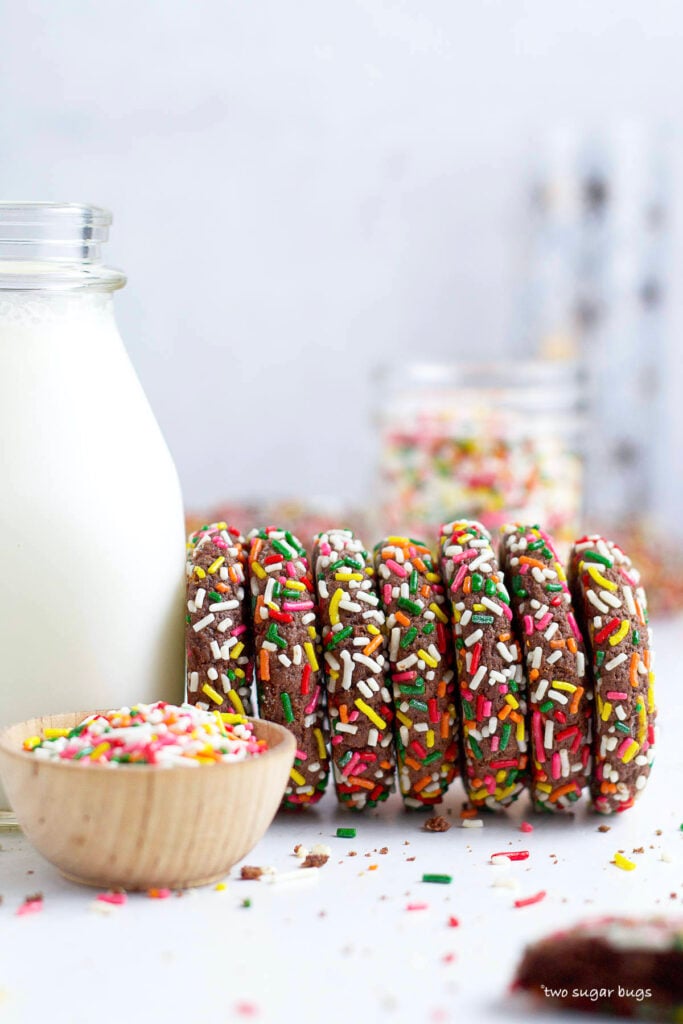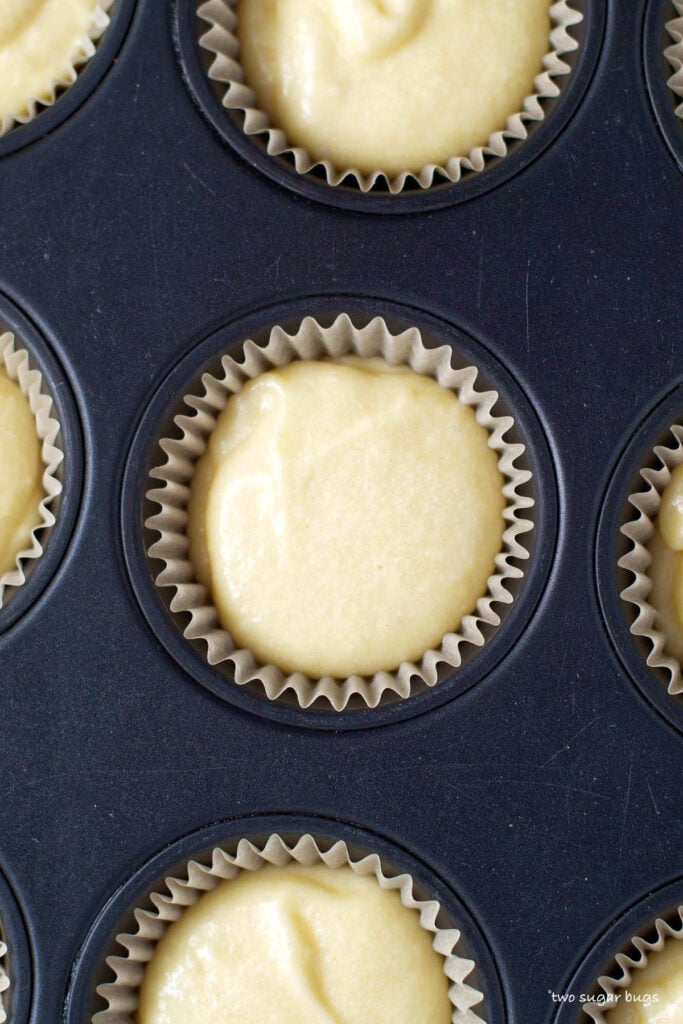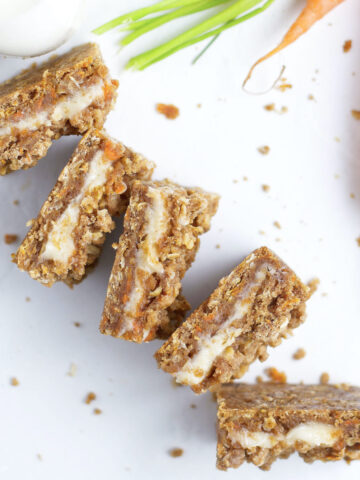
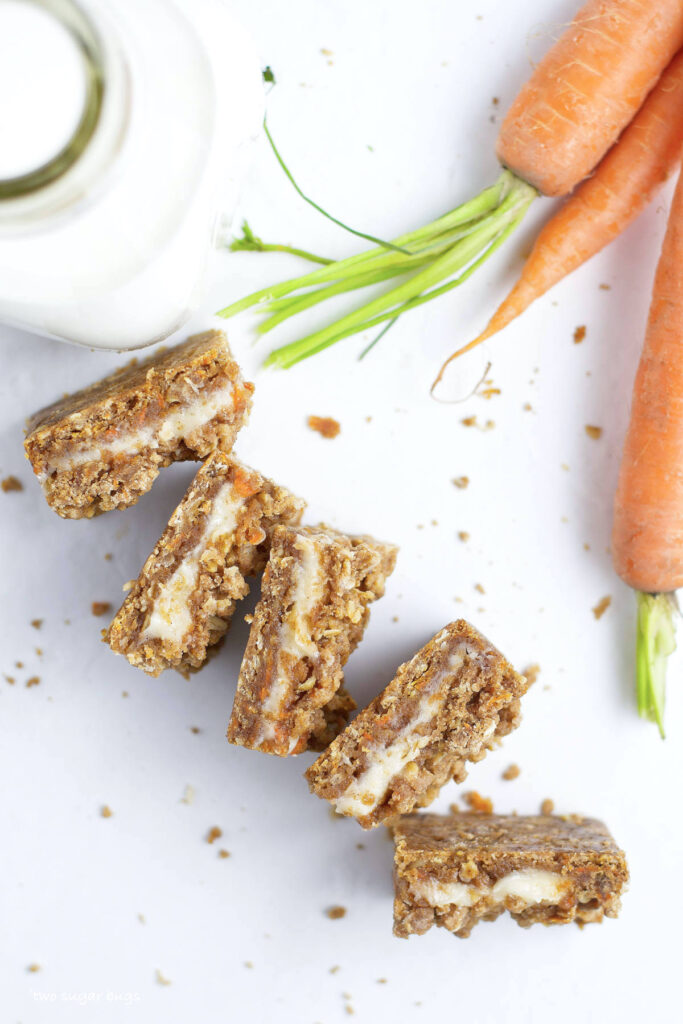
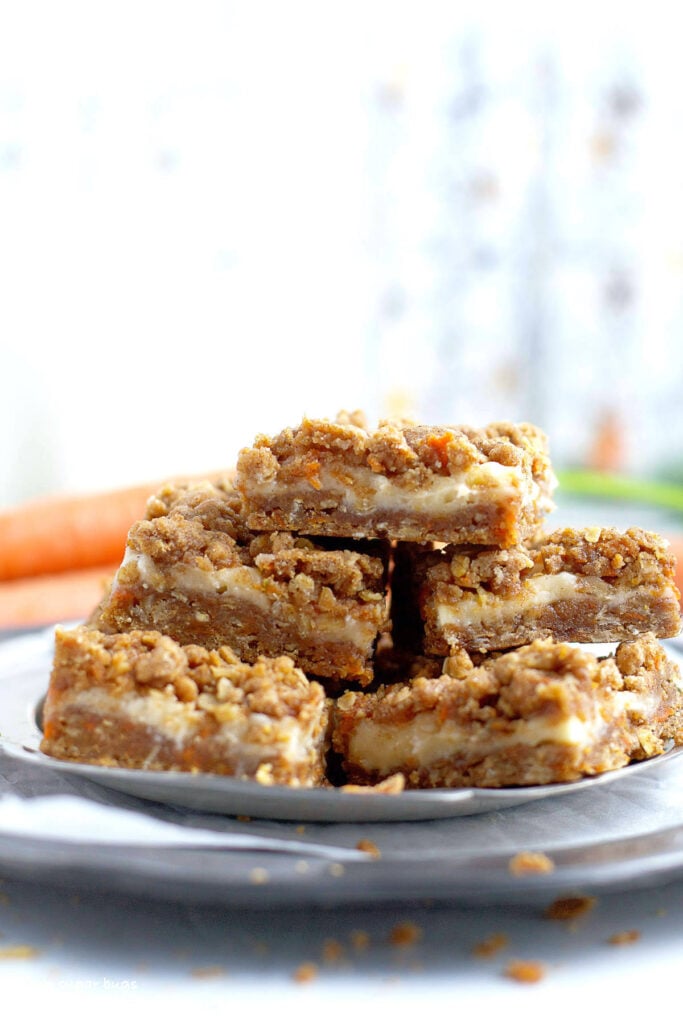
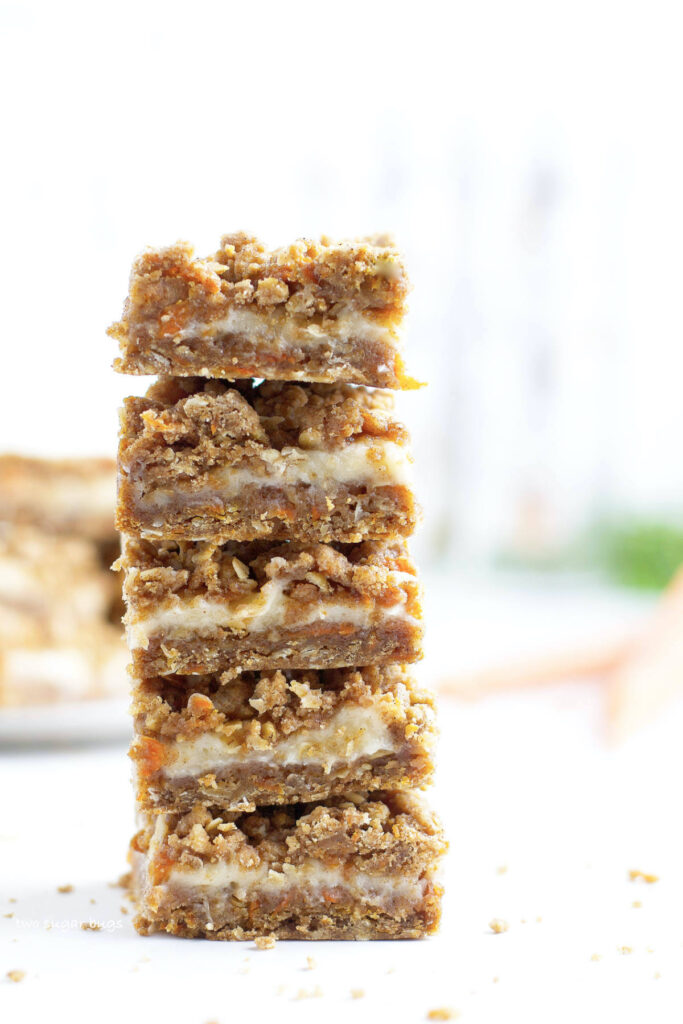
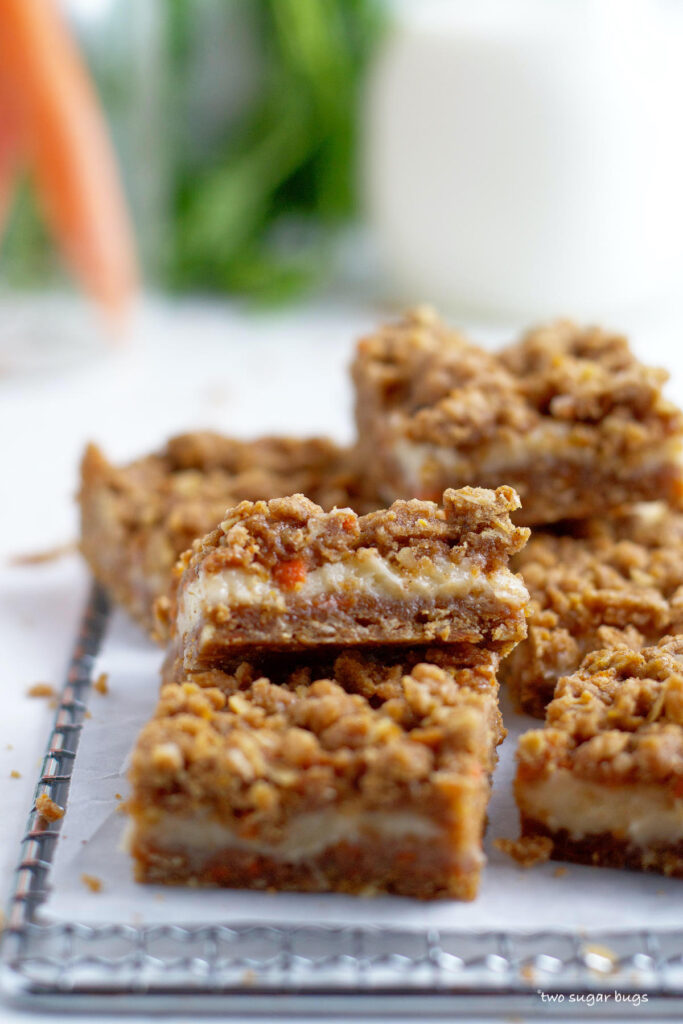
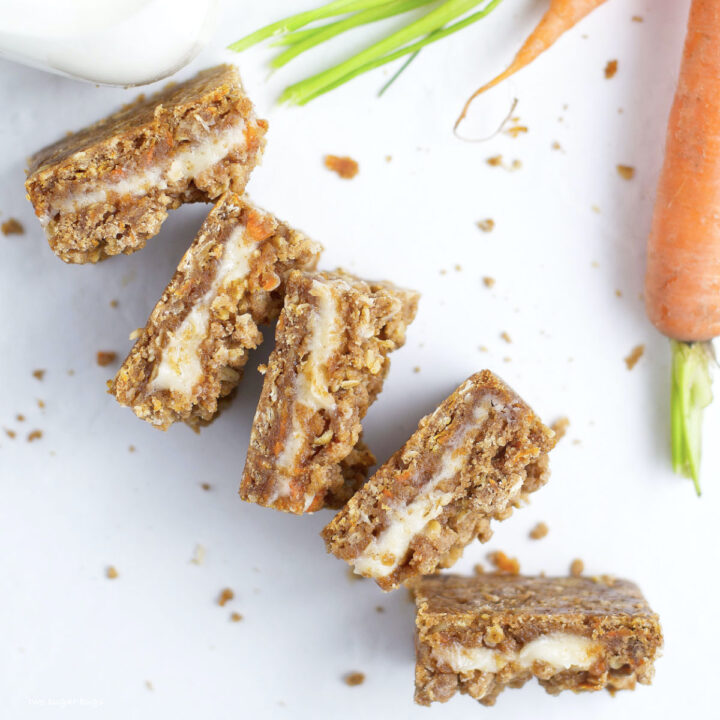
Carrot cake sandwich cookies are a soft and chewy cookie bar made with carrots, cinnamon and oatmeal. The cookie is then filled with the best cream cheese frosting filling that bakes right inside the cookie sandwich! You will love this easy cookie recipe, which is perfect for Easter, picnics, lunchboxes or any celebration.
Disclosure | This post may contain affiliate links. As an Amazon Associate I earn from qualifying purchases.
Spring baking, Easter and Mother's Day all make me think about carrot cake. But honestly, sometimes I just want all the flavors of cake without actually making a cake, like my carrot cake blondies or easy German chocolate cookies.
So enter these easy carrot cake sandwich cookies! Just like my sugar cookie sandwiches, these sweet, moist and chewy cookies bake with the frosting inside. Making this recipe easy, peasy to make.
why you will love this carrot cookie recipe
- Sweet, soft and chewy carrot cookies.
- The best cream cheese frosting filling that bakes inside the cookie sandwich.
- A perfectly portable treat.
- All the flavors of carrot cake in an easy sandwich cookie.
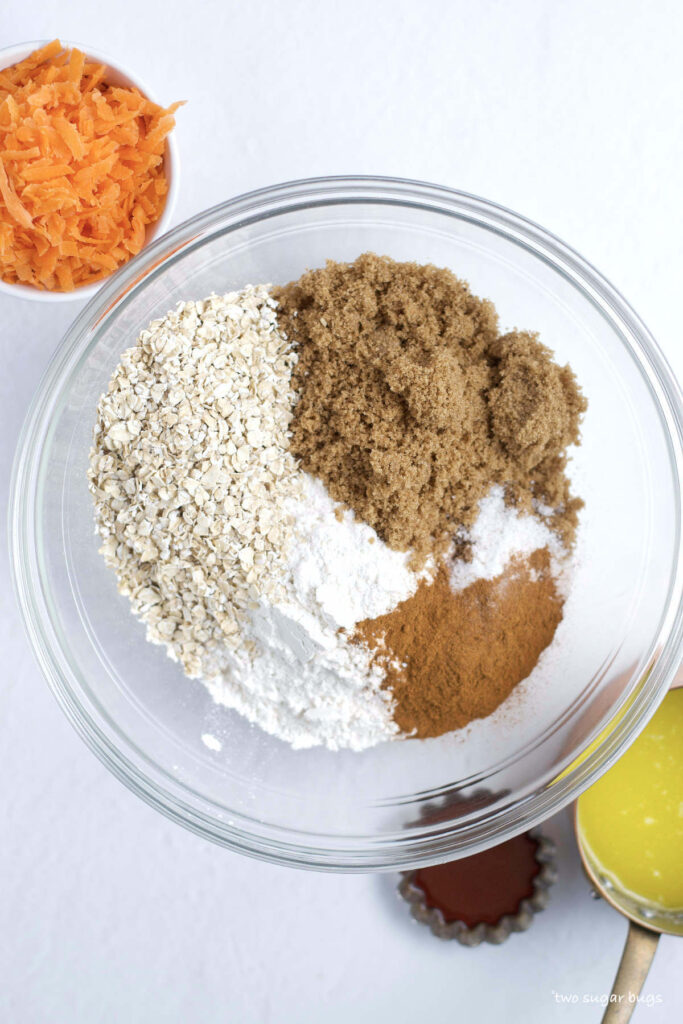
ingredients needed for carrot cake cookie sandwiches
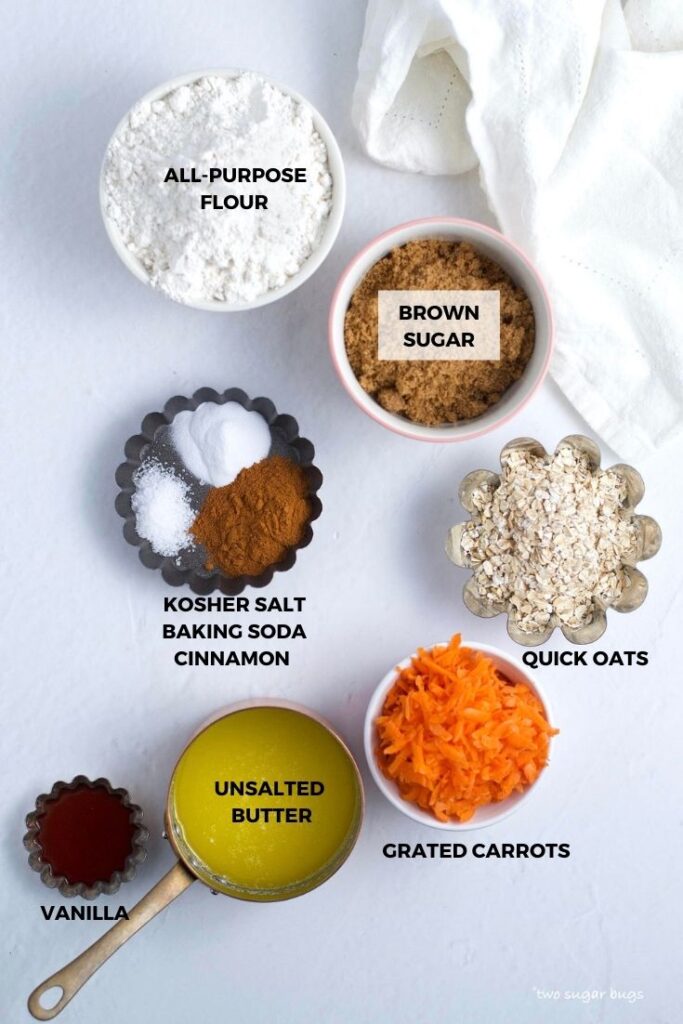
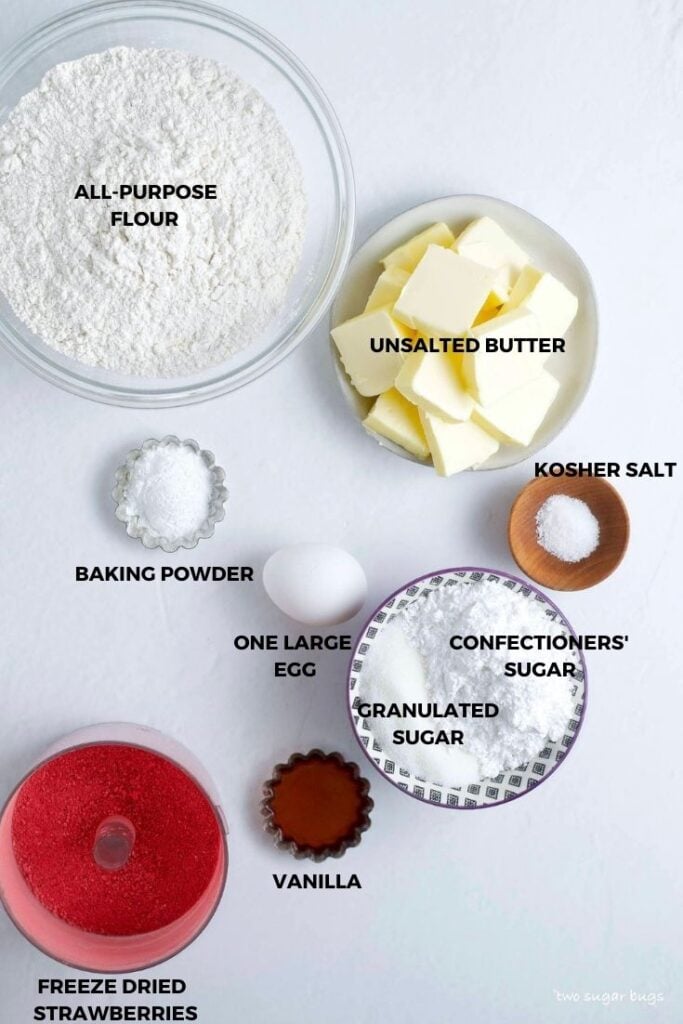
- All-purpose flour ~ brings structure to the cookies. Use your favorite brand.
- Brown sugar ~ I use dark brown sugar because I love the extra richness it brings, but light brown sugar works just as well.
- Oatmeal ~ quick oats are what work best in this recipe. My testers preferred them over old fashioned rolled oats. That being said, rolled oats can be substituted, or you can pulse the rolled oats in a food processor 4-5 times until they are chopped into smaller pieces.
- Kosher salt ~ just a touch to balance the sweet flavors.
- Baking soda ~ adds a little lift to the carrot cookies.
- Cinnamon ~ brings the classic carrot cake flavors to the cookie sandwiches.
- Grated carrots ~ grate carrots on a box grater {this is the one I use in my kitchen}. To measure, pack the grated carrots into the measuring cup or use a kitchen scale {this is the one I use}. Once you've measured the grated carrots, place them between some paper towels and blot them a few times to remove most of the moisture.
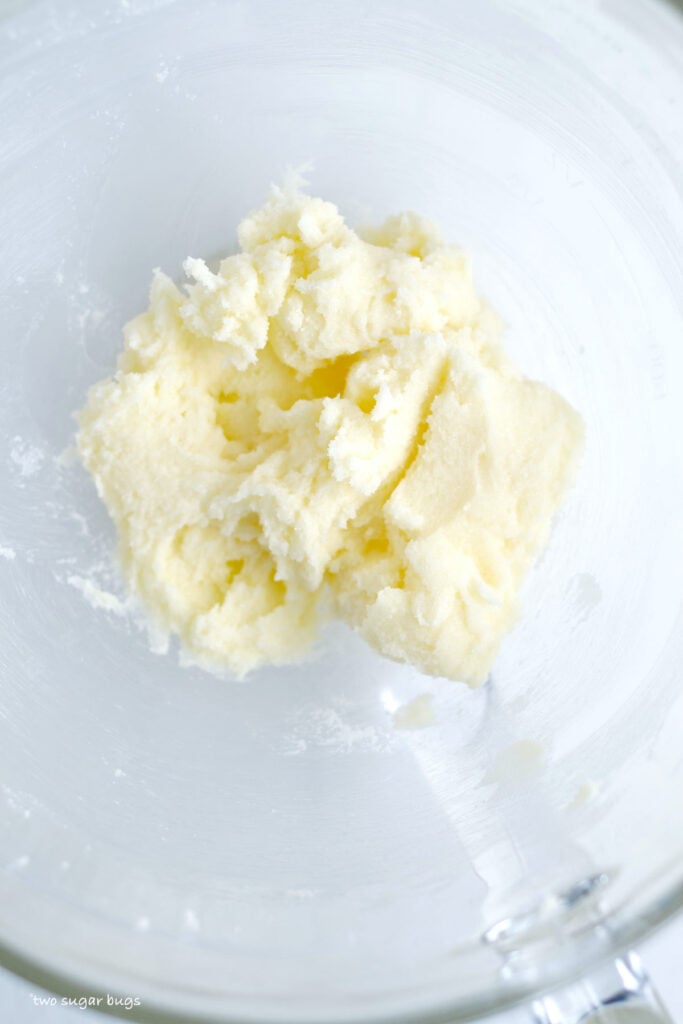
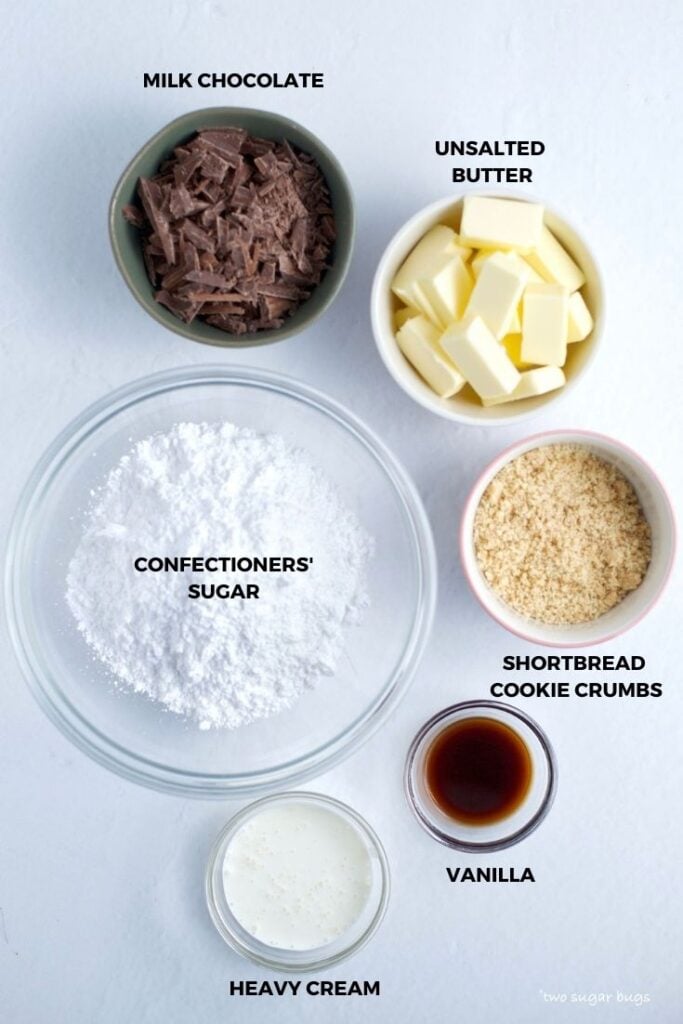
- Unsalted butter ~ the butter gets melted for the cookies, but you need room temperature butter for the cream cheese frosting filling. If you only have salted butter, just leave the kosher salt out.
- Vanilla ~ used for both the cookies and frosting.
- Cream cheese ~ {not shown} use it cold in the cream cheese frosting.
- Confectioners' sugar ~ {not shown} needed for the cream cheese filling.
how to make these easy cookie sandwiches
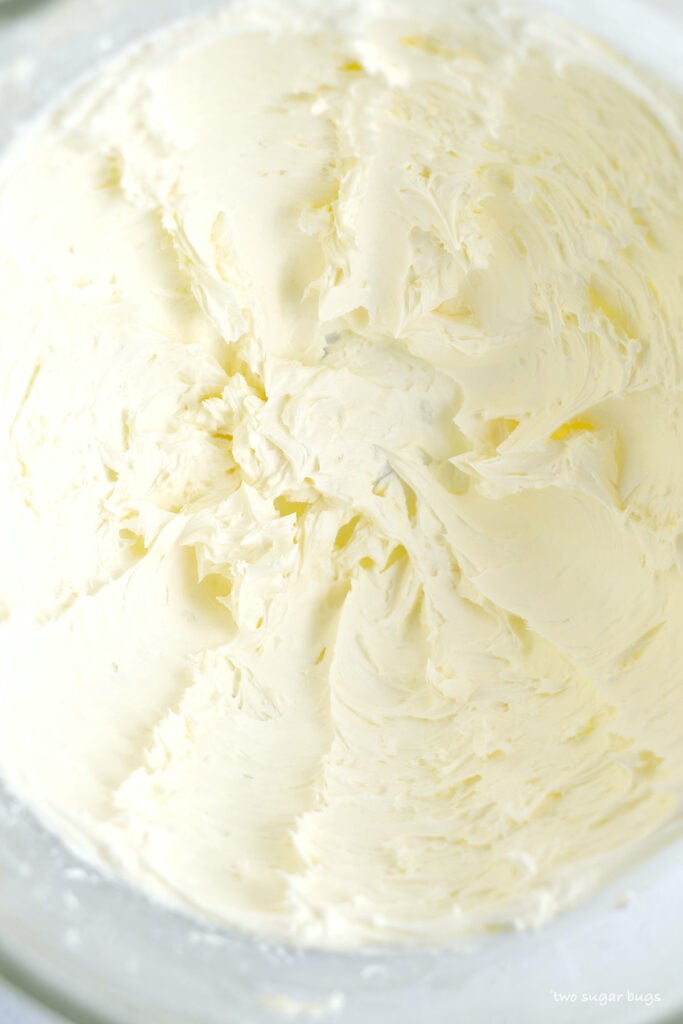
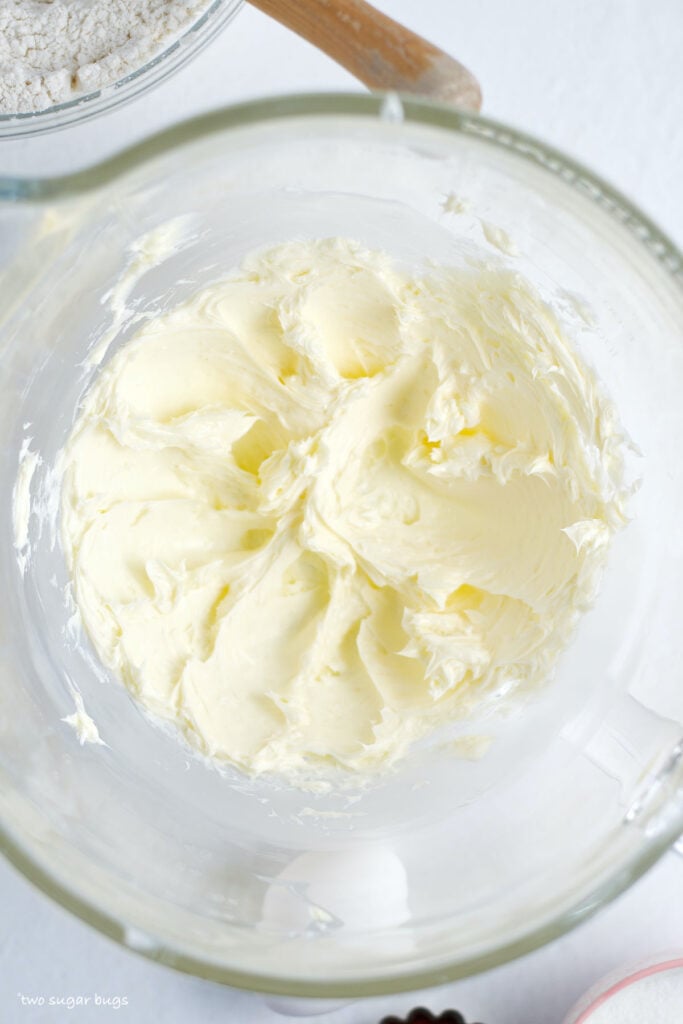
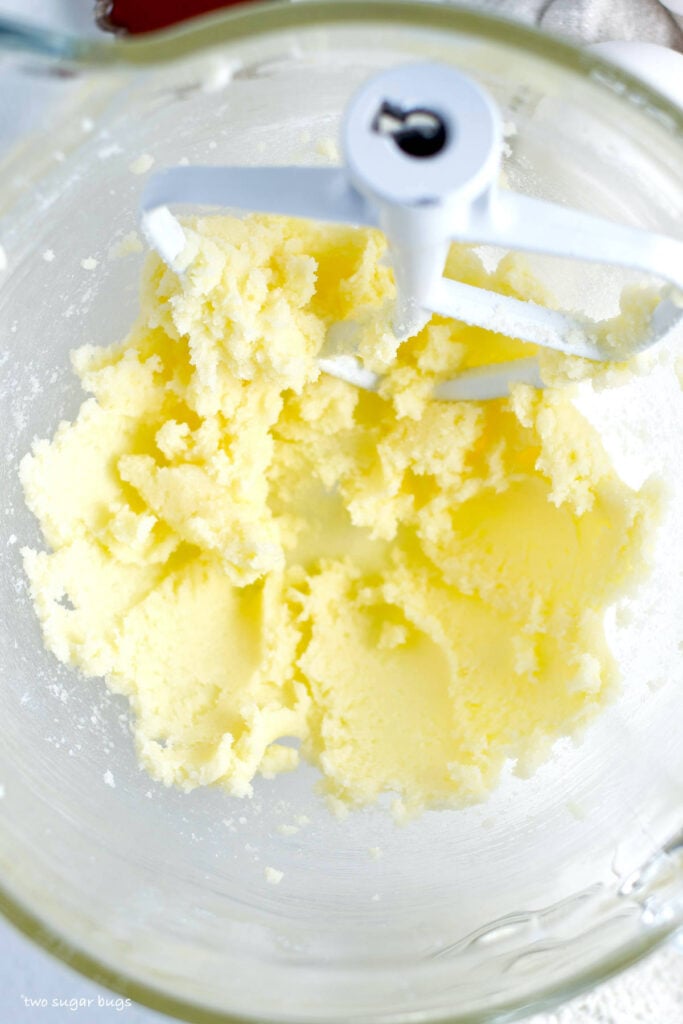
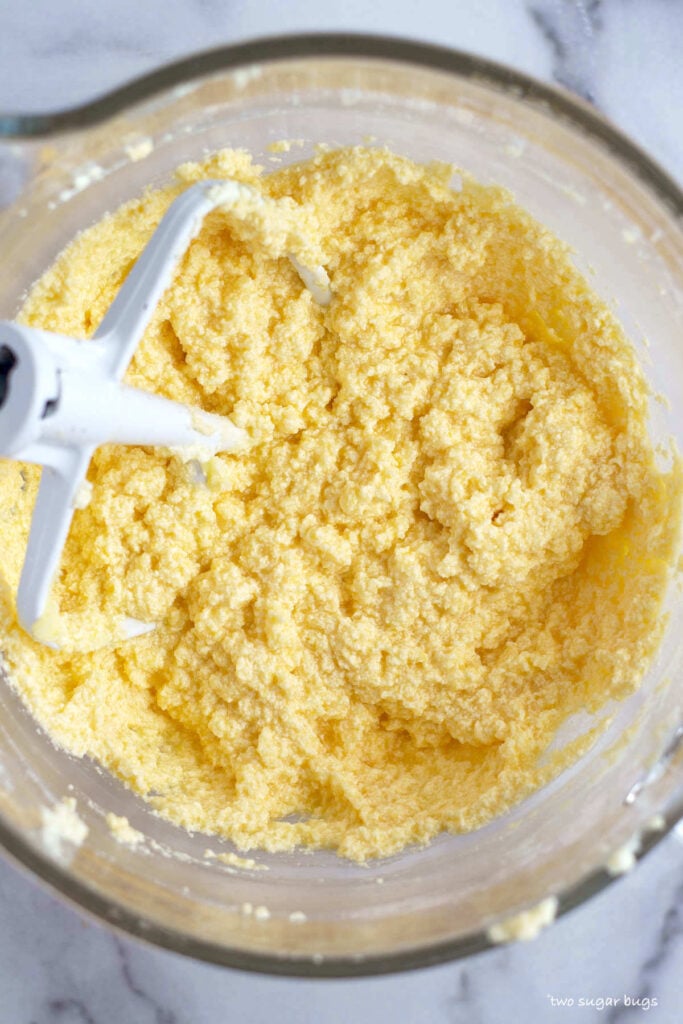
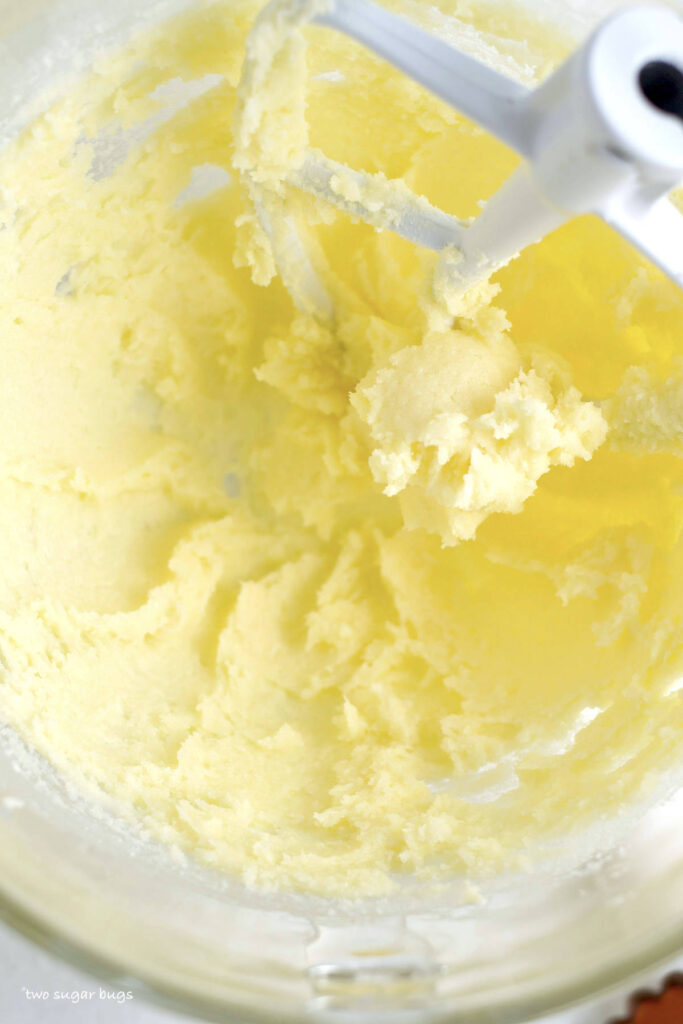
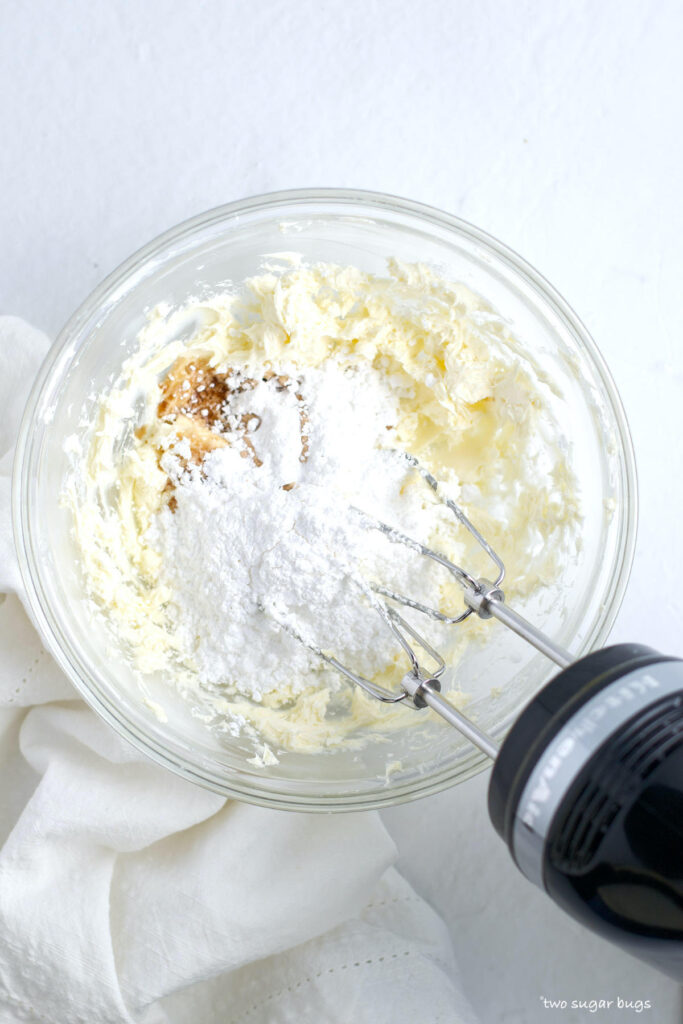
Start by making the cream cheese filling.
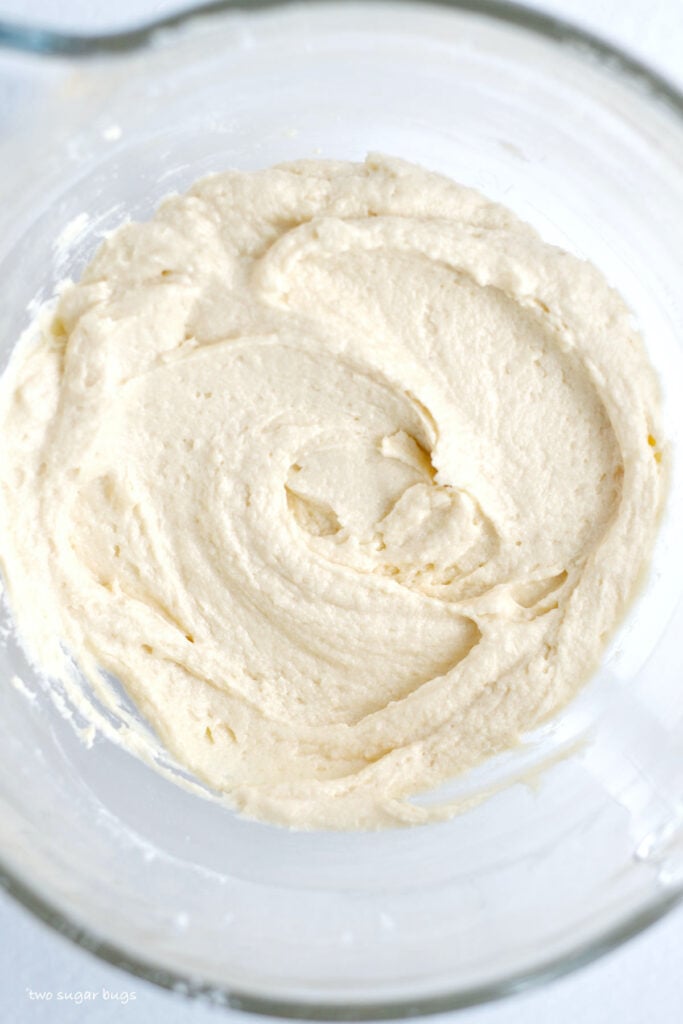
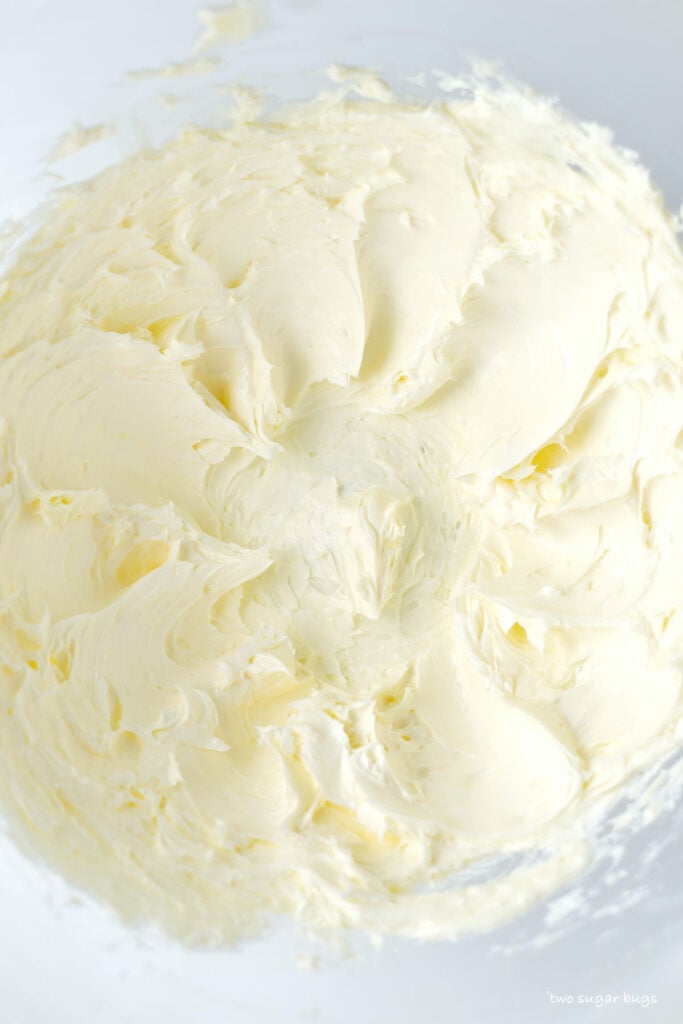
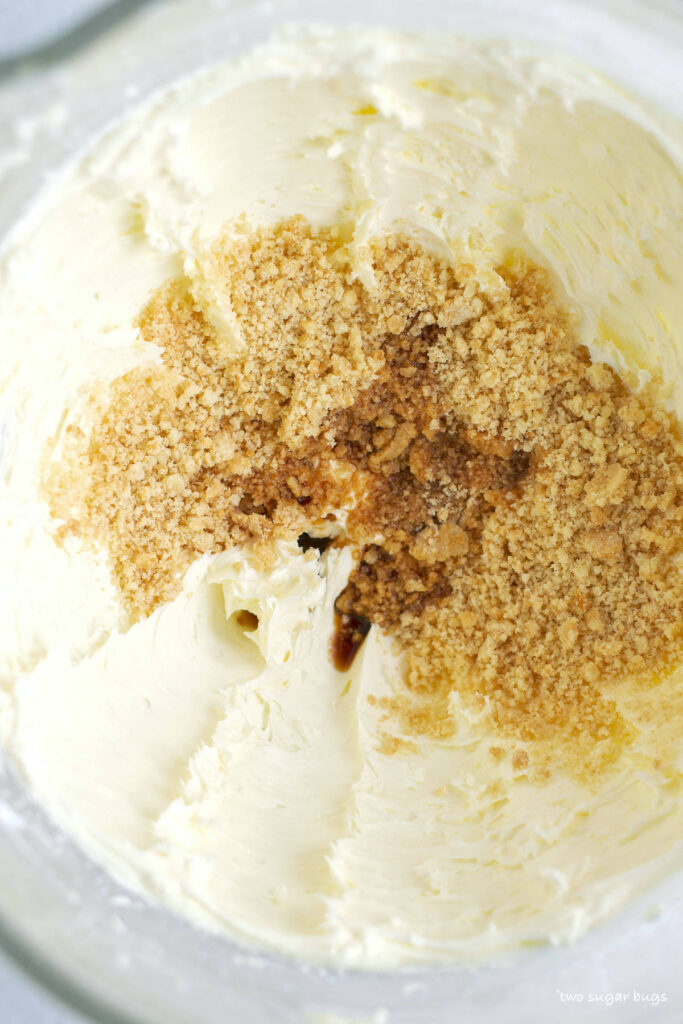
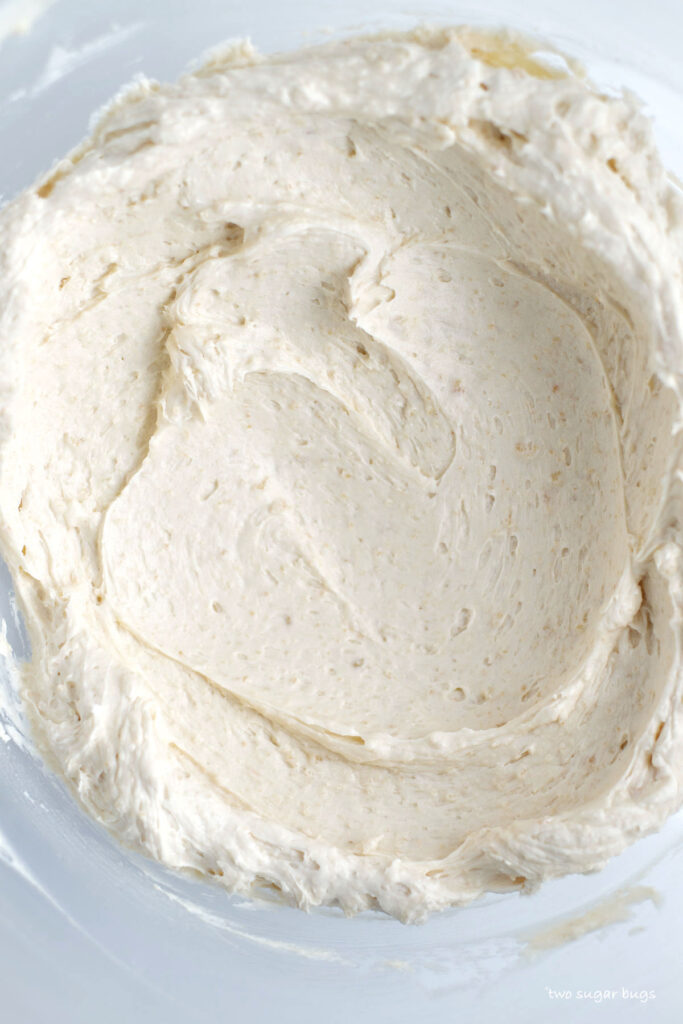
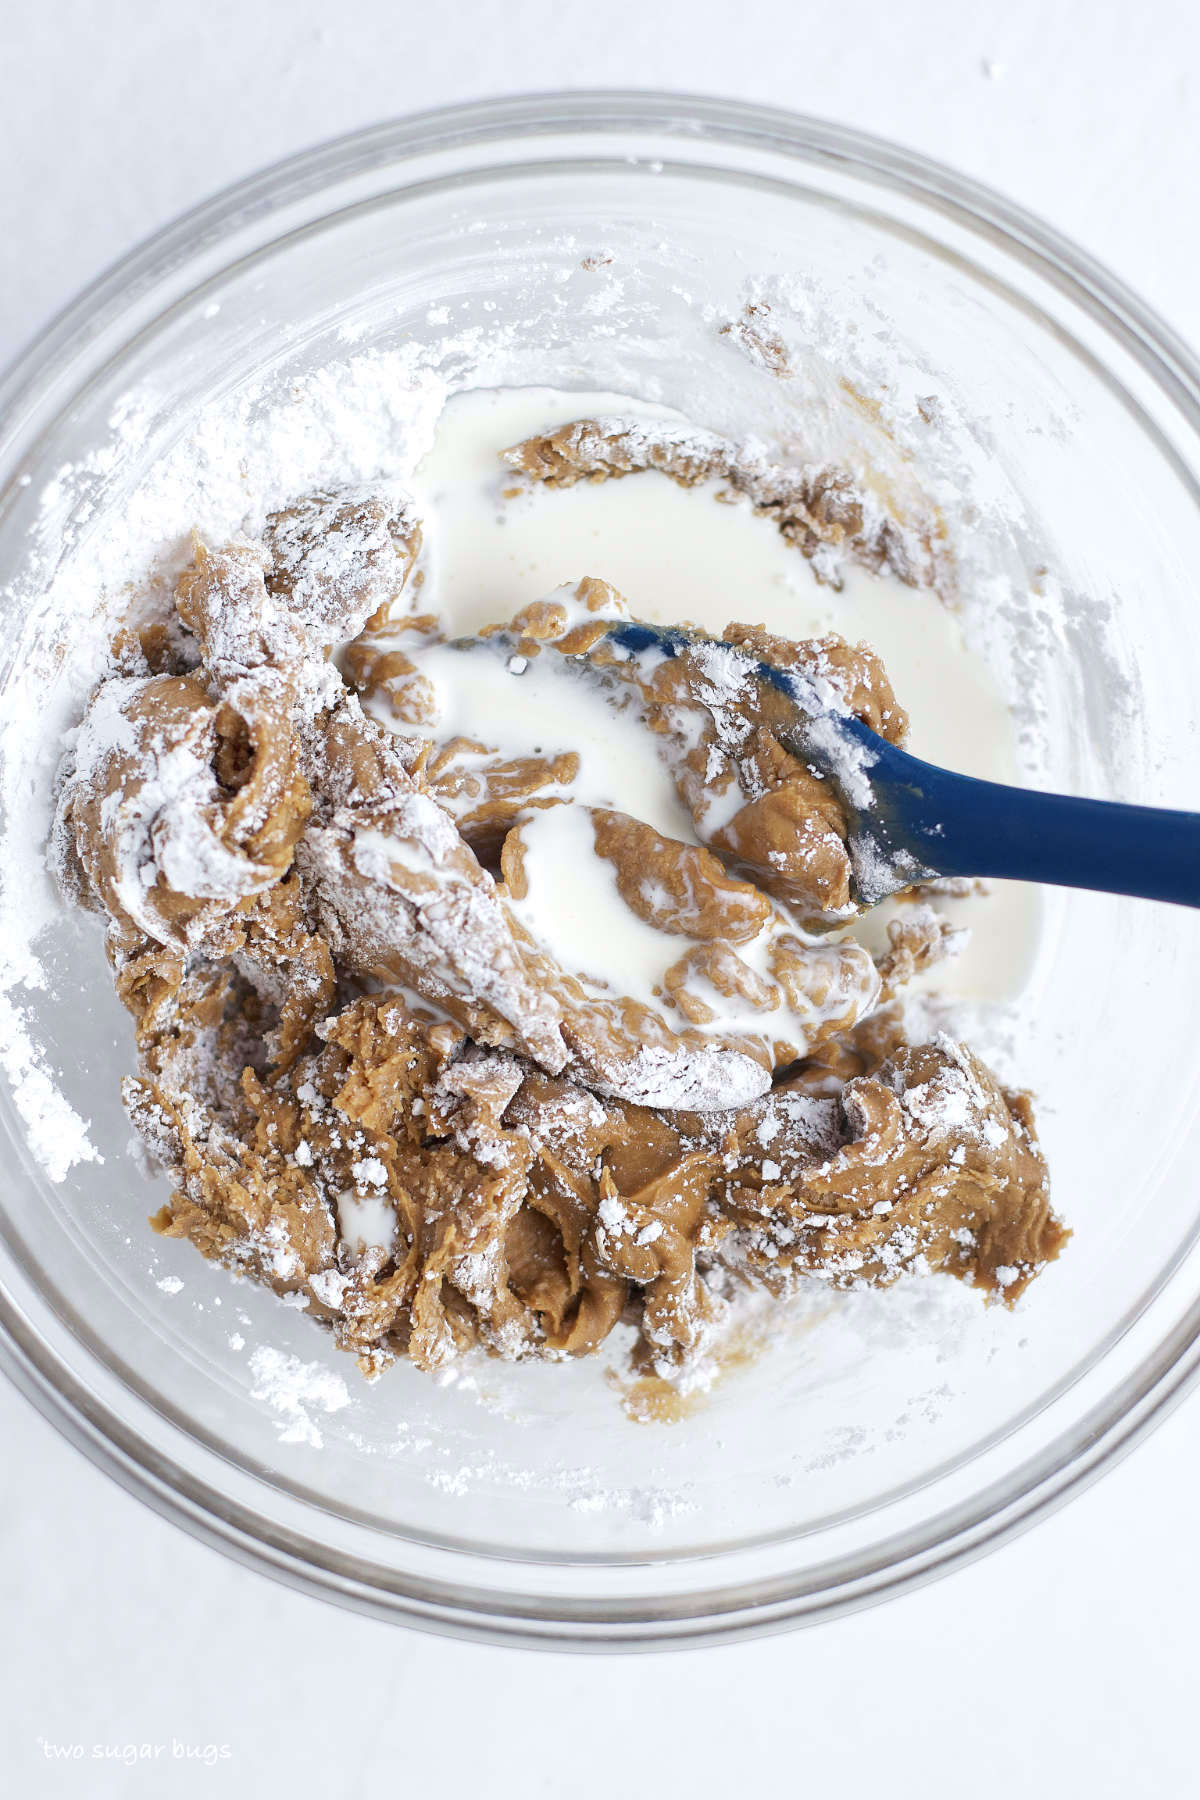
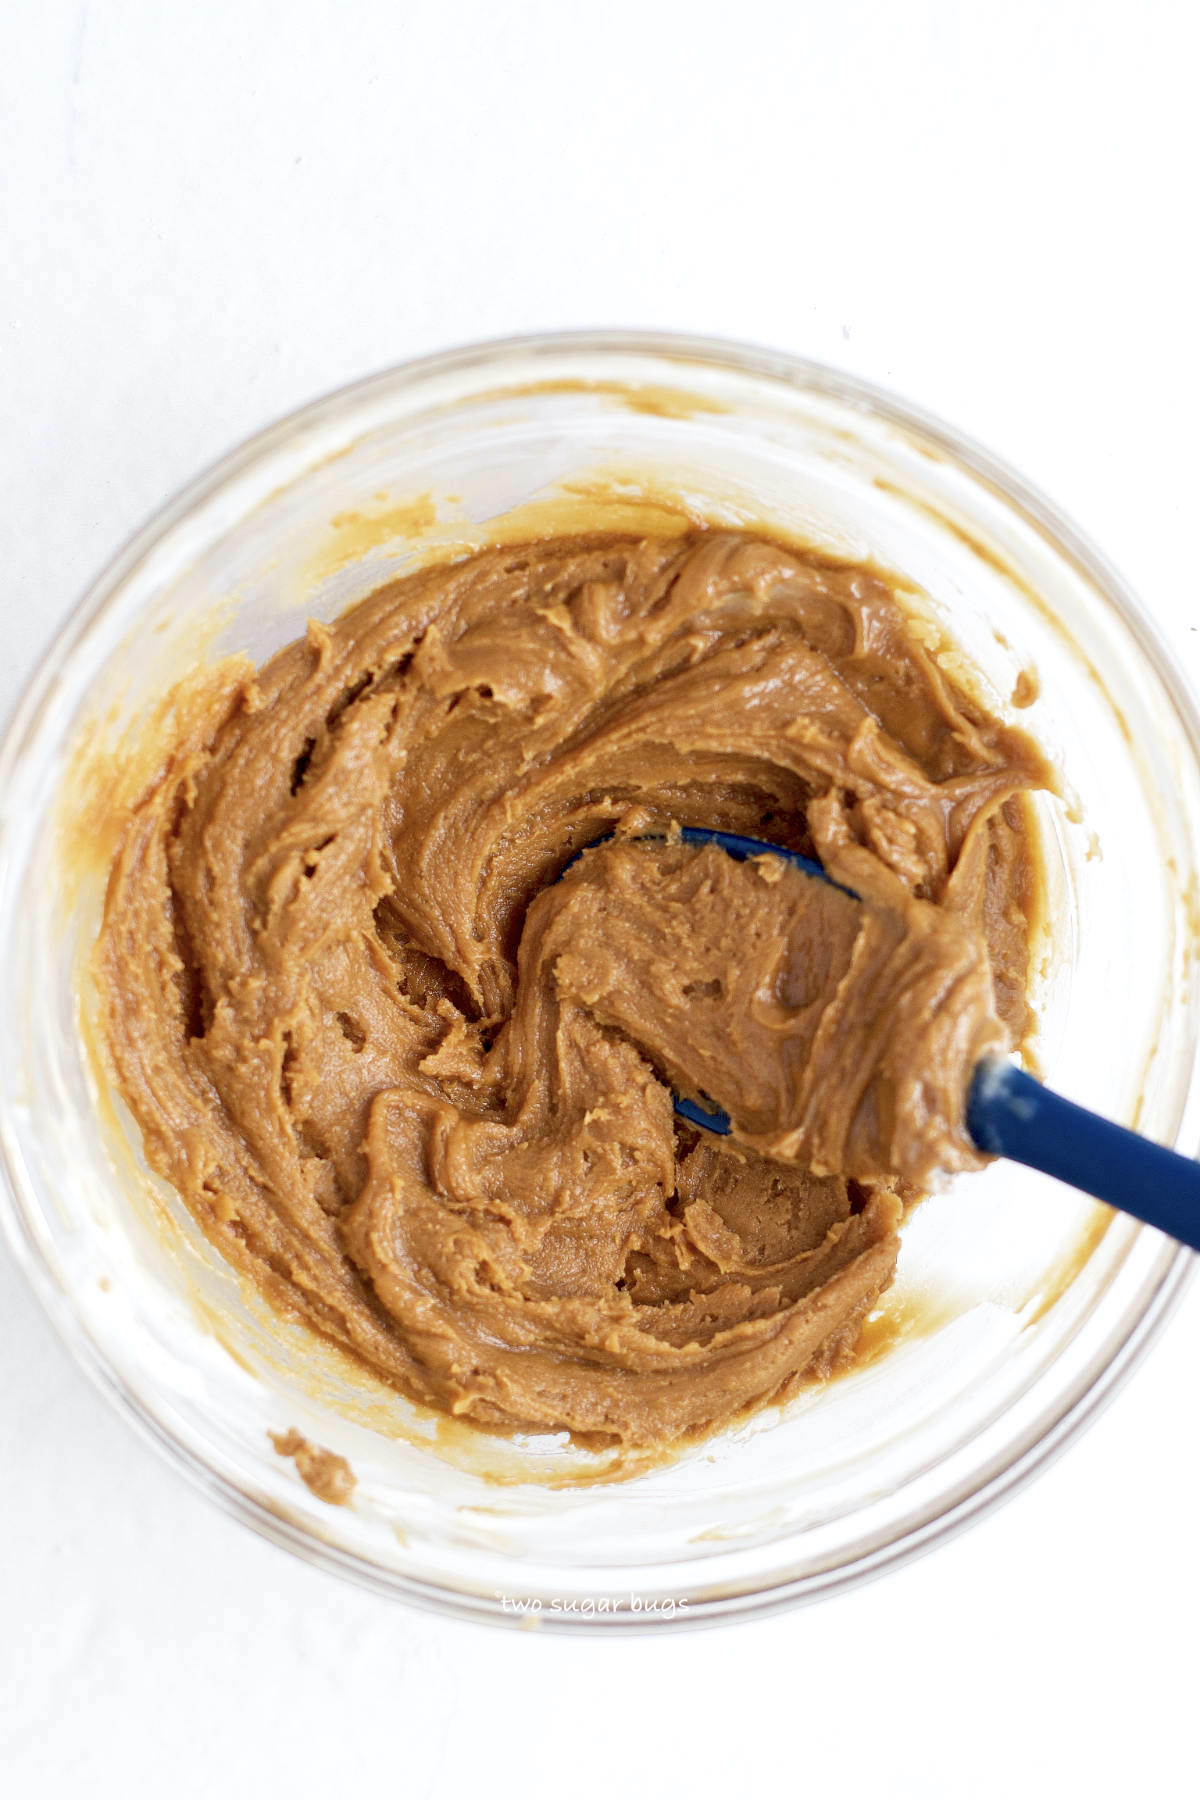
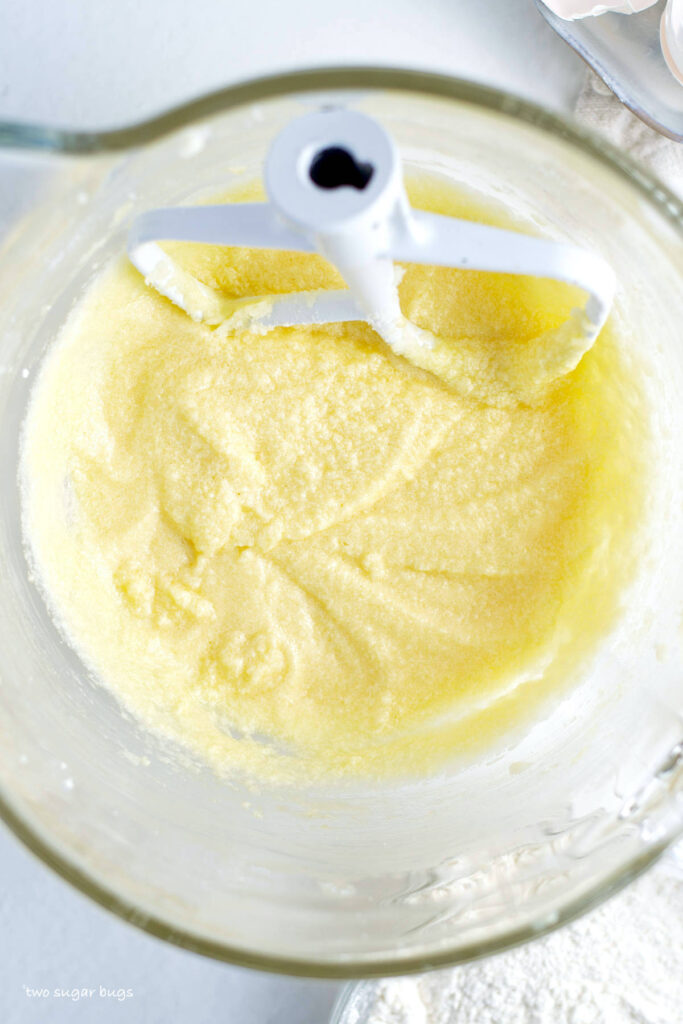
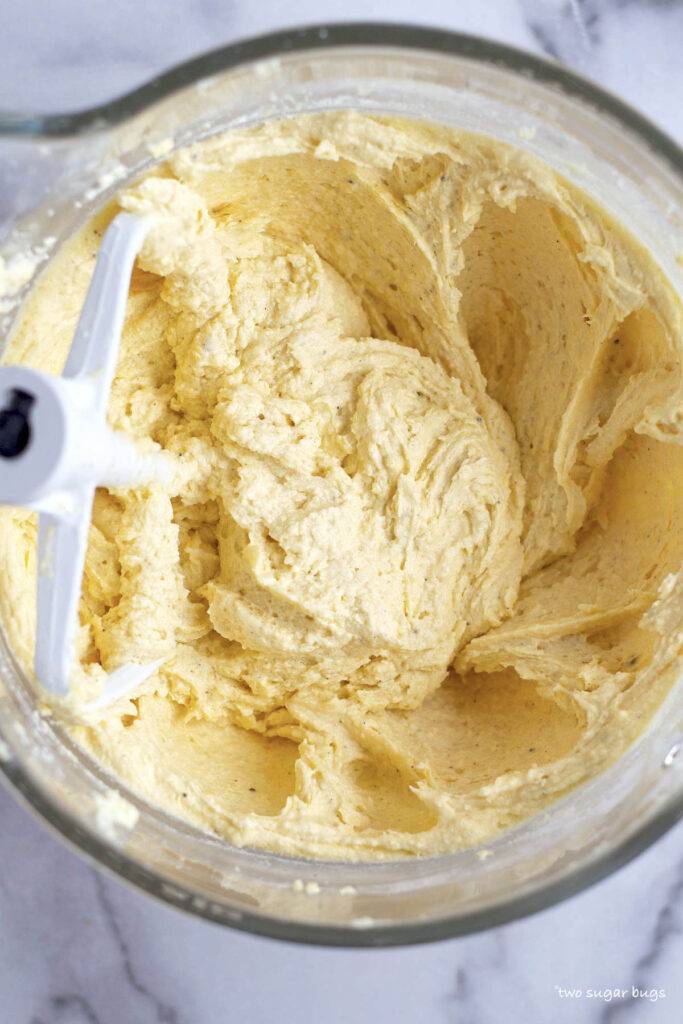
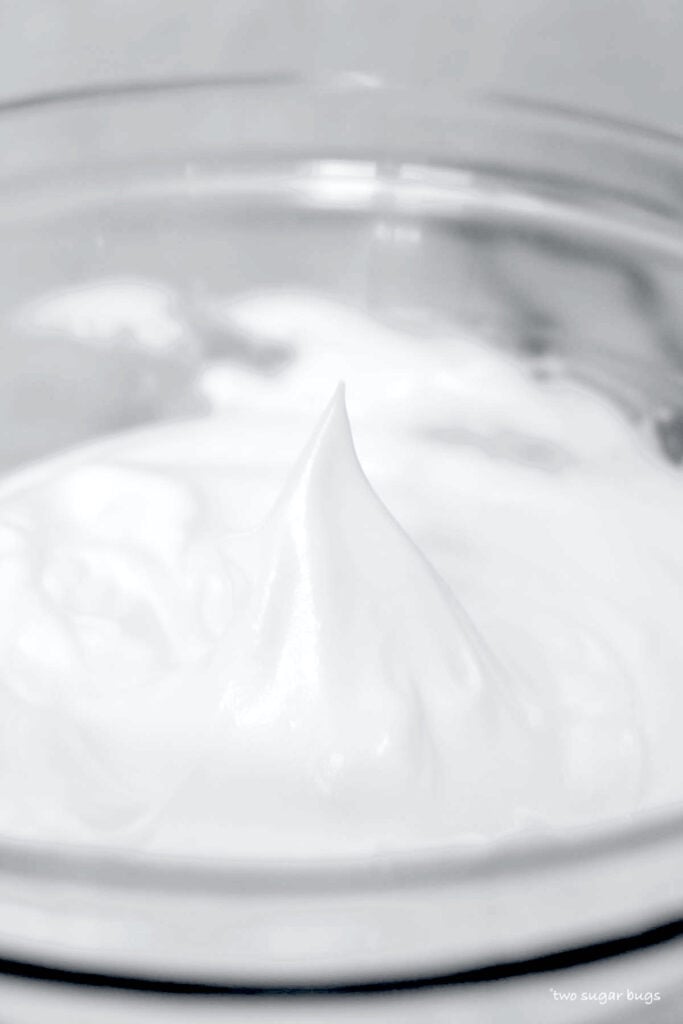
Cream together room temperature butter and cold cream cheese {I use this hand held mixer}. Then add confectioners' sugar and vanilla and blend until a thick frosting comes together.
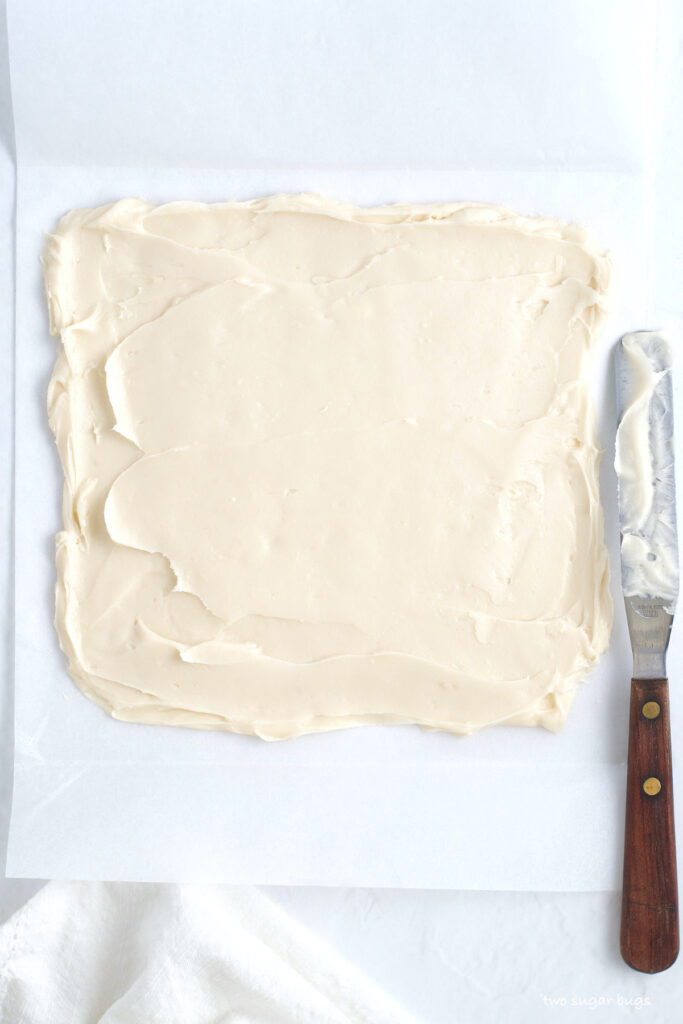
Now spread the frosting in an even layer onto an 8x8 piece of parchment paper {I use an off set spatula}. Keep the frosting a little bit inside the 8x8 measurement. {I lay a piece of parchment paper inside my baking pan and fold the edges to measure} Place the frosting into the freezer and freeze. {Can be prepared up to two days ahead}
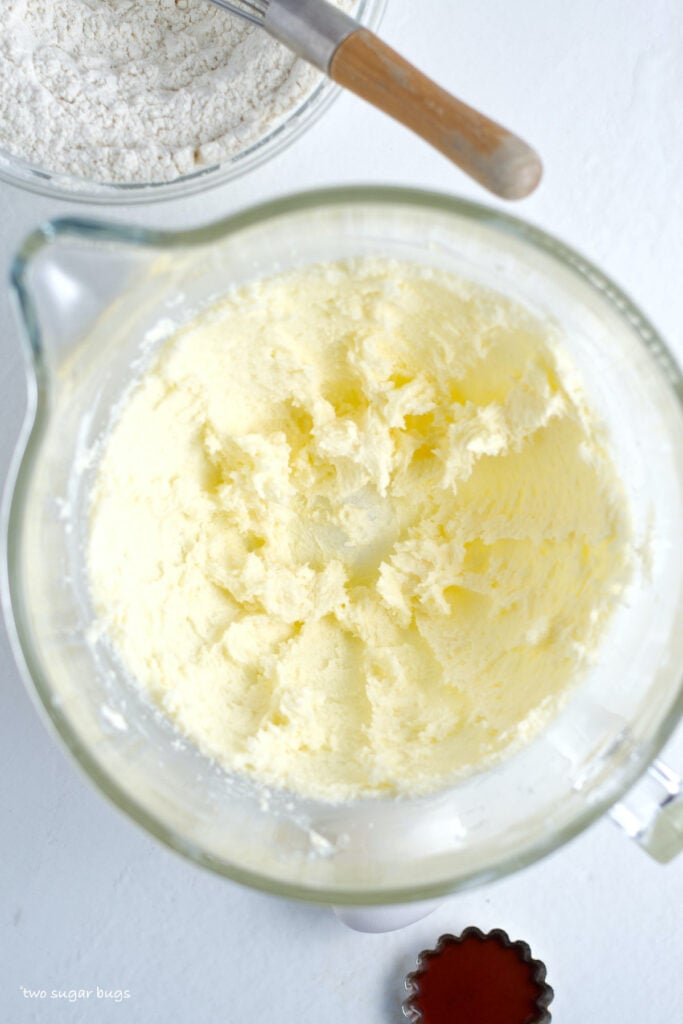
While the cream cheese frosting is freezing, make the carrot cake cookies.
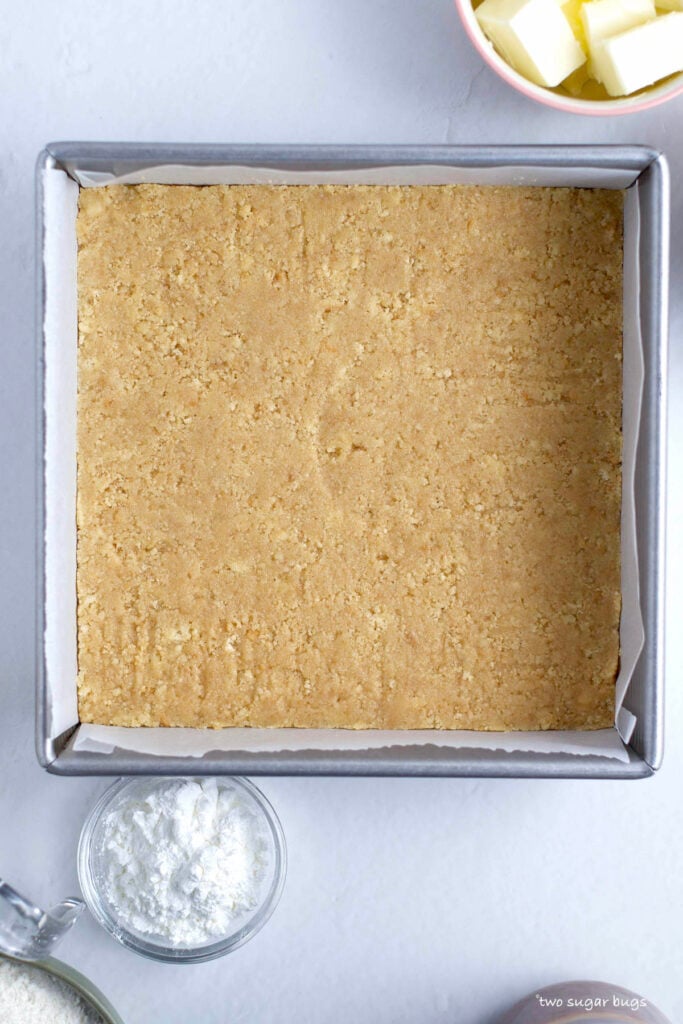
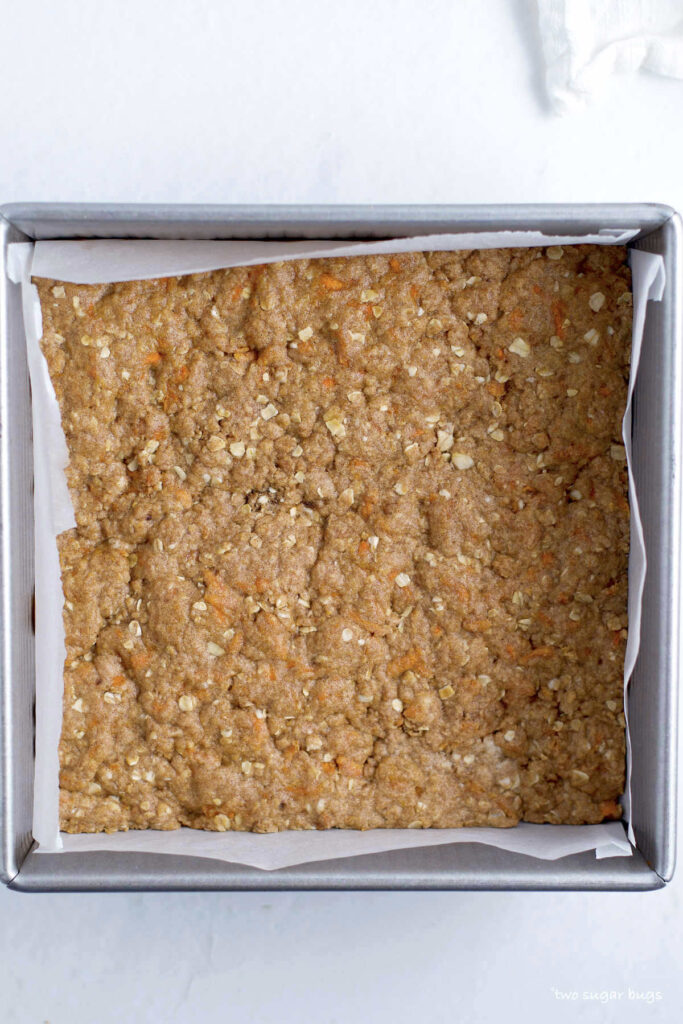
Start by preheating the oven and lining an 8x8 baking pan with parchment paper.
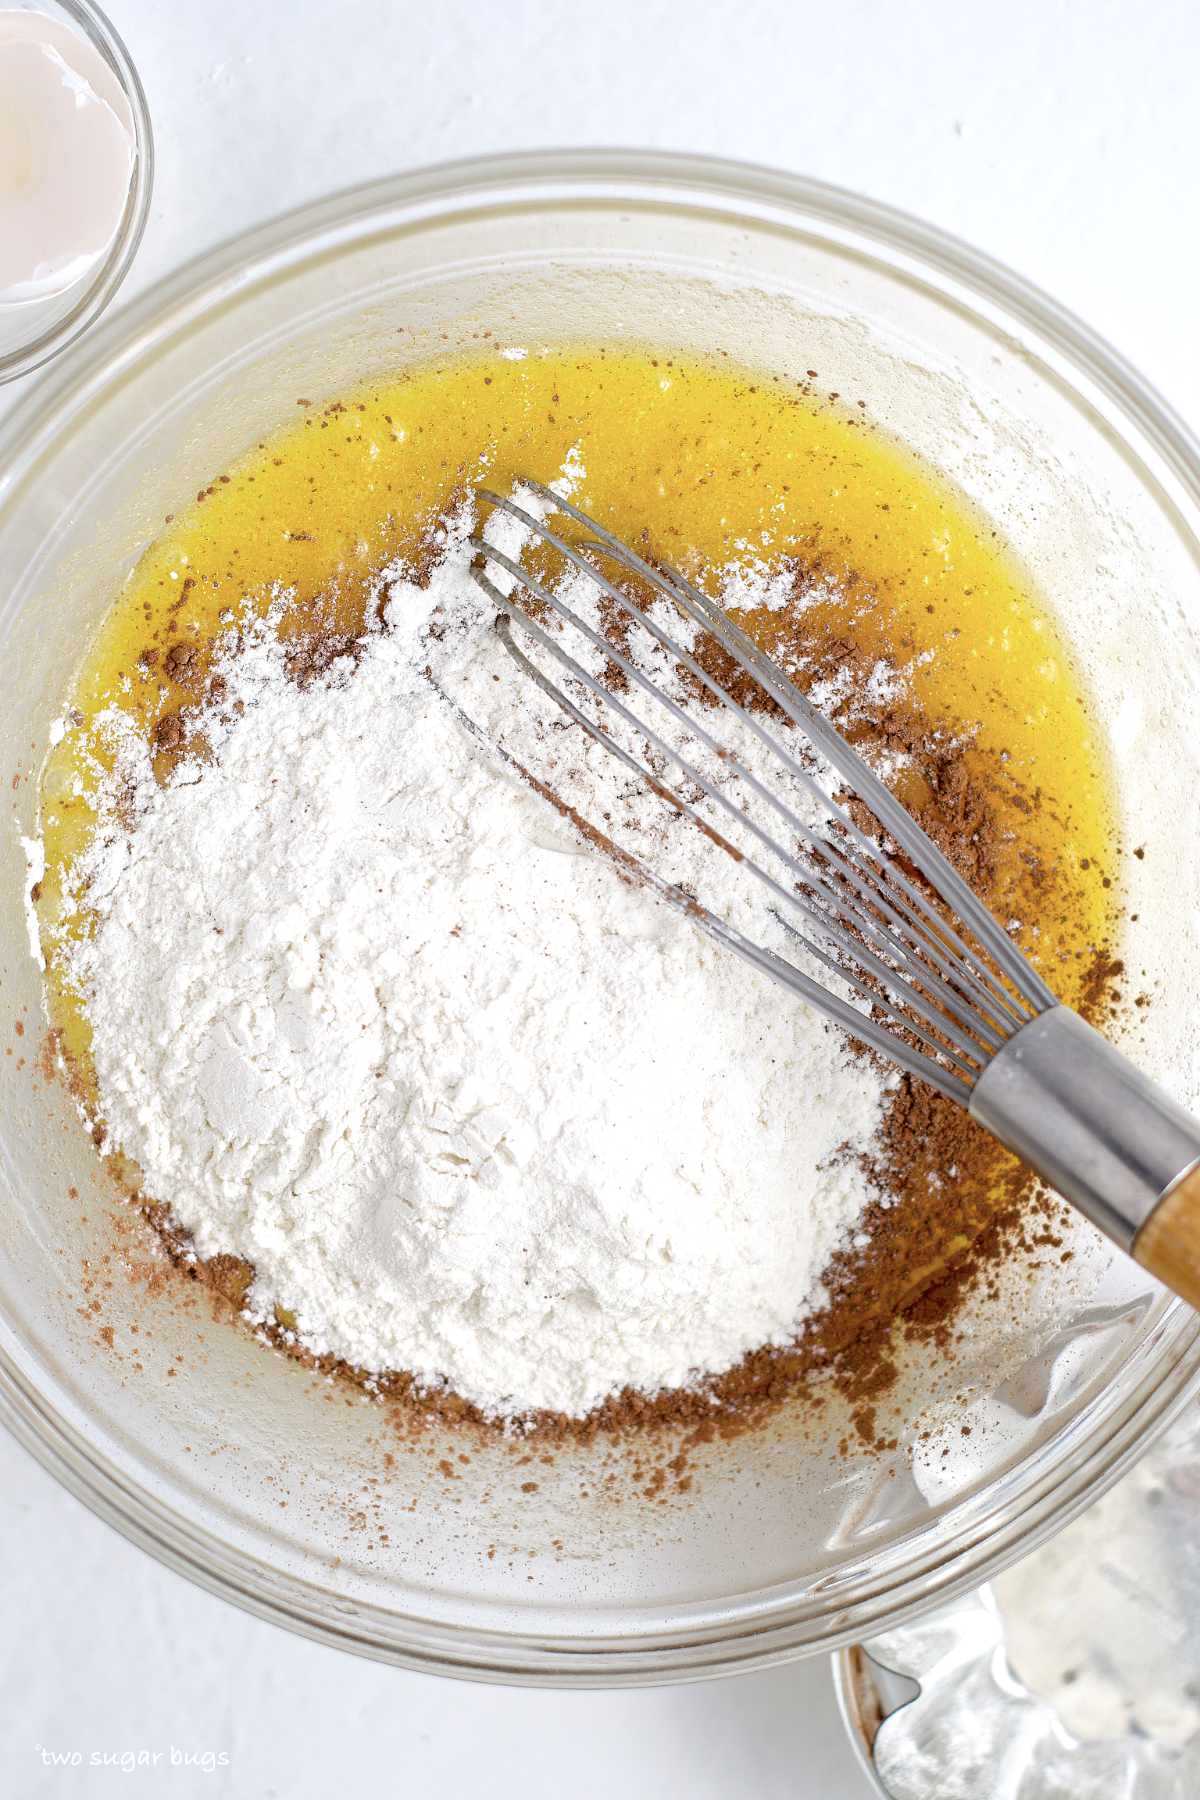
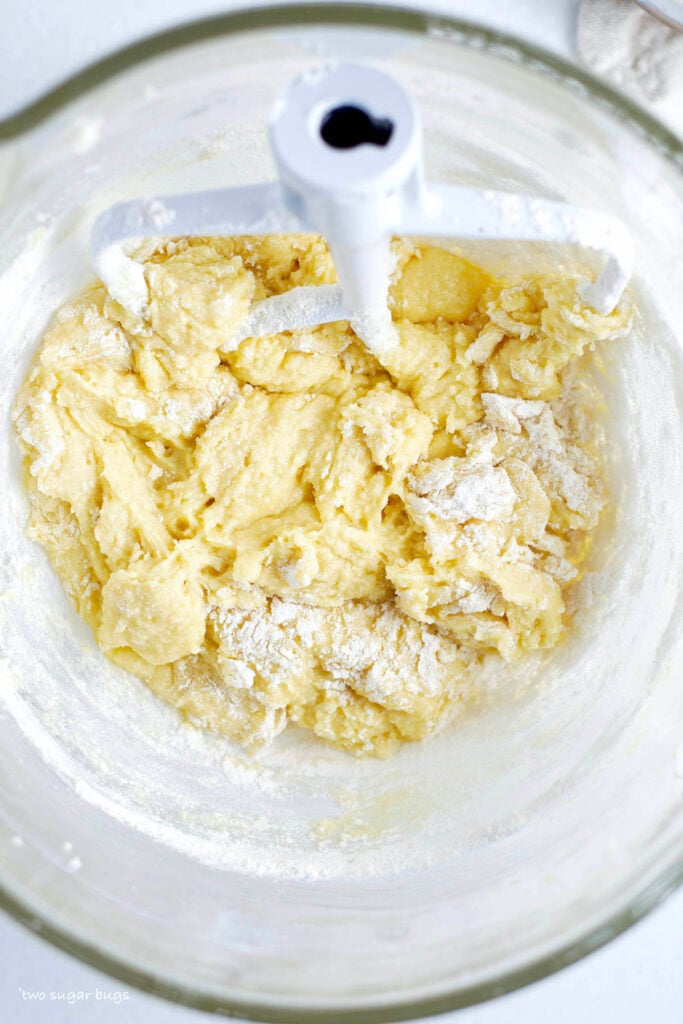
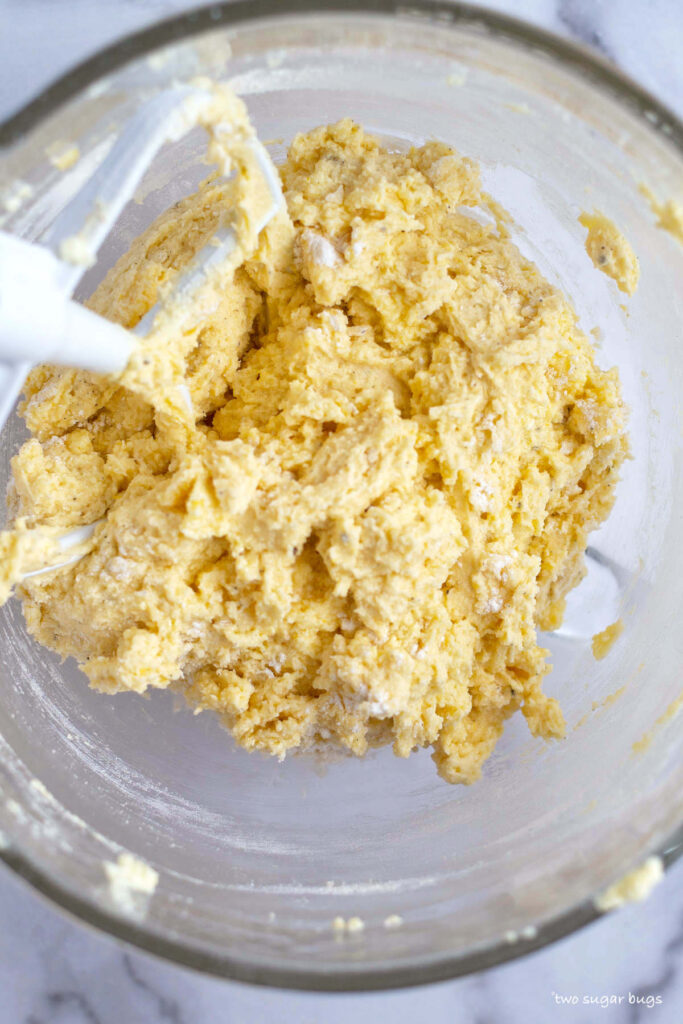
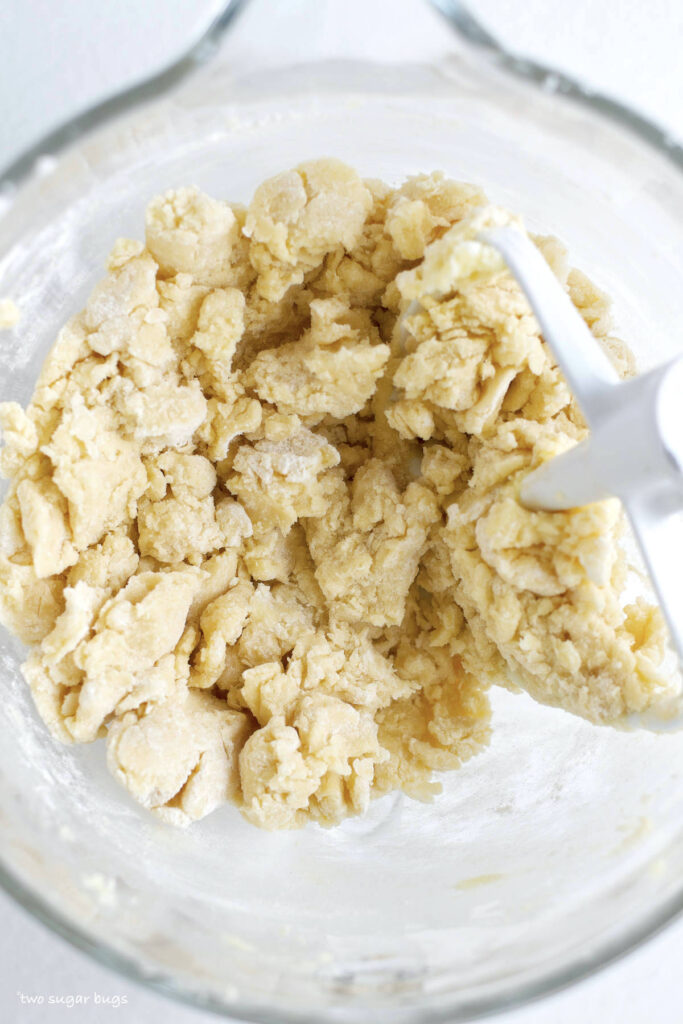
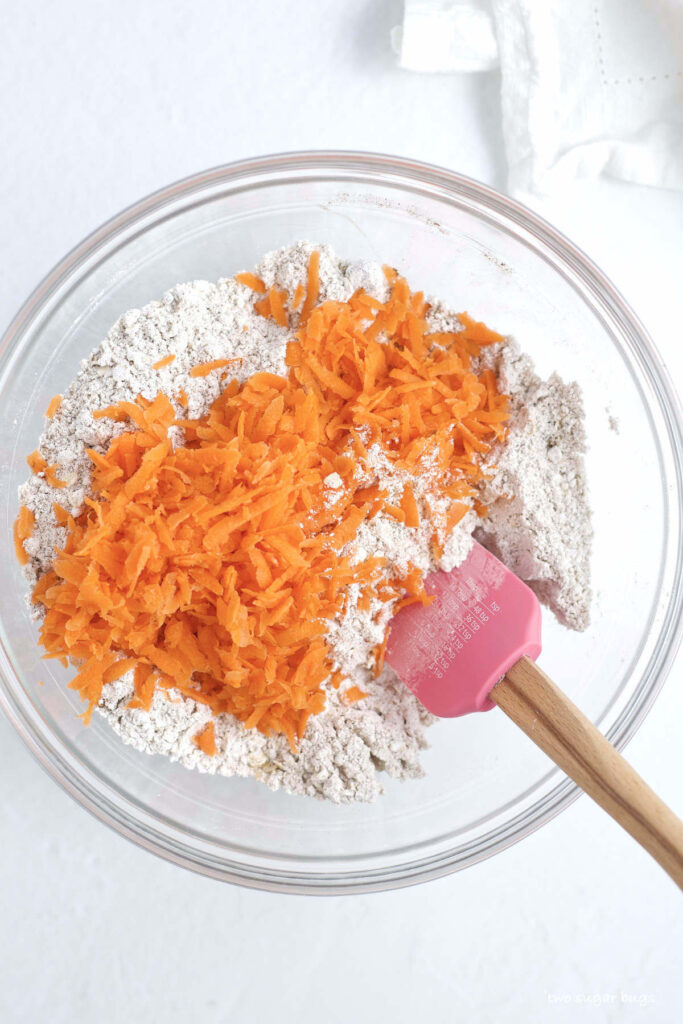
Then mix the flour, brown sugar, quick oats, baking soda, kosher salt and ground cinnamon. Once combined, add the carrots and toss until they are evenly mixed through the dry ingredients.
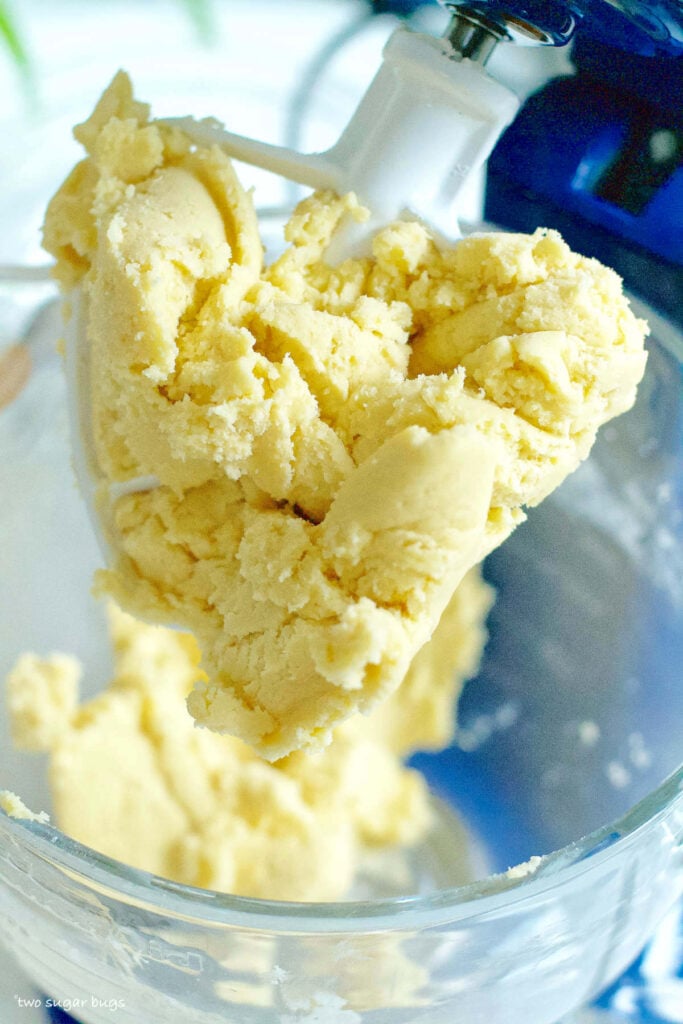
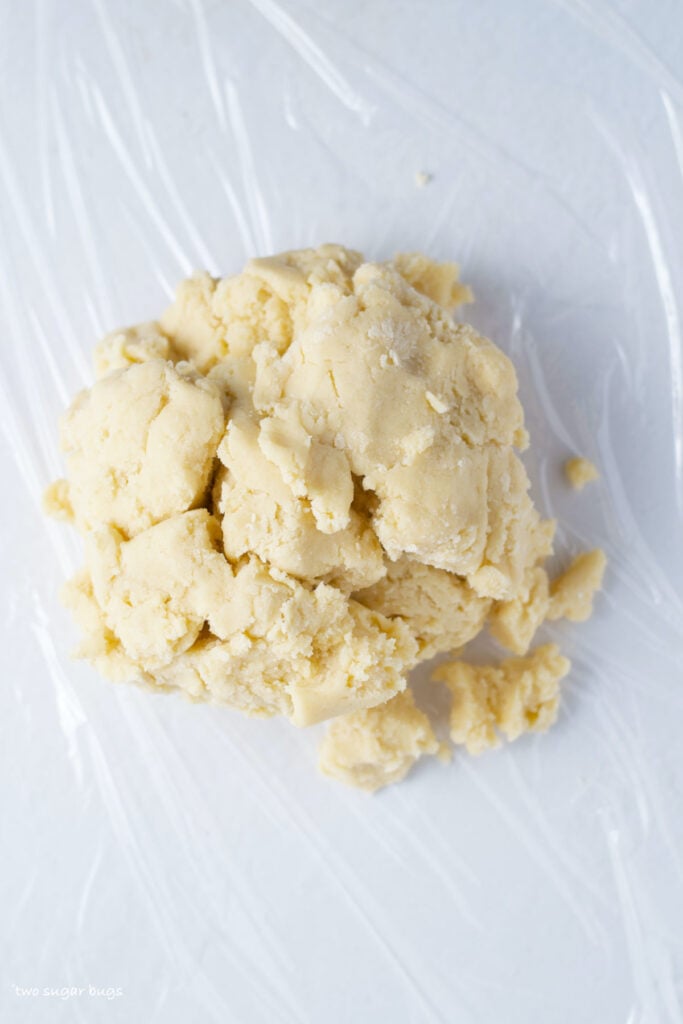
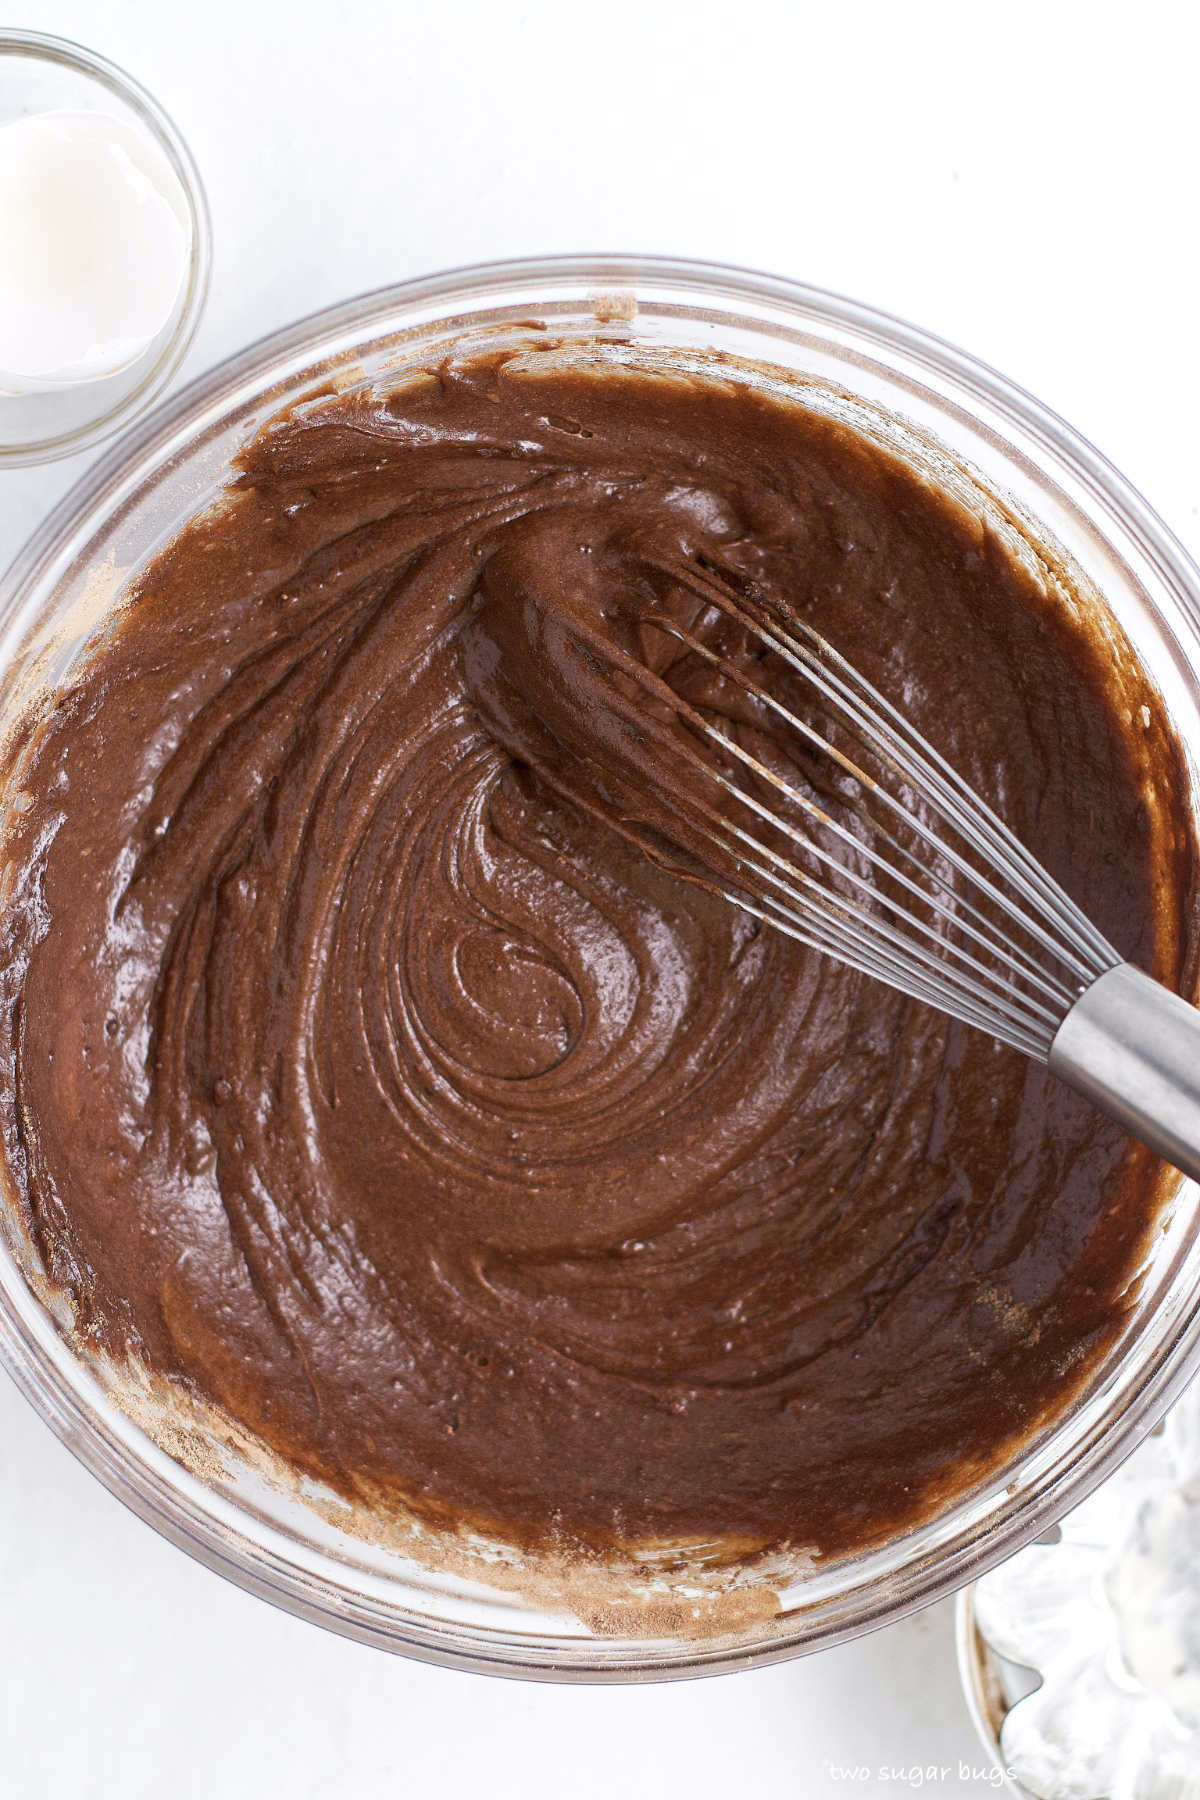
Finally, add the melted butter and vanilla and mix until the carrot cookie dough comes together. The dough is on the dry and crumbly side.
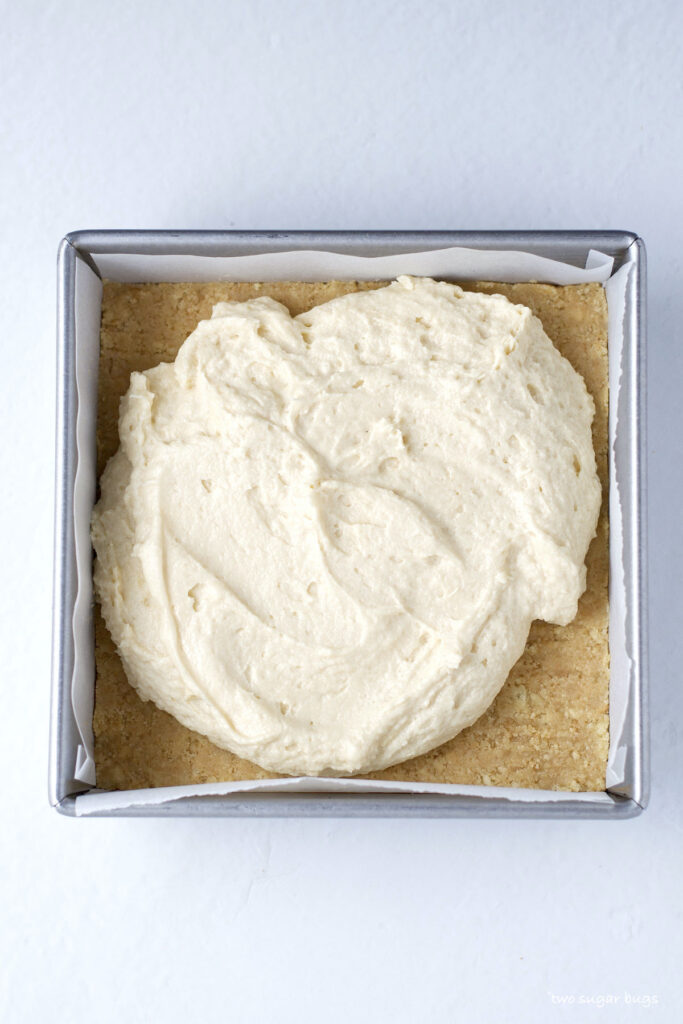
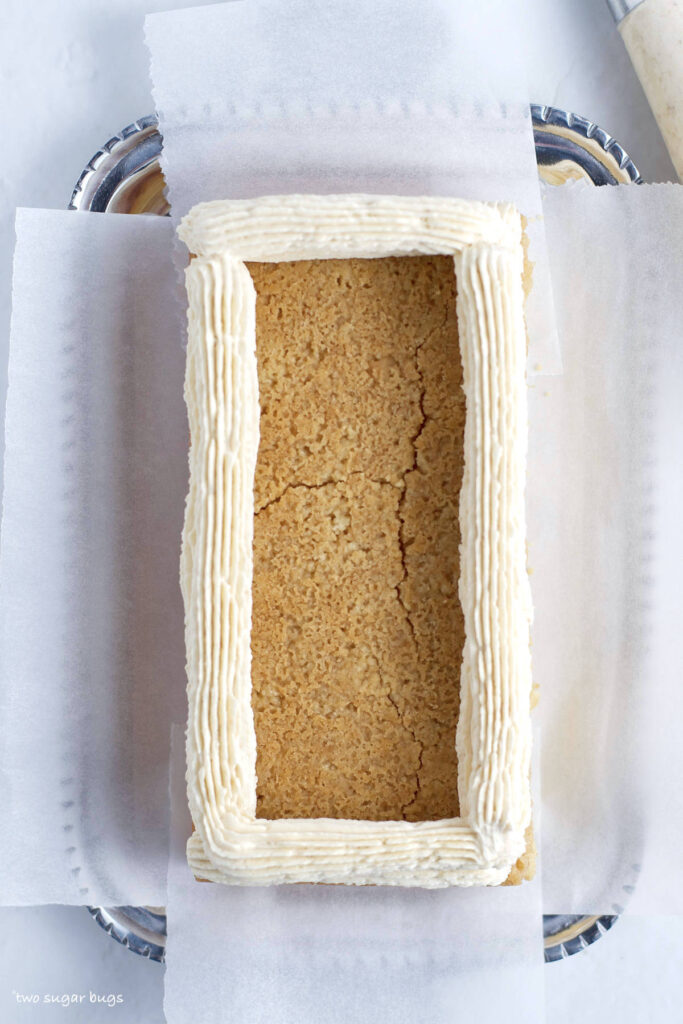
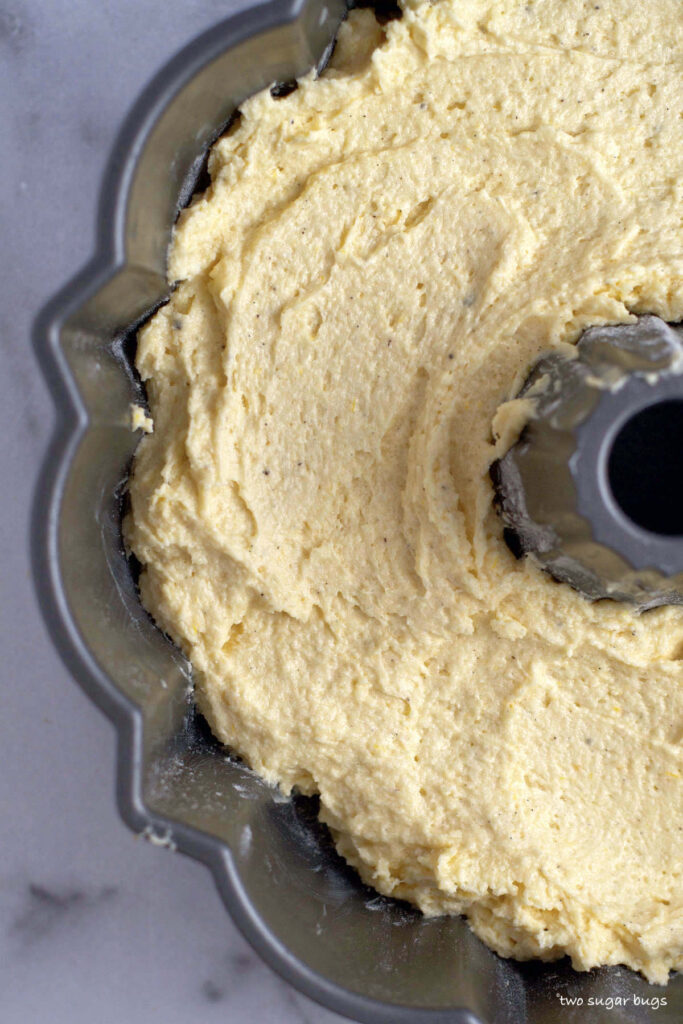
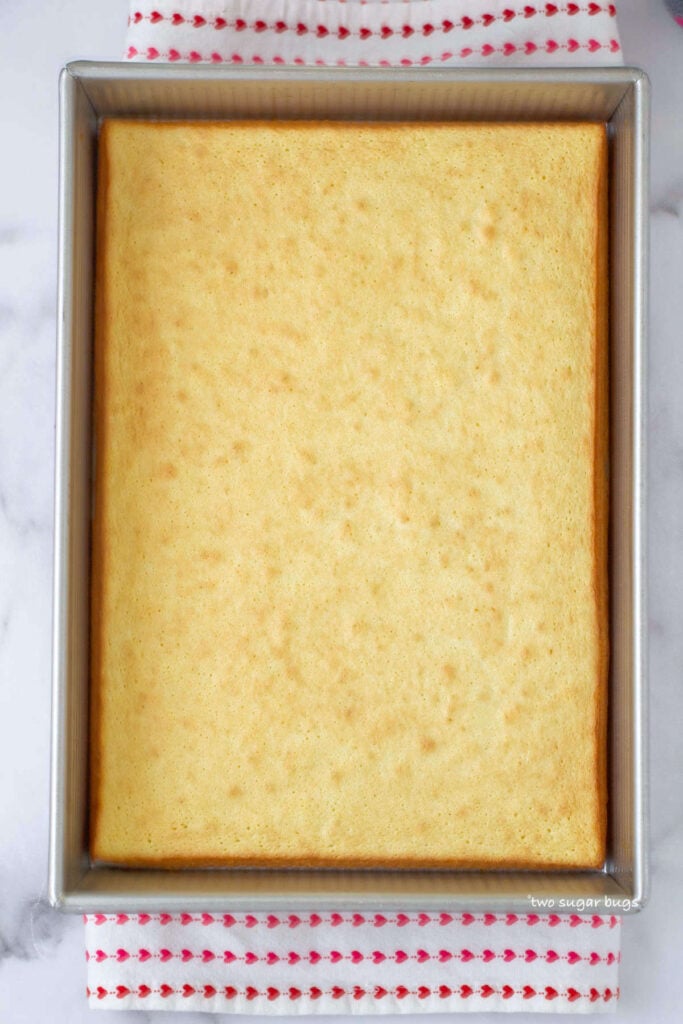
Now firmly press half the mixture into the prepared pan and bake for 10 minutes.

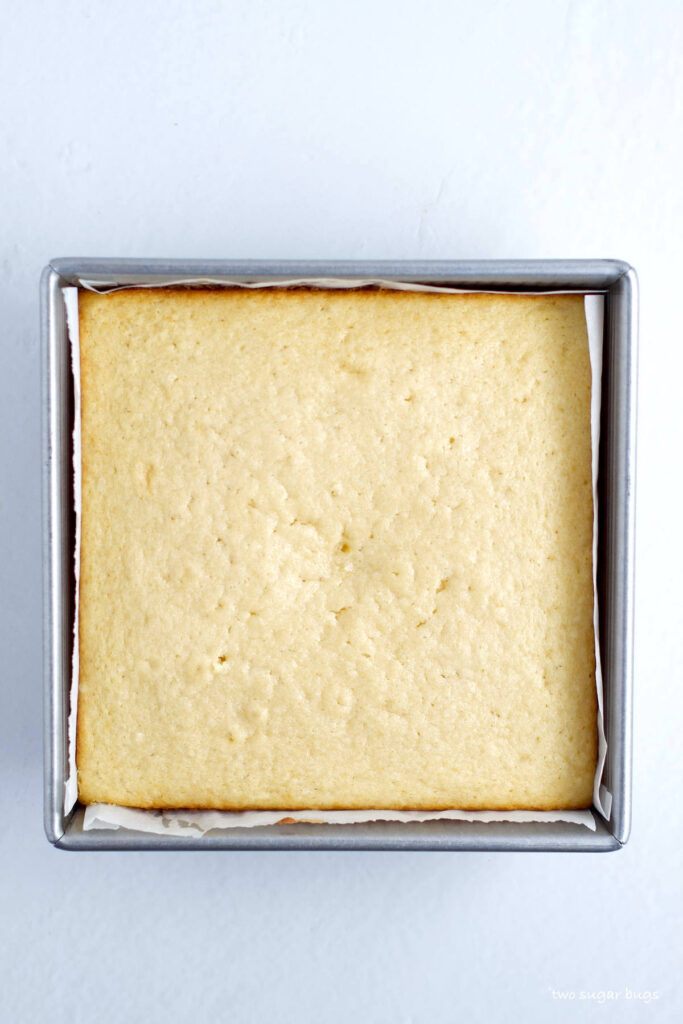
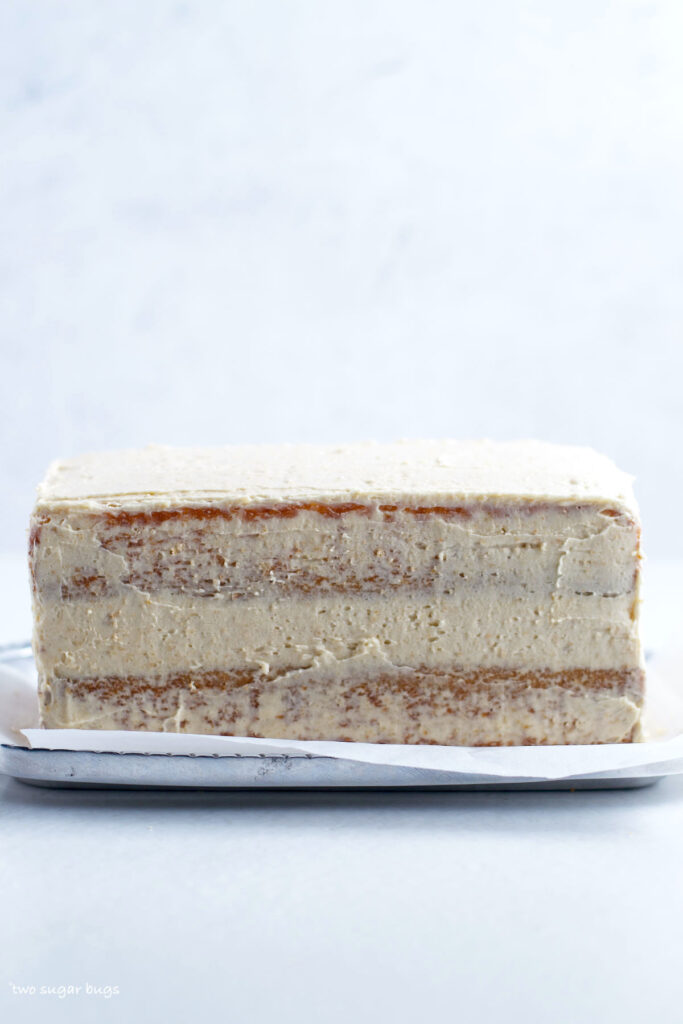
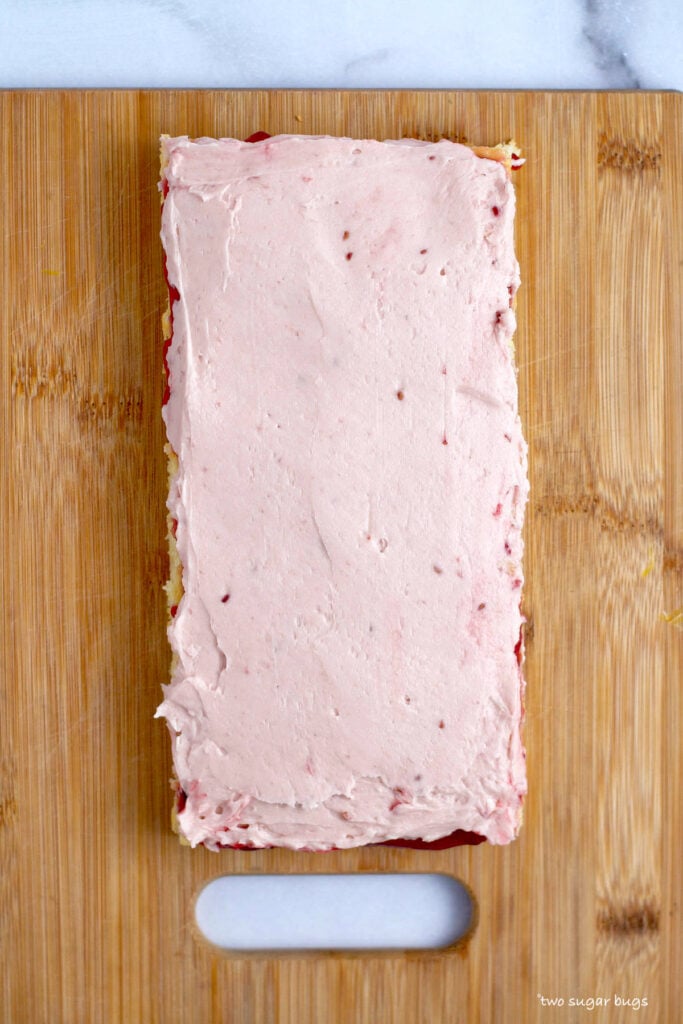
Now remove the cream cheese frosting from the freezer and peel it off the parchment paper. It should come off in one piece that you can lay over the top of the baked bottom cookie half. Then sprinkle the remaining carrot oatmeal cookie dough over the top of the cream cheese filling, making sure to cover the outside edges of the frosting filling.
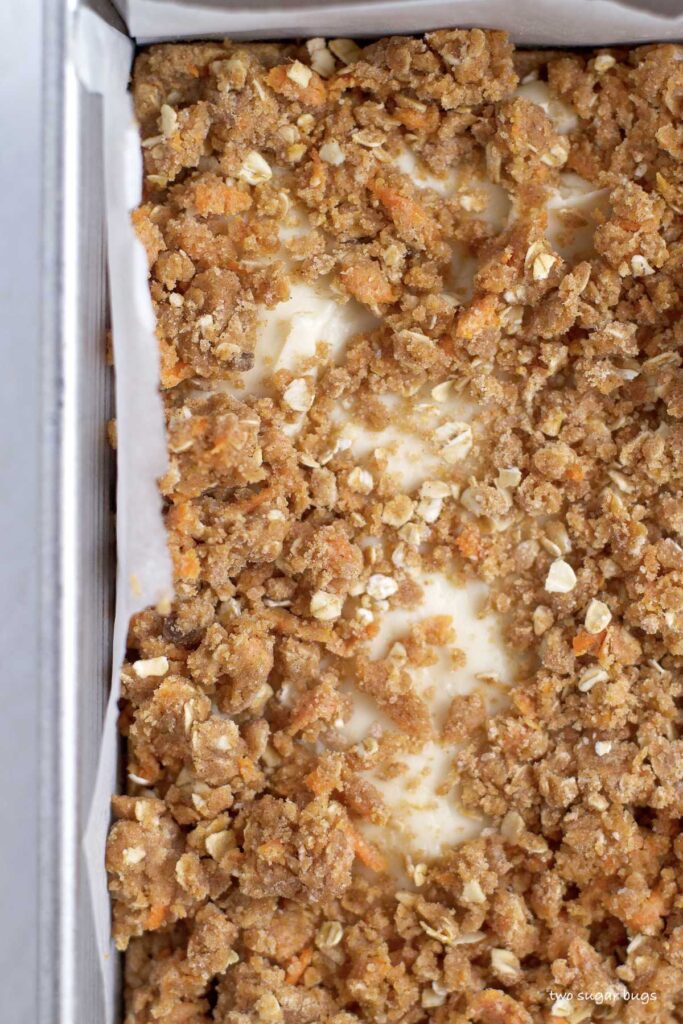
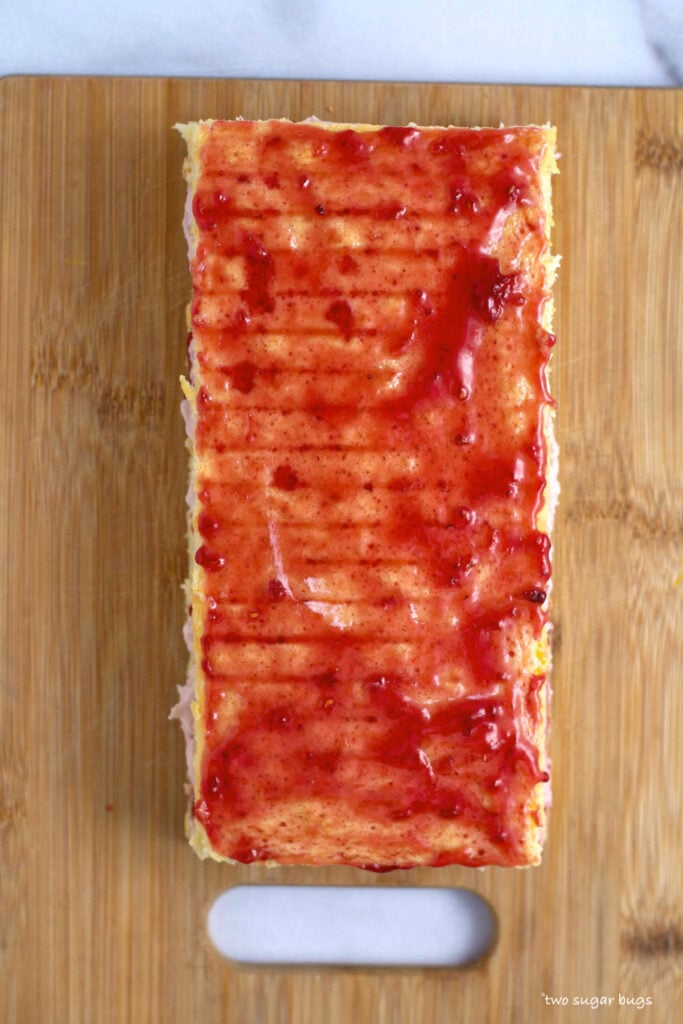
Bake until the edges are lightly browned. Then allow to cool completely before cutting.

what is the best way to grate carrots for baking?
First, make sure your carrots are scrubbed clean. You don't have to peel them, but you can if you want another tool to wash!😉. I also often use baby carrots, but be extra careful to watch your fingers.
Place a box grater on a solid surface. Scrape the carrots against the holes on the box grater. Be careful to keep your fingers out of the way!
tips for the best carrot cookie sandwiches
- Make and freeze the cream cheese frosting first. The colder it is, the easier it is to work with. If the frosting wants to break apart as you take it off the parchment paper, just do your best to piece it back together as you lay it over the bottom layer of the cookie sandwiches.
- Blot the grated carrots to remove most of the moisture before adding them to the cookie dough. For this recipe, pack the carrots into the measuring cup or use the weight measurement. Measure or weigh them BEFORE removing the moisture.
- Don't be tempted to use prepackaged shredded carrots, they can often be too thick or too wet.
- Allow the carrot cake cookie sandwiches to cool completely before cutting them. If you want to speed up the cooling process, place the pan into the refrigerator once you can pick it up with bare hands {about 10-15 minutes after removing from the oven}.
Remember to snap a picture and tag me on Instagram if you make these Carrot Cake Sandwich Cookies. It warms my heart to see you bring these recipes to life! Thank you for being here and happy baking!
more easy cookie recipes to enjoy
- Sprinkle Cookies
- No Chill Malted Chocolate Chip Cookies
- Lemon Cut Out Sugar Cookies
- Easy Chocolate Sprinkle Cookies
If you make this recipe {or any recipe!} from two sugar bugs please come back and leave a review and a ⭐️⭐️⭐️⭐️⭐️ star rating. I read every comment, and I LOVE hearing from you!
Carrot Cake Sandwich Cookies
Carrot cake sandwich cookies are a soft and chewy cookie bar made with carrots, cinnamon and oatmeal. The cookie is then filled with the best cream cheese frosting filling that bakes right inside the cookie sandwich!
Ingredients
cream cheese frosting filling****
- 1 ounce cream cheese (28g)
- 2 tablespoons unsalted butter, room temperature (28g)
- ¾ cup confectioners’ sugar (90g)
- ½ teaspoon pure vanilla extract
carrot cake cookie
- ½ cup brown sugar* (100g)
- 1 ½ cups all-purpose flour (188g)
- ½ cup quick oats** (50g)
- 1 teaspoon baking soda
- ¼ teaspoon kosher salt
- 2 teaspoons ground cinnamon
- ¾ cup packed grated carrots*** (100g), pat them dry with paper towels
- ½ cup unsalted butter, melted (113g)
- 1 teaspoon pure vanilla extract
Instructions
- For the cream cheese frosting filling: Using a hand held mixer or stand mixer, cream together the room temperature butter (2 tablespoons/28g) and cold cream cheese (1 ounce/28g) on medium speed until creamy, about 1-2 minutes. Add in the confectioners’ sugar (¾ cup/90g) and vanilla (½ teaspoon) and mix on low until the sugar is incorporated. Then increase speed to medium and mix another minute until well combined. The frosting should be on the thick and stiff side.
- Drop the cream cheese frosting onto a piece of parchment paper that is 8x8 and smooth (the best you can, it doesn't have to be perfect) into an even layer keeping the edges in slightly inside the 8x8 square. Place in the freezer for a minimum of 30 minutes and up to 2 days. (If placing in the freezer longer than 30 minutes, cover the frosting).
- For the carrot cake cookie: Preheat the oven to 350°F and prepare an 8x8 baking pan with parchment paper. Set aside.
- In a medium bowl, combine the brown sugar (½ cup/100g), flour (1 ½ cups/188g), quick oats (½ cup/50g), baking soda (1 teaspoon), salt (¼ teaspoon) and cinnamon (2 teaspoons). Then add in the grated carrots (¾ cup/100g) and toss to combine. Add the melted butter (½ cup/113g) and vanilla (1 teaspoon) and stir until combined; the cookie dough is slightly dry and crumbly. Save aside about ½ of the carrot cake cookie mixture. Then press the remaining cookie mixture into the bottom of the prepared pan. Bake for 10 minutes.
- Remove pan from oven take the frozen cream cheese frosting and lay it over the baked carrot cookie layer. Crumble the remaining carrot cookie dough over the frosting layer, making sure to get the edges well covered. Return the pan to oven and bake an additional 15-20 minutes, until the edges are lightly browned. Remove from the oven and allow to cool completely before cutting.
Notes
*I prefer dark brown sugar, but light brown also works
**Old fashioned oats can be used, but the oat texture will be more noticeable. You can also blitz old fashioned oats in a food processor for a few turns to turn them into quick oats.
***If using cups to measure, make sure the grated carrots are packed into the measuring cup. Once they have been measured, lay the grated carrots on paper towels and blot them until most of the moisture is removed.
****If you prefer a thick layer of cream cheese filling, double the frosting recipe. The frosting should pull off the parchment if it has been frozen at least 30 minutes. Work quickly with it, because as it warms up it becomes harder to remove. If the frosting comes off in pieces, do your best to piece it together over the bottom cookie layer.
Store and leftovers covered in the refrigerator for up to 5 days.
Nutrition Information:
Yield:
16Serving Size:
1Amount Per Serving: Calories: 173Total Fat: 8gSaturated Fat: 5gTrans Fat: 0gUnsaturated Fat: 3gCholesterol: 21mgSodium: 116mgCarbohydrates: 24gFiber: 1gSugar: 13gProtein: 2g
The nutrition information is an estimate only and may not be entirely accurate.