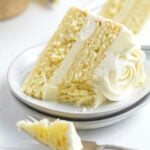
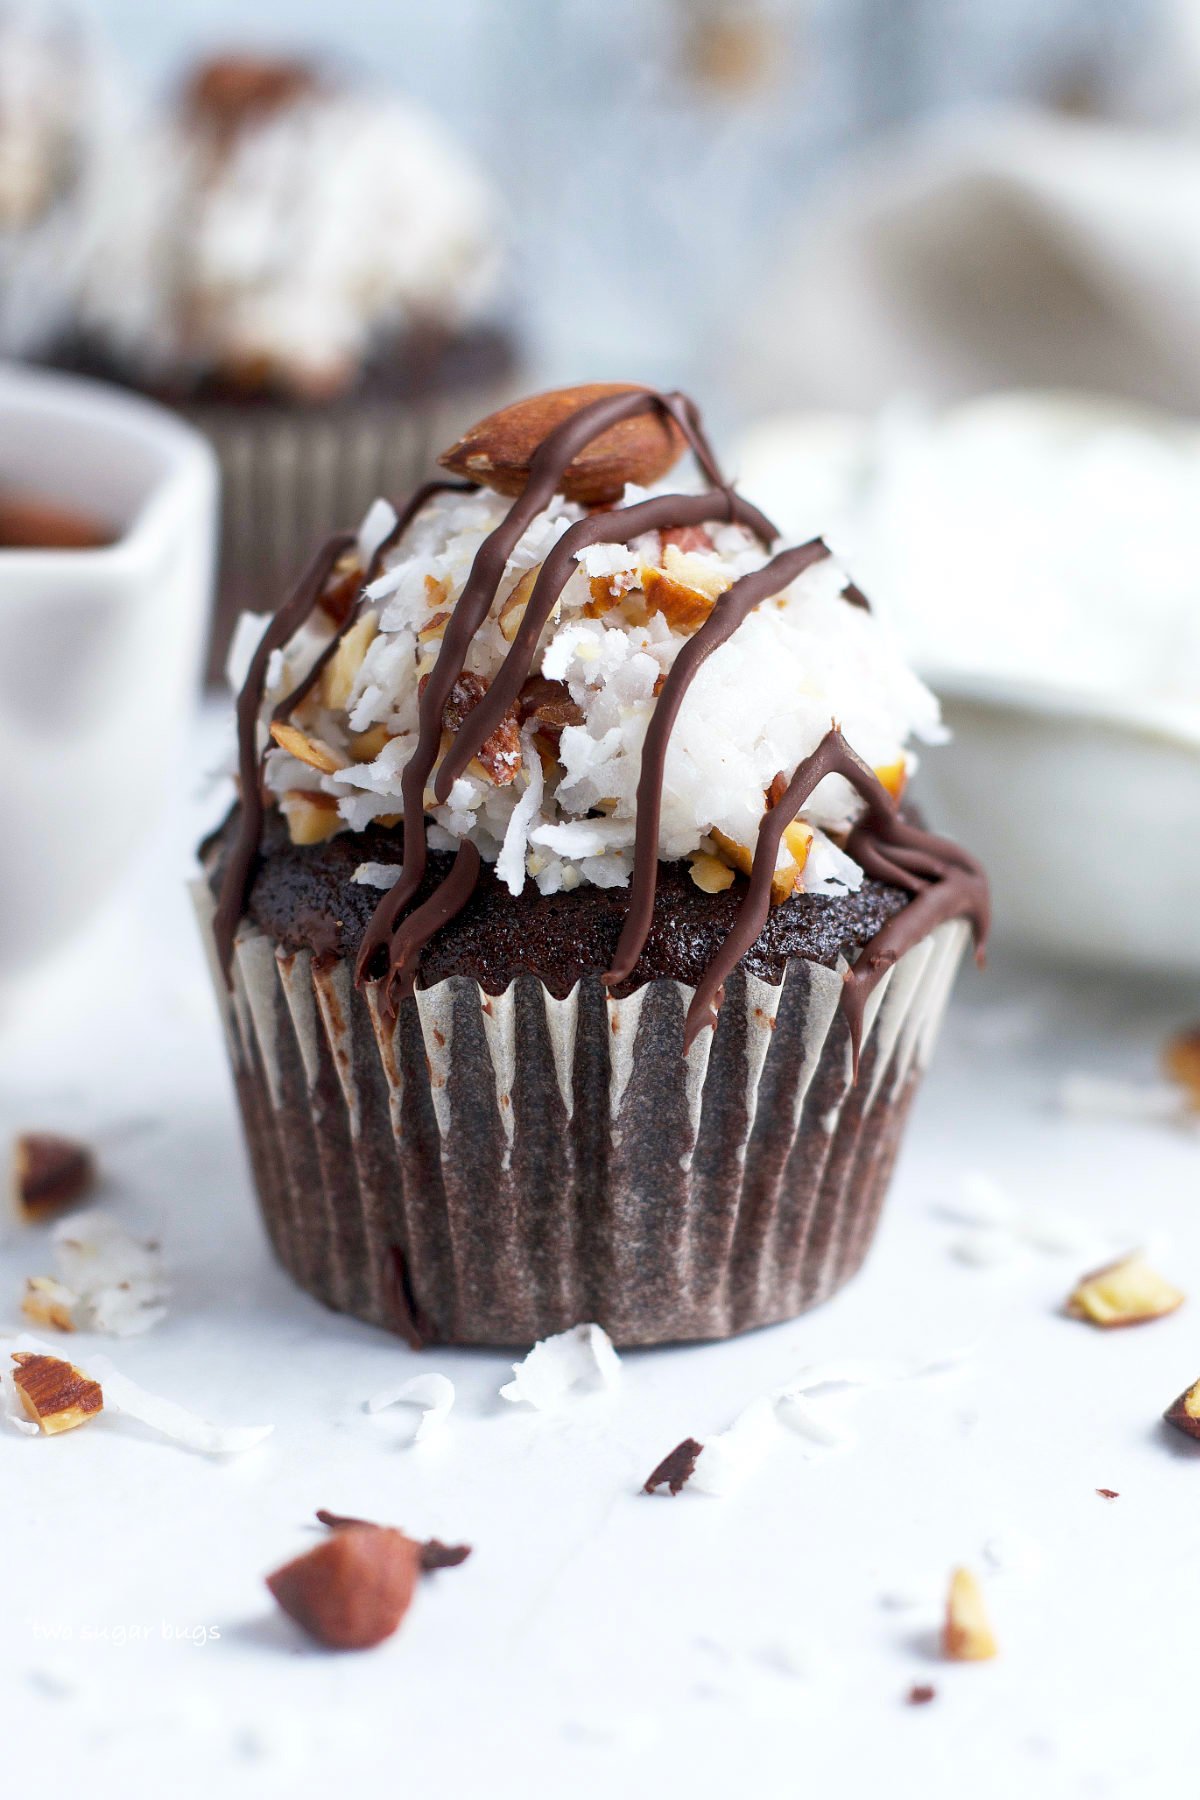
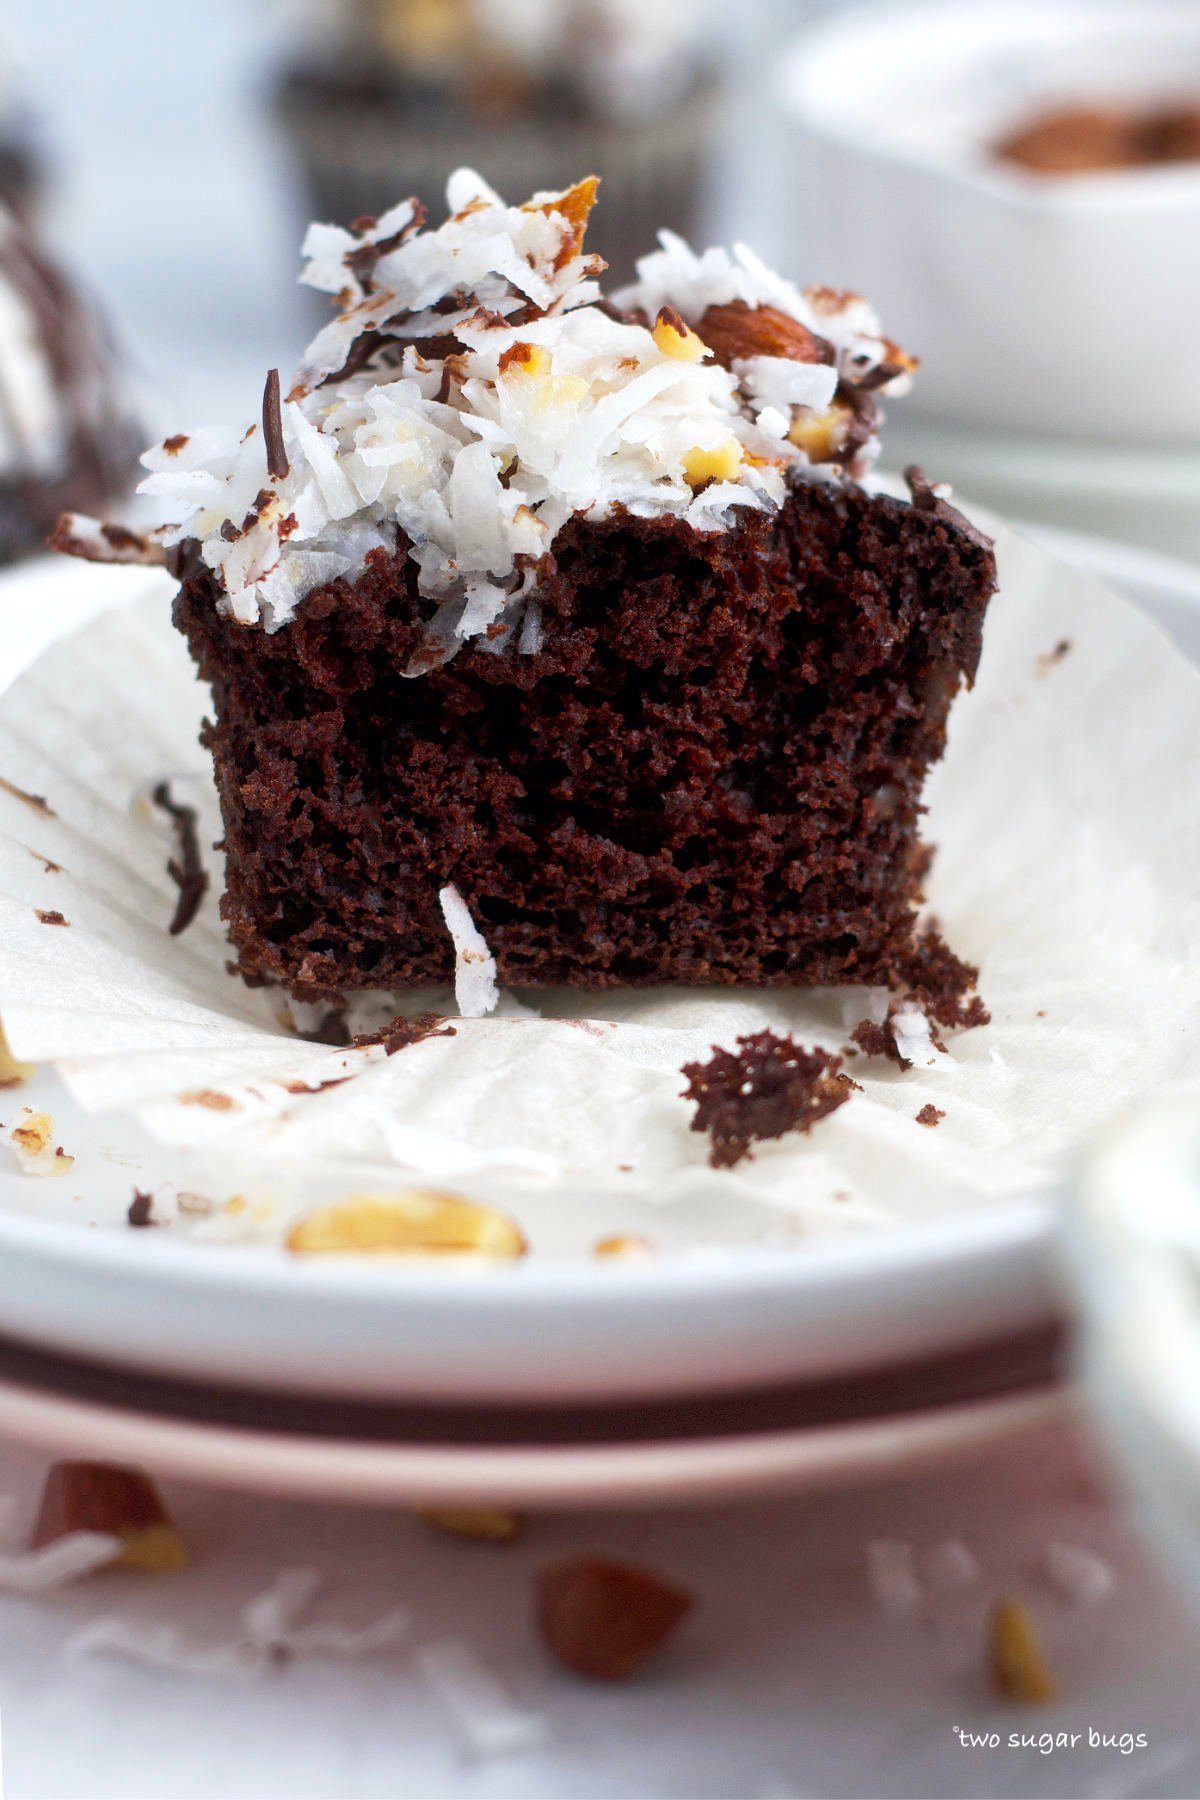
These easy almond joy cupcakes are made from scratch with a simple, moist chocolate cupcake and a coconut almond frosting. Perfect for the candy bar lover's in your life!
Disclosure | This post may contain affiliate links. As an Amazon Associate I earn from qualifying purchases.
I *may* have a thing with candy bar inspired desserts. As evidenced in my Twix cake, Almond Joy pie and Butterfinger ice cream cake.
Mr. two sugar bugs has a birthday coming up and he happens to be a big fan of the Almond Joy candy bar. In fact he always wants to buy them at Halloween to "give away", but as you likely know Almond Joy's don't have a lot of popularity with the trick-or-treat crowd; which means more for us to eat!
So in honor of his birthday later this month, I created these almond joy cupcakes.
why you will love this chocolate, almond and coconut cupcake recipe
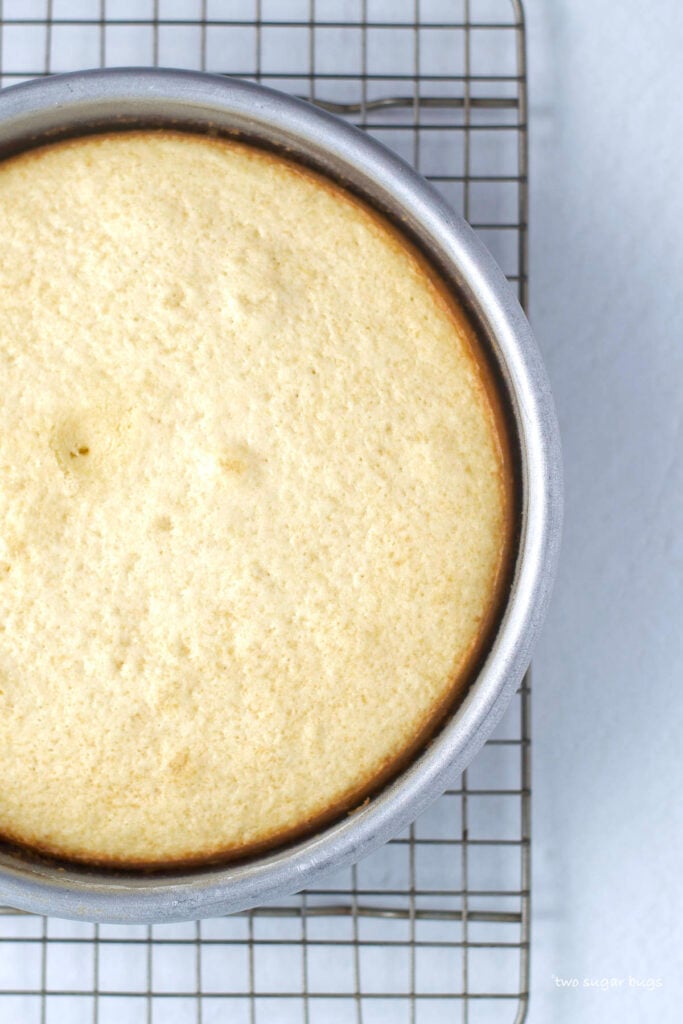
- A soft and tender chocolate cupcake.
- The easiest coconut almond frosting!
- No mixer required.
- Could easily be made dairy free and vegan by substituting my dairy free chocolate cupcake recipe.
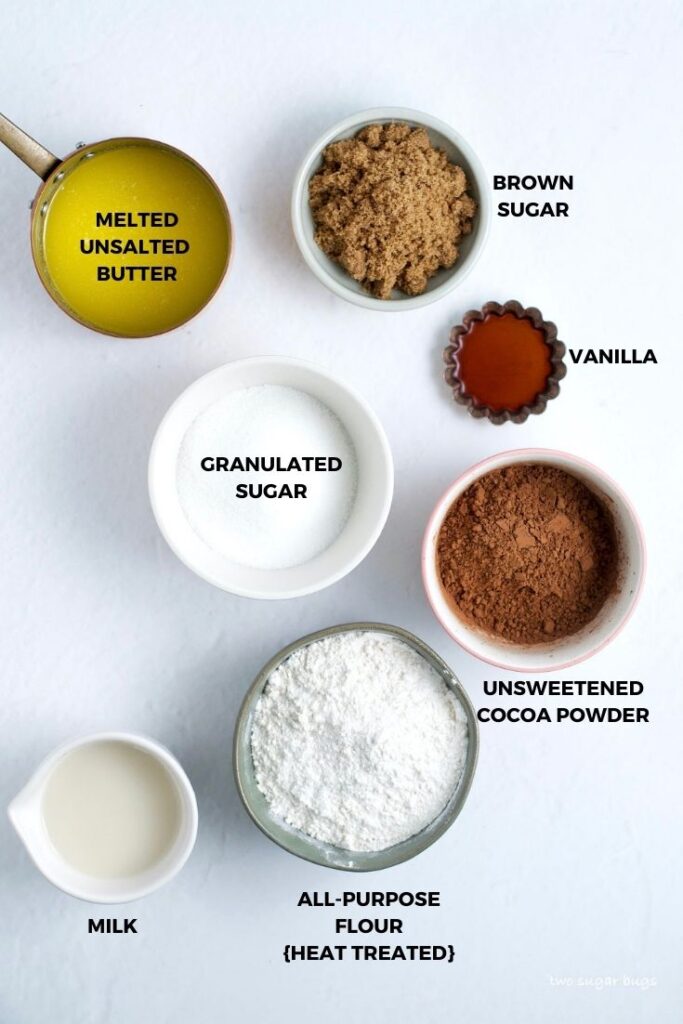
ingredients for the tender chocolate cupcakes
Please scroll to the printable recipe card at the end of this post for the full list of ingredients and baking directions.
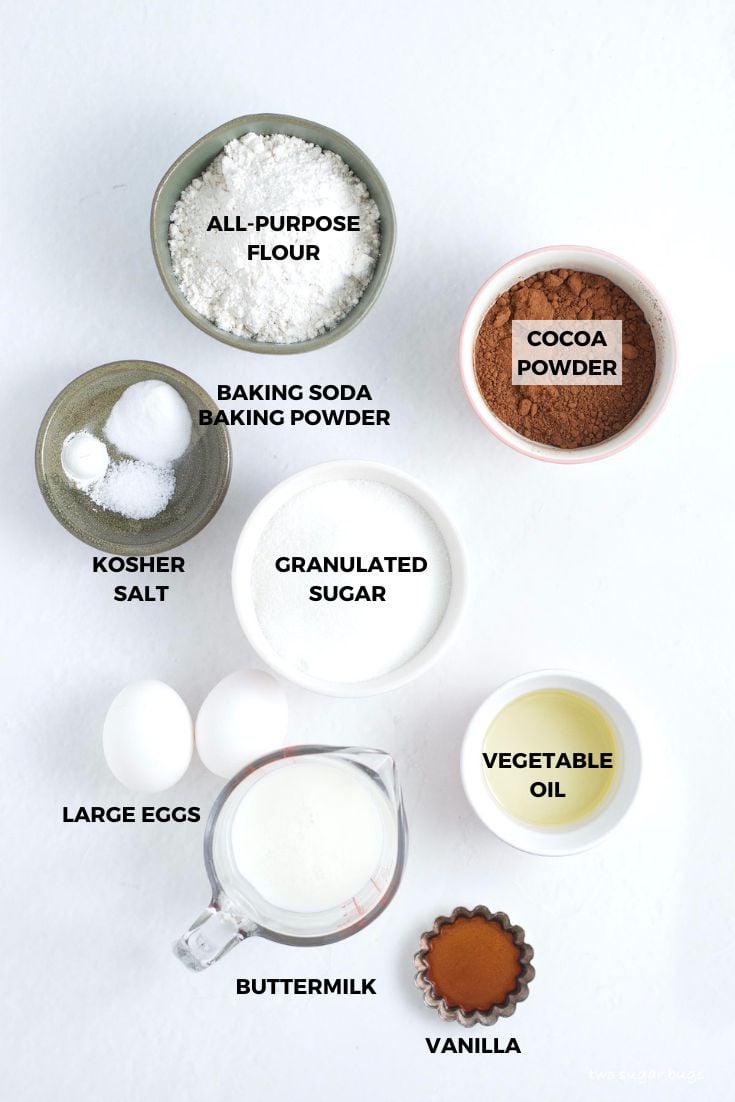
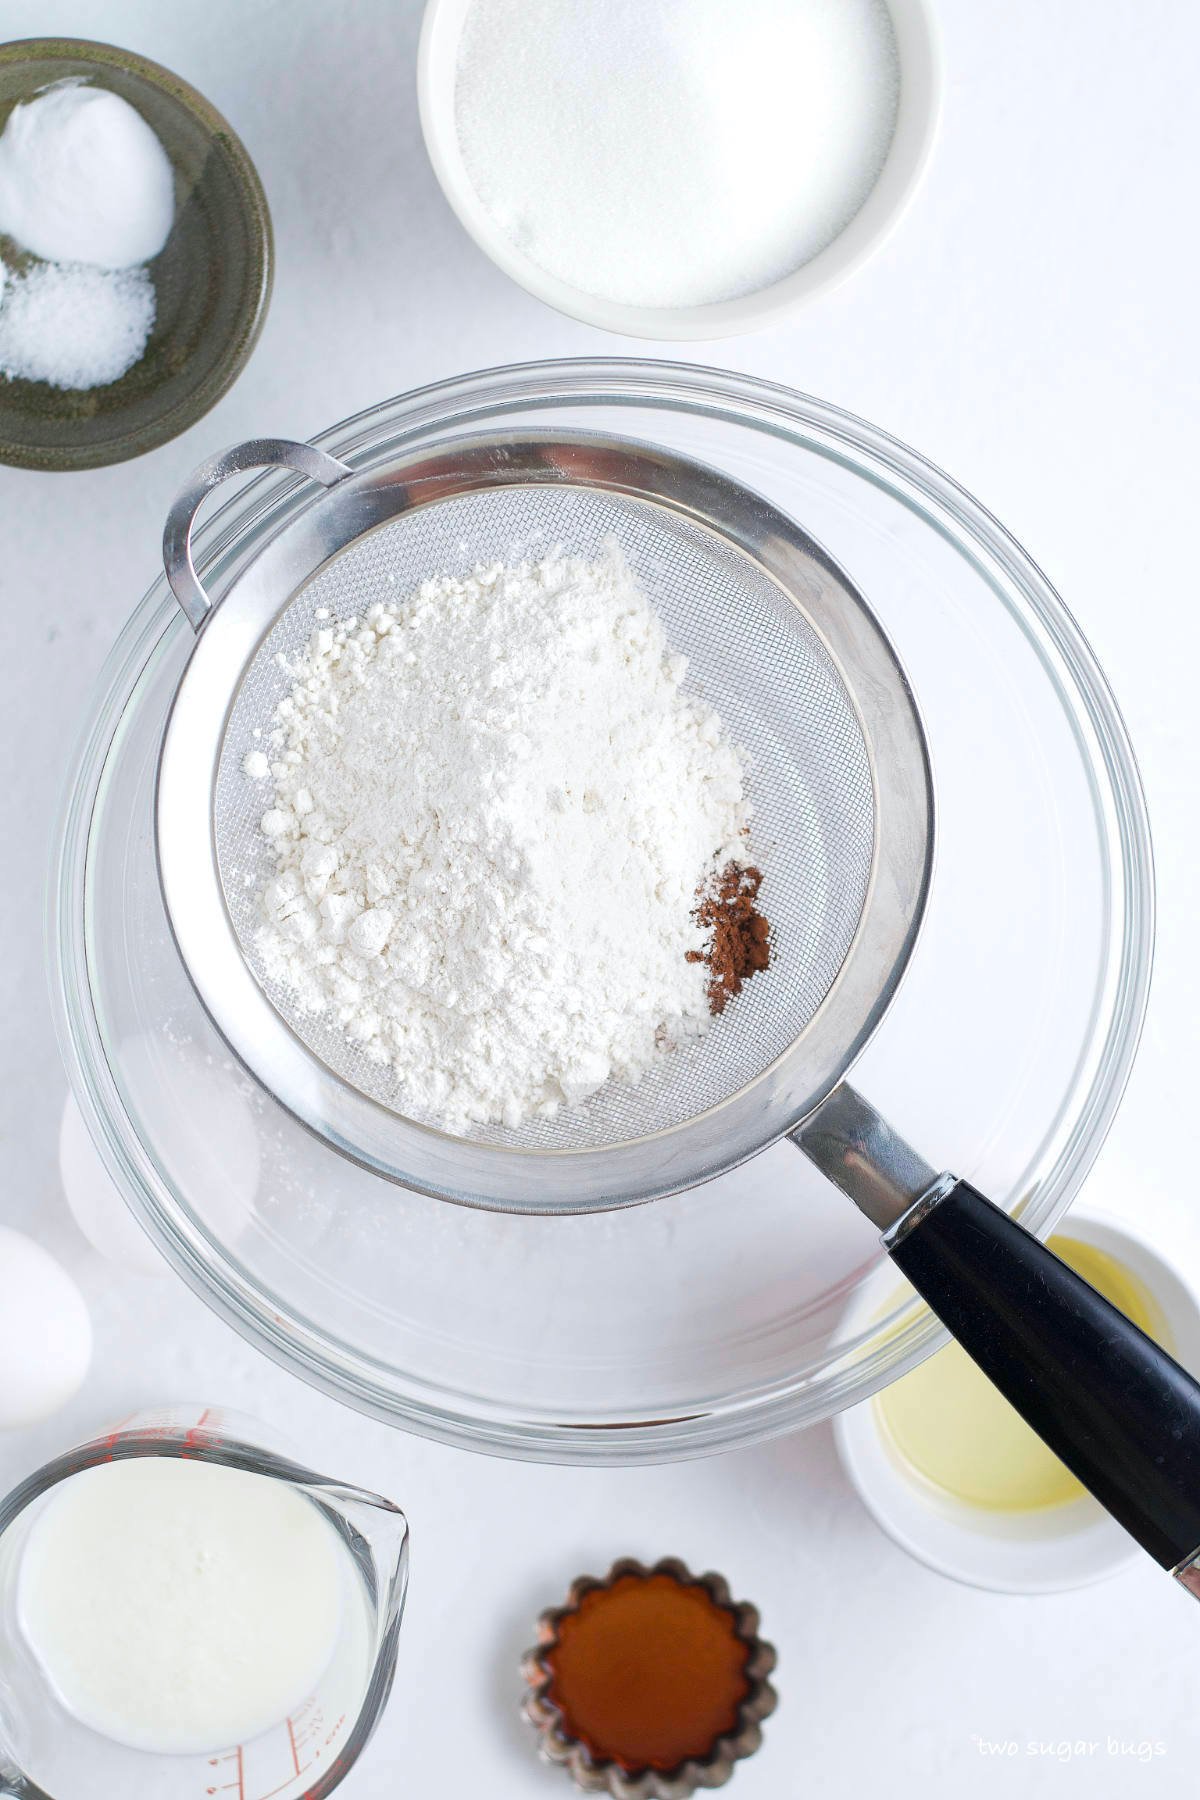
- All-purpose flour ~ use a kitchen scale for the most accurate measurement or be sure to use the spoon and level method.
- Cocoa powder ~ use a natural unsweetened cocoa powder. Scharffen Berger is my favorite and it brings such nice flavor.
- Sugar ~ brings the sweetness to the chocolate cupcakes.
- Baking soda and baking powder ~ provide the leavening for the cupcakes and help them to rise.
- Kosher salt ~ if you only have table salt, start with half the amount.
- Eggs ~ the two large eggs should be room temperature for the best results. Pull them out of the refrigerator about 1-2 hours prior to making the cupcakes.
- Buttermilk ~ I prefer store bought buttermilk. If you need to make your own; add 1 tablespoon lemon juice or white vinegar to the measuring cup and then fill with whole milk to make ½ cup and stir. This should also be room temperature.
- Oil ~ vegetable oil or canola oil both work.
- Vanilla ~ for additional flavor.
- Hot water {not shown} ~ the hot water helps to bring out the chocolate flavor in the cocoa powder.
Baking tip: If you have left over buttermilk, pour it into half cup containers and freeze. Allow to come to room temperature before using in your next recipe.
how to make almond joy cupcakes
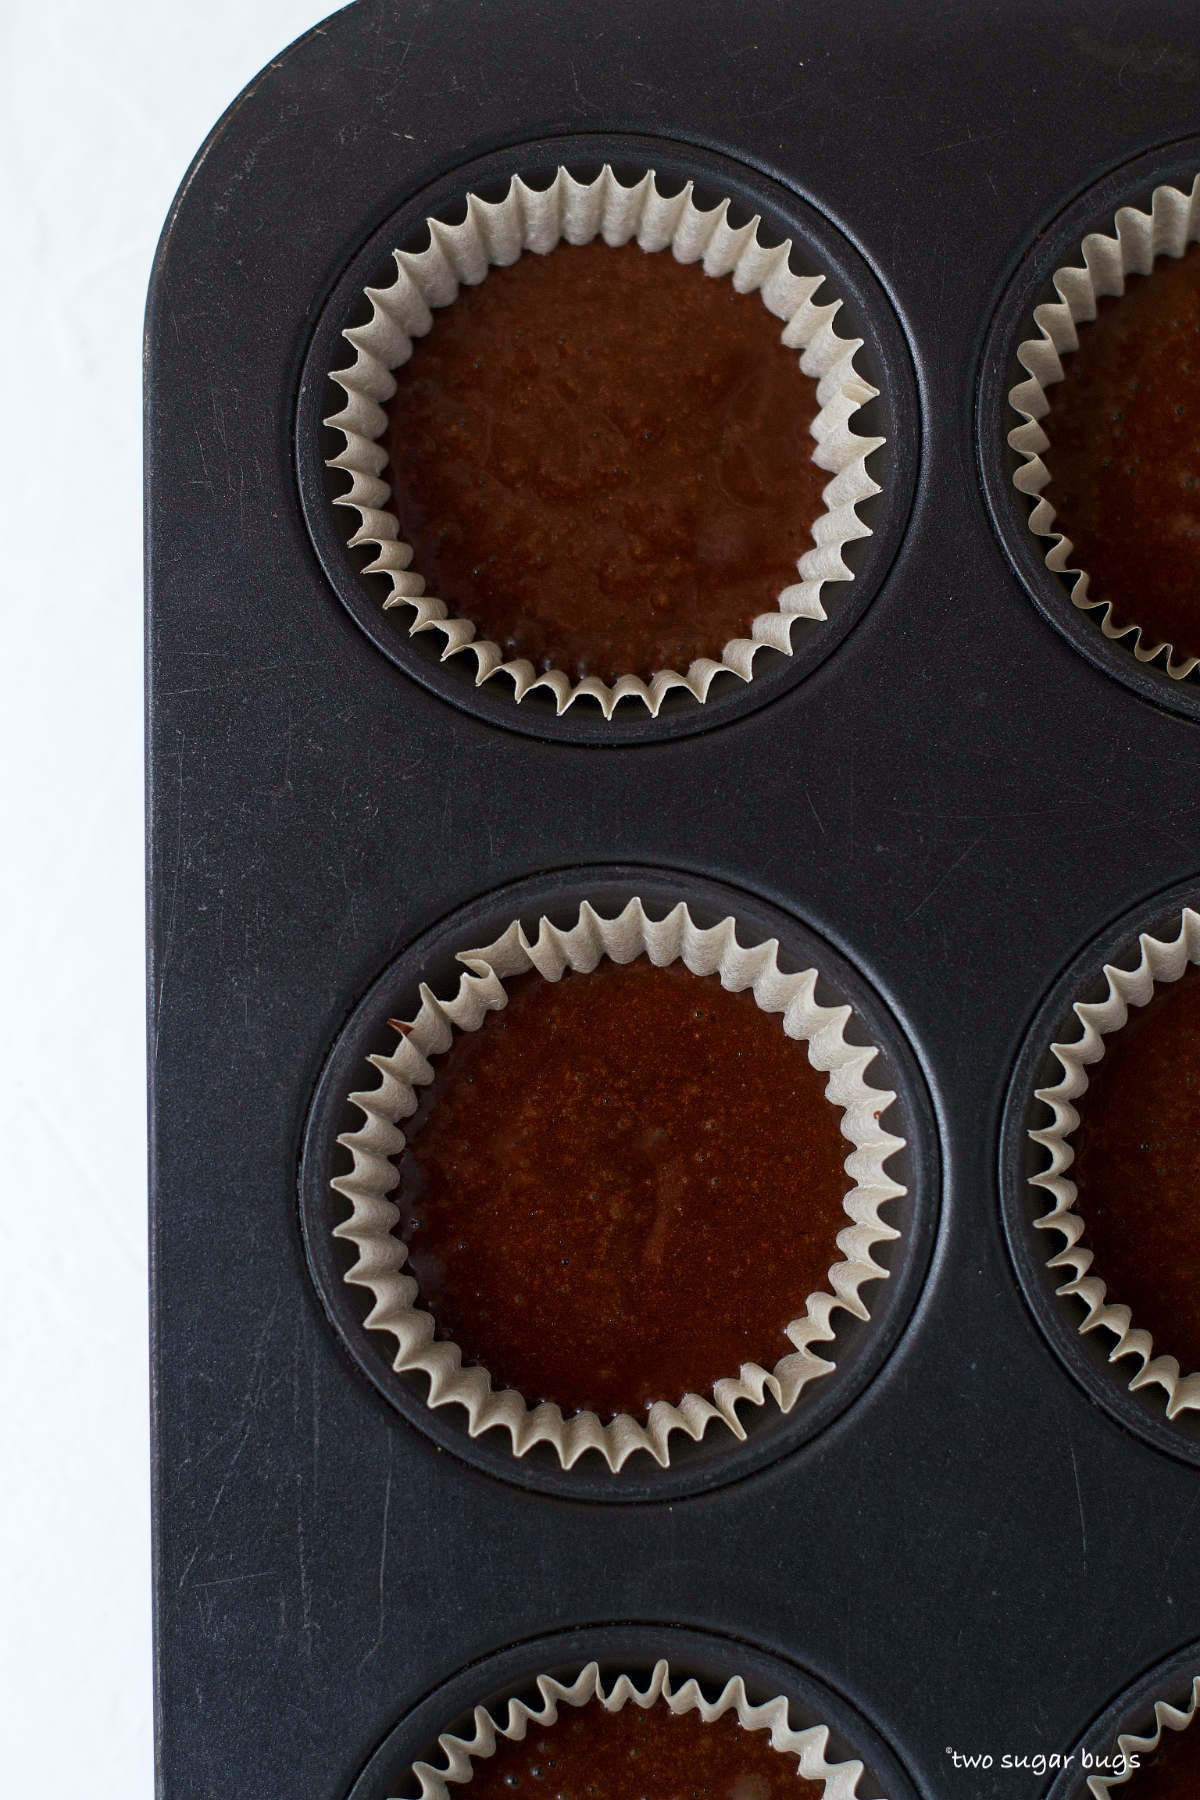
Preheat the oven to 350°F and prepare 2 muffin pans with 16 cupcake liners {these are my favorite baking liners}. Set aside.
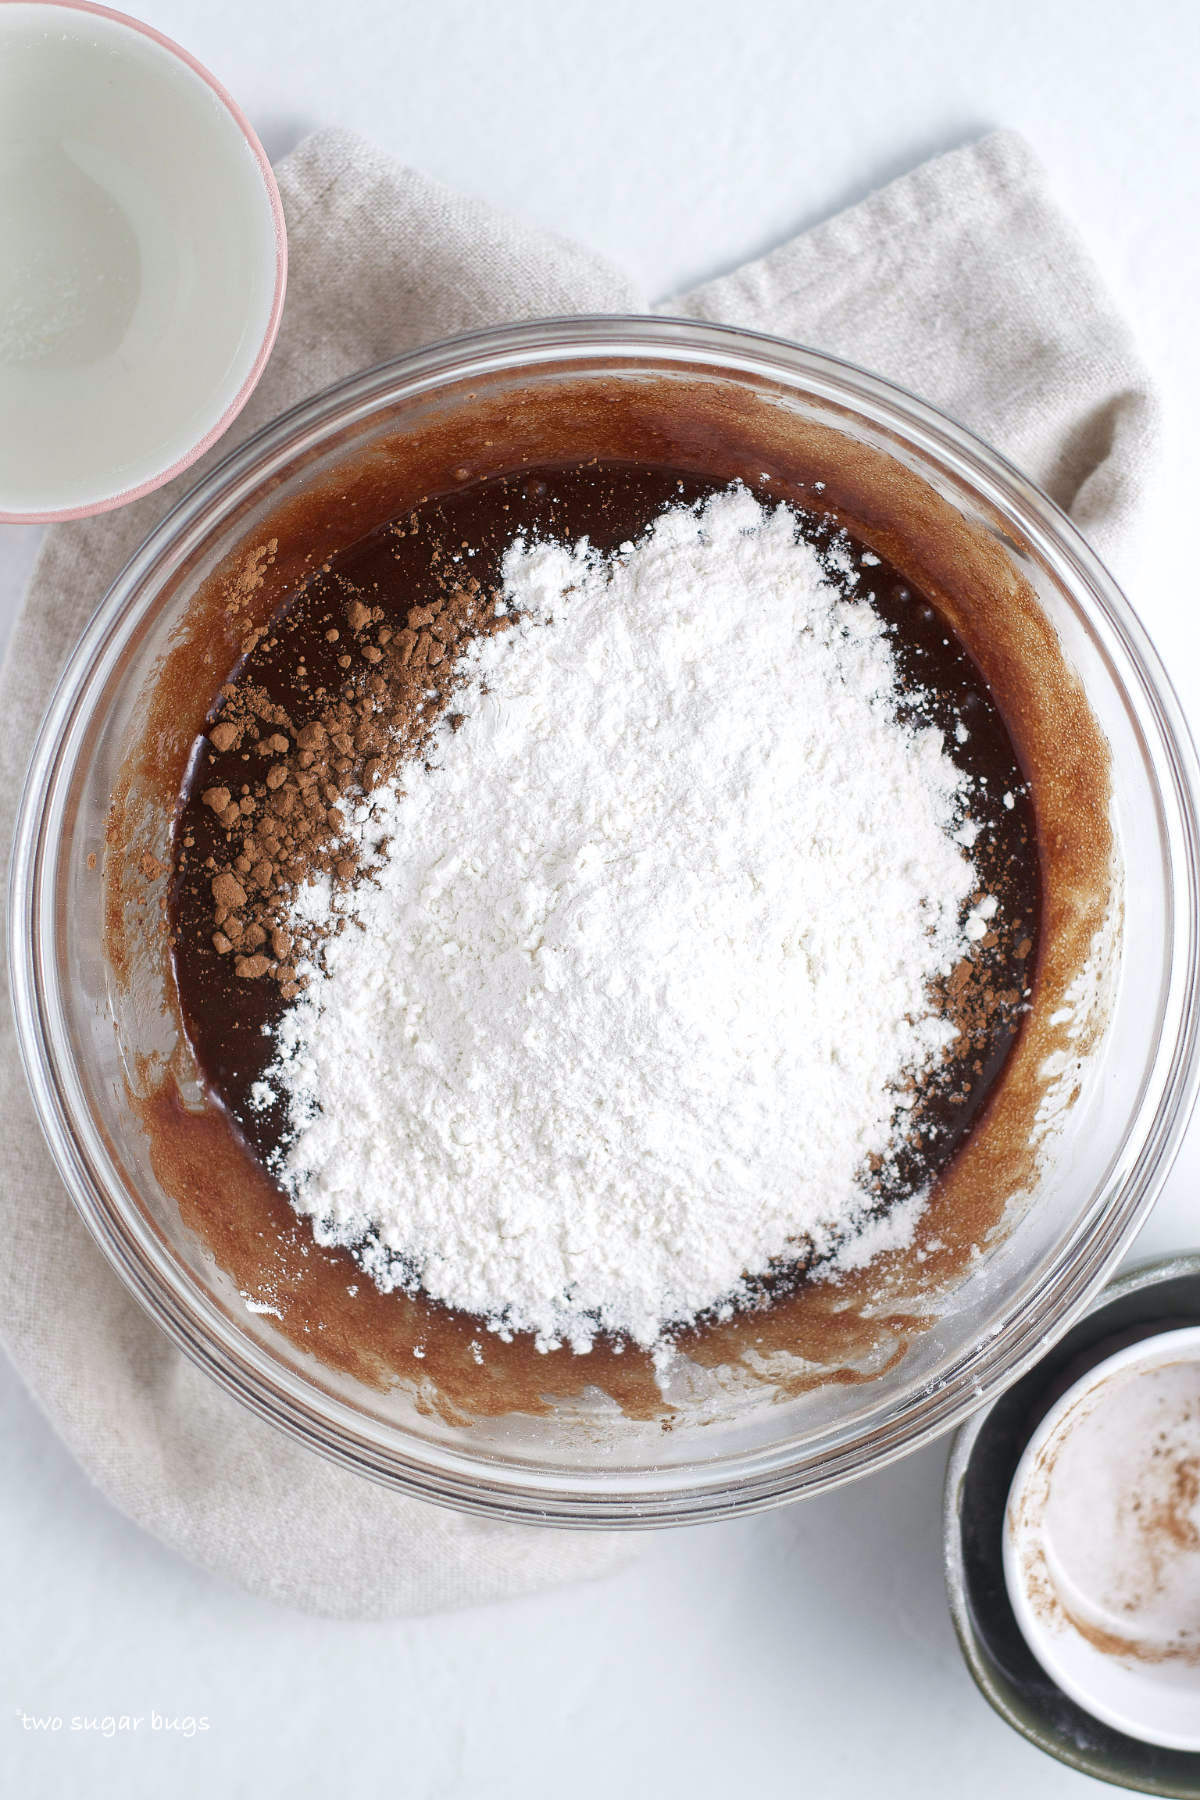
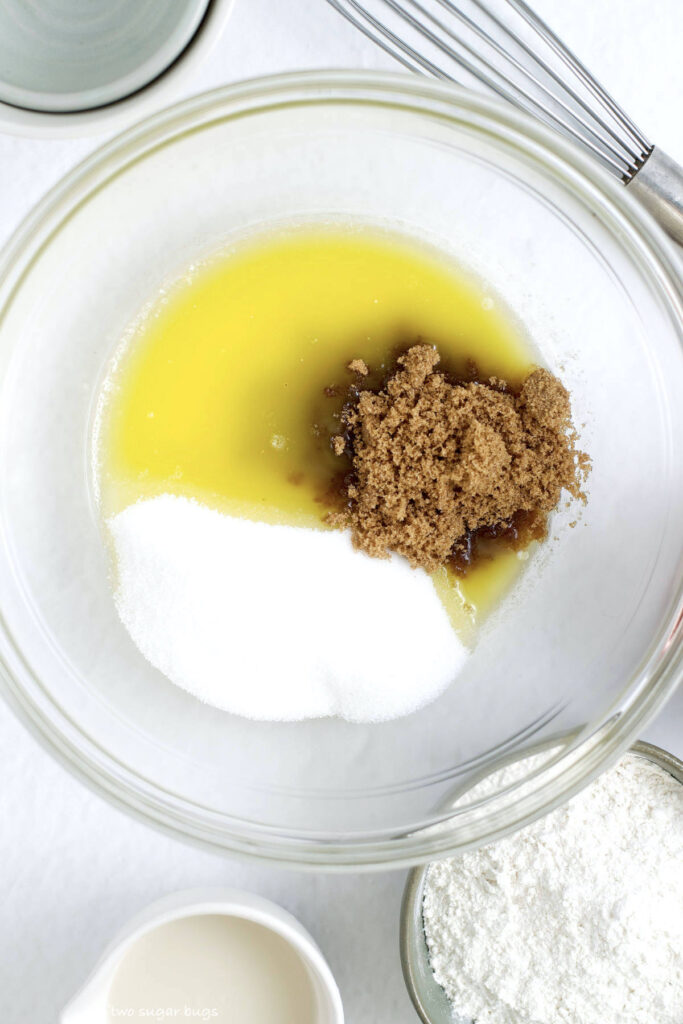
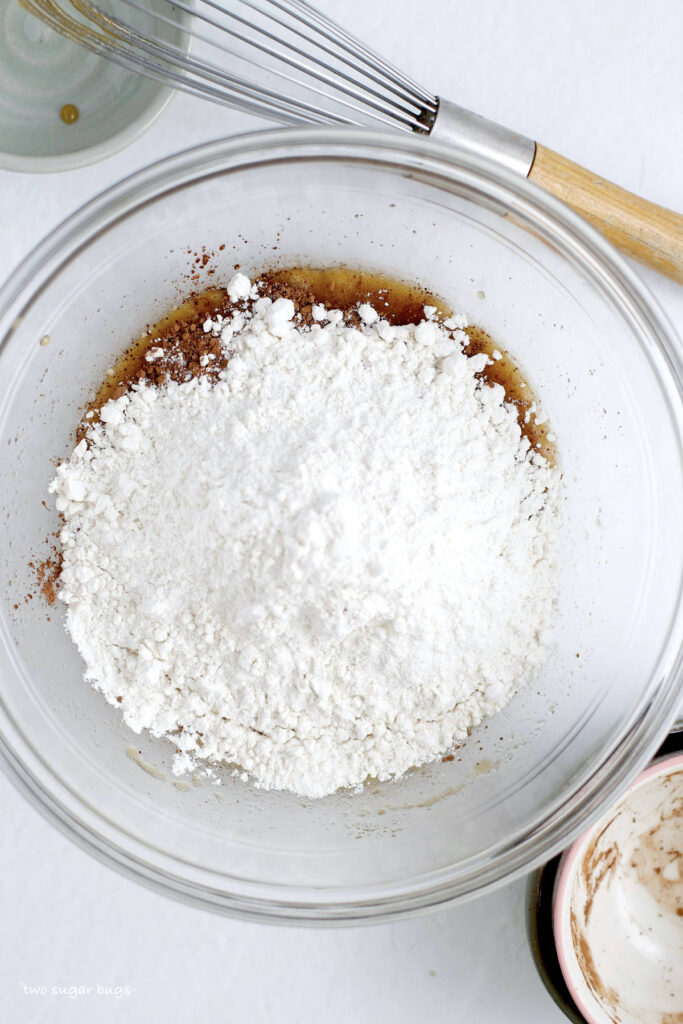
In a medium size bowl, sift together the flour and cocoa powder. Then whisk in the sugar, baking soda, baking powder and kosher salt.
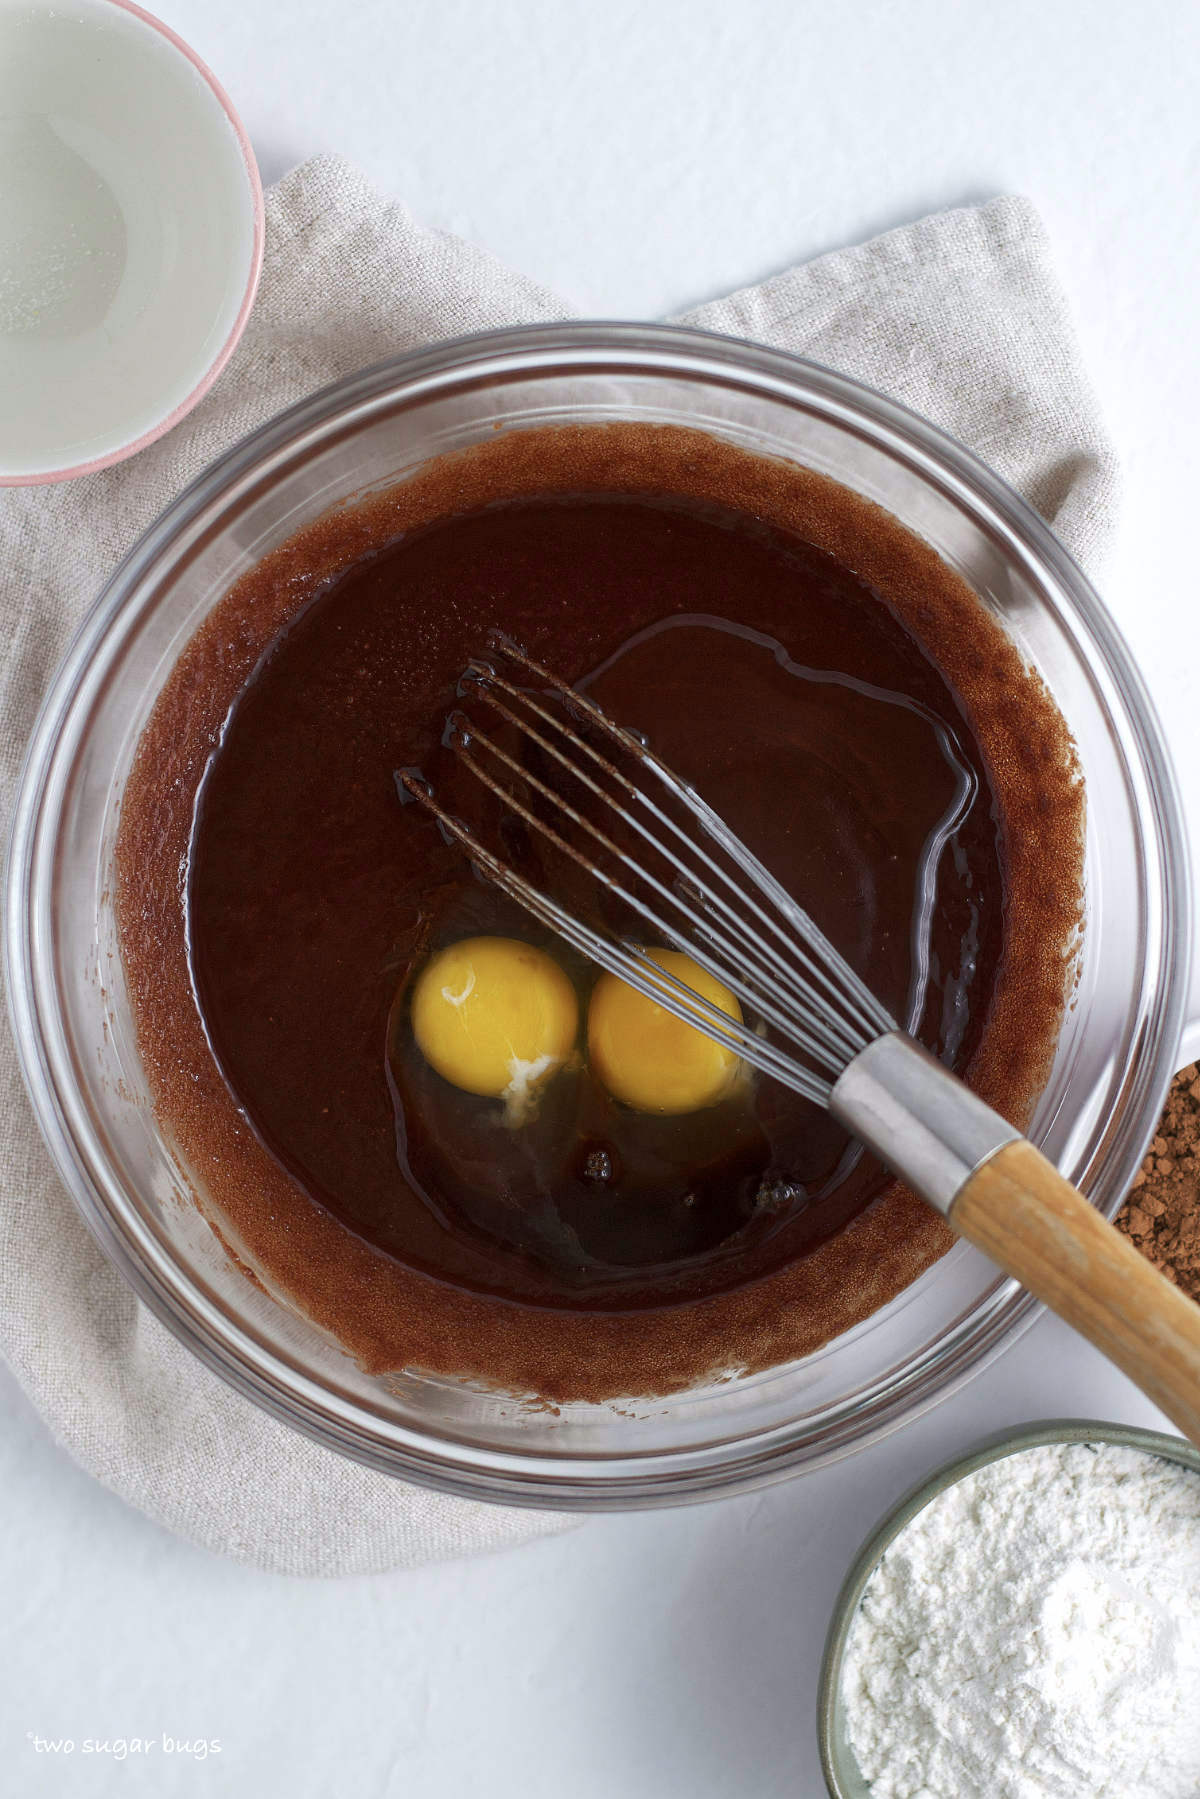
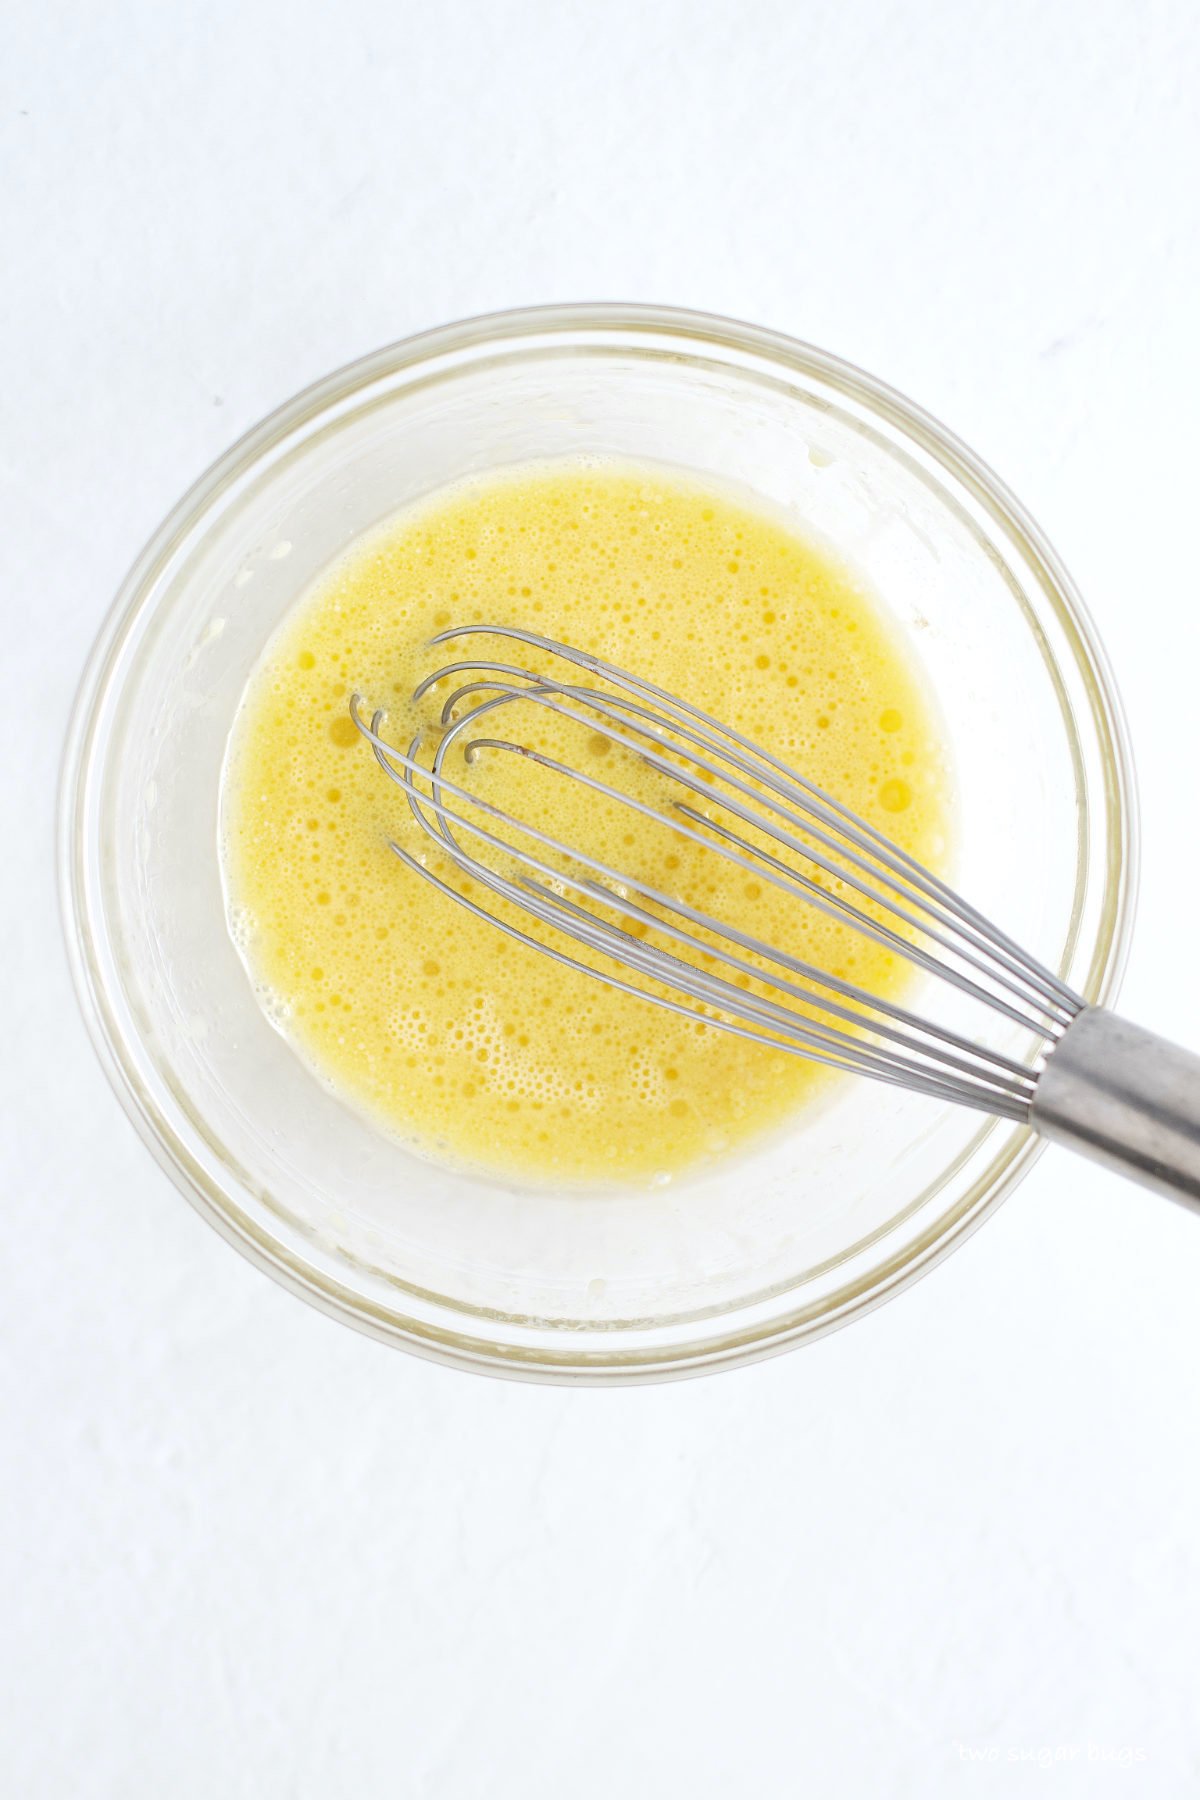
In a small bowl, whisk together the eggs, buttermilk, vegetable oil and vanilla.
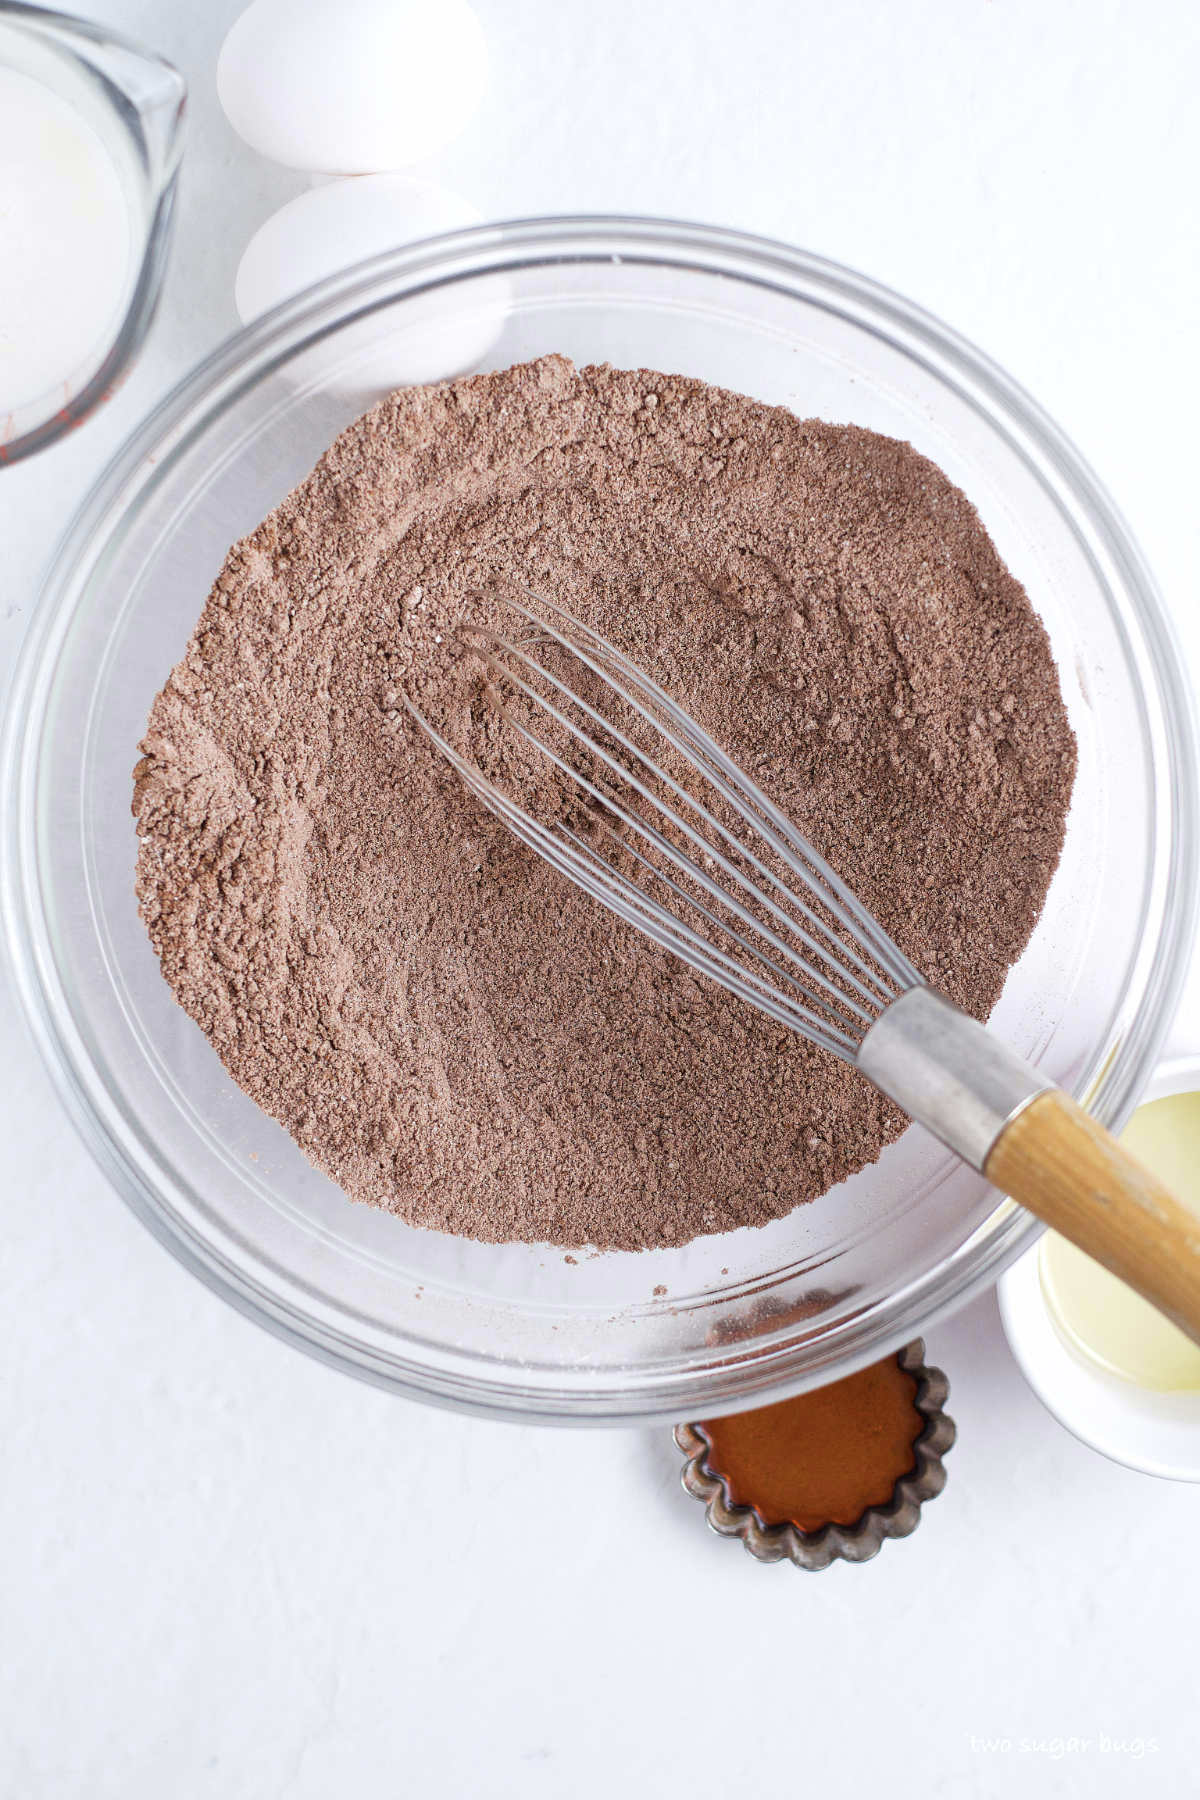
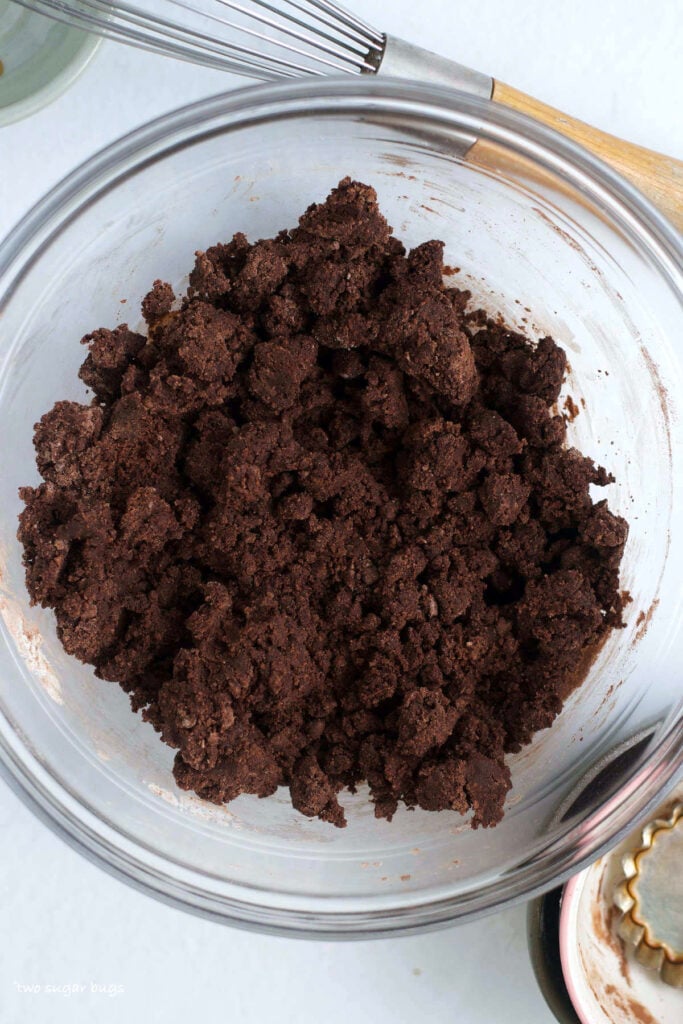
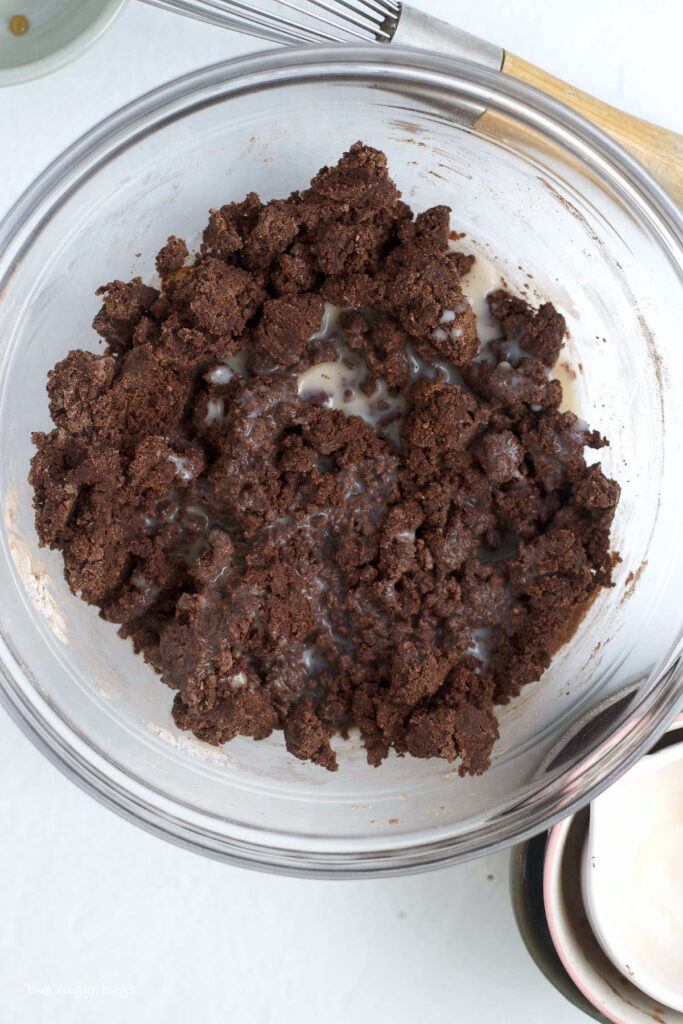
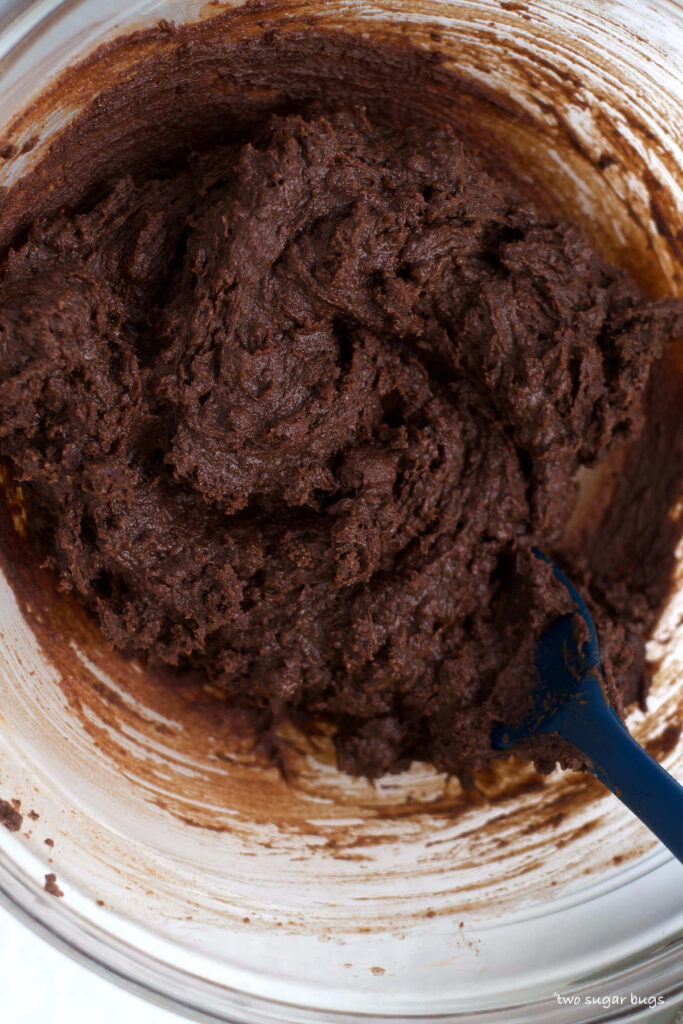
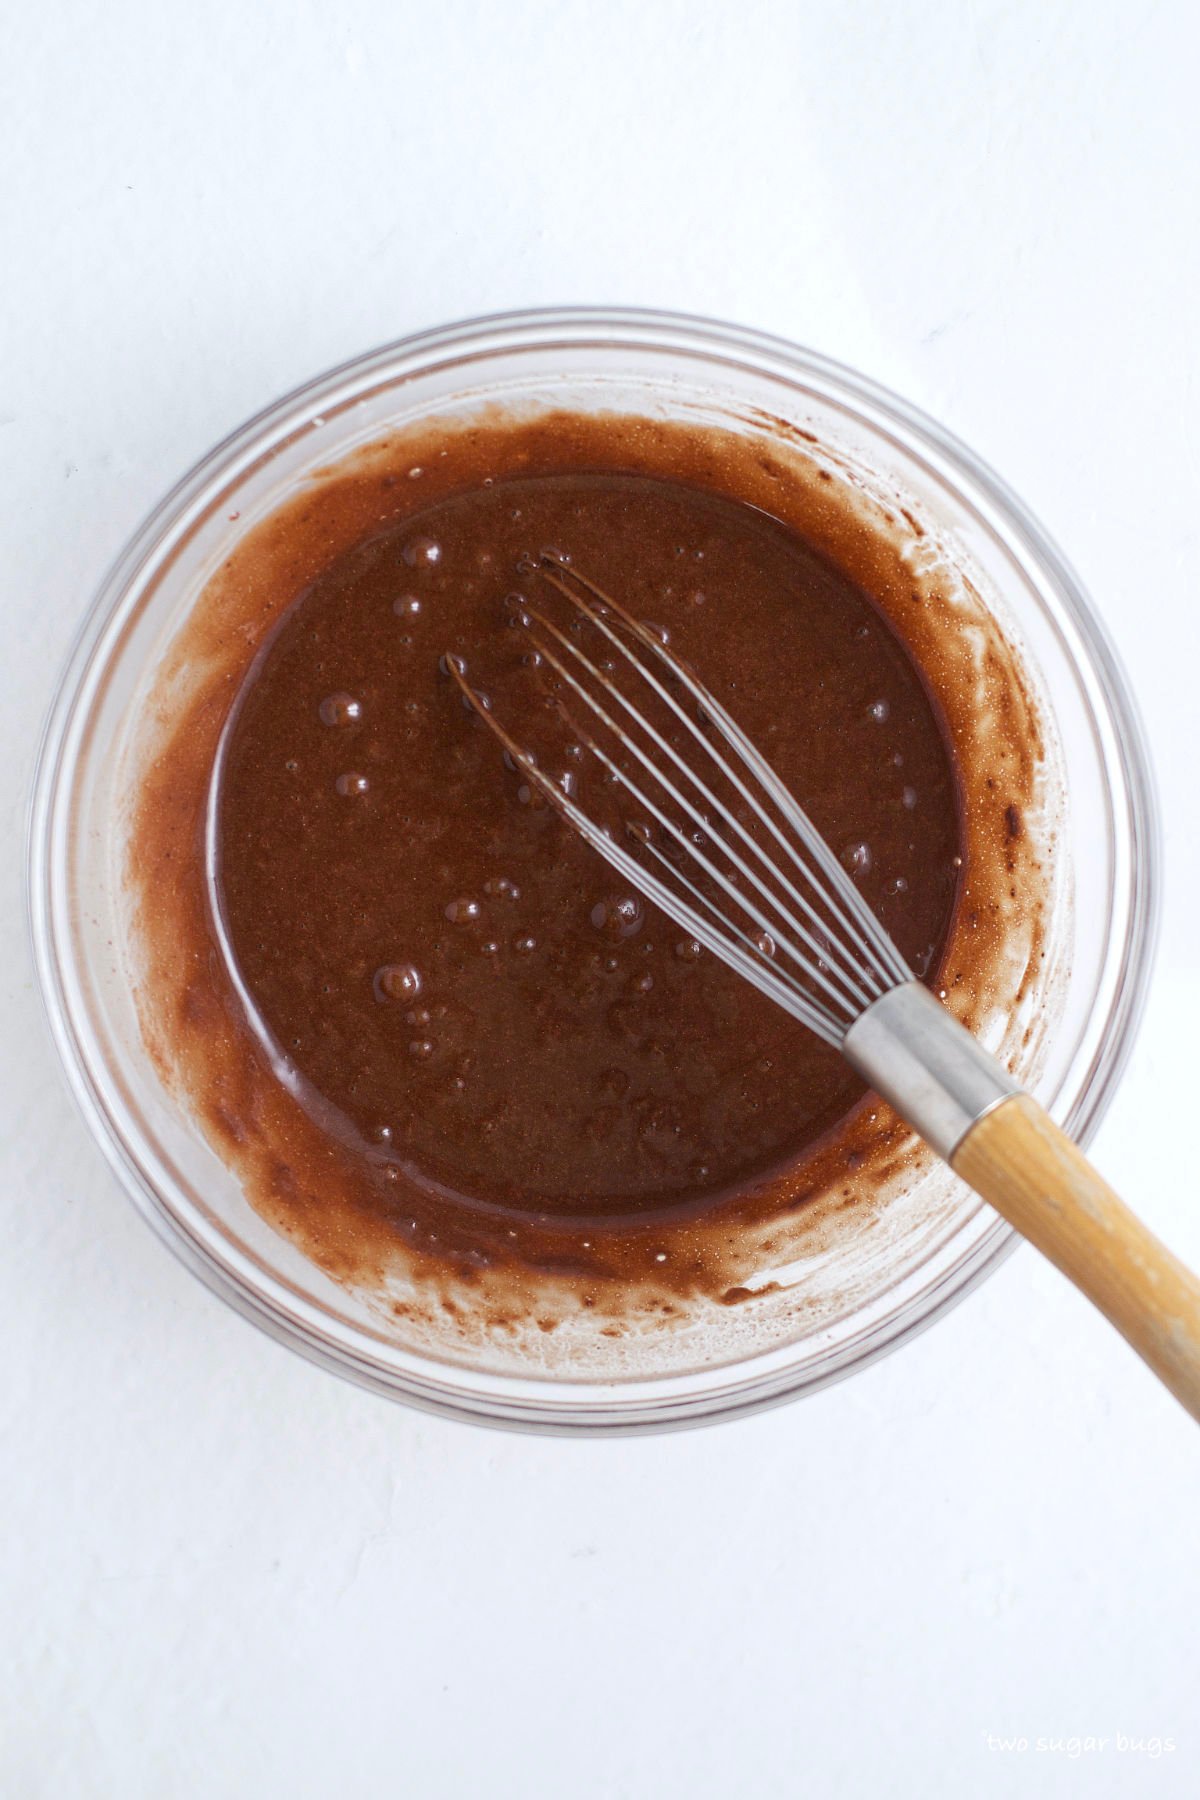
Add the wet ingredients to the dry and then add the hot water. Whisk until combined.
Divide the batter between the 16 cupcake liners {each liner should be about half way full}. Bake for 15-18 minutes, until a toothpick comes out with just a few moist crumbs. Allow cupcakes to cool in the muffin pan set on a wire cooling rack.
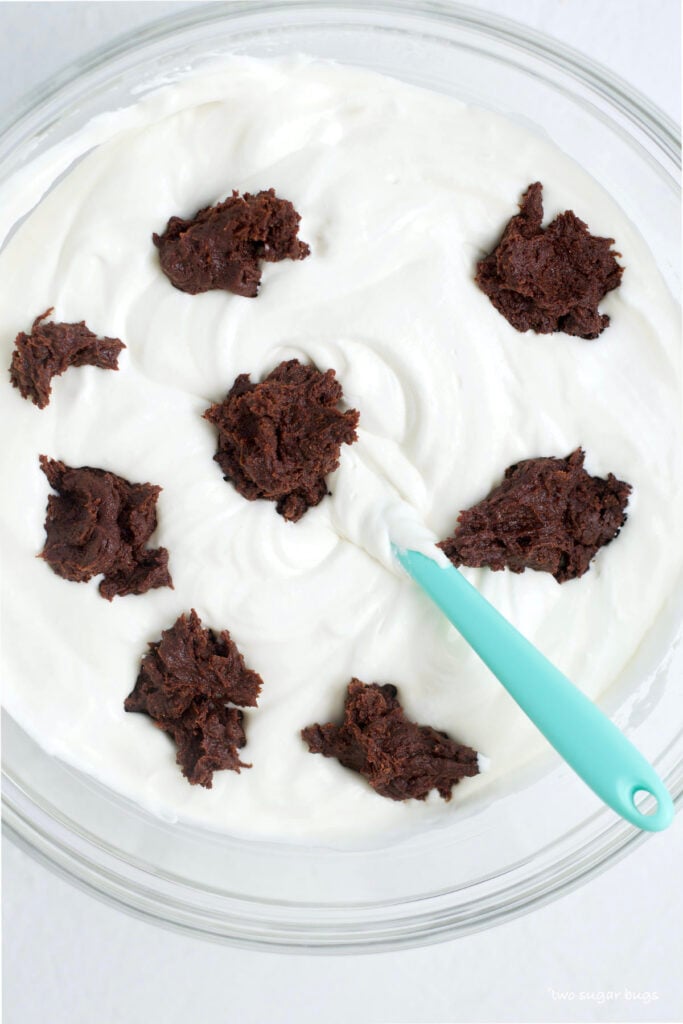
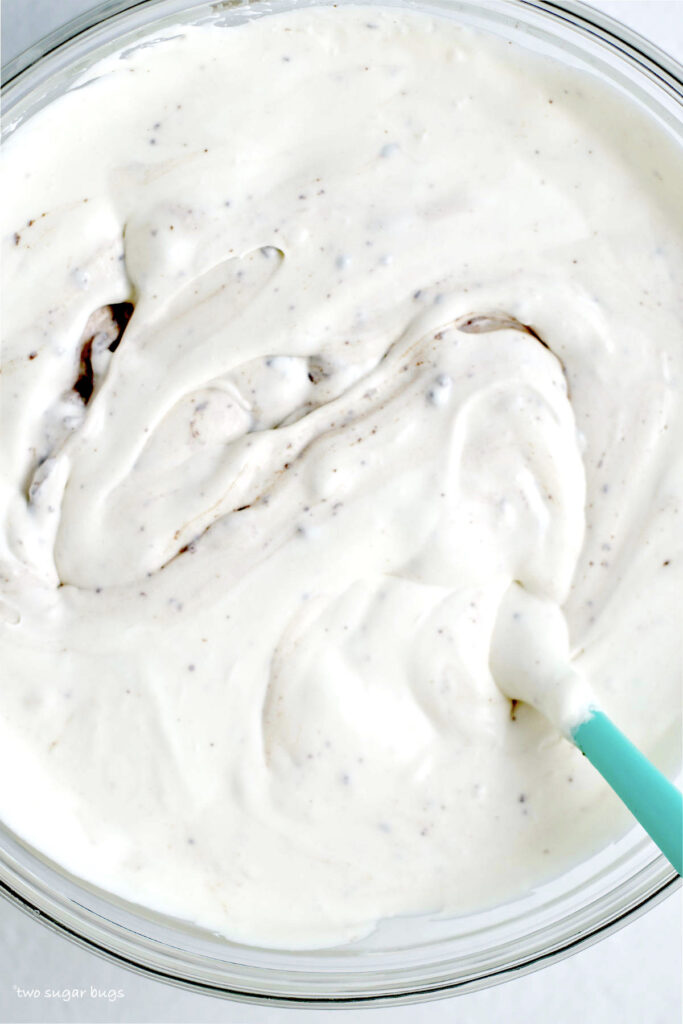
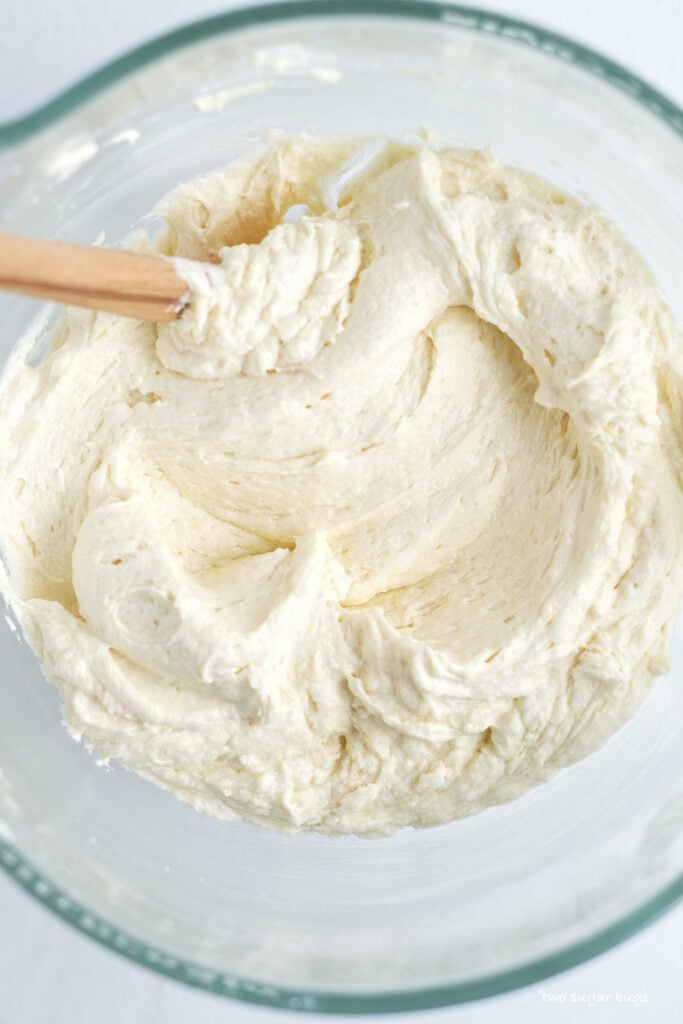
how to make coconut almond frosting
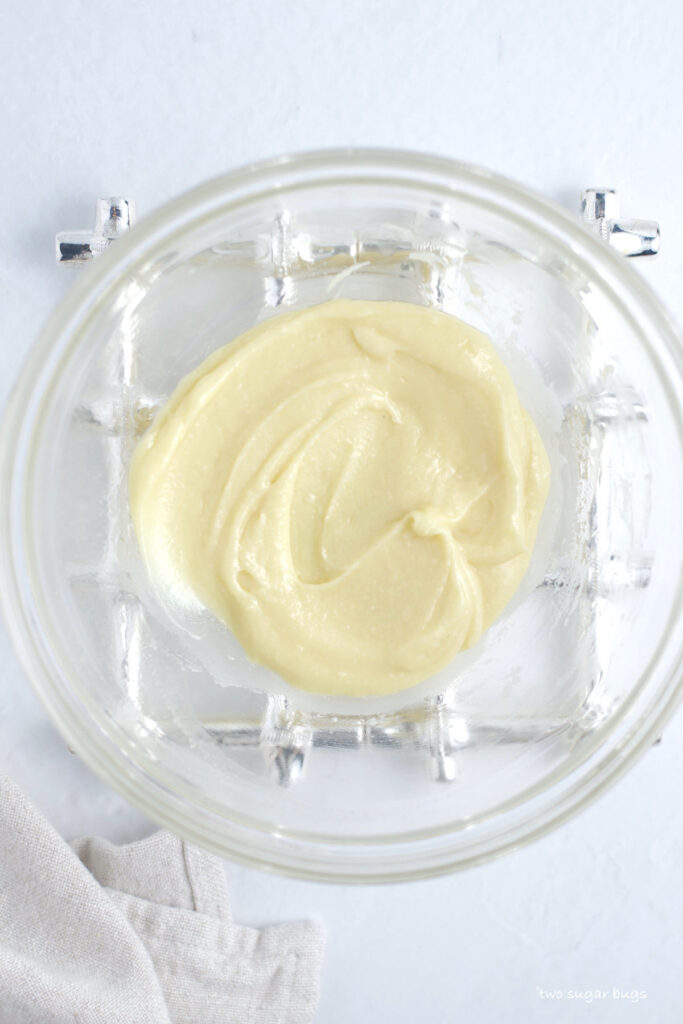
I debated using this frosting as a coconut filling in the cupcakes. Since I love a super easy recipe, I ended up just using it as a frosting and my recipe testers went crazy for them!
If you want to use this as a coconut filling and then use a piping bag for a traditional frosting; I'd suggest coconut Swiss meringue buttercream from my perfect coconut cake. For more information on how to put a filling in cupcakes, see my Baileys cupcakes.
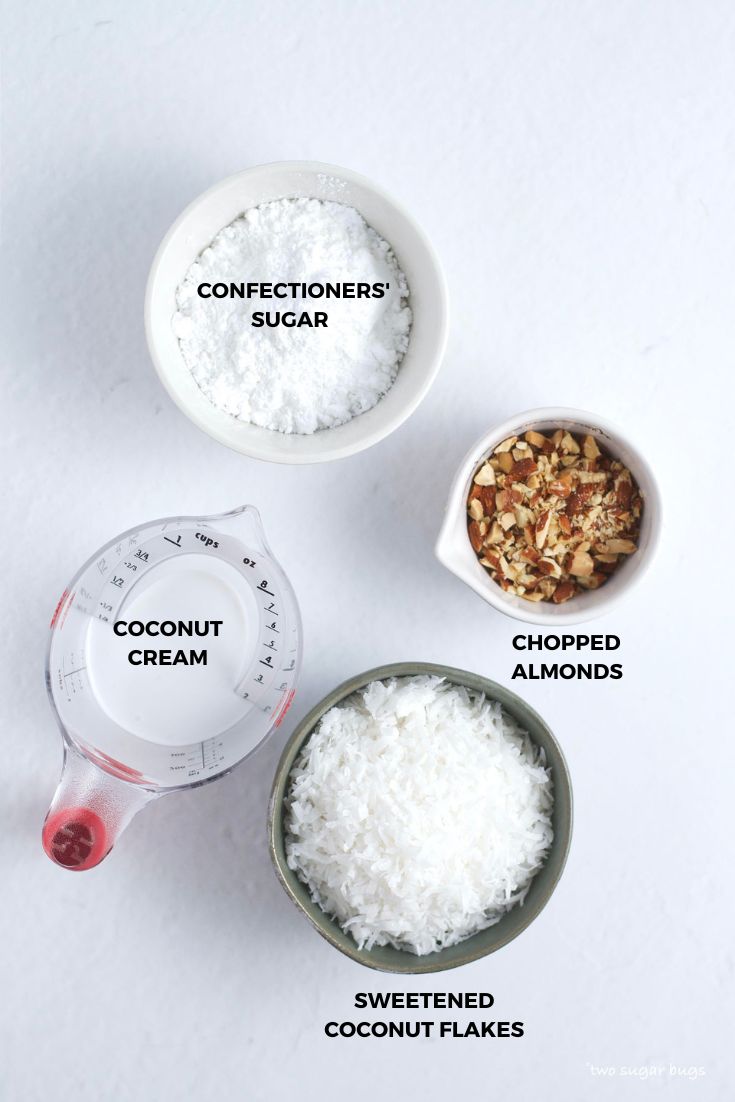
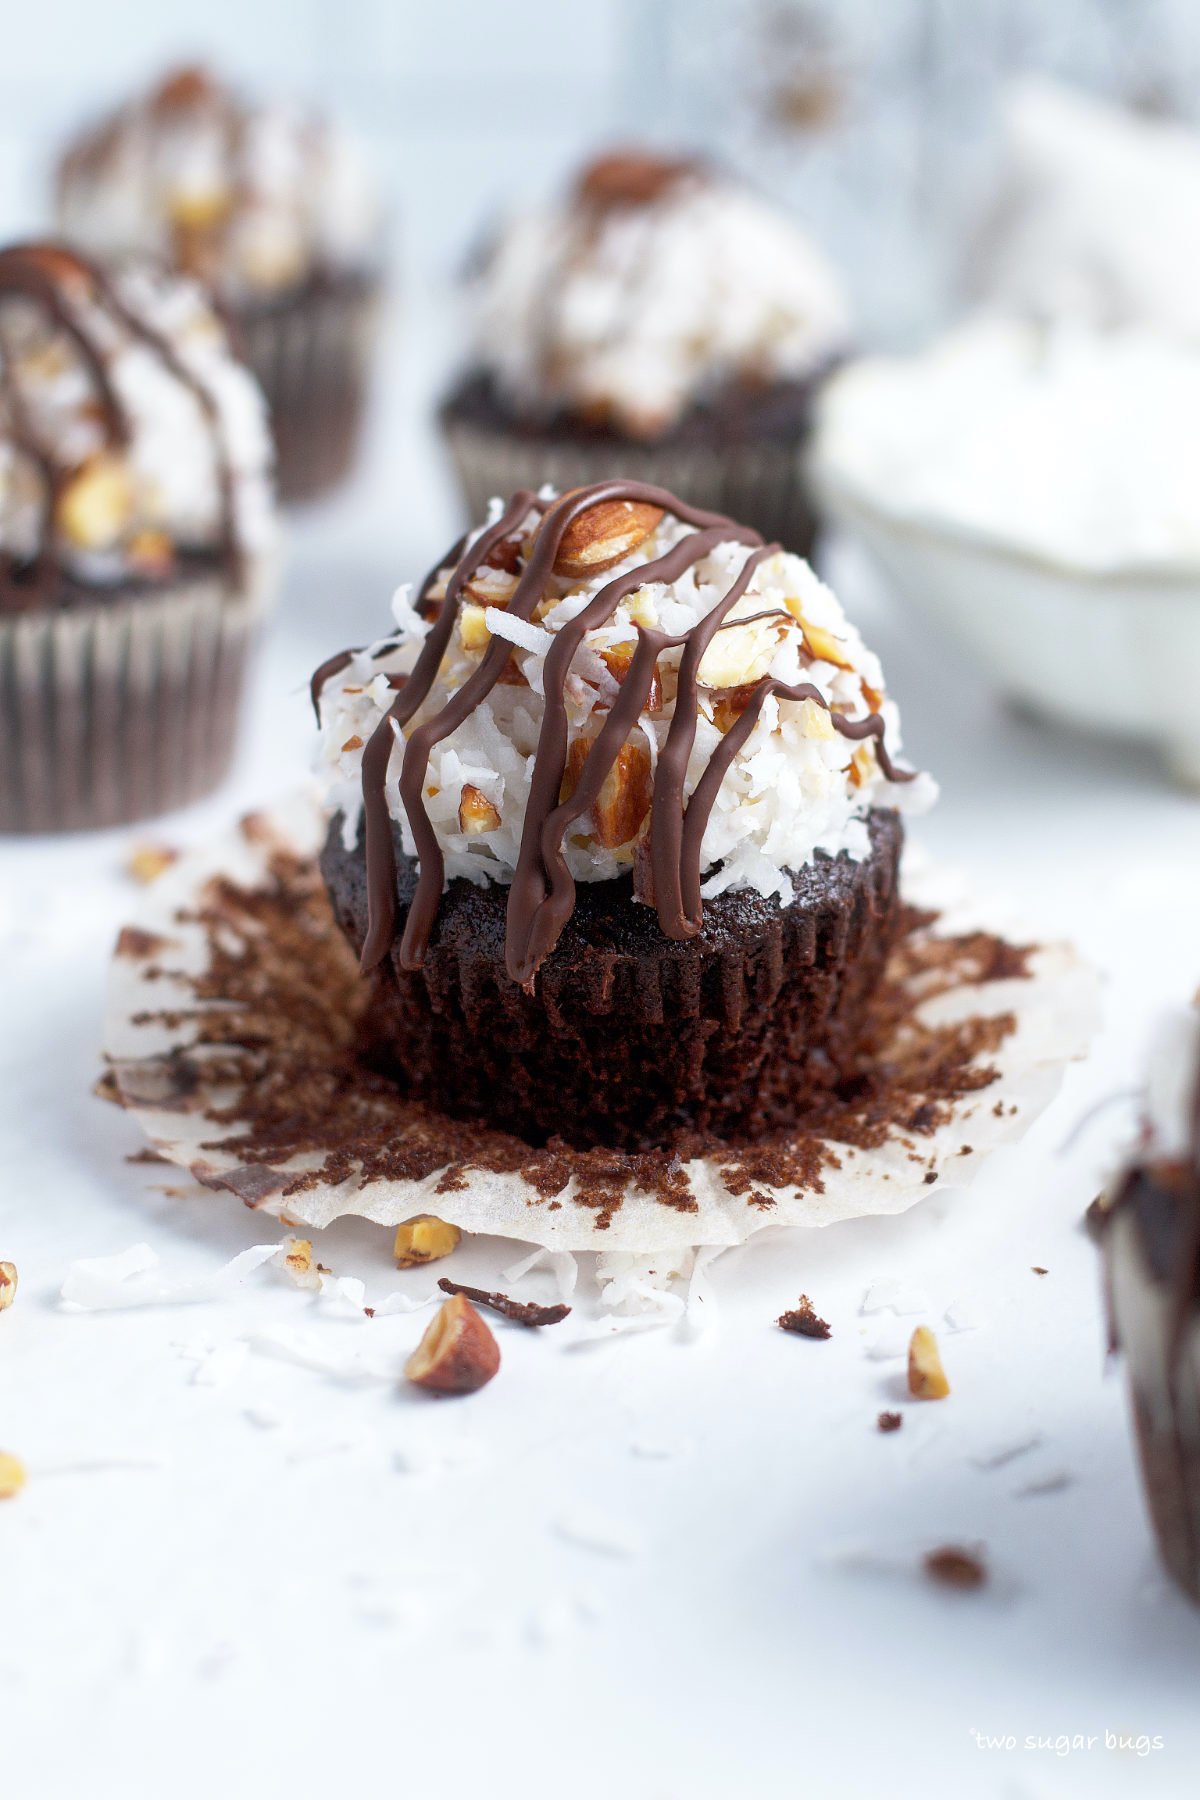
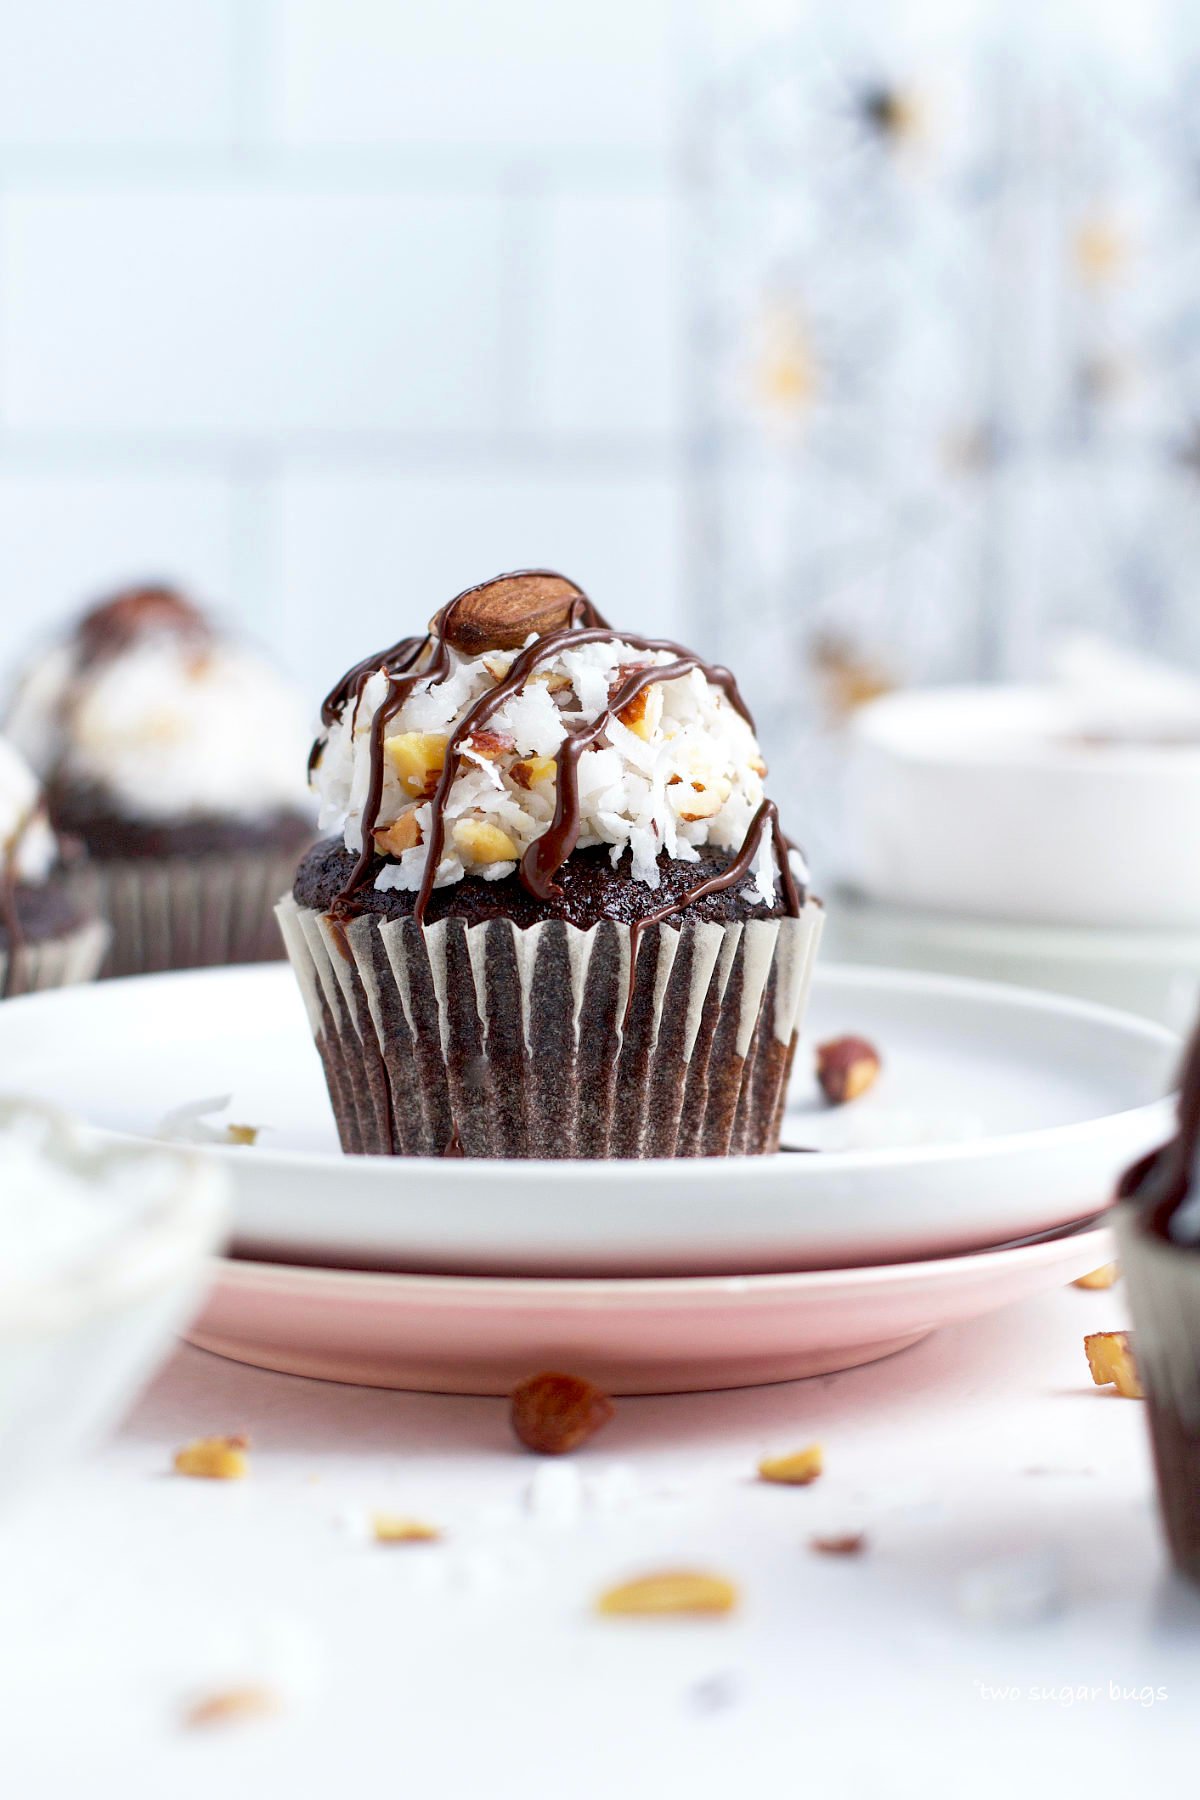
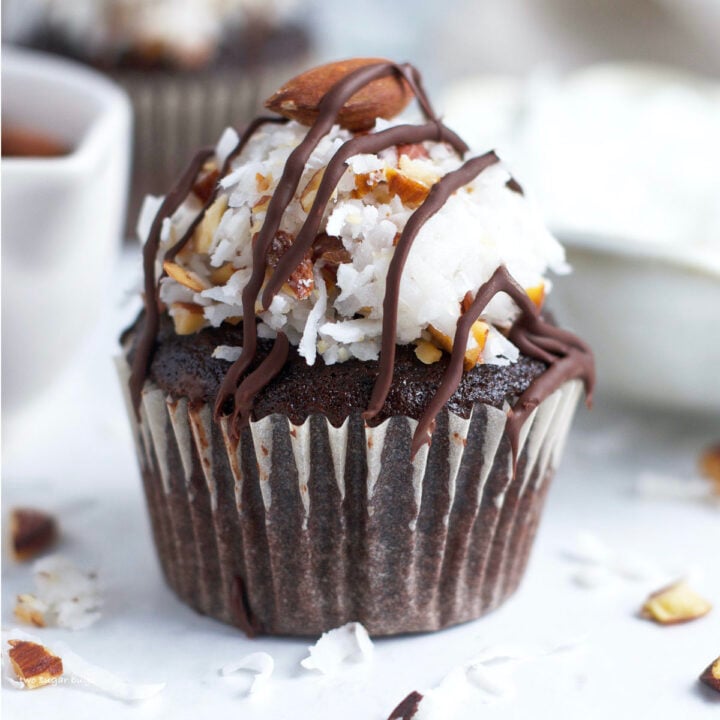
- Coconut ~ sweetened coconut flakes bring the same texture of the inside of an Almond Joy candy bar.
- Almonds ~ I used roasted and salted whole almonds and chopped them into small pieces. If measuring with cups versus a kitchen scale, I measured them prior to chopping.
- Confectioners' sugar ~ just a little to help bind the frosting together.
- Coconut cream ~ be sure to use coconut cream and not coconut milk. Coconut cream has a thicker and creamier consistency.

tips for success with this from scratch recipe
- Only fill the cupcake liners about half full of cupcake batter.
- For the best, moist and tender cupcakes, don't over bake them. Remove them from the oven when a toothpick or cake tester comes out with just a few moist crumbs.
- Be sure to use coconut cream in the coconut almond frosting.
- Pack the frosting tightly in a cookie scoop before placing on top of the almond joy cupcakes.
can this recipe be made without dairy?
I have not tested replacing the buttermilk with a vegan buttermilk, but I don't know why it wouldn't work. Use the homemade buttermilk recipe {listed above in the ingredient section or in the recipe card notes below} with a non dairy milk instead of whole milk.
If you are also looking for a cupcake recipe with no eggs; you could use my dairy free chocolate cupcake recipe. Then top with the coconut almond frosting.
how to store
The almond joy cupcakes will keep covered in the refrigerator for 3-4 days. You can also freeze them for up to three months.
Remember to snap a picture and tag me on Instagram if you make these Almond Joy Cupcakes. It warms my heart to see you bring these recipes to life! Thank you for being here and happy baking!
more cupcakes and coconut desserts to enjoy
- Rum Coconut Cupcakes
- Perfect Coconut Cake
- Brown Butter Cupcakes with Salted Caramel Frosting
- Coconut Cream Pie
- White Chocolate Cupcakes
- Coconut Pecan Cookies
If you make this recipe {or any recipe!} from two sugar bugs please come back and leave a review and a ⭐️⭐️⭐️⭐️⭐️ star rating. I read every comment, and I LOVE hearing from you!
Almond Joy Cupcakes
This easy cupcake recipe is made from scratch with a simple, moist chocolate cupcake and a coconut almond frosting. Perfect for the candy bar lover's in your life!
Ingredients
Chocolate Cupcakes
- 1 cup all-purpose flour (125g)
- ½ cup natural unsweetened cocoa powder (48g)
- 1 cup granulated sugar (200g)
- 1 teaspoon baking soda
- ½ teaspoon baking powder
- ½ teaspoon kosher salt
- 2 large eggs, room temperature
- ½ cup buttermilk*, room temperature (120mL)
- ¼ cup vegetable oil (60mL)
- 2 teaspoons pure vanilla extract
- ¼ cup hot water (60mL)
coconut almond frosting
- 2 cups sweetened shredded coconut (200g)
- ½ cup confectioners’ sugar (60g)
- ½ cup almonds, chopped (76g)
- ¼ cup coconut cream (60mL)
Instructions
- For the chocolate cupcakes: Pre-heat oven to 350°F and prepare 2 muffin pans with 16 cupcake liners (I prefer to use the wells in the middle of the pan). Set aside.
- In a medium size bowl, sift together the flour (1 cup/125g) and cocoa powder (½ cup/48g). Then whisk in the sugar (1 cup/200g), baking soda (1 teaspoon), baking powder (½ teaspoon) and kosher salt (½ teaspoon). In a small bowl, whisk together the eggs (2 large), buttermilk (½ cup/120mL), vegetable oil (¼ cup/60mL) and vanilla (2 teaspoons).
- Add the wet ingredients to the dry and then add the hot water (¼ cup/60mL). Whisk until combined. Divide the batter between the 16 cupcake liners (each liner should be about half way full).
- Bake for 15-18 minutes, until a toothpick comes out with just a few moist crumbs. Allow cupcakes to cool in the muffin pan set on a wire rack.
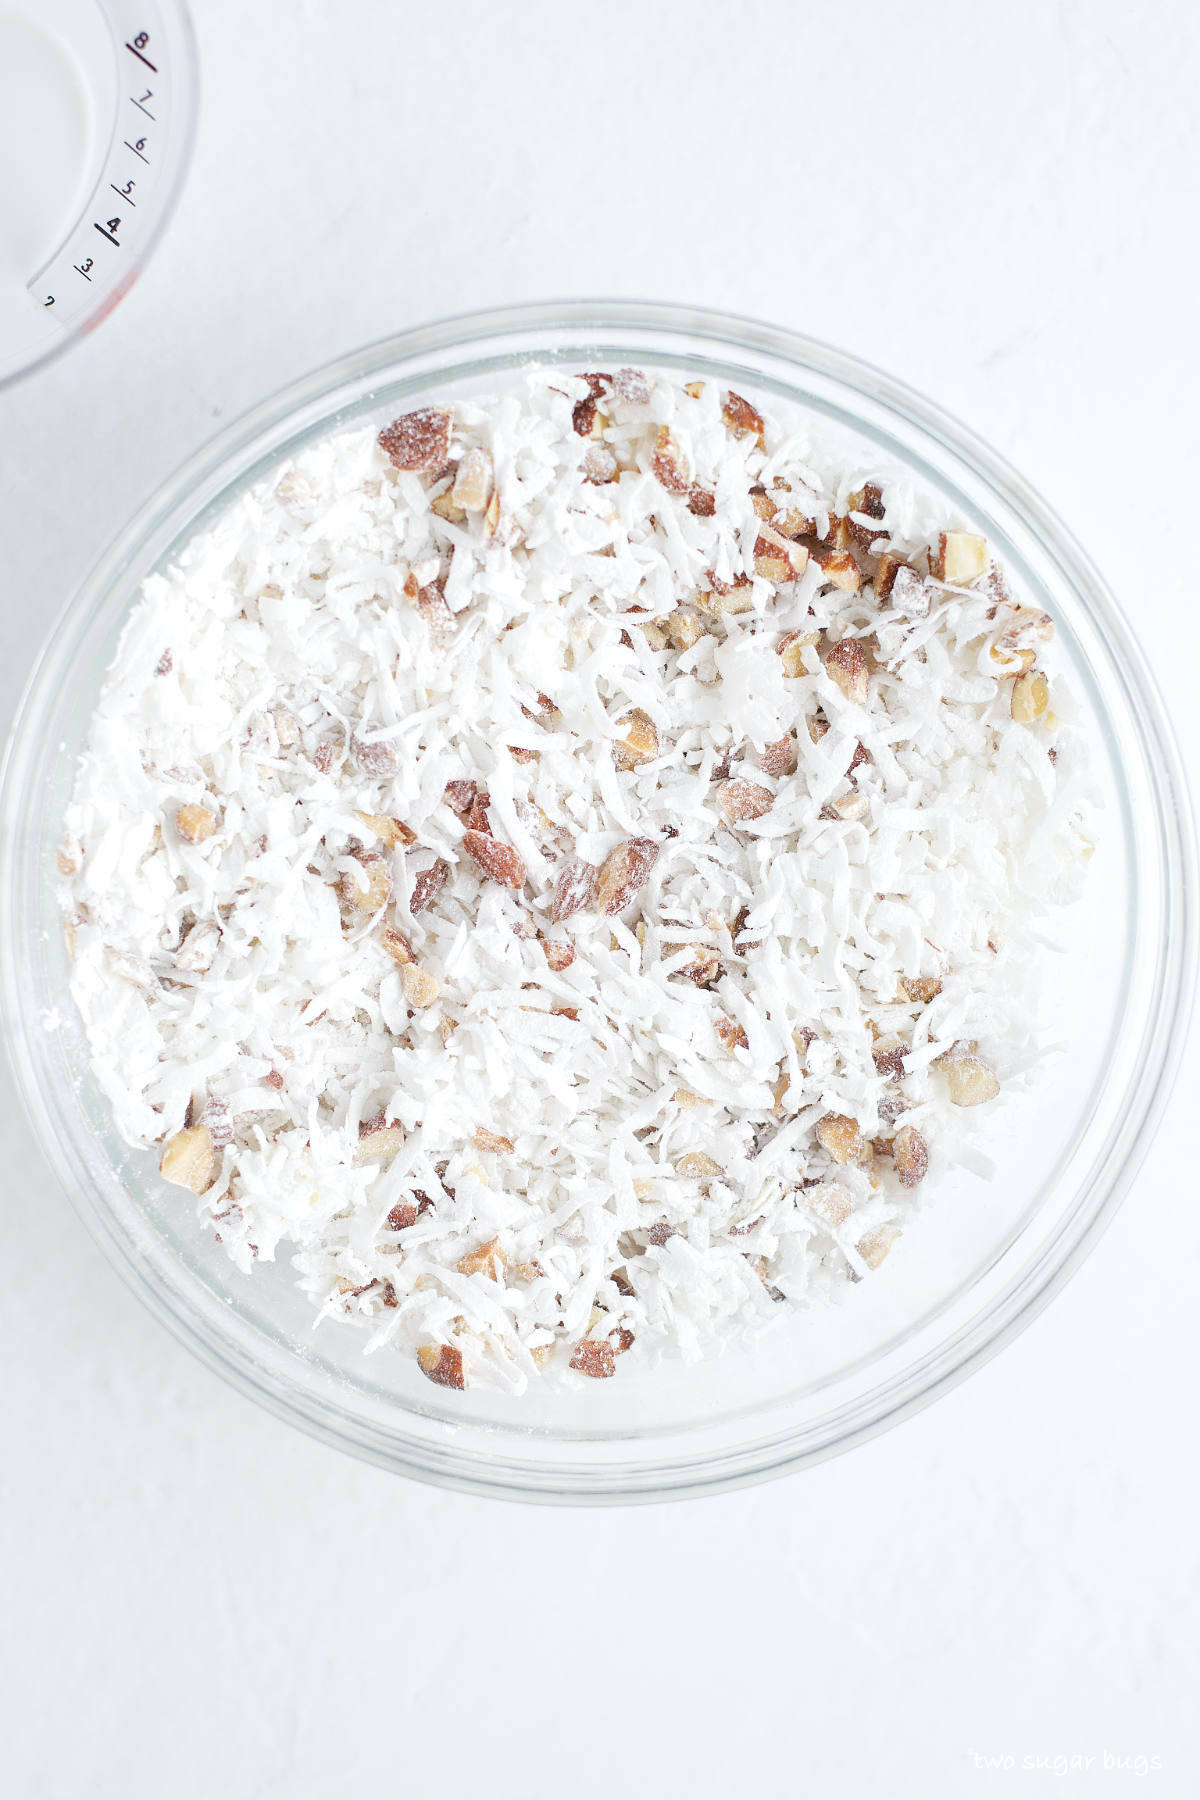
- For the coconut almond frosting: In a medium bowl, mix the coconut (2 cups/200g), confectioners’ sugar (½ cup/60g), chopped almonds (about a ½ cup before chopping or 76g). Then pour the coconut cream (¼ cup/60mL) over the top and stir to mix. Cover and refrigerate until the cupcakes are cool and you are ready to frost them.
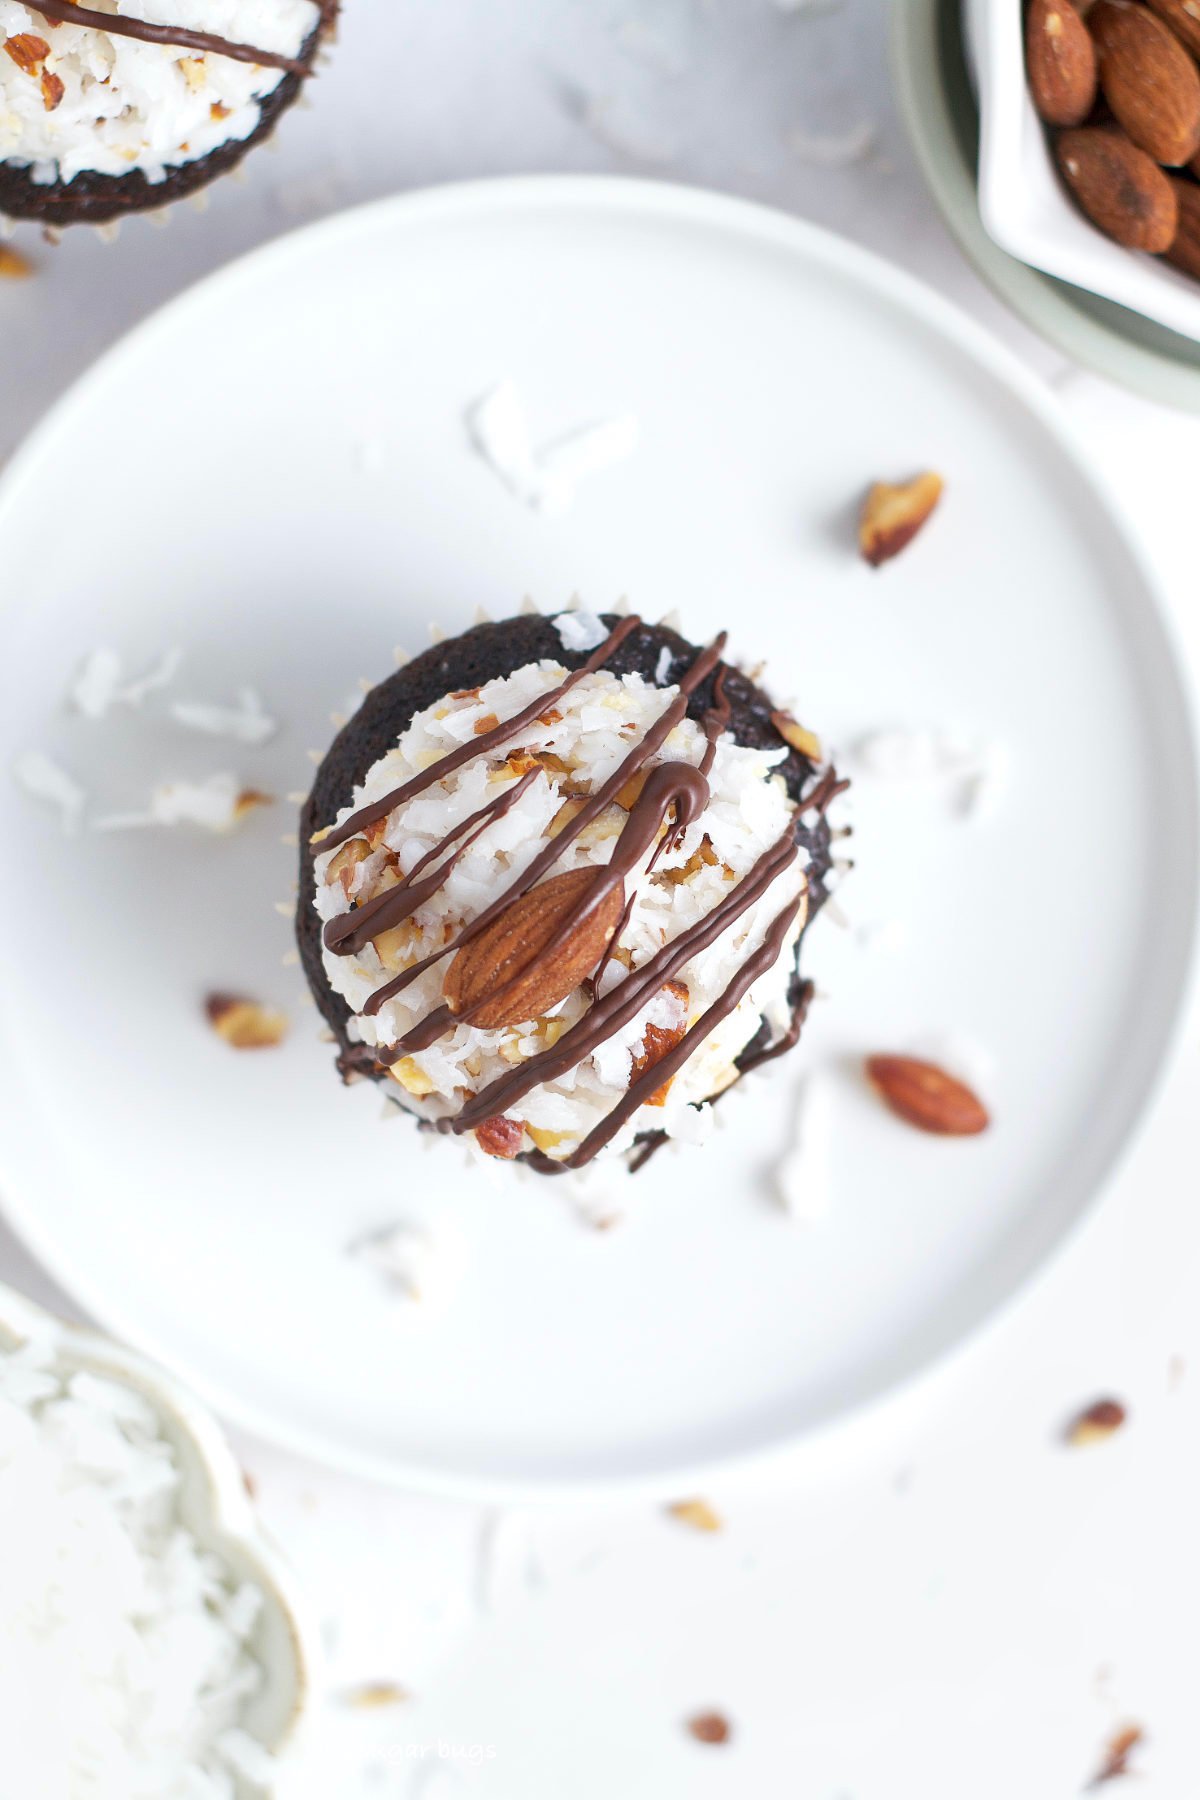
- Once the cupcakes are cool, top each cupcake with about 2-3 tablespoons of the coconut almond frosting. To get the same look as the photos, use a size 16 (¼ cup cookie scoop) and pack about half full before releasing onto the top of each cupcake. If desired, top each scoop of frosting with a whole almond and drizzle melted milk chocolate over the top of each cupcake (melt about 1 ounce/28g).
Notes
*In a pinch you can make your own buttermilk; add 1 tablespoon lemon juice or white vinegar to the measuring cup and then fill with whole milk to make ½ cup and stir.
Be sure to use coconut cream, not coconut milk in the frosting. Coconut cream is thicker and has a creamier consistency.
If you only have table salt start with half the amount of salt and adjust as needed.
Cupcakes will keep covered in the refrigerator for 3-4 days. You can also freeze them for up to three months. Allow to defrost before serving.
Nutrition Information:
Yield:
16Serving Size:
1Amount Per Serving: Calories: 232Total Fat: 10gSaturated Fat: 4gTrans Fat: 0gUnsaturated Fat: 5gCholesterol: 24mgSodium: 208mgCarbohydrates: 33gFiber: 2gSugar: 23gProtein: 4g
The nutrition information is an estimate only and may not be entirely accurate.