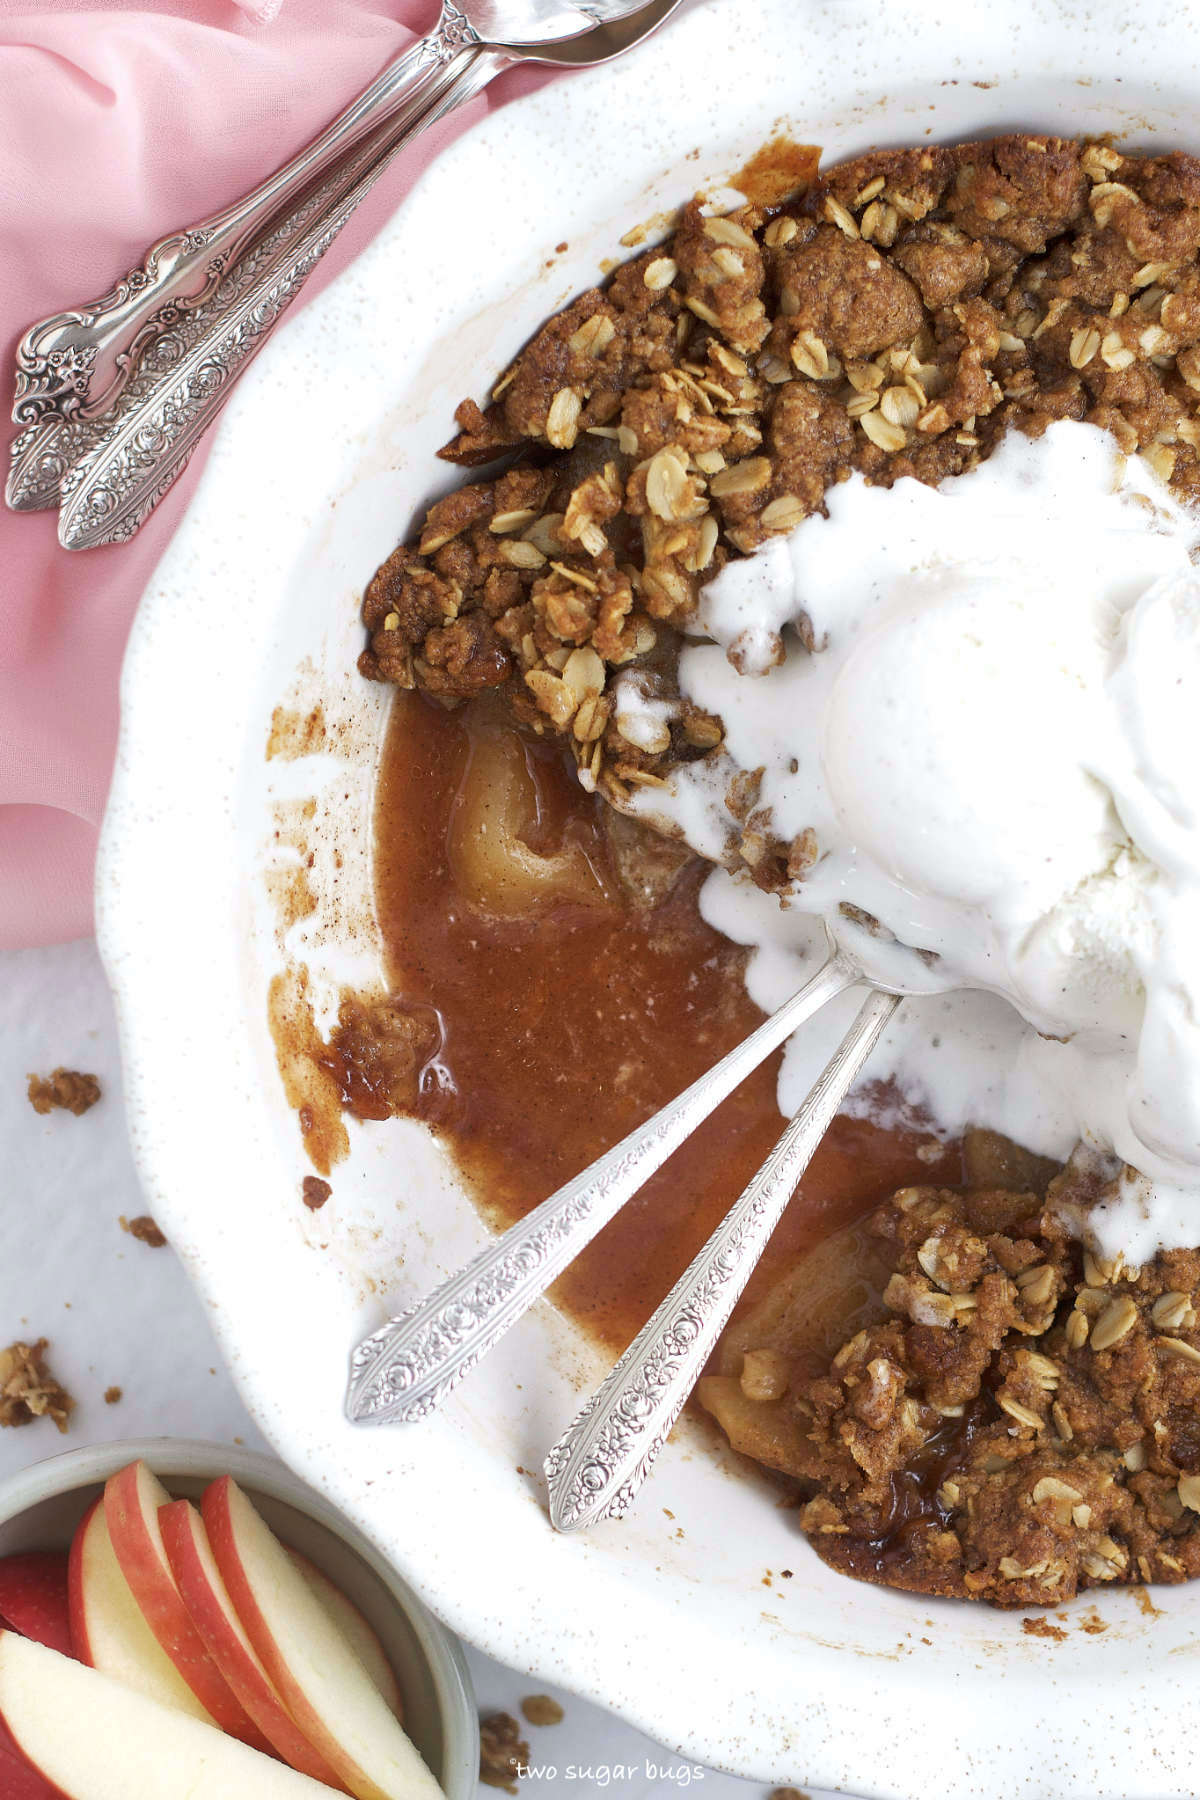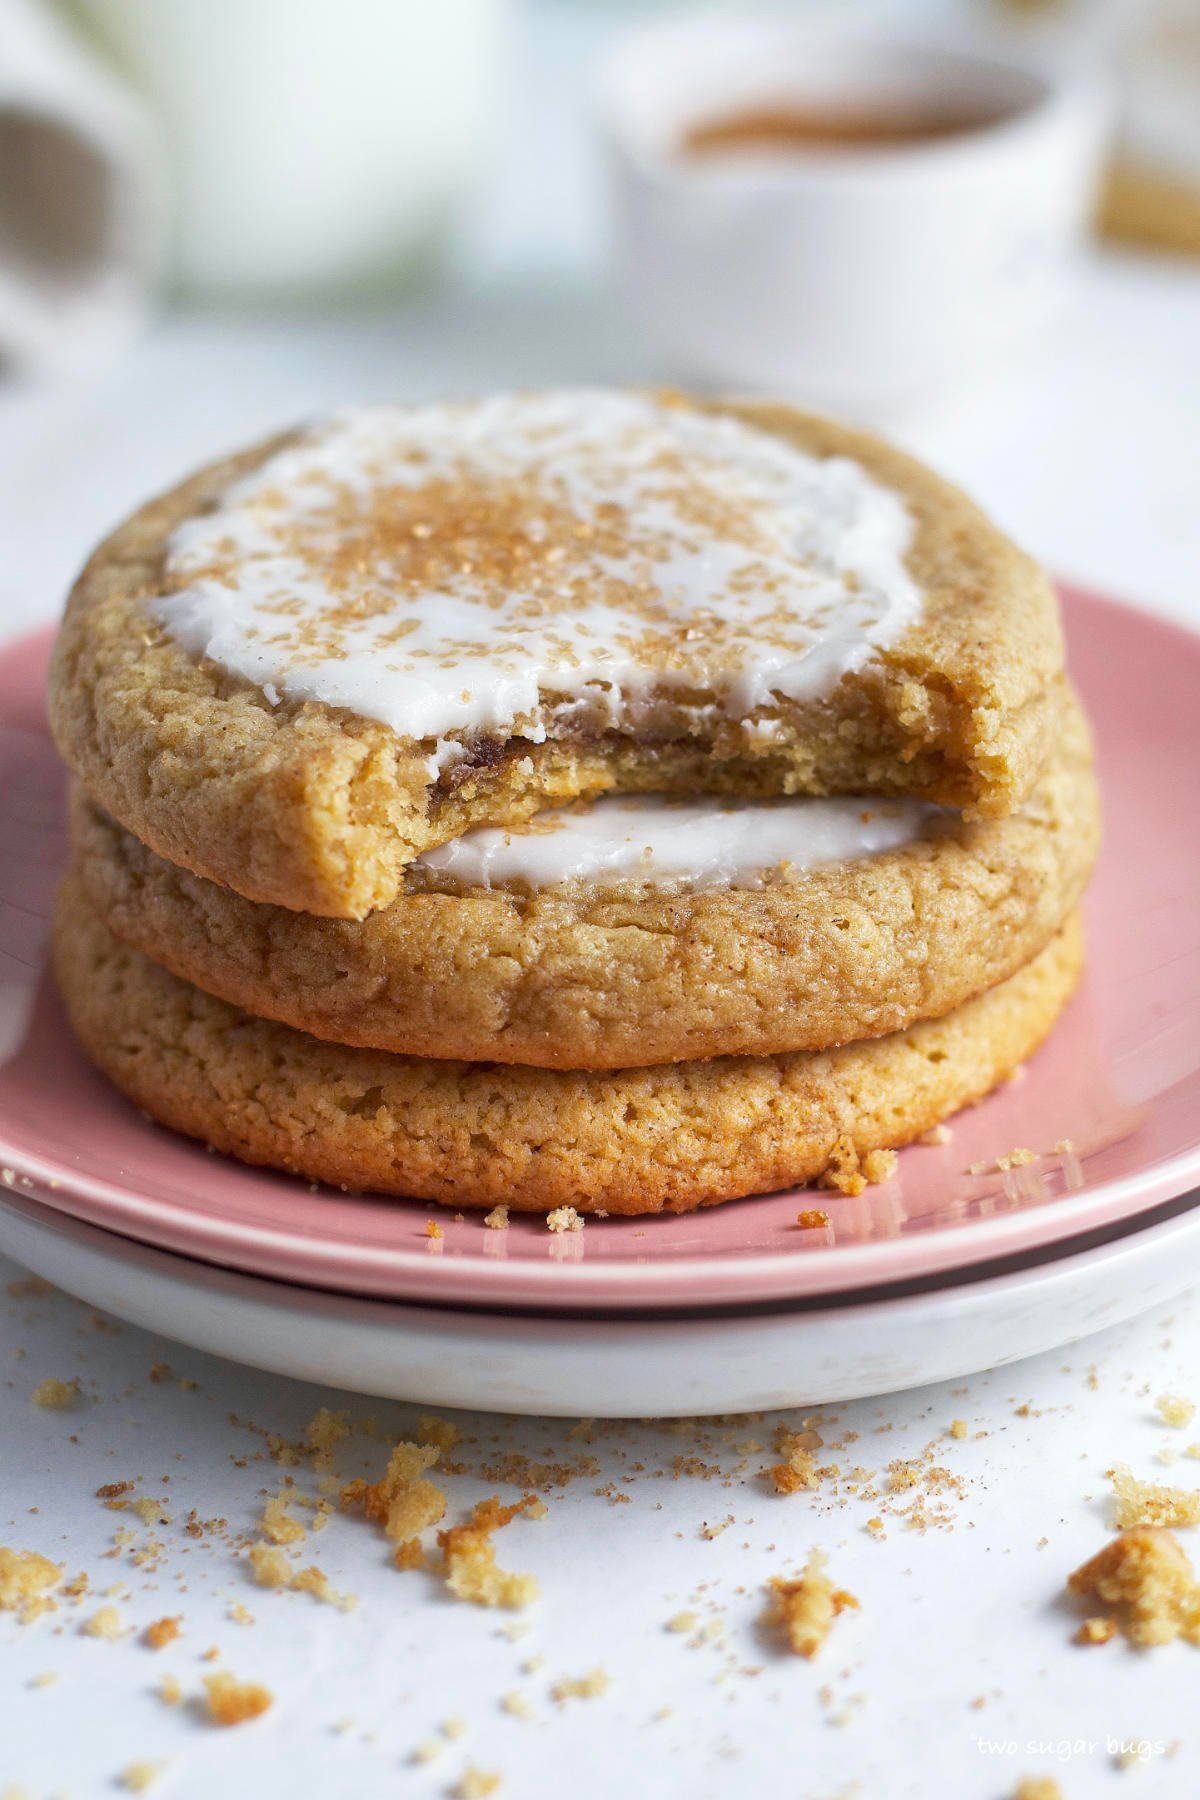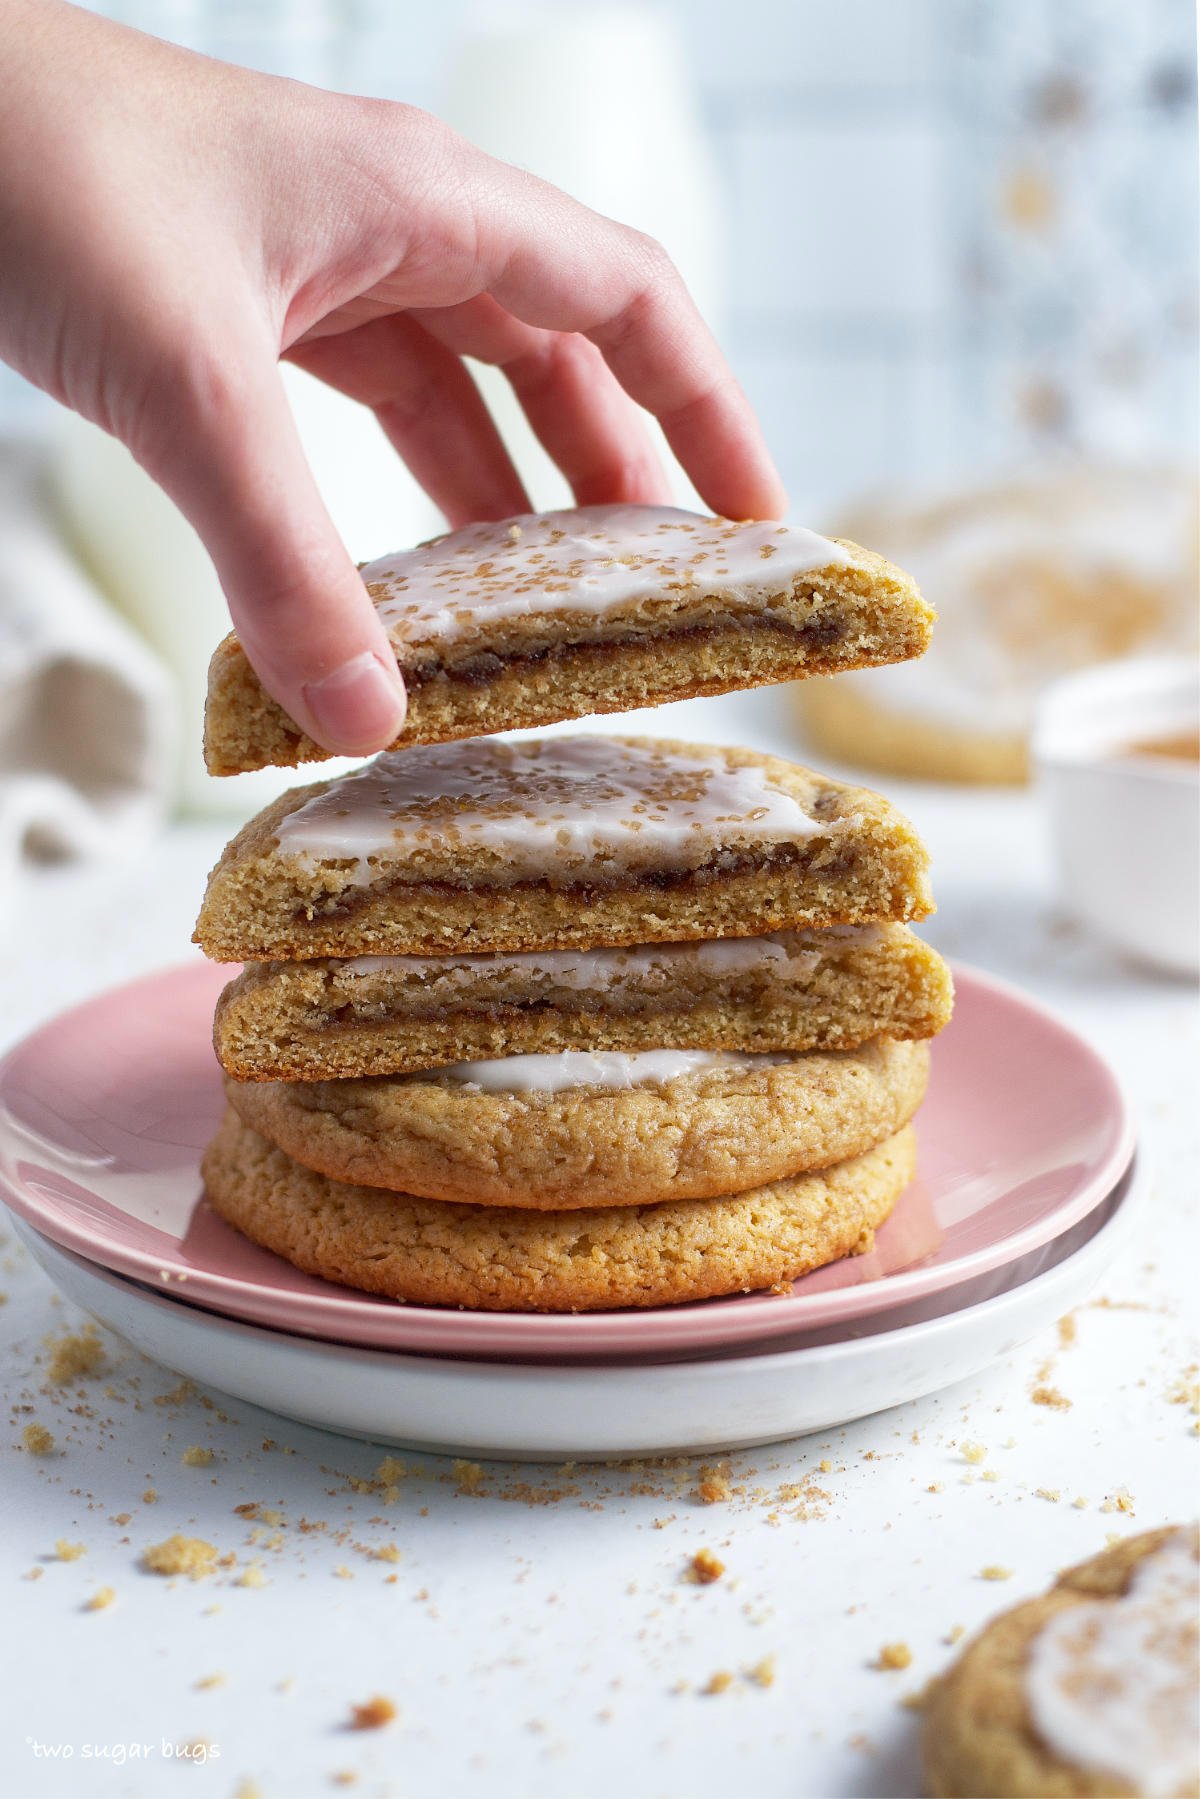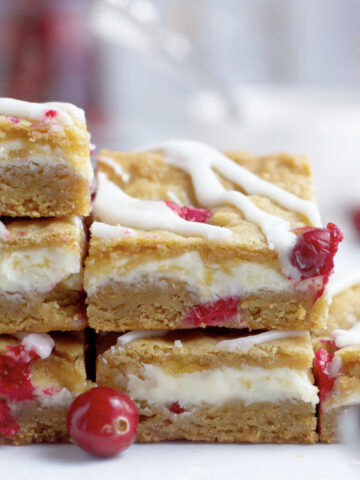
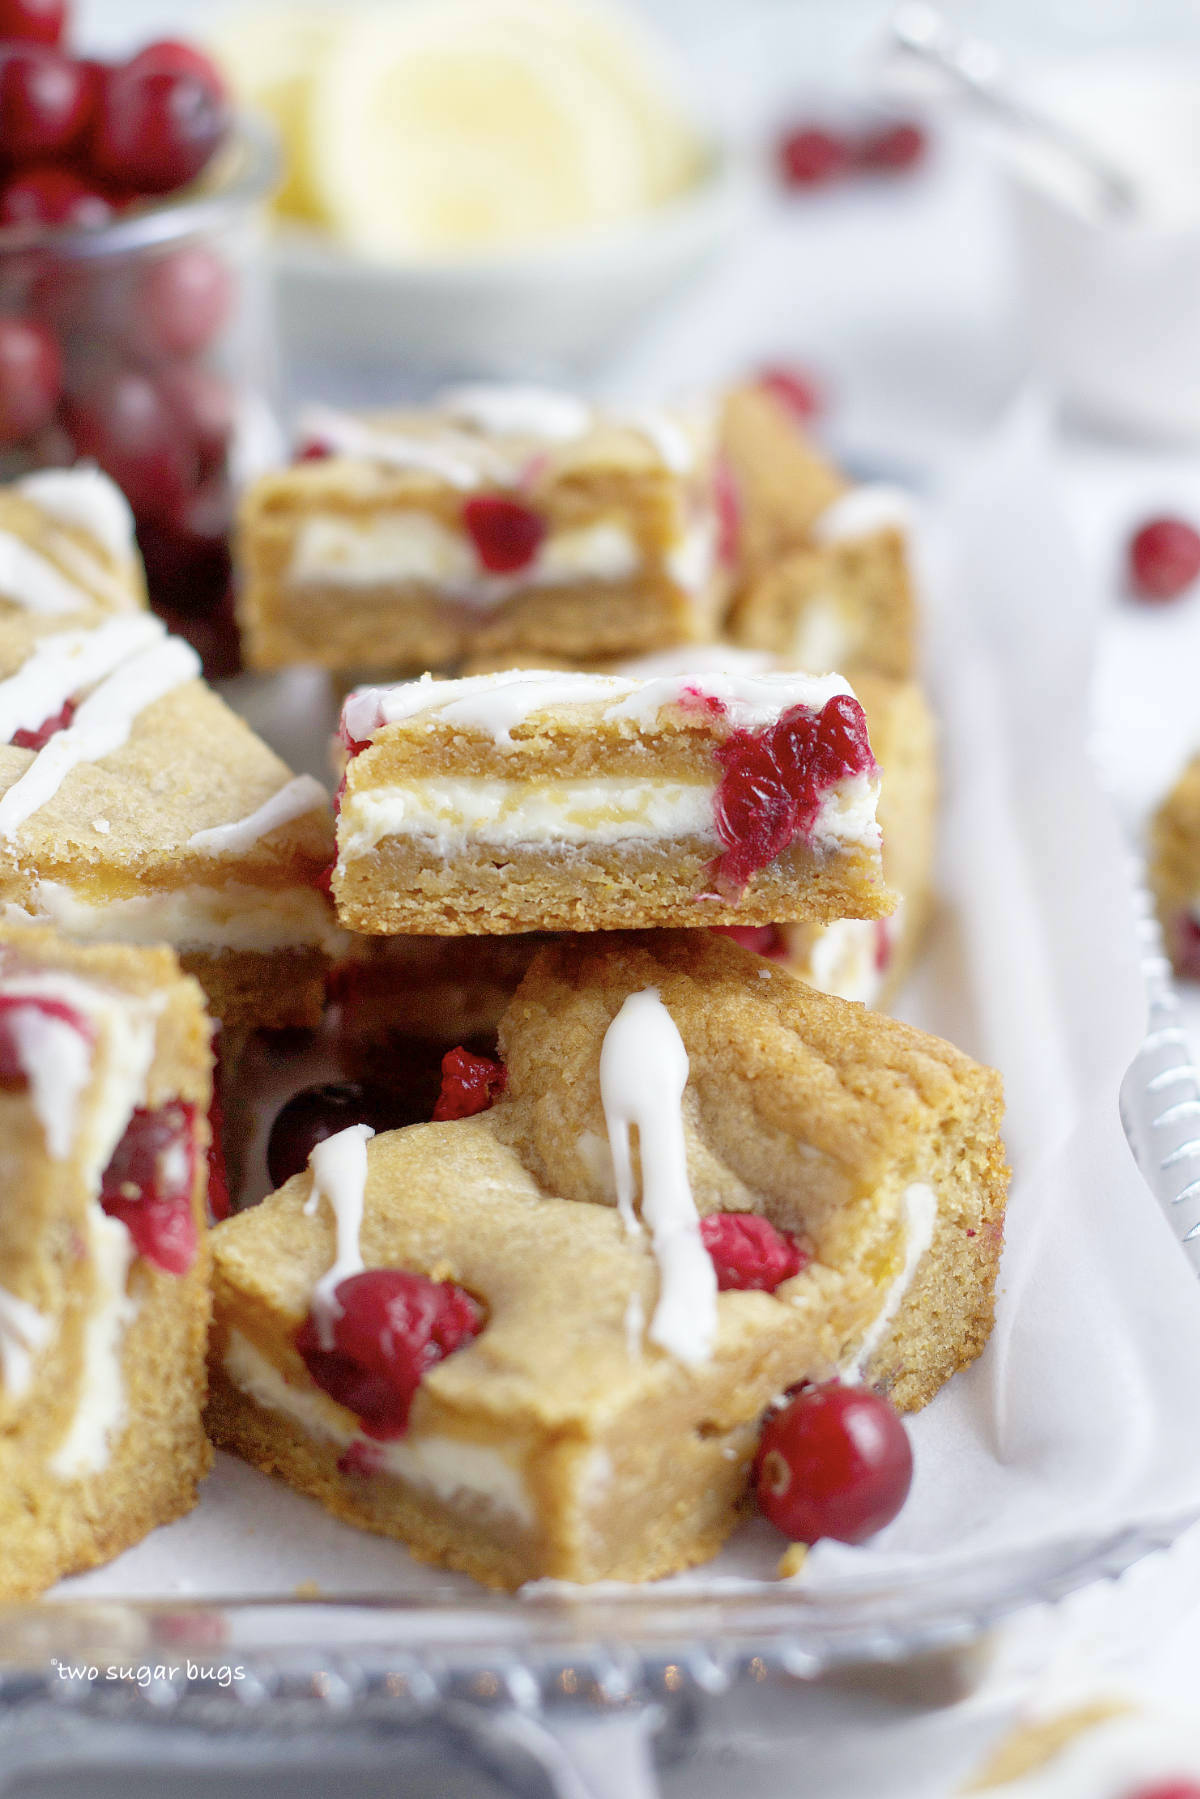
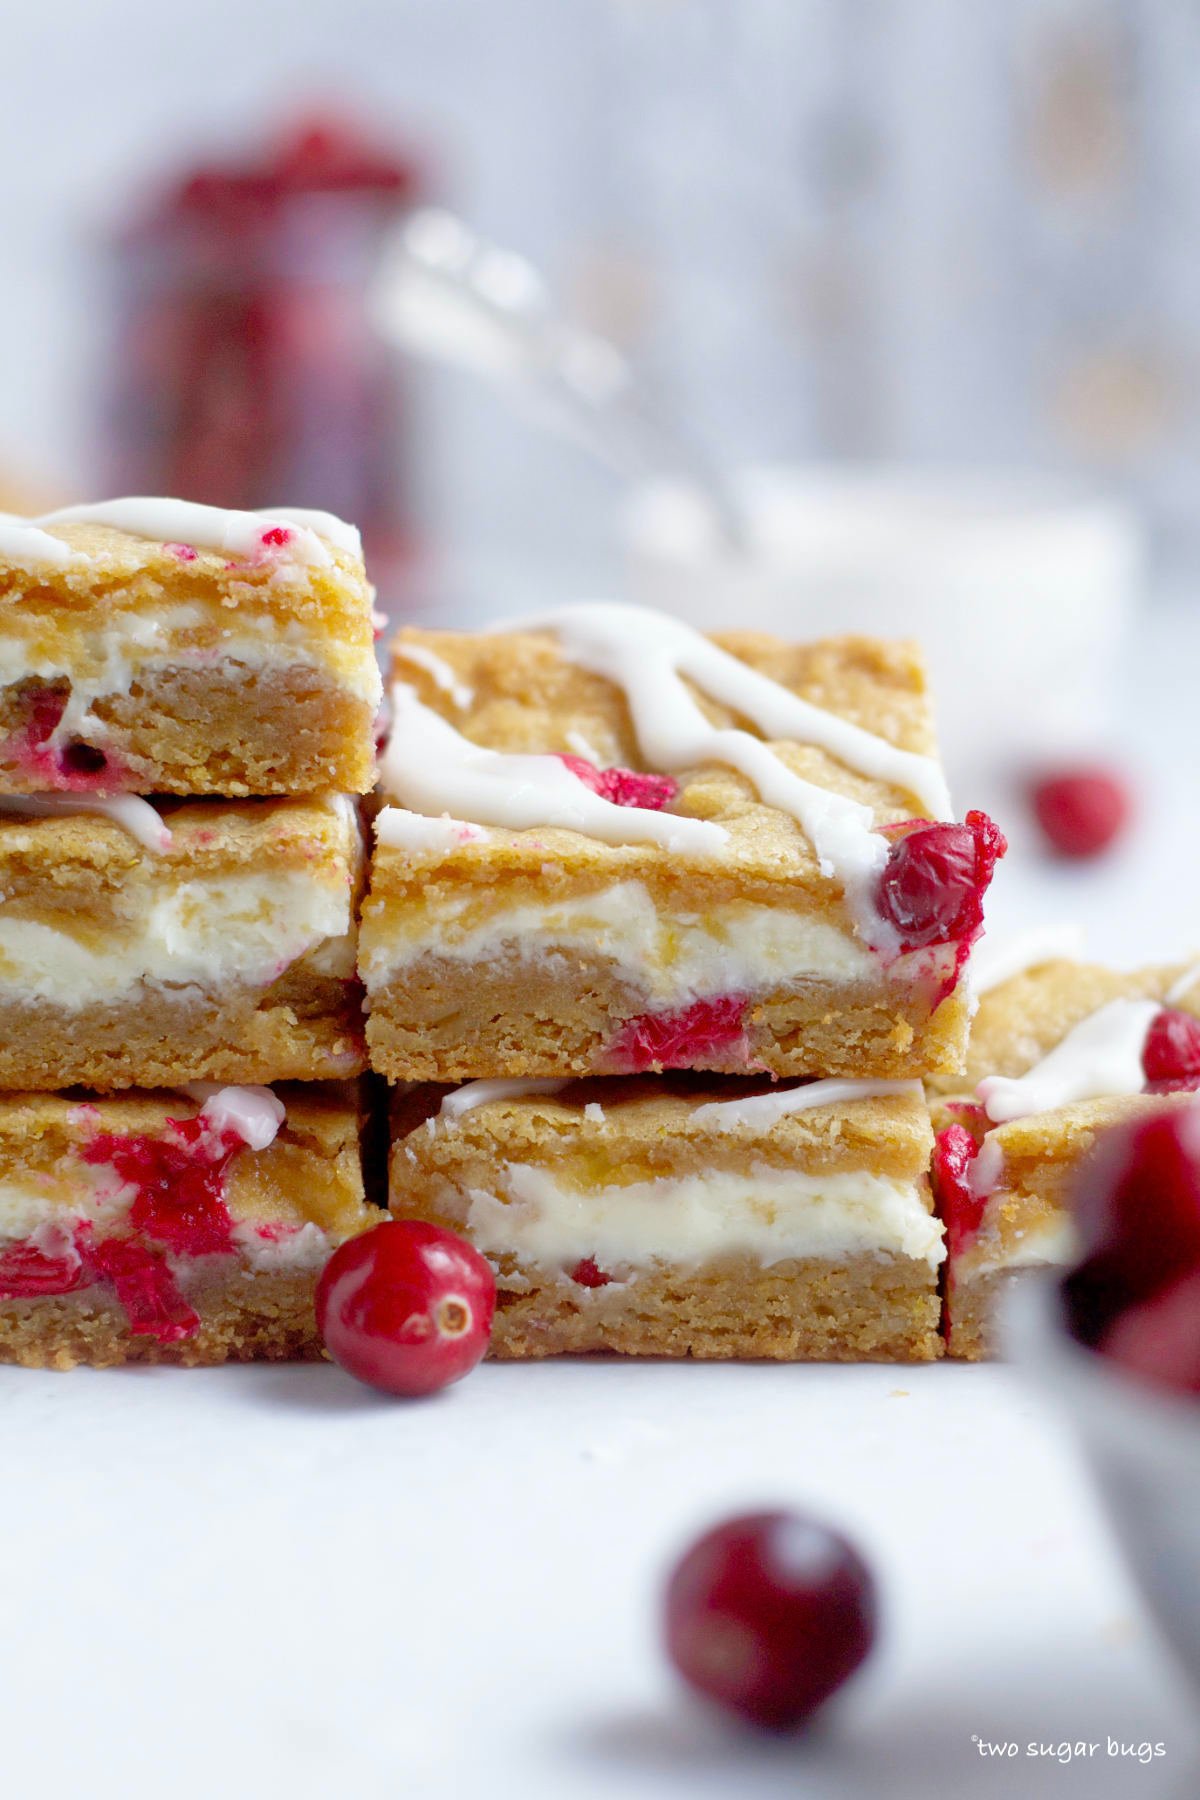
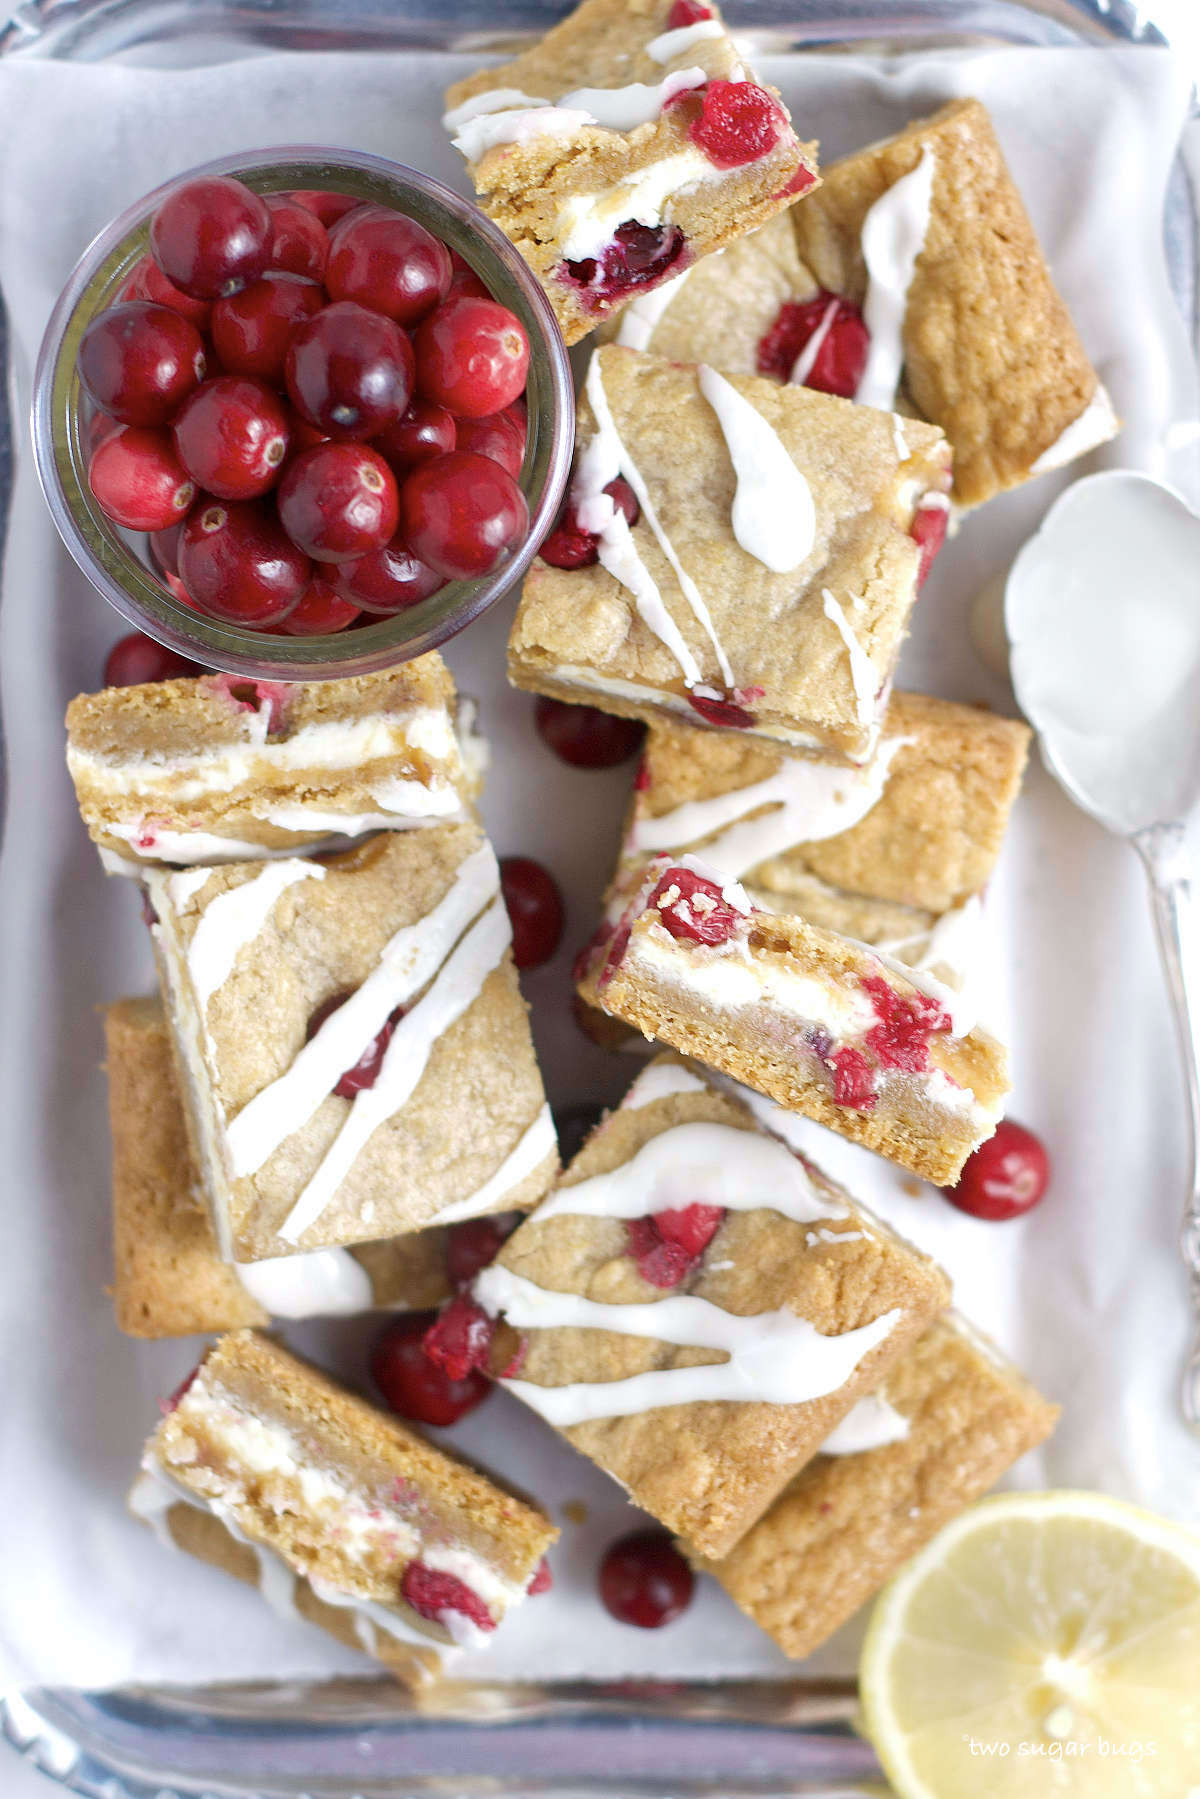
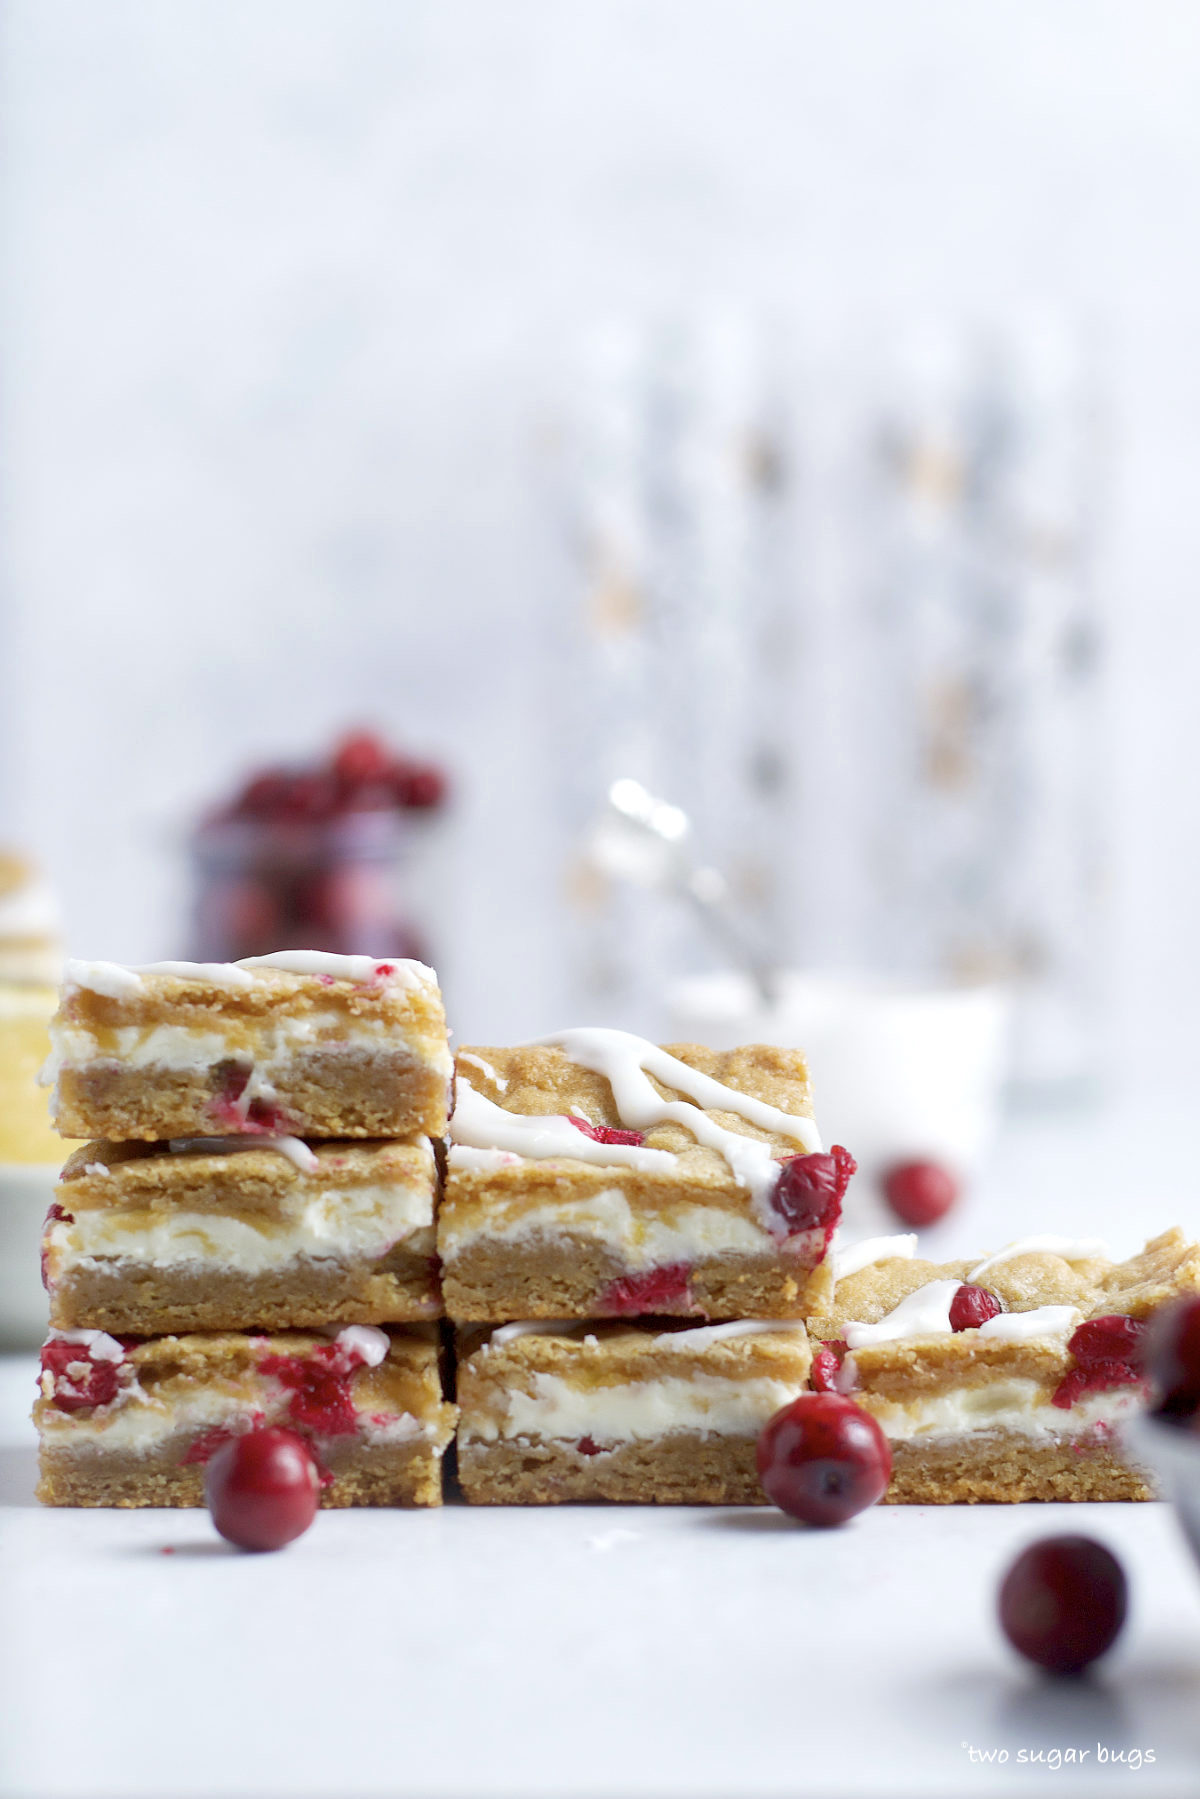
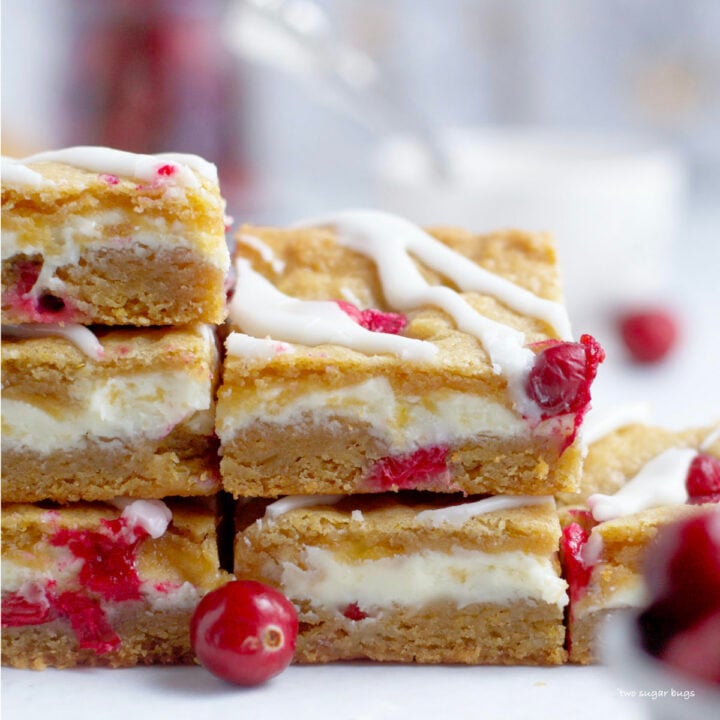
Lemon cranberry bars are the best holiday treat! They have a blondie like texture and the tart lemon and cranberries are paired with a sweet white chocolate filling. So much easier than cookies or pie; you're going to love how easy they are to make!

Disclosure | This post may contain affiliate links. As an Amazon Associate I earn from qualifying purchases.
As the holiday season approaches, it's time to start thinking about easy dessert recipes.
So many of my Christmas cookie recipes take lots of steps; like coconut jam thumbprints, peanut butter Snickers Cookies or buttercream sugar cookies.
I originally thought of this recipe as a cookie with white chocolate chips, but wanted you to have a quick and easy holiday recipe that you could use when time isn't on your side!
why you will love these cranberry lemon squares
- Holiday flavor ~ cranberries go perfectly with the holidays, whether it's Thanksgiving or Christmas. With the white chocolate filling, it's a nice balance of tart and sweet.
- Easy ~ these cranberry lemon bars get layered in a baking pan and take about 15 minutes to put together.
ingredient notes
Please scroll to the printable recipe card at the end of this post for the full list of ingredients and baking directions.
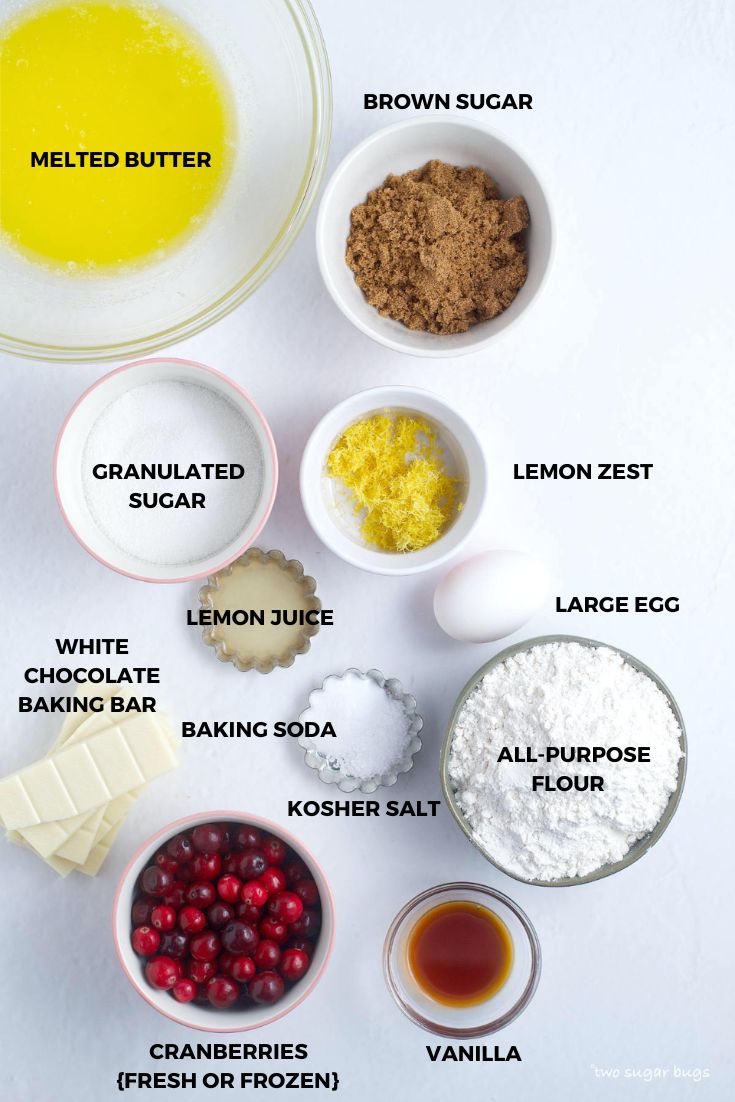
- Unsalted butter ~ melt using your preferred method.
- Granulated sugar ~ adds sweetness.
- Brown sugar ~ I use dark brown, but light brown also works.
- Lemon zest ~ use the zest of one large lemon or two smaller lemons. This is my favorite zesting tool.
- Egg ~ one large egg is needed.
- Lemon juice ~ use the juice from the lemon. You will also use some fresh lemon juice in the lemon glaze.
- Vanilla ~ for another flavor layer.
- Baking soda and kosher salt ~ to add some lift to the dessert bars and also to balance the flavors.
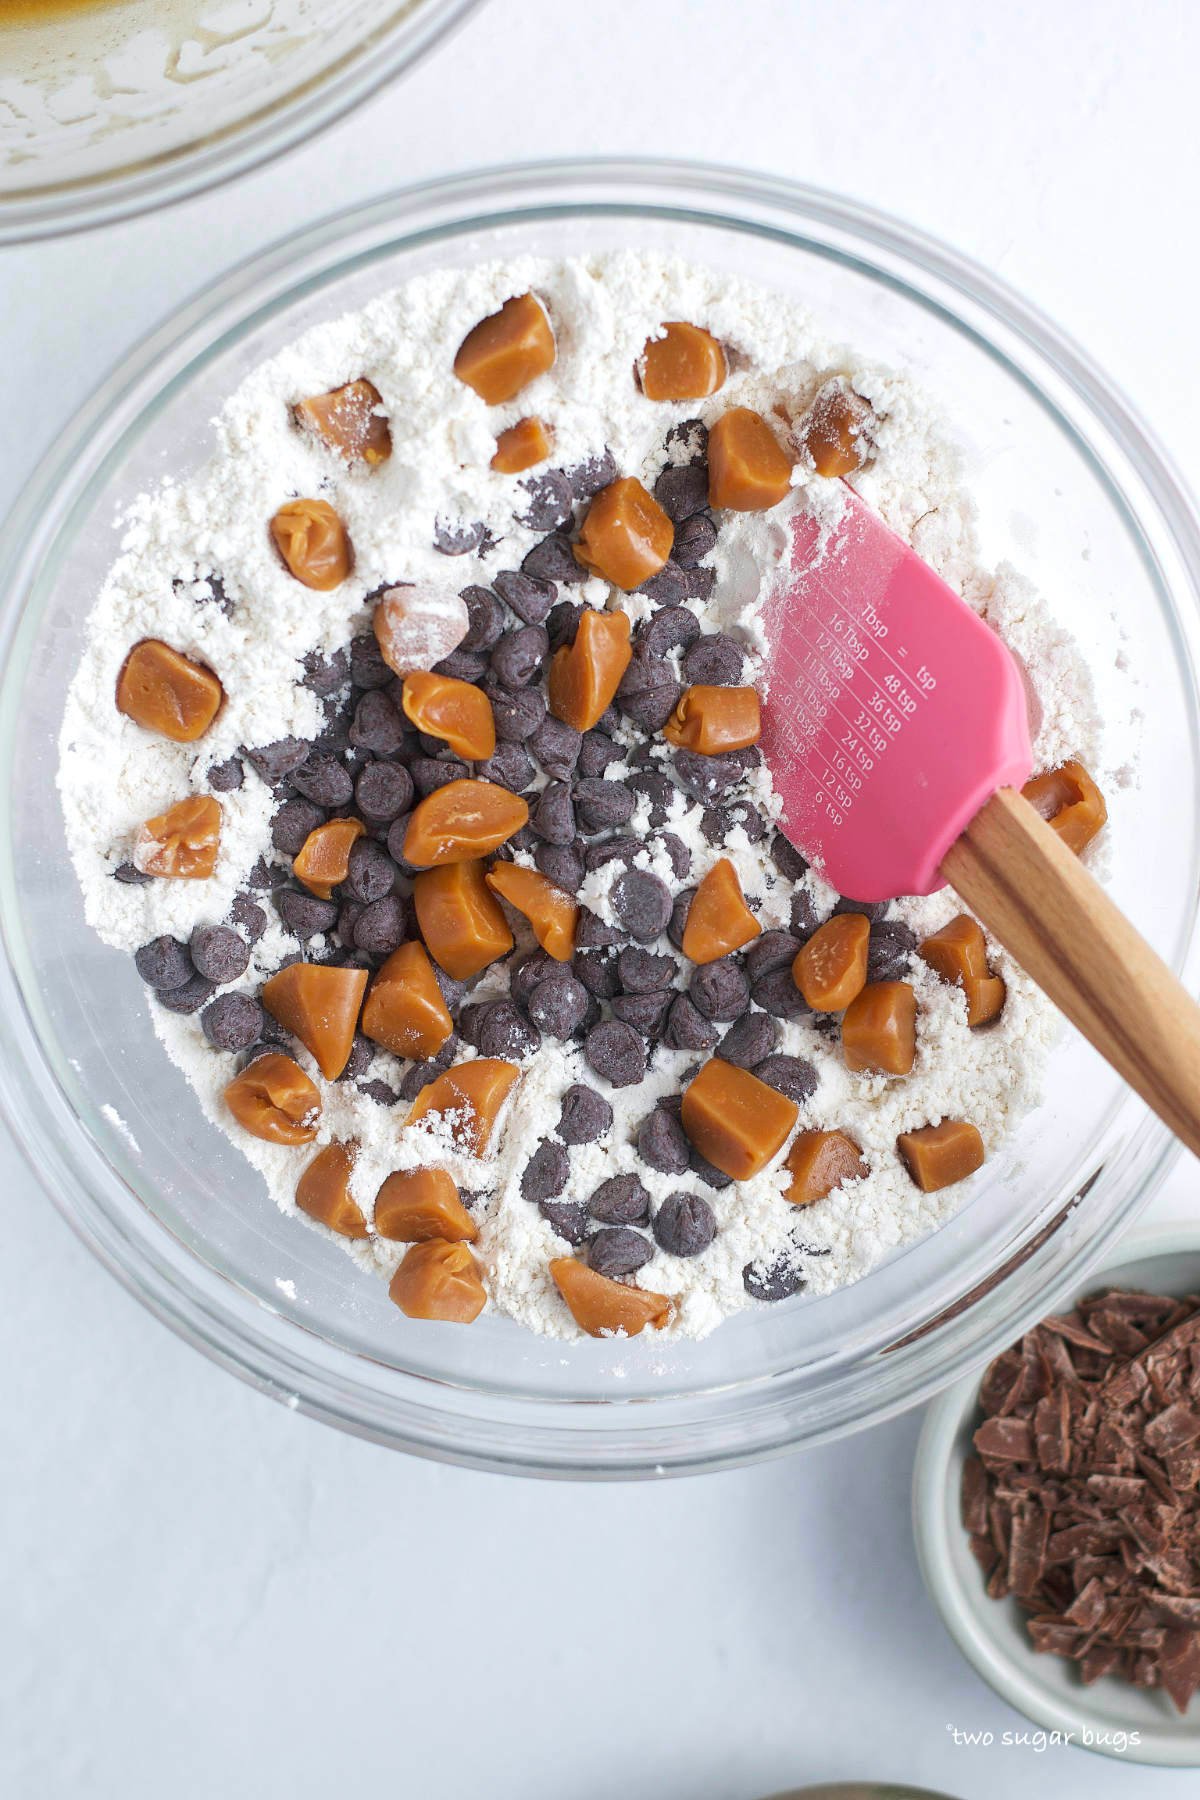
- All-purpose flour ~ for structure. For the best results, use a kitchen scale or the spoon and level method.
- Cranberries ~ this recipe was tested with both fresh and frozen cranberries. Either works. Be sure your fresh cranberries are washed and fully dry before using. If using frozen cranberries, do not thaw them.
- White chocolate ~ for the white chocolate layer, use white chocolate baking bars. You need 7 ounces, which is just shy of two 4 ounce bars.
how to make this easy holiday dessert
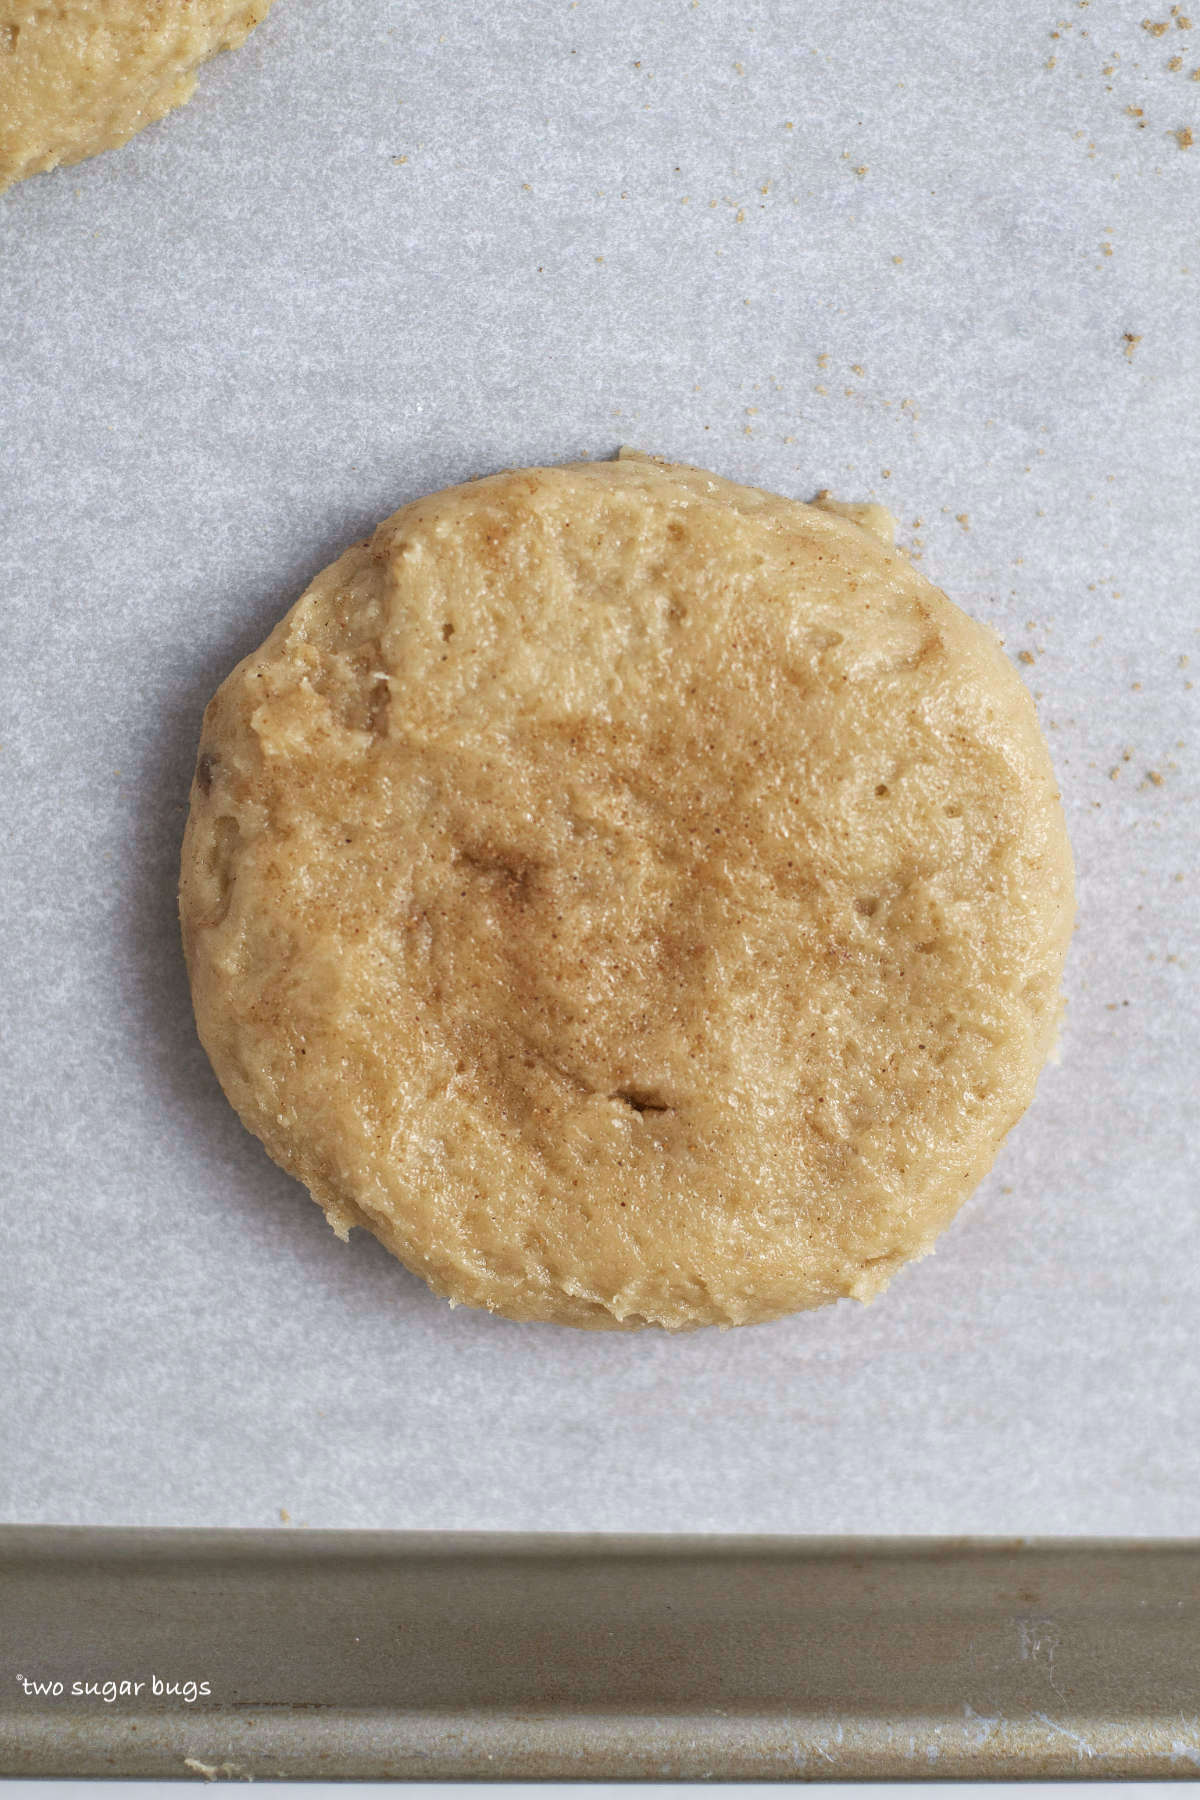
Start by preheating the oven to 350°F and prepare an 8x8 baking pan with parchment paper and set aside.
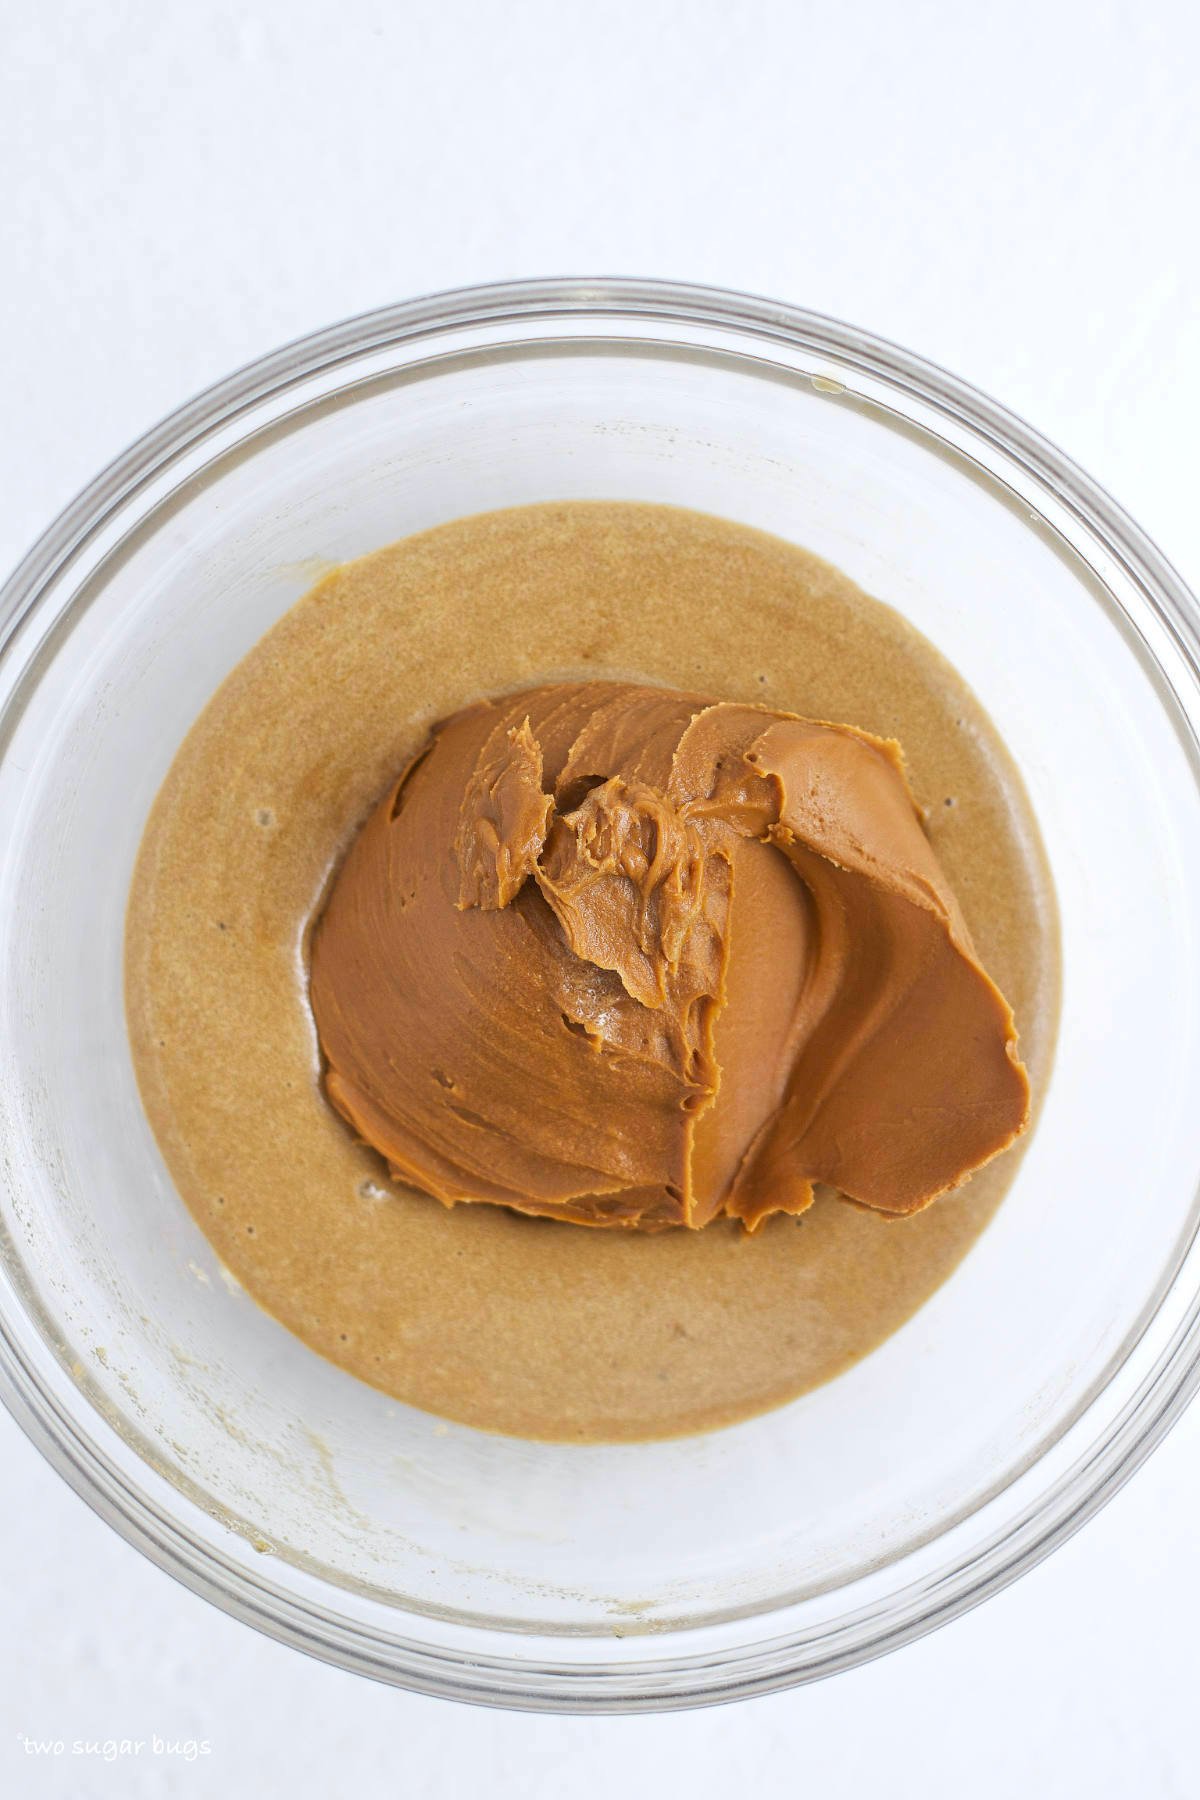
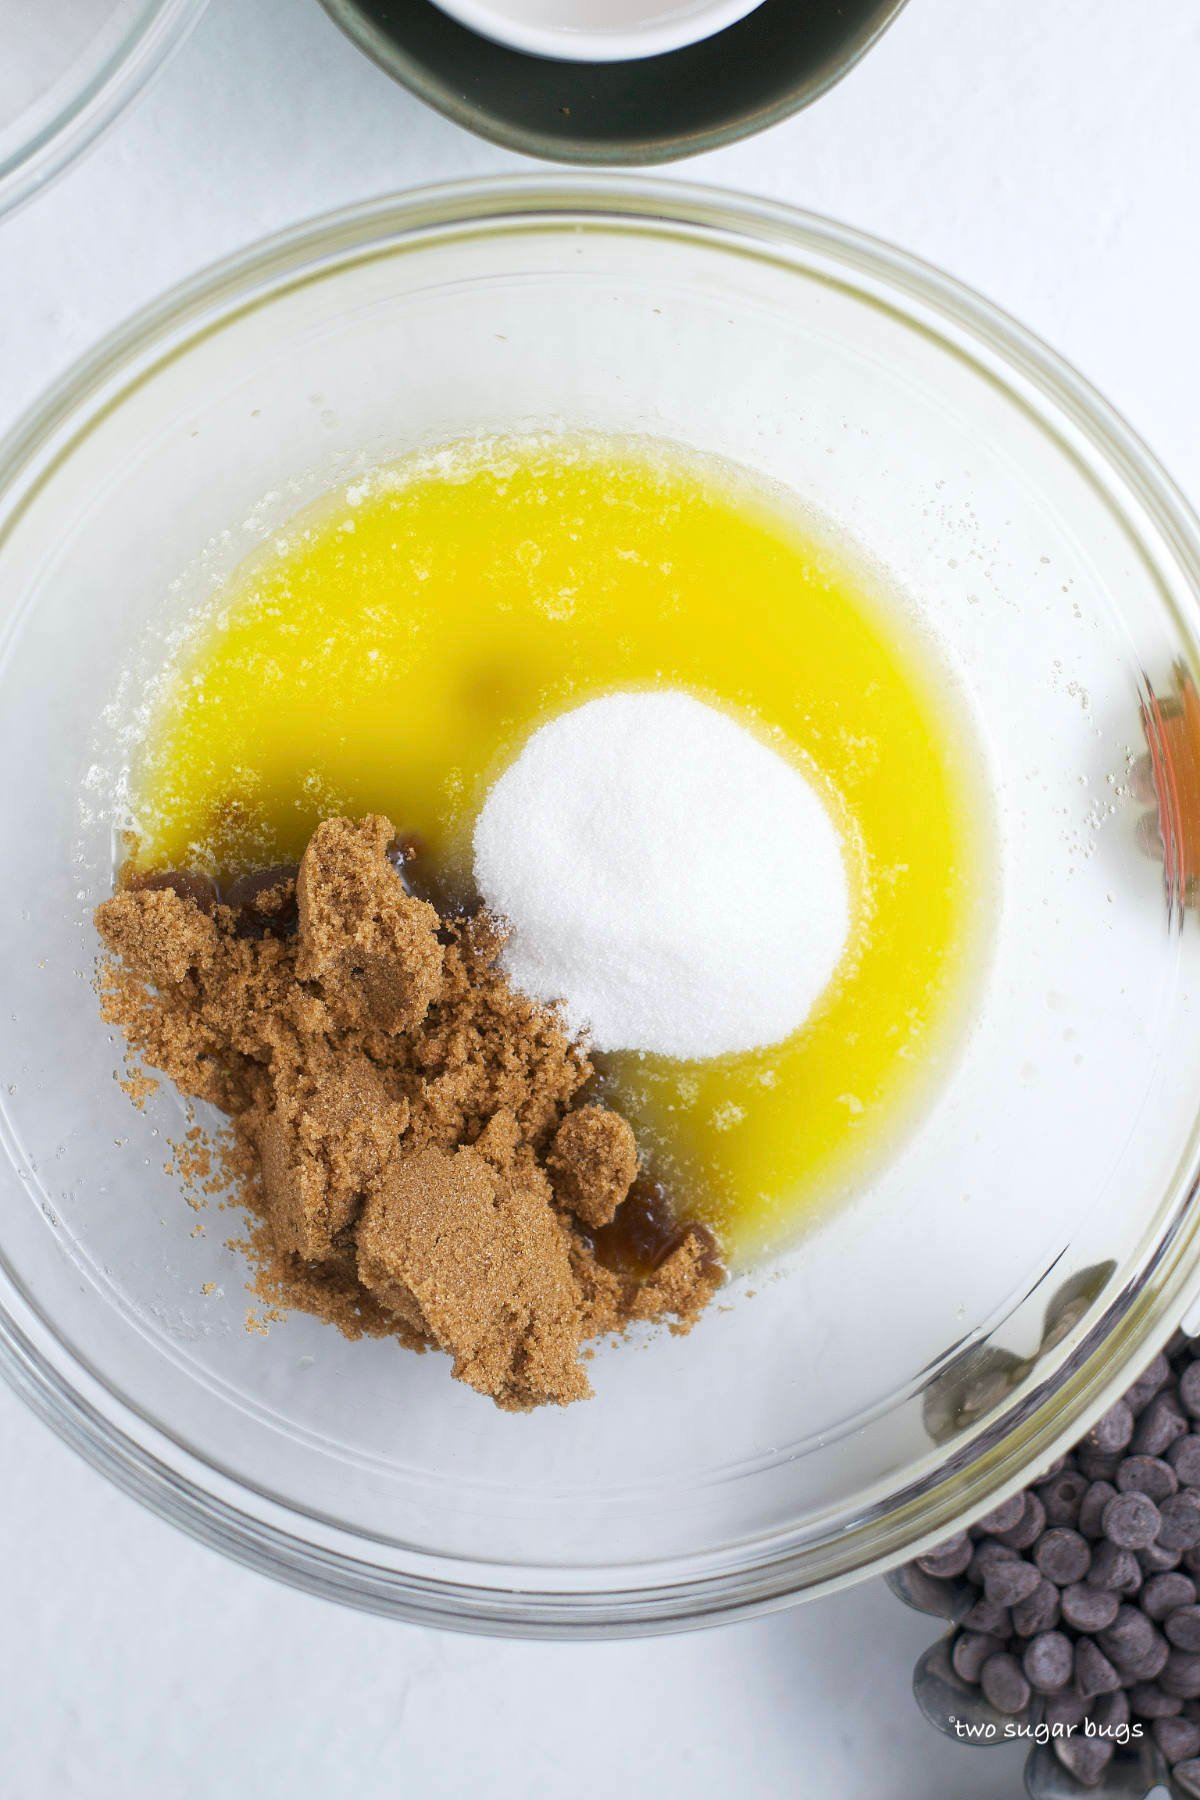
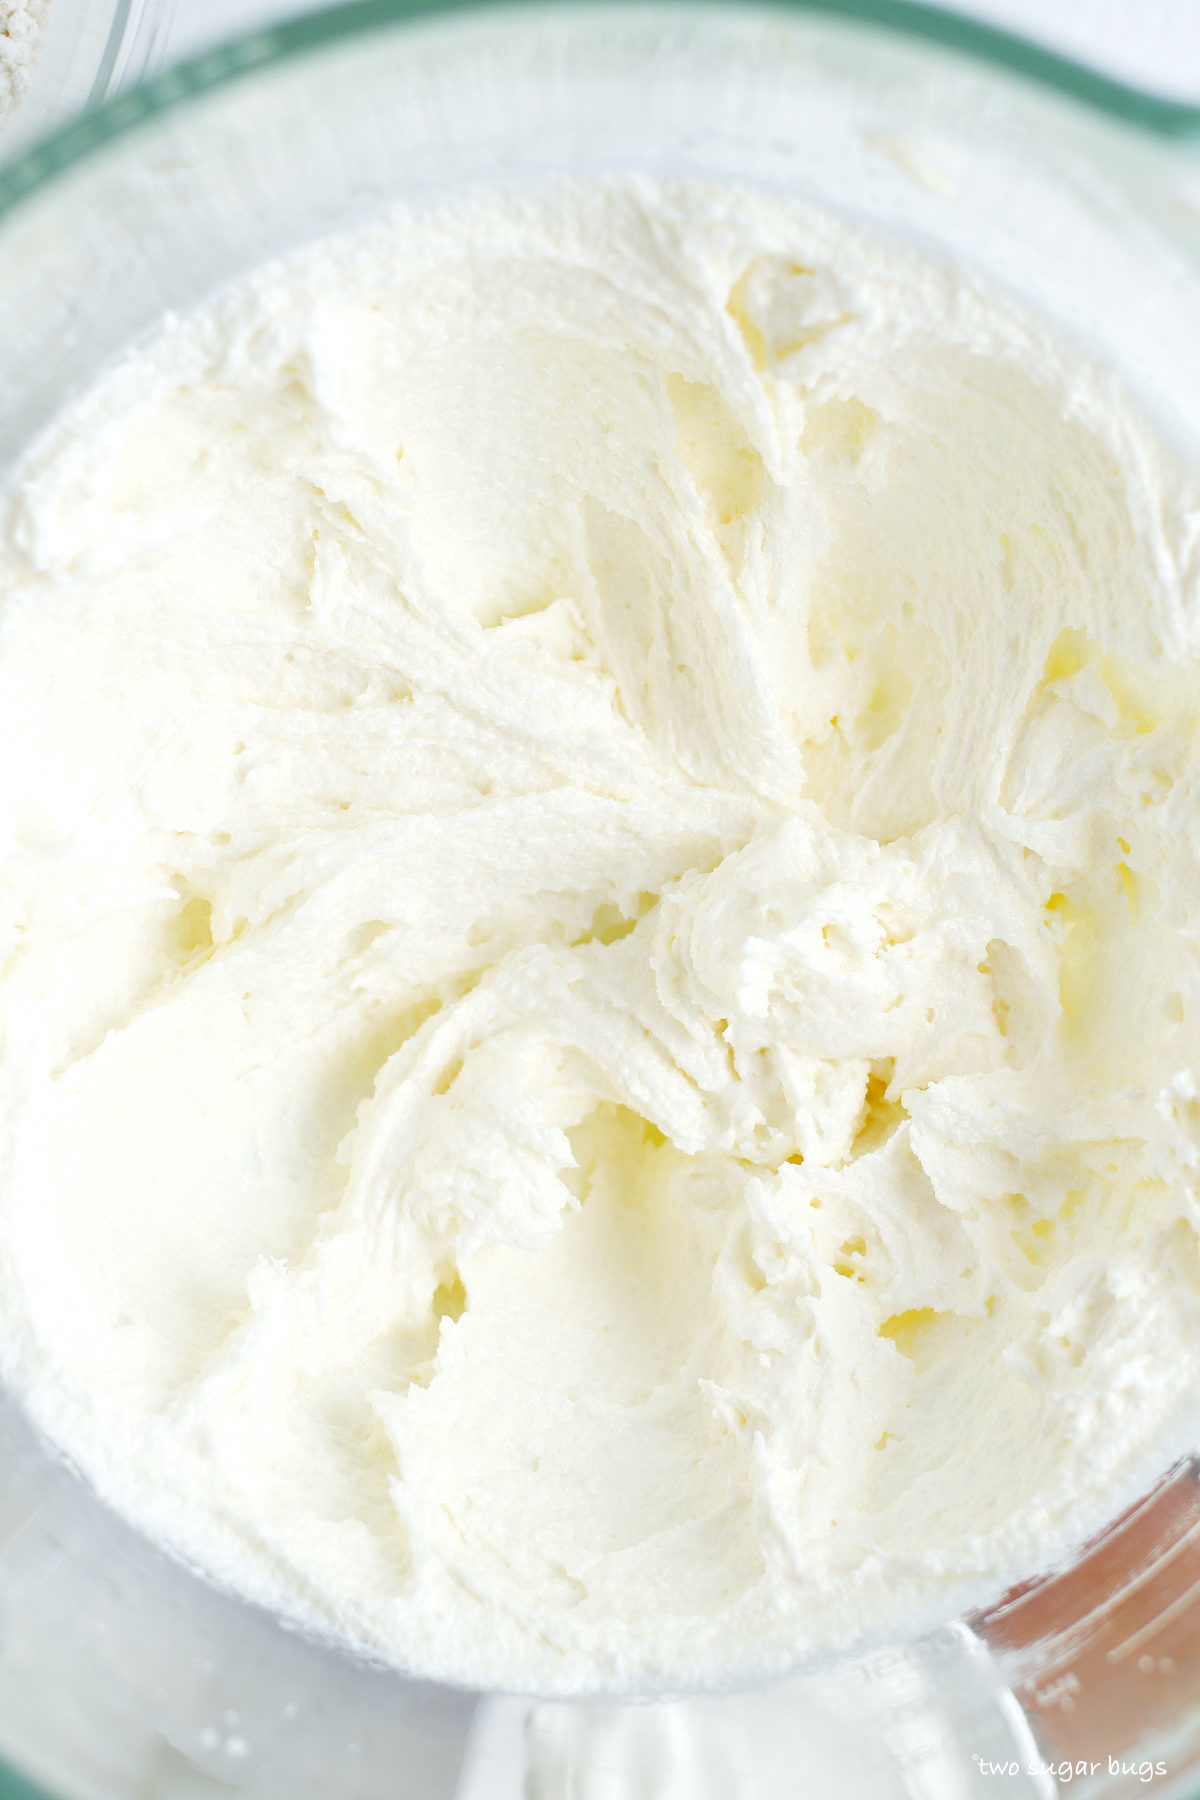
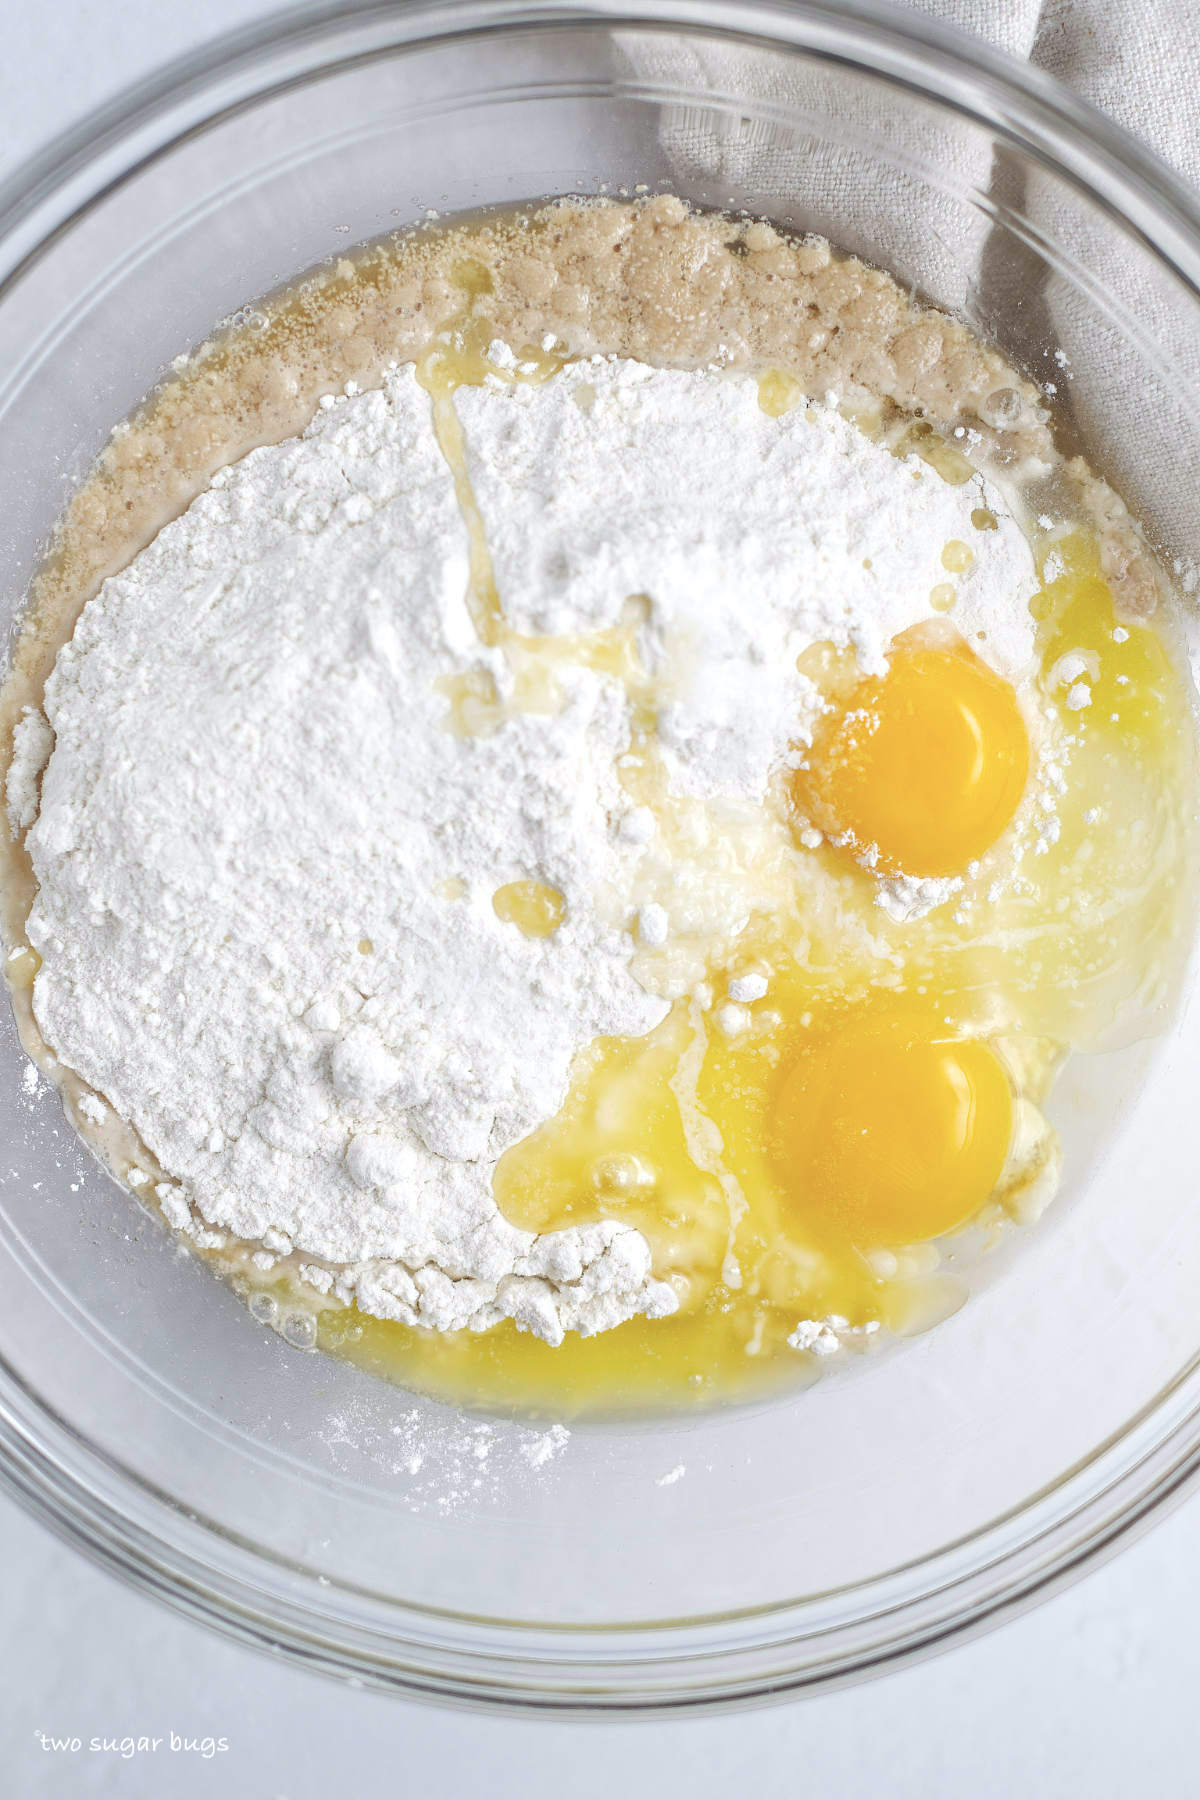
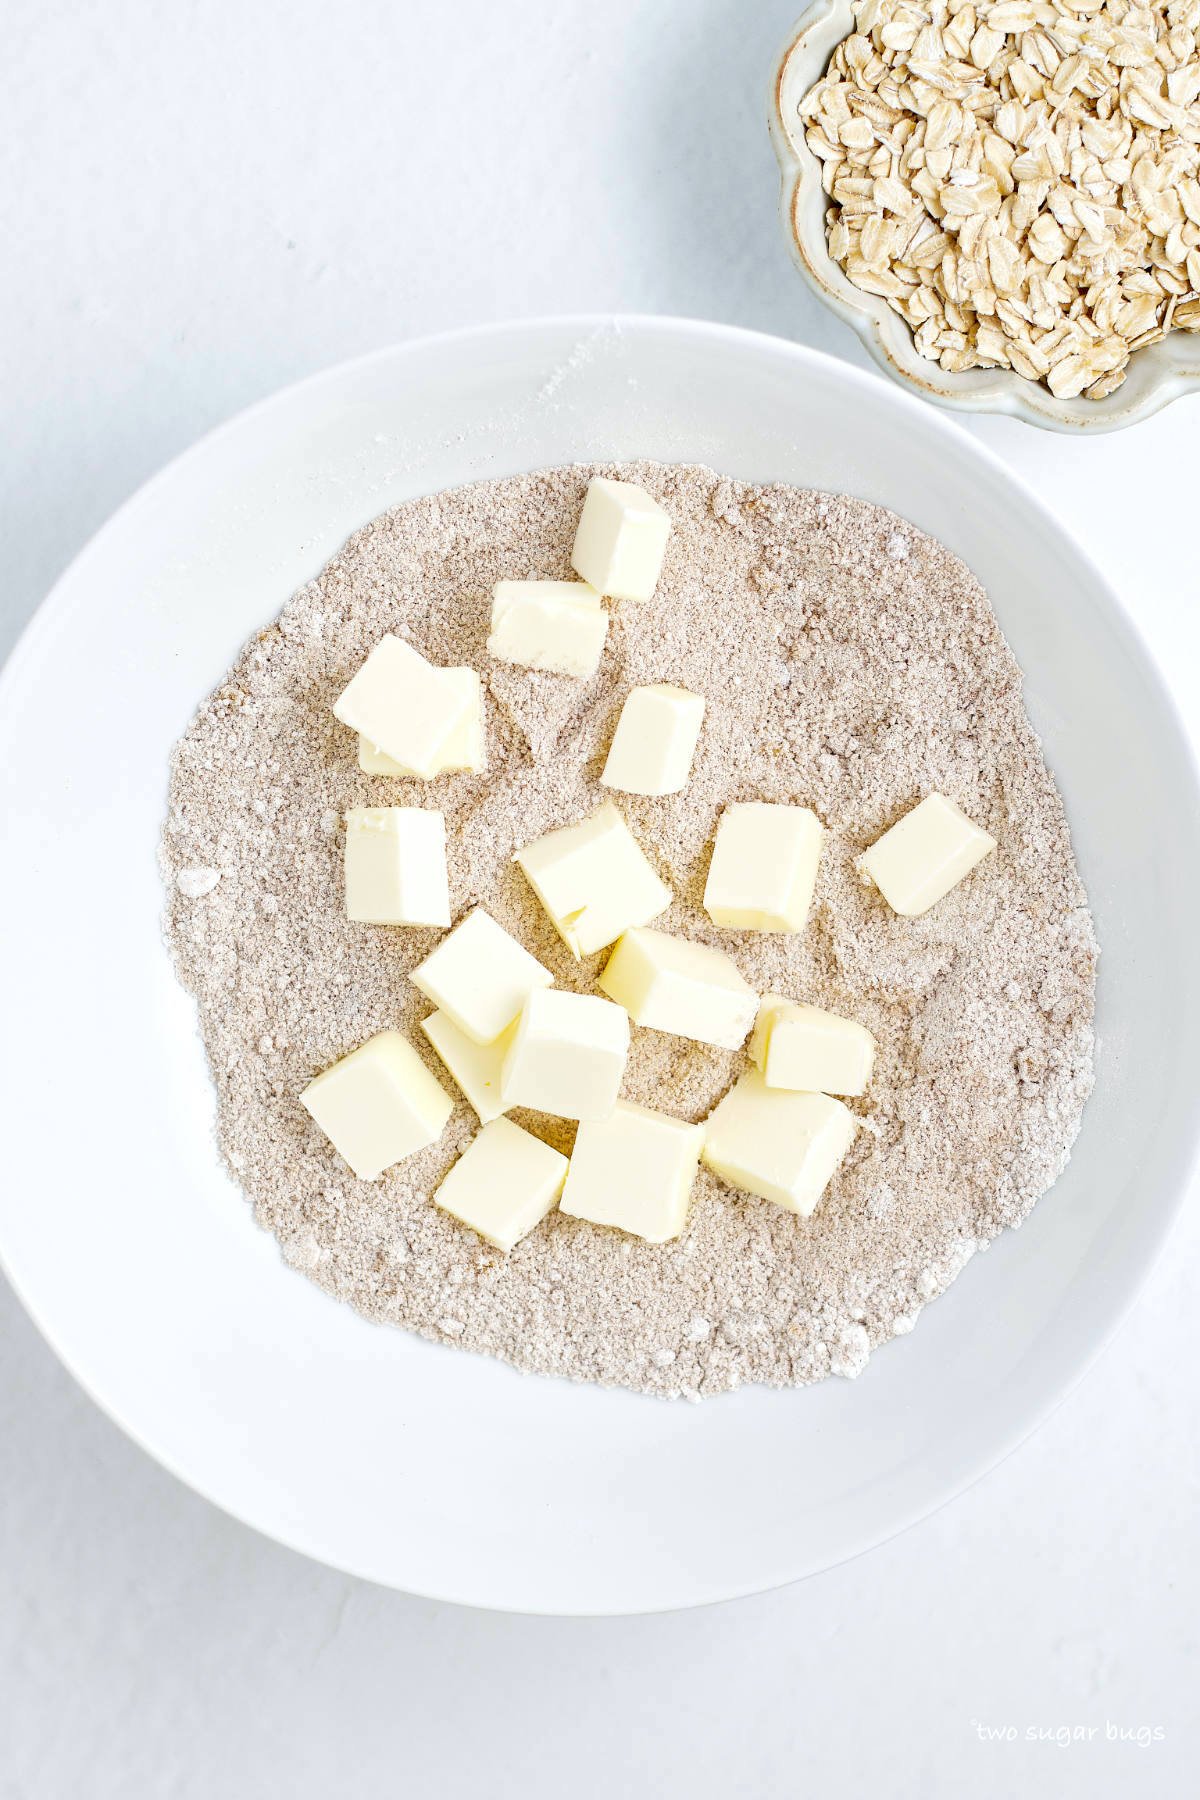
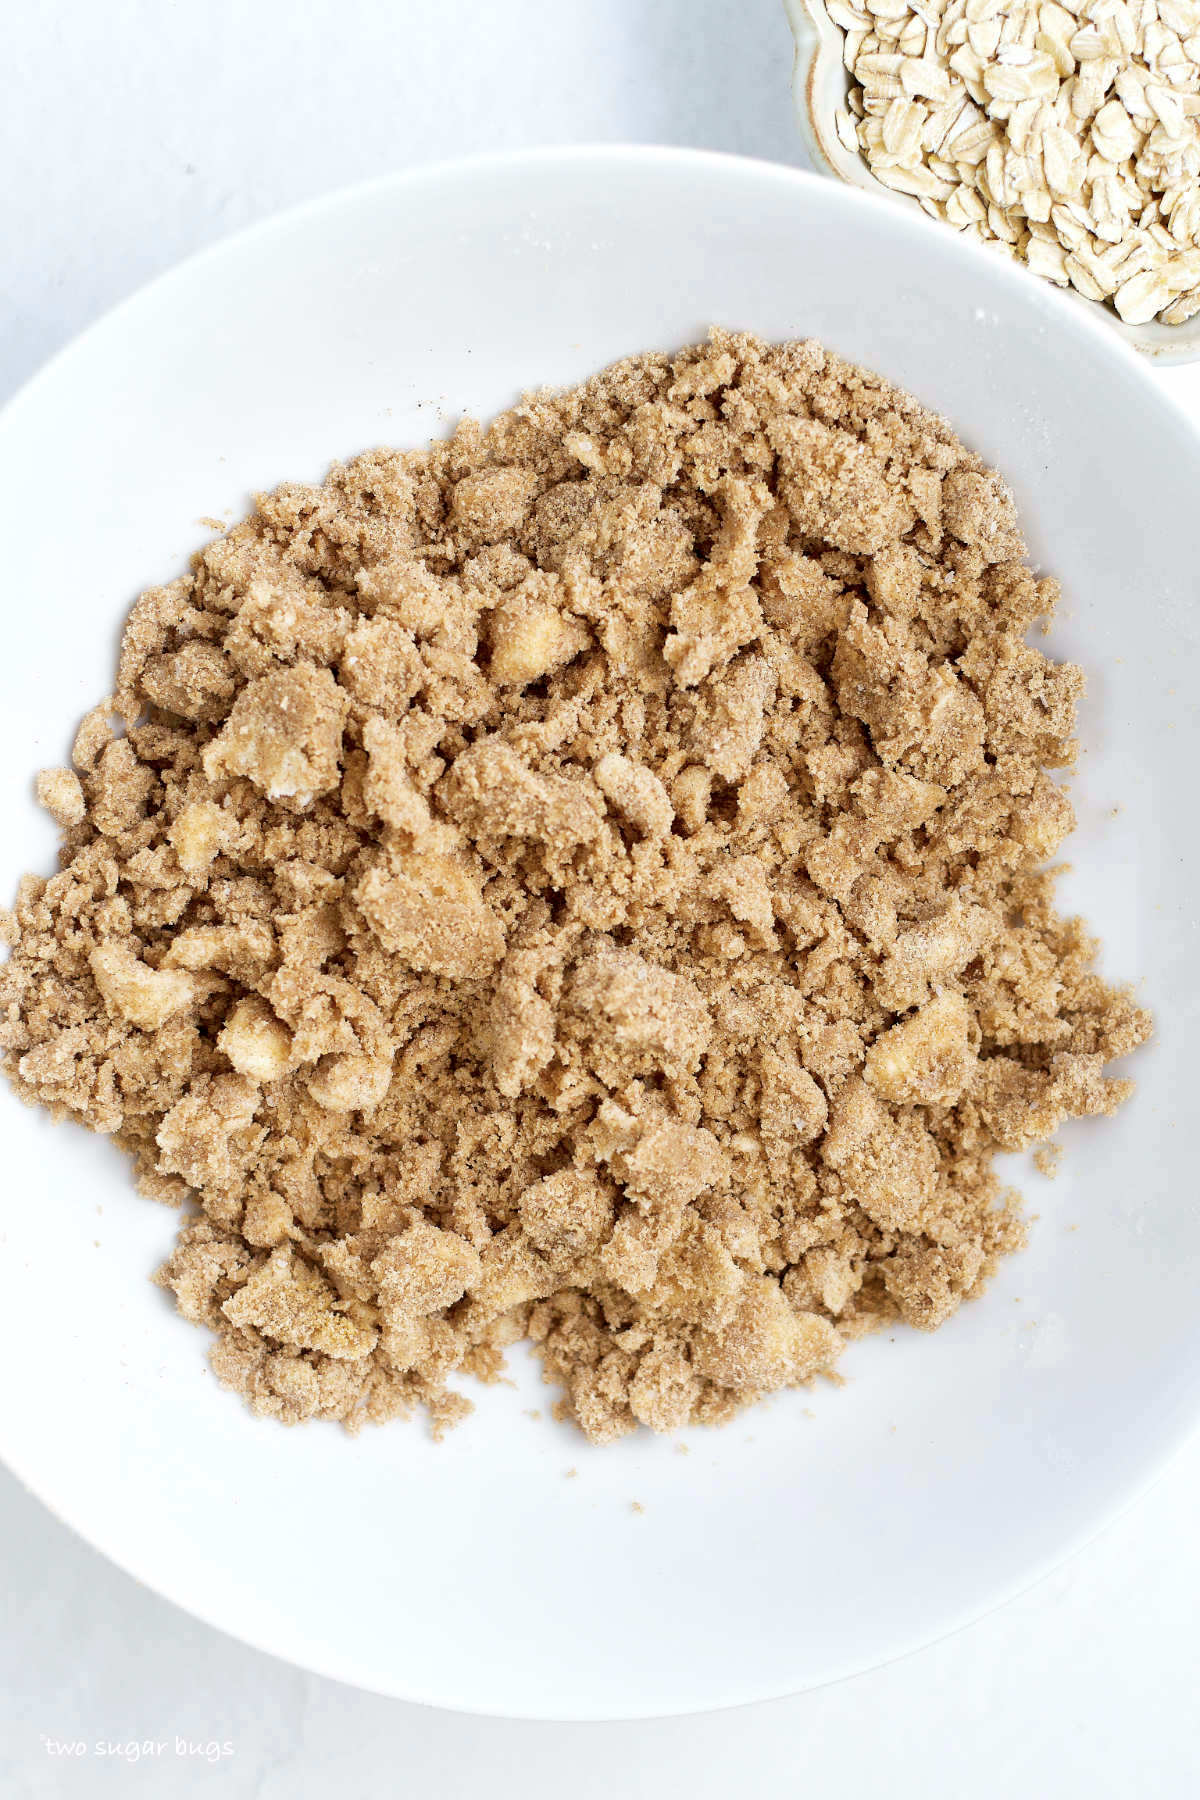
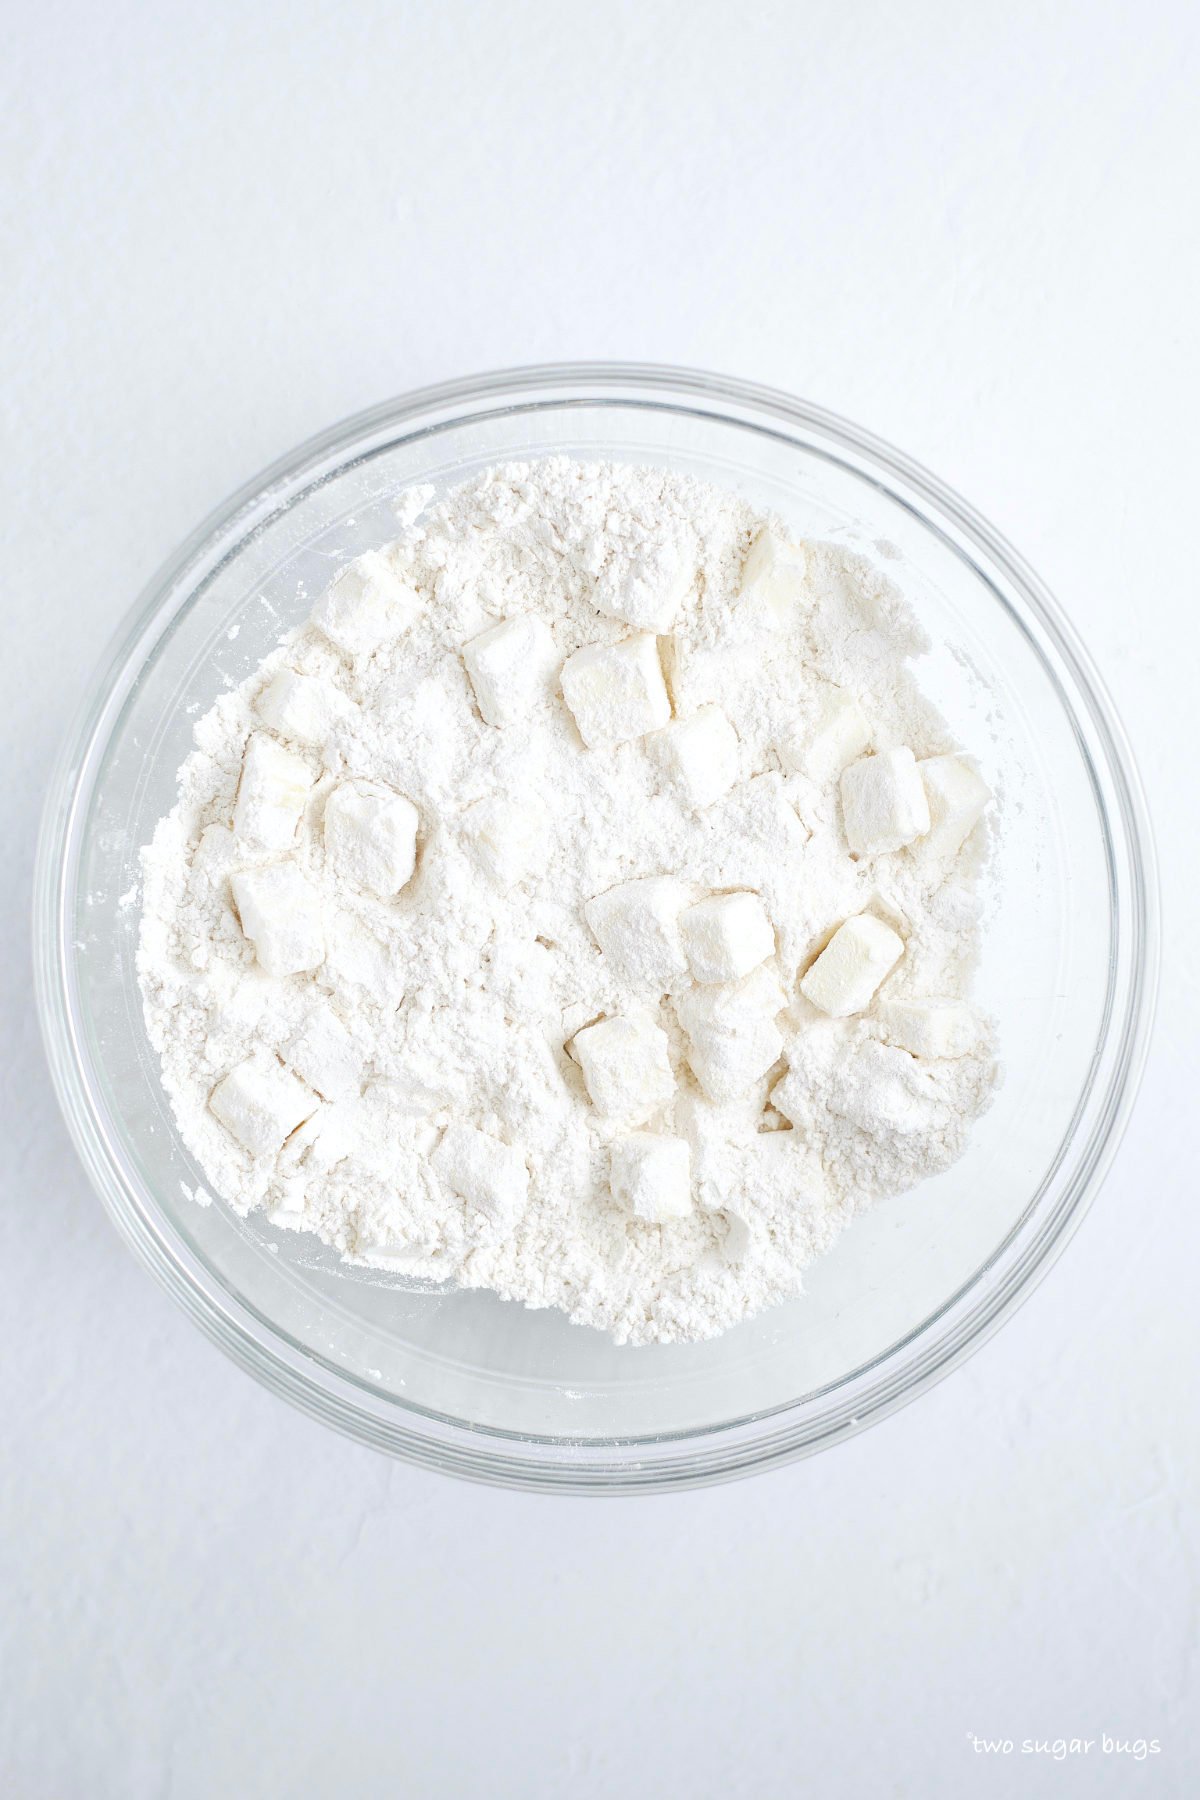
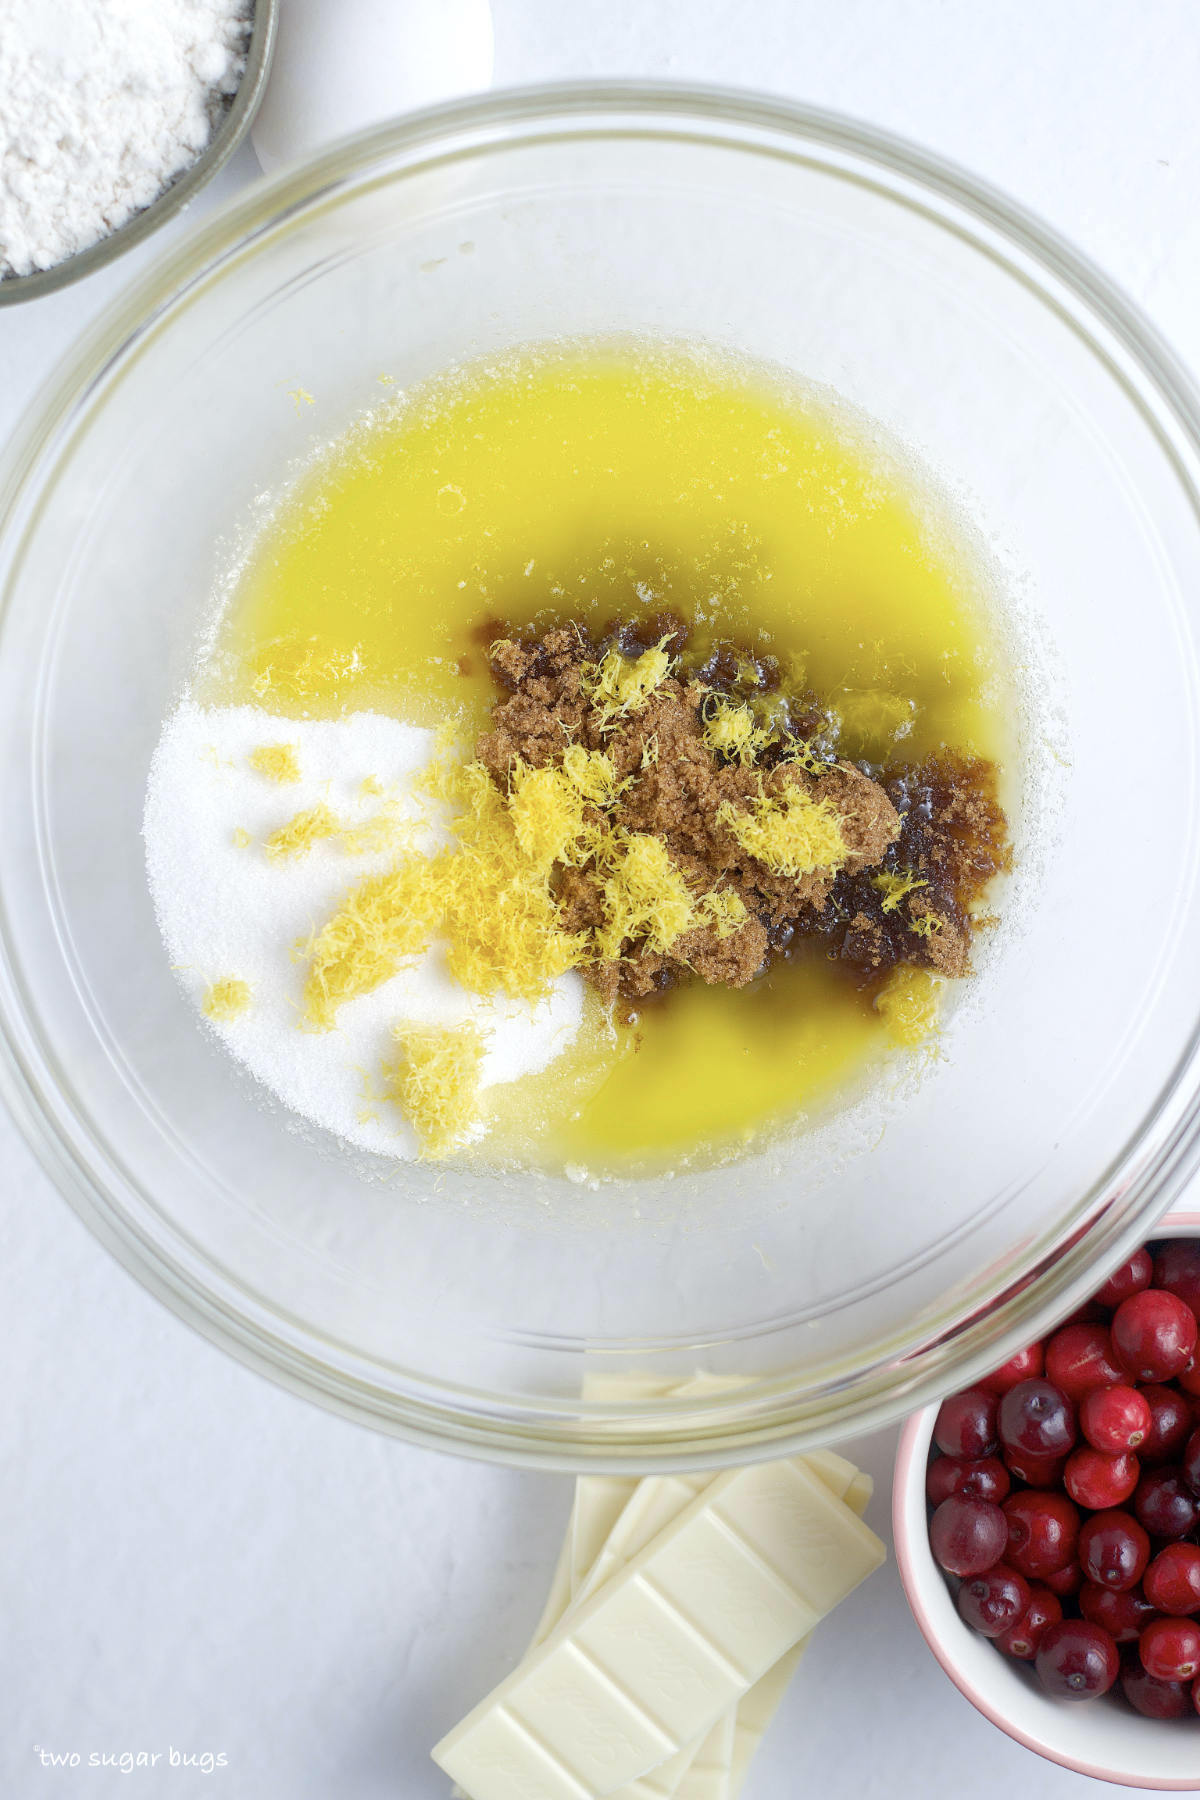
Then in a medium to large bowl, melt the butter. Add both sugars, lemon zest and whisk until fully incorporated.
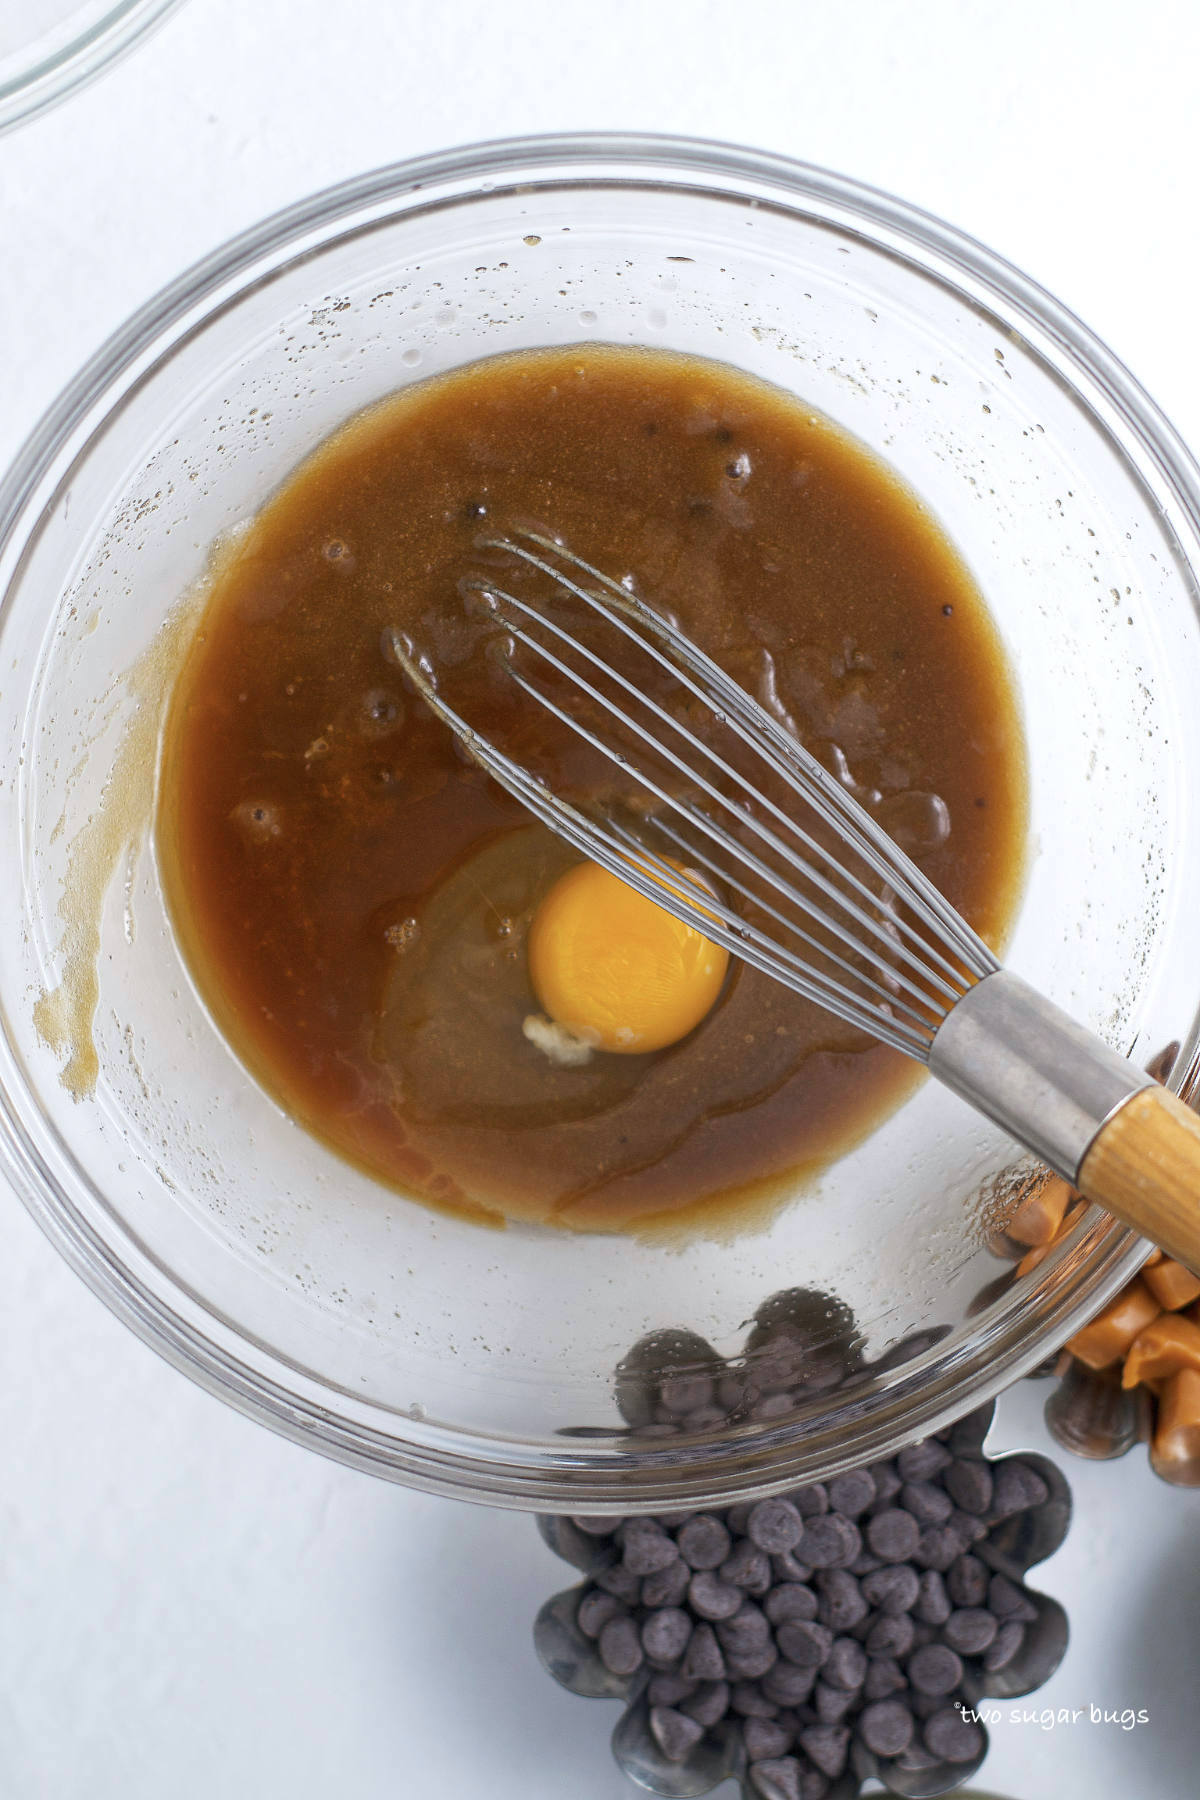
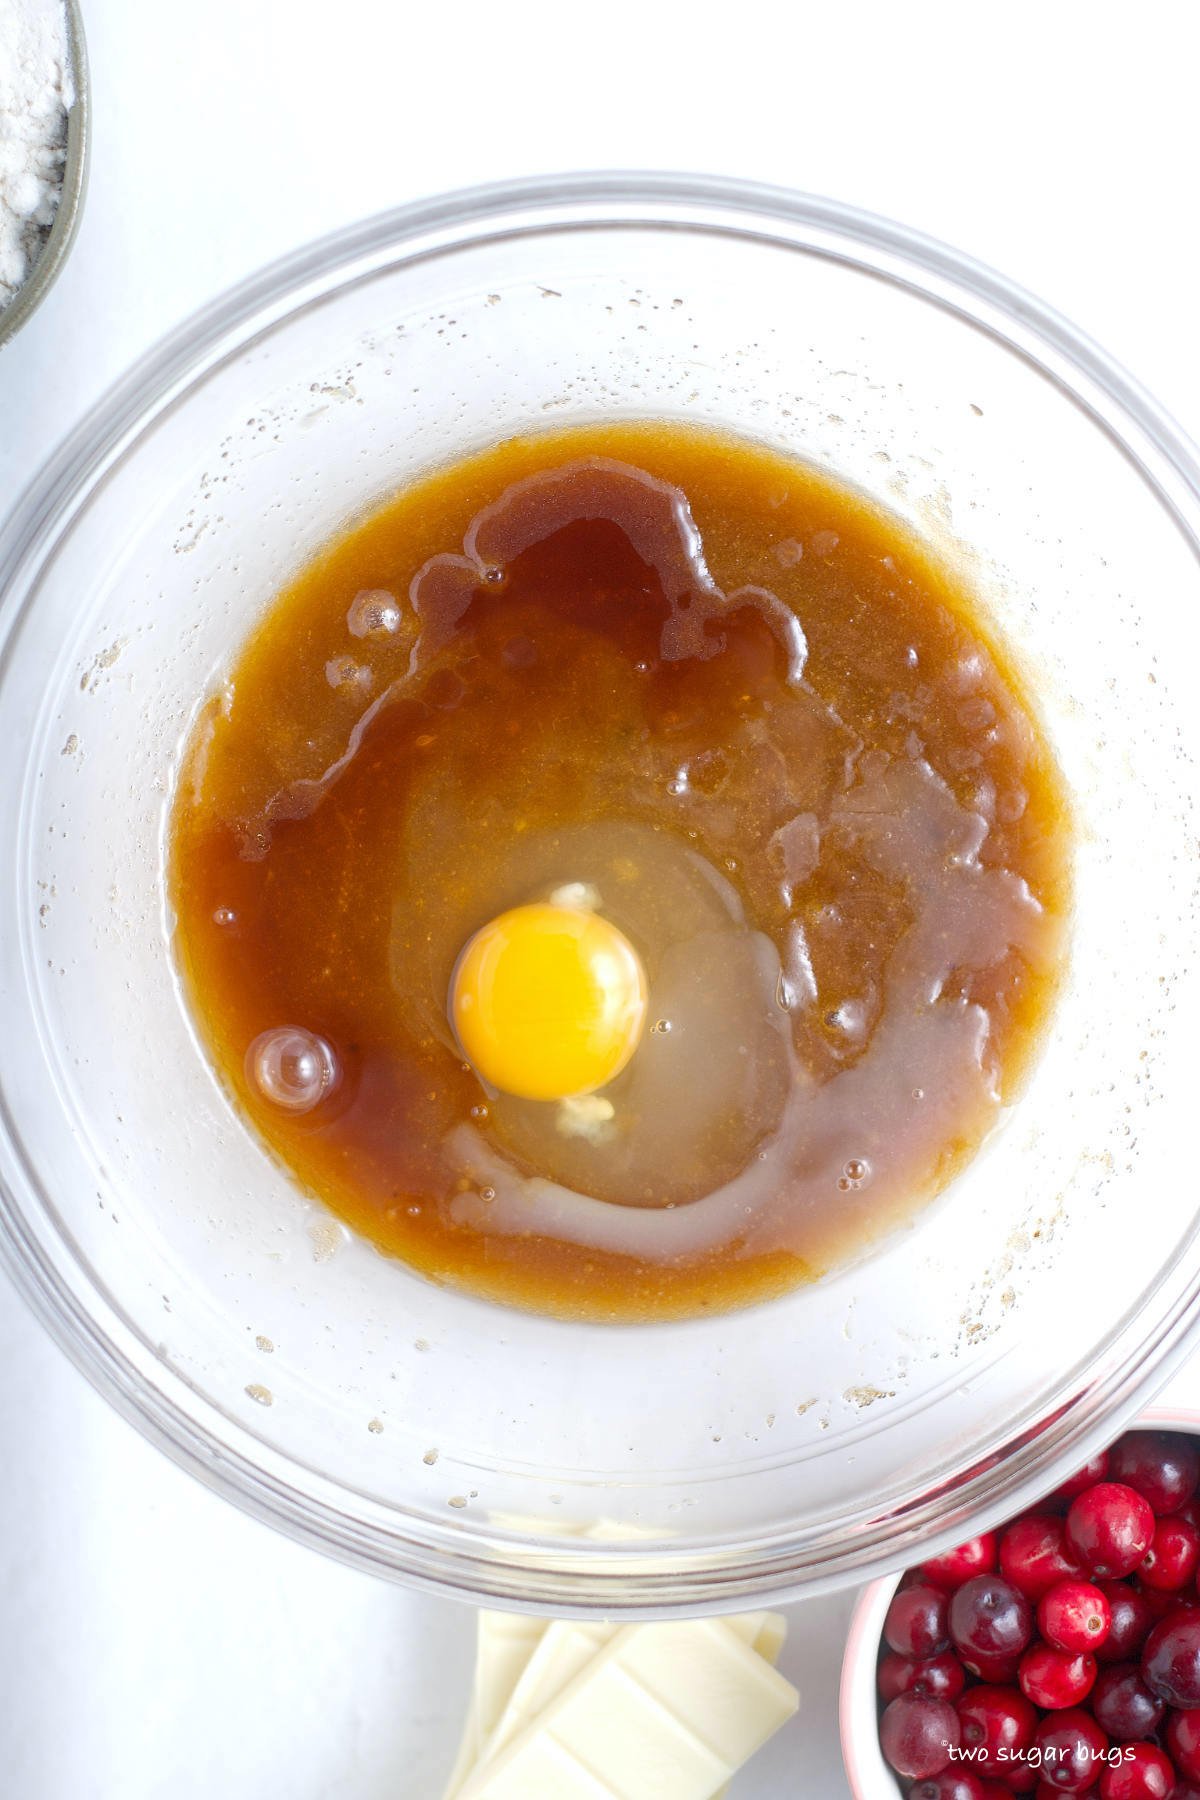
Add the egg, vanilla and lemon juice. Whisk until the mixture is combined and smooth.
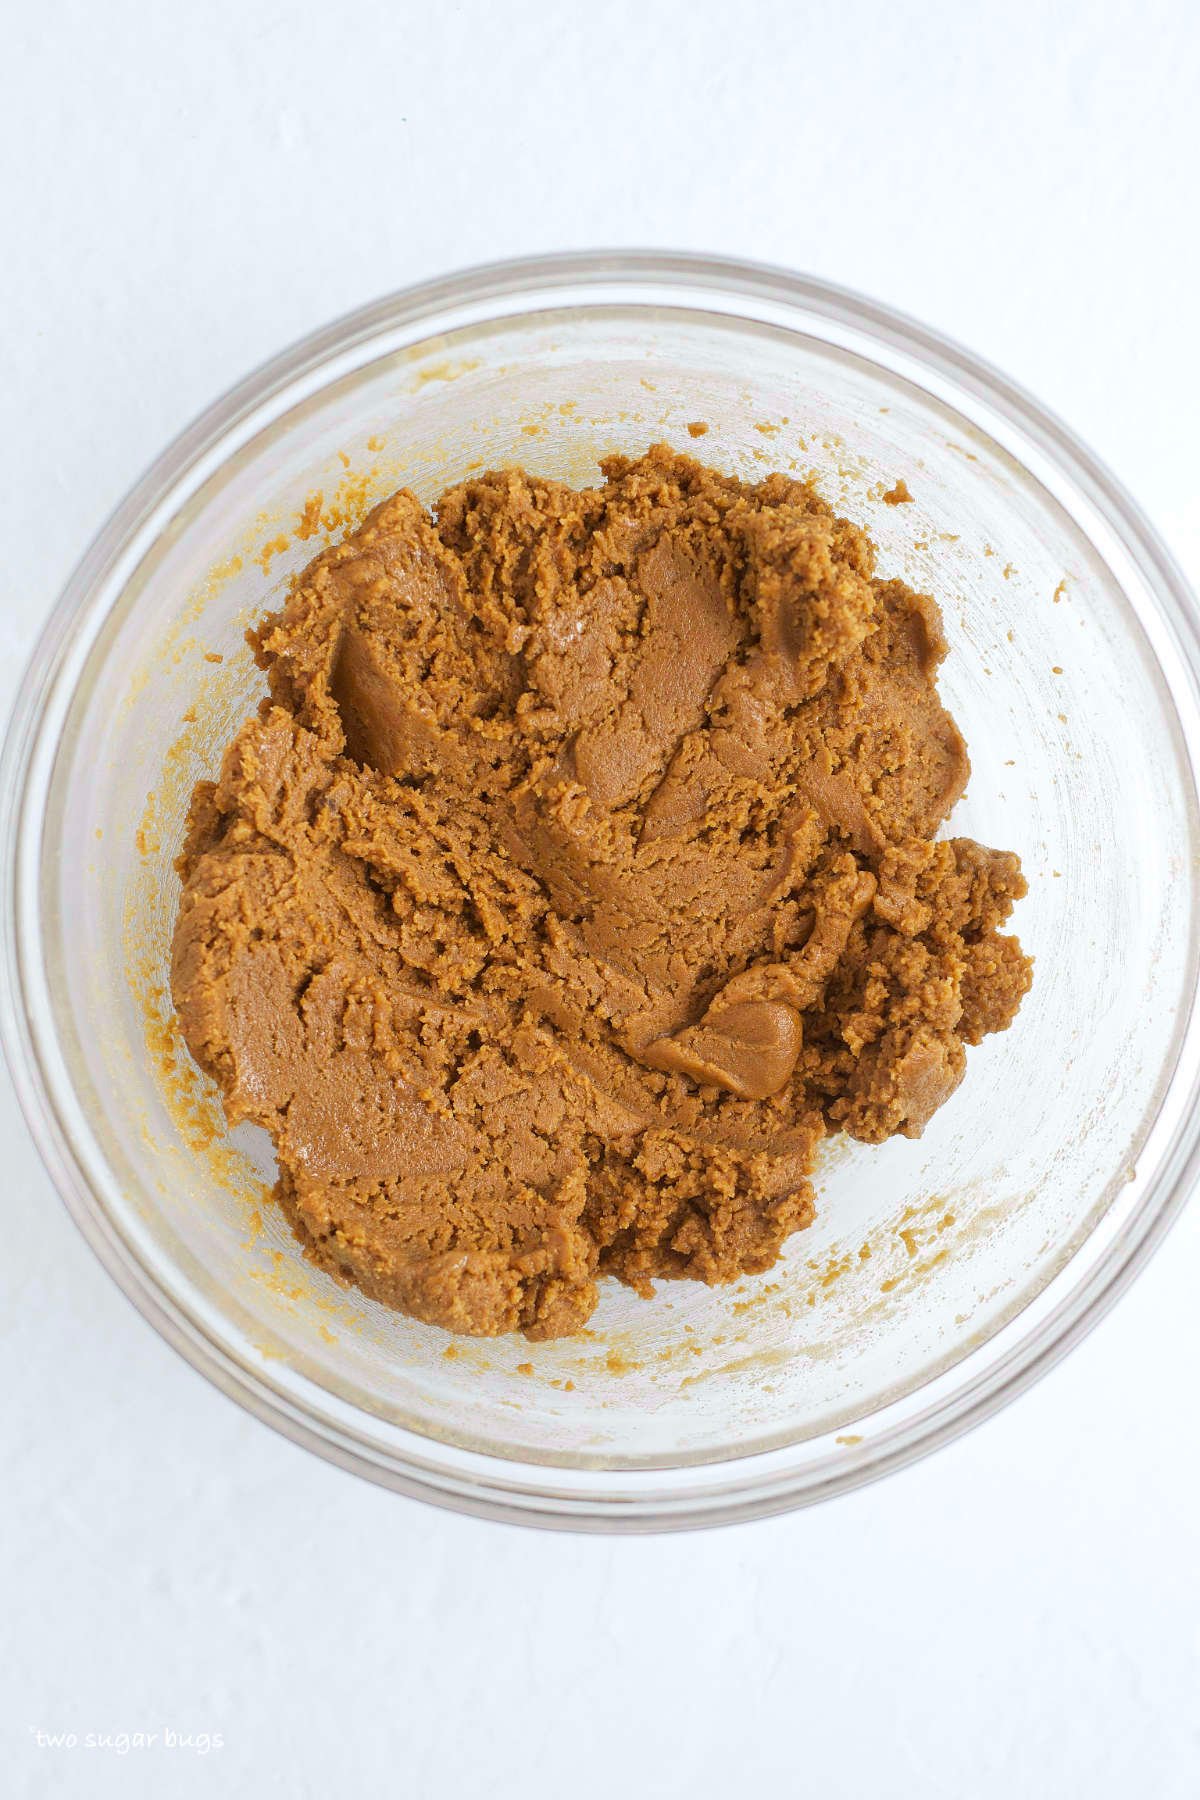
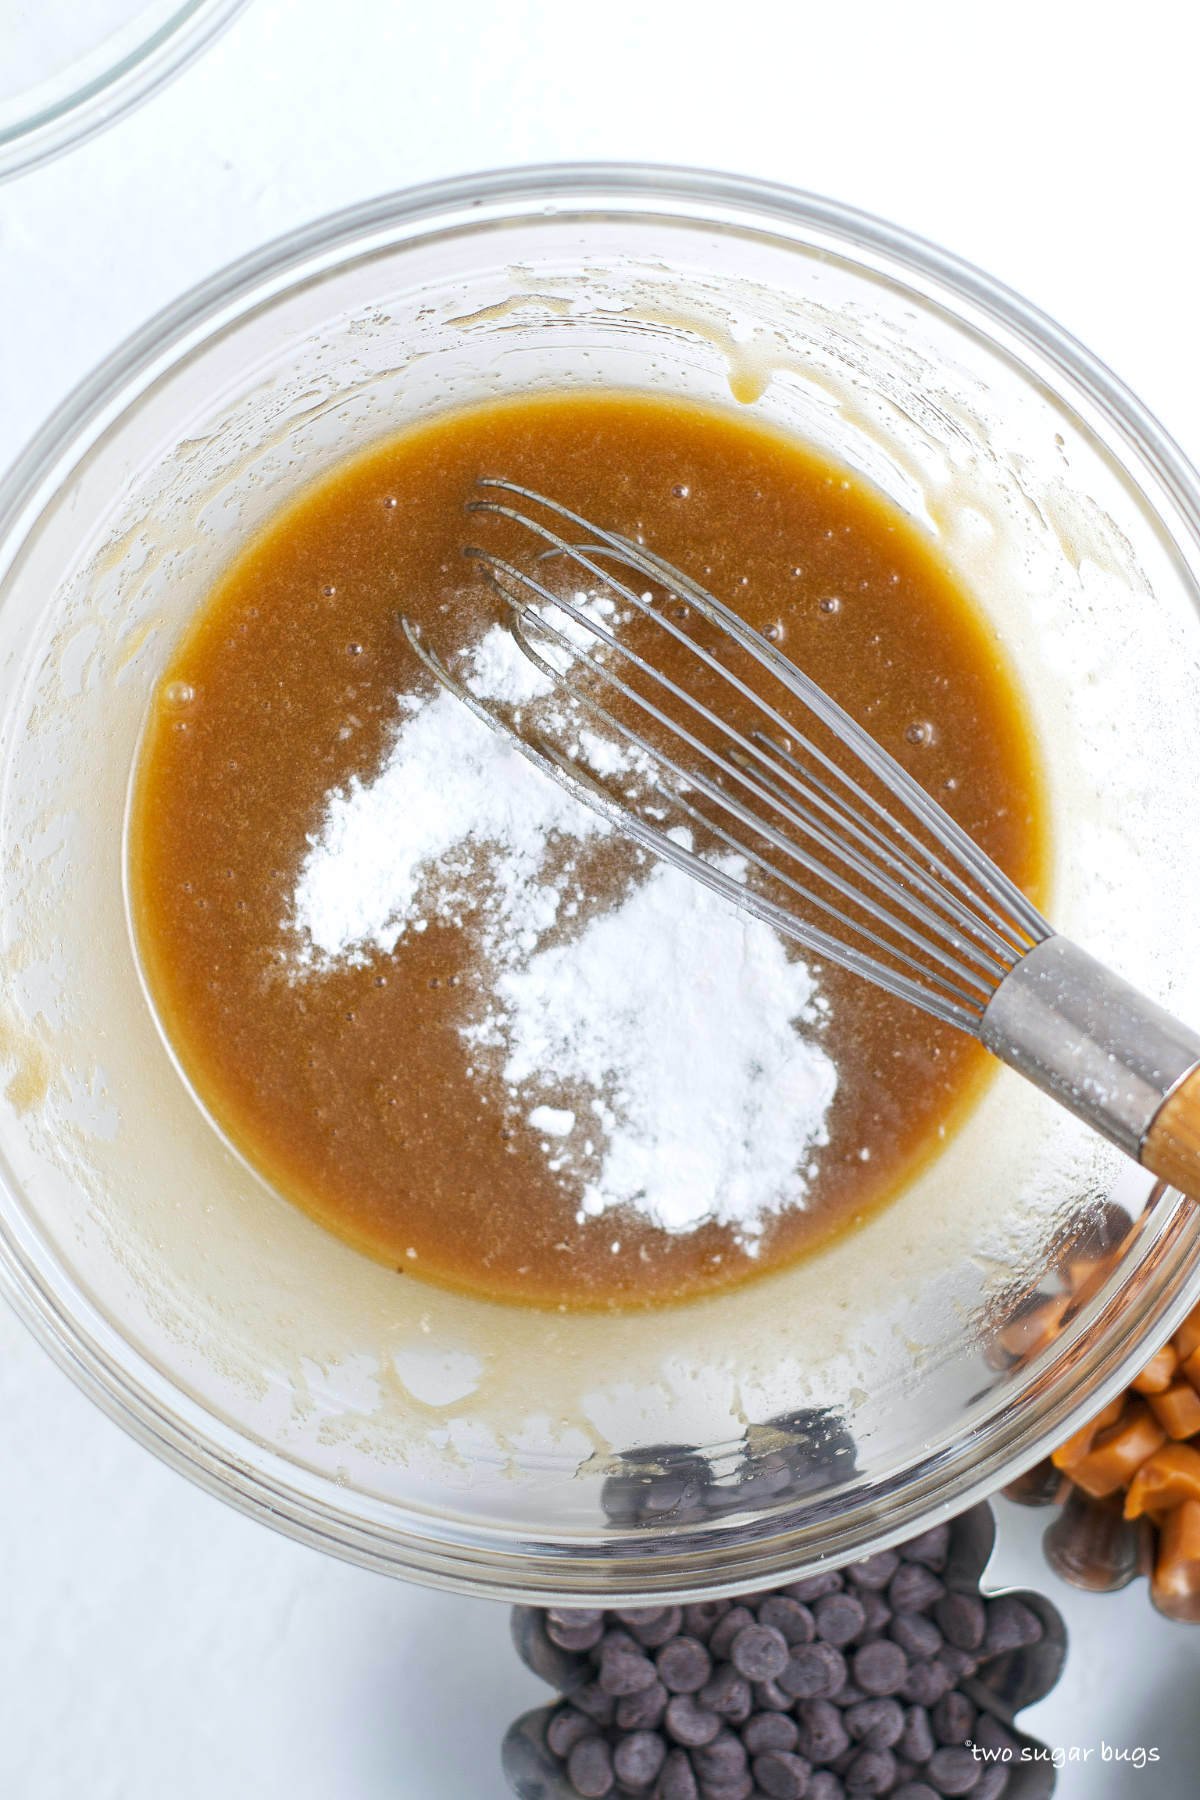
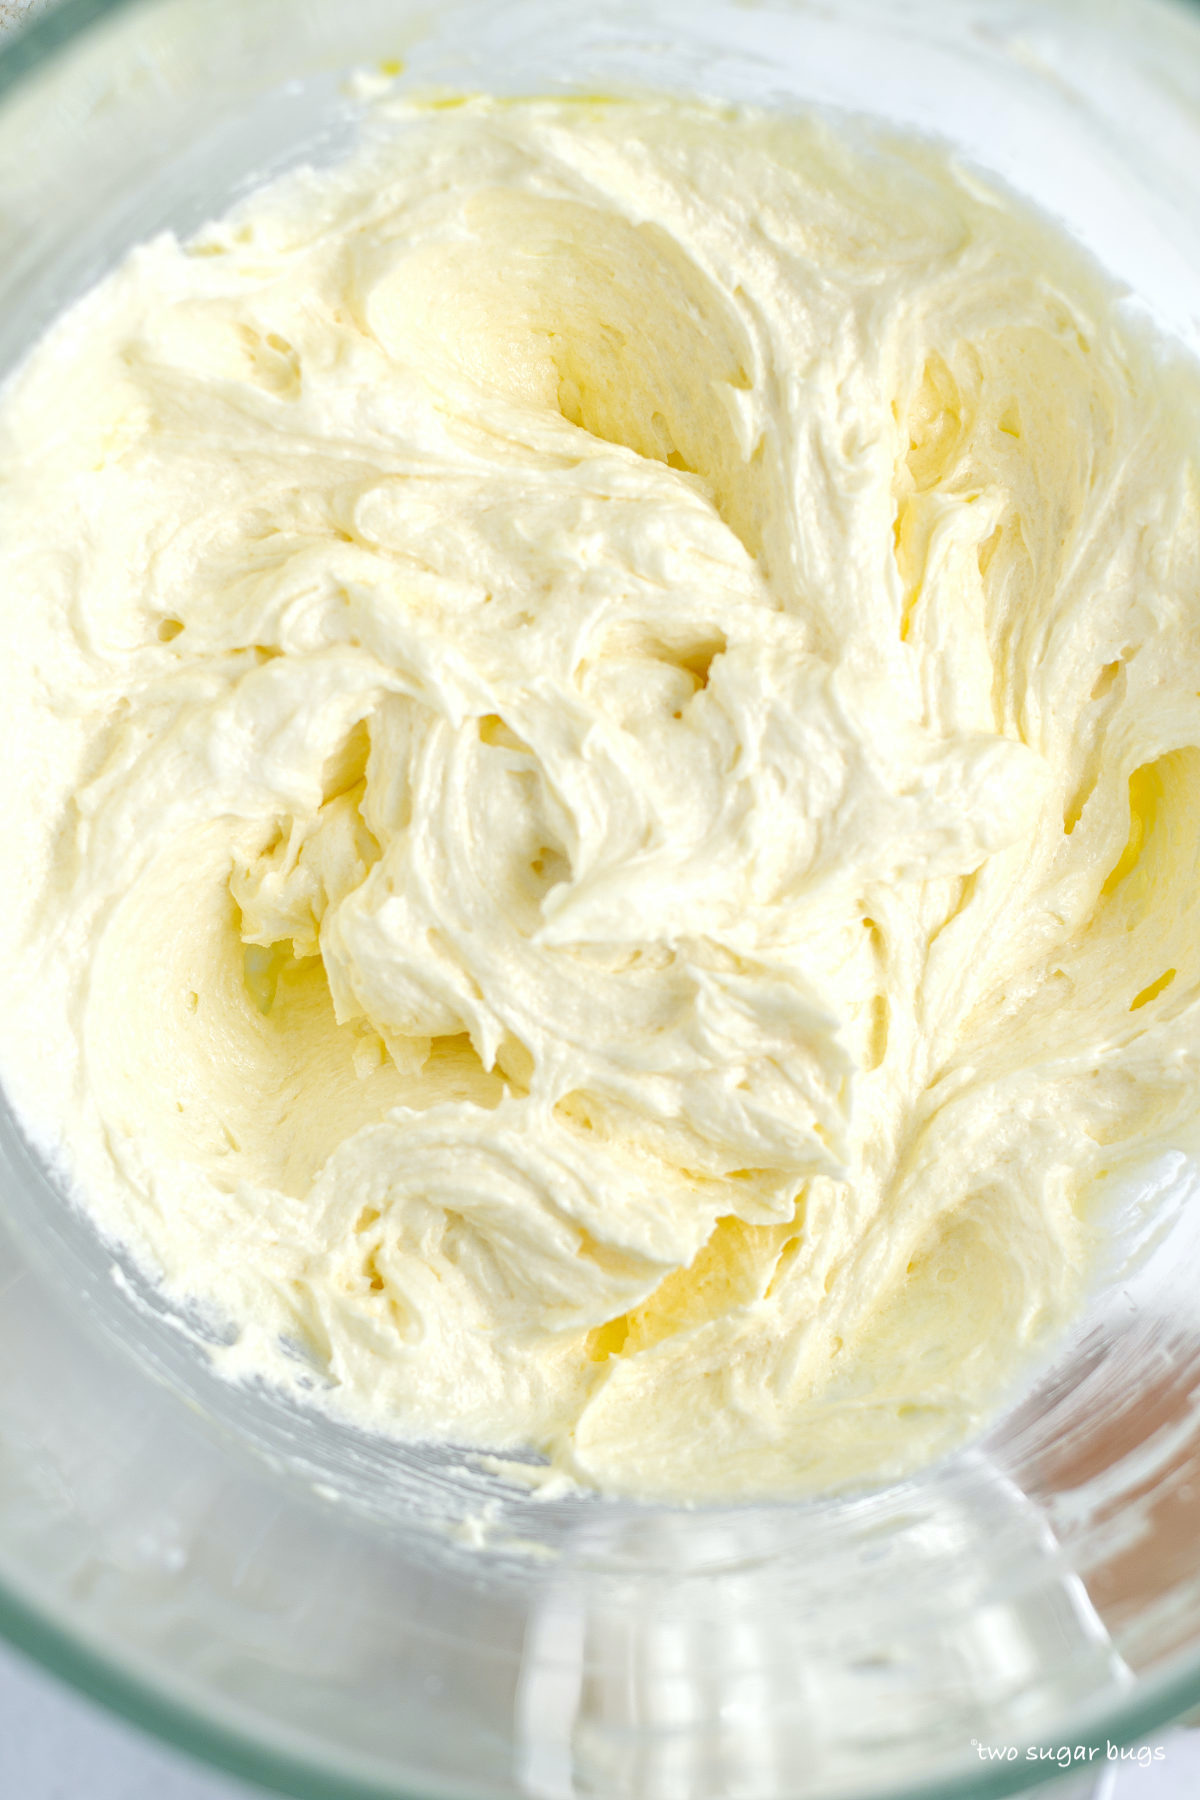
Sprinkle the baking soda and kosher salt over the mixture and stir well.
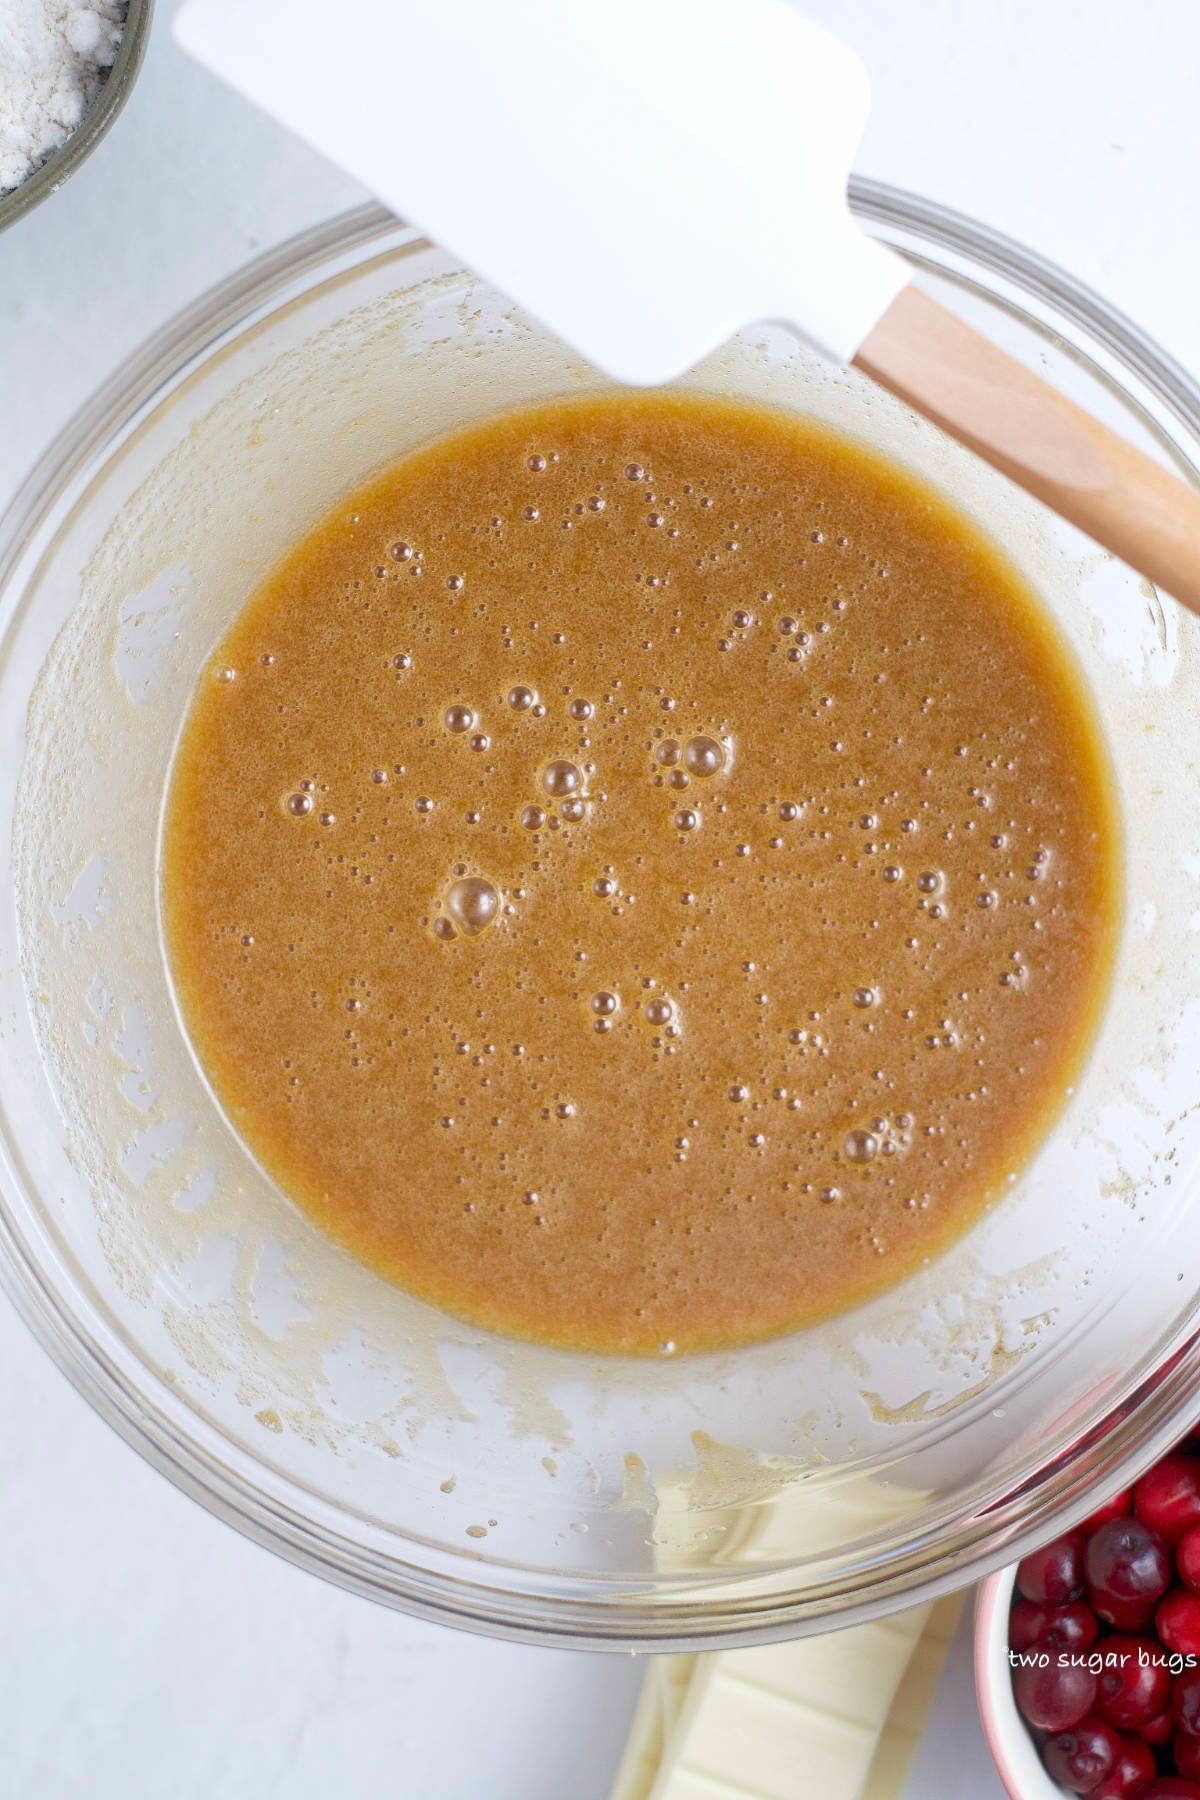
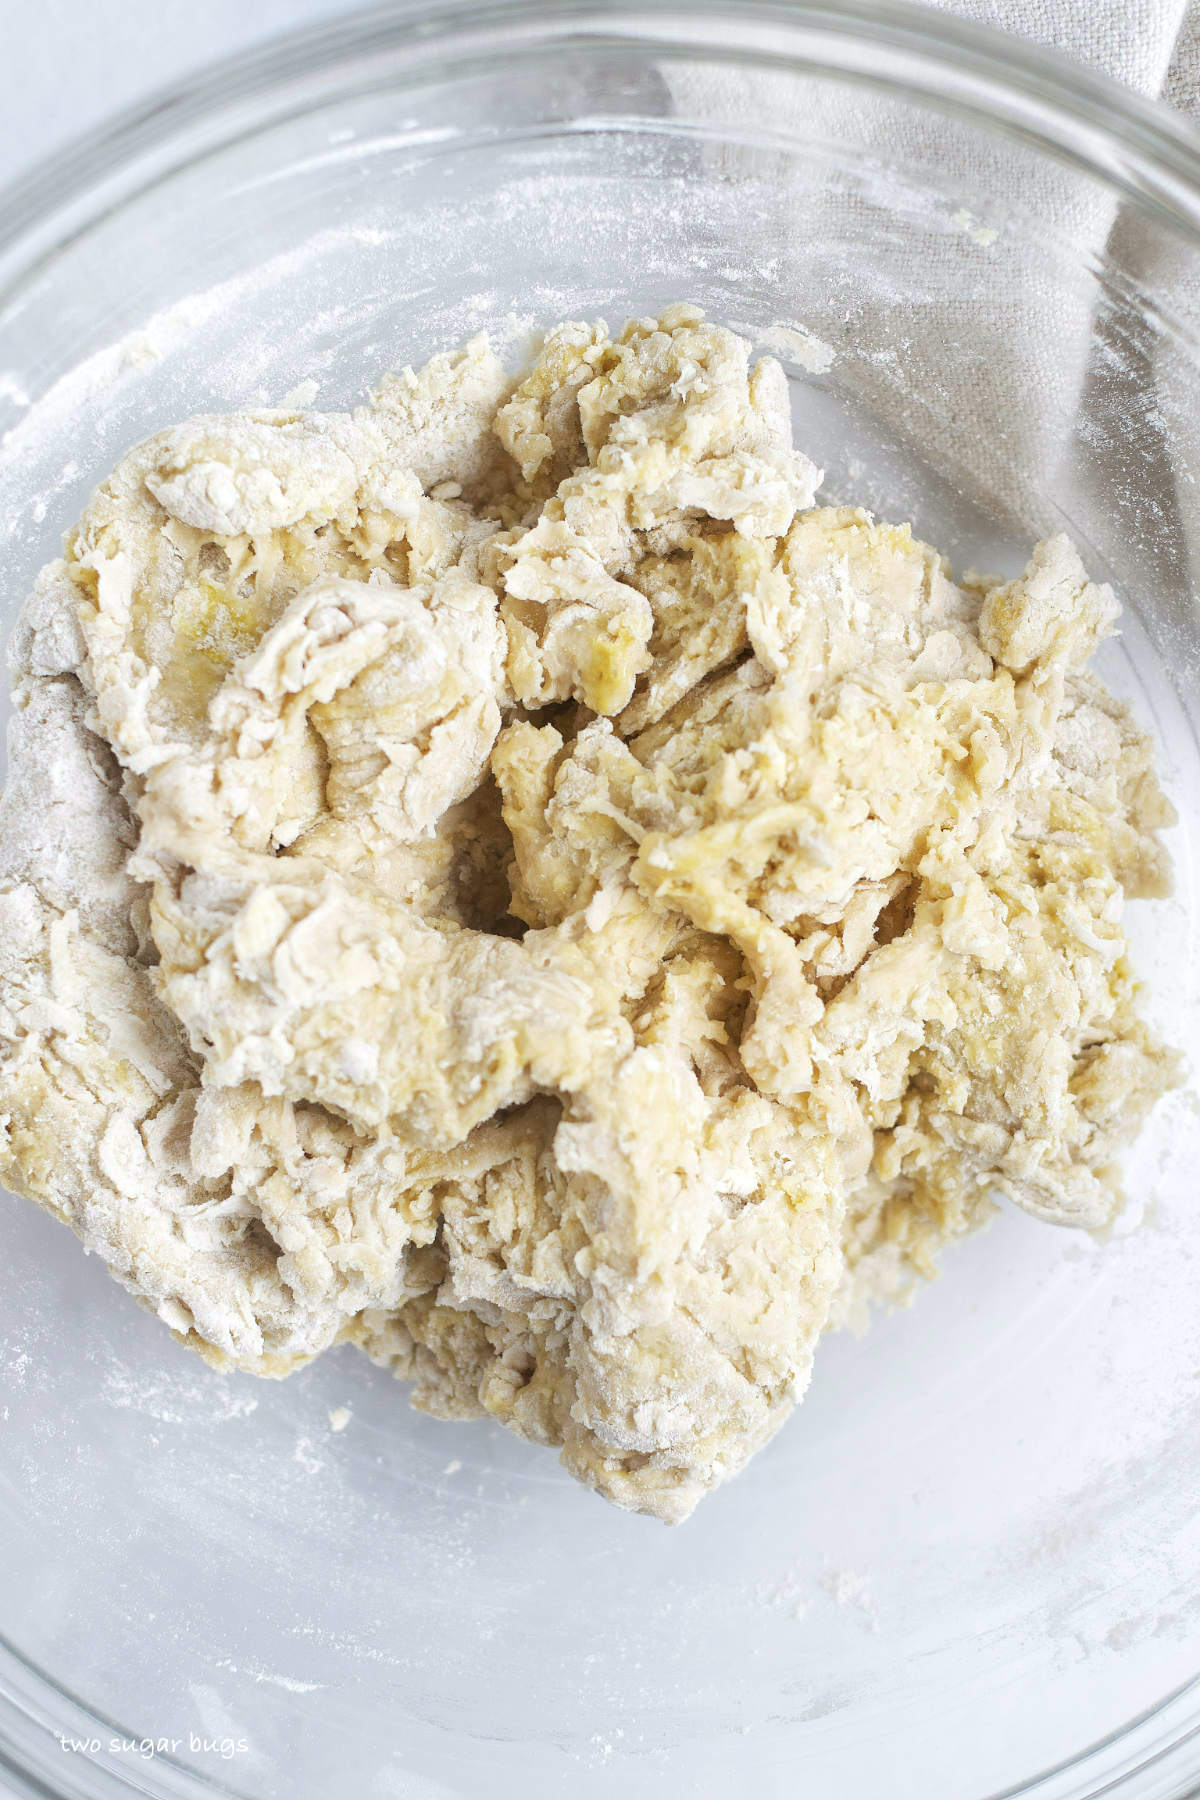
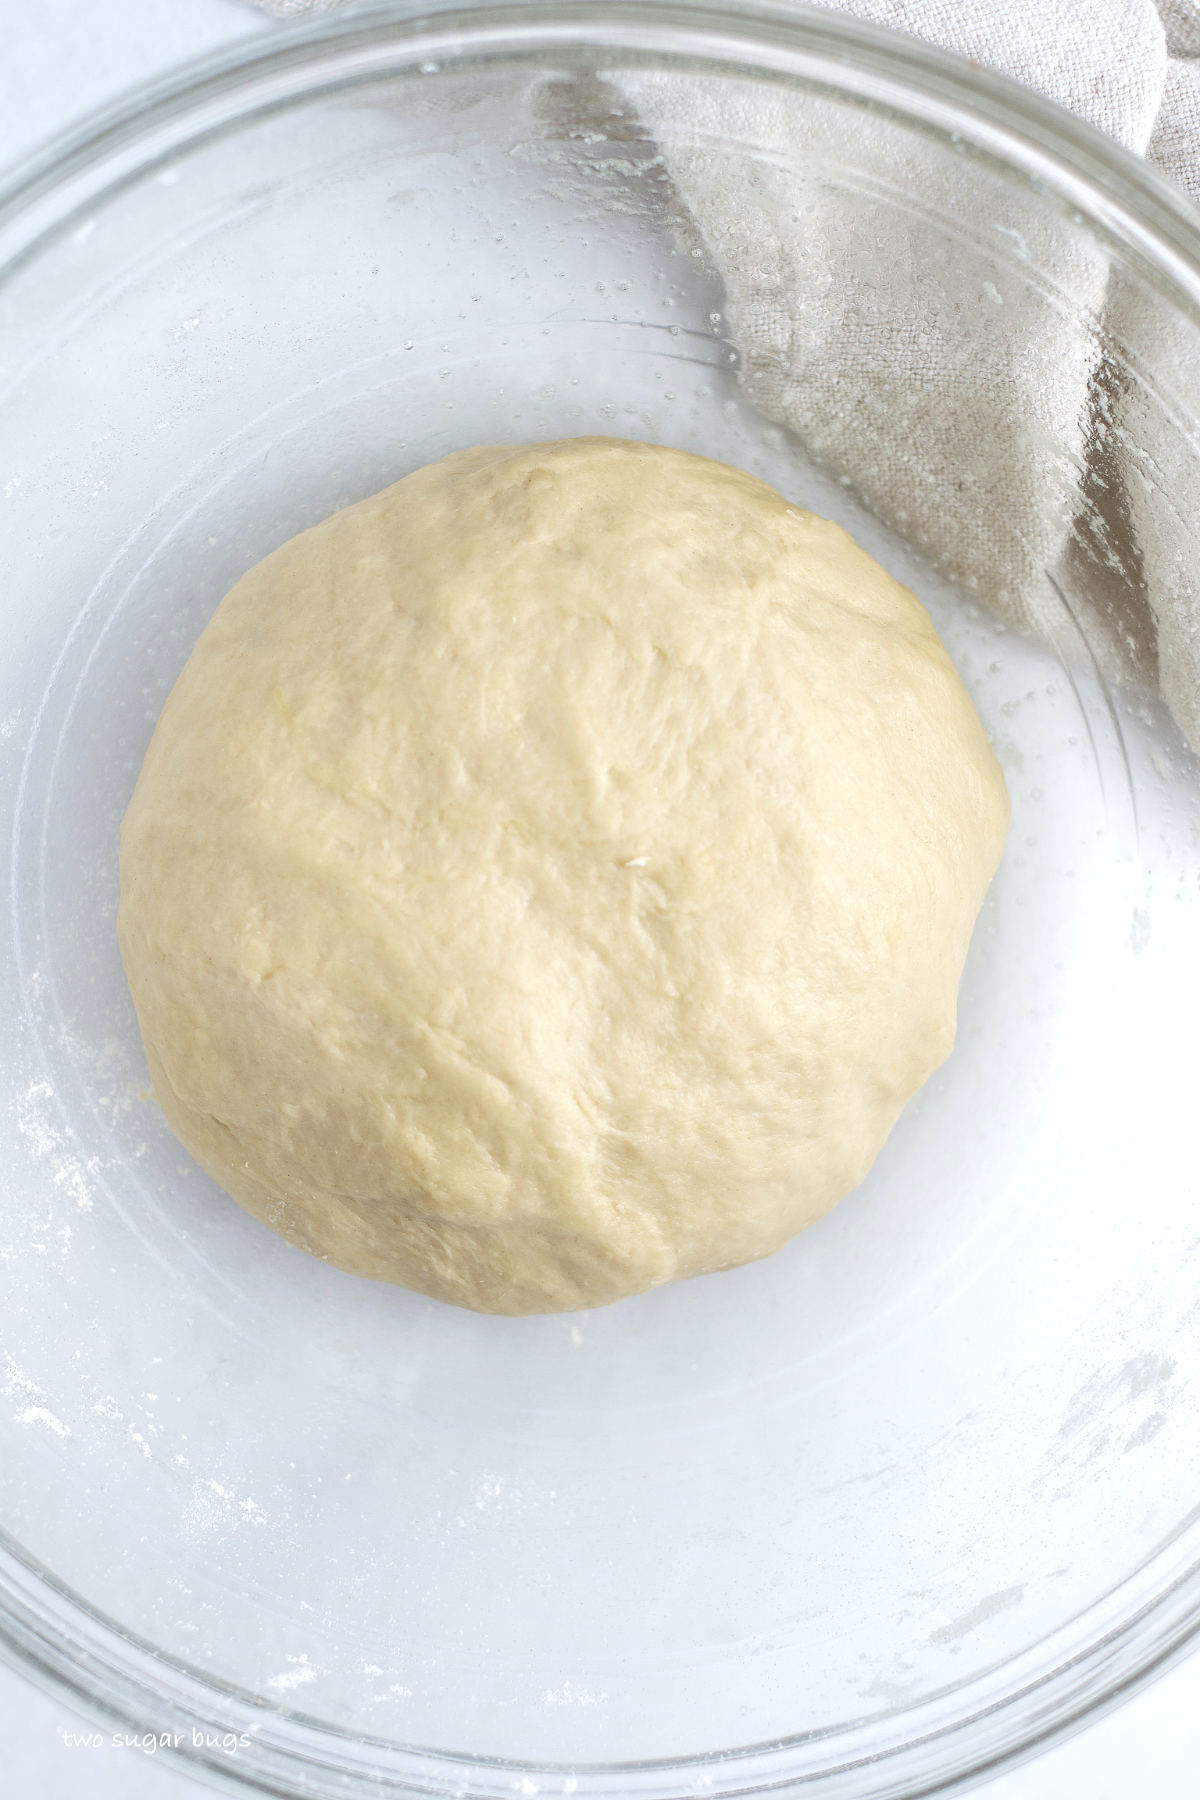
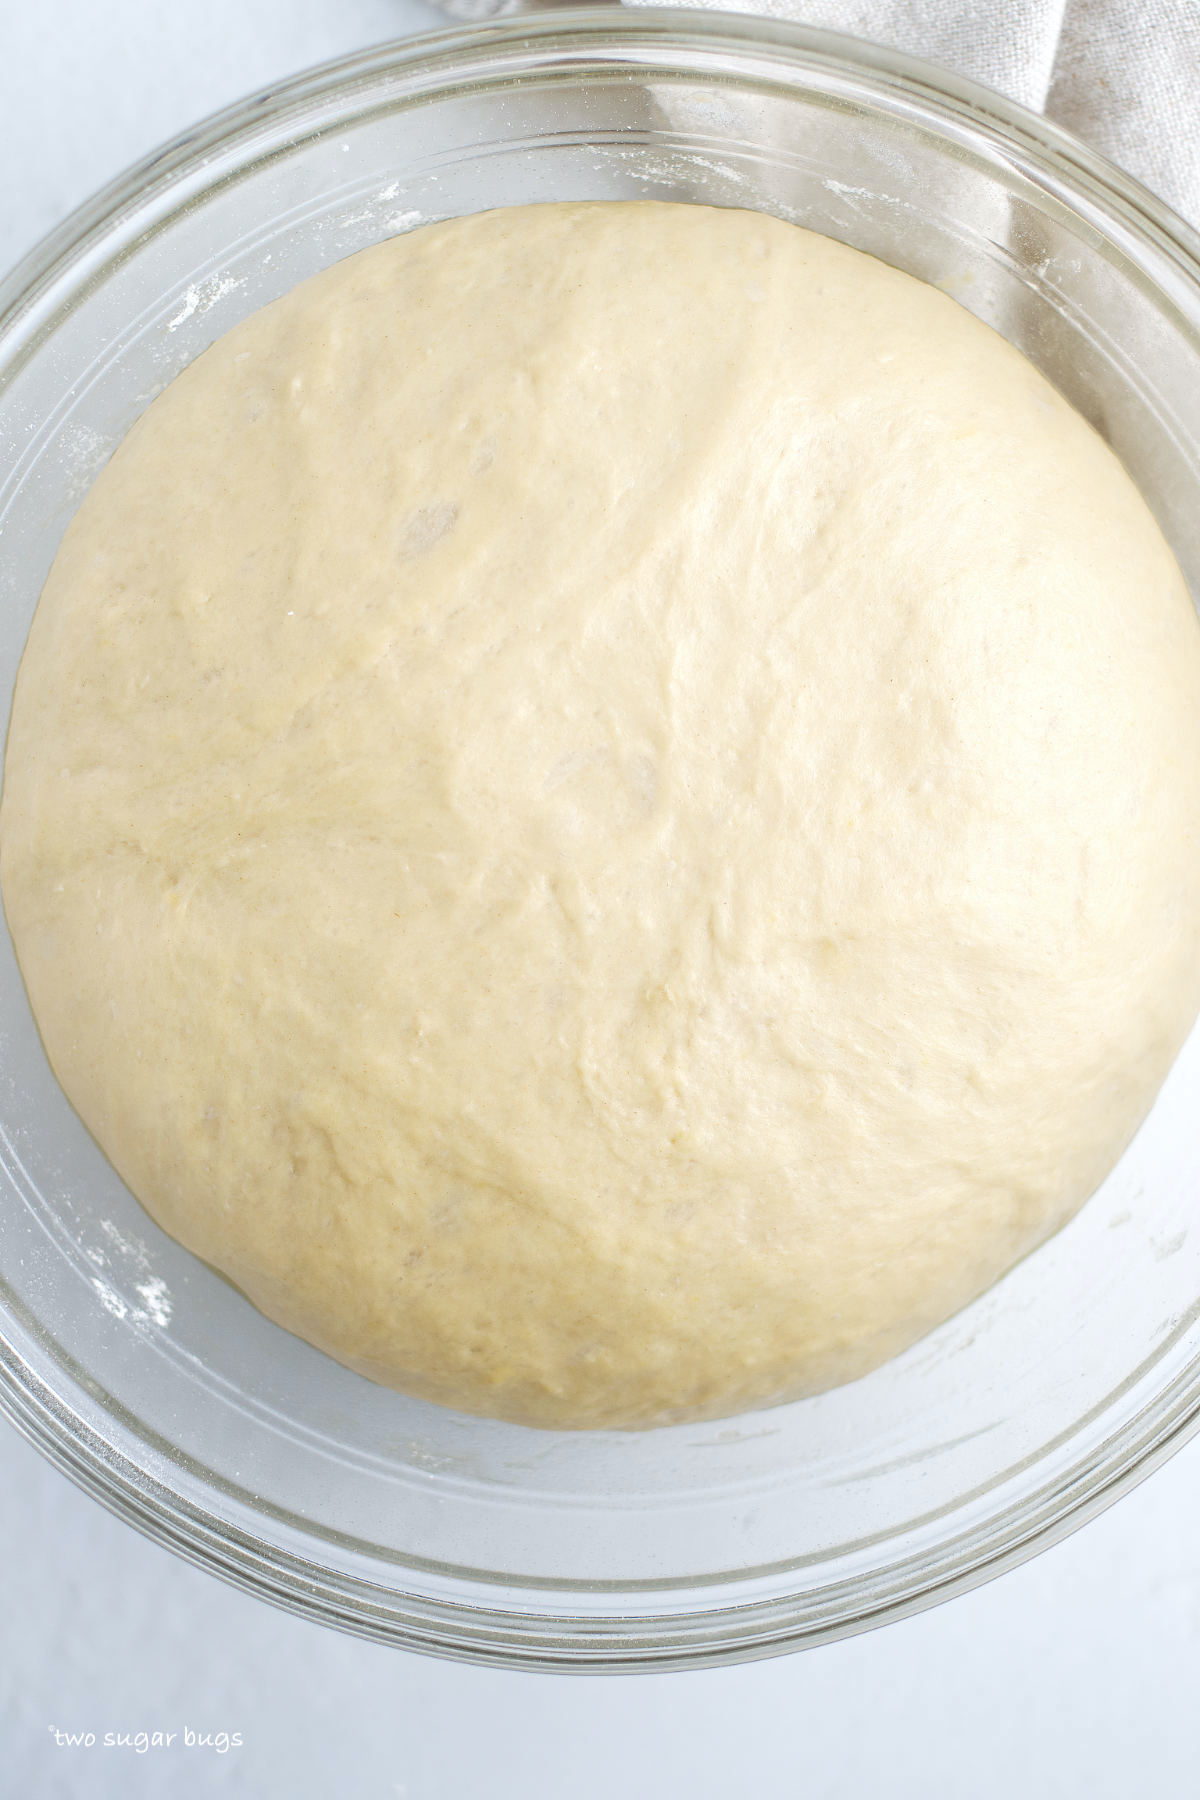
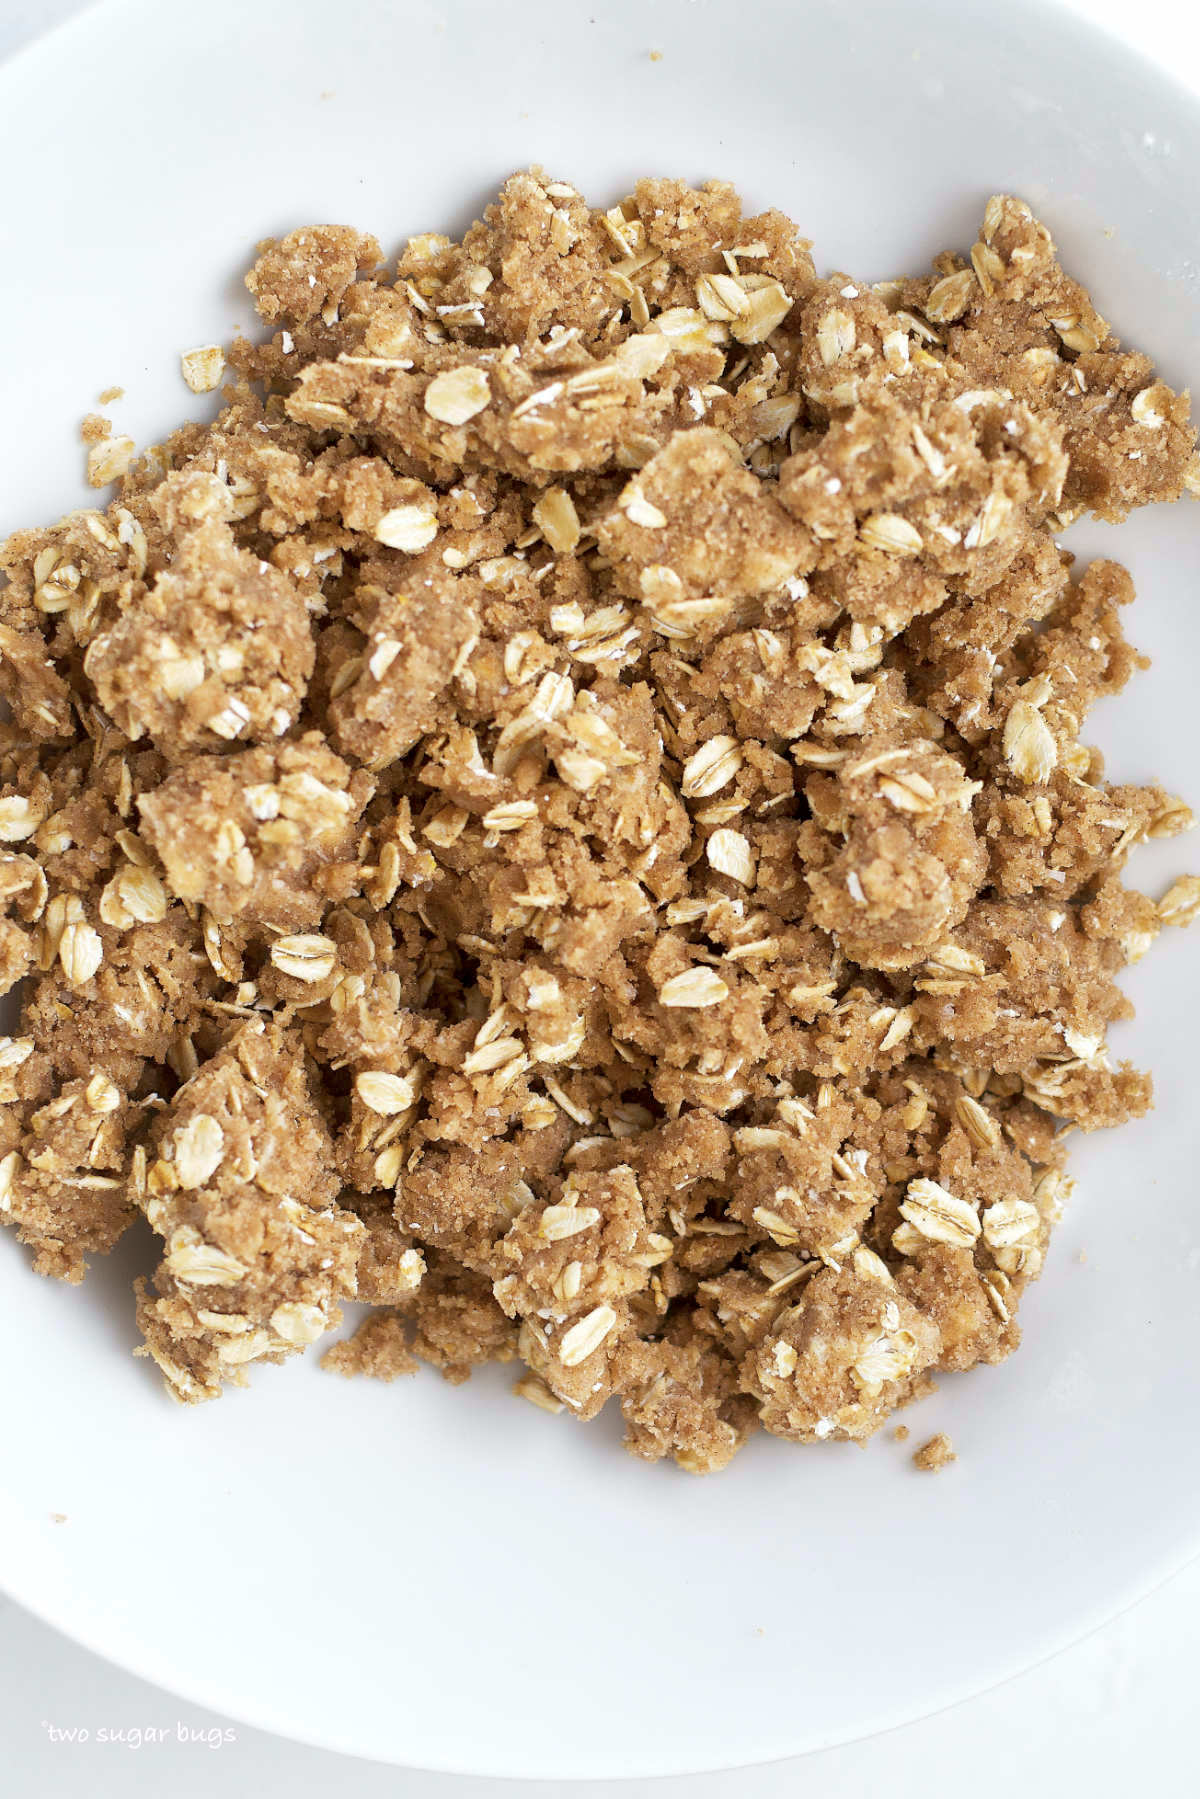
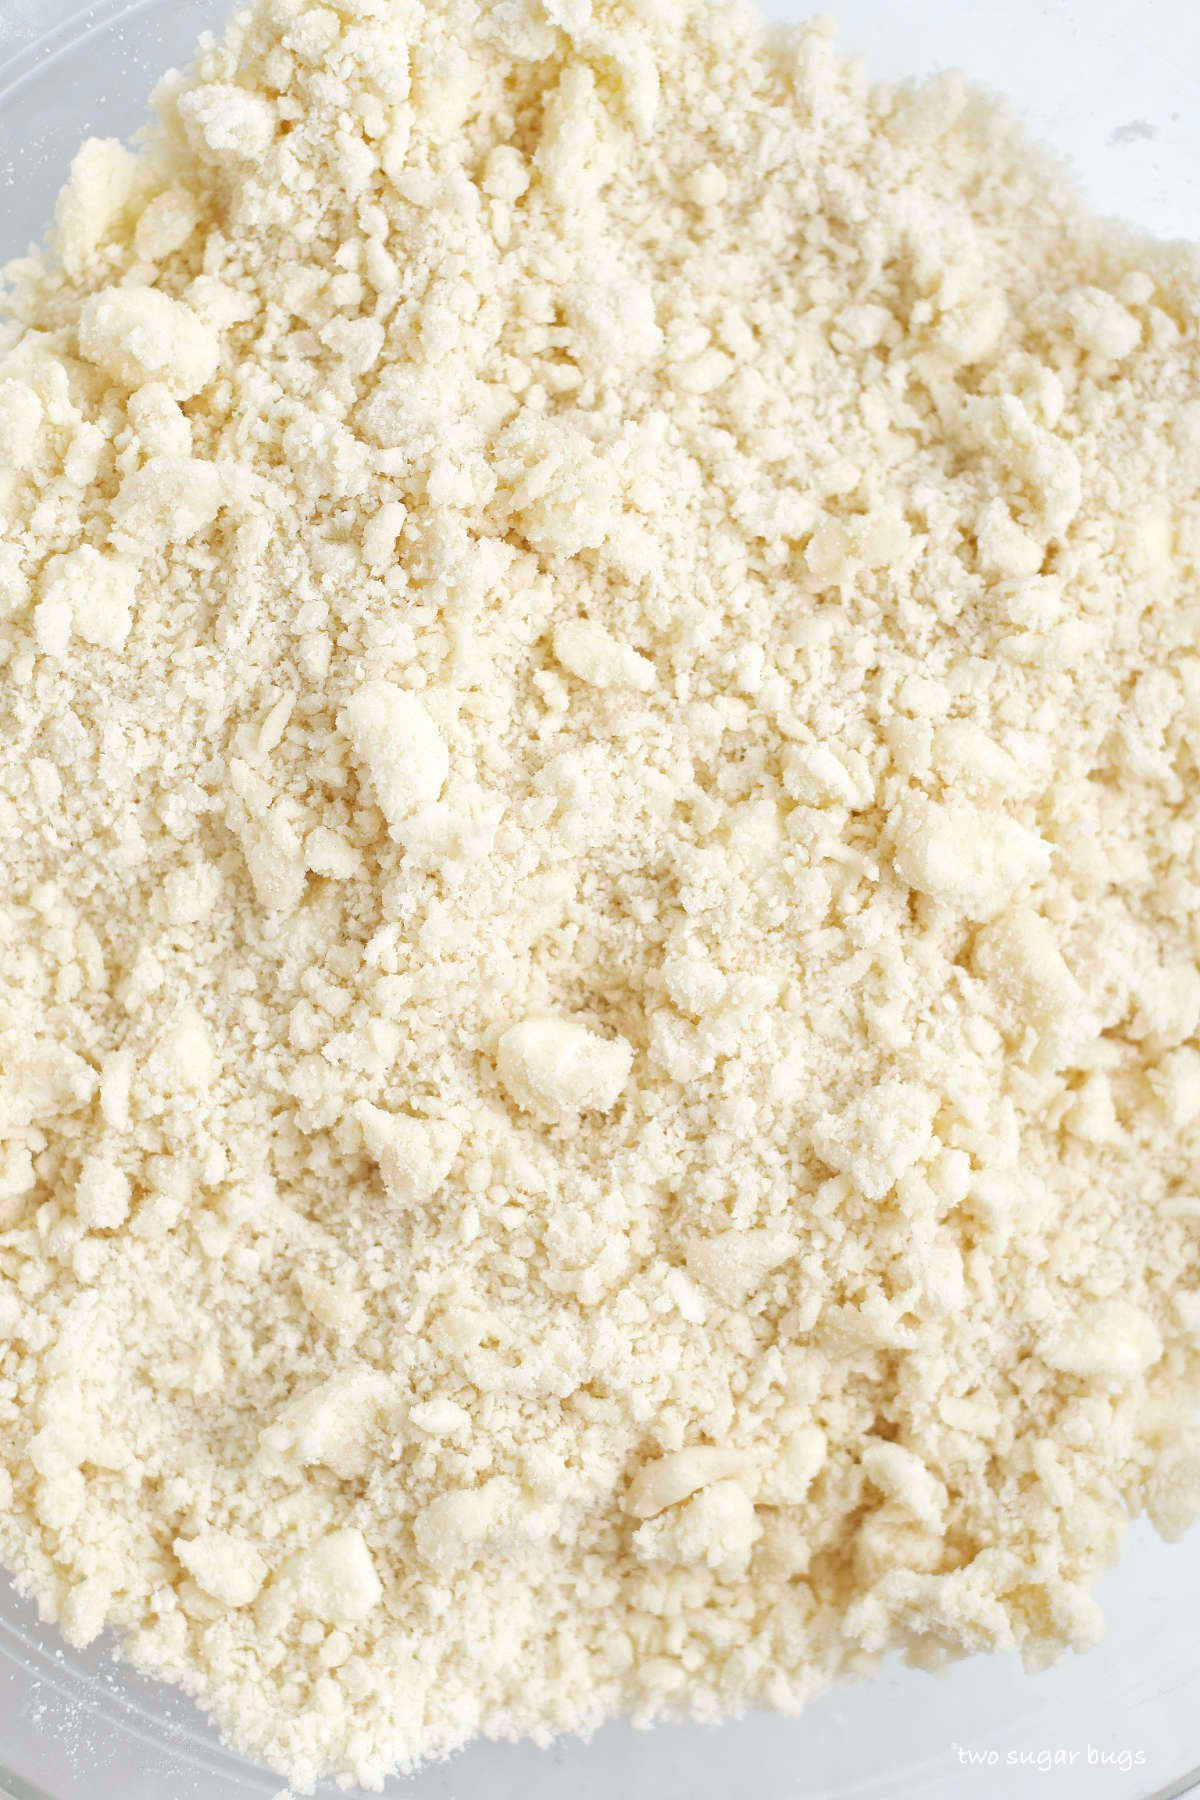
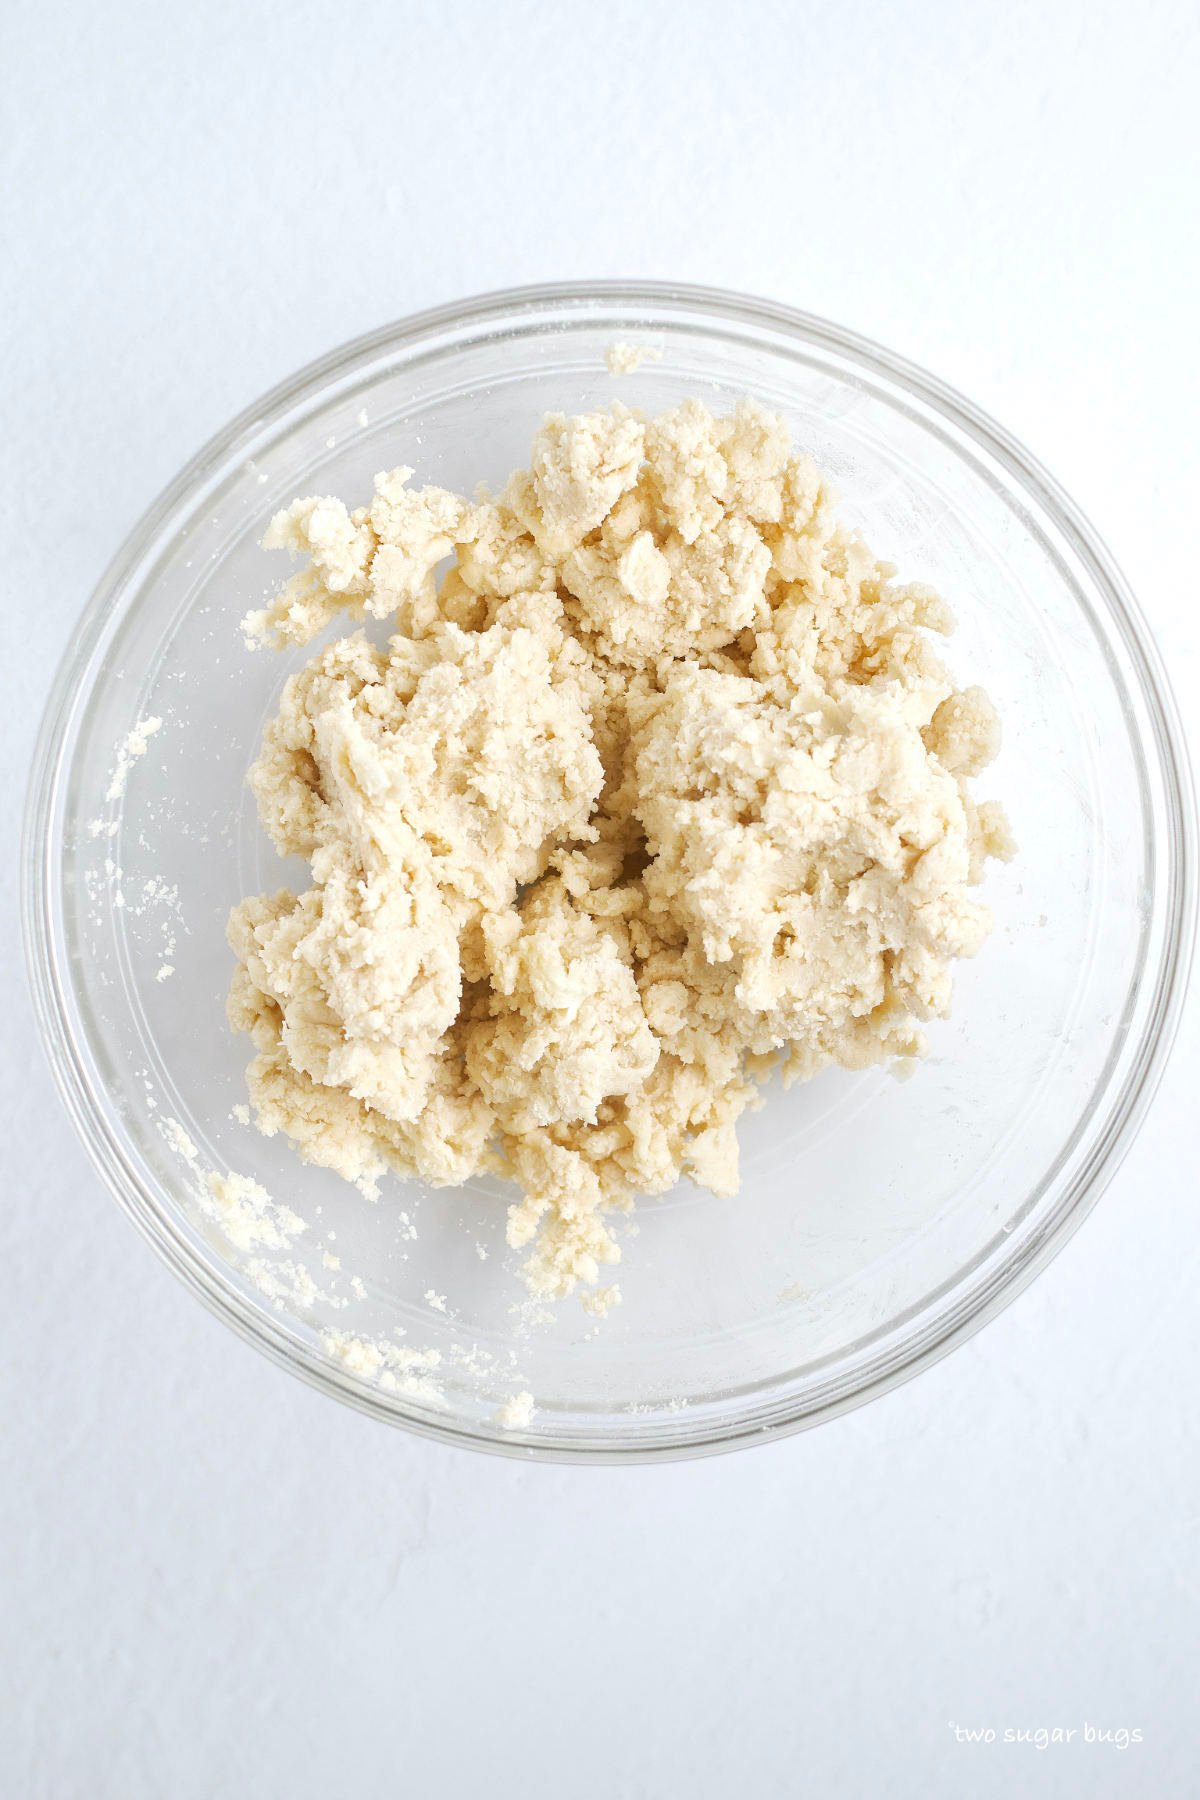
Then add the flour and stir until the flour disappears.
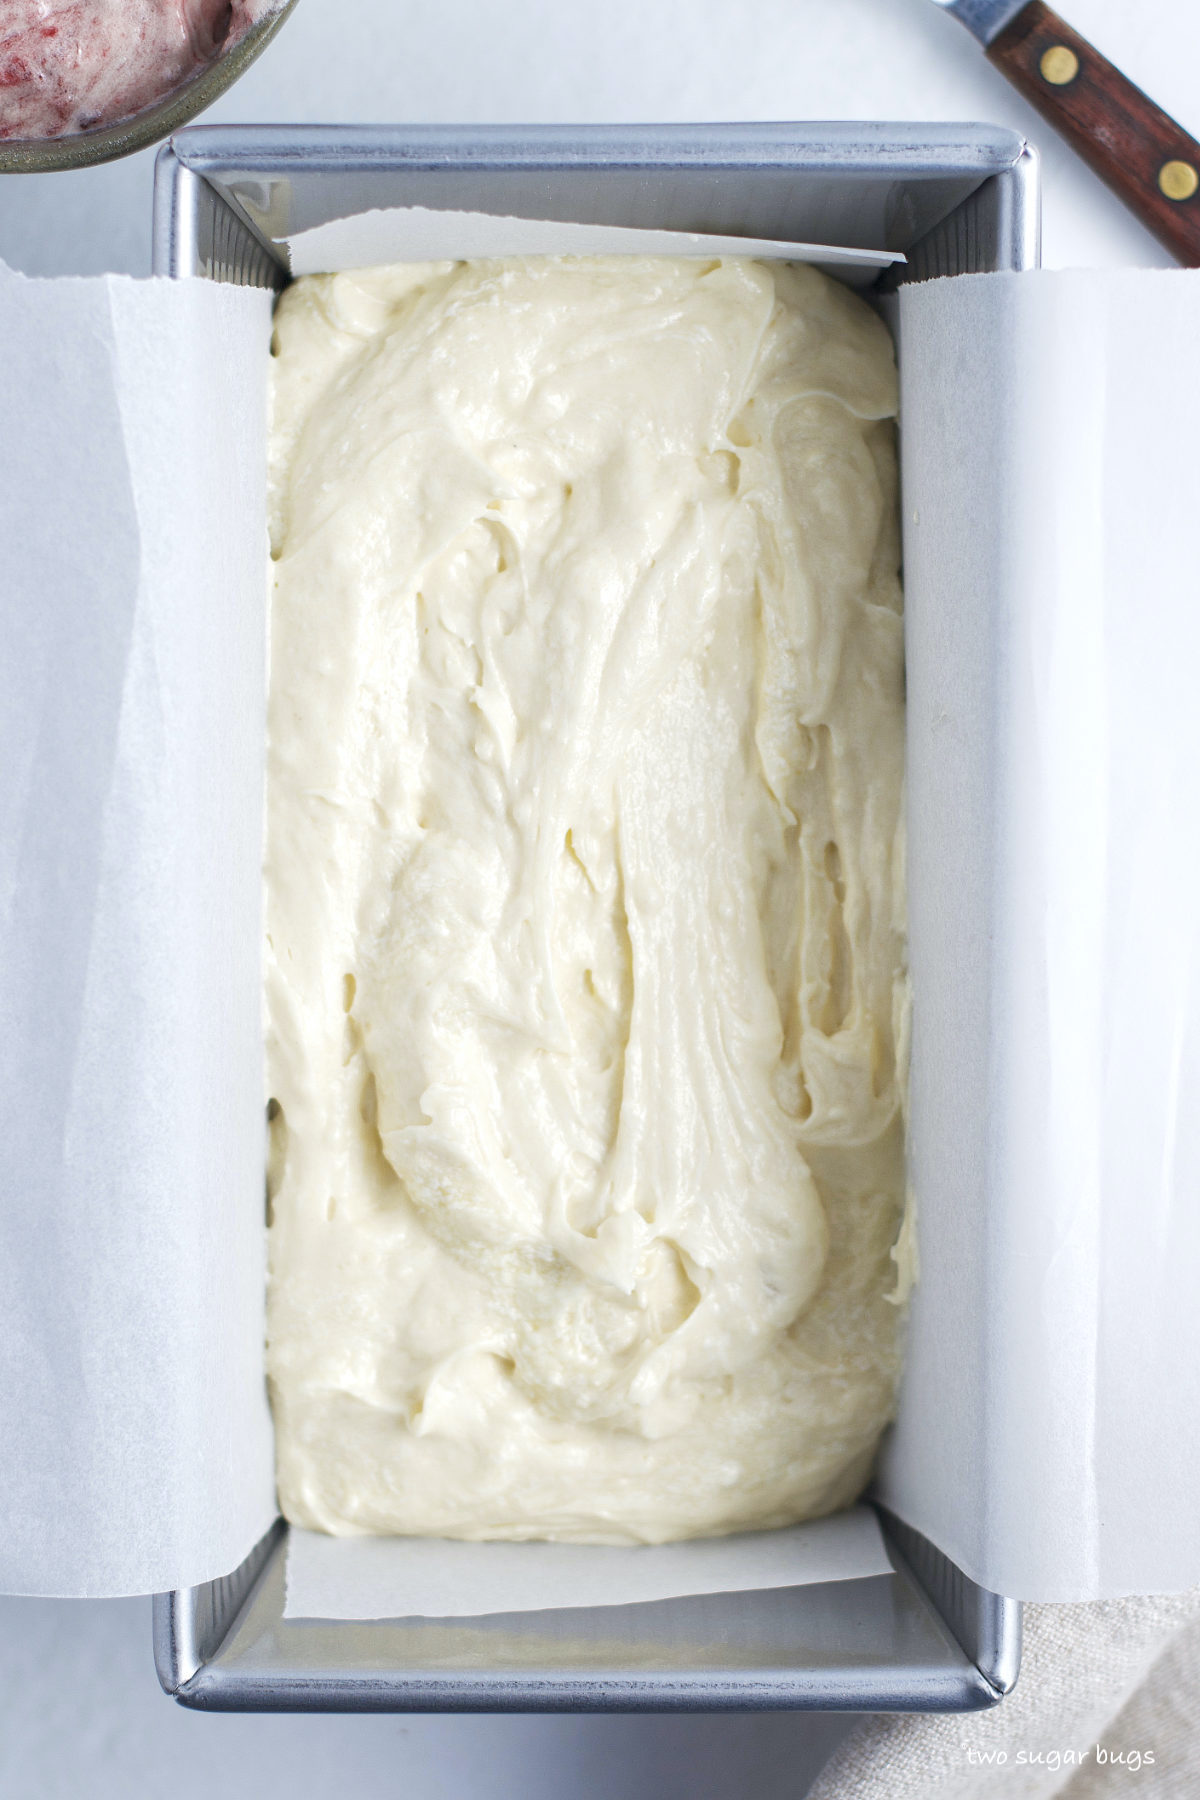
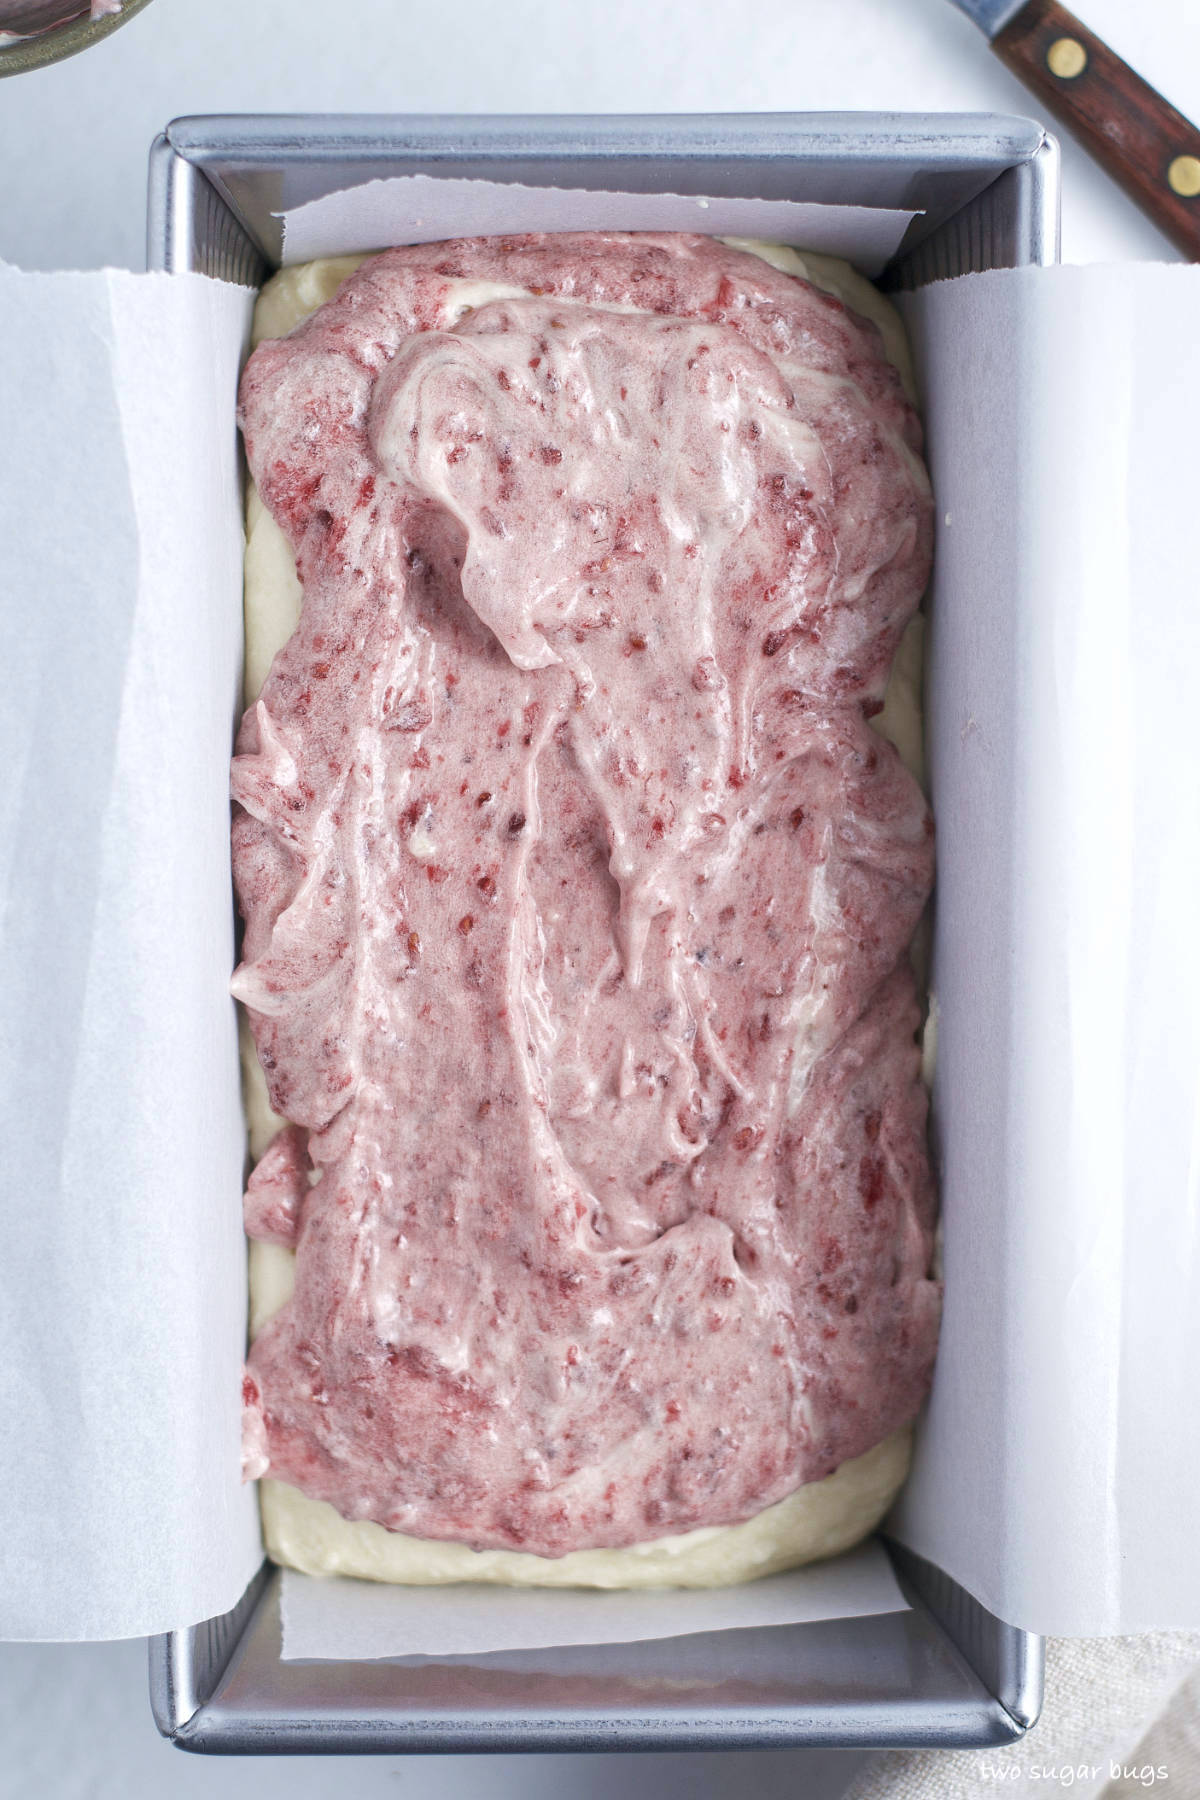
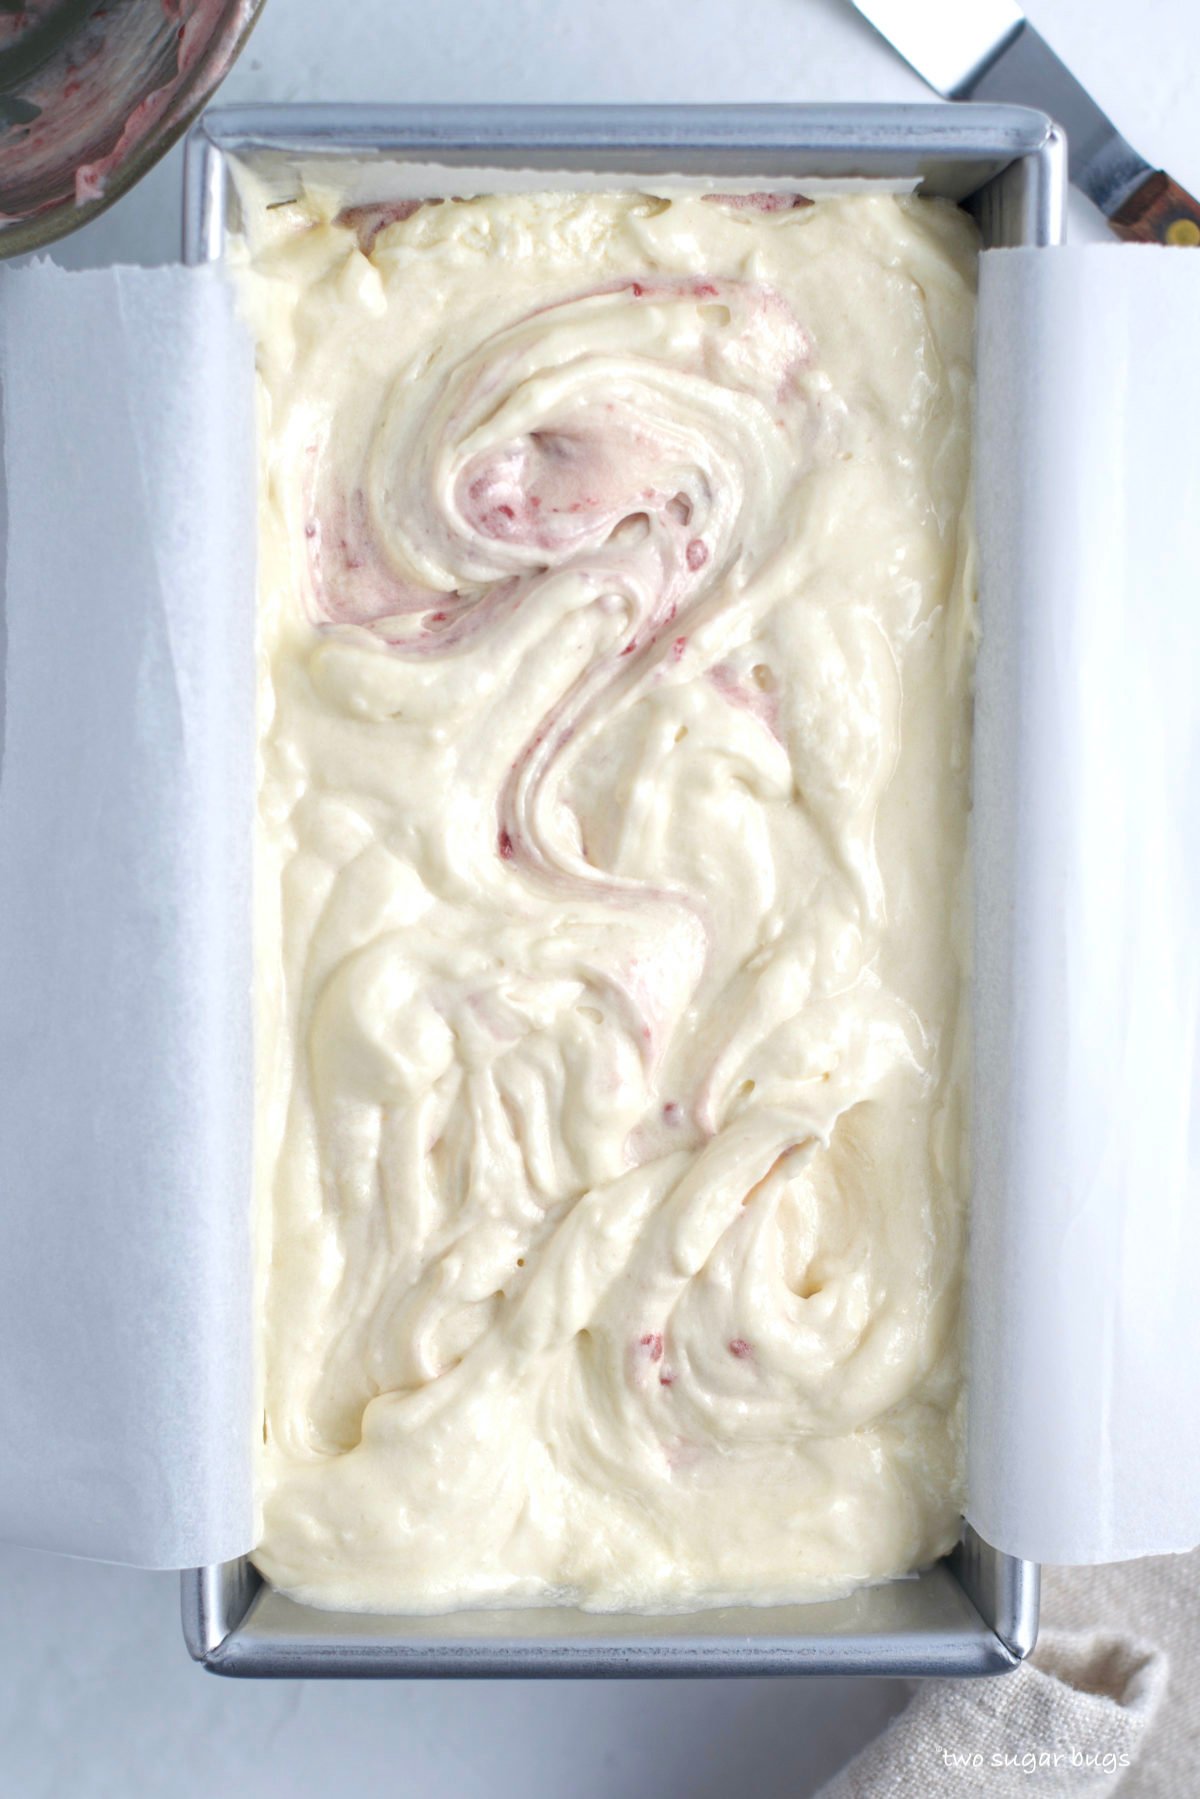
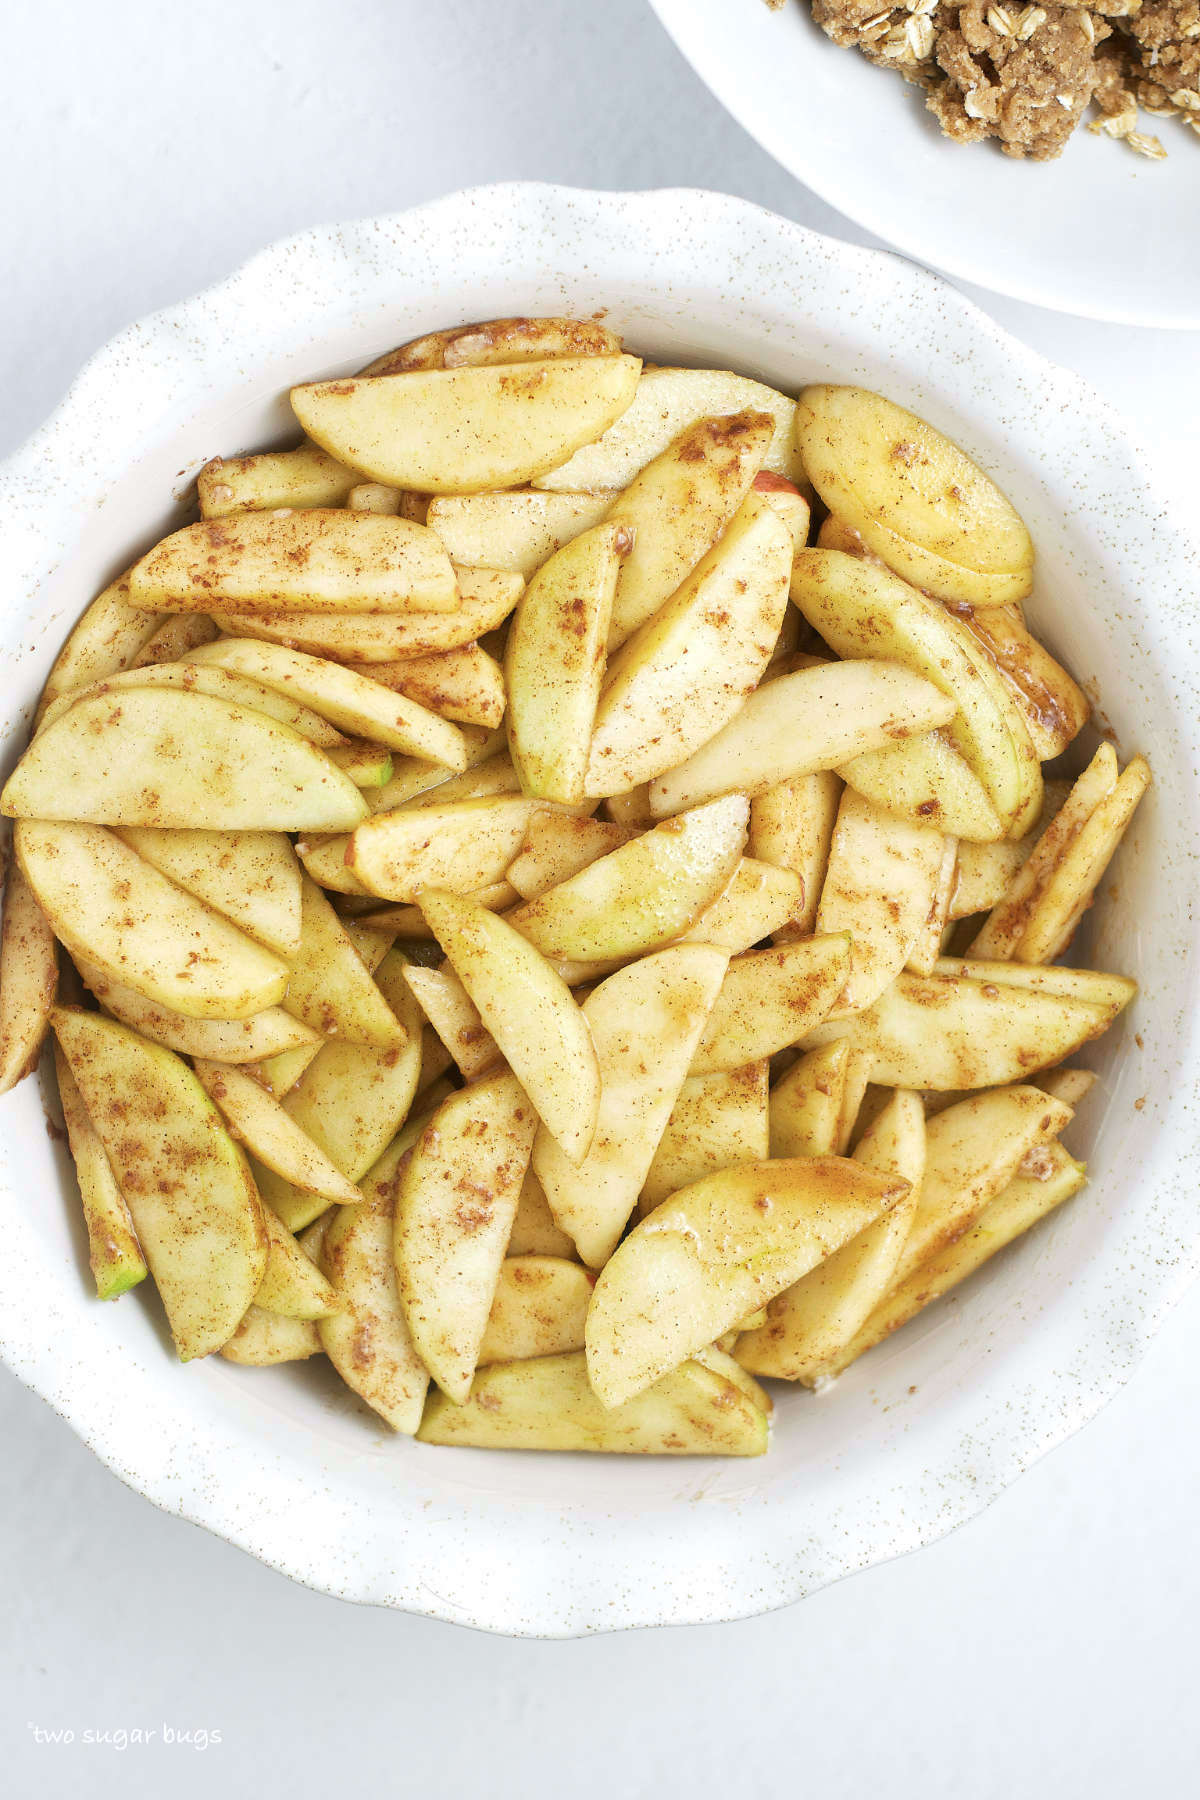
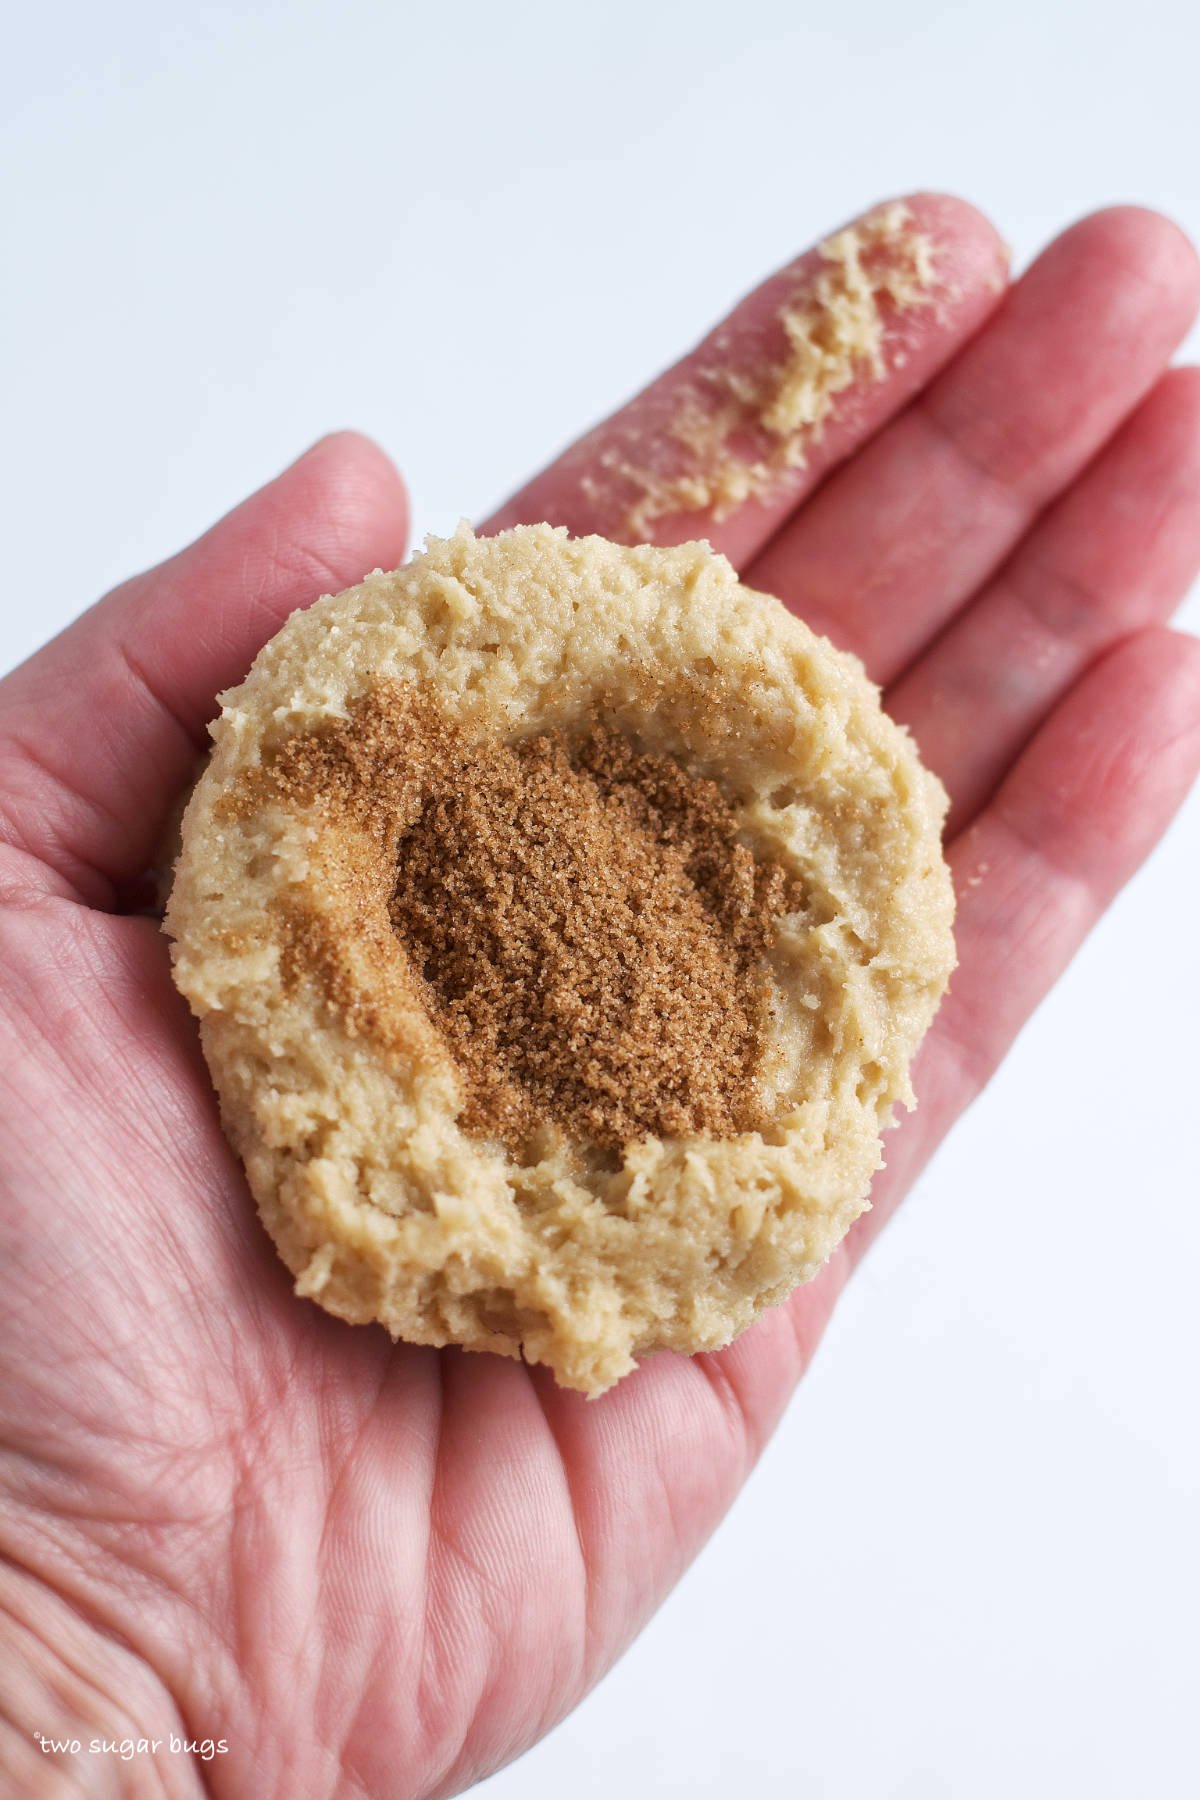
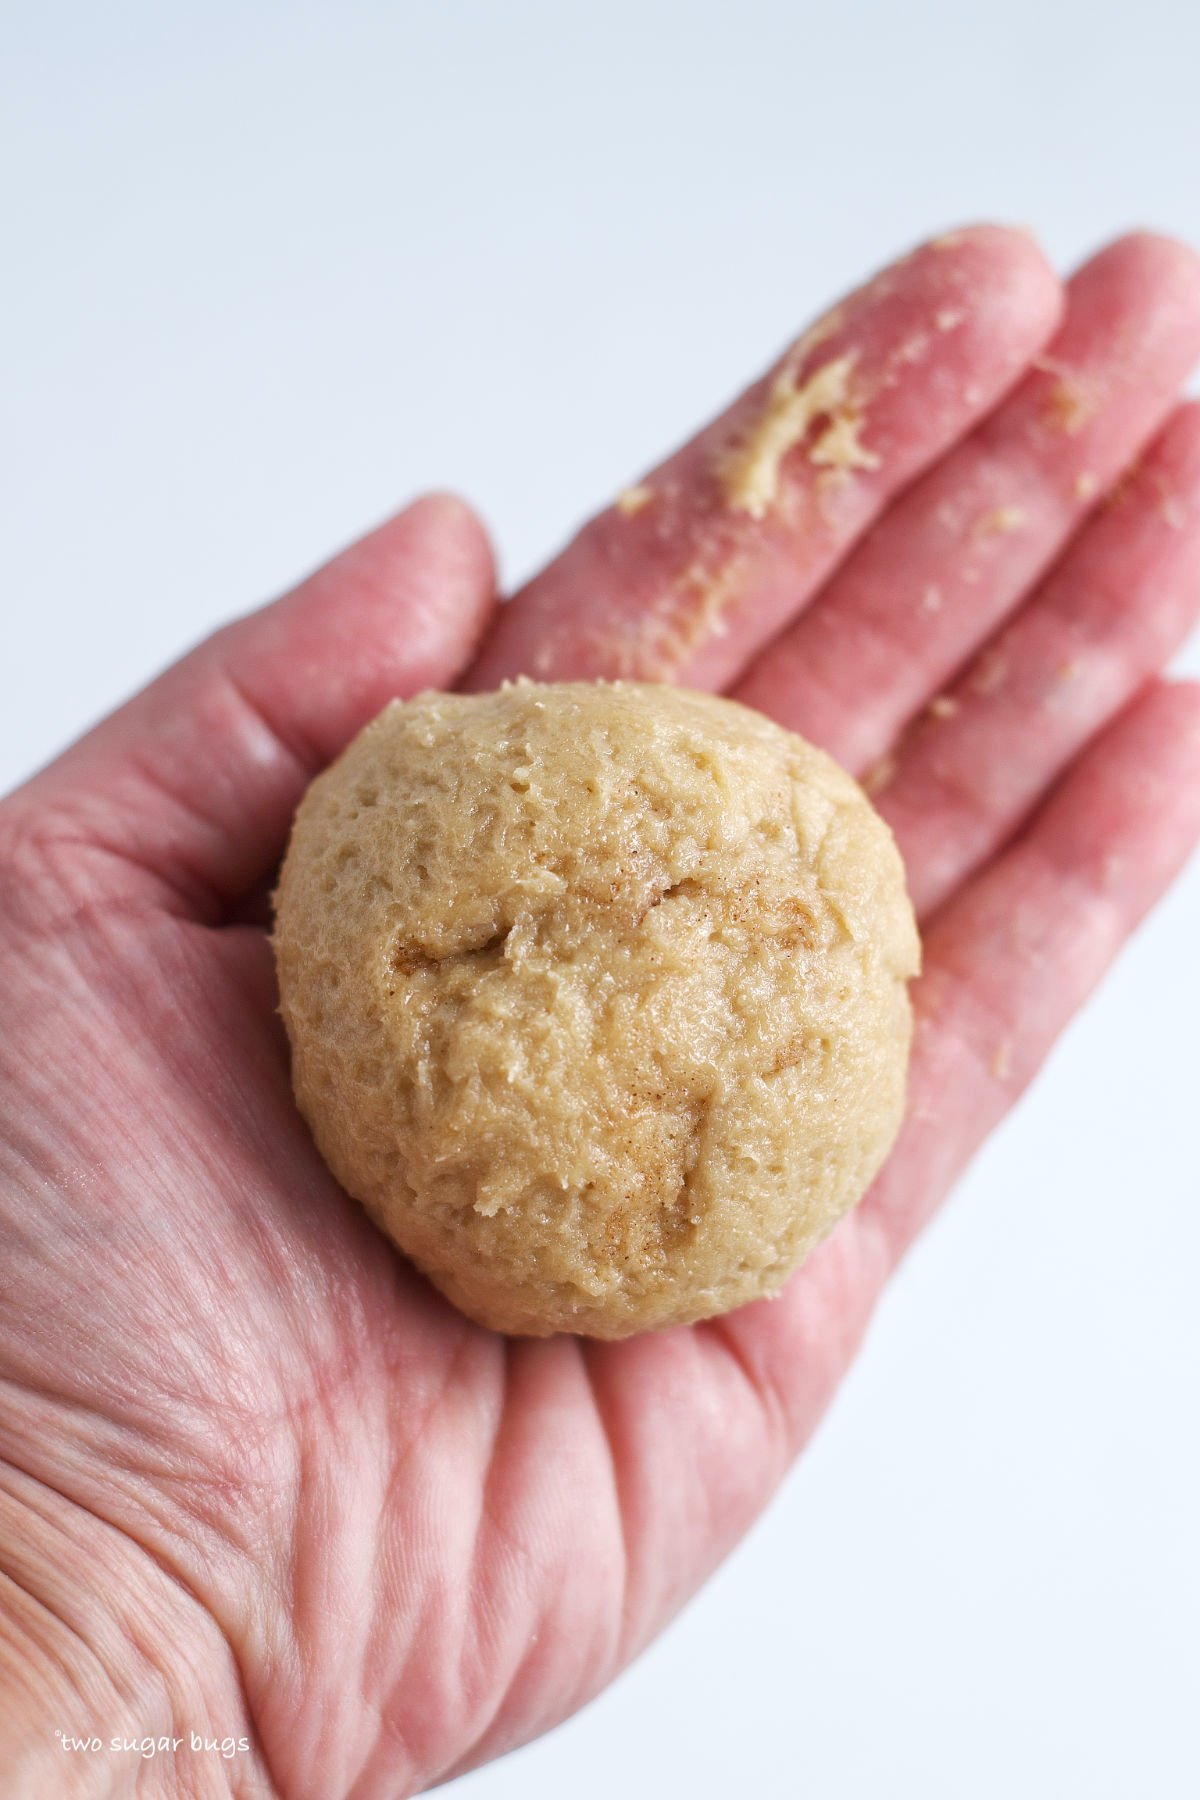
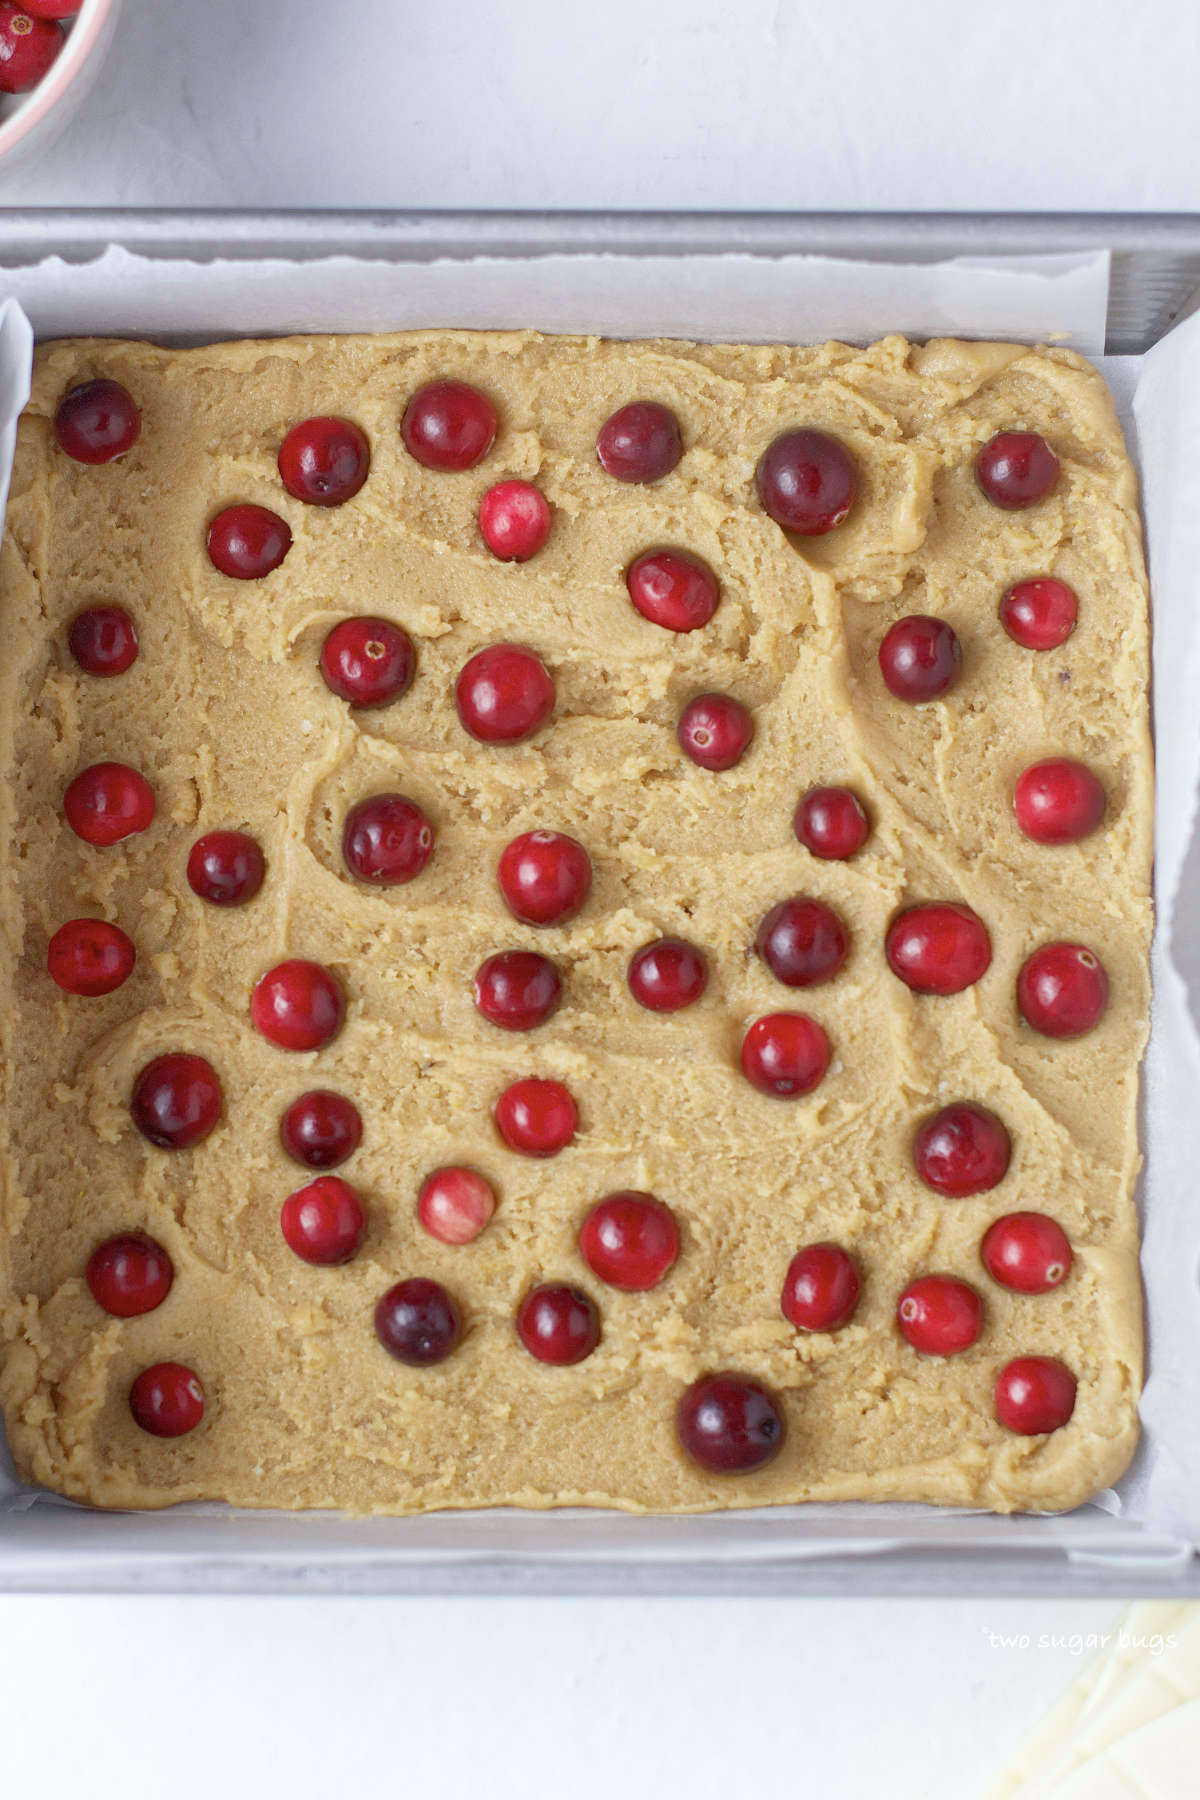
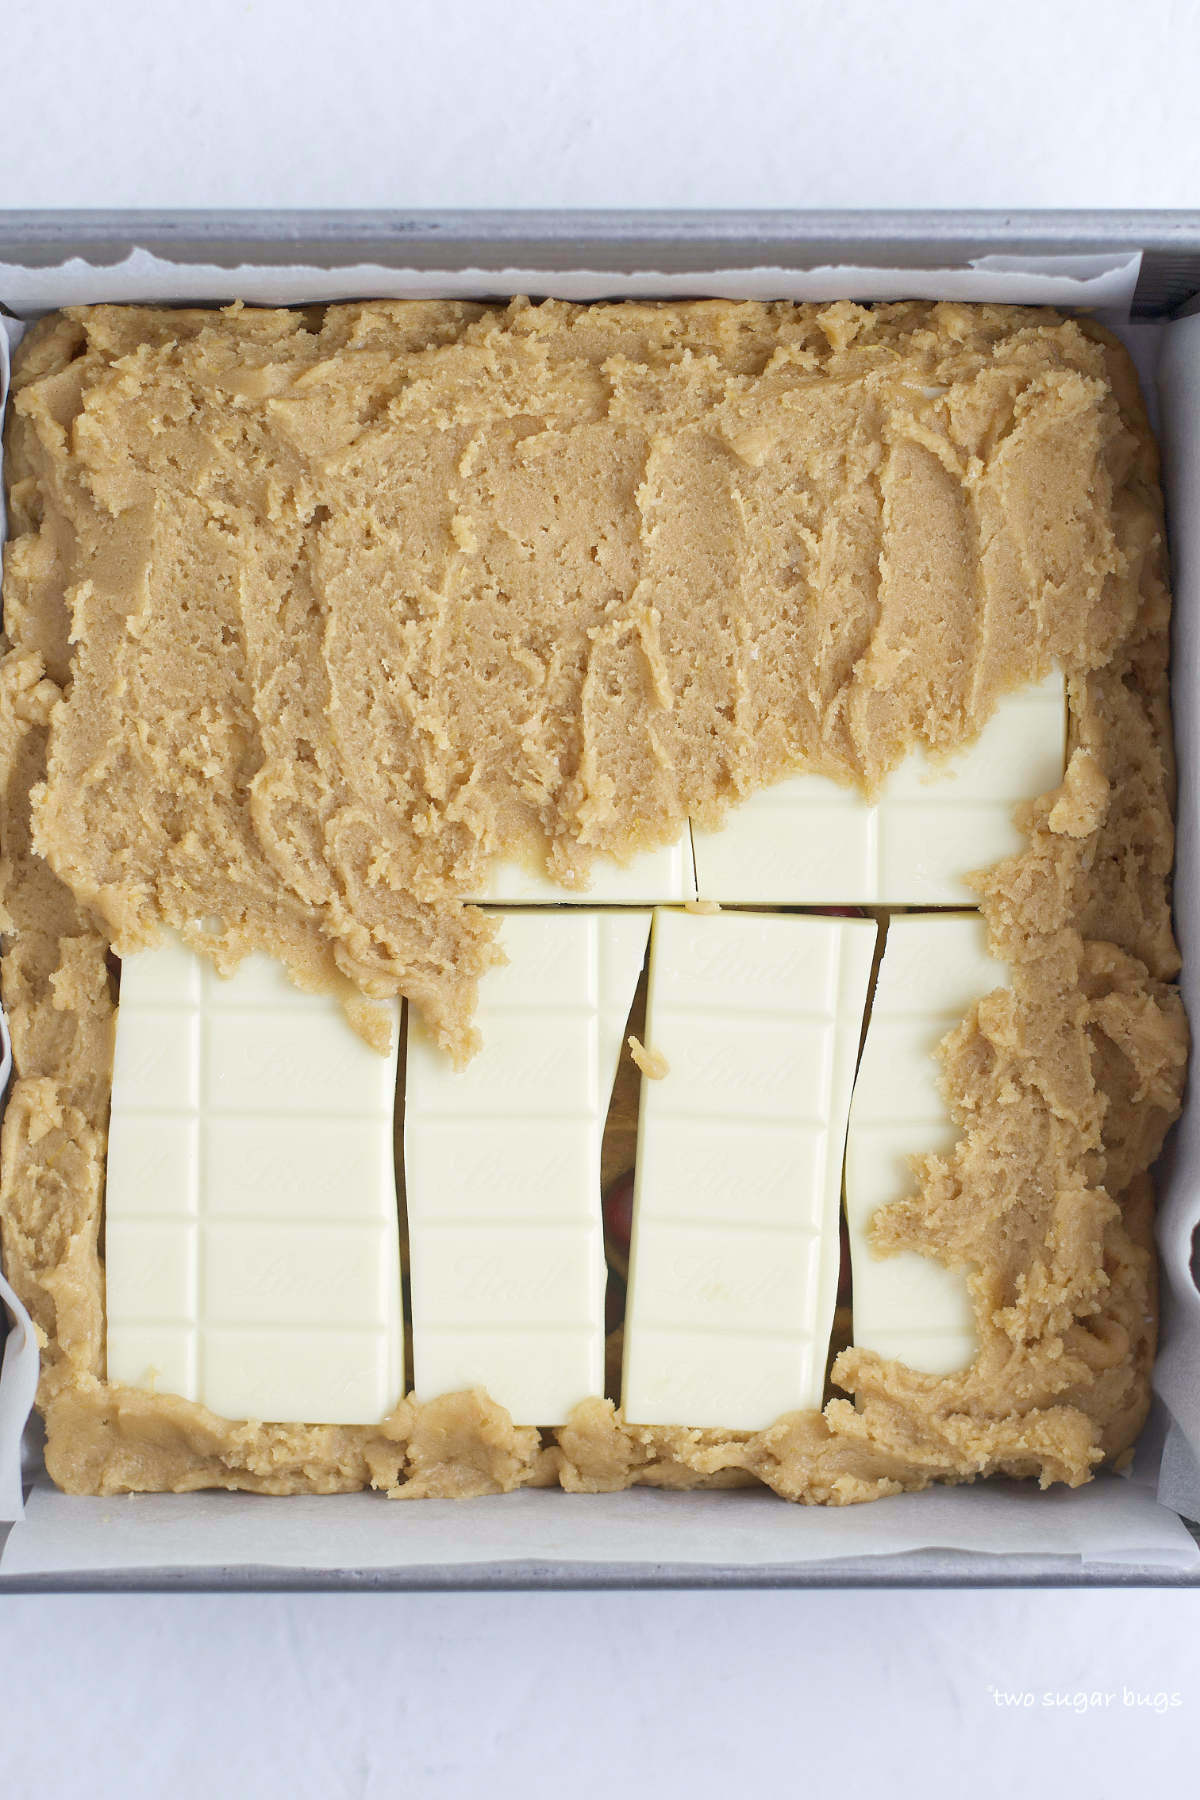
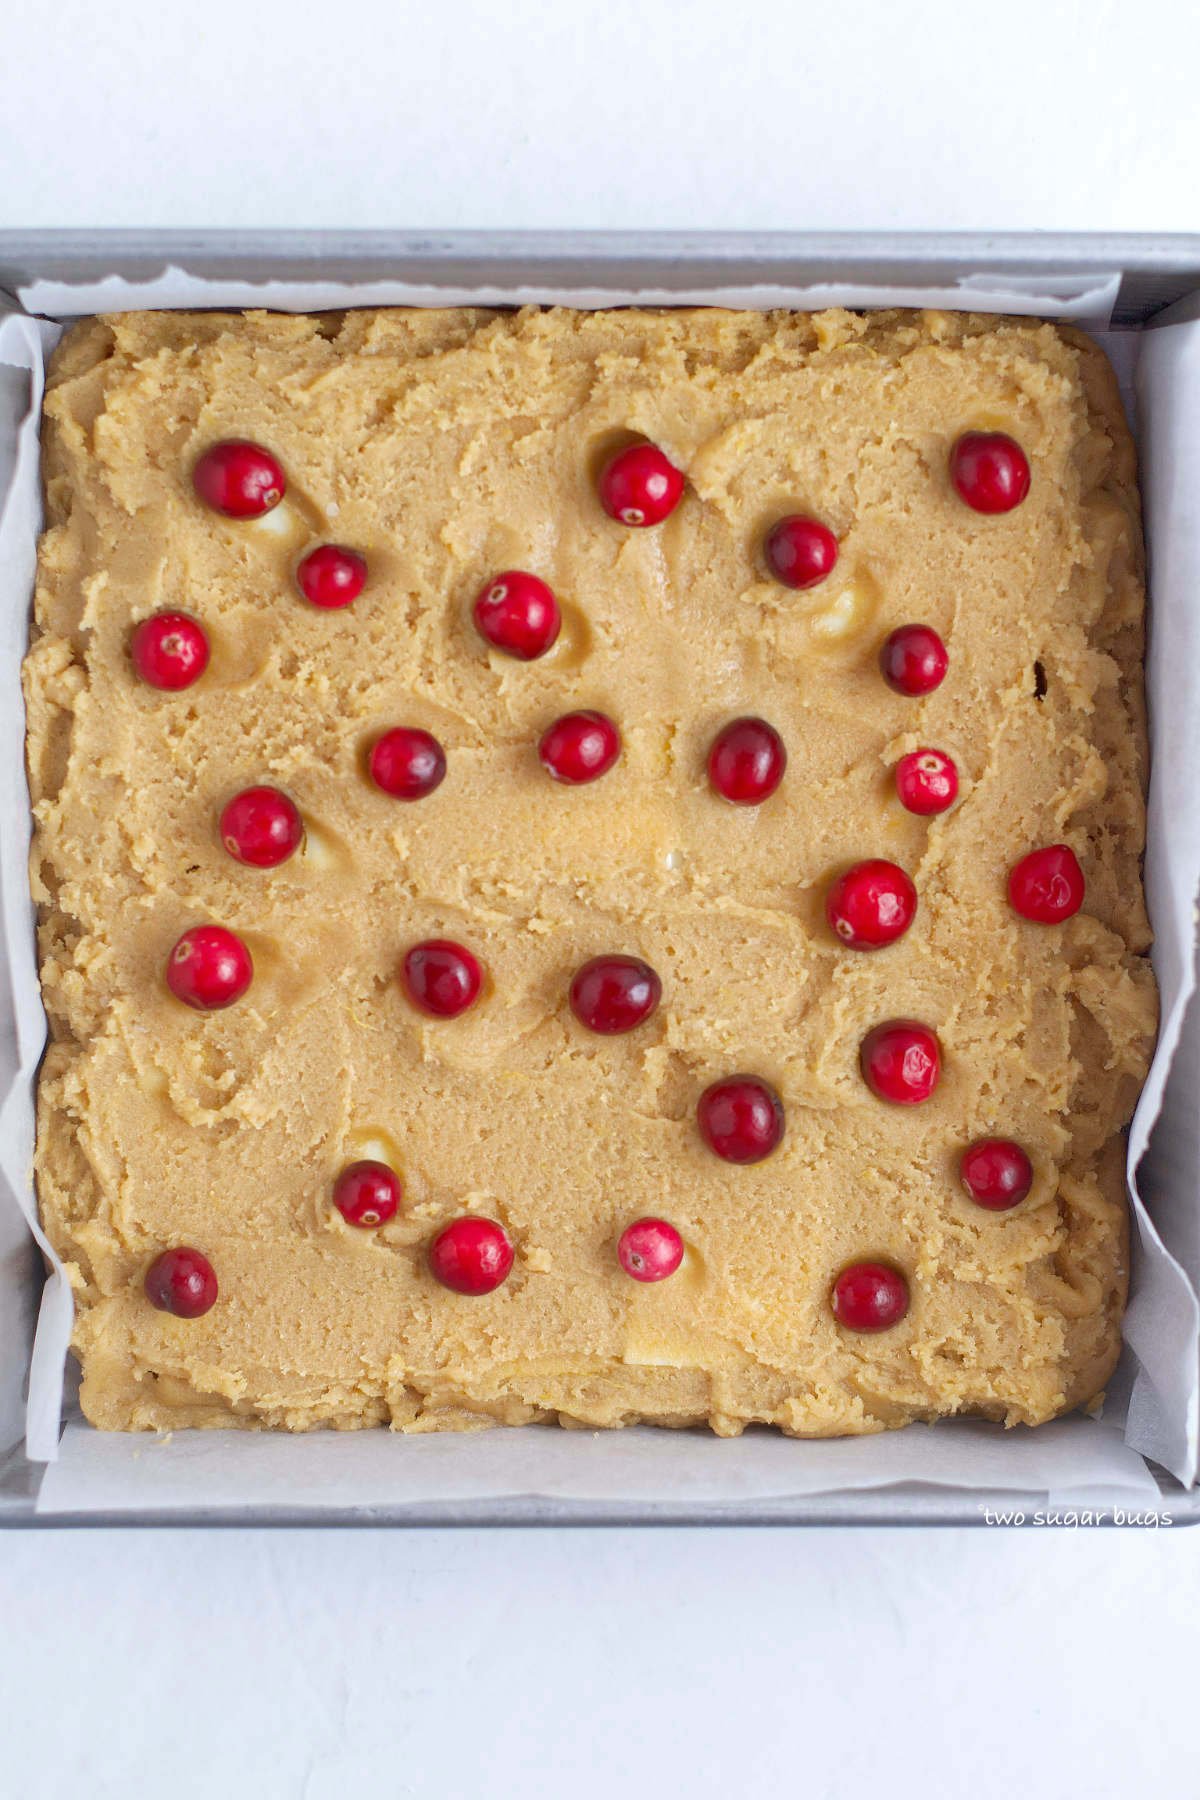
Now place half of the dough in the bottom of the prepared pan, then take half the cranberries and press them into the dough. If using frozen cranberries, do NOT thaw the cranberries first!
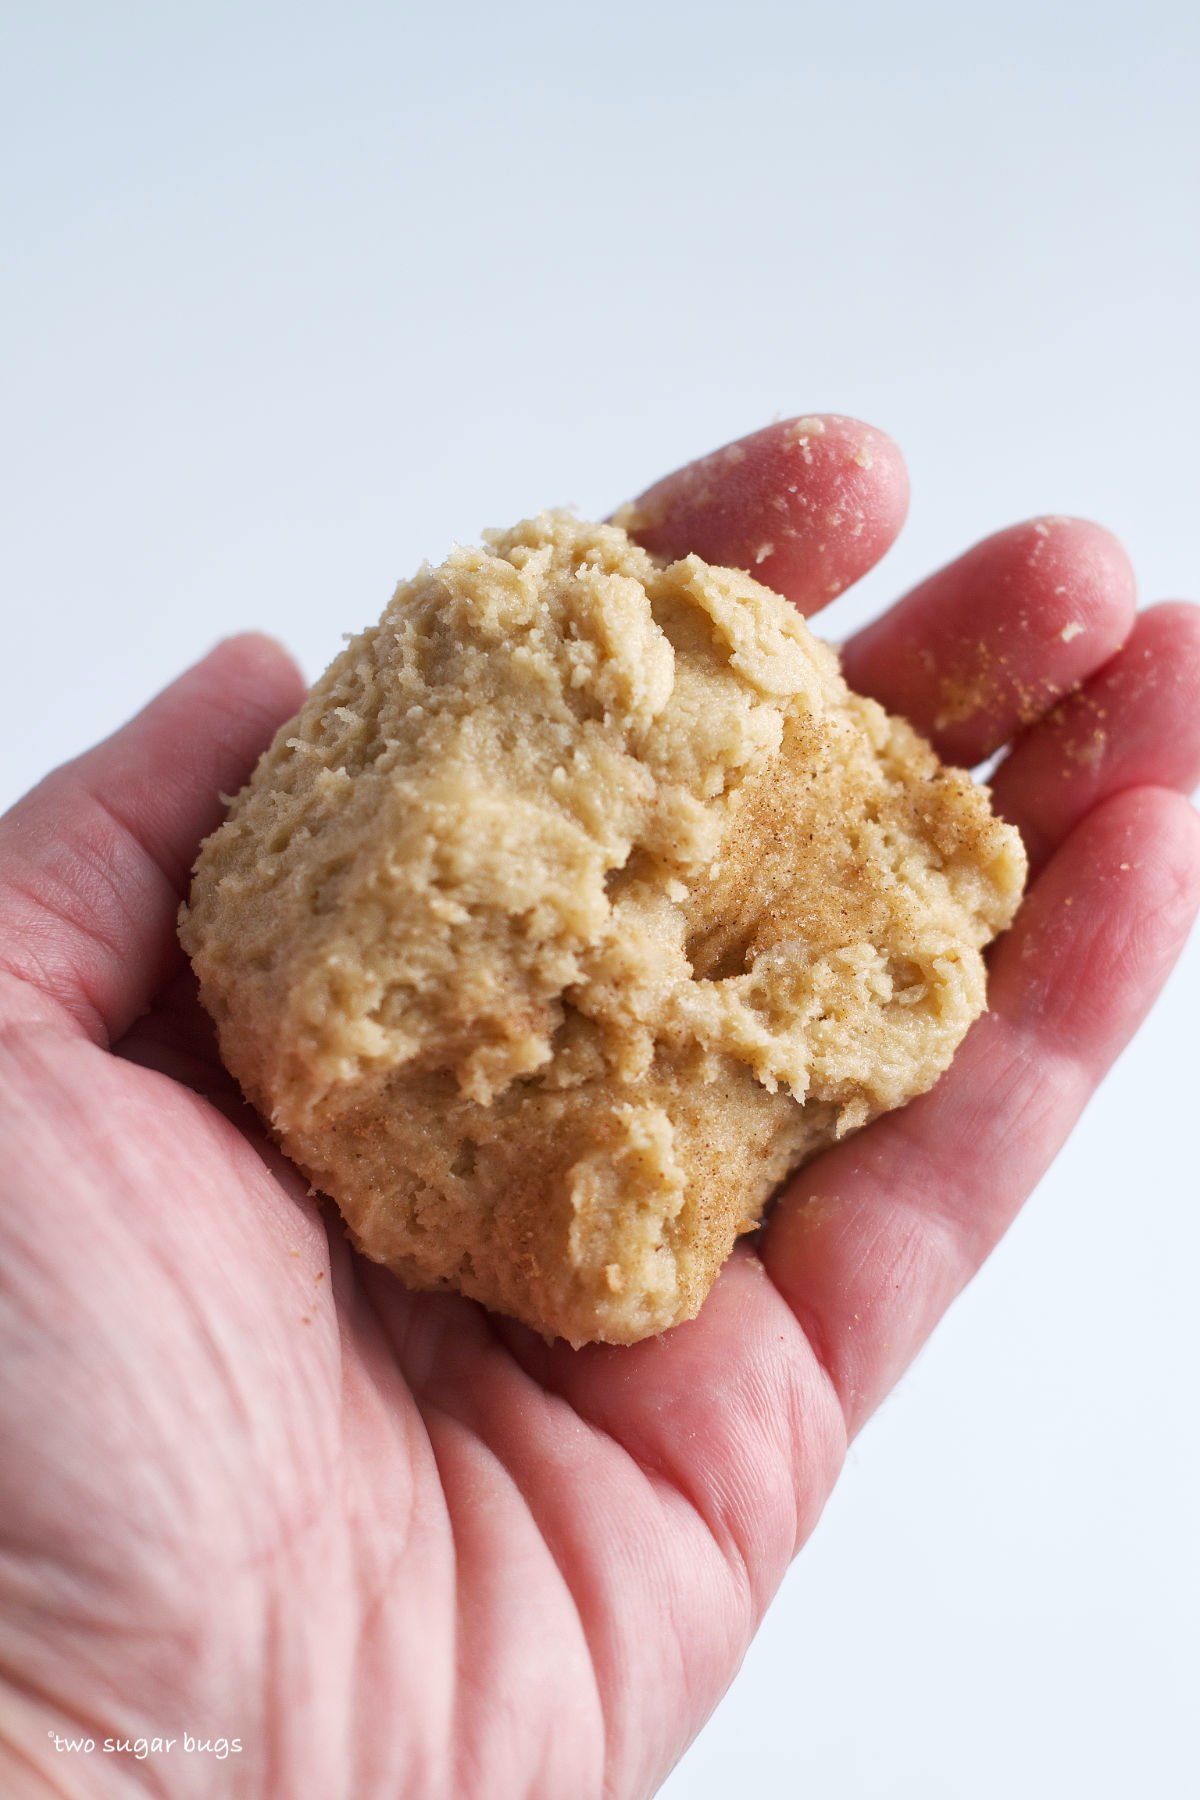
Then lay the white chocolate bar over the top of the dough and top with the remaining cookie dough. {The dough is thick, start with the edges to seal the white chocolate in and do your best to smooth it over the top of the white chocolate in an even layer}.
Again, take the remaining cranberries and press them into the dough.
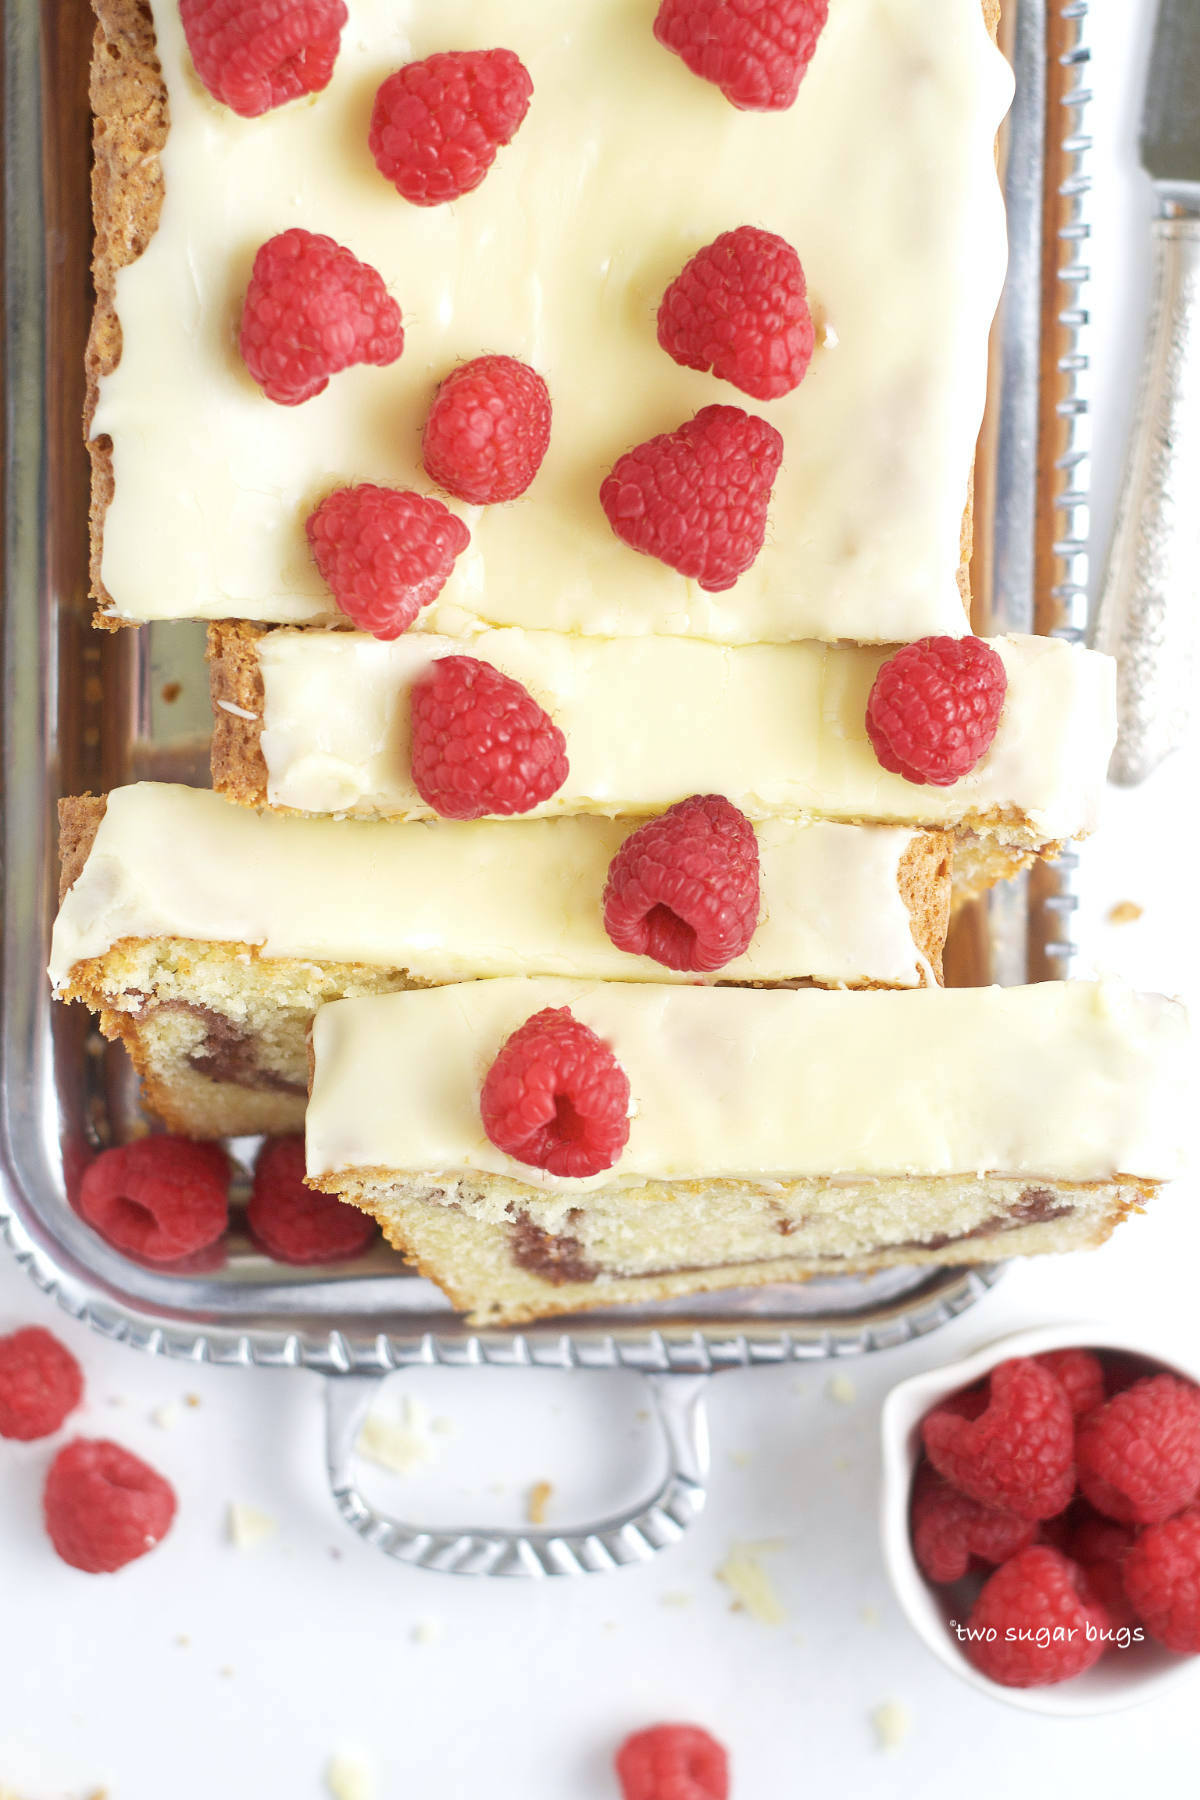
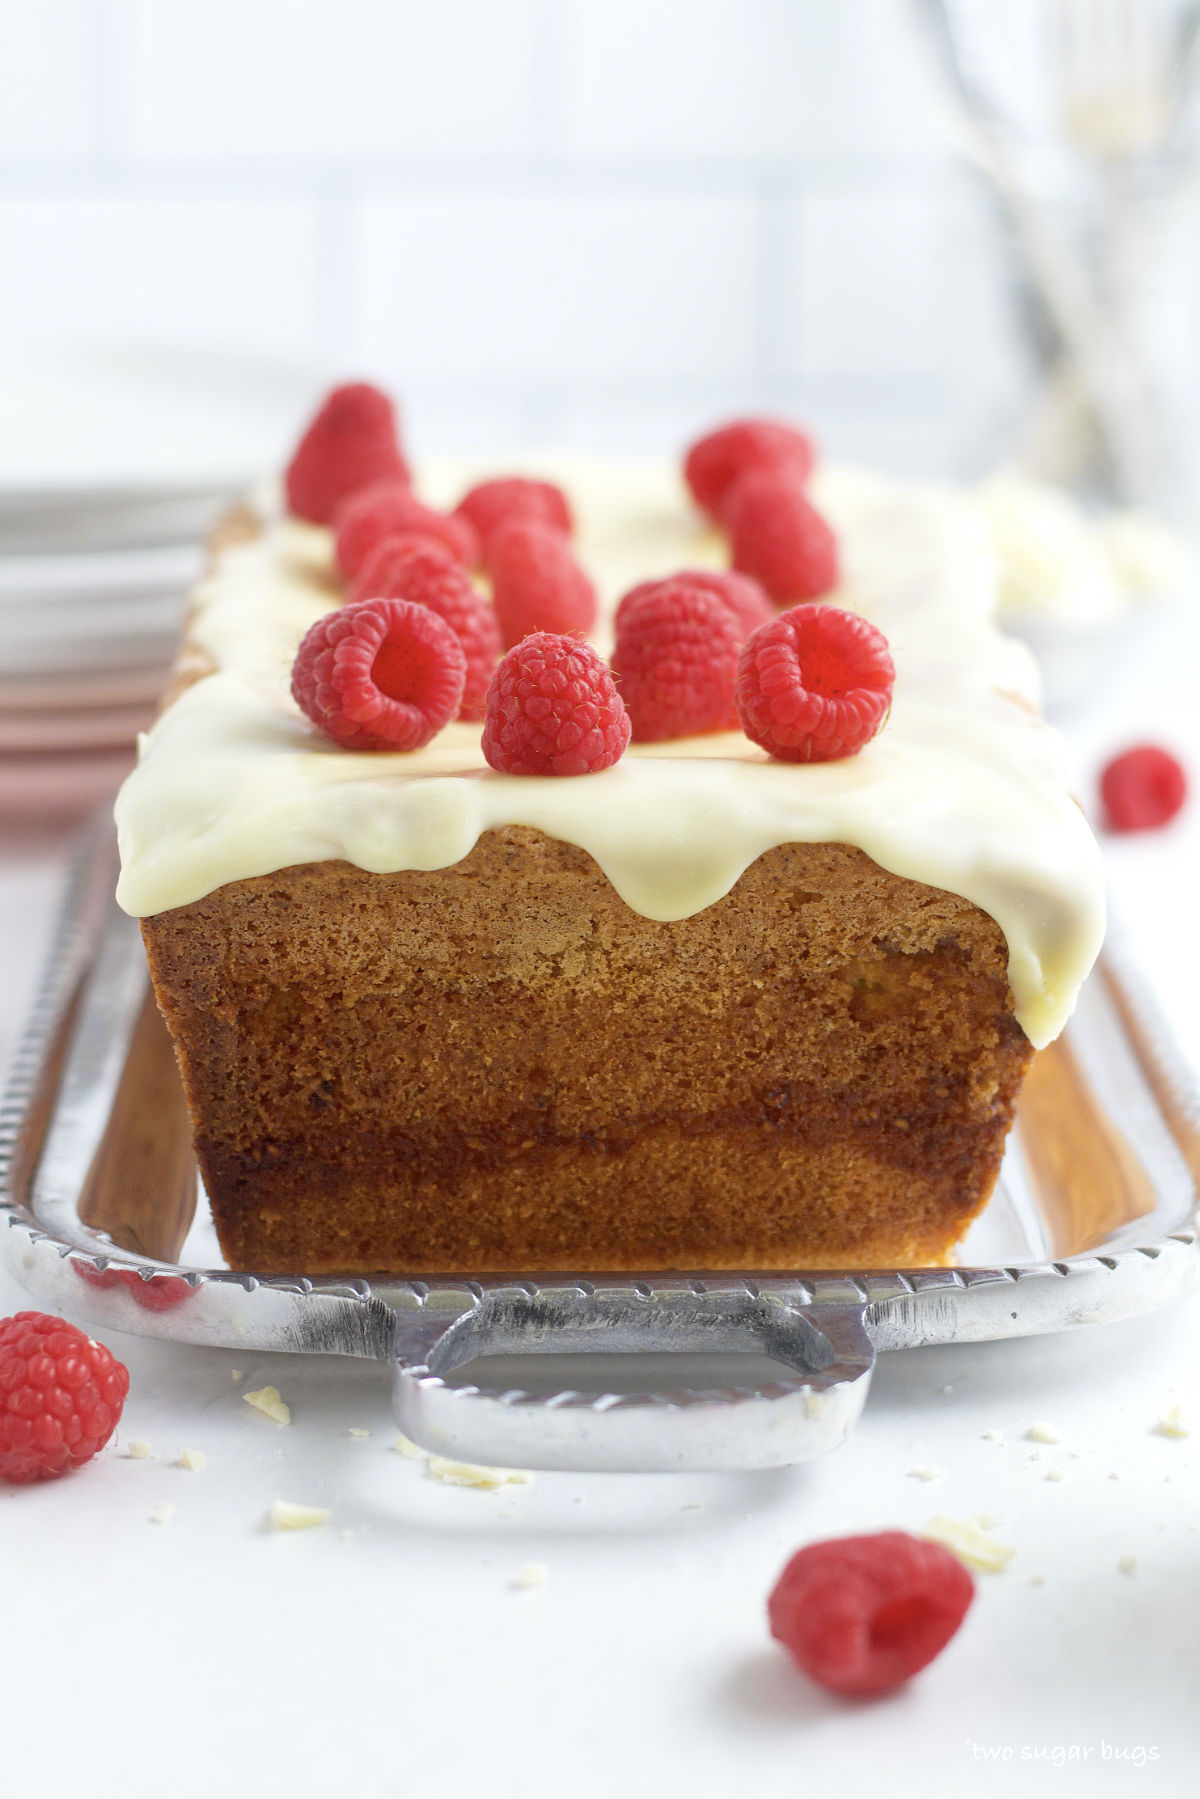
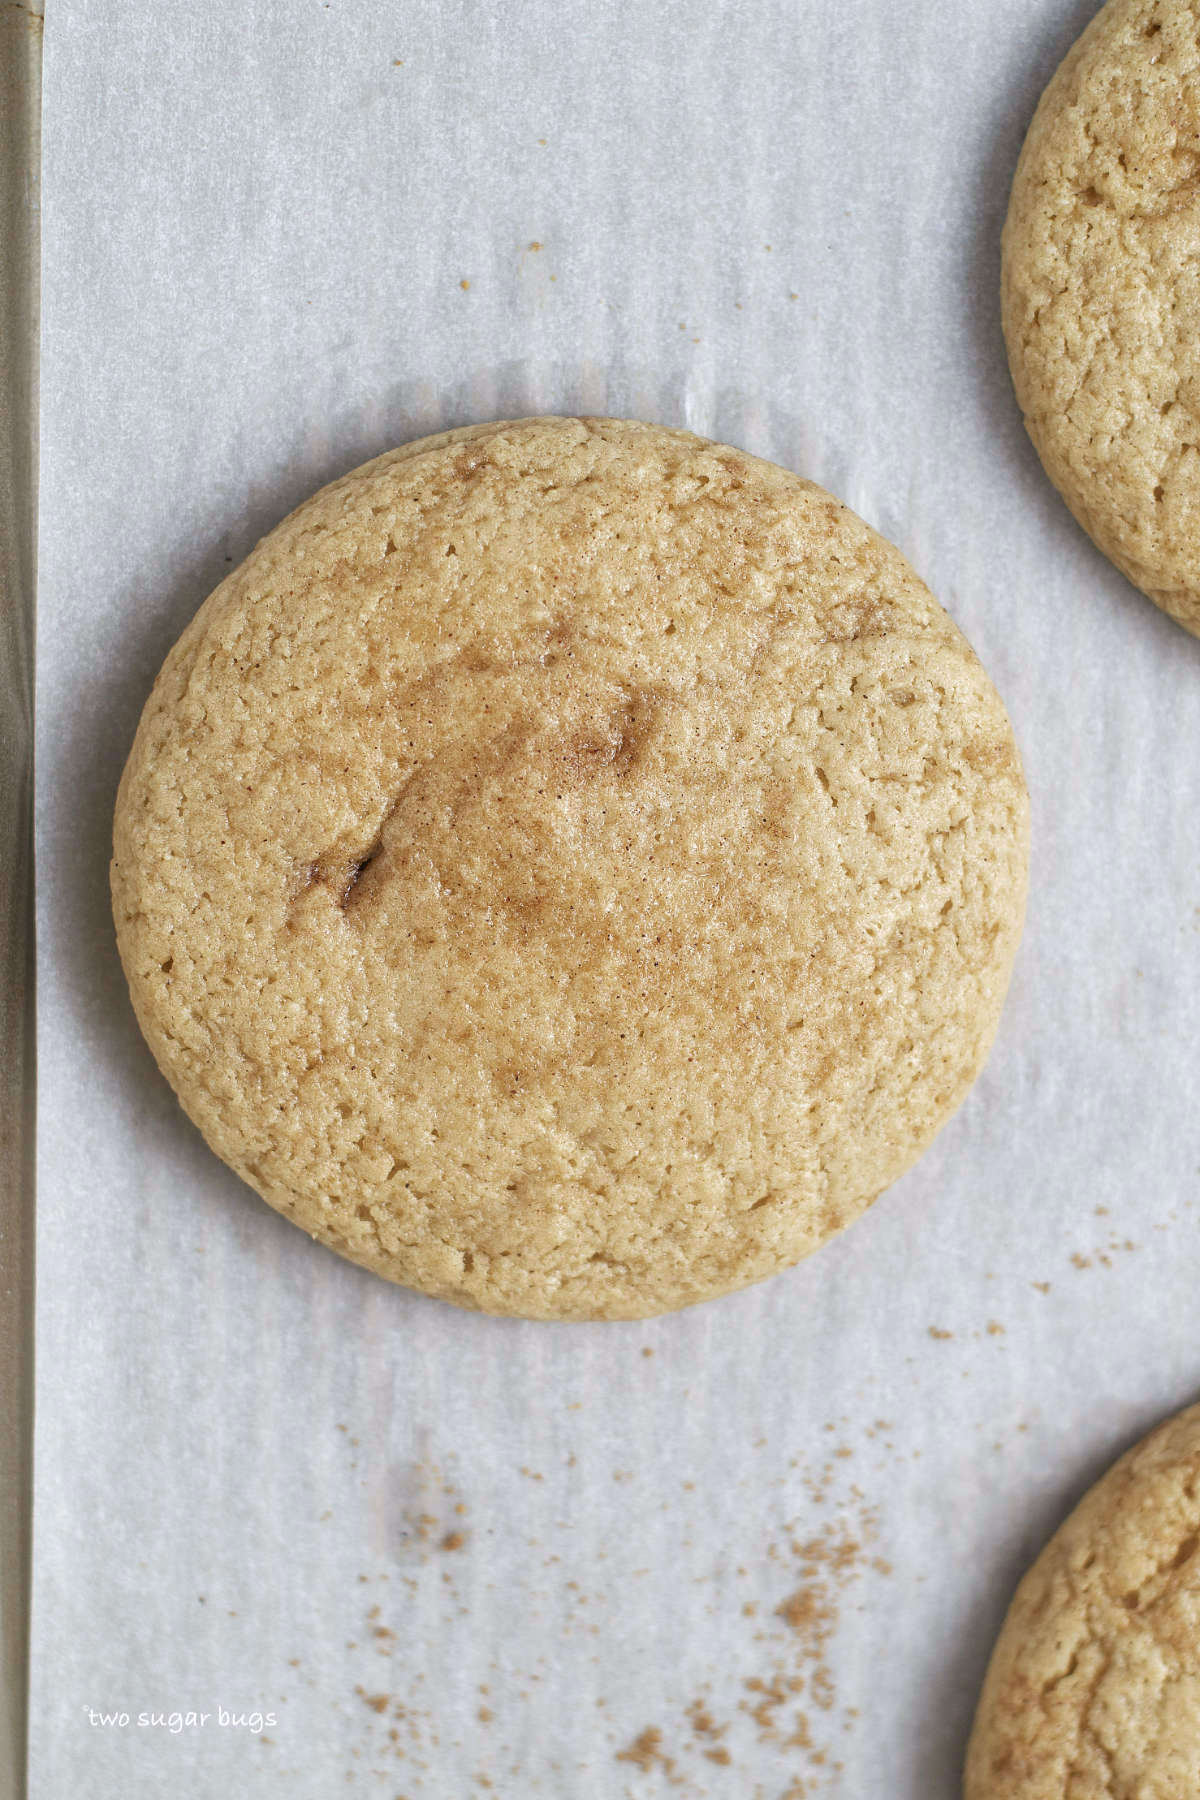
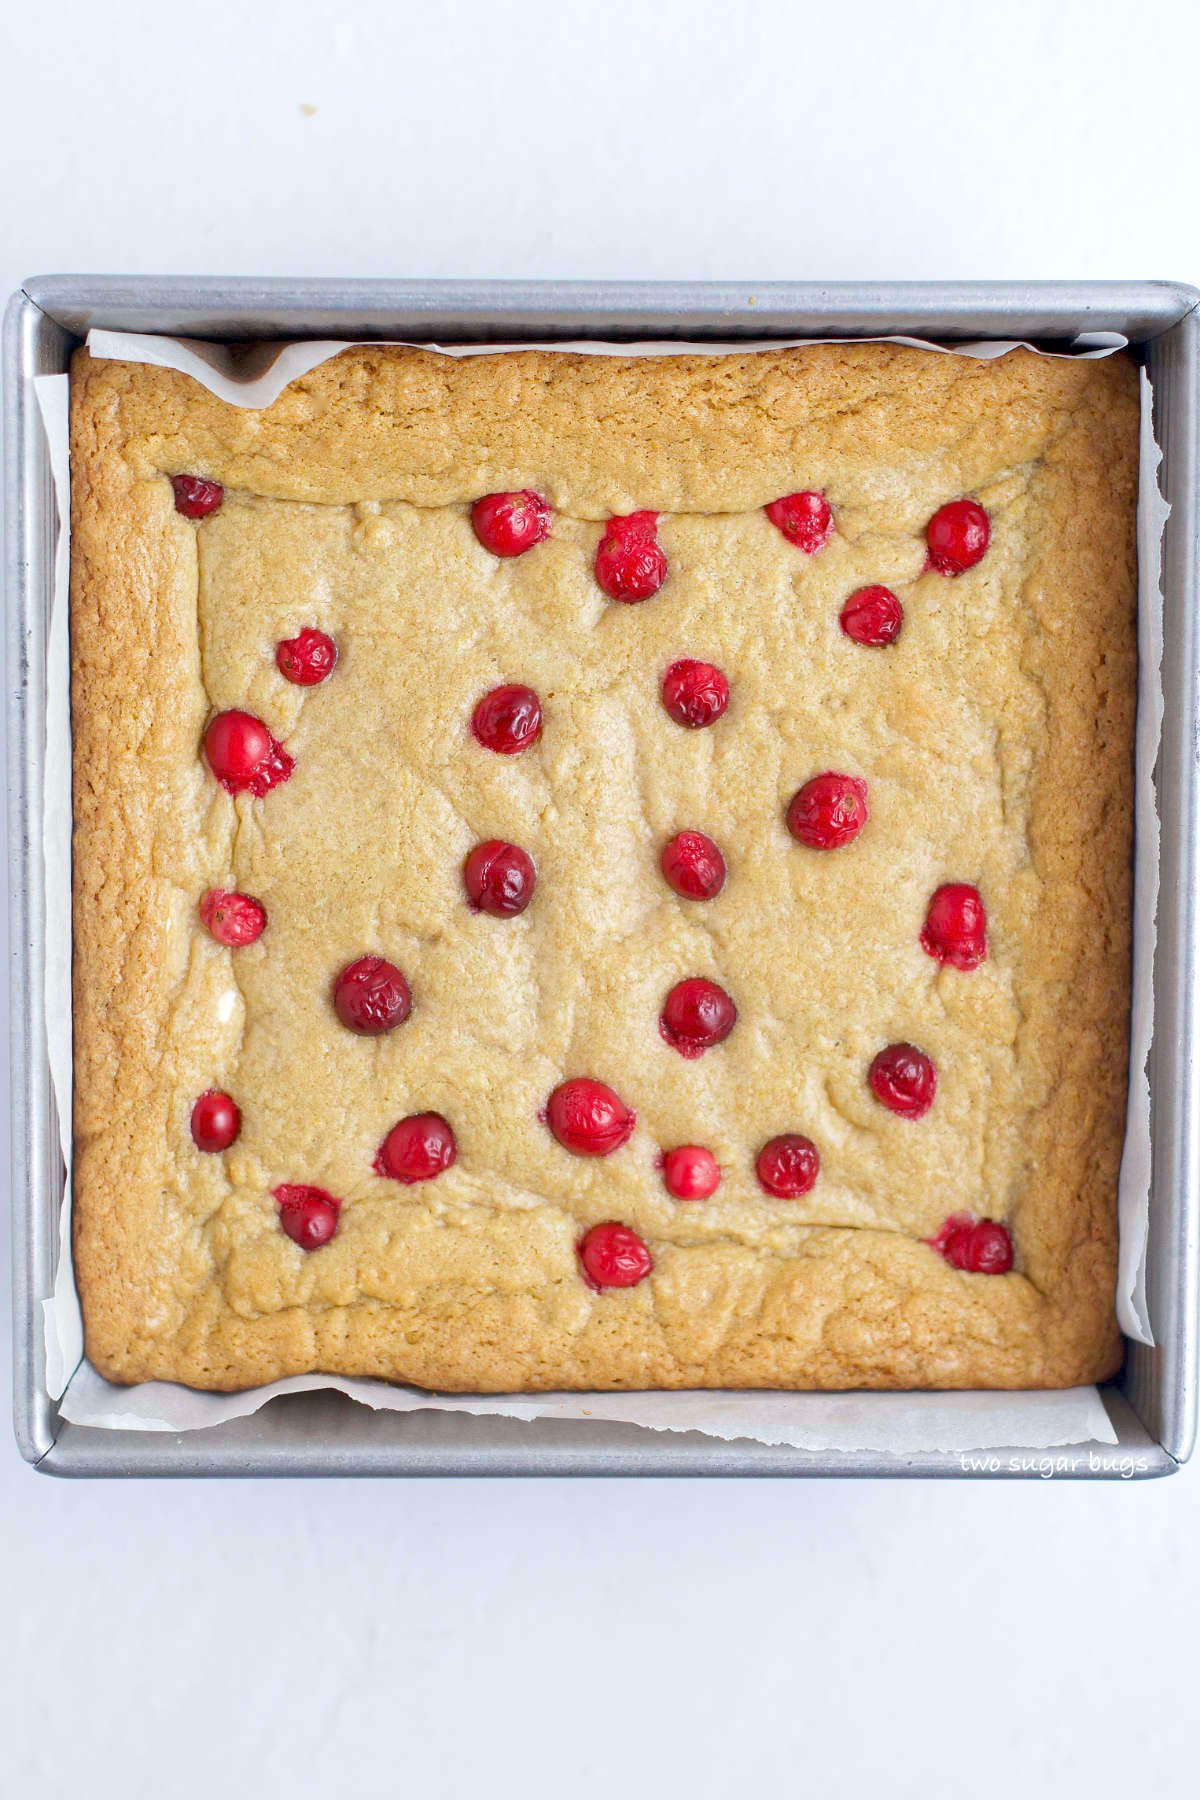
Bake the lemon cranberry bars for 25-30 minutes, until the edges are set. The center may still be a little gooey, but it will firm up once the cookies cool.
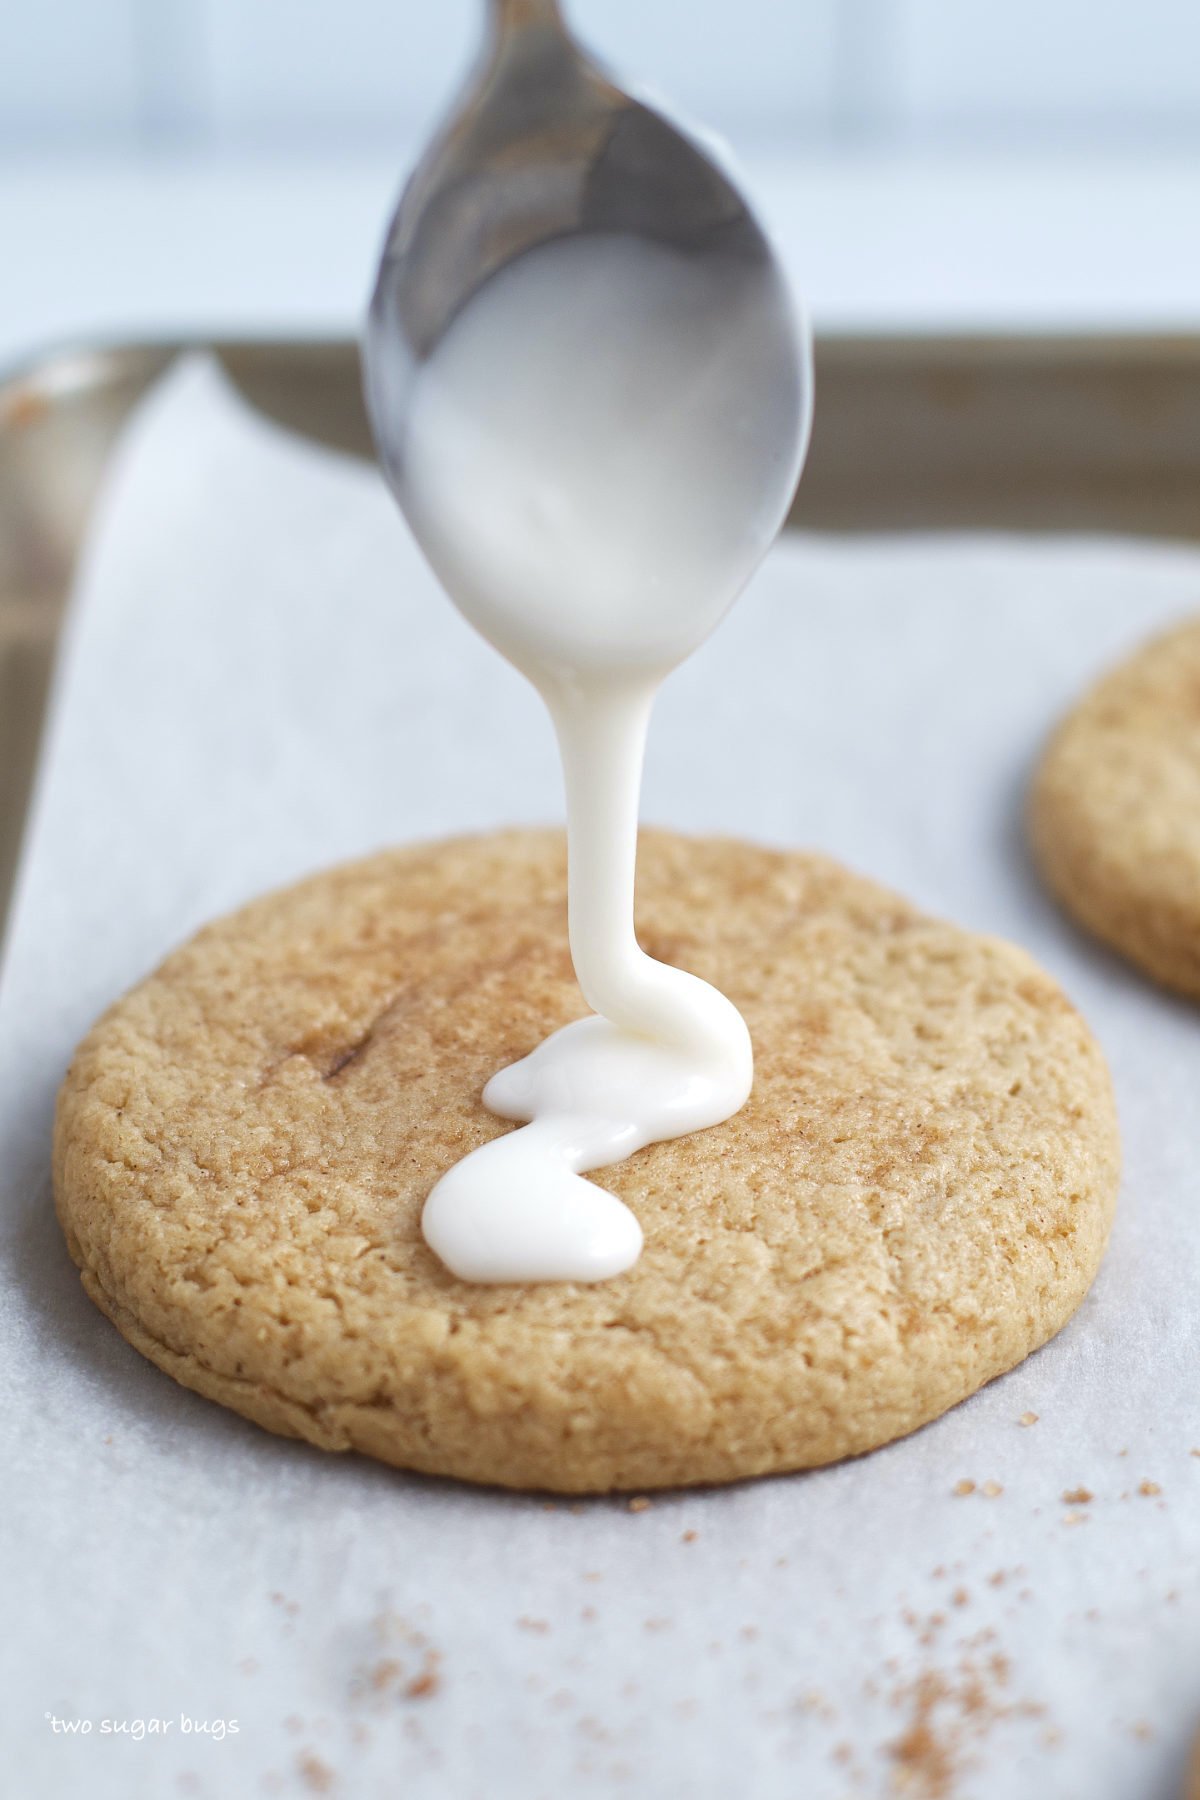
Allow to cool completely in the pan before adding the lemon glaze.
what do cranberries taste like?
Cranberries are tart and a little bitter. The lemon and white chocolate help to tame the cranberries and create an irresistible flavor combination.
can I bake with fresh cranberries?
Yes! Just give them a good rinse and let them dry before adding them to the cookie dough.
You can bake this recipe with frozen cranberries; just don't thaw the berries before using them.
other variations of this blondies recipe
If you want to swap the lemon for lime or orange juice, that works just fine! I actually have an orange and cranberry recipe coming in a couple weeks.
You can also use raspberries or blackberries in place of the cranberries.
can I make them ahead of time?
Yes, the cranberry lemon bars can be baked a few days ahead of time. See below on how to store them.
how to store
Store cookie bars in an airtight container at room temperature for 4-5 days.
The lemon cranberry bars also freeze well for up to three months; allow them to cool completely, then store in an airtight container.
Remember to snap a picture and tag me on Instagram if you make these Lemon Cranberry Bars. It warms my heart to see you bring these recipes to life! Thank you for being here and happy baking!
more easy holiday desserts
- Sprinkle Cookies
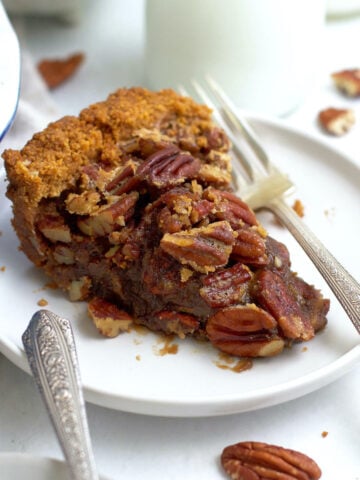
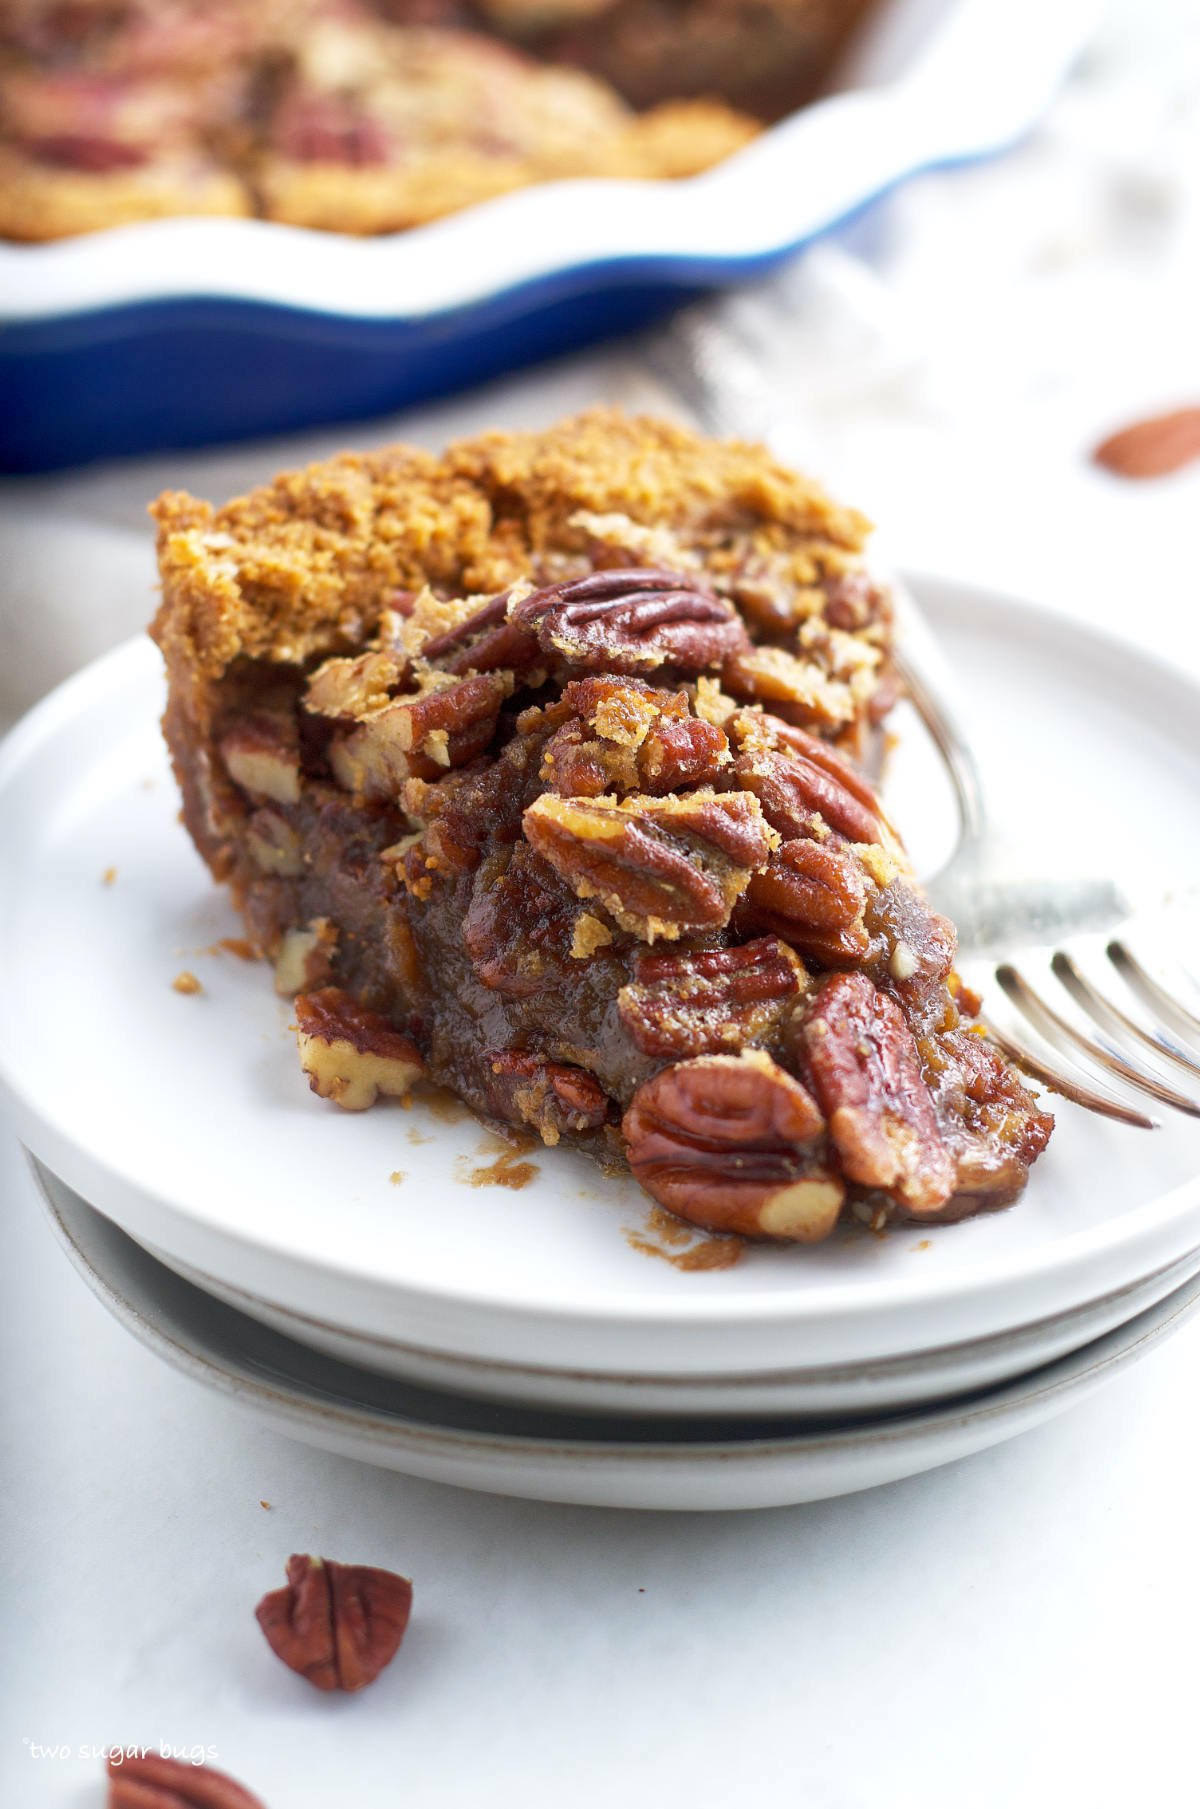
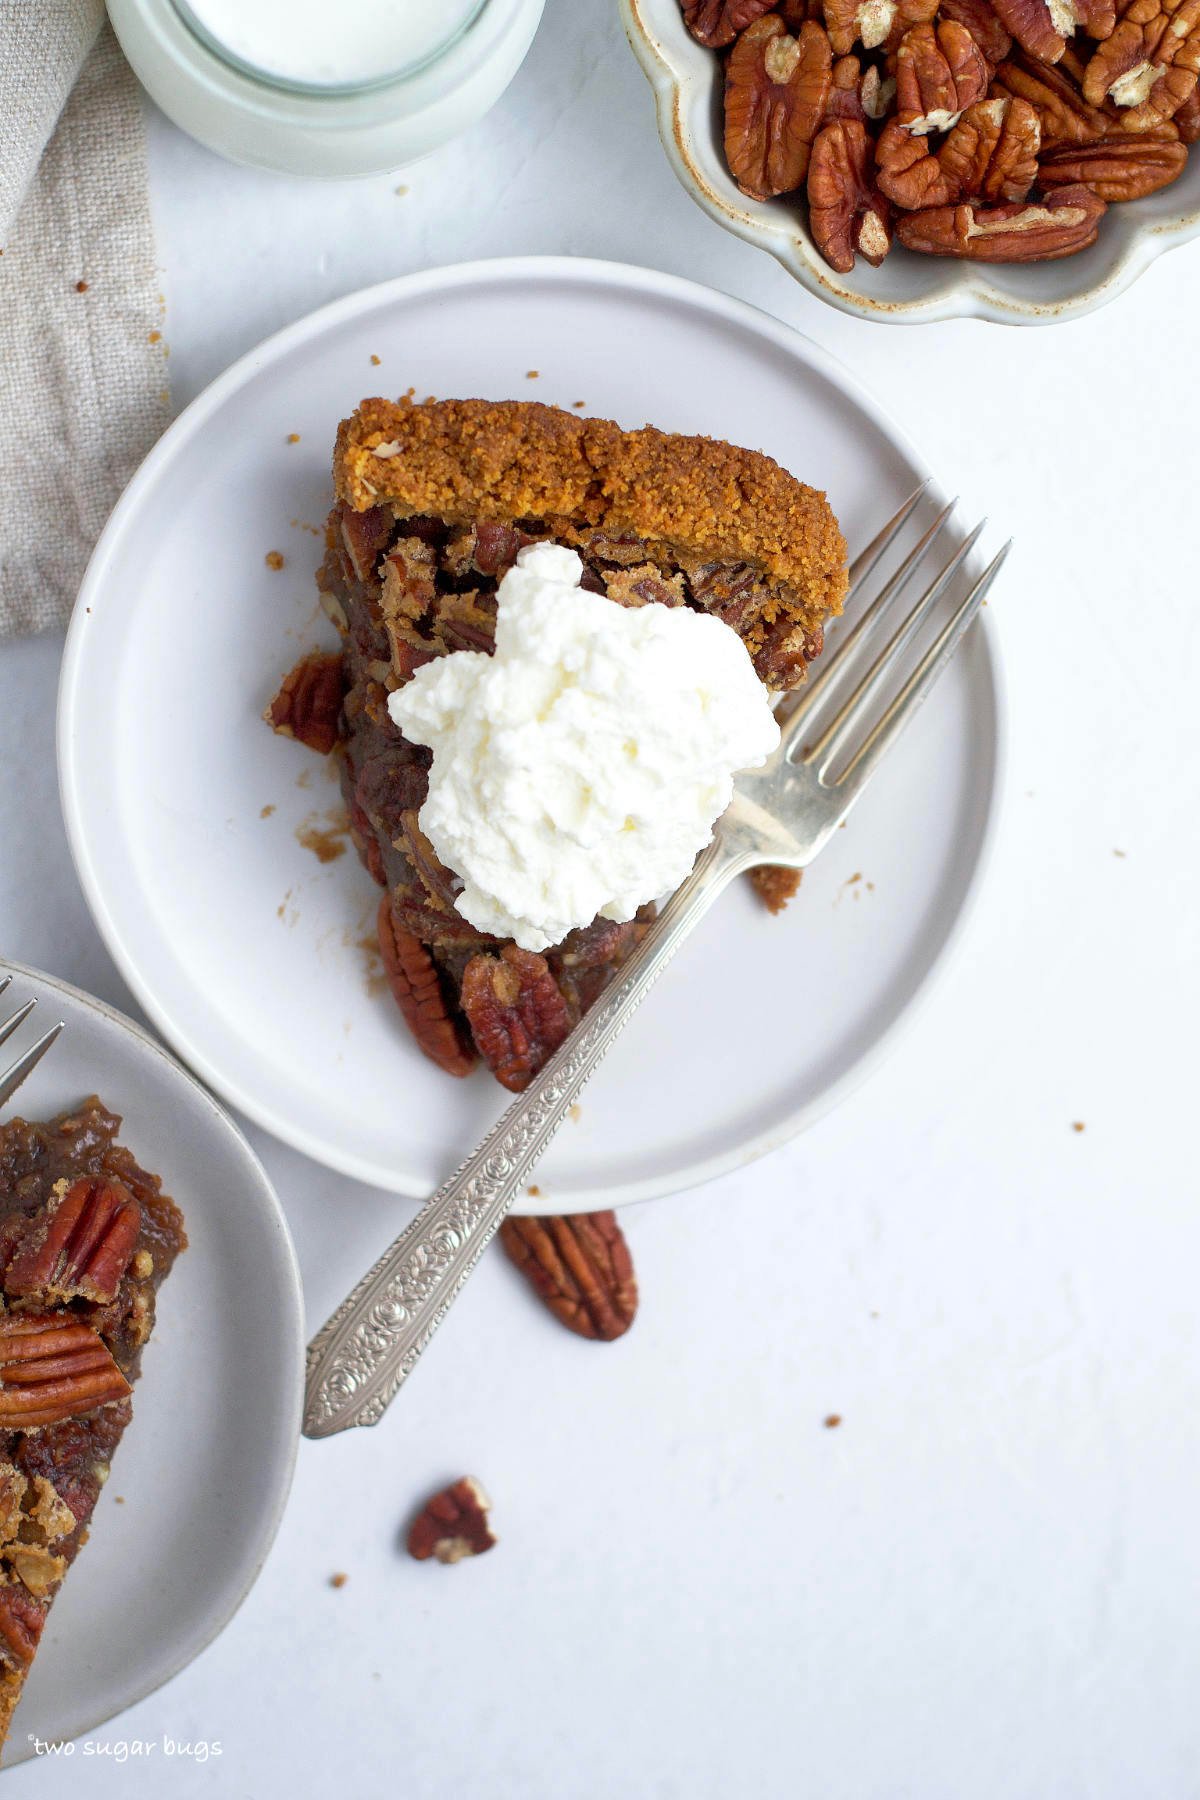
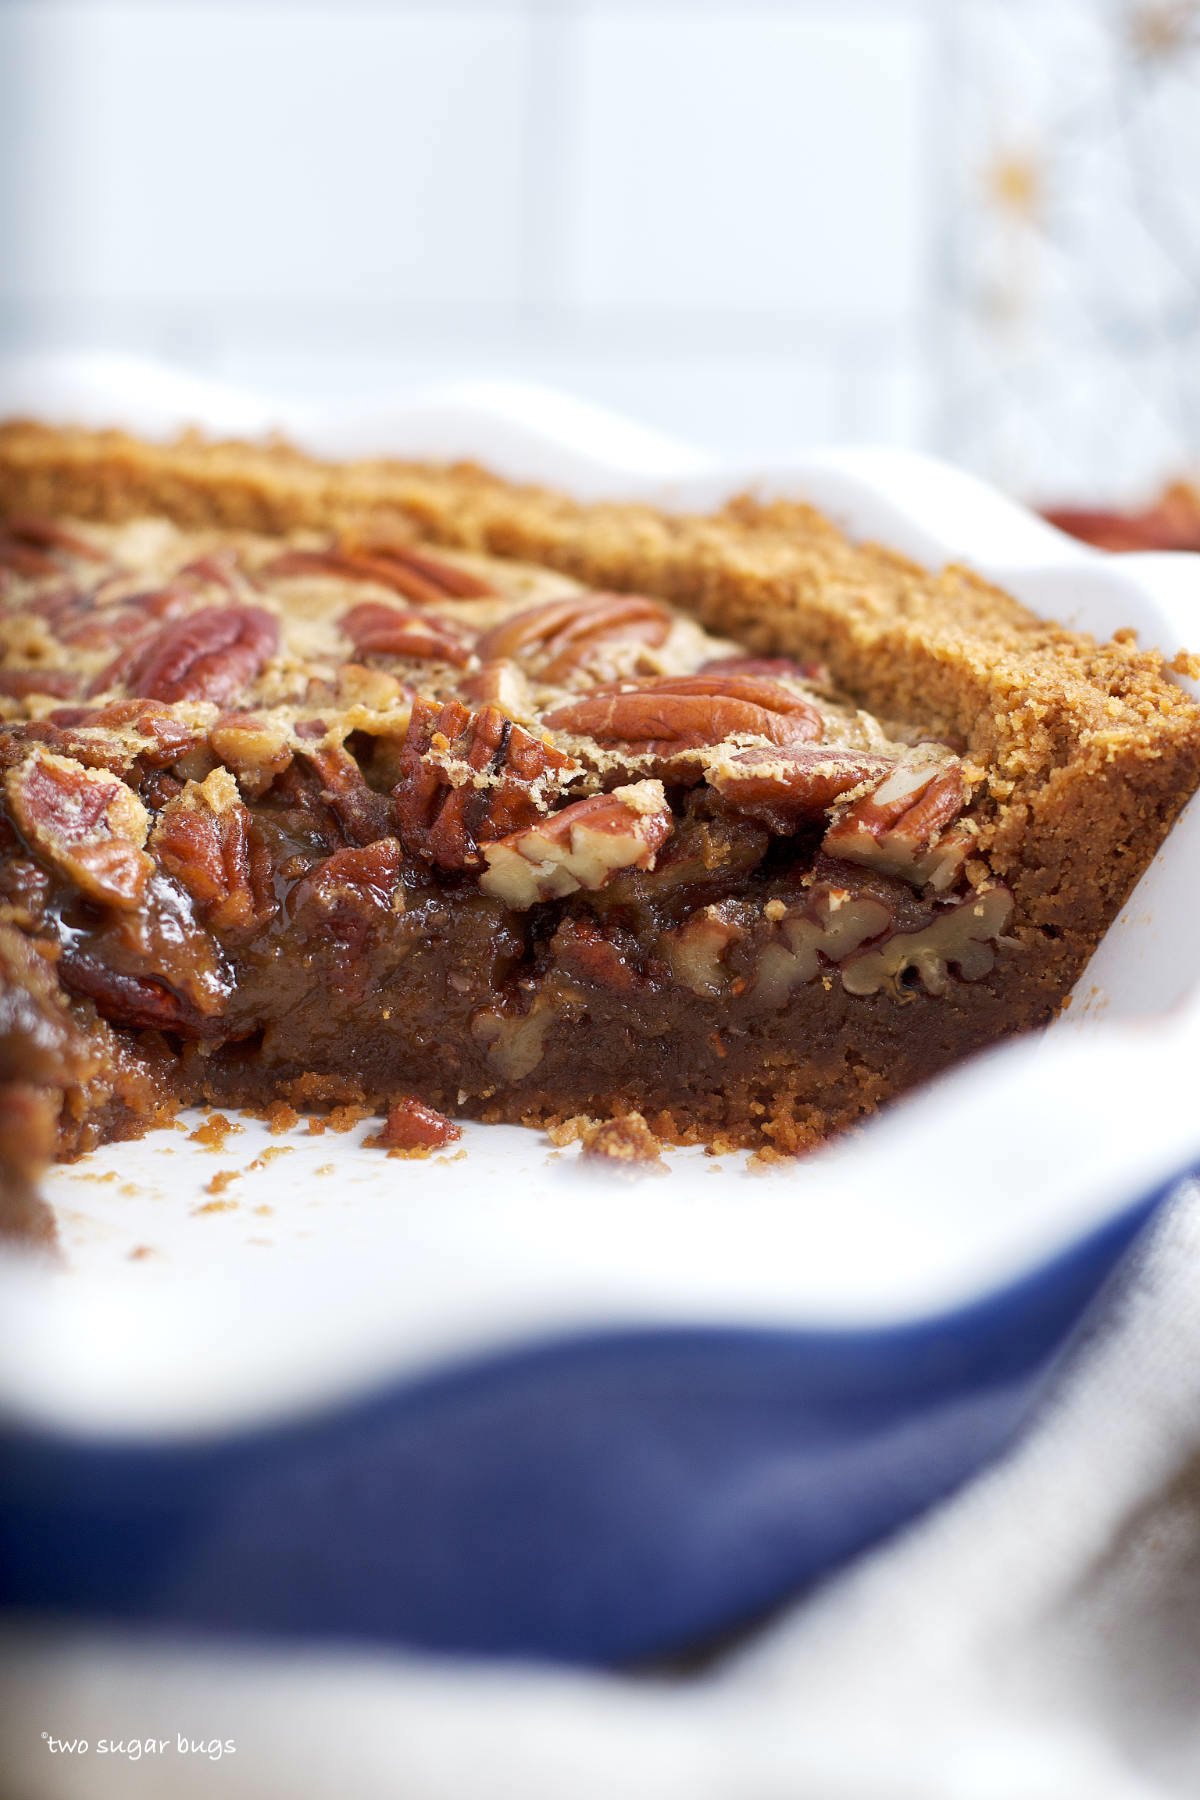
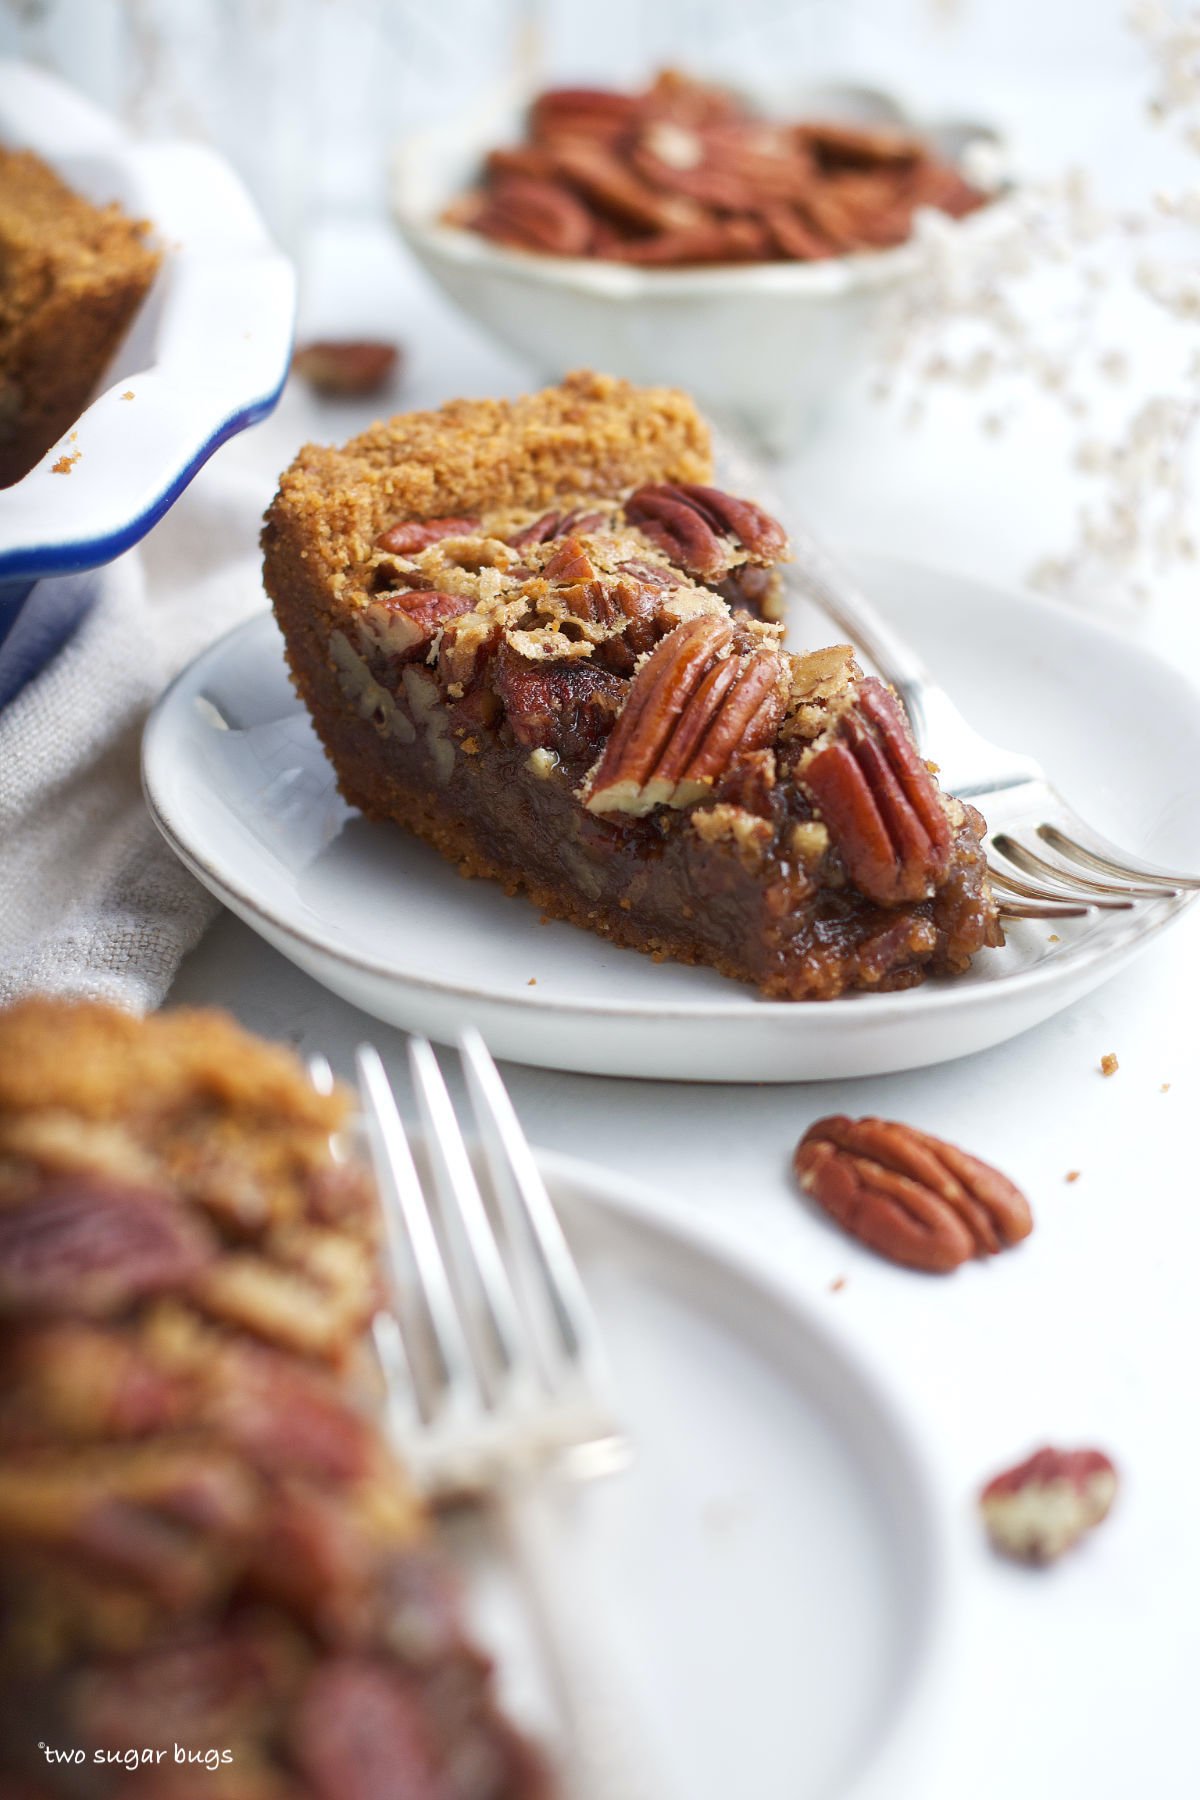
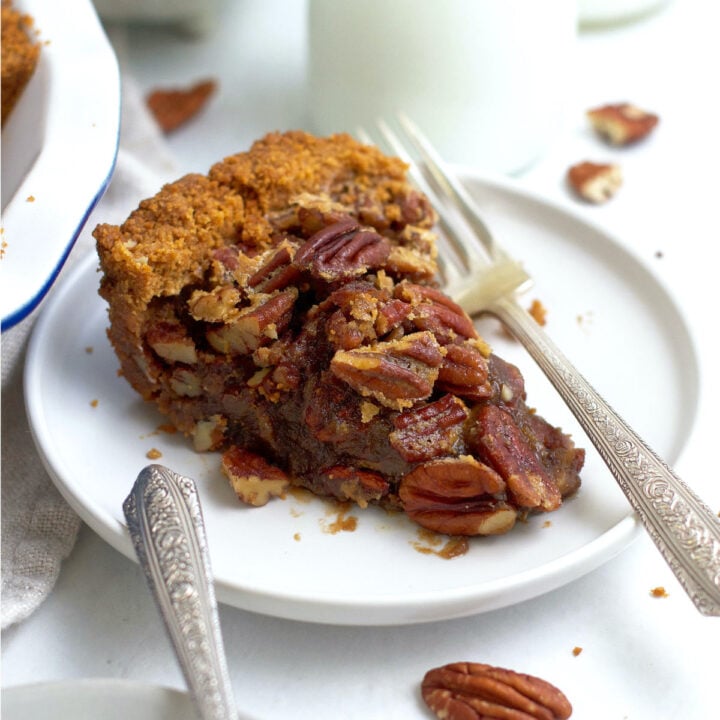
- Pecan Pie with Graham Cracker Crust
- Shortbread Peppermint Bark
- White Chocolate CranberryTart {no bake}
- Orange Cranberry Sugar Cookie Bars
If you make this recipe {or any recipe!} from two sugar bugs please come back and leave a review and a ⭐️⭐️⭐️⭐️⭐️ star rating. I read every comment, and I LOVE hearing from you!
Lemon Cranberry Bars
Lemon cranberry bars are the best holiday treat! With a blondie texture; the tart lemon and cranberries have a sweet white chocolate filling.
Ingredients
- ½ cup unsalted butter, melted (113g)
- ½ cup granulated sugar (100g)
- ⅓ cup brown sugar (67g)
- 2 tablespoons lemon zest (loosely packed, from one large lemon)
- 1 large egg
- 2 teaspoons pure vanilla extract
- 1 teaspoon lemon juice
- 1 teaspoon baking soda
- ½ teaspoon kosher salt
- 1 ¾ cups all-purpose flour (220g)
- ¾ cup cranberries, fresh or frozen* (75g)
- 7 ounces white chocolate bars, broken into large pieces (200g)
lemon glaze
- ¼ cup confectioners' sugar (30g)
- 1 - 1 ½ teaspoons lemon juice
- pinch of lemon zest (if desired)
Instructions
- Preheat oven to 350°F and prepare an 8x8 baking pan with parchment paper and set aside.
- In a medium to large bowl, melt the butter (½ cup/113g). Add both sugars (½ cup/100g granulated and ⅓ cup/67g brown), lemon zest (from one large lemon/about 2 loosely packed tablespoons) and whisk until fully incorporated.
- Add the egg (1 large), vanilla (2 teaspoons) and lemon juice (1 teaspoon). Whisk until the mixture is combined and smooth.
- Sprinkle the baking soda (1 teaspoon) and kosher salt (½ teaspoon) over the mixture and stir well. Then add the flour (1 ¾ cups/220g) and stir until the flour disappears.
- Place half of the dough in the bottom of the prepared pan, then take half the cranberries and press them into the dough. If using frozen cranberries, do NOT thaw the cranberries first! Then lay the white chocolate bar over the top of the dough and top with the remaining cookie dough. (The dough is thick, start with the edges to seal the white chocolate in and do your best to smooth it over the top of the white chocolate in an even layer). Again, take the remaining cranberries and press them into the dough.
- Bake the lemon cranberry bars for 25-30 minutes, until the edges are set. The center may still be a little gooey, but it will firm up once the cookies cool. Allow to cool completely in the pan before adding the lemon glaze.
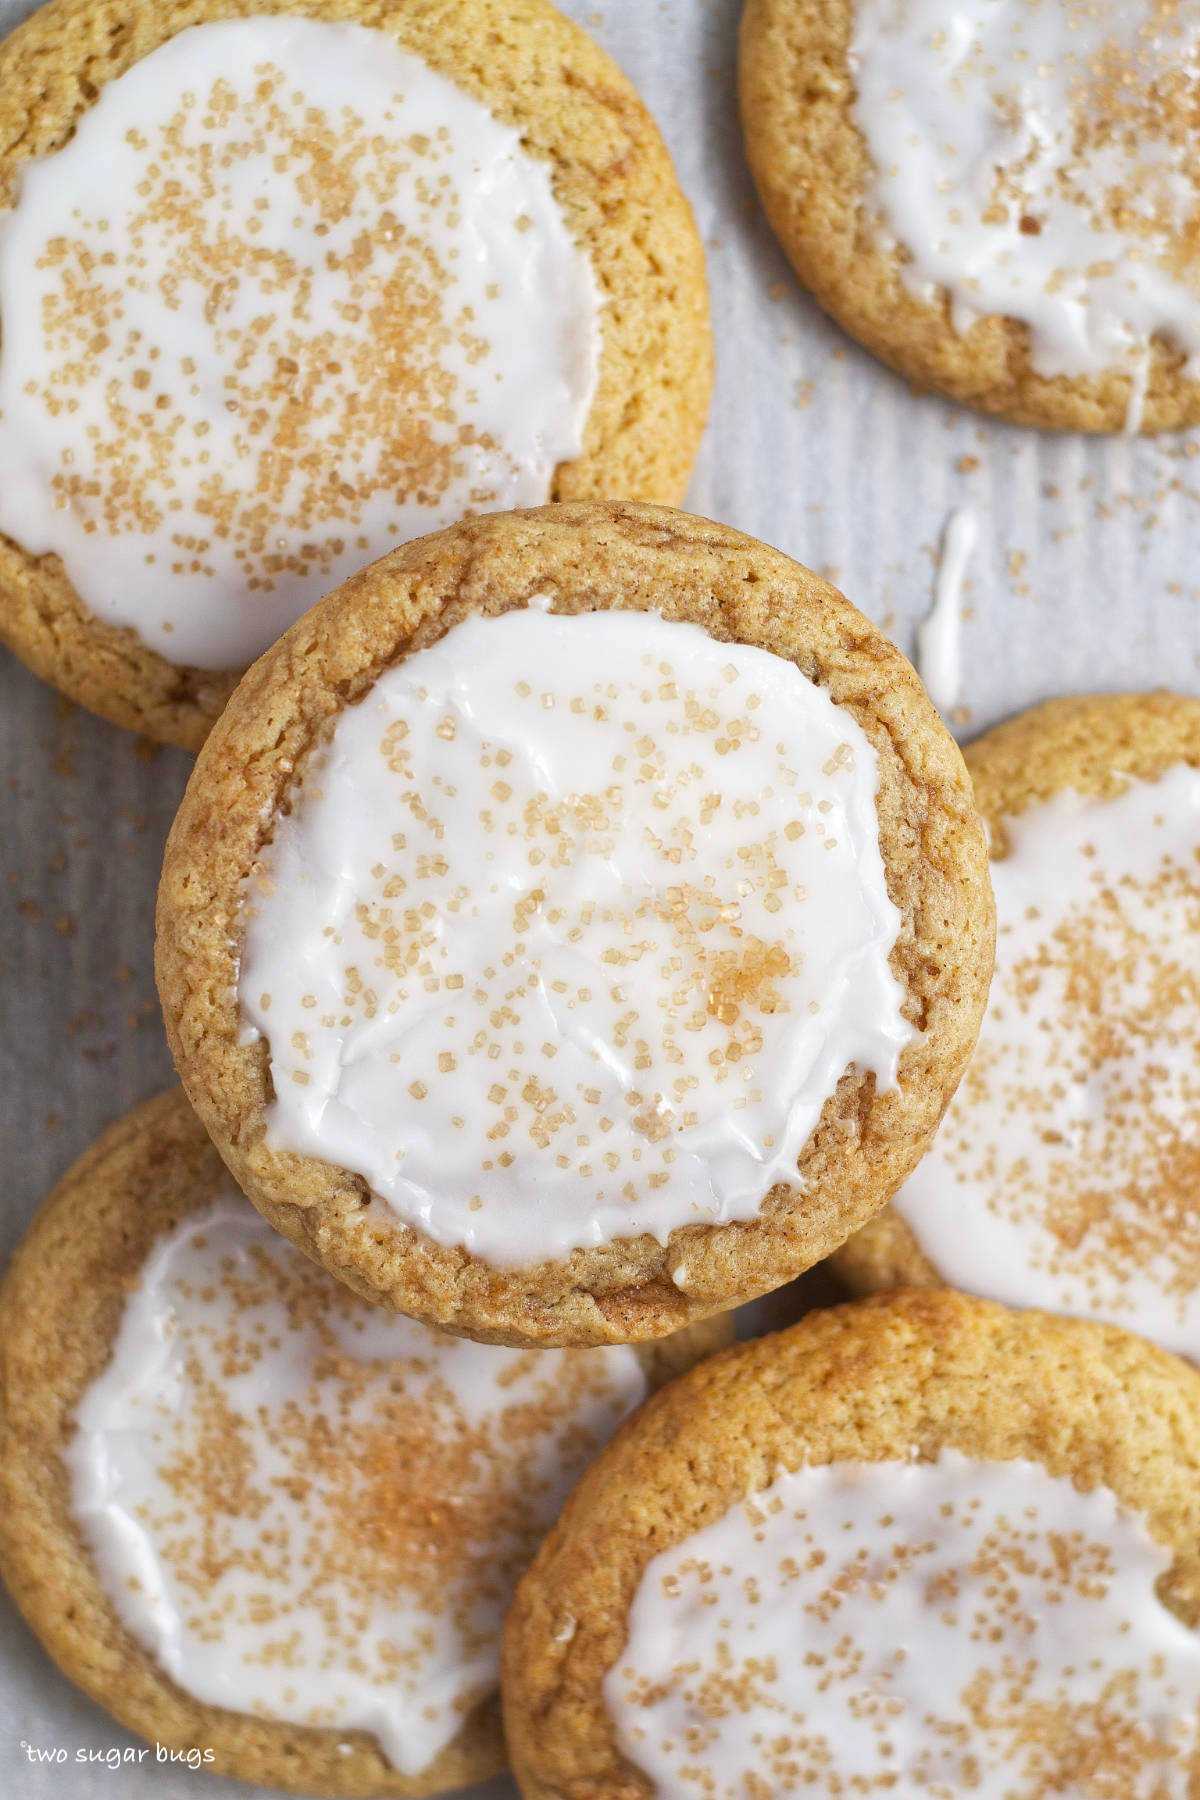
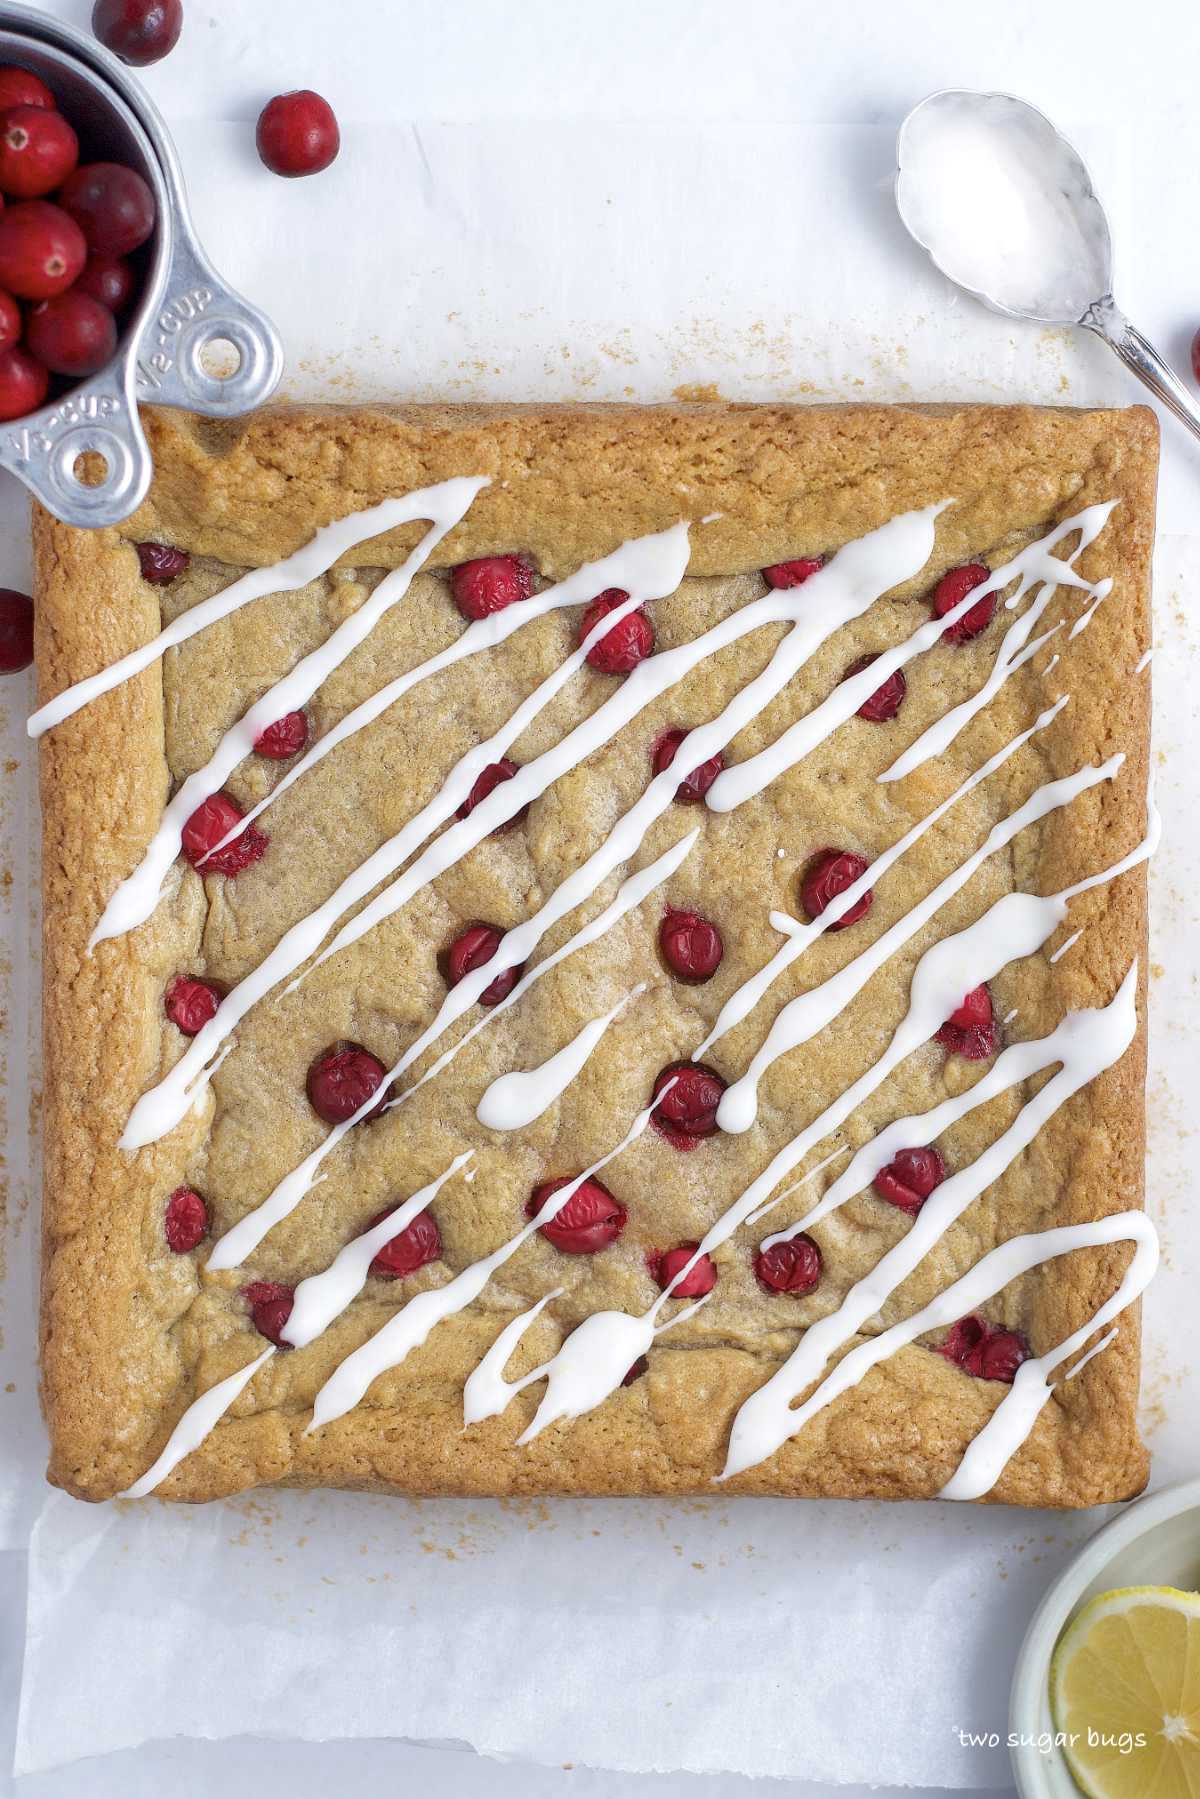
- For the lemon glaze: add confectioners' sugar (¼ cup/30g) and pinch of lemon zest (if using) to a small bowl. Then add a teaspoon of fresh lemon juice and stir until a thick glaze is formed. Add lemon juice in ½ teaspoon amounts until the glaze is thick, but you can drizzle it over the bars. Use a spoon, fork or a small zip-top bag with the corner cut off to drizzle over the bars.
- Use the parchment to lift the cool bars out of the pan. Place on a cutting board and slice into your desired size bars.
Notes
Store cookie bars in an airtight container at room temperature for 4-5 days. The lemon cranberry bars also freeze well for up to three months; allow them to cool completely, then store in an airtight container. They can be frozen with the lemon glaze.
*If using frozen cranberries, DO NOT thaw them first.
If you only have salted butter, eliminate the kosher salt. If you only have table salt, start with half the amount and adjust as needed.
I use dark brown sugar, but light brown also works.
If using fresh cranberries, make sure to wash them and allow them to be completely dry before adding to the dough. Otherwise they will add too much moisture. You could substitute raspberries or blackberries.
Nutrition Information:
Yield:
16Serving Size:
1Amount Per Serving: Calories: 221Total Fat: 10gSaturated Fat: 6gTrans Fat: 0gUnsaturated Fat: 3gCholesterol: 29mgSodium: 136mgCarbohydrates: 30gFiber: 1gSugar: 19gProtein: 3g
The nutrition information is an estimate only and may not be entirely accurate.