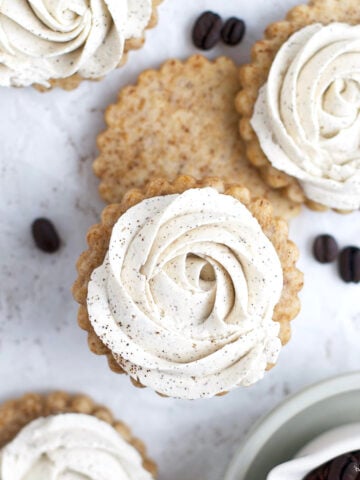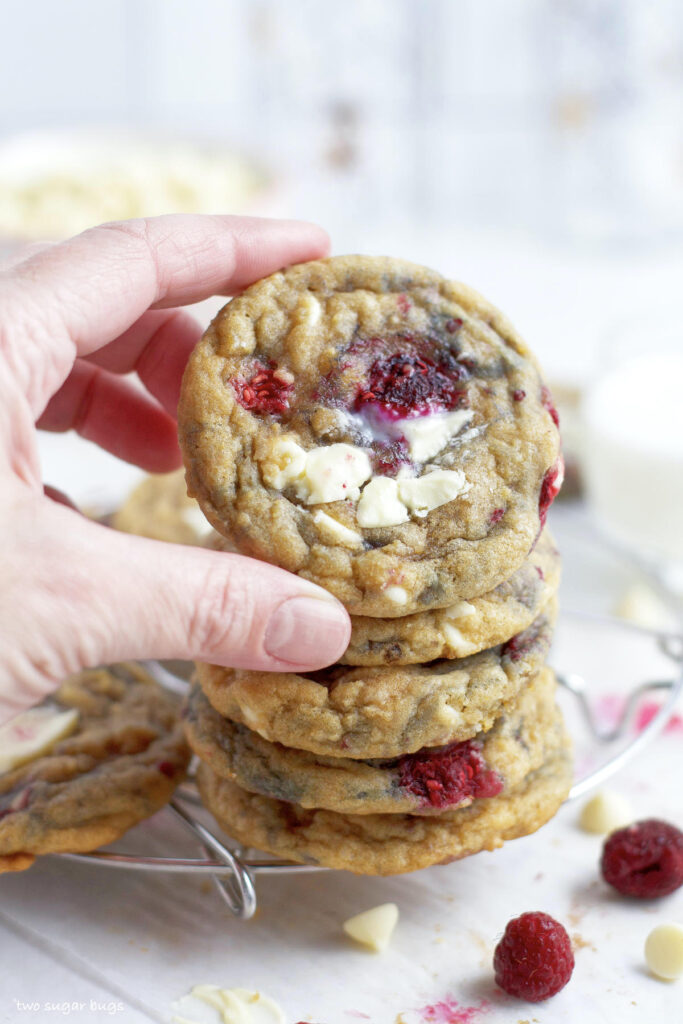
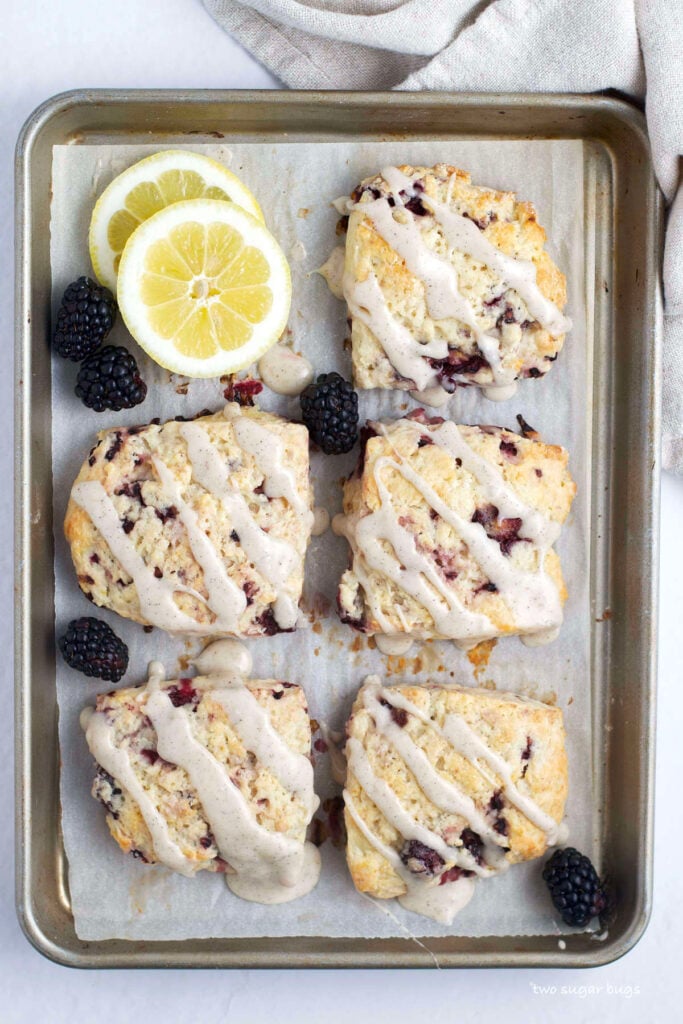
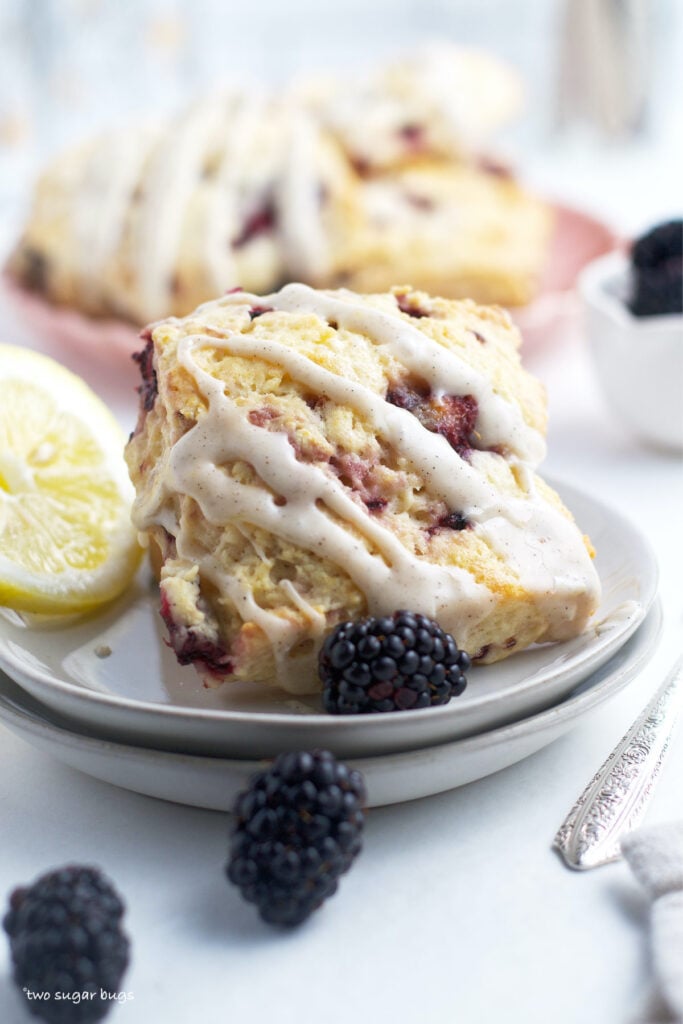
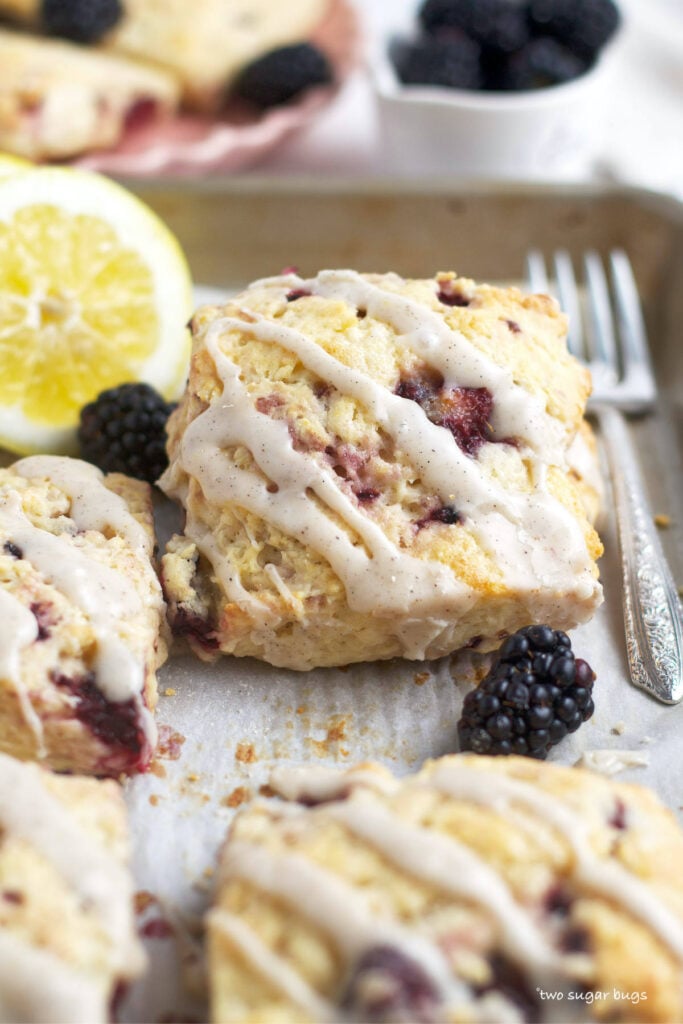
This easy blackberry lemon scones recipe is made without butter and makes soft and moist scones. The lemon and blackberry scones are drizzled with a tart lemon glaze and are perfect for brunch, dessert or an afternoon tea!

Disclosure | This post may contain affiliate links. As an Amazon Associate I earn from qualifying purchases.
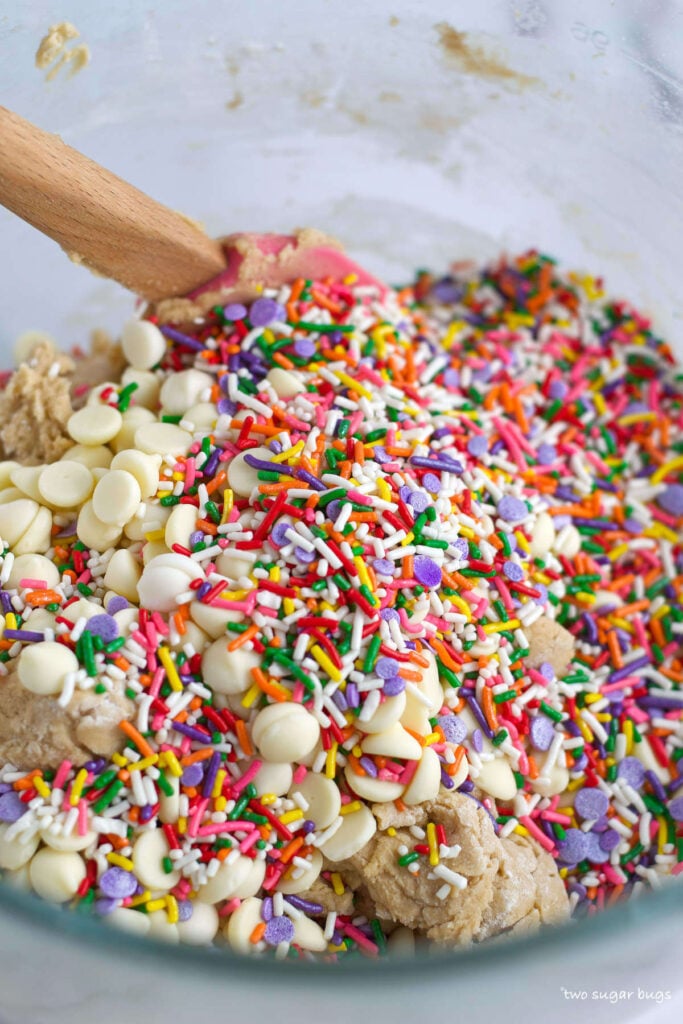
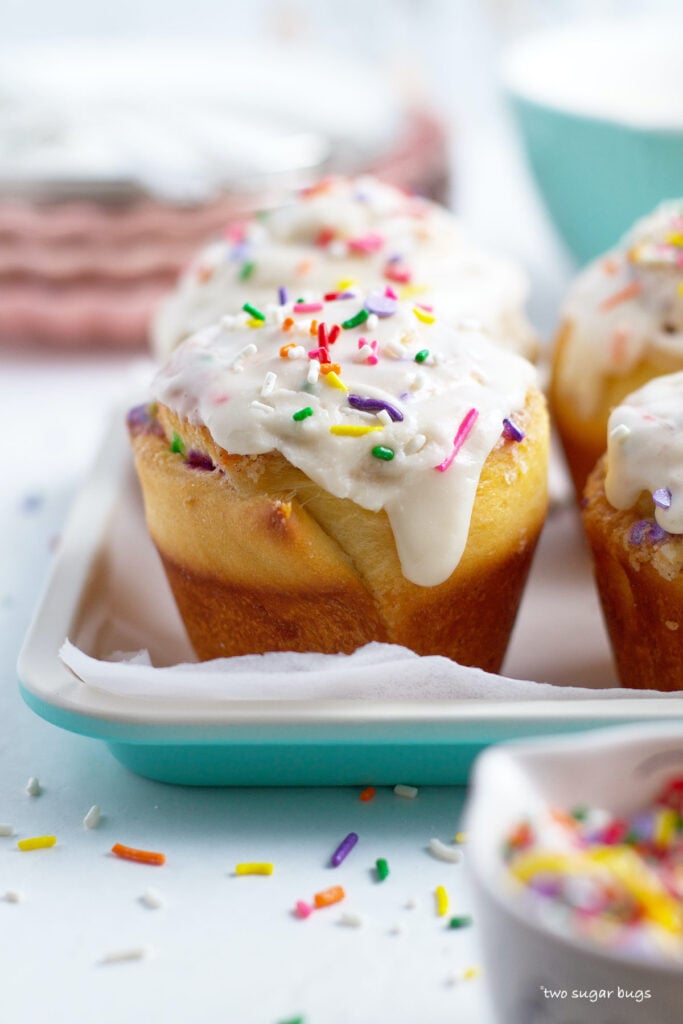
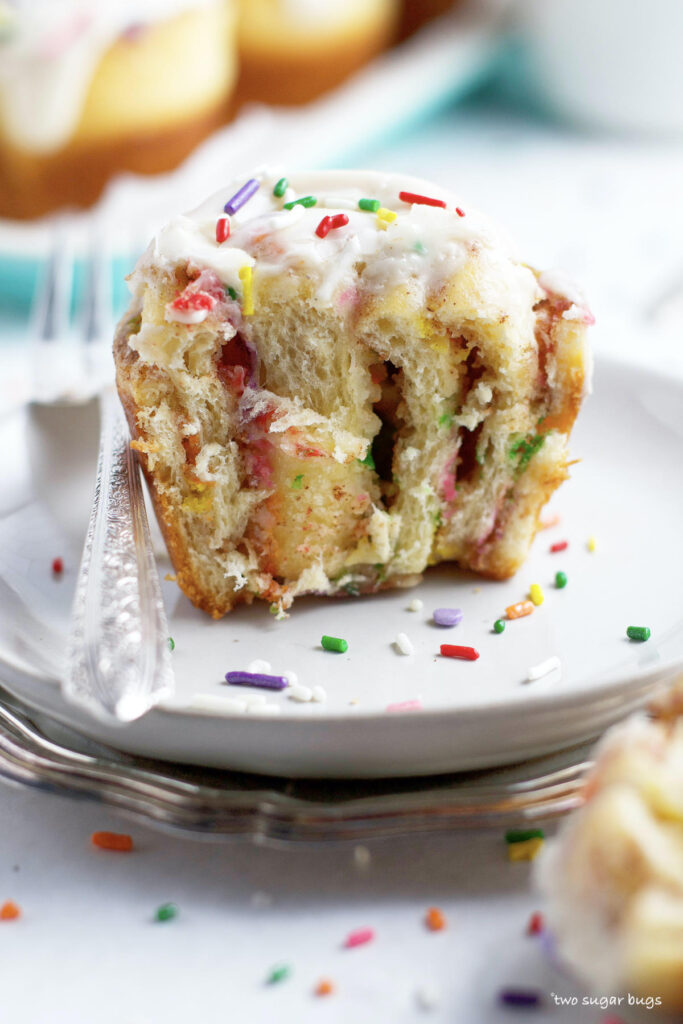
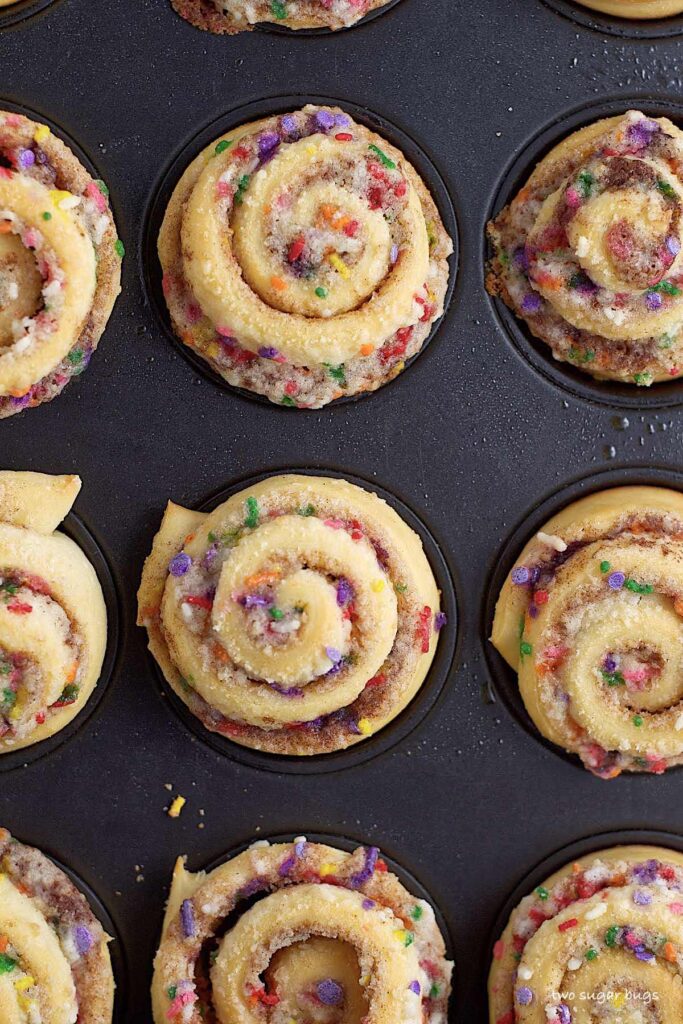
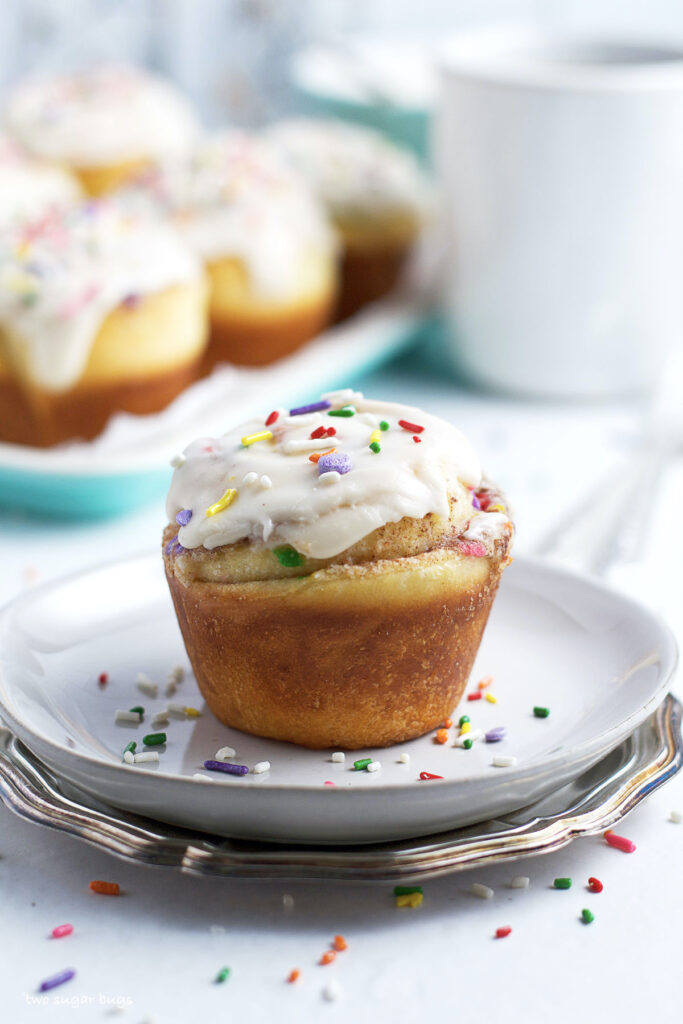
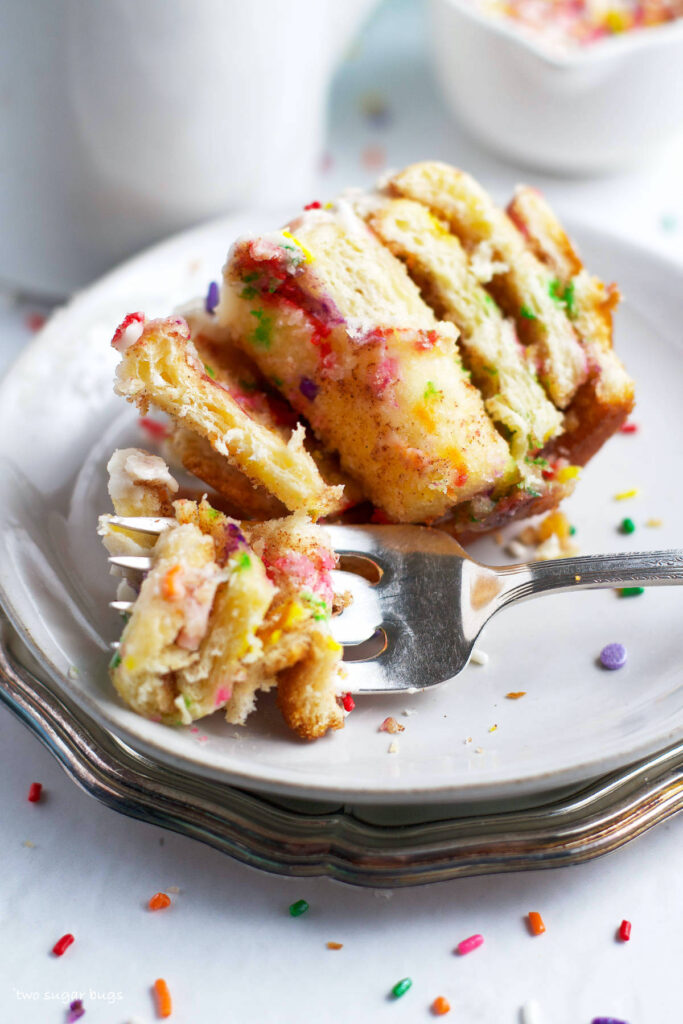
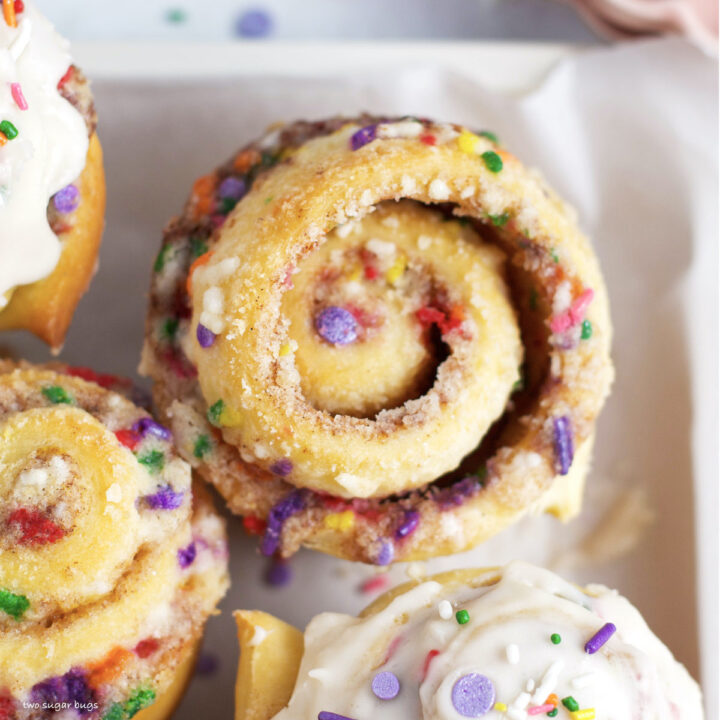
Breakfast is a favorite meal in the two sugar bugs household. We make my easy Dutch Babies recipe at least a few times a week! But on the weekends we like to have a more leisurely breakfast with funfetti cinnamon rolls, bagels and homemade cookie butter or pull apart bread.
But scones are homemade treat we love to enjoy. We slather them in jam, honey or just eat them plain! To enjoy the summer fruits, I have white chocolate blueberry scones and cherry almond scones. And today I am adding blackberry and lemon scones to the list.
why you will love this easy berry scone recipe
- Quick and easy ~ the scone recipe comes together in one bowl, no mixer needed.
- Bright flavor ~ the easy recipe uses fresh lemons and zest in the scones and glaze, giving a nice hit of citrus.
- Can be an overnight recipe ~ prepare the scones and refrigerate overnight; then all you need to do is bake and glaze them in the morning.

what is a cream scone?
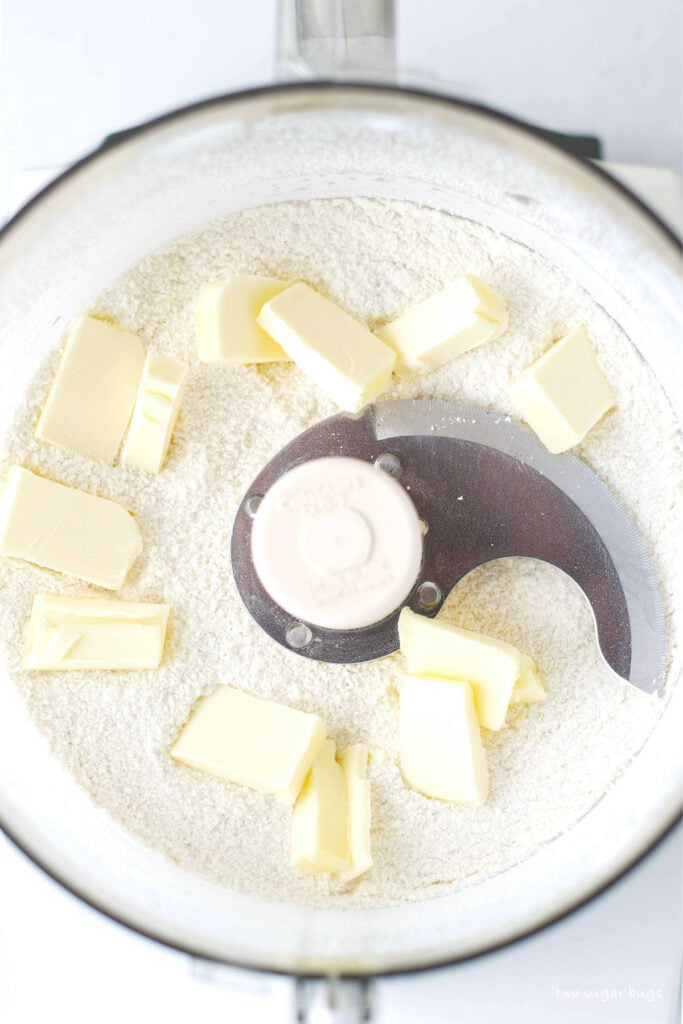
Cream scones are made with only heavy cream; while a more traditional American scone is made with butter and more liquid like heavy cream or buttermilk.
These lemon and blackberry cream scones are quick and easy to make and the heavy cream makes gives them a soft and tender texture with a lightly flaky exterior.
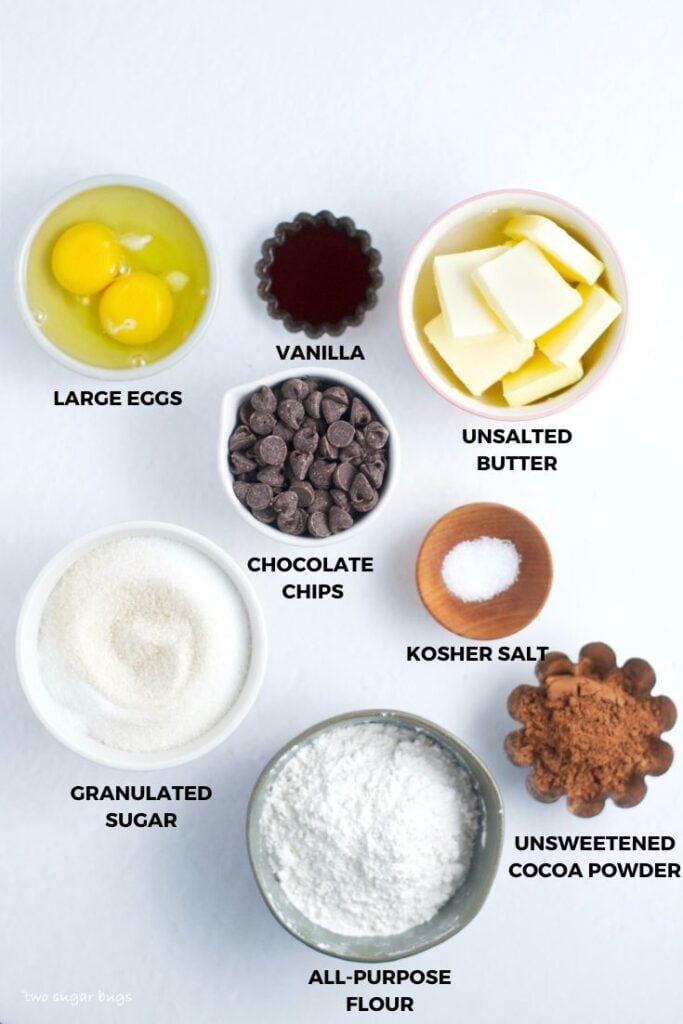
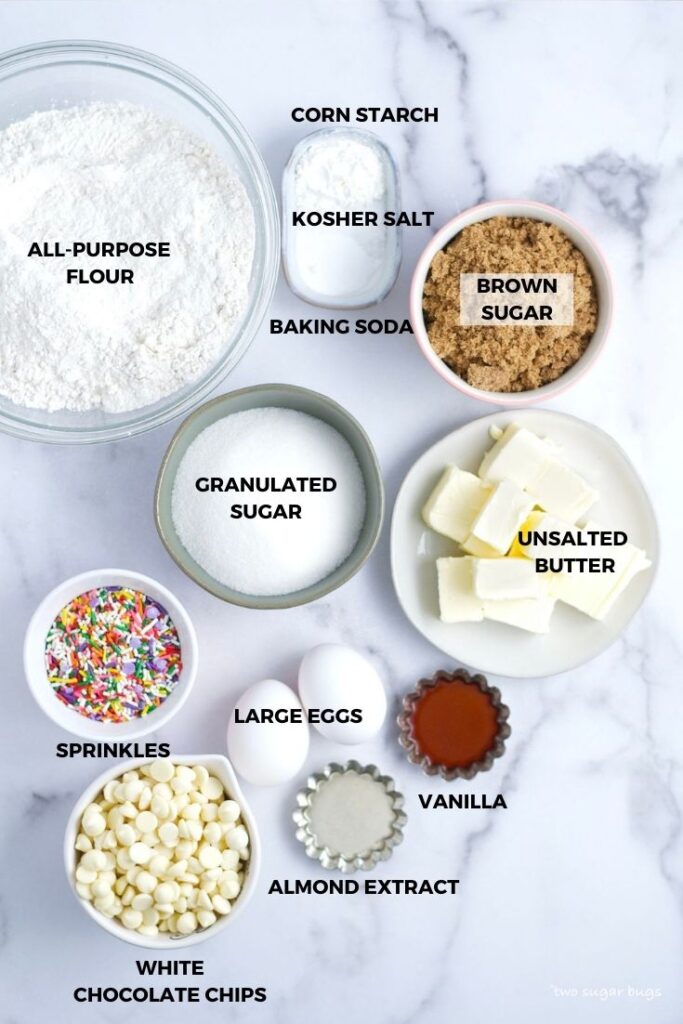
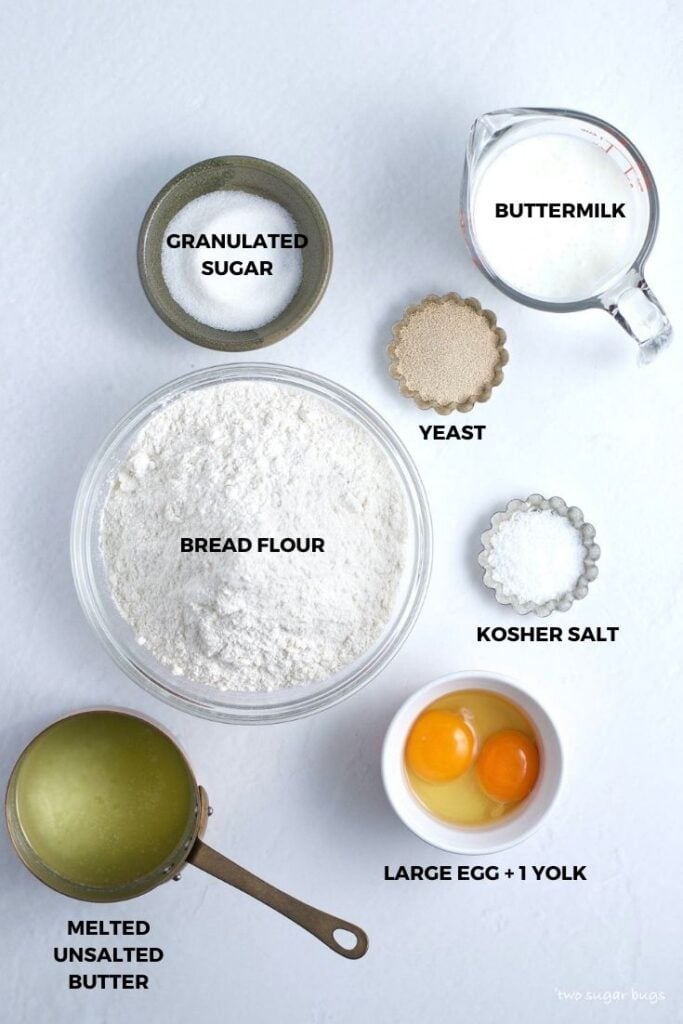
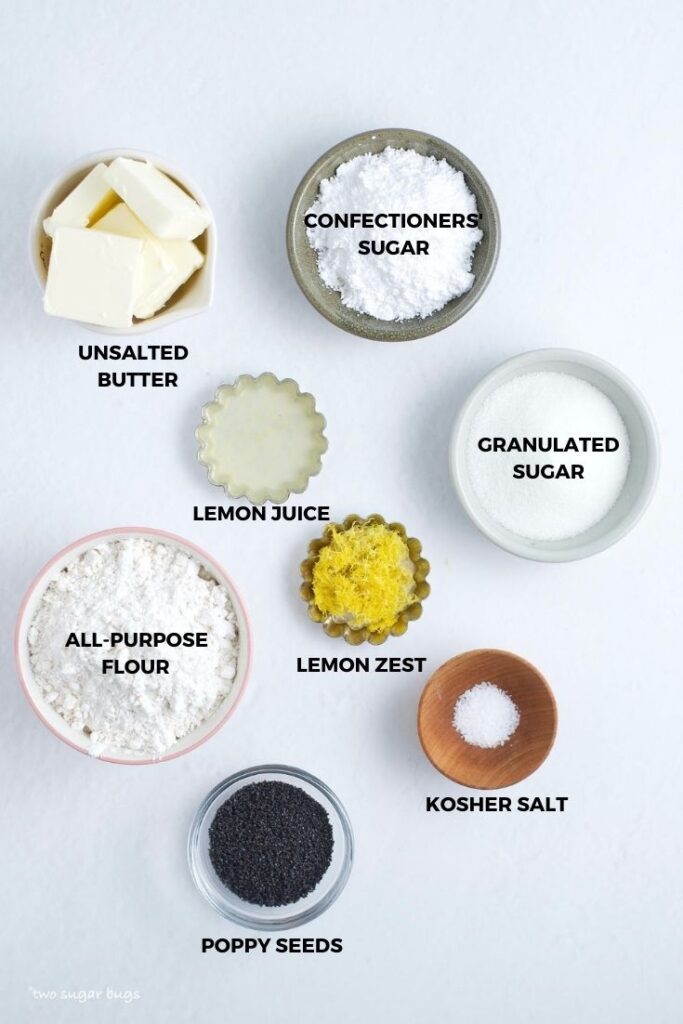
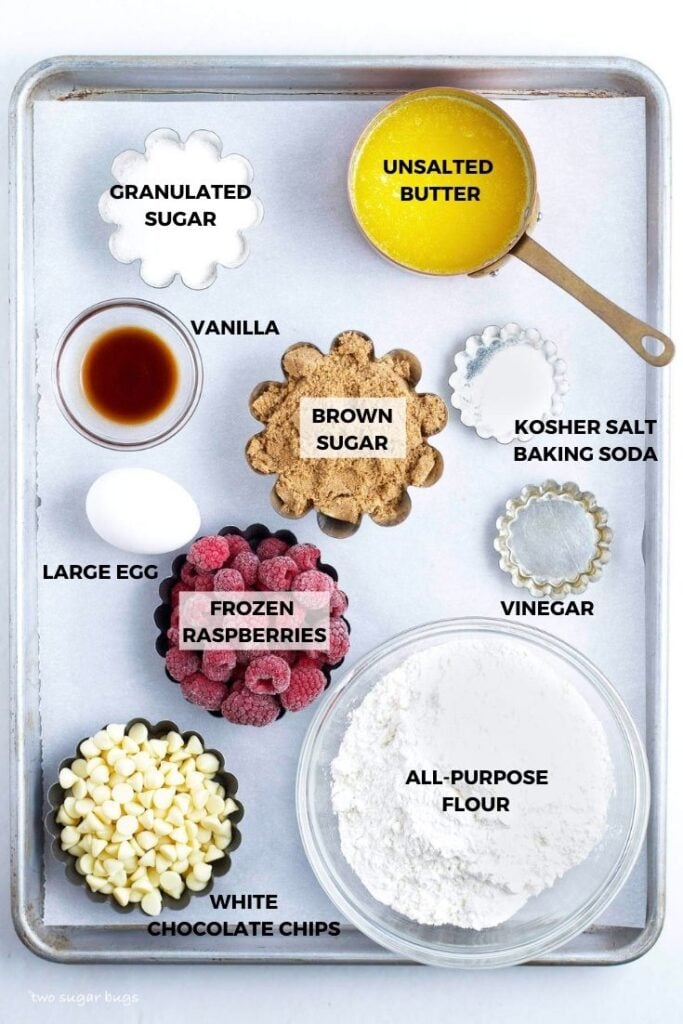
ingredients needed
Please scroll to the printable recipe card at the end of this post for the full list of ingredients and baking directions.
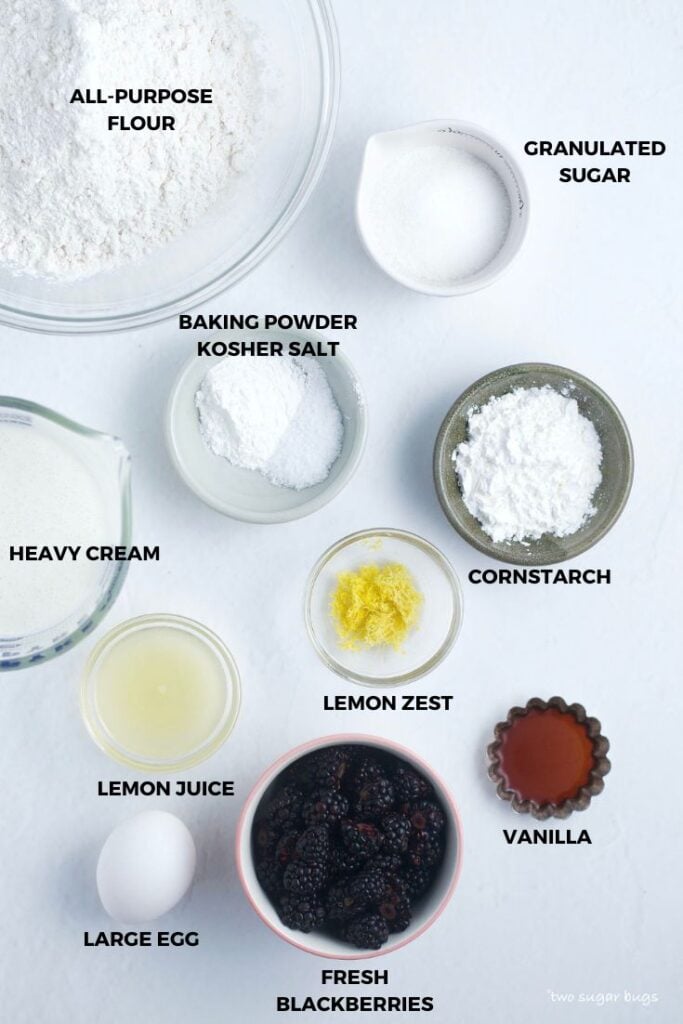
- All-purpose flour
- Cornstarch ~ helps to tenderize the flour and adds to the soft, flaky texture.
- Baking powder ~ gives extra lift to the scones.
- Kosher salt ~ balances the flavors. If you only have table salt, use half the amount.
- Granulated sugar ~ you'll notice this scone recipe has very little sugar. This makes the scone itself more like an English scone, which isn't as sweet as American scones.
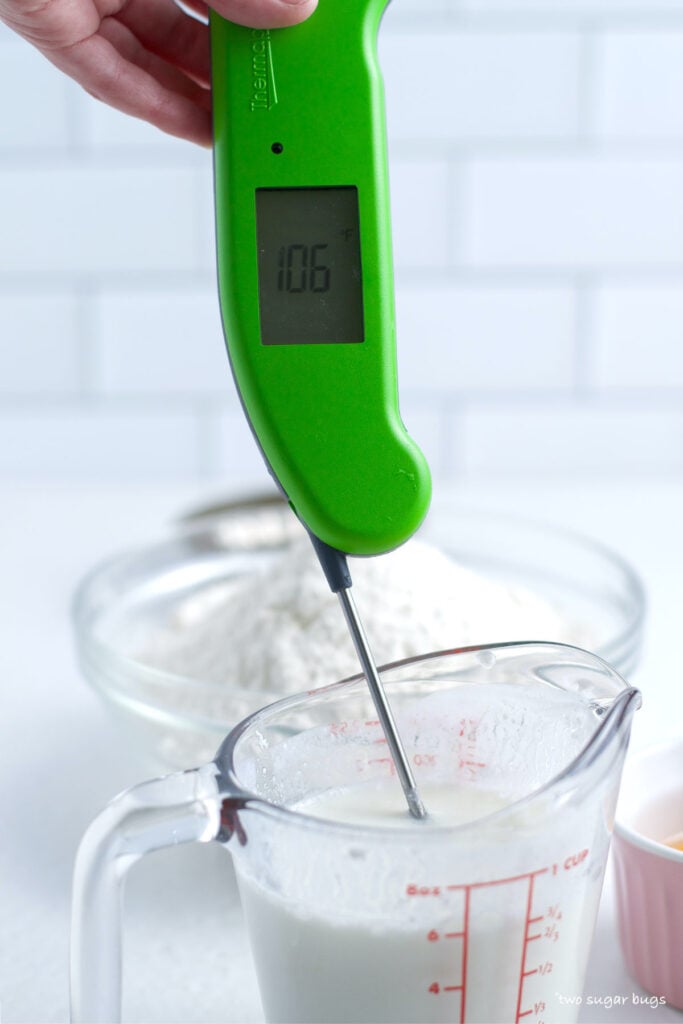
- Heavy cream ~ use heavy cream or heavy whipping cream. You want a cream with 30-36% fat, remember we are making scones without butter so we need the fat from the cream.
- Lemon zest ~ the zest of the lemon brings A LOT of the lemon flavor to this recipe. One large lemon should yield all the zest and juice you need for the scones and tart lemon glaze. Zest the clean lemon, then juice it. {this is the zester I use}
- Lemon juice ~ I always prefer using a fresh lemon and since you need the zest, you will have a lemon to juice as well. This is the juicer I use.
- Vanilla ~ a pure vanilla extract is my favorite. I used vanilla powder in the glaze.
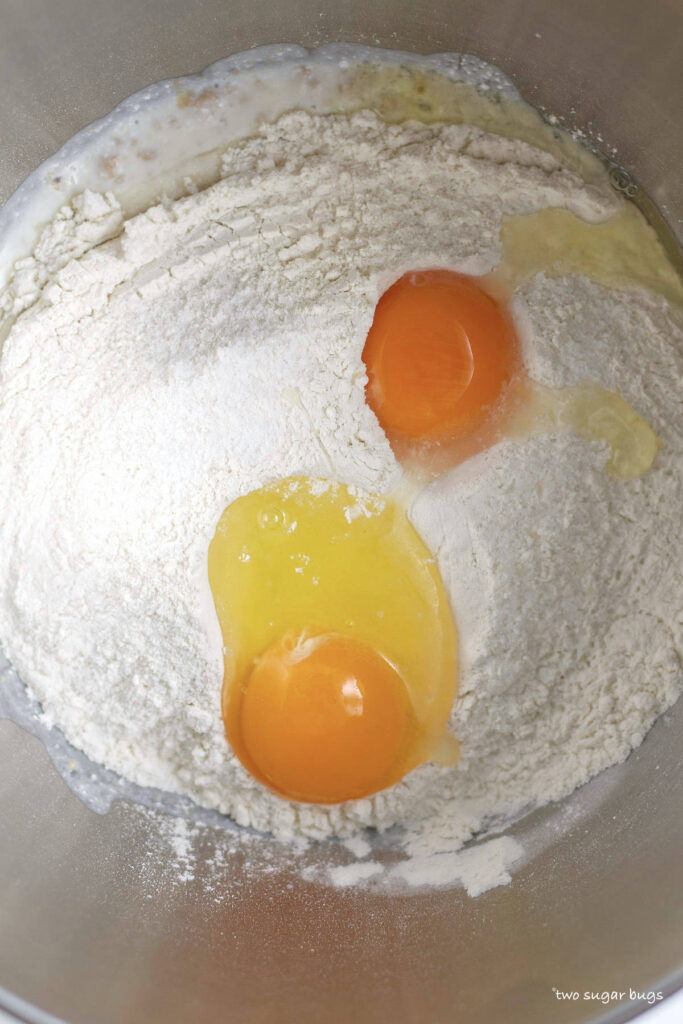
- Egg ~ one large to help bind the blackberries into the homemade scones.
- Blackberries ~ wash and dry the blackberries, then slice them in half so they are more bite size. I did not test with frozen blackberries, I worry they will bring too much moisture to the recipe.
- Coarse sanding sugar {not shown} ~ for sprinkling on top before you bake the cream scones. Turbinado or Demerara work well, if you don't have either you can use more granulated sugar.
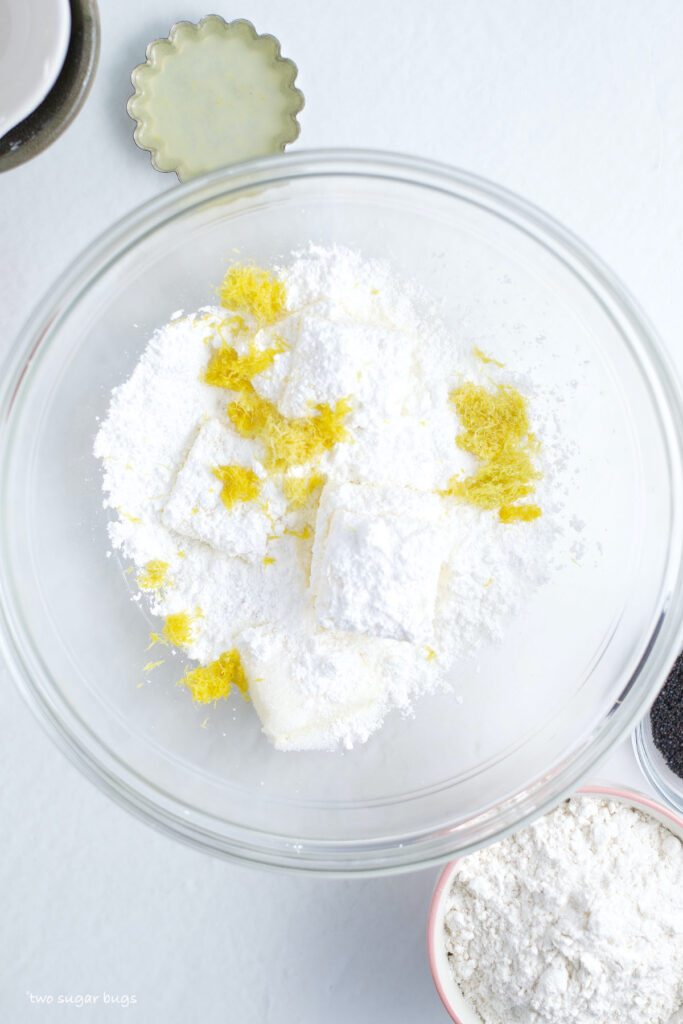
- Confectioners' sugar {not shown} ~ for the lemon glaze.
how to make blackberry lemon scones
Start by washing, drying and cutting the blackberries.
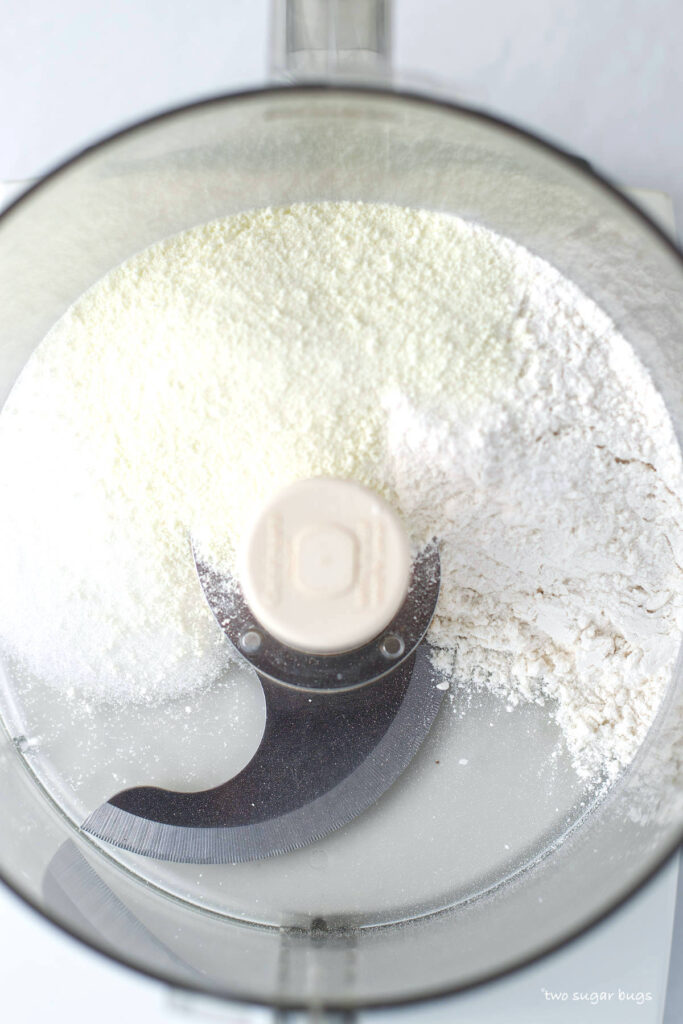
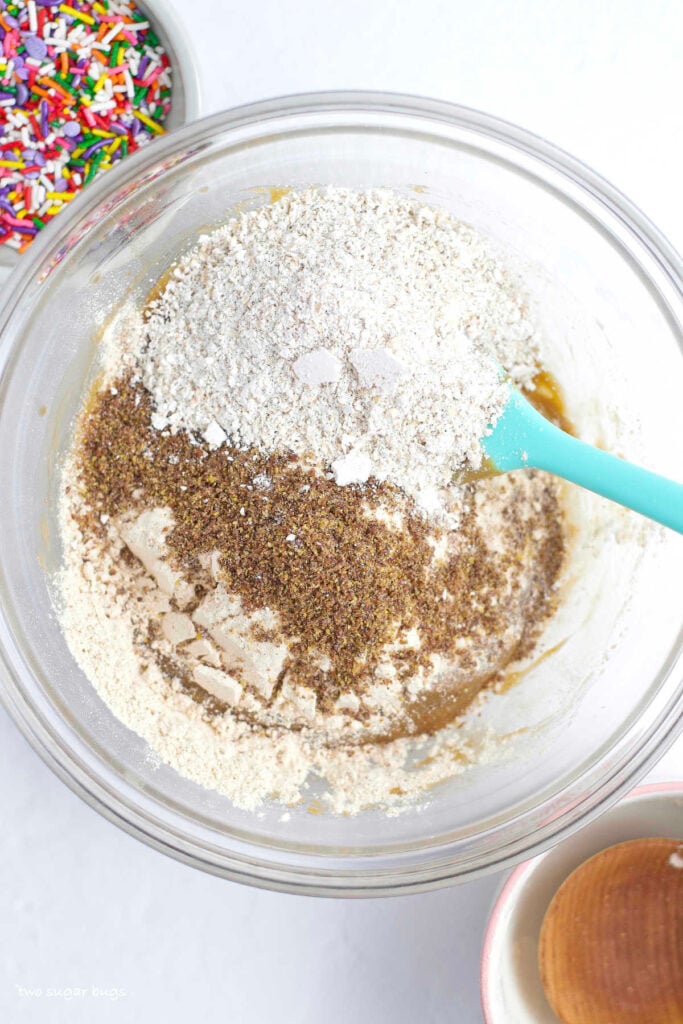
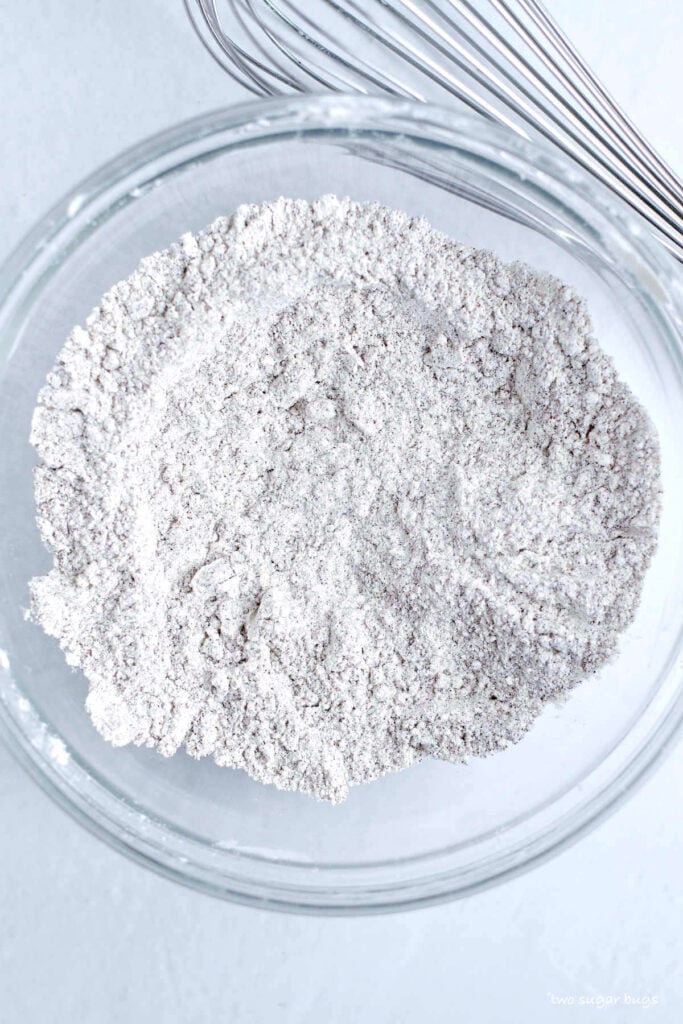
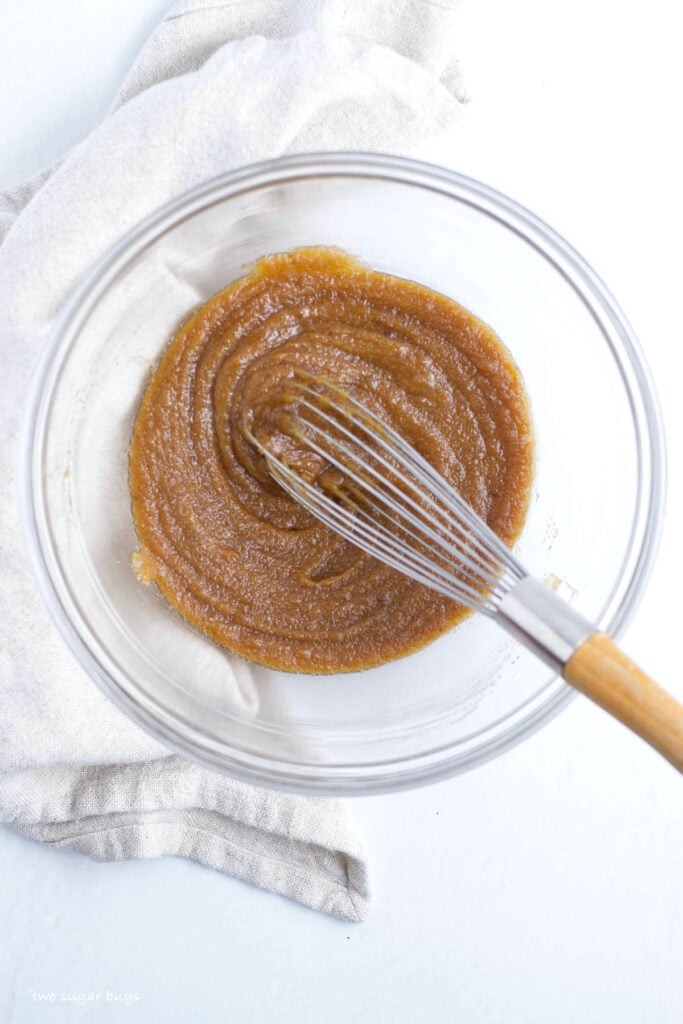
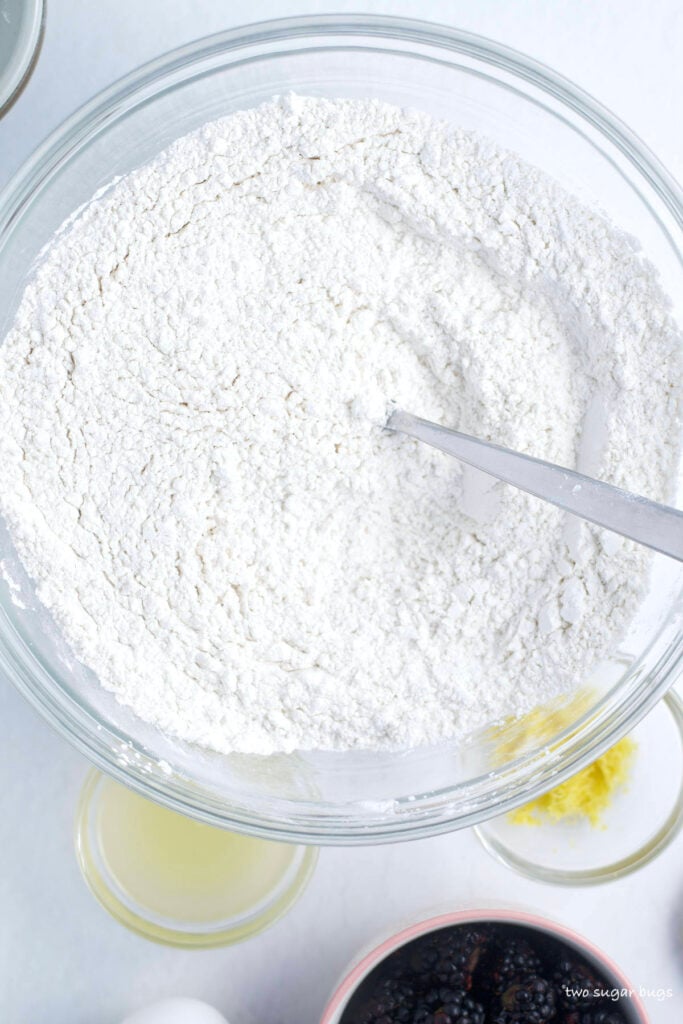
In a bowl, whisk the flour, cornstarch, baking power, kosher salt and sugar.
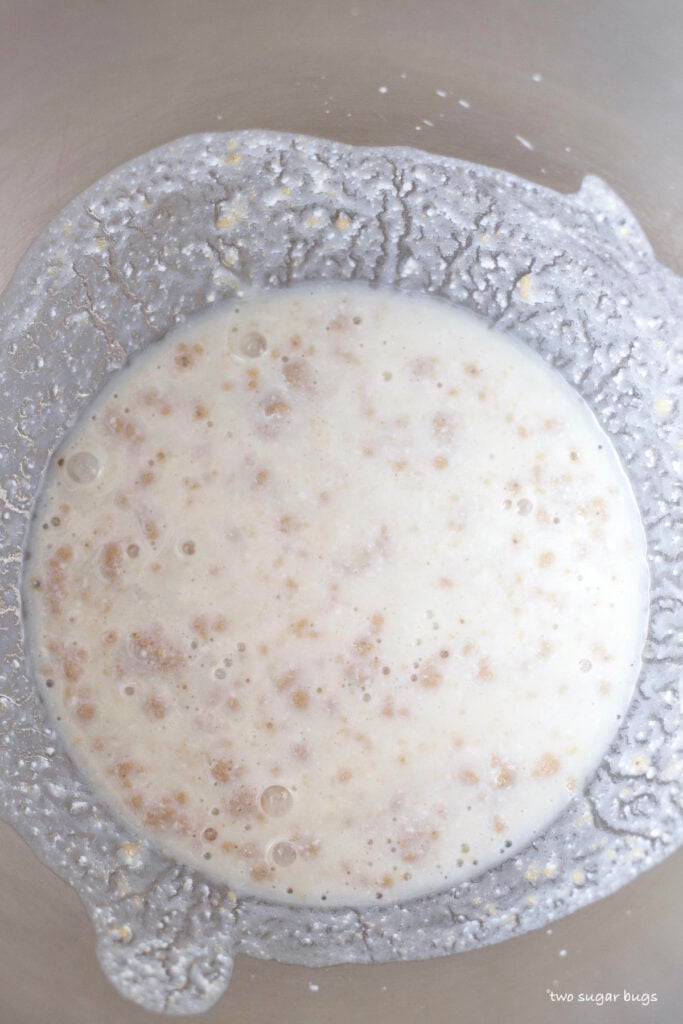
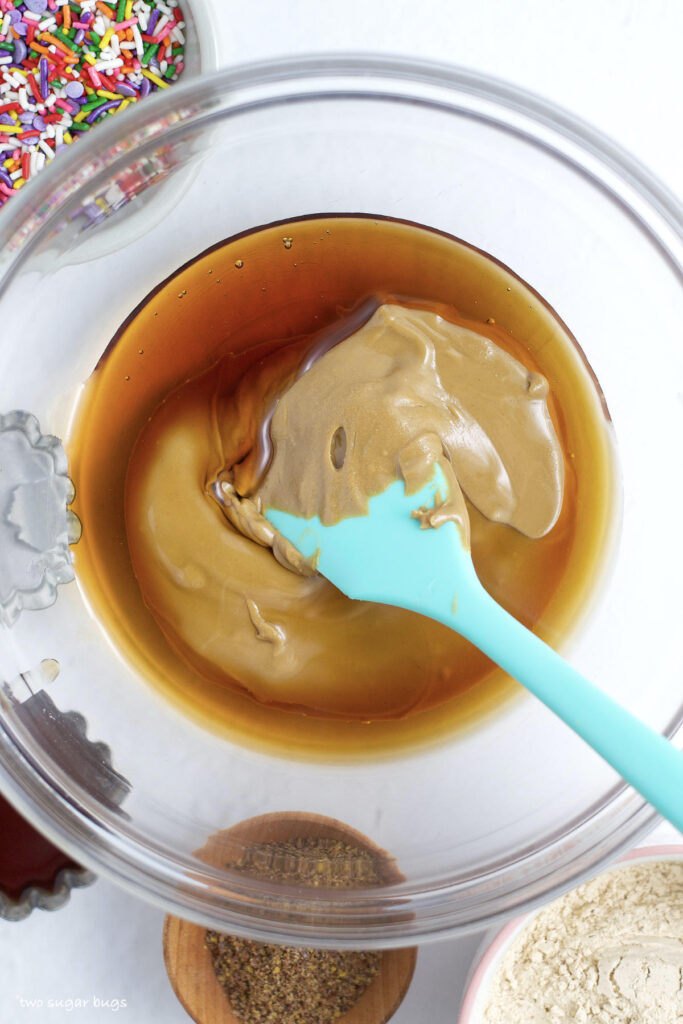
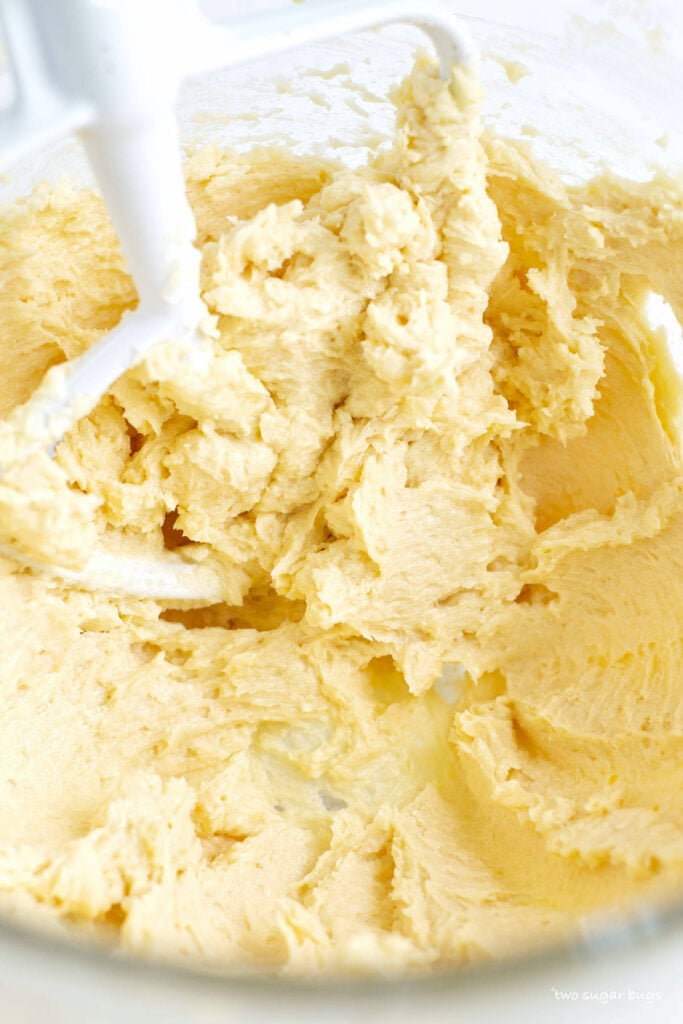
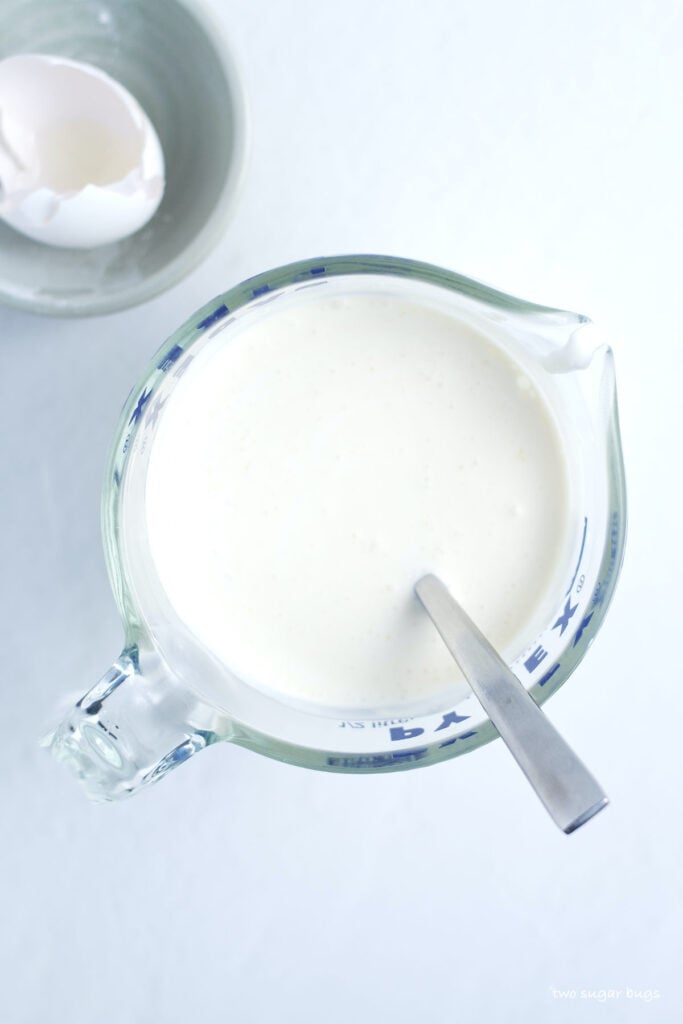
Mix together the heavy cream, large egg, vanilla, lemon zest, and lemon juice in a spouted measuring cup.
Then prepare a baking pan with parchment paper. {I use two of these USA quarter sheet pans as they fit in my freezer better}.
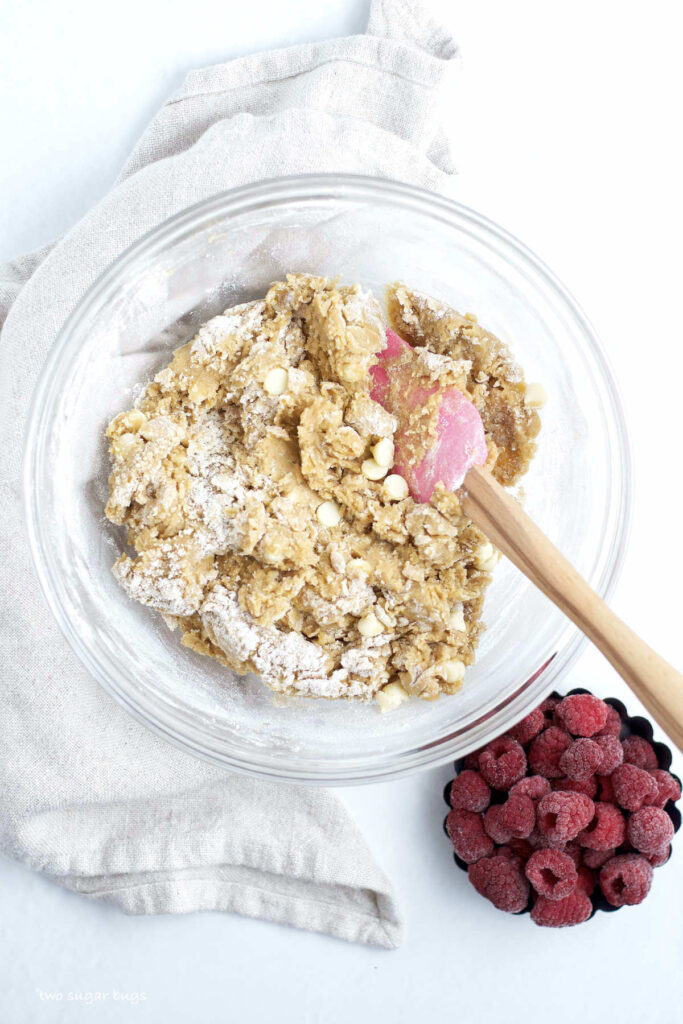
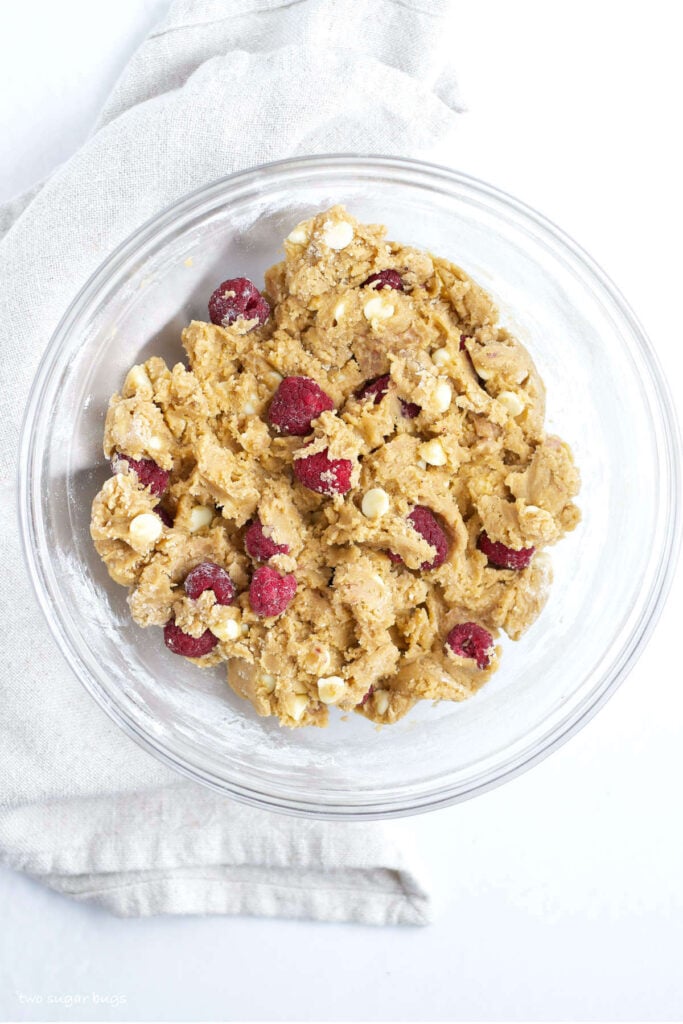
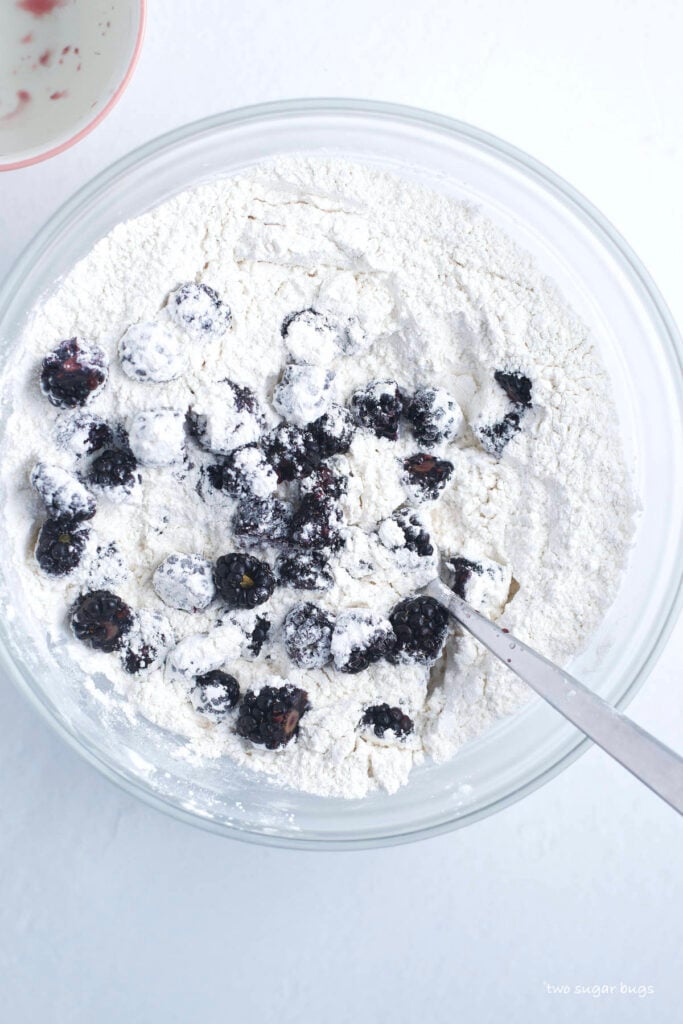
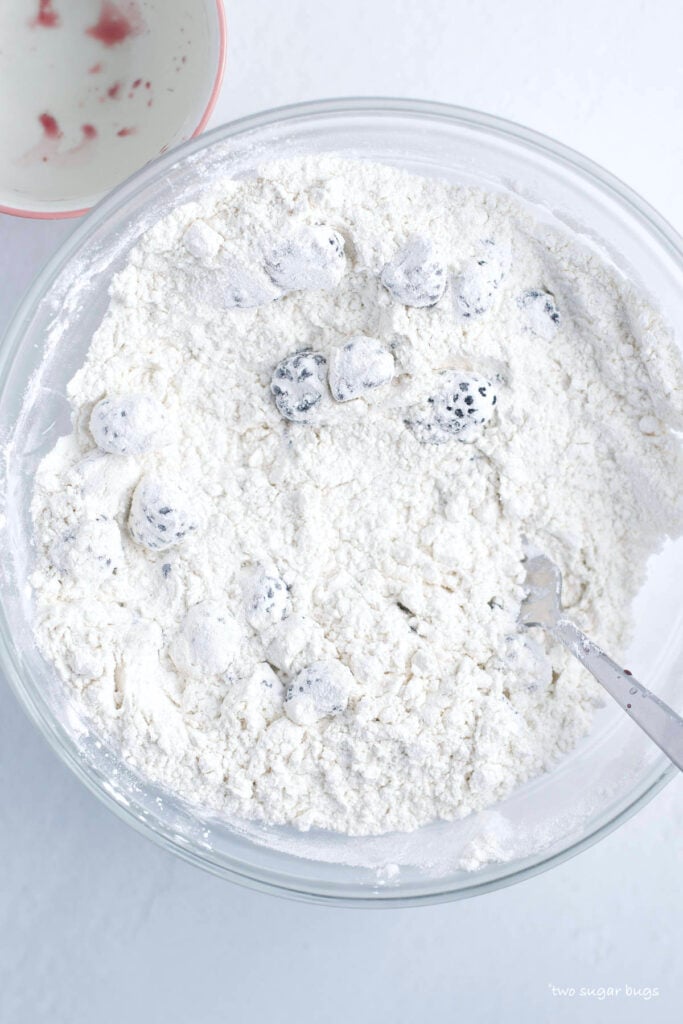
Add the blackberries into the flour mixture and gently toss the berries into the flour with a fork, working to completely cover them with the flour. Do your best not to break the berries apart.
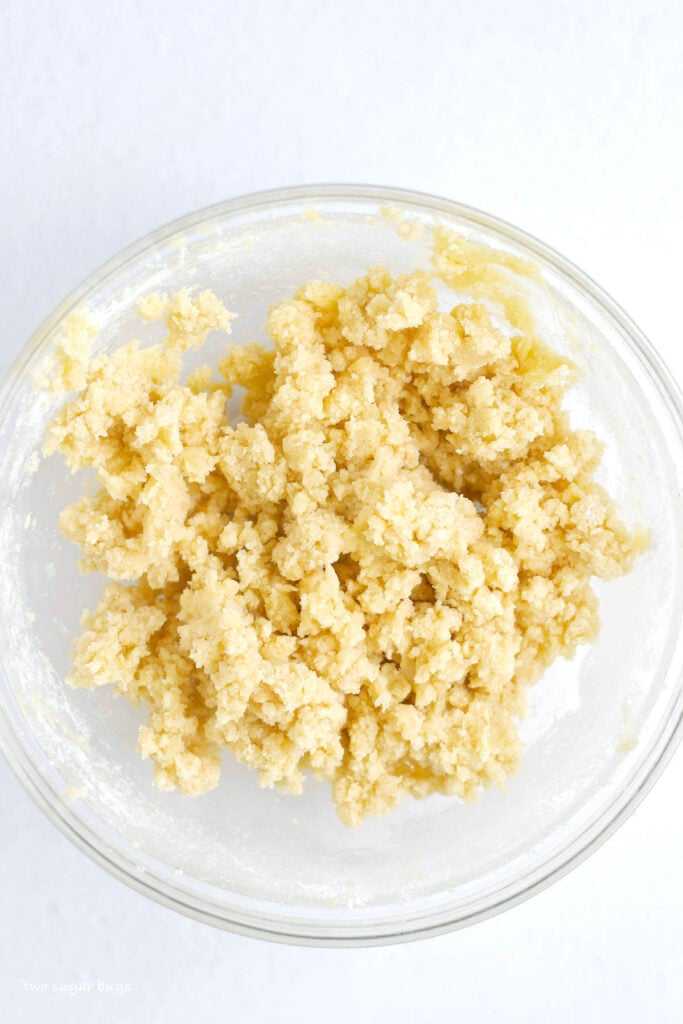
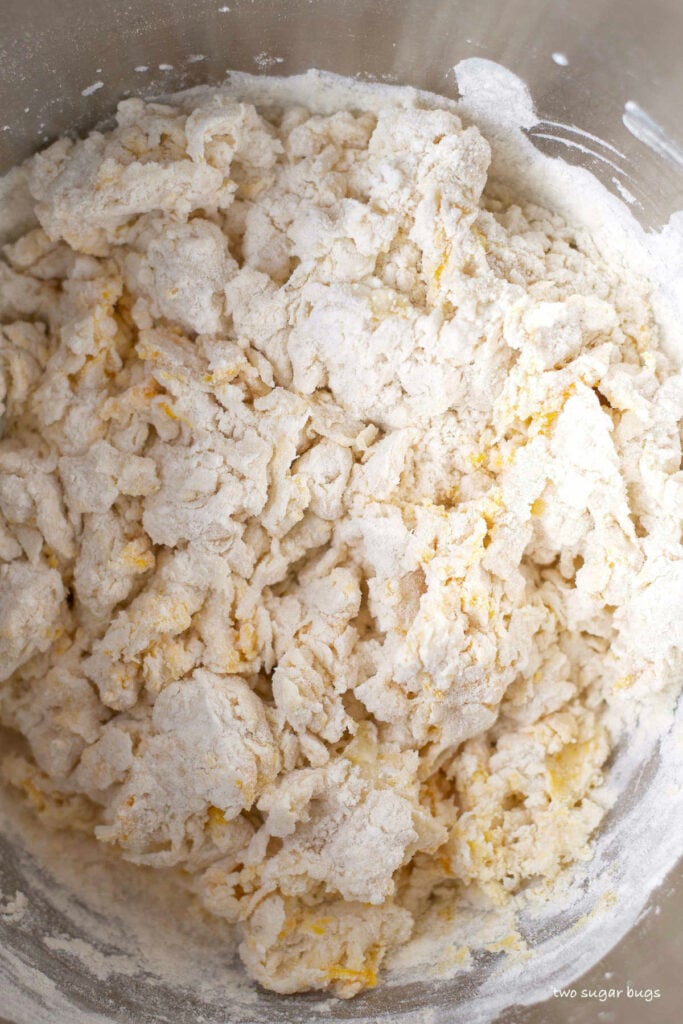
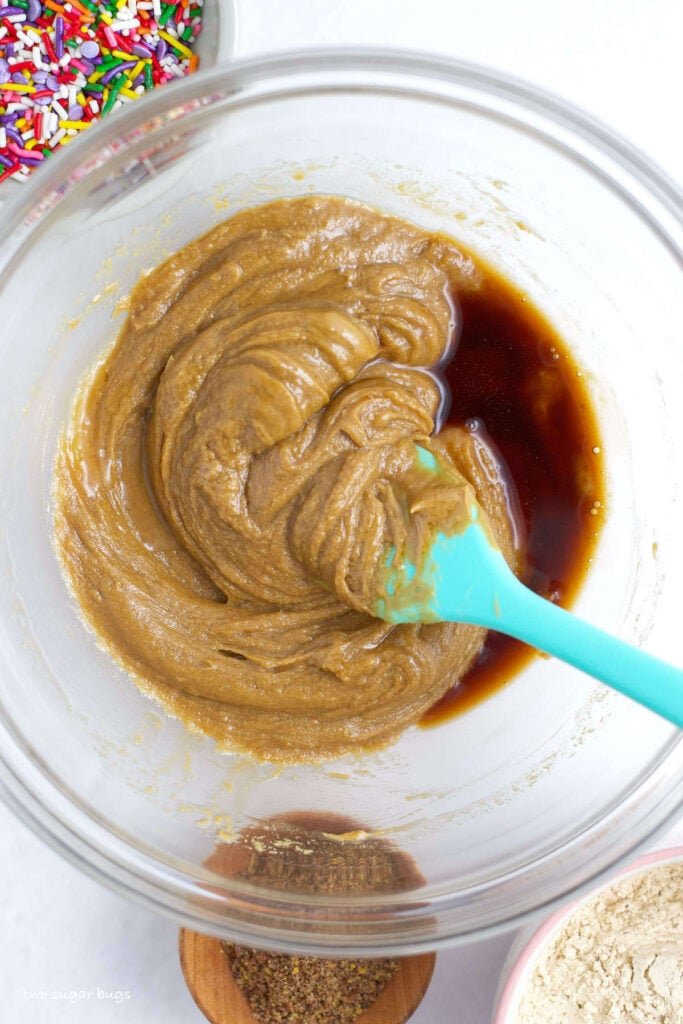
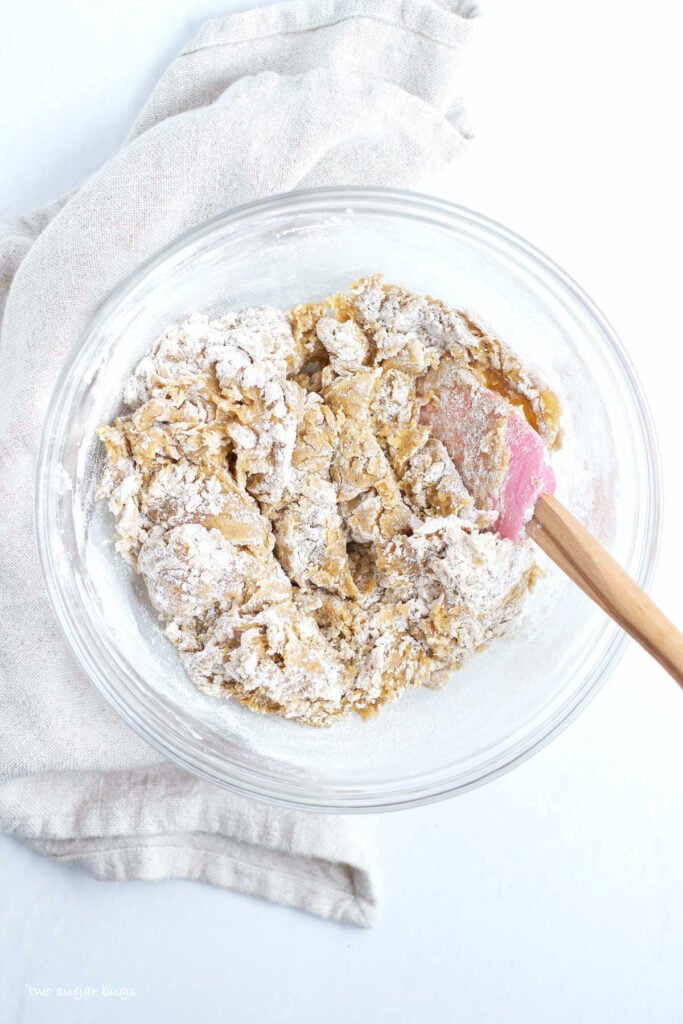
Slowly drizzle the cream mixture over the dry ingredients while gently mixing with a fork.
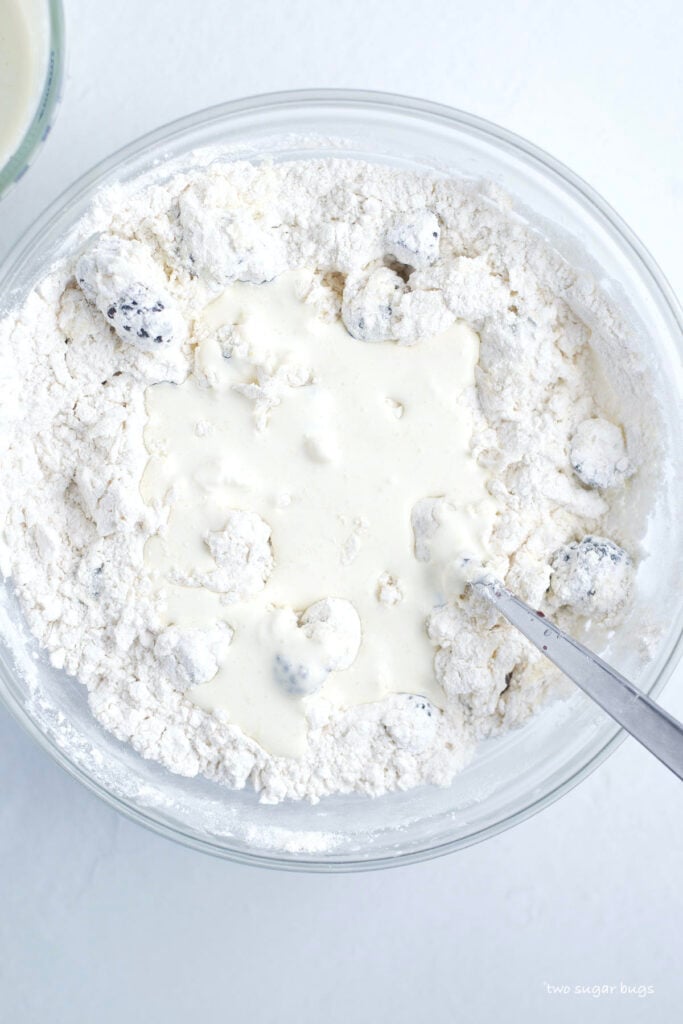
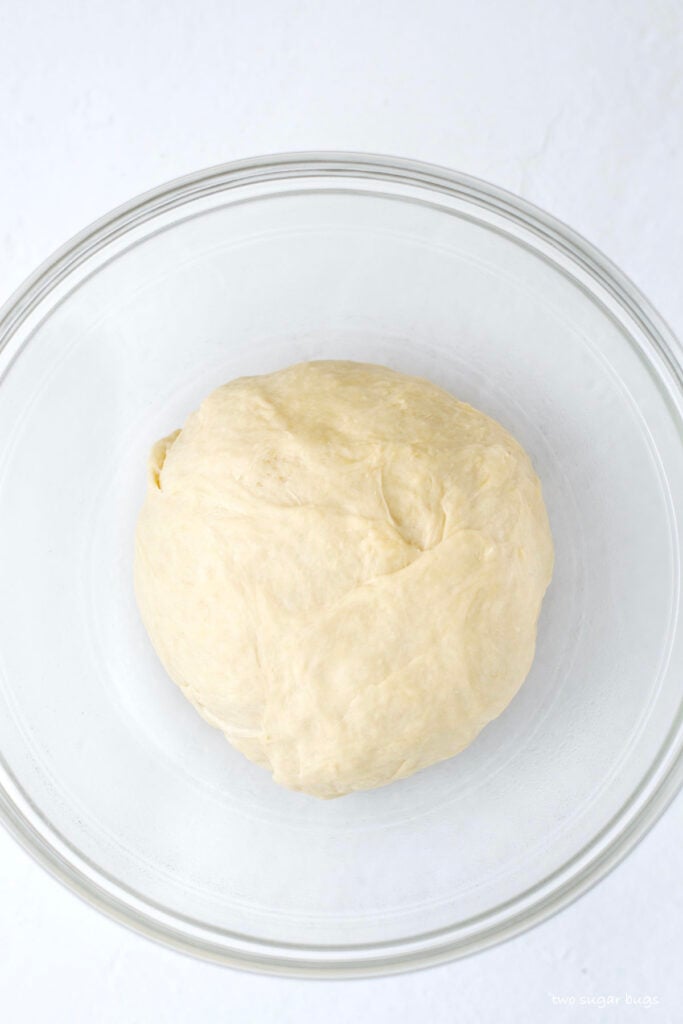
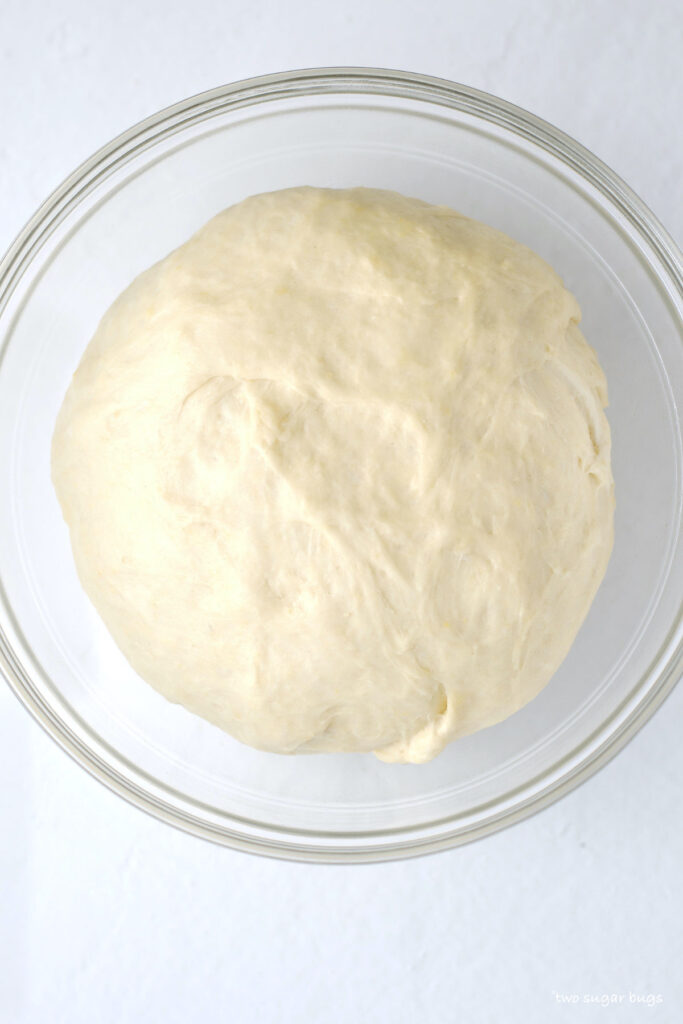
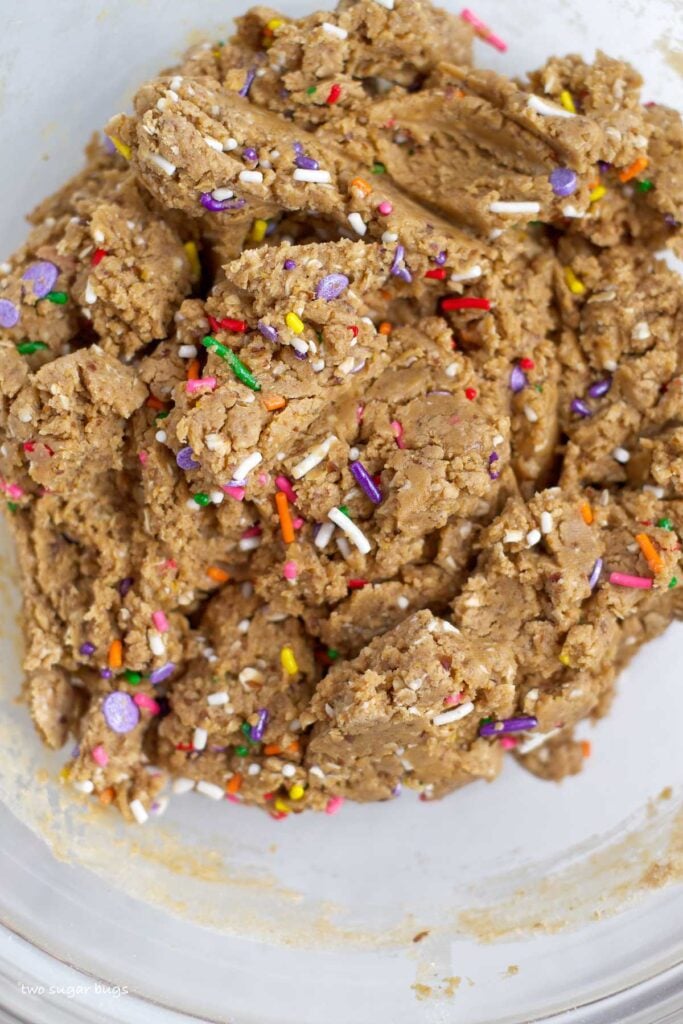
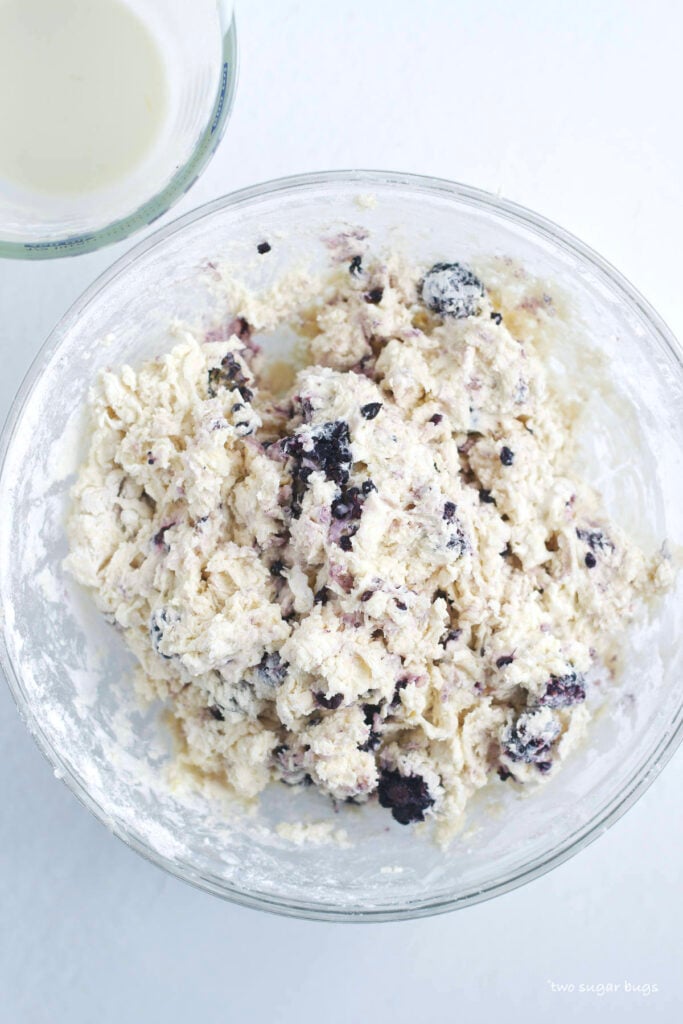
You want a wet dough with no dry flour the bottom of the bowl, but you don’t want something as wet as muffin batter. Avoid overworking the dough, which will result in tough scones.
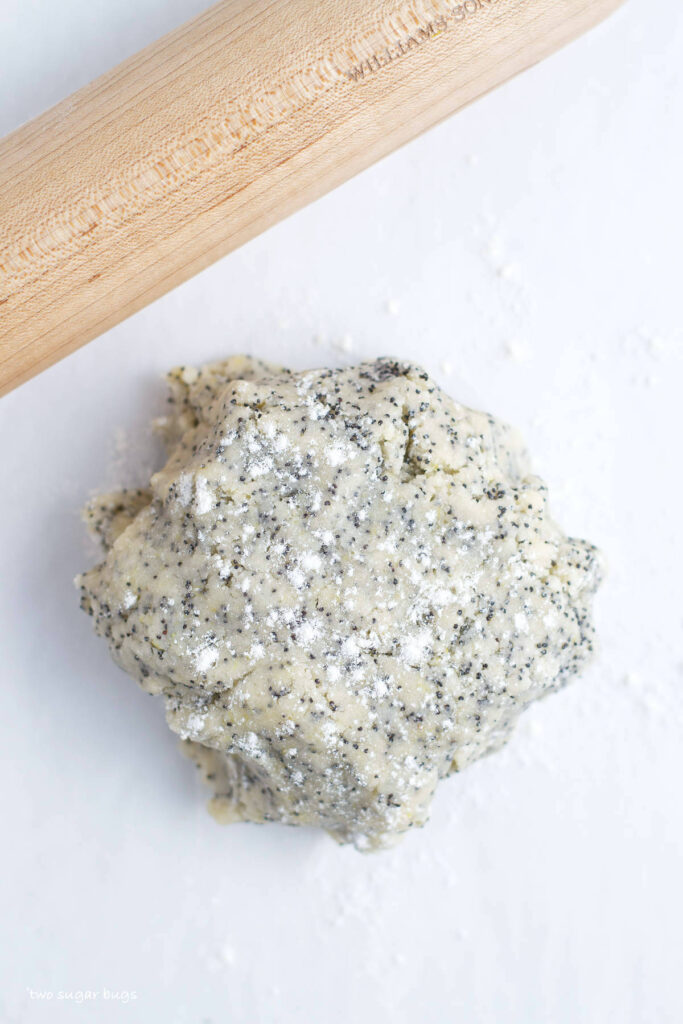
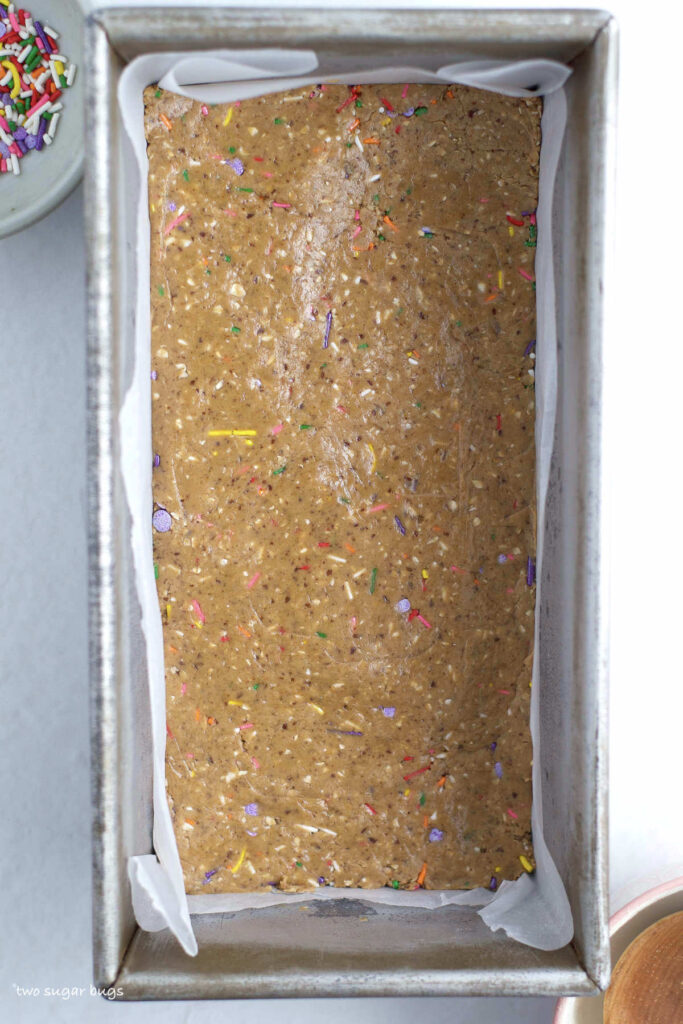
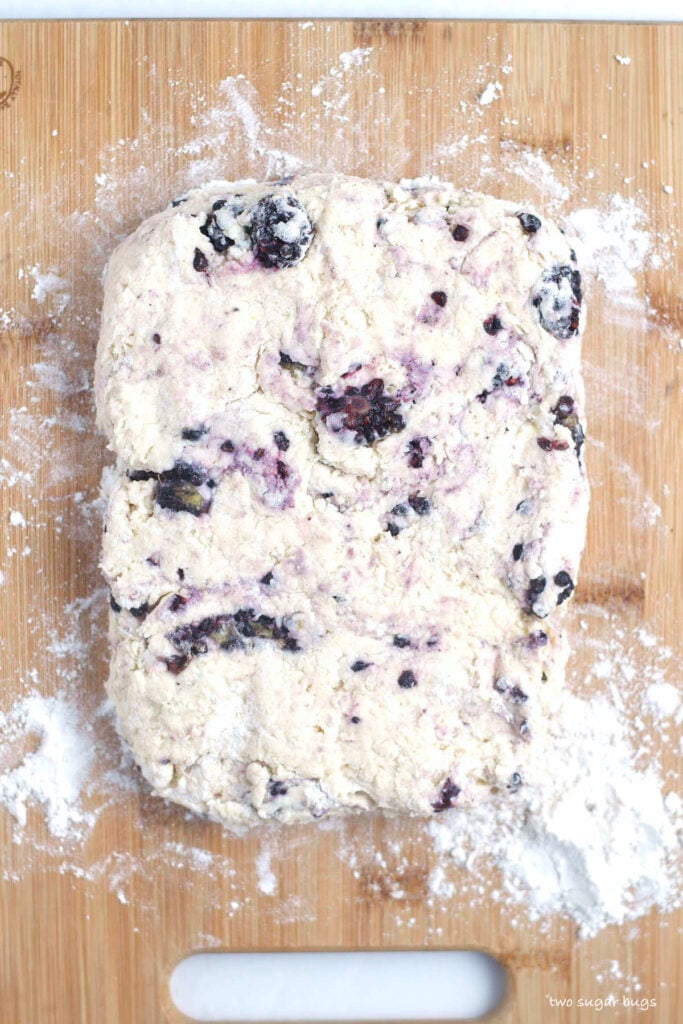
Divide the dough into two equal portions. On a lightly floured surface, gently shape each piece of dough into a rough 5x7 inch rectangle.
Transfer both rectangles to the prepared baking sheet and freeze 30 minutes or refrigerate for one hour. {You can also cover and refrigerate the dough overnight and bake the next morning}.
30 minutes prior to baking the scones, preheat the oven to 400°F.
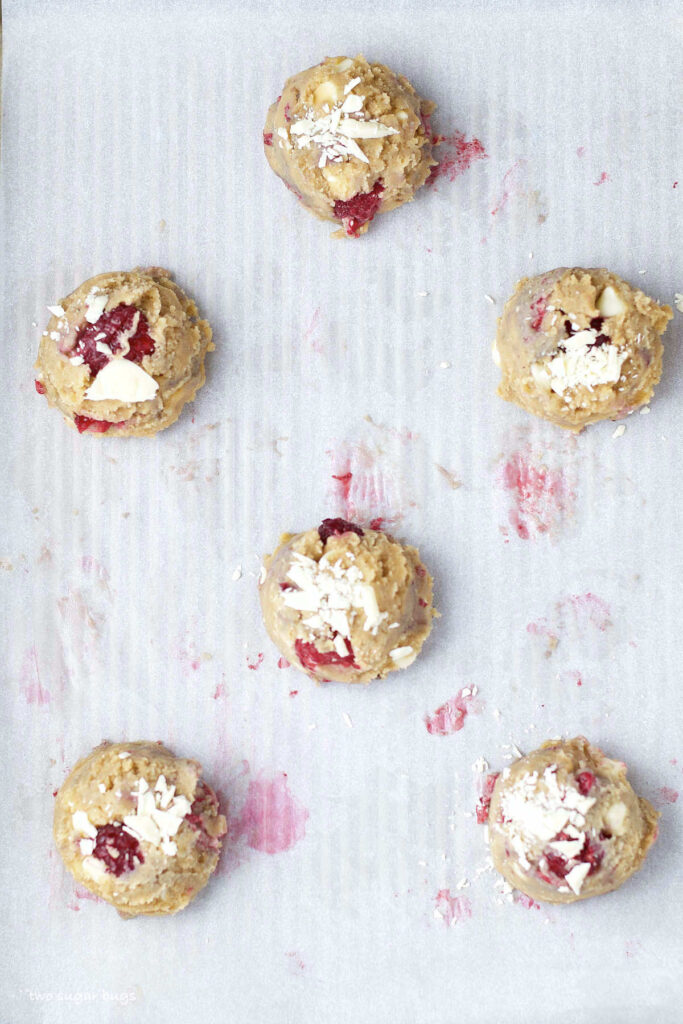
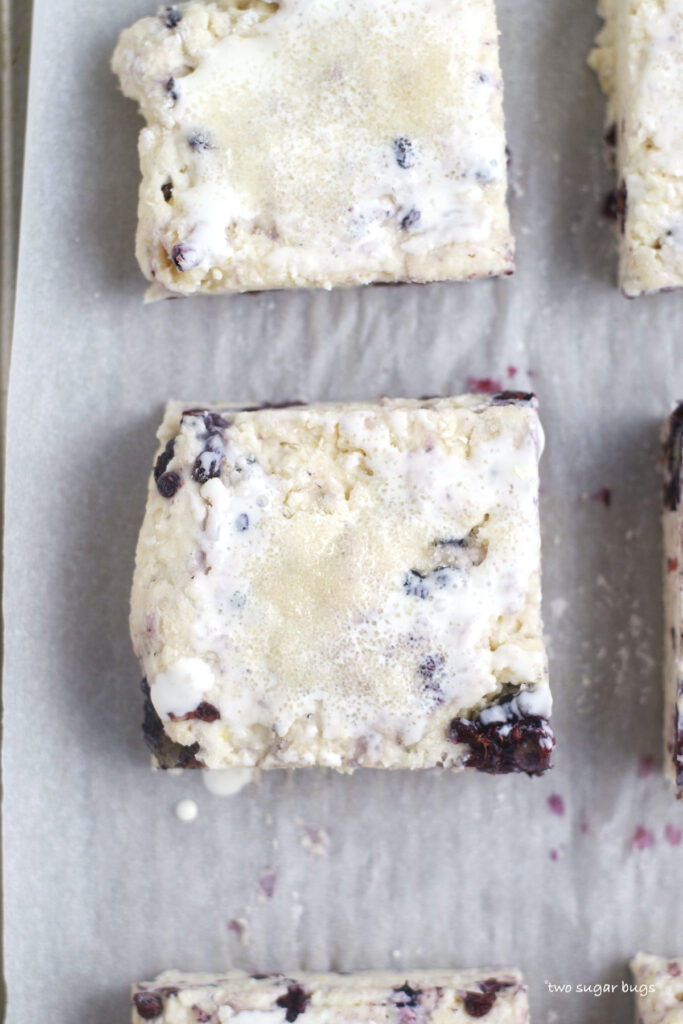
Remove the dough from the freezer {or refrigerator} and with a sharp knife cut each rectangle into 6 equal squares. Place the squares back on the baking pan about 1-2 inches apart.
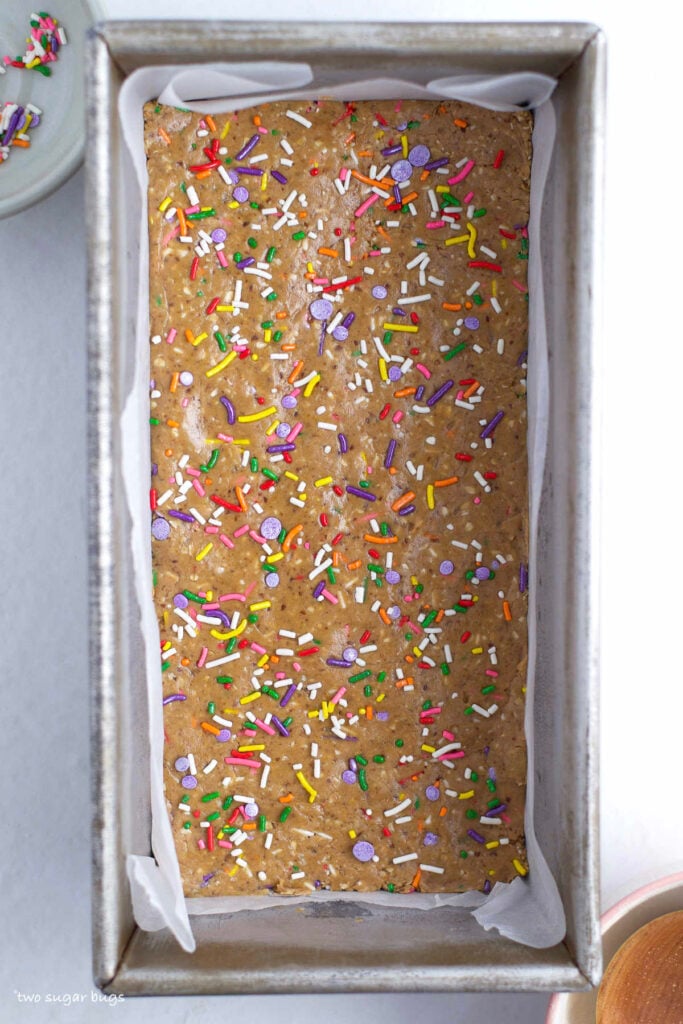
Brush the tops of each scone with the remaining heavy cream, then sprinkle with coarse sugar.
Bake for 20-25 minutes or until just browning at the edges and no wet dough remains in the center.
can scones be made ahead of time?
Yes! The recipe can be prepared up to the step of placing the scone dough into the freezer. Instead of placing the scones in the freezer, cover them and place in the refrigerator overnight. Proceed with baking the blackberry lemon scones in the morning.
what is the secret to making good scones?
- Cold, cold, cold! Keeping the ingredients cold assists with achieving a tall and flaky. scone. Cold dough also helps to keep the scones from spreading while baking.
- Try not to overwork the dough or allow the ingredients to get warm. Too much messing with it can cause your scones to be tough and flat.
- Freeze the prepared scones while the oven preheats. Why? See tip #1.
are scones and biscuits the same?
In the US, scones and biscuits are different. Scones are made with cream {and sometimes eggs and/or butter}. They tend to be sweeter than a biscuit and often contain fruit and a glaze.
Biscuits typically use buttermilk or milk and don't usually use eggs. Biscuits are traditionally not as sweet as a scone.
how to store
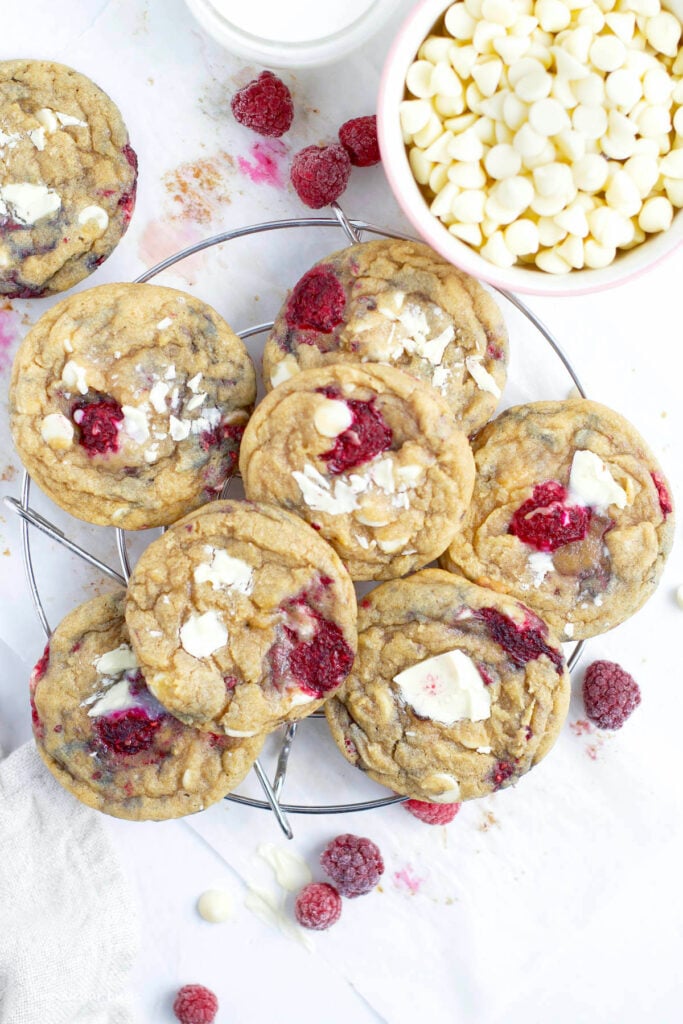
In my opinion, scones are best enjoyed when they are freshly baked. Although I must admit, these are still pretty fantastic the next day! You can store uneaten scones covered at room temperature for a day or two.
Baked scones freeze well for up to 2 months; allow them to defrost overnight in the refrigerator or for a few hours on the counter and warm to your liking. Scones can be frozen with or without the glaze.
Remember to snap a picture and tag me on Instagram if you make these Blackberry Lemon Scones. It warms my heart to see you bring these recipes to life! Thank you for being here and happy baking!
more recipes with fresh lemon to try
- Lemon Cut-Out Sugar Cookies
- Lemon Pistachio Biscotti {Dipped in White Chocolate}
- Mom's Lemon Bars
- Lemon White Chocolate Cookie Ice Cream
- Lemon Buttercream Frosting
If you make this recipe {or any recipe!} from two sugar bugs please come back and leave a review and a ⭐️⭐️⭐️⭐️⭐️ star rating. I read every comment, and I LOVE hearing from you!
Blackberry Lemon Scones
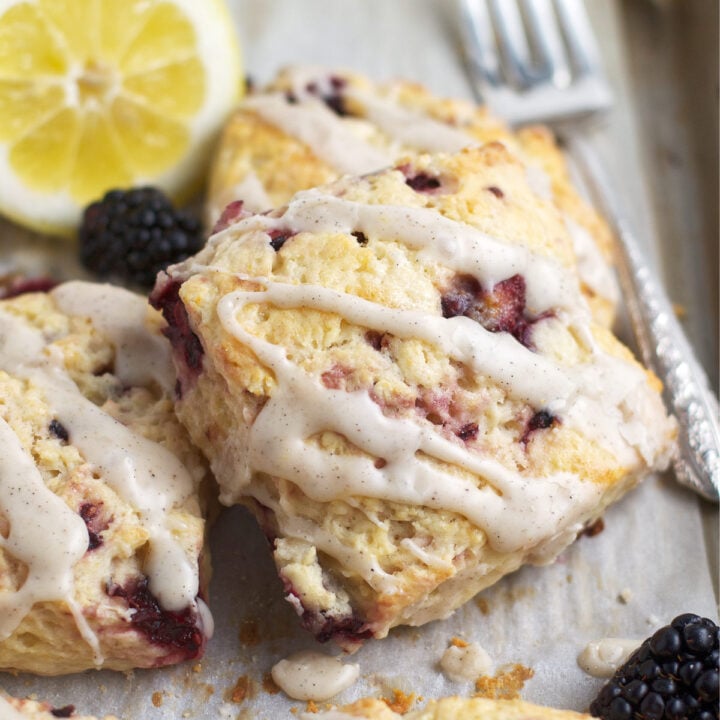
This easy blackberry lemon scones recipe is made without butter and makes soft and moist scones. Drizzled with a tart lemon glaze.
Ingredients
scones
- 2 ¾ cups all-purpose flour (345g)
- 3 tablespoons cornstarch (24g)
- 1 tablespoon baking powder
- 1 teaspoon kosher salt
- ¼ cup granulated sugar (50g)
- 1 ⅓ cups heavy cream (320mL), plus a little more for brushing over the tops of the scones prior to baking
- 1 large egg
- 3 tablespoons lemon juice (45mL)
- zest of one large lemon*
- 1 teaspoon pure vanilla extract
- 1 cup fresh blackberries, cut in half (150g)
- Coarse sugar for sprinkling over the top of the scones before baking**
tart lemon glaze***
- 1 tablespoon cream cheese, room temperature (14g)
- 1 cup confectioners' sugar (120g)
- 1 tablespoon lemon juice (15mL)
- 1 teaspoon lemon zest
- ½ teaspoon vanilla bean paste****
- ½ - 1 tablespoon milk (just enough to make a pourable glaze)
Instructions
- To make the scones: Wash and dry the blackberries (1 cup/150g), then cut them in half and place the berries in the refrigerator.
- In a bowl, whisk the flour (2 ¾ cup/345g), cornstarch (3 tablespoons/24g), baking power (1 tablespoon), kosher salt (1 teaspoon) and sugar (¼ cup/50g). Place the bowl in the freezer.
- Mix together the heavy cream (1 ⅓ cups/320mL), large egg, vanilla (1 teaspoon), lemon zest (from one large lemon, but save aside 1 teaspoon for the glaze) and lemon juice (3 tablespoons/45mL) in a spouted measuring cup. Place the measuring cup in the refrigerator.
- Prepare a baking pan with parchment paper and set aside.
- Remove the bowl of dry ingredients from the freezer and the prepared blackberries from the refrigerator. Add the blackberries into the flour mixture and gently toss the berries into the flour with a fork, working to completely cover them with the flour. Do your best not to break the berries apart.
- Now remove the heavy cream mixture from the refrigerator and give it another stir to ensure everything is evenly combined. Slowly drizzle the cream mixture over the dry ingredients while gently mixing with a fork. You want a wet dough with no dry flour the bottom of the bowl, but you don’t want something as wet as muffin batter. Avoid overworking the dough, which will result in tough scones. Once all the cream is mixed in, use your hands to gently gather the dough into a ball; if the shape holds you are good. If the mixture is too dry to hold together, add a little heavy cream, a teaspoon at a time until the dough comes together. Save aside the little bit of cream mixture sitting in the bottom of the measuring cup.
- Divide the dough into two equal portions. On a lightly floured surface, gently shape each piece of dough into a rough 5x7 inch rectangle.
- Transfer both rectangles to the prepared baking sheet and freeze 30 minutes or refrigerate for one hour. (You can also cover and refrigerate the dough overnight and bake the next morning).
30 minutes prior to baking the scones, preheat the oven to 400°F. - Remove the dough from the freezer (or refrigerator) and with a sharp knife cut each rectangle into 6 equal squares.
- Place the squares back on the baking pan about 1-2 inches apart. Brush the tops of each scone with the remaining heavy cream (you may need to add another tablespoon of heavy cream), then sprinkle with coarse sugar.
- Bake for 20-25 minutes or until just browning at the edges and no wet dough remains in the center.
- Allow the scones to cool about 15 minutes before glazing.
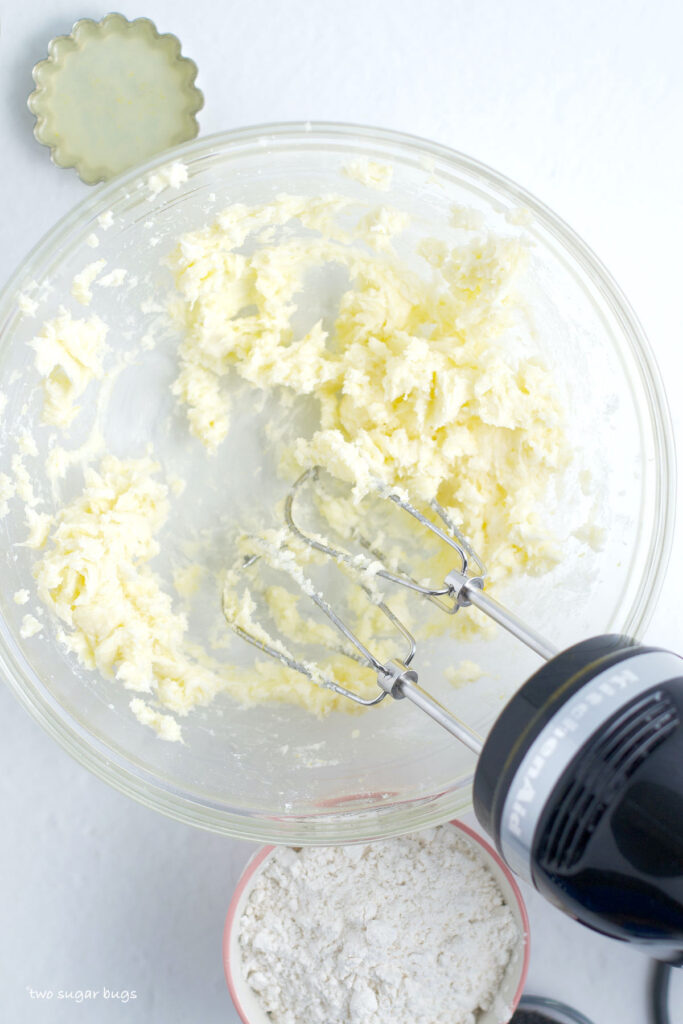
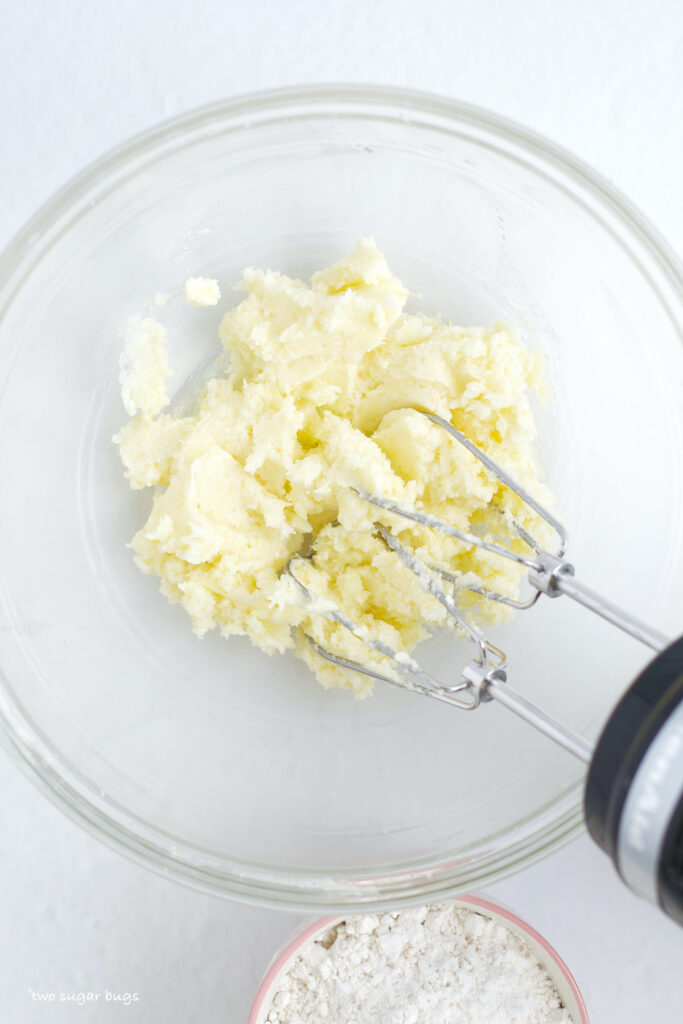
- To make the lemon glaze: Mix the cream cheese (1 tablespoon/14g), lemon juice (1 tablespoon), lemon zest (1 teaspoon) and vanilla bean paste (½ teaspoon) in a bowl. The mixture will be thick like a paste. Add the confectioners’ sugar (1 cup/120g) and continue mixing, again the mixture will be thick. Add just enough milk to make a thick, but pourable glaze similar to the consistency of cool honey.
Notes
Use heavy cream or heavy whipping cream that is 30-36% fat.
*Save about 1 teaspoon of the zest aside to use in the glaze.
**A coarse sanding sugar such as Turbinado, Demerara or raw sugar work well. If you don’t have any of those, you can also use granulated sugar.
***If you like a thick layer of glaze, feel free to double the glaze ingredients.
****vanilla bean paste, vanilla powder, or vanilla extract all work
You can store uneaten scones covered at room temperature for a day or two. Baked scones freeze well for up to 2 months; allow them to defrost overnight in the refrigerator or for a few hours on the counter and warm to your liking. Scones can be frozen with or without the glaze.
Recipe adapted from Wild Thistle Kitchen's Cara Cara Orange Scones
Nutrition Information:
Yield:
12Serving Size:
1Amount Per Serving: Calories: 286Total Fat: 12gSaturated Fat: 7gTrans Fat: 0gUnsaturated Fat: 4gCholesterol: 50mgSodium: 247mgCarbohydrates: 40gFiber: 2gSugar: 15gProtein: 5g
The nutrition information is an estimate only and may not be entirely accurate.