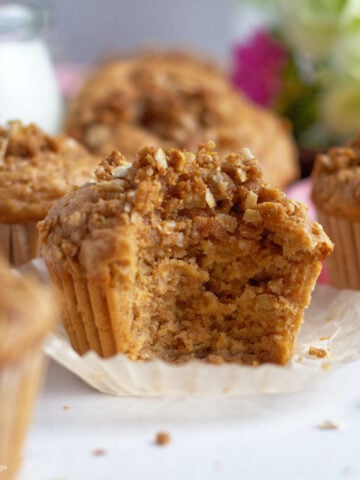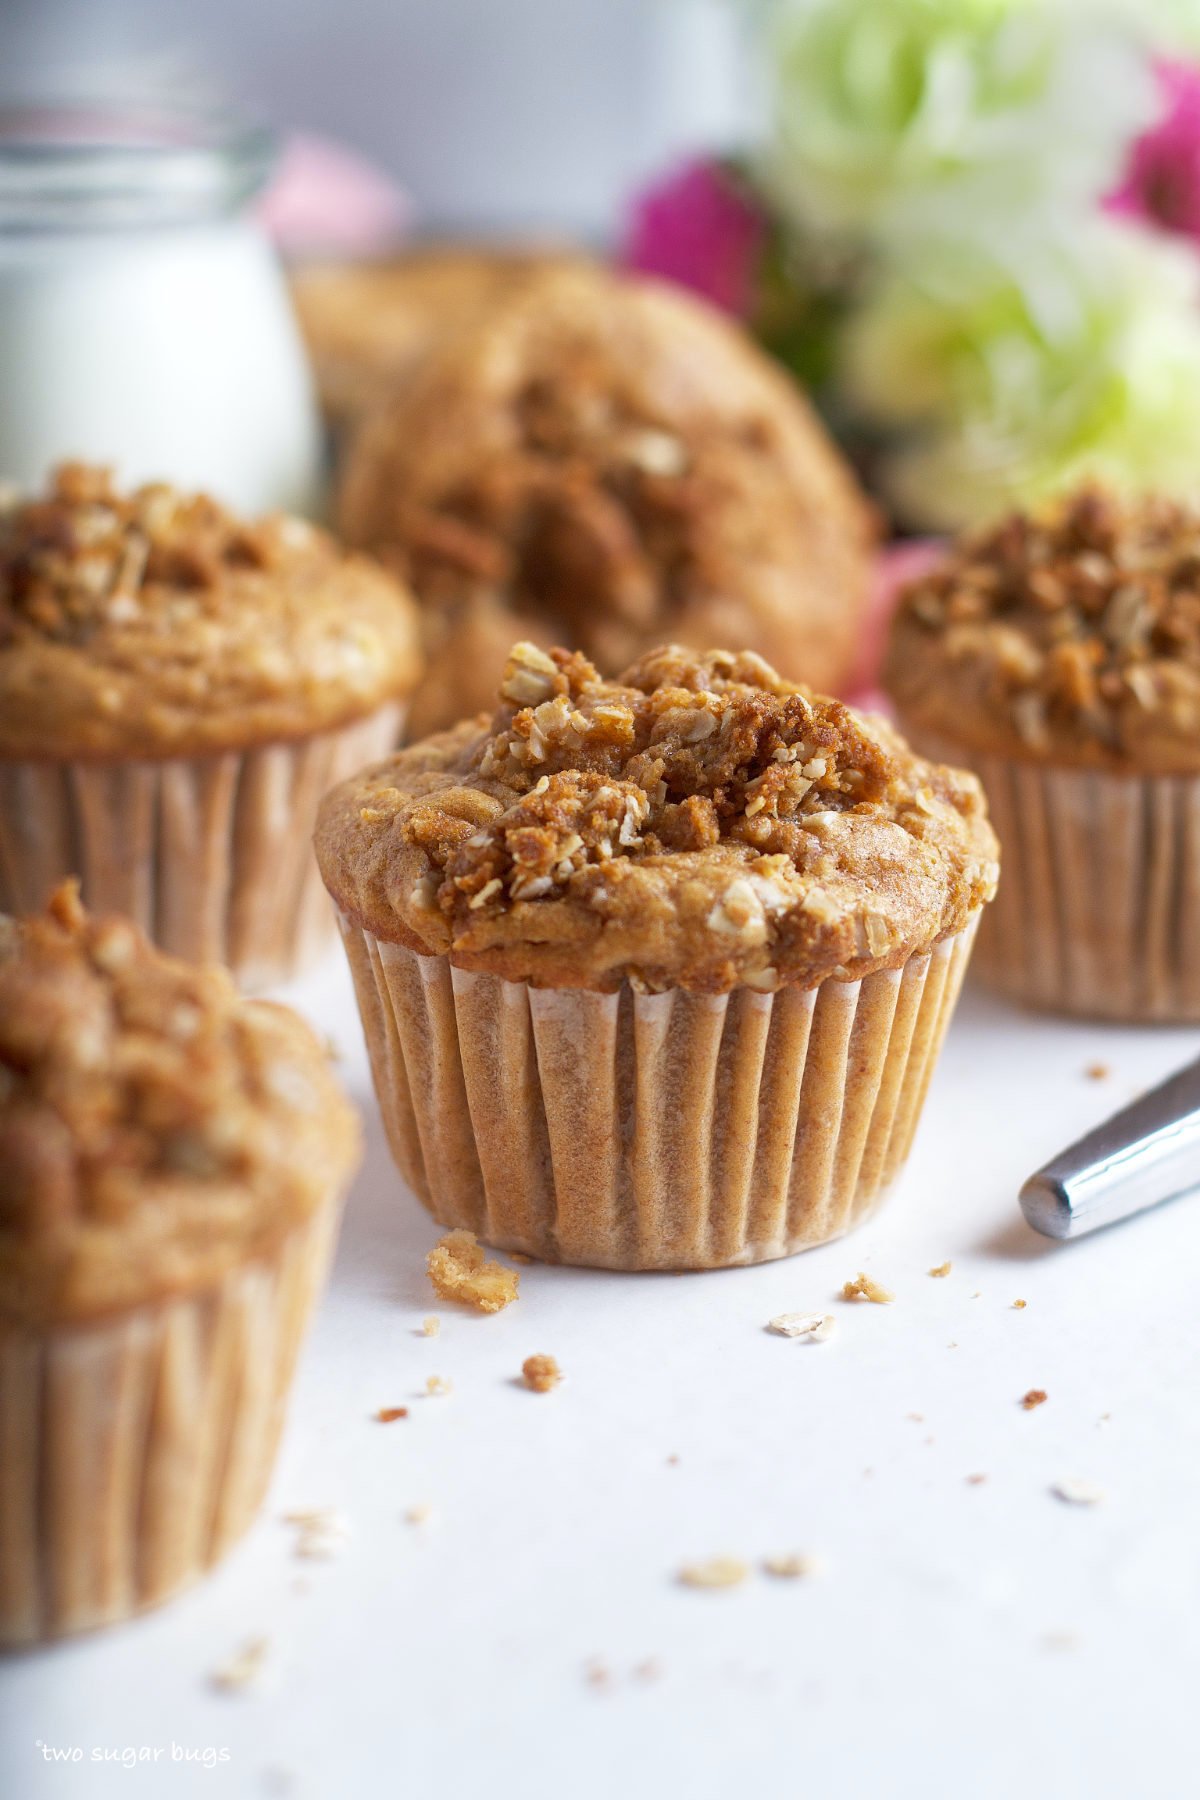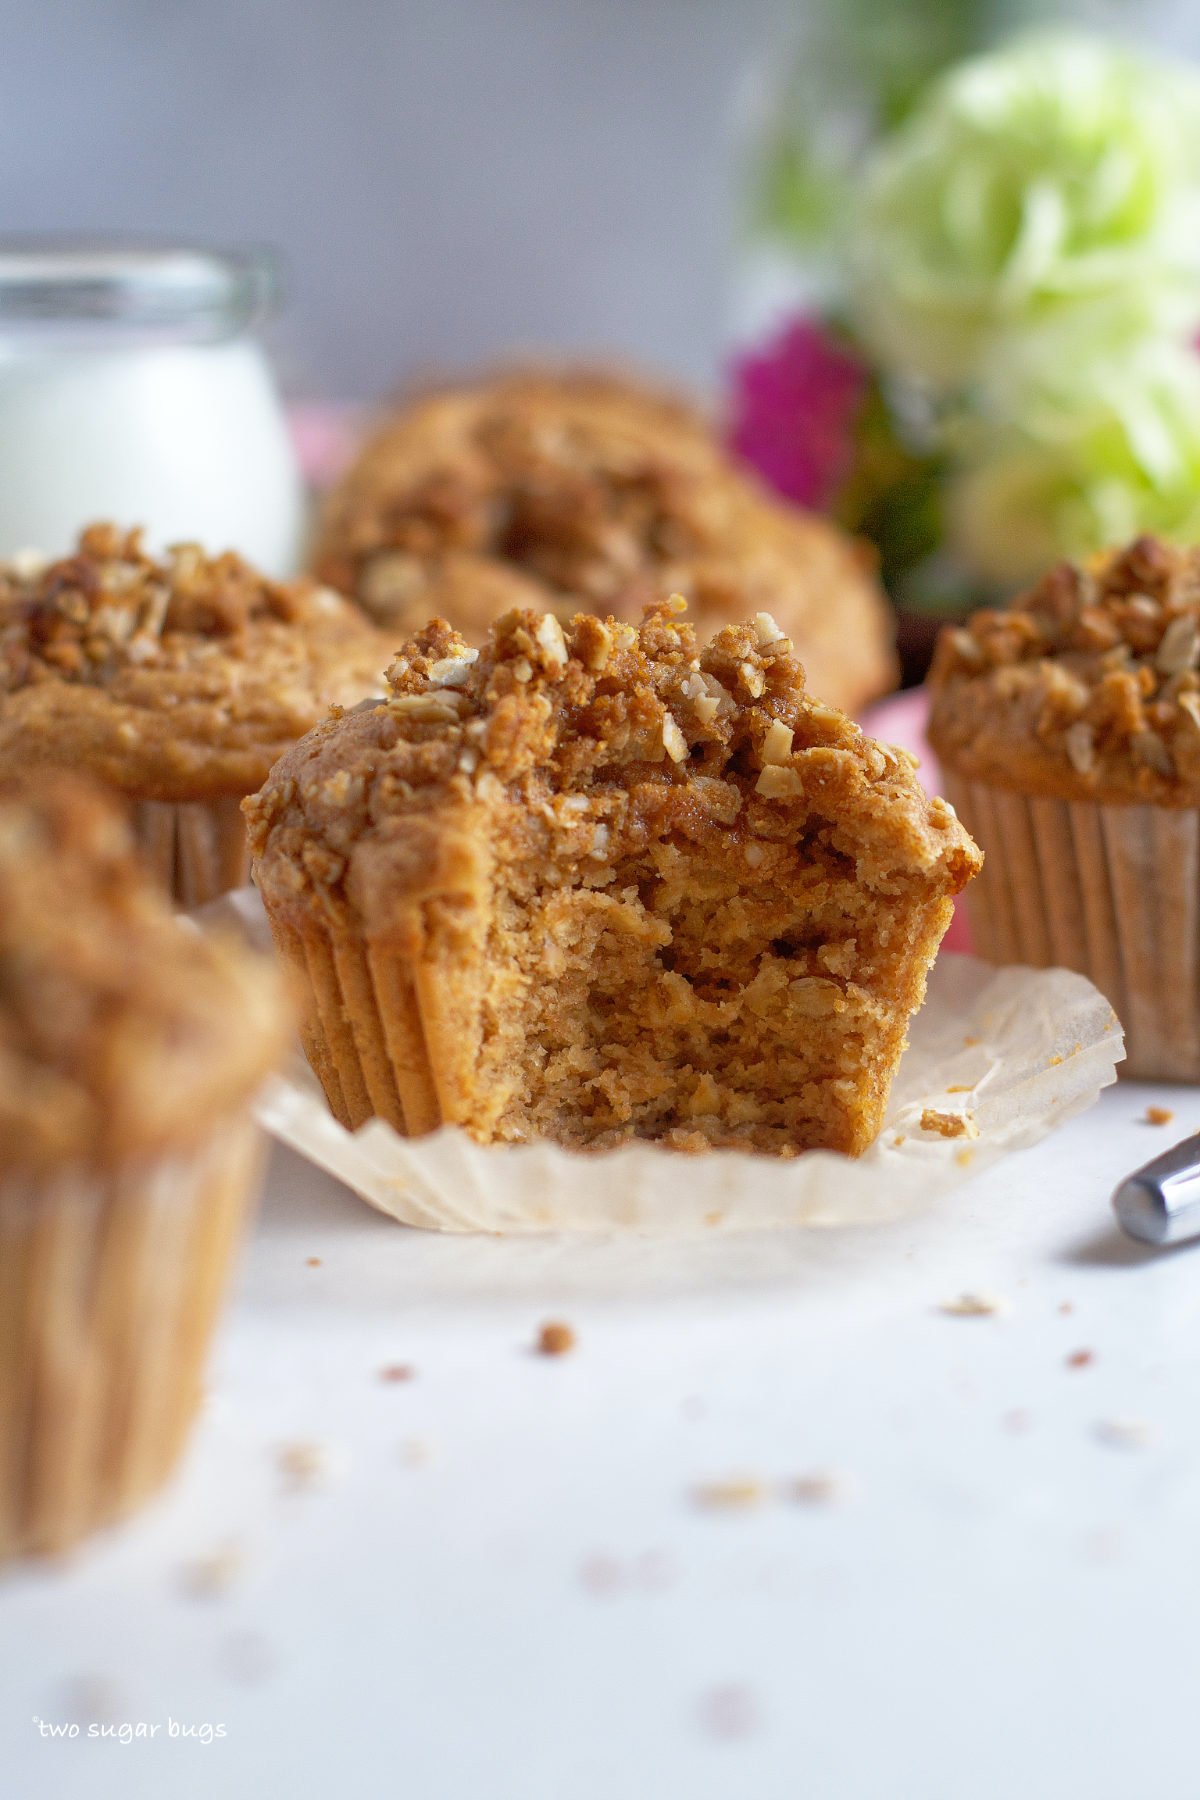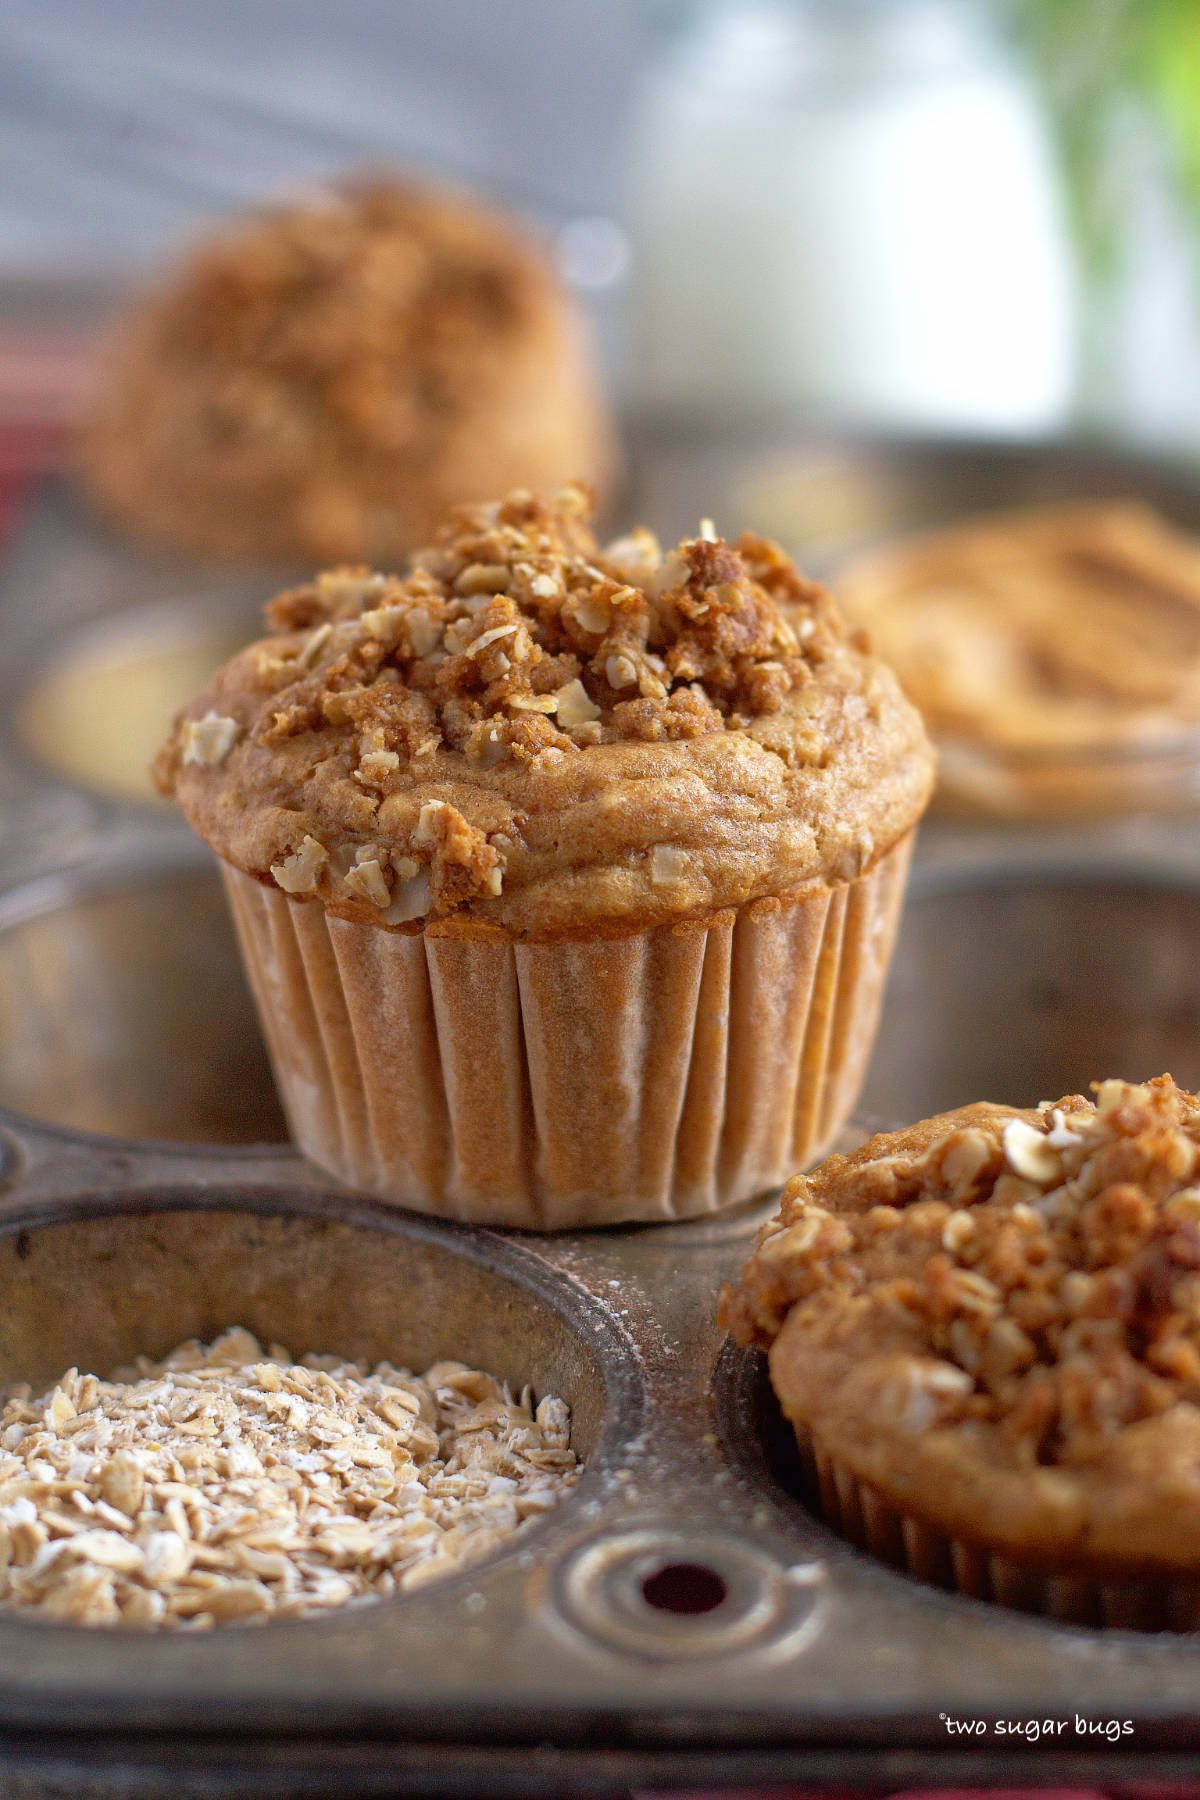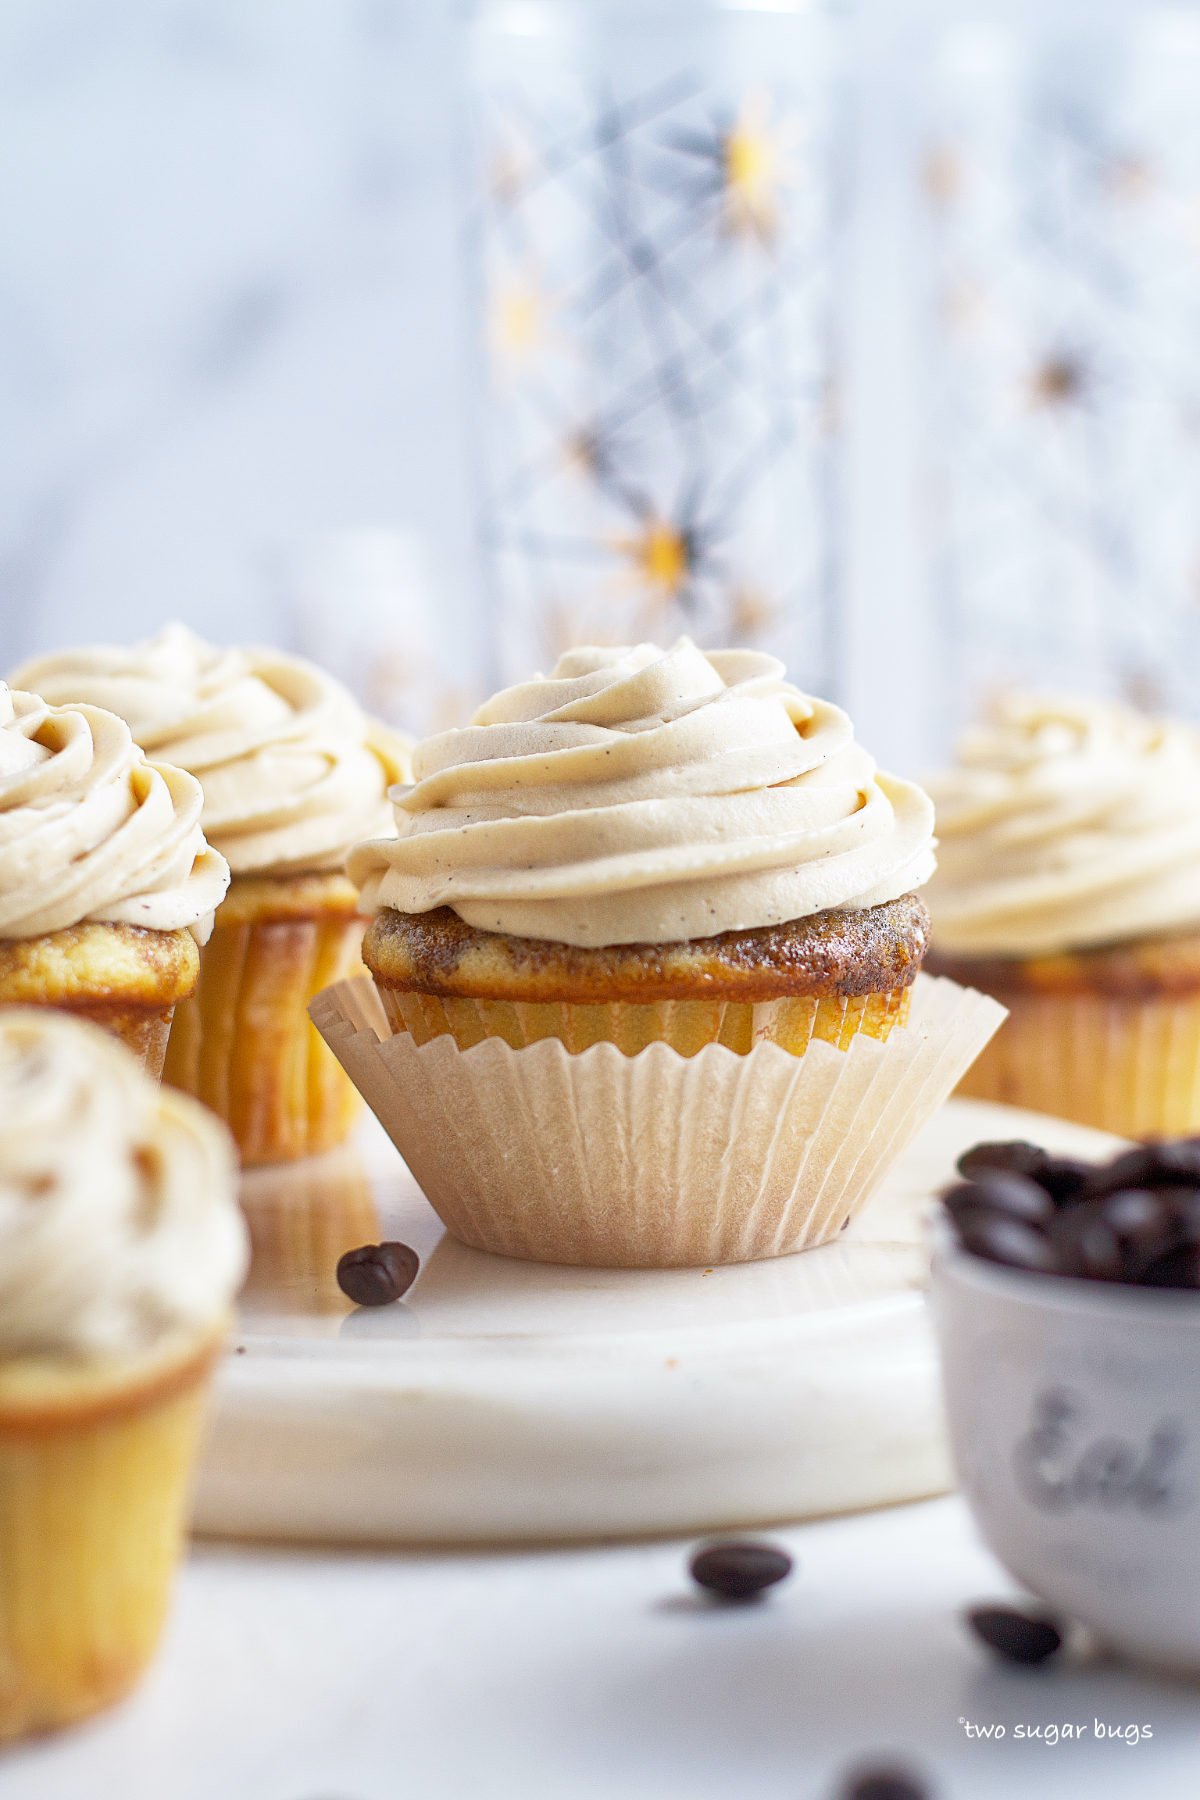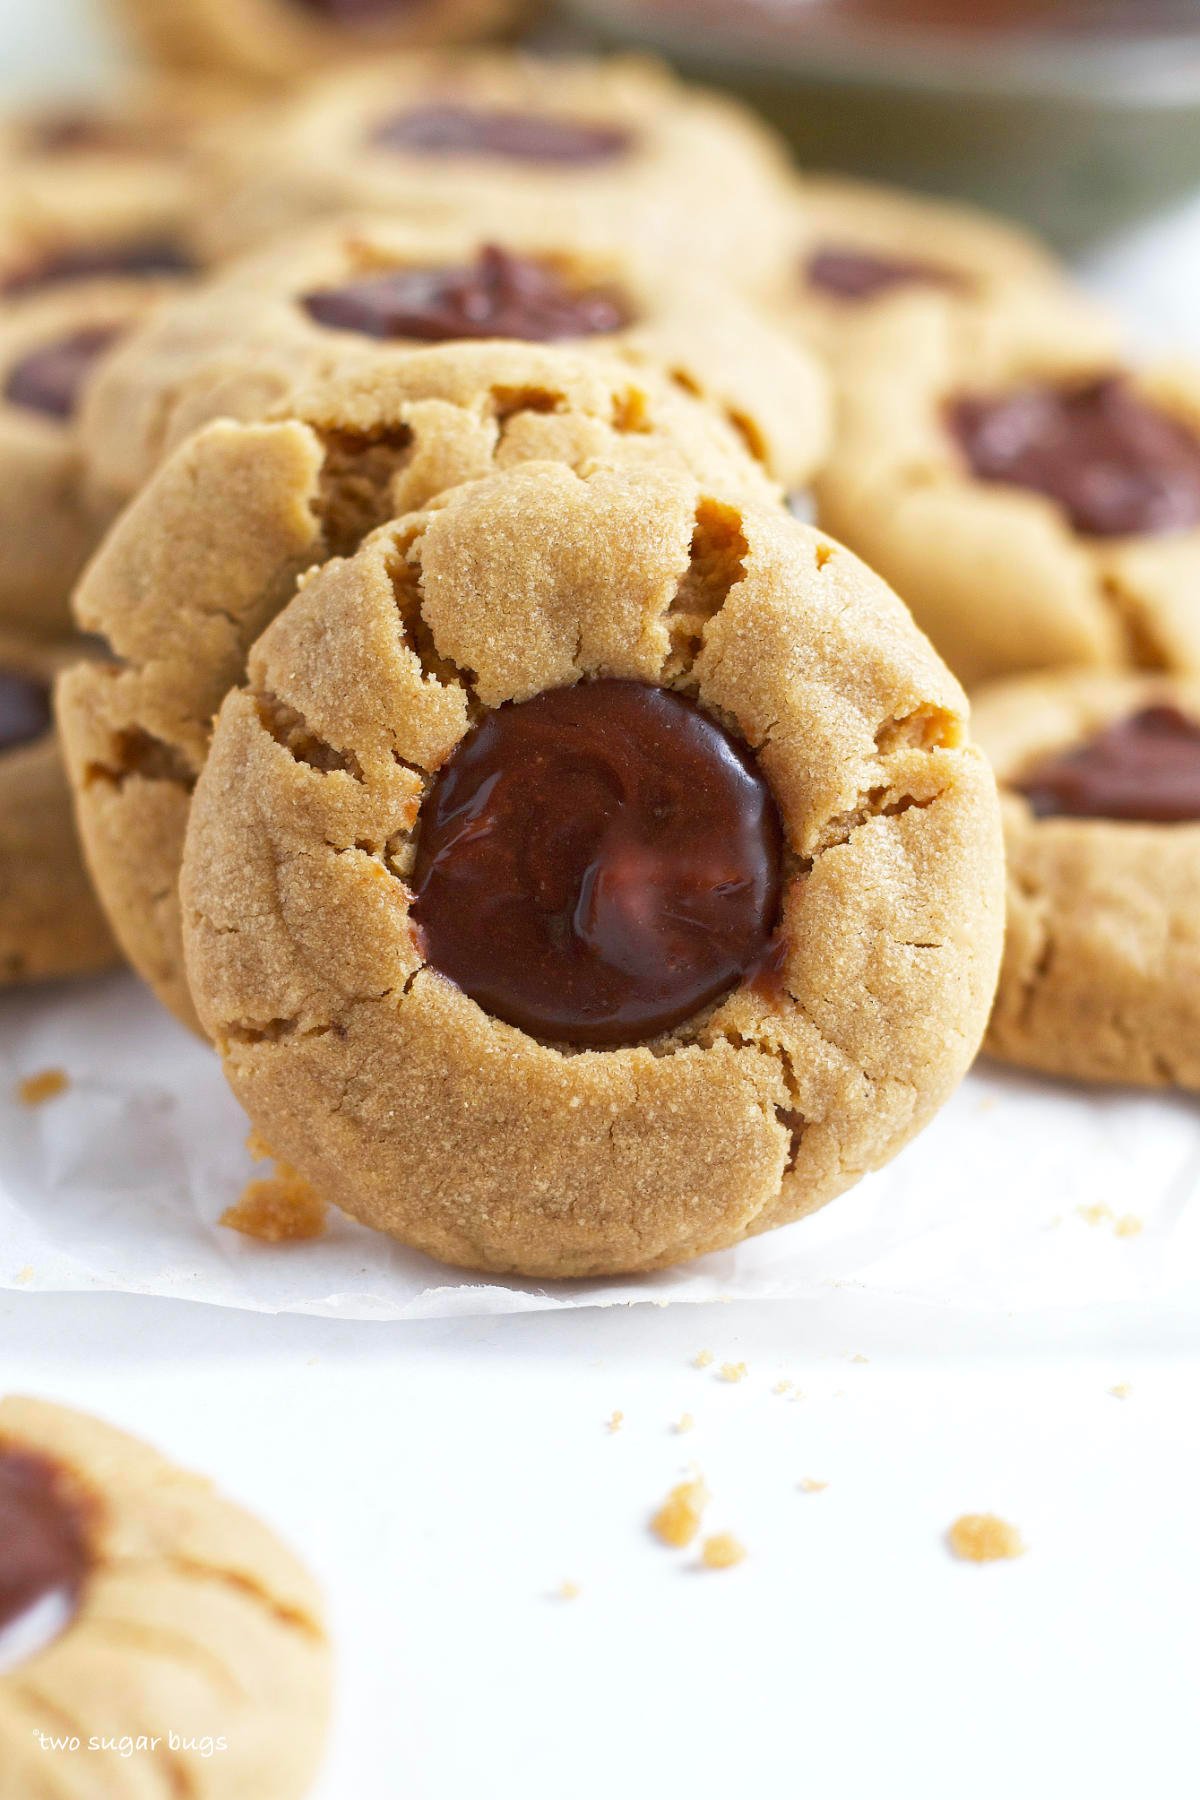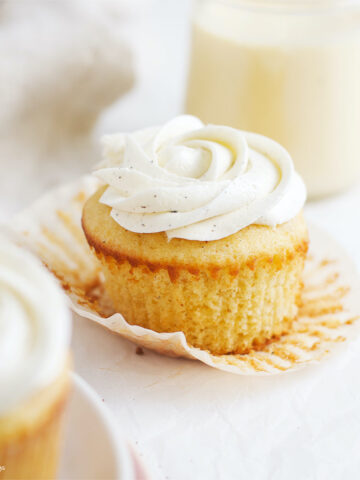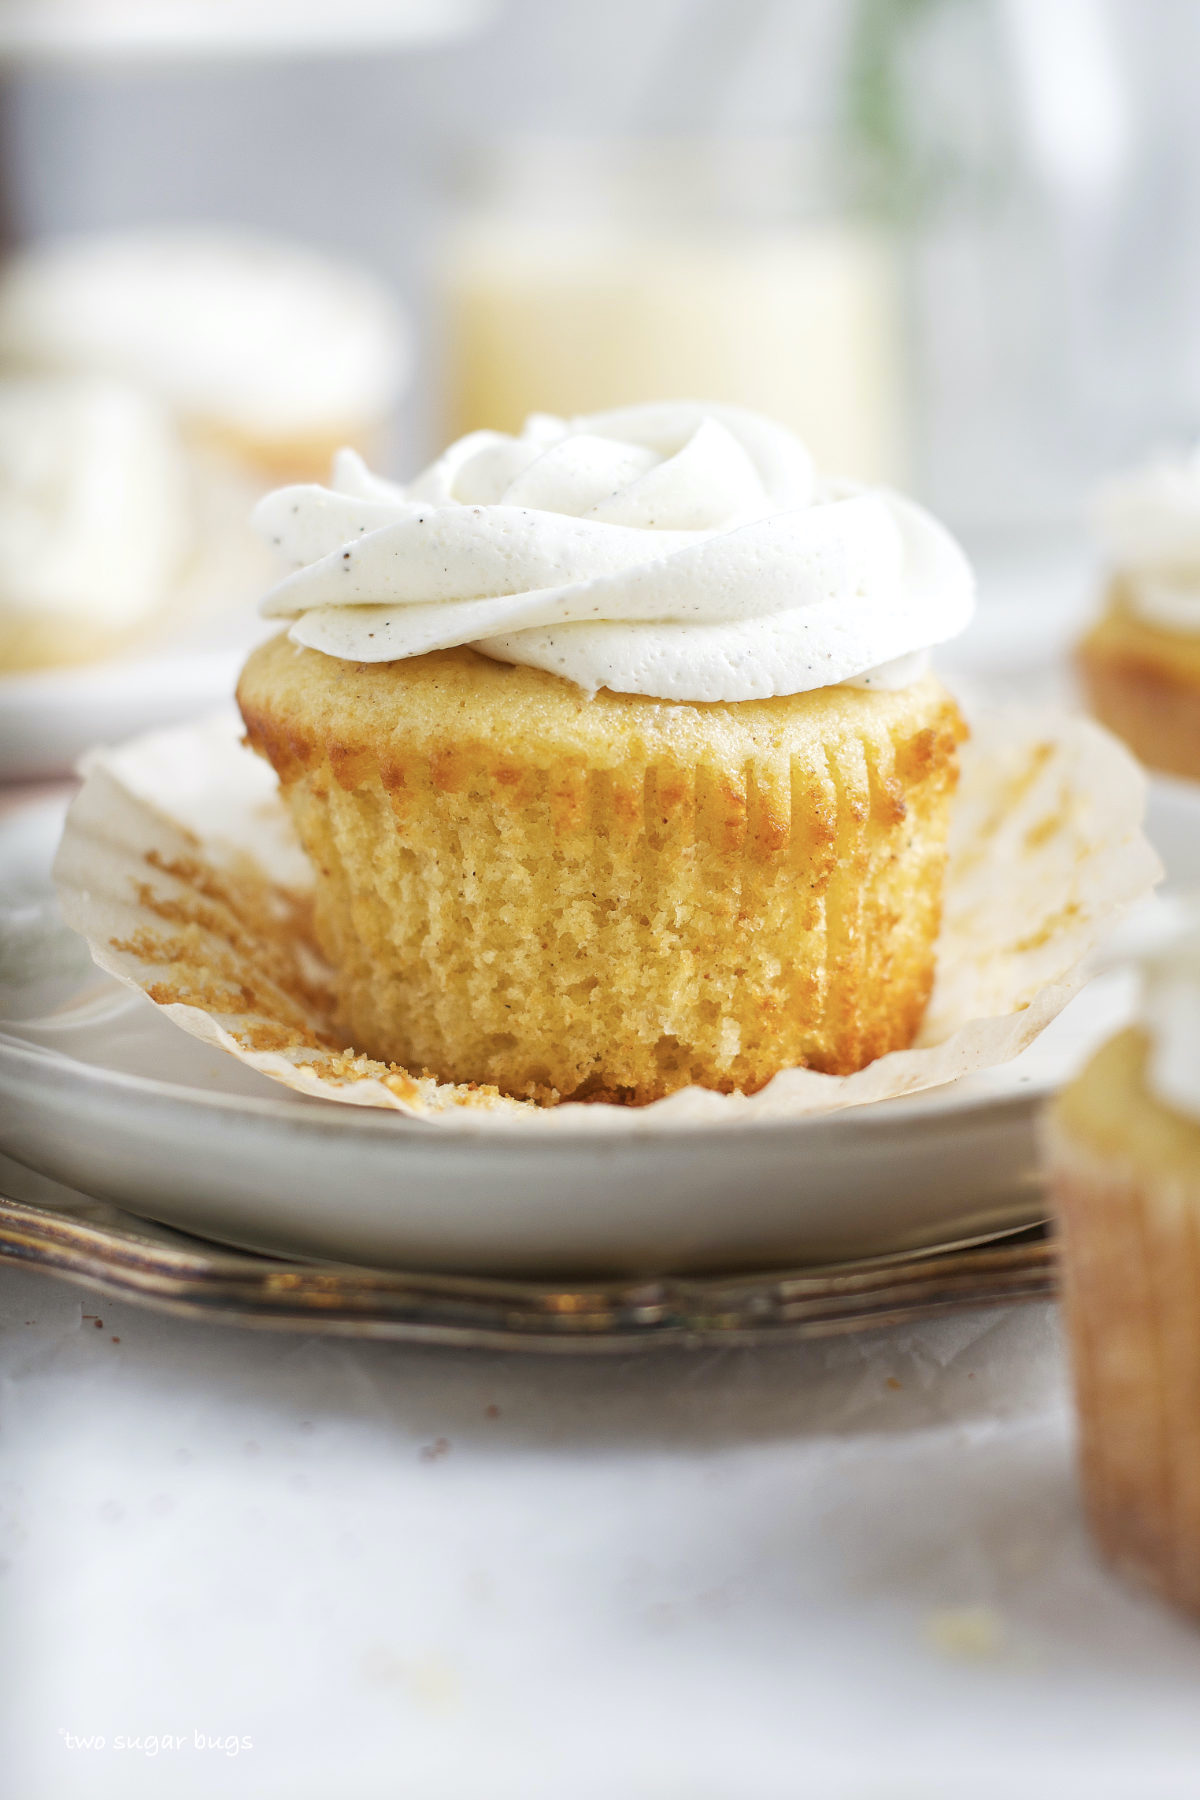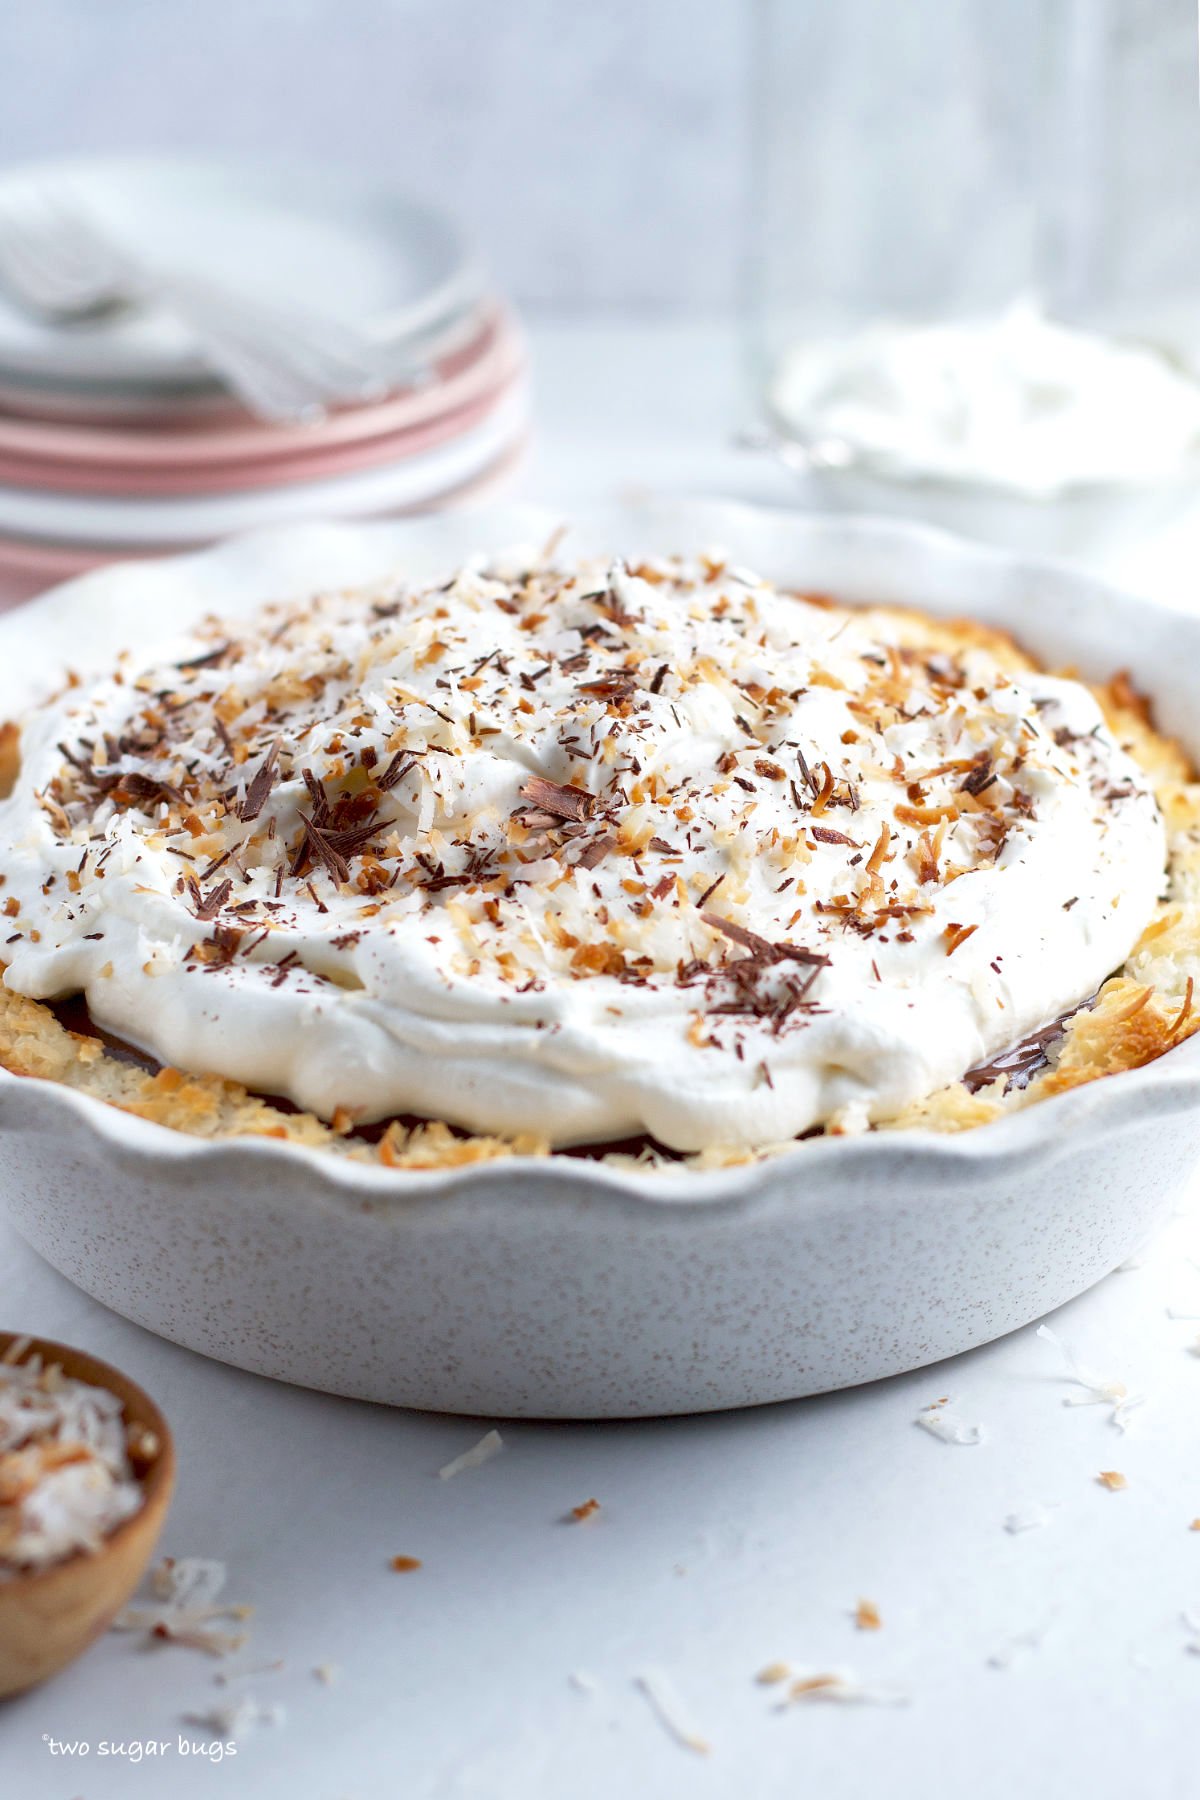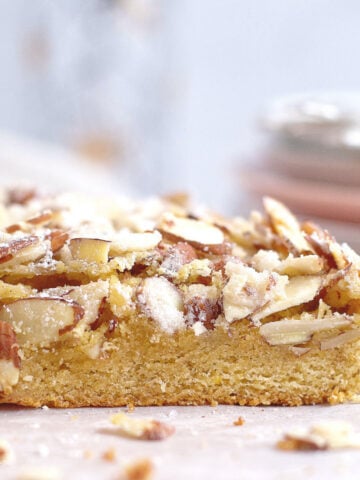
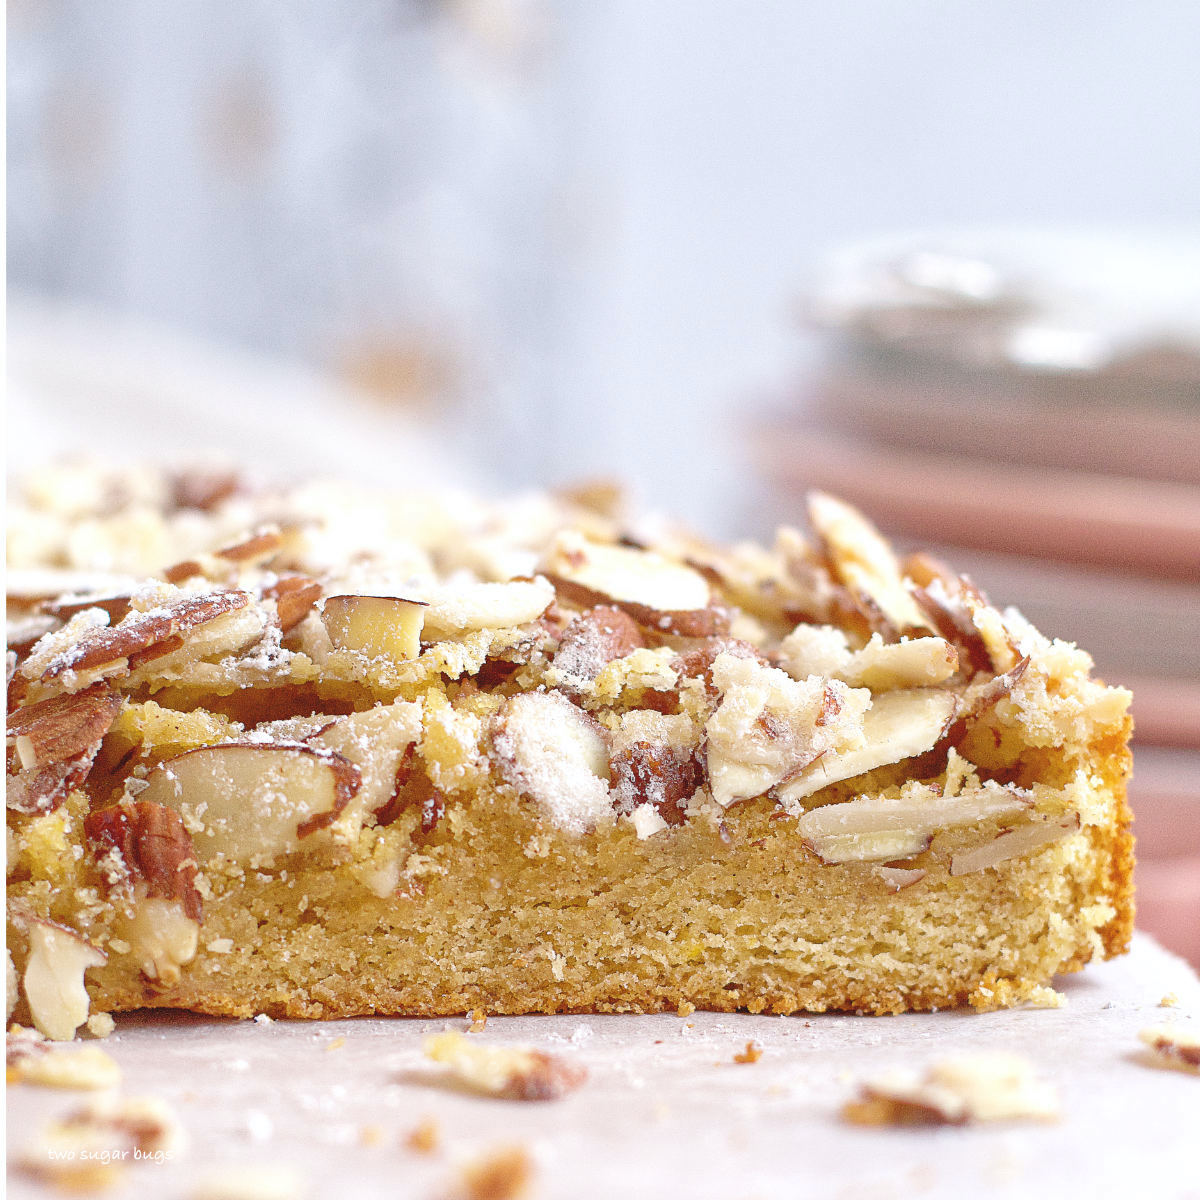
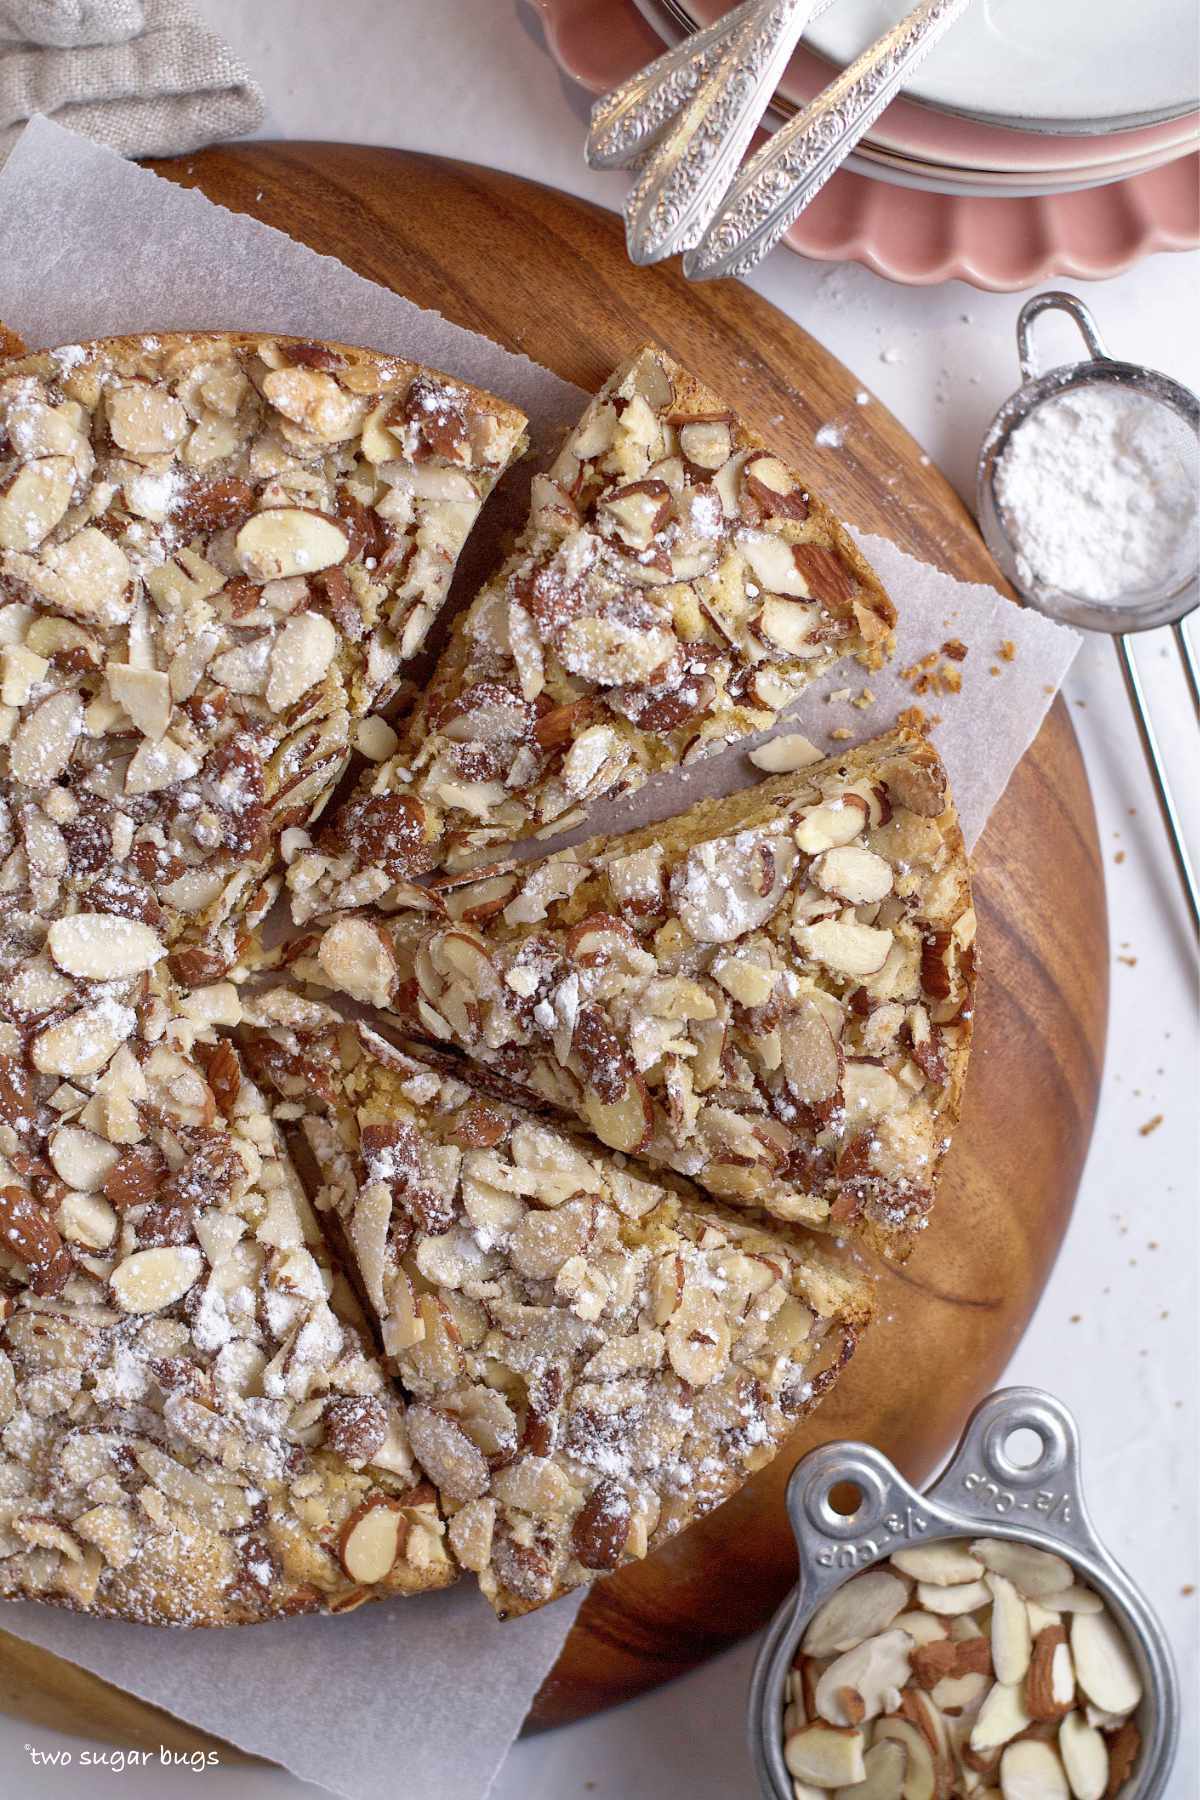
Italian almond cake is an easy one layer cake. It has a dense crumb and a crunchy toasted almond topping. This is rustic simplicity at it's best. Perfect for Easter, Mother's Day or just because!
Disclosure | This post may contain affiliate links. As an Amazon Associate I earn from qualifying purchases.
I have a love for all things Italian. ❤️
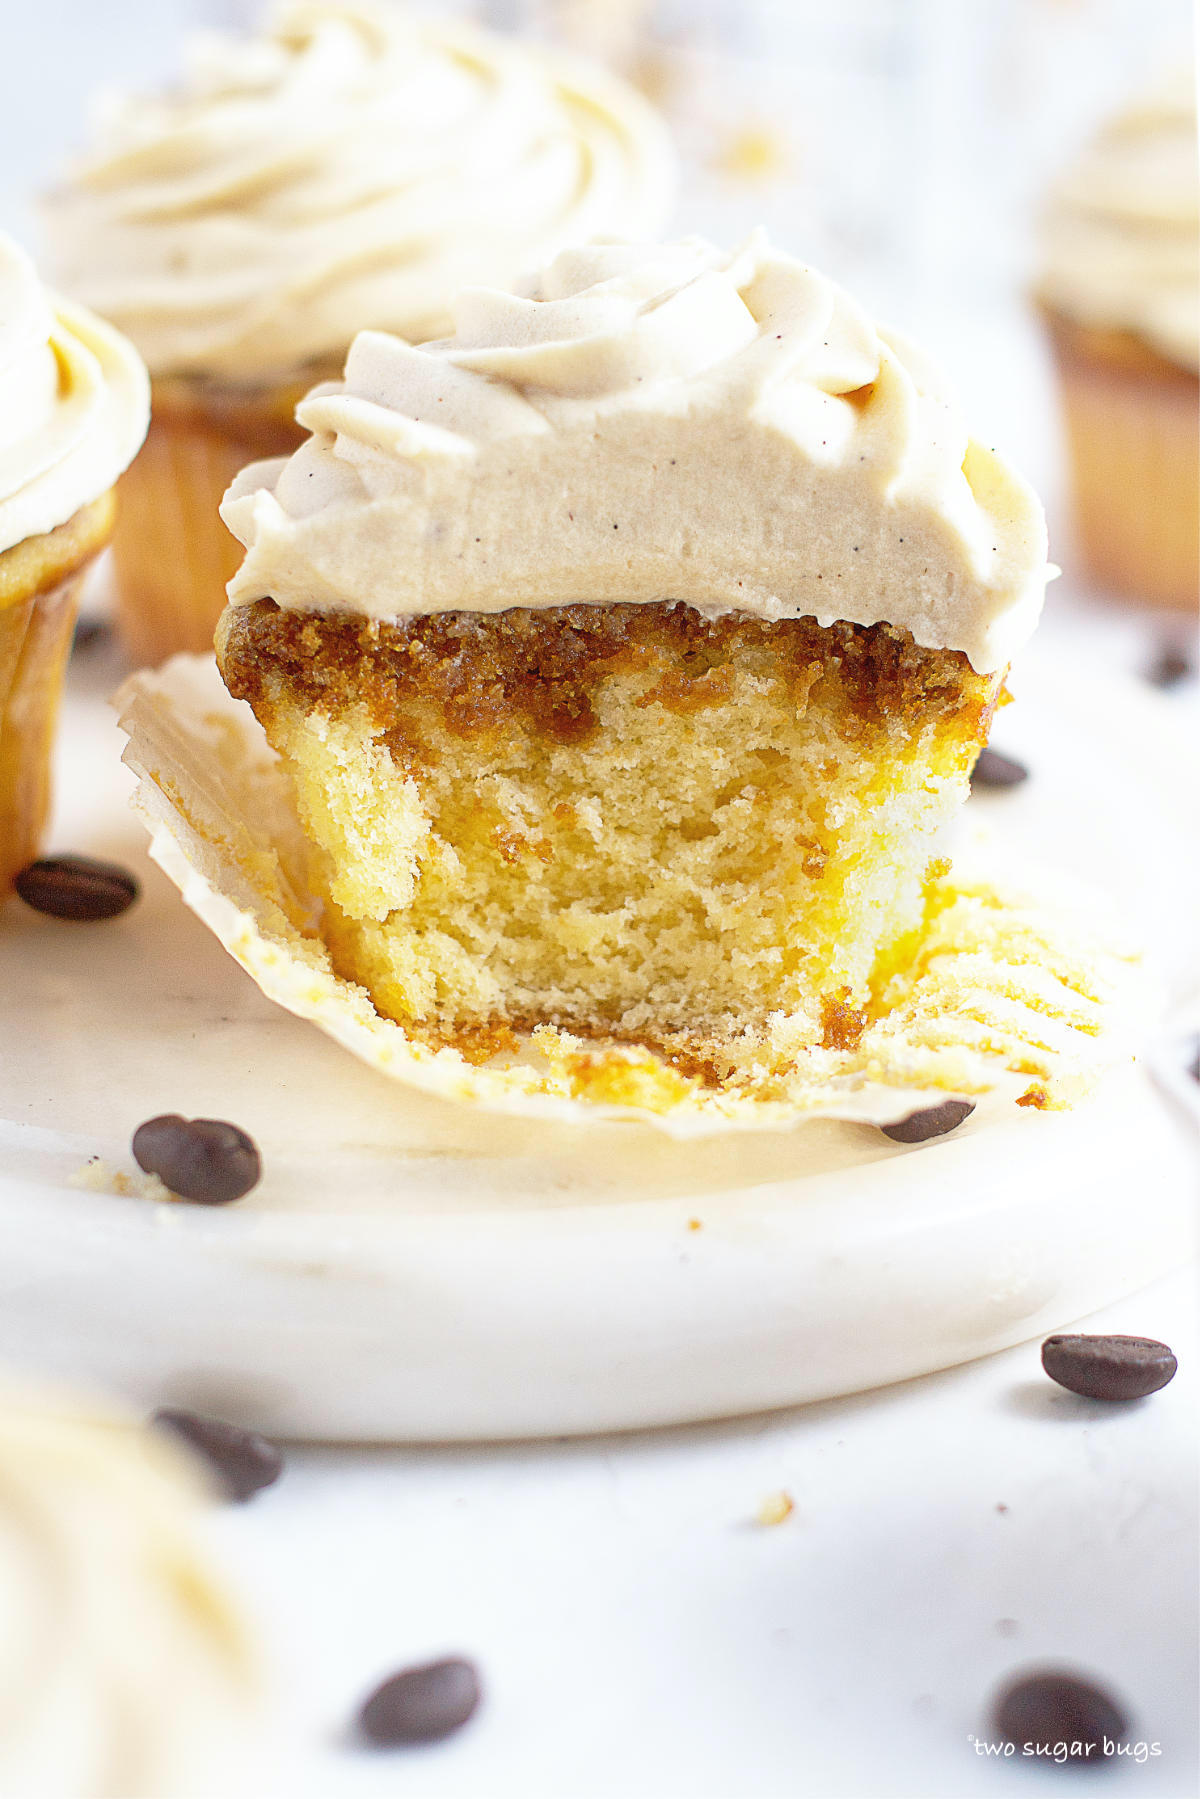
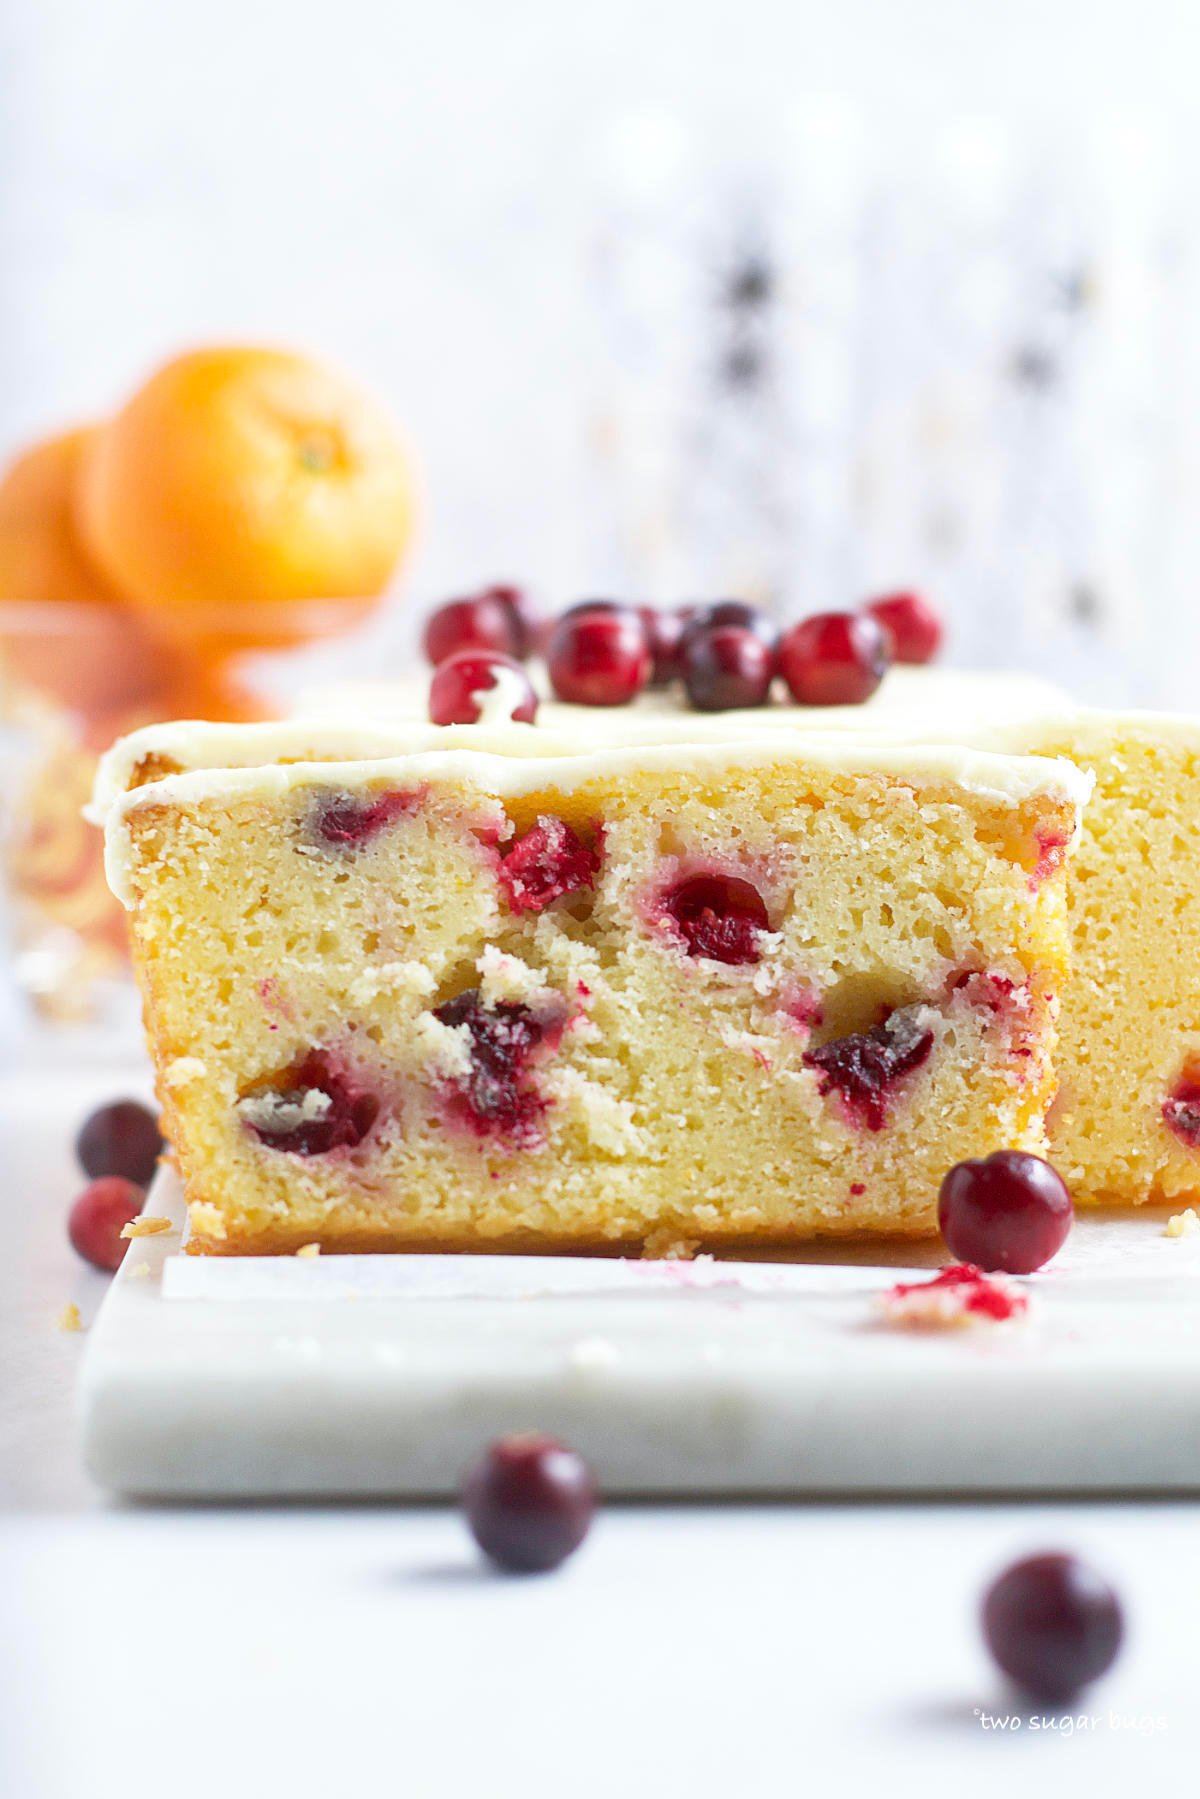
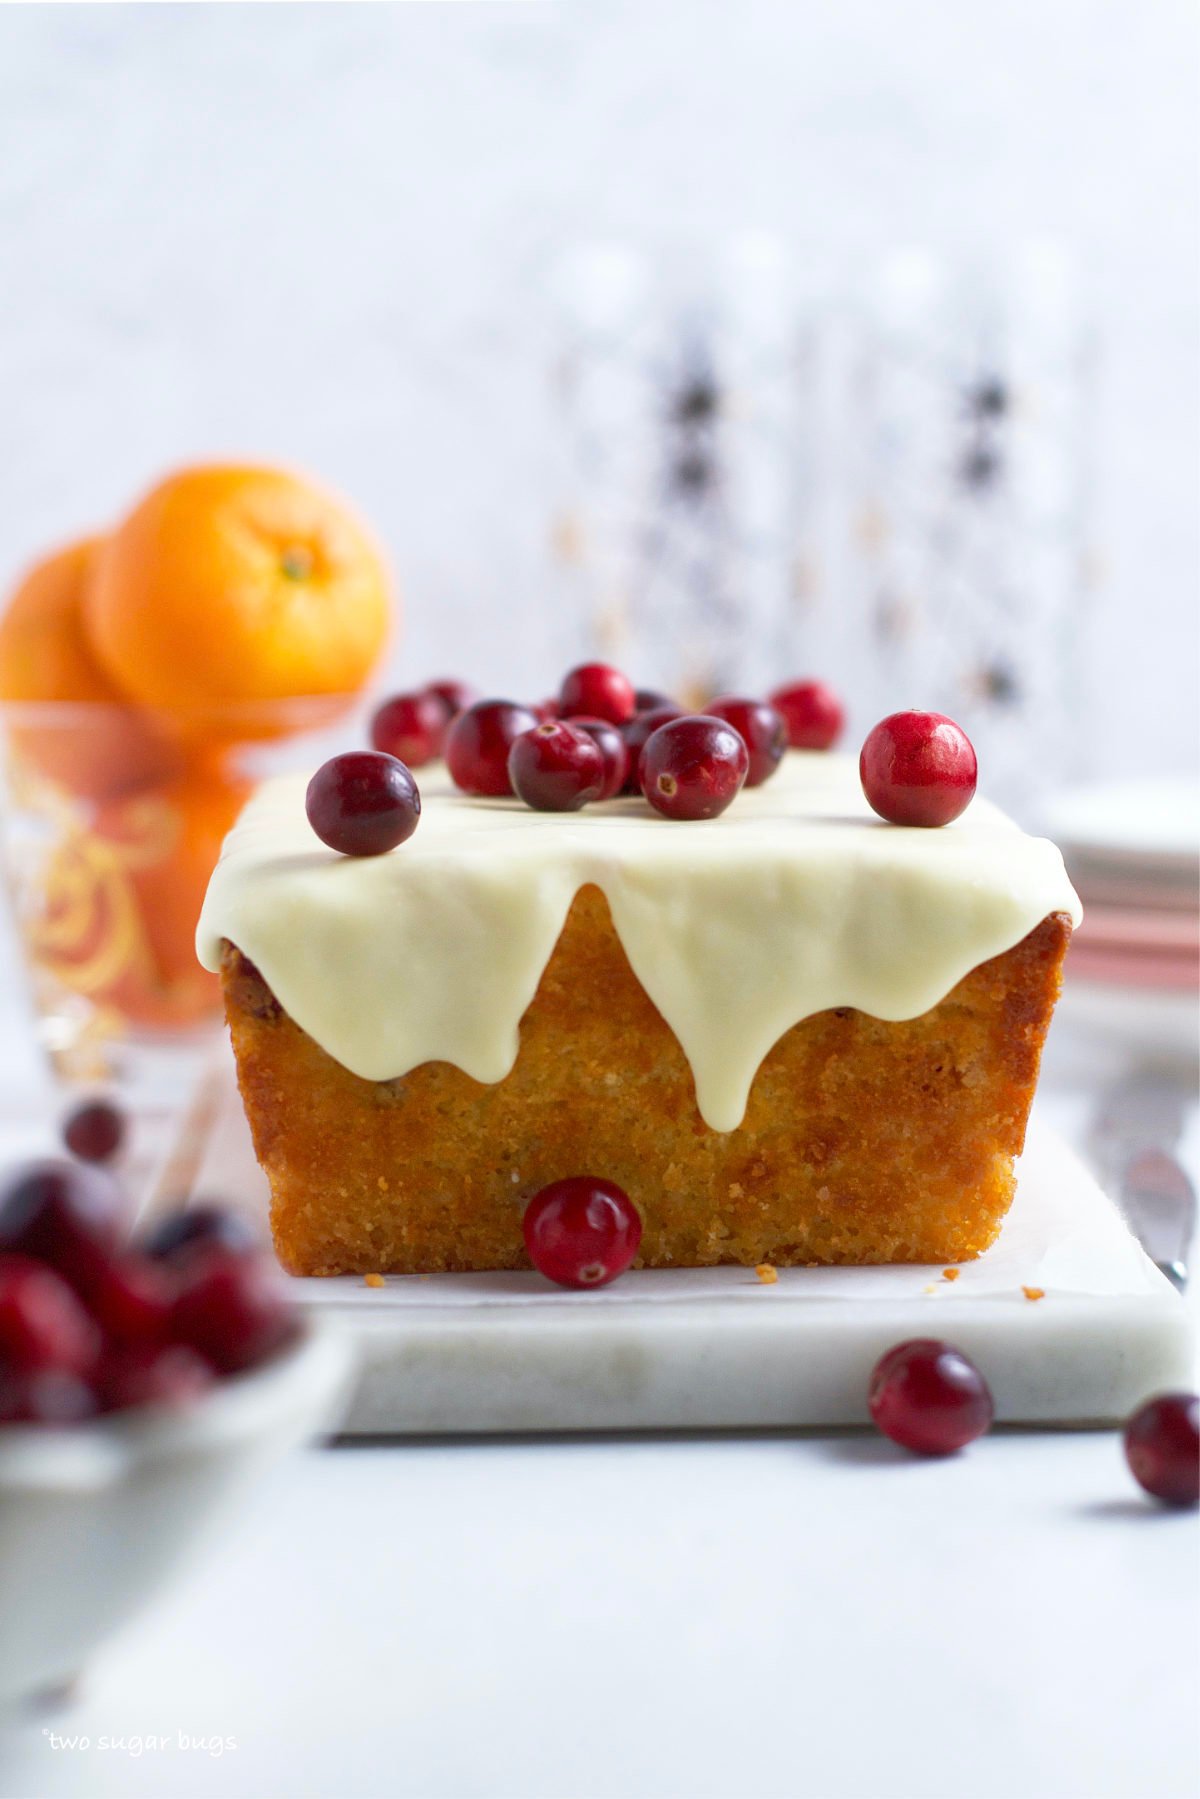
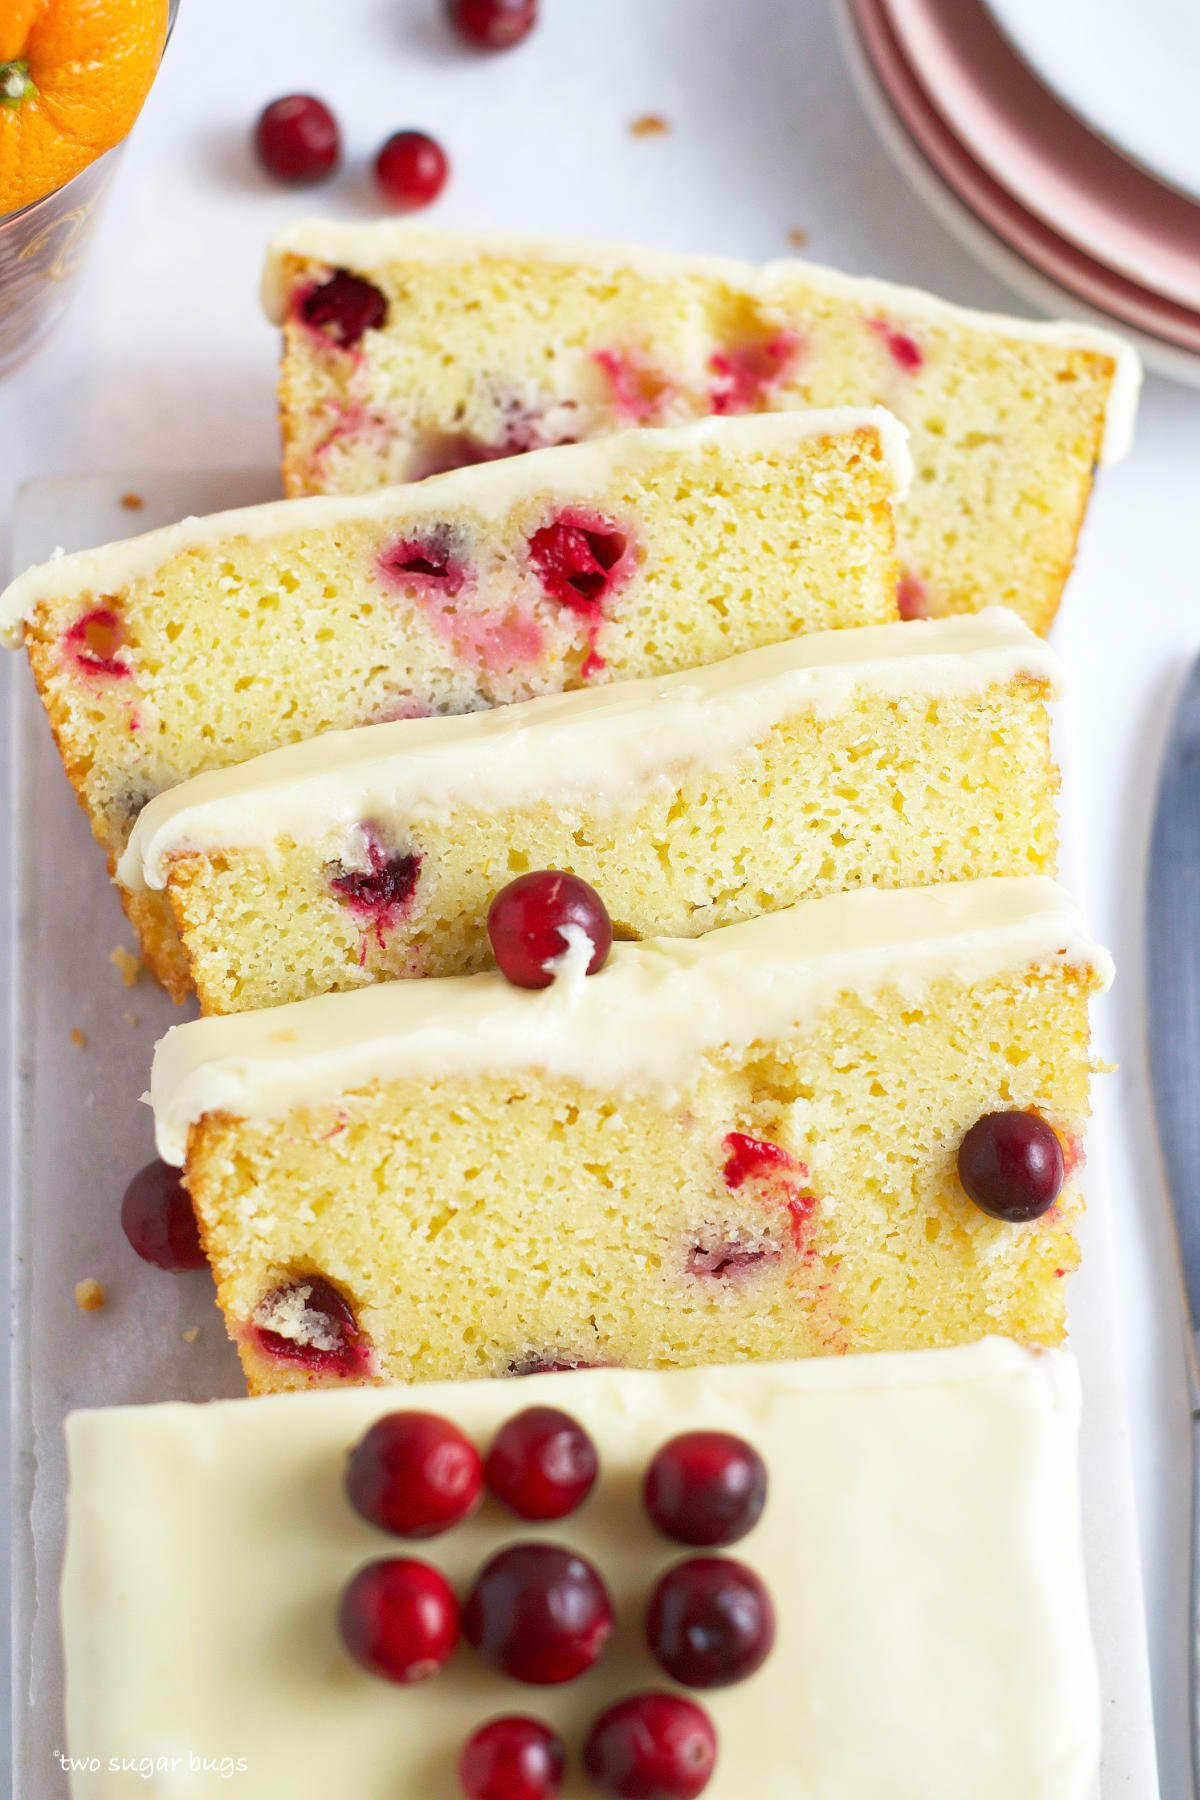
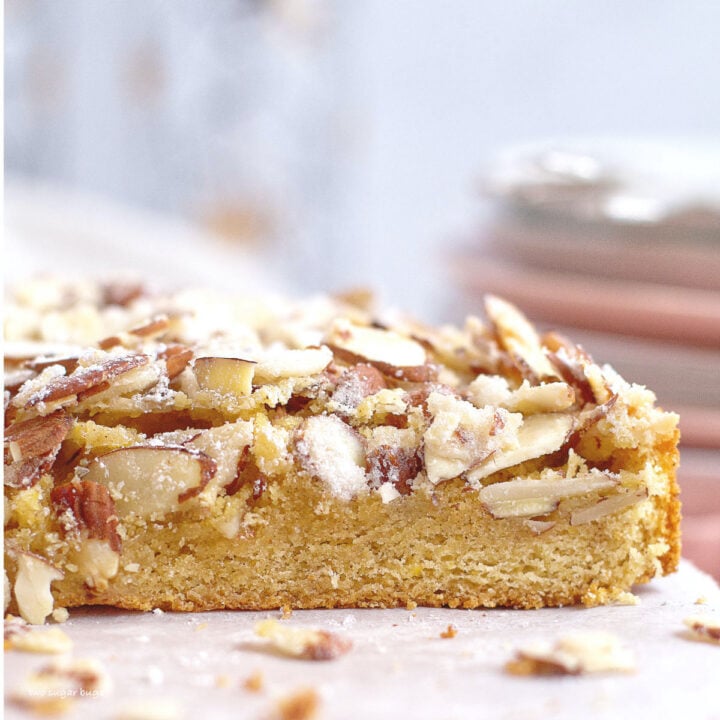
This Italian almond cake fits into my Italian love affair perfectly. It's like so many European desserts in that it's sweet, but not overly sweet and really showcases the almond flavor. The cake is tender and dense with a wonderful, thin and crunchy almond top.
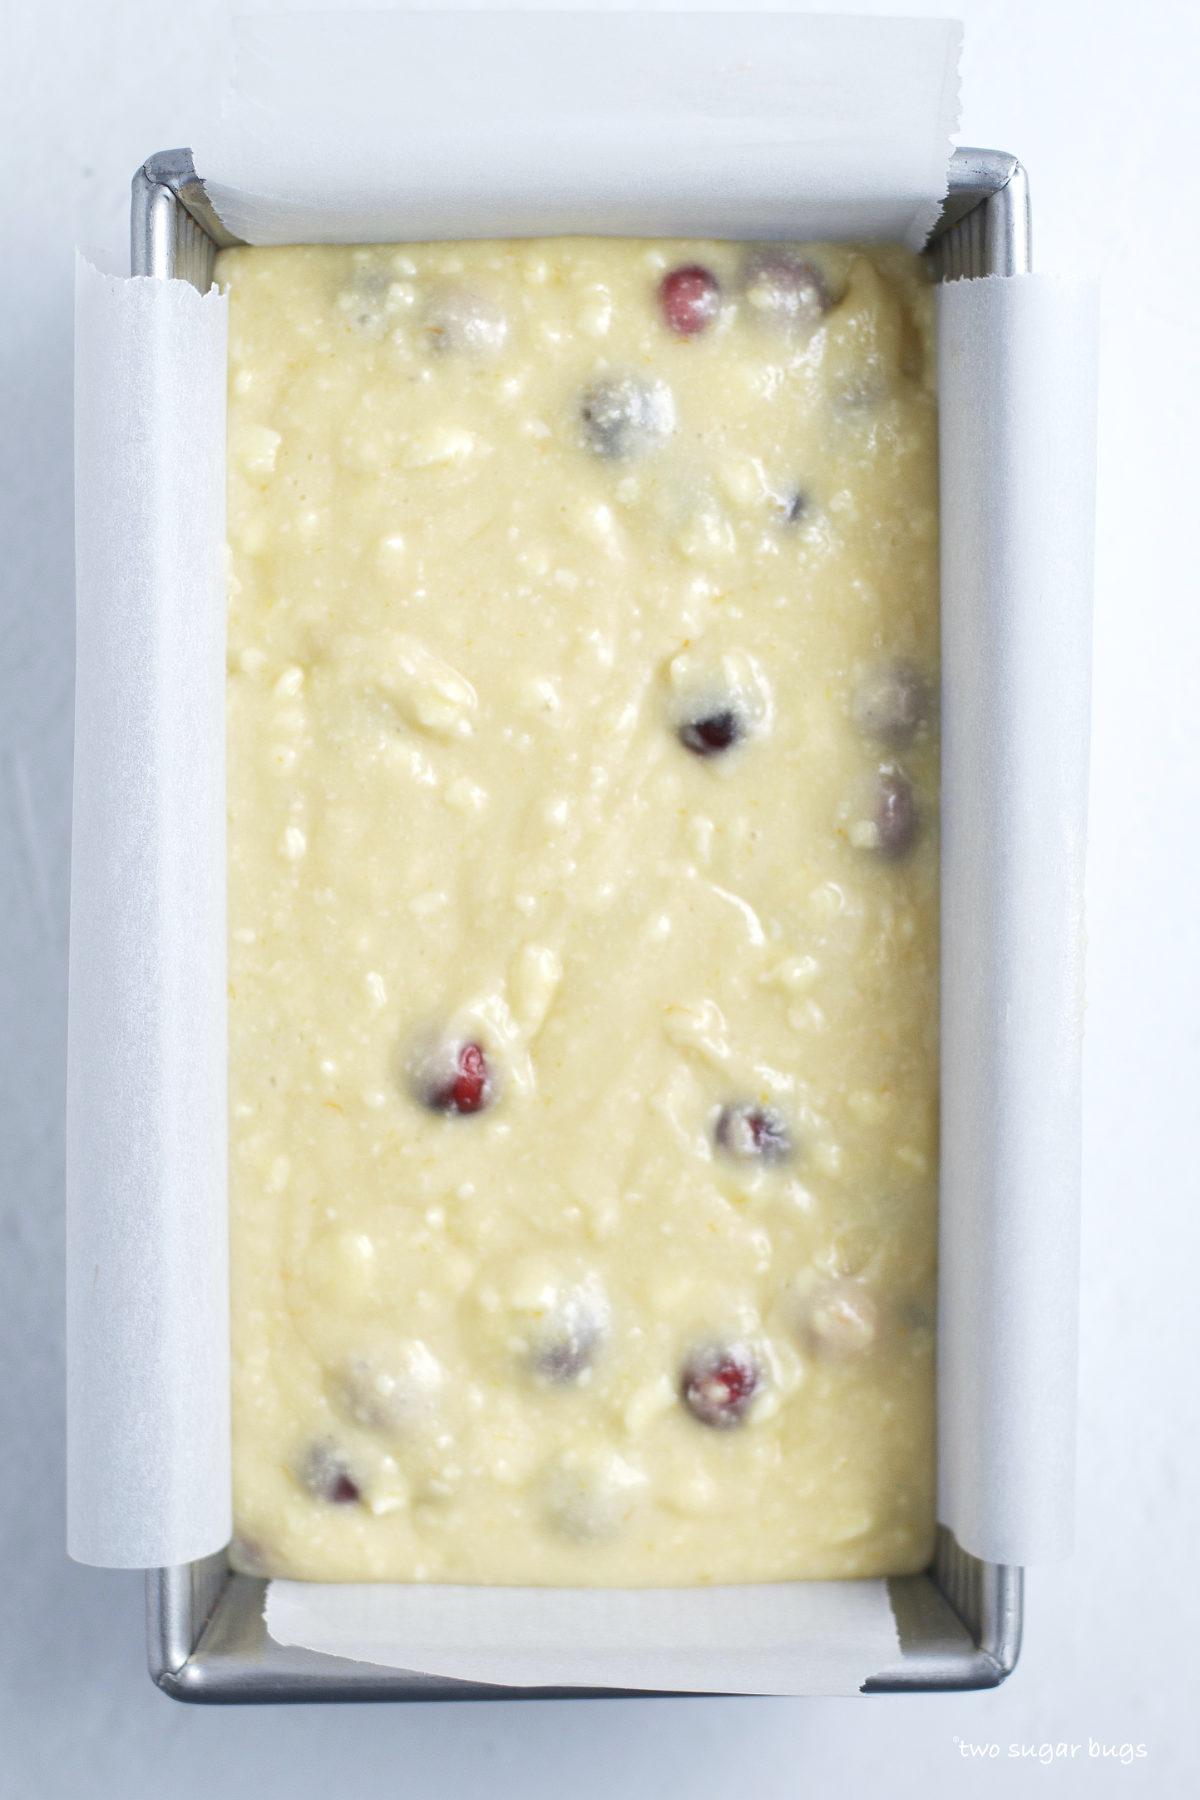
If you also love Italian desserts, be sure to check out my amaretti {Italian almond cookies}, blackberry crostata, or if you like more of a pound cake my ricotta bundt cake or orange cranberry cake.
This post was originally published in April of 2019 and has been updated with new photos and helpful information. The recipe remains the same.
why this is the best Italian cake
- Easy and quick to prepare!
- Simple ingredients ~ made without almond paste.
- Rustic appearance ~ this is a one layer cake that has a toasted almond top and needs no fussy decorating.
- Texture ~ the almond cake has a dense and soft crumb with the best sweet and crunchy almond topping.
- Perfect with a cup of coffee or tea!

I often make this cake to go with Sunday dinner, but it would be perfect to pair with your Easter or Mother's Day brunch.
I've adapted this recipe from one of my all time favorite dessert cookbooks, Dolce Italiano from the late Gina DePalma. Gina was a very close friend with a dear friend of mine and although I never knew her, her cookbook makes me feel like I did. I've yet to make something from it that isn't wonderful.
ingredients needed
Please scroll to the printable recipe card at the end of this post for the full list of ingredients and baking directions.
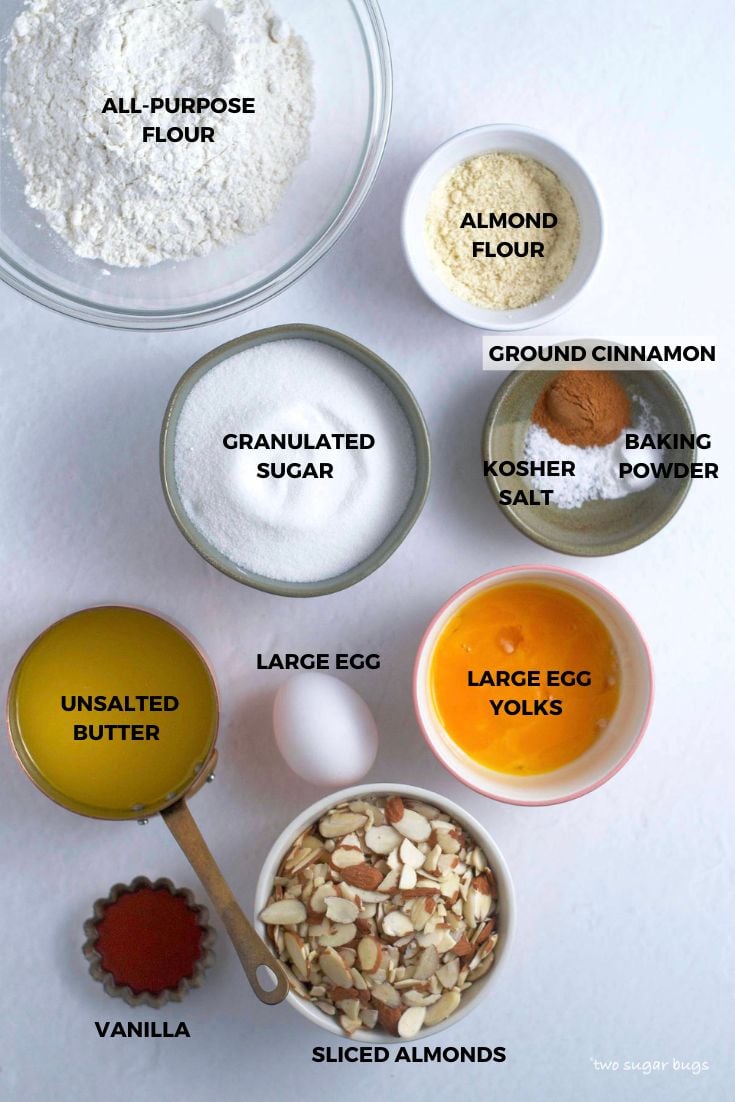
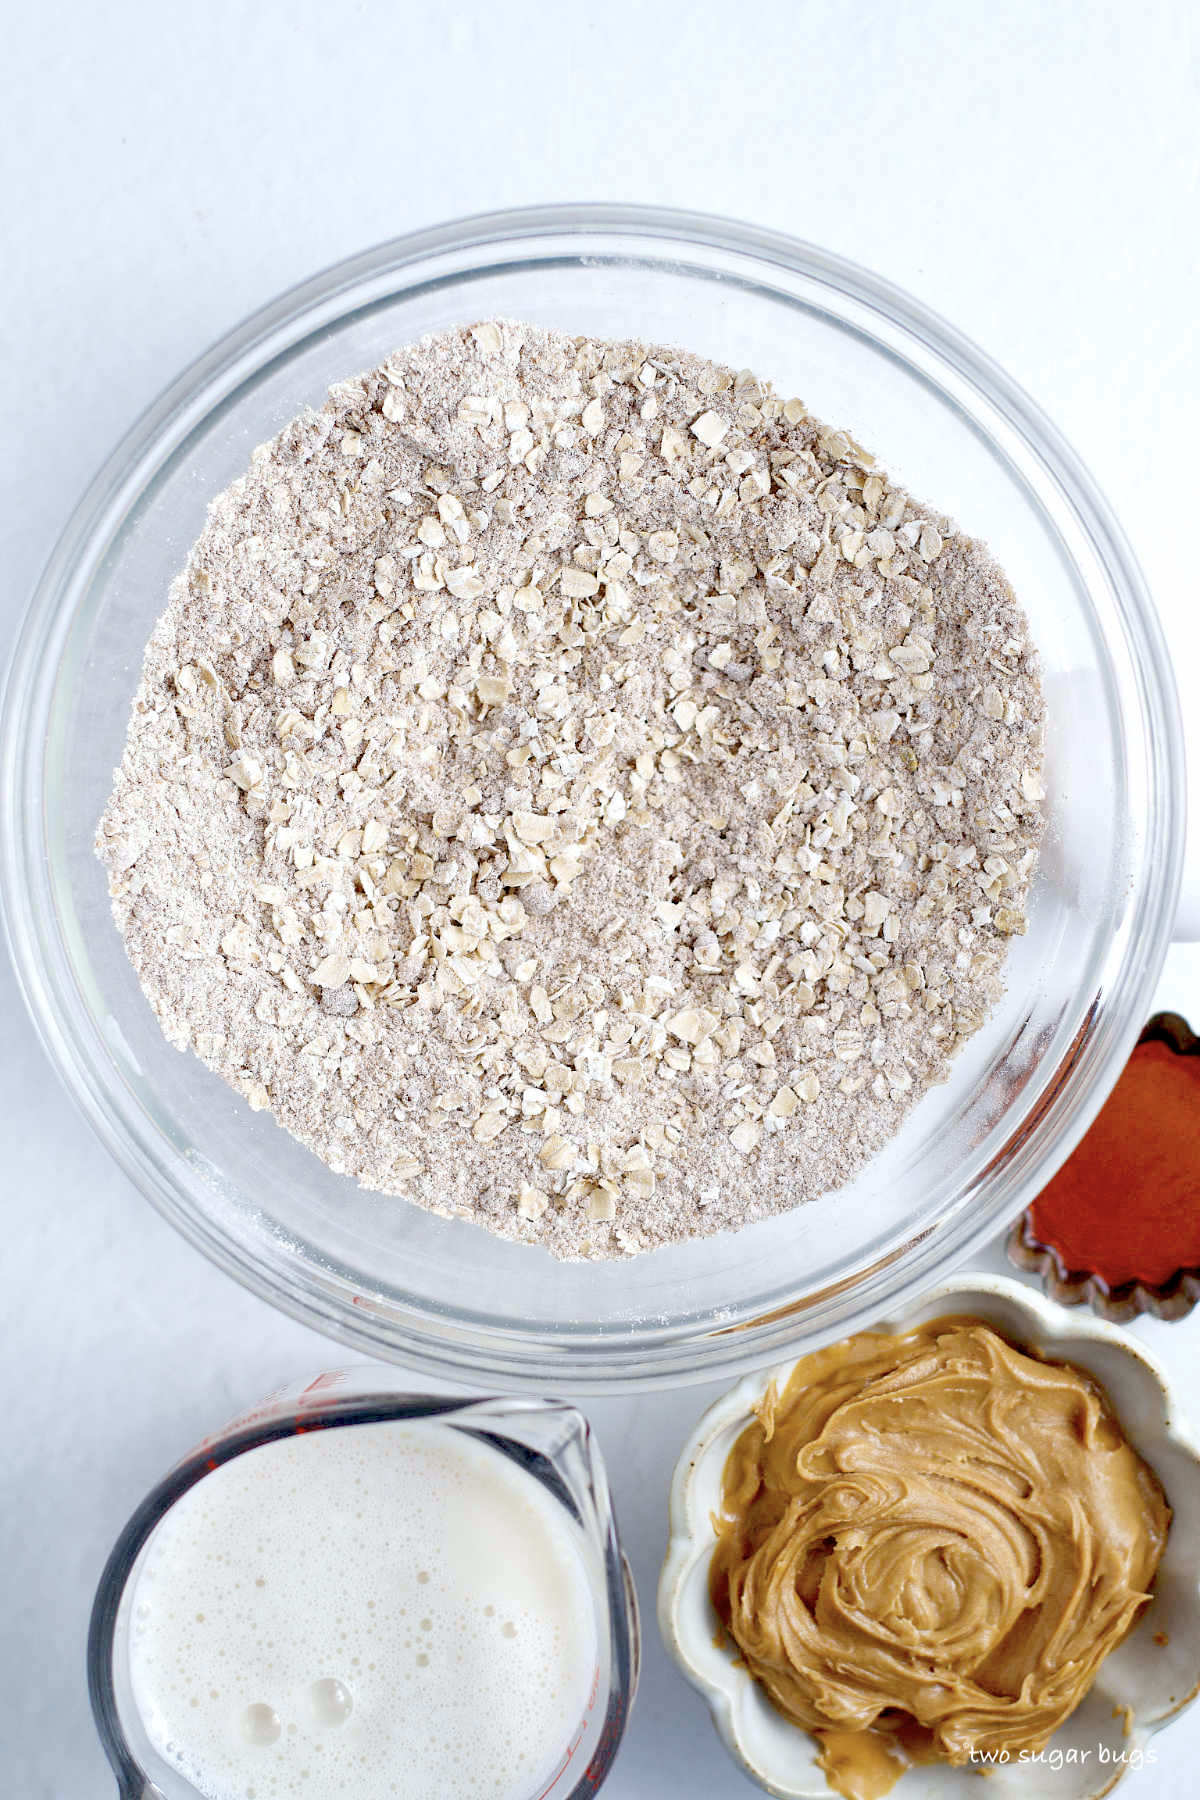
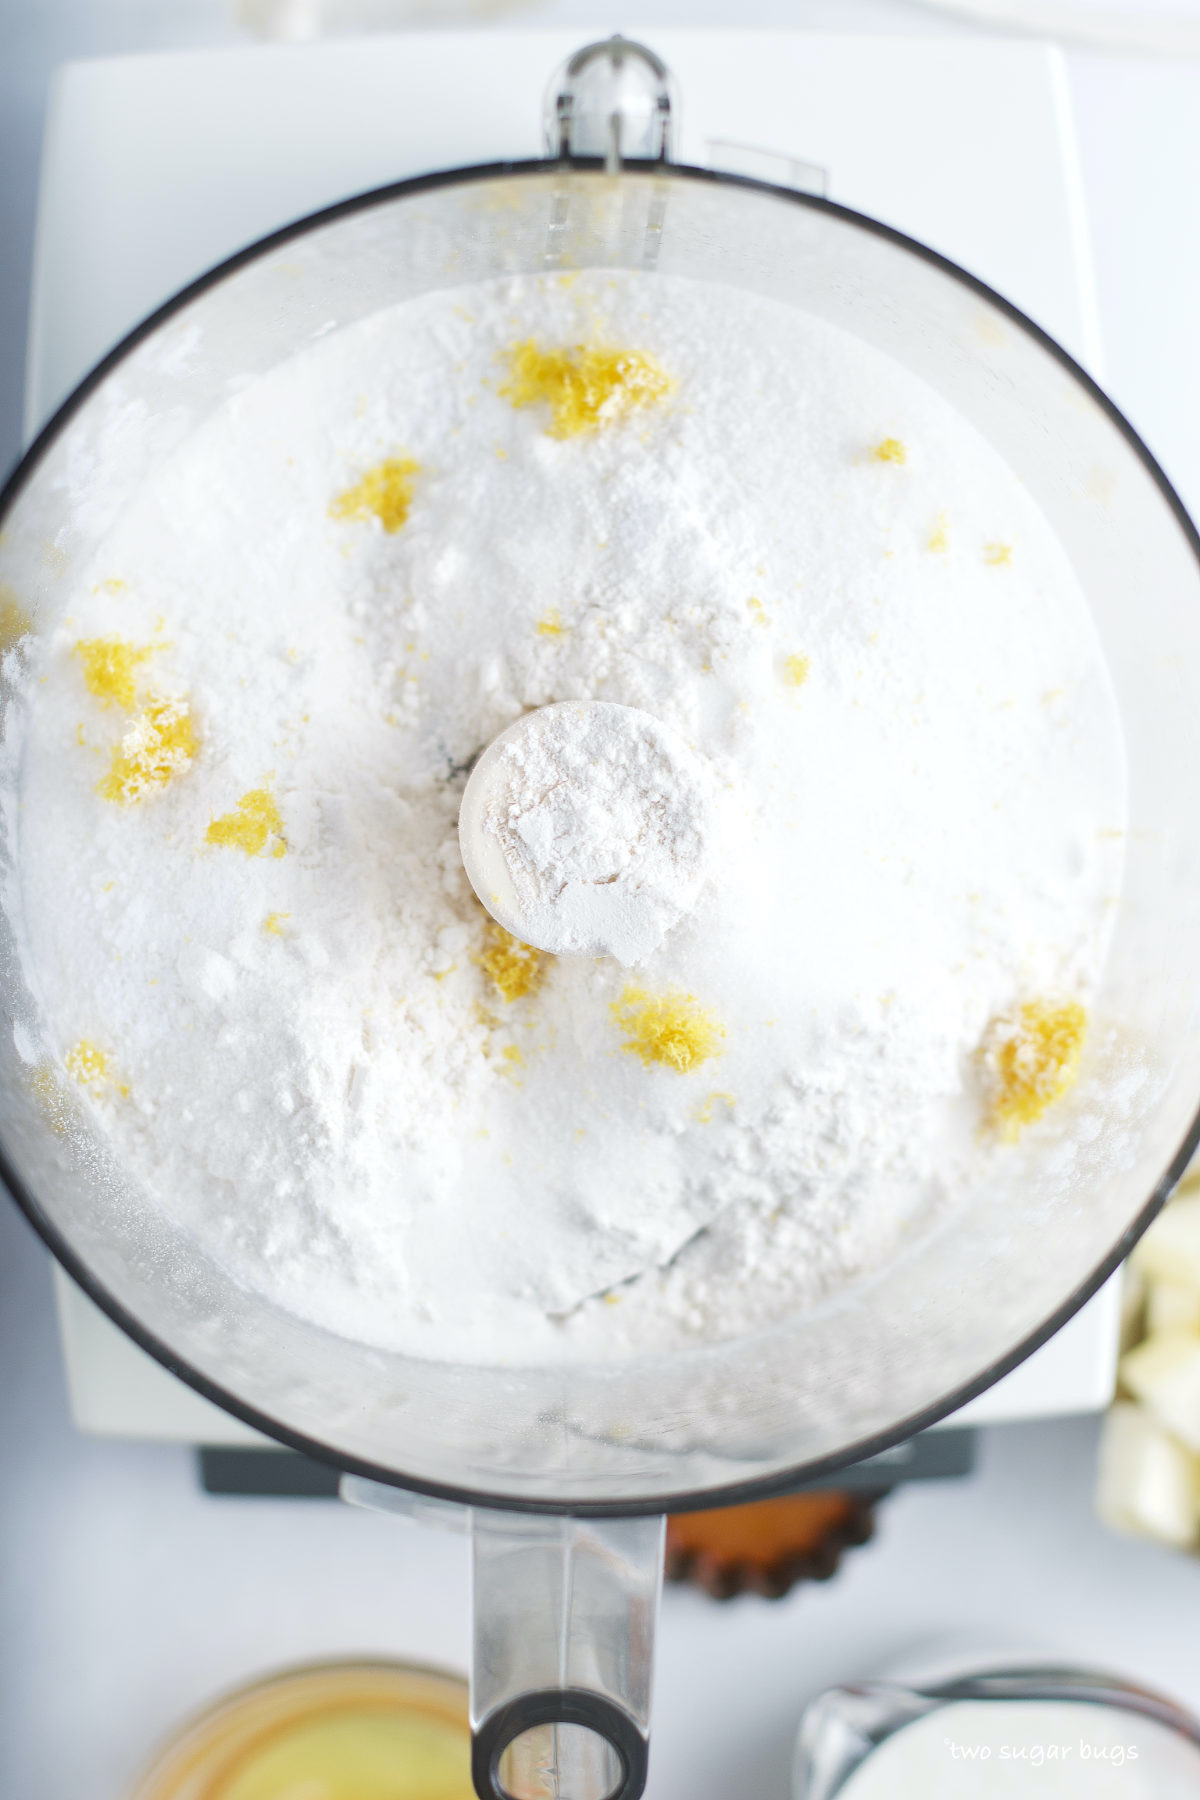
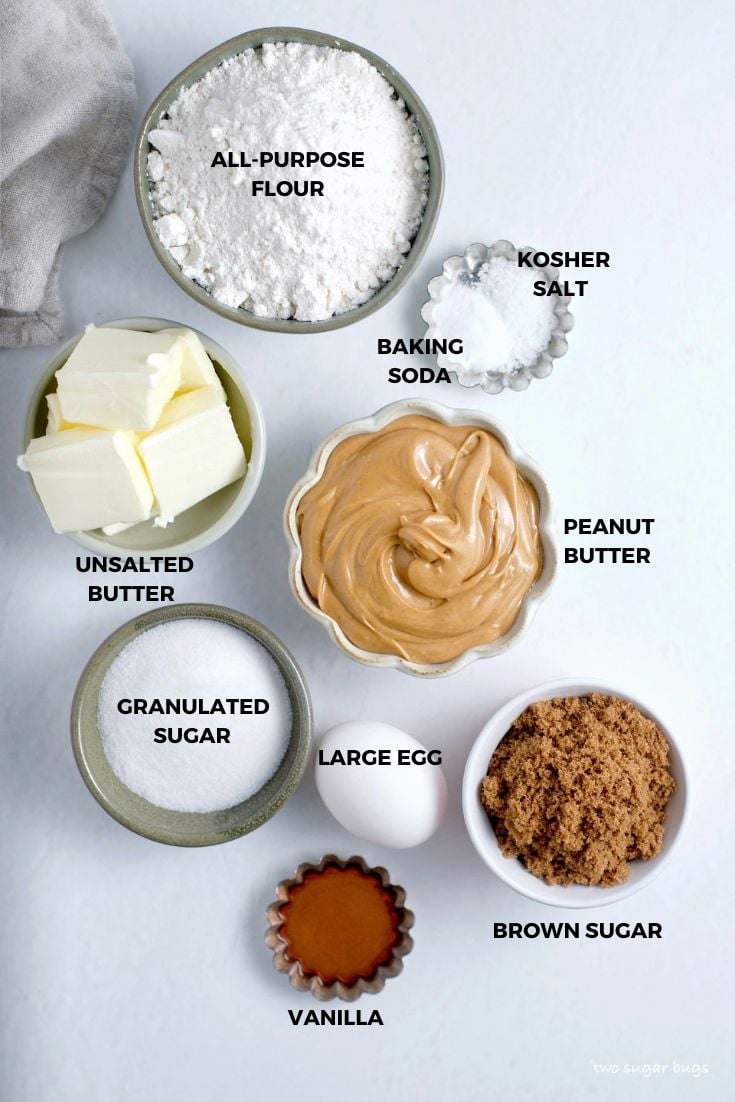
- All-purpose flour ~ adds structure to the cake. If not using a kitchen scale, be sure to fluff the flour in the container; then spoon it into the measuring cup and level it off with a flat surface.
- Almond flour ~ I use Bob's Red Mill, but know lots of people who love the Kirkland almond flour from Costco.
- Kosher salt ~ balances the flavors.
- Baking powder ~ adds just a little lift to the cake.
- Ground cinnamon and vanilla ~ both ingredients add flavor.
- Granulated sugar ~ brings the sweetness. It is used in the cake batter and sliced almond topping.
- Eggs ~ this Italian almond cake uses 5 large eggs; 1 whole egg, 4 yolks and 1 egg white. You can make meringue cookies with the leftover egg whites.
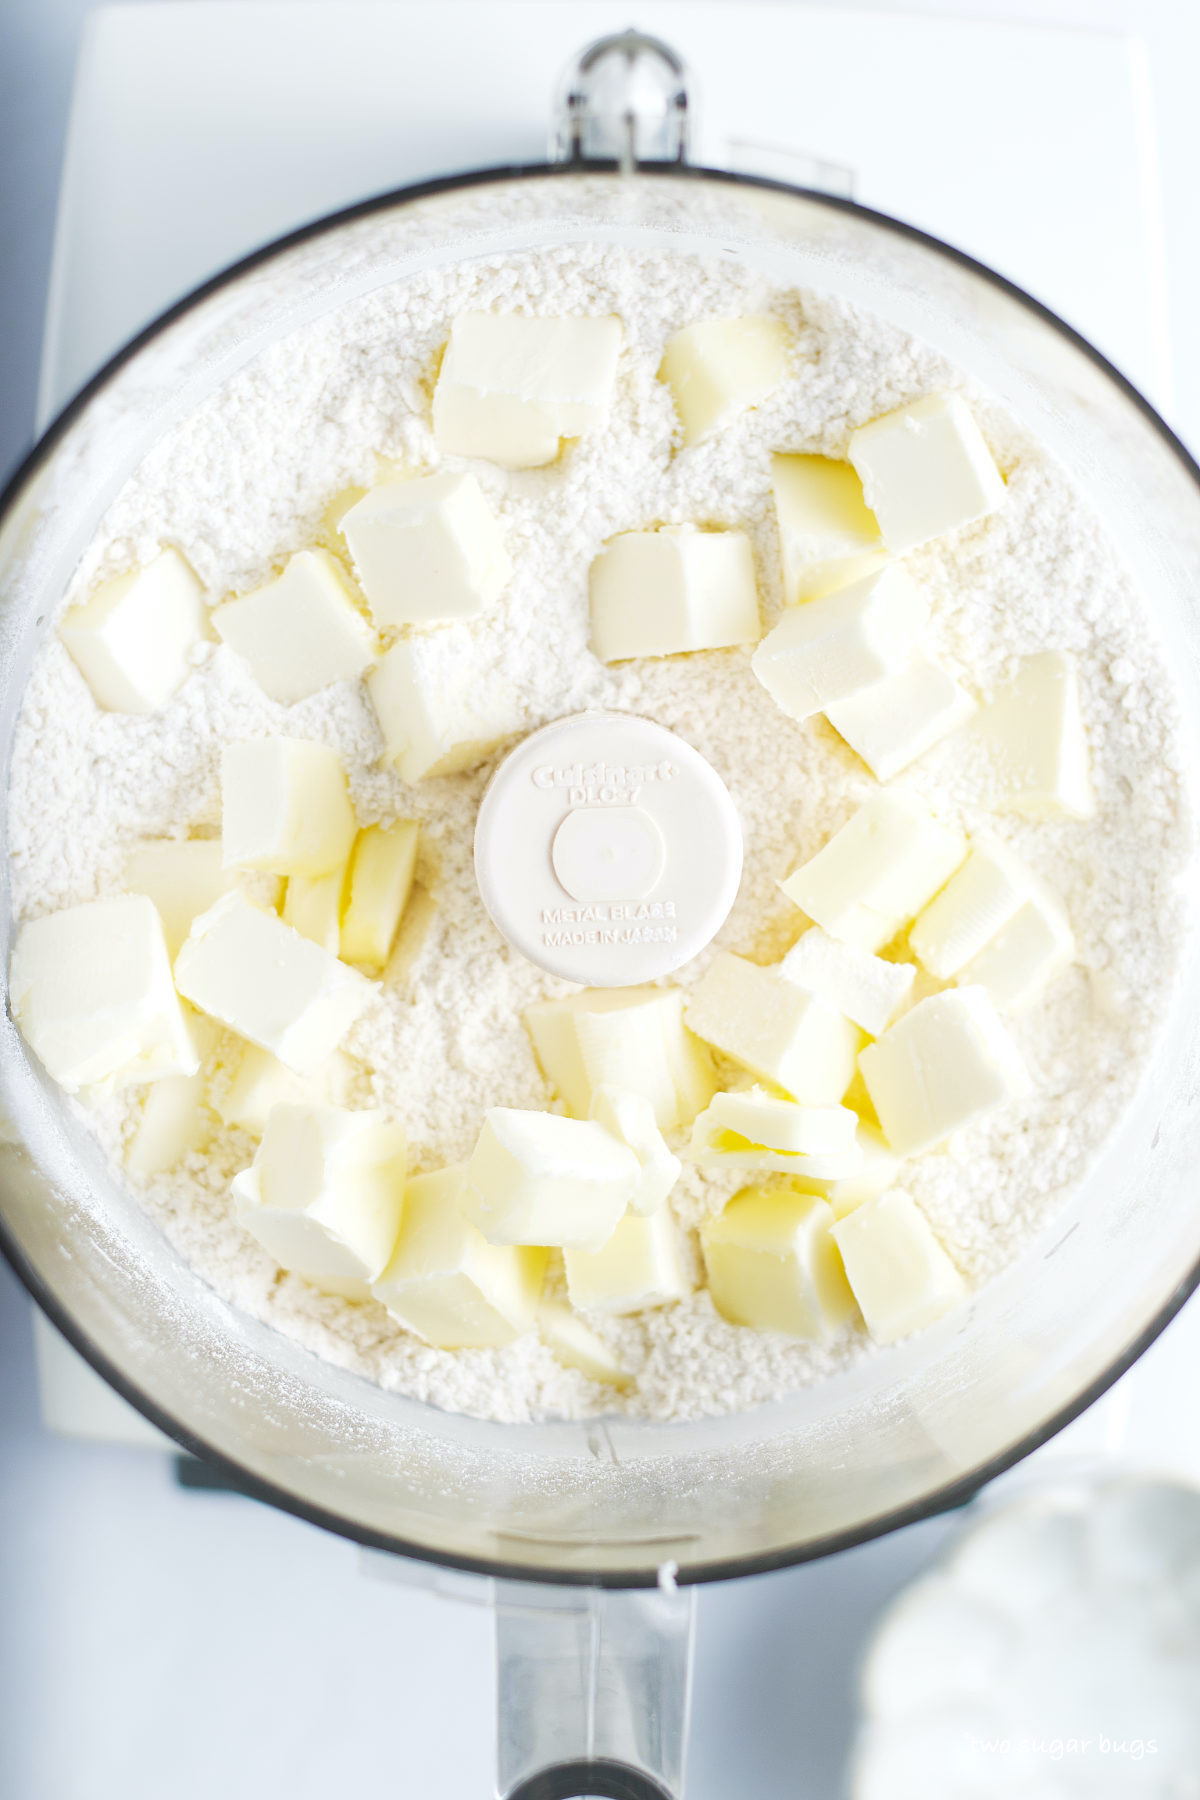
- Unsalted butter ~ melt the butter and let it cool slightly before using in the batter.
- Confectioners' sugar {not shown} ~ for dusting over the cooled cake.
how to make this rustic Italian cake
Start by whisking your dry ingredients together and buttering and lightly flouring a 9 inch spring form pan. Then melt the butter and set it aside to cool.
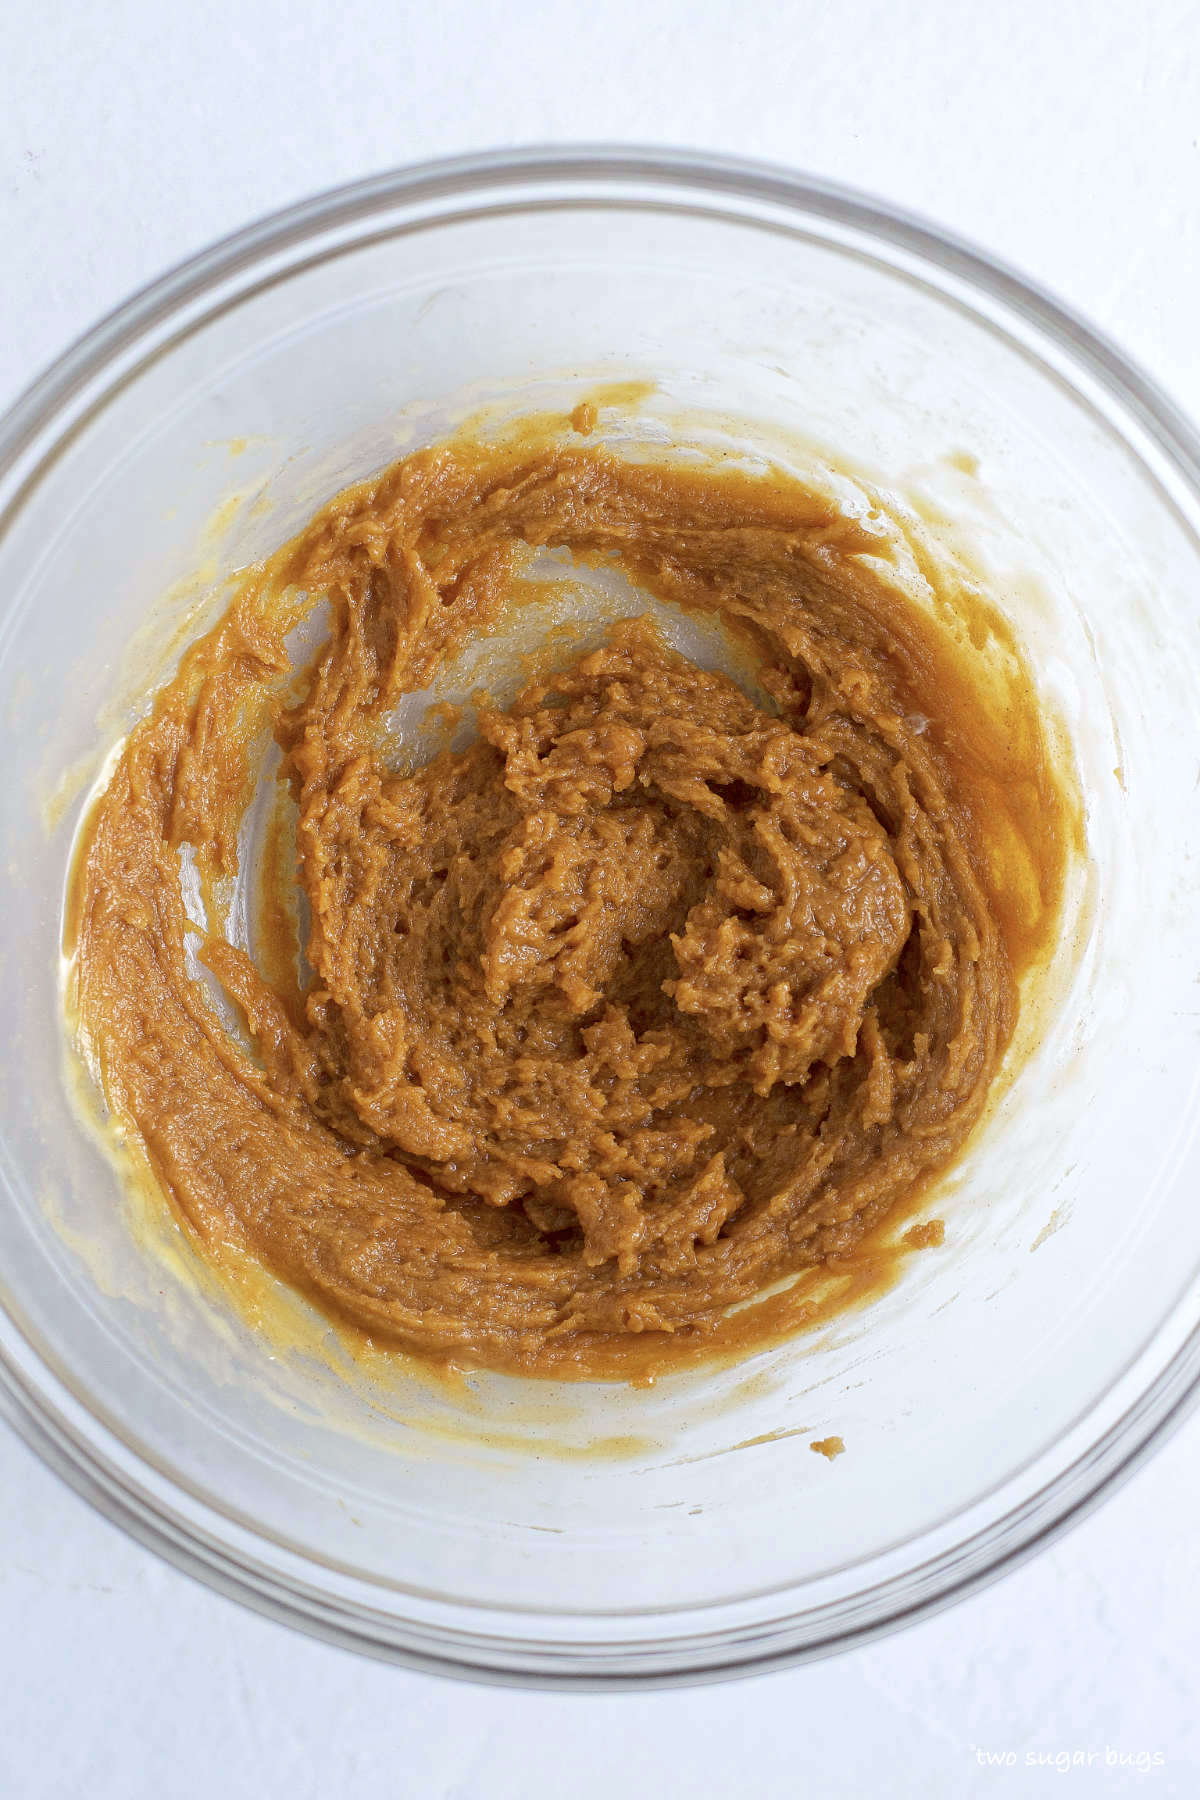
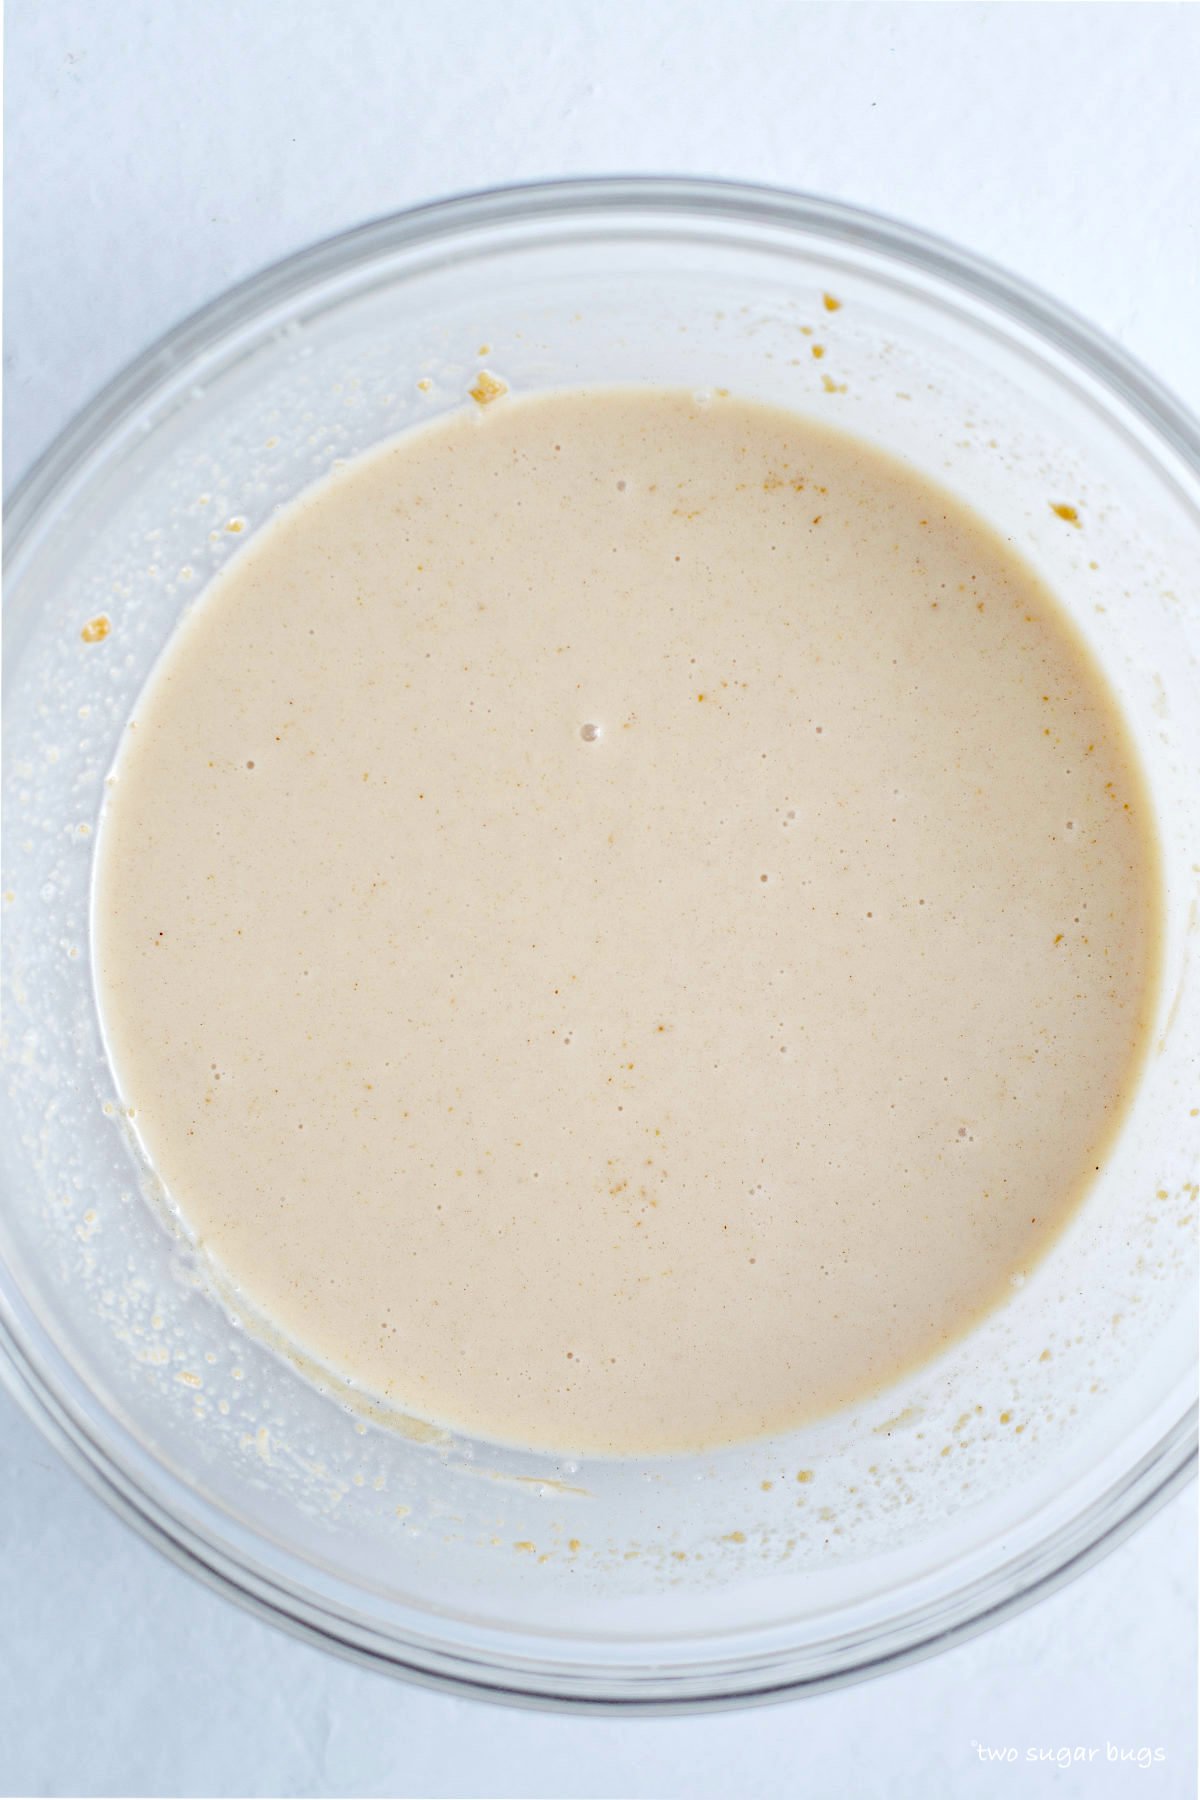
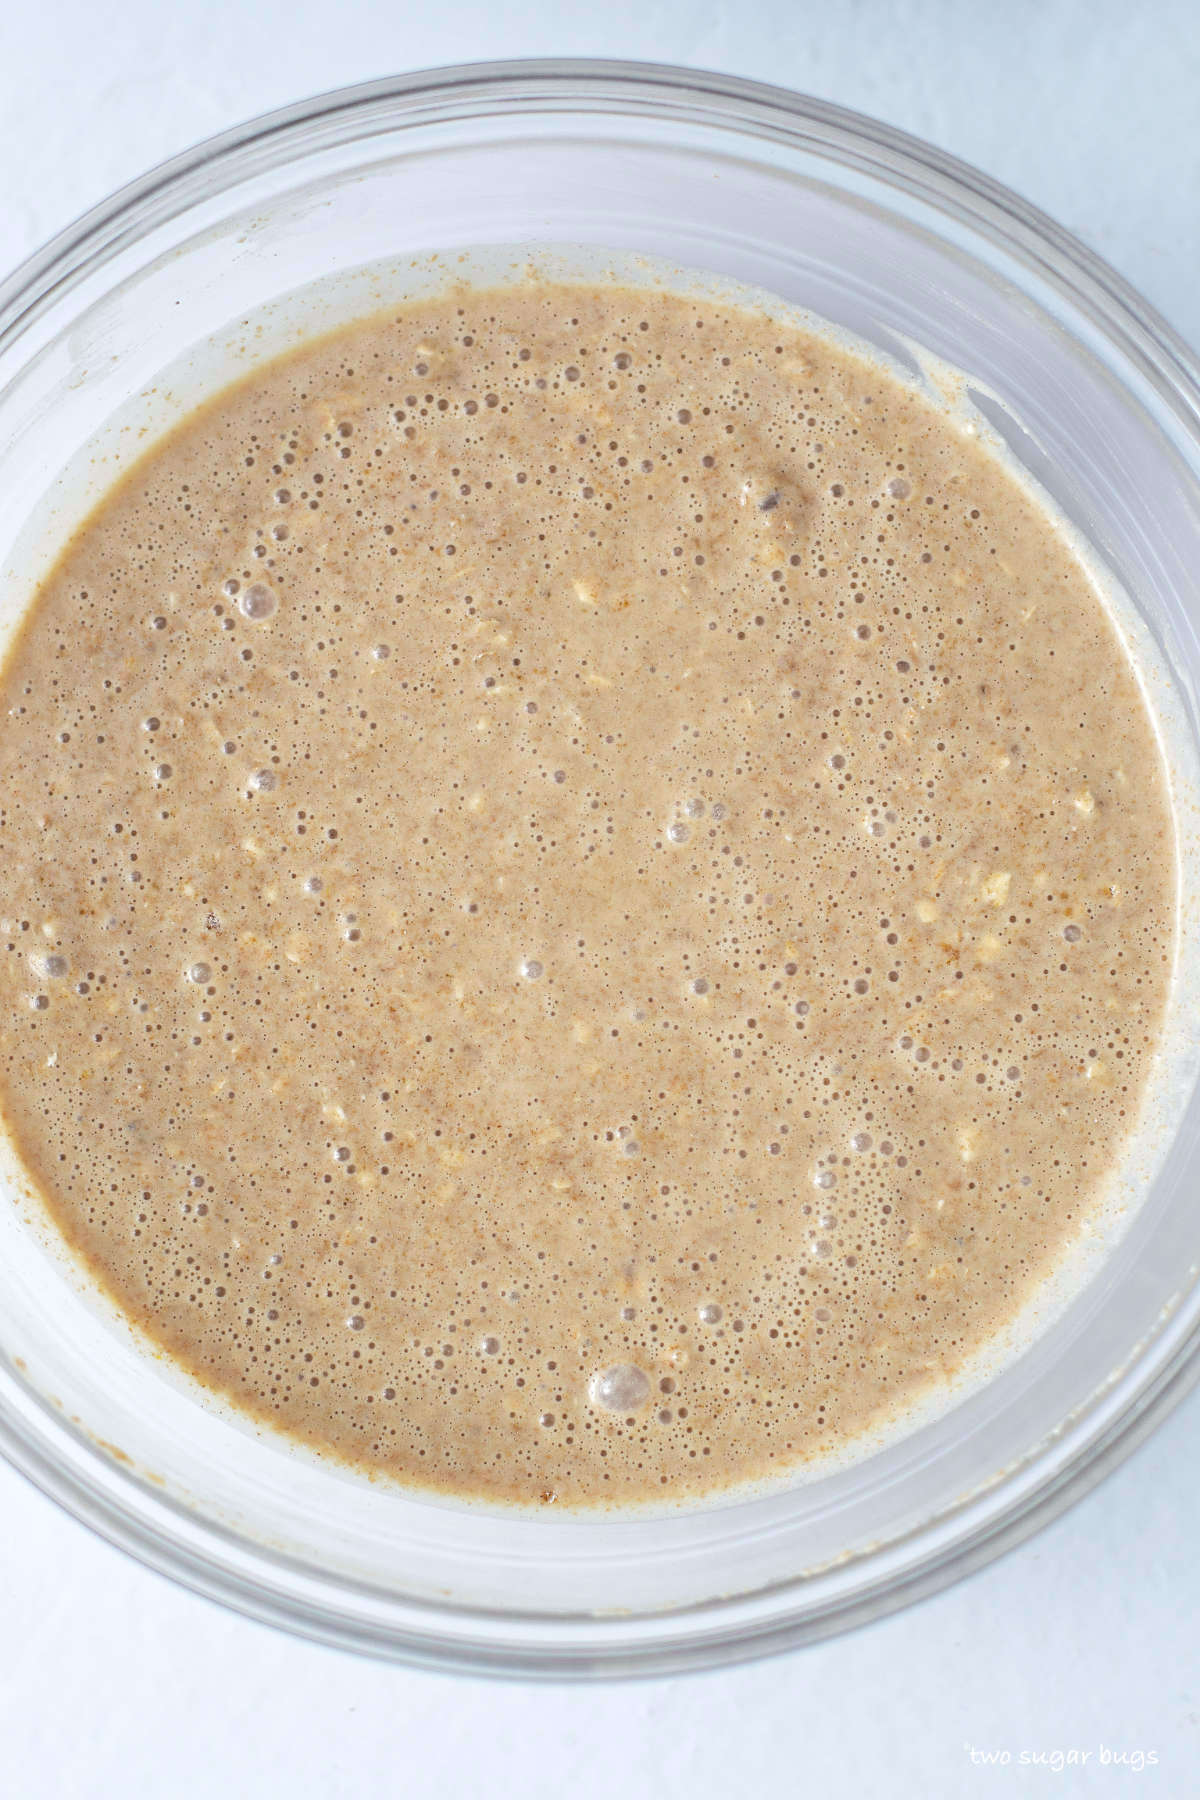
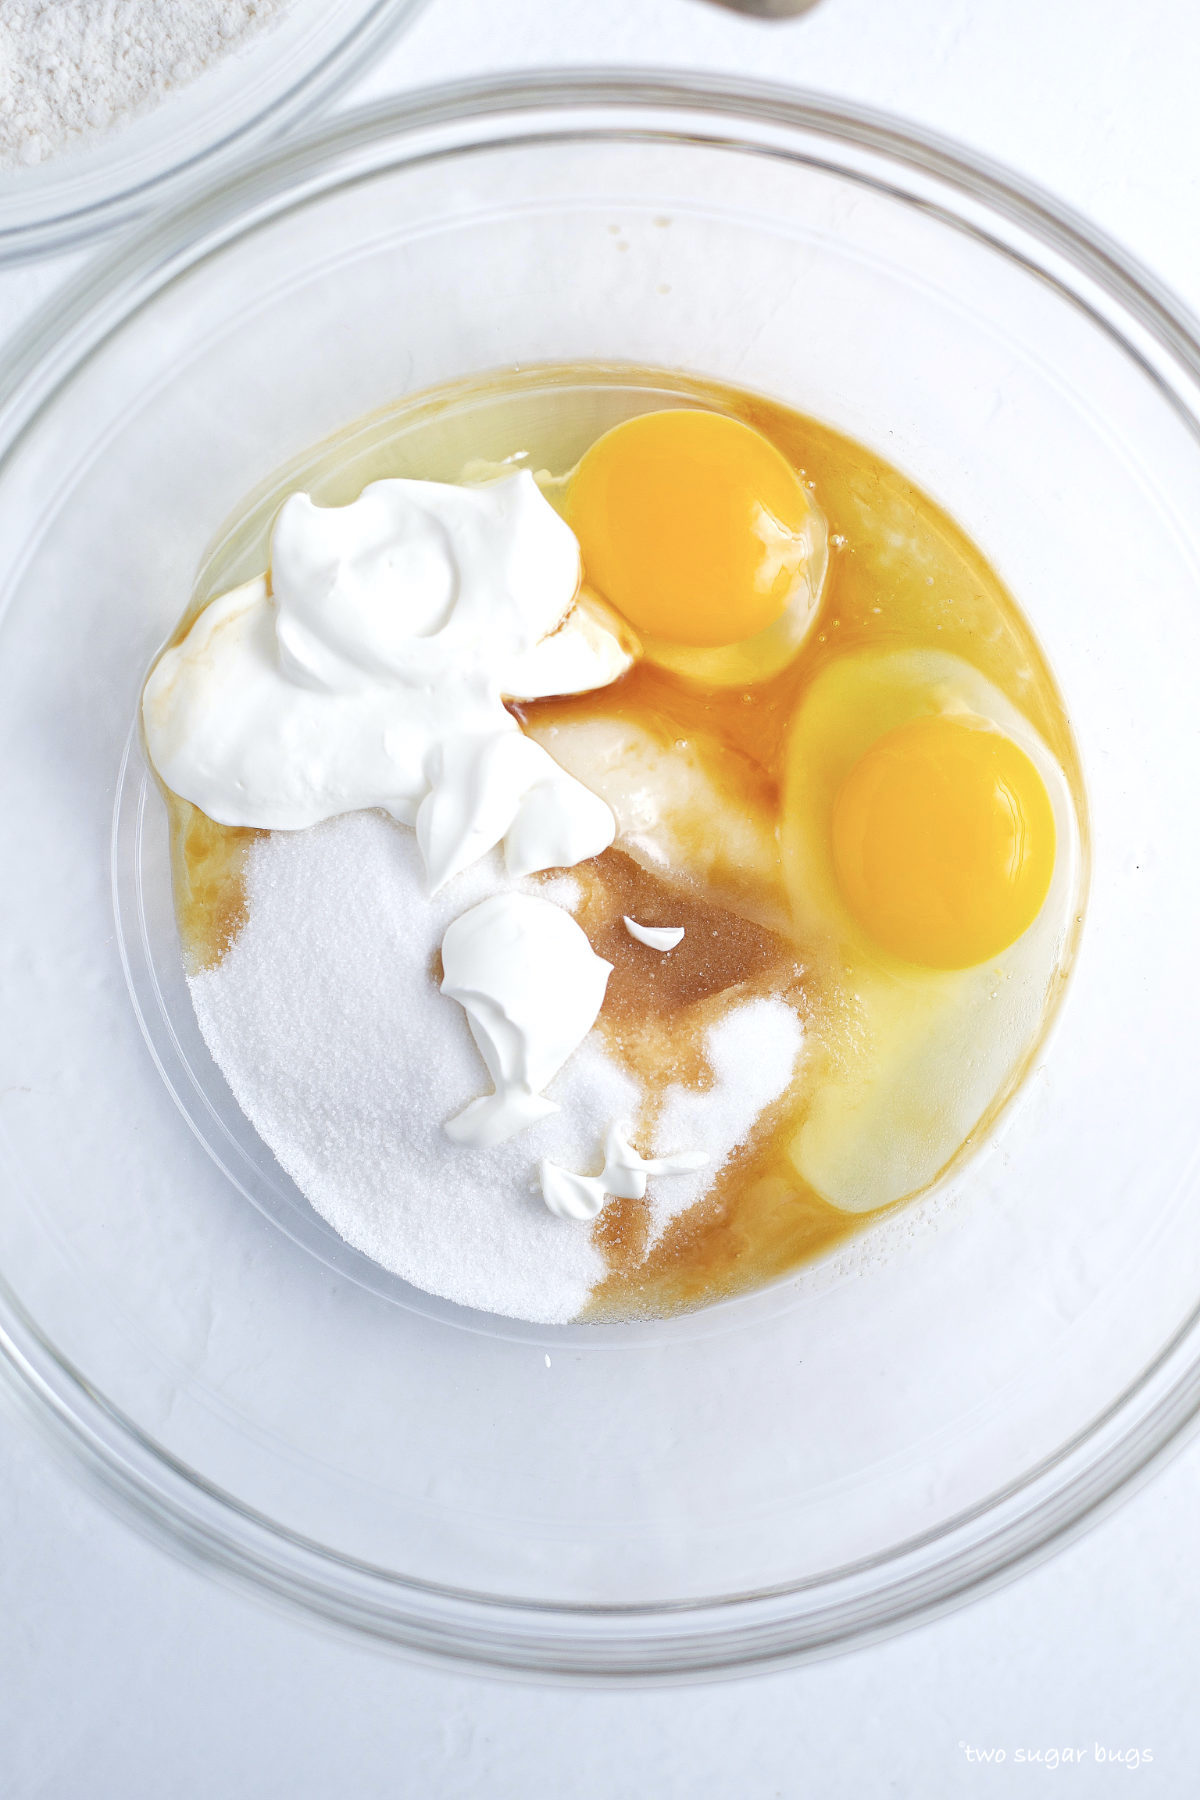
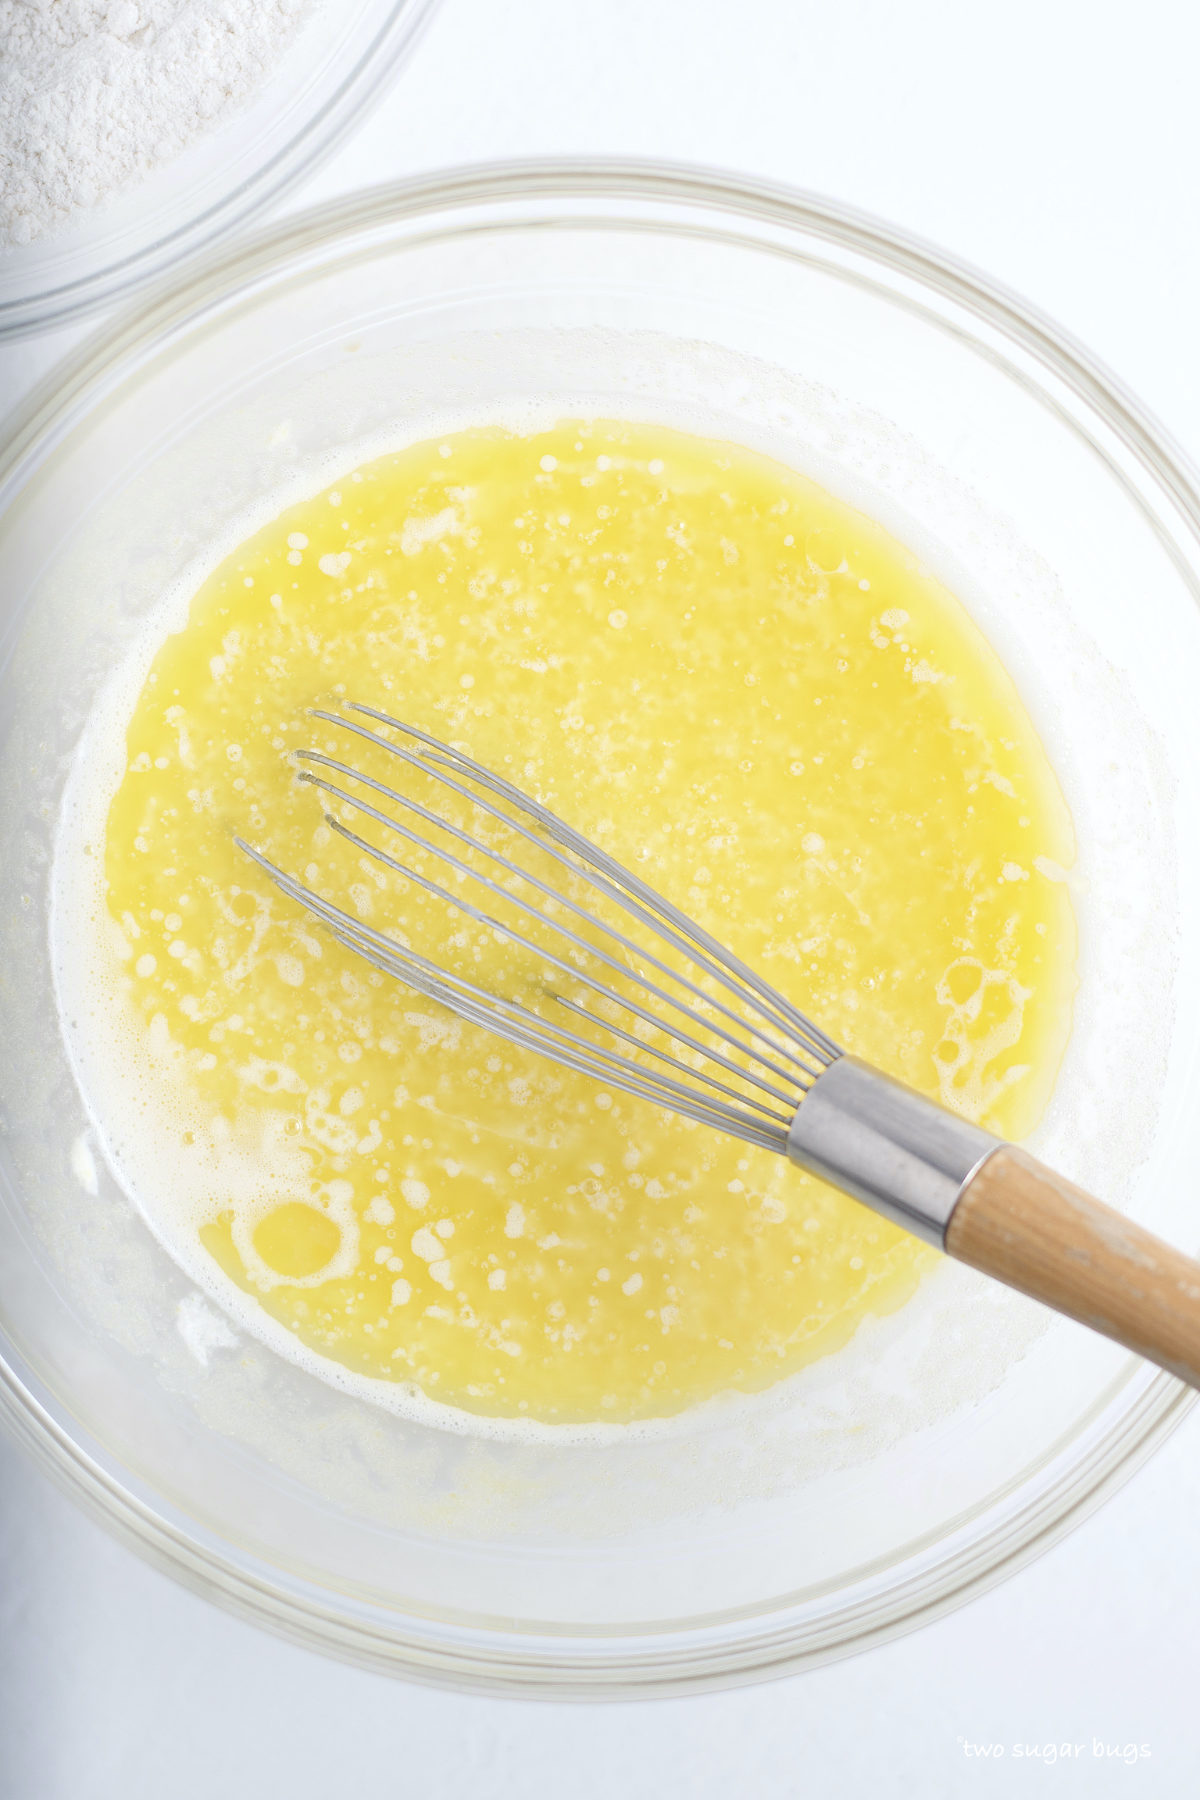
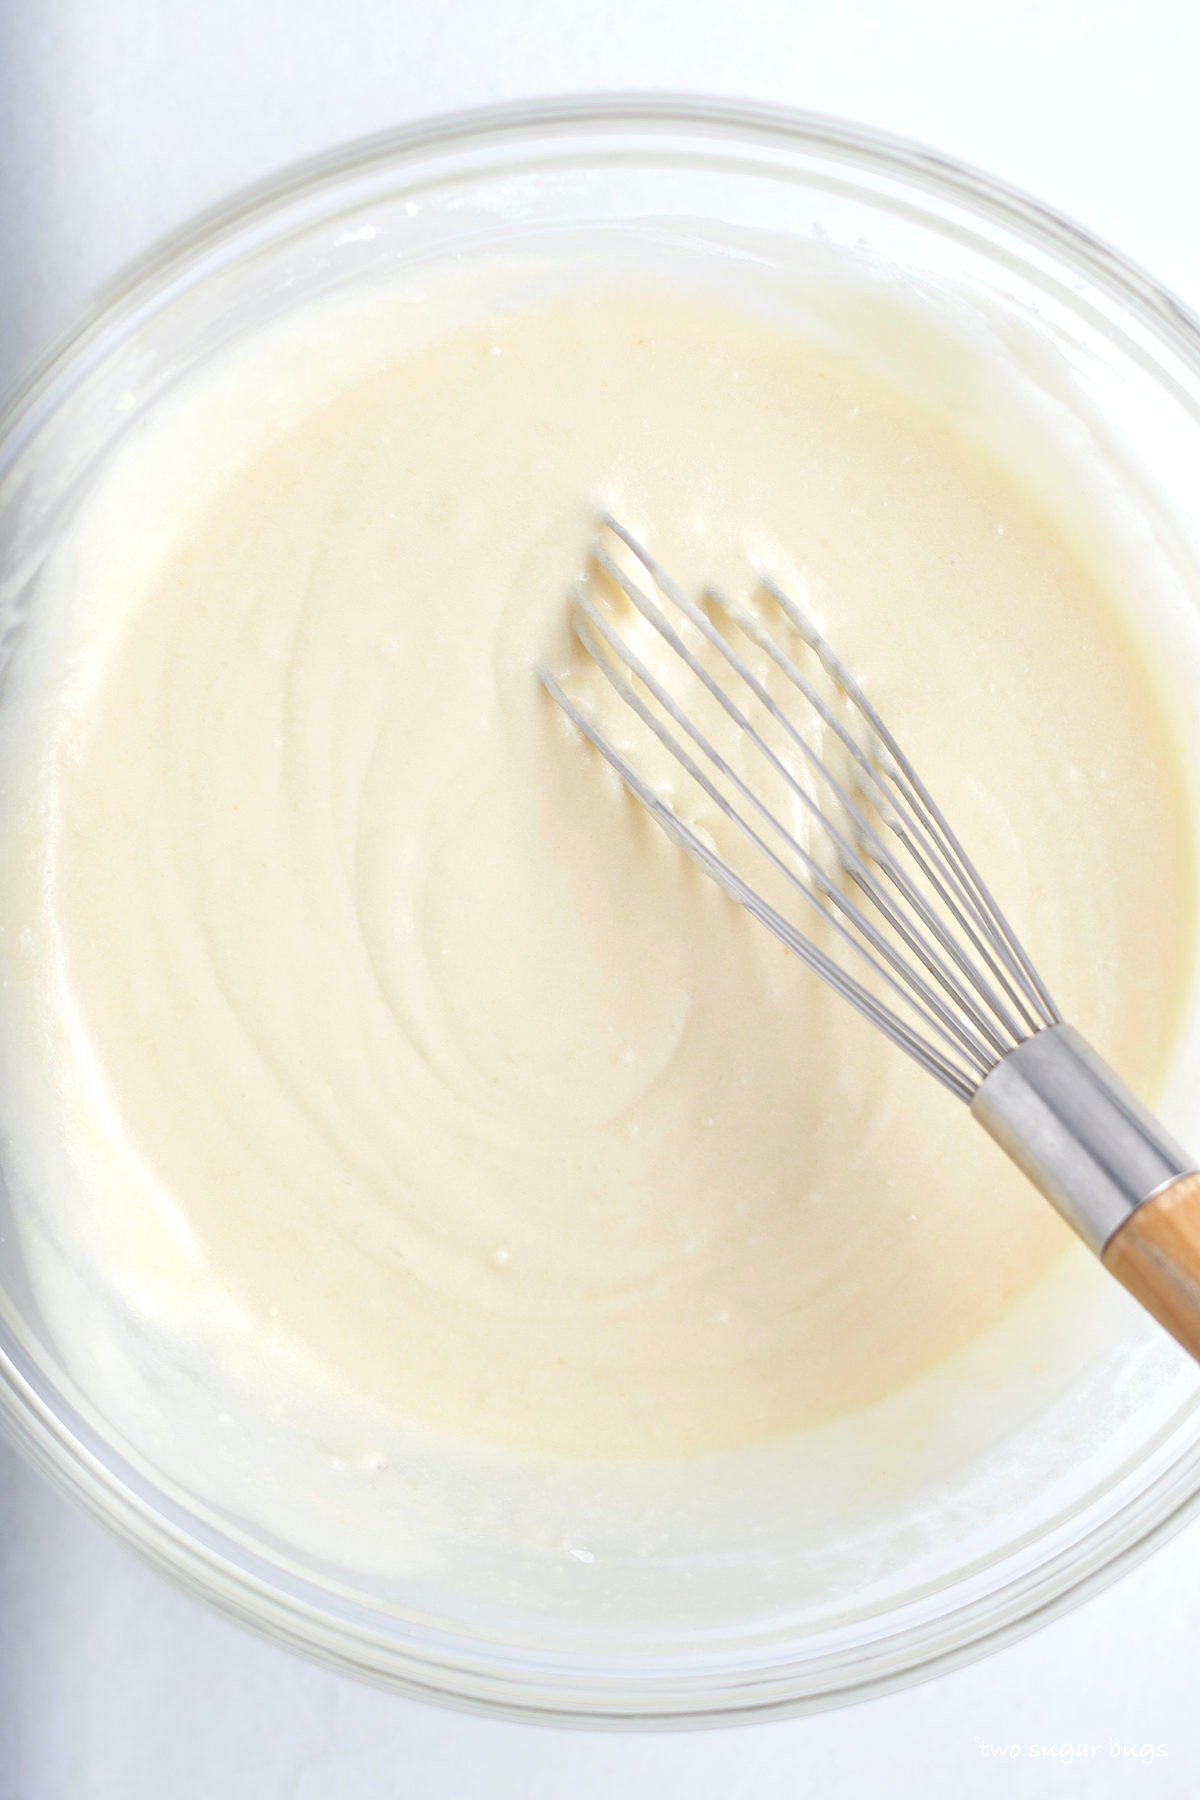
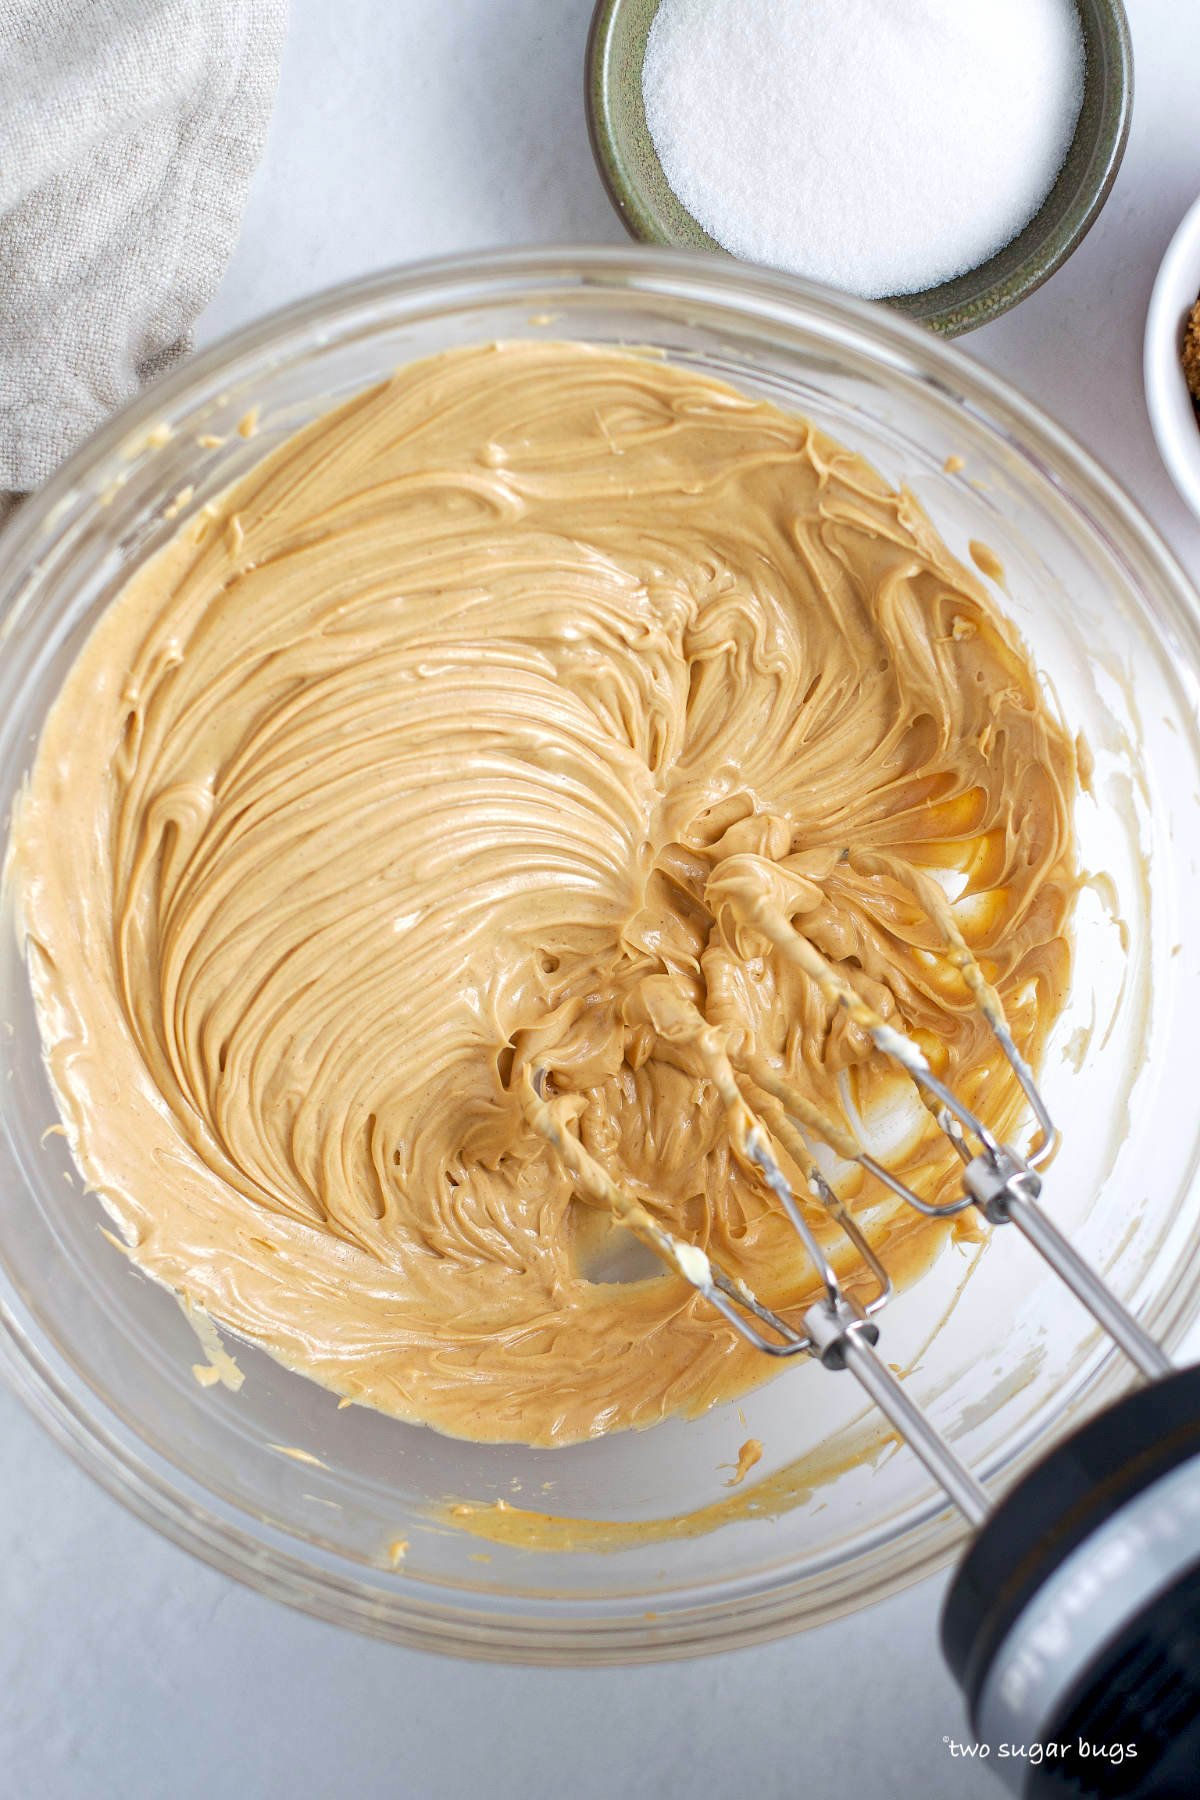
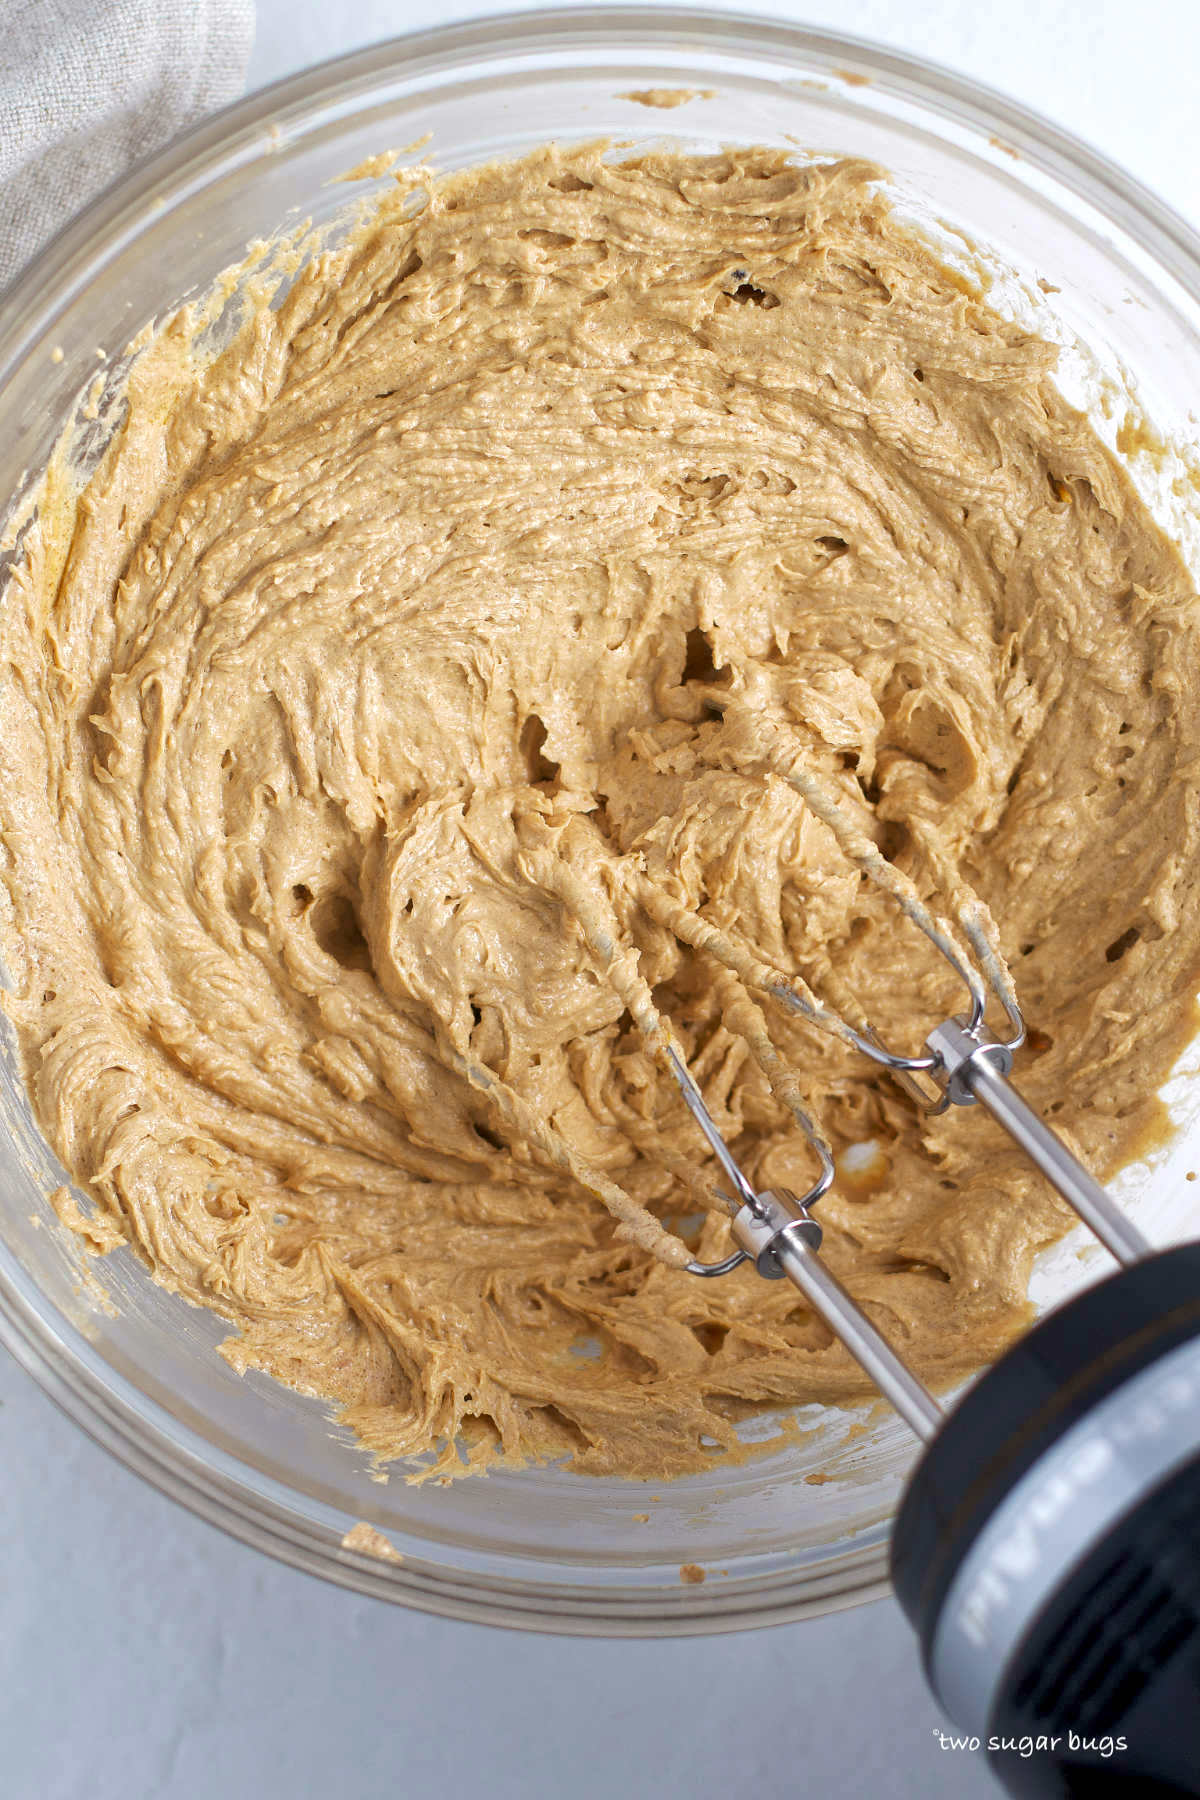
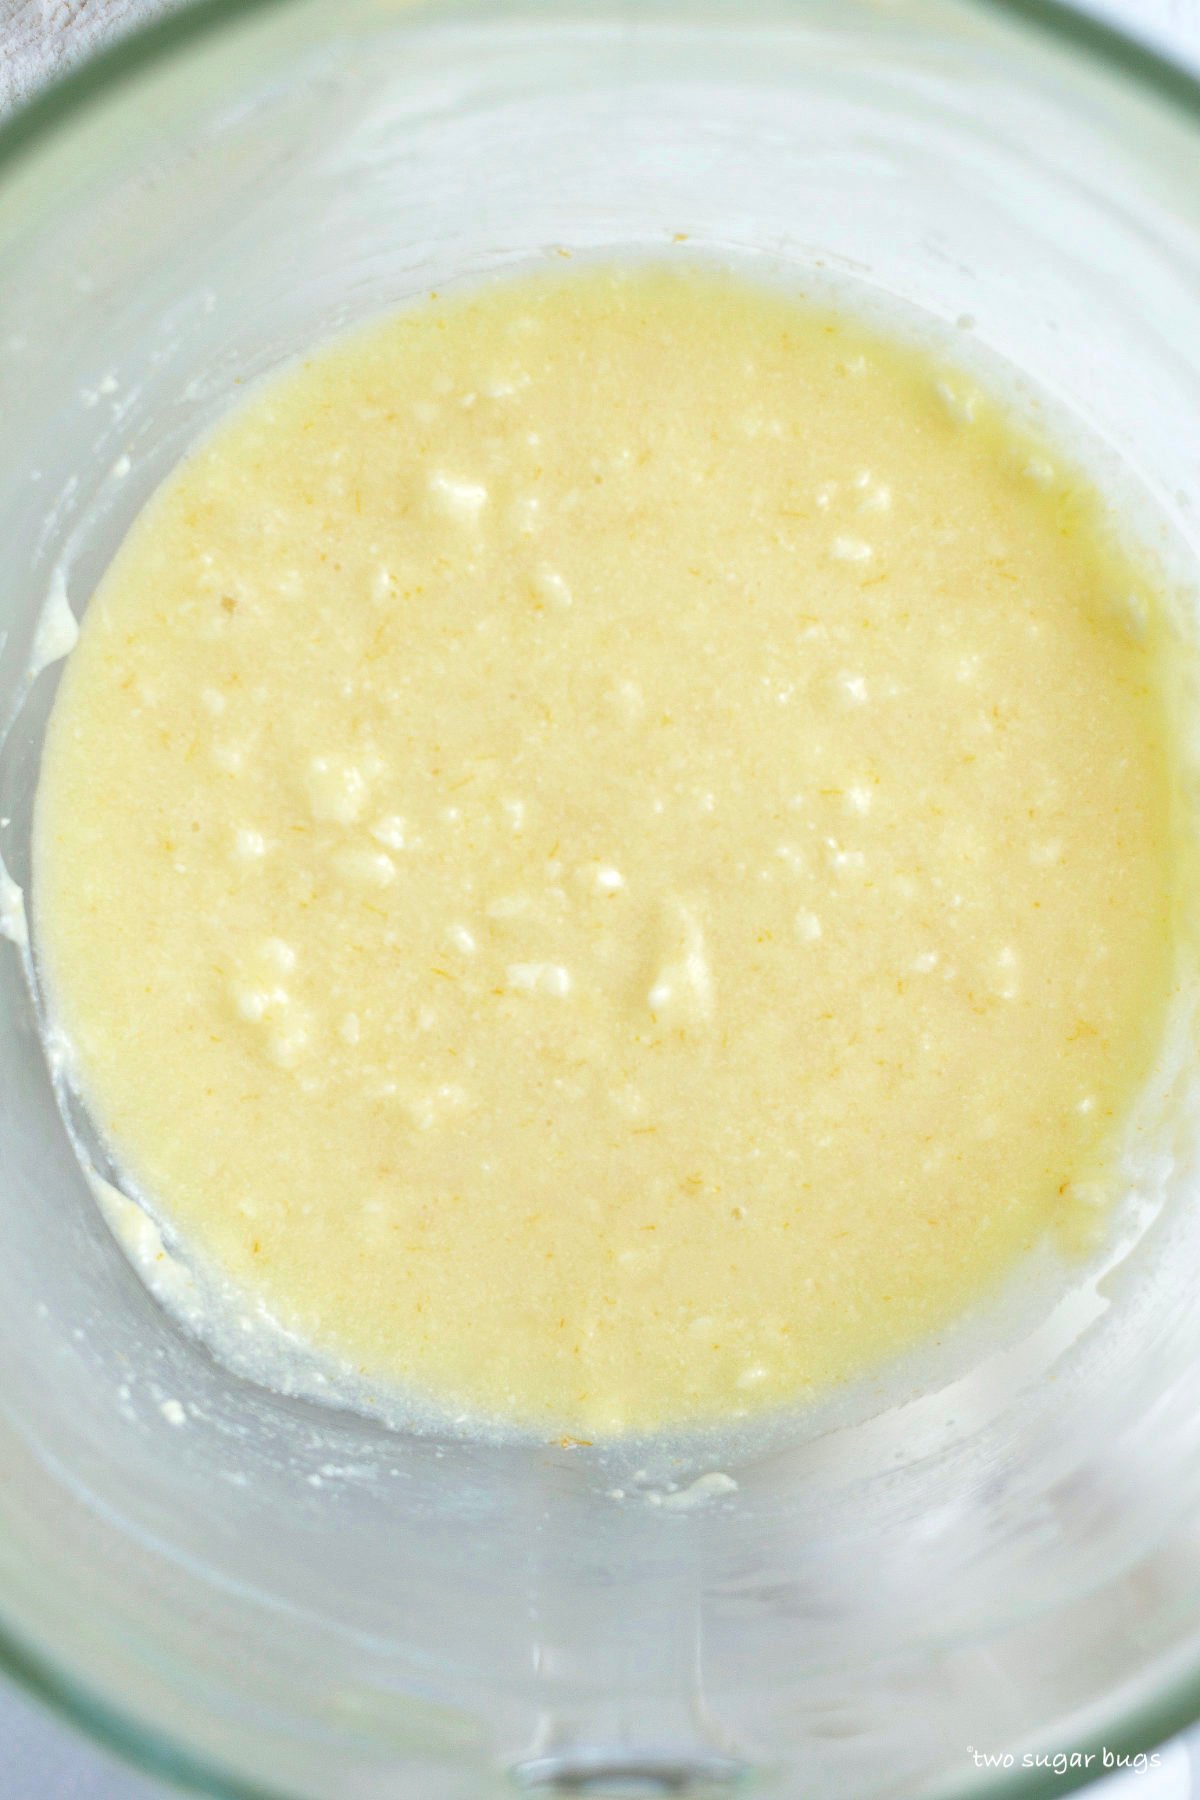
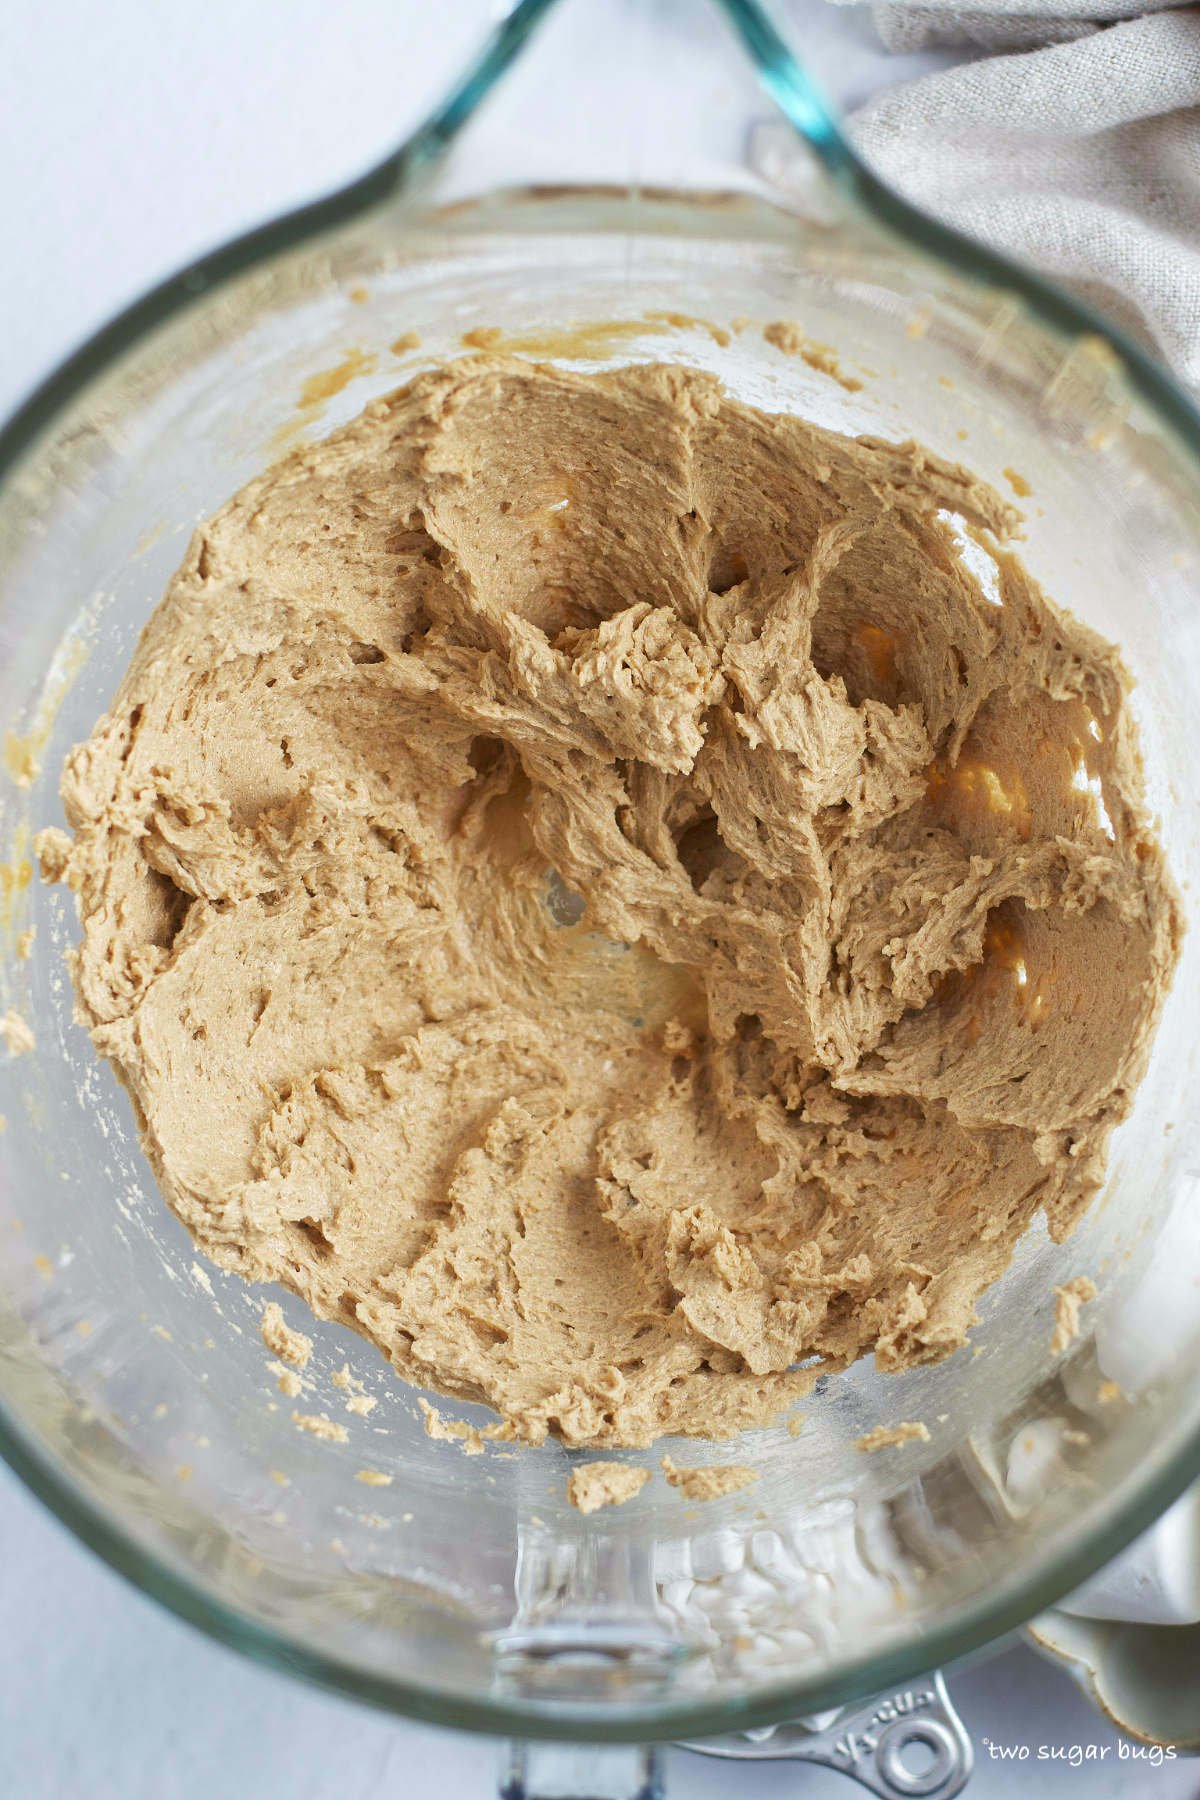
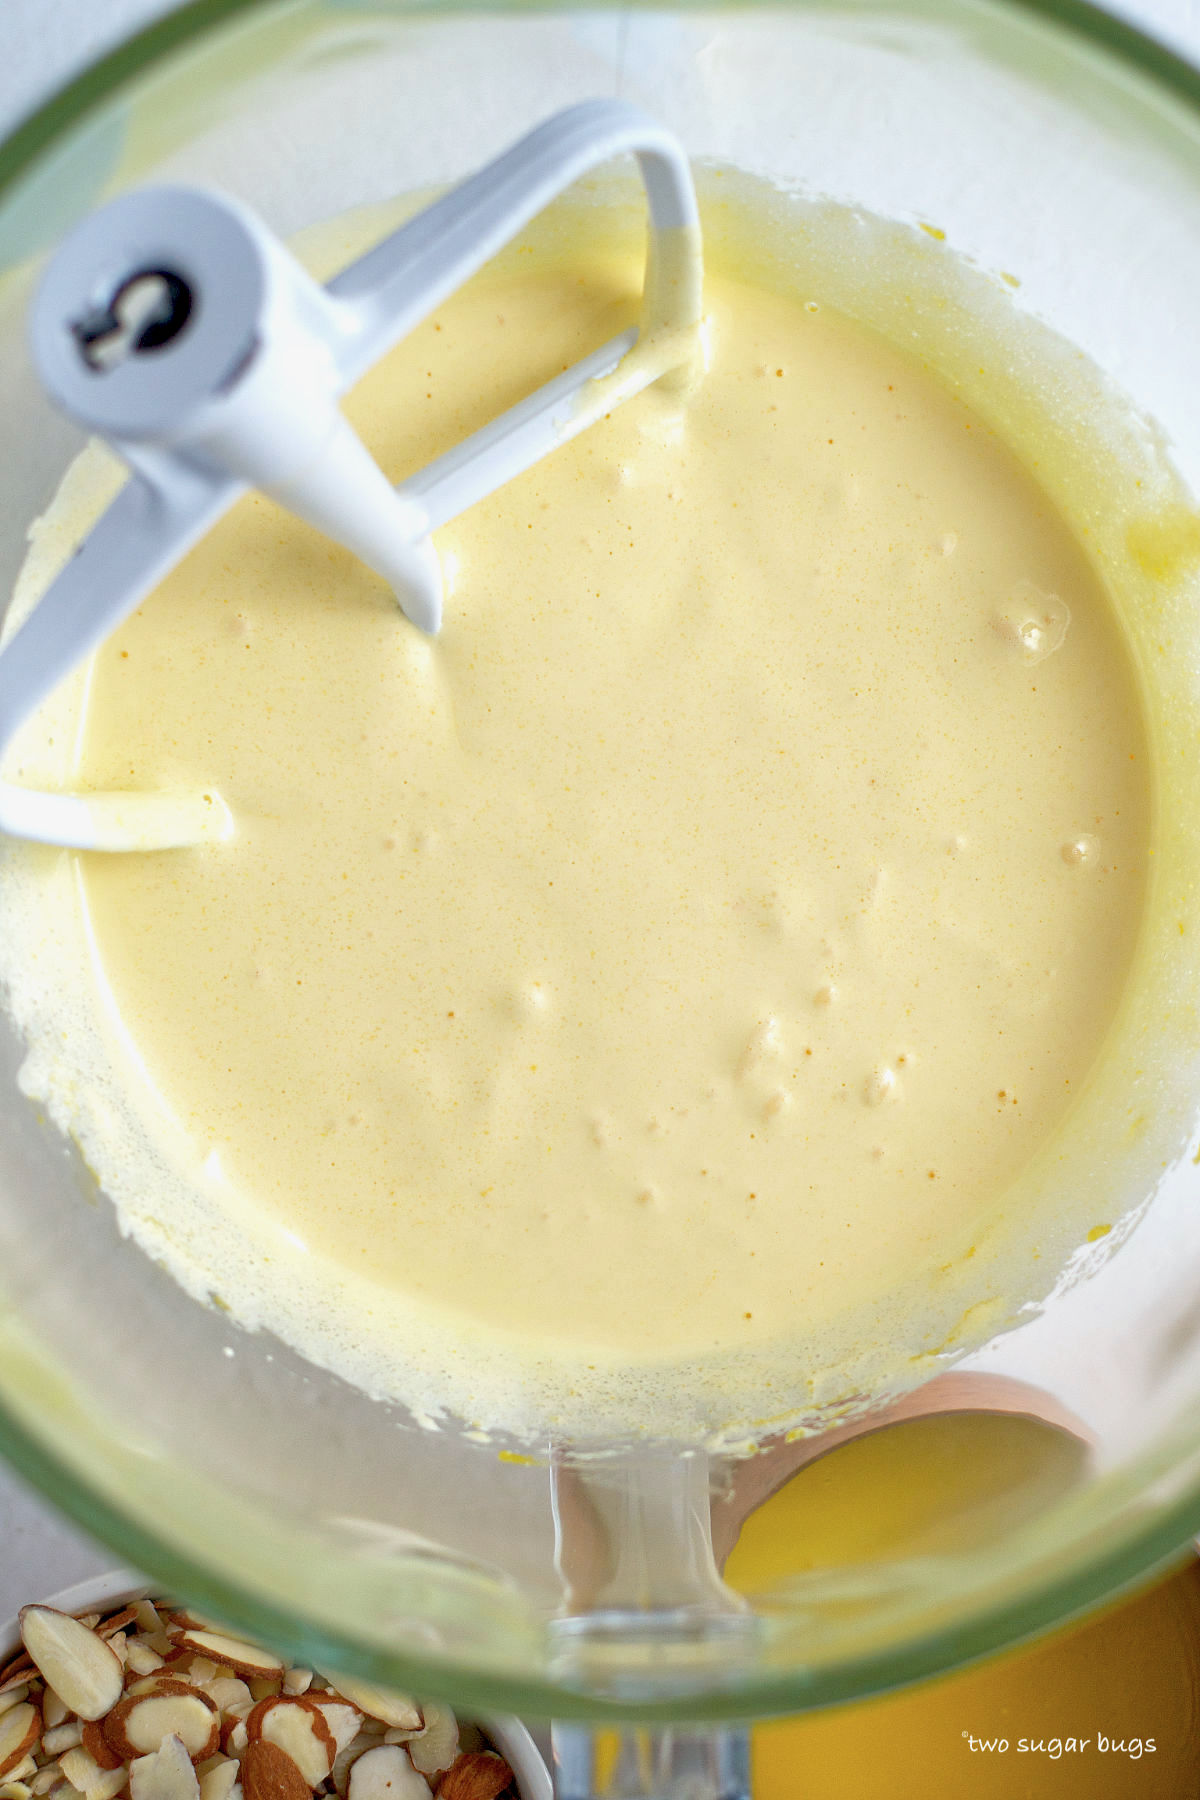
Next you will separate four large eggs, saving aside one of the egg whites for the almond topping. In your stand mixer you will beat one whole egg and four egg yolks with the sugar until thick and pale yellow.
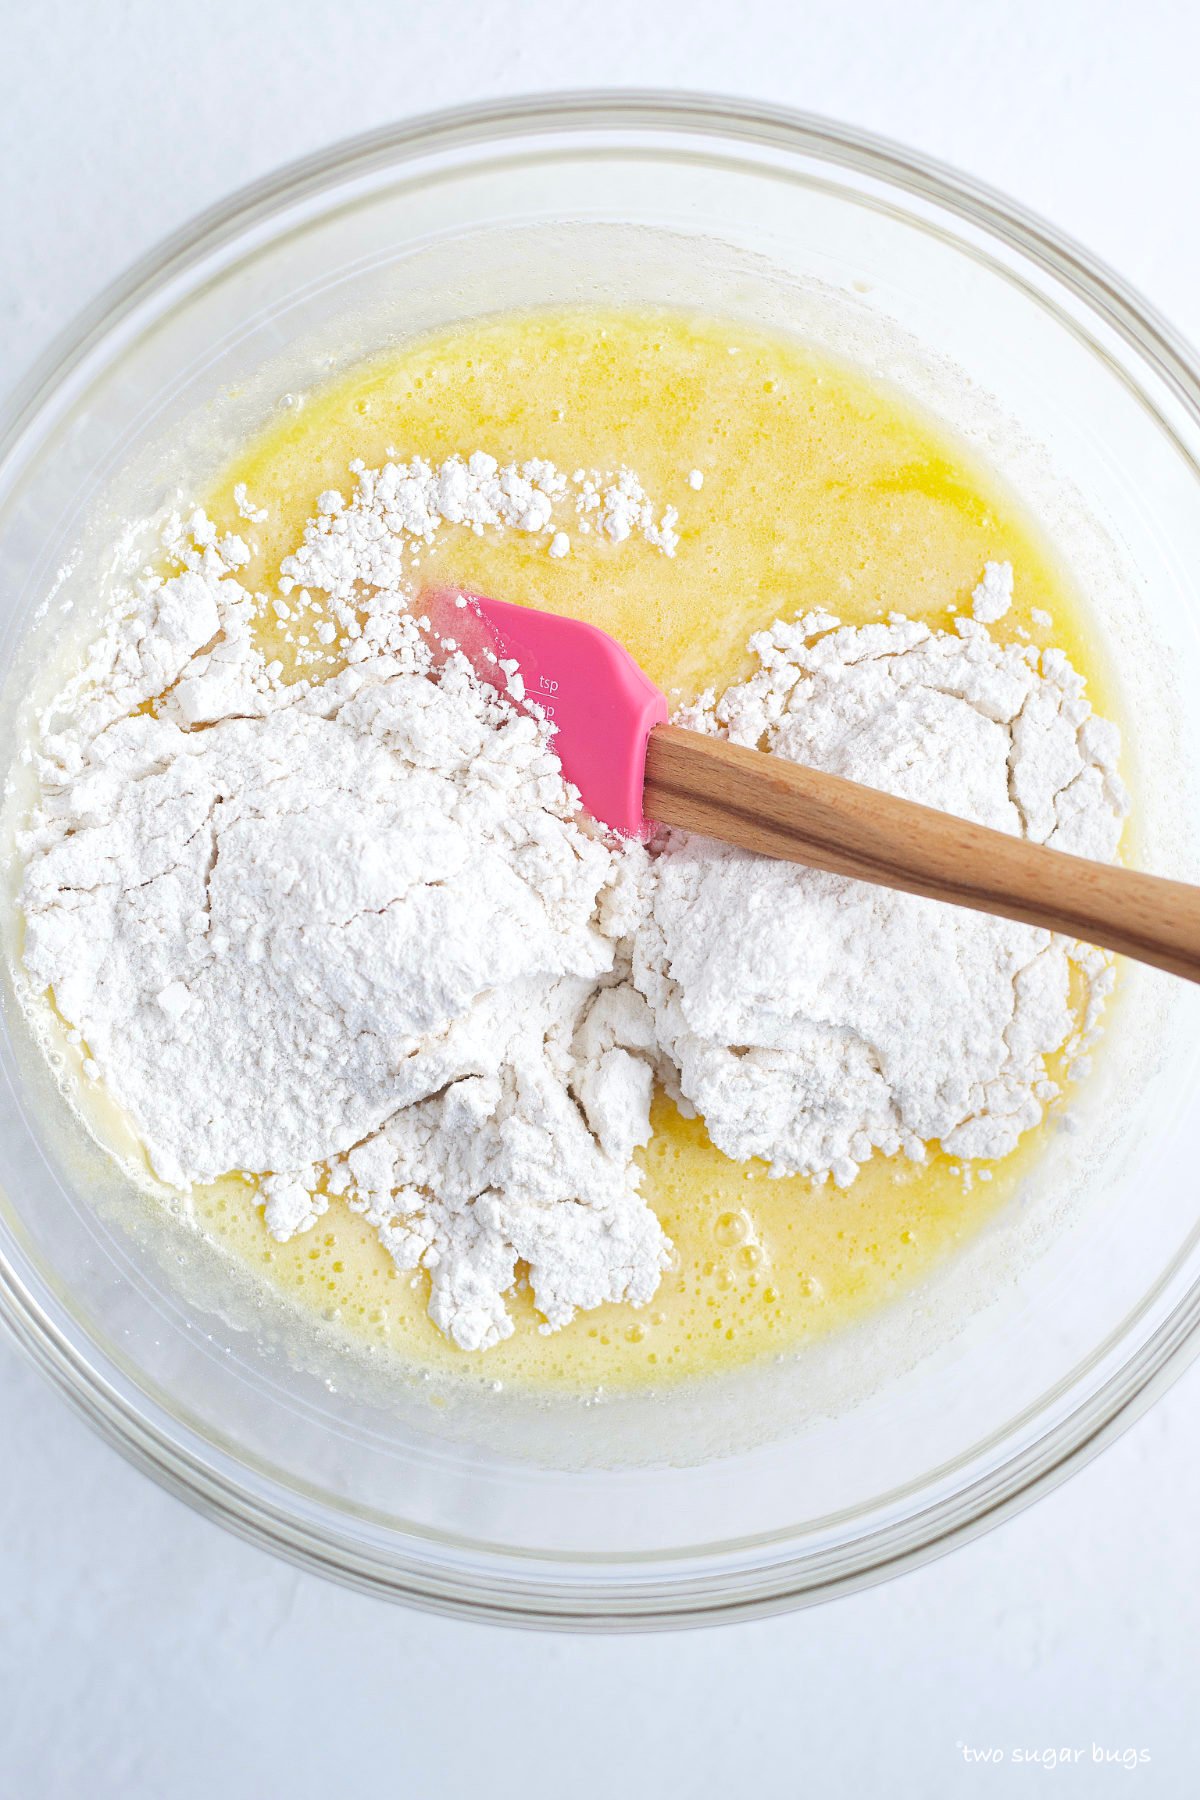
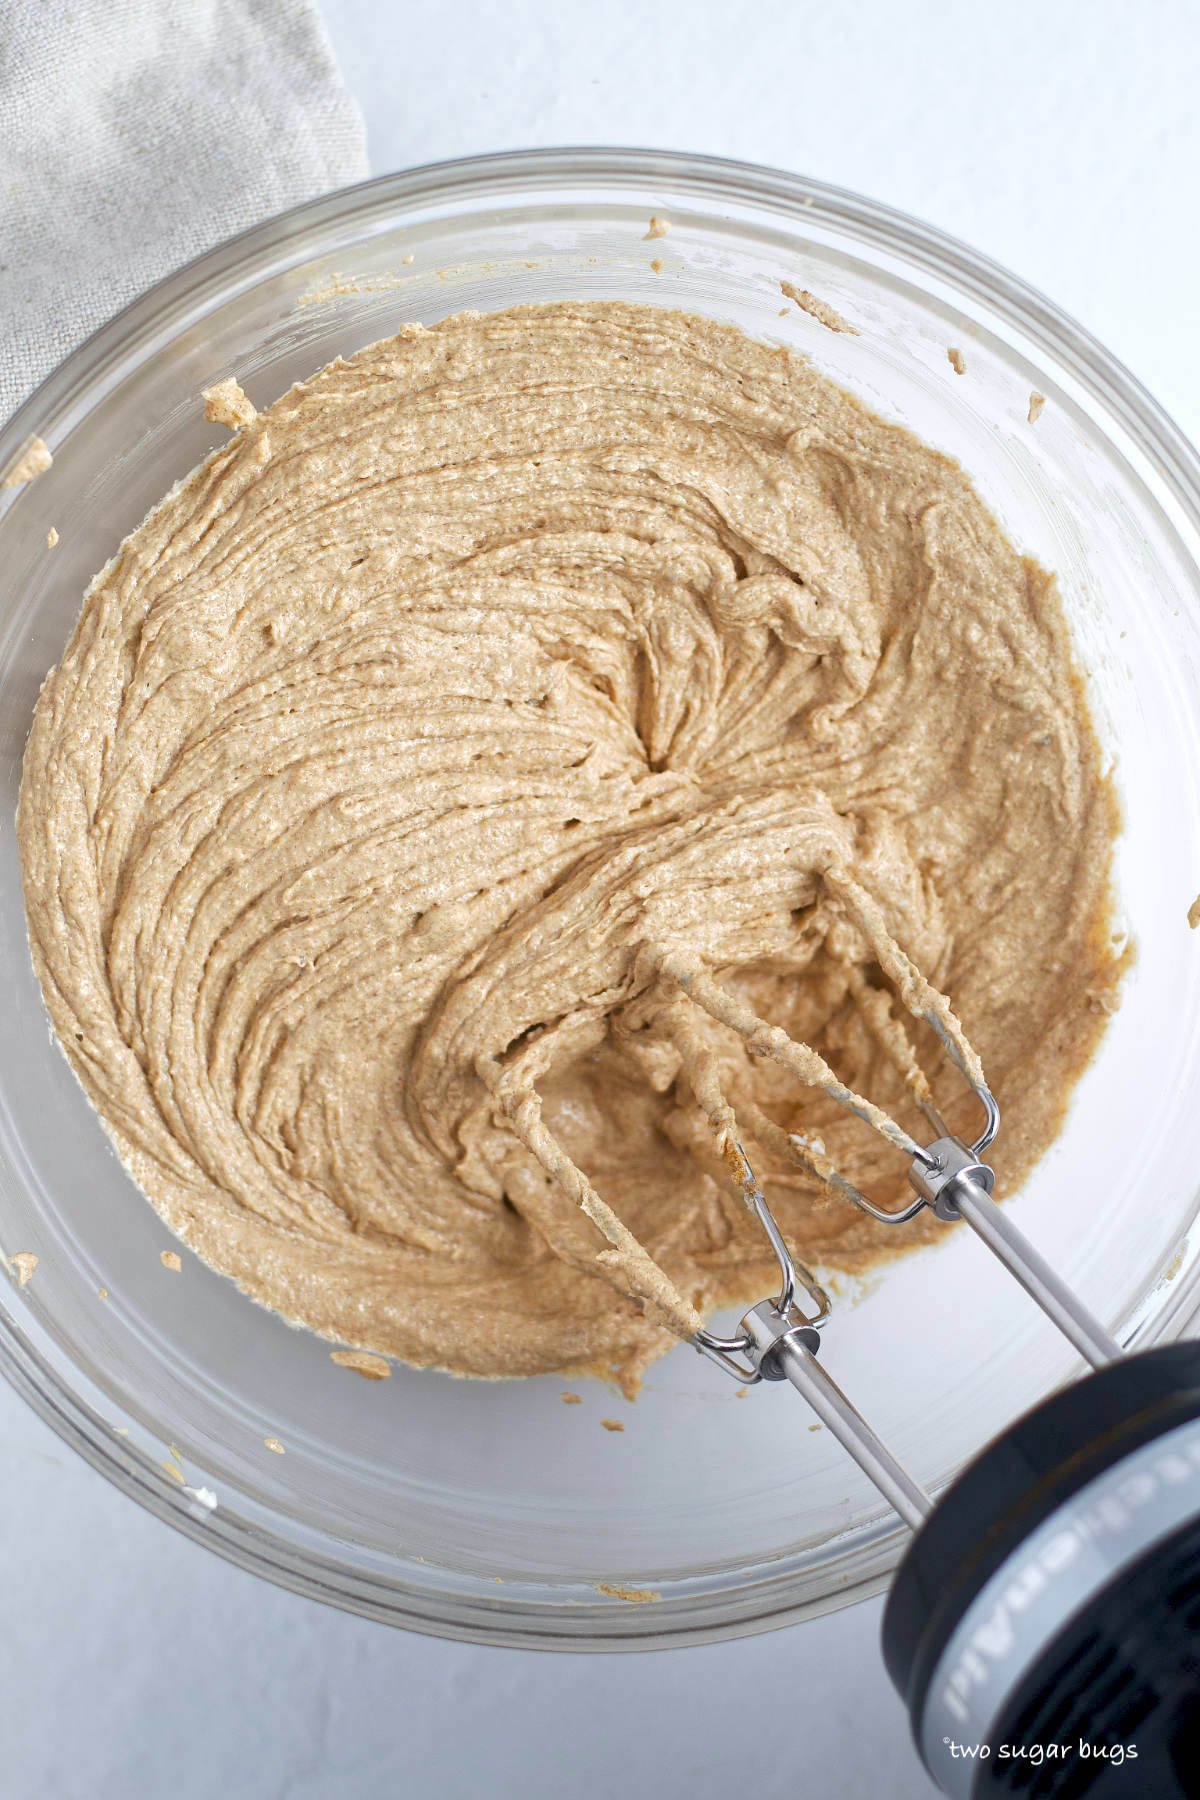
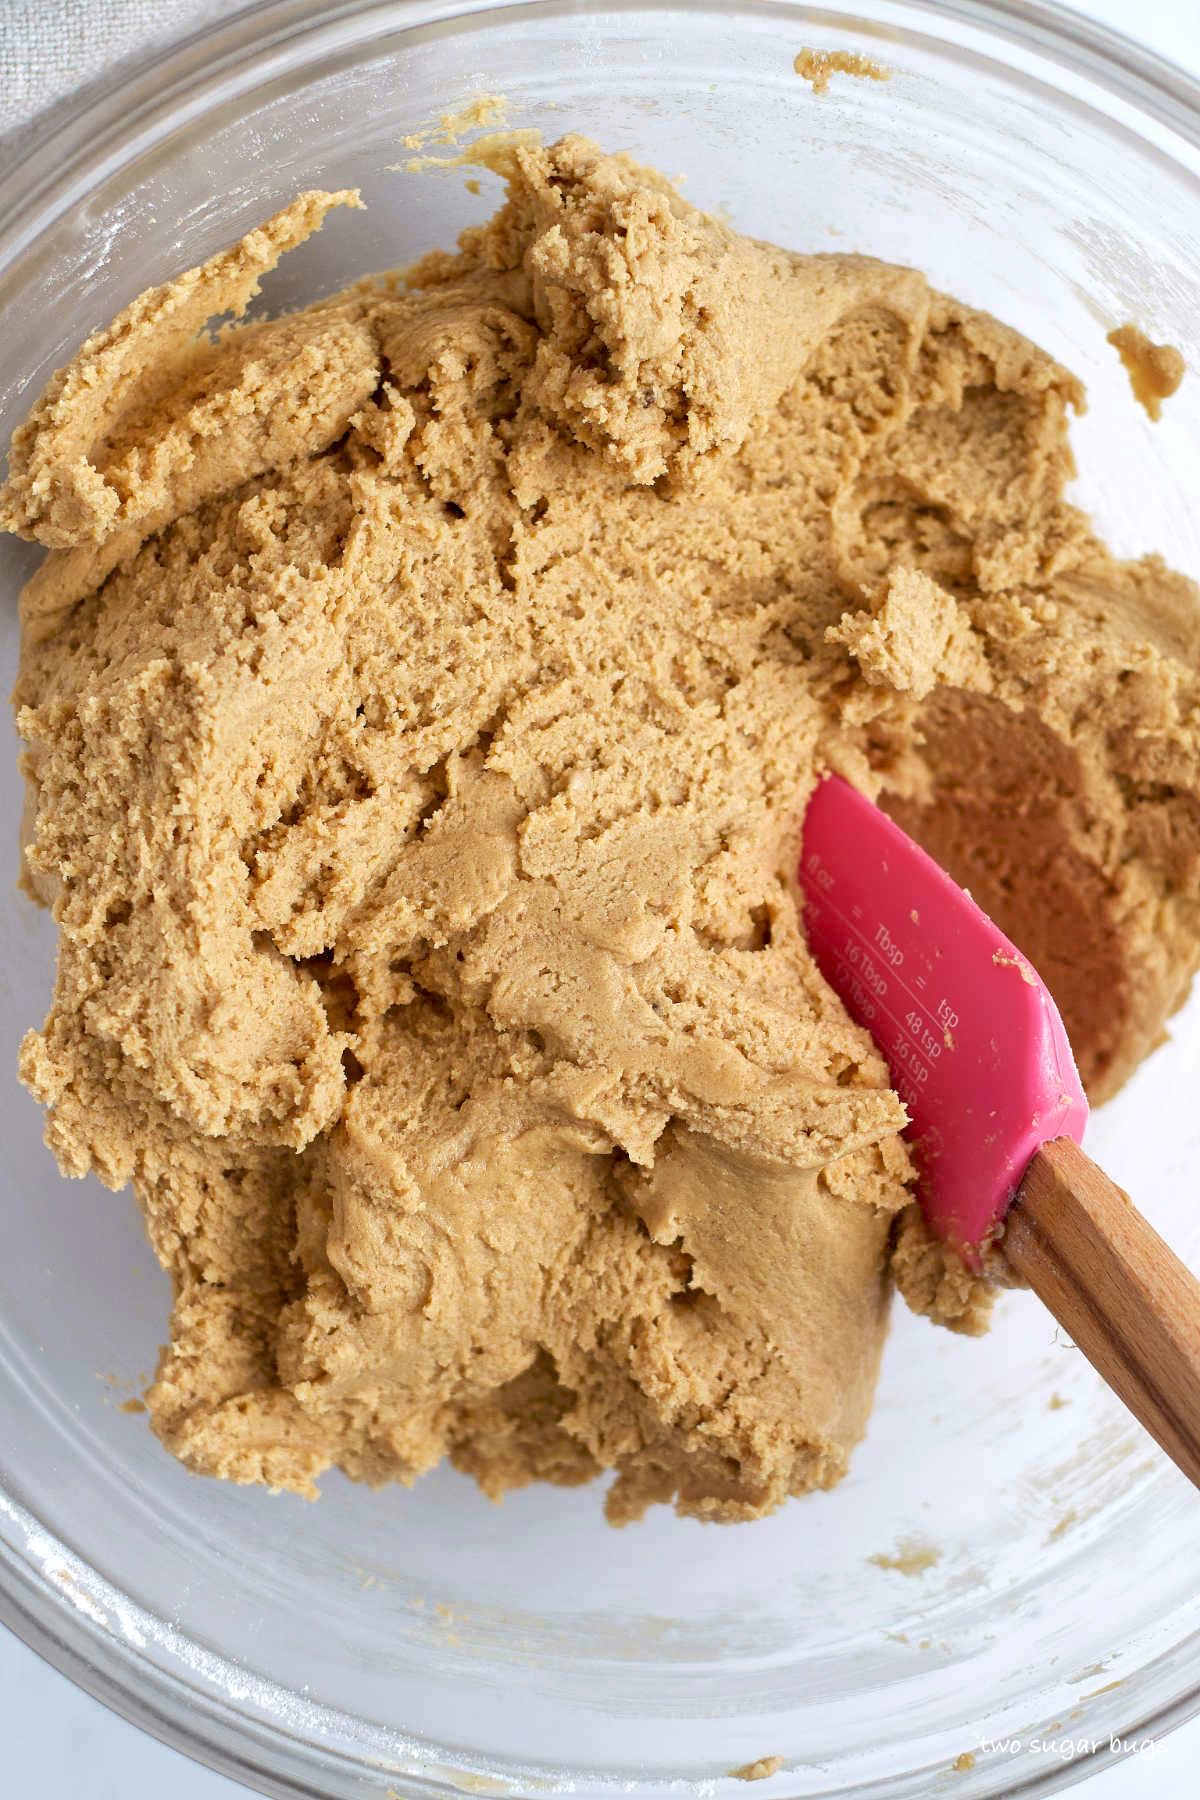
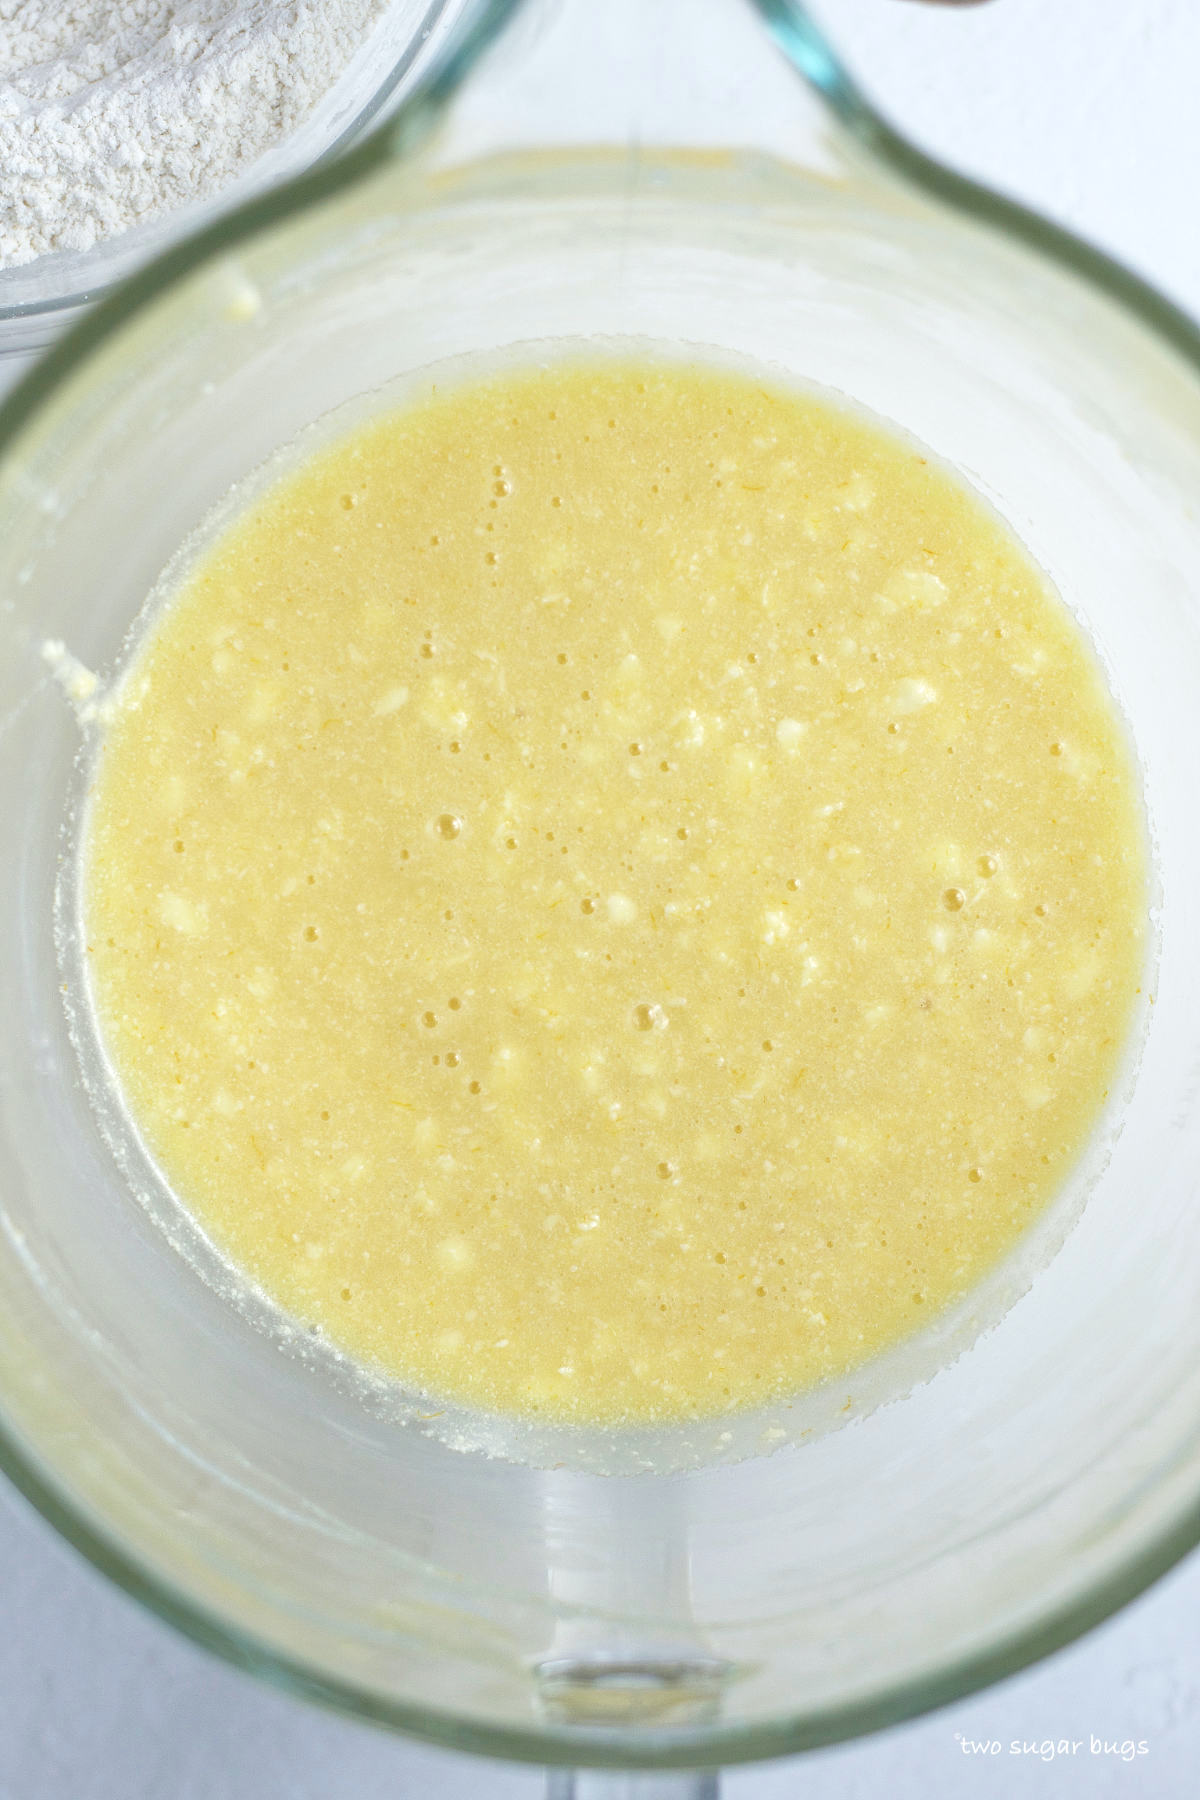
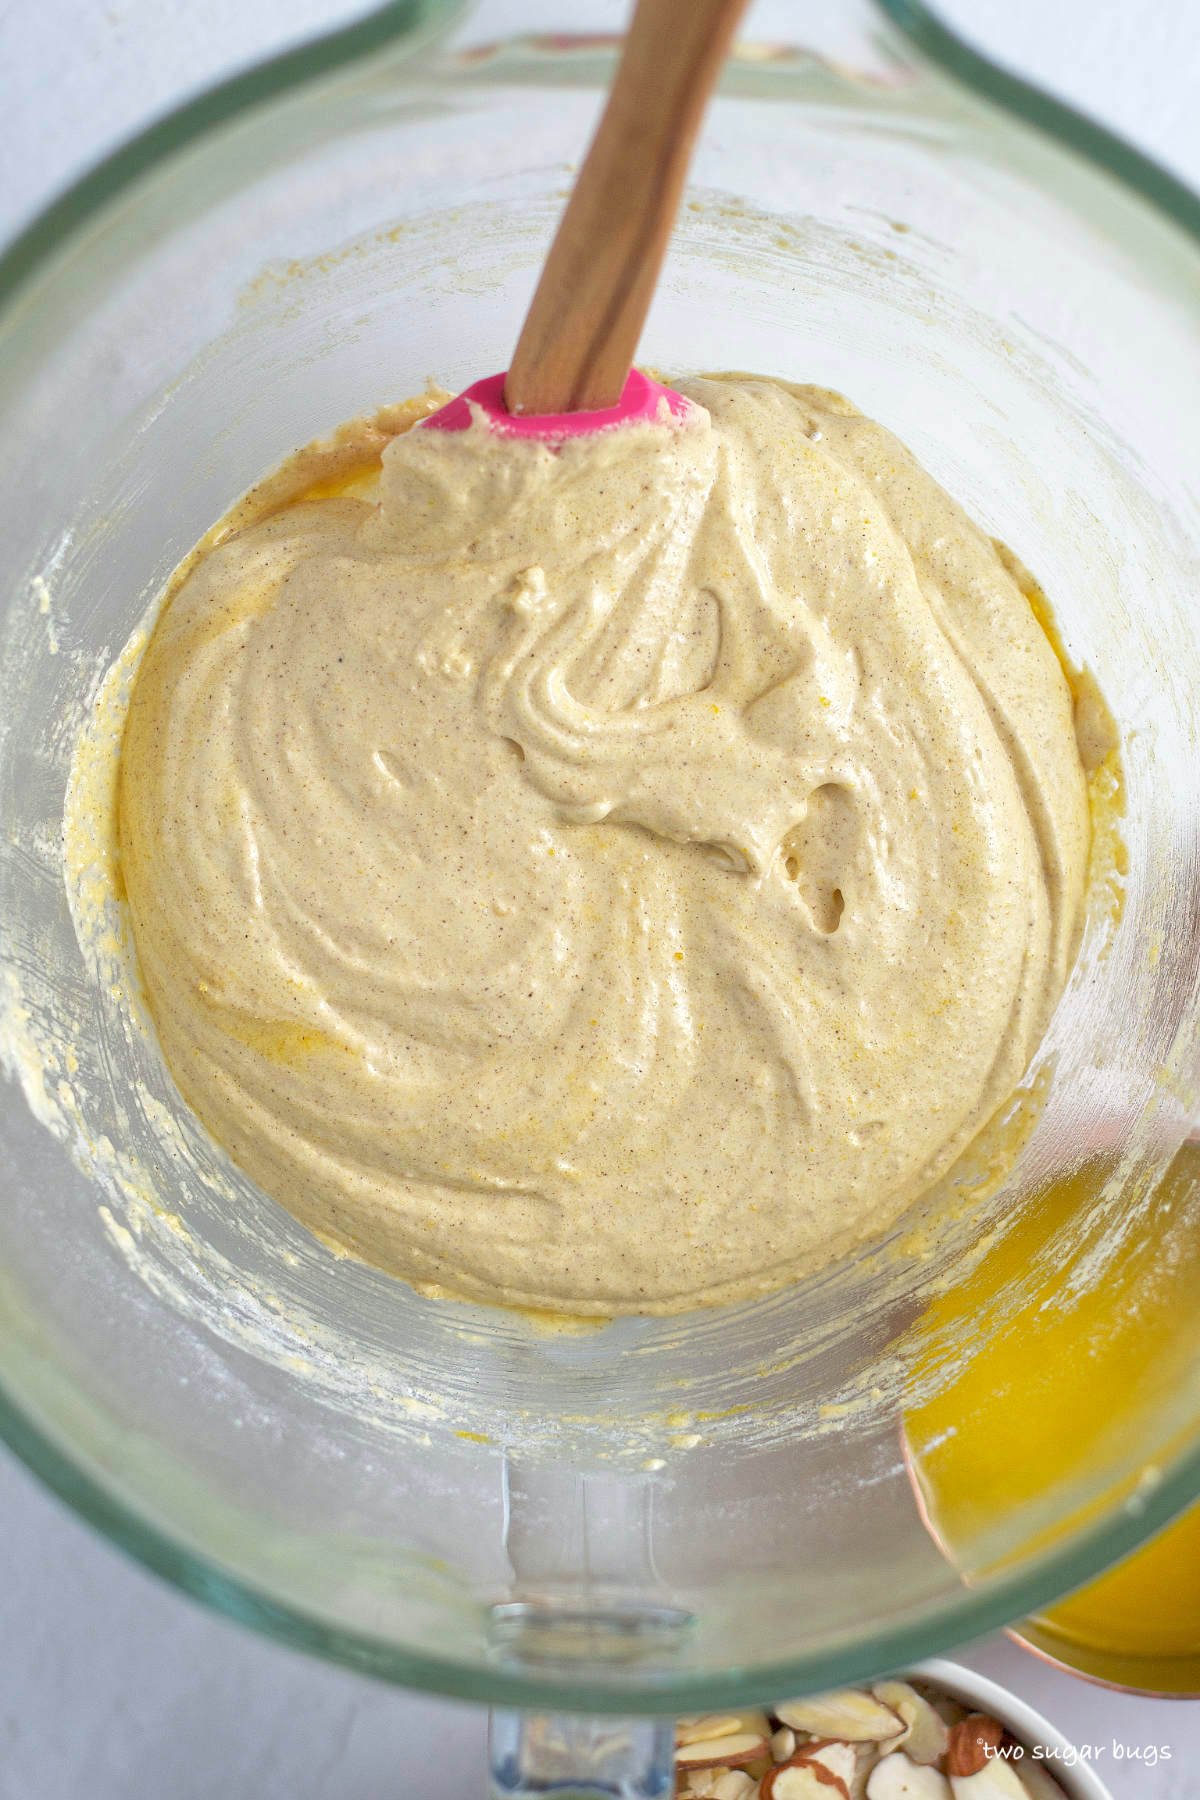
Then add the dry ingredients with the mixer on low and mix until well combined. The batter will be quite thick and a little sticky. You will want to scrape up and down the sides of your mixing bowl and then mix in the vanilla and melted butter.
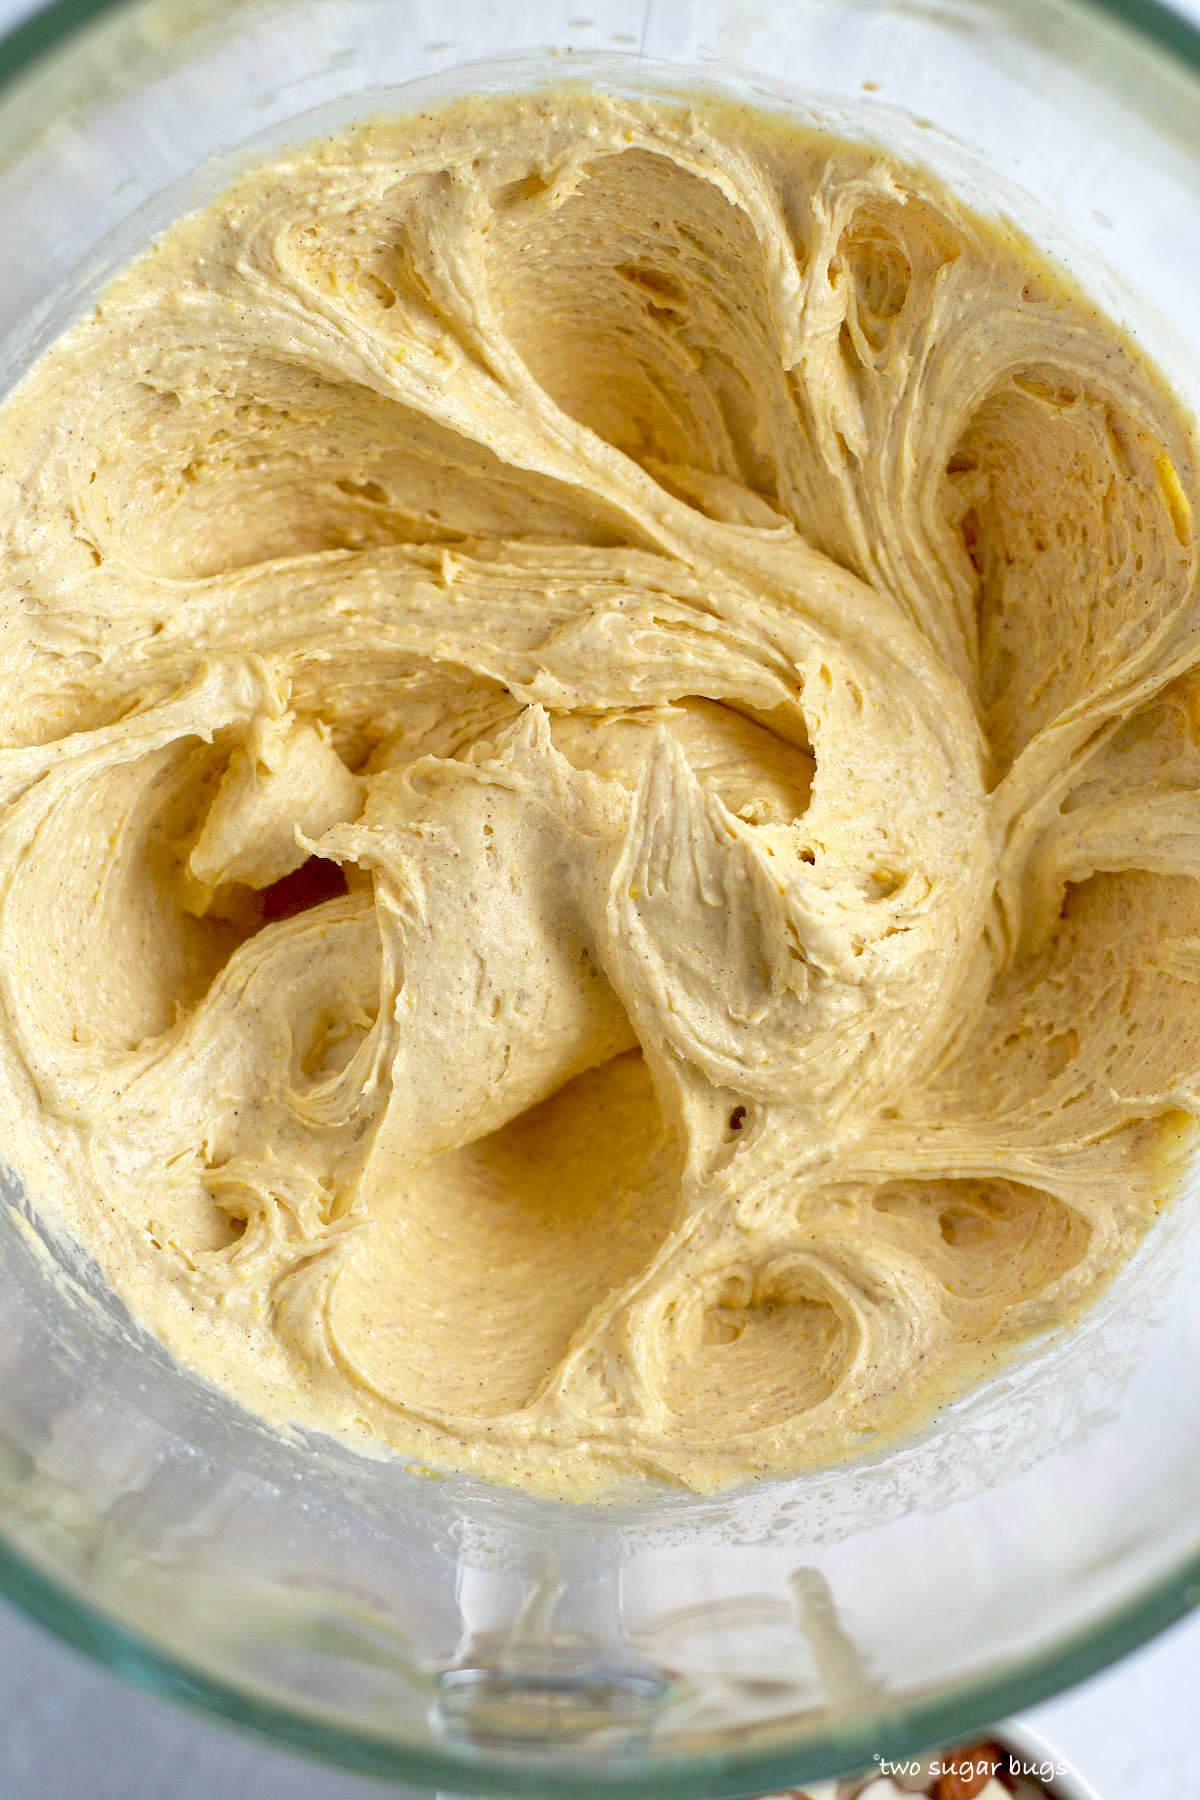
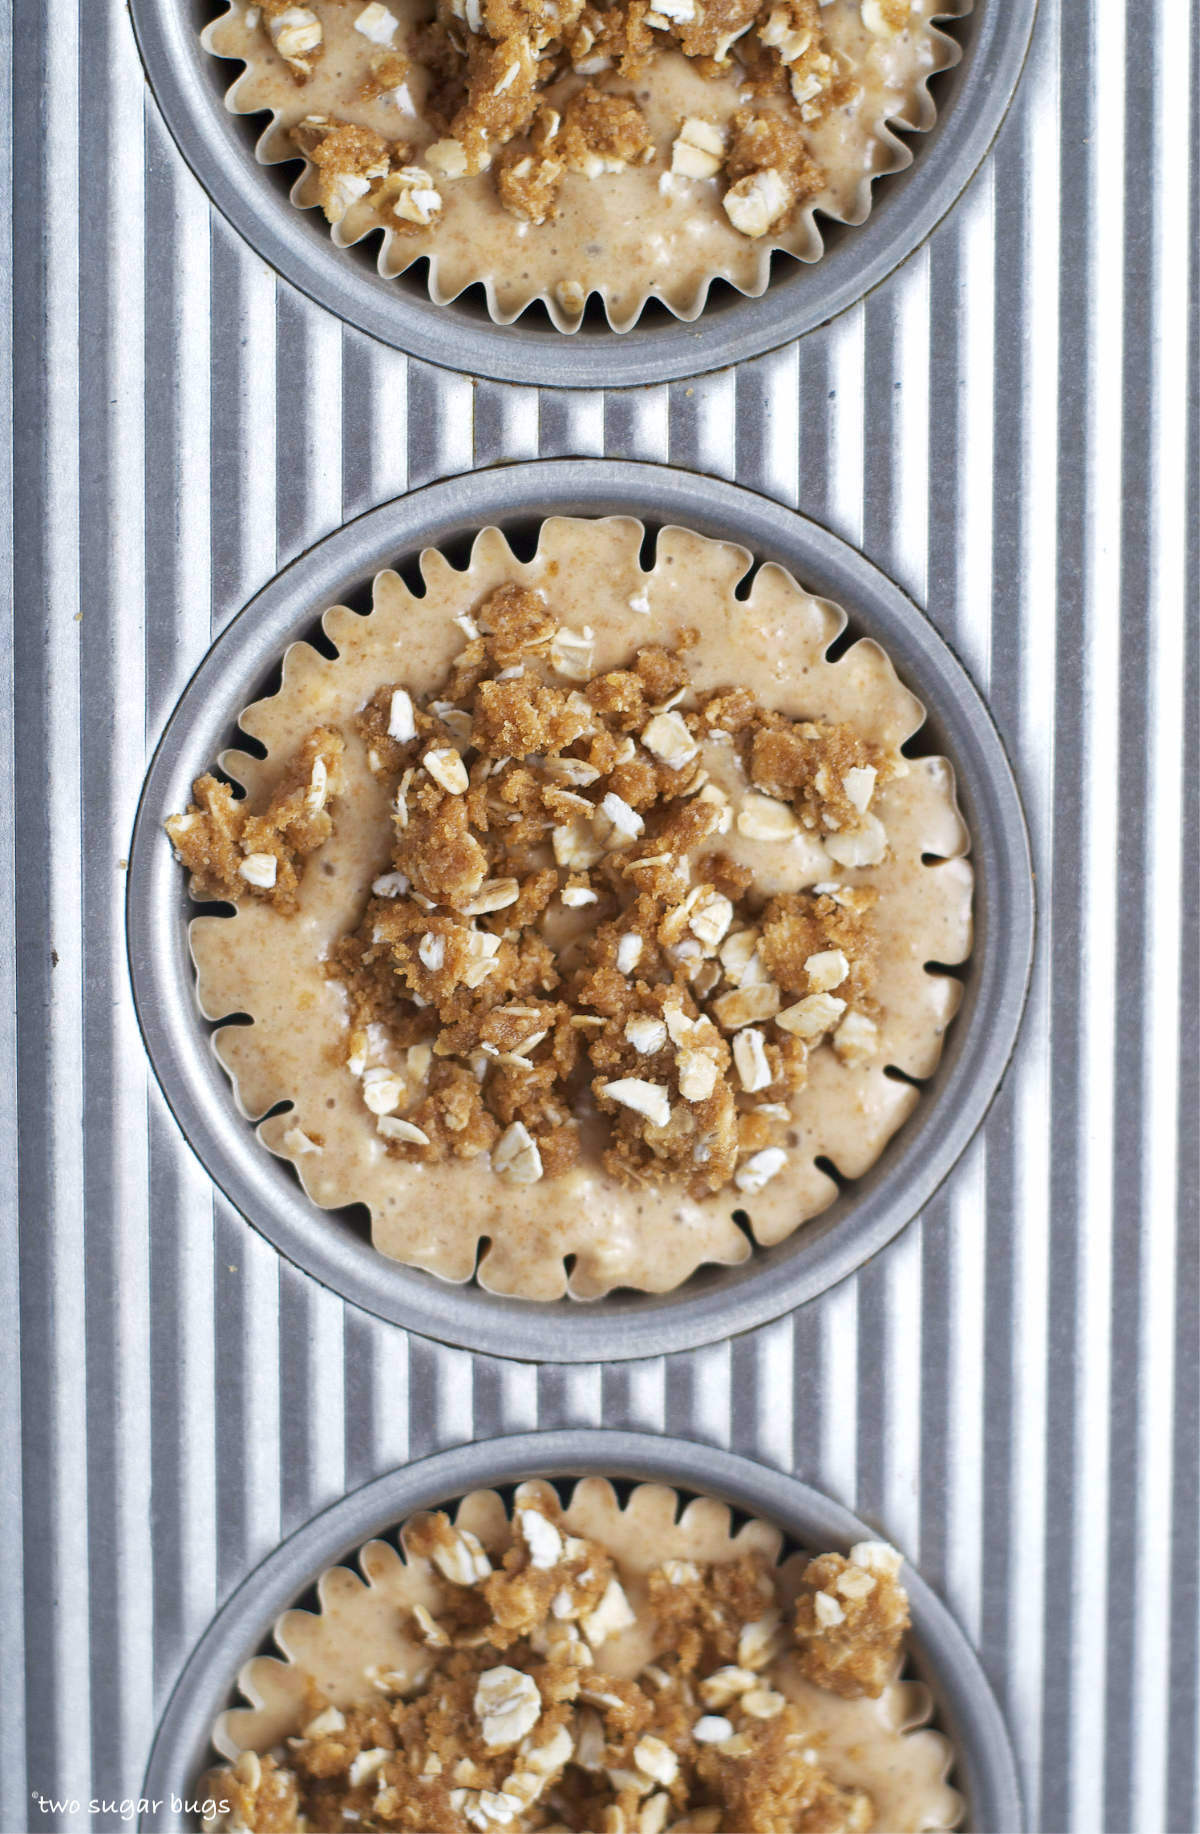
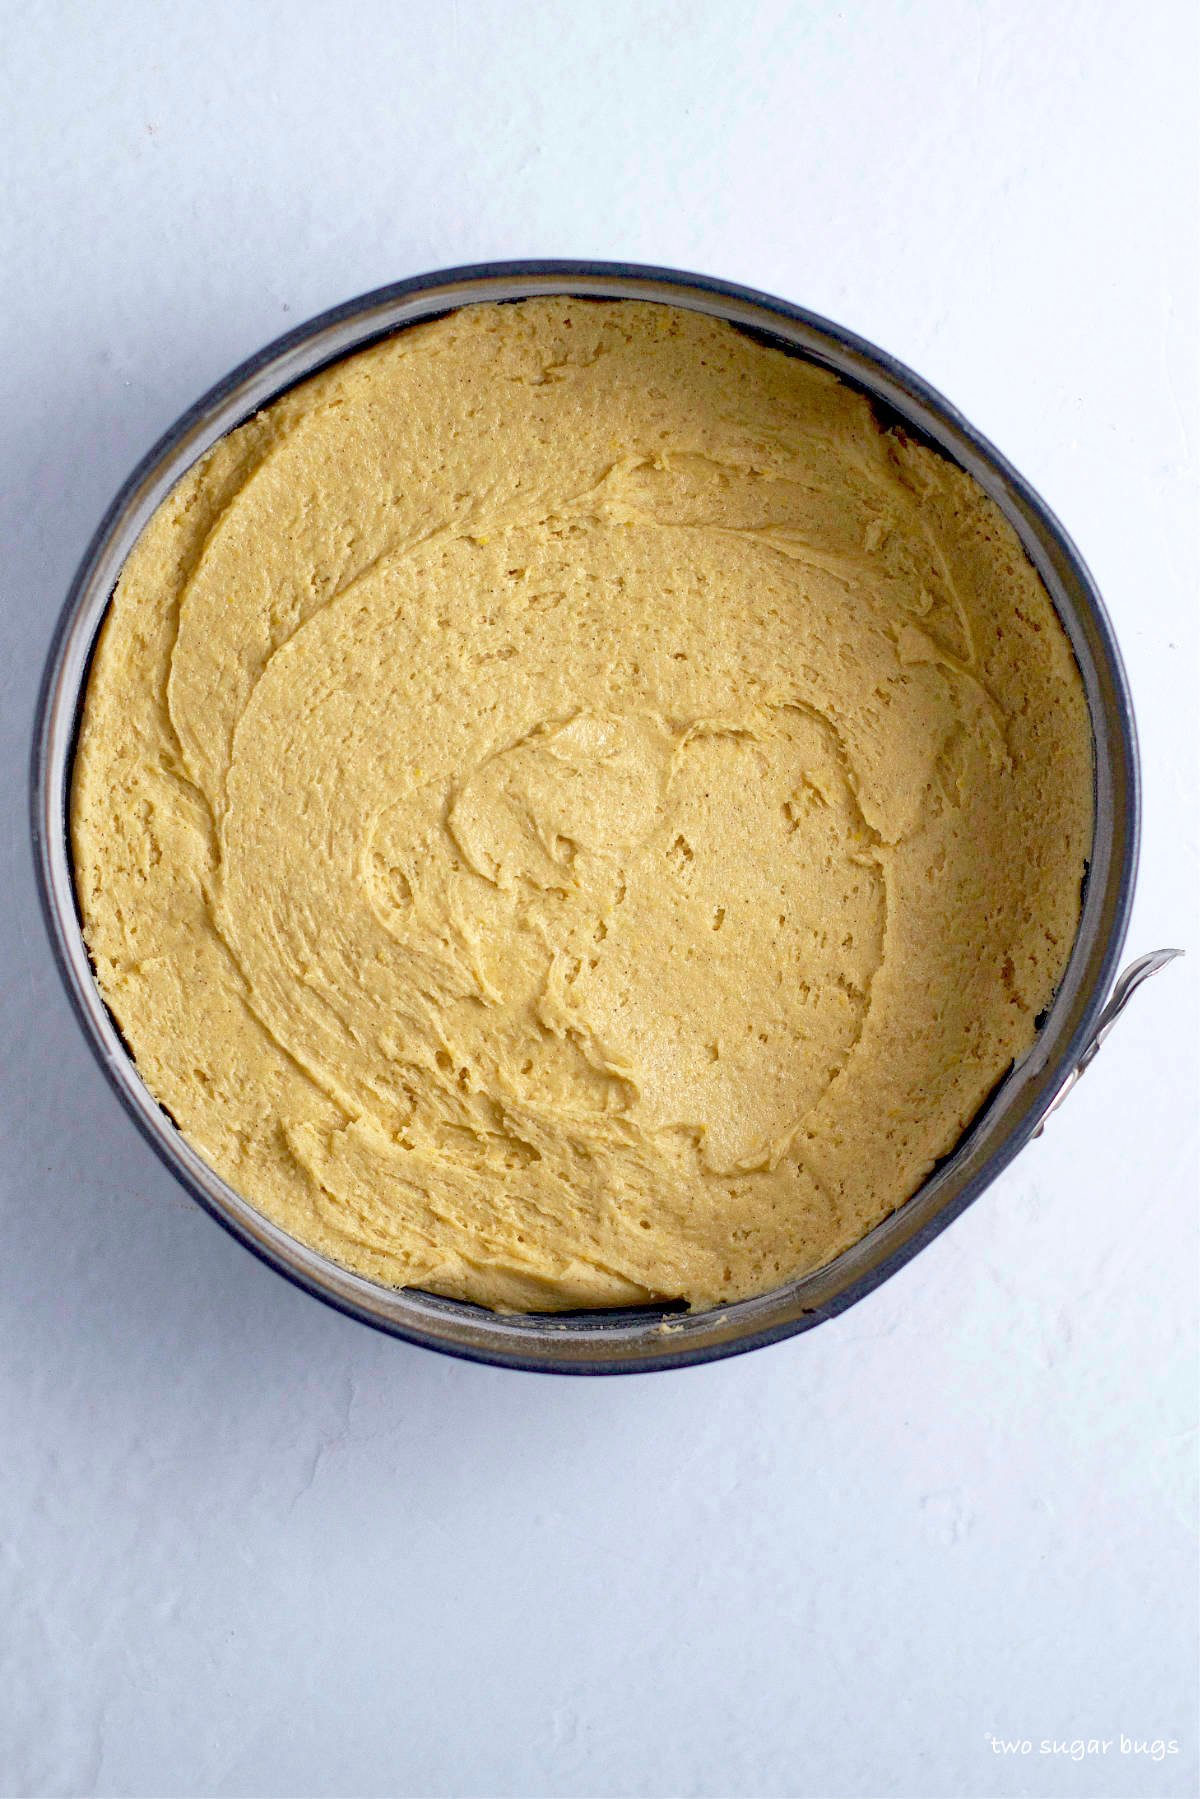
Spread the batter evenly into your prepared spring form pan. I like to use an off-set spatula to even out the top of the batter.
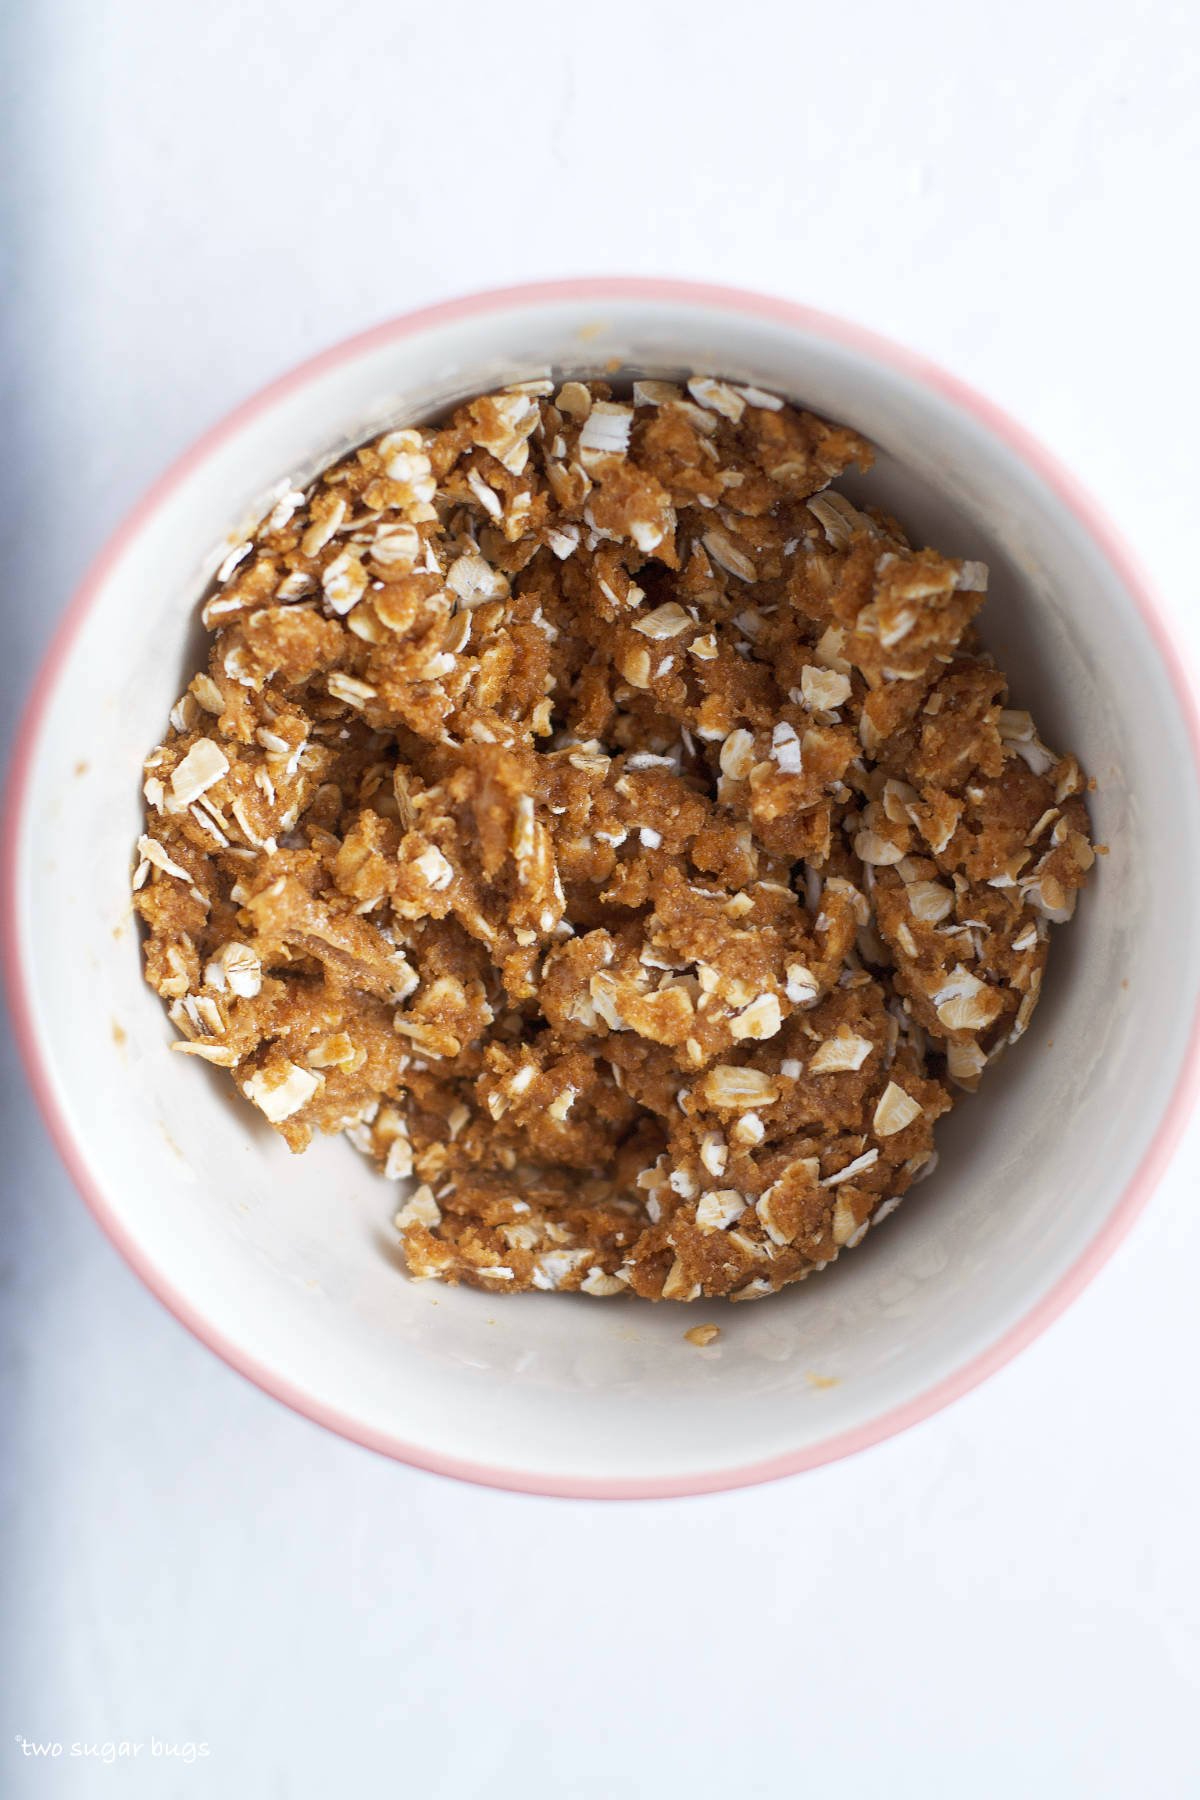
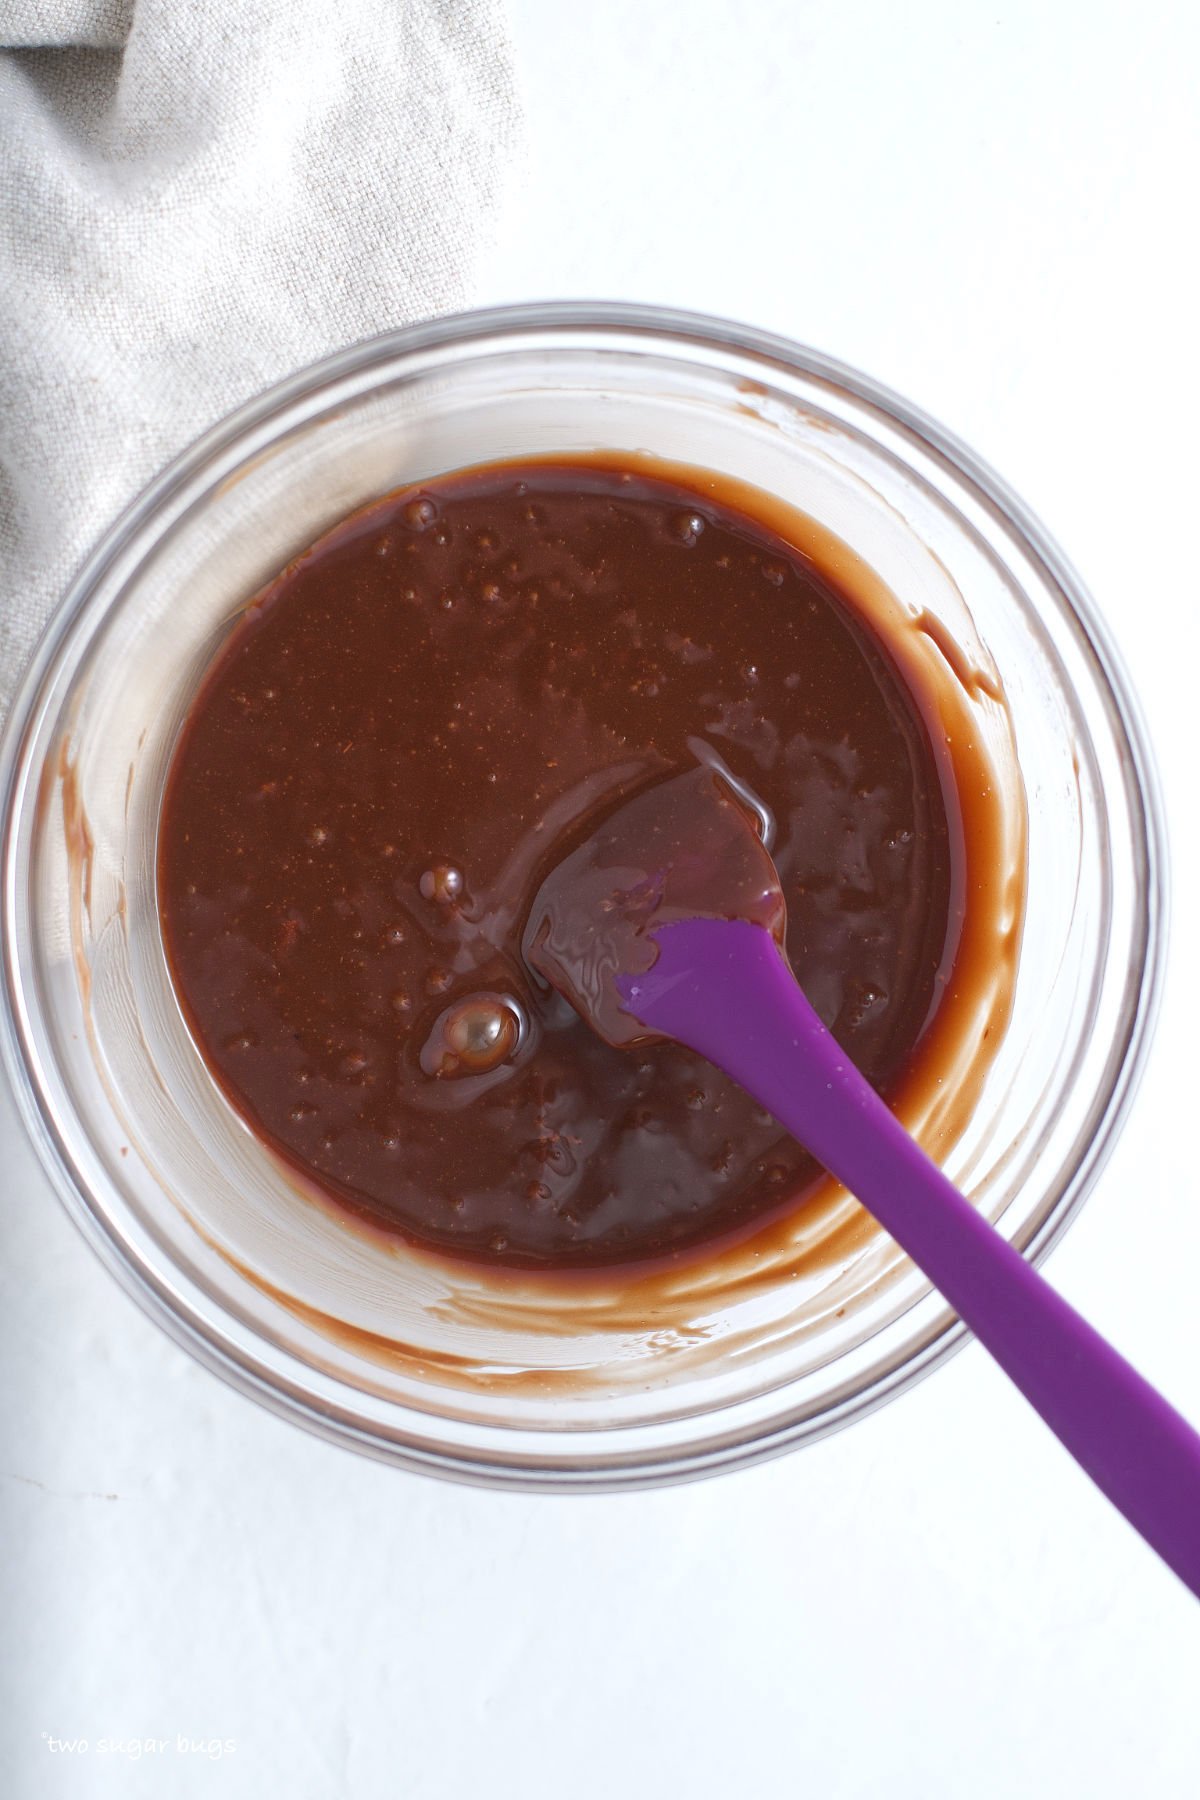
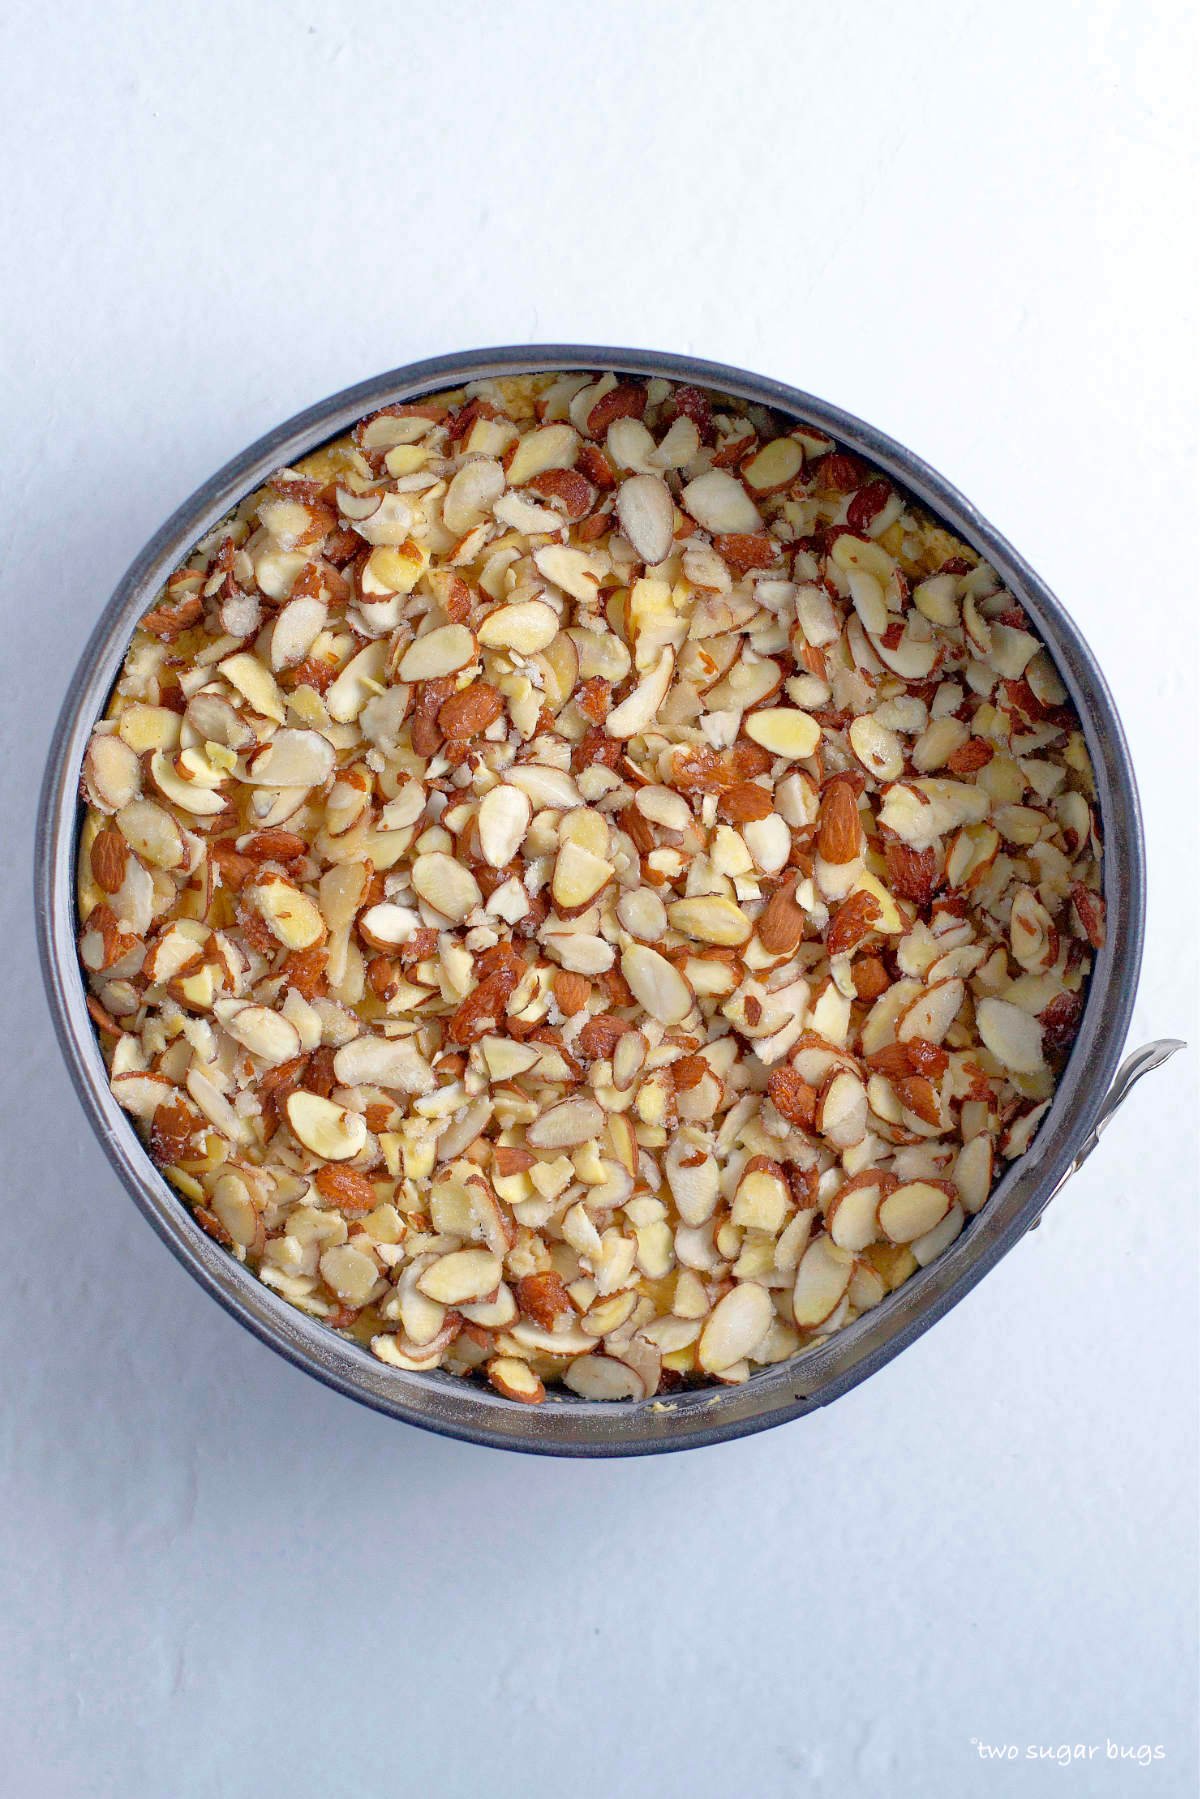
Finally, you will beat one egg white until foamy and light and then mix half of the egg white into the sliced almonds. Stir to evenly coat the almonds, then sprinkle with granulated sugar and toss to coat. Spread the almond mixture evenly over the cake batter and bake.
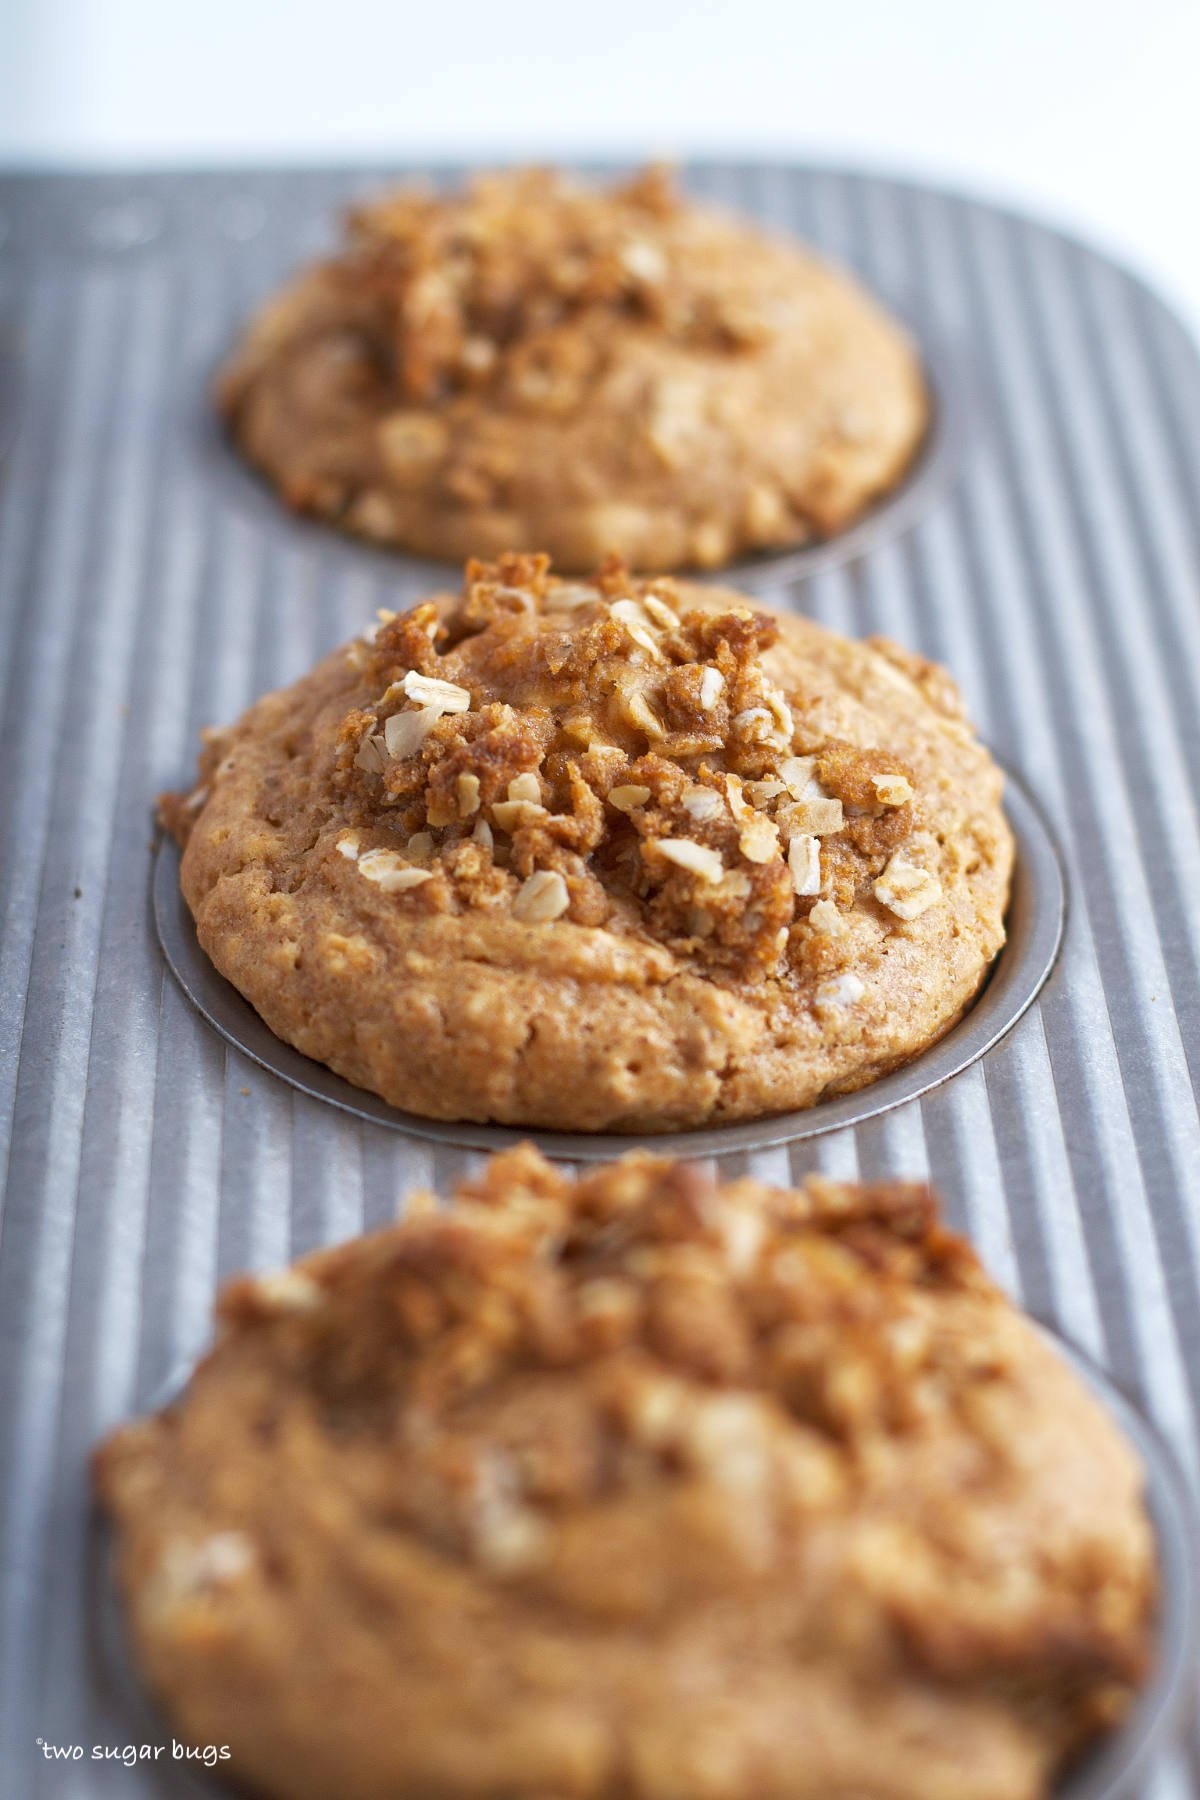
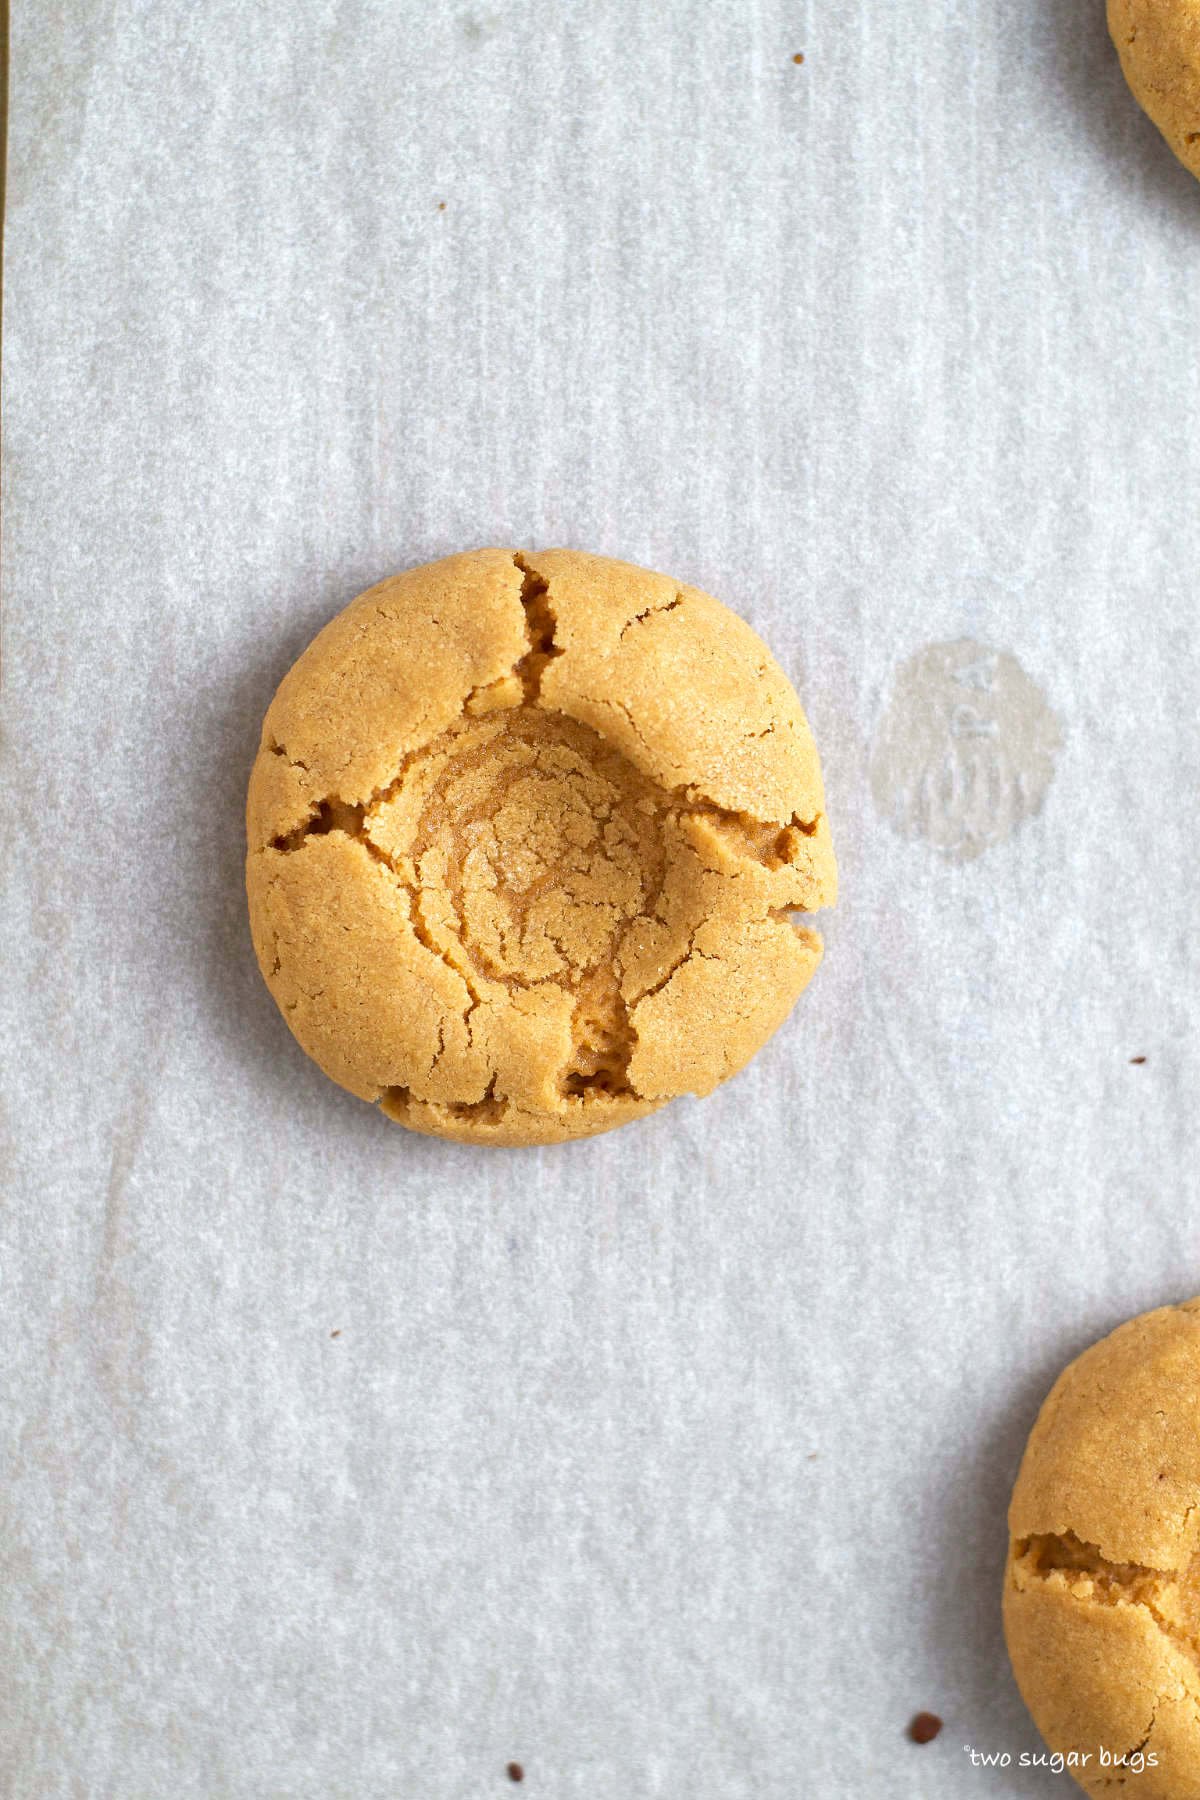
Remember your oven is different than mine. This cake takes about 40 minutes in my oven. I typically start checking it about 30 minutes into baking. It's finished when the top has a little golden brown color to it and a cake tester comes out mostly clean.
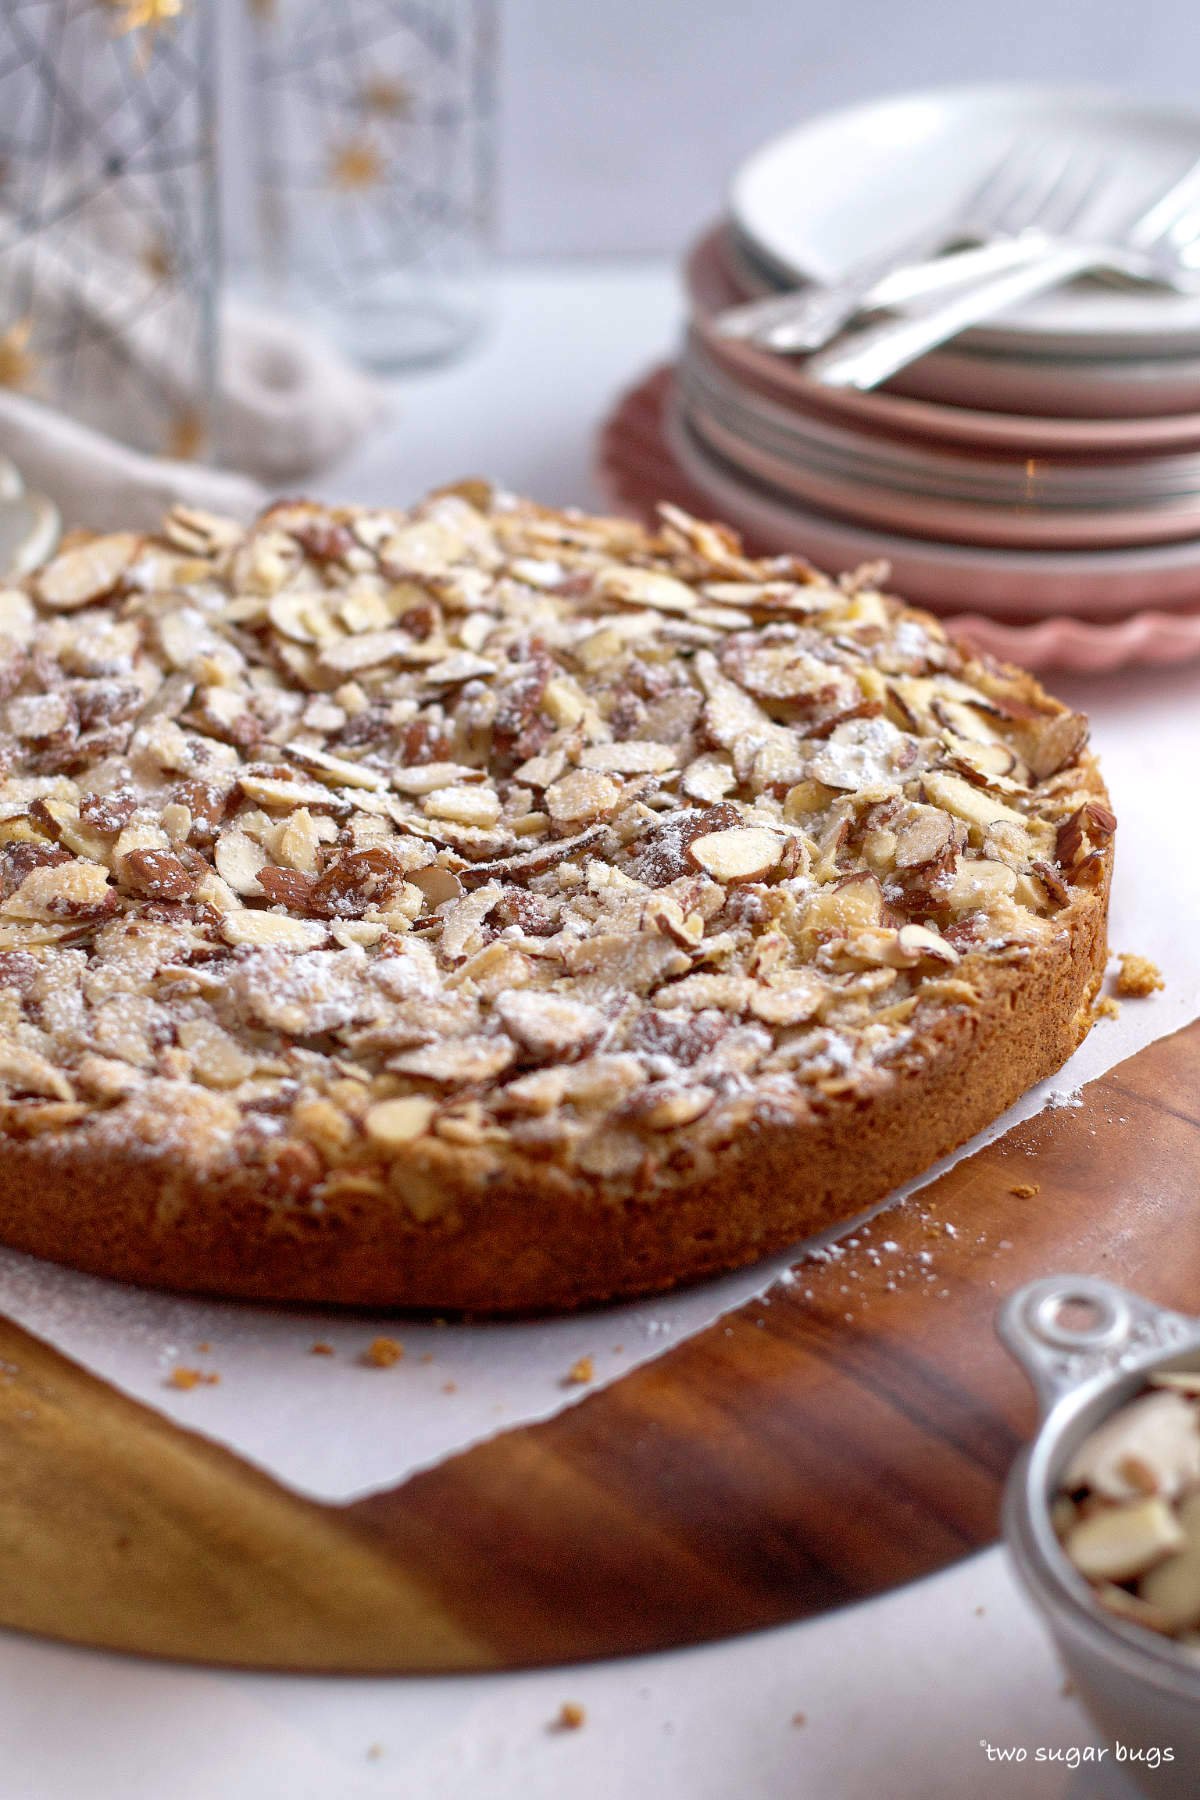
Allow it to cool for 10 minutes in the pan, then remove the sides and allow the cake to cool completely on a cooling rack. Once cool, dust with confectioners' sugar, if desired.
tips for success
- Butter the baking pan and lightly dust with flour, which will help to make removing the cake from the springform pan easy.
- Eggs yolks and egg whites separate best when they are cold.
- Save one of the egg whites for the toasted almond topping.
- Use the toothpick test to tell when the almond cake has finished baking; when just a few moist crumbs remain on the toothpick the cake is done.
Remember to pin this recipe to Pinterest! Use the button on the recipe card or the share buttons on the side or bottom of this page.
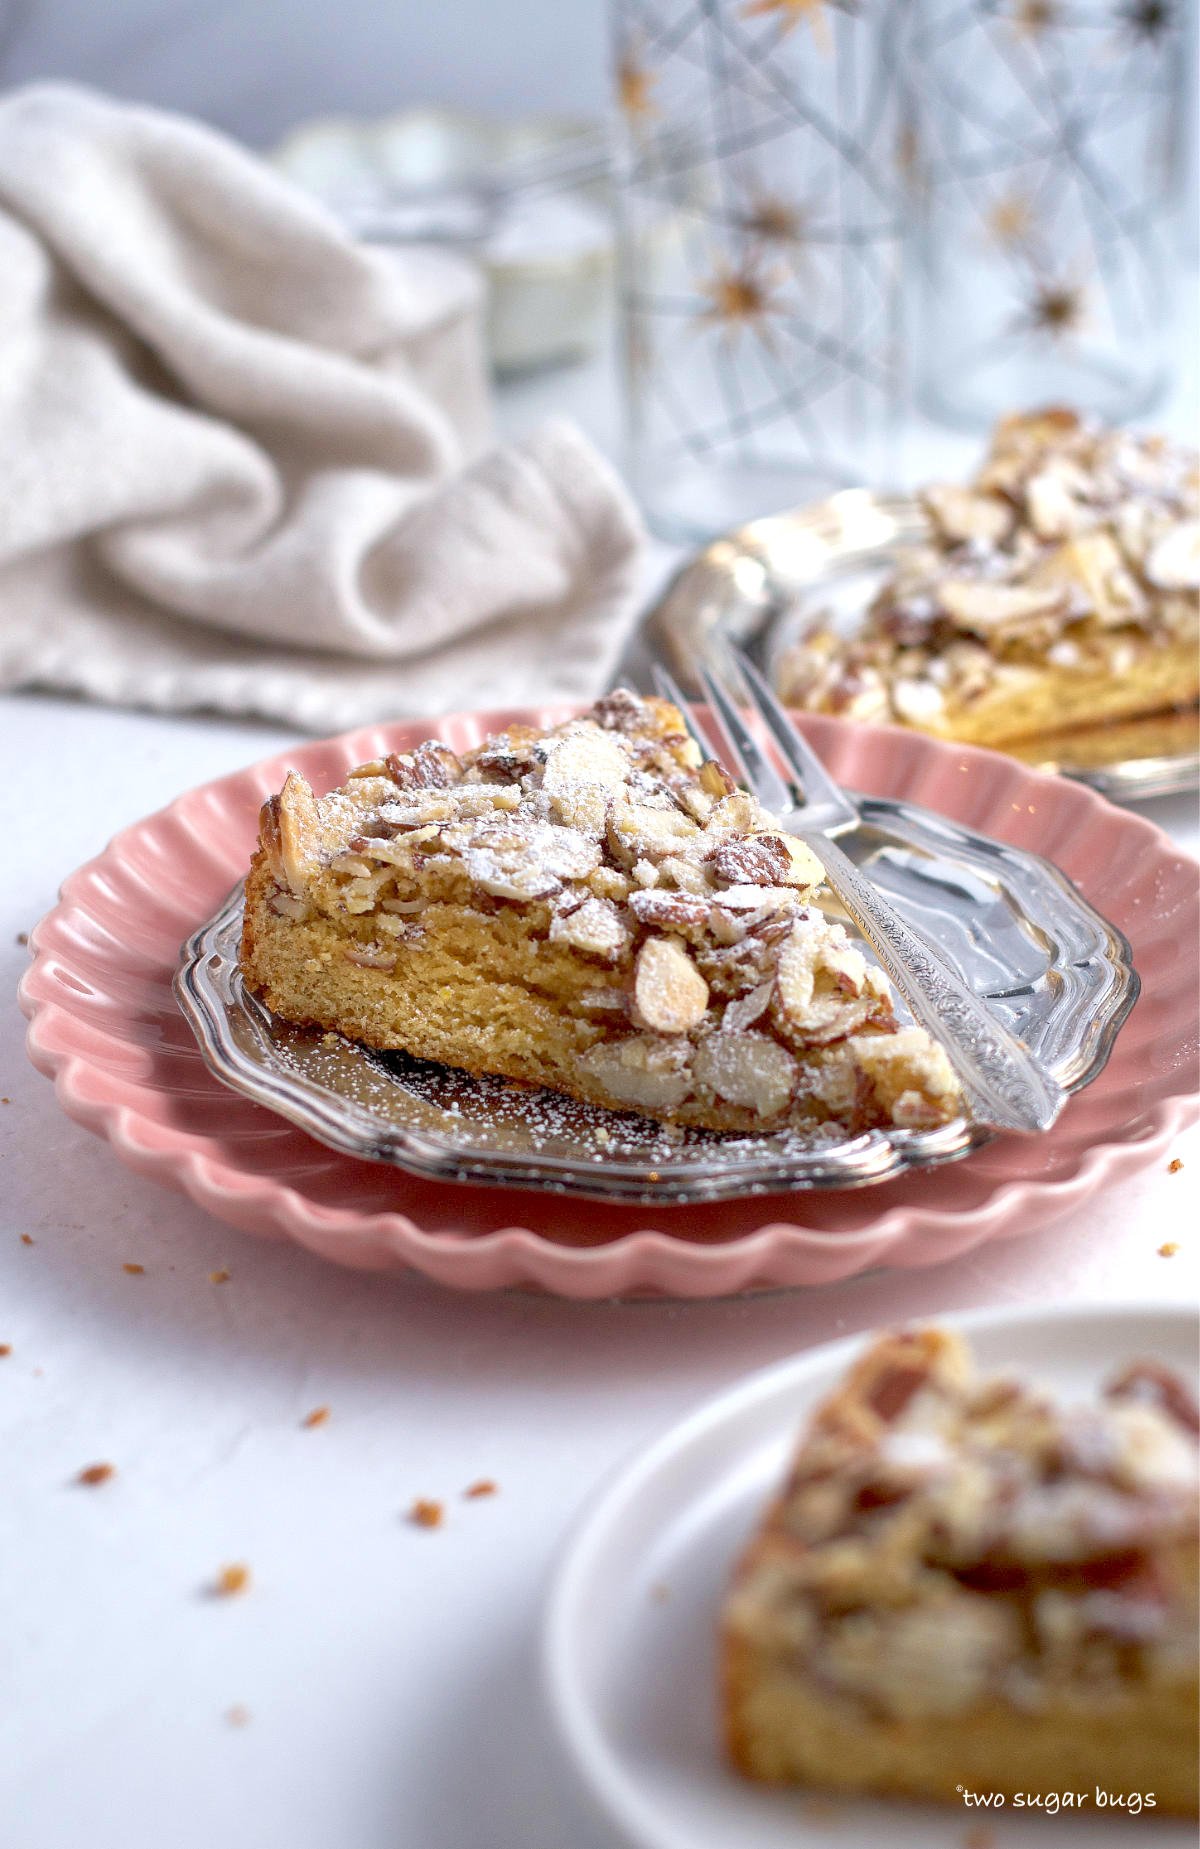
how to serve this Italian almond cake
The Italian almond cake is wonderful on it's own, but is also fantastic paired with cinnamon ice cream. The bonus is that it's even better the next day with your morning coffee! Other ideas for serving this rustic cake ~
- Top with strawberries or other fresh fruit.
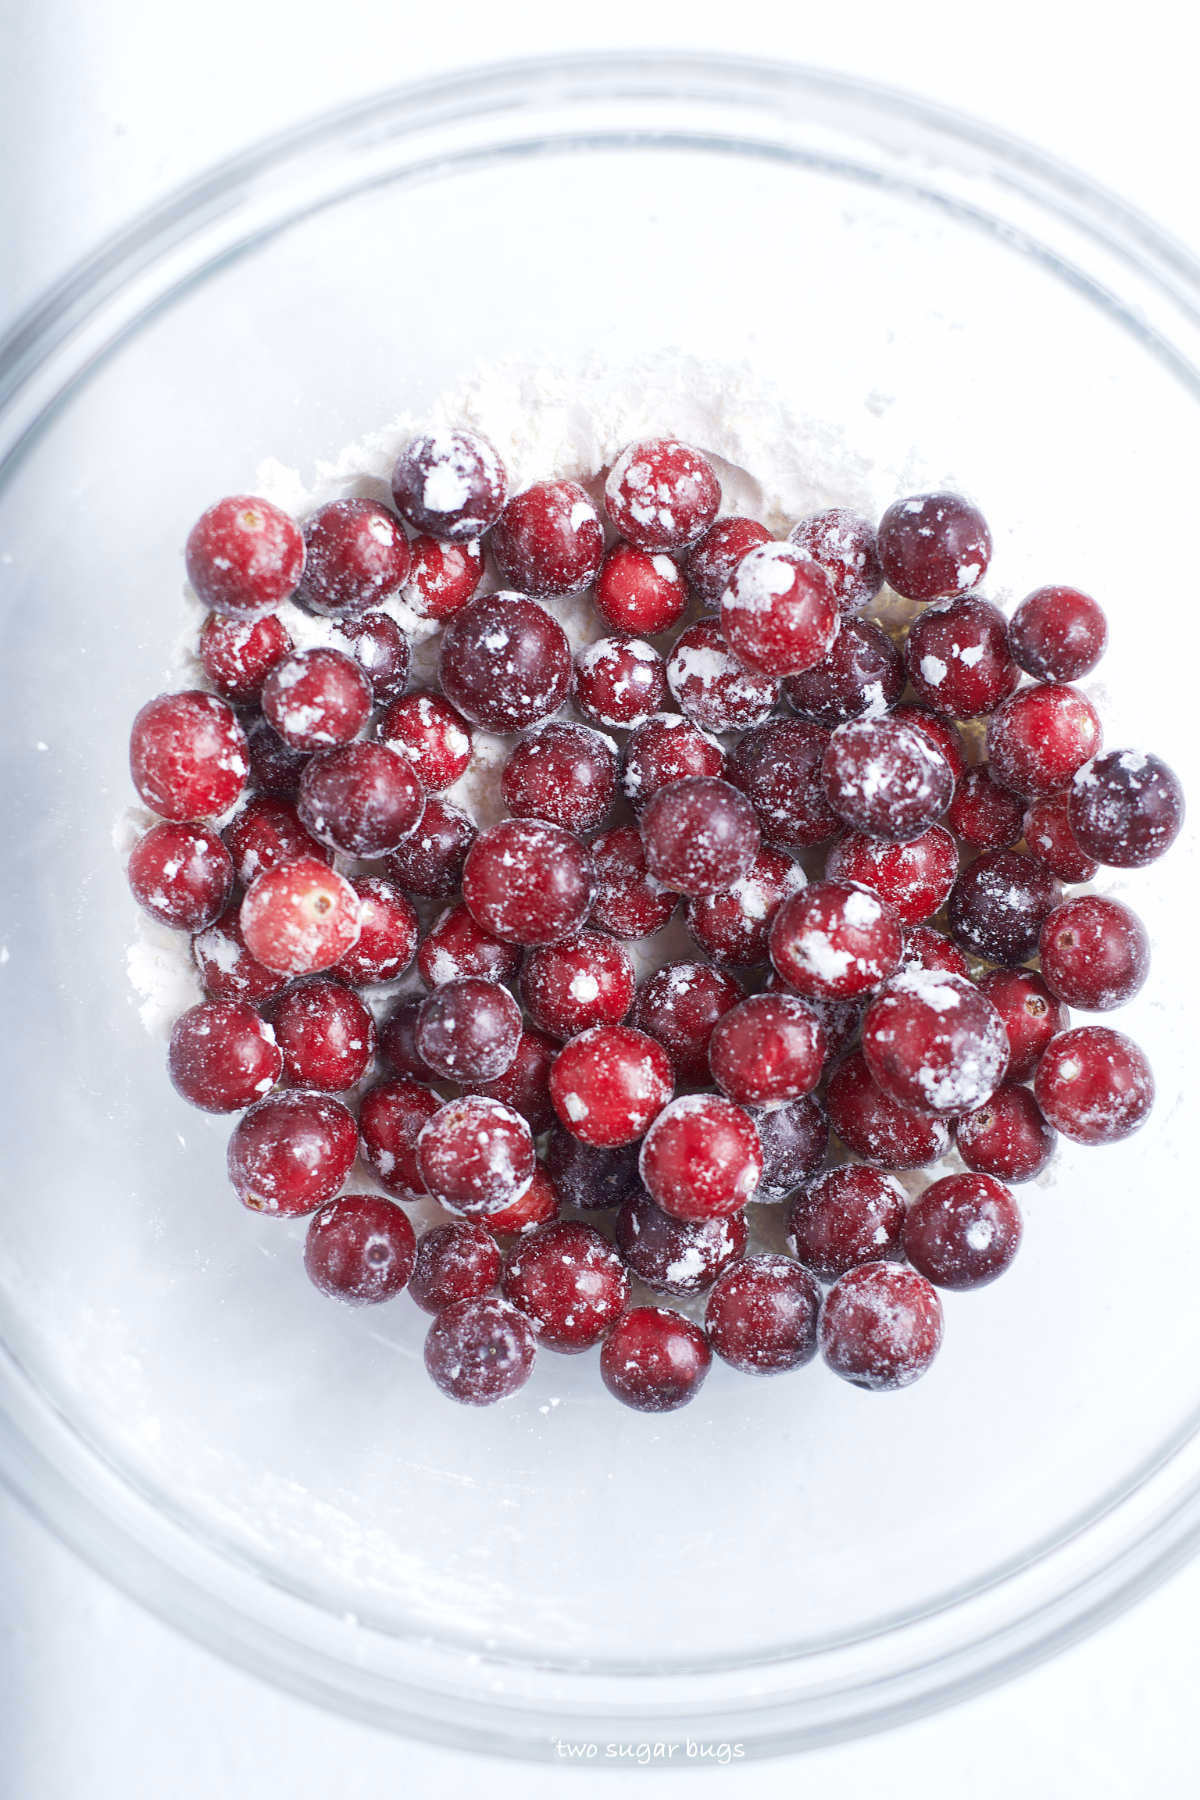
- During the holiday season it would be lovely with sugared cranberries. {see this post for how to make them}.
- A dollop of whipped mascarpone frosting would add a layer of decadence! Use the mascarpone frosting from my apple spice cake.
how to store
Wrap any left over cake and store at room temperature for 2-3 days.
Remember to snap a picture and tag me on Instagram if you make this Italian Almond Cake. It warms my heart to see you bring these recipes to life! Thank you for being here and happy baking!
more easy almond dessert recipes to try
- Soft Almond Sugar Cookies
- Amaretti Cookies {Chewy Almond Cookies}
- Lemon Almond Cookie Bars
- Almond Berry Mascarpone Tart
- Olive Oil Cupcakes
If you make this recipe {or any recipe!} from two sugar bugs please come back and leave a review and a ⭐️⭐️⭐️⭐️⭐️ star rating. I read every comment, and I LOVE hearing from you!
Italian Almond Cake
Italian almond cake is an easy one layer cake. It has a dense crumb and a crunchy toasted almond topping. This is rustic simplicity at it's best.
Ingredients
almond cake
- 1 ¼ cups all-purpose flour (156g)
- ¼ cup almond flour (28g) (I like Bob’s Red Mill)
- ½ teaspoon kosher salt
- ½ teaspoon baking powder
- 1 teaspoon ground cinnamon
- ½ cup unsalted butter, melted and cooled (113g)
- 1 large egg
- 4 large egg yolks (save at least one white for the topping)
- 1 cup granulated sugar (200g)
- 1 teaspoon pure vanilla extract
almond topping
- 1 ½ cups sliced blanched almonds
- 1 large egg white
- 3 tablespoons granulated sugar
- confectioners' sugar (optional for dusting over finished cake)
Instructions
- Preheat oven to 325°F.
- Lightly butter 9 inch spring form pan and dust with flour and tap out any excess.
- In a medium bowl, whisk together the all-purpose flour (1 ¼ cups/156g), almond flour (¼ cup/28g), kosher salt (½ teaspoon), baking powder (½ teaspoon) and ground cinnamon (1 teaspoon). Set aside.
- Melt the unsalted butter (½ cup/113g) and set aside to cool.
- In a stand mixer with the paddle attachment, beat the egg (one large), egg yolks (4 large yolks) and sugar (1 cup/200g) on medium (speed 4 or 6 on a KitchenAid mixer) until thick and pale yellow, approximately 3 minutes.
- With the mixer on low, add the flour mixture; mixing until well combined. Scrape up and down the sides of the bowl, and then mix in vanilla extract (1 teaspoon) followed by the melted butter. The batter will be quite thick and a bit sticky. Adjust your mixer to medium speed and beat for 30 more seconds.
- Spread the batter evenly in your prepared pan. The batter is quite thick; I use an off-set spatula.
- Make the topping: Place the sliced almonds in a bowl. Lightly beat the one egg white in a small bowl until foamy and light. Pour half of the egg white over the almonds and stir to coat them evenly. Discard remaining egg white. Sprinkle the granulated sugar (3 tablespoons) over the almond and egg white mixture and toss to coat. Spread the almond mixture evenly over the surface of your cake batter.
- Bake 35-45 minutes until it’s golden brown on top and a cake tester come out mostly clean.
- Allow cake to cool 10 minutes in the pan, then remove the sides and allow to cool completely on a cooling rack. Once cool dust with confectioners' sugar, if desired.
Notes
To serve: remove cake from the bottom of the spring form pan with an offset spatula and transfer to a serving plate or cake stand.
Wrap any left over cake and store at room temperature for 2-3 days.
Recipe lightly adapted from Gina DePalma’s Dolce Italiano cookbook.
Nutrition Information:
Yield:
12Serving Size:
1Amount Per Serving: Calories: 389Total Fat: 21gSaturated Fat: 7gTrans Fat: 0gUnsaturated Fat: 13gCholesterol: 129mgSodium: 197mgCarbohydrates: 44gFiber: 3gSugar: 31gProtein: 9g
The nutrition information is an estimate only and may not be entirely accurate.