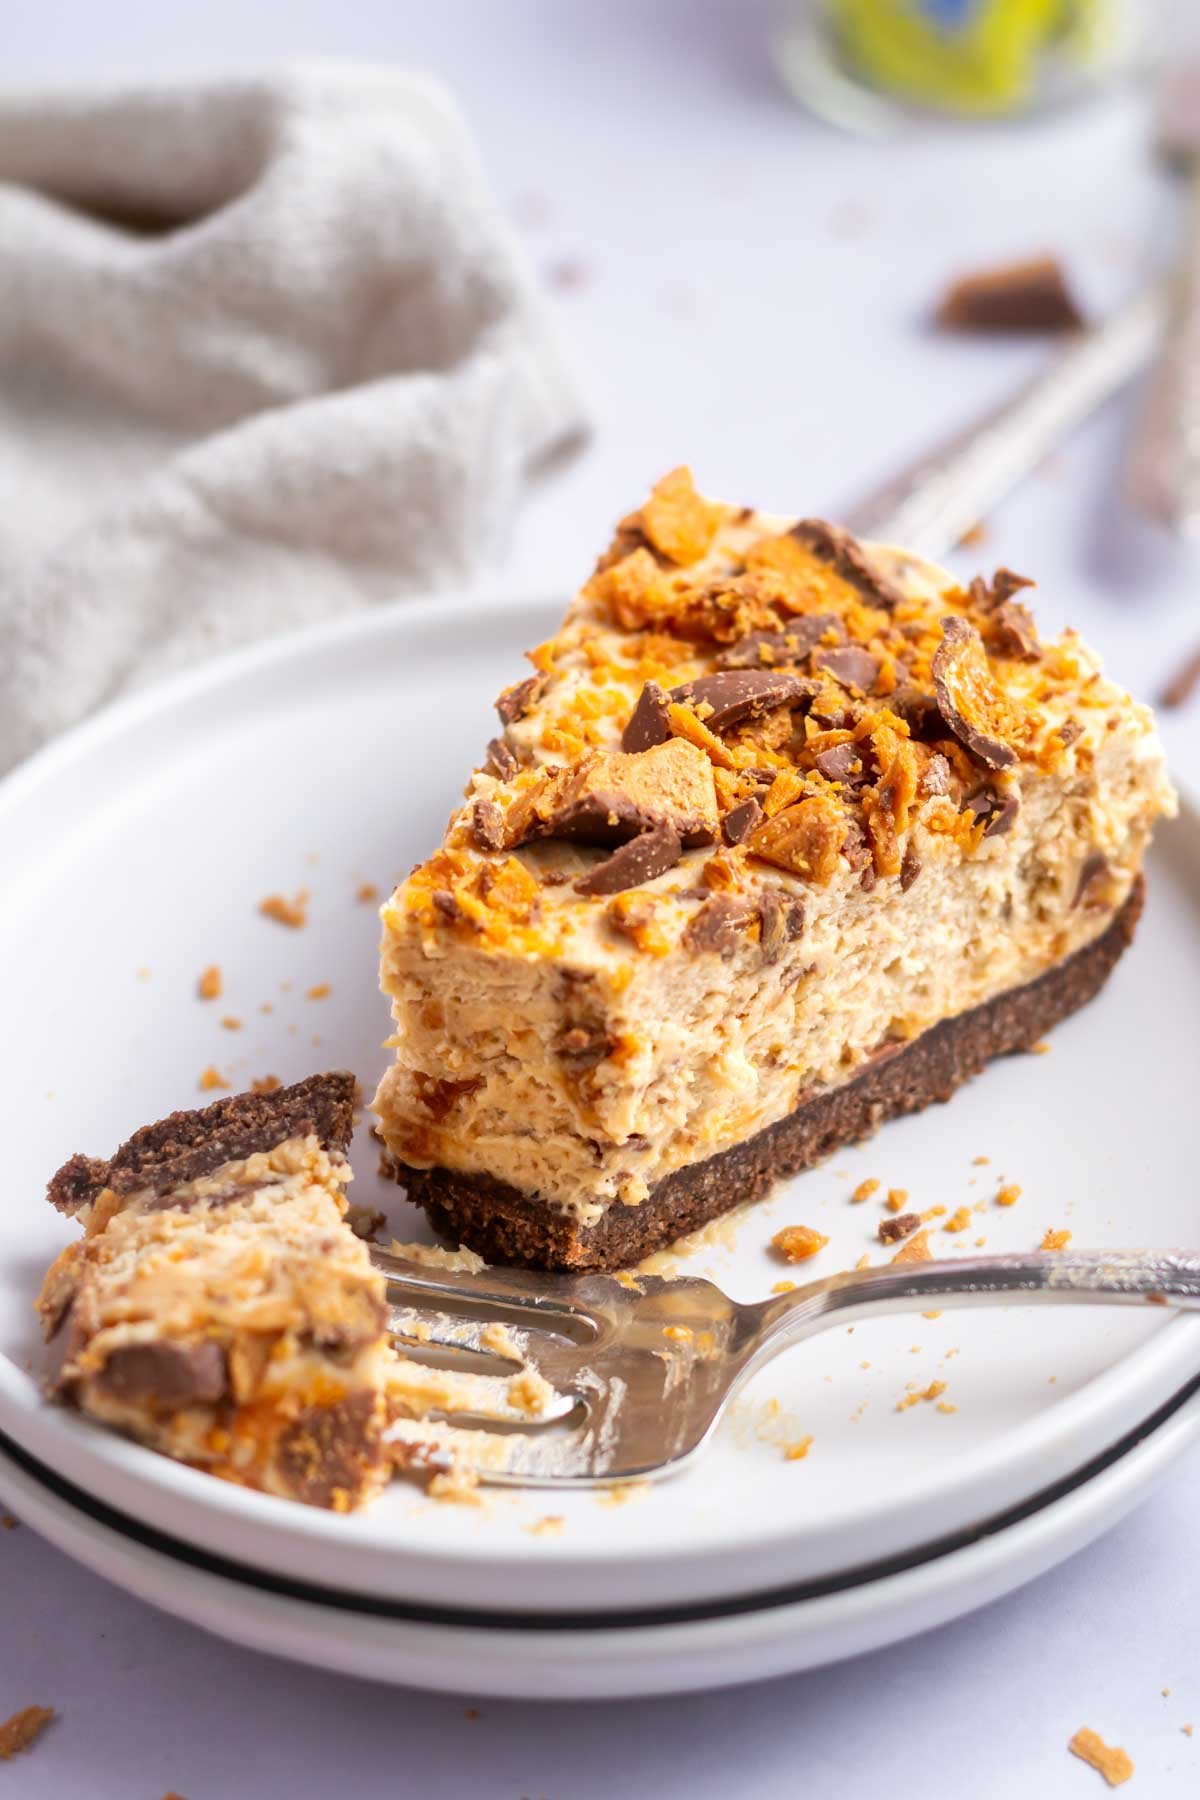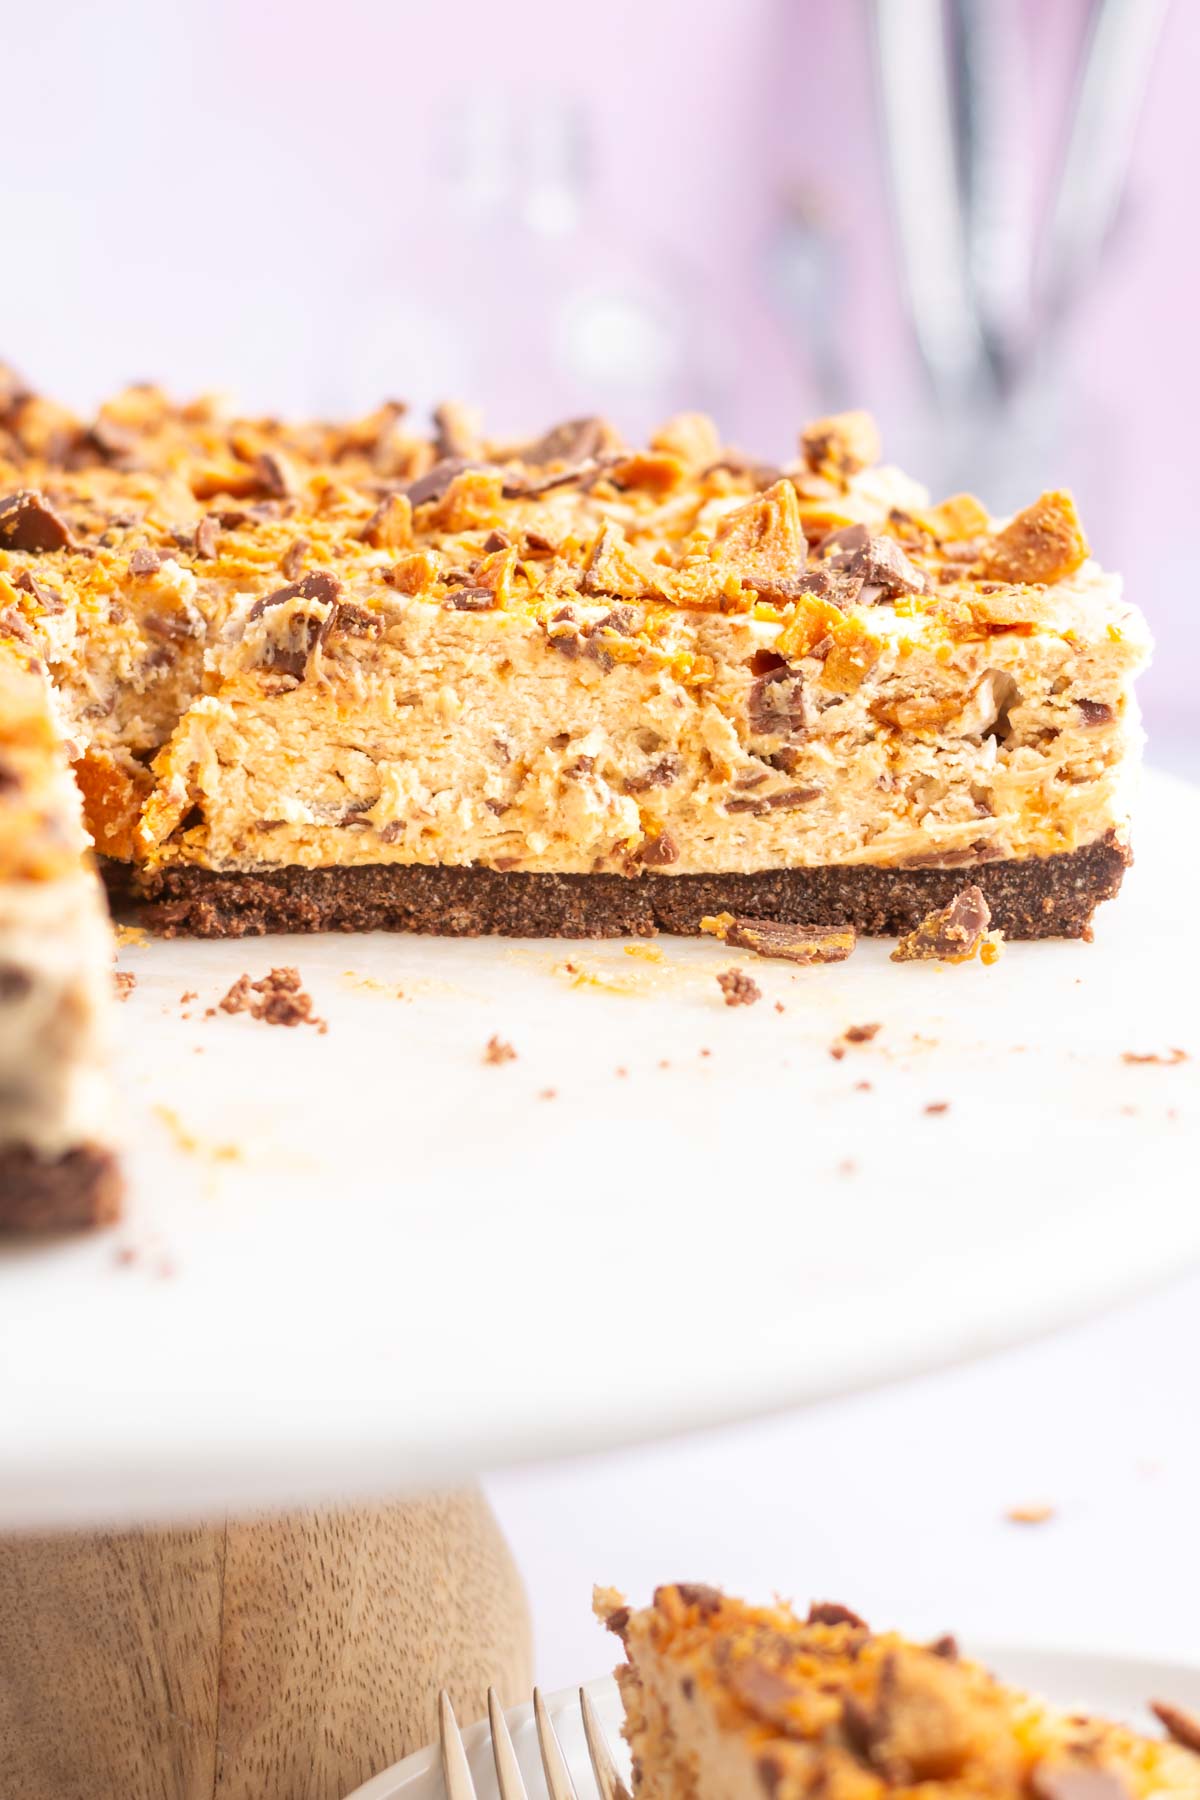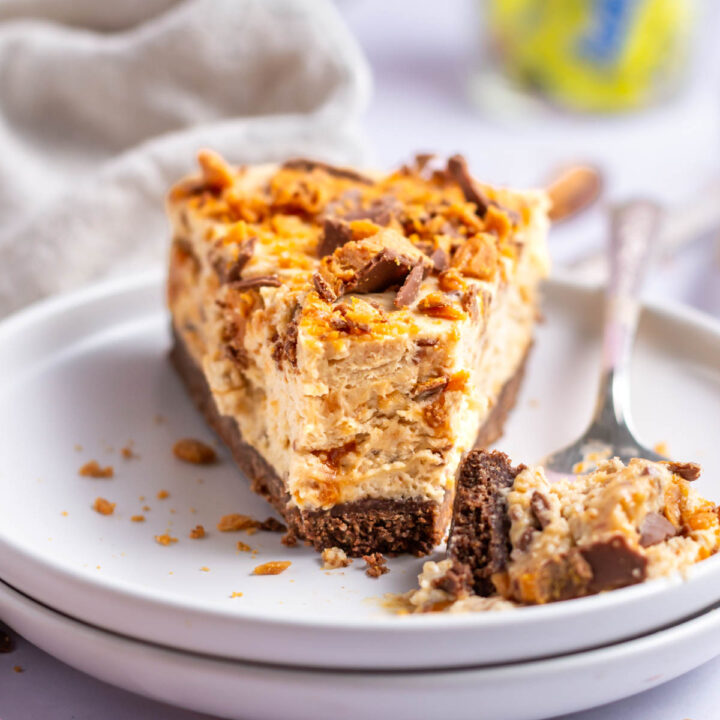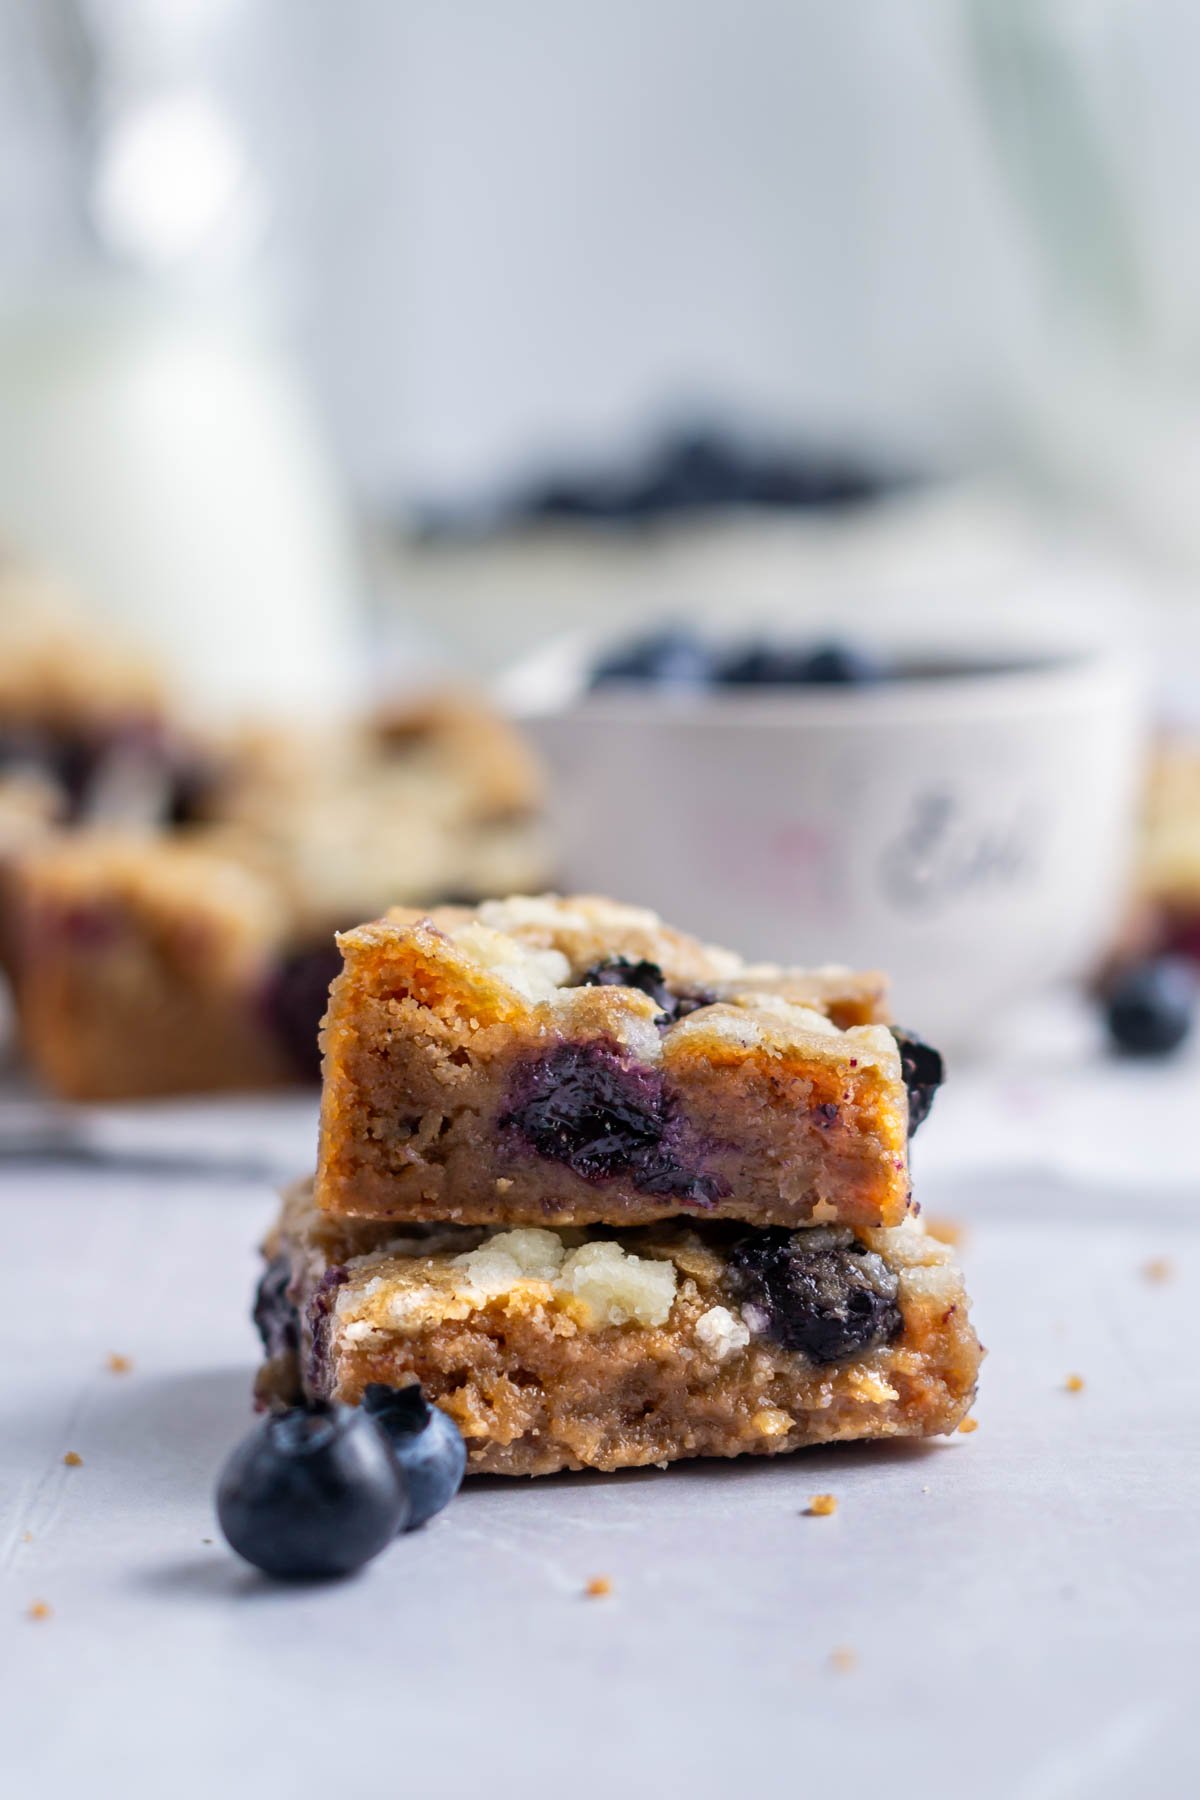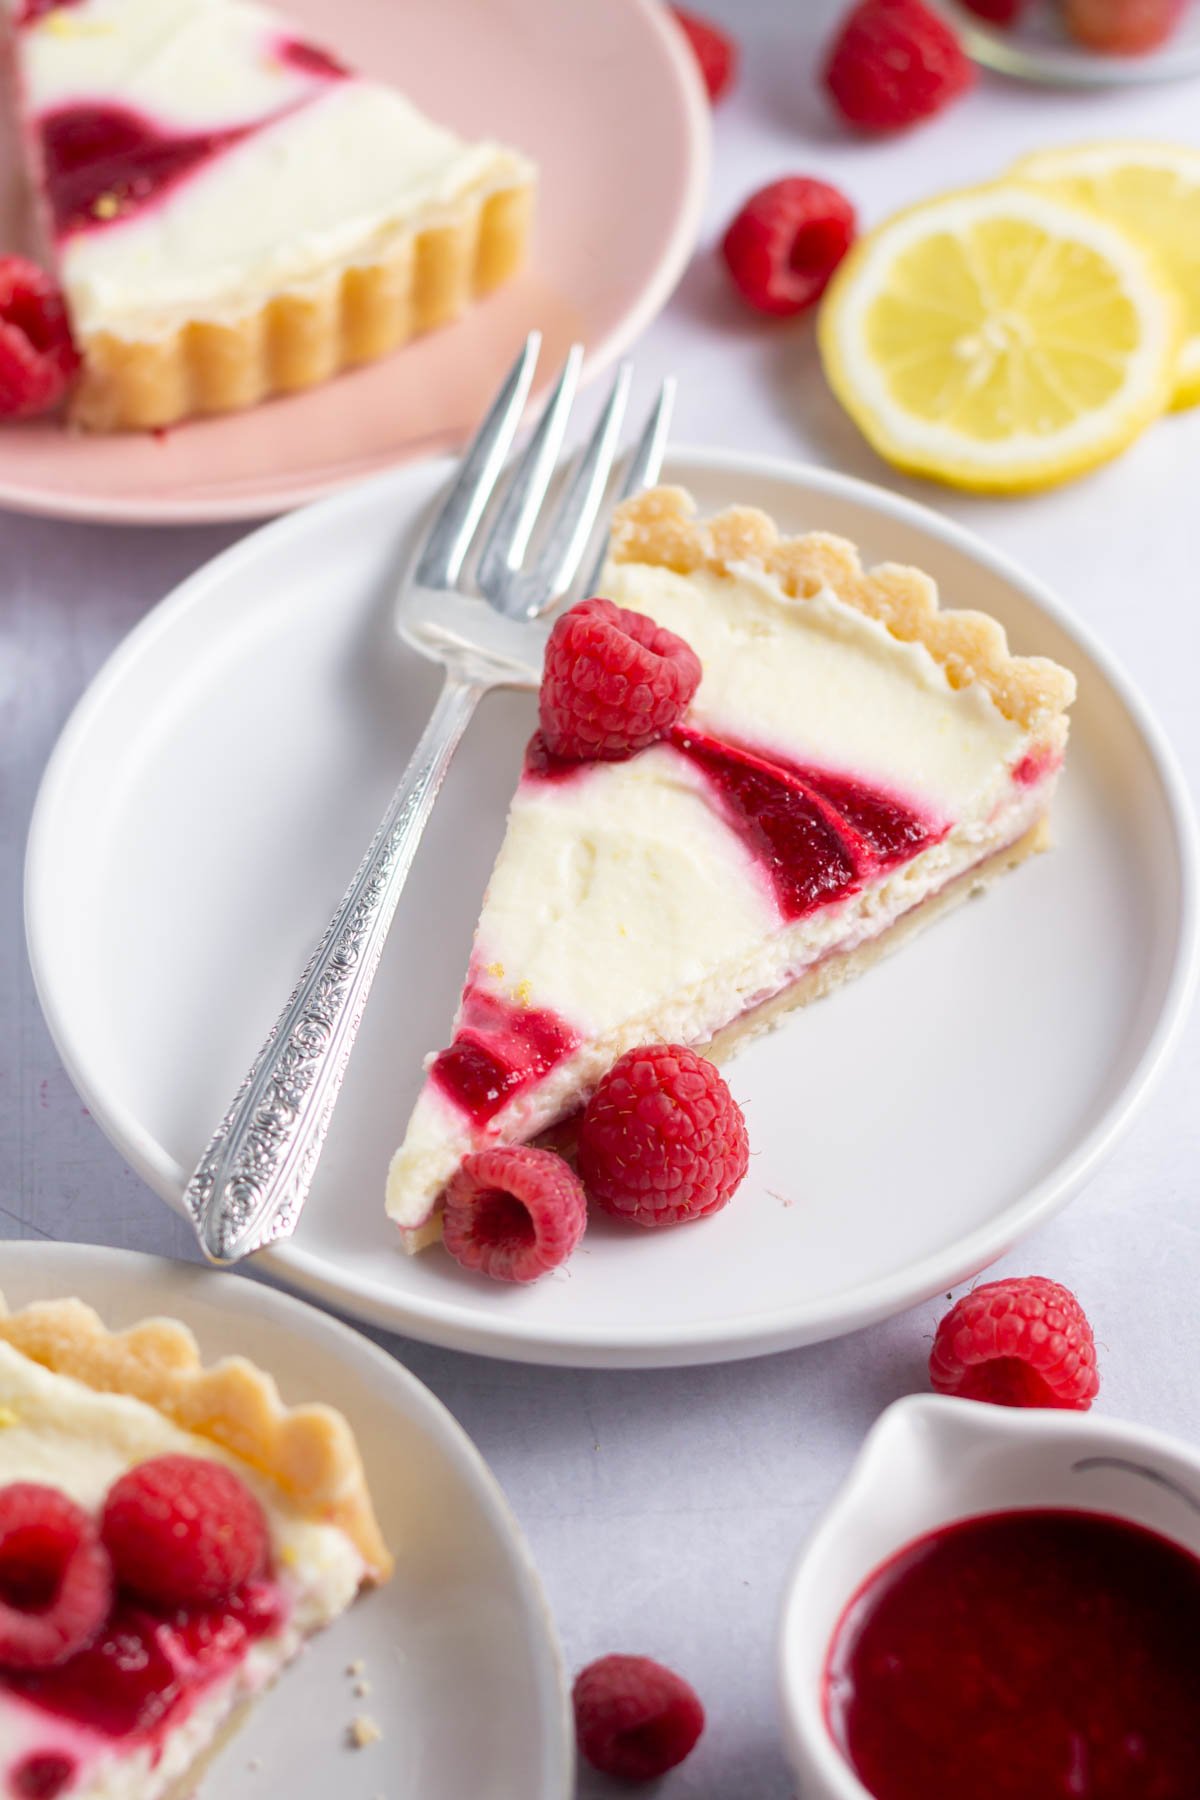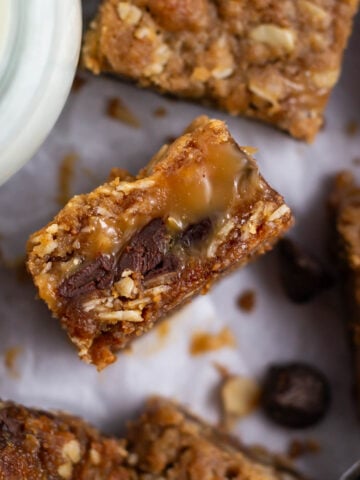
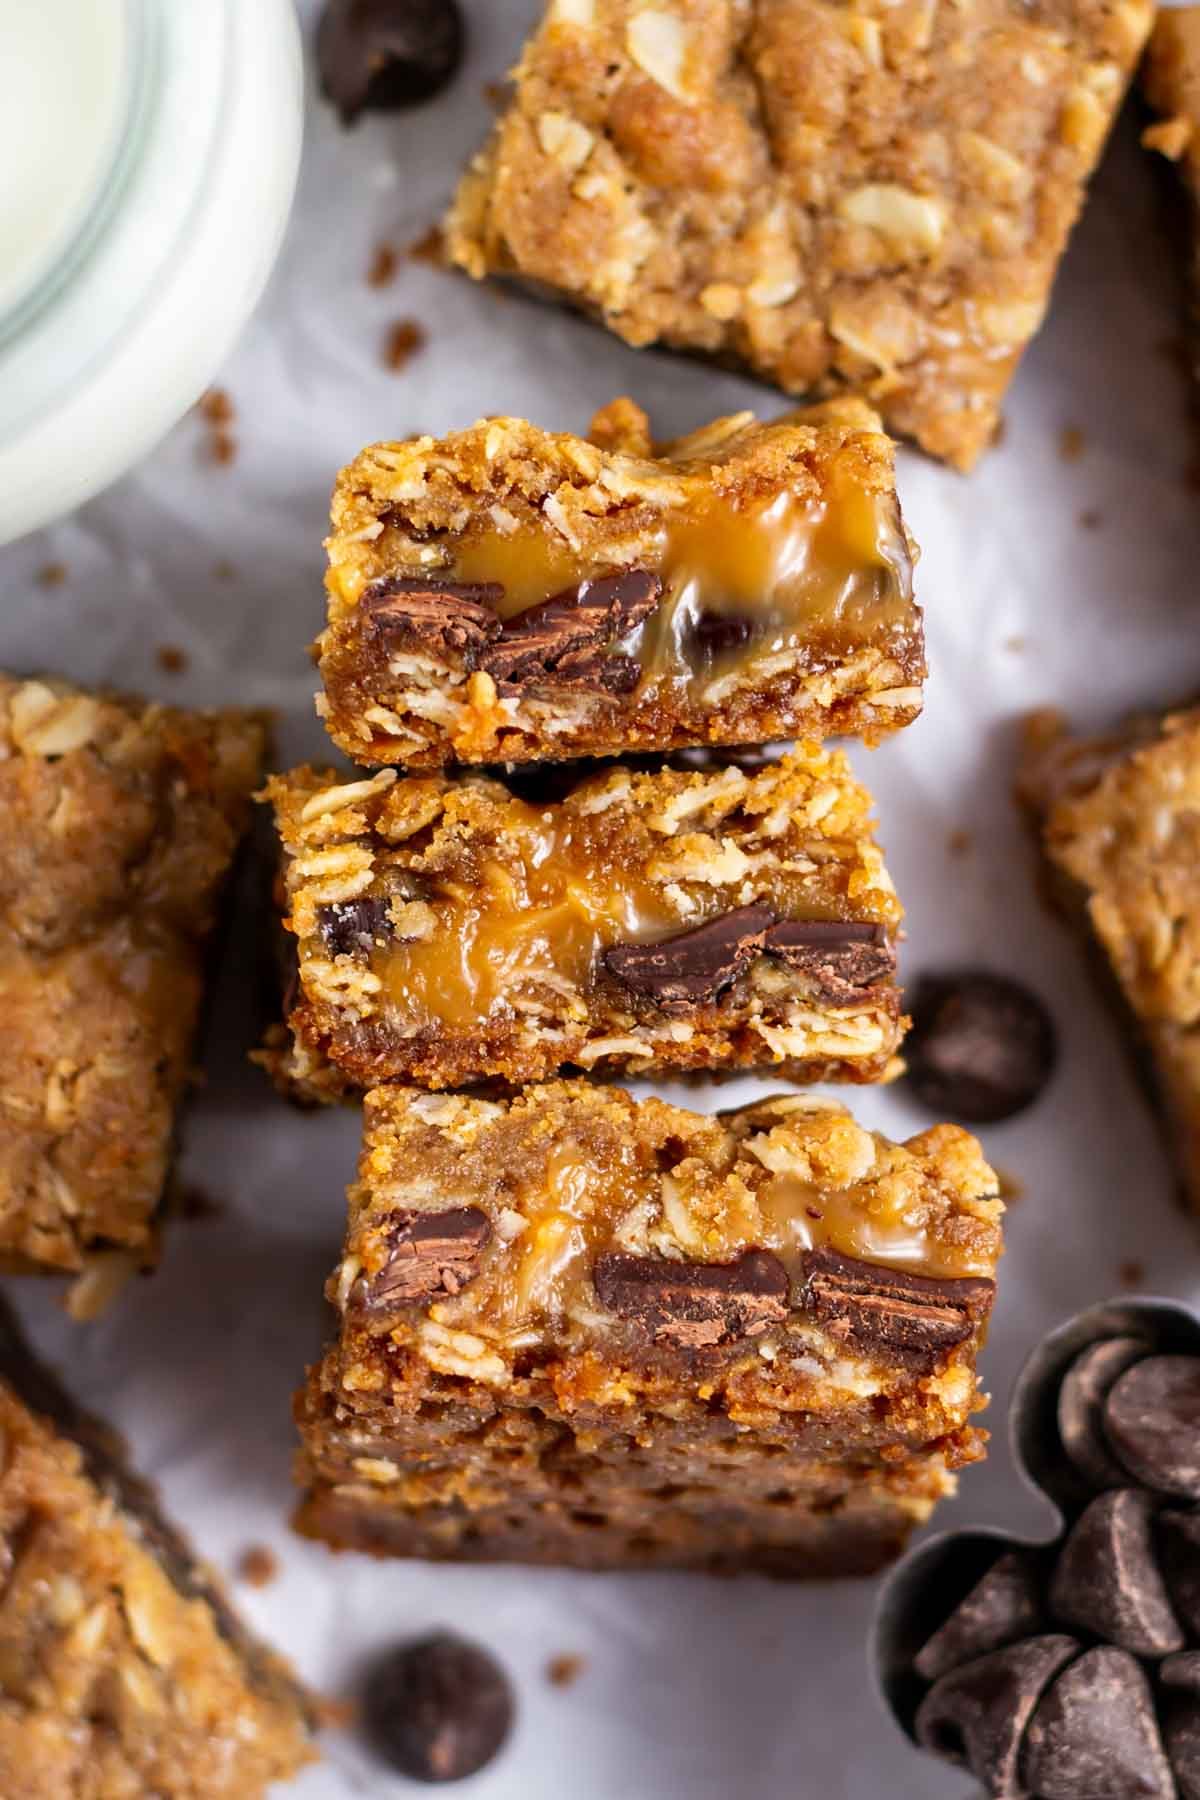
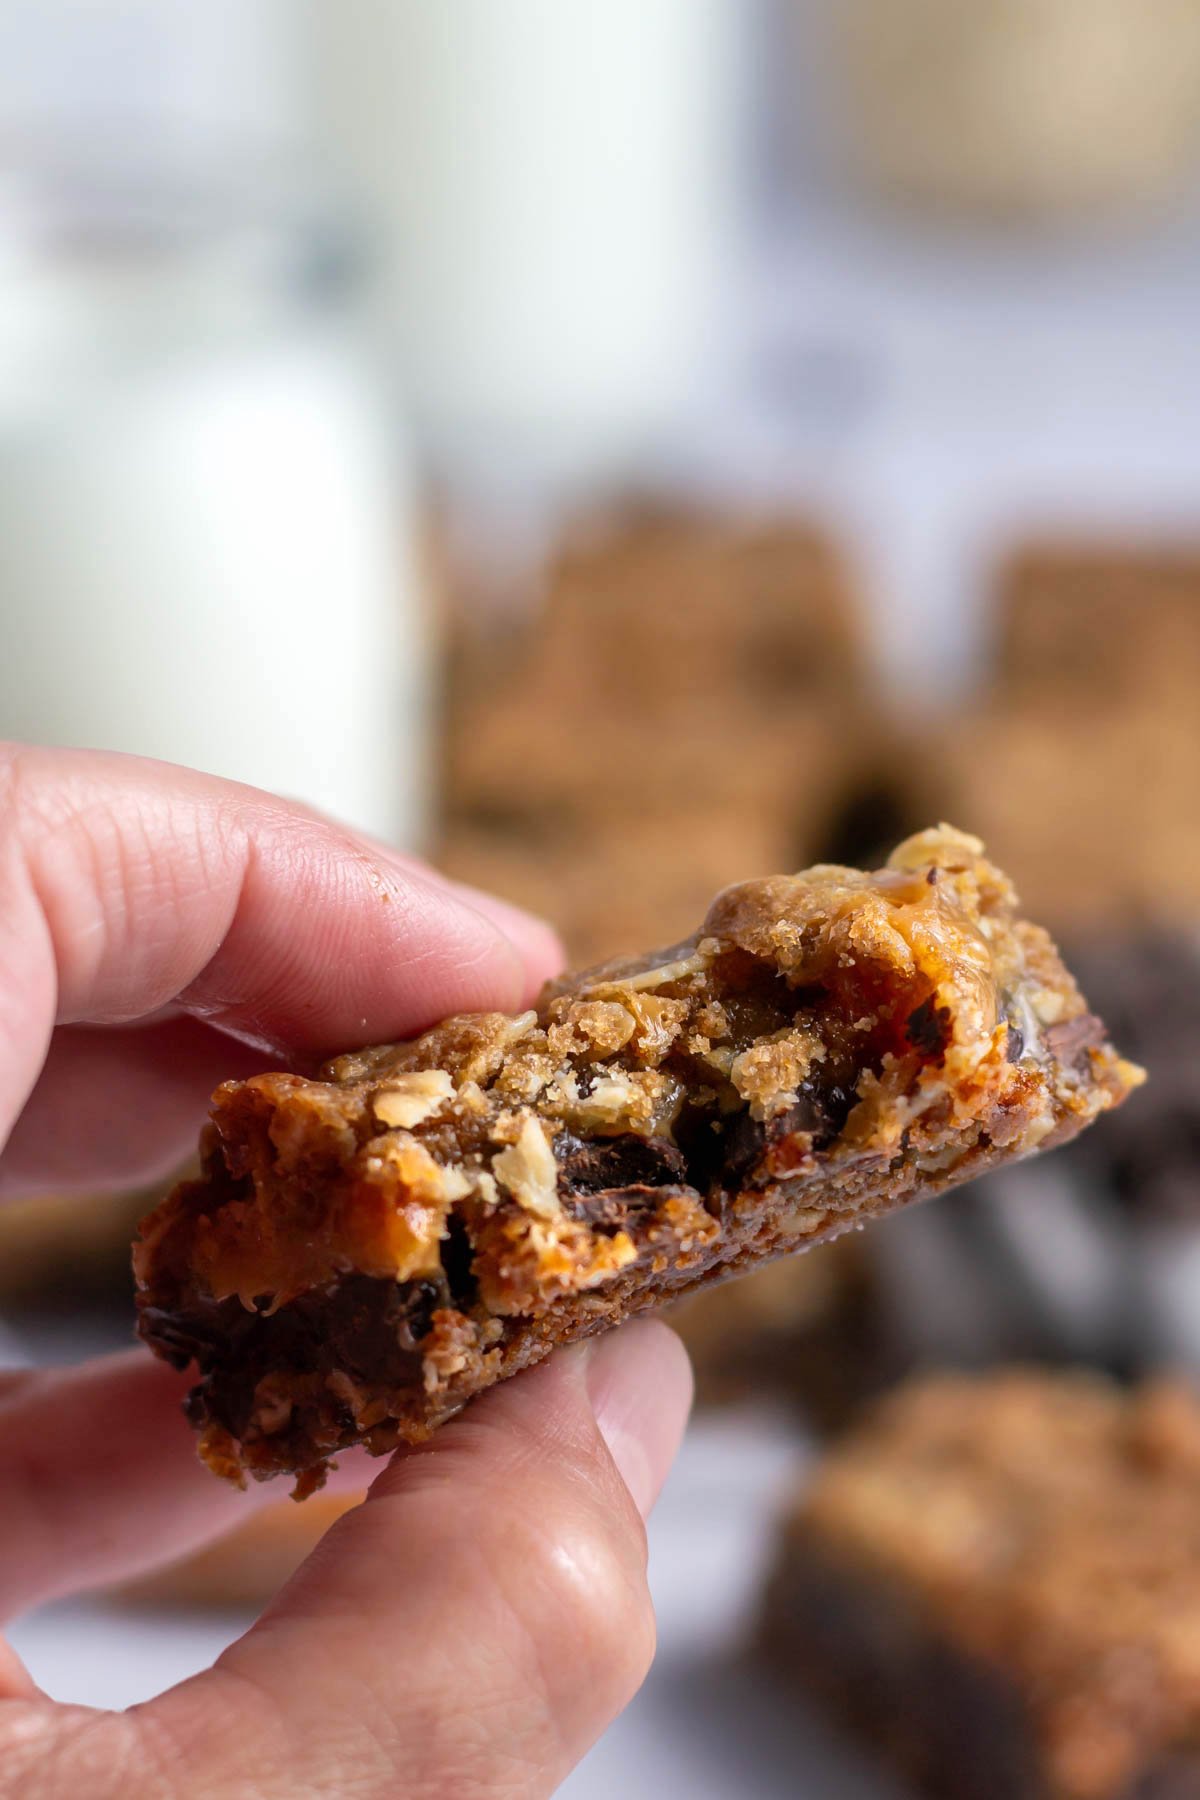
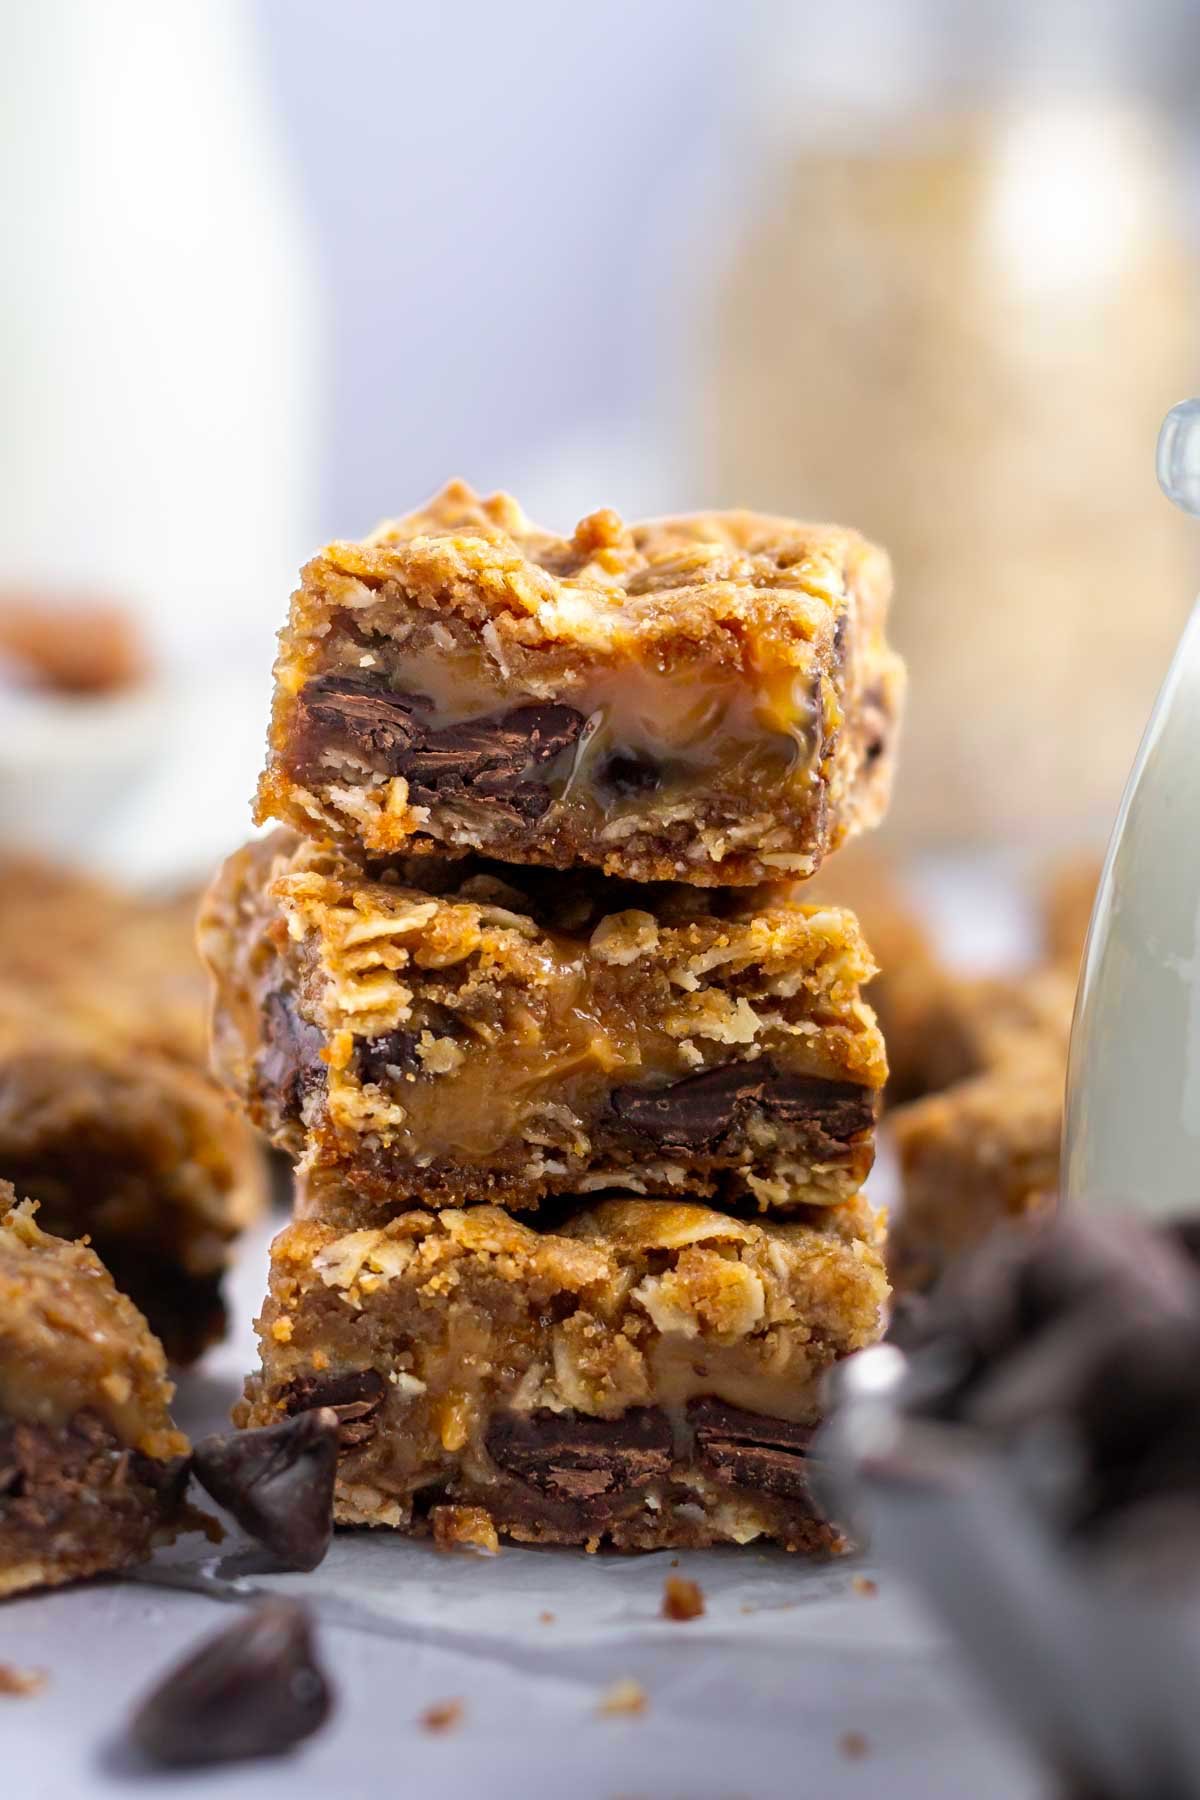
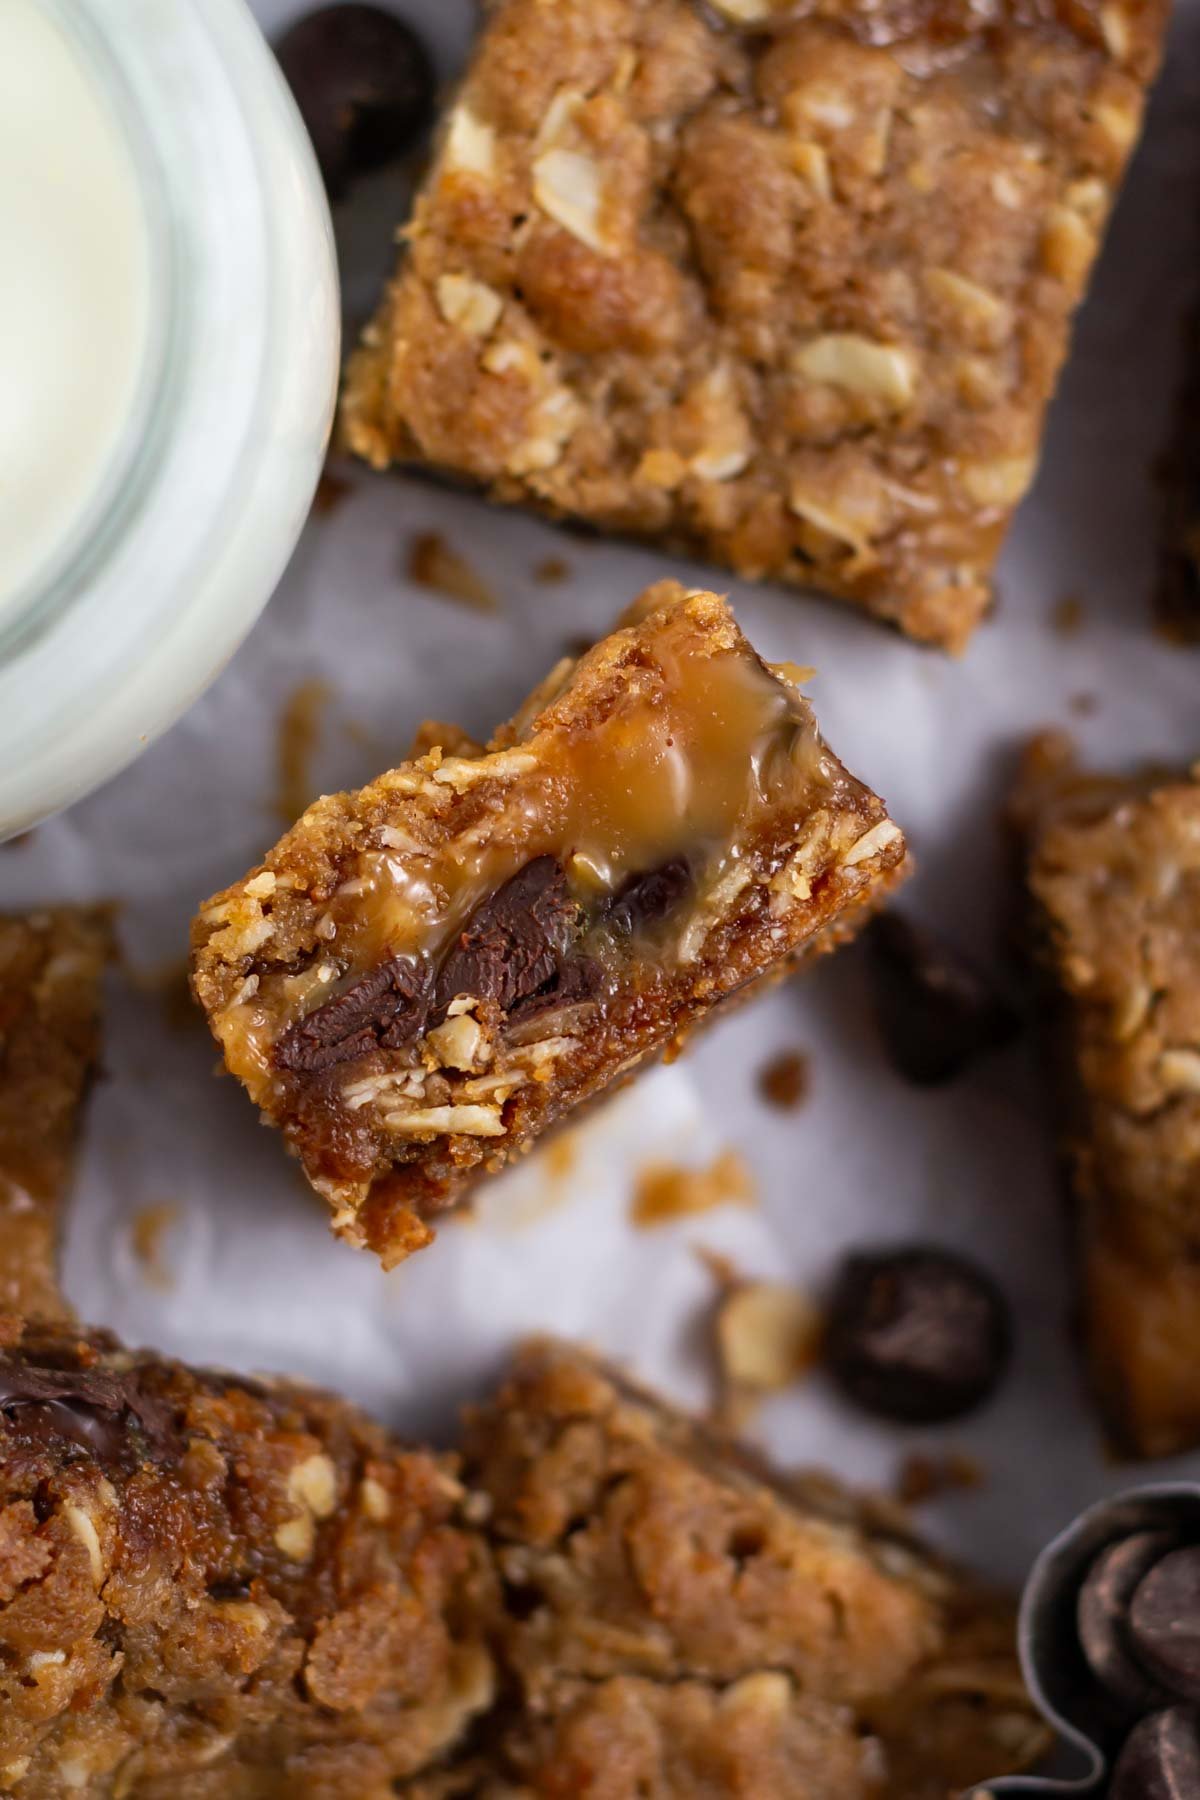
Caramelitas aka oatmeal caramel bars are the best dessert cookie bar! They have a chewy and buttery oatmeal base {which also doubles as the topping} and a gooey chocolate and caramel center. Super easy to make and perfect for lunch boxes, picnics and cookie trays!
Disclosure | This post may contain affiliate links. As an Amazon Associate I earn from qualifying purchases.
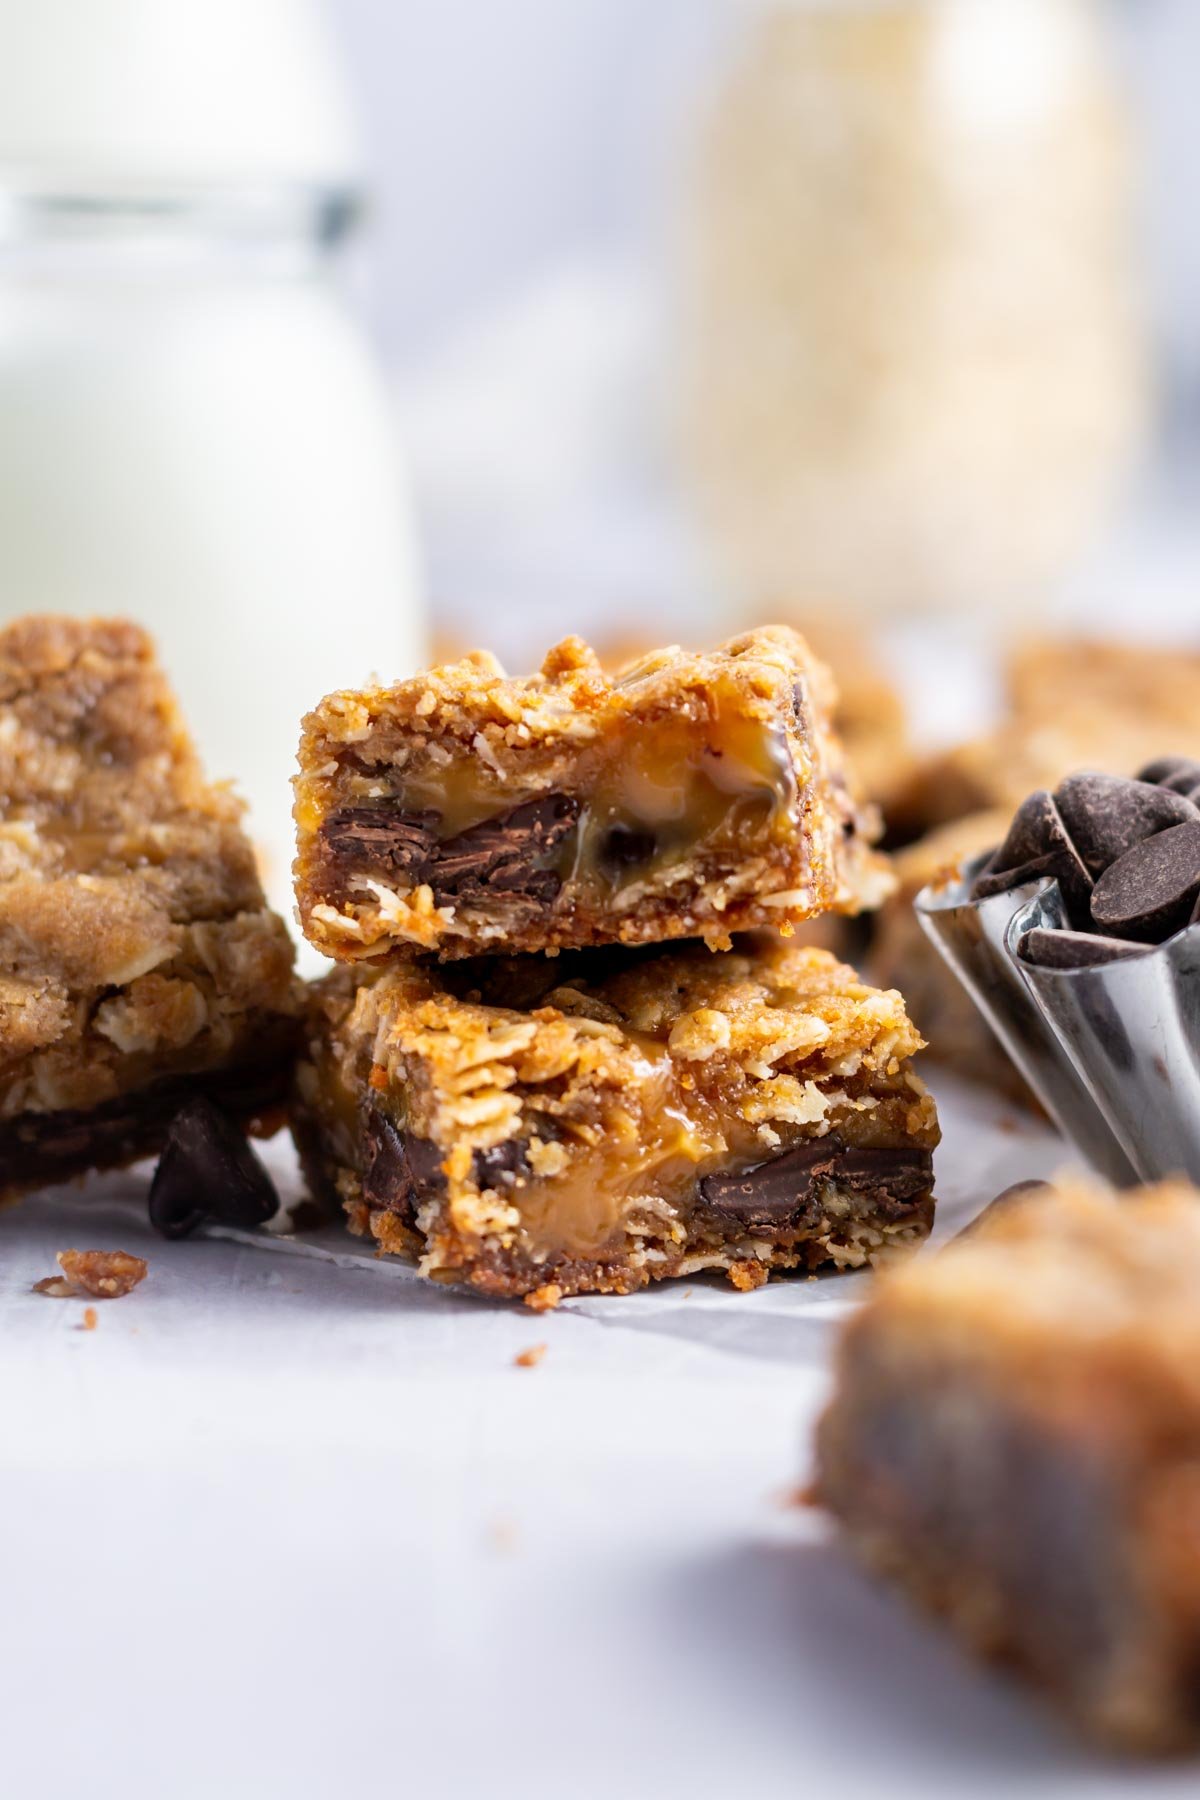
These are the best, gooey and chewy chocolate and caramel dessert squares! I've been making caramelitas for years and they always disappear in a flash.
My recipe has a generous dose of vanilla and a little more chocolate than you find in most carmelitas recipes. Your friends and family are going to think you are the most amazing baker when you serve these easy cookie bars!
For more desserts with homemade caramel you can try my caramel and brown sugar shortbread, salted caramel espresso brownies or biscoff caramel tart.
why you will love these oatmeal caramel bars
- Flavor ~ soft buttery oats, chocolate and gooey caramel. A dreamy combo!
- Quick to make ~ 15 minutes of prep time.
- Perfect for holiday cookie trays, lunch boxes or sharing at a potluck.
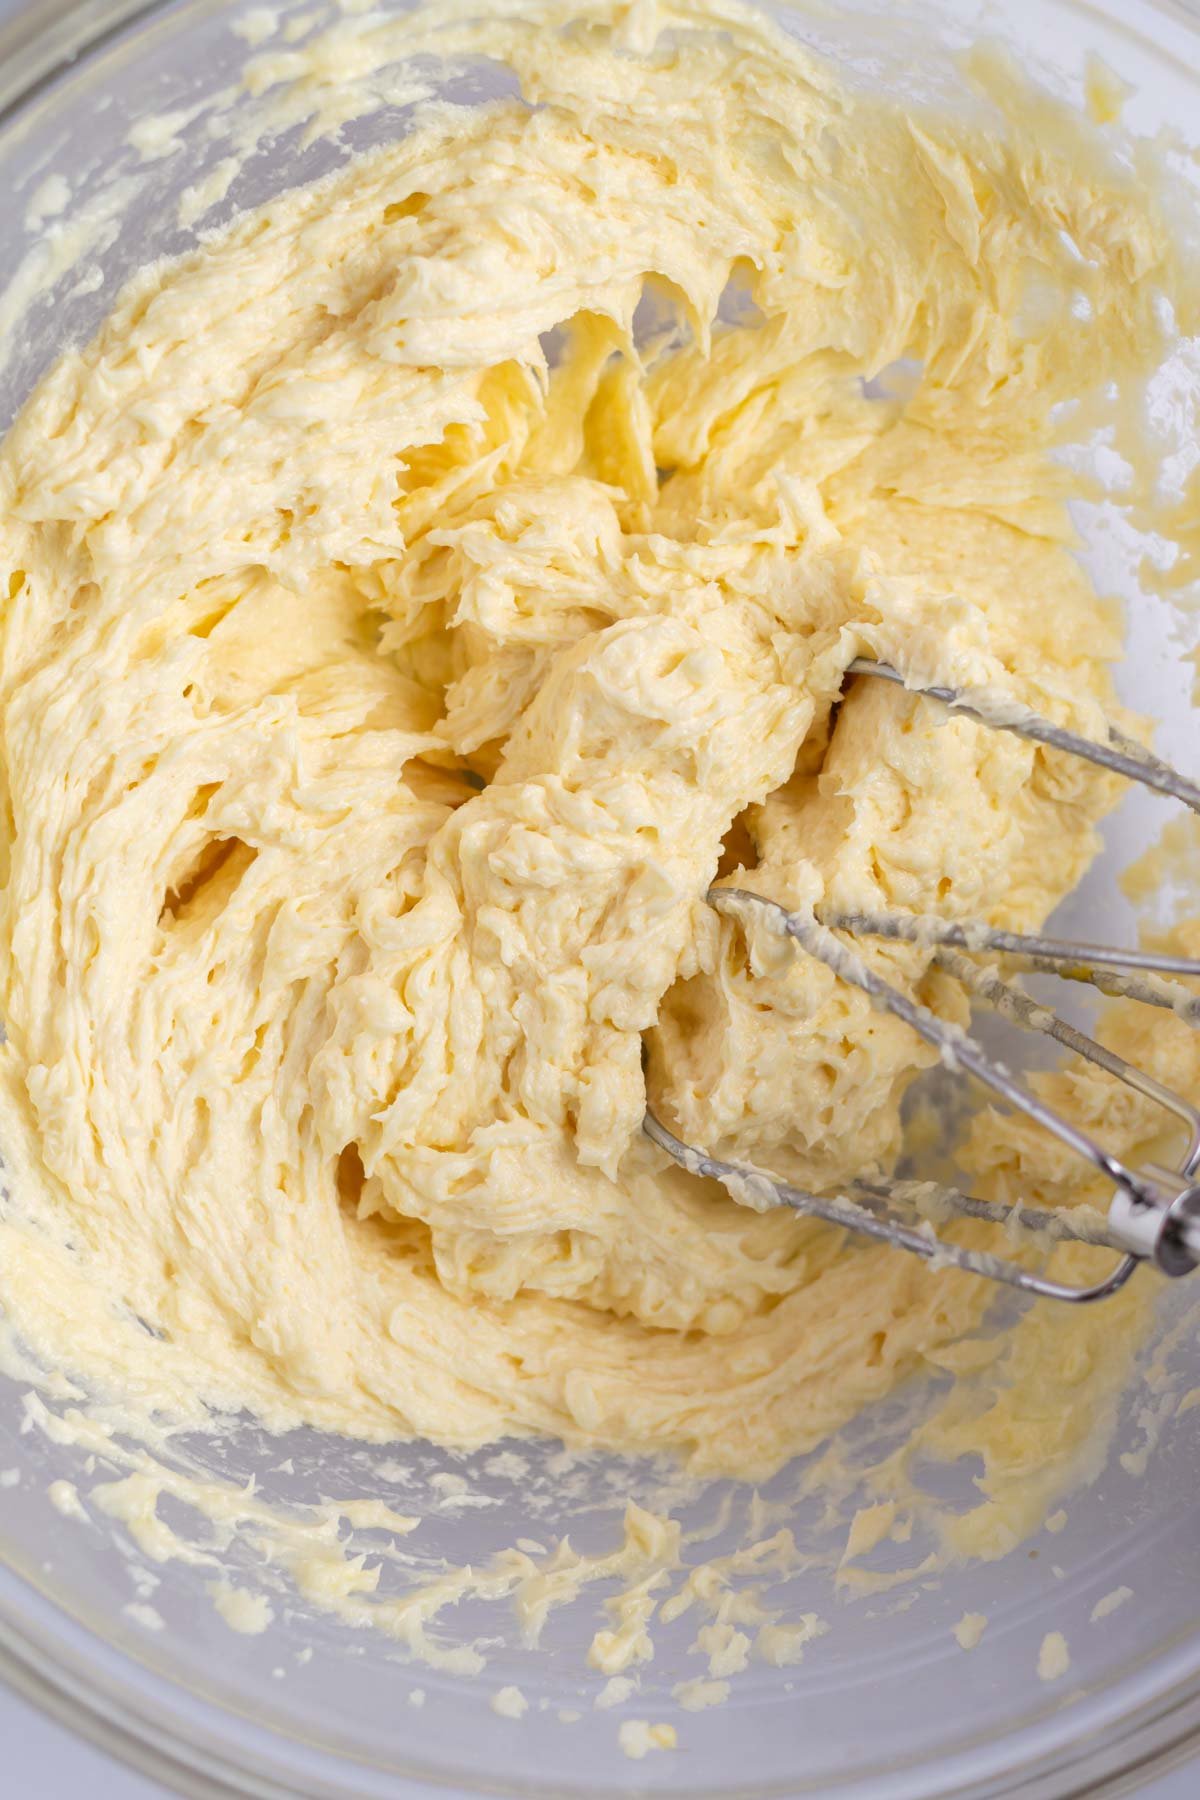
- No mixer required!

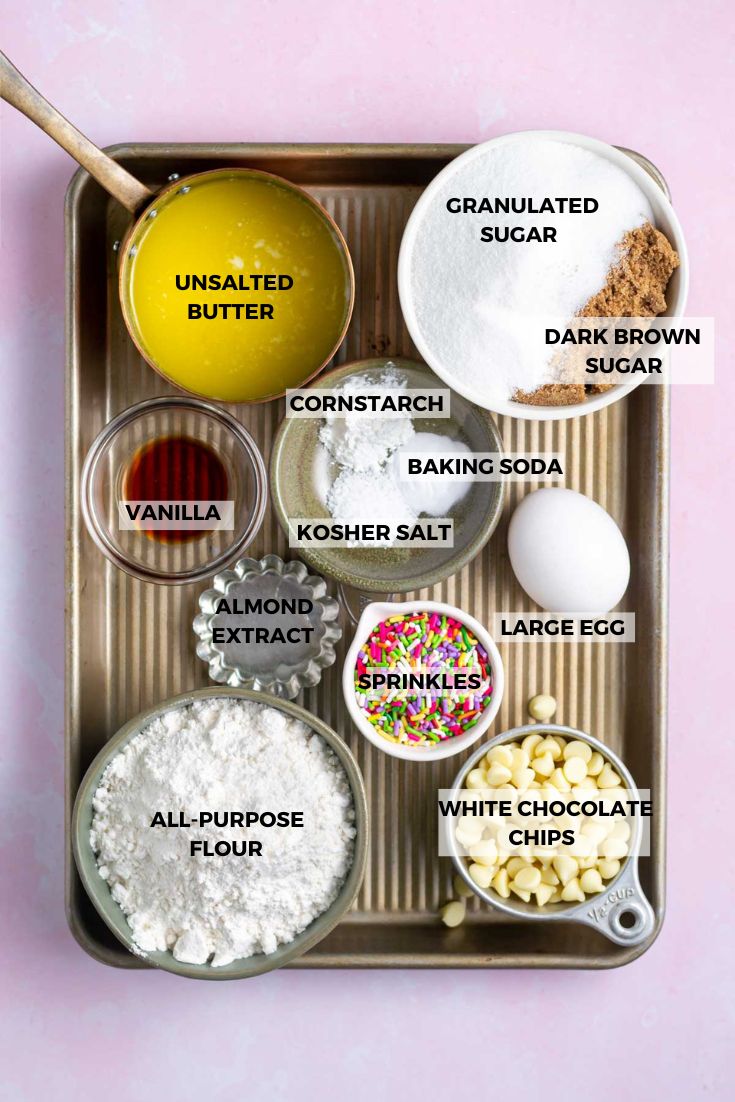
📝ingredients needed
Please scroll to the printable recipe card at the end of this post for the full list of ingredients and baking directions.
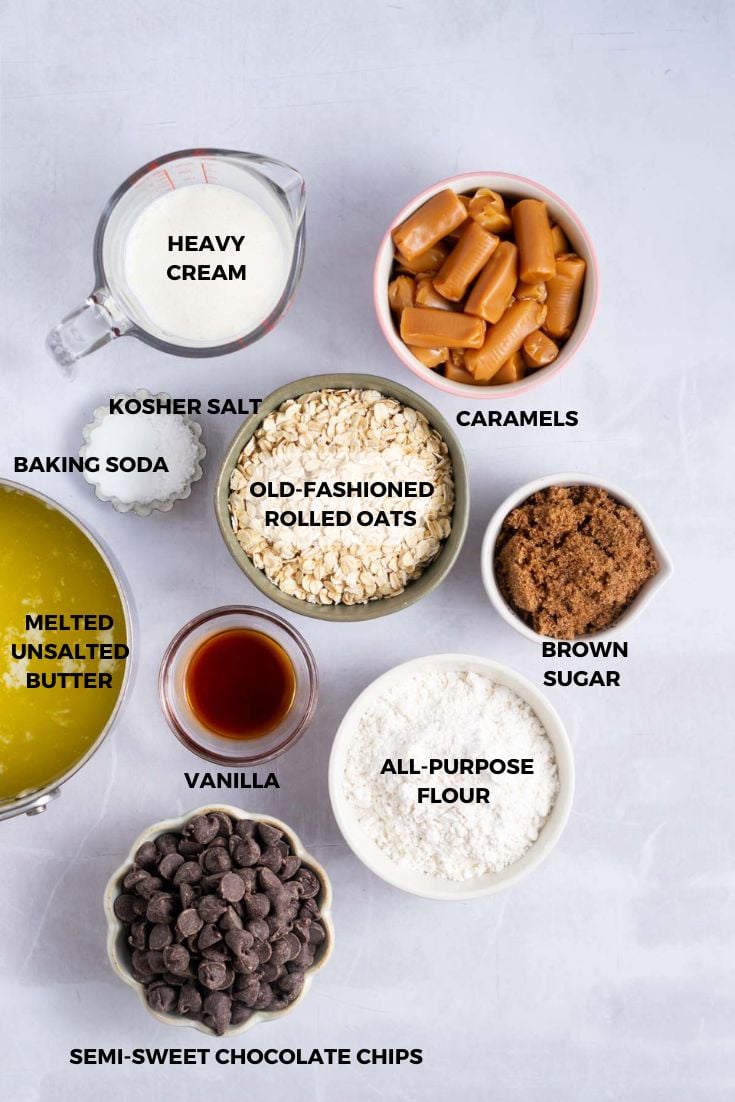
- Old-fashioned oats ~ provides the chewy texture. Old-fashioned rolled oats work best. I have used half rolled oats and half quick oats, but have not tested this recipe with 100% quick oats, but suspect that would work if it's all you have. The finished texture will just be a little different.
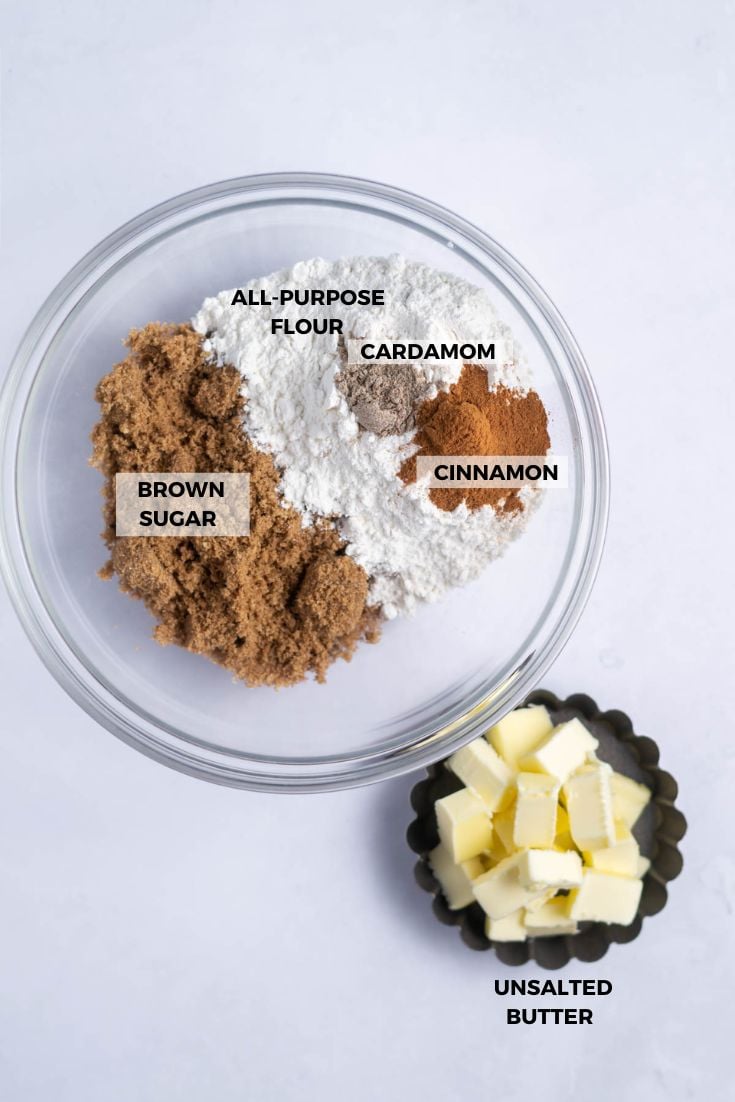
- All-purpose flour ~ adds structure to the cookie bars.
- Brown sugar ~ either light or dark brown sugar can be used.
- Baking soda ~ gives the caramelitas a little lift.
- Kosher salt ~ helps to balance the sweetness.
- Unsalted butter ~ gets melted, so no planning ahead! If you only have salted butter, leave out the kosher salt.
- Vanilla ~ adds depth of flavor to the caramel oatmeal bars.
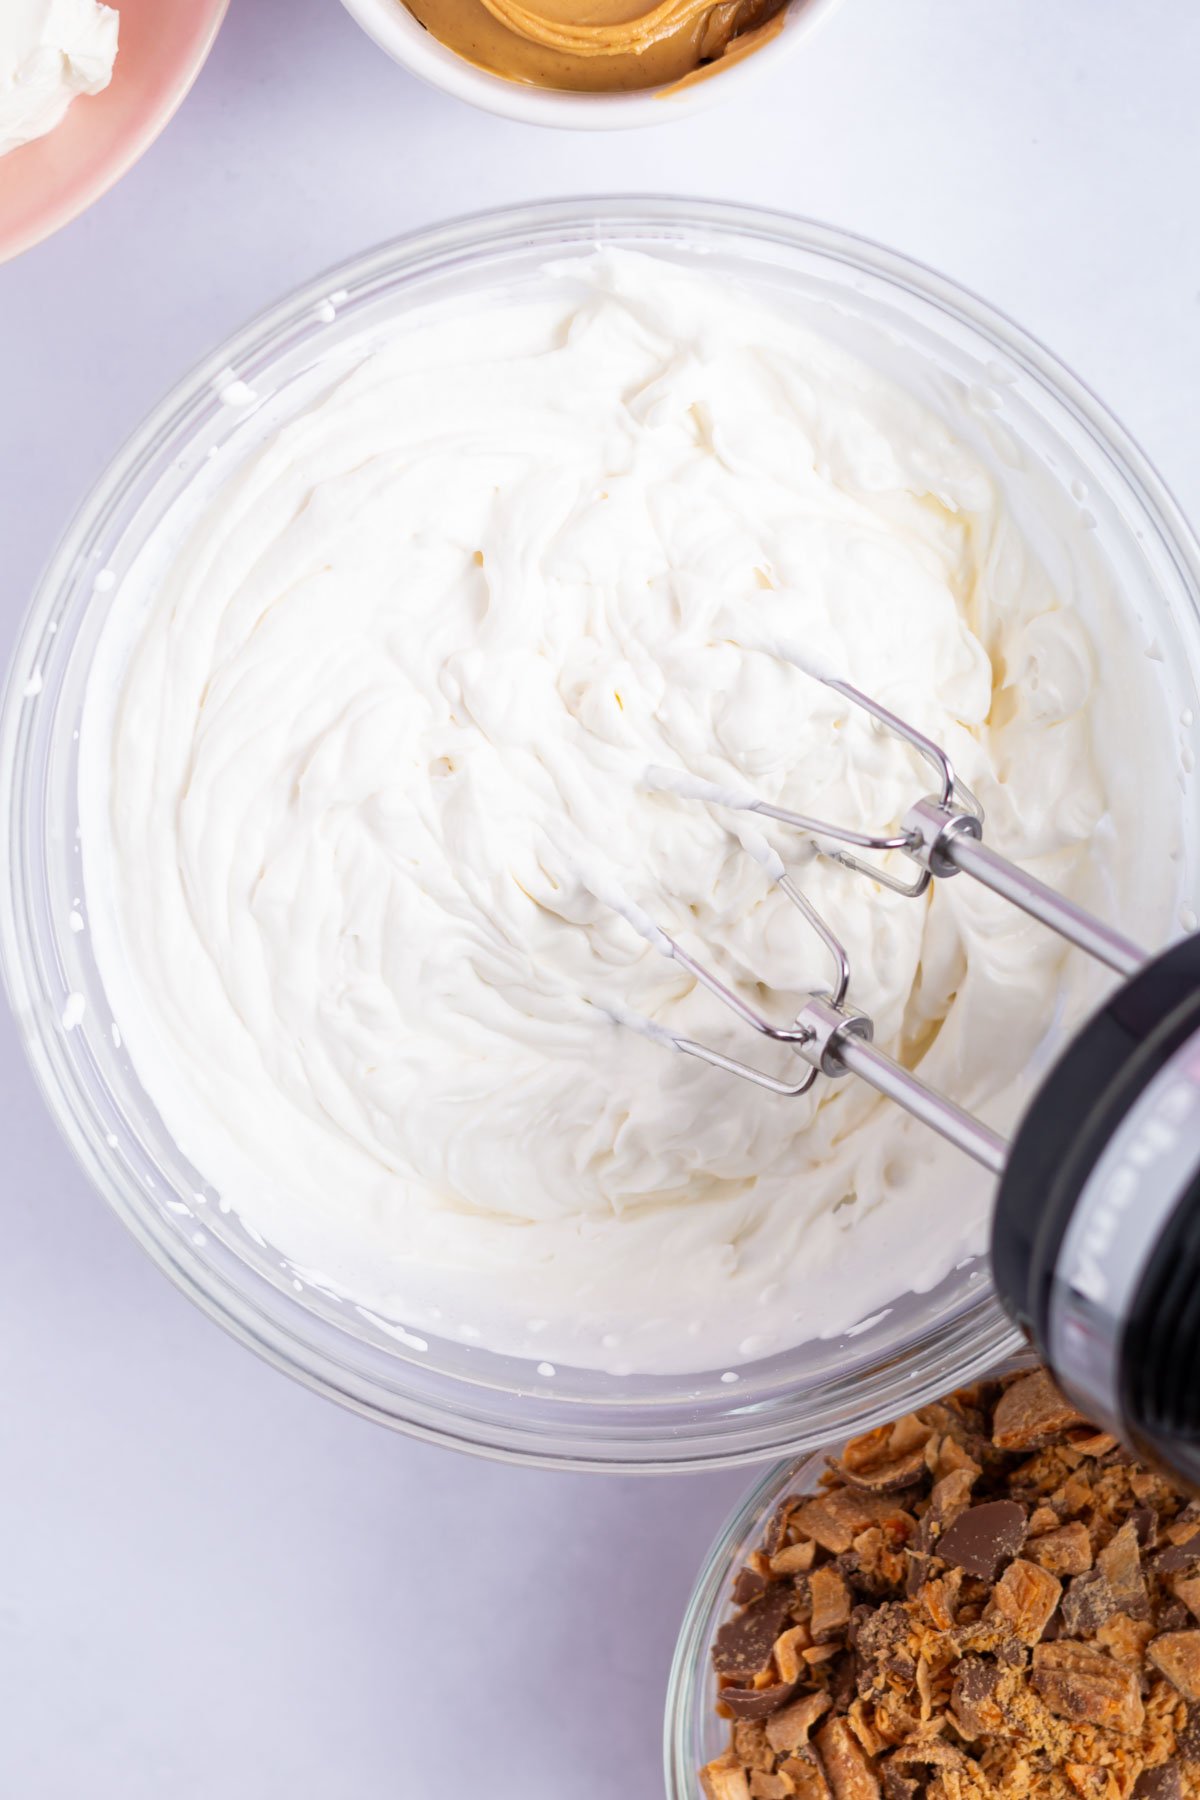
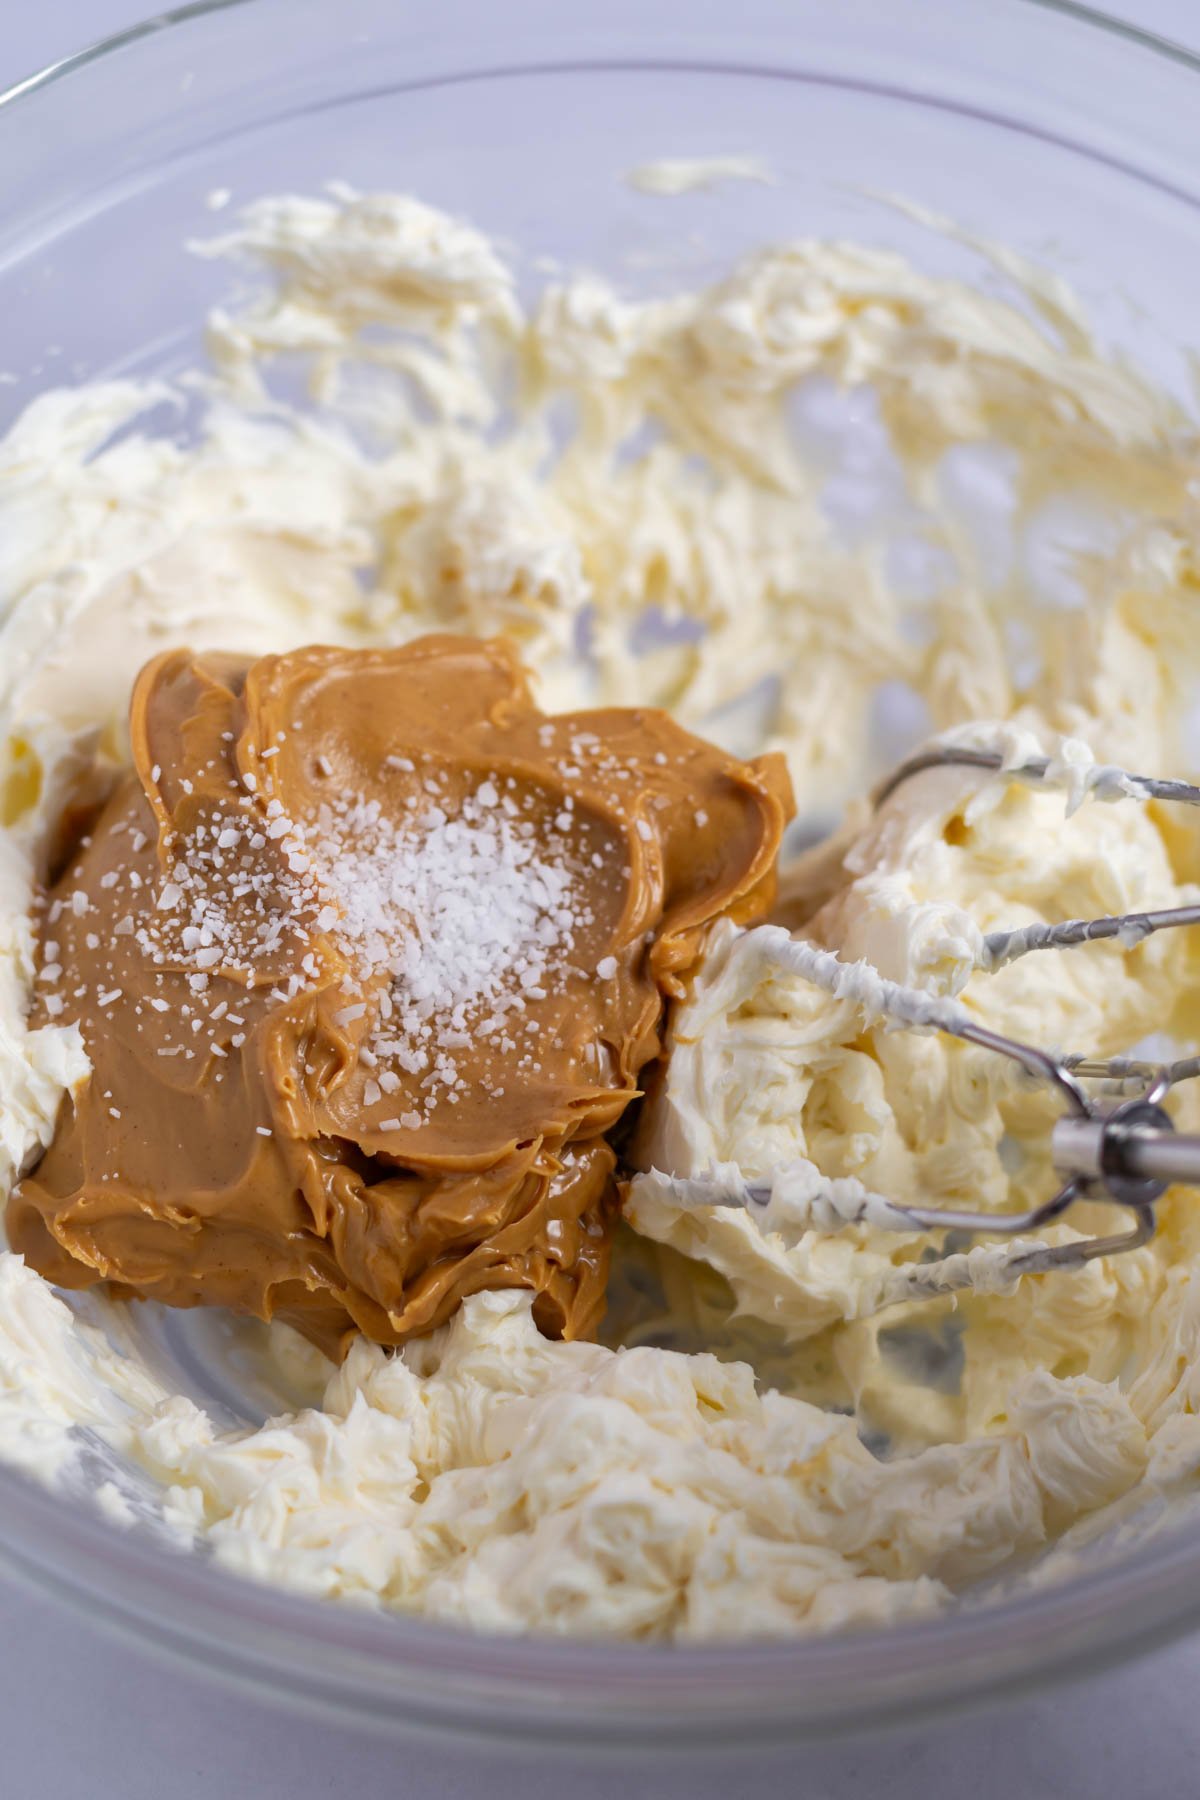
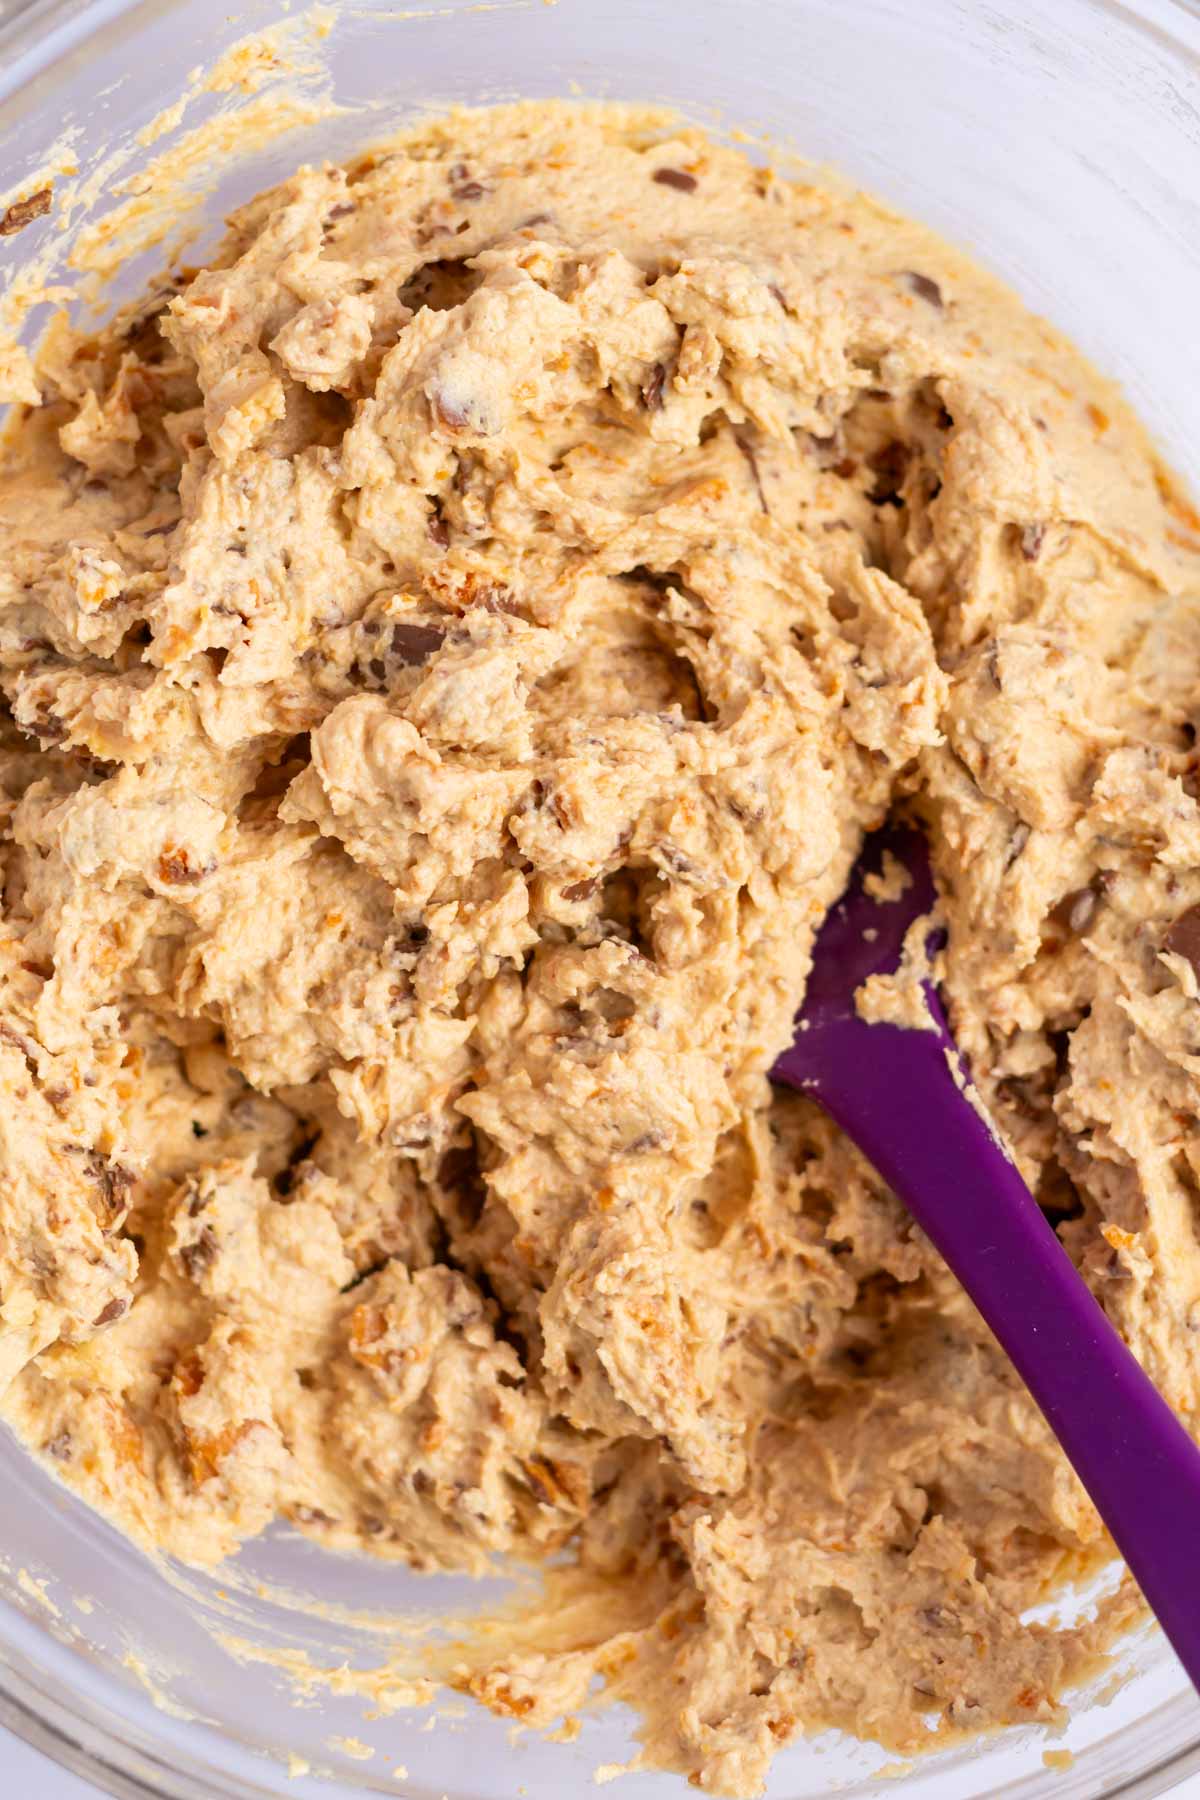
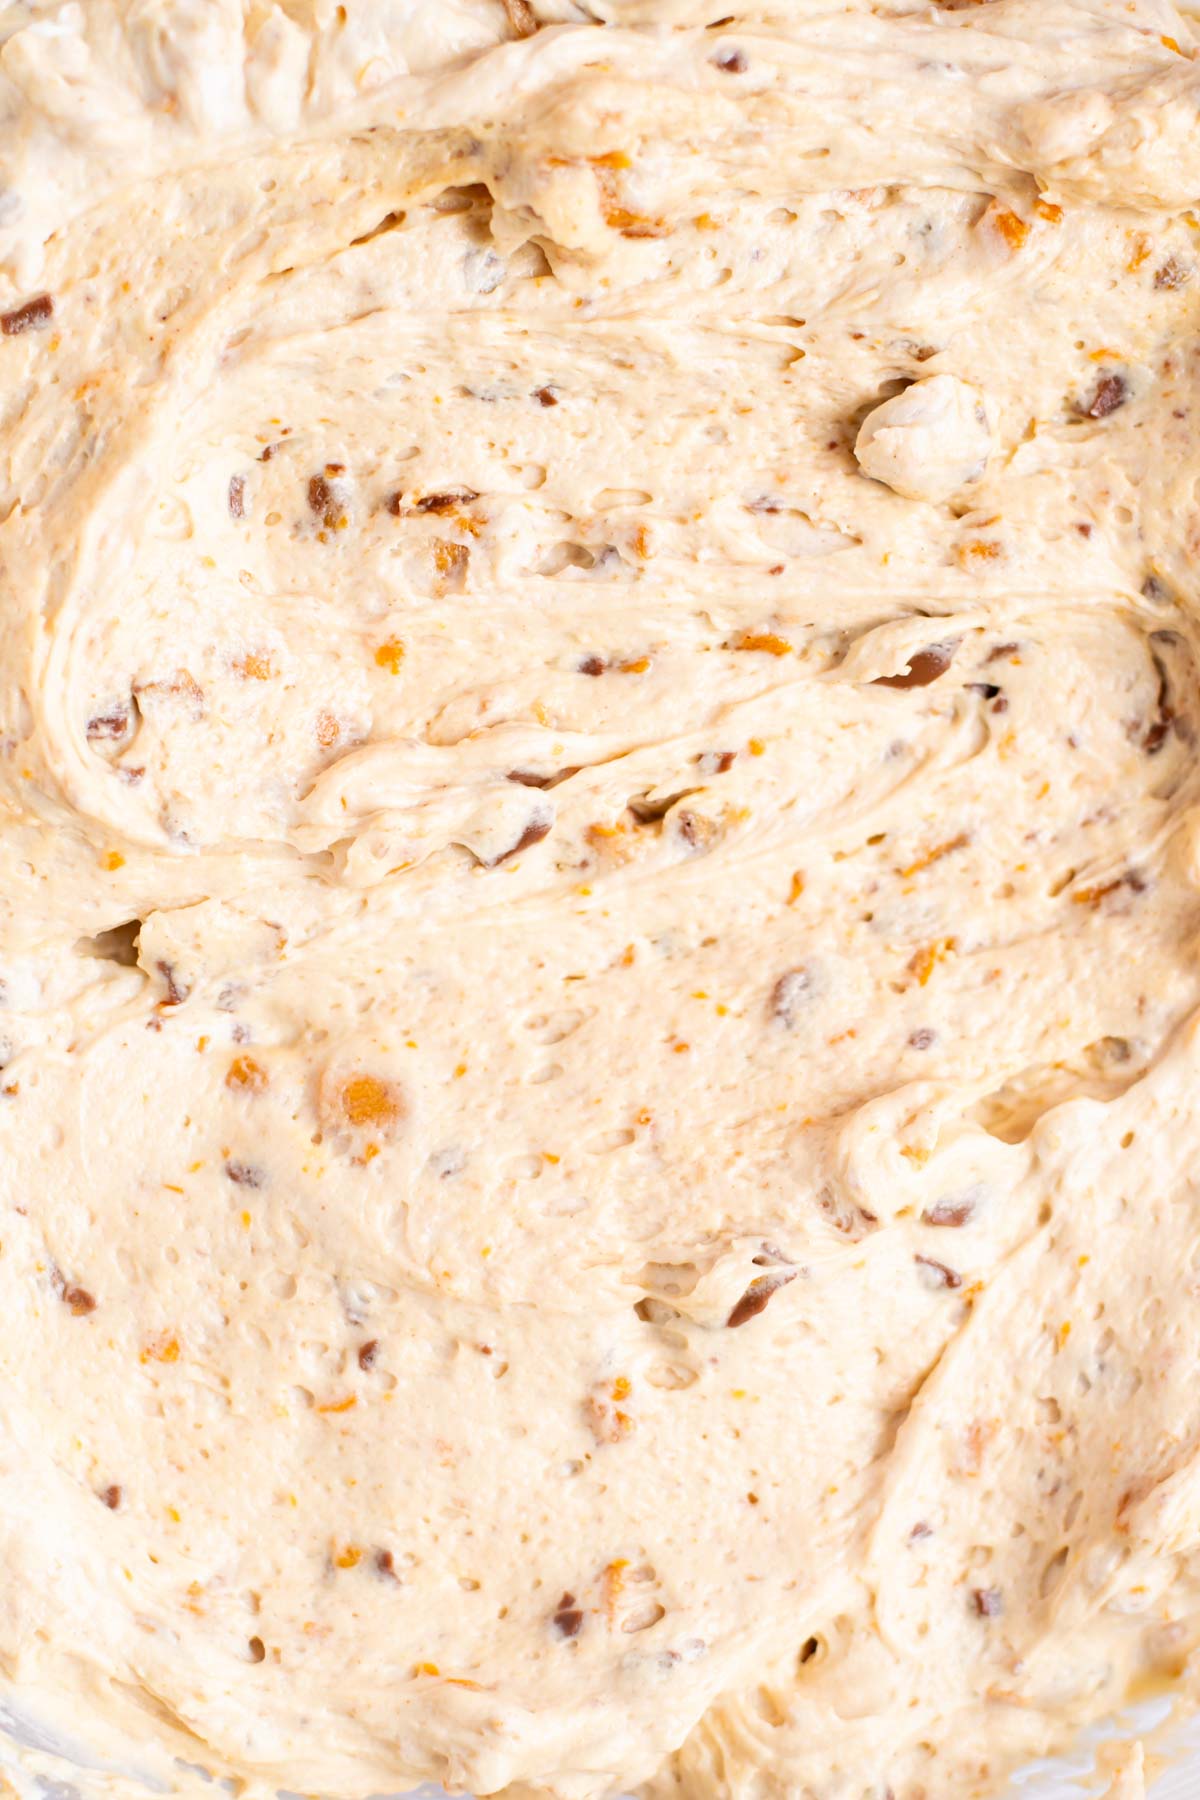
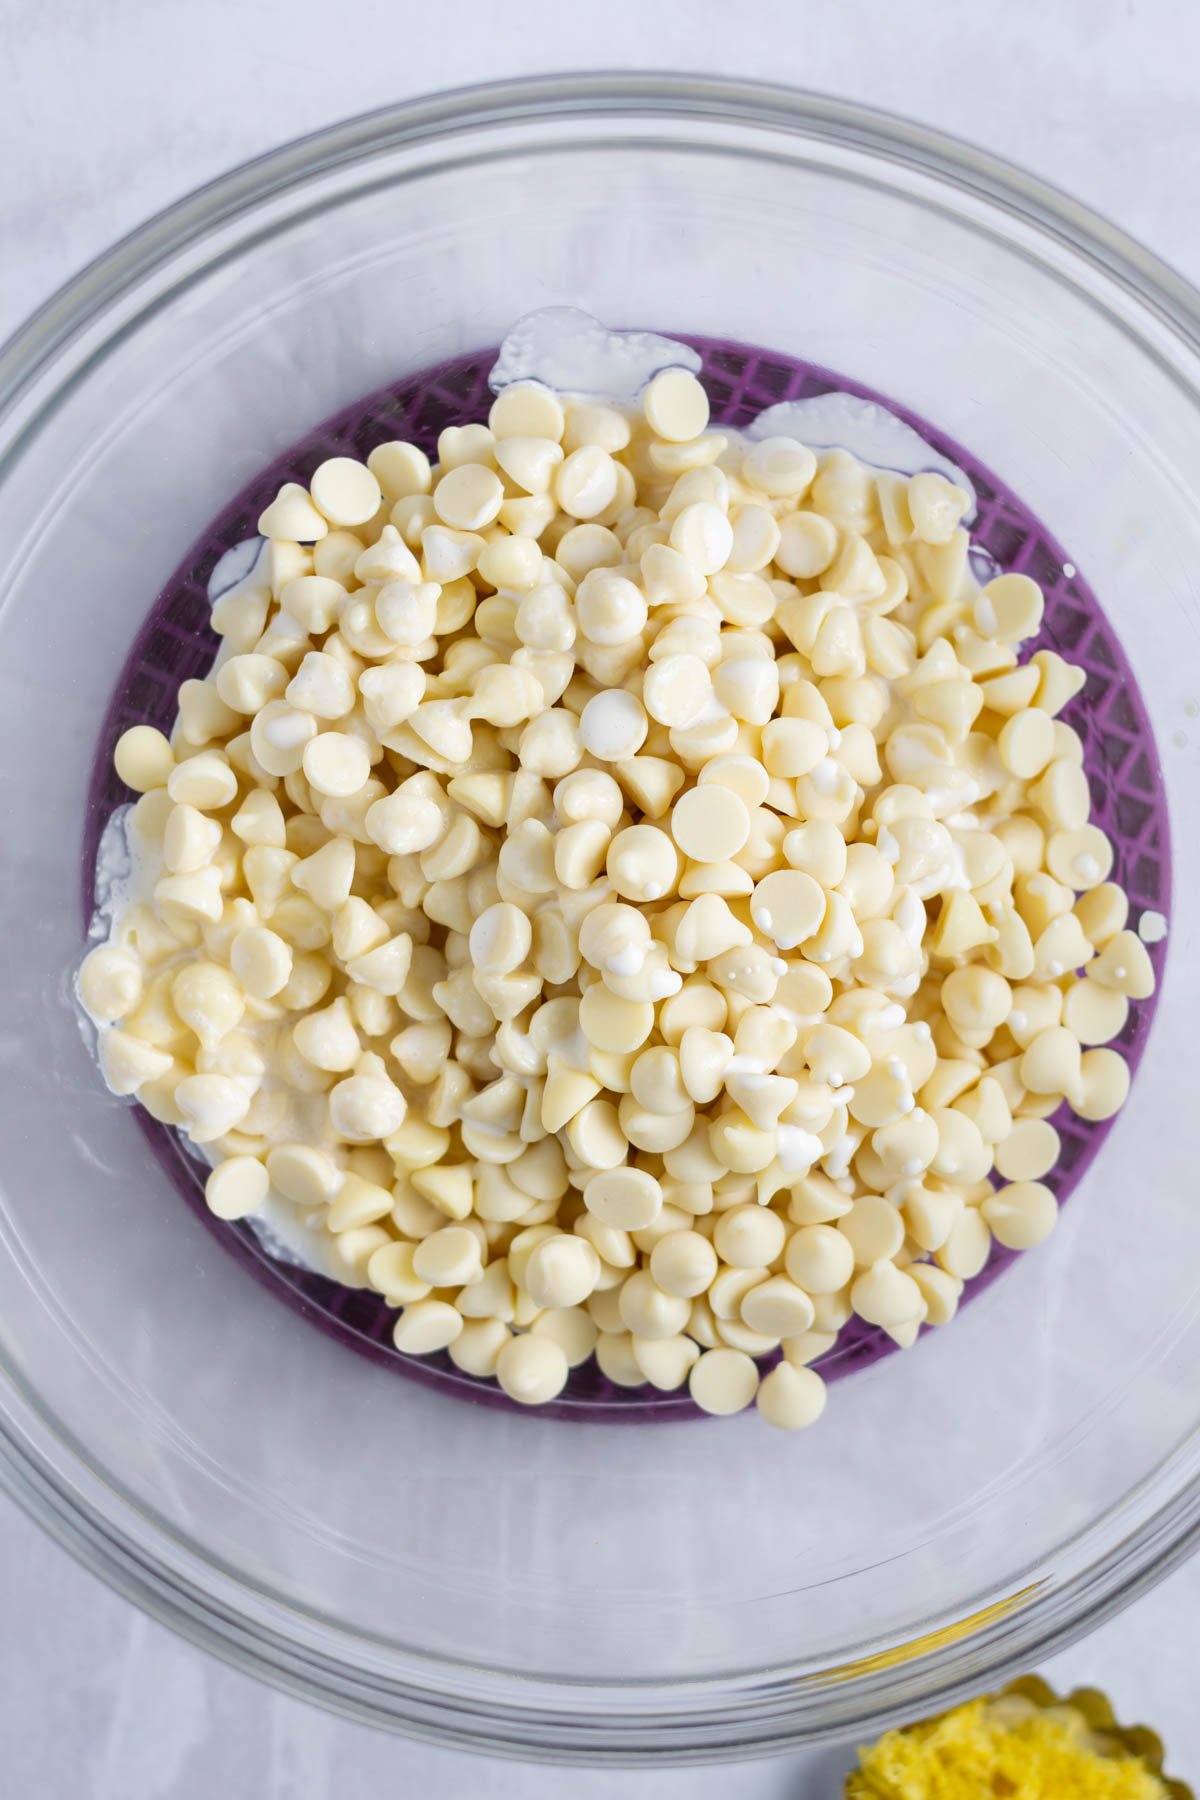
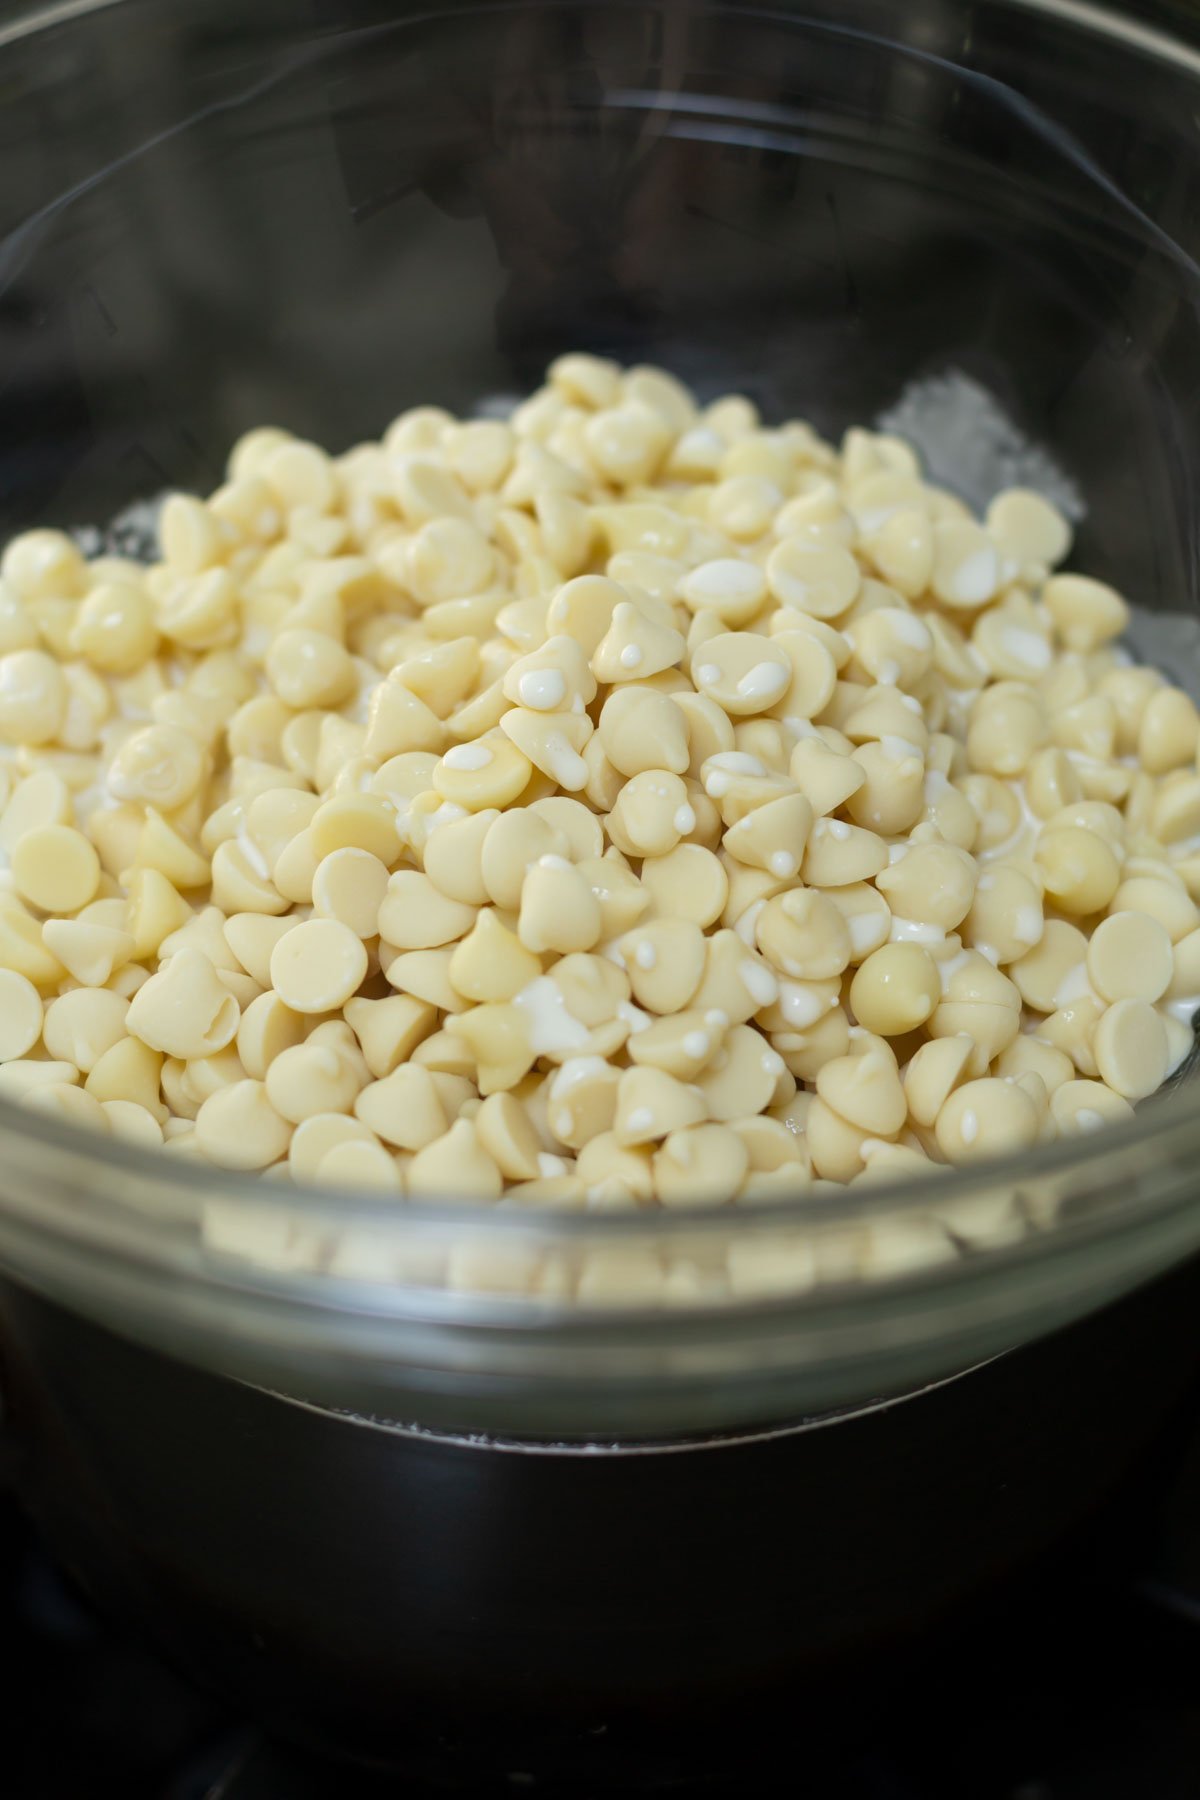
- Chocolate chips ~ semi-sweet chocolate chips help to balance the sweetness of the sweet caramel. You can substitute milk chocolate, dark chocolate, white chocolate or peanut butter chips.
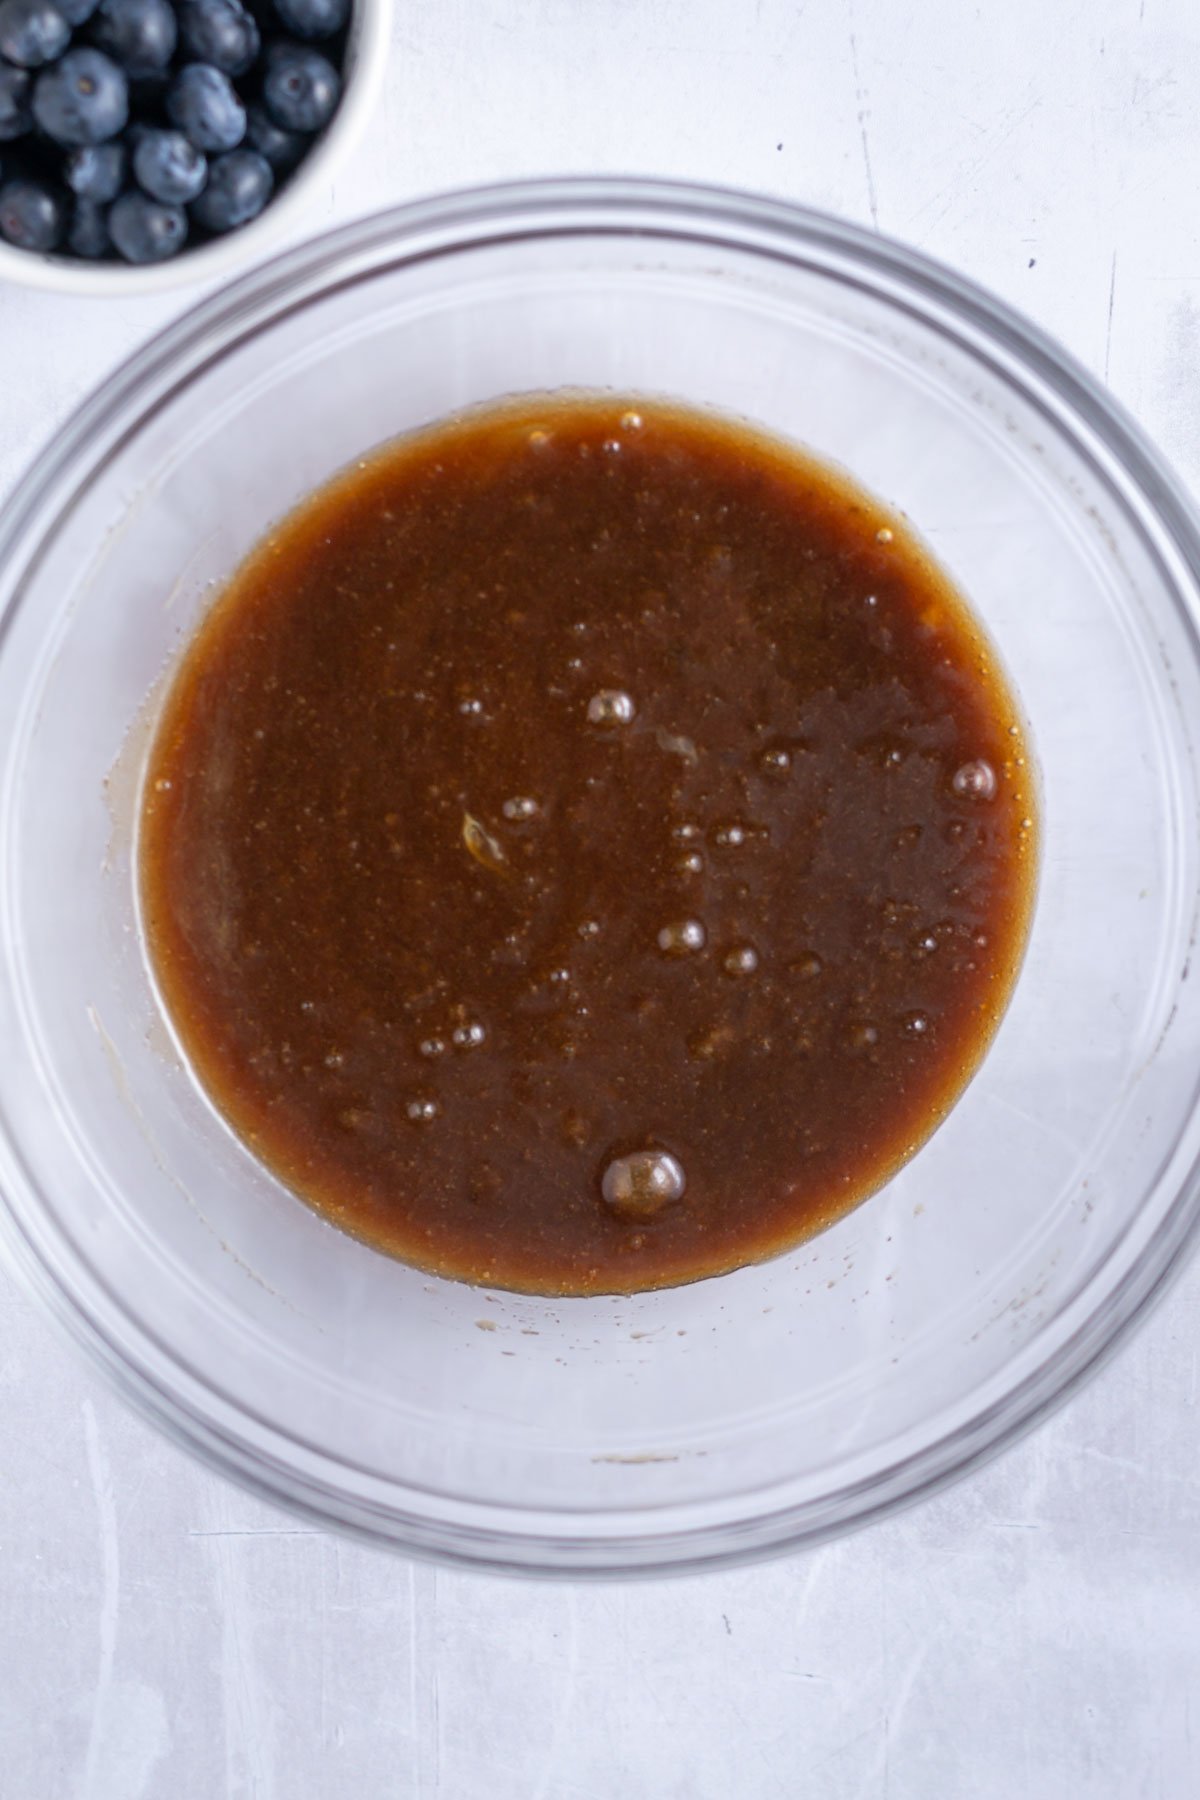
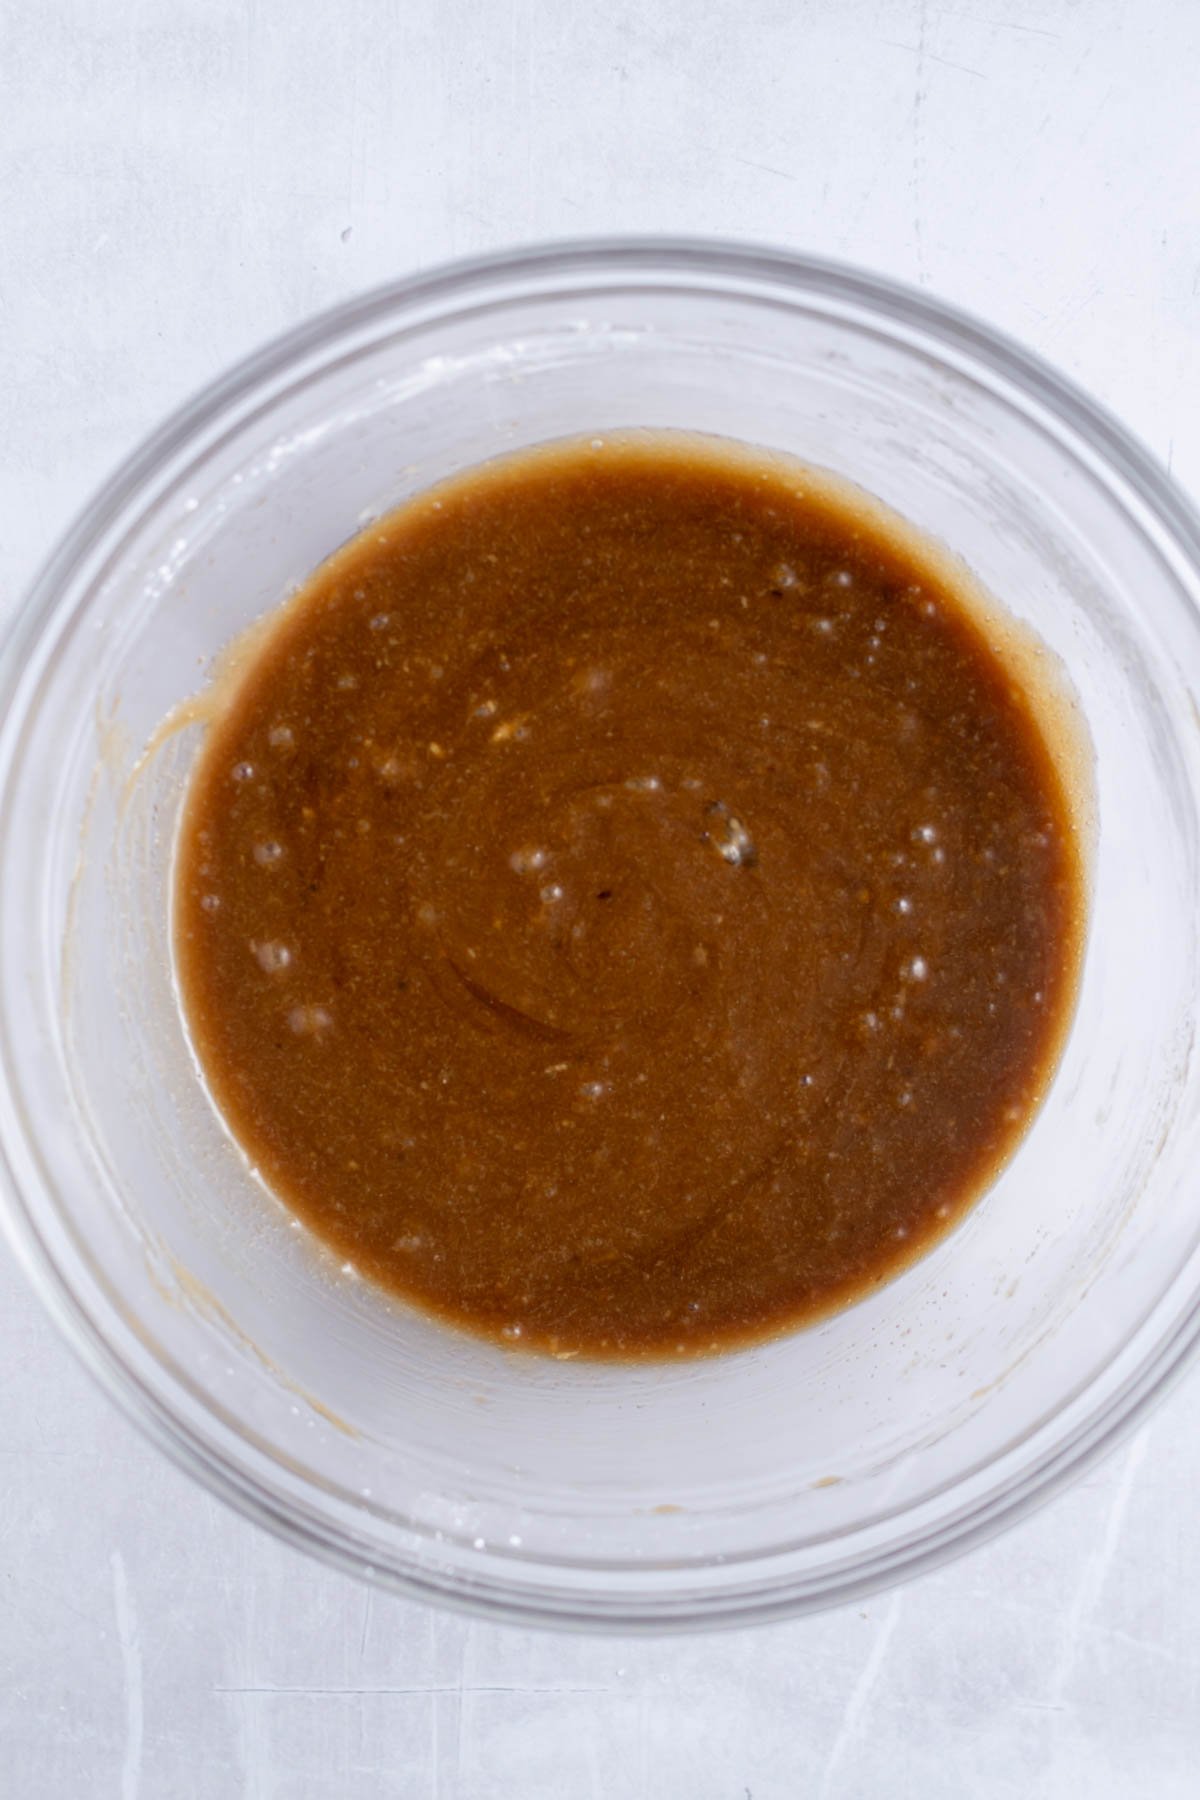
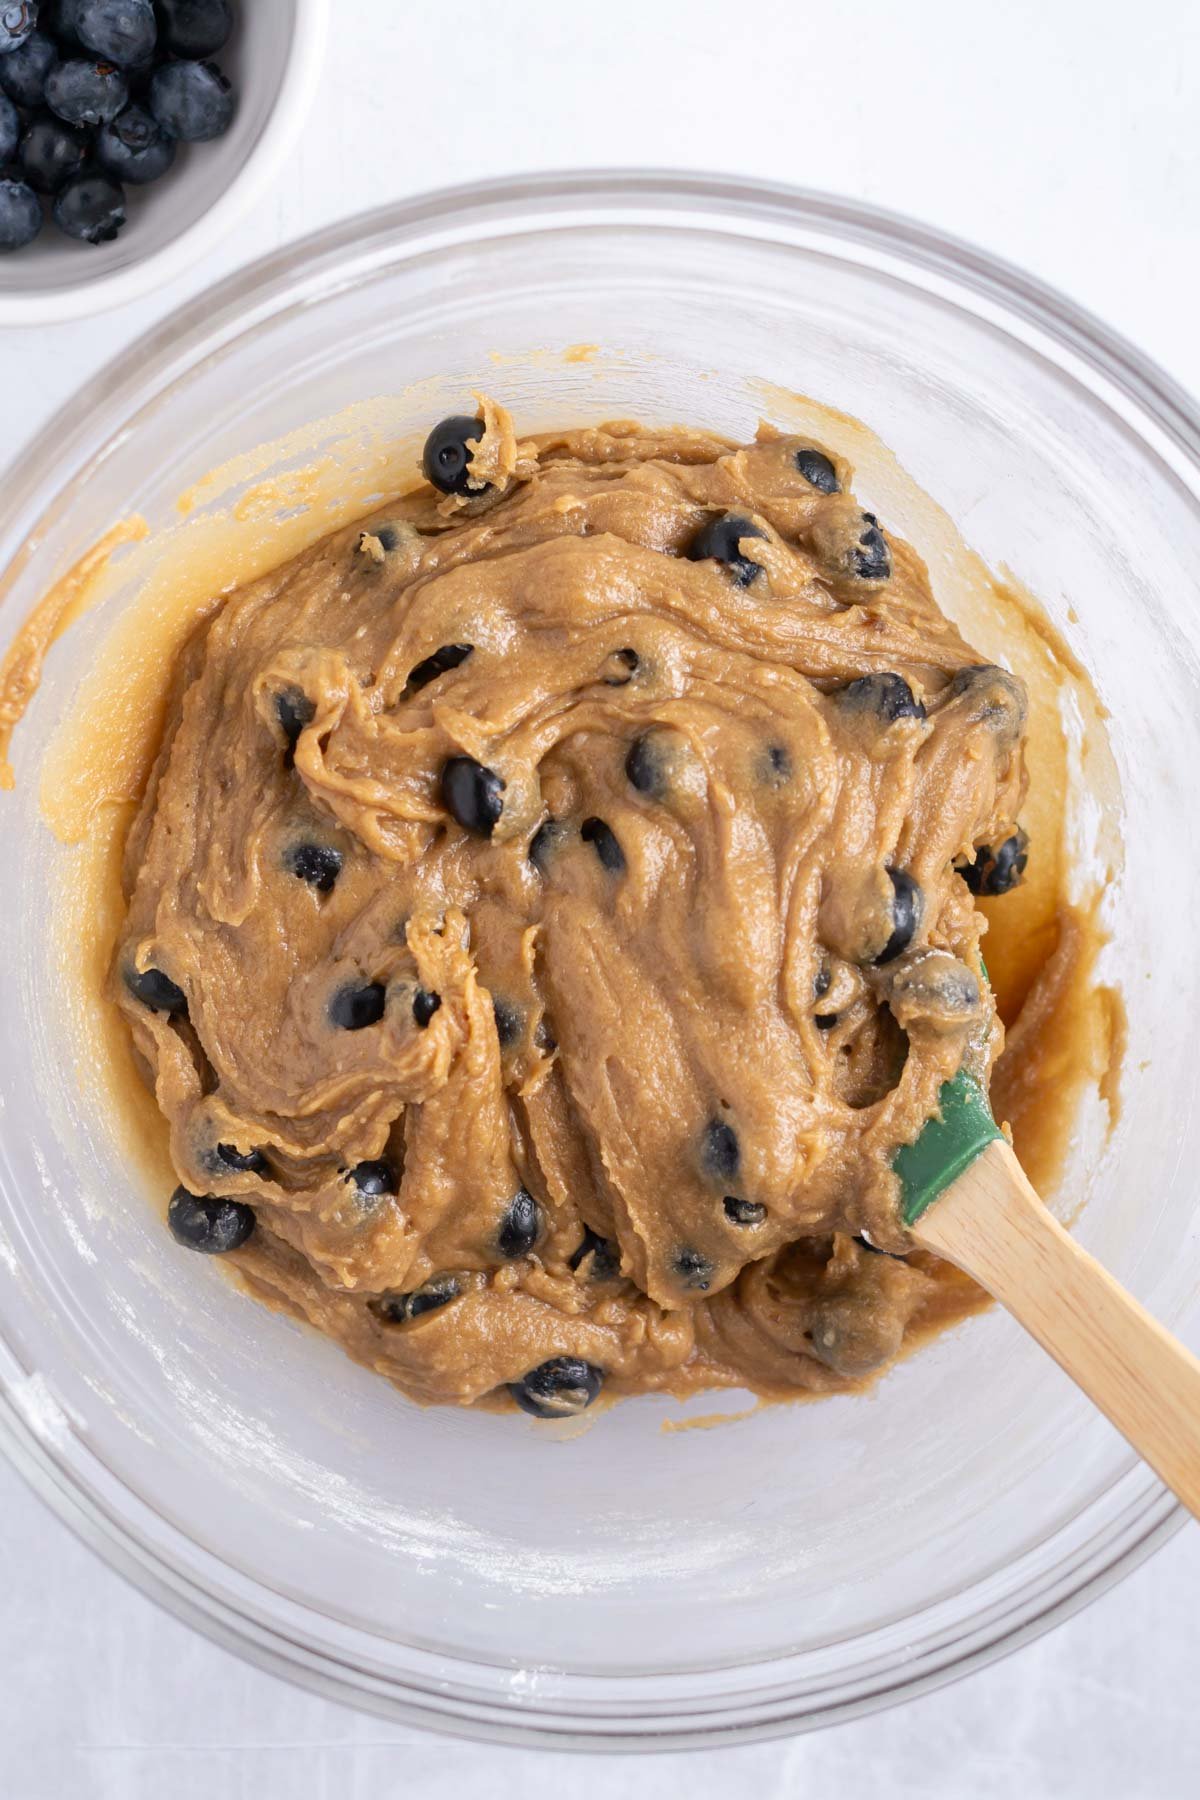
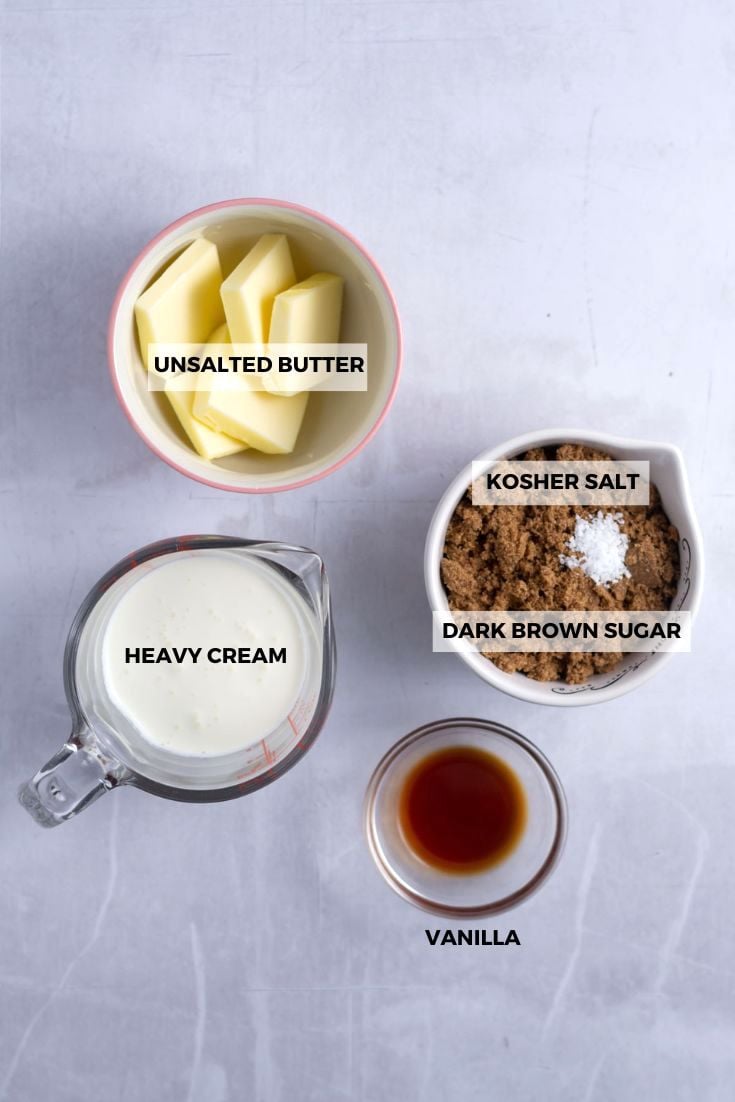
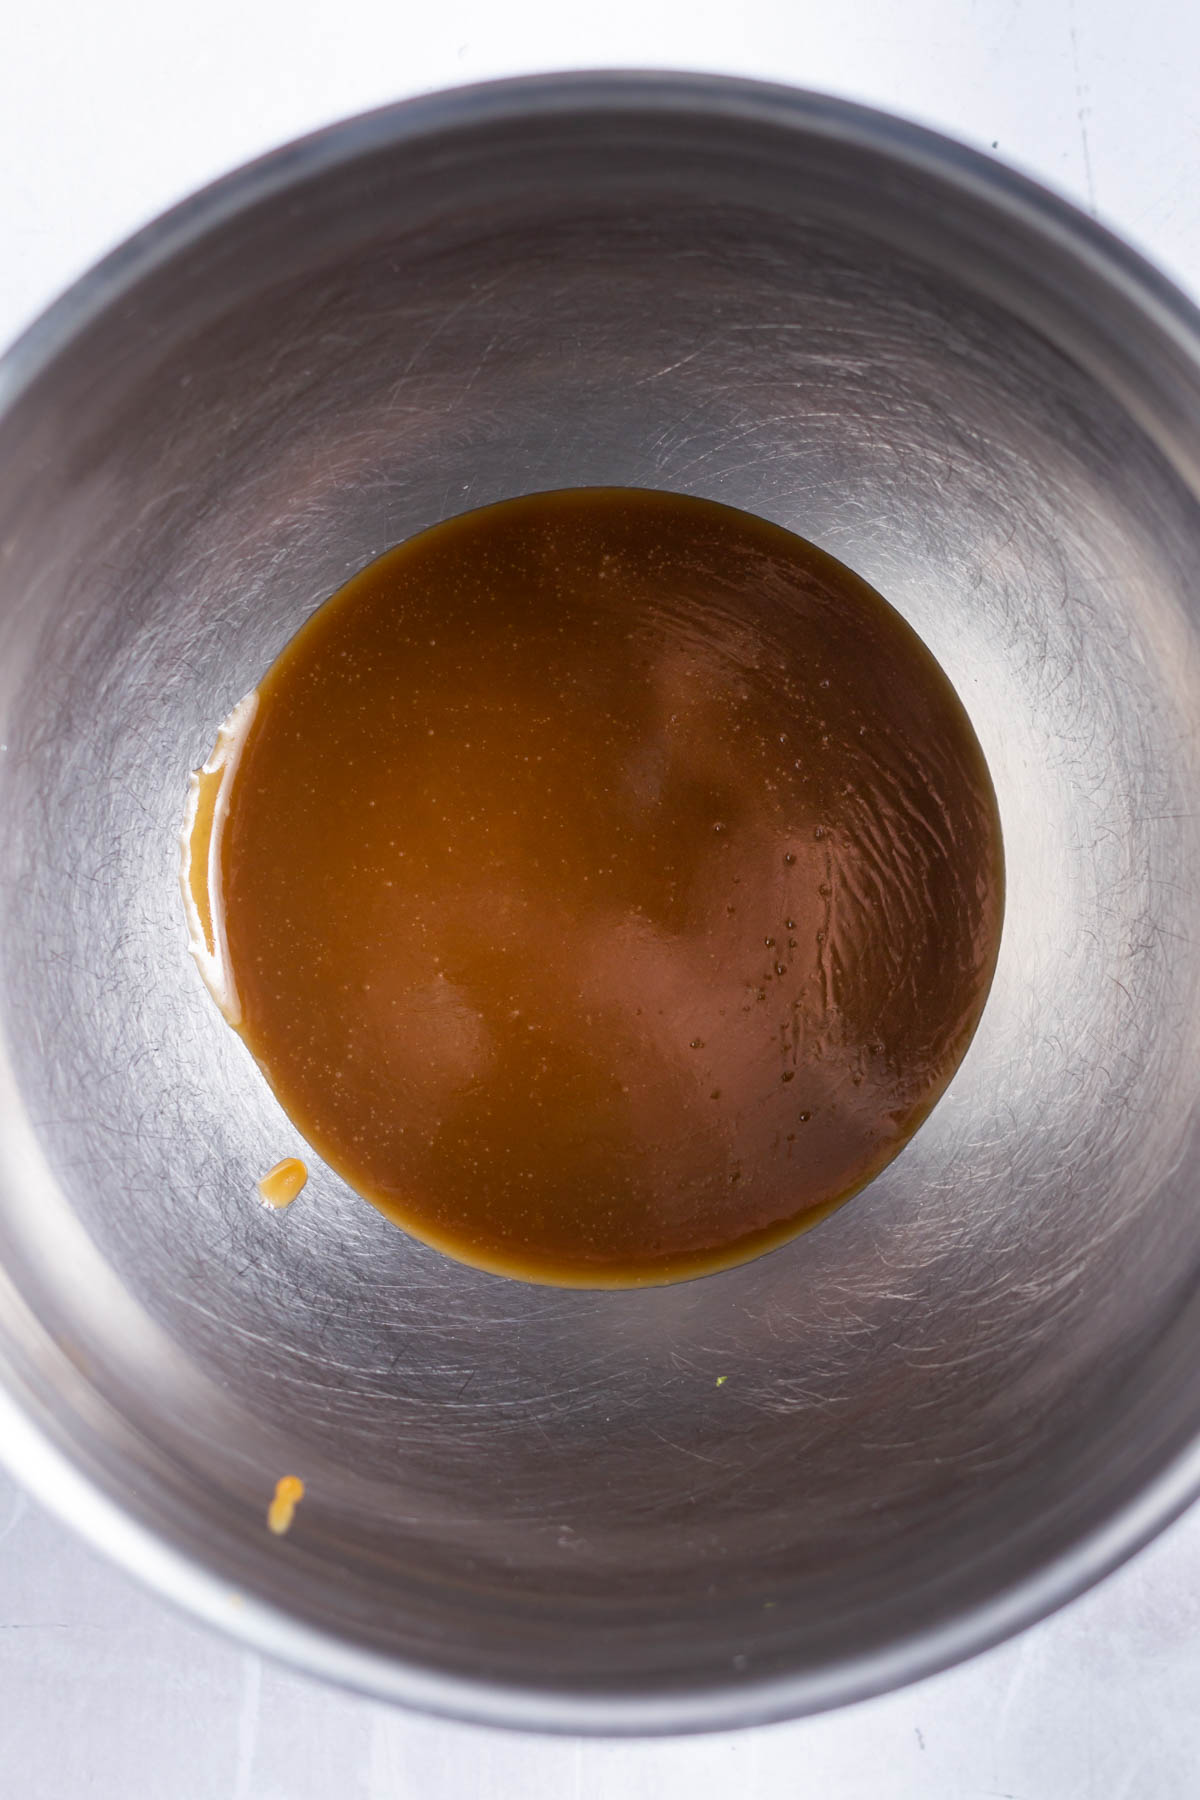
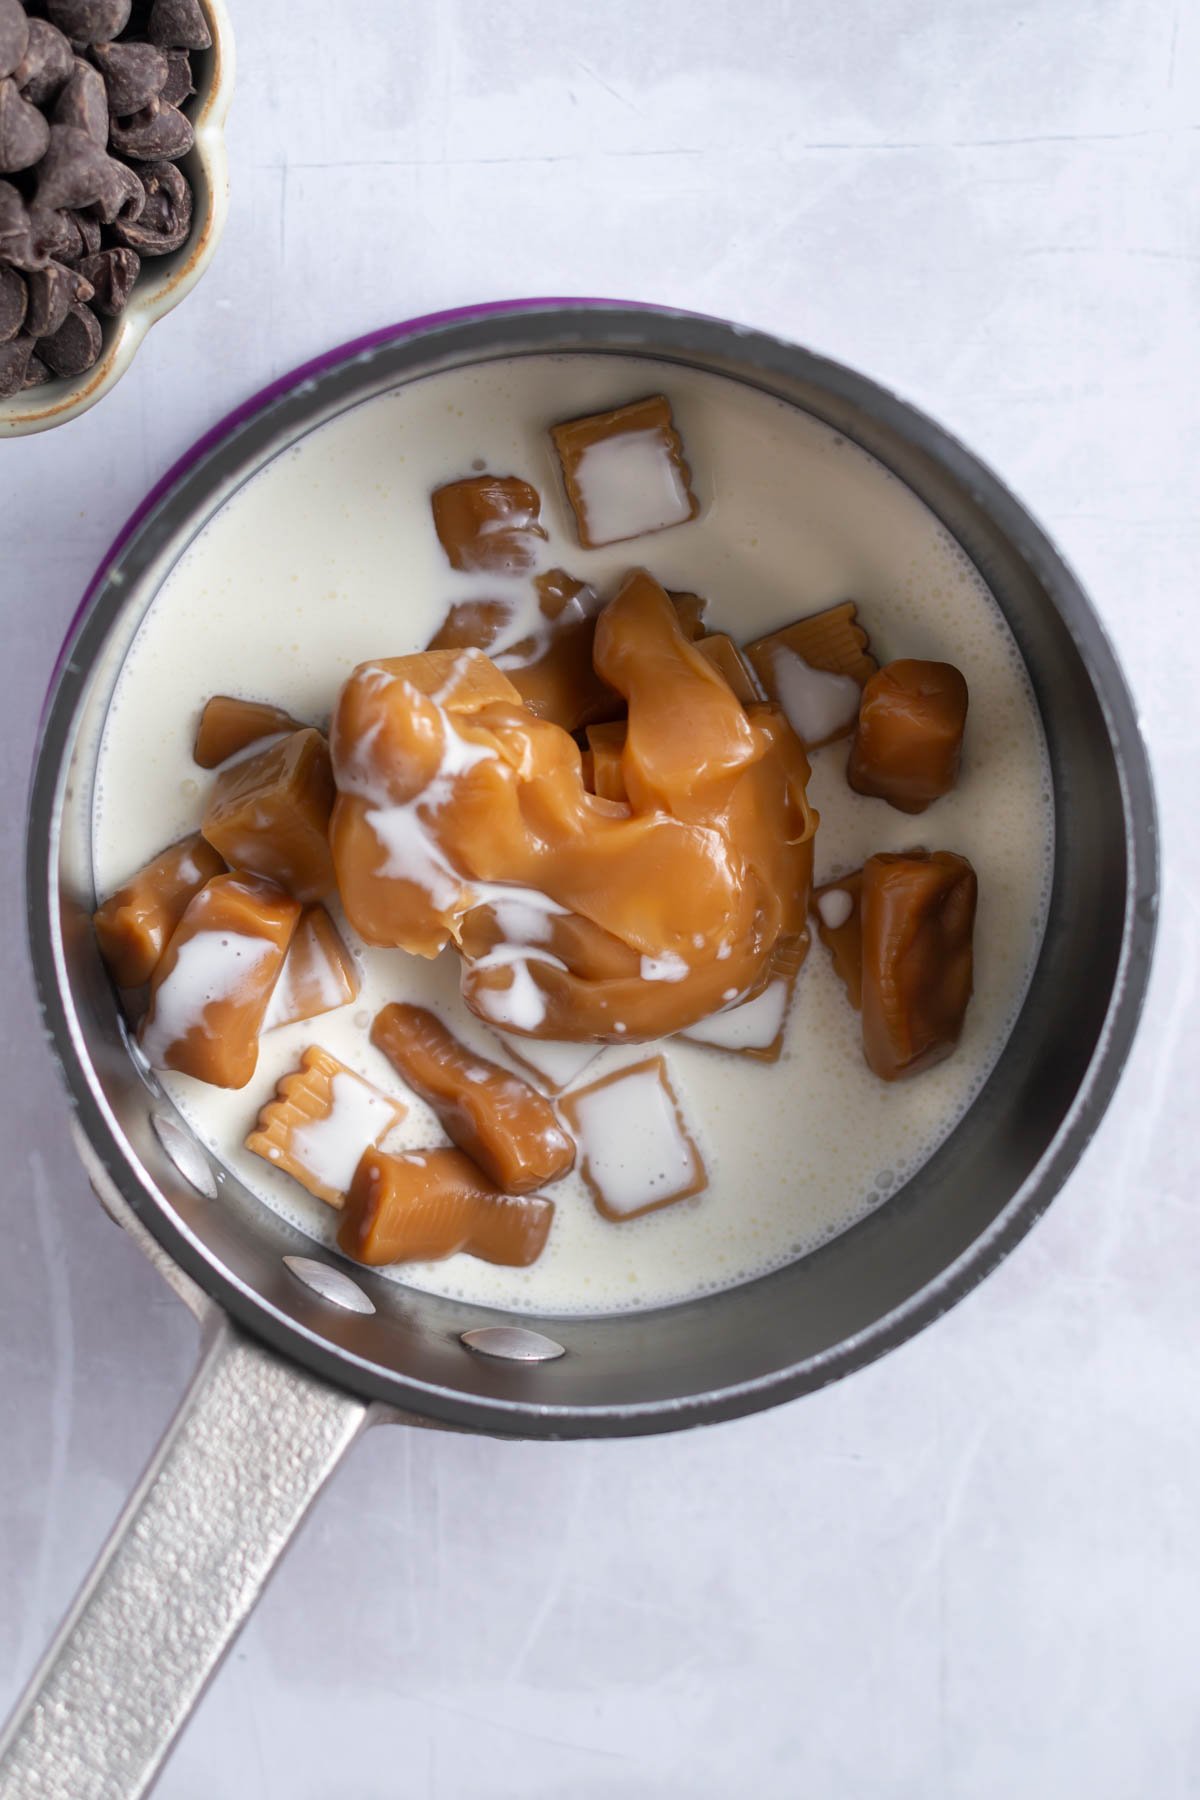
- Caramel sauce ~ I usually make my own caramel sauce {use the recipe from my peanut butter caramel pretzel brownies}, but if I'm in a hurry I'll make one with store bought caramels and heavy cream.
what kind of caramels should I buy?
I have tested this gooey cookie bar recipe with Kraft caramels, Werther's Chewy caramels and Favorite Day caramels. Depending on the size of the package, you may need two packages of the Werther's caramels and Favorite Day caramels.
You could also make the oatmeal caramel bars with caramel bits, just use the gram measurements for how many to use.
If you prefer using a homemade caramel sauce, use the caramel sauce from this recipe. I haven't tested it, but think Trader Joe's salted caramel sauce would work just fine too.
Remember to pin this recipe to Pinterest! Use the button on the recipe card or the share buttons on the side or bottom of this page.
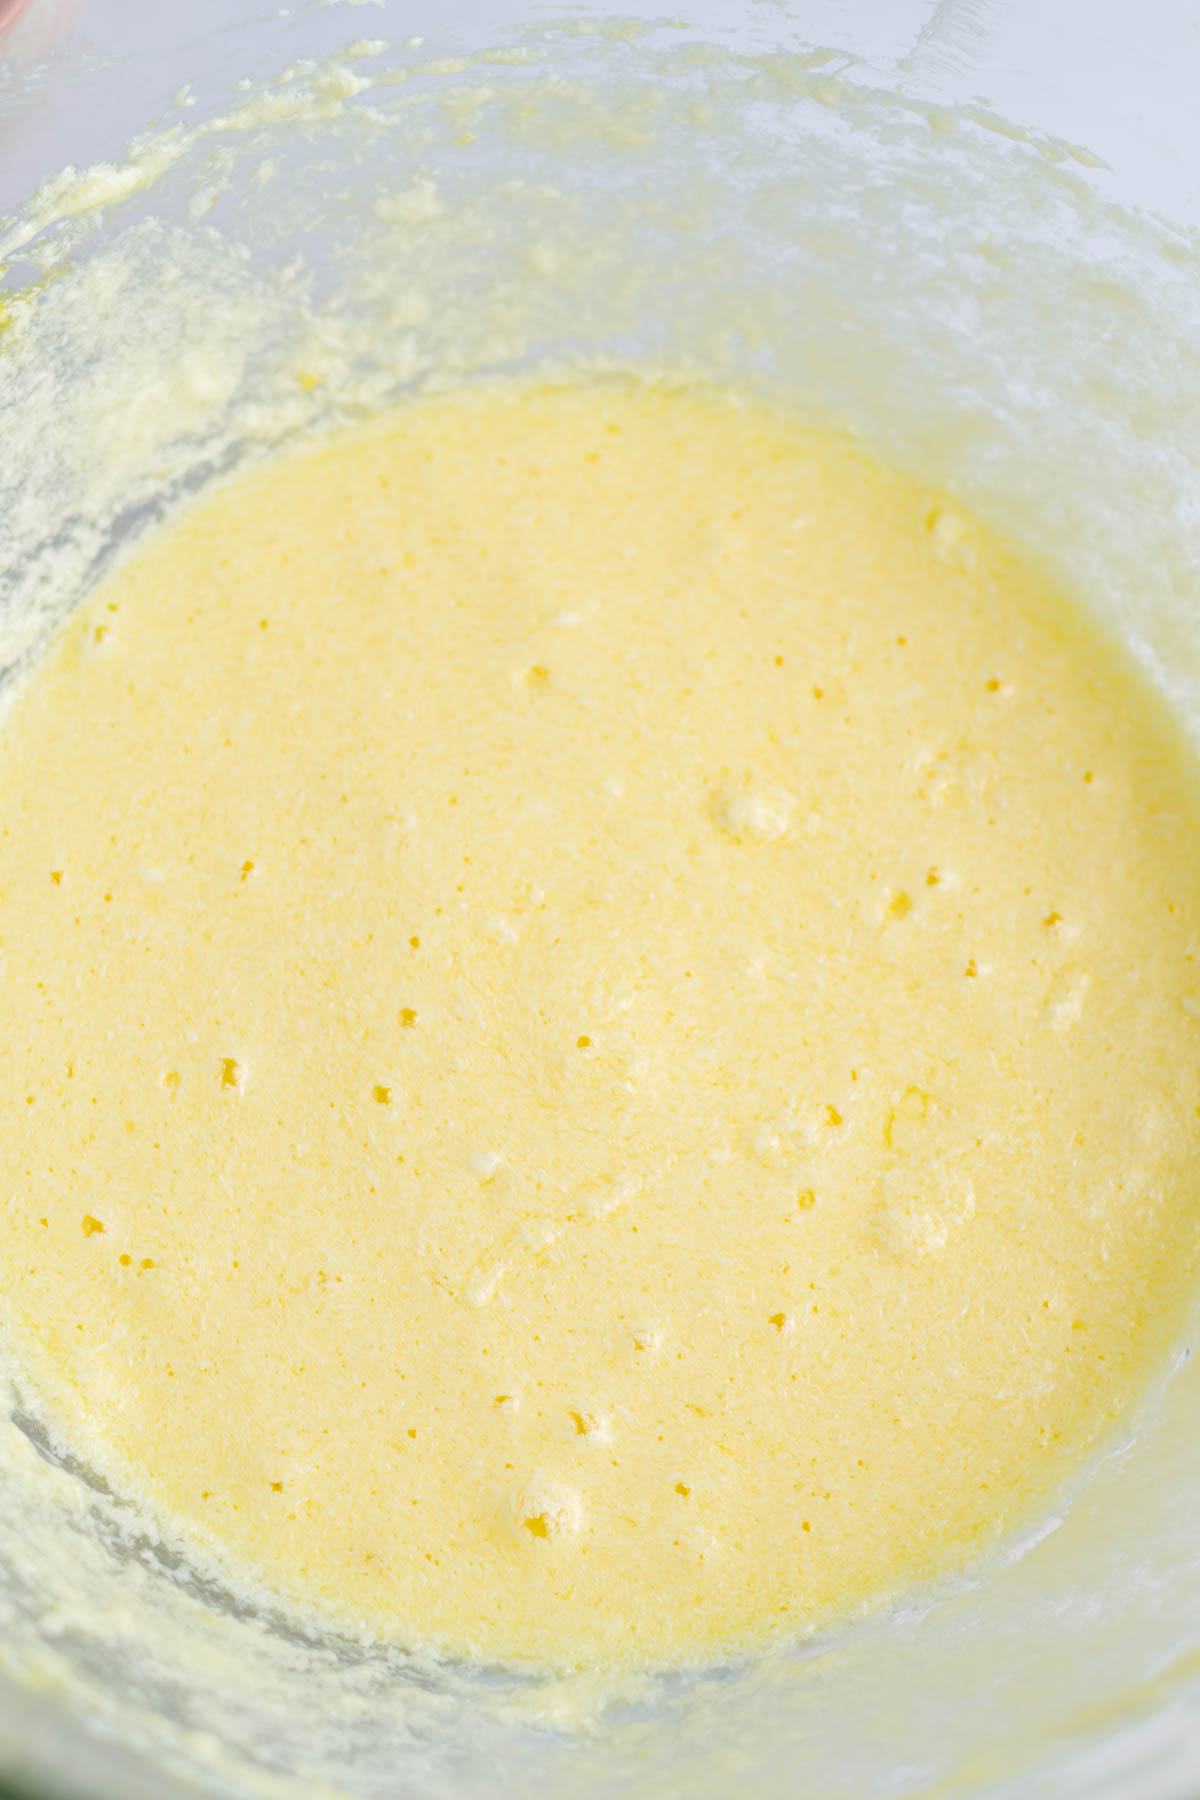
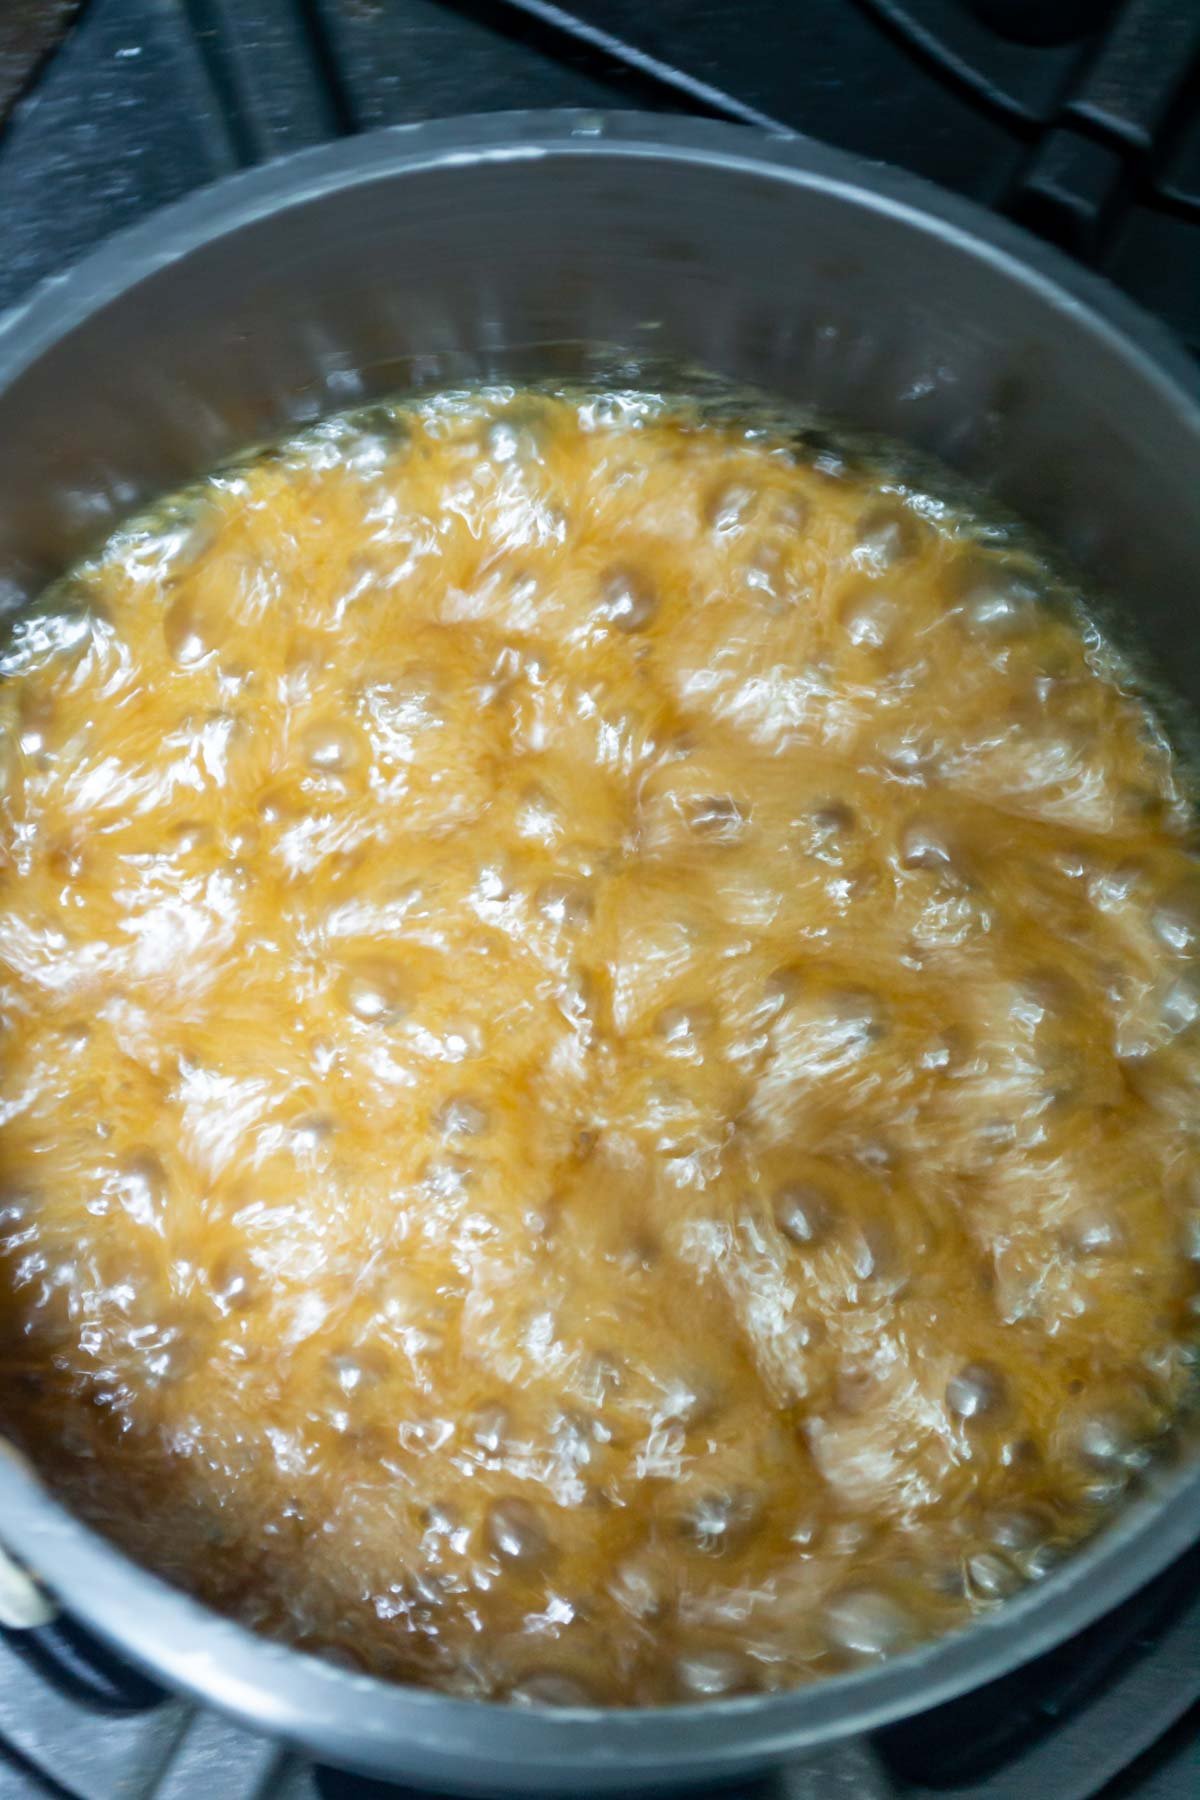
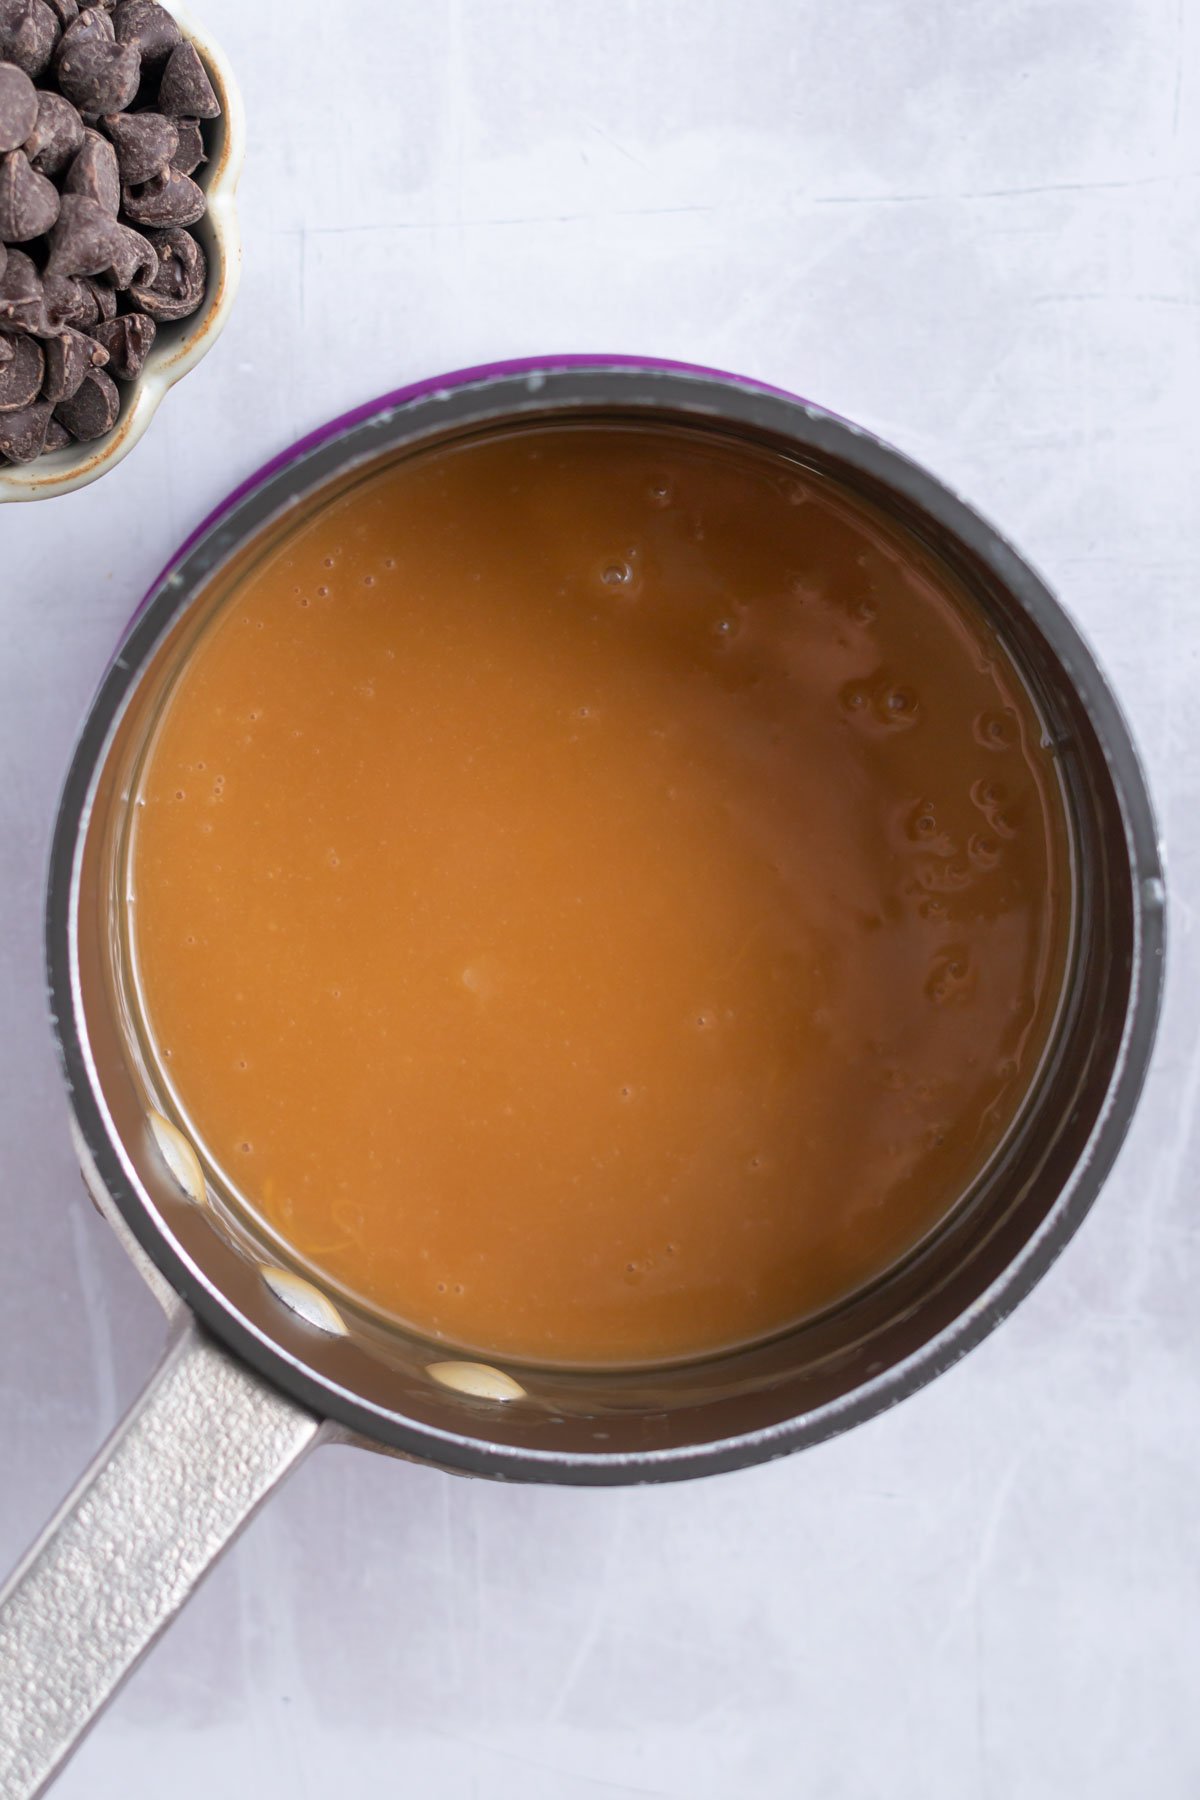
🍯how to make a quick homemade caramel sauce
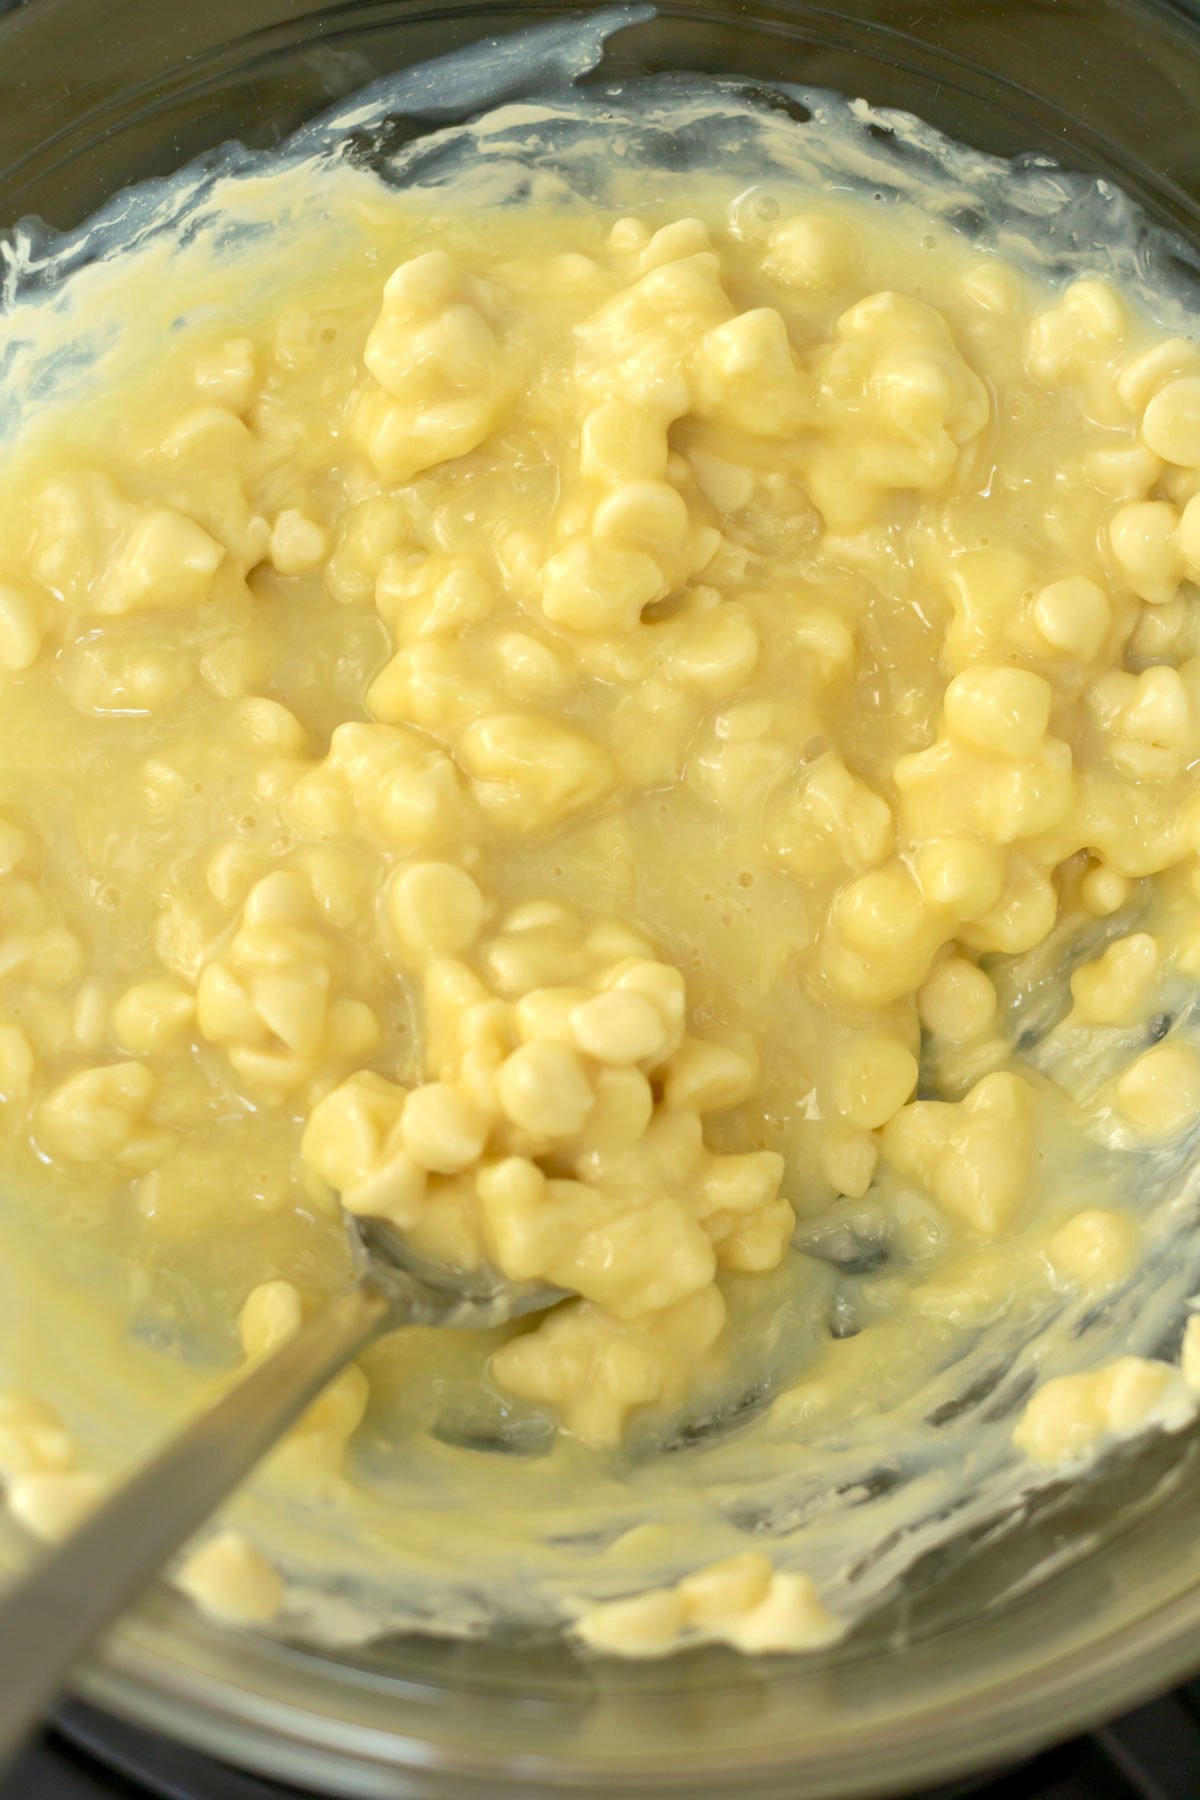
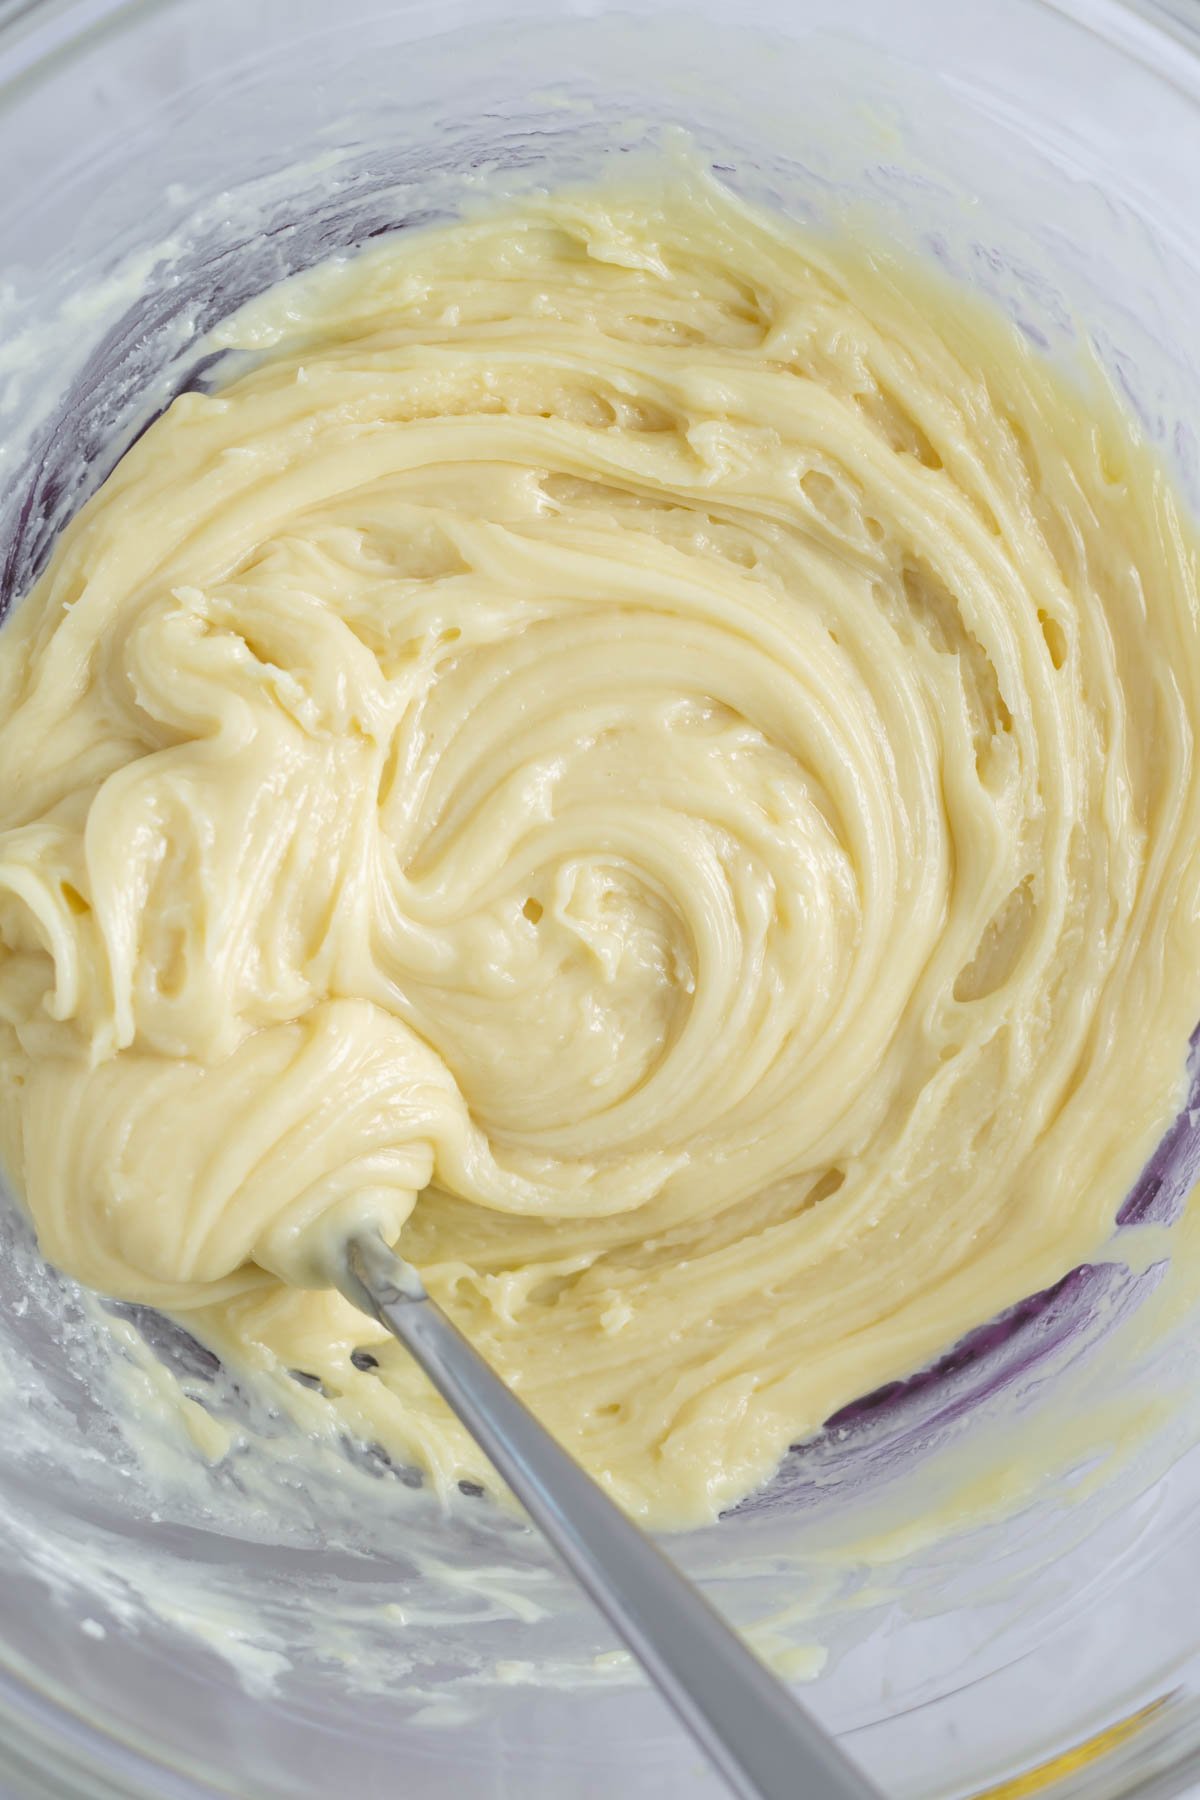
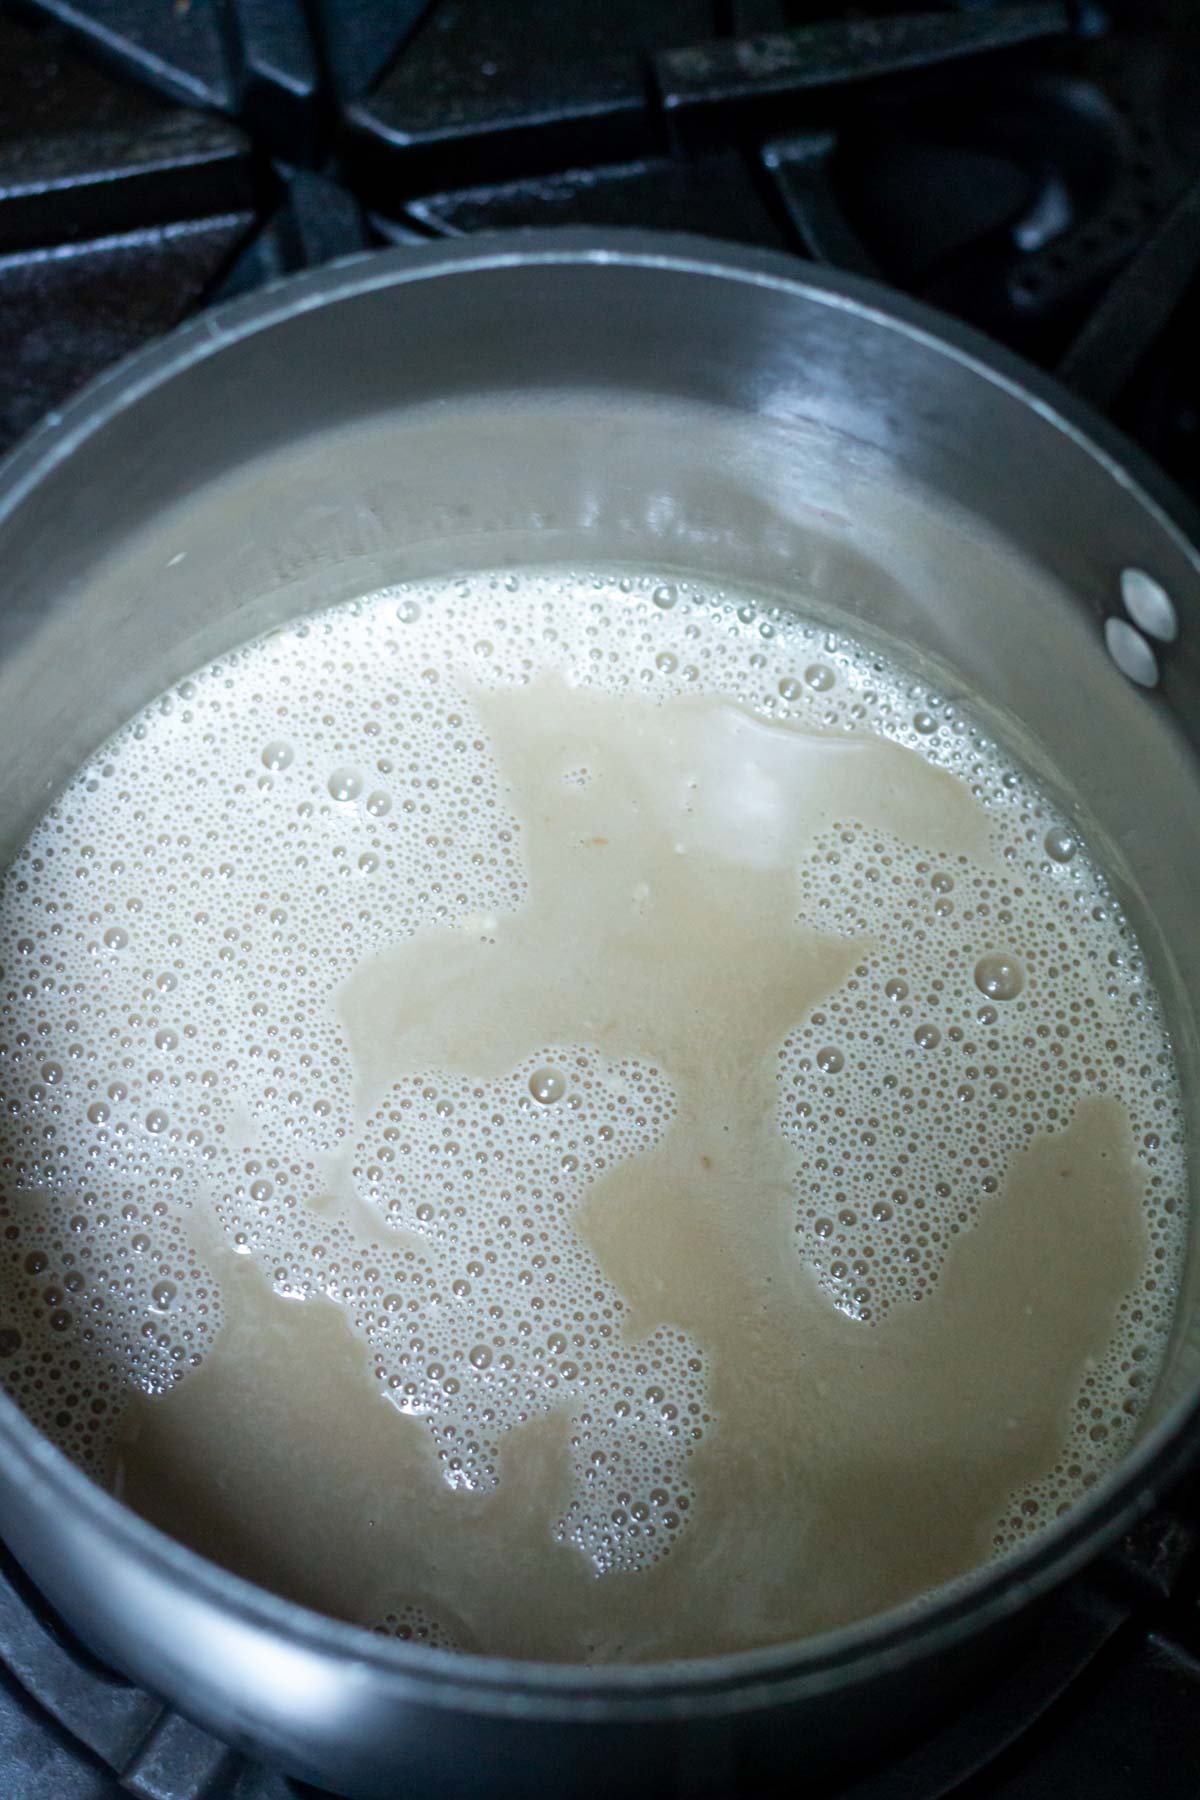
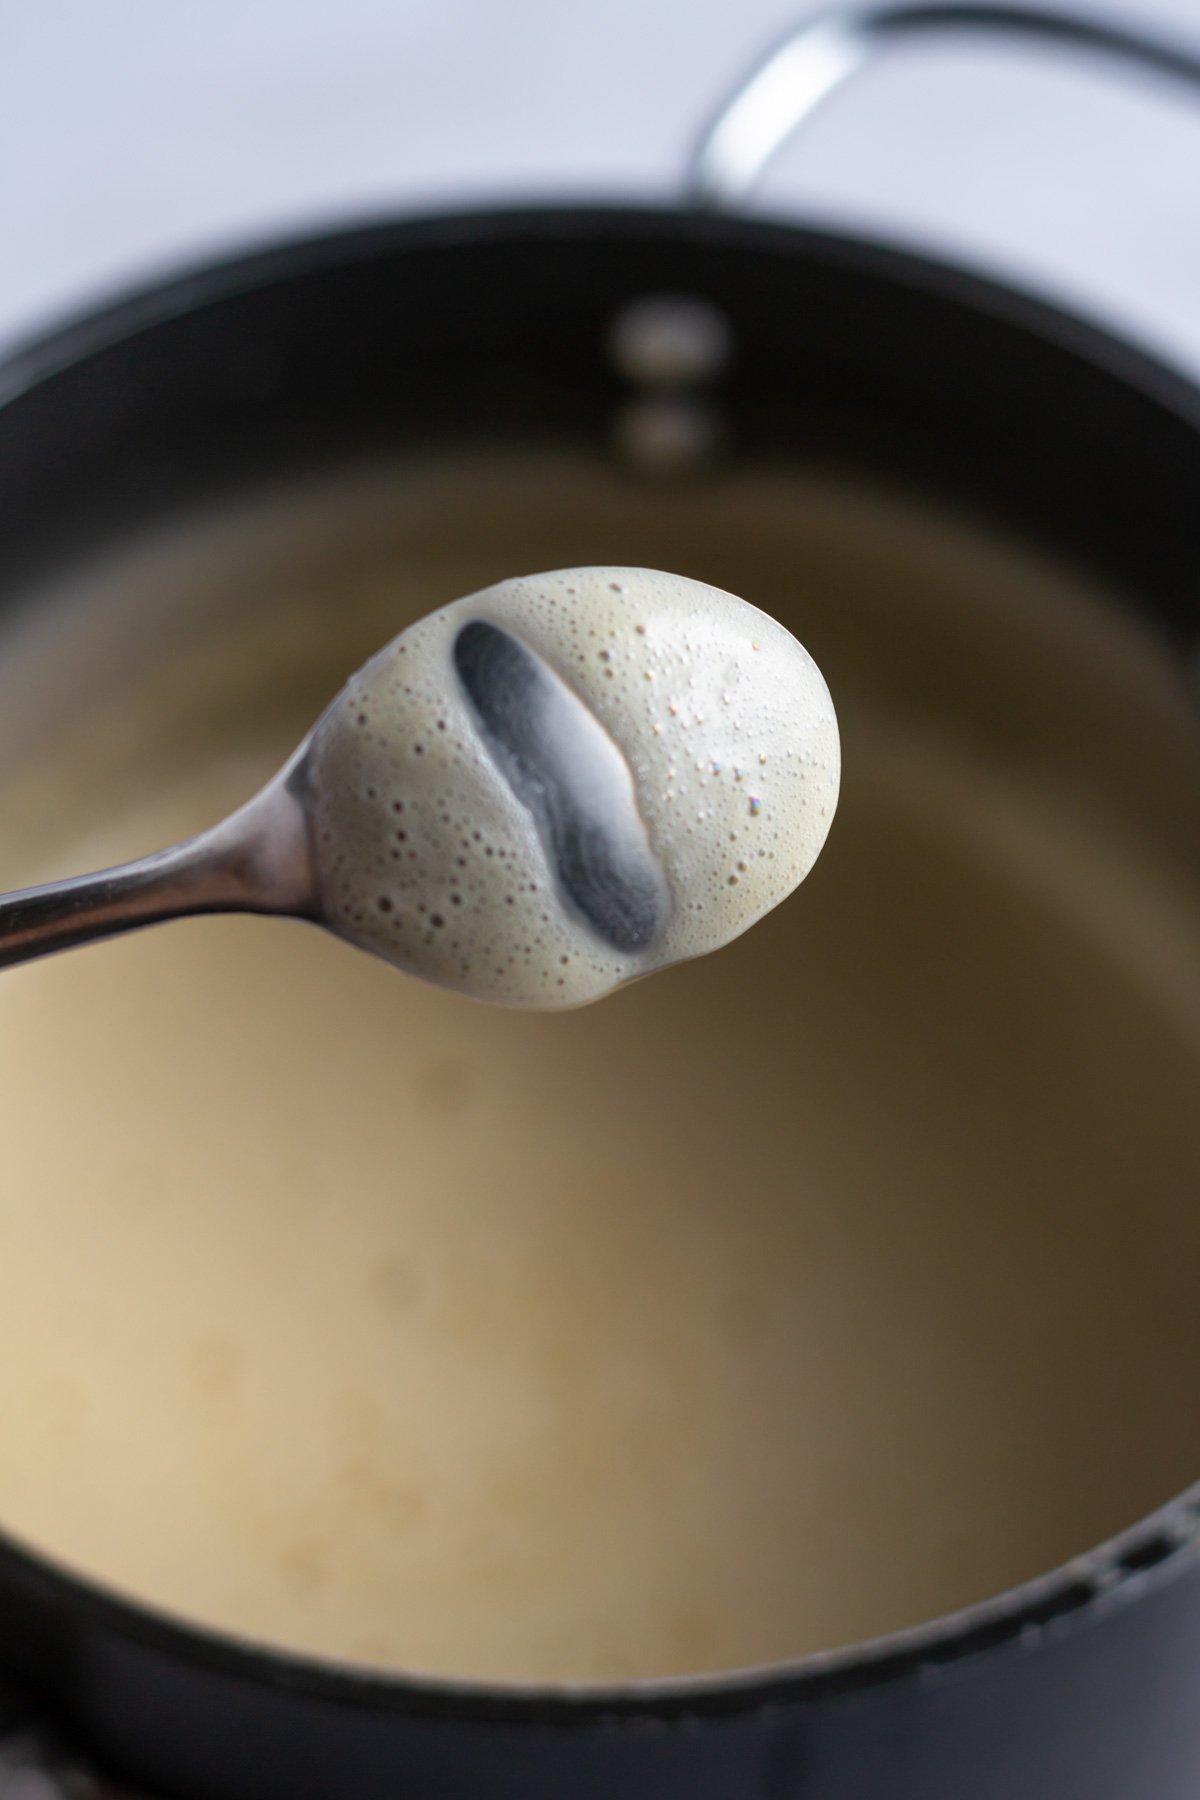
Place the unwrapped caramels and heavy cream in a saucepan and warm over low heat stirring until smooth, about 5 minutes. Set aside to cool slightly while you make the buttery oat layer.
👩🏼🍳how to make these easy caramelitas
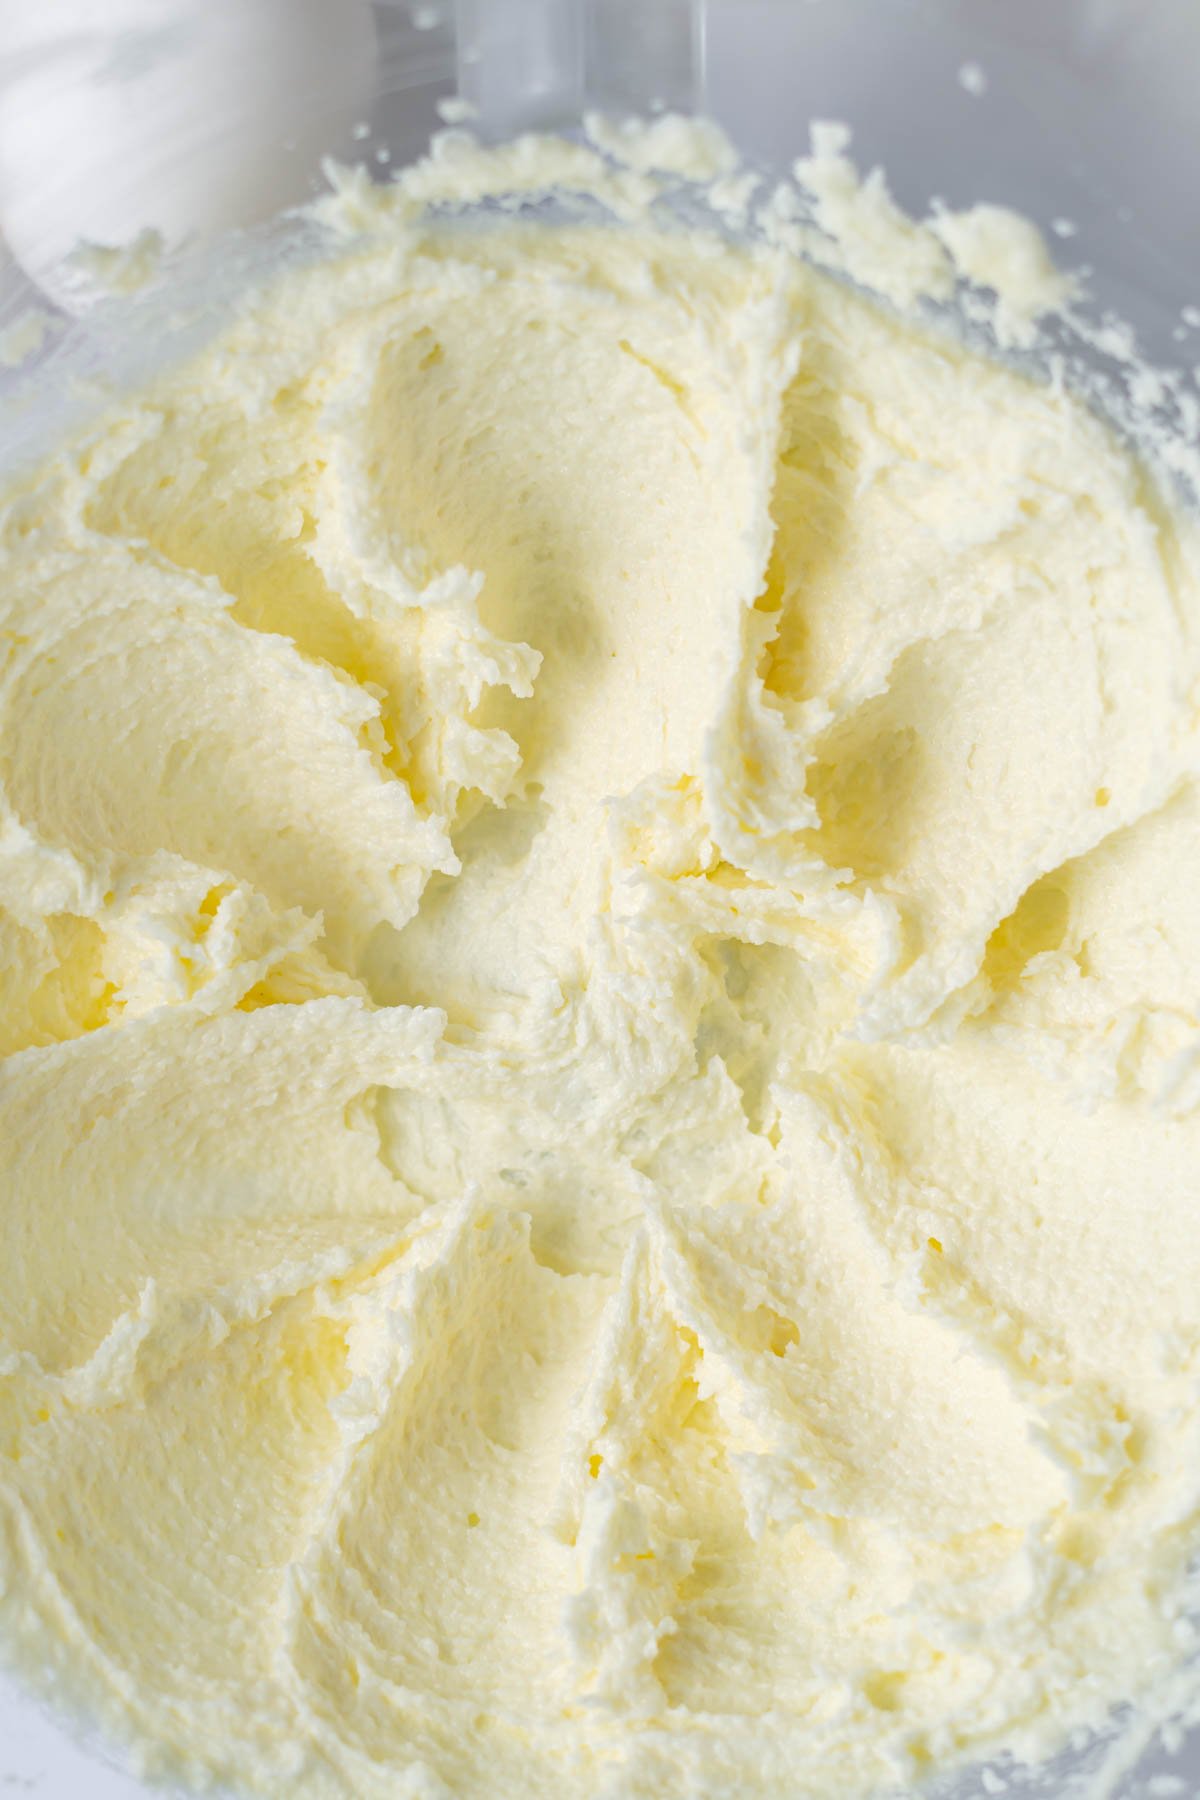
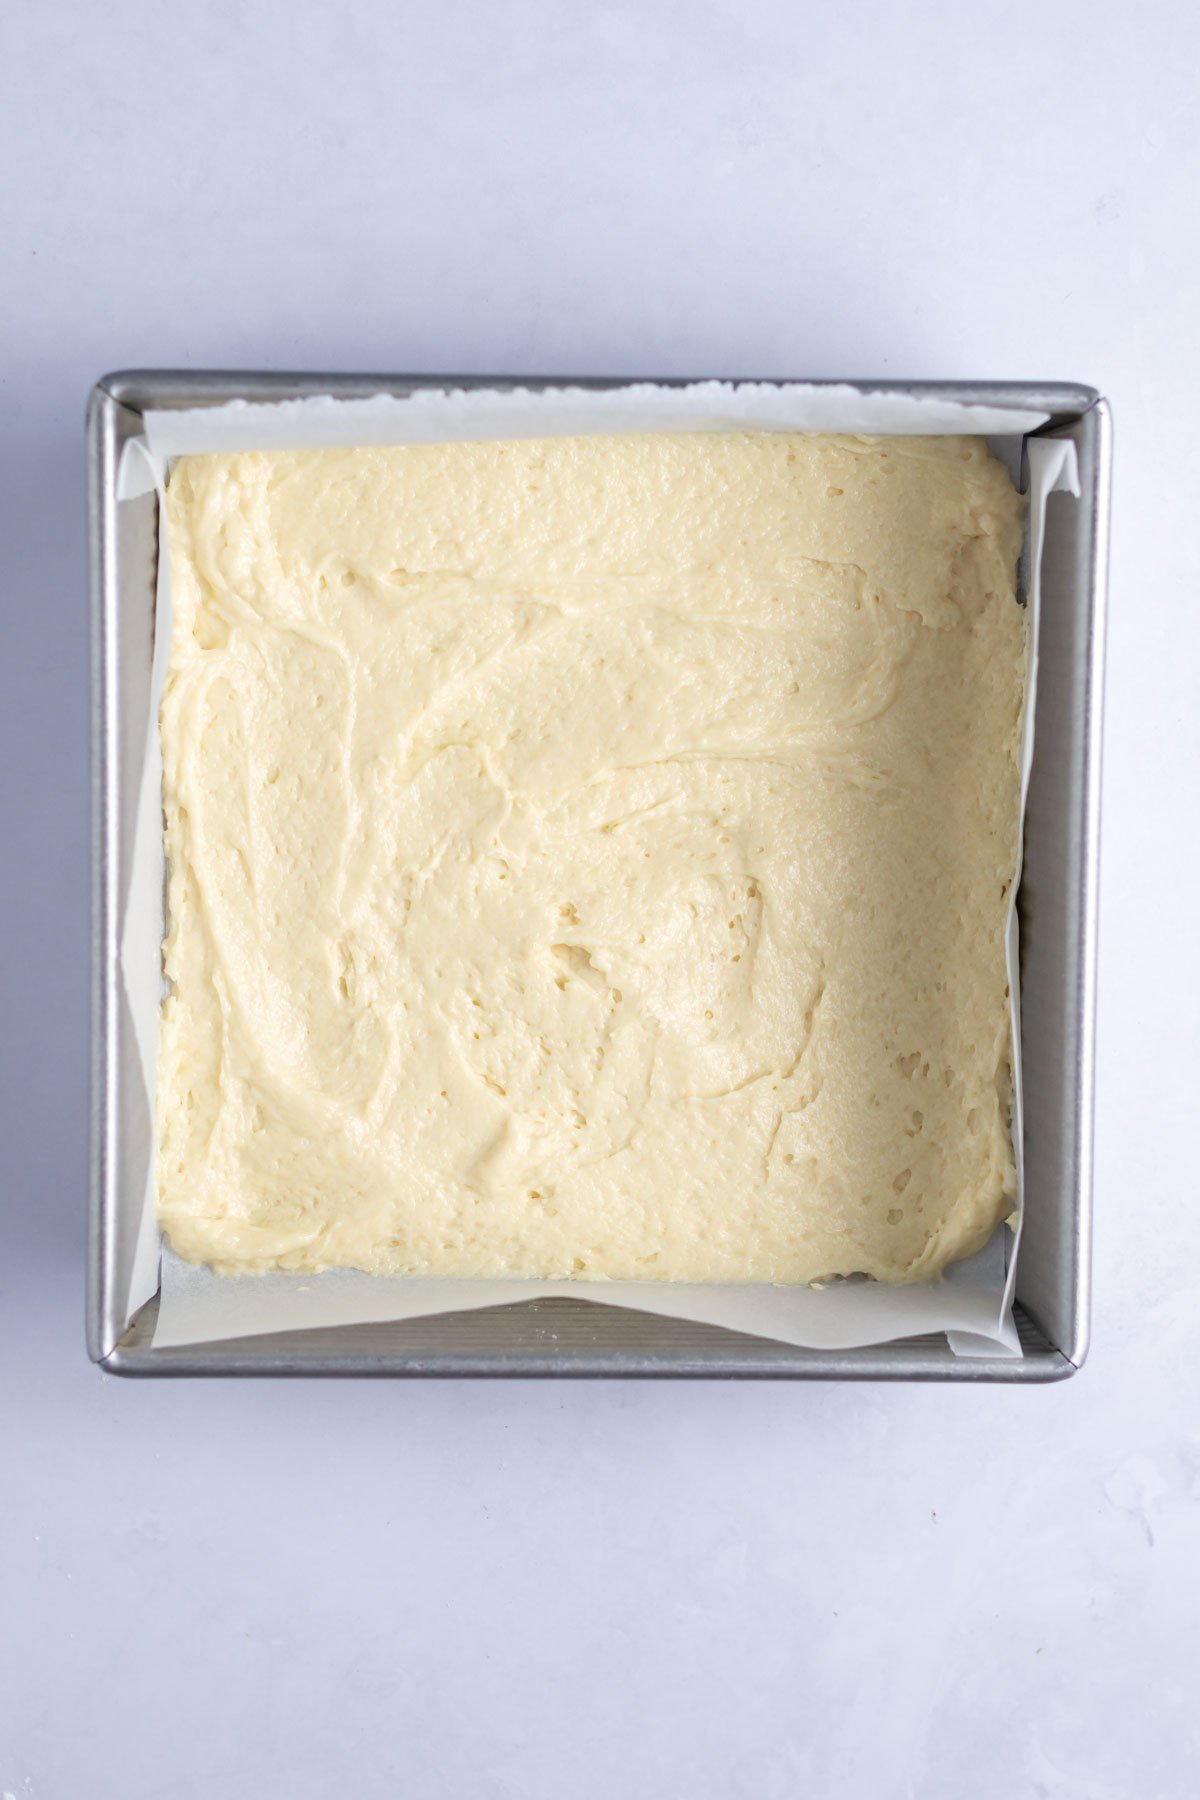
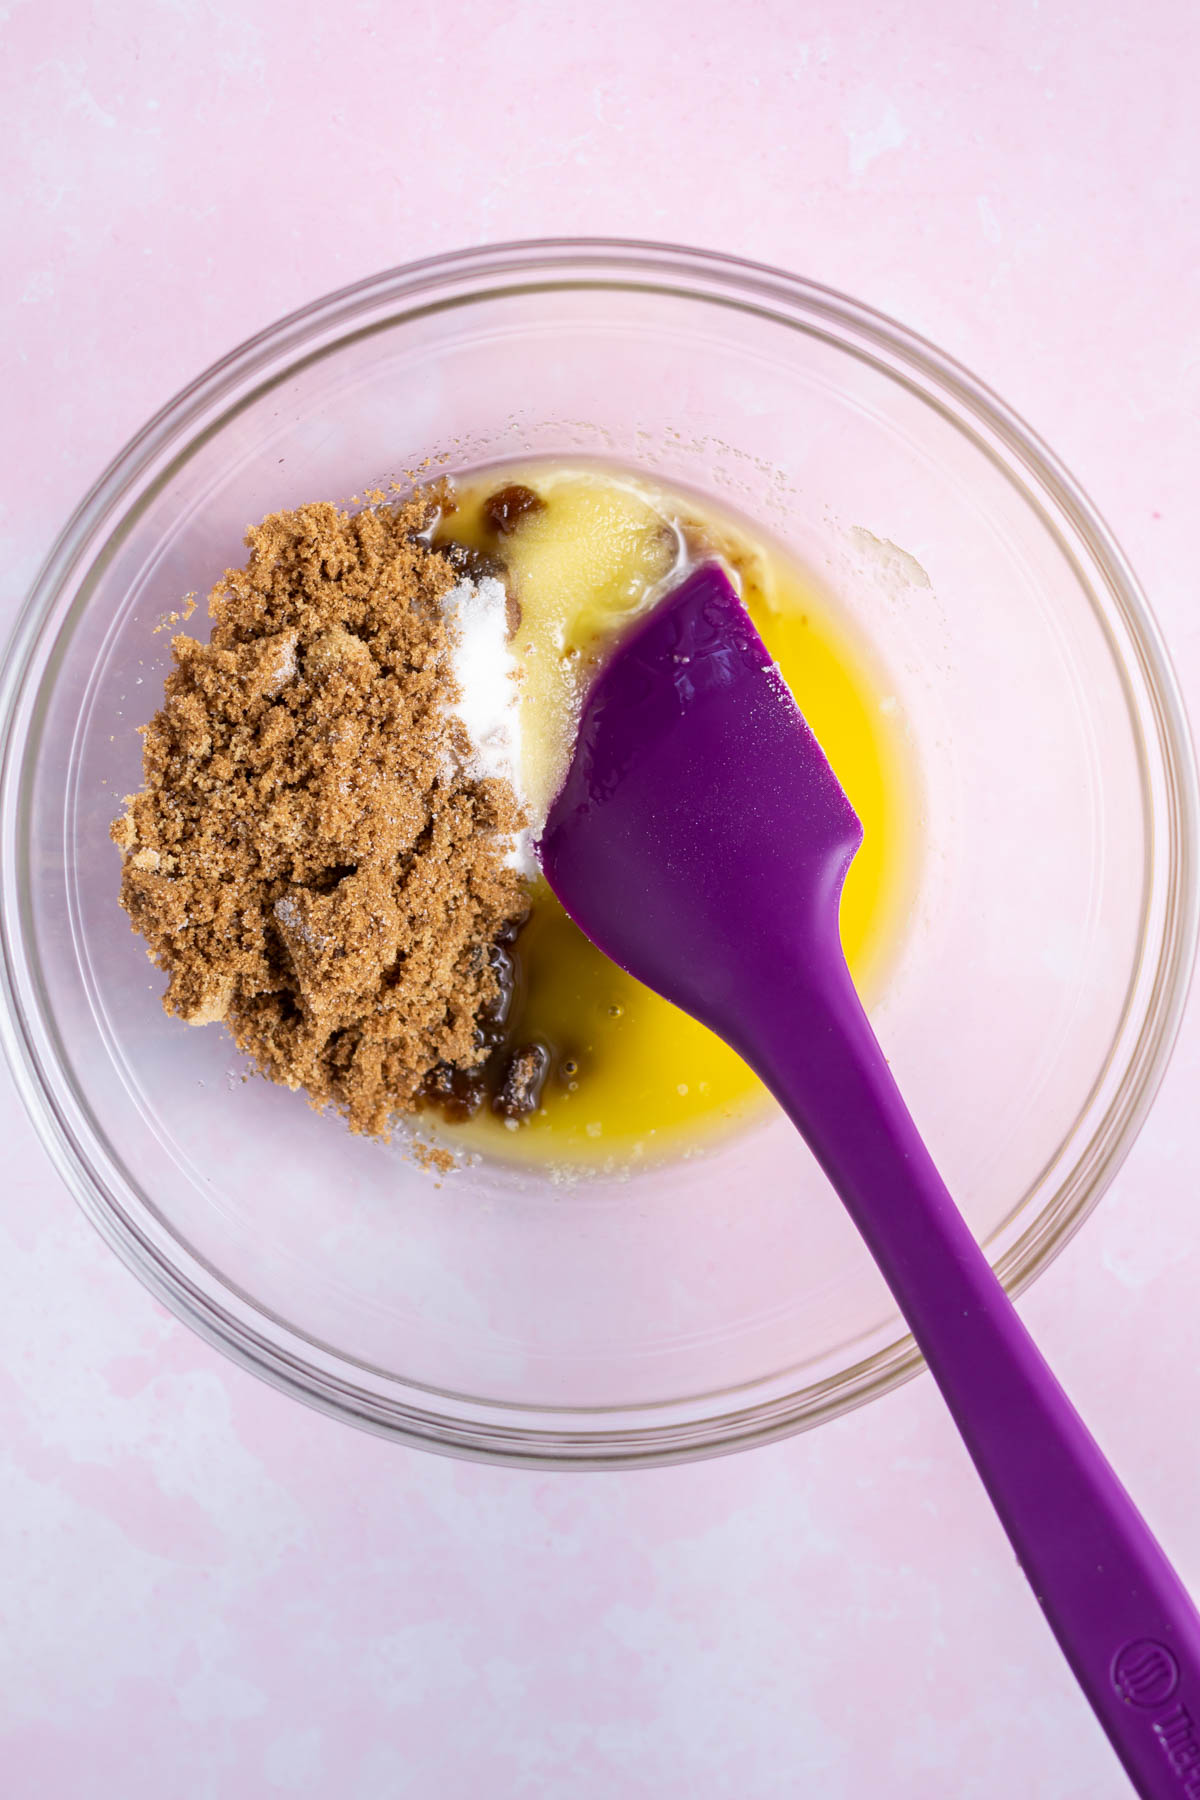
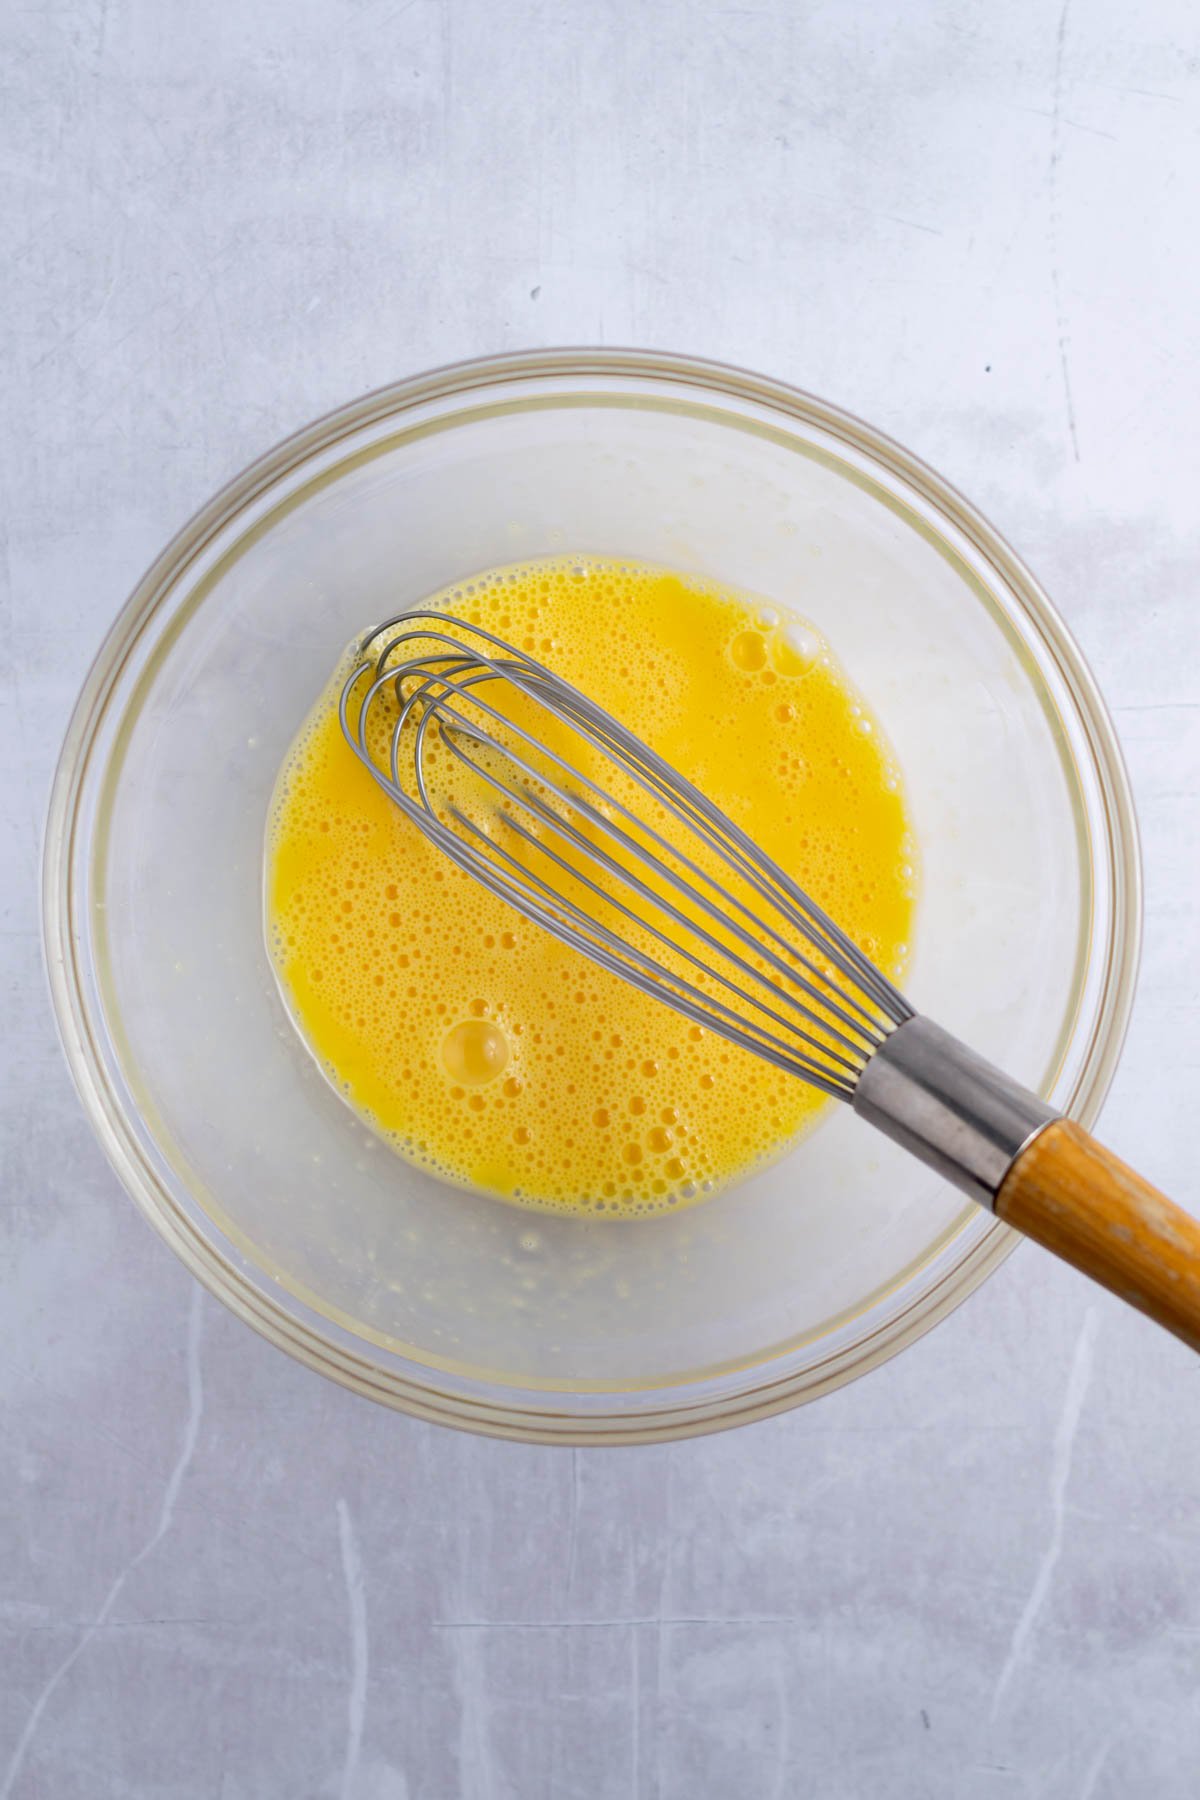
Start by preheating the oven to 350°F and prepare an 8x8 baking pan with parchment paper. Then melt the unsalted butter and set aside.
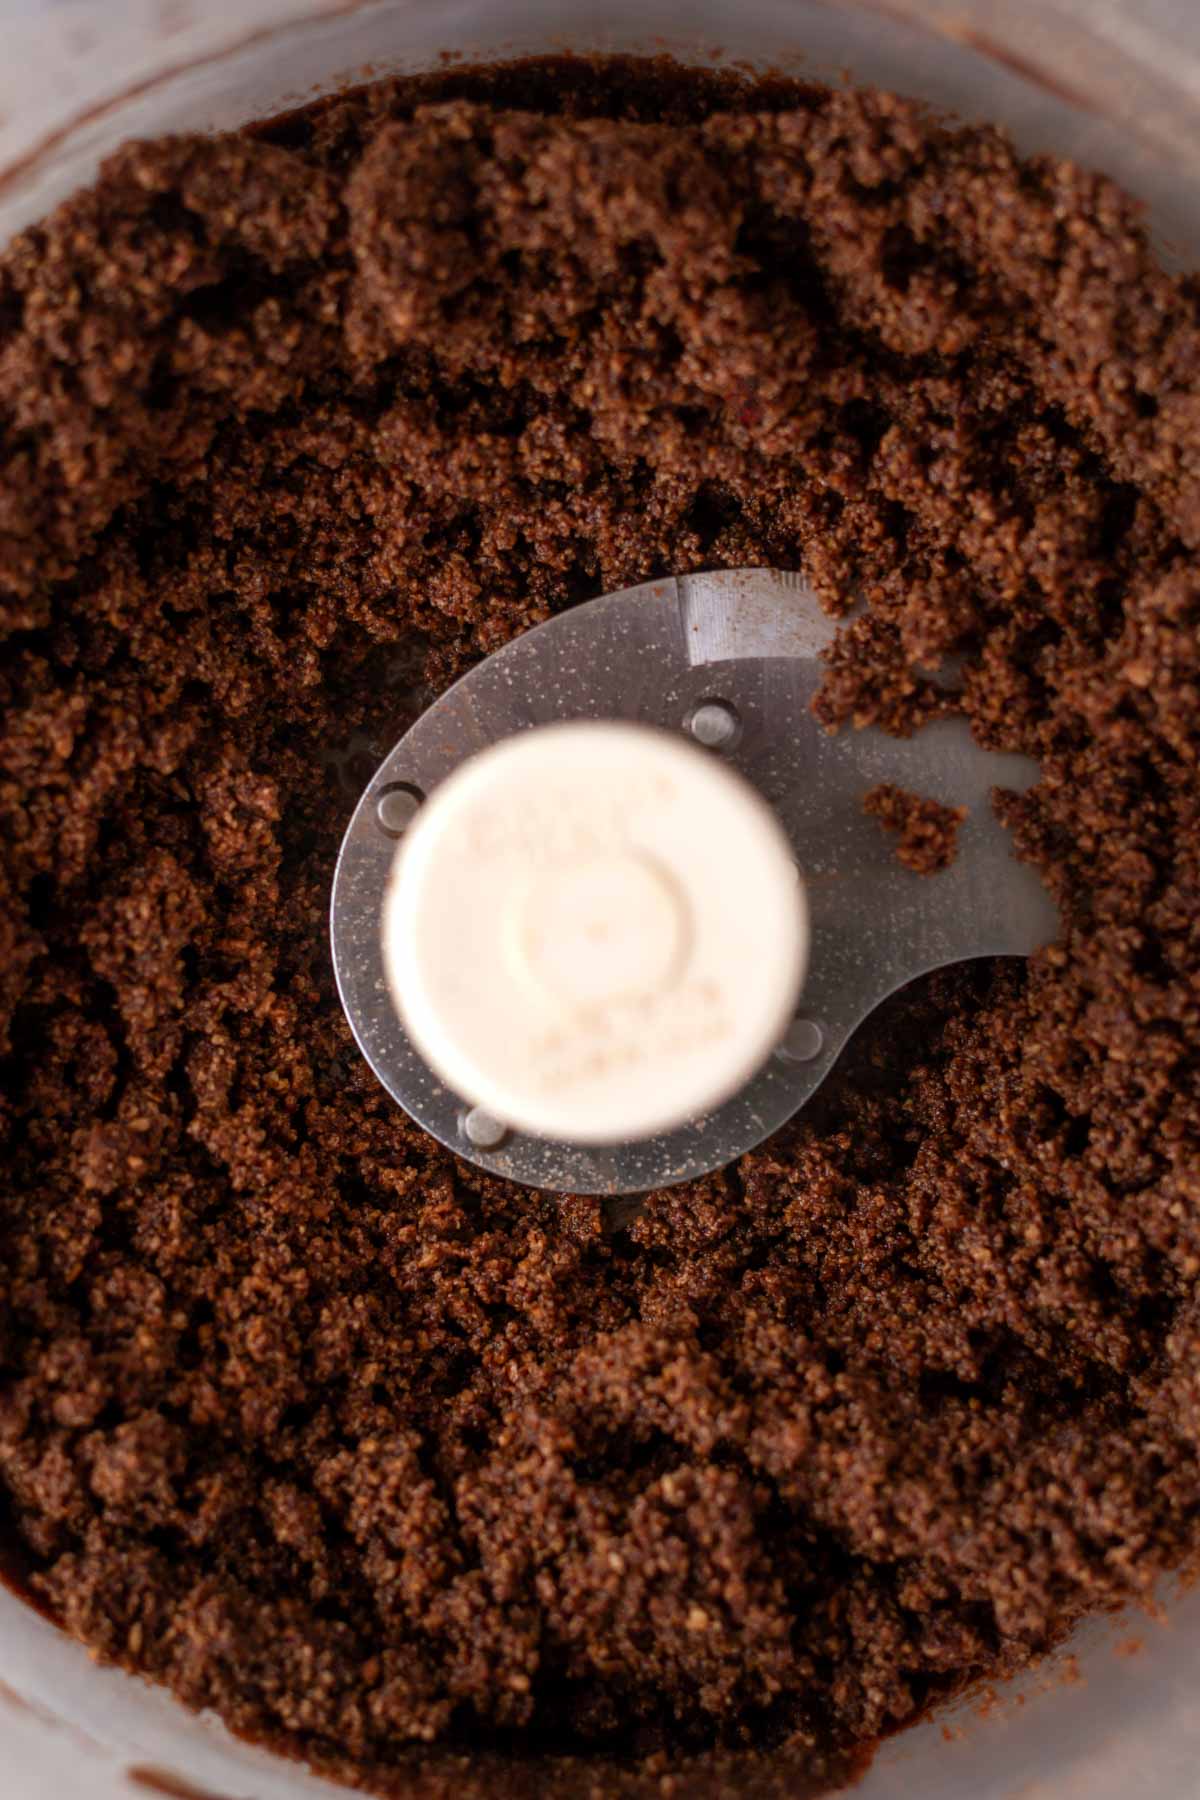
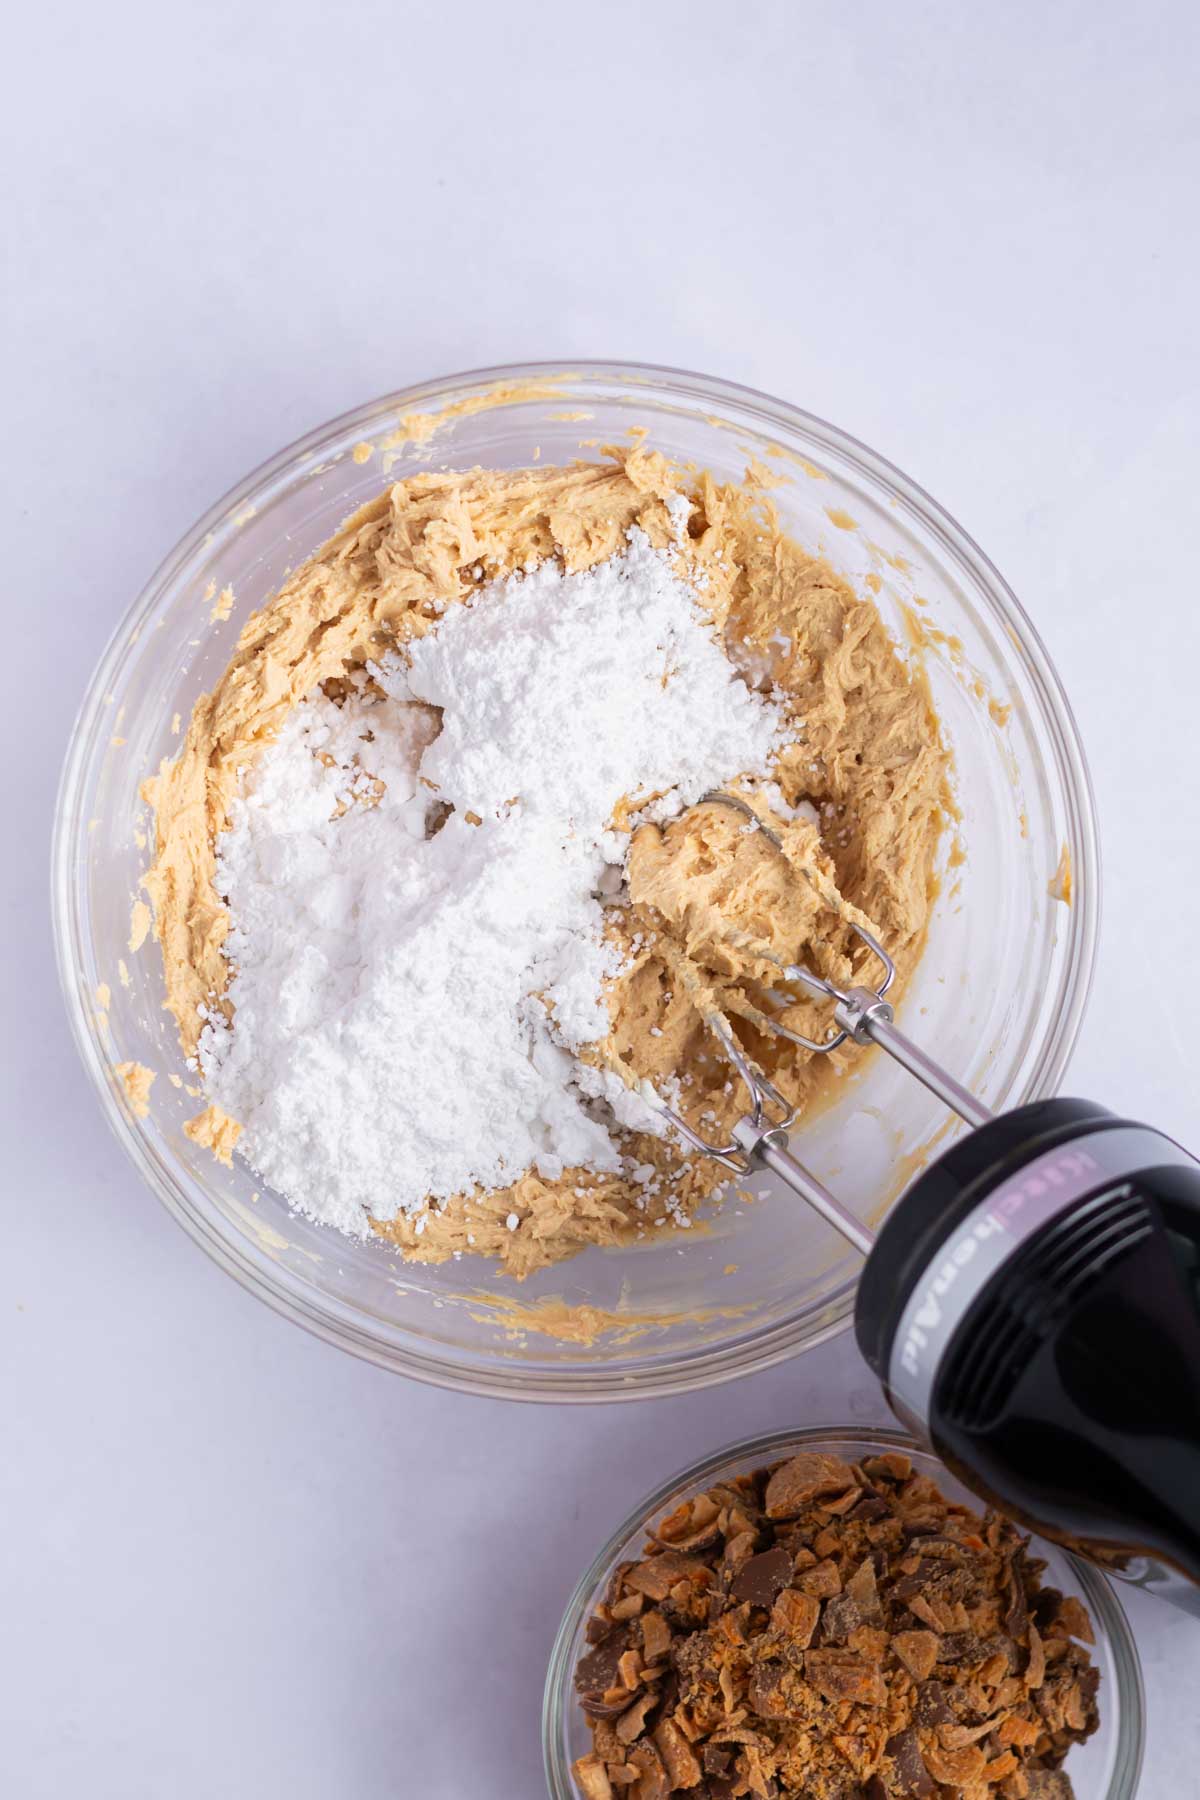
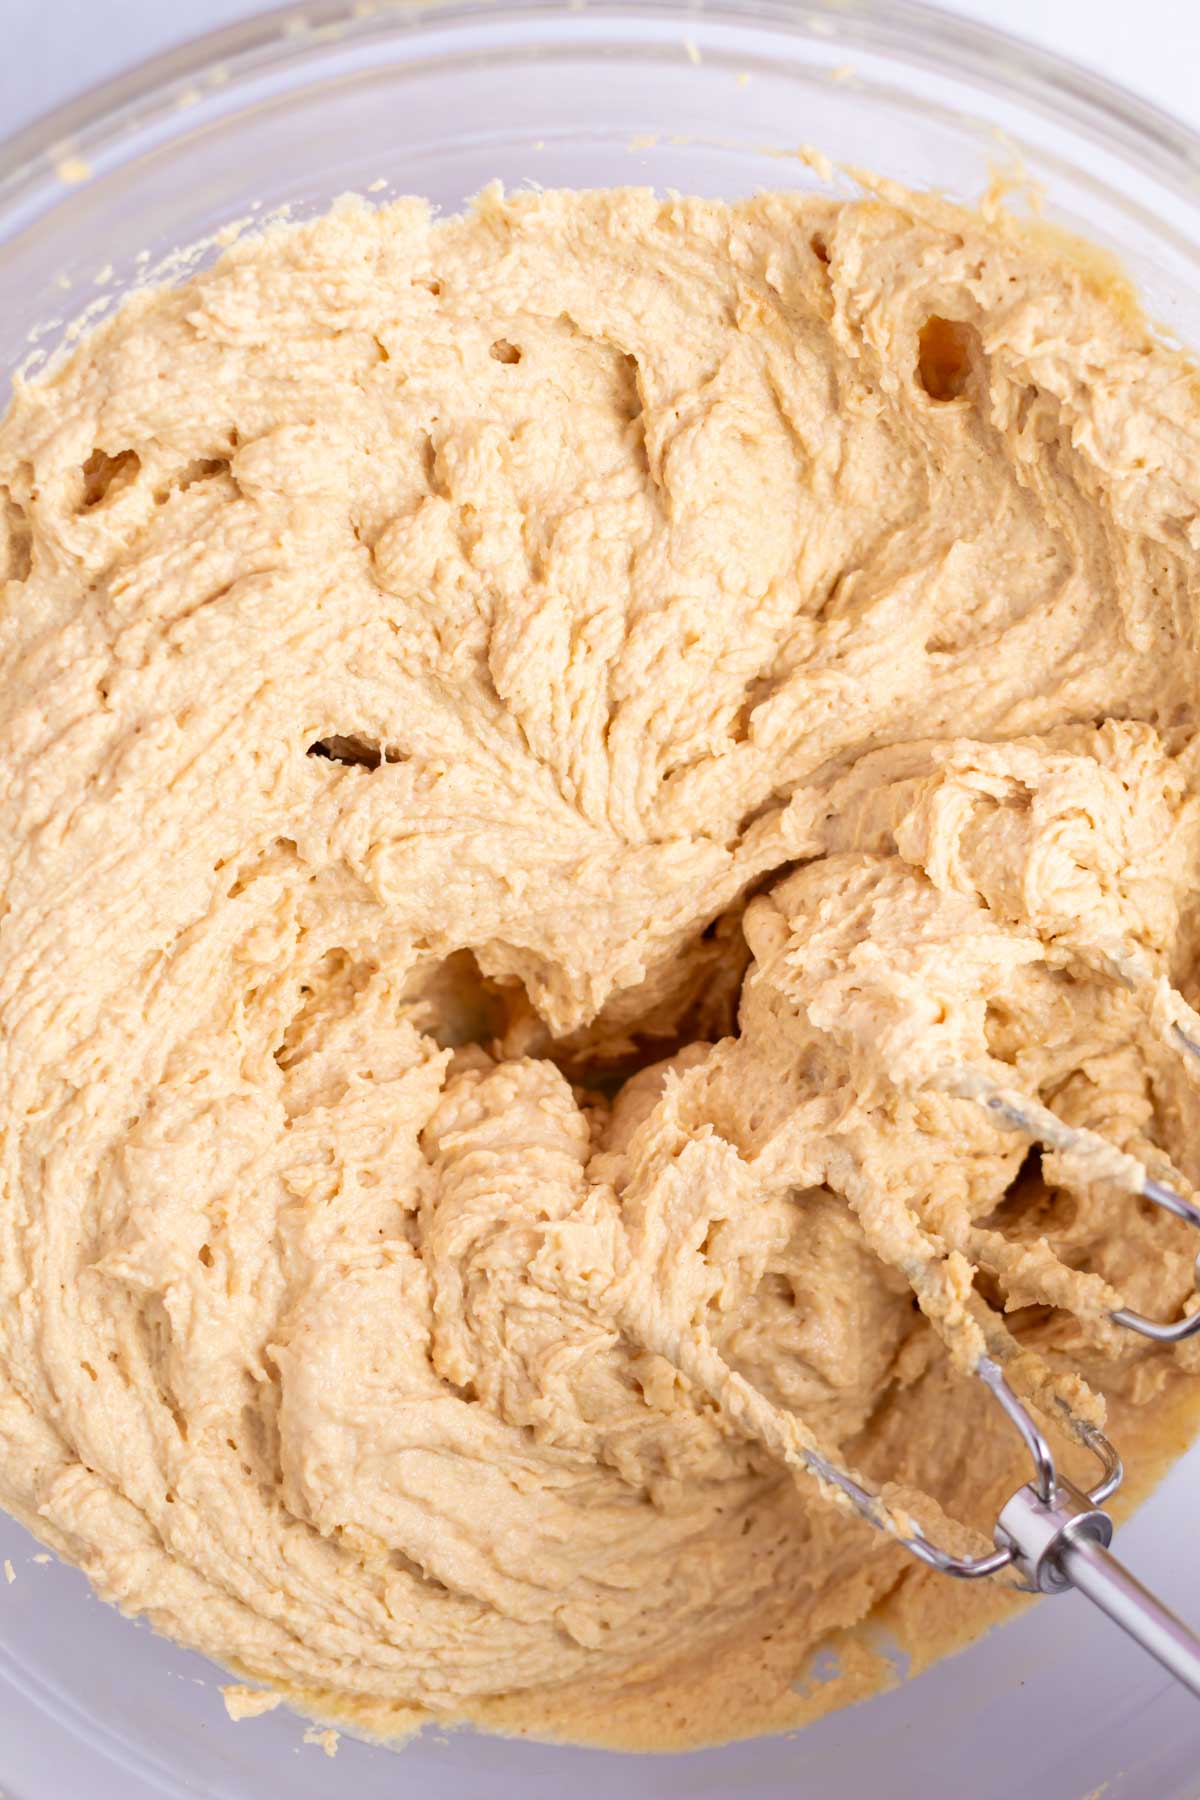
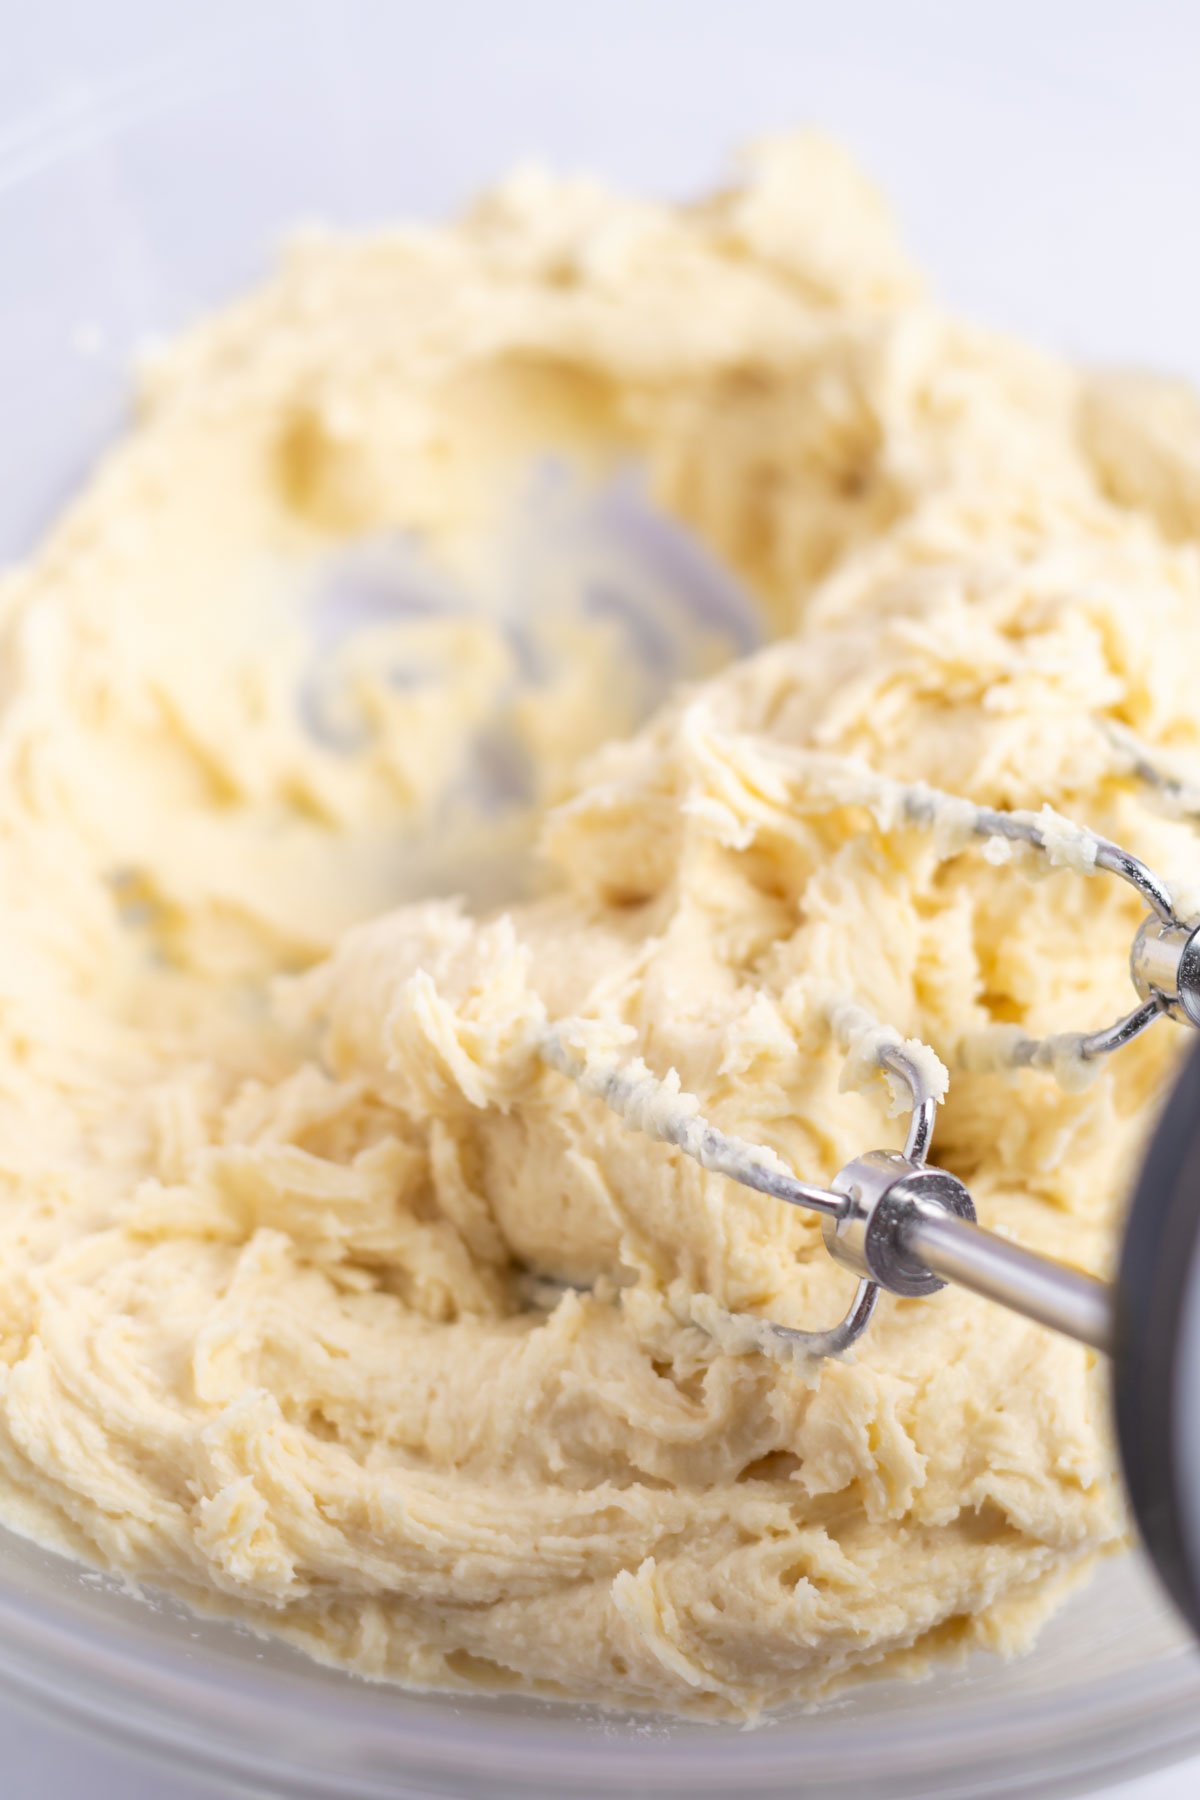
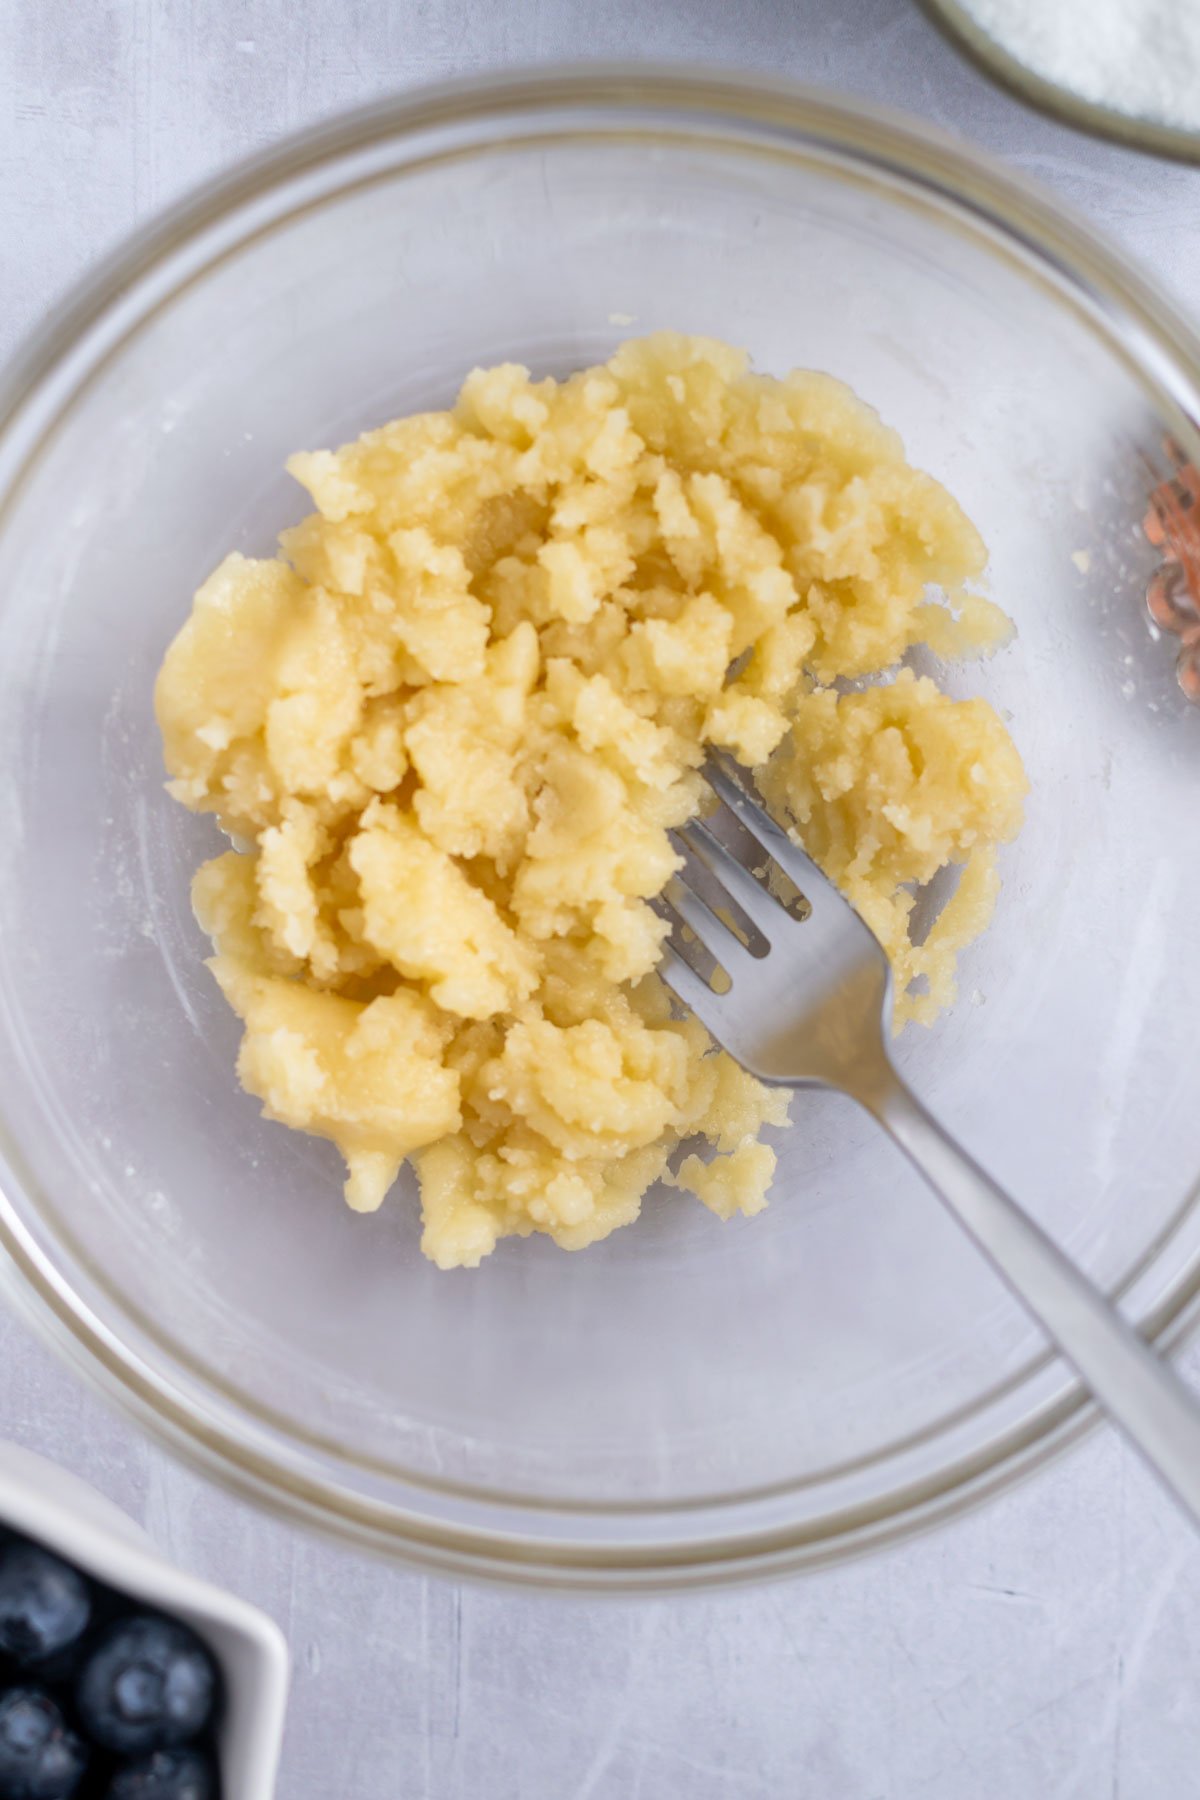
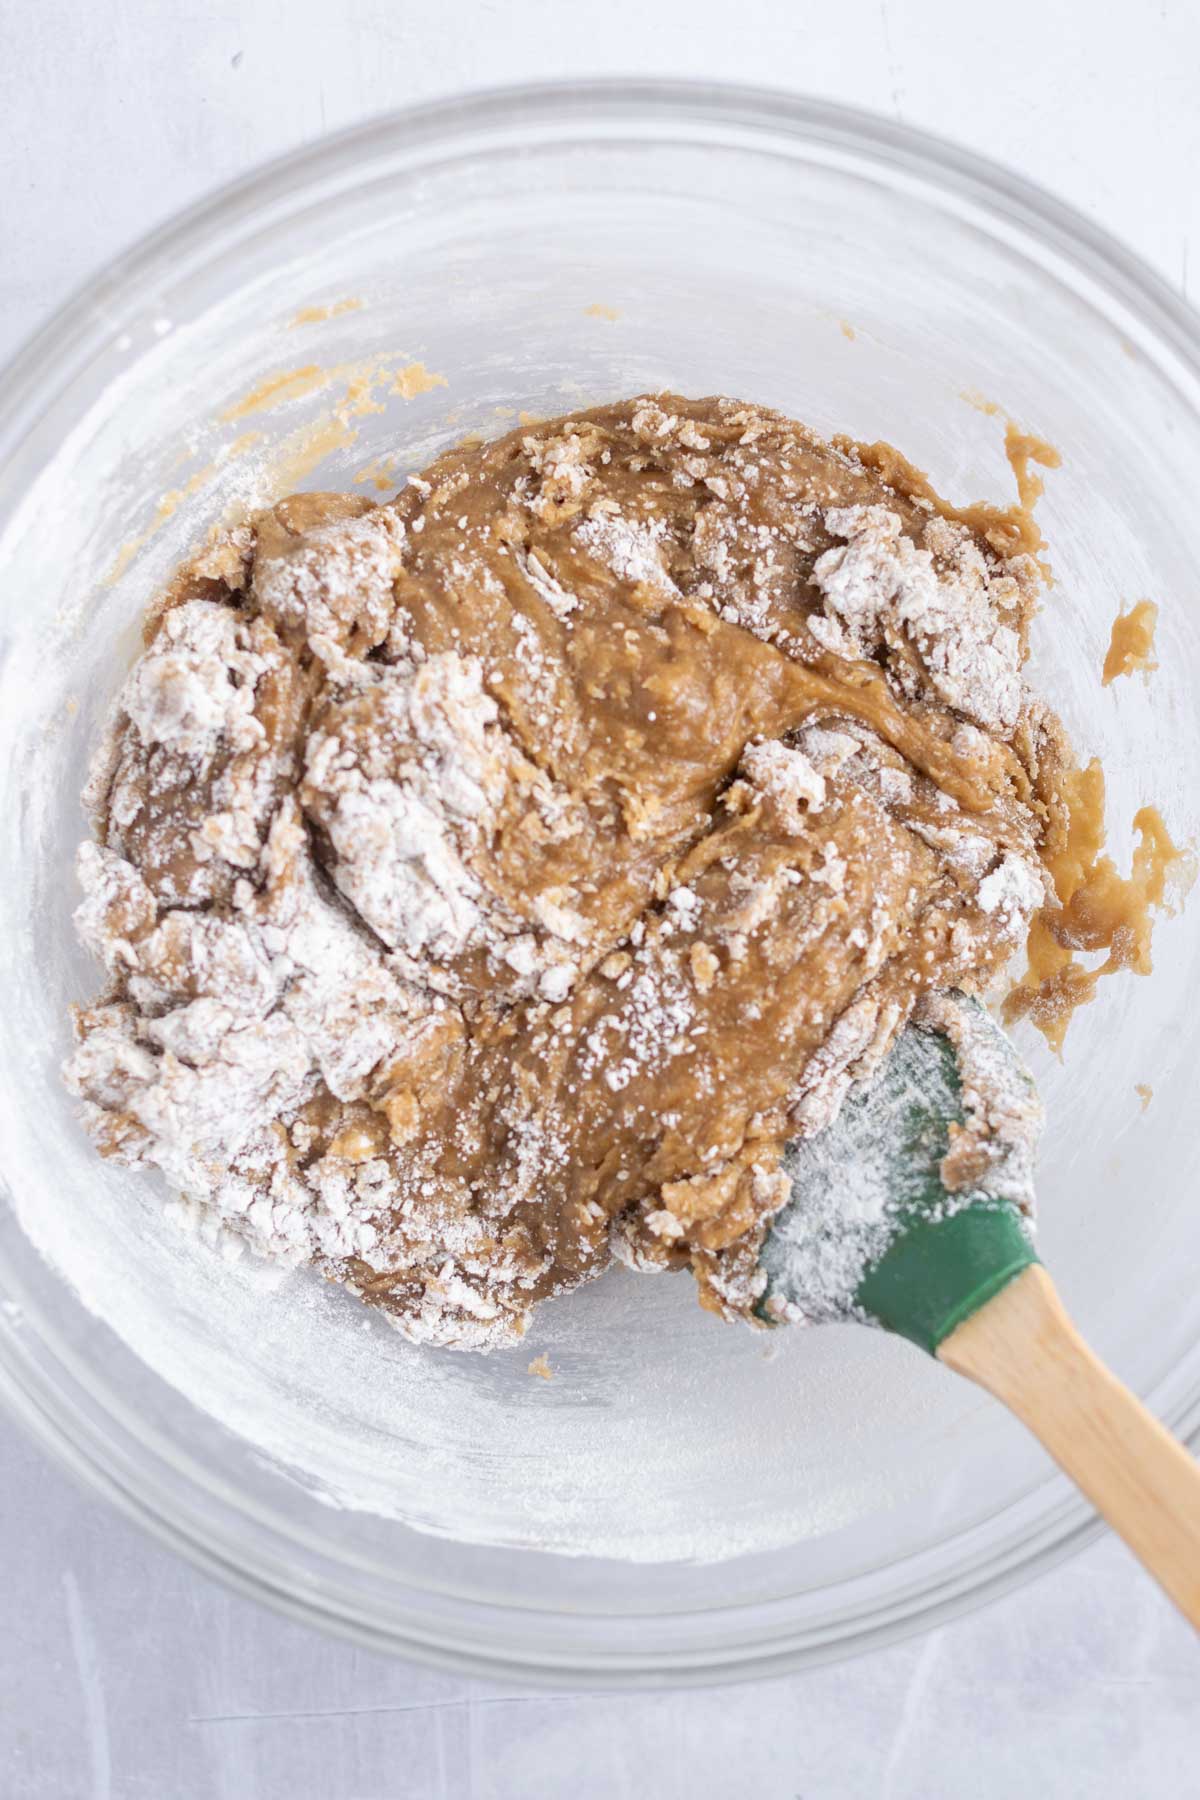
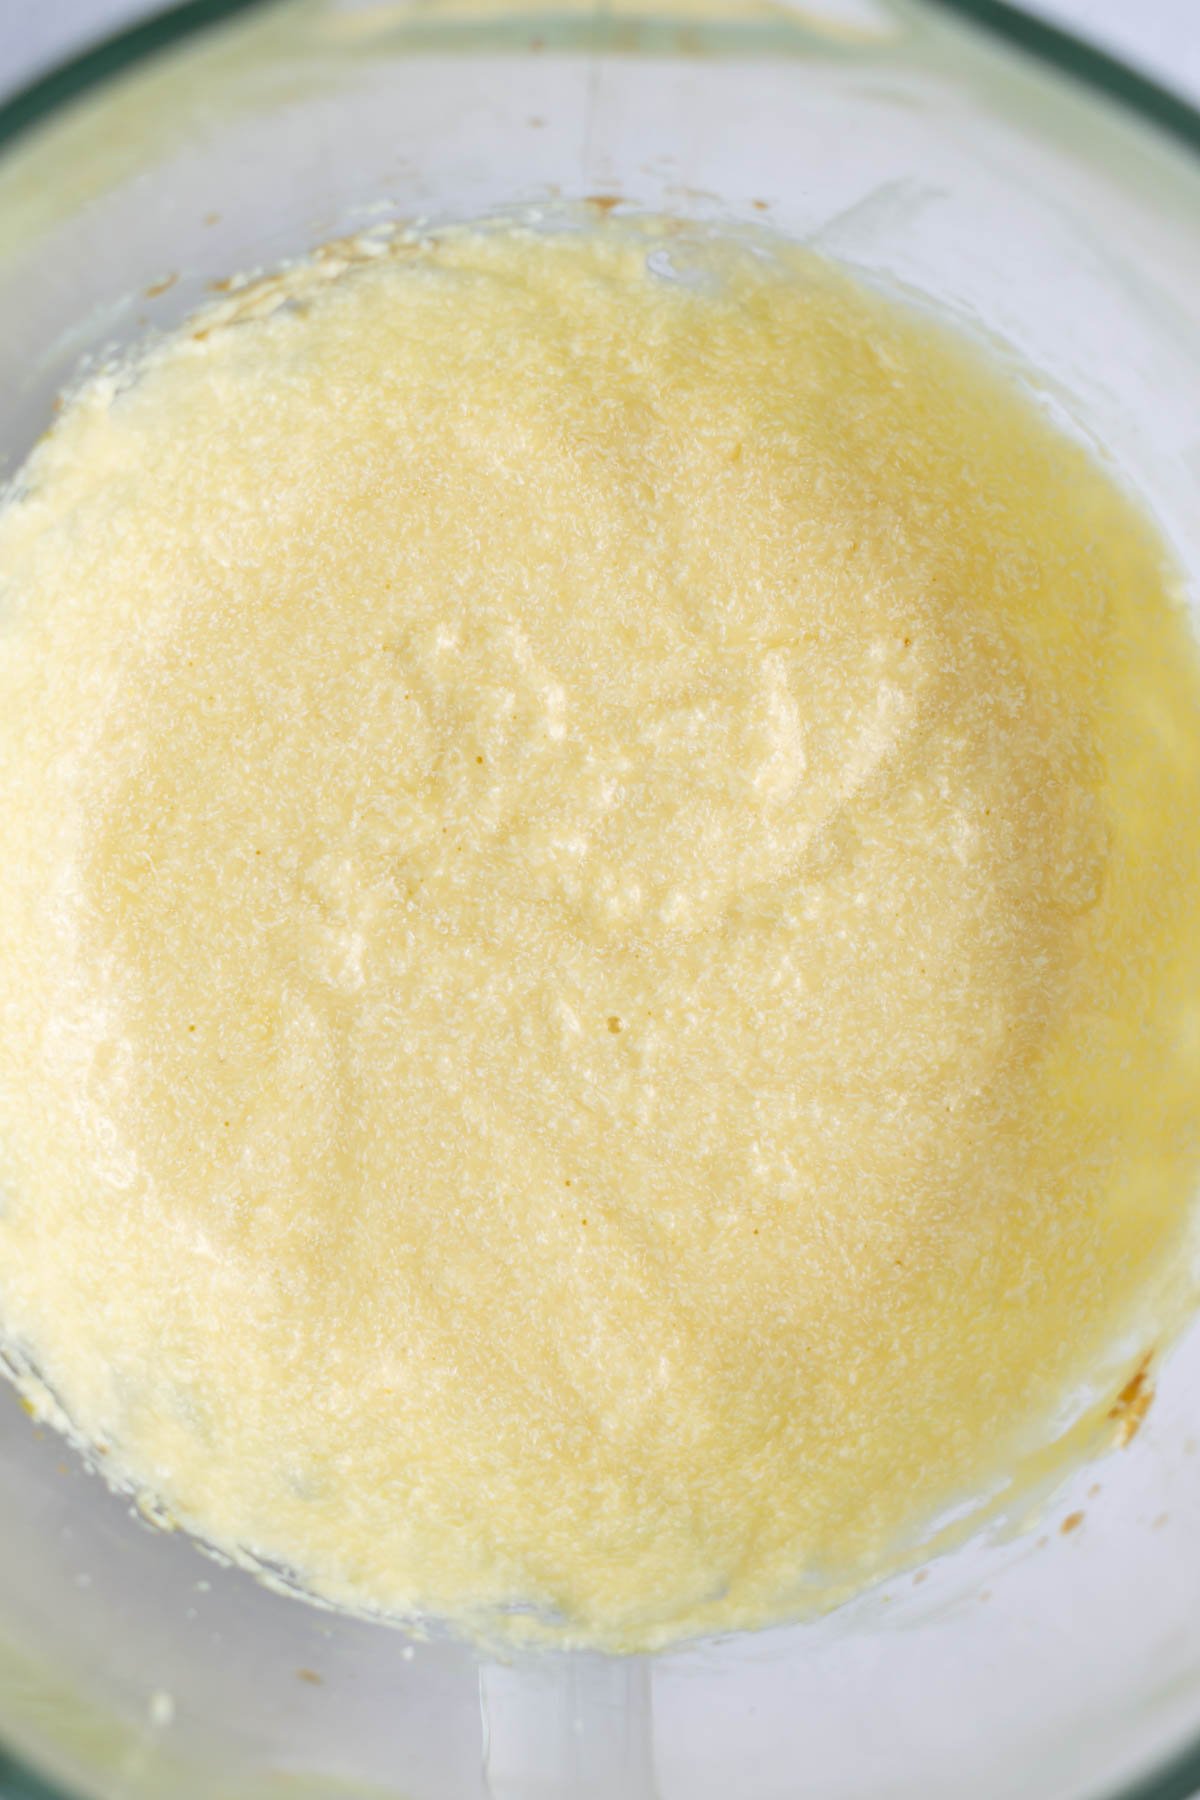
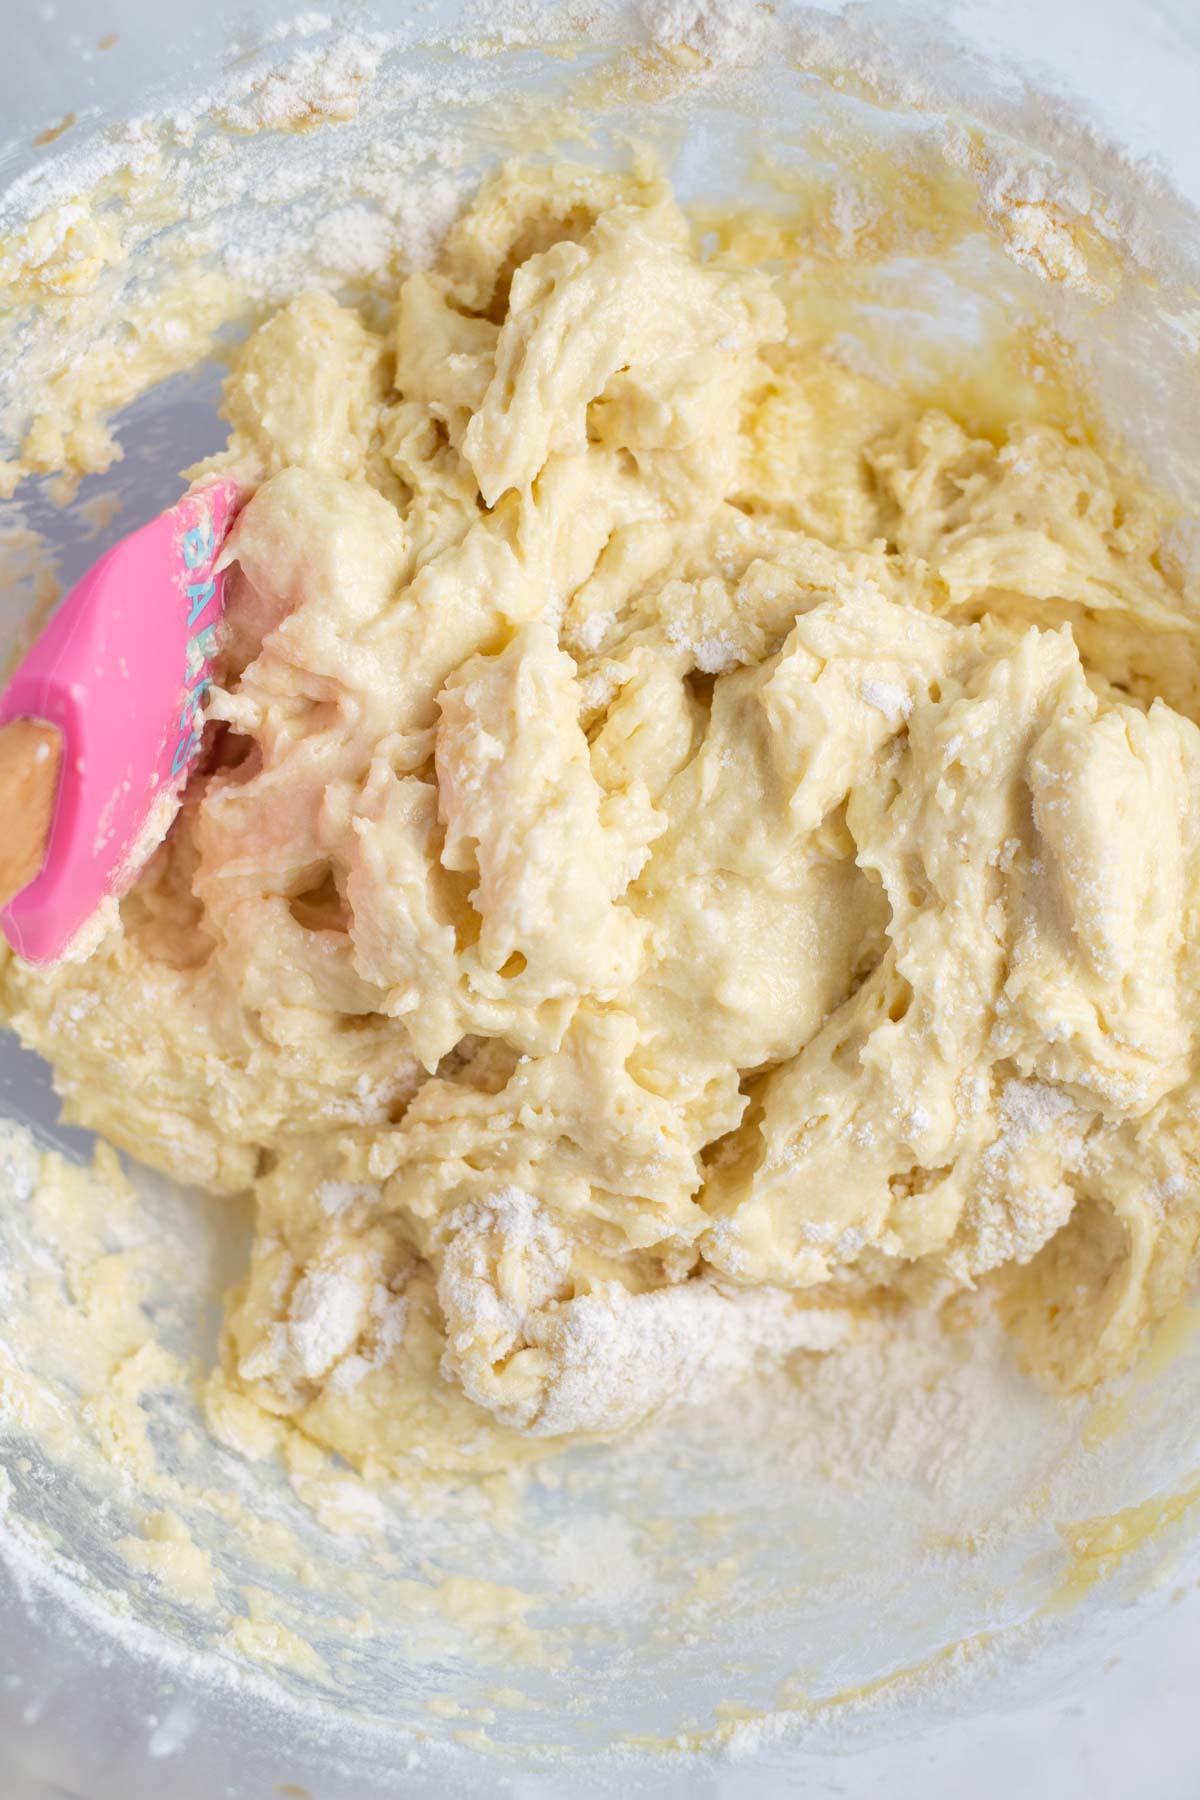
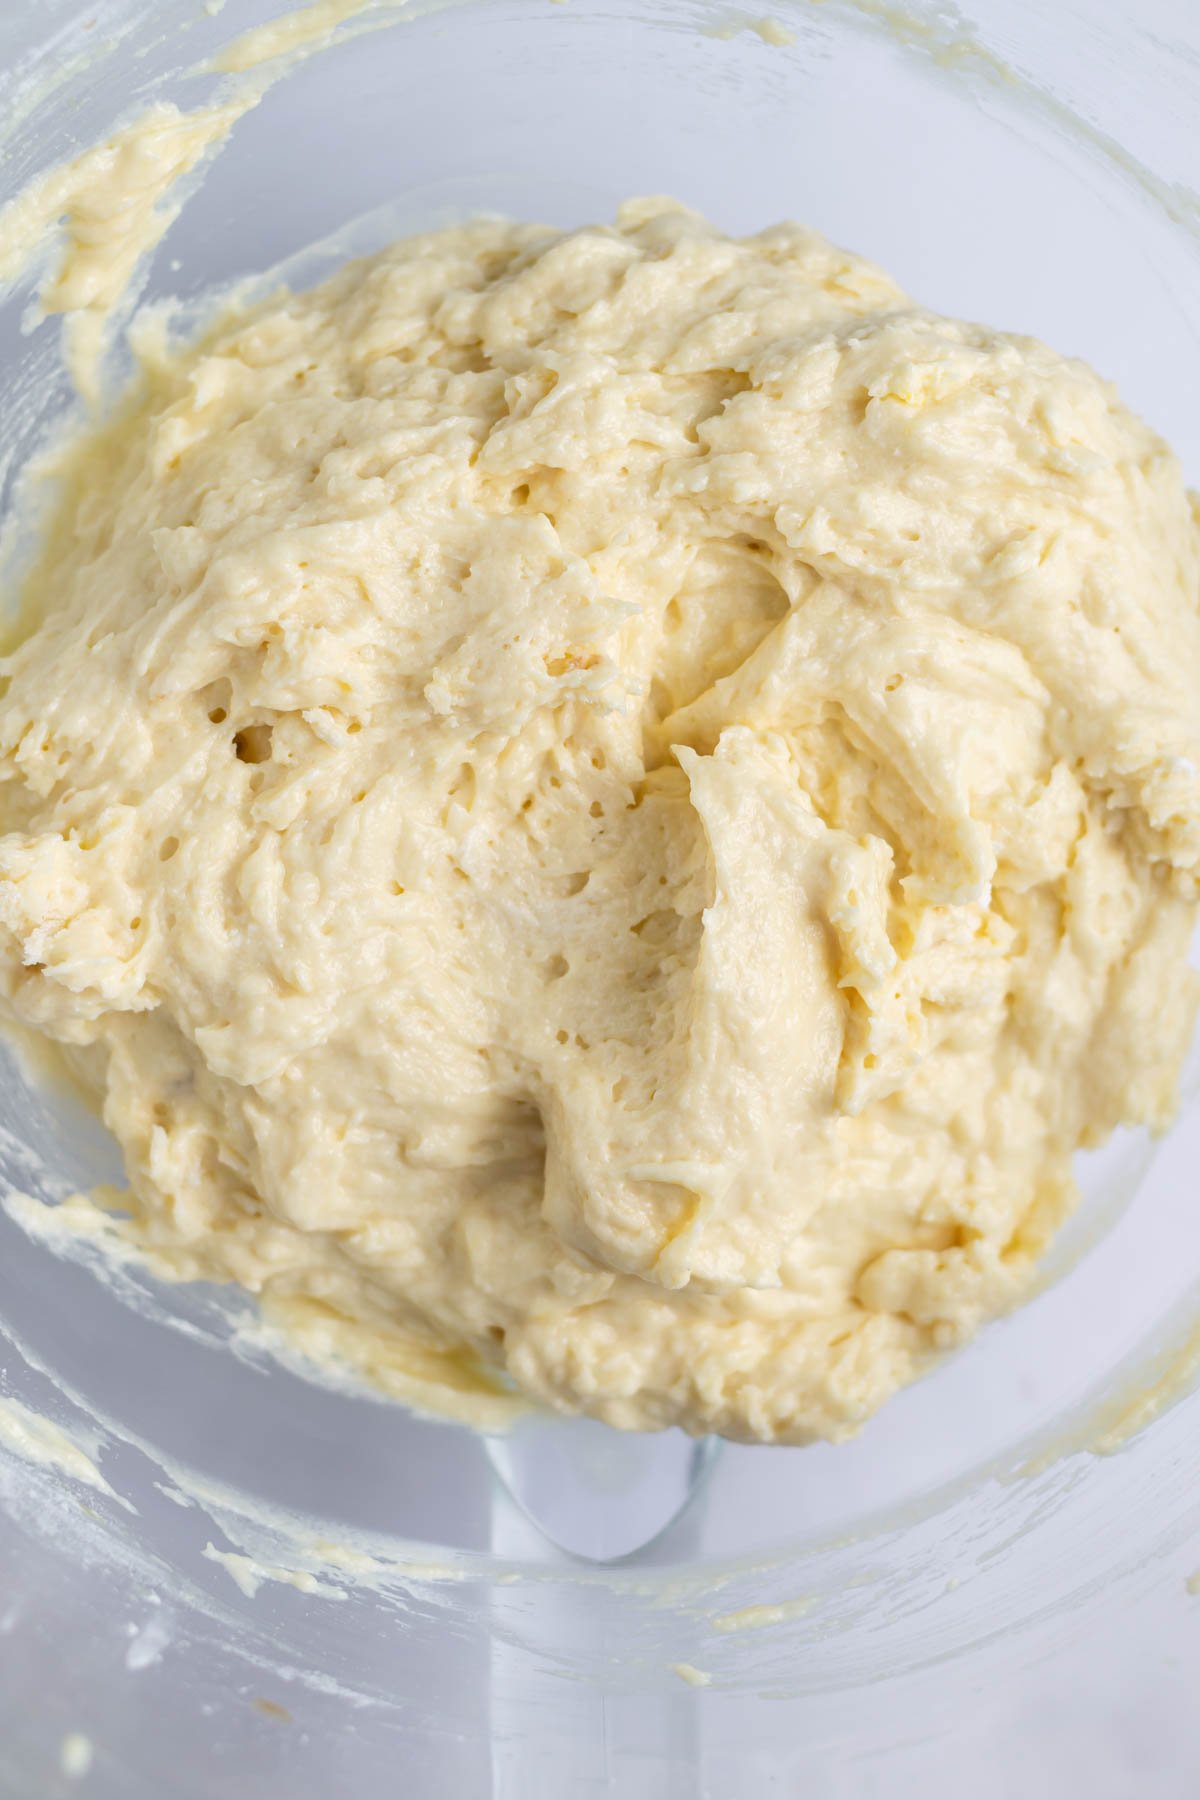
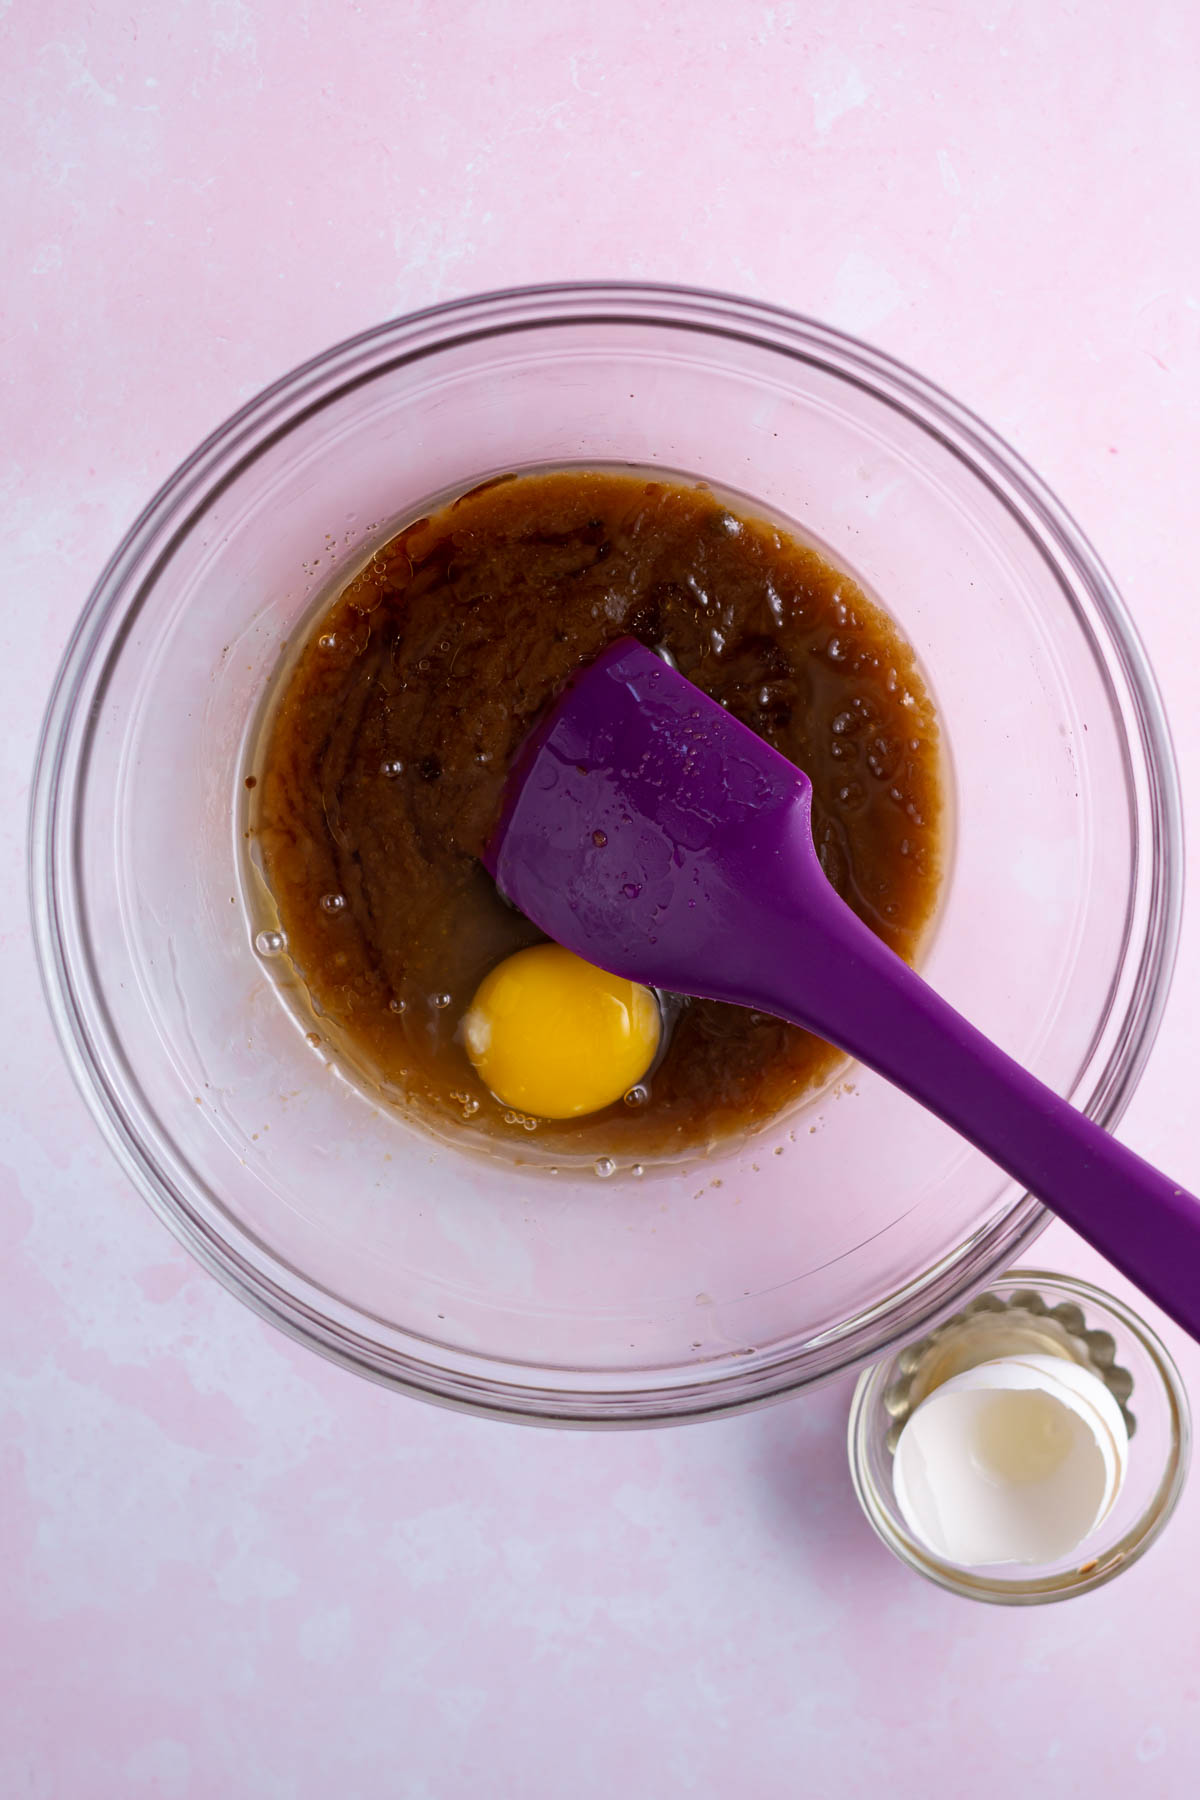
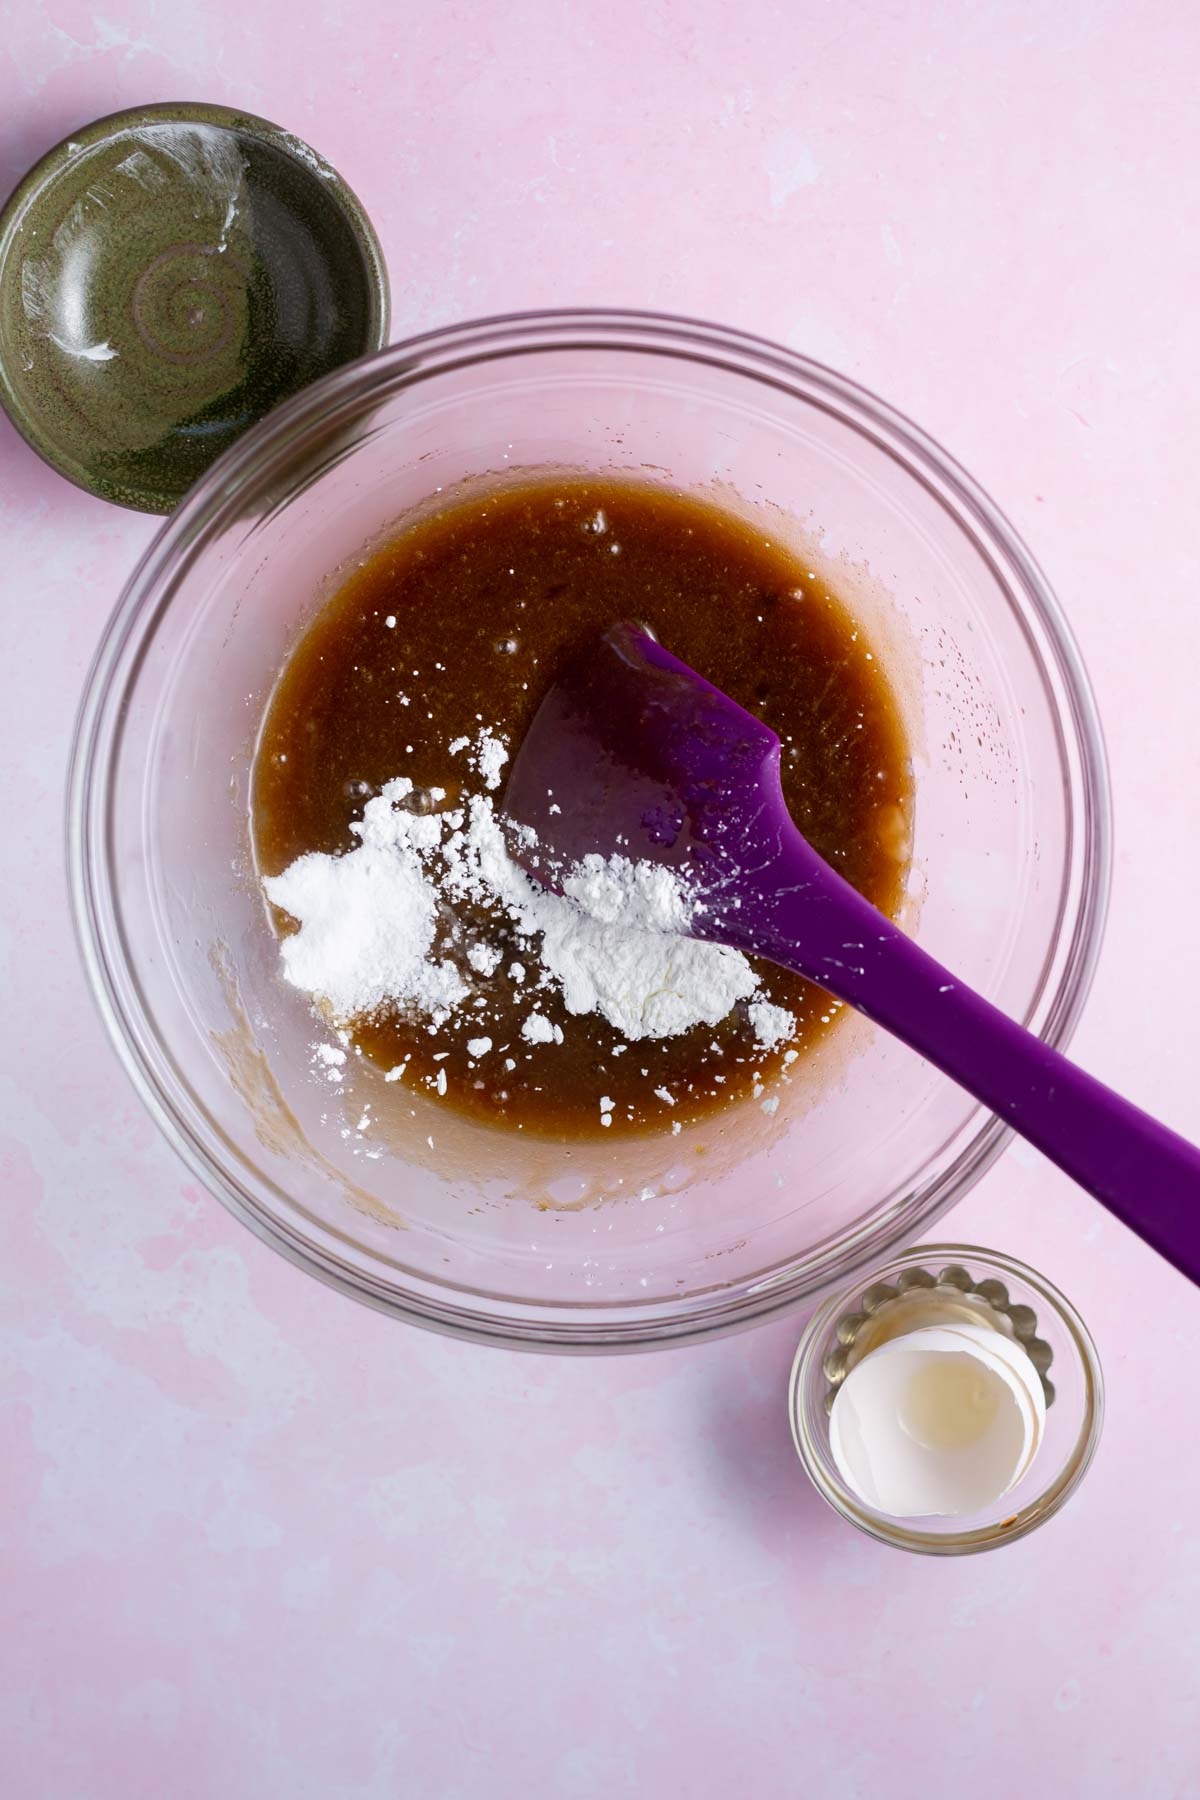
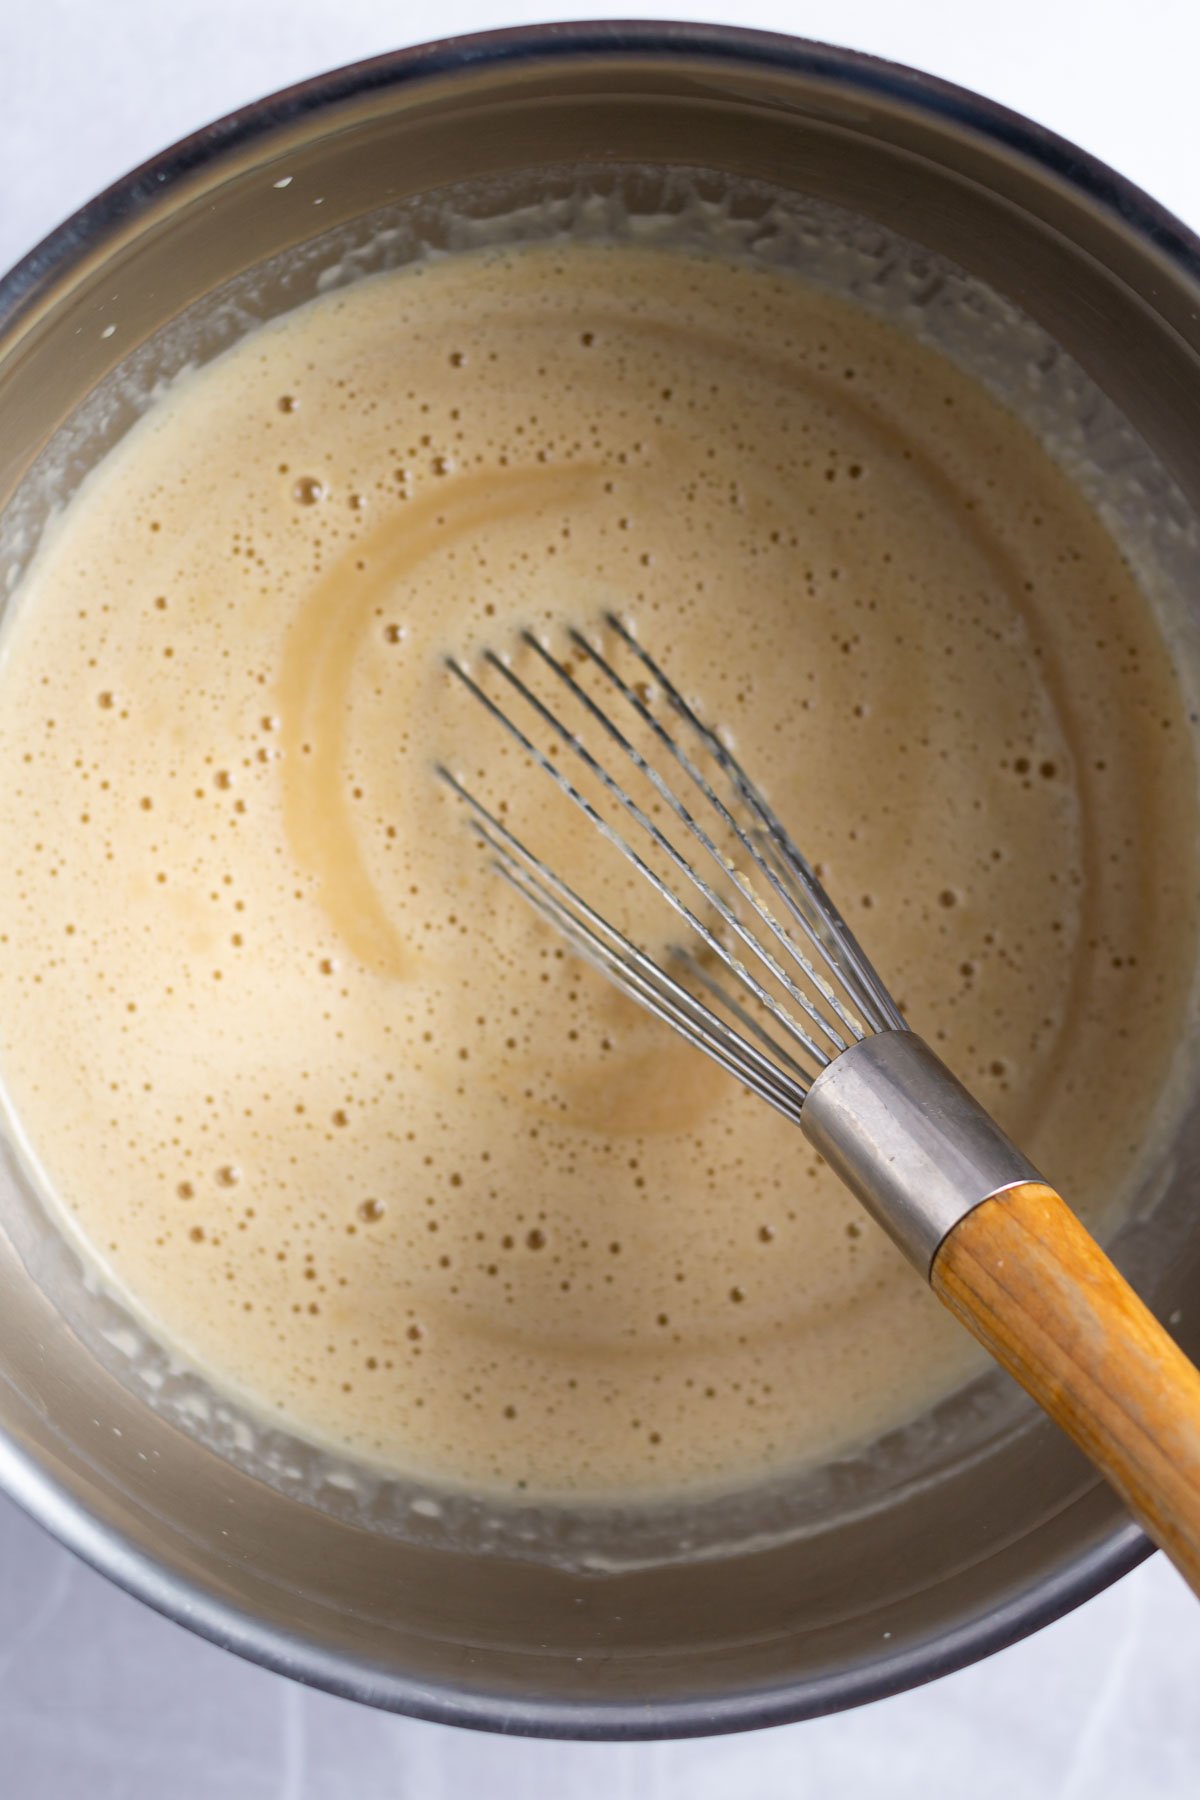
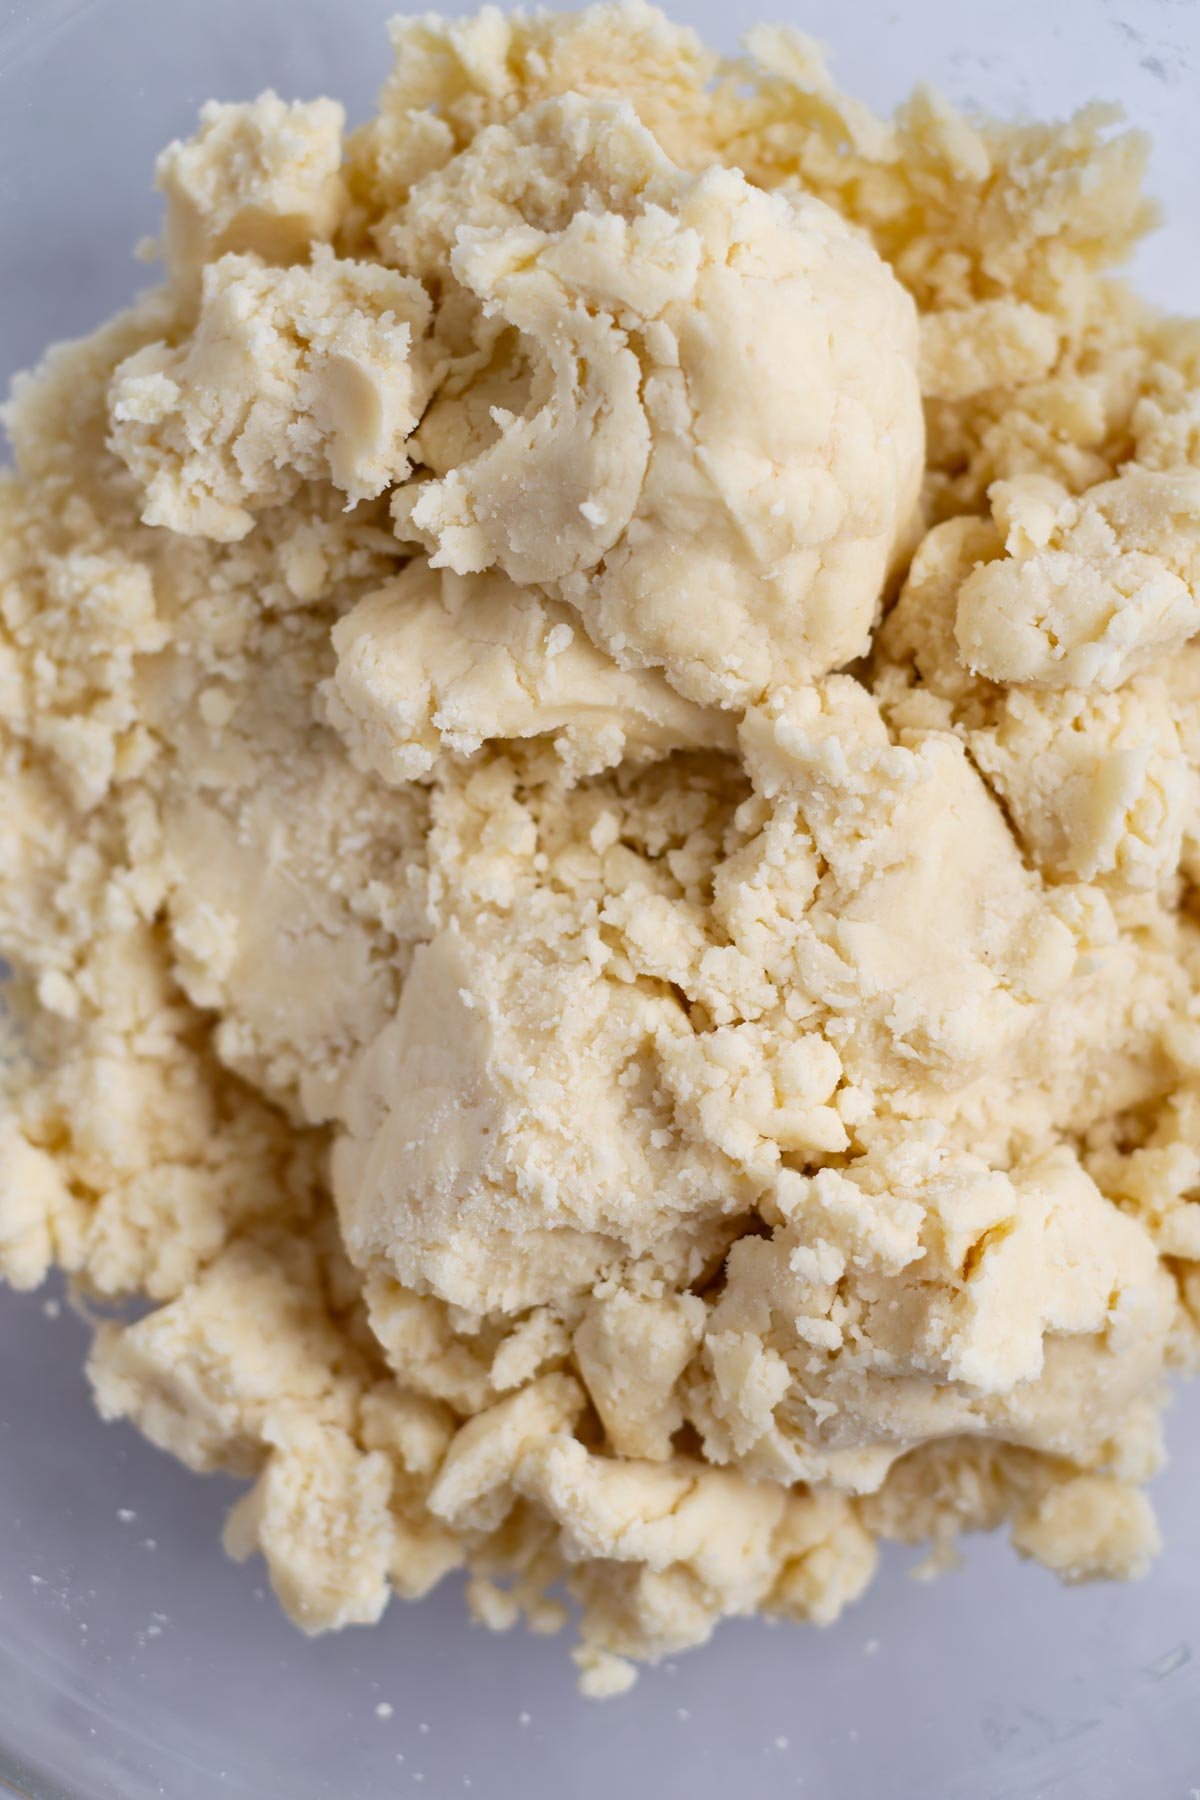
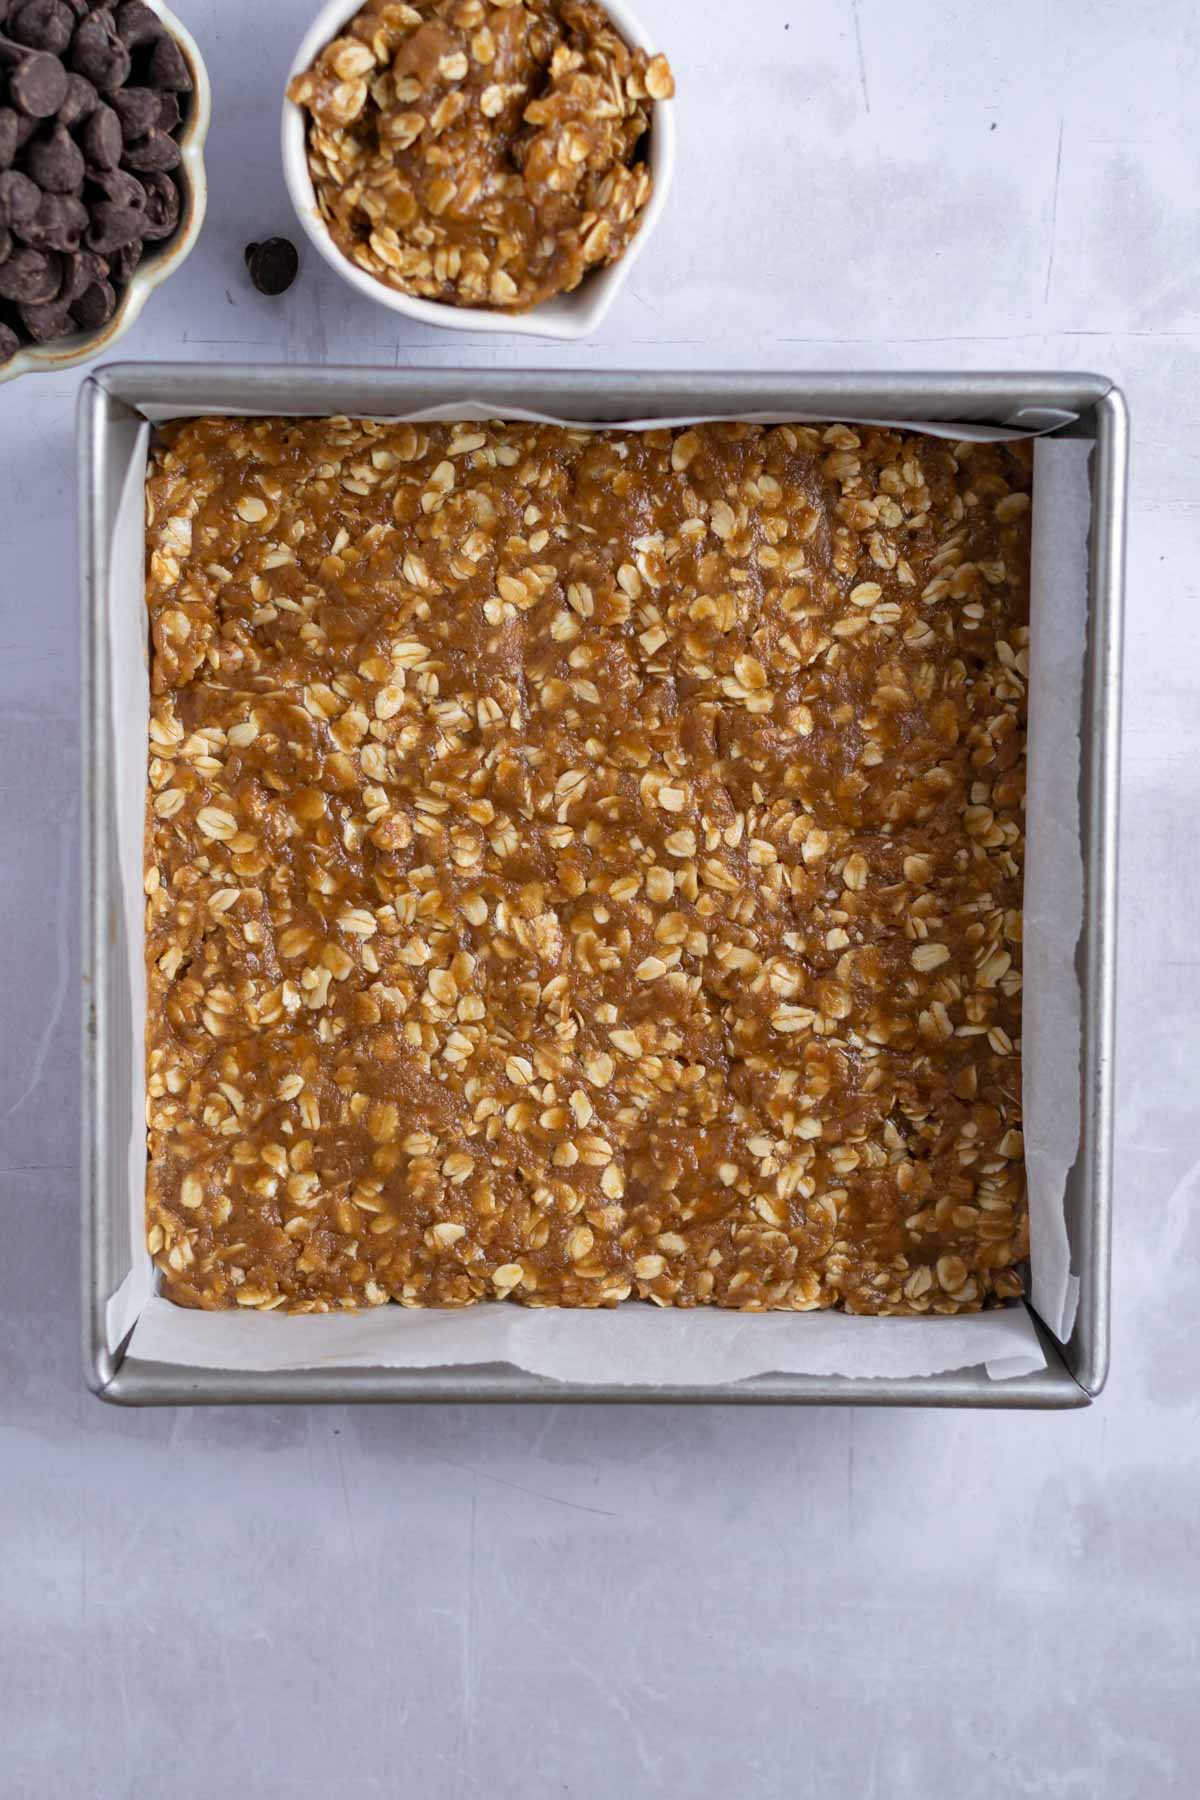
In a medium bowl, stir together the old-fashioned oats, flour, brown sugar, baking soda and kosher salt. Then add the melted butter and vanilla and stir until combined. Save aside about a ½ cup of the oat mixture.
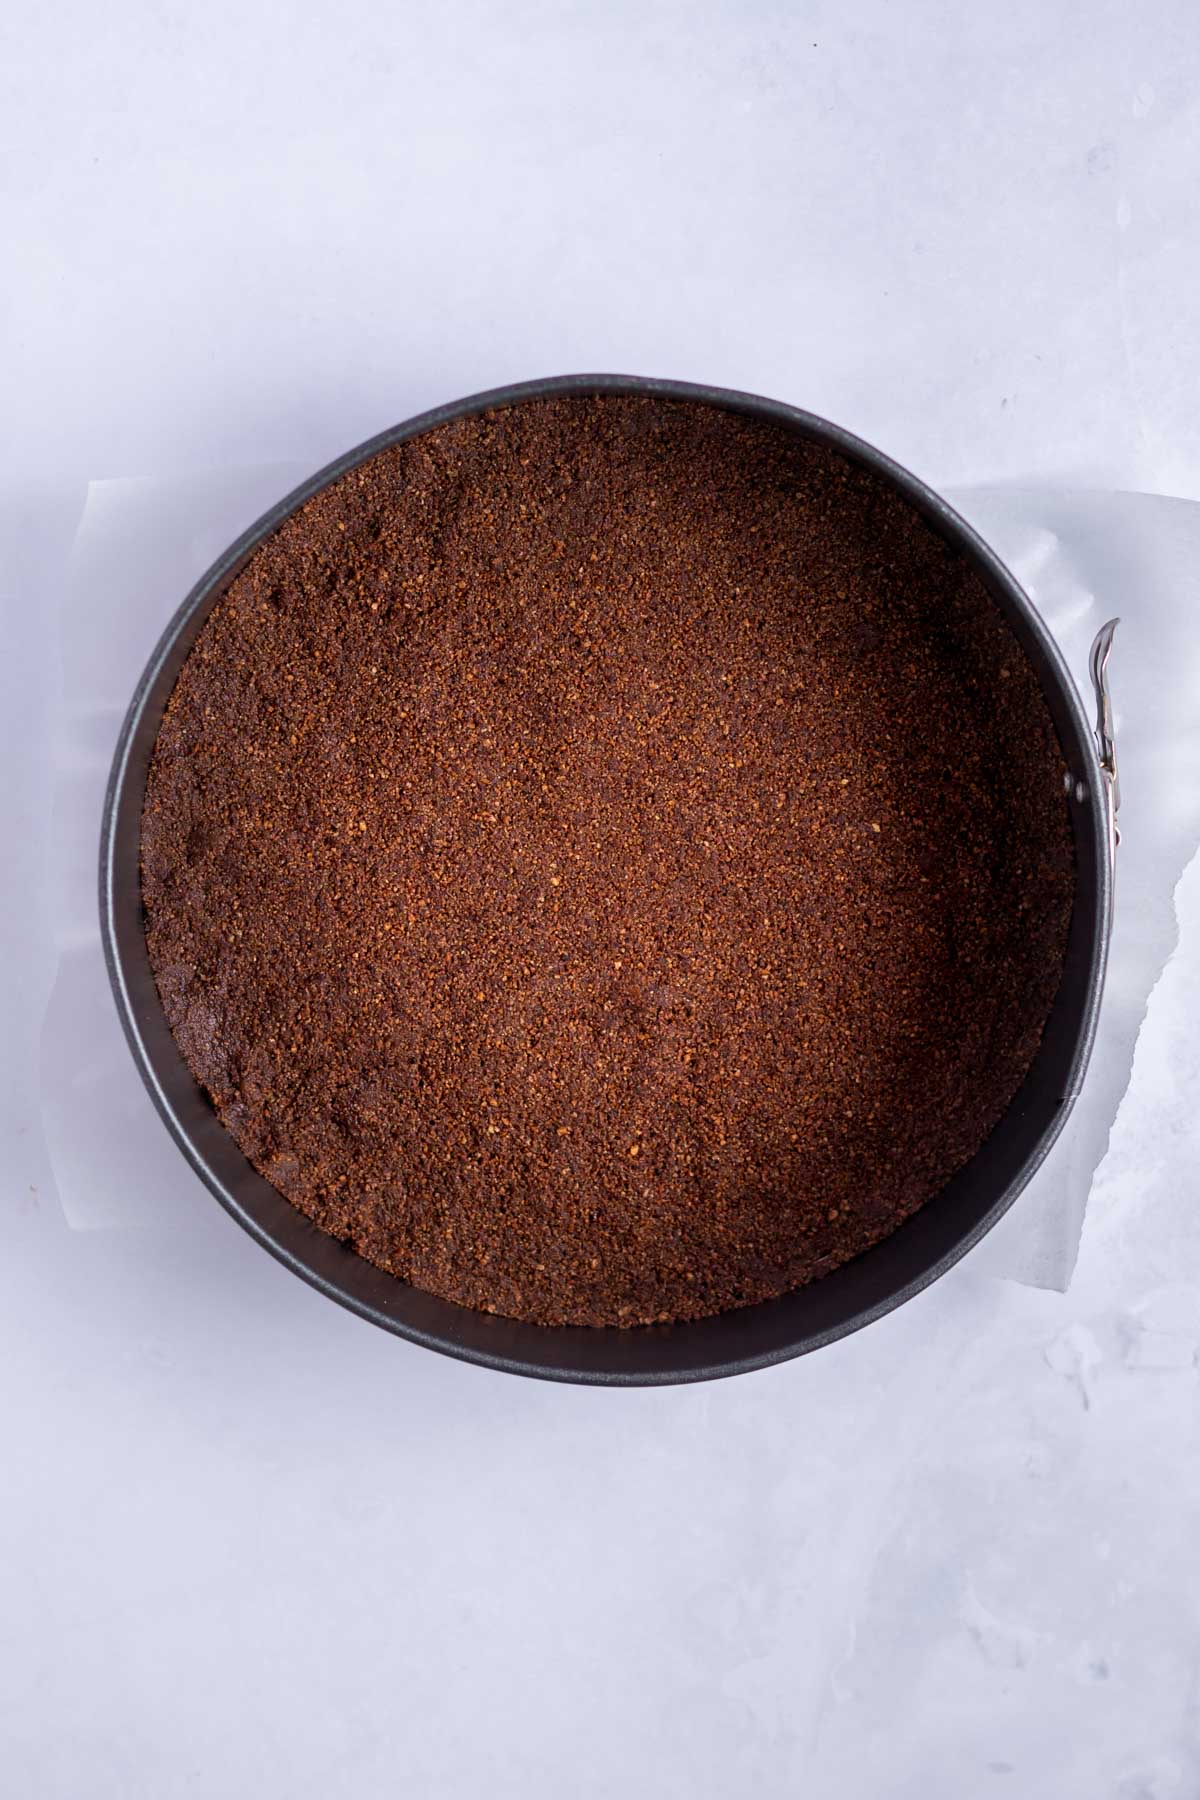
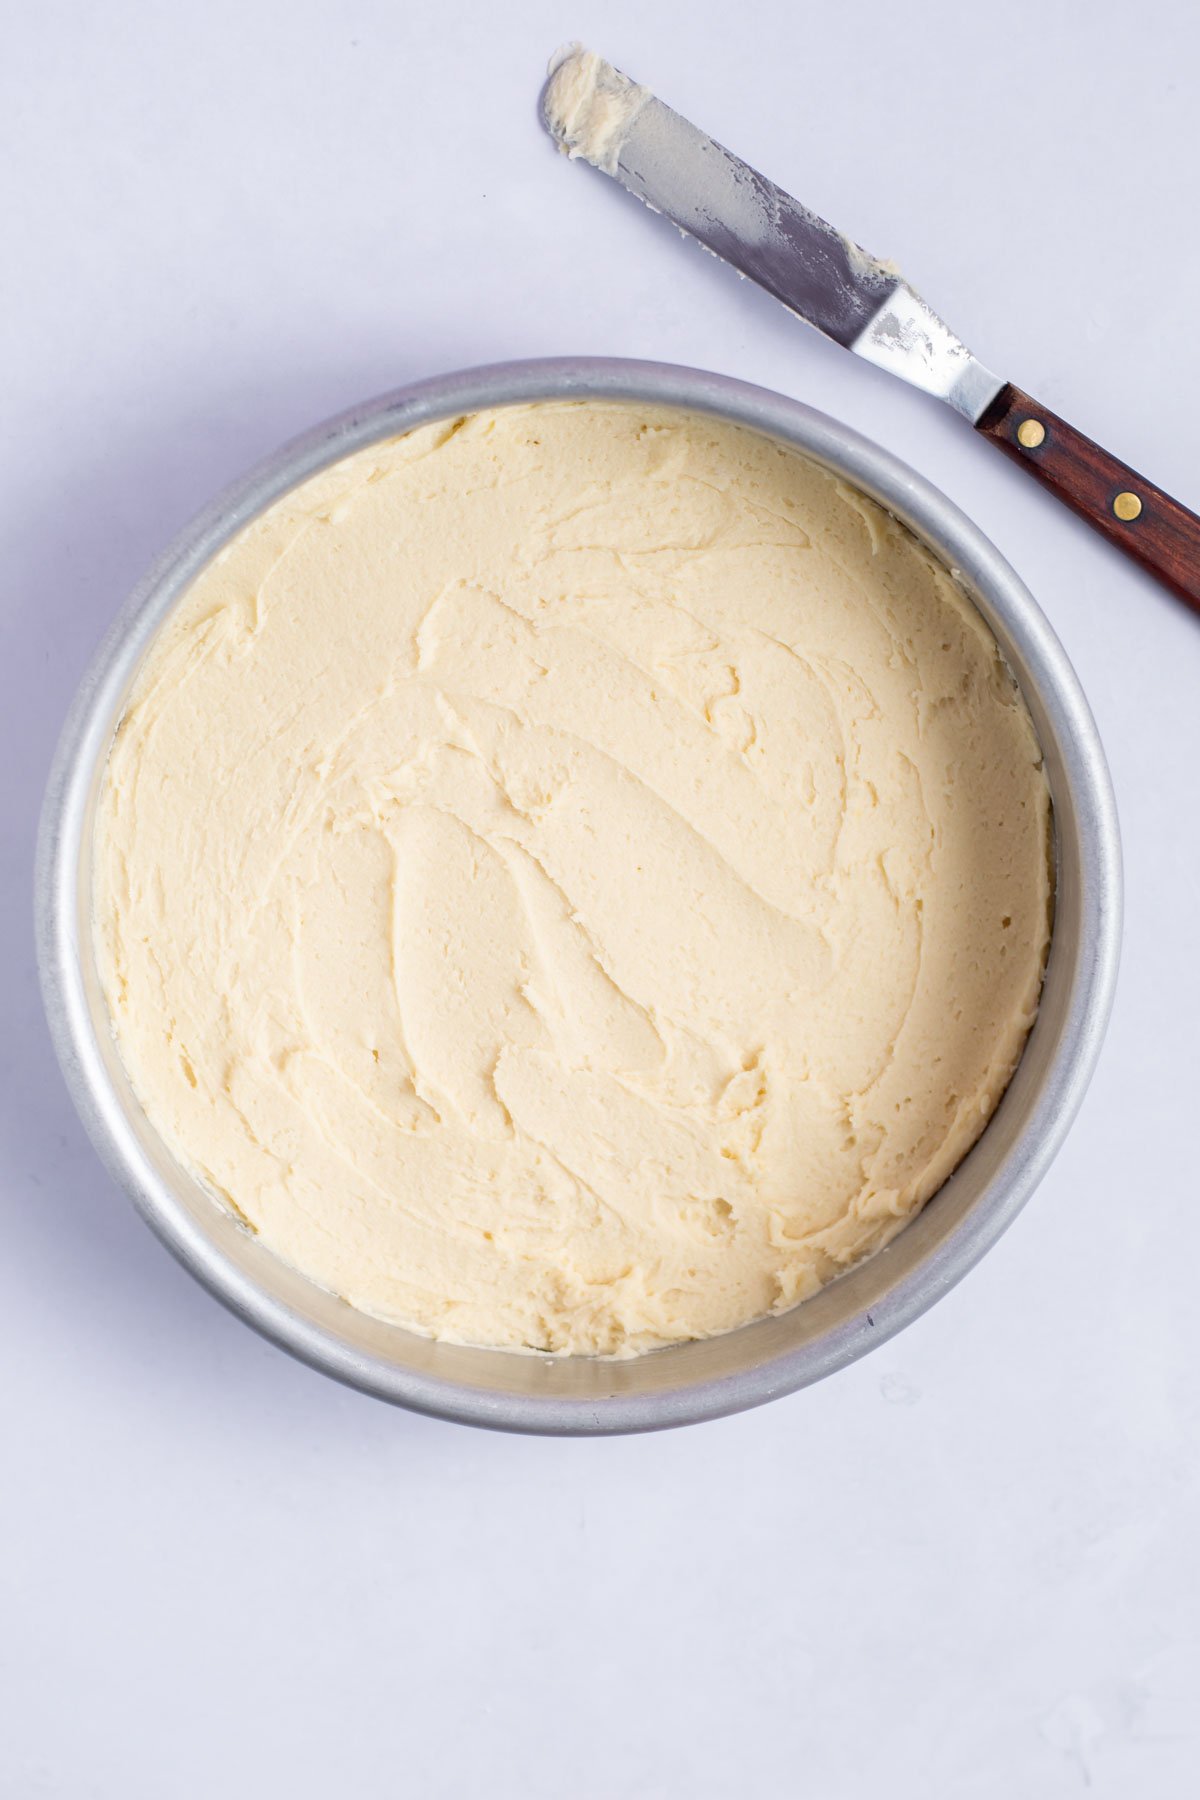
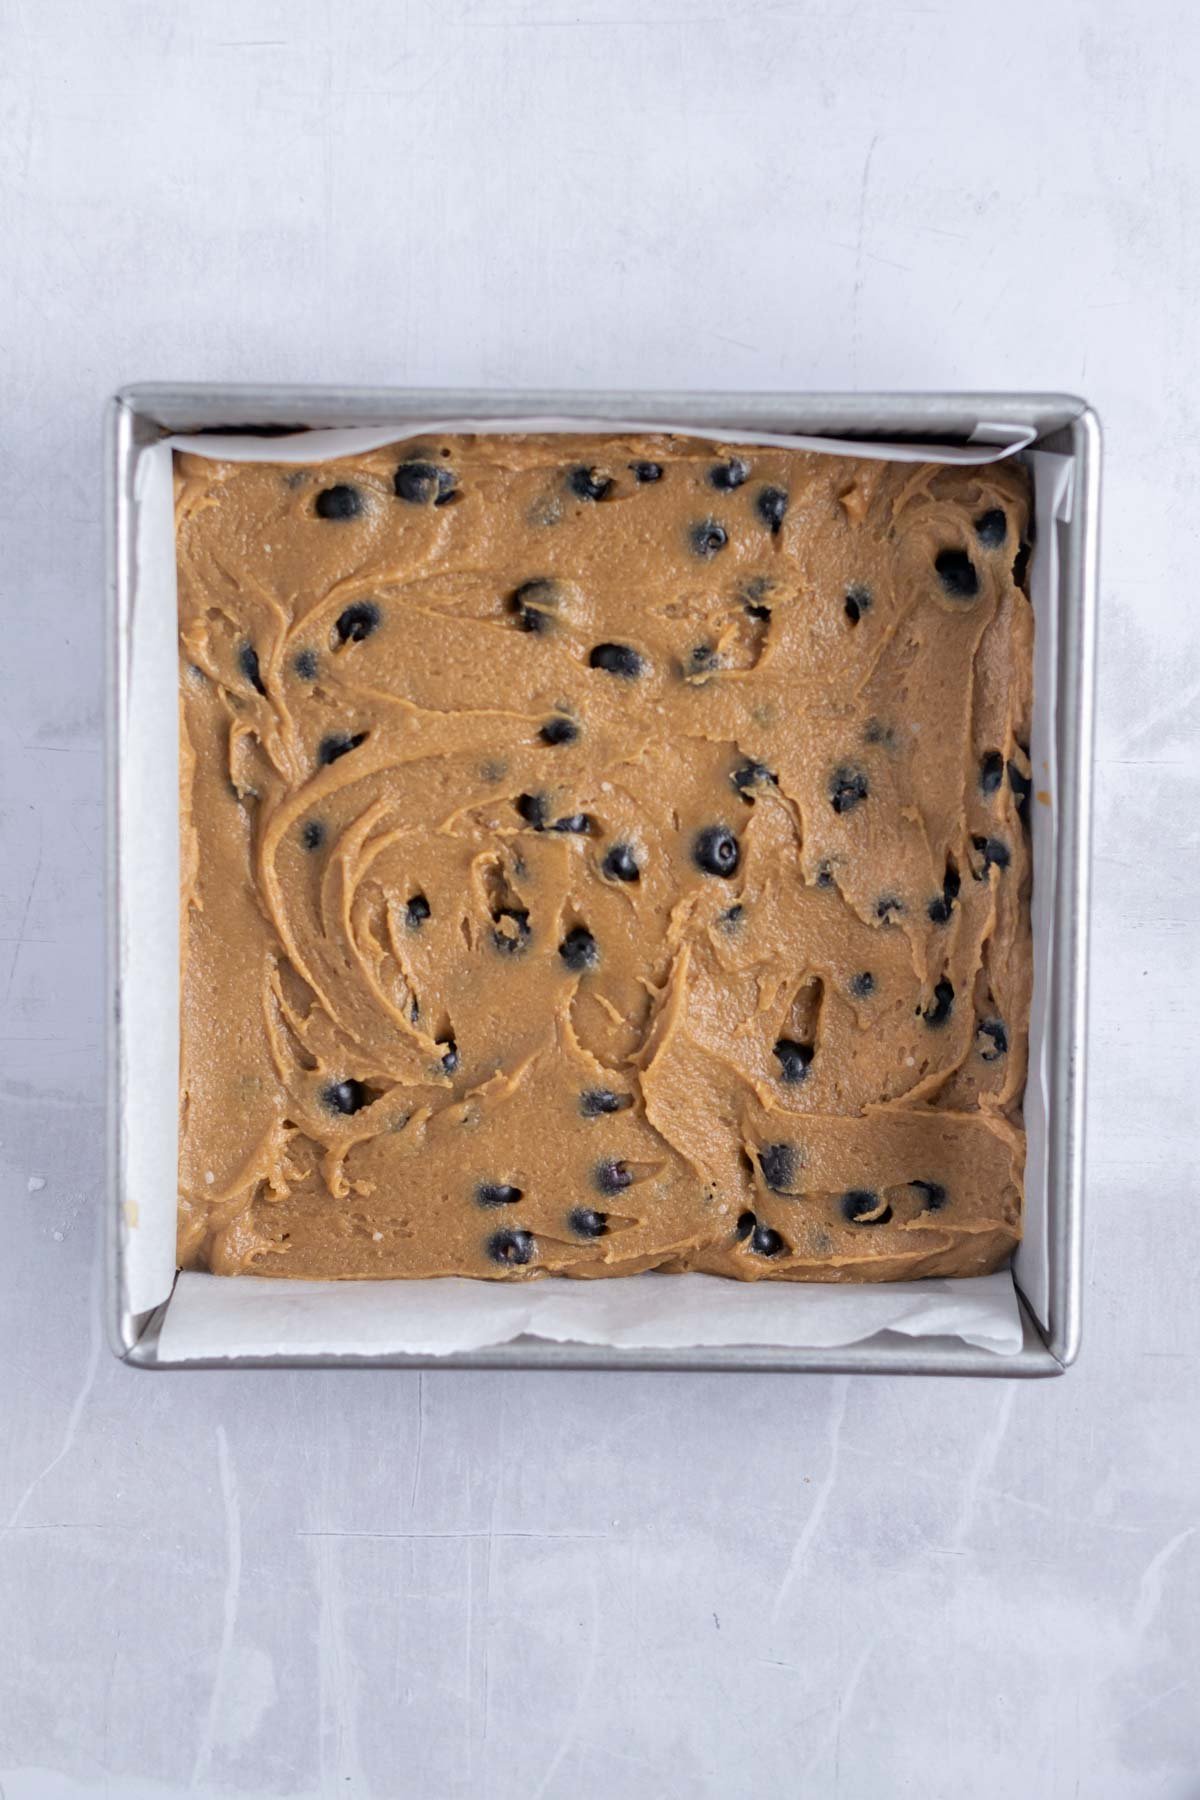
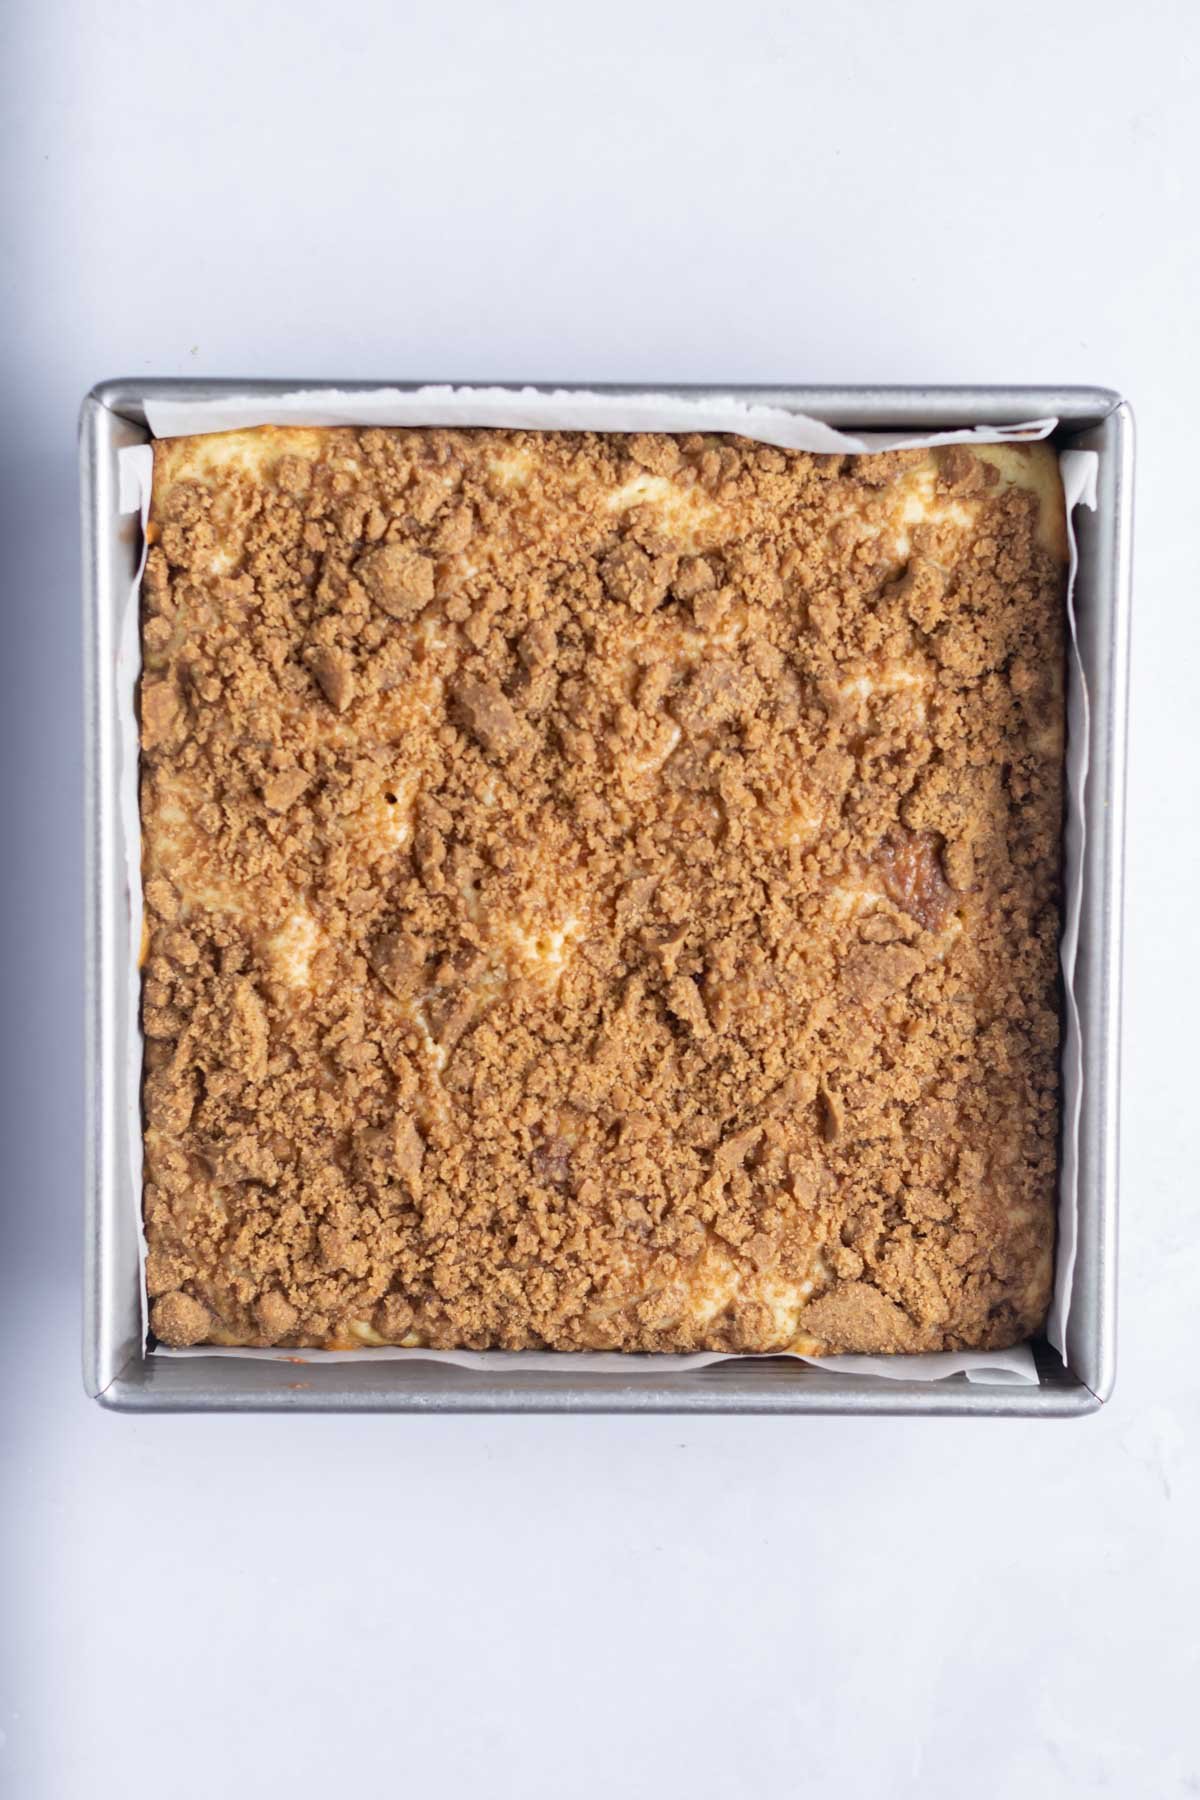
Now press the remaining oatmeal mixture into the bottom of the prepared pan. Bake for 10 minutes.
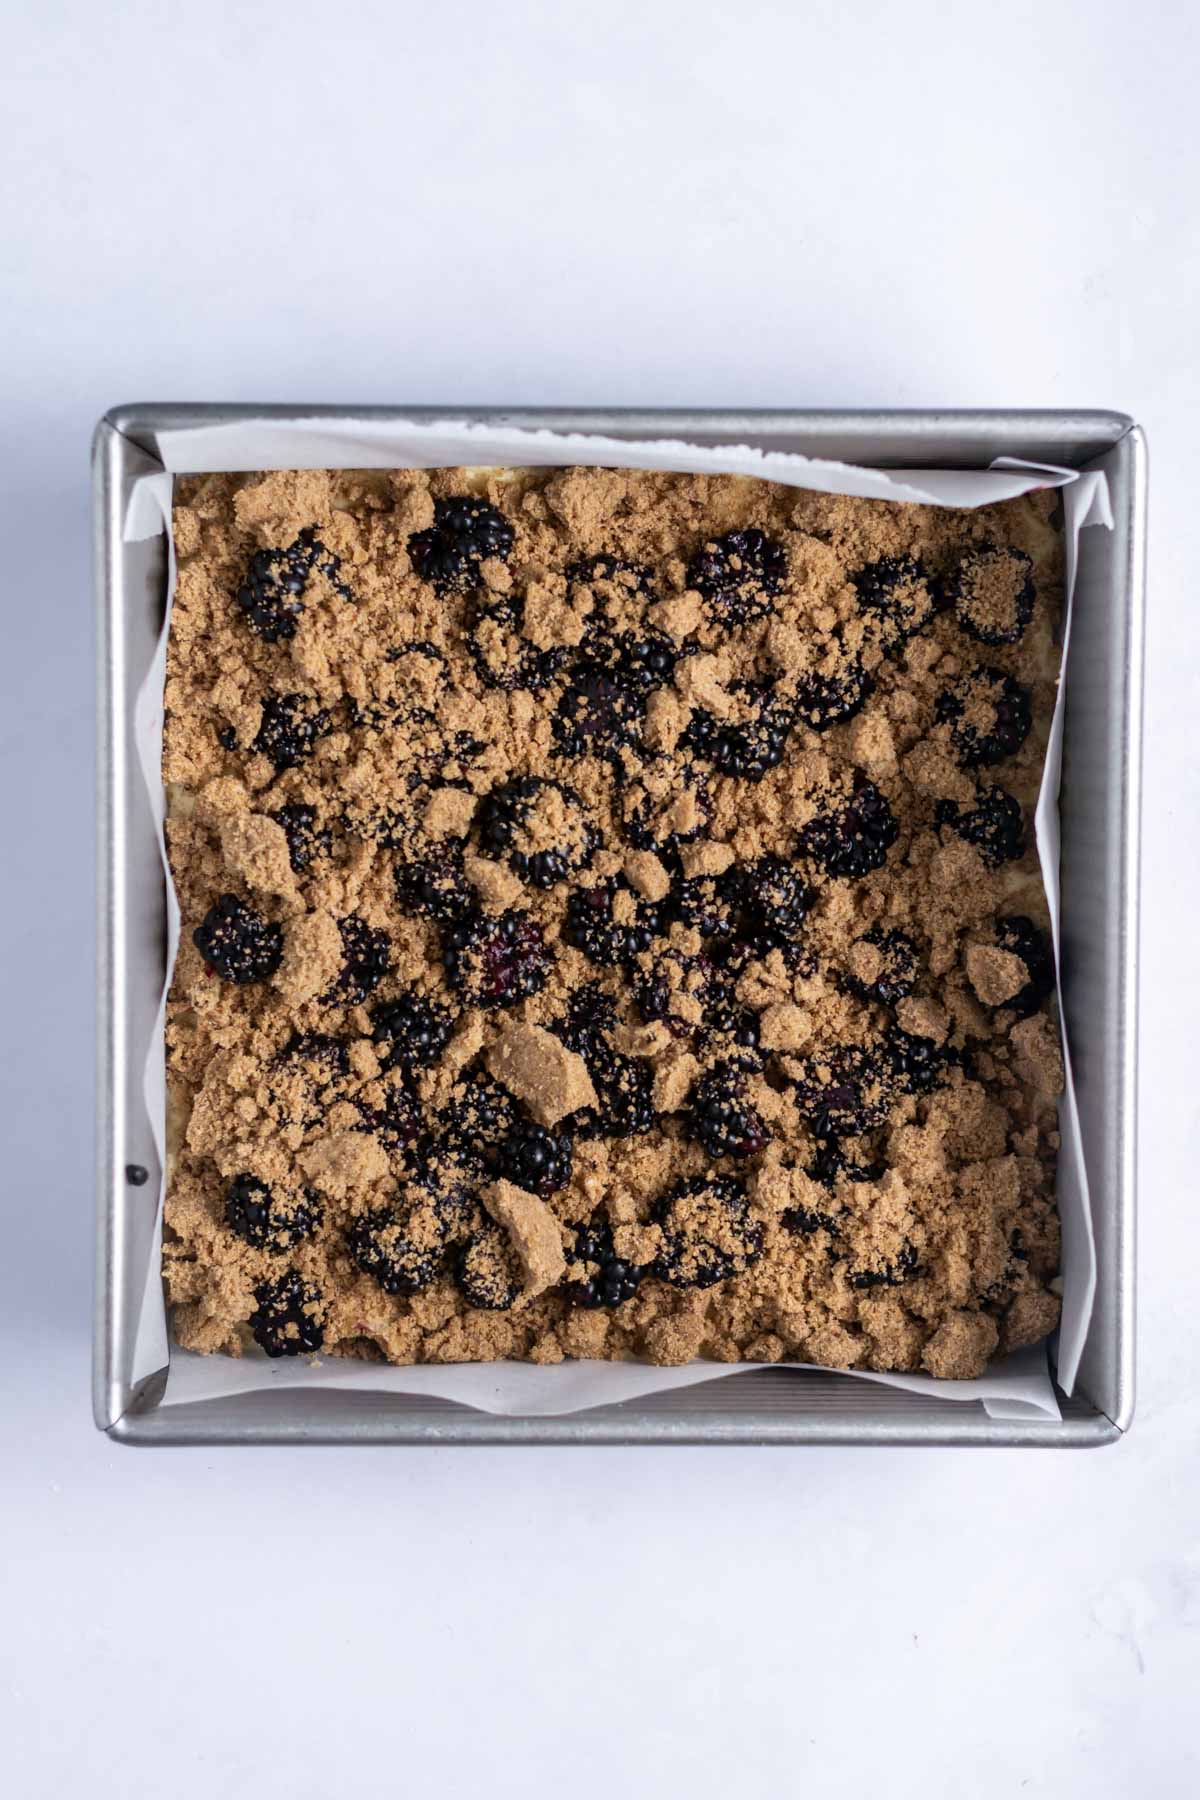
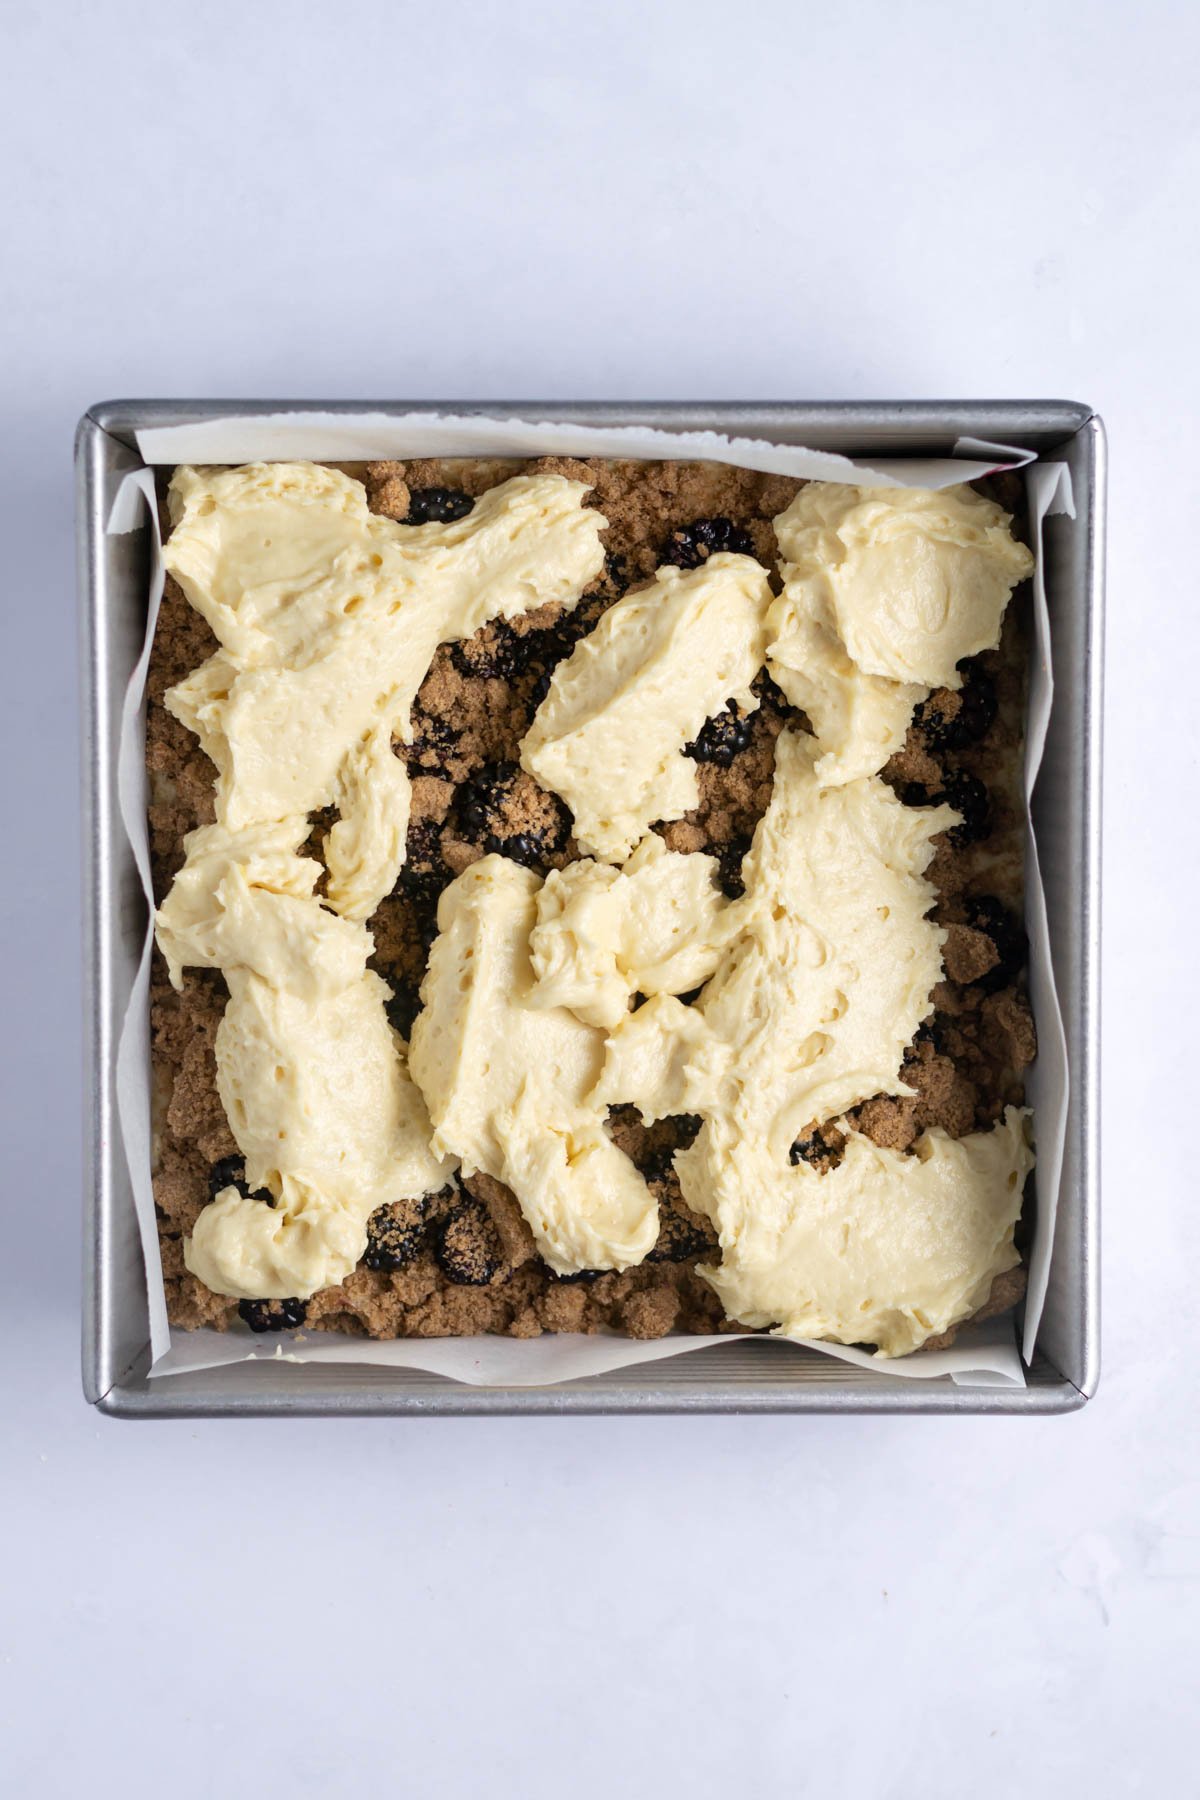
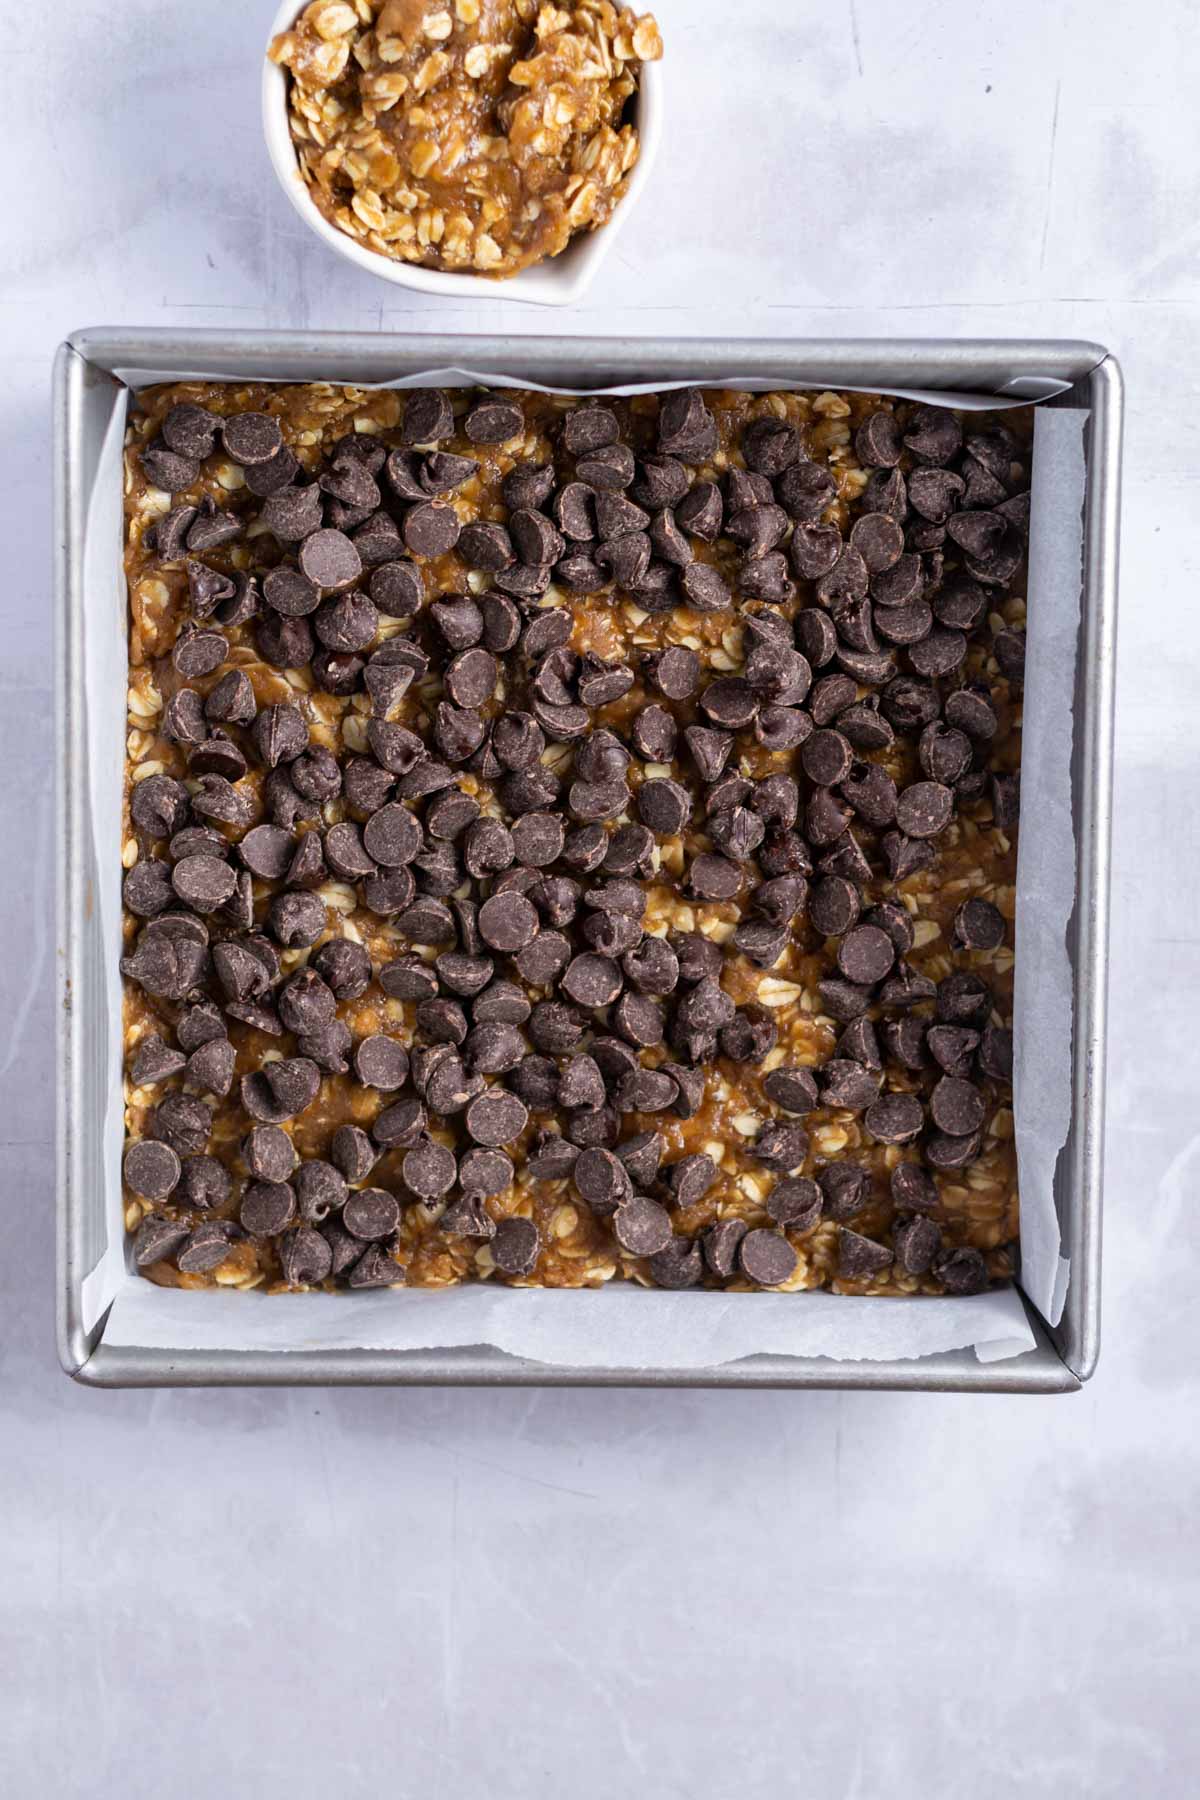
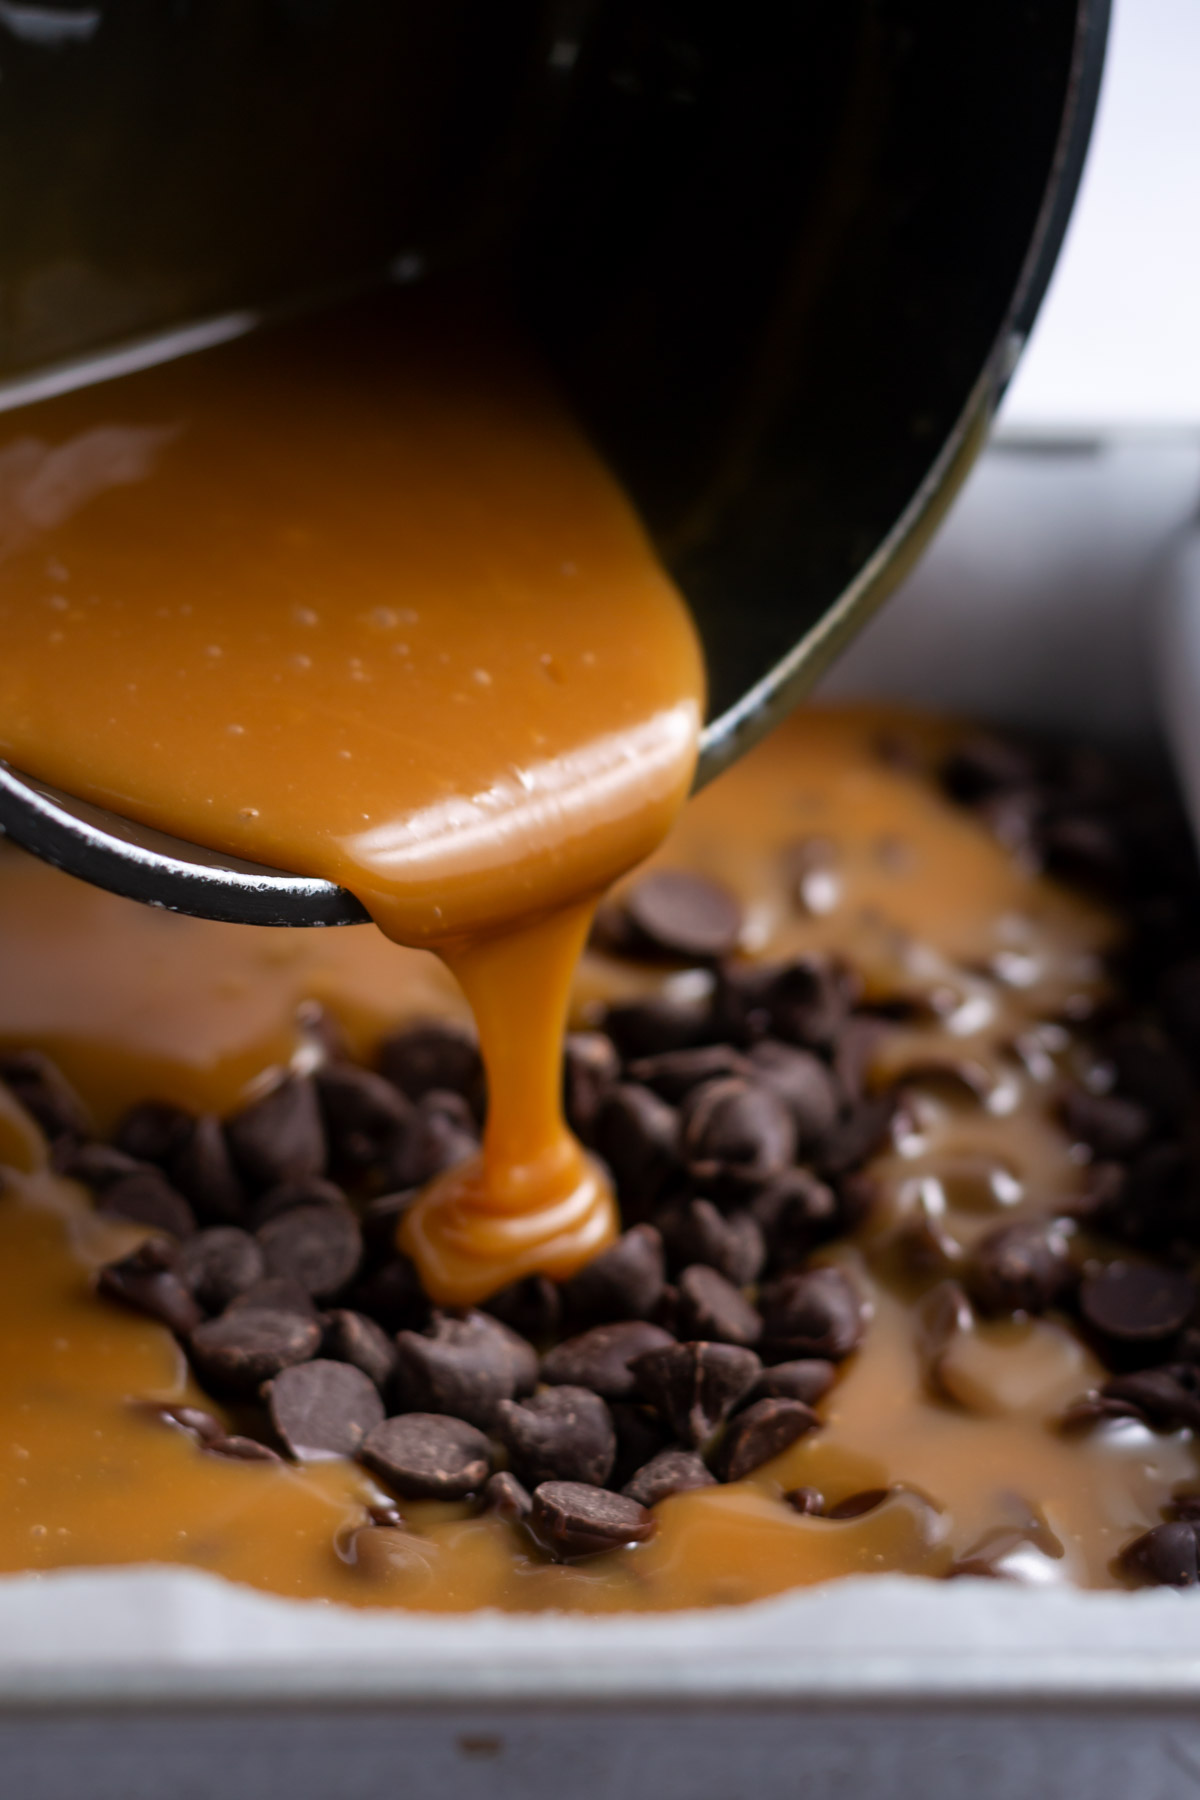
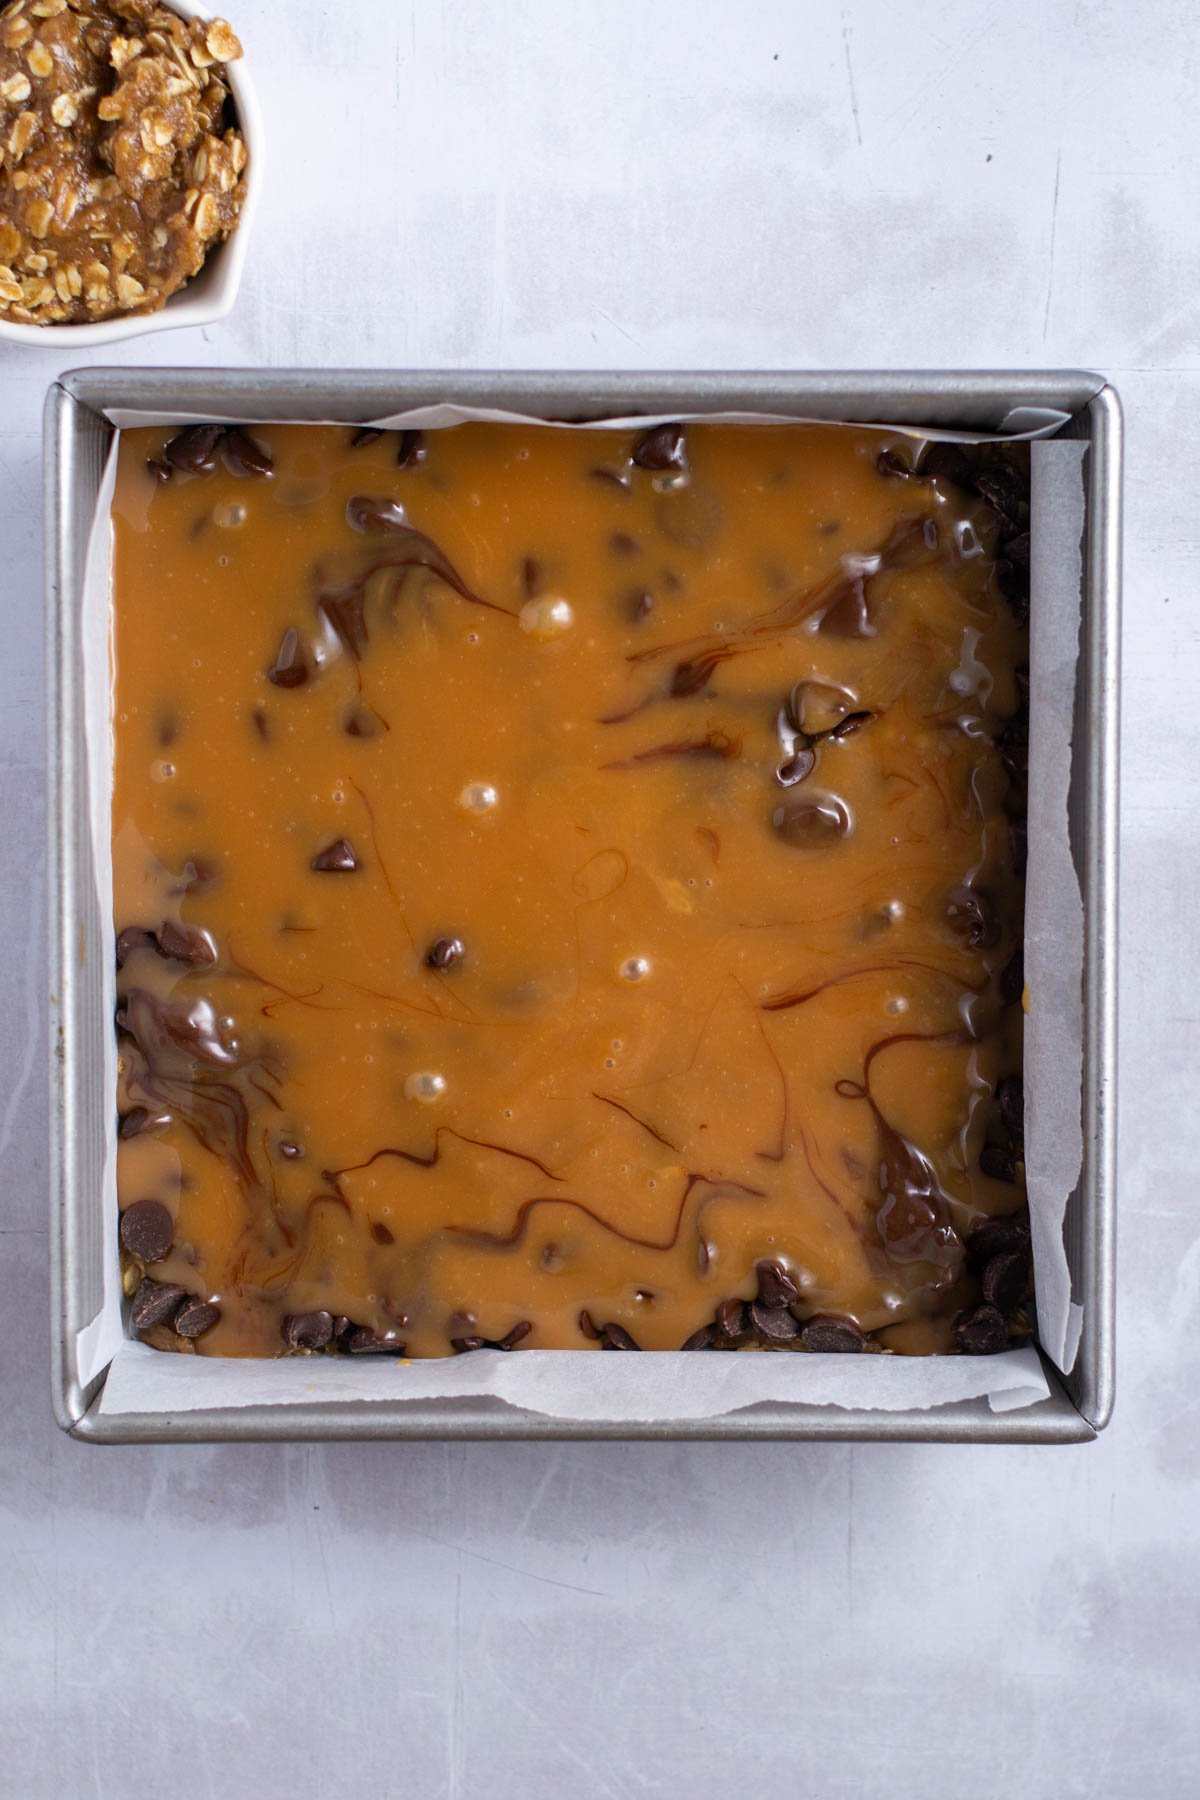
Remove pan from oven and spread the semi-sweet chocolate chips over the crust. Pour the prepared caramel filling over the chocolate chips.
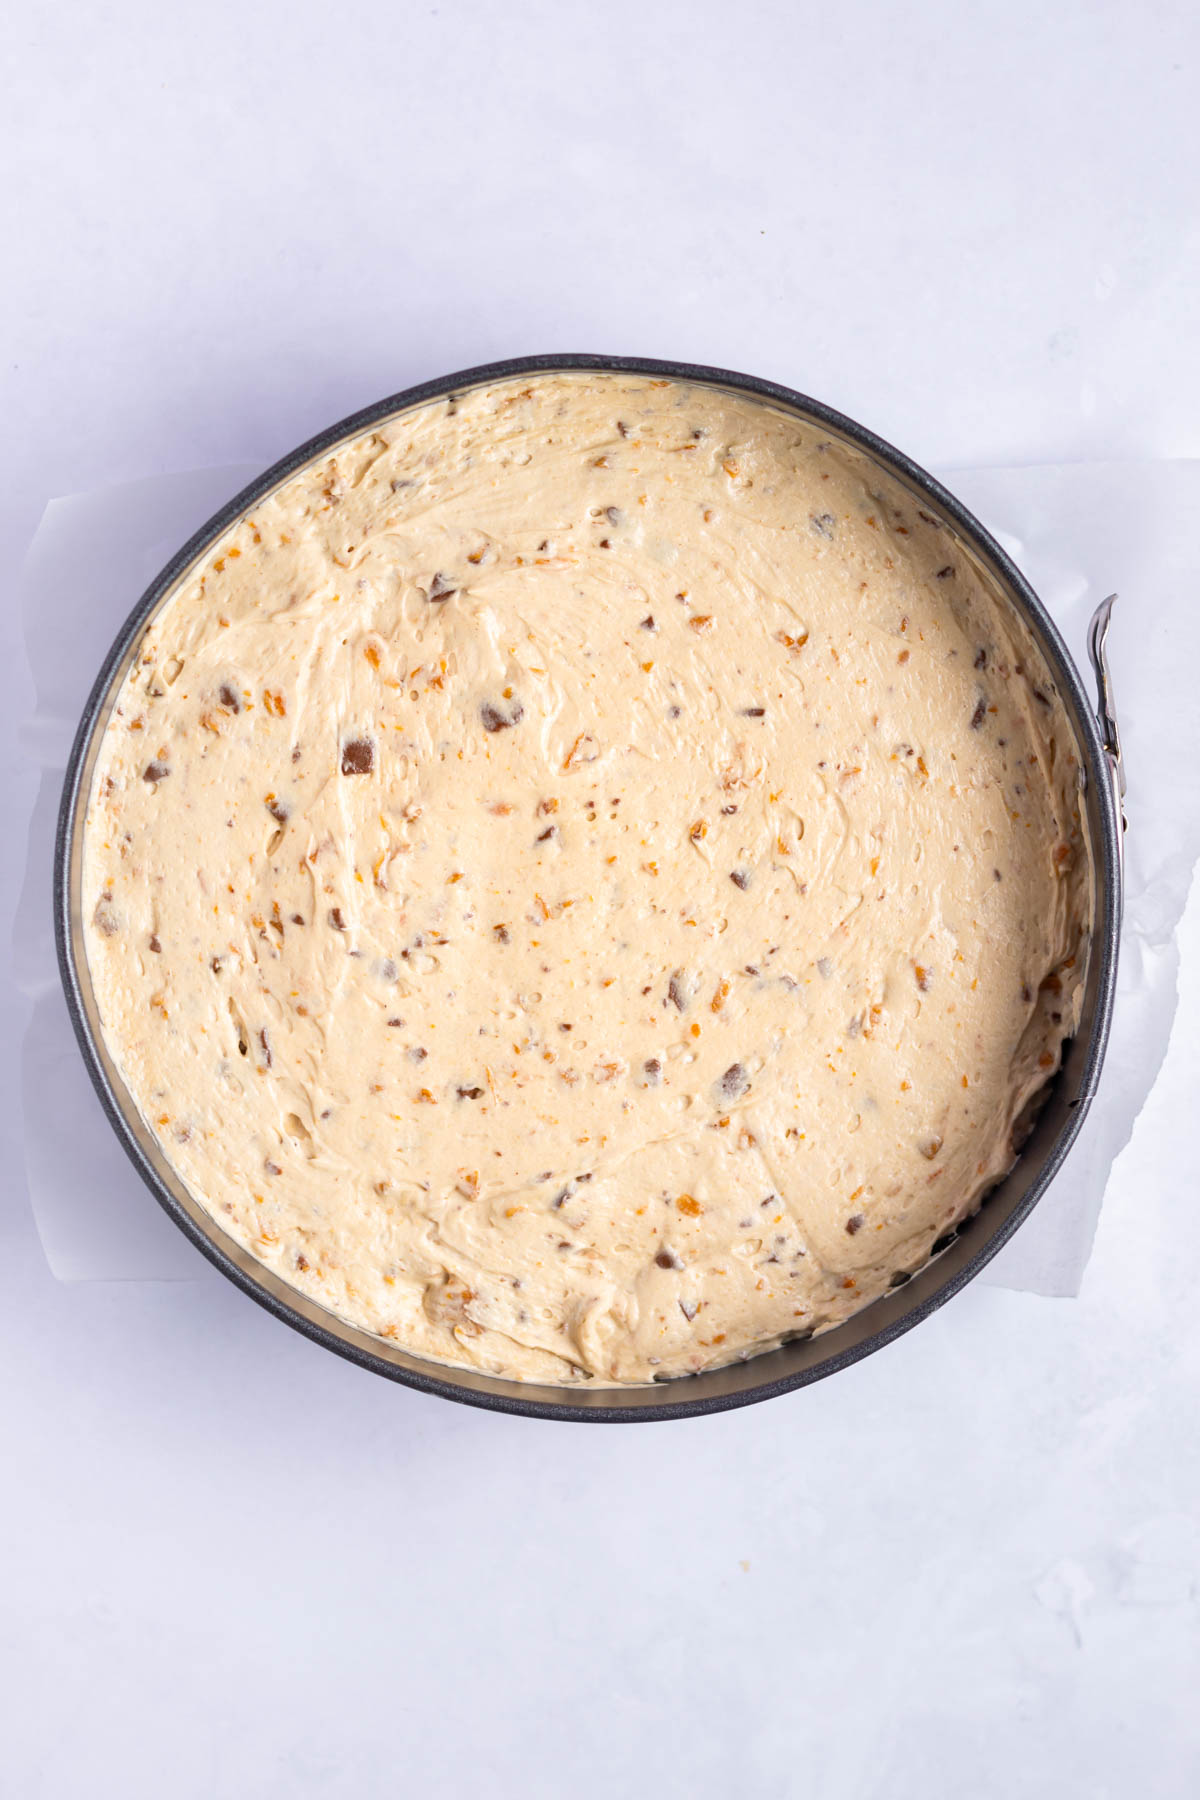
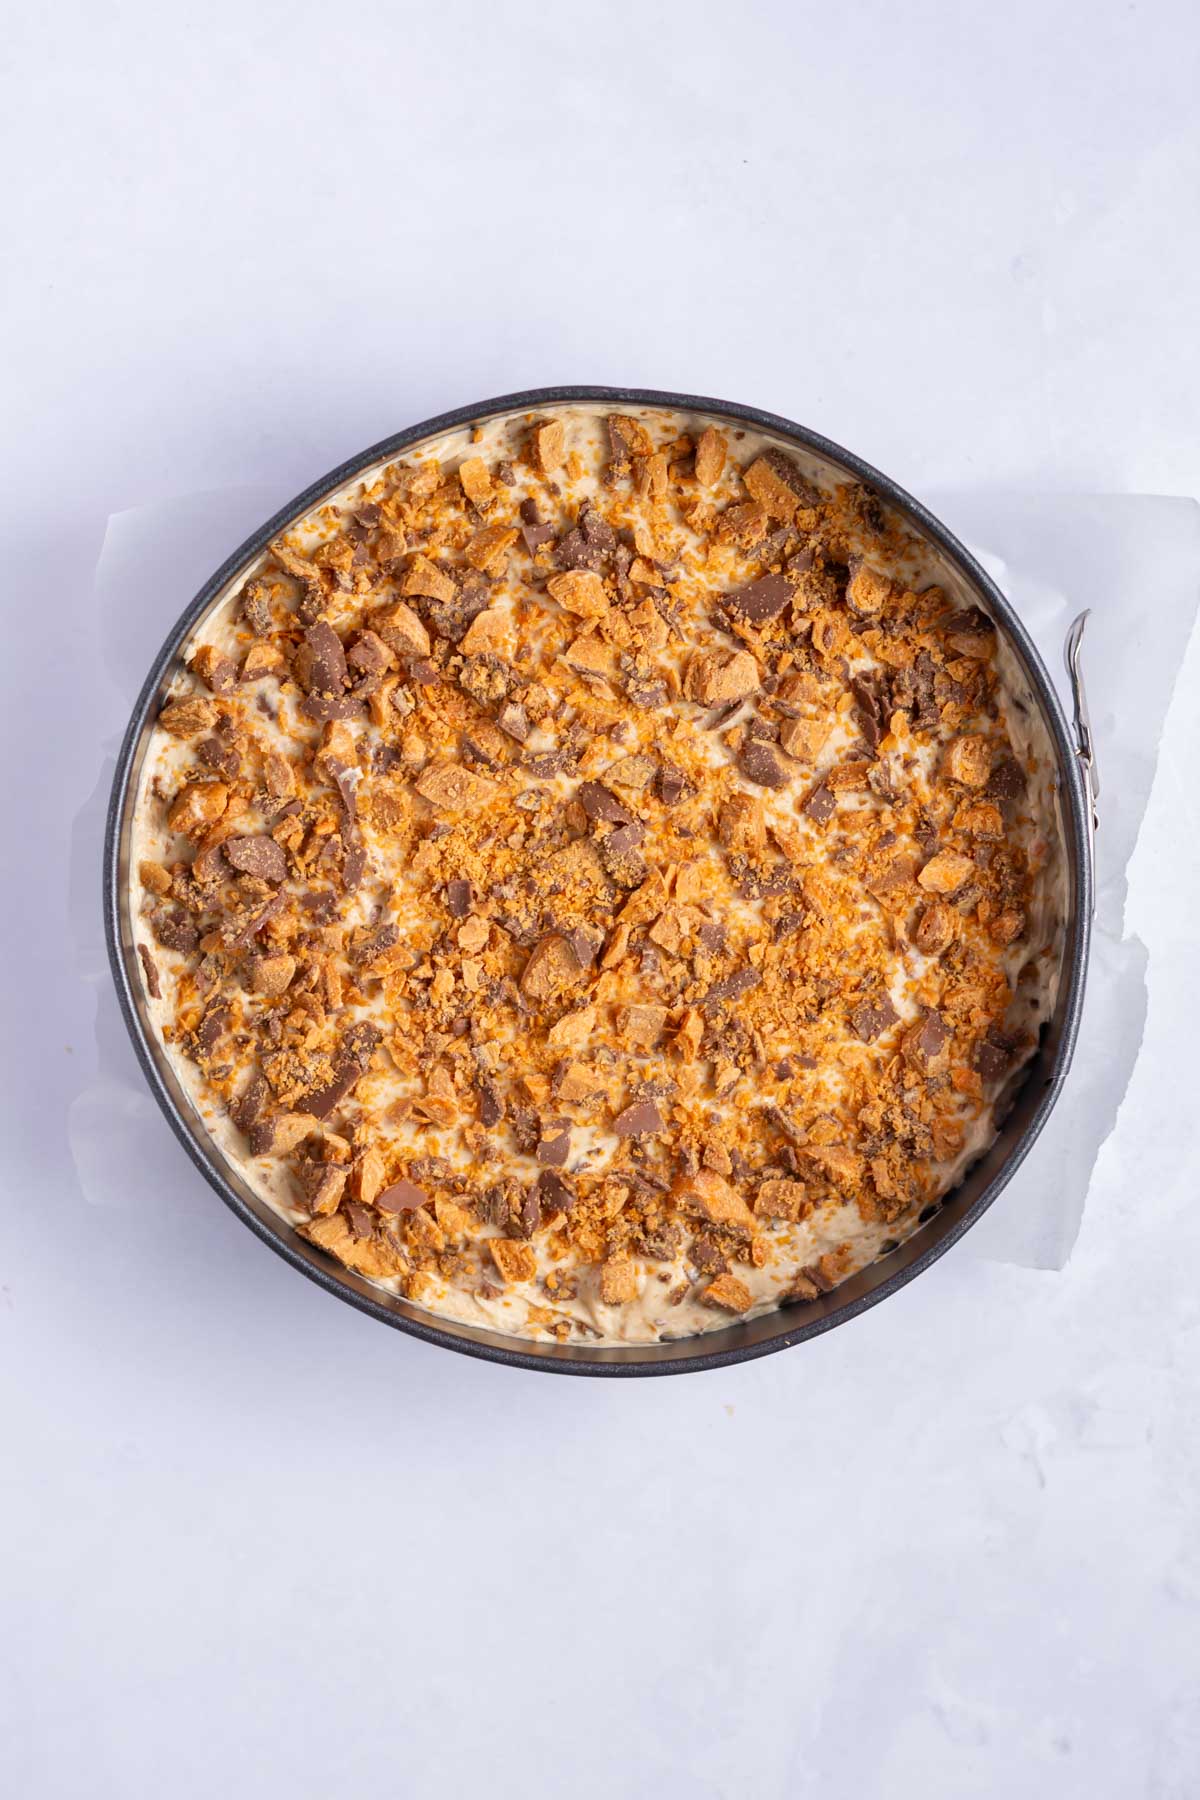
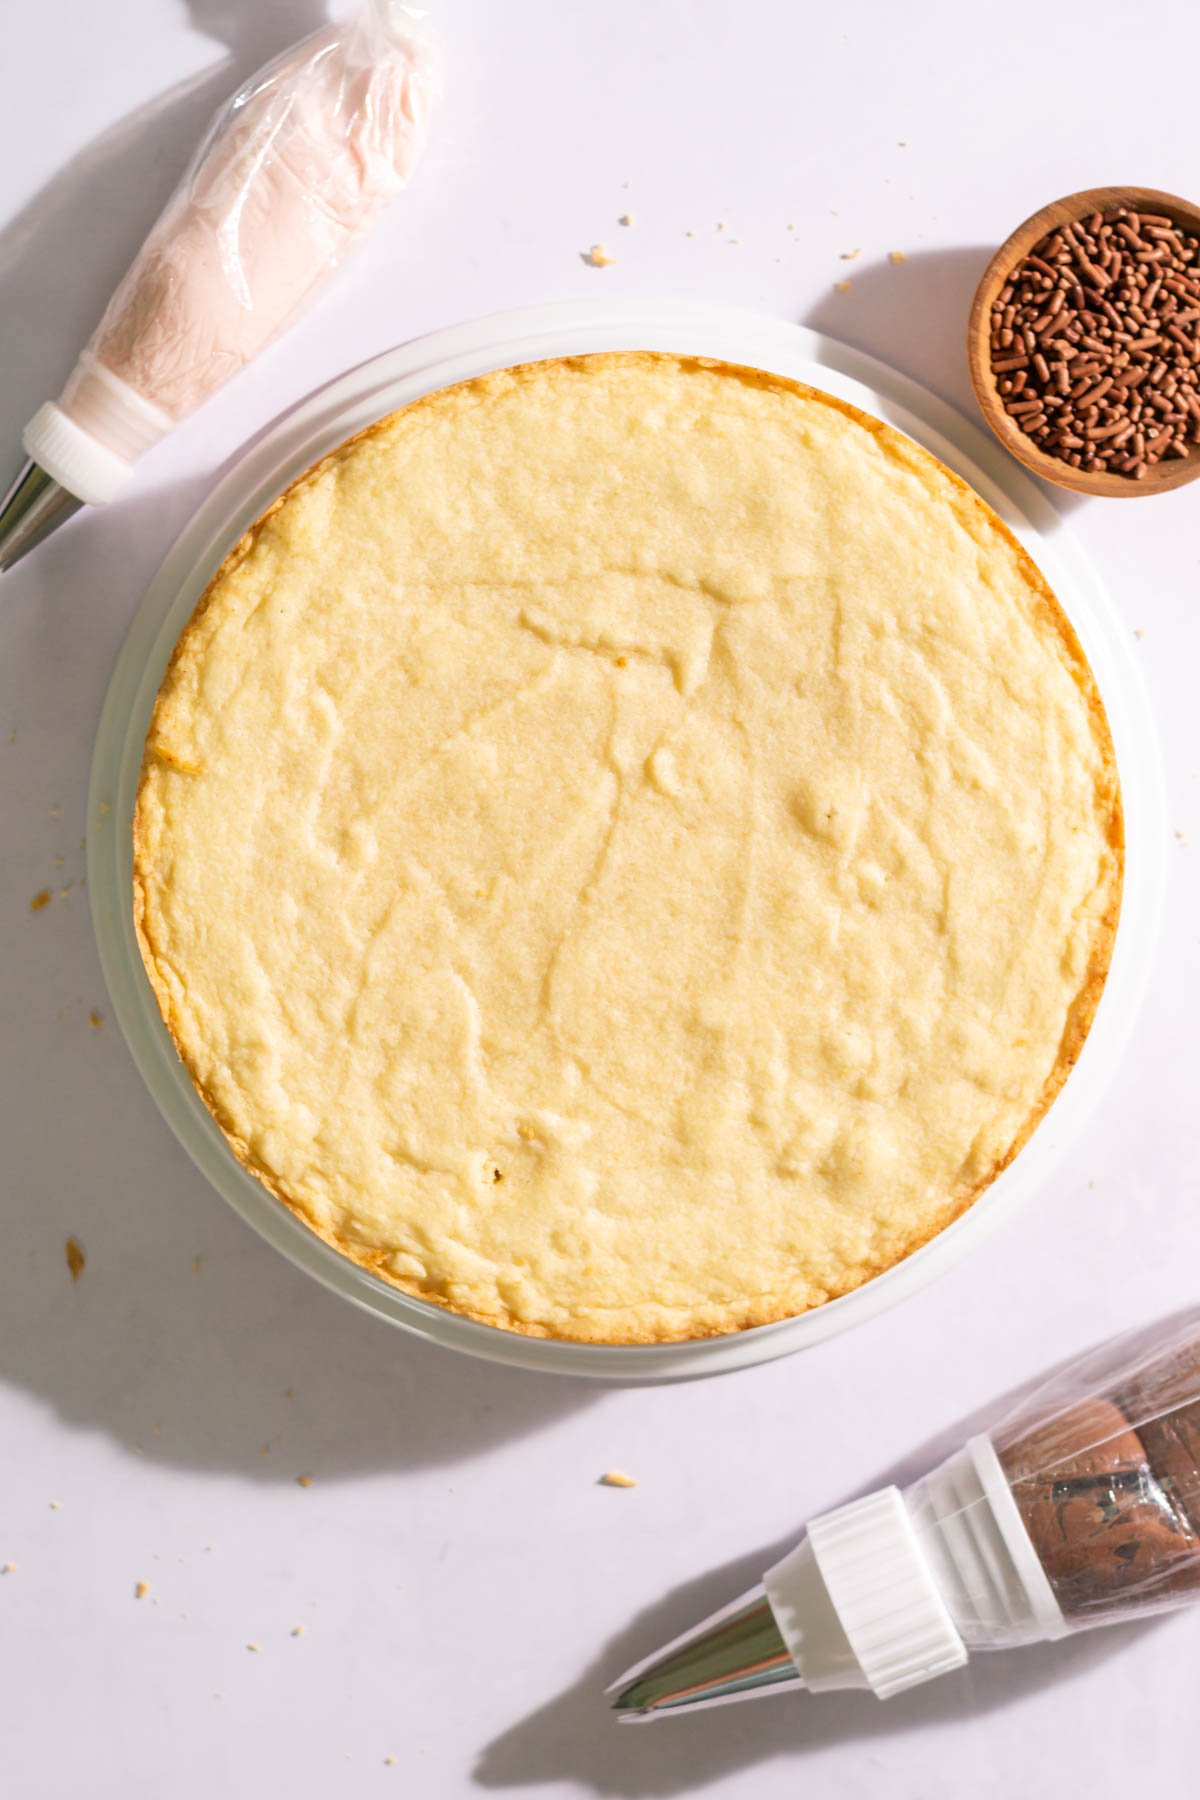
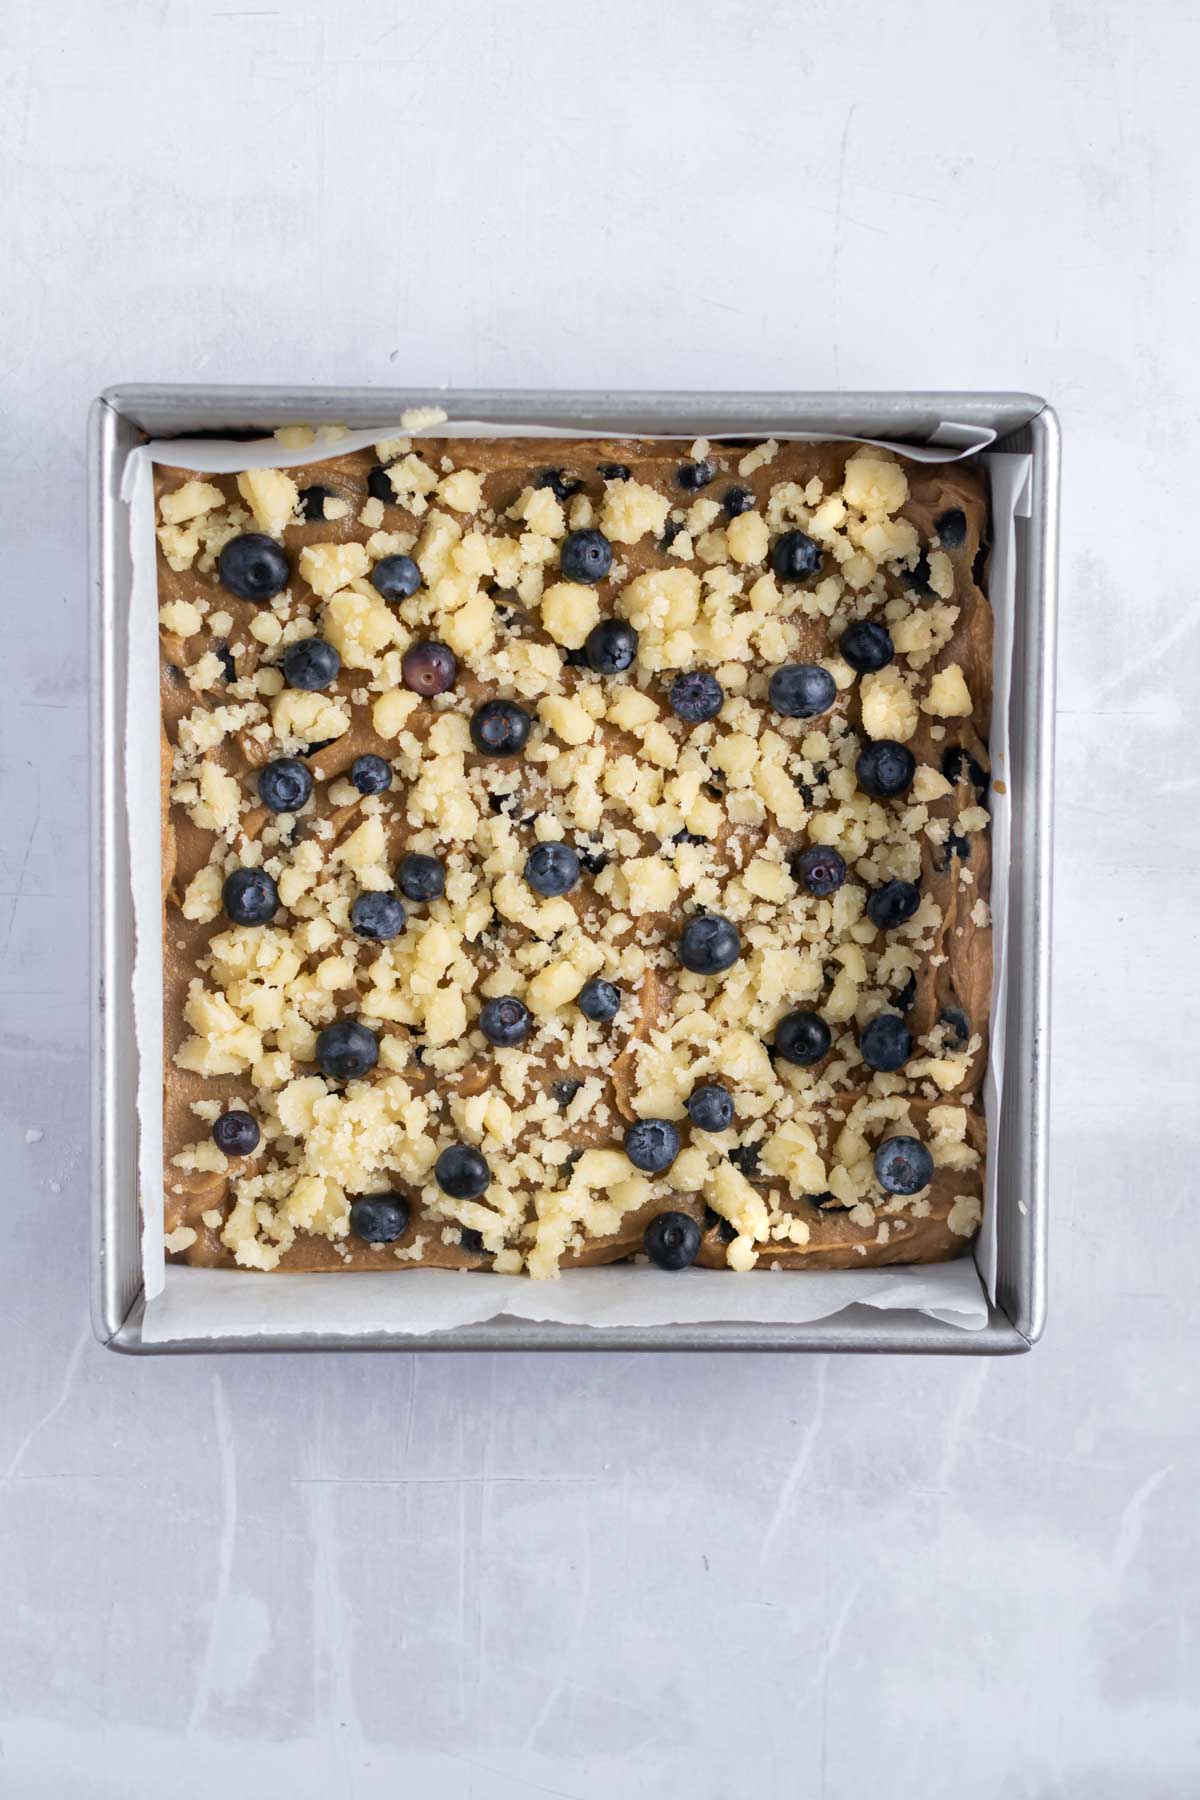
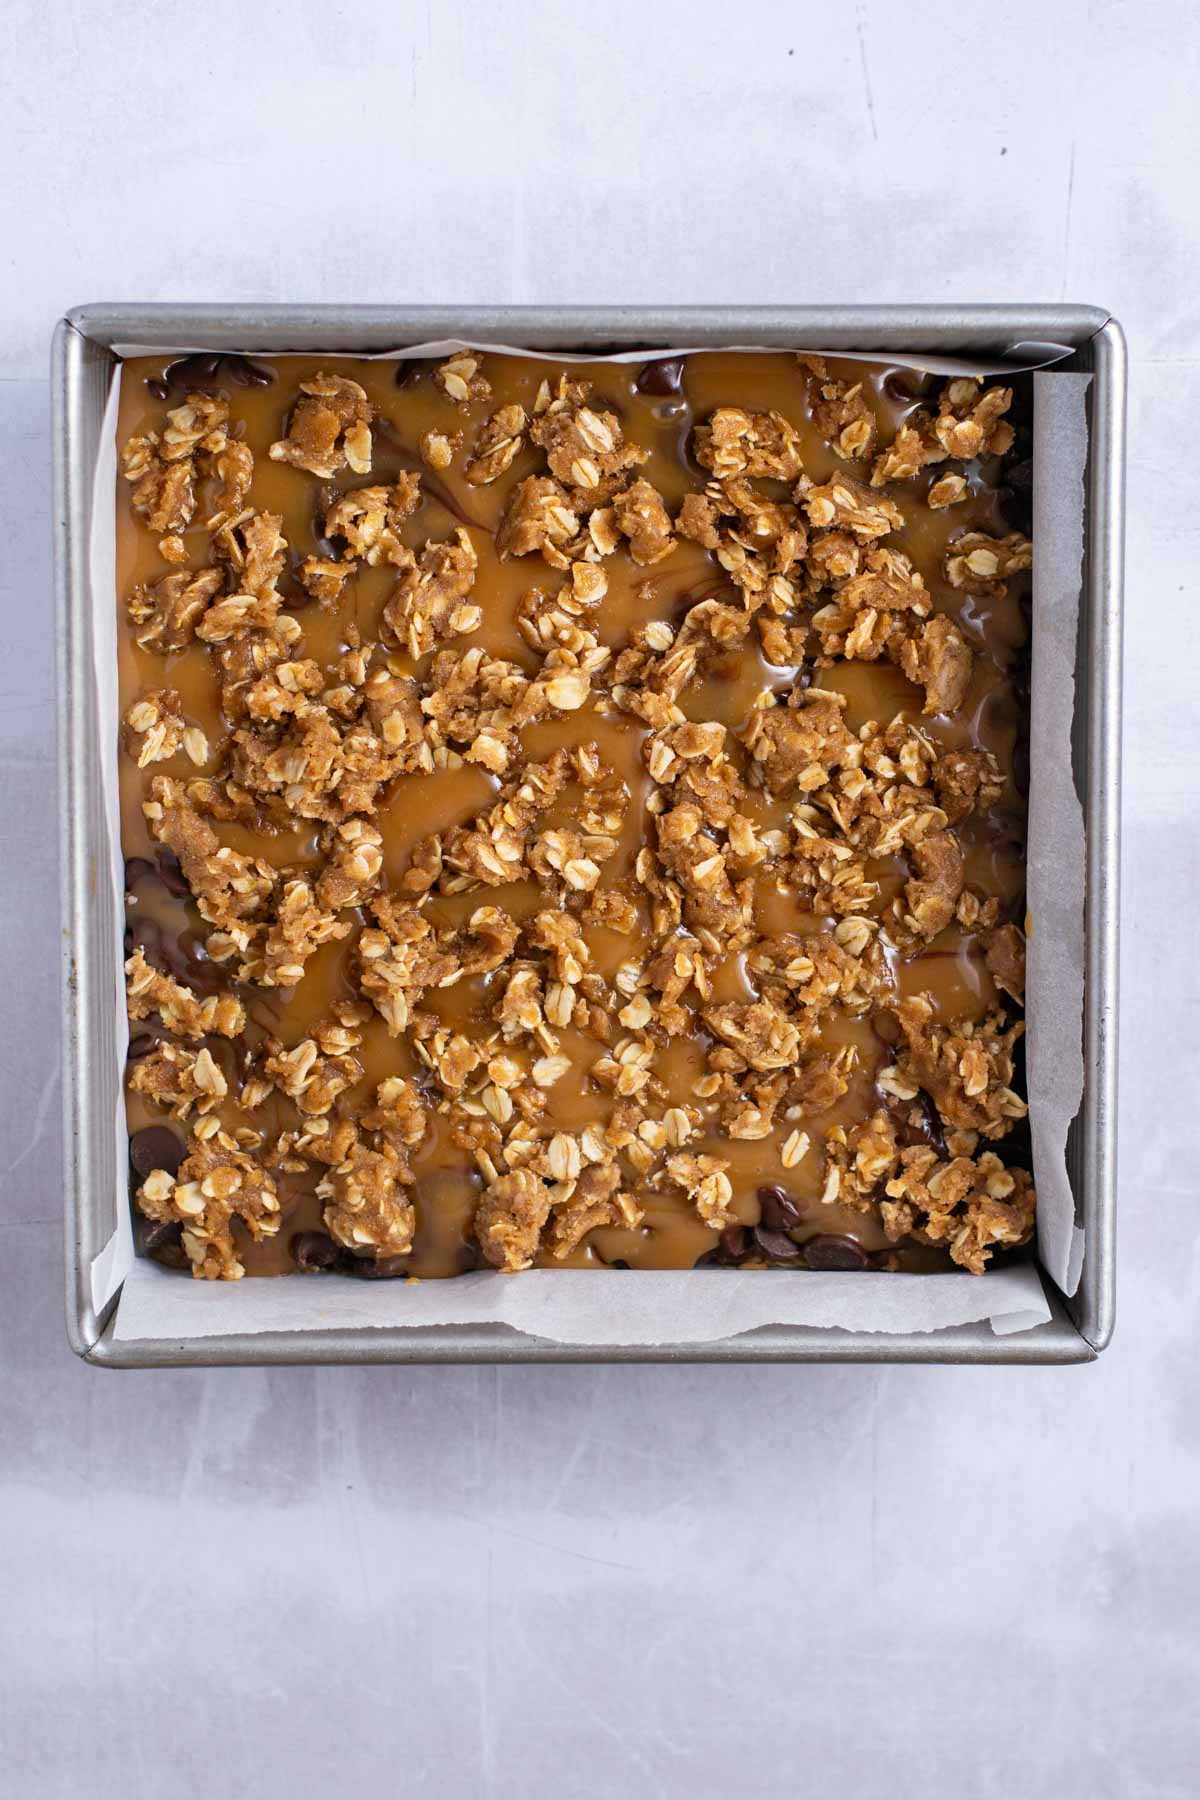
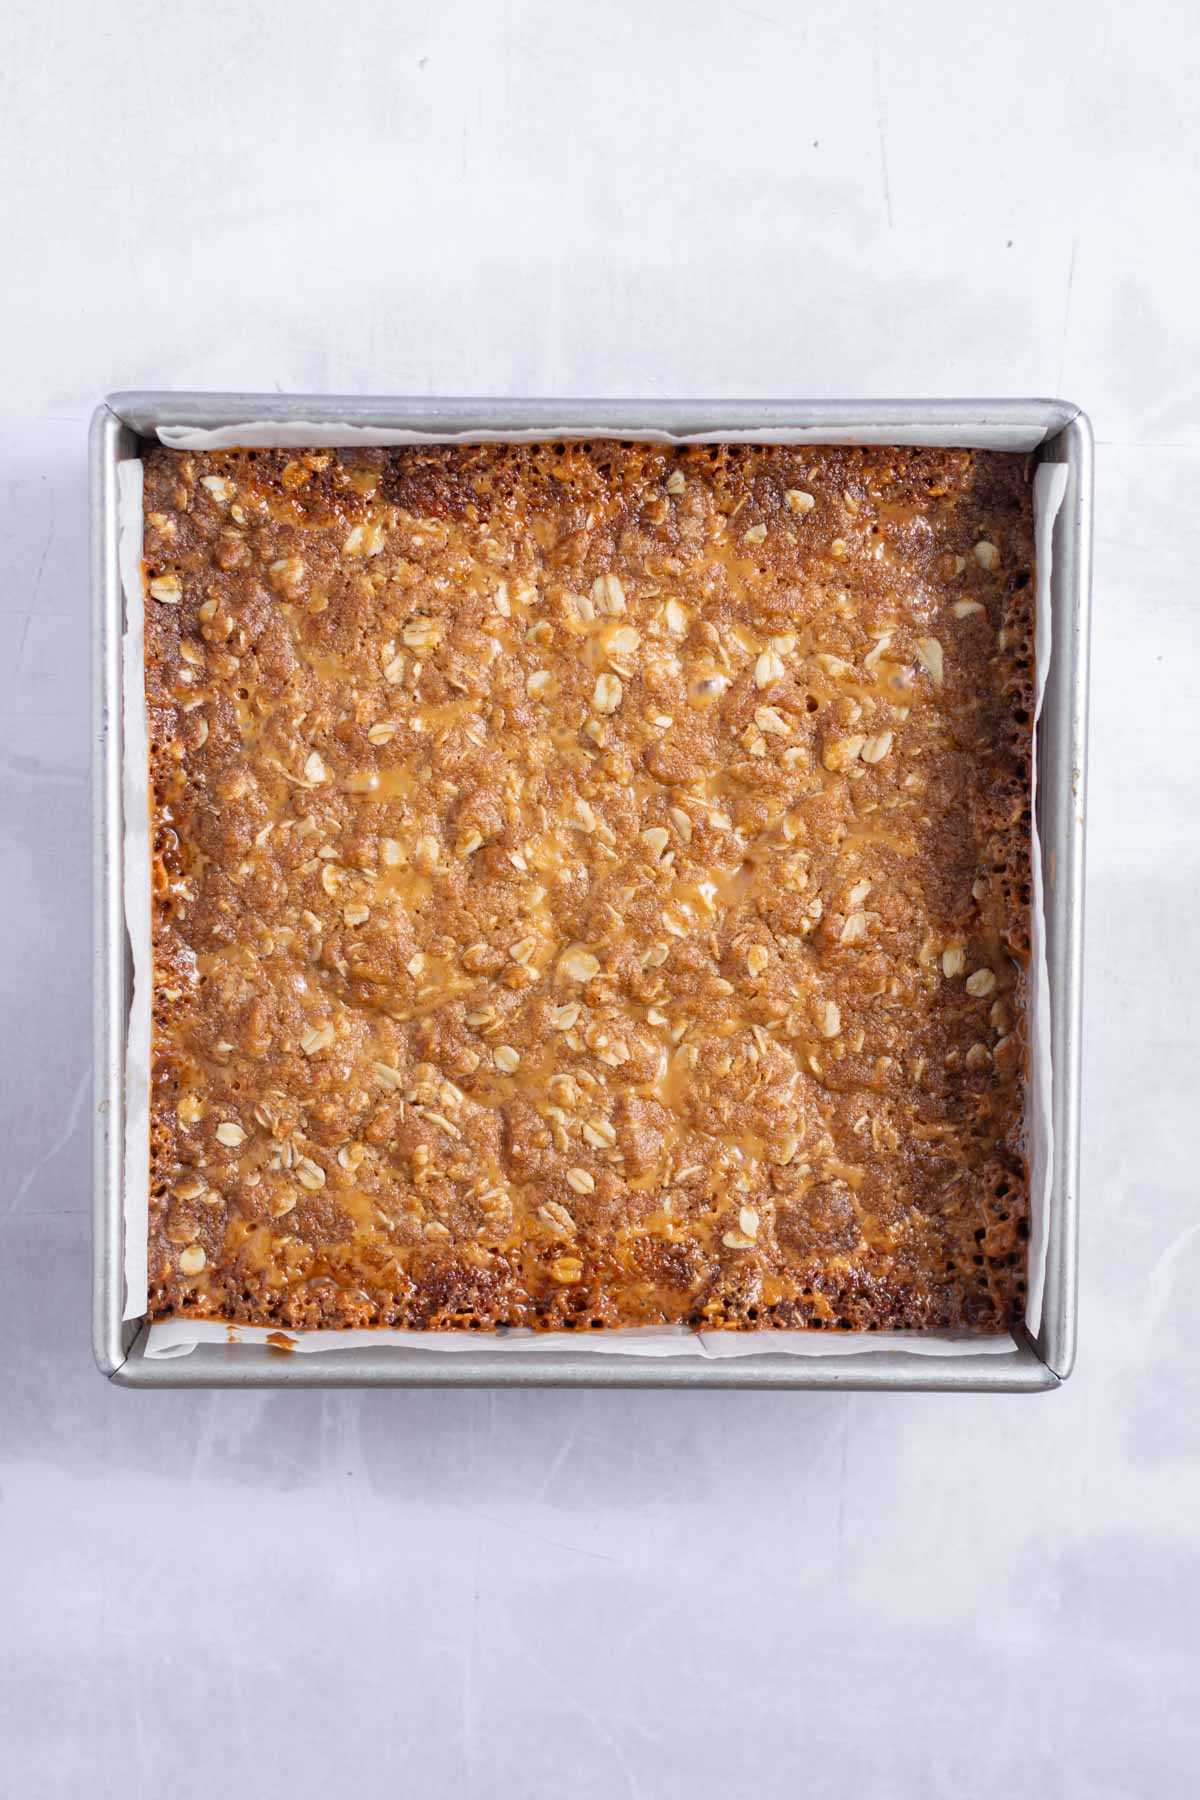
Then crumble the remaining oatmeal mixture over the caramel. Return the pan to oven and bake an additional 15-20 minutes, until the edges are lightly browned. Remove from the oven and allow to cool completely before cutting.
🎥video tutorial
tips for the best caramel oatmeal bars
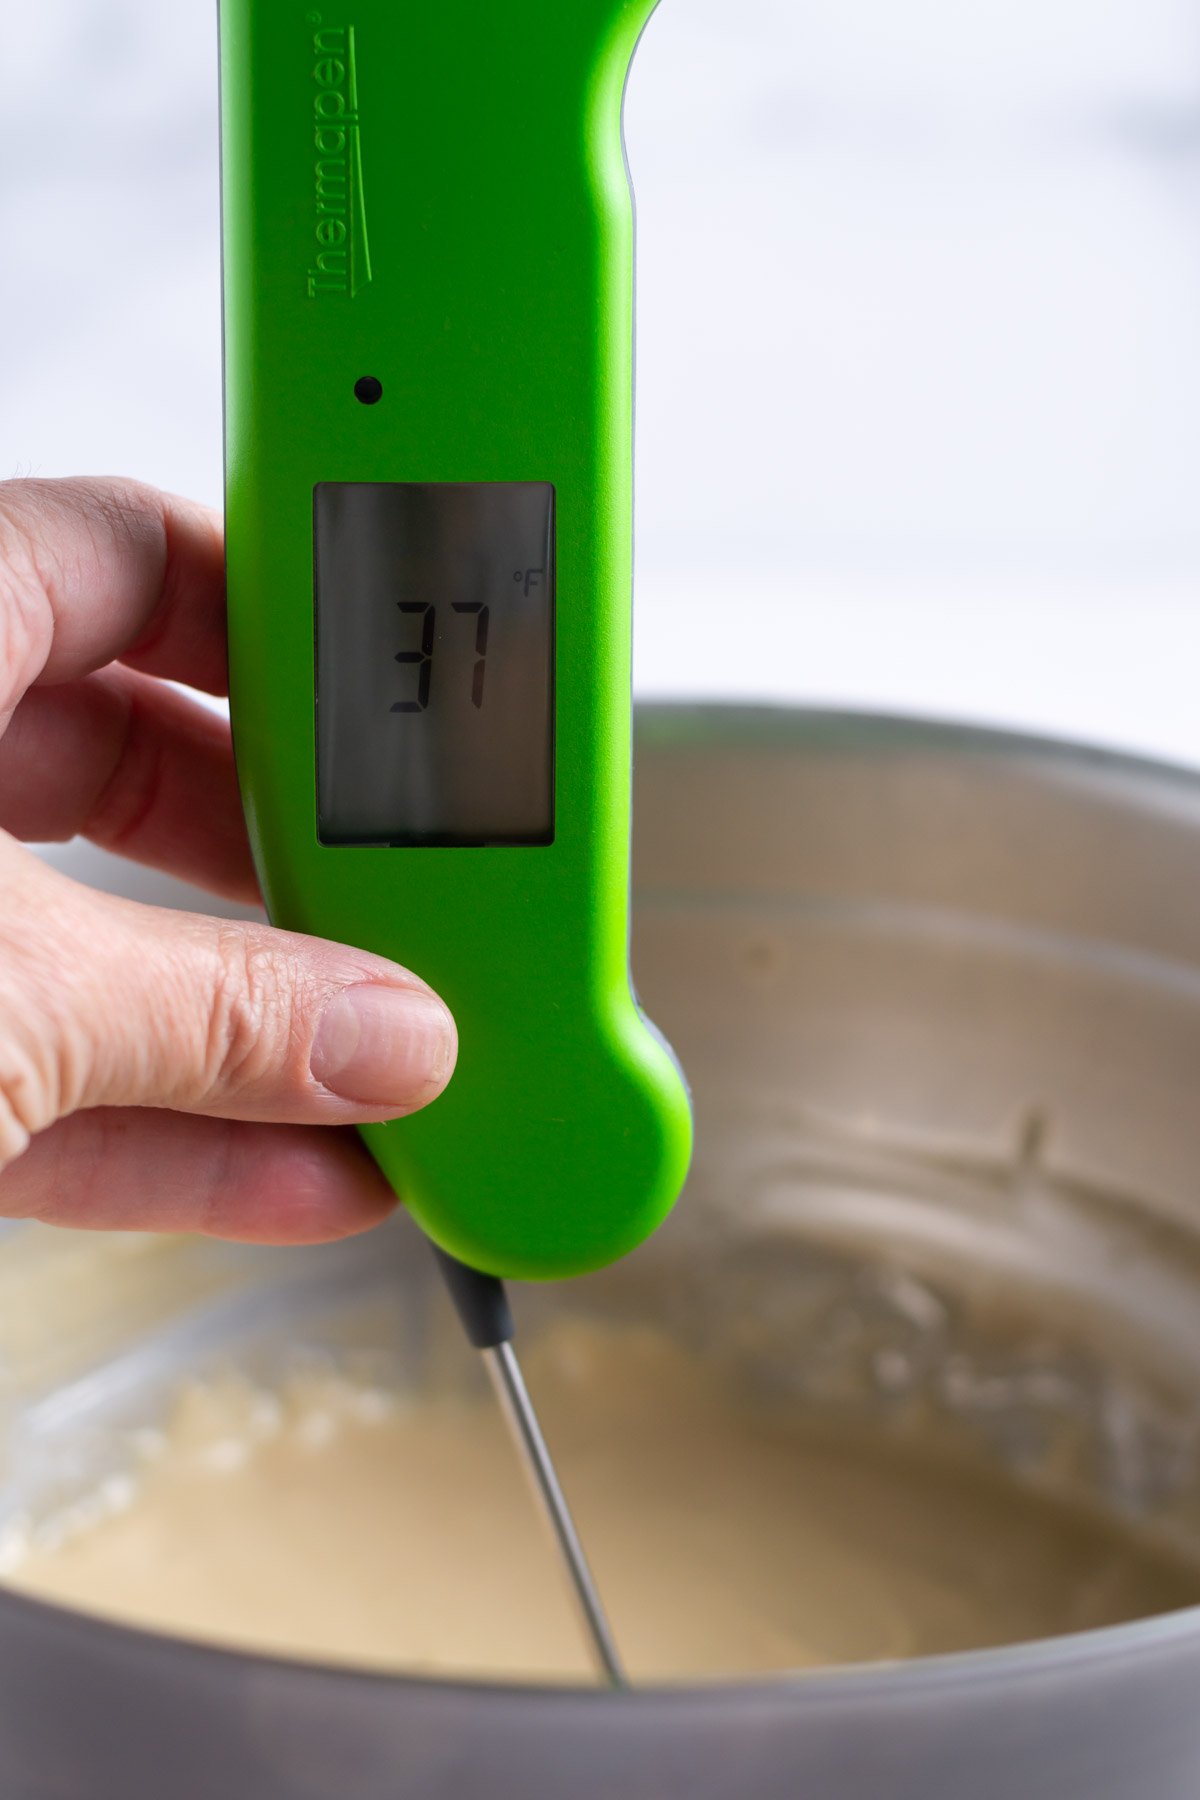
- If making homemade caramel sauce from scratch, allow it to cool for at least 30 minutes before using in this caramelitas recipe.
- If using caramels and heavy cream for the caramel sauce; use patience as it takes several minutes for the caramels to give in to melting.
- Line the baking pan with parchment paper or aluminum foil with a little overhang, which makes it easier to pull the baked dessert bars out of the pan.
- My family and friends prefer semi-sweet chocolate chips to help balance the sweet homemade caramel layer.
- If the edges and top seem to be browning too quickly, you can lightly cover the top of the baking pan with aluminum foil.
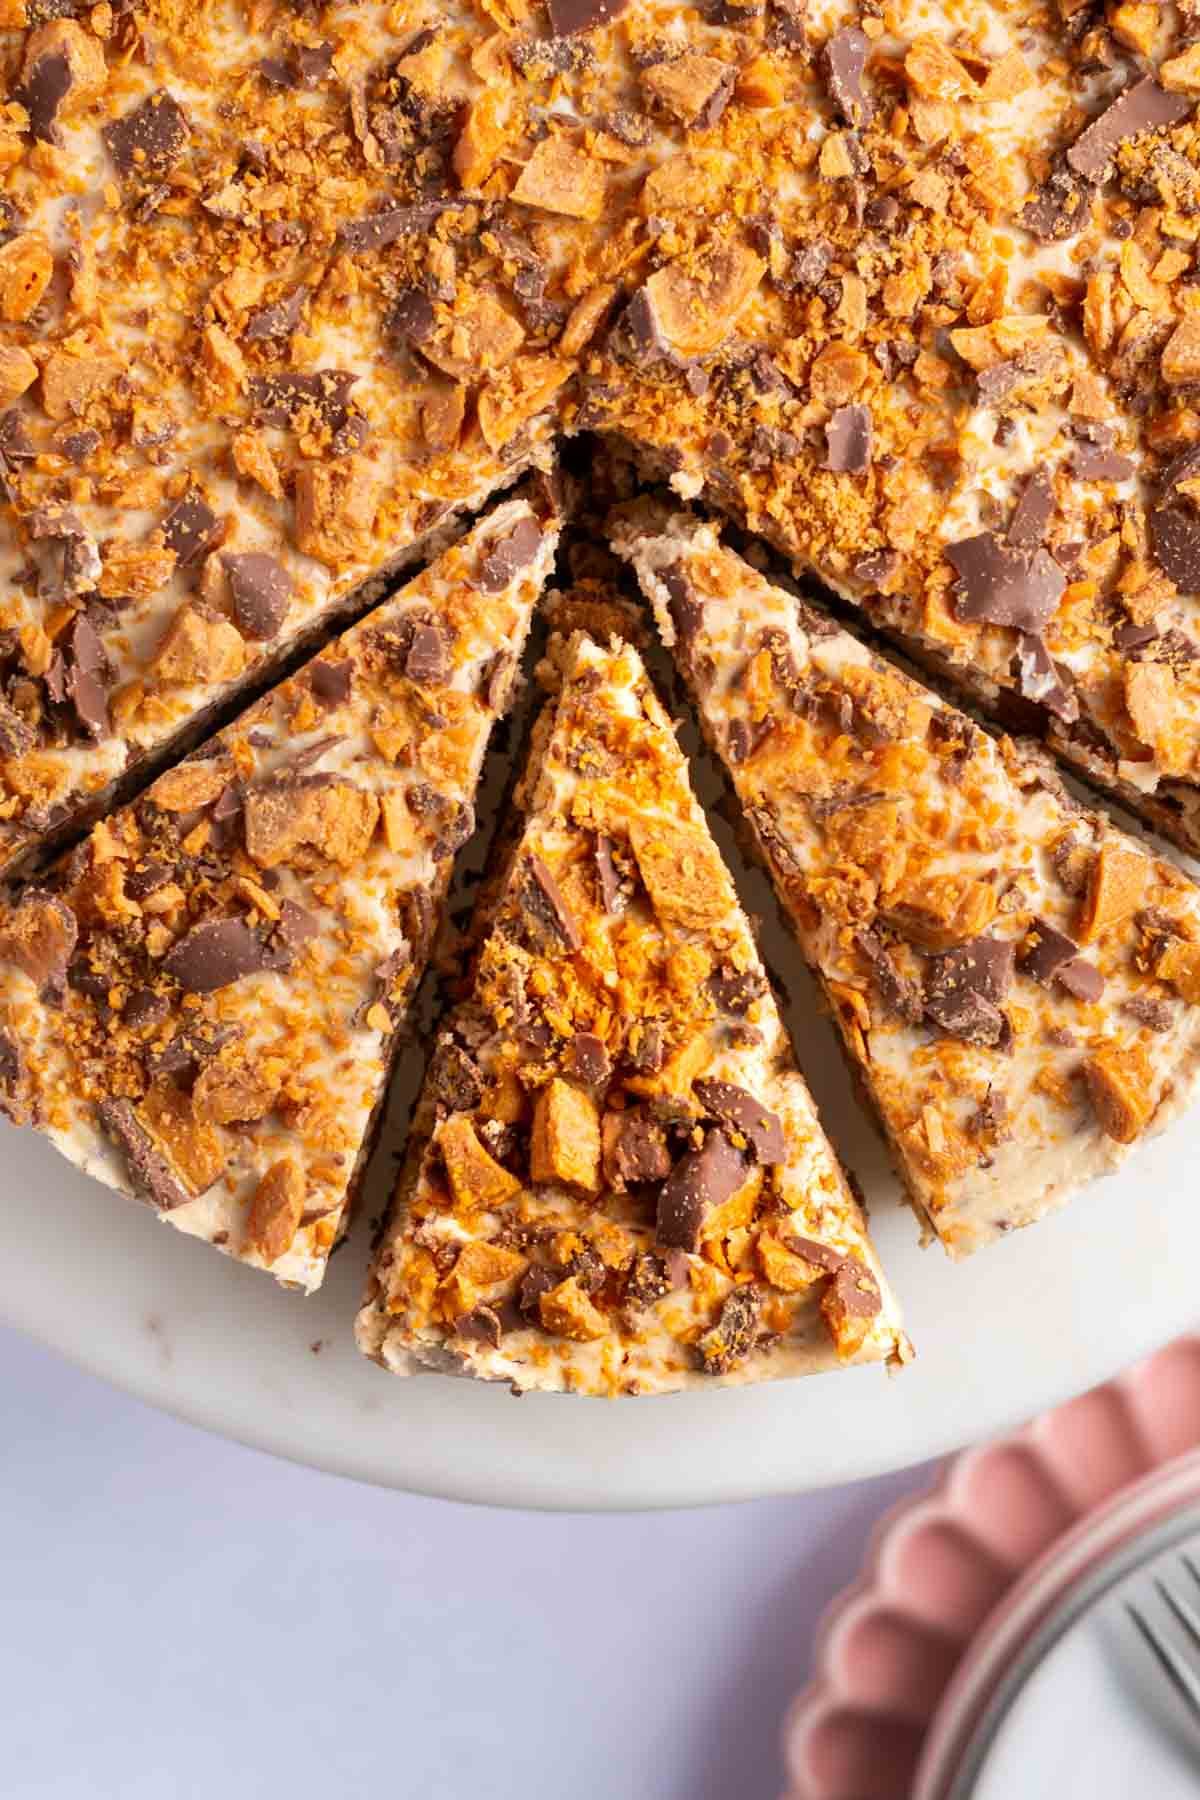
- Allow the caramelitas to cool completely before slicing. This allows the caramel to firm up. Letting them cool at room temperature will give you the best soft and gooey chocolate caramel layer. {I usually make mine the night before and let them cool overnight}.
- To get nice cut squares; use a sharp knife and wipe it clean between cuts.
variation ideas
If you want to add a little saltiness; add ½ cup of your favorite nuts, chopped with the chocolate chips.
For a salted caramel version, add up to 1 teaspoon of kosher salt to the caramel filling. You can also sprinkle the tops of the baked caramelitas with flaky sea salt when they come out of the oven.
For a sweeter version, use milk chocolate chips or white chocolate chips.
Add ½ cup flaked coconut with the chocolate chips for a chocolate caramel coconut dessert.
If you are looking for a version with sweetened condensed milk, try my pumpkin caramel spice bars.
frequently asked questions
can I bake caramelitas in a different size pan?
Yes! This recipe easily doubles and can be baked in a 9x13 pan.
You can also use a 9x9 baking pan, but the oatmeal caramel bars will need a few less minutes of bake time.
If you have a glass baking pan, the bake time may increase.
what if I forgot to pre-bake the bottom crust?
Aghhhhh, this happens to the best of us! Don't worry; bake the fully assembled caramelitas for 15-20 minutes. Then lightly lay a sheet of aluminum foil over the top of the pan and bake another 10 minutes.
The oatmeal caramel bars feel a little more buttery on the bottoms when baked this way, but they will still taste incredible!
can I use quick oats?
These carameltias have the best chewy texture with old-fashioned rolled oats. I suspect quick oats will work, but the texture will be less chewy. Do not use steel cut oats.
how to store
Store any leftovers covered at room temperature for up to 2-3 days.
The caramelitas also freeze well for up to 3 months.
Remember to snap a picture and tag me on Instagram if you make these Caramelitas aka Oatmeal Caramel Bars. It warms my heart to see you bring these recipes to life! Thank you for being here and happy baking!
more loaded cookie recipes
If you make this recipe {or any recipe!} from two sugar bugs please come back and leave a review and a ⭐️⭐️⭐️⭐️⭐️ star rating. I read every comment, and I LOVE hearing from you!
Caramelitas

Caramelitas aka oatmeal caramel bars have a chewy and buttery oatmeal base {which also doubles as the topping} and a gooey chocolate and caramel center.
Ingredients
caramel filling
- 32-35 store bought caramels, unwrapped (256-280g)
- ½ cup heavy cream (120mL)
- OR homemade caramel sauce
Oatmeal Crumble
- ¾ cup unsalted butter, melted (170g)
- ½ cup packed brown sugar (100g)
- 1 cup all-purpose flour (125g)
- 1 cup old-fashioned rolled oats (100g)
- 1 teaspoon baking soda
- ½ teaspoon kosher salt
- 1 tablespoon pure vanilla extract (15mL)
- 8 ounces semi-sweet chocolate chips (226g), approximately 1 ¼ cups
Instructions
- For the caramel filling: place the unwrapped caramels (32-35/256-280g) and heavy cream (½ cup/120mL) in a saucepan and warm over low heat stirring until smooth, about 5 minutes. Set aside. (you can also make your own using the caramel sauce from this recipe).
- For the oatmeal crumble: Preheat the oven to 350°F and prepare an 8x8 baking pan with parchment paper. Set aside.
- Melt the unsalted butter (¾ cup/170g) and set aside.
- In a medium bowl, stir together the brown sugar (½ cup packed/100g), flour (1 cup/125g) old-fashioned oats (1 cup/100g), baking soda (1 teaspoon) and kosher salt (½ teaspoon). Add the melted butter and vanilla (1 tablespoon) and stir until combined. Save aside about a ½ cup of the oat mixture. Then press the remaining oatmeal mixture into the bottom of the prepared pan. Bake for 10 minutes.
- Remove pan from oven and spread the semi-sweet chocolate chips (8 ounces/226g) over the crust.. Pour the prepared caramel filling over the chocolate chips. Then crumble the remaining oatmeal mixture over the caramel. Return the pan to oven and bake an additional 15-20 minutes, until the edges are lightly browned. Remove from the oven and allow to cool completely before cutting.
Notes
I've used Kraft, Werther's and Favorite Day caramels, but love this recipe best with homemade caramel sauce.
If you want to add a little saltiness; add ½ cup of your favorite nuts, chopped with the chocolate chips.
If you forget (or don't want to) par-bake the bottome crust; bake the fully assembled caramelitas for 15-20 minutes. Then lightly lay a sheet of aluminum foil over the top of the pan and bake another 10 minutes.
The oatmeal caramel bars feel a little more buttery on the bottoms when baked this way, but they will still taste incredible!Store any leftovers covered at room temperature for up to 2-3 days. The caramelitas also freeze well for up to 3 months.
Nutrition Information:
Yield:
16Serving Size:
1Amount Per Serving: Calories: 329Total Fat: 18gSaturated Fat: 10gTrans Fat: 0gUnsaturated Fat: 6gCholesterol: 33mgSodium: 188mgCarbohydrates: 42gFiber: 2gSugar: 29gProtein: 3g
The nutrition information is based on third-party calculations, is an estimate only and may not be entirely accurate. Actual nutritional values will vary based on brands used and portion sizes.