You'll love this quick chocolate shortbread recipe because the cookies are buttery, tender and crumbly. No egg is needed for this no chill five ingredient dough.
Disclosure | This post may contain affiliate links. As an Amazon Associate I earn from qualifying purchases.
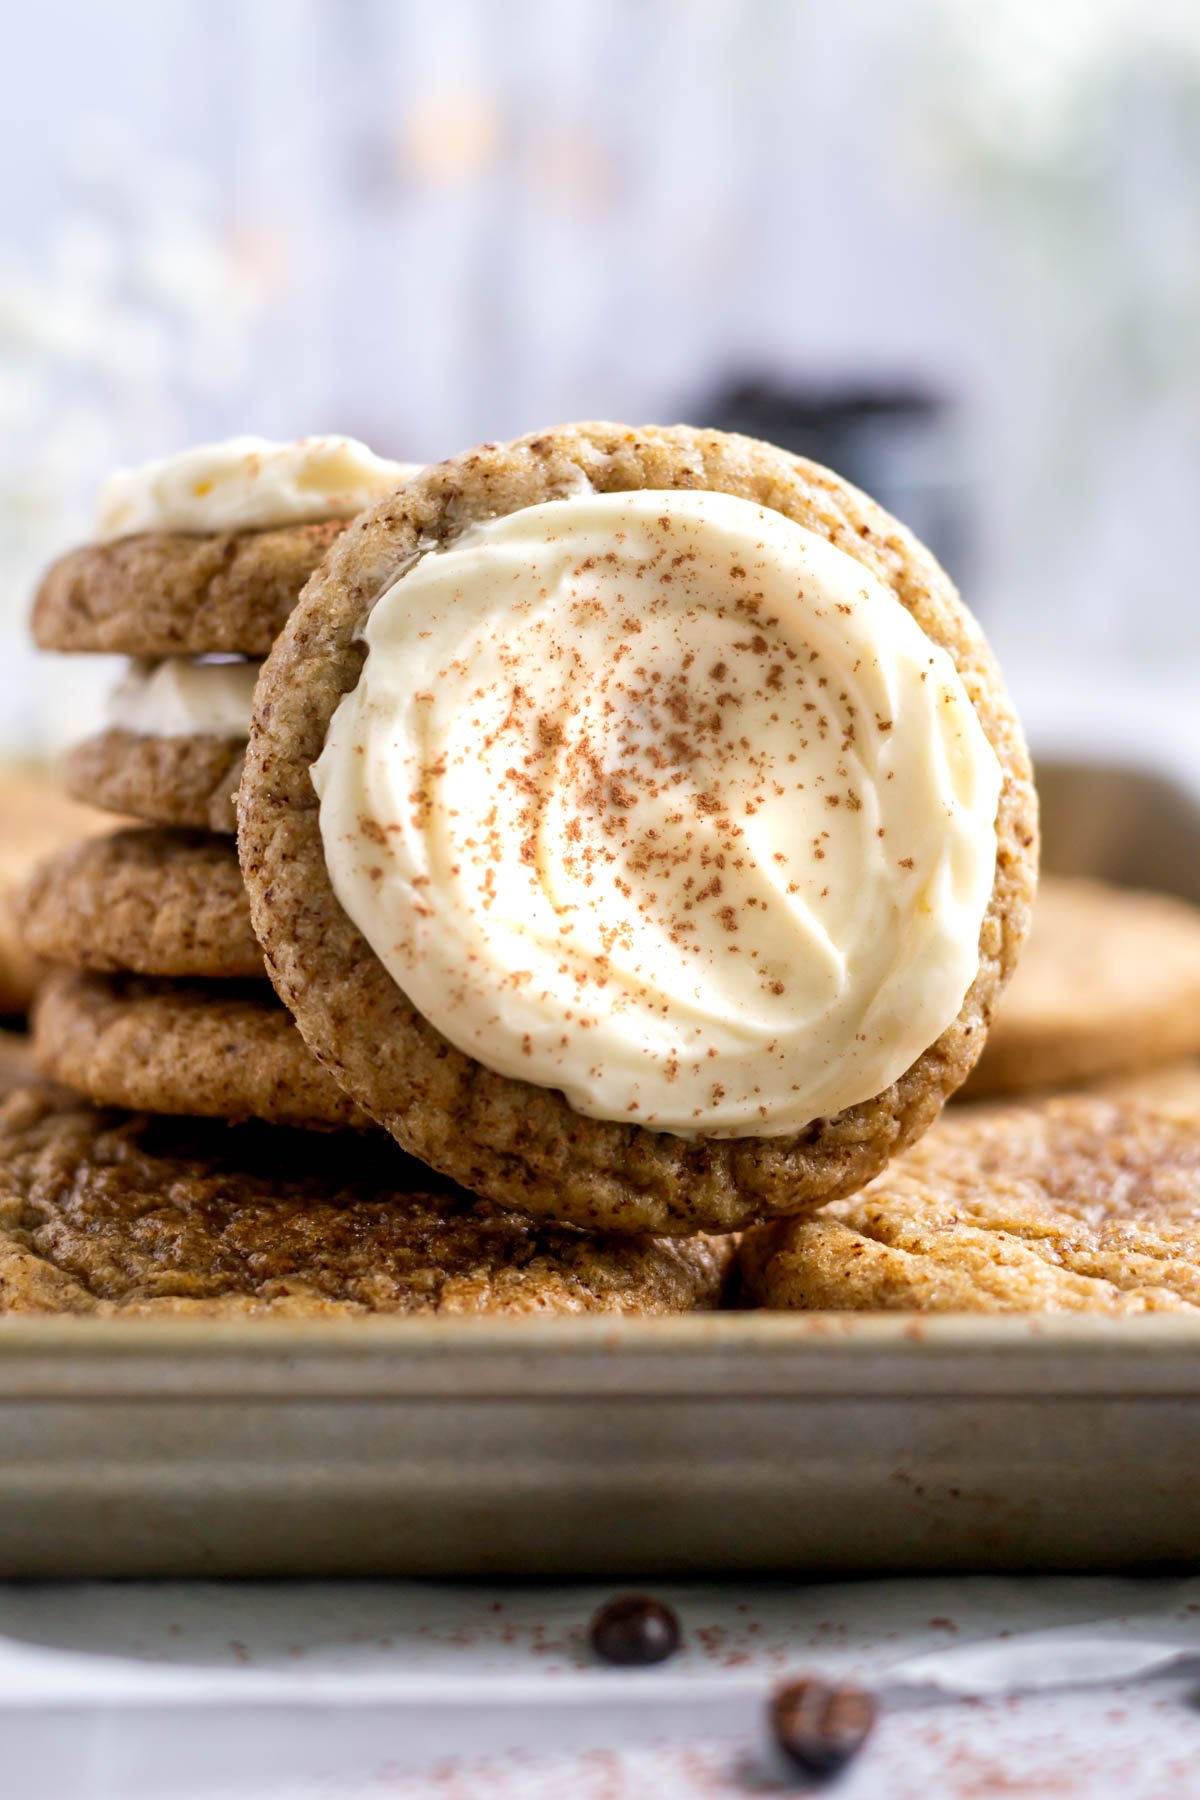
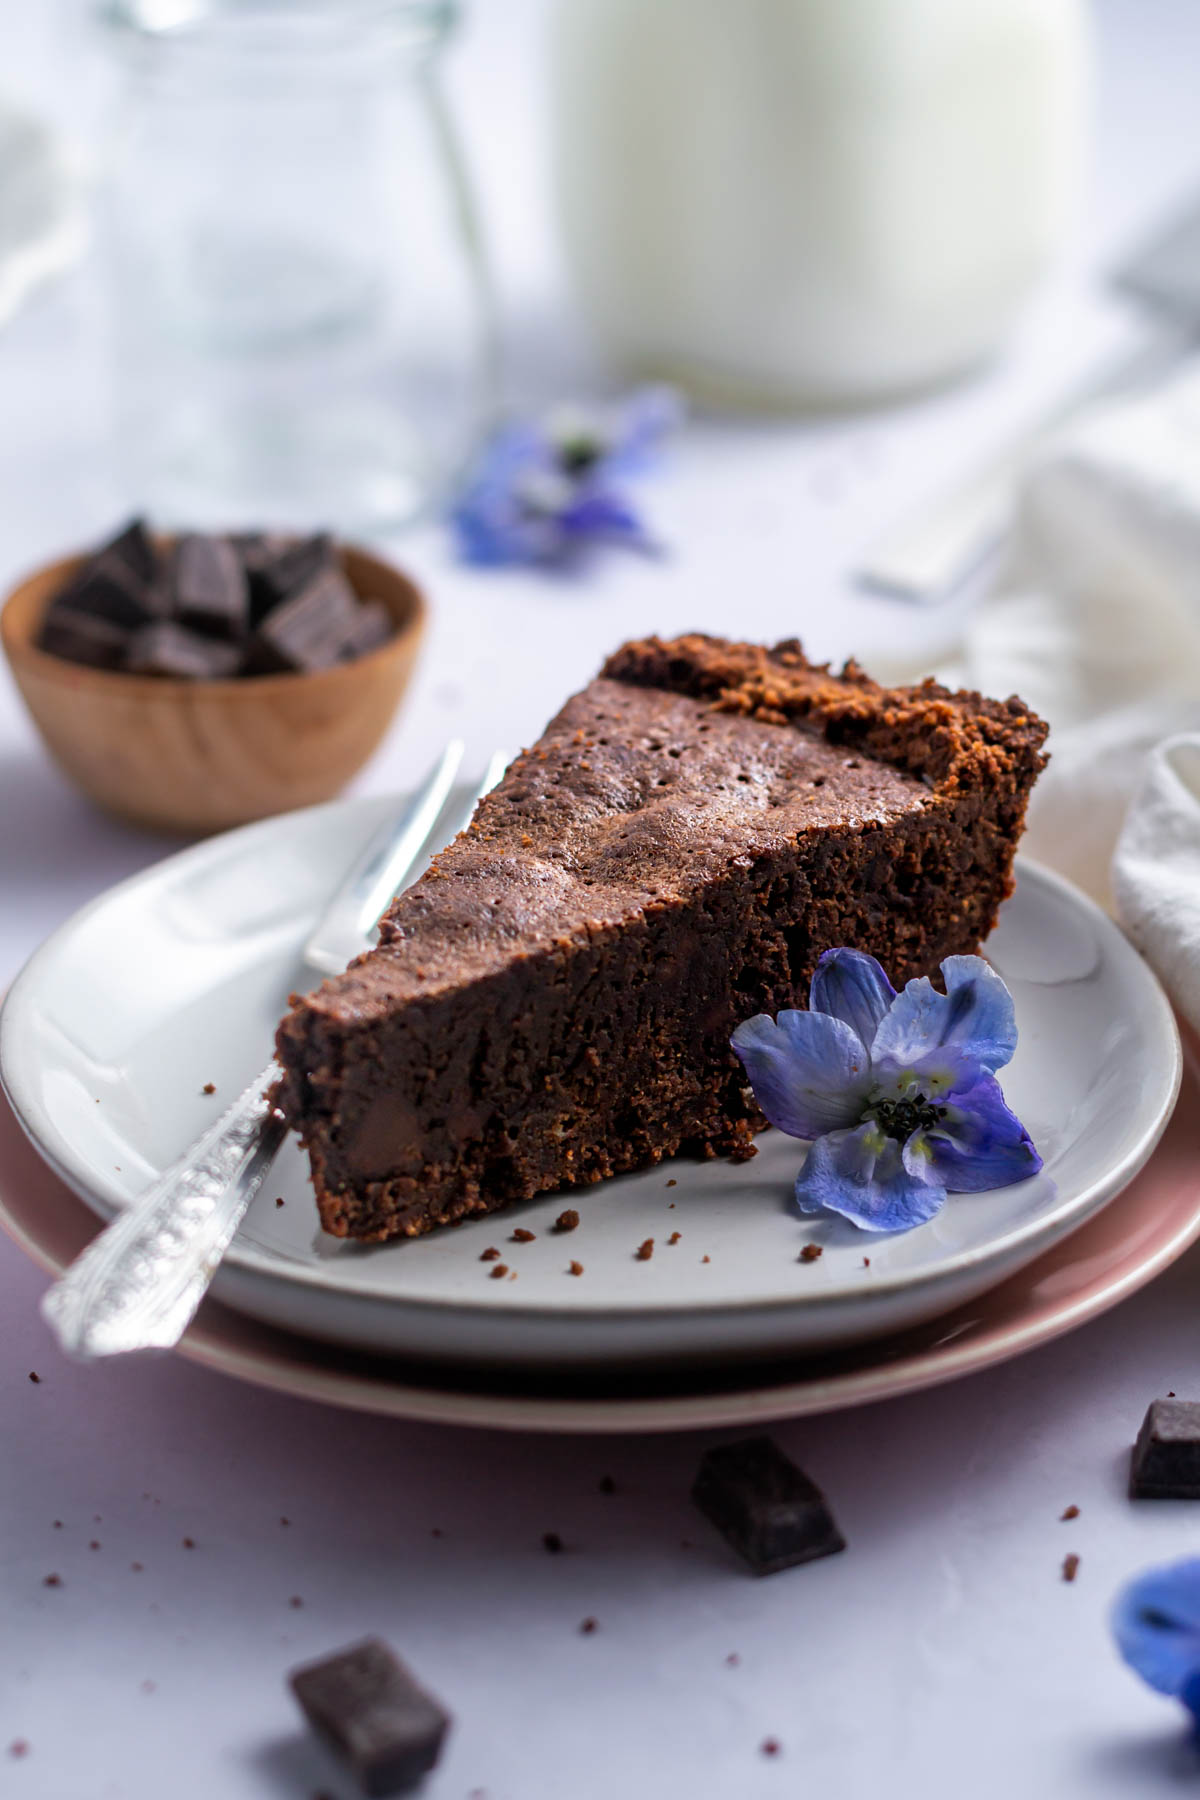
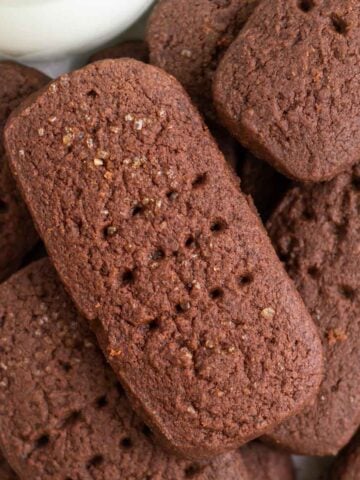
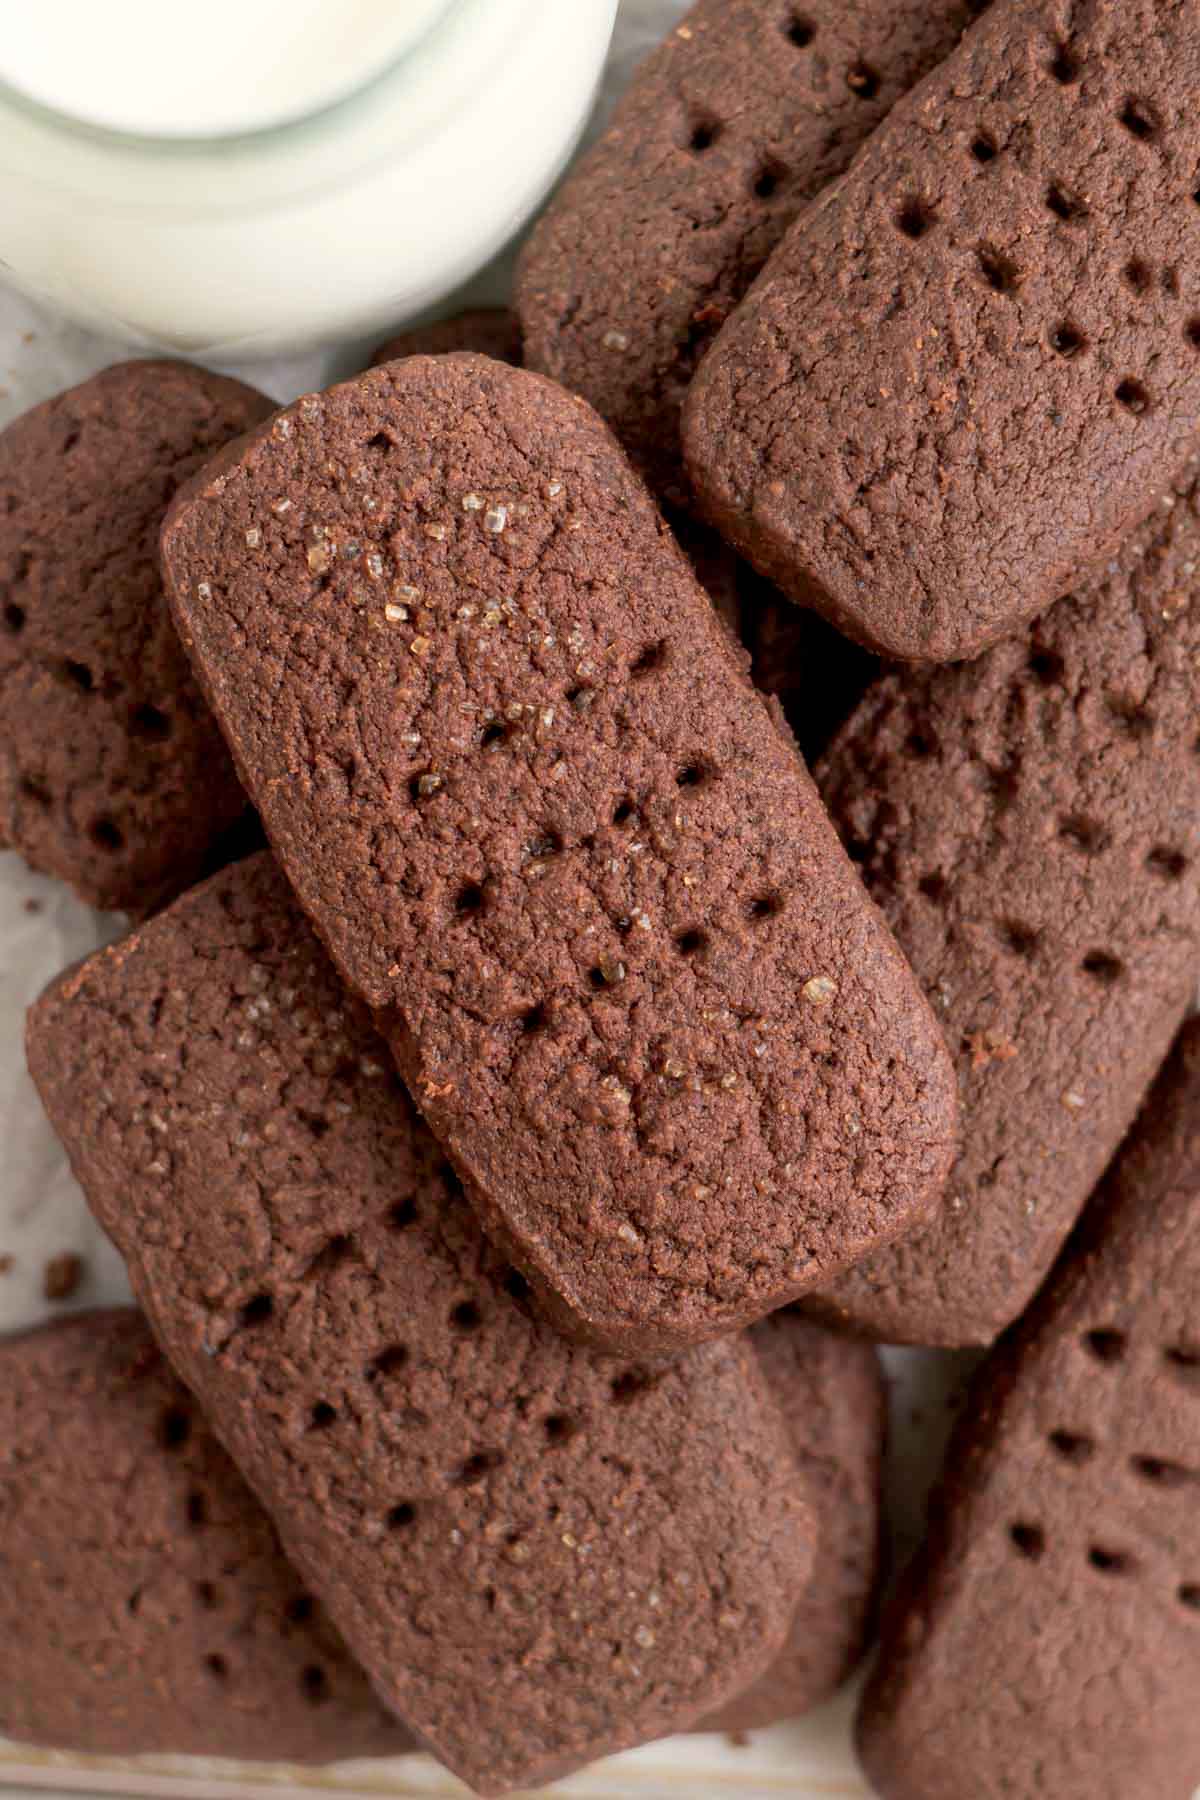
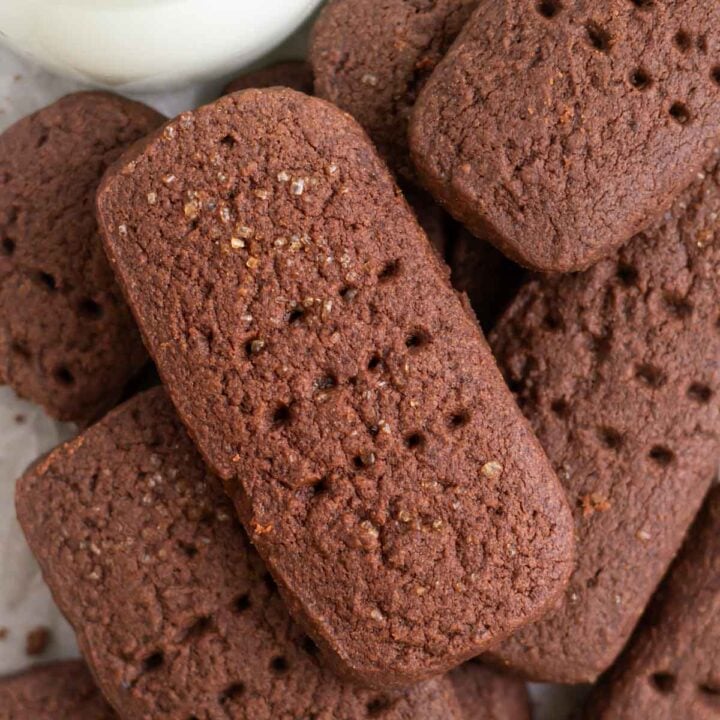
Chocolate shortbread are simple cookies to make. The biscuits {as the Europeans call them} have a nice snap to them, but also a melt-in-your mouth softness.
We're all busy bakers these days so you'll appreciate the no chill dough. It gets formed into a log that you slice and bake. Have fun making fingers, squares, circles or even hearts. I also have an idea for a Scottish shortbread; see below in the variations section.
It's a perfect dessert for chocolate lovers; whether you're adding them to a Christmas cookie box, serving them in the afternoon or dipping them in your morning espresso!
💗 why you'll love this easy chocolate shortbread
- A quick and simple dough that comes together in minutes.
- Only five ingredients needed.
- No egg cookie recipe.
- No chill time!

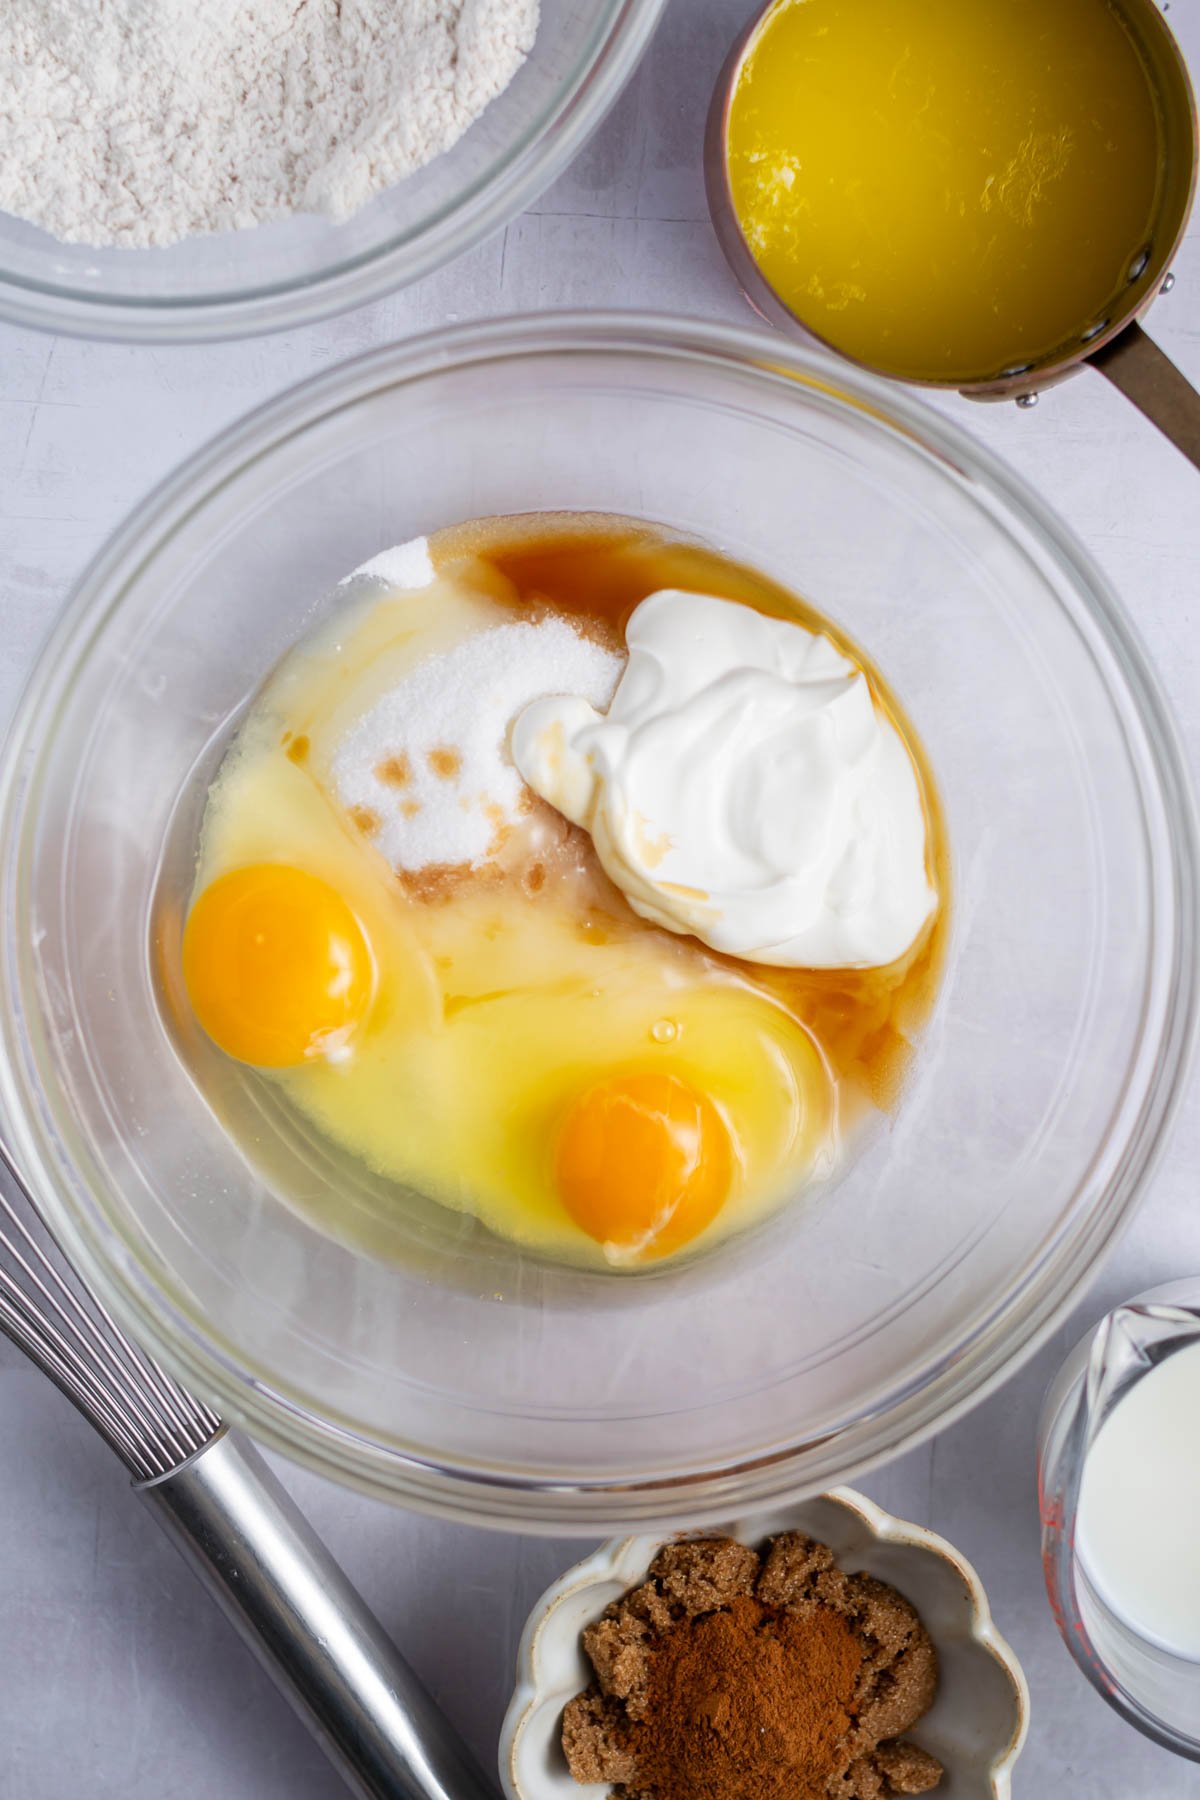
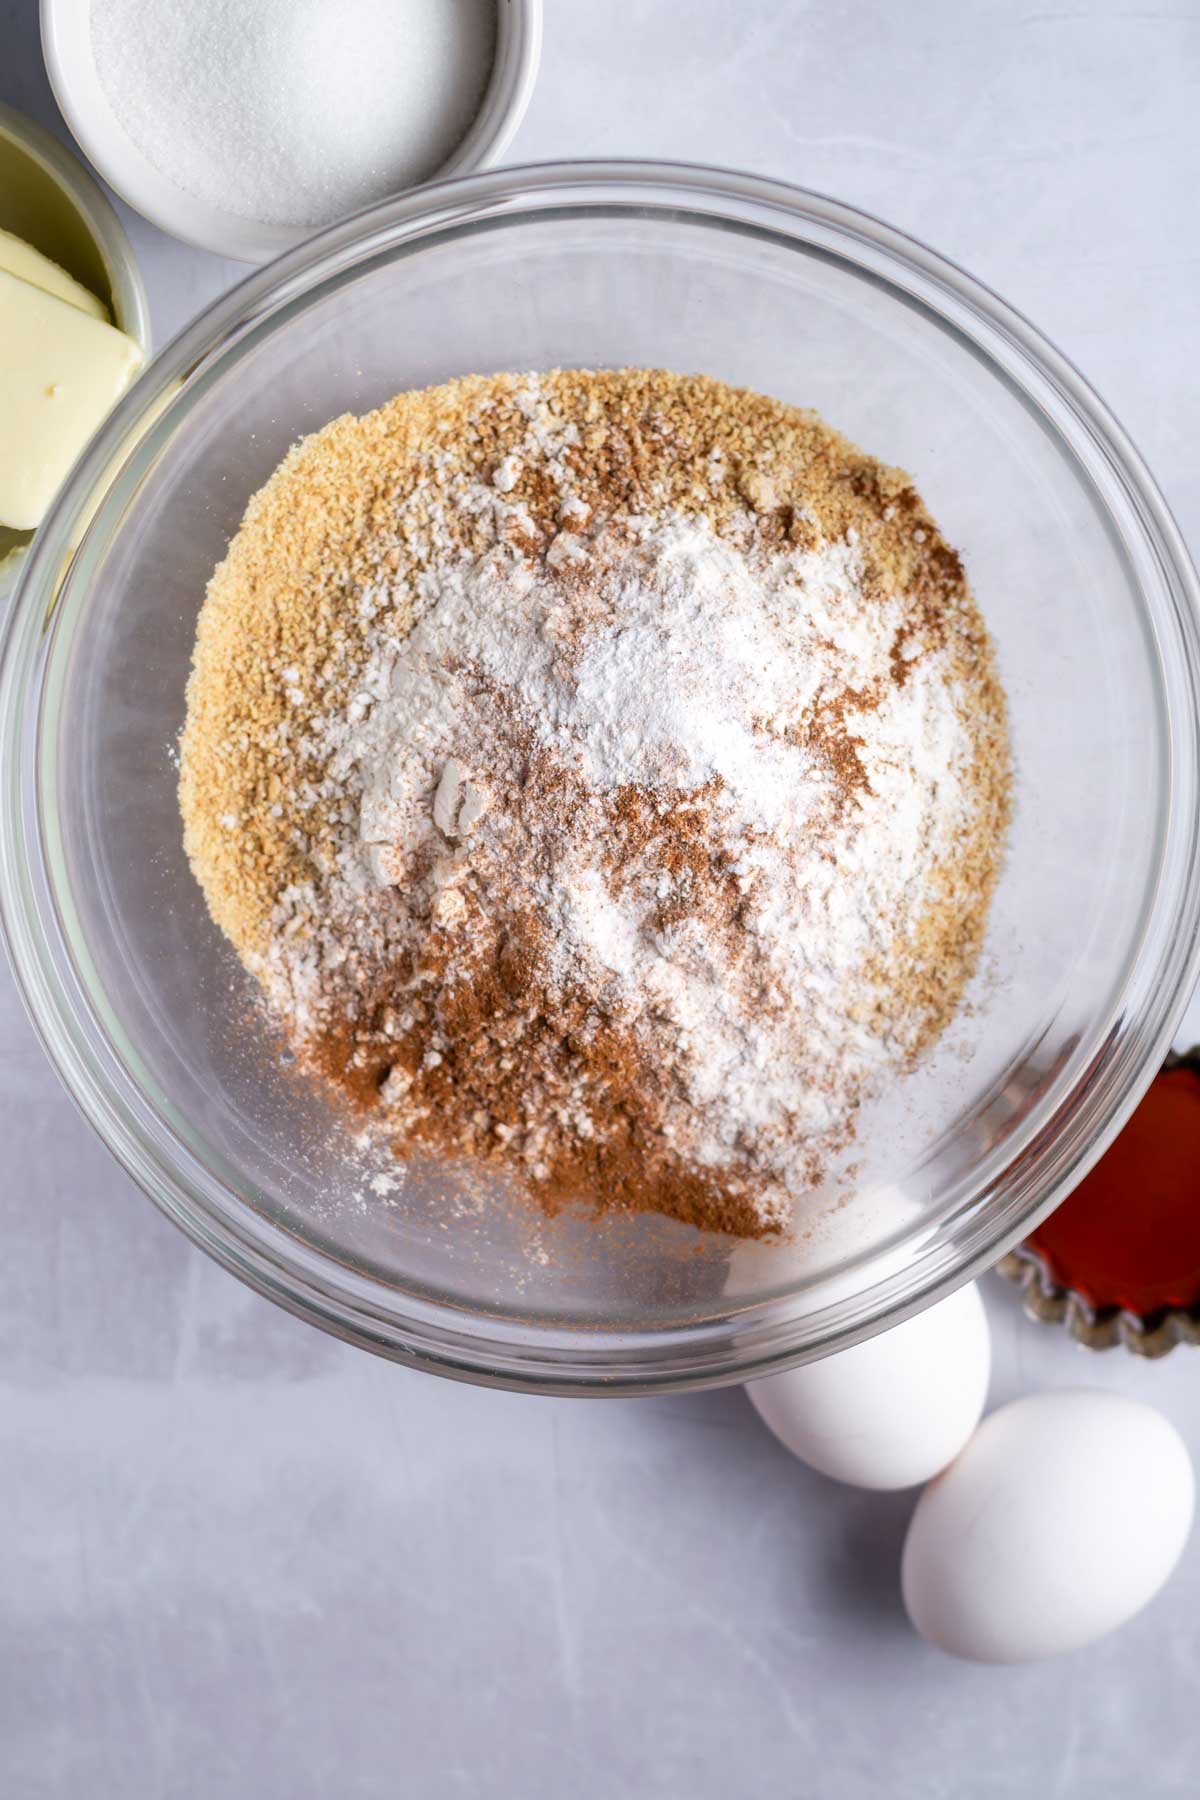
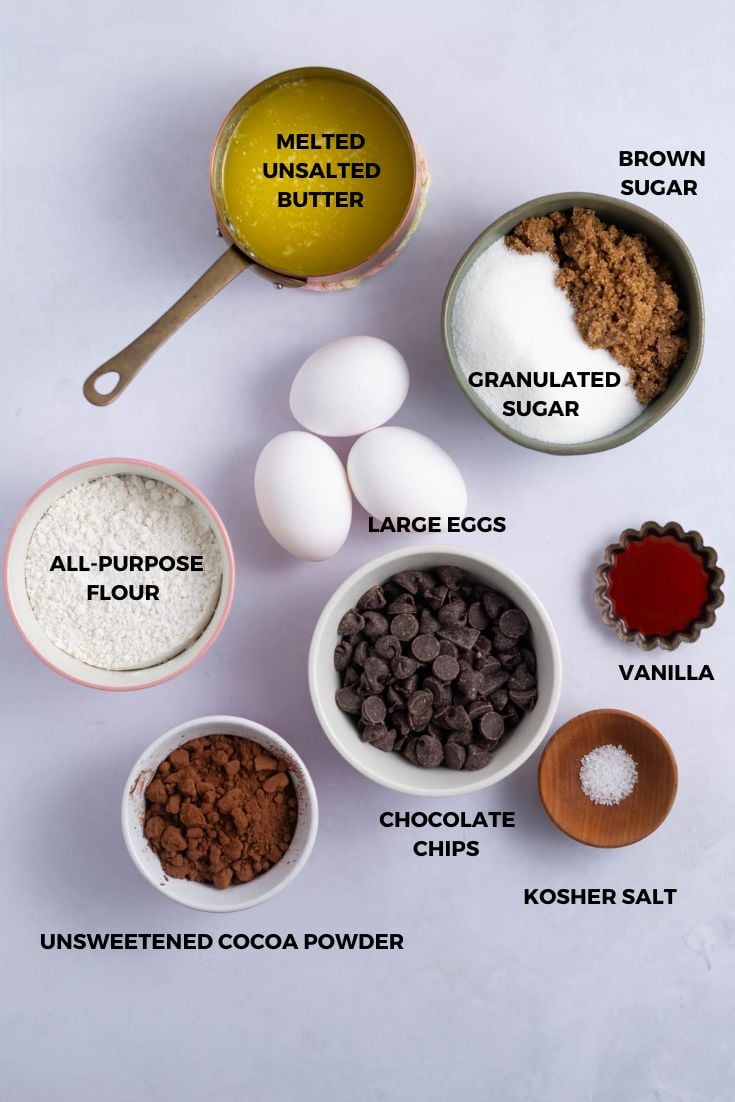
📝 ingredients
Please scroll to the printable recipe card at the end of this post for the full list of ingredients and baking directions.
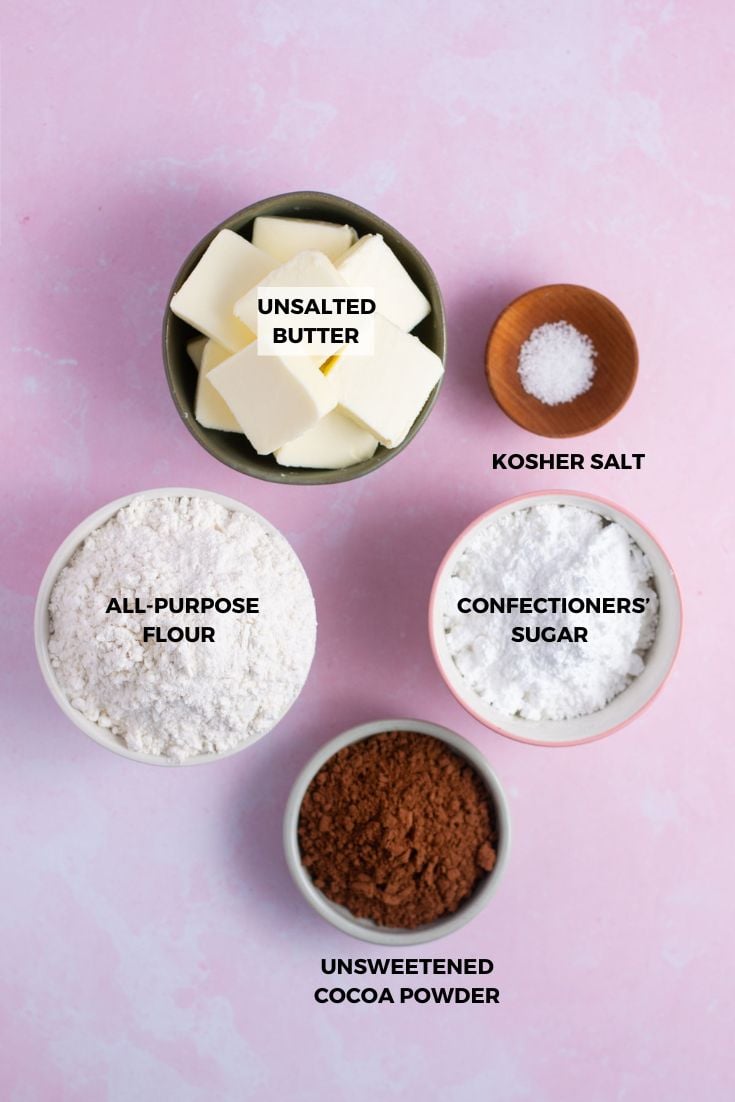
- Unsalted butter ~ this is the time to splurge on a high quality butter such as Plugrá or Kerrygold.
- Kosher salt ~ helps to balance the cookies. If you only have table salt use half the amount.
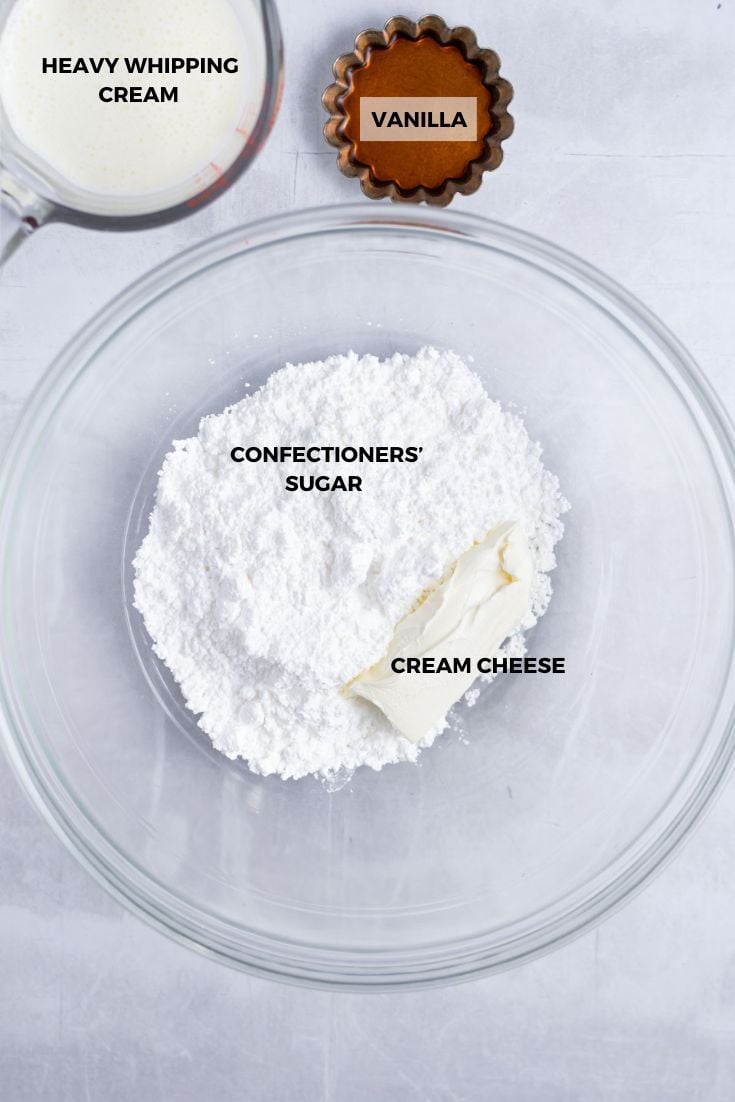
- Confectioners' sugar ~ also known as powdered sugar or icing sugar. I prefer it for the soft, yet crumbly texture it gives these shortbread biscuits.
- All purpose flour ~ if you don't use a scale for measuring {this is the one I use and love}, make sure to use the spoon and level method to ensure you don't have too much flour. {Fluff the flour in the container, then spoon it into your measuring cup and level it off with the back of a spoon}.
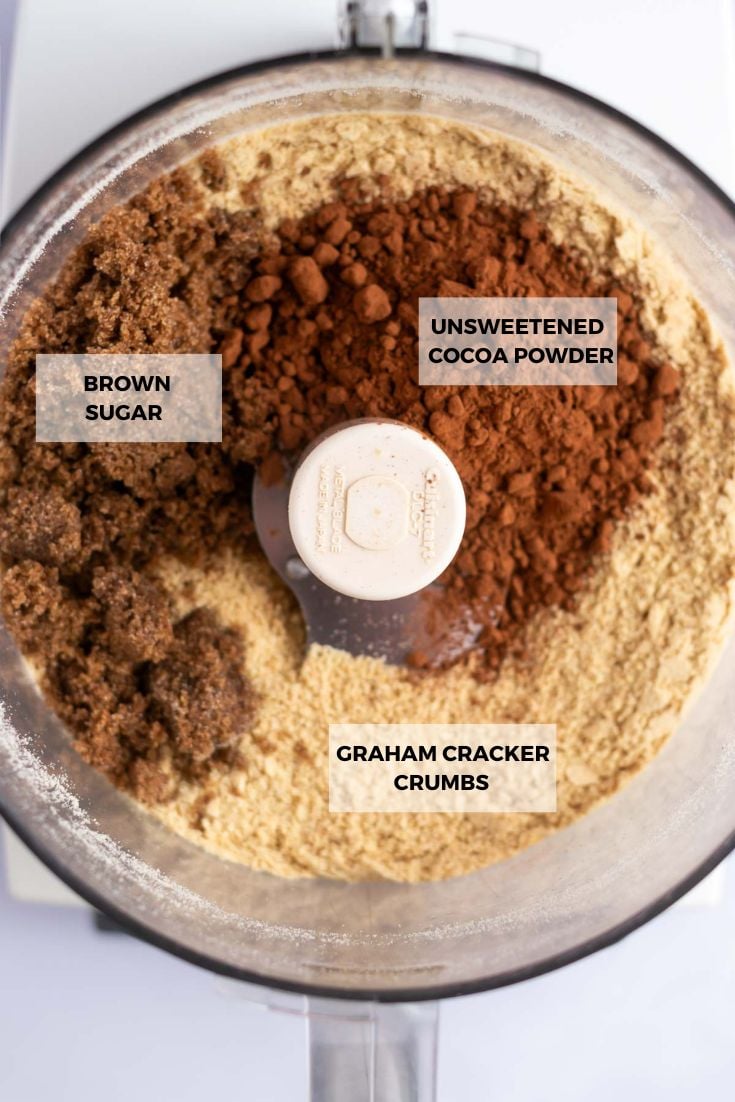
- Unsweetened cocoa powder ~ this is another time to splurge on ingredients. I love Scharffen Berger cocoa powder in this cookie recipe.
👩🏻🍳 how to make shortbread with cocoa powder
Preheat oven to 350°F and line a baking sheet pan with parchment paper.
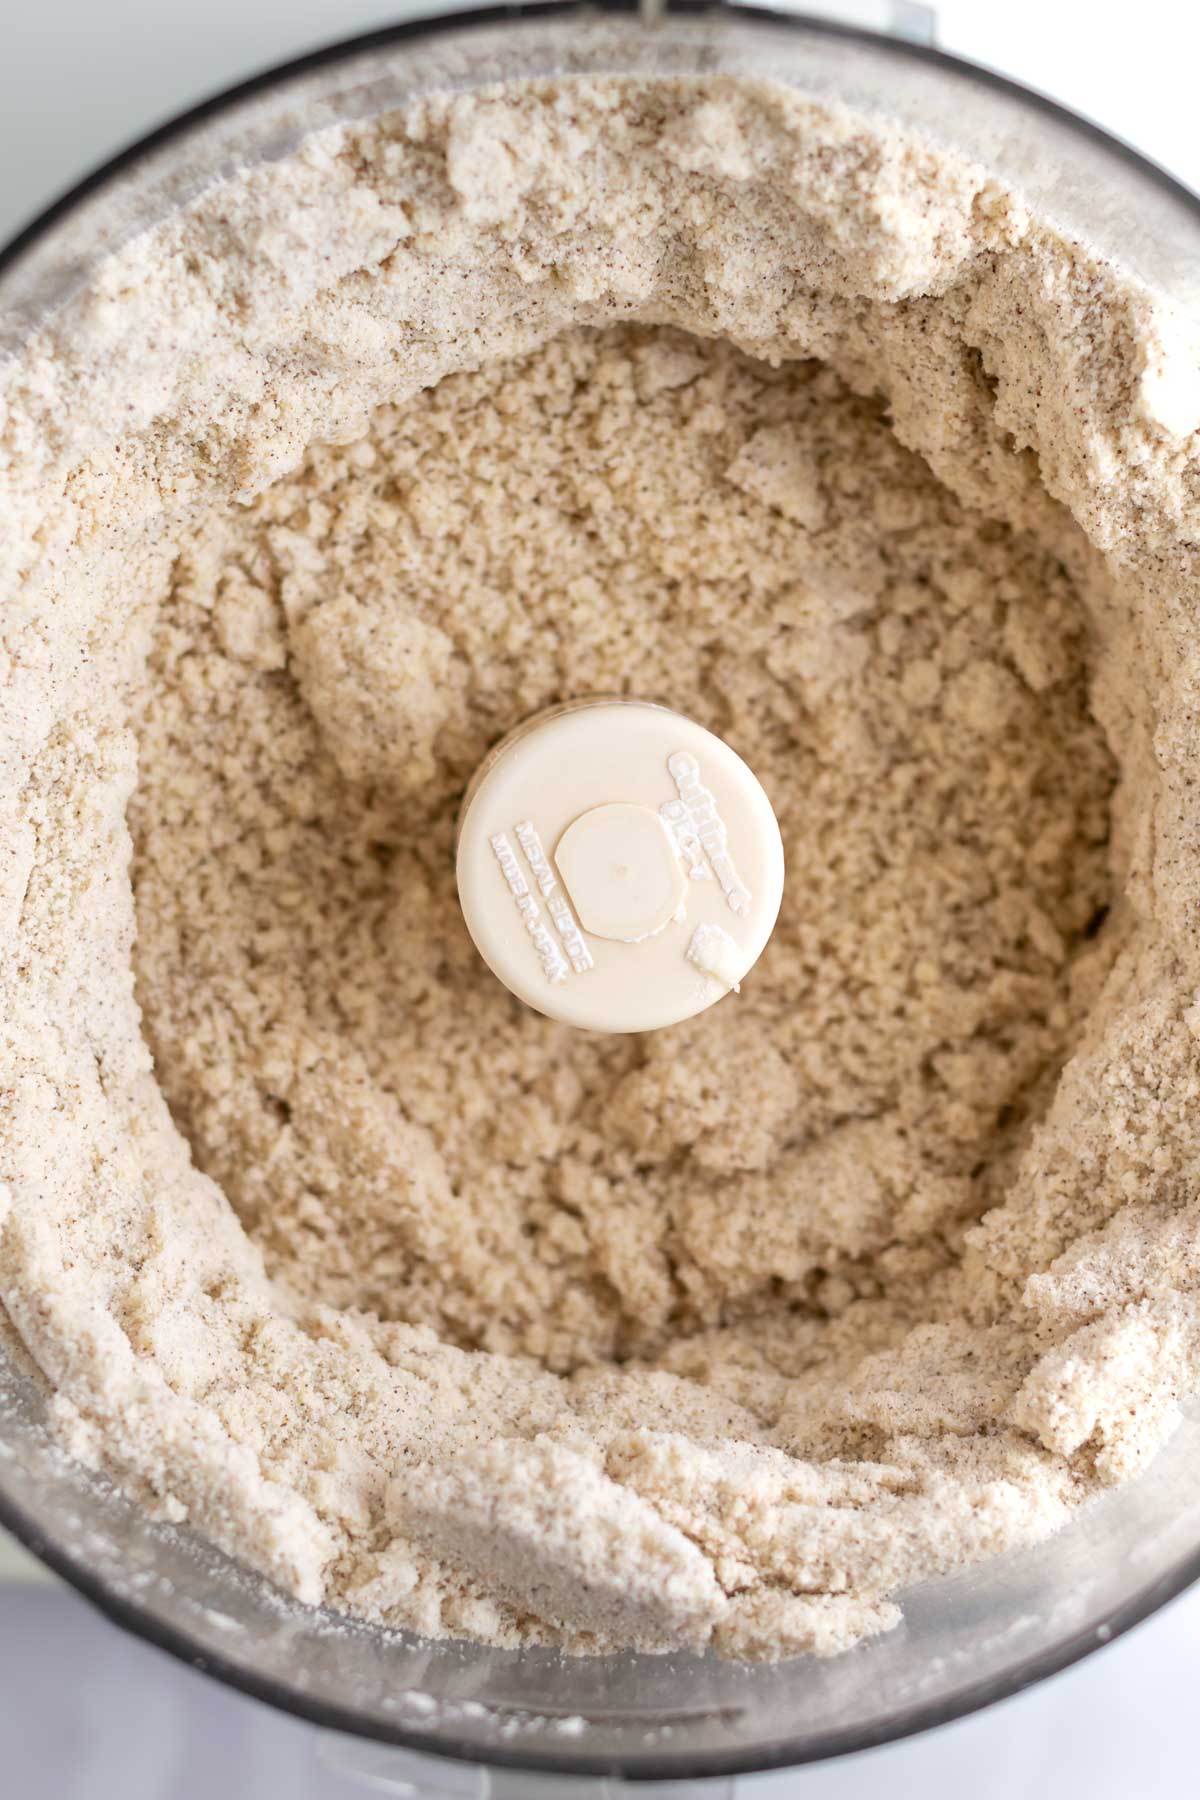
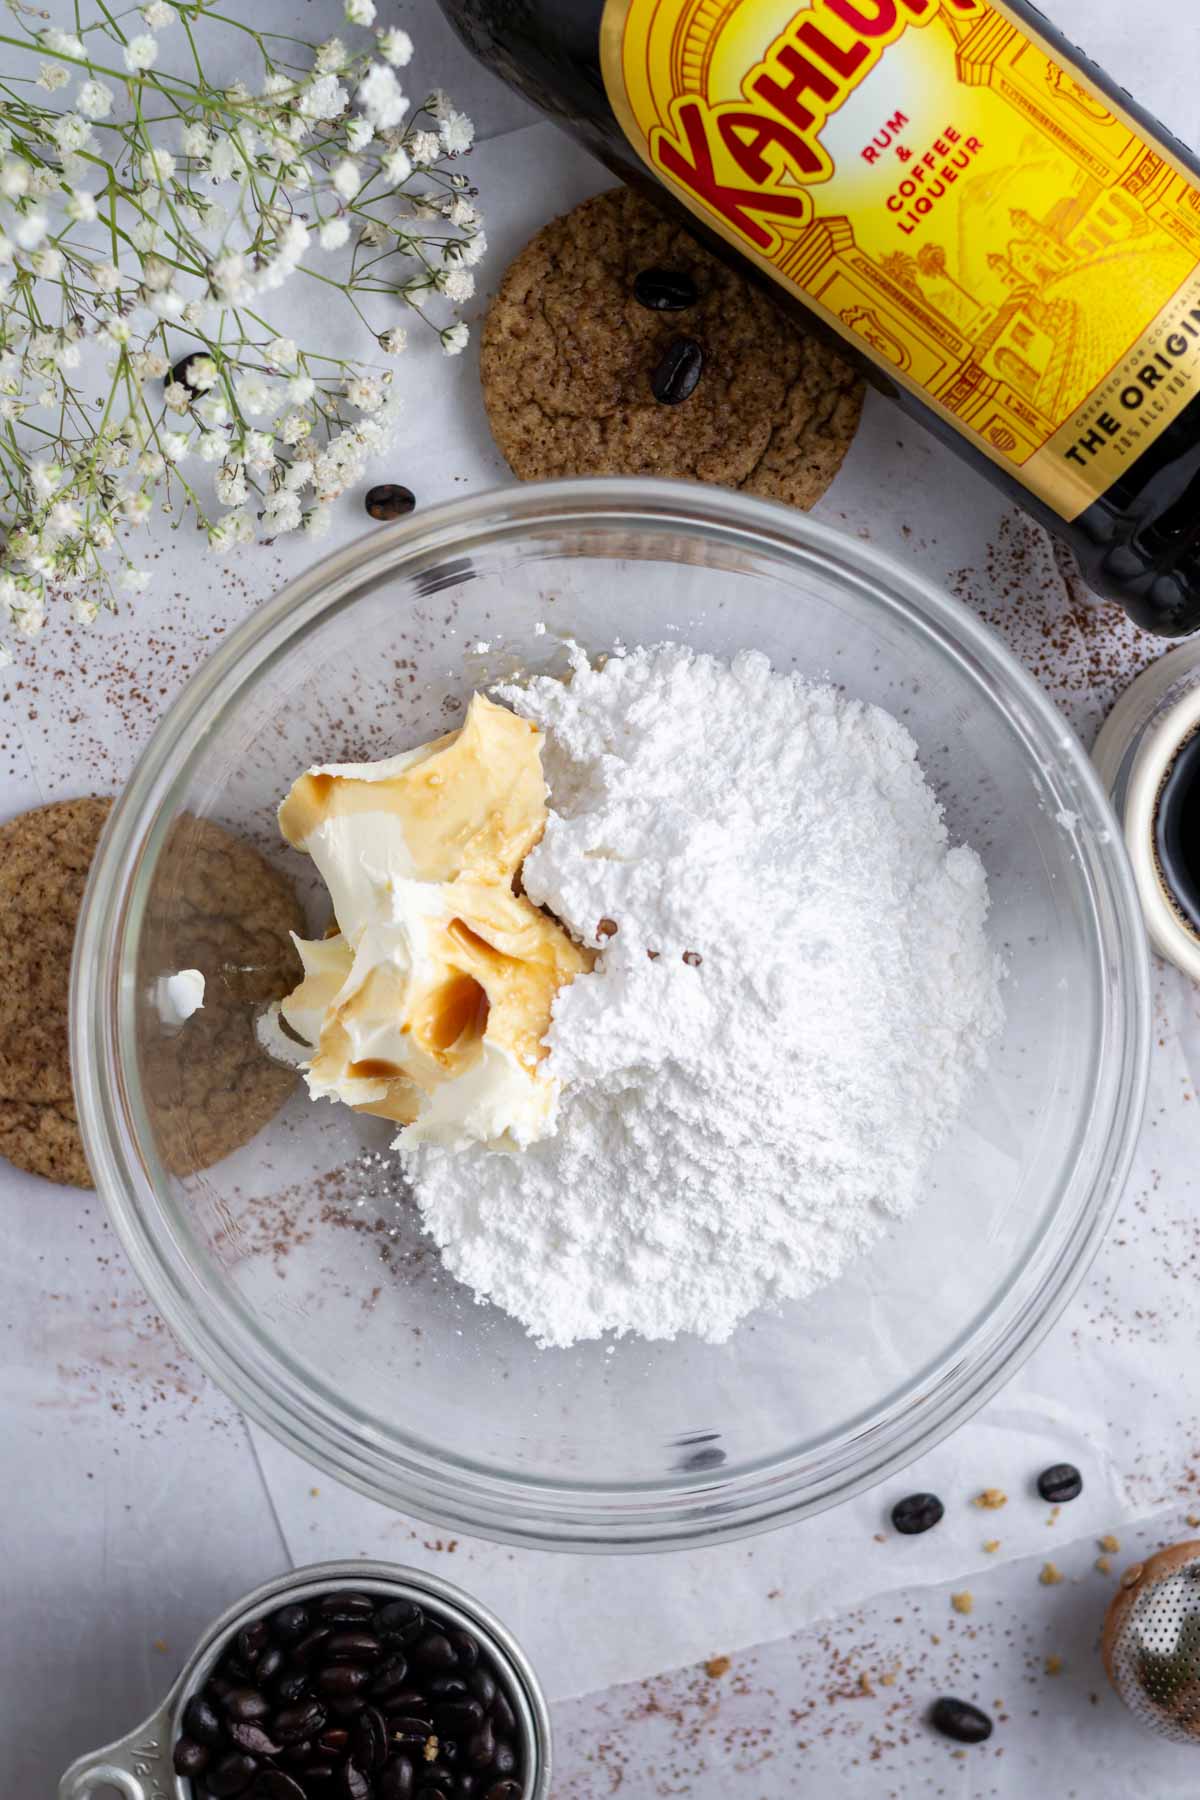
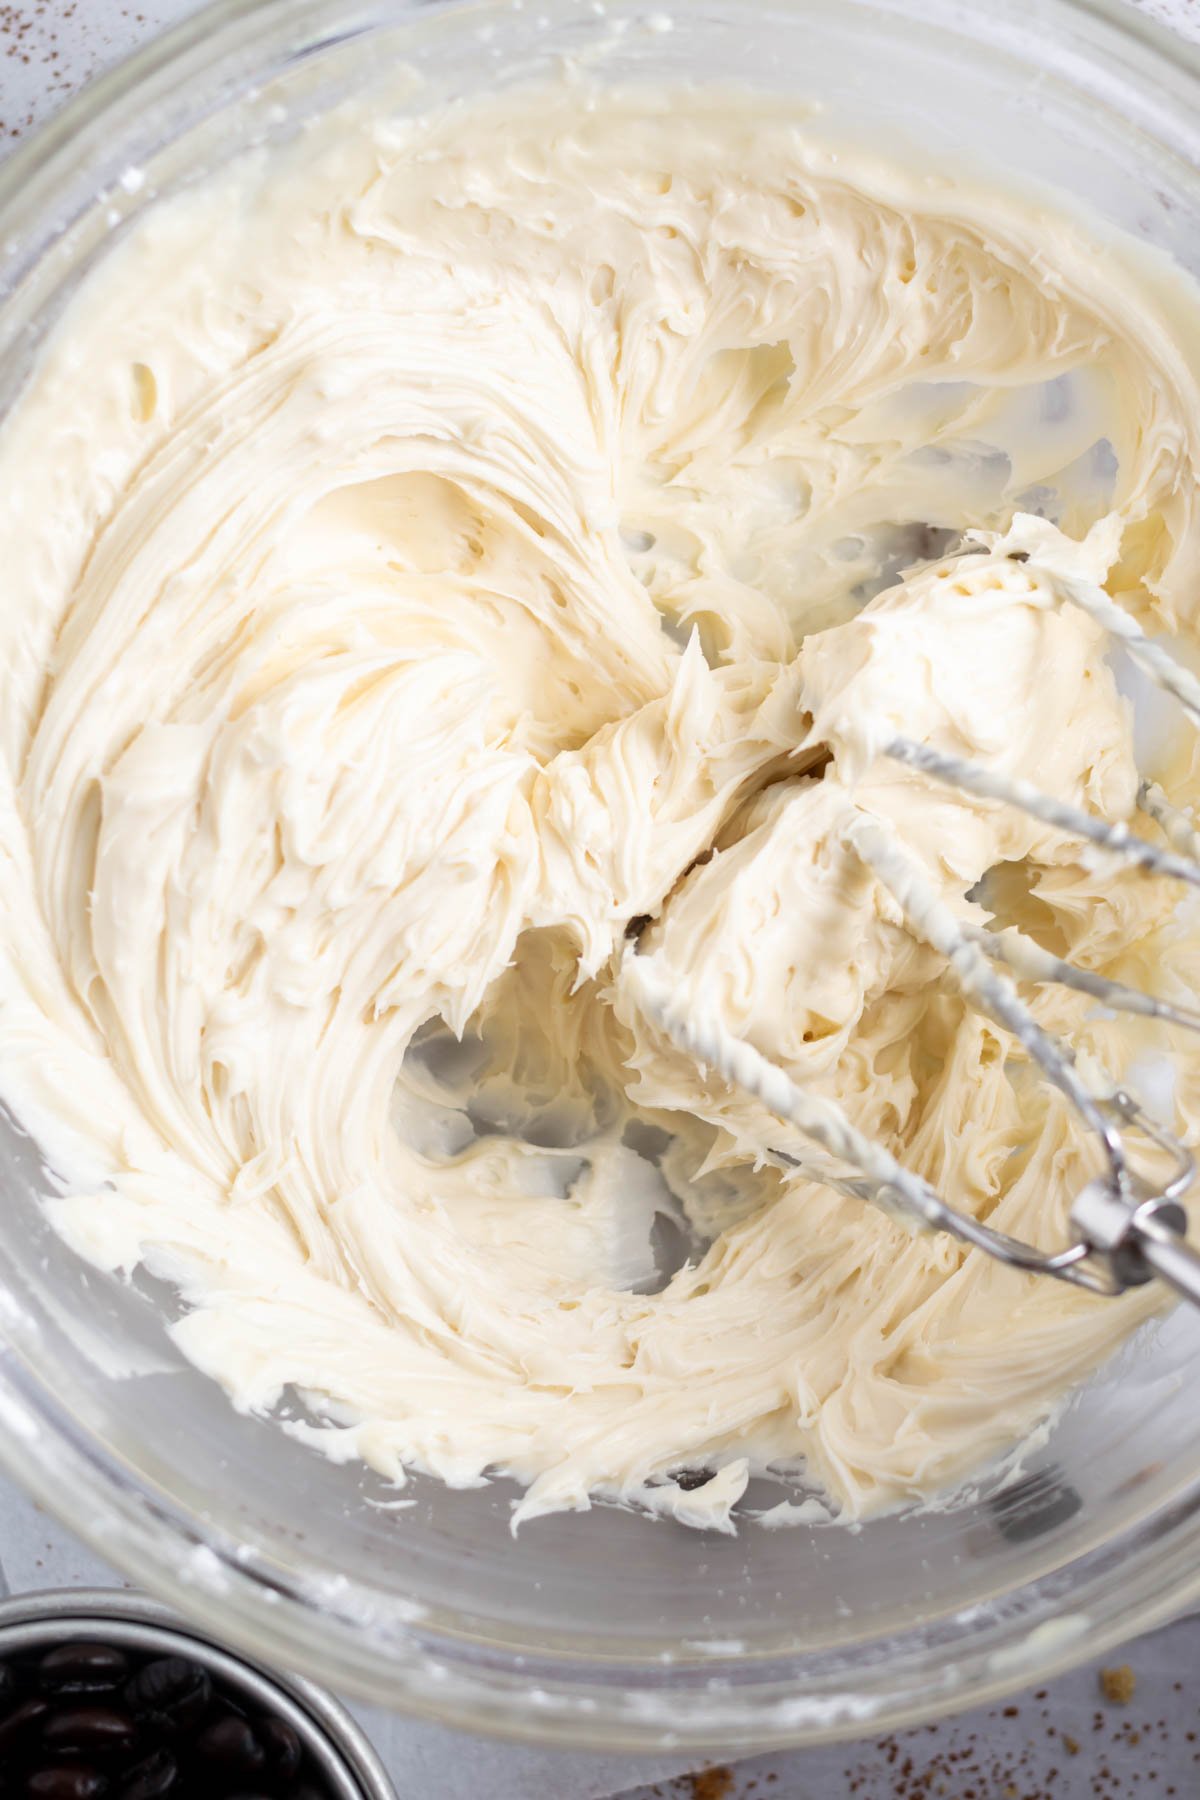
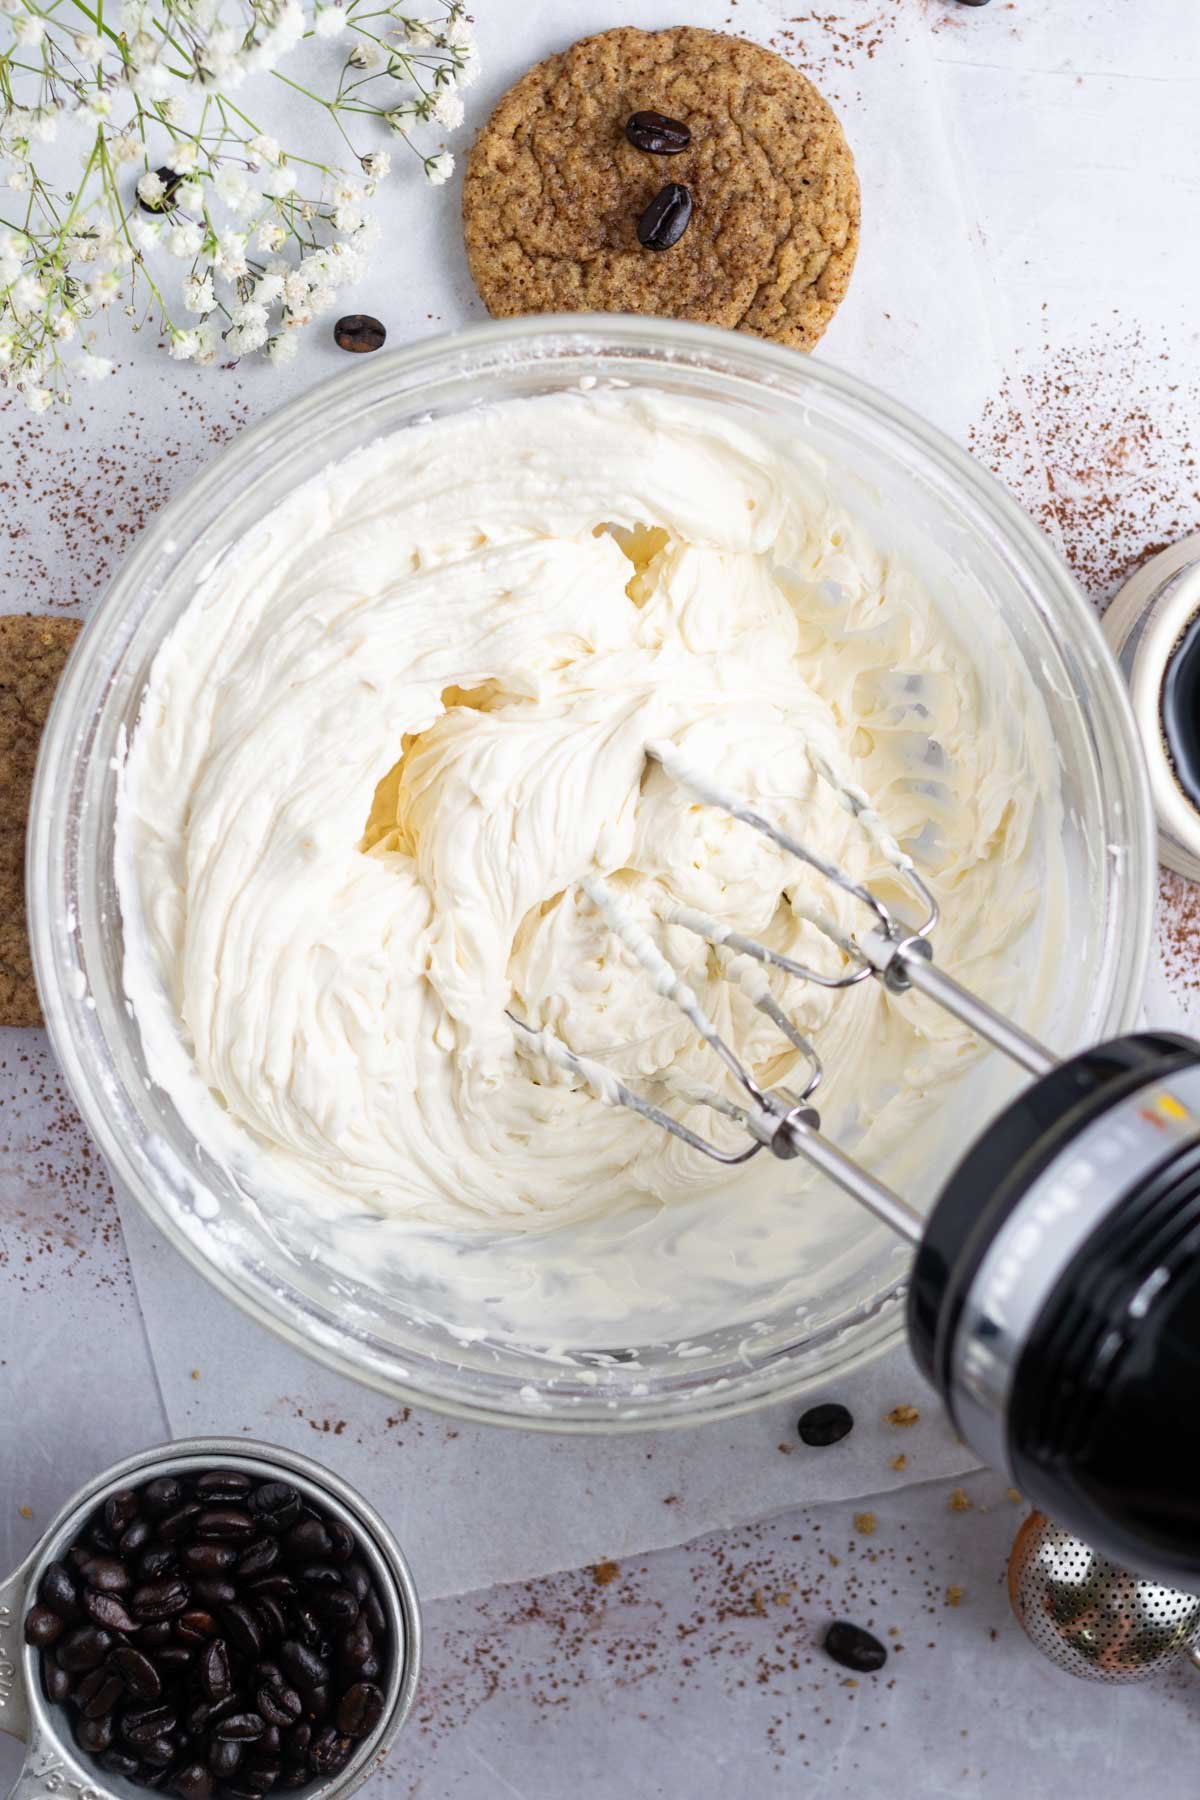
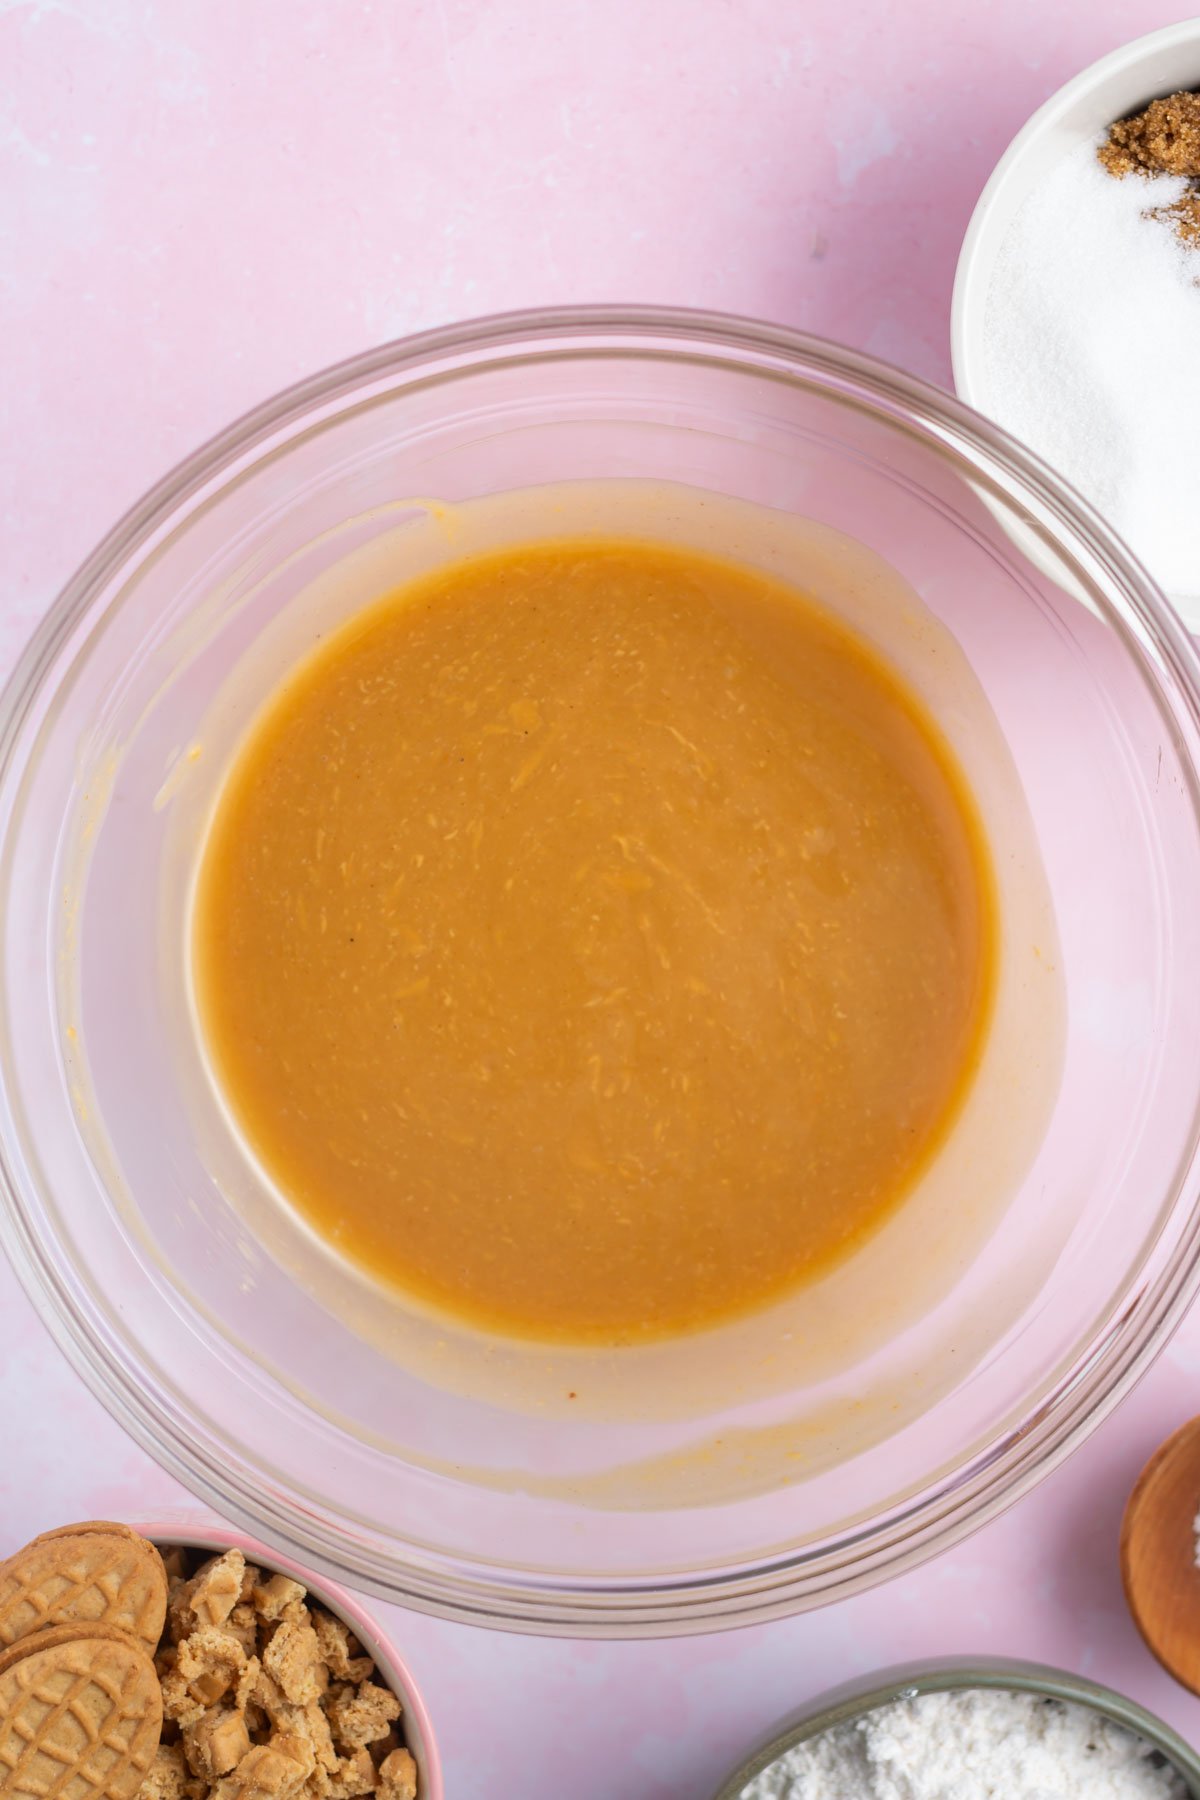
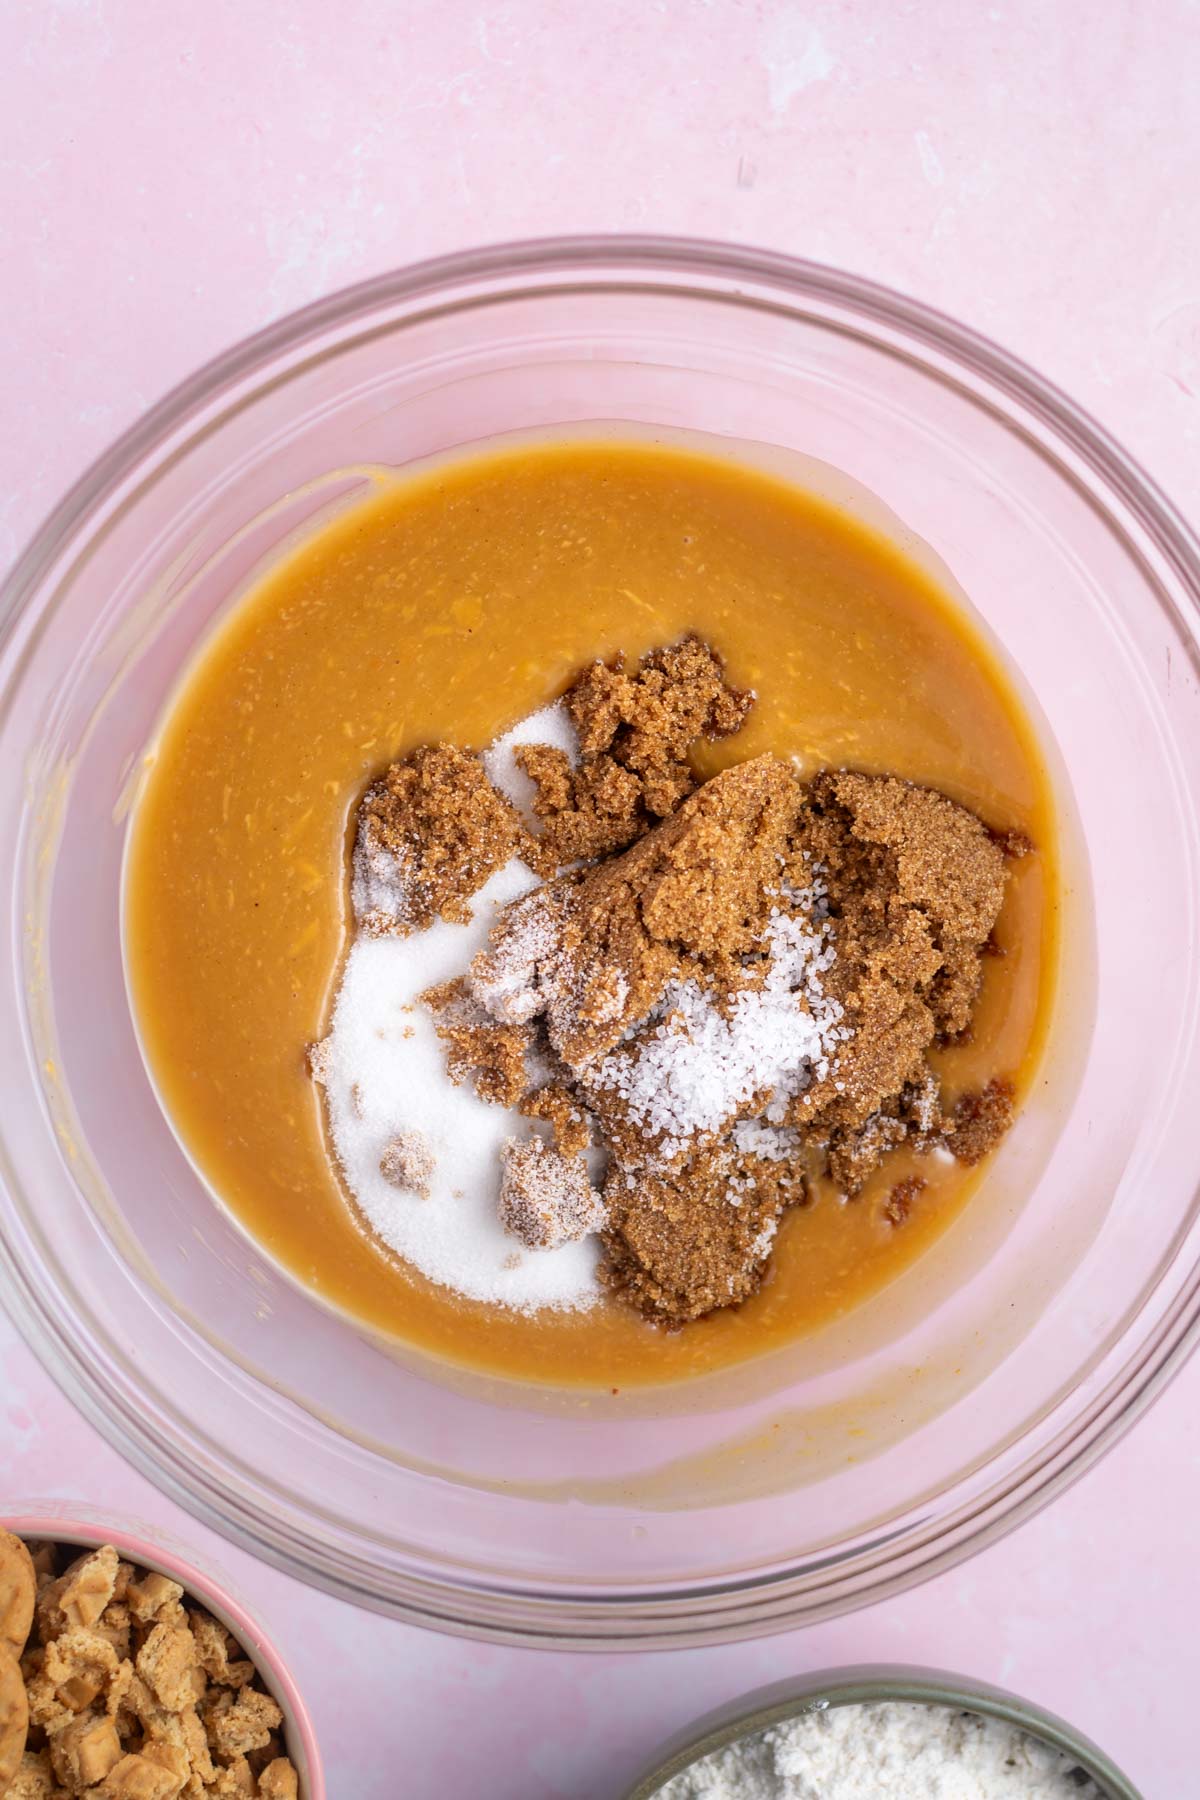
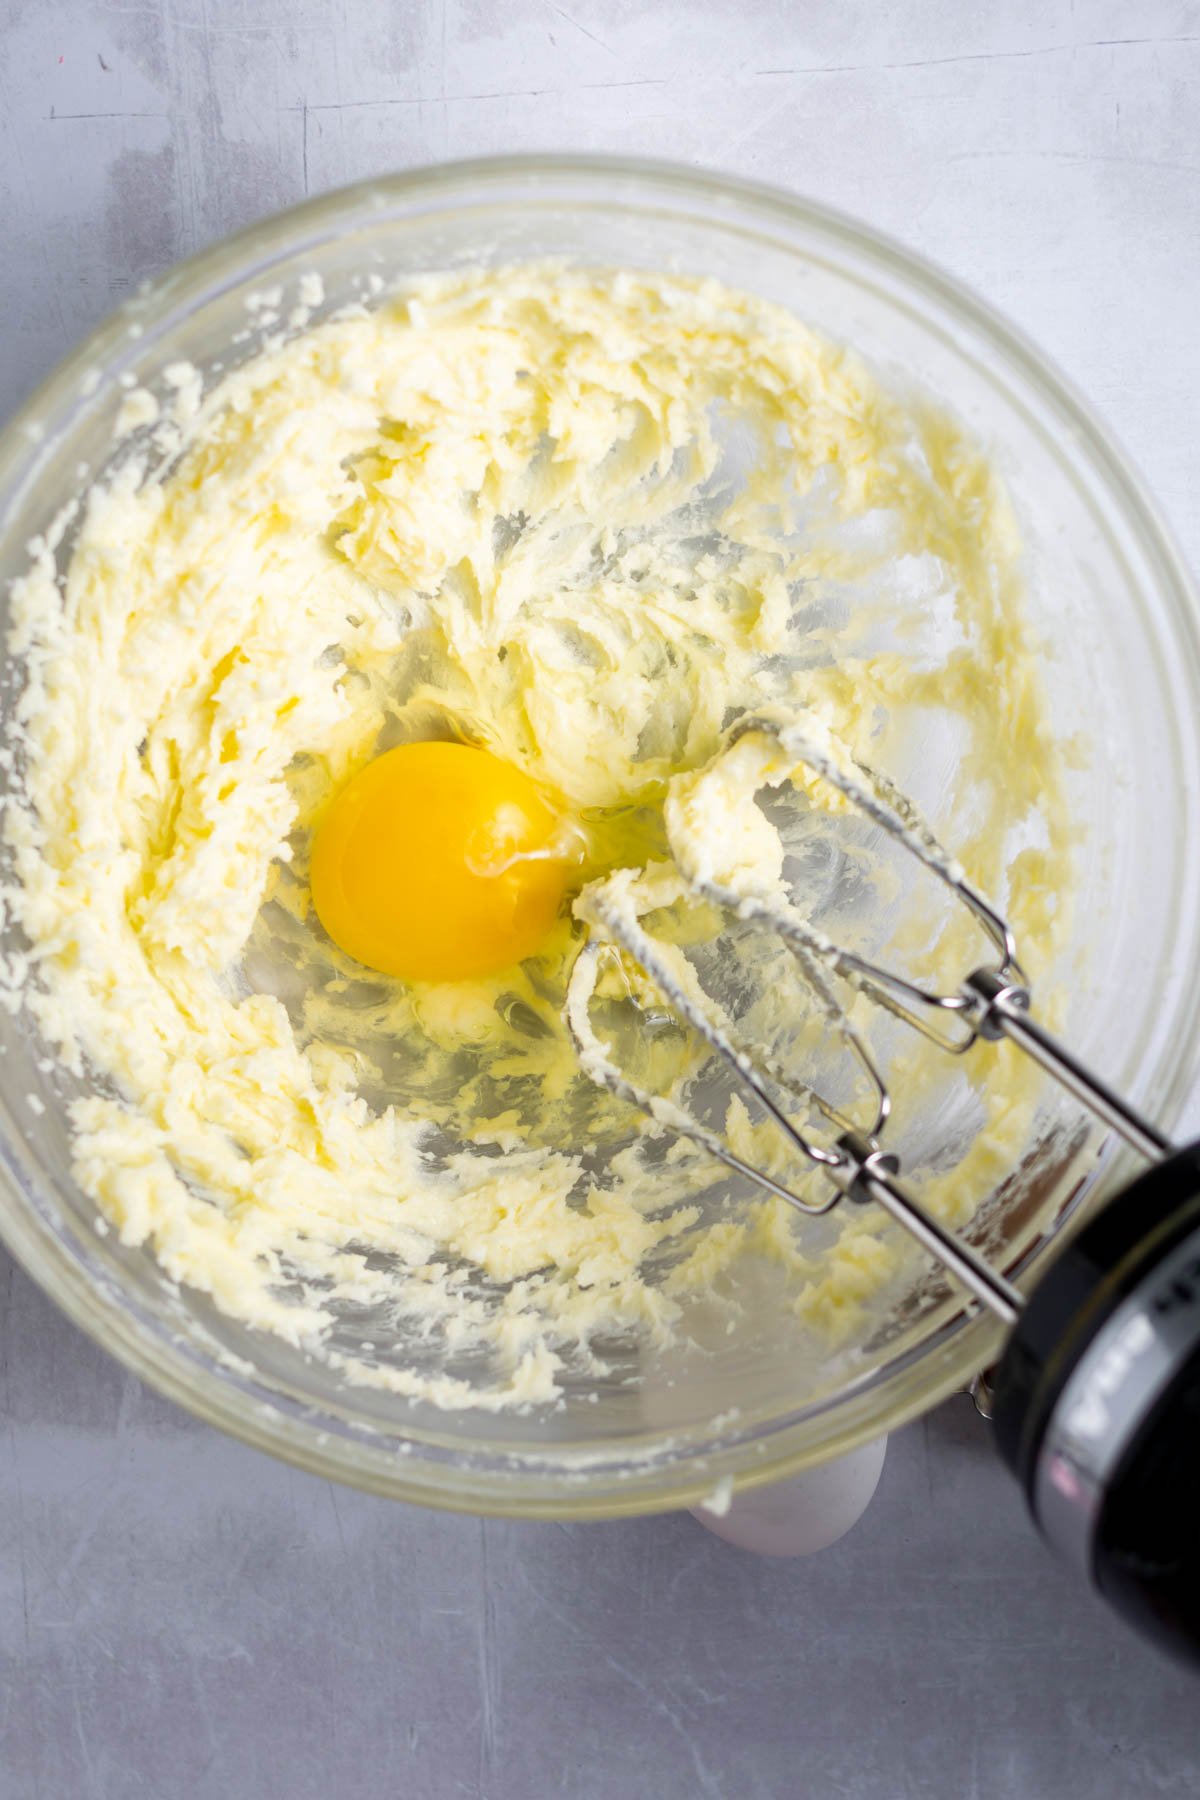
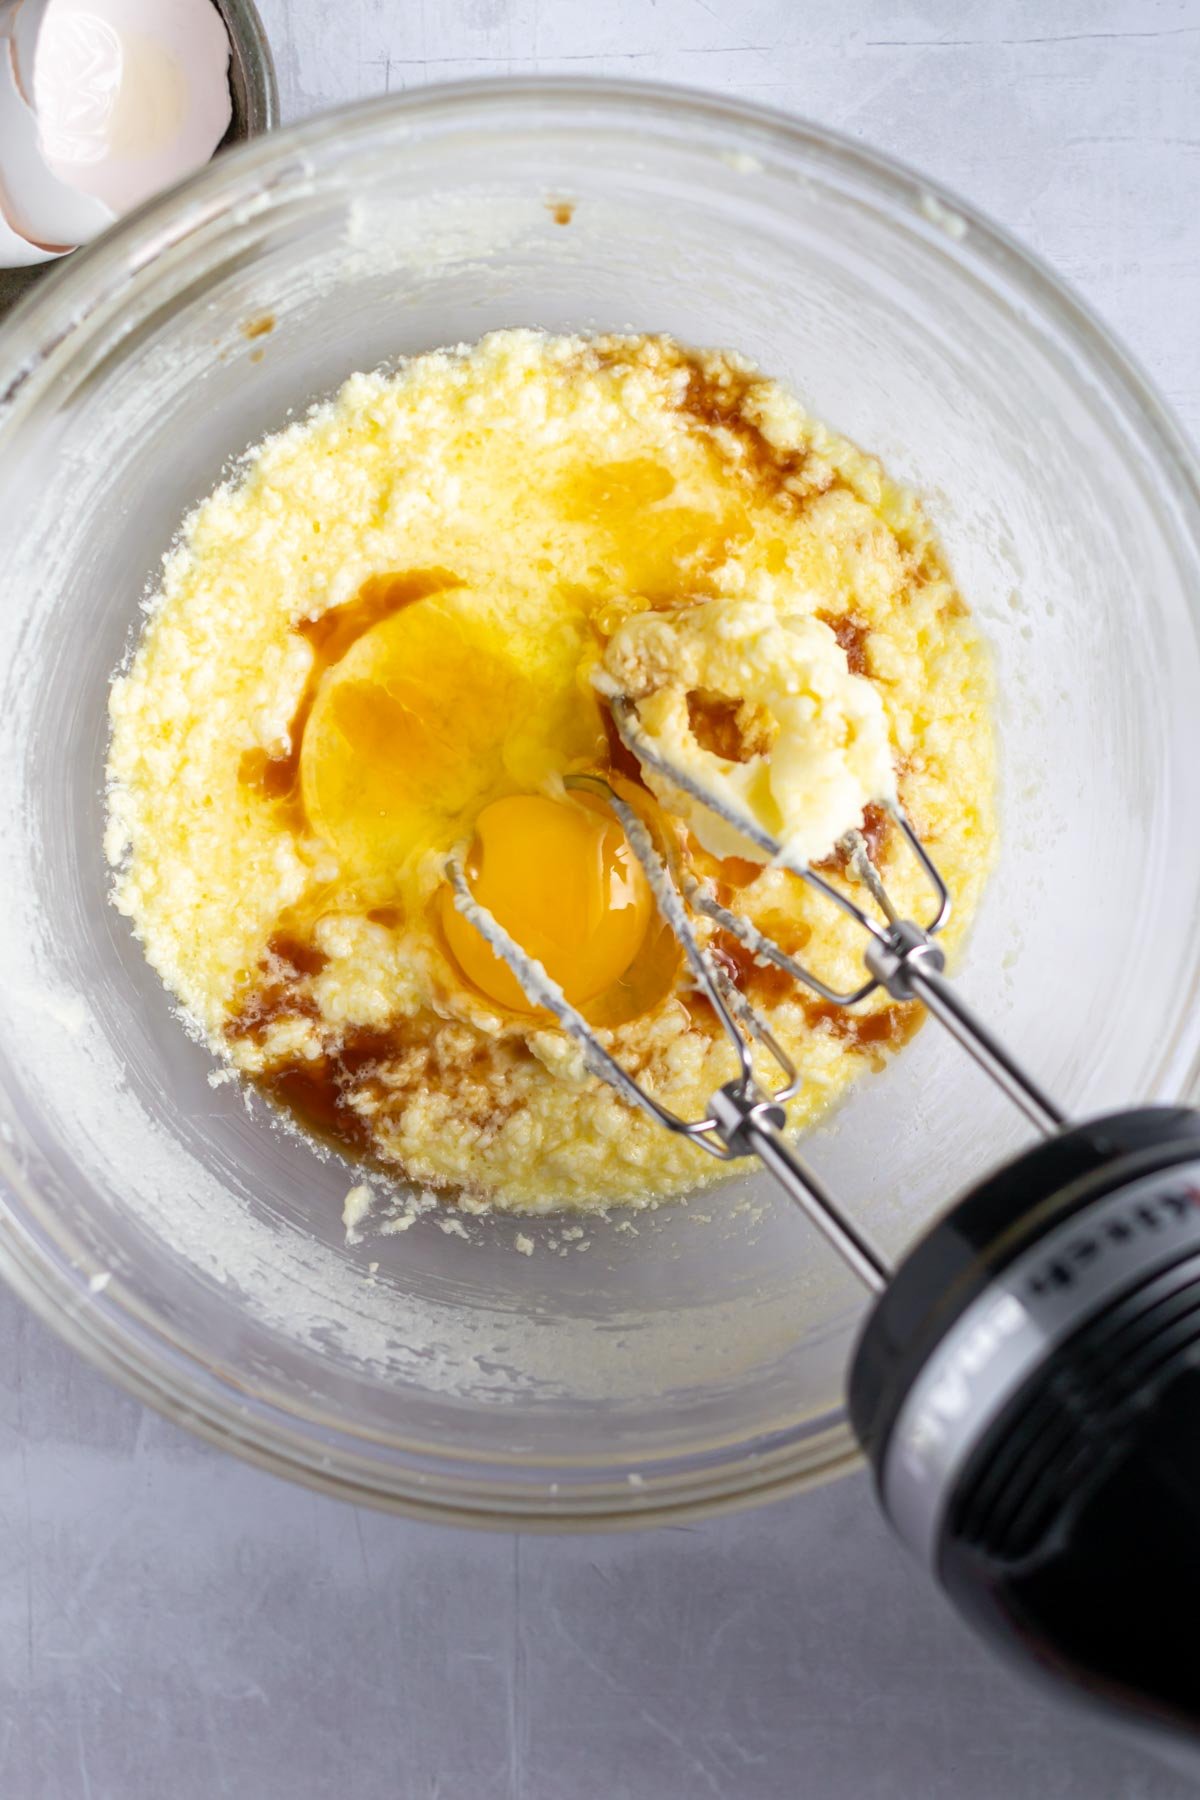
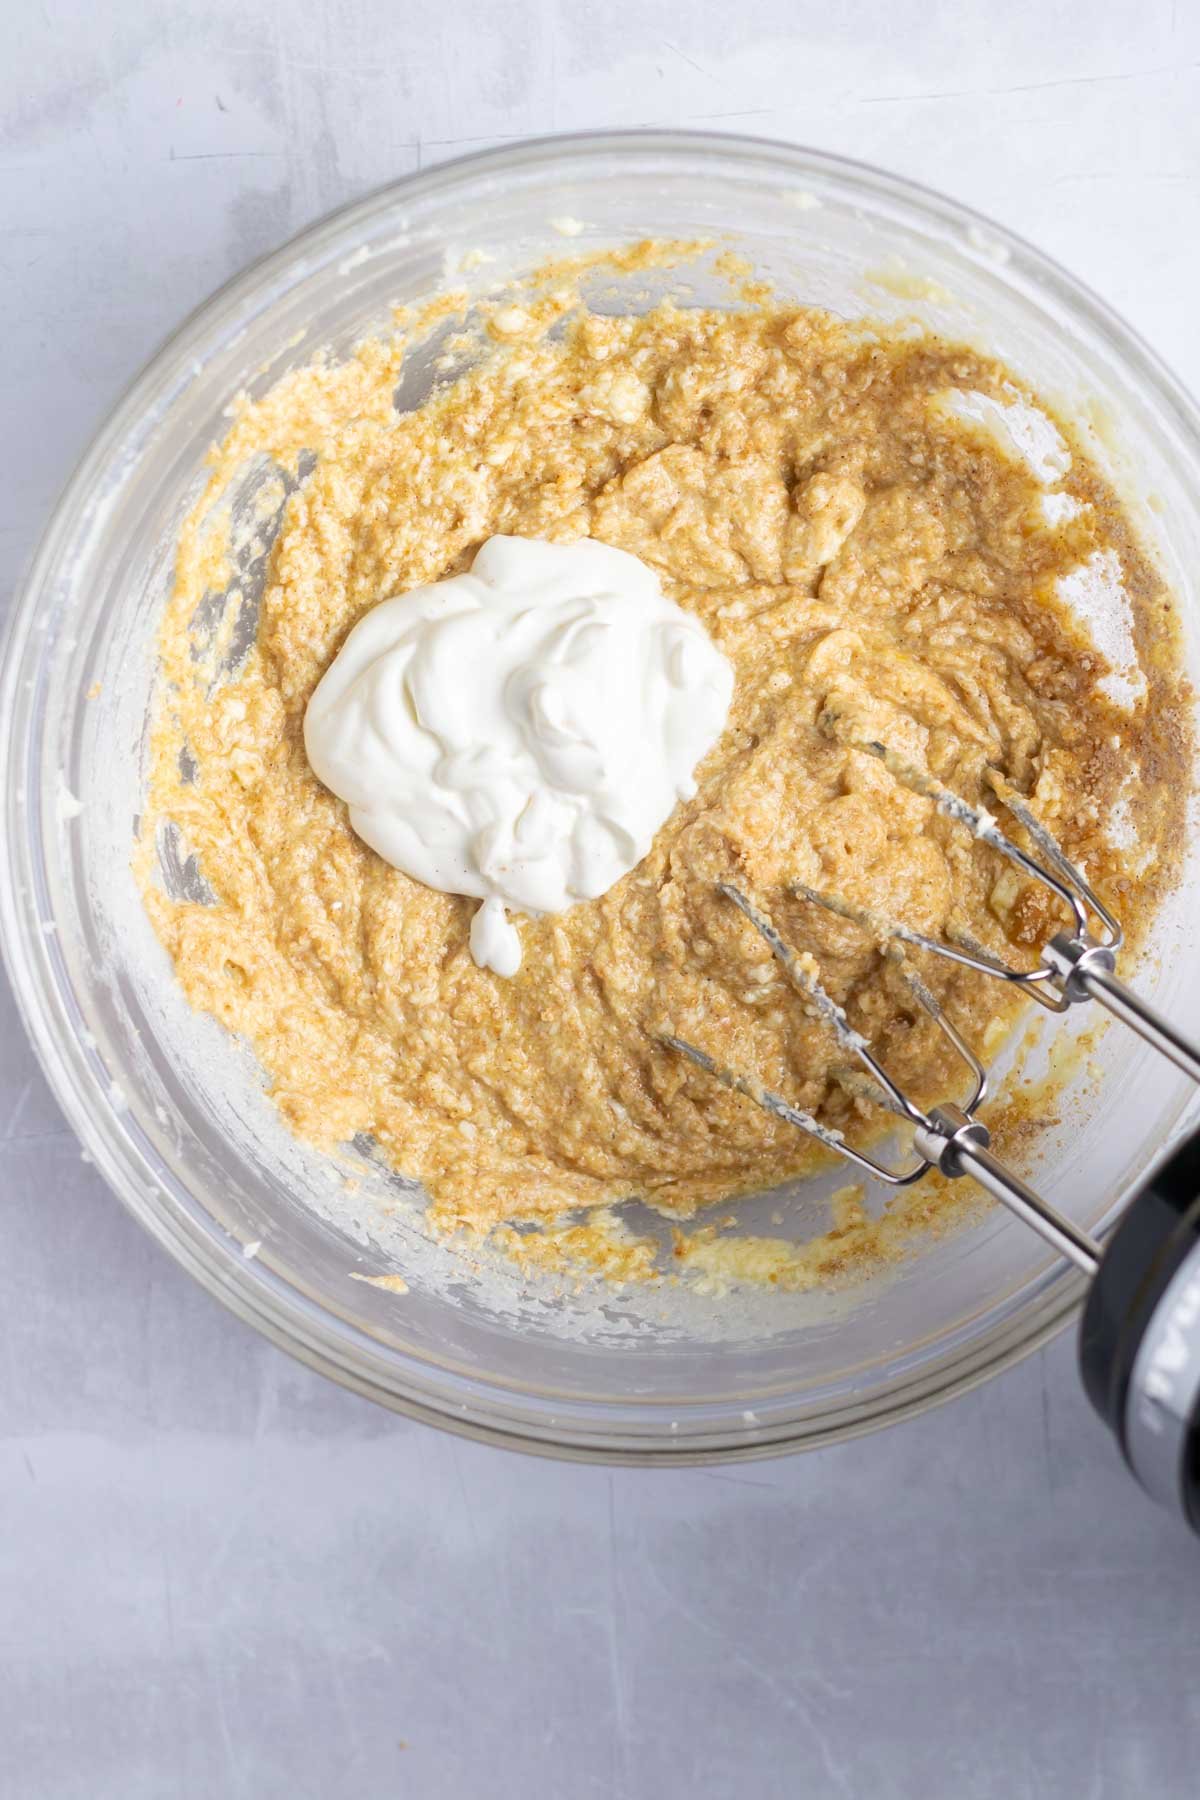
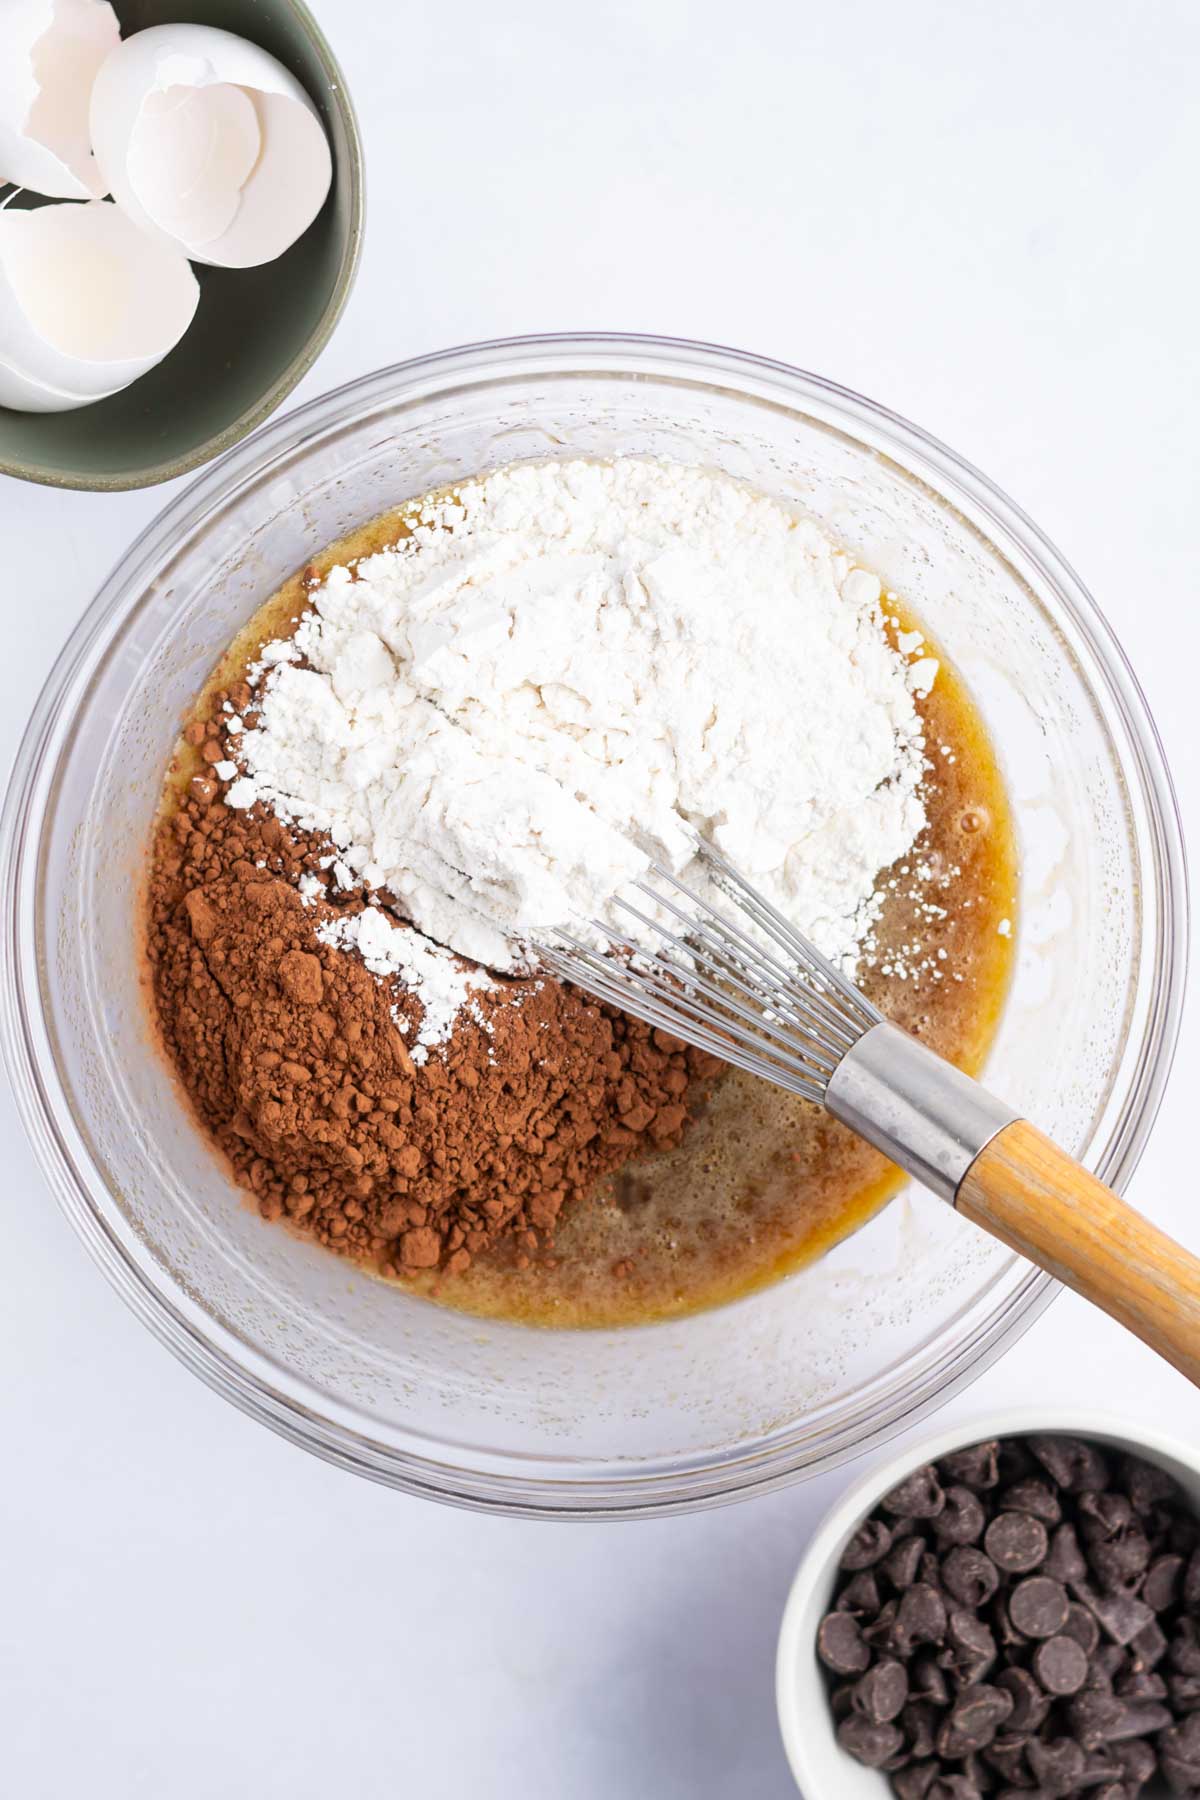
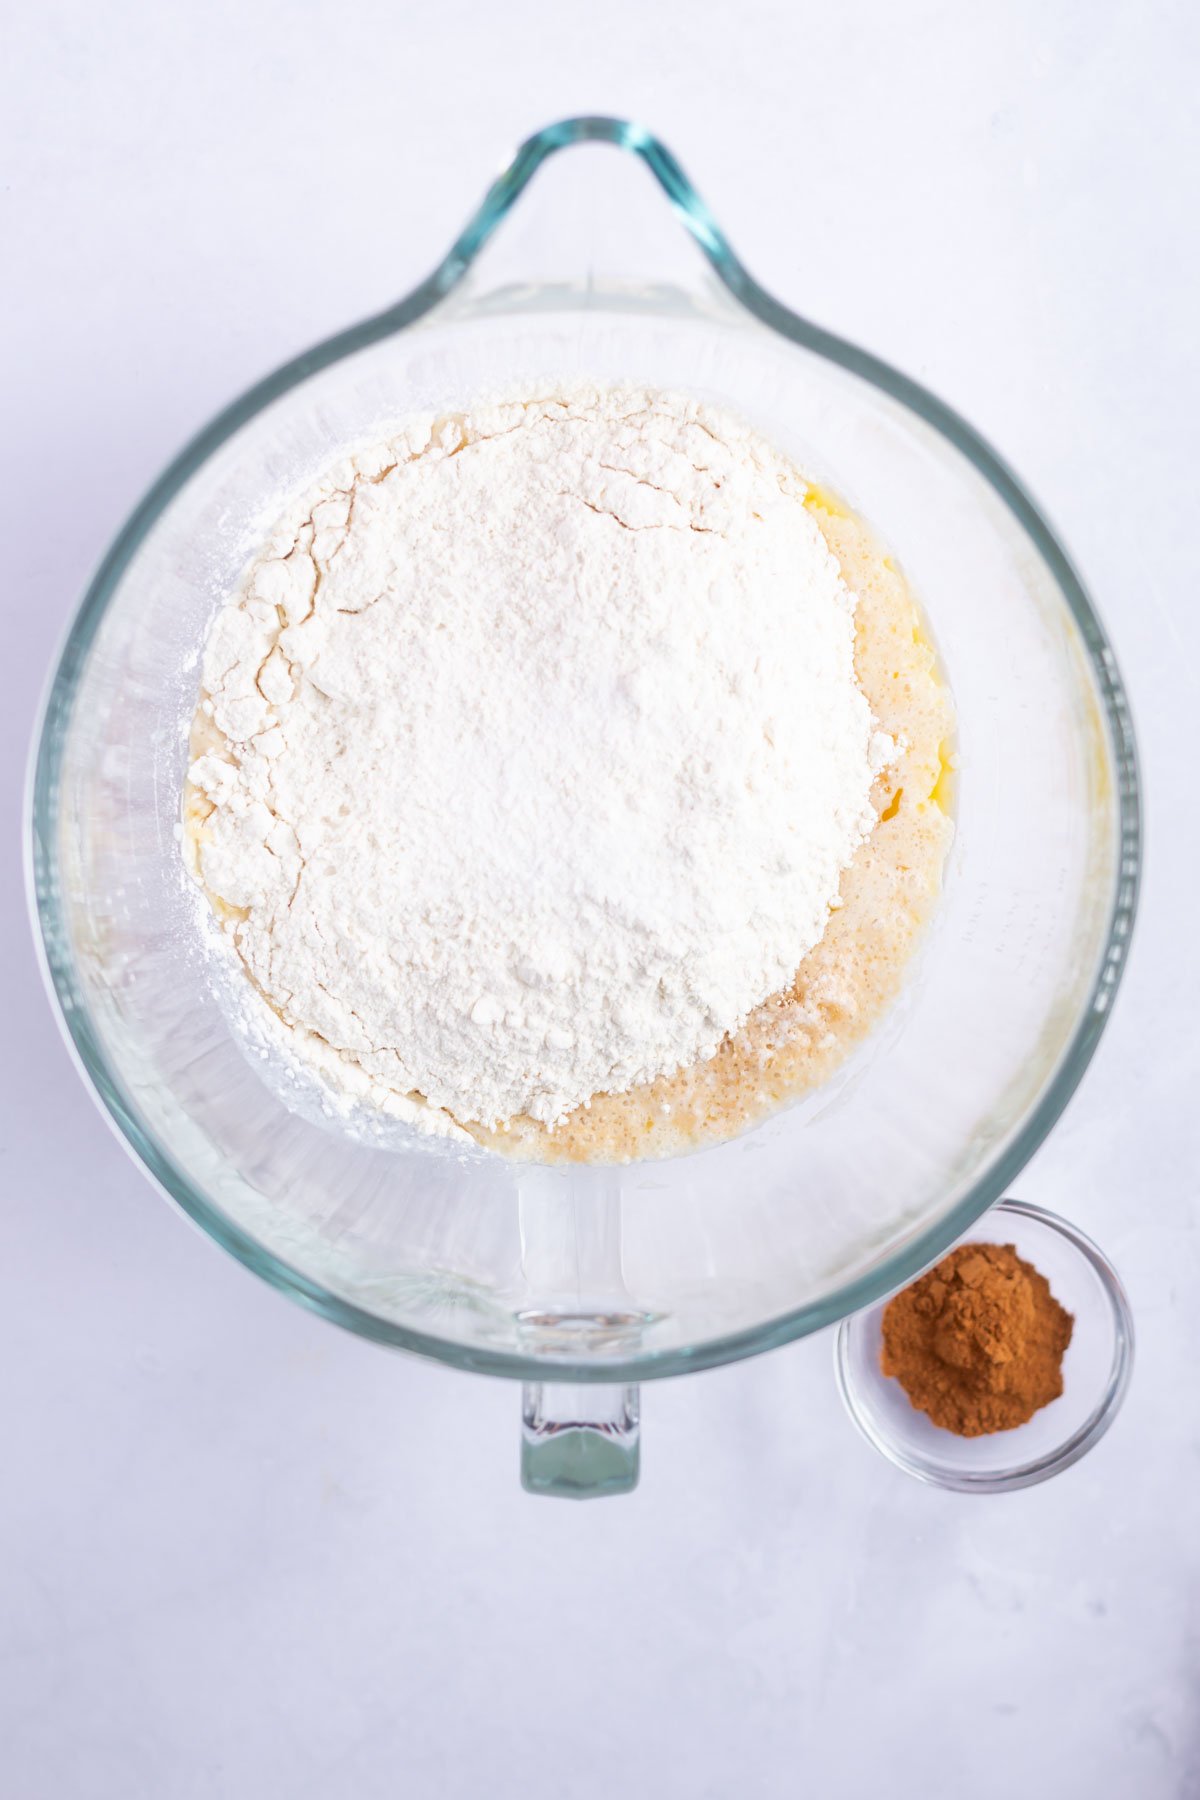
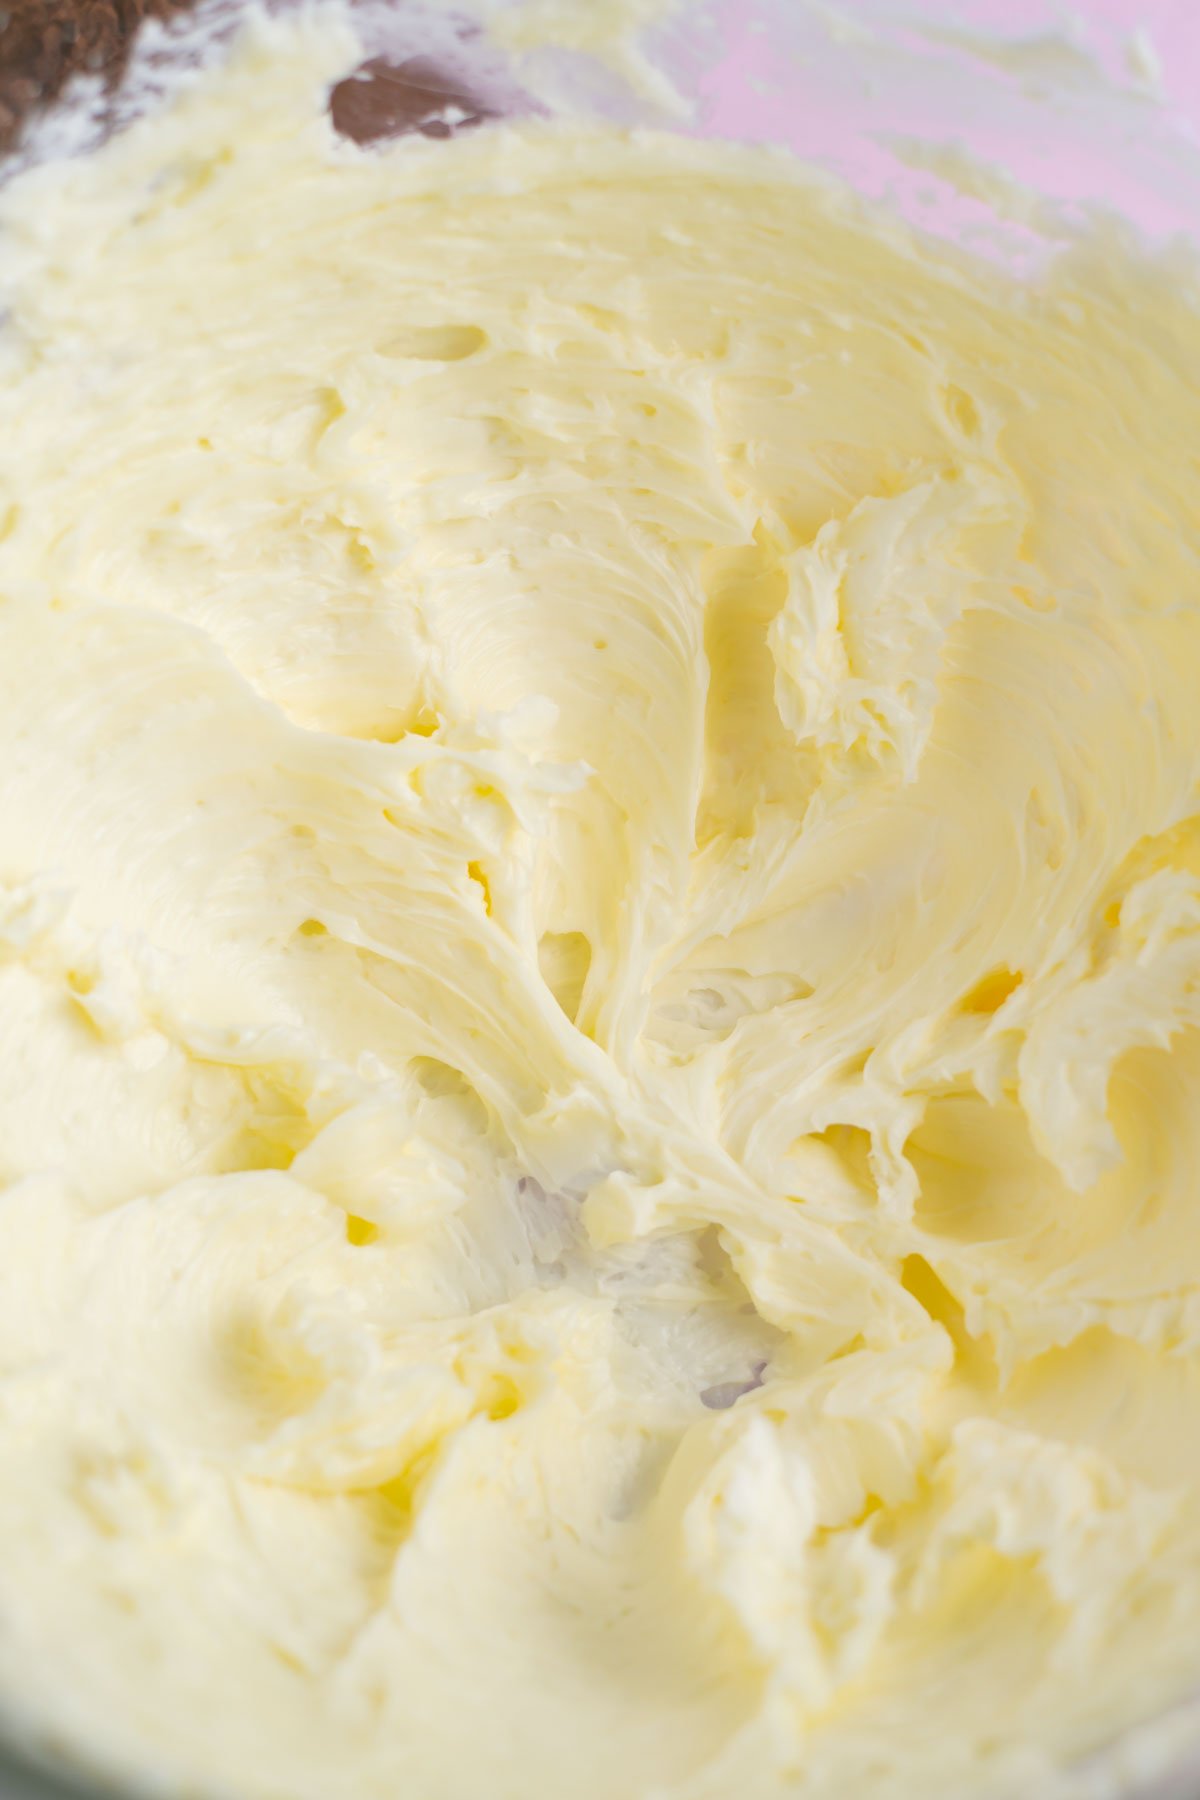
Place the butter, kosher salt and confectioners' sugar in the bowl of a stand mixer fitted with the paddle attachment {or use a hand mixer}. Cream the butter, salt and sugar on medium.
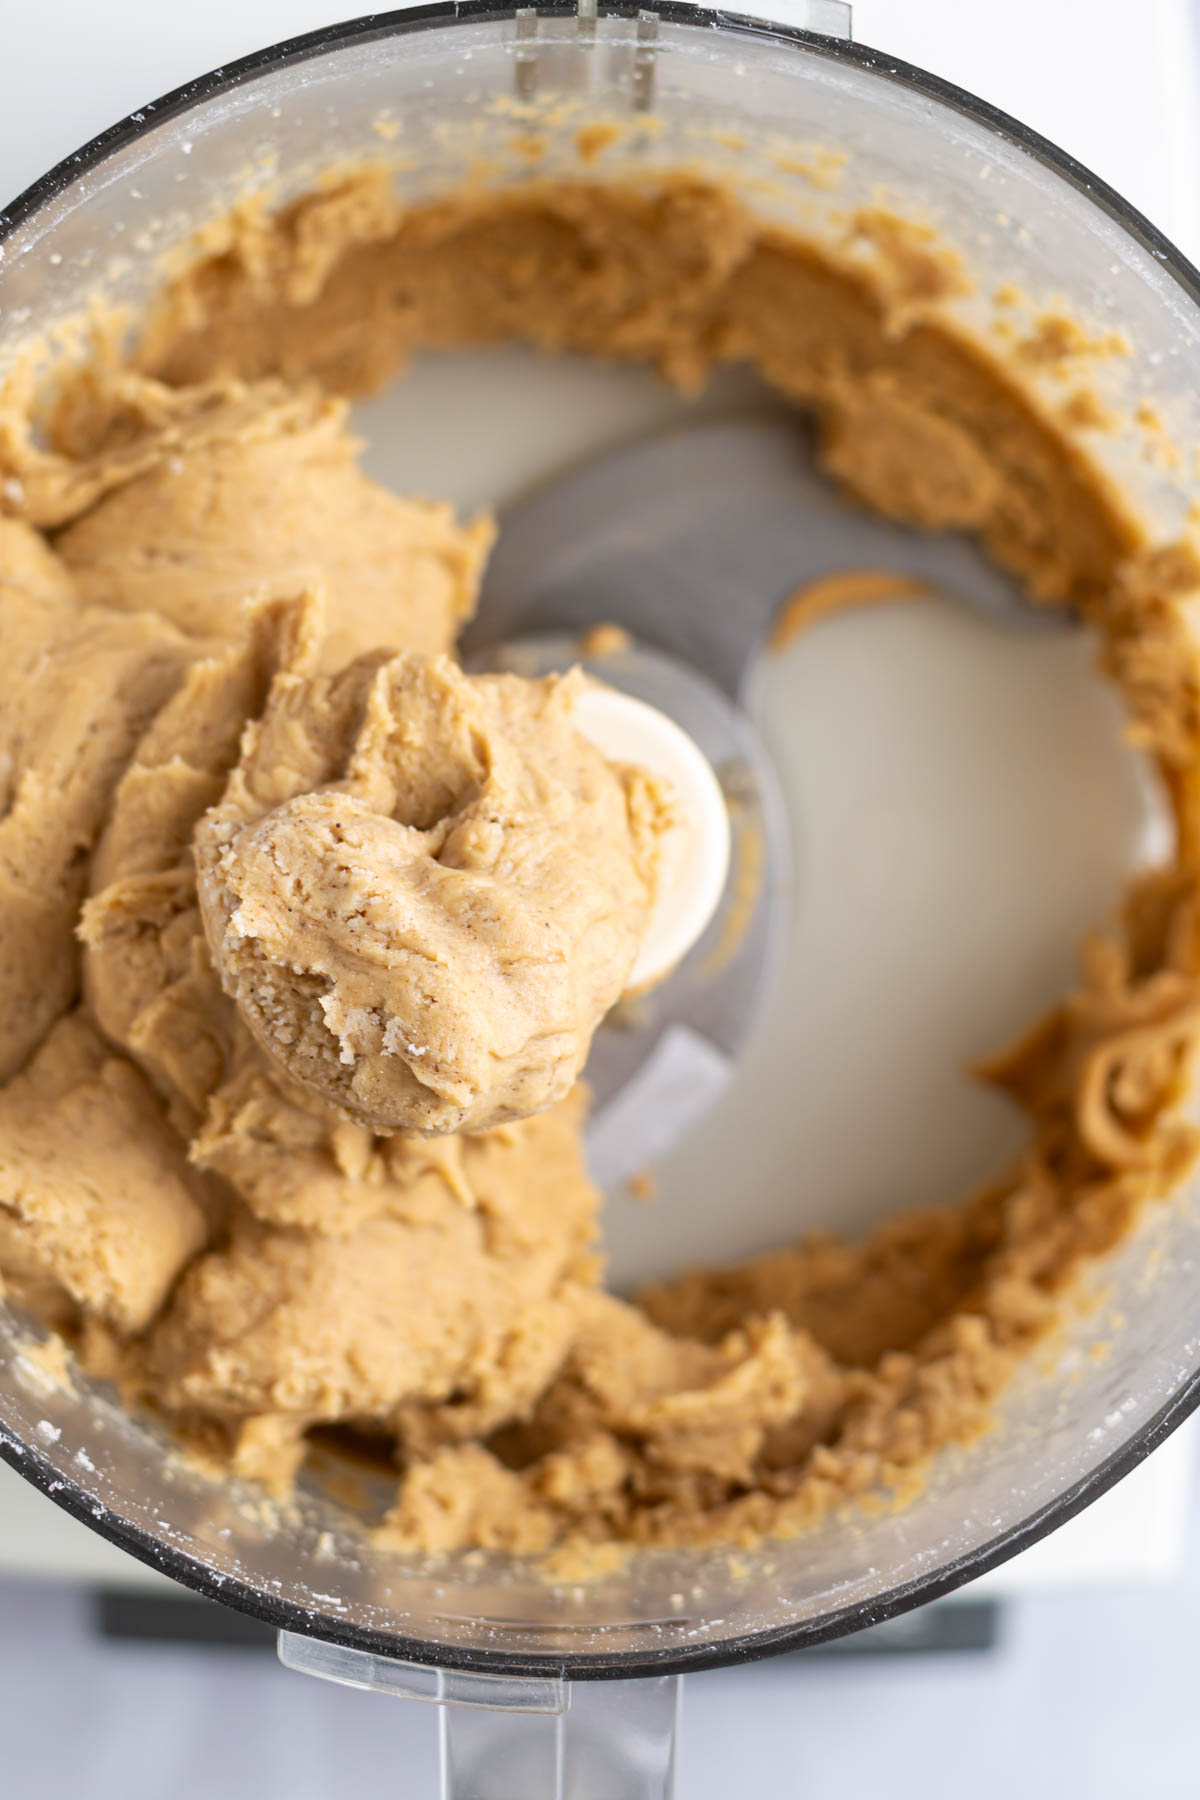
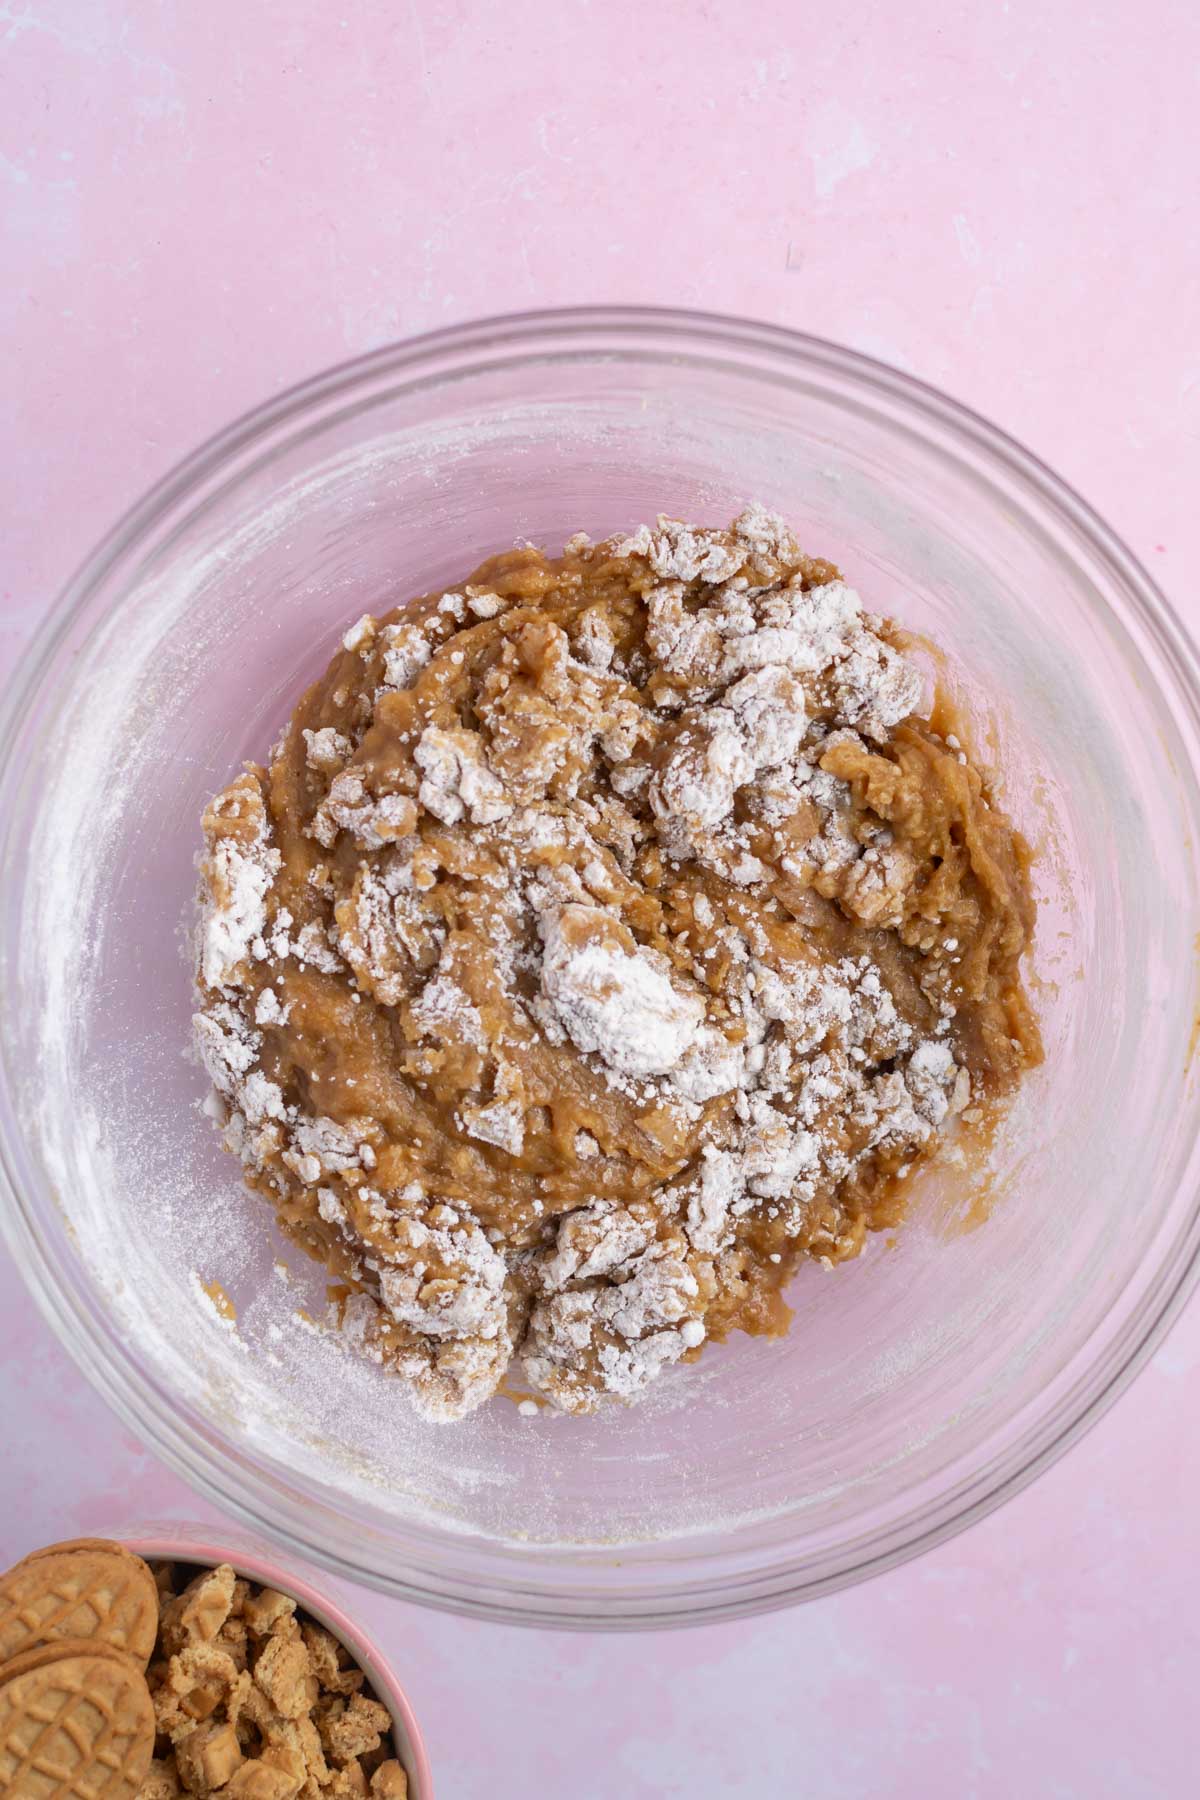
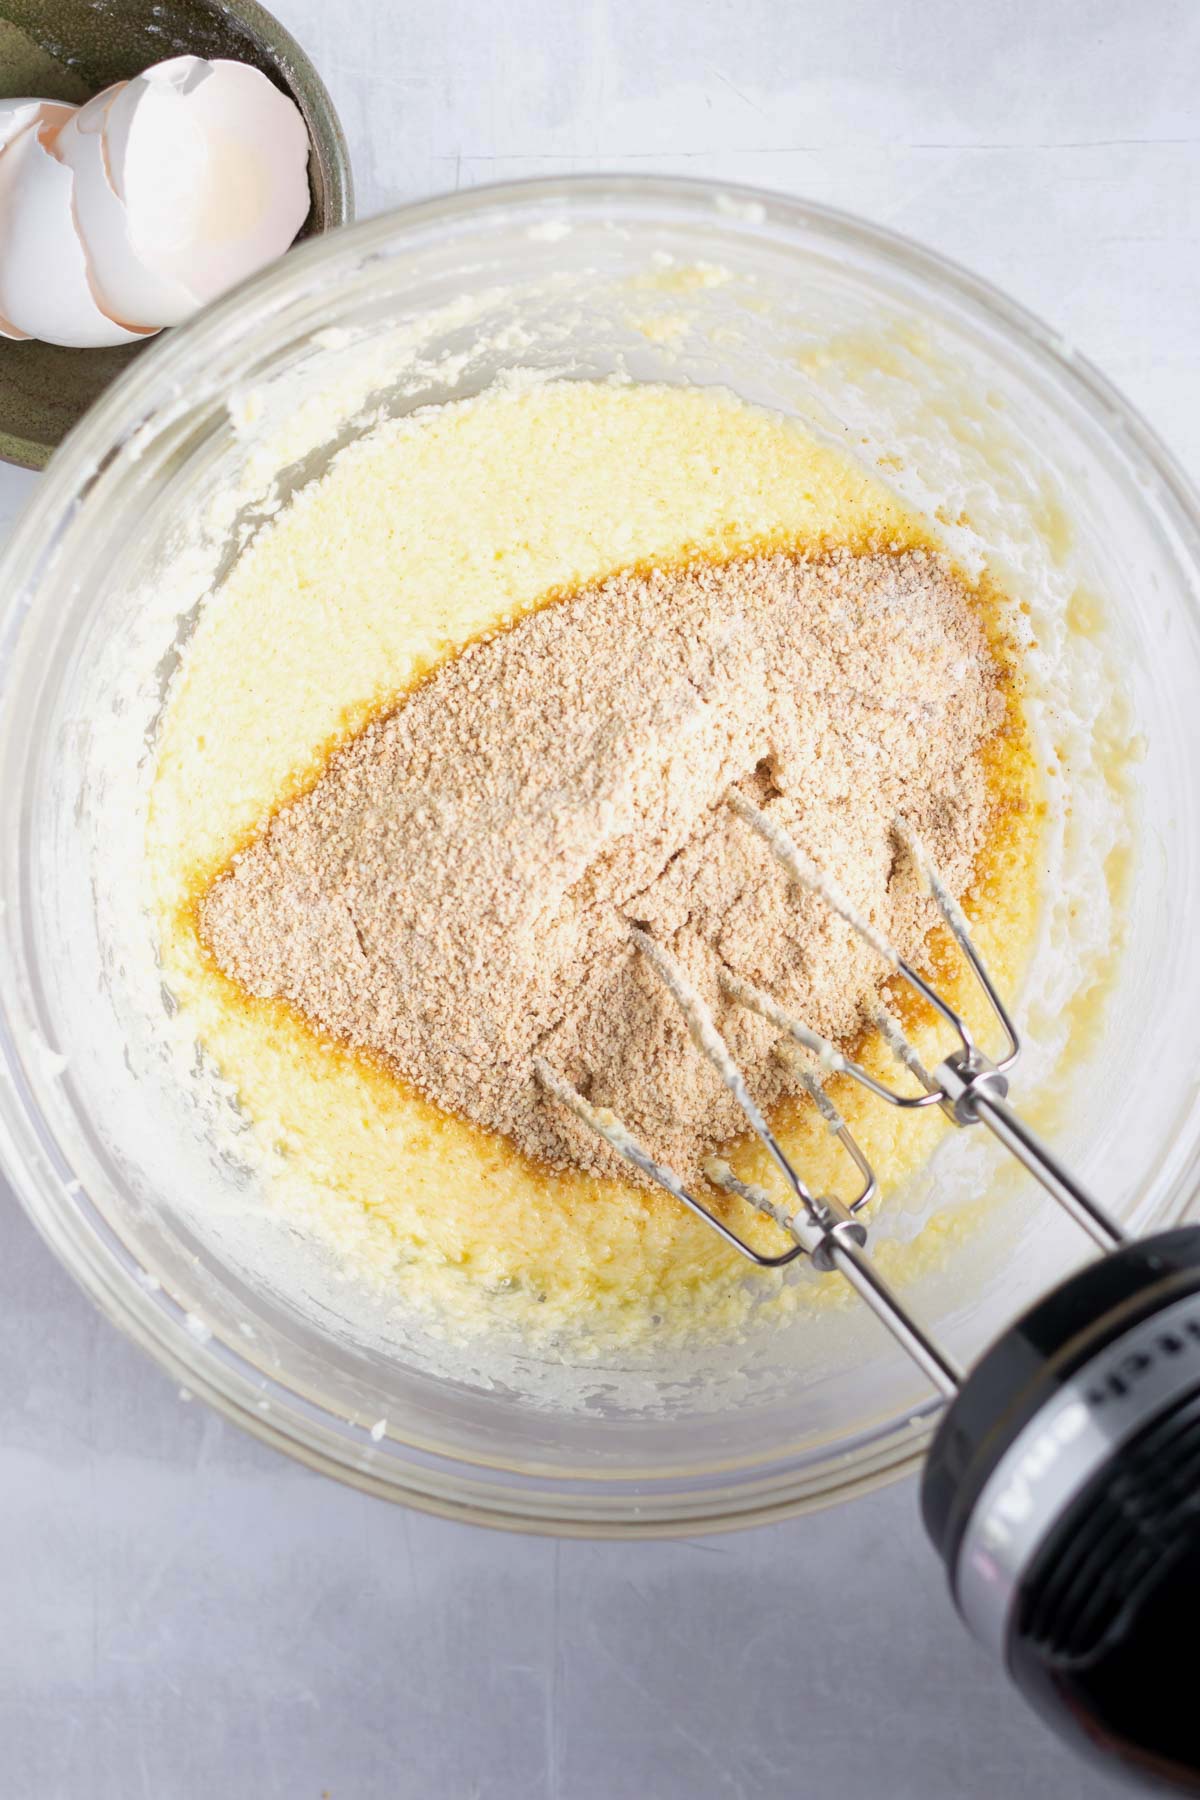
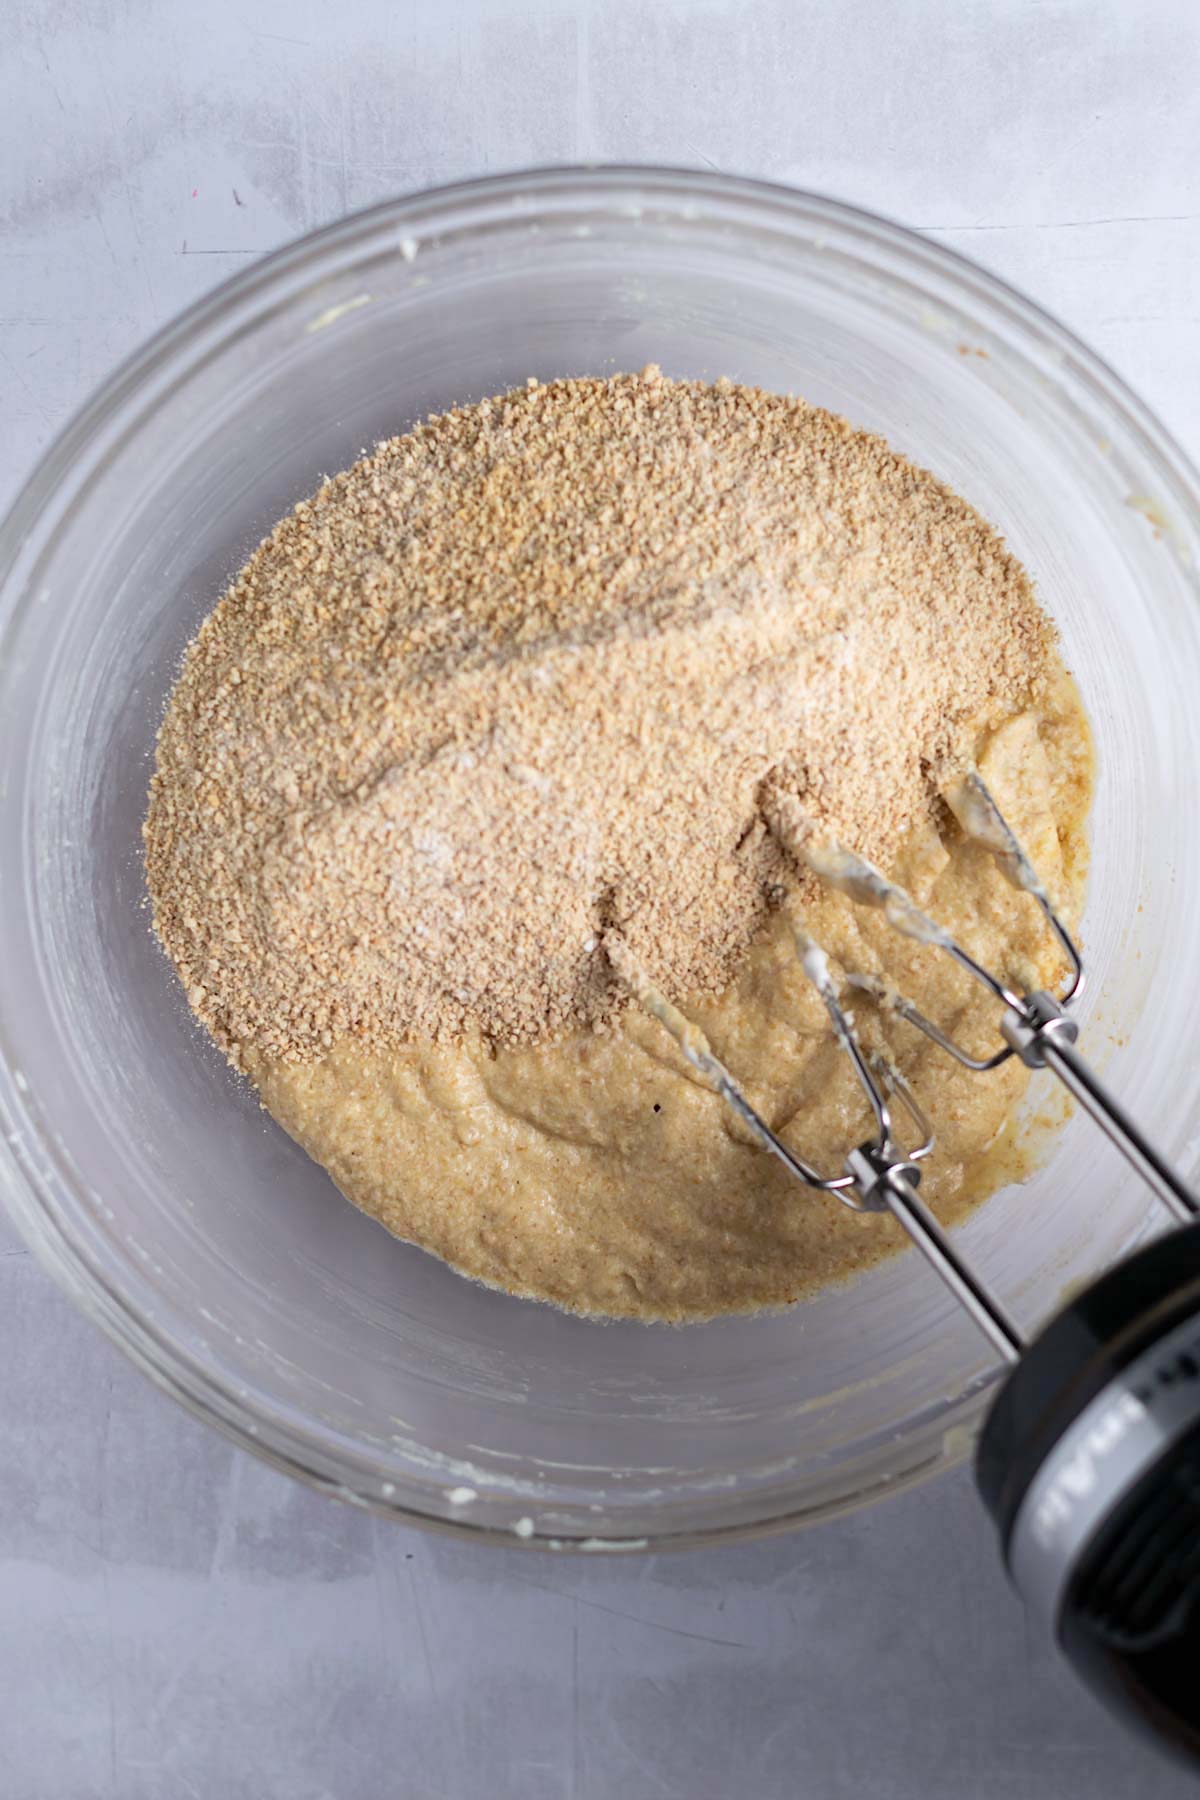
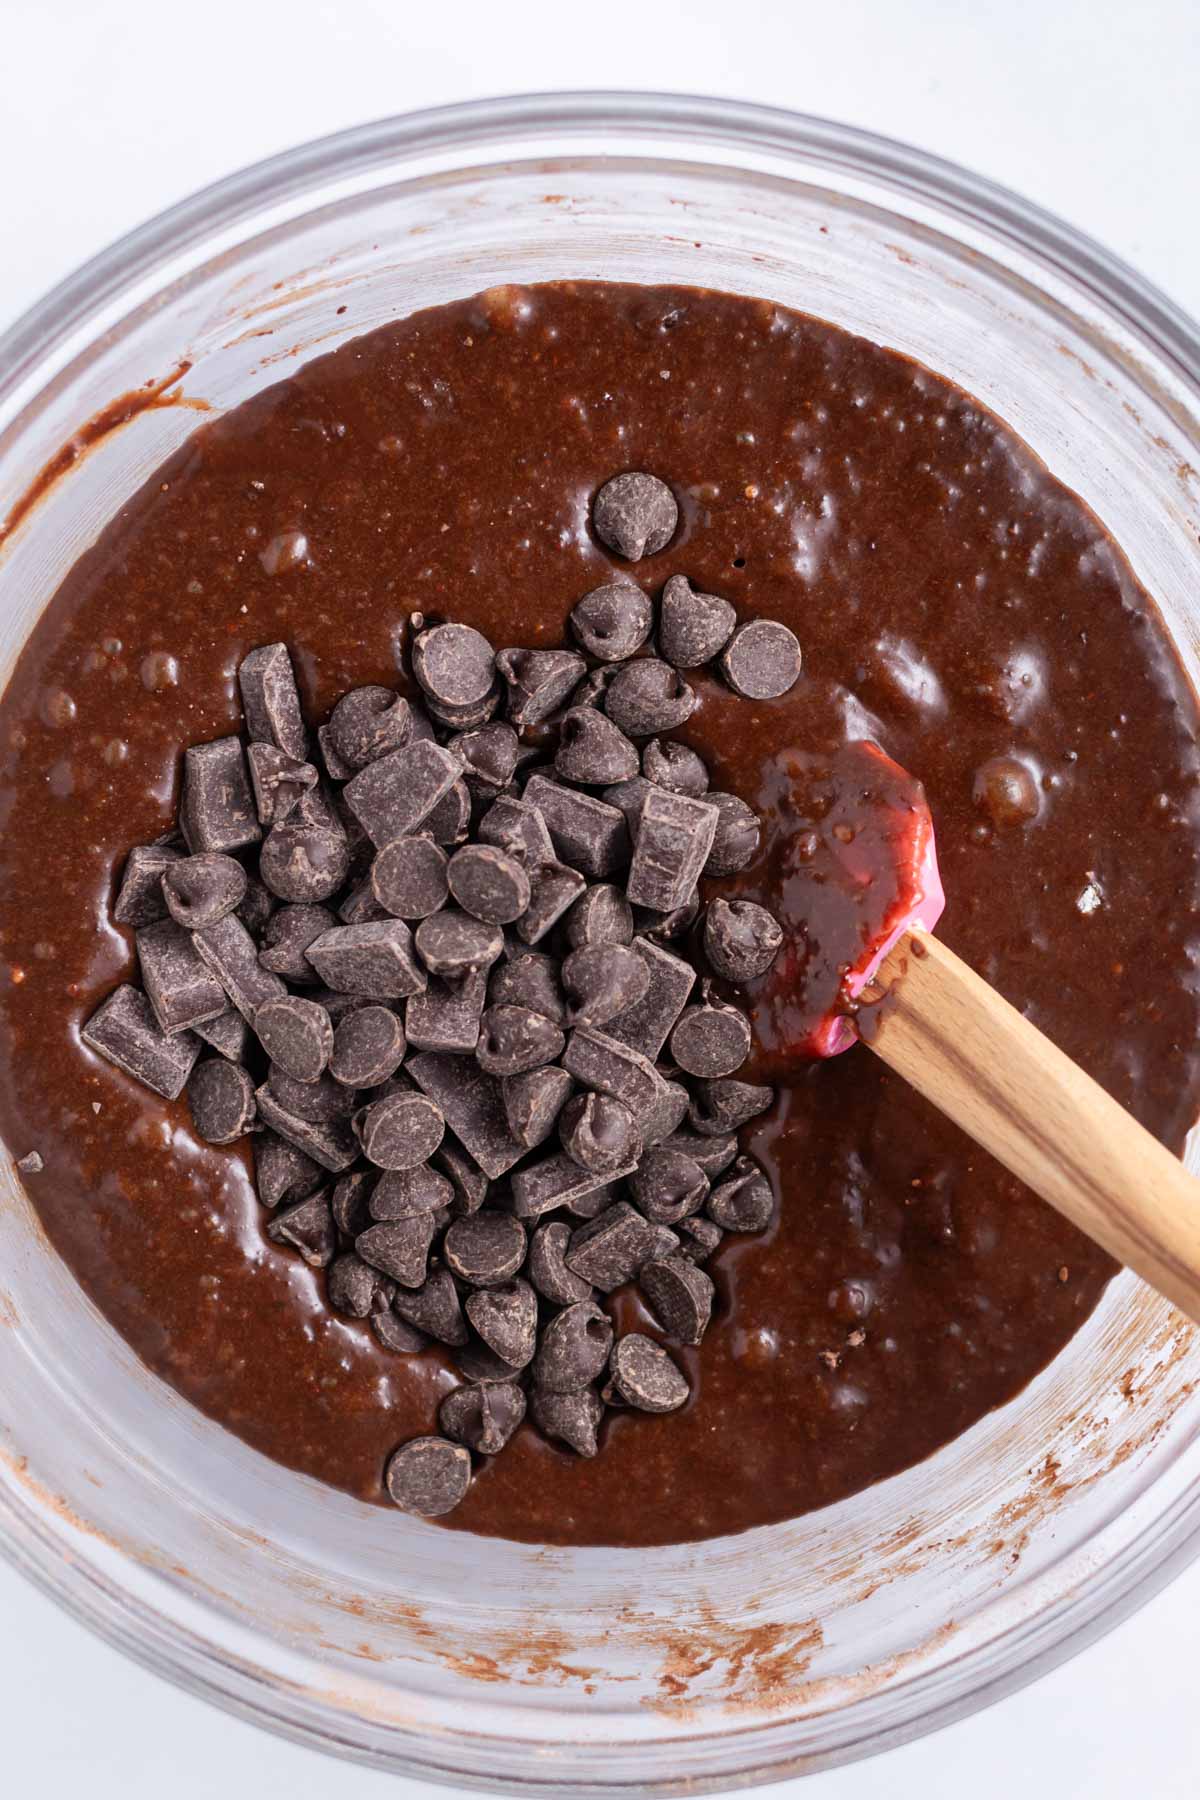
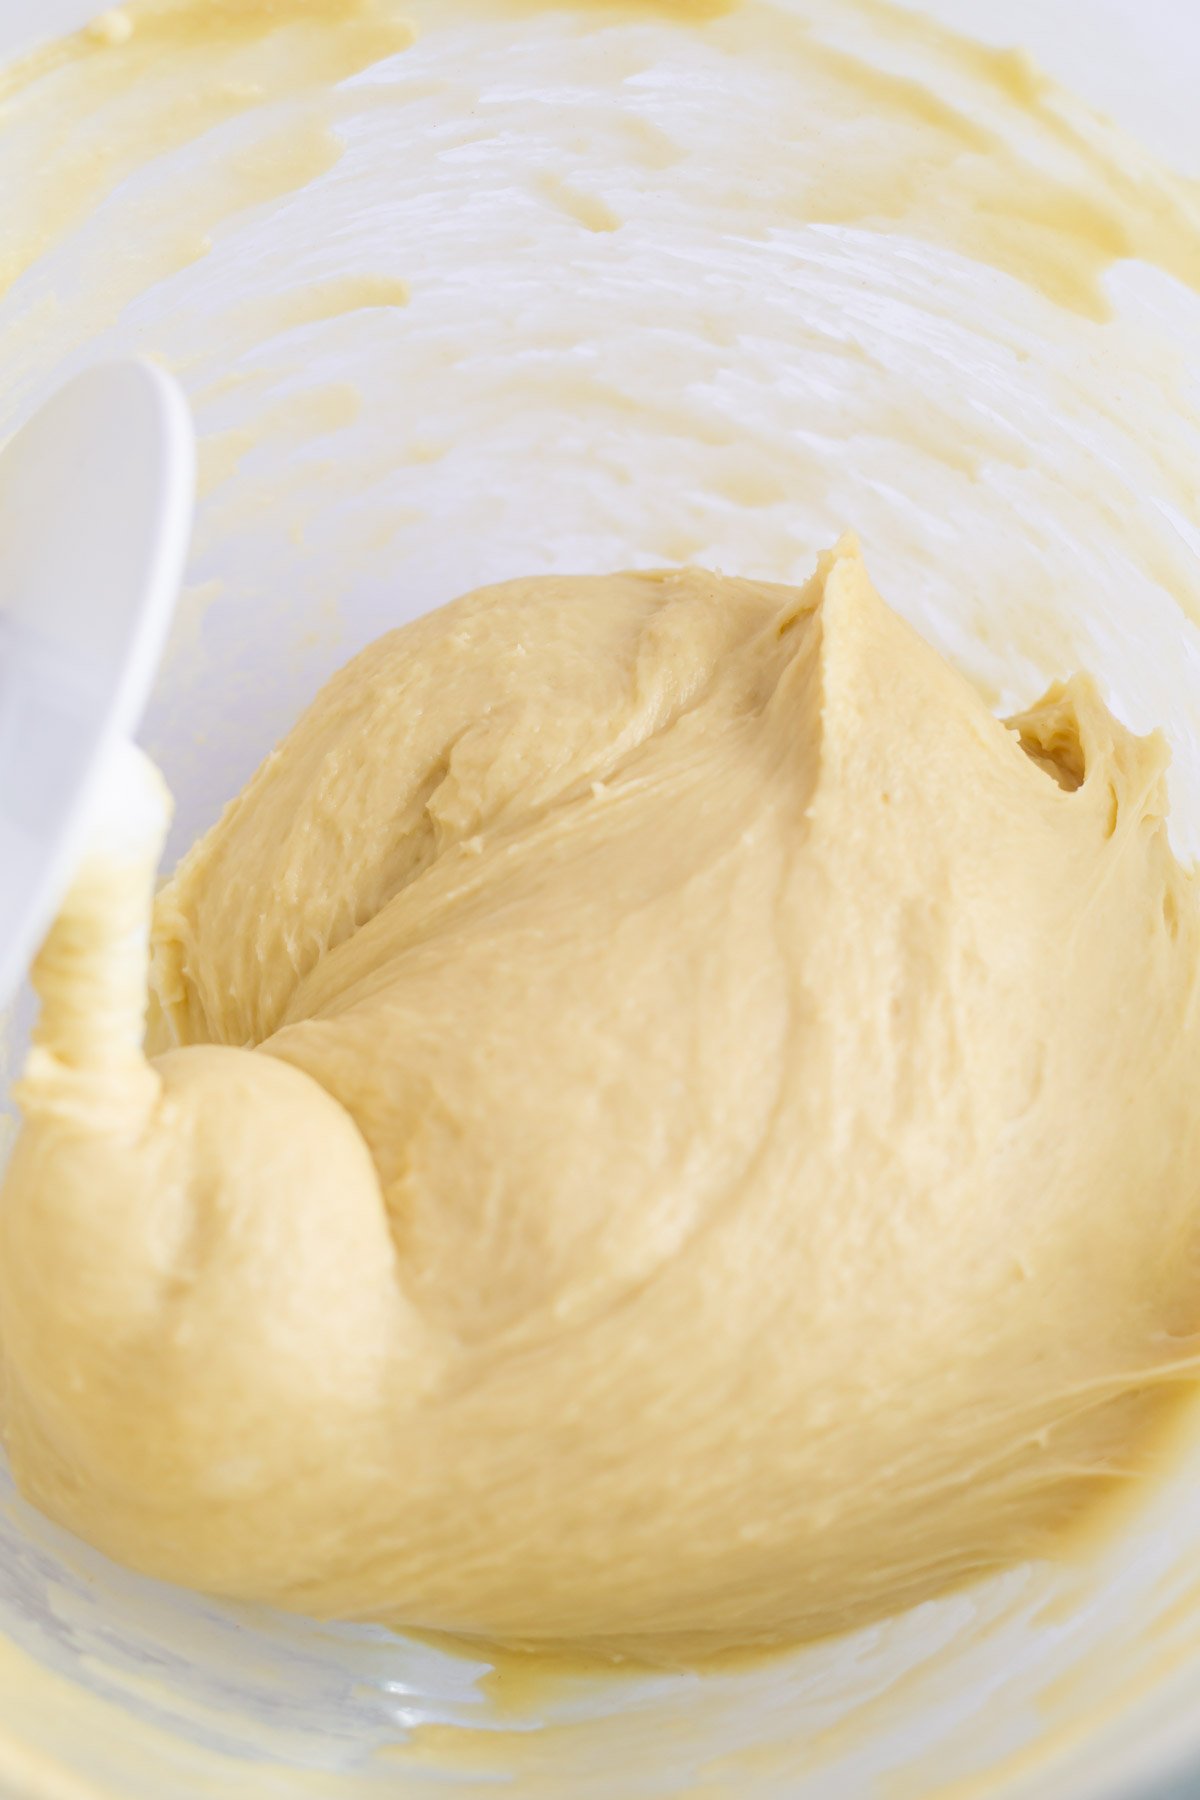
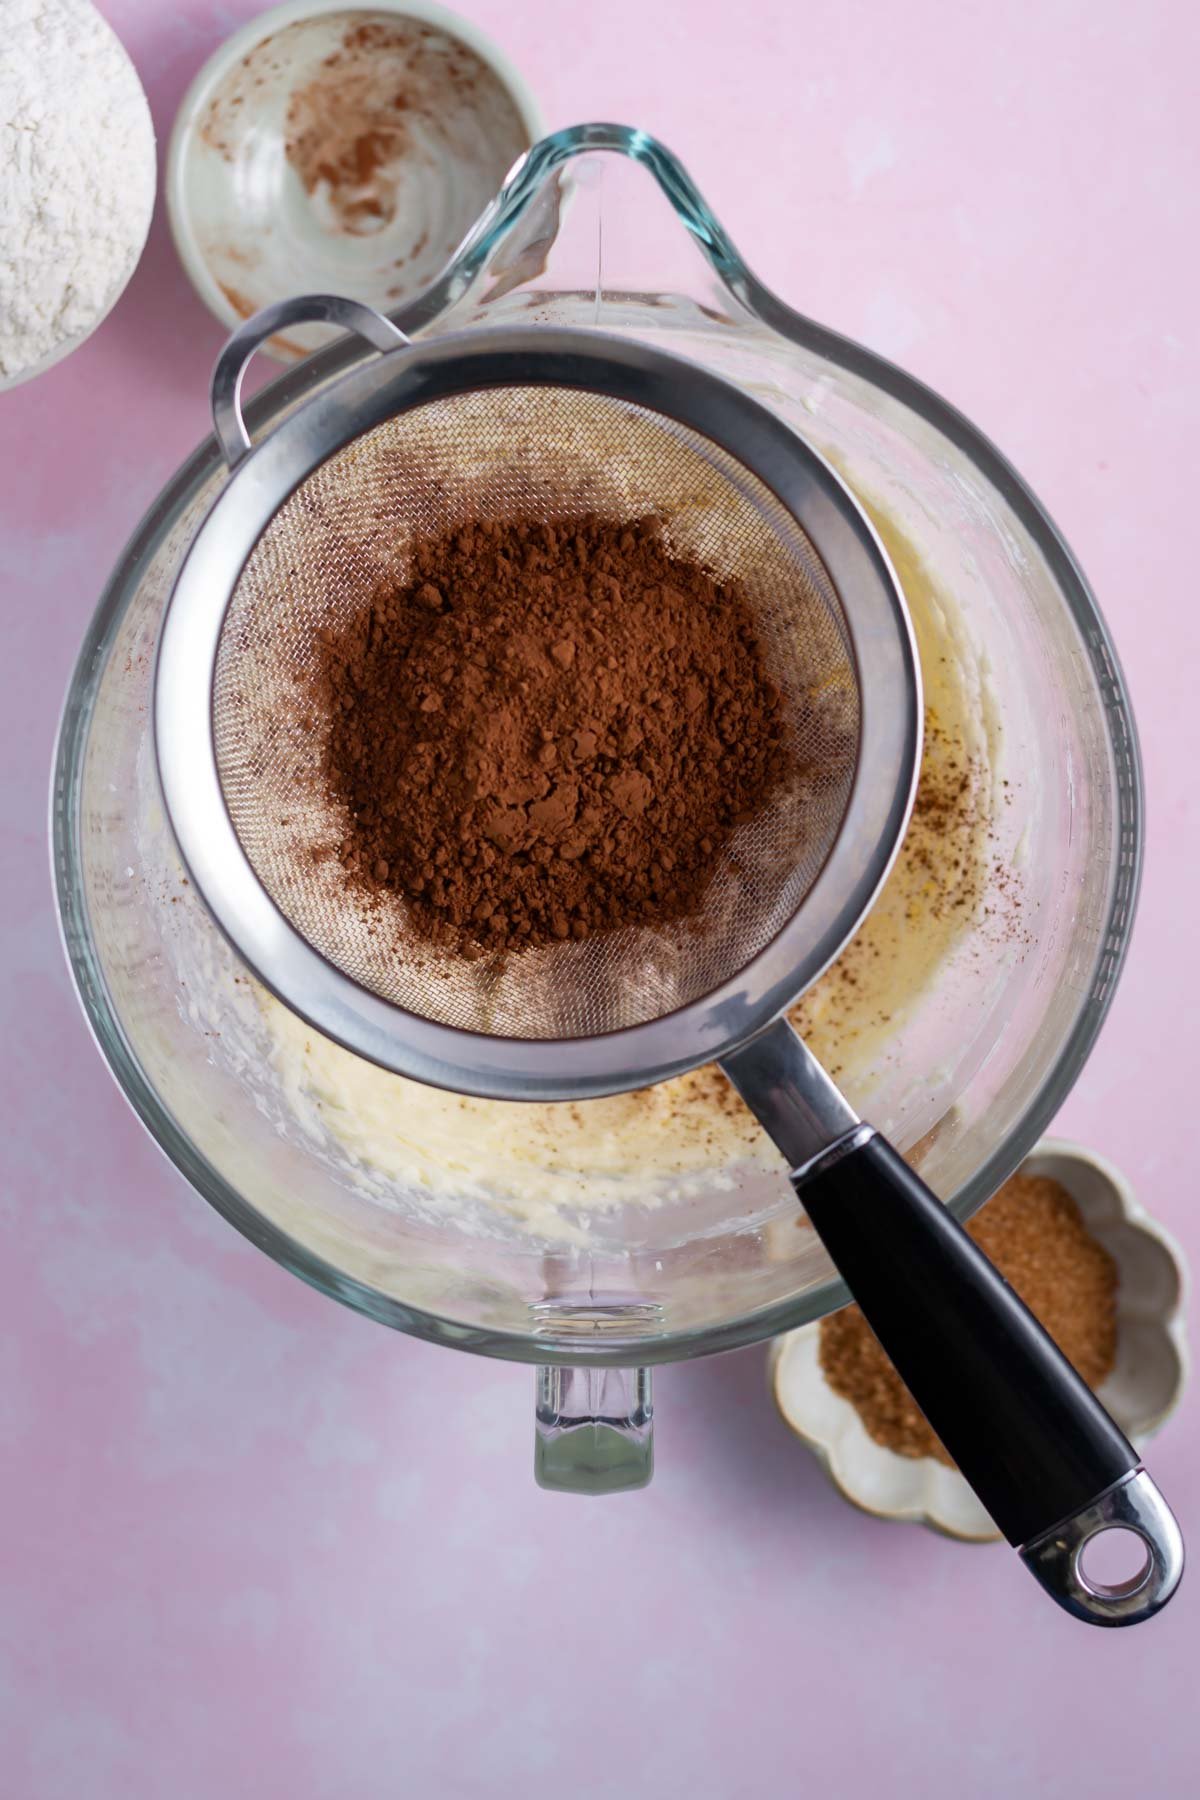
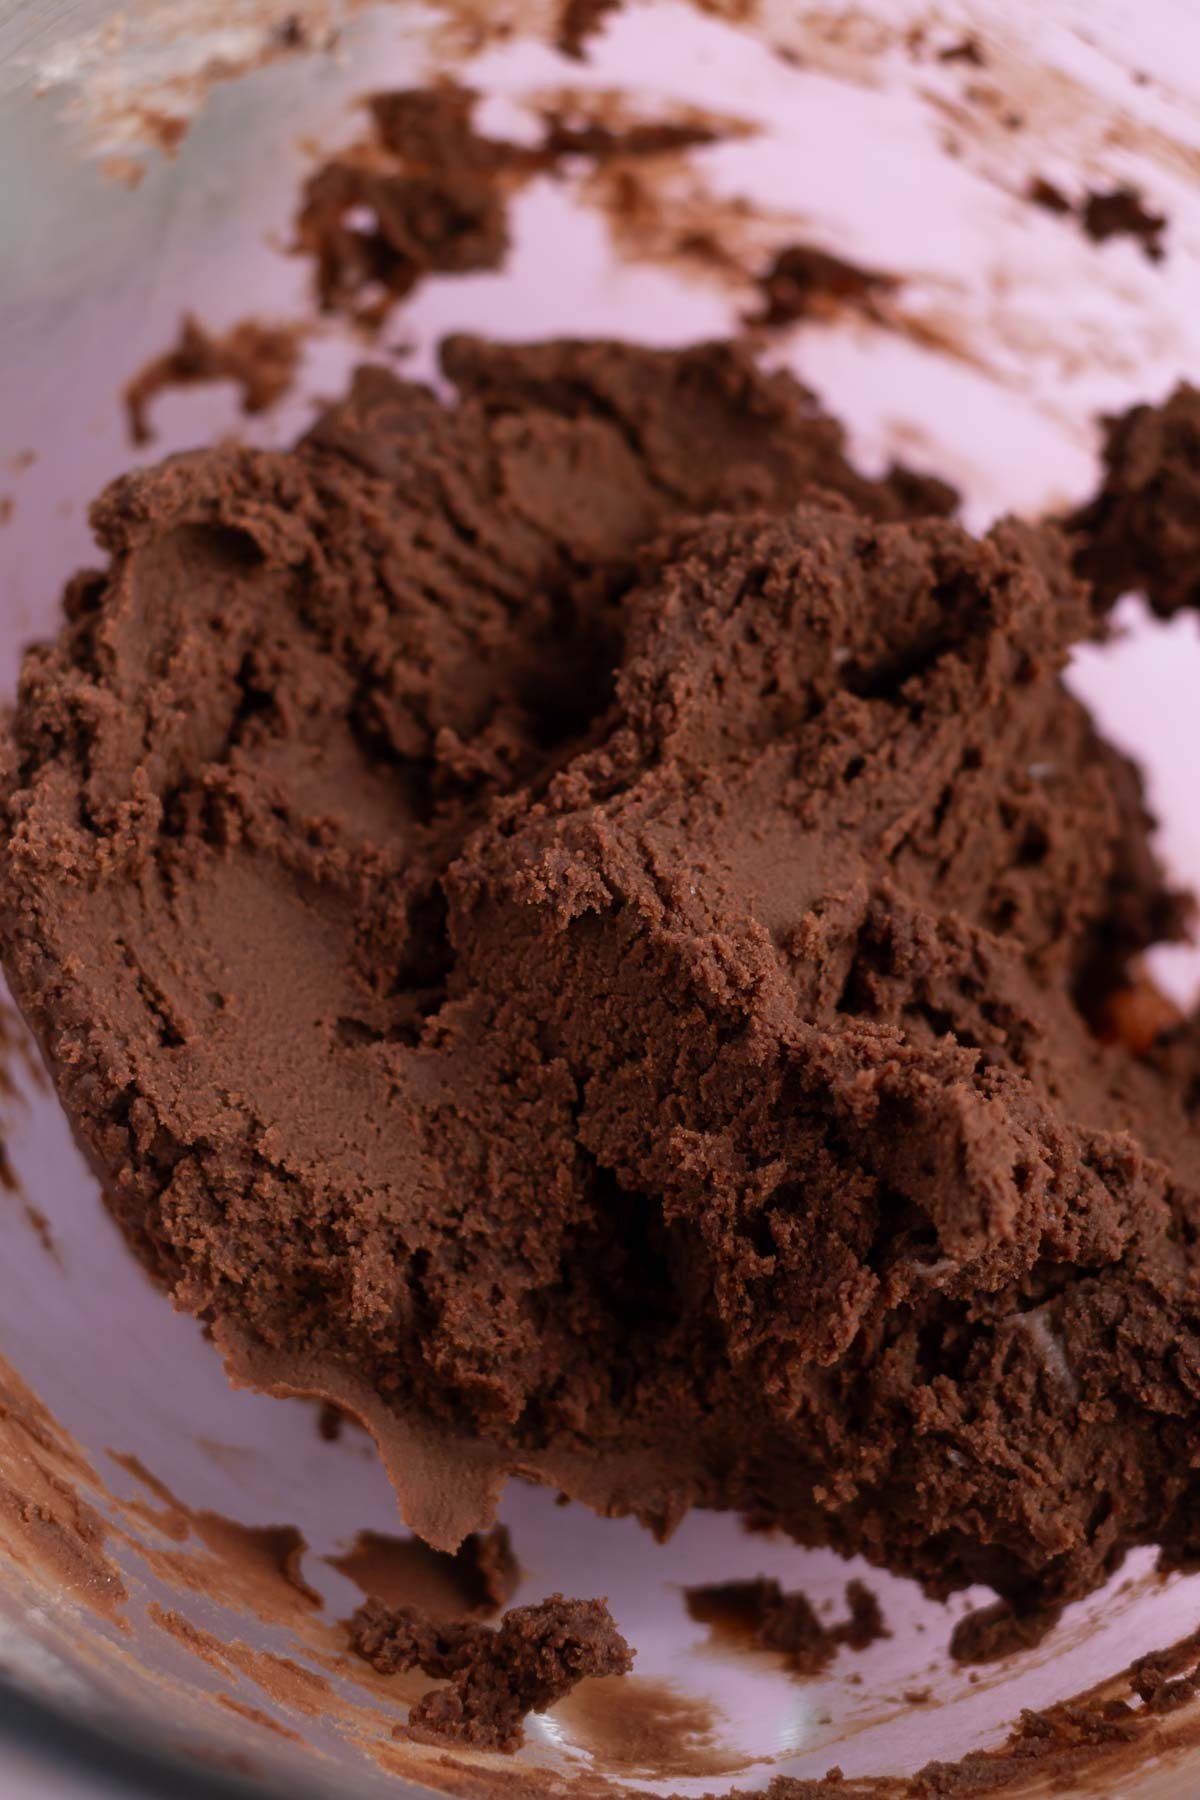
Scrape up and down the bowl and sift in the cocoa powder and flour and mix until the chocolate shortbread dough comes together.
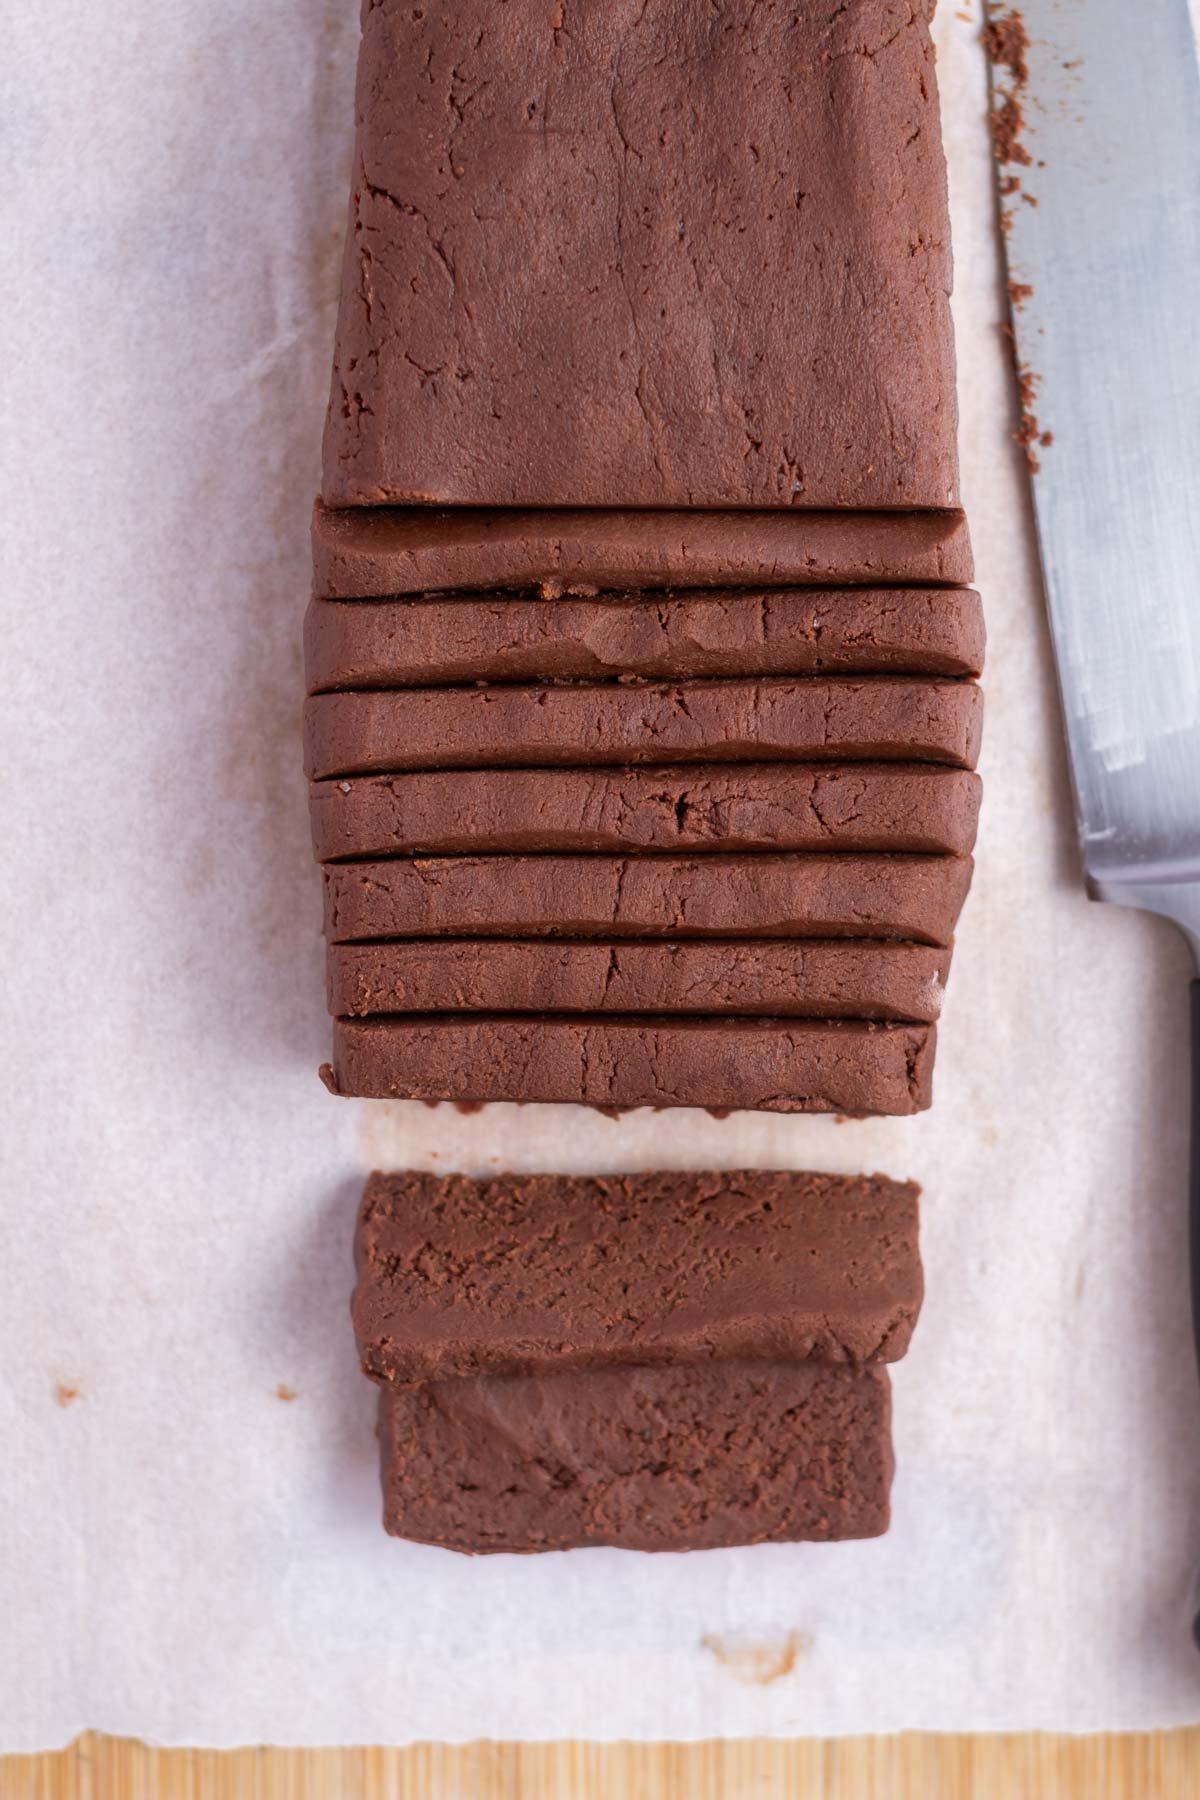
how to slice shortbread biscuits
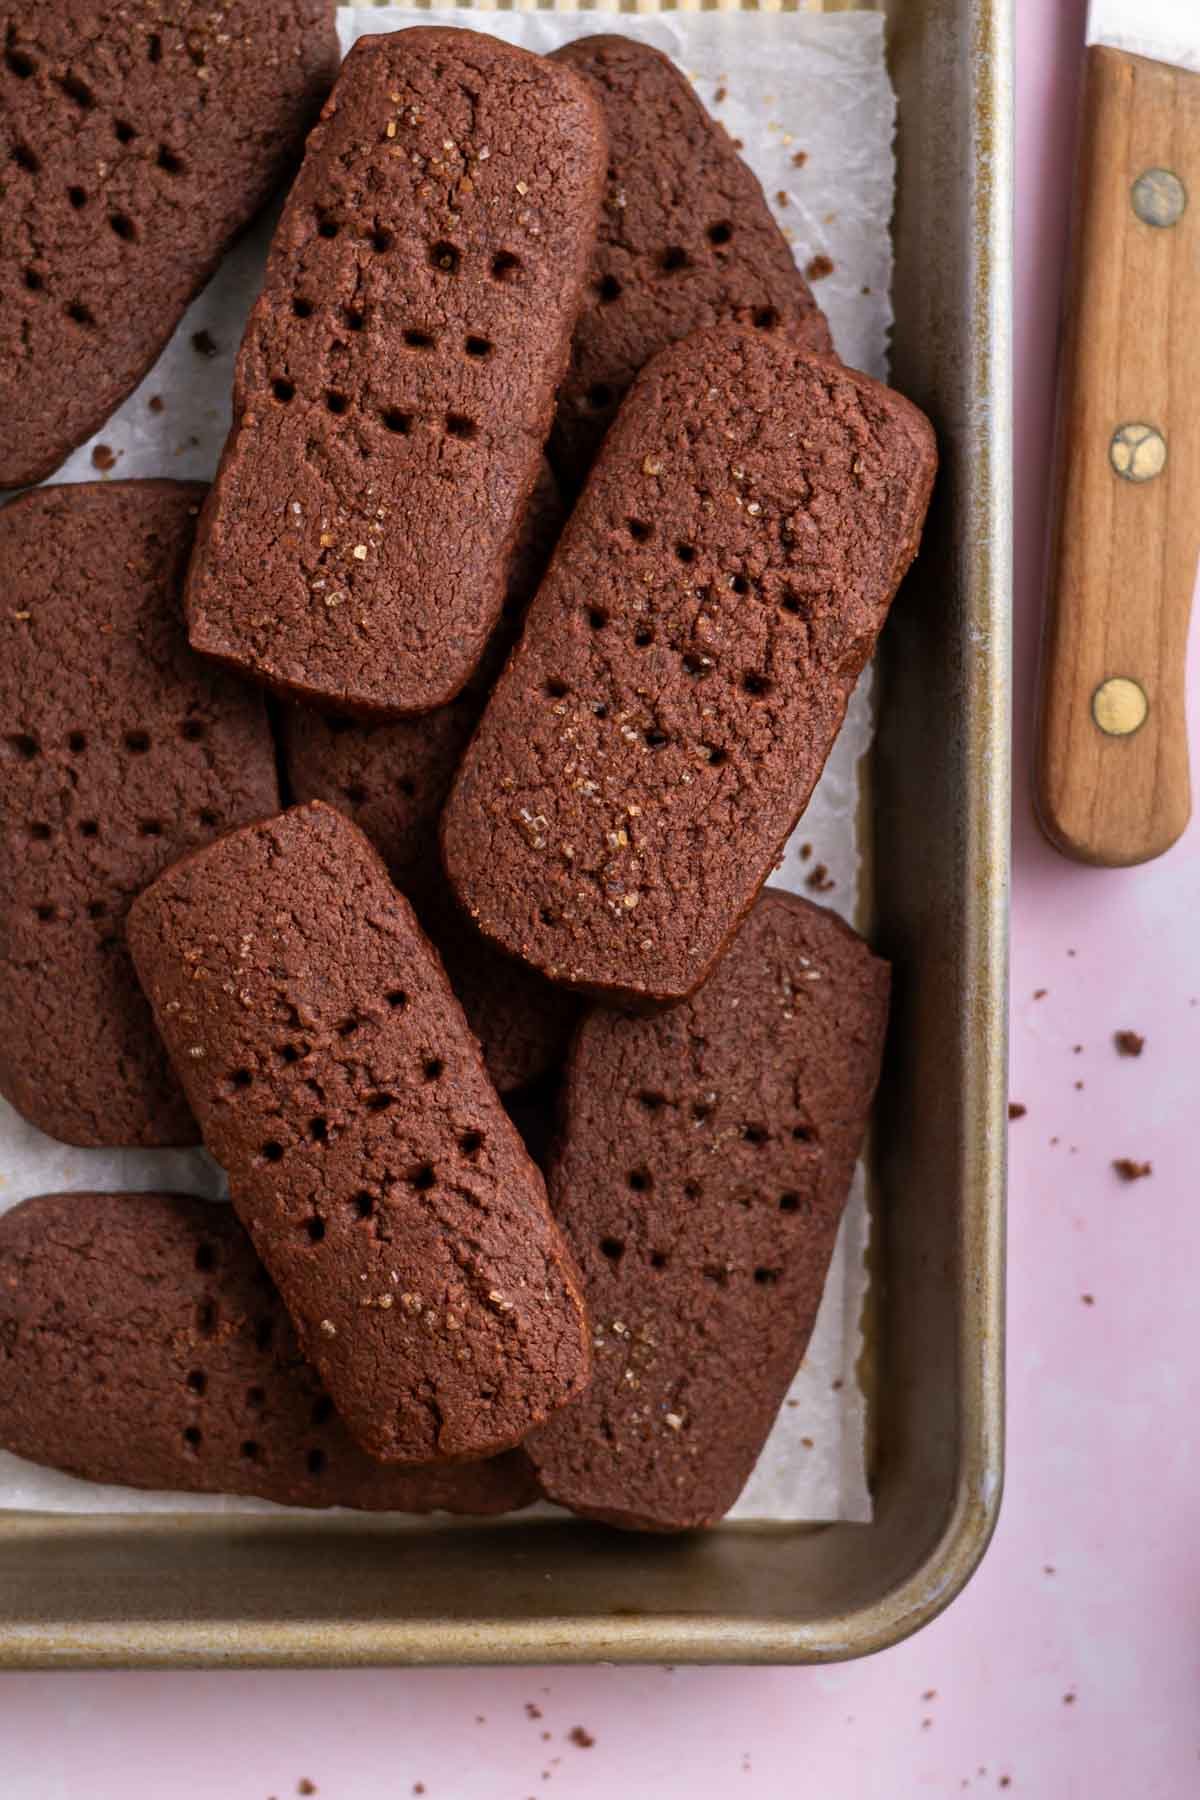
I love the rustic look that comes from the knife dragging against the dough. Plus it makes this no chill recipe extra quick to prepare!
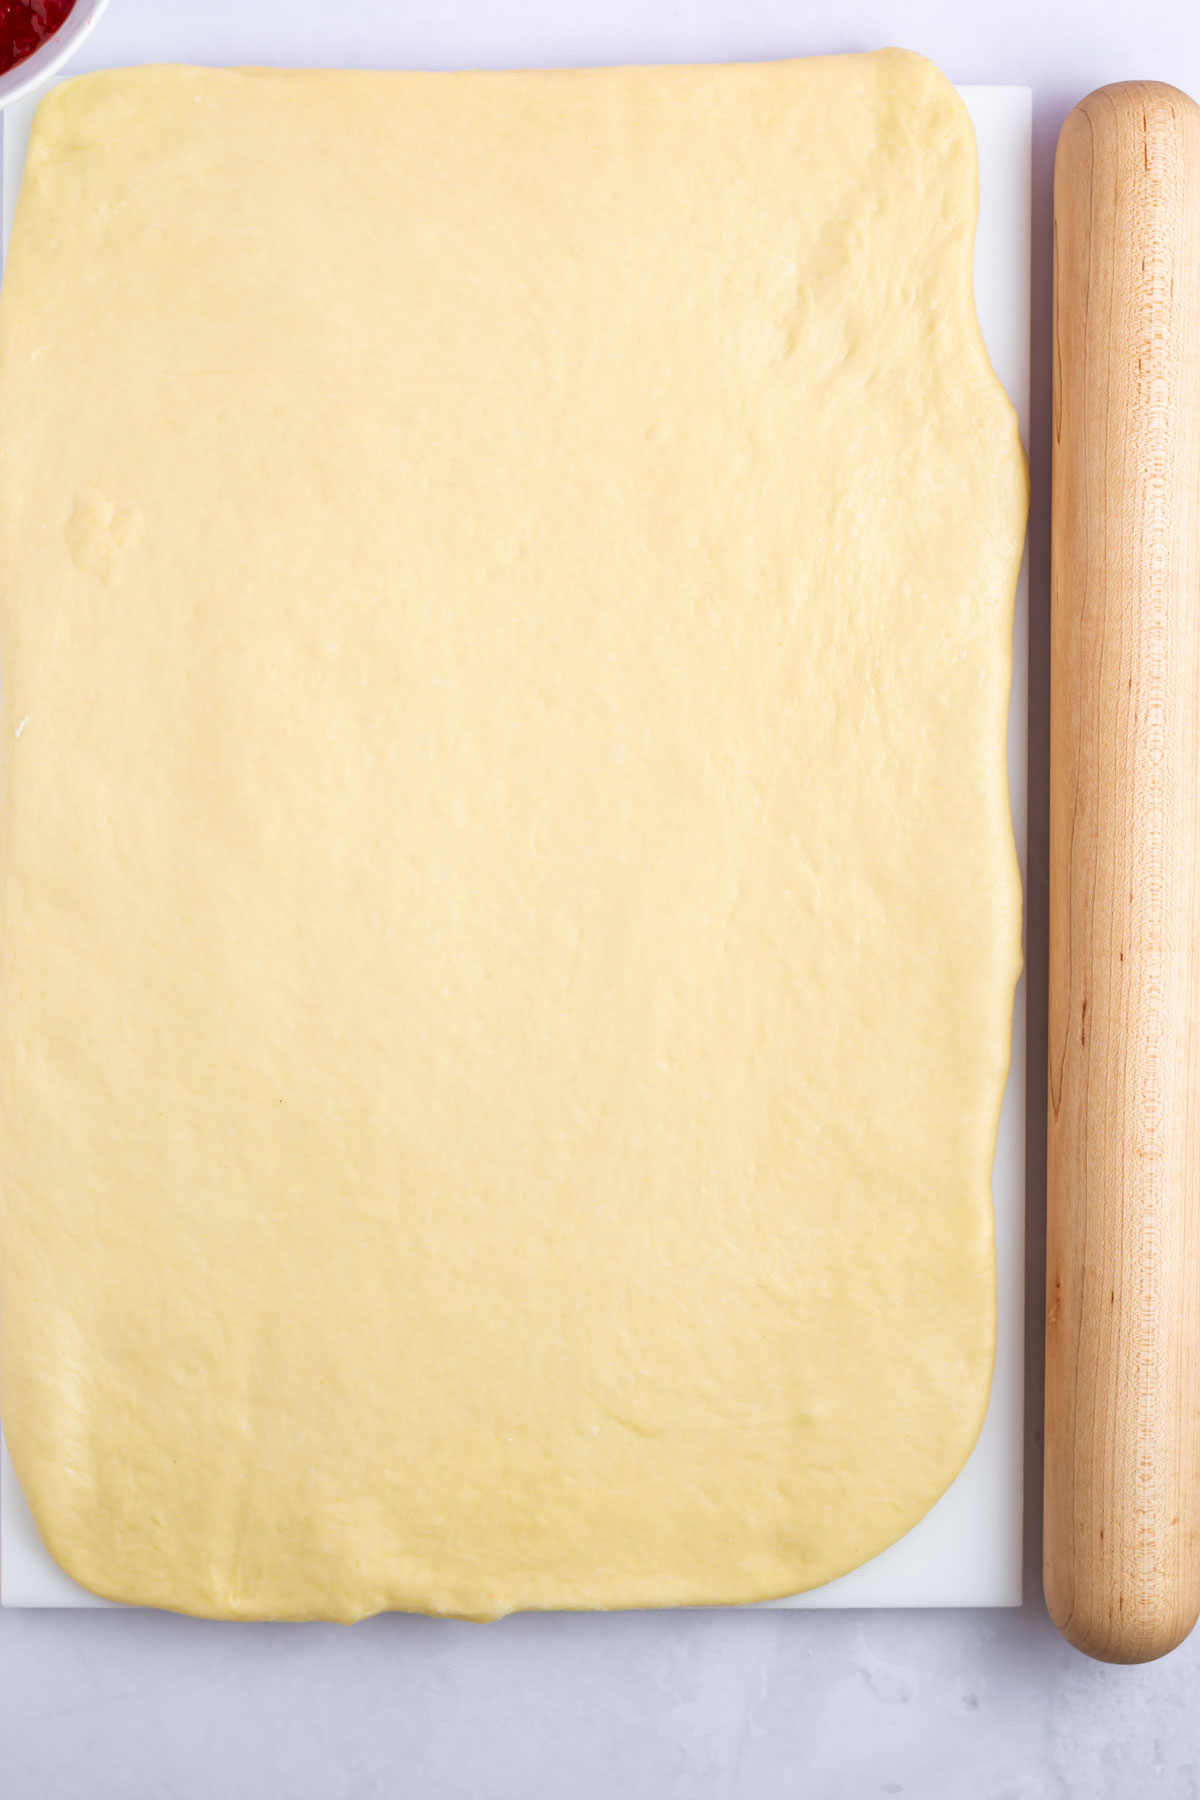
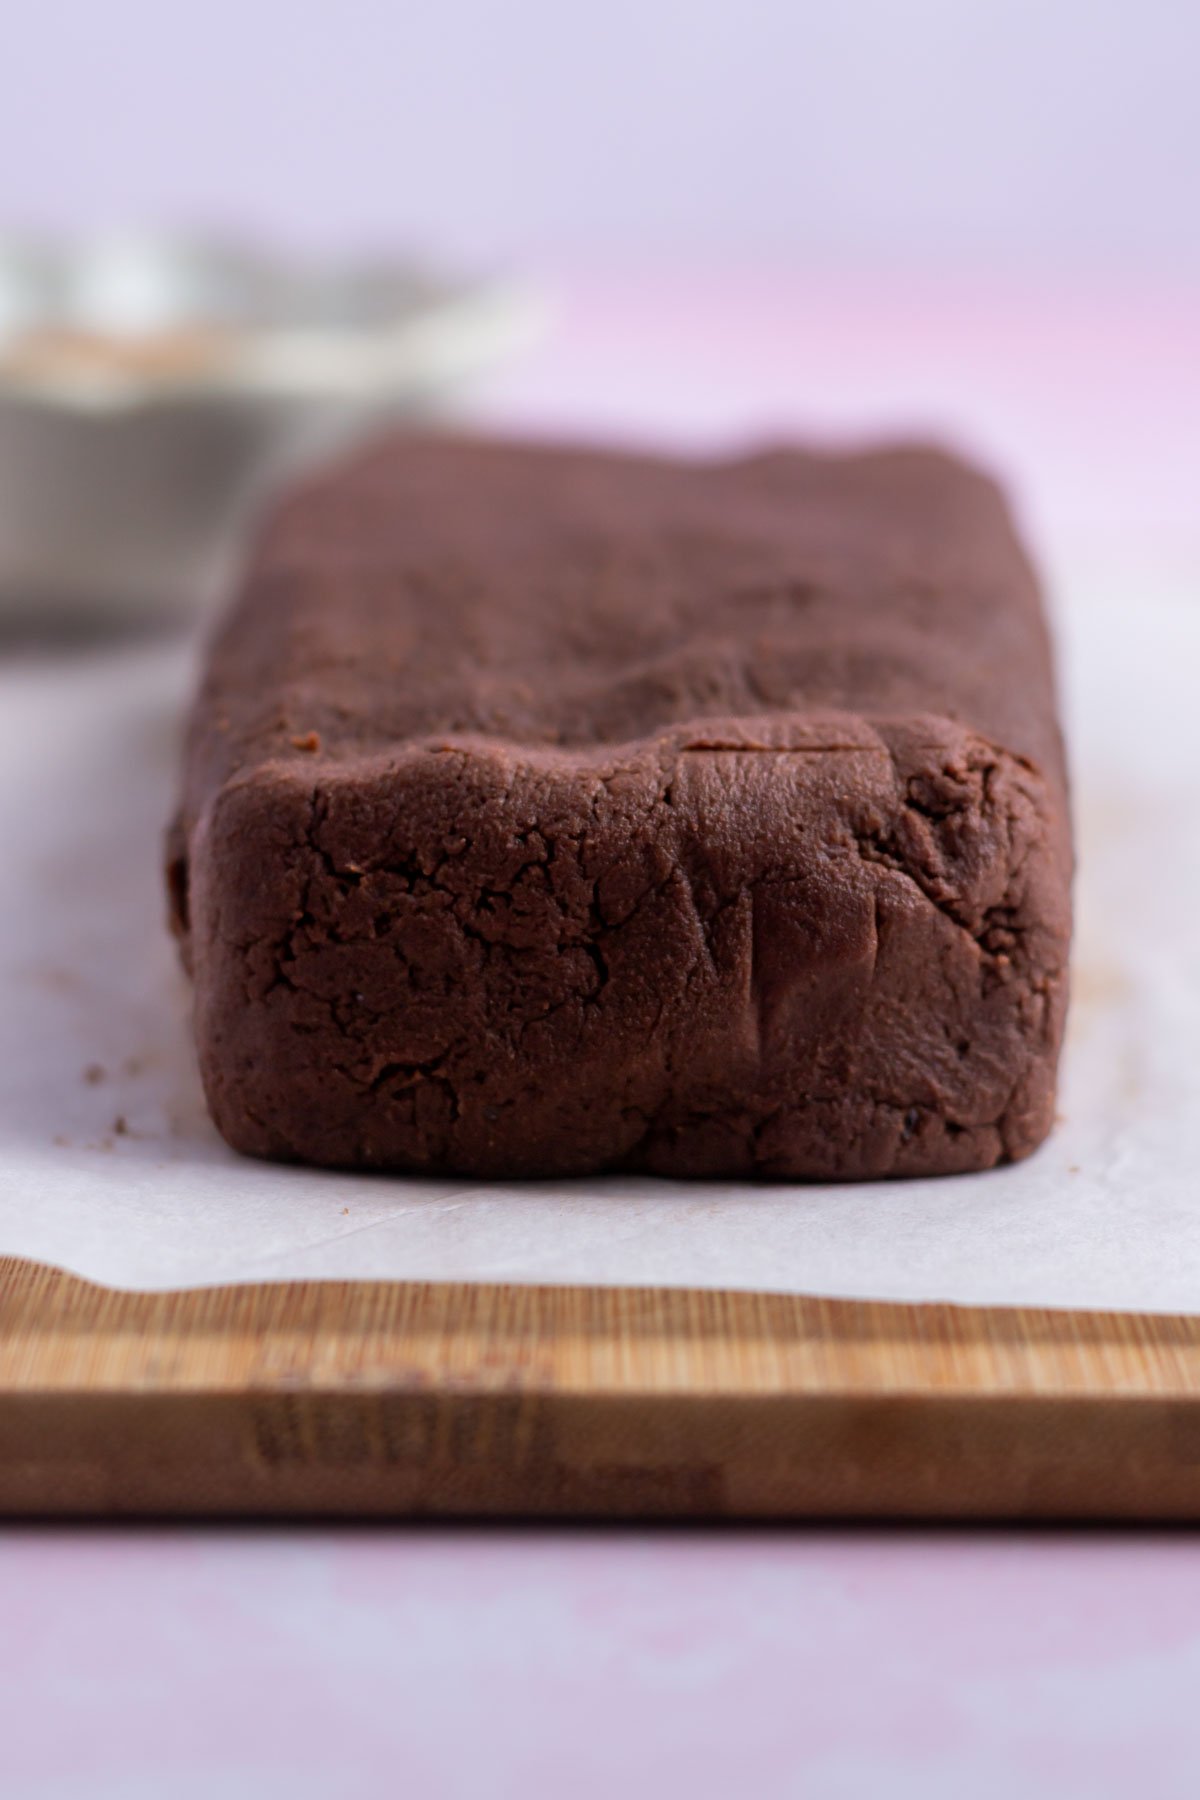
Turn the dough out onto a cutting board and shape into a rectangular log approximately 8 inches long by 2 inches wide and 1 ½ inches tall.
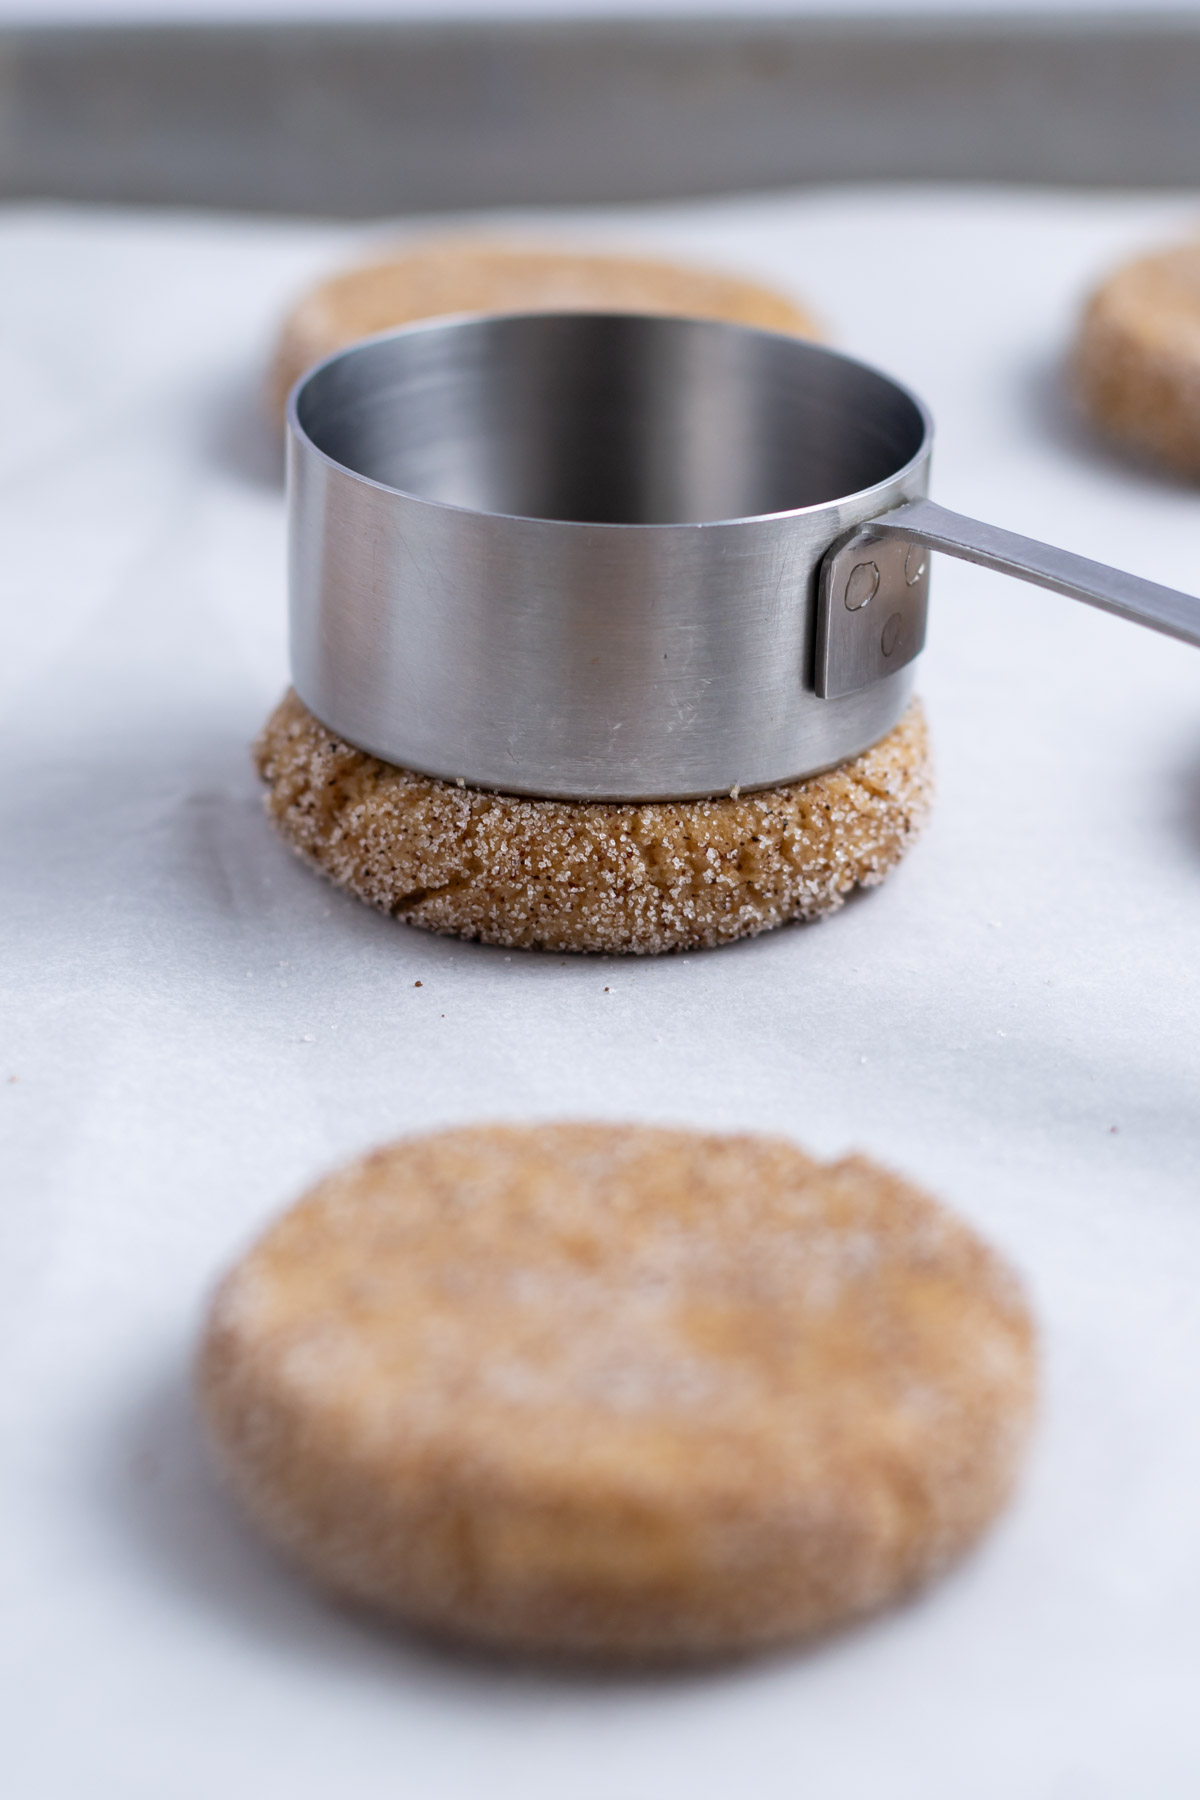
Use a sharp knife or bench knife to cut the cookies into slices {you should get 22-24 total}.
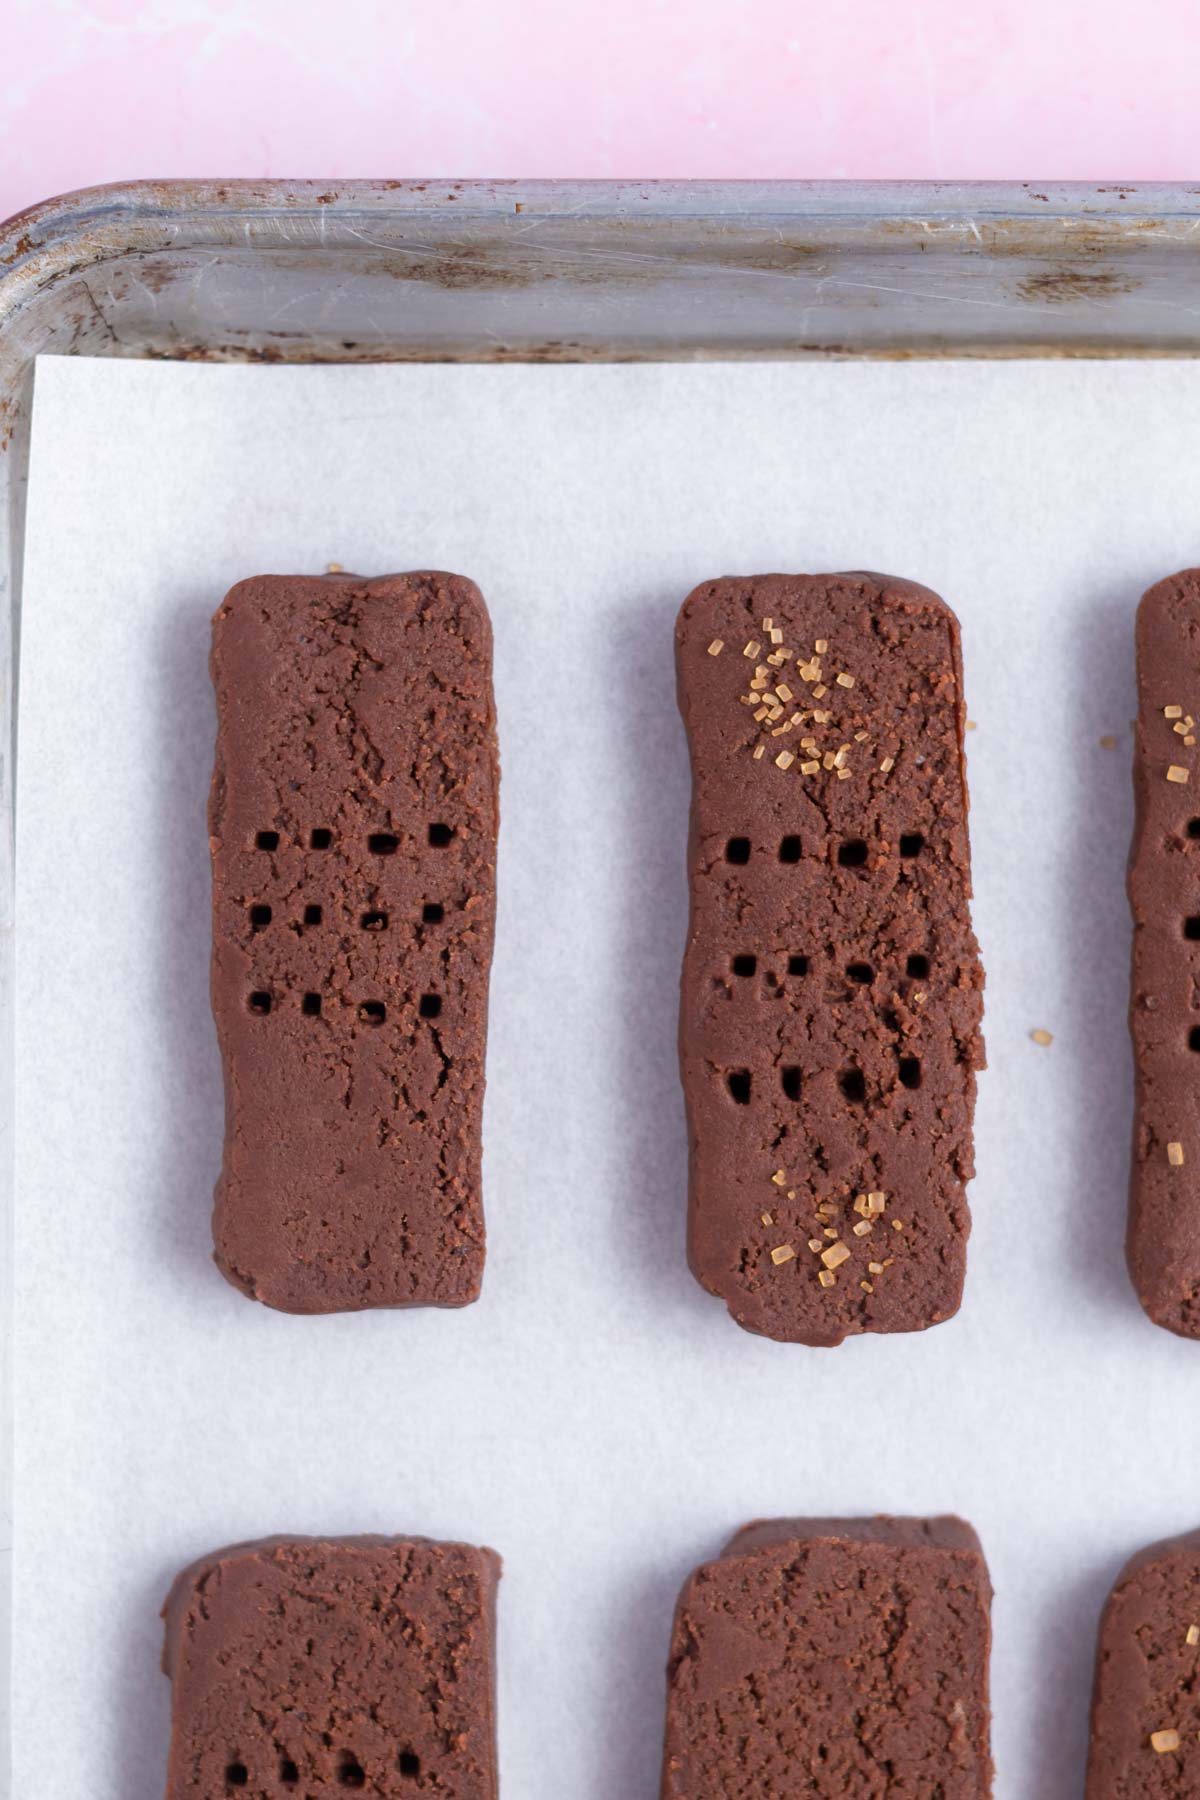
Place the chocolate shortbread on the prepared pan, spacing with a little room to allow for slight spreading. Use a fork to poke a few holes into each cookie. Sprinkle with turbinado sugar, if desired.
tips for the best chocolate shortbread
- Use the best ingredients you can afford ~ like sugar cookies and sugar cookie cake, chocolate shortbread cookies don't use many ingredients so the quality of the ingredients can affect the final taste.
- Start with room temperature butter. This usually takes 1-2 hours of sitting on the counter {depending on the temperature of your kitchen}. To test, your finger should make an indent without sinking or sliding down into the butter. The butter should not be warm to the touch or shiny or greasy.
- I know I'm a broken record here, but weighing the ingredients is the most accurate way to bake {and means less dishes to wash!} This is the kitchen scale I use and love.
- Try not to overwork the dough. Overworked dough = tough cookies.
Remember to pin this recipe to Pinterest! Use the button on the recipe card or the share buttons on the side or bottom of this page.
variation ideas
Double chocolate dipped shortbread ~ melt your favorite chocolate and dip half of the cookie. I think they would be pretty with white chocolate. If desired, you can also add some chopped pecans or pistachios {or your favorite nuts} on top of the melted chocolate.
Scottish shortbread ~ I haven't tested it, but believe you should be able to press the dough into a parchment lined 8x8 baking pan and bake for 25-30 minutes. Then slice into fingers for a Scottish shortbread.
Chocolate cherry shortbread ~ use this dark chocolate cherry shortbread recipe.
Peppermint shortbread ~ I always associate peppermint with Christmas and these easy cookies would be perfect on holiday cookie trays. I would use ¼ to ½ teaspoon of peppermint extract in the dough.
Shortbread squares ~ instead of creating a rectangular log, shape the chocolate shortbread dough into a square. Or shape into a cylinder and slice into circles.
Salted shortbread ~ salted cookies have taken the world by storm! If desired, sprinkle the chocolate dough with sea salt {I love this Murray River salt} prior to baking.
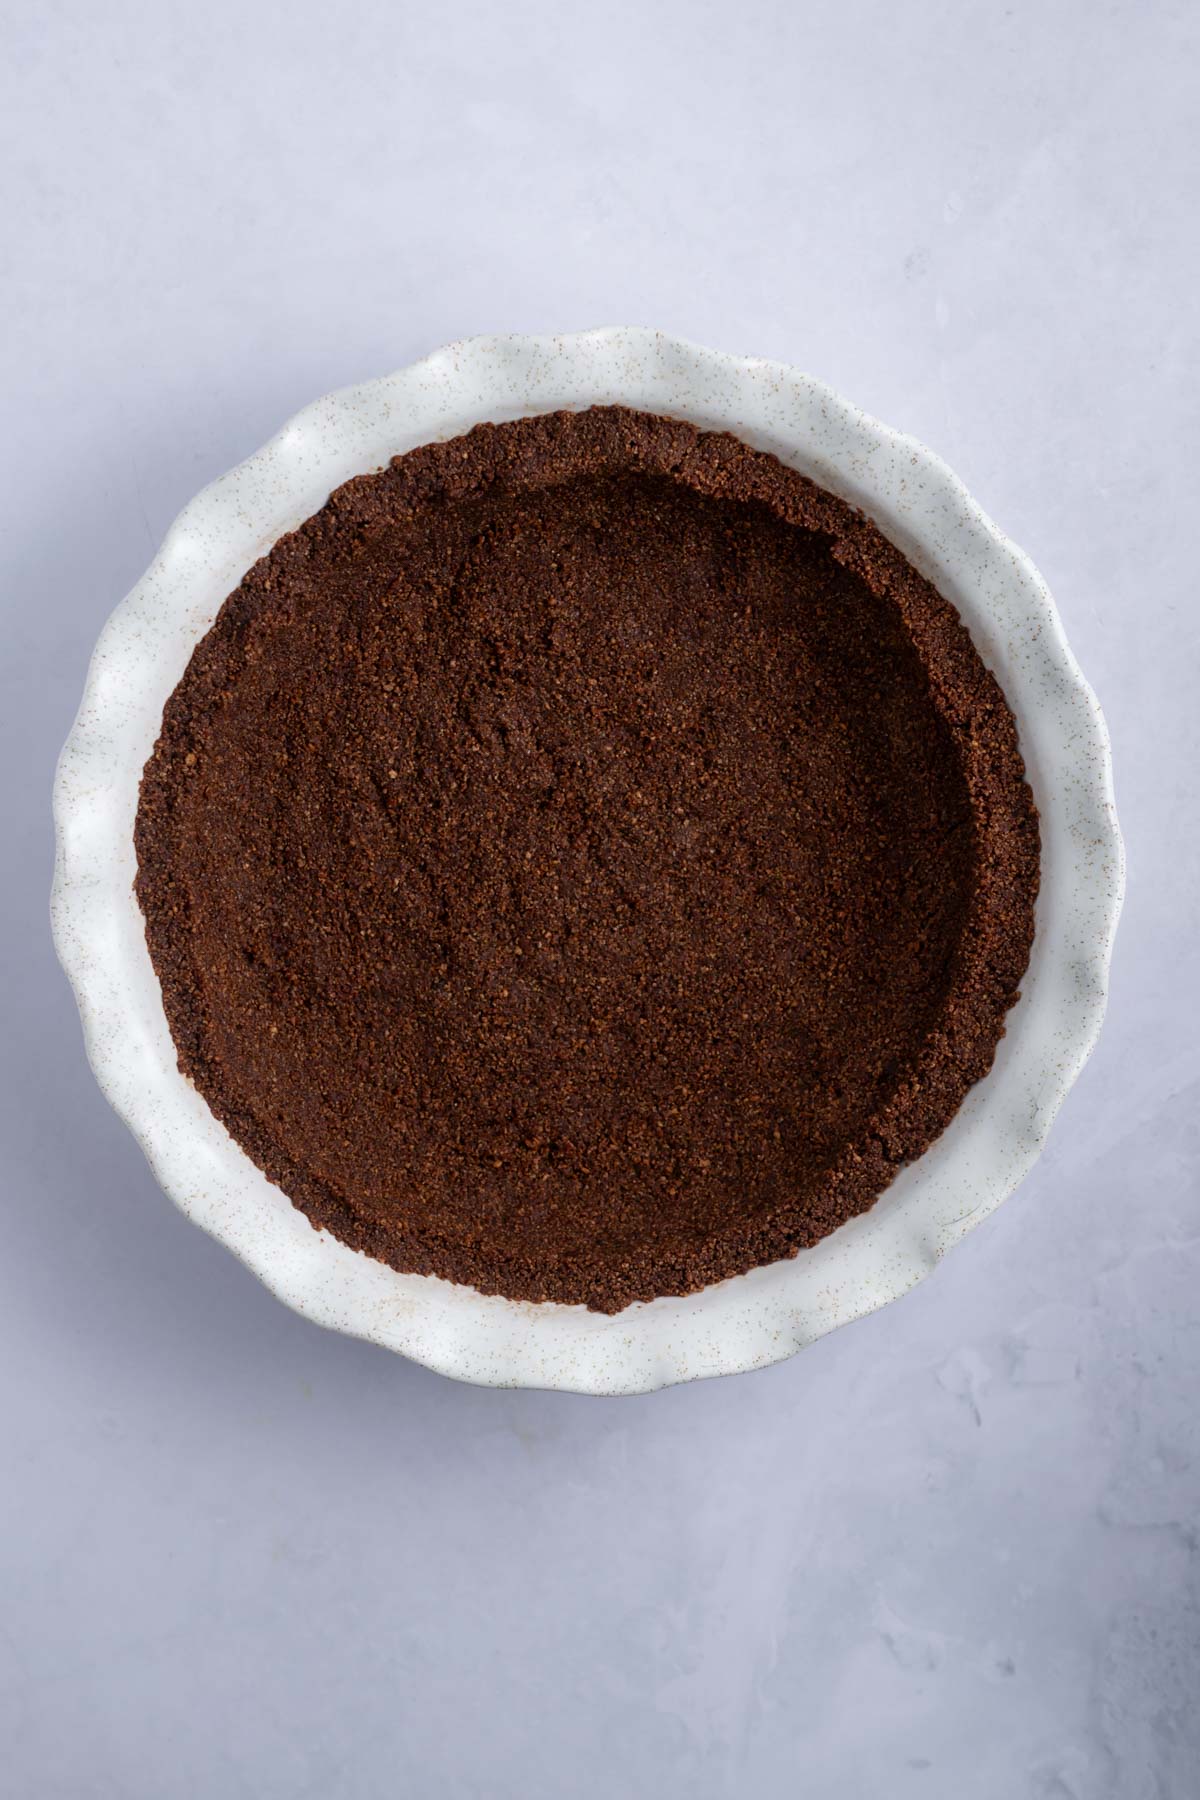
Chocolate shortbread pie crust ~ use the recipe from my almond joy pie.
💬 frequently asked questions
Use the best ingredients you can afford and don't overwork the dough.
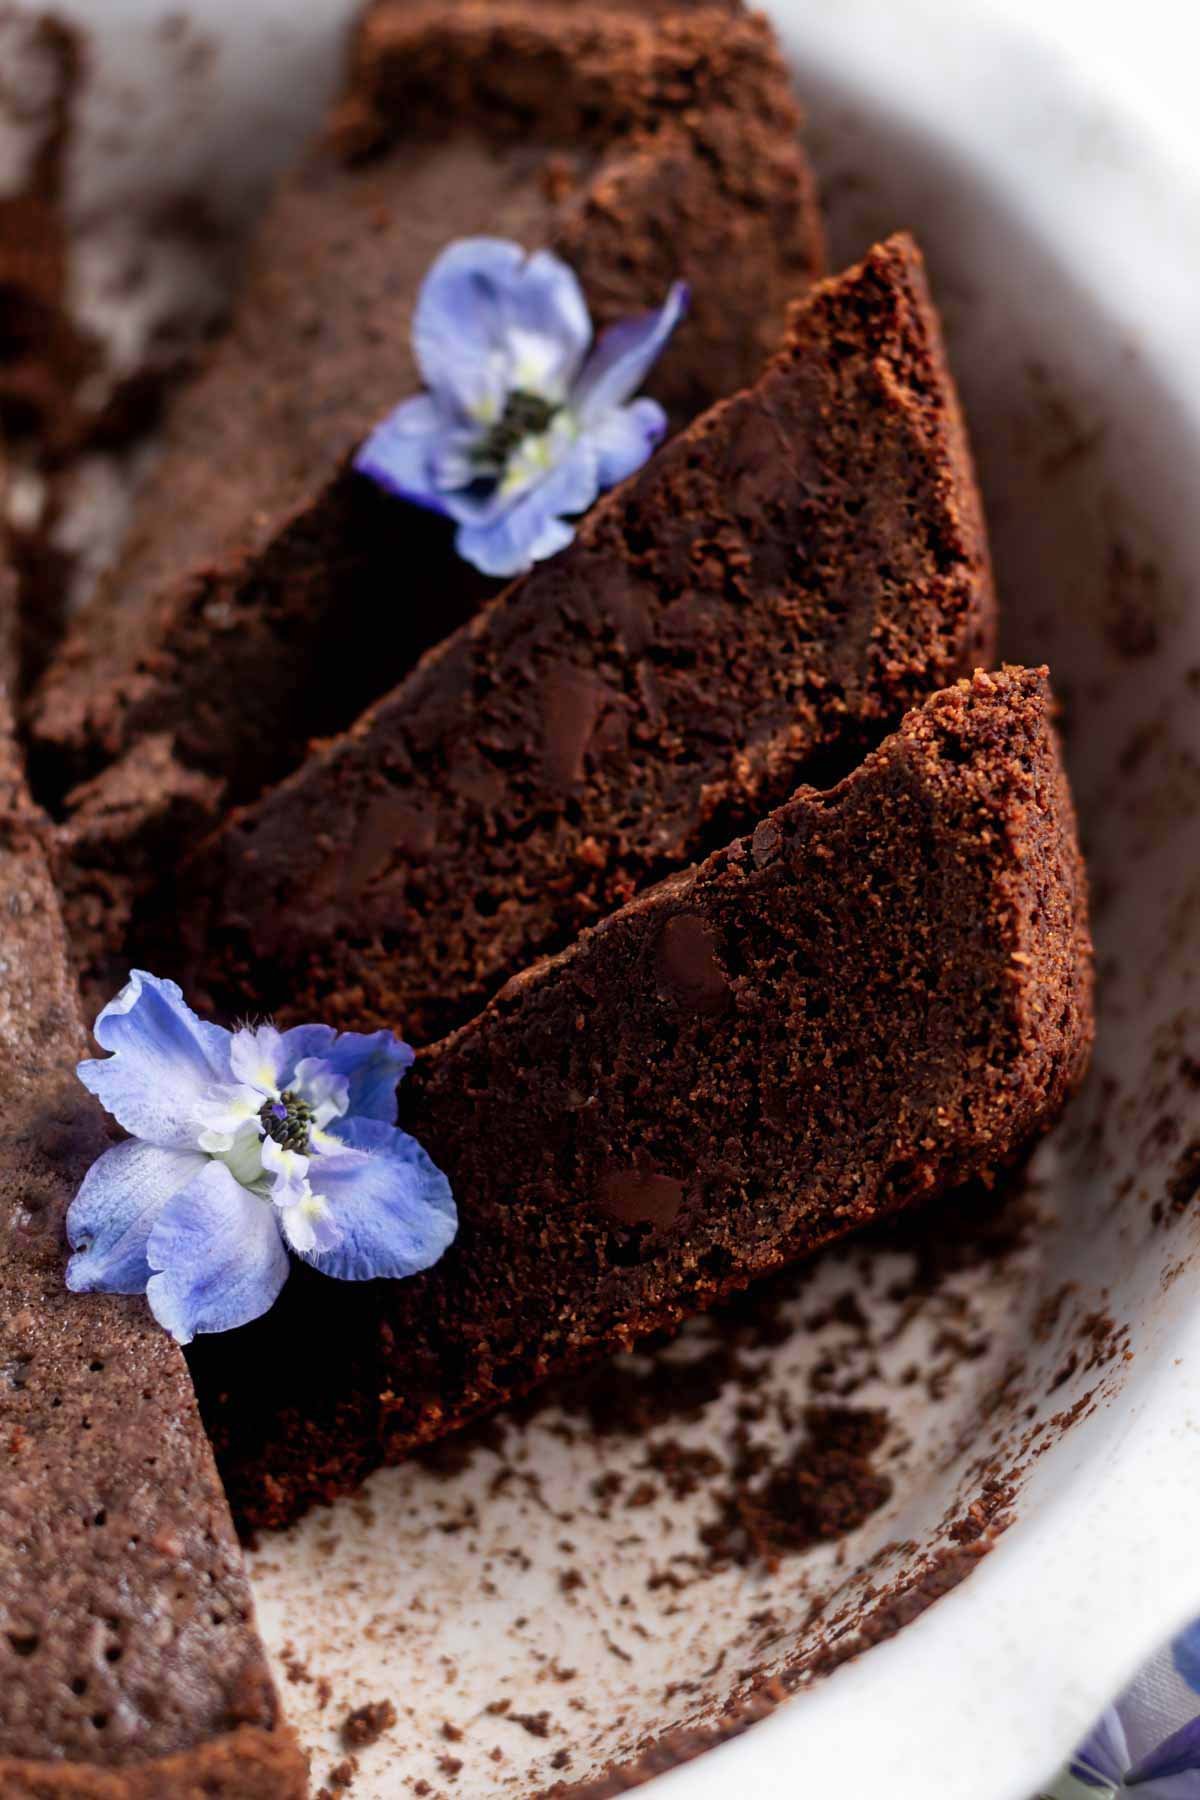
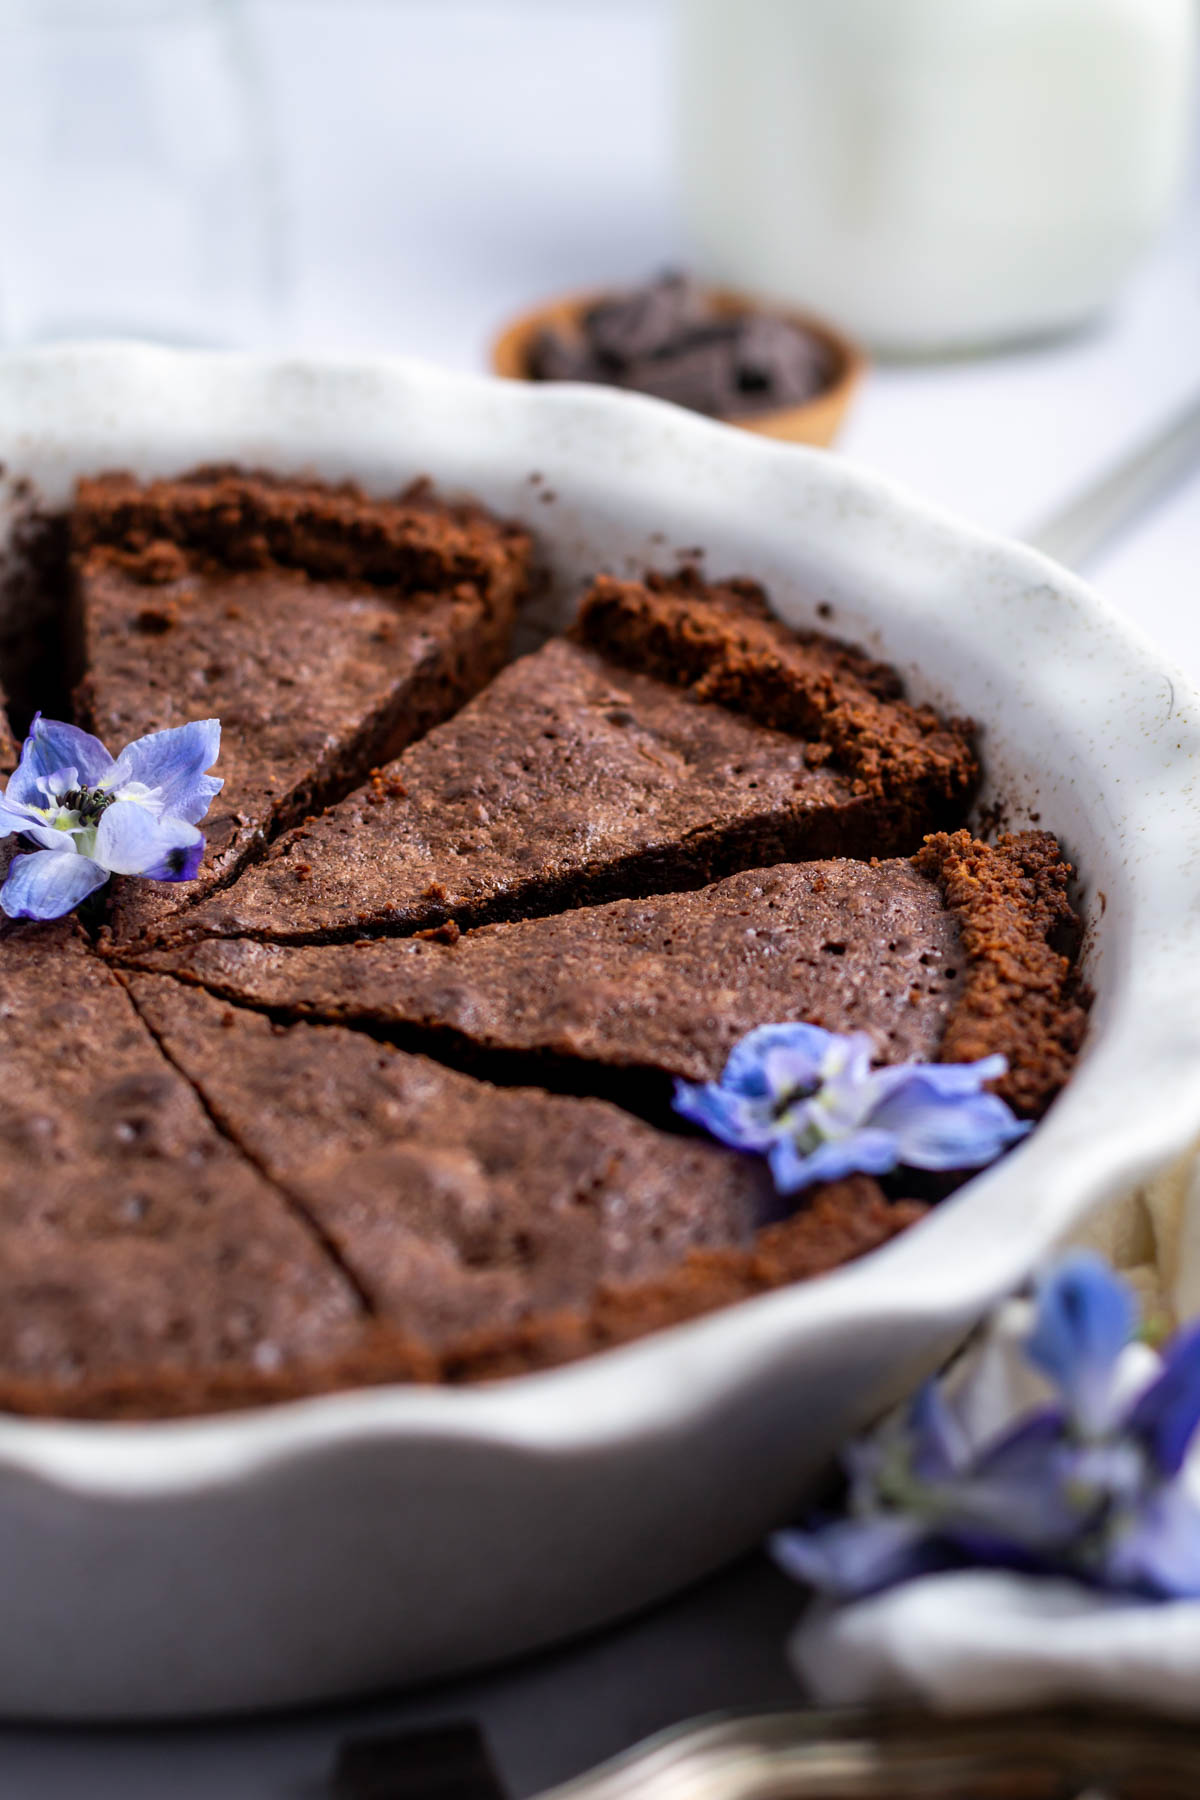
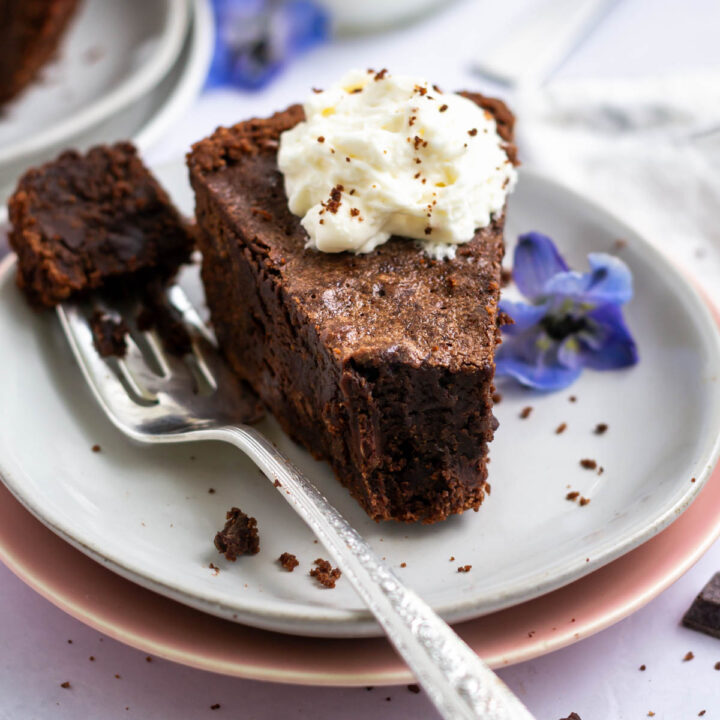
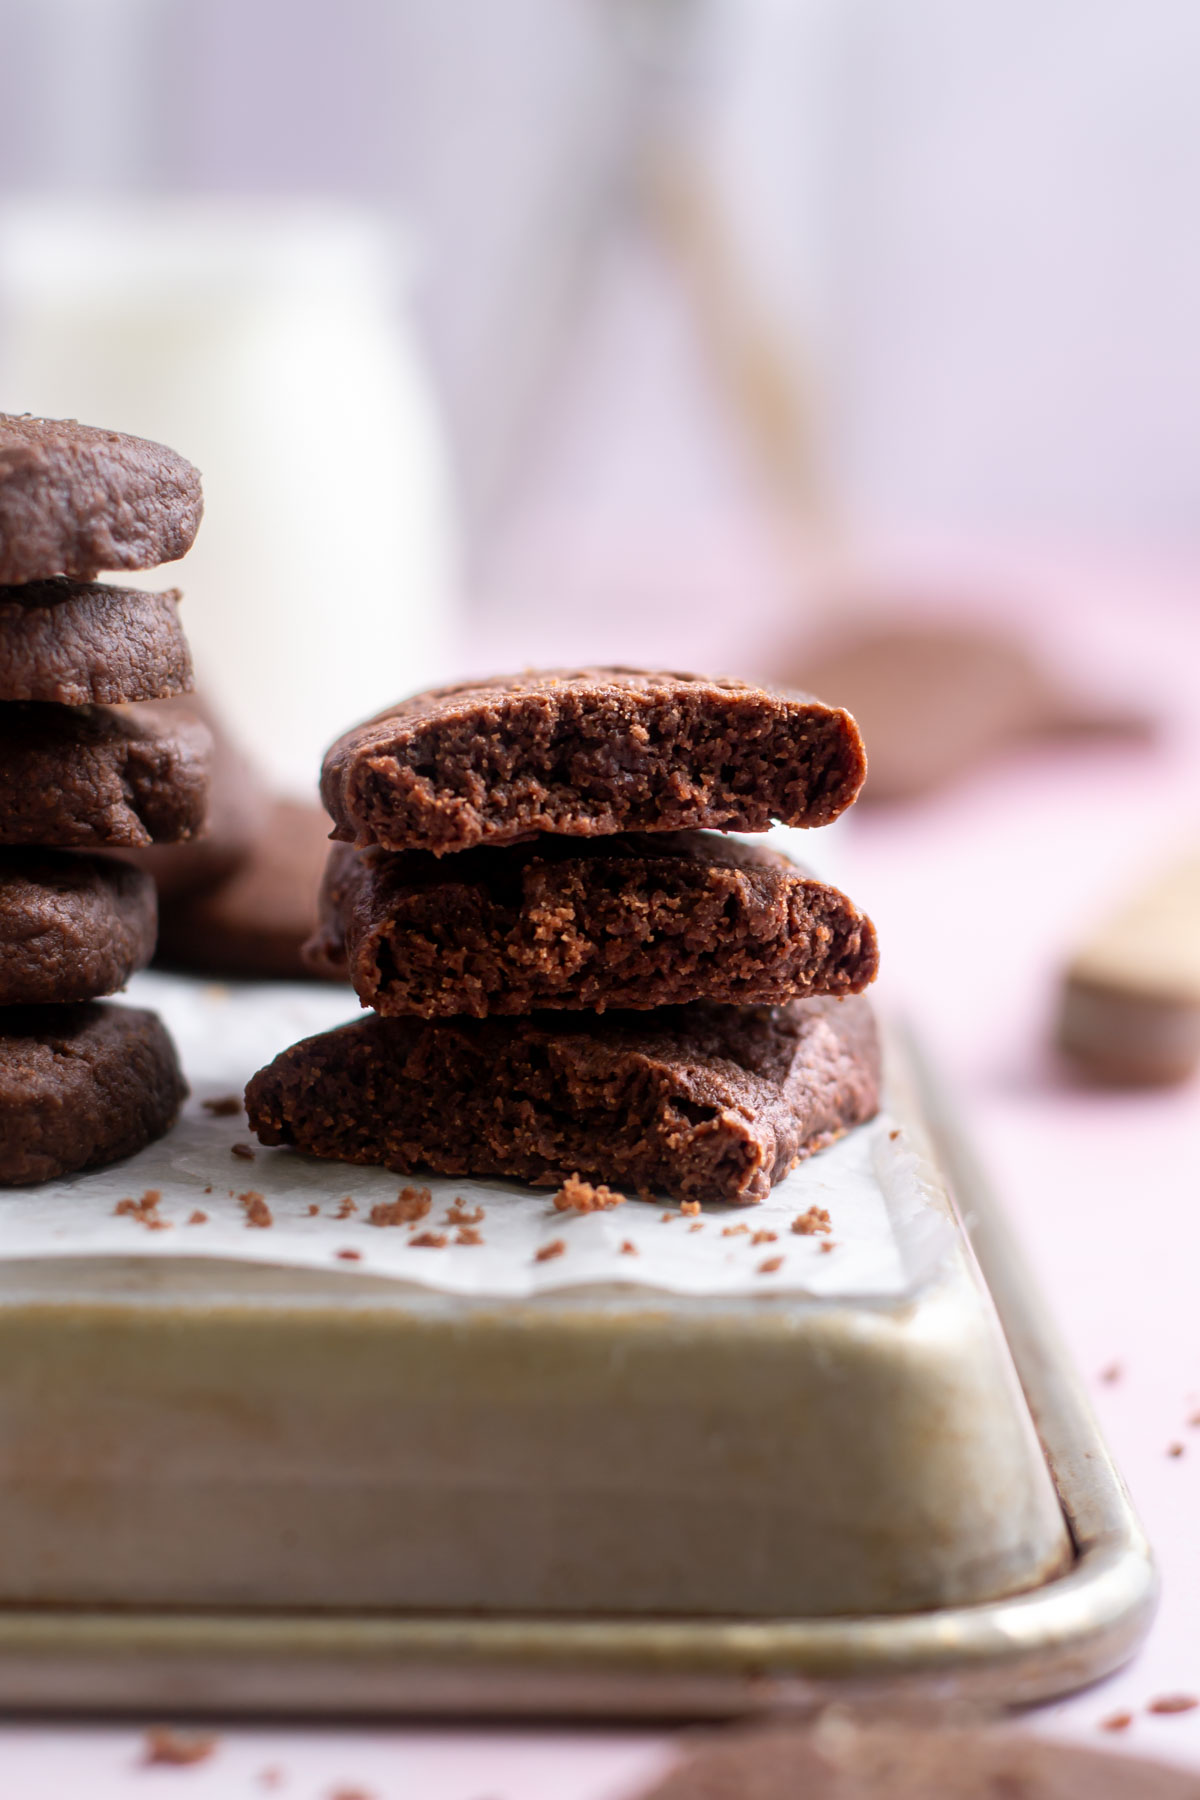
Chocolate shortbread should be buttery and tender and a little crumbly.
The cookies will spread a little bit and the edges will be slightly firm.
how to store
Store cookies in an airtight container at room temperature for up to five days.
Chocolate shortbread can also be frozen in an airtight container for up to 3 months.
Remember to snap a photo and tag me on Instagram if you make these Chocolate Shortbread. It warms my heart to see you bring these recipes to life! Thank you for being here and happy baking!
more shortbread and chocolate dessert recipes
- Shortbread Brownies
- Apple Crisp Shortbread Bars
- Caramel and Brown Sugar Shortbread
- Shortbread Peppermint Bark
- Brownie Pie
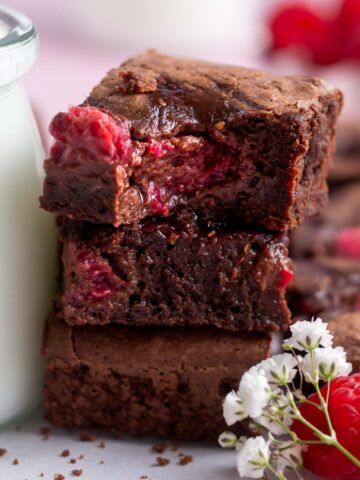
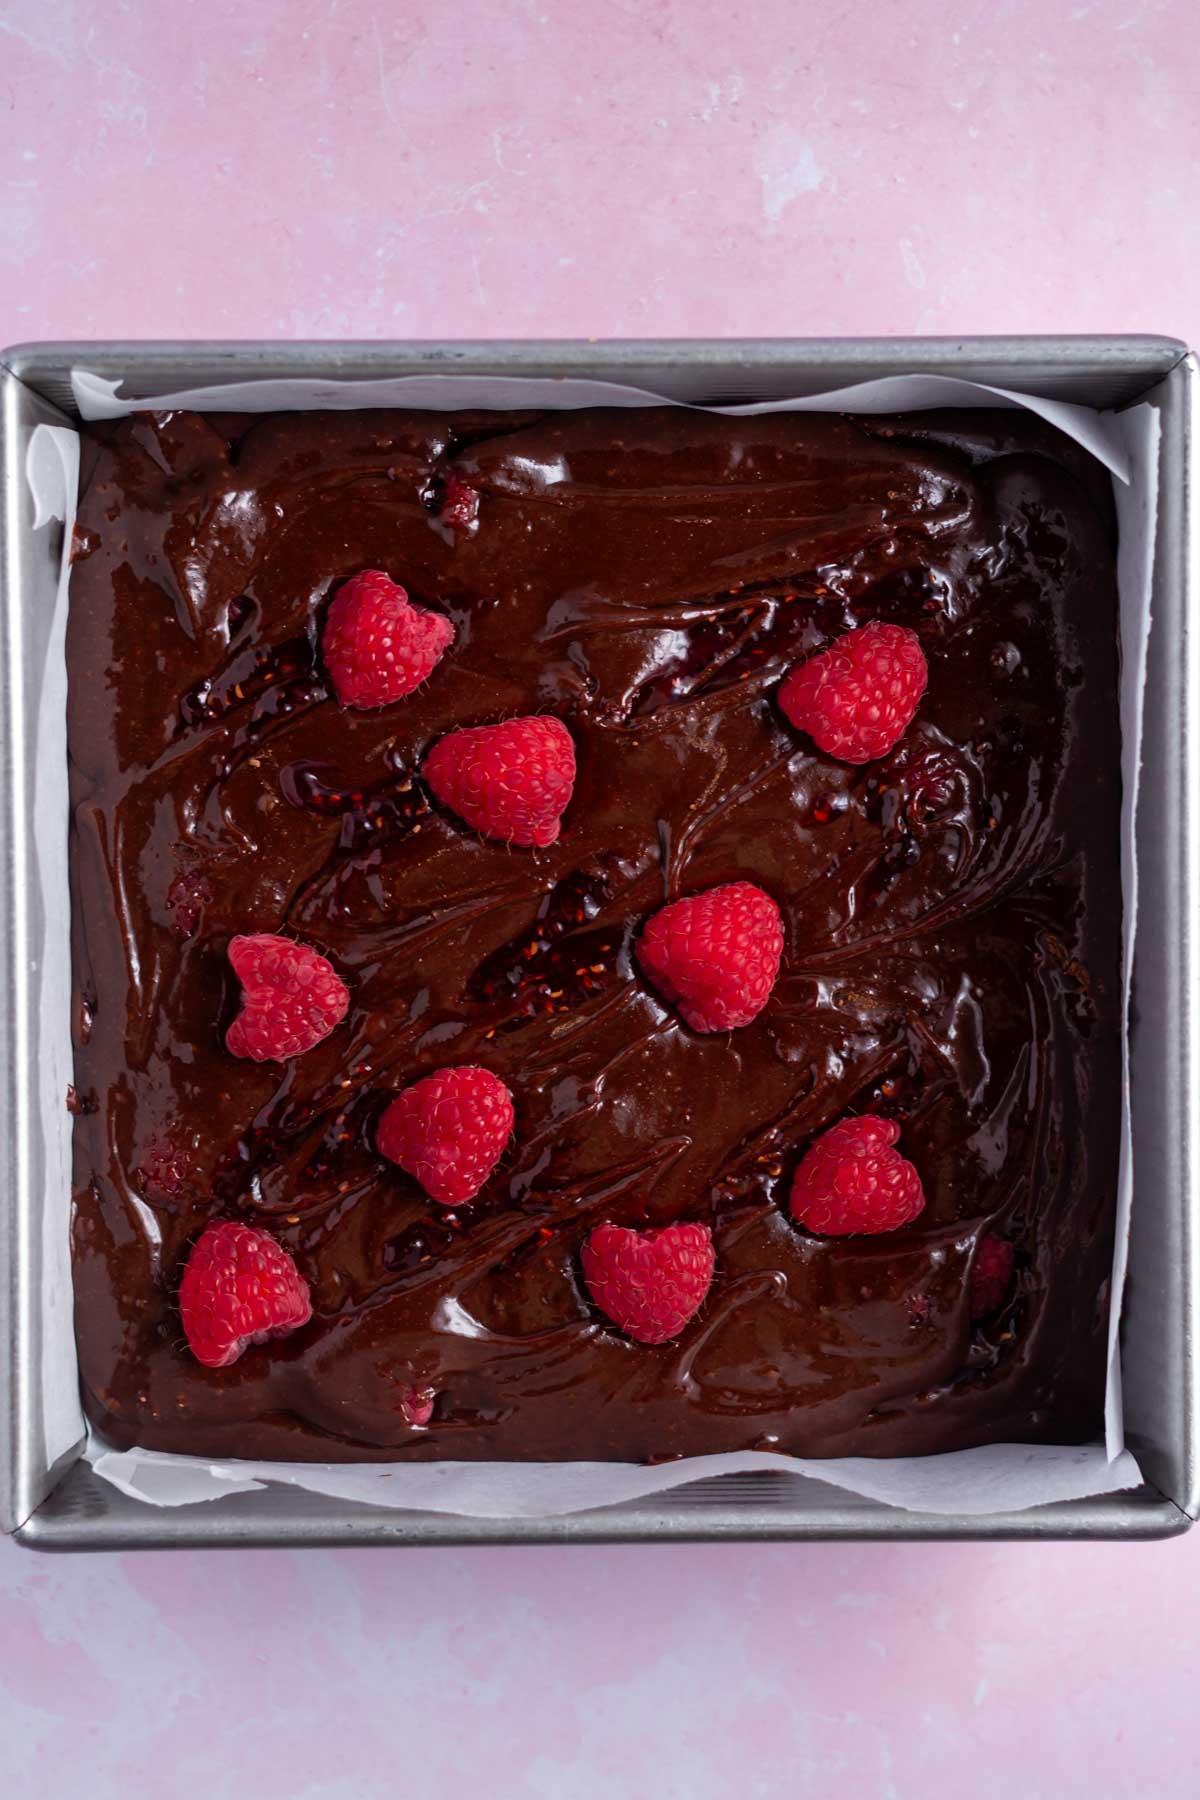
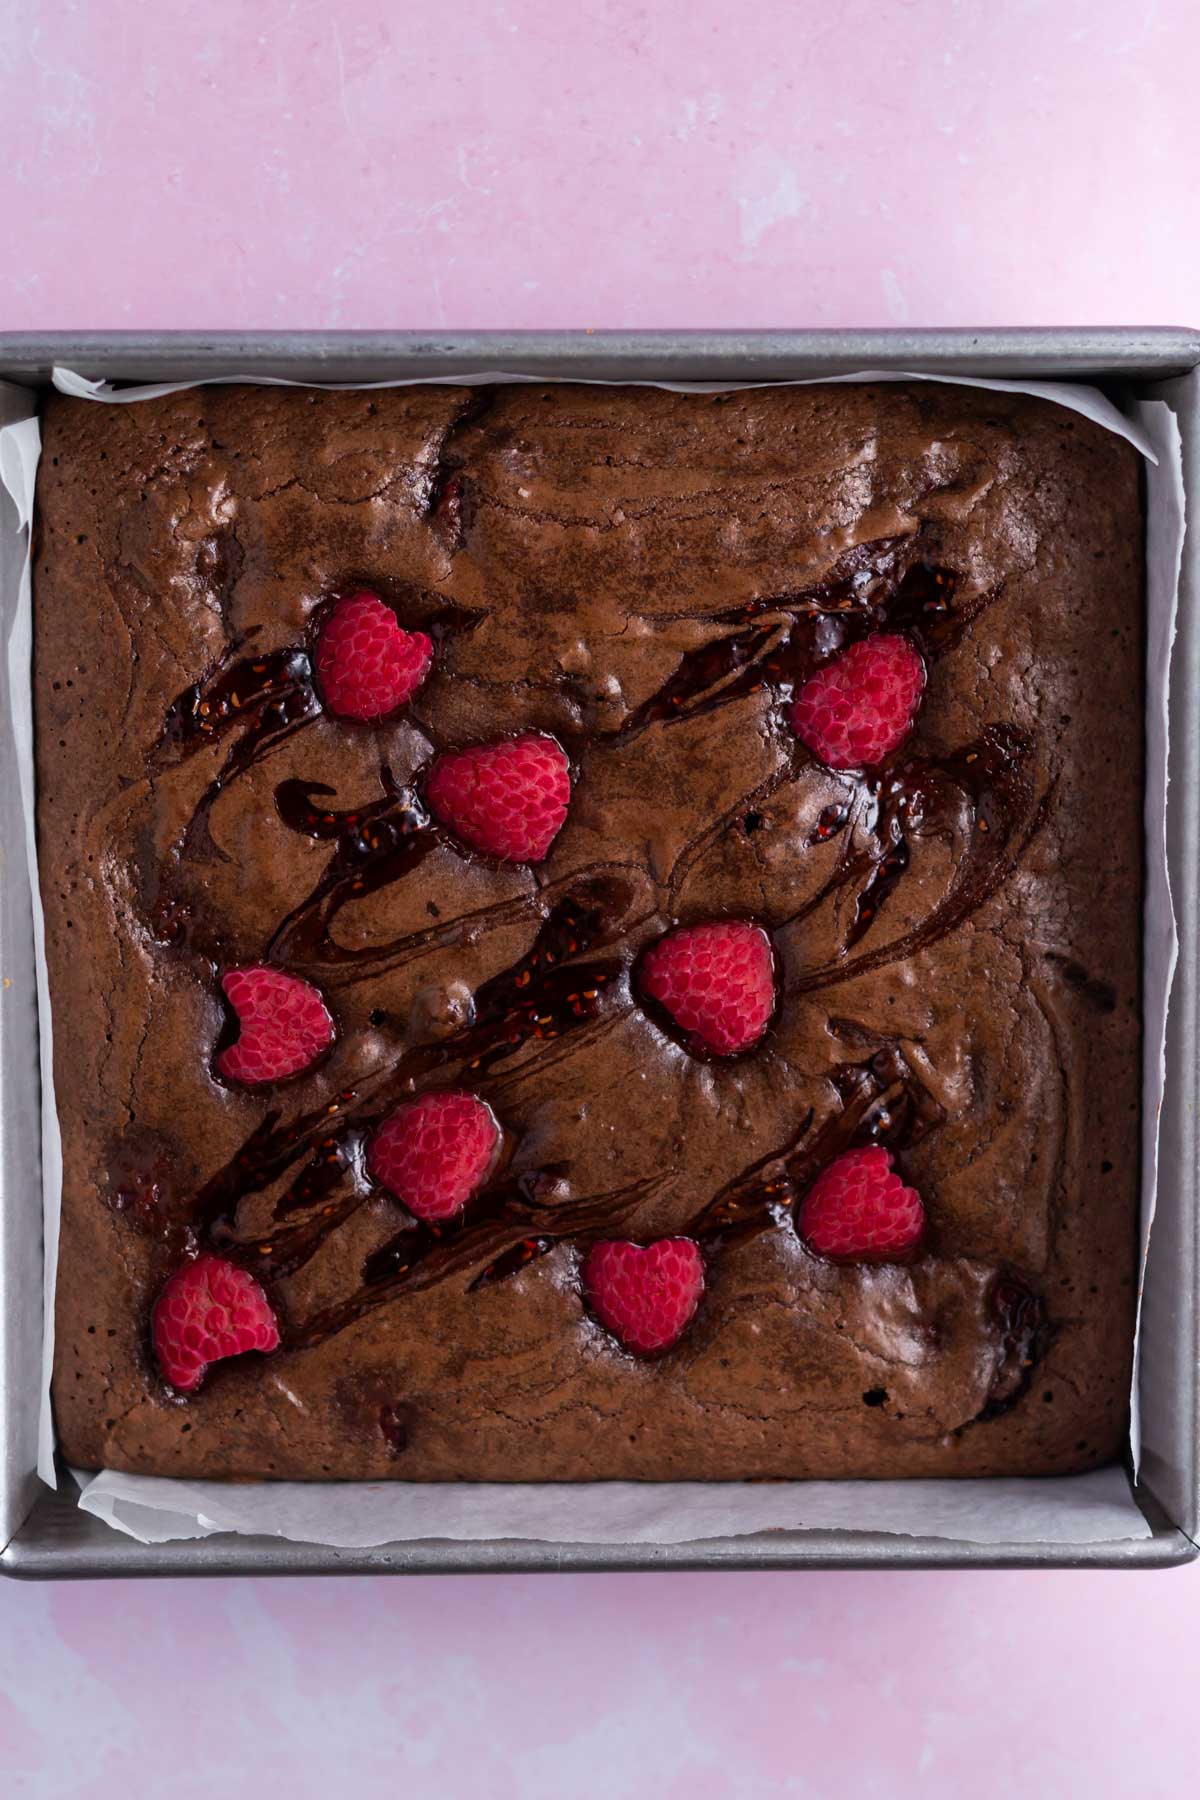
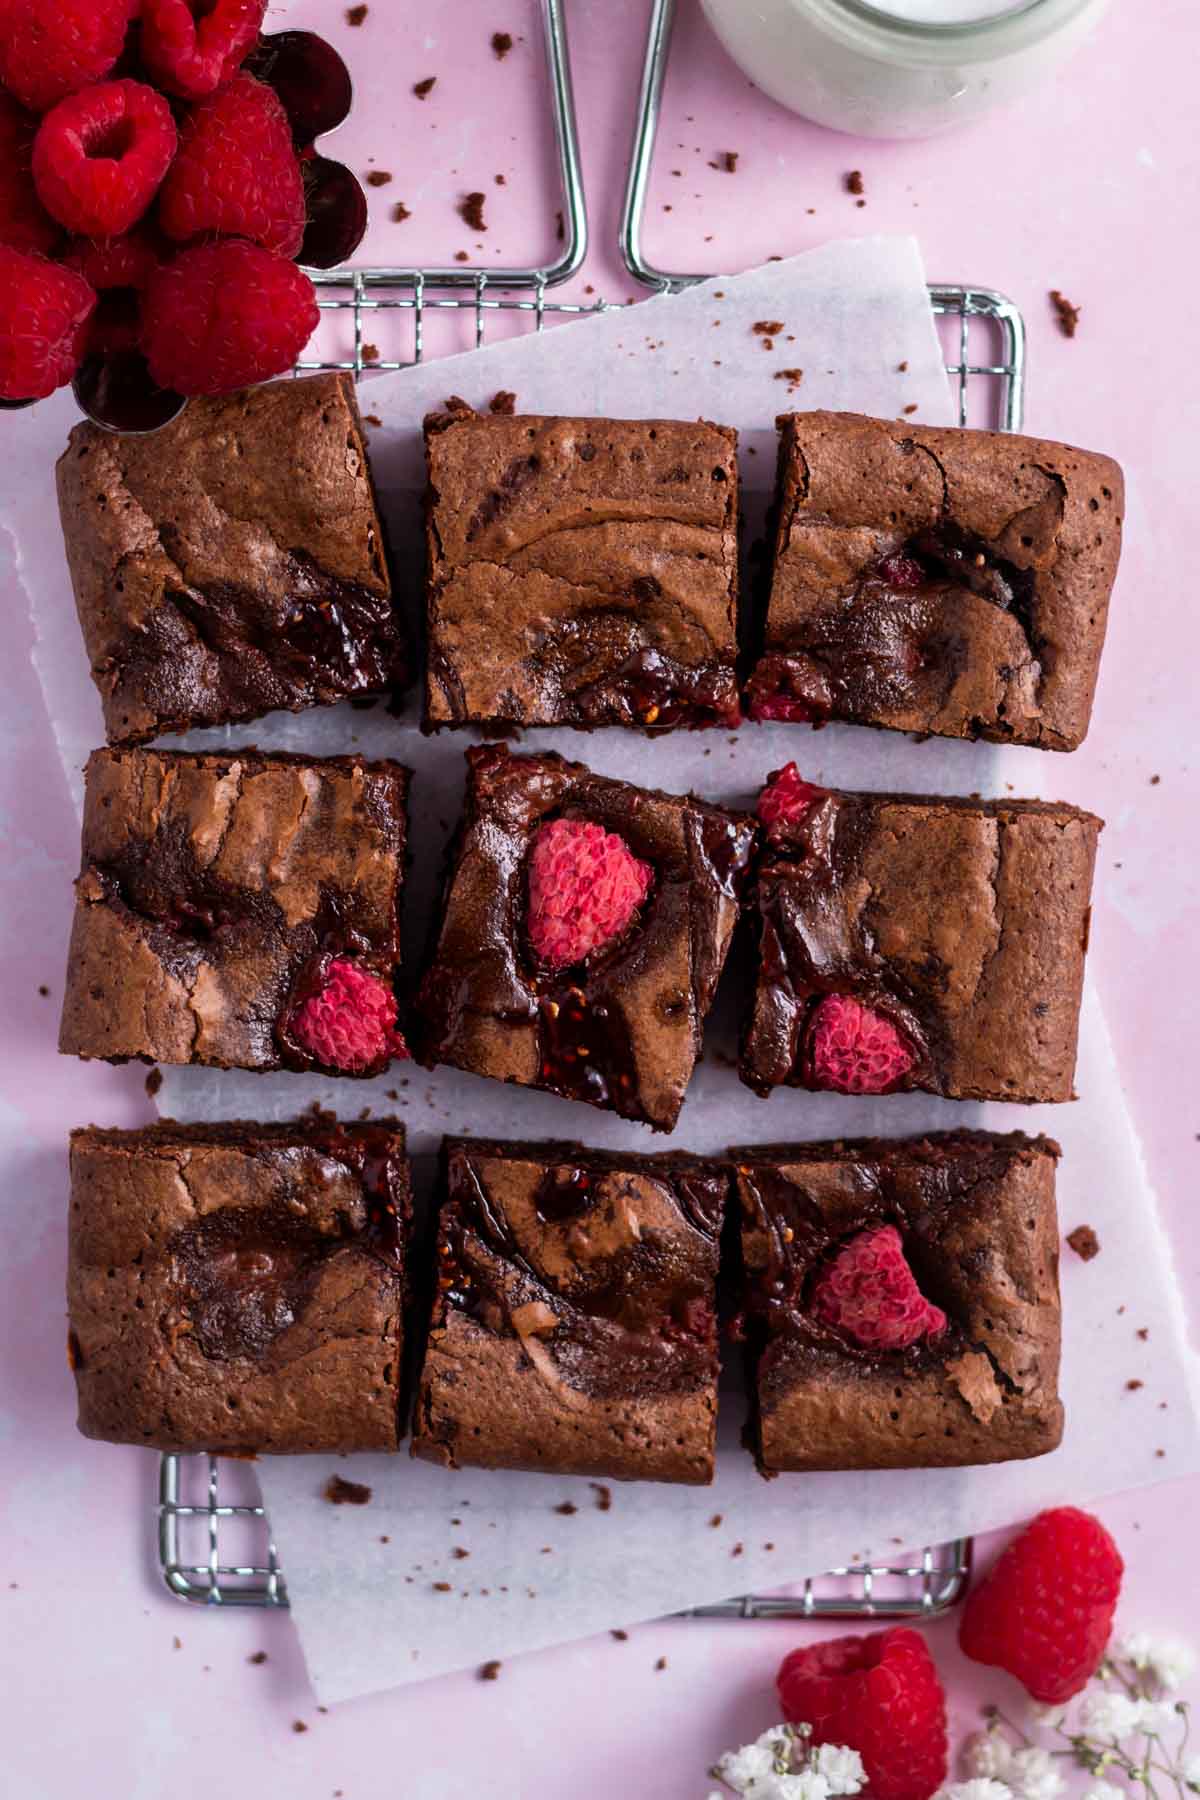
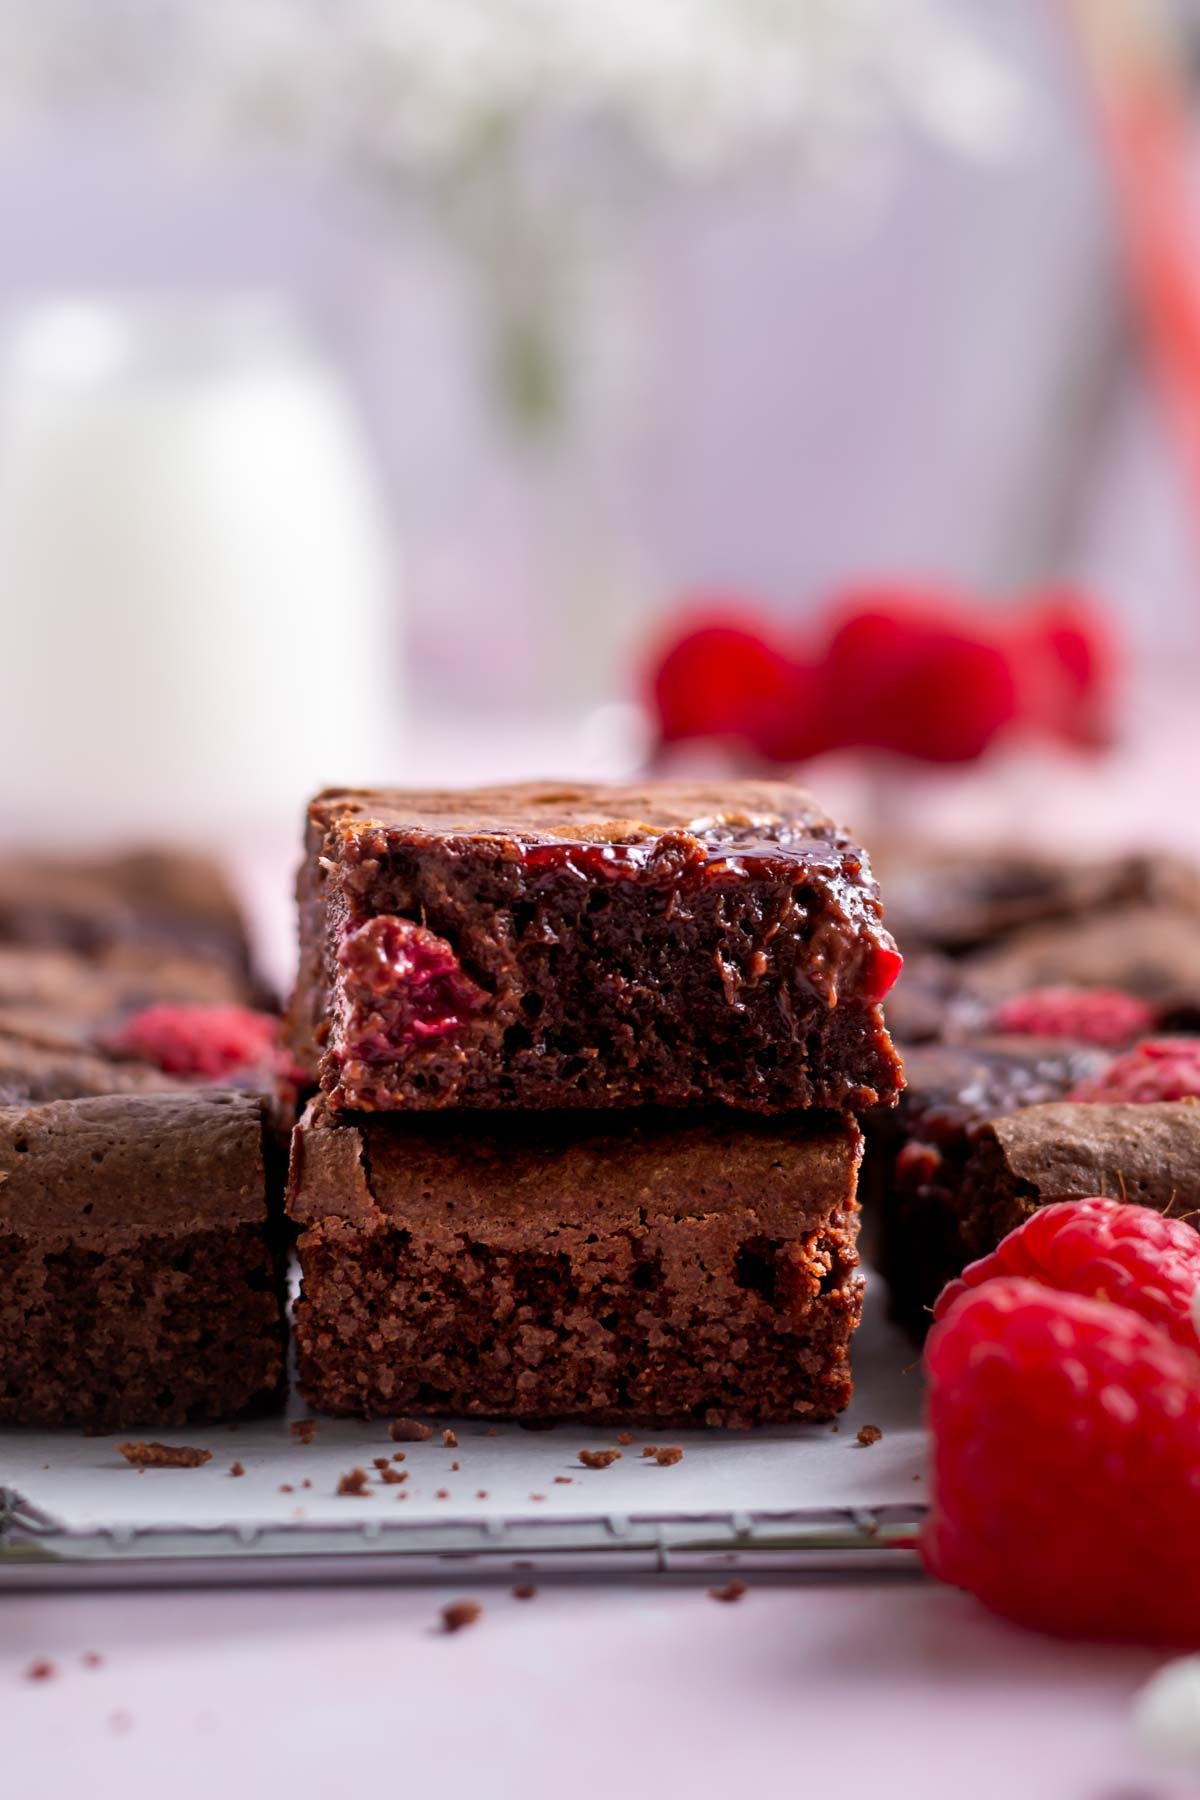
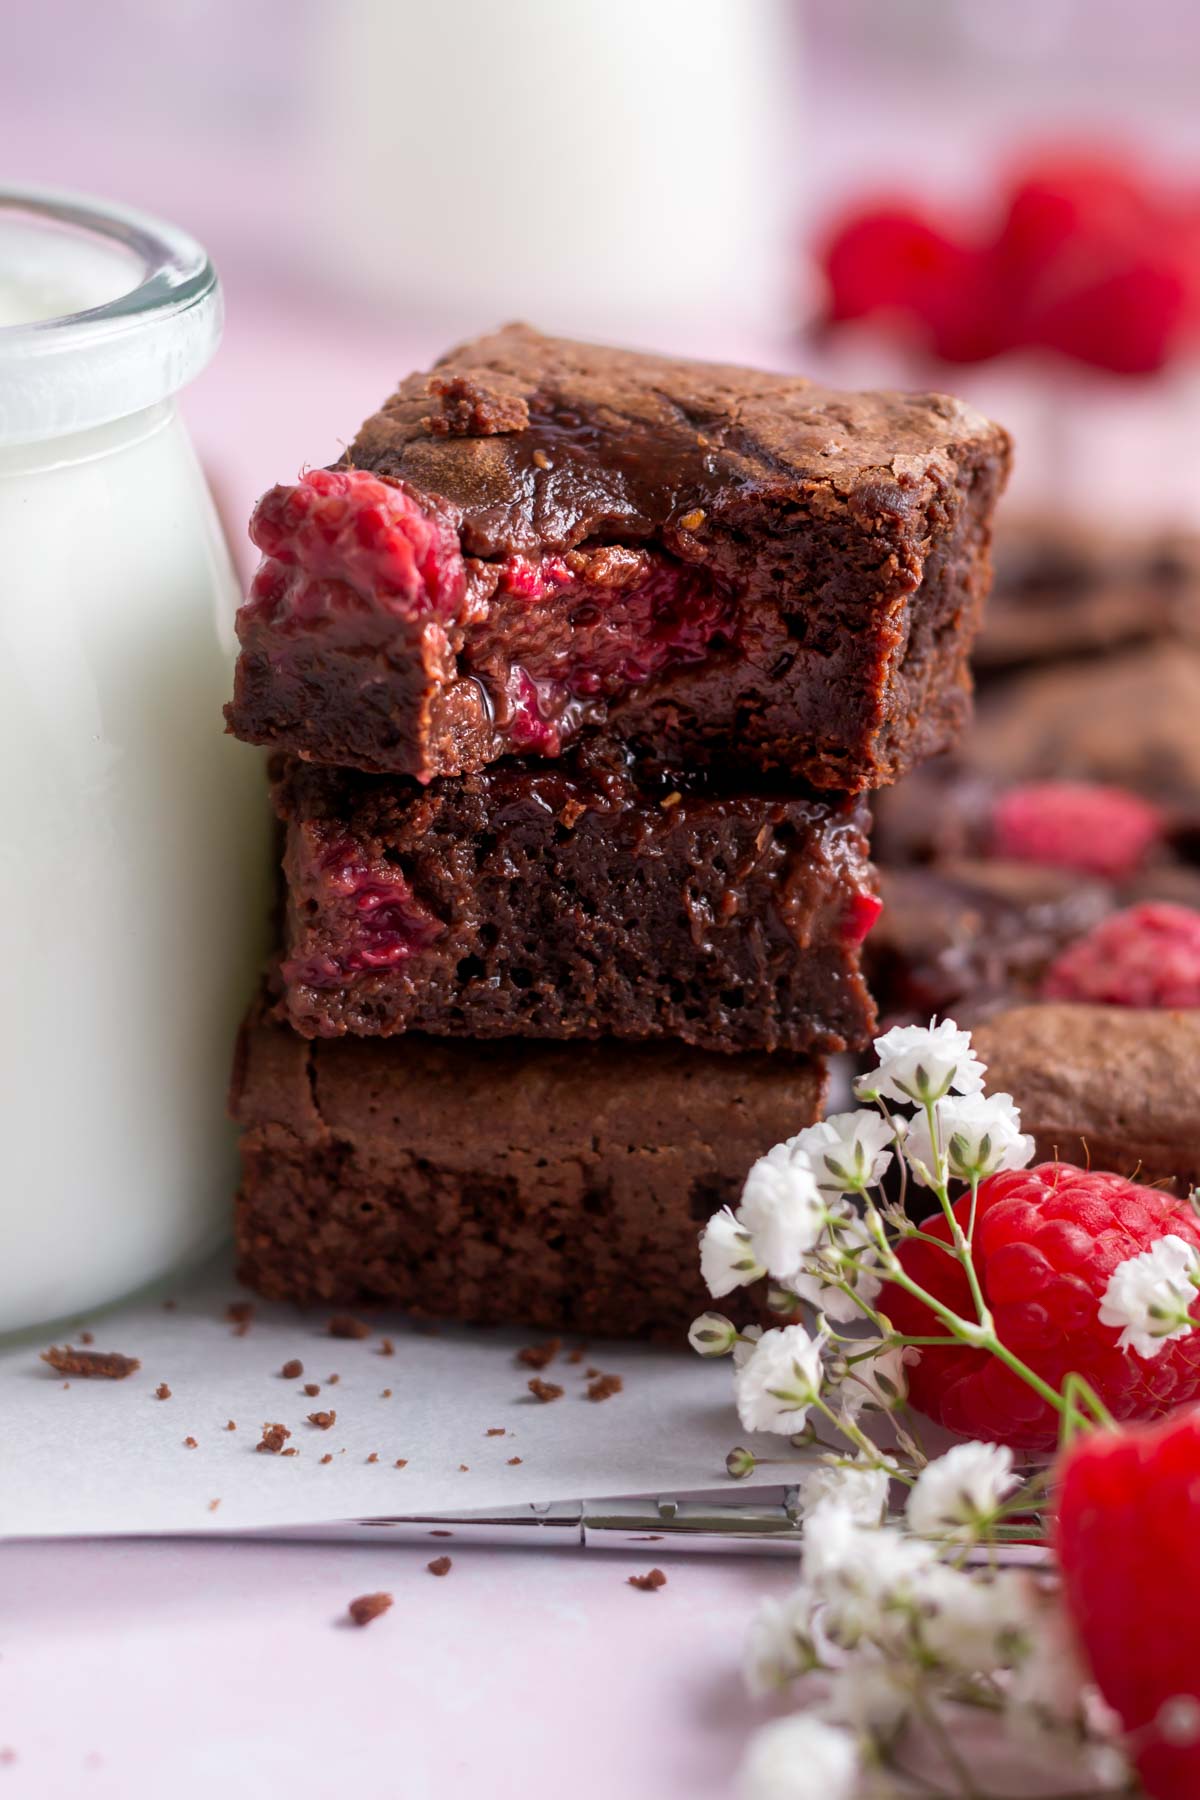
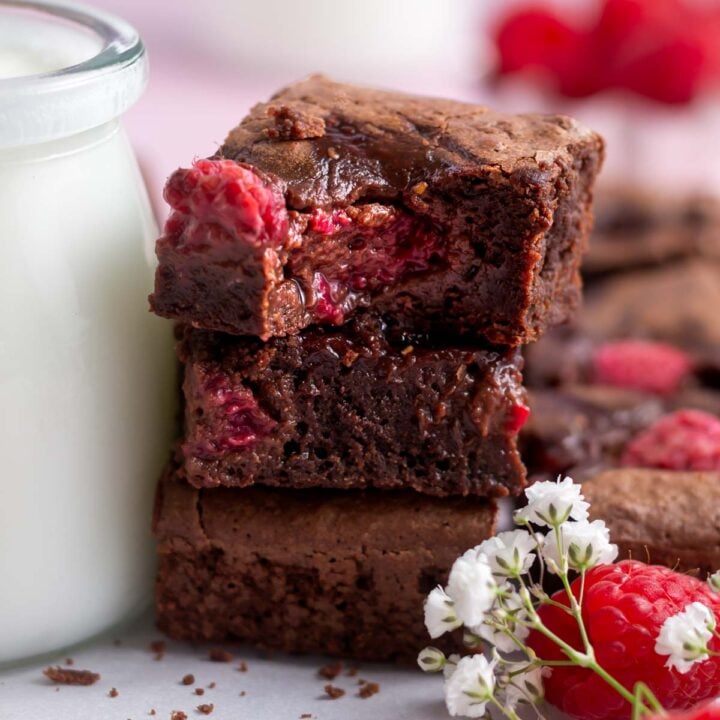
- Chocolate Raspberry Brownies
If you make this recipe {or any recipe!} from two sugar bugs please come back and leave a review and a ⭐️⭐️⭐️⭐️⭐️ star rating. I read every comment, and I LOVE hearing from you!
Chocolate Shortbread
You'll love this quick chocolate shortbread recipe because the cookies are buttery, tender and crumbly. No egg is needed for this no chill five ingredient dough.
Ingredients
- 1 cup unsalted butter, room temperature (226g)
- ½ teaspoon kosher salt
- ¾ cup confectioners' sugar (90g)
- ½ cup unsweetened cocoa powder (40g)
- 1 ¾ cups all-purpose flour (219g)
Instructions
- Preheat oven to 350°F and line a baking sheet pan with parchment paper.
- Place the butter (1 cup/226g), kosher salt (½ teaspoon) and confectioners' sugar (¾ cup/90g) in the bowl of a stand mixer fitted with the paddle attachment (or use a hand mixer). Cream the butter, salt and sugar on medium (speed 6 on KitchenAid) for 2-3 minutes.
- Scrape up and down the bowl and sift in the cocoa powder (½ cup/40g) and flour (1 ¾ cups/219g) and mix on low until the dough comes together.
- Turn the dough out onto a cutting board and shape into a rectangular log approximately 8 inches long by 2 inches wide and 1 ½ inches tall.
- Use a sharp knife or bench knife to cut the cookies into slices (you should get 22-24 total). Place the cookies on the prepared pan, spacing with a little room to allow for slight spreading. Use a fork to poke a few holes into each cookie. Sprinkle with turbinado sugar, if desired.
- Bake for 15-18 minutes, the cookies will spread a little and the edges will be slightly firm.
- Allow the shortbread to cool on the baking pan.
Notes
Store cookies in an airtight container at room temperature for up to five days. Chocolate shortbread can also be frozen in an airtight container for up to 3 months.
Nutrition Information:
Yield:
24Serving Size:
1Amount Per Serving: Calories: 121Total Fat: 8gSaturated Fat: 5gTrans Fat: 0gUnsaturated Fat: 3gCholesterol: 20mgSodium: 28mgCarbohydrates: 11gFiber: 1gSugar: 3gProtein: 1g
The nutrition information is based on third-party calculations, is an estimate only and may not be entirely accurate. Actual nutritional values will vary based on brands used and portion sizes.