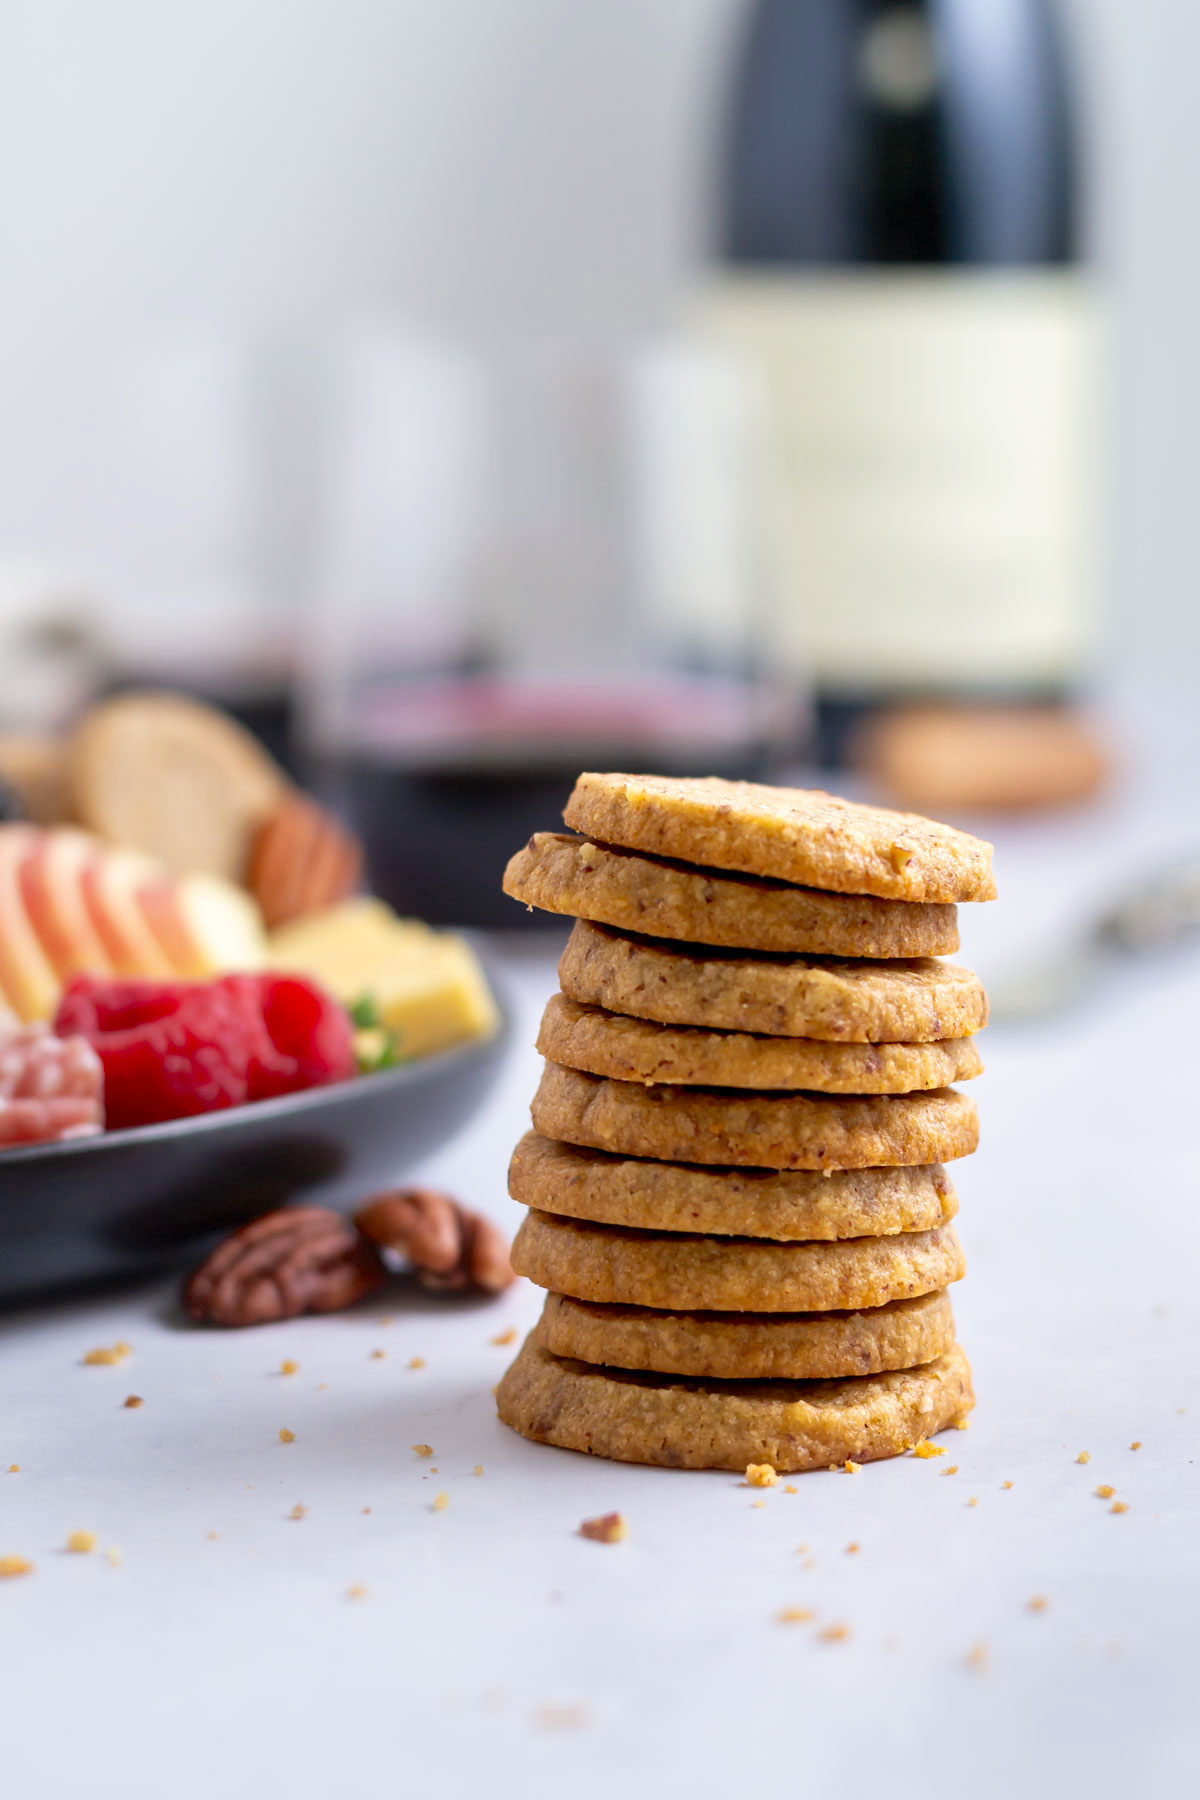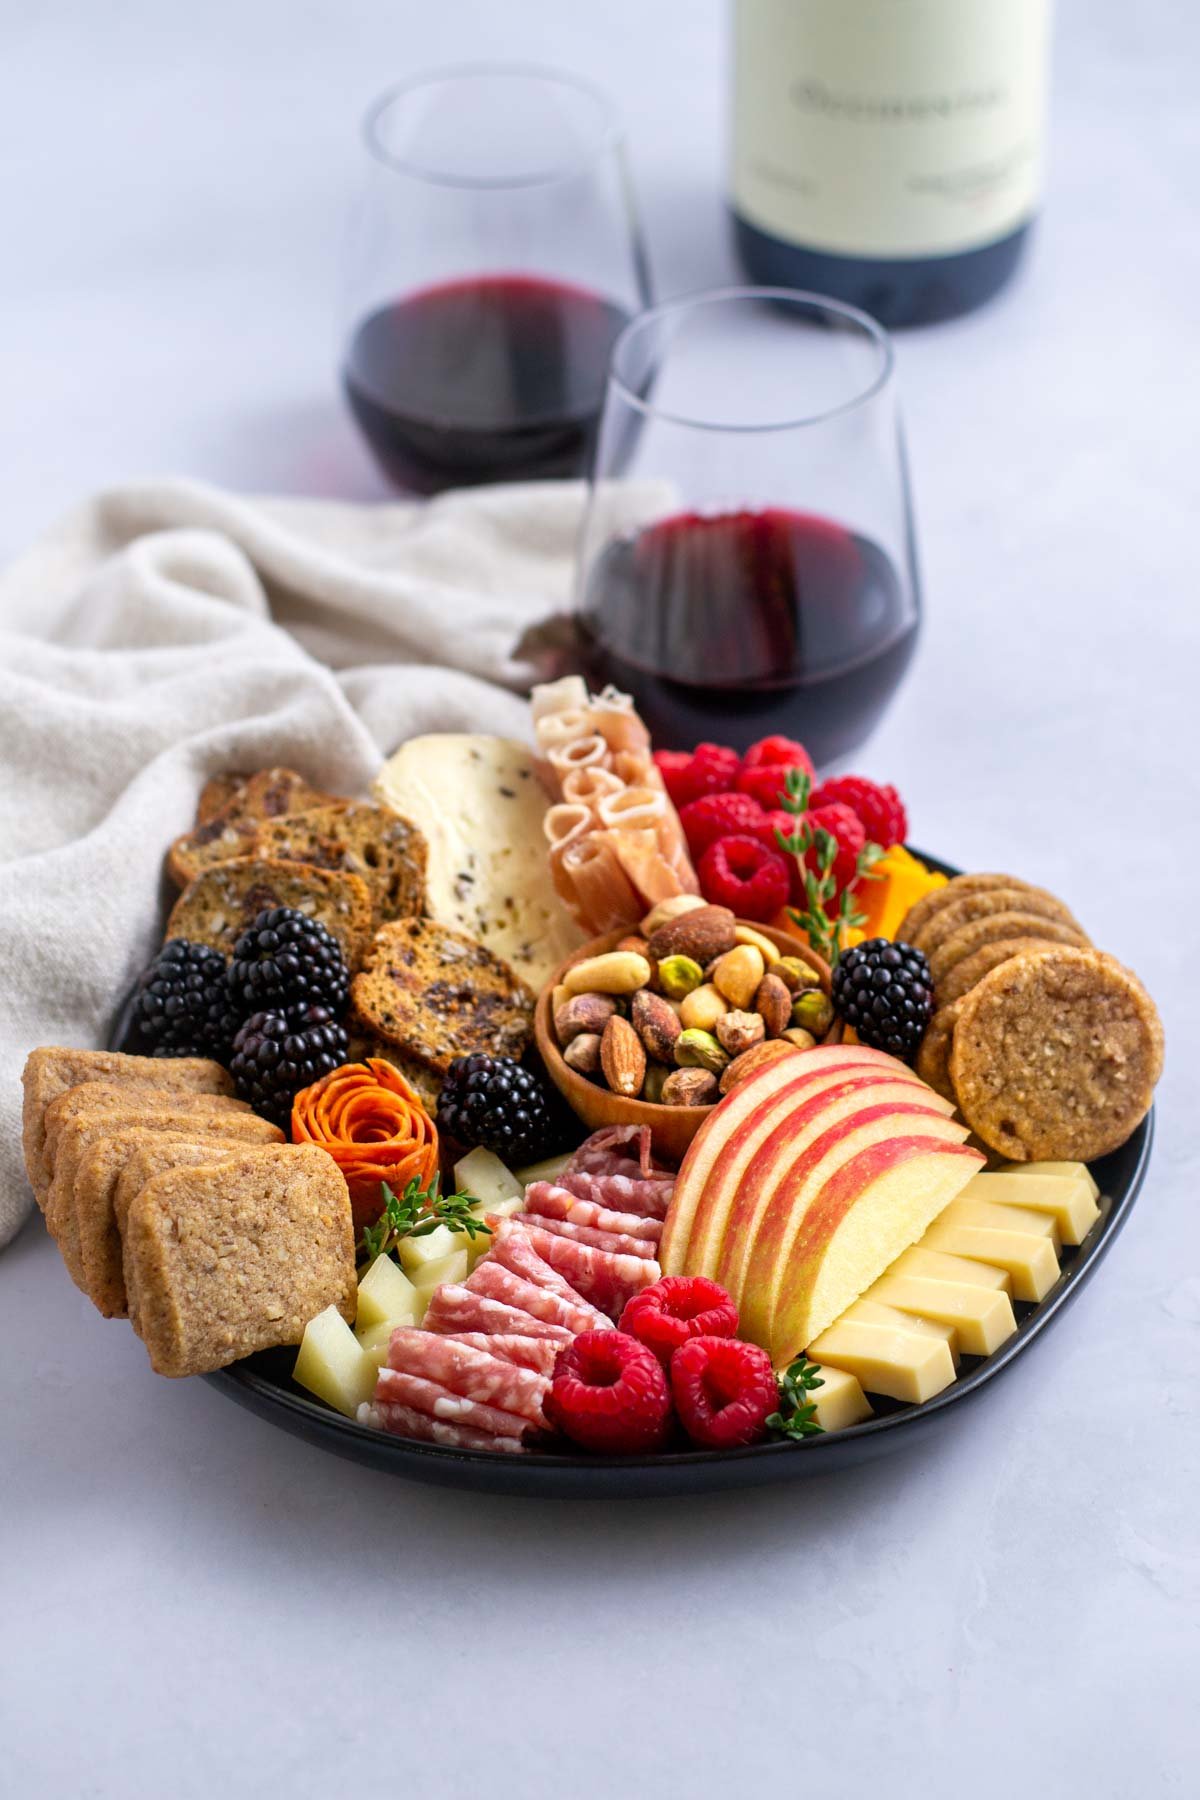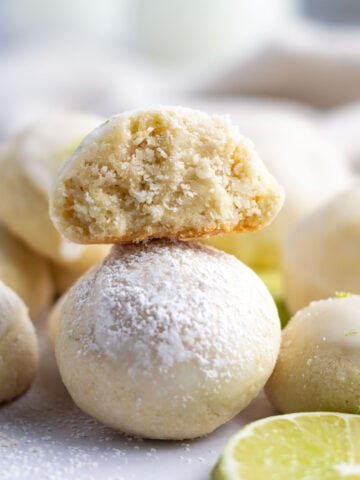
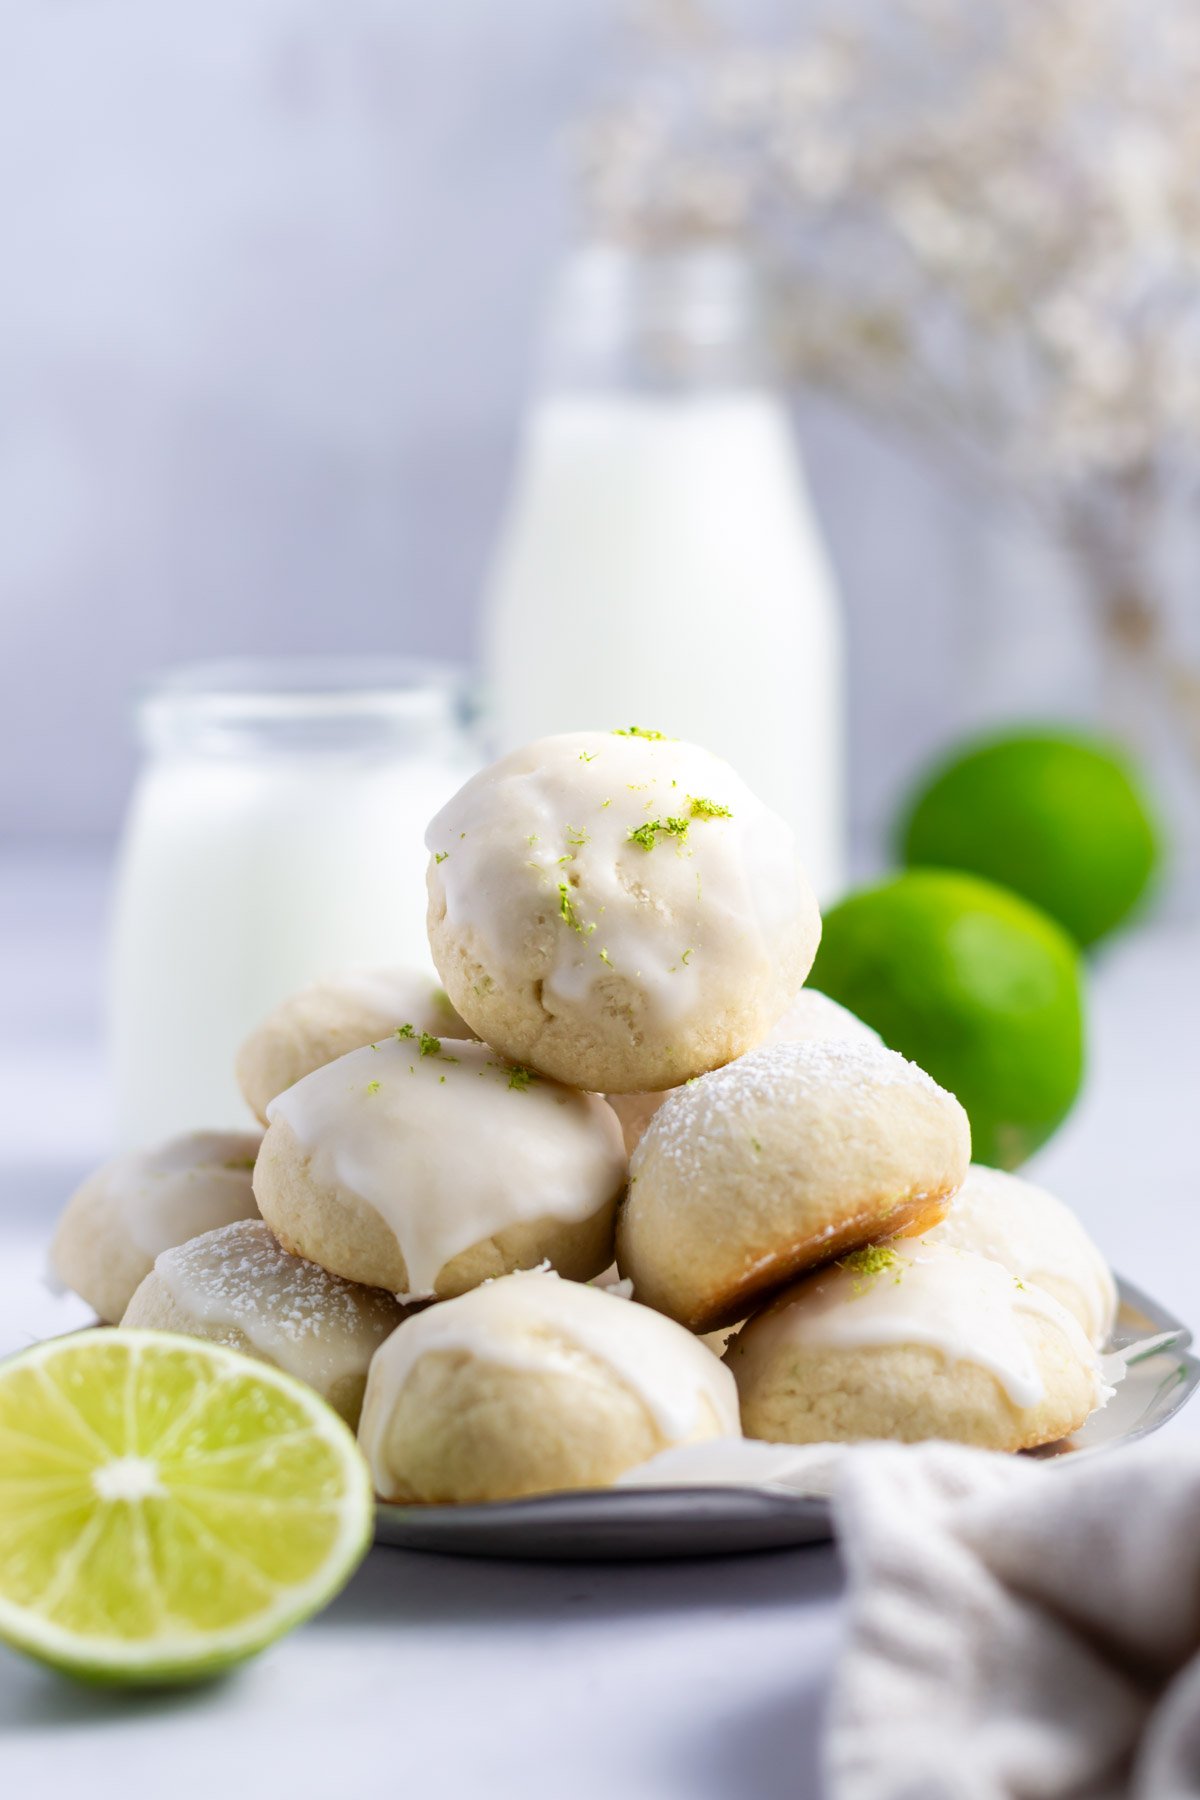
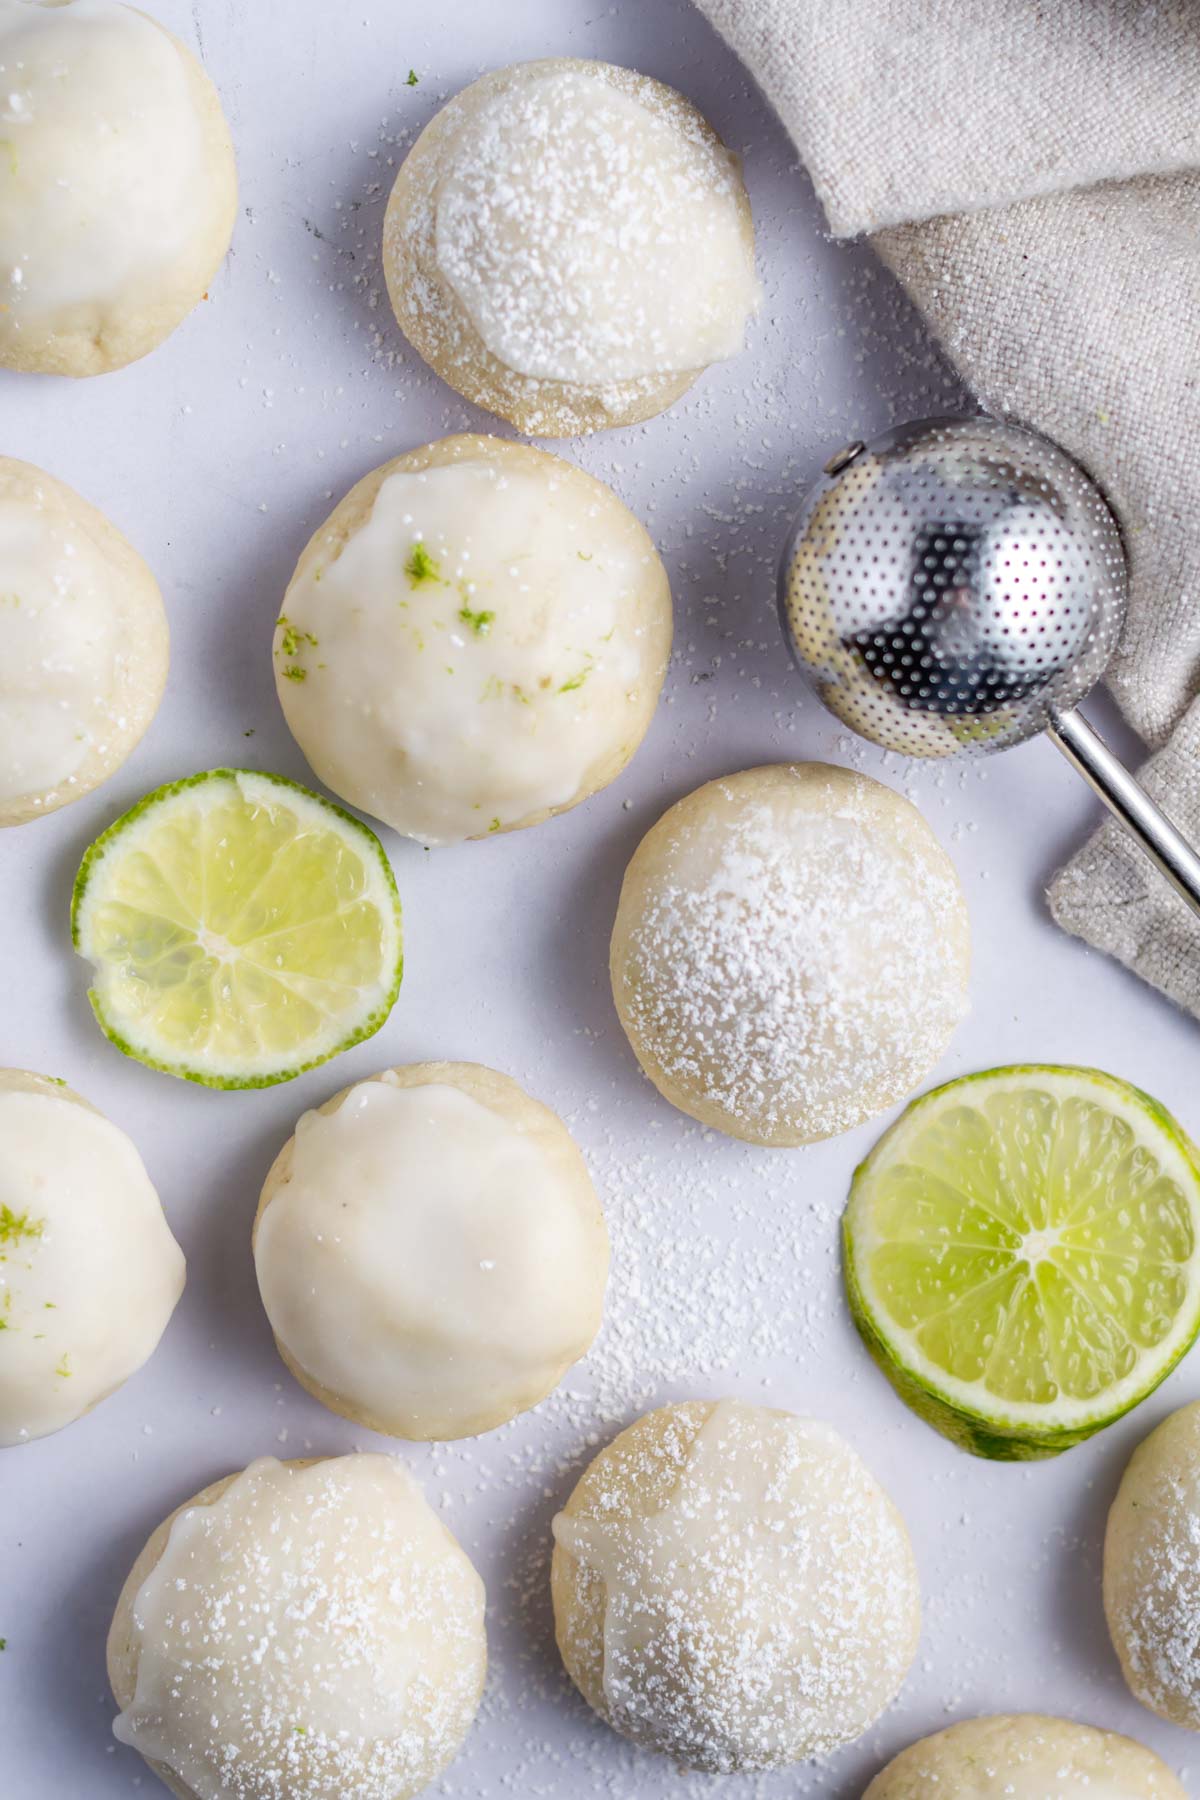
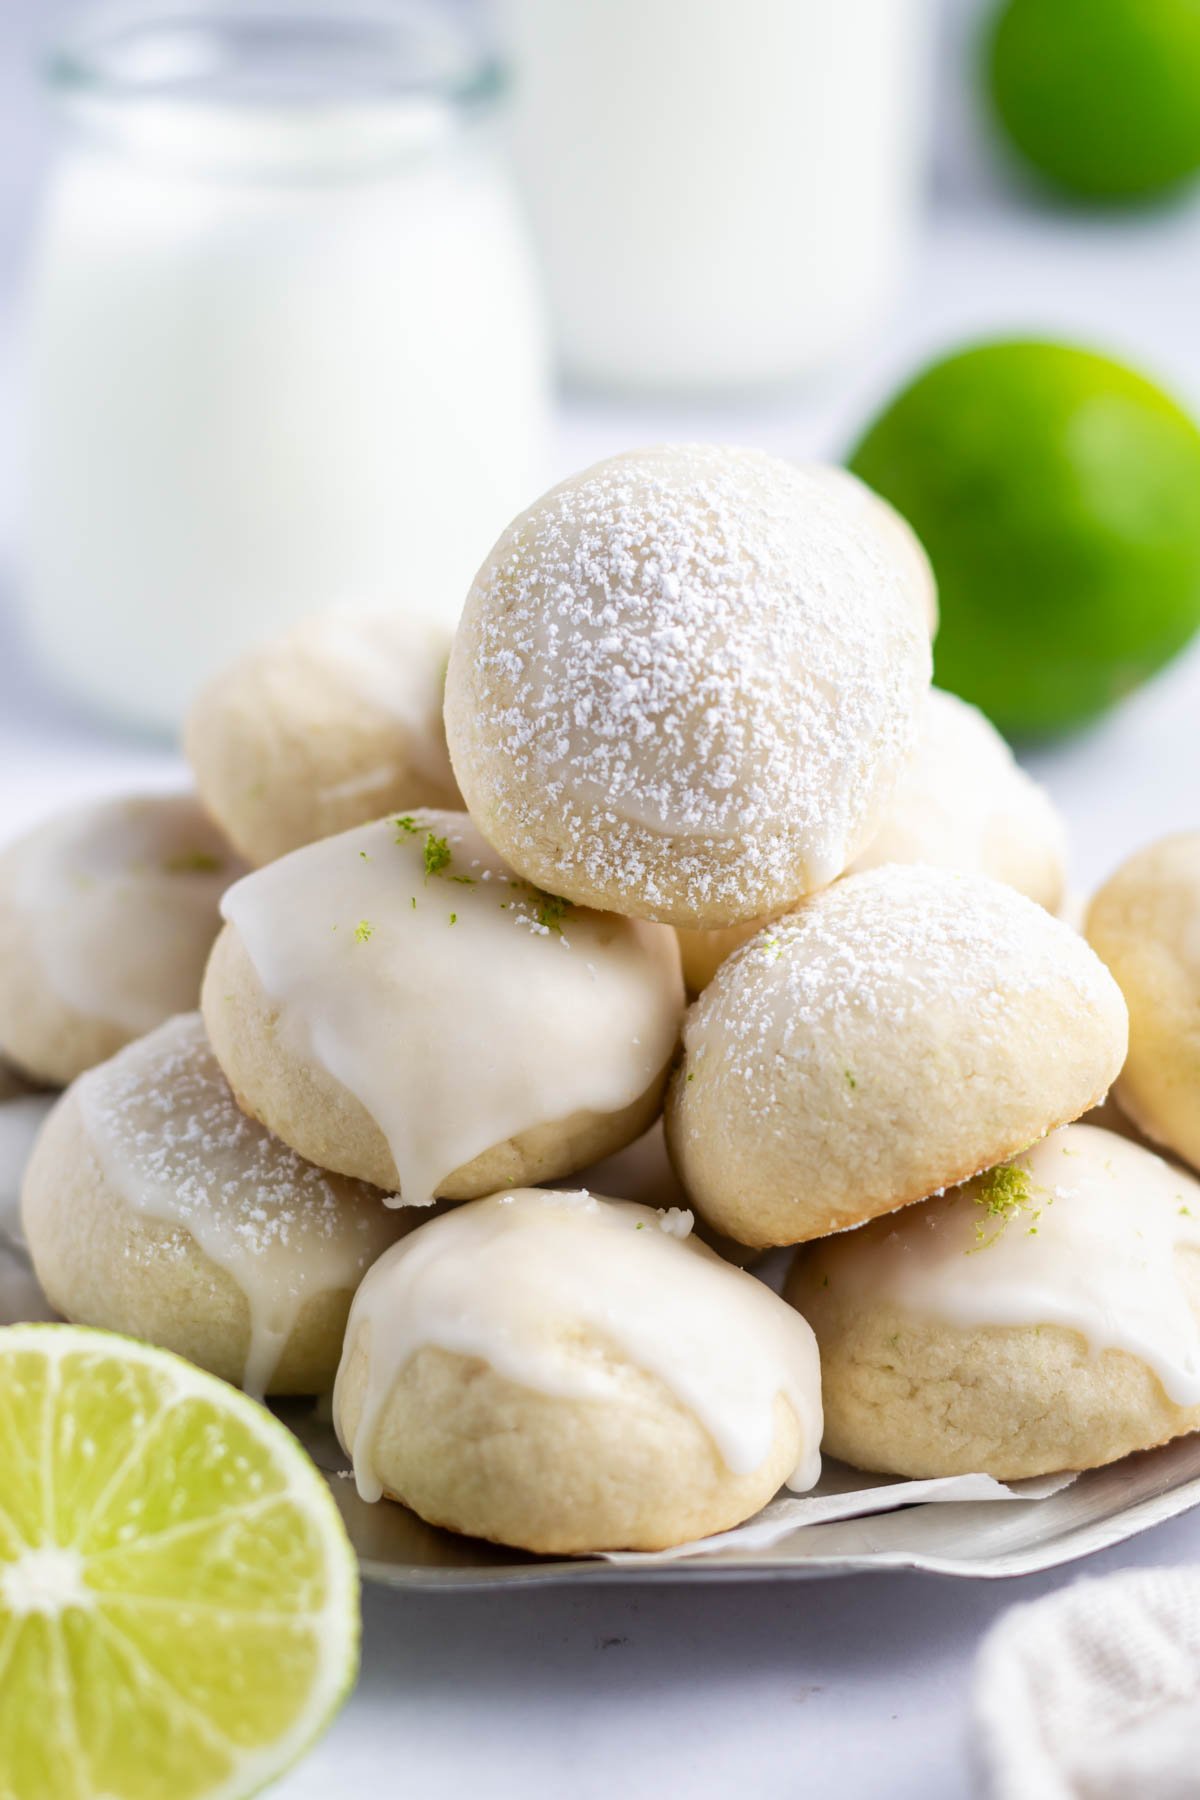
Lime cookies are a citrus twist on Italian wedding cookies. The best no egg, shortbread-like cookie glazed with an easy lime icing. Perfect Easter or Christmas cookies, for an afternoon tea party or with your morning coffee.
Disclosure | This post may contain affiliate links. As an Amazon Associate I earn from qualifying purchases.
With decades of cookie baking under my belt, sometimes I want just a simple classic cookie.
This variation on Italian wedding cookies brings a touch of citrus, which is a lovely surprise to the taste buds. The cookie dough comes together in minutes and goes straight into the oven, so there is no waiting for it to chill. Always a bonus, if you ask me!
💗 why you will love these no egg cookies
- Easy glaze ~ frosted with a simple lime icing recipe that sets.
- Simple ingredients ~ only six ingredients are needed.
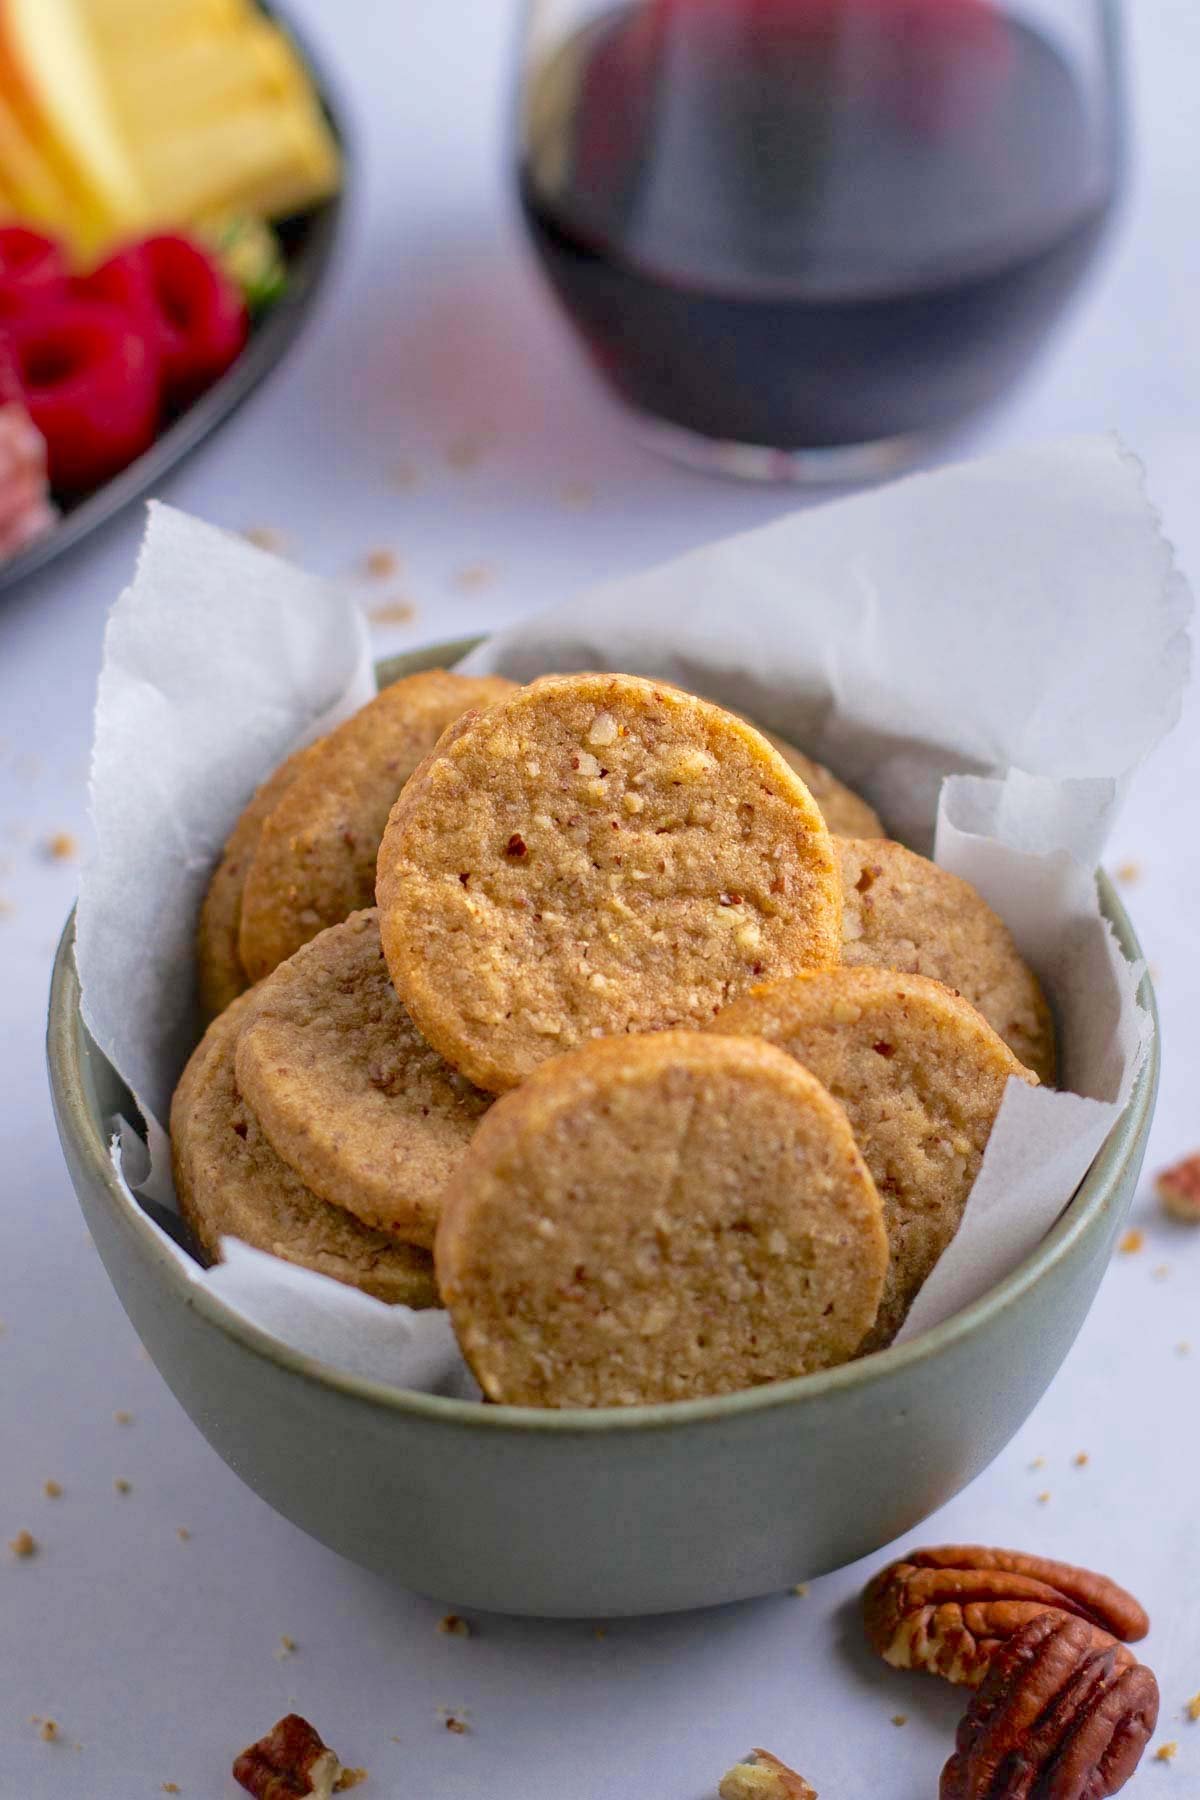
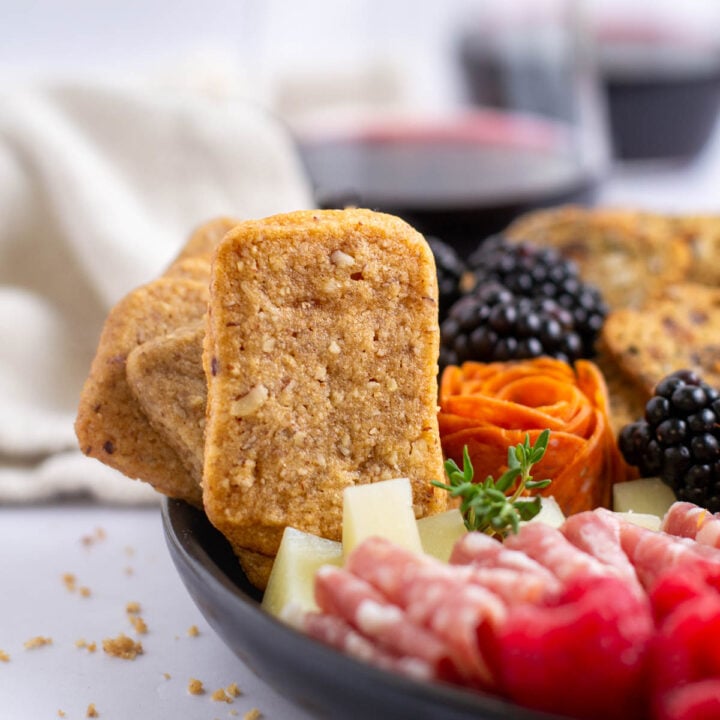
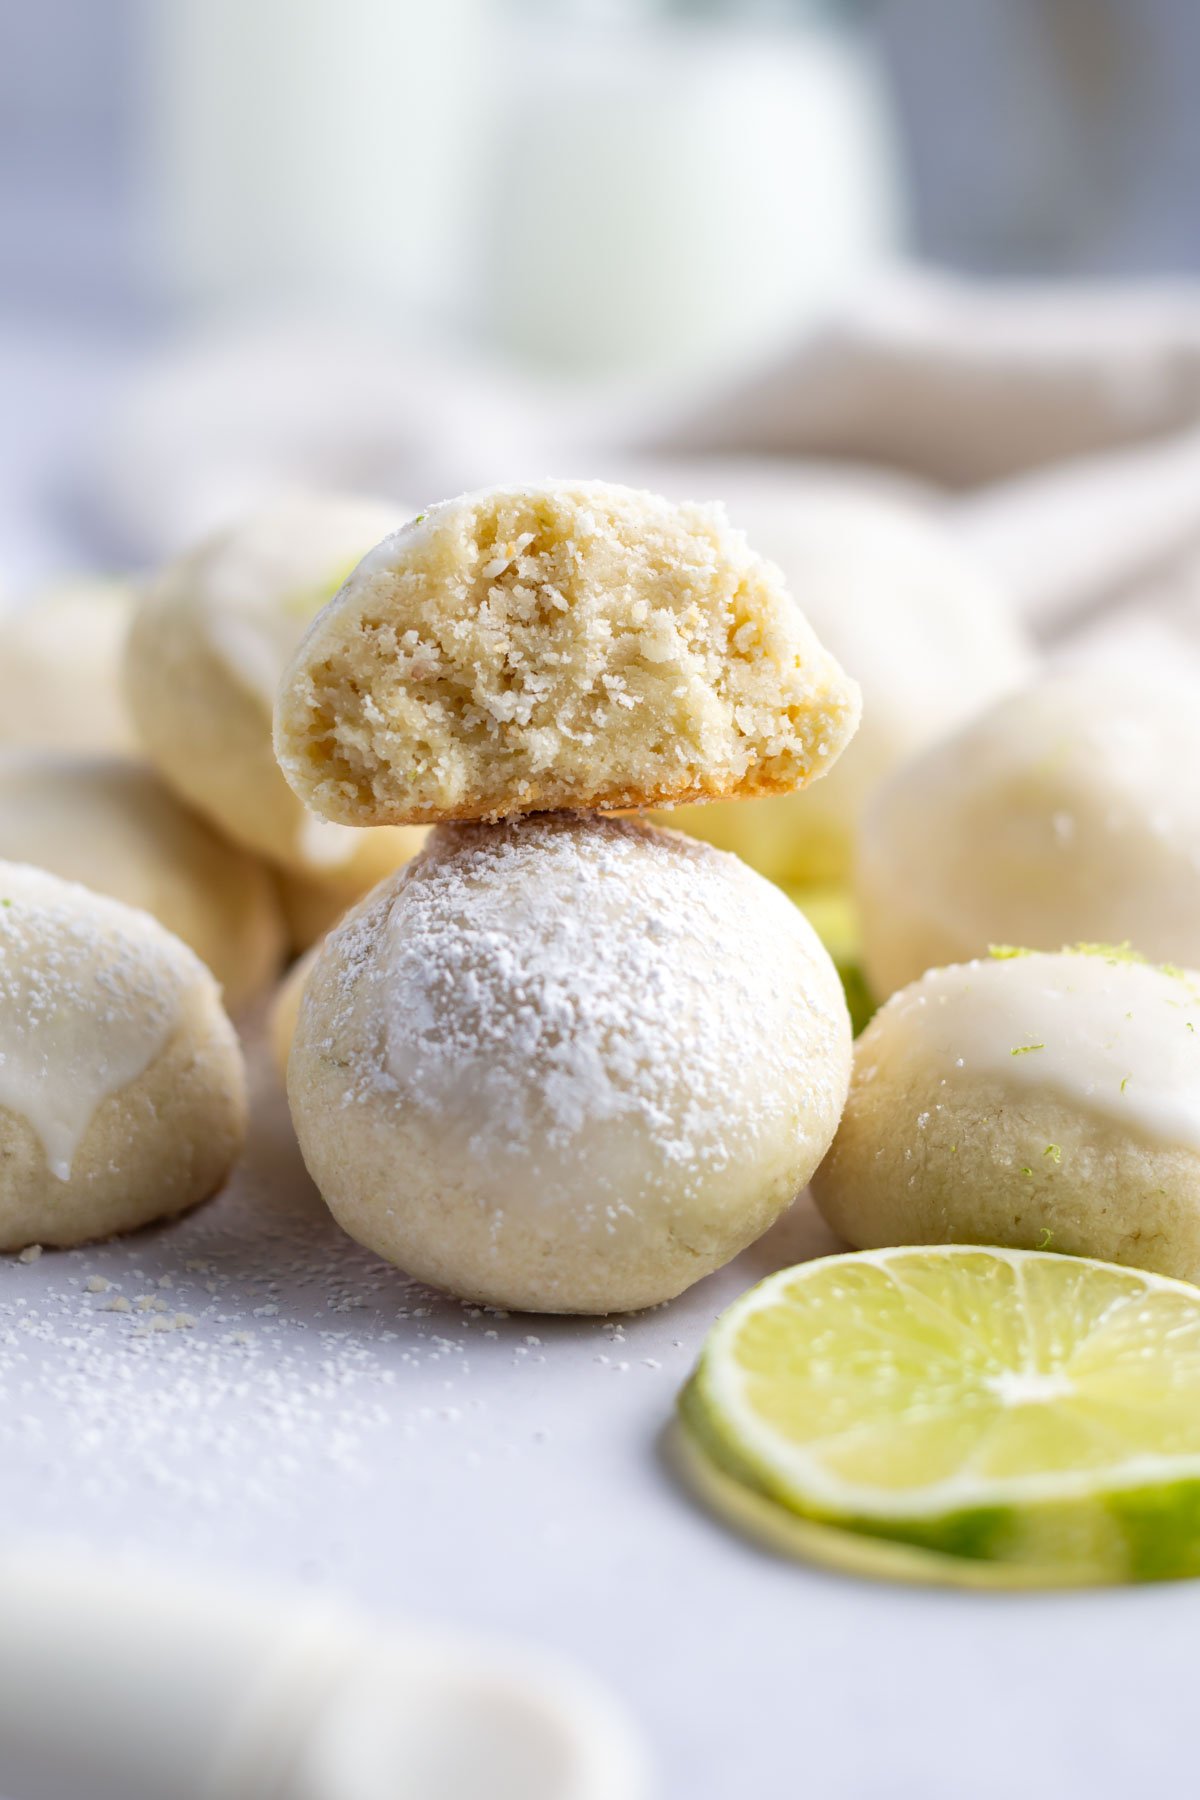
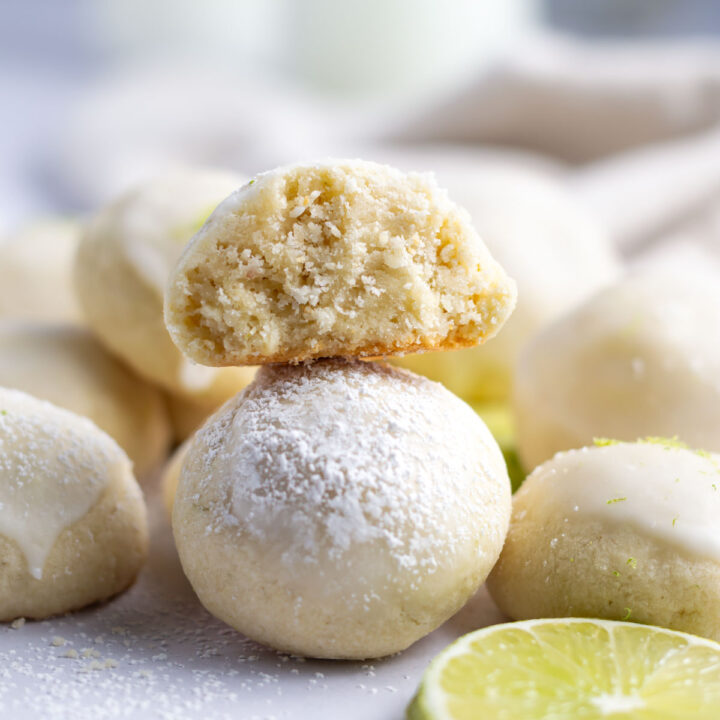
- Bite size ~ the lime shortbread cookies are a two-bite size.
- Texture ~ the lime cookies are tender, buttery, slightly crumbly and melt in your mouth.
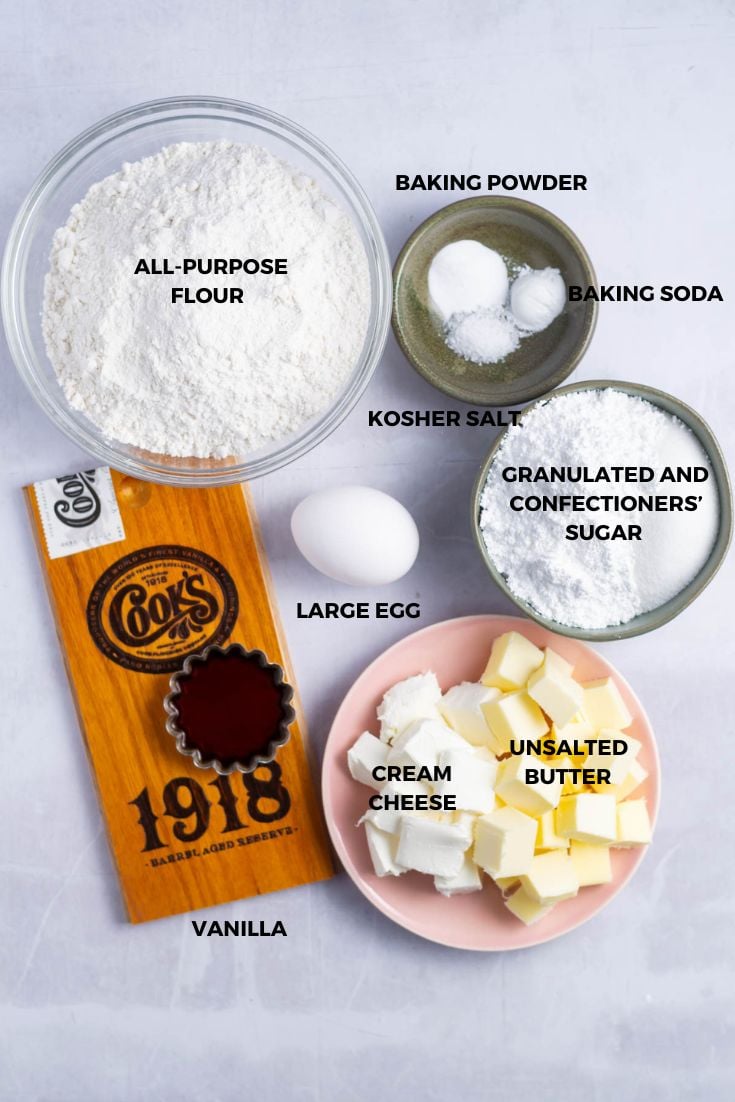
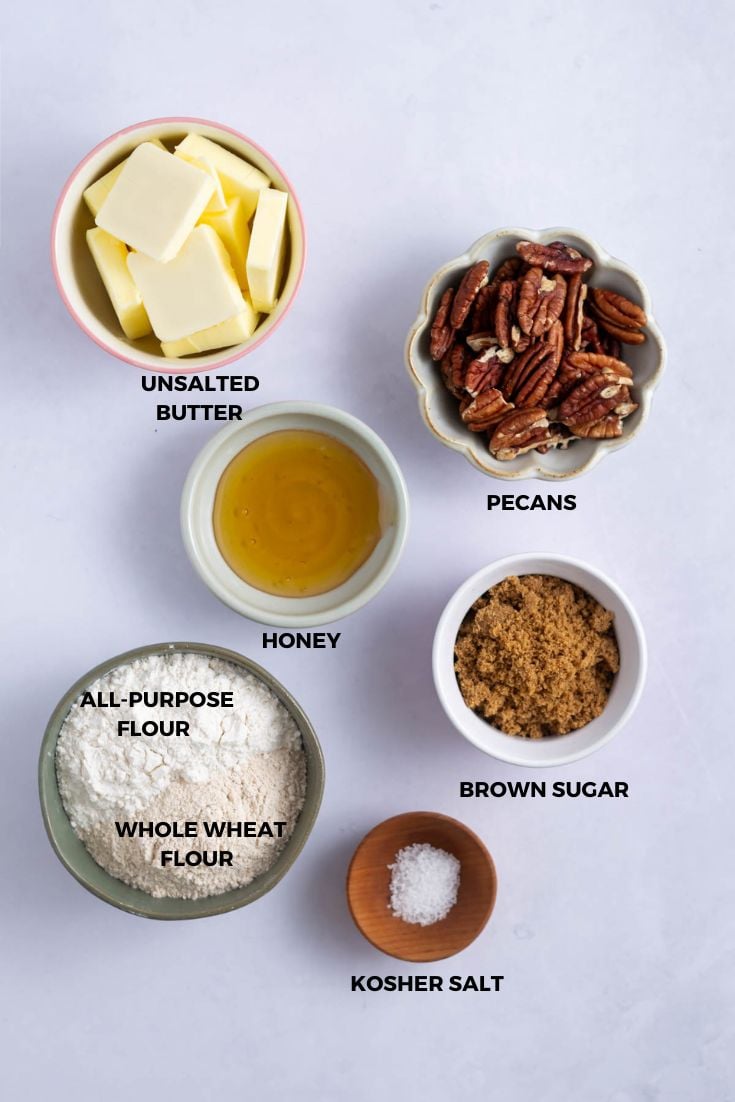
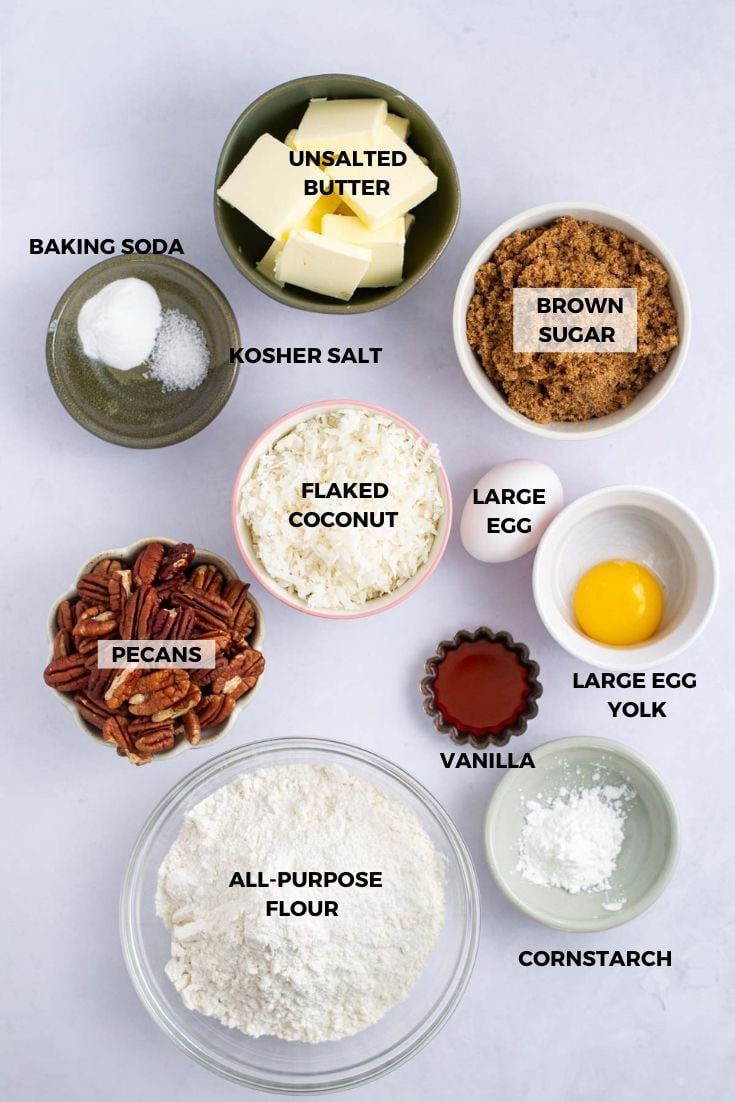
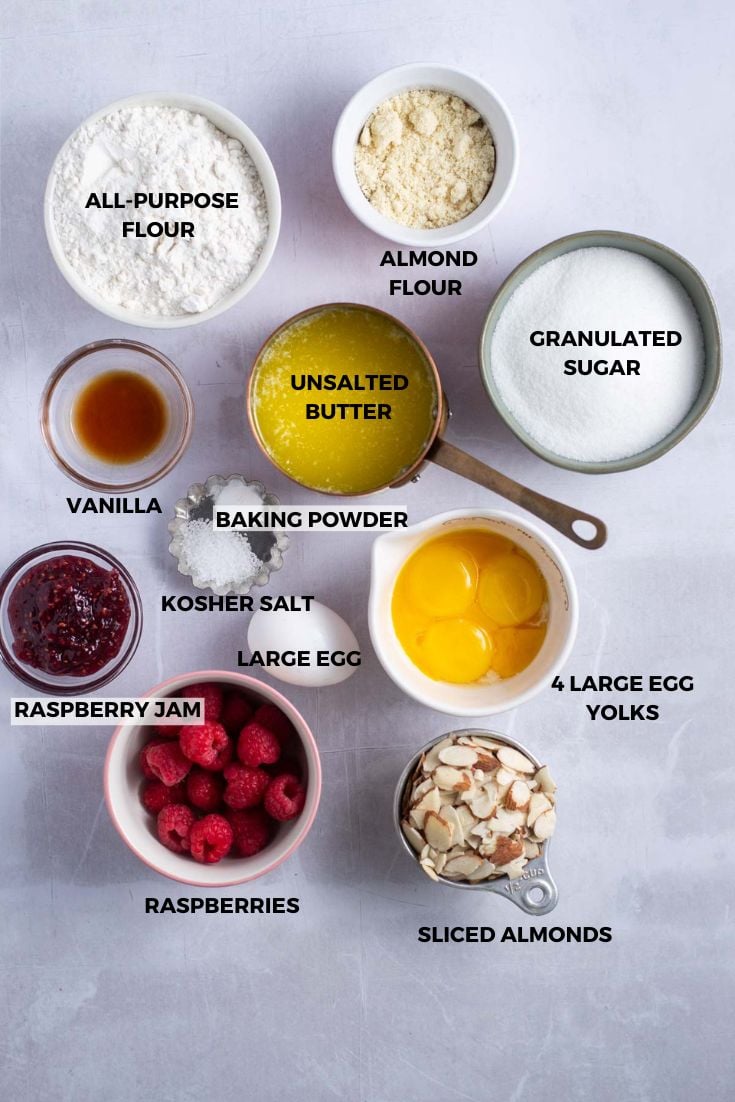
🛒 ingredients and substitutions
Please scroll to the printable recipe card at the end of this post for the full list of ingredients and baking directions.
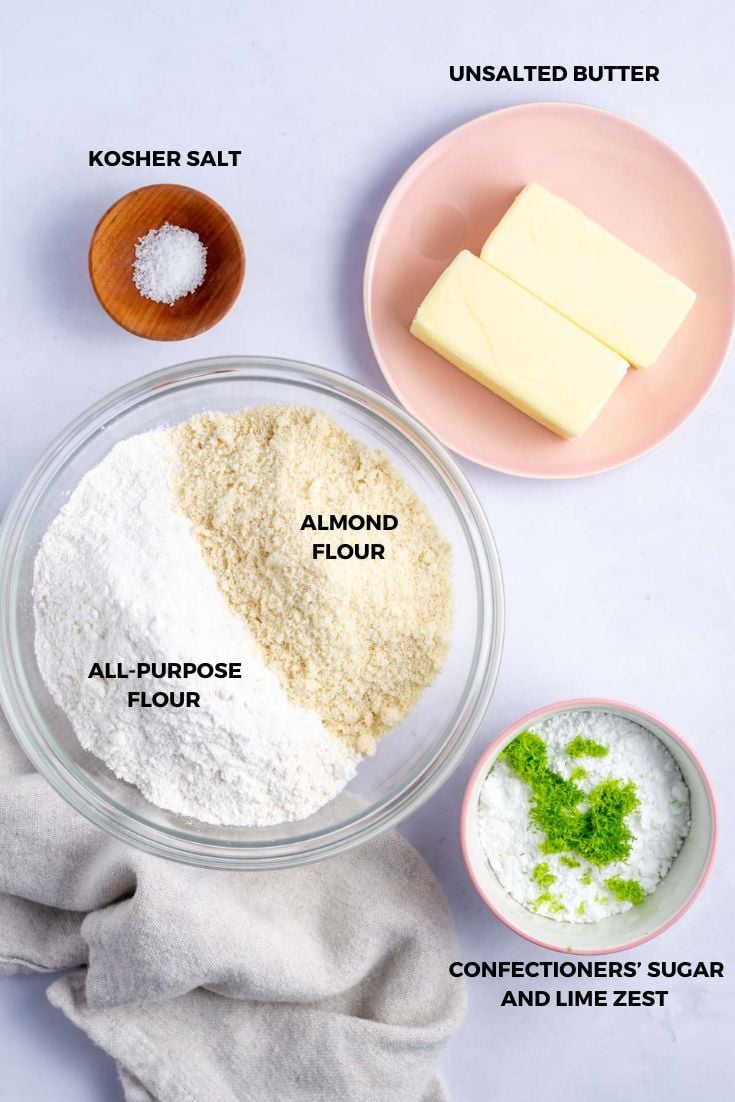
- Butter ~ I prefer unsalted butter and it needs to be room temperature, so pull it out a couple hours before starting the cookie recipe.
- Confectioners' sugar ~ brings a little sweetness and gives that melt in your mouth texture to these lime shortbread cookies.
- Lime zest and juice~ from 2 medium limes. This is my favorite zesting tool!
- Kosher salt ~ to enhance and balance the flavors.
- All-purpose flour ~ gives structure to the cookies. If you aren't using a kitchen scale, be sure to spoon and level your flour. {Fluff the flour in the container, then spoon it into your measuring cup and level it off with the back of a spoon}.
- Almond flour ~ for that nutty texture, flavor and chewiness. I use Bob's Red Mill, but know lots of people who love the Kirkland almond flour from Costco.
Remember to pin this recipe to Pinterest! Use the button on the recipe card or the share buttons on the side or bottom of this page.
👩🏻🍳 how to make shortbread lime cookies
Start by preheating the oven to 325°F and line one baking sheet pan with parchment paper or a silicone baking mat.
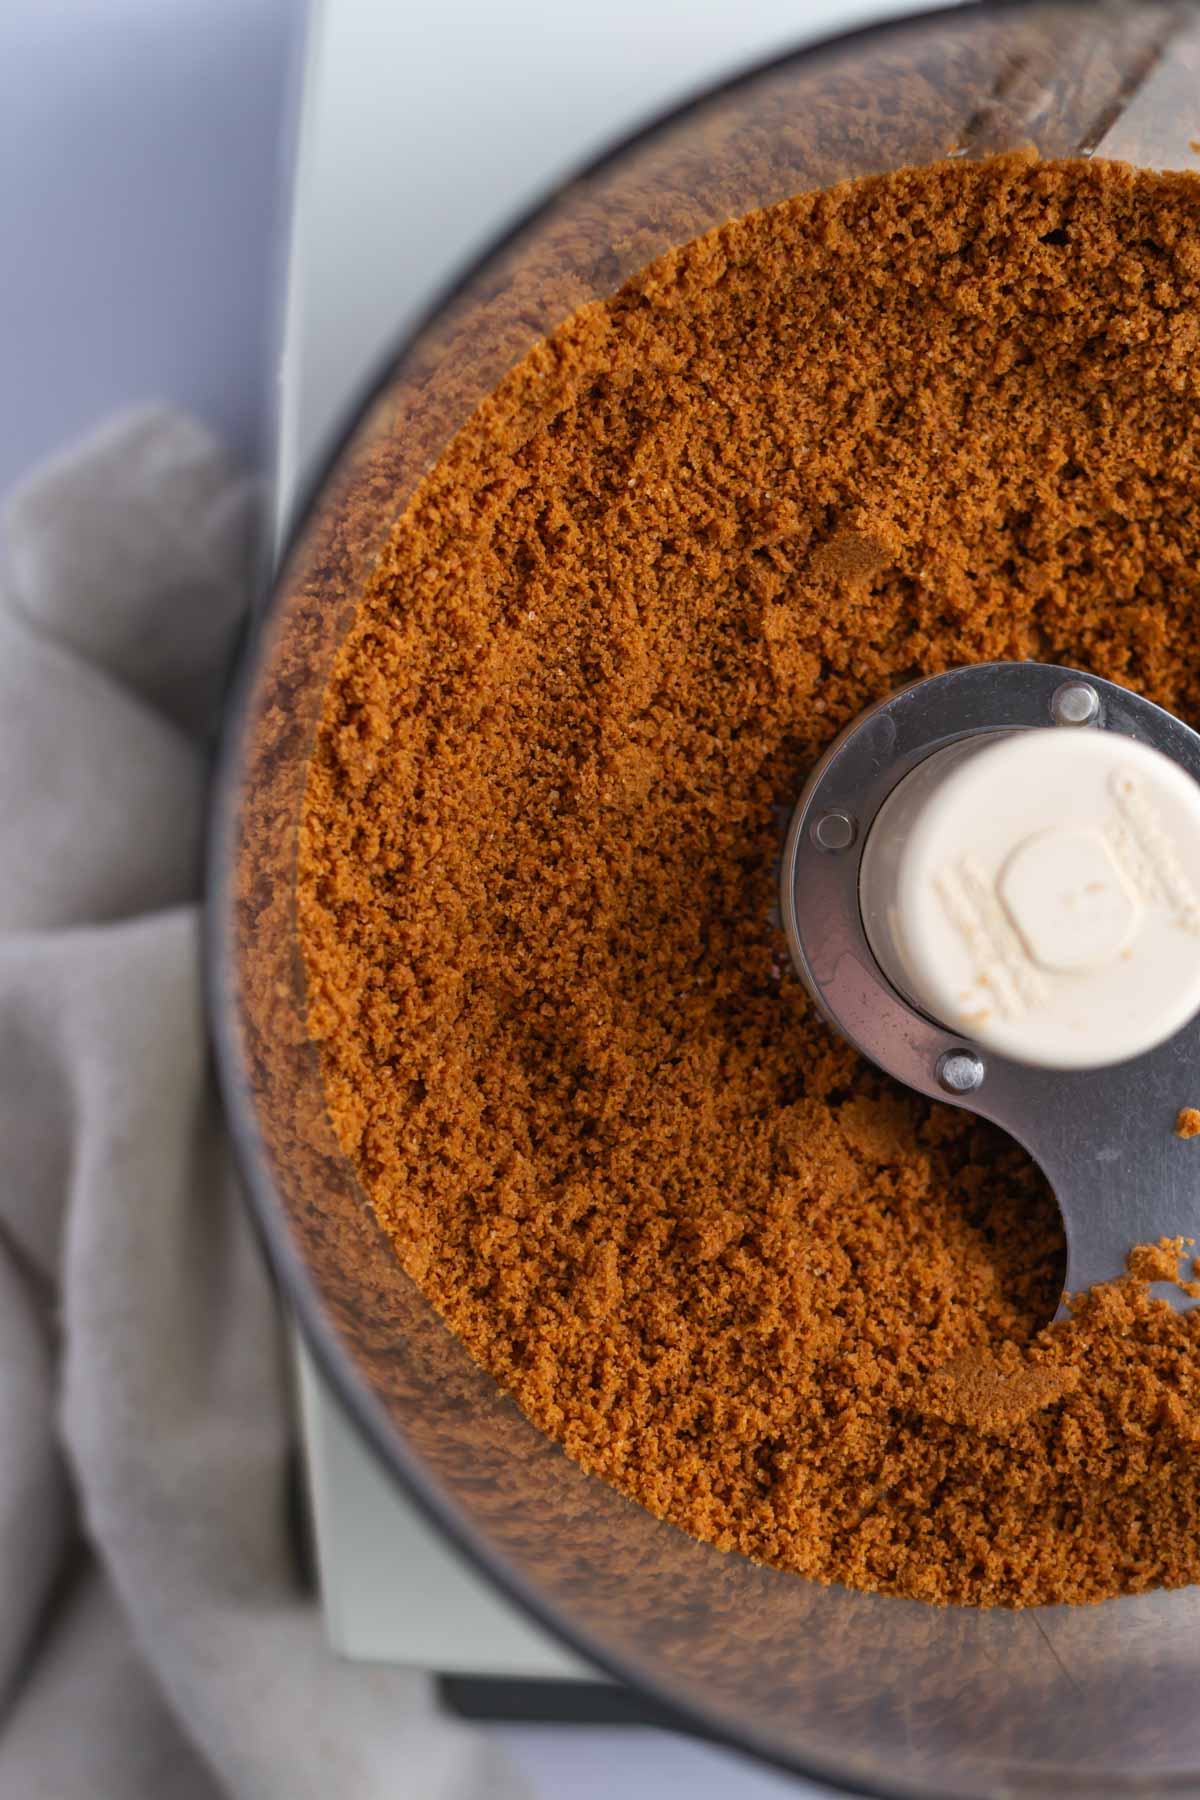
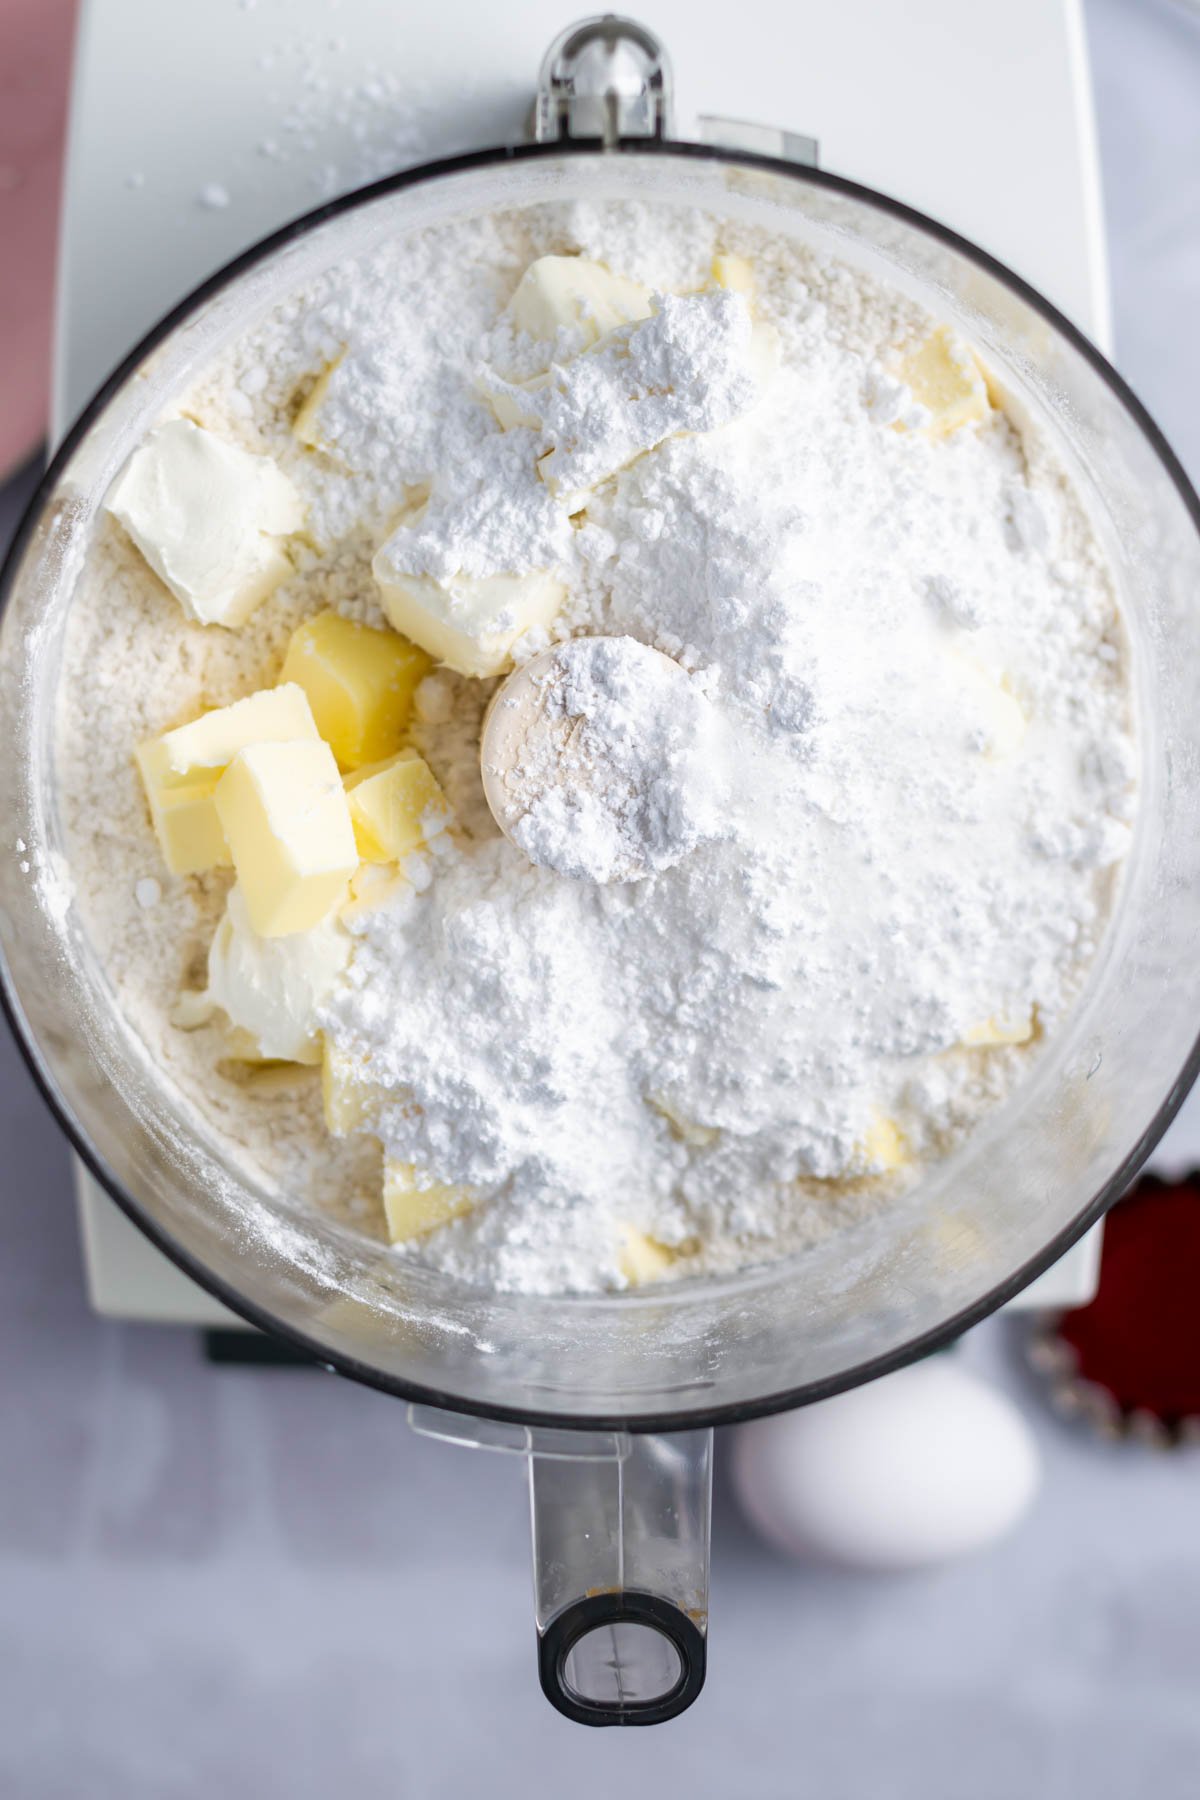
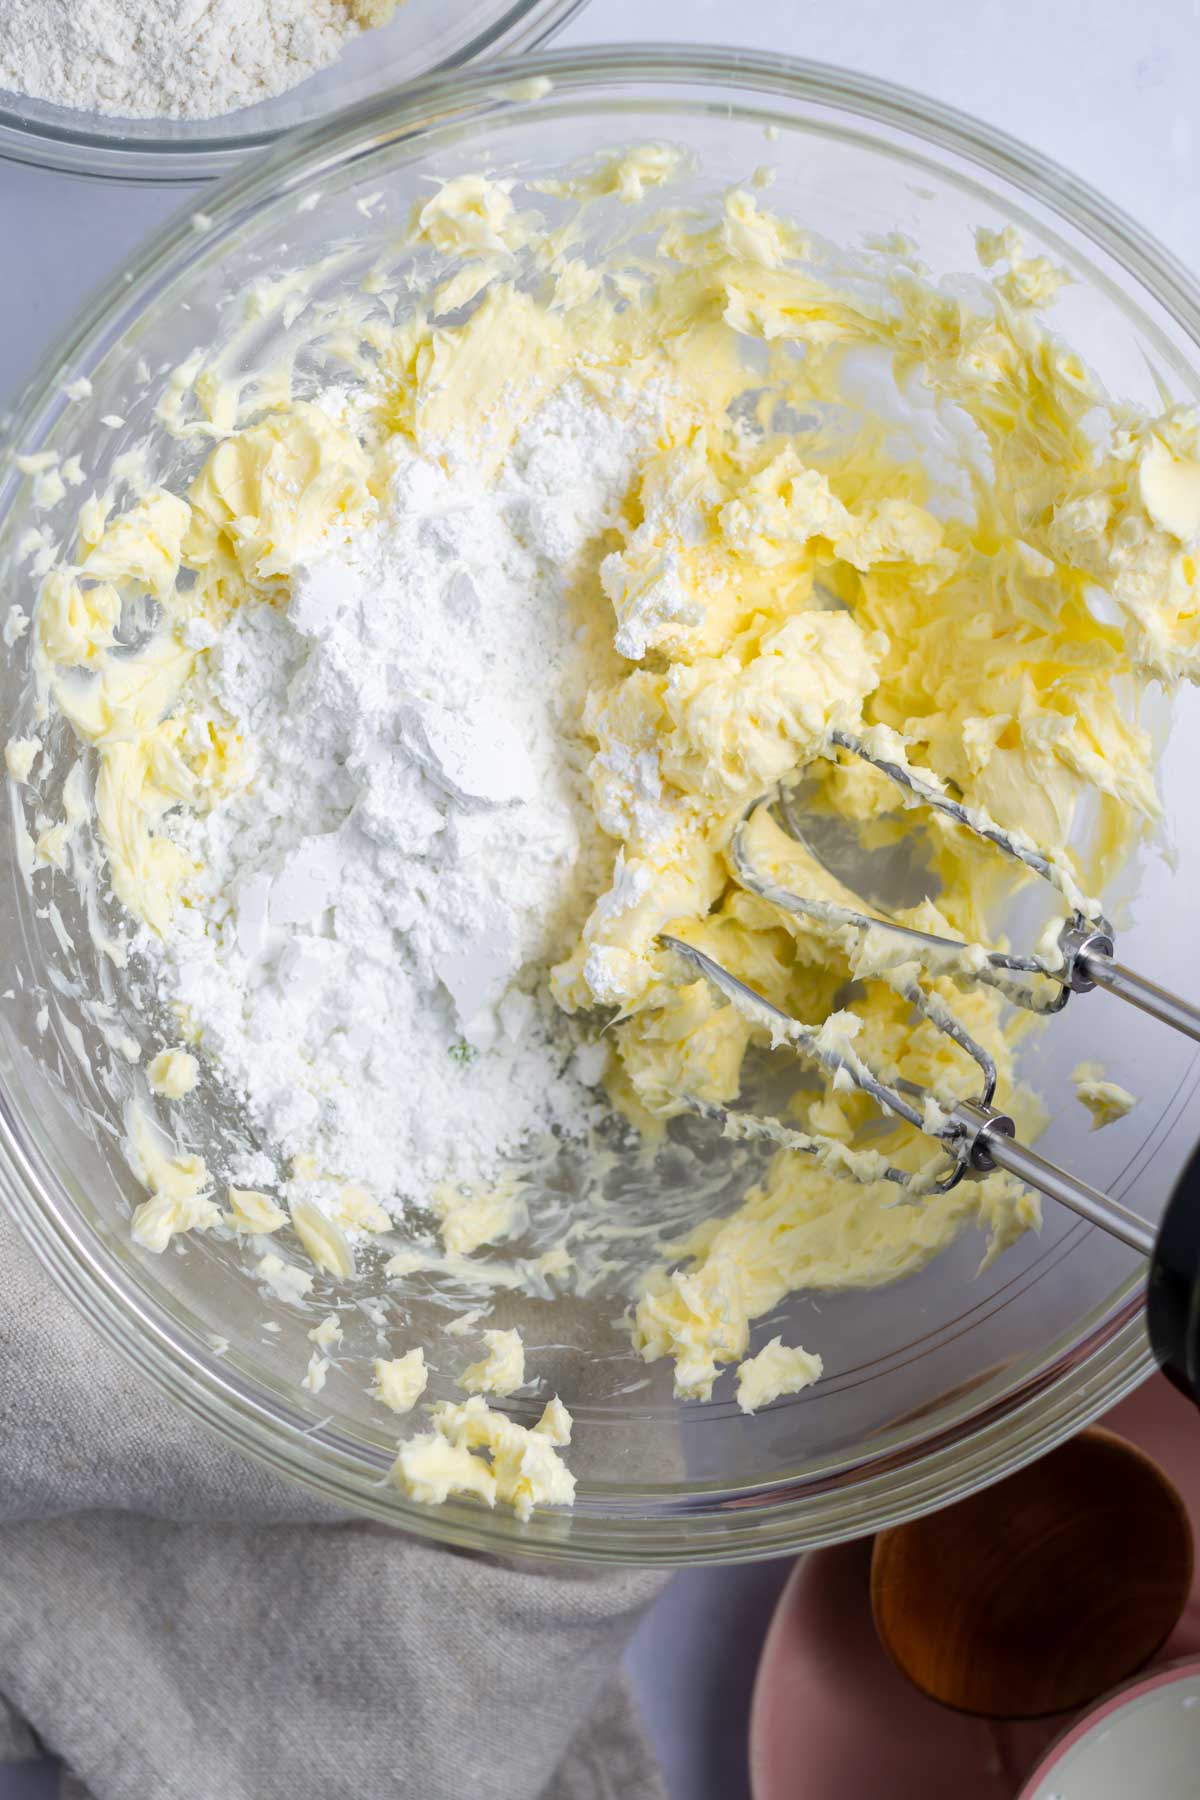
In a small bowl, combine the confectioners' sugar and lime zest, using your fingers to work the zest into the sugar.
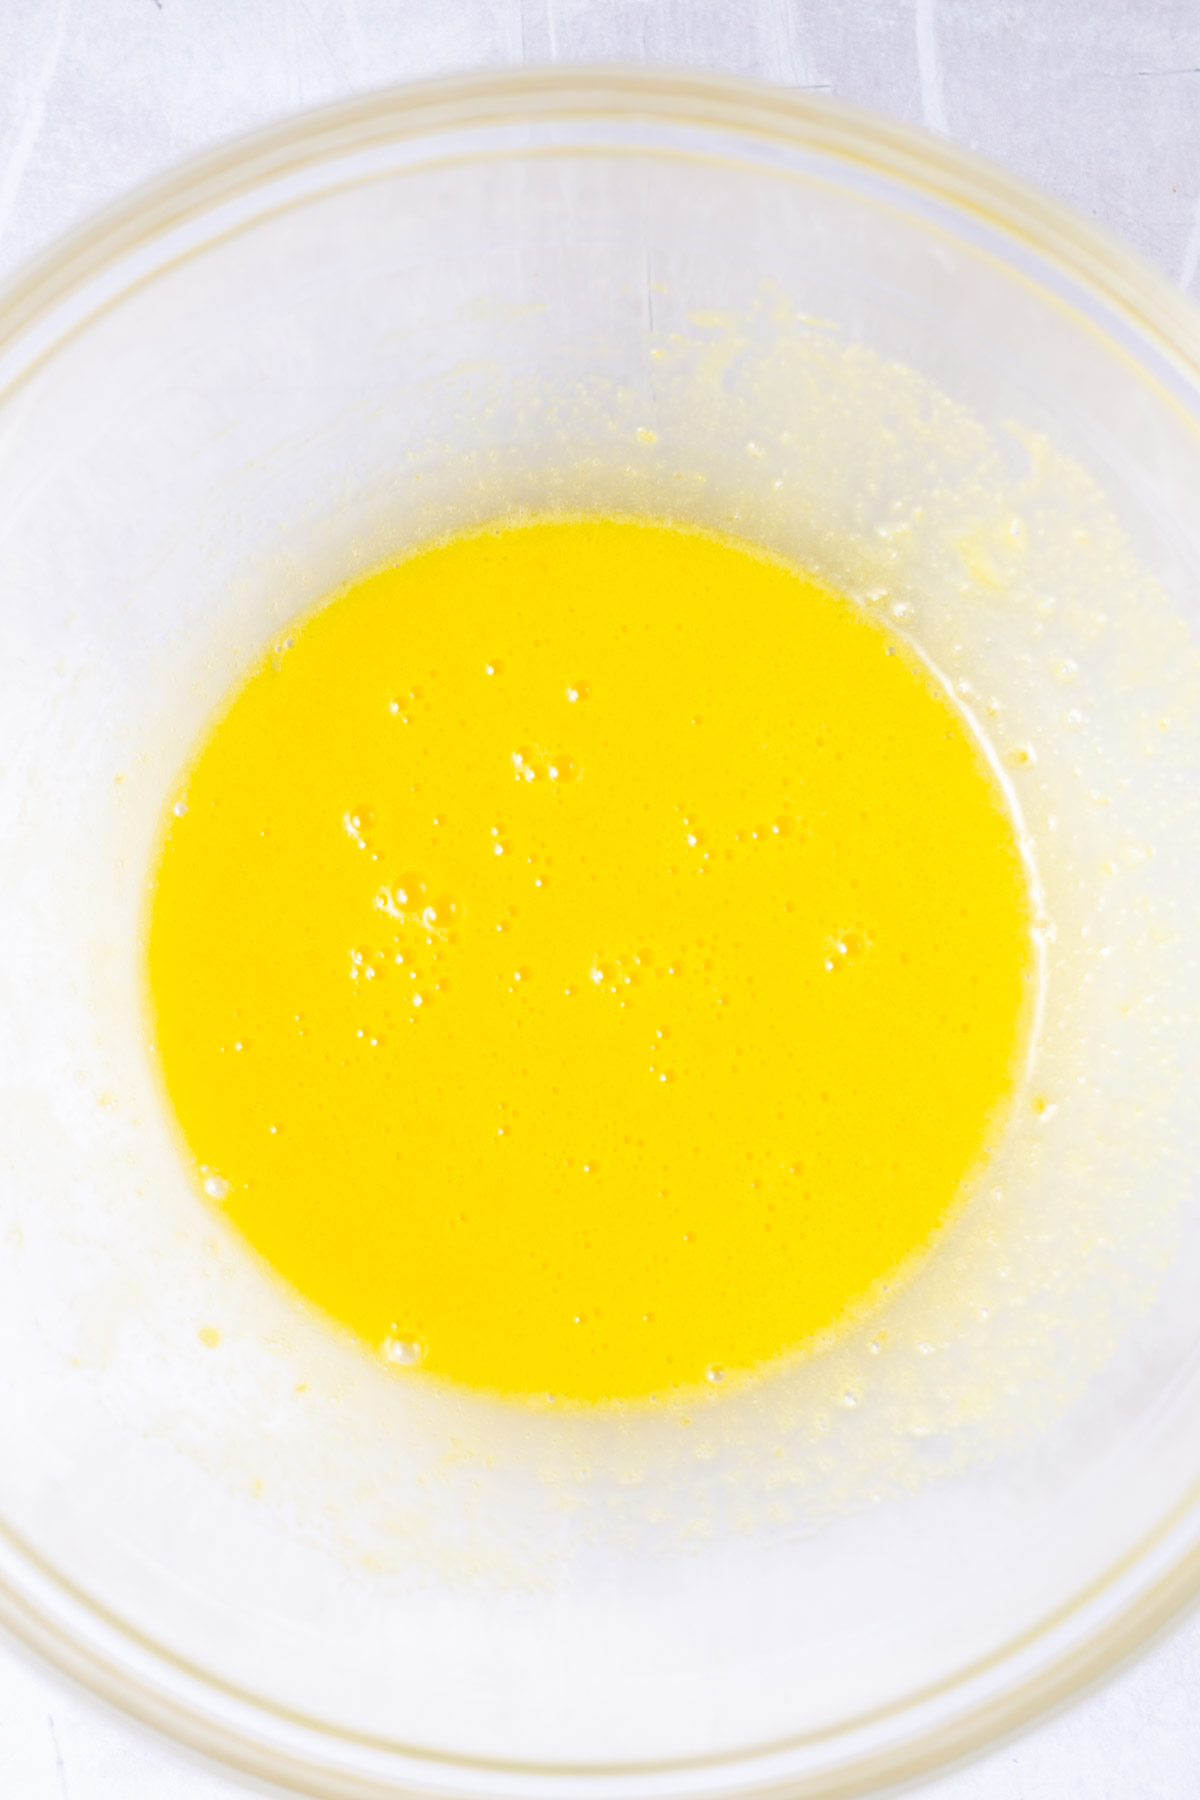
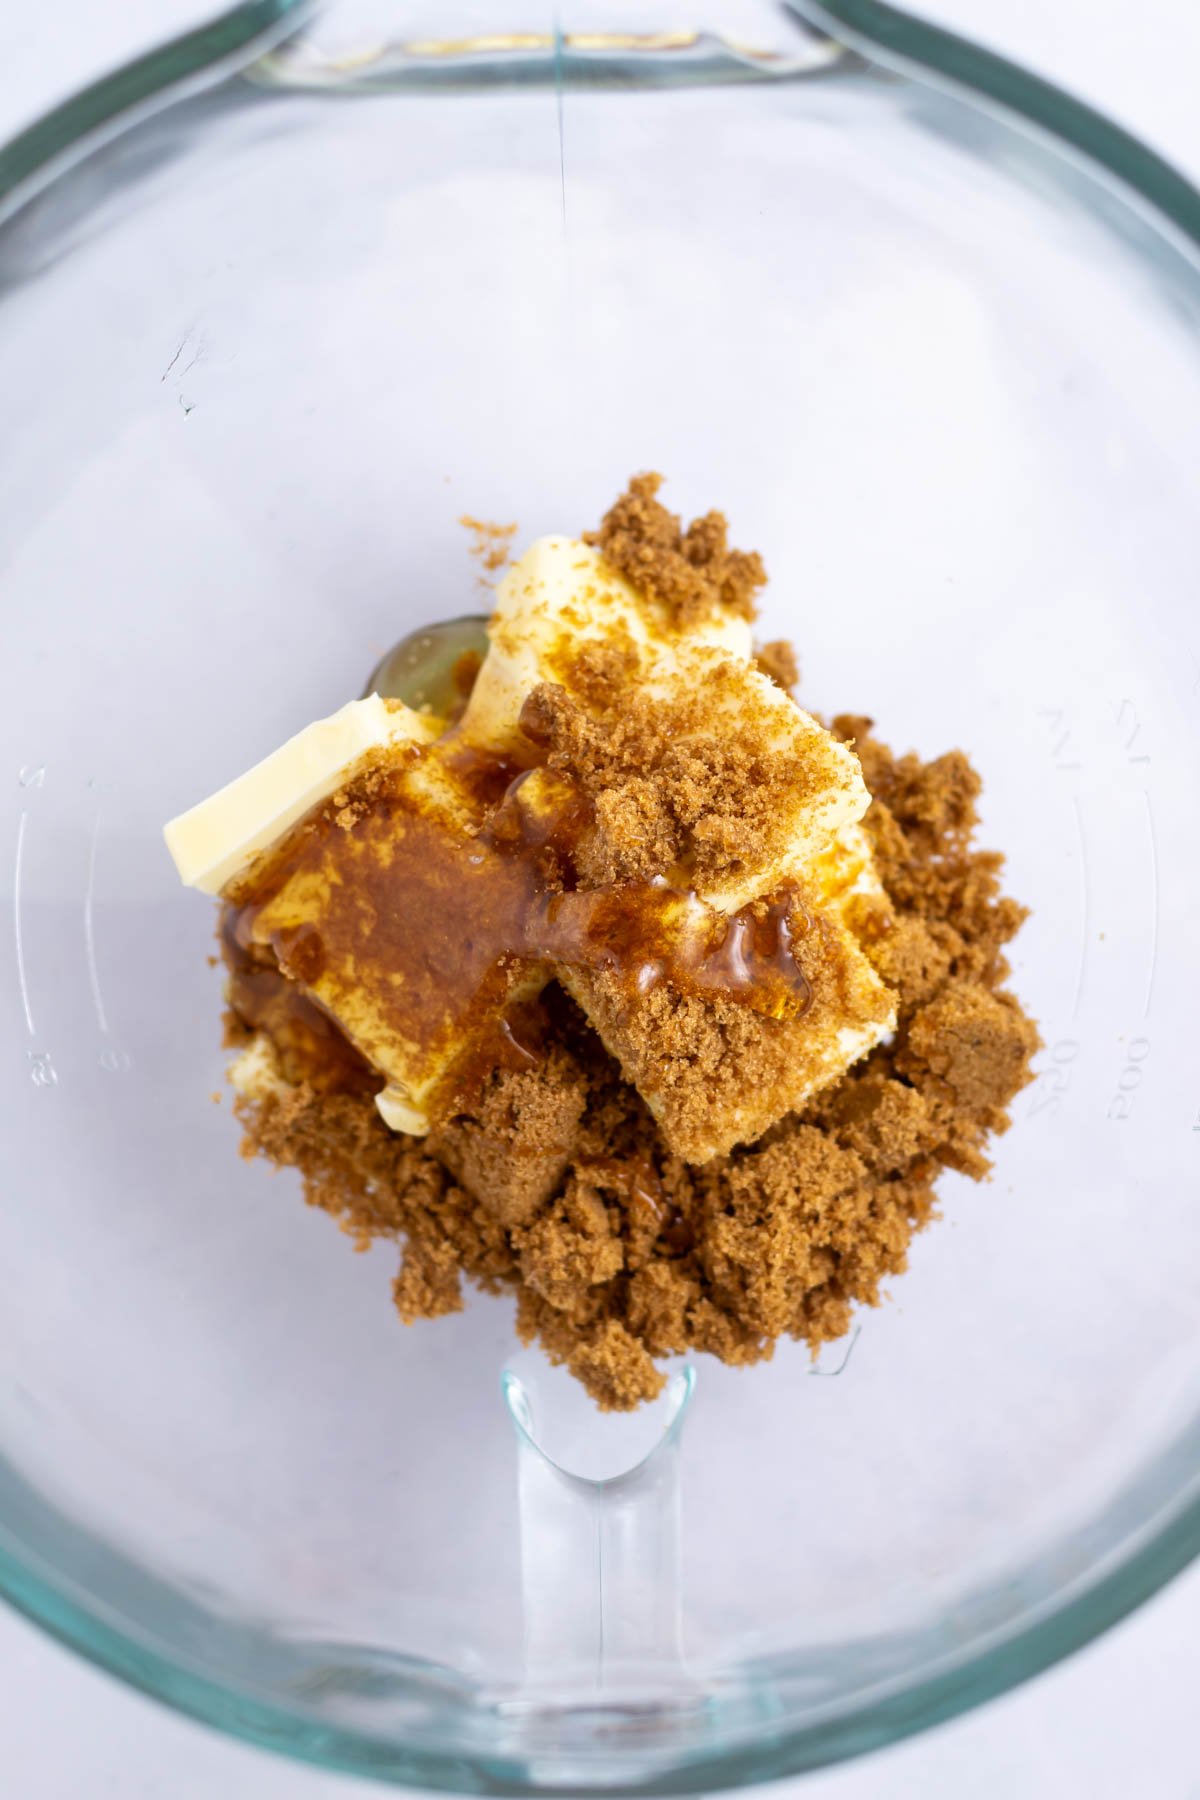
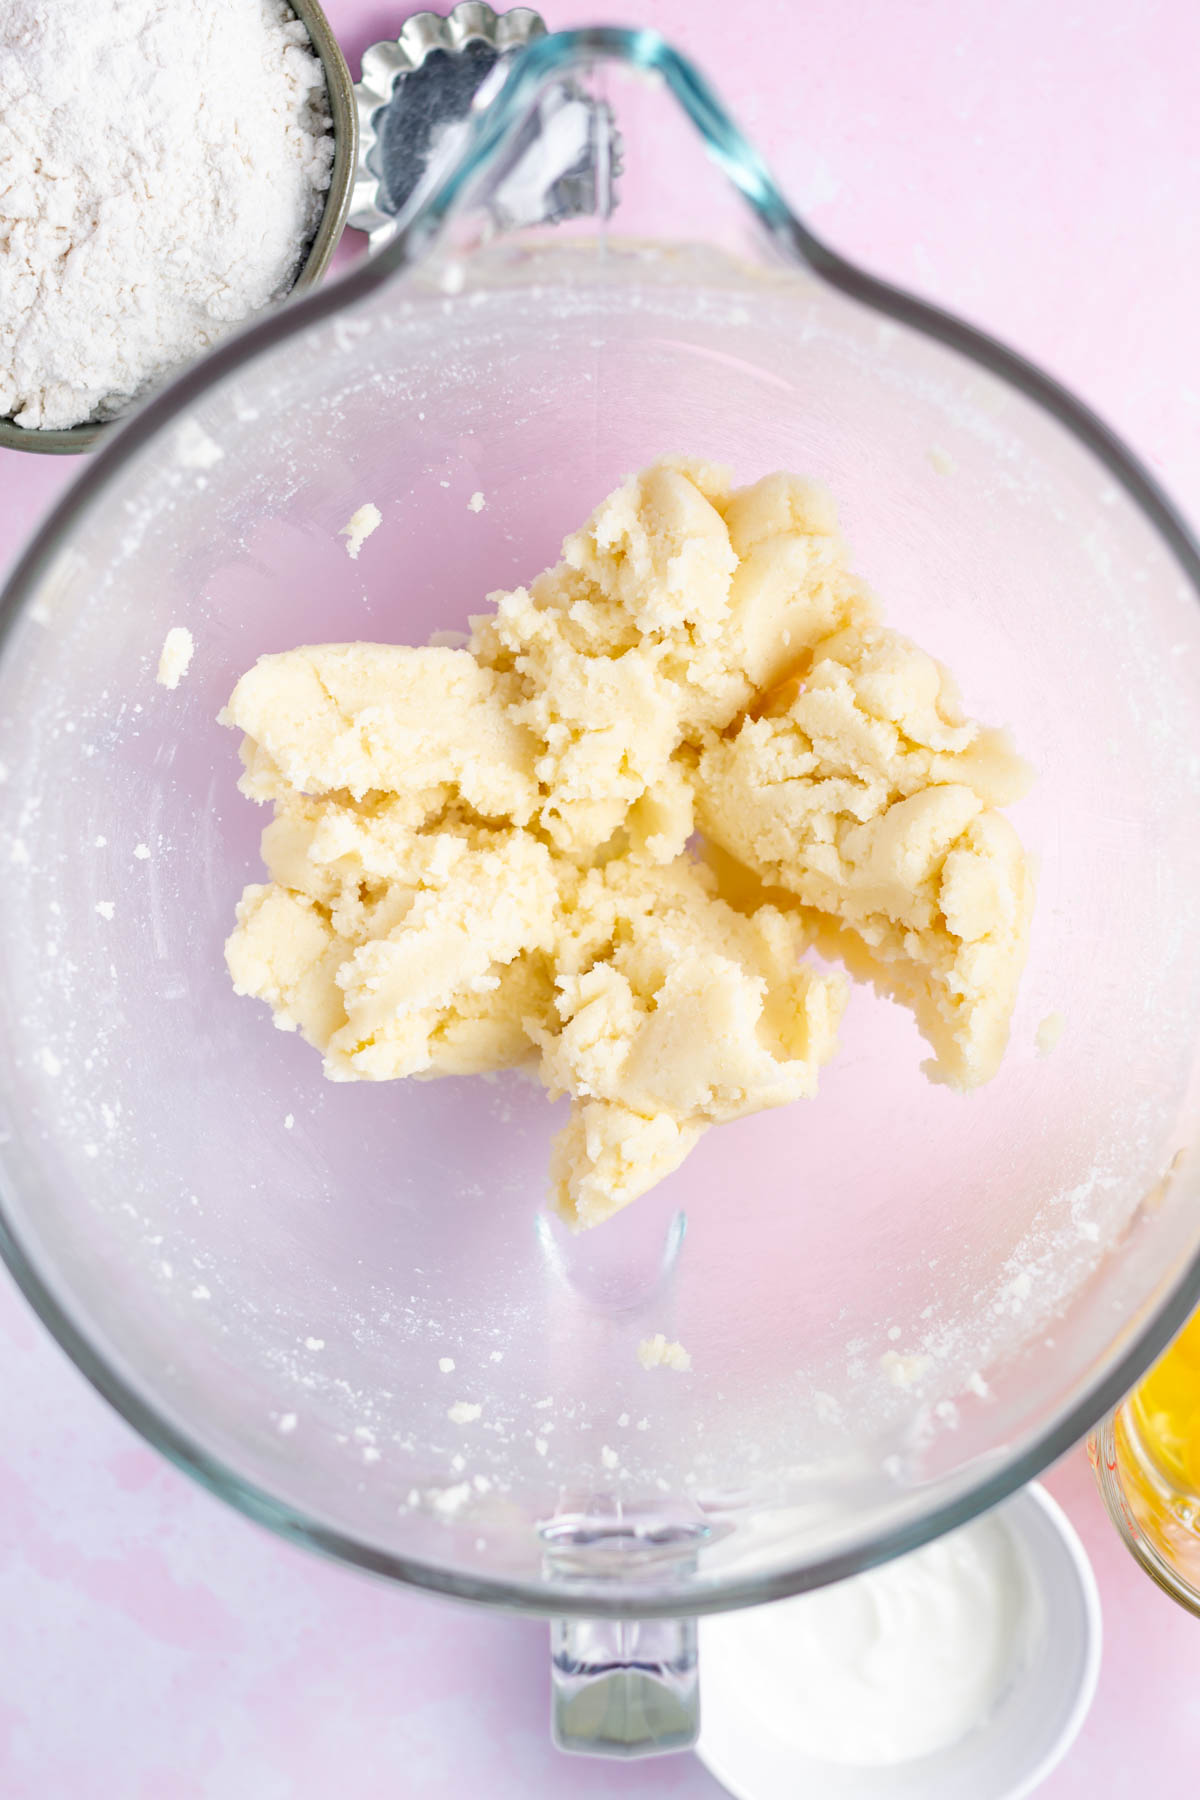
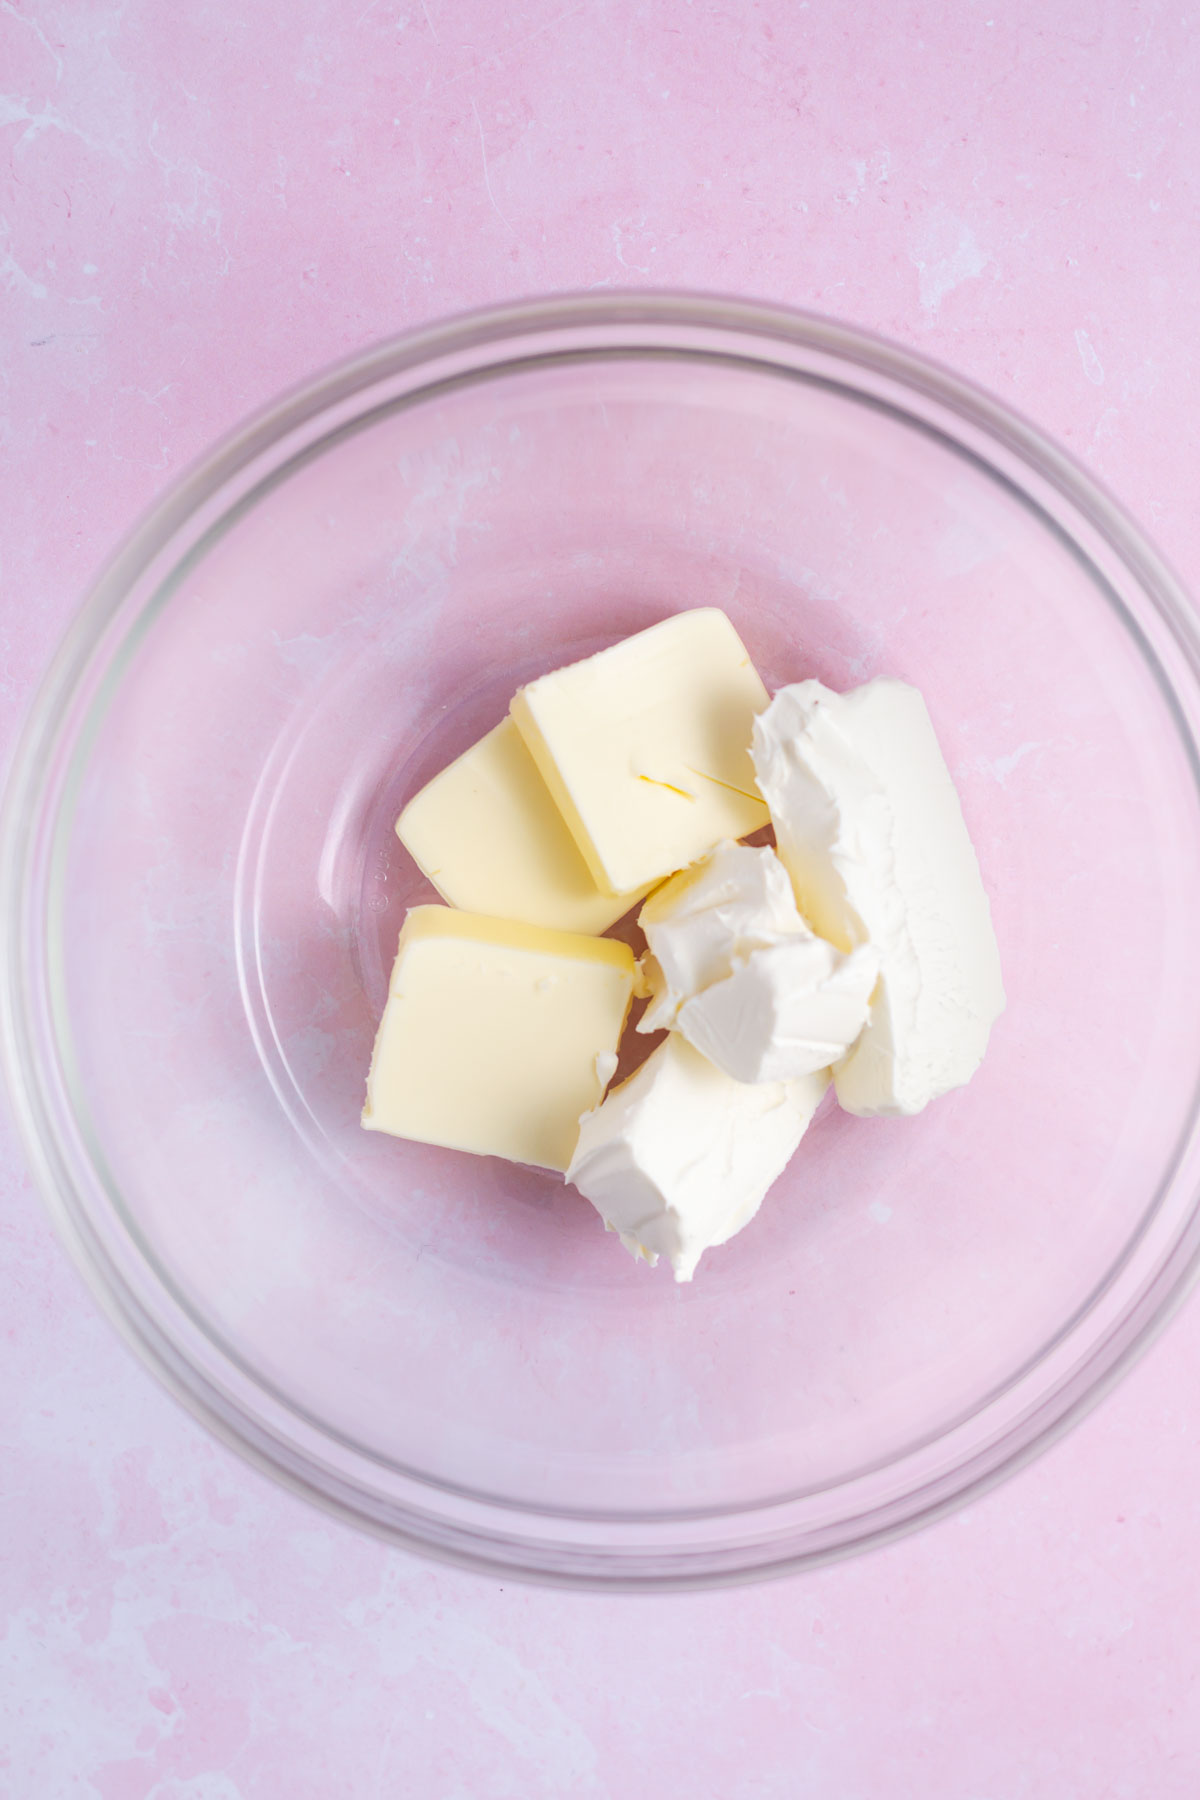
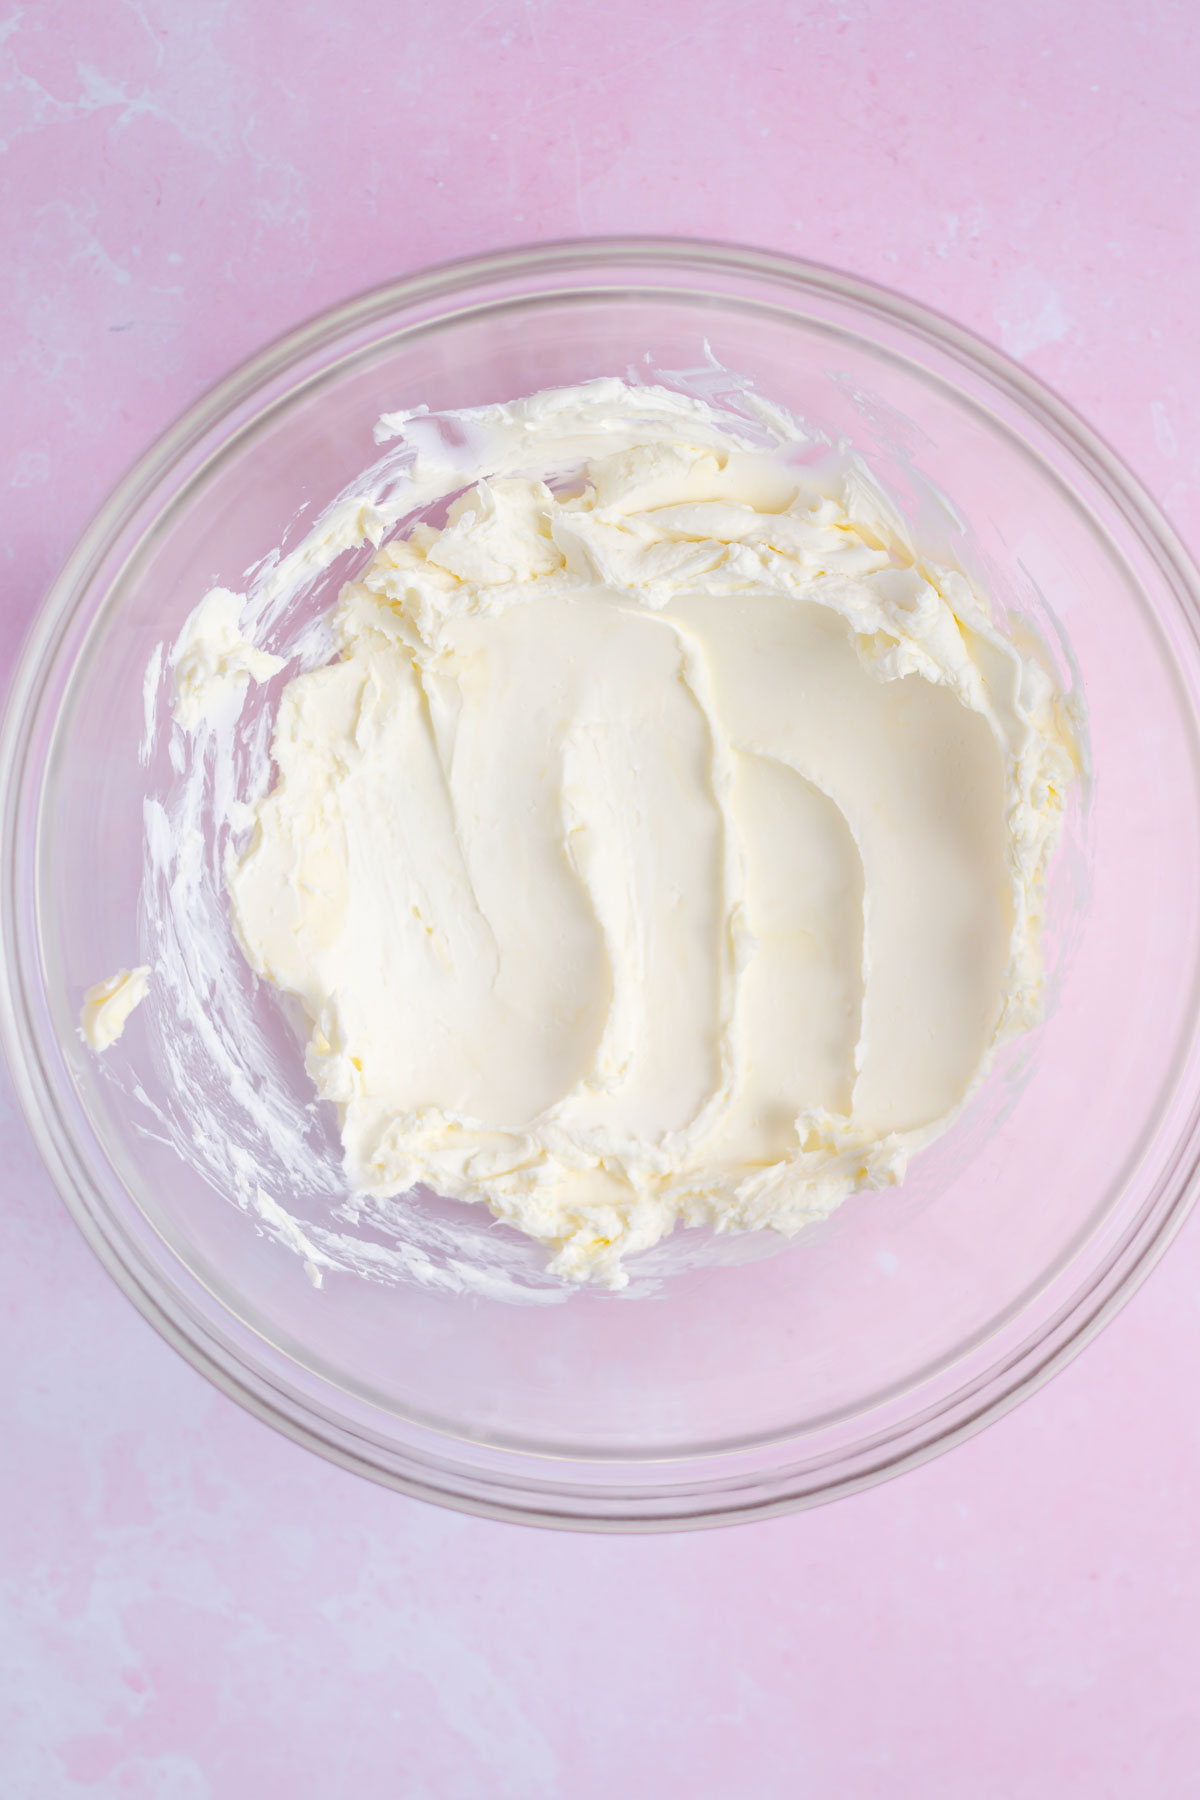
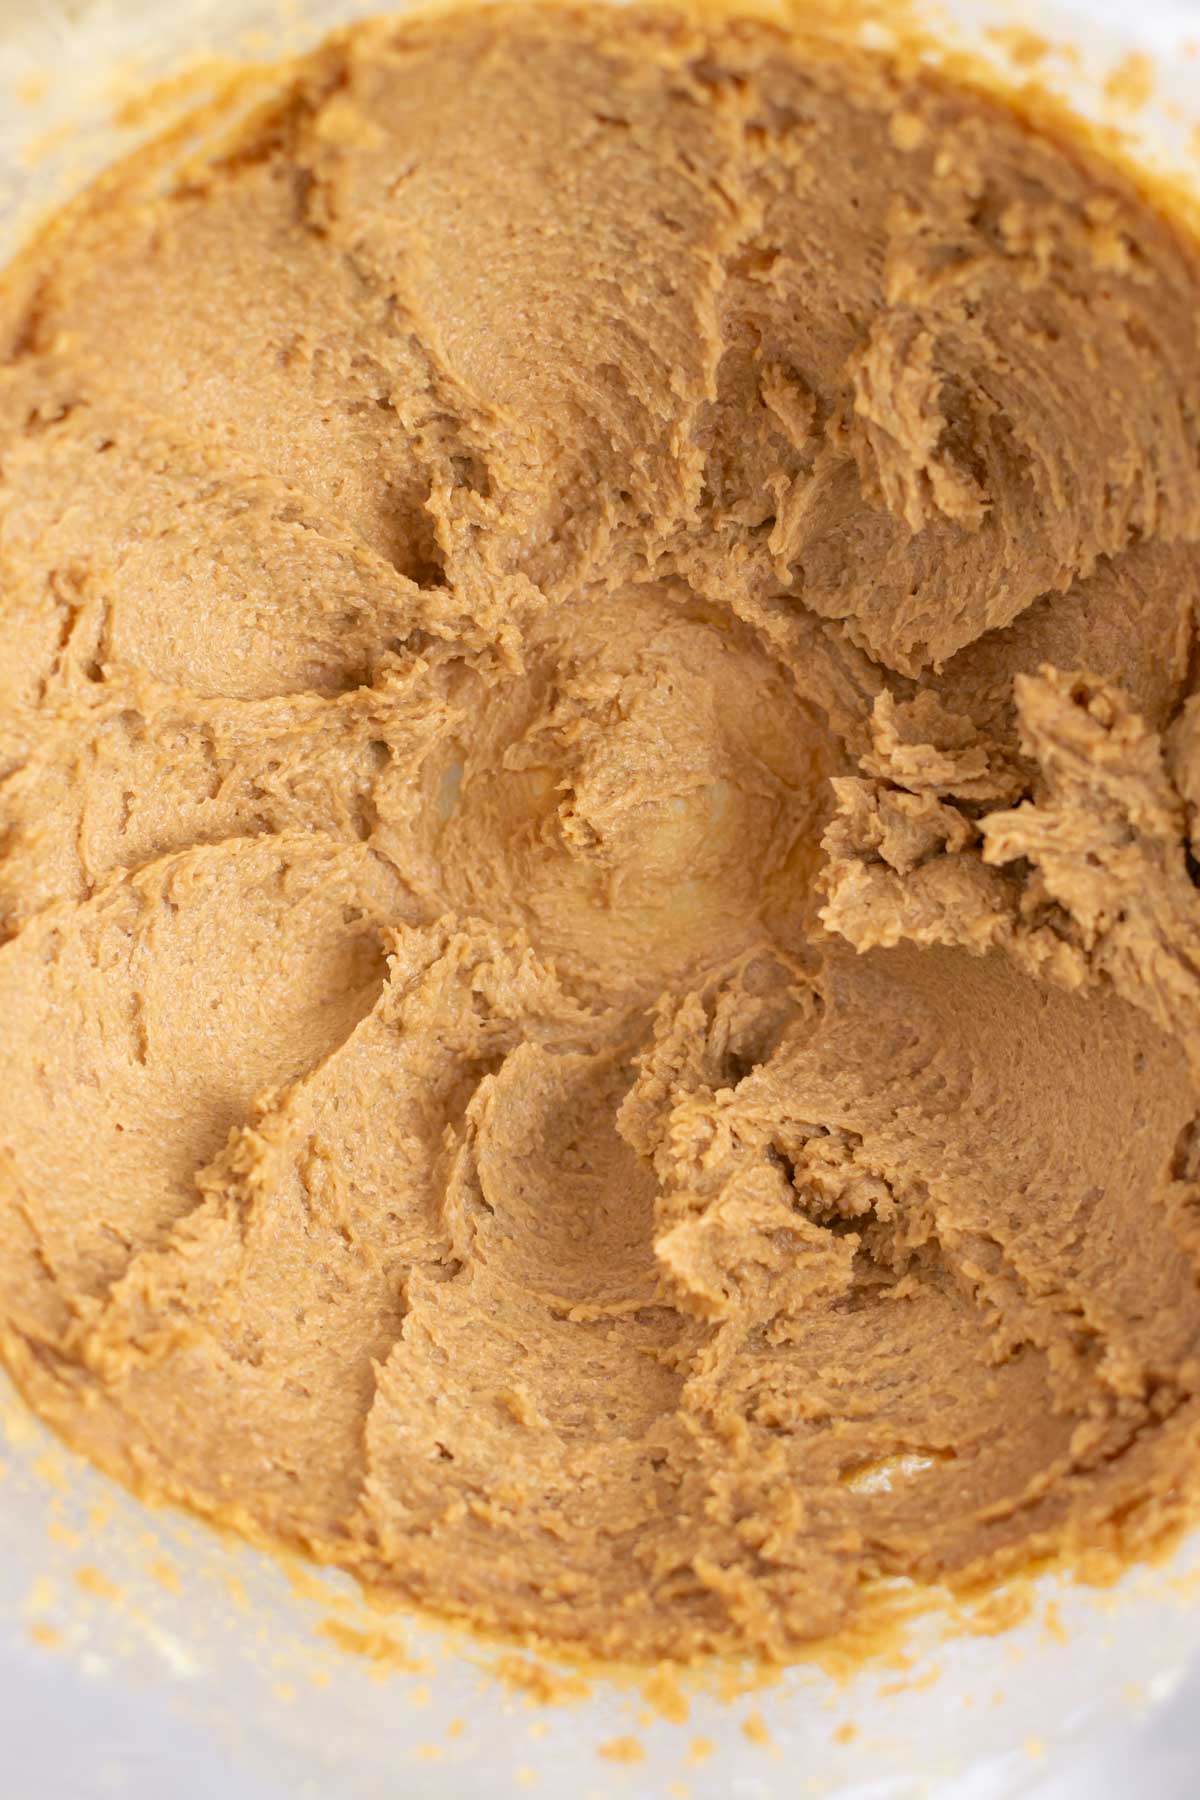
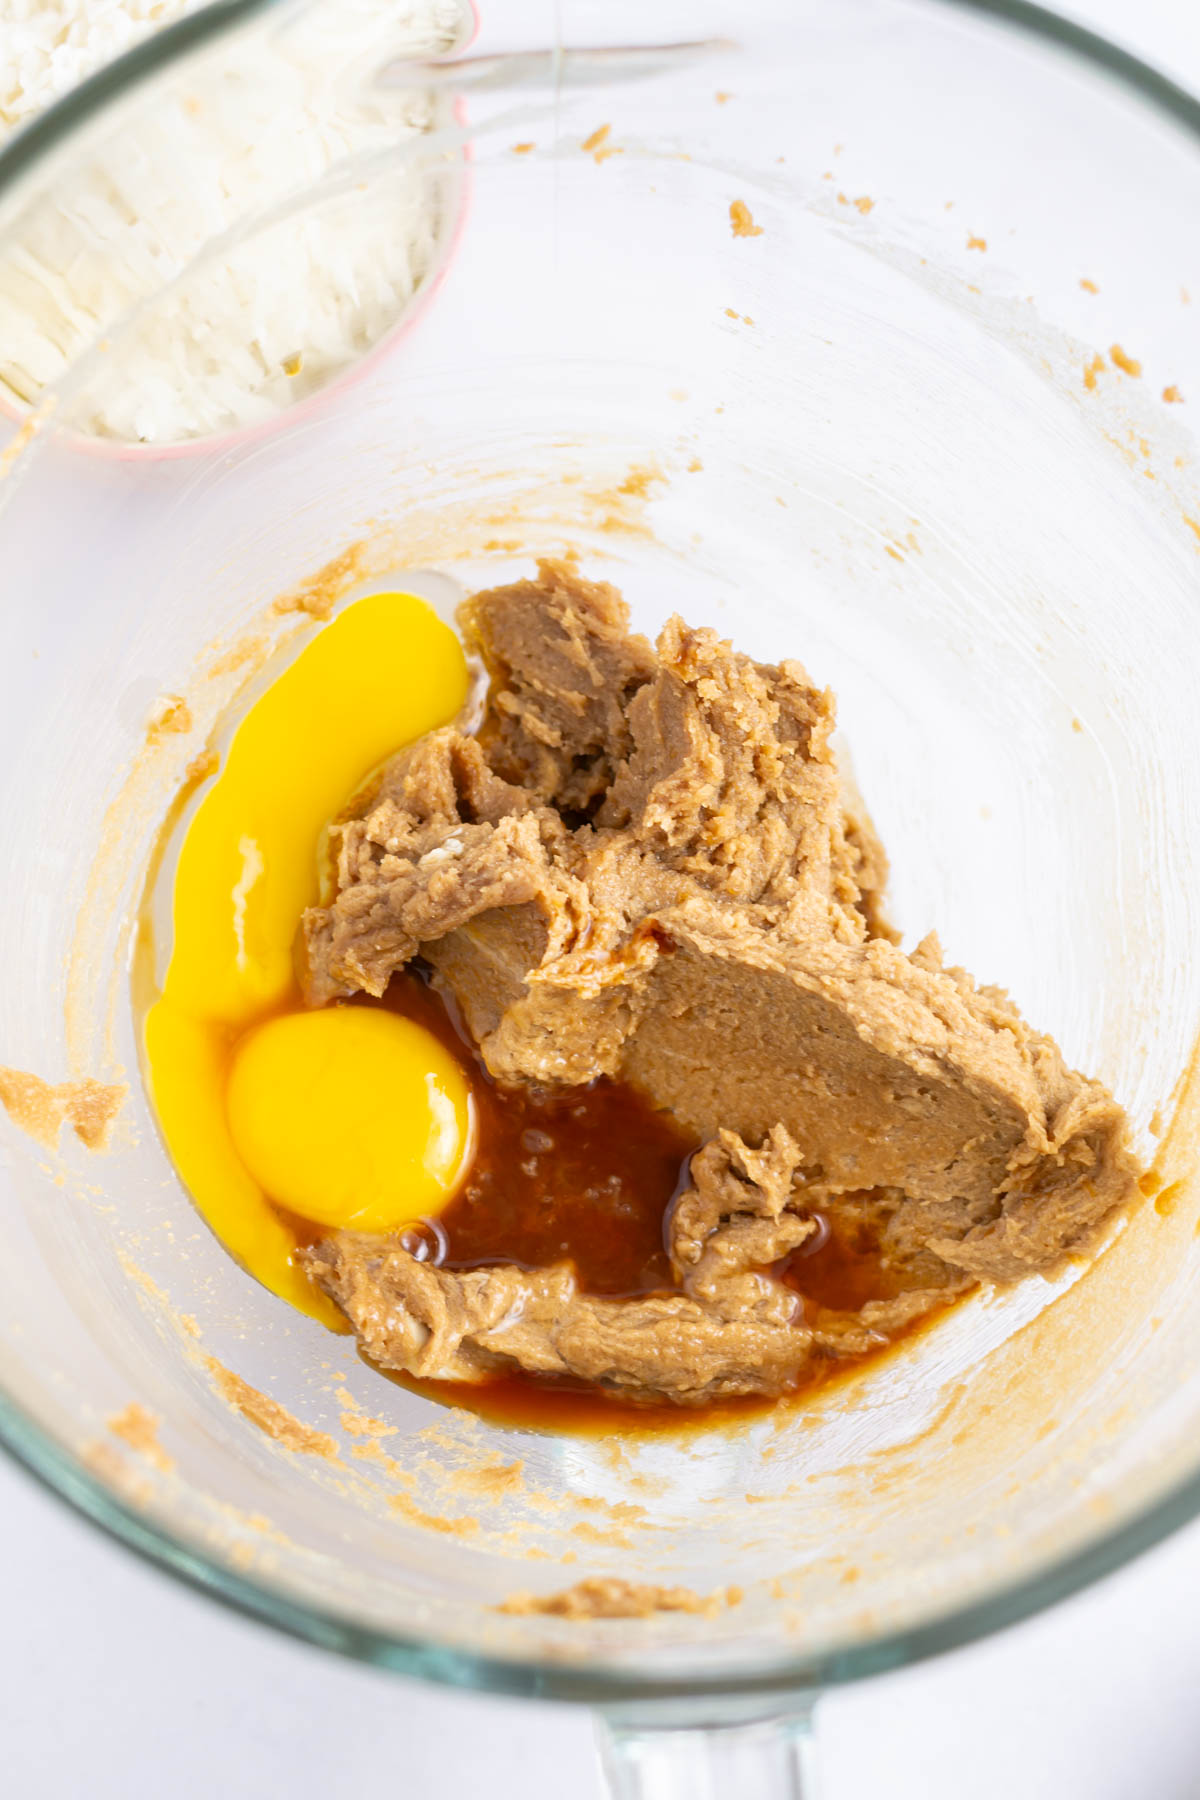
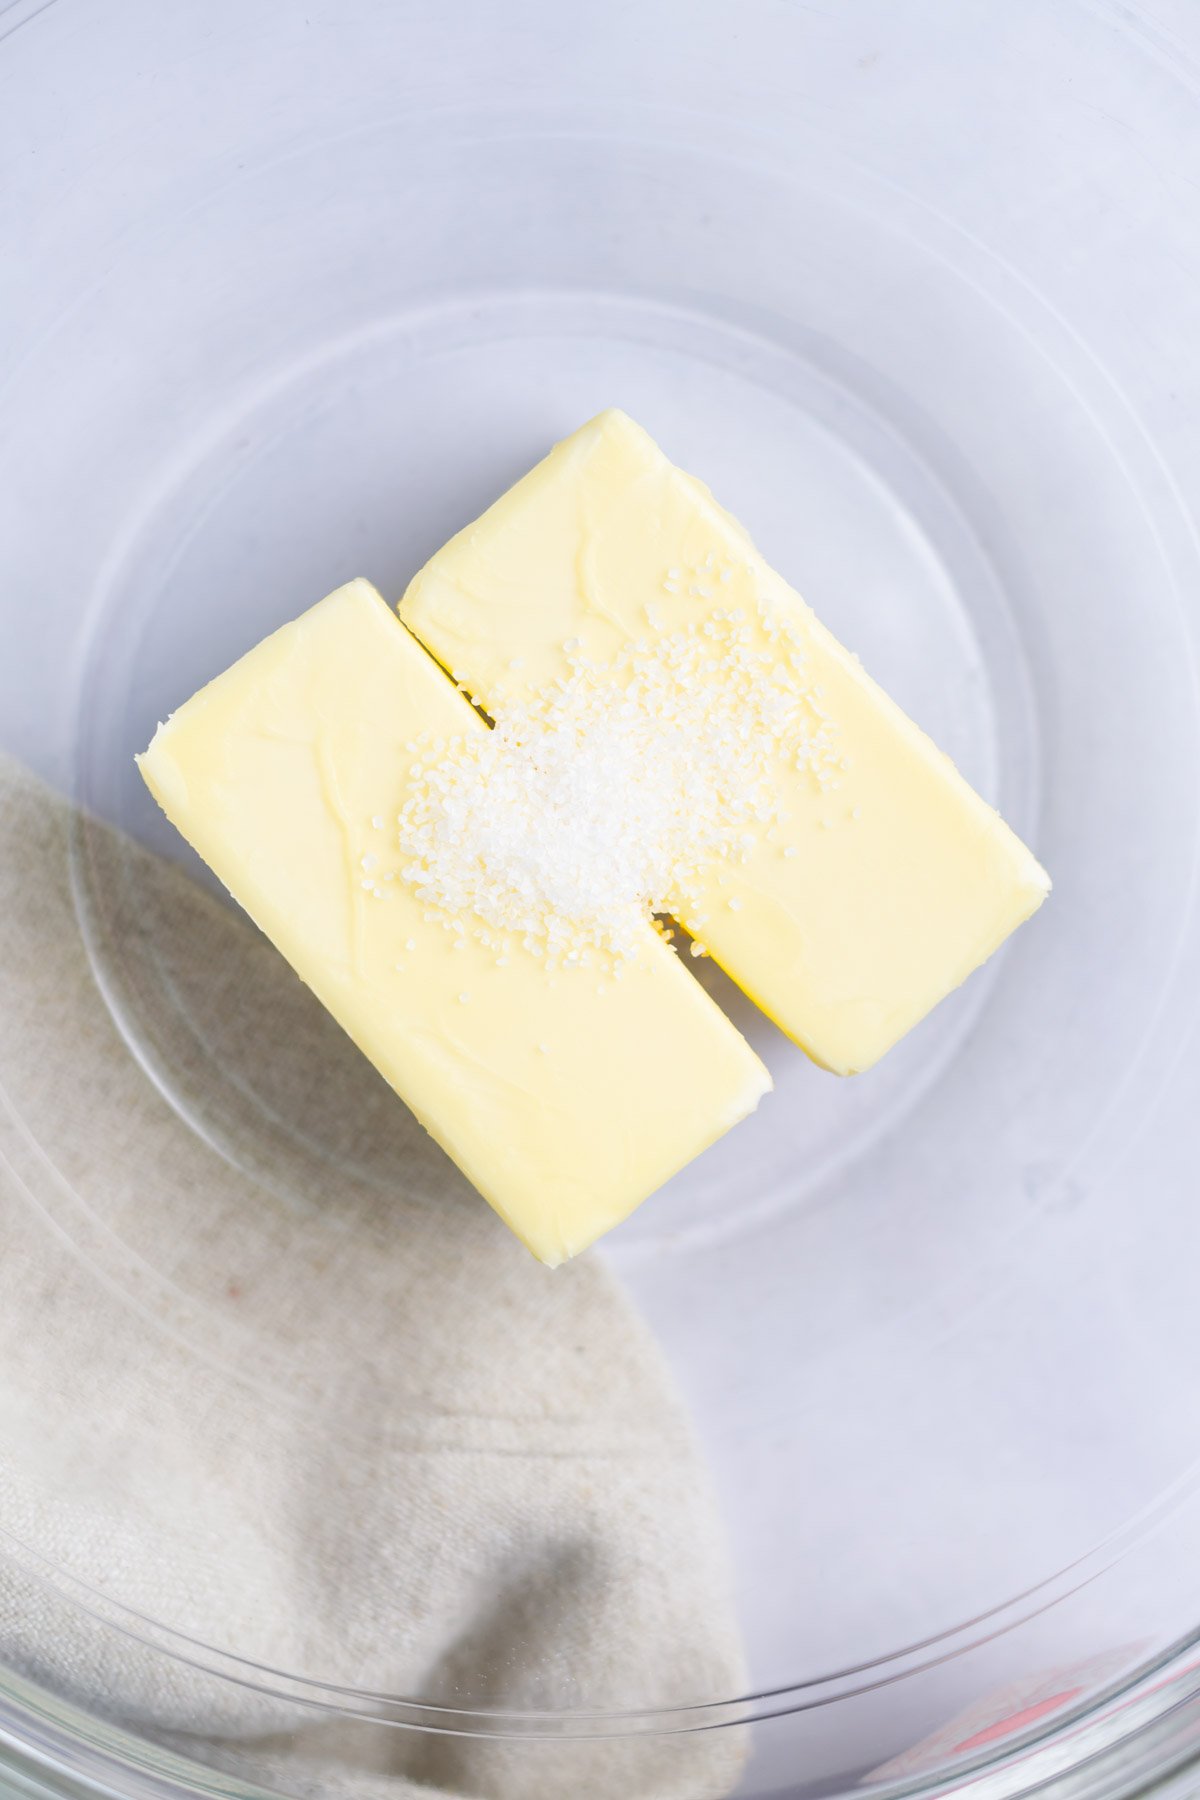
Then using a stand mixer with the paddle attachment or a hand held mixer, cream together the butter and kosher salt for about one minute.
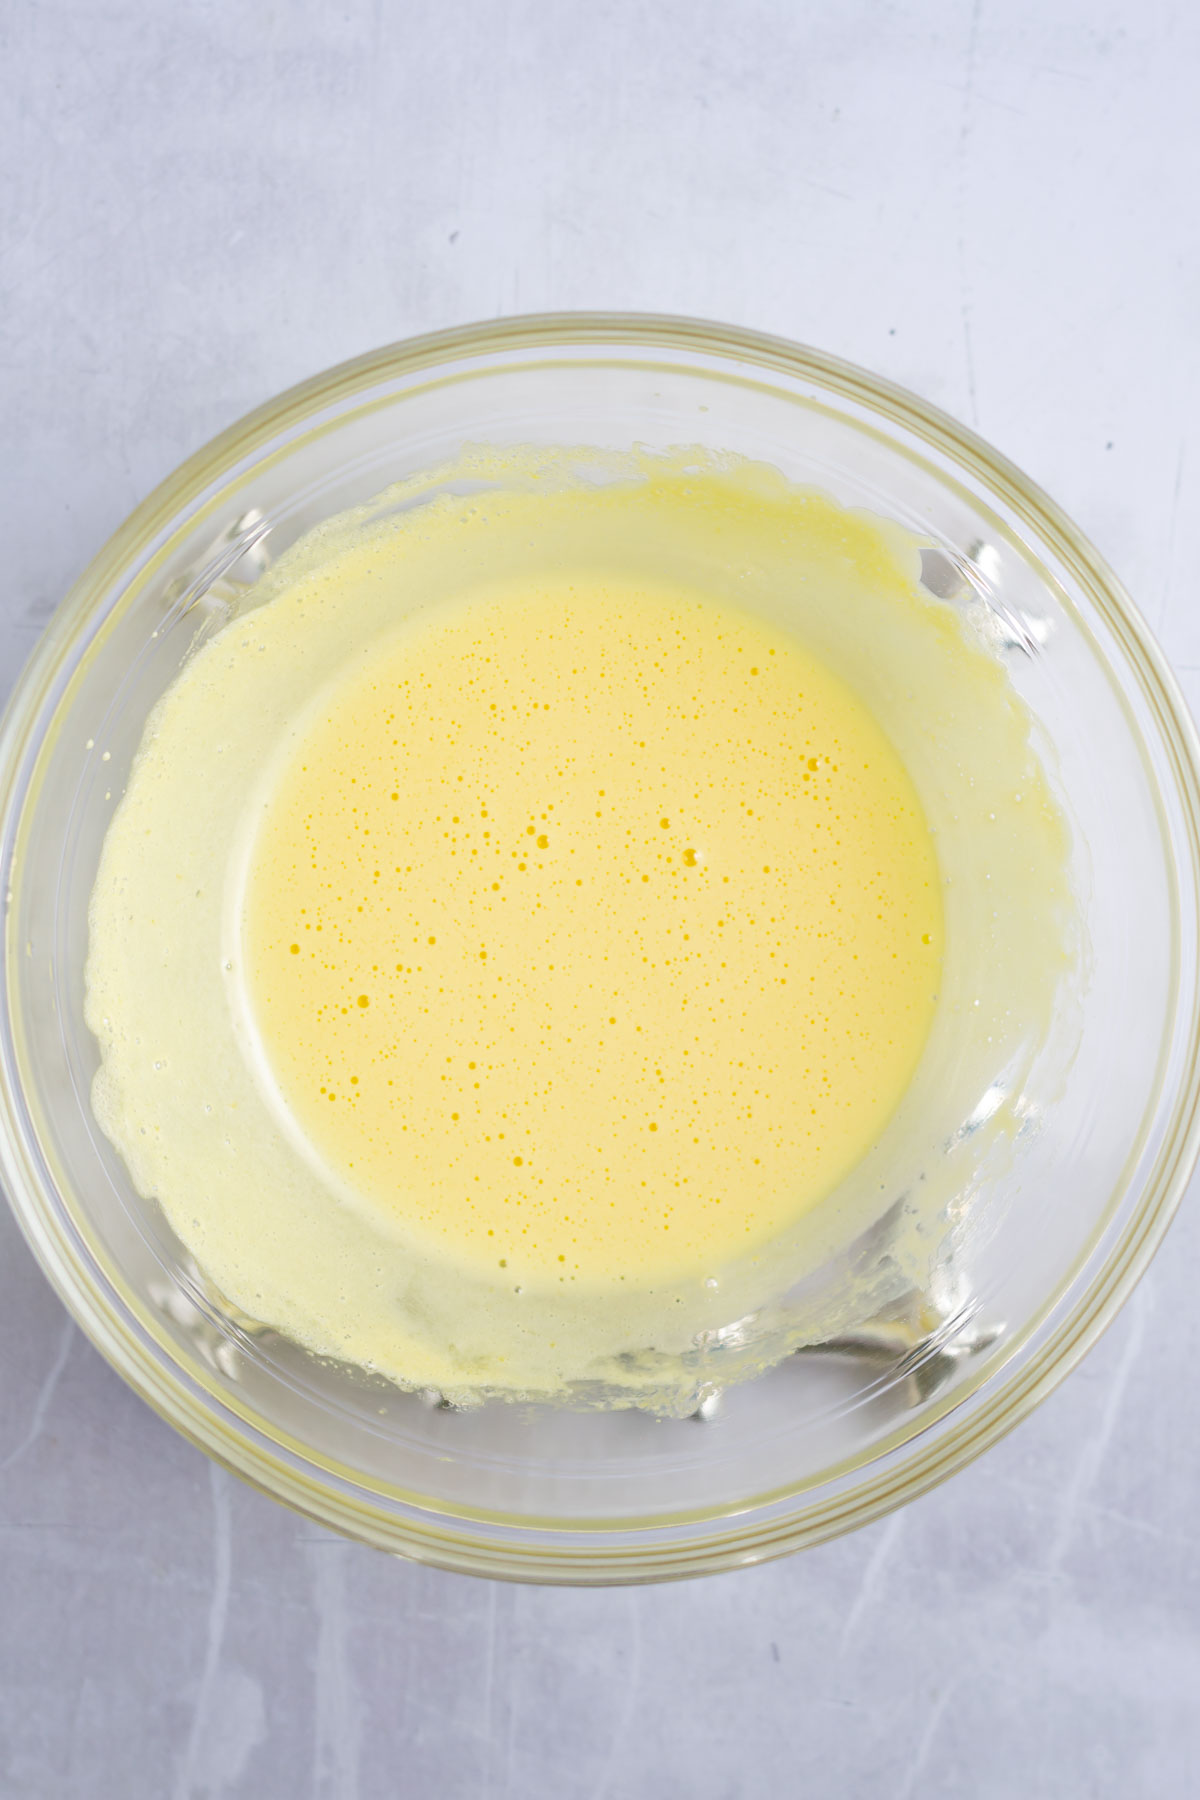
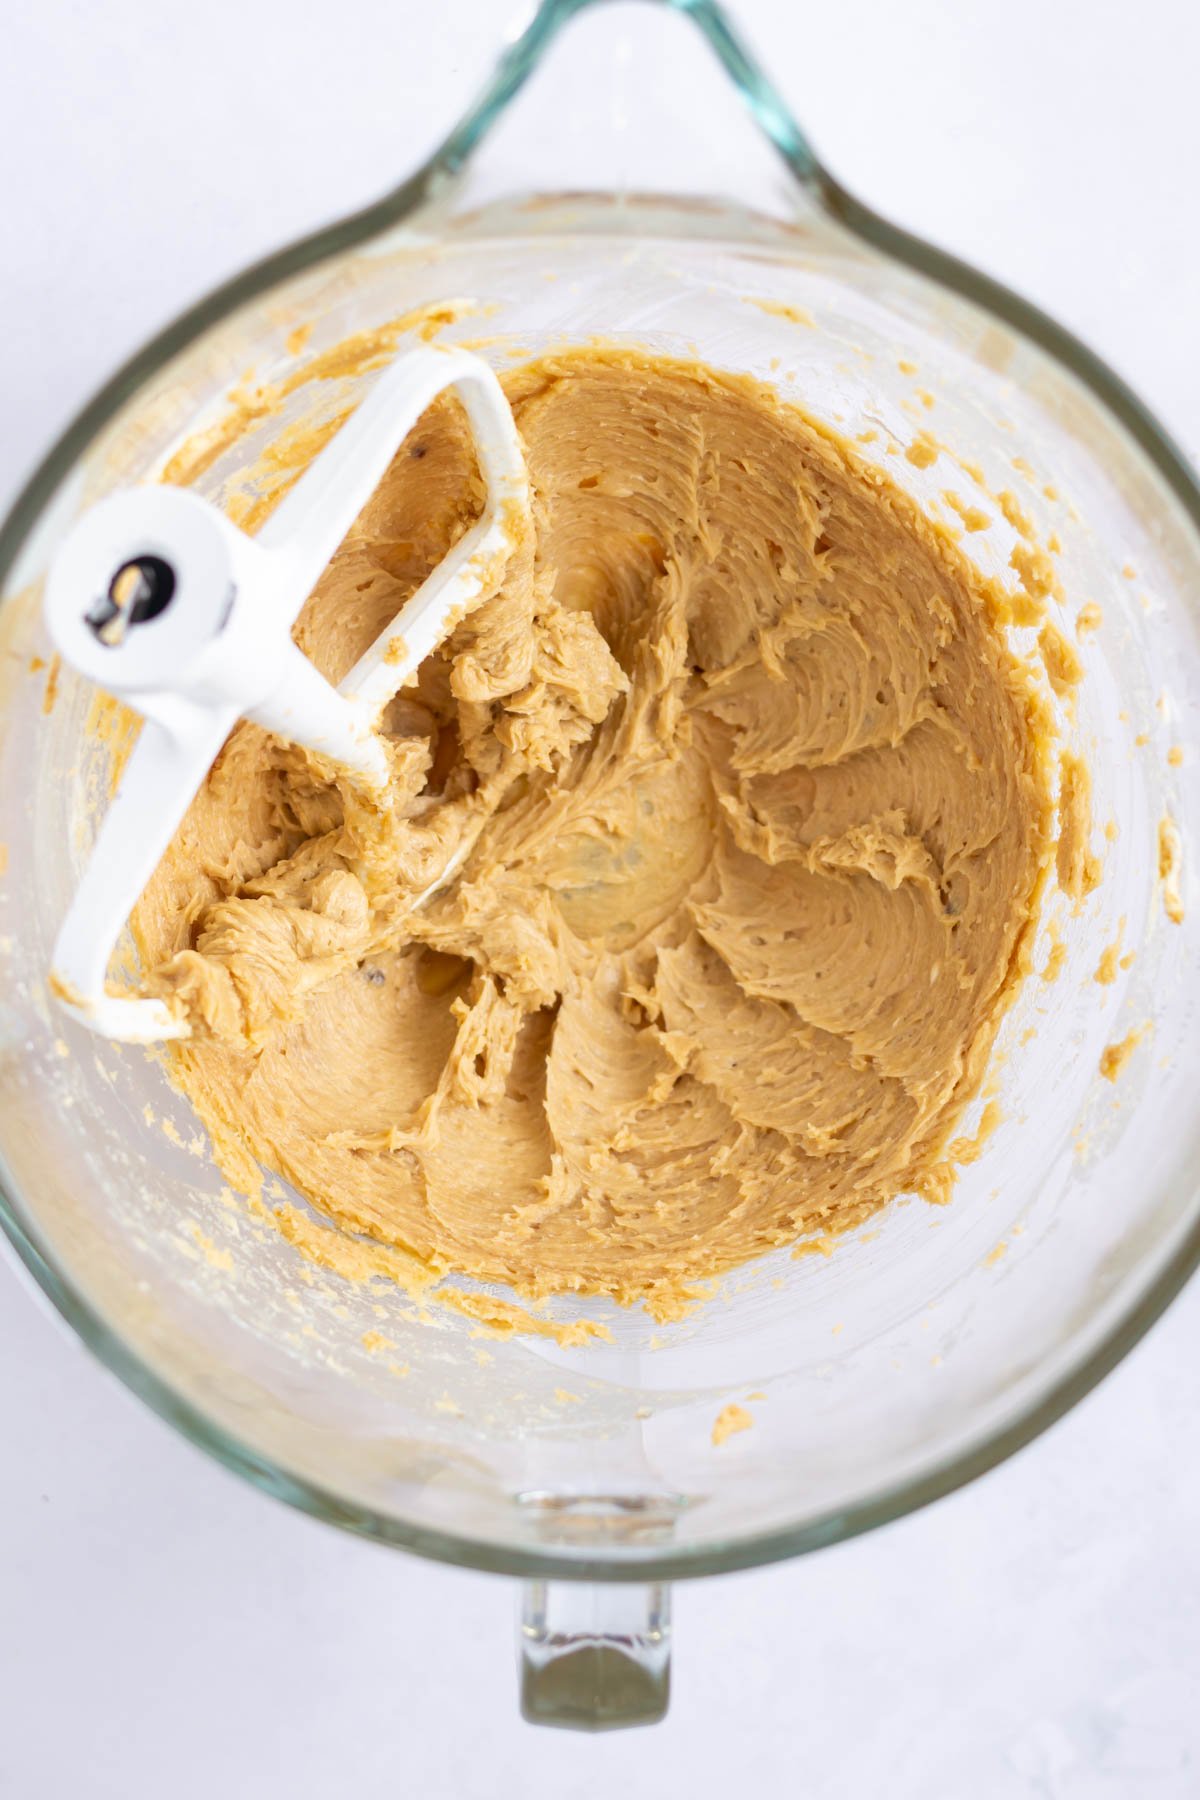
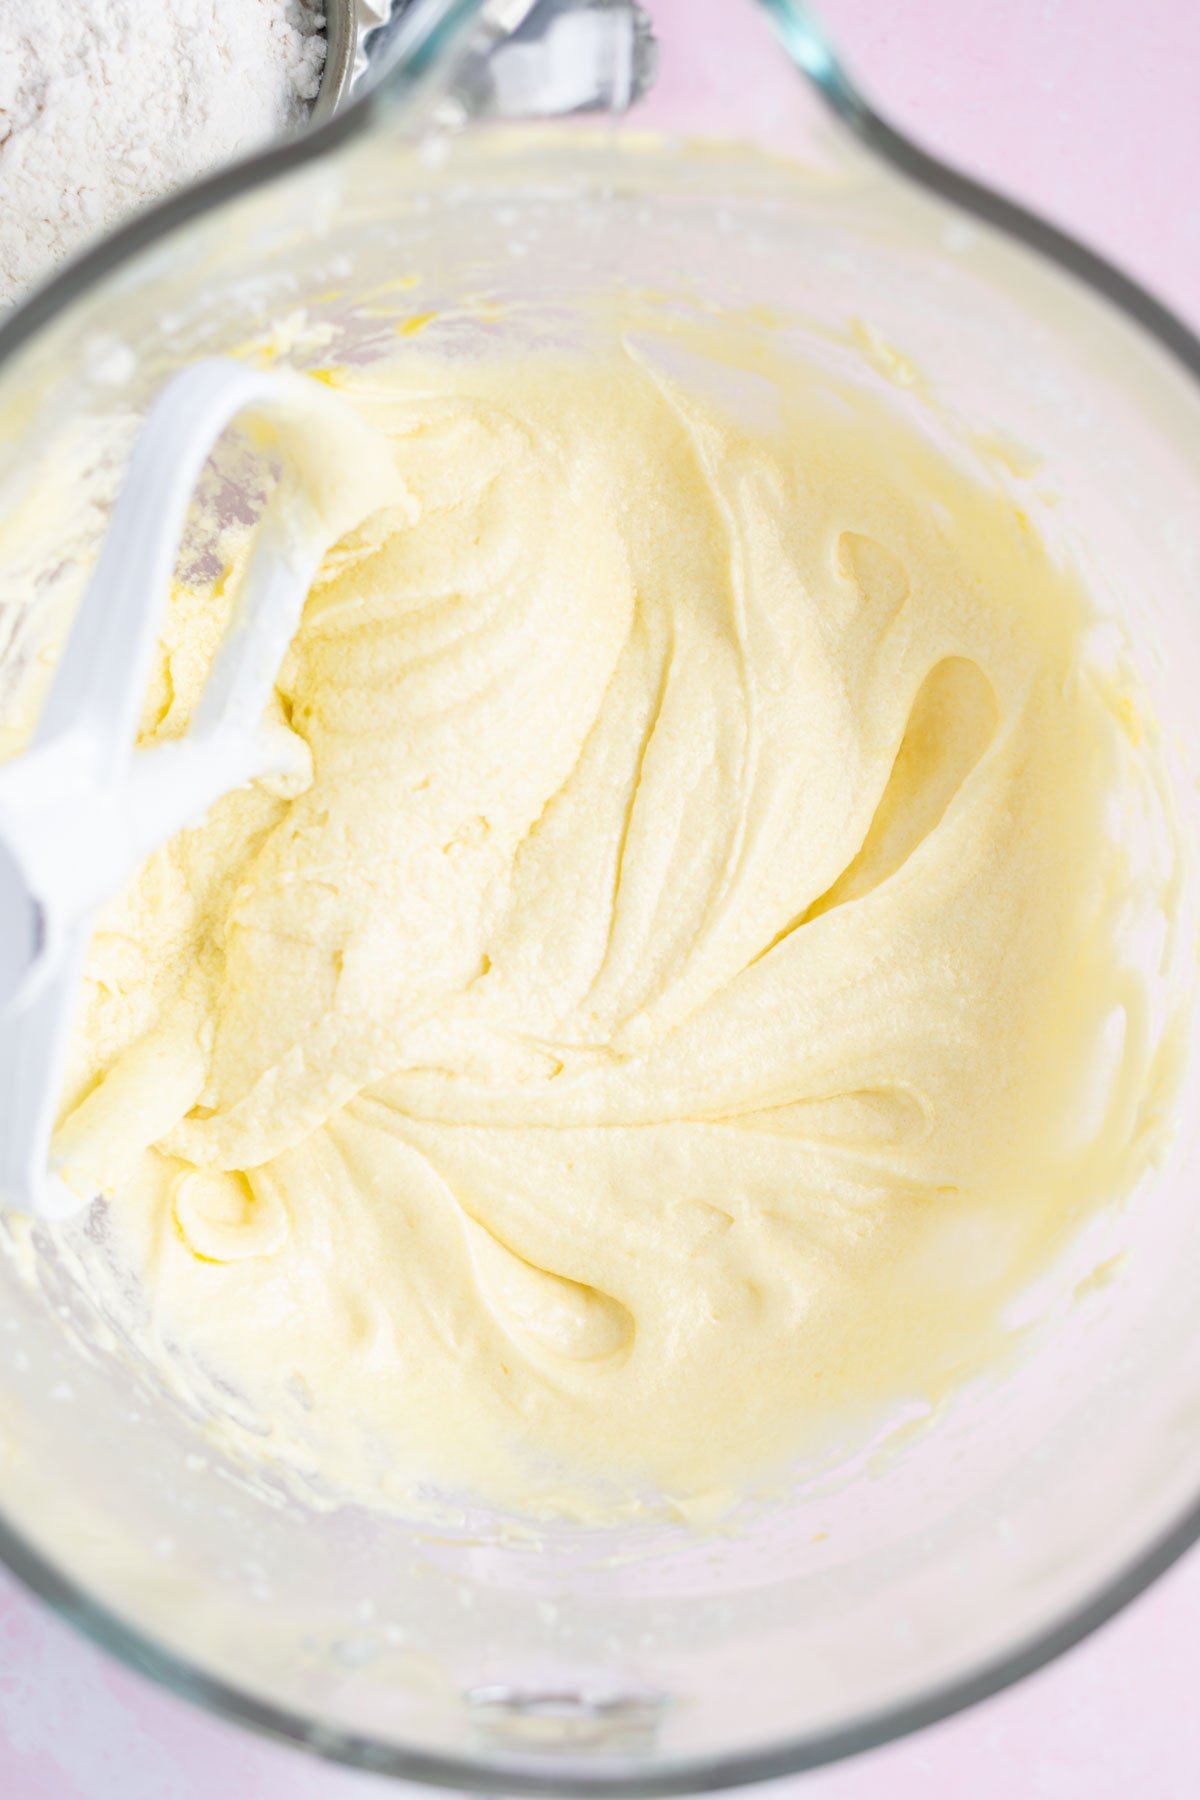
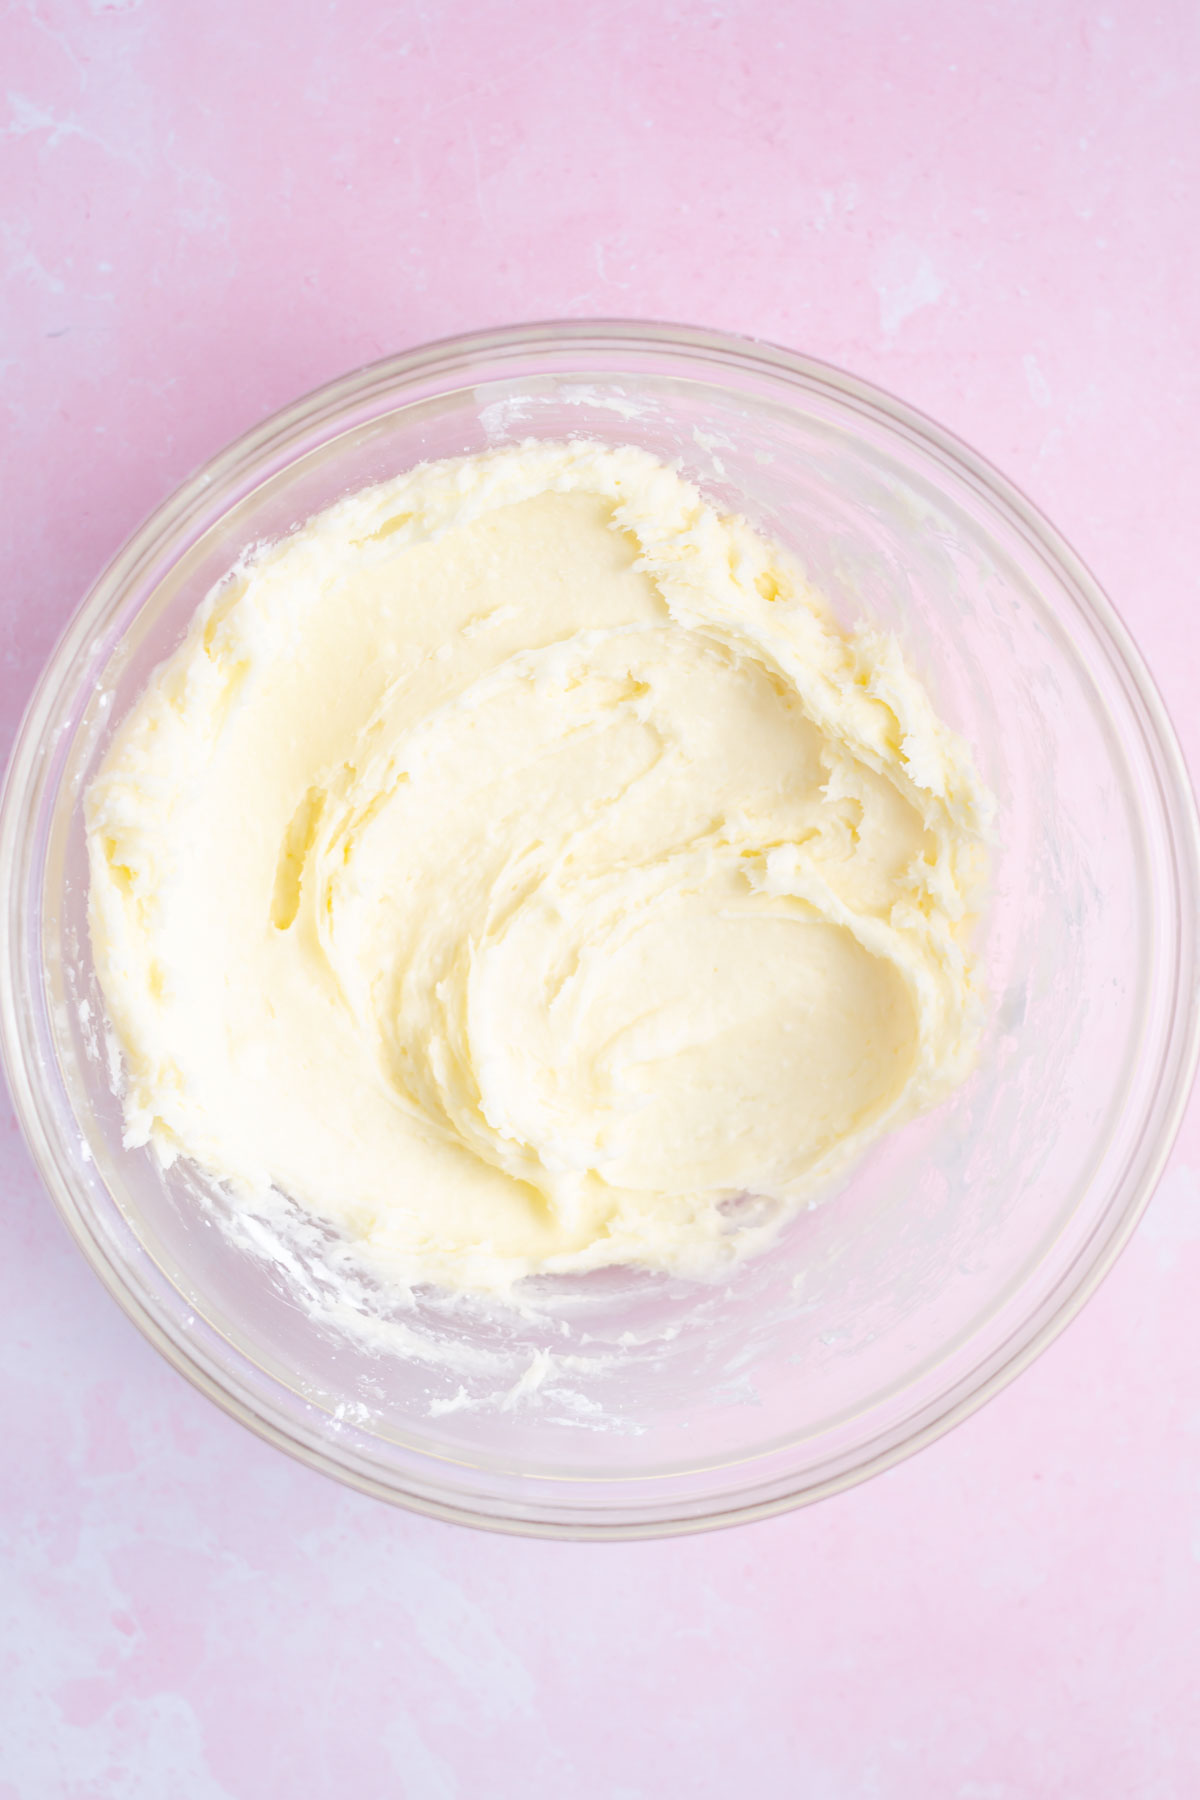
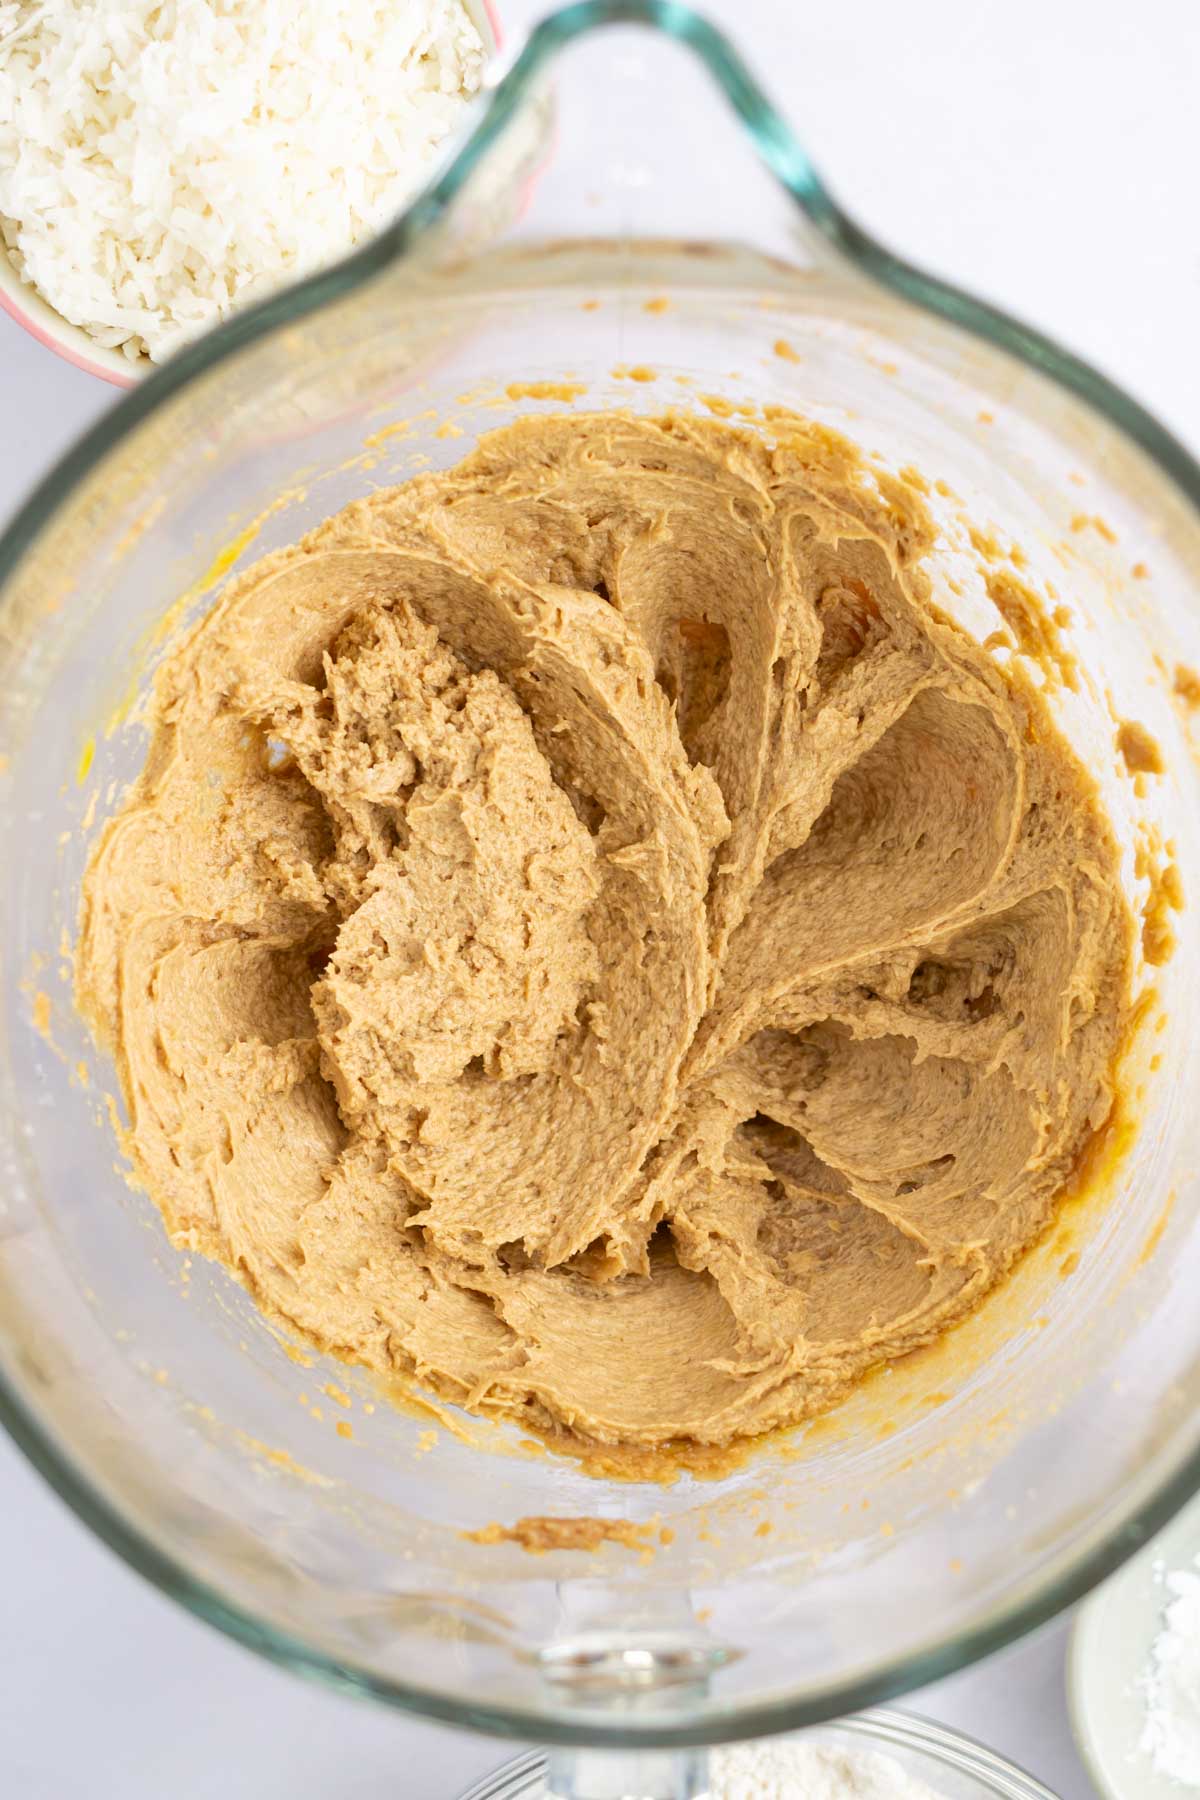
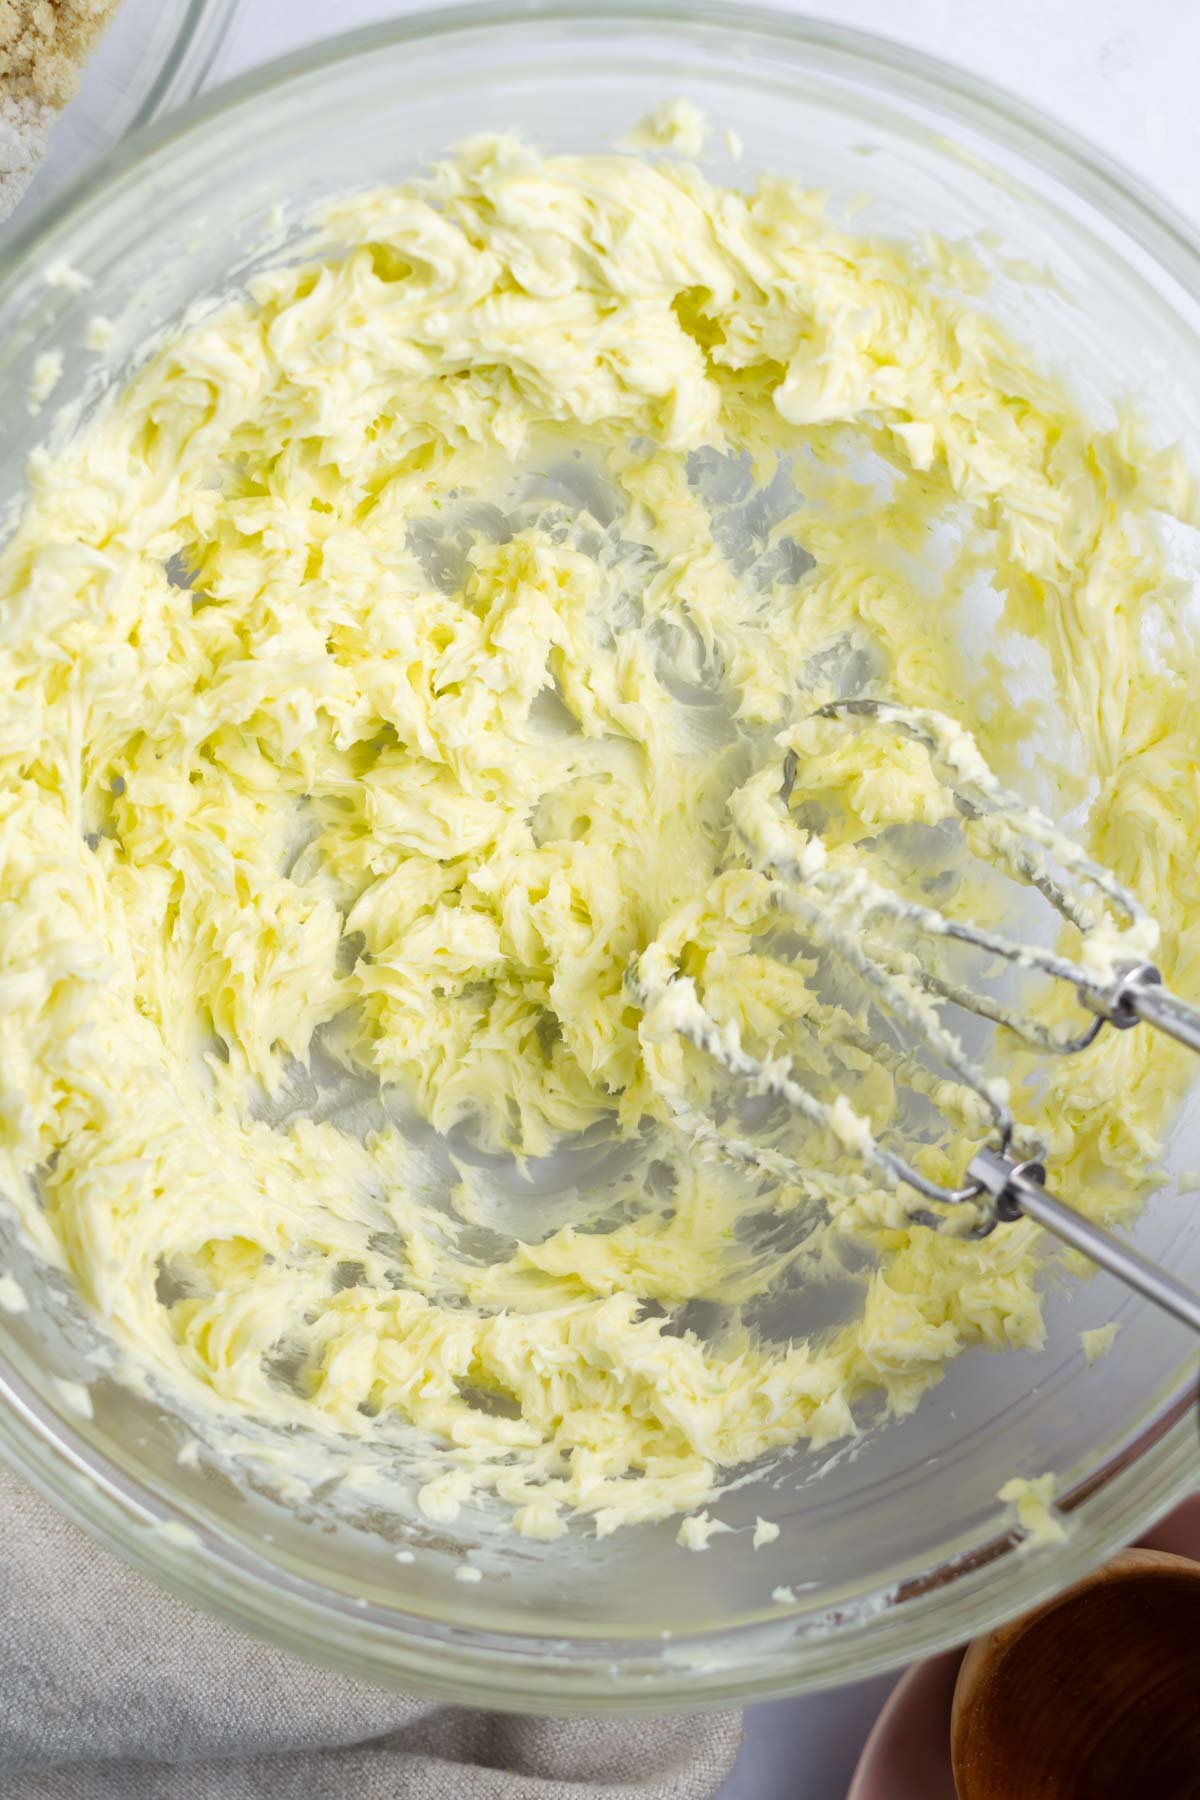
Then add the confectioners' sugar/lime mixture and beat until light and fluffy. Scrape up and down the bowl.
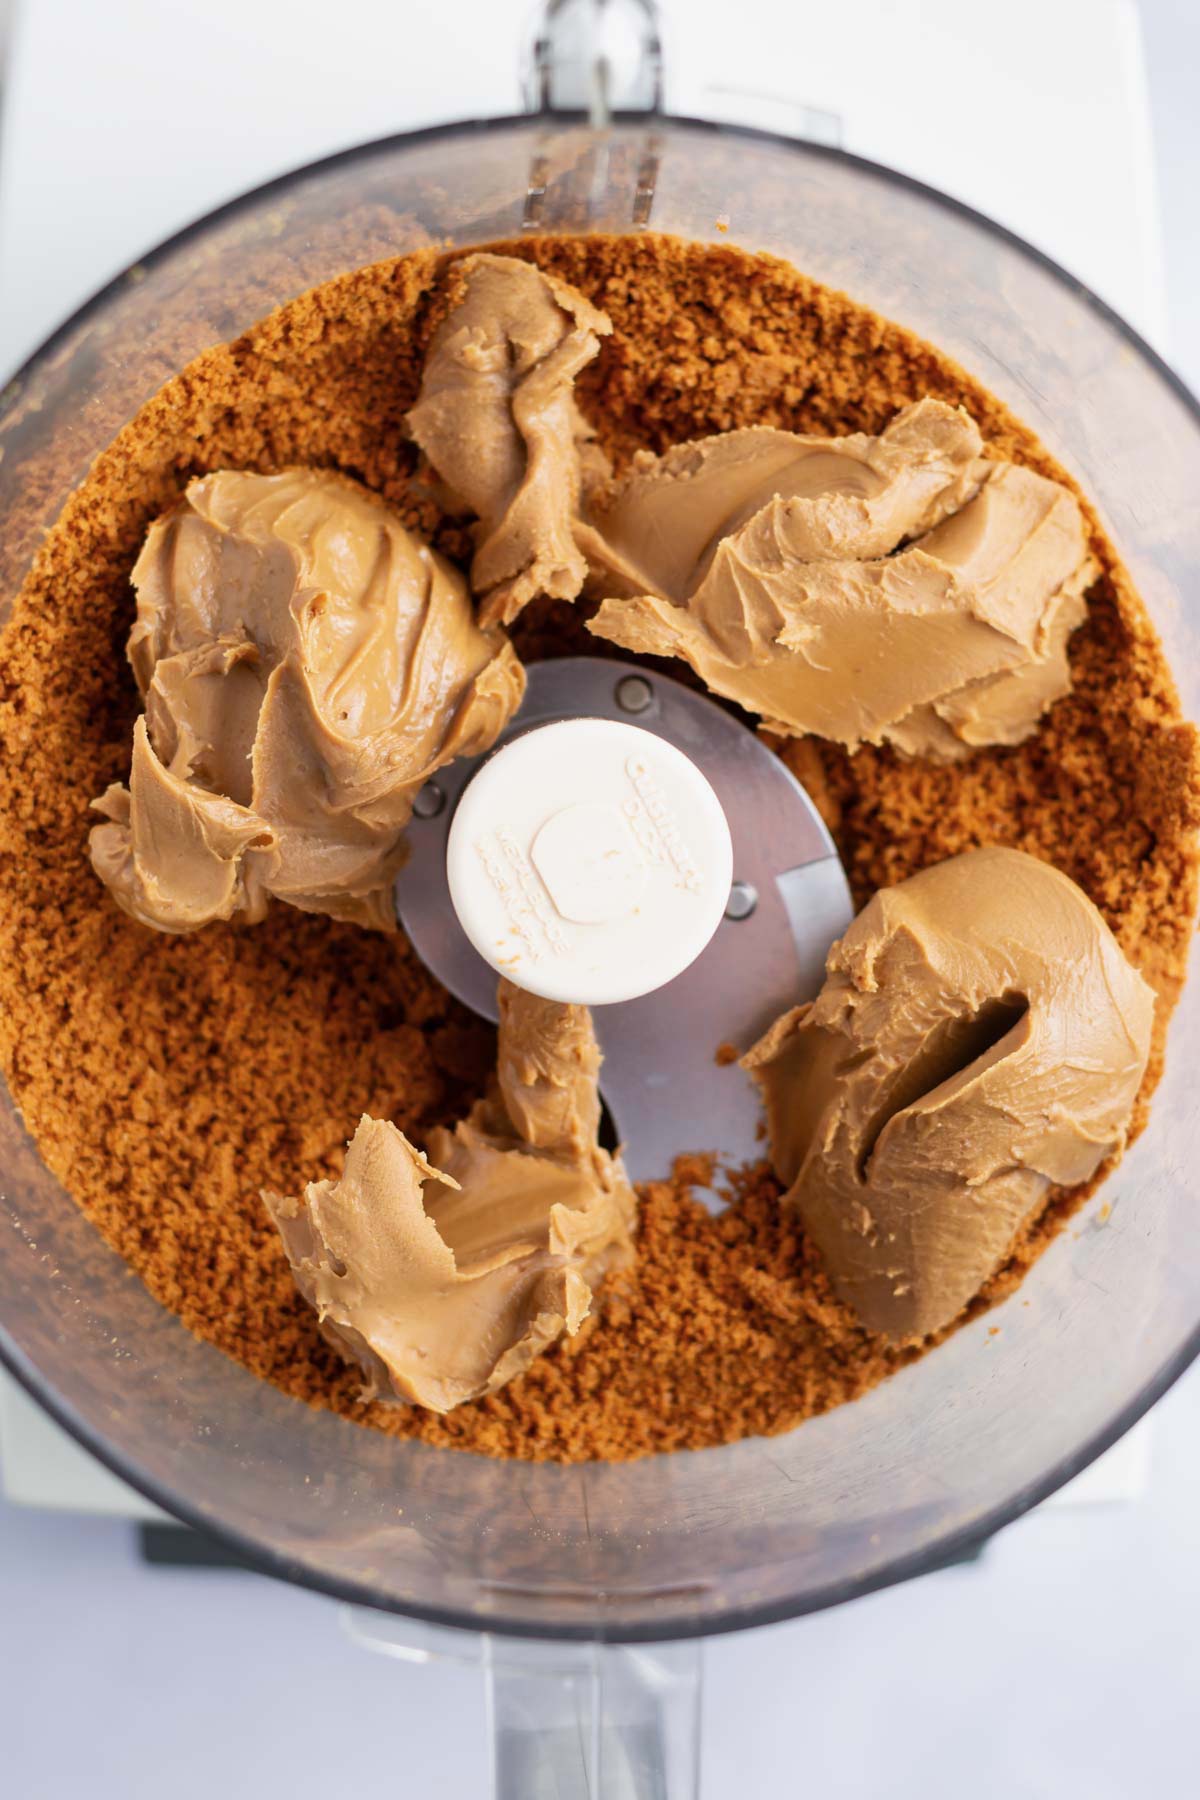
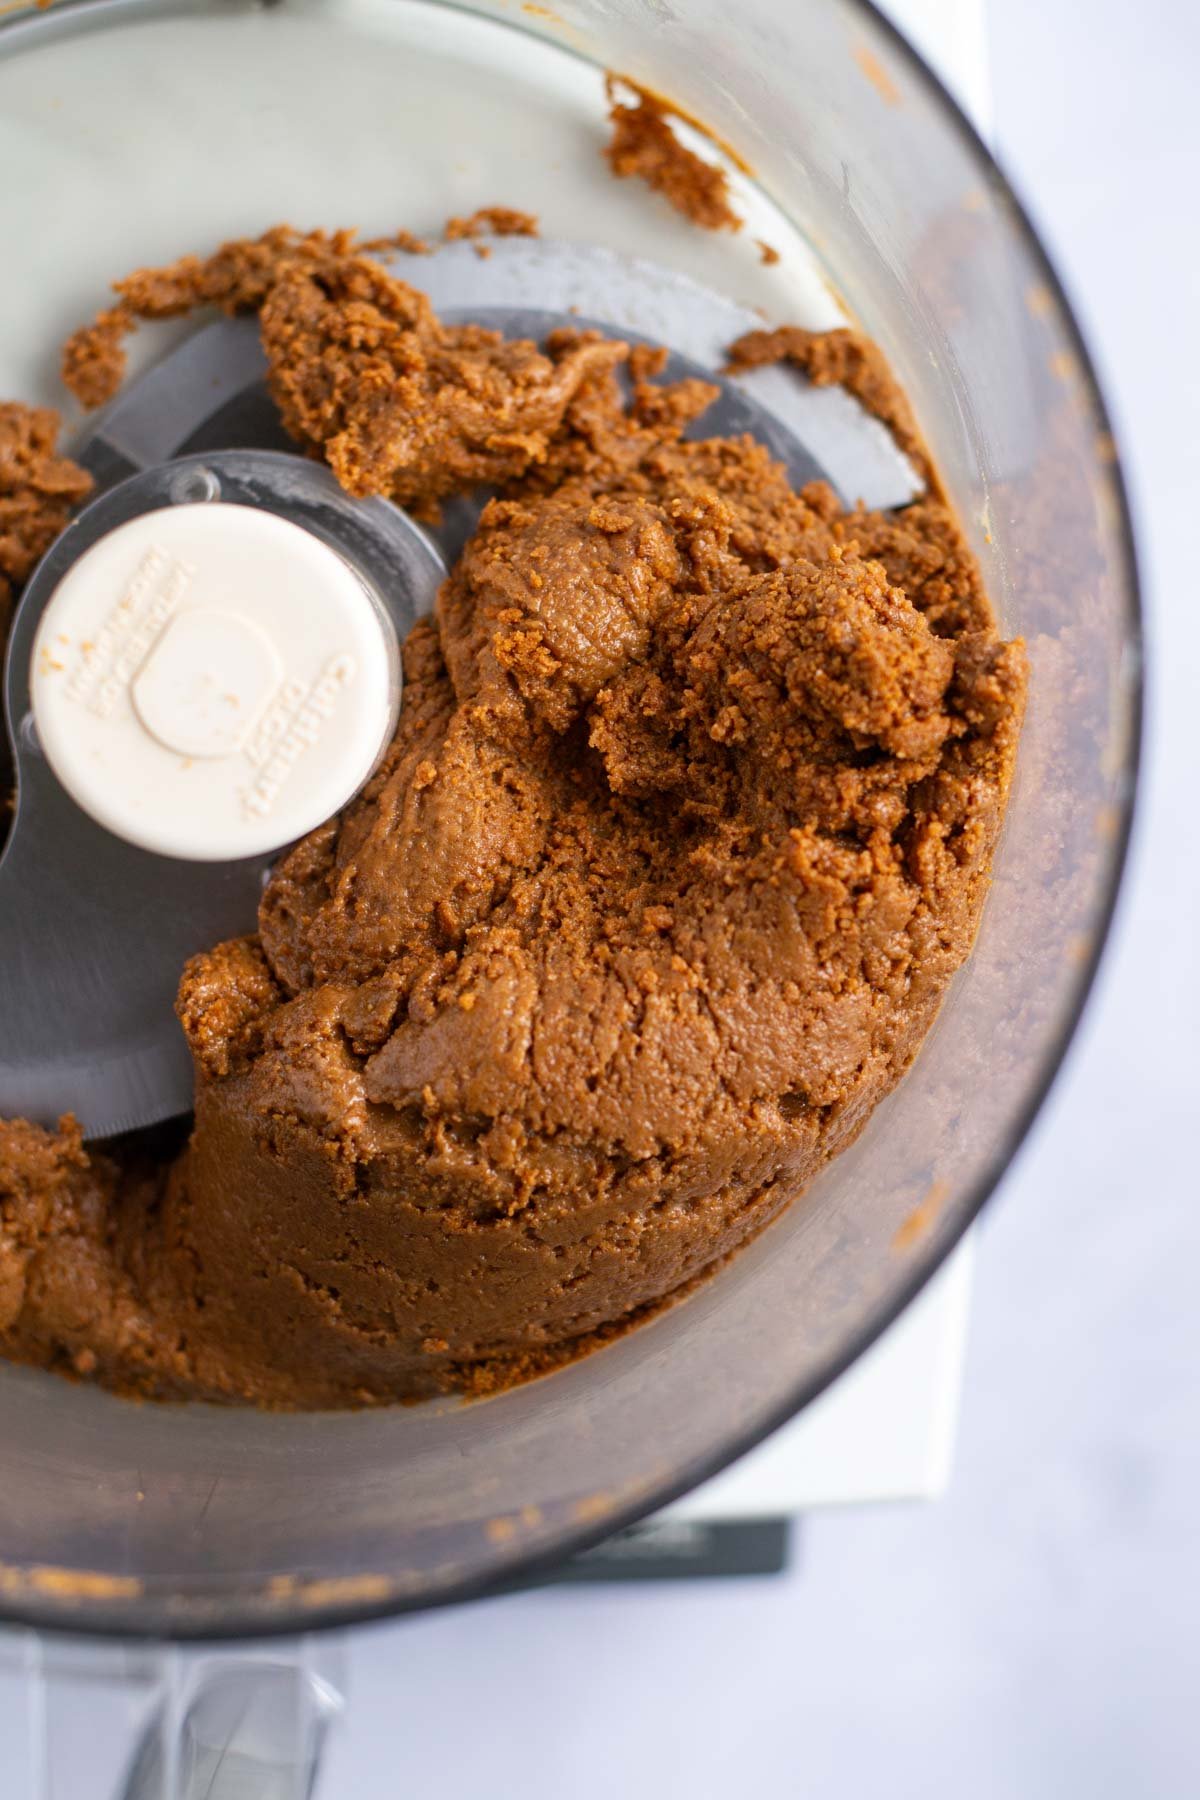
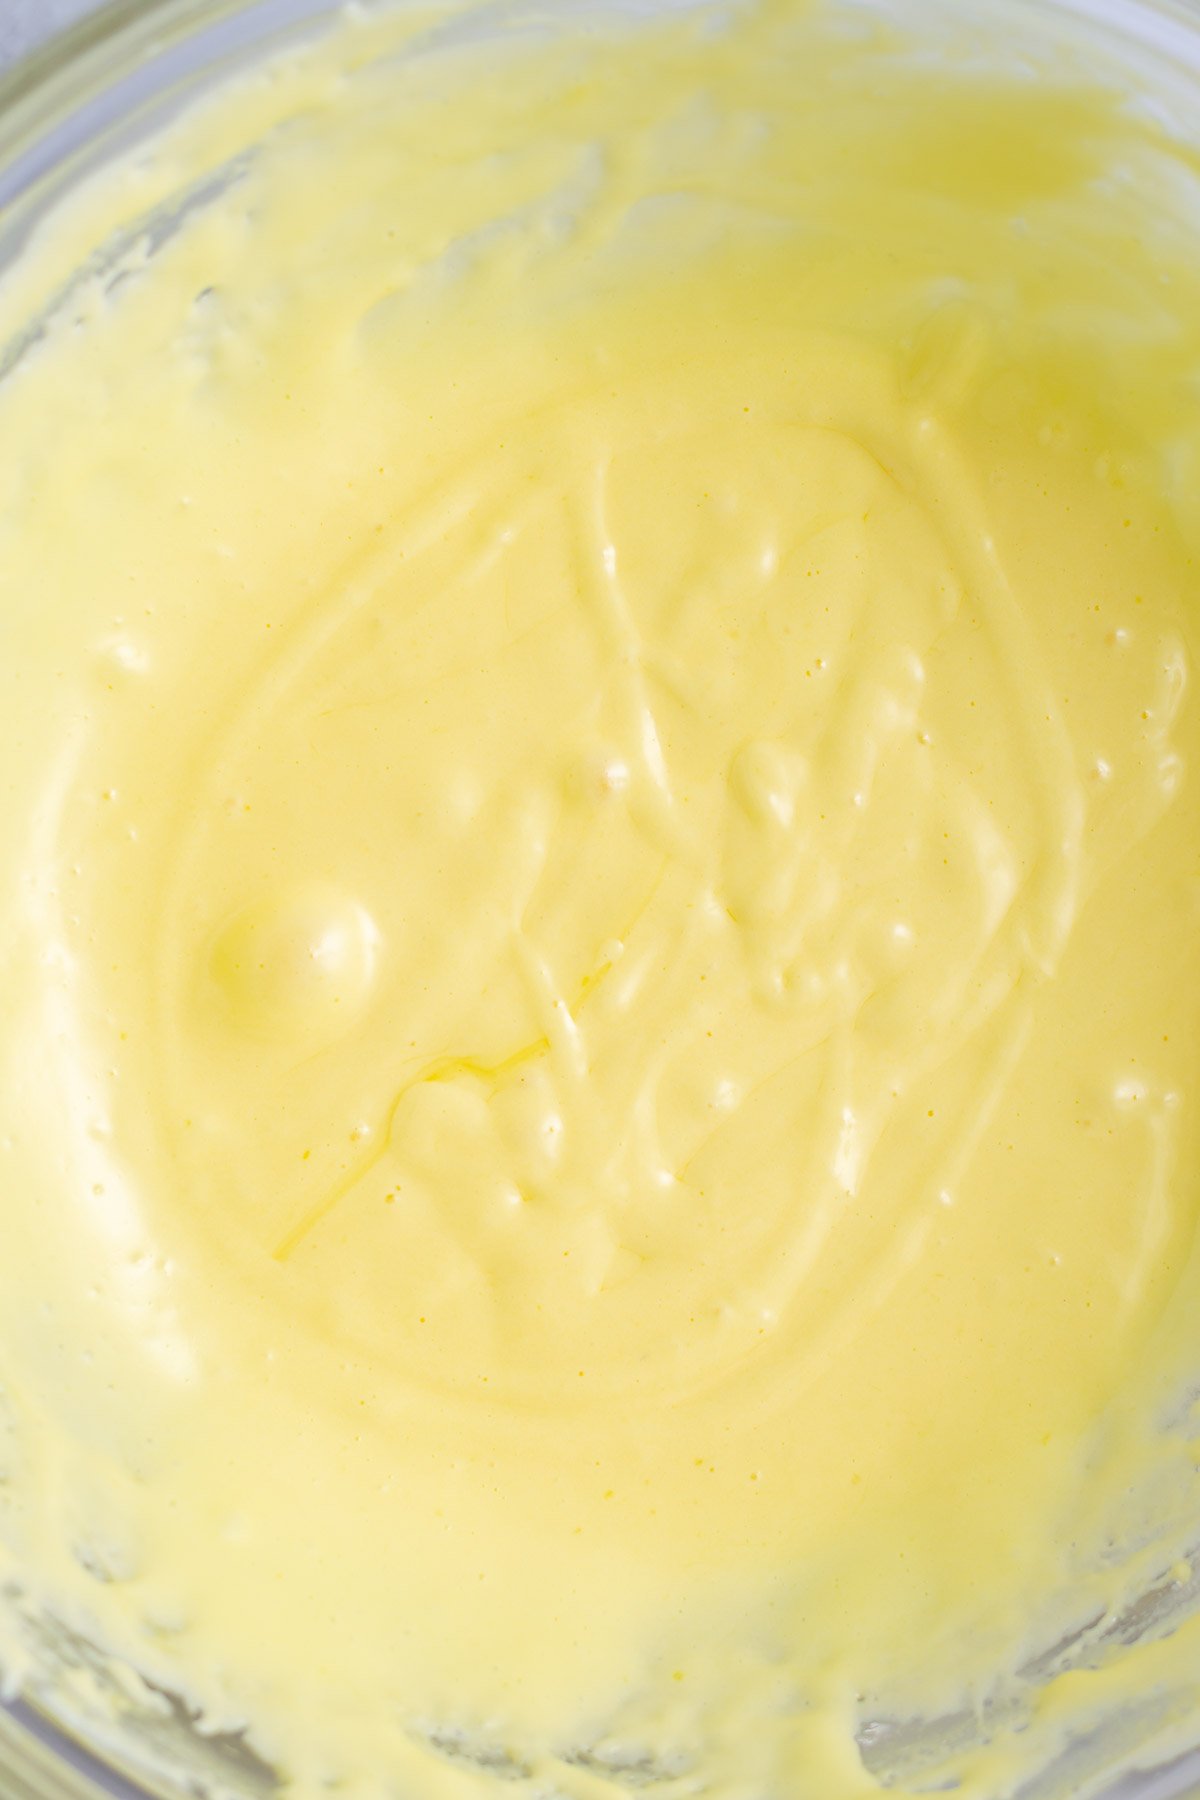
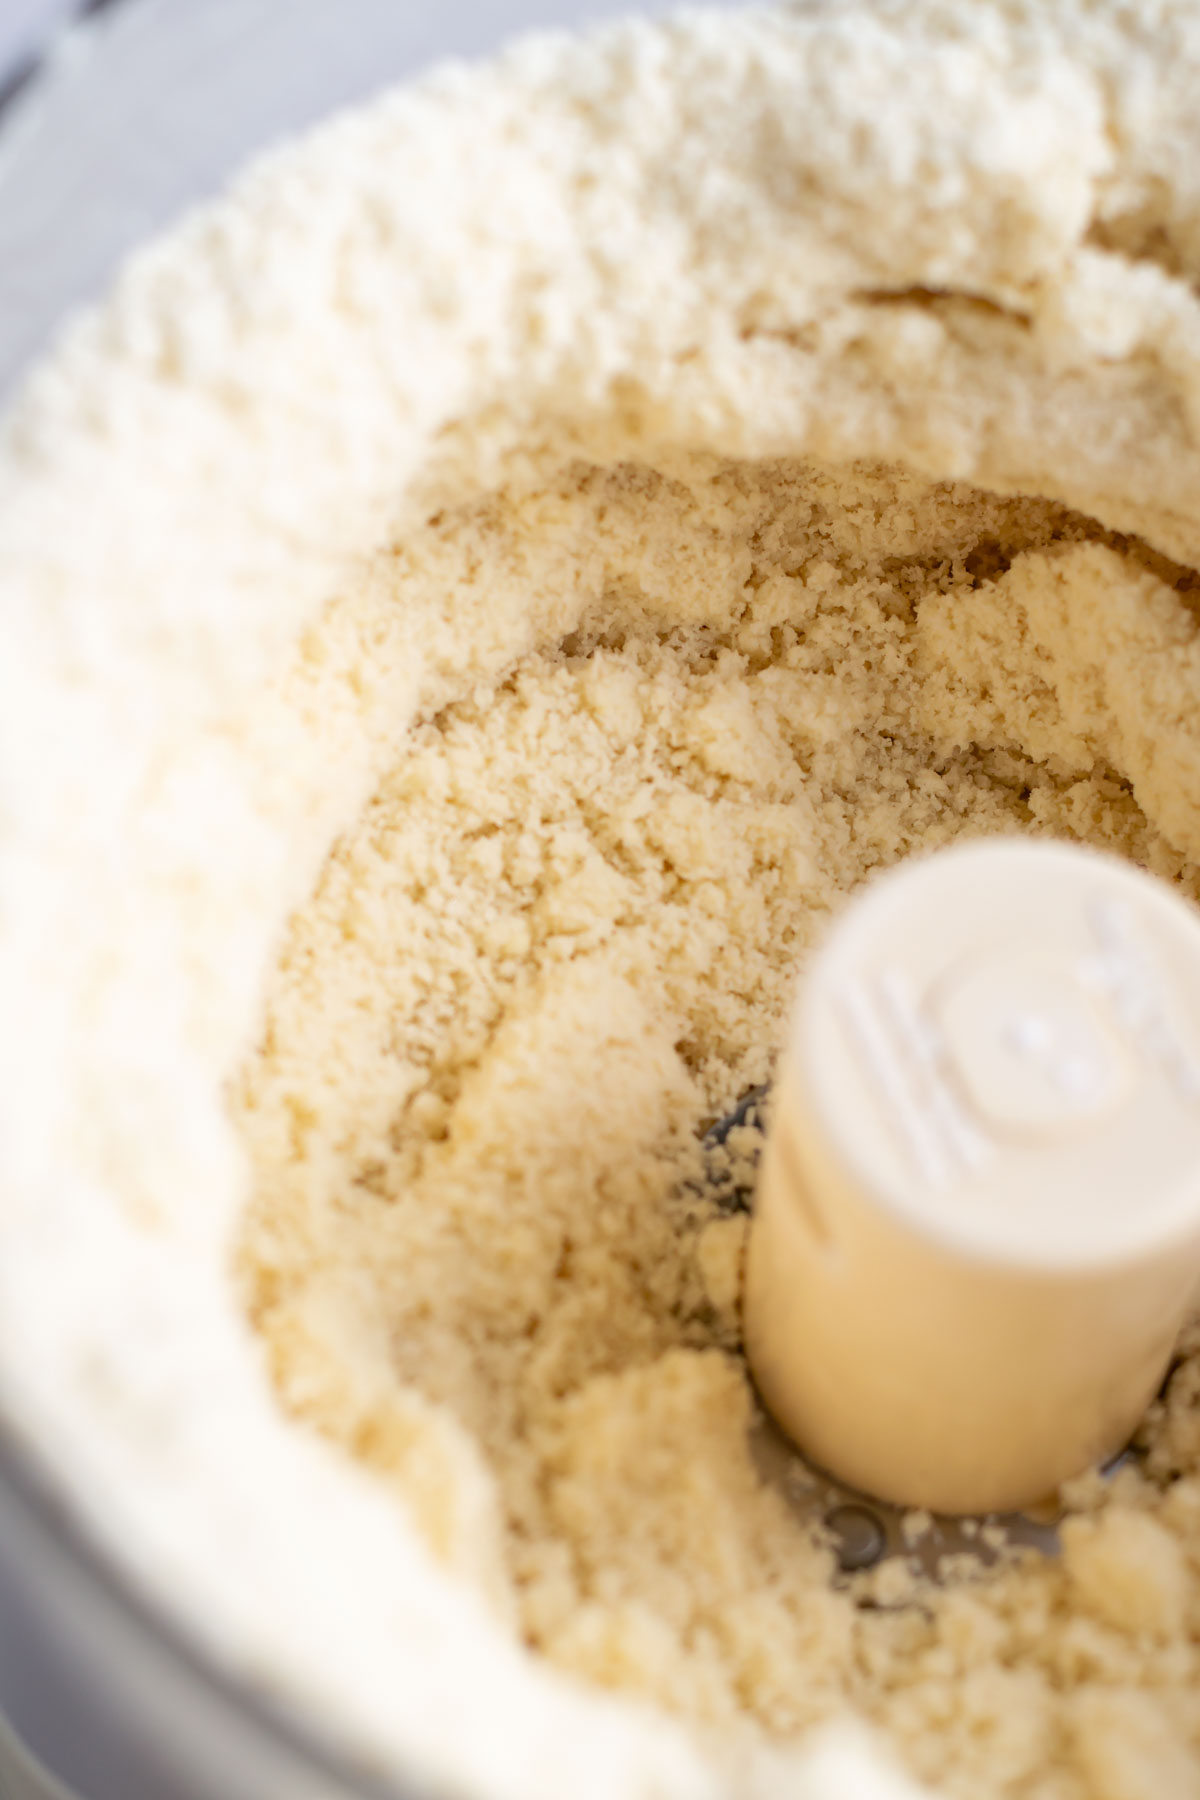
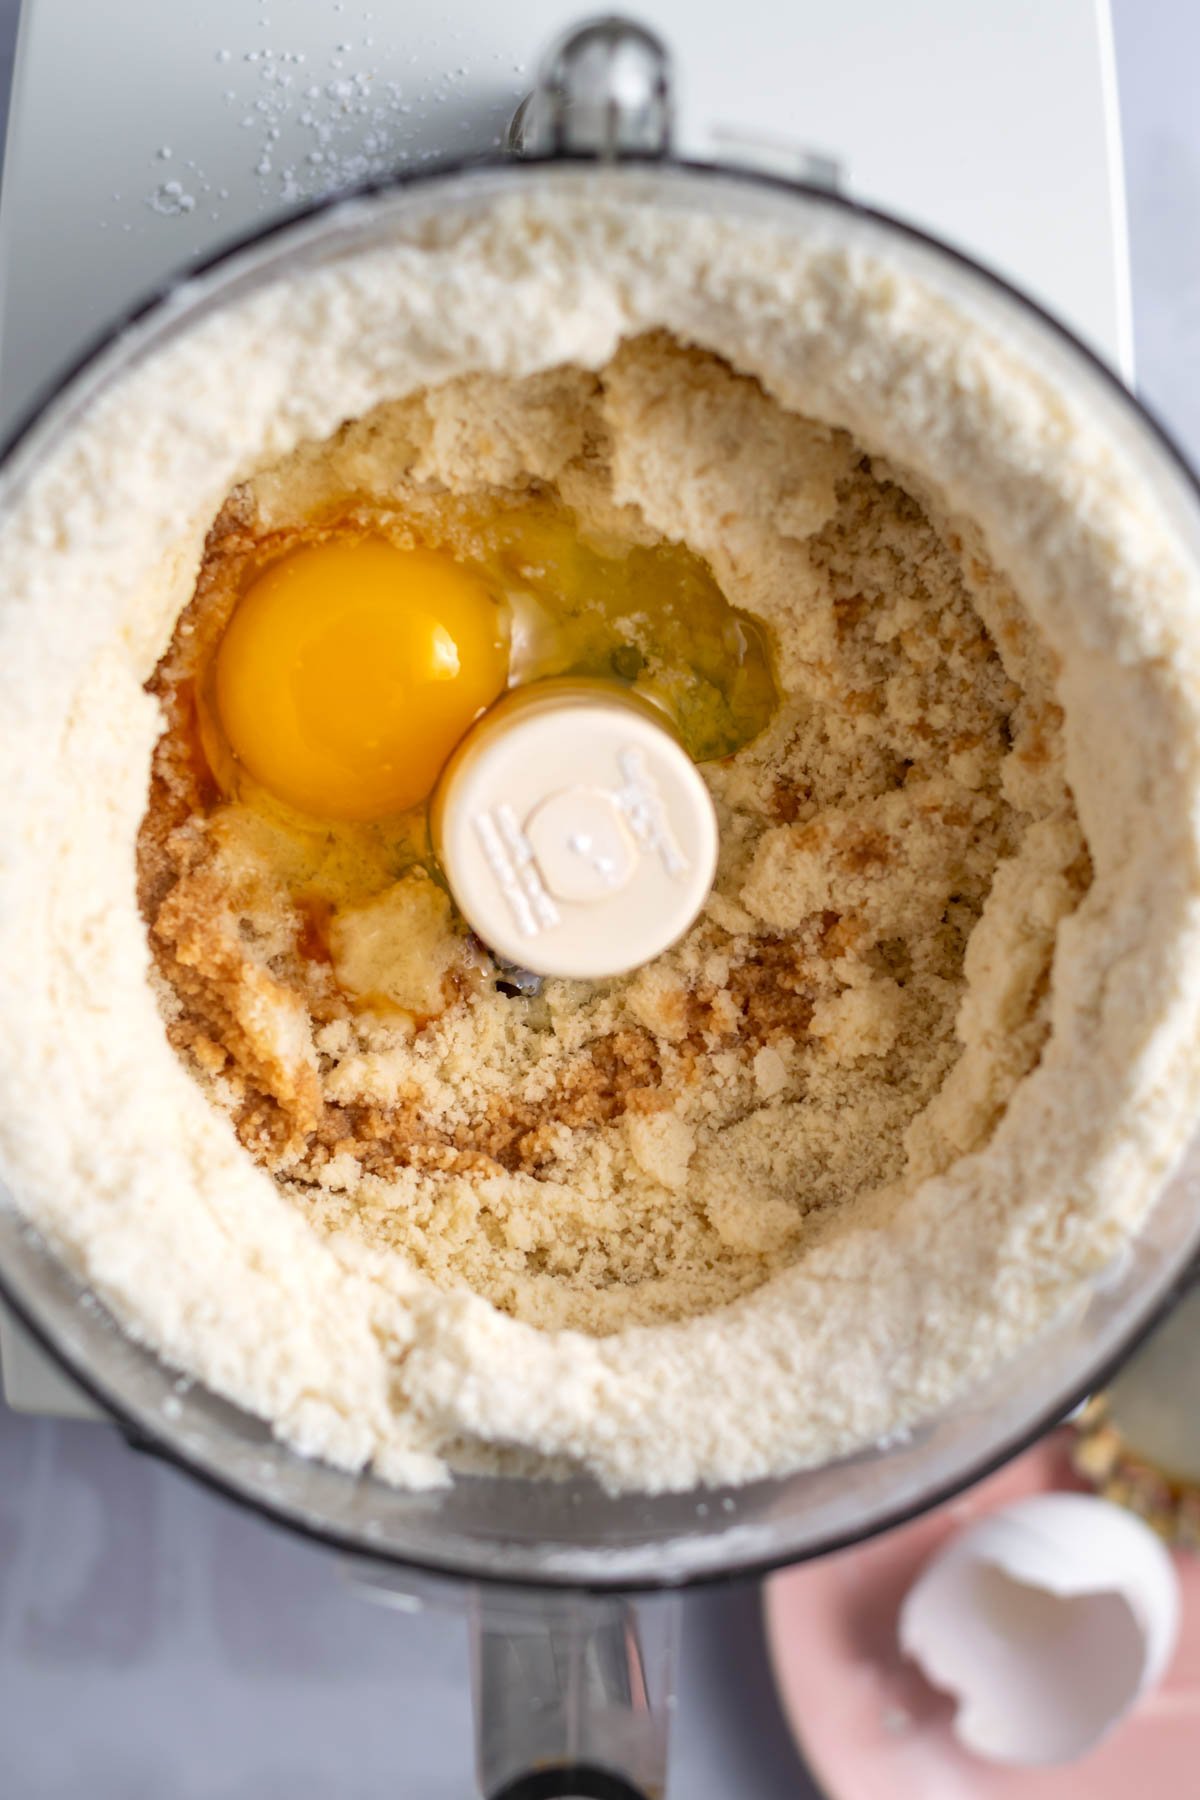
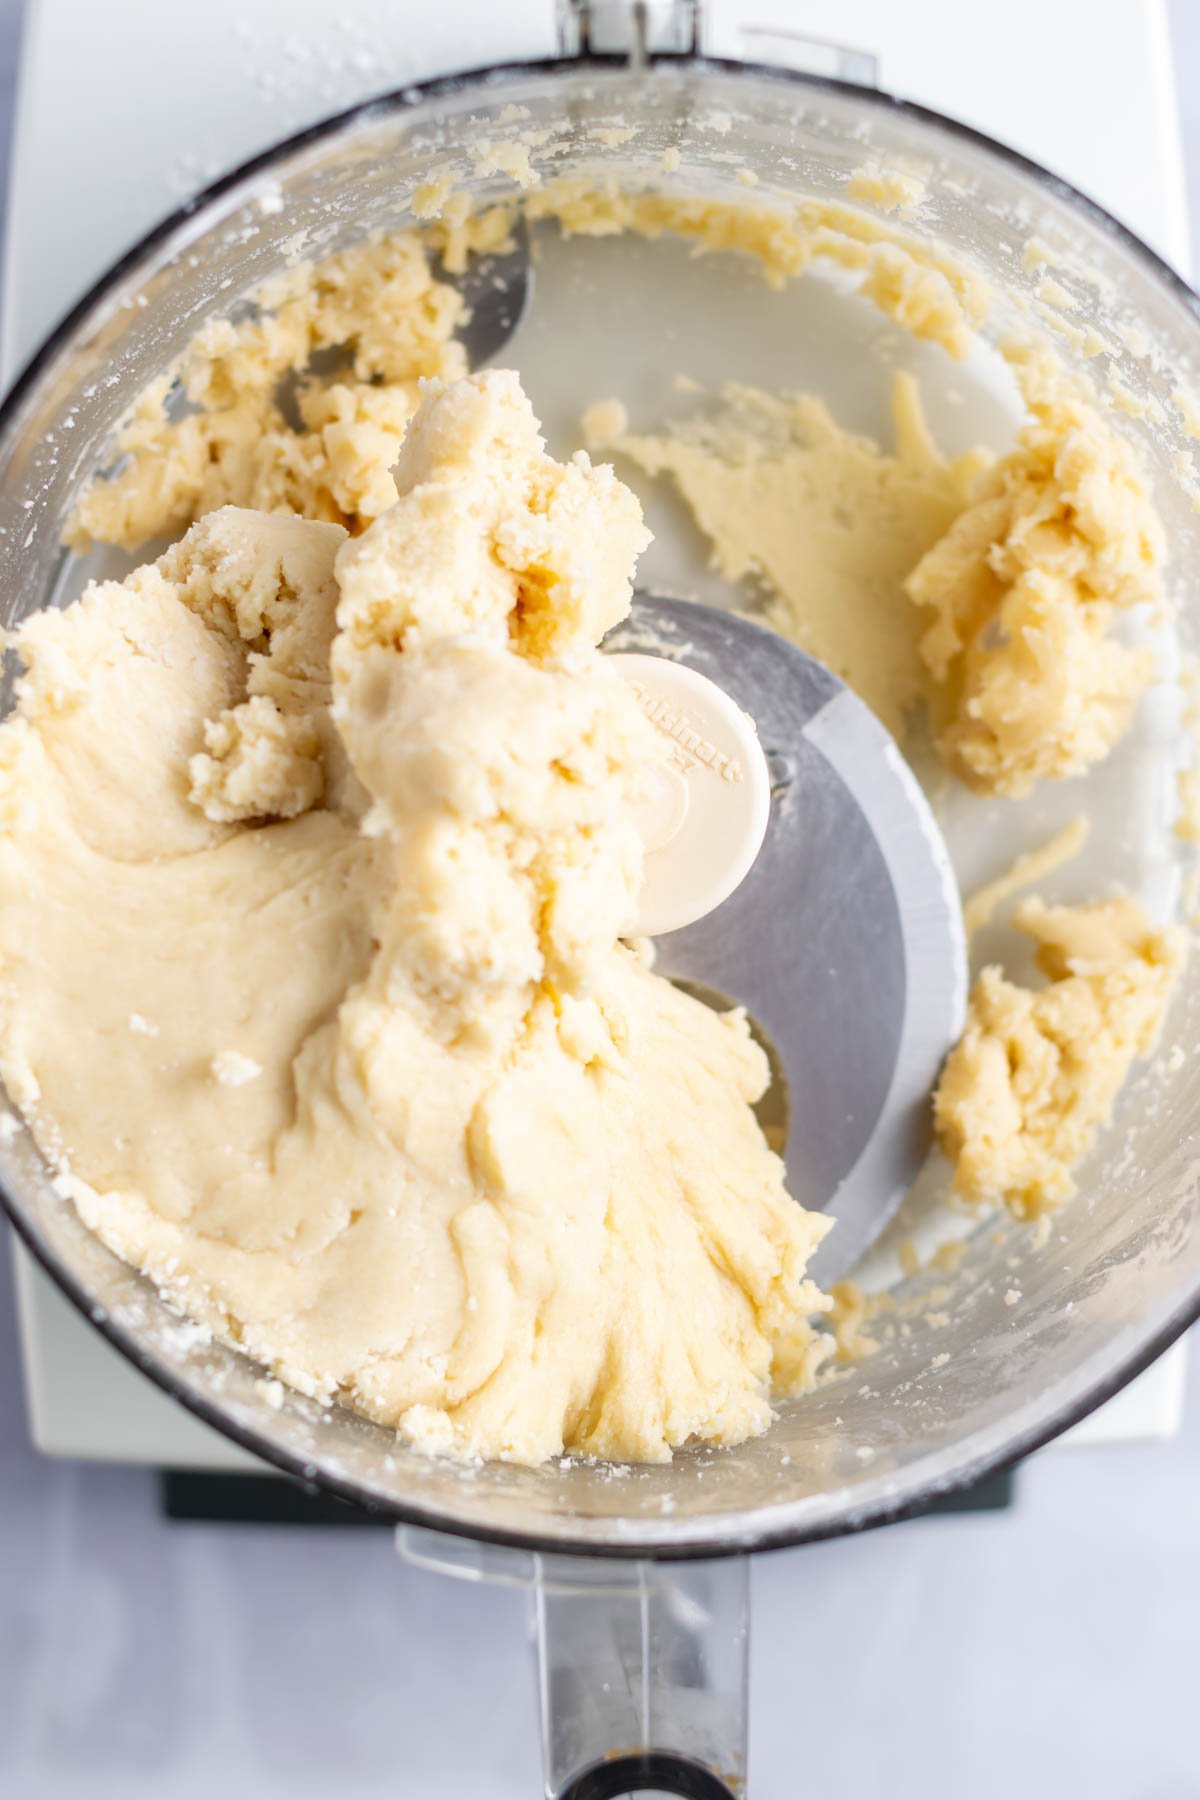
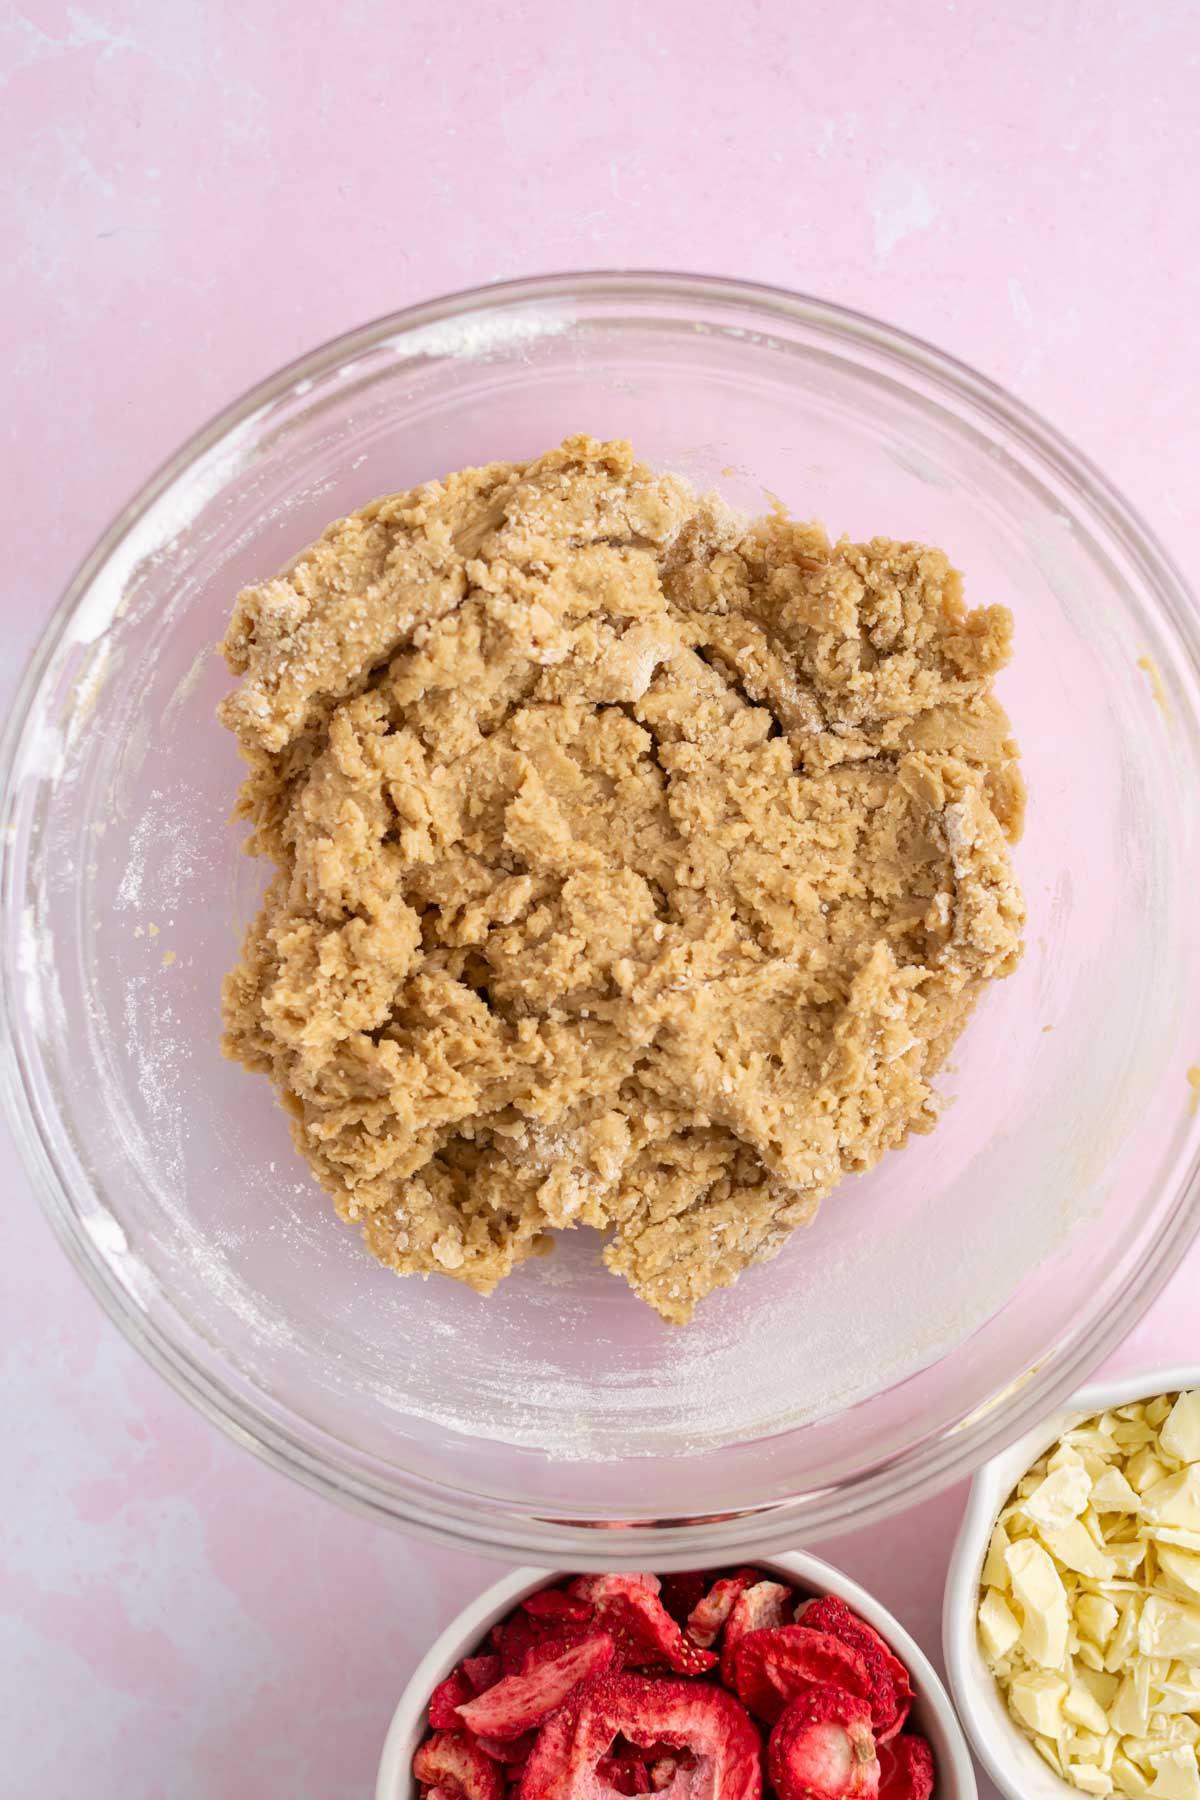
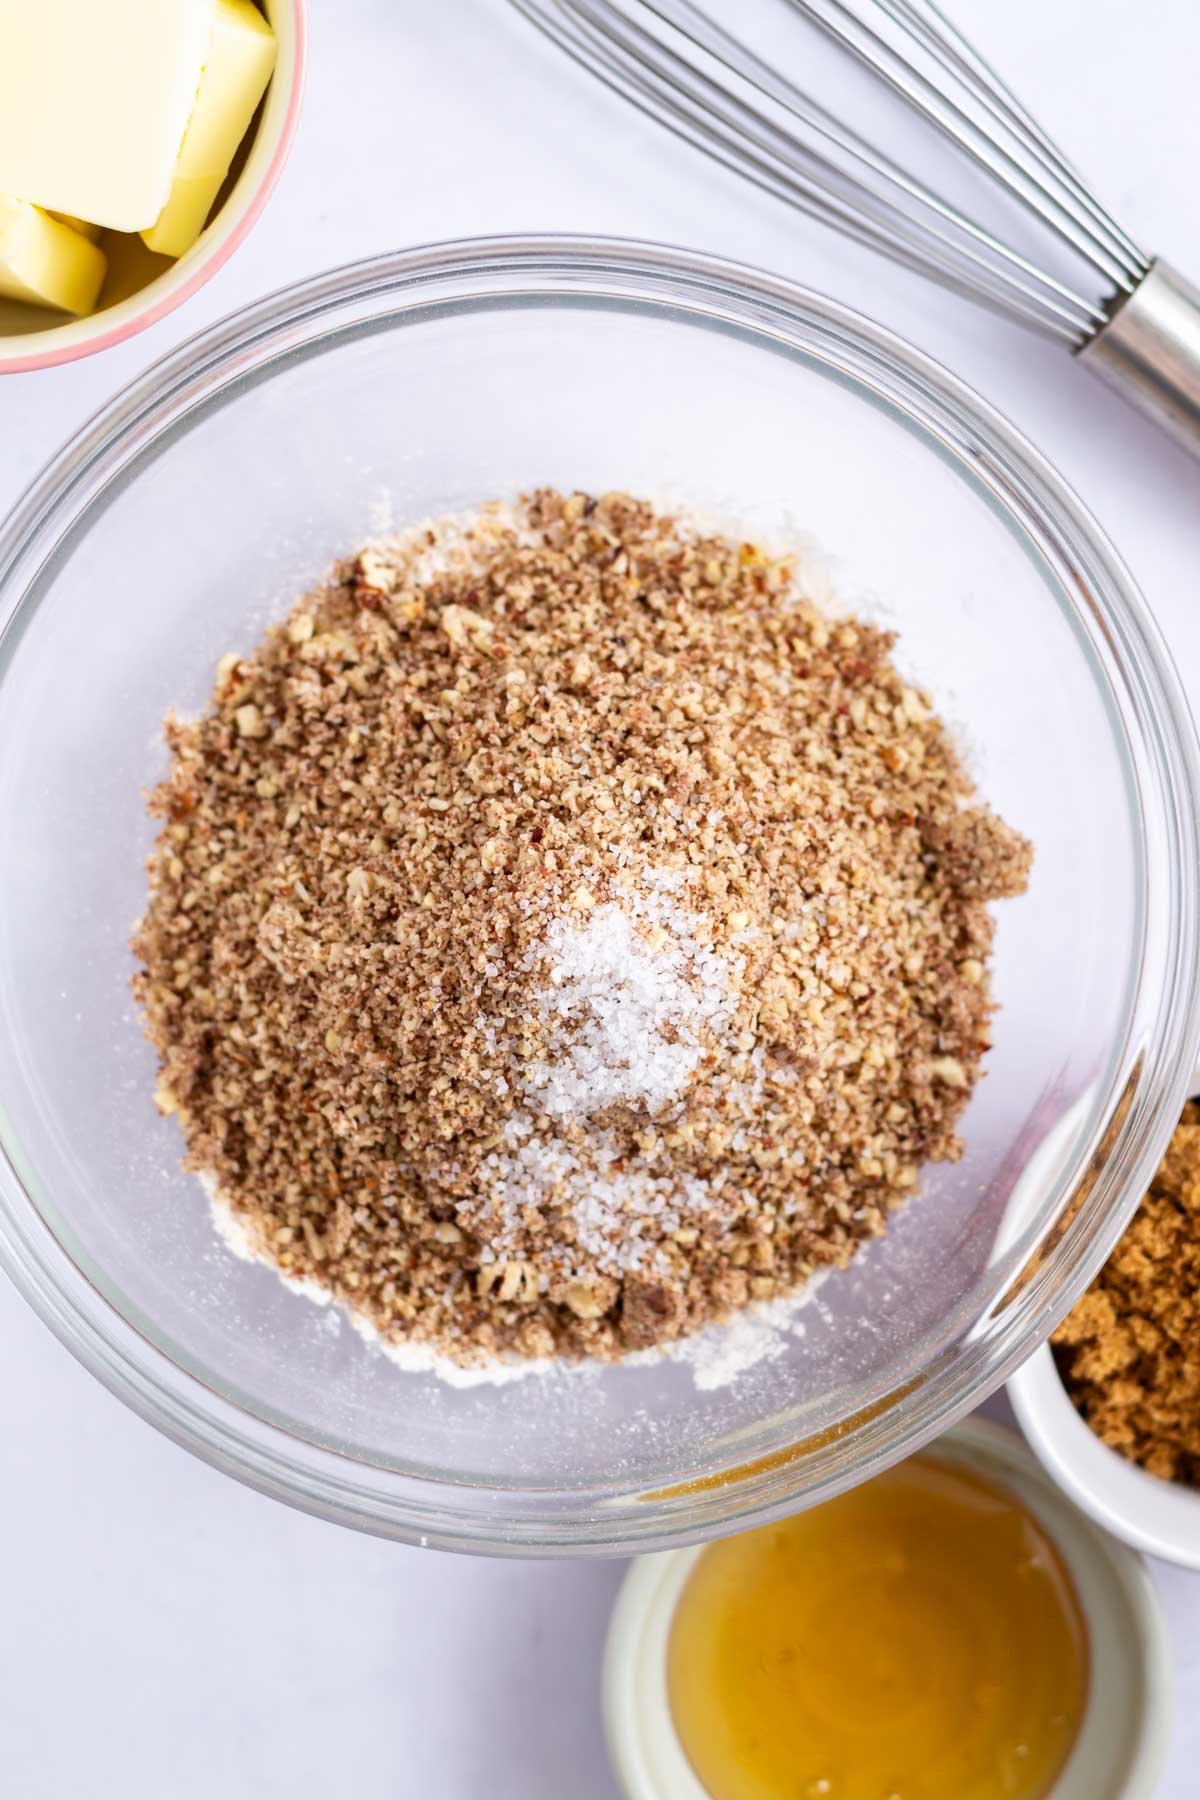
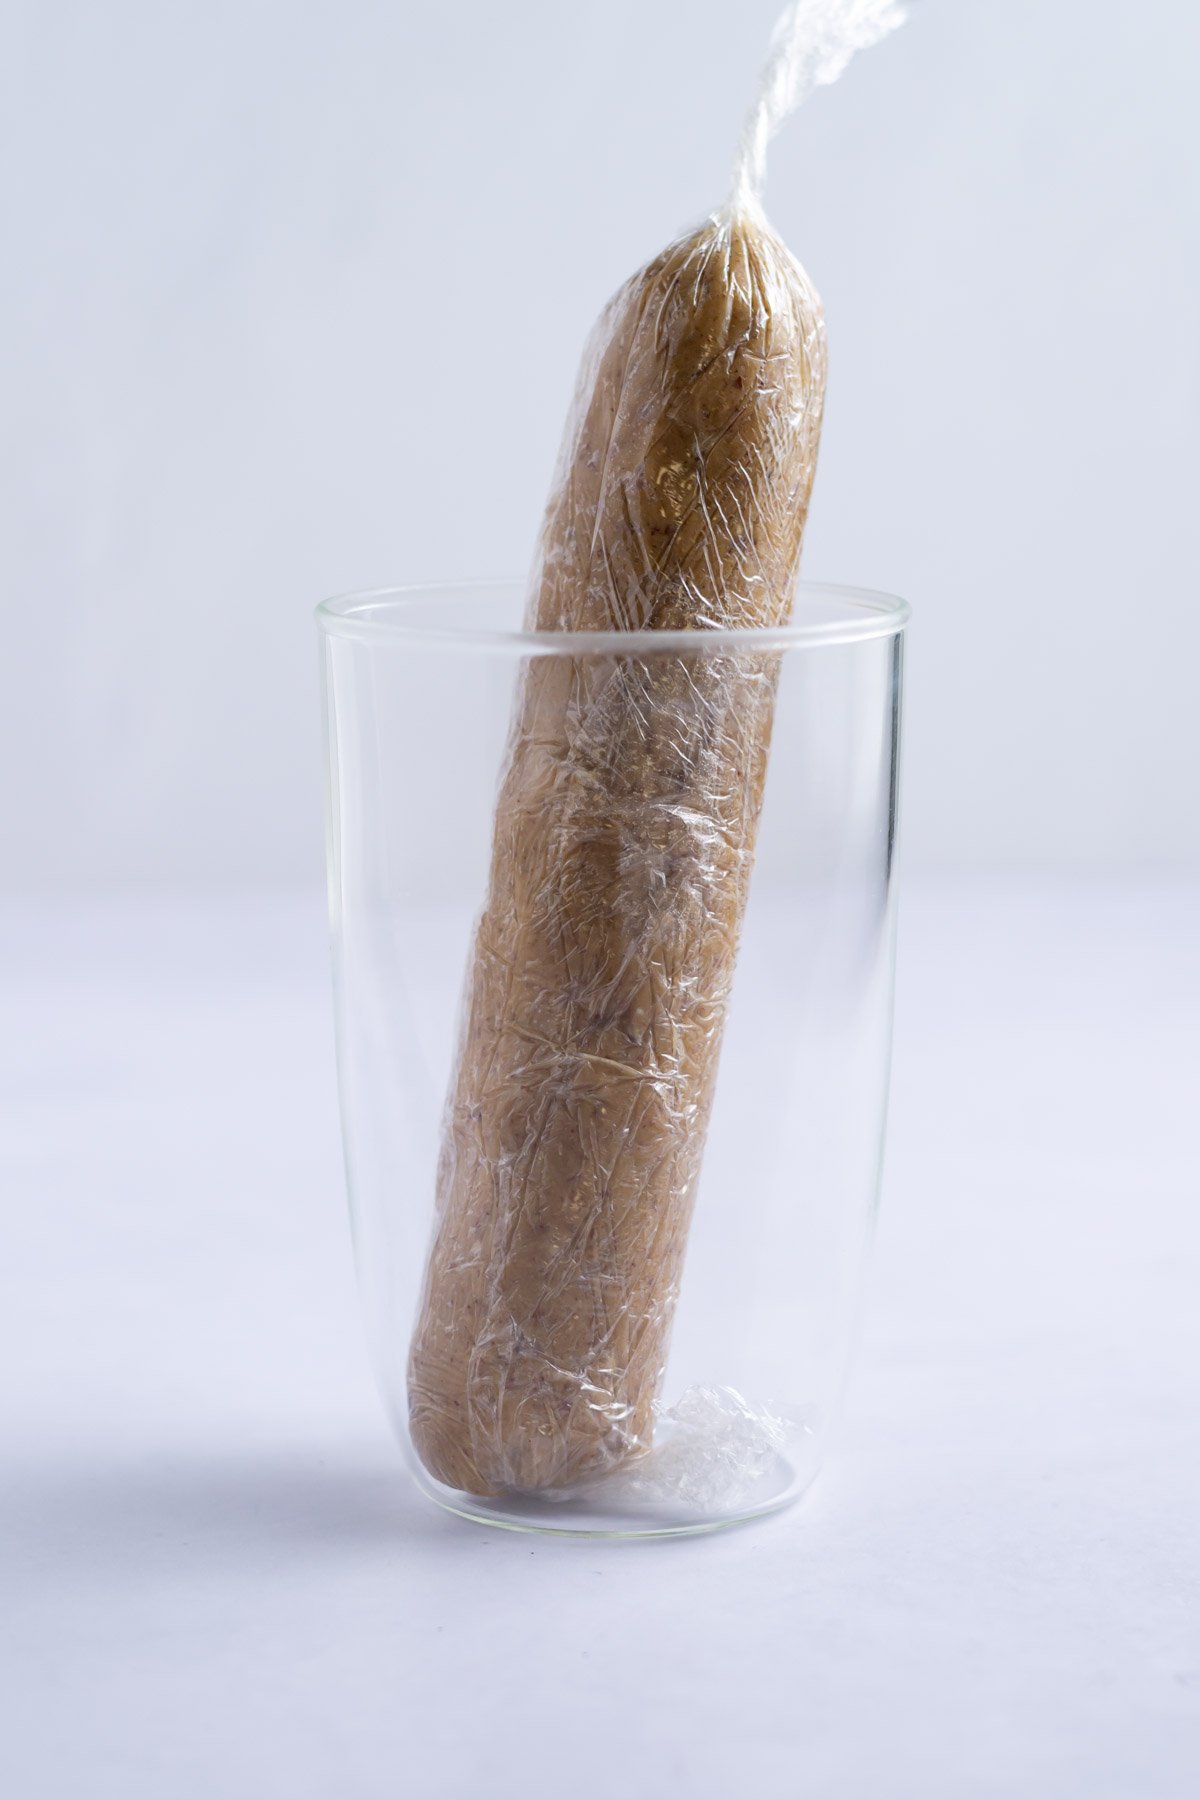
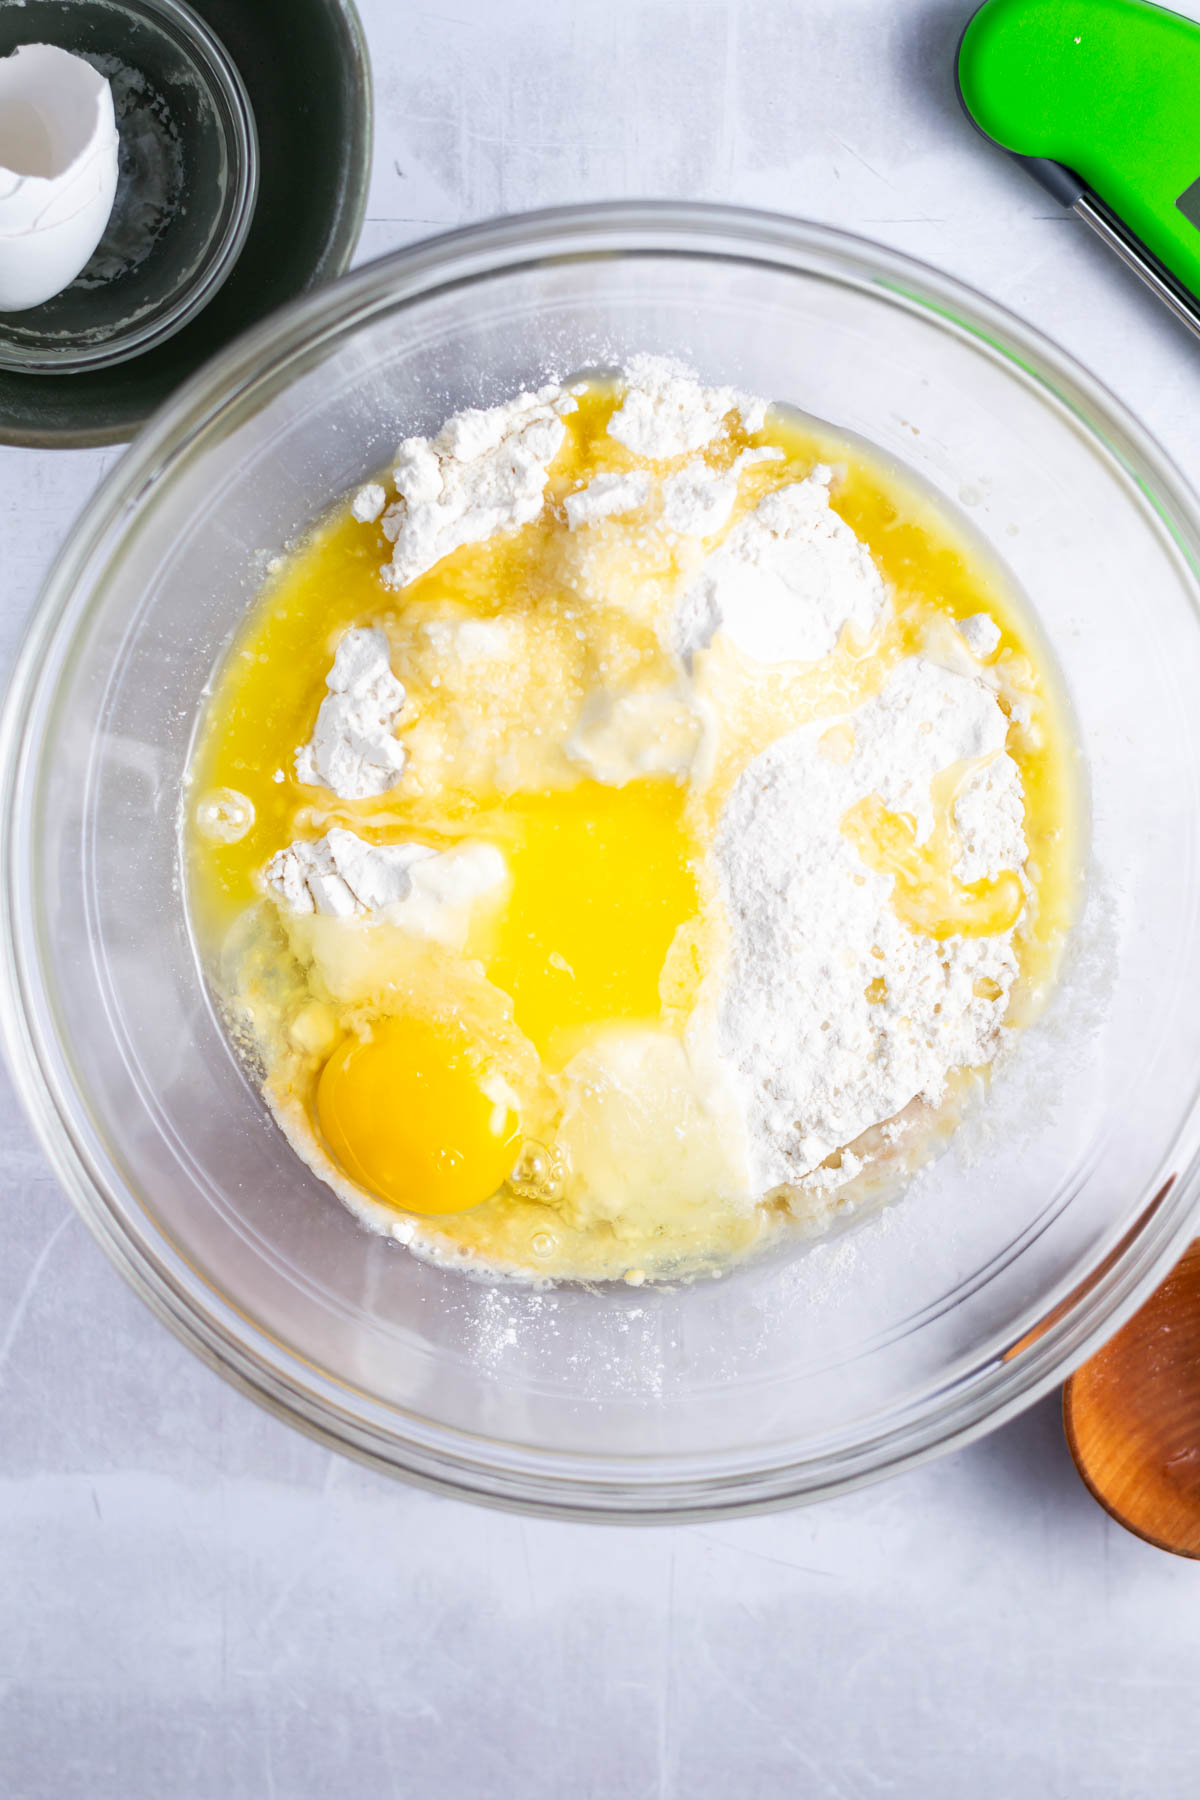
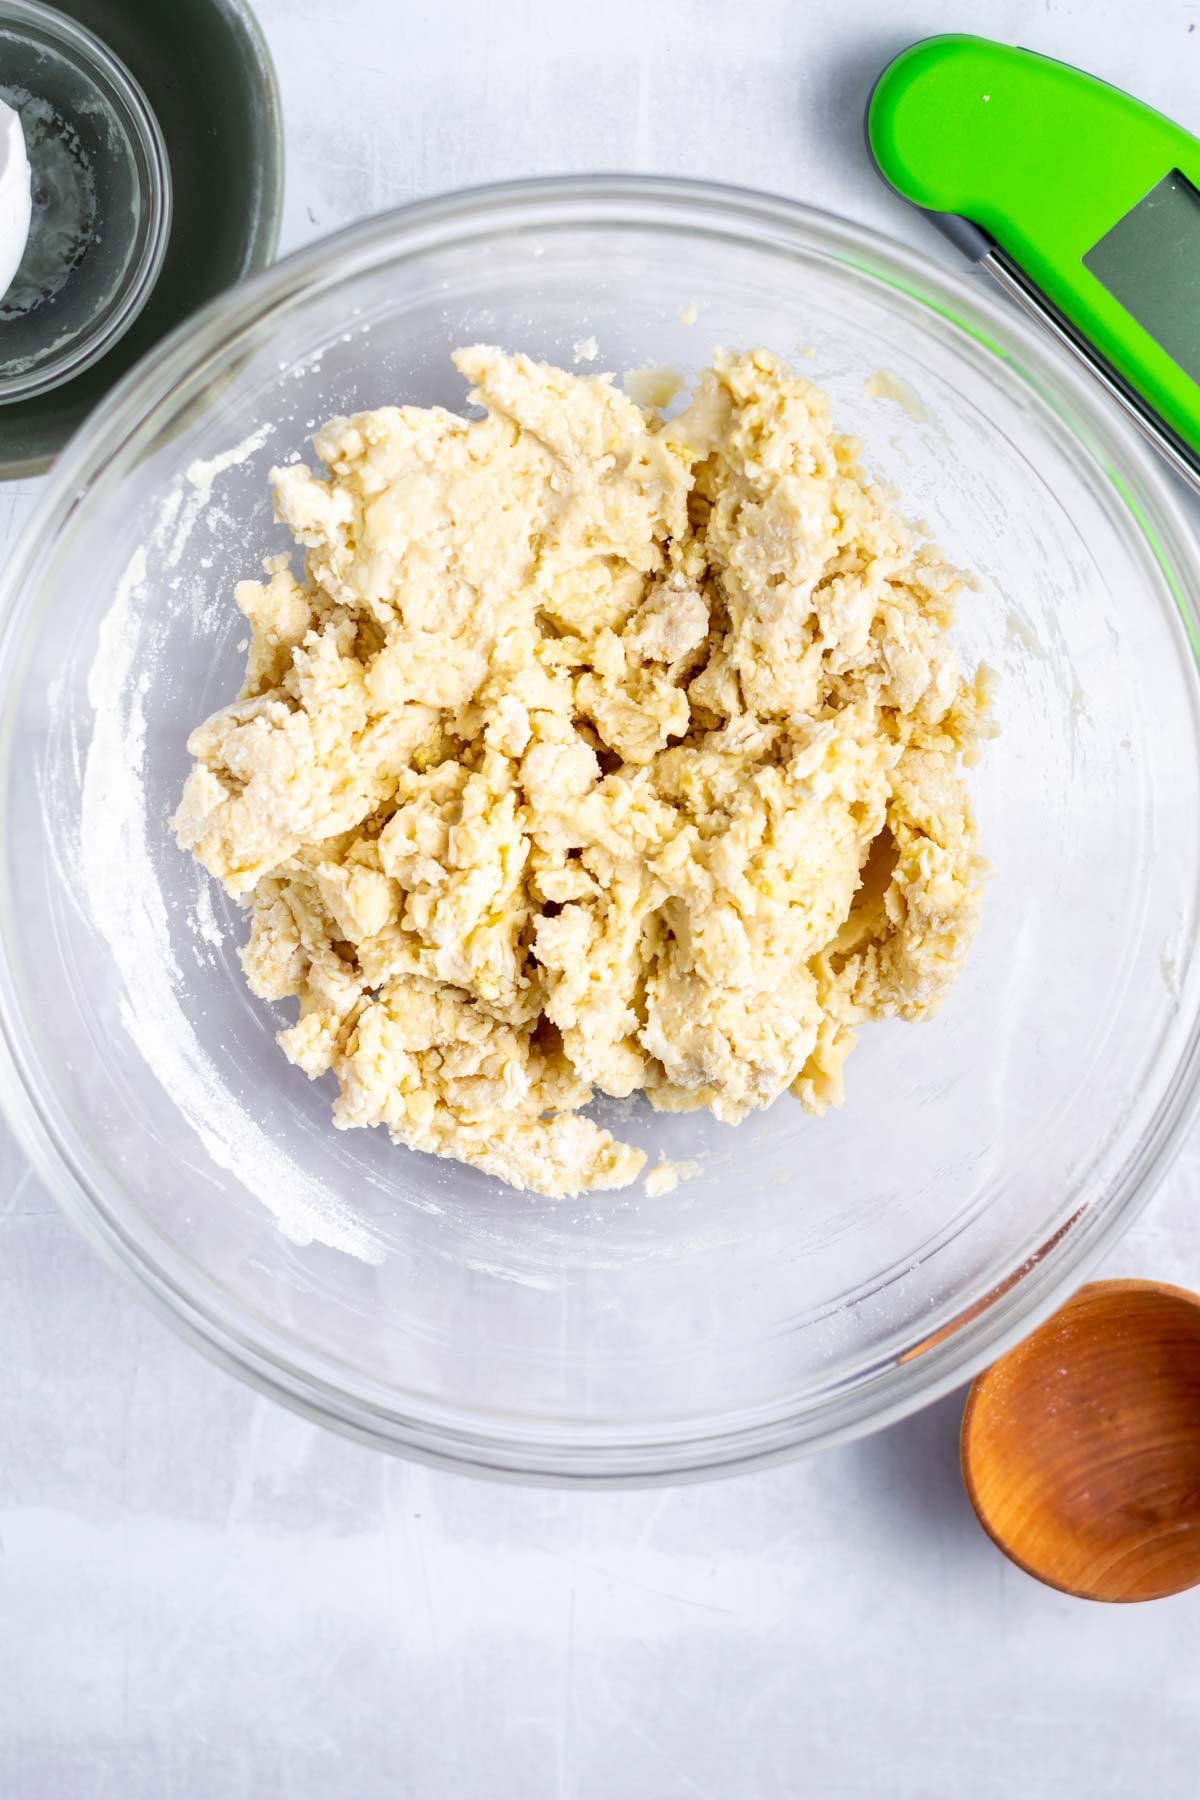
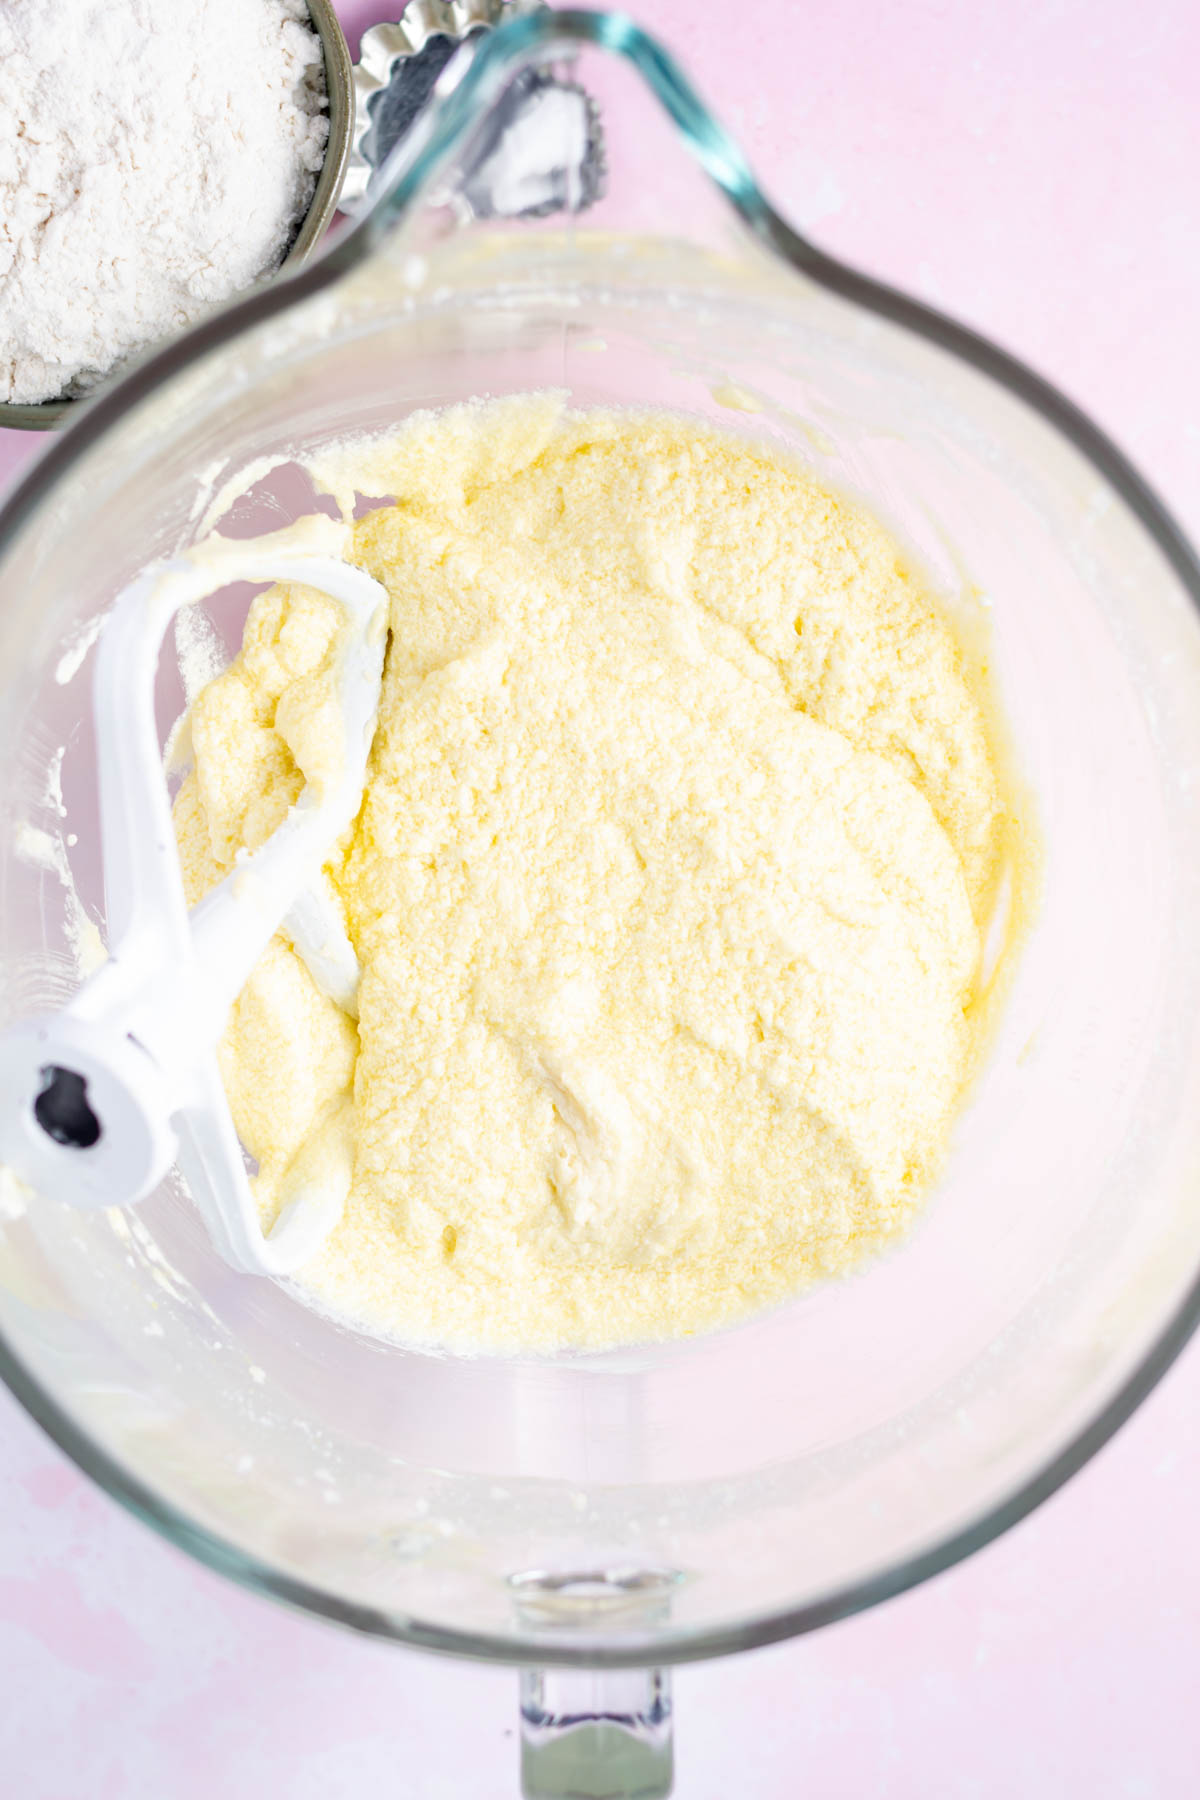
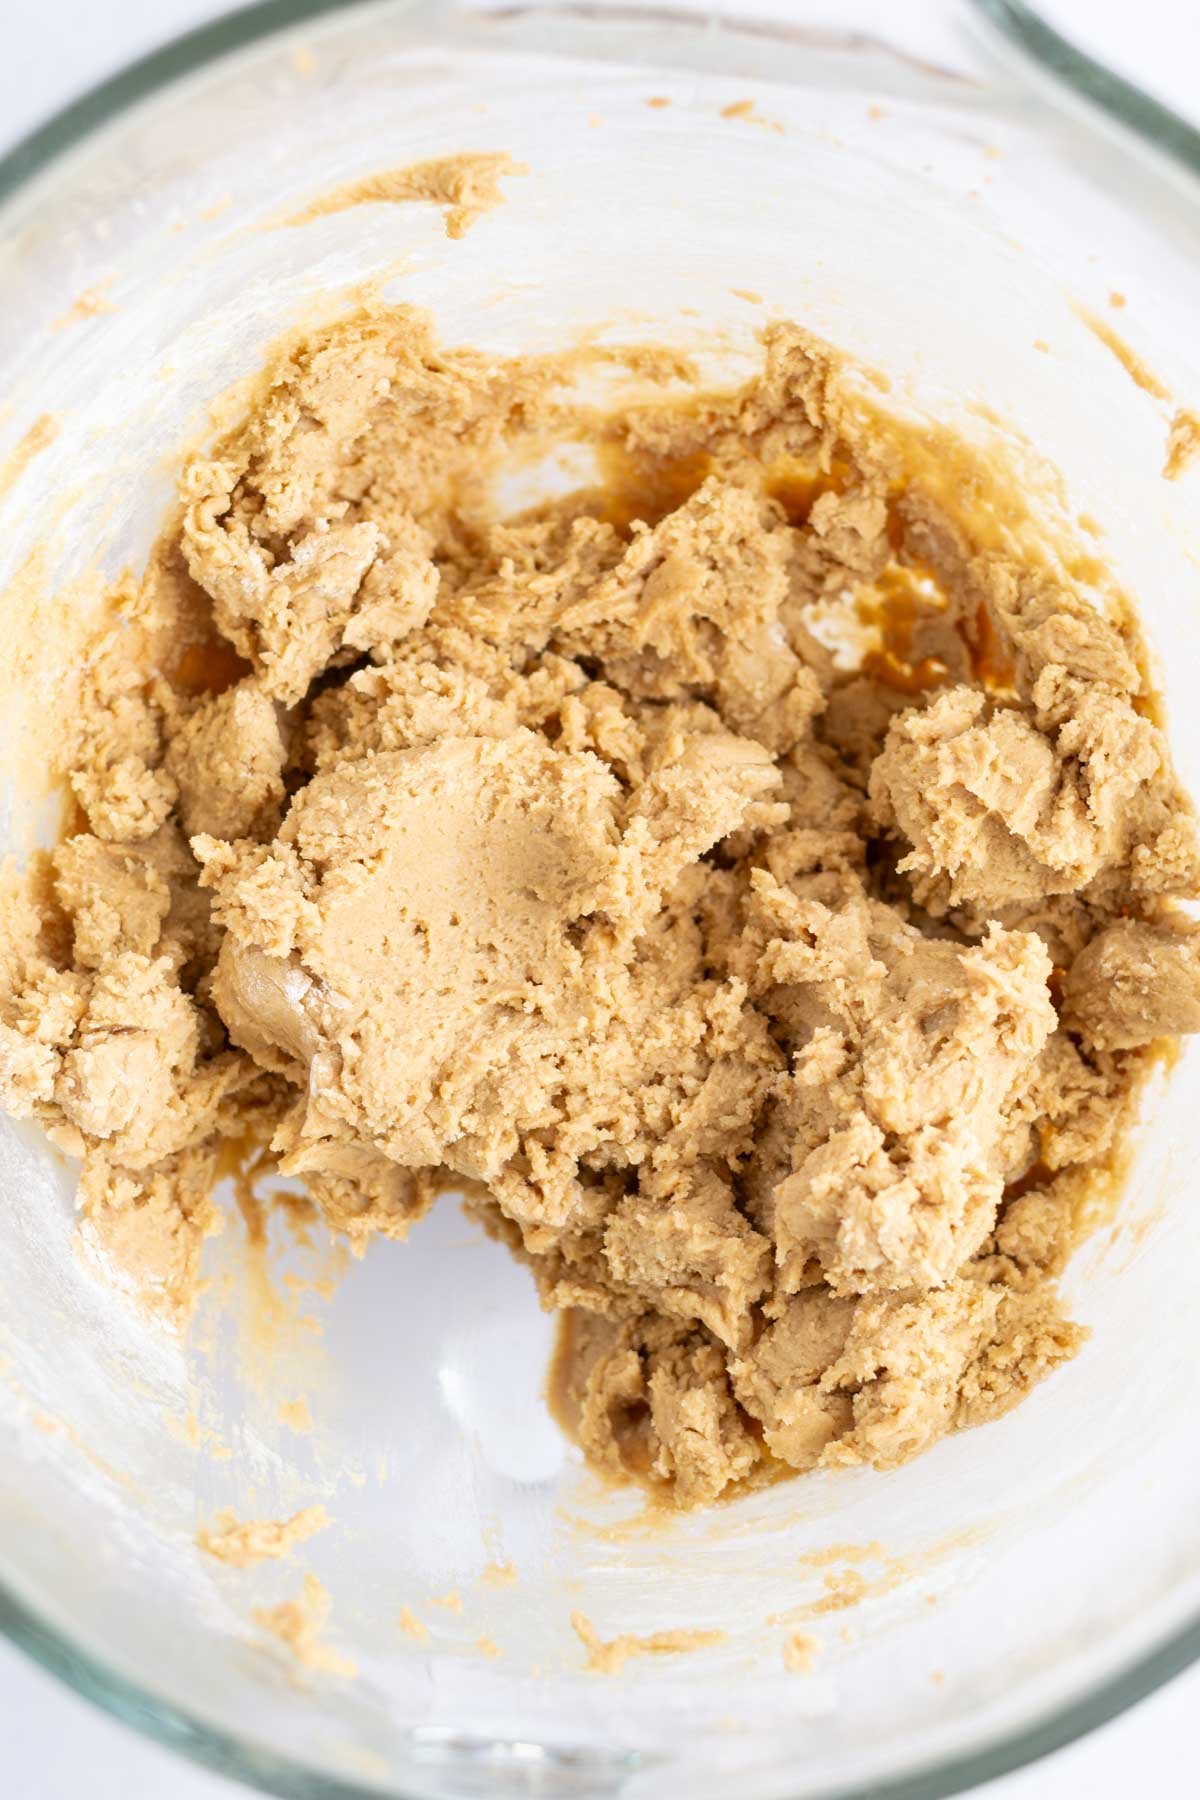
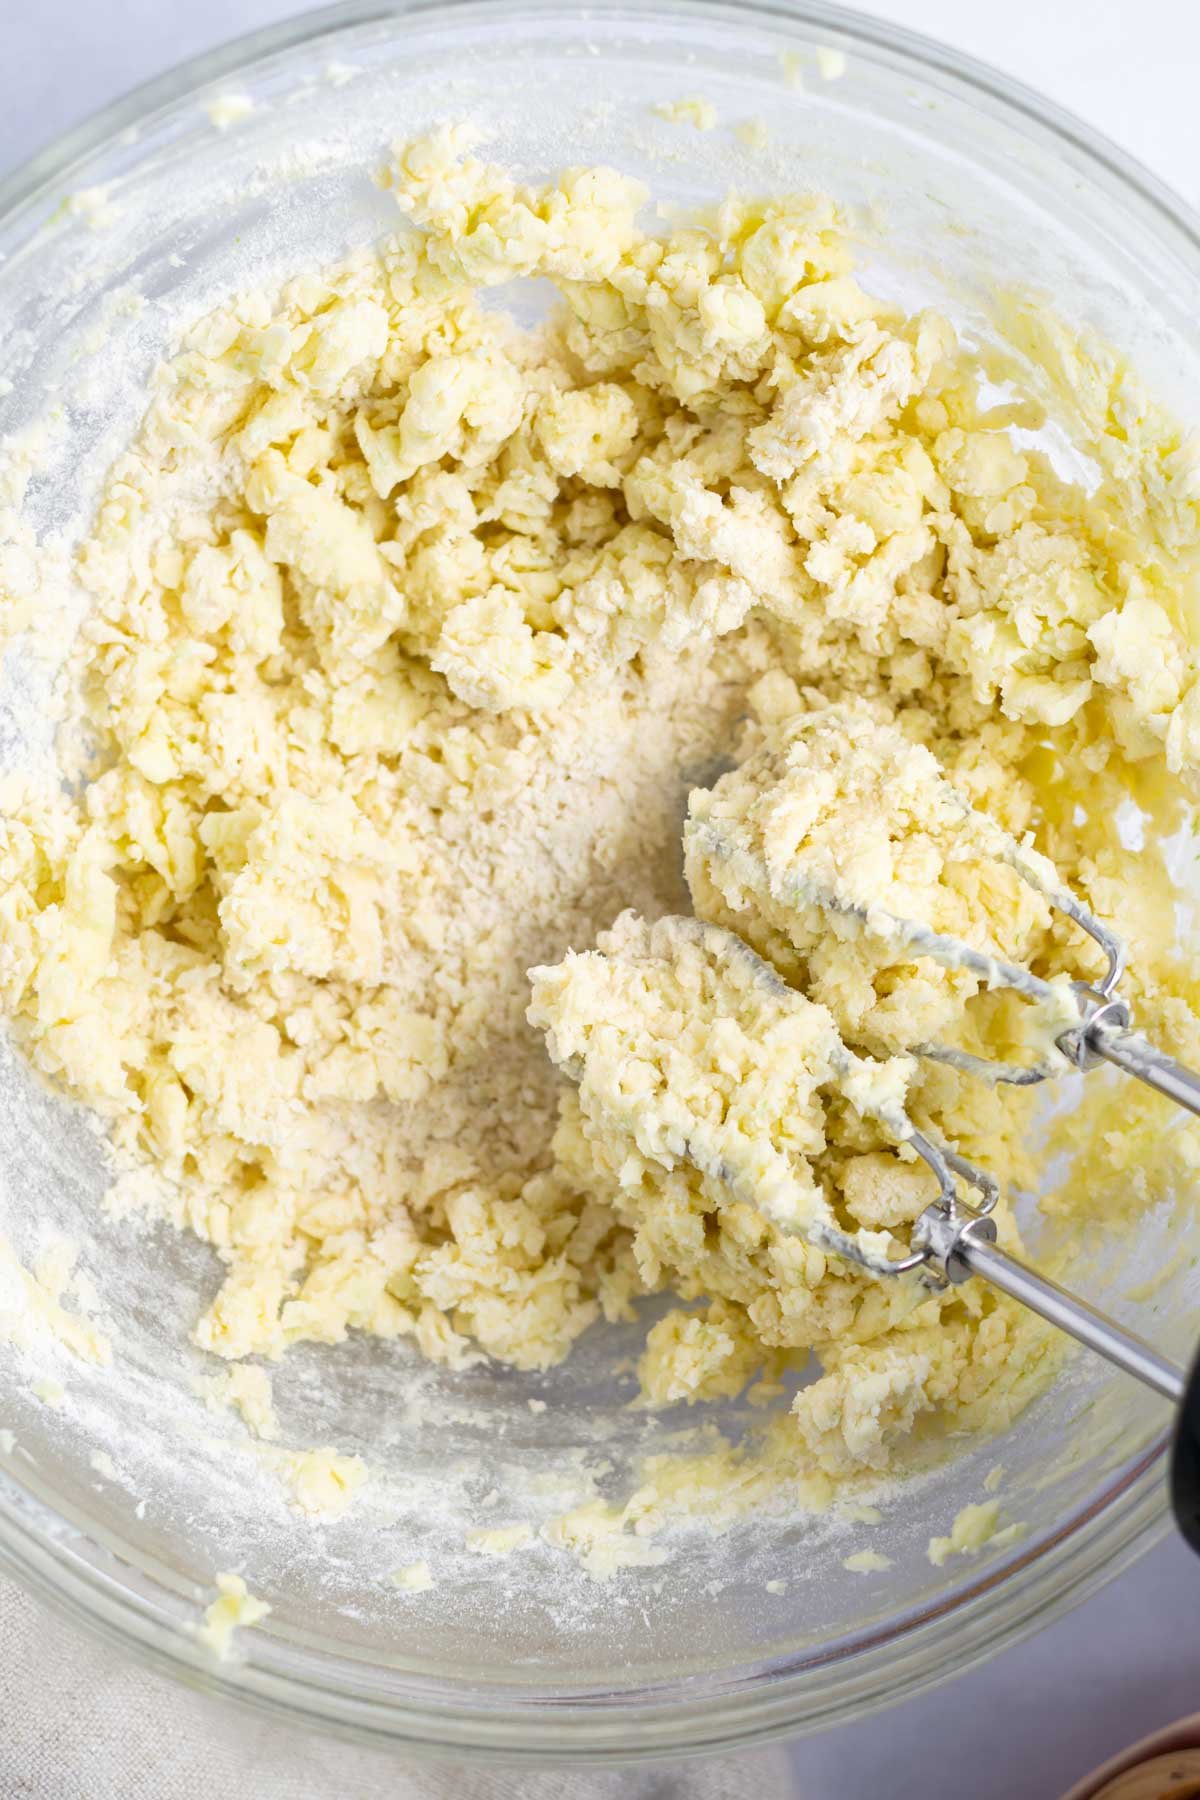
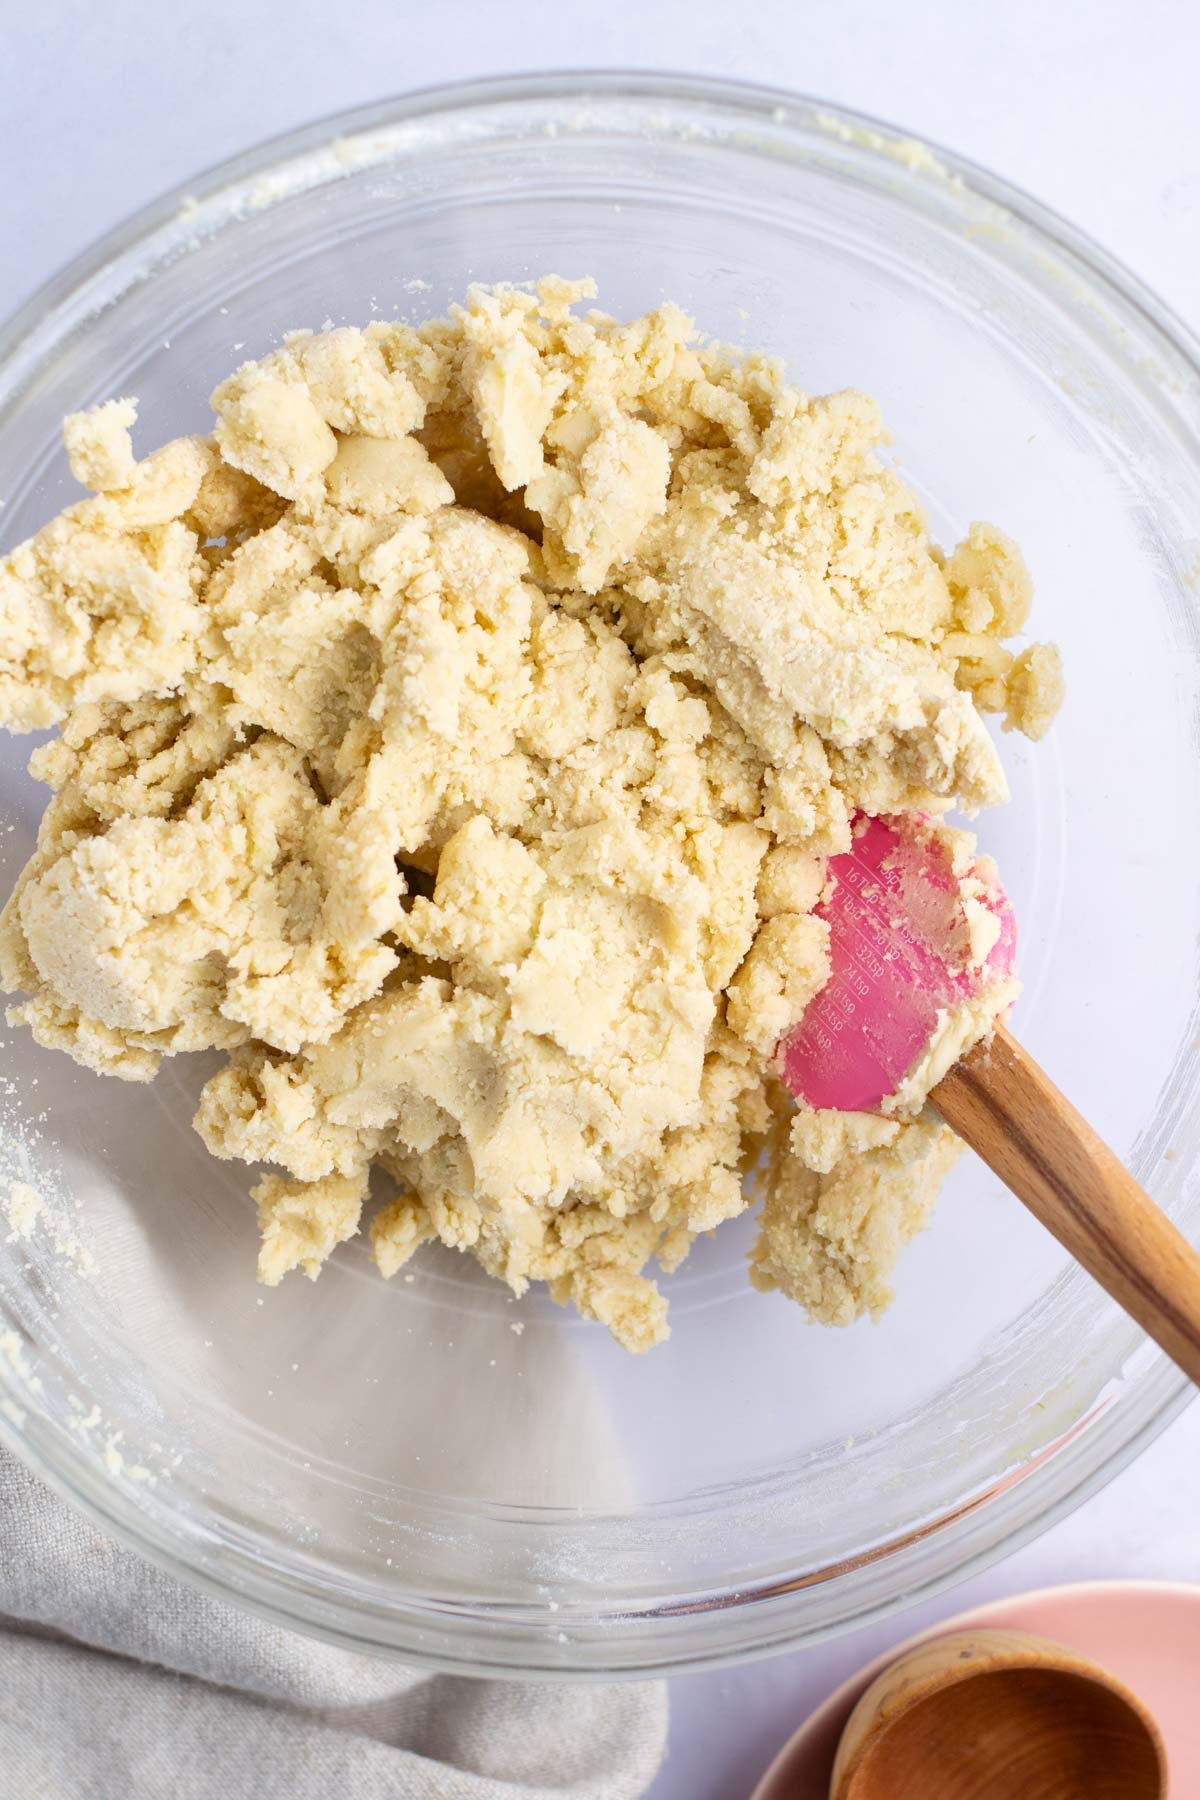
Now add 1 cup of the all-purpose flour and mix on low until it starts to combine. Add the almond flour and mix on low to combine. Stop and scrape the bowl and add in the final cup of all-purpose flour, mixing on low until just fully combined. The mixture may be a little crumbly, but will form a ball if you squeeze some together with your hand.
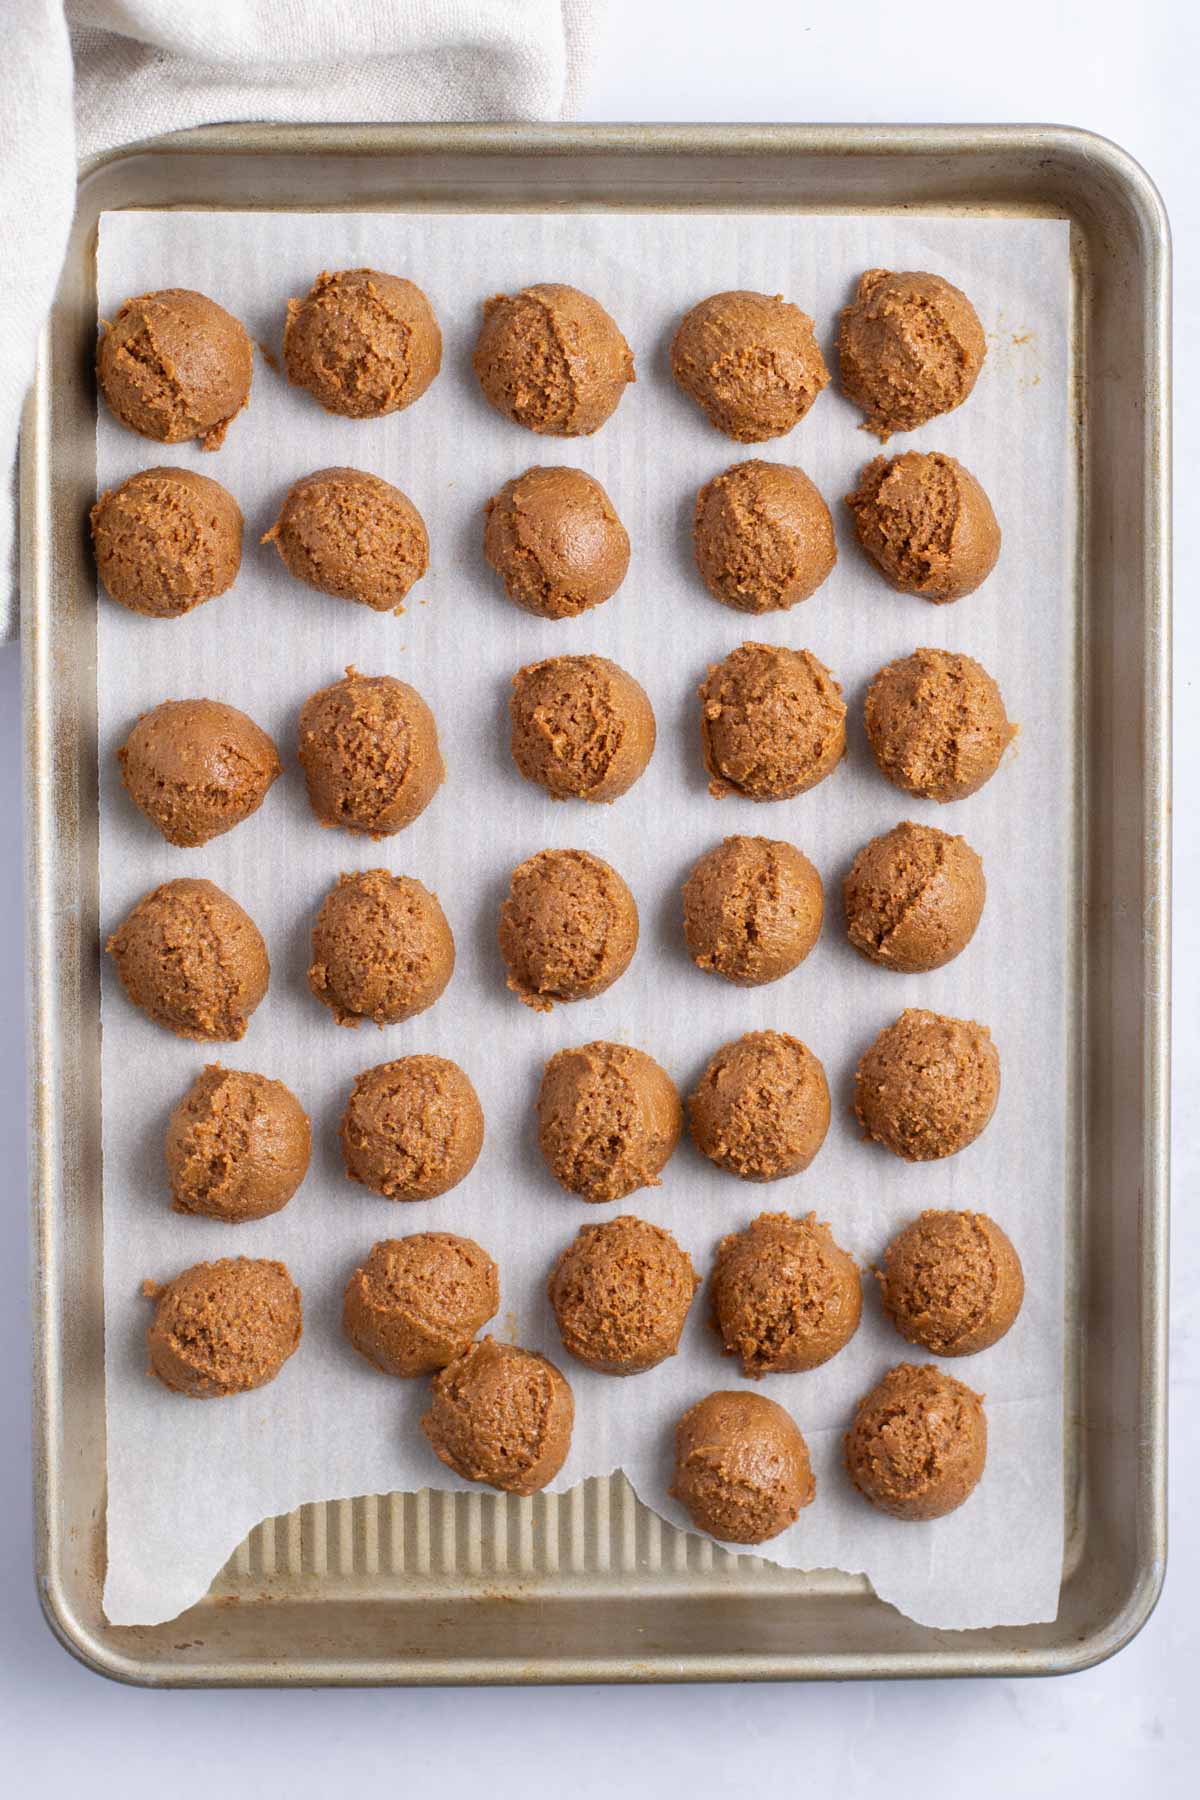
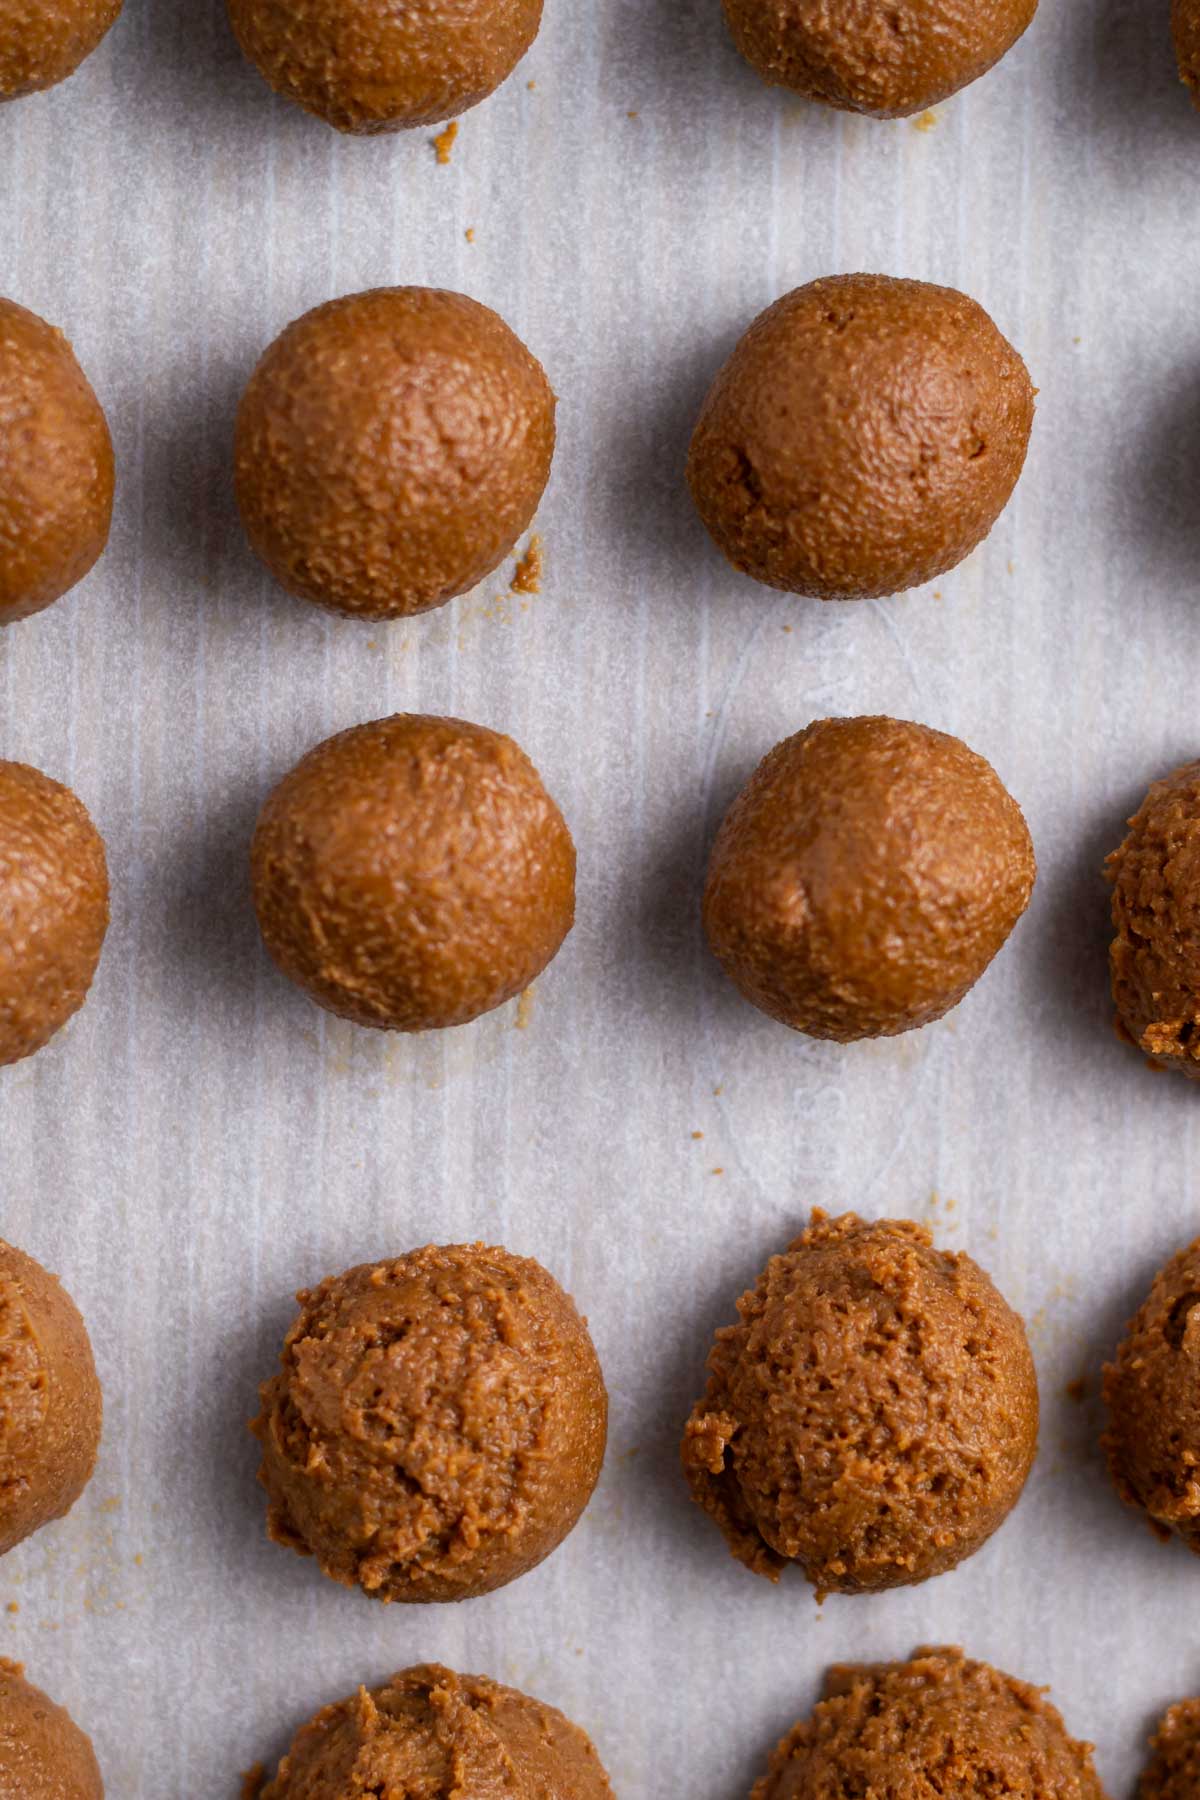
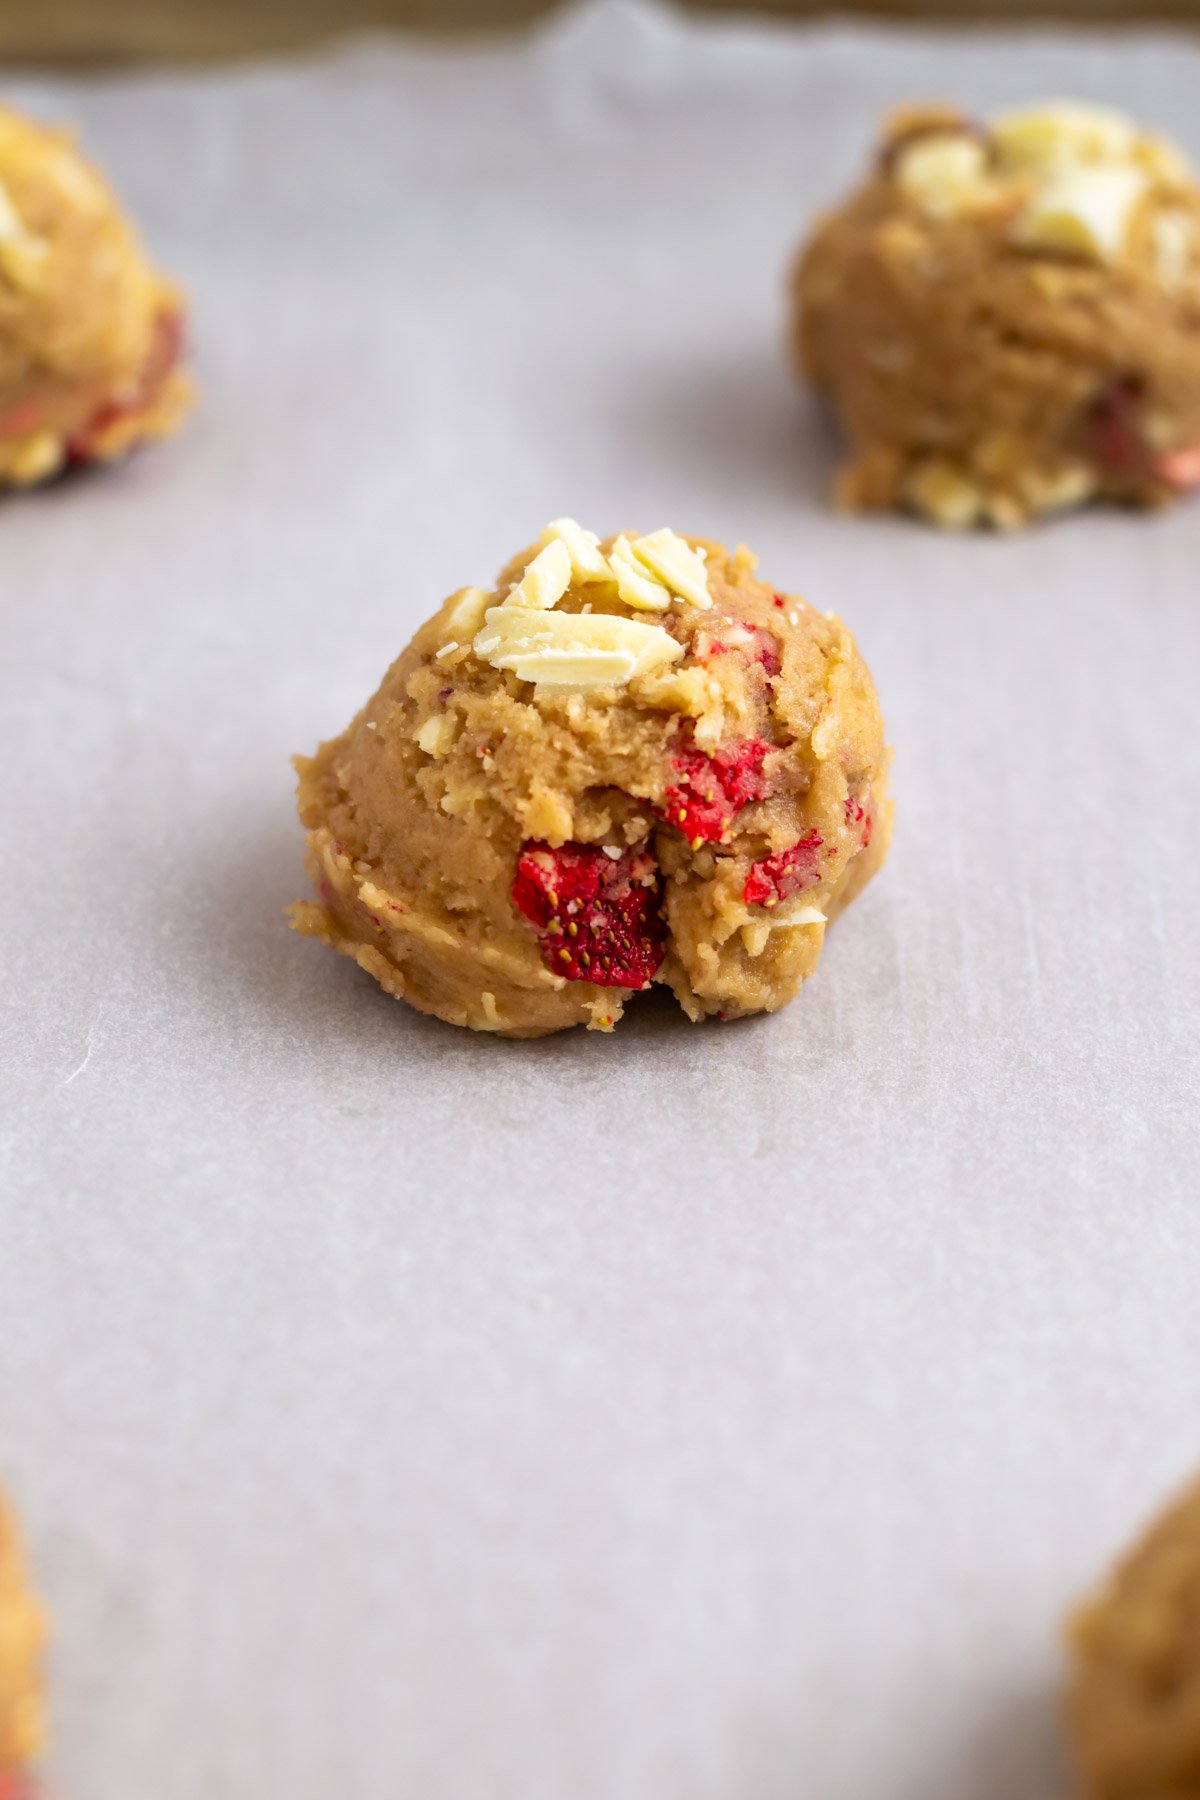
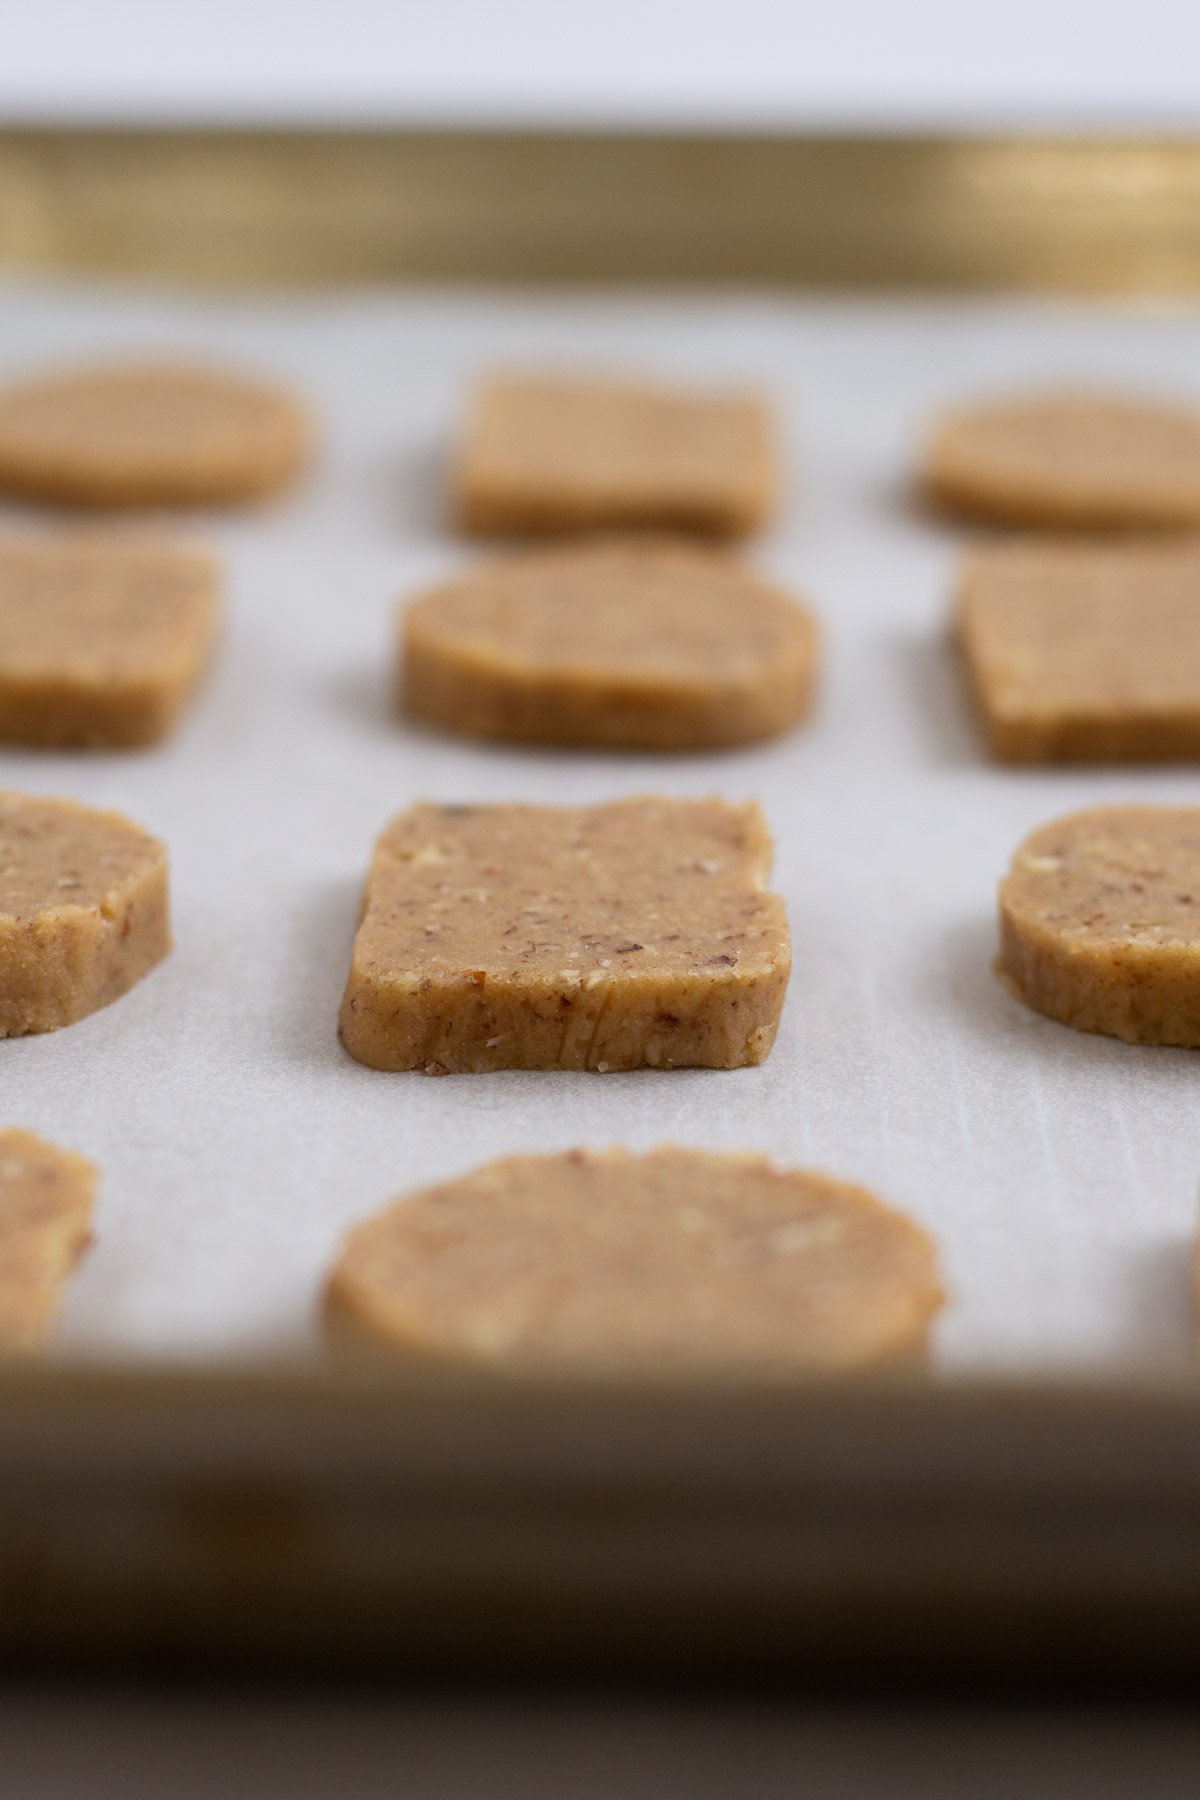
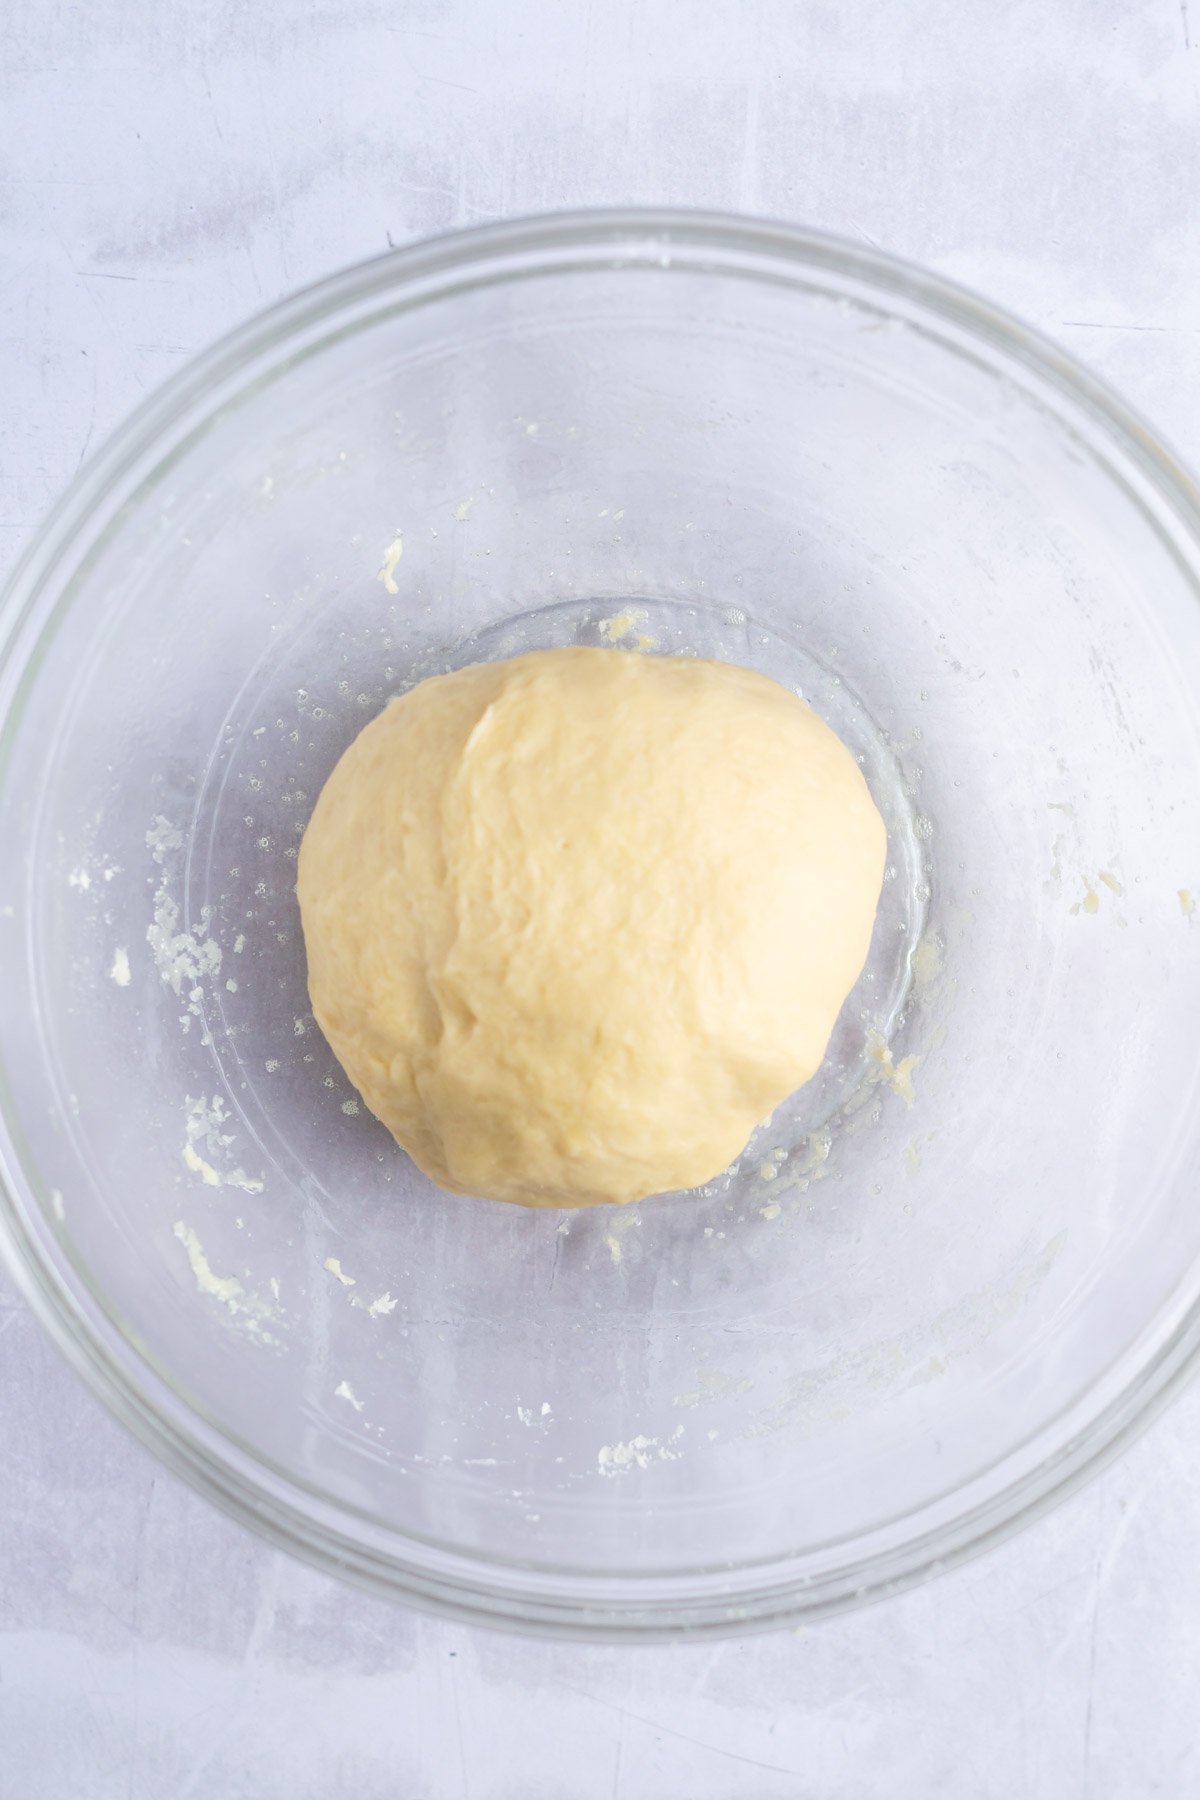
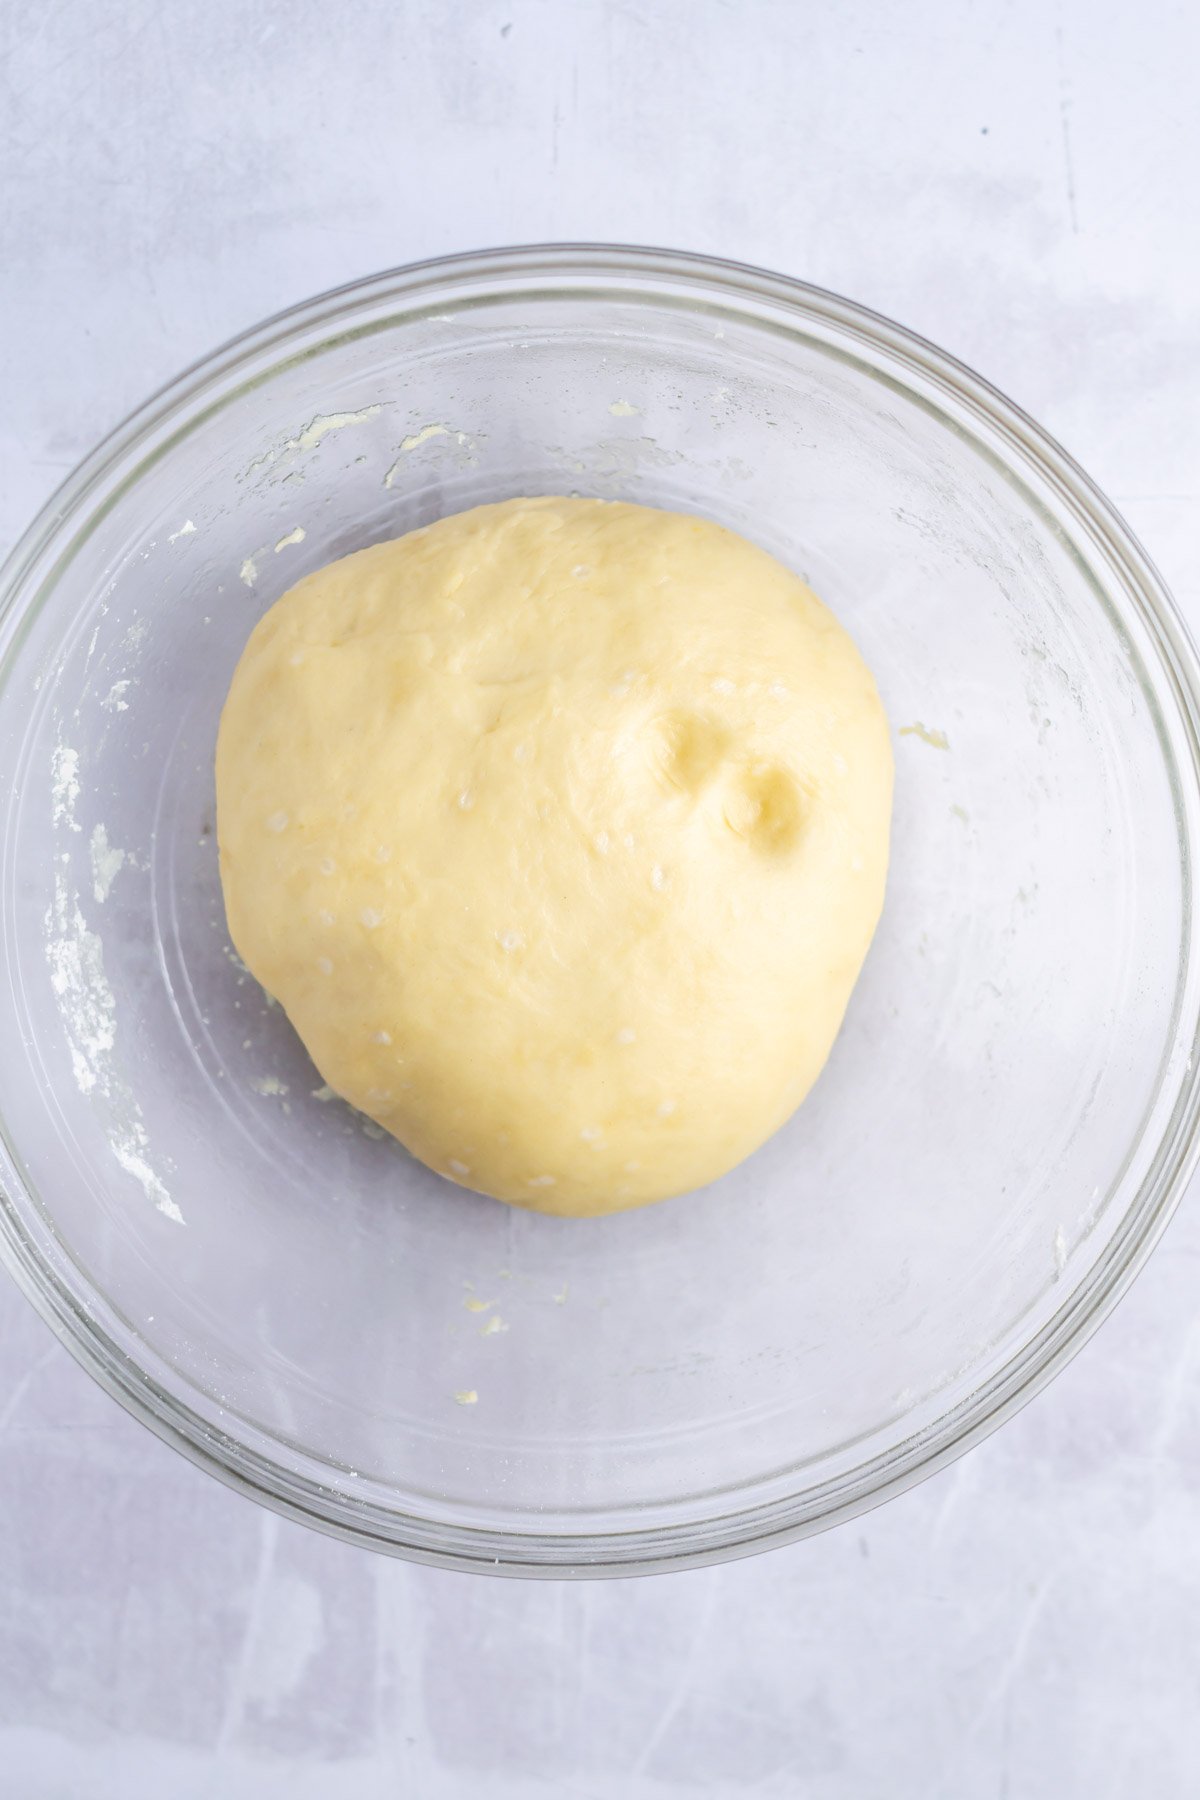
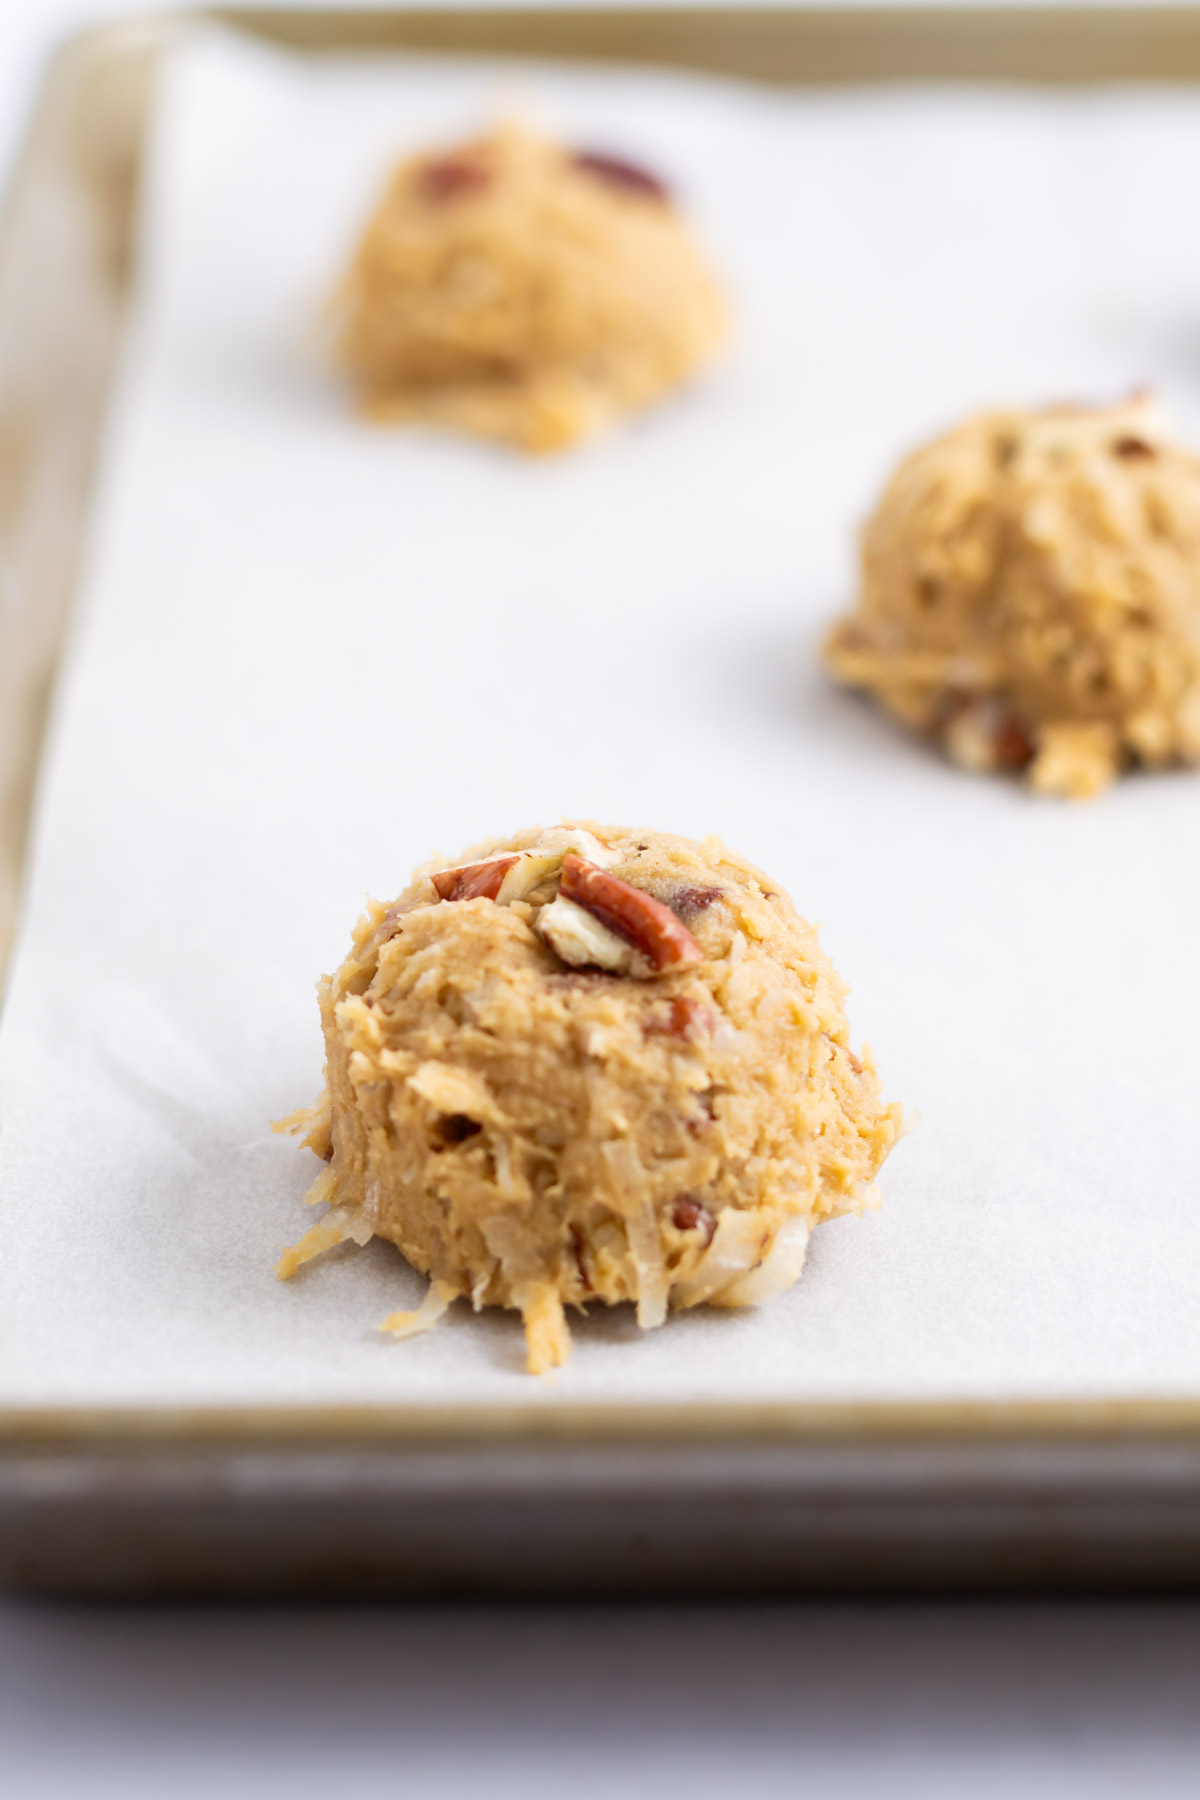
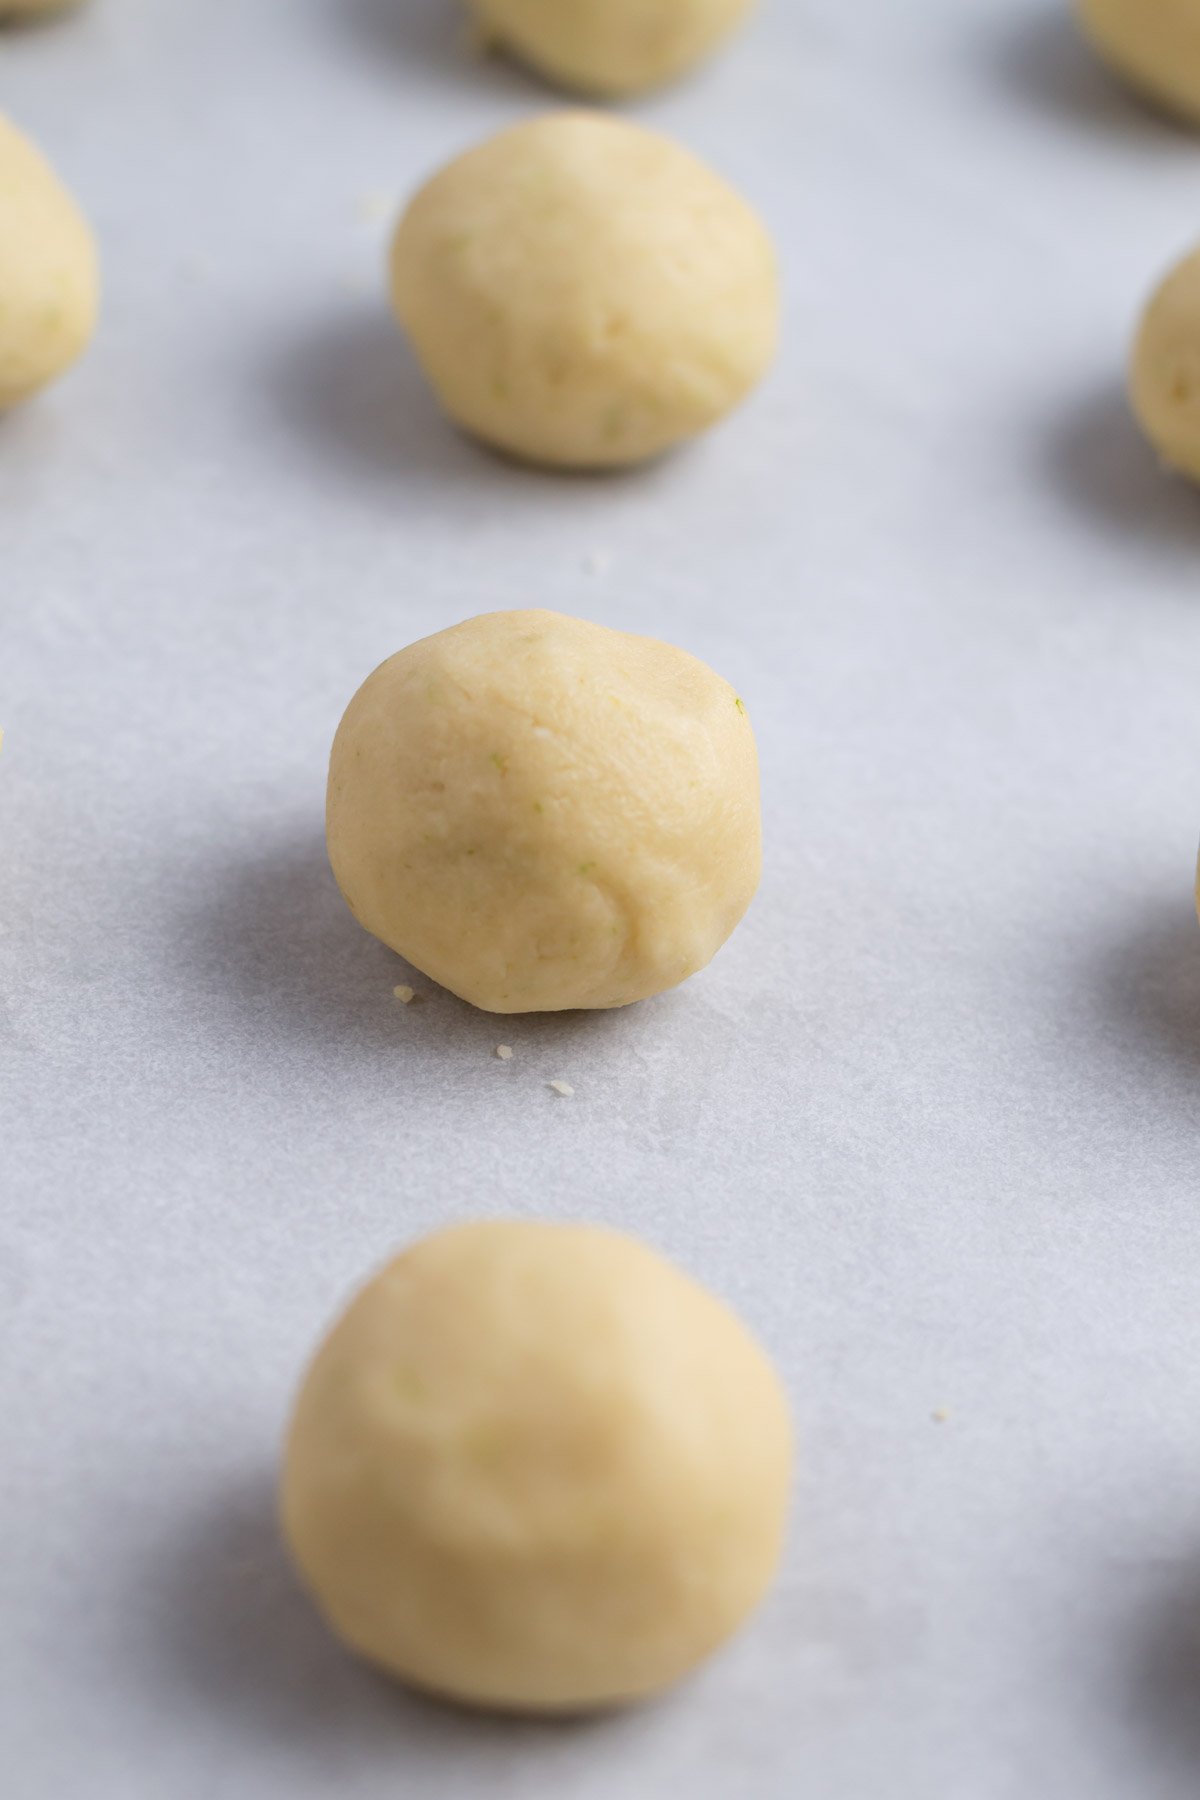
Then divide the dough into approximately 1-inch balls {mine were 28g each} and place on the prepared baking pan. They do not spread much so you can place them fairly close together. Bake for 13-17 minutes. The cookies will be barely light brown along the bottoms. Allow the cookies to cool completely before glazing.
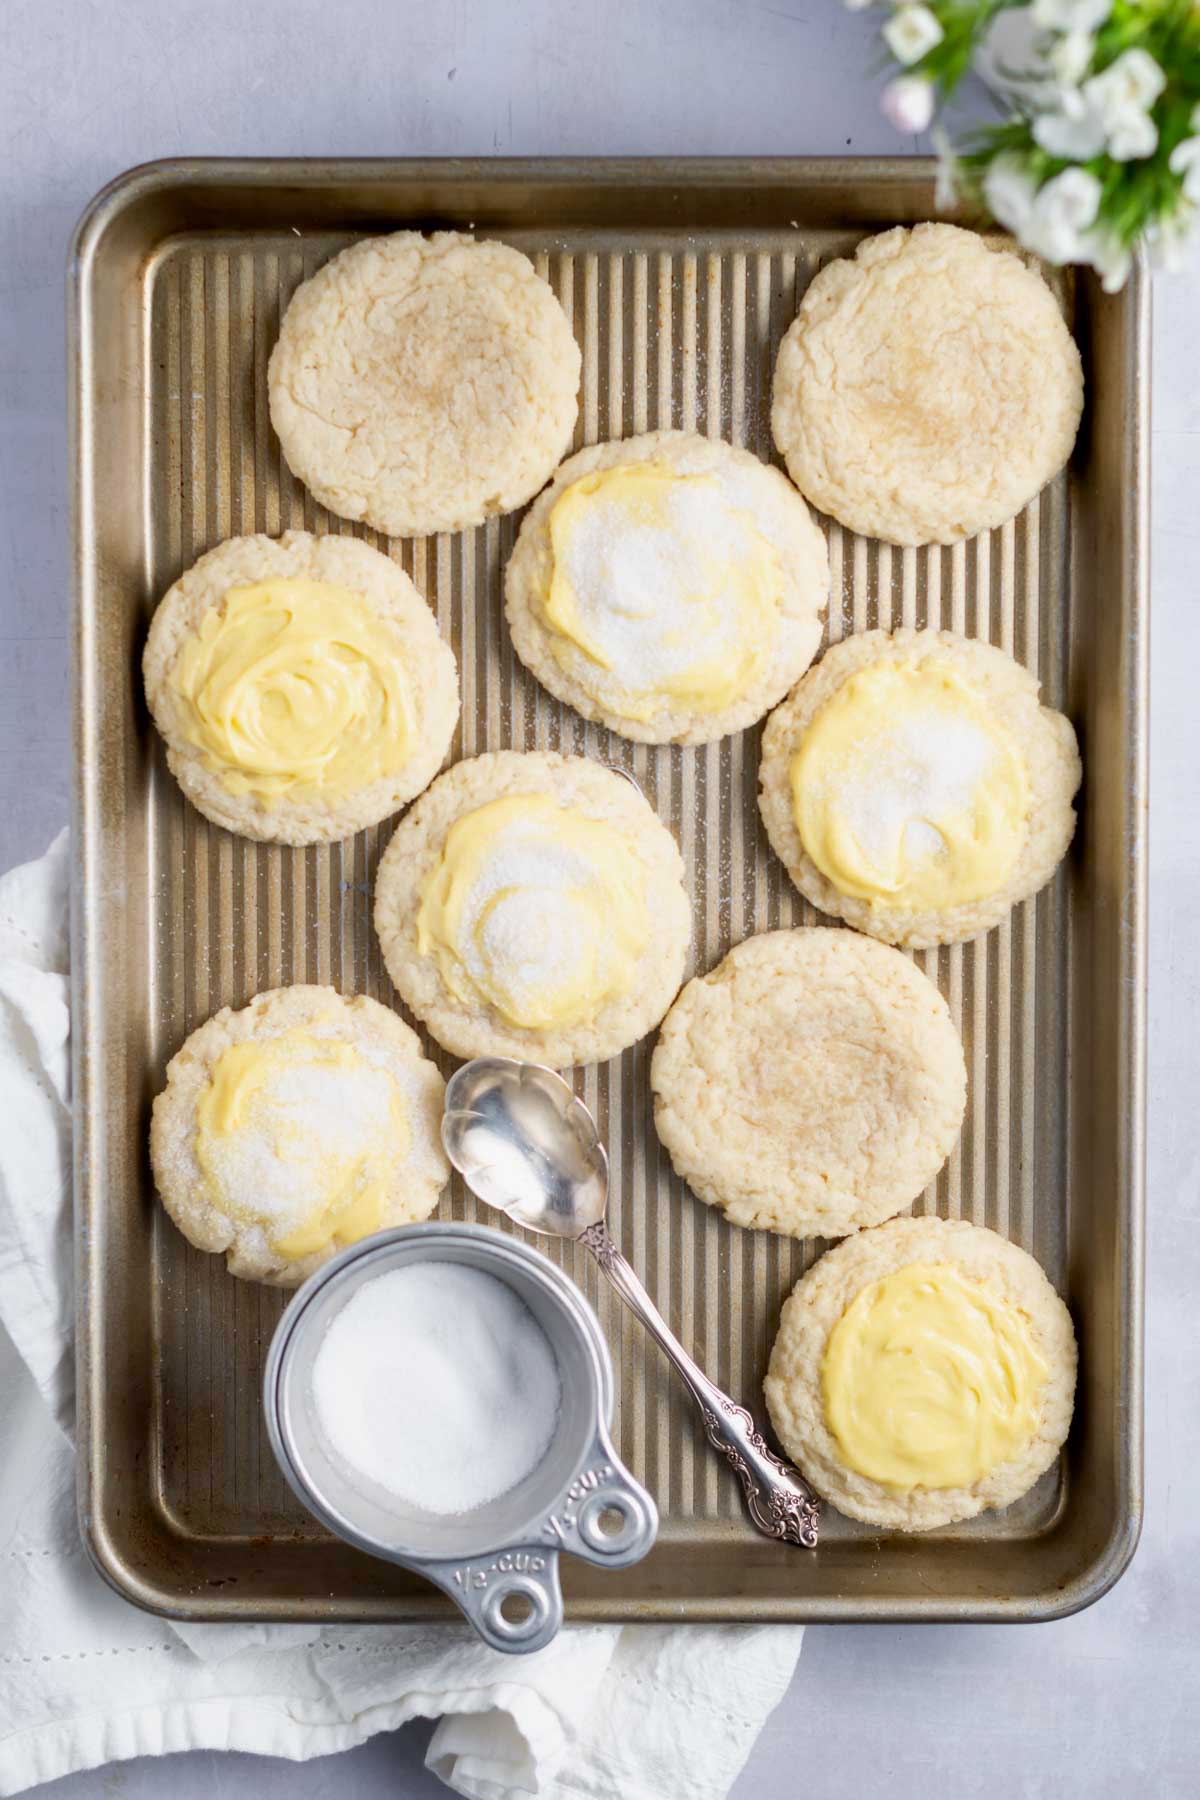
Glazing the lime cookies
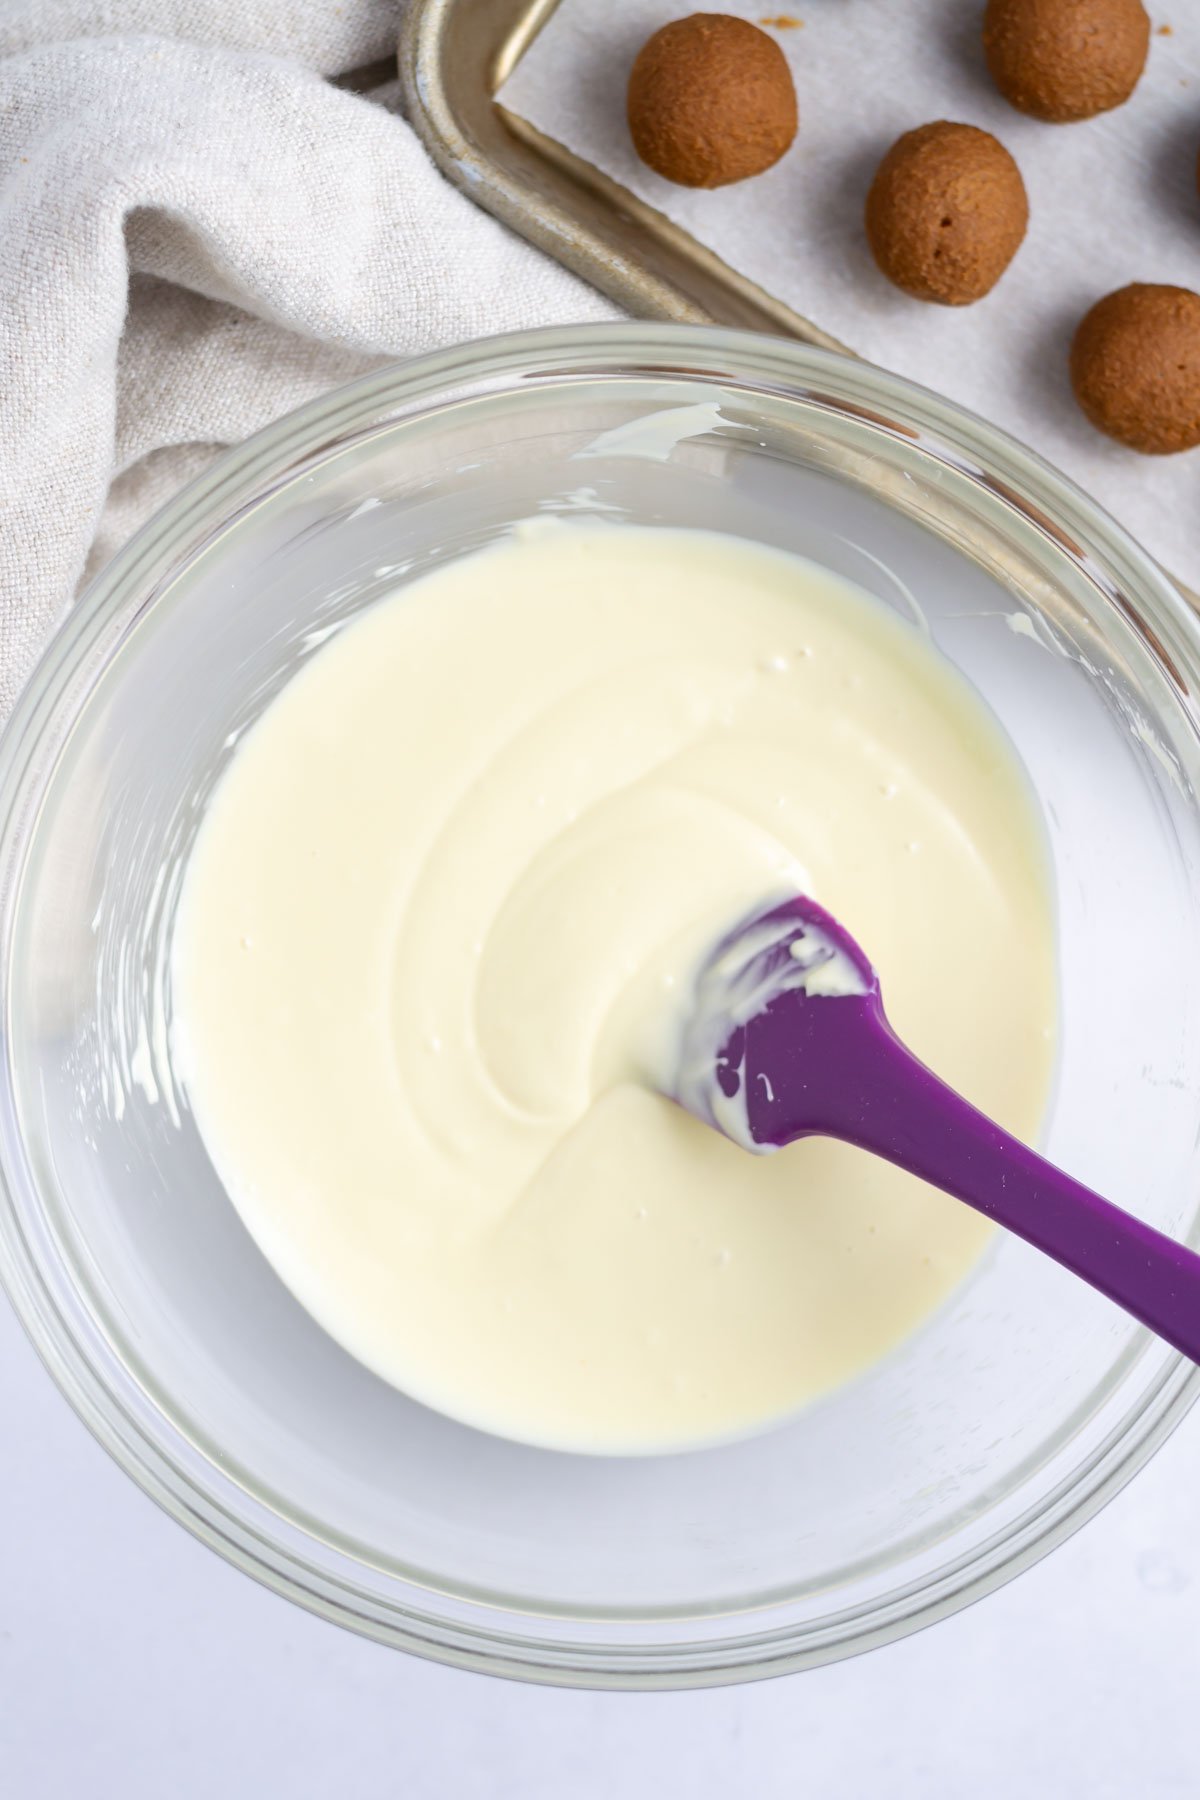
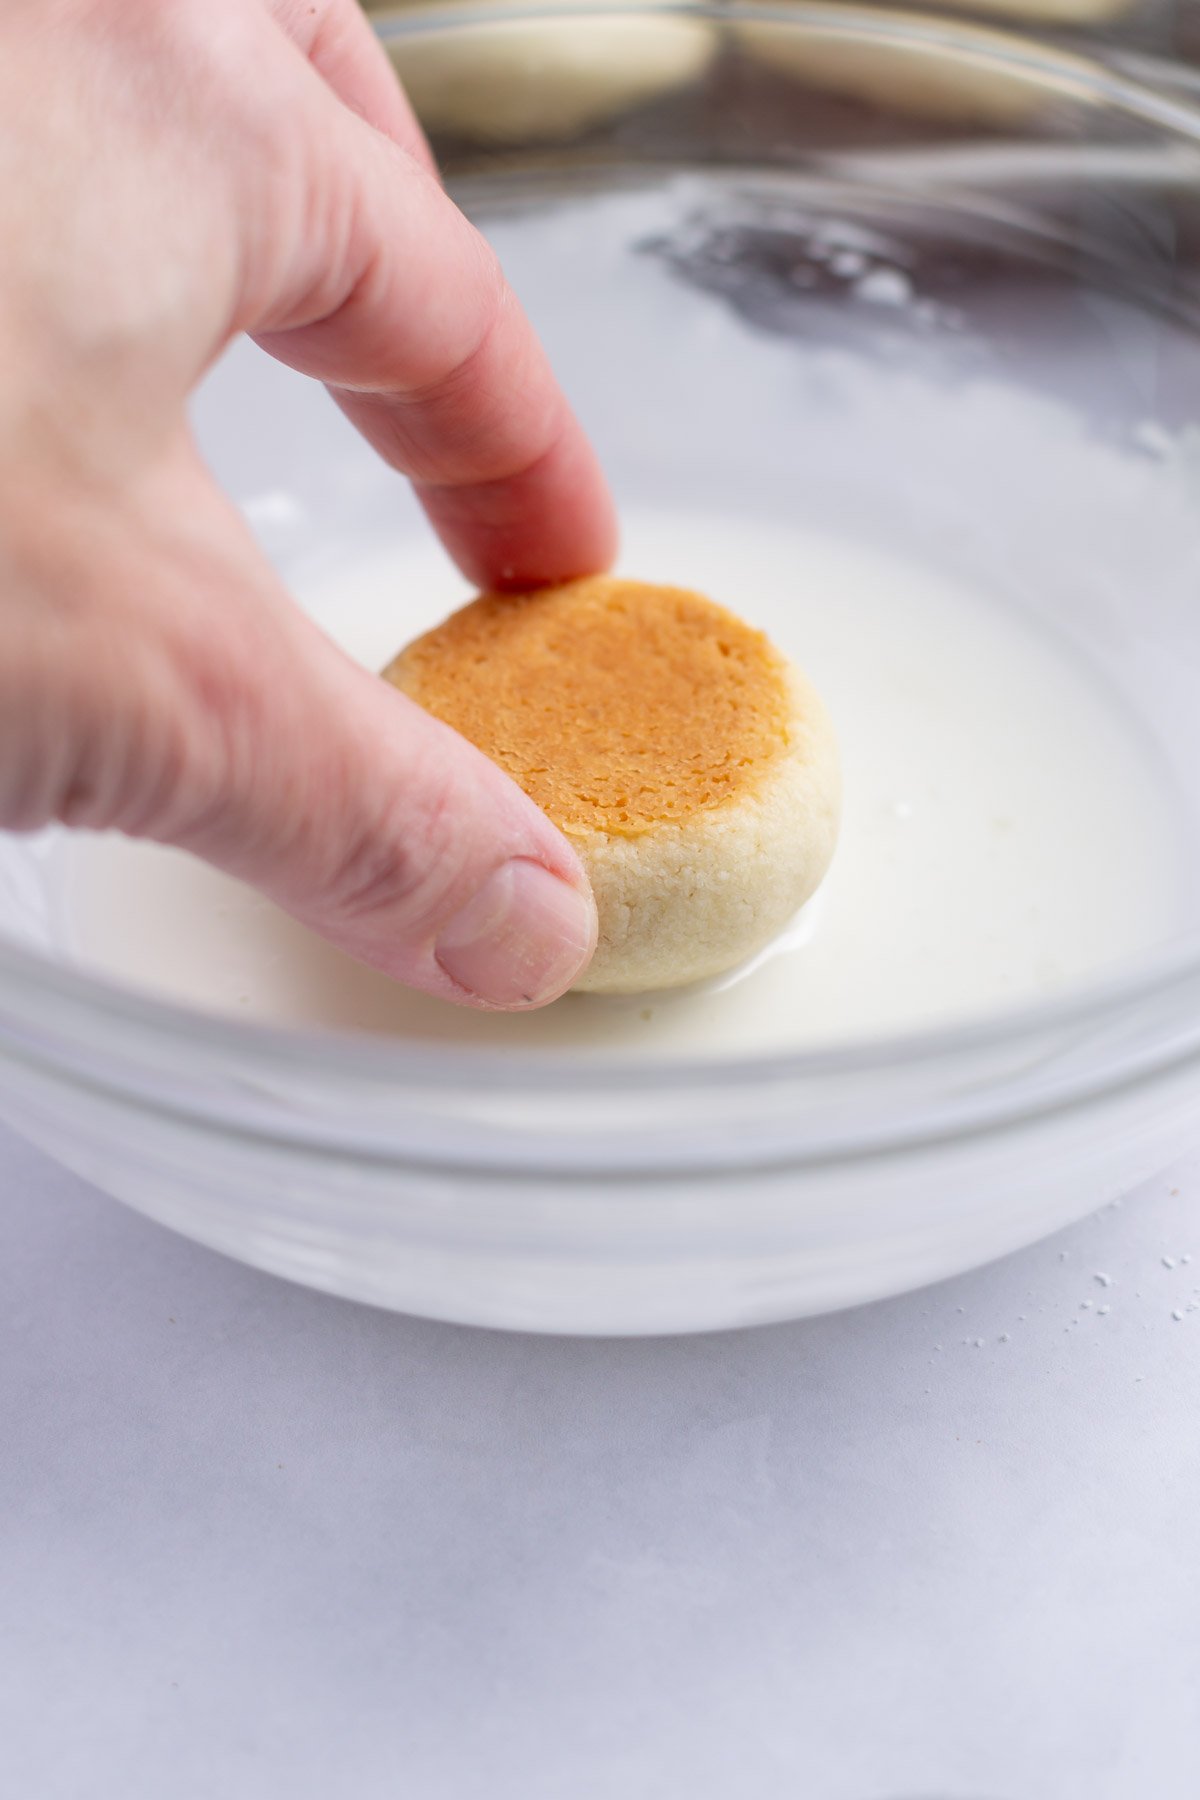
For the icing glaze, add confectioners' sugar to a bowl and add the lime juice to create a thick glaze.
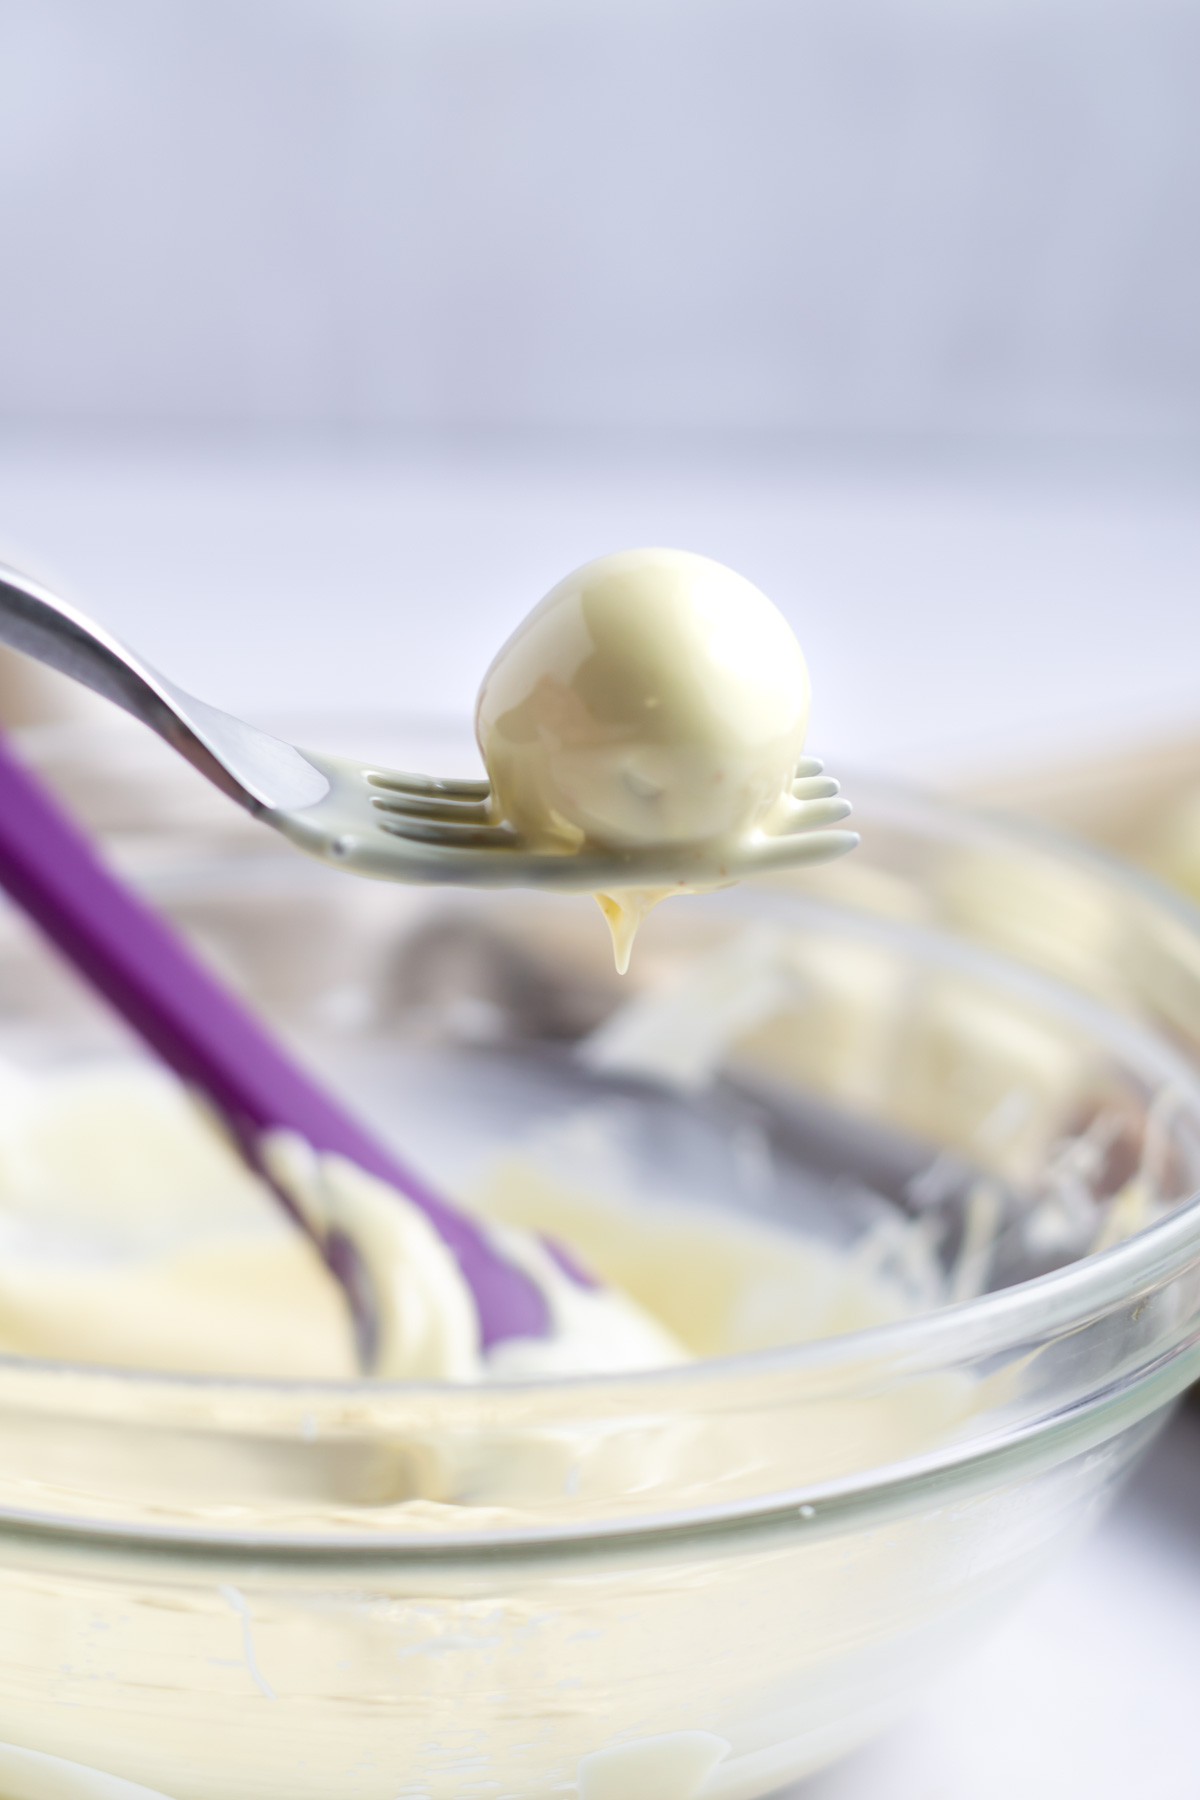
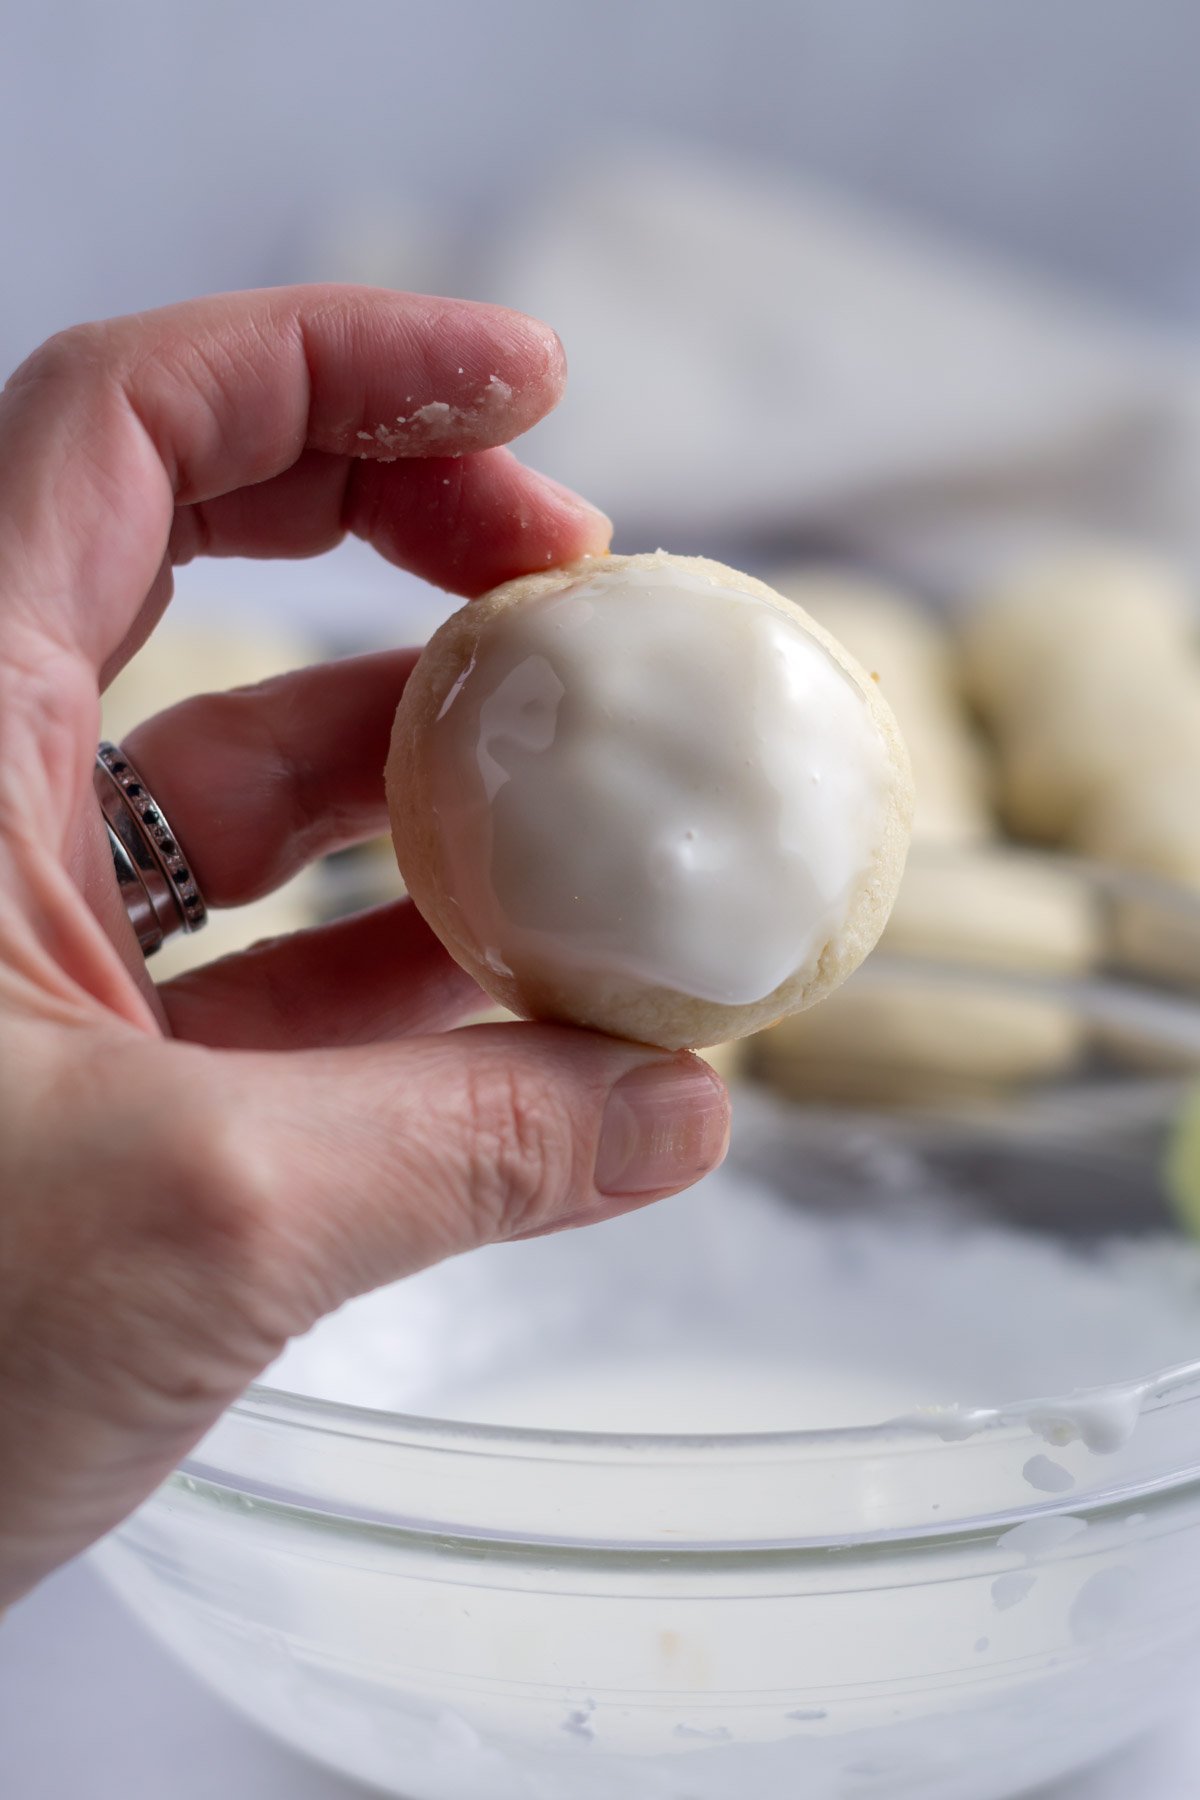
Dunk the top of each cookie in the glaze and set on a cooling rack or plate to allow the icing to harden. If desired, sprinkle with additional lime zest when the glaze is still wet.
📝 tips for the best lime wedding cookies
- Use room temperature butter, which is cooler than you might think! 65°F is the temperature you should be aiming for. I use my Thermapen to quickly check the butter temperature.
- Don't over bake the lime cookies. The edges or bottoms should only be lightly browned.
- Allow the lime Italian wedding cookies to cool completely before adding the glaze.
variation ideas
Lemon tea cookies ~ substitute the lime zest and juice with lemon.
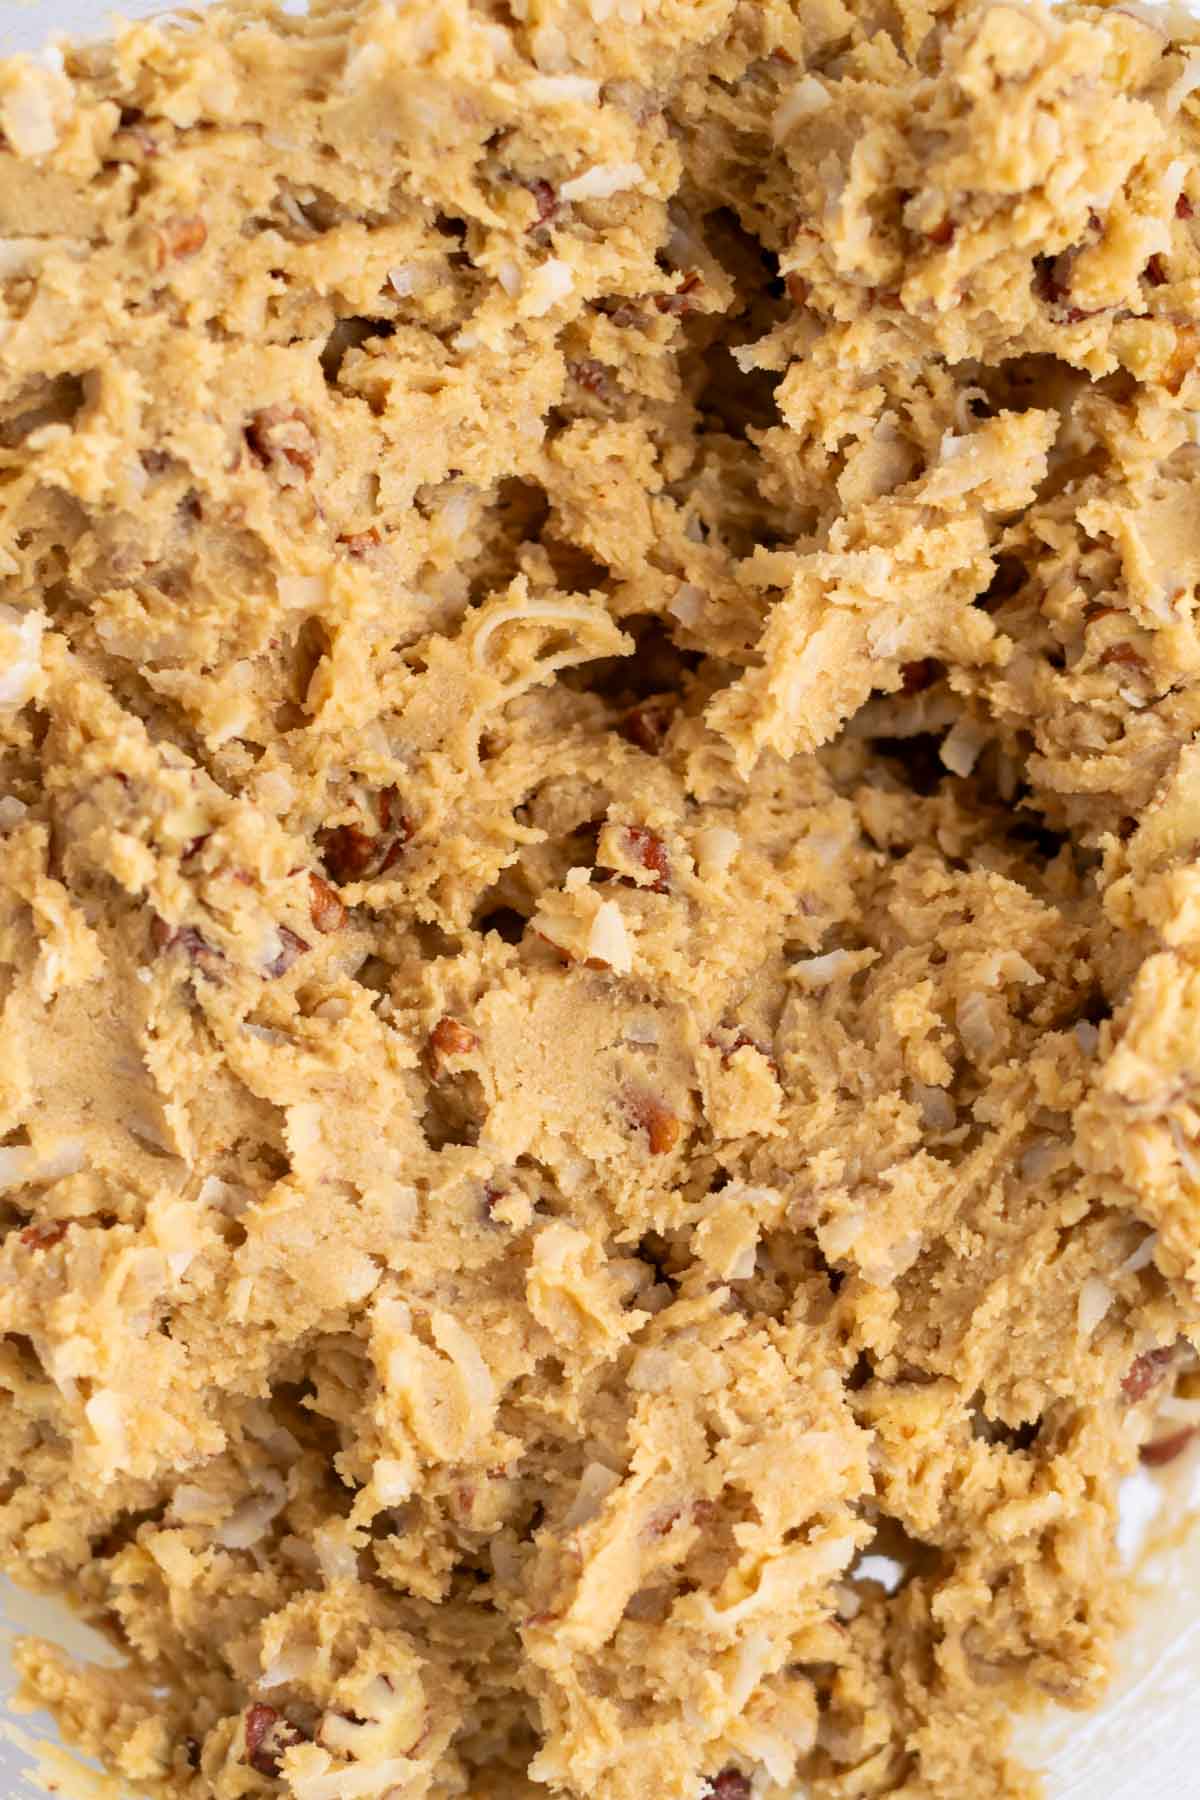
Coconut lime ~ add some chopped flaked coconut on the wet glaze.
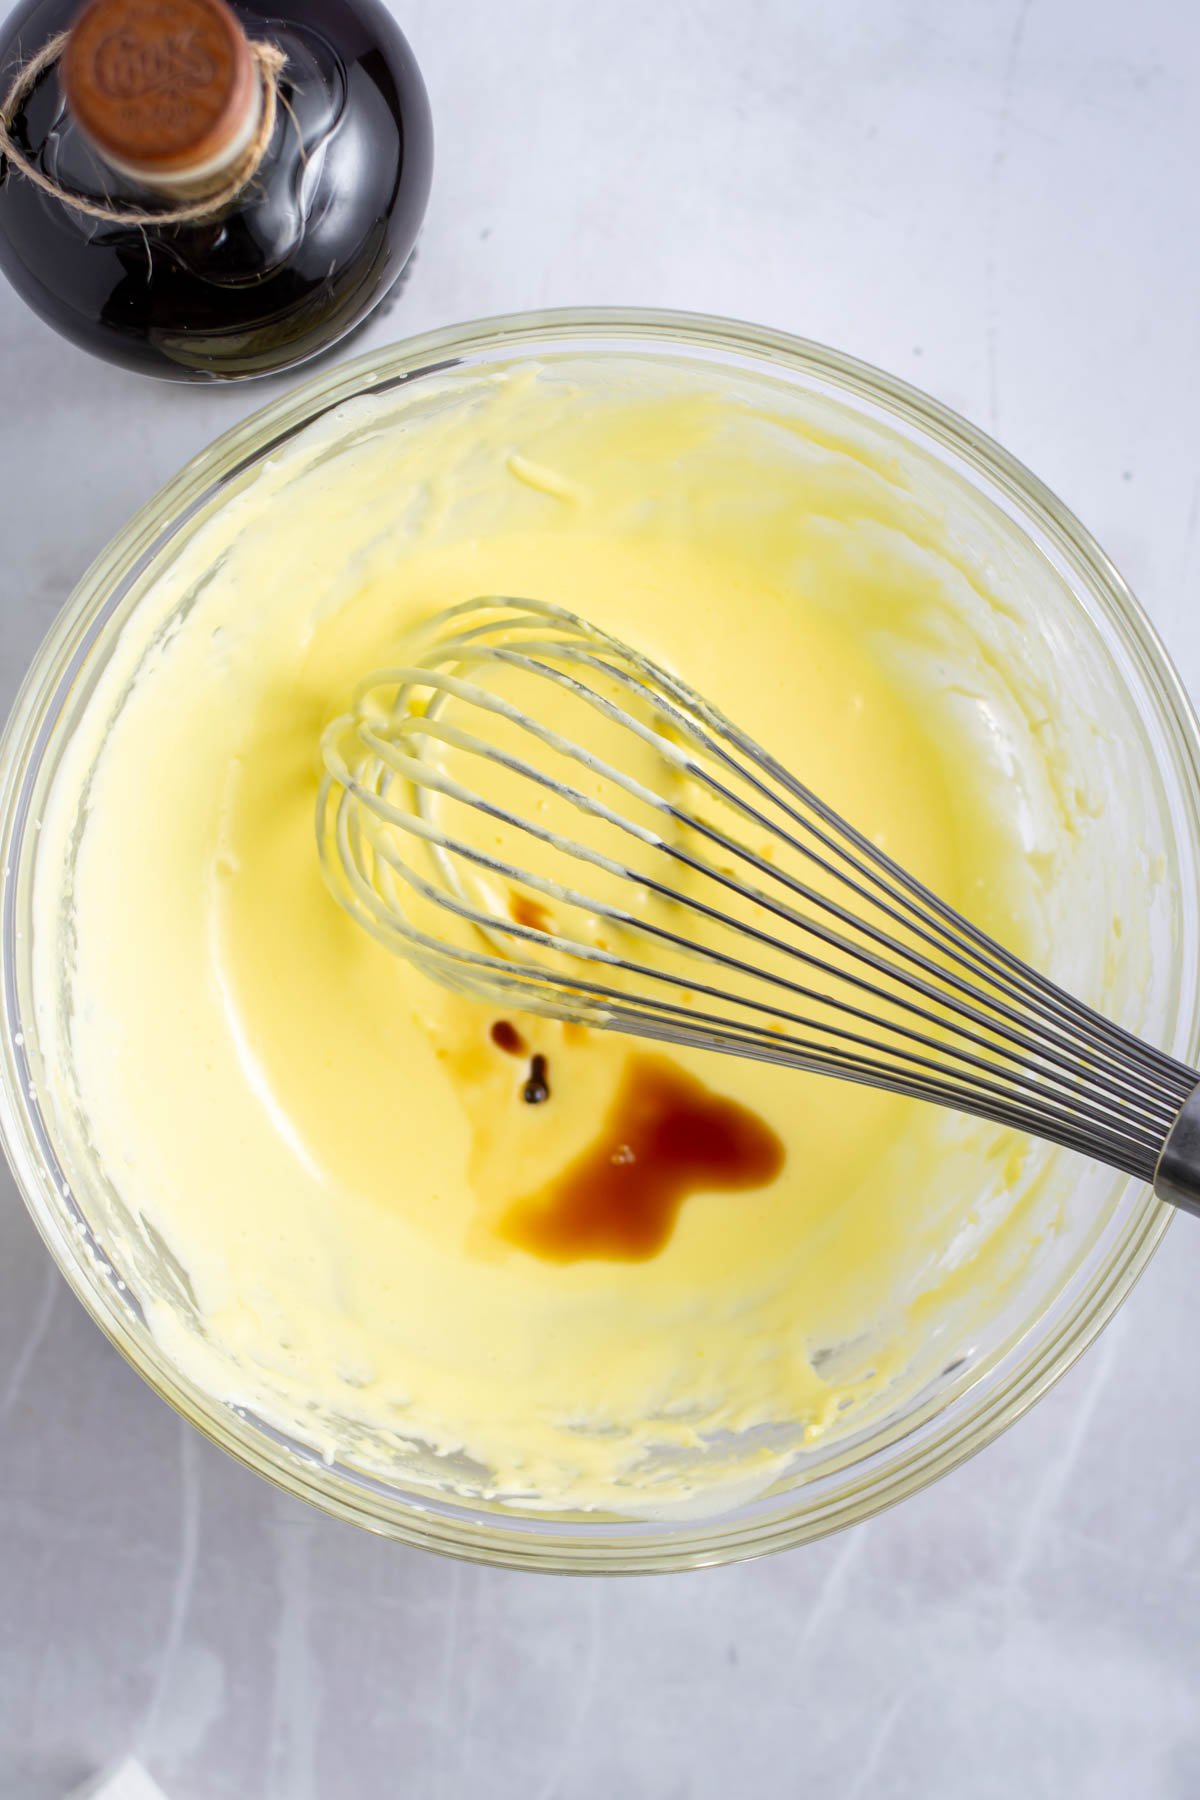
Vanilla wedding cookies ~ omit the lime and use 1 teaspoon of vanilla extract.
Anise flavor ~ a very common Italian flavor, use 1 teaspoon of anise extract and omit the lime.
Sprinkles ~ nonpareils {the little round balls} are traditional on Italian wedding cookies.
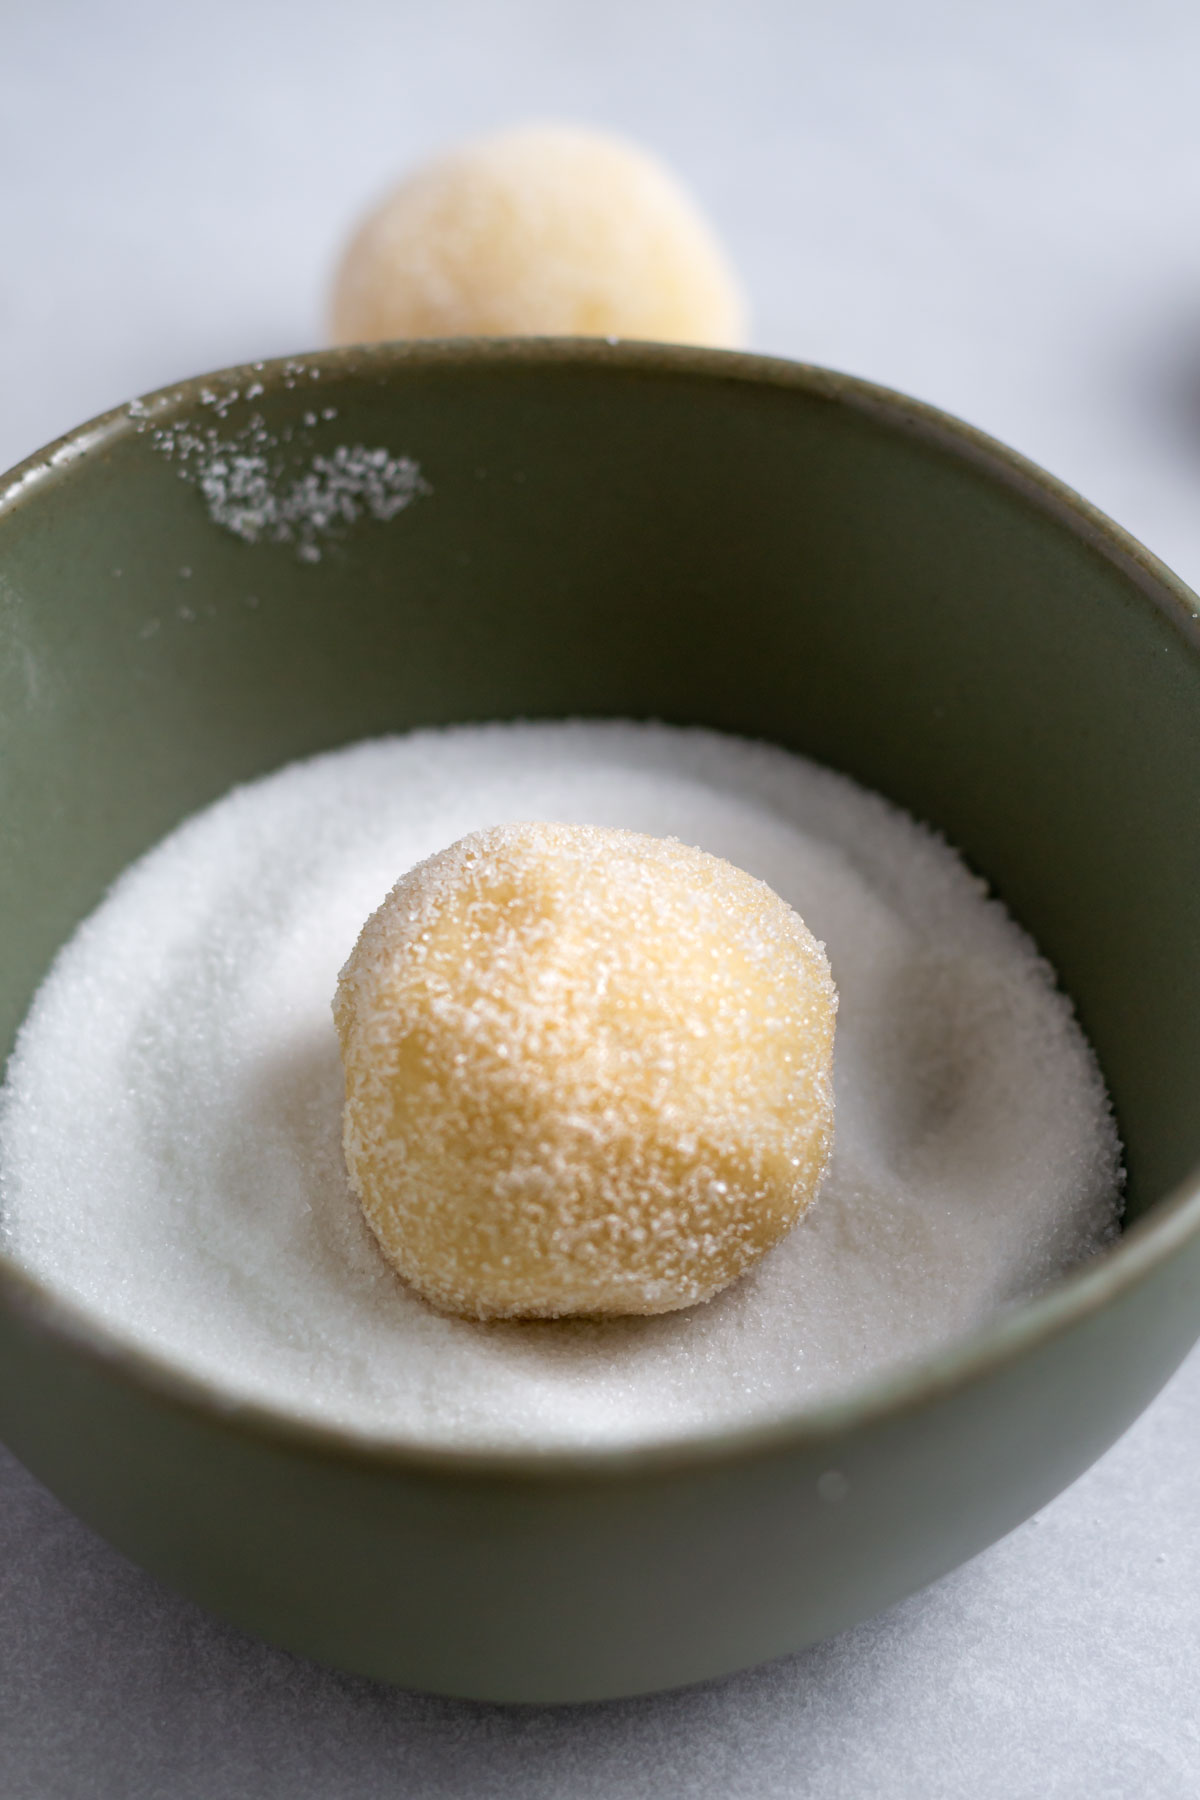
No icing ~ you can leave the glaze off and just roll the cooled cookies in confectioners' sugar or dust the tops of them with the sugar.
💬 frequently asked questions
The short answer is yes, but I highly recommend using fresh for the best taste. You will already be zesting limes, so squeezing them for fresh juice is easy to do.
Zest is one of my favorite ways to flavor cookies! Lemon, lime and orange zest bring a perfect punch of flavor to most baked goods.
🫙 how to store
Lime cookies can be stored in an airtight container at room temperature for up to five days.
They can also be frozen for up to three months. The glaze gets a little shiny when defrosted, but they still look and taste fine.
Remember to snap a picture and tag me on Instagram if you make these Lime Cookies. It warms my heart to see you bring these recipes to life! Thank you for being here and happy baking!
more lime and shortbread recipes to enjoy
- Mini Key Lime Cheesecake
- Key Lime Cookies
- Chocolate Shortbread
- Shortbread Peppermint Bark
- Lemon Poppy Seed Cookies
- Coconut Jam Thumbprints
If you make this recipe {or any recipe!} from two sugar bugs please come back and leave a review and a ⭐️⭐️⭐️⭐️⭐️ star rating. I read every comment, and I LOVE hearing from you!
Lime Cookies
Lime cookies are a citrus twist on Italian wedding cookies. The best no egg, shortbread-like cookie glazed with an easy lime icing. Perfect Easter or Christmas cookies, for an afternoon tea party or with your morning coffee.
I highly recommend using weight {metric} measurements when available for more accuracy and the best results.
Ingredients
- 1 cup unsalted butter, room temperature (226g)
- ½ cup confectioners' sugar (60g)
- Lime zest from 2 medium limes
- ½ teaspoon kosher salt
- 2 cups all-purpose flour (250g)
- 1 cup almond flour (112g)
icing glaze
- ½ cup confectioners' sugar (60g)
- lime juice from one lime, about 2 tablespoons
Instructions
- Preheat the oven to 325°F and line one baking sheet pan with parchment paper or a silicone baking mat.
- In a small bowl, combine the confectioners' sugar (½ cup/60g) and lime zest (from two medium limes), using your fingers to work the zest into the sugar.
- Then using a stand mixer with the paddle attachment or a hand held mixer, cream together the butter (1 cup/226g) and kosher salt (½ teaspoon) for about one minute. Then add the confectioners' sugar/lime mixture and beat until light and fluffy, about 1-2 minutes (speed 6 on a Kitchen Aid mixer). Scrape up and down the bowl.
- Add 1 cup of the all-purpose flour and mix on low until it starts to combine. Add the almond flour (1 cup/112g) and mix on low to combine. Stop and scrape the bowl and add in the final cup of all-purpose flour, mixing on low until just fully combined. The mixture may be a little crumbly, but will form a ball if you squeeze some together with your hand.
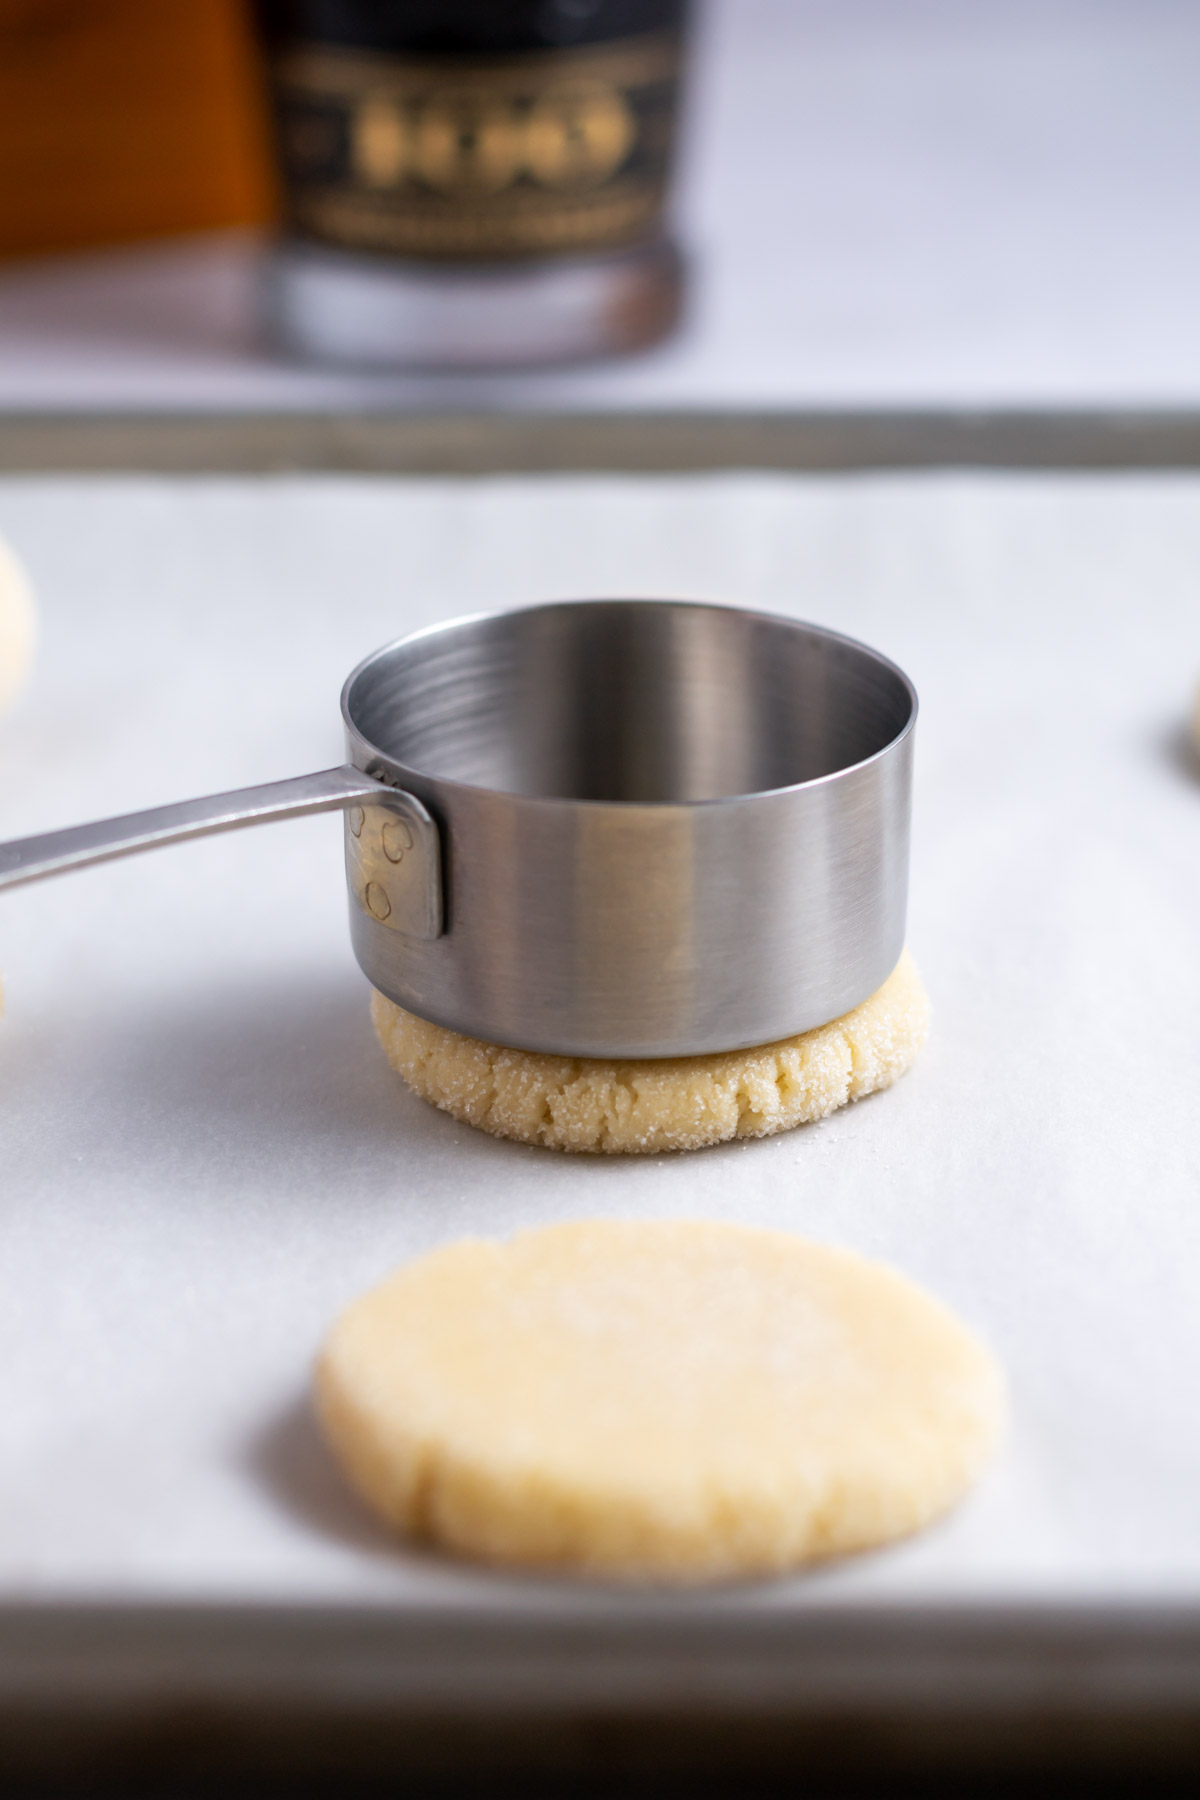
- Divide the dough into approximately 1-inch balls (mine were 28g each) and place on the prepared baking pan. They do not spread much so you can place them fairly close together.
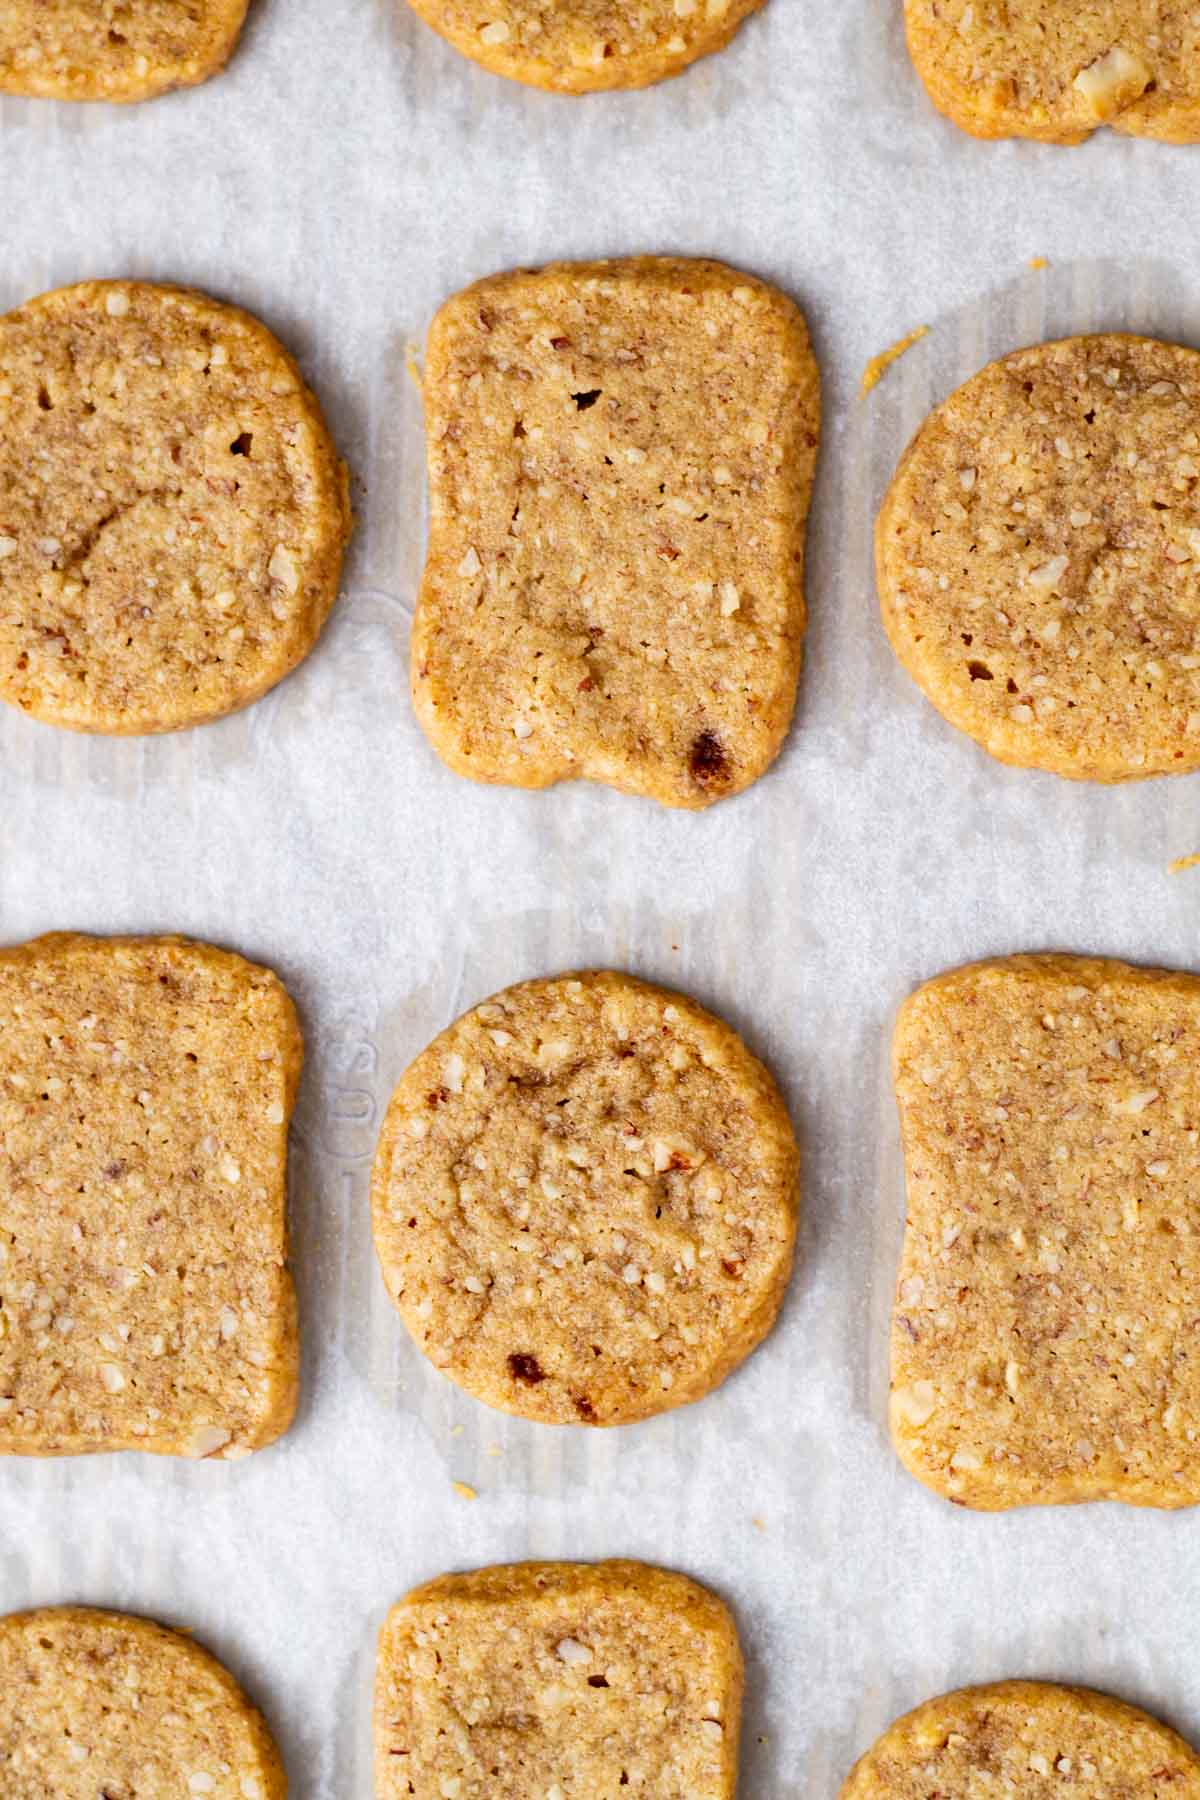
- Bake for 13-17 minutes. The cookies will be barely light brown along the bottoms. Allow the cookies to cool completely before glazing.
- For the lime glaze: add confectioners' sugar (½ cup/60g) to a bowl and add the lime juice to create a thick glaze (you may not need all the juice from one lime). Dunk the top of each cookie in the glaze and set on a cooling rack or plate to allow the icing to harden. If desired, sprinkle with additional lime zest when the glaze is still wet.
Notes
Cookies can be stored in an airtight container at room temperature for up to five days.
They can also be frozen for up to three months. The glaze gets a little shiny when defrosted, but they still look and taste fine.
Nutrition Information:
Yield:
32Serving Size:
1Amount Per Serving: Calories: 115Total Fat: 8gSaturated Fat: 4gTrans Fat: 0gUnsaturated Fat: 3gCholesterol: 15mgSodium: 21mgCarbohydrates: 11gFiber: 1gSugar: 4gProtein: 2g
The nutrition information is based on third-party calculations, is an estimate only and may not be entirely accurate. Actual nutritional values will vary based on brands used and portion sizes.