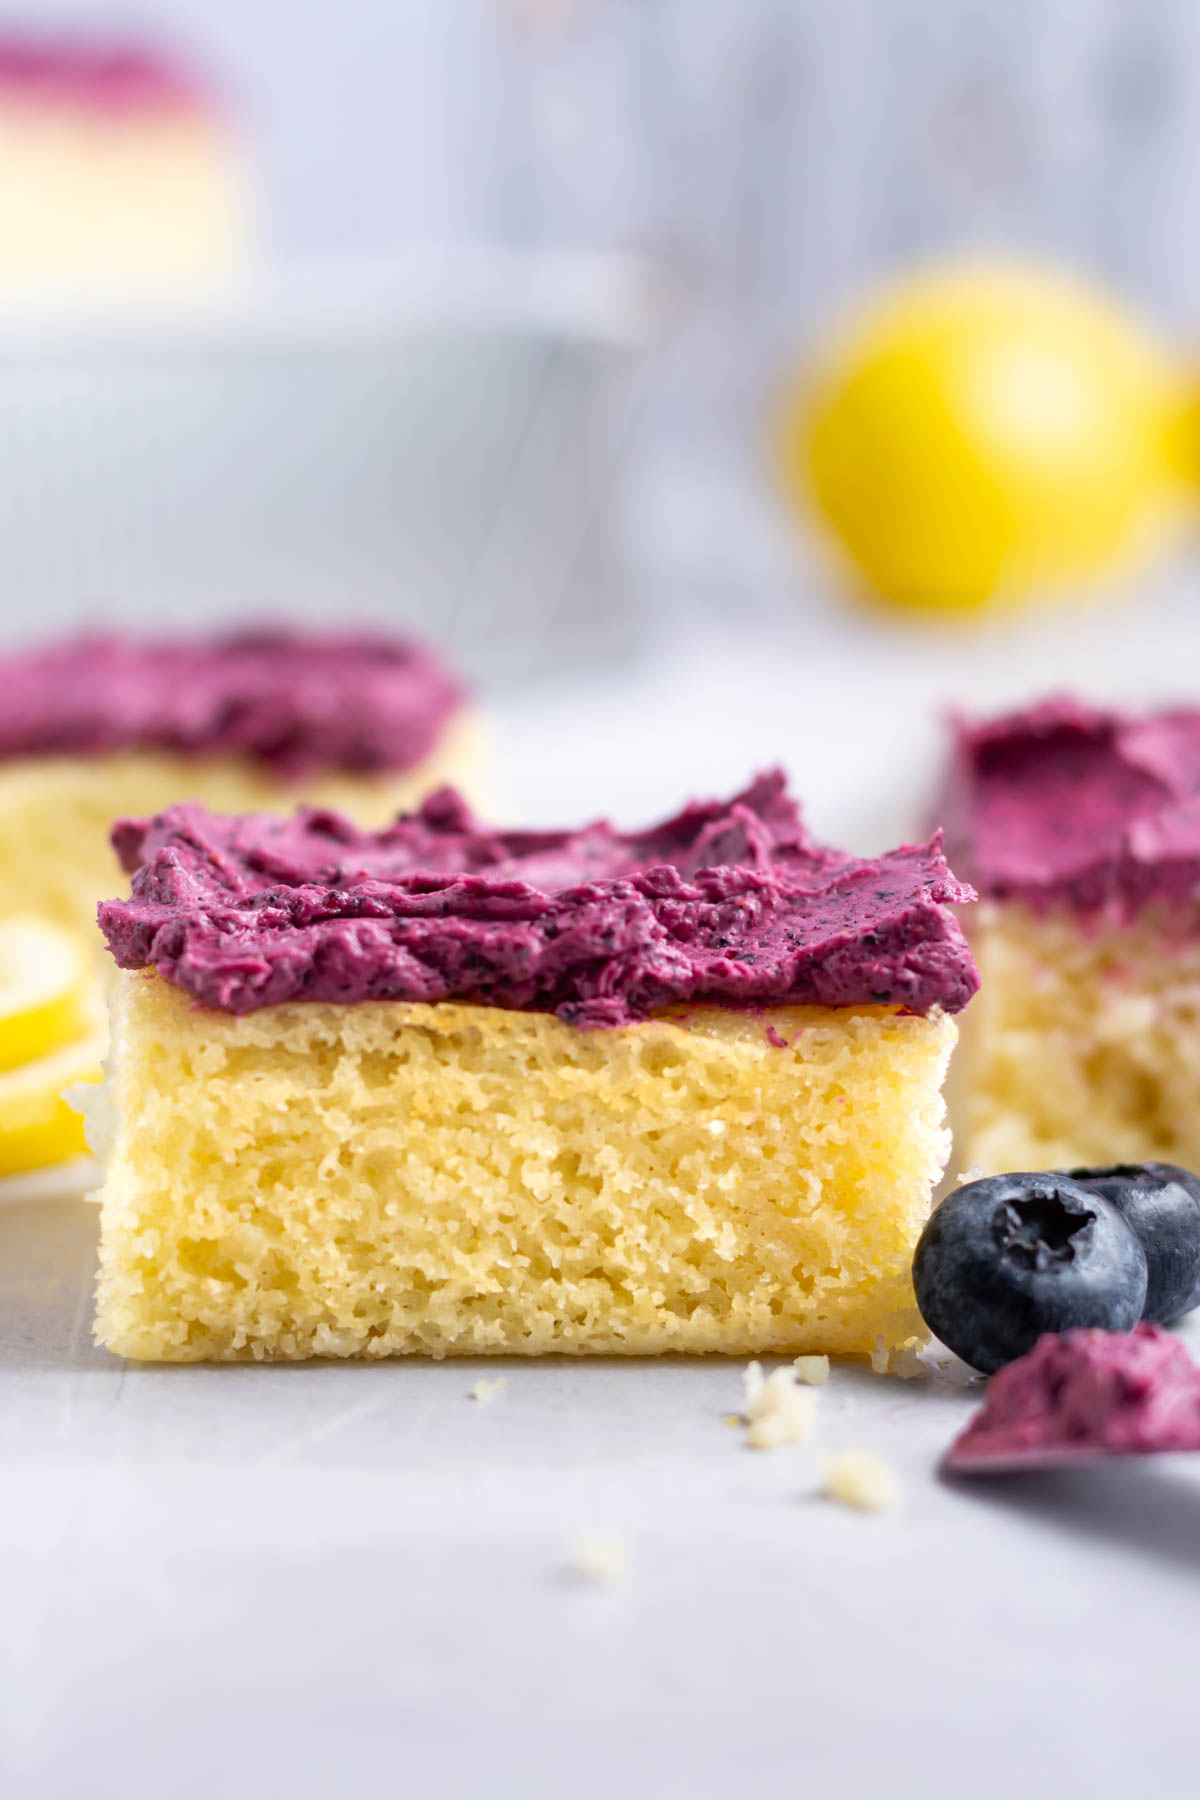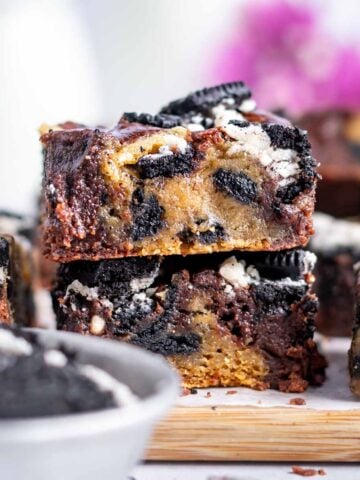
Oreo brookie bars are the ultimate treat. A combo of fudgy brownies and chewy cookies stuffed with Oreo cookies baked into an easy dessert bar. As someone who has been baking for decades, I happen to know they are great for picnics, parties or bake sales and simple enough to whip up on a weeknight.
Disclosure | This post may contain affiliate links. As an Amazon Associate I earn from qualifying purchases.
Why choose between cookie bars and brownies when you can have both?
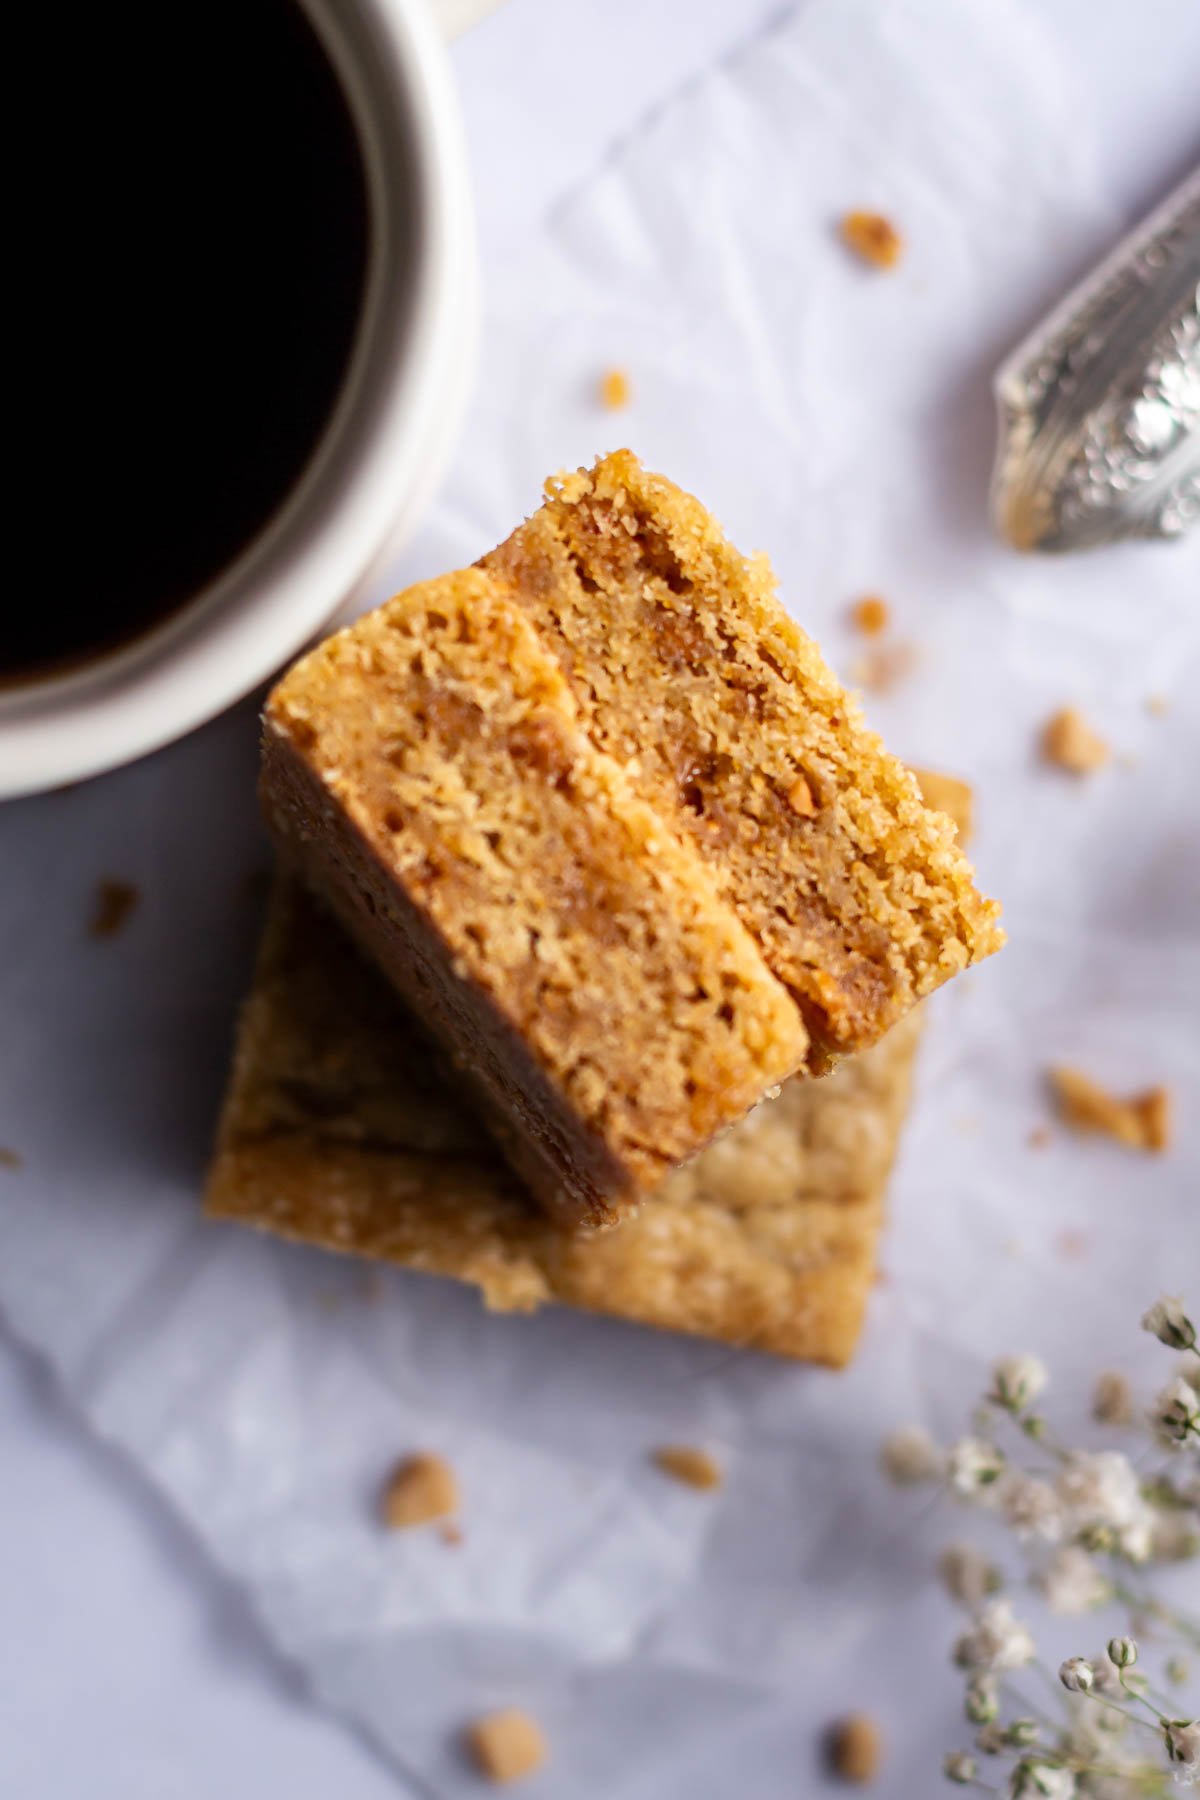
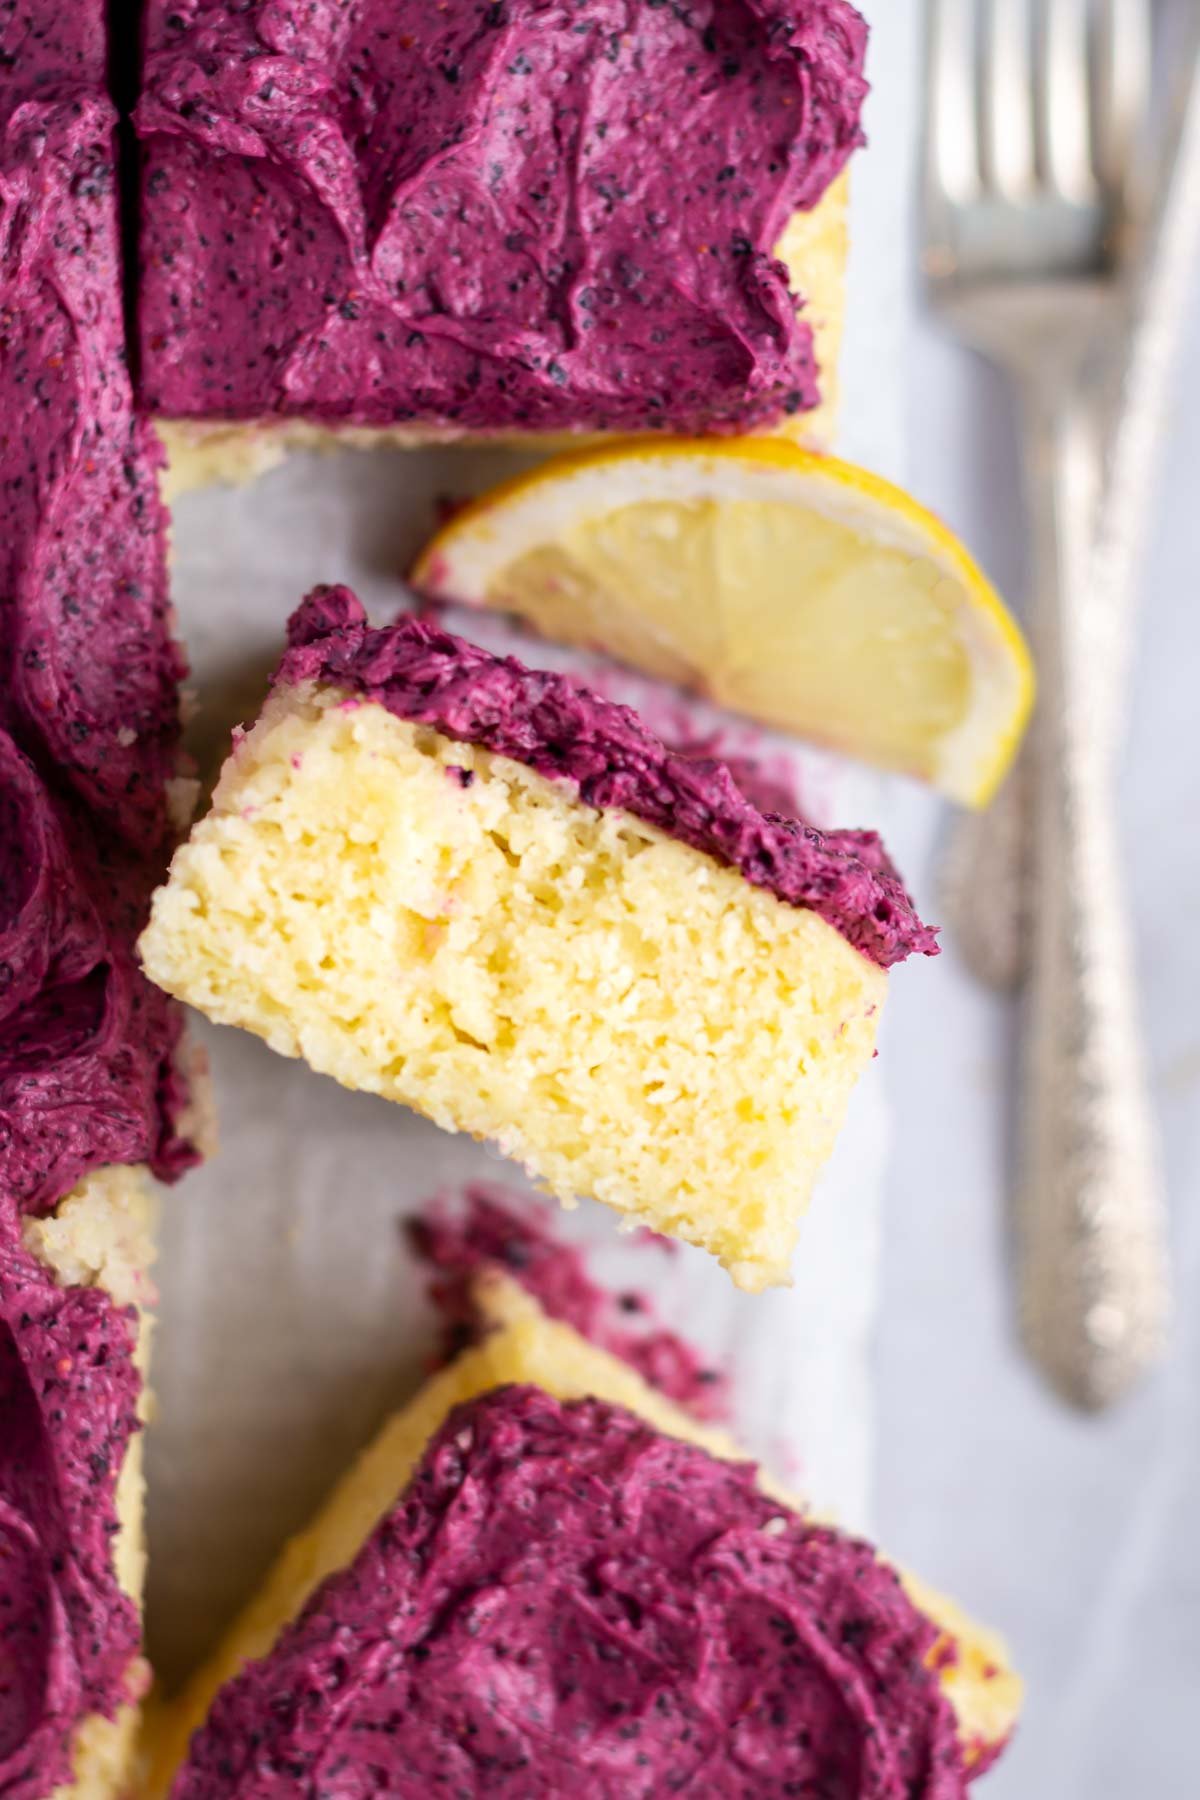
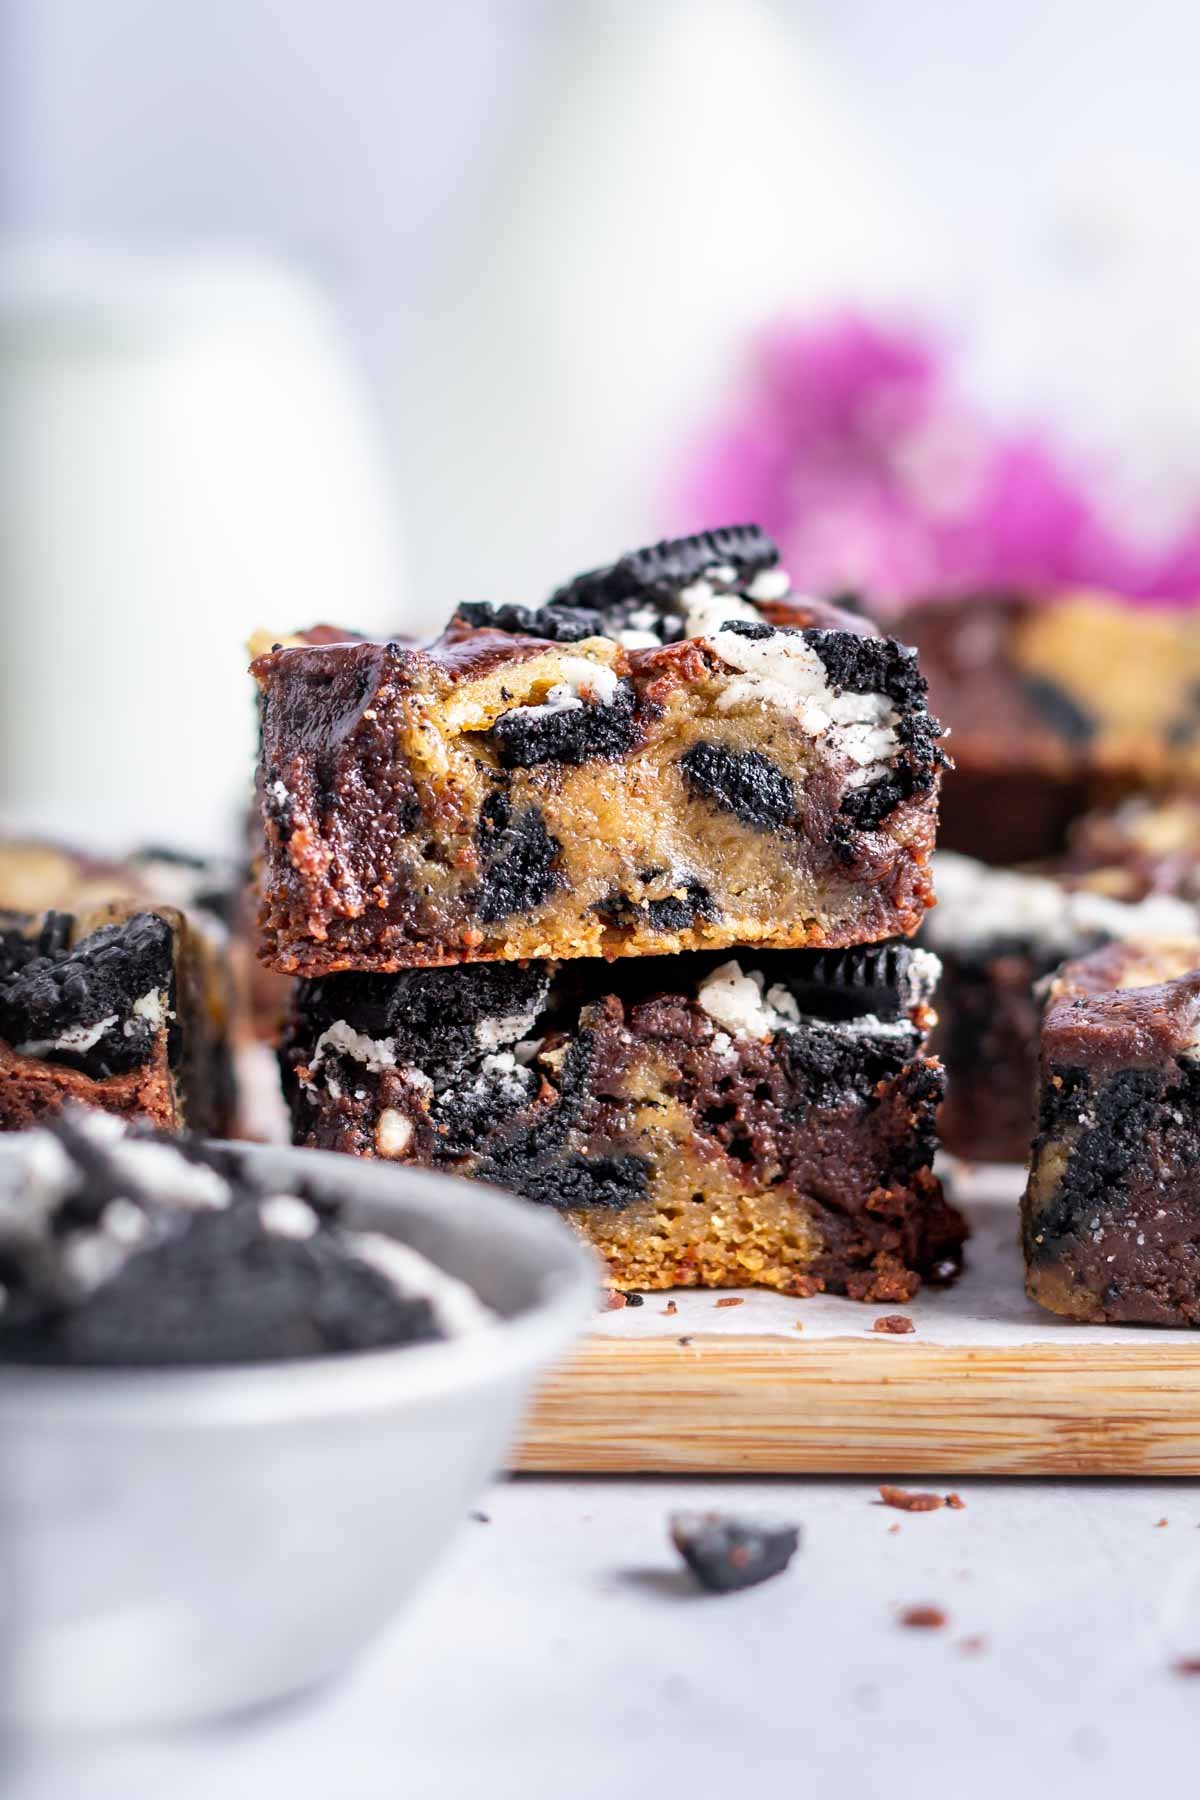
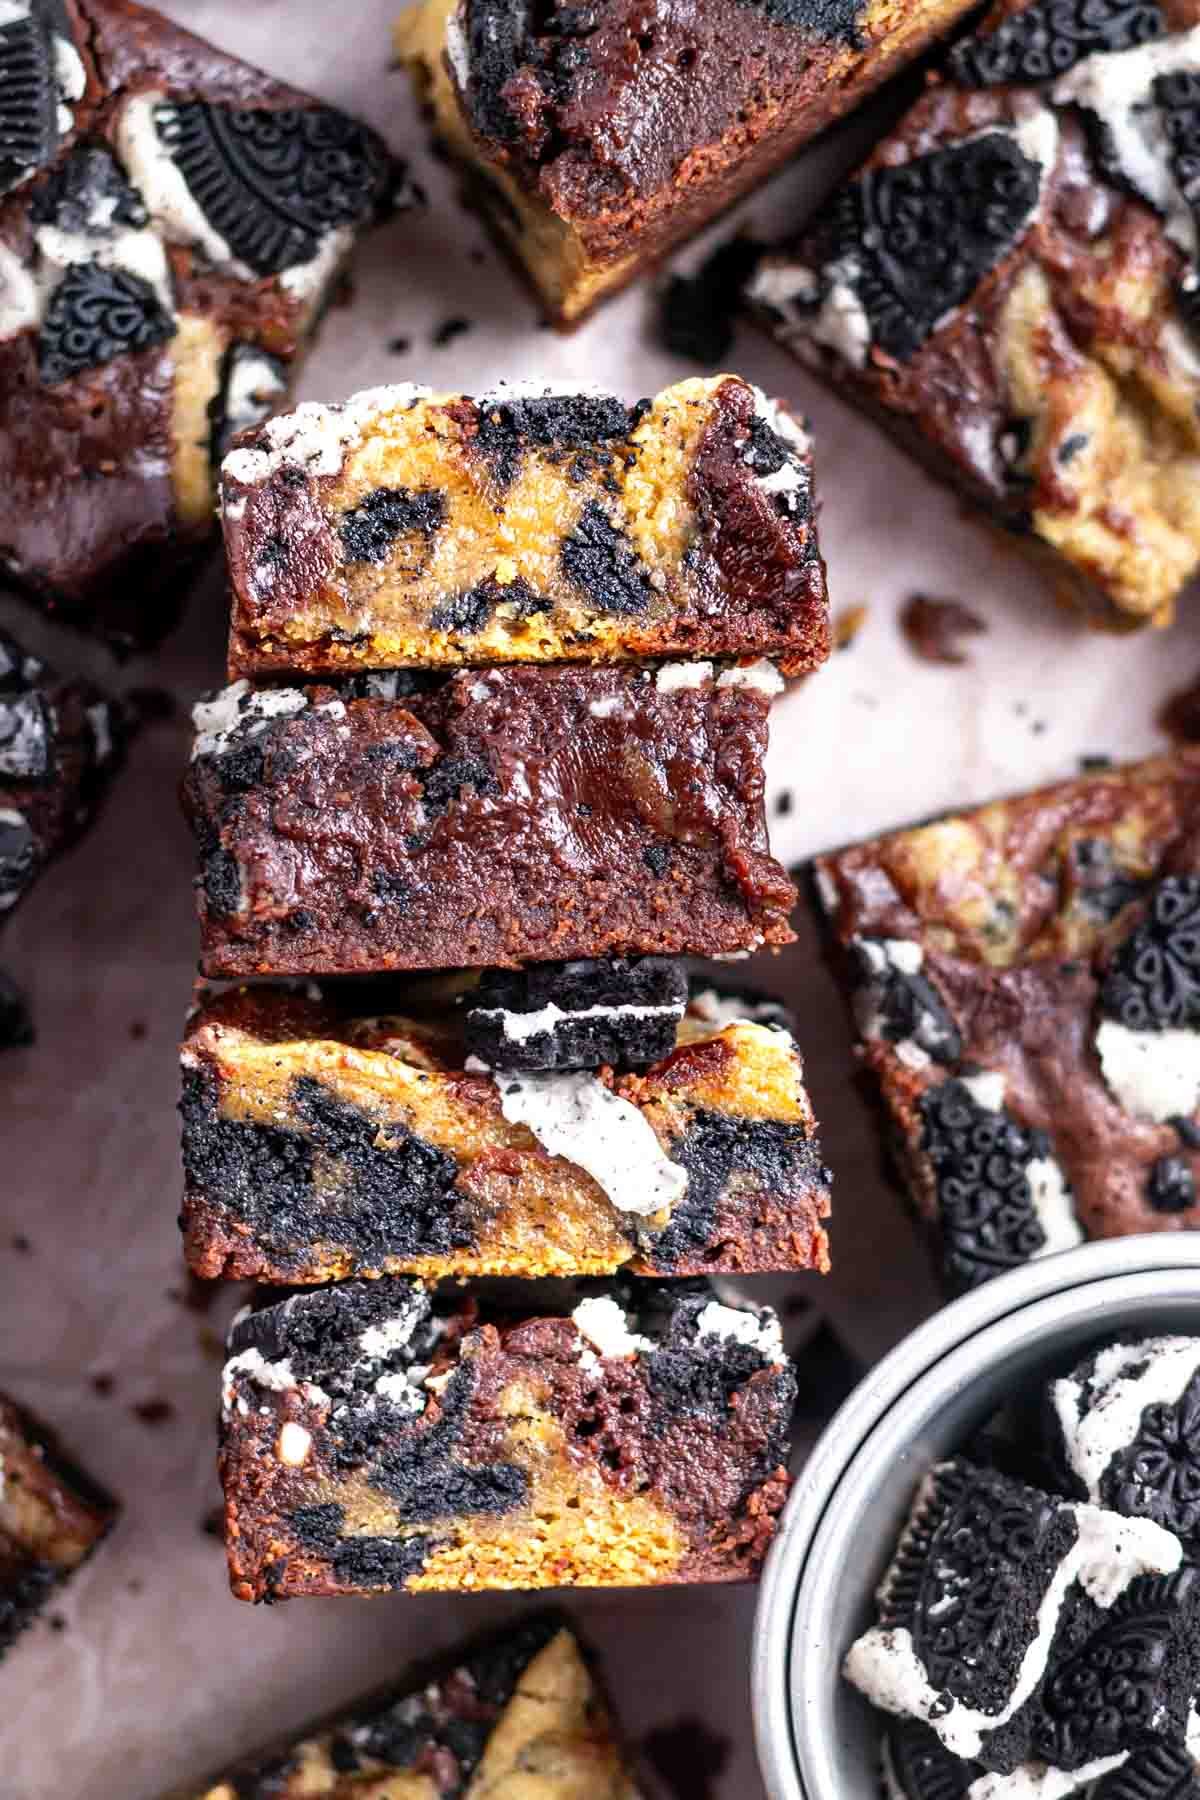
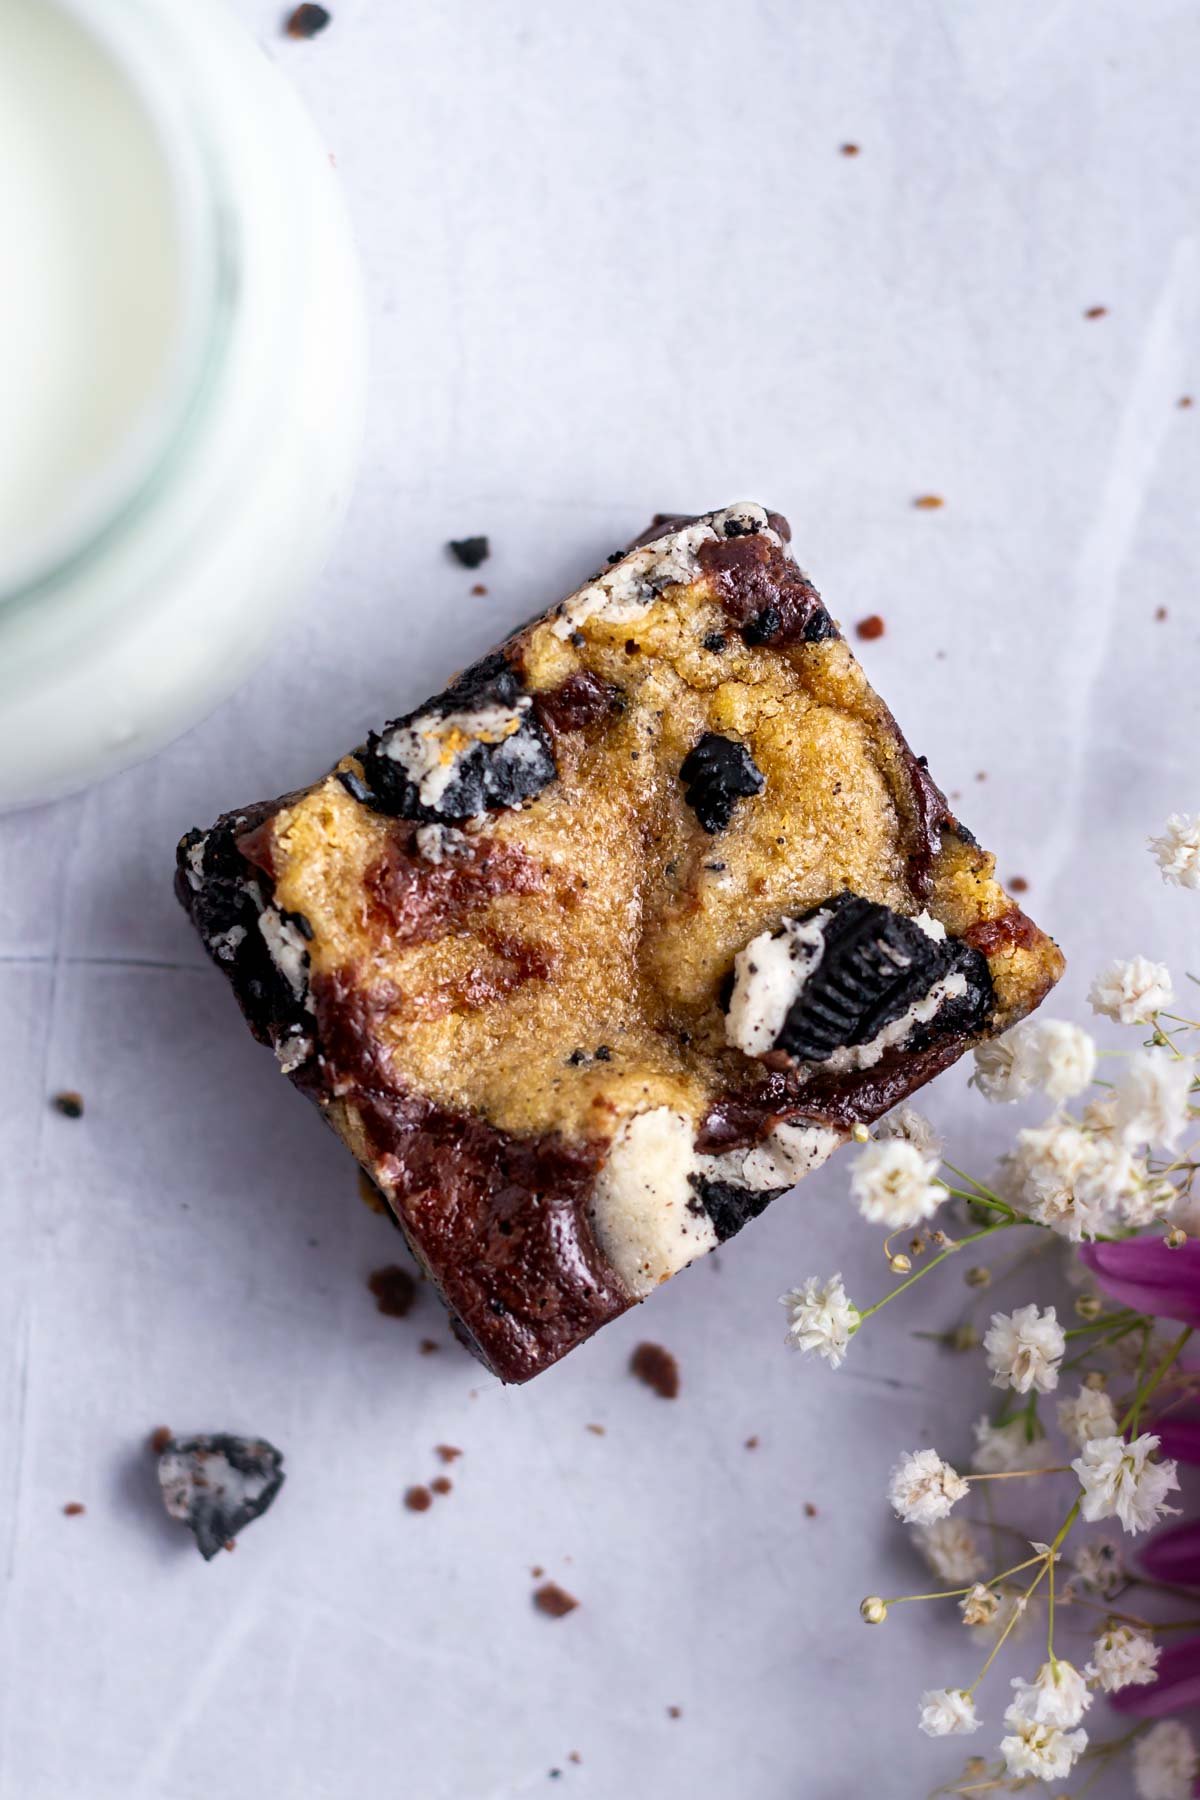
These Oreo brookie bars are a decadent treat. Made by marbling cookie dough and brownie batter in one baking pan; they are soft, chewy, fudgy.
My recipe is different in that instead of using a chocolate chip cookie dough, we use a sweet Oreo cookie dough for the cookie portion. Then we layer in a super simple stove top brownie batter and top the whole thing with more Oreo cookies before baking.
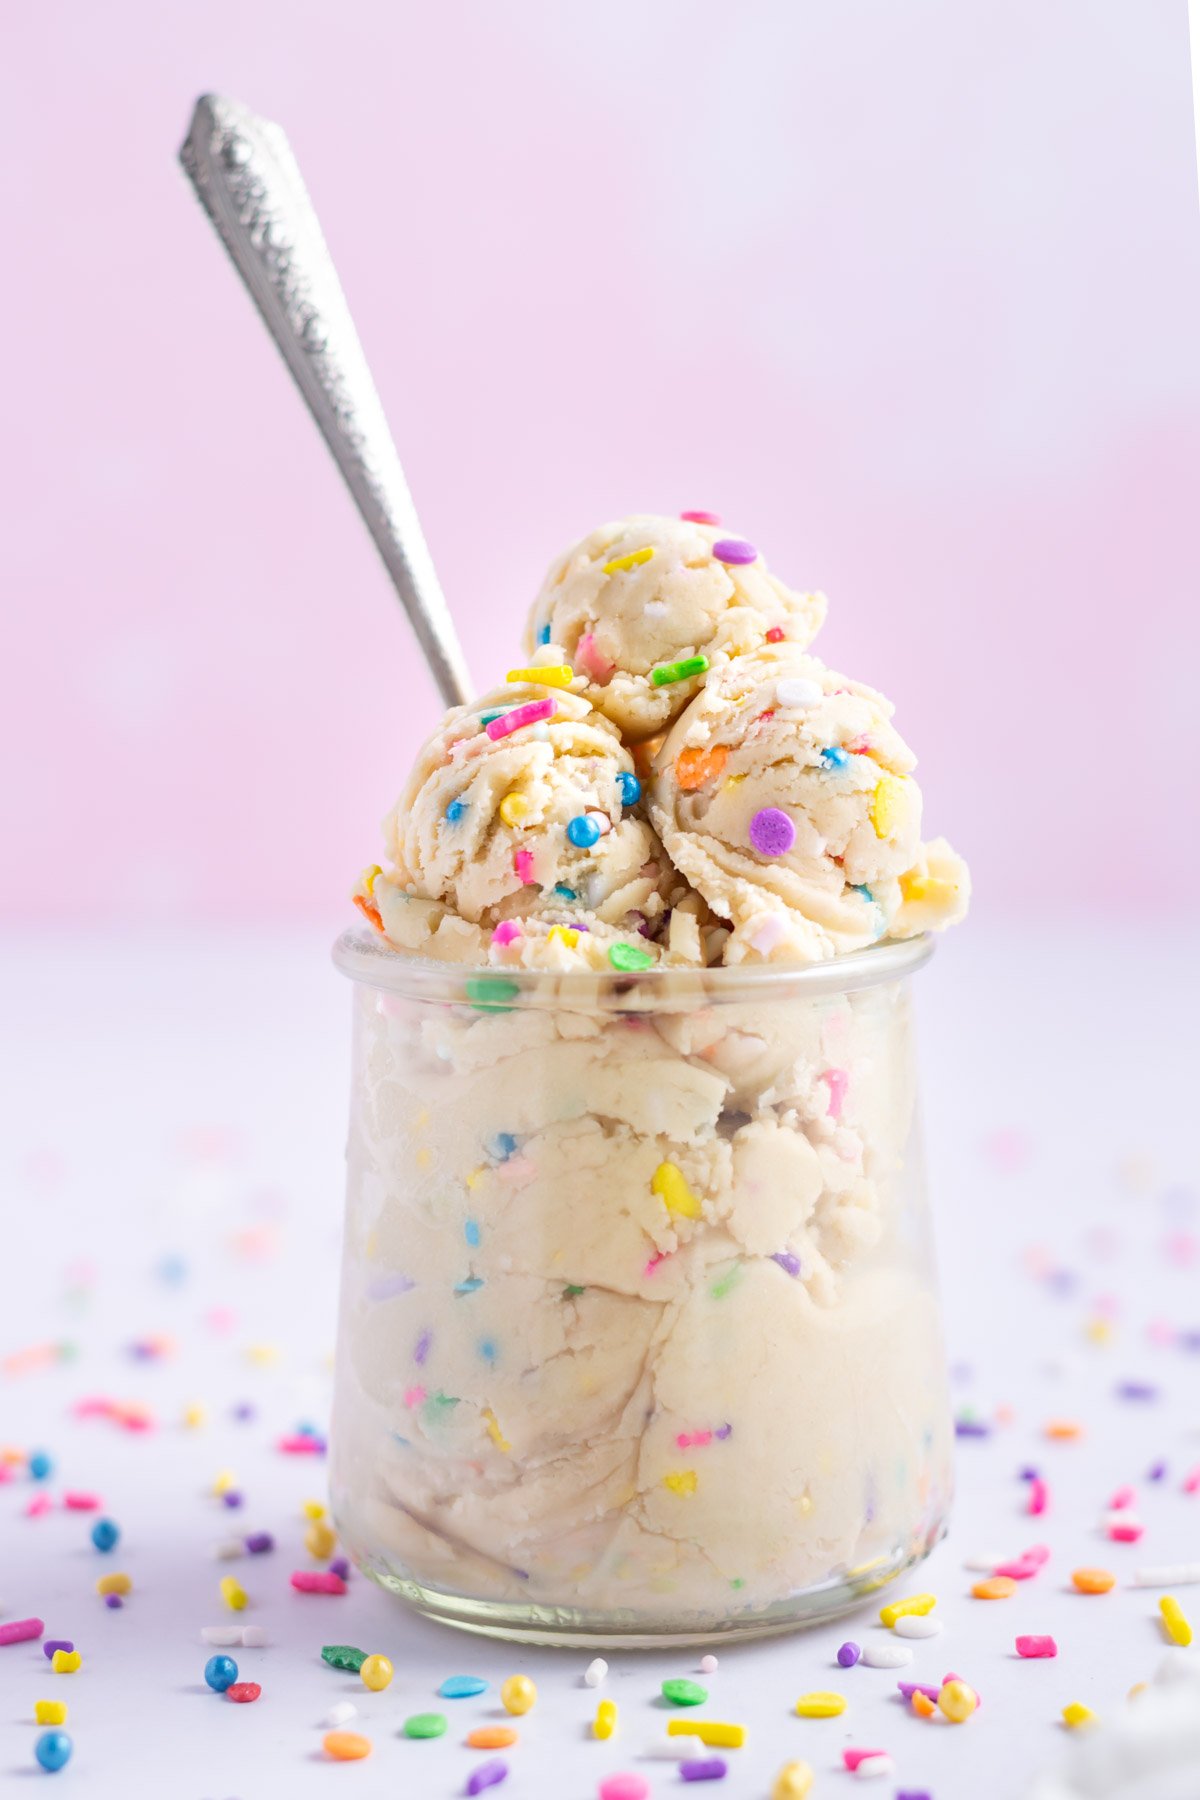
Serve them as is, top them with a scoop of ice cream or break them into bite size pieces and mix into your ice cream for a homemade blizzard.
💗 why you will love these oreo brookie bars
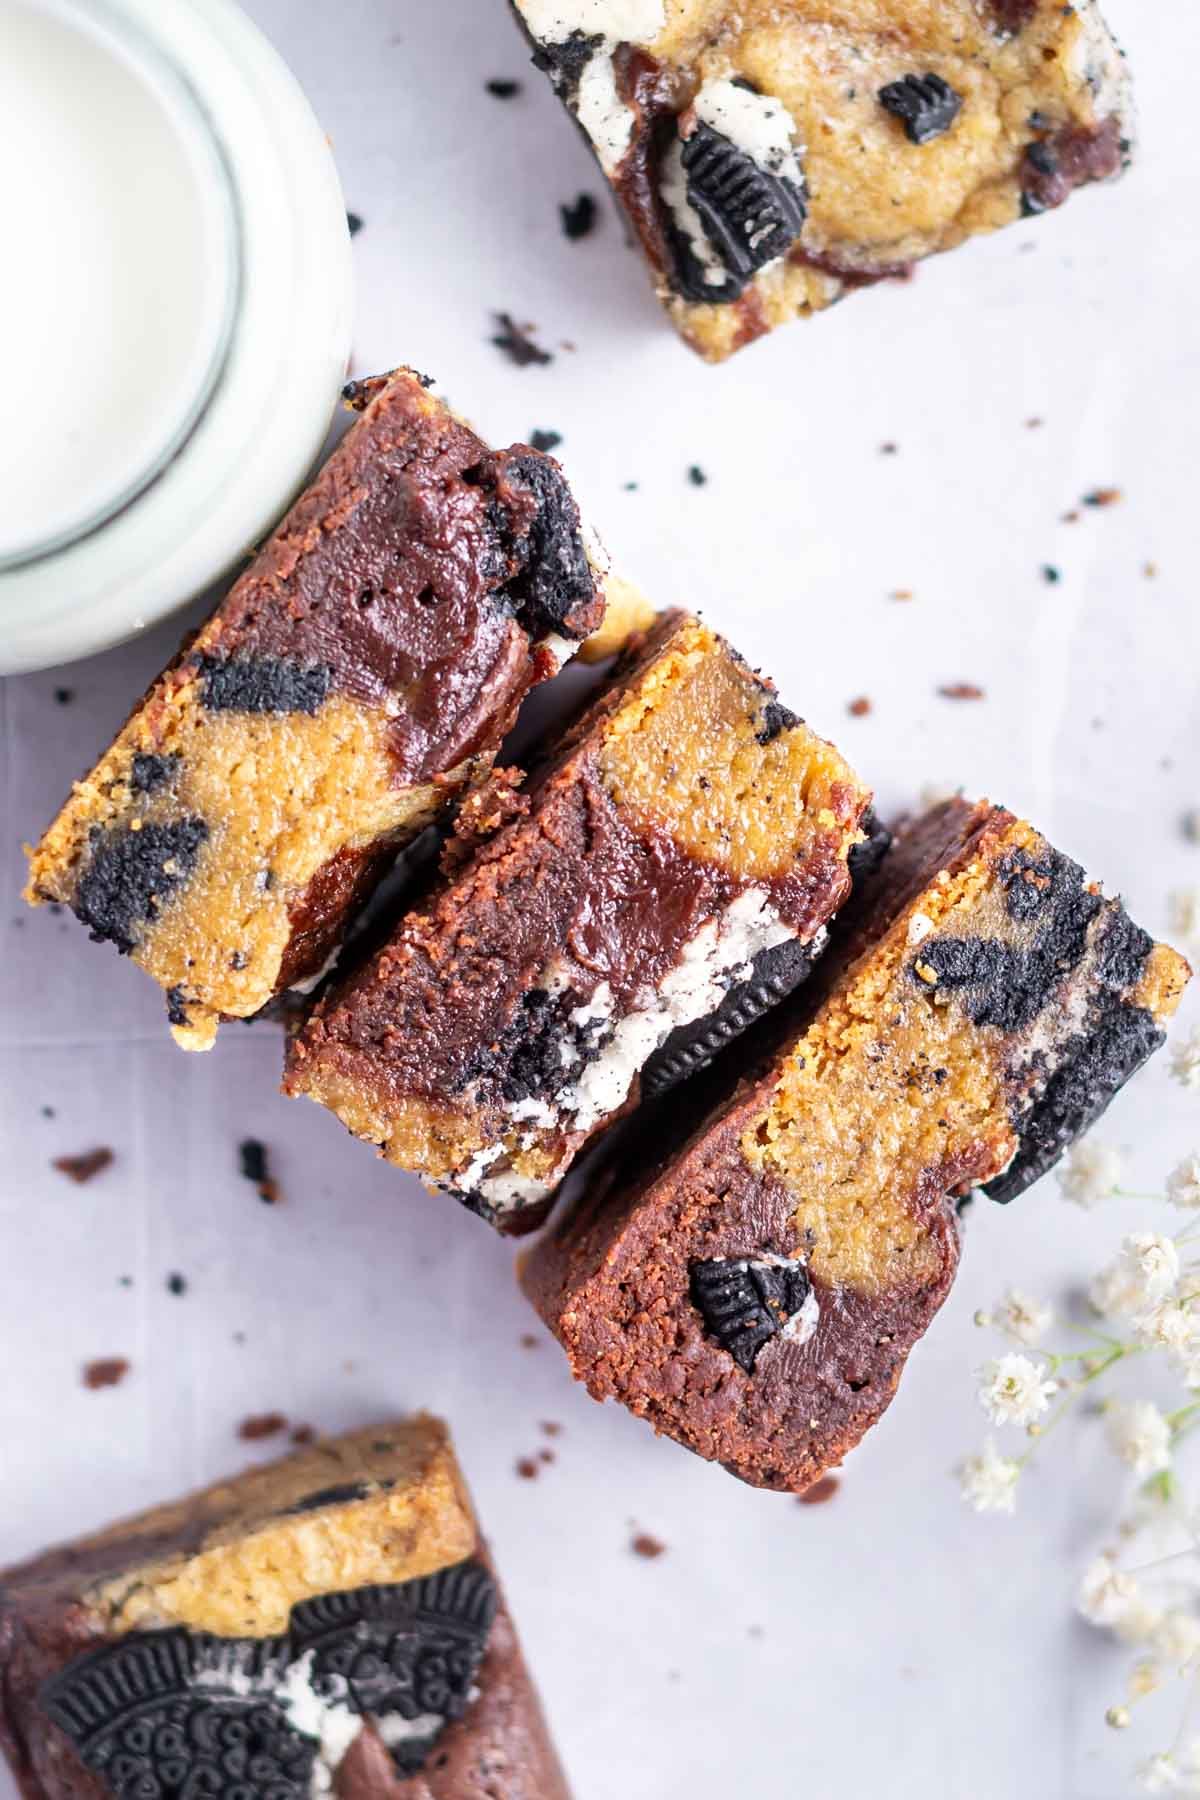
- Best of both worlds ~ half fudgy brownie and half chewy Oreo cookie that bake up with pantry staples.
- Easy ~ the cookie dough comes together with a mixer while the brownie batter gets mixed in one saucepan. It all gets layered together and baked in one pan.
- Stuffed with Oreo cookies ~ with Oreo cookies in the cookie dough and sprinkled over the top of the brownie batter, they are sure to please any Oreo fan.
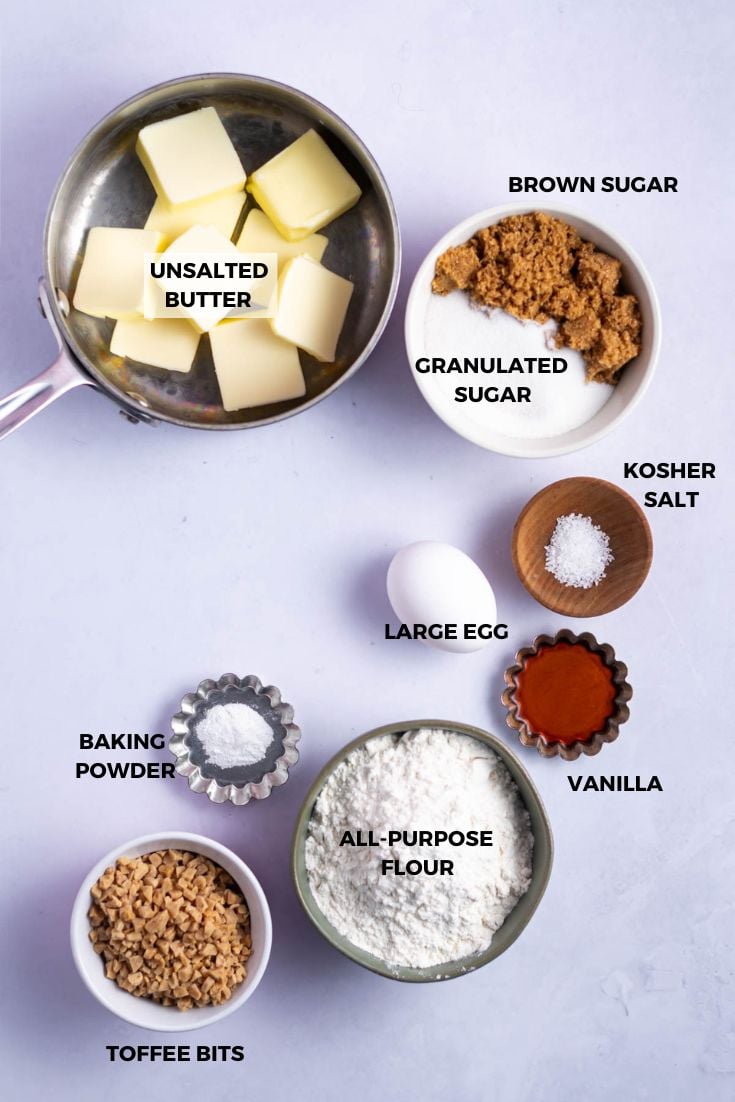
🛒 ingredients and substitutions
Please scroll to the printable recipe card at the end of this post for the full list of ingredients and baking directions.
- Unsalted butter ~ if you only have salted butter, just omit the kosher salt.
- Kosher salt ~ adds balance to the sweet chocolate flavors. If you only have table salt, start with half the amount.
- Dark brown sugar ~ light brown sugar can be substituted.
- Granulated sugar ~ use your favorite brand, provides sweetness and structure to both the brownie and cookie layer.
- Large eggs ~ 3 eggs are needed, they should be at room temperature.
- Vanilla extract ~ my preference is pure vanilla extract, which adds nice flavor.
- Baking soda ~ helps the Oreo brookies bake up thick and chewy.
- All-purpose flour ~ provides structure in both layers. A kitchen scale is the best way to measure your flour. If you don't have a scale, use the spoon and level method. {Fluff the flour in the container, then spoon it into your measuring cup and level it off with the back of a spoon}.
- Chocolate cream sandwich cookies ~ Oreos, Back to Nature's chocolate cream sandwich cookies and Trader Joe's Jo-Jo's are all great options.
- Unsweetened chocolate baking bar ~ for the brownie layer. I like Scharffen Berger 99% cacao unsweetened dark chocolate baking portions.
Pro tip ~ to quickly bring eggs to room temperature, place them in a bowl of warm tap water for 5-10 minutes.
🍪 how to make the oreo cookie dough
Start by preheating the oven to 350°F and line a 9x9 baking pan with parchment paper.
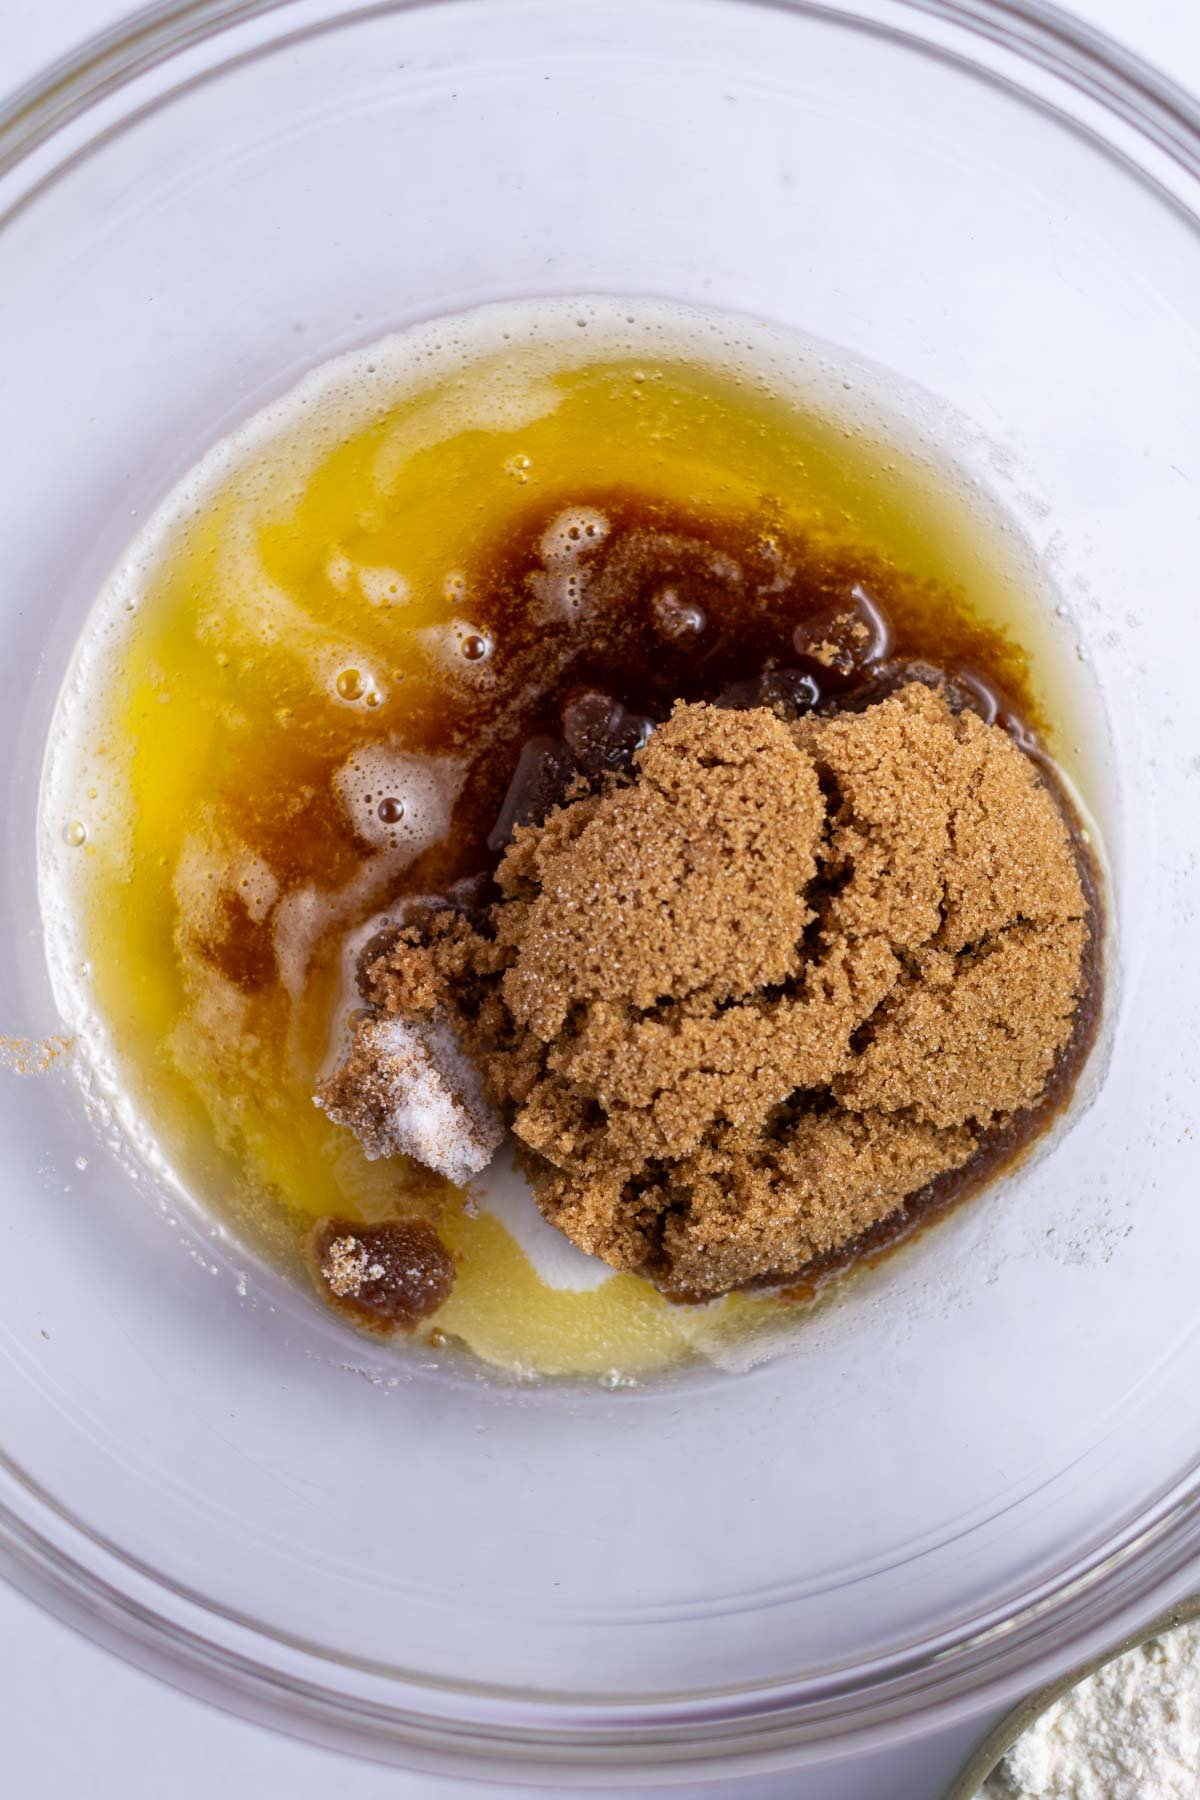
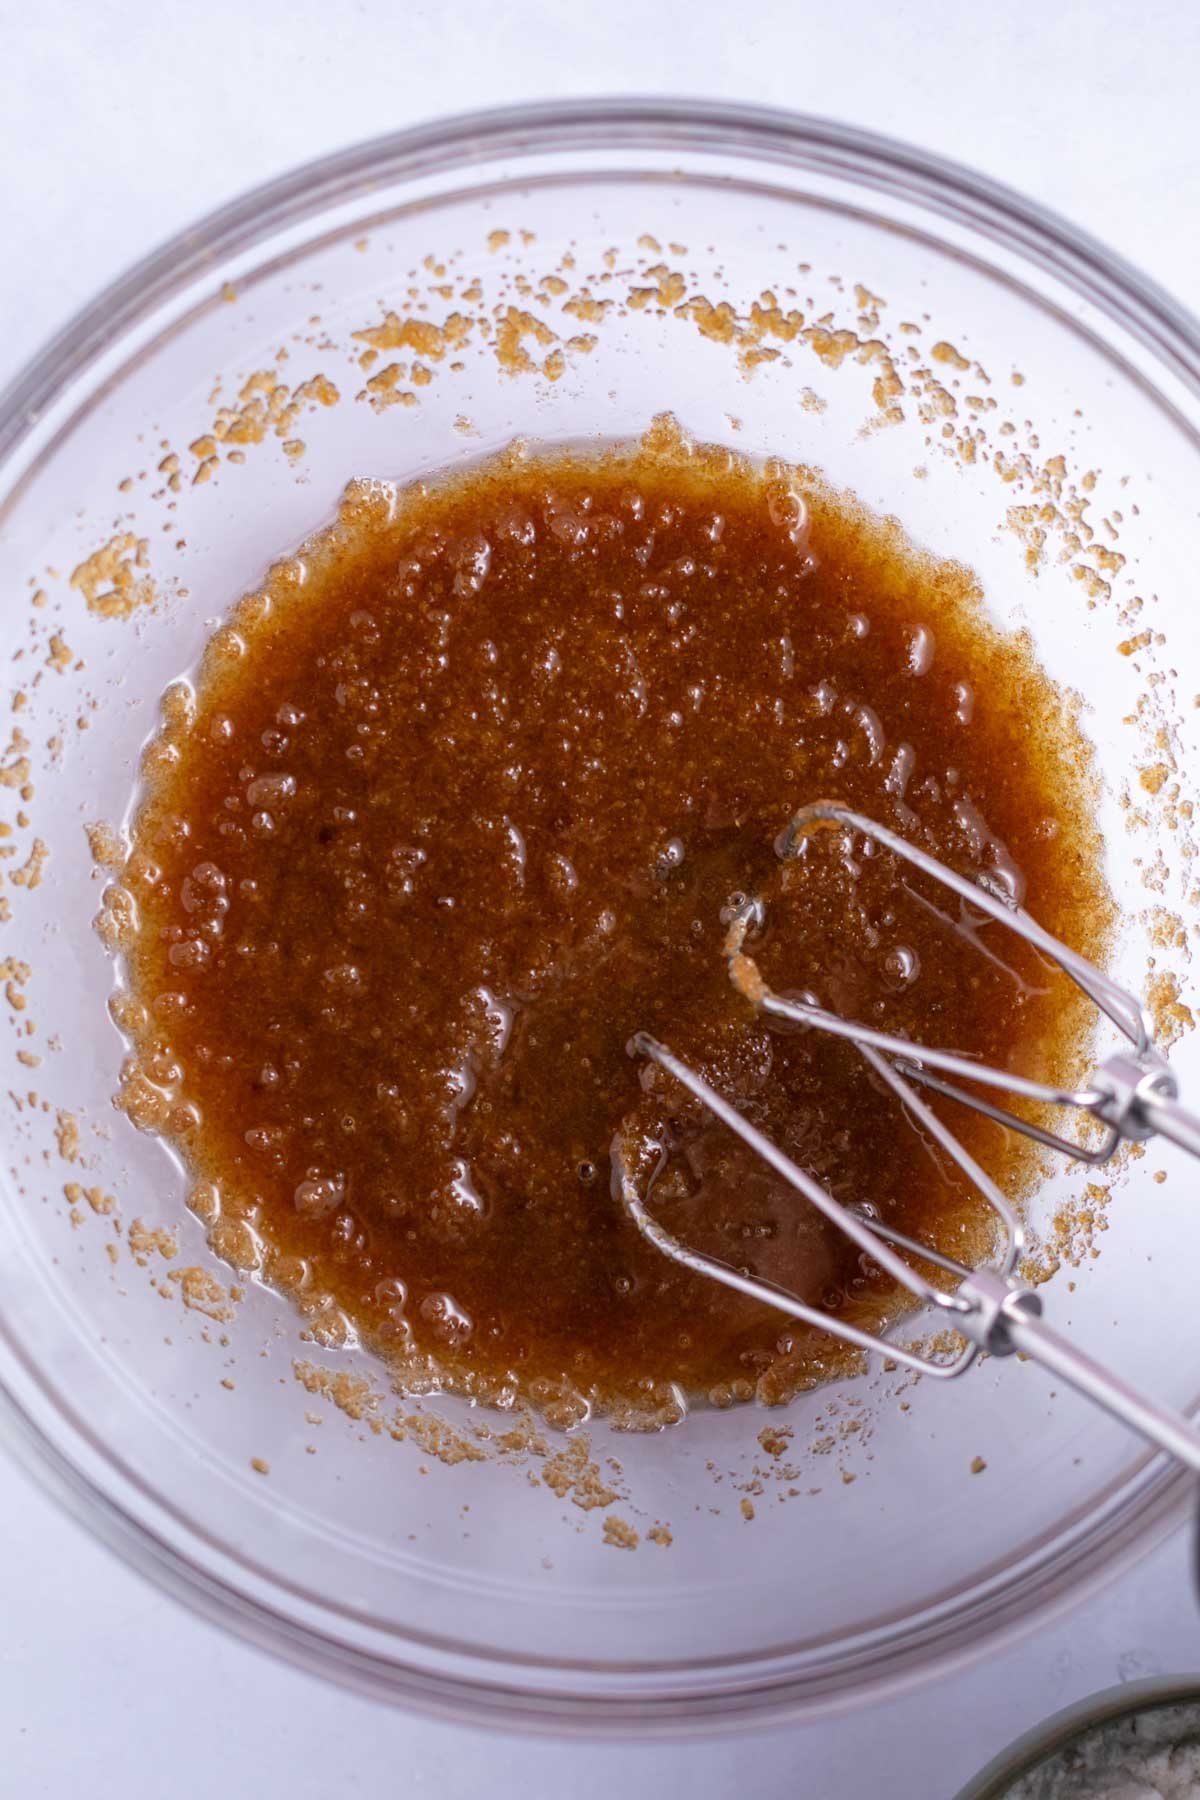
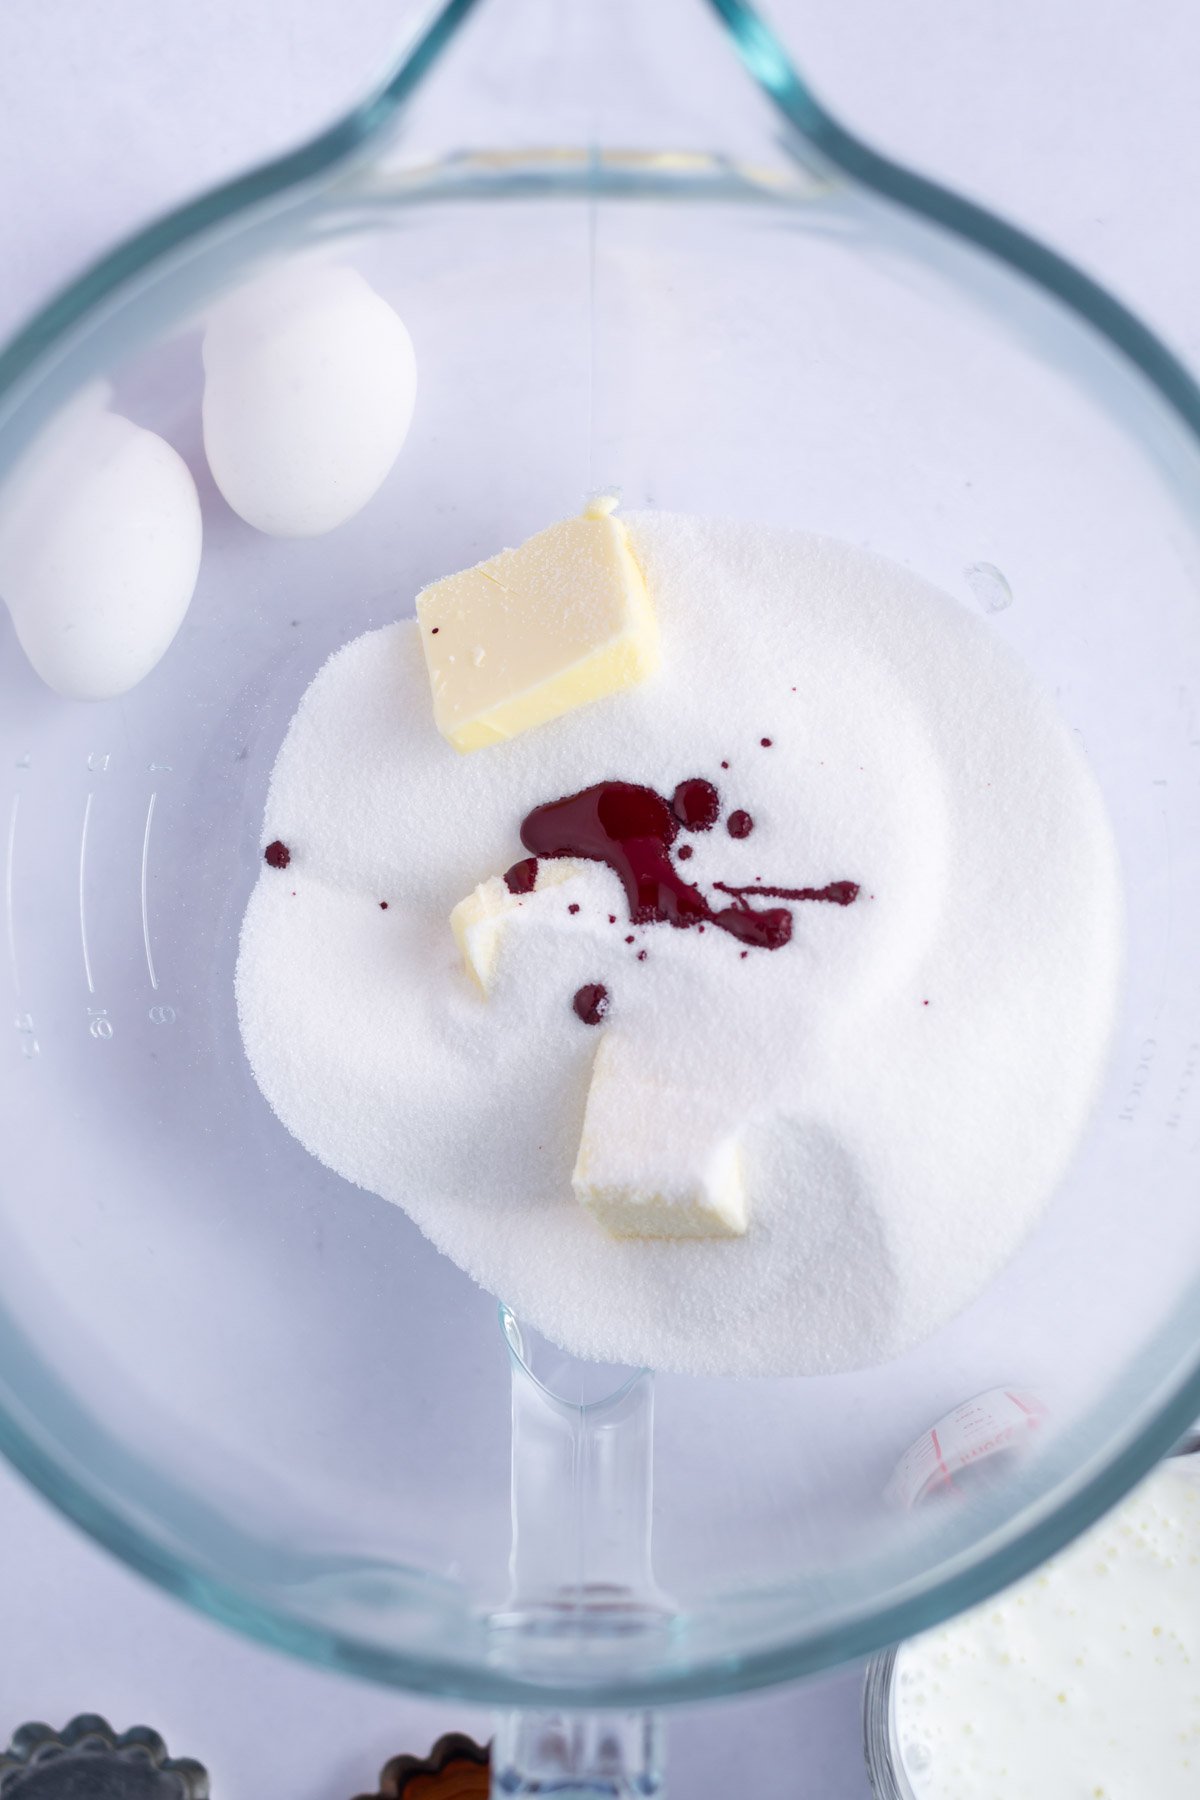
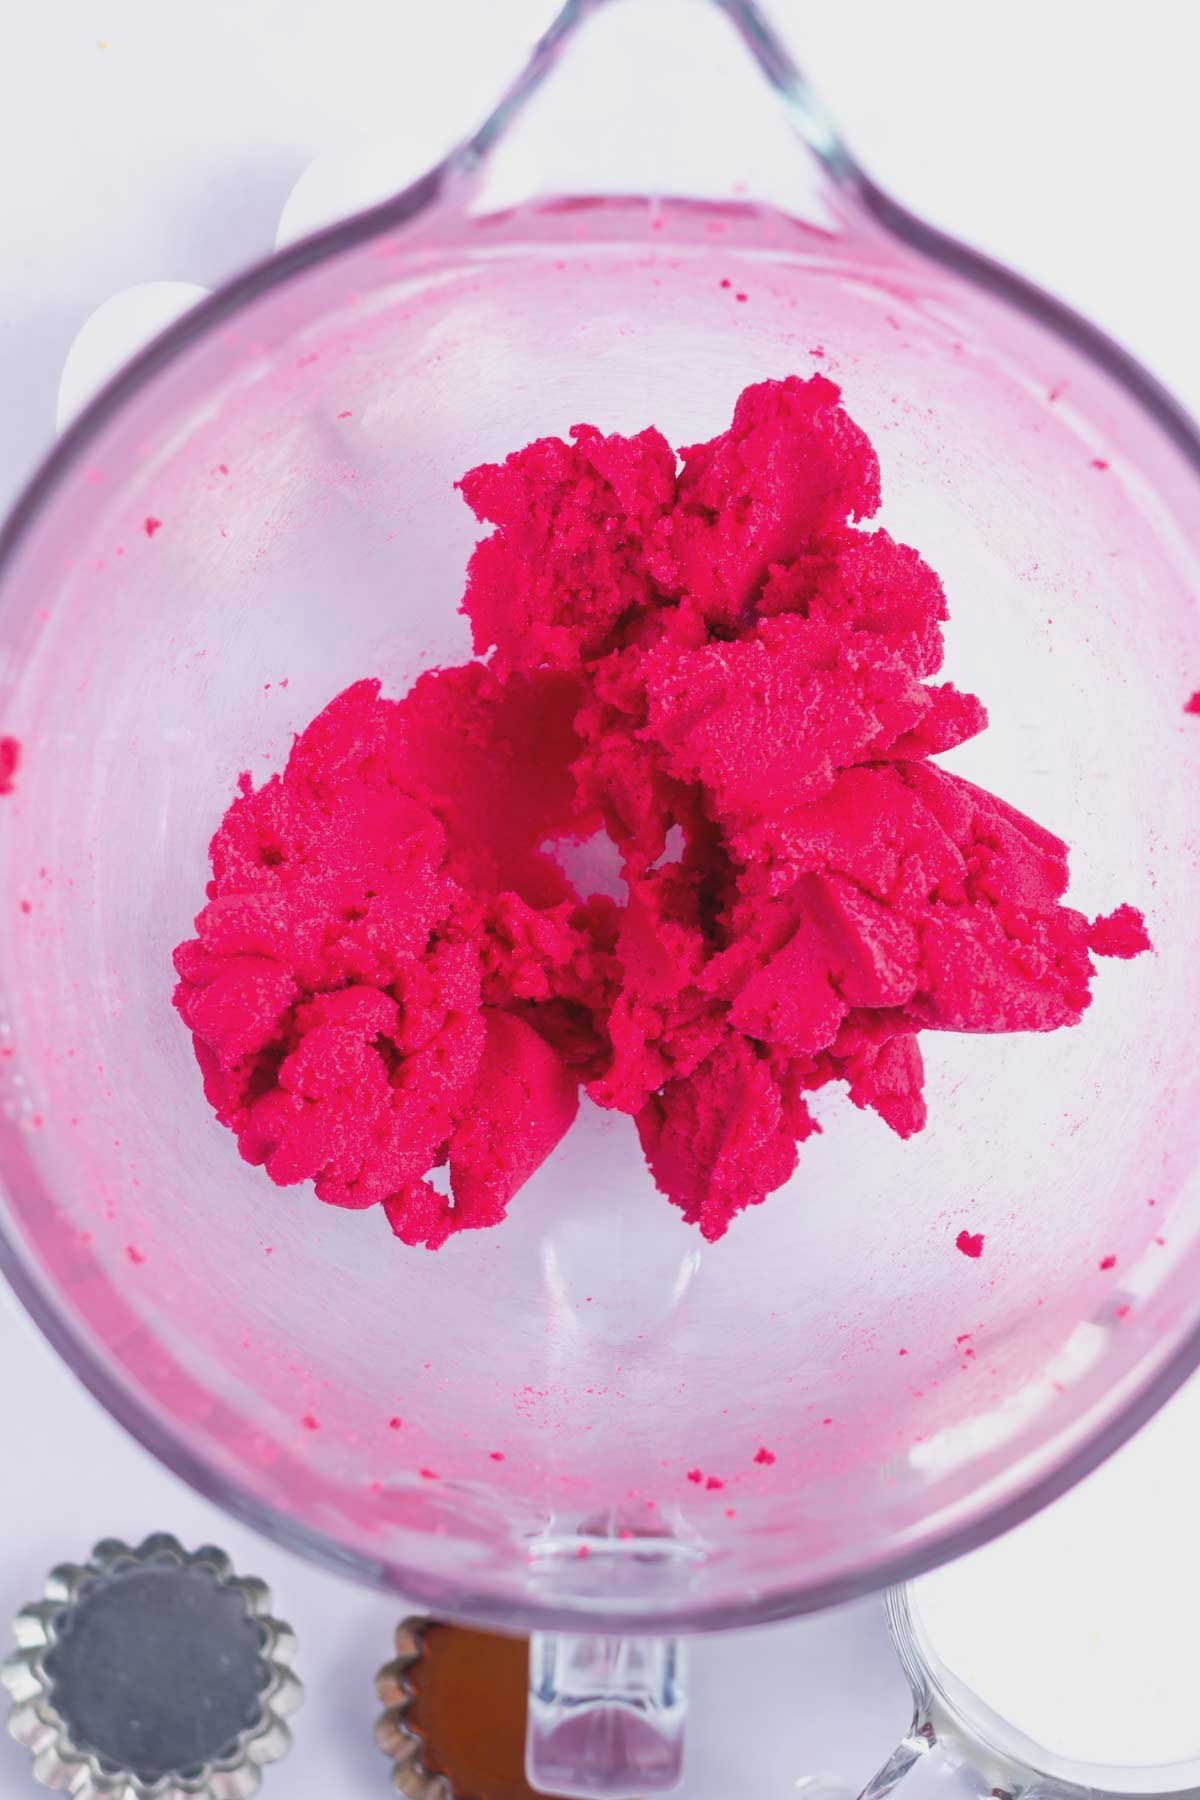
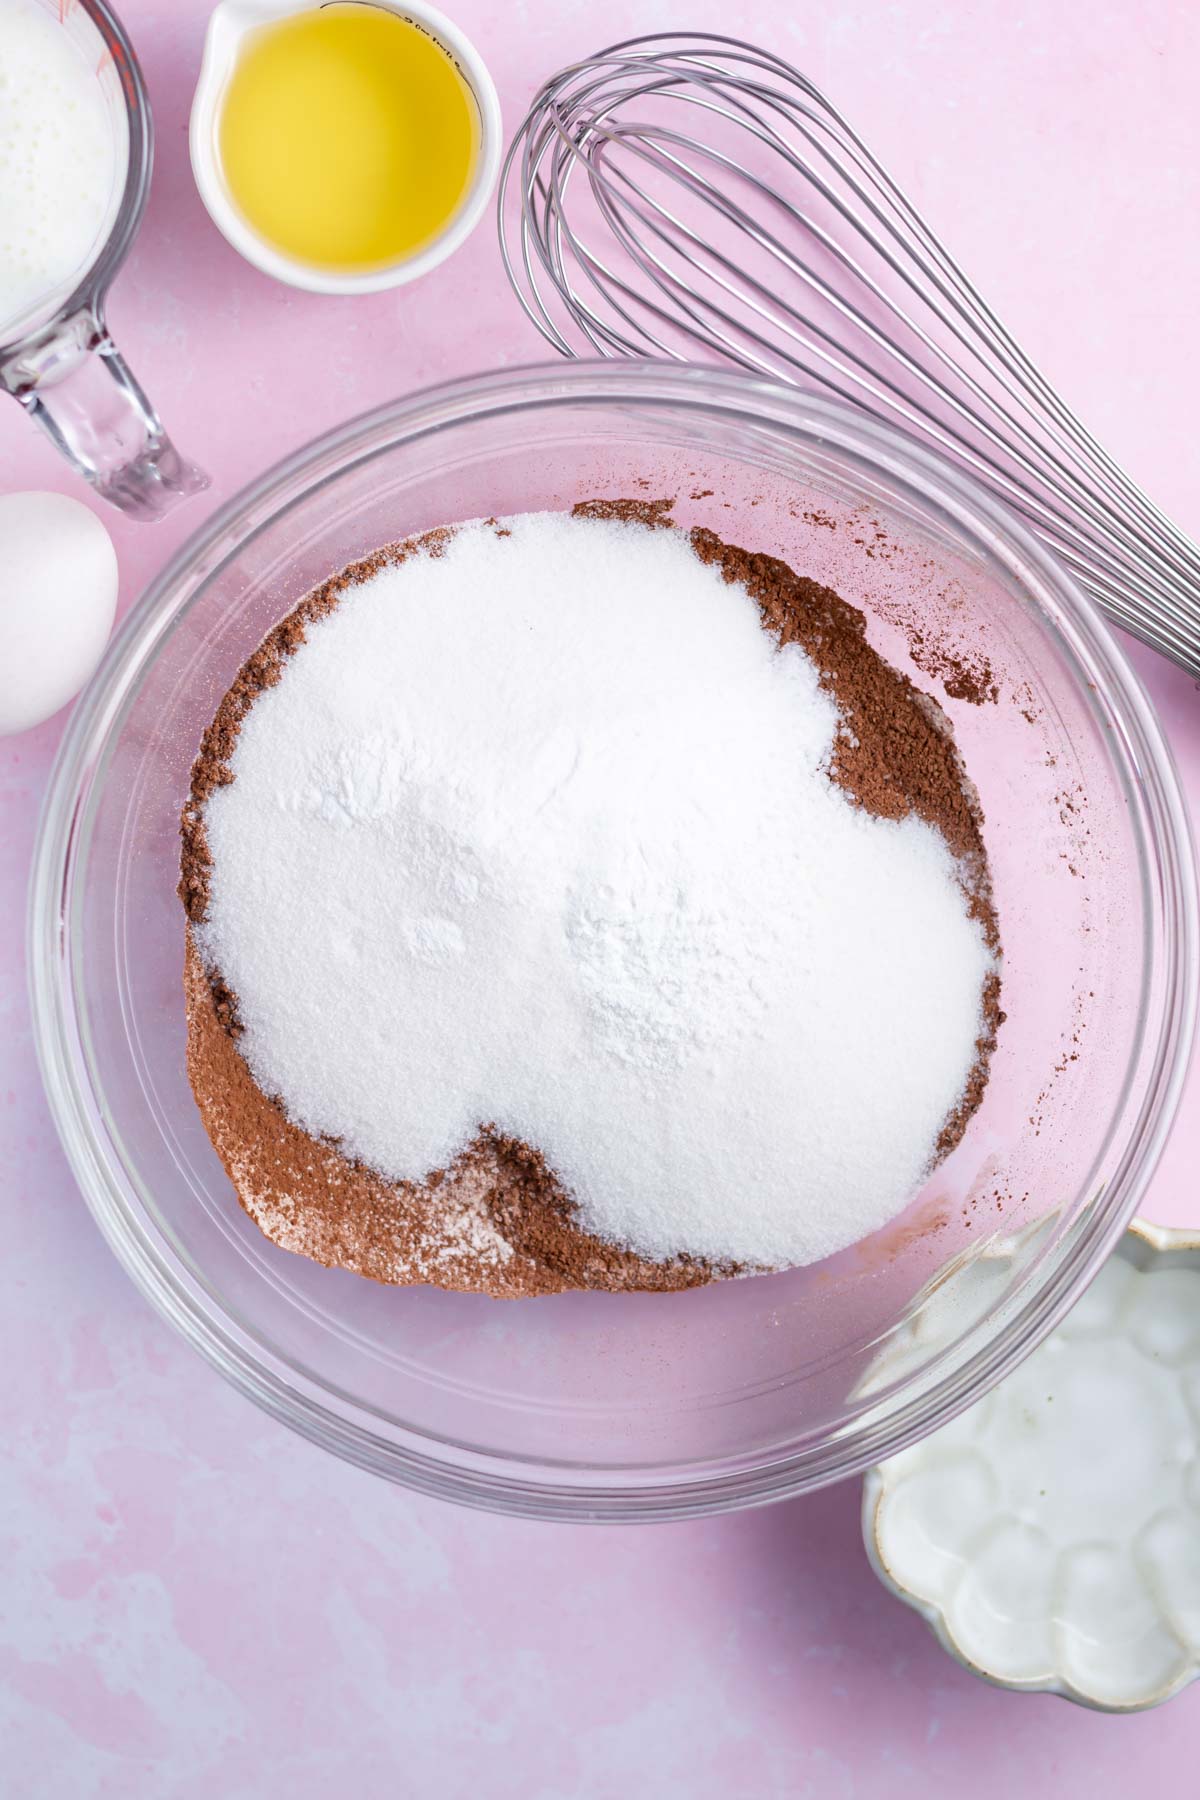
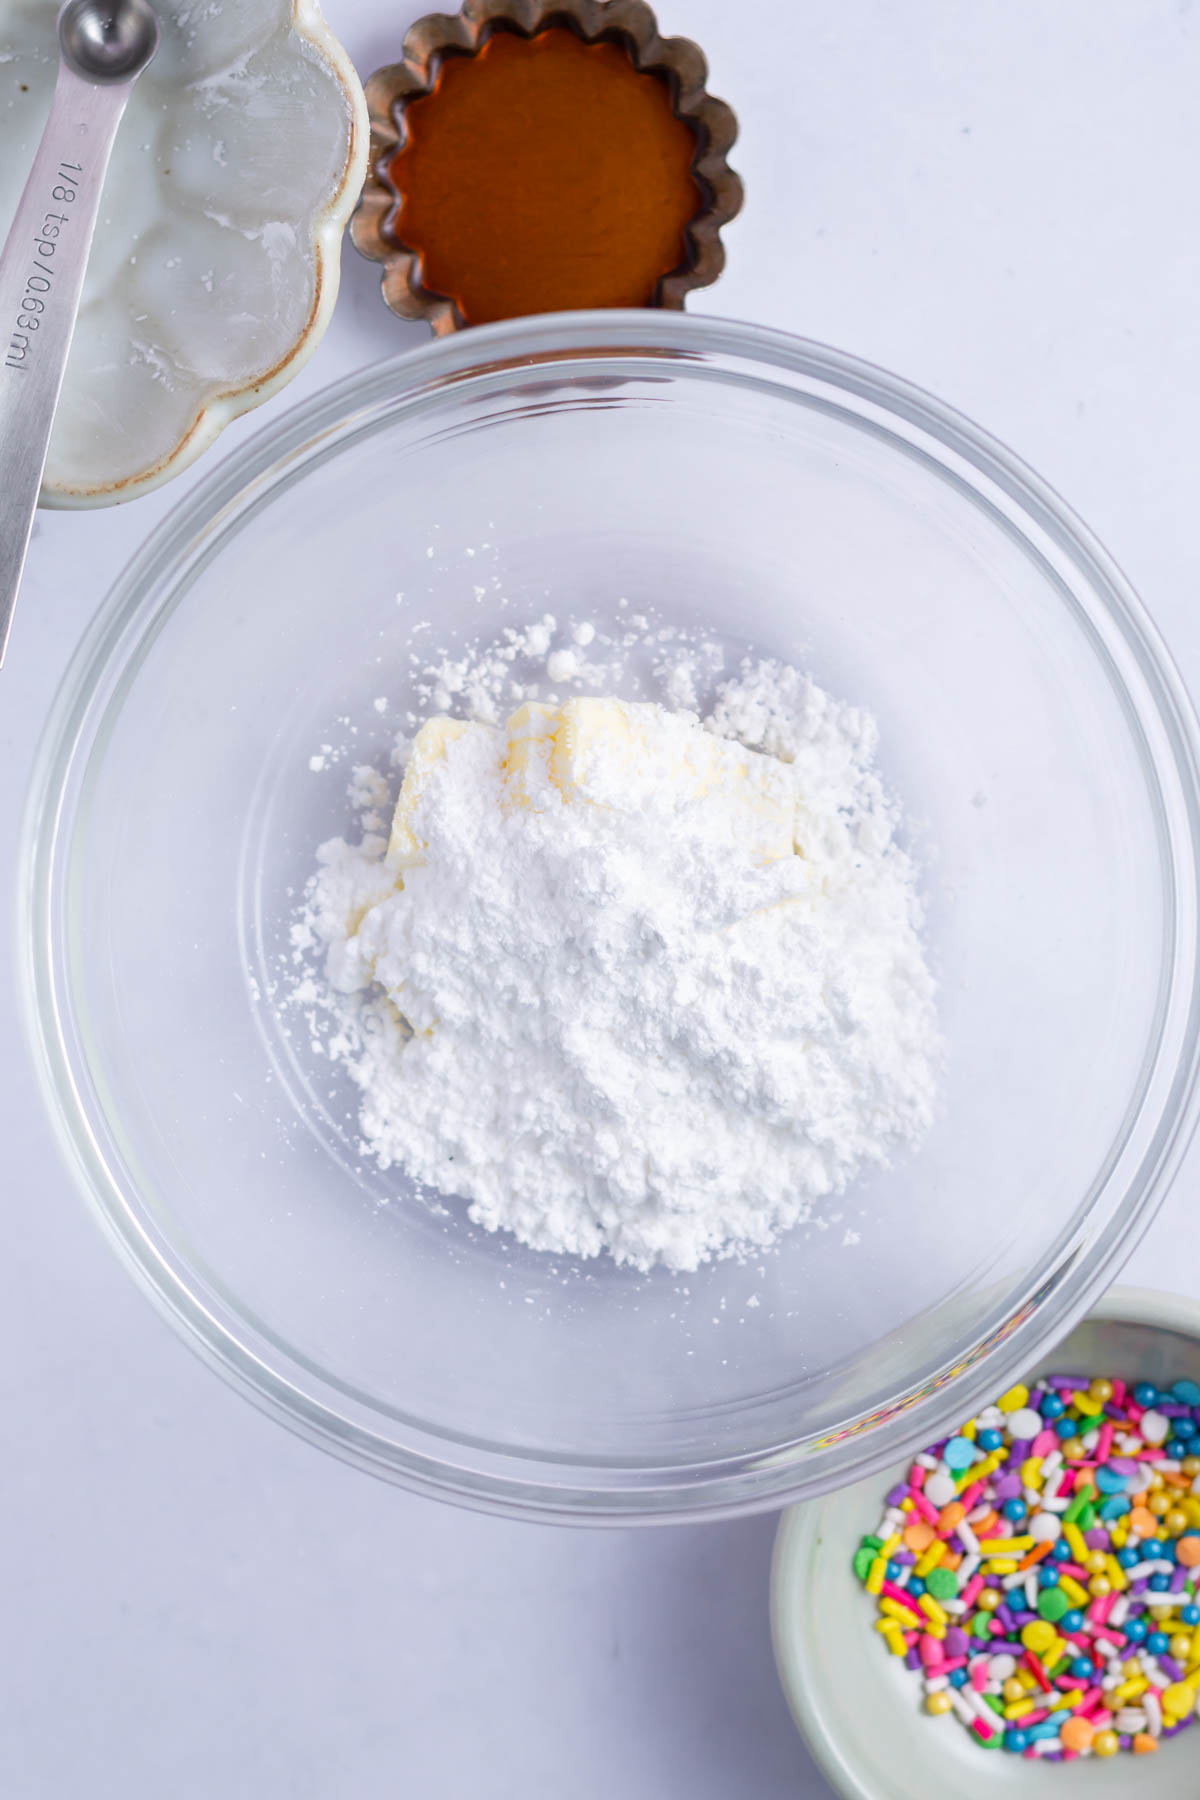
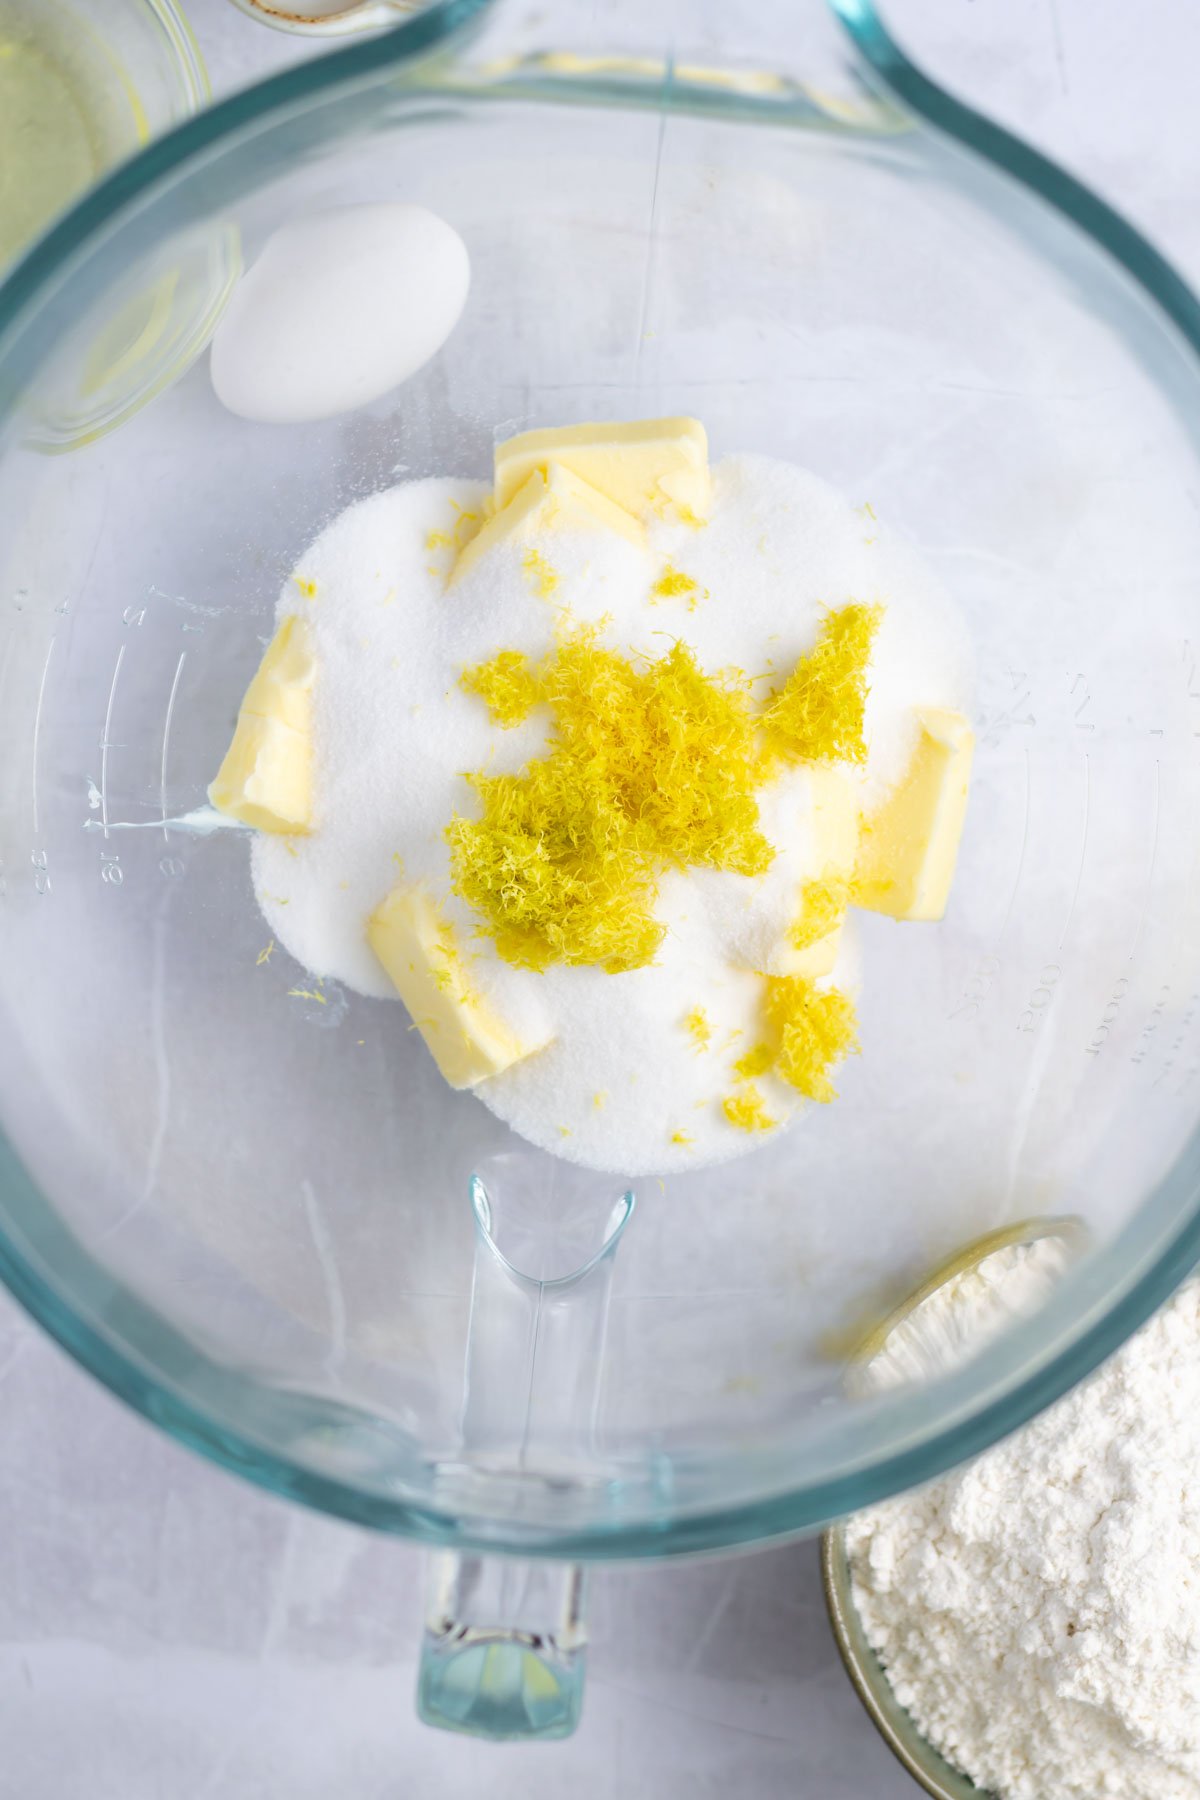
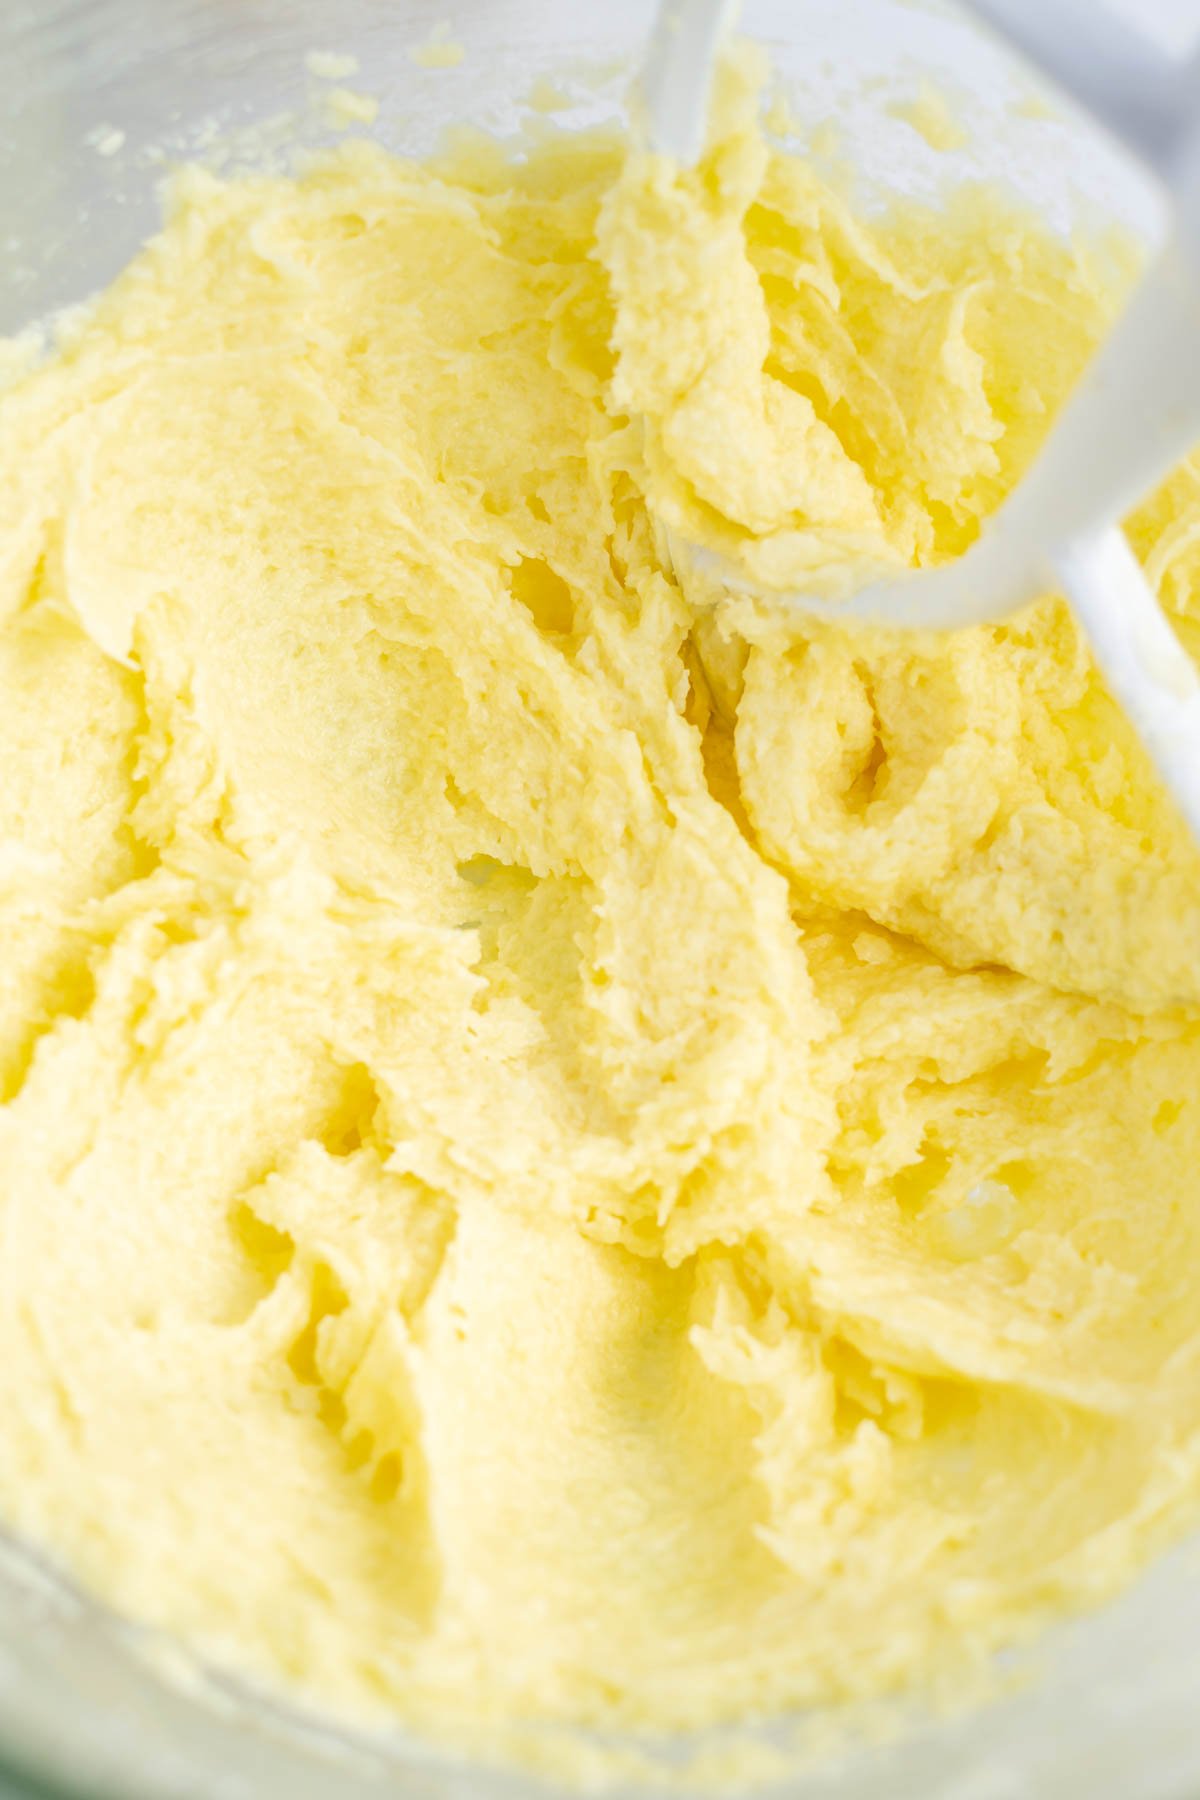
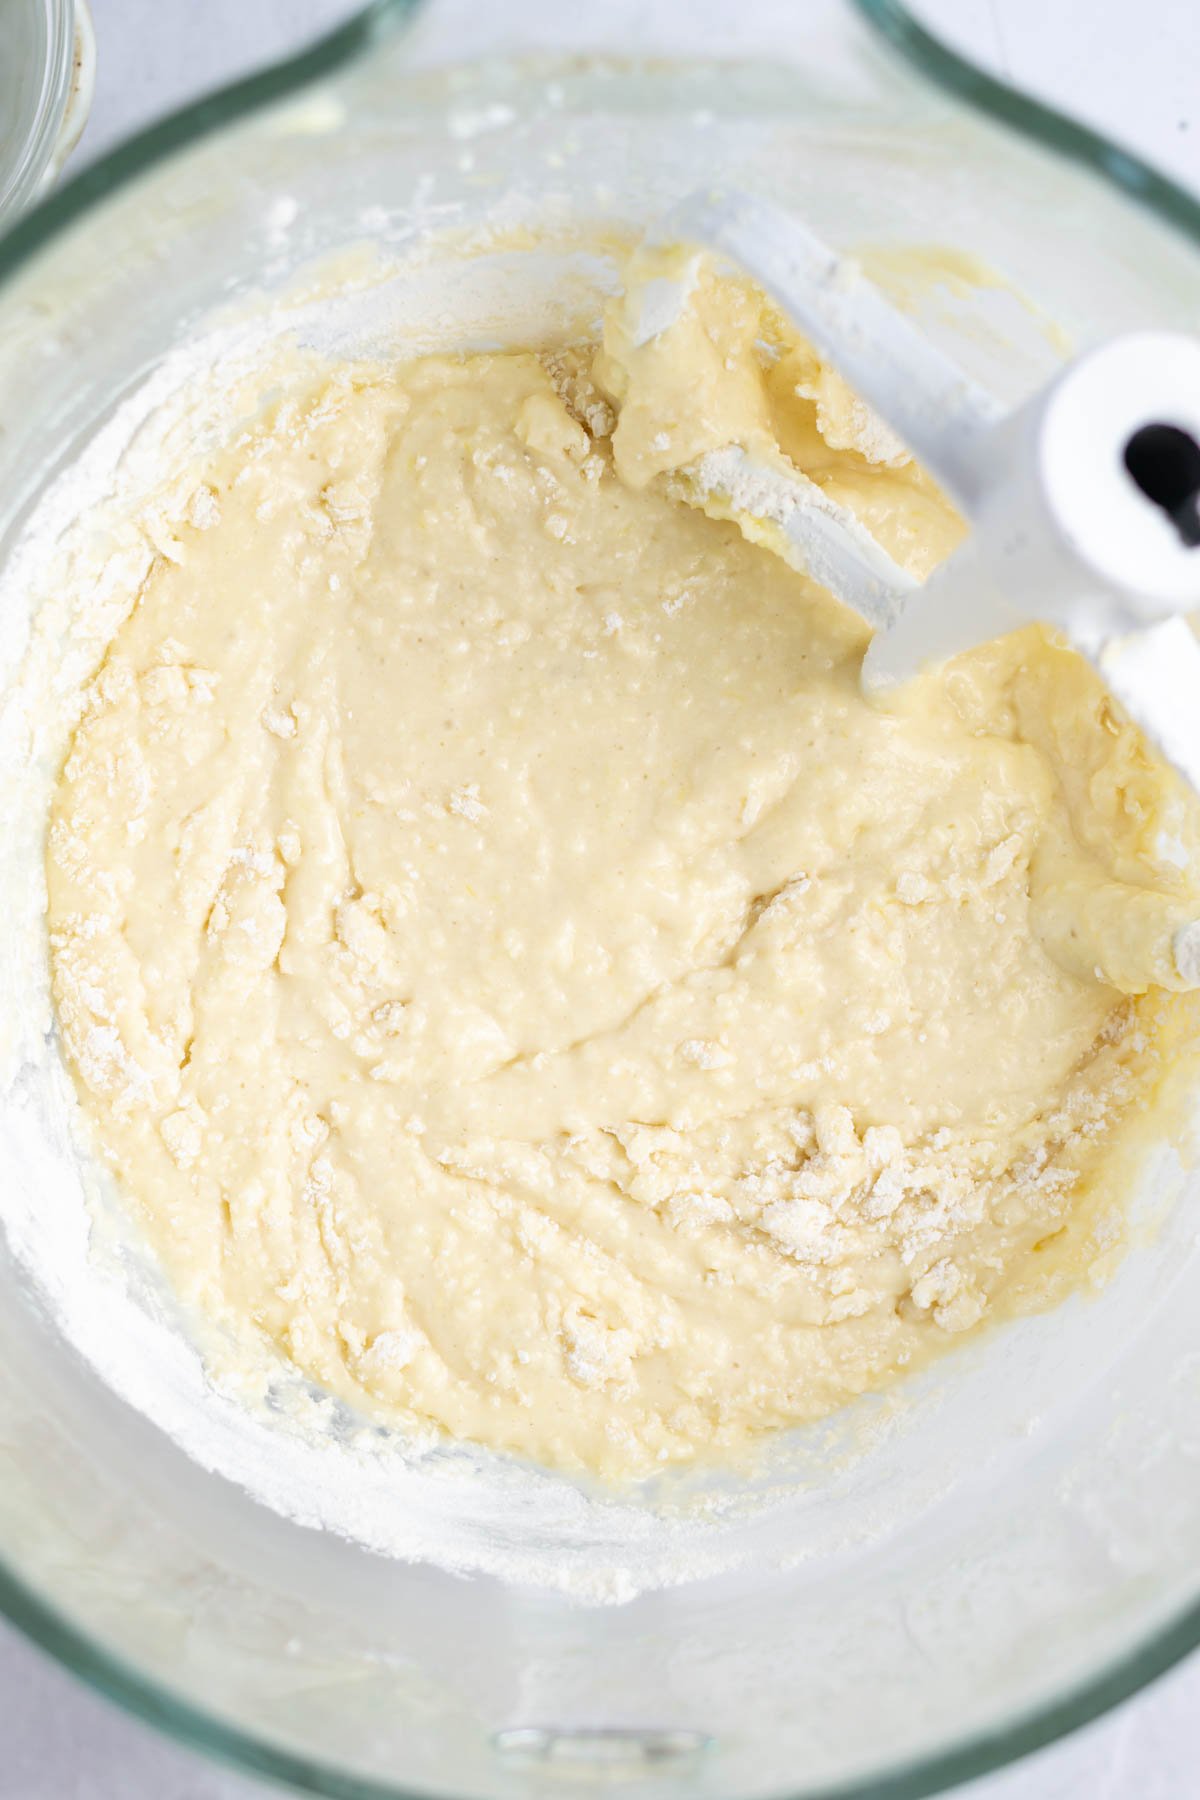
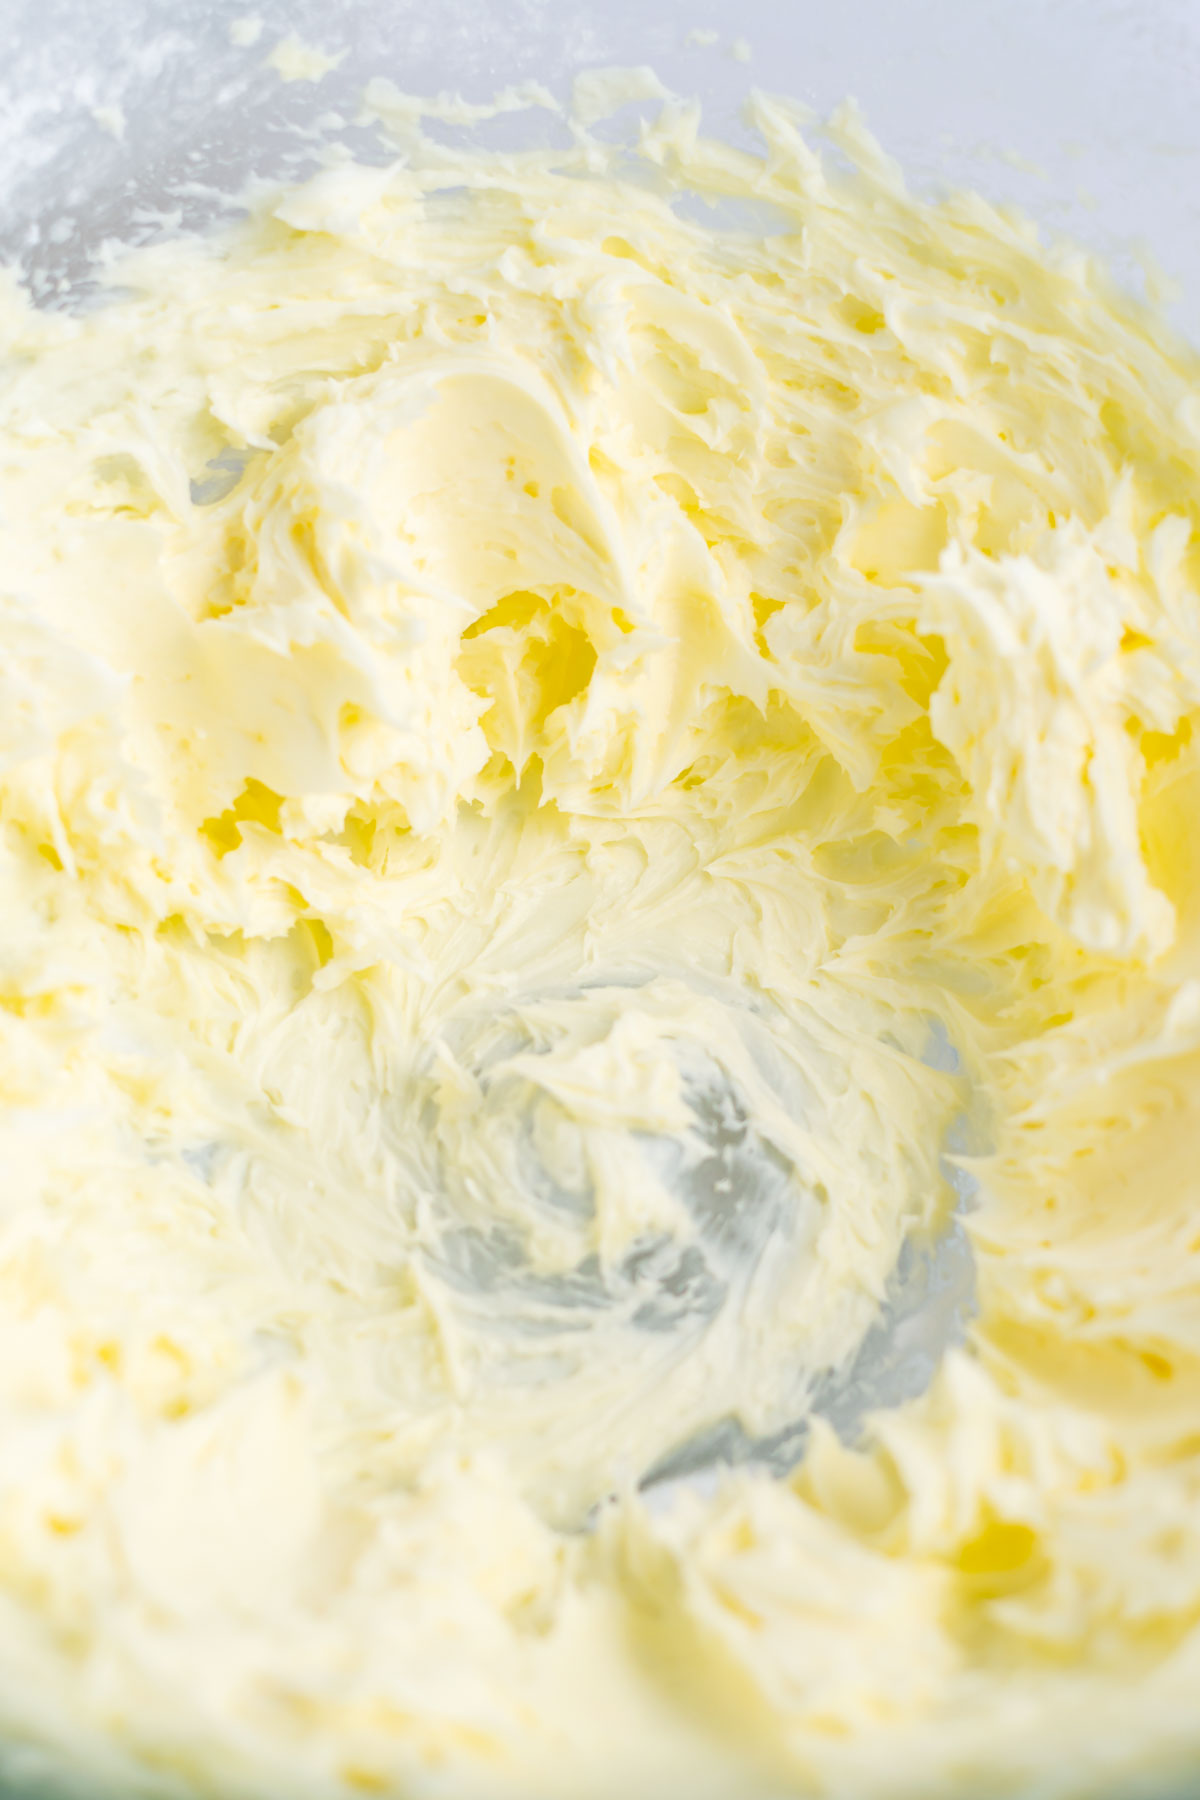
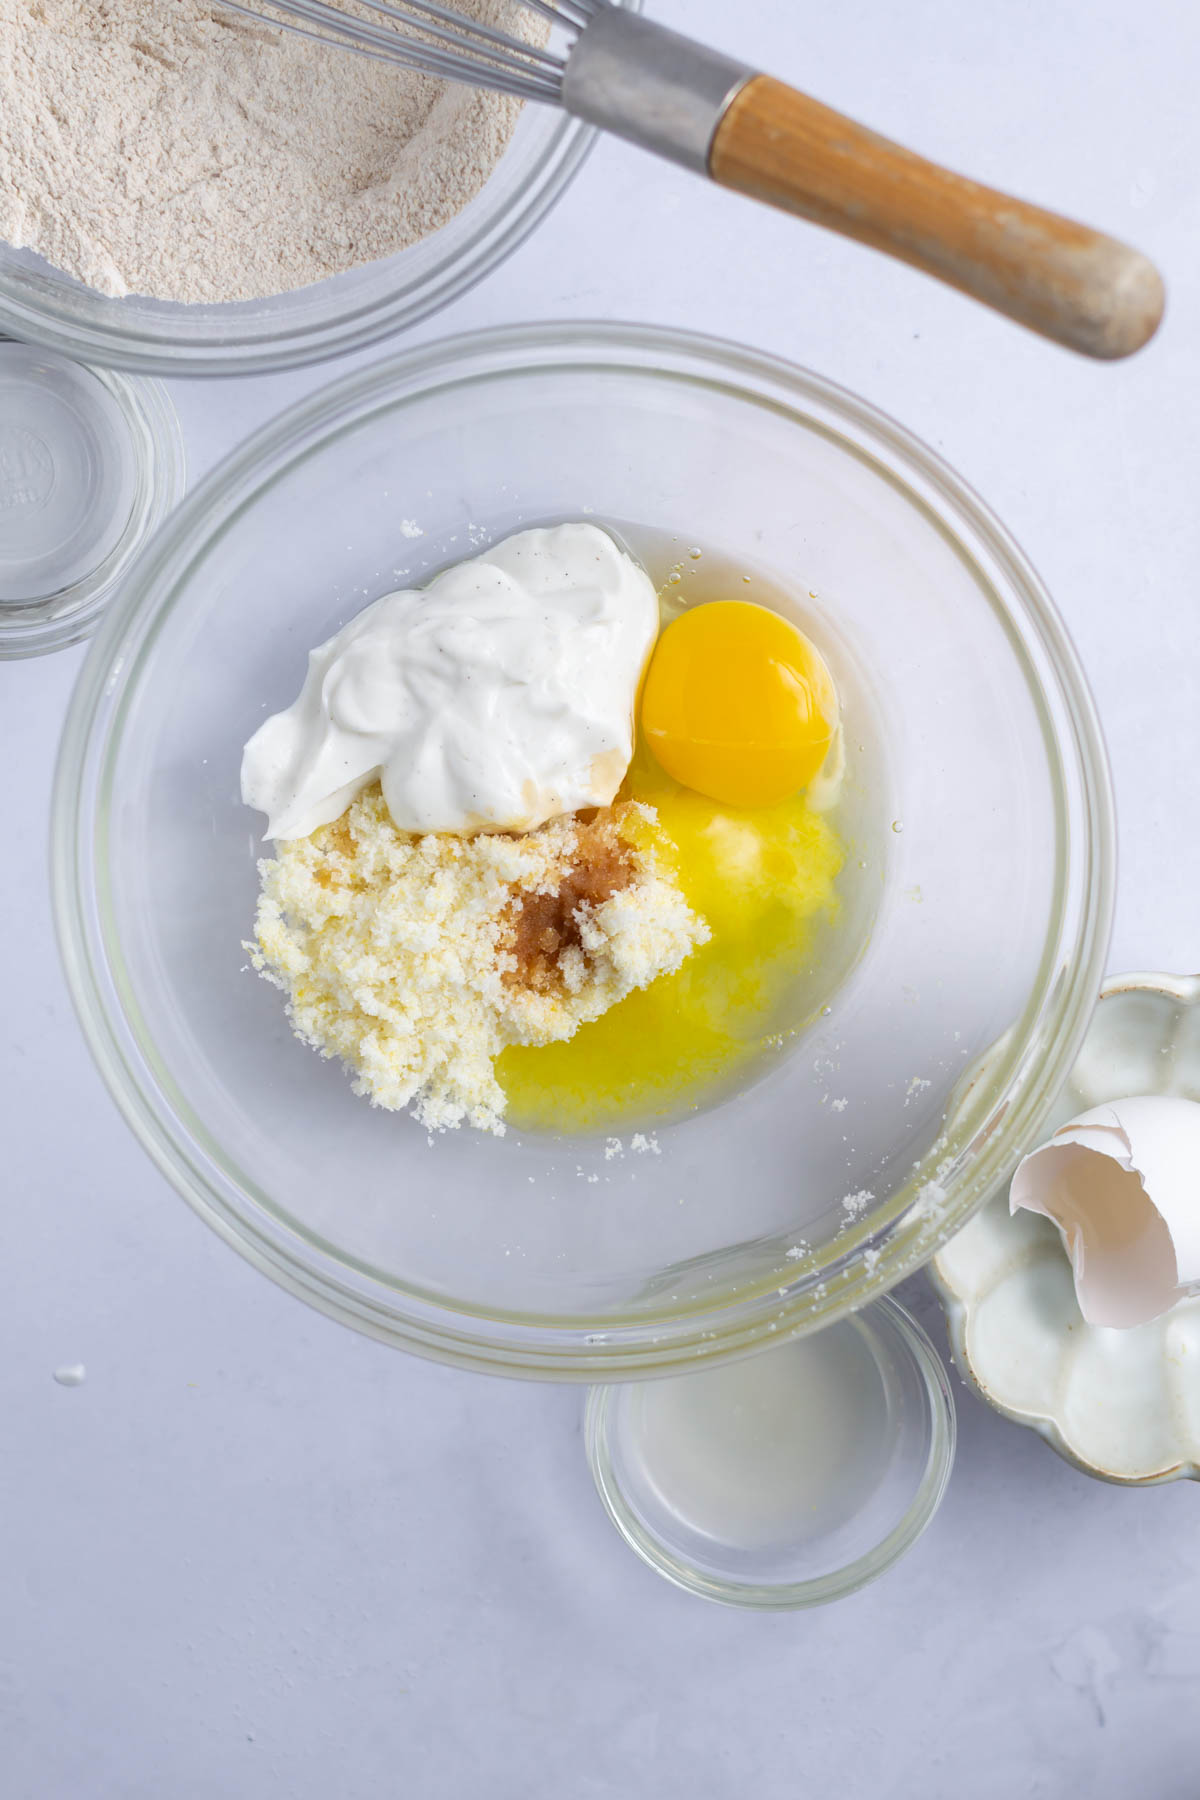
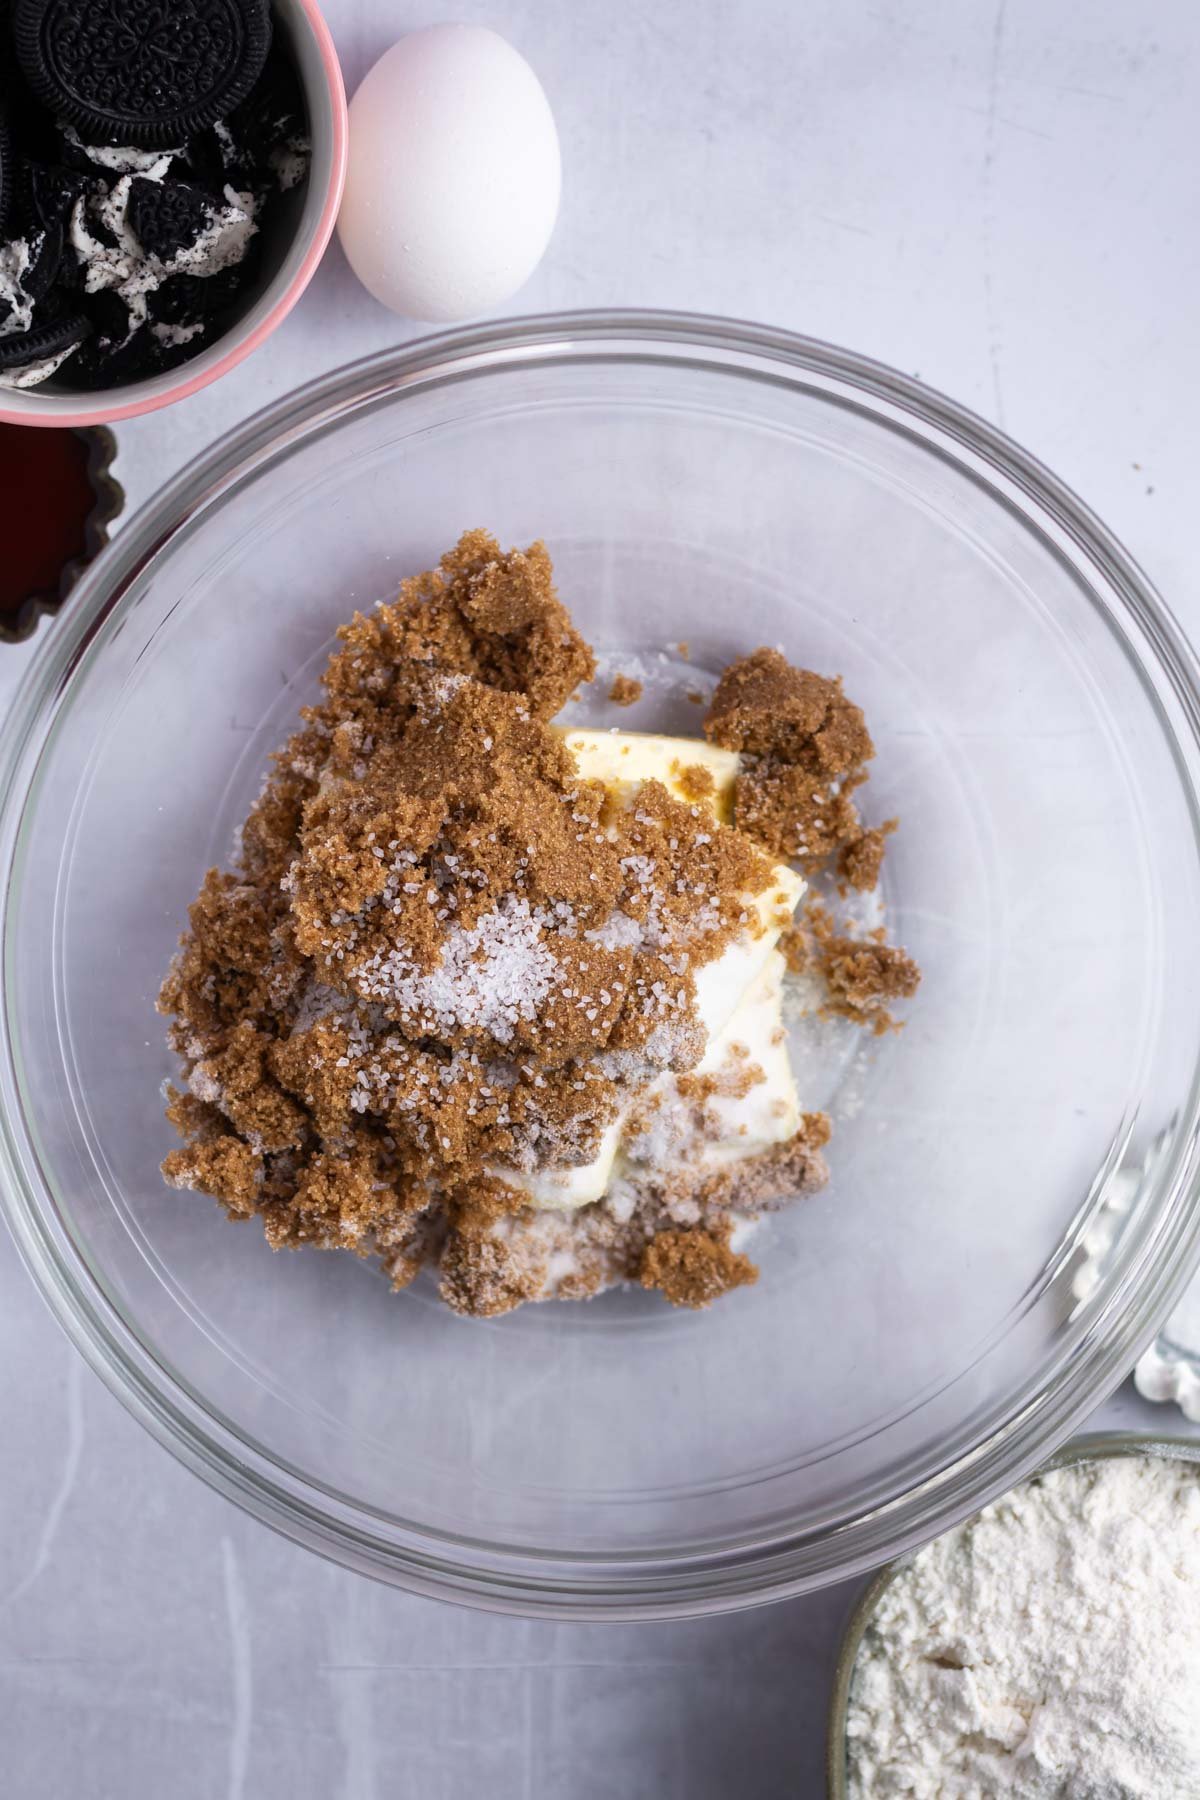
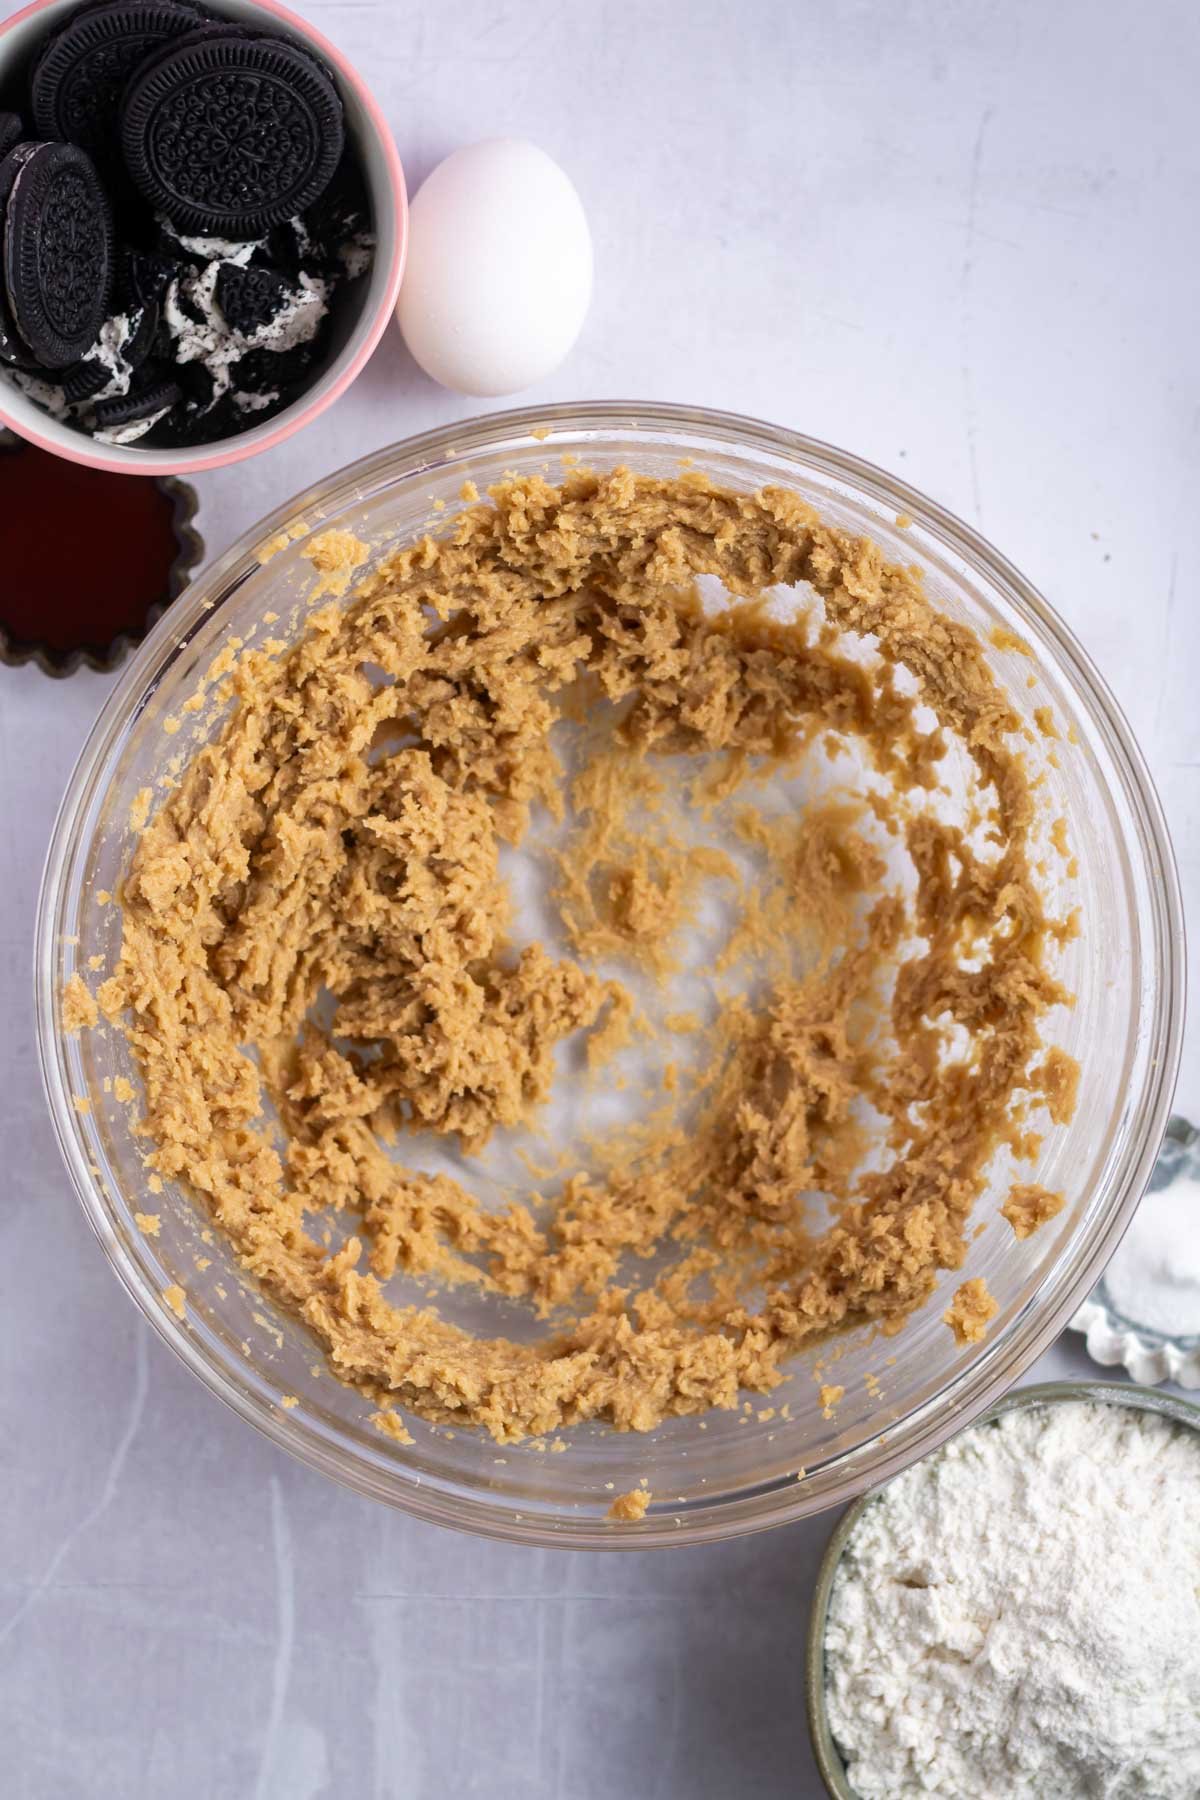
Then using a stand mixer with the paddle attachment or a hand mixer and beat the unsalted butter, kosher salt, brown sugar and granulated sugar for 3-4 minutes until light and fluffy. Scrape up and down the bowl.
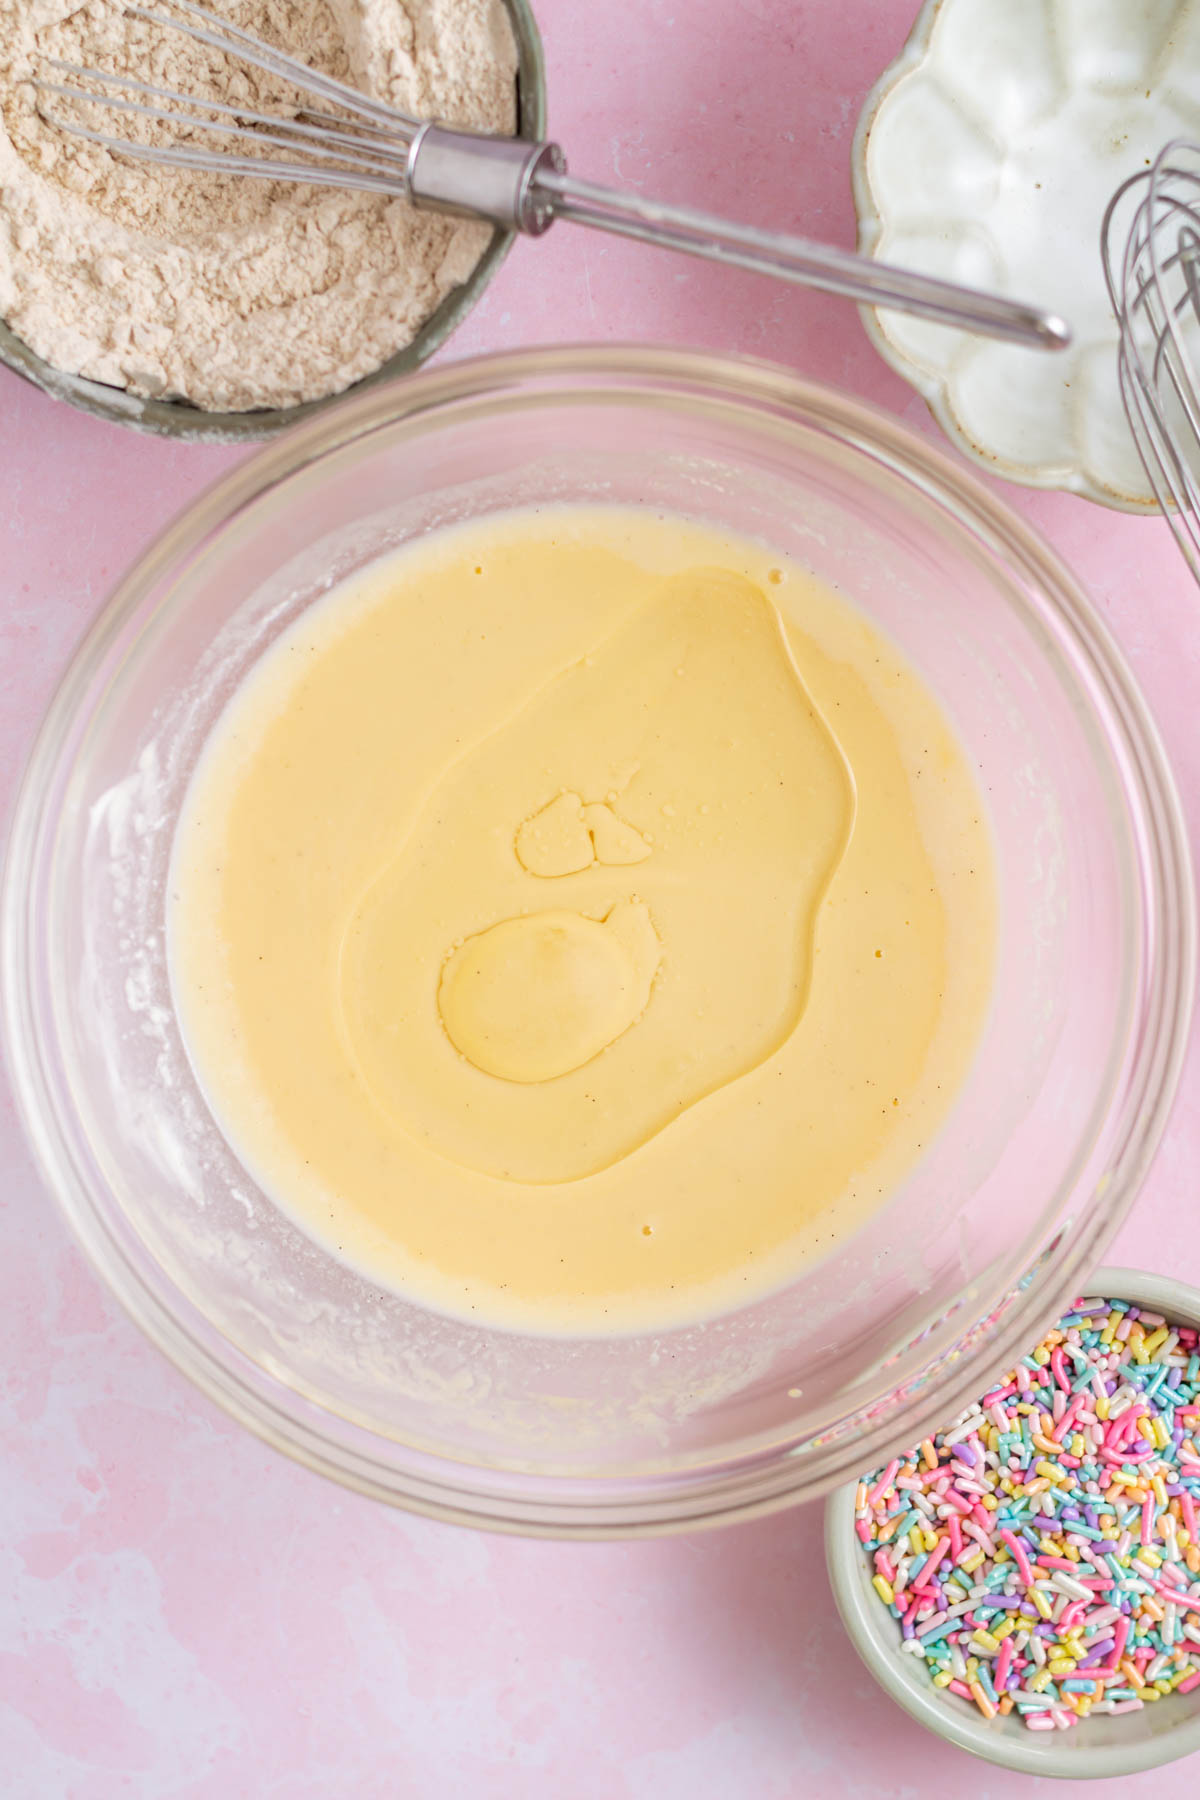
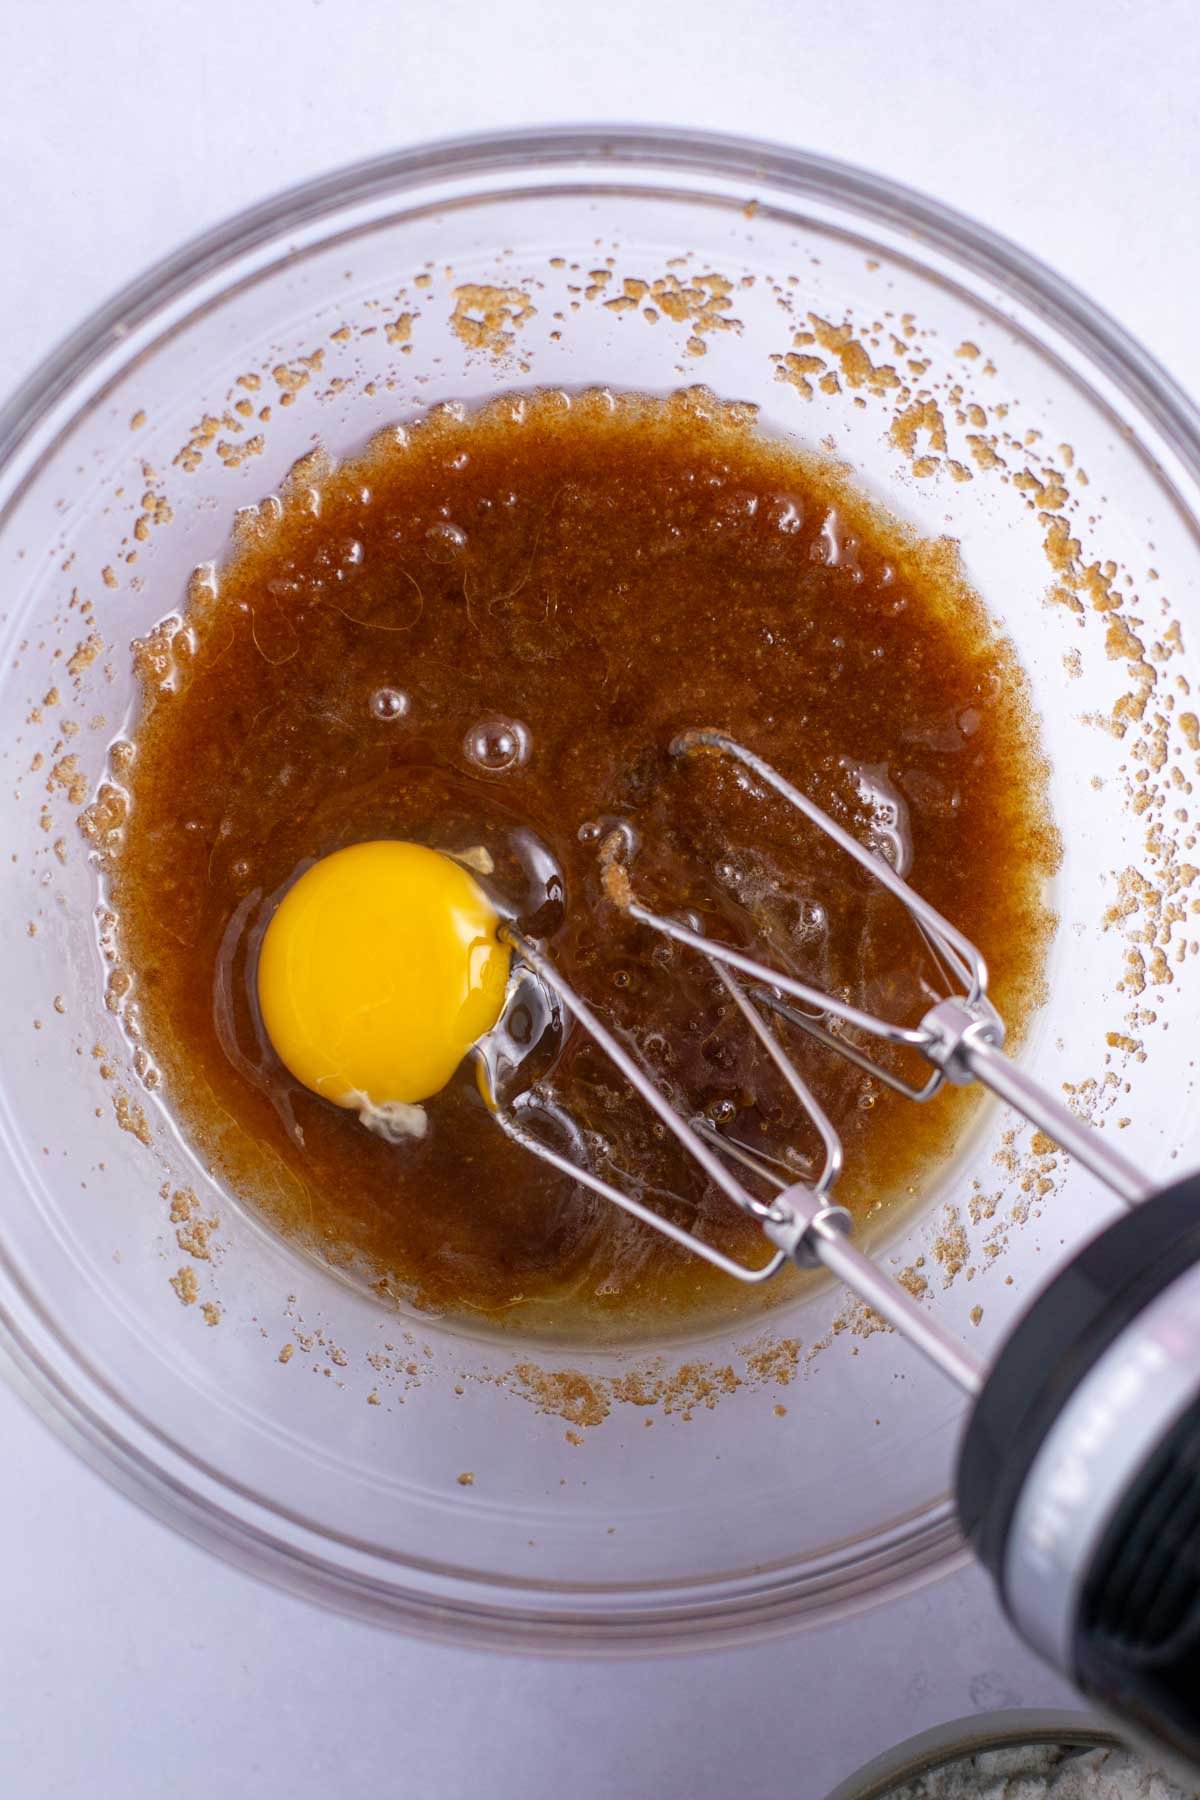
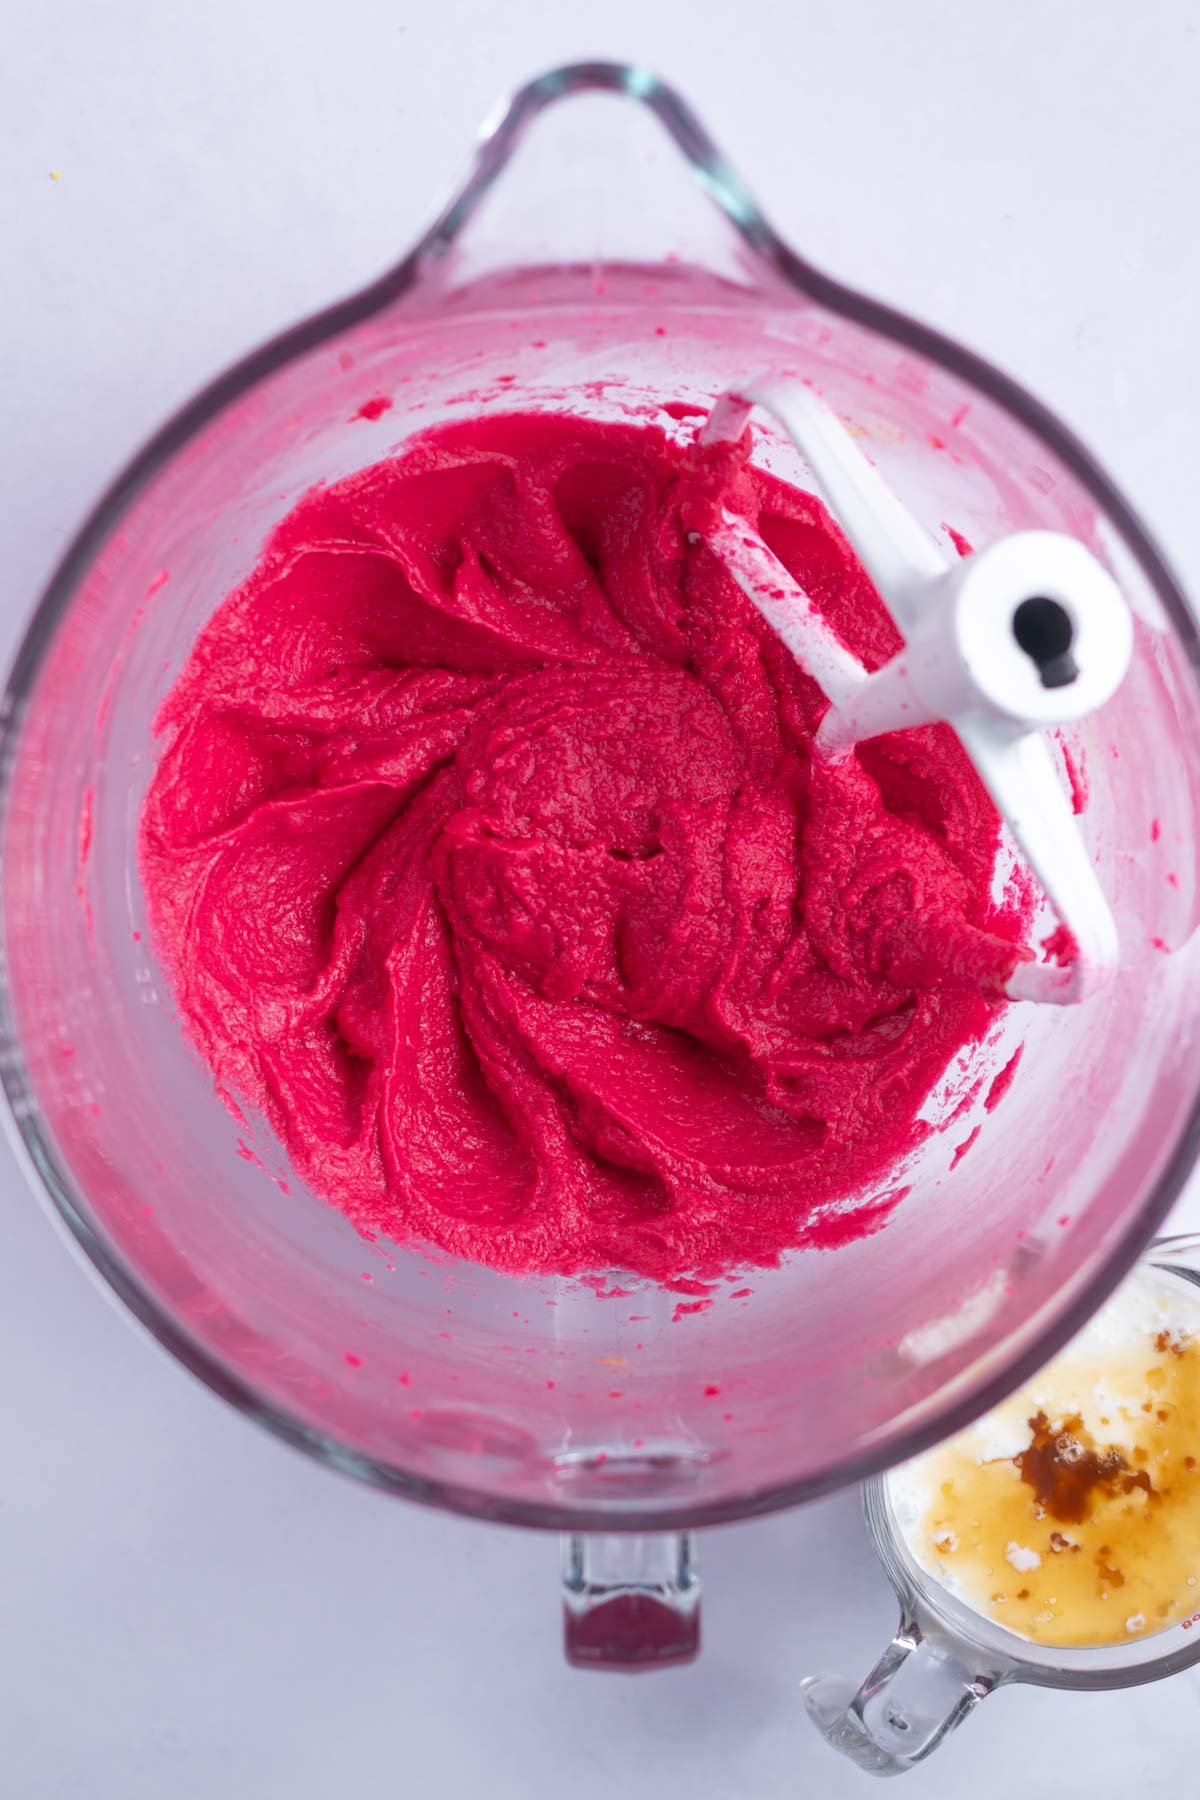
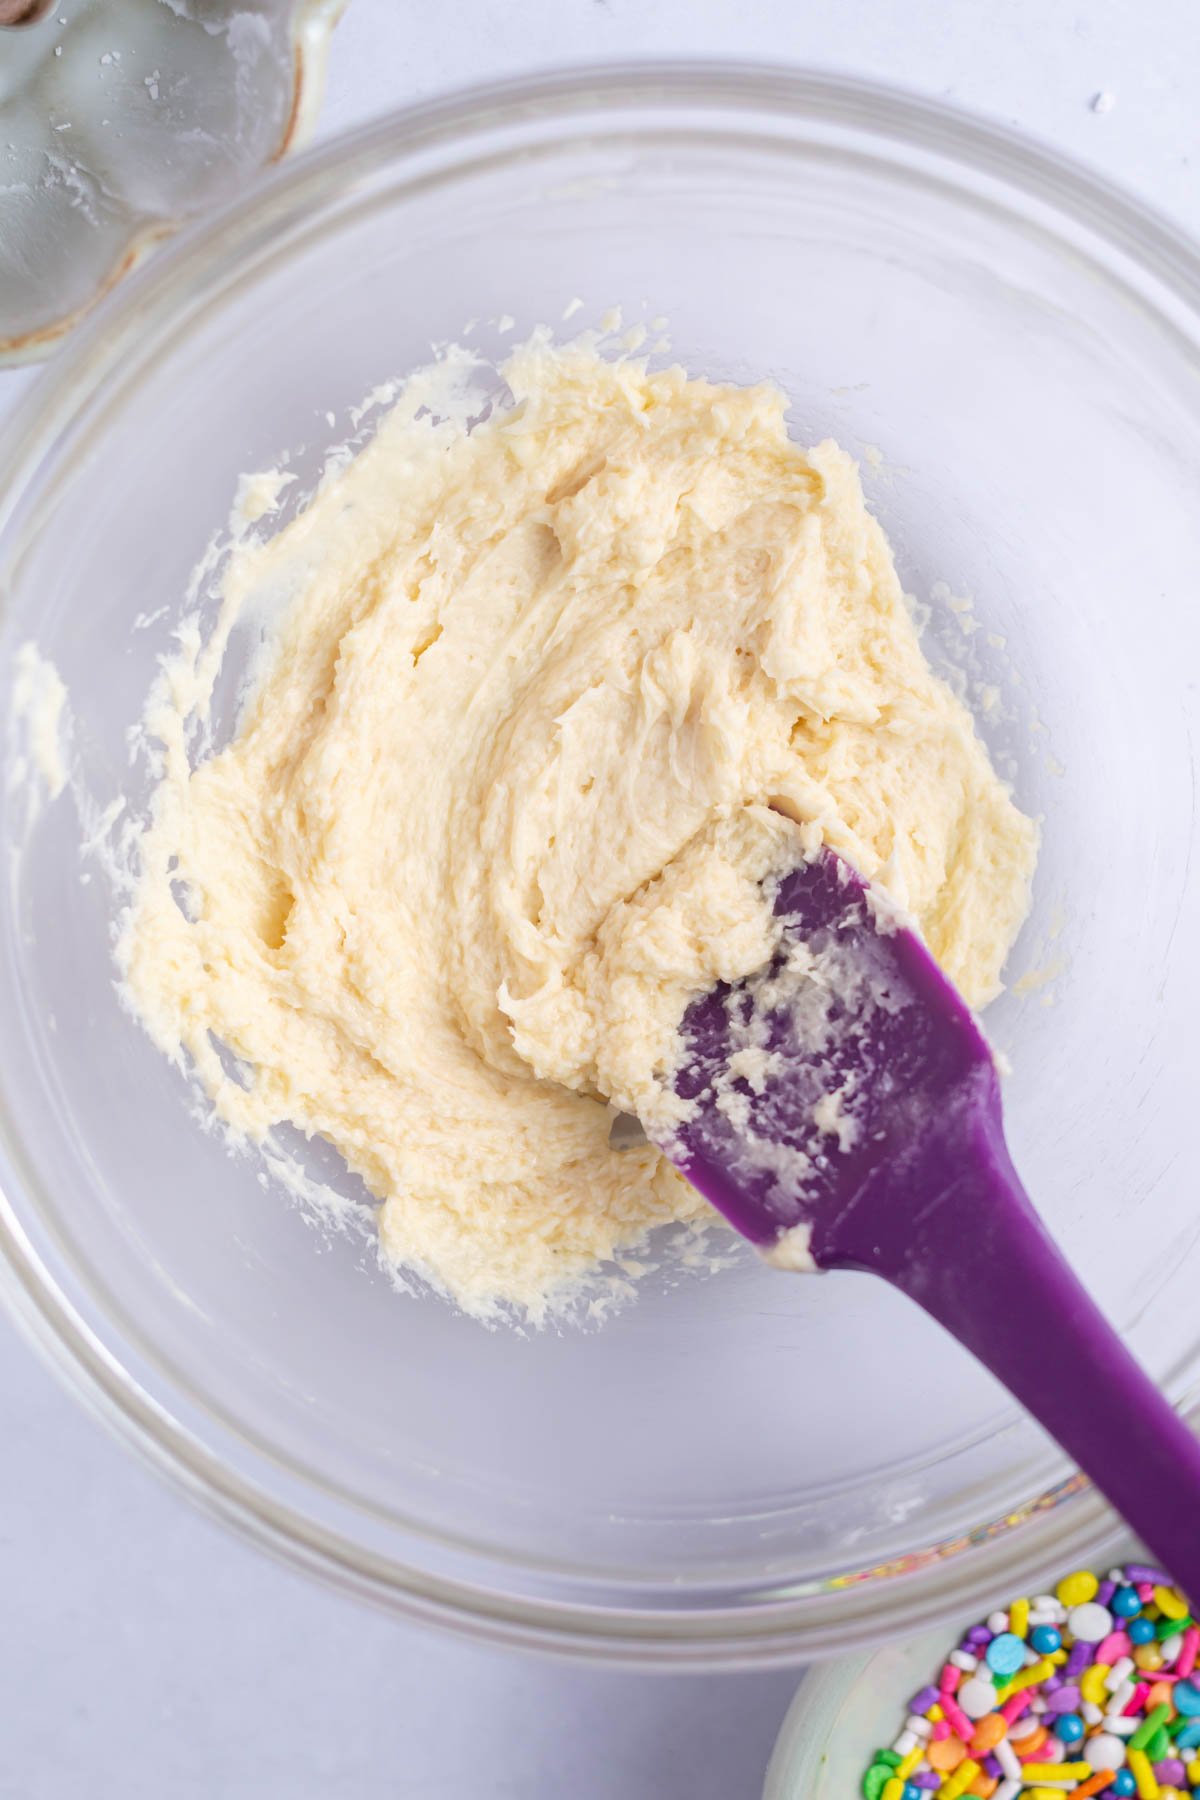
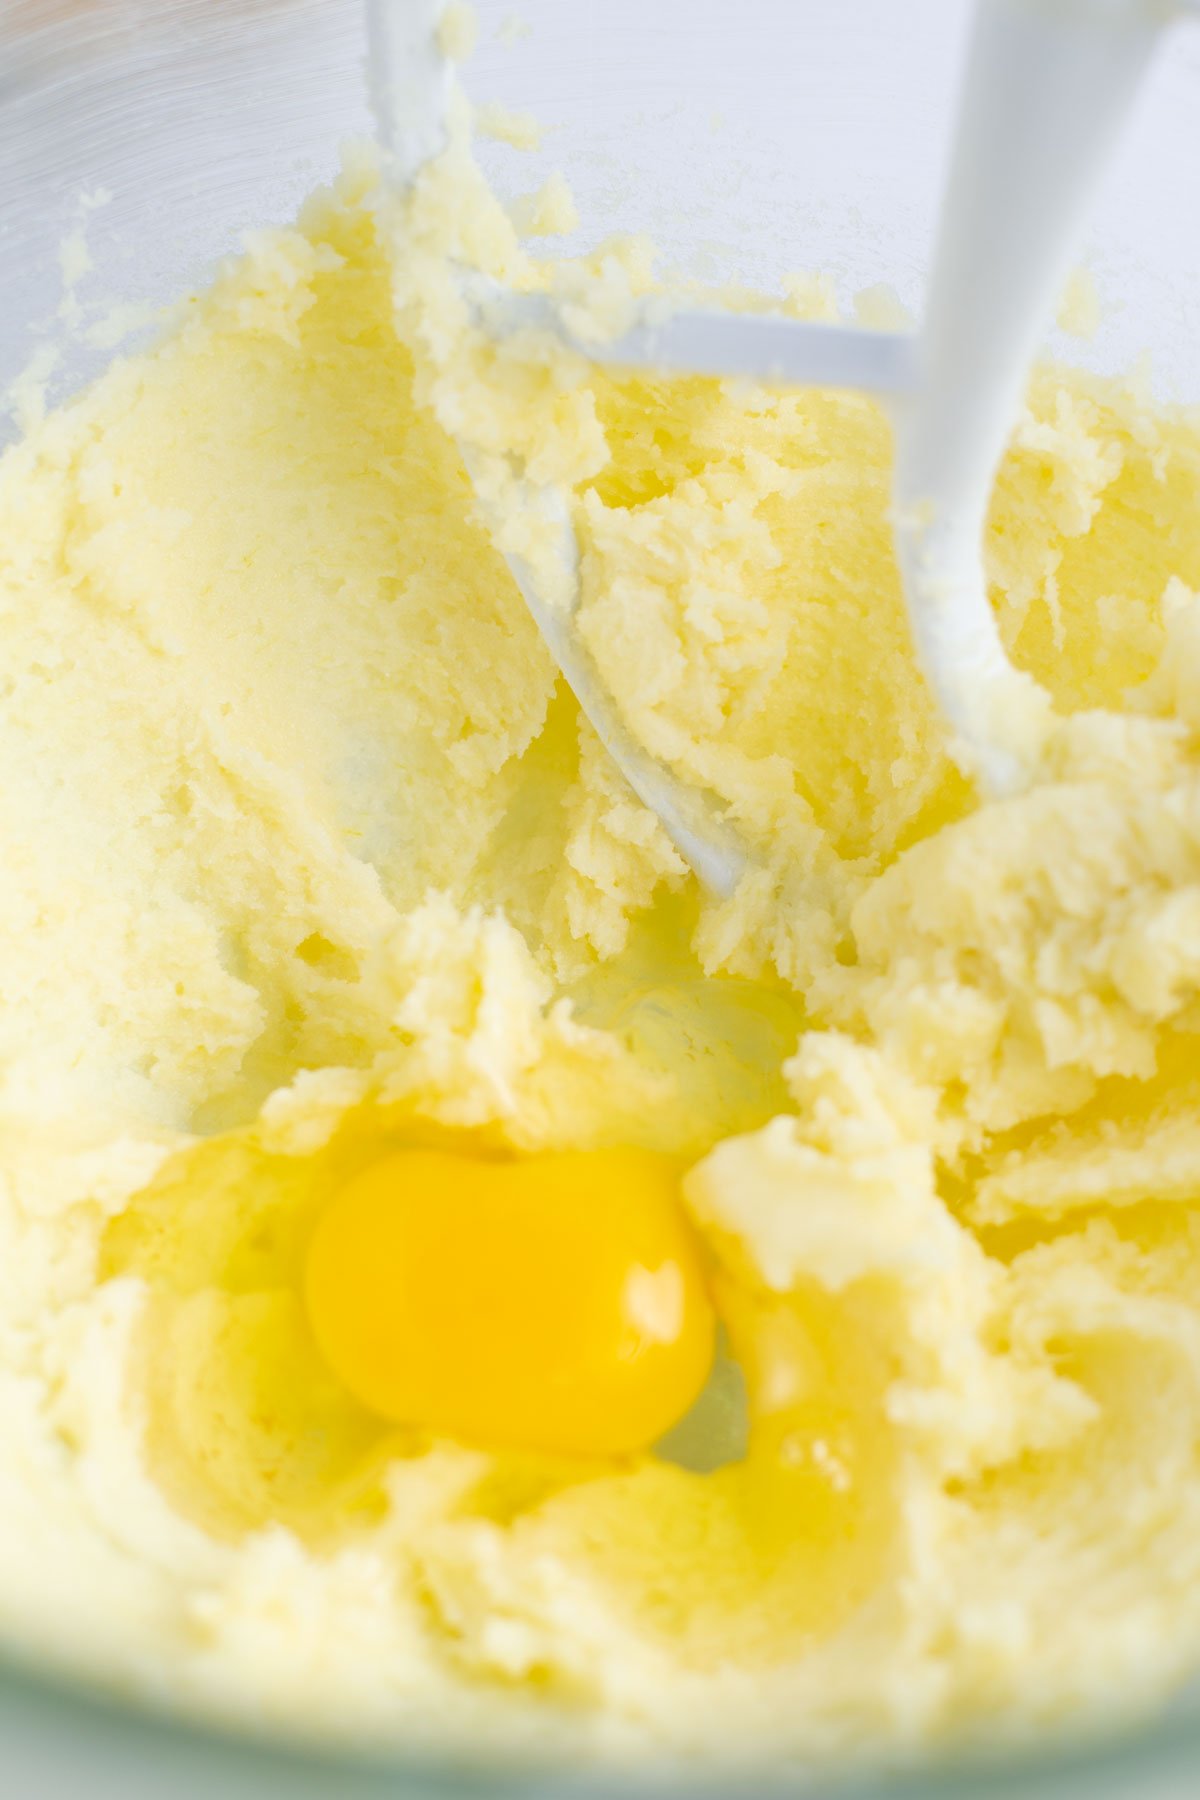
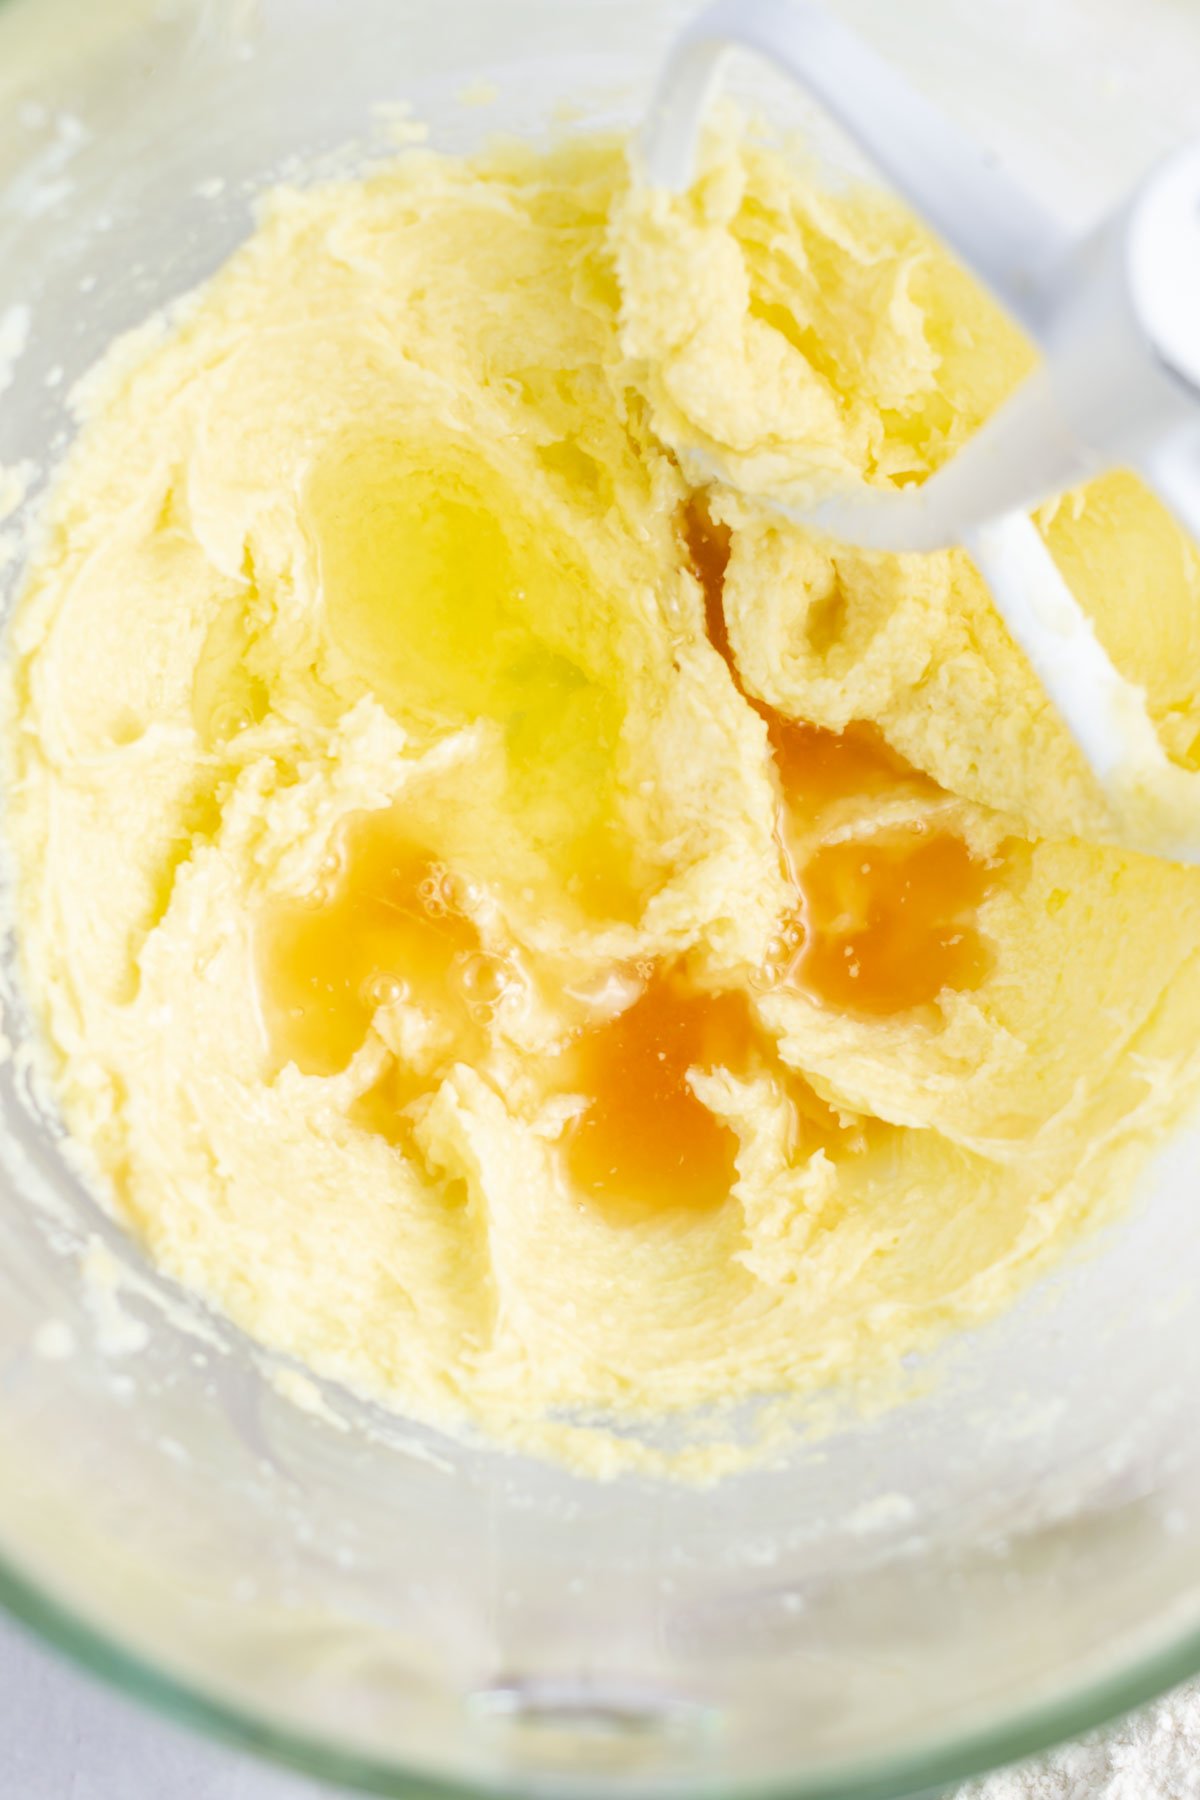
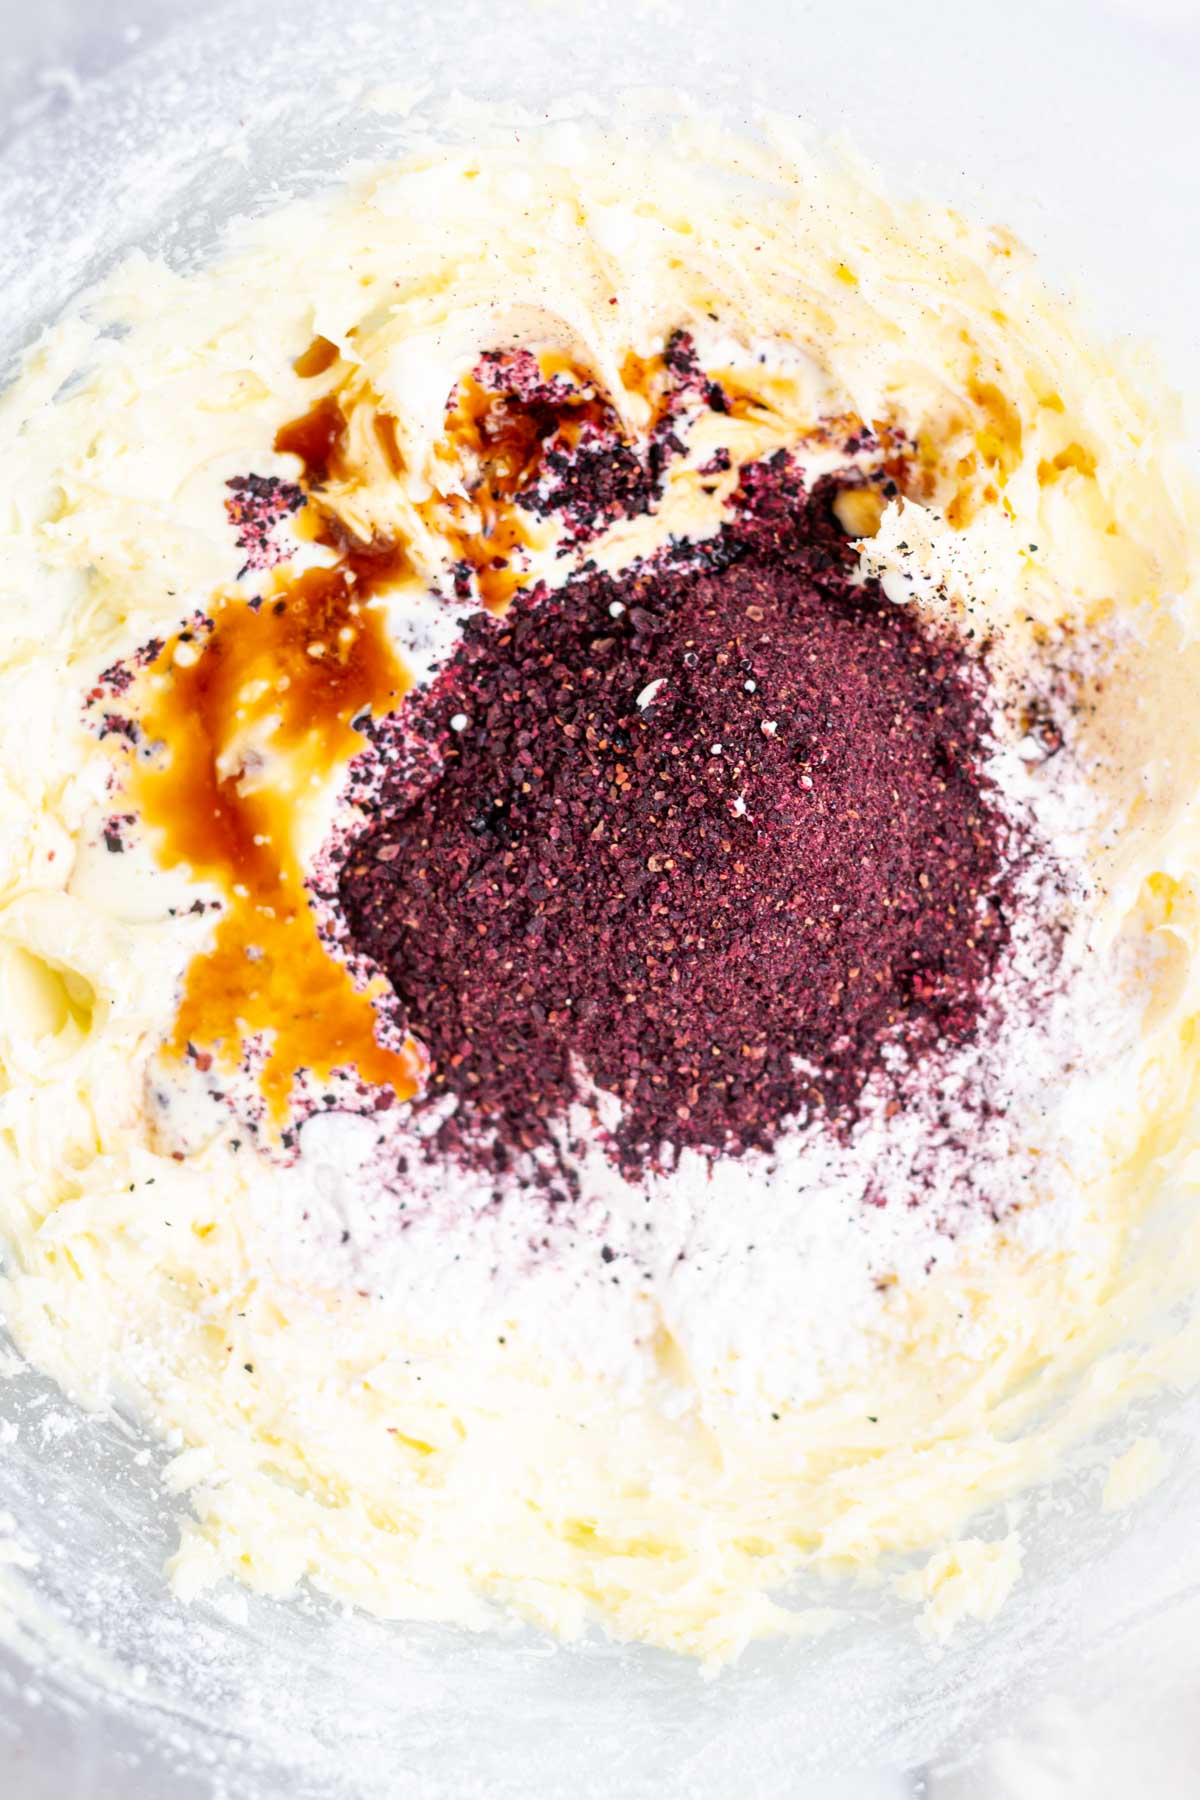
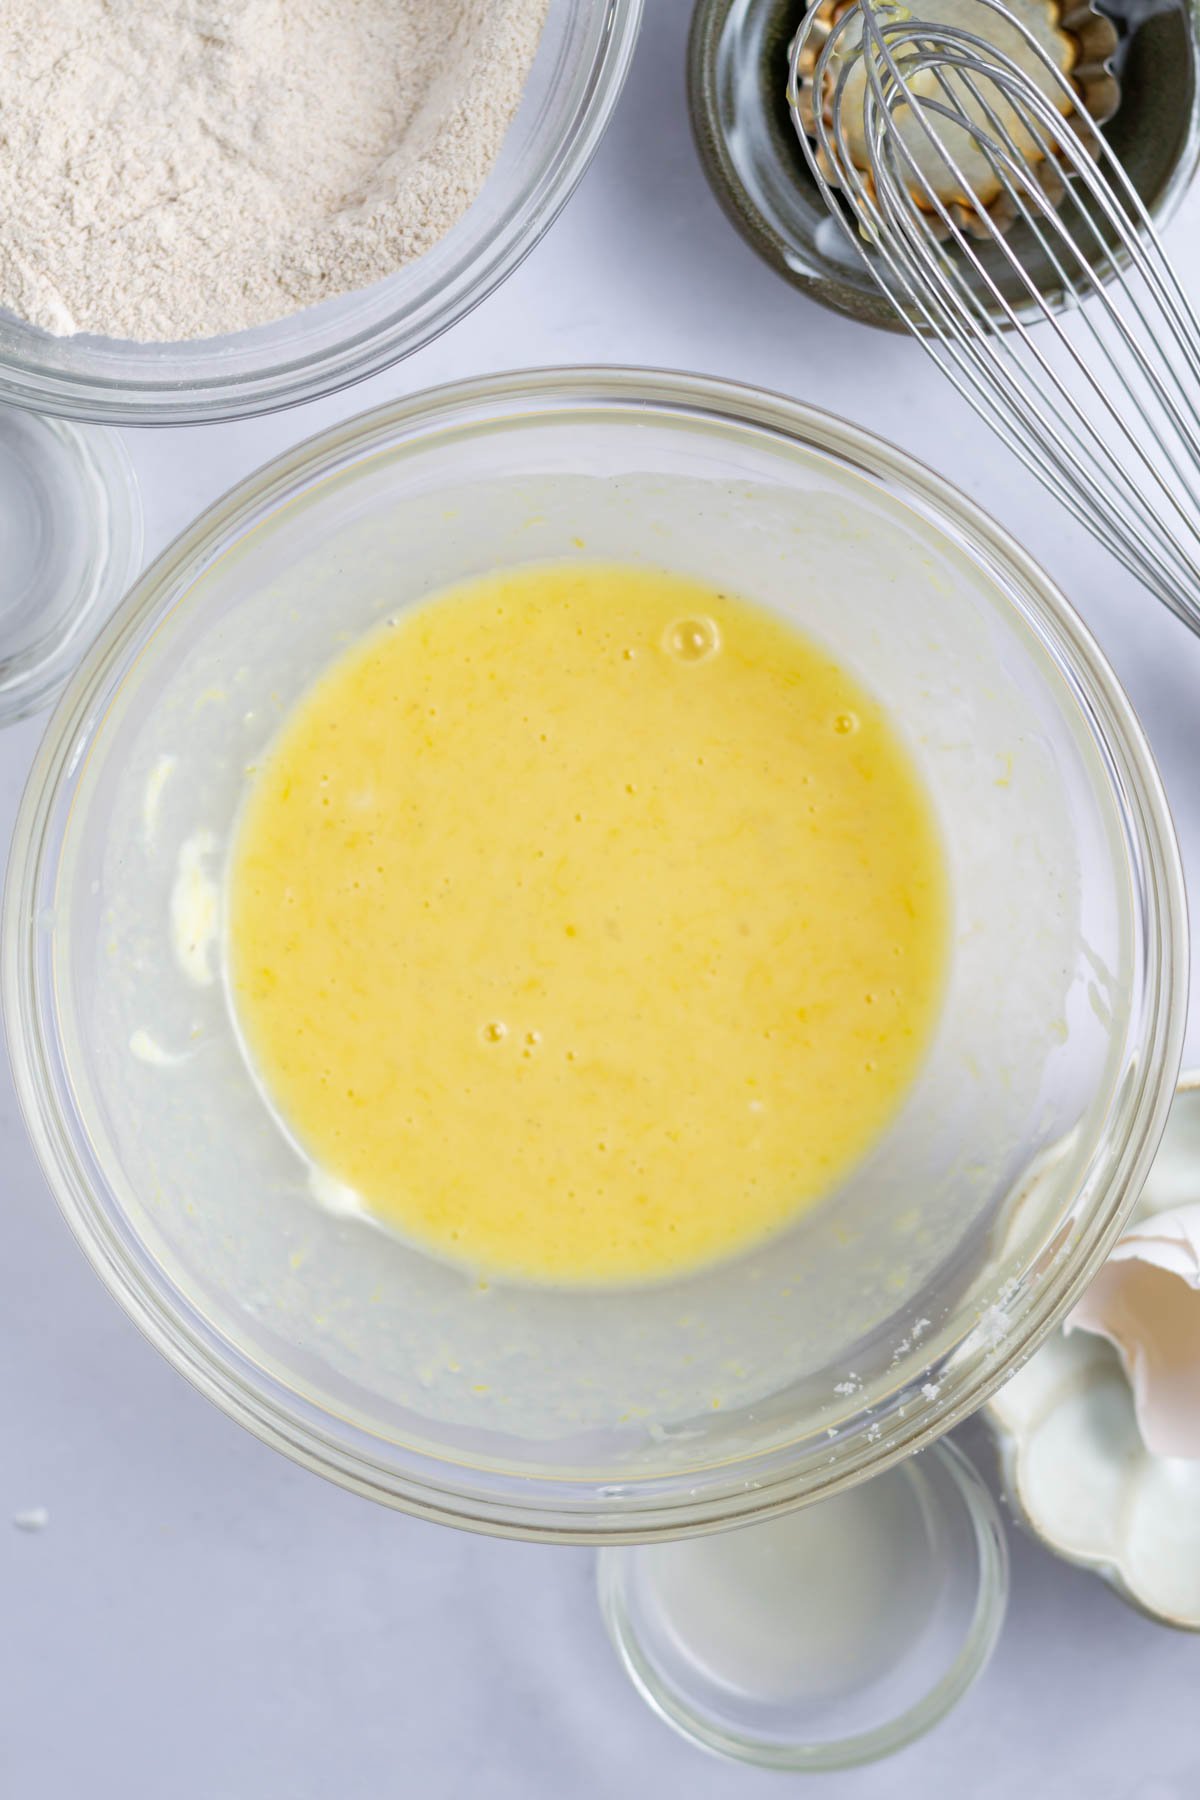
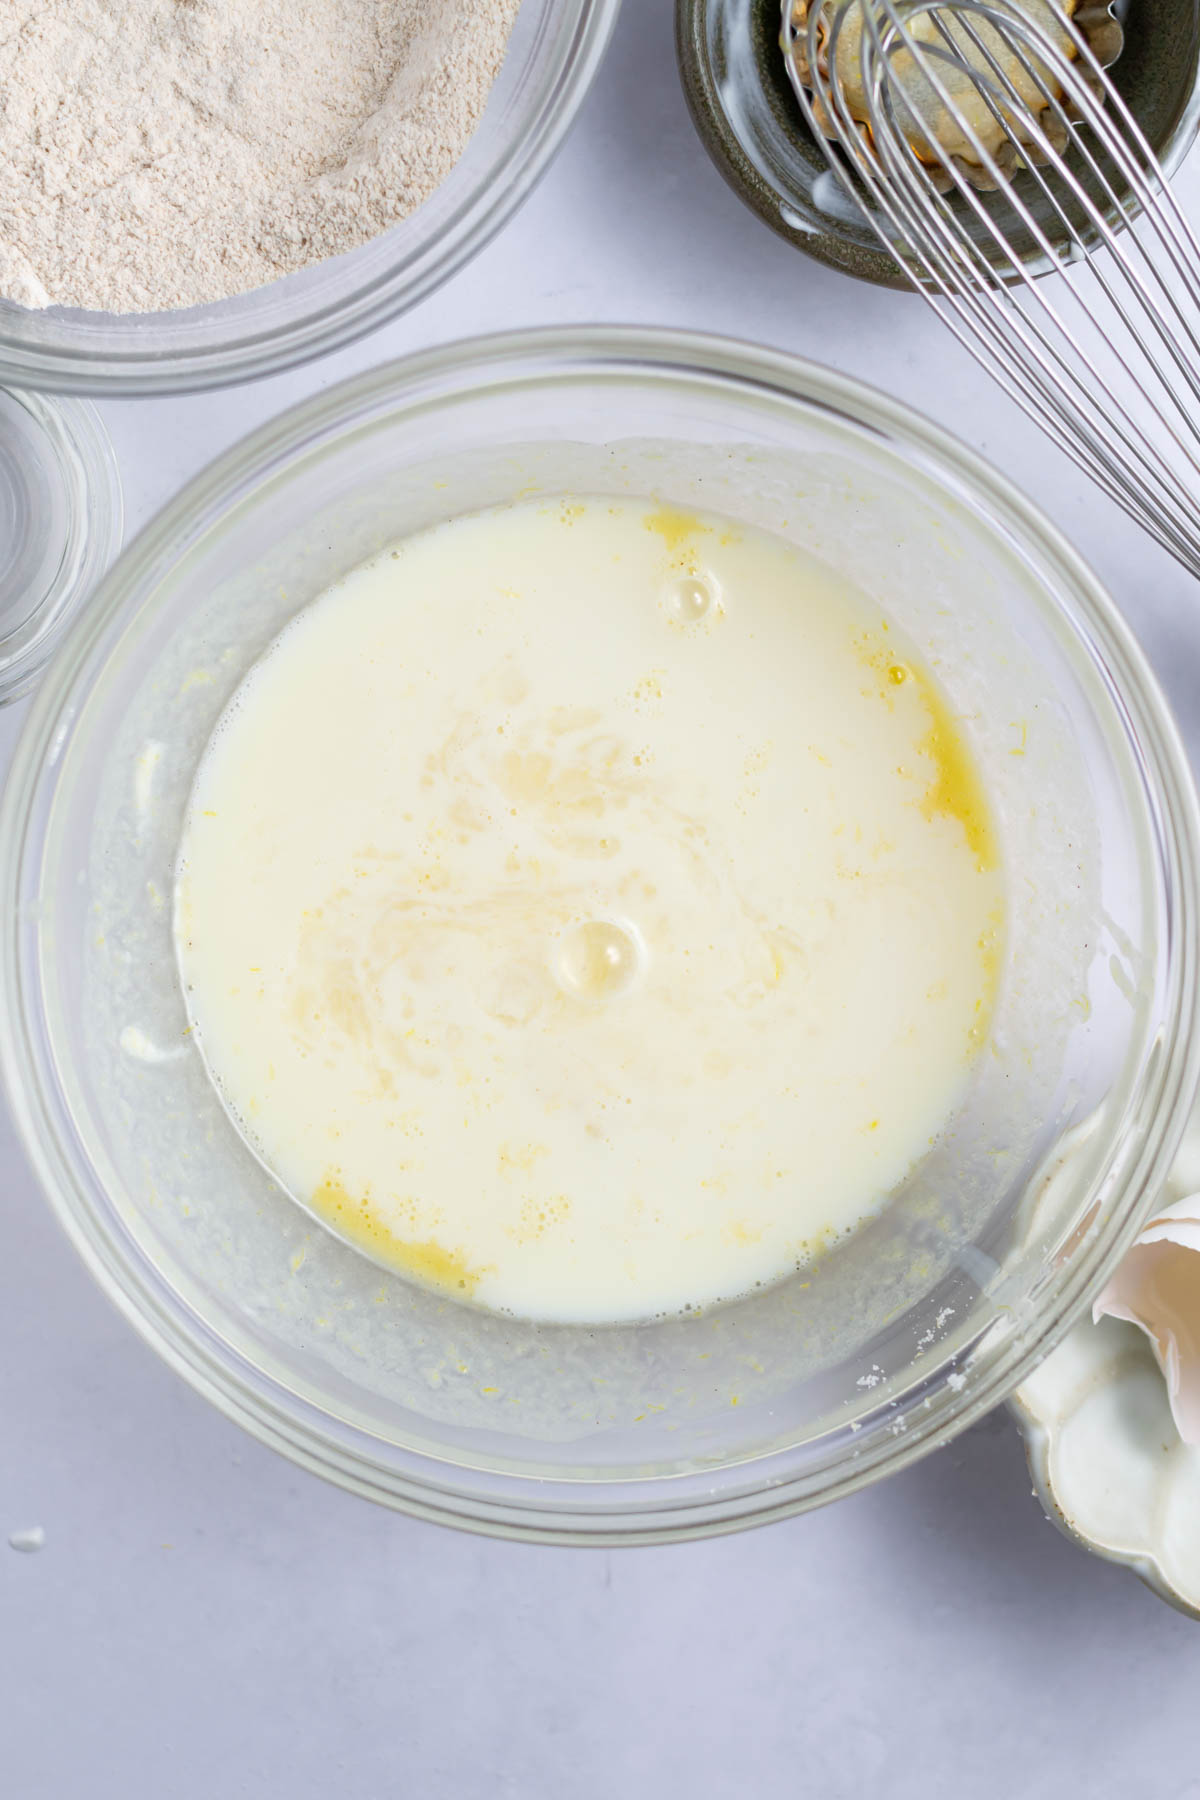
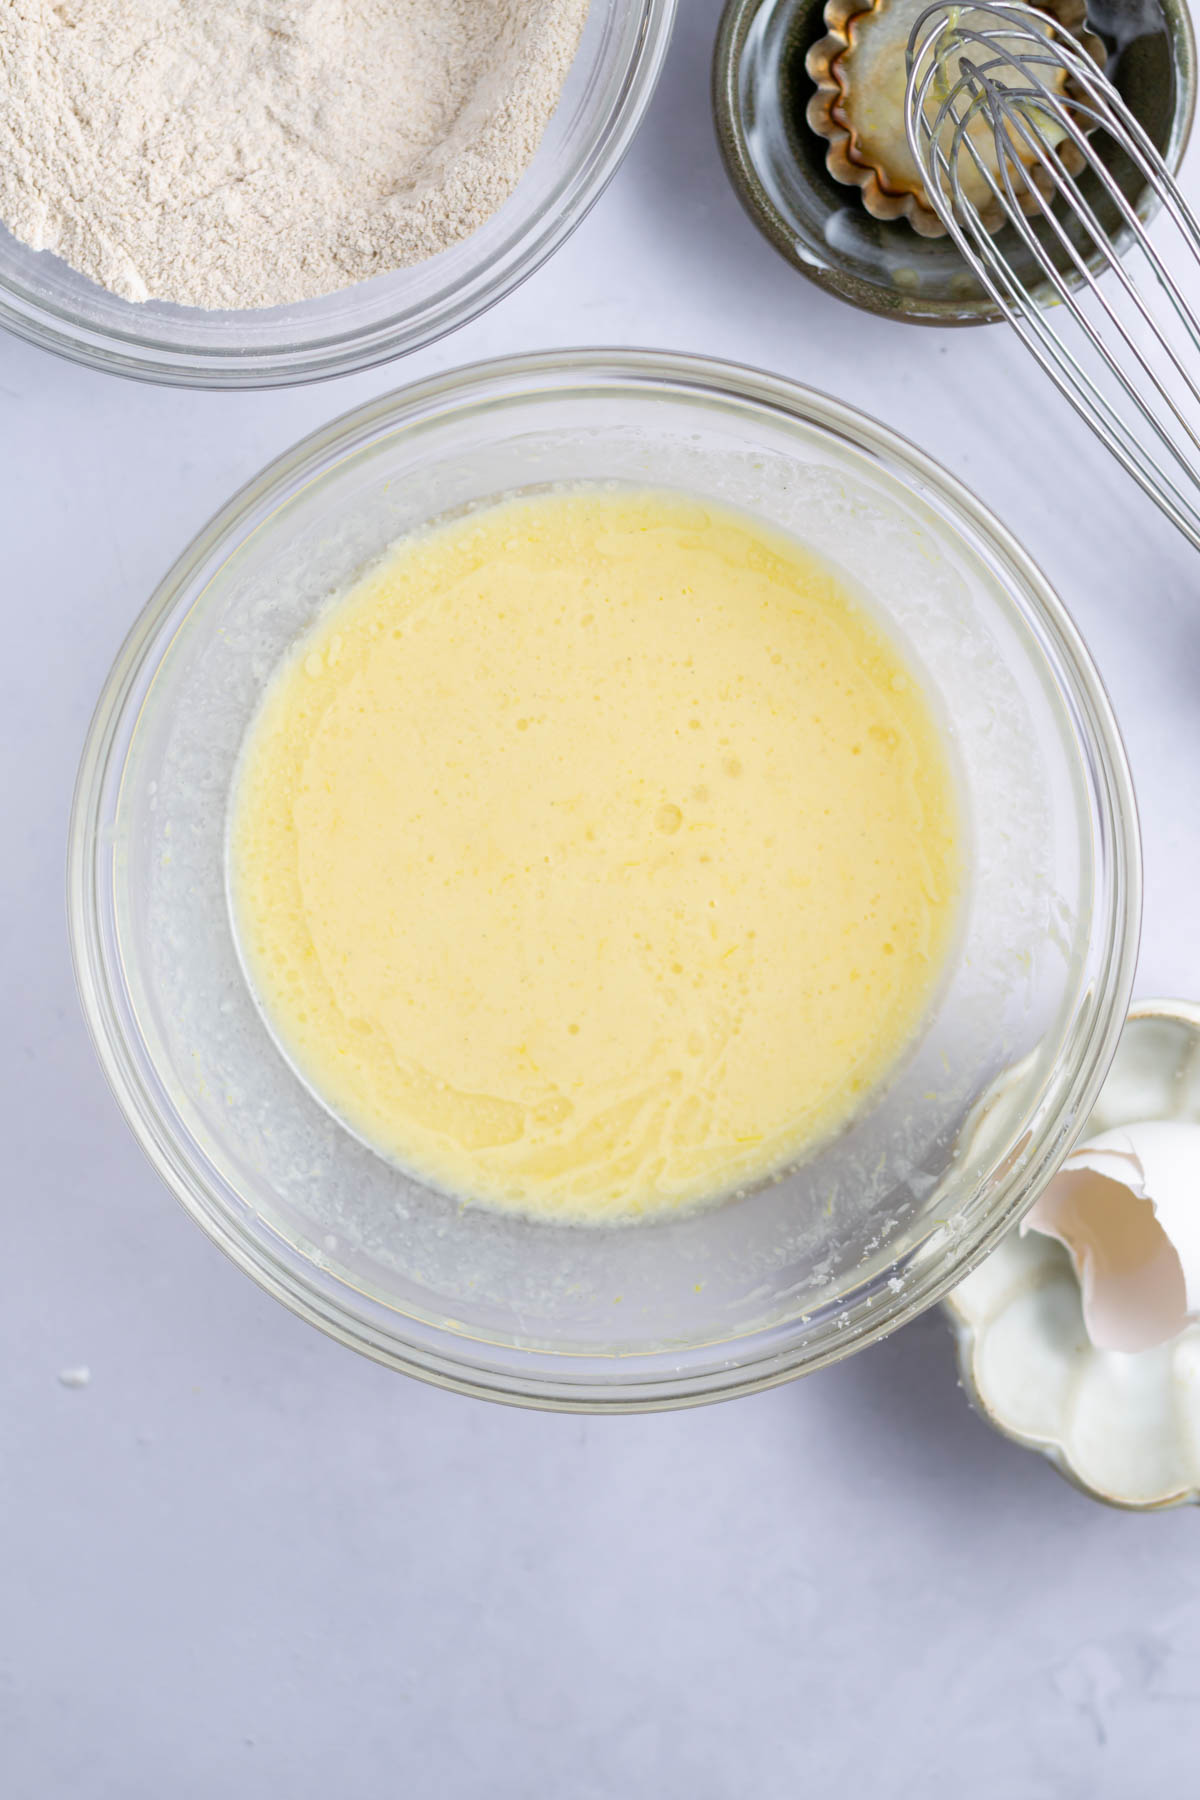
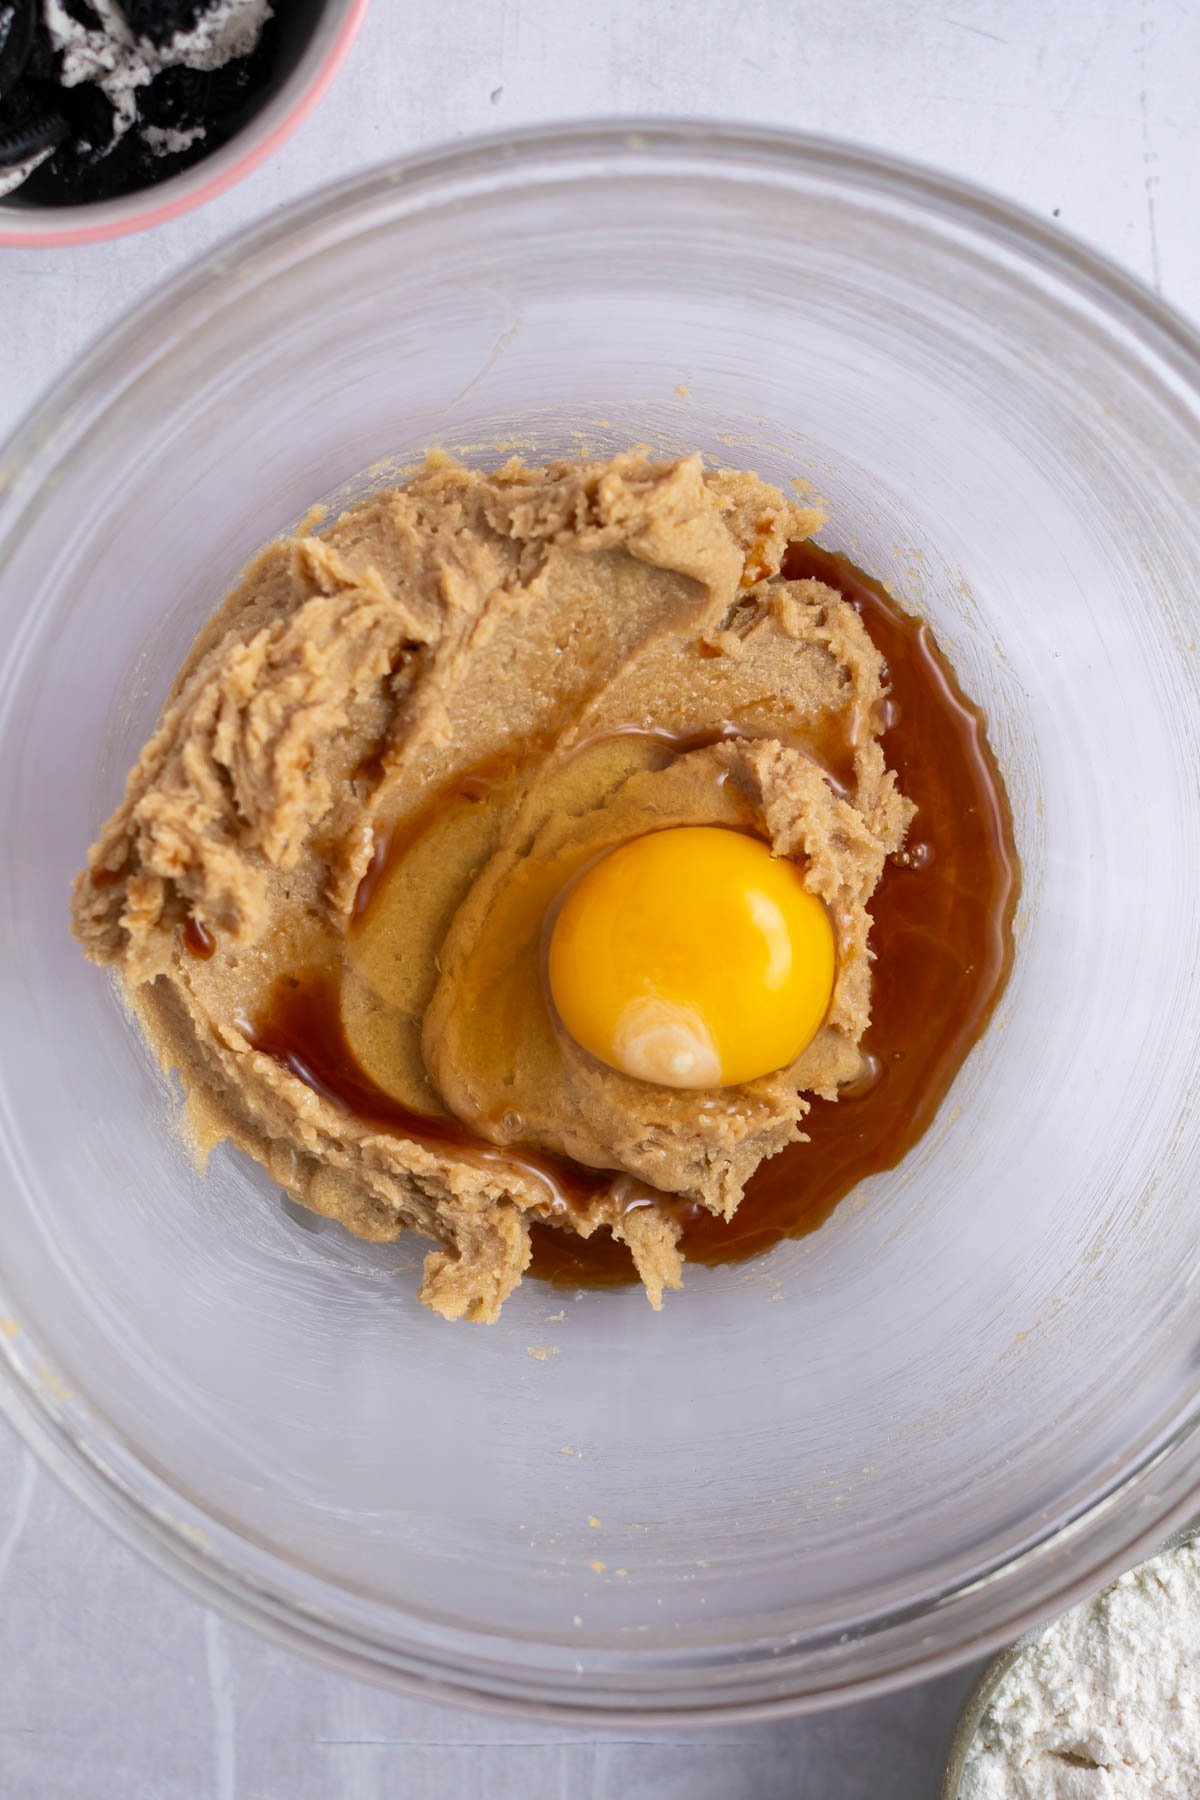
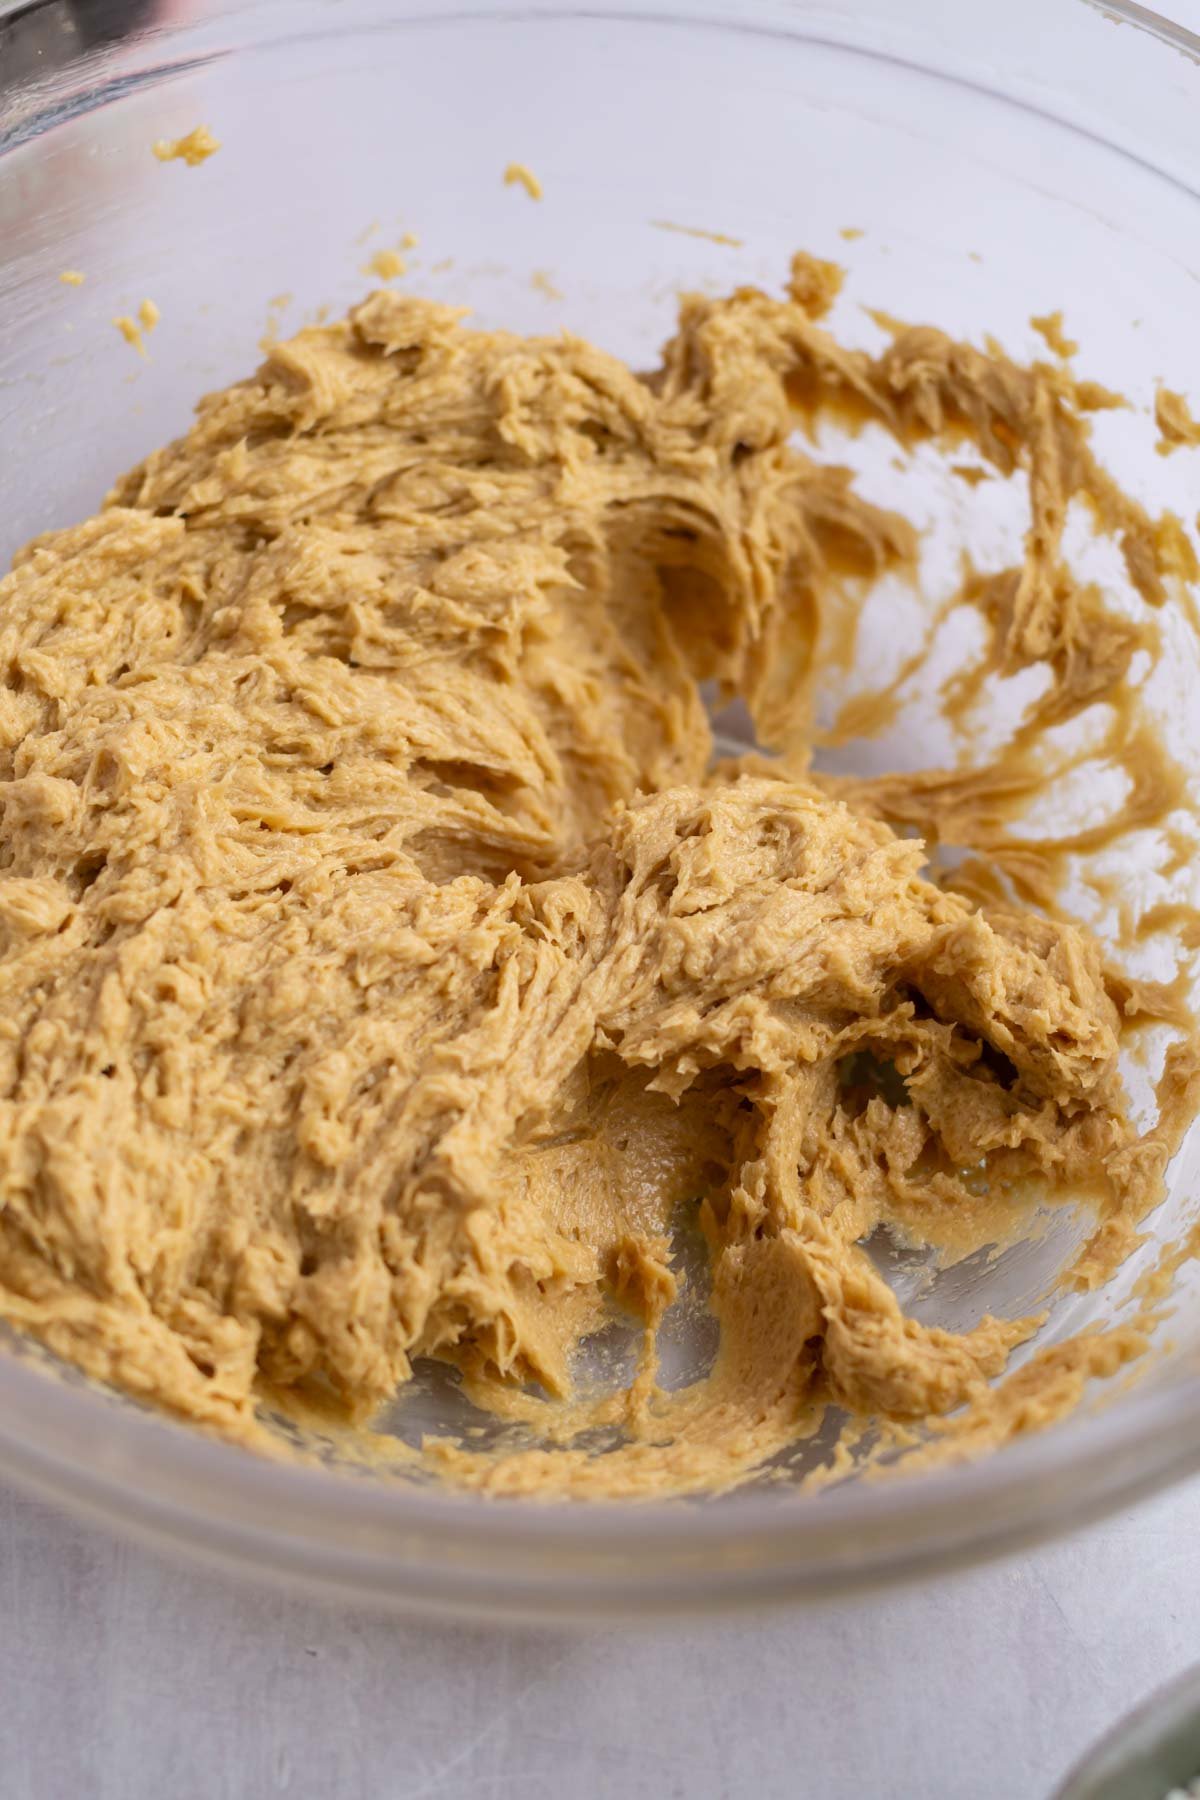
Add in the 1 large egg and vanilla and beat on medium until well blended.
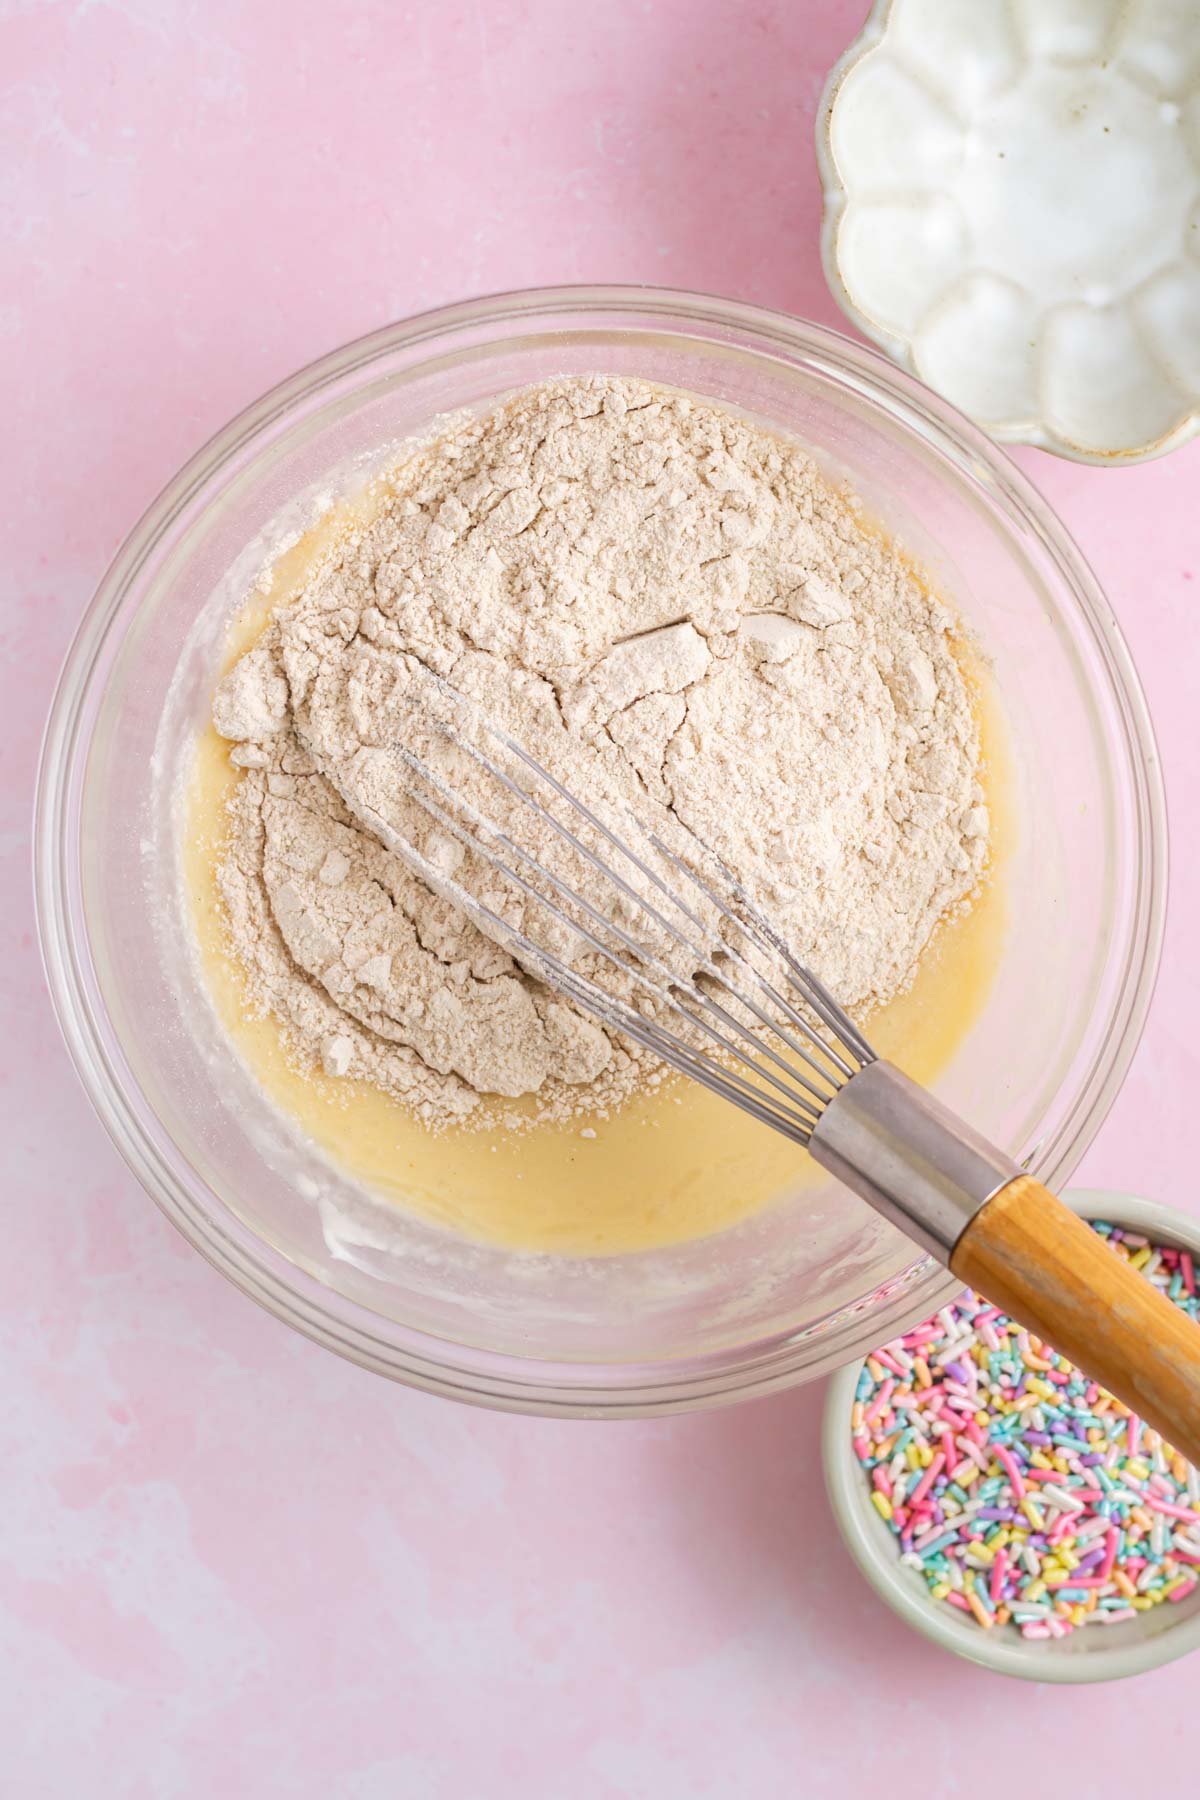
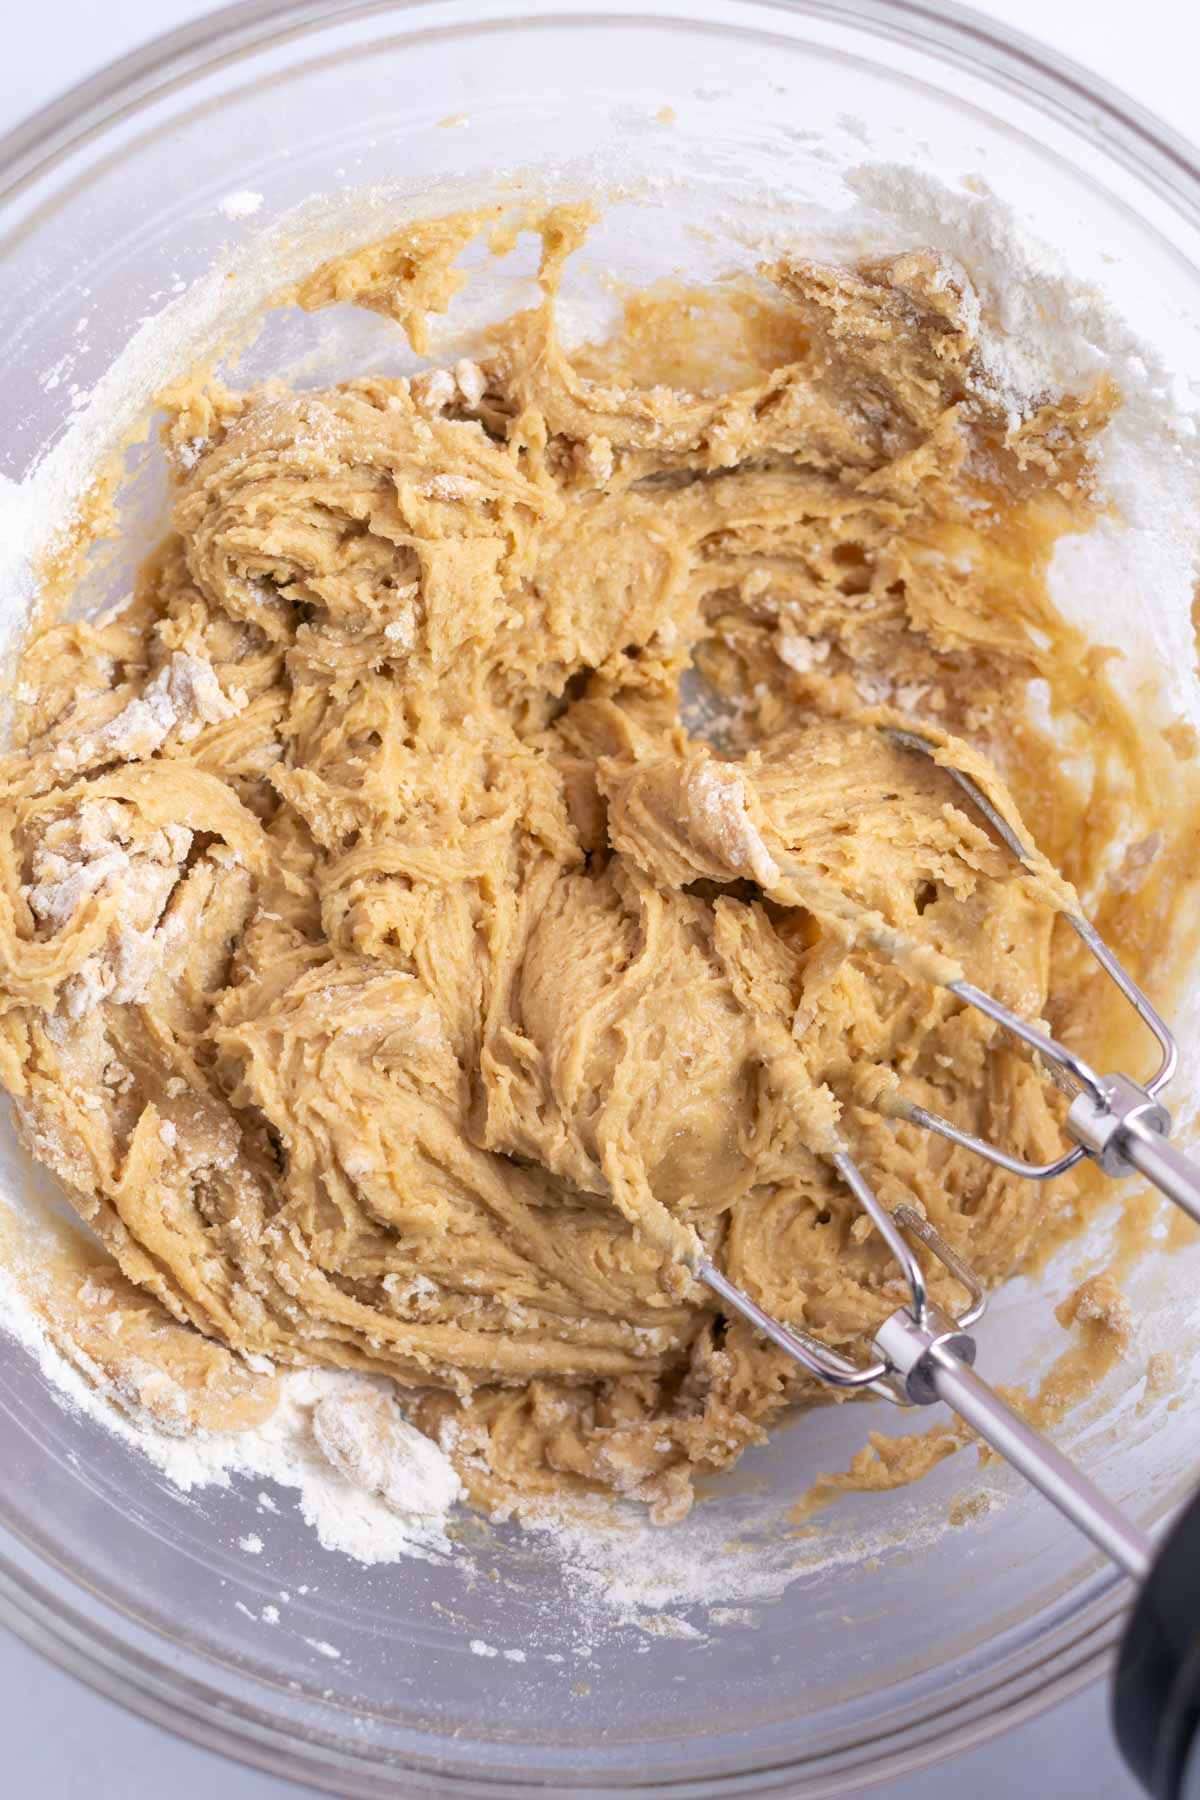
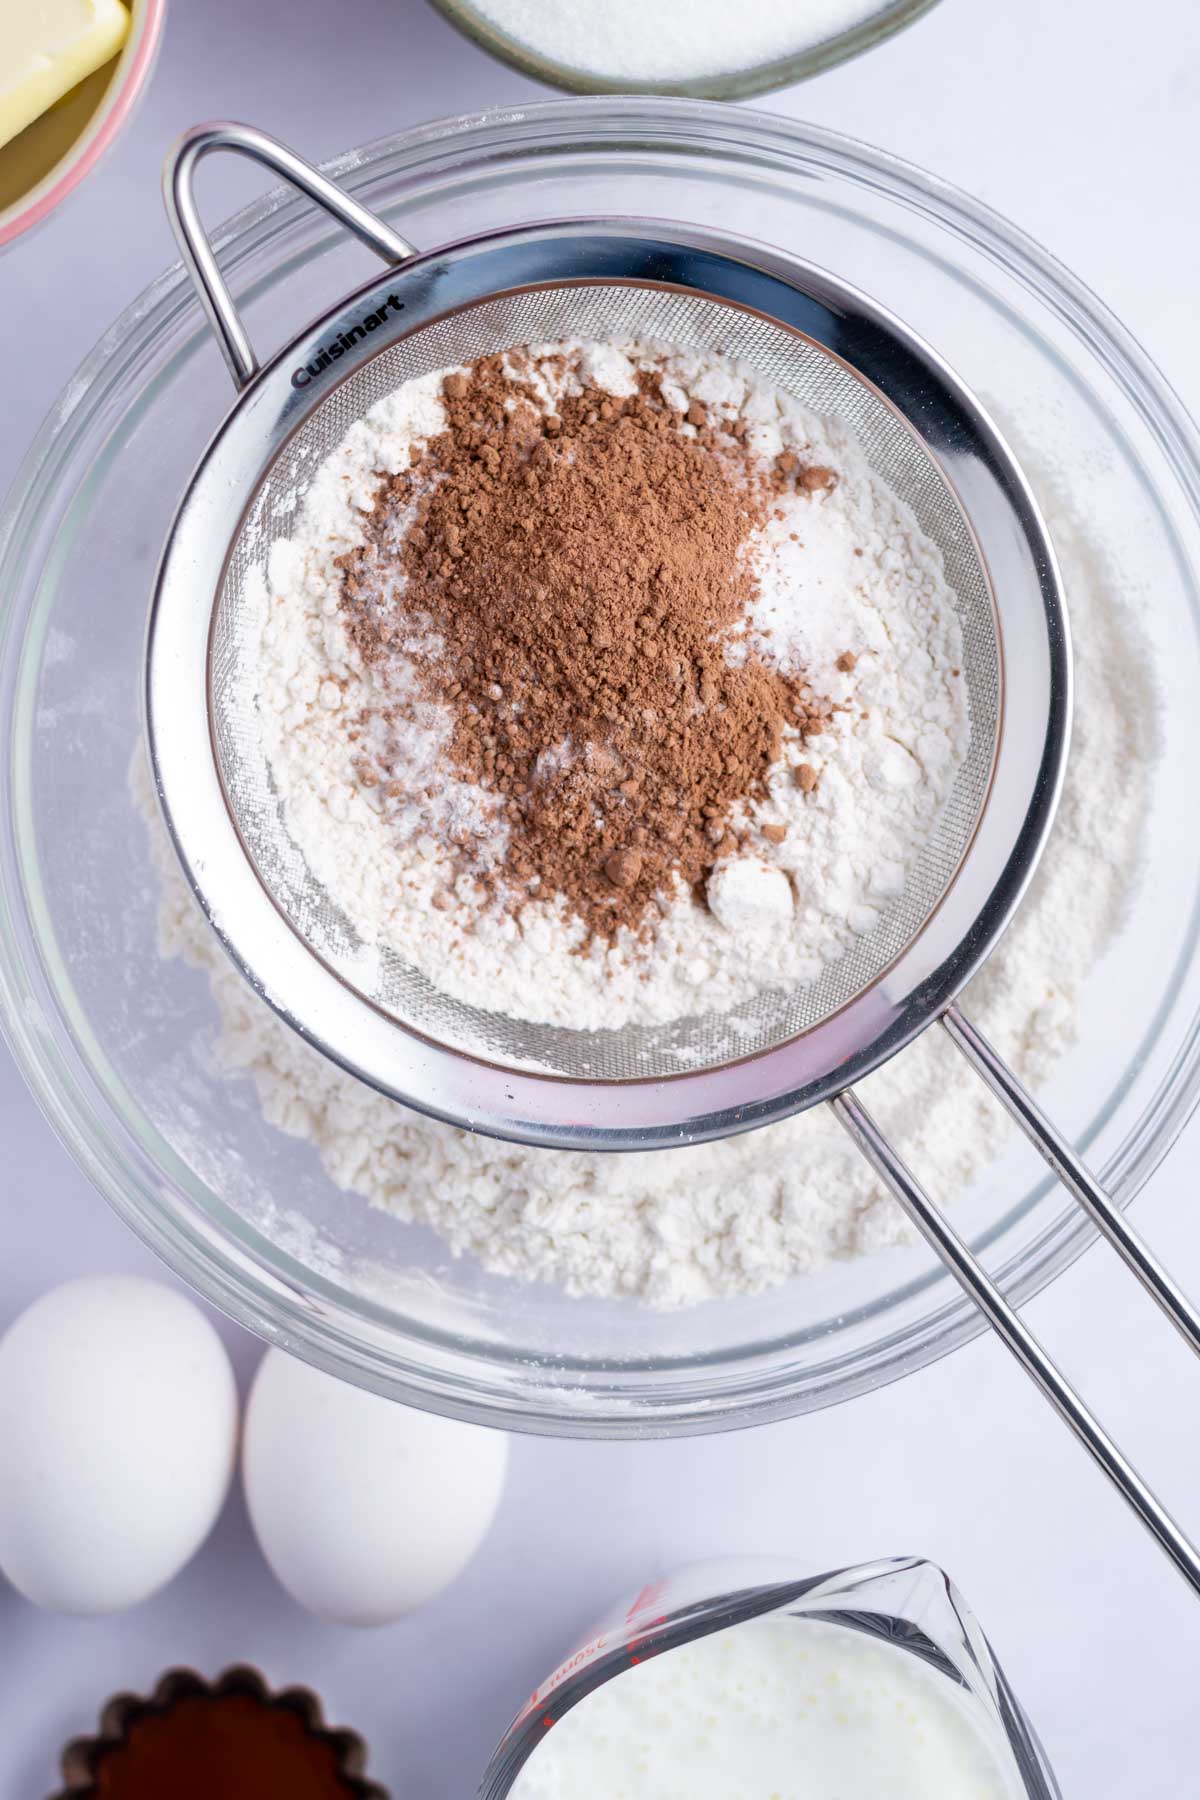
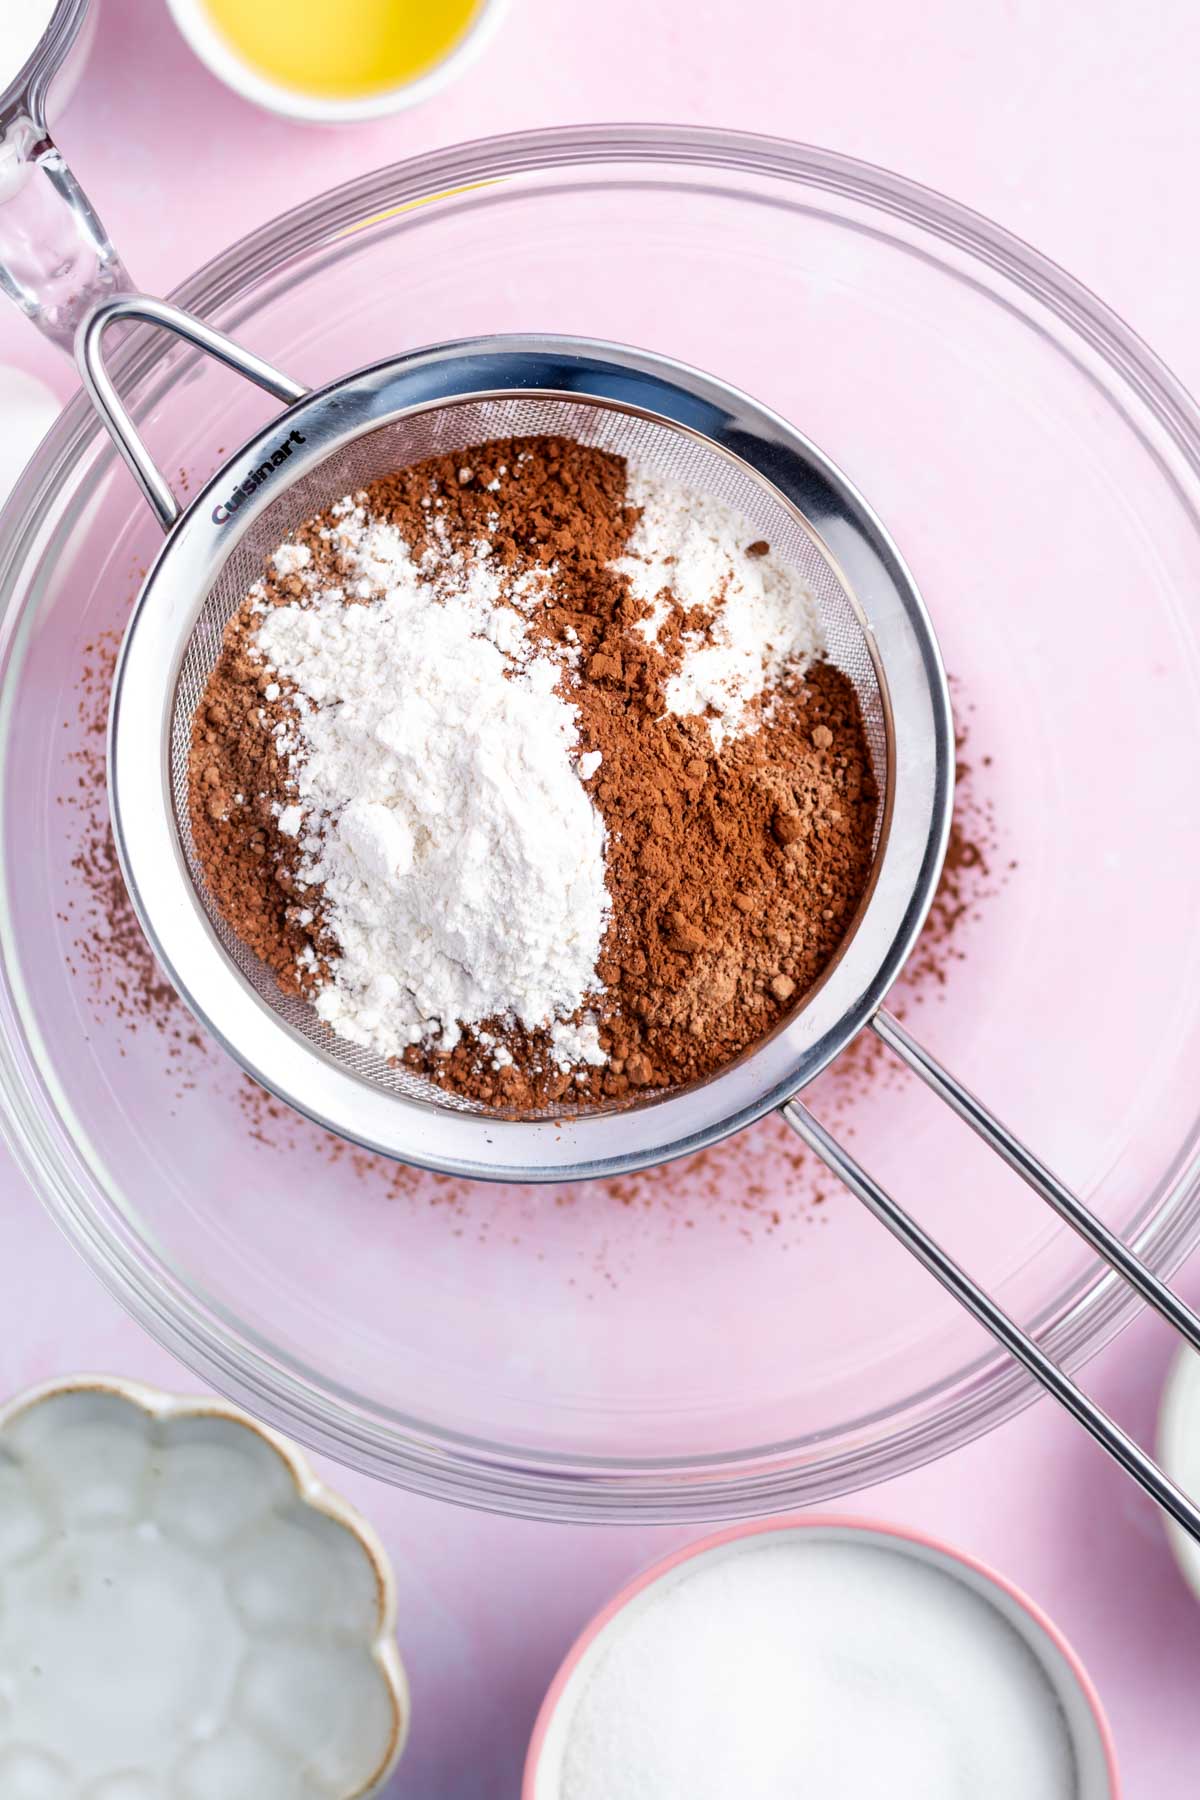
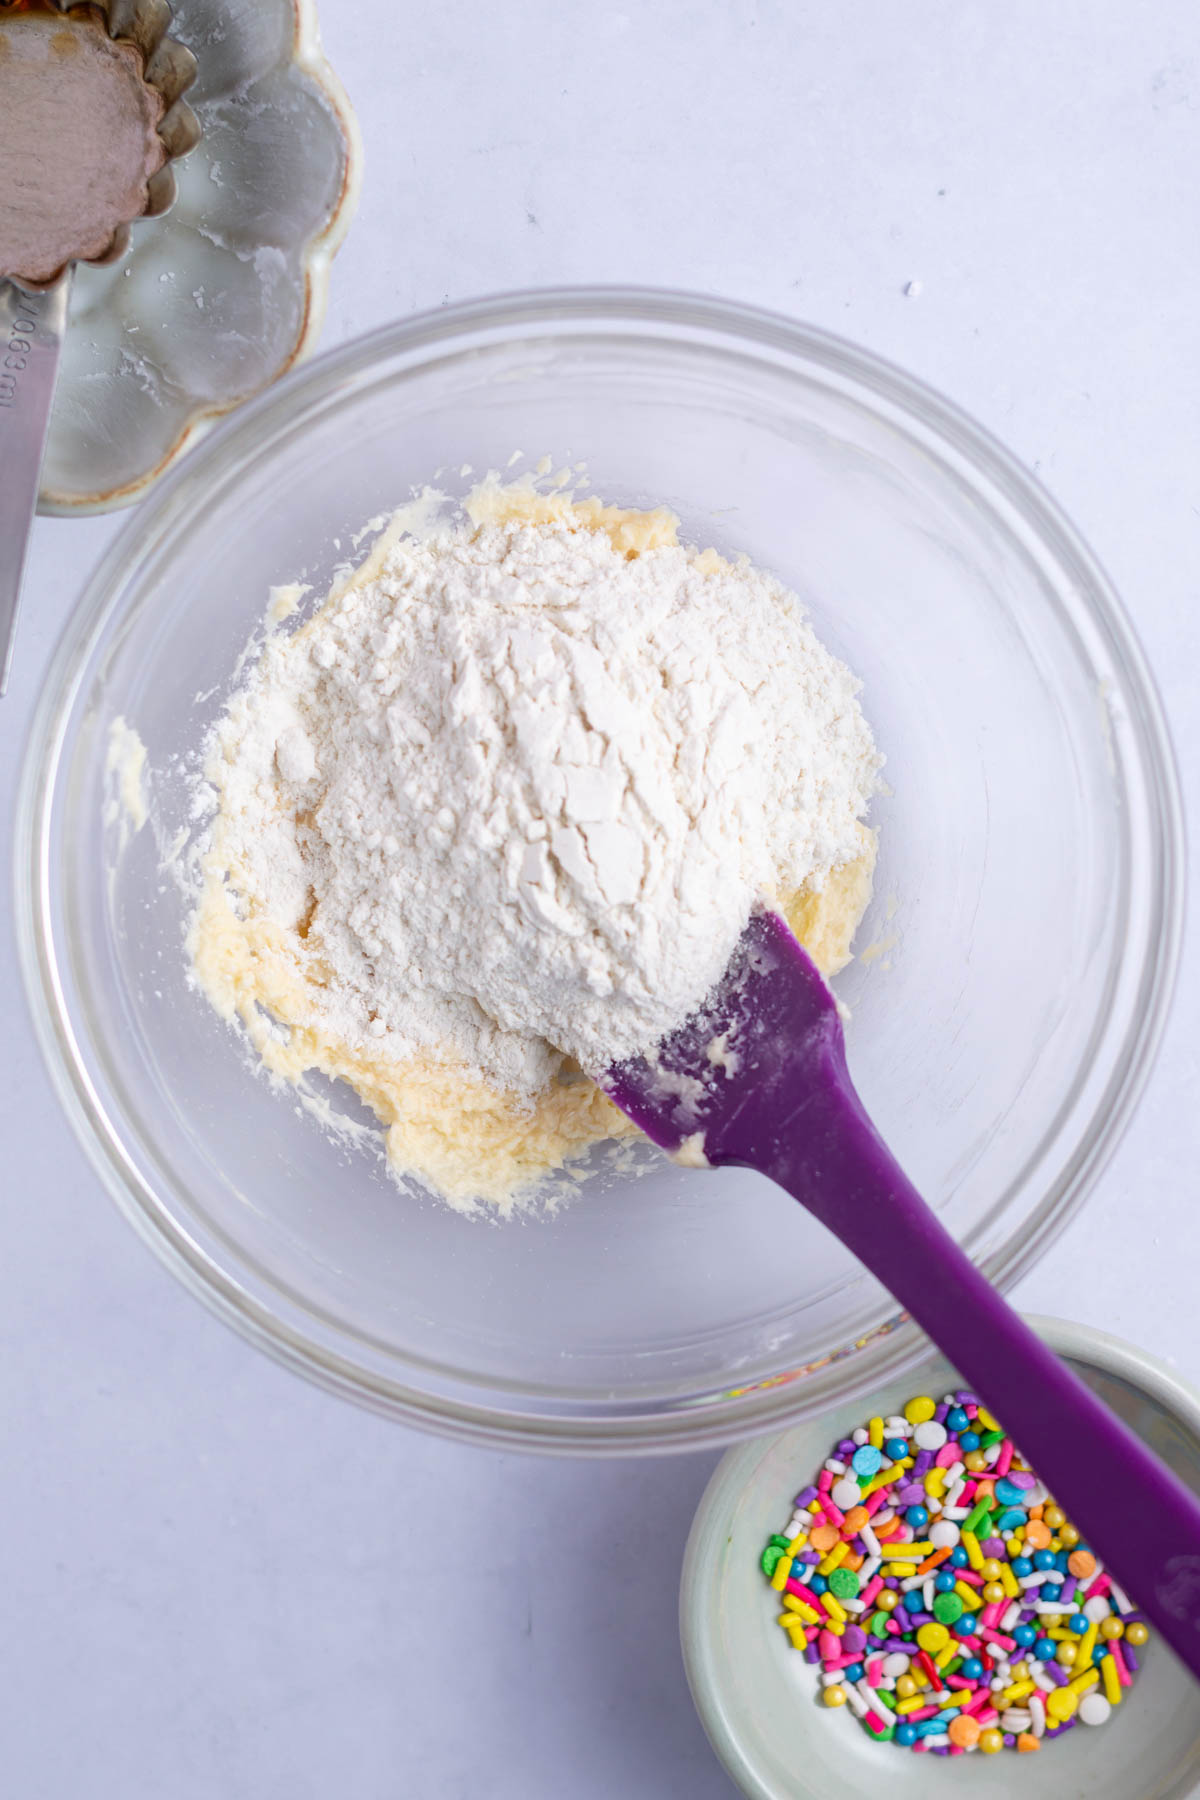
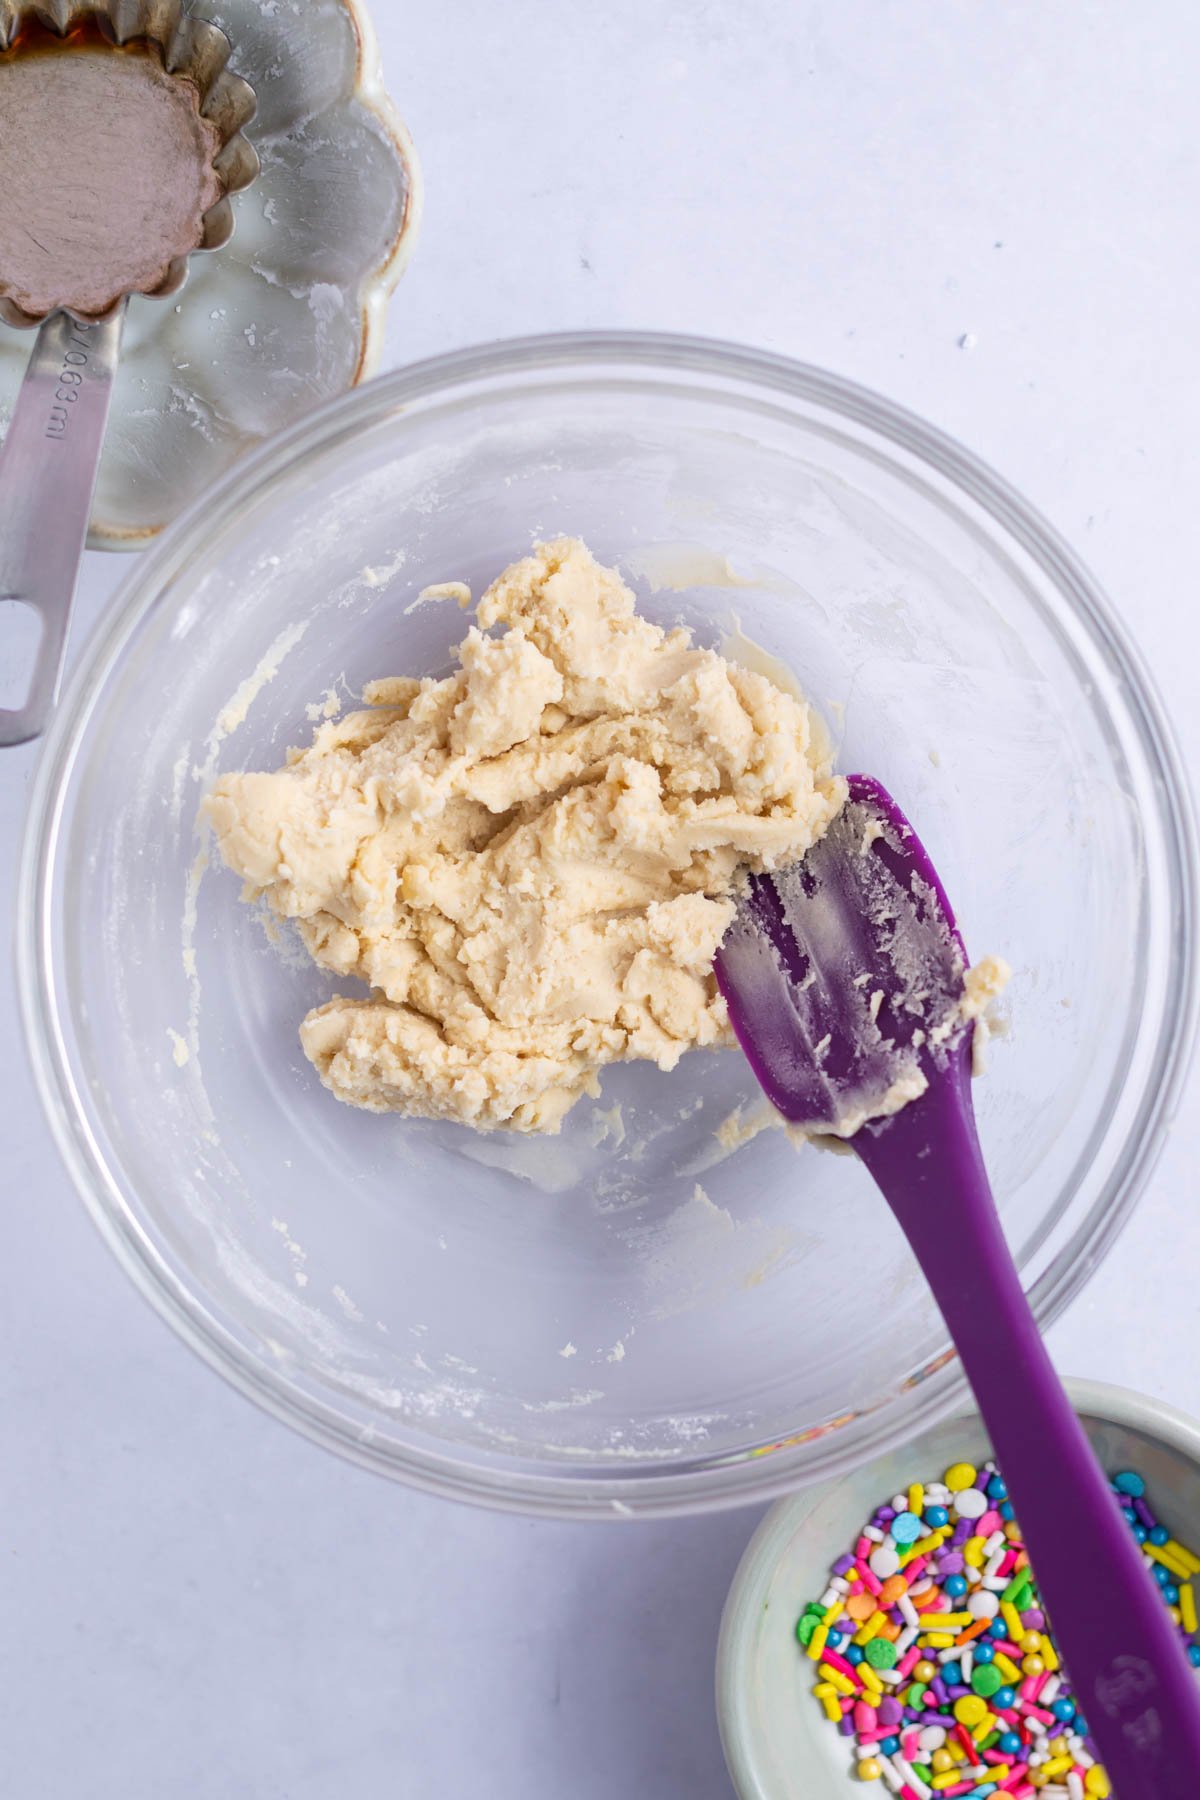
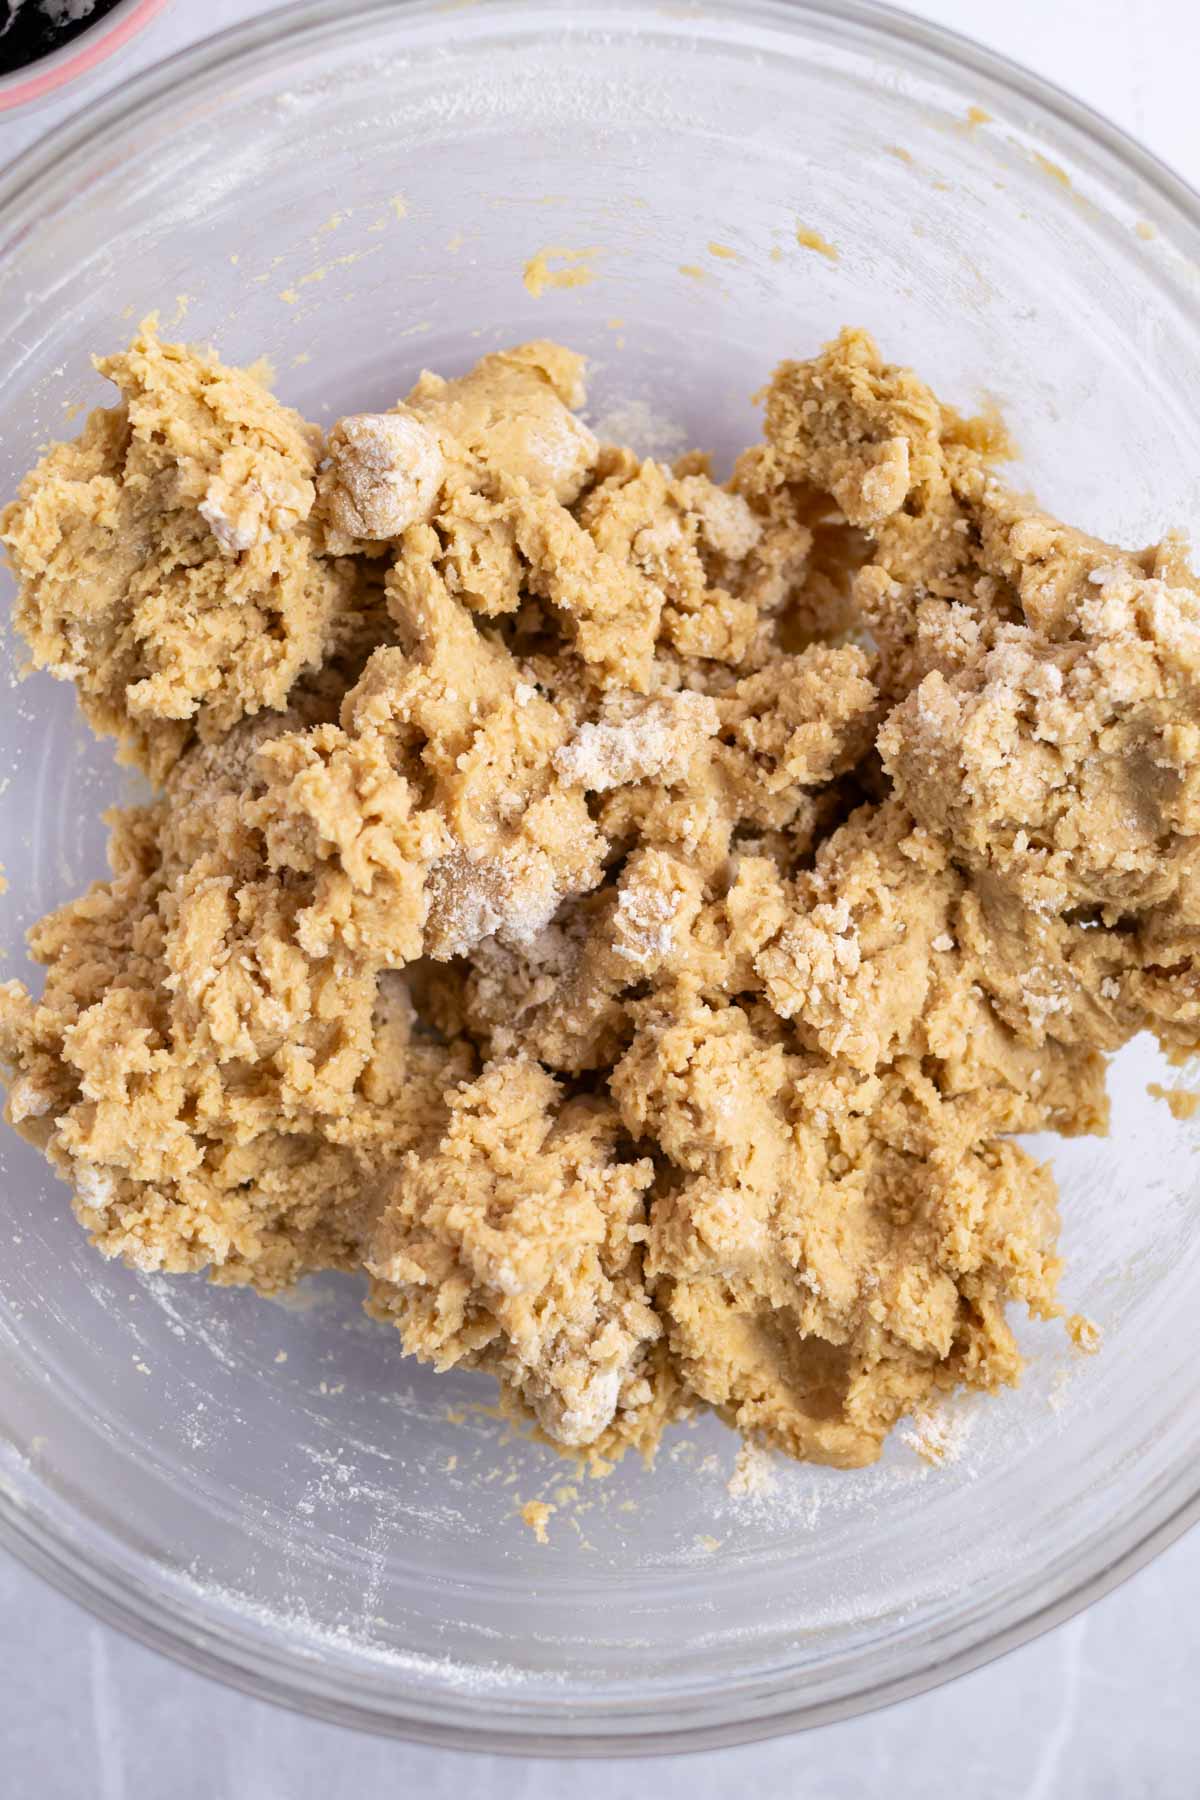
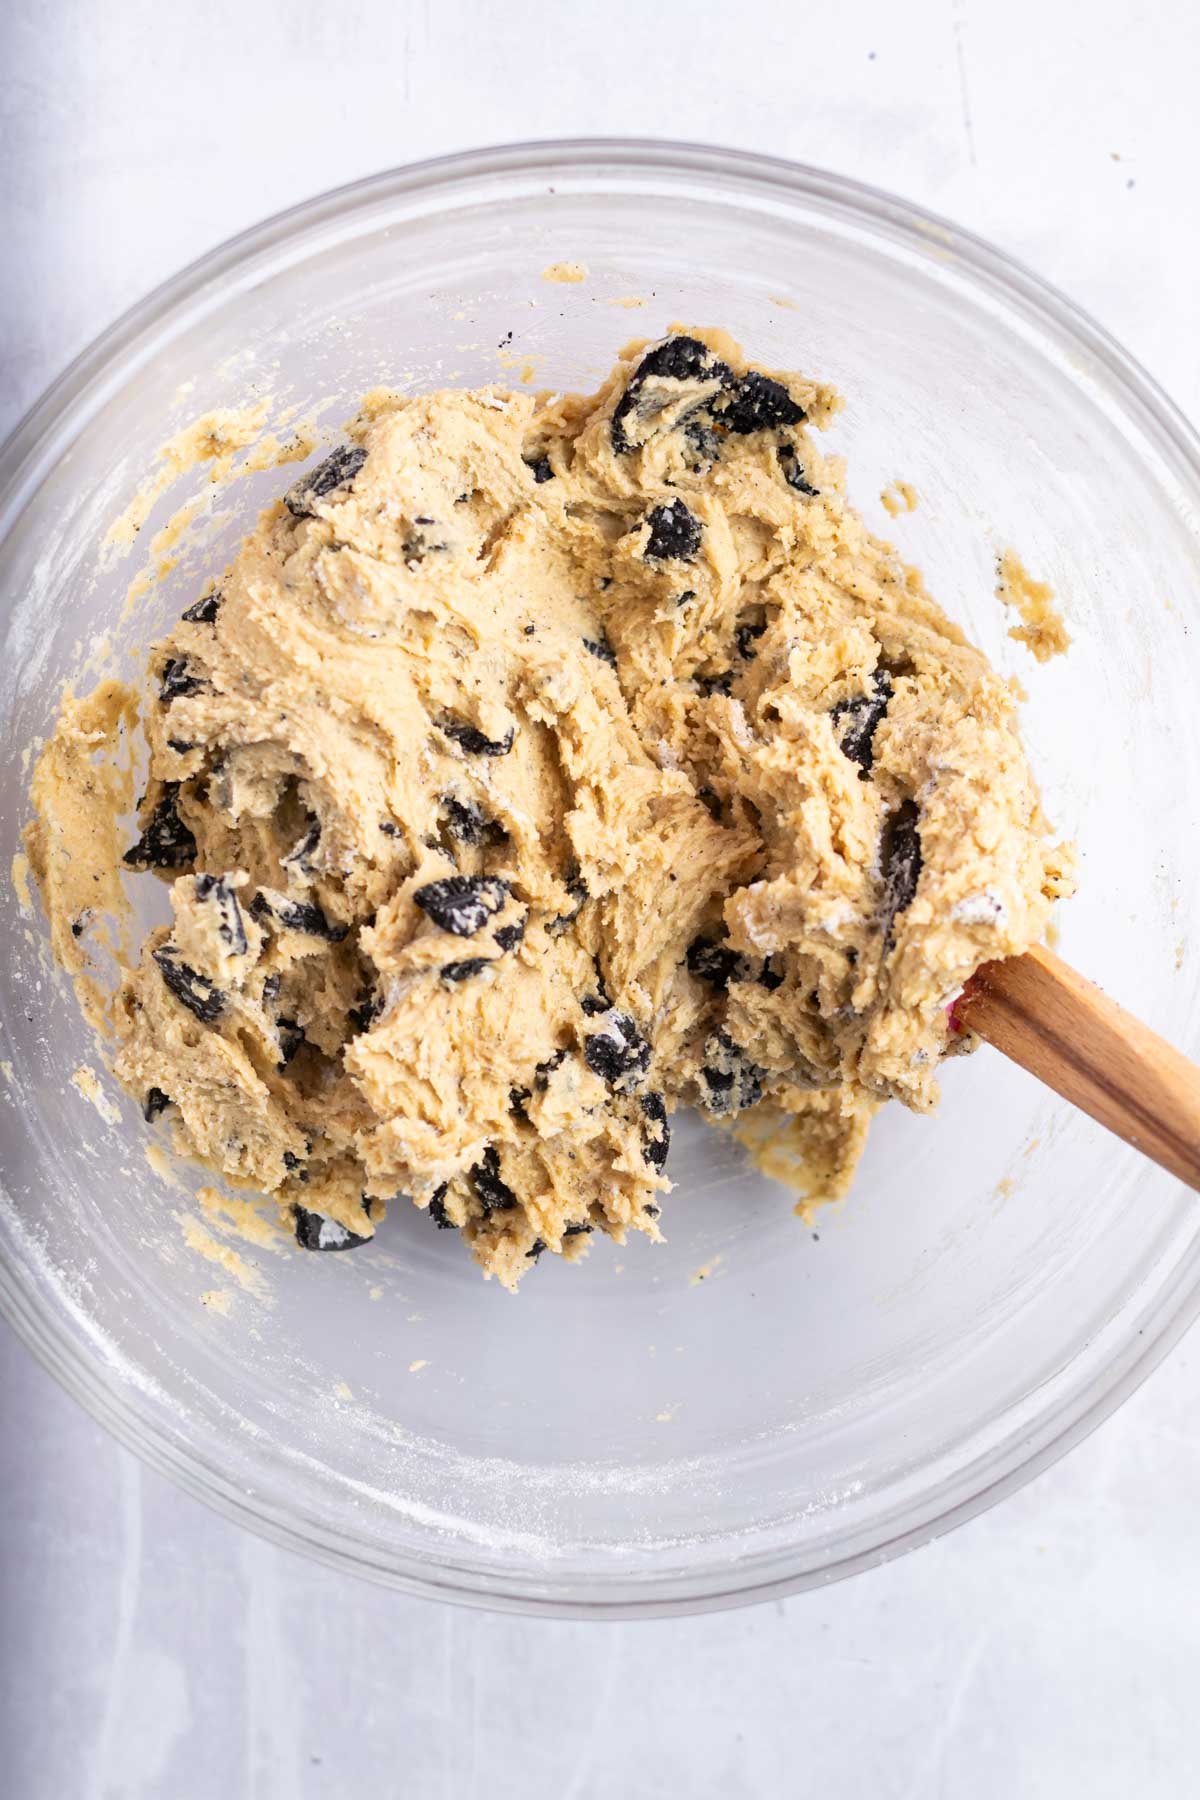
Sprinkle the baking soda over the dough, followed by the all-purpose flour and mix on low until a few streaks of flour remain.
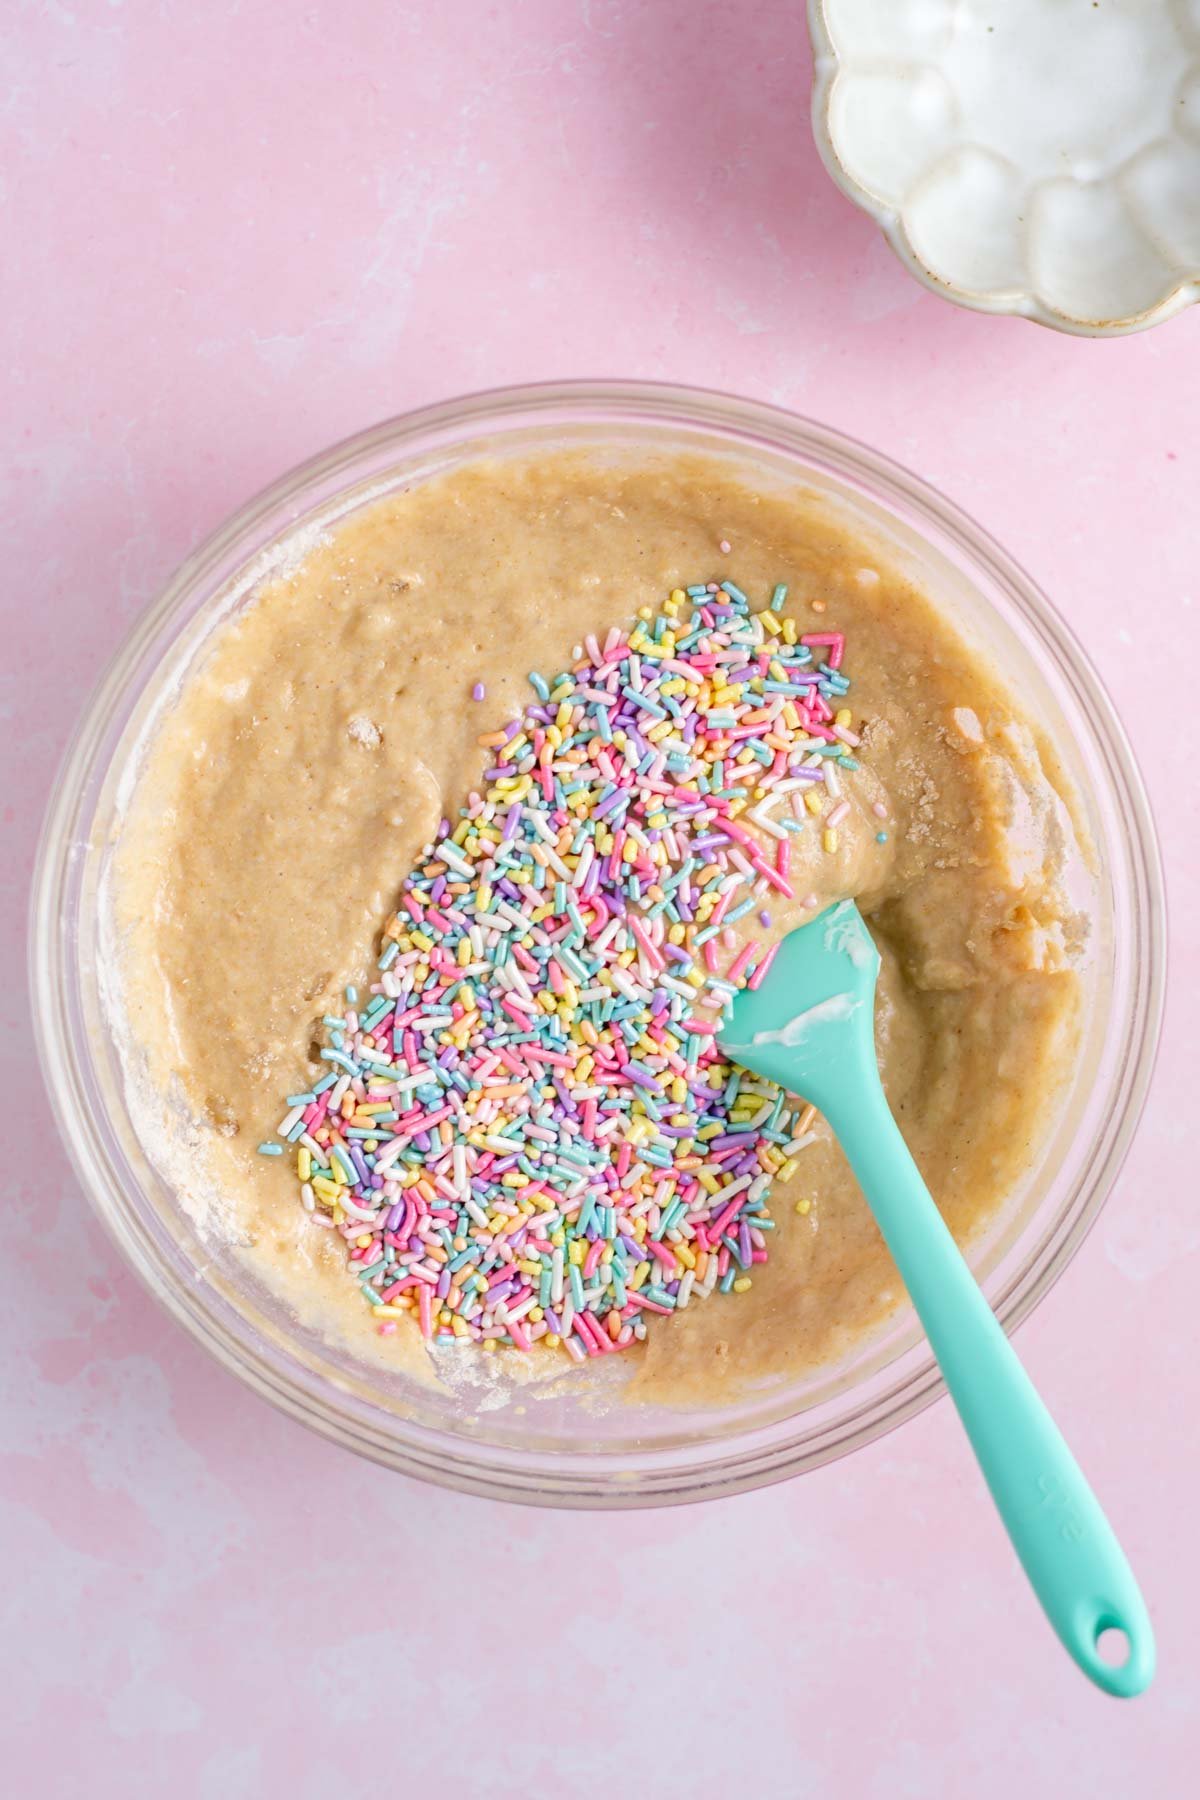
Now add the chopped/broken chocolate cream sandwich cookies and mix them in with a spatula.
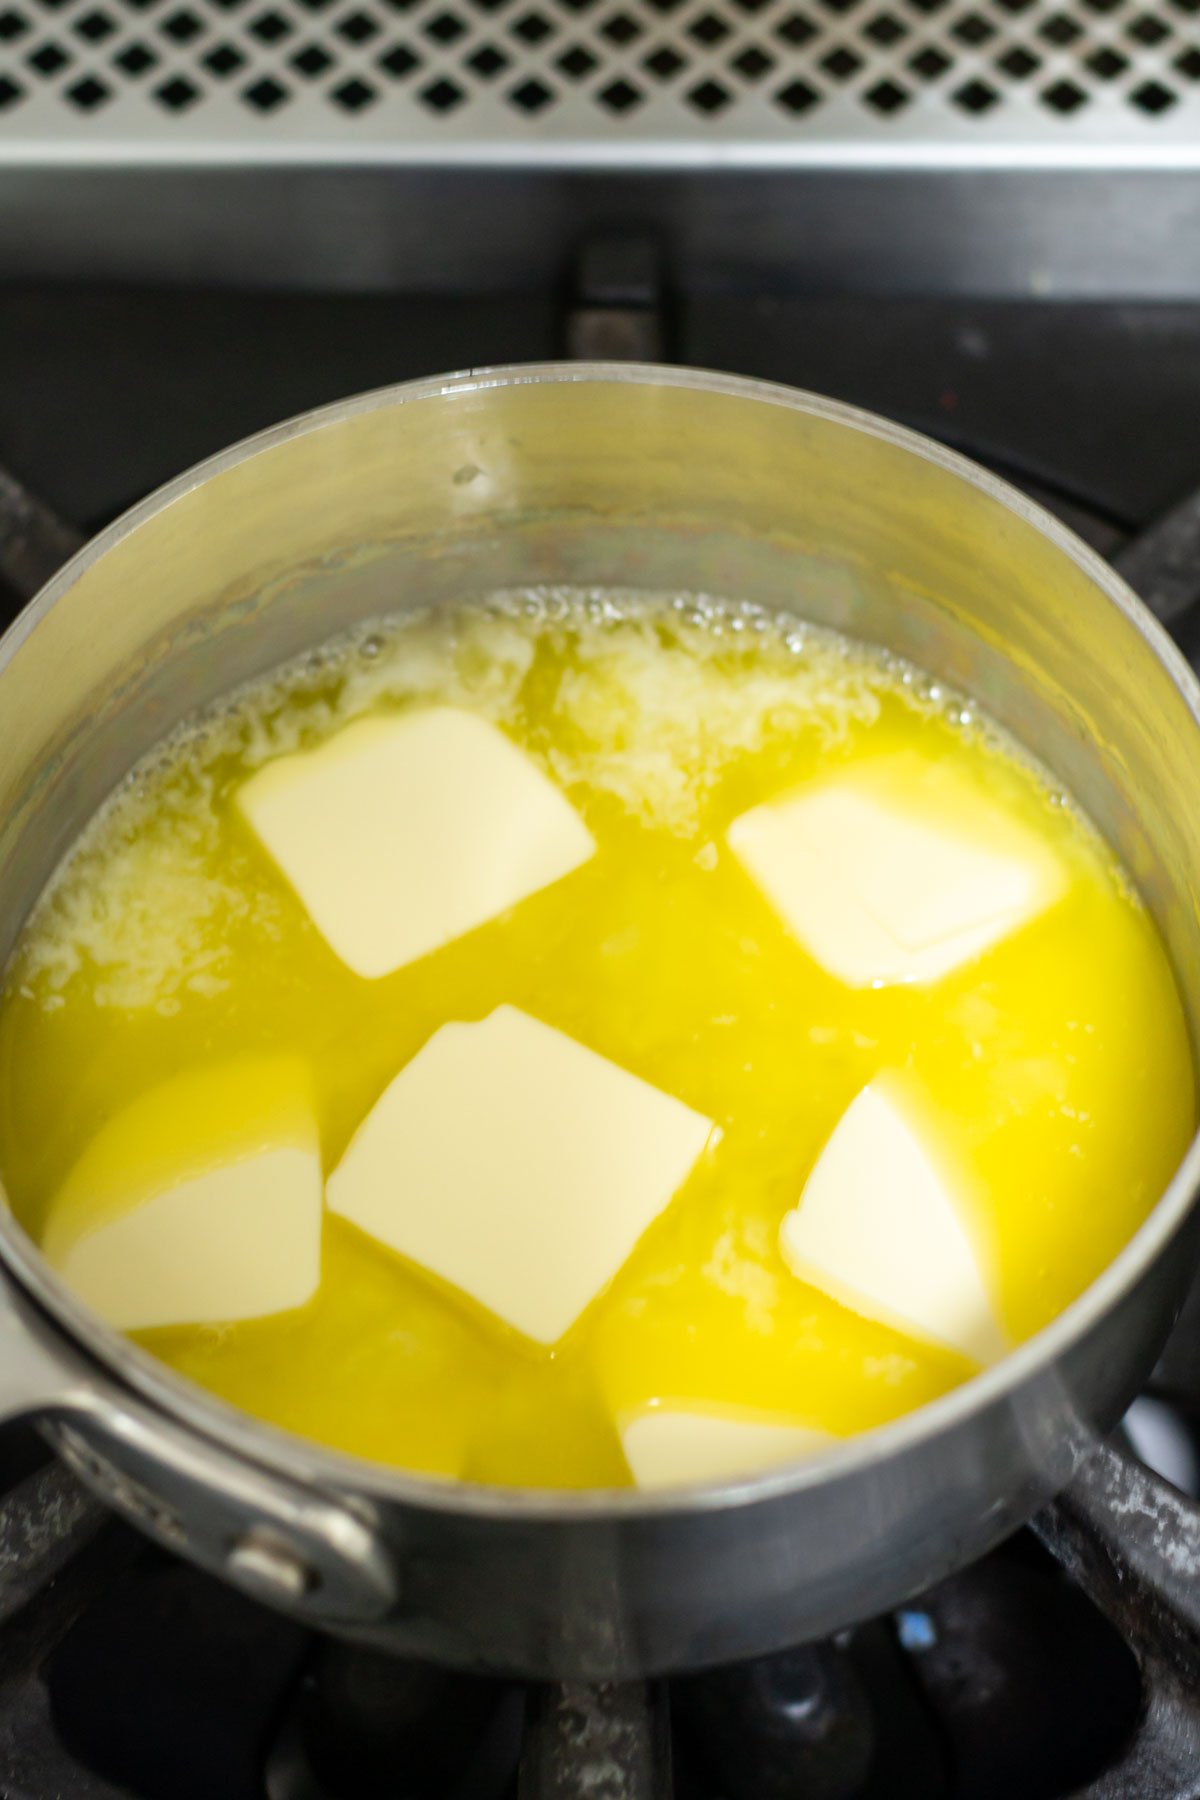
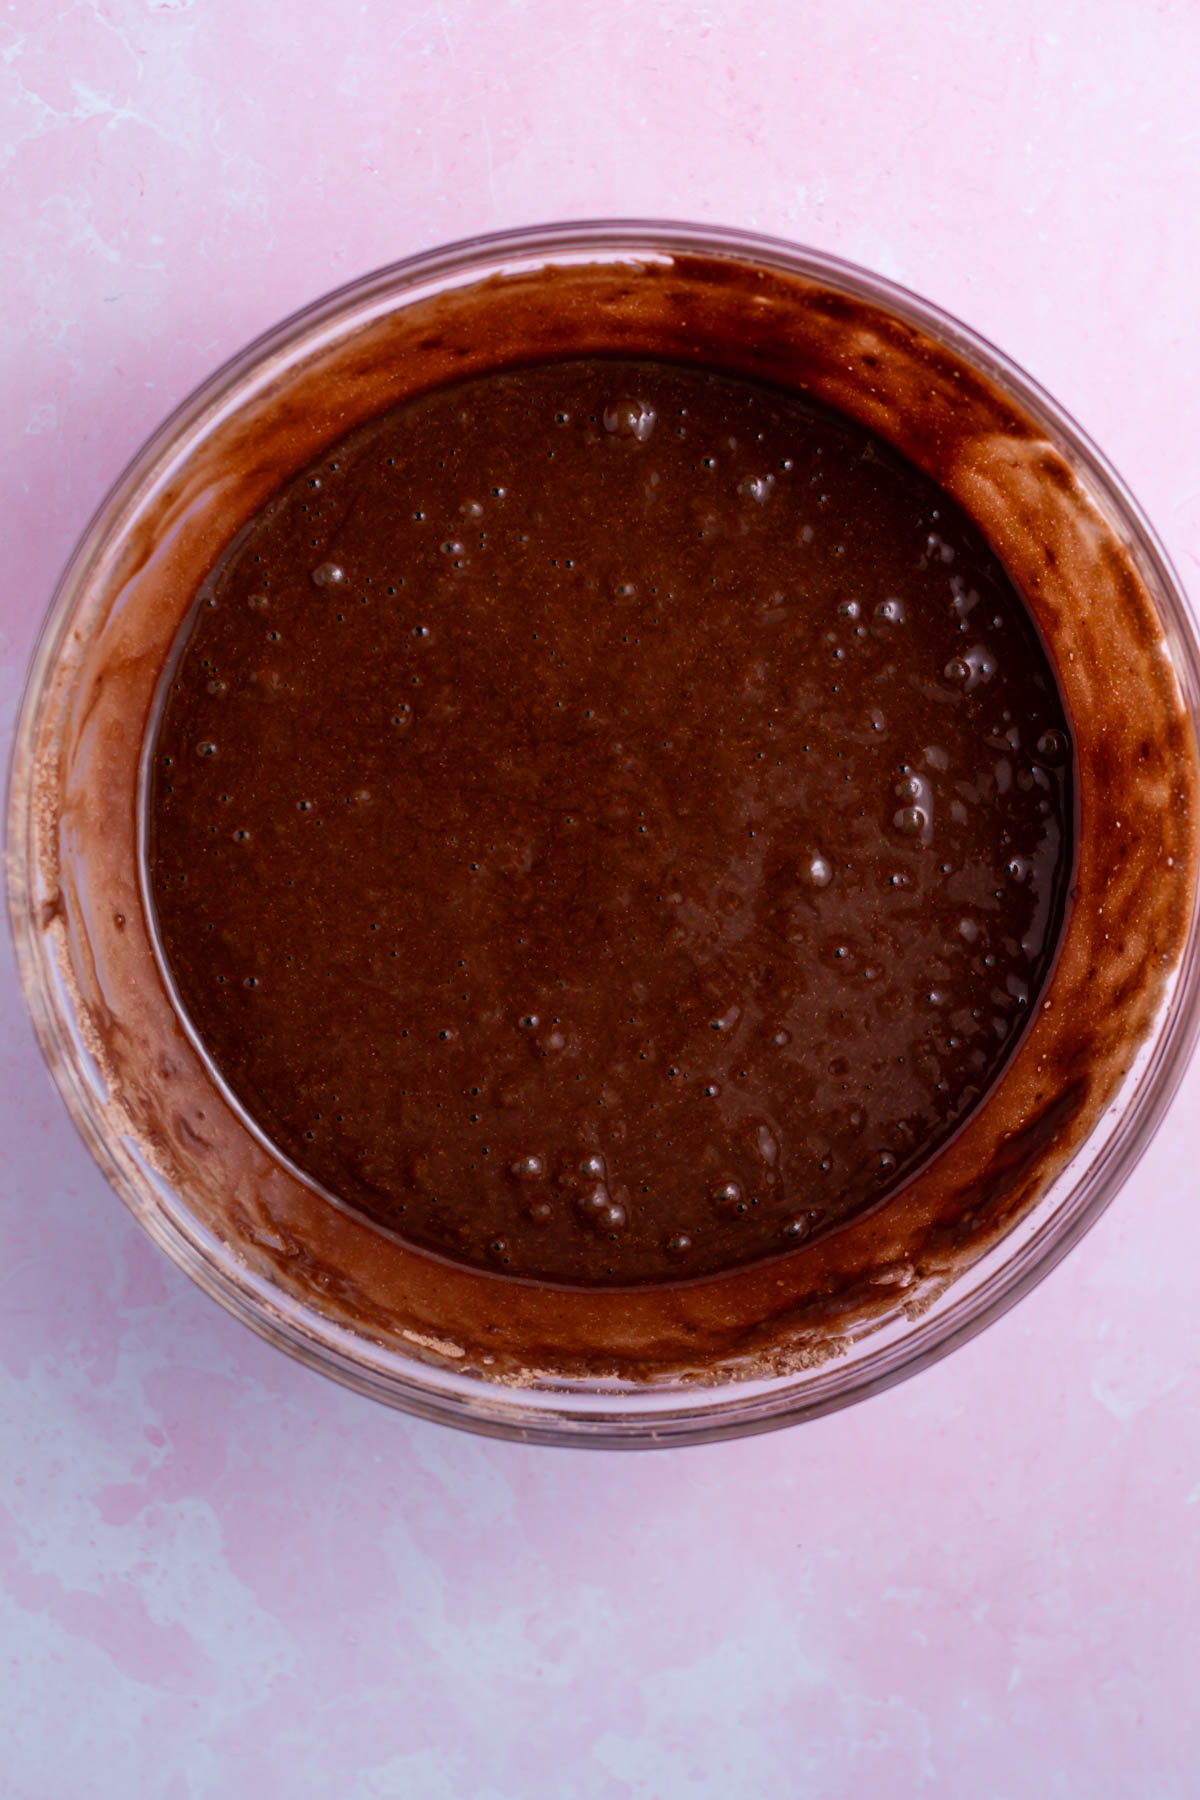
🍫 how to make the brownie batter
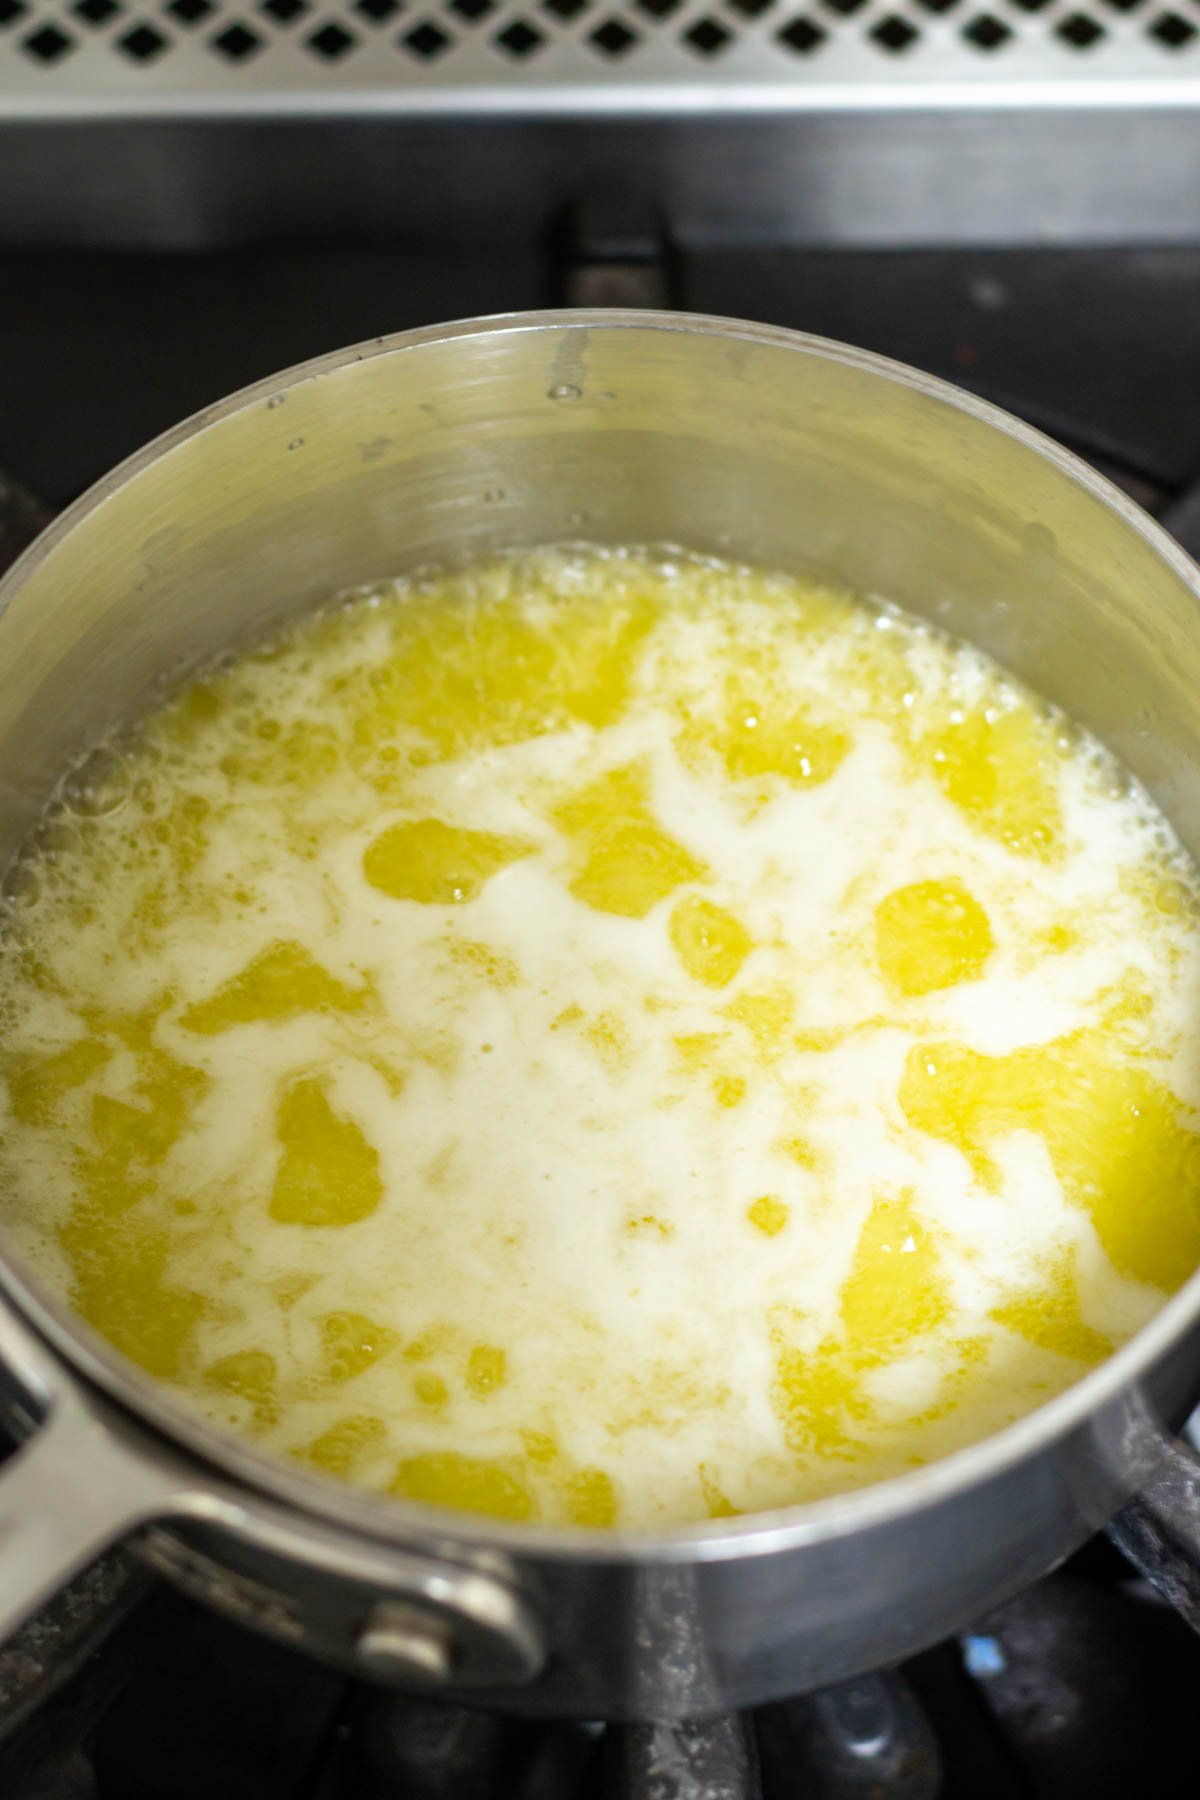
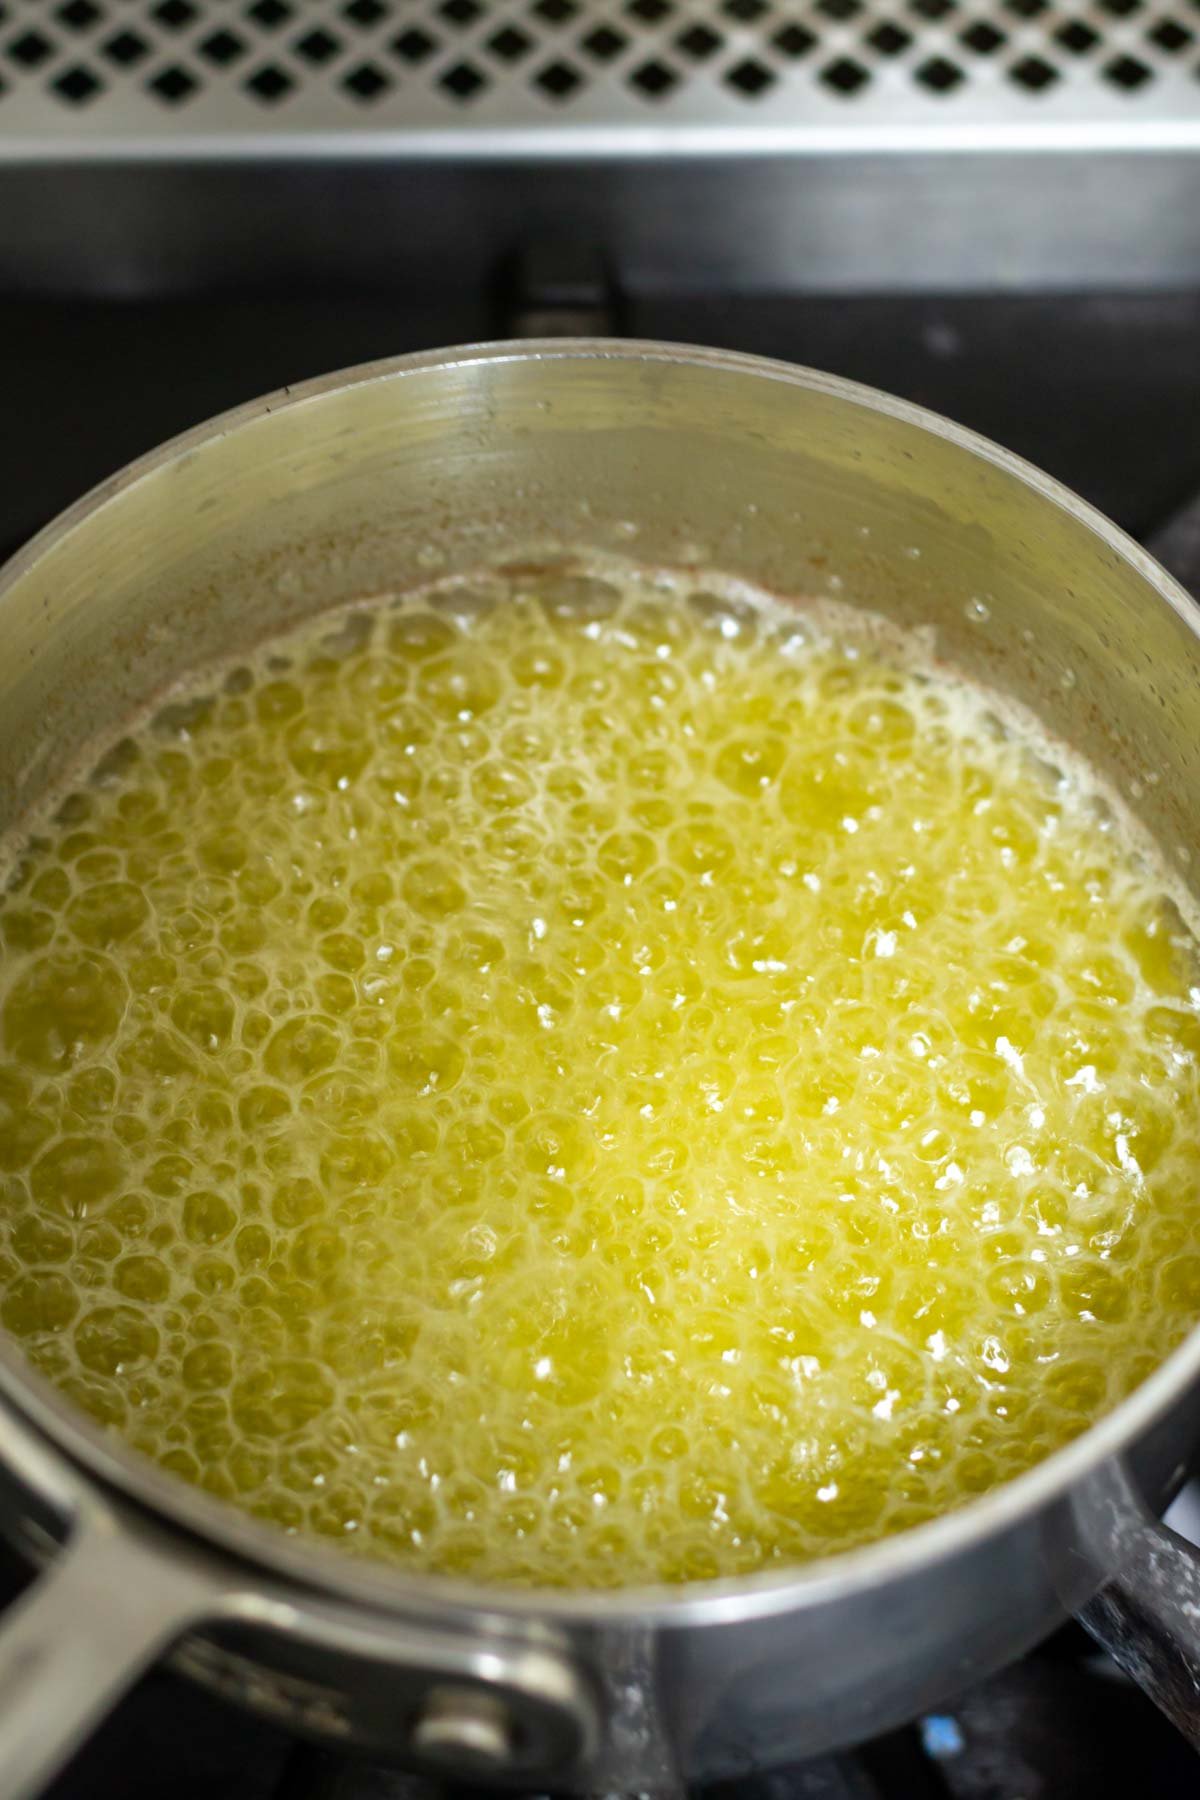
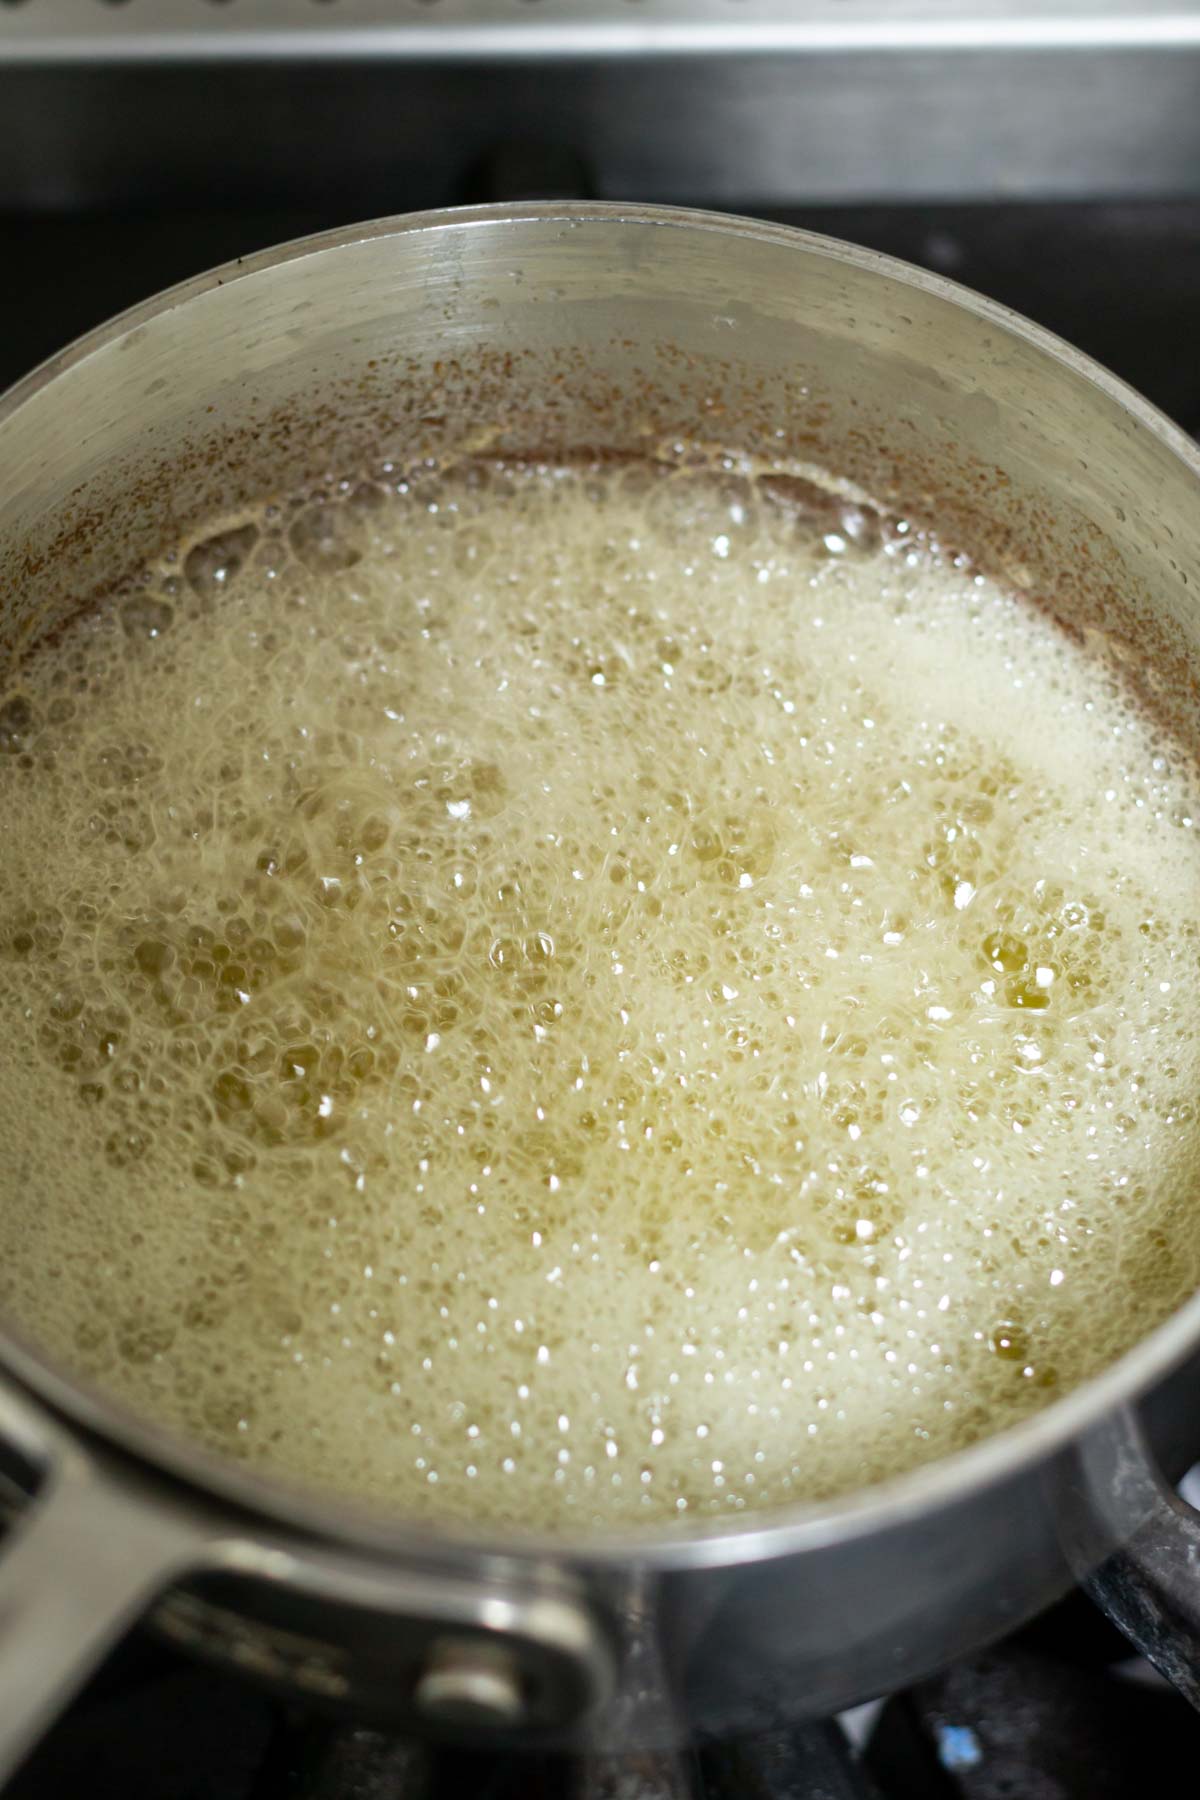
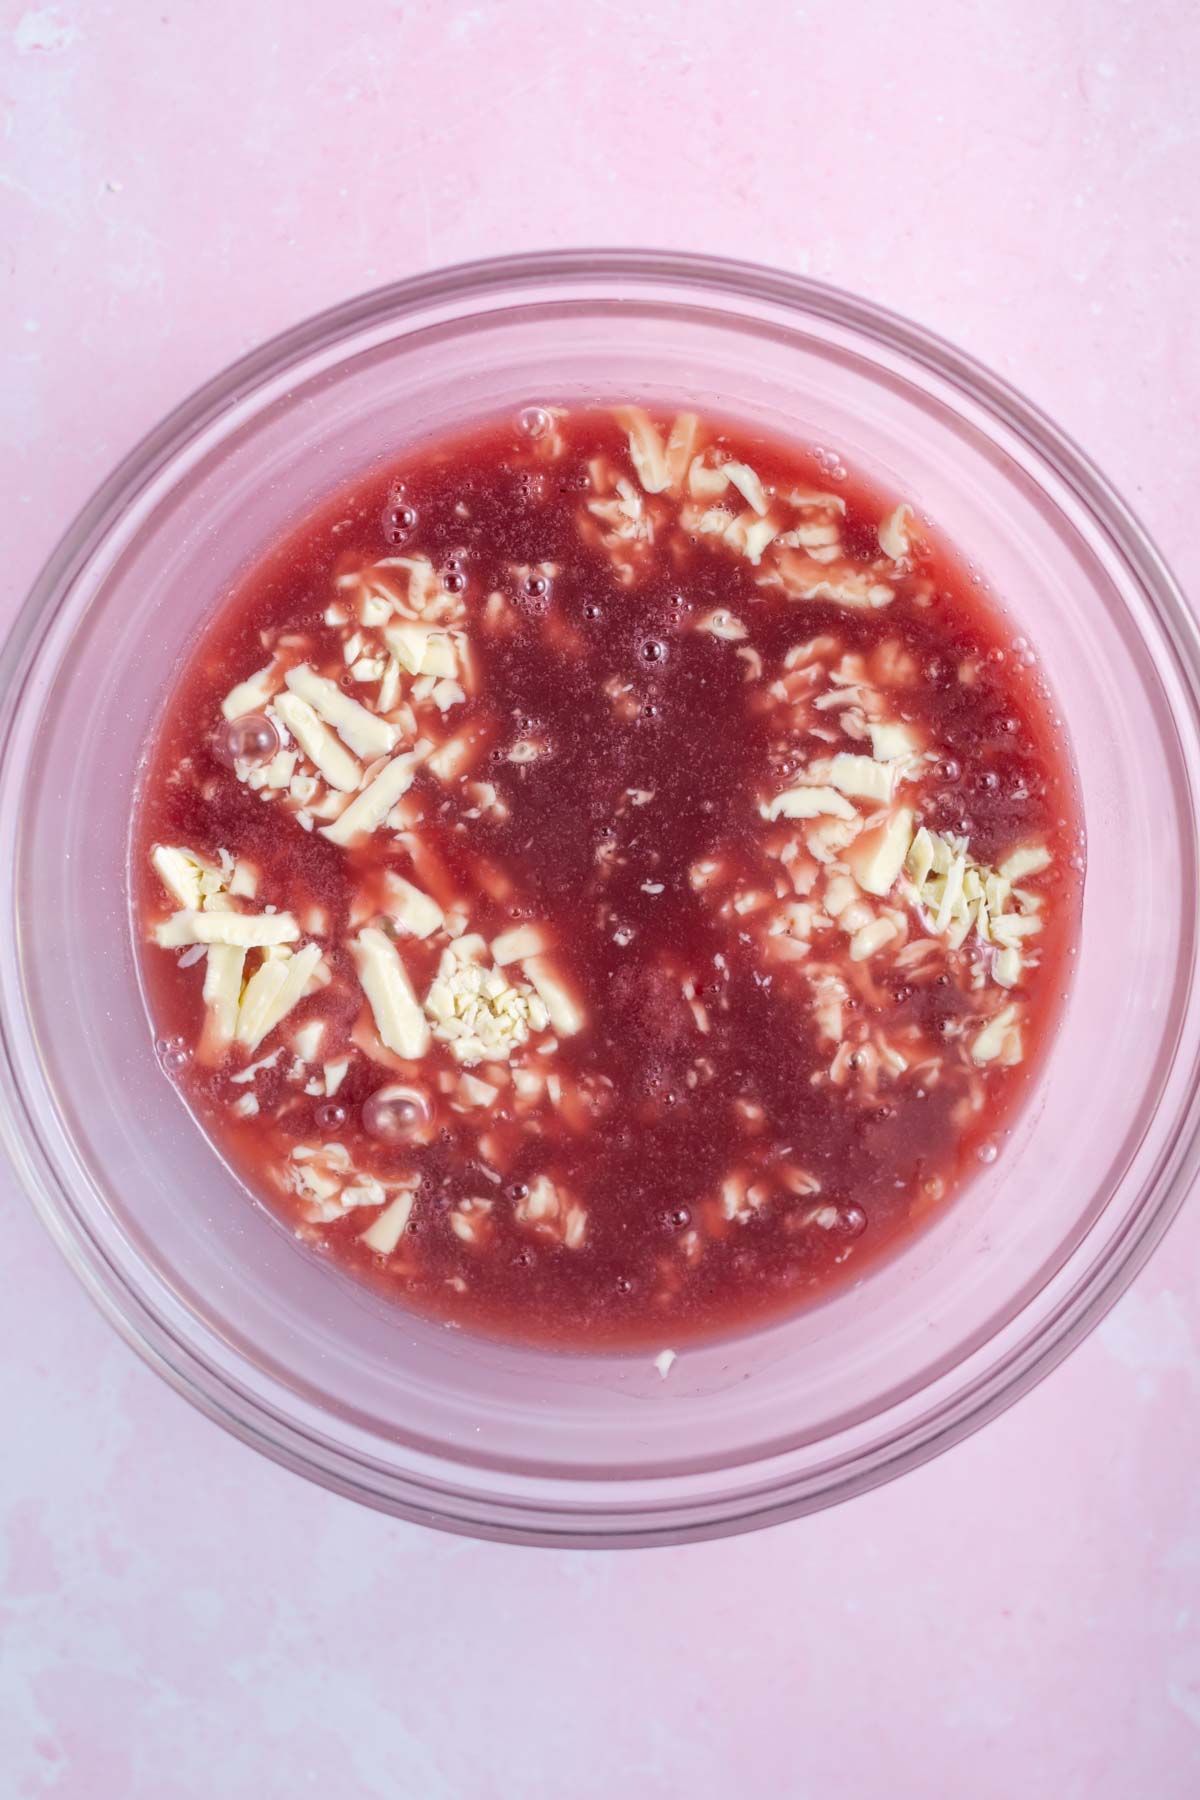
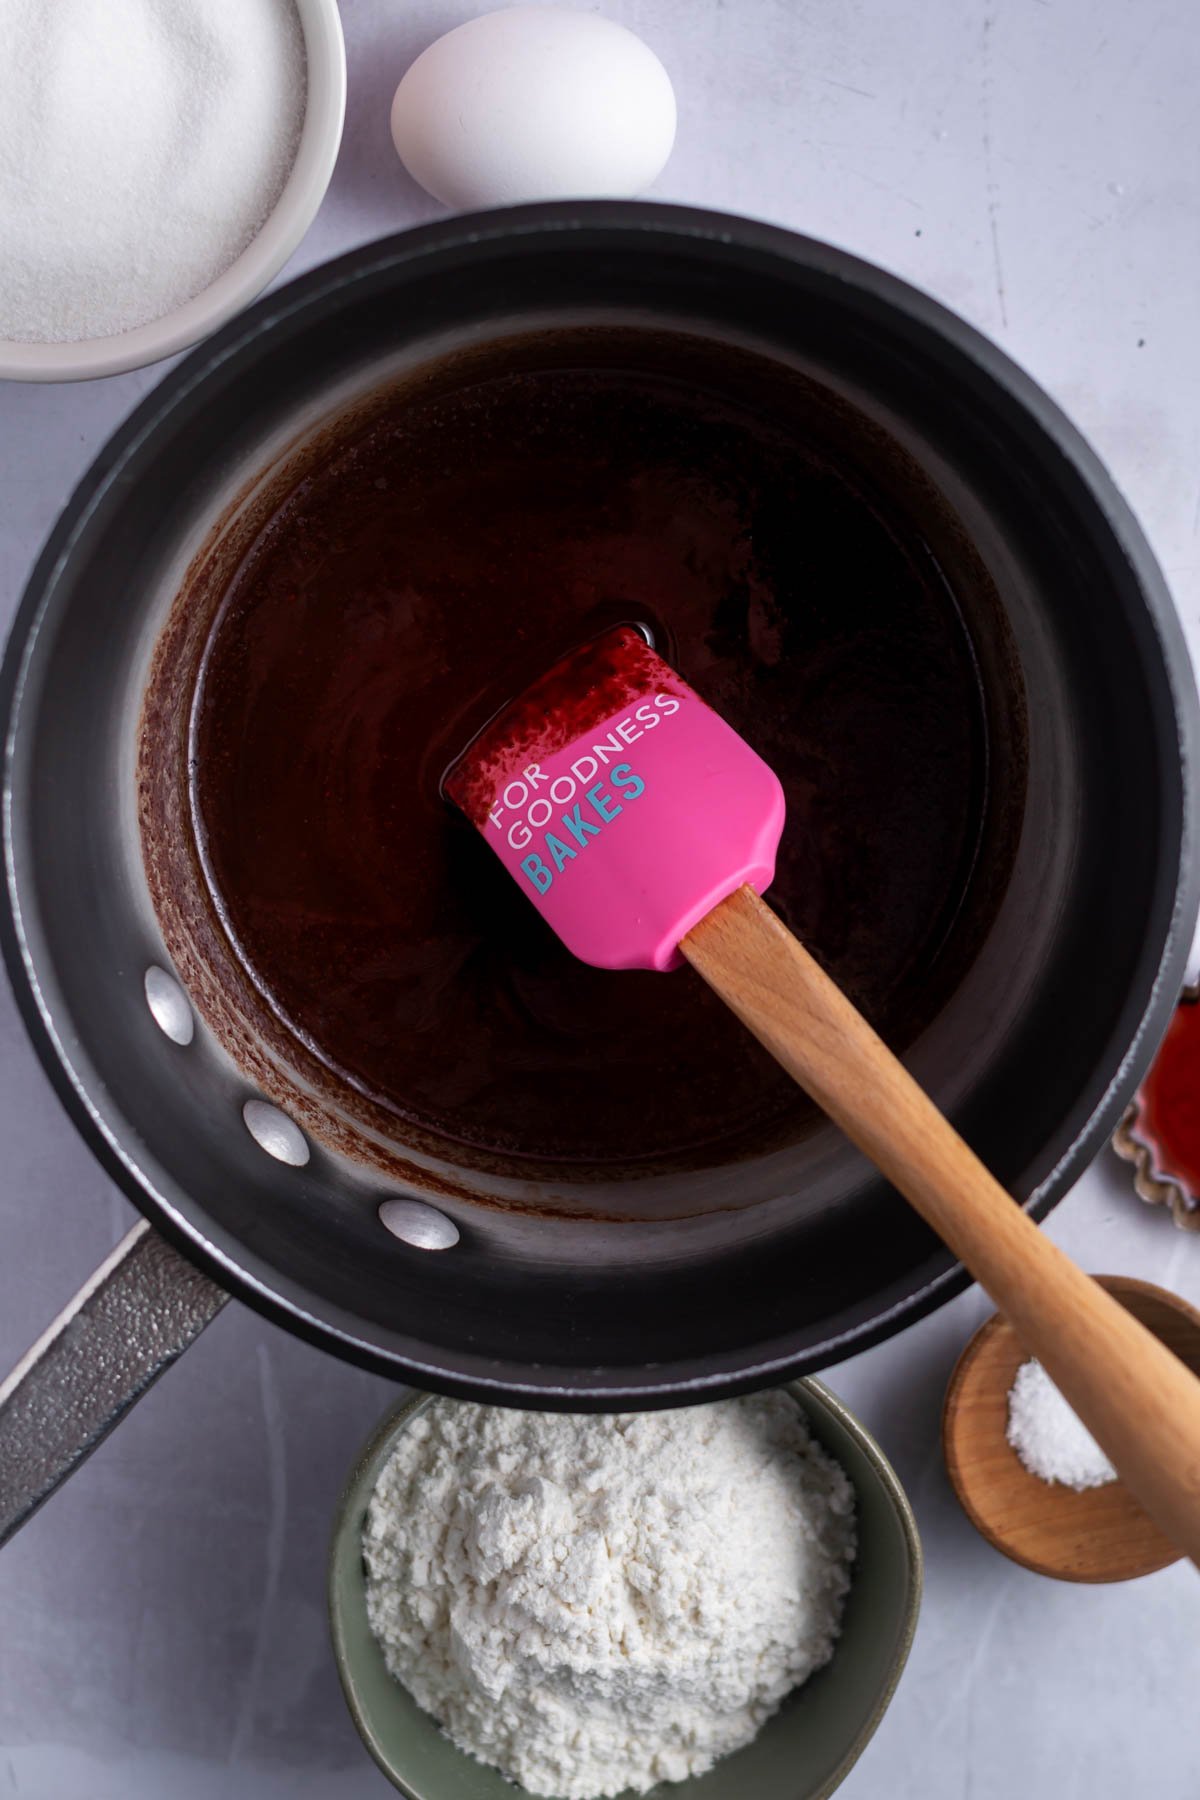
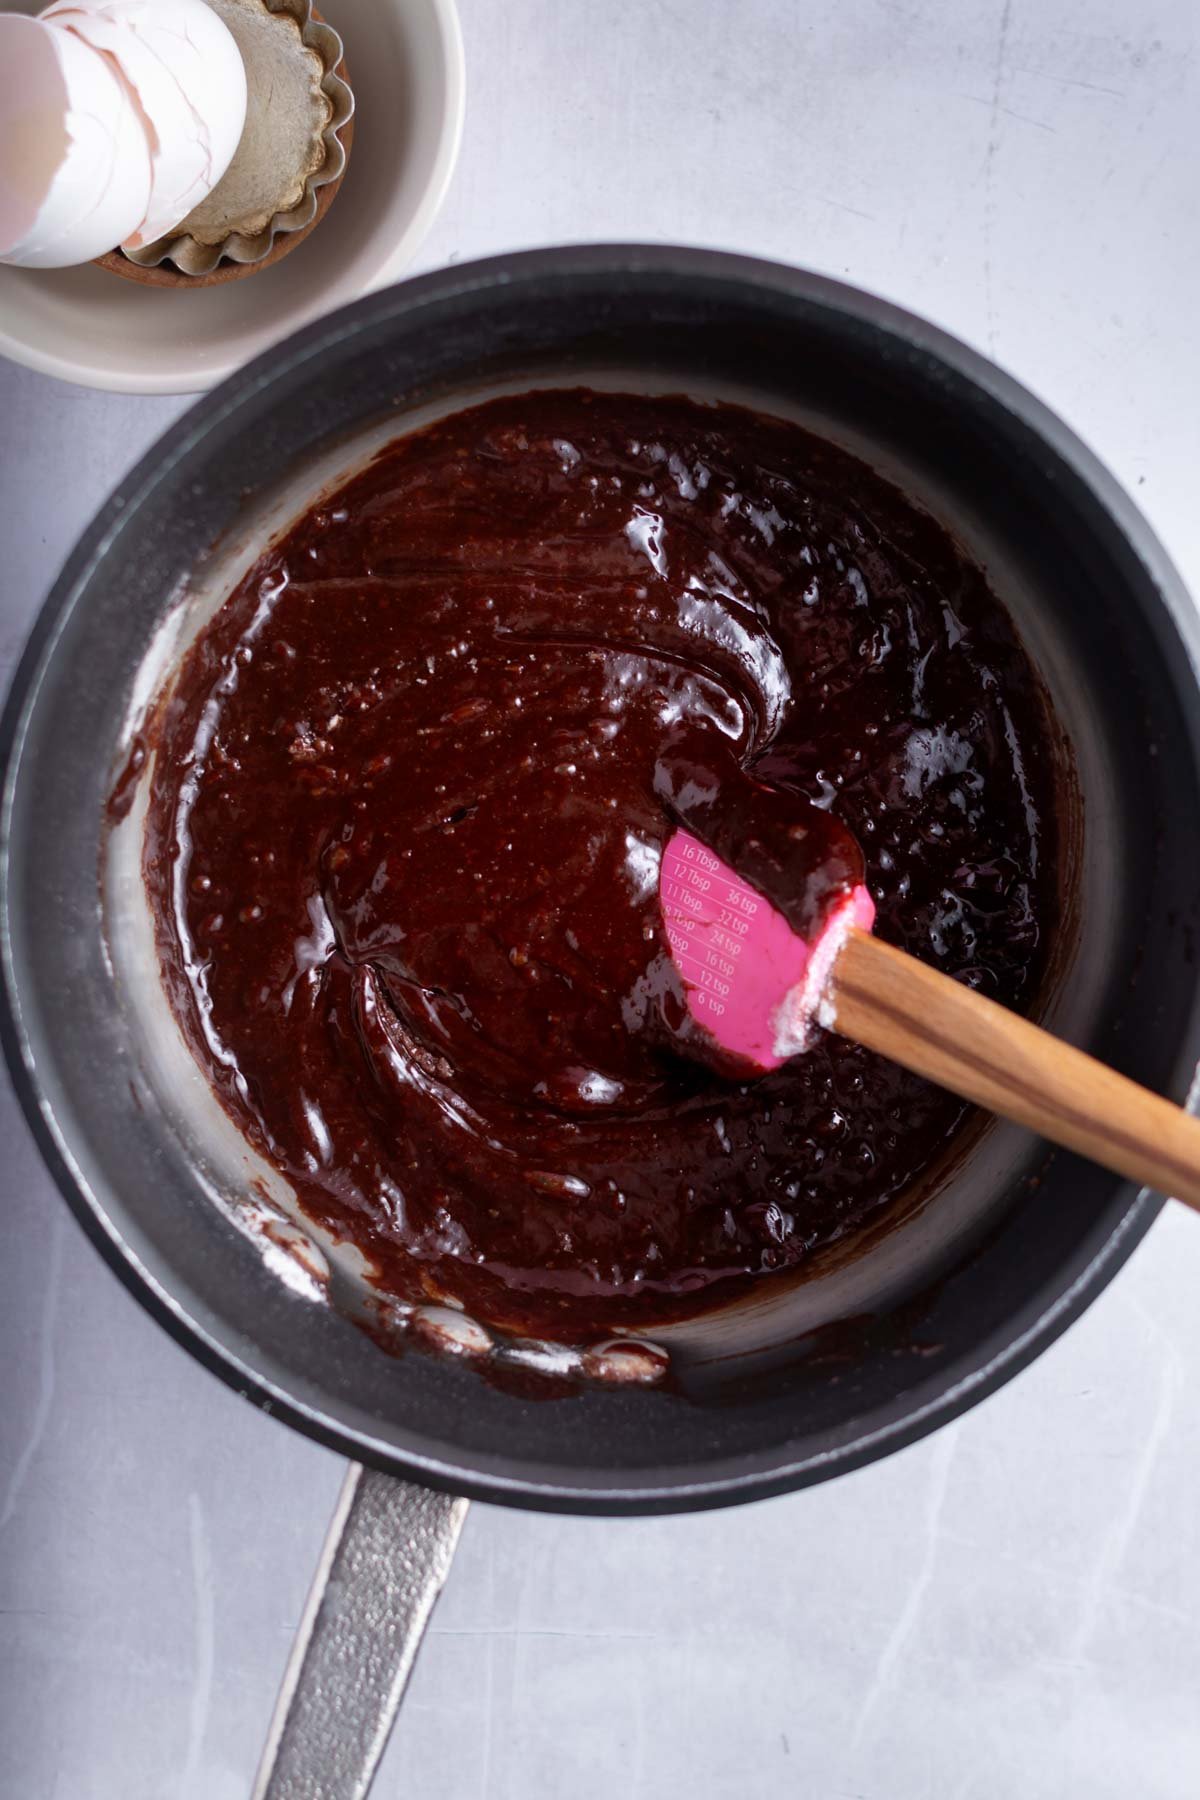
To a medium size saucepan, add the cold, sliced unsalted butter and unsweetened chocolate baking bar and melt together over medium-low heat until smooth.
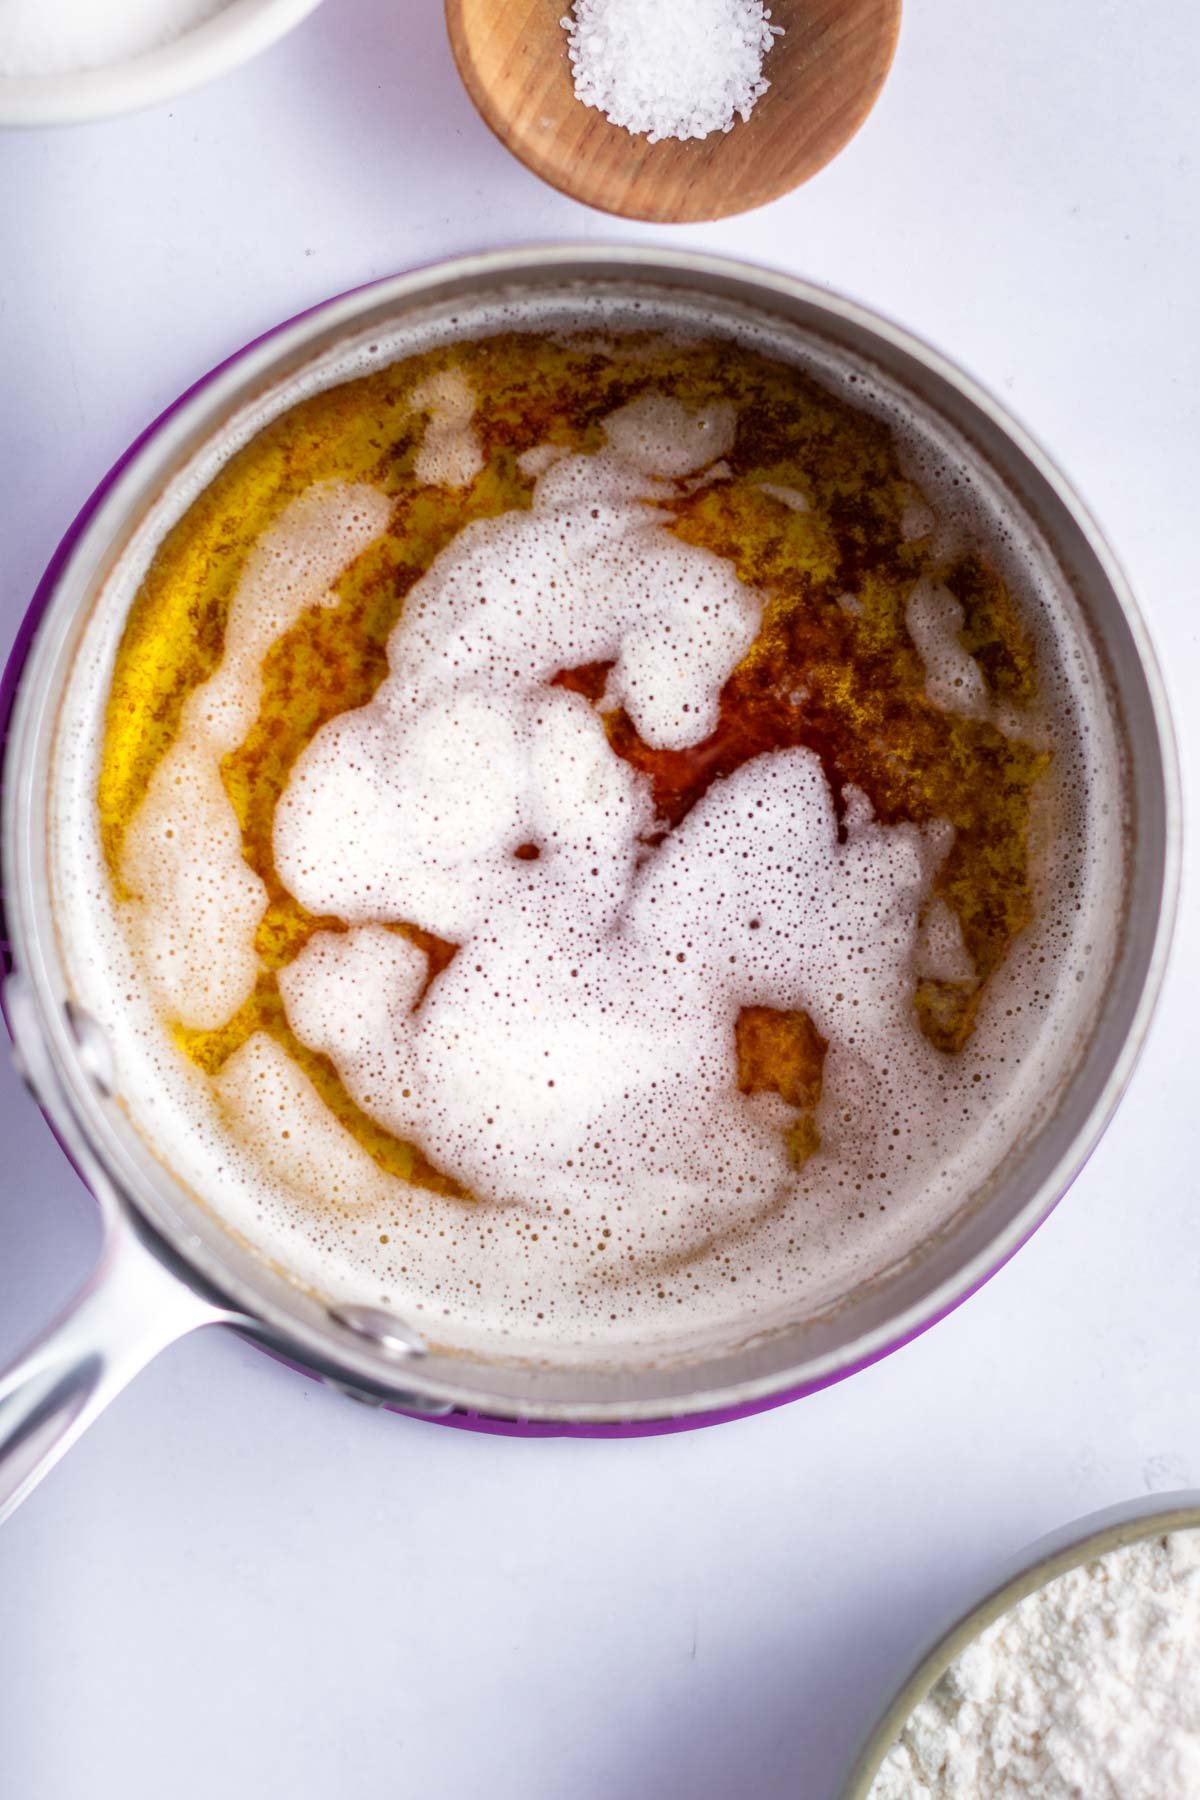
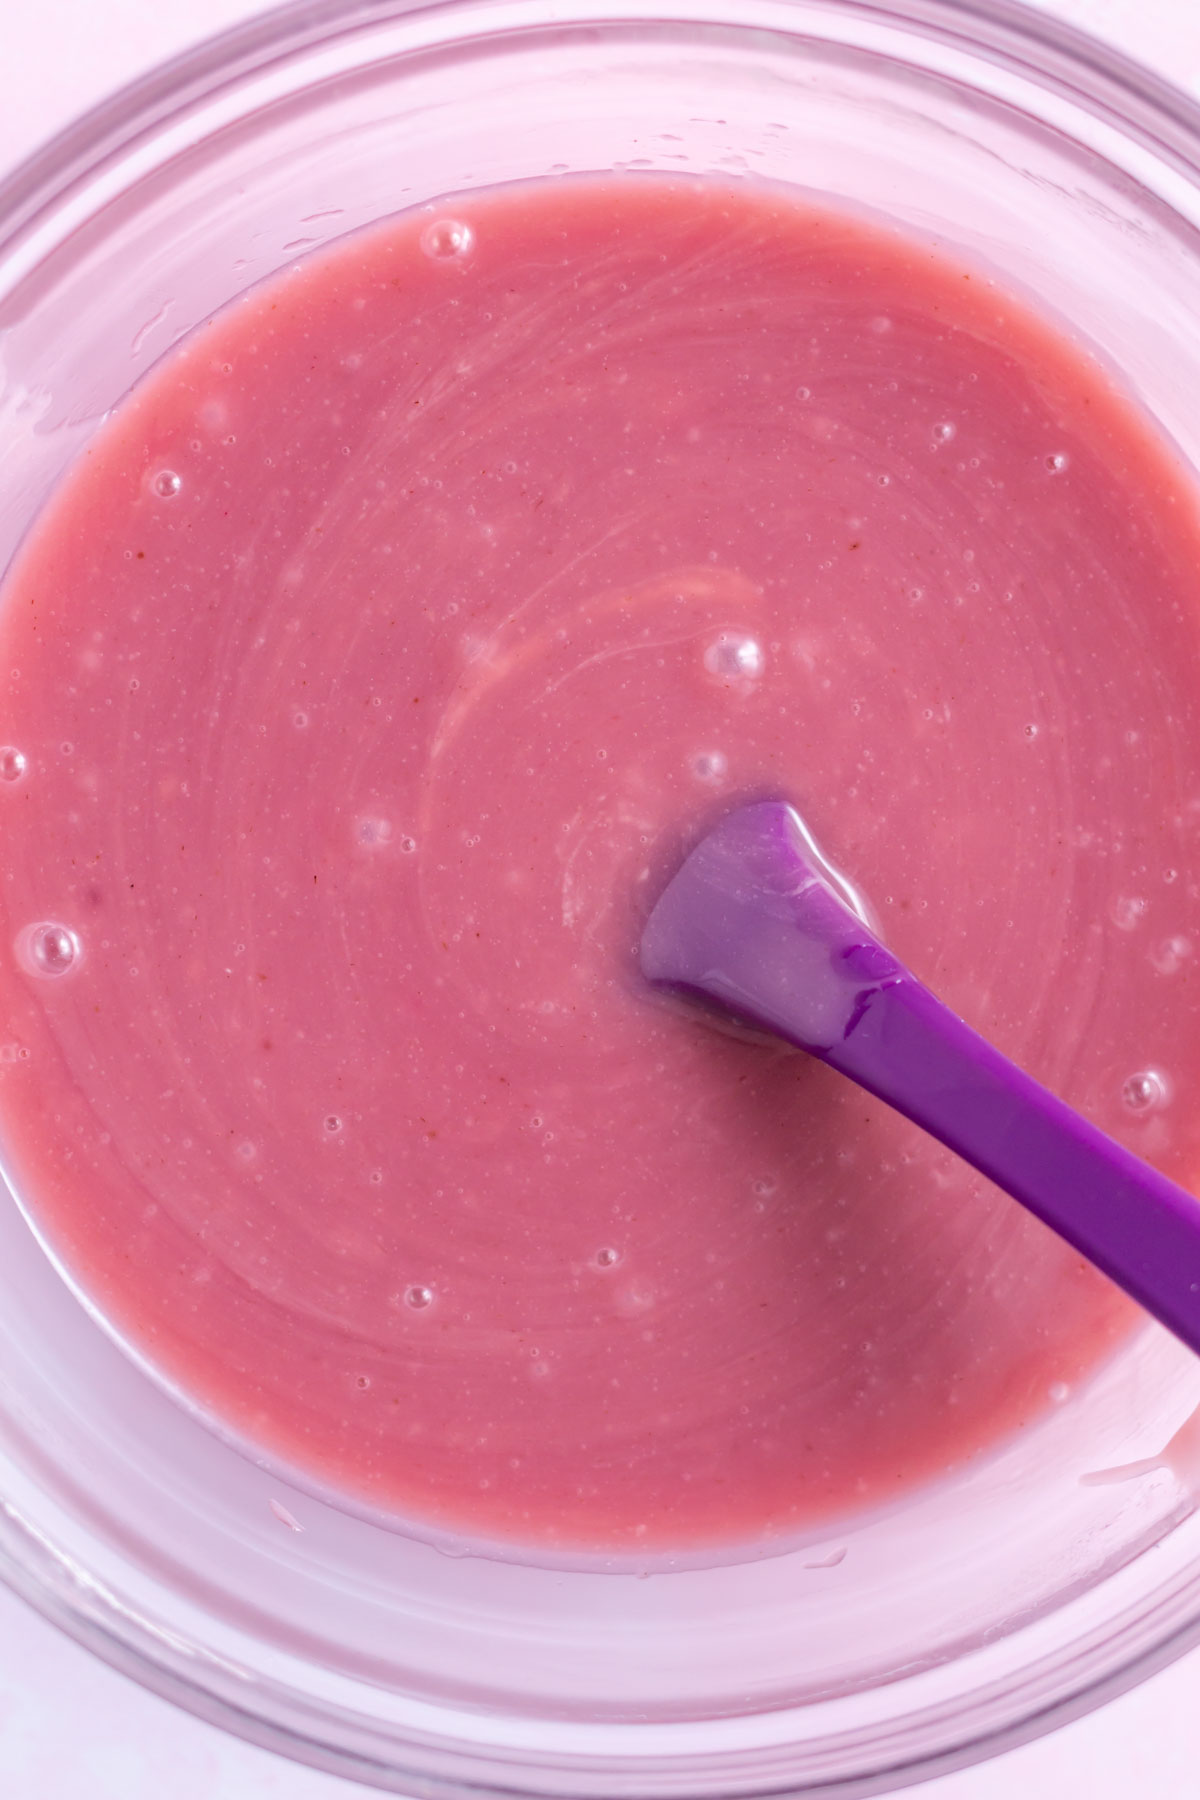
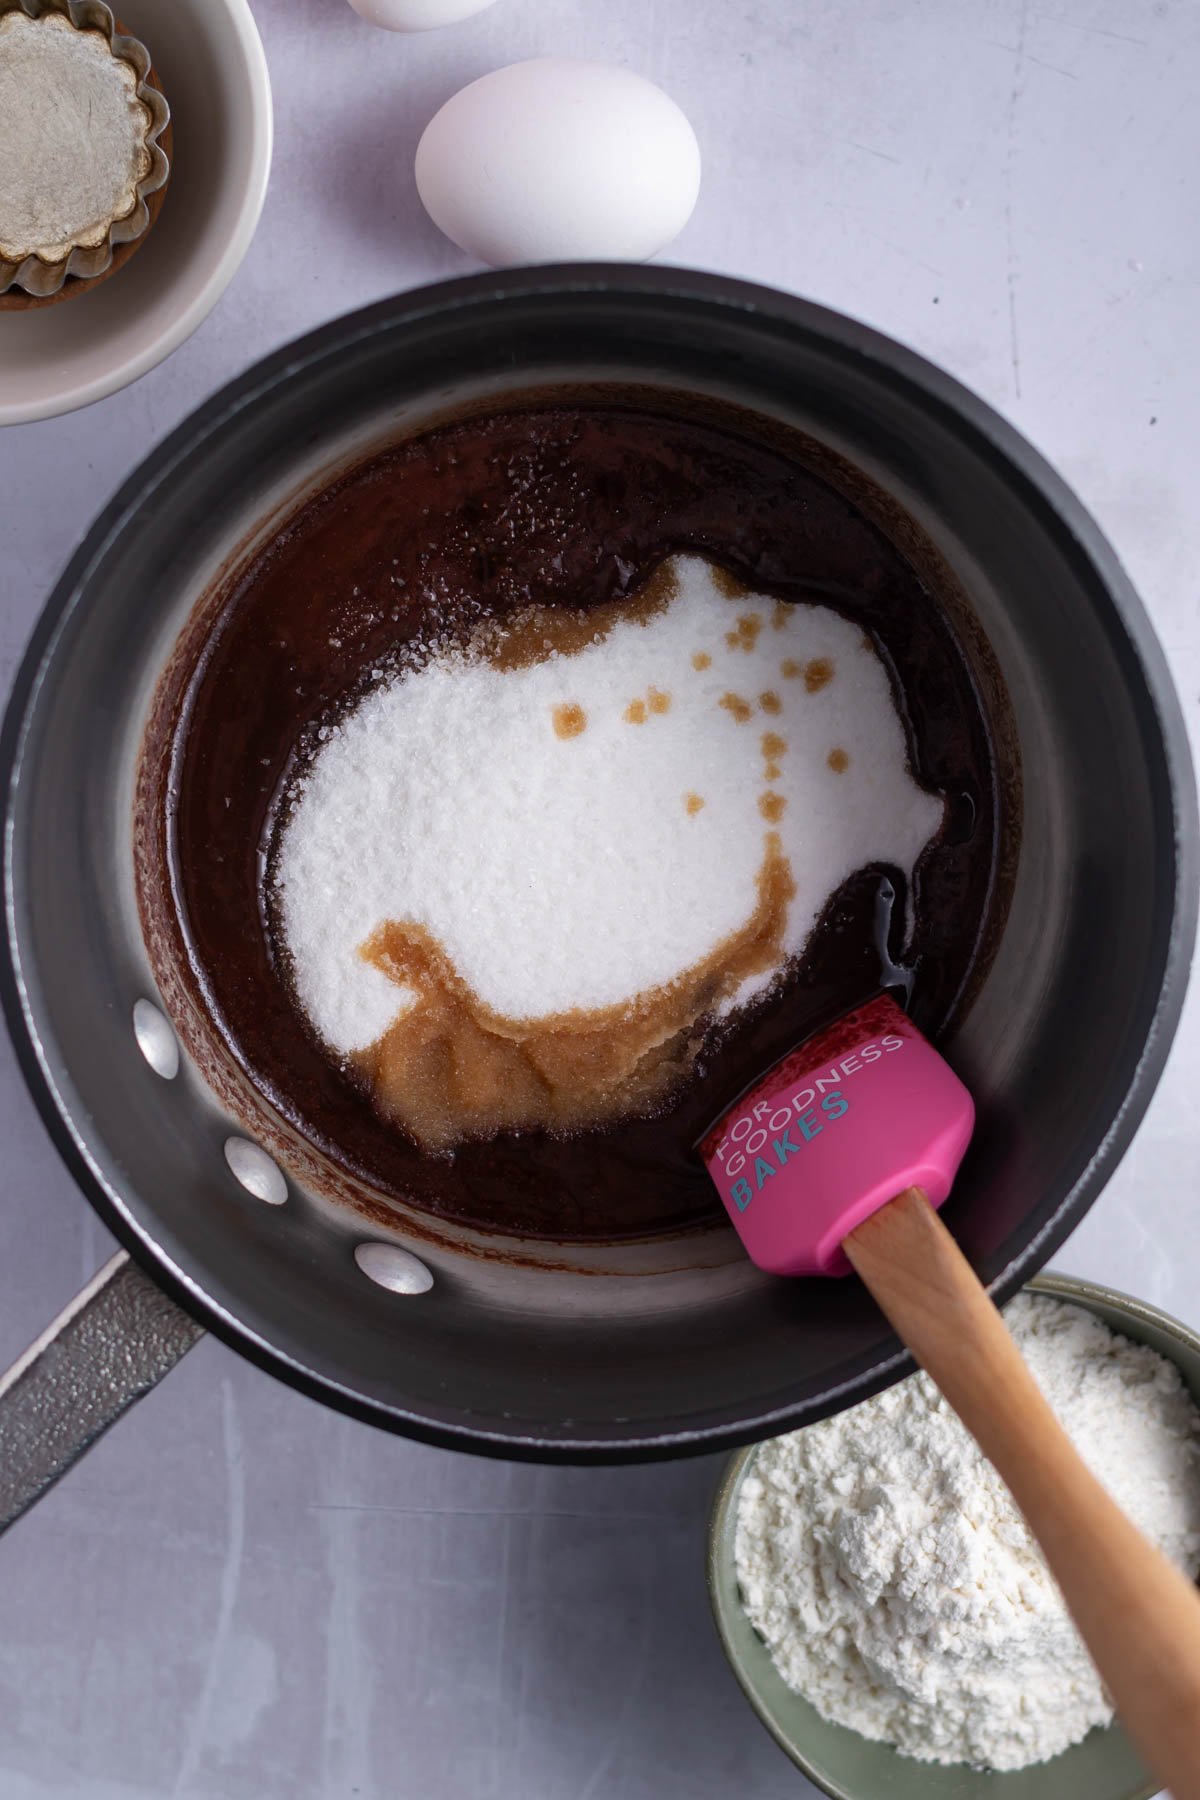
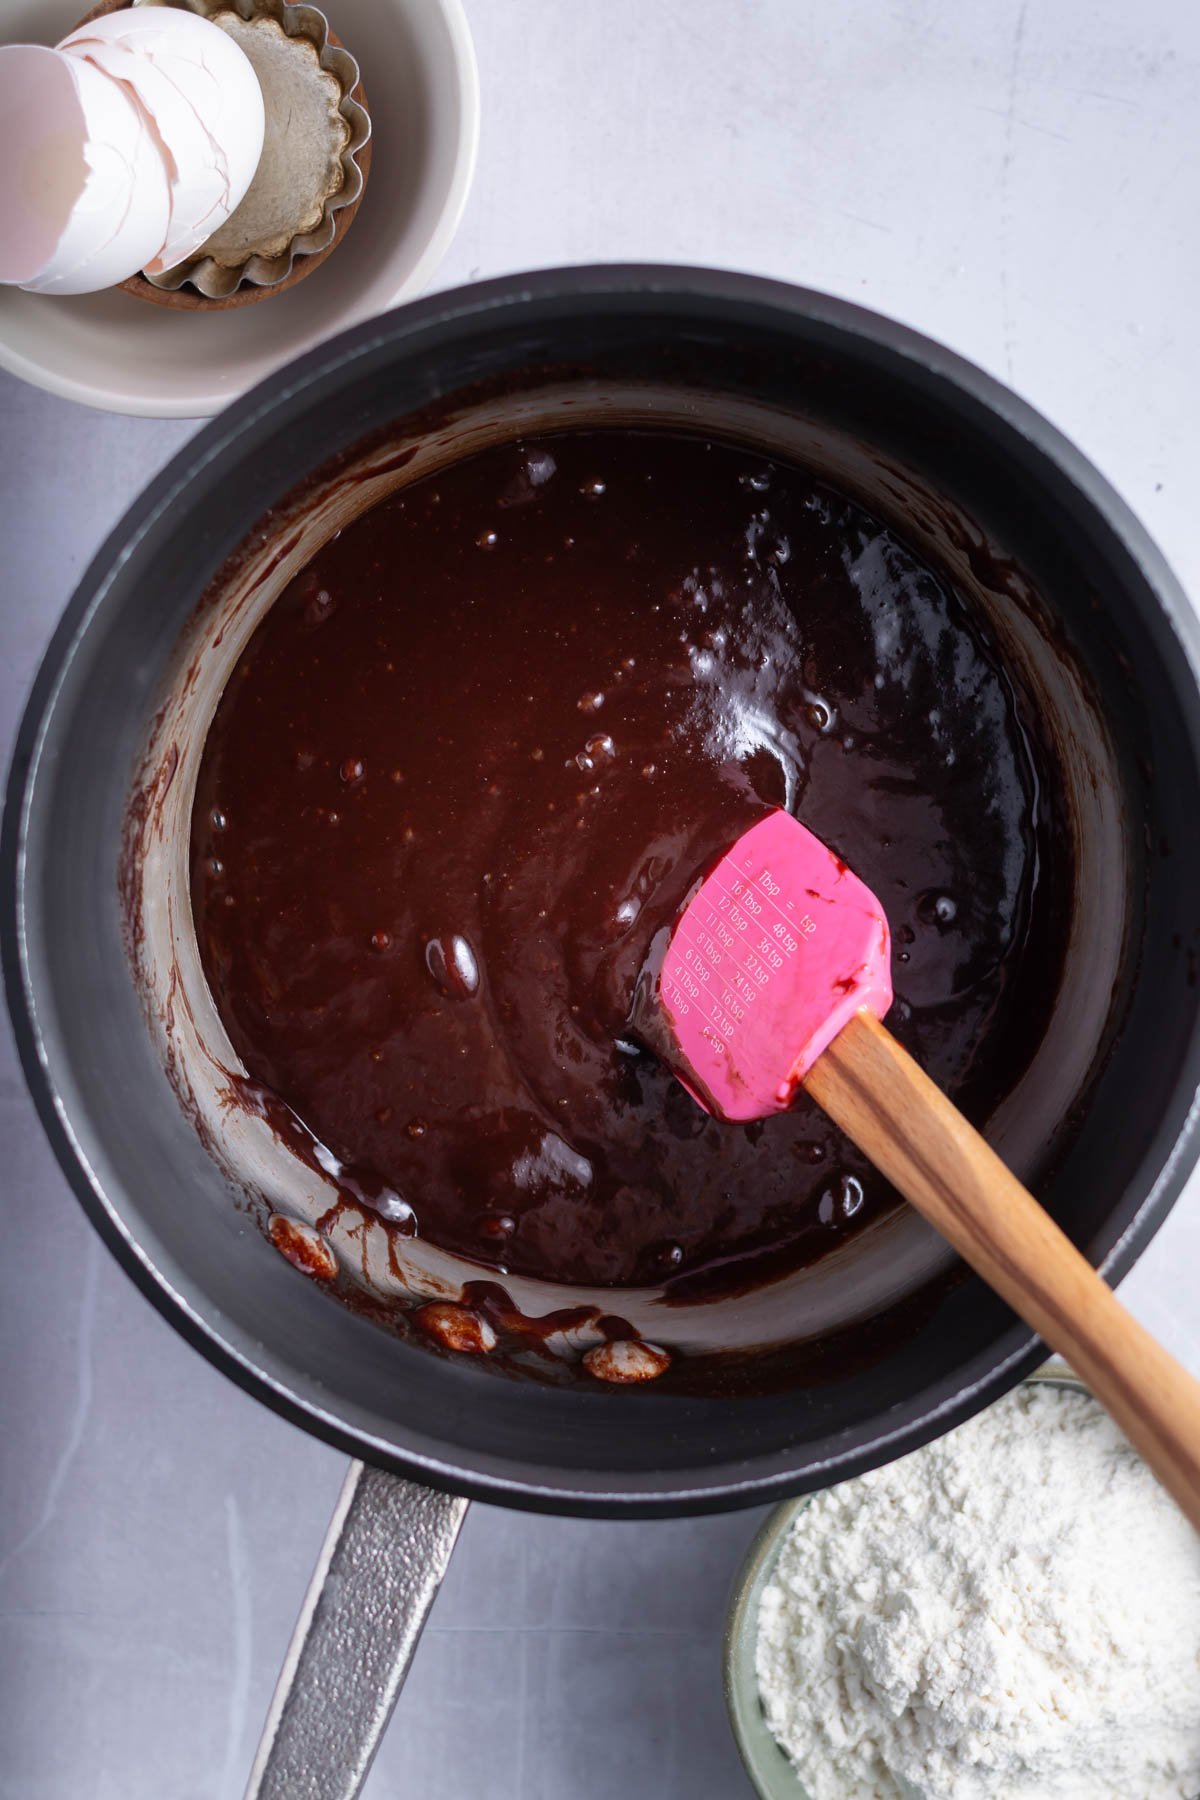
Remove from the heat and stir or whisk in the kosher salt, granulated sugar and vanilla until combined. Now add the 2 large eggs and stir or whisk until fully incorporated.

Then add the all-purpose flour and stir until combined.
🥣 let's layer the brookie bars
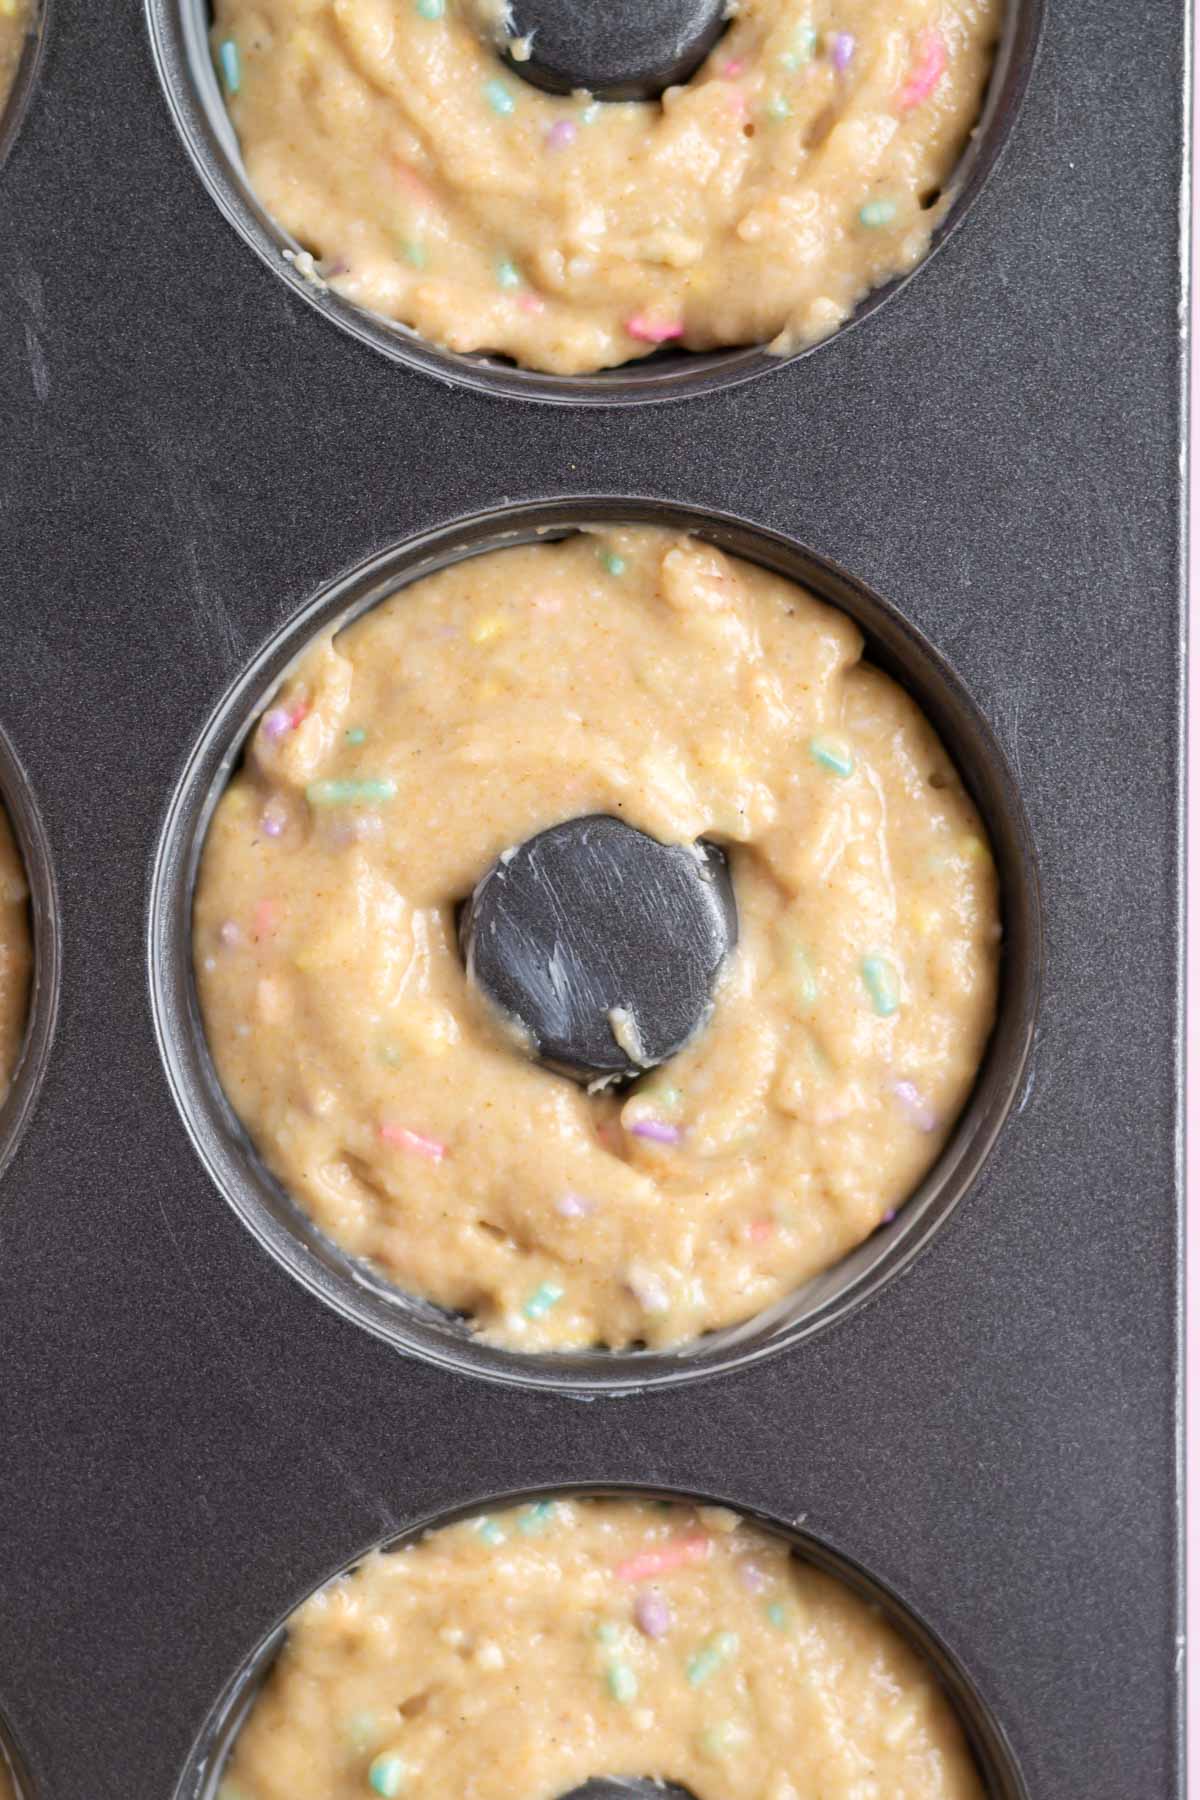
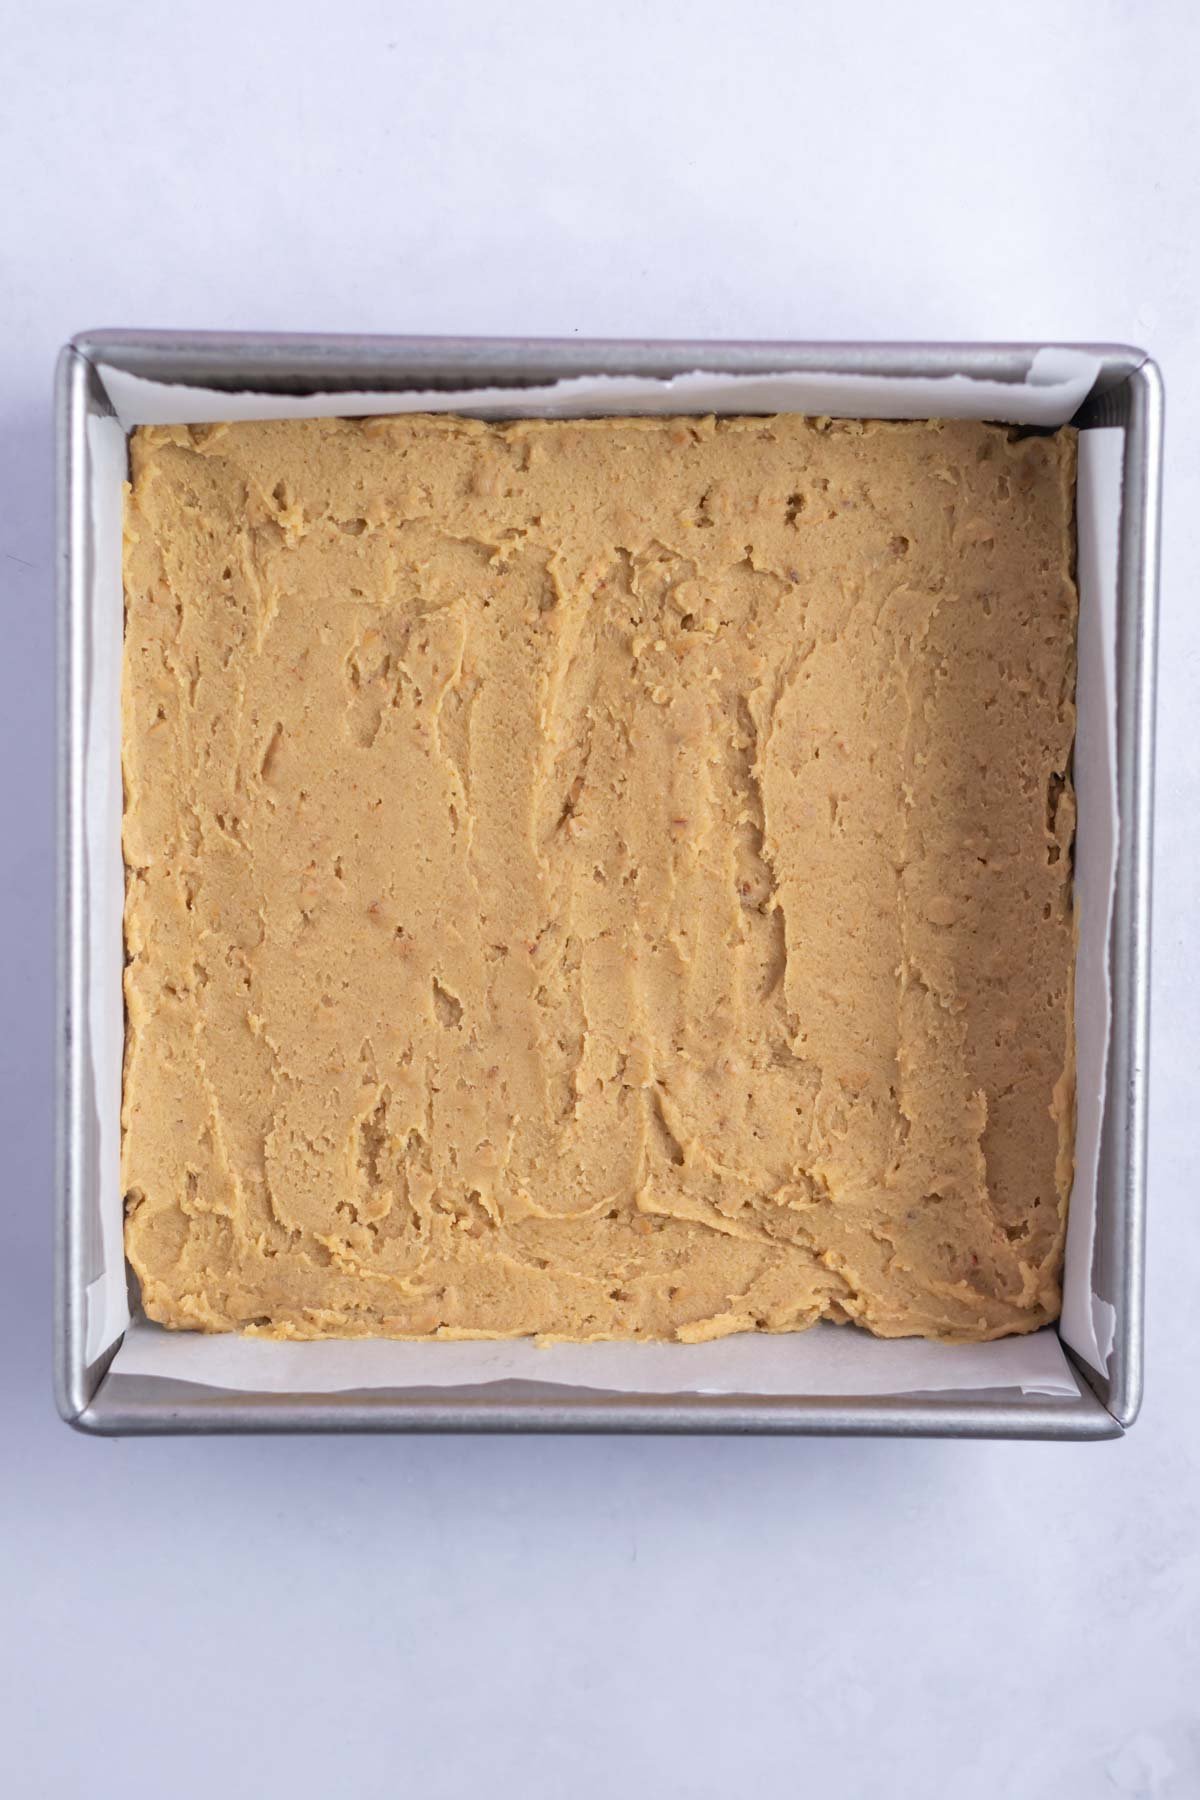
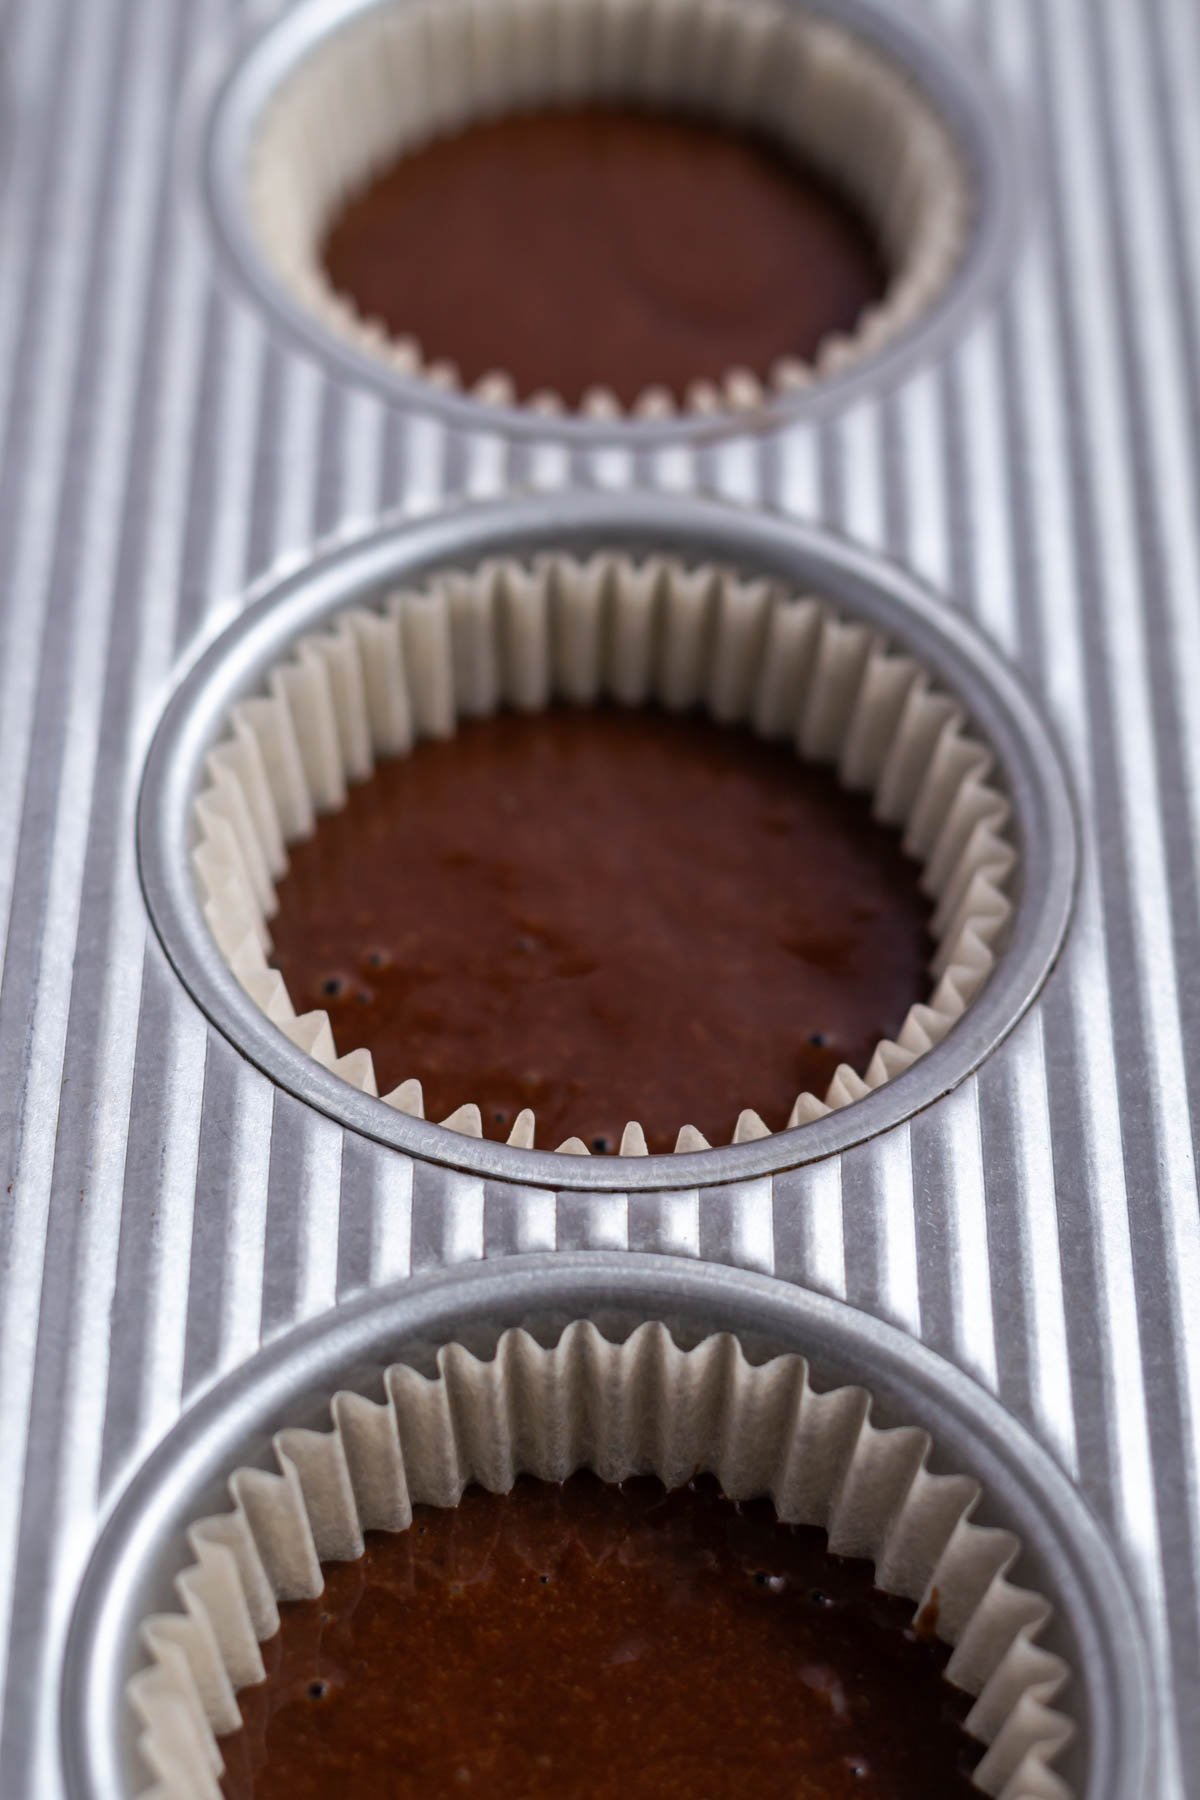
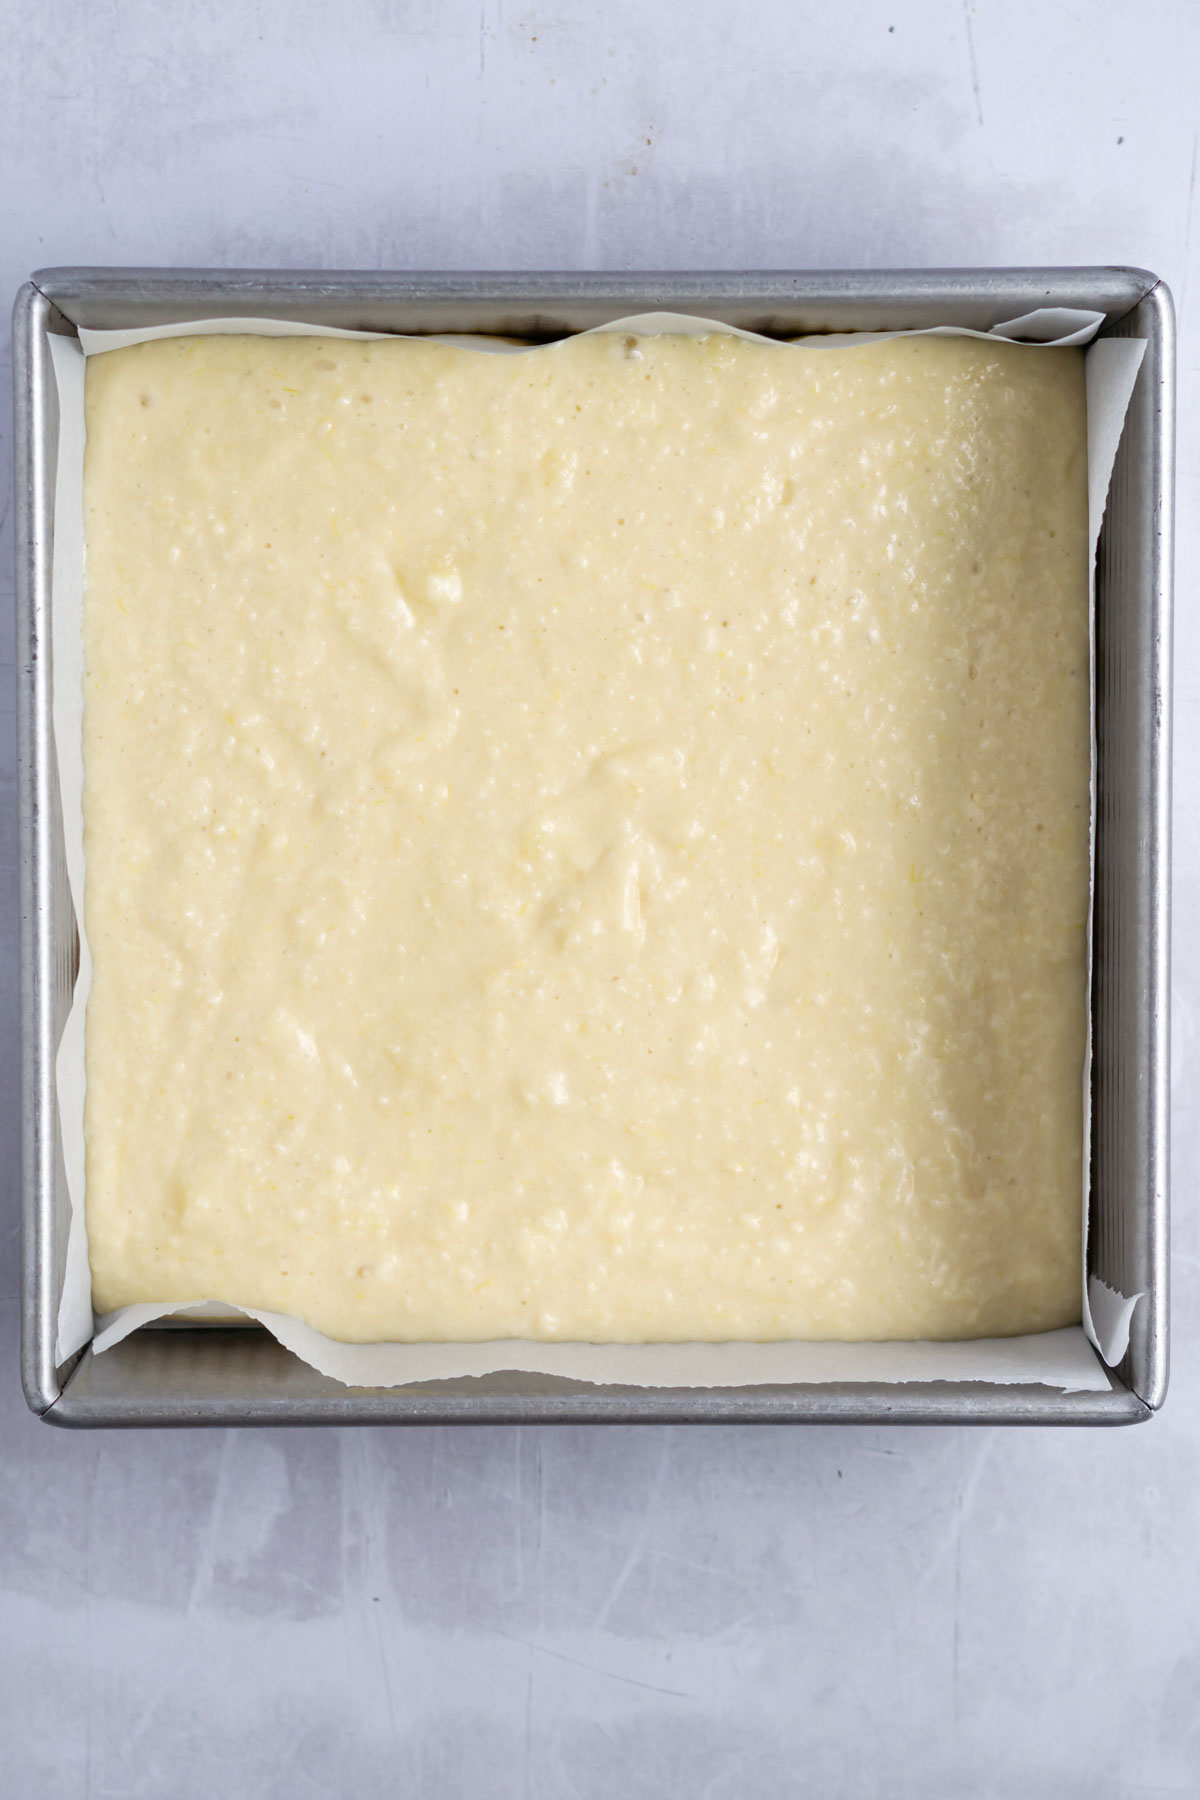
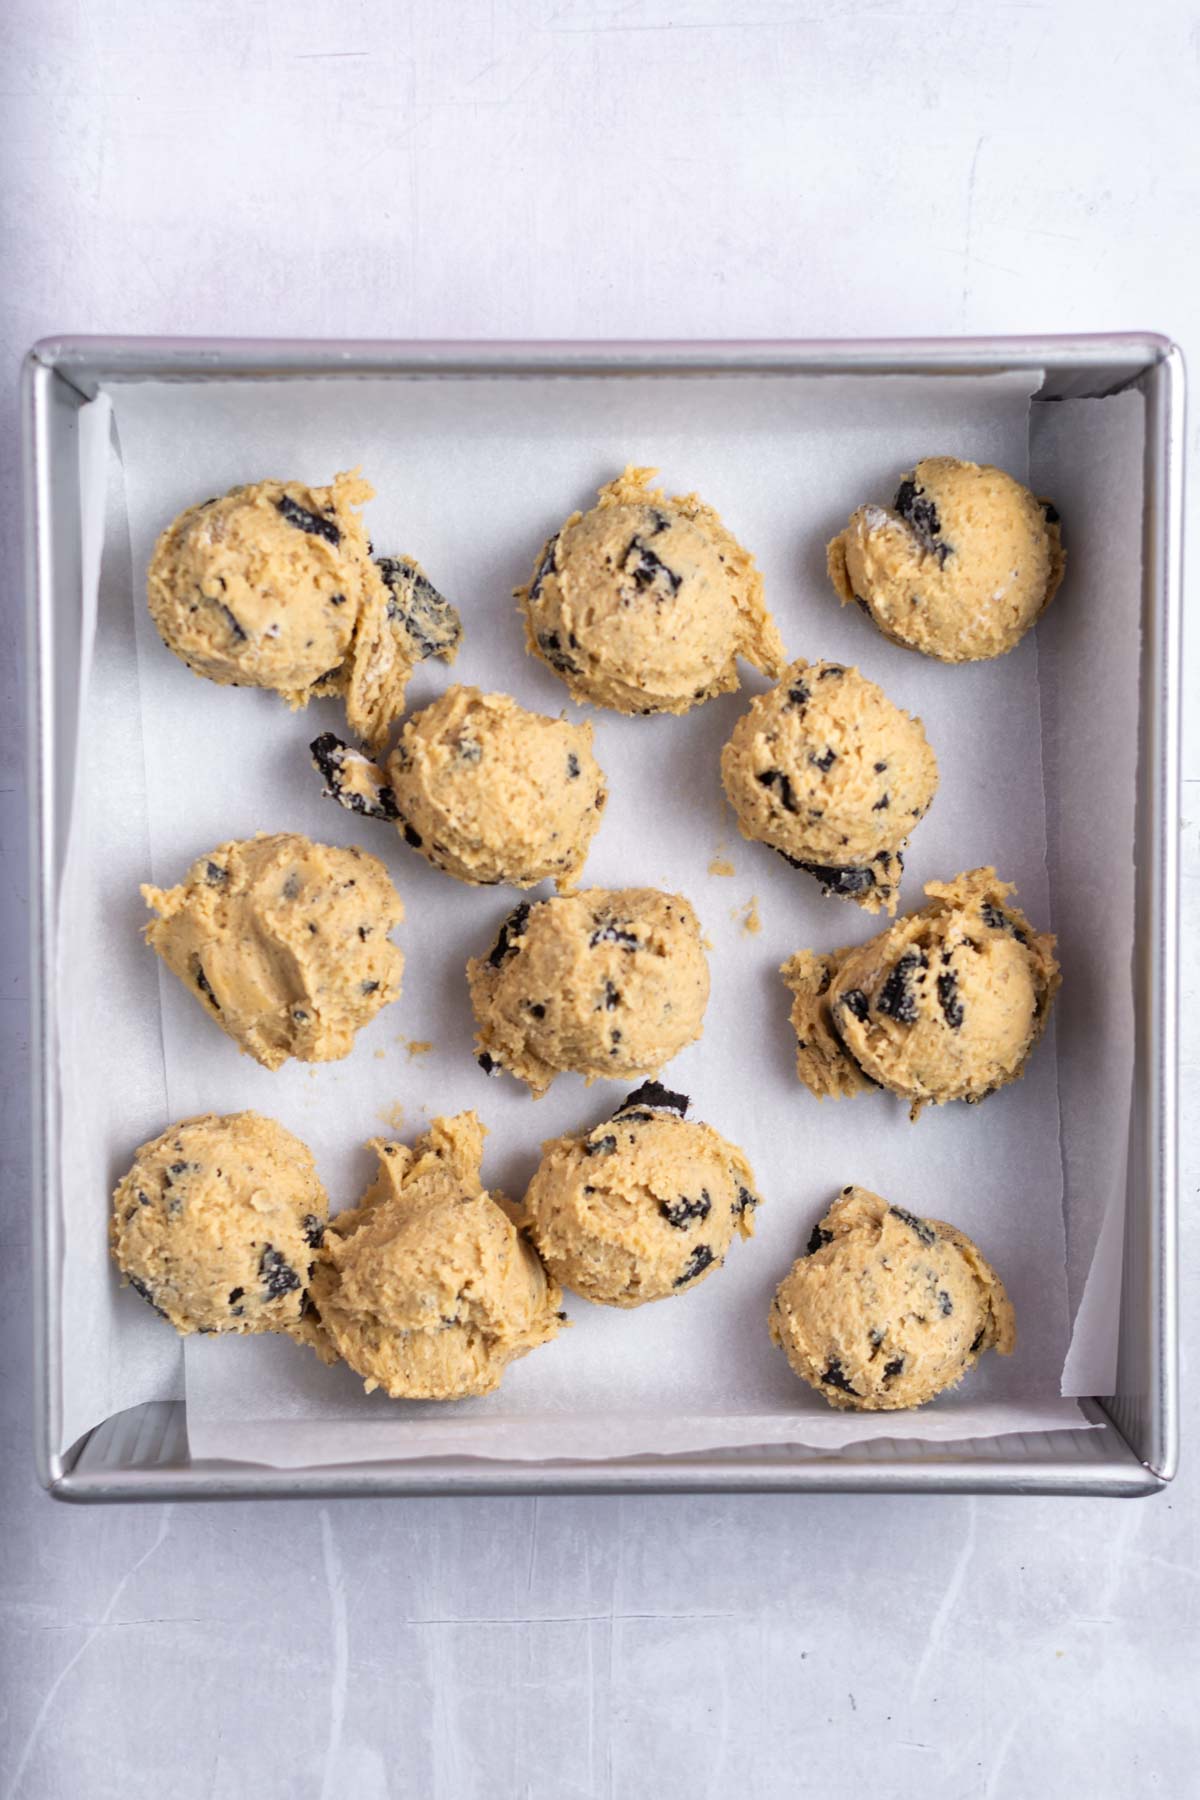
Now drop 2 tablespoon portions of the Oreo cookie dough into the bottom of the prepared 9x9 pan.
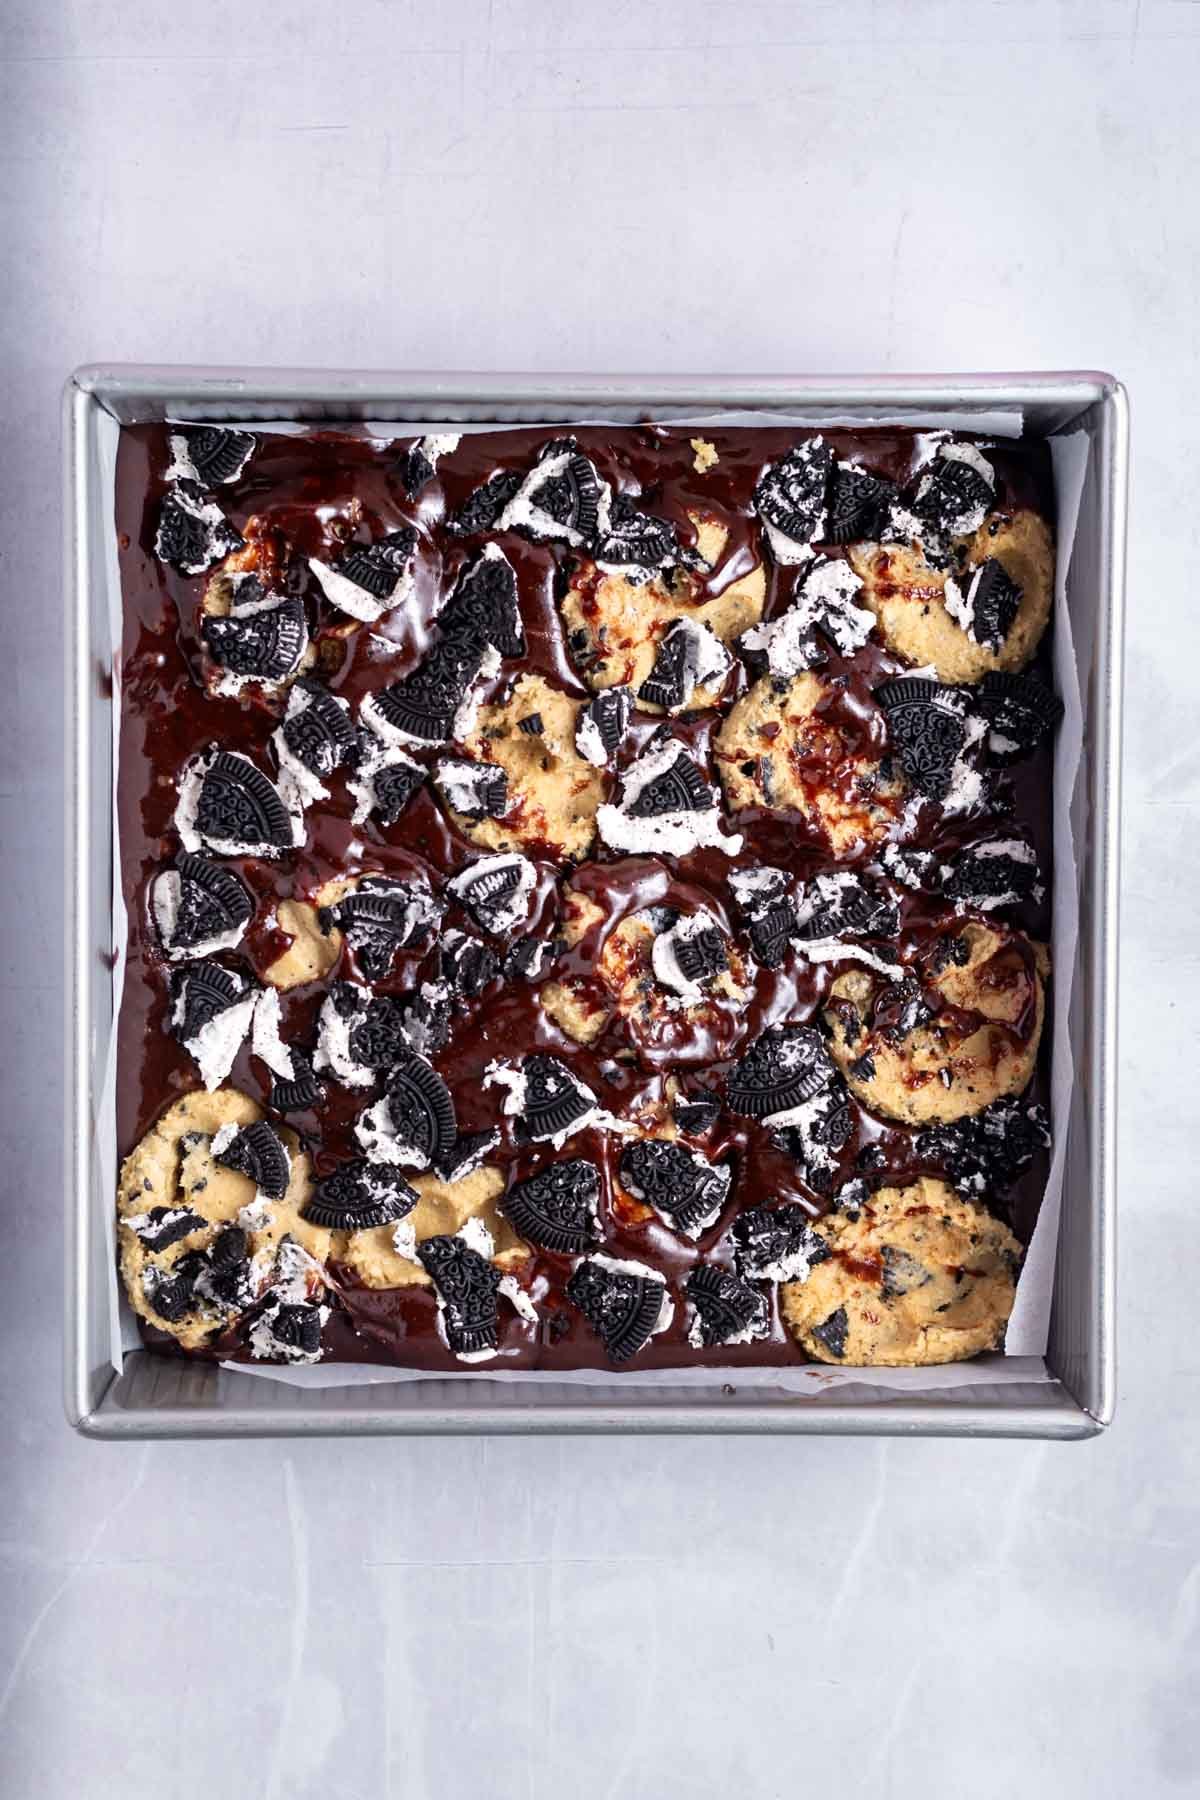
Next pour the brownie batter over the top of the Oreo brookie cookie dough, filling in the empty spaces on the bottom of the pan. Use your clean hands to lightly press down the cookie dough so the surface is mostly level.
Now take the remaining chocolate cookies and lightly press them into the cookie/brownie batter.
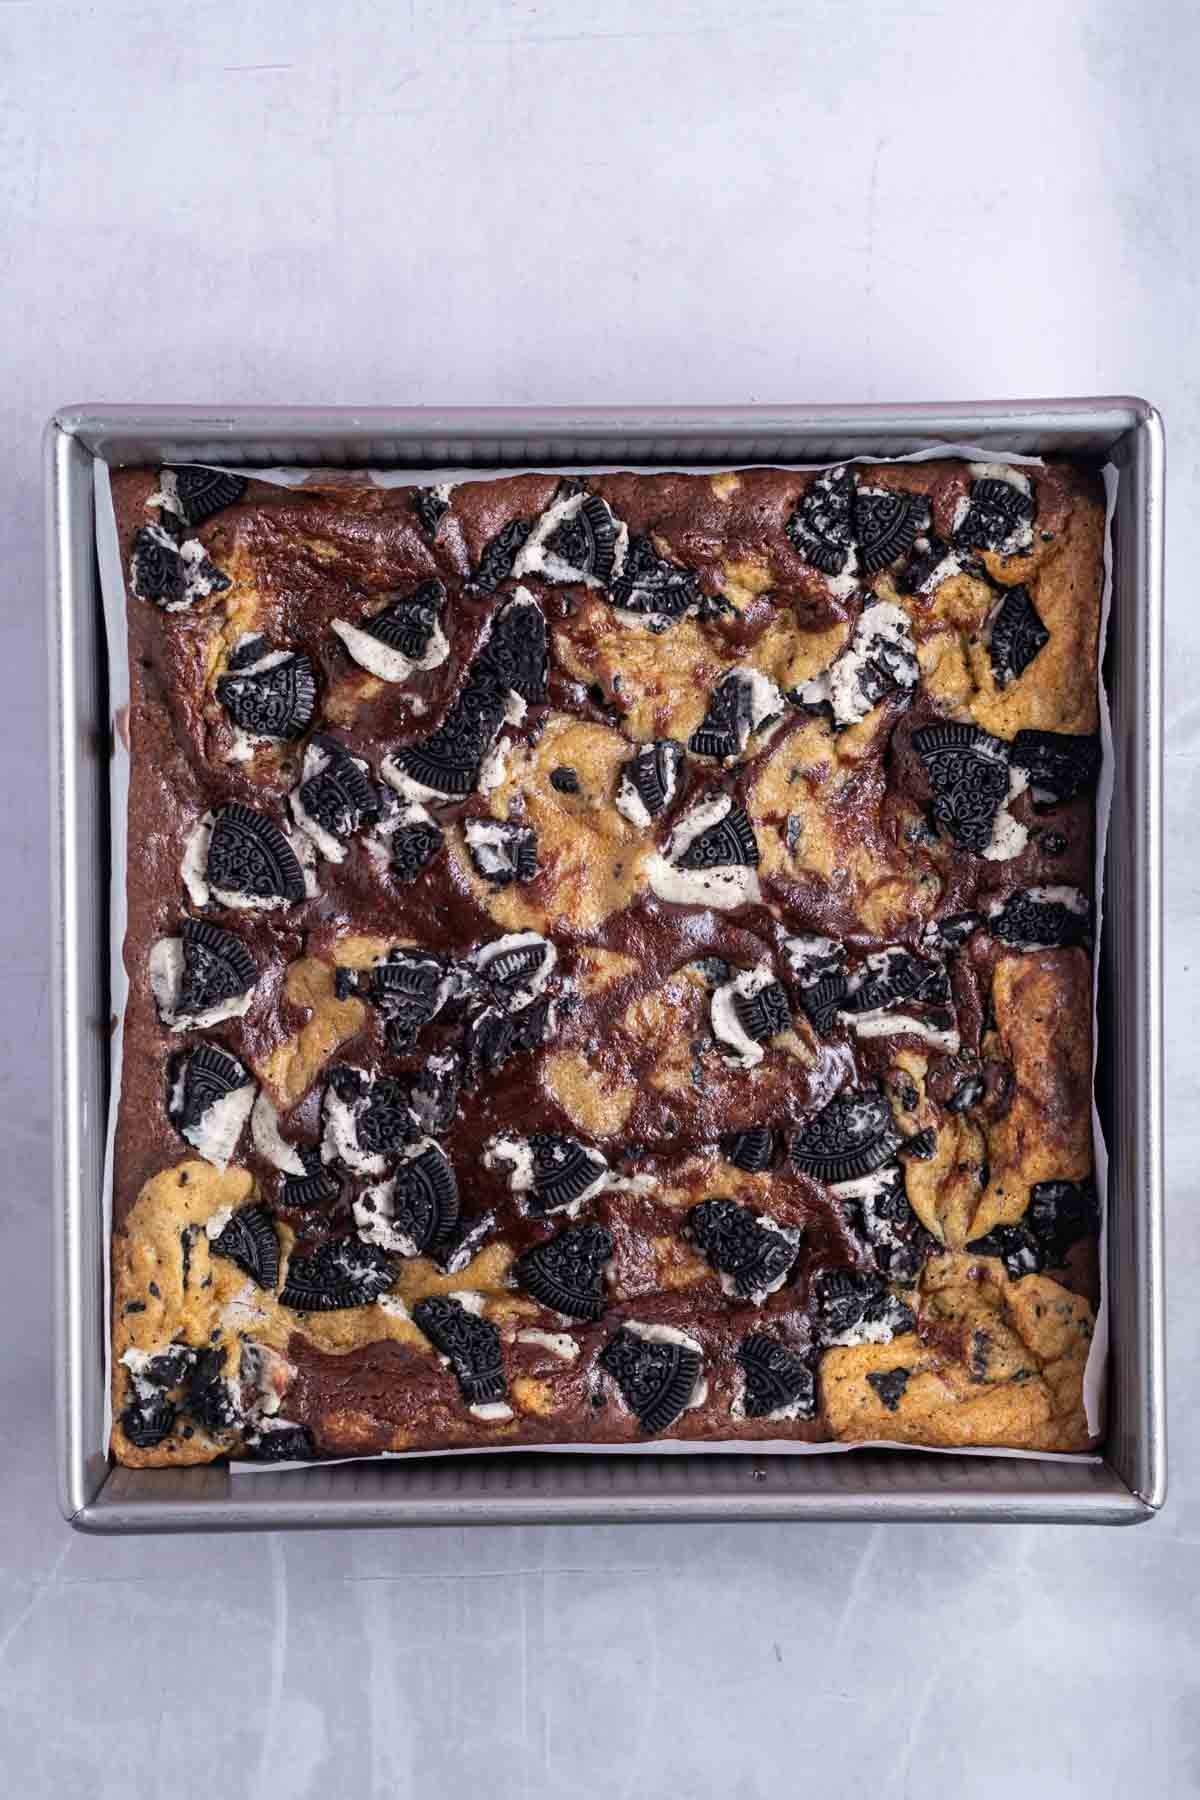
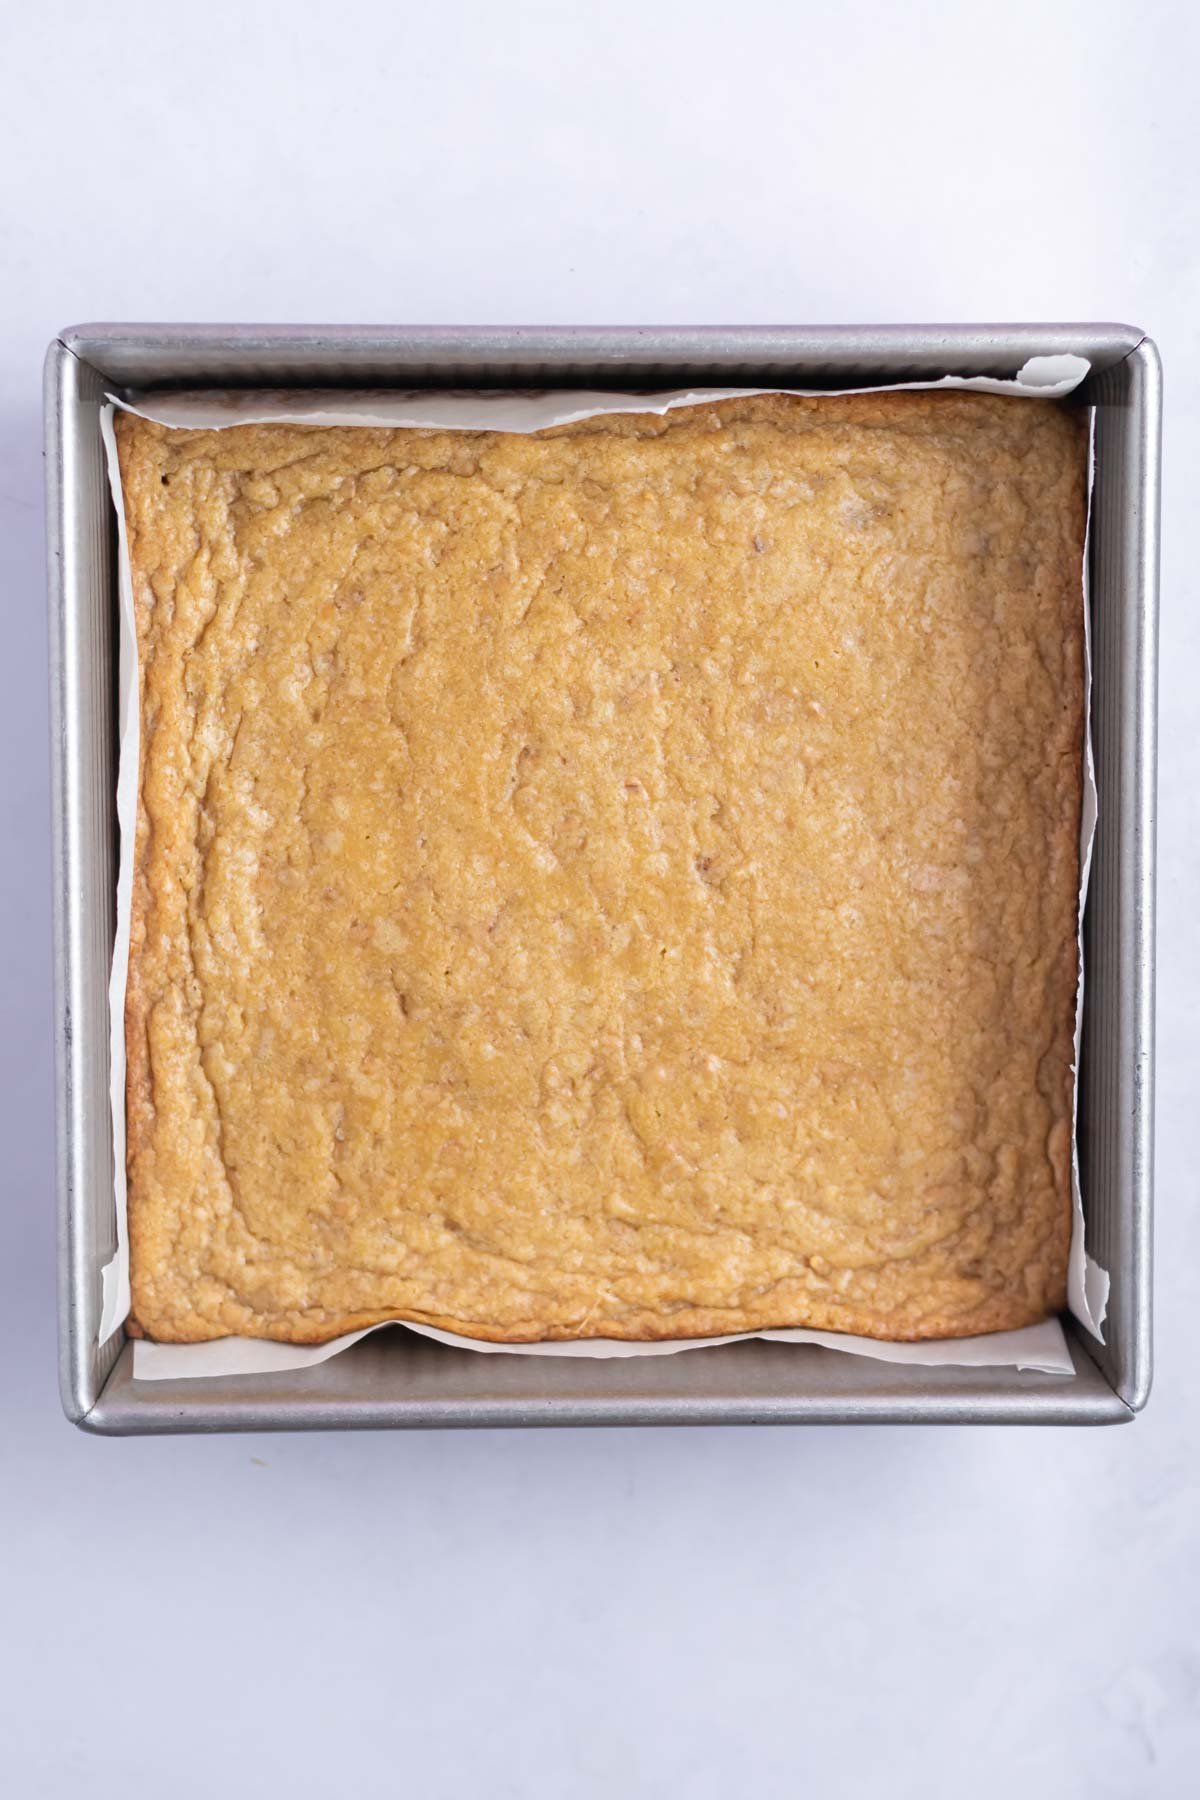
Cover the pan with aluminum foil and bake for 20 minutes. Then remove the foil top and bake another 10-12 minutes. Allow to cool completely on a wire cooling rack before removing from the pan and slicing.
💬 frequently asked questions
what are brookies made of?
Brookies combine brownie batter and cookie dough to create a half brownie half cookie dessert bar {traditionally chocolate chip cookie dough is used}.
This Oreo brookie recipe adds Oreo cookies to the cookie dough and also crumbles more sandwich cookies over the top of the bars before baking.
can I use another flavor of Oreo cookies?
Yes, peanut butter, mint or golden Oreos would be delicious. You can also use regular or double stuff cookies.
what if I don't have a 9x9 baking pan?
You can bake them in an 8x8 baking pan. The Oreo brookie bars will be a bit thicker and will likely take 5 - 10 additional minutes to bake.
can I use box mix brownies and pre-made cookie dough?
Yes, you could. Just add the chocolate sandwich cookies and watch the baking time as it may vary a little.
Remember to pin this recipe to Pinterest! Use the button on the recipe card or the share buttons on the side or bottom of this page.
👩🏻🍳 expert tips
Line the baking pan with parchment paper {or aluminum foil will also work} for easy removal of the brookie bars and for quick clean up.
Weigh your ingredients ~ I know I say this all the time, but weighing your ingredients is the most accurate and will give the best results. This is the scale I use in my kitchen.
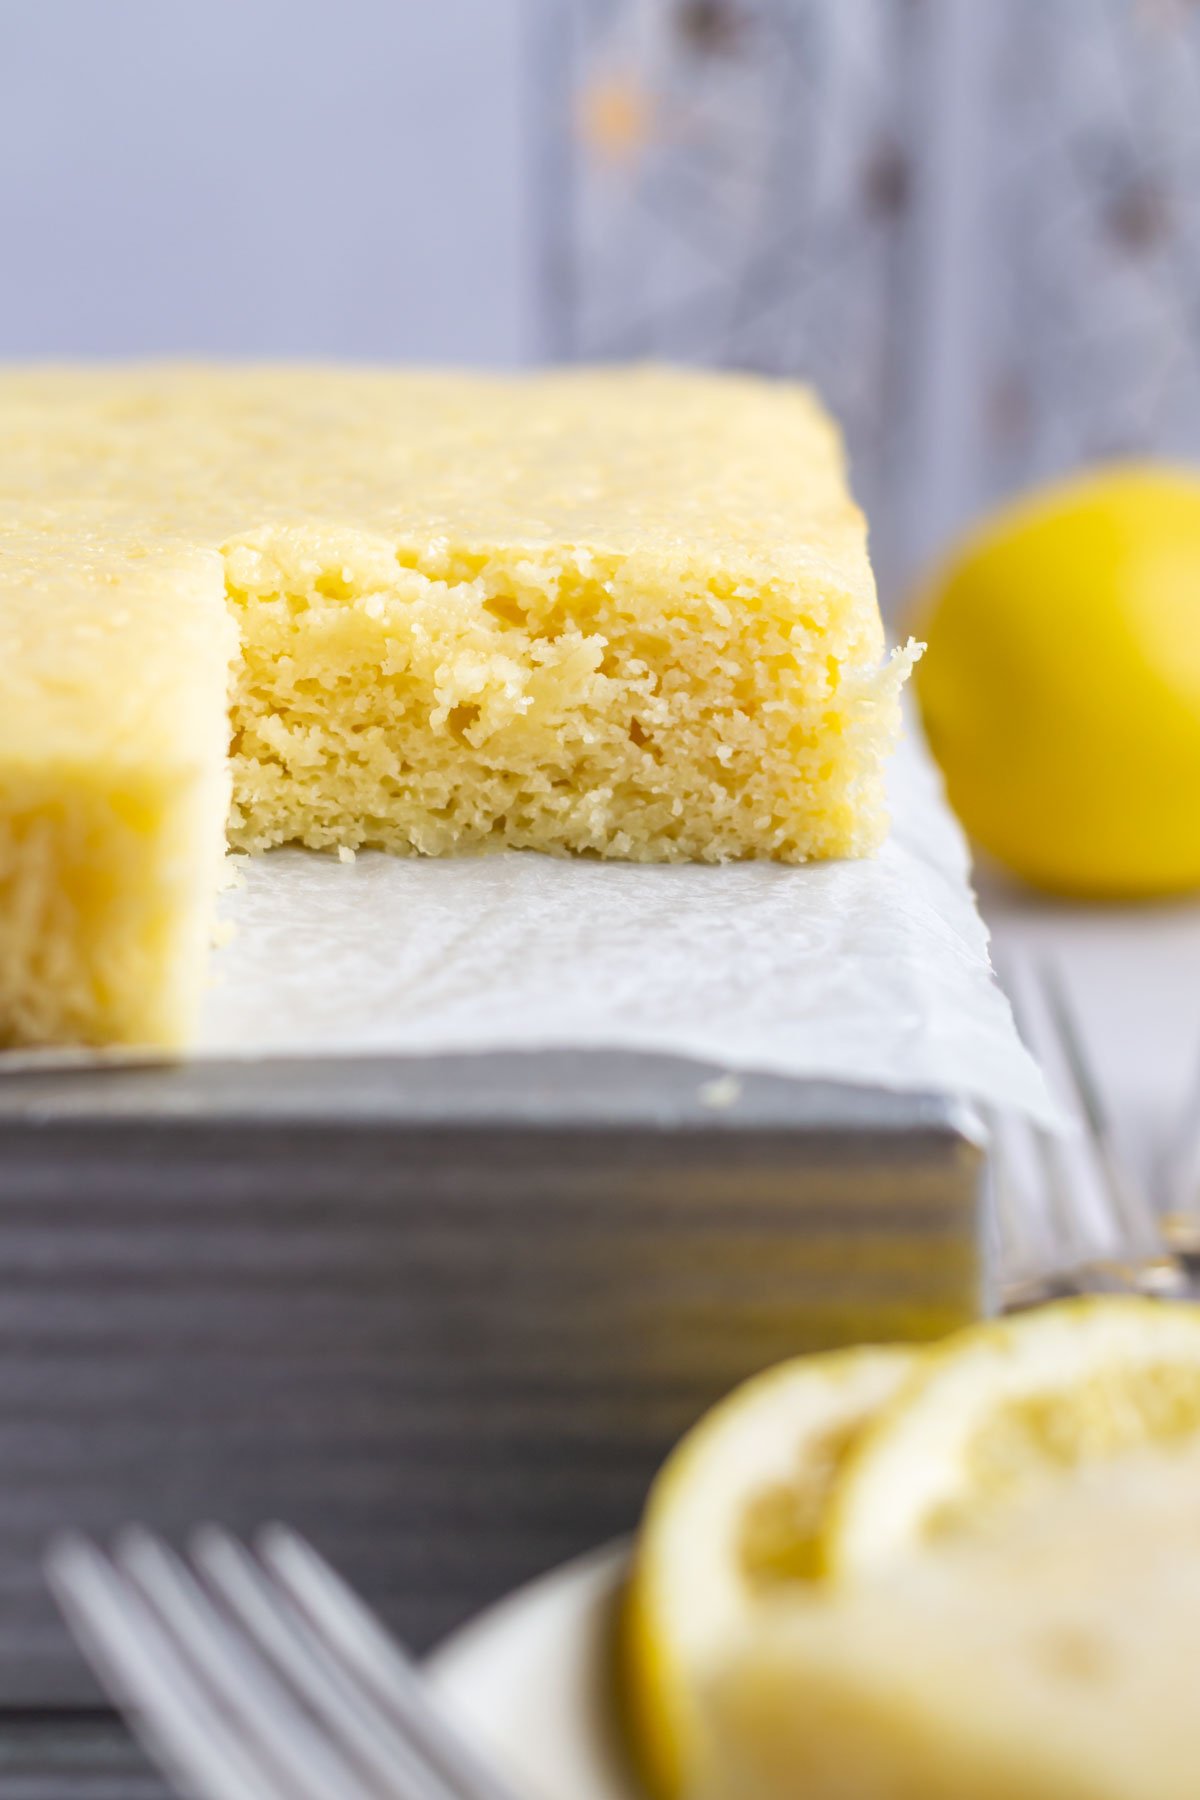
Don't over bake the Oreo brookies! Just like Oreo pound cake and brownie pie, no one likes a dry cookie bar. It's better to err on the side of less done than over done. The brookies will firm up and continue to cook as they cool. This is how you will get a soft, fudgy and chewy texture.
Remember your oven is different than mine and the baking time may be slightly different. I use this oven thermometer to ensure my oven is at the temperature I think it is.
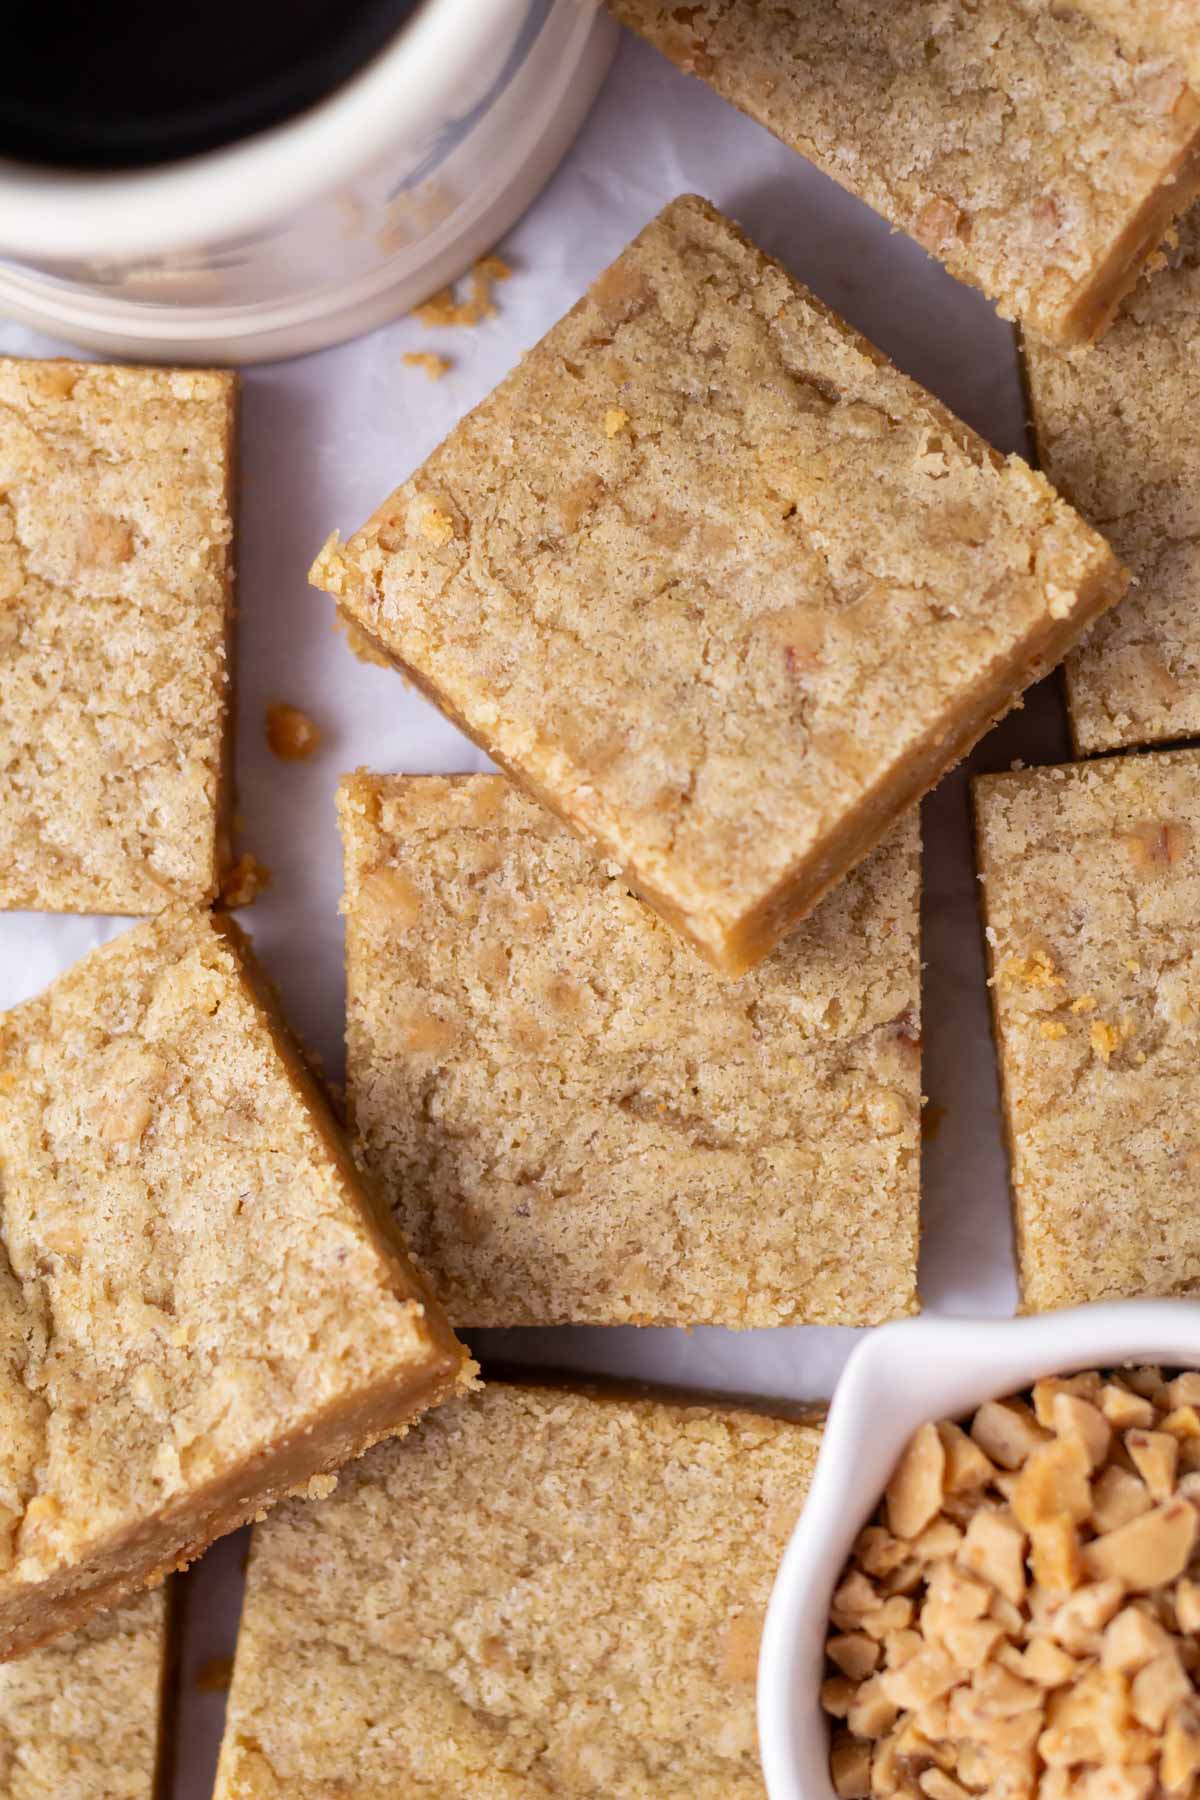
🍴 how to cut cookie bars
Allow the bars to cool completely before trying to cut them. If you need to speed up the cooling process, you can place the pan in the refrigerator once it's cool enough for you to pick it up with bare hands.
Lift the cooled bars out of the pan to cut them.
Chilled or completely cool Oreo brookie bars will slice with cleaner cuts.
If I am serving the brookies {or any bar cookie for that matter} to others, I like to clean up the edges before cutting them into squares. I use a sharp knife and trim just the very edge off of each side first. This also gives you a chance to test the treats!😉😉. My sugar bugs always seem to appear in the kitchen for a preview taste!
💡 variation ideas
Add chocolate chips or white chocolate chips. You can add then to the cookie dough or brownie batter.
Drizzle melted white or dark chocolate over the top of the cooled bars.
Add additional chopped Oreo cookies to the brownie batter.
Chop the baked and cooled bars into bite size pieces and add to ice cream for a homemade blizzard.
🫙 how to store
Store Oreo brookies in an airtight container at room temperature for up to five days.
Oreo brookie bars can also be frozen in an airtight container for up to 3 months. Allow to defrost at room temperature before serving.

Remember to snap a picture and tag me @twosugarbugs on Instagram if you make these Oreo Brookie Bars. It warms my heart to see you bring these recipes to life! Thank you for being here and happy baking!
more sweet chocolate recipes
- Raspberry Brownies
- Almond Brownies
- Chocolate Chip Cupcakes
- Malted Chocolate Chip Cookies {no chill}
- Brownie Cookie
If you make this recipe {or any recipe!} from two sugar bugs please come back and leave a review and a ⭐️⭐️⭐️⭐️⭐️ star rating. I read every comment, and I LOVE hearing from you!
📖 recipe
Oreo Brookie Bars

Fudgy brownies and chewy cookies stuffed with Oreo cookies baked into an easy dessert bar. Great for picnics, parties or bake sales and simple enough to whip up on a weeknight.
I highly recommend using weight {metric} measurements when available for more accuracy and the best results.
Ingredients
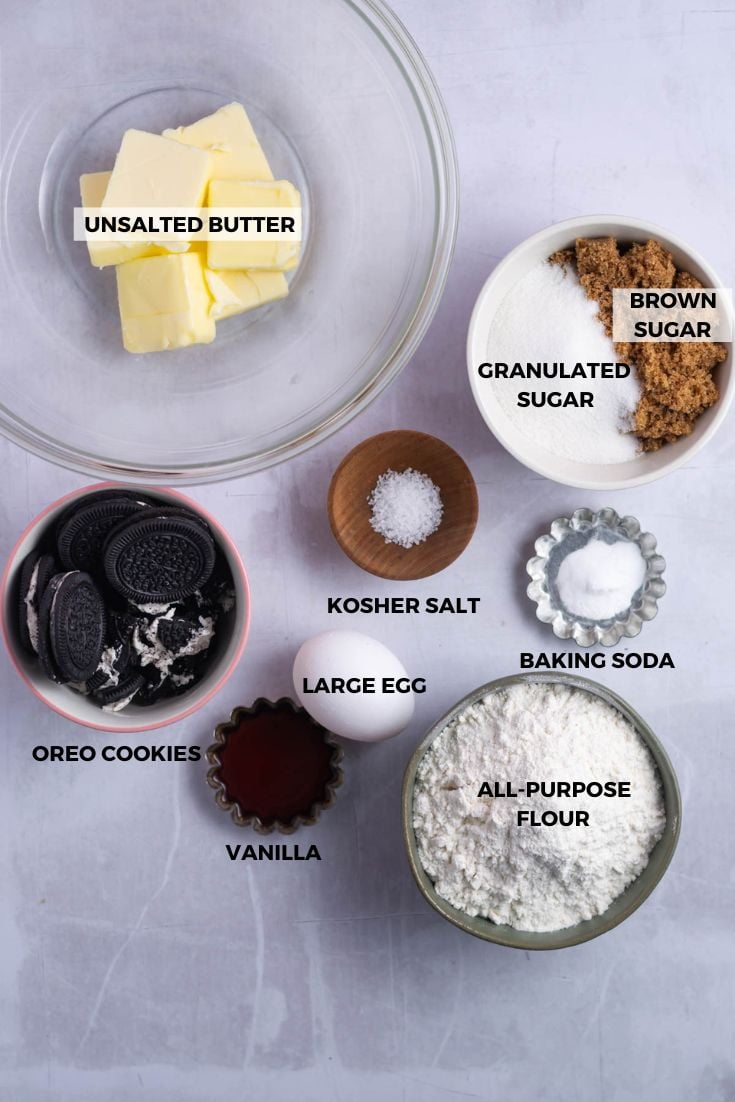
oreo cookie dough
- ½ cup unsalted butter, room temperature (113g)
- ½ teaspoon kosher salt
- ½ cup dark brown sugar* (100g)
- ¼ cup granulated sugar (50g)
- 1 large egg, room temperature
- 2 teaspoons pure vanilla extract
- ½ teaspoon baking soda
- 1 ⅓ cups all-purpose flour (167g)
- 6 chocolate cream sandwich cookies**, chopped (78g)
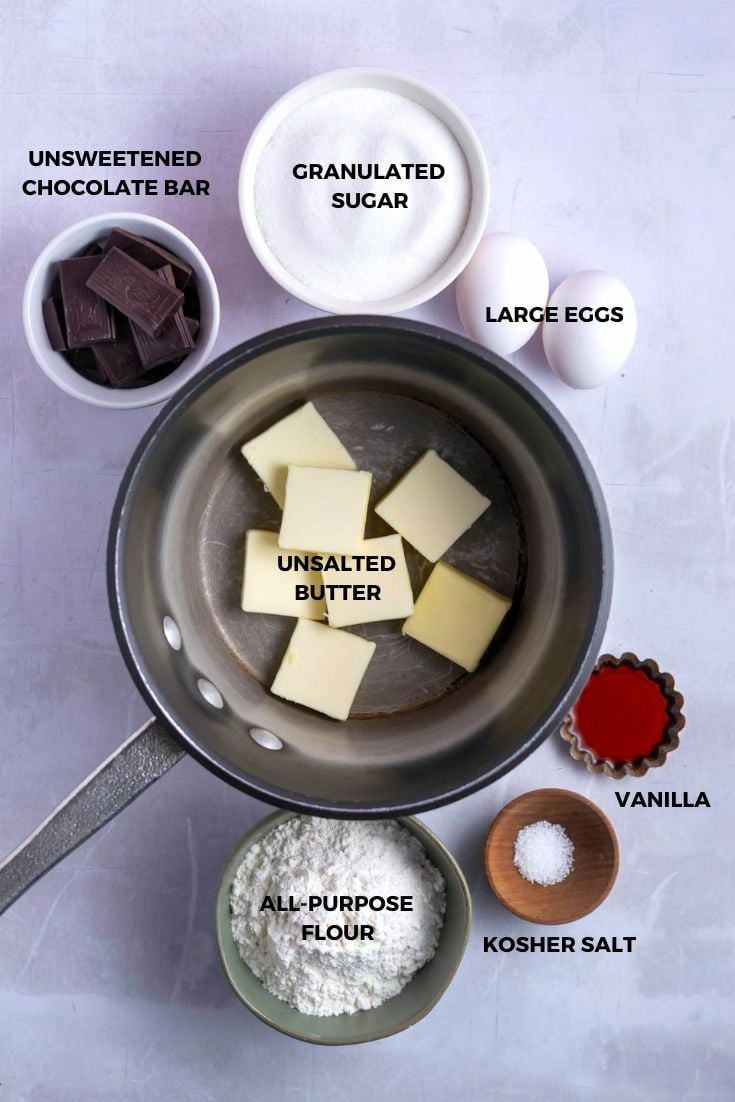
brownies
- ½ cup unsalted butter, cold and sliced (113g)
- 3 ounces unsweetened chocolate baking bar (85g)
- ½ teaspoon kosher salt
- 1 cup granulated sugar (200g)
- 1 teaspoon pure vanila extract
- 2 large eggs, room temperature
- ¾ cup all-purpose flour (94g)
- 6 chocolate cream sandwich cookies**, chopped (78g)
Instructions
- Preheat oven to 350°F (177°C) and line a 9x9 baking pan with parchment paper and set aside.
- For the oreo cookie dough: using a stand mixer with the paddle attachment or a hand mixer, beat the unsalted butter (½ cup/113g), kosher salt (½ teaspoon), brown sugar (½ cup/100g) and granulated sugar (¼ cup/50g) on low - medium-low until combined, then medium-high (speed 6 on a KitchenAid) for 3-4 minutes until light and fluffy. Scrape up and down the bowl.
- Add in the 1 large egg and vanilla (2 teaspoons) and beat on medium (speed 4 on a KitchenAid) for 30-60 seconds or until well blended.
- Sprinkle the baking soda (½ teaspoon) over the dough, followed by the all-purpose flour (1 ⅓ cups/167g) and mix on low until a few streaks of flour remain.
- Now add the chopped/broken chocolate cream cookies (6 cookies/78g) and mix them in with a spatula.
- Then drop 2 tablespoon portions of dough into the bottom of the prepared 9x9 ban and set aside.
- For the brownies: add the cold, sliced unsalted butter (½ cup/113g) and unsweetened chocolate baking bar (3 ounces/85g) to a saucepan and melt together over medium-low heat until smooth.
- Remove from the heat and stir or whisk in the kosher salt (½ teaspoon), granulated sugar (1 cup/200g) and vanilla (1 teaspoon) until combined.
- Now add the 2 large eggs and stir or whisk until fully incorporated.
- Then add the all-purpose flour (¾ cup/94g) and stir until combined.
- Next pour the brownie batter over the top of the Oreo cookie dough, filling in the empty spaces on the bottom of the pan. Use your clean hands to lightly press down the cookie dough so the surface is mostly level.
- Now take the remaining chopped chocolate cookies (6 cookies/78g) and lightly press them into the cookie/brownie batter.
- Cover the pan with aluminum foil and bake for 20 minutes. Then remove the foil top and bake another 10-12 minutes. (This timing worked to get a chewy, fudgy and slightly gooey bar. The toothpick test will still give you some wet crumbs). Bake a few minutes longer if you don't like a fudgy brookie.
- Allow to cool completely on a wire cooling rack before removing from the pan and slicing.
Notes
If you only have salted butter, omit the kosher salt.
*Light brown sugar can also be used.
**Chocolate cream sandwich cookies can be Oreos, Trader Joe's Jo-Jo's or any other brand. You can also use flavored Oreo cookies such as peanut butter, mint or golden Oreos.
Can be baked in an 8x8 baking pan, just know the baking time will increase by 5 - 10 mintues and the bars will be thicker.
Store Oreo brookies in an airtight container at room temperature for up to five days.
Oreo brookie bars can also be frozen in an airtight container for up to 3 months. Allow to defrost at room temperature before serving.
Nutrition Information:
Yield:
20Serving Size:
1Amount Per Serving: Calories: 297Total Fat: 16gSaturated Fat: 9gTrans Fat: 0gUnsaturated Fat: 5gCholesterol: 57mgSodium: 152mgCarbohydrates: 36gFiber: 2gSugar: 21gProtein: 4g
The nutrition information is based on third-party calculations, is an estimate only and may not be entirely accurate. Actual nutritional values will vary based on brands used and portion sizes.