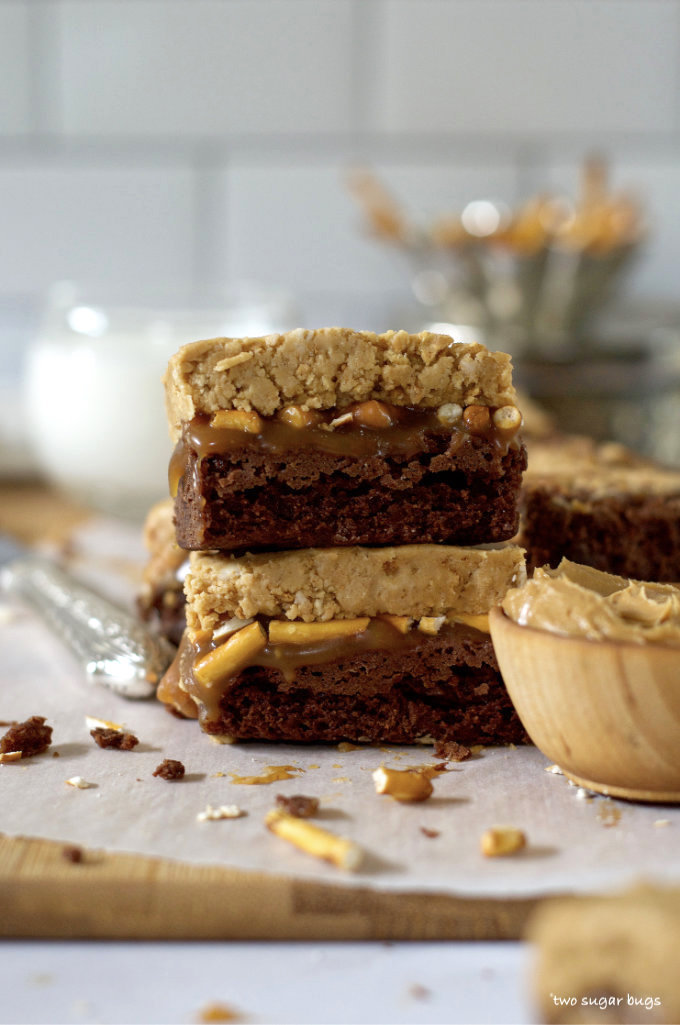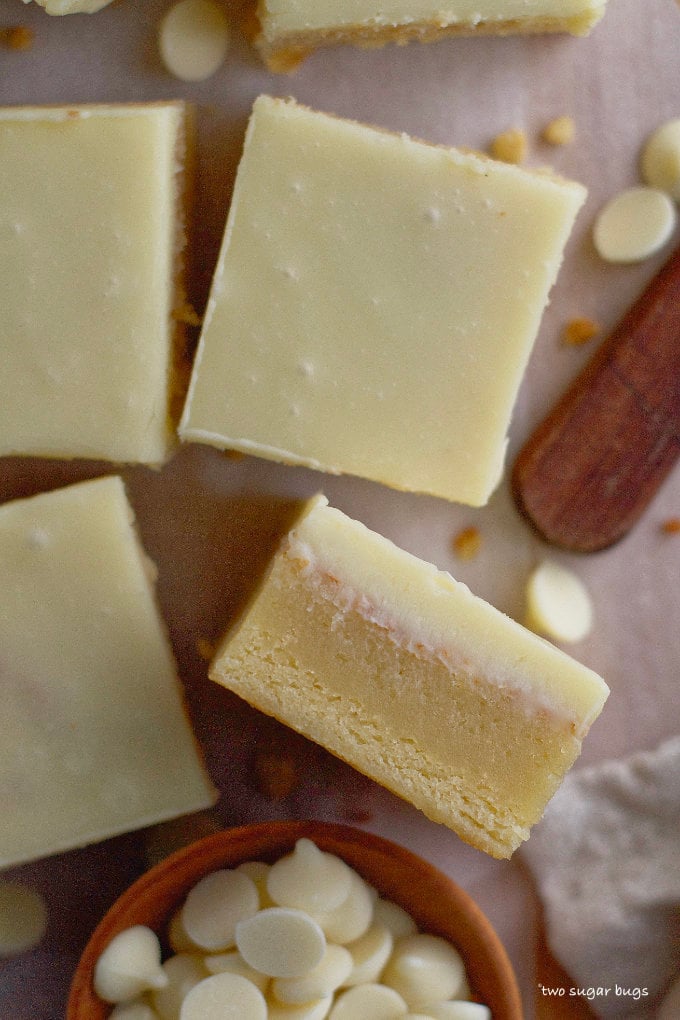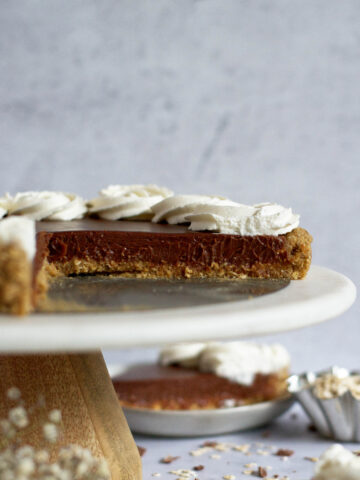
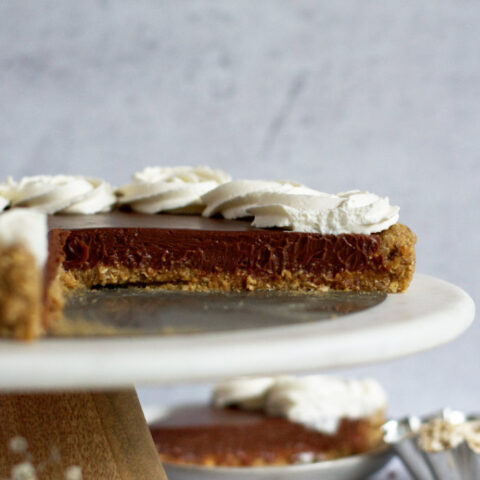
This malted chocolate ganache tart is one indulgent dessert! The tart recipe starts with an edible malted oatmeal cookie dough crust, which is then topped with a soft malted chocolate ganache filling.
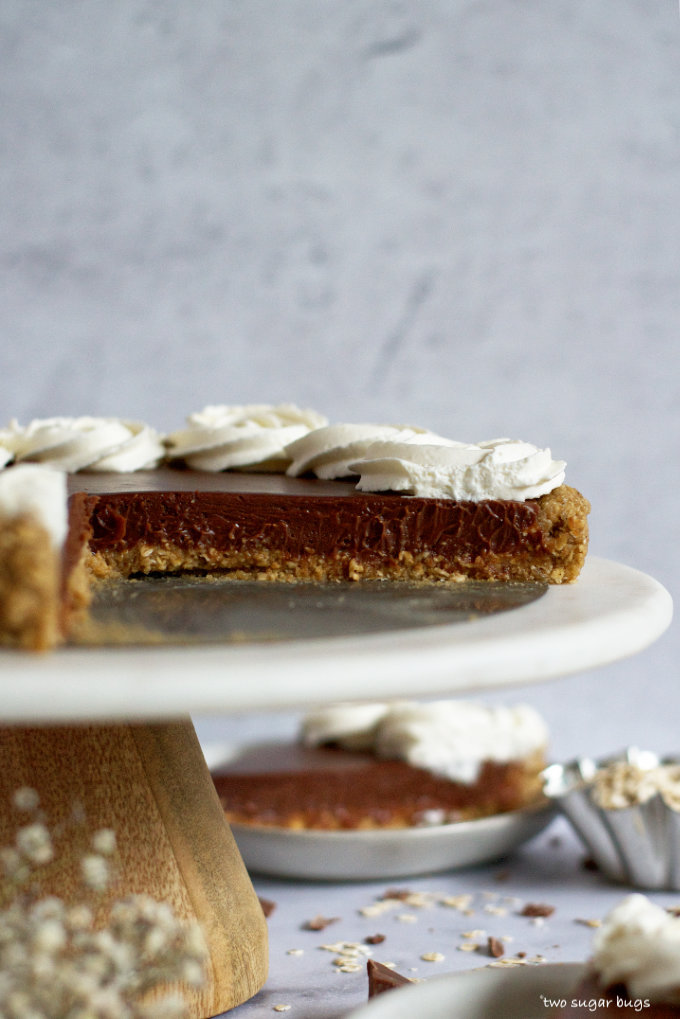
Where are my chocolate malt fans??? This rich and decadent, no bake tart is for you. A soft thick layer of malted milk chocolate is paired with an edible malted oatmeal cookie dough crust and garnished with some homemade whipped cream. It's heavenly!

Disclosure | This post may contain affiliate links. As an Amazon Associate I earn from qualifying purchases.
how to make malted chocolate ganache
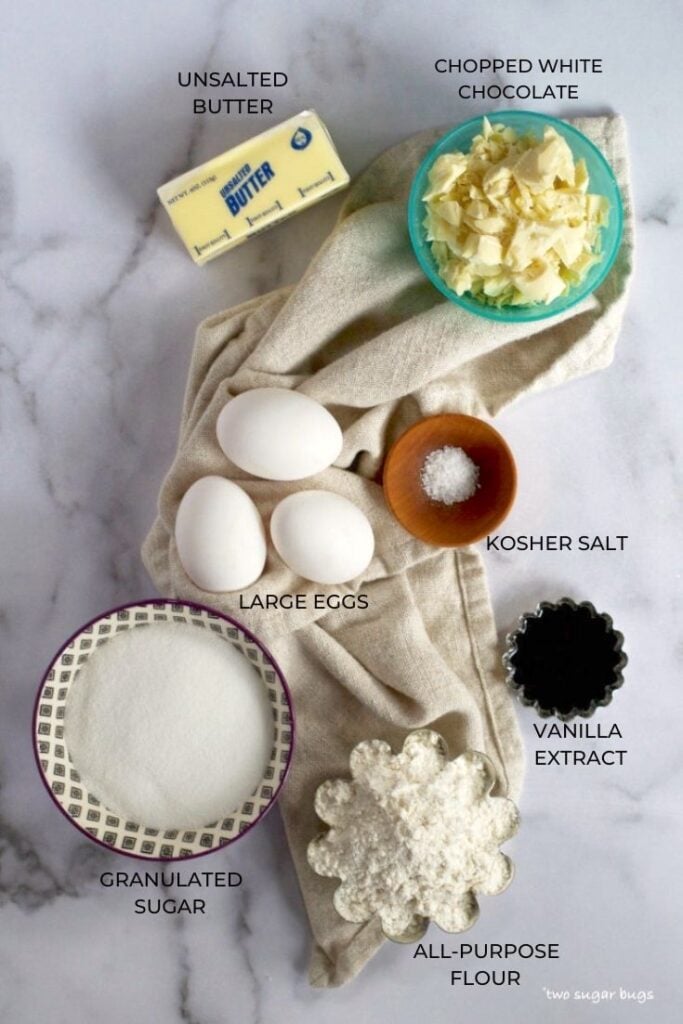
This malted chocolate ganache only requires three ingredients.
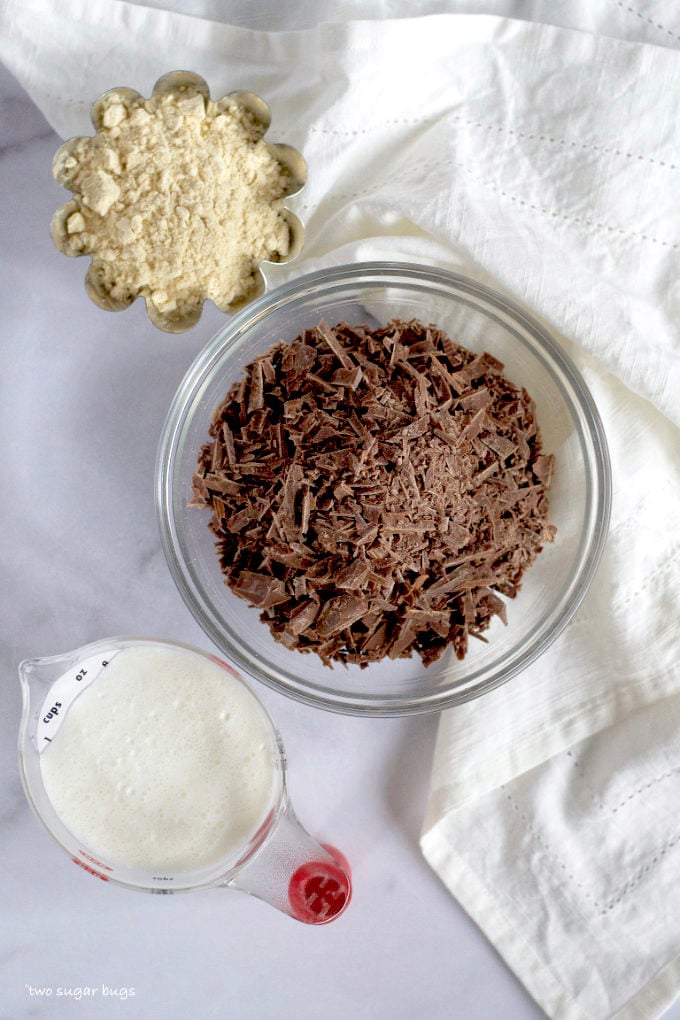
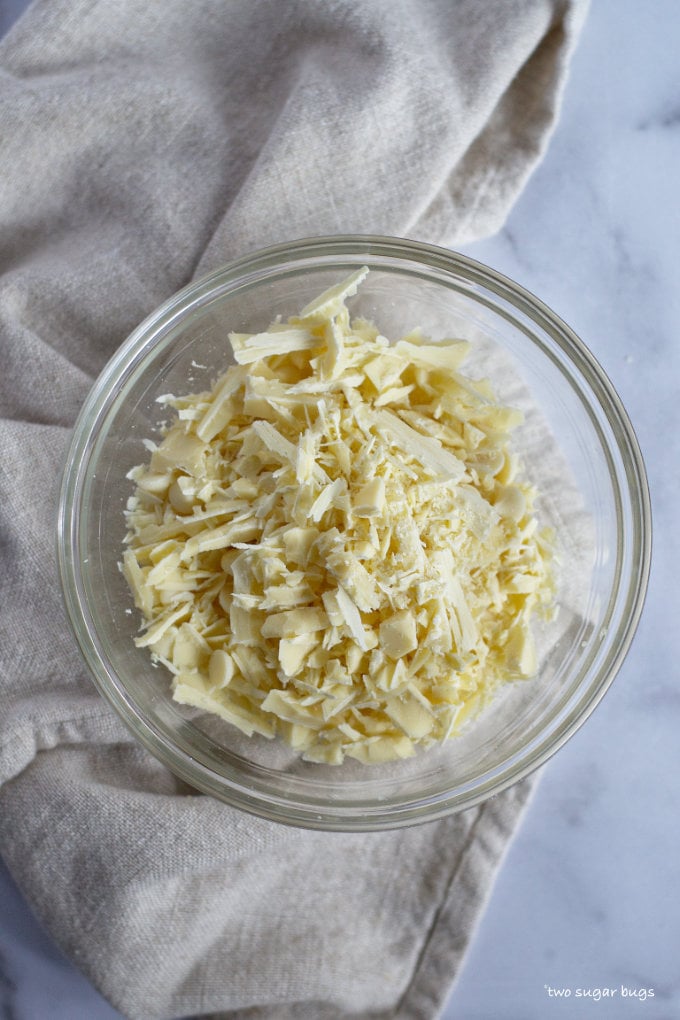
- Milk chocolate ~ this is the predominant flavor, so use the highest quality you can afford. Callebaut chocolate is my favorite chocolate for baking, but I know it isn't easy for everyone to find. Lindt, Ghirardelli or Trader Joe's Pound Plus are all good options as well.
- Heavy cream ~ heavy cream or heavy whipping cream can both be used for this recipe. Do not use milk or half-and-half as the ganache will not set up properly.
- Malted milk powder ~ a fine powder with a light yellow color and a slightly nutty and sweet flavor.
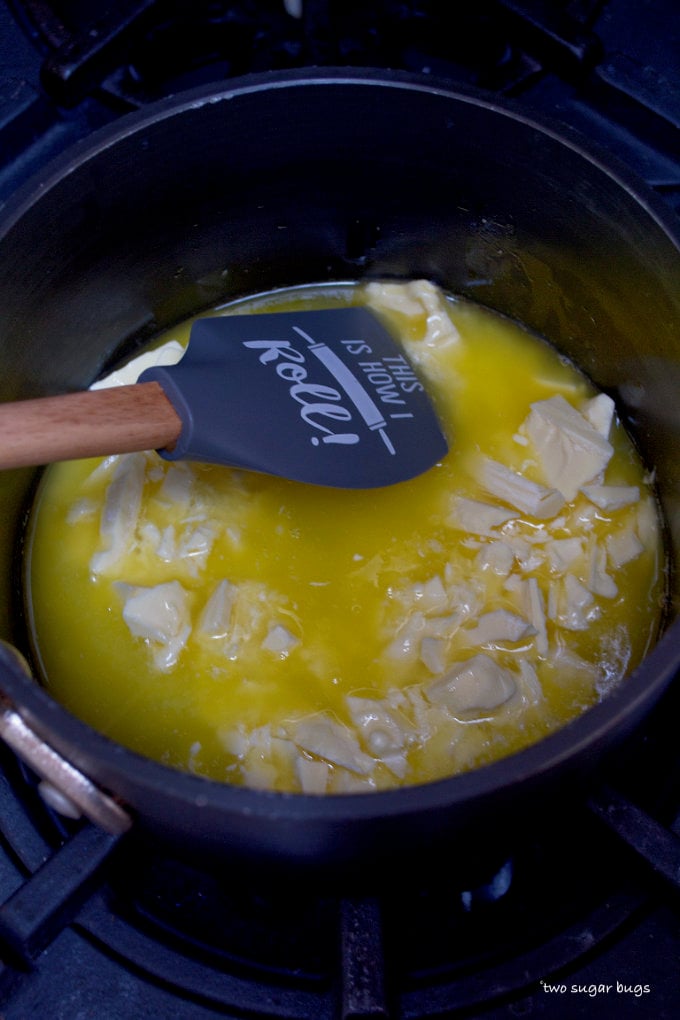
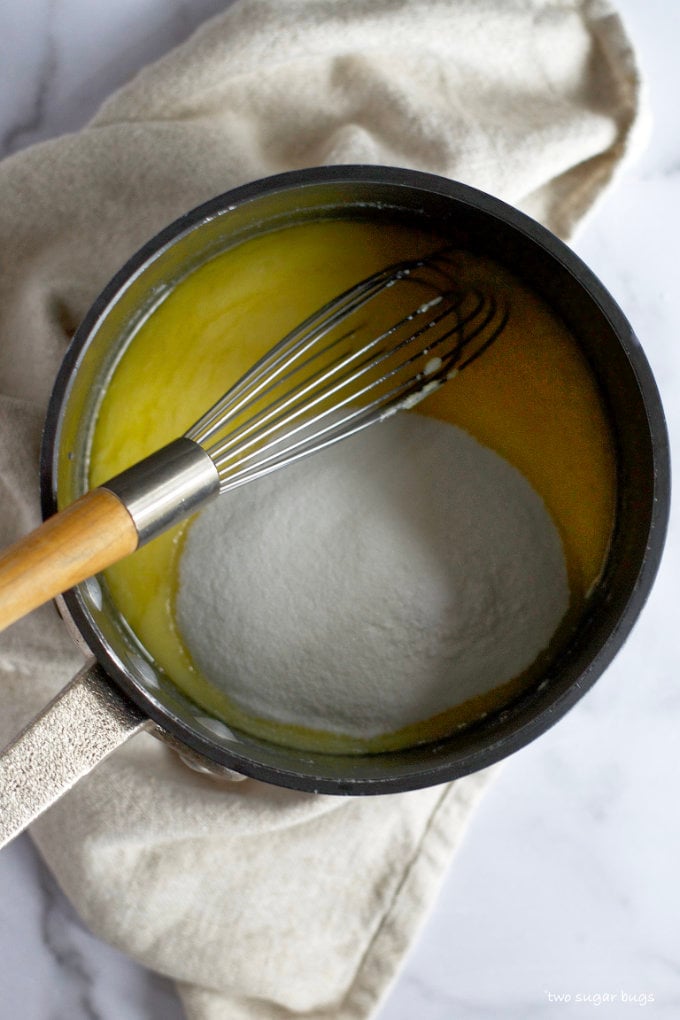
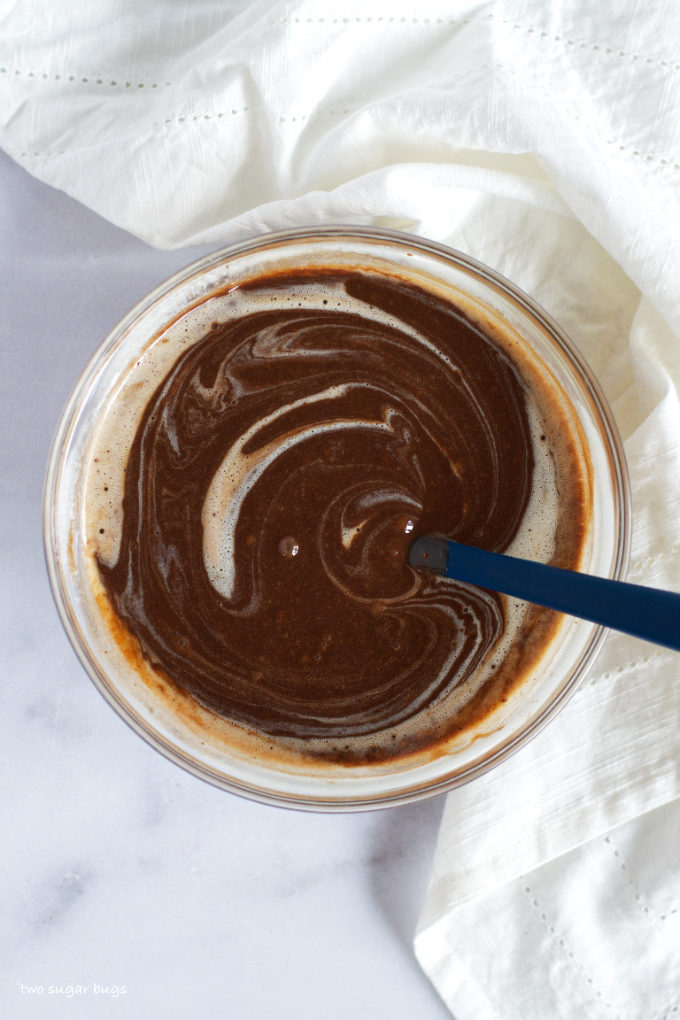
First, chop the milk chocolate into small pieces and place into a heat proof bowl and set aside. Add the heavy cream to a small sauce pan and whisk in the malted milk powder.
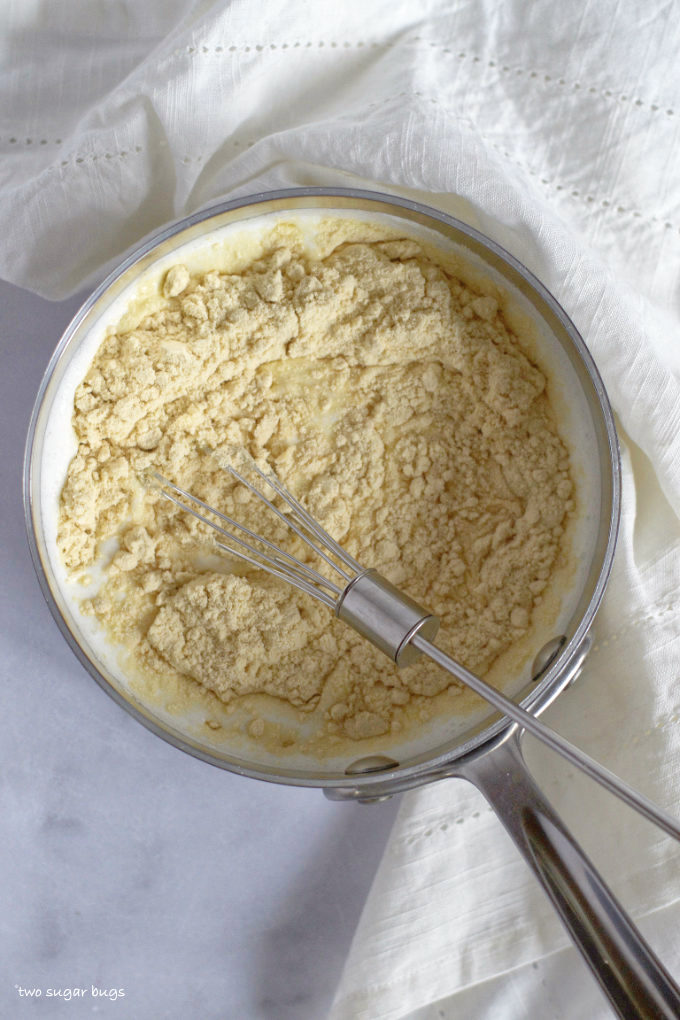
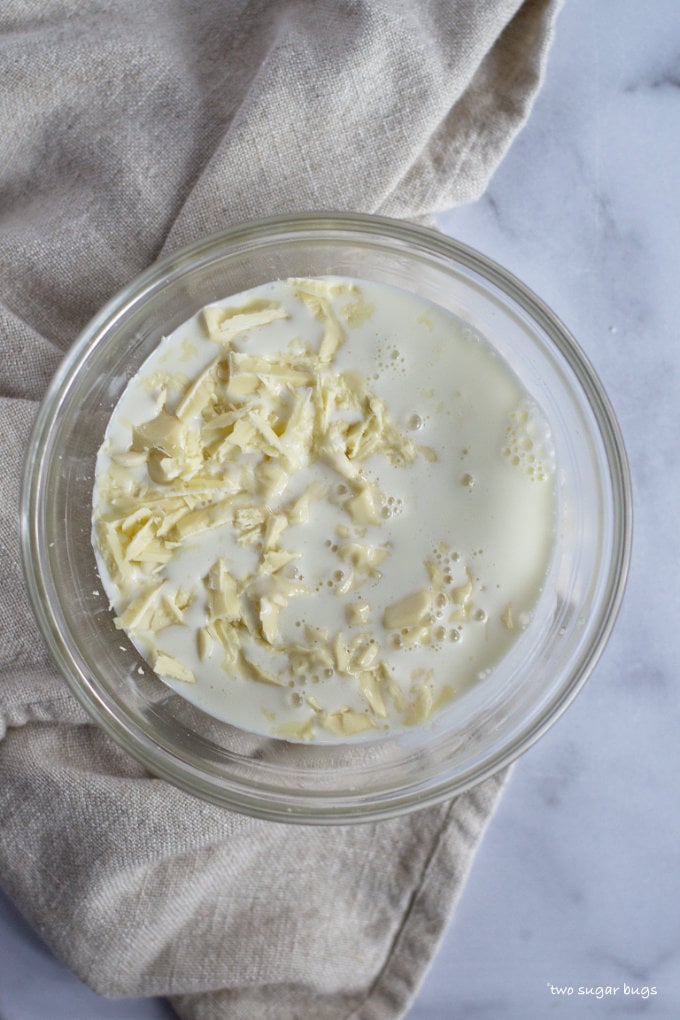
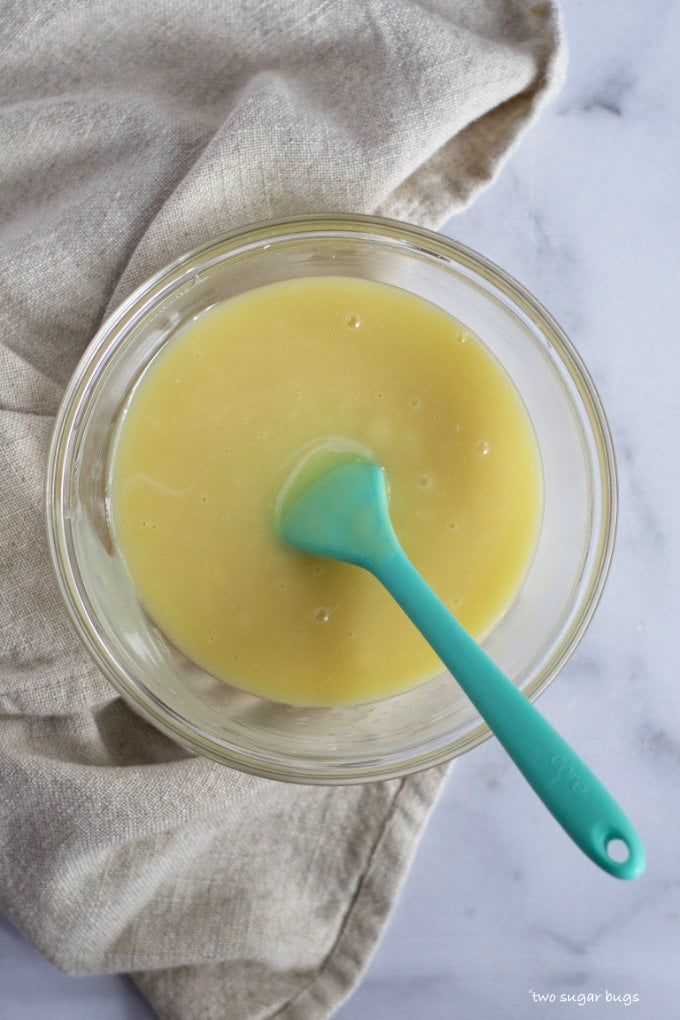
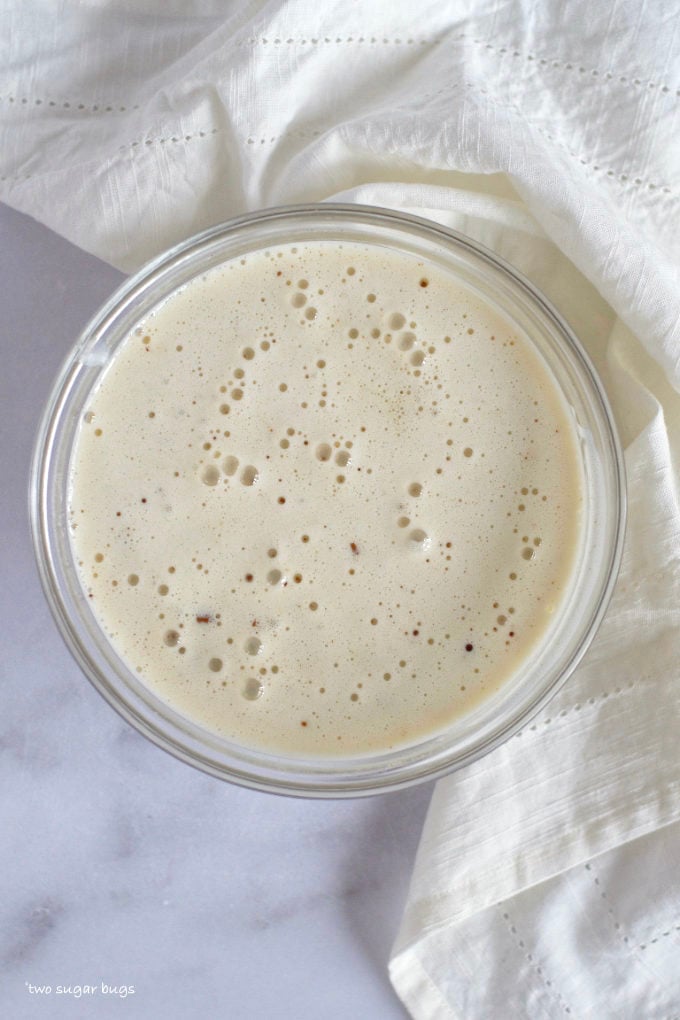
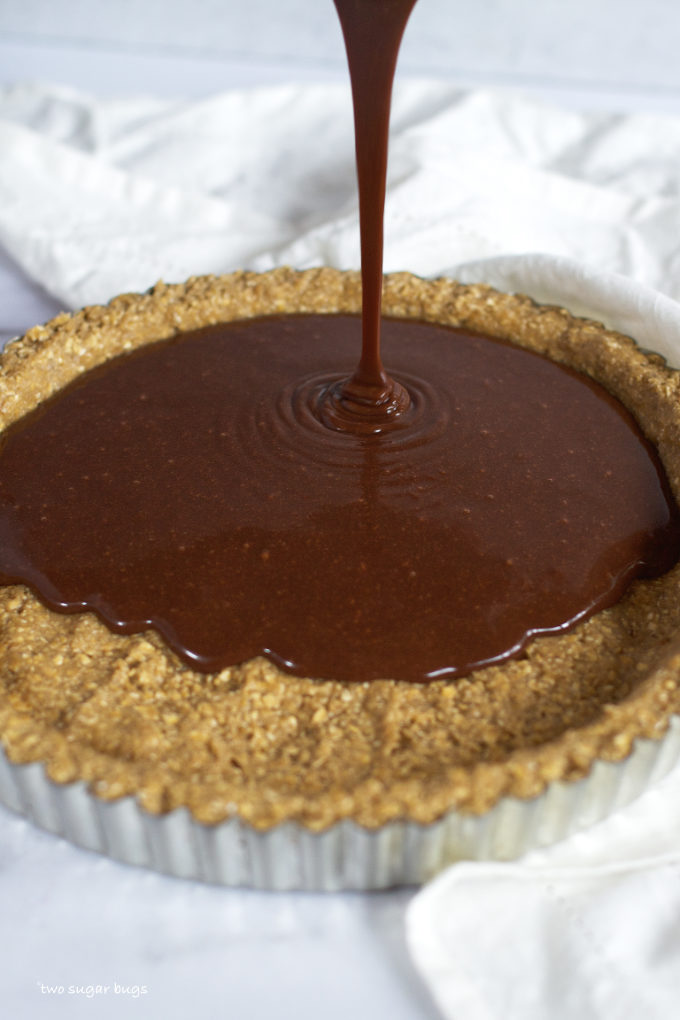
Heat the heavy cream in a small saucepan over low heat until it is bubbling at the edges and is hot, whisking to completely combine the malt powder with the cream. Pour the hot cream over the chocolate and let it sit about two minutes before stirring it into a smooth ganache.
how to make the edible malted oatmeal cookie dough crust
I wanted to do something different for the crust in this tart. After polling several of my recipe testers, edible cookie dough won. Not just any cookie dough, but malted oatmeal cookie dough. And let me tell you, it's a perfect pair! {if edible cookie dough isn't your thing, I give you some other crust ideas later in this post}.
This edible cookie dough could not be easier to make! The recipe is from my brown sugar cake recipe, but also adds some malted milk powder.
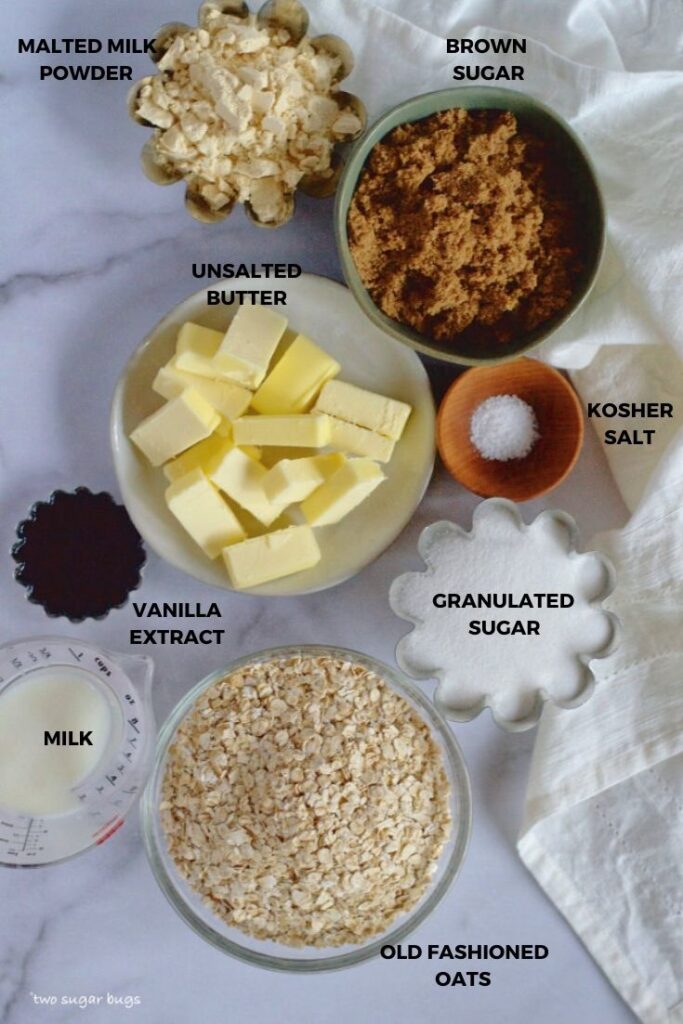
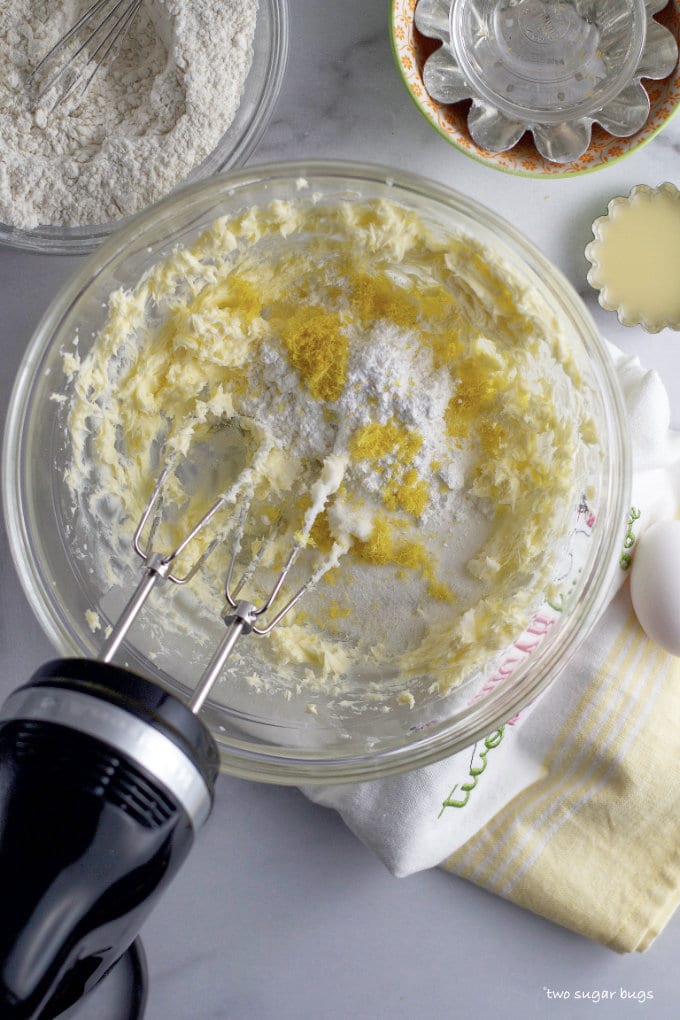
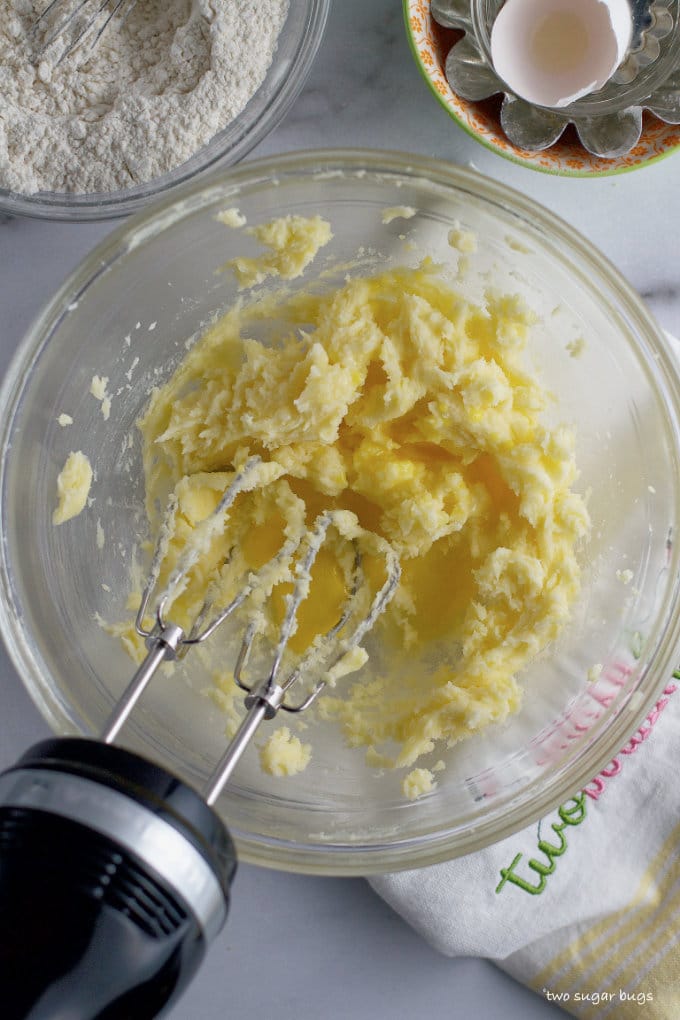
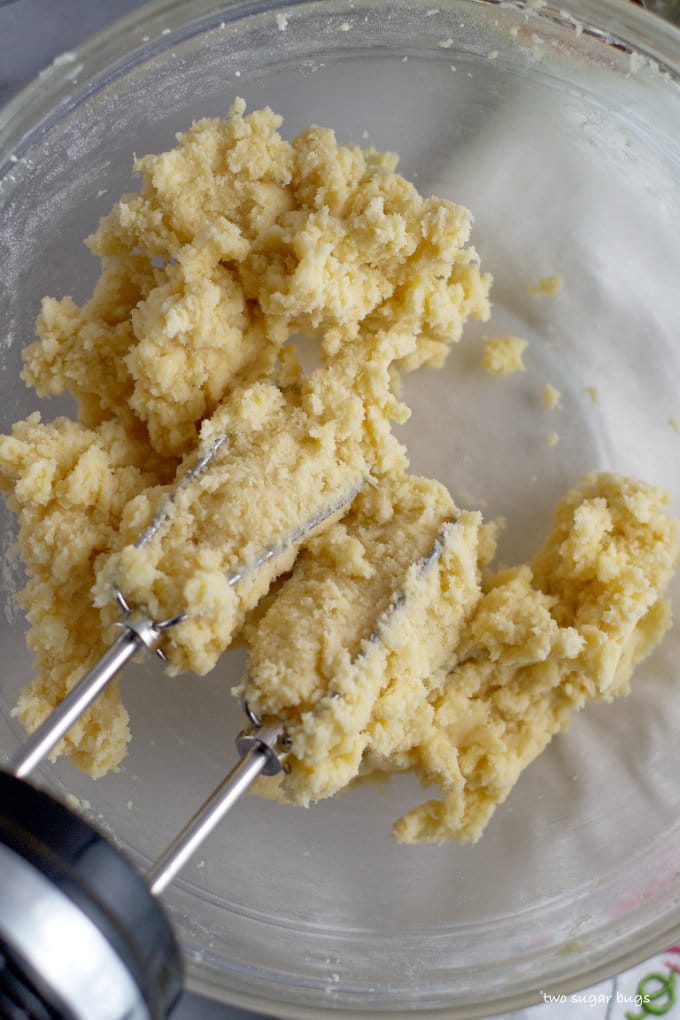
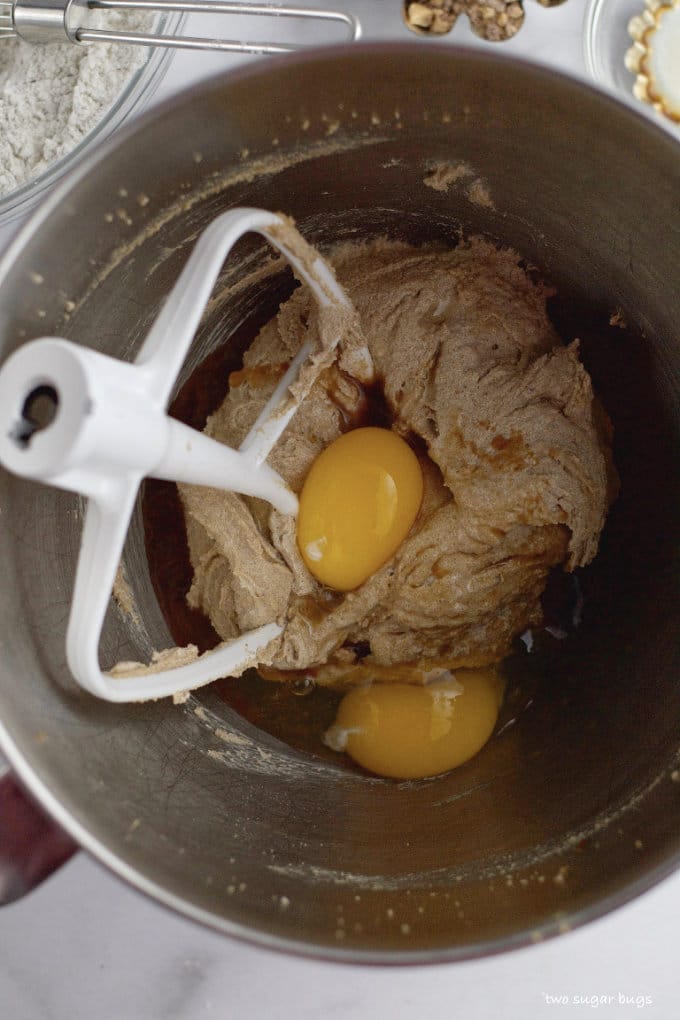
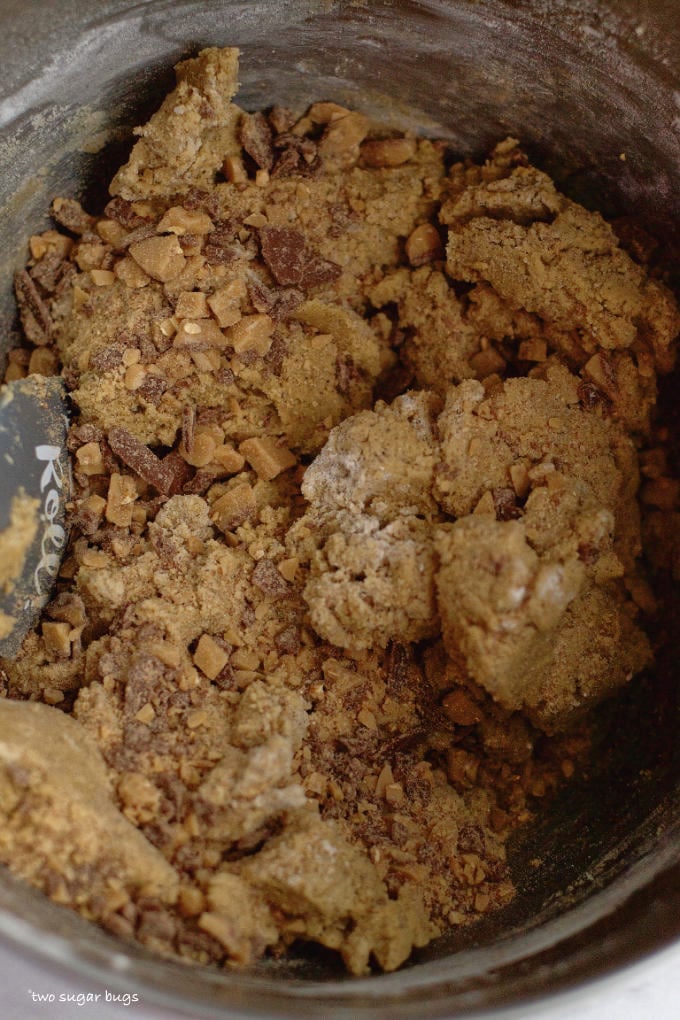
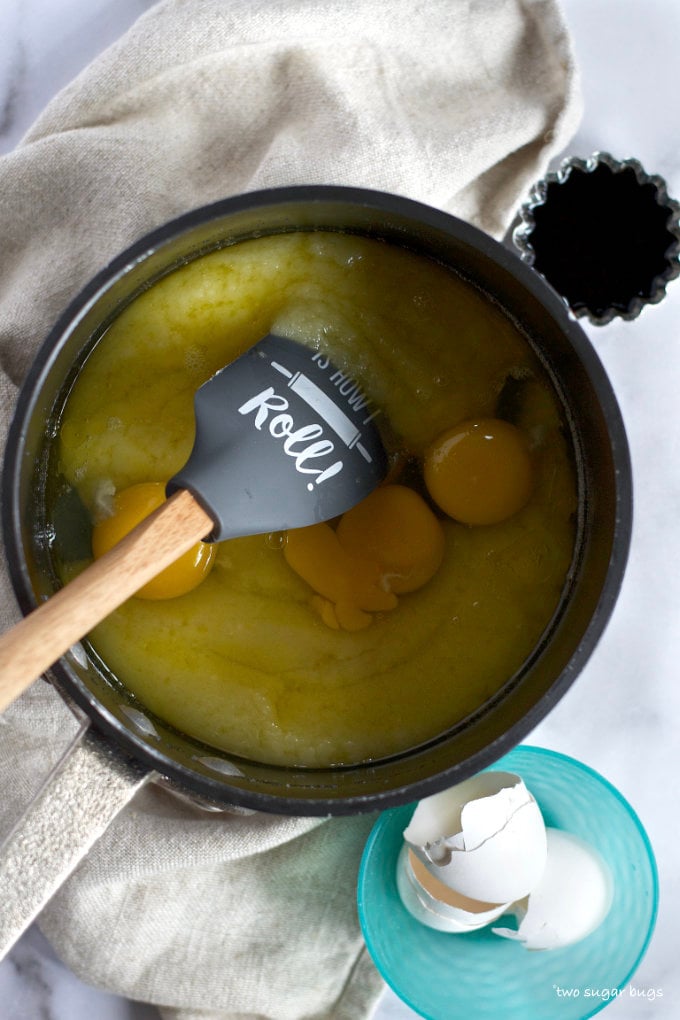
Add the butter, salt, both sugars and malted milk powder to the bowl of a food processor and process for about a minute, until the butter and sugars are mostly combined. Add the milk and vanilla and pulse about 30 seconds.
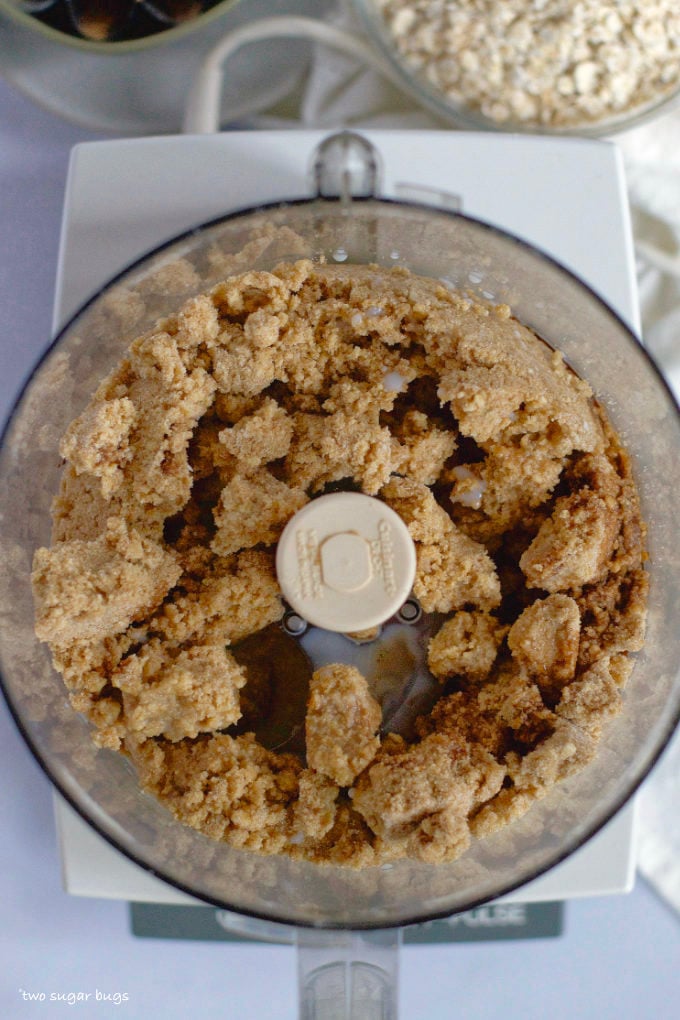
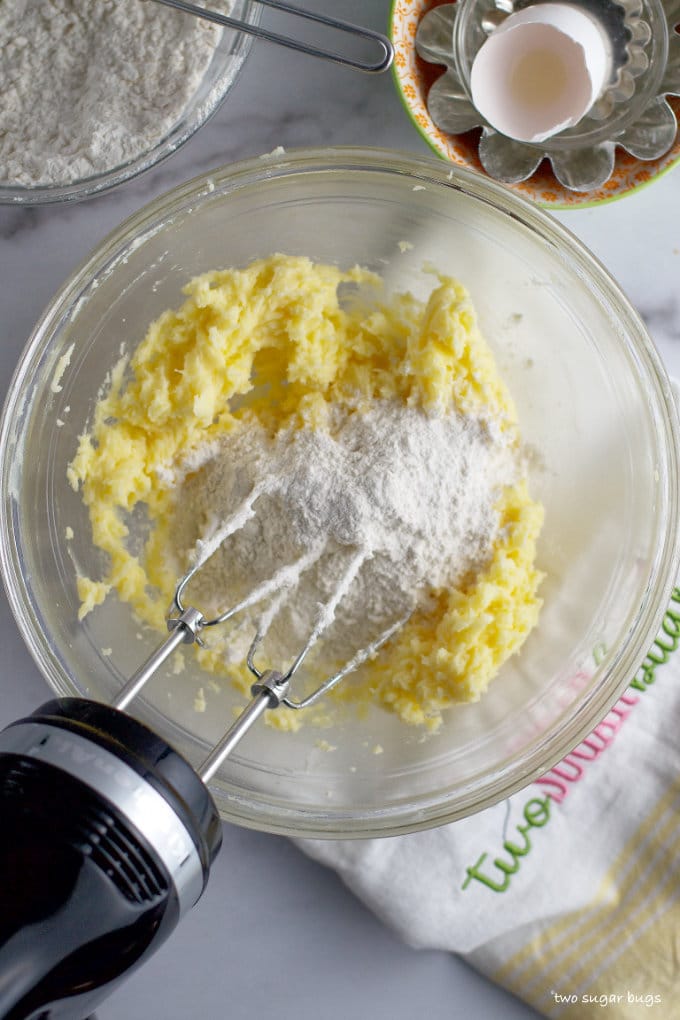
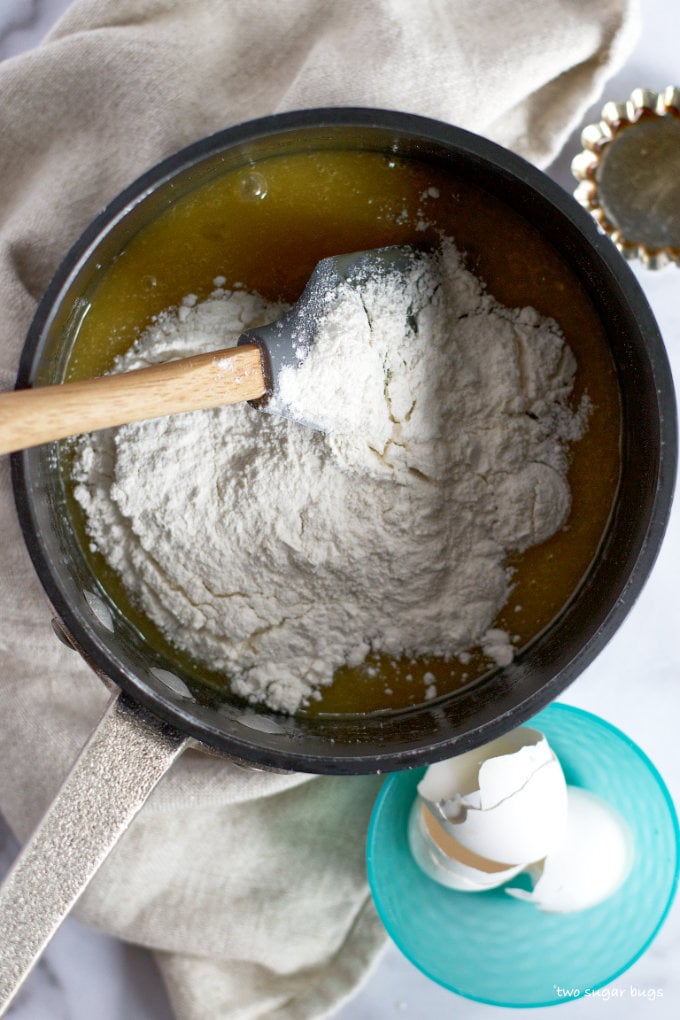
Scrape the bowl and add the quick oats and process about 20 seconds. Scrape the bowl again and process another 10-20 seconds.
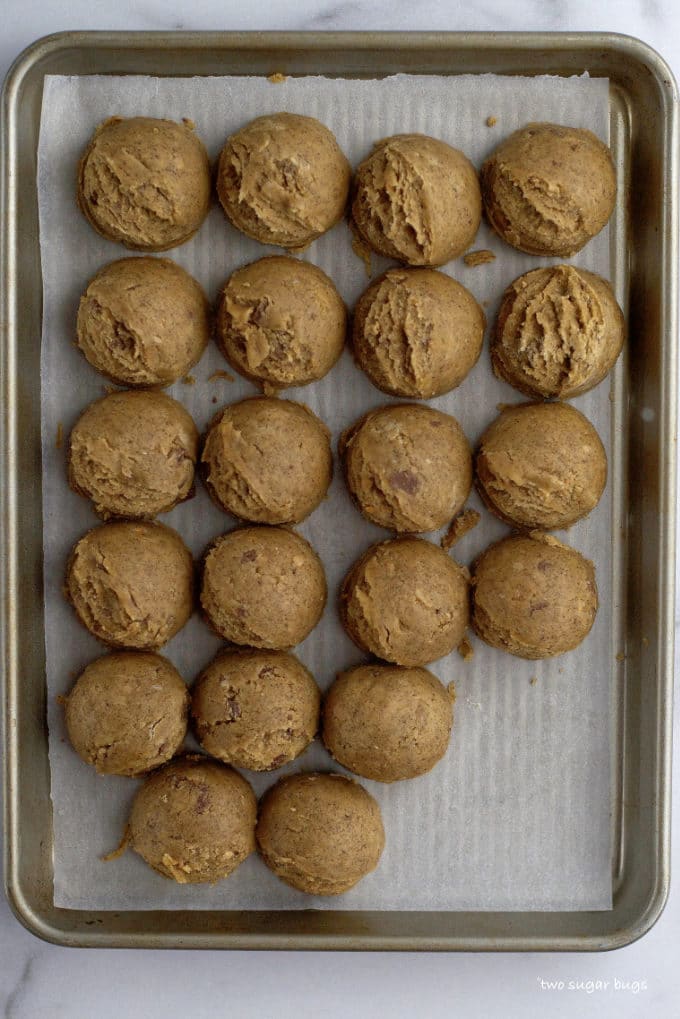
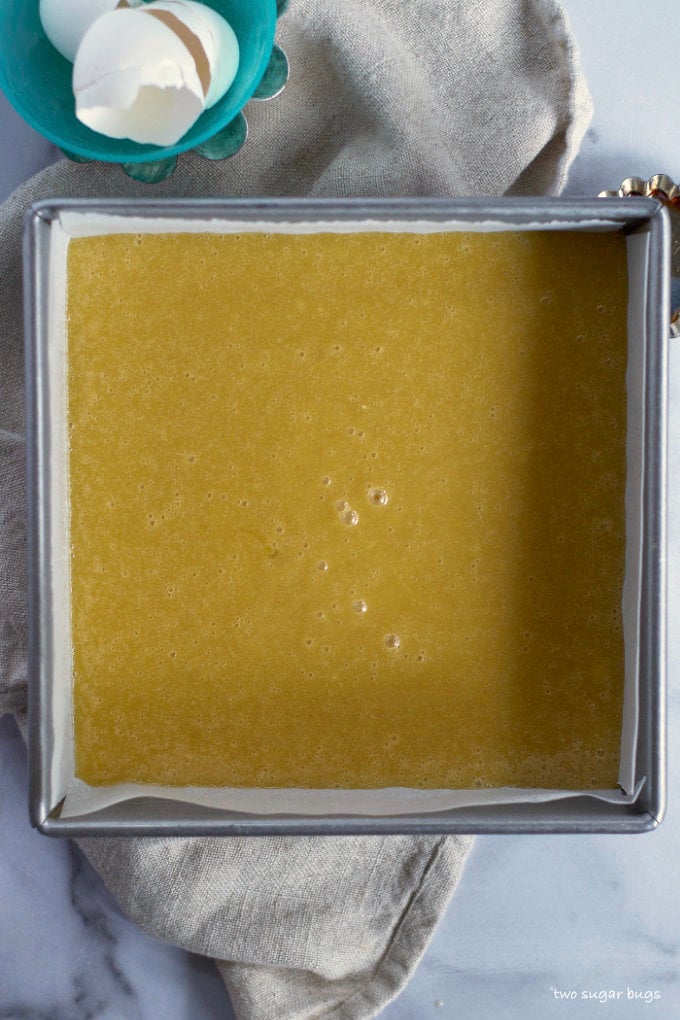
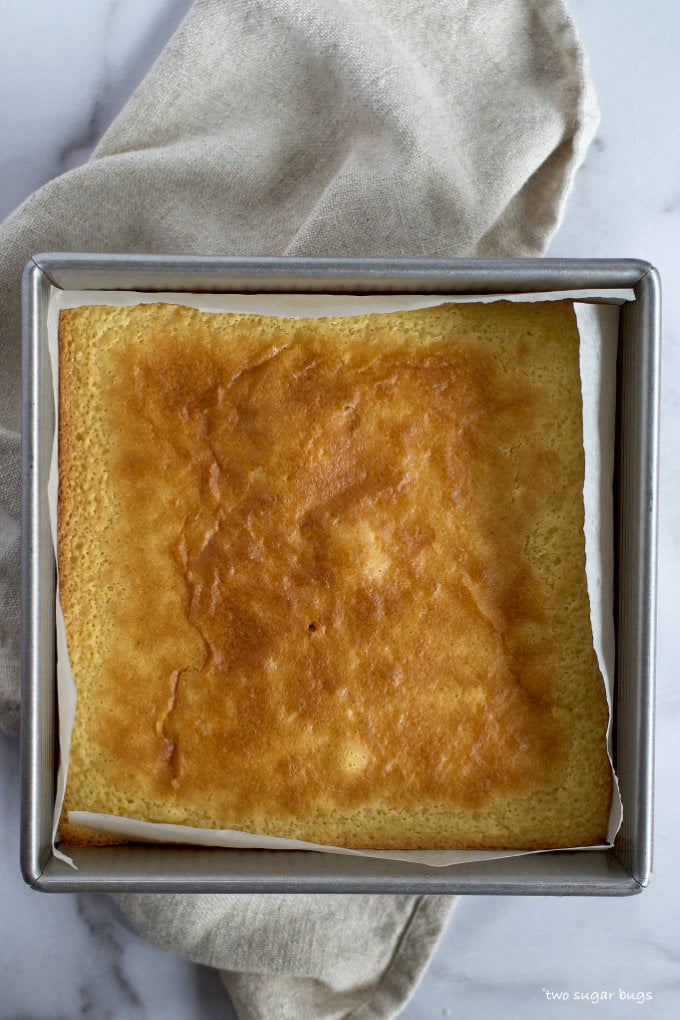
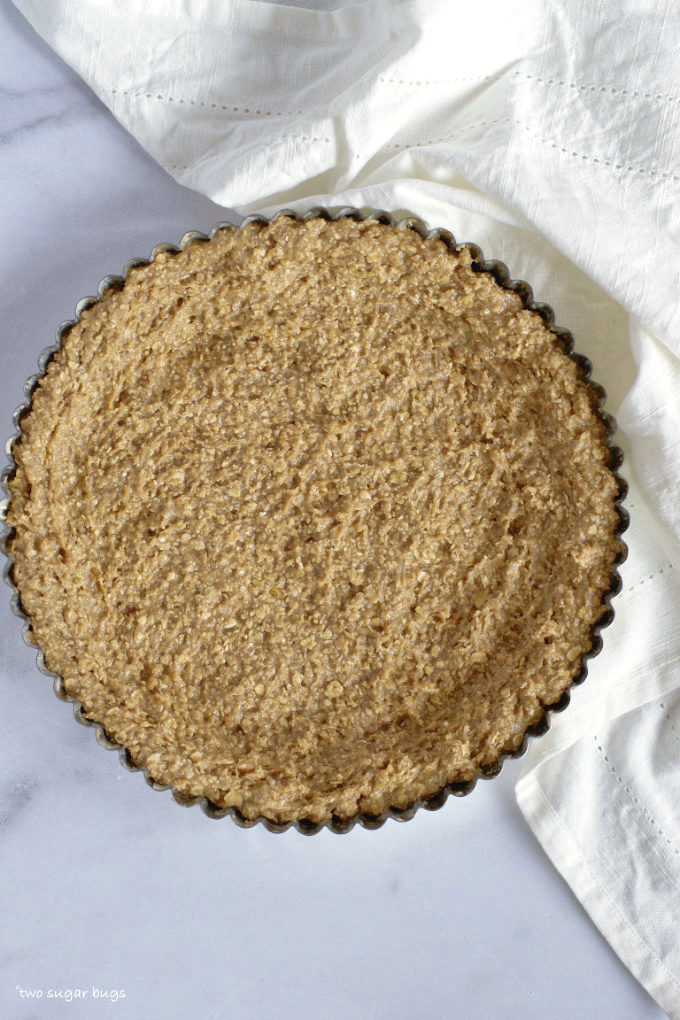
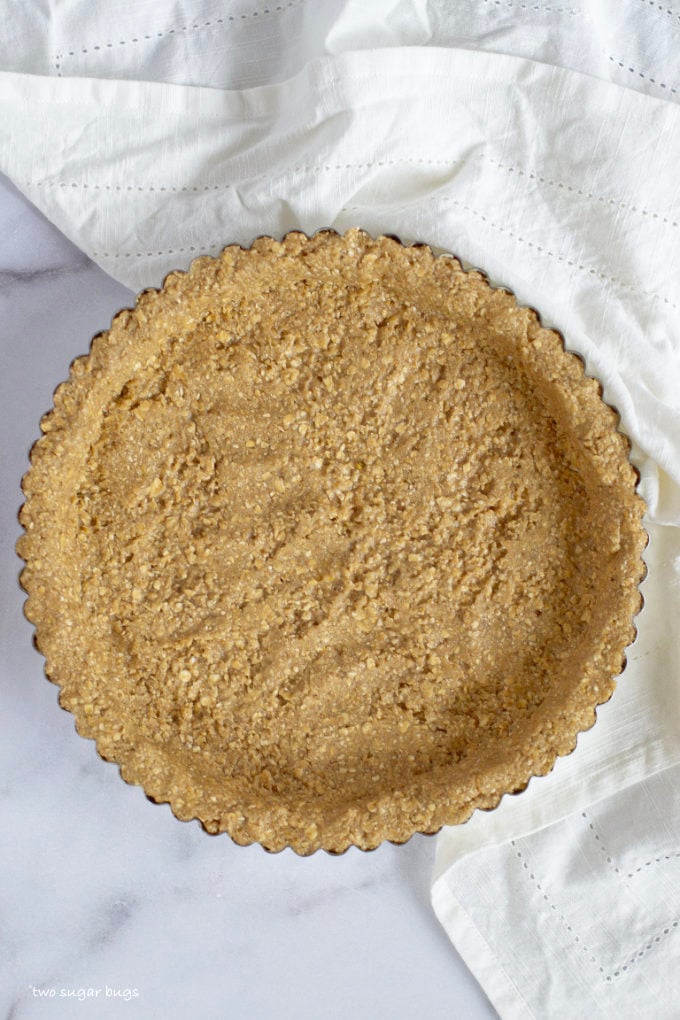
Press the edible oatmeal cookie dough into a well buttered 9-inch tart pan with a removable bottom, making an even layer over the bottom and up the sides. {Alternately, you can use a 9-inch springform pan}. The dough is VERY sticky, do your best to make an even layer. Place the dough in the refrigerator to chill while you make the ganache. The edible cookie dough will be easier to work with after it chills and you can even it out in the tart pan before adding the ganache.

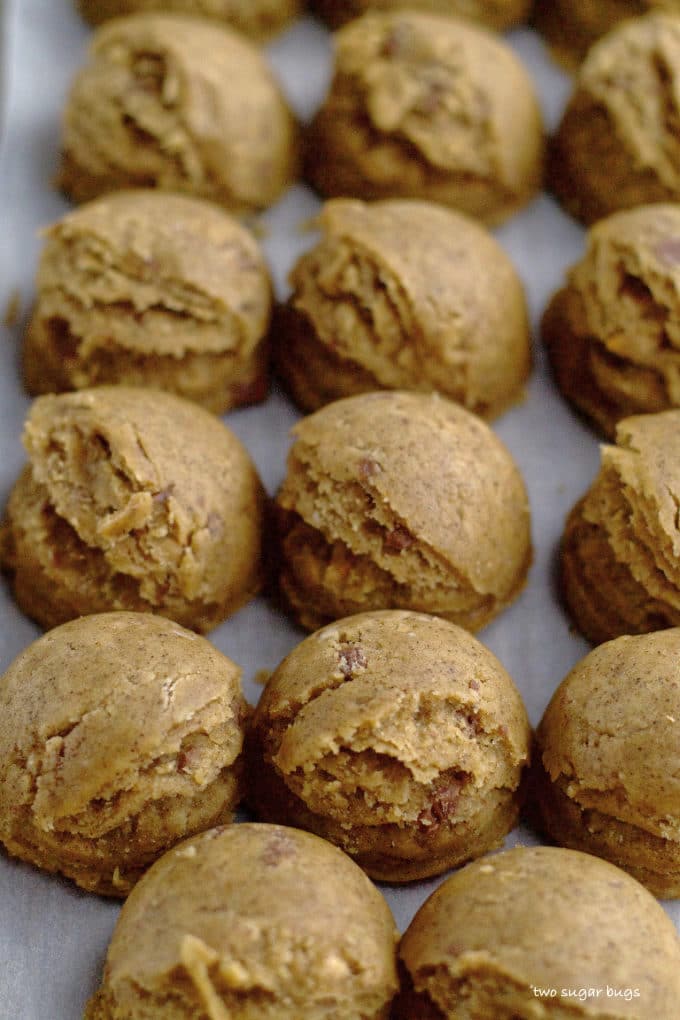
The edible malted oatmeal cookie dough in the tart pan right after it is made. The cookie dough crust after it has chilled and been evened out in the tart pan.
how to put the malted chocolate ganache tart together
- First make the edible oatmeal cookie dough and press it into a tart pan. It needs some time to chill before adding the chocolate ganache.
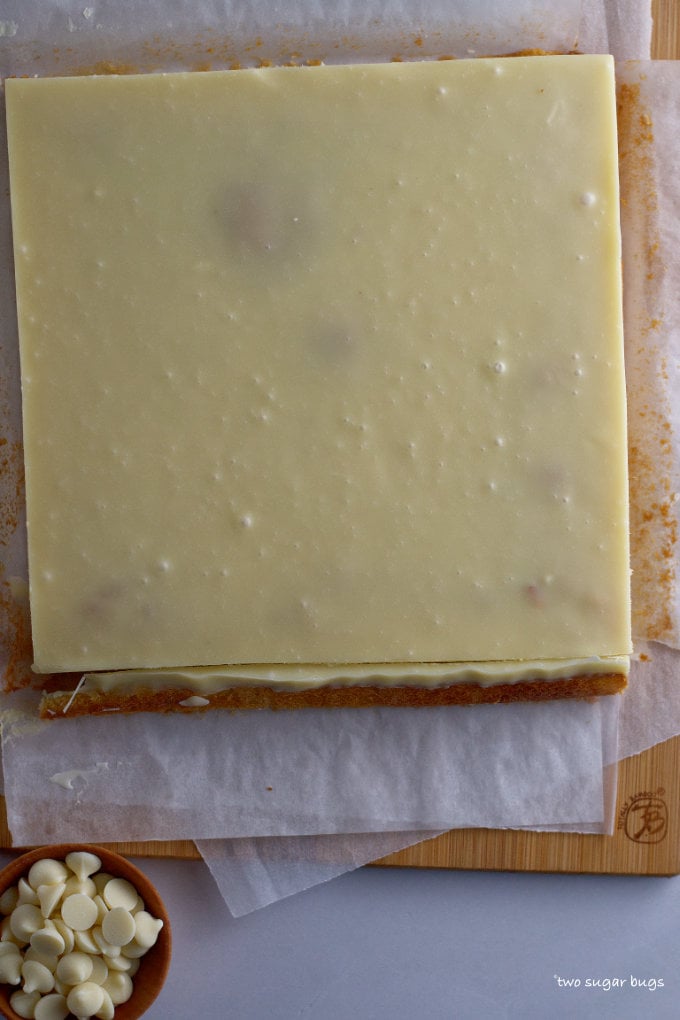
- Second make the malted chocolate ganache. Allow it to cool for 10-15 minutes before pouring it into the prepared tart crust.
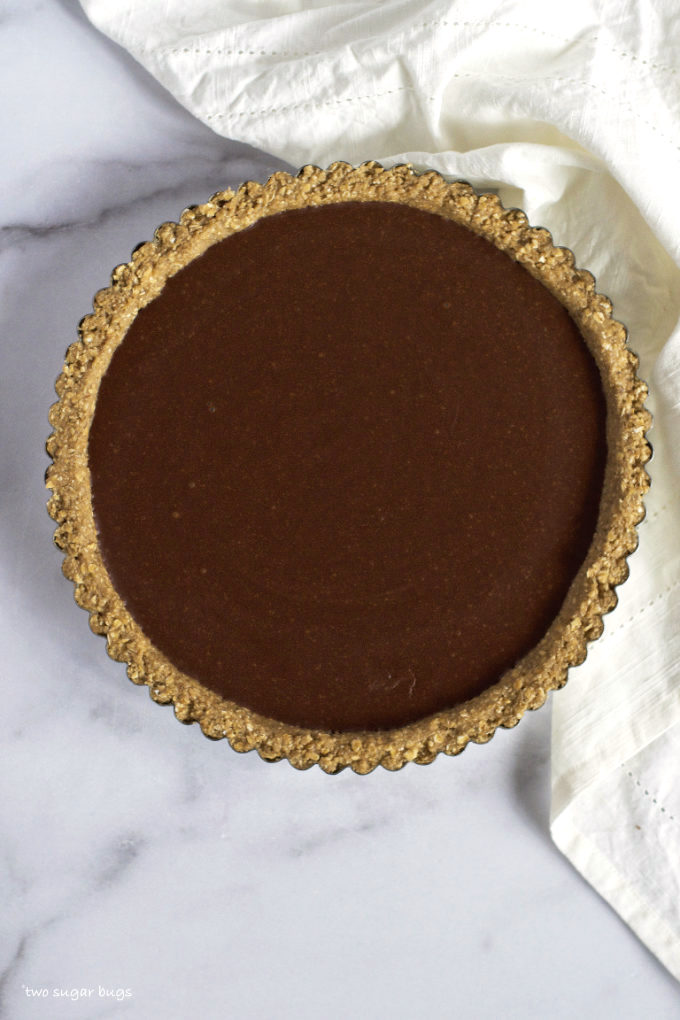
- Third refrigerate the tart until firm, about 2 hours.
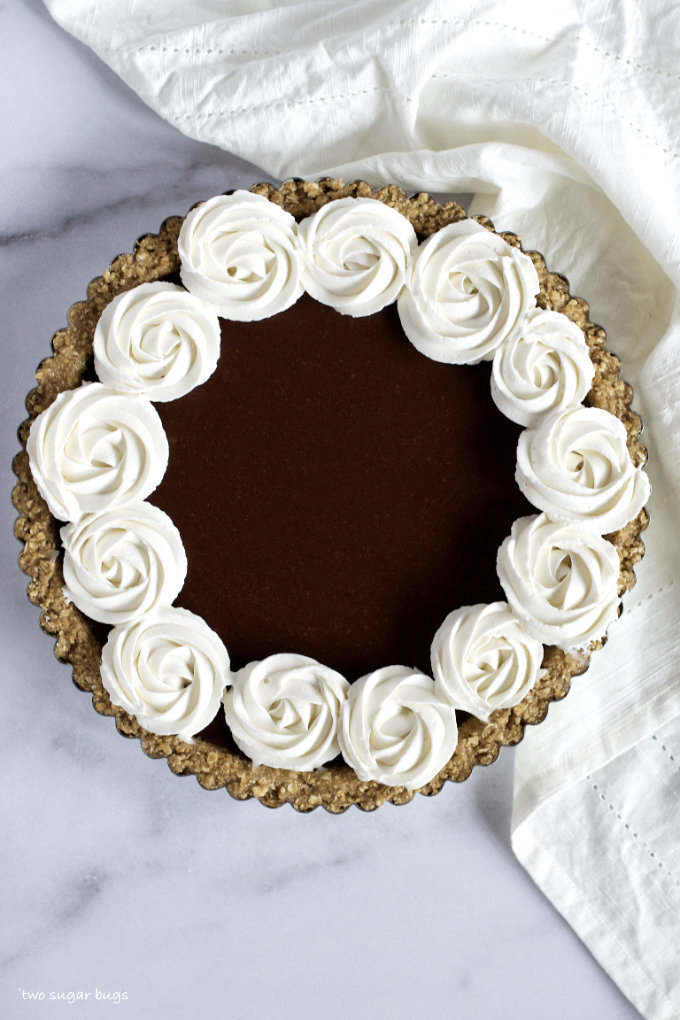
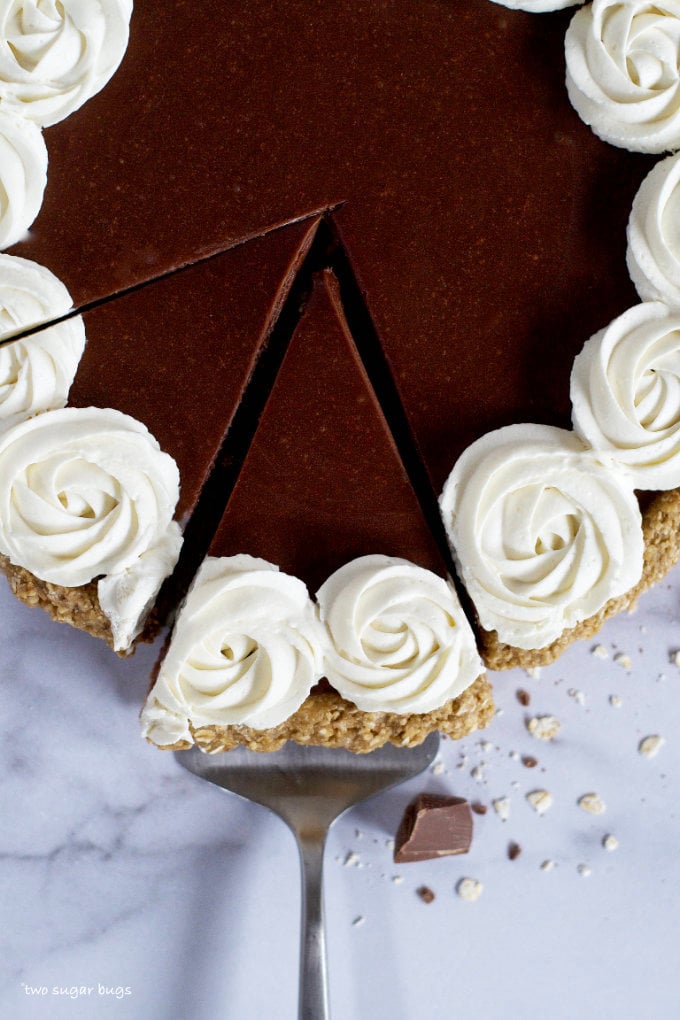
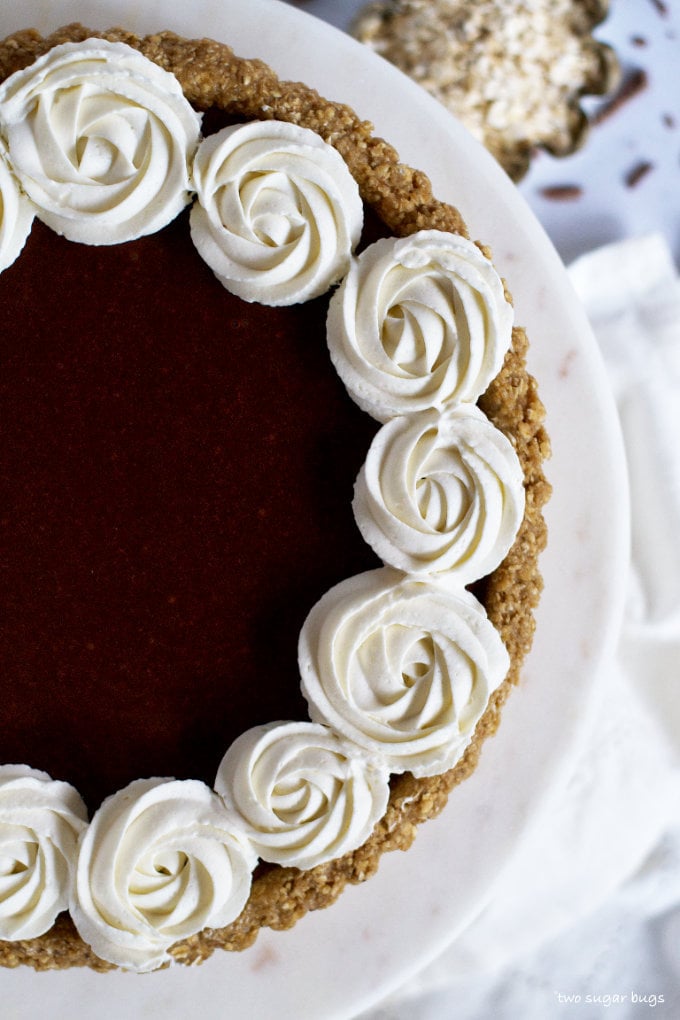
- Fourth make homemade whipped cream and decorate the top as desired. You can just dollop the whipped cream on top or create rosettes with a star piping tip. I used a Wilton 1M for these photos. See this post for making homemade whipped cream.
Where do you buy malted milk powder?
I typically find malted milk powder in the grocery store near the hot chocolate and chocolate milk. Occasionally it will be in the baking aisle. Target, Walmart and Amazon all sell it online as well.
Alternative tart crust options
- Almond Shortbread crust {not a no bake crust}
- Biscoff Shortbread crust {not a no bake crust}
- Oreo cookie crust {I would recommend Sally's Baking Addiction}
- Pretzel graham cracker crust
can you freeze a malted chocolate ganache tart?
Yes, this chocolate ganache tart can be frozen for up to 1 month. If planning to freeze, don't add the whipped cream until after you have defrosted the tart overnight in the refrigerator.
tips for making this chocolate ganache tart
- Use the best quality chocolate you can afford.
- The edible cookie dough crust can be a little bit of a challenge to release from the tart pan. Be sure to butter the tart pan well and allow the tart to be well chilled before removing the sides {pop it in the freezer for 30 minutes or so, if necessary}.
- If you don't want to mess with the tart pan, use a 9" springform pan instead.
- Use a hot, clean knife to get the best slices. Heat the knife under hot water and dry it before cutting.
Remember to snap a picture and tag me on Instagram if you make this Malted Chocolate Ganache Tart. It warms my heart to see you bring these recipes to life! Thank you for being here and happy baking!
more tart recipes to enjoy!
If you make this recipe {or any recipe!} from two sugar bugs please come back and leave a review and a ⭐️⭐️⭐️⭐️⭐️ star rating. I read every comment, and I LOVE hearing from you!
Malted Chocolate Ganache Tart
This malted chocolate ganache tart is one indulgent dessert! The tart recipe starts with an edible malted oatmeal cookie dough crust, which is then topped with a soft malted chocolate ganache filling.
Ingredients
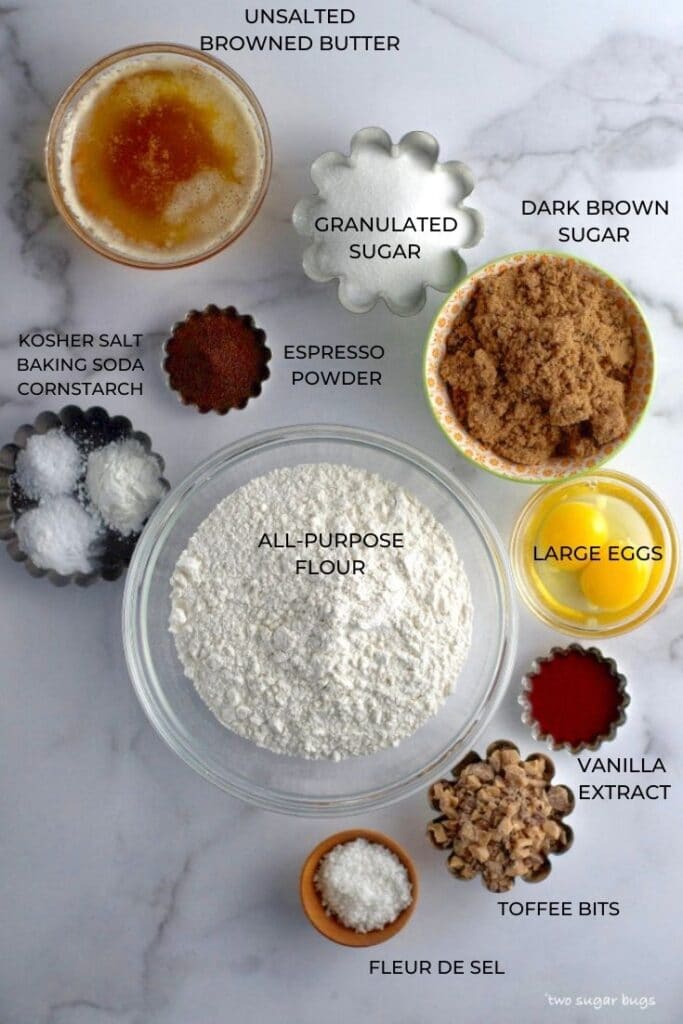
Edible Oatmeal Cookie Dough Crust
- ½ cup unsalted butter, cold and cut in pieces (113g)
- ¼ teaspoon salt
- ½ cup granulated sugar (100g)
- ⅔ cup dark brown sugar (135g)
- ½ cup malted milk powder (70g)
- ¼ cup milk (60mL)
- 2 teaspoons pure vanilla extract
- 2 cups quick oats (188g)
Chocolate Malt Ganache
- 8 ounces milk chocolate, chopped small (226g)
- 1 cup heavy cream (240mL)
- ½ cup malted milk powder (70g)
homemade whipped cream
- ¾ cup heavy whipping cream, cold (180mL)
- 1 tablespoon granulated or confectioners' sugar
- ½ teaspoon pure vanilla extract
Instructions
- For the edible malted oatmeal cookie dough crust: Add the butter, salt, both sugars and malted milk powder to the bowl of a food processor and process for about a minute, until the butter and sugars are mostly combined. Add the milk and vanilla and pulse about 30 seconds. Scrape the bowl and add the quick oats and process about 20 seconds. Scrape the bowl again and process another 10-20 seconds.
- Press the oatmeal cookie dough into a well buttered 9-inch tart pan with a removable bottom, making an even layer over the bottom and up the sides. {Alternately, you can use a 9’ springform pan}. The dough is VERY sticky, do your best to make and even layer. Place the dough in the refrigerator to chill while you make the ganache. The edible cookie dough will be easier to work with after it chills.
- For the malted chocolate ganache: Place the chopped milk chocolate into a heat proof bowl and set aside. Add the heavy cream to a small sauce pan and whisk in the malted milk powder.
- Heat the heavy cream in a small saucepan over low heat until it is bubbling at the edges and is hot, whisking to combine the malt powder with the cream. Pour the hot cream over the chocolate and let it sit about two minutes before stirring it into a smooth ganache.
- Allow the ganache to cool for 10-15 minutes. Remove the edible cookie dough crust from the refrigerator and flatten the dough into the pan more, if necessary. Then pour the malted ganache into the prepared crust and refrigerate until firm, about 2 hours.
- For the homemade whipped cream: Using a hand-held mixer or stand mixer with the whisk attachment, whip the heavy cream, sugar and vanilla on medium-high until stiff peaks form, about 4 minutes. Pipe or spread the whipped cream on top. I used a Wilton 1M.
Notes
The cookie dough tart crust needs to be well chilled to release from the tart pan. If it's giving you difficulty, allow it to chill a bit longer. The colder it gets, the easier it is to work with. If needed, you can place the tart in the freezer for 30 minutes or so.
Any left over tart can be stored covered in the refrigerator for up to 5 days. It can also be frozen for up to one month {it's best to freeze without the whipped cream}. Allow to defrost in the refrigerator before serving.
Nutrition Information:
Yield:
12Serving Size:
1Amount Per Serving: Calories: 469Total Fat: 23gSaturated Fat: 14gTrans Fat: 0gUnsaturated Fat: 7gCholesterol: 48mgSodium: 154mgCarbohydrates: 62gFiber: 3gSugar: 48gProtein: 5g
The nutrition information is an estimate and may not be entirely accurate.