two sugar bugs

  • About
  • Recipes
  • Coffee Talk
  • come say hello
    • Contact
    • Privacy Policy
menu icon
go to homepage
  • About
  • Recipes
  • Coffee Talk
  • Come say hello
  • Work With Me
    • Instagram
    • Pinterest
    • YouTube
  • subscribe
    search icon
    Homepage link
    • About
    • Recipes
    • Coffee Talk
    • Come say hello
    • Work With Me
    • Instagram
    • Pinterest
    • YouTube
  • ร—
    Home

    Eggnog Pound Cake with Rum Icing

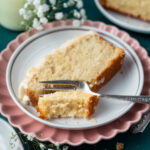
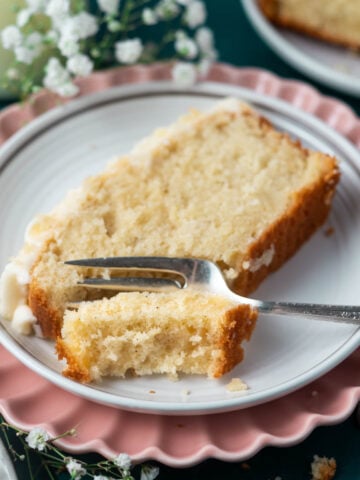
    piece of eggnog pound cake on a plate with a fork

    Eggnog pound cake deserves a spot on your holiday baking list! It has the old fashioned, from scratch flavor that tastes like it came from grandmaโ€™s kitchen. It comes together with about 15 minutes of prep time. No fancy techniques, no special equipment beyond a loaf pan and a mixer. With a soft crumb, a hint of rum and real eggnog baked right in. If you buy eggnog and then wonder what to do with the leftovers, this cake is your answer!
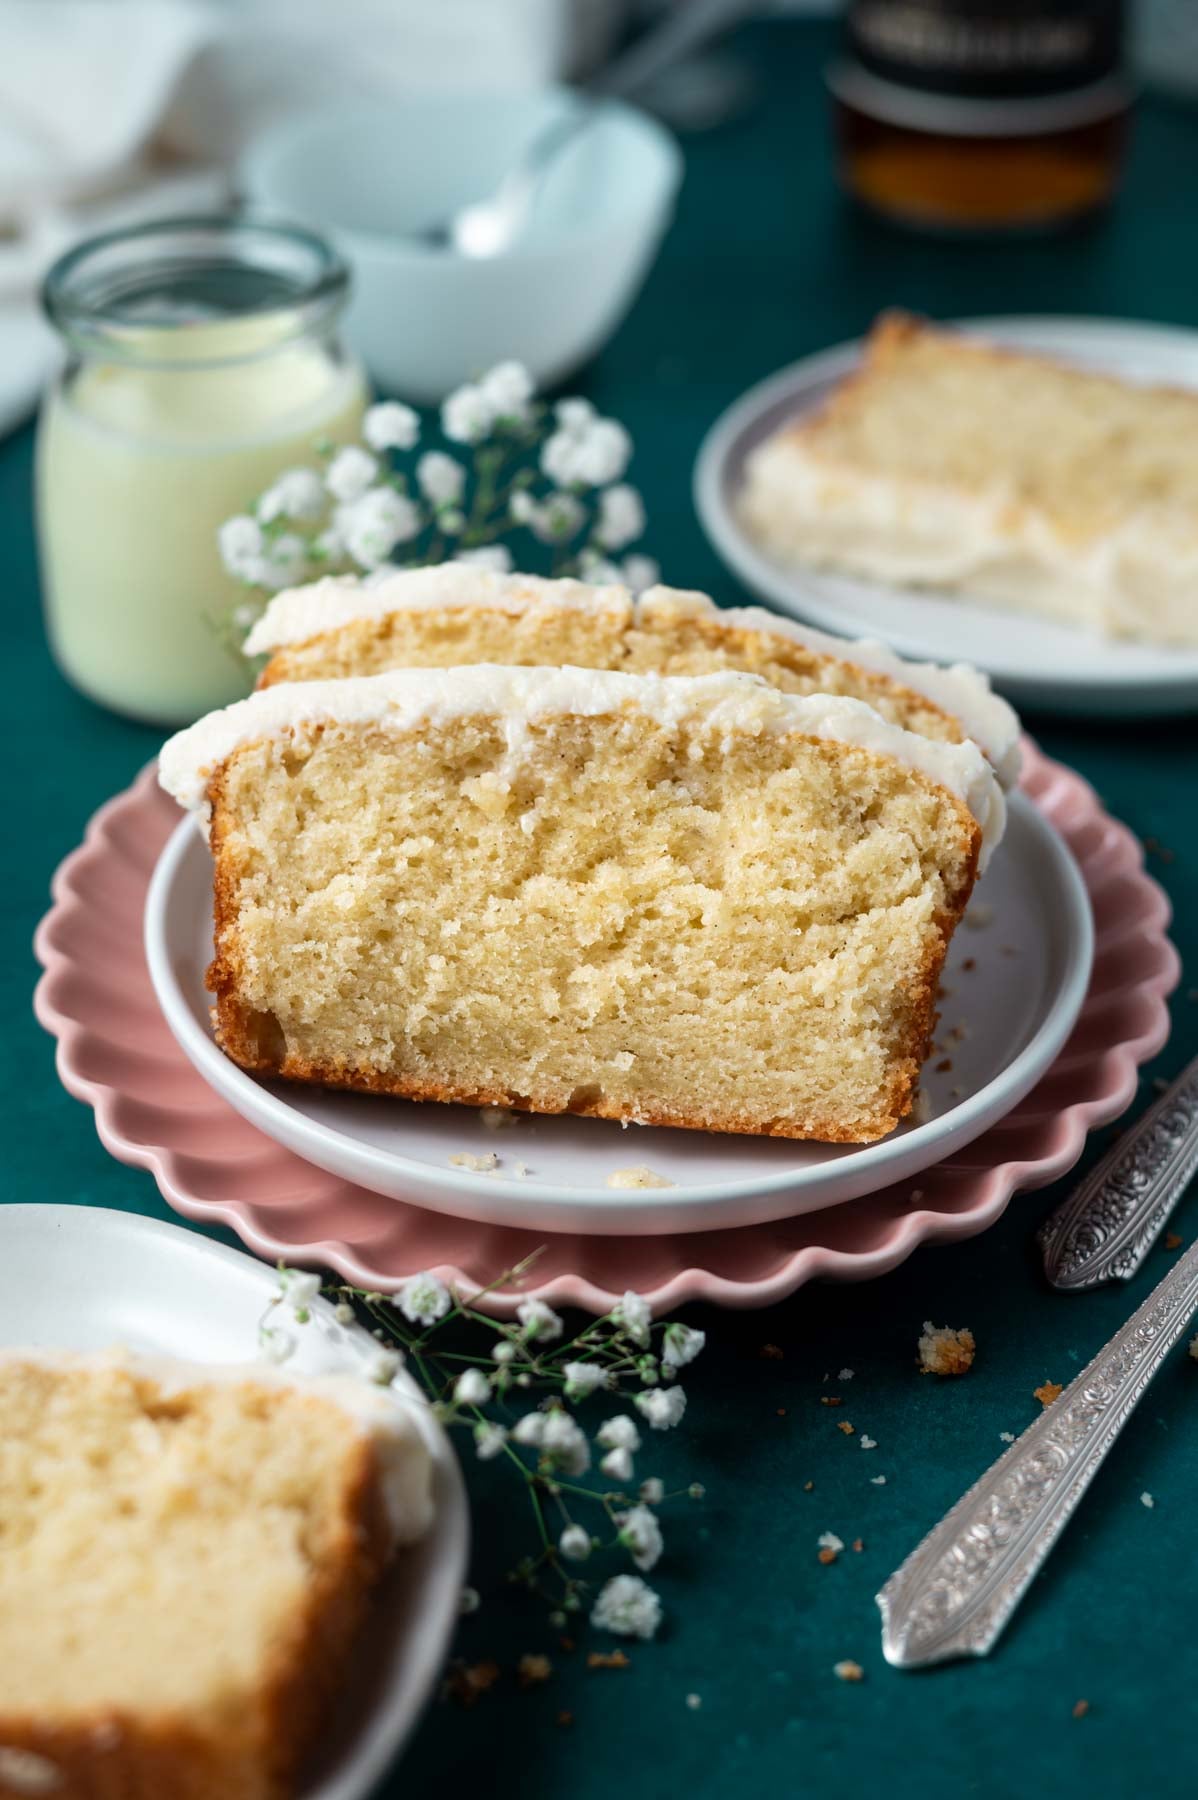
    slices of cake on plates

    Disclosure | This post may contain affiliate links. As an Amazon Associate I earn from qualifying purchases.

    [feast_advanced_jump_to]

    I have been baking cakes for decades and this one checks all the boxes. Itโ€™s simple to make. Itโ€™s moist, warmly spiced with nutmeg, and topped with a soft rum eggnog icing that sets up beautifully.

    I polled my instagram community about what pan a pound cake should be baked in. The answer was overwhelmingly a loaf pan. So that is exactly what we are doing here. The loaf shape gives you those thick slices that feel nostalgic and special.

    If you love citrus forward holiday bakes, my orange cranberry cake is another crowd favorite this time of year. But if eggnog has your heart right now, this cake is about to become part of your new December tradition. And you should make my eggnog sugar cookies too!

    โ™ฅ๏ธ why make this Christmas loaf cake?

    The holidays call for something special, and this cake delivers without asking too much of you. Here's why it works so well:

    • Moist and tender crumb from sour cream and real eggnog.
    • Old fashioned, from scratch flavor with warm nutmeg and rum.
    • Simple loaf pan cake; no bundt, no layers, no fuss.
    • The rum eggnog icing is simple to make and adds flavor.
    • Slices beautifully for gifting, holiday gathering or a random Tuesday night.
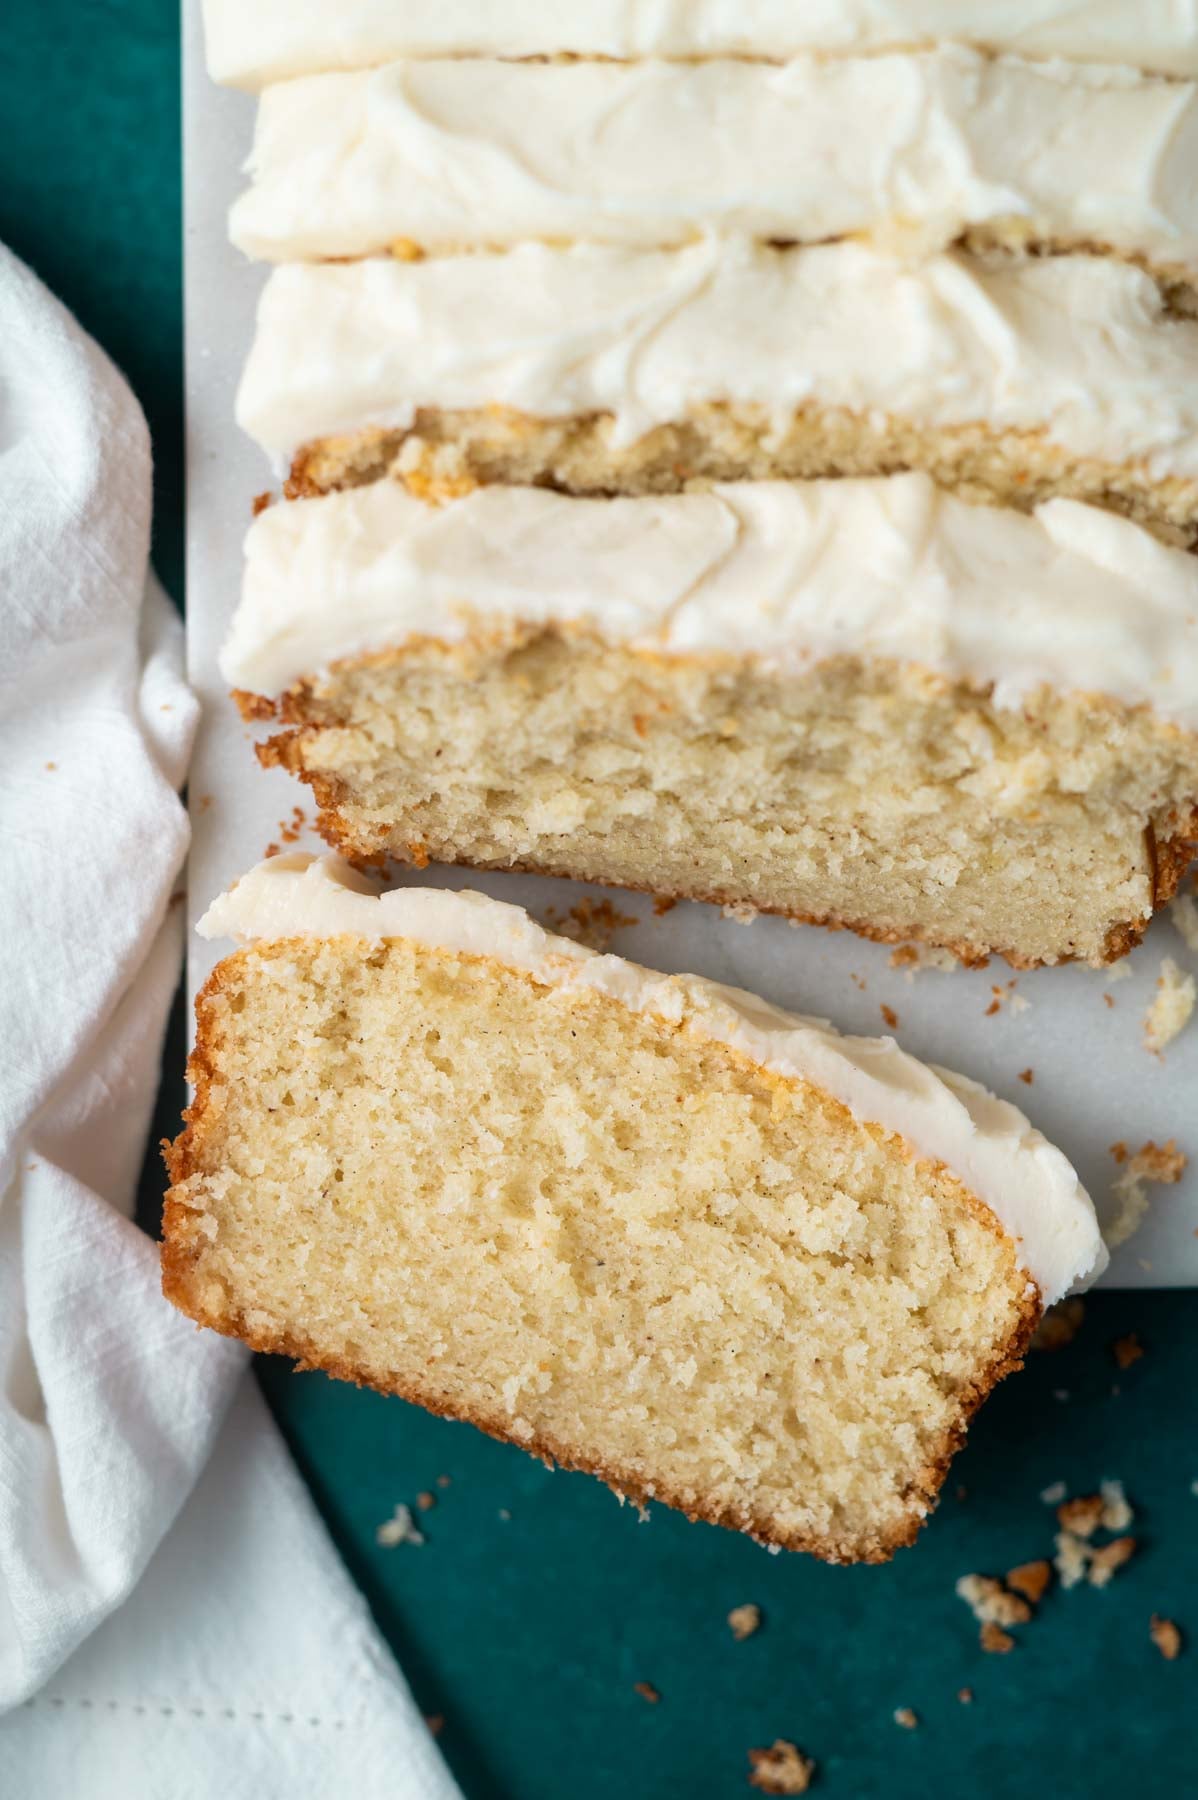
    overhead look at slices of cake on a marble board

    ๐Ÿฐ ingredient notes

    Please scroll to the printable recipe card at the end of this post for the full list of ingredients and baking directions.
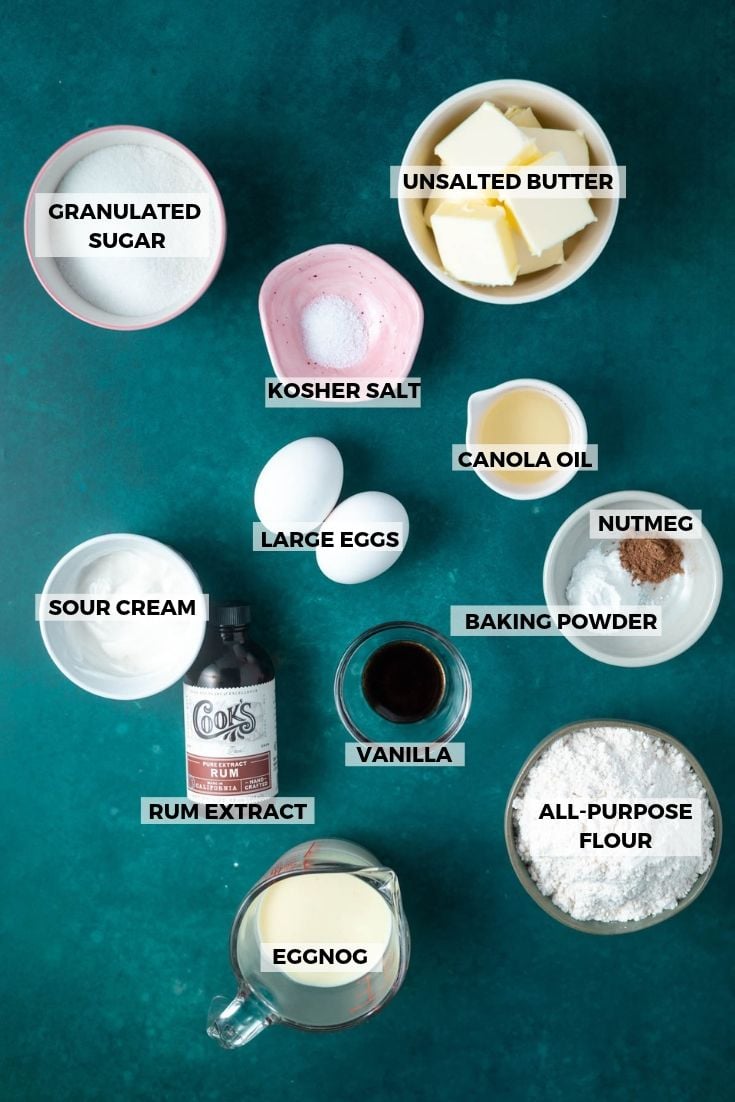
    ingredients for eggnog pound cake

    Eggnog ~ use your favorite store bought or homemade eggnog. It goes into both the cake batter and the icing, so make sure you have enough on hand. Room temperature eggnog mixes in more smoothly, so pull it out of the fridge when you set out your butter and eggs. For the best results, I recommend a full fat version.

    Sour cream ~ this is what keeps the crumb so soft and moist. Use full fat sour cream for the best results and bring it to room temperature before baking.

    Rum extract ~ this is what gives the cake a holiday flavor without using actual rum in the cake batter. For the icing, you can use real rum or rum extract, both work great. I've noted the substitution amounts in the recipe card.

    Canola oil ~ just two tablespoons, but they make a real difference in moisture. Vegetable oil works just as well if that's what you have.

    Nutmeg ~ a little goes a long way! Half a teaspoon gives you that classic eggnog spice without being overpowering. Fresh grated nutmeg will have the most flavor, but ground also works perfectly here.

    If you love an easy loaf cake, my chocolate chip loaf cake uses a similar method and is just as satisfying to slice into.

    ๐Ÿฅฃ how to make in photos

    Preheat the oven to 350ยฐF and line a 9x5 inch loaf pan with parchment paper and set aside.
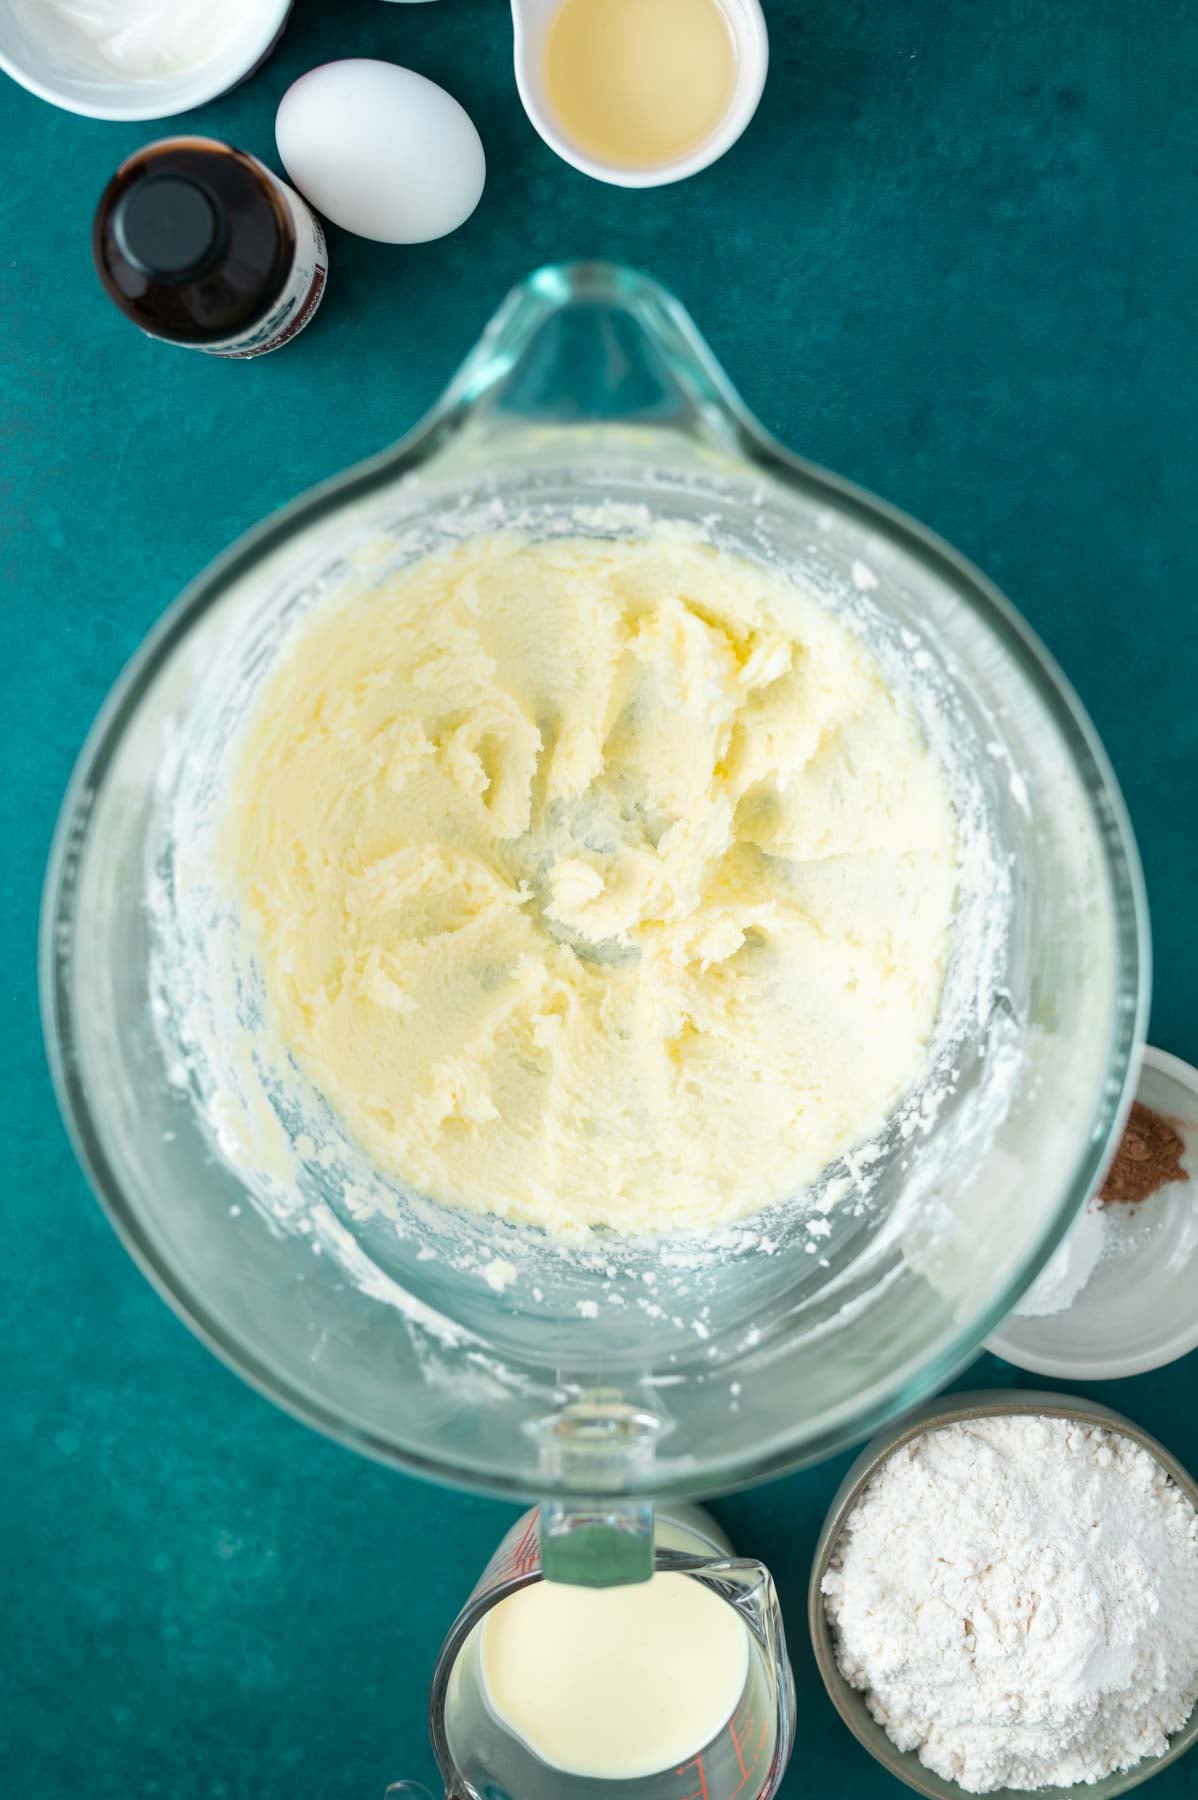
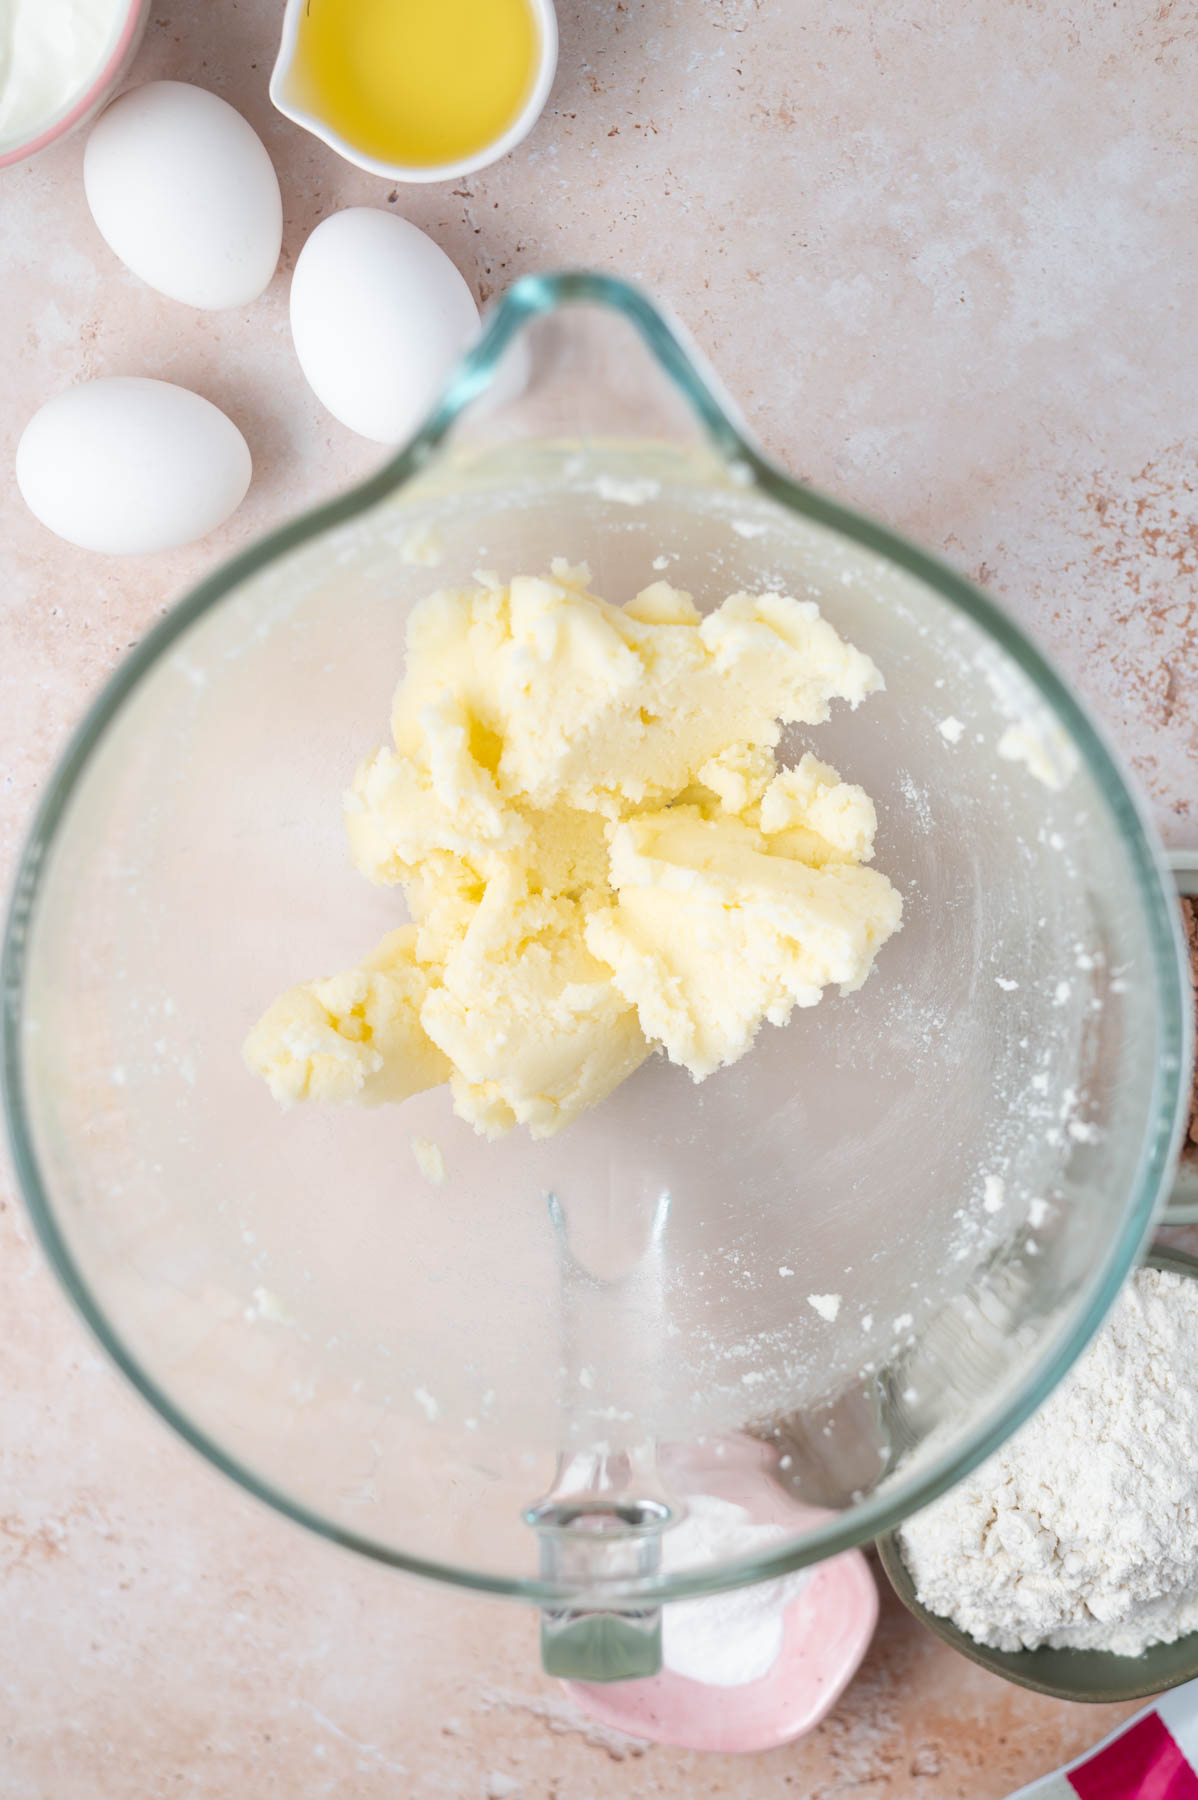
    butter, salt, and sugar beaten together in a glass bowl

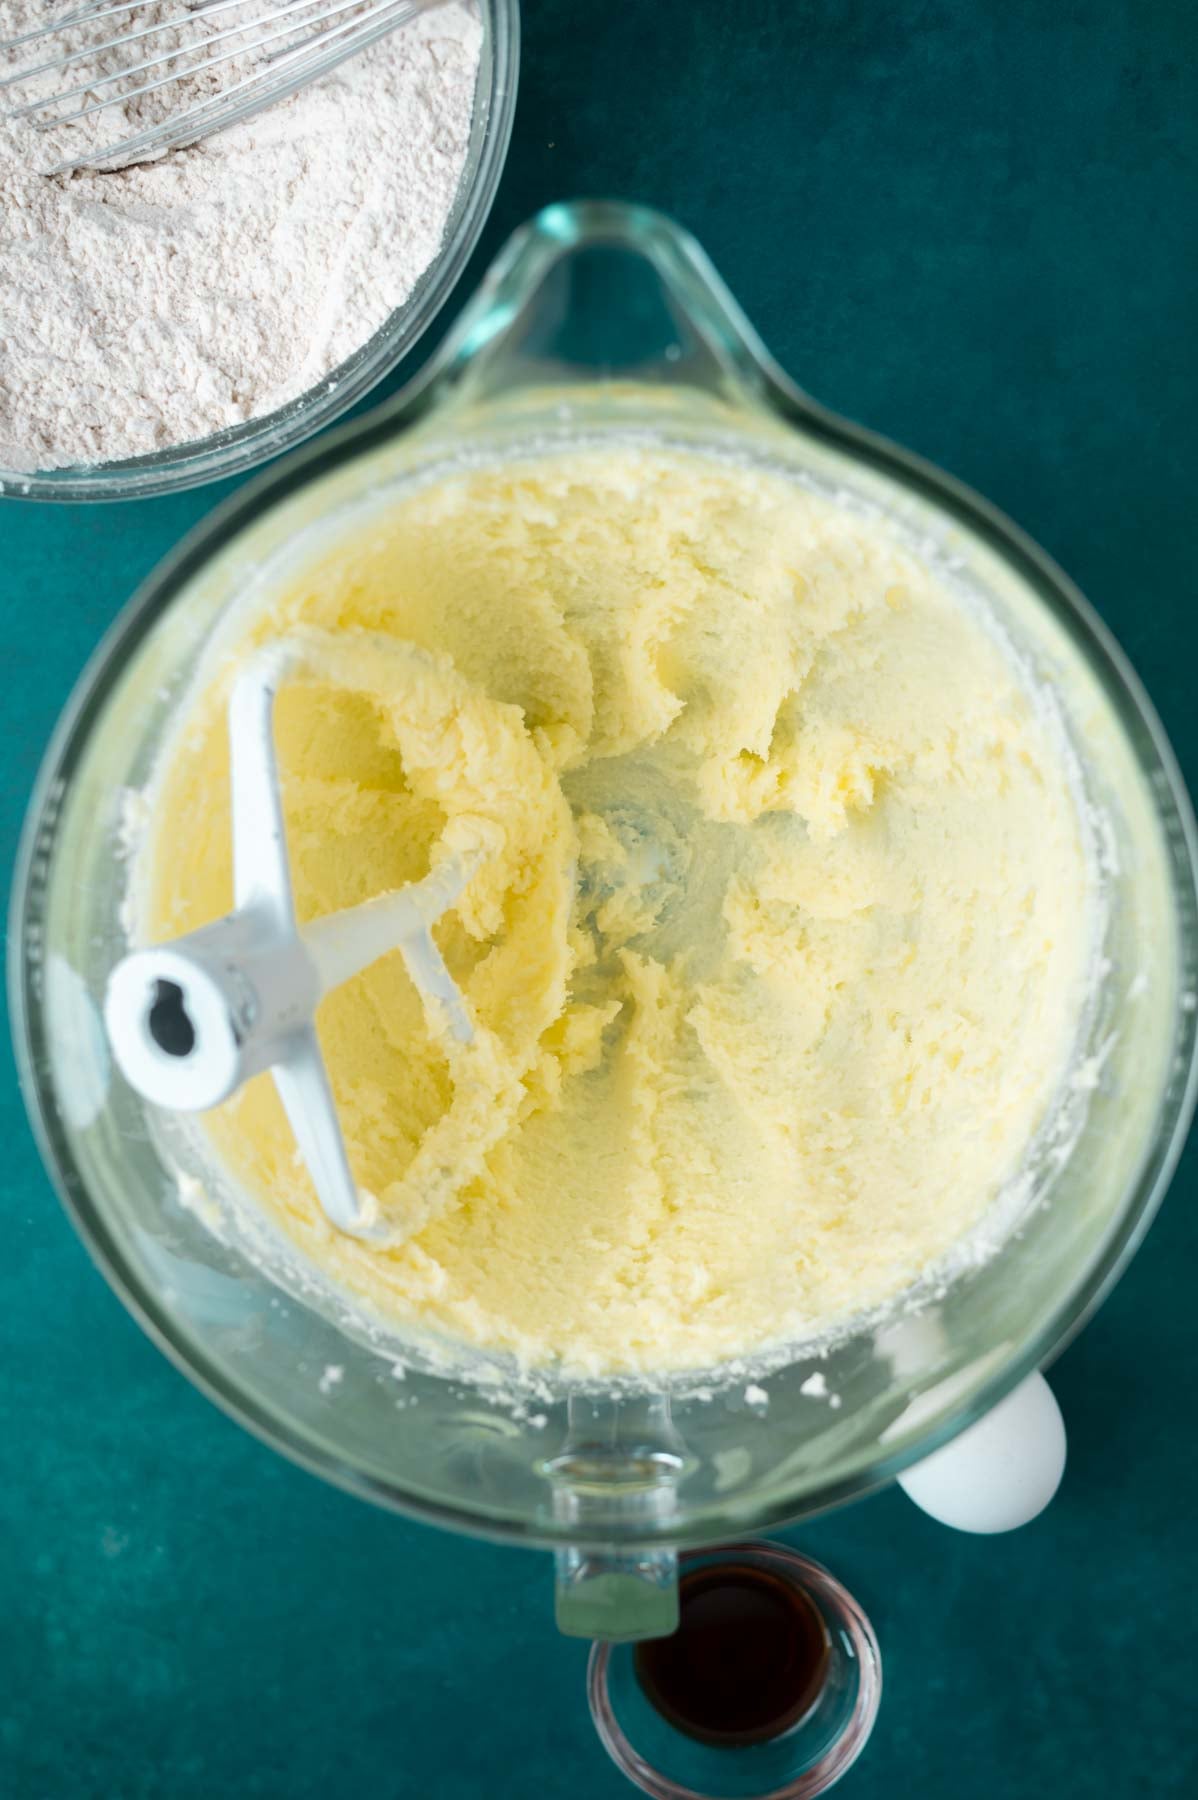
    In a stand mixer with the paddle attachment or with a handheld mixer, beat together the butter, and kosher salt. Then add the granulated sugar and beat until creamy.
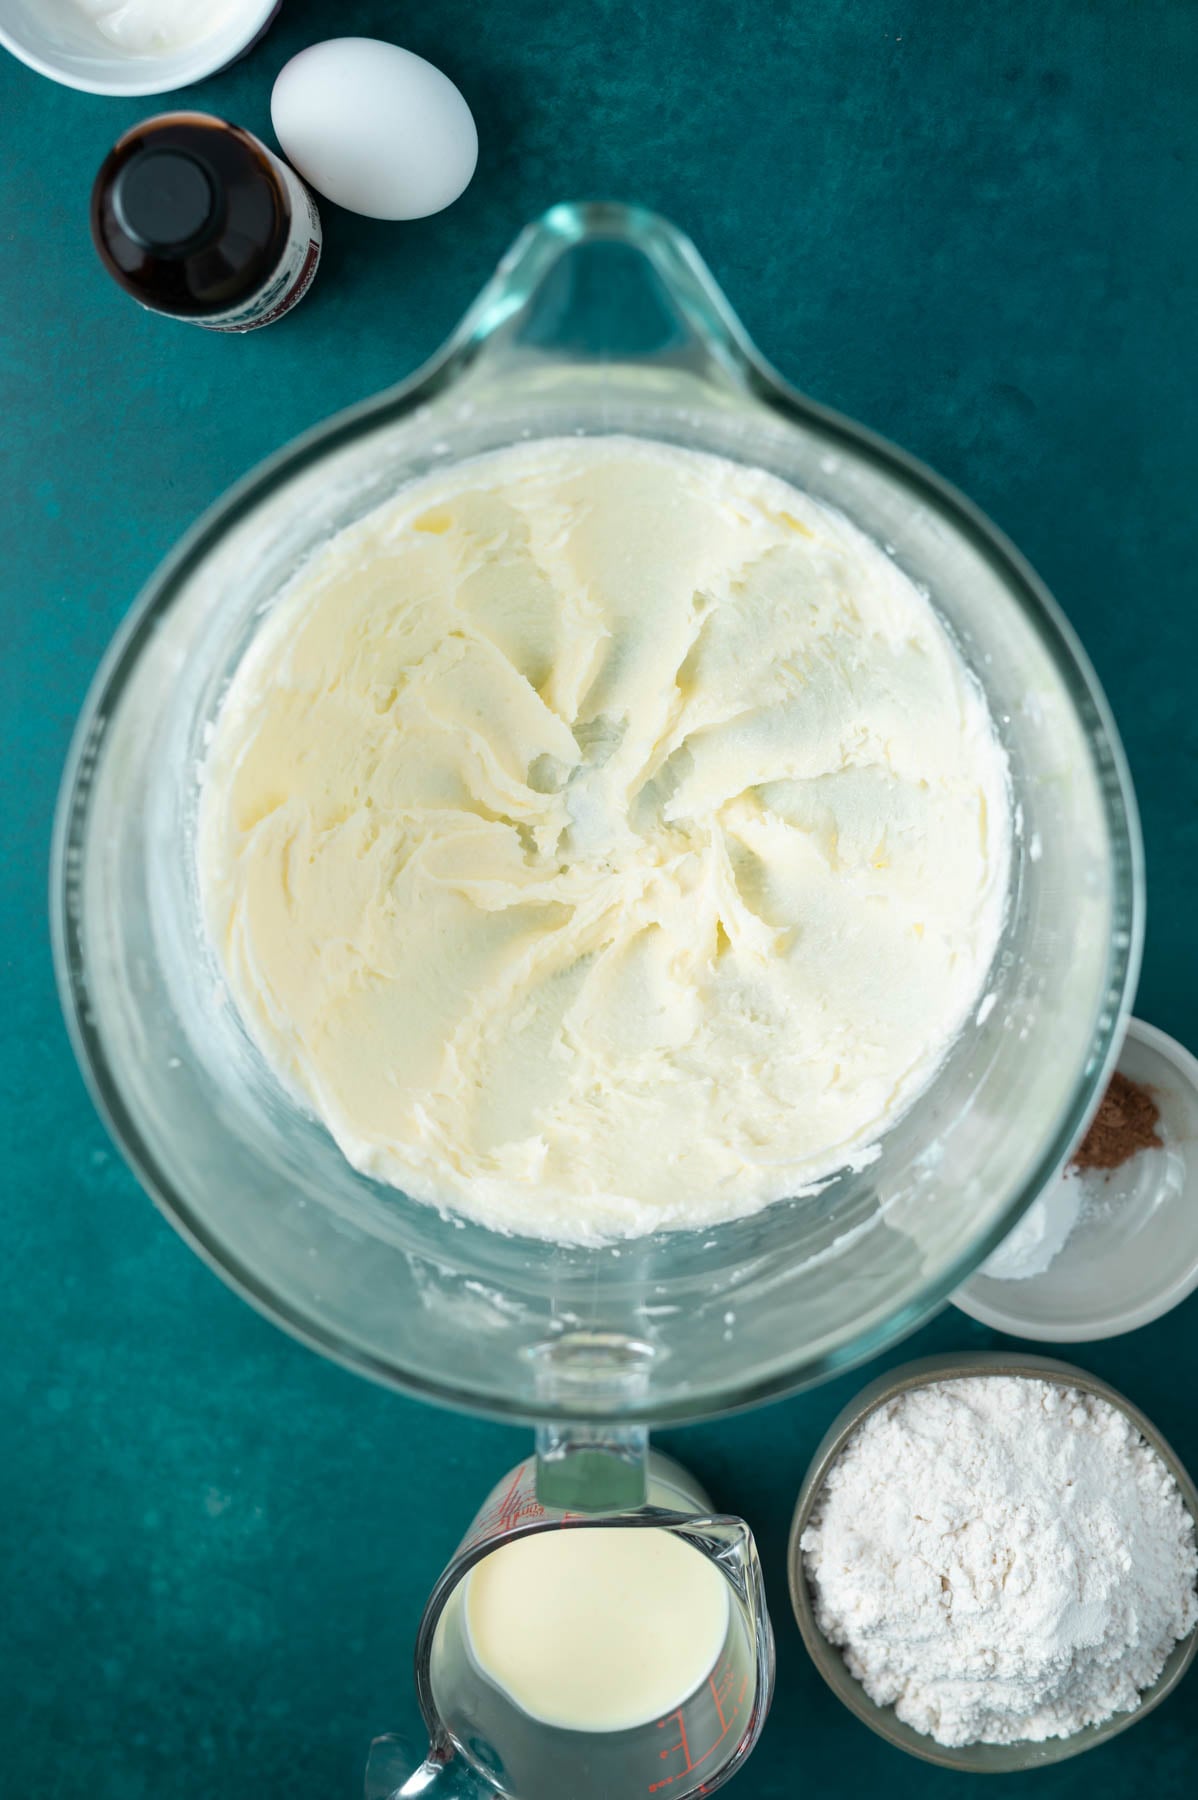
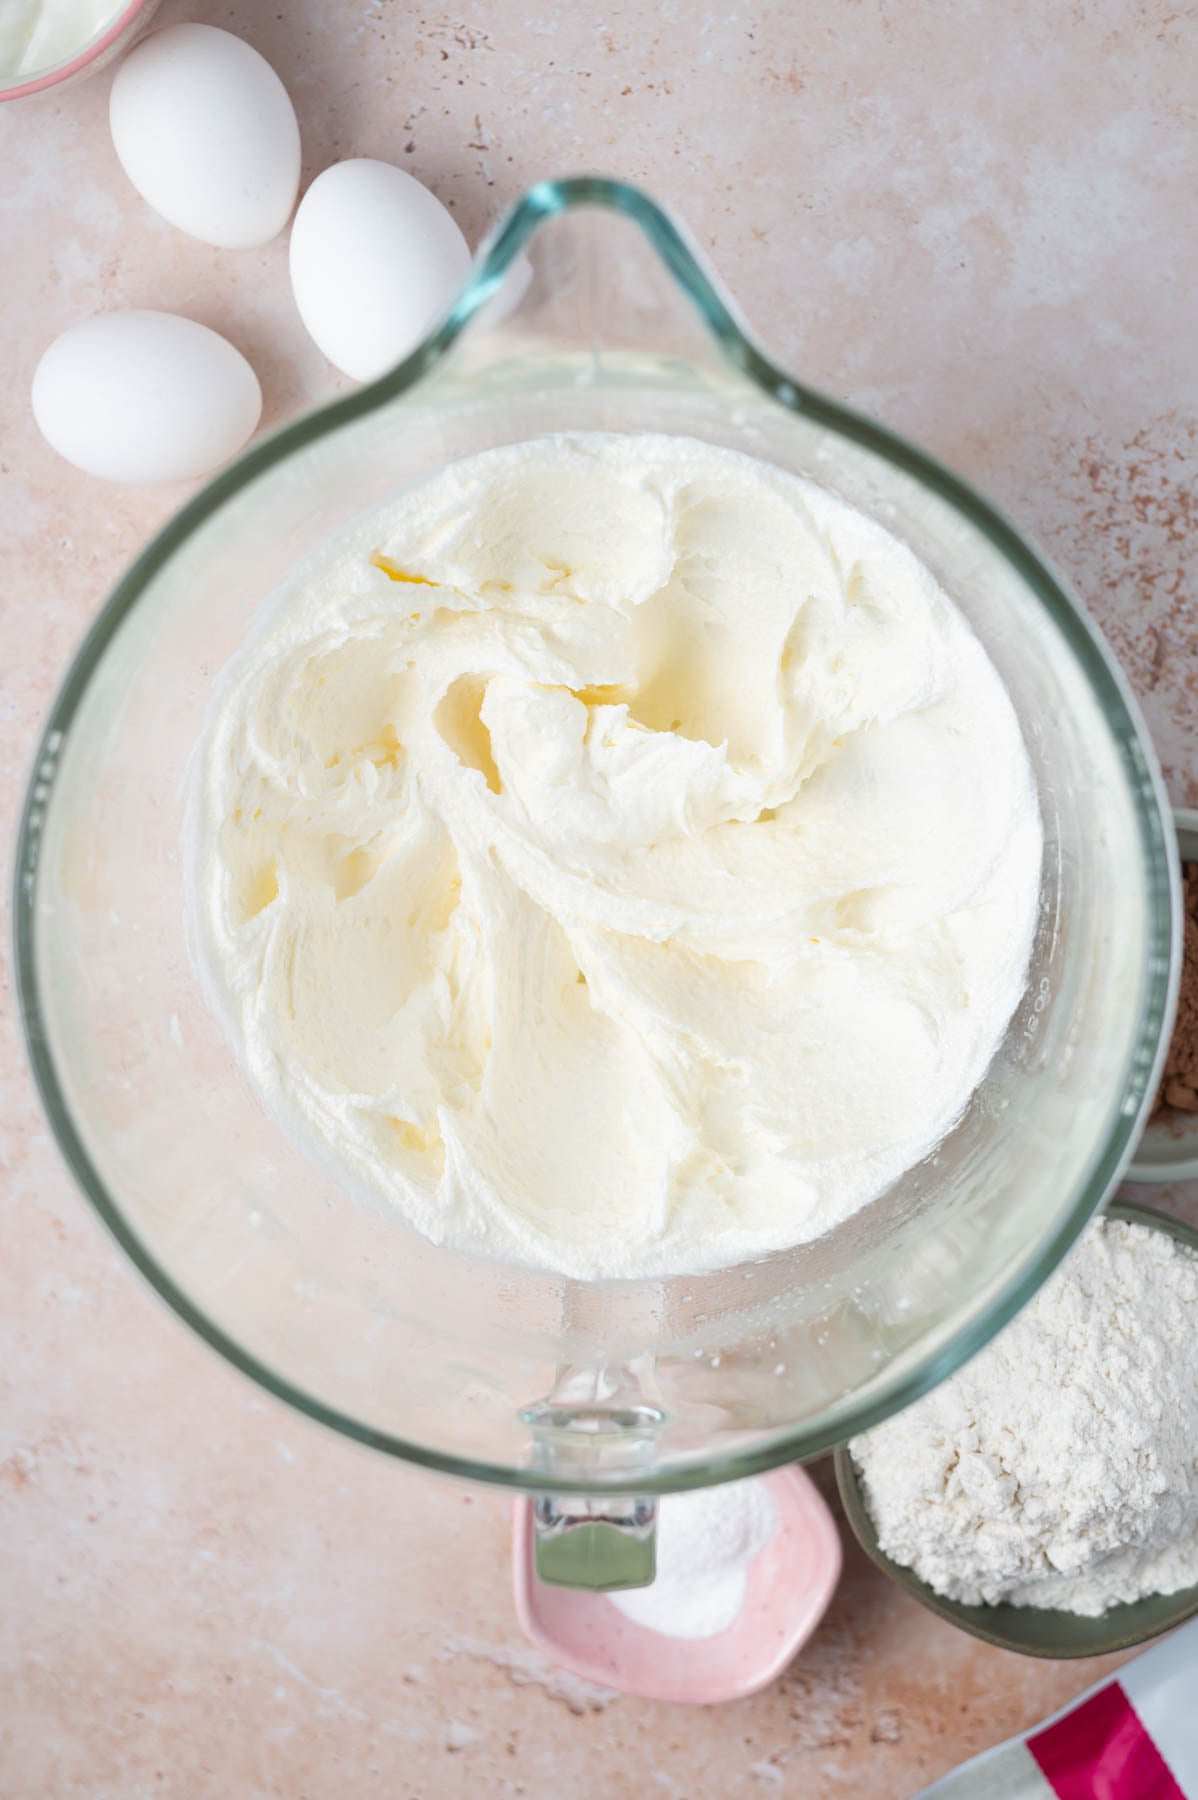
    butter, sugar, and oil beaten together in a glass bowl

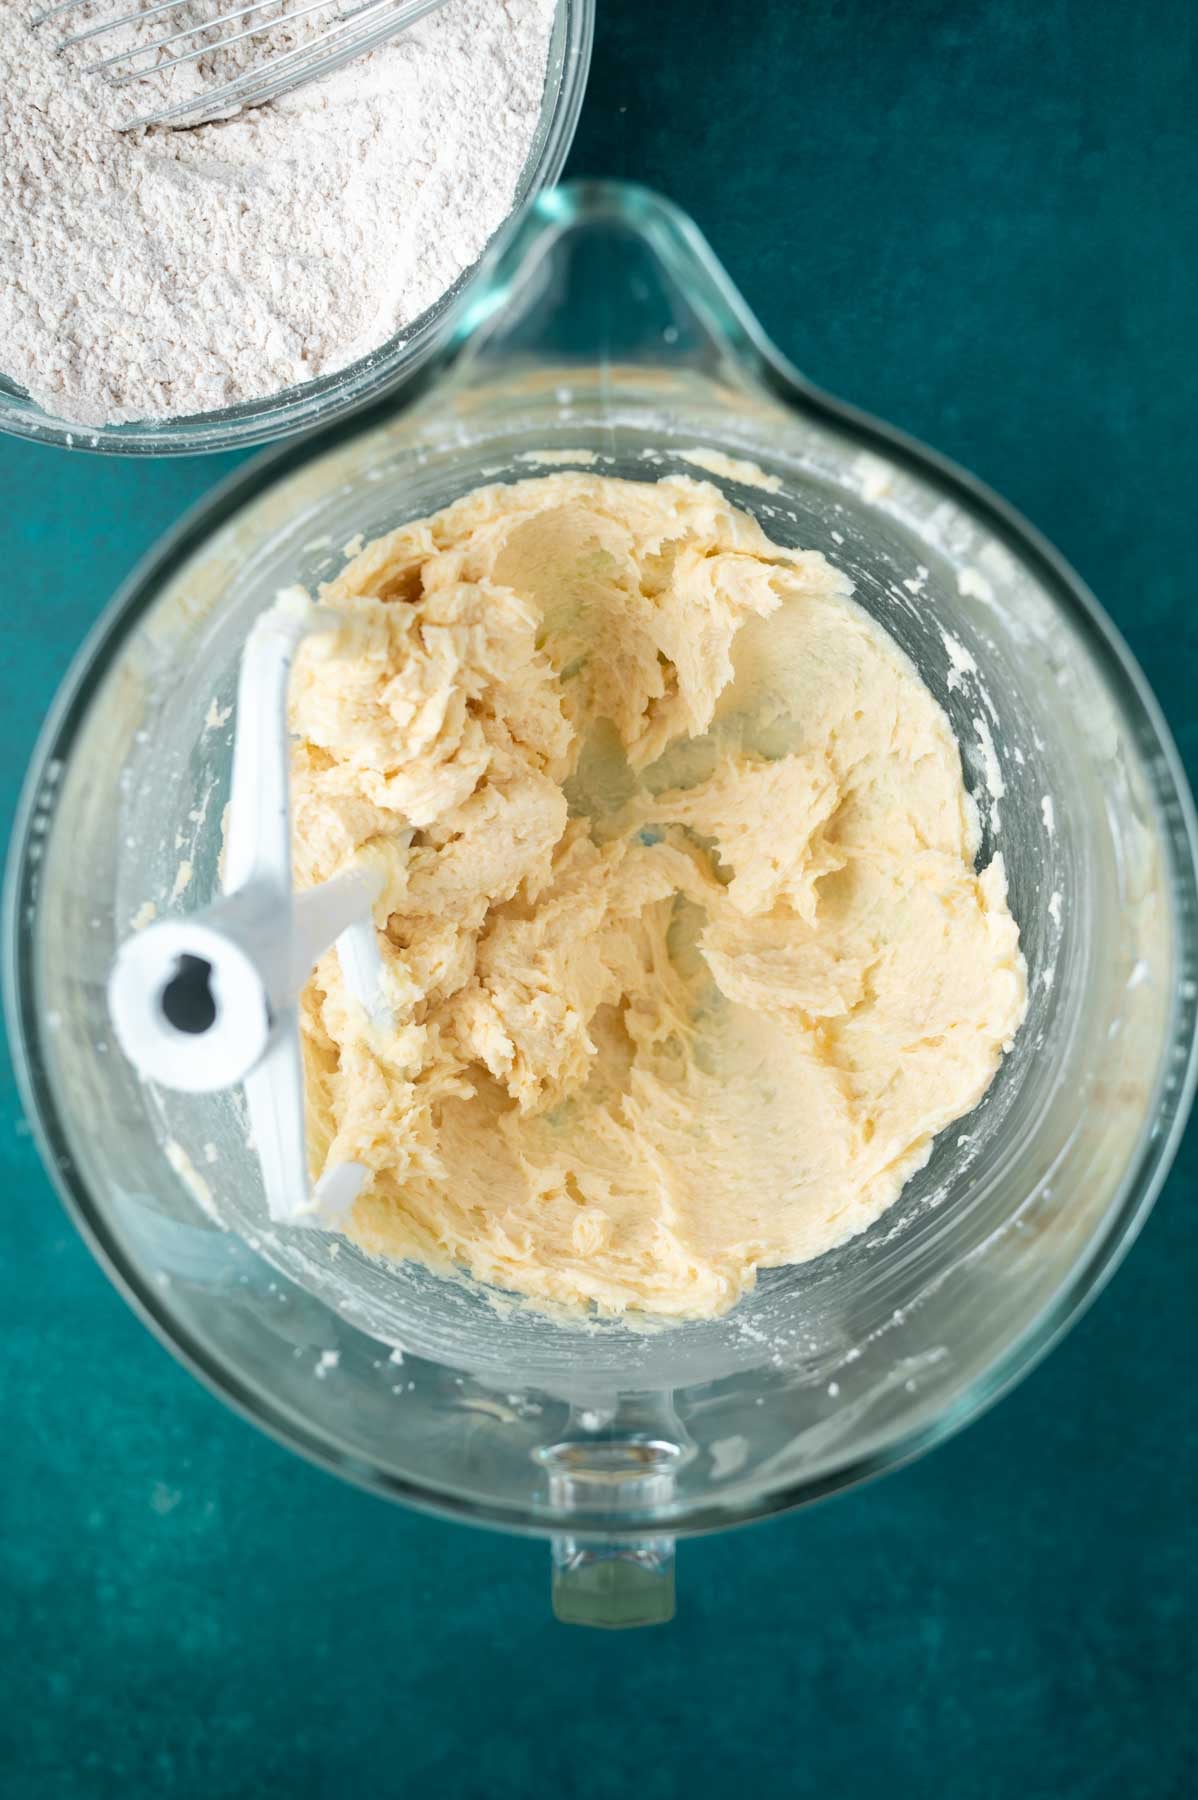
    With the mixer on low, slowly drizzle in the oil. Once combined increase the speed to medium high and beat until light and fluffy.
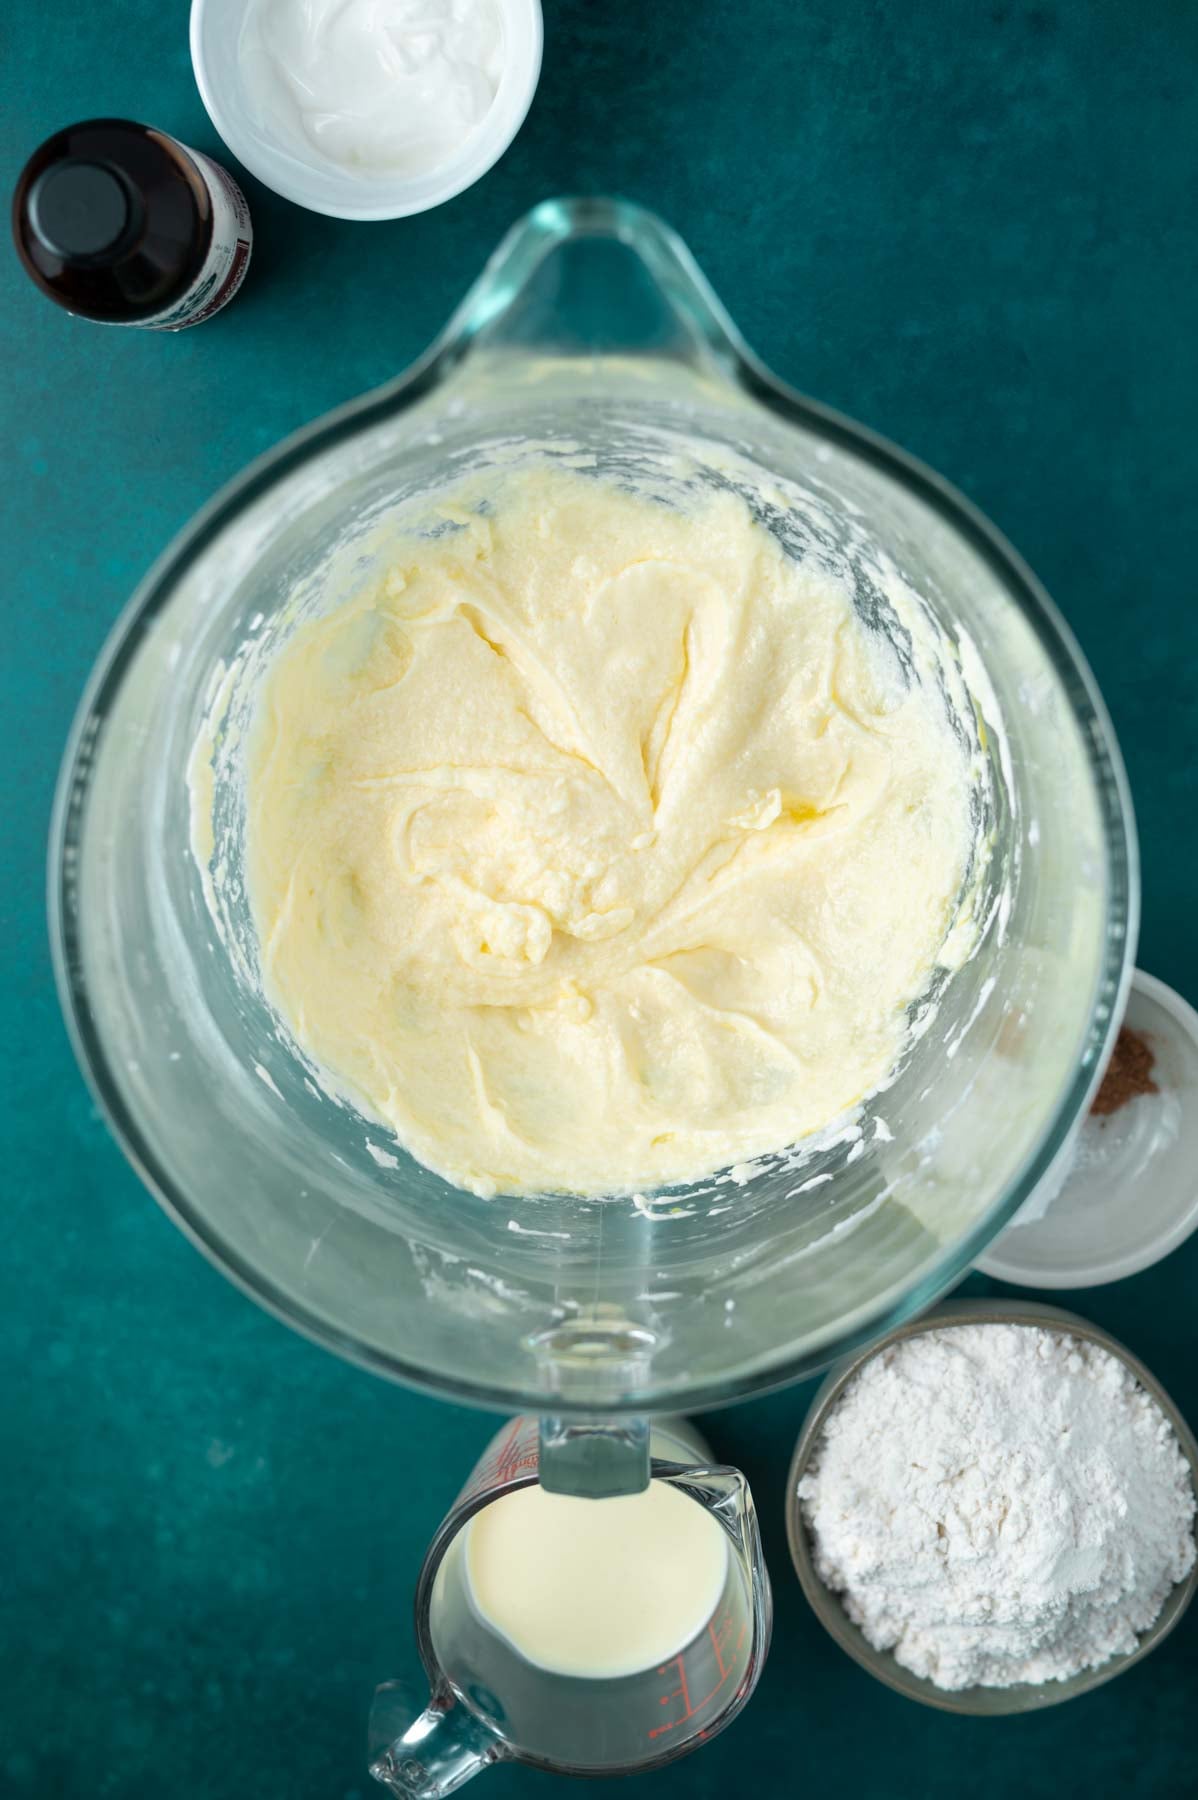
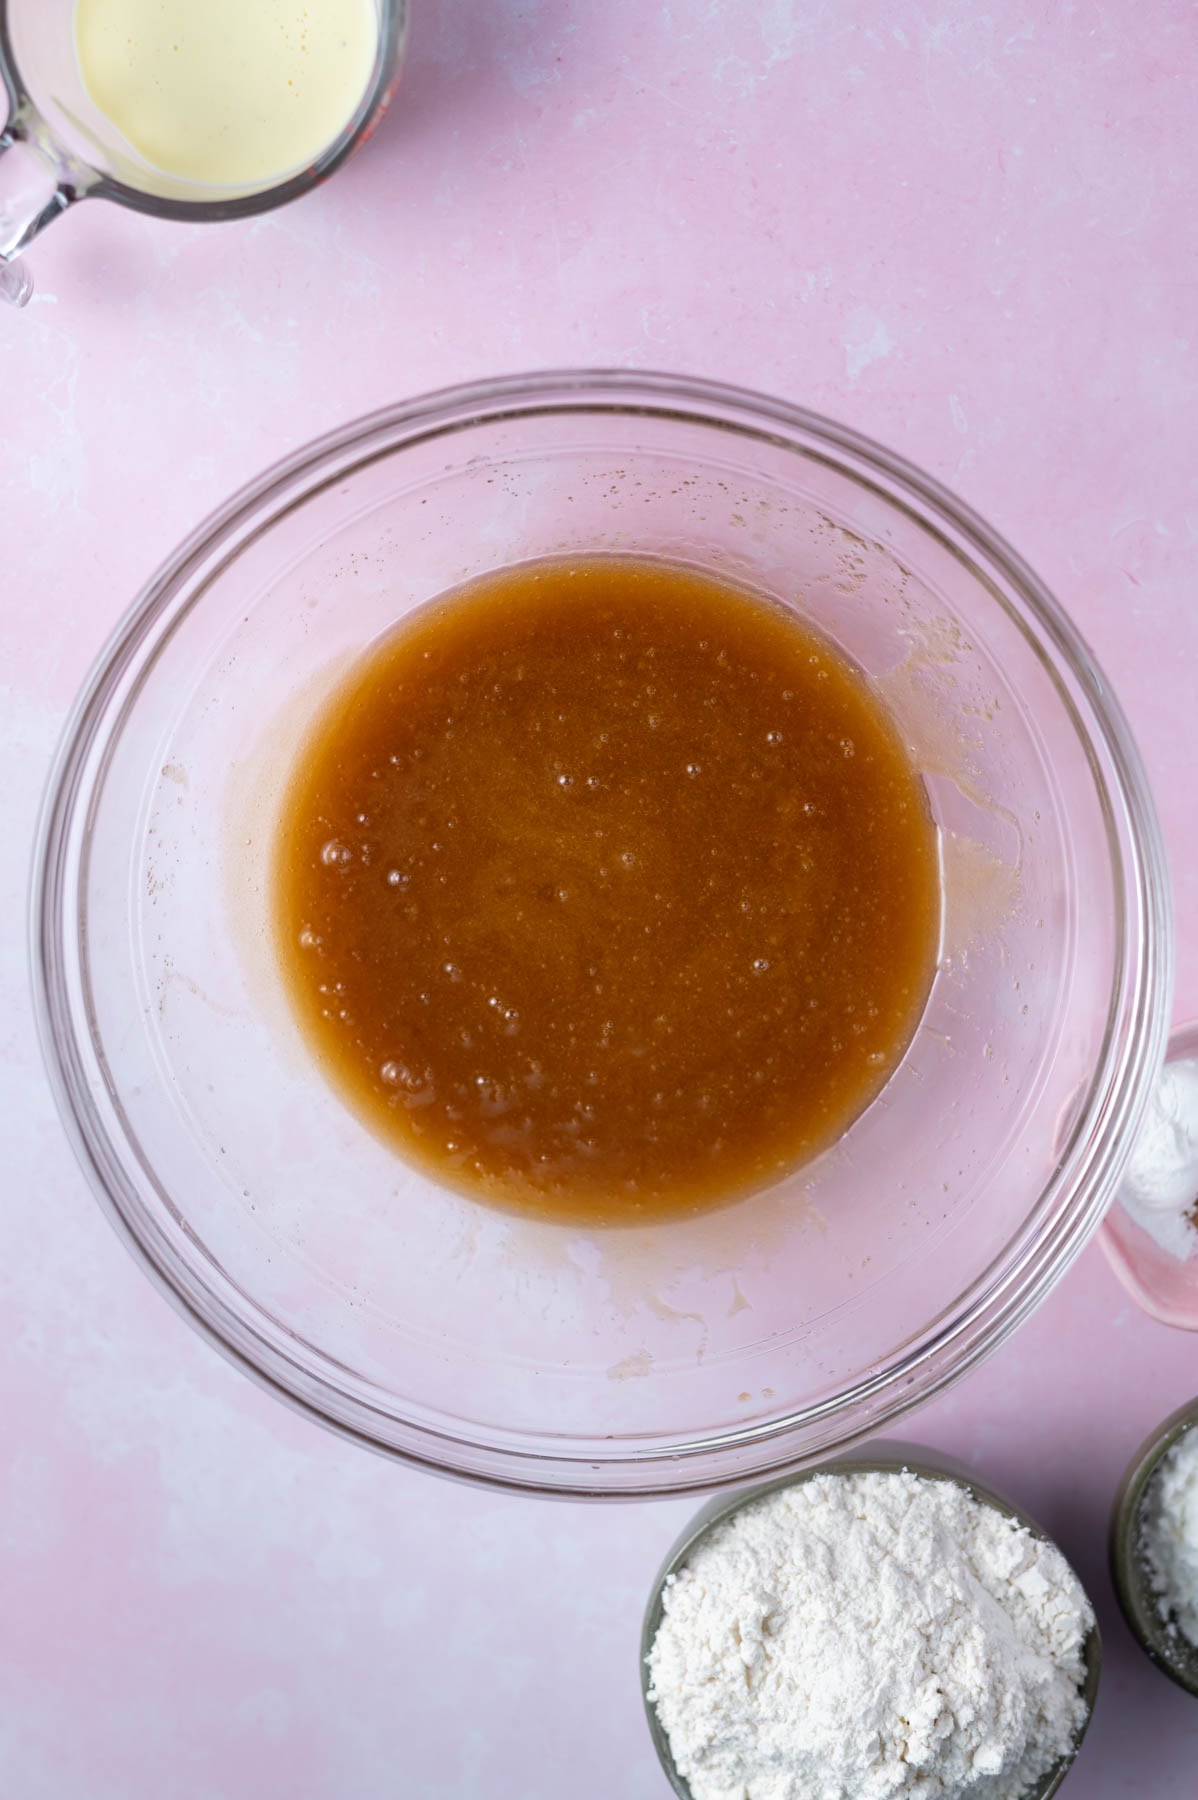
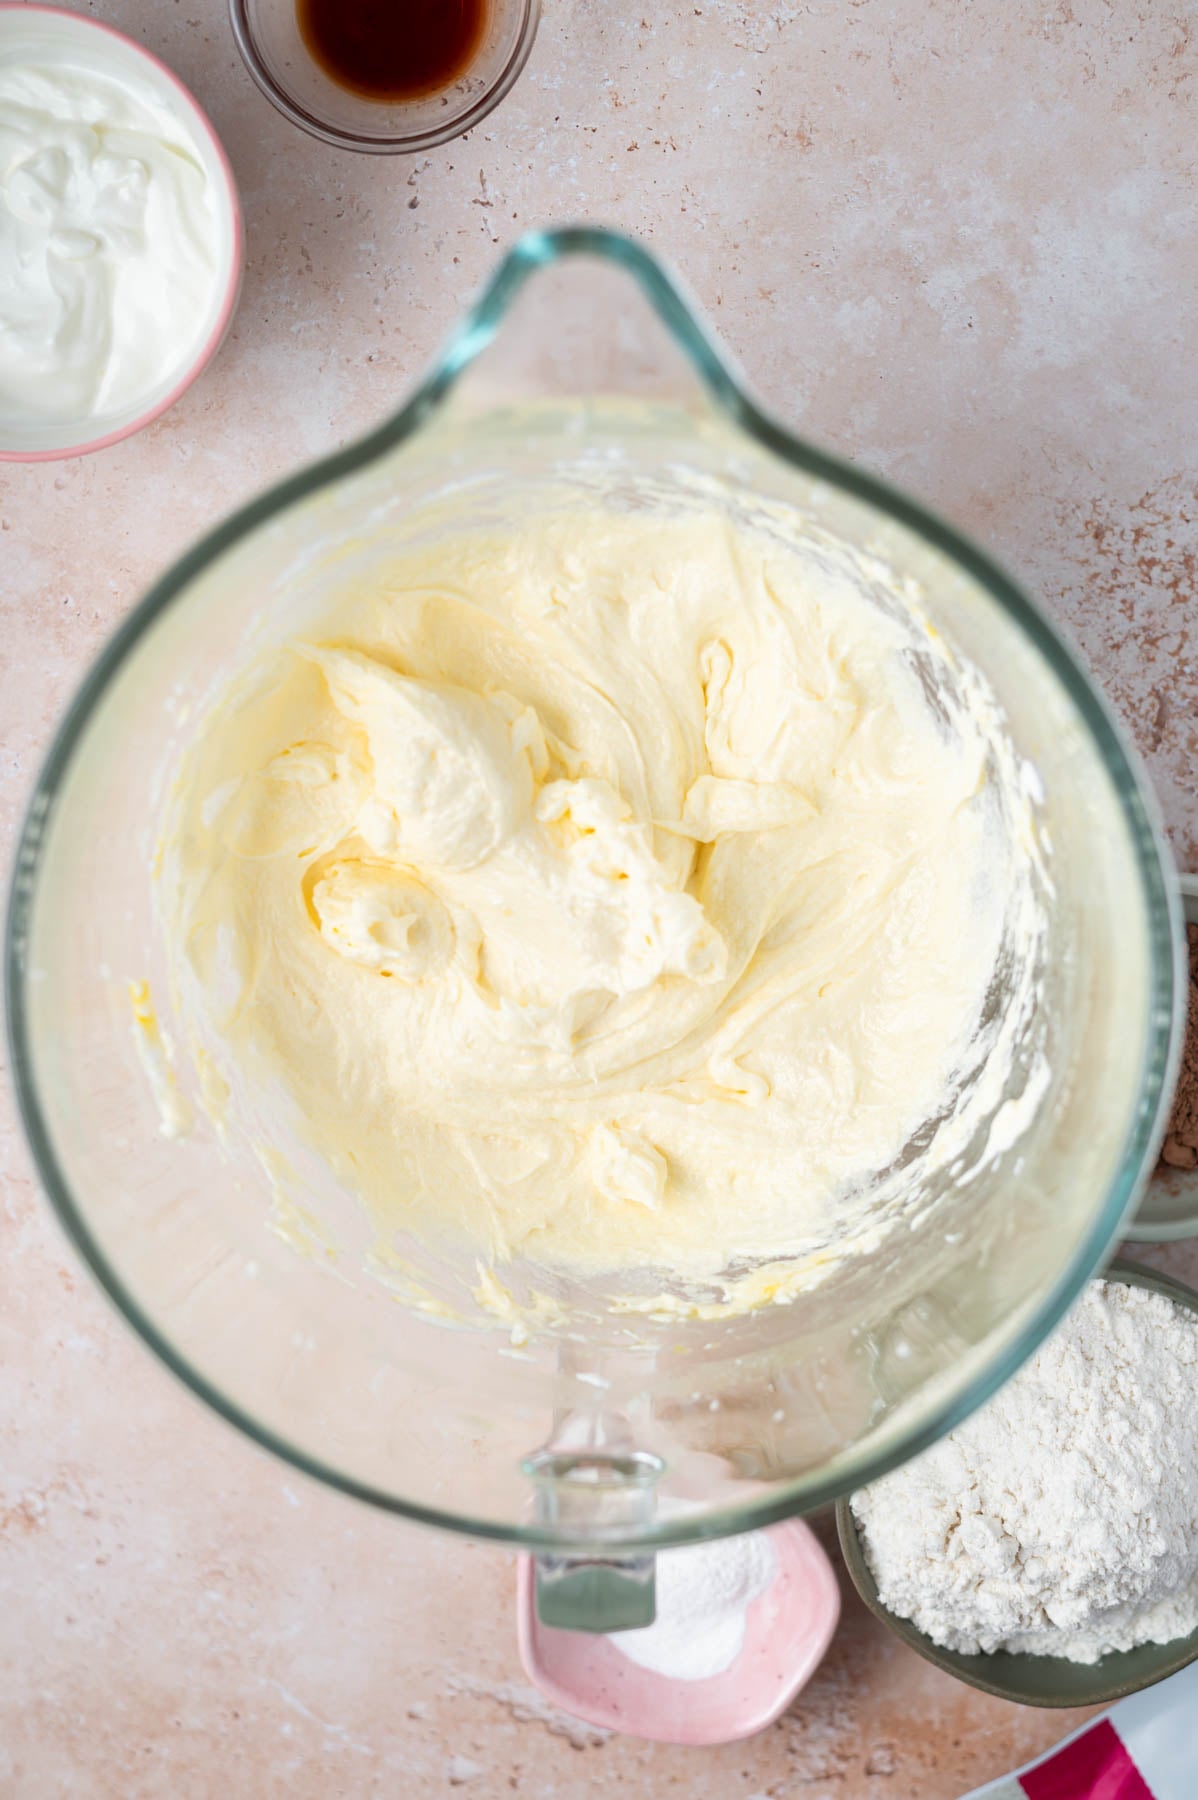
    butter, sugar, oil, and eggs mixed together in a glass bowl

    Add the eggs one at a time, mixing until incorporated. The mixture may look a little curdled at this point, but don't let it bother you.
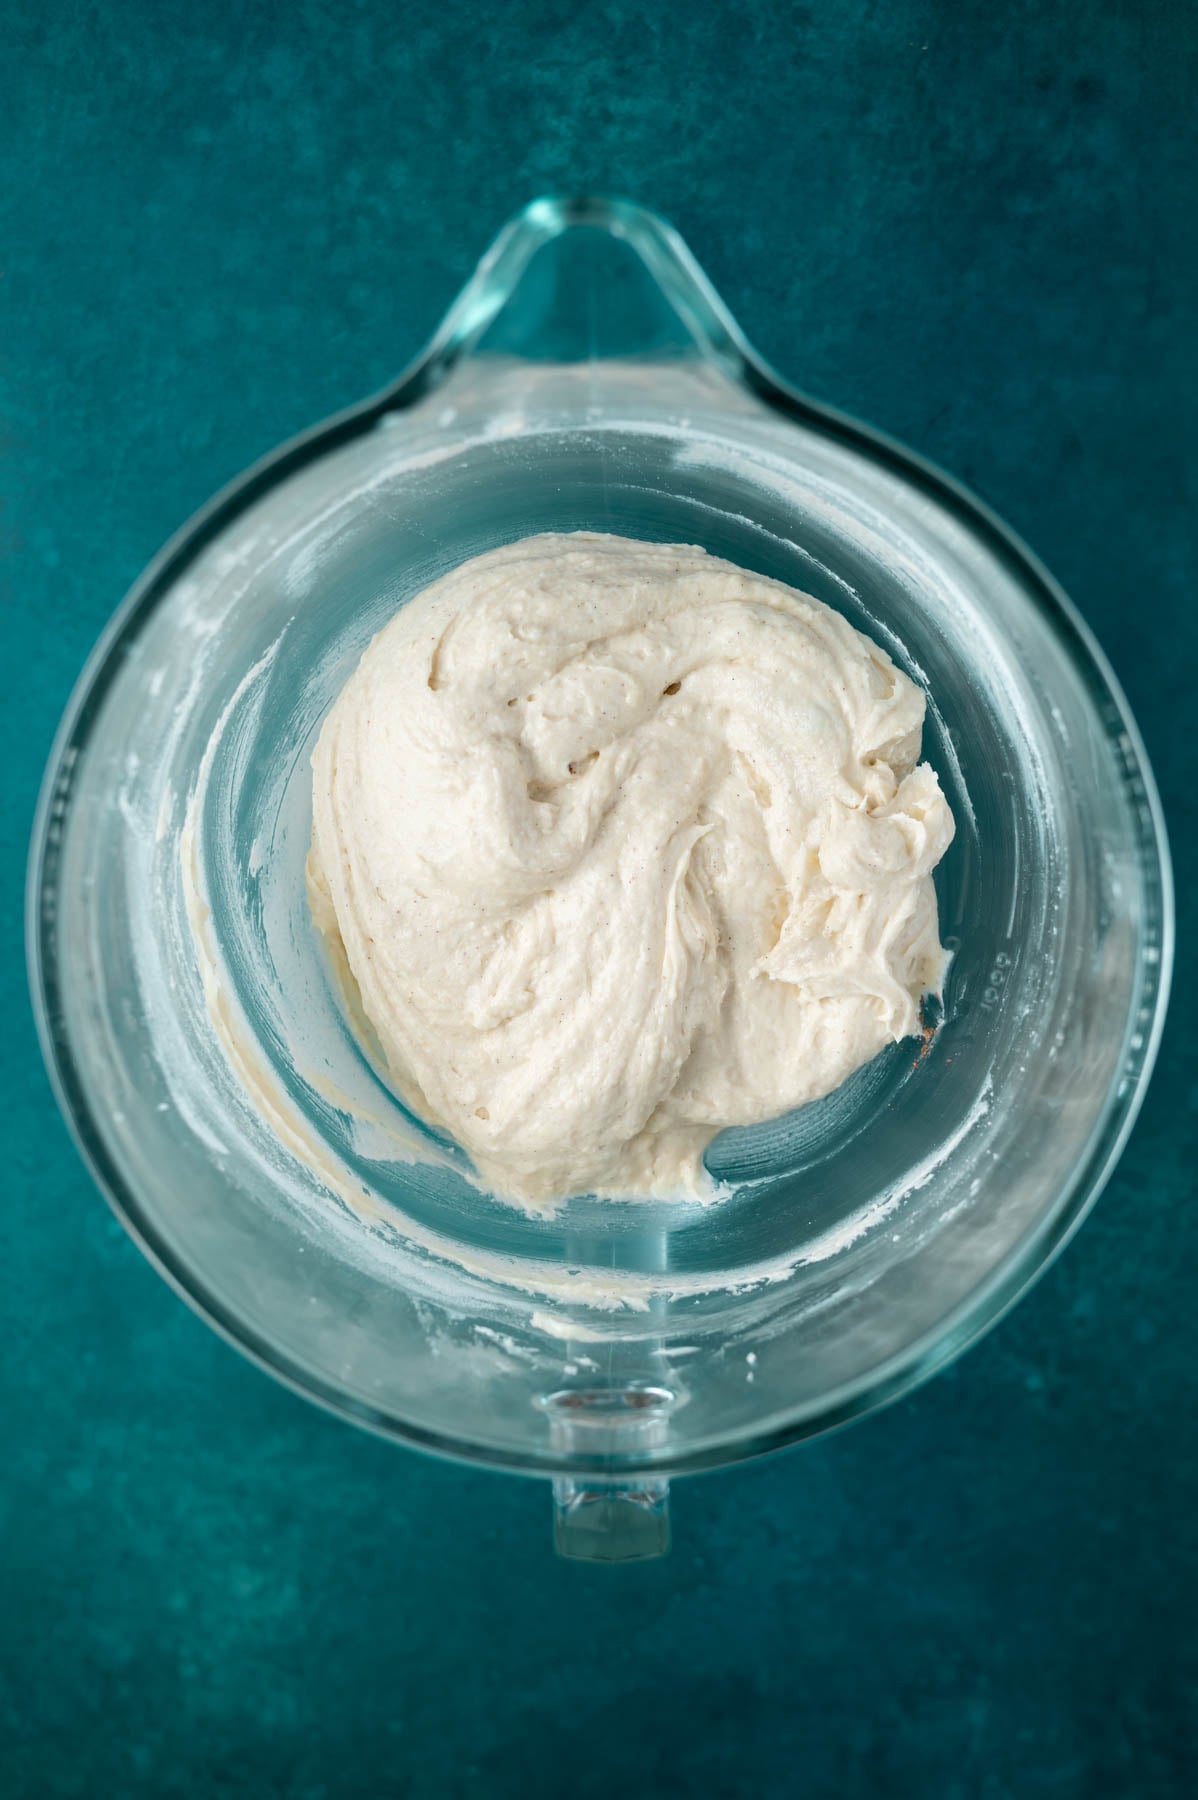
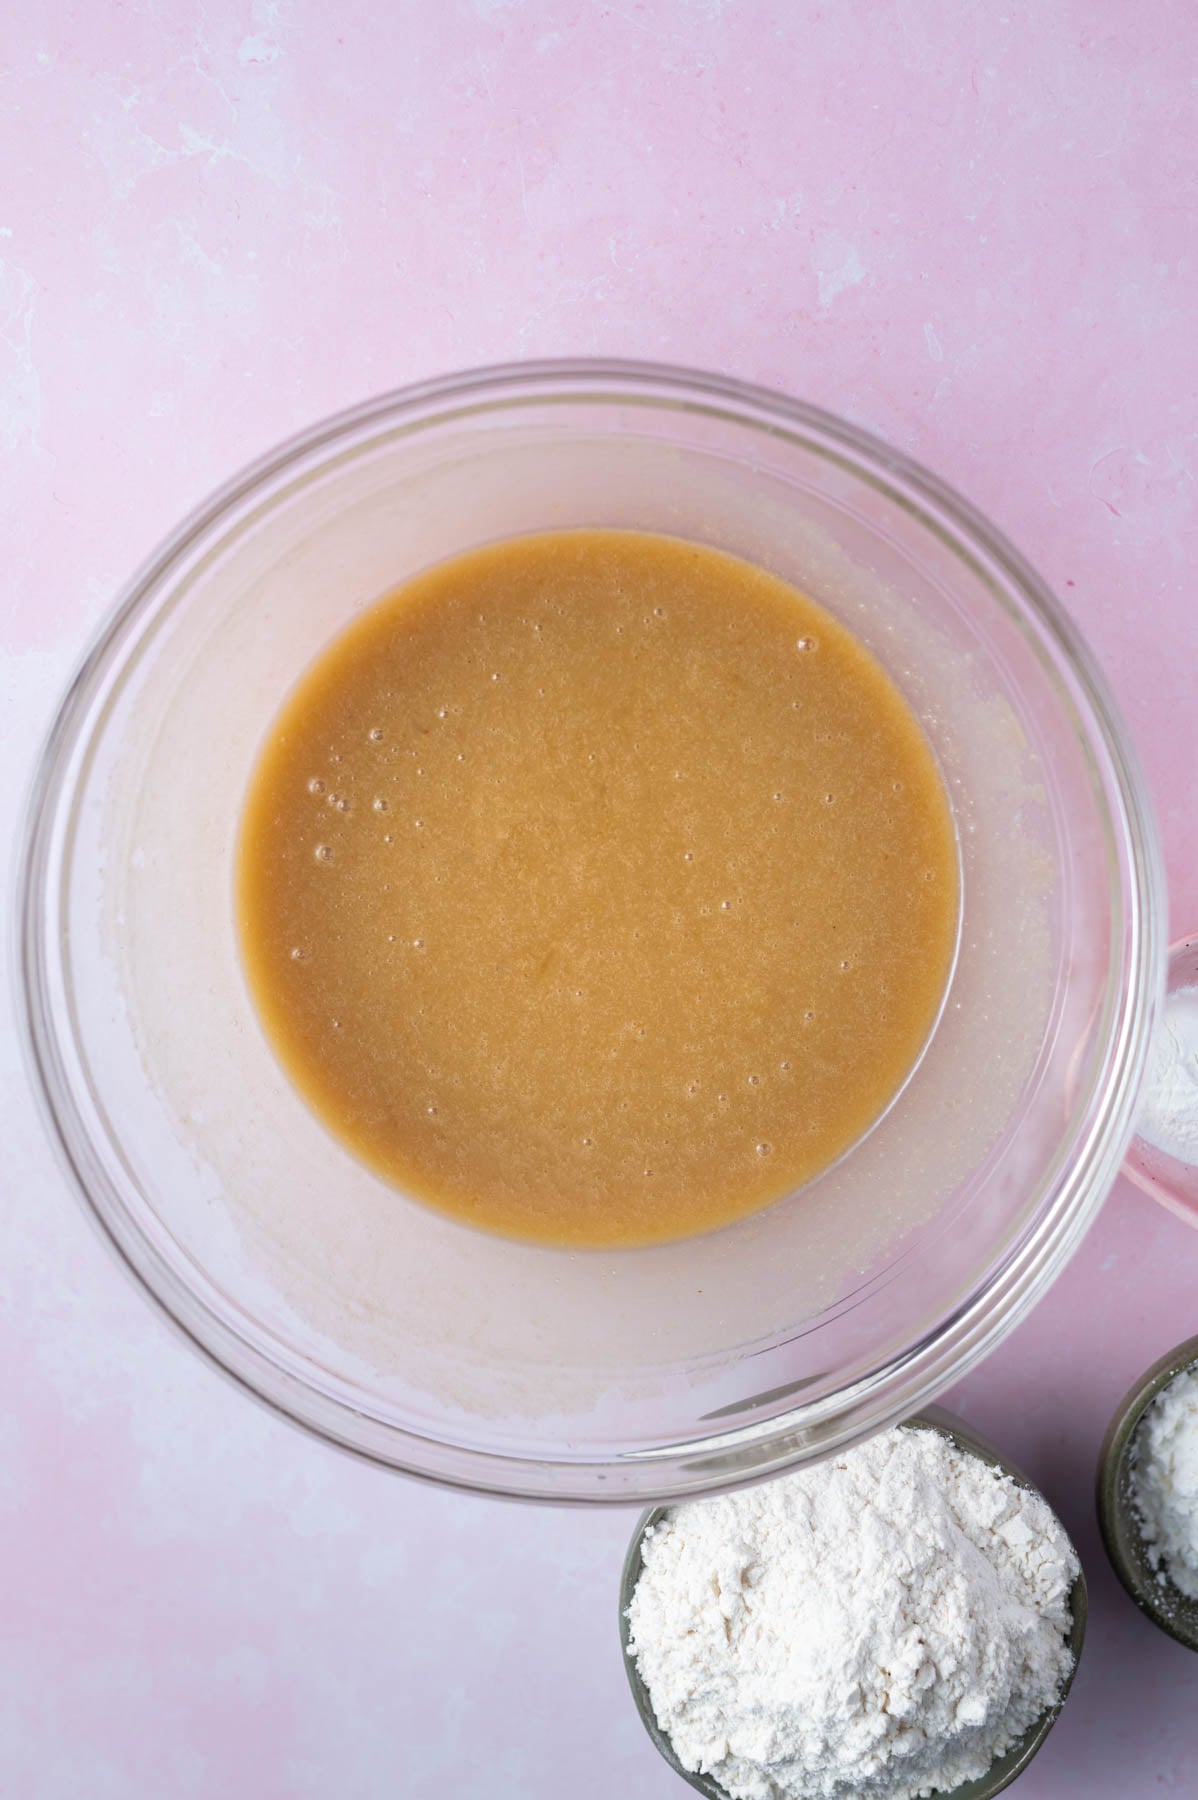
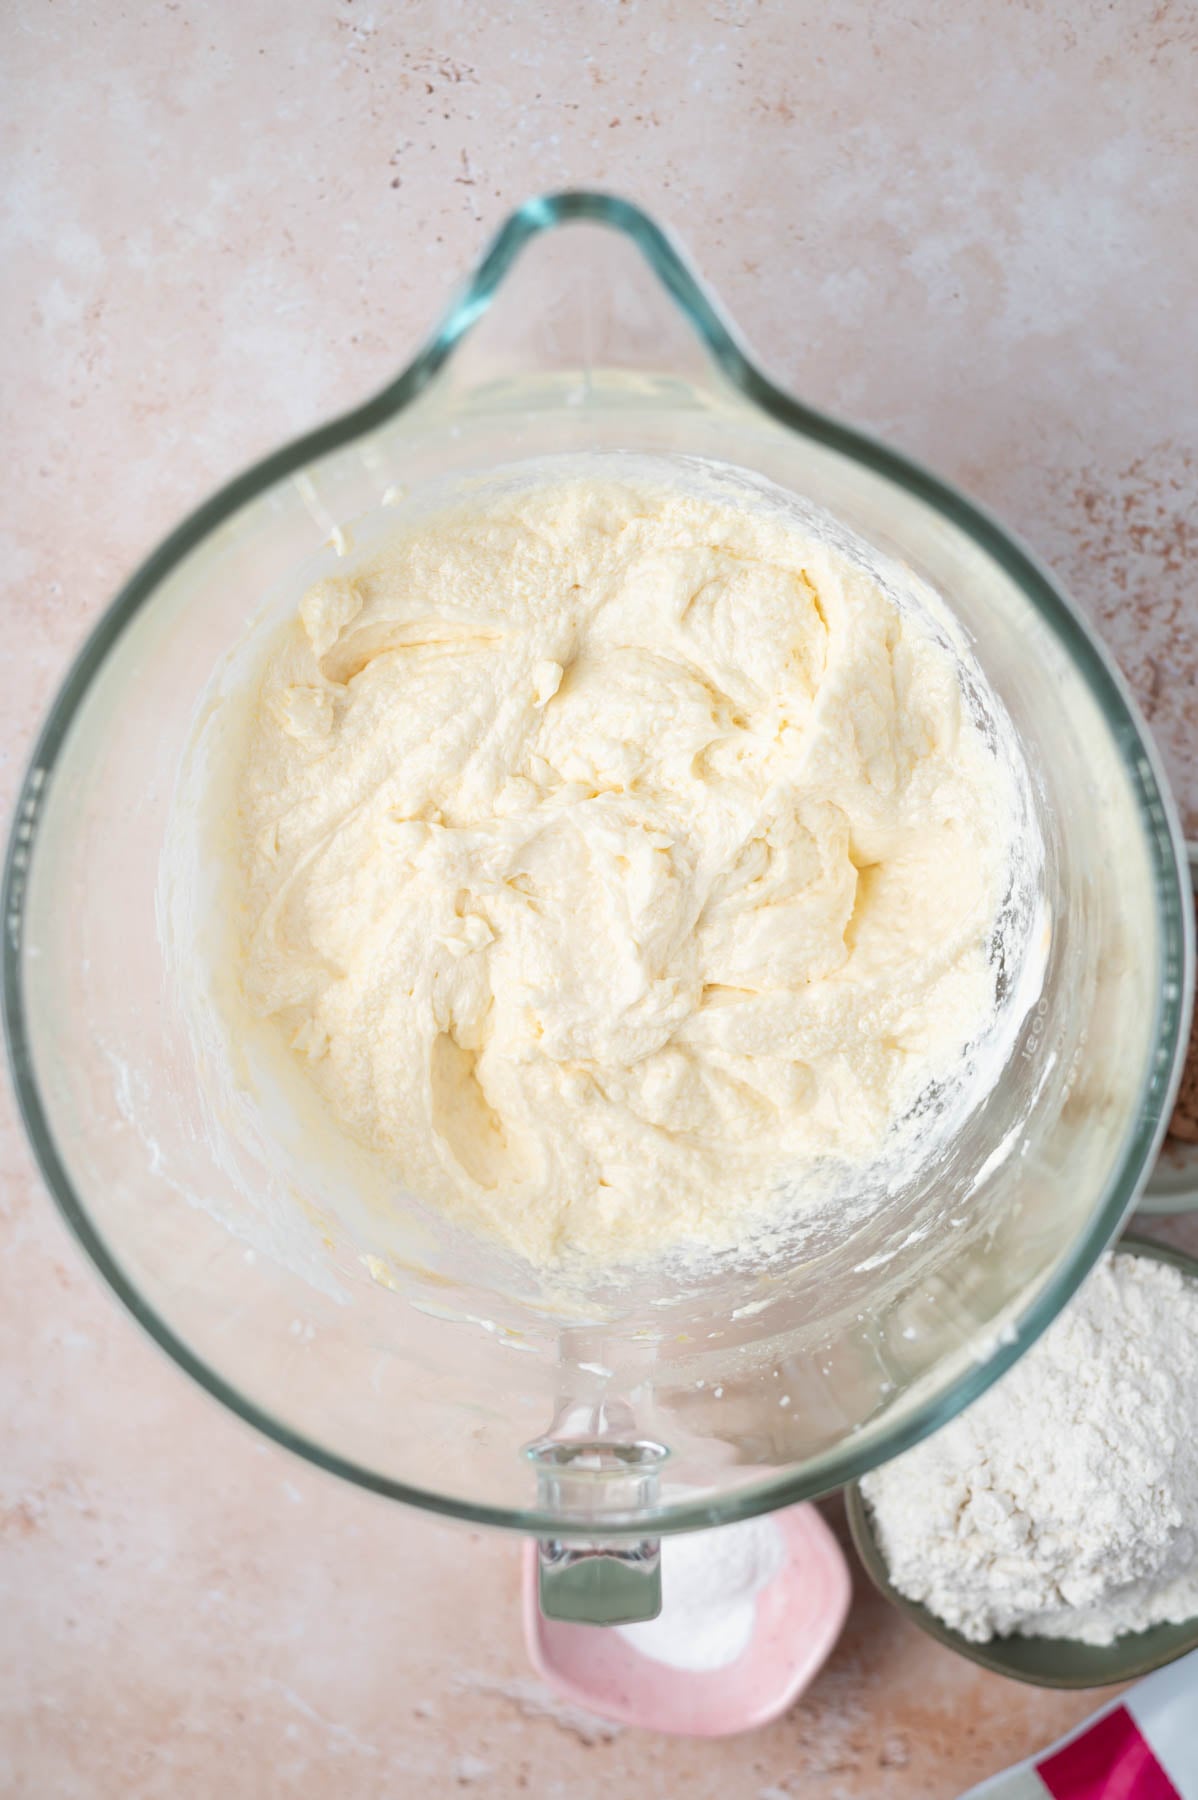
    cake batter in a glass mixing bowl

    Then add the sour cream, vanilla, and rum extract, and mix until fully combined.

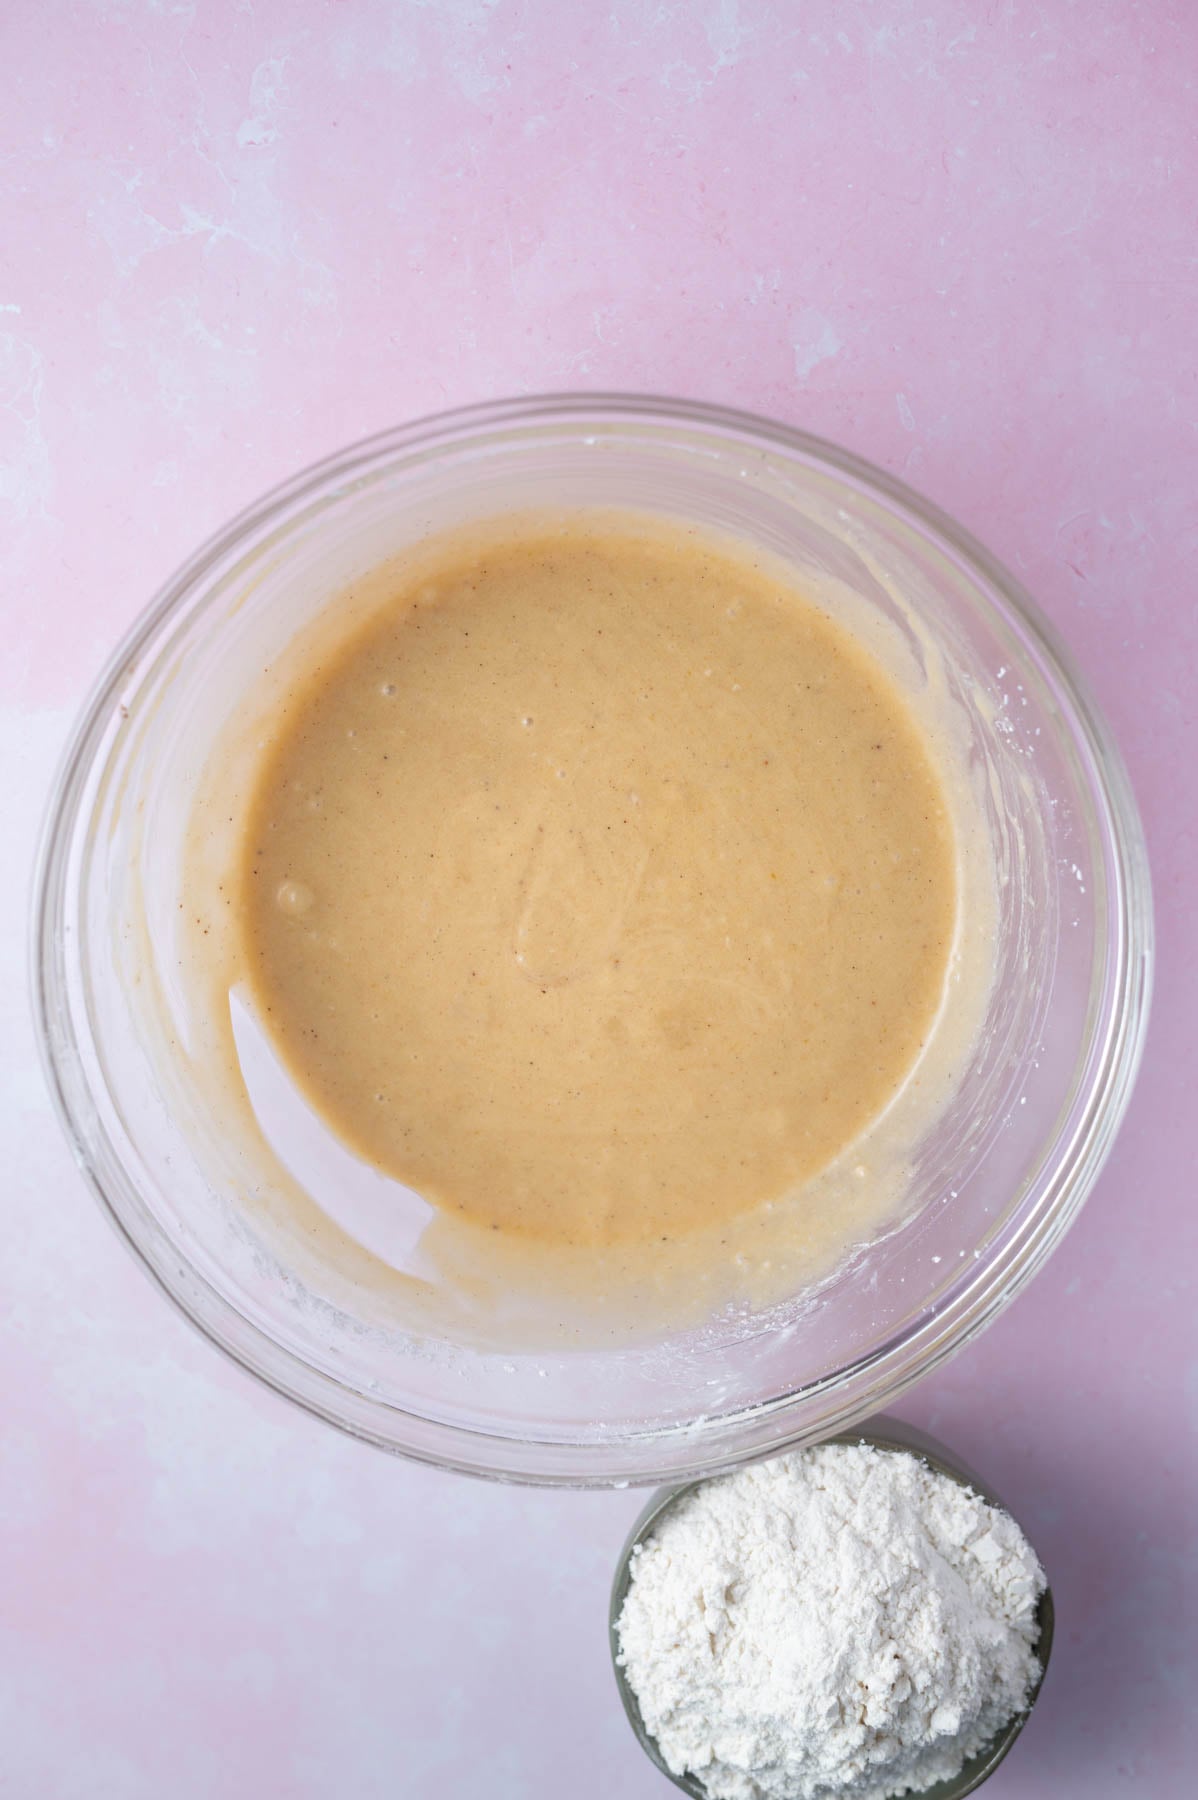
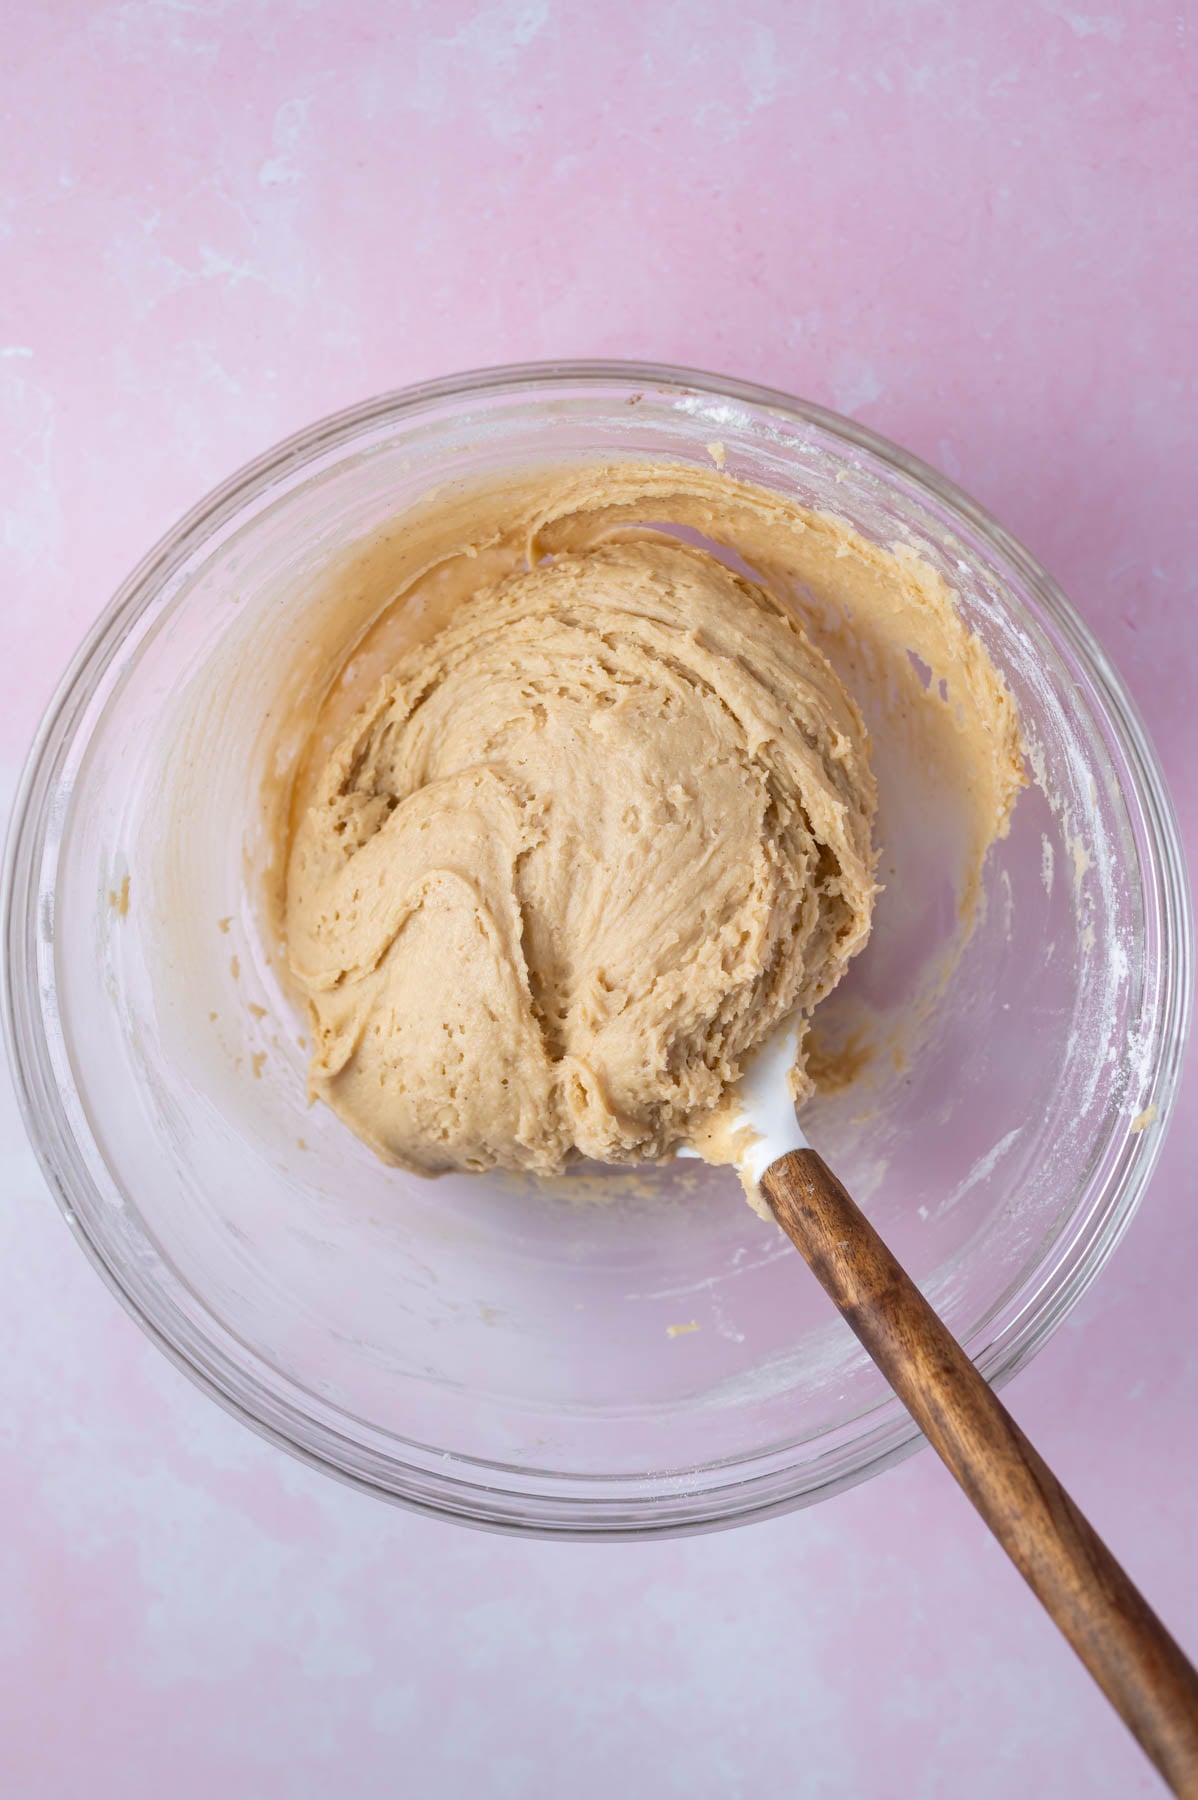
    Sprinkle the baking powder and nutmeg over the wet ingredients, then add the flour and mix on the lowest setting. As the flour incorporates, slowly pour in the eggnog mixing on low until just combined. Use a spatula to finish mixing.
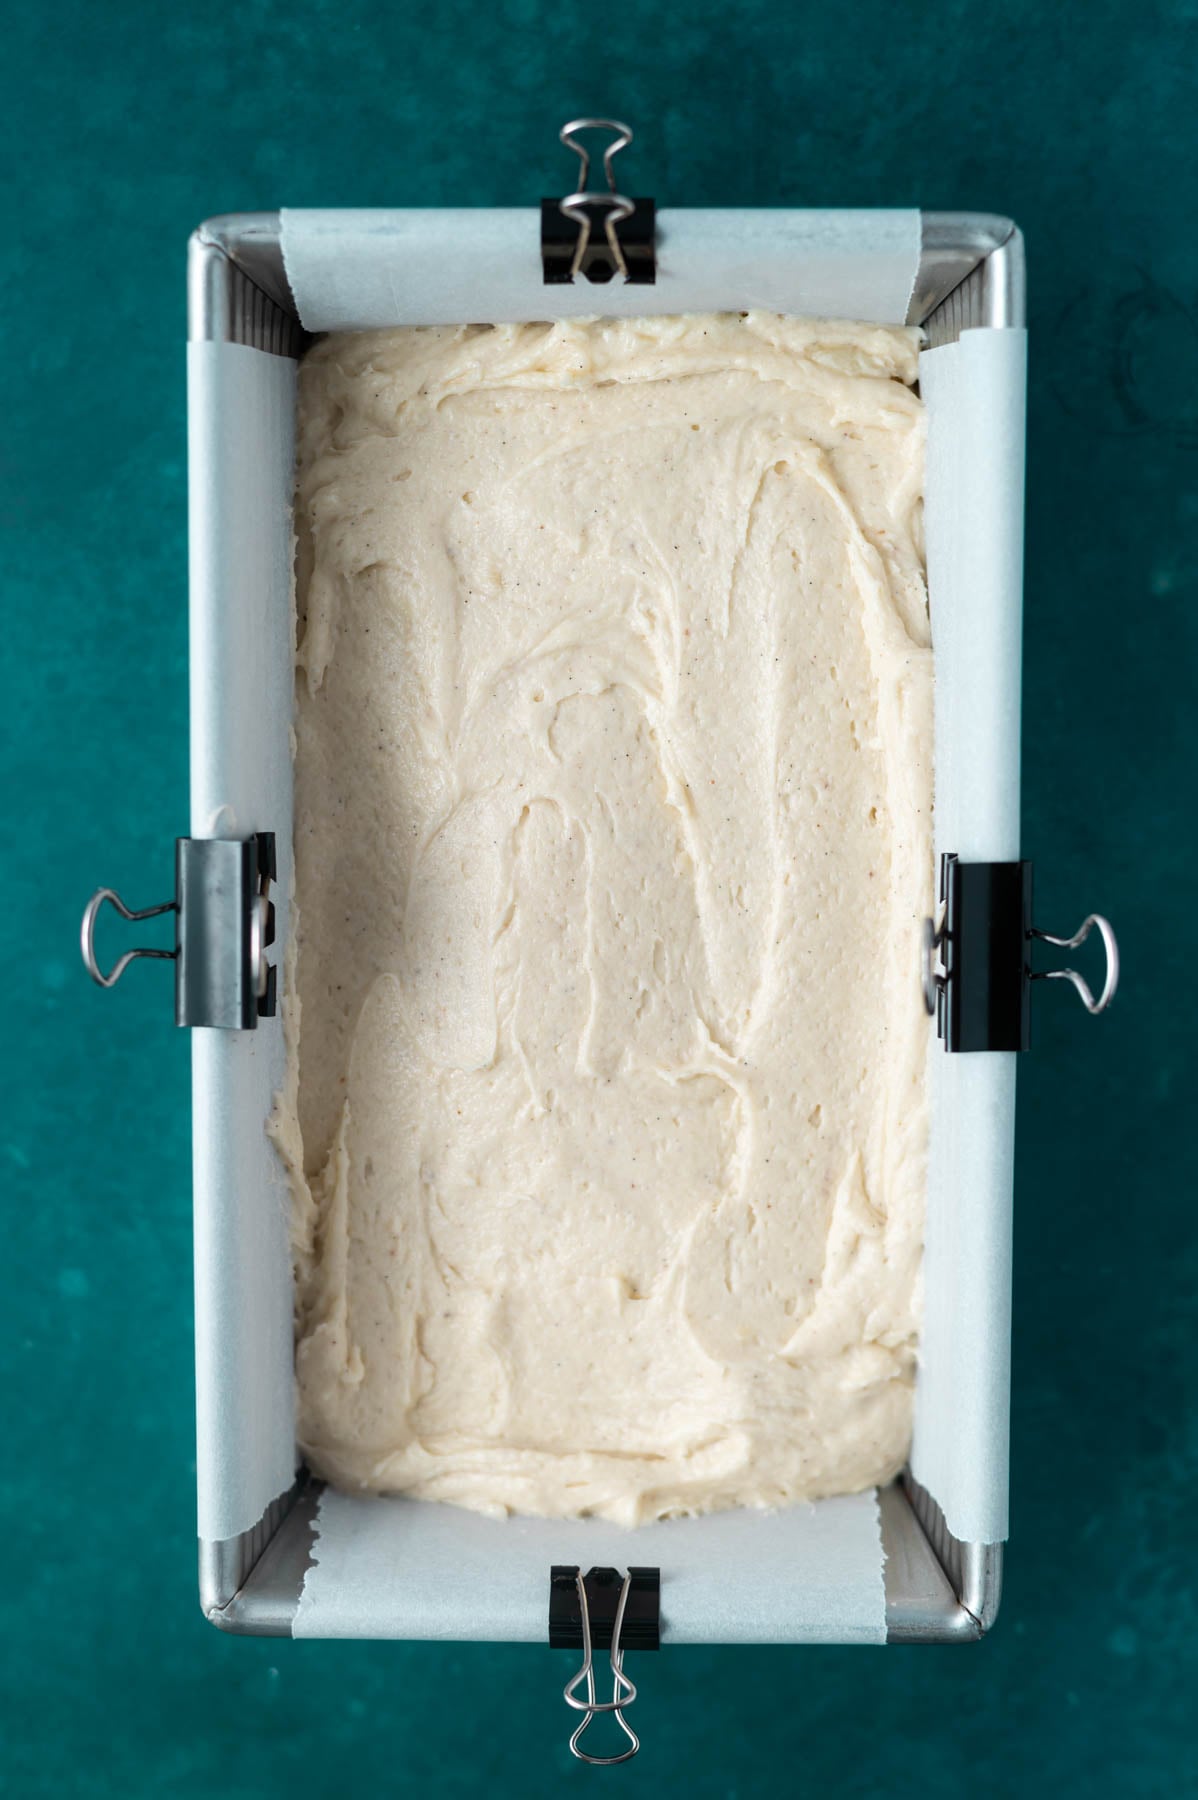
    cake batter in a parchment lined loaf pan

    Spread the batter in the prepared loaf pan. Lightly drop the pan on the counter a time or two to remove any air bubbles.
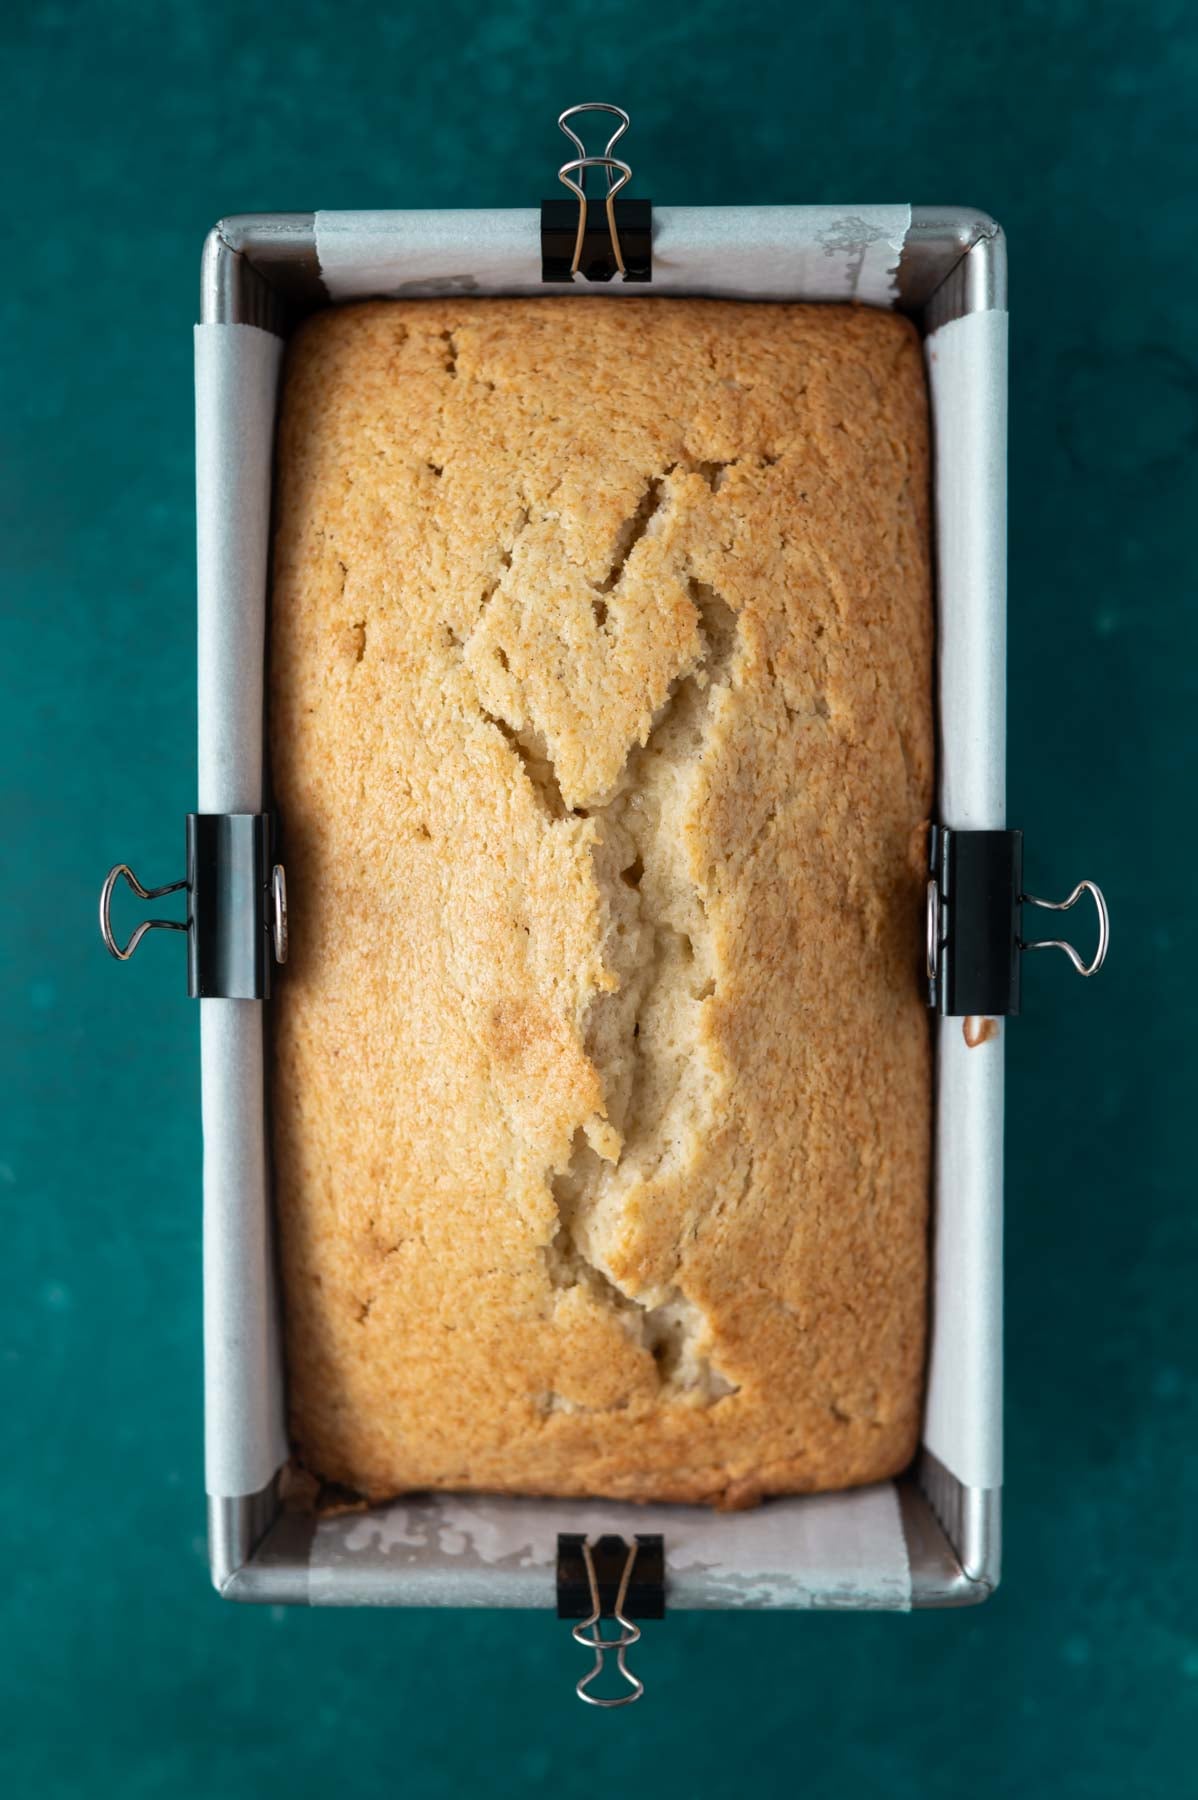
    baked pound cake in a parchment lined loaf pan

    Place in the preheated oven and bake. Allow the cake to cool in the pan on a wire rack for 1 hour. Then use the parchment paper to remove the cake from the pan and add the eggnog rum icing.
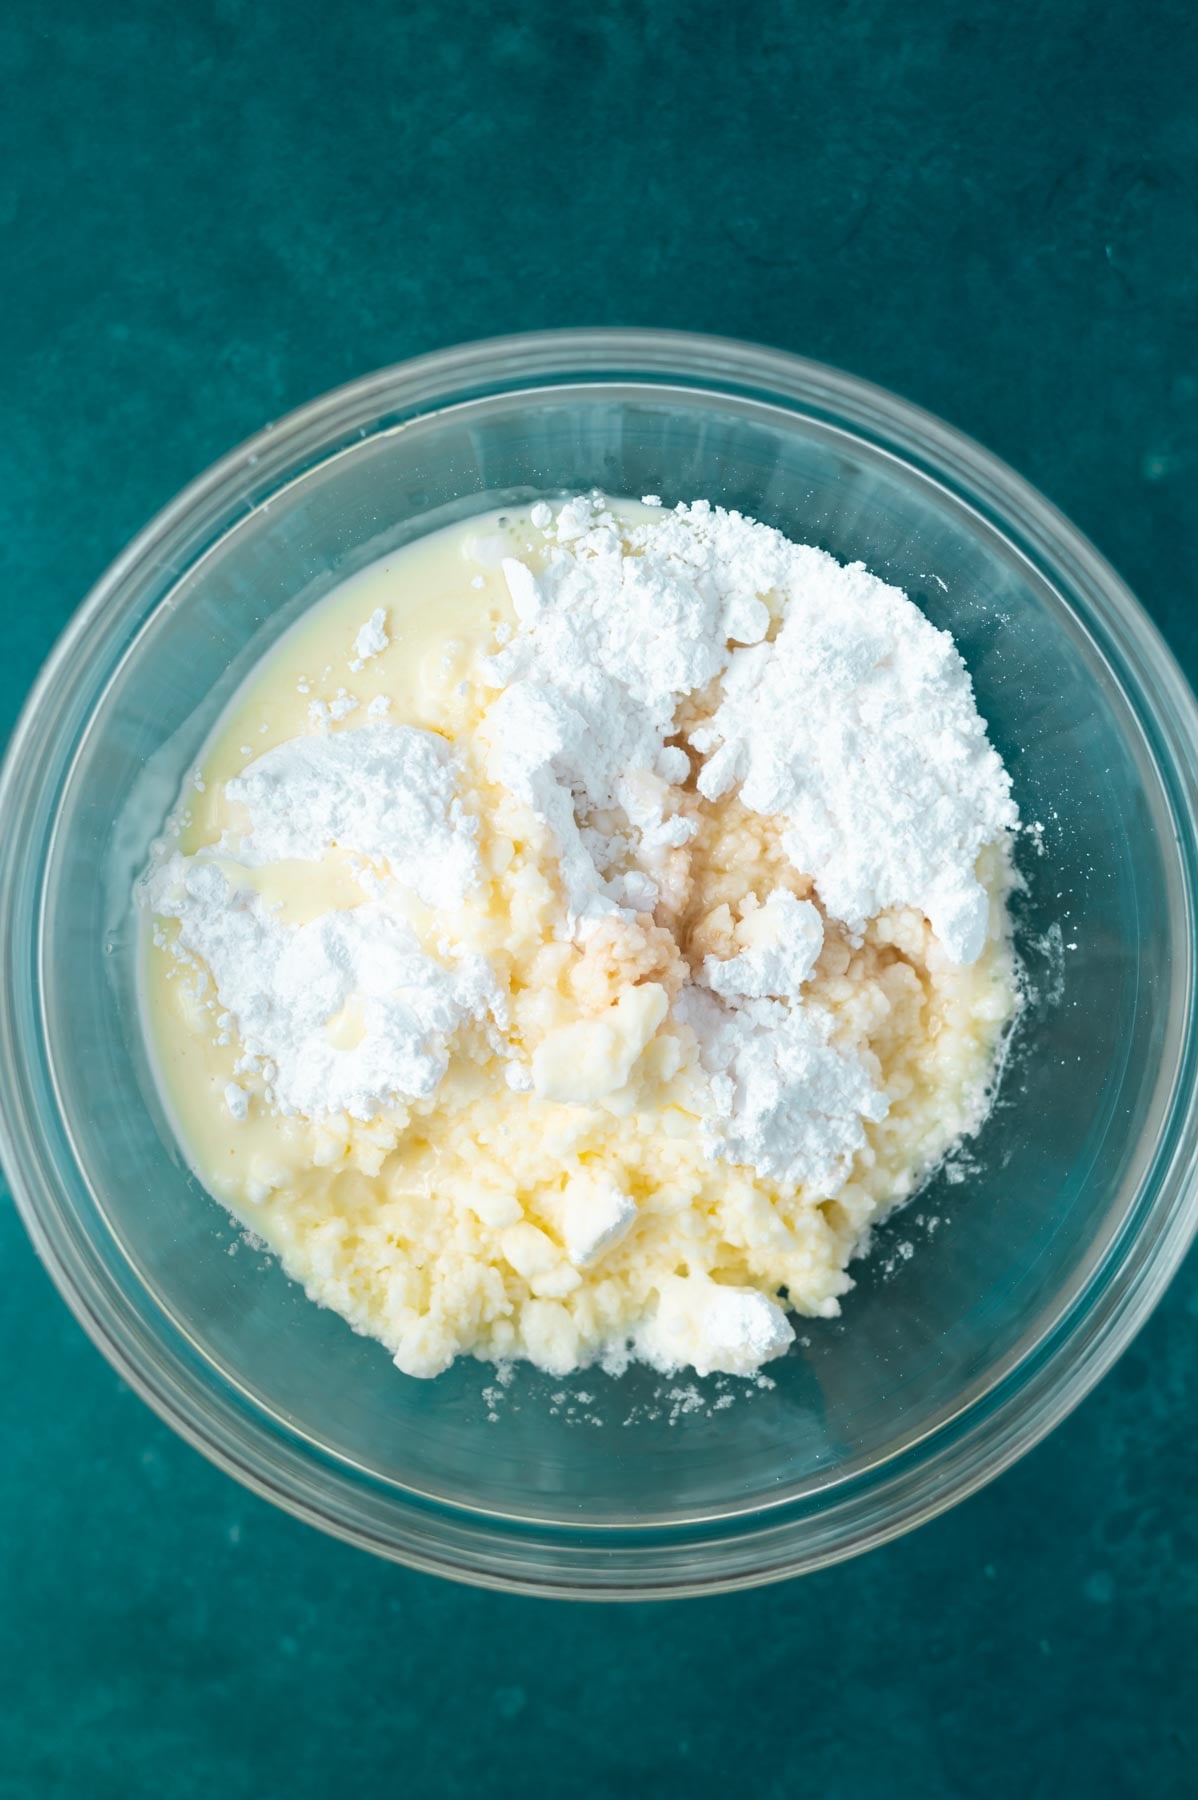
    ingredients for rum glaze in a glass bowl

    Combine the confectioners' sugar with the melted butter, vanilla extract, rum, and eggnog in a medium bowl with a spoon.
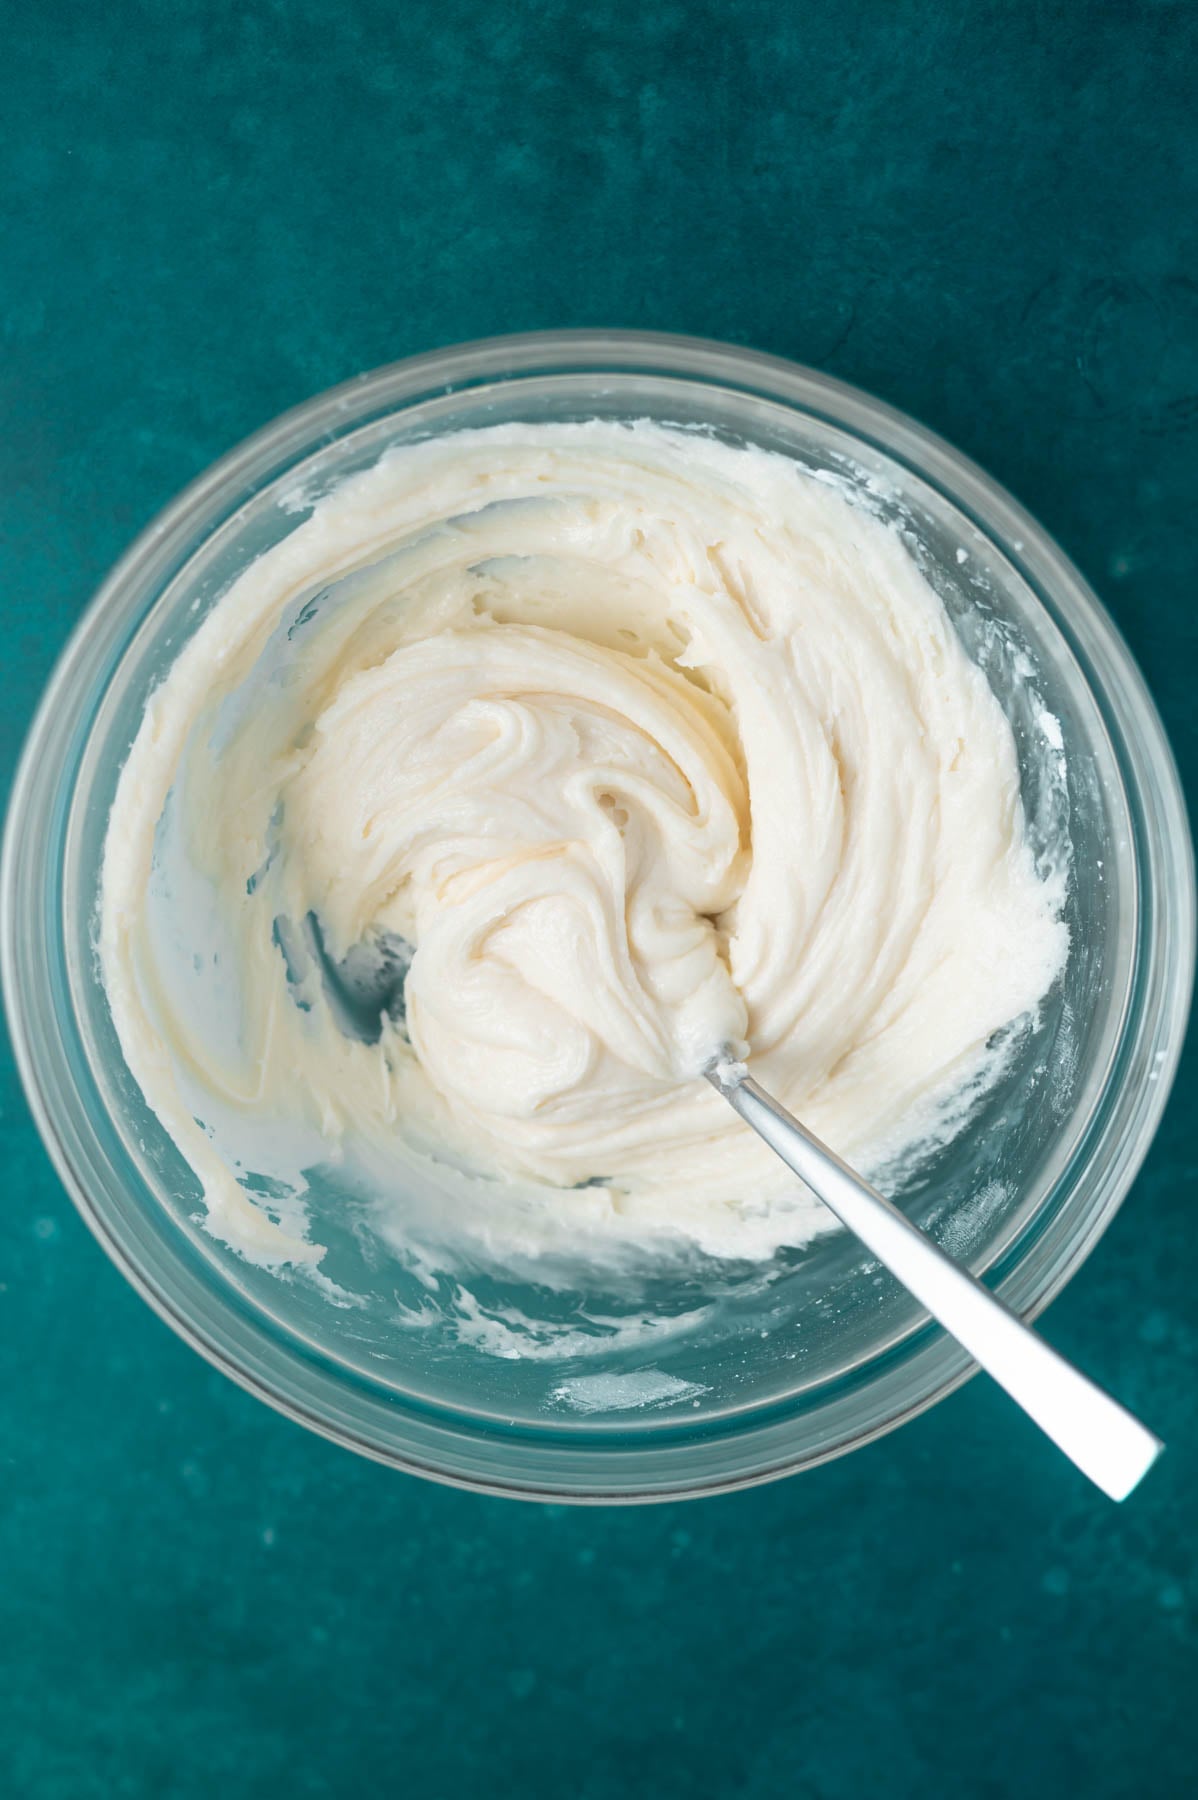
    rum glaze in a glass bowl

    Stir until it reaches a thick, smooth icing glaze. If the icing is too thick to spread, add another splash of eggnog or rum.

    Spread the icing glaze over the top of the cake and allow to set.ย 

    ๐Ÿ’ฌ frequently asked questions

    can I bake this in a bundt pan?

    I did not test this recipe in a bundt pan, but I suspect you could double the recipe and bake it in a standard 12-cup bundt. You would need to increase the baking time and keep a close eye on it. Let me know if you try it!

    can I leave out the rum or rum extract?

    Yes! If you'd prefer no rum flavor, simply leave it out of both the cake and the icing. The cake will still be delicious with just the vanilla, eggnog, and nutmeg carrying the flavor.

    what if my batter looks curdled?

    Don't panic! This is really common when you're adding eggs to a butter based batter. Keep mixing, and once the flour and eggnog go in, everything will come together smoothly.

    how do I know when the cake is done? 

    A cake tester or toothpick inserted in the center should come out with just a few moist crumbs, not wet batter, but not totally dry either. Start checking at the 40 minute mark since your oven runs differently from mine. I use an oven thermometer to make sure my temperature is accurate.

    ๐Ÿ‘ฉ๐Ÿปโ€๐Ÿณ tips for the best pound cake

    Room temperature ingredients matter. The butter, eggs, sour cream, and eggnog should all be at room temperature before you start. Cold ingredients can cause the batter to be lumpy and may affect the texture of the finished cake. I usually set everything out 1-2 hours before baking.

    Don't skip the oil. It's only two tablespoons, but it works with the butter to create a really moist crumb. You'll notice it!

    Measure your flour correctly. If you're not using a kitchen scale, fluff the flour in the container, spoon it into your measuring cup, and level it off with a knife. Packed flour = dense cake.

    Use parchment paper. Lining the pan with parchment makes lifting the cake out clean and easy. It's worth the extra 30 seconds. I have a YouTube tutorial that shows you three ways to line pans with parchment paper.

    Let it cool in the pan. I know it's tempting to rush, but letting the cake cool for a full hour in the pan before removing it helps the crumb set up properly. Then you can add your icing and it will spread beautifully.

    Don't over bake. A few moist crumbs on the tester is the goal. Over baked pound cake loses that soft, moist texture that makes it so good. 

    Looking for more cake recipes to add to your Christmas rotation? There are so many to love, including an eggnog cupcake recipe.
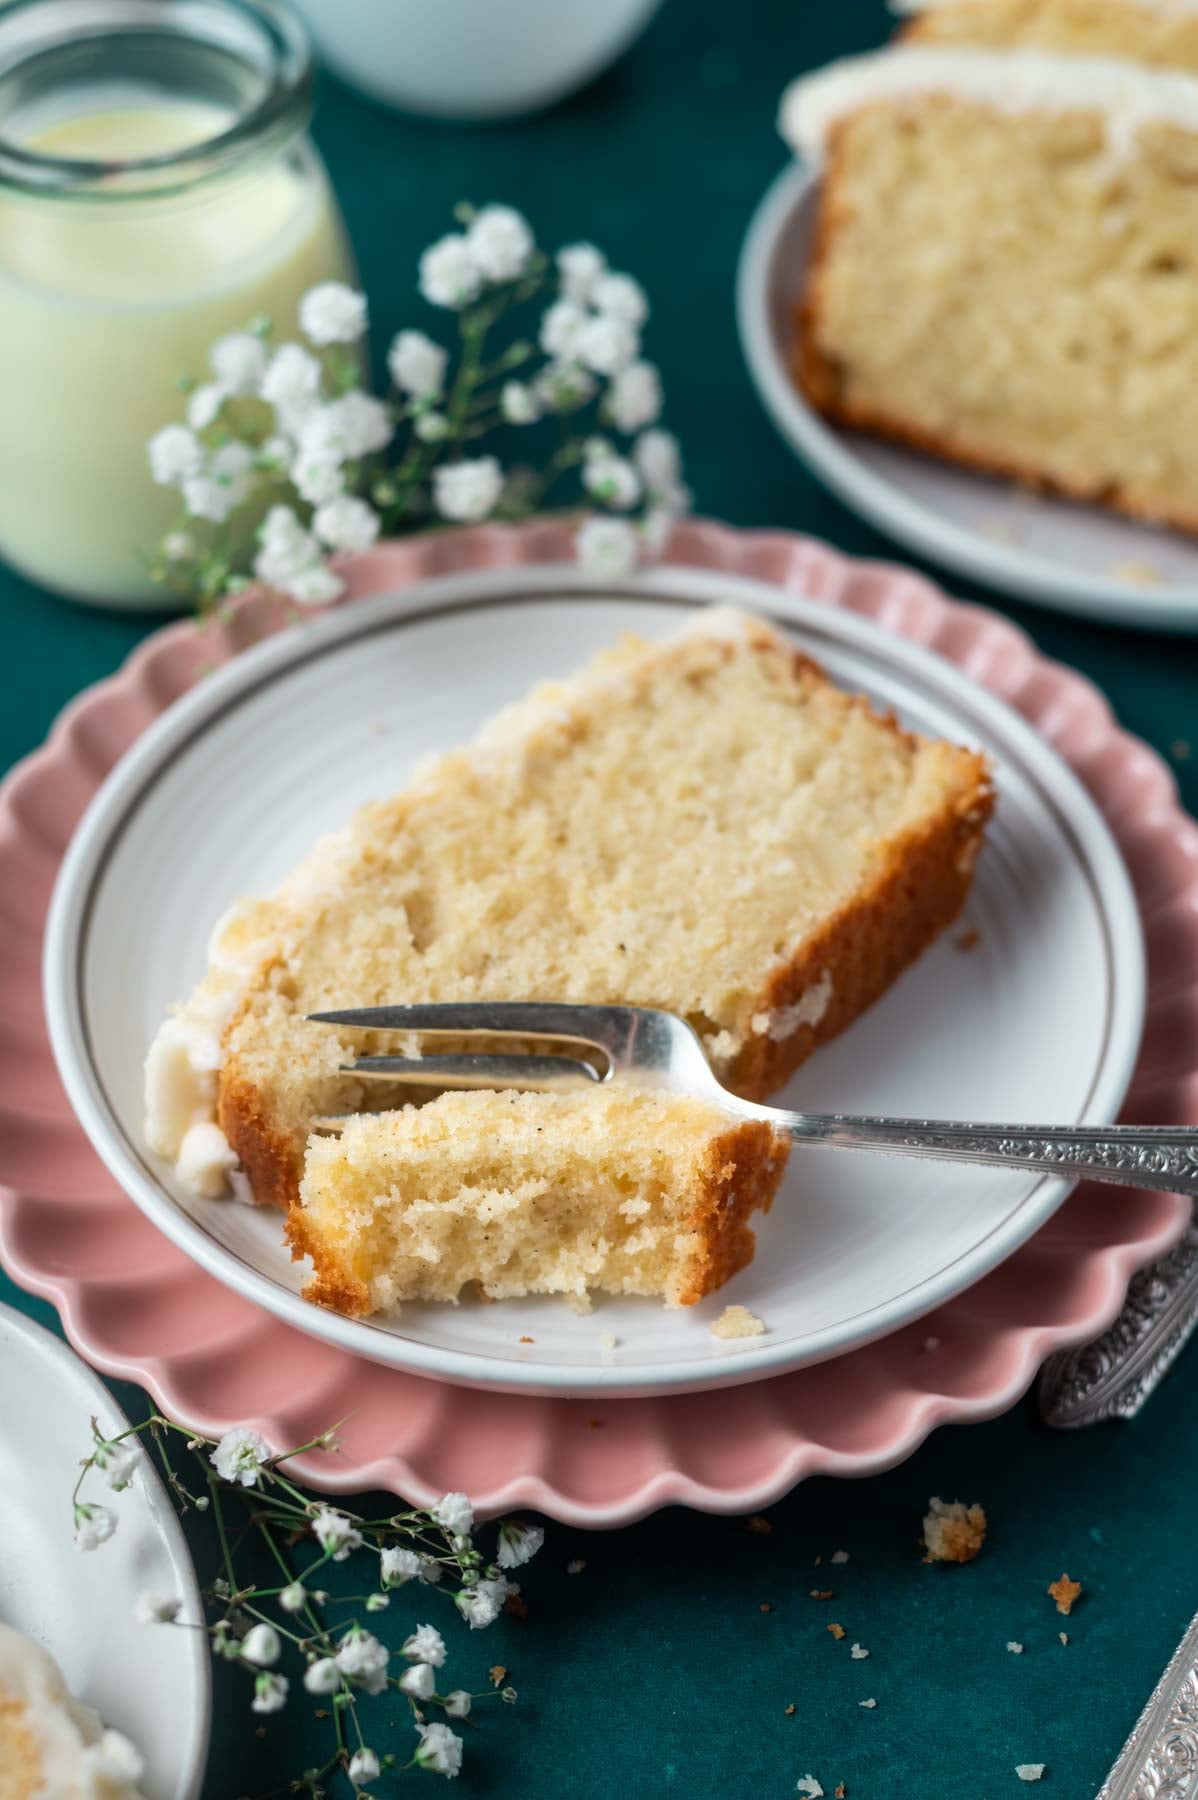
    piece of eggnog pound cake on a plate with a fork

    Remember to snap a picture and tag me @twosugarbugs on Instagram if you make this Eggnog Pound Cake with Rum Icing. It warms my heart to see you bring these recipes to life! Thank you for being here and happy baking!

    If you make this recipe {or any recipe!} from two sugar bugsย please come back and leave a review and a โญ๏ธโญ๏ธโญ๏ธโญ๏ธโญ๏ธ star rating.ย  I read every comment, and I LOVE hearing from you!

    ๐Ÿ“– recipe

    piece of eggnog pound cake on a plate with a fork
    Print Recipe

    Eggnog Pound Cake with Rum Icing

    Make this old fashioned eggnog pound cake with rum icing for the holidays. Moist, from scratch, and ready in under an hour of active time.
    Prep Time15 minutes mins
    Cook Time50 minutes mins
    cooling time1 hour hr
    Total Time2 hours hrs 5 minutes mins
    Course: Cakes and Cupcakes, Dessert
    Cuisine: American
    Keyword: eggnog, pound cake, rum frosting, rum icing
    Servings: 12 slices
    Calories: 382kcal
    Author: Tasia Harper

    Ingredients

    eggnog pound cake

    • ยพ cup unsalted butter room temperature 170g
    • ยฝ teaspoon kosher salt
    • ยพ cup granulated sugar 150g
    • 2 tablespoons canola oil* 30mL/28g
    • 2 large eggs room temperature
    • ยผ cup sour cream room temperature 60g
    • 1 teaspoon pure vanilla bean paste or extract
    • 1 teaspoon rum extract
    • 1 ยฝ teaspoons baking powder 6g
    • ยฝ teaspoon nutmeg
    • 1 ยพ cups all-purpose flour 219g
    • ยฝ cup eggnog room temperature 120mL

    rum eggnog icing glaze

    • 2 cups confectioners' sugar 240g
    • 4 tablespoons unsalted butter melted 56g
    • ยฝ teaspoon pure vanilla extract
    • 1 tablespoon rum or ยฝ teaspoon rum extract
    • 2 tablespoons eggnog 30mL

    Instructions

    for the eggnog pound cake

    • Preheat the oven to 350ยฐF and line a 9x5 inch loaf pan with parchment paper and set aside.
    • In a stand mixer with the paddle attachment or with a handheld mixer, beat together the butter (ยพ cup/170g) and kosher salt (ยฝ teaspoon) for 30-60 seconds (speed 6 on KitchenAid). Then add the granulated sugar (ยพ cup/150g) and start on low, gradually increasing to medium-high (speed 6 on KitchenAid mixer) once the butter and sugar combine. Beat until creamy, about 2-3 minutes. Scrape up and down the bowl.
    • With the mixer on low (stir or speed 2), slowly drizzle in the oil (2 tablespoons/30mL/28g). Once combined increase the speed to medium high and beat until light and fluffy, about 1 minute. Then scrape up and down the bowl.
    • Add the eggs (2 large) one at a time, mixing on medium (speed 4) until incorporated, about 15-30 seconds per egg. The mixture may look a little curdled at this point, but don't let it bother you. Stop and scrape the bowl.
    • Then add the sour cream (ยผ cup/60g), vanilla (1 teaspoon) and rum extract (1 teaspoon), and mix on medium until fully combined, about 30 seconds. Scrape the bowl.
    • Sprinkle the baking powder (1 ยฝ teaspoons) and nutmeg (ยฝ teaspoon) over the wet ingredients, then add the flour (1 ยพ cups/219g) and mix on the lowest setting. As the flour incorporates, slowly pour in the eggnog (ยฝ cup/120mL) mixing on low until just combined. Use a spatula to finish mixing.
    • Spread the batter in the prepared loaf pan. Lightly drop the pan on the counter a time or two to remove any air bubbles.
    • Place in the preheated oven and bake for 40-50 minutes or until a cake tester comes out with just a few moist crumbs. Allow the cake to cool in the pan on a wire rack for 1 hour. Then use the parchment paper to remove the cake from the pan and add the eggnog icing.

    for the rum eggnog icing

    • Combine the confectioners' sugar (2 cups/240g) with the melted butter (4 tablespoons/56g), vanilla extract (ยฝ teaspoon), rum (1 tablespoon/or rum extract ยฝ teaspoon) and eggnog (2 tablespoons) in a medium bowl with a spoon. Stir until it reaches a thick, smooth icing glaze. If the icing is too thick to spread, add another splash of eggnog or rum.
    • Spread the icing over the top of the cake and allow to set.
    Notes

    *Canola oil can be substituted with vegetable oil.
    Store any leftover eggnog pound cake tightly wrapped on the counter for up to 2 days or in the refrigerator for up to one week. The cake tastes best at room temperature.
    The cake can also be frozen for up to two months. Allow to defrost and come to room temperature before serving.

    Nutrition

    Serving: 1 slice | Calories: 382kcal | Carbohydrates: 48g | Protein: 4g | Fat: 20g | Saturated Fat: 11g | Polyunsaturated Fat: 2g | Monounsaturated Fat: 6g | Trans Fat: 1g | Cholesterol: 78mg | Sodium: 172mg | Potassium: 63mg | Fiber: 1g | Sugar: 34g | Vitamin A: 568IU | Vitamin C: 0.2mg | Calcium: 63mg | Iron: 1mg

    Moist Red Velvet Snack Cake

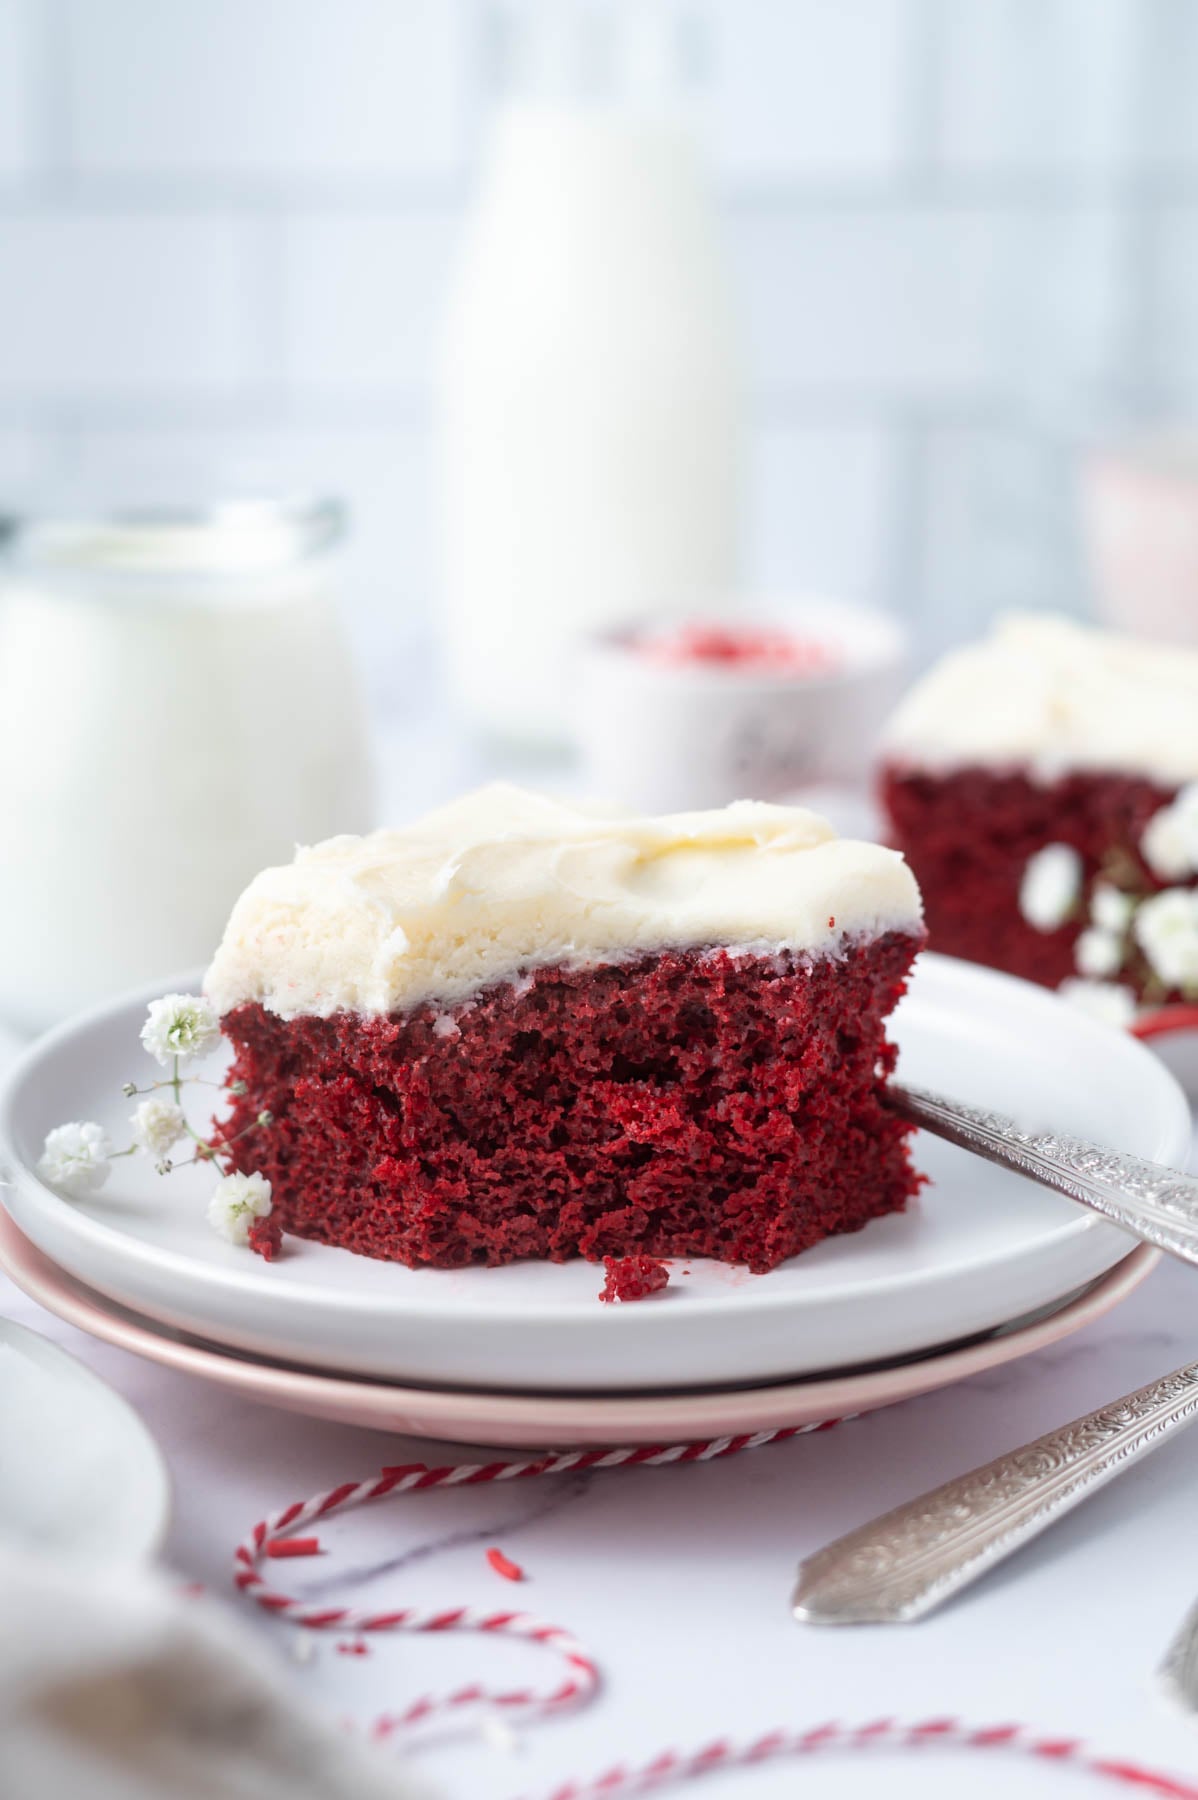
    slice of red velvet snack cake on a plate with a glass of milk in the background

    If youโ€™ve been craving red velvet cake, but donโ€™t want to spend your whole afternoon in the kitchen, this is your recipe. One bowl. An 8x8 pan. And a cream cheese frosting that comes together in minutes (youโ€™ll need a second bowl for the frosting). You get all the flavor and that gorgeous color without anything complicated. This snack cake version checks all the boxes you love about the classic. It has a moist, tender crumb, a hint of cocoa, and a tangy cream cheese frosting. But without the layers, the leveling, or the time commitment. Itโ€™s the kind of cake that feels special, even on the busiest of days. 

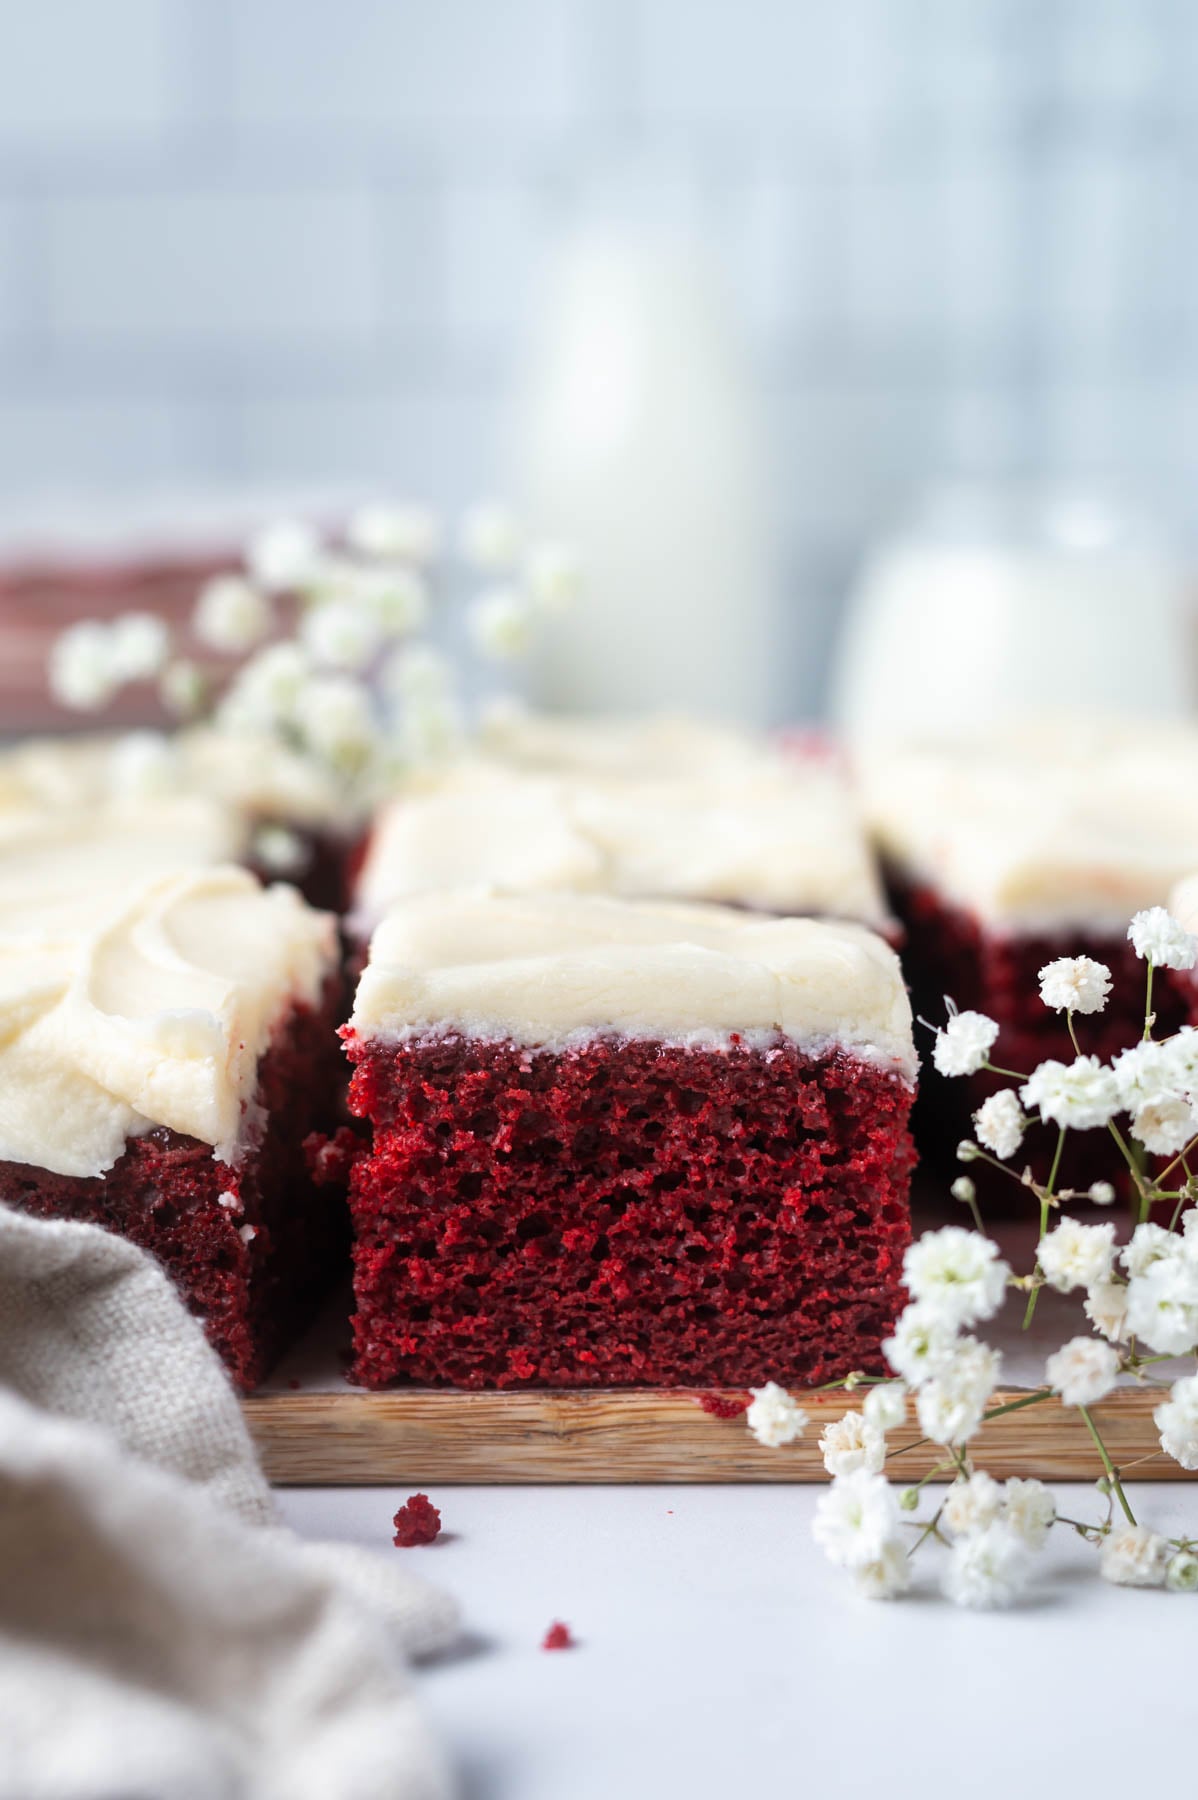
    slices of cake on a cutting board with glasses of milk in the background

    Disclosure | This post may contain affiliate links. As an Amazon Associate I earn from qualifying purchases.

    [feast_advanced_jump_to]

    This cake came out of my need for a red velvet recipe that felt doable on a weeknight or last minute for a holiday. Red velvet is classic for a reason, it shows up beautifully for Valentineโ€™s Day, Christmas, Halloween, or just because (Big E often requests it for her birthday)! But the full layer cake version can feel like too much when you are short on time.

    So I took everything I know about building a moist, flavorful snack cake and made this one work in a single pan with barely any cleanup. If you love that kind of baking, I have a collection of easy single layer cakes that are worth saving for busy weeks.

    The cream cheese frosting is the other reason this cake is special. Itโ€™s smooth and creamy and super simple to make. If you love easy, single layer cakes that taste like you worked really hard (but didnโ€™t), my moist chocolate snack cake is another one worth checking out. It uses the same one bowl method and never disappoints.

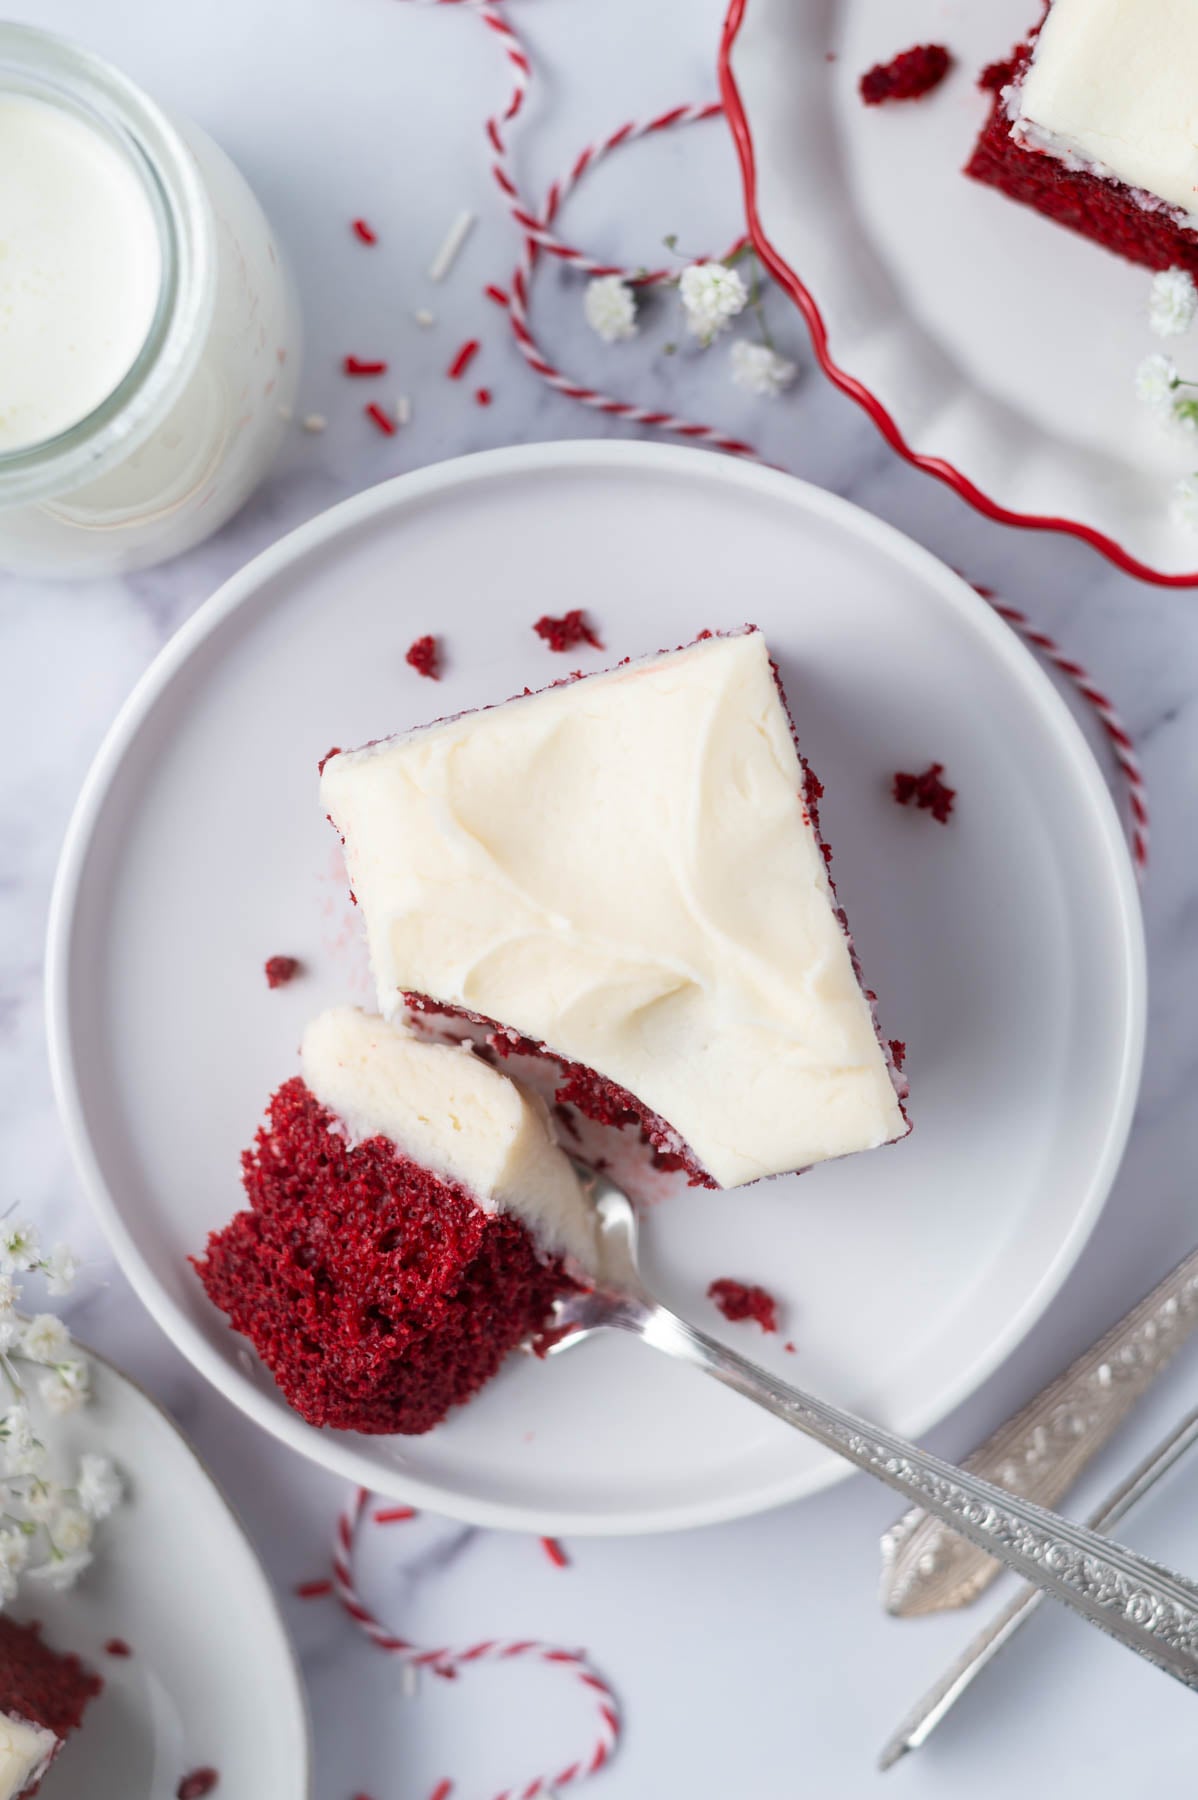
    overhead look at a slice of cake on a plate with a bite on a fork

    ๐Ÿฐ ingredient notes

    In the first test of this homemade cake, I used baking powder and baking soda and it gave a bit of a metallic taste. So I took the baking powder out and played with the amount of baking soda to get to this final recipe. If you watch the video tutorial, I forgot to add the vinegar! I ended up mixing it into the batter once it was in the pan and it still rose and came out with a lovely moist texture! Phew!

    Please scroll to the printable recipe card at the end of this post for the full list of ingredients and baking directions.

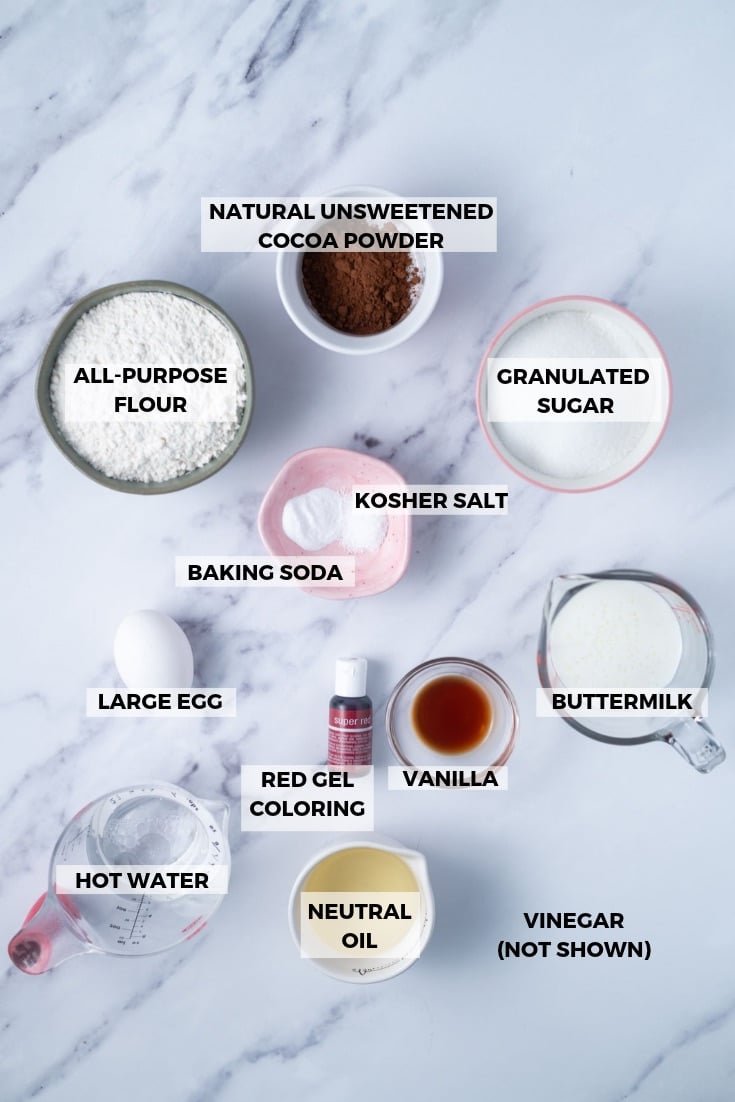
    red velvet snack cake ingredients

    Cocoa powder ~ just two tablespoons of natural unsweetened cocoa powder gives this cake its subtle chocolate flavor and helps the red color to really pop. Do not substitute Dutch-process here; it will affect both the color and the way the leavener works.

    Buttermilk ~ this is important for both flavor and texture. The acidity in buttermilk reacts with the baking soda, giving you a super tender crumb. In my opinion, store bought buttermilk creastes a better cake. If you need to make your own, see the notes in the recipe card.

    Red gel food coloring ~ gel coloring gives you that bold, vibrant red without adding too much extra liquid to the batter. Start with ยพ teaspoon and add up to ยพ teaspoon more if you want a deeper color. I use Chefmaster super red. I donโ€™t recommend liquid food coloring as youโ€™ll need to use more and the color won't be as intense.

    White vinegar (not shown) ~ this is a classic red velvet ingredient and it's doing real work here! The vinegar reacts with the baking soda to help the cake rise and contributes to that tender, soft texture. Don't skip it. You can substitute apple cider vinegar, if needed.

    Hot water ~ don't skip this either! A little hot water blooms the cocoa and thins the batter just enough so everything bakes up moist and even. The batter will look thin, that's exactly right. Can be substituted with hot coffee.

    Cream cheese (not shown) ~ just 2 ounces is all you need for the frosting. It adds that classic tangy flavor without making the frosting heavy. Make sure it's fully at room temperature so it blends smooth without any lumps.

    For another easy one-layer cake that skips the fuss, my brown sugar snack cake bars use the same kind of no-fuss approach and are always a crowd pleaser.

    ๐Ÿฅฃ how to make in photos

    Preheat the oven to 350ยฐF and line an 8x8 baking pan with parchment paper. Set aside. This is a good time to pull out the butter and cream cheese for the frosting!

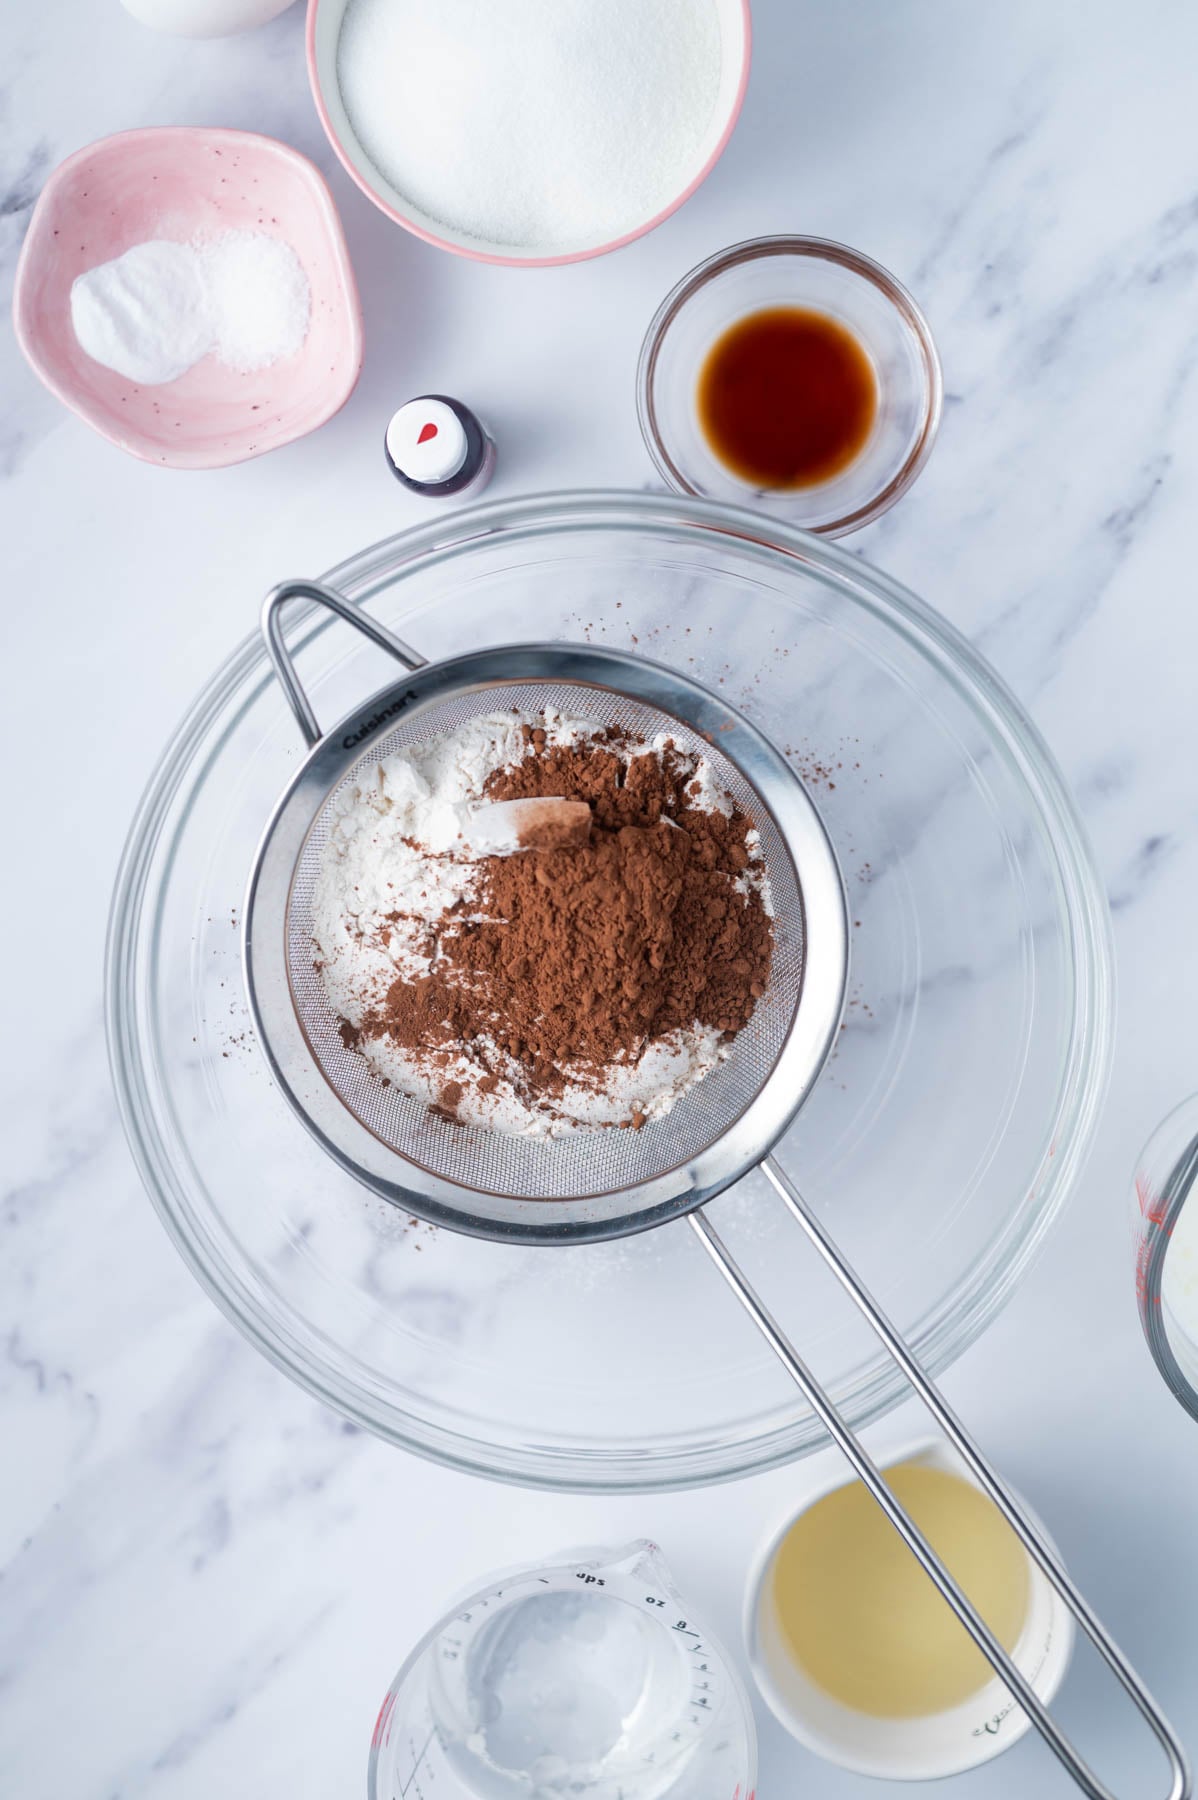
    flour and cocoa powder in a sifter over a glass bowl

    In a medium-large bowl, sift together the flour and cocoa powder.

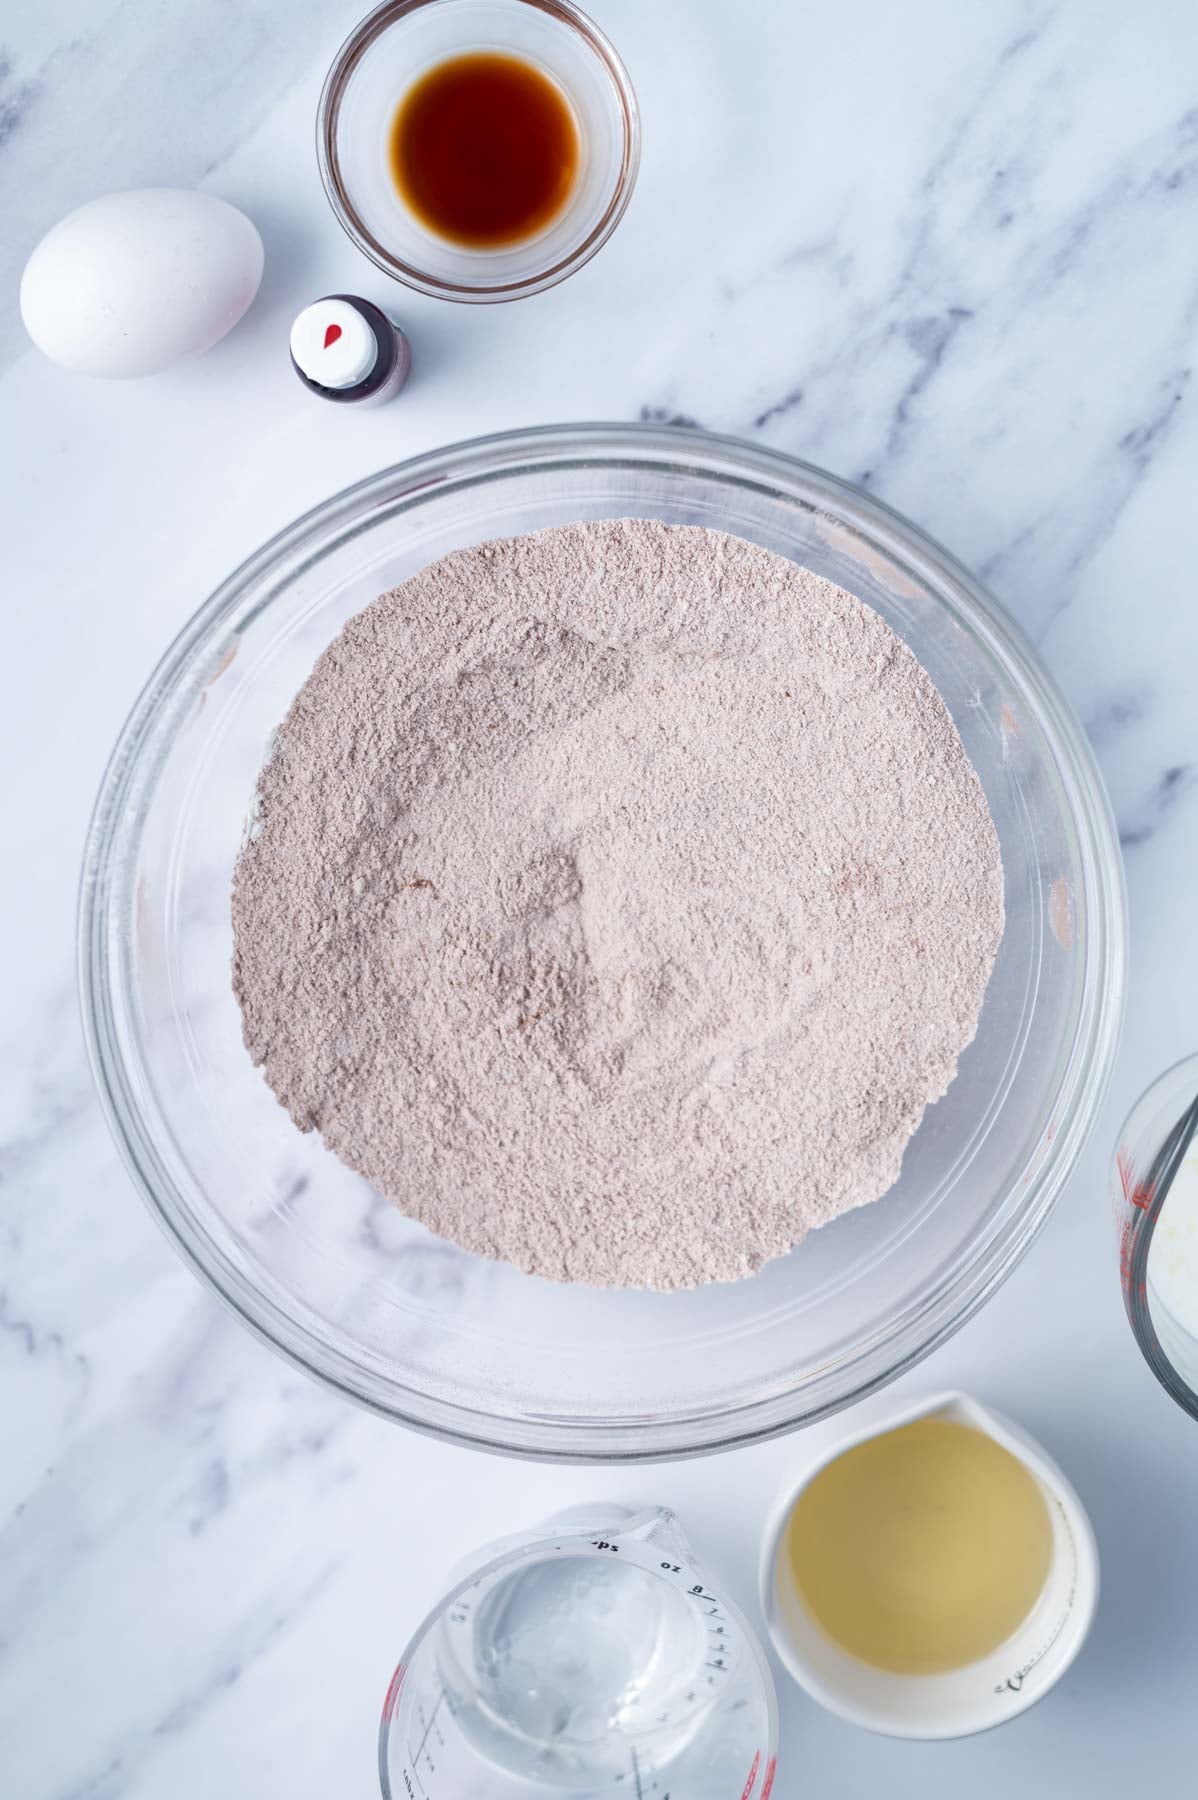
    dry ingredients whisked together in a glass bowl

    Then whisk in the sugar, baking soda, and kosher salt.

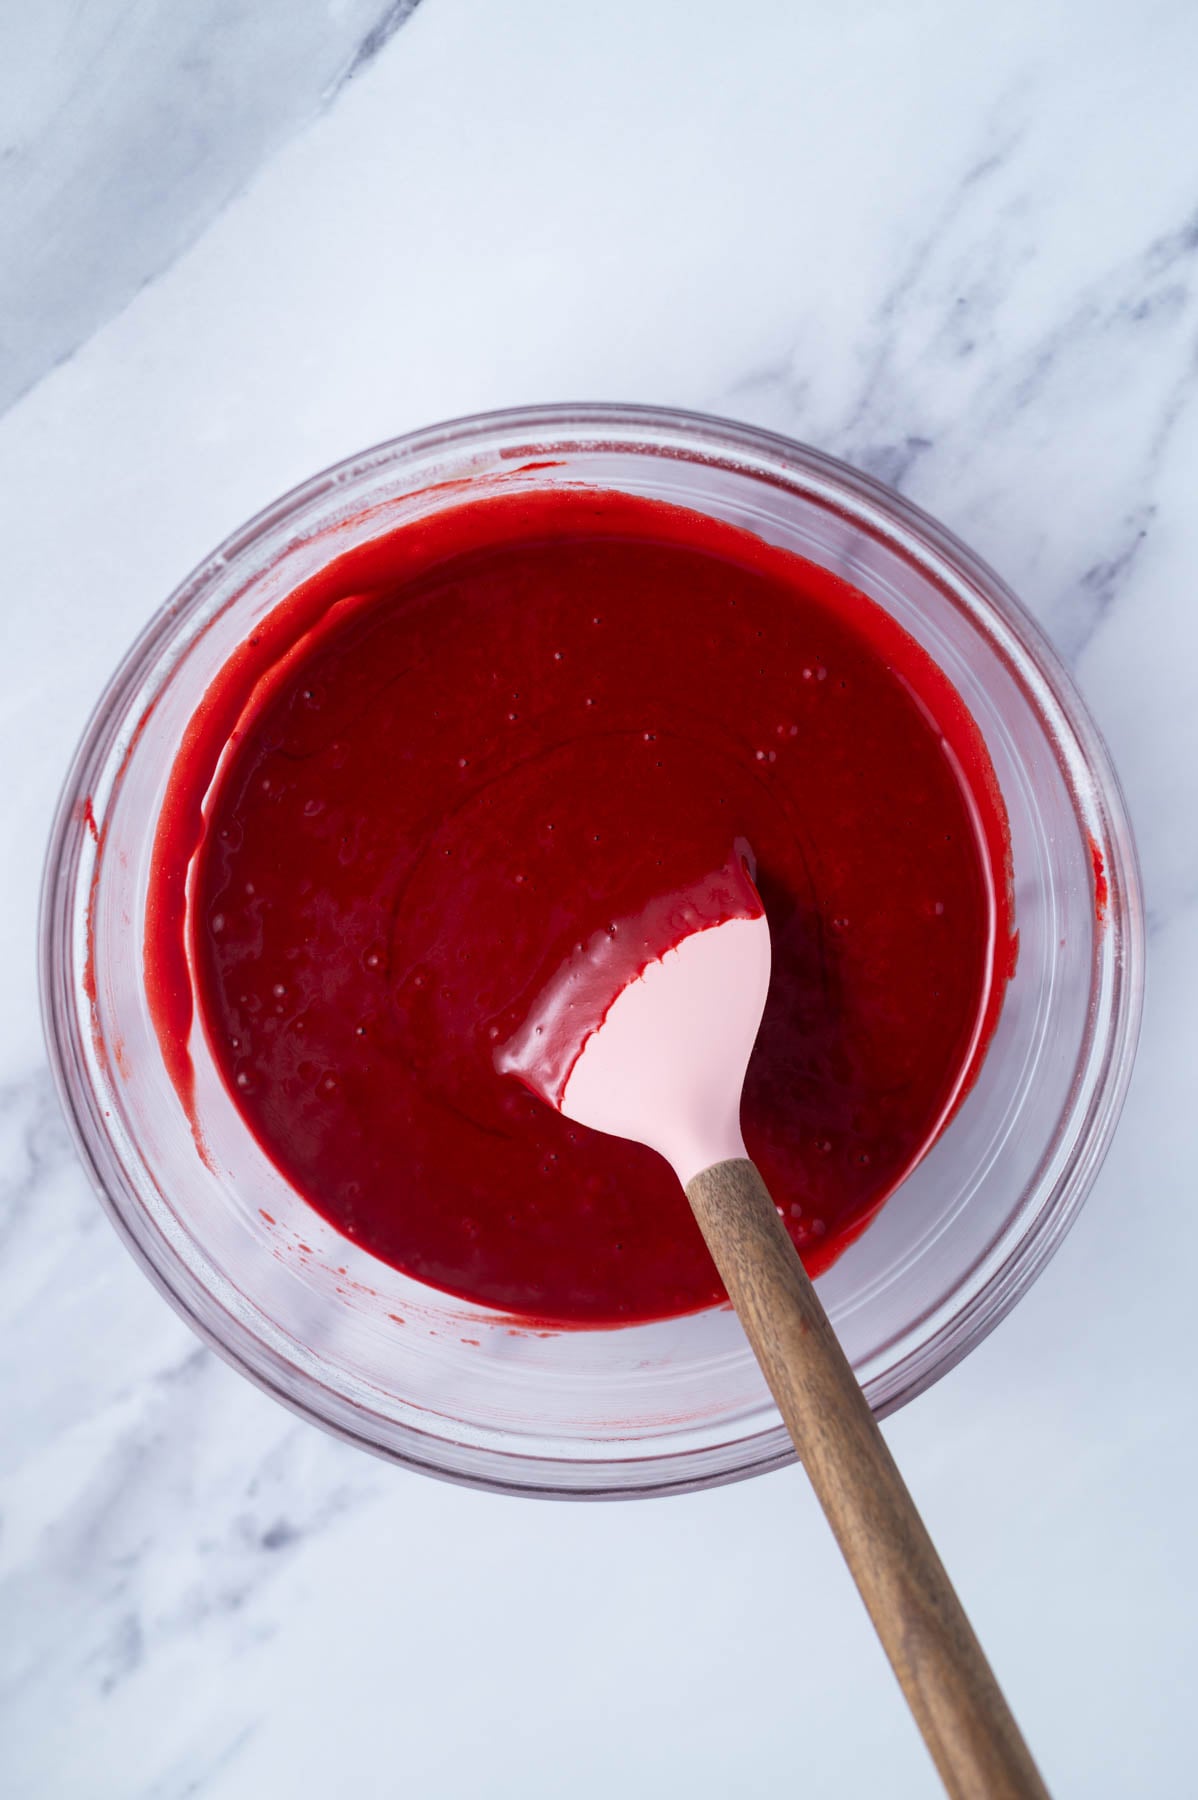
    red velvet cake batter in a bowl with a spatula

    Now add the egg, buttermilk, vegetable oil, vanilla, and red gel food coloring directly to the dry ingredients and whisk to start to bring together.

    Then add the vinegar and hot water and whisk until the batter is smooth. It will be thin, that's totally normal and exactly what you want!

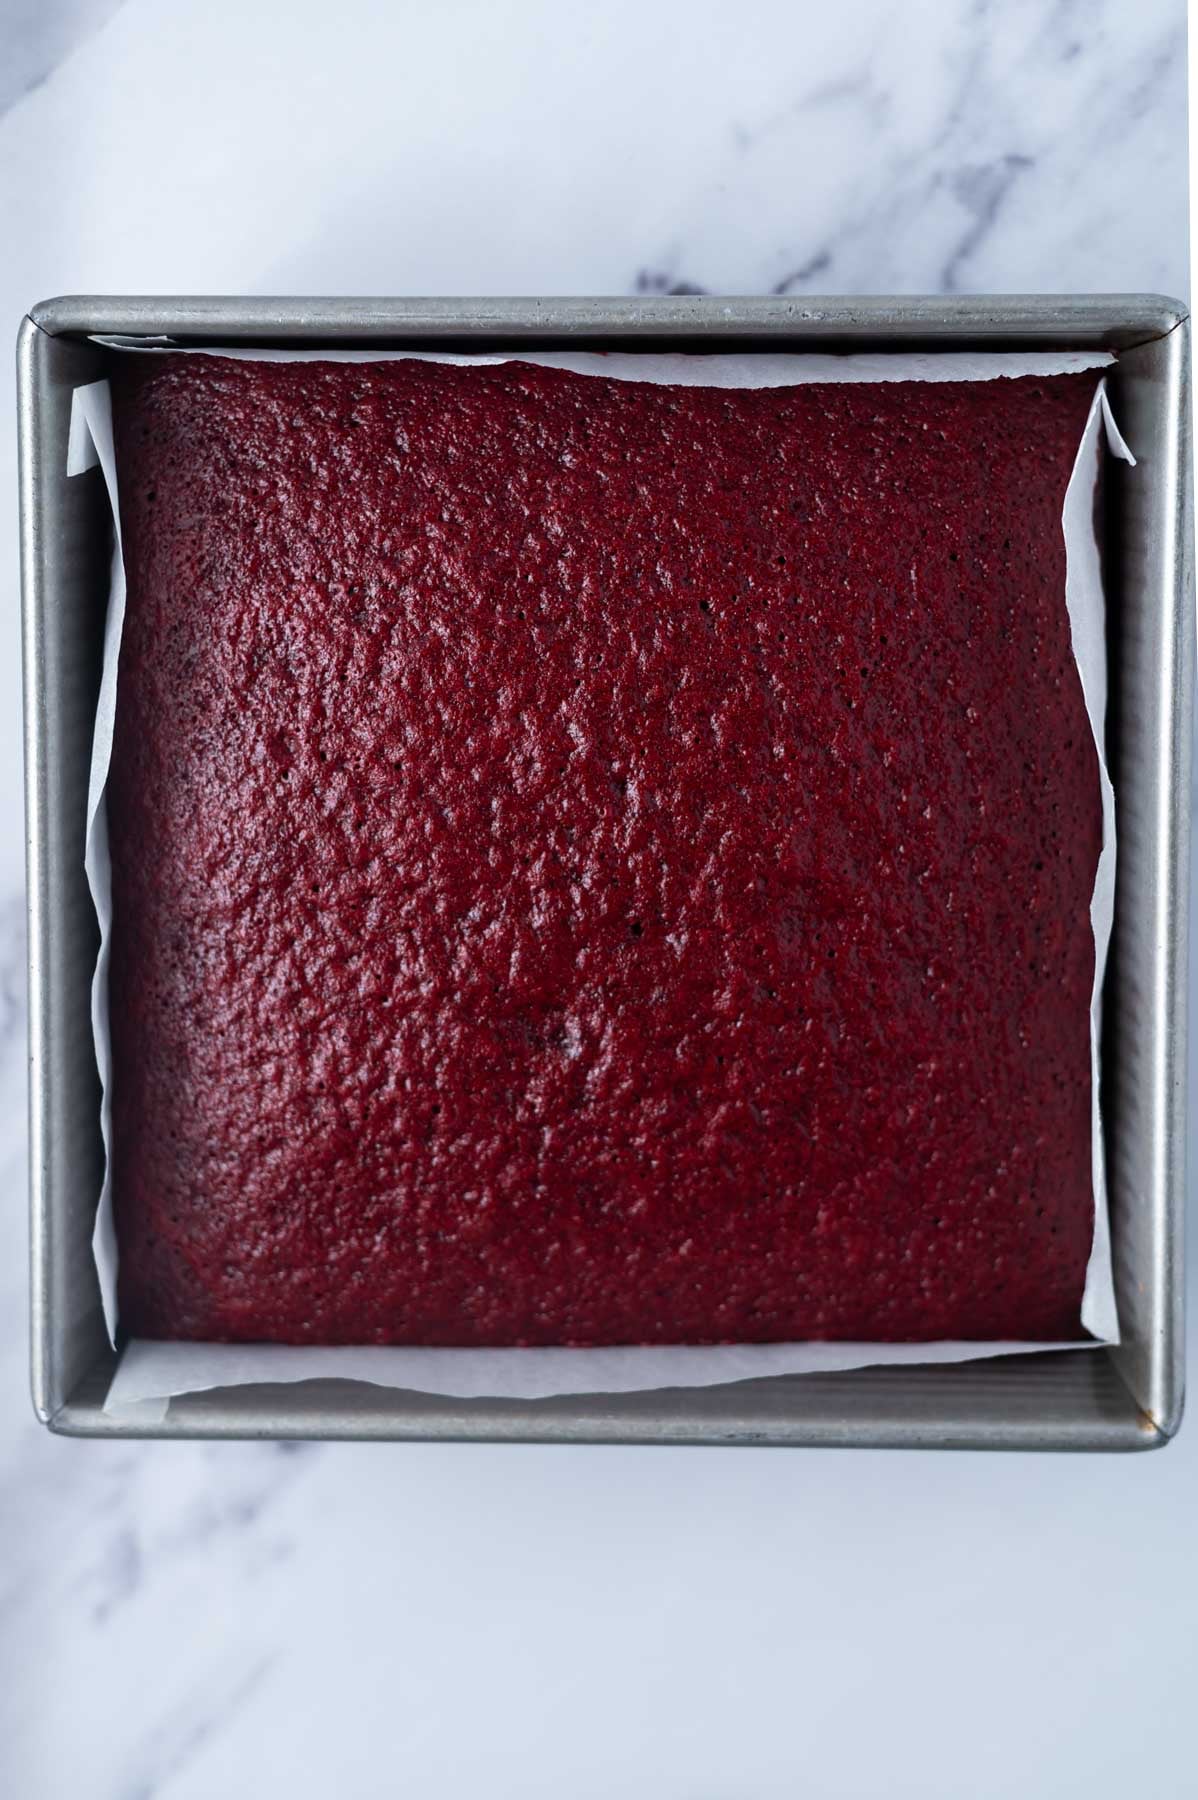
    baked cake in a parchment lined 8x8 pan

    Pour the batter into the prepared pan and bake until a toothpick inserted in the center comes out with just a few moist crumbs.

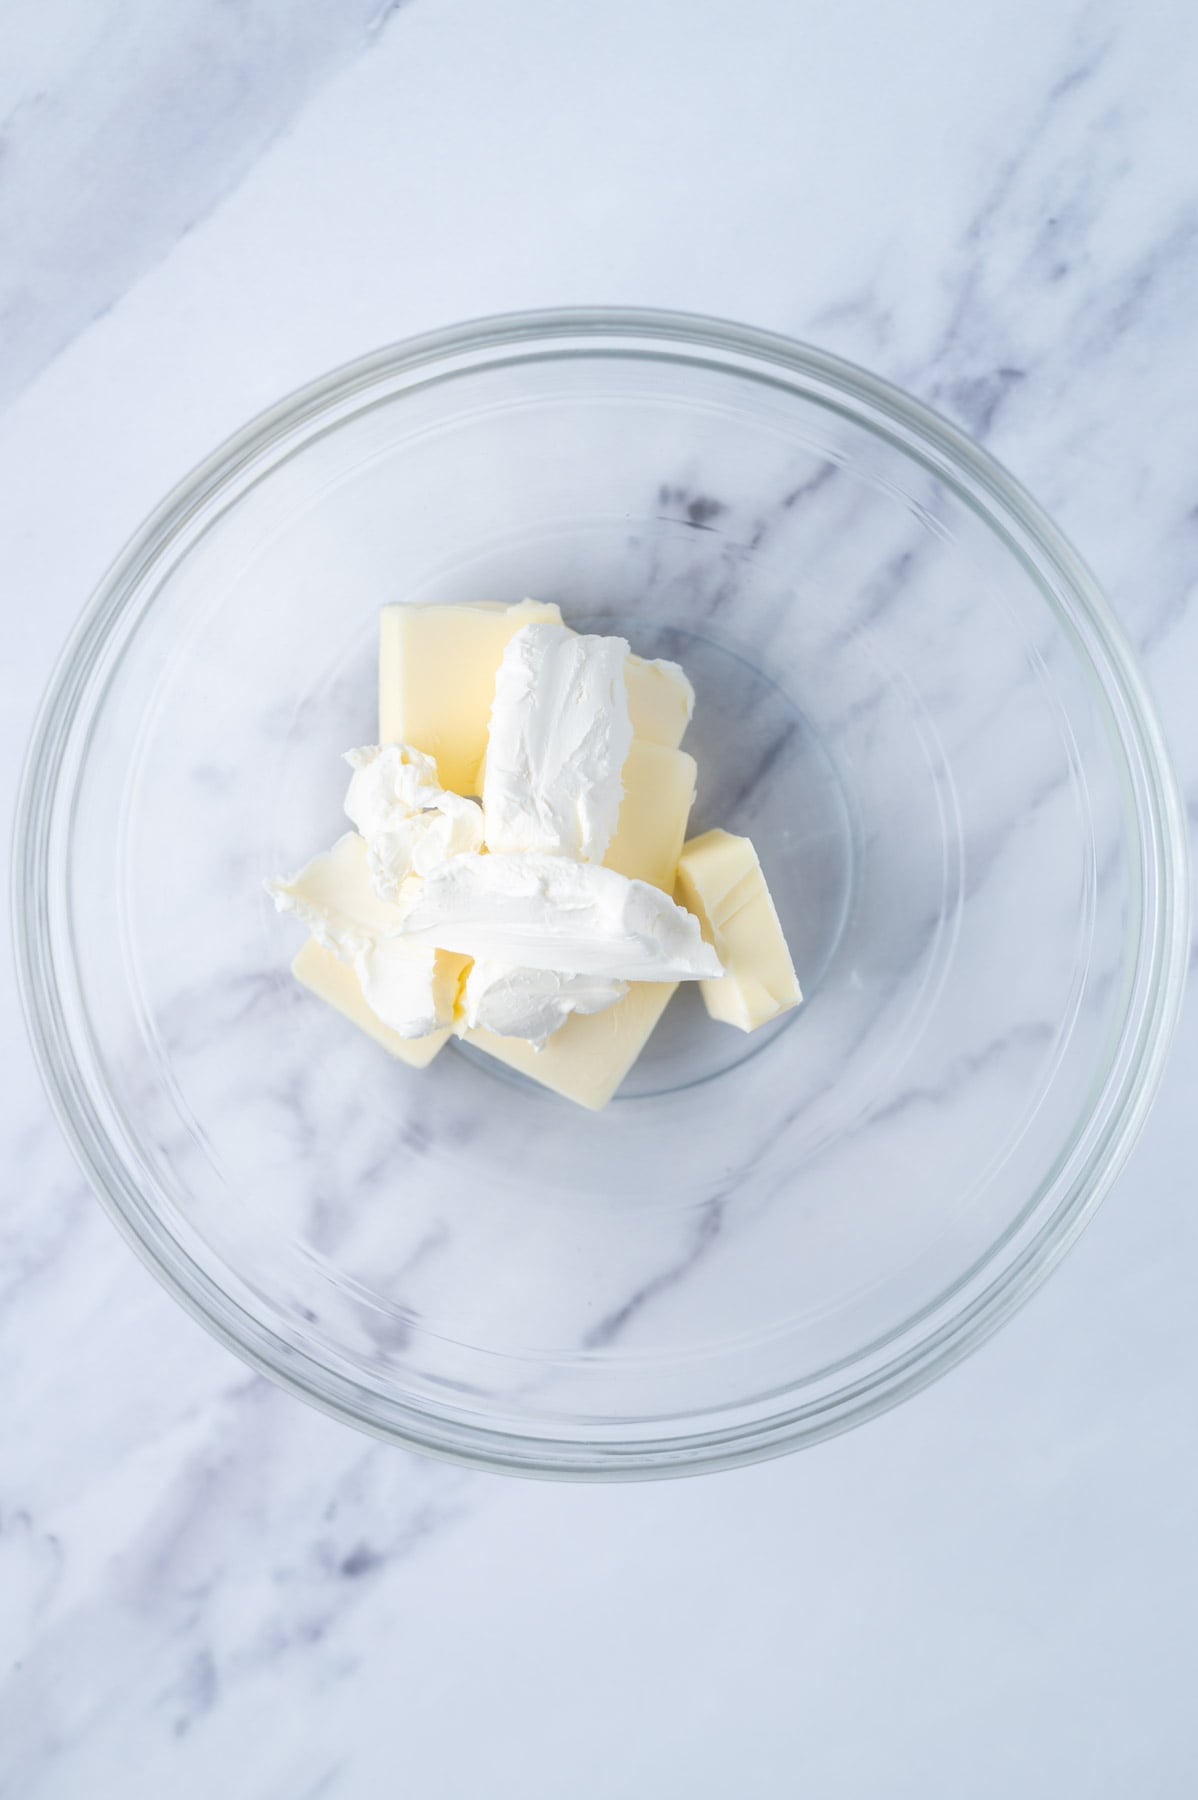
    butter and cream cheese in a glass bowl

    Once the single cake is cool, place the butter and cream cheese in a bowl.

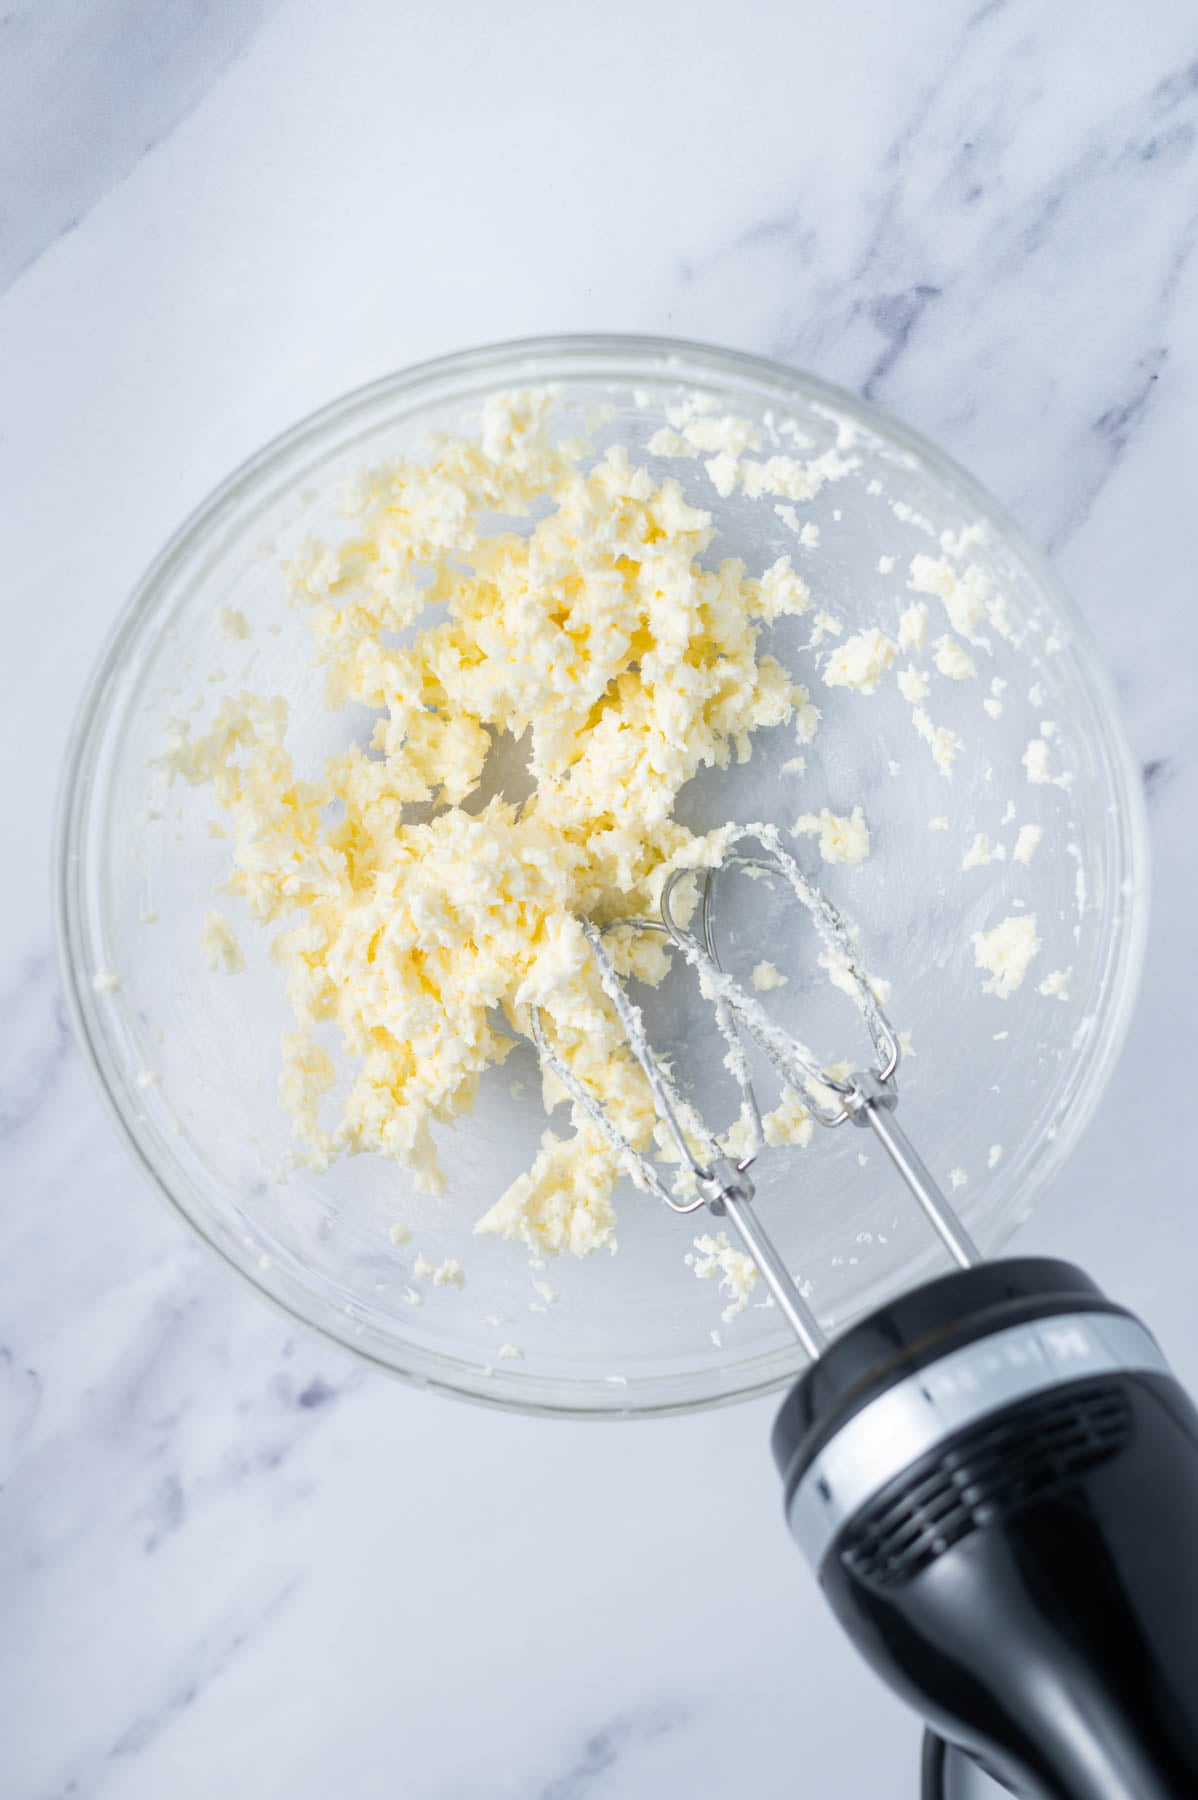
    cream cheese and butter beaten together with a hand mixer

    Beat with a hand mixer or stand mixer until combined. It may be a little clumpy at this point.

    Scrape down the bowl, then add half the confectioners' sugar. Mix on low until incorporated, then beat another minute or two. Add the remaining confectioners' sugar and vanilla and beat until smooth and creamy.

    Allow the cake to cool completely in the pan on a wire rack before frosting.

    ๐Ÿ’ฌ frequently asked questions

    do I need to refrigerate red velvet snack cake? 

    Yes! Because of the cream cheese frosting, this cake should be stored tightly covered in the refrigerator. It will keep for up to five days. Pull it out 30-45 minutes before serving since it tastes best at room temperature.

    can I make this in a round pan? 

    Yes! A 9-inch round pan works here. An 8-inch round will give you a slightly taller cake and will likely need a couple of extra minutes in the oven. Check with a toothpick to be sure.

    can I double this recipe for a layer cake? 

    Absolutely. Double the ingredients and bake in two 9-inch round pans. Baking time will be similar; start checking around 28-30 minutes.You can also double it and make a sheet cake in a 9x13 pan.

    why is my batter thin? 

    That's normal! The hot water thins the batter out, and that's what helps create a moist, tender, velvety crumb. Trust the process and pour it right into the pan.

    can I use liquid food coloring instead of gel? 

    You can, but gel coloring gives a much more vibrant red with less product. If you use liquid, you may need quite a bit more to get a true red color, which can affect the batter consistency slightly. Gel is worth tracking down for this one! My grinch sugar cookies and red velvet sugar cookies are other recipes where gel coloring really makes a difference in getting that bold, beautiful color.

    ๐Ÿ‘ฉ๐Ÿปโ€๐Ÿณ tips for the best snack cake

    Use room temperature ingredients. Room temperature egg and buttermilk blend into the batter much more smoothly and help the cake bake evenly. This usually takes 1-2 hours on the counter depending on the temperature of your kitchen.

    Measure your flour correctly. If you're not using a kitchen scale, fluff the flour in its container, spoon it into the measuring cup, and level it off with the flat side of a knife. Too much flour leads to a dense, dry cake.

    Don't over bake. Pull the cake from the oven when a toothpick has just a few moist crumbs on it. It will continue to set as it cools, and over baking dries it out. Remember your oven is different from mine, so start checking at 25 minutes.

    Chill before slicing. Just 30 minutes in the refrigerator after frosting makes a big difference. The slices come out so much cleaner. 

    Use a light-colored pan. Dark pans absorb more heat and can cause the edges to overbake while the center is still underdone. A light-colored metal 8x8 is what I recommend here. I also recommend this pan for my red velvet brownies.

    slice of red velvet snack cake on a plate with a glass of milk in the background

    Remember to snap a picture and tag me @twosugarbugs on Instagram if you make this moist Red Velvet Snack Cake. It warms my heart to see you bring these recipes to life! Thank you for being here and happy baking!

    If you make this recipe {or any recipe!} from two sugar bugsย please come back and leave a review and a โญ๏ธโญ๏ธโญ๏ธโญ๏ธโญ๏ธ star rating.ย  I read every comment, and I LOVE hearing from you!

    ๐Ÿ“– recipe

    slice of red velvet snack cake on a plate with a glass of milk in the background
    Print Recipe

    Moist Red Velvet Snack Cake

    This easy, moist red velvet snack cake bakes in an 8x8 pan with a simple cream cheese frosting. One bowl for the cake, one for the frosting. Perfect for any occasion!
    Prep Time15 minutes mins
    Cook Time30 minutes mins
    cooling time1 hour hr
    Total Time1 hour hr 45 minutes mins
    Course: Cakes and Cupcakes, Dessert
    Cuisine: American
    Keyword: cocoa powder, cream cheese frosting, red velvet, single layer cake
    Servings: 12 slices
    Calories: 310kcal
    Author: Tasia Harper

    Ingredients

    red velvet cake

    • 1 ยผ cups all-purpose flour 156g
    • 2 tablespoons natural unsweetened cocoa powder 10g
    • 1 cup granulated sugar 200g
    • ยพ teaspoon baking soda
    • ยฝ teaspoon kosher salt
    • 1 large egg room temperature
    • ยฝ cup buttermilk* room temperature 120mL
    • ยผ cup vegetable oil 60mL/56g
    • 1 teaspoon pure vanilla extract
    • ยพ - 1 ยฝ teaspoons red gel food coloring**
    • 1 teaspoon white vinegar
    • ยผ cup hot water 60mL

    cream cheese frosting

    • ยฝ cup unsalted butter room temperature, 113g
    • 2 ounces cream cheese room temperature 56g
    • 1 ยฝ cups confectionersโ€™ sugar 180g
    • 1 teaspoon pure vanilla extract

    Instructions

    for the red velvet cake

    • Pre-heat oven to 350ยฐF/177ยฐC and prepare an 8x8 baking pan by lining it with parchment paper. Set aside.
    • In a medium-large size bowl, sift together the flour (1 ยผ cups/156g) and cocoa powder (2 tablespoons/10g). Then whisk in the sugar (1 cup/200g), baking soda (ยพ teaspoon), and kosher salt (ยฝ teaspoon).
    • Now add the egg (1 large), buttermilk (ยฝ cup/120mL), vegetable oil (ยผ cup/60mL/56g), vanilla (1 teaspoon), and red gel food coloring (ยพ - 1 ยฝ teaspoons) and whisk to start to bring together. The batter is thick and wonโ€™t fully come together yet.
    • Then add the vinegar (1 teaspoon) and hot water (ยผ cup/60mL). Whisk until combined, the batter will be on the thin side. Pour the batter into the prepared baking pan.
    • Bake for 25 - 30 minutes, until a toothpick comes out with just a few moist crumbs. Allow the cake to cool in the pan set on a wire rack.

    for the cream cheese frosting

    • Using a stand mixer with the paddle attachment or a hand held mixer, beat the butter (ยฝ cup/113g) and cream cheese (2 ounces/56g) on medium until combined, it may not be fully creamy, about 3-4 minutes.
    • Scrape up and down the bowl, then add half the confectionersโ€™ sugar (half is ยพ cup/90g). Mix on low until the sugar is incorporated, then beat on medium for another 1-2 minutes until the buttercream is smooth.
    • Scrape the sides of the bowl and add the remaining confectioners' sugar (ยพ cup/90g) and vanilla (1 teaspoon) and beat until smooth and creamy, about 1-2 minutes more.
    • Spread the frosting over the fully cooled cake (add sprinkles, if desired) and refrigerate for 30 minutes before slicing and serving. Briefly chilling the cake helps set the frosting and makes it easier to slice.

    Notes

    *In a pinch you can make your own buttermilk; add 1 tablespoon lemon juice or white vinegar to the measuring cup and then fill with whole milk to make ยฝ cup and stir.
    If you only have table salt, start with half the amount of salt and adjust as needed.
    **I use Chefmaster Super Red gel. The cake in these photos used 1 teaspoon.ย 
    The red velvet snack cake should be stored tightly covered in the refrigerator for up to five days.
    The cake can also be frozen for up to two months. You can either chill the cake well; then wrap the whole thing tightly in a double layer in plastic wrap. Or cut the cake into individual slices and chill; then wrap each slice tightly in a double layer of plastic wrap. Allow to defrost at room temperature before serving.
    The snacking cake tastes best at room temperature.


    Nutrition

    Serving: 1 slice | Calories: 310kcal | Carbohydrates: 43g | Protein: 3g | Fat: 15g | Saturated Fat: 7g | Polyunsaturated Fat: 3g | Monounsaturated Fat: 4g | Trans Fat: 0.3g | Cholesterol: 40mg | Sodium: 198mg | Potassium: 55mg | Fiber: 1g | Sugar: 32g | Vitamin A: 336IU | Calcium: 24mg | Iron: 1mg

    No Chill Eggnog Sugar Cookies

    eggnog sugar cookies leaned against a cup of eggnog with a small sifter of cinnamon and nutmeg in the background

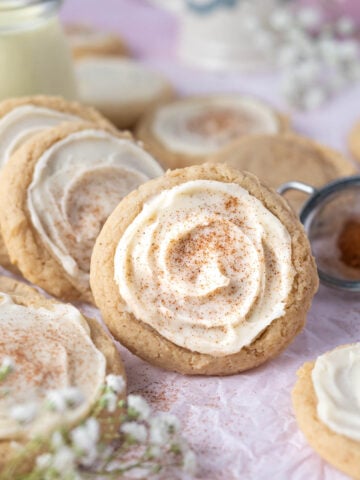
    Eggnog sugar cookies are one of the easiest holiday cookies you will make. They taste like you spent way more time making them than you actually did. One bowl, melted butter, no chilling the dough, no rolling, no cookie cutters. Just scoop, flatten, bake and top with a dreamy rum eggnog icing. Done and done! They look festive, taste special and donโ€™t require a ton of effort. The eggnog and nutmeg give them that classic seasonal flavor and the icing sets up nicely. Youโ€™ll have 18 cookies ready in about one hour.

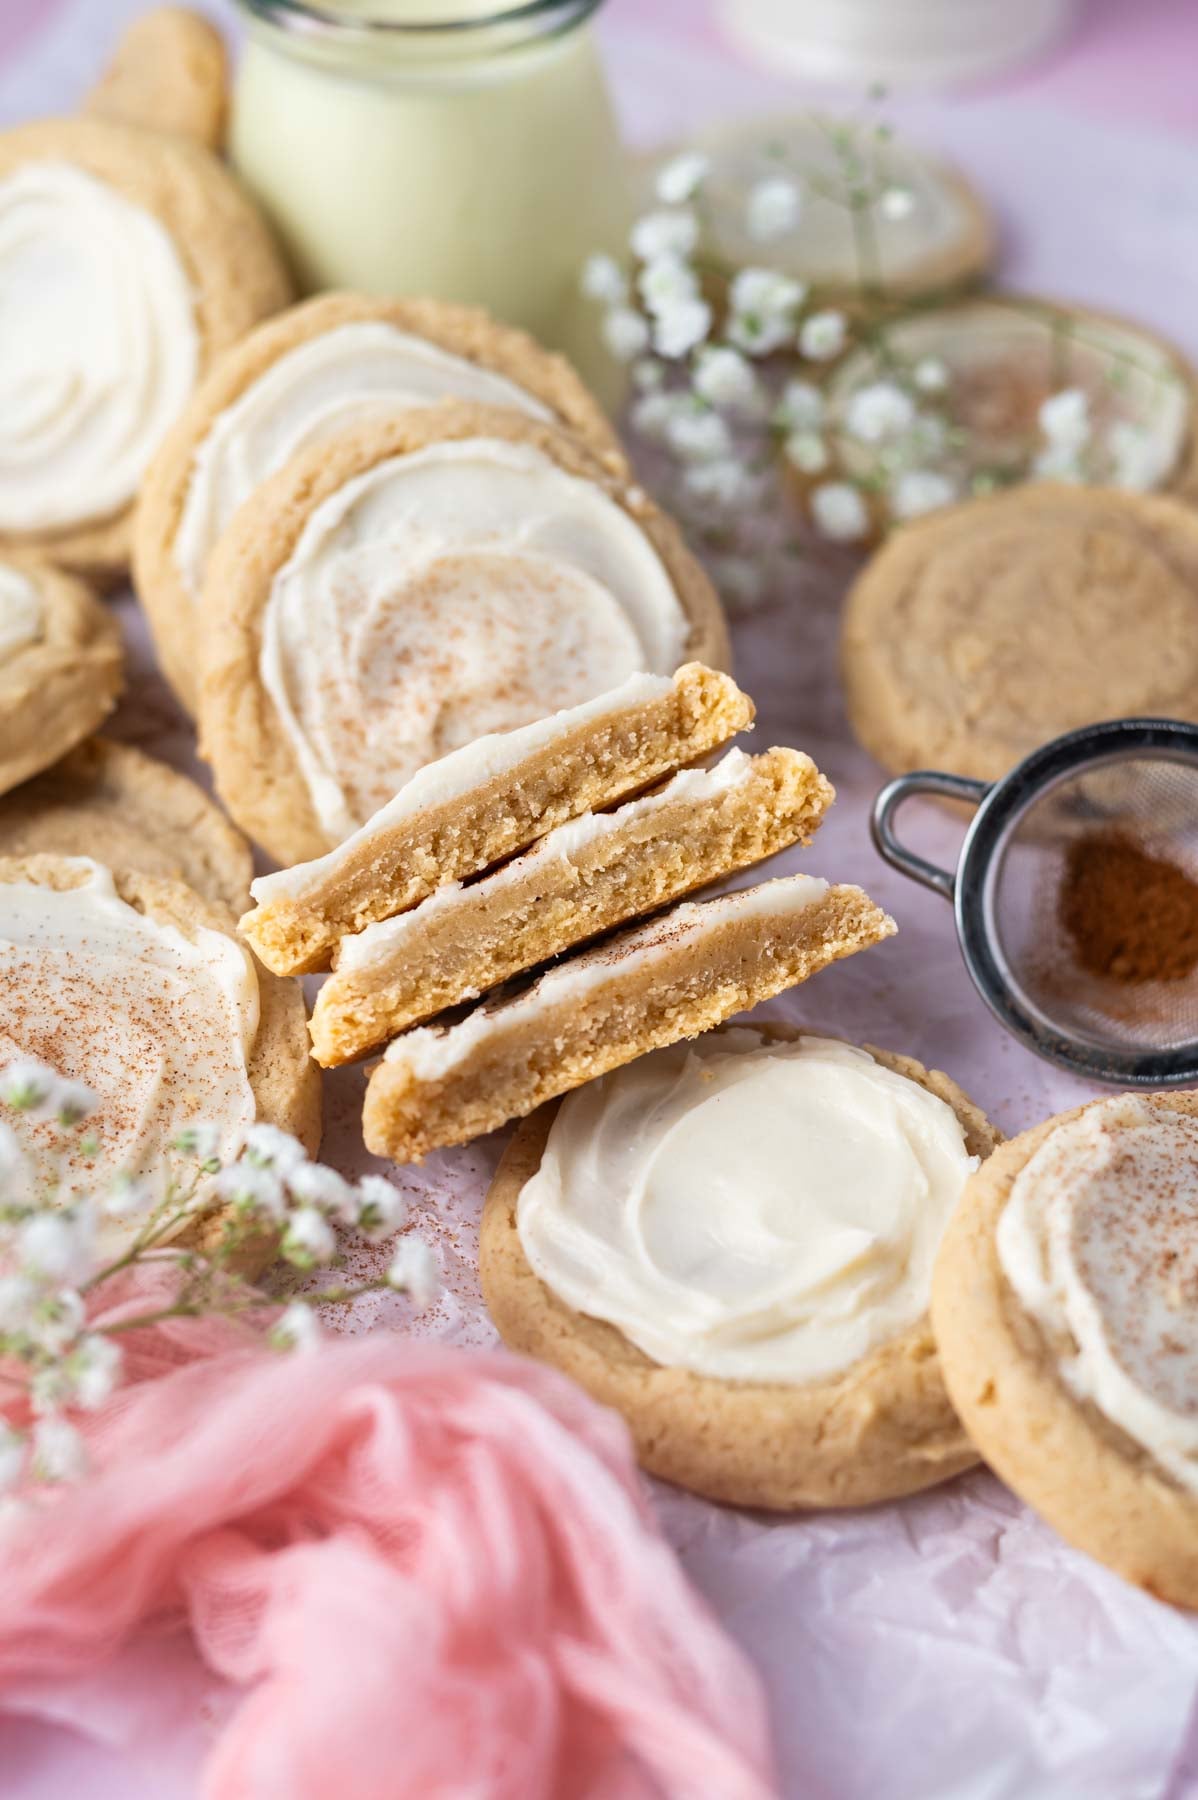
    frosted cookies on parchment paper with a few broken in half to show the soft inside texture.

    Disclosure | This post may contain affiliate links. As an Amazon Associate I earn from qualifying purchases.

    [feast_advanced_jump_to]

    I tested these cookies a few times because I wanted the eggnog flavor to actually come through. Iโ€™ve been making sugar cookies for years now and this eggnog version might be my new favorite for the holiday season. Using cornstarch in the cookie dough is the little trick that gives them that melt-in-your-mouth texture. And the brown sugar adds a warmth that gives them that cozy feel. With eggnog in the dough and the icing, you get the spiced flavor all the way through. My strawberry sugar cookies uses a similar base and was my jumping off place for this recipe.

    If you want to go all out on the decorating, you can use a piping tip and swap in the rum frosting from my eggnog cupcakes instead of the icing. But spreading the icing on with a spoon or offset spatula is my go to for this frosted cookie. 

    ๐Ÿฅ› ingredient notes

    Please scroll to the printable recipe card at the end of this post for the full list of ingredients and baking directions.

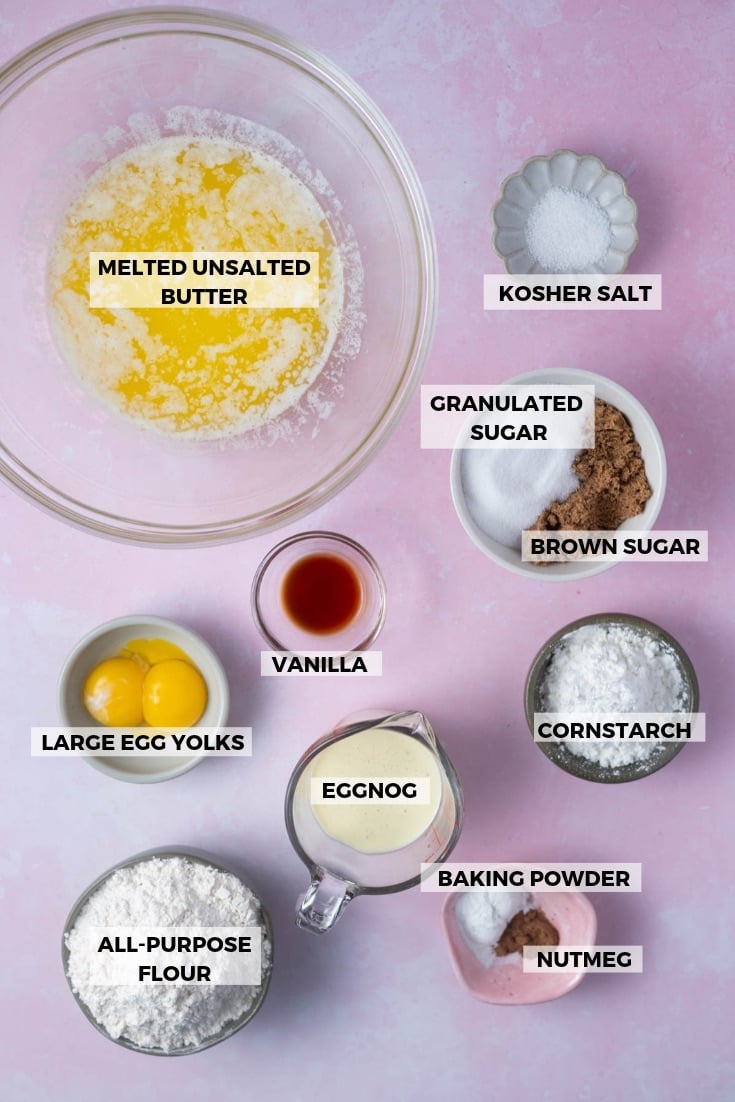
    ingredients for eggnog sugar cookies

    Eggnog ~ full fat eggnog will give you the best result. It adds flavor, moisture and richness that a low fat version just canโ€™t match. Use it in the dough and icing for the most eggnog flavor.

    Egg yolks ~ only the yolks are used, which gives the cookies a richer, chewier texture. Save the whites for meringue cookies!

    Cornstarch ~ this is the ingredient that makes these cookies melt in your mouth. It also keeps them thick and soft.

    Brown sugar ~ a little brown sugar adds warmth and depth. I use dark brown sugar, but light brown works just fine too.

    Nutmeg ~ donโ€™t skip this ingredient! And feel free to use fresh ground nutmeg for the most fragrant flavor. This spice is what makes these taste like eggnog and not just a vanilla sugar cookie.

    Rum ~ just a touch of rum in the icing ties everything together and gives that classic eggnog cocktail flavor. If youโ€™d rather skip the alcohol, rum extract works too. Start with ยผ teaspoon and go from there.

    ๐Ÿฅฃ how to make in photos

    Preheat the oven to 350ยฐF and line two baking sheet pans with parchment paper or silicone baking mats.

    Melt the butter and let it cool for five minutes.

    melted butter, brown and white sugar mixed together in a bowl with the remaining ingredients in bowls around the glass bowl

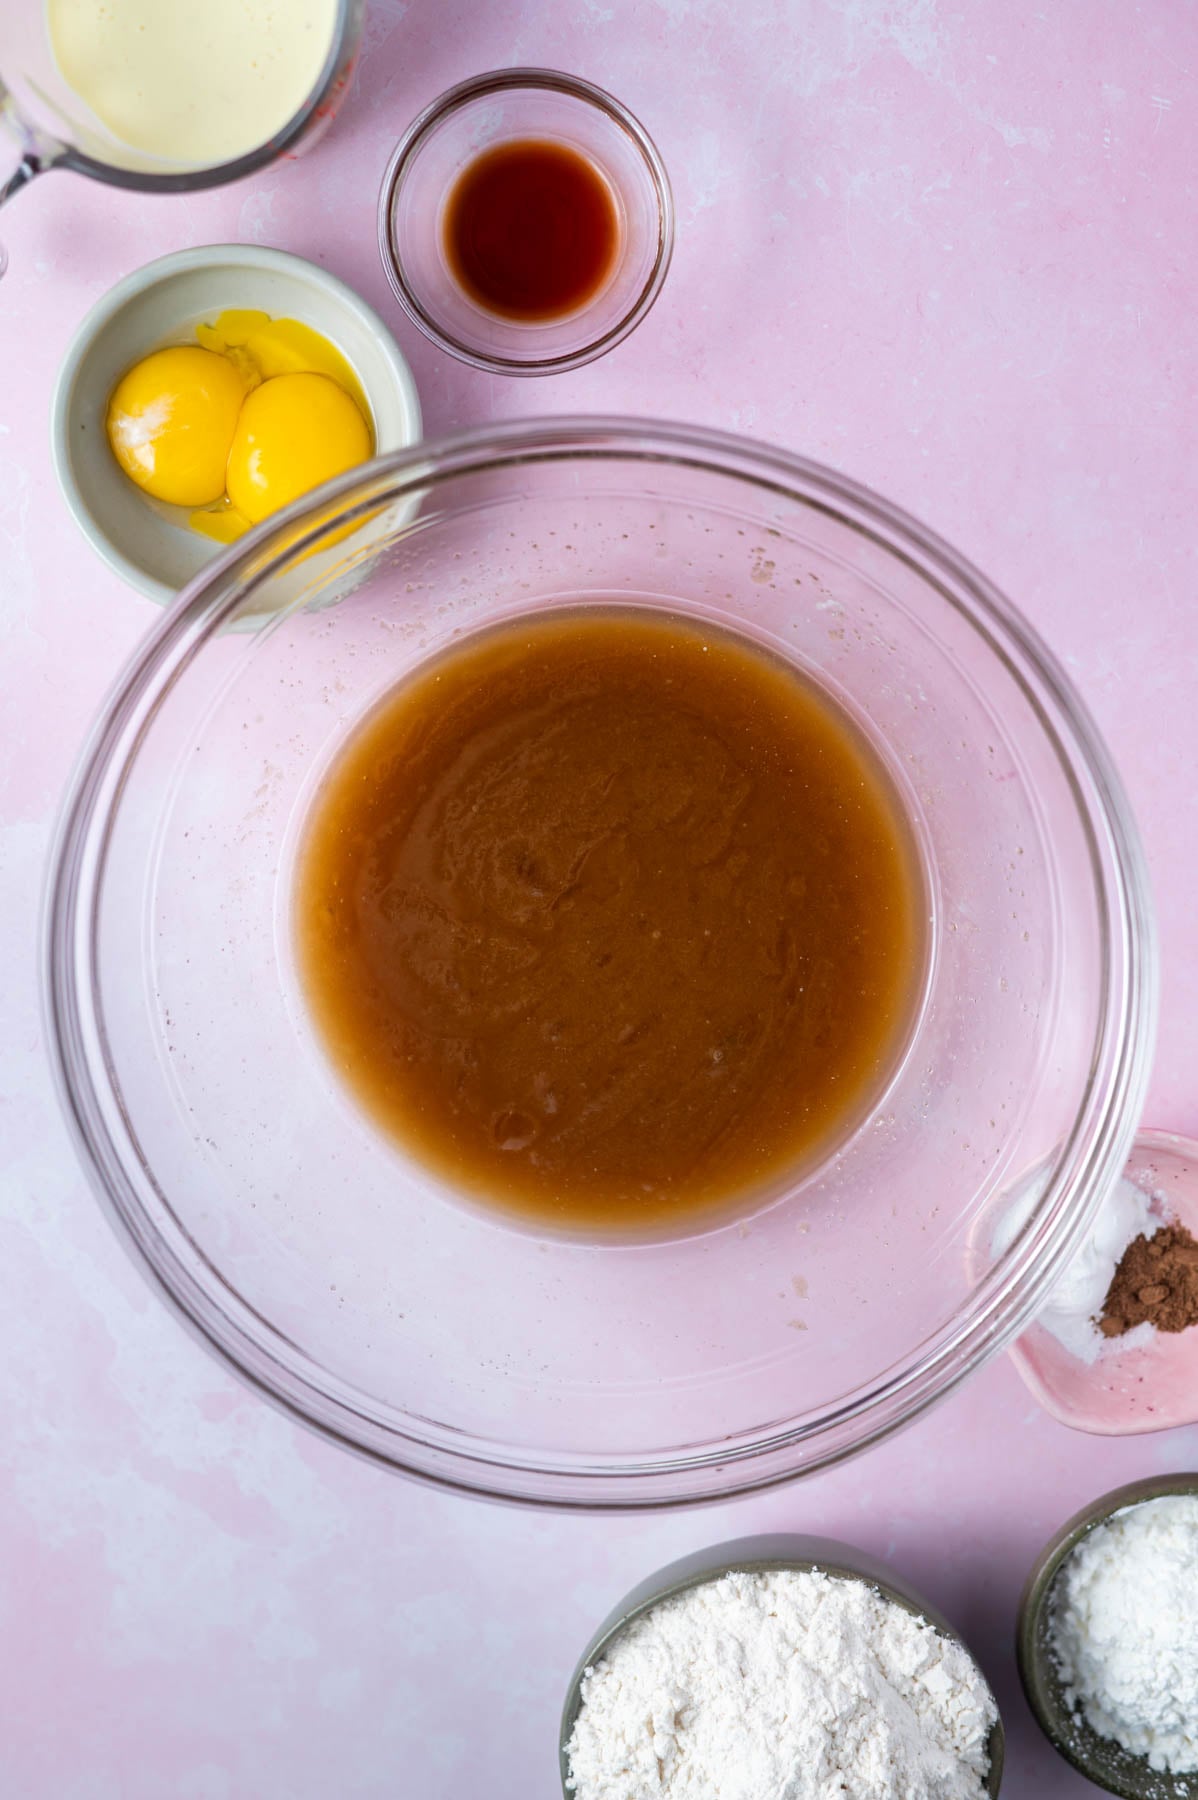
    In a medium bowl, add the melted butter, granulated sugar, packed brown sugar, and kosher salt and stir until well combined. The butter may not fully combine, but do your best.

    melted butter, sugars and eggs mixed together in a glass bowl

    Now stir in the egg yolks and vanilla, making sure everything is very well combined. 

    cookie dough with melted butter, sugars, eggs and vanilla added

    Then add the eggnog and stir to fully combine. The mixture will seem thin at this point.

    cookie dough after the eggnog has been added

    Next add the nutmeg, baking powder, and cornstarch, and mix to combine.

    cookie dough in a glass bowl with a spatula

    Finally stir in the flour until just combined.

    cookie dough flattened on a parchment lined pan

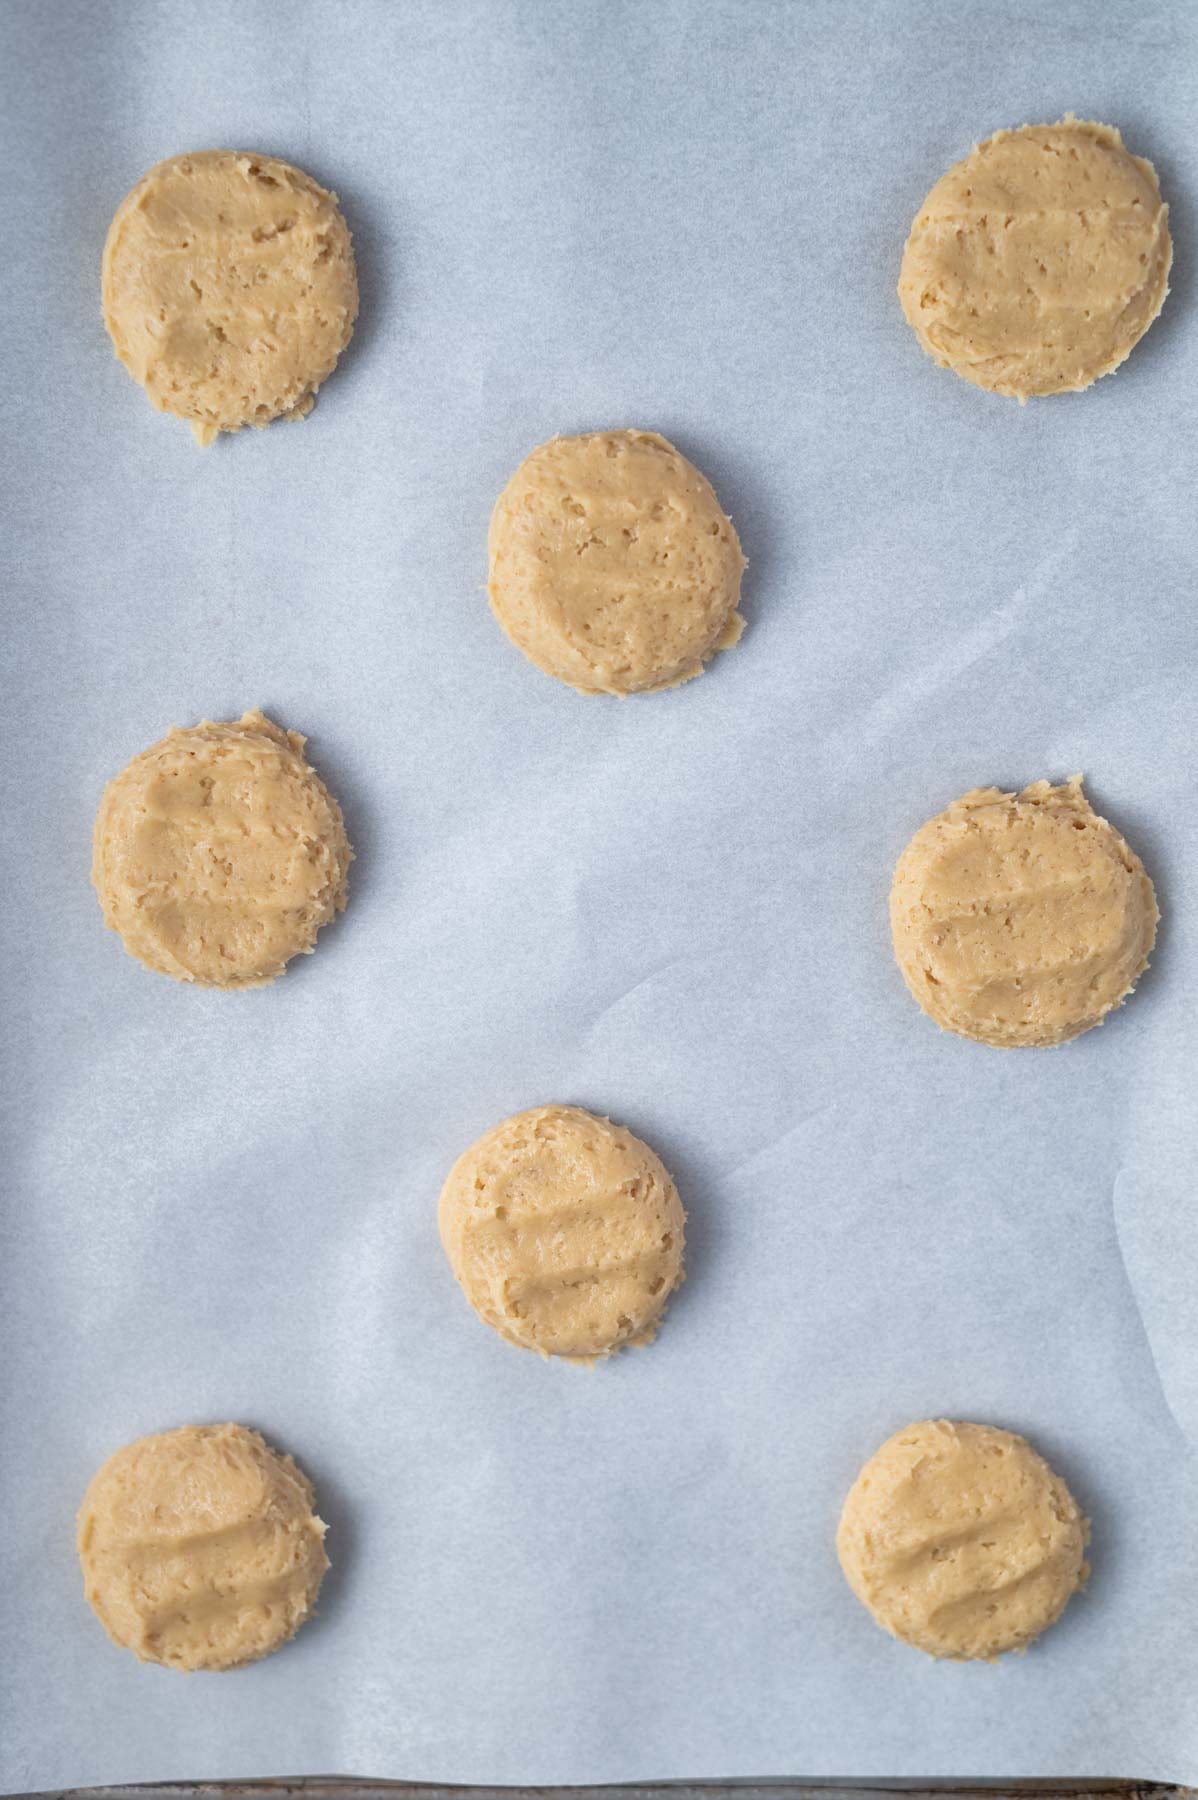
    Take roughly 2 tablespoons of dough (I use a size 30 scoop) and place on the prepared baking pans. Then lightly flatten each cookie with your clean hand to about ยผ inch (the dough is quite sticky, so a flat bottom glass does NOT work well here).  

    baked cookies on a parchment lined pan with a glass flattening one of them

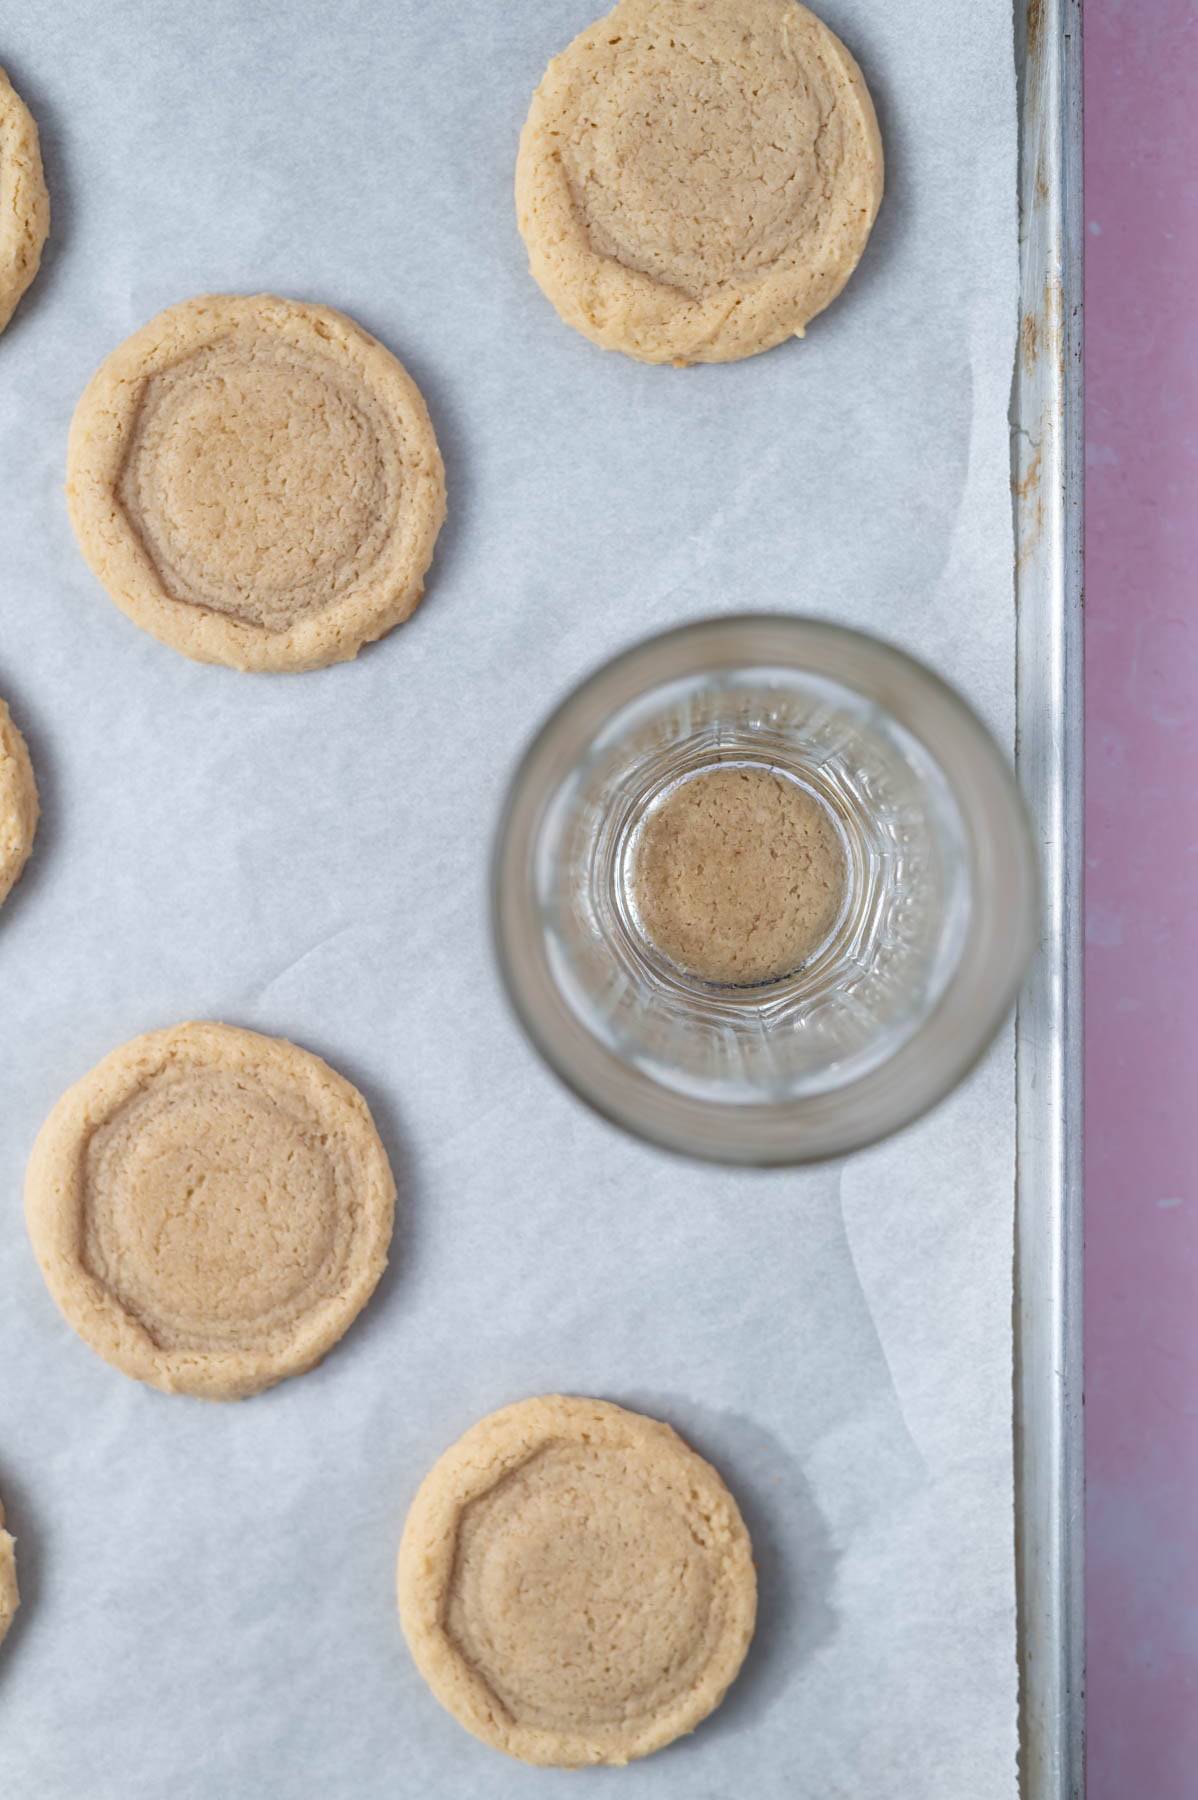
    Bake for 9-11 minutes, the edges will be set and the centers may still look a little soft. Then use the bottom of a cup to lightly flatten the cookies. I find this gives you a nice area to place the icing.

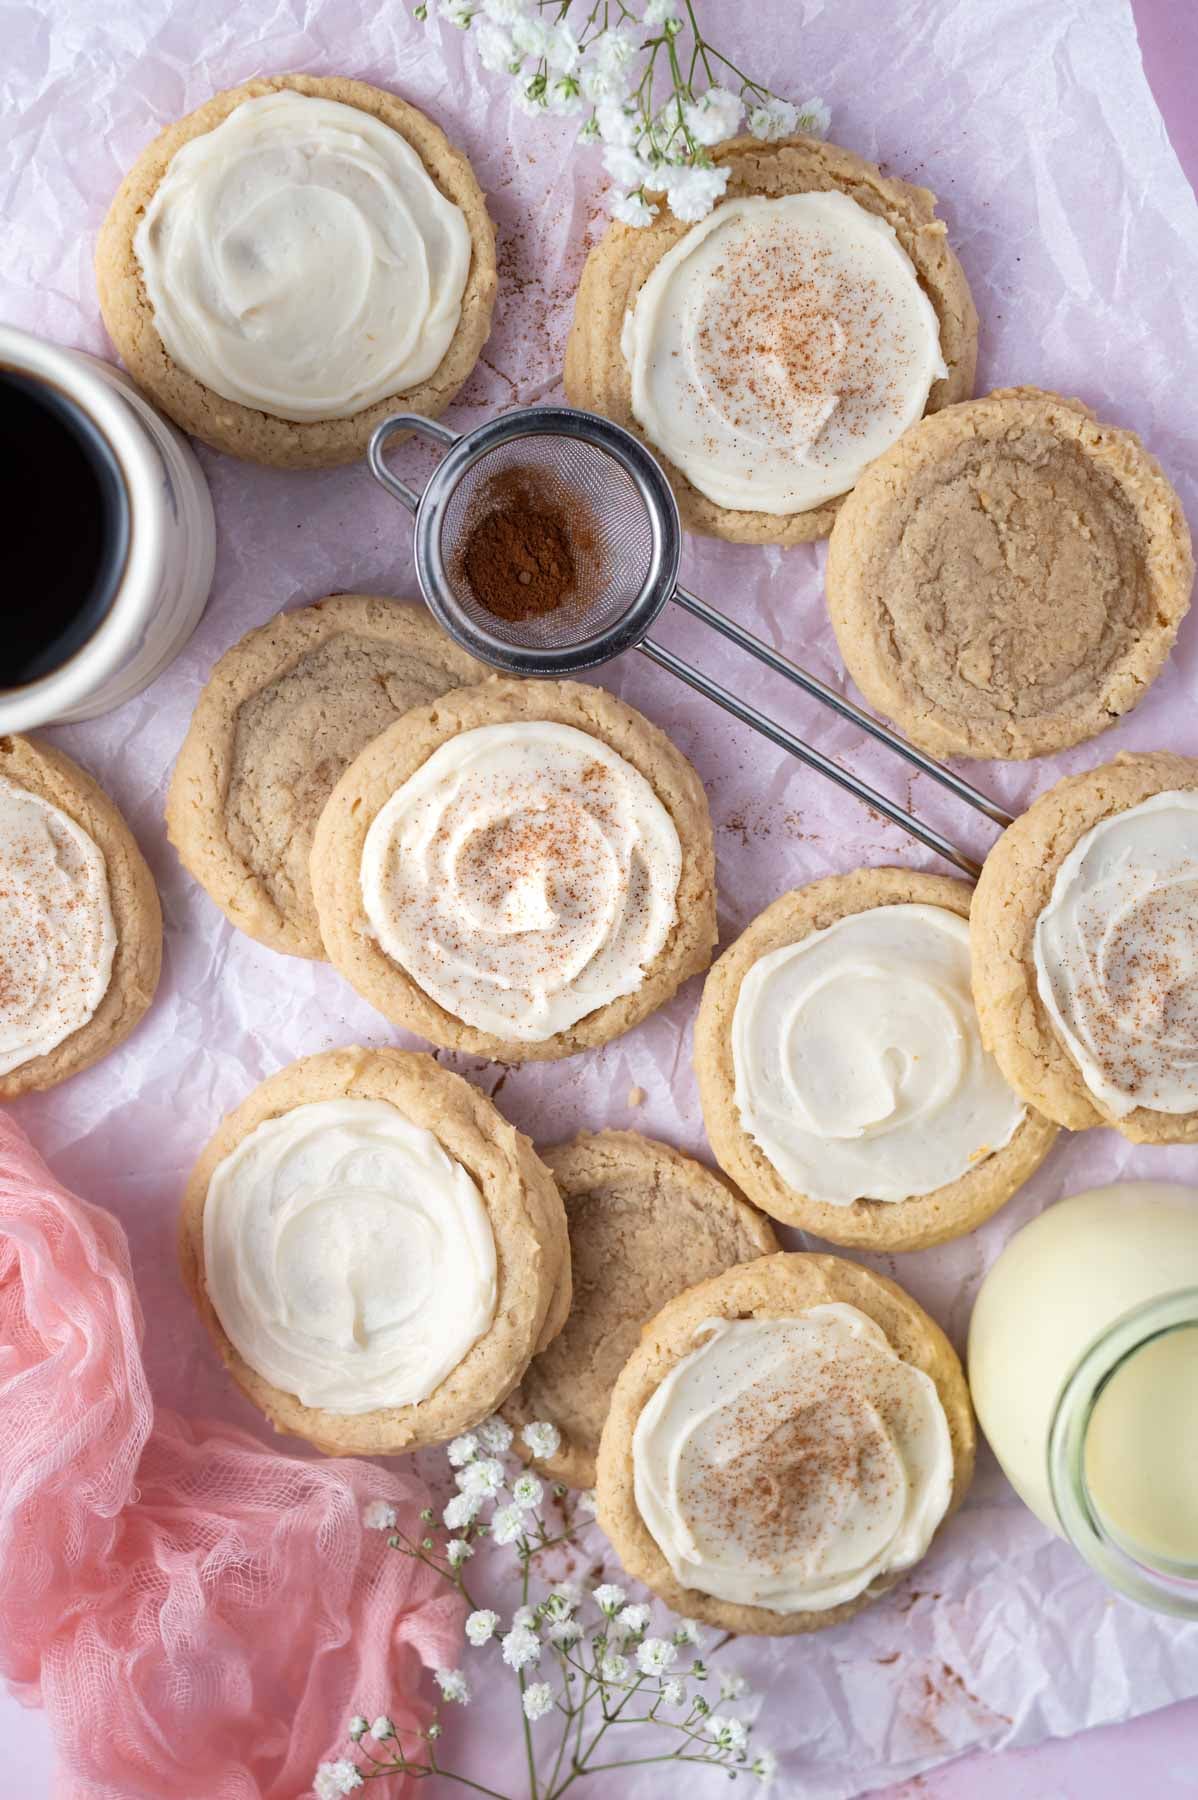
    overhead look at frosted cookies on parchment paper with a mug of coffee and babies breath flowers

    Once the cookies have cooled, make the rum eggnog icing and frost the cookies, it's the same icing as my eggnog pound cake. I use an offset spatula to spread the icing.

    ๐Ÿ’ฌ frequently asked questions

    do i need to chill the dough?

    Nope! This is a no chill cookie dough. Just scoop, flatten and bake. The cornstarch and flour ratio help to keep the cookies from spreading.

    can I decorate these with a different frosting?

    Absolutely. For a pipe able frosting, the spiced buttercream from my cinnamon sugar cookies or eggnog cupcakes would both be delicious.

    what if my icing is too thick?

    Add a tiny splash of eggnog or rum, about ยฝ teaspoon at a time. You want a thick consistency that will stay put on the cookie, but will spread on with a spoon.

    ๐Ÿ‘ฉ๐Ÿปโ€๐Ÿณ expert tips for the best eggnog sugar cookies

    These are some of my favorite cookie recipes on the blog and hereโ€™s what I learned from making them several times.

    Use a kitchen scale. I know I say this every time, but measuring by weight is the most accurate way to bake. Too much flour is the number one reason cookies turn out dry or donโ€™t spread correctly.

    Donโ€™t overbake. The cookies will look slightly underdone in the center when you pull them from the oven. They continue to set as they cook and that is what keeps them soft and chewy.

    Flatten before baking. Lightly press the cookie dough to ยผ -ยฝ inch in height before baking. Then use a flat bottom glass to flatten again once they come out of the oven. They donโ€™t spread a lot of their own, so these steps help.

    Frost with the icing when fully cool. The icing will melt on a warm cookie. Give them time to cool completely on the pan or a wire rack before icing.

    ๐Ÿซ™ how to store

    Eggnog sugar cookies can be stored in an airtight container at room temperature for 3-4 days.

    The sugar cookies can also be frozen in an airtight container or zip-top bag for up to 3 months. They defrost at room temperature in about 10-20 minutes, fresh tasting cookies on demand!

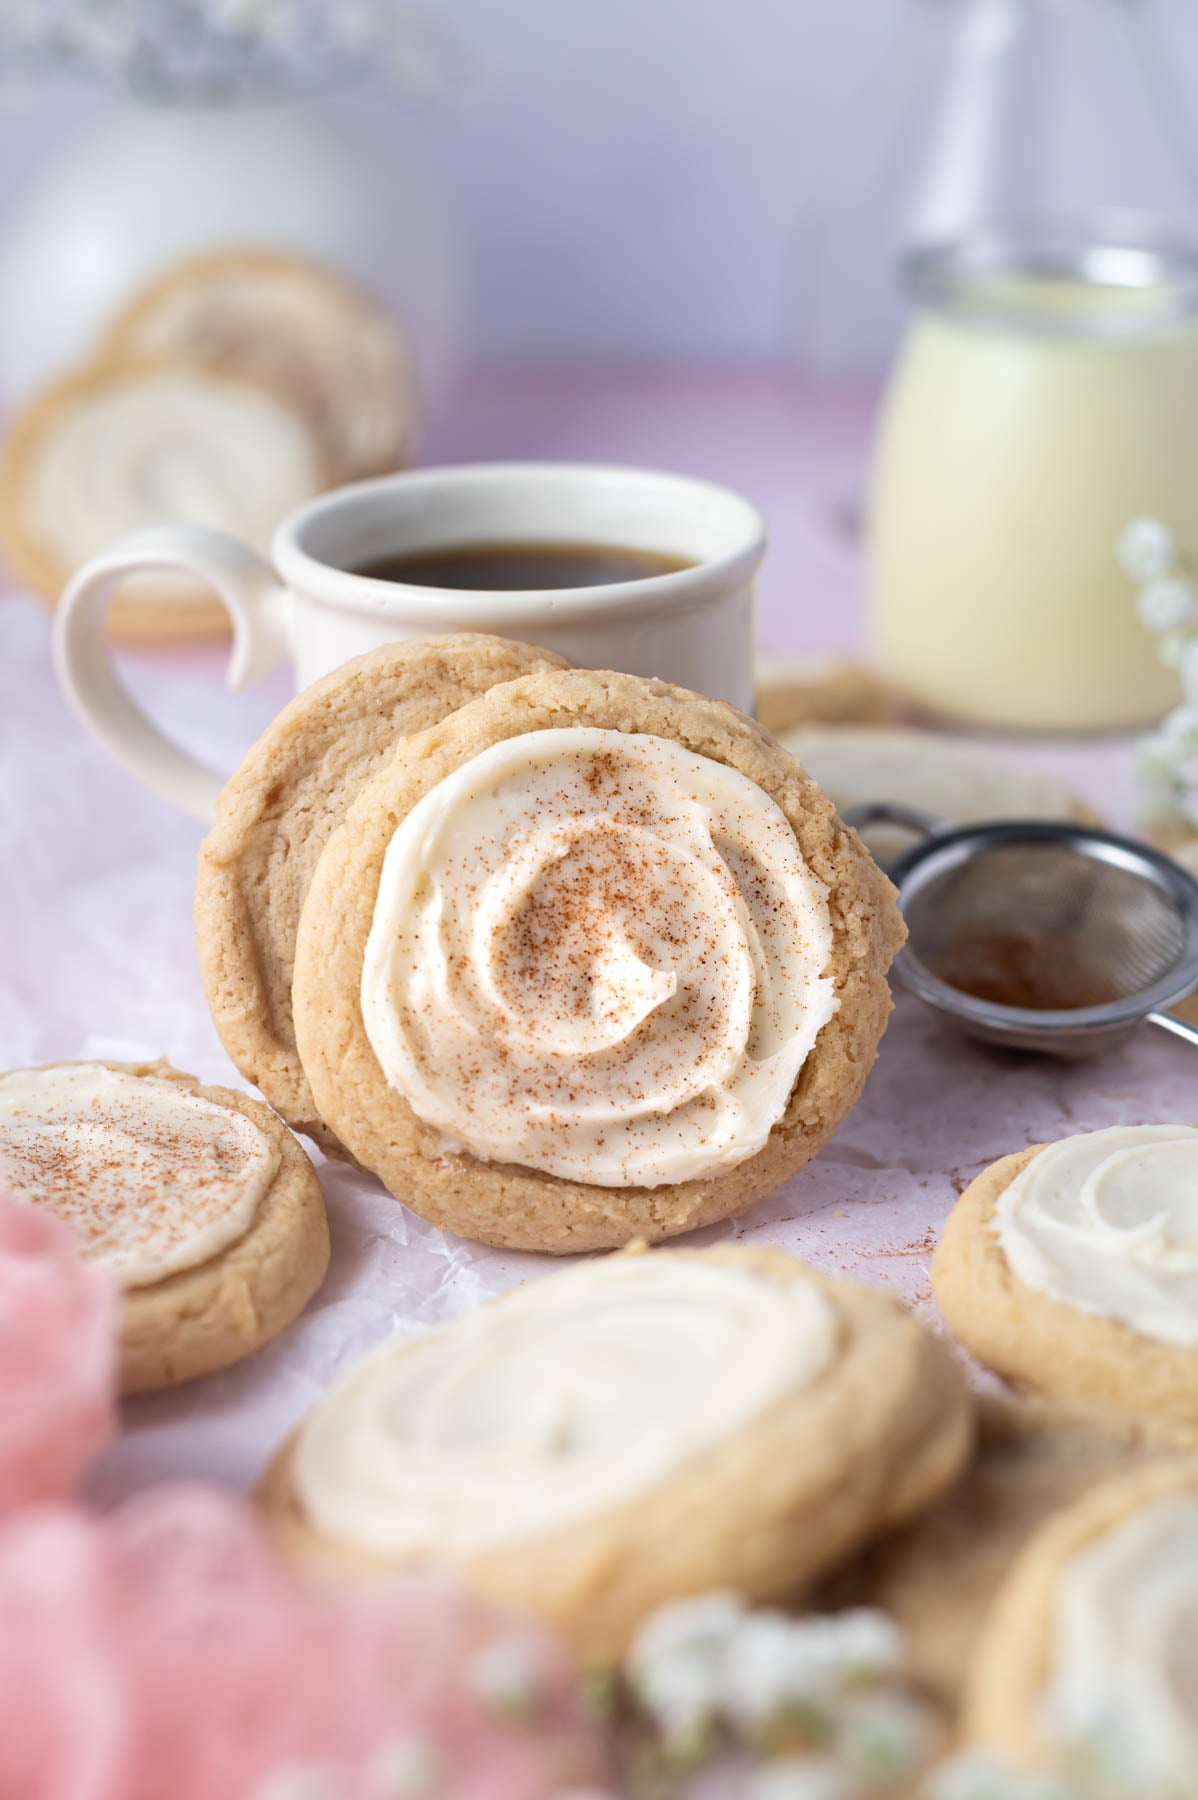
    eggnog sugar cookies leaning against a cup of coffee with a glass of eggnog in the background

    Remember to snap a picture and tag me @twosugarbugs on Instagram if you make these No Chill Eggnog Sugar Cookies. It warms my heart to see you bring these recipes to life! Thank you for being here and happy baking!

    If you make this recipe {or any recipe!} from two sugar bugsย please come back and leave a review and a โญ๏ธโญ๏ธโญ๏ธโญ๏ธโญ๏ธ star rating.ย  I read every comment, and I LOVE hearing from you!

    ๐Ÿ“– recipe

    eggnog sugar cookies leaned against a cup of eggnog with a small sifter of cinnamon and nutmeg in the background
    Print Recipe

    No Chill Eggnog Sugar Cookies

    These eggnog sugar cookies are soft, thick, and melt-in-your-mouth with a dreamy rum icing. No chill time and no mixer needed!
    Prep Time15 minutes mins
    Cook Time11 minutes mins
    Total Time26 minutes mins
    Course: Cookies, Dessert
    Cuisine: American
    Keyword: christmas baking, Christmas cookies, drop sugar cookies, eggnog, holiday baking, rum icing, sugar cookie
    Servings: 18 cookies
    Calories: 212kcal
    Author: Tasia Harper

    Ingredients

    eggnog sugar cookies

    • ยพ cup unsalted butter melted 170g
    • ยฝ cup granulated sugar 100g
    • ยผ cup packed brown sugar 50g
    • ยฝ teaspoon kosher salt
    • 2 large egg yolks
    • 1 teaspoon pure vanilla extract
    • ยฝ cup full fat eggnog 118mL
    • ยฝ teaspoon ground nutmeg
    • 2 teaspoons baking powder 8g
    • 5 tablespoons cornstarch 40g
    • 2 cups all-purpose flour 250g

    rum eggnog icing

    • 1 cup confectioners' sugar 120g
    • 2 tablespoons unsalted butter melted 28g
    • ยฝ teaspoon pure vanilla extract
    • 1 ยฝ teaspoons rum or ยผ teaspoon rum extract
    • 1 tablespoon eggnog 15mL

    Instructions

    for the sugar cookies

    • Preheat the oven to 350ยฐF and line two baking sheets with parchment paper or with silicone baking mats. Then melt the butter (ยพ cup/170g) and let it cool for five mintues.
    • In a medium bowl, add the melted butter, granulated sugar (ยฝ cup/100g), packed brown sugar (ยผ cup/50g), and kosher salt (ยฝ teaspoon) and stir until well combined. The butter may not fully combine, but do your best.
    • Now stir in the egg yolks (2 large yolks), vanilla (1 teaspoon), making sure everything is very well combined. Then add the eggnog (ยฝ cup/118mL) and stir to fully combine. The mixture will seem thin at this point.
    • Next add the nutmeg (ยฝ teaspoon), baking powder (2 teaspoons), and cornstarch (5 tablespoons/40g), and mix to combine. Finally stir in the flour (2 cups/250g) until just combined.
    • Take roughly 2 tablespoons of dough (I use a size 30 scoop) and place on the prepared baking pans, spacing about 2 inches apart. Then lightly flatten each cookie with your clean hand to about ยผ inch (the dough is quite sticky, so a flat bottom glass does NOT work well here).
    • Bake for 9-11 minutes, the edges will be set and the centers may still look a little soft. My cookies bake keeping their round shape quite well, but โ€œscootโ€ the cookies with a biscuit ring or cup when they are hot out of the oven, if desired. Then use the bottom of a cup to lightly flatten the cookies. I find this gives you a nice area to place the icing.
    • Once the cookies are cool, make the icing.

    for the rum eggnog icing

    • Combine the confectioners' sugar (1 cup/120g) with the melted butter (2 tablespoons/28g), vanilla extract (ยฝ teaspoon), rum (1 ยฝ teaspoons/or rum extract ยผ teaspoon) and eggnog (1 tablespoon) in a medium bowl with a spoon. Stir until it reaches a thick, smooth icing glaze. If the icing is too thick to spread, add another splash of eggnog or rum.
    • Use about 1 teaspoon of icing for each cookie, spread it on the top and allow to set. If desired, dust with a little nutmeg and cinnamon while the icing is still wet.
    Notes

    I recommend using full fat eggnog for the best results.
    Cookies can cool completely on the baking sheet or can be moved to a wire cooling rack after 5 minutes.ย ย 
    Eggnog sugar cookies can be stored at room temperature in an airtight container for 3 - 4 days or in the freezer for up to 3 months. If frozen, they should defrost at room temperature in 10-20 minutes.

    Nutrition

    Serving: 1 cookie | Calories: 212kcal | Carbohydrates: 29g | Protein: 2g | Fat: 10g | Saturated Fat: 6g | Polyunsaturated Fat: 0.5g | Monounsaturated Fat: 3g | Trans Fat: 0.4g | Cholesterol: 50mg | Sodium: 120mg | Potassium: 38mg | Fiber: 0.4g | Sugar: 16g | Vitamin A: 320IU | Vitamin C: 0.1mg | Calcium: 47mg | Iron: 1mg

    Simple Nutella Blondies

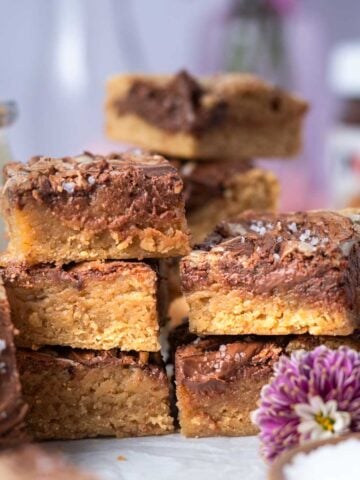
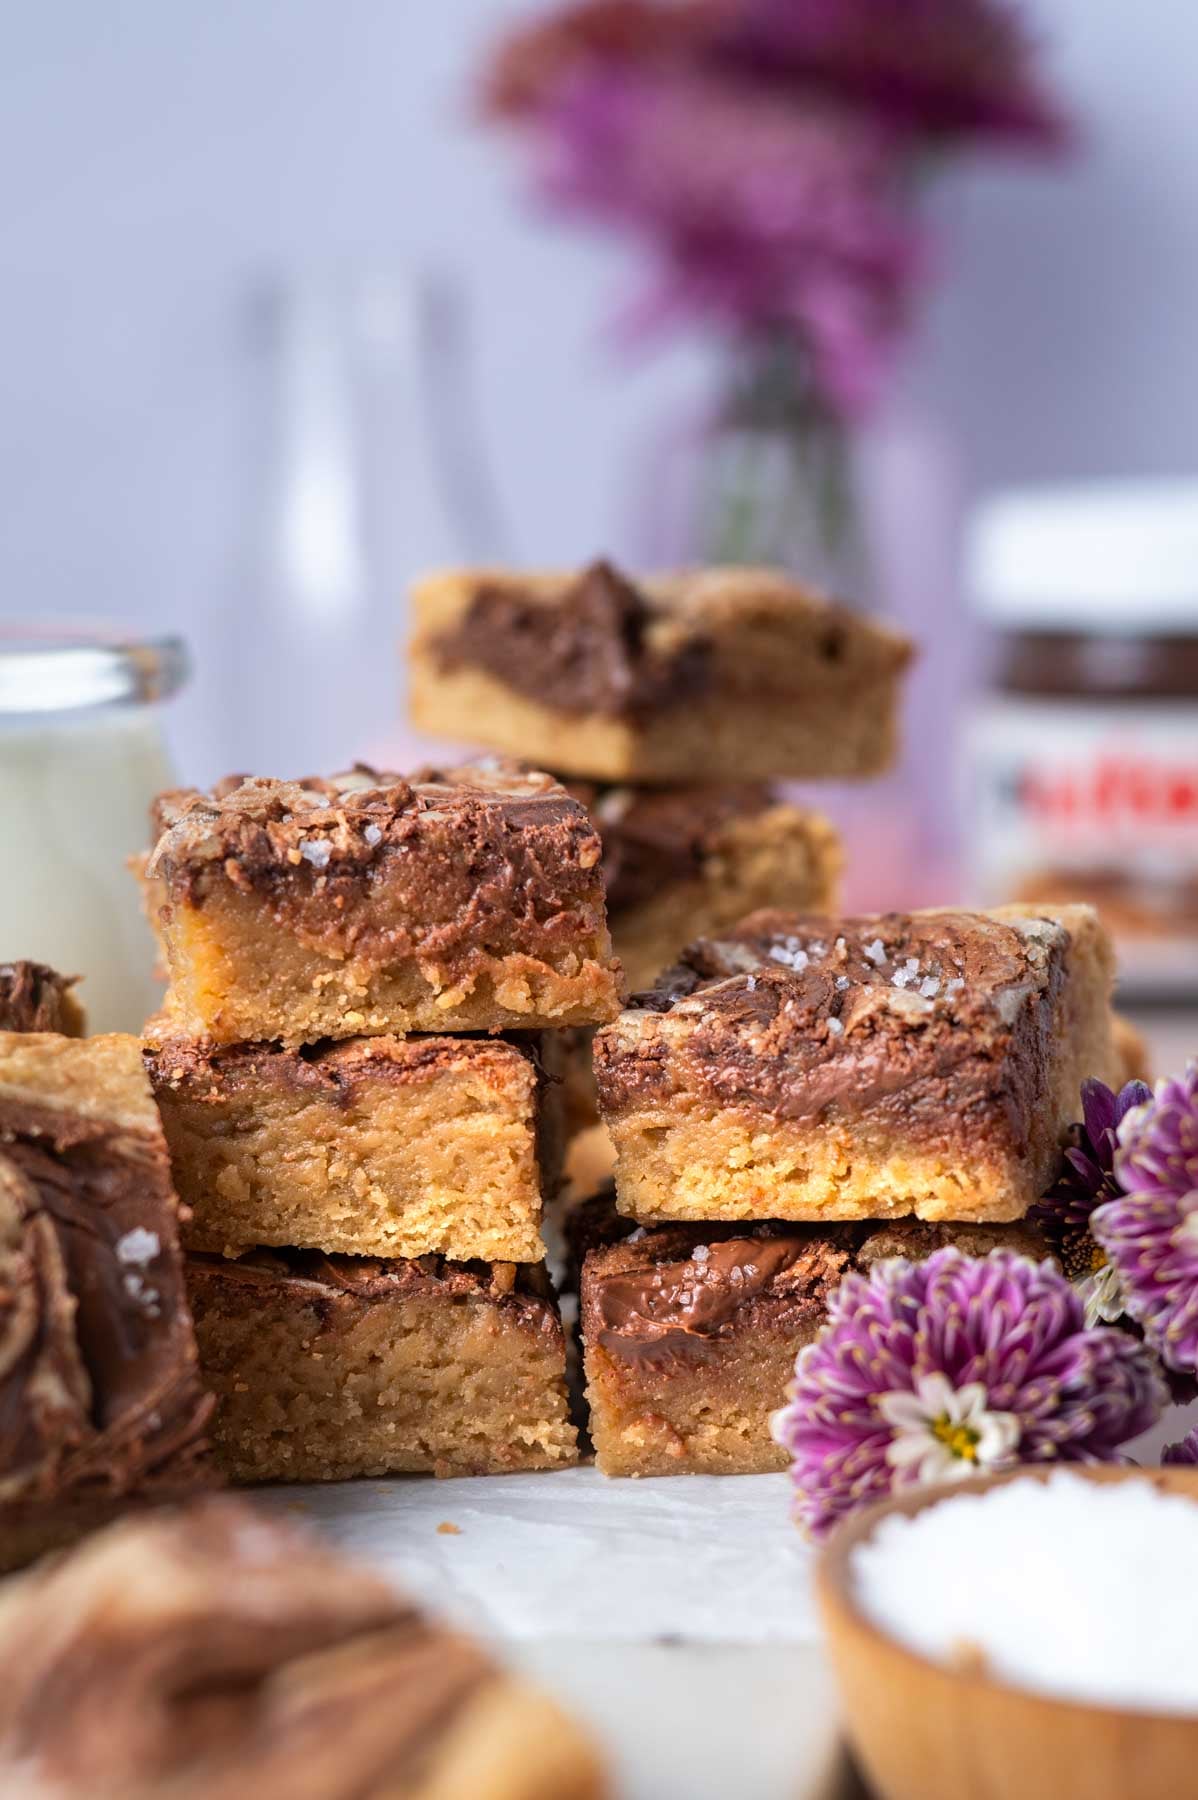
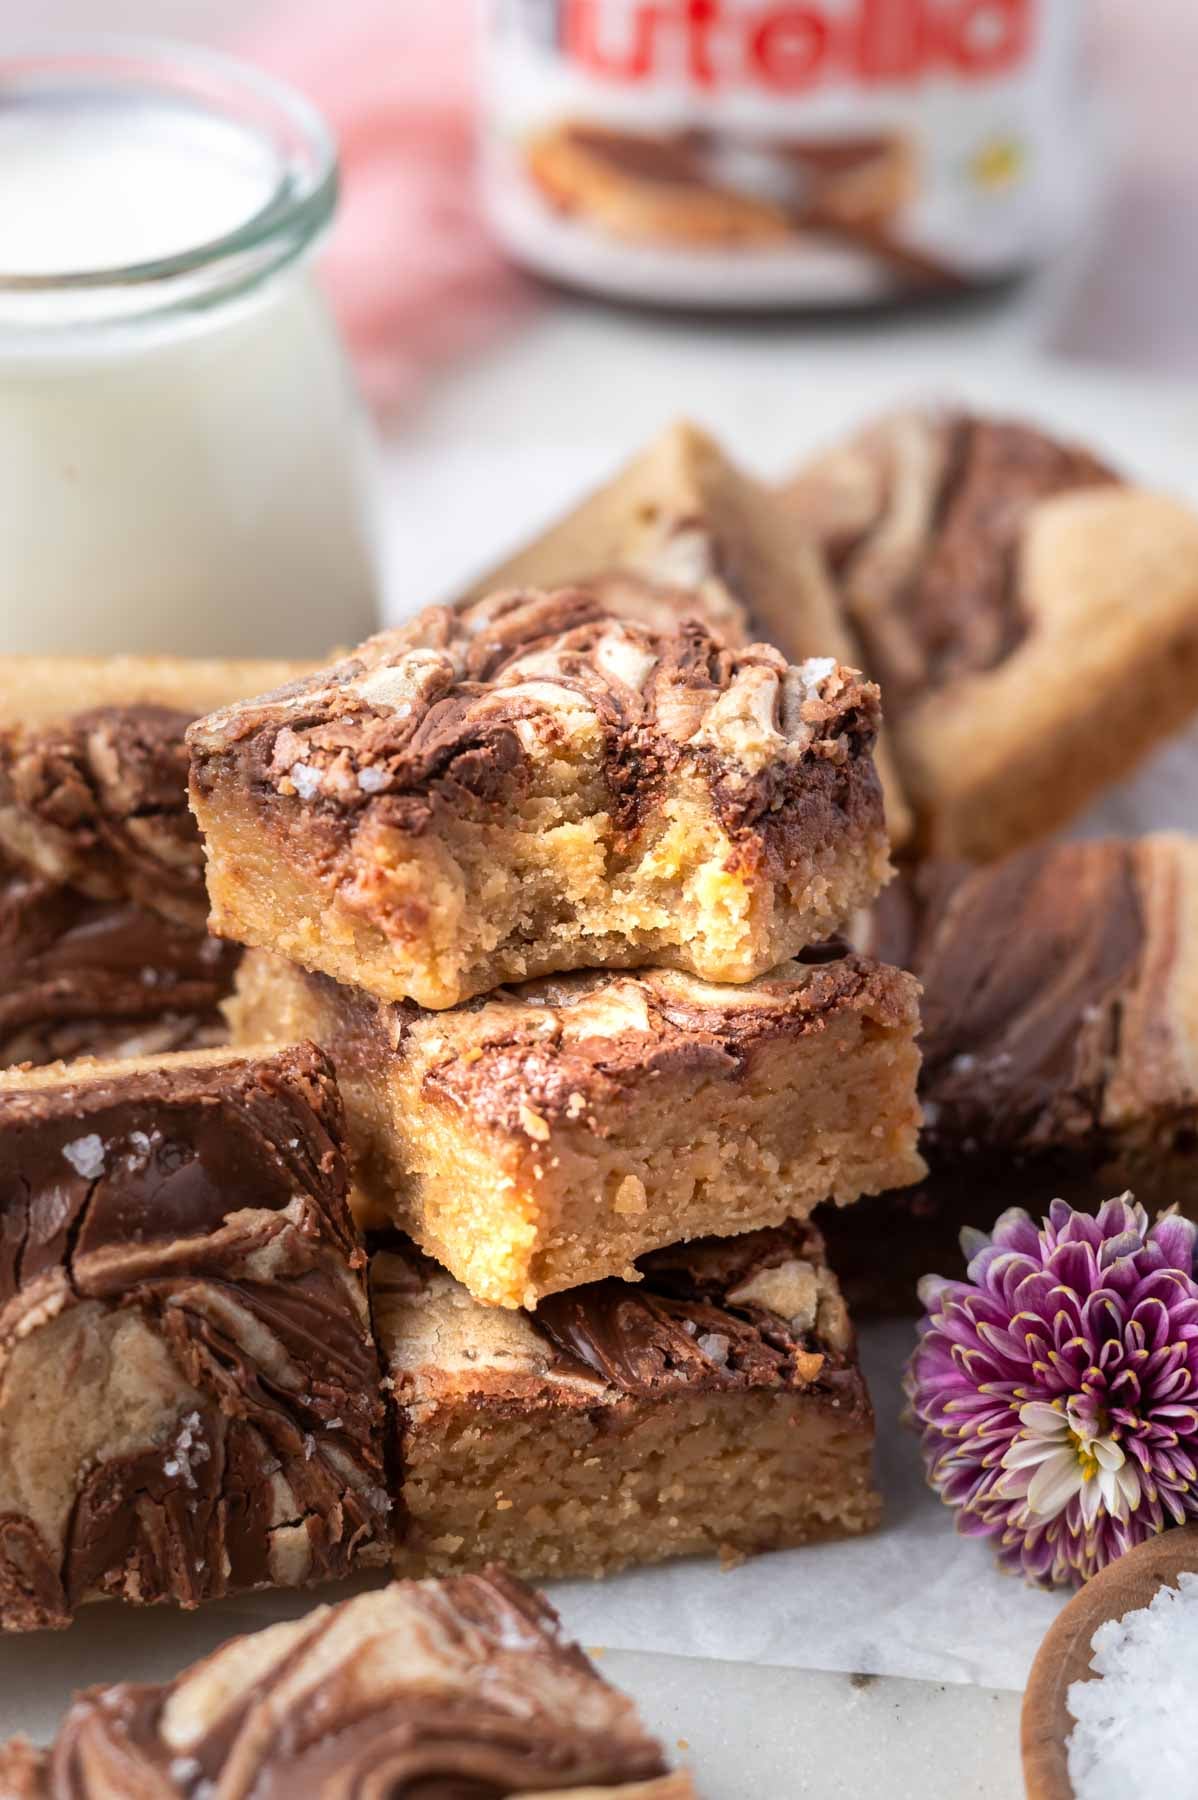
    stack of blondies with a glass of milk, jar of Nutella in the background and fresh flowers

    Nutella blondies are the answer when you want something quick and a little chocolatey without making brownies. If you have 10 minutes and a jar of Nutella, you can make this blondie recipe tonight. These blondie bars are thick, fudgy and loaded with a hazelnut chocolate swirl. Mixed in one bowl and baked in an 8x8 pan, youโ€™ll have them ready before anyone has a chance to ask for dessert.

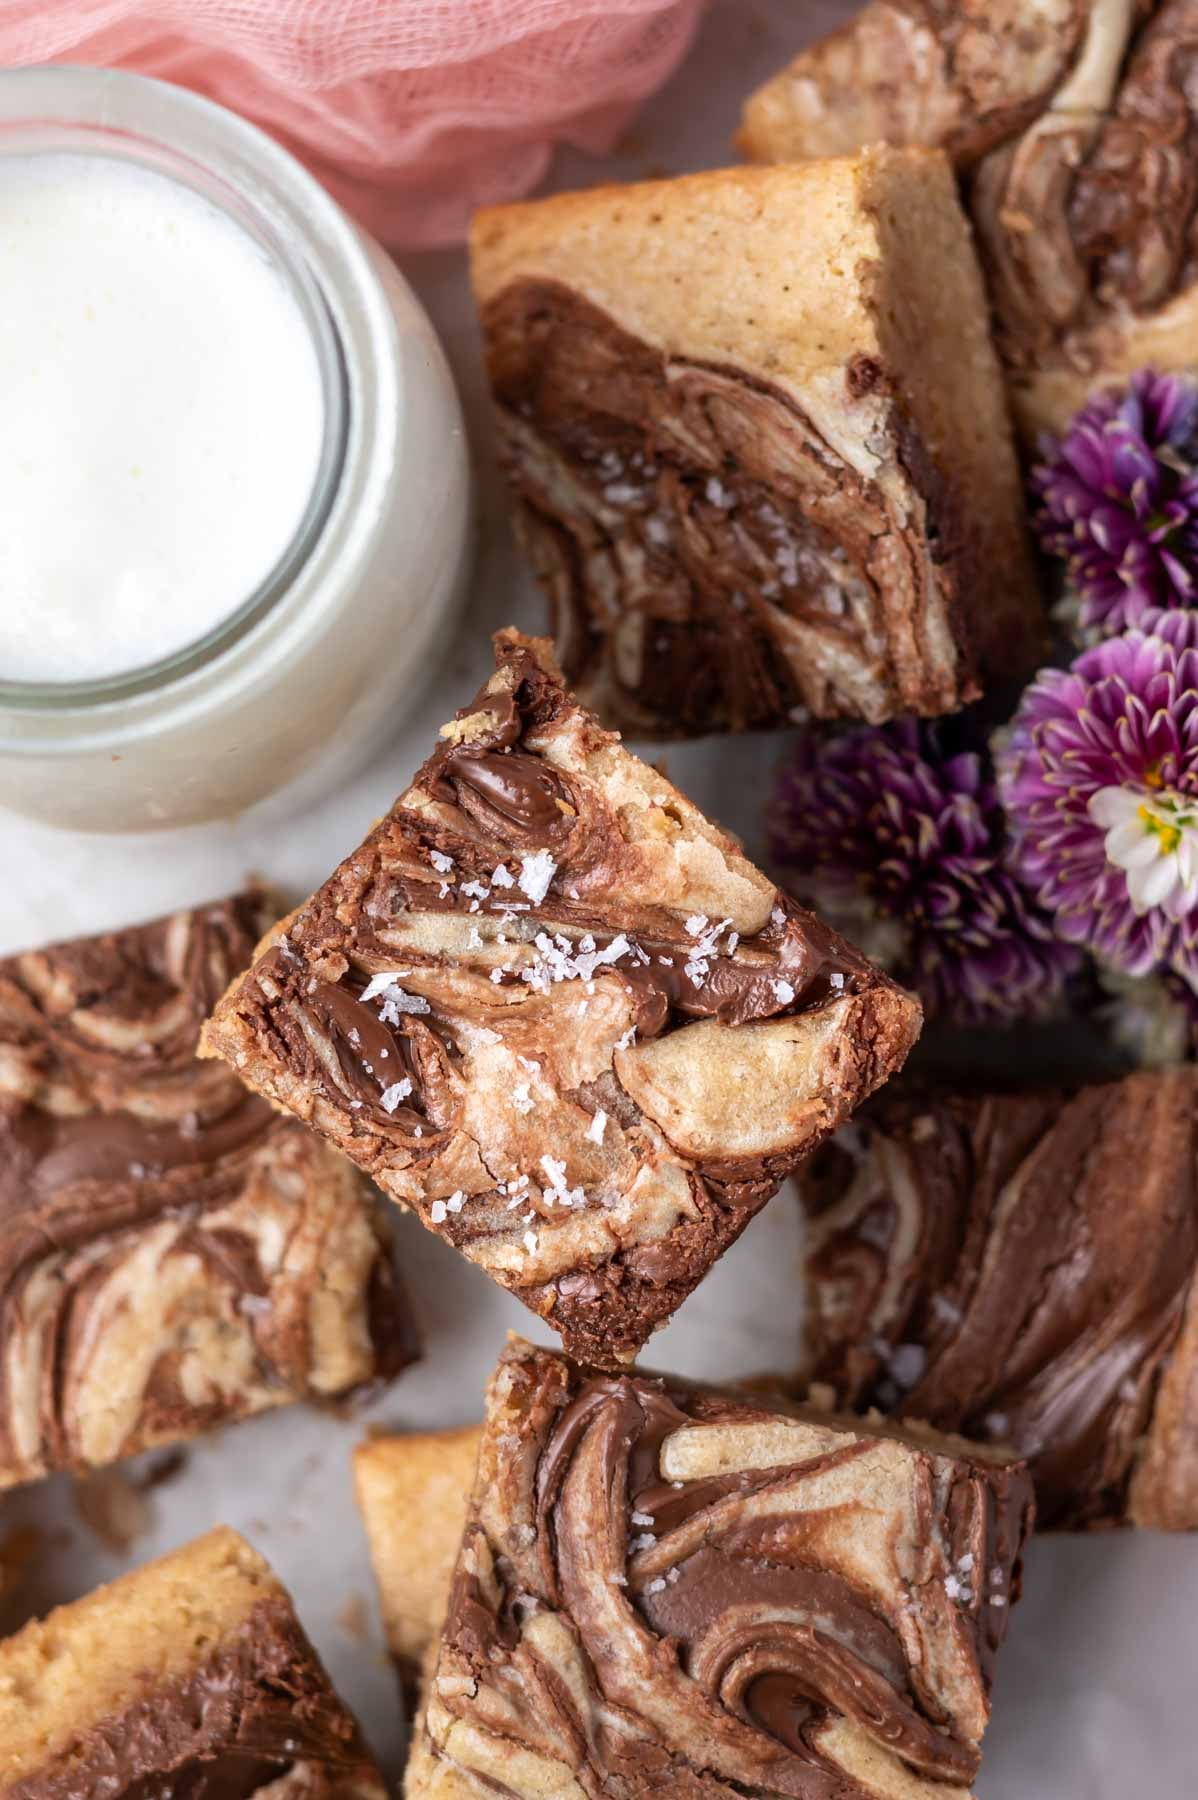
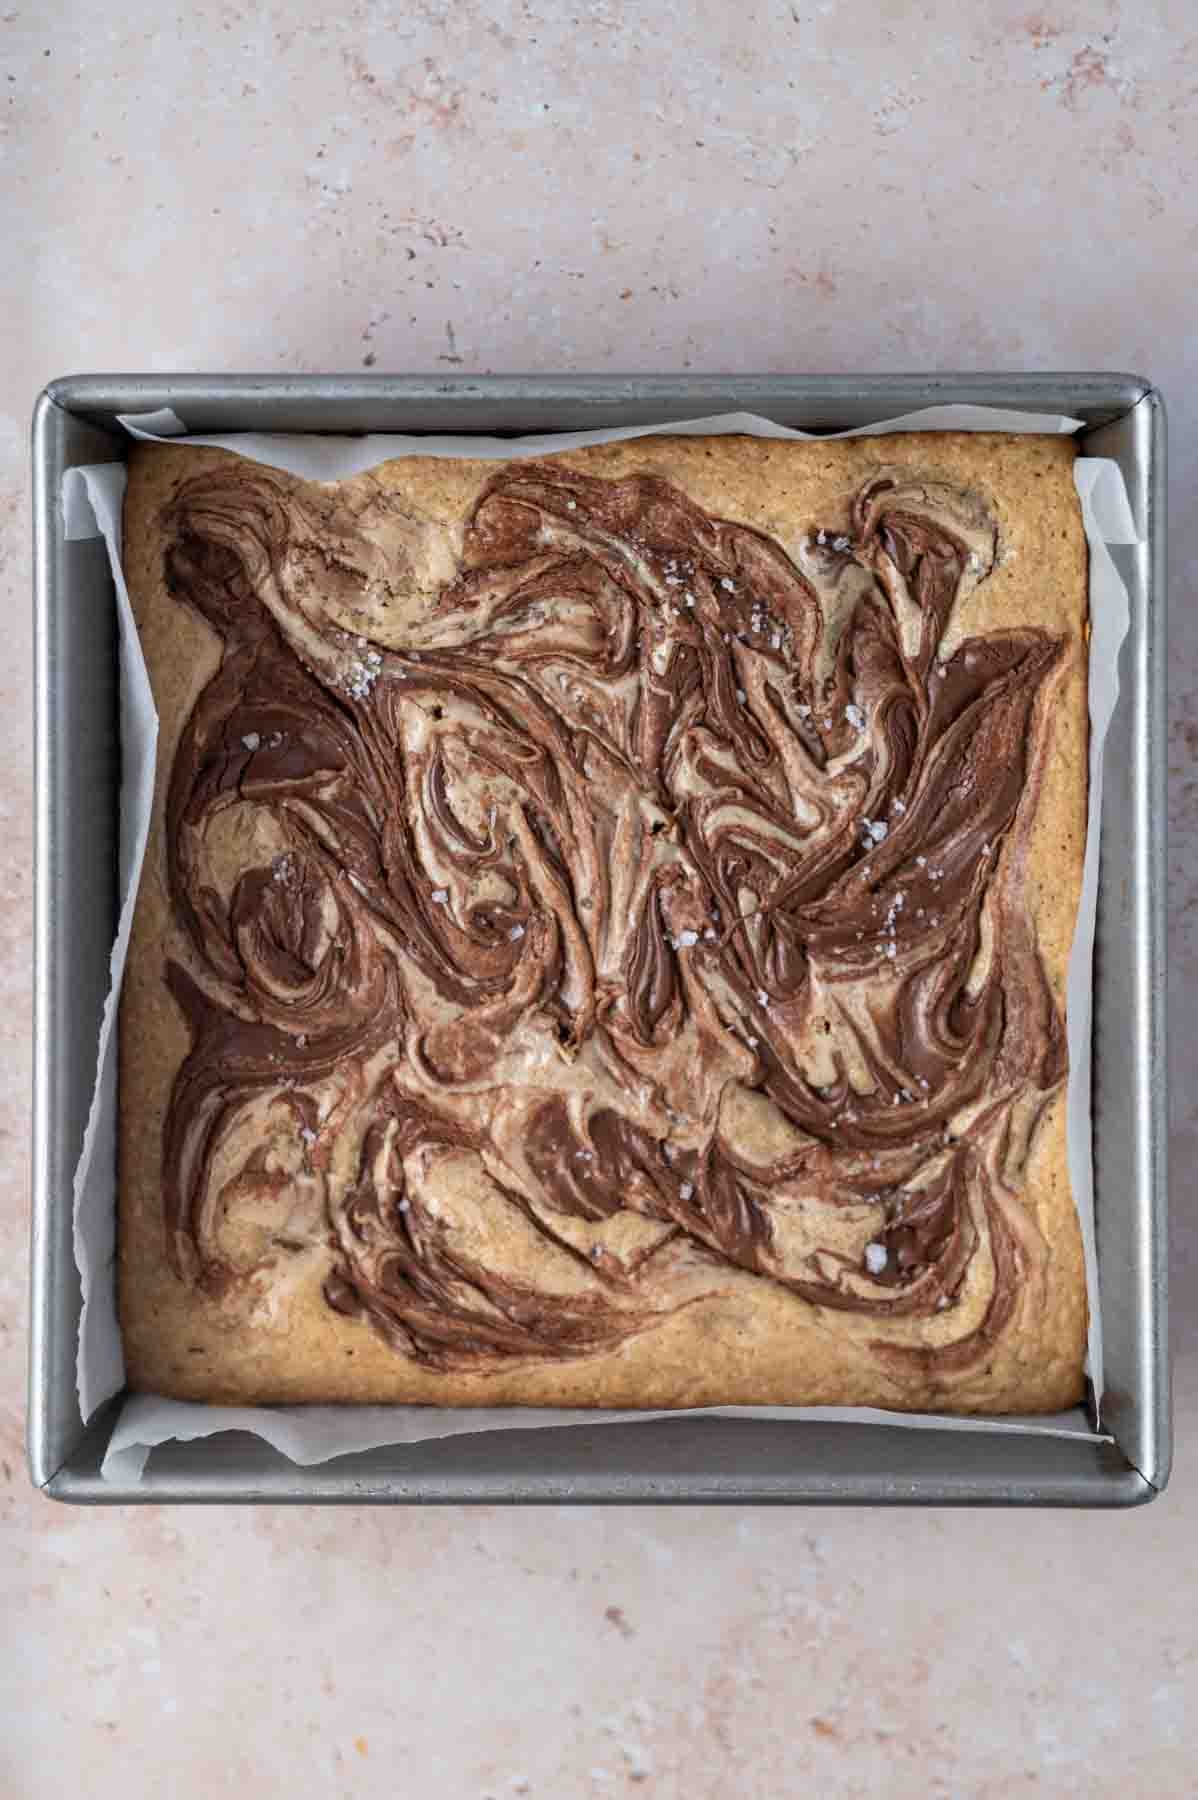
    overhead look at swirled Nutella blondie with flaky sea salt on top and a glass of milk

    Disclosure | This post may contain affiliate links. As an Amazon Associate I earn from qualifying purchases.

    [feast_advanced_jump_to]

    As a busy mama who has been baking for decades, I can tell you these are the kind of quick, easy dessert bars that fit into a busy weeknight. Or a lazy weekend afternoon. The swirl is stunning, the edges get lightly golden and chewy, and the centers stay soft and fudgy. They also disappear right before your eyes, much like my biscoff blondies!

    I developed this recipe because I wanted a blondie that delivered on flavor with no chocolate chips, but still delivered big, bold flavor. Nutella does all the heavy work here. Drop it in dollops, swirl it around, and the oven does the rest. My espresso brownies are proof that a little something extra swirled into a blondie base (caramel!) makes all the difference.

    Love a good dessert bar? My whole collection of bars and brownies is full of easy one bowl options just like these.

    ๐Ÿ’— why youโ€™ll make these blondie bars on repeat

    • The Nutella swirl looks bakery worthy with next to zero effort.
    • One bowl, a whisk and spatula is all you need. No mixer required.
    • Simple ingredients, made without cocoa powder or chocolate chips.
    stack of blondies with a glass of milk, jar of Nutella in the background and fresh flowers

    ๐Ÿ›’ ingredient notes

    Please scroll to the printable recipe card at the end of this post for the full list of ingredients and baking directions.

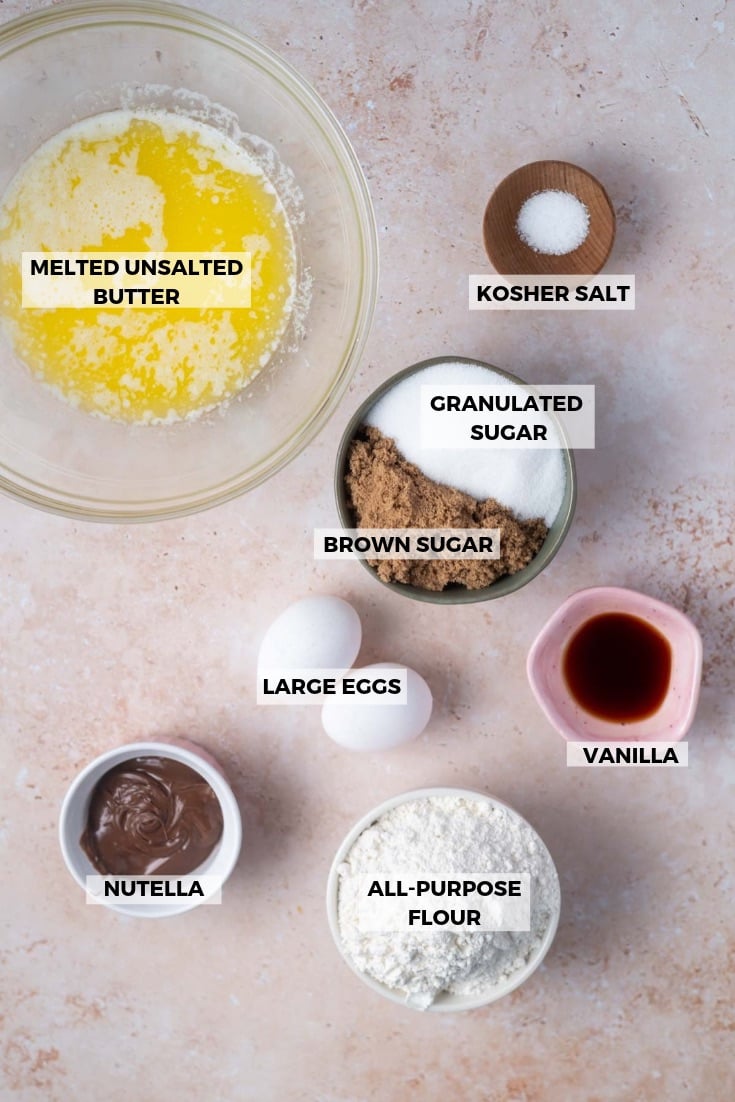
    ingredients for nutella blondies

    Butter ~ melted unsalted butter keeps the blondies extra moist and fudgy. And since itโ€™s melted, you donโ€™t need to wait for it to come to room temperature!

    Brown sugar ~ dark brown sugar will give you the richest, caramel-like sweetness. Use light brown if that is all you have.

    Eggs ~ two large eggs help create structure and that fudgy texture.

    Vanilla ~ a full tablespoon of pure vanilla extract adds a ton of flavor. Donโ€™t skip it or swap for imitation vanilla here. The flavor really matters in a recipe this simple.

    Nutella ~ the star of the recipe! You only need โ…“ cup, which leaves plenty in the jar for toast or eating with a spoon (no judgement here!).

    Flaky sea salt ~ totally optional, but highly recommended. That little sprinkle on top balances the sweetness beautifully. This Murray River Salt is a staple in my kitchen.

    Pro tip ~ to quickly bring eggs to room temperature, place them in a bowl of warm tap water for 5-10 minutes.

    ๐Ÿฅฃ how to make in photos

    Preheat the oven to 350ยฐF (177ยฐC) and line a 8x8 baking pan with parchment paper.

    sugars, salt and butter whisked together in a glass bowl

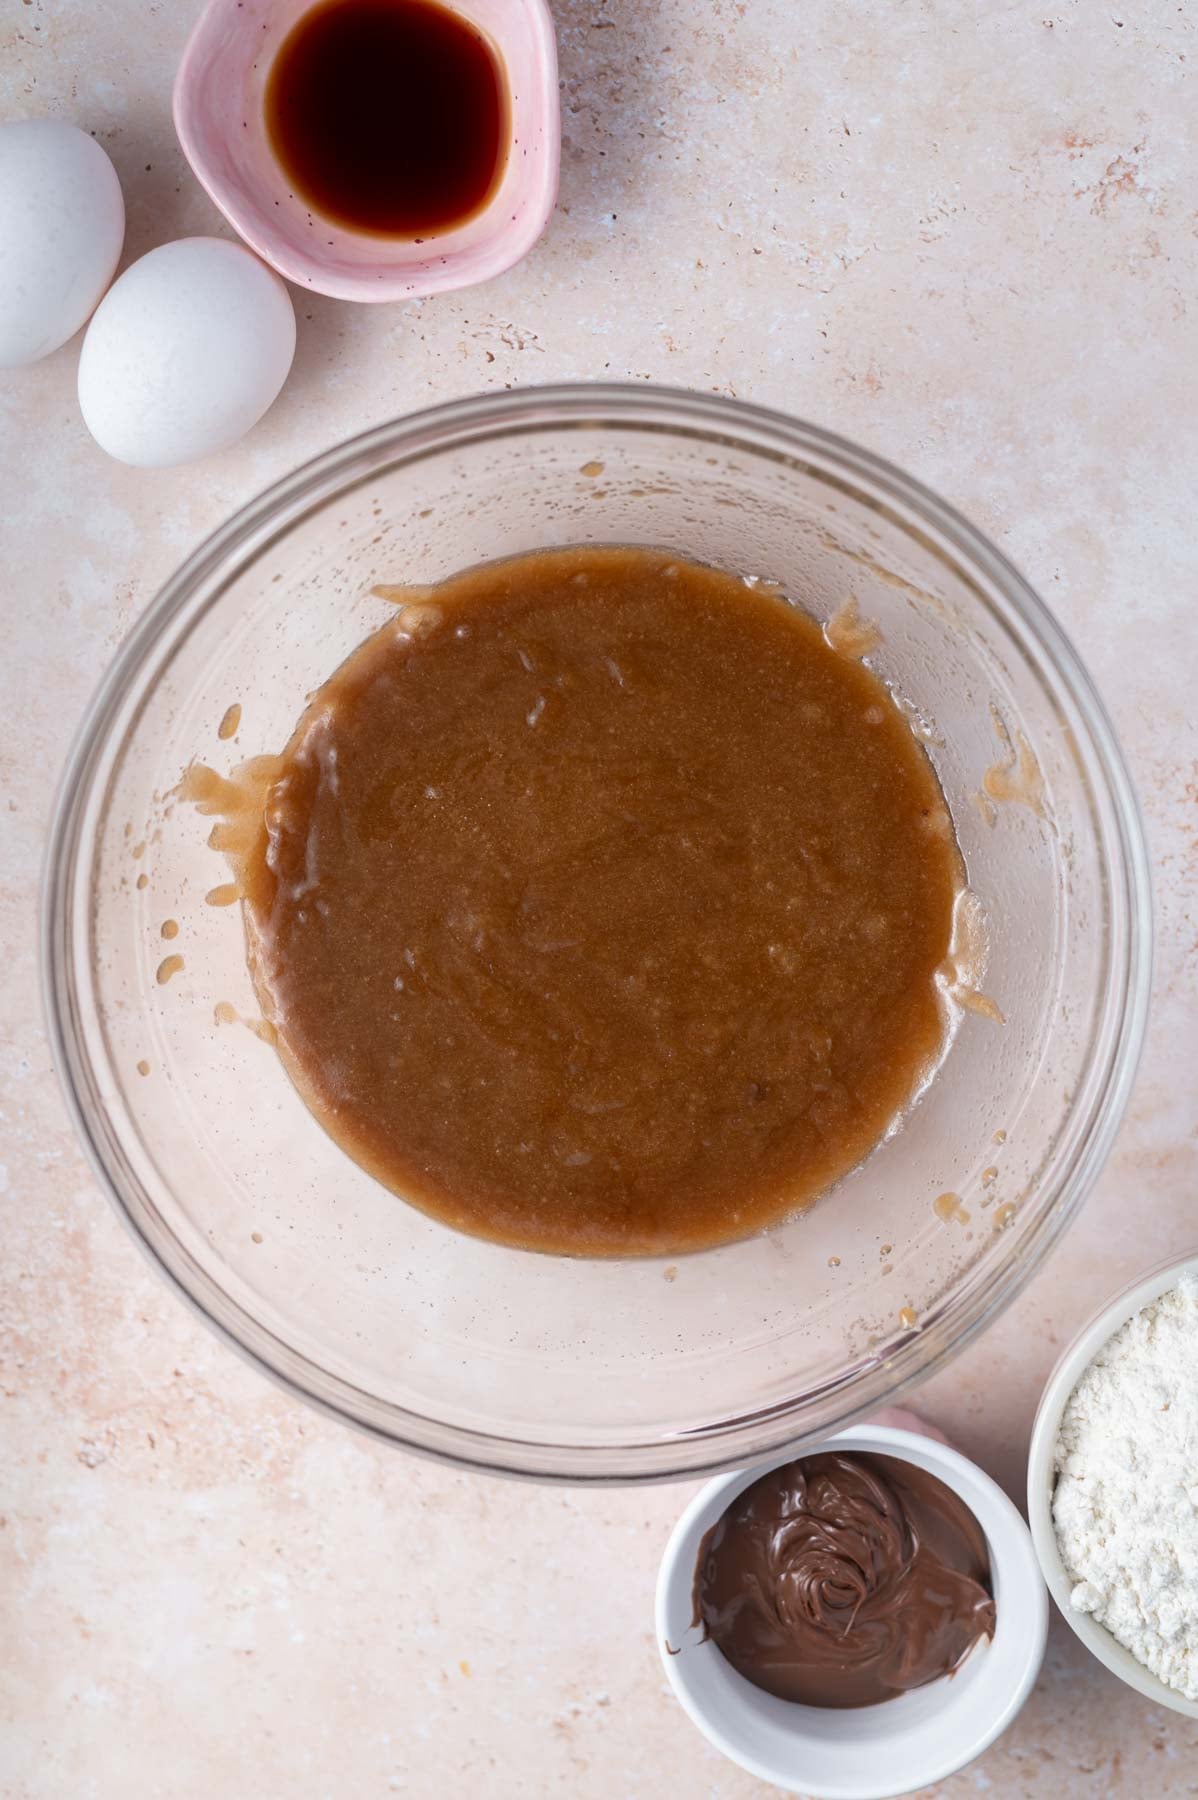
    In a medium to large bowl, whisk together the melted butter, granulated sugar, packed brown sugar and kosher salt until well combined.

    eggs, sugars, melted butter, vanilla and salt whisked together in a glass bowl

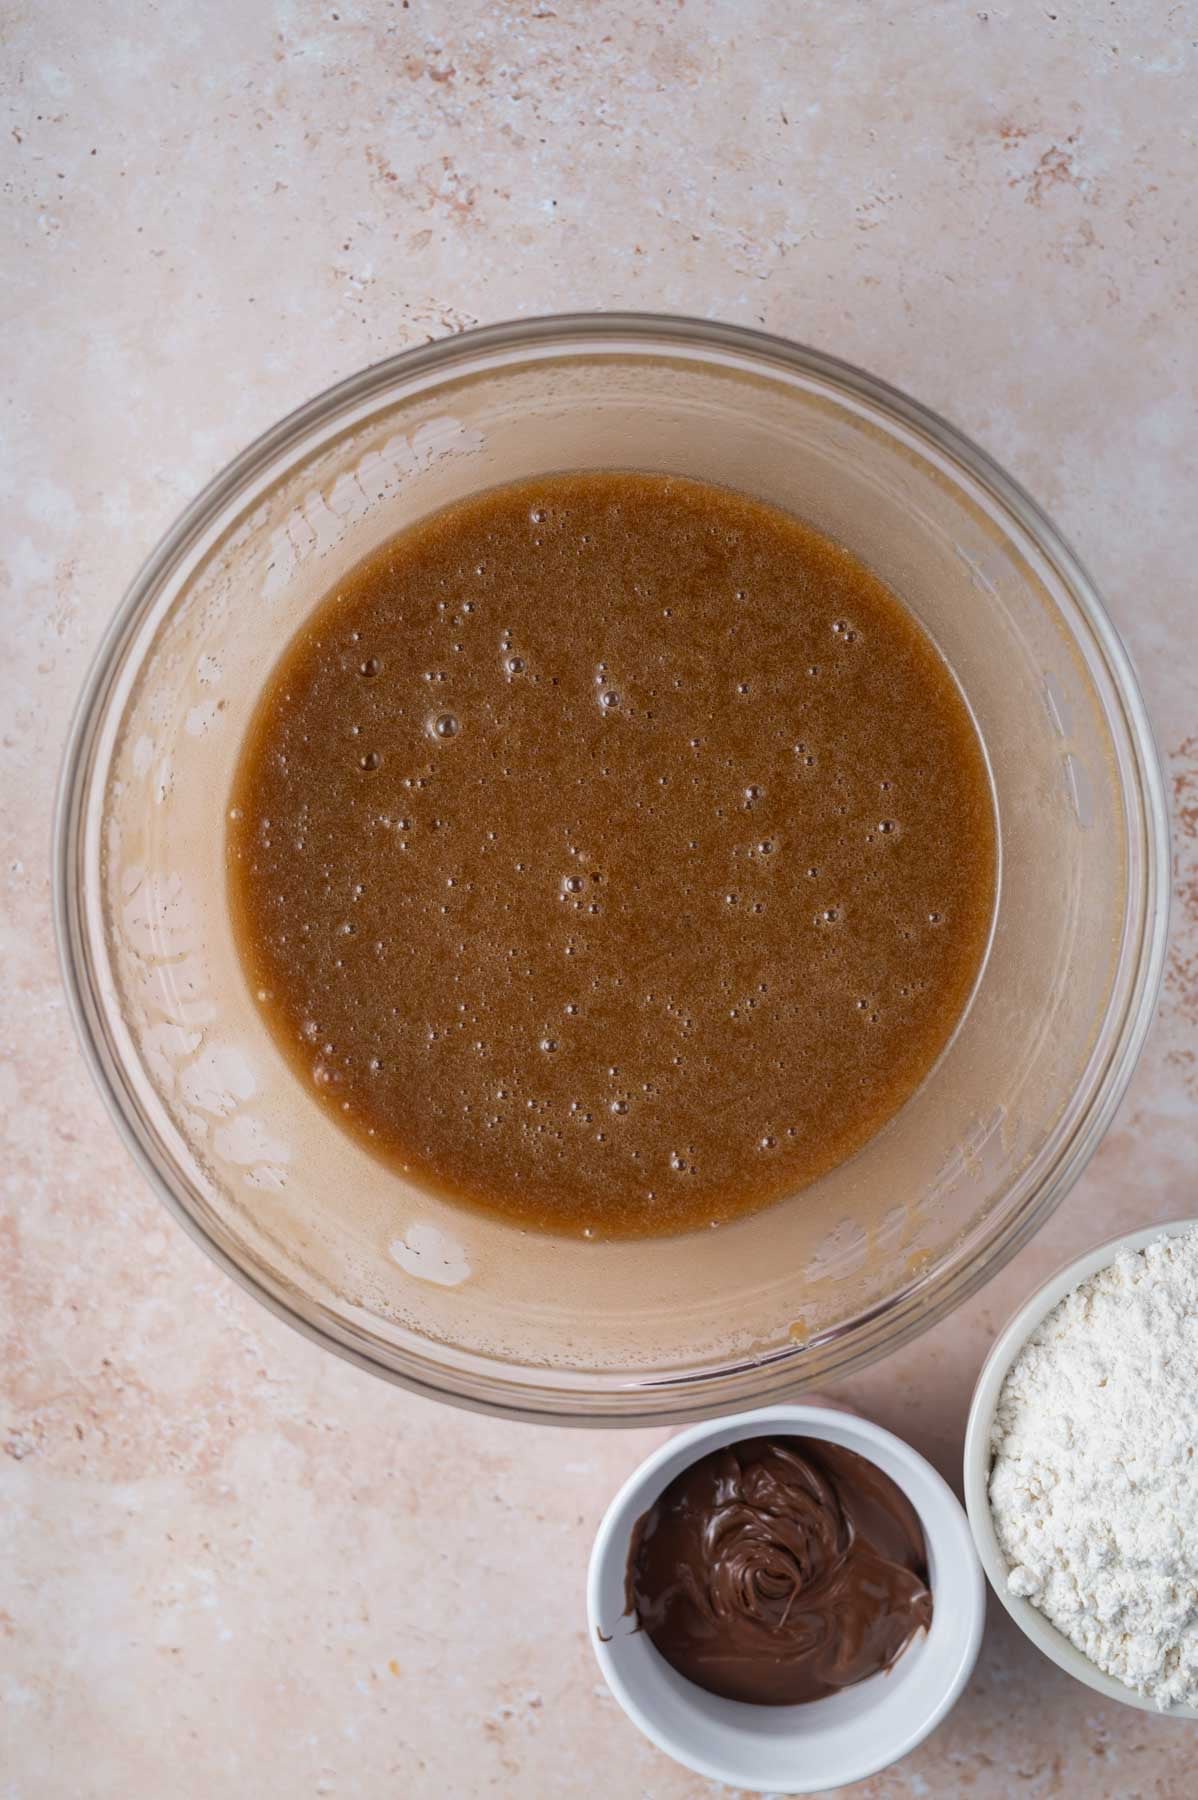
    Then add in the eggs and vanilla. Scrape up and down the bowl as needed and whisk until combined.

    blondie batter in a glass bowl

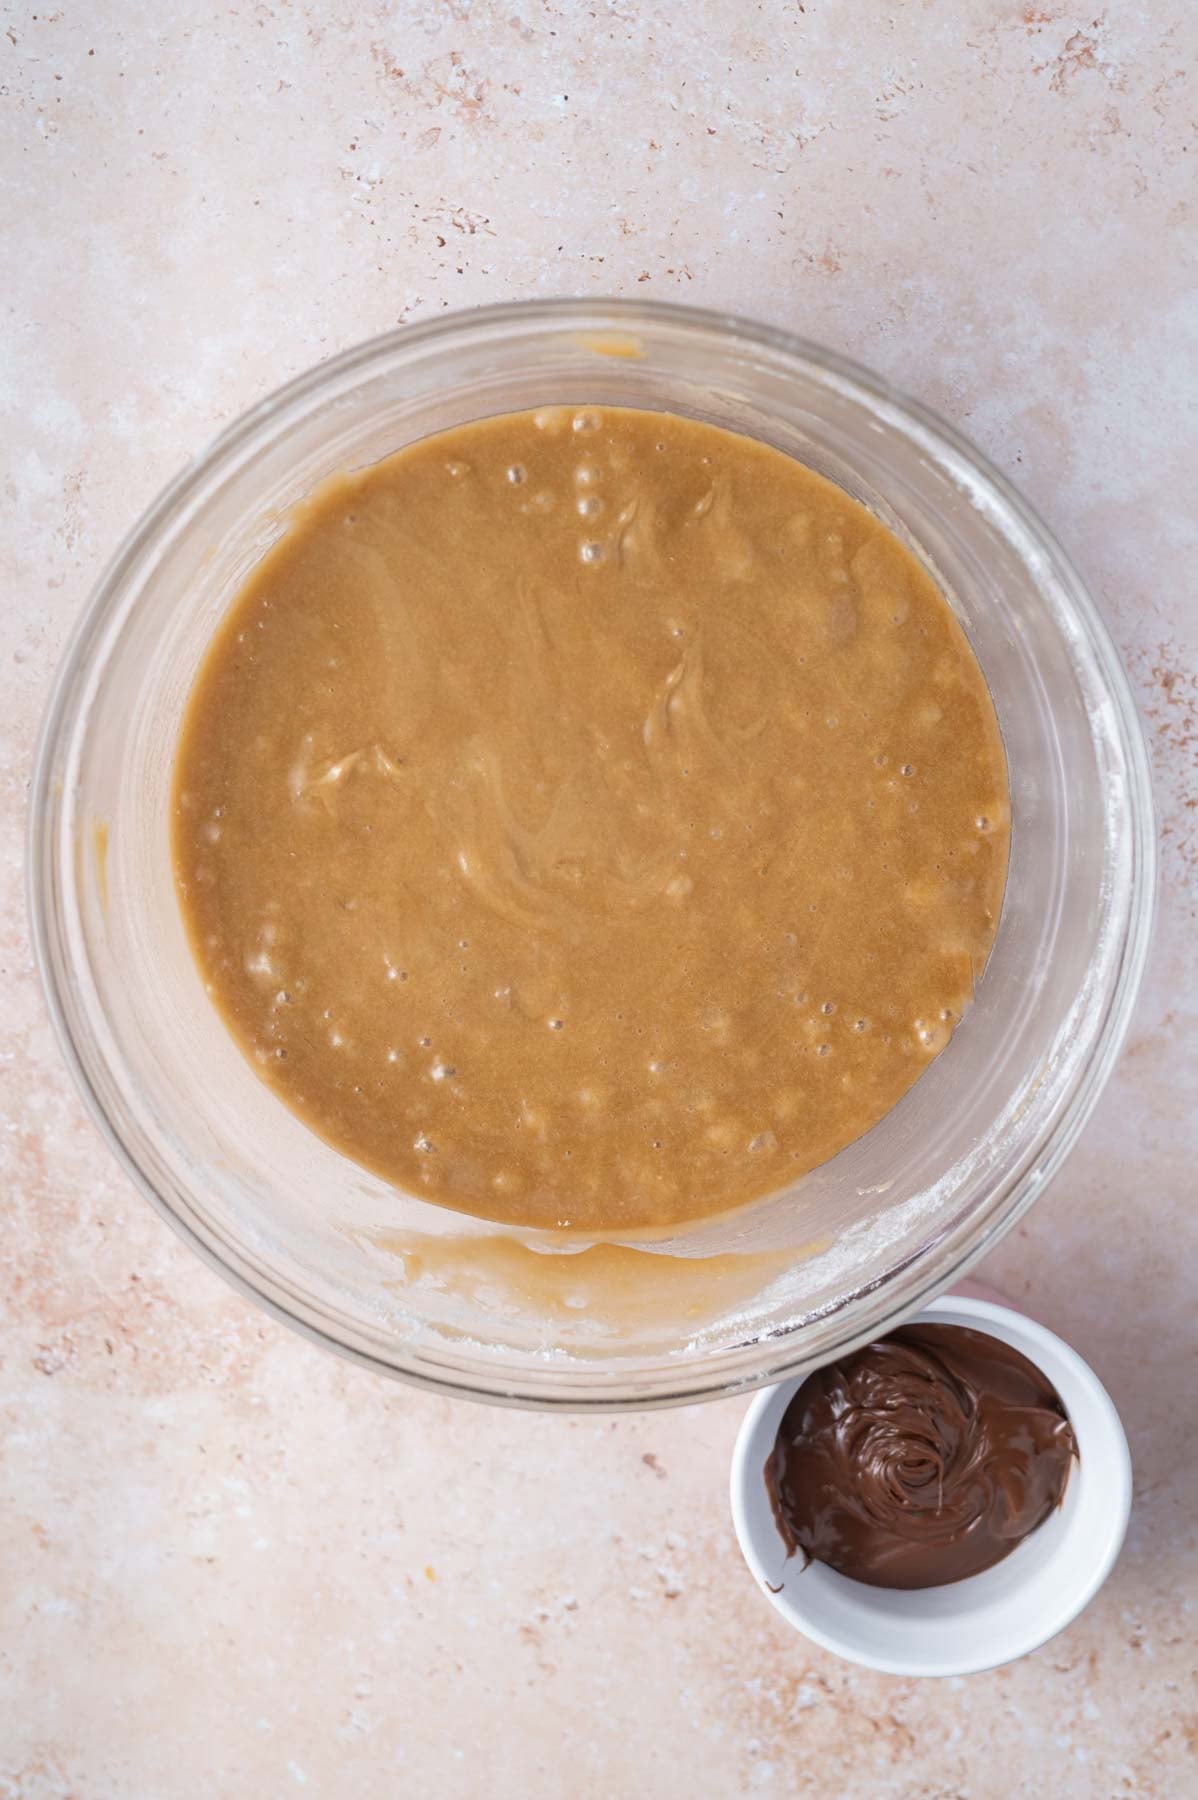
    Next add the all-purpose flour and mix with a spatula until the flour disappears.

    spoonfuls of Nutella over blondie batter in an 8x8 pan

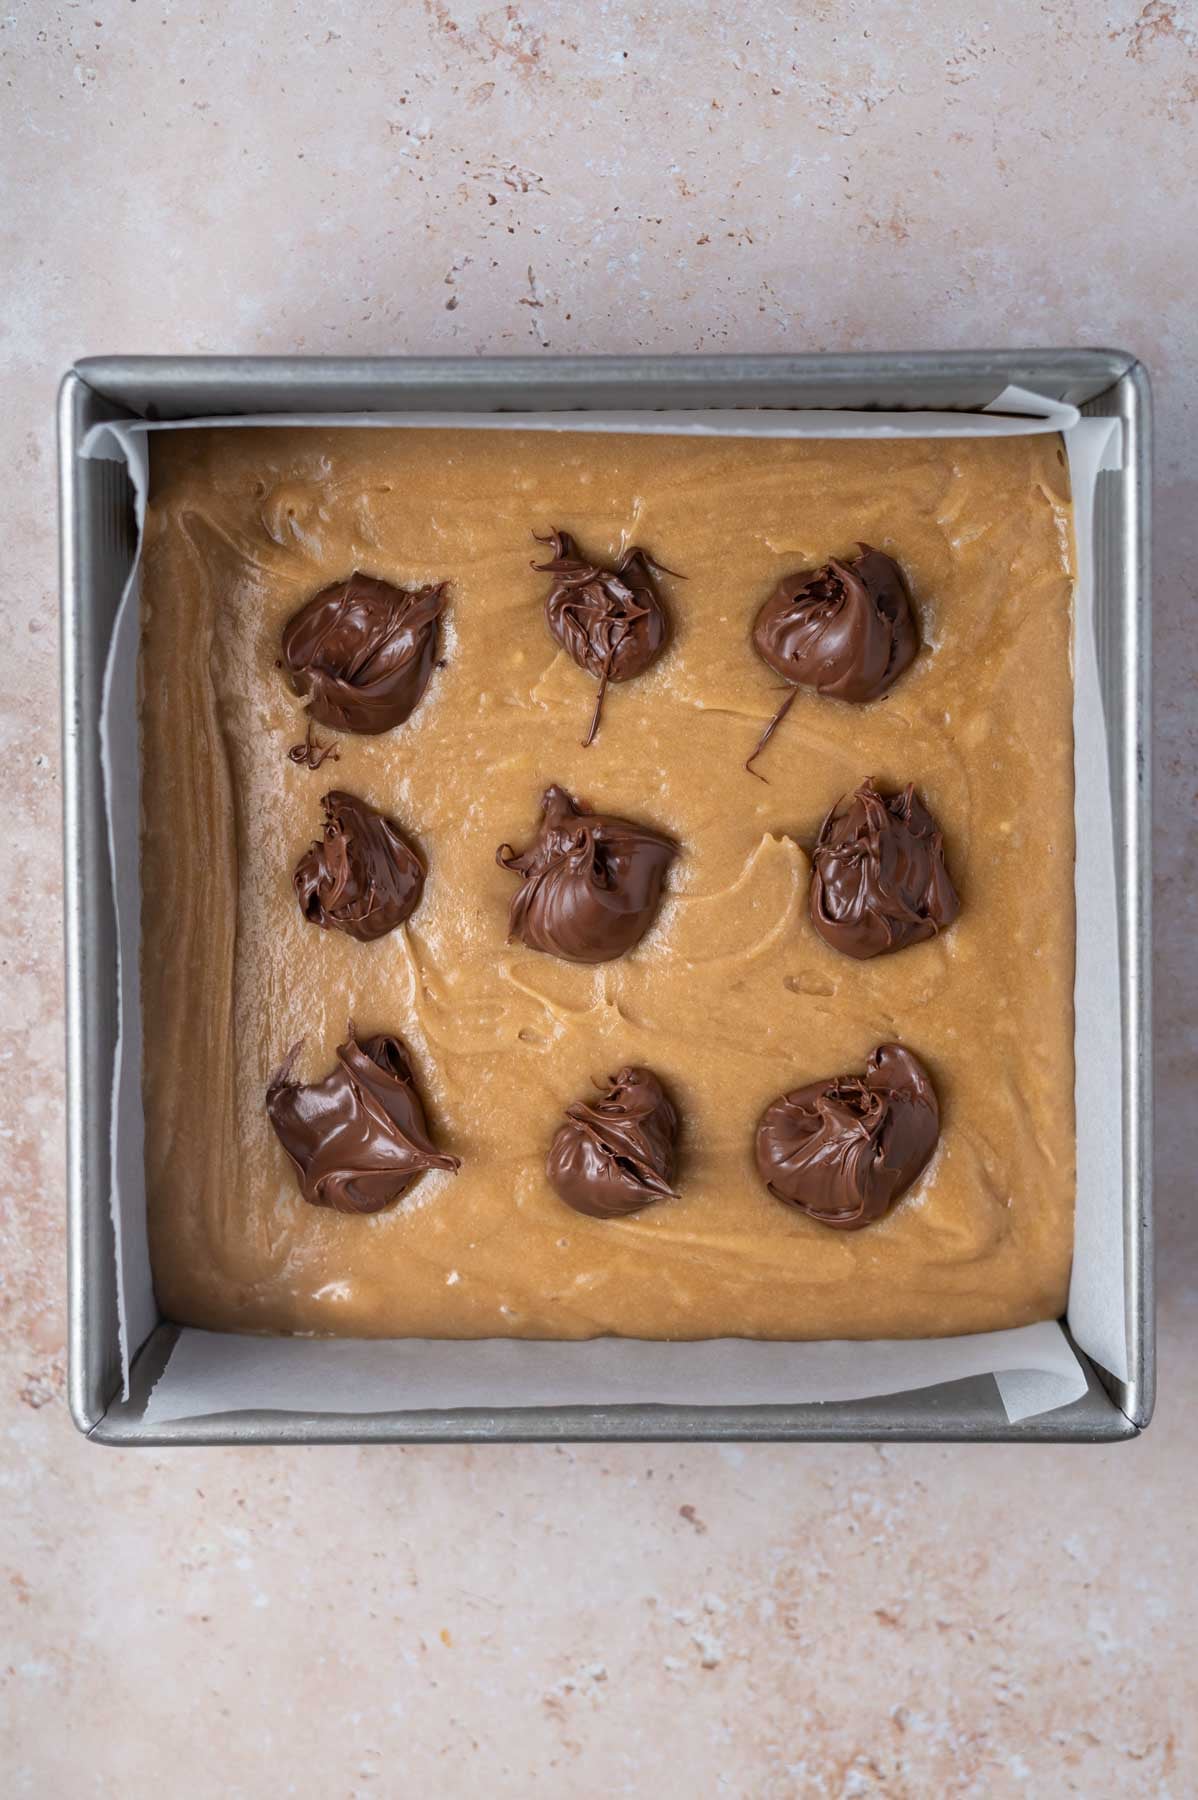
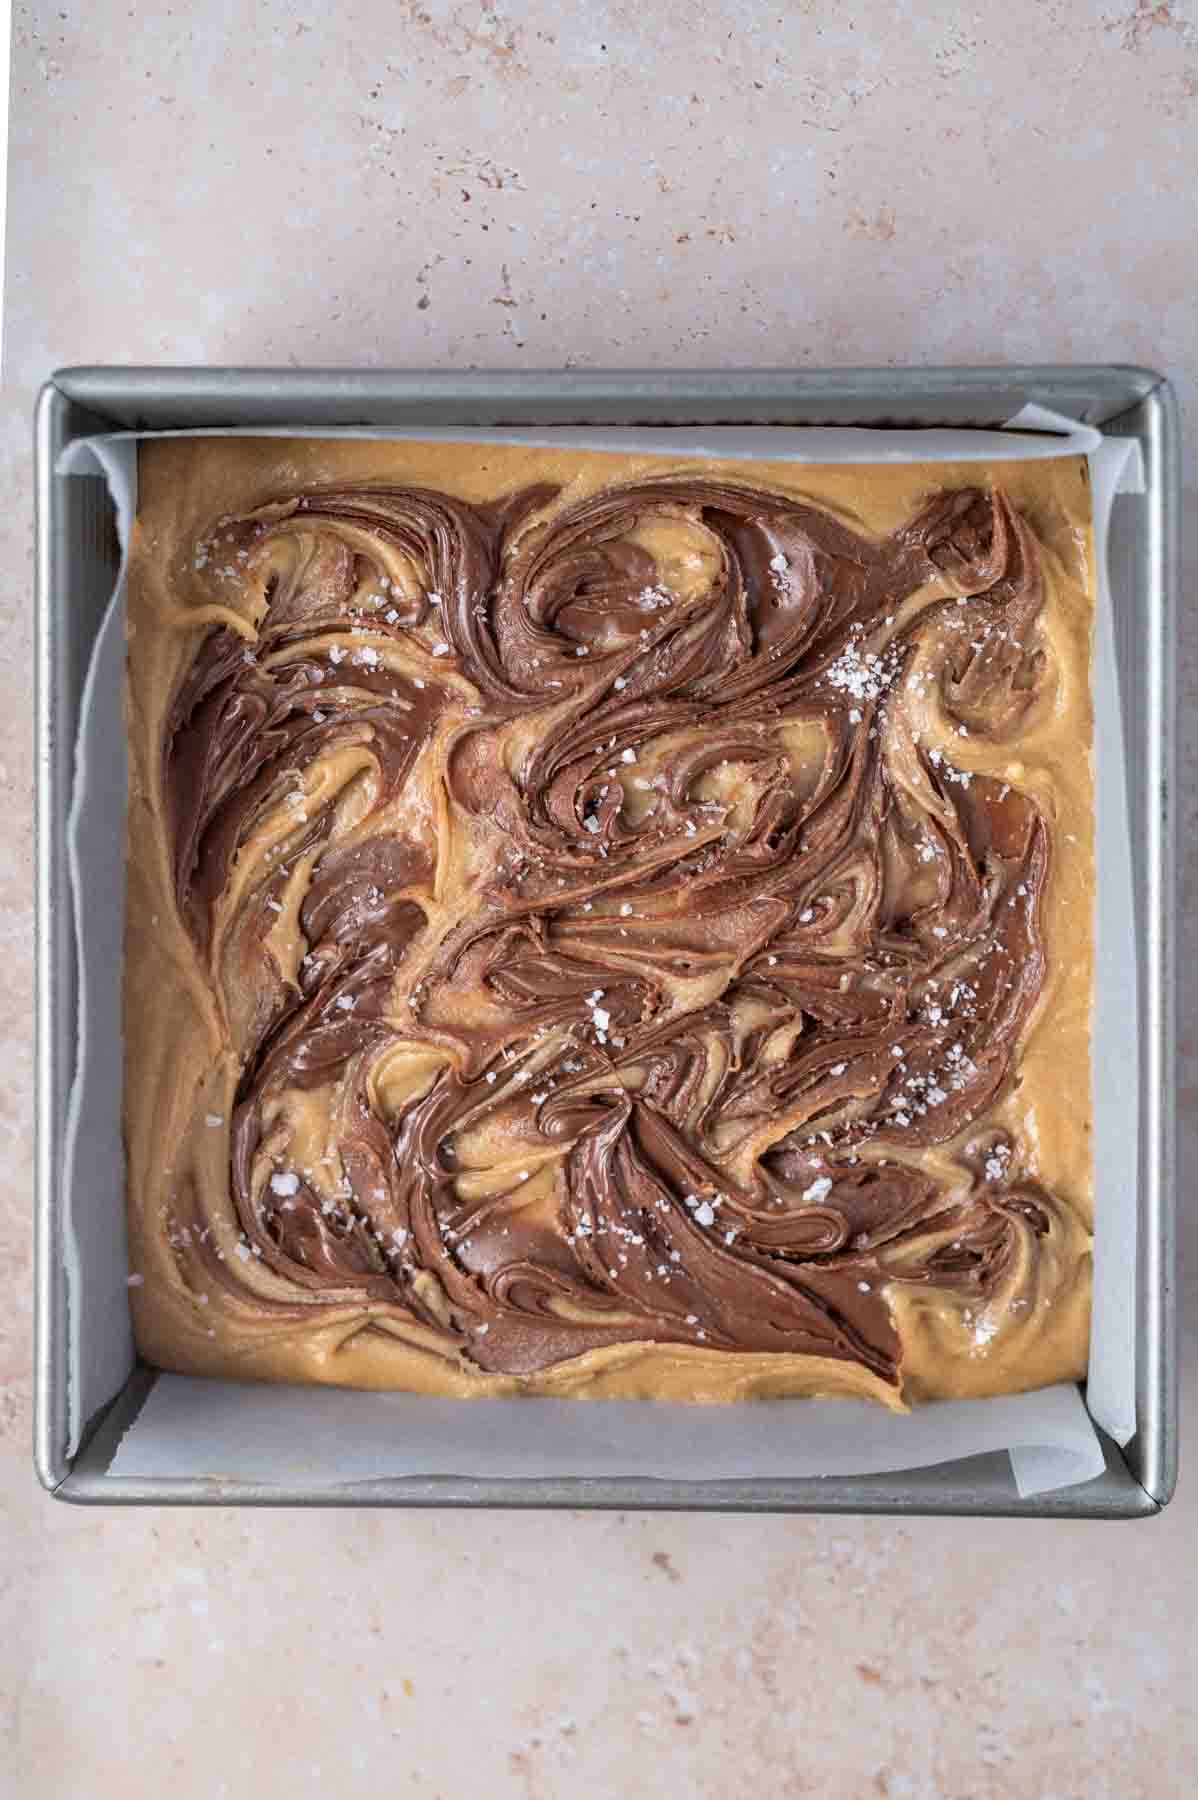
    Drop the batter (itโ€™s thick) into the prepared baking pan and smooth to an even layer. Now drop spoonfuls of Nutella over the batter.ย  I usually do 6-9 dollops.

    nutella swirled into blondie batter

    Then use an offset spatula, knife or toothpick to swirl the Nutella into the blondie batter. Top with a sprinkle of flaky sea salt, if desired.

    baked blondies in a parchment lined pan

    Bake for about 30 minutes or until the edges have lightly browned and a tester in the center comes out with just a few moist crumbs.

    Allow to cool in the pan on a wire cooling rack. Then use the parchment to pull the bars out of the pan and cut into desired sizes.

    ๐Ÿ’ฌ frequently asked questions

    what pan should I use for blondies?

    I strongly recommend a light colored metal 8x8 baking pan. Glass pans distribute heat very differently and can take up to double the baking time. They may also cause the edges to overbrown while the middle is still raw. If a glass pan is all you have, reduce the oven temperature by 25ยฐF and keep an eye on the bake time.

    how do I know when blondies are done?

    A tester inserted in the center should come out with just a few moist crumbs. Not wet batter, but not clean and dry either. Be sure to check in an area without Nutella. The edges will be lightly golden and the center may look barely set. They will continue to firm up as they cool, so resist the urge to overbake them!
    can I use a different chocolate hazelnut spread?

    I tested this recipe with Nutella and Trader Joeโ€™s cocoa almond spread. I suspect other brands will also work, but I havenโ€™t tested them.

    can I add chocolate chips?

    Absolutely. While the recipe was designed to be amazing without them, they would make a delicious addition. Mix in ยฝ cup with the flour before spreading into the baking pan.

    ๐Ÿ‘ฉ๐Ÿปโ€๐Ÿณ tips for the best fudgy blondies

    Use a kitchen scale to measure your ingredients. I know I am a broken record here, but using a scale will make you a better baker. I use this OXO scale, but this Escali scale is a great economical option.

    Donโ€™t over mix after you add the flour. Mix with a spatula just until the flour disappears.

    Swirl the Nutella gently. You want ribbons of Nutella running through the bars, not a fully mixed batter. A few passes with a knife or toothpick is all it takes.

    Donโ€™t over bake! I canโ€™t stress this enough. Blondies firm up as they cool. If the tester comes out clean, they have gone too far. Pull them from the oven when there are still a few moist crumbs on the tester.

    If you love an easy blondie with big flavor, my almond flour blondies are calling your name next.

    ๐Ÿซ™ how to store

    Nutella blondies stay fresh in an airtight container at room temperature for 3-4 days.

    They also freeze beautifully for up to three months. Allow them to cool completely, then store in an airtight container or zip-top bag. Let them defrost at room temperature before serving.

    stack of blondies with the top one missing a bite

    Remember to snap a picture and tag me @twosugarbugs on Instagram if you make these Simple Nutella Blondies. It warms my heart to see you bring these recipes to life! Thank you for being here and happy baking!

    If you make this recipe {or any recipe!} from two sugar bugsย please come back and leave a review and a โญ๏ธโญ๏ธโญ๏ธโญ๏ธโญ๏ธ star rating.ย  I read every comment, and I LOVE hearing from you!

    ๐Ÿ“– recipe

    stack of blondies with a glass of milk, jar of Nutella in the background and fresh flowers
    Print Recipe

    Simple Nutella Blondies

    Nutella blondies are fudgy, chewy and come together in one bowl with just 10 minutes of prep. Easy blondie bars with a Nutella swirl baked right in!
    Prep Time10 minutes mins
    Cook Time35 minutes mins
    Total Time45 minutes mins
    Course: Bars and Brownies, Dessert
    Cuisine: American
    Keyword: blondie bars, blondies, chewy, nutella swirled
    Servings: 16 bars
    Calories: 233kcal
    Author: Tasia Harper

    Ingredients

    • ยพ cup unsalted butter melted 170g
    • ยฝ cup granulated sugar 100g
    • ยพ cup packed brown sugar 150g
    • ยฝ teaspoon kosher salt
    • 2 large eggs room temperature
    • 1 tablespoon pure vanilla extract
    • 1 ยพ cup all-purpose flour 219g
    • โ…“ cup Nutella 93g
    • Flaky sea salt if desired

    Instructions

    • Preheat the oven to 350ยฐF (177ยฐC) and line a 8x8 baking pan with parchment paper.
    • In a medium to large bowl, whisk together the melted butter (ยพ cup/170g), granulated sugar (ยฝ cup/100g), packed brown sugar (ยพ cup/150g) and kosher salt (ยฝ teaspoon) until well combined.
    • Then add in the eggs (2 large), and vanilla (1 tablespoon). Scrape up and down the bowl as needed and whisk until combined, about 1 minute.
    • Next add the all-purpose flour (1 ยพ cup/219g) and mix with a spatula until the flour disappears.
    • Now drop spoonfuls of Nutella (โ…“ cup/93g) over the batter. I usually do 6-9 dollops. Then use a knife, offset spatula or toothpick to gently swirl the Nutella into the blondie batter. Top with a sprinkle of flaky sea salt, if desired.
    • Bake for 25 - 35 minutes or until the edges have lightly browned and a tester in the center comes out with just a few moist crumbs. Try not to test in an area with Nutella. You do not want a clean/dry tester, which means the blondies are over baked. Allow to cool in the pan on a wire cooling rack.
    • Then use the parchment to pull the bars out of the pan and cut into desired sizes.

    Notes

    Nutella blondies will stay fresh in an airtight container at room temperature for 3-4 days. They also freeze well for up to three months; allow to defrost before serving.
    I recommend a light colored metal baking pan; glass can take up to double the amount of baking time and can cause the edges to over brown or burn while the middle is still raw. If you only have a glass pan, reduce the oven heat by 25ยฐ and know it may take a bit longer to bake.


    Nutrition

    Serving: 1 bar | Calories: 233kcal | Carbohydrates: 31g | Protein: 3g | Fat: 11g | Saturated Fat: 7g | Polyunsaturated Fat: 0.5g | Monounsaturated Fat: 2g | Trans Fat: 0.4g | Cholesterol: 43mg | Sodium: 88mg | Potassium: 65mg | Fiber: 1g | Sugar: 20g | Vitamin A: 296IU | Calcium: 23mg | Iron: 1mg

    Easy, One Bowl Christmas Blondies

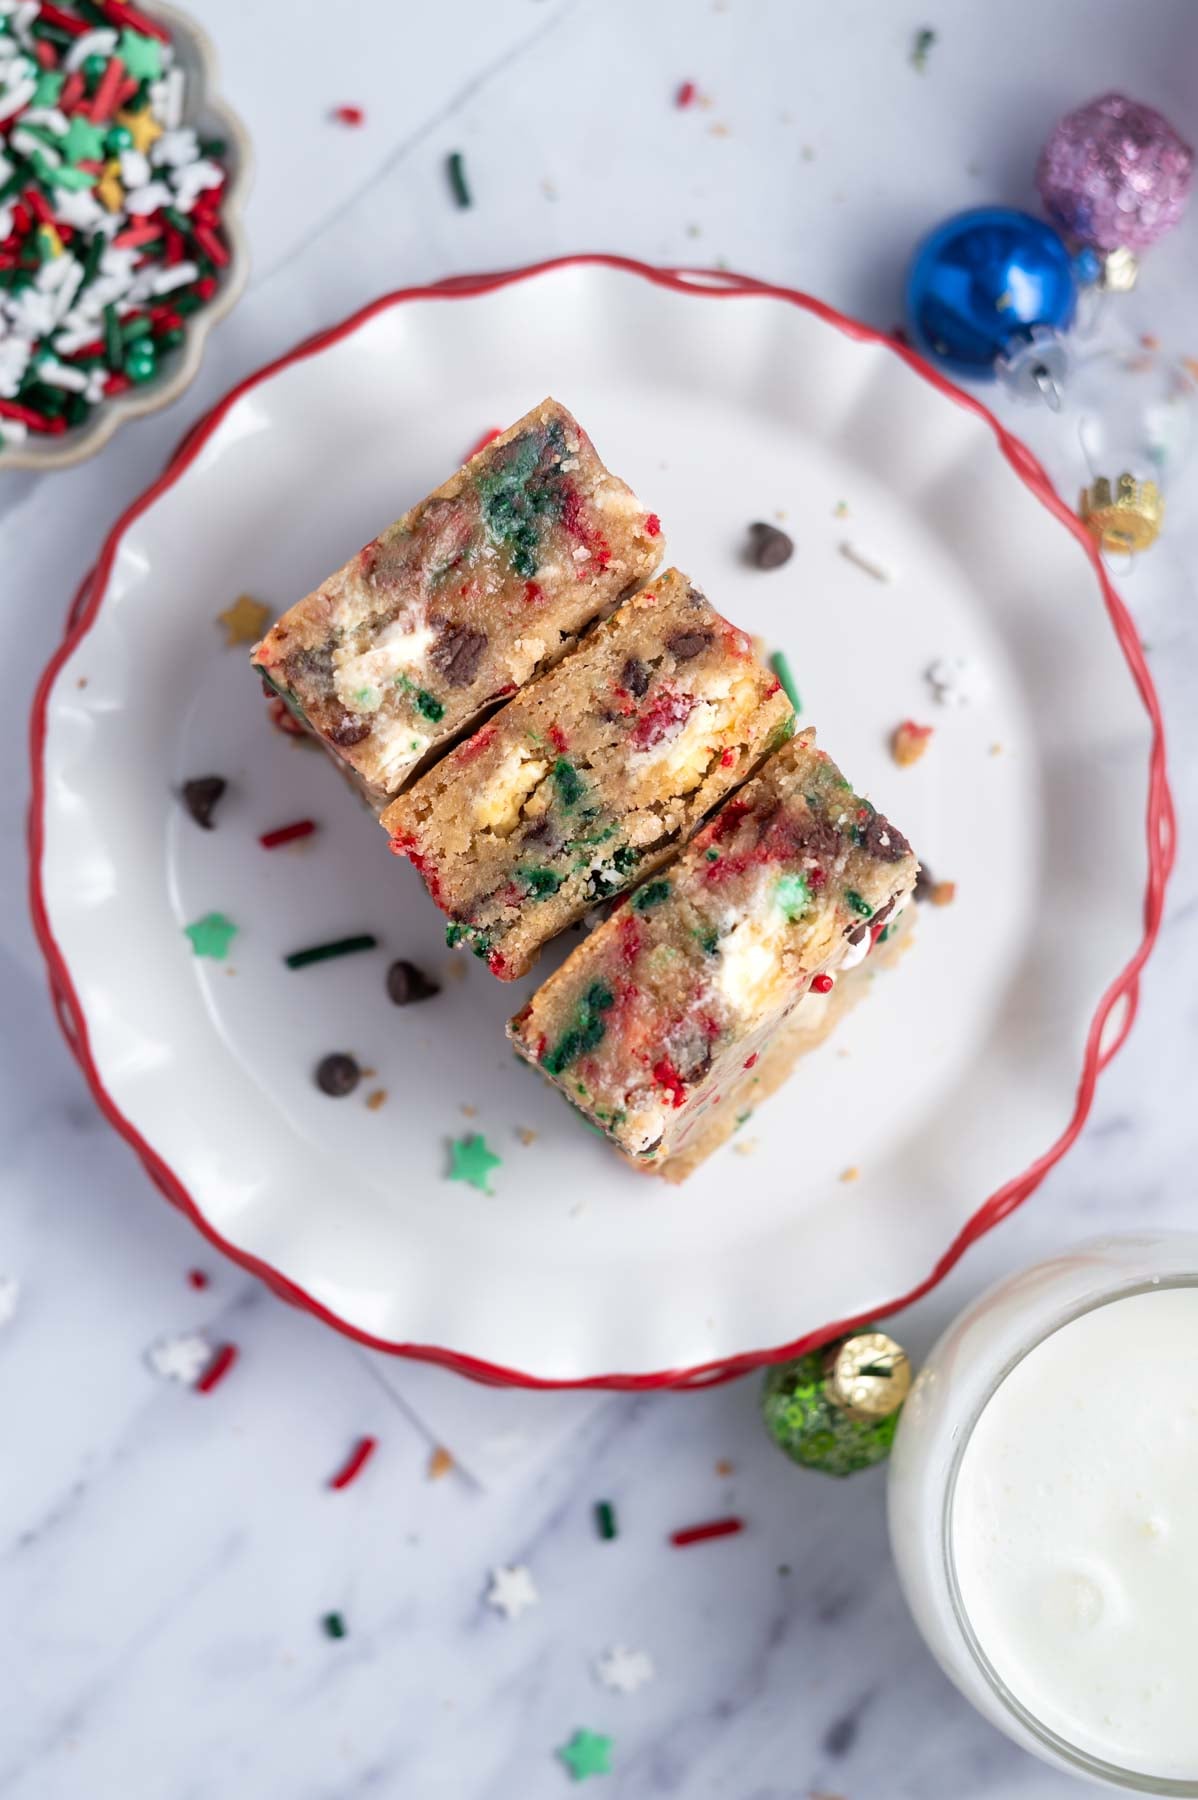
    stack of Christmas blondies on a plate with sprinkles in the foreground and milk in the background

    Christmas blondies are your new holiday secret weapon. They are soft, chewy and loaded with melty white chocolate, mini chocolate chips and festive Christmas sprinkles. The texture is spot on, the bars hold together beautifully and they look good enough to pass for coming from a bakery. Ten minutes of prep, one bowl, no mixer required, and they bake in an 8x8 pan. You can pull these together on a Tuesday night and still feel like a holiday baking superstar!

    stack of Christmas blondies with a glass of milk and bowl of sprinkles in the foreground

    Disclosure | This post may contain affiliate links. As an Amazon Associate I earn from qualifying purchases.

    [feast_advanced_jump_to]

    As a busy mama and homebaker myself, I know how precious time gets in December. Between all the events, the shopping and the general chaos of the season, sometimes I need a win that comes together fast. I still want to bring something homemade to the work cookie exchange or set out a festive treat for my family, but I need it to be doable on a weeknight. 

    These blondie bars are exactly that. Big flavor without much effort! One bowl, a whisk and a spatula are all you need. They hit the sweet spot between festive and easy. And did I mention they disappear in a flash?

    Speaking of easy holiday baking, if you have not tried my gingerbread blondies, they are another one bowl recipe that is worth adding to your Christmas baking list. 

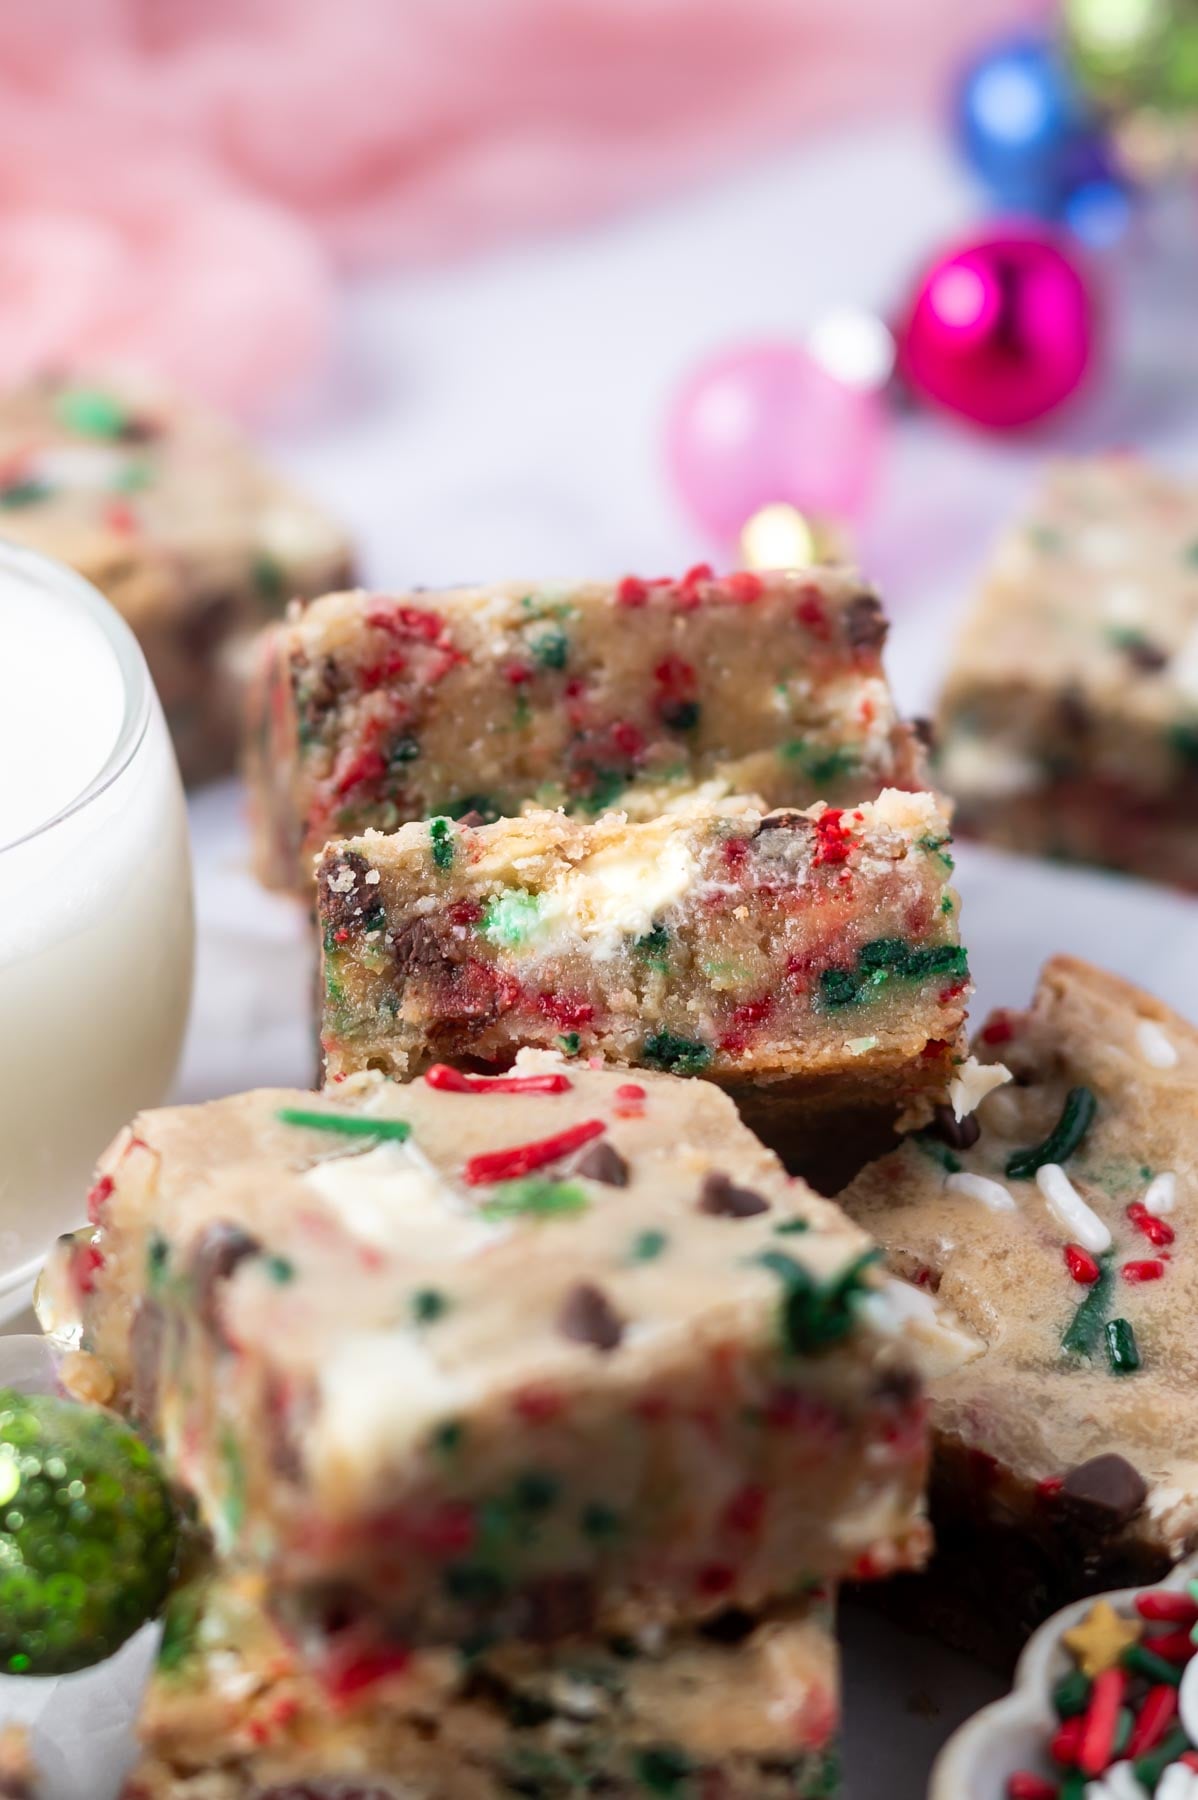
    blondies leaning against one another showing sprinkles and white chocolate middle

    ๐Ÿ›’ ingredient notes

    I used my birthday cake blondies as a jumping off point for this recipe. Regular size chocolate chips were used in my first test. But then I tested mini chocolate chips and my testers really loved that version better. Here are some of the ingredients that make this a great recipe.

    Please scroll to the printable recipe card at the end of this post for the full list of ingredients and baking directions.

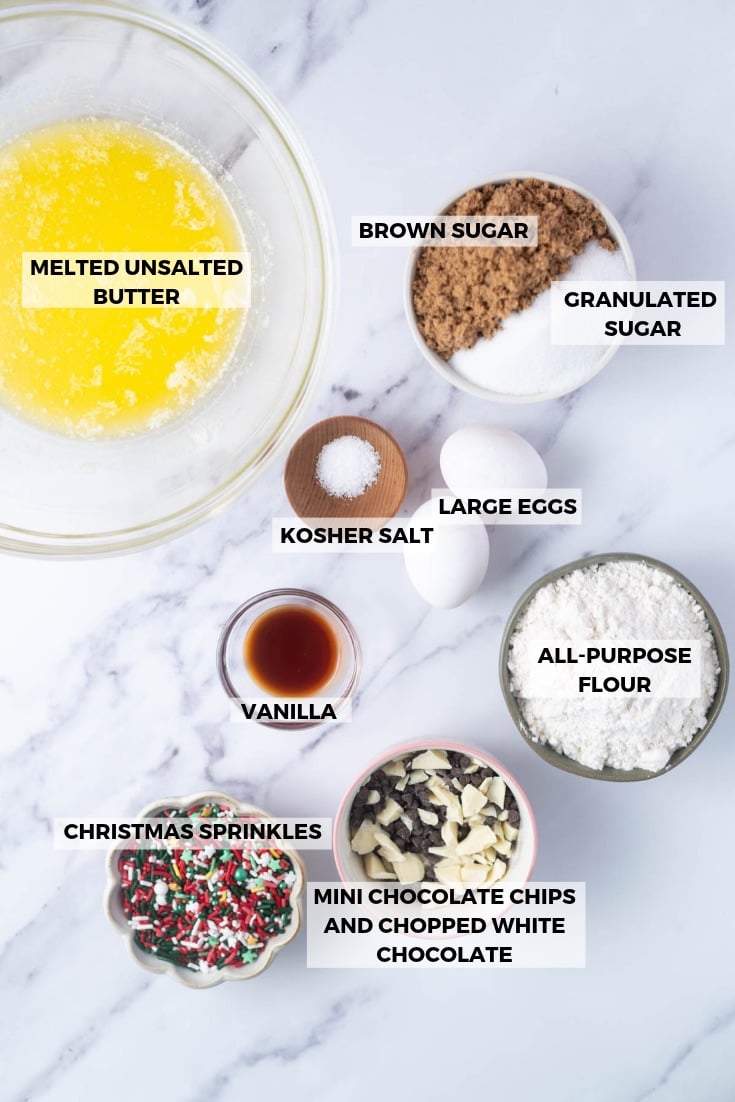
    ingredients for Christmas blondies

    Butter ~ melted unsalted butter keeps things simple. It gives this bars recipe a rich, chewy texture. And since itโ€™s melted, you do not need to wait or plan ahead! Just melt and let it cool slightly before mixing.

    Brown sugar ~ adds moisture and a slight caramel undertone to the blondies. I prefer dark brown sugar for the best flavor, but light brown works just fine too.

    White chocolate ~ use the best white chocolate you can afford and chop it yourself. Chopped chocolate melts into the bars and creates those lovely pools of melty sweetness. I tested with Ghirardelli and Callebaut and both worked beautifully.

    Christmas sprinkles ~ this is what makes the bars feel festive! Use your favorite holiday sprinkle mix. I prefer sprinkle mixes that are predominantly jimmies. I would stay away from nonpareils (small round balls) as they tend to bleed a lot and can turn the batter an ugly color.

    Mini chocolate chips ~ the mini size distributes more evenly though the batter than regular size chips. You can swap them for holiday M&Ms for an extra pop of color. If you only have regular chocolate chips, you can use those too.

    ๐Ÿฅฃ how to make these Christmas blondies

    Preheat the oven to 350ยฐF (177ยฐC) and line an 8x8 baking pan with parchment paper.

    melted butter, brown sugar, granulated sugar, and kosher salt whisked together in bowl

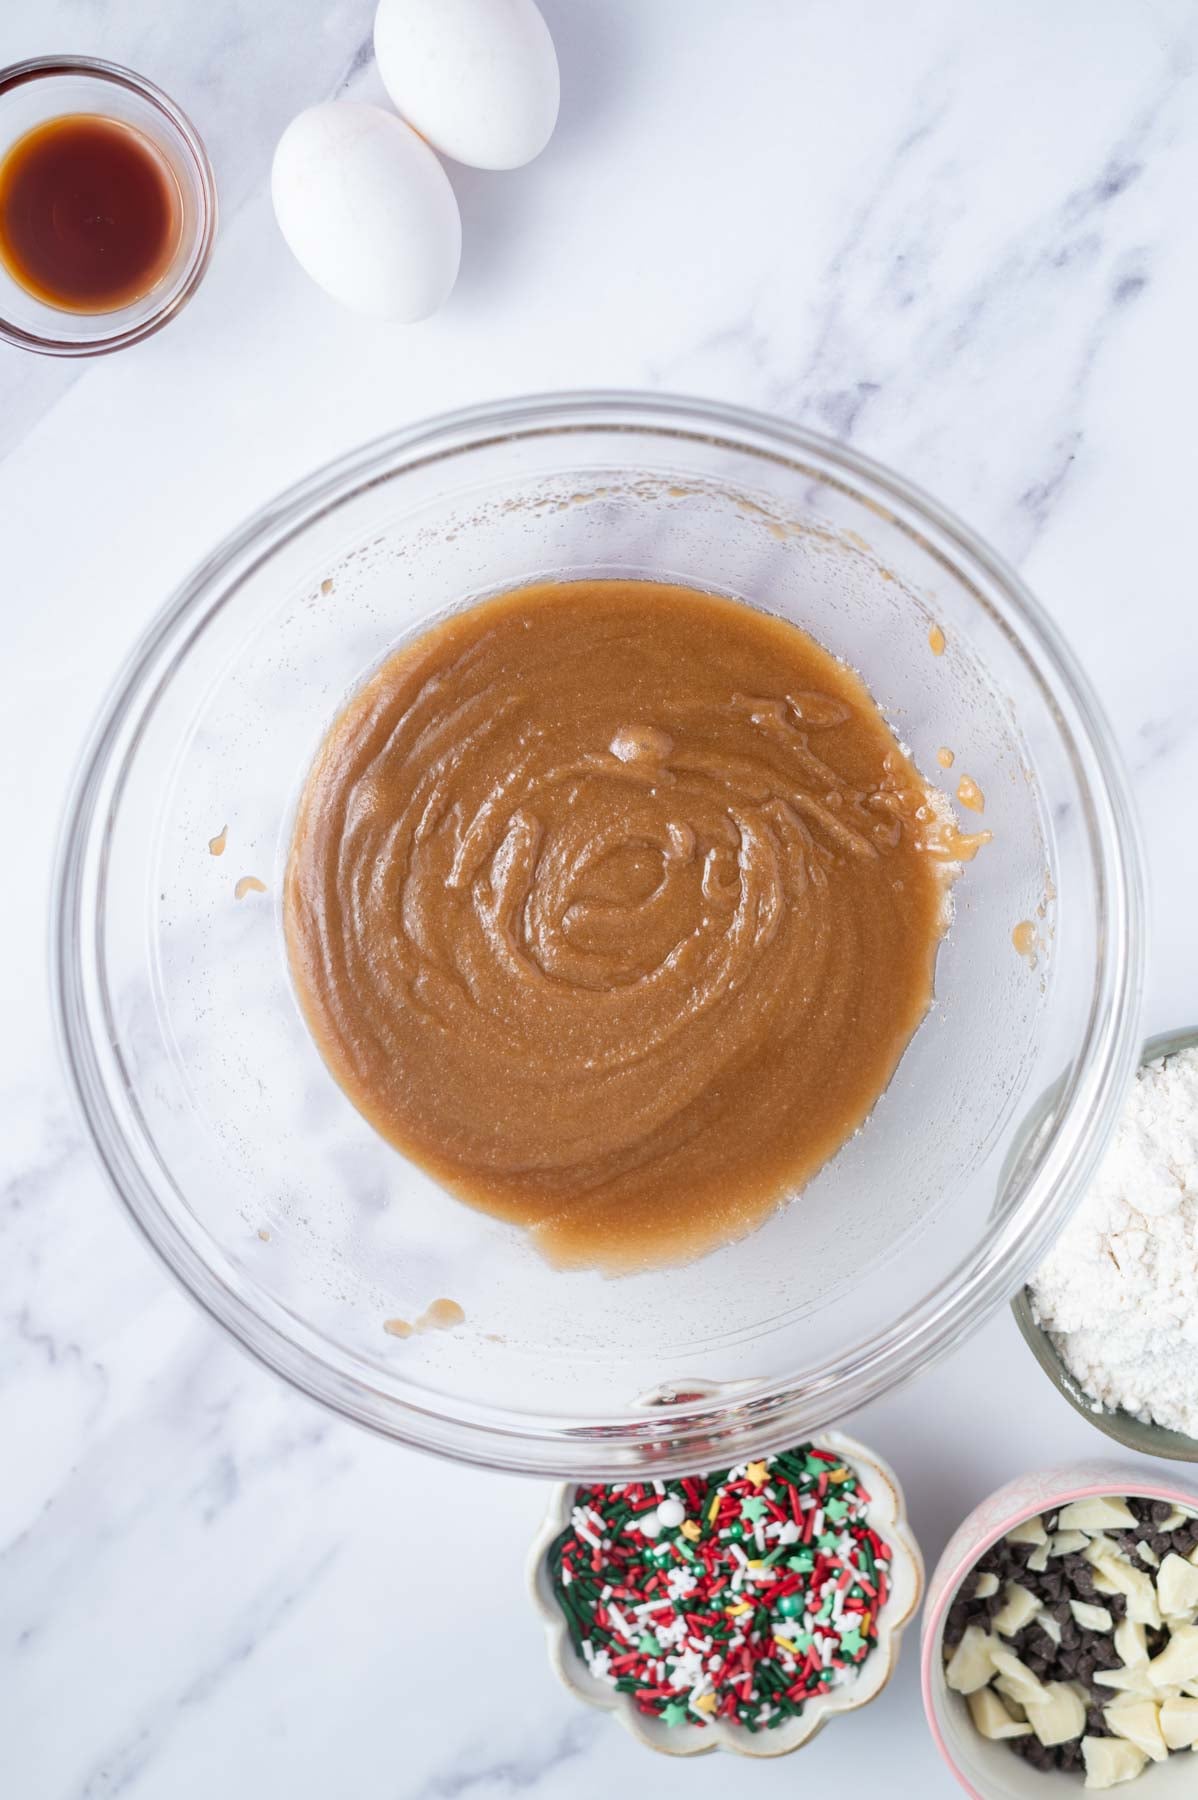
    In a medium to large bowl, whisk together the melted butter, granulated sugar, packed brown sugar and kosher salt until well combined.

    eggs and vanilla whisked into to sugars and butter in a glass bowl

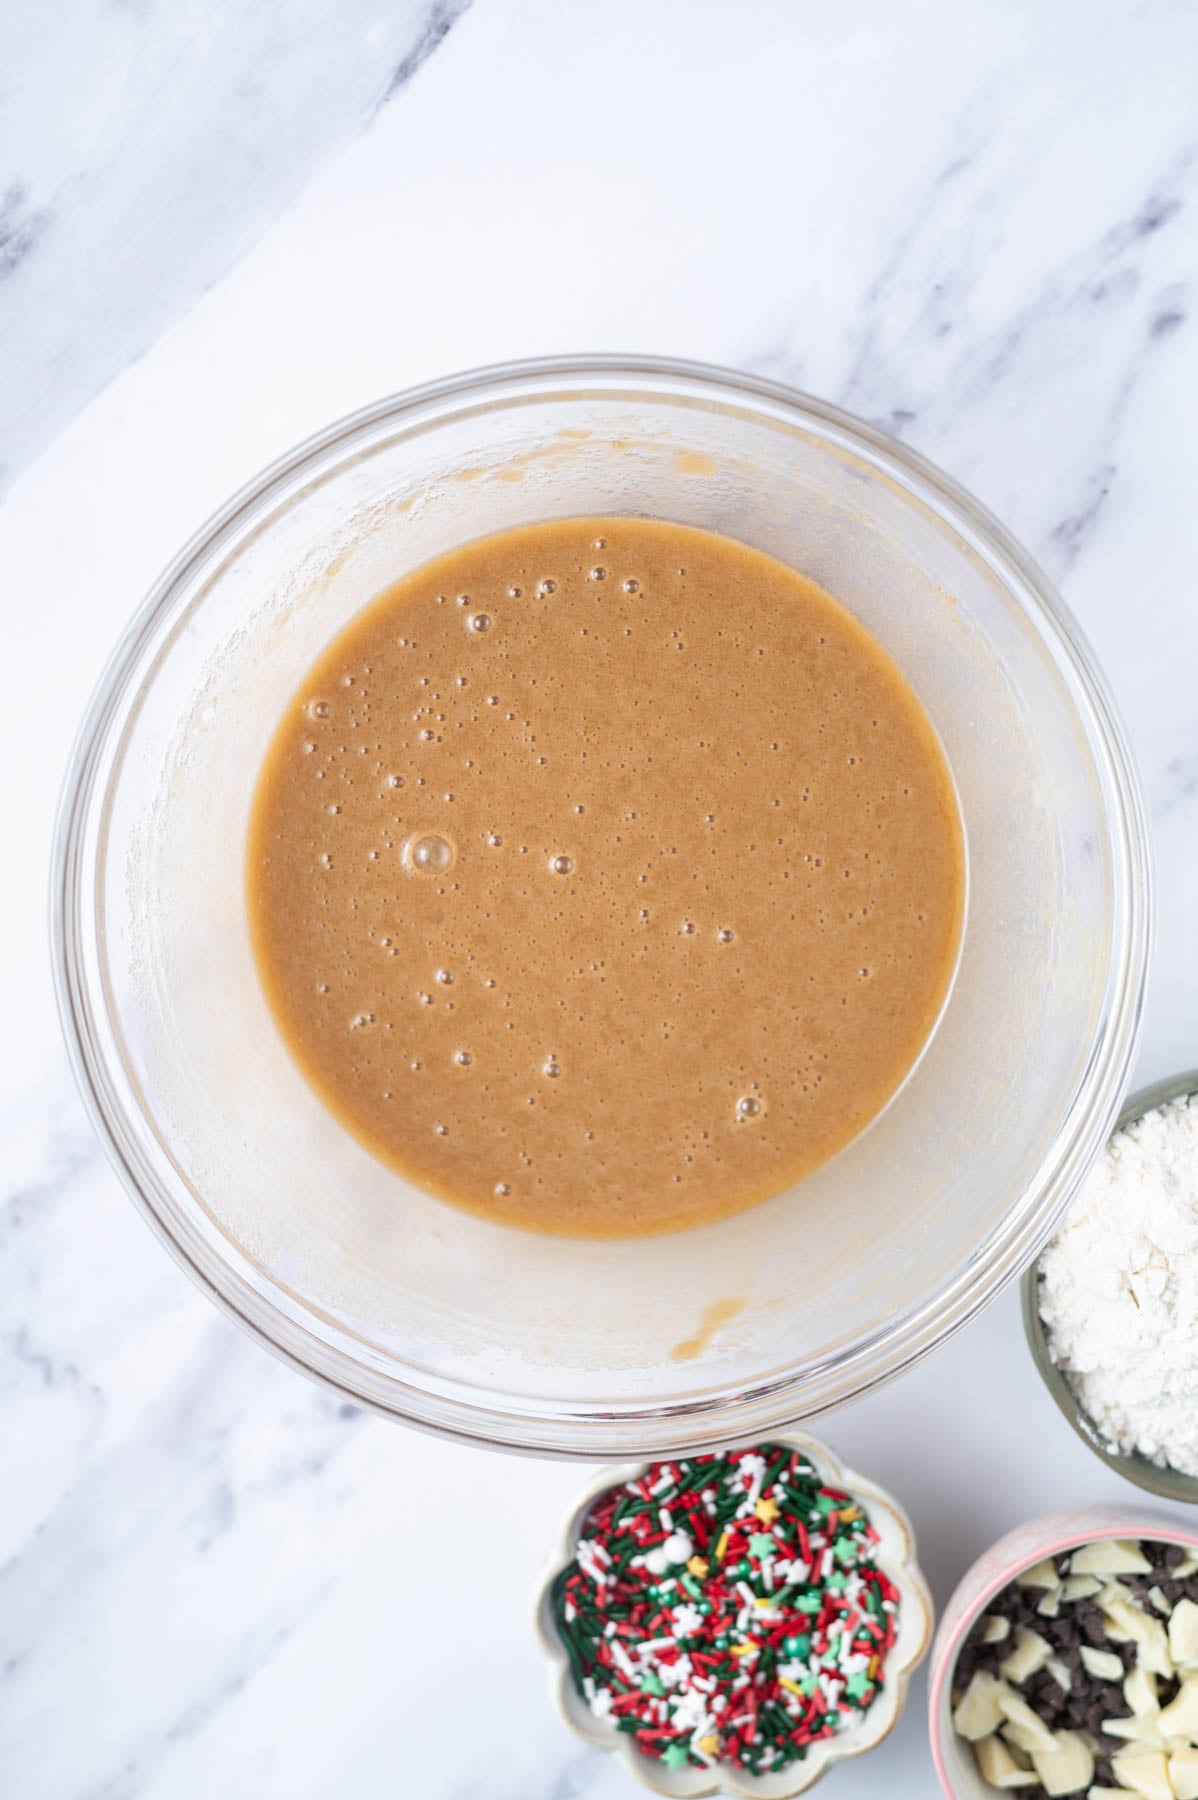
    Then add in the eggs, and vanilla. Scrape up and down the bowl as needed and whisk until combined.

    blondie batter with the flour mixed in until a few streaks of flour remain

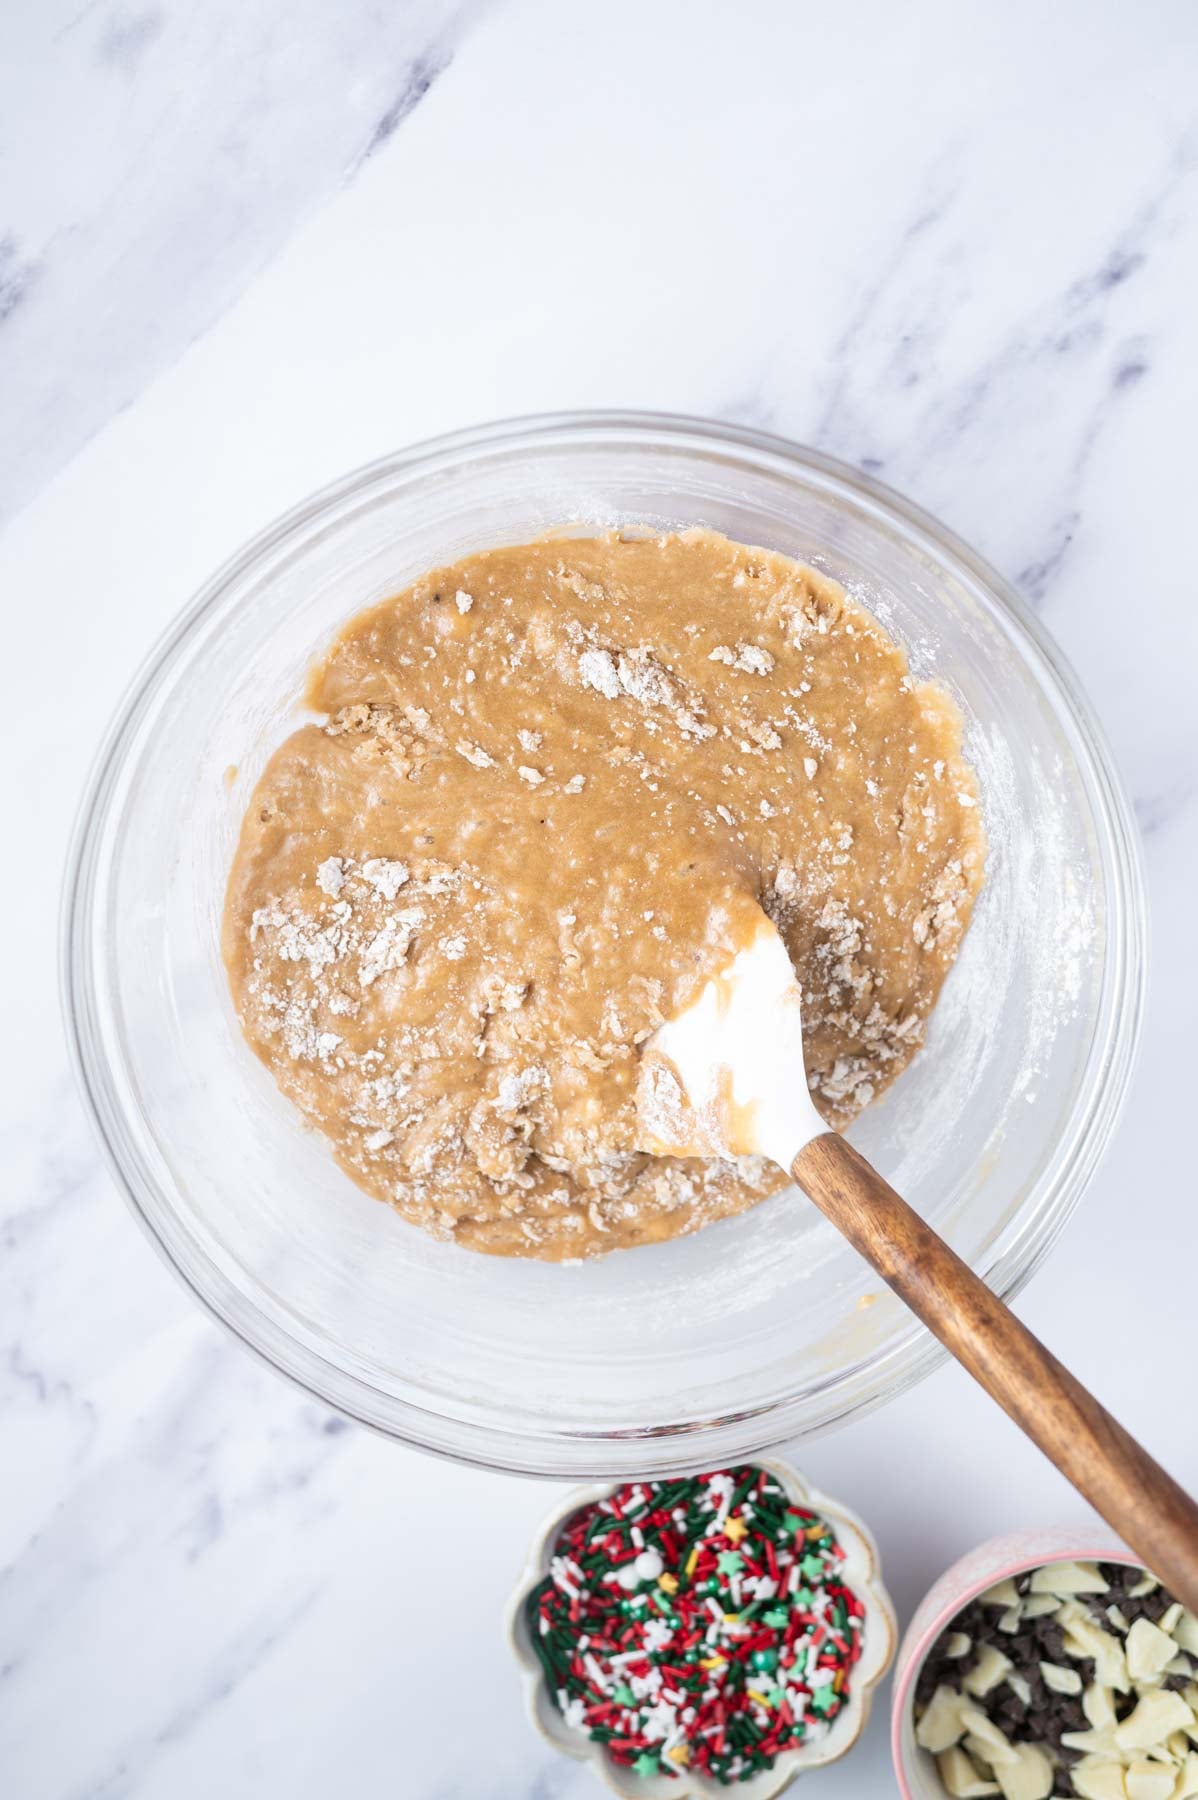
    Next add the all-purpose flour and mix with a spatula until some large flour streaks remain. Then add the chopped white chocolate, mini chocolate chips and sprinkles and gently fold them into the blondie dough until combined.

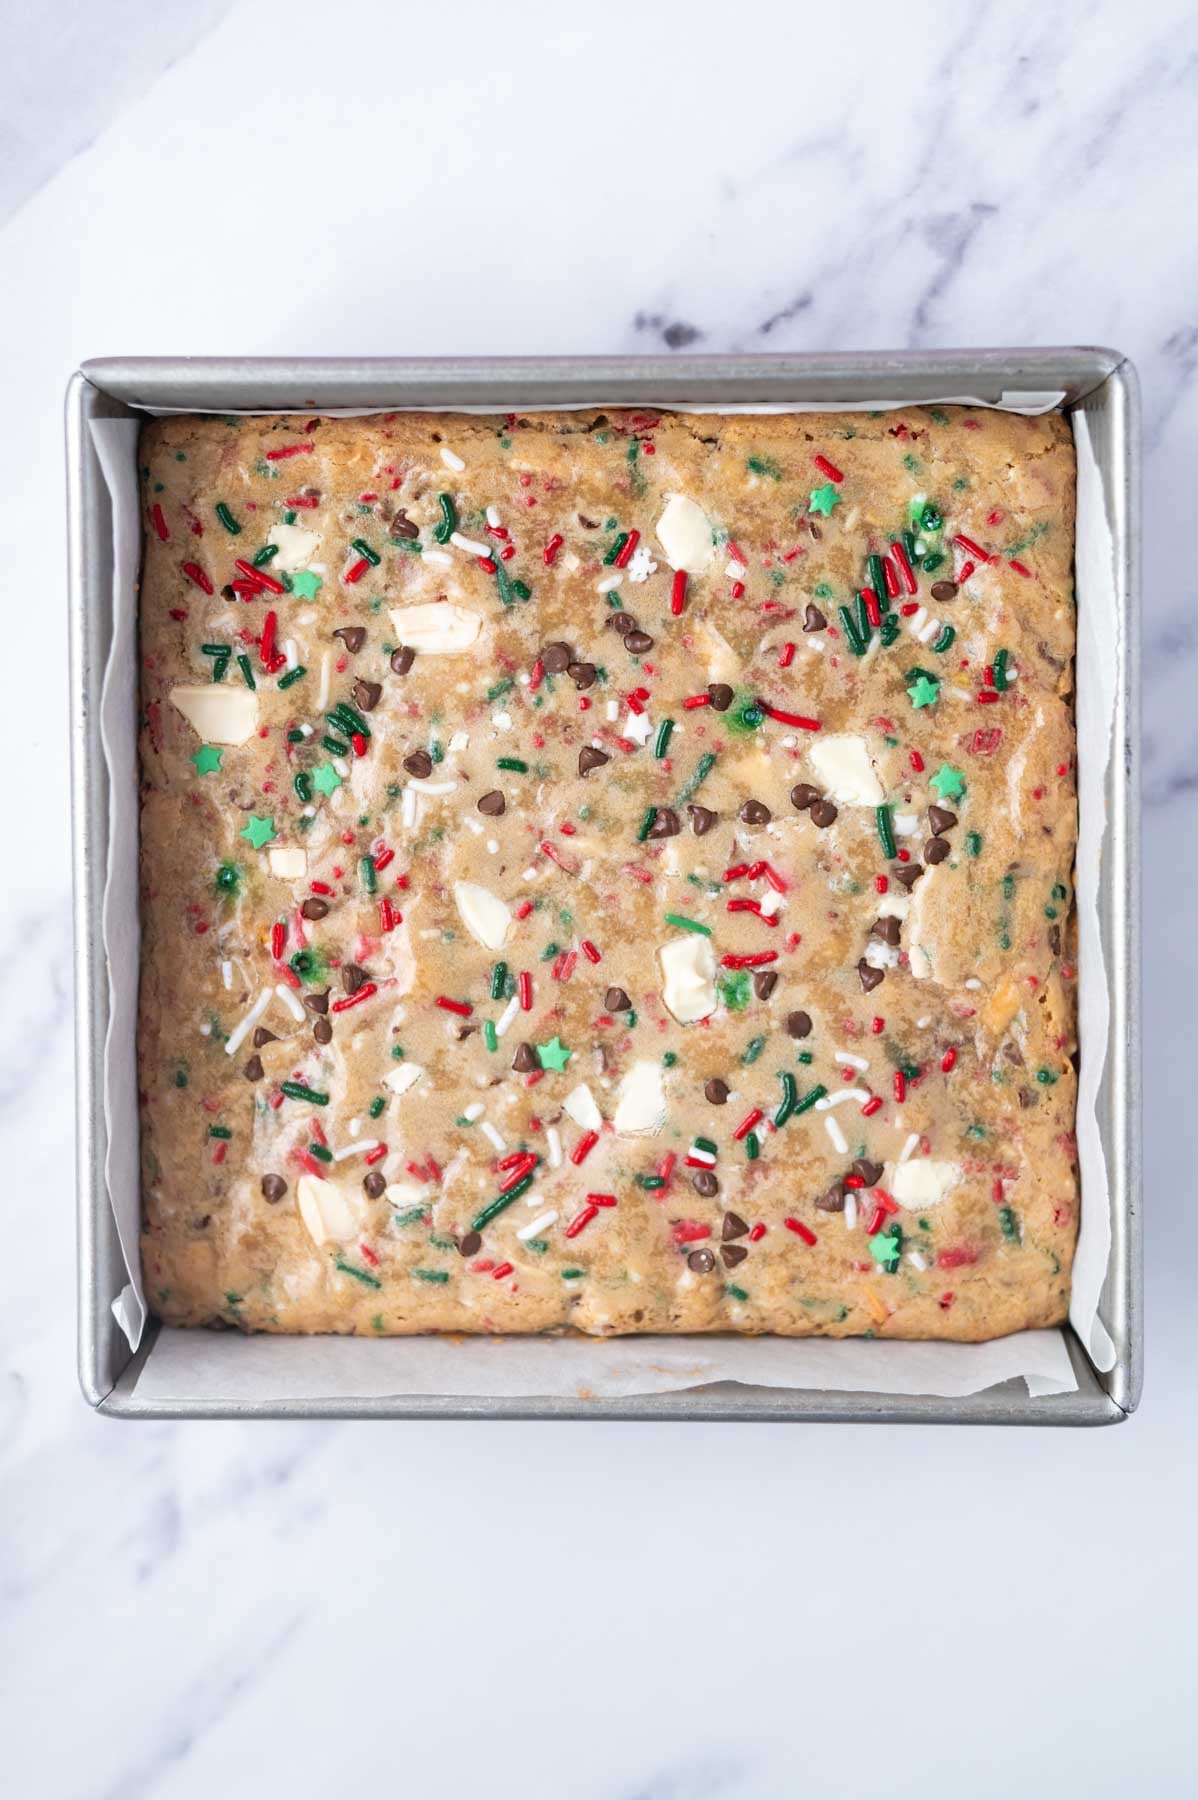
    Christmas blondie batter in a parchment lined baking pan

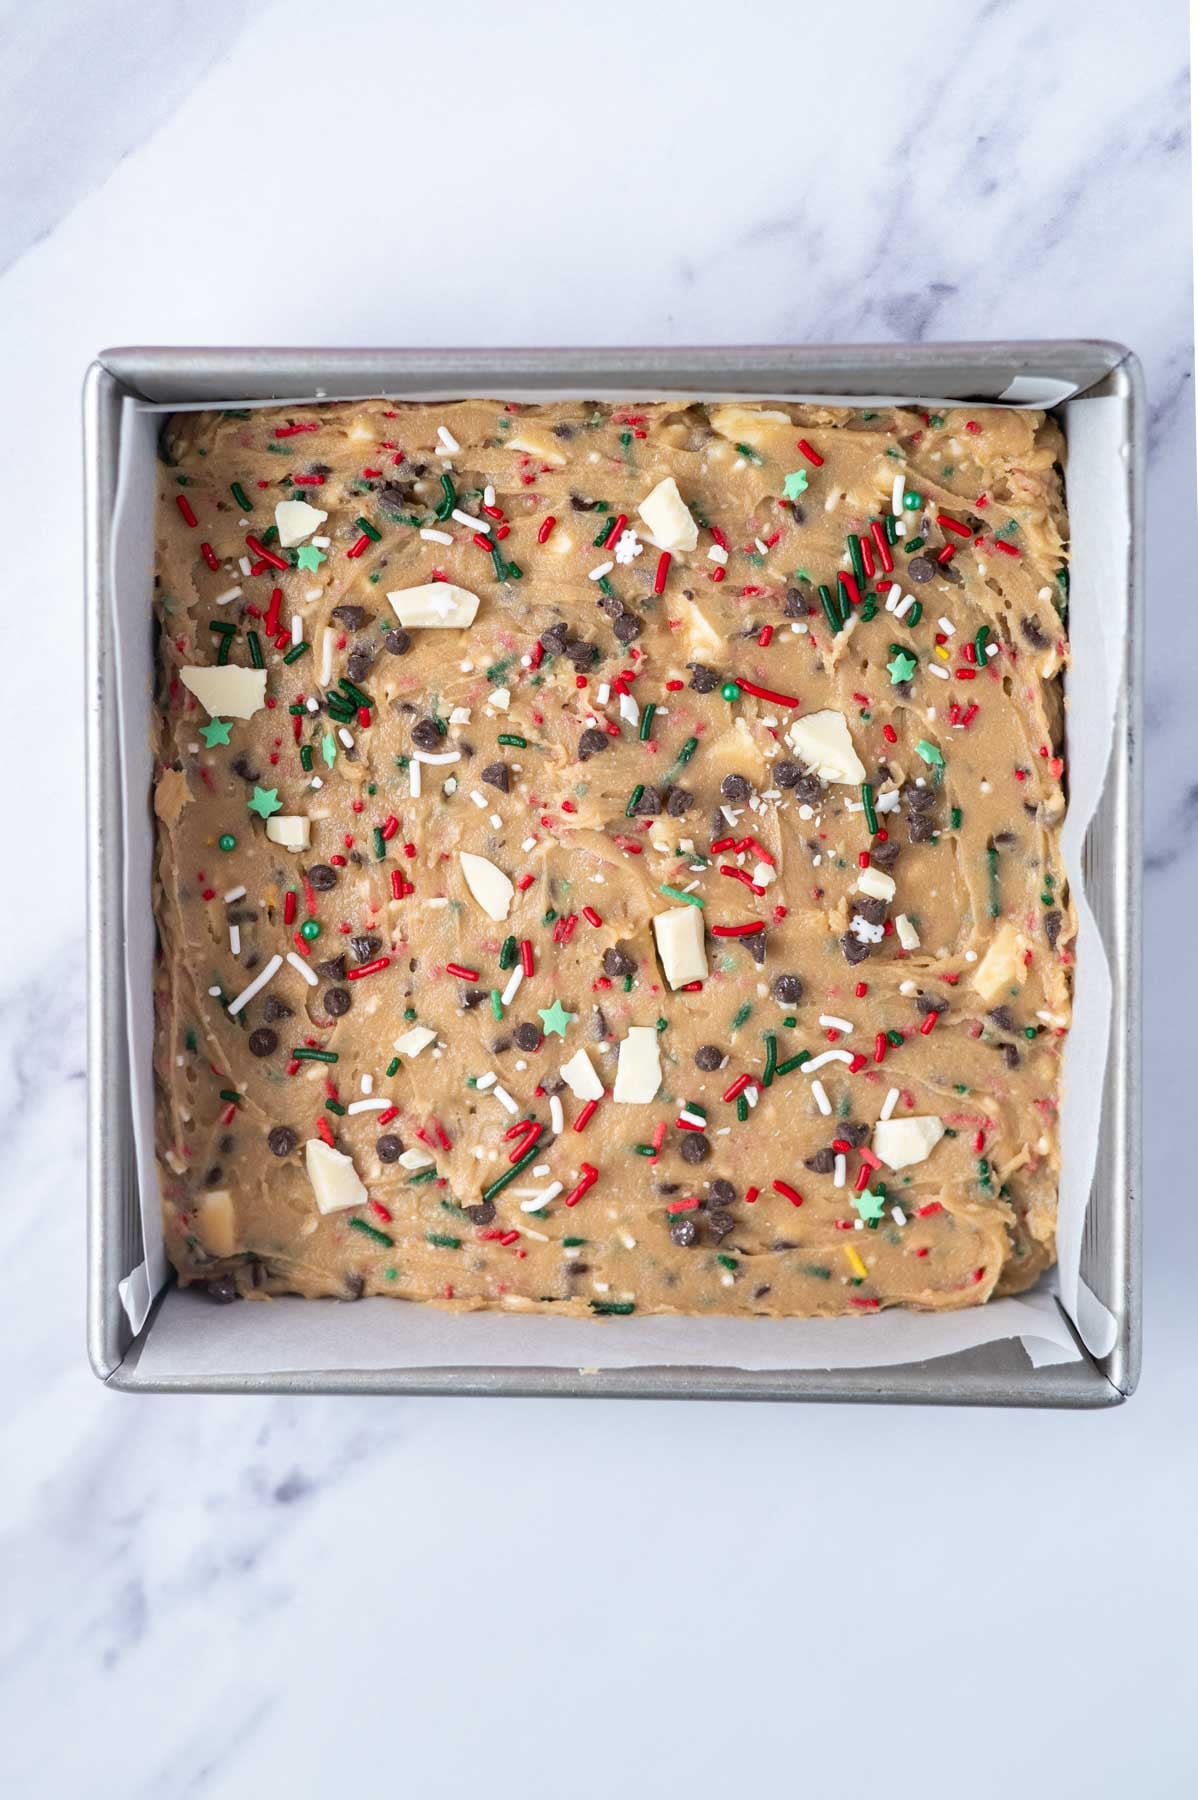
    Drop the batter (itโ€™s thick) into the prepared baking pan and smooth to an even layer. Top with a few extra pieces of chopped white chocolate, mini chocolate chips and sprinkles, if desired.

    baked blondies in a baking pan

    Bake for 25 - 35 minutes or until the edges have lightly browned and a tester in the center comes out with just a few moist crumbs. You do not want a clean/dry tester, which means the blondies are over baked. Allow to cool in the pan on a wire cooling rack.

    Then use the parchment to pull the bars out of the pan and cut into desired sizes.

    ๐Ÿ’ฌ frequently asked questions

    can I use a glass pan?

    I recommend a light colored metal pan for the best results. Glass pans distribute heat differently and can cause the edges to over brown while the middle stays raw. If glass is all you have, reduce the oven temperature by 25ยฐF and know they may take a bit longer to fully bake.

    can I add different mix-ins?

    Yes! The mini chocolate chips can be swapped for holiday M&Ms. You can also swap the white chocolate for dark chocolate if that is more your thing. My biscoff blondies and carrot cake blondies are proof that blondies can handle lots of fun flavor combinations.

    is it possible to double the recipe?

    Yes! Use a 9x13 pan and keep an eye on the bake time. Start checking around 30 minutes.

    can I make these blondies ahead of time?

    Yes! These bars are actually great to make a day ahead. Store them in an airtight container at room temperature and they will be chewy and fresh when you are ready to serve them.  If you want to make them farther ahead, I would recommend letting them cool completely, then freeze them.  Allow them to defrost and come to room temperature and they will be good to go!

    ๐Ÿ‘ฉ๐Ÿปโ€๐Ÿณ tips for the best blondie bars

    Do not over bake. The bars should look slightly underdone in the center when you pull them from the oven. They continue to set up as they cool.  A clean toothpick in the center  means they are overbaked. 

    Use a kitchen scale. Weighing your flour ensures you are not accidentally adding too much. Too much flour makes the blondie bars dry and dense. 

    Let them cool before cutting. I know itโ€™s hard to wait! Cutting them warm means messy bars. Let them cool completely in the pan for clean, pretty slices. If you need to rush the process, place the pan in the refrigerator once you can pick up the pan with bare hands.

    Line the pan with parchment paper. This makes lifting the bars out of the pan so easy and keeps them looking neat.

    Gently fold in the mix-ins. Once the chocolate and sprinkles go in, just mix until combined. Over mixing the batter at this stage can make the bars tough.

    ๐Ÿซ™ how to store

    Christmas blondies stay fresh in an airtight container at room temperature for 3-4 days.

    They also freeze well for up to three months. Let them cool completely, then store in an airtight container or zip-top bag. Allow to defrost at room temperature before serving. Christmas blondies stay fresh in an airtight container at room temperature for 3-4 days. This is my favorite way to store them when making ahead for holiday parties.

    blondies on a plate

    Remember to snap a picture and tag me @twosugarbugs on Instagram if you make these Easy Christmas Blondies. It warms my heart to see you bring these recipes to life! Thank you for being here and happy baking!

    If you make this recipe {or any recipe!} from two sugar bugsย please come back and leave a review and a โญ๏ธโญ๏ธโญ๏ธโญ๏ธโญ๏ธ star rating.ย  I read every comment, and I LOVE hearing from you!

    ๐Ÿ“– recipe

    stack of Christmas blondies on a plate with sprinkles in the foreground and milk in the background
    Print Recipe

    Easy, One Bowl Christmas Blondies

    Christmas blondies are chewy, festive and made in one bowl with white chocolate, chocolate chips and holiday sprinkles. Ready in 45 minutes.
    Prep Time10 minutes mins
    35 minutes mins
    Total Time45 minutes mins
    Course: Bars and Brownies, Dessert
    Cuisine: American
    Keyword: blondie bars, blondies, chewy, christmas baking, holiday baking, sprinkles
    Servings: 16 bars
    Calories: 298kcal
    Author: Tasia Harper

    Ingredients

    • ยพ cup unsalted butter melted 170g
    • ยพ cup granulated sugar 150g
    • ยพ cup packed brown sugar 150g
    • ยฝ teaspoon kosher salt
    • 2 large eggs room temperature
    • 2 teaspoons vanilla extract
    • 1 ยพ cup all-purpose flour 219g
    • 4 ounces white chocolate chopped 114g
    • ยฝ cup mini chocolate chips* 90g
    • ยฝ cup Christmas sprinkles 80g

    Instructions

    • Preheat the oven to 350ยฐF (177ยฐC) and line a 8x8 baking pan with parchment paper.
    • In a medium to large bowl, whisk together the melted butter (ยพ cup/170g), granulated sugar (ยพ cup/150g), packed brown sugar (ยพ cup/150g) and kosher salt (ยฝ teaspoon) until well combined.
    • Then add in the eggs (2 large), and vanilla (2 teaspoons). Scrape up and down the bowl as needed and whisk until combined, about 1 minute.
    • Next add the all-purpose flour (1 ยพ cup/219g) and mix with a spatula until some large flour streaks remain. Then add the chopped white chocolate (4 oz/114g), mini chocolate chips (ยฝ cup/90g) and sprinkles (ยฝ cup/80g) and gently fold them into the blondie dough until combined.
    • Drop the batter (itโ€™s thick) into the prepared baking pan and smooth to an even layer. Top with a few extra pieces of chopped white chocolate, mini chocolate chips and sprinkles, if desired.
    • Bake for 25 - 35 minutes or until the edges have lightly browned and a tester in the center comes out with just a few moist crumbs. You do not want a clean/dry tester, which means the blondies are over baked. Allow to cool in the pan on a wire cooling rack.
    • Then use the parchment to pull the bars out of the pan and cut into desired sizes.

    Notes

    * The mini chocolate chips can be replaced with regular chocolate chips or m&mโ€™s.
    Christmas blondies will stay fresh in an airtight container at room temperature for 3-4 days. They also freeze well for up to three months; allow to defrost before serving.
    I recommend a light colored metal baking pan; glass can take up to double the amount of baking time and can cause the edges to over brown or burn while the middle is still raw. If you only have a glass pan, reduce the oven heat by 25ยฐ and know it may take a bit longer to bake.


    Nutrition

    Serving: 1 bar | Calories: 298kcal | Carbohydrates: 43g | Protein: 3g | Fat: 13g | Saturated Fat: 8g | Polyunsaturated Fat: 1g | Monounsaturated Fat: 3g | Trans Fat: 0.4g | Cholesterol: 46mg | Sodium: 95mg | Potassium: 60mg | Fiber: 1g | Sugar: 32g | Vitamin A: 311IU | Vitamin C: 0.1mg | Calcium: 37mg | Iron: 1mg

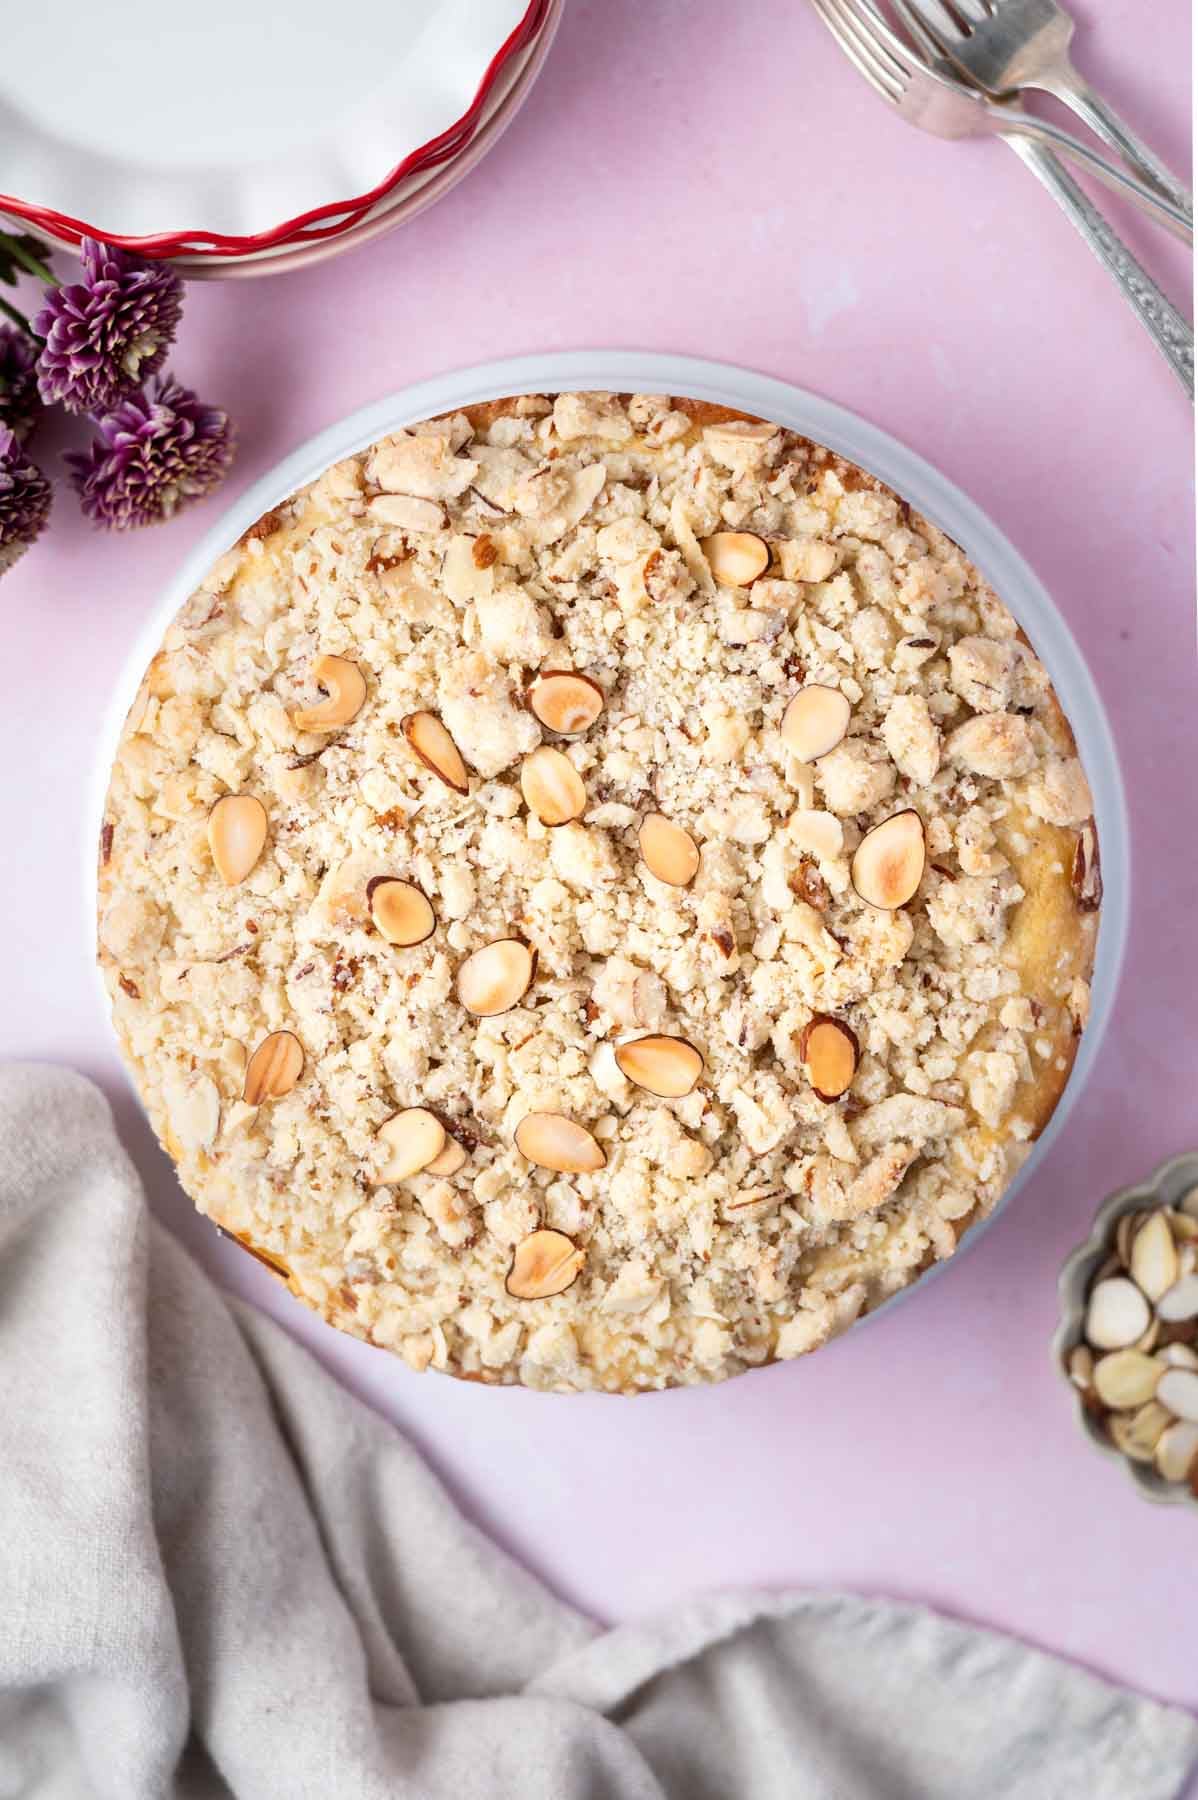
    Almond Coffee Cake with Almond Paste Filling

    almond coffee cake on a plate with slices missing and fresh flowers in the background

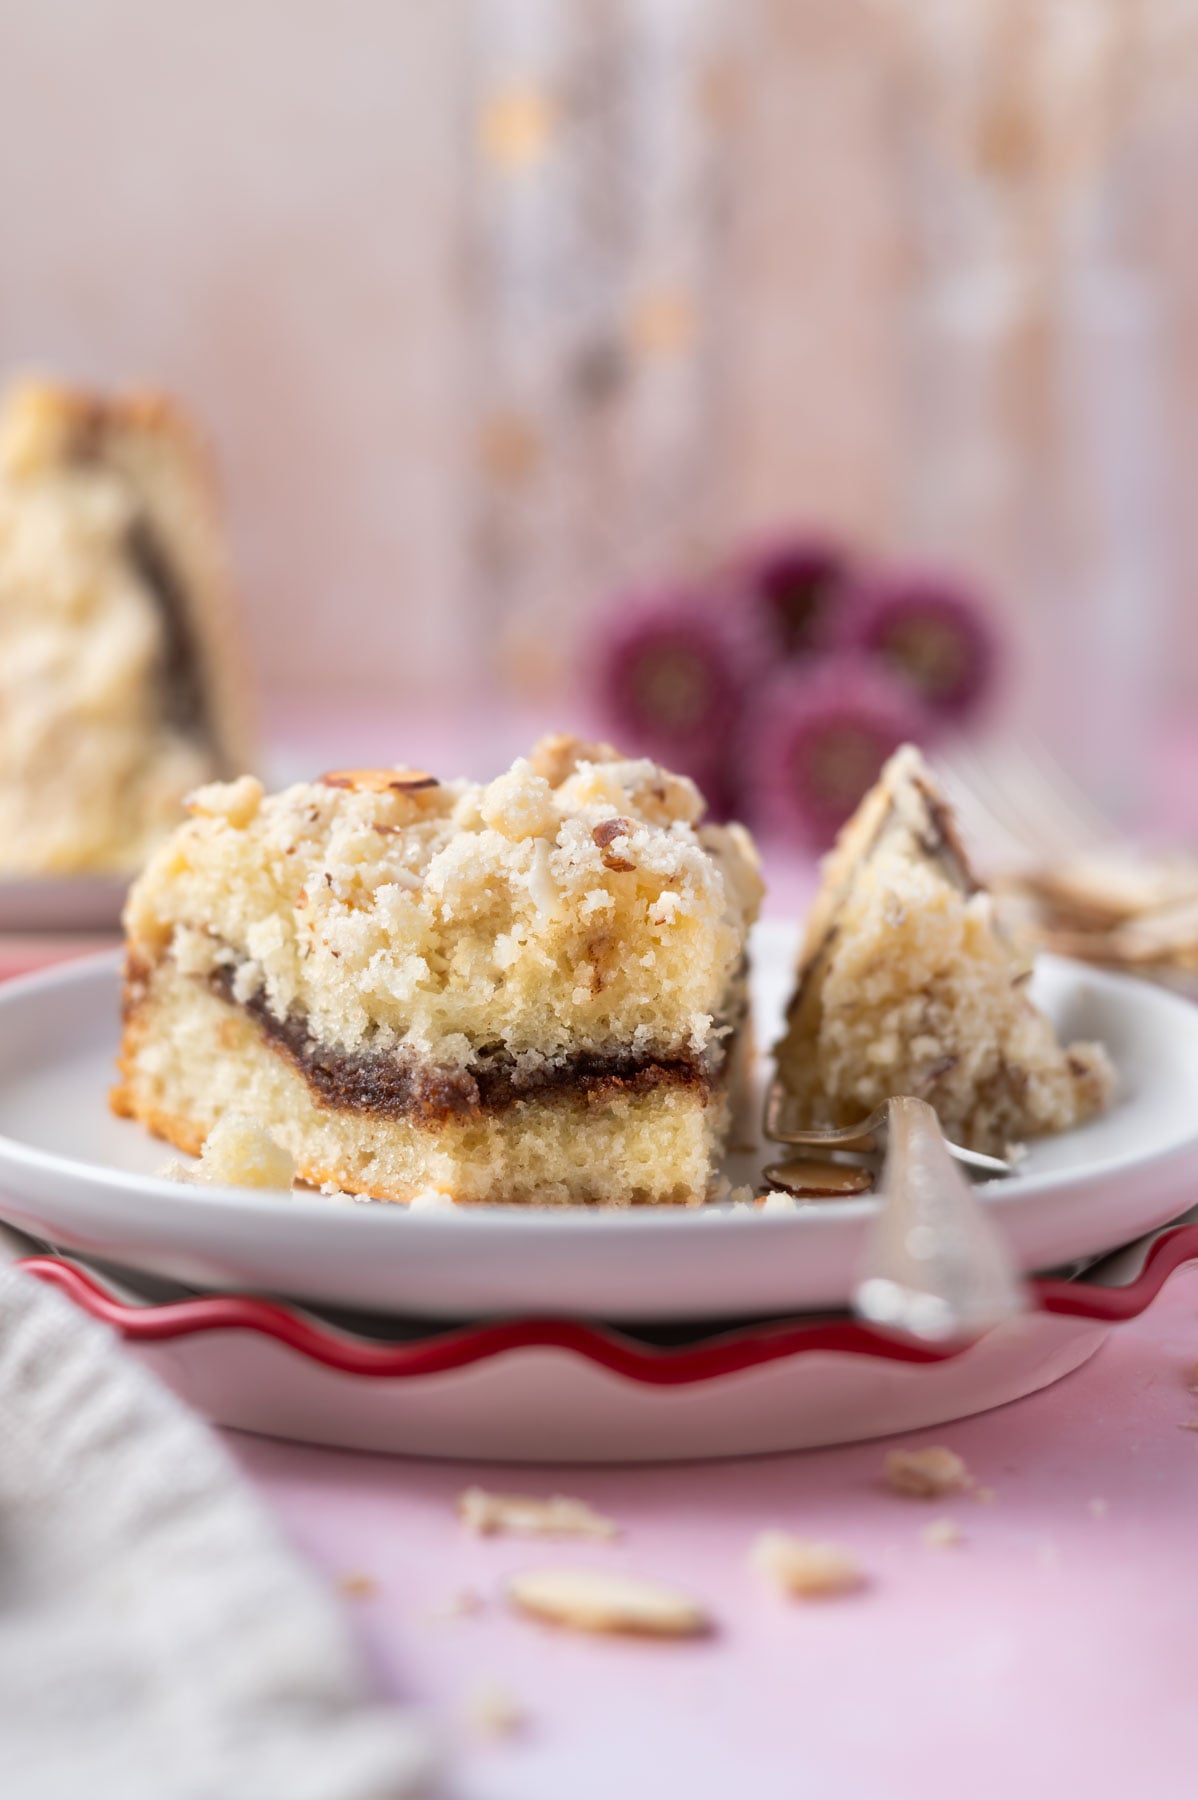
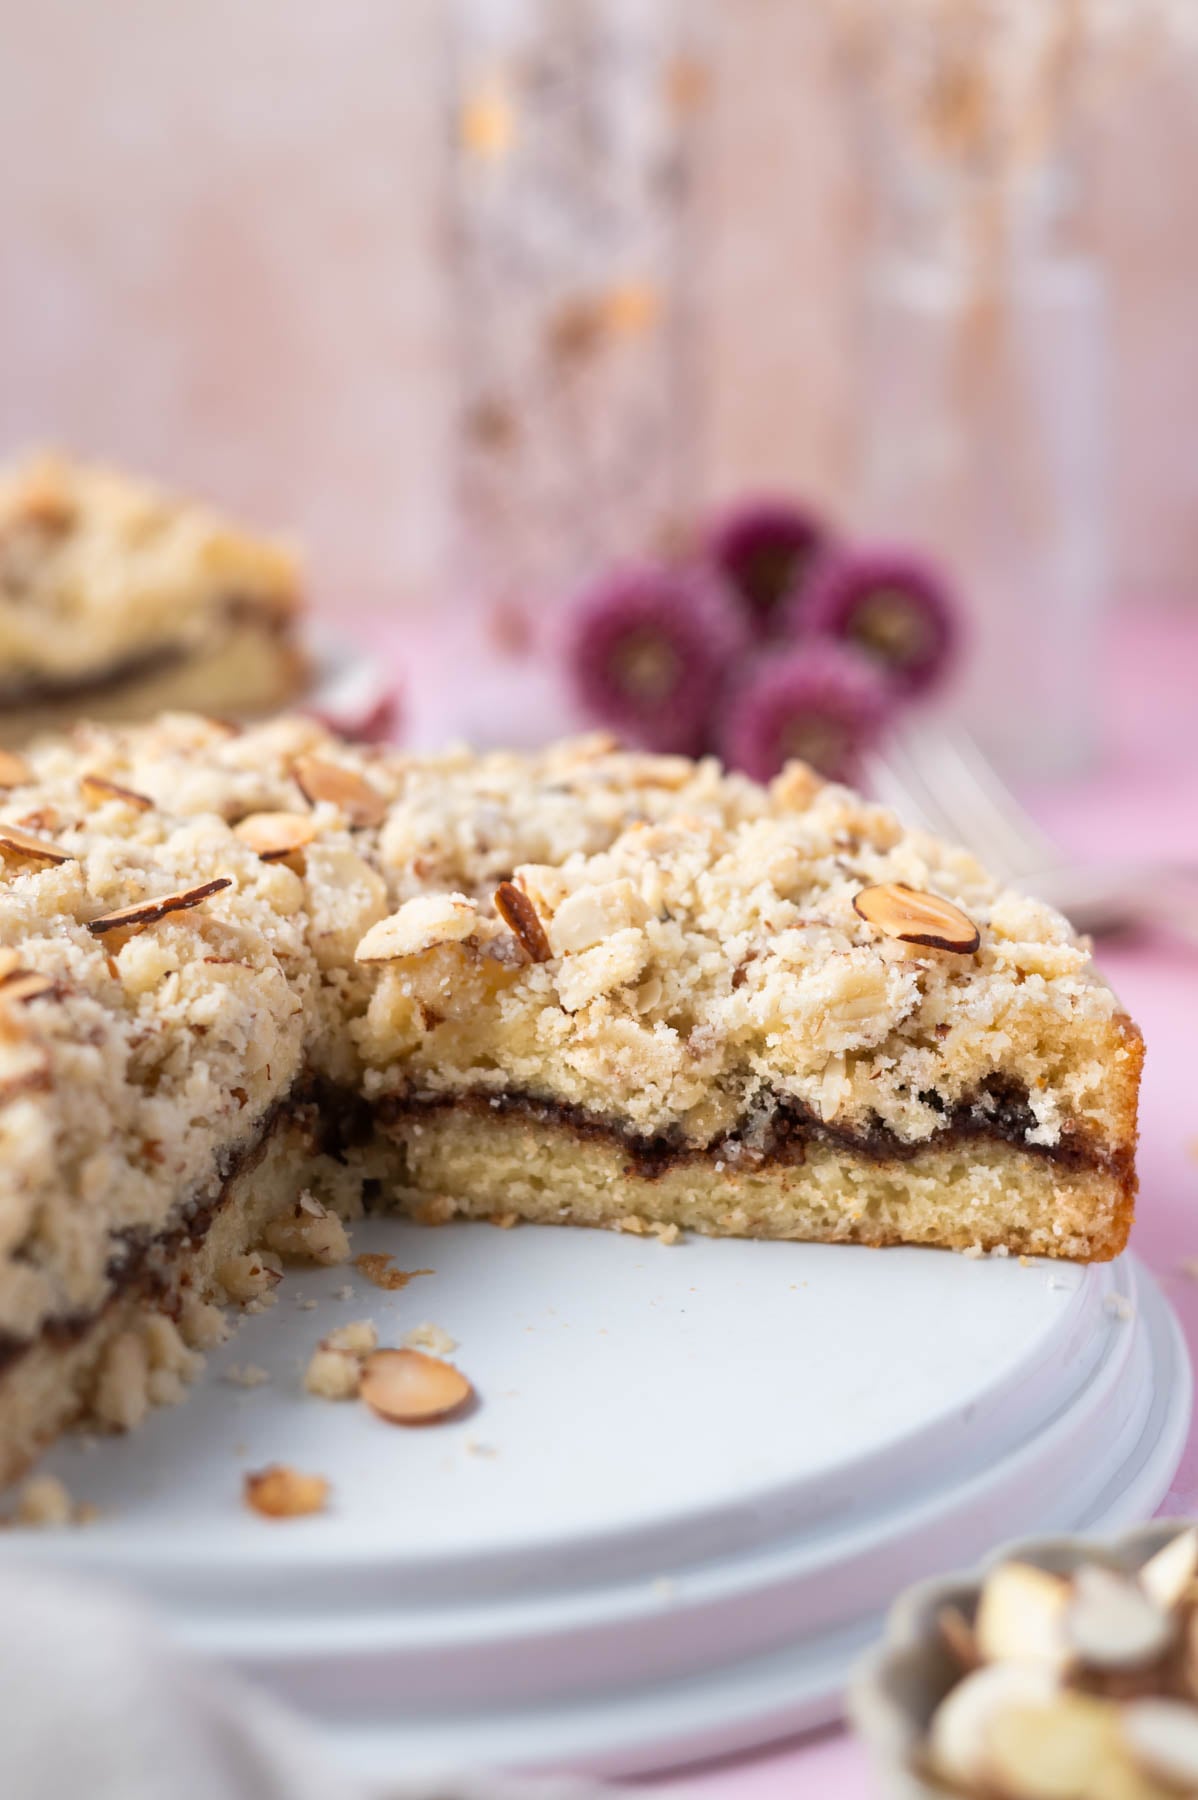
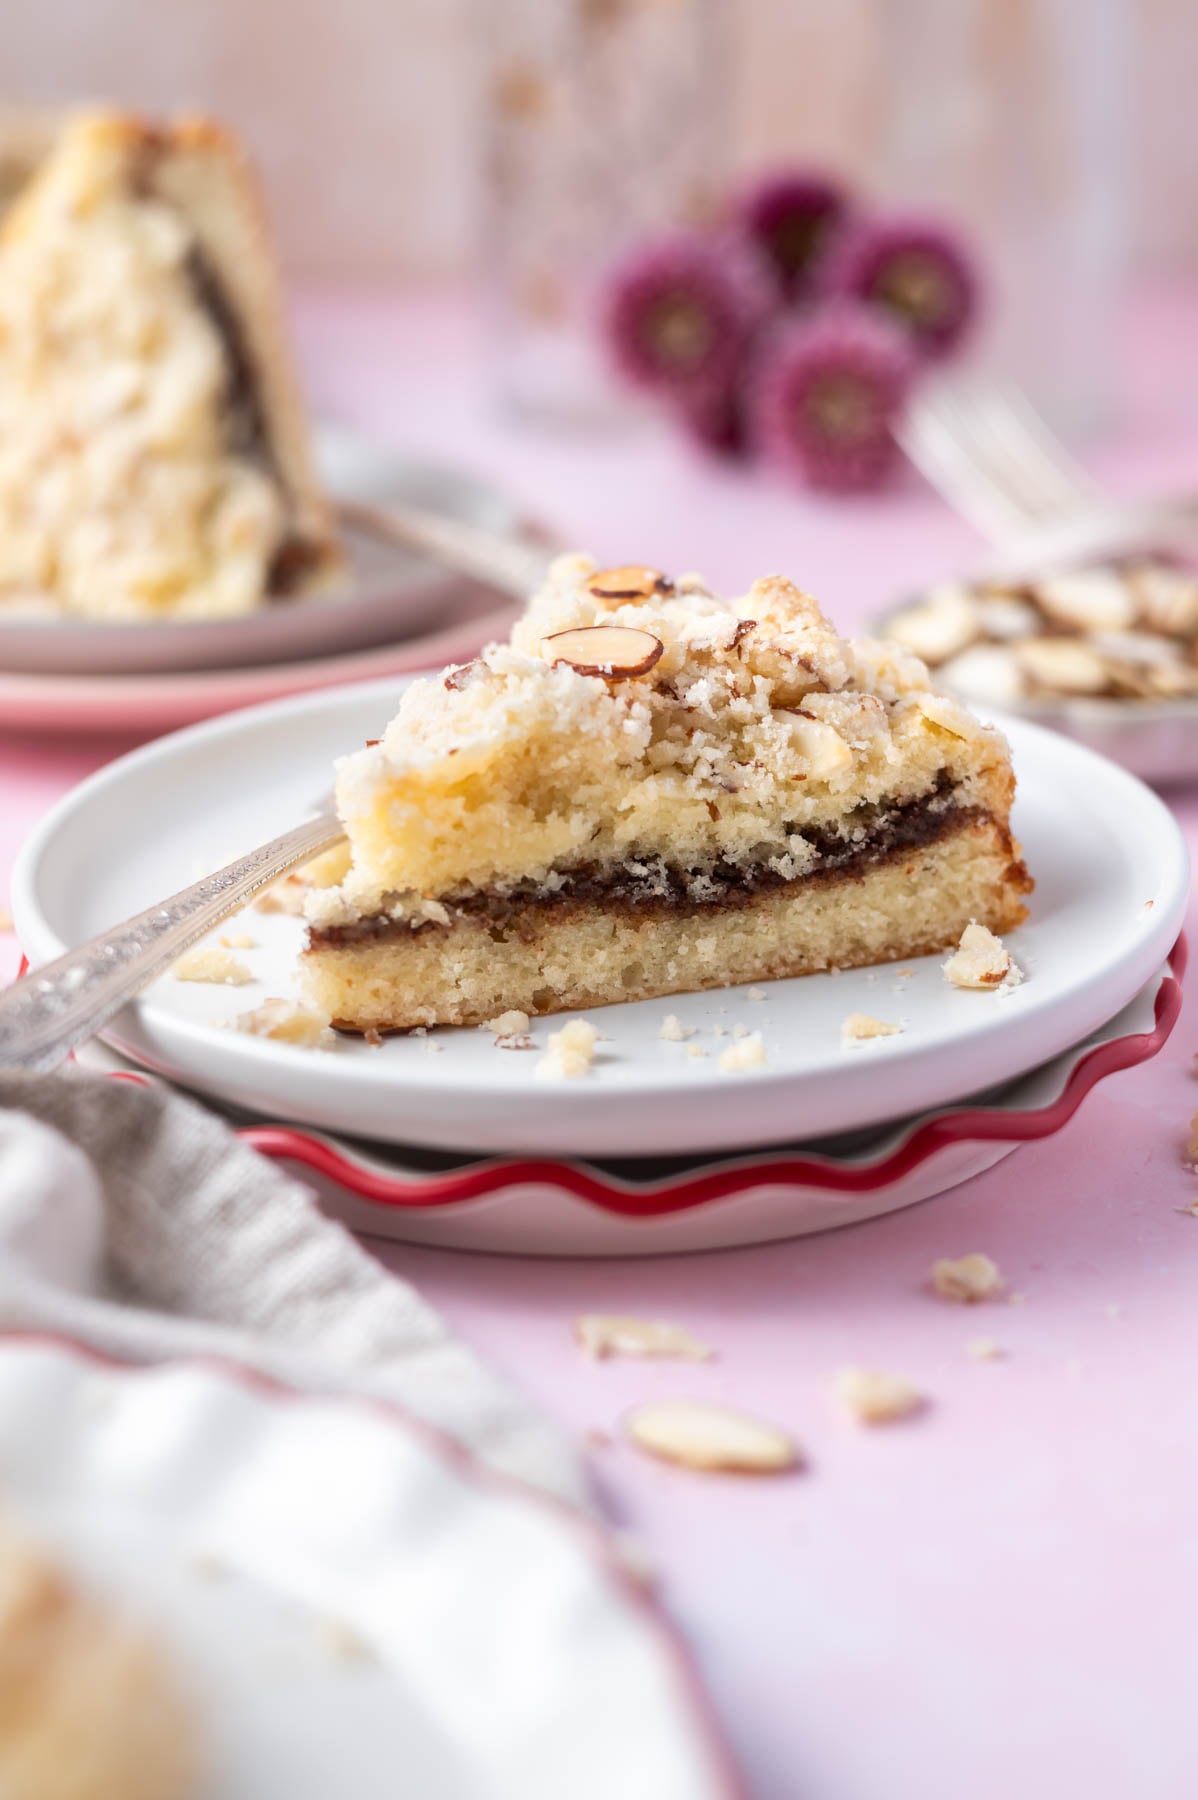
    Almond coffee cake is one of those recipes you make when you want something fancy, but donโ€™t have all day. Itโ€™s quick, itโ€™s easy, and itโ€™s ready in about an hour from start to finish. You get a tender, moist single layer cake loaded with almond flavor. An almond paste filling tucked in the middle, an almond streusel on top, and almond extract running through the batter. No fancy skills needed, just some bowls, a whisk and a spatula. 

    slice of cake on a plate with a bite on a fork

    Disclosure | This post may contain affiliate links. As an Amazon Associate I earn from qualifying purchases.

    [feast_advanced_jump_to]

    I am a huge fan of almond flavor in baking (almond blondies anyone?), it has a warm, sweet quality that feels cozy and special at the same time. I created this recipe because I wanted a cake that tasted like something from a bakery, but didnโ€™t require too much work to pull off. Kind of like my coffee cake cookies.

    Most recipes lean on almond extract and call it a day. This cake goes further with a grated almond paste folded with brown sugar and cinnamon for a filling that bakes into something incredible. Rich, nutty, and reminiscent of frangipane, but without any fuss.

    If you love this kind of nutty cake, you are going to want to check out my raspberry almond cake too. It has that same almond flavor, but with a berry twist. It is my favorite kind of homemade cake that works for a casual weeknight just as much as a special occasion.

    ๐Ÿ’— why you should make this simple cake

    • Triple almond flavor, in the cake batter, almond paste filling and streusel!
    • No mixer needed.
    • The filling uses almond paste and gives you a frangipane-like flavor without any complicated steps.
    • The buttery almond streusel bakes up crunchy and golden and is completely irresistible.
    • Makes a single 8-inch round cake, just the right size.
    almond coffee cake on a plate with slices missing and fresh flowers in the background

    ๐Ÿ›’ ingredient notes

    Please scroll to the printable recipe card at the end of this post for the full list of ingredients and baking directions.

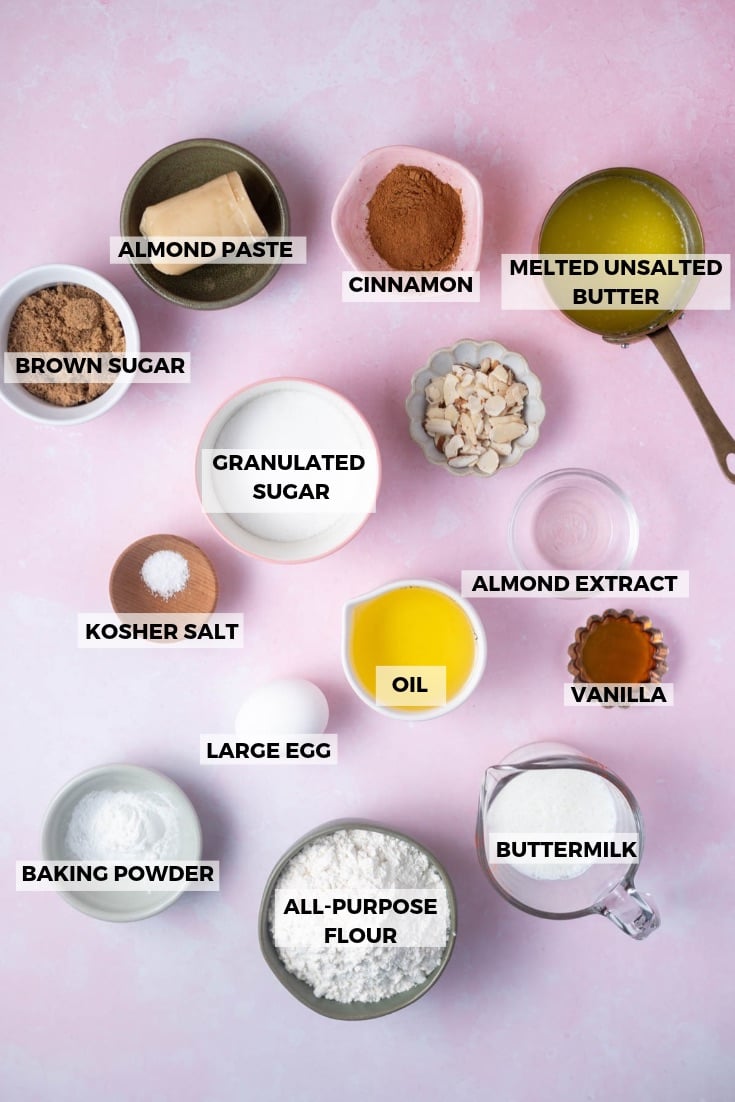
    almond coffee cake ingredients

    Almond paste ~ this is the star of the filling. Use the small holes on a box grater to grate it. This helps it mix evenly with the brown sugar and cinnamon. Almond paste is not the same as marzipan, so make sure you grab the right one. I typically find it in the baking aisle.

    Almond extract ~ pure almond extract is used in both the cake batter and the streusel topping. It gives this cake that warm, deep almond flavor. Don't be tempted to skip it or reduce it.

    Buttermilk ~ brings tenderness and moisture to the cake crumb. I always prefer store-bought for consistency, but you can make your own in a pinch. See the notes in the recipe card.

    Oil ~ vegetable or canola oil both work great here. Using oil instead of butter keeps the cake moist and tender for days.

    Sliced almonds ~ used in the streusel for a little crunch and visual appeal. If you want extra, add a few more on top before baking.

    ๐Ÿฅฃ how to make in photos 


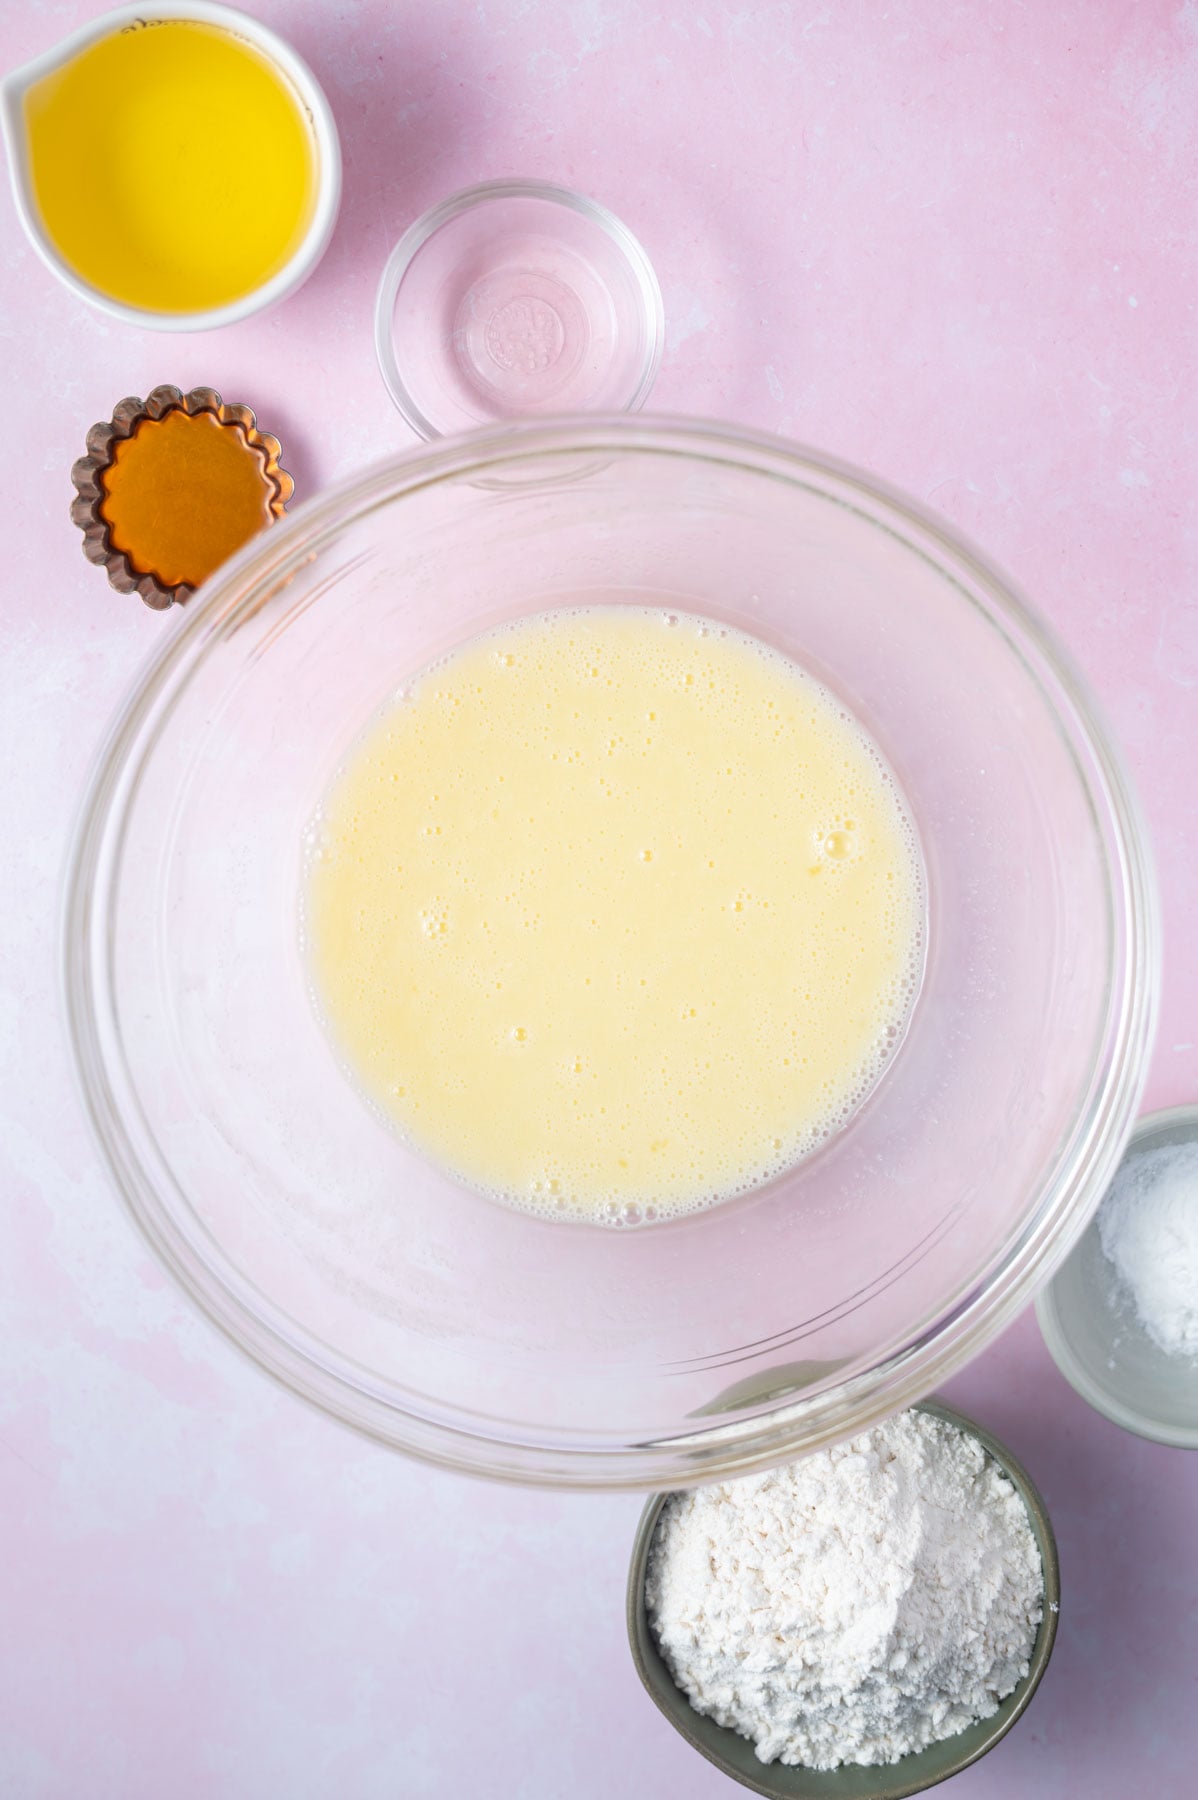
    Preheat the oven to 350ยฐF/177ยฐC.  Butter an 8-inch round baking pan, then line the bottom with a parchment round and lightly butter the parchment. Set aside.

    almond brown sugar cinnamon filling and almond streusel in bowls

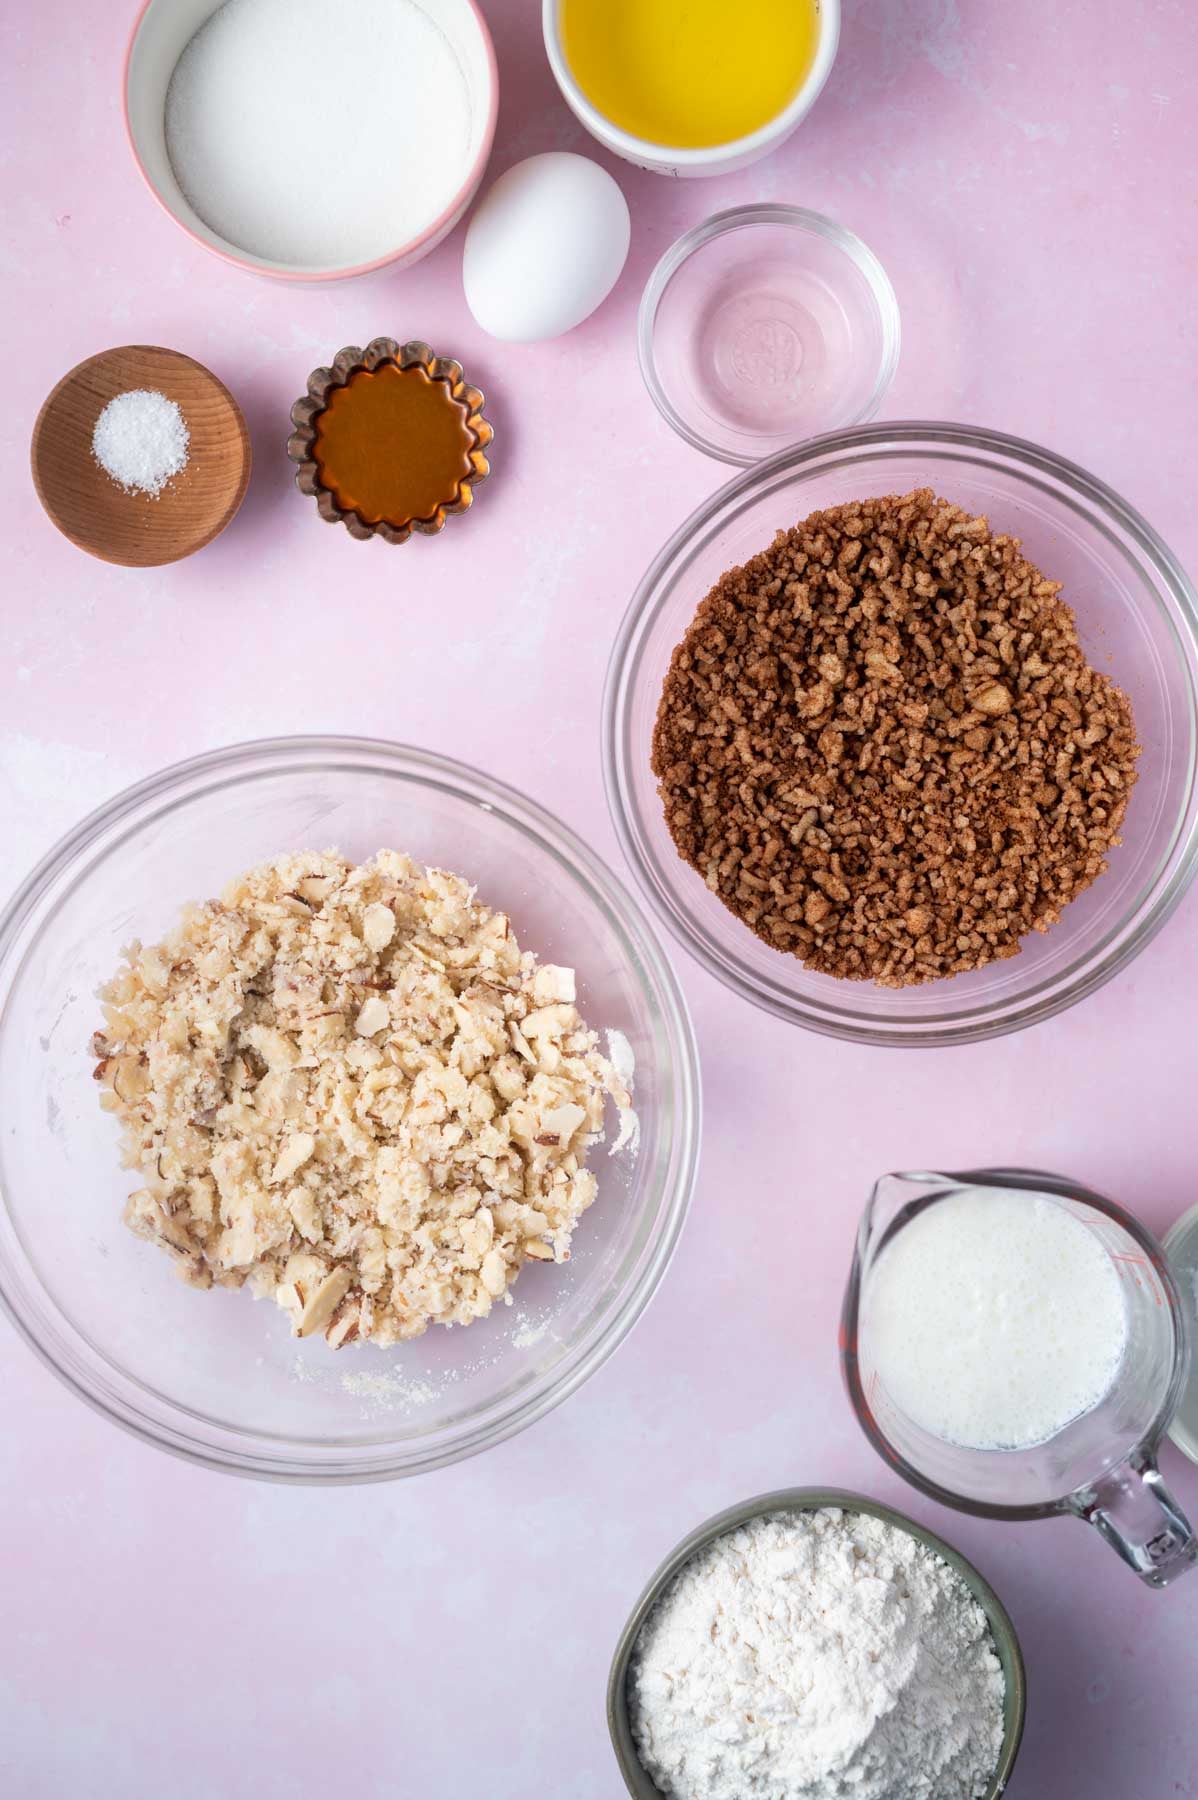
    Make the streusel, in a bowl, mix together the flour, sugar, and sliced almonds. Then add the melted butter and almond extract and mix with a fork until large clumps appear and no dry flour remains. Place in the refrigerator.

    To make the almond paste filling, mix together the brown sugar and cinnamon, then add the grated almond paste and mix to thoroughly combine. Set aside.

    buttermilk, egg and sugar whisked together in a bowl

    To make the cake, in a medium to large bowl, add the sugar, kosher salt, egg, and buttermilk, and whisk until combined.

    extracts and oil added to cake batter in a bowl

    Then add the oil, vanilla, and almond extract, and whisk to combine.

    half of cake batter spread into the bottom of a 8-inch round baking pan

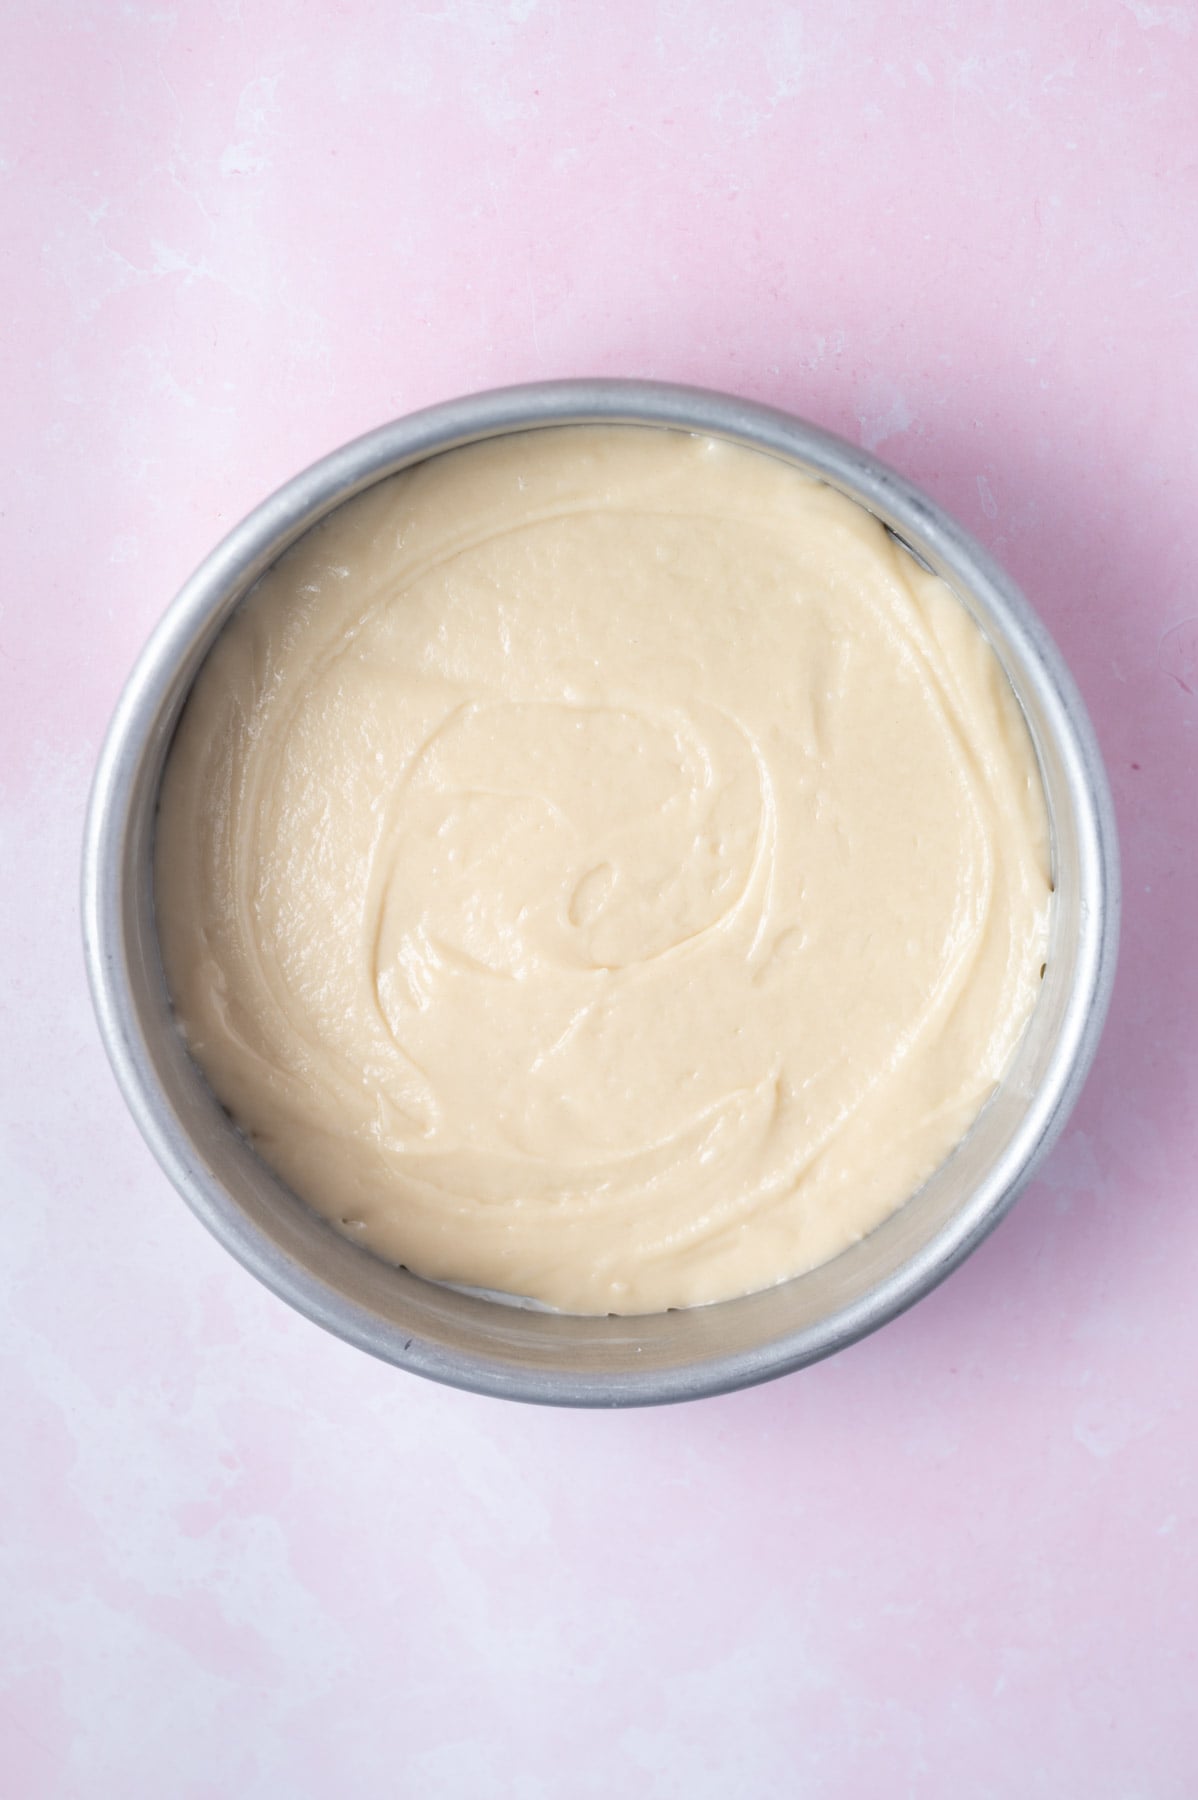
    Now whisk in the baking powder, followed by the flour. You can continue with the whisk or switch to a spatula and stir to bring the batter together, it is a thicker batter.

    Spread half the batter into the prepared pan. An offset spatula is helpful here.

    almond paste brown sugar cinnamon filling layered over batter in a round pan

    Then top with the almond paste filling.

    Now add the remaining cake batter and use an offset spatula to smooth the batter over the filling.

    baked almond coffee cake with streusel and extra almond slices on top with plates, forks and a napkin

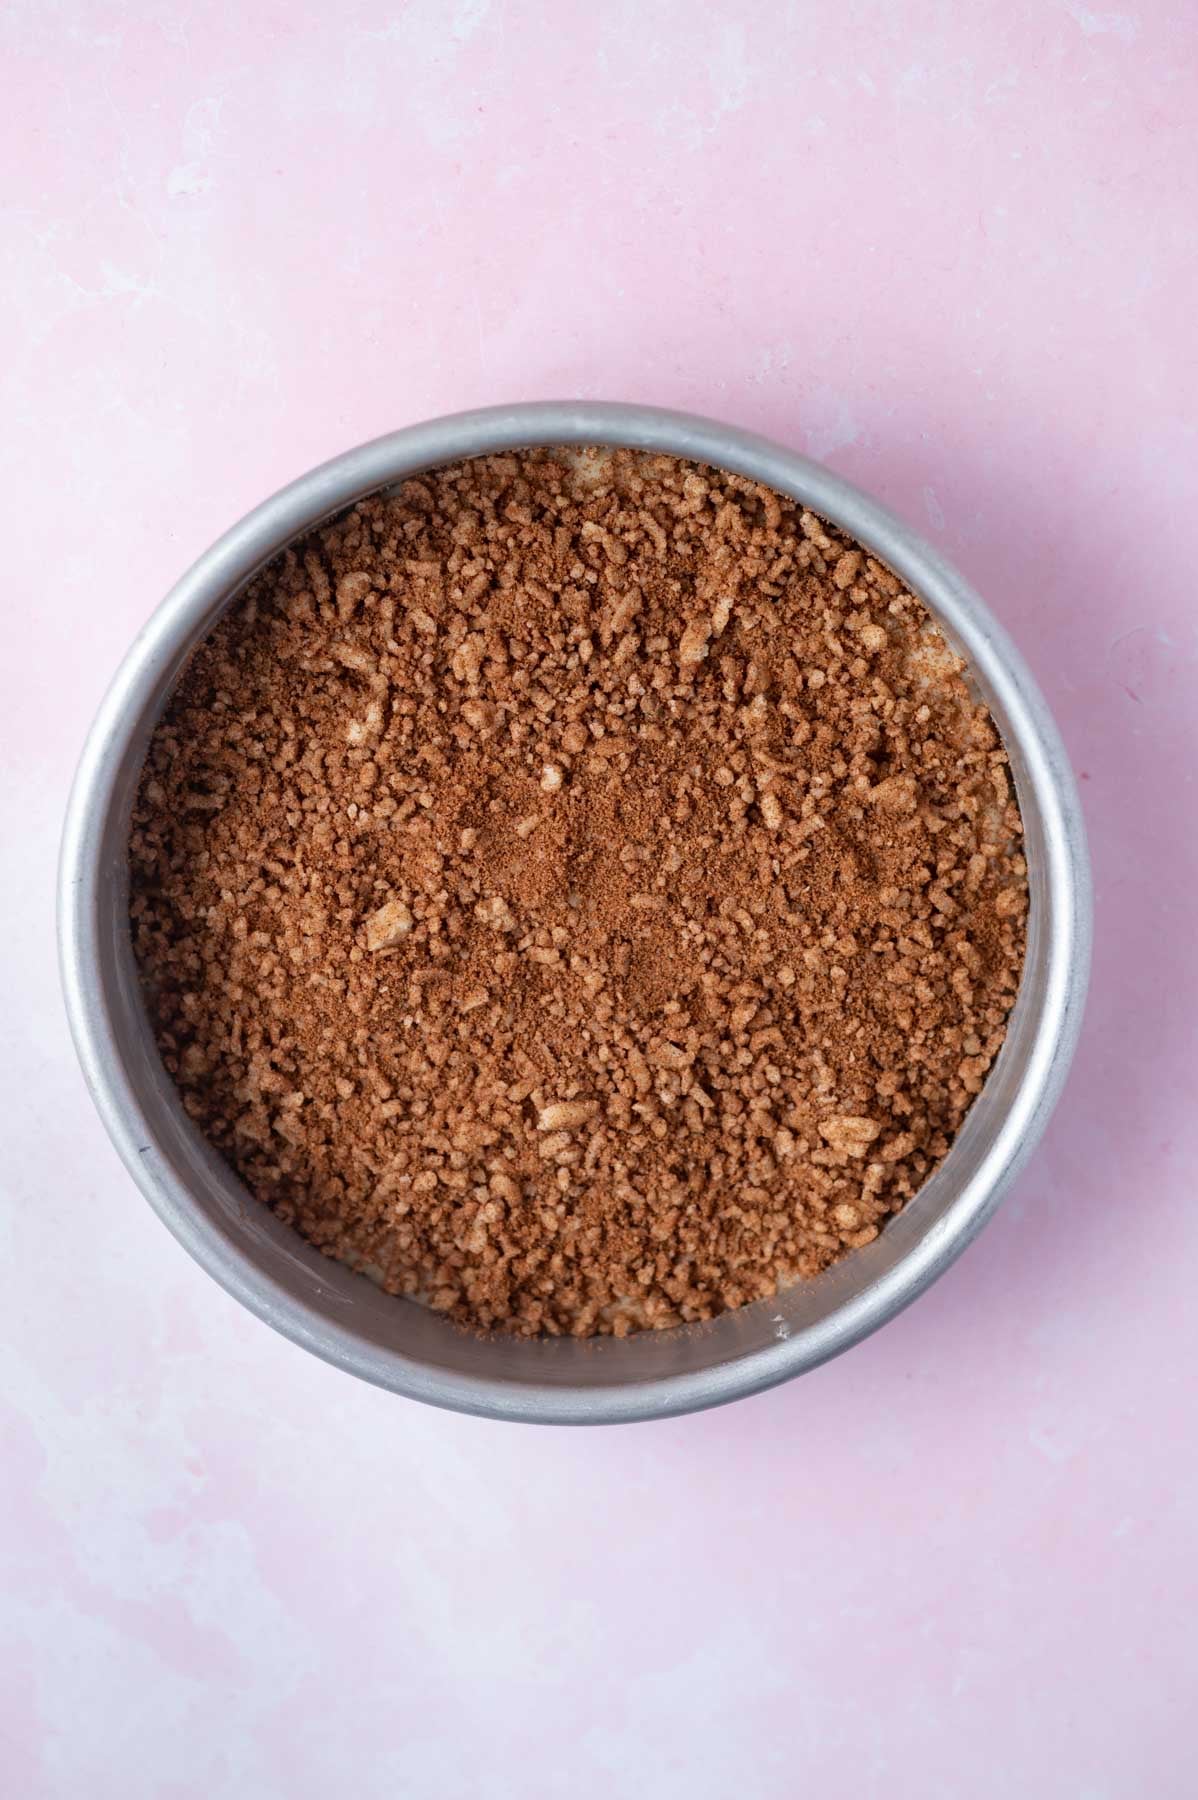
    Finally, remove the streusel from the refrigerator and top the almond cake batter with the streusel.  It will seem like too much streusel, but use it all! If desired, top with a few more almond slices.

    Bake in the preheated oven for 35-45 minutes or until a tester comes out with just a few moist crumbs. 

    ๐Ÿ’ฌ frequently asked questions 

    what is almond paste and where do I find it?

    Almond paste is a sweet, dense mixture of ground almonds and sugar. It is different from marzipan, which is smoother and sweeter. You can usually find almond paste in the baking aisle near the canned pie fillings, or sometimes near specialty baking items. Look for it in a tube or a can. Sometimes Trader Joeโ€™s sells it during the holiday season.

    can I make this without almond paste? 

    The almond paste filling is what gives this cake its frangipane-like quality, so I would not skip it. If you love almond flavor but want something made with almond flour instead, my blueberry almond cake is a wonderful option.

    do I need a mixer for this recipe?

    Nope! The cake batter comes together with just a bowl and a whisk. The streusel mixes up with a fork. You do need three bowls for this one, but itโ€™s worth the couple extra dishes!

    can I use a different pan size?

    I tested this in an 8-inch round pan. A 9-inch round pan or 8x8 pan would also work, but your cake will be a little thinner and should bake in less time, start checking around 28-30 minutes. 

    why did my streusel sink into the cake?

    If your streusel gets too warm before baking, it can sink rather than sitting on top. Keeping it in the refrigerator until right before you bake is the key step that prevents this.

    ๐Ÿ‘ฉ๐Ÿปโ€๐Ÿณ tips for the best almond paste coffee cake

    Grate the almond paste on the small holes of a box grater. This is the easiest way to break it down so it mixes smoothly with the brown sugar and cinnamon.

    Use room temperature ingredients. The egg and buttermilk should both be at room temperature before you start. Cold ingredients don't combine as smoothly and can affect the texture of the cake.

    Work slowly when spreading the batter over the filling. The almond cake batter is thick. Use an offset spatula and take your time so you don't accidentally mix the filling into the top layer of batter.

    Don't over bake. Start checking at 35 minutes. You want a tester to come out with just a few moist crumbs, not completely clean, but not wet batter. The cake continues to set as it cools. My Italian almond cake is the same way, pull it a touch early and you'll be rewarded with the best texture.

    If you love coffee cakes and want to explore more options, my cake recipes have plenty of single-layer favorites worth bookmarking.

    ๐Ÿซ™ how to store

    Store any leftovers in an airtight container or tightly wrapped at room temperature for 3-4 days. Note that the streusel topping will soften a bit during storage, but the flavor is still amazing.

    To freeze, wrap the cooled almond coffee cake tightly in a double layer of plastic wrap or store in an airtight container for up to 2 months. Allow to defrost at room temperature before serving. The cake tastes best at room temperature.

    slice of almond coffee cake on a plate showing almond paste filling

    Remember to snap a picture and tag me @twosugarbugs on Instagram if you make this Almond Coffee Cake with Almond Paste Filling. It warms my heart to see you bring these recipes to life! Thank you for being here and happy baking!

    If you make this recipe {or any recipe!} from two sugar bugsย please come back and leave a review and a โญ๏ธโญ๏ธโญ๏ธโญ๏ธโญ๏ธ star rating.ย  I read every comment, and I LOVE hearing from you!

    ๐Ÿ“– recipe

    almond coffee cake on a plate with slices missing and fresh flowers in the background
    Print Recipe

    Almond Coffee Cake with Almond Paste Filling

    Moist and tender almond coffee cake with a frangipane-like almond paste filling and crunchy almond streusel. Ready in about an hour!
    Prep Time15 minutes mins
    Cook Time45 minutes mins
    Total Time1 hour hr
    Course: Breakfast, Cakes and Cupcakes, Dessert
    Cuisine: American
    Keyword: almond, almond cake, almond coffee cake, almond paste, coffee cake
    Servings: 10 slices
    Calories: 366kcal
    Author: Tasia Harper

    Ingredients

    almond streusel topping

    • ยฝ cup all-purpose flour 63g
    • โ…“ cup granulated sugar 67g
    • ยผ cup sliced almonds 30g
    • 3 tablespoons butter melted 42g
    • ยผ teaspoon pure almond extract

    almond paste filling

    • 3 ounces almond paste grated* 85g
    • 3 tablespoons brown sugar packed 38g
    • 1 tablespoon ground cinnamon 7g

    almond cake

    • ยฝ cup granulated sugar 100g
    • ยผ teaspoon kosher salt
    • 1 large egg room temperature
    • ยฝ cup buttermilk room temperature
    • ยฝ cup vegetable or canola oil 110g
    • ยฝ teaspoon pure vanilla extract
    • 1 ยฝ teaspoons pure almond extract
    • 1 ยฝ teaspoons baking powder 6 g
    • 1 ยฝ cups all-purpose flour 188g

    Instructions

    • Preheat the oven to 350ยฐF/177ยฐC. Butter an 8-inch round baking pan, then line the bottom with a parchment round and lightly butter the parchment. Set aside.

    to make the streusel

    • In a bowl, mix together the flour (ยฝ cup/63g), sugar (โ…“ cup/67g) and sliced almonds (ยผ cup/30g). Then add the melted butter (3 tablespoons/42g) and almond extract (ยผ teaspoon) and mix with a fork until large clumps appear and no dry flour remains. Place in the refrigerator.

    to make the almond paste filling

    • Using the small holes on a box grater, grate the almond paste (3 ounces/85g). In another bowl, mix together the brown sugar (3 tablespoons/38g) and cinnamon (1 tablespoon/7g), then add the grated almond paste and mix to thoroughly combine. Set aside.

    for the cake

    • In a medium to large bowl, add the sugar (ยฝ cup/100g), kosher salt (ยผ teaspoon), egg (1 large) and buttermilk (ยฝ cup/120mL), and whisk until combined, about 30-60 seconds.
    • Then add the oil (ยฝ cup/110g), vanilla (ยฝ teaspoon), and almond extract (1 ยฝ teaspoons) and whisk to combine, about 1 minute.
    • Now whisk in the baking powder (1 ยฝ teaspoons/6g), followed by the flour (1 ยฝ cups/188g). You can continue with the whisk or switch to a spatula and stir to bring the batter together, it is a thicker batter.
    • Spread half the batter (I use 275g of batter) into the prepared pan. An offset spatula is helpful here. Then top with the almond paste filling. Now add the remaining cake batter and use an offset spatula to smooth the batter over the filling. The filling is thick, so work slowly and gently as you donโ€™t want to stir the filling into the batter.
    • Finally, remove the streusel from the refrigerator and top the almond cake batter with the streusel. It will seem like too much streusel, but use it all! If desired, top with a few more almond slices.
    • Bake in the preheated oven for 35-45 minutes or until a tester comes out with just a few moist crumbs. Allow the cake to cool completely in the pan.

    Notes

    *Use the small holes on a box grater
    I prefer using store-bought buttermilk, but if you find yourself without it you can make your own. Place 2 teaspoons of white vinegar or lemon juice in your measuring cup and add milk to equal ยฝ cup, stir and let stand until room temperature (about one hour). The milk will appear curdled.
    Vegetable or canola oil can be used.
    Store any leftovers in an airtight container or tightly wrapped at room temperature for 3-4 days. The streusel topping can get a little soft when storing.
    The almond coffee cake can also be frozen in an airtight container, or double wrapped in plastic wrap for up to 2 months. Allow to defrost before serving.

    Nutrition

    Serving: 1 slice | Calories: 366kcal | Carbohydrates: 45g | Protein: 5g | Fat: 19g | Saturated Fat: 5g | Polyunsaturated Fat: 7g | Monounsaturated Fat: 6g | Trans Fat: 0.2g | Cholesterol: 27mg | Sodium: 170mg | Potassium: 104mg | Fiber: 2g | Sugar: 24g | Vitamin A: 151IU | Vitamin C: 0.04mg | Calcium: 88mg | Iron: 2mg

    Pumpkin Coffee Cake with Streusel

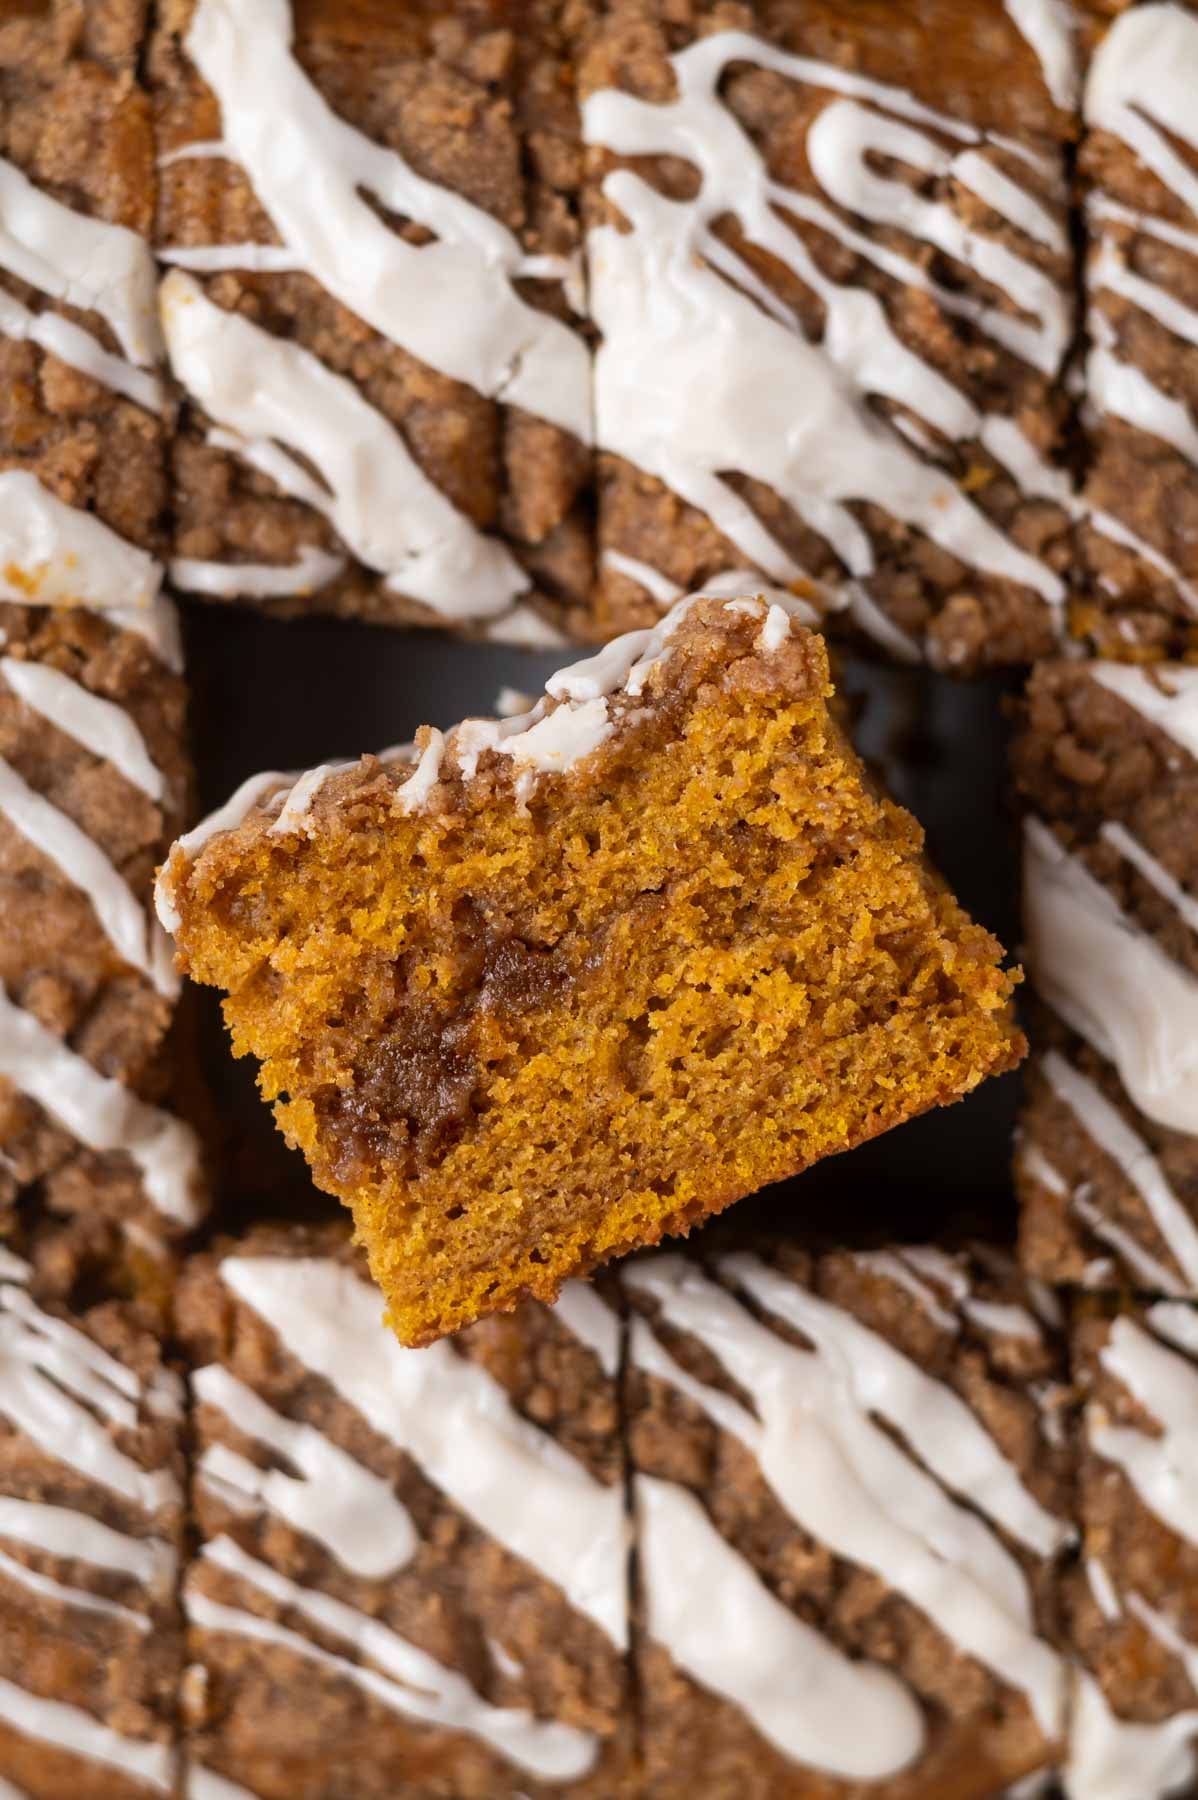
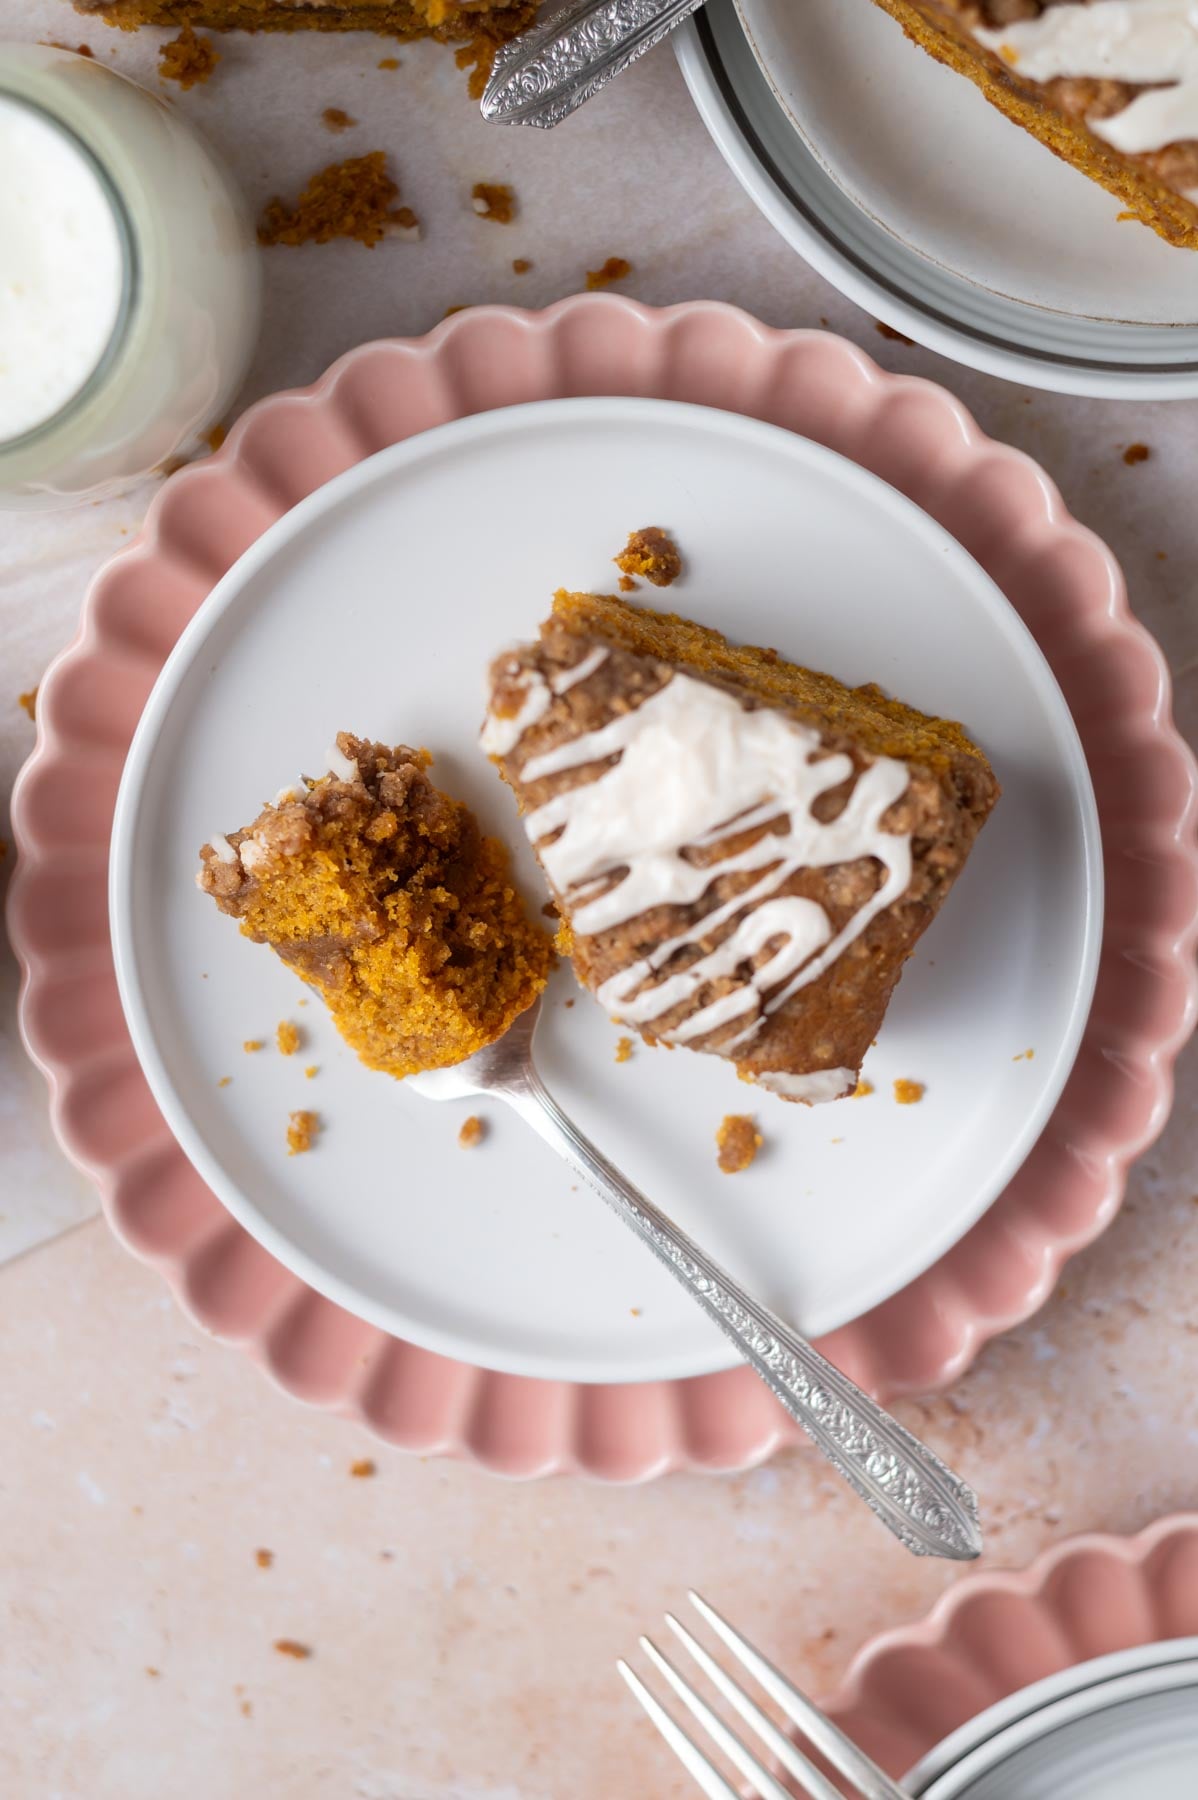
    slice of pumpkin coffee cake with streusel on a plate with a bite on a fork

    Pumpkin coffee cake is a recipe that will earn a spot in your regular fall baking after just one try. It looks impressive, but comes together in minutes. Itโ€™s tender and spiced, baked in a simple 8x8 pan. The cake has a generous pumpkin spice streusel layered inside and piled on top, and a sweet vanilla glaze drizzle. No fancy equipment, no complicated steps, just a straightforward from scratch cake that comes together with about 15 minutes of hands on time. This cake can be thrown together on a weekend morning and is ready to go quickly.

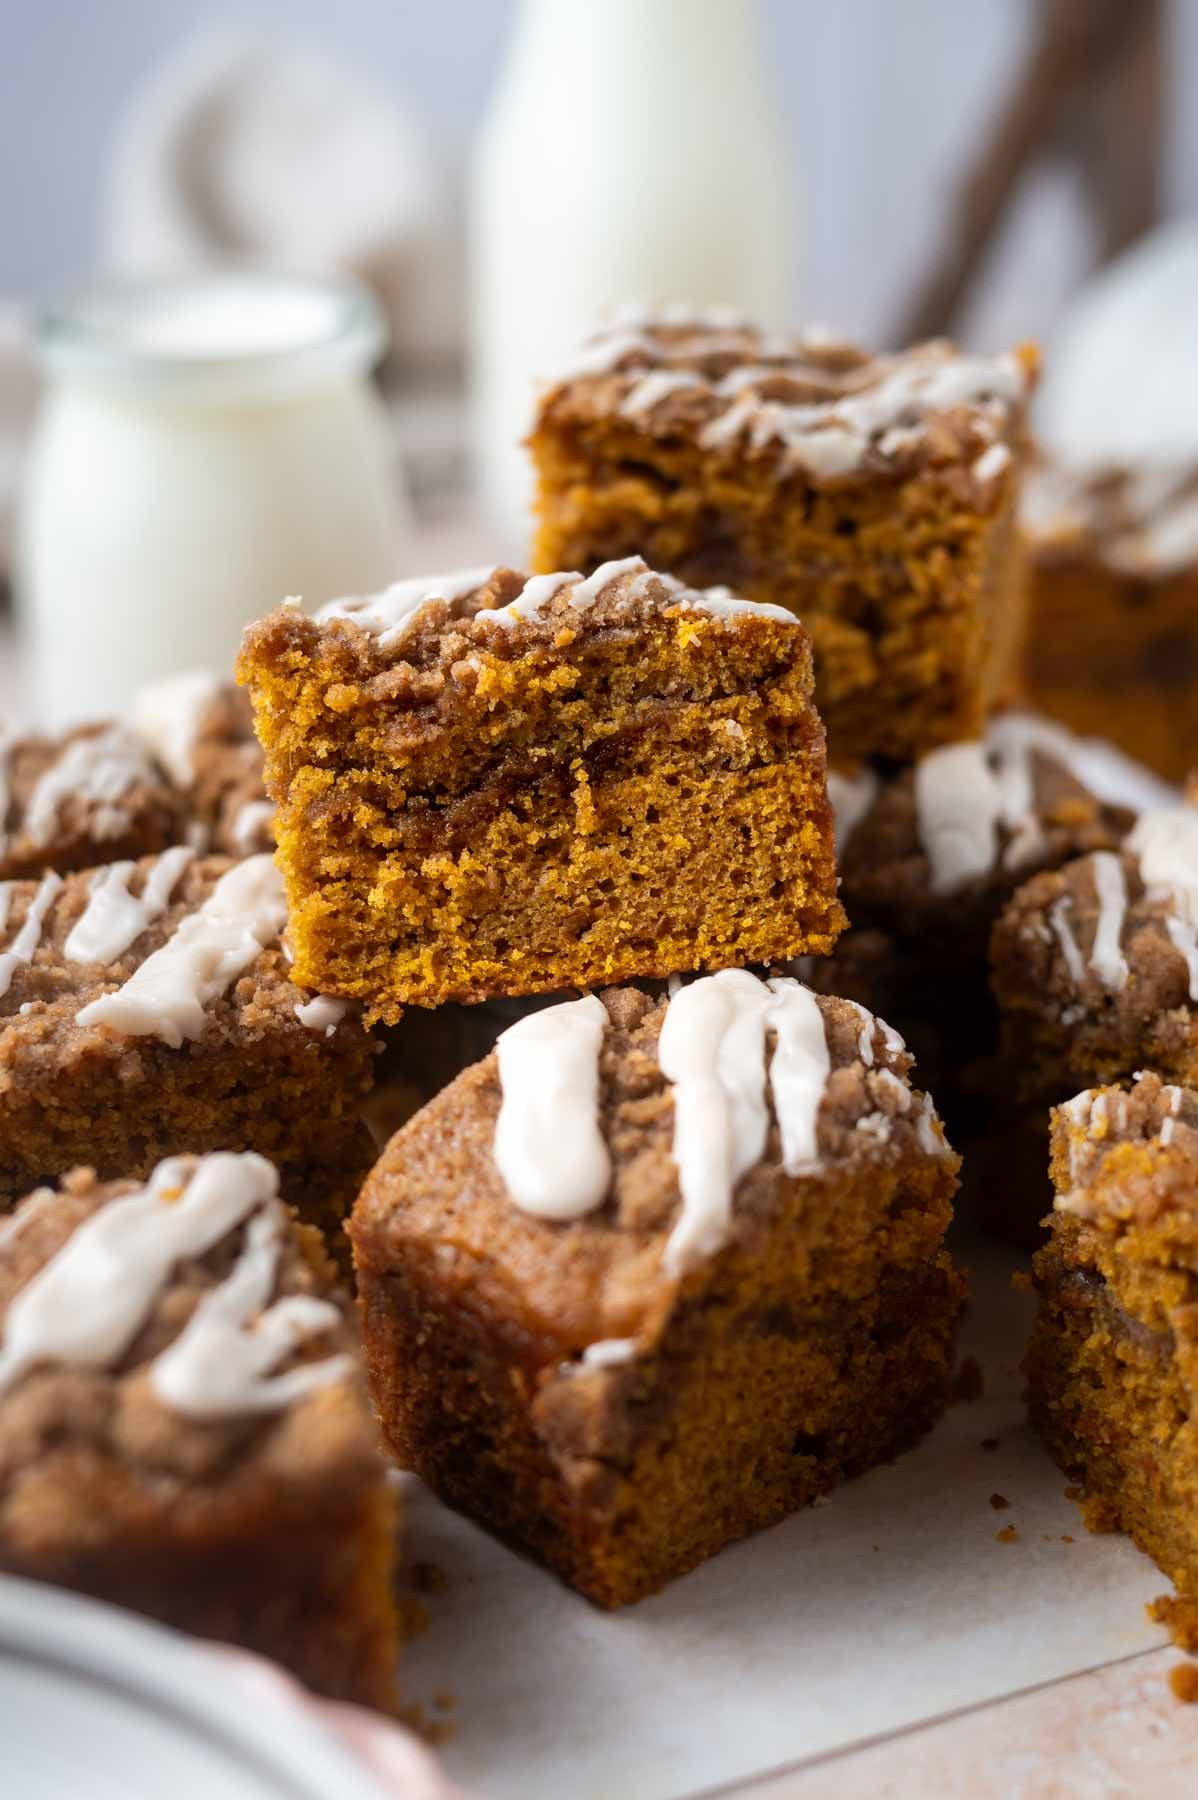
    slice of pumpkin coffee cake on it's side showing the streusel filled middle

    Disclosure | This post may contain affiliate links. As an Amazon Associate I earn from qualifying purchases.

    [feast_advanced_jump_to]

    My goal was a pumpkin coffee cake that used real, simple ingredients (no oil, no sour cream), baked in a pan that actually makes sense for a small household, and tasted like fall in every bite. After testing it several times, I landed on a version I am proud to share. The pumpkin keeps the crumb moist and tender without making it heavy, and the double layer of streusel means you get that sweet, buttery flavor in every bite.

    If you love a good streusel, my cinnamon walnut coffee cake is proof that a crumb topping can completely make a cake. And if pumpkin is your thing, you are going to want to make this one immediately.

    ๐Ÿงก why you will fall in love with this easy pumpkin spice coffee cake

    • A double layer of streusel, one in the middle, one on top!
    • Uses pantry staples you likely already have.
    • Made with real pumpkin puree.
    • No oil, no sour cream, just butter, buttermilk and pumpkin for a perfectly moist crumb
    • That sweet vanilla icing drizzle on top ties it all together.
    • Easily doubles for a 9x13 pan if you are feeding a crowd.
    slice of cake on a plate with a bite on a fork

    ๐Ÿ›’ ingredient notes

    Please scroll to the printable recipe card at the end of this post for the full list of ingredients and baking directions.

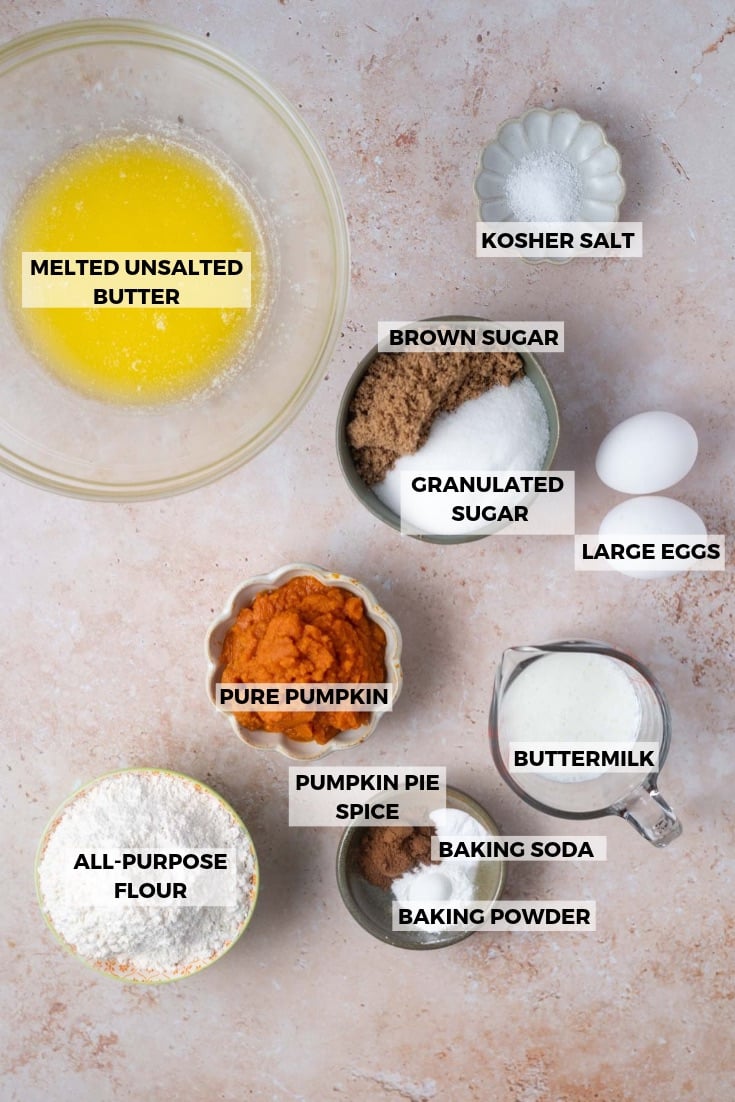
    ingredients for pumpkin coffee cake

    Pumpkin puree ~ make sure you are using 100% pumpkin puree and not pumpkin pie filling. Libby's is a reliable go-to. The pumpkin adds moisture, flavor, and that gorgeous color to the crumb. You can use the extra puree to make pumpkin blondies, pumpkin gingerbread cookies or pumpkin cake cookies.

    Pumpkin pie spice ~ you will need 3 teaspoons total, divided between the streusel and the cake batter. No pumpkin pie spice on hand? No problem, I have a note in the recipe card with how to make it at home.

    Buttermilk ~ room temperature buttermilk gives the cake a tender and soft crumb. Kefir works as a substitute. In a pinch, you can make your own, but I get the best results with store bought buttermilk. See the recipe card notes, if you need to make your own.

    Nuts ~ totally optional, but toasted pecans or walnuts in the streusel add a wonderful crunch. Toast them for 5-8 minutes, let them cool, and chop before adding. I tested this recipe both ways, but my family likes it best without nuts.

    Looking for more easy fall bakes? My pumpkin snack cake is another one I reach for frequently this time of year, simple, cozy, and it stays moist for days!

    ๐Ÿฅฃ how to make

    Preheat the oven to 350ยฐF and prepare an 8x8 baking pan by lining it with parchment paper. If you want to add walnuts or pecans, toast them now. Place pecans or walnuts (ยพ-1 cup/81-108g) on a parchment or aluminum foil lined baking pan for 5-8 minutes. Allow the nuts to cool and chop into small pieces before making the streusel.

    For the streusel topping: Melt the butter and let cool for 3-4 minutes. In a medium bowl, mix together the brown sugar, all-purpose flour and pumpkin spice mix. Then add the melted butter into the dry mixture and mix until you have a crumbly mixture and no dry flour remains. If using nuts, add them in and toss to combine. Place the streusel in the freezer while you mix the cake batter.

    butter and sugars whisked together in a mixing bowl

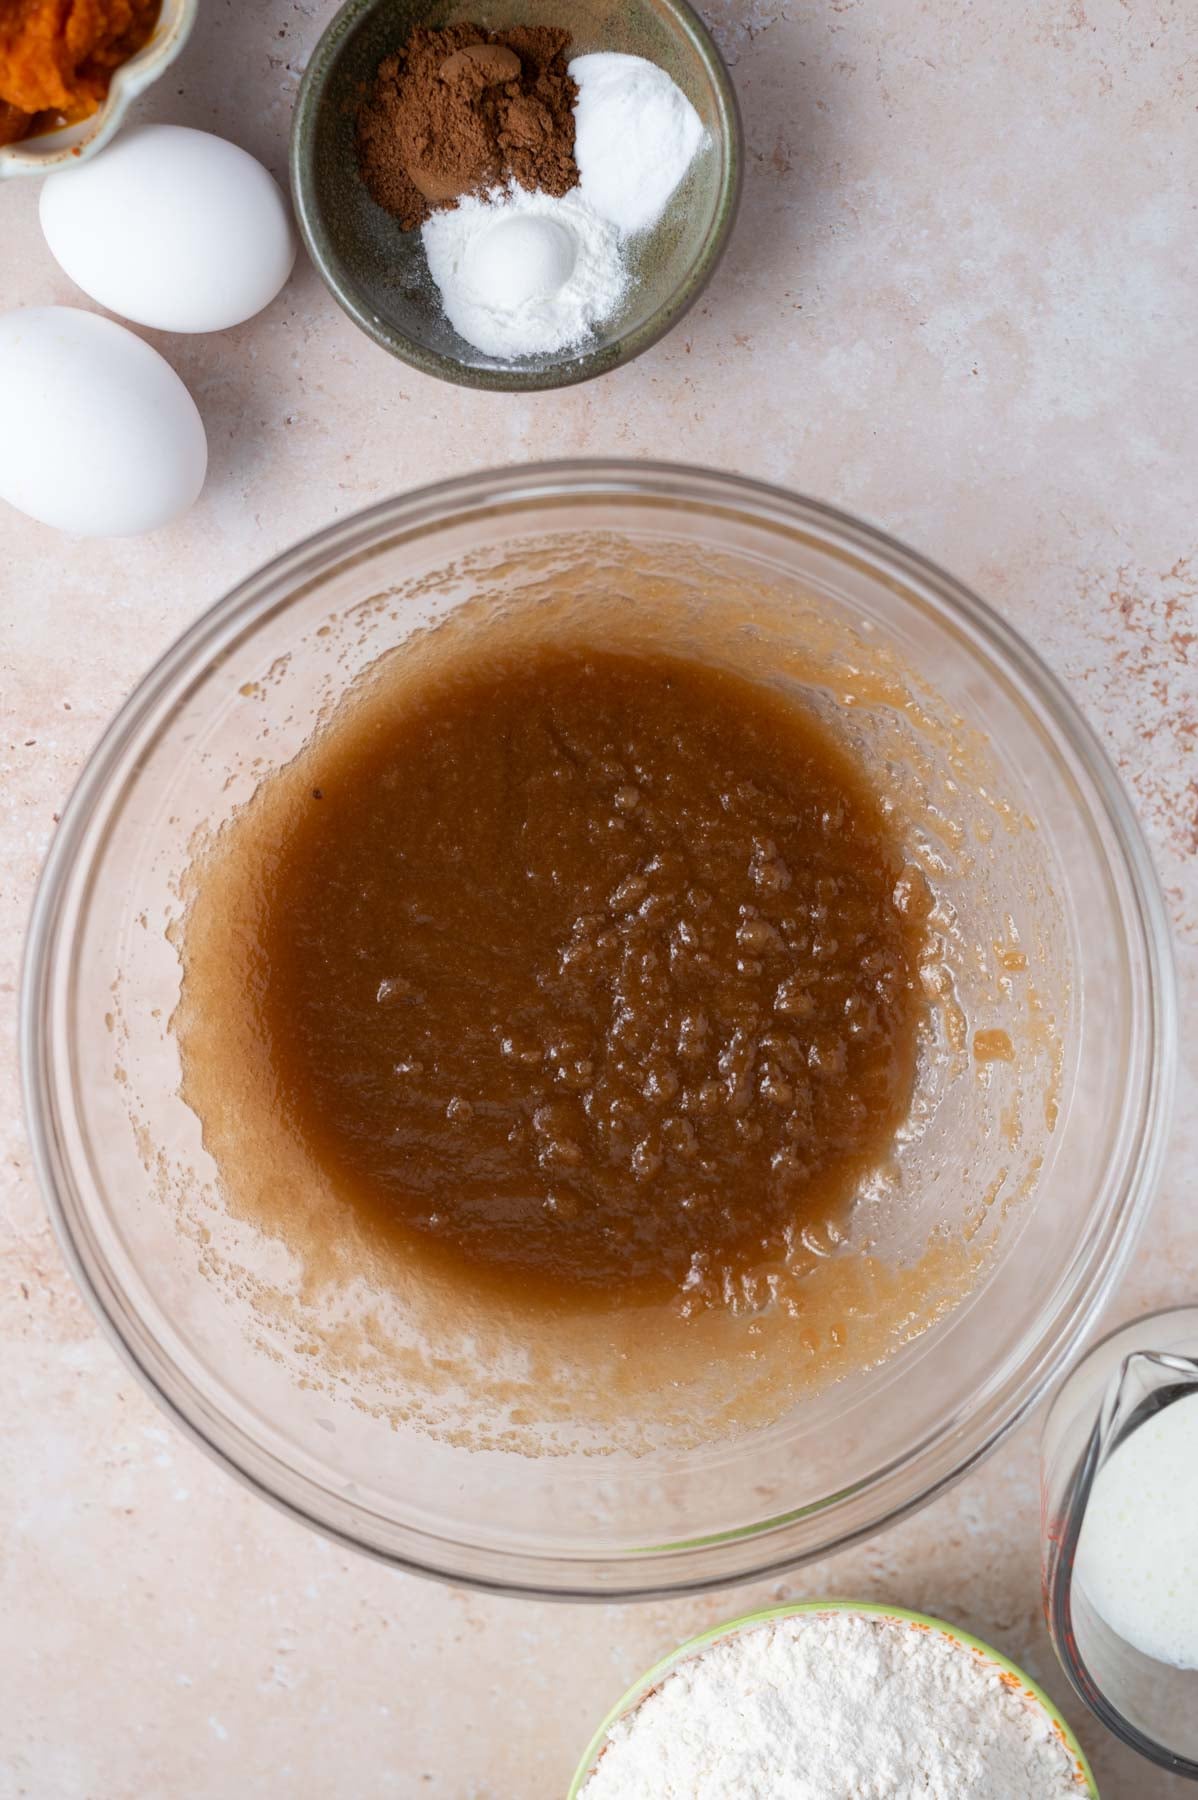
    In a medium to large bowl, whisk together the melted butter, kosher salt, granulated sugar, and packed brown sugar until the mixture is combined.

    Scrape up and down the bowl and then add the pumpkin and eggs and whisk to fully combine.

    buttermilk whisked into batter in a mixing bowl

    Then add the room temperature buttermilk and whisk until combined.

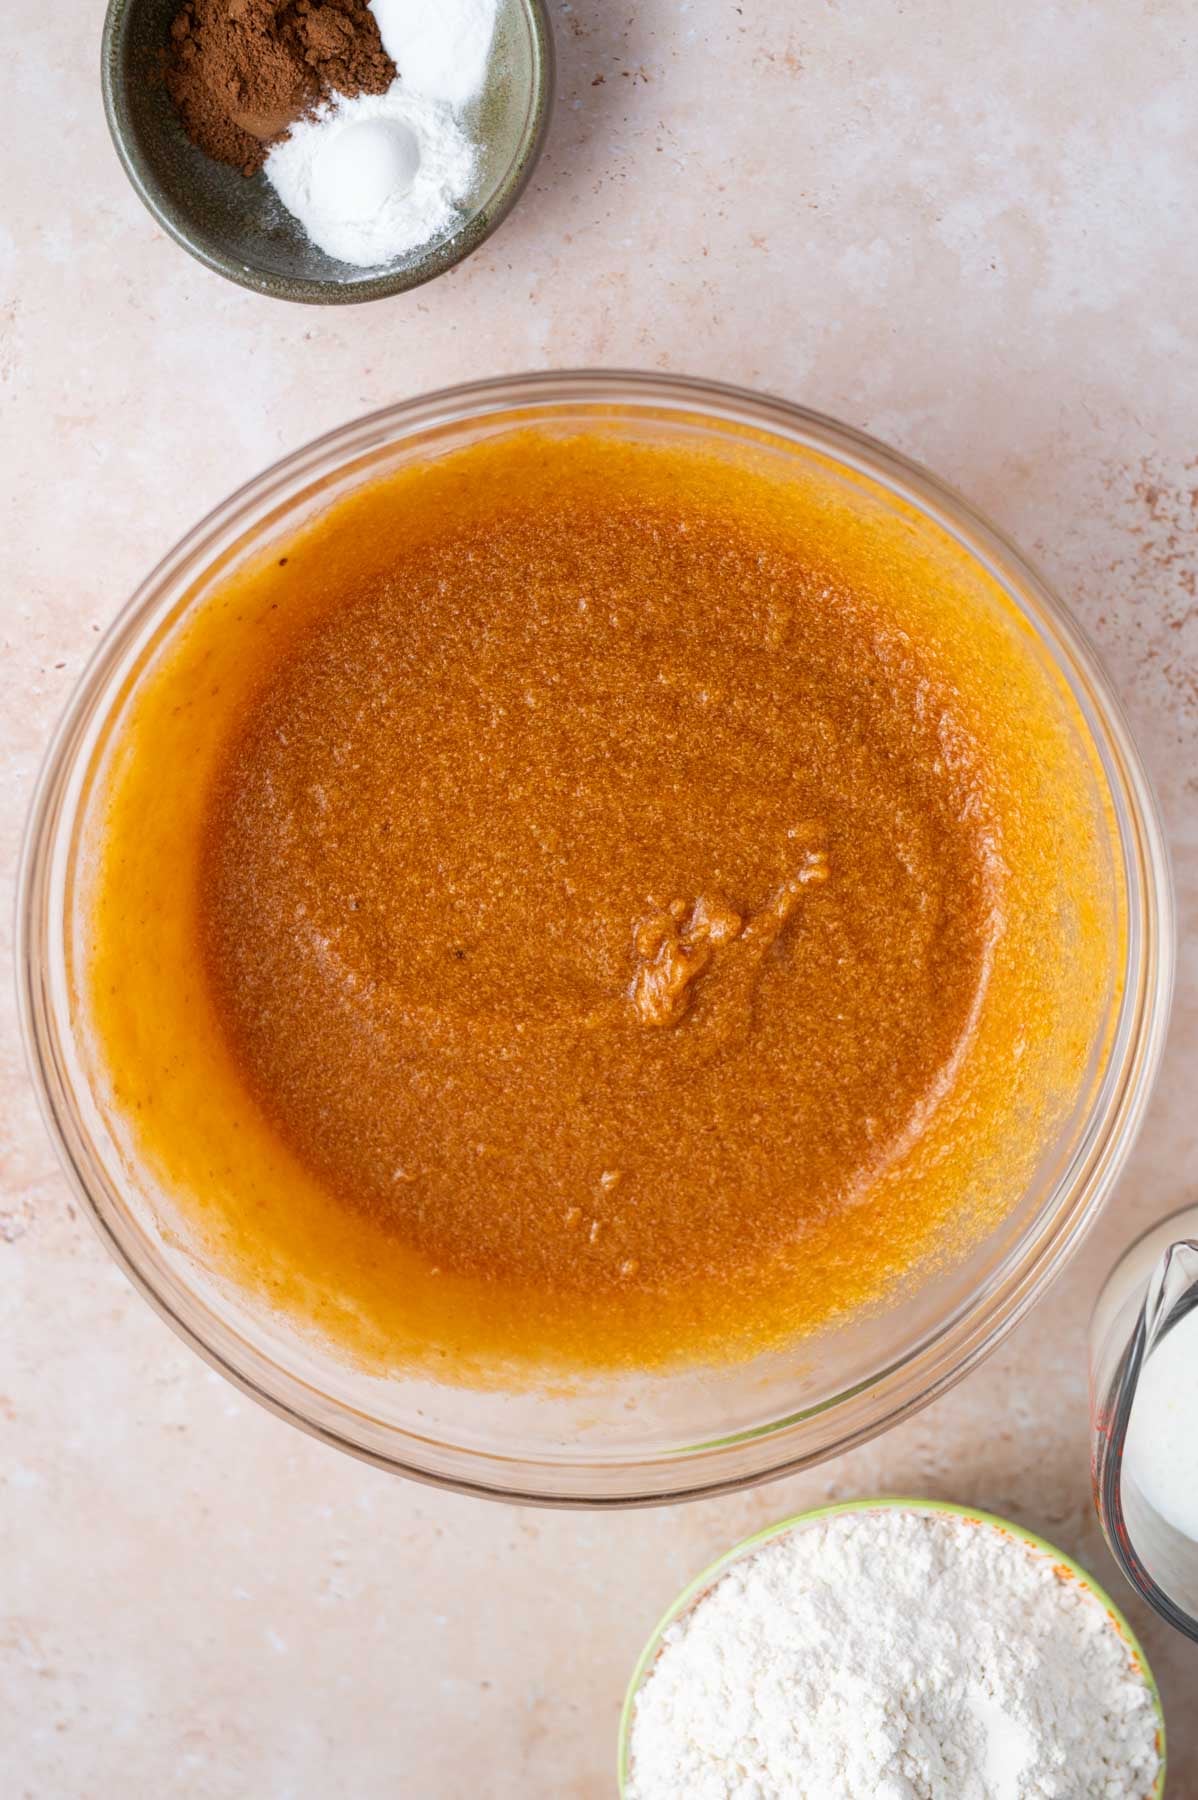
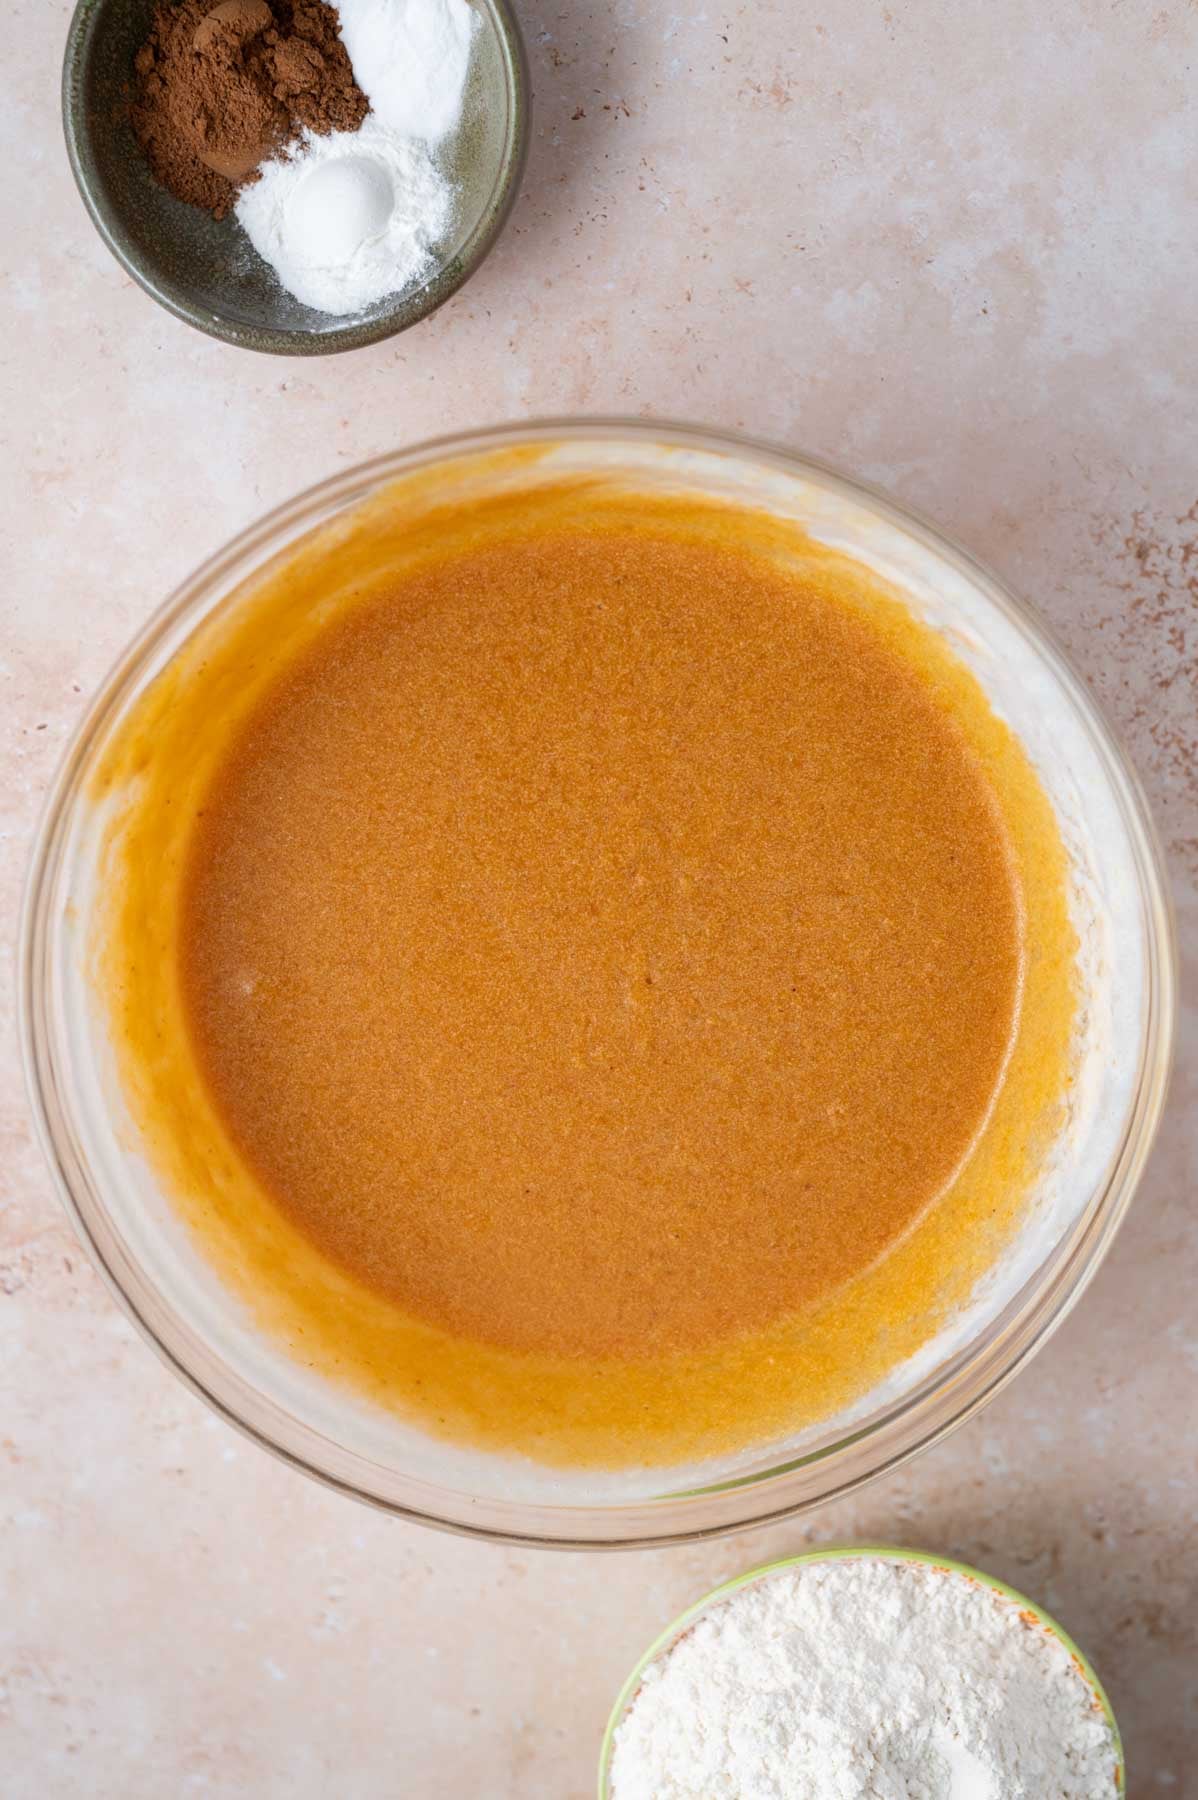
    Pour about one cup of the flour over the wet ingredients, then add the pumpkin pie spice, baking powder, baking soda, and whisk until just combined. Add the remaining cup/ of flour and mix with a spatula until just combined. The batter is thick. See the video tutorial, if you need a visual of this step.

    layer of cake batter in a parchment lined baking tin

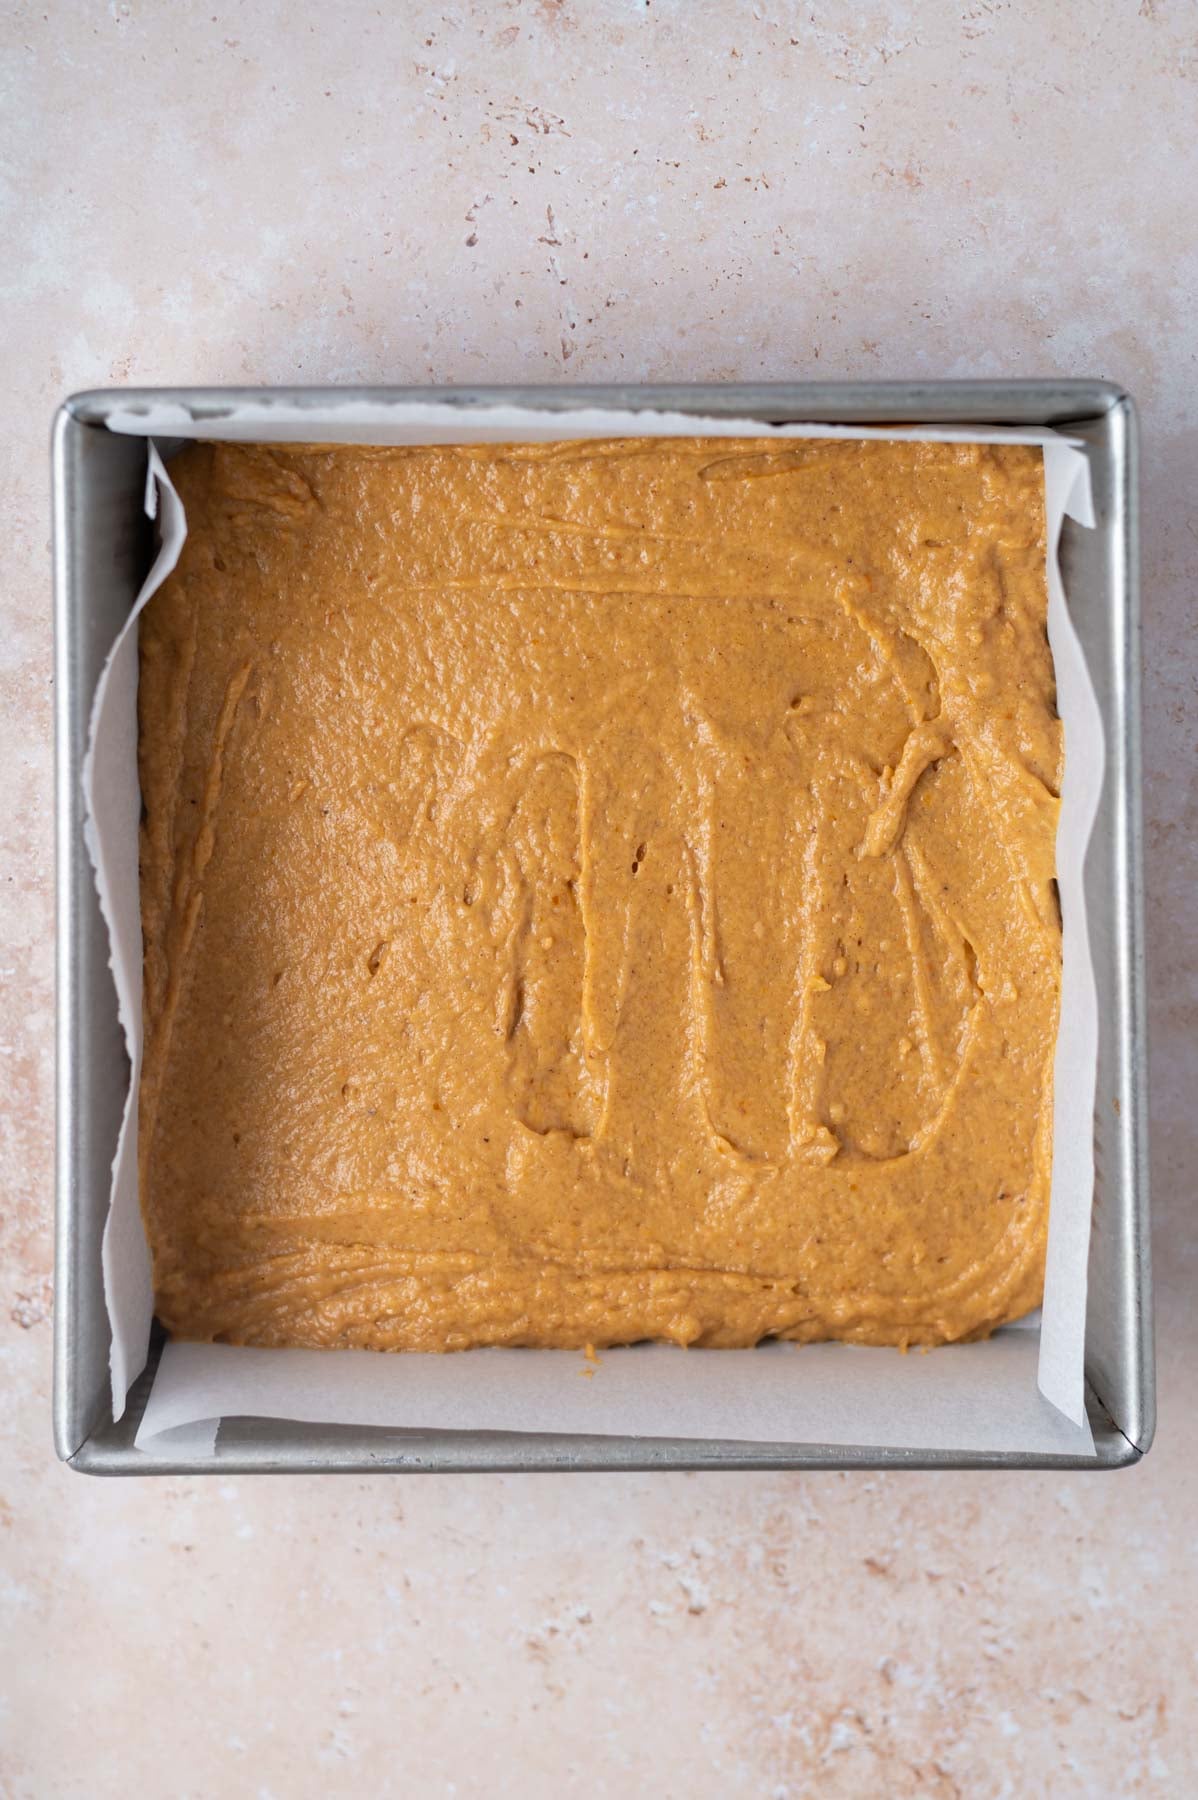
    Spread about half the batter into the bottom of the prepared pan.

    streusel filling over batter in a baking pan

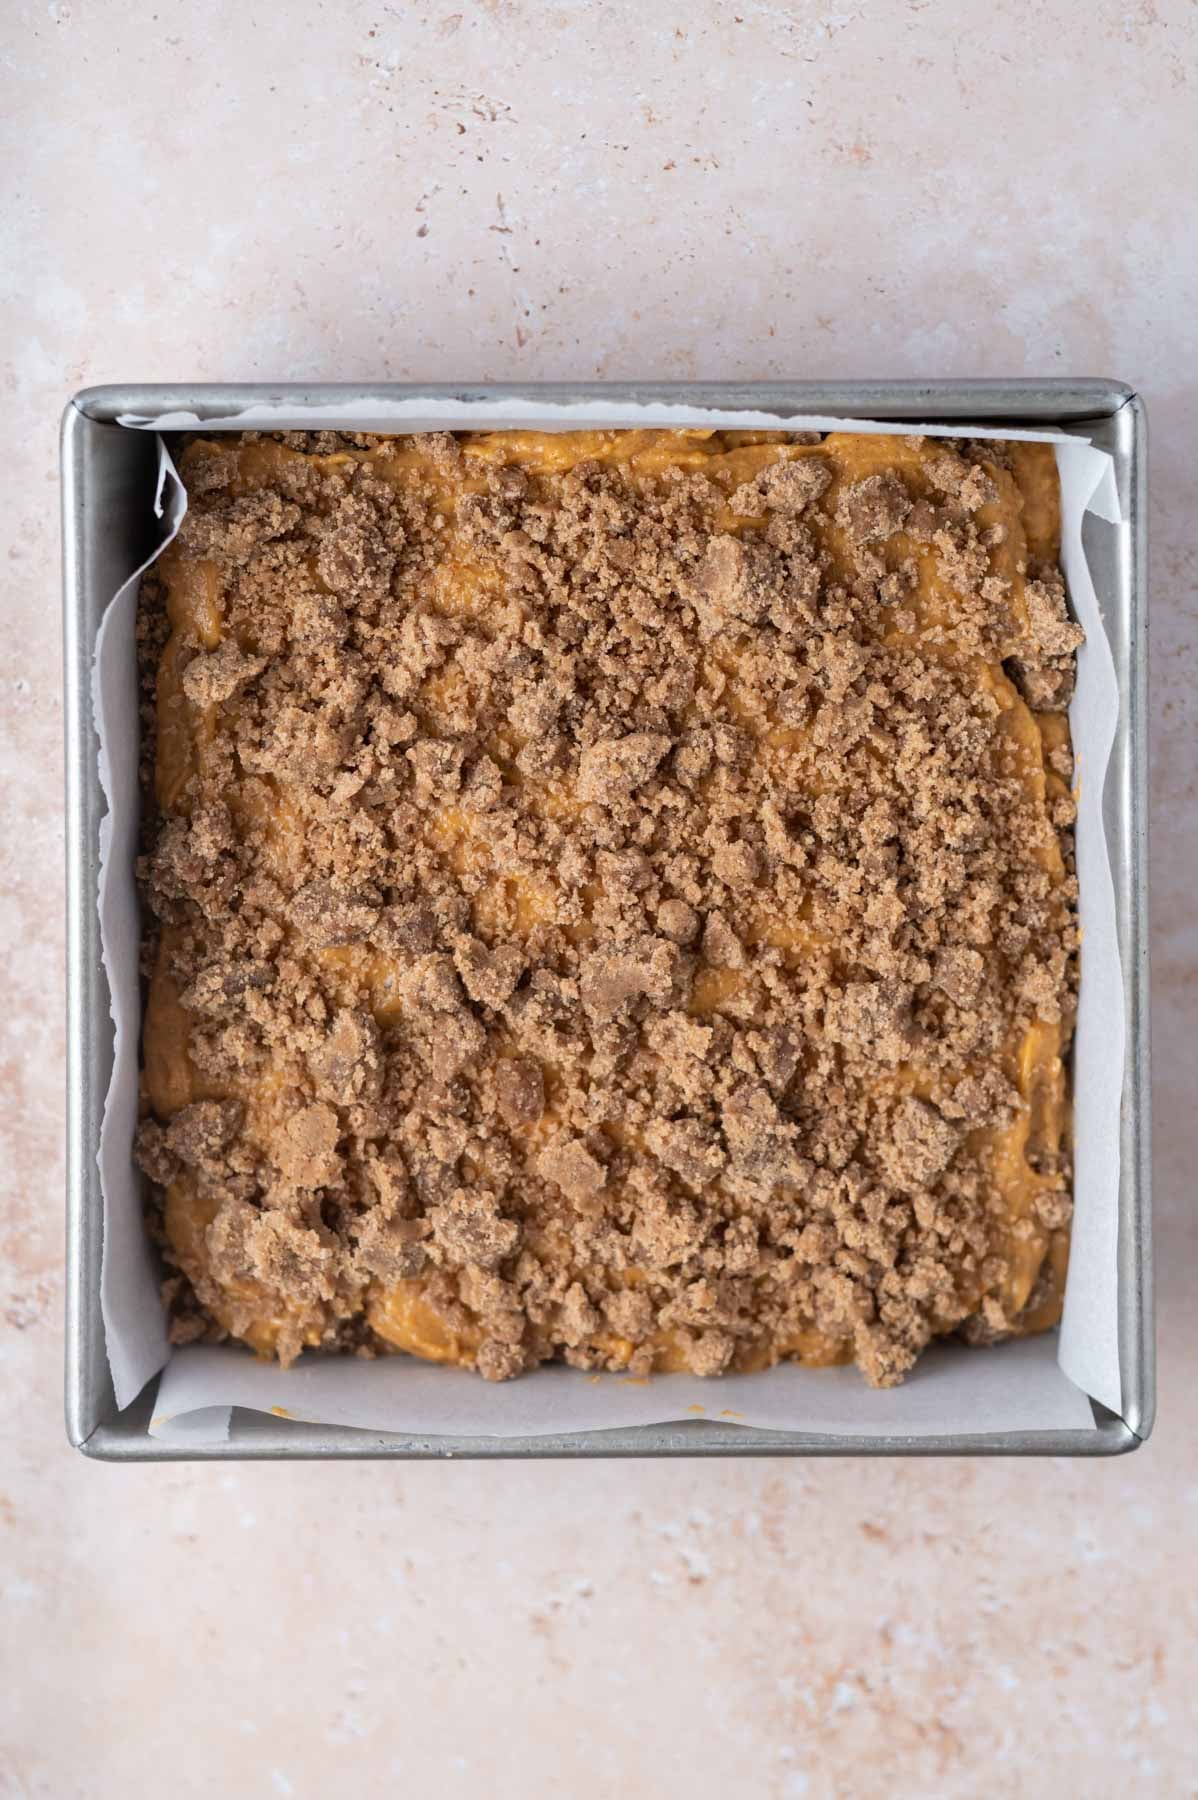
    Top with half of the cold streusel mixture. Add the remaining batter in spoonfuls on top of the streusel and use an off set spatula to smooth the batter in an even layer. The batter is thick, so work slowly. Then top with remaining streusel topping.

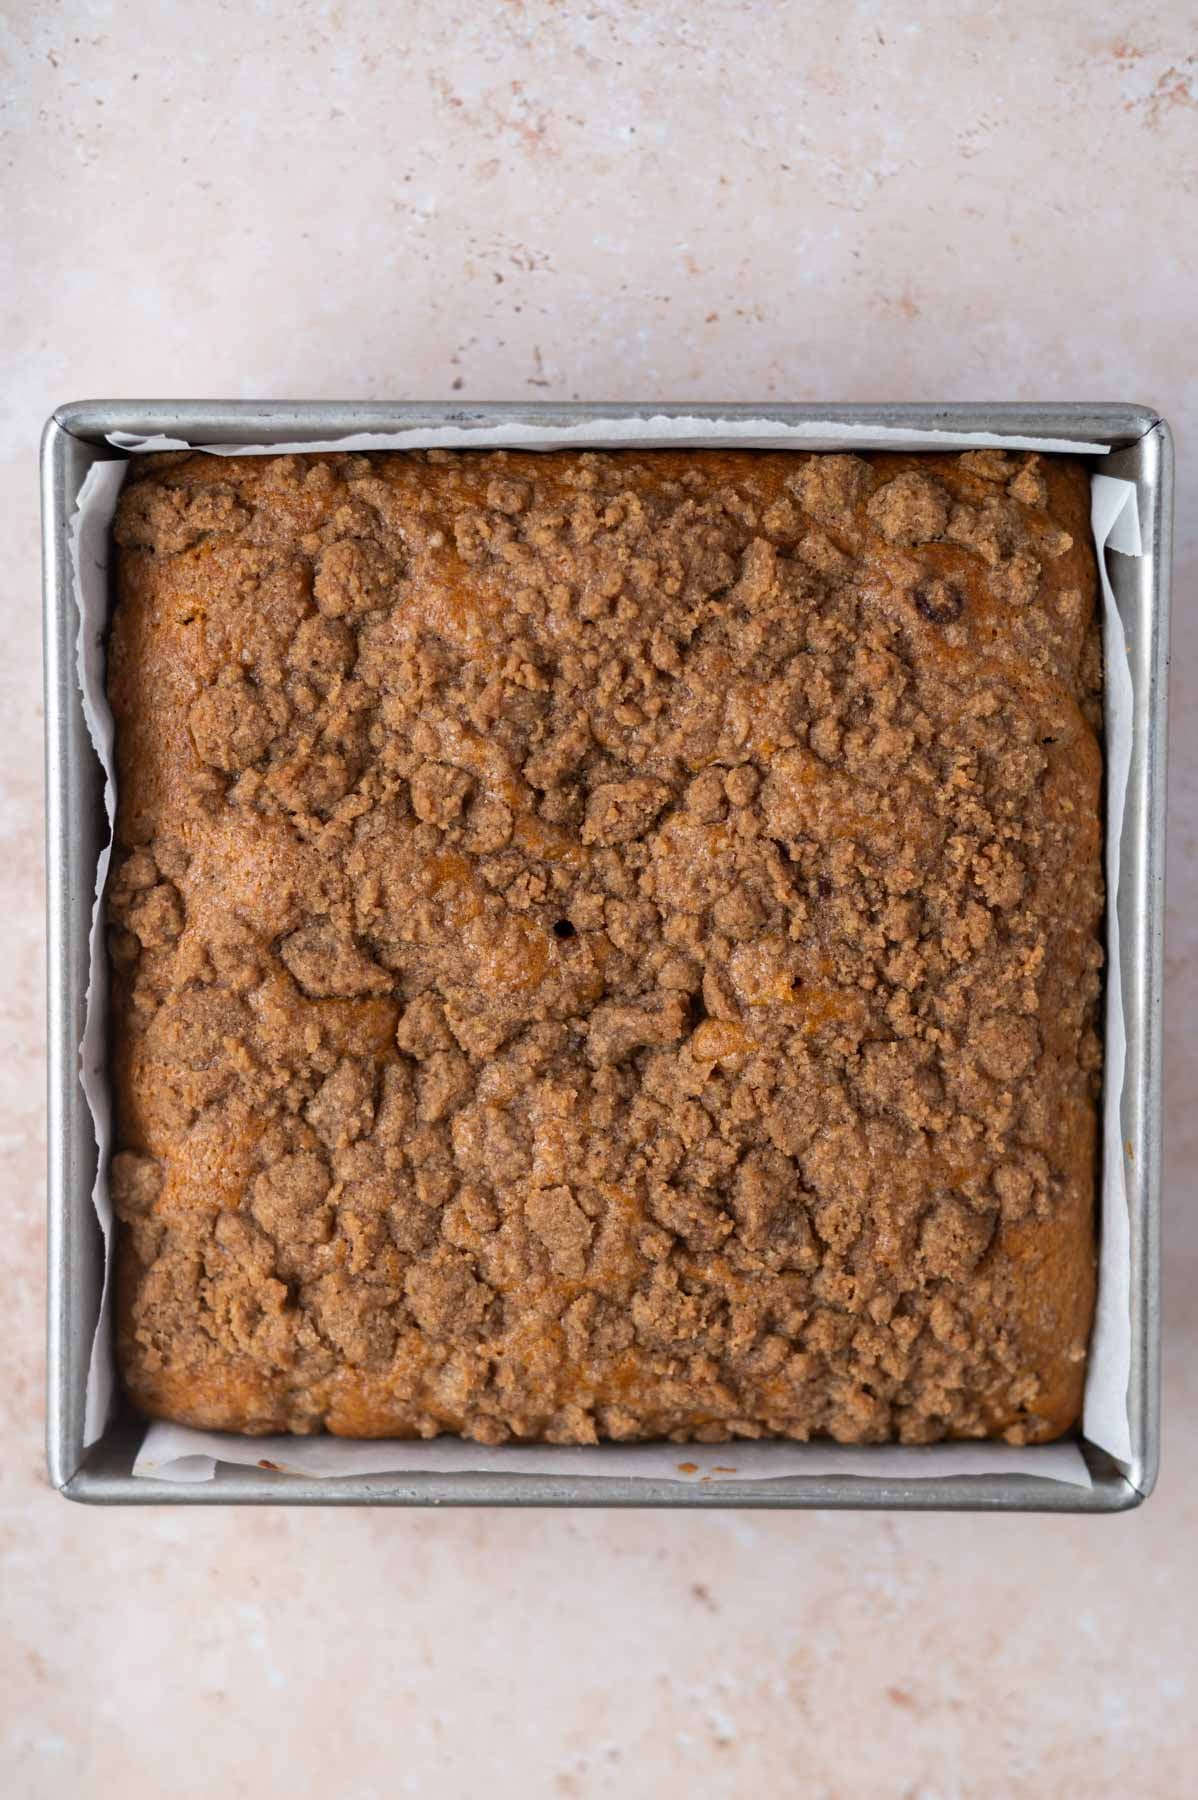
    baked pumpkin coffee cake in a parchment lined pan

    Bake for 35-40 minutes, until a tester comes out with just a few moist crumbs. Allow to cool in the pan set on a wire cooling rack.

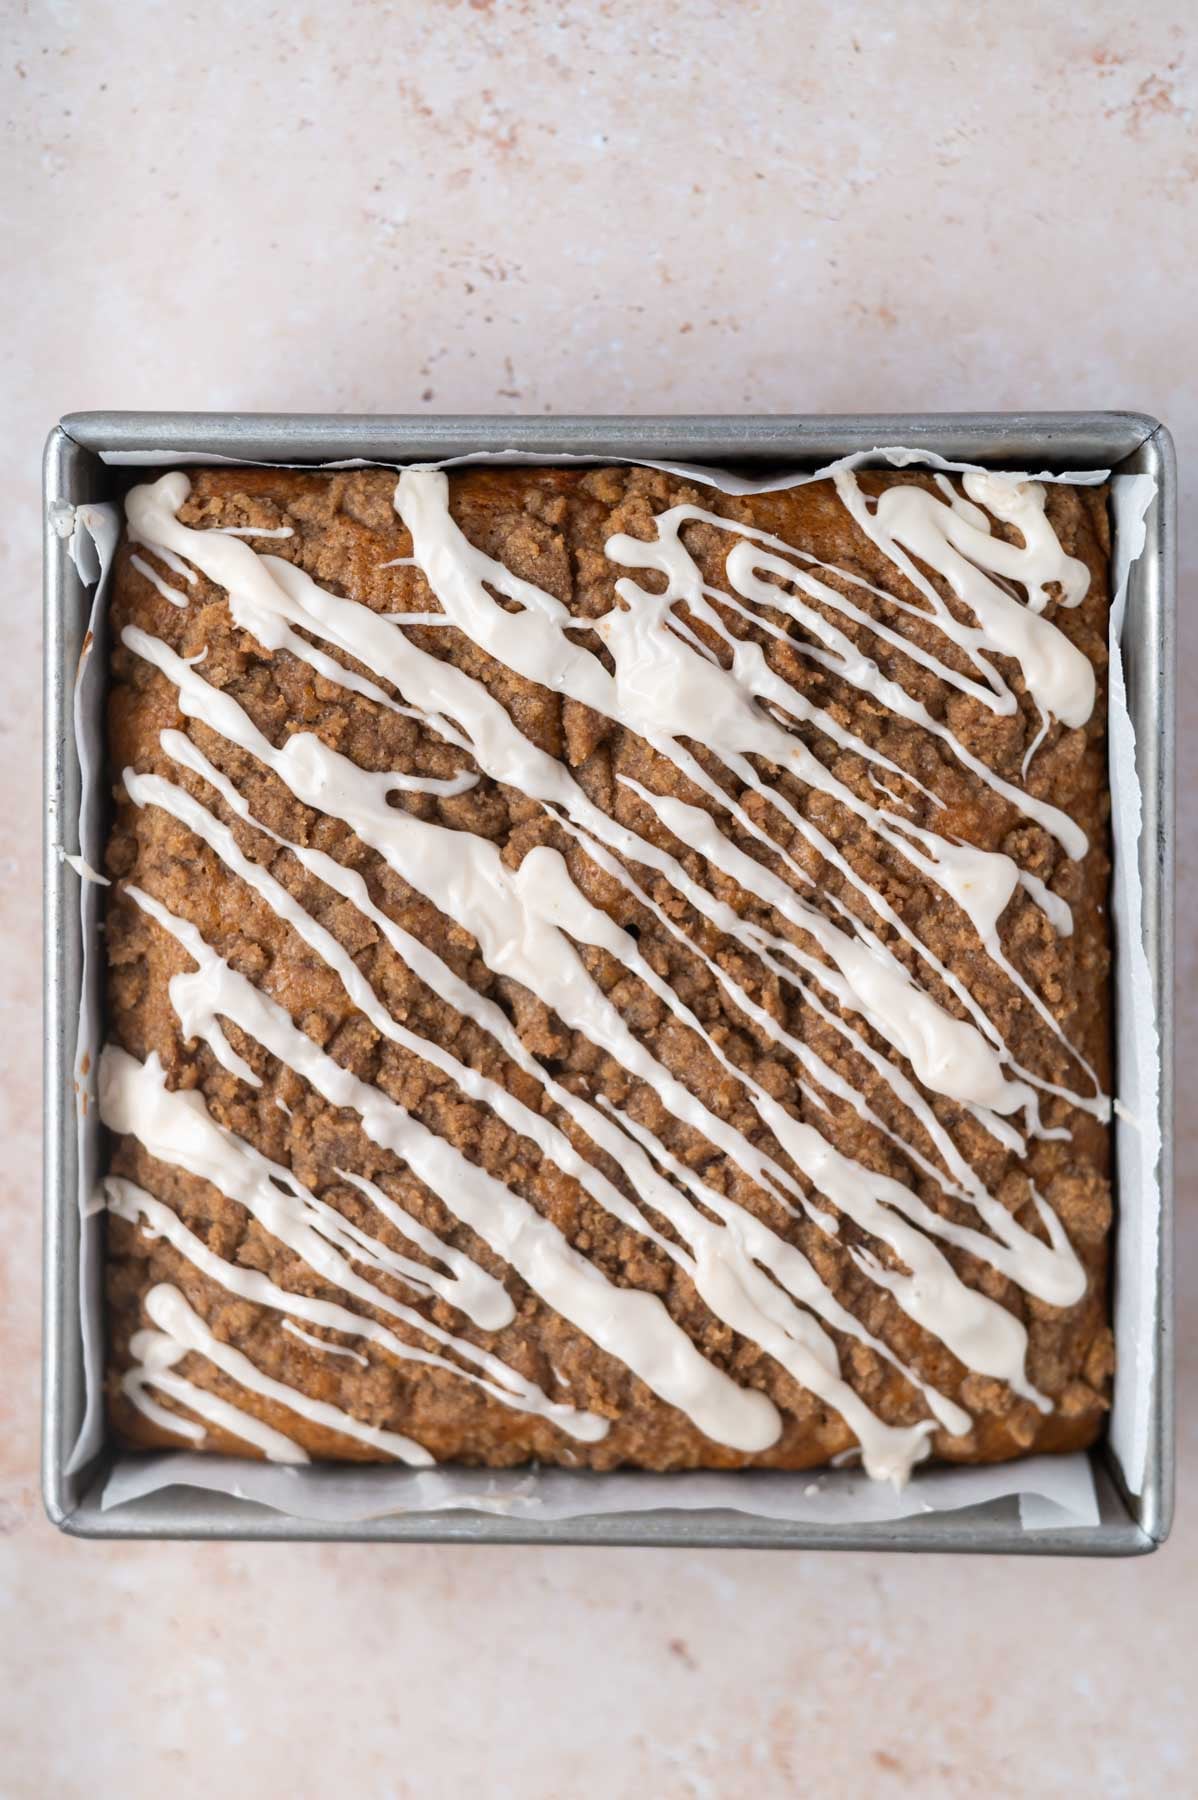
    icing drizzled over baked coffee cake in a parchment lined pan

    Once the pumpkin coffee cake has cooled for about 30 minutes, make the icing. In a small bowl, whisk together the confectioners' sugar, milk and vanilla until a thick icing glaze is formed. Then drizzle over the top of the coffee cake.

    ๐Ÿ’ฌ frequently asked questions

    can I make this in a different pan size?

    Yes! This recipe doubles easily and can be baked in a 9x13 pan. Baking time may be slightly shorter, so start checking around 30 minutes. You can also bake it in a 9-inch round and the bake time should be similar.

    can I use pumpkin pie filling instead of pumpkin puree?

    No, please use 100% pumpkin puree. Pumpkin pie filling has added sugar and spices, which will throw off the balance of the recipe.

    is this a recipe I can make ahead of time?

    Yes! The cake keeps well. You can bake it the day before and store it covered at room temperature. Add the icing glaze when you are ready to serve, or drizzle it on the night before, both work. You can also bake the cake and freeze it before serving. Allow the pumpkin streusel coffee cake to defrost overnight in the refrigerator and then come to room temperature before serving.

    do I have to use the vanilla icing?

    No, you do you here! I tested this recipe with the icing glaze and without and my testers loved it both ways.

    ๐Ÿ‘ฉ๐Ÿปโ€๐Ÿณ expert tips for the best coffee cake

    Measure your flour correctly. Too much flour will make the pumpkin spice coffee cake dry and dense. If you donโ€™t have a kitchen scale, fluff the flour in its container, spoon it into your measuring cup, and level it off with the flat side of a knife.

    Work slowly when layering. The cake batter is thick, and spreading it over the middle streusel layer takes a little patience. Use an offset spatula and be gentle so you don't mix all the streusel into the batter.

    Do not over bake. Your cake is done when a toothpick or tester comes out with just a few moist crumbs, not wet batter, but not completely clean either. Remember your oven is different from mine, so start checking at 30-32 minutes. 

    Use a light-colored pan. Dark pans absorb more heat and can cause the edges to overbake before the center is done. A light-colored 8x8 metal pan gives you the most even bake.

    ๐Ÿซ™ how to store

    Store any leftover pumpkin coffee cake in an airtight container at room temperature for 1-2 days or in the refrigerator for up to 5 days. Note that the streusel topping will soften a little during storage, it's still delicious, just not quite as crunchy as day one.

    The cake freezes well for up to 2 months. Wrap it tightly in a double layer of plastic wrap or store in an airtight freezer container. I have frozen it both with and without the icing and both work great. Allow it to defrost at room temperature before serving.

    pile of cake slices with milk jars in the background

    Remember to snap a picture and tag me @twosugarbugs on Instagram if you make this Pumpkin Coffee Cake with Streusel. It warms my heart to see you bring these recipes to life! Thank you for being here and happy baking!

    If you make this recipe {or any recipe!} from two sugar bugsย please come back and leave a review and a โญ๏ธโญ๏ธโญ๏ธโญ๏ธโญ๏ธ star rating.ย  I read every comment, and I LOVE hearing from you!

    ๐Ÿ“– recipe

    slice of pumpkin coffee cake with streusel on a plate with a bite on a fork
    Print Recipe

    Pumpkin Coffee Cake with Streusel

    Soft pumpkin coffee cake with a buttery pumpkin spice streusel inside and on top, finished with a vanilla icing drizzle. No mixer needed.
    Prep Time15 minutes mins
    Cook Time35 minutes mins
    Total Time50 minutes mins
    Course: Cakes and Cupcakes, Dessert
    Cuisine: American
    Keyword: coffee cake, pumpkin, pumpkin spice, streusel, streusel topping
    Servings: 12 slices
    Calories: 385kcal
    Author: Tasia Harper

    Ingredients

    pumpkin spice streusel

    • โ…“ cup melted butter 75g
    • ยพ cup all-purpose flour 94g
    • โ…” cup packed brown sugar* 133g
    • 1 teaspoon pumpkin pie spice**
    • ยพ - 1 cup pecans or walnuts optional 81-108g

    pumpkin coffee cake

    • ยฝ cup butter melted 113g
    • ยฝ teaspoon kosher salt
    • ยฝ cup packed brown sugar 100g
    • ยฝ cup granulated sugar 100g
    • ยพ cup 100% pumpkin puree*** 183g
    • 2 large eggs room temperature
    • ยฝ cup buttermilk room temperature**** 120mL
    • 2 teaspoons pumpkin pie spice
    • ยฝ teaspoon baking soda
    • 1 teaspoon baking powder
    • 2 cups all-purpose flour 250g

    vanilla icing

    • ยพ cup confectionersโ€™ sugar 90g
    • 1 tablespoon milk 15mL
    • ยฝ teaspoon pure vanilla extract

    Instructions

    • Preheat the oven to 350ยฐF and prepare an 8x8 baking pan by lining it with parchment paper. If you want to add walnuts or pecans, toast them now. Place pecans or walnuts (ยพ-1 cup/81-108g) on a parchment or aluminum foil lined baking pan for 5-8 minutes. Allow the nuts to cool and chop into small pieces before making the streusel.

    for the streusel topping

    • Melt the butter (โ…“ cup/75g) and let cool for 3-4 minutes. In a medium bowl, mix together the brown sugar (โ…” cup/133g), all-purpose flour (ยพ cup/94g) and pumpkin spice mix (1 teaspoon). Then add the melted butter into the dry mixture and mix until you have a crumbly mixture and no dry flour remains. If using nuts, add them in and toss to combine. Place the streusel in the freezer while you mix the cake batter.

    for the coffee cake

    • In a medium to large bowl, whisk together the melted butter (ยฝ cup/113g), kosher salt (ยฝ teaspoon), granulated sugar (ยฝ cup/100g), and packed brown sugar (ยฝ cup/100g) until the mixture is combined.
    • Scrape up and down the bowl and then add the pumpkin (ยพ cup/183g) and eggs (2 large) and whisk to fully combine. Then add the room temperature buttermilk (ยฝ cup/120mL) and whisk until combined, about 30-60 seconds.
    • Pour about one cup/125g of the flour over the wet ingredients, then add the pumpkin pie spice (2 teaspoons), baking powder (1 teaspoon), baking soda (ยฝ teaspoon) and whisk until just combined. Add the remaining cup/125g of flour and mix with a spatula until just combined. The batter is thick.
    • Spread about half the batter into the bottom of the prepared pan. Top with half of the cold streusel mixture. Add the remaining batter in spoonfuls on top of the streusel and use an off set spatula to smooth the batter in an even layer. The batter is thick, so work slowly. Then top with remaining streusel topping.
    • Bake for 35-40 minutes, until a tester comes out with just a few moist crumbs. Allow to cool in the pan set on a wire cooling rack.
    • Once the pumpkin coffee cake has cooled for about 30 minutes, make the icing. In a small bowl, whisk together the confectioners' sugar (ยพ cup/90g), milk (1 tablespoon) and vanilla (ยฝ teaspoon) until a thick icing glaze is formed. Then drizzle over the top of the coffee cake.

    Notes

    This recipe easily doubles (bake in a 9x13 pan).
    *I prefer dark brown sugar, but light brown also works.
    **Make sure you are using 100% pumpkin puree and not pumpkin pie filling.
    ***You can make your own pumpkin pie spice with a ยผ teaspoon each of ground nutmeg, ground cloves, ground all-spice and ground ginger. This yields 1 teaspoon. You need a total of 3 teaspoons, divided for this coffee cake recipe.
    ****I get the best results when using store-bought buttermilk, but if you find yourself without it you can make your own. Place 2ย  teaspoons of white vinegar or lemon juice in your measuring cup and add milk to equal ยฝ cup, stir and let stand until room temperature (about one hour). The milk will appear curdled. The buttermilk can be substituted with kefir.ย 
    Store any leftovers in an airtight container at room temperature for 1 - 2 days or in the refrigerator for up to 5 days. The streusel topping does get a little soft when storing.
    The pumpkin coffee cake can also be frozen in an airtight container, or double wrapped in plastic wrap for up to 2 months. Allow to defrost before serving. Iโ€™ve frozen it with and without the icing.


    Nutrition

    Serving: 1 slice | Calories: 385kcal | Carbohydrates: 61g | Protein: 5g | Fat: 14g | Saturated Fat: 9g | Polyunsaturated Fat: 1g | Monounsaturated Fat: 4g | Trans Fat: 1g | Cholesterol: 62mg | Sodium: 308mg | Potassium: 124mg | Fiber: 1g | Sugar: 38g | Vitamin A: 2837IU | Vitamin C: 1mg | Calcium: 70mg | Iron: 2mg

    Chewy One Bowl Pumpkin Blondies with Cinnamon Sugar Topping

    a stack of pumpkin blondies with a purple flower and milk in the background

    Pumpkin blondies might be the most underrated fall dessert out there. They have a fudgy, dense texture that reminds you of a brownie, but with warm pumpkin pie spice running through every bite. Add a cinnamon sugar topping that gets just a little crispy in the oven and you have something truly special! One bowl, melted butter, and 15 minutes of prep is all it takes to get them into the oven. They bake up chewy and gooey!

    pile of blondie bars with the top one missing a bite and fresh flowers and milk in the background

    Disclosure | This post may contain affiliate links. As an Amazon Associate I earn from qualifying purchases.

    [feast_advanced_jump_to]

    Pumpkin blondies are perfect when you want a dessert that tastes like fall, but doesnโ€™t take a lot of effort. As a busy mama and baker, blondie bars save me all the time! No chilling or rolling cookies, simply mix the dough, sprinkle with cinnamon and sugar and bake. 

    I tested this recipe with dark chocolate chips, white chocolate chips, and with no chocolate. Honestly, all three versions are winners. I personally love chopping up a chocolate bar instead of using chips because you get these melty pools of chocolate tucked into the dense blondie dough. But if you want to keep things simple and skip the chocolate entirely, these still deliver big flavor on their own. And the version I baked and photographed for this post had no chocolate.

    If you are a fan of my lemon blondies, you already know how much I love a good blondie bar. That same soft and fudgy texture is what we are going for here, just with cozy fall spices instead of citrus. These pumpkin blondies are about to become your new go-to from October through December.

    ๐Ÿงก why should you bake these blondie bars?

    • Ready in under an hour from start to finish.
    • Dense, chewy, and gooey with a brownie-like texture.
    • That cinnamon sugar topping gets a little crispy and crackly!
    • Works with dark chocolate, white chocolate, or no chocolate at all.
    • Makes 16 bars from one 8x8 pan.
    overhead look at the inside of a pumpkin blondie and the cinnamon sugar topping

    ๐Ÿ›’ key ingredient notes

    Please scroll to the printable recipe card at the end of this post for the full list of ingredients and baking directions.

    ingredients for pumpkin blondies

    Dark brown sugar ~ this is one of my baking secrets and I use it in almost everything. Dark brown sugar has more molasses than light brown, which means more moisture, more depth of flavor, and an extra-chewy texture in the final bar. Light brown sugar works if that is what you have.

    Pumpkin ~ use 100% pure pumpkin puree here, not pumpkin pie filling. Pumpkin pie filling has added spices and sugar already in it, which will throw off the balance of the recipe. You will have pumpkin leftover if using a typical can, so make some pumpkin gingerbread cookies, pumpkin coffee cake or pumpkin cake cookies.

    Pumpkin pie spice ~ this brings the pumpkin spice flavor profile, like in my pumpkin snack cake. If you don't have this, you can make your own. See the notes in the recipe card.

    ๐Ÿฅฃ how to make in photos

    Preheat the oven to 350ยฐF (177ยฐC) and line a 8x8 baking pan with parchment paper. 

    butters and sugars whisked together in a bowl

    In a medium to large bowl, whisk together the melted butter, packed brown sugar, granulated sugar, and kosher salt until well combined.

    sugars, butter, vanilla, and eggs mixed together in a glass bowl

    Then add in the egg and vanilla. Whisk until combined.

    blondie batter in a bowl before the flour is added

    Now add the pumpkin, pumpkin pie spice, and cinnamon and whisk to combine.

    Next add the all-purpose flour and mix with a spatula until some large flour streaks remain. Then add the white or dark chocolate chips, if desired, and gently fold them into the blondie dough until combined. If not adding chocolate, just mix until the dough comes together.

    cinnamon sugar topping sprinkled over dough in a parchment lined baking pan

    Drop the batter into the prepared baking pan and smooth to an even layer.

    Sprinkle half the granulated sugar over the blondie dough. Now follow with the ground cinnamon, and finally sprinkle the final sugar over the pumpkin blondie dough in the pan. If you want to mix the cinnamon and sugar together in a small bowl, that's fine too. I just don't like to wash more dishes than I have to!

    baked blondies in a baking tin

    Bake for 25 - 35 minutes or until the edges have lightly browned and a tester in the center comes out with just a few moist crumbs.

    ๐Ÿ’ฌ frequently asked questions

    can I use light brown sugar instead of dark?

    Yes! Light brown sugar will work just fine. The blondies will be slightly less rich, but still really delicious.

    can I add chocolate chips?

    Yes, if you want to add chocolate, just mix into the dough and bake as directed. These pumpkin bars are full of flavor all on their own too!

    do I have to use pure pumpkin?

    Yes, stick with 100% pure pumpkin. Pumpkin pie filling has added sugar and spices that will change the flavor and texture of the bars.

    can I double the recipe?

    Yes! Double all the ingredients and bake in a 9x13 pan. Start checking for doneness around the 30-35 minute mark.

    ๐Ÿ‘ฉ๐Ÿปโ€๐Ÿณ tip for the best chewy blondie bars

    • Use a light-colored metal pan. Glass pans absorb heat differently and can cause the edges to overbrown while the middle stays raw. If glass is all you have, reduce the oven temp by 25ยฐF and expect a longer bake time. I love this 8x8 USA pan.
    • Do not overbake. This is the most important tip. A few moist crumbs on the tester is exactly what you are looking for. The bars will continue to set up as they cool.
    • Spoon and level your flour or use a kitchen scale. Too much flour and your blondies will be dry instead of fudgy. I always recommend a scale for the most accurate results. I use this OXO scale, but this Escali scale is a great economical choice.
    • Chop your chocolate. If you are adding chocolate, chop a bar instead of using chips. The uneven pieces melt into pools and make every single bite a little more exciting. I do the same thing for my birthday cake blondies and it is a game-changer for texture.
    • Speed up the cooling process by placing the pan in the refrigerator once it is cool enough to handle. The blondies cut much cleaner when they are fully cooled.
    • Do not skip the cinnamon sugar topping. It seems simple but it adds a light crunch and a little sparkle that makes these bars feel a bit special.

    You can find even more bar and brownie recipes you will love over in the bars and brownies collection.

    ๐Ÿซ™ how to store 

    Store in an airtight container at room temperature for 3-4 days.

    The pumpkin blondies also freeze beautifully for up to three months. Let them cool completely, then store in an airtight container or zip-top bag. Allow to defrost at room temperature before serving. Freezing is honestly my favorite way to keep them fresh and ready to go.

    a stack of pumpkin blondies with a purple flower and milk in the background

    Remember to snap a picture and tag me @twosugarbugs on Instagram if you make these Pumpkin Blondies. It warms my heart to see you bring these recipes to life! Thank you for being here and happy baking!

    If you make this recipe {or any recipe!} from two sugar bugsย please come back and leave a review and a โญ๏ธโญ๏ธโญ๏ธโญ๏ธโญ๏ธ star rating.ย  I read every comment, and I LOVE hearing from you!

    ๐Ÿ“– recipe

    a stack of pumpkin blondies with a purple flower and milk in the background
    Print Recipe
    4 from 1 vote

    Chewy One Bowl Pumpkin Blondies with Cinnamon Sugar Topping

    Pumpkin blondies are dense, chewy, and gooey with a fudgy center and a crackly cinnamon sugar topping. One bowl, no mixer, ready in under an hour!
    Prep Time15 minutes mins
    Cook Time30 minutes mins
    Total Time45 minutes mins
    Course: Bars and Brownies, Dessert
    Cuisine: American
    Keyword: blondie bars, blondies, pumpkin, pumpkin spice
    Servings: 16 slices
    Calories: 246kcal
    Author: Tasia Harper

    Ingredients

    pumpkin blondies

    • ยพ cup unsalted butter melted 170g
    • 1 cup packed dark brown sugar* 200g
    • ยผ cup granulated sugar 50g
    • ยฝ teaspoon kosher salt
    • 1 large egg room temperature
    • 1 teaspoon pure vanilla extract
    • ยฝ cup 100% pure pumpkin** 122g
    • 1 teaspoon pumpkin pie spice***
    • ยฝ teaspoon ground cinnamon
    • 1 ยพ cup all-purpose flour 219g
    • 1 cup chocolate chips or chopped chocolate white chocolate or dark chocolate, if desired 180g

    cinnamon sugar topping

    • 2 tablespoons granulated sugar
    • ยฝ teaspoon ground cinnamon

    Instructions

    • Preheat the oven to 350ยฐF (177ยฐC) and line a 8x8 baking pan with parchment paper.
    • In a medium to large bowl, whisk together the melted butter (ยพ cup/170g), packed brown sugar (1 cup/200g), granulated sugar (ยผ cup/50g) and kosher salt (ยฝ teaspoon) until well combined.
    • Then add in the egg (1 large) and vanilla (1 teaspoon) and whisk until combined, about 30-60 seconds. Now add the pumpkin (ยฝ cup/122g), pumpkin pie spice (1 teaspoon), and cinnamon (ยฝ teaspoon) and whisk to combine.
    • Next add the all-purpose flour (1 ยพ cup/219g) and mix with a spatula until some large flour streaks remain. Then add the white or dark chocolate chips/chopped chocolate (1 cup/180g), if using, and gently fold them into the blondie dough until combined. If not adding chocolate, just mix until the dough comes together.
    • Drop the batter into the prepared baking pan and smooth to an even layer.
    • Sprinkle 1 tablespoon/12g granulated sugar over the blondie dough. Now follow with the ground cinnamon (ยฝ teaspoon), and finally sprinkle the remaining 1 tablespoon/12g of granulated sugar over the pumpkin blondie dough in the pan.
    • Bake for 25 - 35 minutes or until the edges have lightly browned and a tester in the center comes out with just a few moist crumbs. You do not want a clean/dry tester, which means the blondies are over baked. Allow to cool in the pan on a wire cooling rack. (If you want to speed up the cooling process, place the pan in the refrigerator once you can pick it up with bare hands).

    Notes

    Pumpkin blondies will stay fresh in an airtight container at room temperature for 3-4 days. They also freeze well for up to three months; allow to defrost before serving.
    I recommend a light colored metal baking pan; glass can take up to double the amount of baking time and can cause the edges to over brown or burn while the middle is still raw. If you only have a glass pan, reduce the oven heat by 25ยฐ and know it may take a bit longer to bake.
    If you prefer a more cake-like blondie, you can add ยฝ teaspoon of baking powder with the spices.
    *Light brown sugar can be substituted with no other changes.
    **Make sure you are using pumpkin puree and not pumpkin pie filling.
    ***You can make your own pumpkin pie spice with a ยผ teaspoon each of ground nutmeg, ground cloves, ground all-spice and ground ginger.
    ย 


    Nutrition

    Serving: 1 bar | Calories: 246kcal | Carbohydrates: 33g | Protein: 2g | Fat: 12g | Saturated Fat: 8g | Polyunsaturated Fat: 0.4g | Monounsaturated Fat: 2g | Trans Fat: 0.3g | Cholesterol: 33mg | Sodium: 96mg | Potassium: 89mg | Fiber: 1g | Sugar: 21g | Vitamin A: 1473IU | Vitamin C: 0.4mg | Calcium: 38mg | Iron: 1mg

    Soft Cut-Out Cinnamon Sugar Cookies

    decorated cinnamon sugar cookies with cinnamon sticks and milk on a green counter

    Cinnamon sugar cookies look beautiful, taste amazing, and come together easily. They hold their shape and stay soft and chewy. Simple dough, common ingredients, a quick 30-minute chill, and about 8 minutes to bake. The spiced buttercream on top adds an extra layer of fall flavor, but they taste incredible undecorated as well.

    This post was originally published in September of 2019 and has been updated with new photos, a decorating tutorial, helpful information and more detail in the recipe card. The recipe remains the same.

    decorated cinnamon sugar cookies with cinnamon sticks and milk on a green counter

    Disclosure | This post may contain affiliate links. As an Amazon Associate I earn from qualifying purchases.

    Reader Pam commented: โญ๏ธโญ๏ธโญ๏ธโญ๏ธโญ๏ธ Made these tonight and they turned out perfect! I put them in the freezer for about 5 minutes after we cut them out and they held their shape perfectly and taste good. Thank you for the recipe.

    [feast_advanced_jump_to]

    Iโ€™ve been making cut out sugar cookies for more decades than I care to admit. These cinnamon sugar cookies are one of my favorites to bake every fall and winter. A little cinnamon and nutmeg in the dough changes everything. Itโ€™s that cozy, warm flavor that makes your kitchen smell incredible and makes people reach for a second cookie before the first one is gone!

    You already know I have a serious thing for sugar cookies. My buttercream sugar cookies are the ones I keep coming back to year after year. But when the weather shifts and the cinnamon and spice cravings kick in, these cinnamon cut out cookies are the ones I want to make.

    I created this recipe because I wanted all the things I love about a classic cut out sugar cookie, but with a warm spiced twist that feels right for fall and winter baking. The spiced American buttercream on ties it all together. If you love these, my chocolate cut out sugar cookies and chocolate chip sugar cookies are worth adding to your baking list too!

    ๐Ÿ’—why you will love these cinnamon cut out cookies

    • Soft and thick with a nice clean edge, they actually look like your cookie cutters!
    • Warm cinnamon and nutmeg flavor in the dough makes these taste extra special. Perfect for thanksgiving and Christmas!
    • The spiced American buttercream is made without shortening and comes together in minutes.
    • Great for decorating, but delicious on their own too.ย 
    stack of cookies with a glass of milk and cinnamon sticks

    ๐Ÿ›’ ingredient notes

    Please scroll to the printable recipe card at the end of this post for the full list of ingredients and baking directions.

    ingredients for cinnamon sugar cookies
    ingredients for spiced buttercream

    Baking powder ~ this recipe calls for aluminum free baking powder. I really do recommend it for the best tasting cookies. Rumford is a popular brand and Trader Joe's carries a great version too.

    Cinnamon and nutmeg ~ these two spices are what make these cookies so special. Use ground cinnamon and ground nutmeg. Fresh spices will give you the most flavor, so check those expiration dates!

    Unsalted butter ~ for both the cookie dough and the buttercream. Room temperature butter is key here. Your finger should make an indent without sinking in or sliding, and it should not feel warm or look shiny.

    Pumpkin pie spice ~ this goes into the buttercream and gives it that cozy fall flavor that pairs so well with the cinnamon cookie.

    Heavy whipping cream ~ makes the buttercream light and fluffy. You can substitute with milk, but the cream gives you a better texture.

    ๐Ÿฅฃ how to make in photos

    In a medium bowl, combine flour, baking powder, cinnamon, and nutmeg with a whisk.ย  Set aside.

    butter and salt creamed together in a mixing bowl

    Using a hand mixer or a stand mixer fitted with the paddle attachment, beat the butter and salt on medium speed until combined.ย 

    butter, salt and sugar creamed together in a mixing bowl

    Add in sugar and beat until smooth.

    butter, sugar, eggs and vanilla beaten together in a mixing bowl

    Beat in egg and vanilla and mix until well combined.ย  Scrape up and down the sides of the bowl.

    cookie dough balled up on mixer paddle

    With the mixer on low, add the flour mixture a little at a time, occasionally stopping to scrape your bowl.ย The dough should form a ball around the paddle when the mixing is finished.ย The cookie dough should be soft, but not sticky.

    cinnamon sugar cookie dough wrapped in plastic wrap

    Wrap the dough ball in plastic wrap and press into a 1 inch thick disc. Chill for a minimum of 30 minutes before rolling and up to three days.

    Preheat the oven to 375ยฐF.ย  Prepare baking sheets with parchment paper or silicone baking mats.

    cut out cookie dough on a parchment lined baking sheet

    On a lightly floured surface, roll the dough to about a ยผ inch thickness, use additional flour as needed to prevent sticking.  Cut into shapes with cookie cutters. 

    Arrange cookies on baking sheets about 1 inch apart.

    baked cookies on a parchment lined cookie sheet

    Bake one sheet at a time in the middle of the oven, about 7-8 minutes, until puffy.  Allow the cookies to rest for 2 minutes on the pan and then transfer to a wire rack to cool completely.

    how to make the spiced buttercream

    butter beaten with a hand mixer in a glass bowl

    Using a stand mixer with the paddle attachment (or a hand held mixer) beat the butter on medium-high until smooth and creamy.

    confectioners sugar and butter mixture looking like sand in a glass mixing bowl

    Scrape down the sides of the bowl and add the confectioners' sugar, pumpkin pie spice and cinnamon. Mix on low until the dry ingredients are incorporated, it will not look like buttercream at this point.

    spiced buttercream in a glass bowl

    Add the vanilla and heavy cream.

    Increase the mixer speed to medium-high and whip until light and fluffy.

    ๐Ÿ’ฌ frequently asked questions

    does buttercream frosting harden on cookies?

    Buttercream will harden if the cookies are stored in the refrigerator. At room temperature, the top layer gets a slight crust, meaning it is not sticky, but the frosting underneath stays soft. Buttercream decorated cookies will not harden enough to stack unless they are frozen first.

    do cookies with buttercream need to be refrigerated?

    Not necessarily. American buttercream can sit at room temperature for up to two days. Store the cookies in an airtight container in a cool and dry spot. If you need to keep them longer, the refrigerator works great for up to one week. And the freezer works fantastic too!

    can I make the dough ahead of time?

    Yes! The dough can chill in the refrigerator for up to three days. If the dough has chilled for more than an hour or two, let it sit on the counter for 15 to 20 minutes before rolling to make it easier to work with. You can also bake the cookies and keep them frozen for up to 3 months before you decorate or serve them.

    what if my dough is crumbly when I try to roll it out?

    This usually means the dough is too cold. Let it warm up on the counter for 10 to 20 minutes and try again. If the dough seems crumbly before chilling, you may have added too much flour. Add a tablespoon of egg white and gently work it in until the dough is soft but not sticky.

    ๐Ÿ‘ฉ๐Ÿปโ€๐Ÿณ tips for the best cinnamon sugar cookies

    Start with room temperature butter. For both the dough and the buttercream, this makes a big difference. Aim for 65ยฐF. Your finger should leave an indent without sinking in, and the butter should not look shiny or greasy.

    Chill the dough. A minimum of 30 minutes is needed. The dough can chill for up to seven days, which makes this recipe great for getting ahead. If chilling longer than 1 to 2 hours, let it warm on the counter for 15 to 20 minutes before rolling.

    Roll to ยผ inch thickness. Thinner cookies will be less soft and chewy. When rolling, treat the dough like pie crust, roll gently and turn the dough after every pass to prevent sticking.

    Do not overwork the dough. Overworked dough = tough cookies. Mix just until the flour comes together.

    Do not over bake. 7 to 8 minutes is all these cinnamon sugar cookies need. Pull them when they look slightly puffy, not browned. They will firm up as they cool on the pan.

    Pop the cut cookies in the freezer if needed. If the dough feels warm after rolling and cutting, a quick 10-minute chill in the freezer before baking helps them hold their shape.

    If you love warm spiced cookies, my gingerbread sugar cookies are made for this season too!

    ๐Ÿซ™ how to store

    Cookies stay fresh covered at room temperature for up to two days or in the refrigerator for up to one week.

    Cinnamon sugar cookies freeze beautifully for up to 3 months, even when decorated with buttercream. To freeze decorated cookies, chill them in a single layer first. Then stack in an airtight container. When taking them out of the freezer, unstack before thawing so the buttercream does not stick the cookies together. They will thaw at room temperature in about 20-30 minutes.

    overhead look at decorated cookie floating above more decorated sugar cookies

    Remember to snap a picture and tag me @twosugarbugs on Instagram if you make these Cinnamon Sugar Cookies. It warms my heart to see you bring these recipes to life! Thank you for being here and happy baking!

    If you make this recipe {or any recipe!} from two sugar bugsย please come back and leave a review and a โญ๏ธโญ๏ธโญ๏ธโญ๏ธโญ๏ธ star rating.ย  I read every comment, and I LOVE hearing from you!

    ๐Ÿ“– recipe

    decorated cinnamon sugar cookies with cinnamon sticks and milk on a green counter
    Print Recipe
    4.84 from 6 votes

    Soft Cut Out Cinnamon Sugar Cookies

    Cinnamon sugar cookies are soft, chewy and easy to decorate! Made with simple ingredients and topped with a spiced American buttercream.
    Prep Time10 minutes mins
    Cook Time8 minutes mins
    Chill Time30 minutes mins
    Total Time48 minutes mins
    Course: Cookies
    Keyword: cinnamon sugar cookies, cut-out cookies, spiced buttercream, sugar cookies
    Servings: 24 , but varies depending on size of cookies
    Calories: 253kcal
    Author: Tasia Harper

    Equipment

    • KitchenAid KSM150PSER Artisan Tilt-Head Stand Mixer with Pouring Shield, 5-Quart, Empire Red
    • Silpat Premium Non-Stick Silicone Baking Mat, Half Sheet Size, 11-โ…" x 16-ยฝ"
    • USA Pan Bakeware Half Sheet Pan, Warp Resistant Nonstick Baking Pan, Made in the USA from Aluminized Steel
    • Fox Run Polished Marble Rolling Pin with Wooden Cradle, 10-Inch Barrel, White
    • Food Coloring AmeriColor Student Kit, 12 .75 Ounce Bottles Soft Gel Paste Colors
    • Wilton No.2D Decorating Tip, Drop Flower
    • Wilton 418-4 No.4 Decorating Tip, Round
    • Wilton 402-104 Petal Decorating Tip
    • Pastry Bag -50 Pack-16-Inch Extra Thick Large Cake/Cupcake Decorating Bags-Disposable Icing Piping Bags Set

    Ingredients

    cinnamon sugar cookies

    • 3 cups all-purpose flour 375g
    • 2 teaspoons aluminum free baking powder
    • 1 ยฝ teaspoons ground cinnamon
    • ยผ teaspoon ground nutmeg
    • 1 cup unsalted butter room temperature 226g
    • ยฝ teaspoon kosher salt
    • 1 cup granulated sugar 200g
    • 1 large egg room temperature
    • 2 teaspoons pure vanilla extract

    spiced American buttercream

    • 1 cup unsalted butter room temperature 226g
    • 4 cups confectioners' sugar 480g
    • 2 teaspoons pumpkin pie spice
    • 1 teaspoon ground cinnamon
    • 1 teaspoon pure vanilla extract
    • ยผ cup heavy whipping cream

    Instructions

    cinnamon sugar cookies

    • In a medium bowl, combine flour (3 cups/375g), baking powder (2 teaspoons), cinnamon (1 ยฝ teaspoons),and nutmeg (ยผ teaspoon) with a whisk.ย  Set aside.
    • Using a hand mixer or a stand mixer fitted with the paddle attachment, beat the butter (1 cup/226g) and salt (ยฝ teaspoon) on medium speed (speed 4-6 on KitchenAid) until combined, about 1 minute.ย  Add in sugar (1 cup/200g) and beat on medium until smooth, about 1-ยฝ minutes.ย Beat in the egg (1 large) and vanilla (2 teaspoons) and mix until well combined, about 1 minute.ย  Scrape up and down the sides of the bowl.
    • With the mixer on low, add the flour mixture a little at a time, occasionally stopping to scrape your bowl.ย  The dough should form a ball around the paddle when the mixing is finished.ย  The dough should be soft, but not sticky.
    • Wrap the dough ball in plastic wrap and press into a 1 inch thick disc.ย  Chill for a minimum of 30 minutes before rolling and for up to three days.
    • Preheat the oven to 375ยฐ.ย  Prepare baking sheets with parchment paper or silicone baking mats.
    • On lightly floured surface, roll the dough to about a ยผ inch thickness, use additional flour as needed to prevent sticking.ย  Cut into shapes with cookie cutters.ย  Re-roll the remaining dough and continue cutting until all is used.
    • Arrange cookies on baking sheets about 1 inch apart.
    • Bake one sheet at a time in the middle of the oven, about 7-8 minutes, until puffy.ย  Allow the cookies to rest for 2 minutes on the pan and then transfer to a wire rack to cool completely.
    • Decorate as desired.ย 

    spiced American buttercream

    • Using a stand mixer with the paddle attachment (or a hand held mixer) beat the butter (1 cup/226g) on medium-high until smooth and creamy.
    • Scrape down the sides of the bowl and add the confectioners' sugar (4 cups/480g), pumpkin pie spice (2 teaspoons) and cinnamon (1 teaspoon). Mix on low until the dry ingredients are incorporated. The mixture will look dry and not like buttercream at all at this point. Add the vanilla (1 teaspoon) and heavy cream (ยผ cup).
    • Increase the mixer speed to medium-high and whip until light and fluffy, about 2-3 minutes, scaping the sides of the bowl as needed.
    • Add a pinch of salt if the frosting is too sweet.
    • Color as desired, then decorate the cookies.

    Notes

    Yield of cookies will depend on the size of your cookie cutter. 24 is a good average.
    If the dough chills for longer than 1-2 hours, allow it to warm up on the counter for 20 minutes or so before rolling it out. If it's breaking apart, it is too cold.
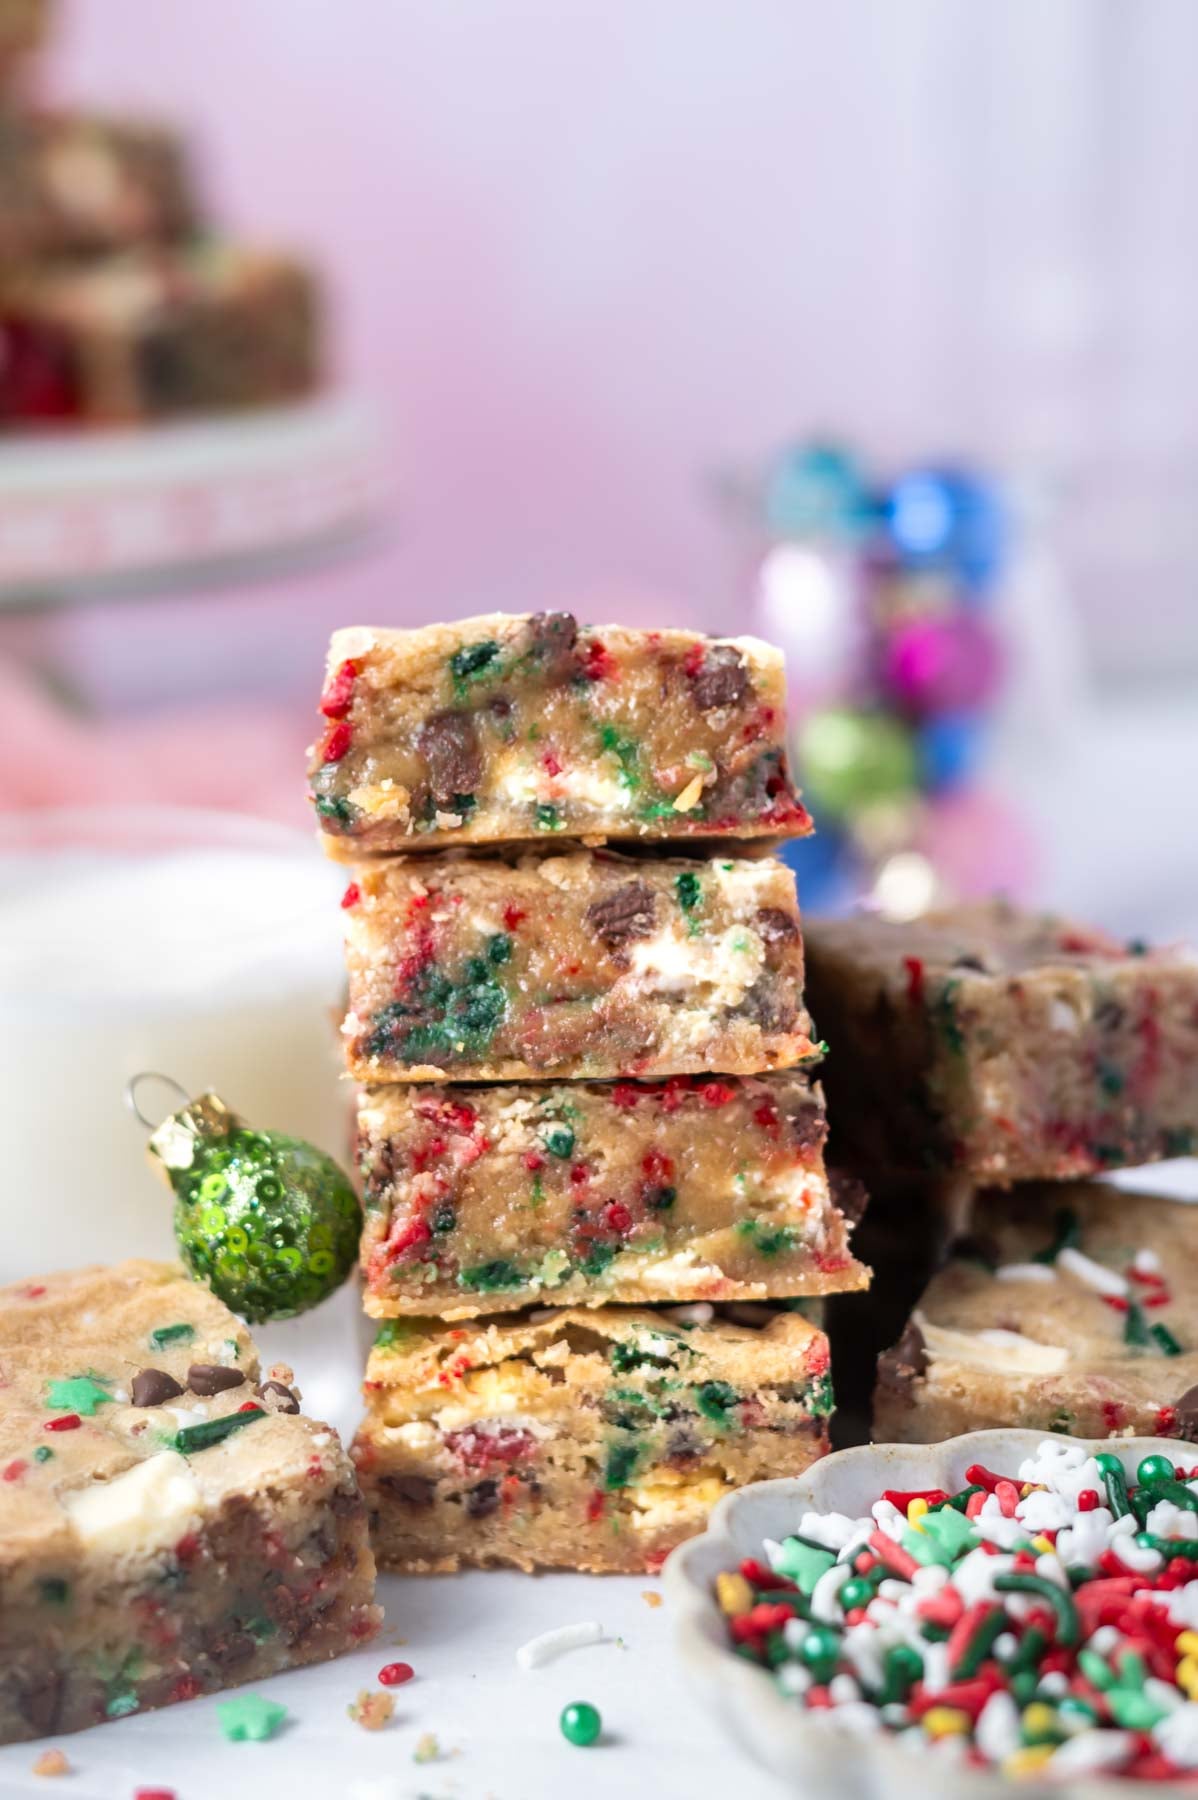
    If the dough gets very soft during the rolling and cutting process, place the cut out cookies in the refrigerator or freezer to firm up for 10 mintues before baking.
    I like to freeze the cookies once they have completely cooled, I think it adds to the softness of the cookies.ย  I typically bake the cookies at least a day prior to decorating them (or bake in the evening and freeze overnight).ย  You can also bake the cookies and freeze them for up to 2-3 months before decorating.ย 
    Cookies will stay fresh covered at room temperature or in the refrigerator for up to 1 week.ย  They also freeze well for up to 3 months.ย  If freezing decorated cookies, chill the cookies in a single layer.ย  The cookies can then be stacked and frozen in an airtight container.ย  When you take the frozen cookies out of the freezer, be sure to unstack them before they thaw or the buttercream will stick the cookies together.

    Nutrition

    Serving: 1 cookie | Calories: 253kcal | Carbohydrates: 33g | Protein: 2g | Fat: 13g | Saturated Fat: 8g | Polyunsaturated Fat: 1g | Monounsaturated Fat: 3g | Trans Fat: 0.5g | Cholesterol: 40mg | Sodium: 65mg | Potassium: 24mg | Fiber: 0.4g | Sugar: 22g | Vitamin A: 416IU | Vitamin C: 0.1mg | Calcium: 30mg | Iron: 1mg

    Recipe shared with Full Plate Thursday, Meal Plan Monday and Weekend Potluck

    Easy One Layer Neapolitan Cake

    slice of neapolitan cake on a plate with a glass of milk and piping bags of frosting in the background

    Neapolitan cake is classic for a reason ~ chocolate, vanilla, and strawberry are three of the most loved flavors around! Putting all of them in one cake looks like it took all day, but this beauty comes together faster than you think. One batter, three flavors and a simple swirl technique that makes every single slice look like a piece of art. Itโ€™s the kind of cake that looks like it came from a bakery, but you made it at home with simple ingredients. Baked in a single layer and frosted with a not-too-sweet buttercream. 

    slice of cake on it's side, showing strawberry, vanilla, and chocolate flavors

    Disclosure | This post may contain affiliate links. As an Amazon Associate I earn from qualifying purchases.

    [feast_advanced_jump_to]

    As someone who has been baking cakes for more decades than I probably should admit, I can tell you that this one earns its spot at any celebration. Birthday, Easter, because you had a rough Thursday, it does not matter. This cake shows up every time.

    This version is soft, moist, and full of real strawberry flavor from freeze-dried strawberries. No artificial anything. Just three classic flavors together in one gorgeous swirled cake. My recipe testers loved how the strawberry flavor comes through in this easy cake!

    I am all about recipes that feel impressive without making you feel exhausted. This cake checks every box. You do not need special tools or skills. Just a couple of bowls, a knife for swirling, a little extra time to bring this all together and some excitement for what is about to come out of your oven.

    My strawberry vanilla cake is another great example of a one-bowl cake that delivers big on flavor without the fuss.

    ๐Ÿ’— why you will love this swirl cake recipe

    Real strawberry flavor from freeze-dried strawberries, no artificial extracts needed.

    A stunning swirl that happens in minutes with just a knife.

    Triple-flavor buttercream that looks bakery-level but is completely approachable.

    One batter splits three ways, so there is less work than you think.

    overhead look at a slice of cake on a plate with a fork

    ๐Ÿ“ ๐Ÿซ ingredient notes

    Please scroll to the printable recipe card at the end of this post for the full list of ingredients and baking directions.

    ingredients for neapolitan cake

    Freeze-dried strawberries ~ this is the star ingredient that makes the strawberry flavor really sing. Crush them to fine crumbs before adding them to the batter and the buttercream. Fresh strawberries have too much moisture for this recipe, so do not swap them out. Freeze dried berries can be found in most grocery stores with the dried fruit. I typically buy mine at Trader Joe's or Target.
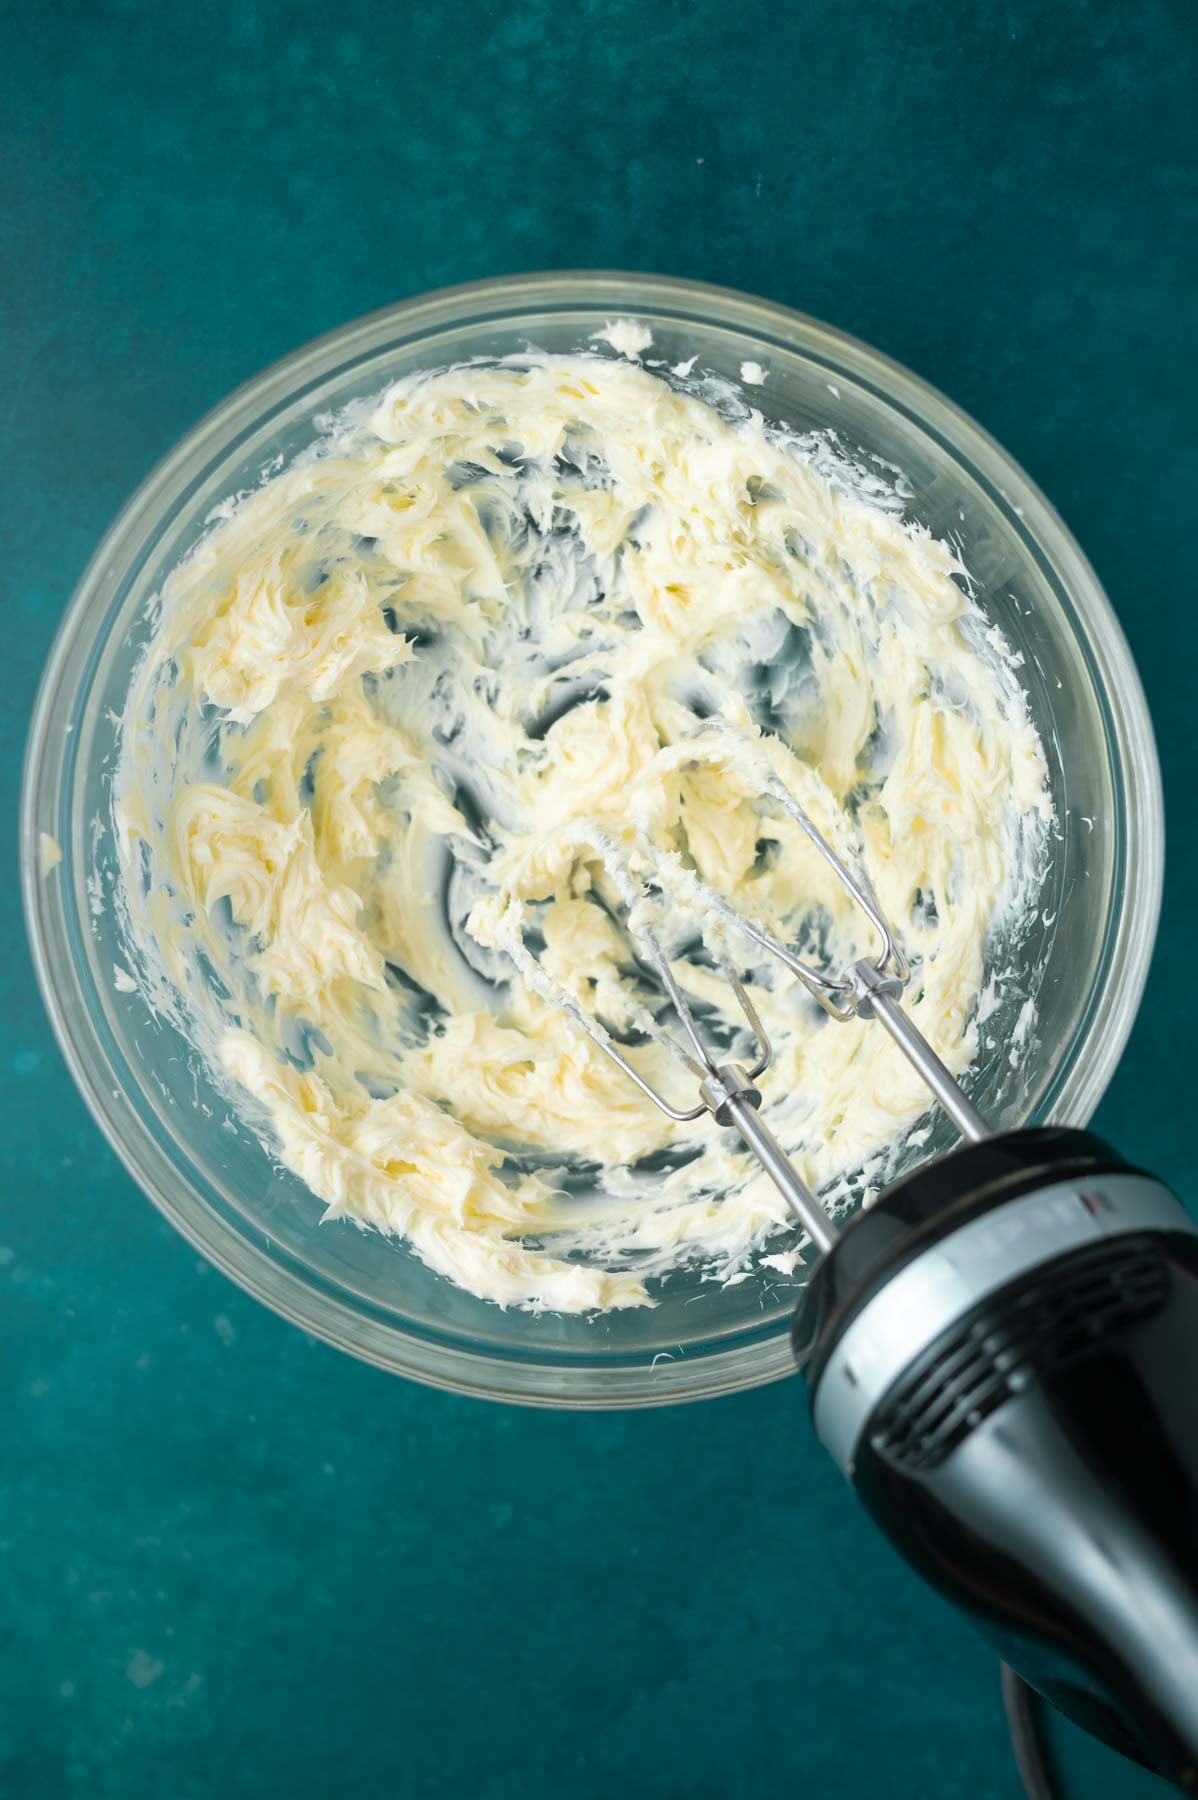
    Sour cream ~ full fat sour cream is the best move here. It adds moisture and creates a soft, tender crumb. Bring it to room temperature before using it so it incorporates smoothly into the batter.

    Canola oil ~ using both butter and oil gives you the best of both worlds. Butter brings flavor and oil brings that extra moisture that keeps the cake soft for days. Feel free to substitute with vegetable oil.

    Unsweetened cocoa powder ~ cocoa powder can vary in weight depending on the brand, so check your label for grams per tablespoon. This matters more than you might think for getting the right chocolate flavor without throwing off the batter ratios.

    ๐Ÿฅฃ how to make neapolitan cake in photos

    Start by crushing the freeze dried strawberries to fine crumbs, set aside. Then butter and line the bottom of a 9-inch round pan with parchment paper and set aside. Preheat the oven to 325ยฐF.

    butter and sugar beat together in a mixing bowl

    In a stand mixer with the paddle attachment, beat the butter and sugar for 2 minutes. The butter and sugar will be combined, but not fully fluffy at this point.
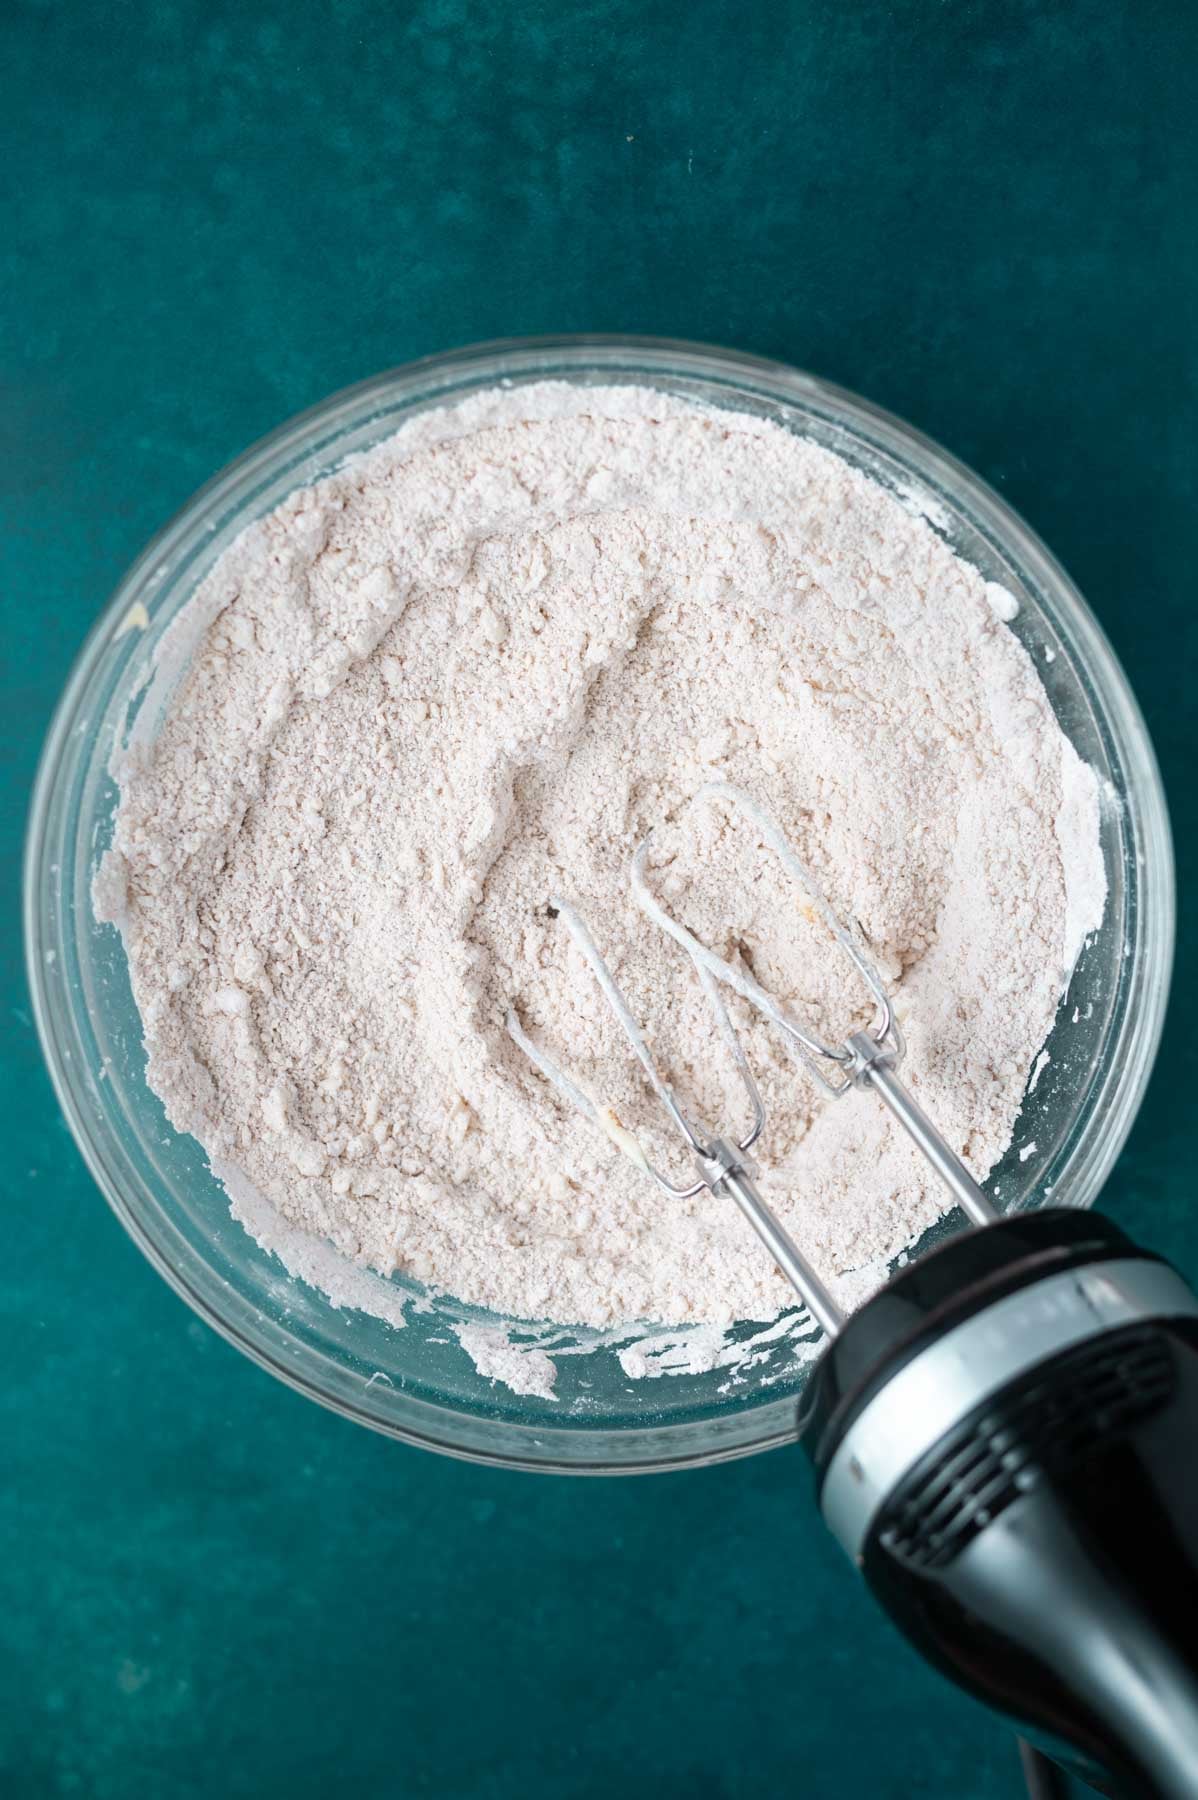
    butter, sugar and oil beaten together in a glass mixing bowl

    Scrape up and down the bowl then turn the mixer back on and slowly drizzle in the oil and beat until light and fluffy.
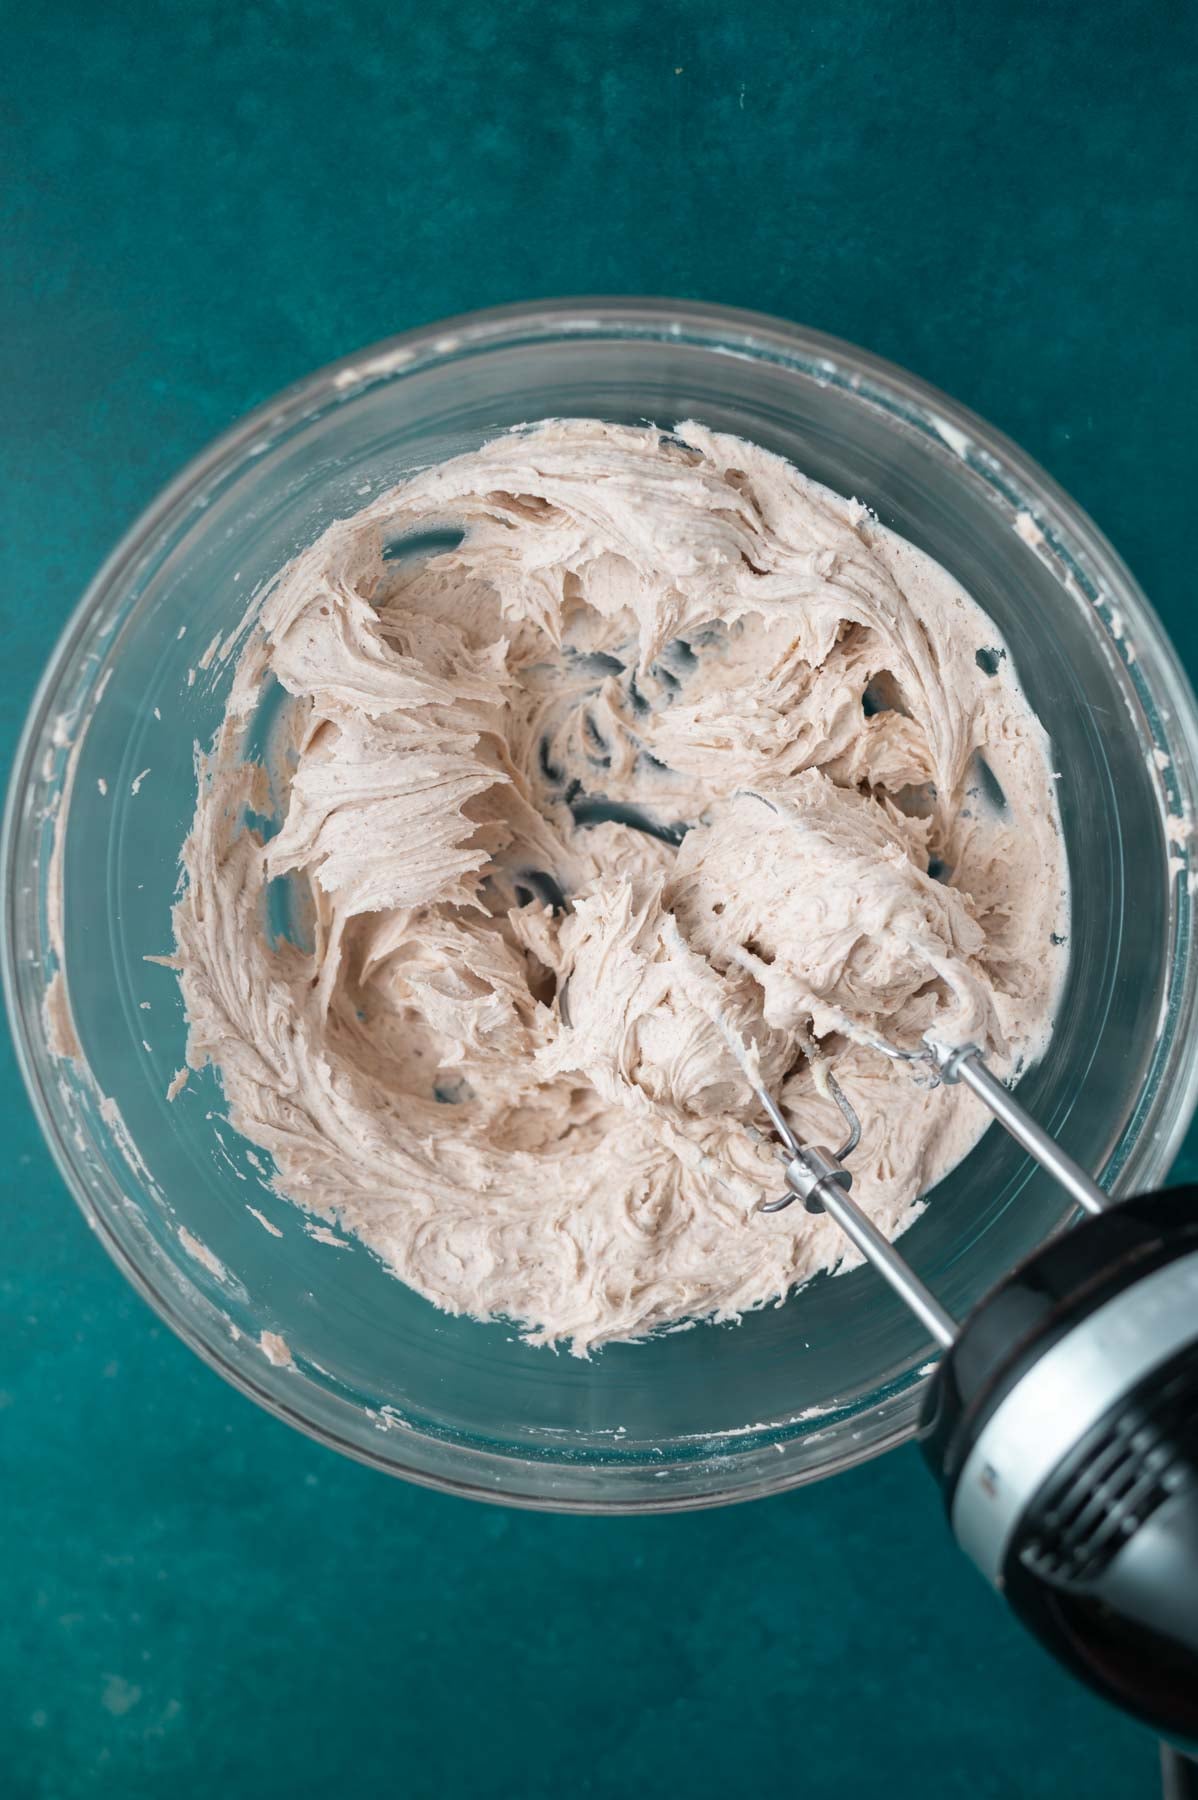
    cake batter after eggs have been added

    Scrape the bowl and add the eggs one at a time, letting each one incorporate before adding the next.

    cake batter in a mixing bowl after vanilla and sour cream have been added

    Then scrape the bowl and add the sour cream and vanilla and mix for another minute. The mixture may look slightly curdled after adding the sour cream, but donโ€™t let it bother you.

    cake batter in a bowl with a few streaks of flour still showing

    Now sprinkle the baking powder over the batter and then add the flour in two additions on the lowest speed and mix until a few streaks of flour remain.

    Place โ…“ of the batter in a bowl and โ…“ of the batter in another bowl, leaving the remaining batter in the mixing bowl.  Add cocoa powder to one bowl and mix until combined. Then save aside 2 tablespoons of the freeze dried strawberries (for the buttercream) and add the remaining freeze dried strawberries to a bowl and mix to combine.

    scoops of vanilla, strawberry, and chocolate cake batter in a round baking tin

    Now drop spoonfuls of vanilla, chocolate and strawberry batter into the prepared baking pan, alternating the flavors.

    chocolate, strawberry, and vanilla batters swirled together in a baking pan

    Once all the batter is in the pan, use a knife to lightly swirl them together. Then lightly tap the pan on the counter once or twice ( to remove any air bubbles) and place in the preheated oven.

    baked neapolitan cake in a cake pan

    Bake for 35-40 minutes, or until a toothpick comes out with just a few moist crumbs.

    Remove the cake from the oven and allow it to cool on a wire rack for 10-15 minutes.ย  Then run a knife around the edge of the pan and remove the cake from the pan and let it cool completely on a wire rack. (about 2 hours at room temperature)

    ๐Ÿ’ก decorating ideas

    vanilla, strawberry, and chocolate frostings in bowls

    Make the buttercream and then divide into three portions. Leave one vanilla, flavor one with cocoa powder, and one with strawberries.

    piped cake top with neapolitan flavored frosting

    If desired, pipe the frosting on in an alternating design. For a video tutorial, visit my YouTube channel.

    decorating idea for cake top

    Here is a simple, swirl frosting design. My YouTube channel also has a tutorial on how to create this design.

    ๐Ÿ’ฌ frequently asked questions

    are fresh strawberries okay instead of freeze dried? 

    No, fresh strawberries have too much moisture and will throw off the texture of both the cake and the buttercream. Freeze-dried strawberries are what give you that concentrated, real strawberry flavor without adding liquid. 

    can I make this cake in a different pan size? 

    This recipe is written for a 9-inch round pan. You could bake it in an 8x8 square pan if you want a square cake. I did test baking it in an 8-inch round too, but the cake will be a bit taller and will need extra time in the oven. Keep an eye on it and test with a toothpick.

    can I make the cake layer ahead? 

    Yes! The baked and cooled cake can be wrapped tightly in plastic wrap and stored at room temperature for up to one day, or in the freezer for up to one month before frosting. You can frost the frozen cake and then let it come to room temperature for serving. I also tested freezing the cake once decorated and that works too!

    why does my batter look curdled? 

    Do not panic! When you add the sour cream, the batter can look a little lumpy or curdled. This is normal and will smooth out once the flour goes in. Just keep mixing and trust the process.

    ๐Ÿ‘ฉ๐Ÿปโ€๐Ÿณ tips for the best swirl cake

    Use a kitchen scale. I sound like a broken record because it really matters. Weighing your ingredients, especially the flour, is the most accurate way to ensure your cake turns out right every time. I divide the batter into thirds by weight (about 298g each) for evenly balanced flavors throughout. This is the OXO scale I use in my kitchen and this Escali scale is a great option, if you are on a tight budget.

    Room temperature ingredients are not optional. Cold butter will not cream properly in this cake batter. Cold eggs and sour cream can cause the batter to break. Set everything out 1-2 hours before you start baking.

    Do not over-swirl. A few light passes with a knife is all you need. Over-swirling will muddy the colors and blend the flavors together instead of keeping them distinct. Less is more here!

    Cool completely before frosting. I know it is tempting to rush, but frosting a warm cake means melted buttercream everywhere. Give it time. You can even make the cake a day ahead and frost it the next day. Or, if needed, pop the cake in the freezer for 10-15 minutes to speed the cooling process.

    Do not over bake. A toothpick with a few moist crumbs is exactly what you want. A completely clean toothpick means you have gone a little too far. My orange creamsicle bars follow the same rule - slightly under done is always better than over done.

    The buttercream swirl is forgiving. Even if your piping is not perfect, the three flavored swirl looks beautiful. Spoon it on casually and let it be imperfect, that is part of the homemade charm.

    ๐Ÿซ™ how to store

    Store the cake covered or in an airtight container at room temperature for 2-3 days, or in the refrigerator for up to one week. Please know the refrigerator will dry out the cake a little.

    This neapolitan cake also freezes beautifully for up to two months. You can chill the whole frosted cake first, then wrap it tightly in a double layer of plastic wrap. Or cut into individual slices, chill them, and wrap each one separately. Allow the cake to defrost at room temperature before serving. My raspberry cake freezes the same way and it is a major time saver for busy weeks.

    slice of neapolitan cake on a plate with a glass of milk and piping bags of frosting in the background

    Remember to snap a picture and tag me @twosugarbugs on Instagram if you make this Easy One Layer Neapolitan Cake. It warms my heart to see you bring these recipes to life! Thank you for being here and happy baking!

    If you make this recipe {or any recipe!} from two sugar bugsย please come back and leave a review and a โญ๏ธโญ๏ธโญ๏ธโญ๏ธโญ๏ธ star rating.ย  I read every comment, and I LOVE hearing from you!

    slice of neapolitan cake on a plate with a glass of milk and piping bags of frosting in the background
    Print Recipe

    Easy One Layer Neapolitan Cake

    Neapolitan cake with freeze dried strawberries, a gorgeous swirl and simple buttercream. One batter, three flavors and one stunning cake!
    Prep Time30 minutes mins
    Cook Time40 minutes mins
    cooling and decorating2 hours hrs
    Total Time3 hours hrs 10 minutes mins
    Course: Cakes and Cupcakes, Dessert
    Cuisine: American
    Keyword: chocolate, classic cake, easy cake, homemade, neapolitan cake, strawberry, swirl cake, vanilla
    Servings: 10 slices
    Calories: 494kcal
    Author: Tasia Harper

    Ingredients

    neapolitan cake

    • 1.2 ounces/34g freeze-dried strawberries crushed to fine crumbs, divided
    • ยฝ cup unsalted butter room temperature 113g
    • ยฝ teaspoon kosher salt*
    • 1 ยผ cups granulated sugar 250g
    • ยผ cup canola oil 60mL
    • 3 large eggs room temperature
    • ยฝ cup sour cream room temperature 120g
    • 2 teaspoons pure vanilla extract
    • 1 ยฝ teaspoons baking powder
    • 1 ยพ cups all-purpose flour 219g
    • 2 tablespoons unsweetened cocoa powder** 10-12g

    buttercream

    • ยฝ cup unsalted butter room temperature 113g
    • ยผ teaspoon kosher salt
    • 1 cup plus 2 tablespoons confectionersโ€™ sugar 135g
    • 2 tablespoons heavy whipping cream 30mL
    • 1 teaspoon pure vanilla extract
    • 1 tablespoon unsweetened cocoa powder 5-6g
    • 2 tablespoons crushed freeze dried strawberries

    Instructions

    for the neapolitan cake

    • Start by crushing the freeze dried strawberries (1.2oz/34g) to fine crumbs, set aside. Then butter and line the bottom of a 9-inch round pan with parchment paper and set aside. Preheat the oven to 325ยฐF.
    • In a stand mixer with the paddle attachment, beat the butter (ยฝ cup/113g) and sugar (1 ยผ cups/250g). Start on low until combined, then increase speed to med-high (speed 6 on a KitchenAid) for 2 minutes. The butter and sugar will be combined, but not fully fluffy at this point. Scrape up and down the bowl then turn the mixer back on medium (speed 4) and slowly drizzle in the oil (ยผ cup/55g) and beat another 2-3 minutes until light and fluffy.
    • Once the mixture is light and fluffy, scrape the bowl and add the eggs one at a time (3 large eggs) on medium (speed 4), letting each one incorporate before adding the next, about 15 seconds per egg. Then scrape the bowl and add the sour cream (ยฝ cup/120g) and vanilla (2 teaspoons) and mix another minute on medium-low (speed 2). The mixture may look slightly curdled after adding the sour cream, but donโ€™t let it bother you.
    • Now sprinkle the baking powder (1 ยฝ teaspoons) over the batter and then add the flour (1 ยพ cups/219g total) in two additions on the lowest speed and mix until a few streaks of flour remain.
    • Place โ…“ of the batter in a bowl (about 298g) and โ…“ of the batter (about 298g) in another bowl, leaving the remaining batter in the mixing bowl. Add 2 tablespoons cocoa powder (10-12g) to one bowl and mix until combined. Then save aside 2 tablespoons of the freeze dried strawberries (for the buttercream) and add the remaining freeze dried strawberries to a bowl and mix to combine.
    • Now drop spoonfuls of vanilla, chocolate and strawberry batter into the prepared baking pan, alternating the flavors. Once all the batter is in the pan, use a knife to lightly swirl them together. Then lightly tap the pan on the counter once or twice ( to remove any air bubbles) and place in the preheated oven.
    • Bake for 35-40 minutes, or until a toothpick comes out with just a few moist crumbs. Remove the cake from the oven and allow it to cool on a wire rack for 10-15 minutes. Then run a knife around the edge of the pan and remove the cake from the pan and let it cool completely on a wire rack. (about 2 hours at room temperature)

    When the cake is cool, make the buttercream.

    • Beat the butter (ยฝ cup/113g) and kosher salt (ยผ teaspoon) in a stand mixer with the whisk or paddle attachment (or using a hand-held mixer) on high (speed 8 on KitchenAid) for 5 minutes. Stop about half way through to scrape up and down the bowl.
    • Add the confectionersโ€™ sugar (1 cup + 2 tablespoons/135g) and mix on low until the sugar is incorporated. Add the heavy cream (2 tablespoons/30mL) and beat on high for another five minutes.
    • Scrape up and down the bowl, add the vanilla (1 teaspoon) beat for 2 minutes more.
    • Leave about ยฝ the buttercream as vanilla and split the other half into two bowls. Add 1 tablespoon cocoa powder to one bowl and mix to combine. Then add the 2 saved tablespoons of freeze dried strawberries to the other bowl and mix to combine. Spoon the vanilla frosting on the cake, followed by dollops of the chocolate and strawberry frostings and swirl with a spoon or offset spatula.
    • If desired, place the buttercream in piping bags and pipe onto the top of the cake. I used a Wilton 2D, Wilton 4B and Wilton 6B.

    Notes

    *If you only have table salt, use half the amount.
    **Cocoa powder can vary in weight, check your brand to see how many grams are in a tablespoon.
    The cake can be stored covered or in an airtight container at room temperature for 2- 3 days or in the refrigerator for up to one week.ย ย 
    The neapolitan cake with frosting also freezes well for up to two months. You can either chill the cake well; then wrap the whole thing tightly in a double layer in plastic wrap. Or cut the cake into individual slices and chill; then wrap each slice tightly in a double layer of plastic wrap. Allow to defrost at room temperature before serving.

    Nutrition

    Serving: 1 slice | Calories: 494kcal | Carbohydrates: 56g | Protein: 5g | Fat: 29g | Saturated Fat: 14g | Polyunsaturated Fat: 3g | Monounsaturated Fat: 10g | Trans Fat: 1g | Cholesterol: 108mg | Sodium: 265mg | Potassium: 91mg | Fiber: 1g | Sugar: 38g | Vitamin A: 754IU | Vitamin C: 2mg | Calcium: 68mg | Iron: 2mg
    • 1
    • 2
    • 3
    • …
    • 41
    • Next Page »
    welcome graphic

    Hi, I'm Tasia, a self-taught baker and enthusiastic home cook with over 25 years experience in the kitchen! I'm here to inspire you to have fun while creating food from scratch. I make approachable and nostalgic recipes for busy bakers that you will want to make again and again. The recipes you find here will mostly be sweet and sometimes savory.

    More about me โ†’

    https://thefeedfeed.com/

    Reader Favorite Recipes

    • stack of cookies with the sun hitting them
      Espresso Brown Butter Toffee Cookies
    • buttercream sugar cookie with sprinkles
      Buttercream Sugar Cookies
    • cookies and sprinkles on a cooling rack
      Sprinkle Cookies
    • slice of cookie butter cake on a plate with a fork
      Moist Cookie Butter Cake

    ยฉtwo sugar bugs.ย  All images and content are copyright protected.ย  Please do not use our images without prior permission.ย  If you would like to republish a two sugar bugs recipe, please rewrite the recipe in your own words and link back to the blog post and one to the home page. ย See my privacy policyย for full details.

    Footer

    โ†‘ back to top

    About

    • Meet Tasia
    • Privacy Policy
    • Comment Policy
    • Terms & Conditions
    • Disclosure

    Shop

    • My favorite kitchen supplies via my Amazon Store

    Contact

    • Work with Me
    • Come Say hello
    • Sign Up! for emails and updates

    All images and content are copyright protected.  Please do not use our images without prior permission. 

    ยฉ 2026 two sugar bugs. All rights reserved.