



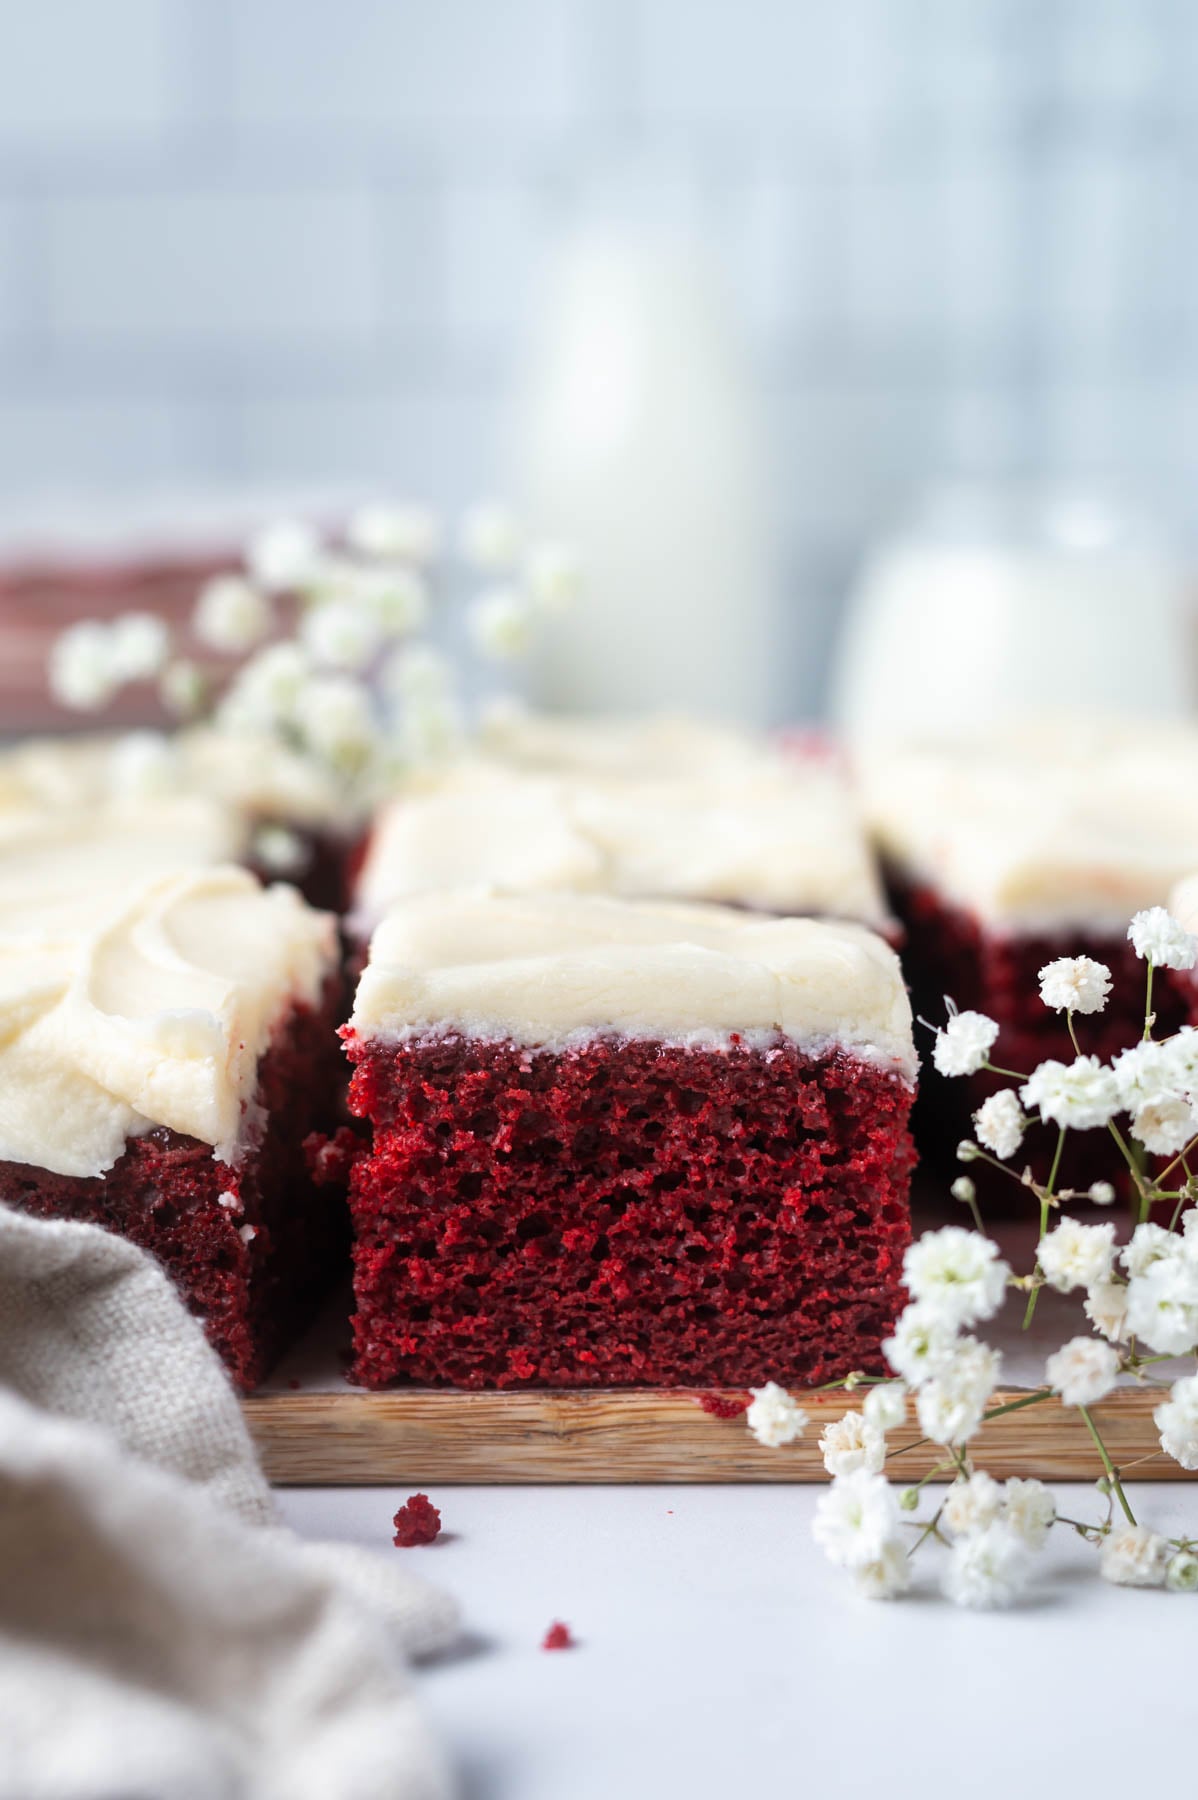
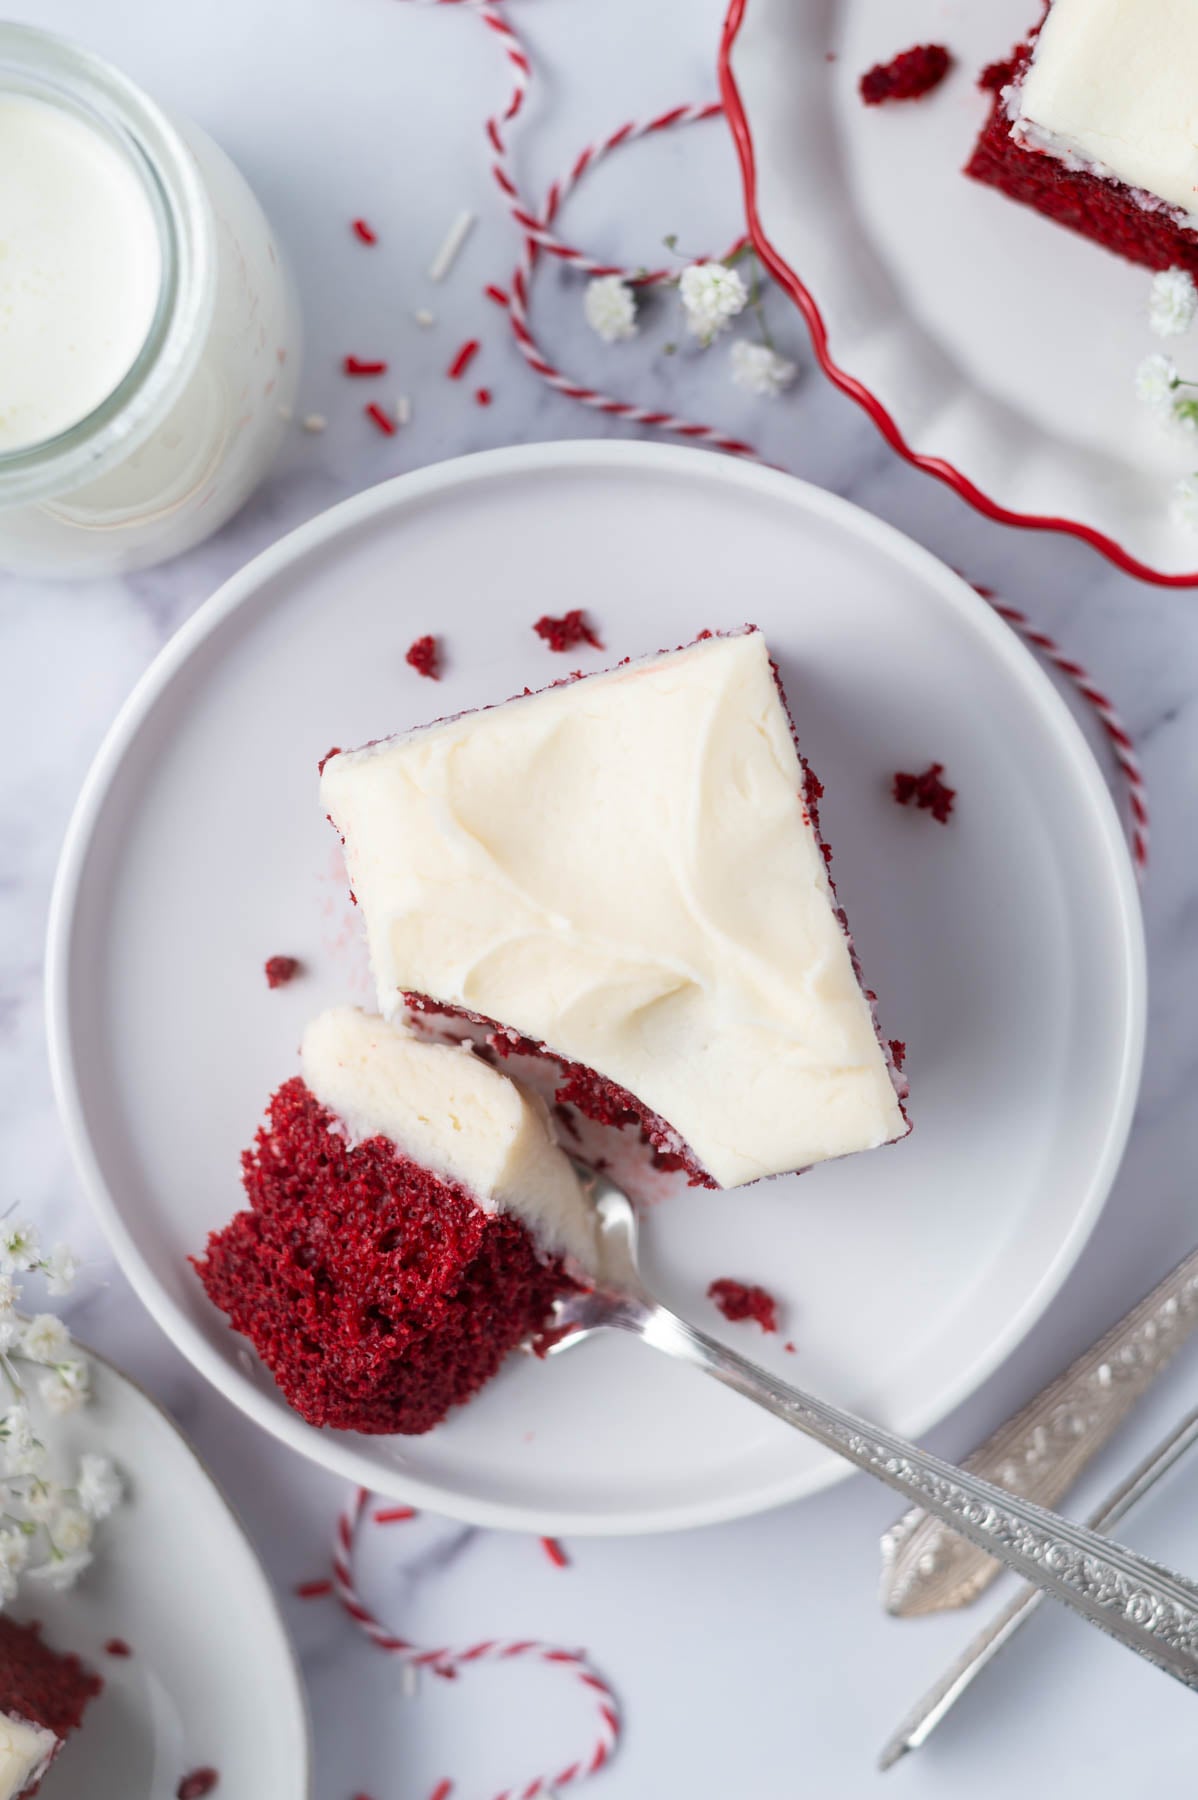
If you’ve been craving red velvet cake, but don’t want to spend your whole afternoon in the kitchen, this is your recipe. One bowl. An 8x8 pan. And a cream cheese frosting that comes together in minutes (you’ll need a second bowl for the frosting). You get all the flavor and that gorgeous color without anything complicated. This snack cake version checks all the boxes you love about the classic. It has a moist, tender crumb, a hint of cocoa, and a tangy cream cheese frosting. But without the layers, the leveling, or the time commitment. It’s the kind of cake that feels special, even on the busiest of days.
Disclosure | This post may contain affiliate links. As an Amazon Associate I earn from qualifying purchases.
Jump to:
This cake came out of my need for a red velvet recipe that felt doable on a weeknight or last minute for a holiday. Red velvet is classic for a reason, it shows up beautifully for Valentine’s Day, Christmas, Halloween, or just because (Big E often requests it for her birthday)! But the full layer cake version can feel like too much when you are short on time.
So I took everything I know about building a moist, flavorful snack cake and made this one work in a single pan with barely any cleanup. If you love that kind of baking, I have a collection of easy single layer cakes that are worth saving for busy weeks.
The cream cheese frosting is the other reason this cake is special. It’s smooth and creamy and super simple to make. If you love easy, single layer cakes that taste like you worked really hard (but didn’t), my moist chocolate snack cake is another one worth checking out. It uses the same one bowl method and never disappoints.
🍰 ingredient notes
In the first test of this homemade cake, I used baking powder and baking soda and it gave a bit of a metallic taste. So I took the baking powder out and played with the amount of baking soda to get to this final recipe. If you watch the video tutorial, I forgot to add the vinegar! I ended up mixing it into the batter once it was in the pan and it still rose and came out with a lovely moist texture! Phew!
Please scroll to the printable recipe card at the end of this post for the full list of ingredients and baking directions.
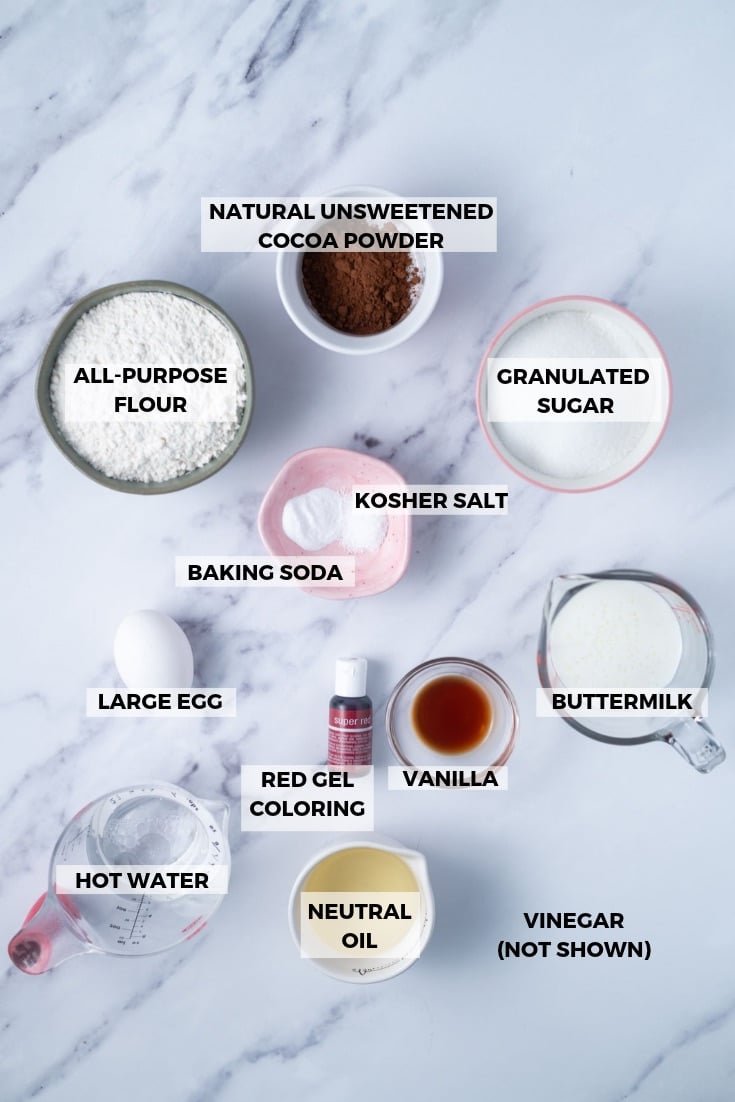
Cocoa powder ~ just two tablespoons of natural unsweetened cocoa powder gives this cake its subtle chocolate flavor and helps the red color to really pop. Do not substitute Dutch-process here; it will affect both the color and the way the leavener works.
Buttermilk ~ this is important for both flavor and texture. The acidity in buttermilk reacts with the baking soda, giving you a super tender crumb. In my opinion, store bought buttermilk creastes a better cake. If you need to make your own, see the notes in the recipe card.
Red gel food coloring ~ gel coloring gives you that bold, vibrant red without adding too much extra liquid to the batter. Start with ¾ teaspoon and add up to ¾ teaspoon more if you want a deeper color. I use Chefmaster super red. I don’t recommend liquid food coloring as you’ll need to use more and the color won't be as intense.
White vinegar (not shown) ~ this is a classic red velvet ingredient and it's doing real work here! The vinegar reacts with the baking soda to help the cake rise and contributes to that tender, soft texture. Don't skip it. You can substitute apple cider vinegar, if needed.
Hot water ~ don't skip this either! A little hot water blooms the cocoa and thins the batter just enough so everything bakes up moist and even. The batter will look thin, that's exactly right. Can be substituted with hot coffee.
Cream cheese (not shown) ~ just 2 ounces is all you need for the frosting. It adds that classic tangy flavor without making the frosting heavy. Make sure it's fully at room temperature so it blends smooth without any lumps.
For another easy one-layer cake that skips the fuss, my brown sugar snack cake bars use the same kind of no-fuss approach and are always a crowd pleaser.
🥣 how to make in photos
Preheat the oven to 350°F and line an 8x8 baking pan with parchment paper. Set aside. This is a good time to pull out the butter and cream cheese for the frosting!
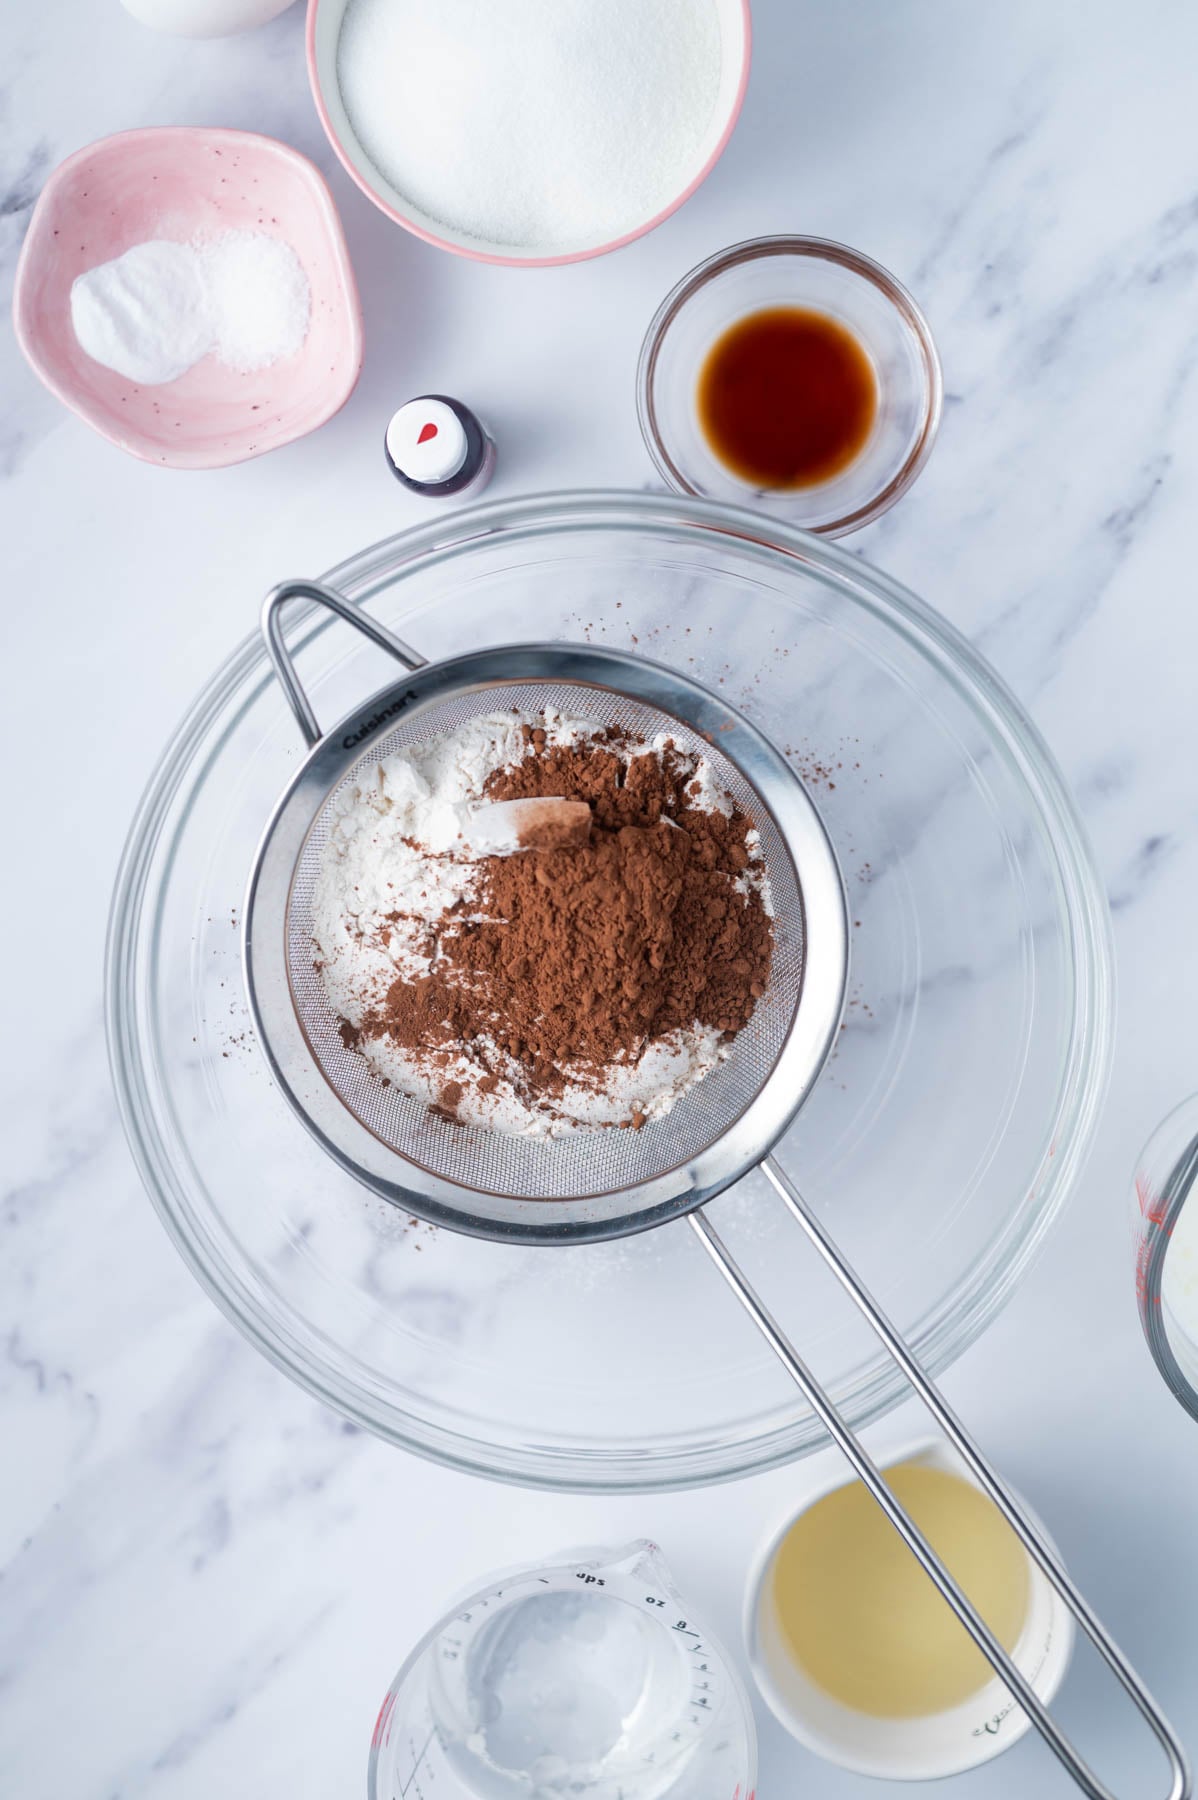
In a medium-large bowl, sift together the flour and cocoa powder.
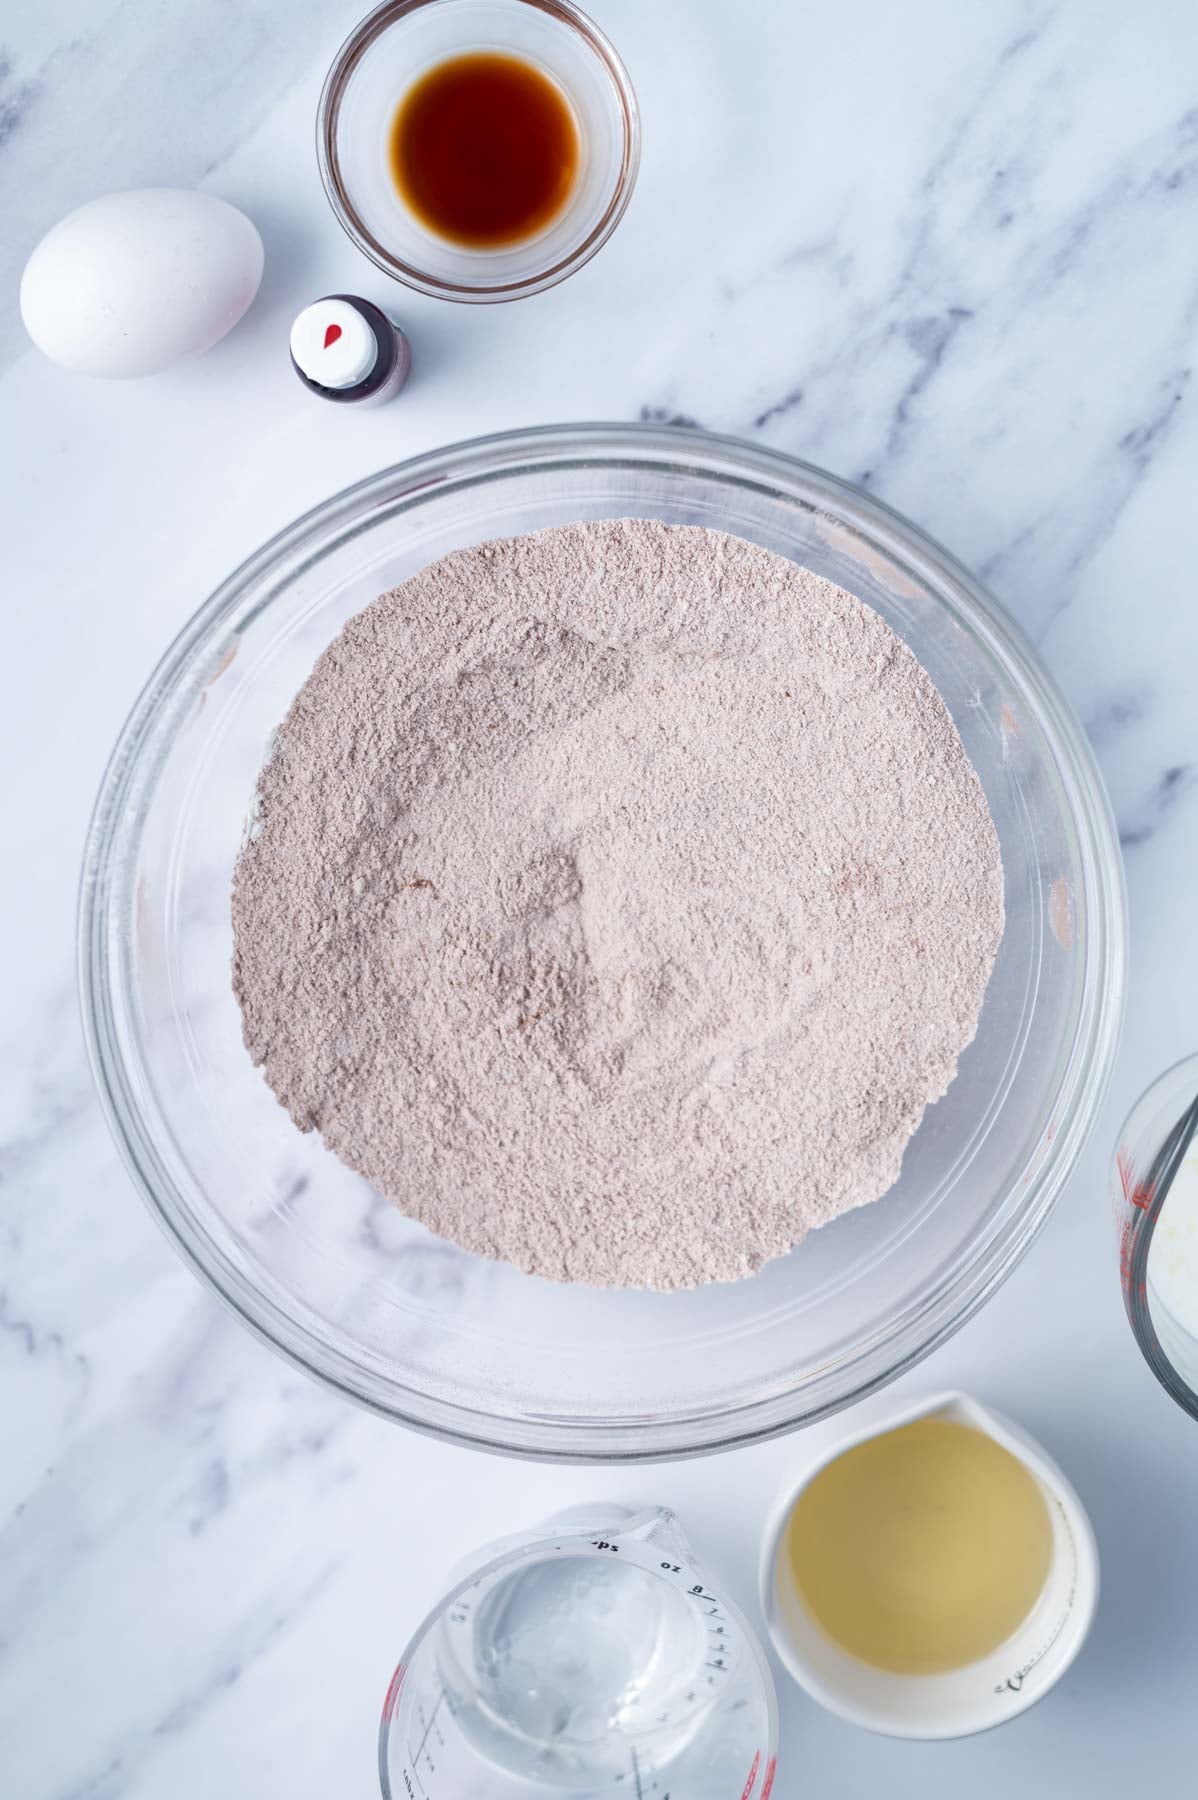
Then whisk in the sugar, baking soda, and kosher salt.
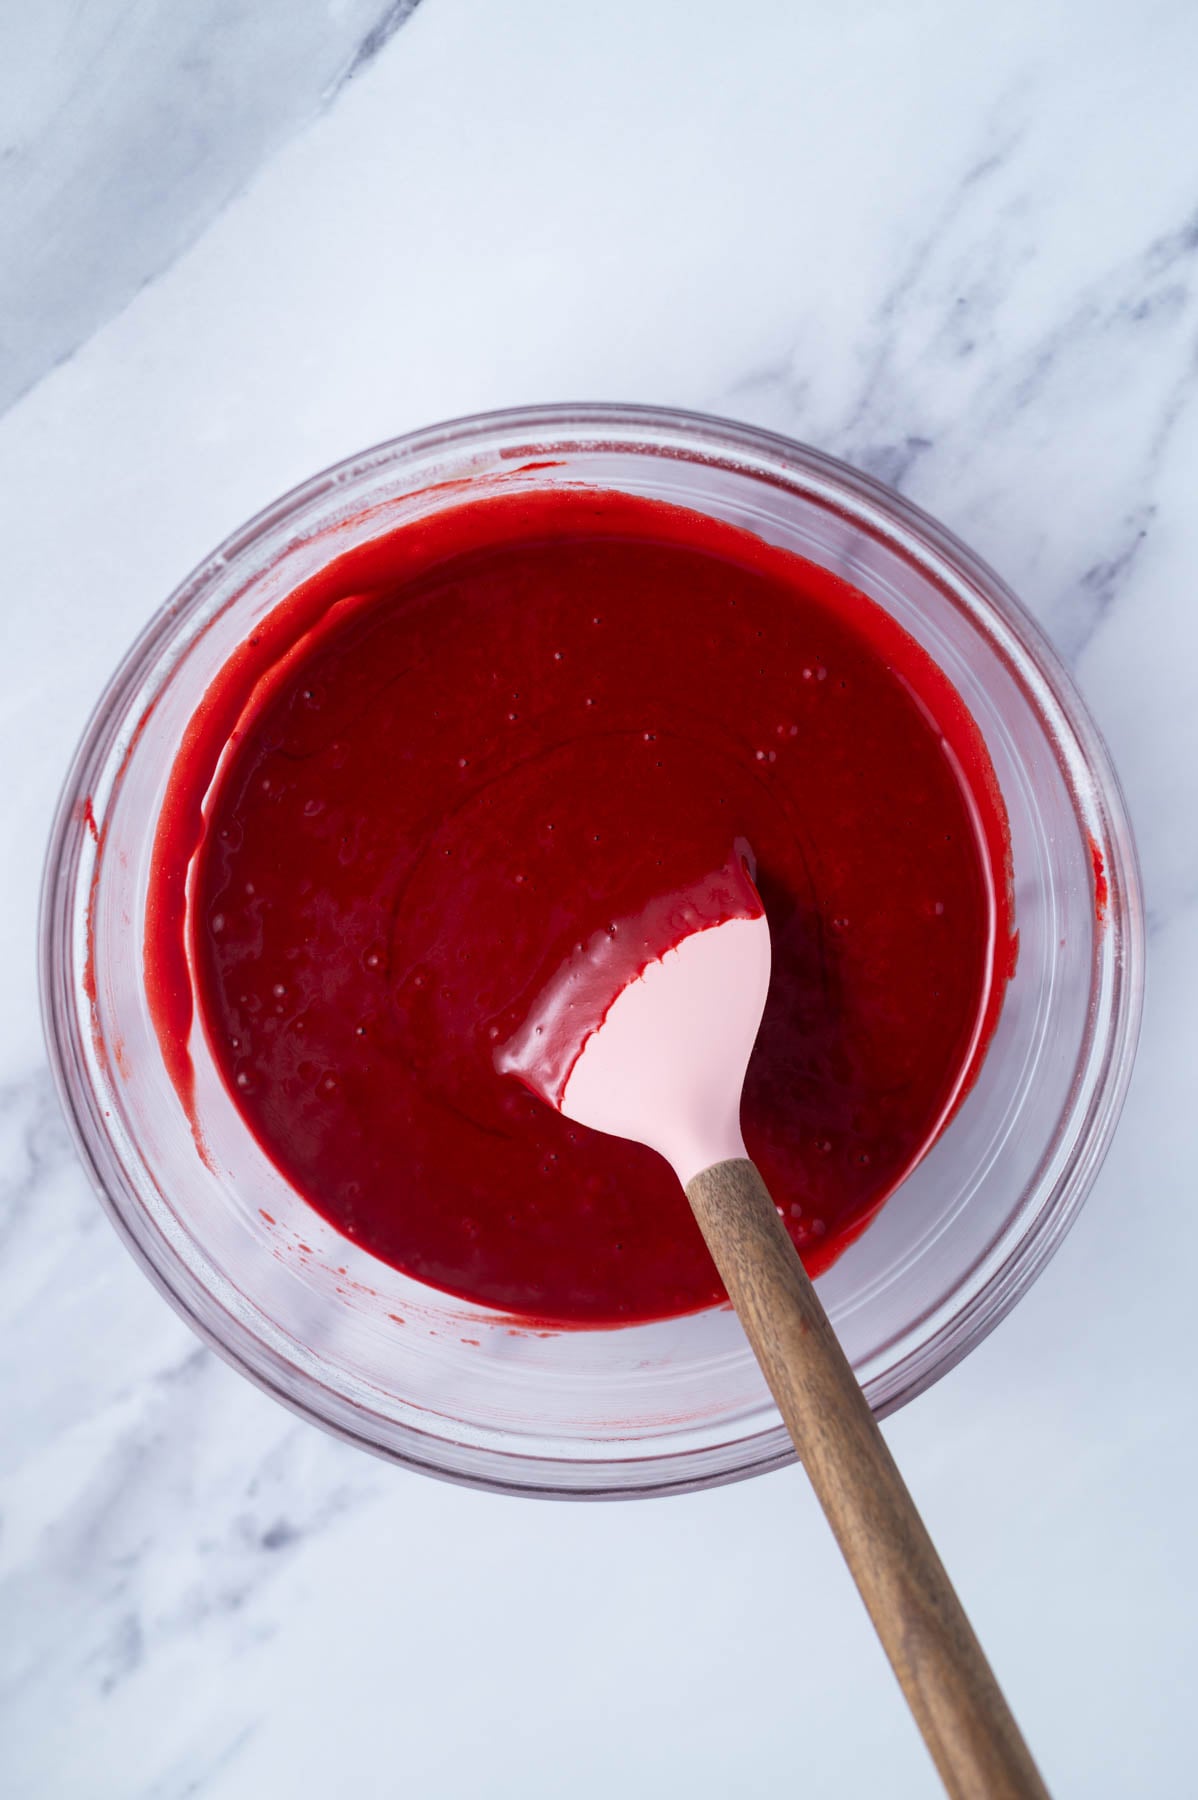
Now add the egg, buttermilk, vegetable oil, vanilla, and red gel food coloring directly to the dry ingredients and whisk to start to bring together.
Then add the vinegar and hot water and whisk until the batter is smooth. It will be thin, that's totally normal and exactly what you want!
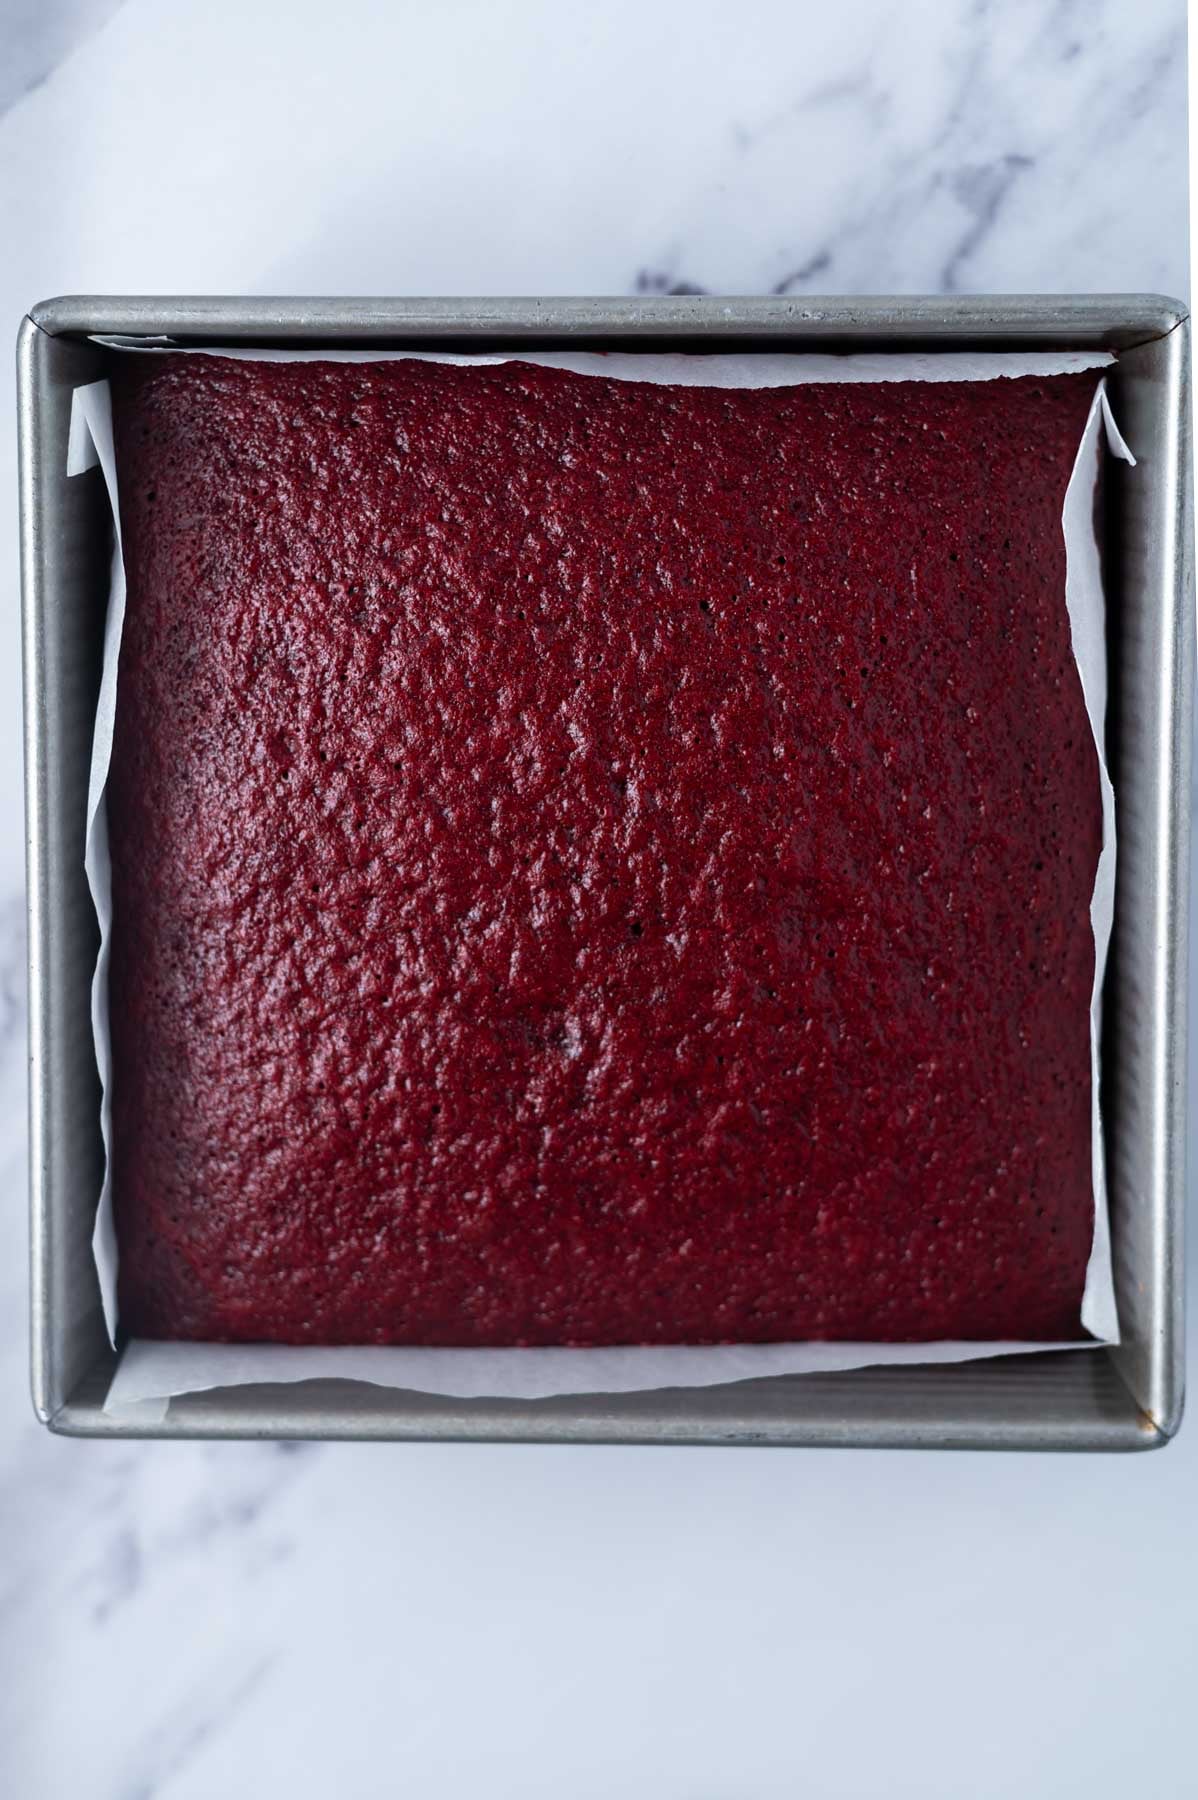
Pour the batter into the prepared pan and bake until a toothpick inserted in the center comes out with just a few moist crumbs.
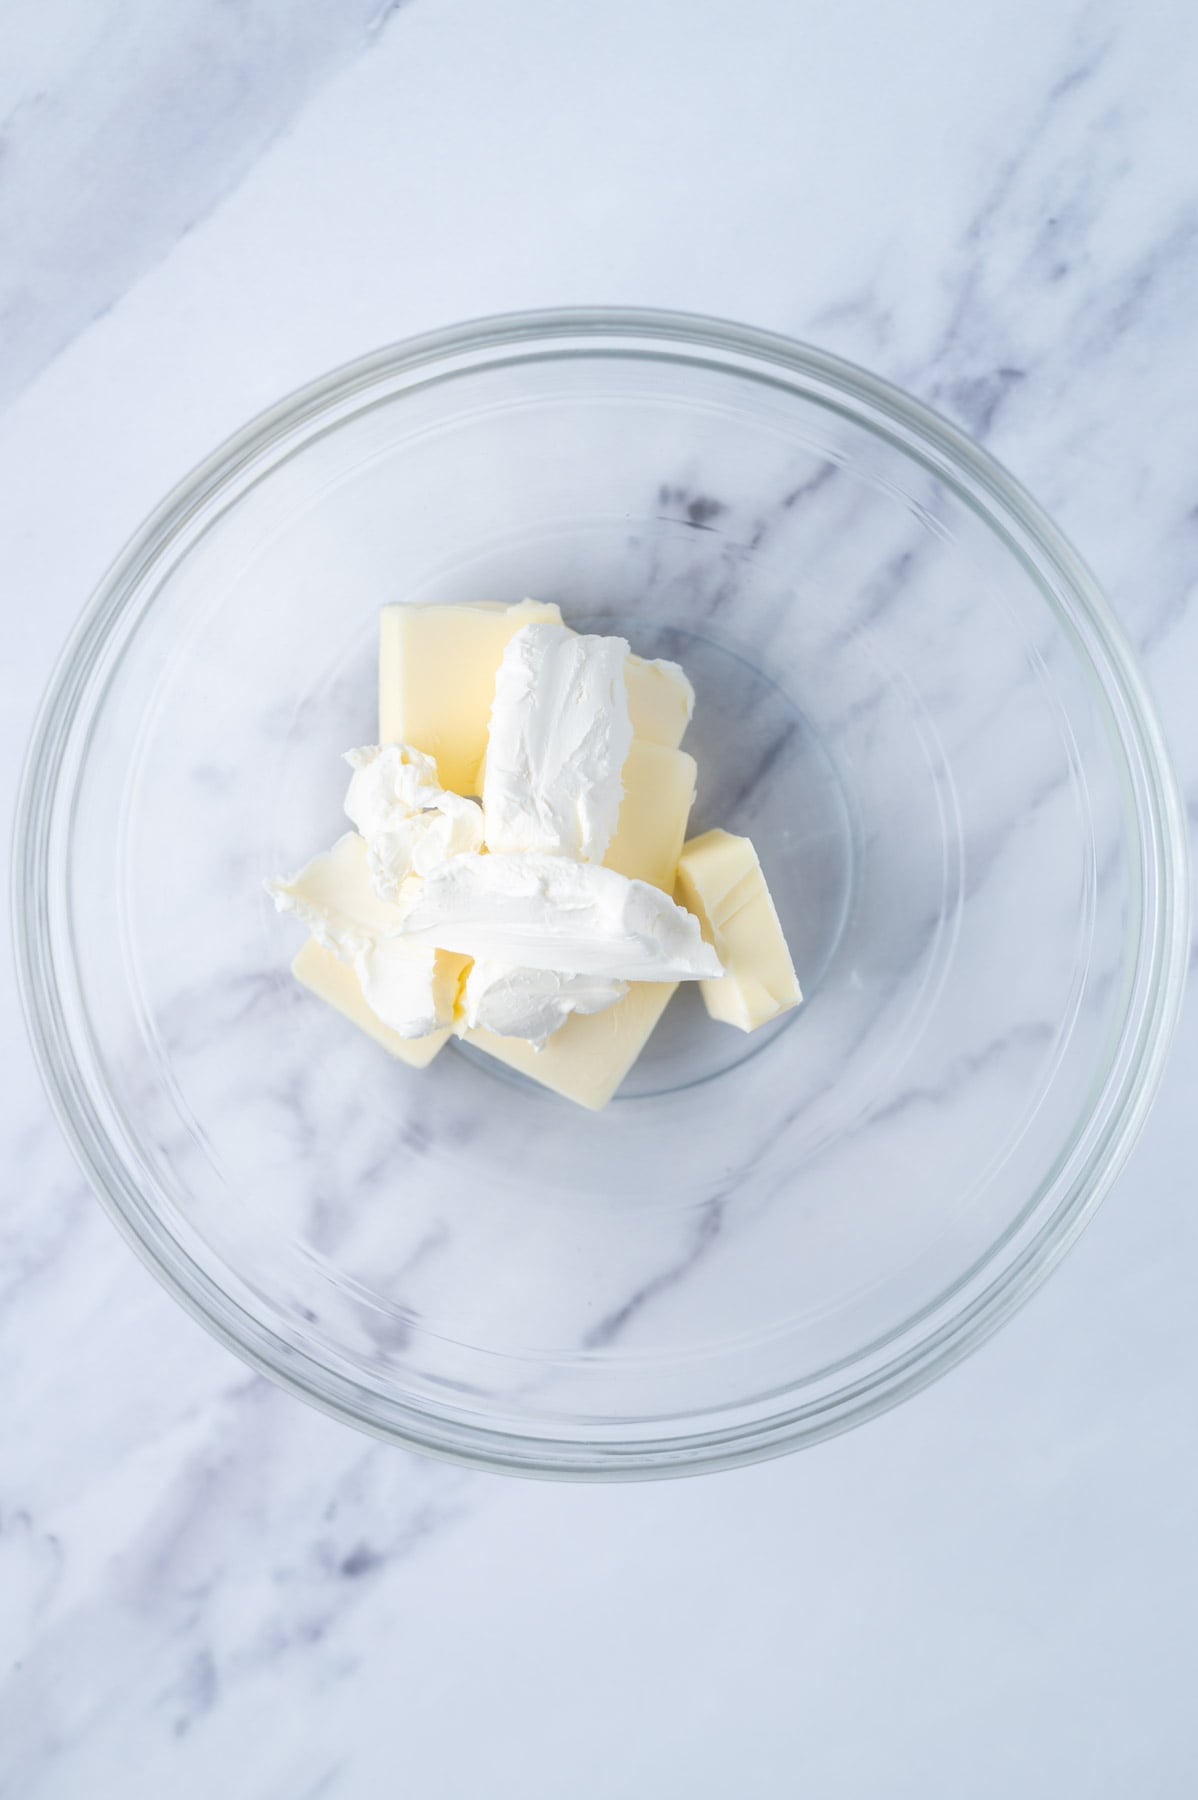
Once the single cake is cool, place the butter and cream cheese in a bowl.
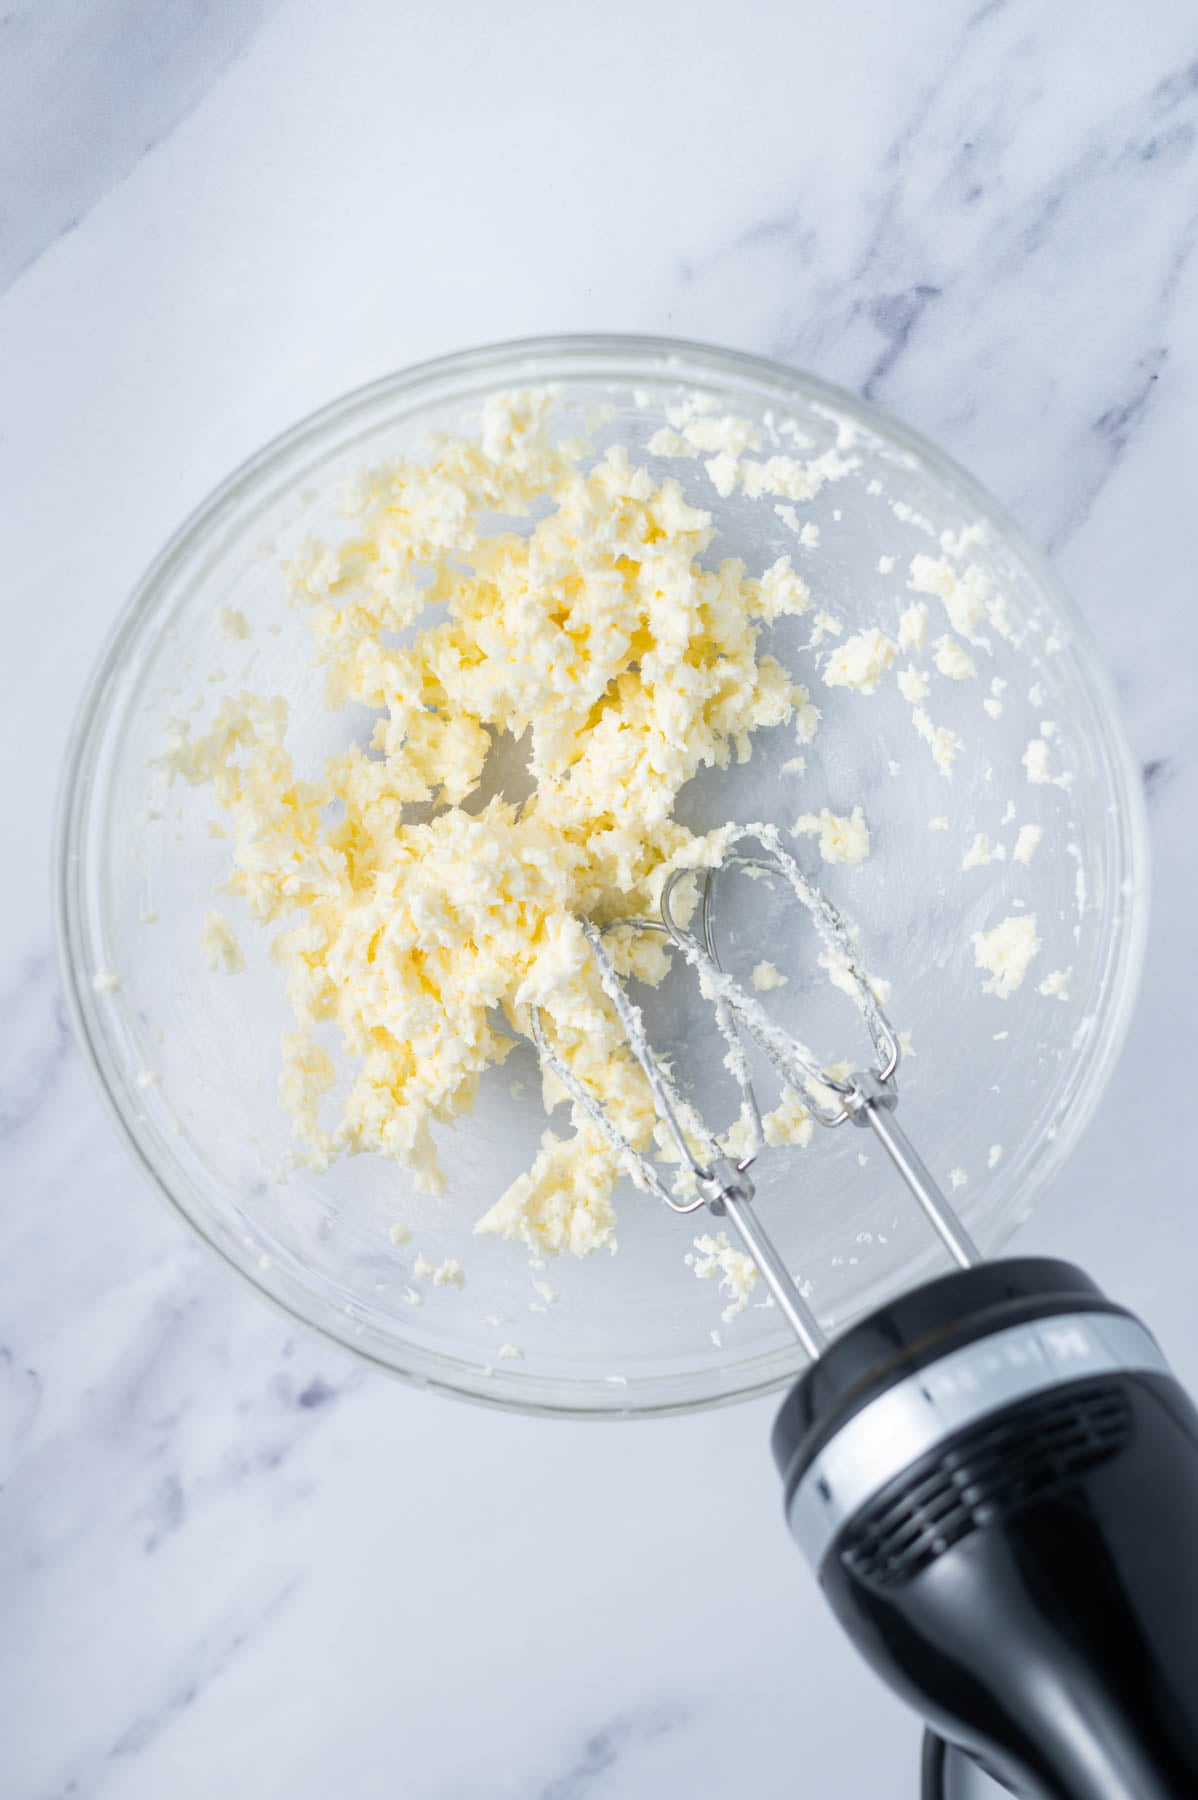
Beat with a hand mixer or stand mixer until combined. It may be a little clumpy at this point.
Scrape down the bowl, then add half the confectioners' sugar. Mix on low until incorporated, then beat another minute or two. Add the remaining confectioners' sugar and vanilla and beat until smooth and creamy.
Allow the cake to cool completely in the pan on a wire rack before frosting.
💬 frequently asked questions
do I need to refrigerate red velvet snack cake?
Yes! Because of the cream cheese frosting, this cake should be stored tightly covered in the refrigerator. It will keep for up to five days. Pull it out 30-45 minutes before serving since it tastes best at room temperature.
can I make this in a round pan?
Yes! A 9-inch round pan works here. An 8-inch round will give you a slightly taller cake and will likely need a couple of extra minutes in the oven. Check with a toothpick to be sure.
can I double this recipe for a layer cake?
Absolutely. Double the ingredients and bake in two 9-inch round pans. Baking time will be similar; start checking around 28-30 minutes.You can also double it and make a sheet cake in a 9x13 pan.
why is my batter thin?
That's normal! The hot water thins the batter out, and that's what helps create a moist, tender, velvety crumb. Trust the process and pour it right into the pan.
can I use liquid food coloring instead of gel?
You can, but gel coloring gives a much more vibrant red with less product. If you use liquid, you may need quite a bit more to get a true red color, which can affect the batter consistency slightly. Gel is worth tracking down for this one! My grinch sugar cookies and red velvet sugar cookies are other recipes where gel coloring really makes a difference in getting that bold, beautiful color.
👩🏻🍳 tips for the best snack cake
Use room temperature ingredients. Room temperature egg and buttermilk blend into the batter much more smoothly and help the cake bake evenly. This usually takes 1-2 hours on the counter depending on the temperature of your kitchen.
Measure your flour correctly. If you're not using a kitchen scale, fluff the flour in its container, spoon it into the measuring cup, and level it off with the flat side of a knife. Too much flour leads to a dense, dry cake.
Don't over bake. Pull the cake from the oven when a toothpick has just a few moist crumbs on it. It will continue to set as it cools, and over baking dries it out. Remember your oven is different from mine, so start checking at 25 minutes.
Chill before slicing. Just 30 minutes in the refrigerator after frosting makes a big difference. The slices come out so much cleaner.
Use a light-colored pan. Dark pans absorb more heat and can cause the edges to overbake while the center is still underdone. A light-colored metal 8x8 is what I recommend here. I also recommend this pan for my red velvet brownies.
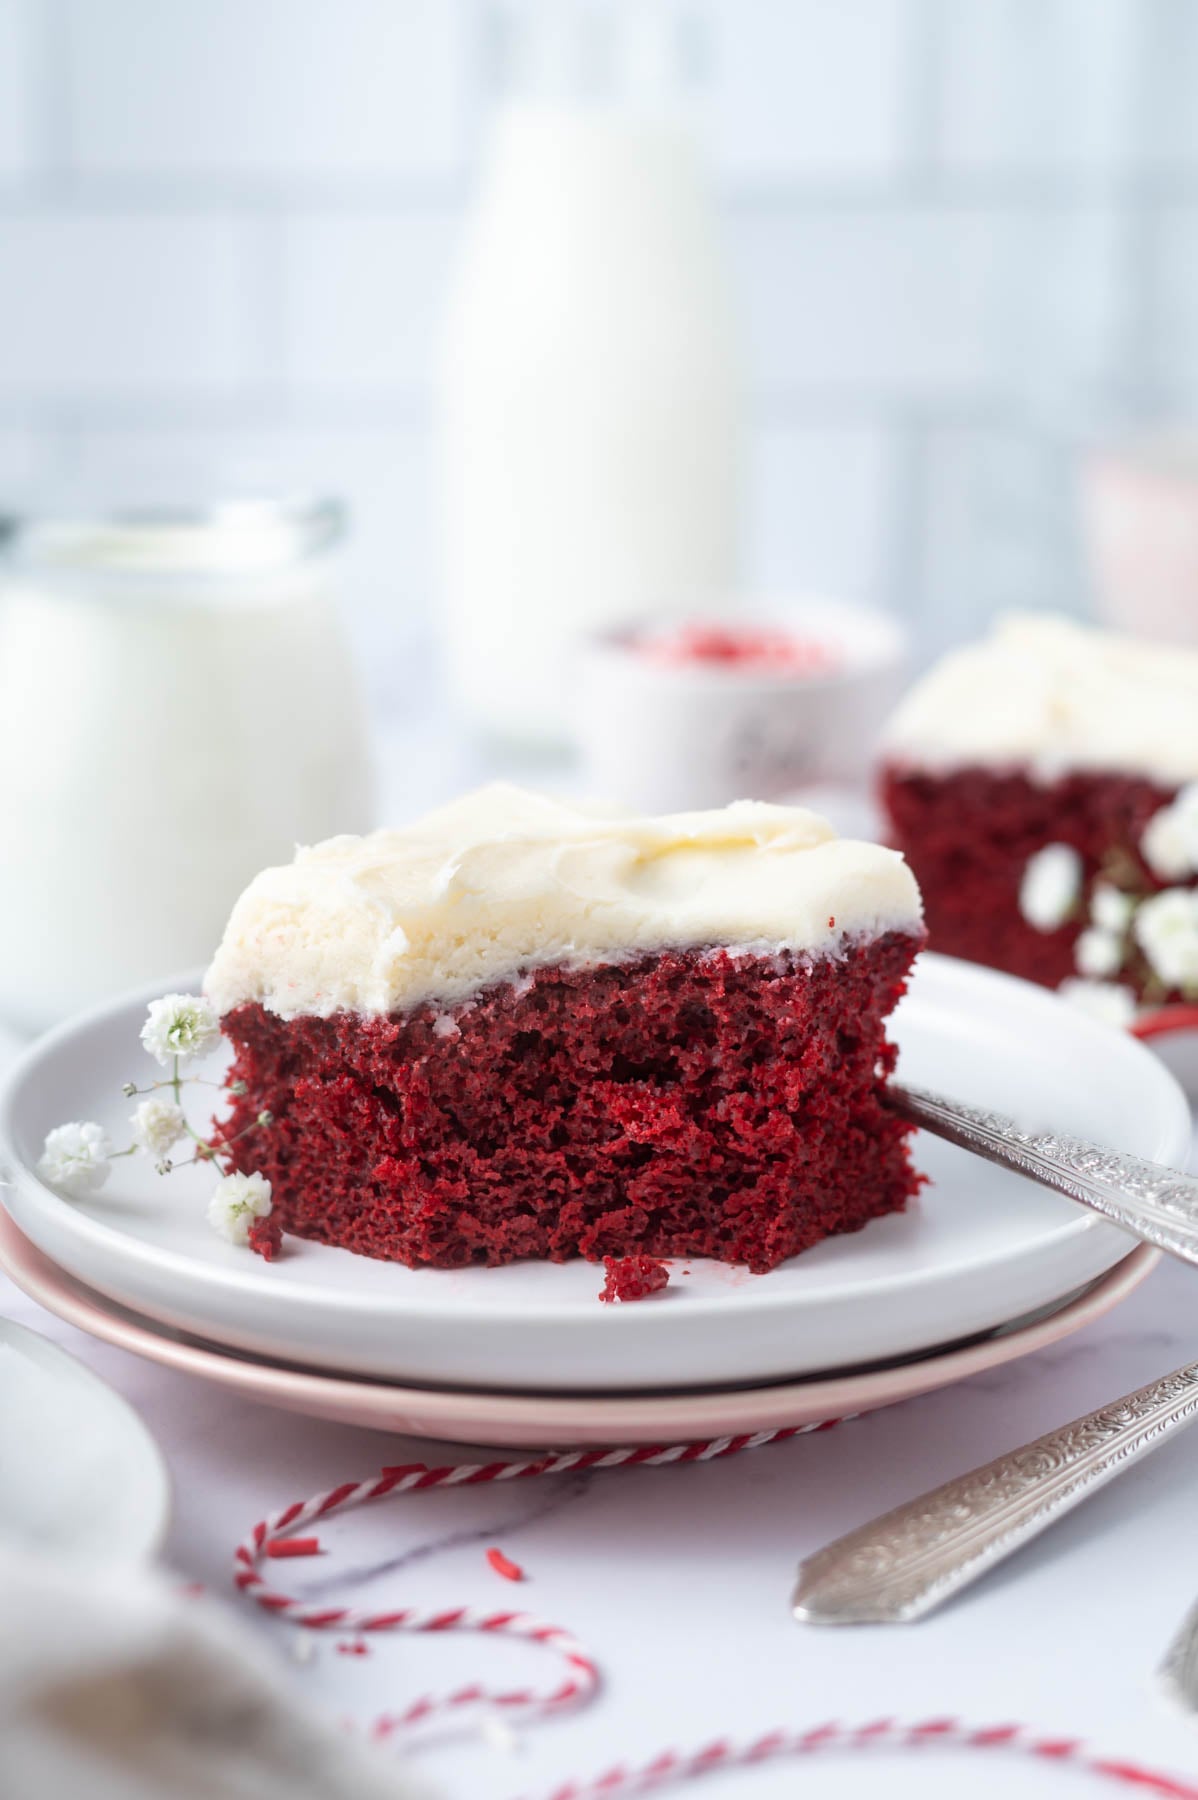
Remember to snap a picture and tag me @twosugarbugs on Instagram if you make this moist Red Velvet Snack Cake. It warms my heart to see you bring these recipes to life! Thank you for being here and happy baking!
If you make this recipe {or any recipe!} from two sugar bugs please come back and leave a review and a ⭐️⭐️⭐️⭐️⭐️ star rating. I read every comment, and I LOVE hearing from you!
📖 recipe
Moist Red Velvet Snack Cake
recipe created and tested by:

I highly recommend using weight (metric) measurements when available for more accuracy and the best results.
Please note
When using 2x or 3x ingredients, the grams DO NOT adjust, you will have to manually do that.
Ingredients
red velvet cake
- 1 ¼ cups all-purpose flour 156g
- 2 tablespoons natural unsweetened cocoa powder 10g
- 1 cup granulated sugar 200g
- ¾ teaspoon baking soda
- ½ teaspoon kosher salt
- 1 large egg room temperature
- ½ cup buttermilk* room temperature 120mL
- ¼ cup vegetable oil 60mL/56g
- 1 teaspoon pure vanilla extract
- ¾ - 1 ½ teaspoons red gel food coloring**
- 1 teaspoon white vinegar
- ¼ cup hot water 60mL
cream cheese frosting
- ½ cup unsalted butter room temperature, 113g
- 2 ounces cream cheese room temperature 56g
- 1 ½ cups confectioners’ sugar 180g
- 1 teaspoon pure vanilla extract
Instructions
for the red velvet cake
- Pre-heat oven to 350°F/177°C and prepare an 8x8 baking pan by lining it with parchment paper. Set aside.
- In a medium-large size bowl, sift together the flour (1 ¼ cups/156g) and cocoa powder (2 tablespoons/10g). Then whisk in the sugar (1 cup/200g), baking soda (¾ teaspoon), and kosher salt (½ teaspoon).
- Now add the egg (1 large), buttermilk (½ cup/120mL), vegetable oil (¼ cup/60mL/56g), vanilla (1 teaspoon), and red gel food coloring (¾ - 1 ½ teaspoons) and whisk to start to bring together. The batter is thick and won’t fully come together yet.
- Then add the vinegar (1 teaspoon) and hot water (¼ cup/60mL). Whisk until combined, the batter will be on the thin side. Pour the batter into the prepared baking pan.
- Bake for 25 - 30 minutes, until a toothpick comes out with just a few moist crumbs. Allow the cake to cool in the pan set on a wire rack.
for the cream cheese frosting
- Using a stand mixer with the paddle attachment or a hand held mixer, beat the butter (½ cup/113g) and cream cheese (2 ounces/56g) on medium until combined, it may not be fully creamy, about 3-4 minutes.
- Scrape up and down the bowl, then add half the confectioners’ sugar (half is ¾ cup/90g). Mix on low until the sugar is incorporated, then beat on medium for another 1-2 minutes until the buttercream is smooth.
- Scrape the sides of the bowl and add the remaining confectioners' sugar (¾ cup/90g) and vanilla (1 teaspoon) and beat until smooth and creamy, about 1-2 minutes more.
- Spread the frosting over the fully cooled cake (add sprinkles, if desired) and refrigerate for 30 minutes before slicing and serving. Briefly chilling the cake helps set the frosting and makes it easier to slice.
Notes
Nutrition
The nutrition information is based on third-party calculations, is an estimate only and may not be entirely accurate. Actual nutritional values will vary based on brands used and portion sizes.
Please take a moment to leave a comment, review or ask a question.