

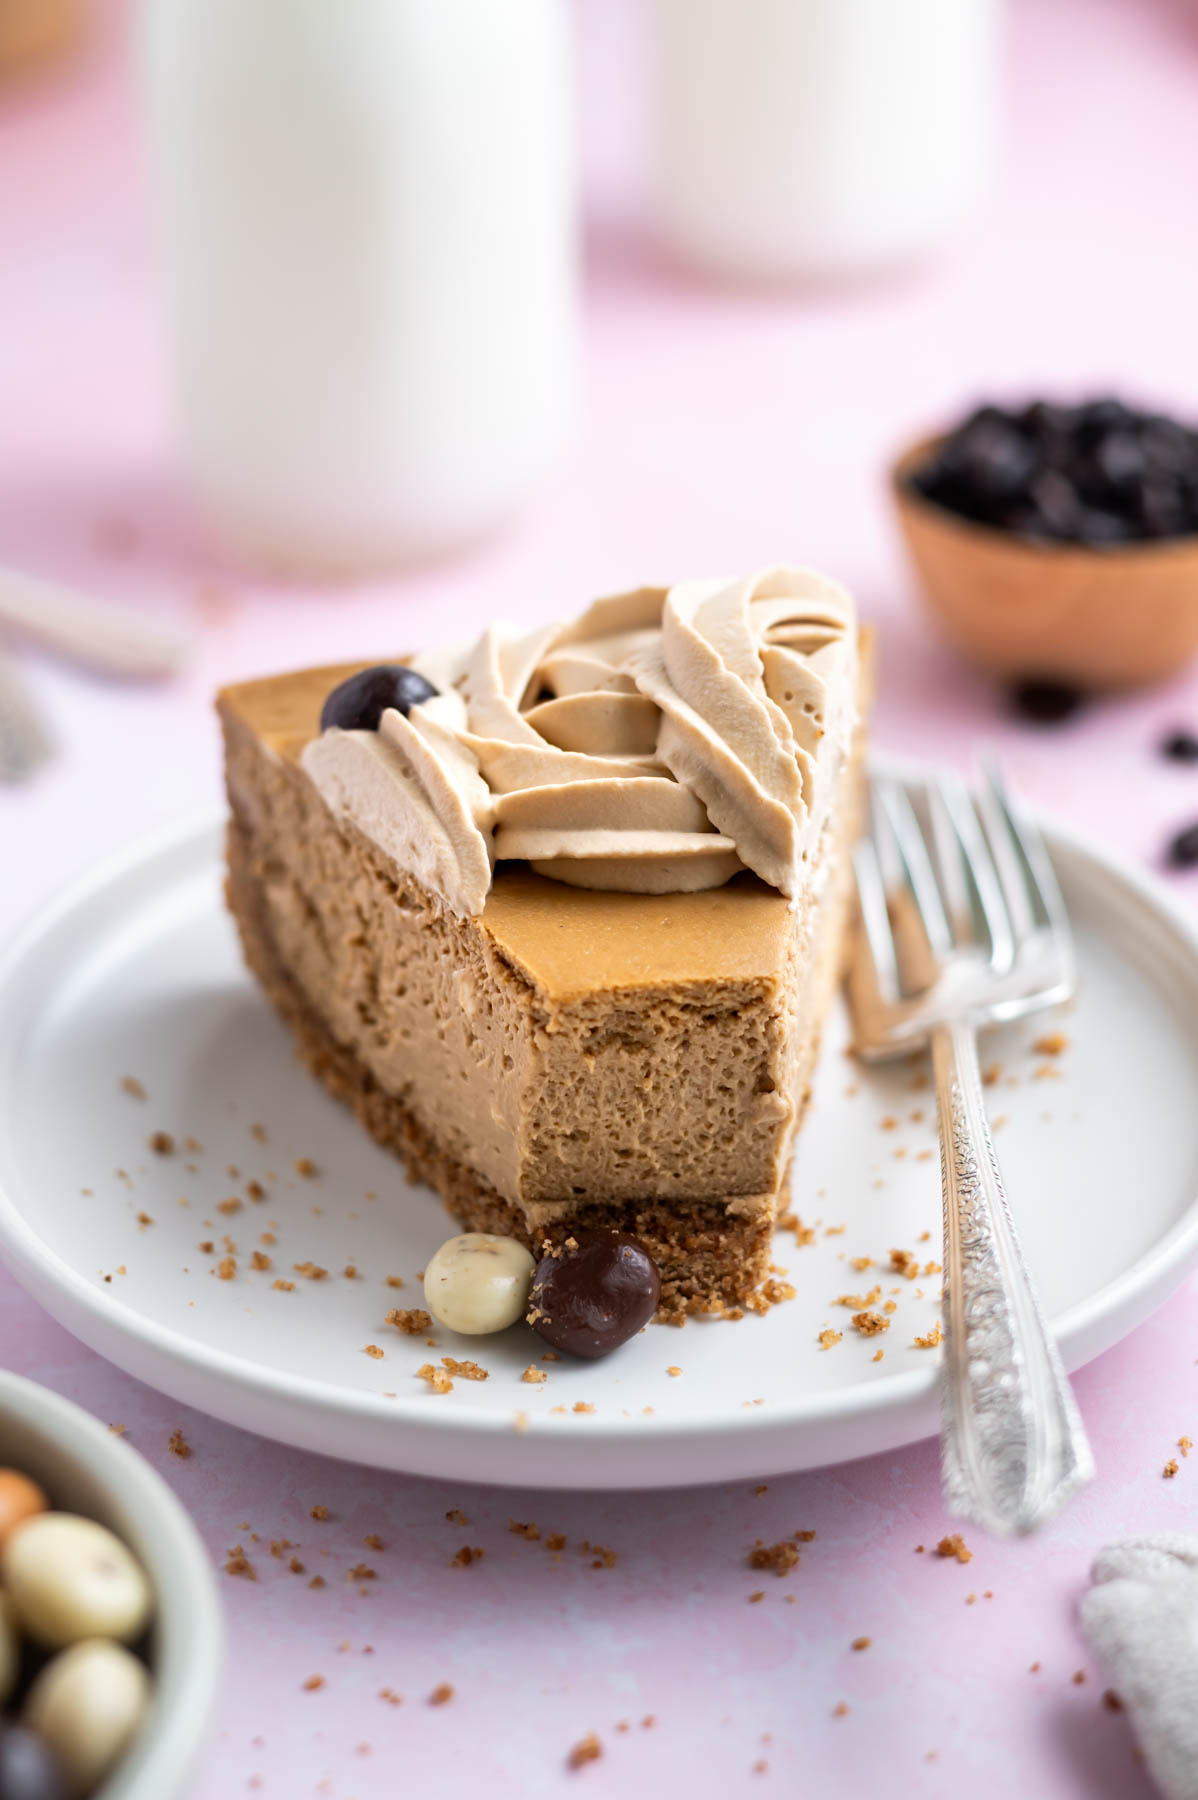
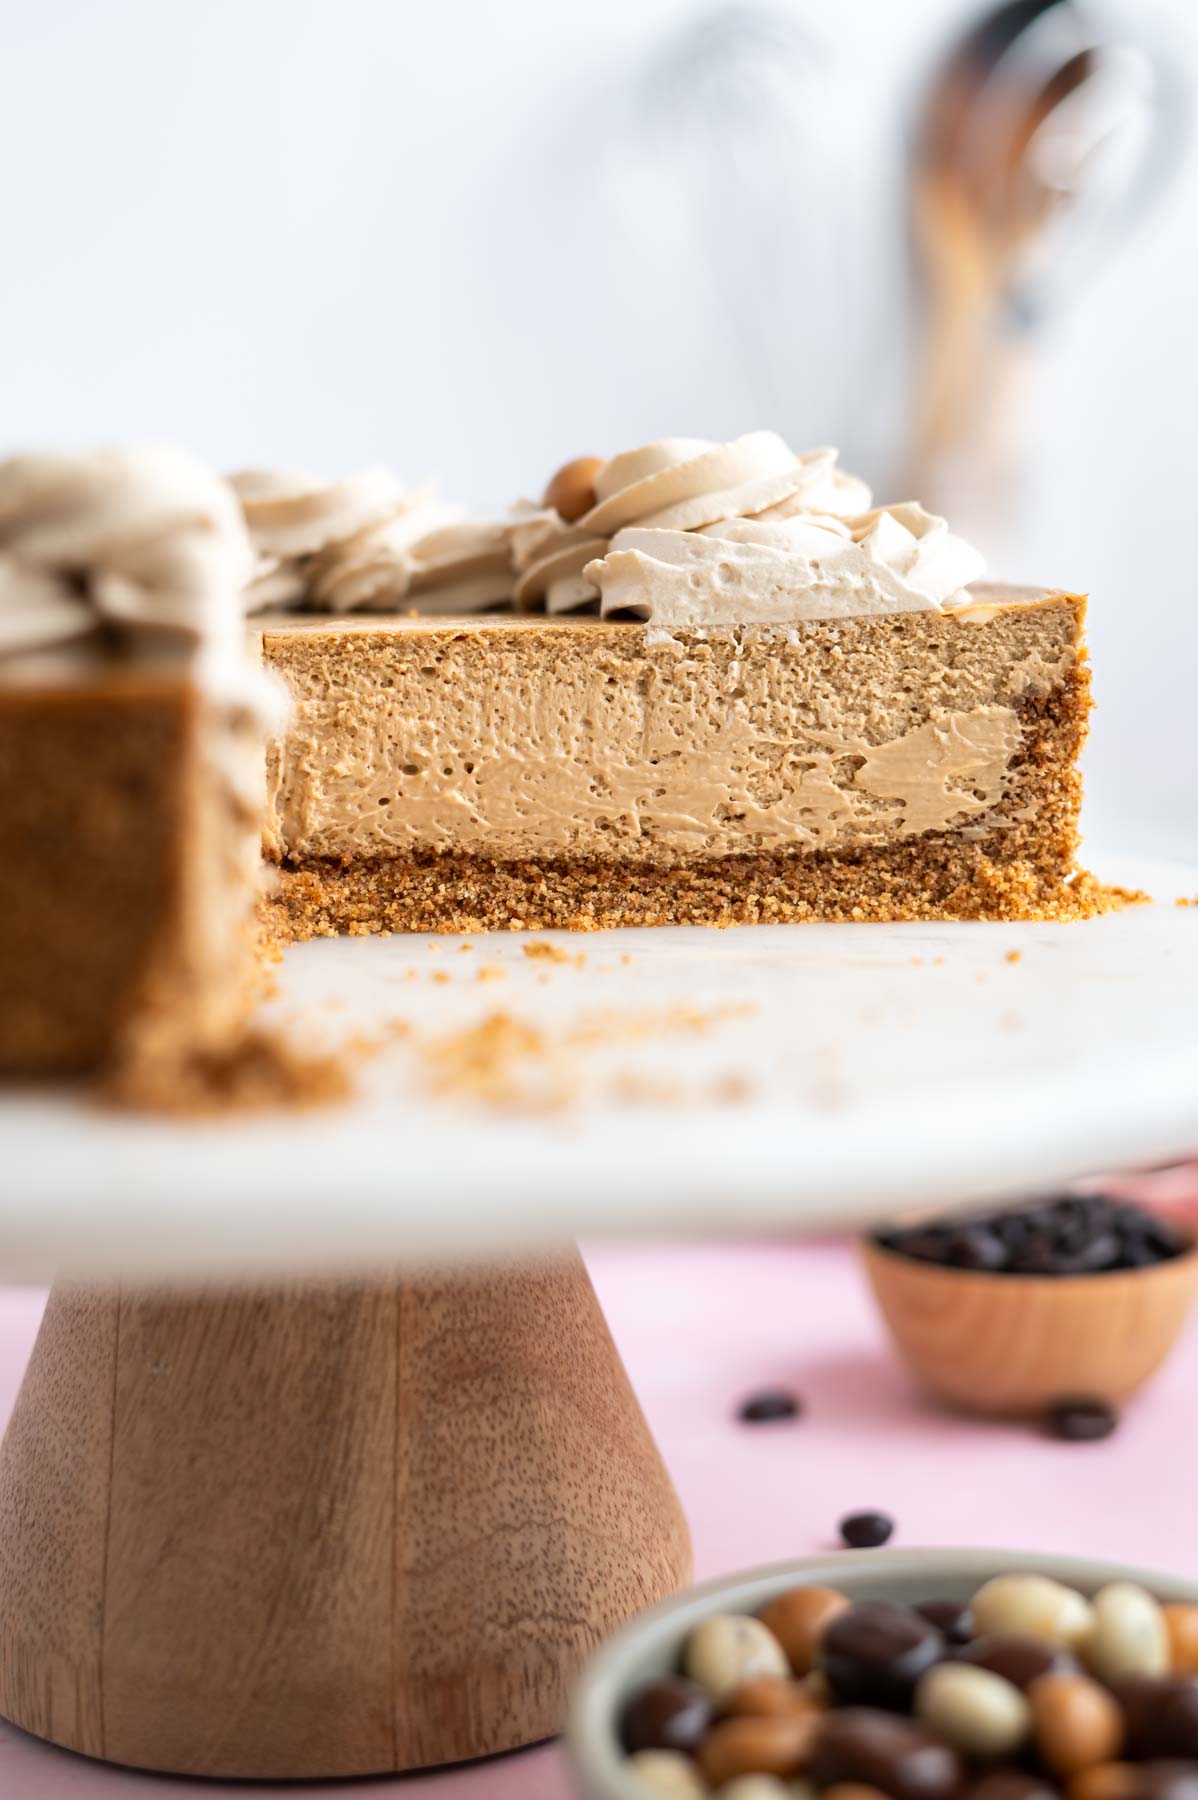
Rich and creamy espresso cheesecake has big coffee flavor! Baked using espresso powder in the crust and filling and topped with an easy espresso whipped cream. A perfect dessert for coffee lovers!
Disclosure | This post may contain affiliate links. As an Amazon Associate I earn from qualifying purchases.
Coffee flavored desserts are a favorite of mine and given the fact that espresso brown butter toffee cookies and coffee sugar cookies are two of the most popular recipes on my blog, I think you like it too!
You are going to love this espresso cheesecake because it is rich and decadent without being overly sweet and no hint of bitterness. This one has a classic graham cracker crust with a coffee twist and a luscious, silky New York style cheesecake flavored using espresso powder.
Since you are busy, like me, this baked cheesecake is simple to put together. It is baked in a 9-inch springform pan and without a traditional water bath. The hardest part is letting it chill before serving!
Reader Paul commented: Whoa, this is perfection! The cheesecake is light with a wonderful espresso balance.
💗 why you will love this coffee cheesecake
- Easy, with that rich and creamy classic baked cheesecake texture.
- Made using espresso powder in the graham cracker crust, luscious filling and in the espresso whipped cream.
- A baked cheesecake needs to chill, so it can be made a day or two before it's needed.
- No traditional water bath needed.
🛒 ingredients needed
Please scroll to the printable recipe card at the end of this post for the full list of ingredients and baking directions.
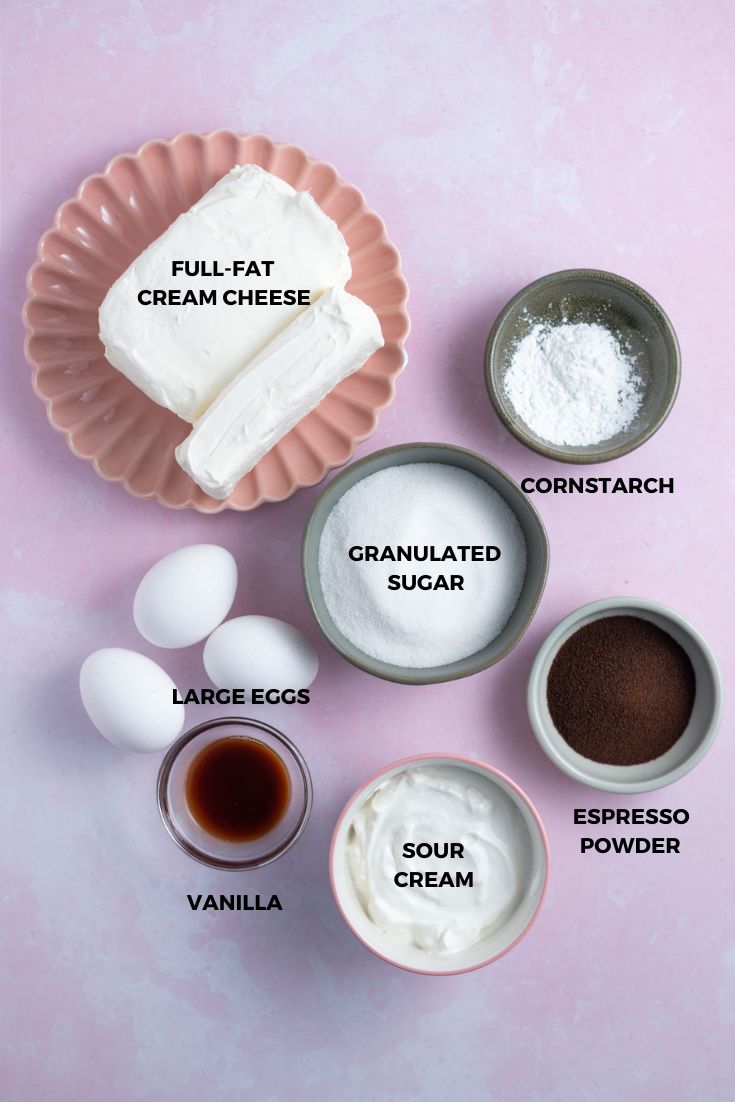
Cream cheese ~ use full fat blocks of cream cheese. It's important for the cream cheese to be softened to room temperature. Depending on the temperature of your kitchen this will likely take at least 2 hours.
Sugar ~ granulated sugar is used to sweeten the espresso cheesecake.
Cornstarch ~ the cornstarch works to keep the cheesecake thick and silky.
Sour cream ~ use full fat sour cream and allow it to come to room temperature. If the liquid separates, just stir it back together before adding it to the batter.
Vanilla ~ a pure vanilla extract will add a nice layer of flavor.
Eggs ~ use three room temperature large eggs.
Instant espresso powder ~ brings the rich coffee flavor, I use this instant espresso.
🥣 how to make the espresso graham cracker crust
If necessary, adjust the oven racks to have room for a pan of water on the lowest rack and the cheesecake on the center rack. Then preheat the oven to 325°F.
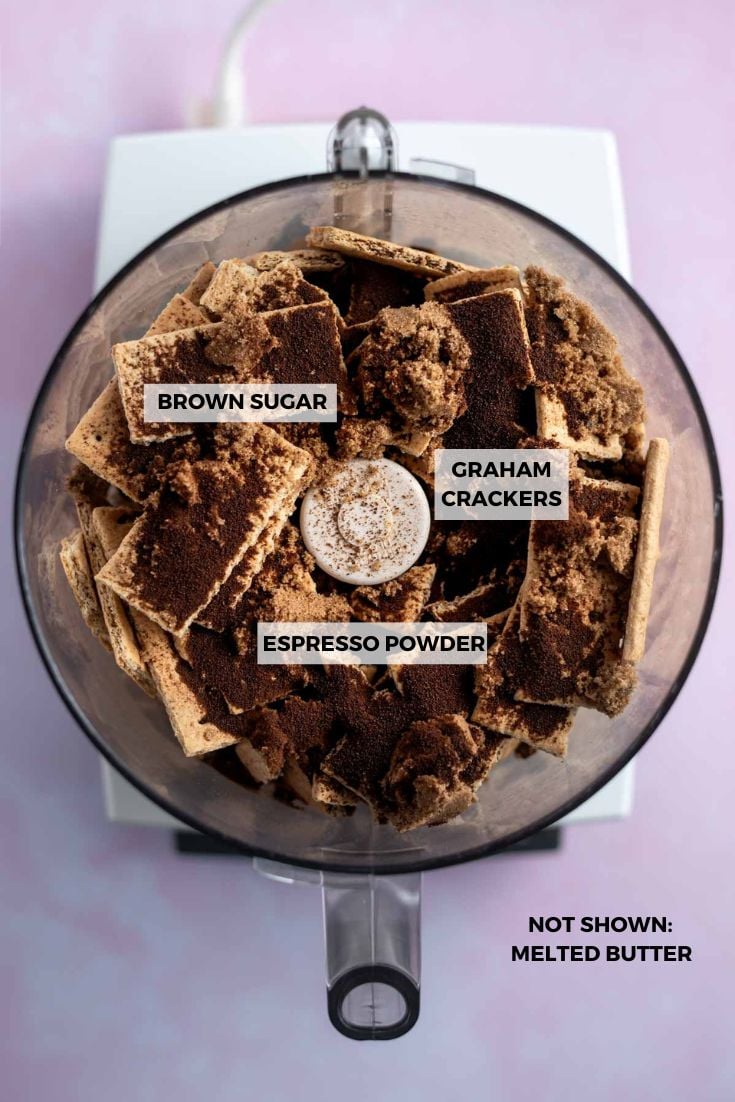
Then crush the graham crackers with the brown sugar and instant espresso powder in a food processor or high powered blender and pulse until fine crumbs.
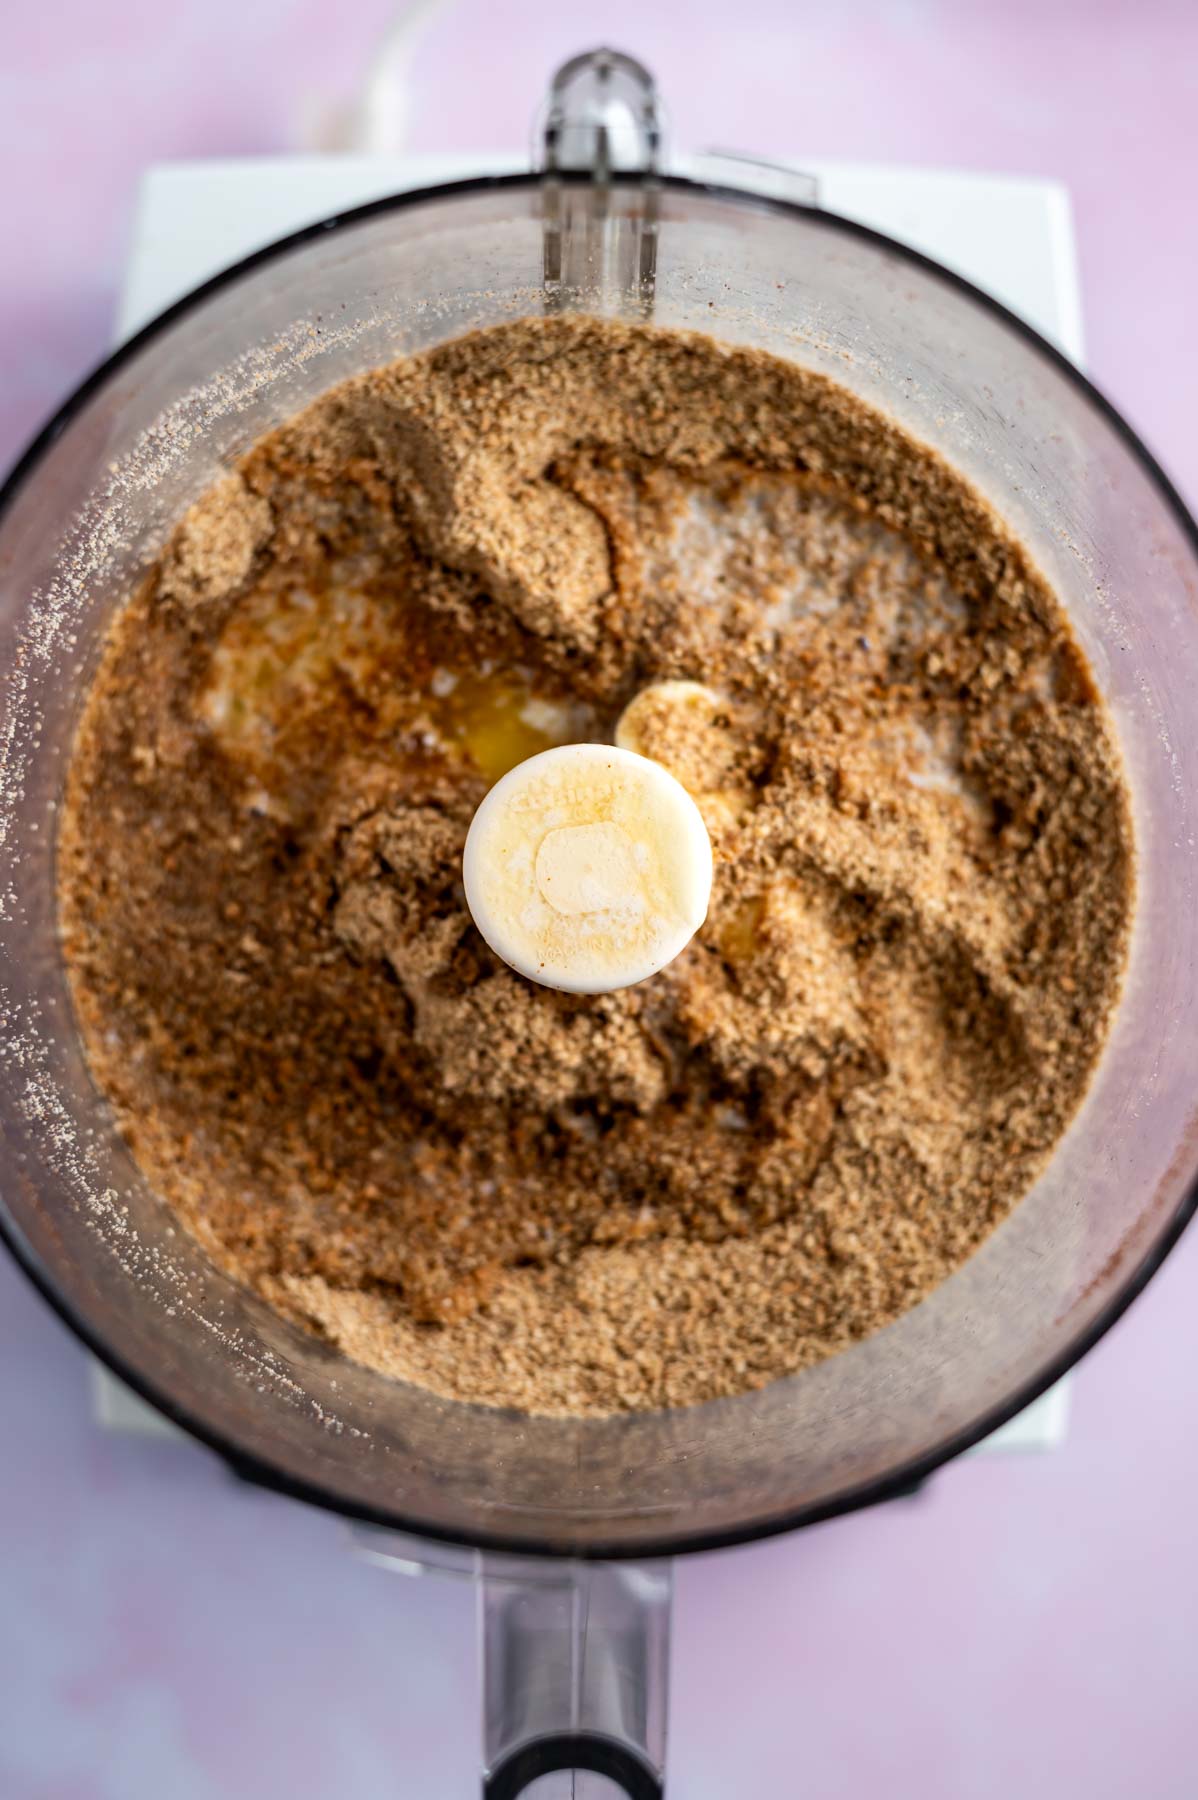
Now add the melted butter and pulse another 8-10 times until the butter is fully combined with the crushed graham crackers.
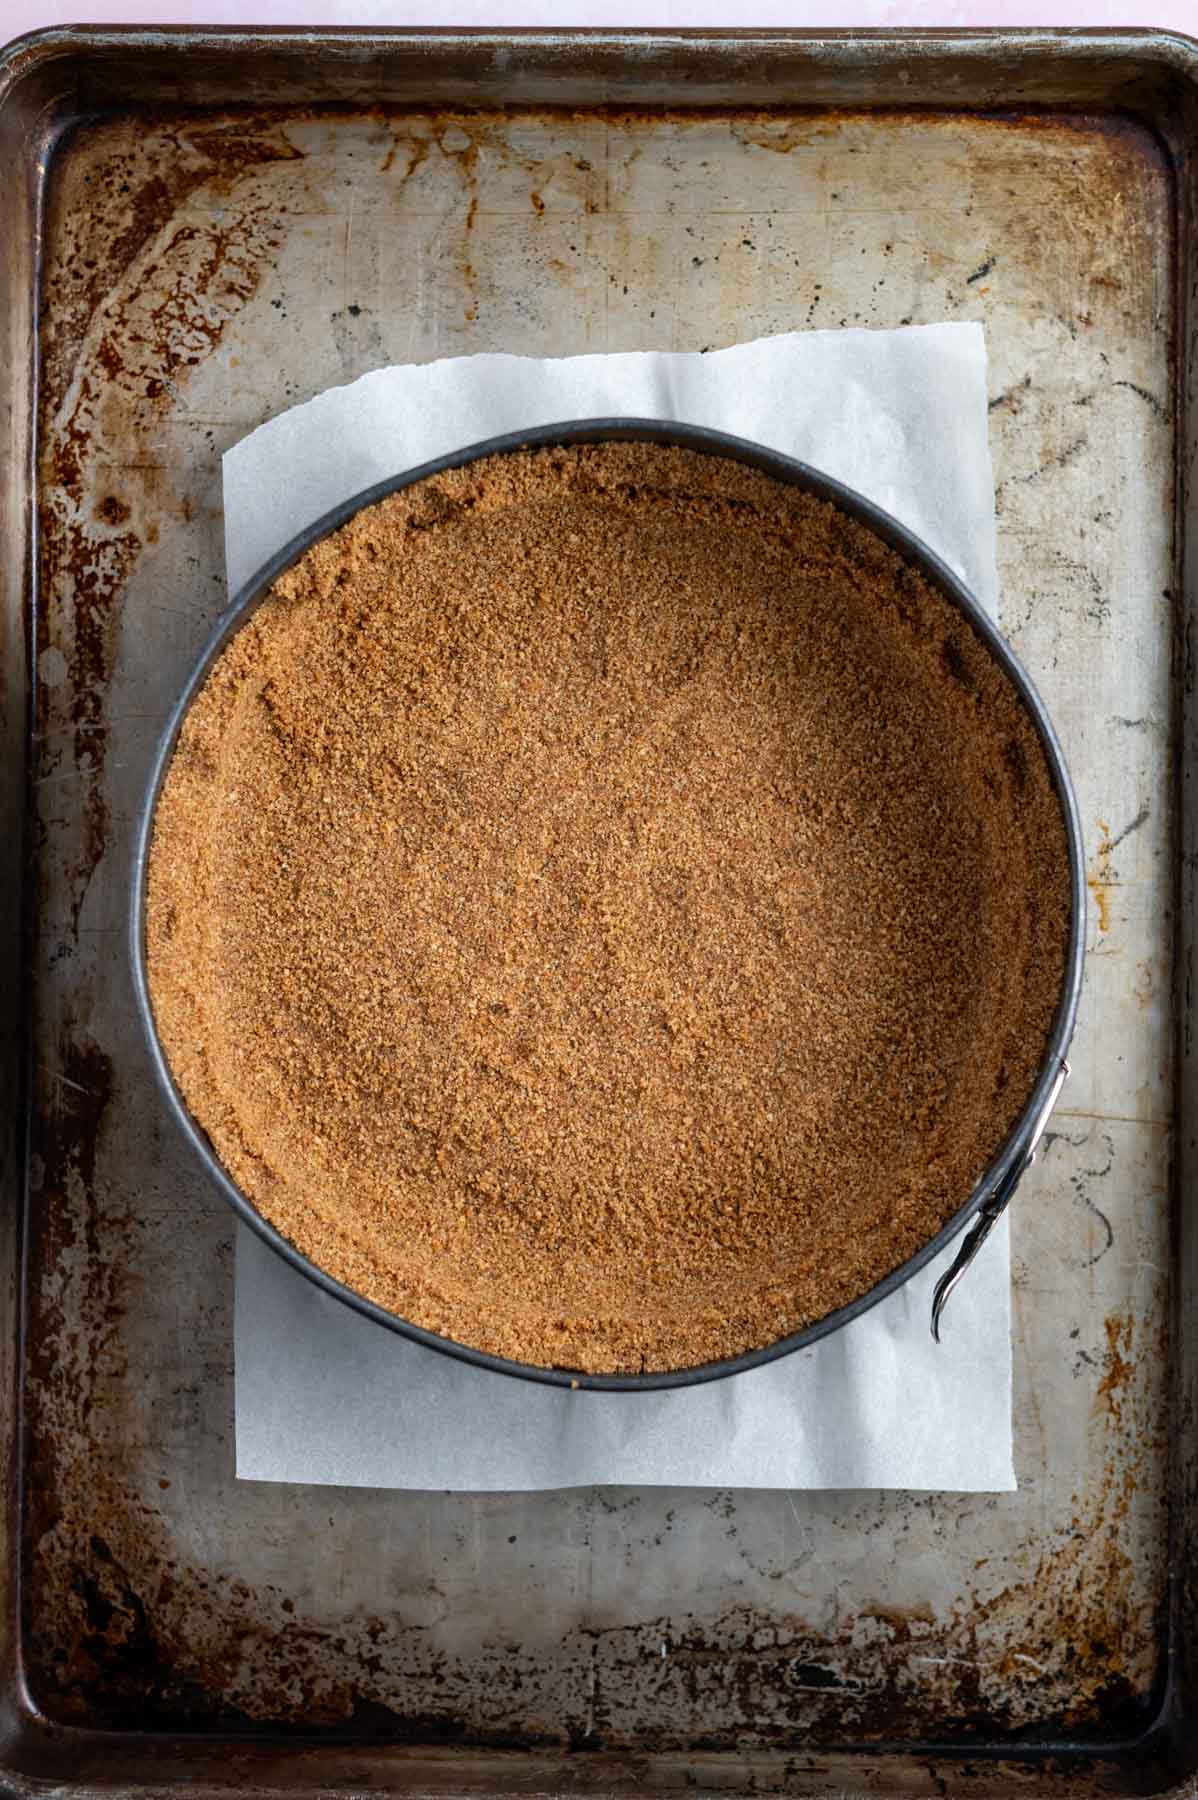
Press the mixture into the bottom and up the sides of a 9 inch springform pan with a removable bottom.
I use the flat bottom of a cup to firmly press the graham cracker crumbs into the bottom and up the sides of the pan. Pre-bake the crust for 8 minutes {I like to place the springform pan on a sheet pan to catch any butter that may try to seep out of the pan}. Remove from the oven and allow to cool slightly while you prepare the filling.
Remember to pin this recipe to Pinterest! Use the button on the recipe card or the share buttons on the side or bottom of this page.
🍰 how to make the coffee flavored filling
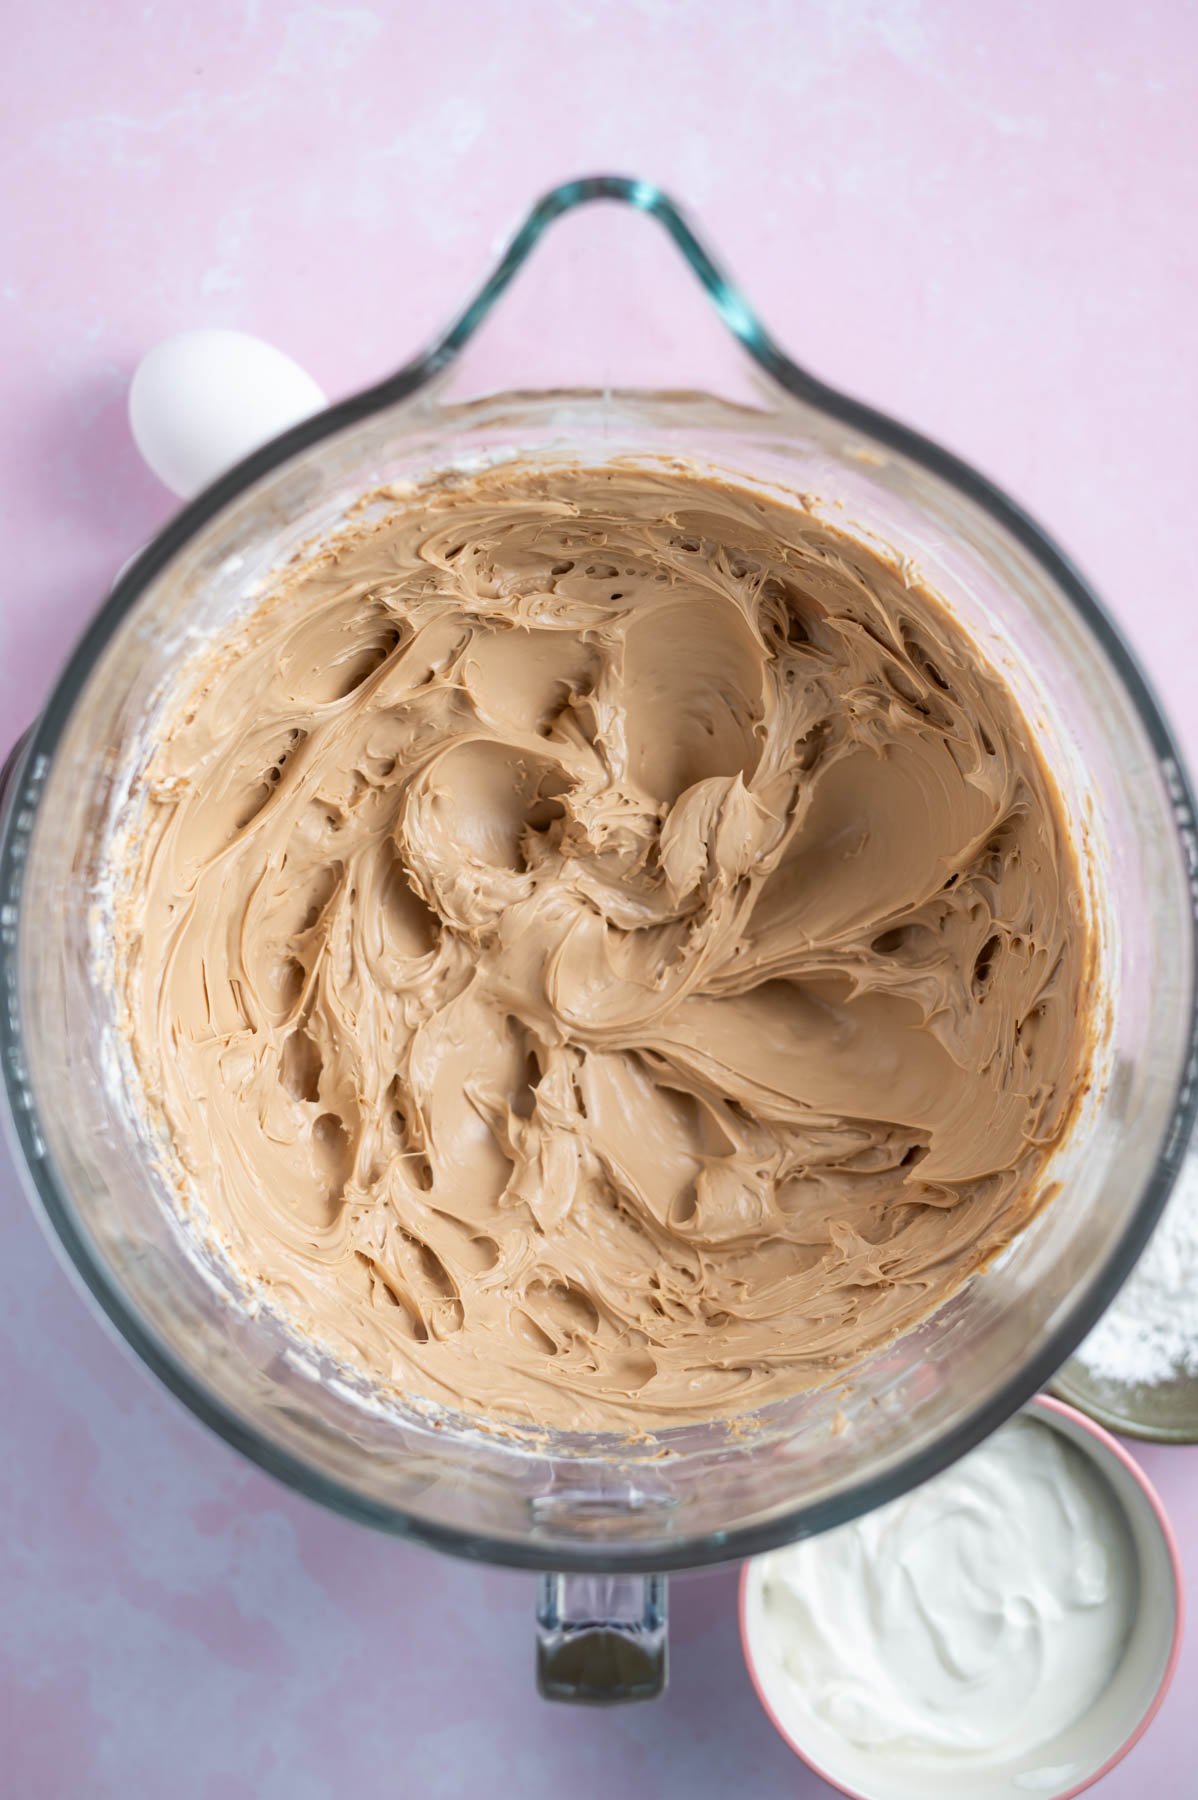
Using a handheld mixer or stand mixer with the paddle attachment, beat the room temperature cream cheese, granulated sugar and instant espresso powder on medium until the mixture is smooth and creamy.
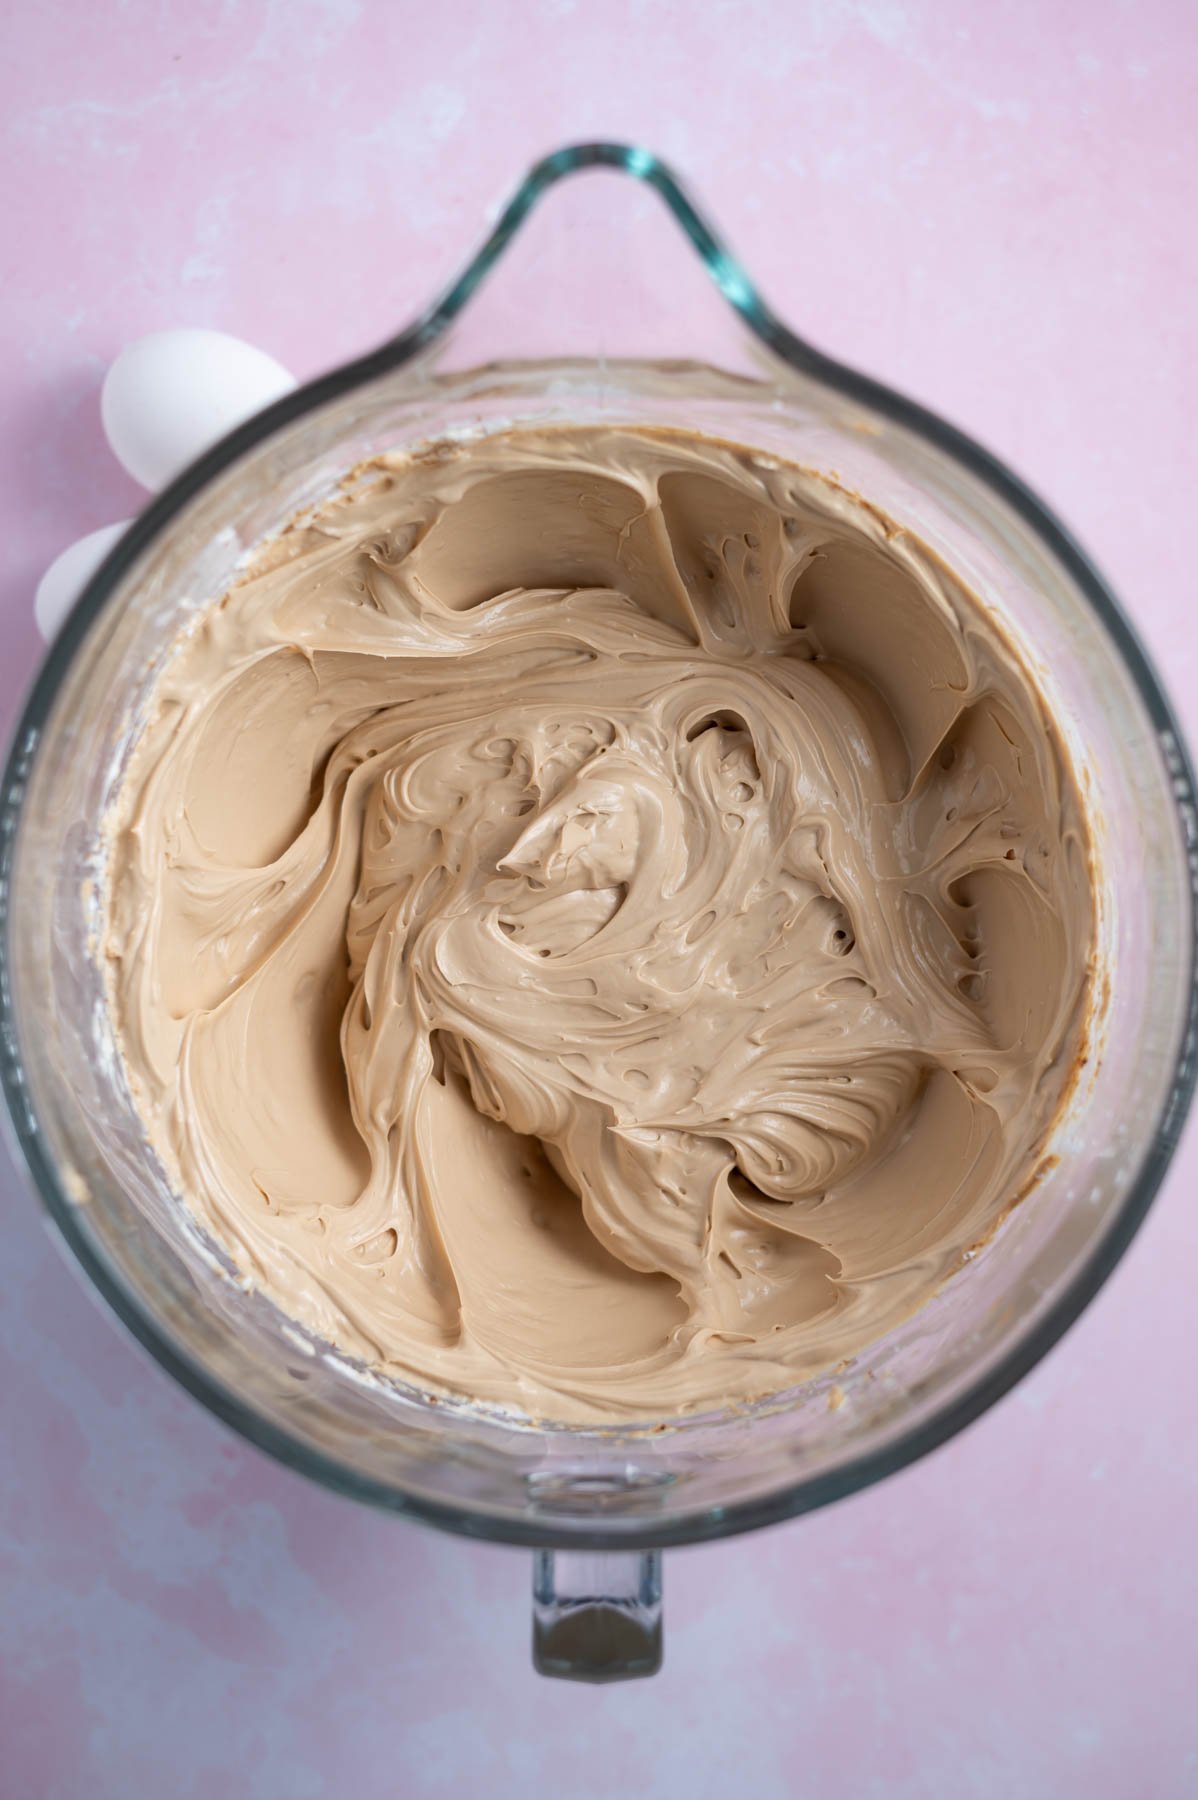
Then add the cornstarch, sour cream and vanilla and beat another minute, until fully combined.
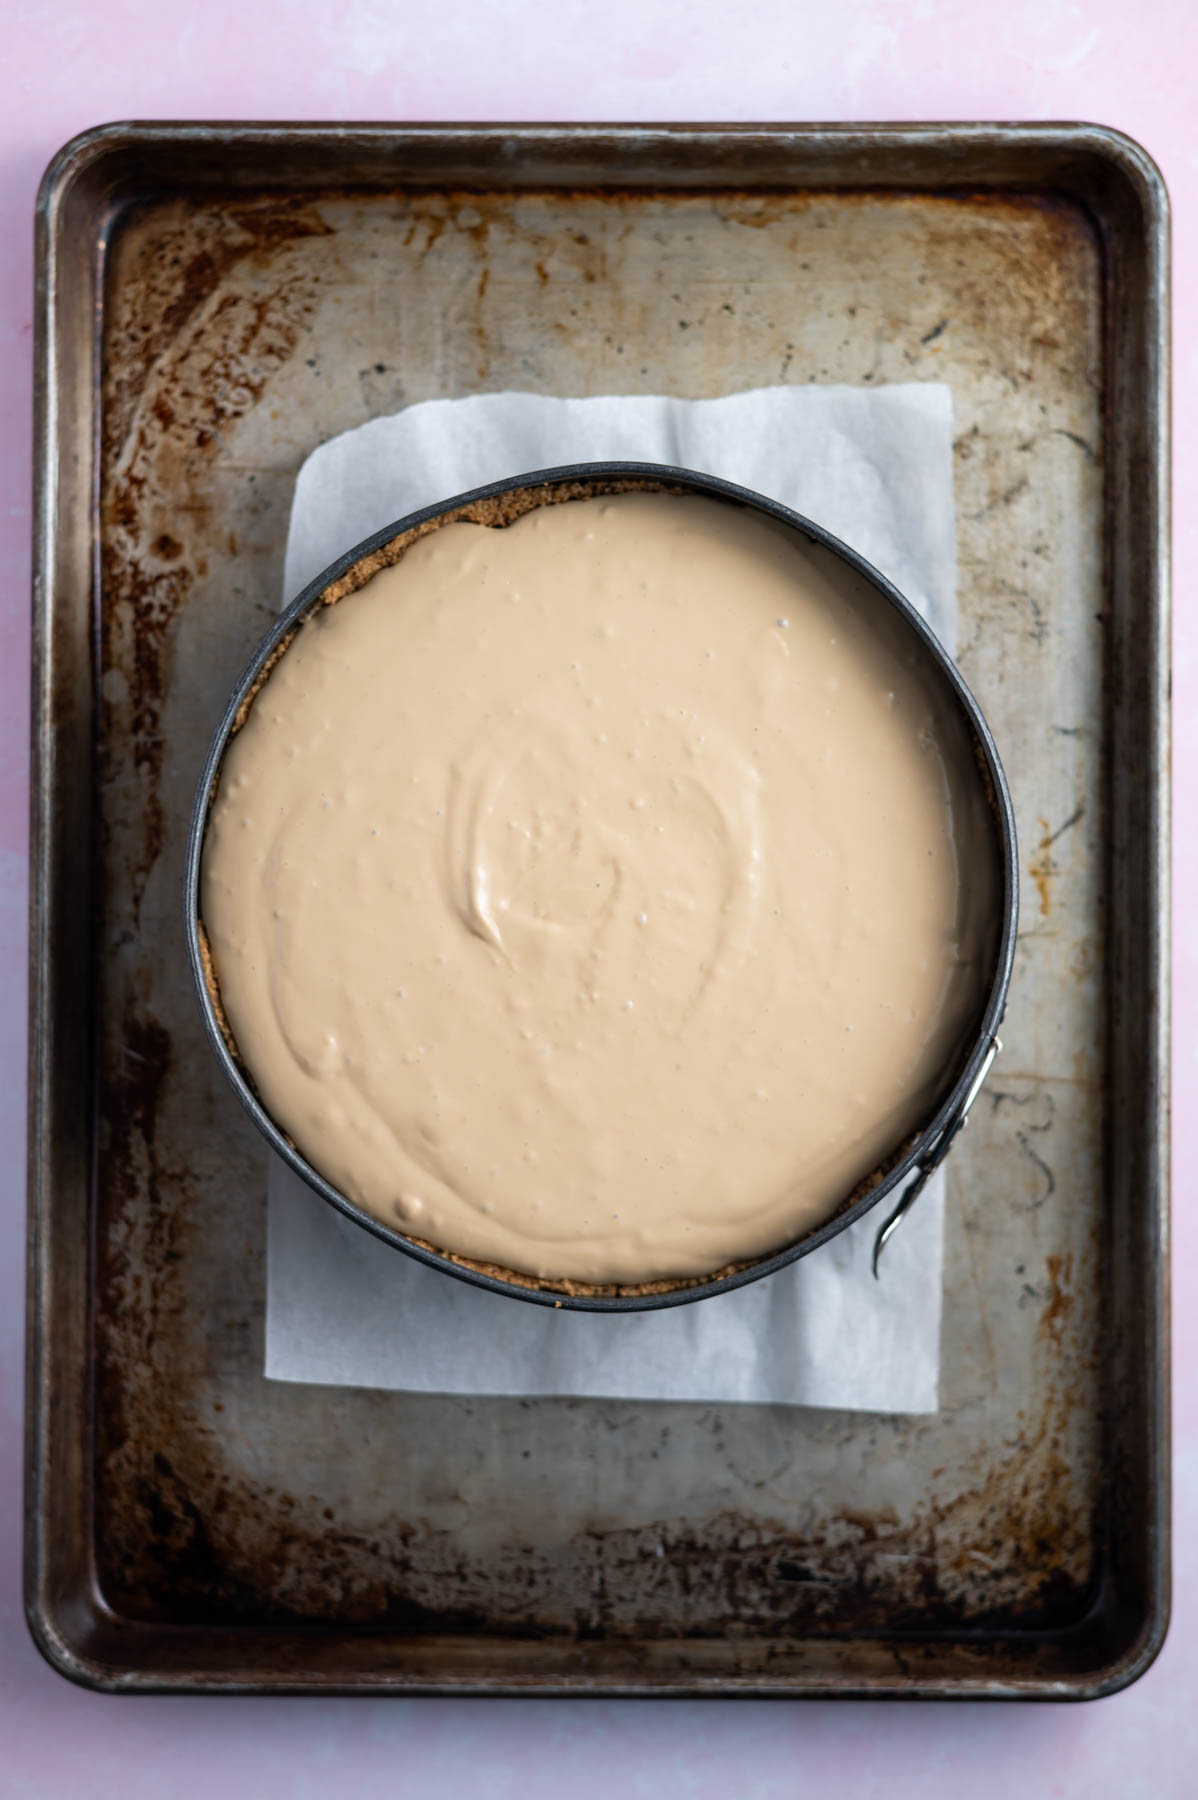
Now add the eggs one at a time, beating until just blended. Once the final egg disappears into the batter, stop the mixer use a spatula to make sure the final egg is fully combined and evenly mixed in the batter. Pour the cheesecake mixture into the pre-baked graham cracker crust.
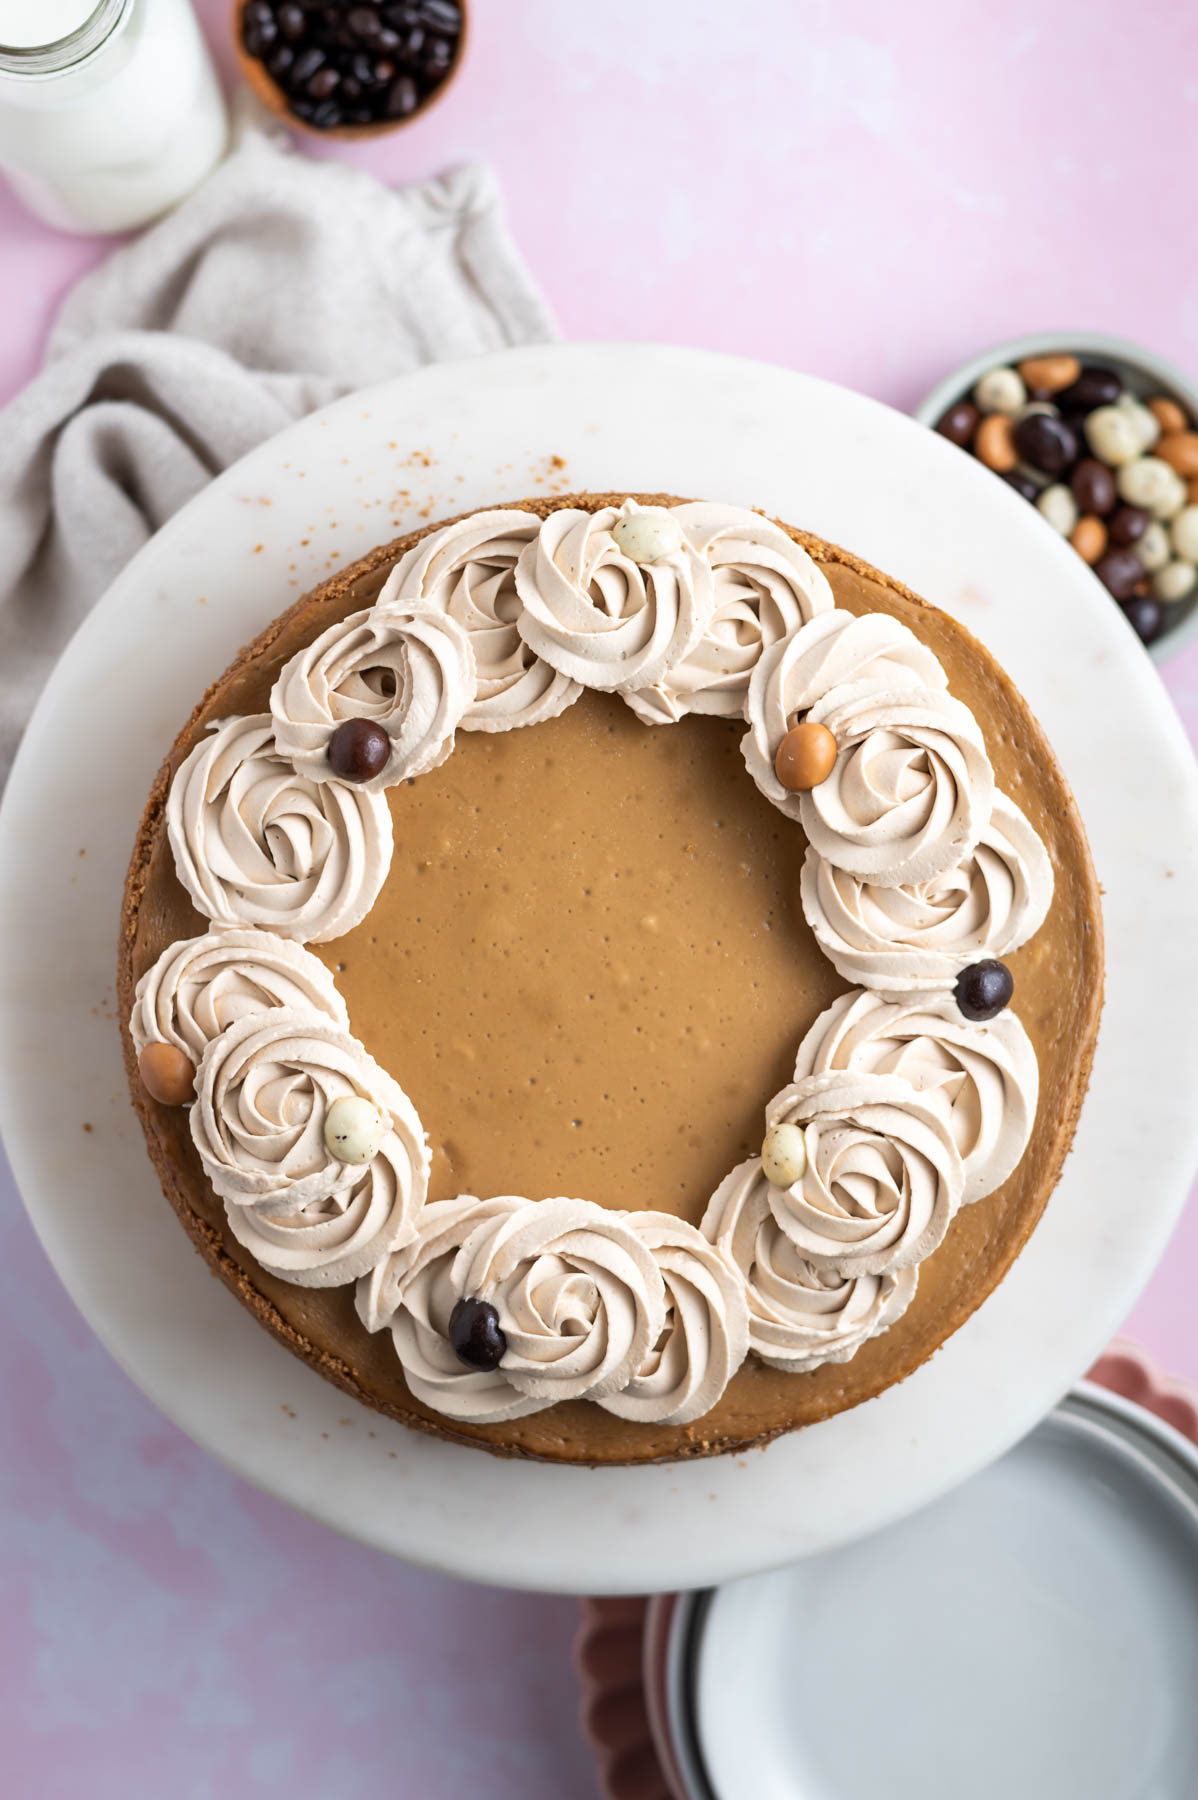
⏲ how do you know when cheesecake is done baking?
This espresso cheesecake should have some jiggle in the middle when it is done baking. In my oven, this cheesecake was consistently baked at 50 - 55 minutes. The edges will be set and when you lightly tap the sides of the pan, the middle will have a little wiggle to it.
It can be a little unnerving to see the jiggly middle, but the cheesecake will continue to cook and set up as it cools. If you want to see what my baked cheesecake recipes look like when I turn off the heat in the oven, you can look at the video on my birthday cheesecake recipe.
☕️ how to make the espresso whipped cream
I find using a hand mixer or stand mixer with the whisk attachment is the easiest for making whipped cream. If you prefer to get an arm workout, you can absolutely whisk it by hand as well!
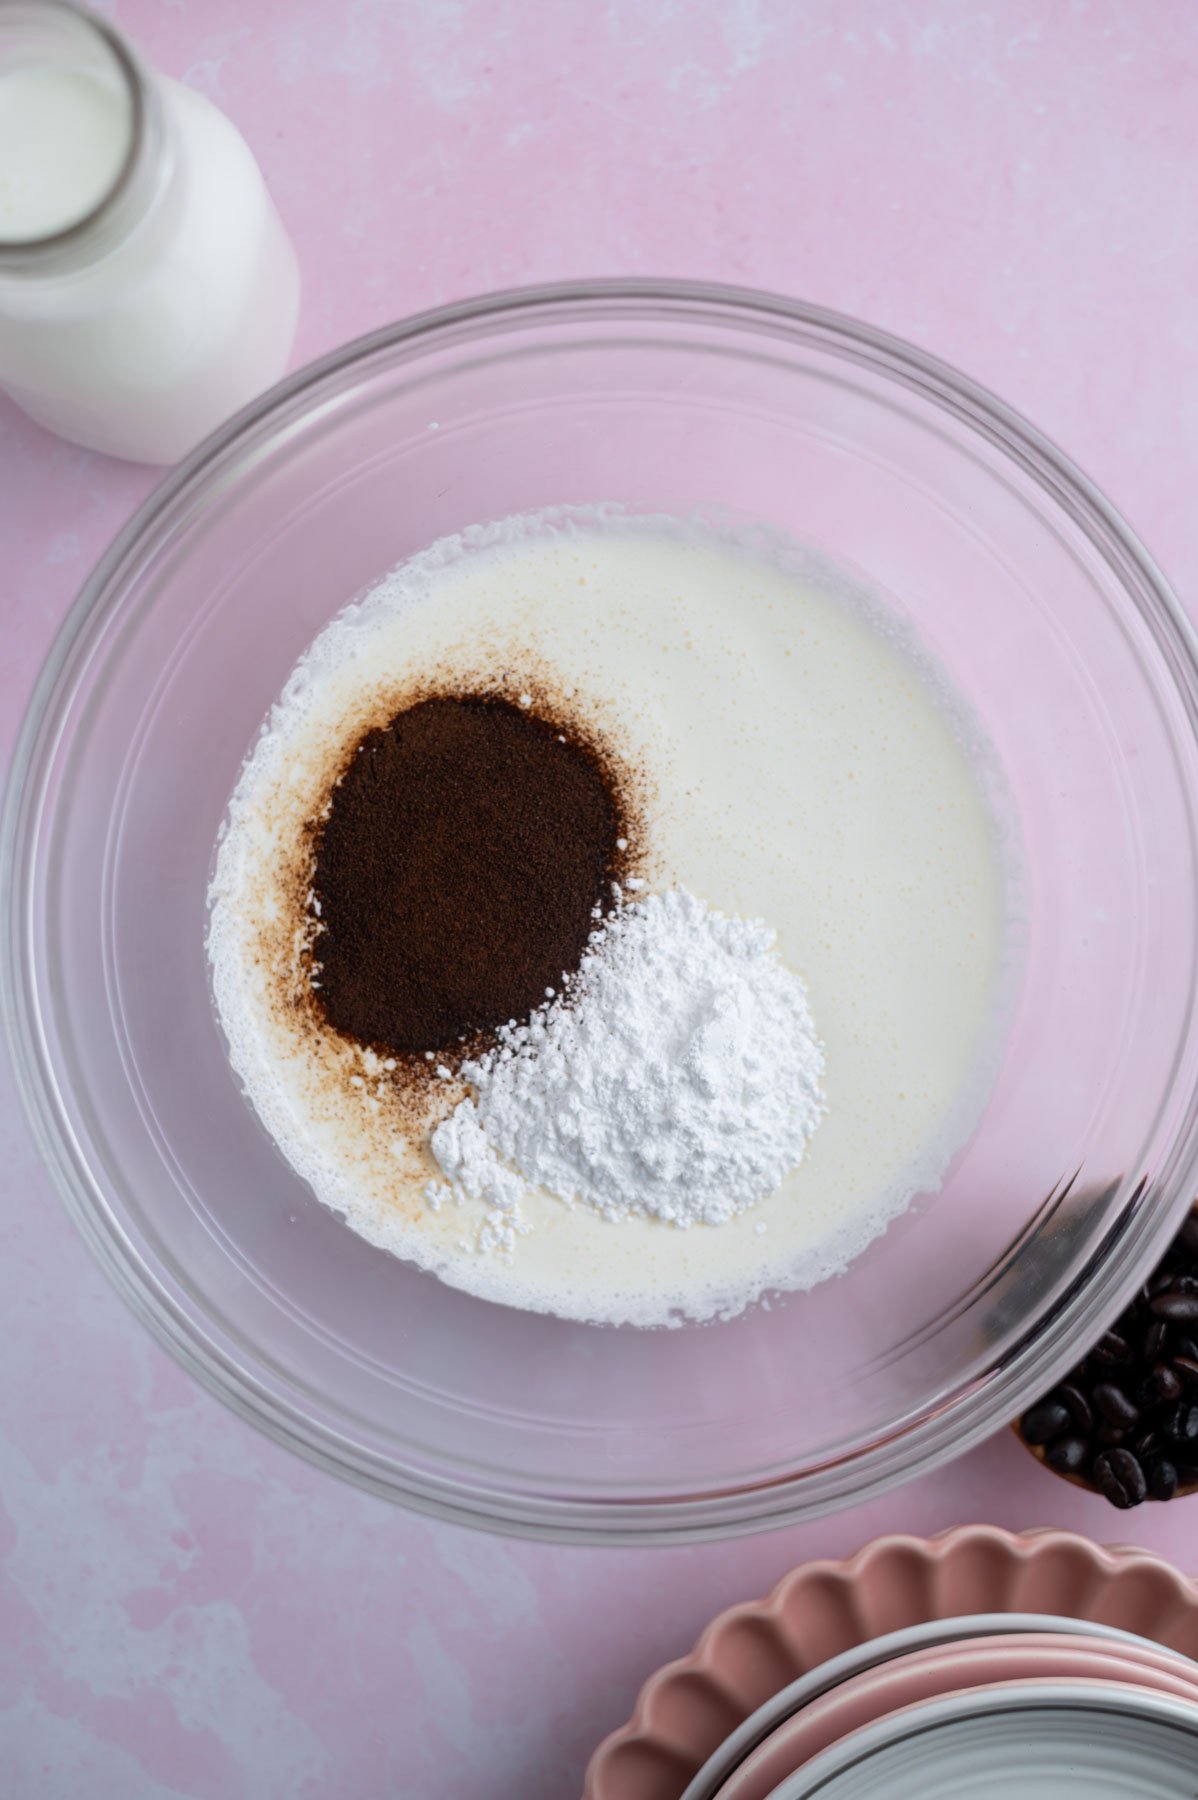
Add the cold heavy whipping cream, confectioners' sugar, instant espresso powder and vanilla to a bowl or stand mixer bowl.
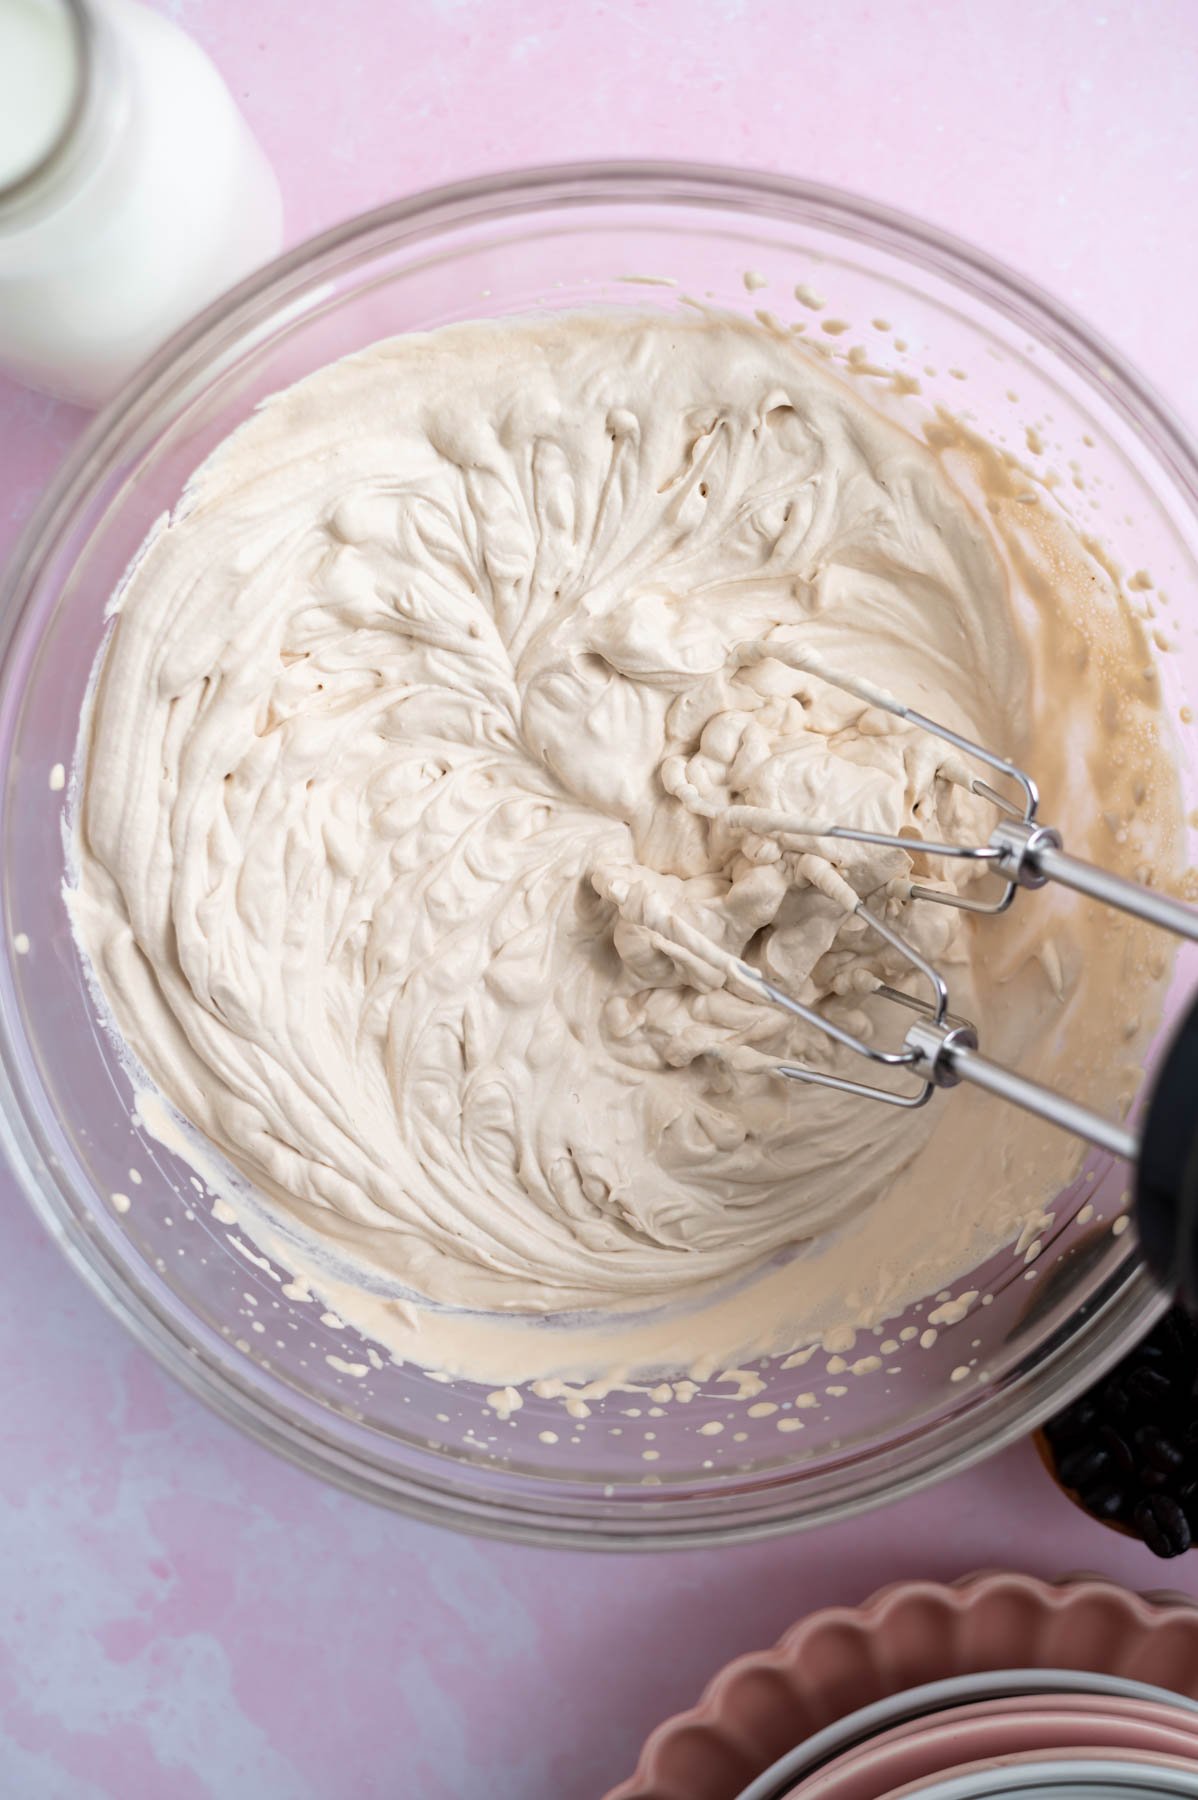
Then using a handheld or stand mixer with the whisk attachment, whip on medium-high until stiff peaks form, about 3-4 minutes.
💬 frequently asked questions
what are the two types of cheesecake?
Cheesecake is a classic dessert that is split into baked cheesecake and no bake cheesecake. A baked cheesecake has a firmer texture and is silky and creamy. No bake biscoff cheesecake tends to be lighter and more mousse-like in texture.
what if I don't need a large cheesecake?
This recipe divides almost perfectly to make a six-inch cheesecake! Just divide the ingredients by 3 and use ¾ tsp cornstarch {since it doesn't divide evenly!}.
can I bake cheesecake without a springform pan?
Yes, you can use a 9-inch round baking pan. The espresso cheesecake will have a more rustic outer edge, but will still taste incredible.
Line the round baking pan with parchment overhang so you can pull the chilled cheesecake out of the baking pan to cut and serve.
{if you only have a 10-inch springform pan, know the cheesecake will be a little shorter and will require less baking time}.
👩🏻🍳 tips for the best creamy baked cheesecake
- Use room temperature ingredients ~ the room temperature ingredients combine more evenly and create a smooth batter {no lumpy cheesecake here!}.
- Use full fat ingredients ~ you want to buy the block cream cheese and not the whipped spread {they don't behave the same in baking}. This adds to the creaminess of the espresso cheesecake.
- Cornstarch ~ the addition of a little starch prevents the protein in the eggs from stiffening, adding to the silky and creamy final texture.
- Don't over mix the batter ~ which can add too much air and cause the cheesecake to rise and then fall during baking.
- Place the springform pan on top of a baking pan before placing in the oven {for both the baking of the cheesecake and the baking of the graham cracker crust}. This will catch any leaks of butter from the classic crust and keep your oven cleaner!
- Don't over bake ~ a classic cheesecake has a creamy texture. An over baked cheesecake can still be eaten, but will not have the creamy and silky texture.
- Allow to cool slowly ~ allow the cheesecake to cool in the oven before removing to the counter to cool. {more detailed instructions are in the recipe card below}.
- Once the espresso cheesecake has cooled to room temperature, place it in the refrigerator to chill and set up. It needs to chill for a minimum of 6 hours and ideally 8 or more.
- For clean slices when serving, wipe the knife clean between cuts.
💡 toppings and crust variations
Oreo cookie crust ~ if you want to add chocolate flavor to this recipe you can make it with an oreo crust. Use the crust from my chocolate raspberry cheesecake and add the same amount of espresso powder with the Oreo cookies.
Graham cracker crust ~ for a more subtle coffee flavored cheesecake, omit the instant espresso powder in the crust.
Chocolate ganache ~ I personally feel like chocolate can overwhelm the espresso flavor in desserts, but if you love the combo you can make this baked cheesecake with chocolate ganache for a topping.
White chocolate topping ~ white chocolate and espresso is a great combo. The sweetness of white chocolate is a nice compliment to the big coffee flavor. You can use the white chocolate ganache from this birthday cheesecake recipe.
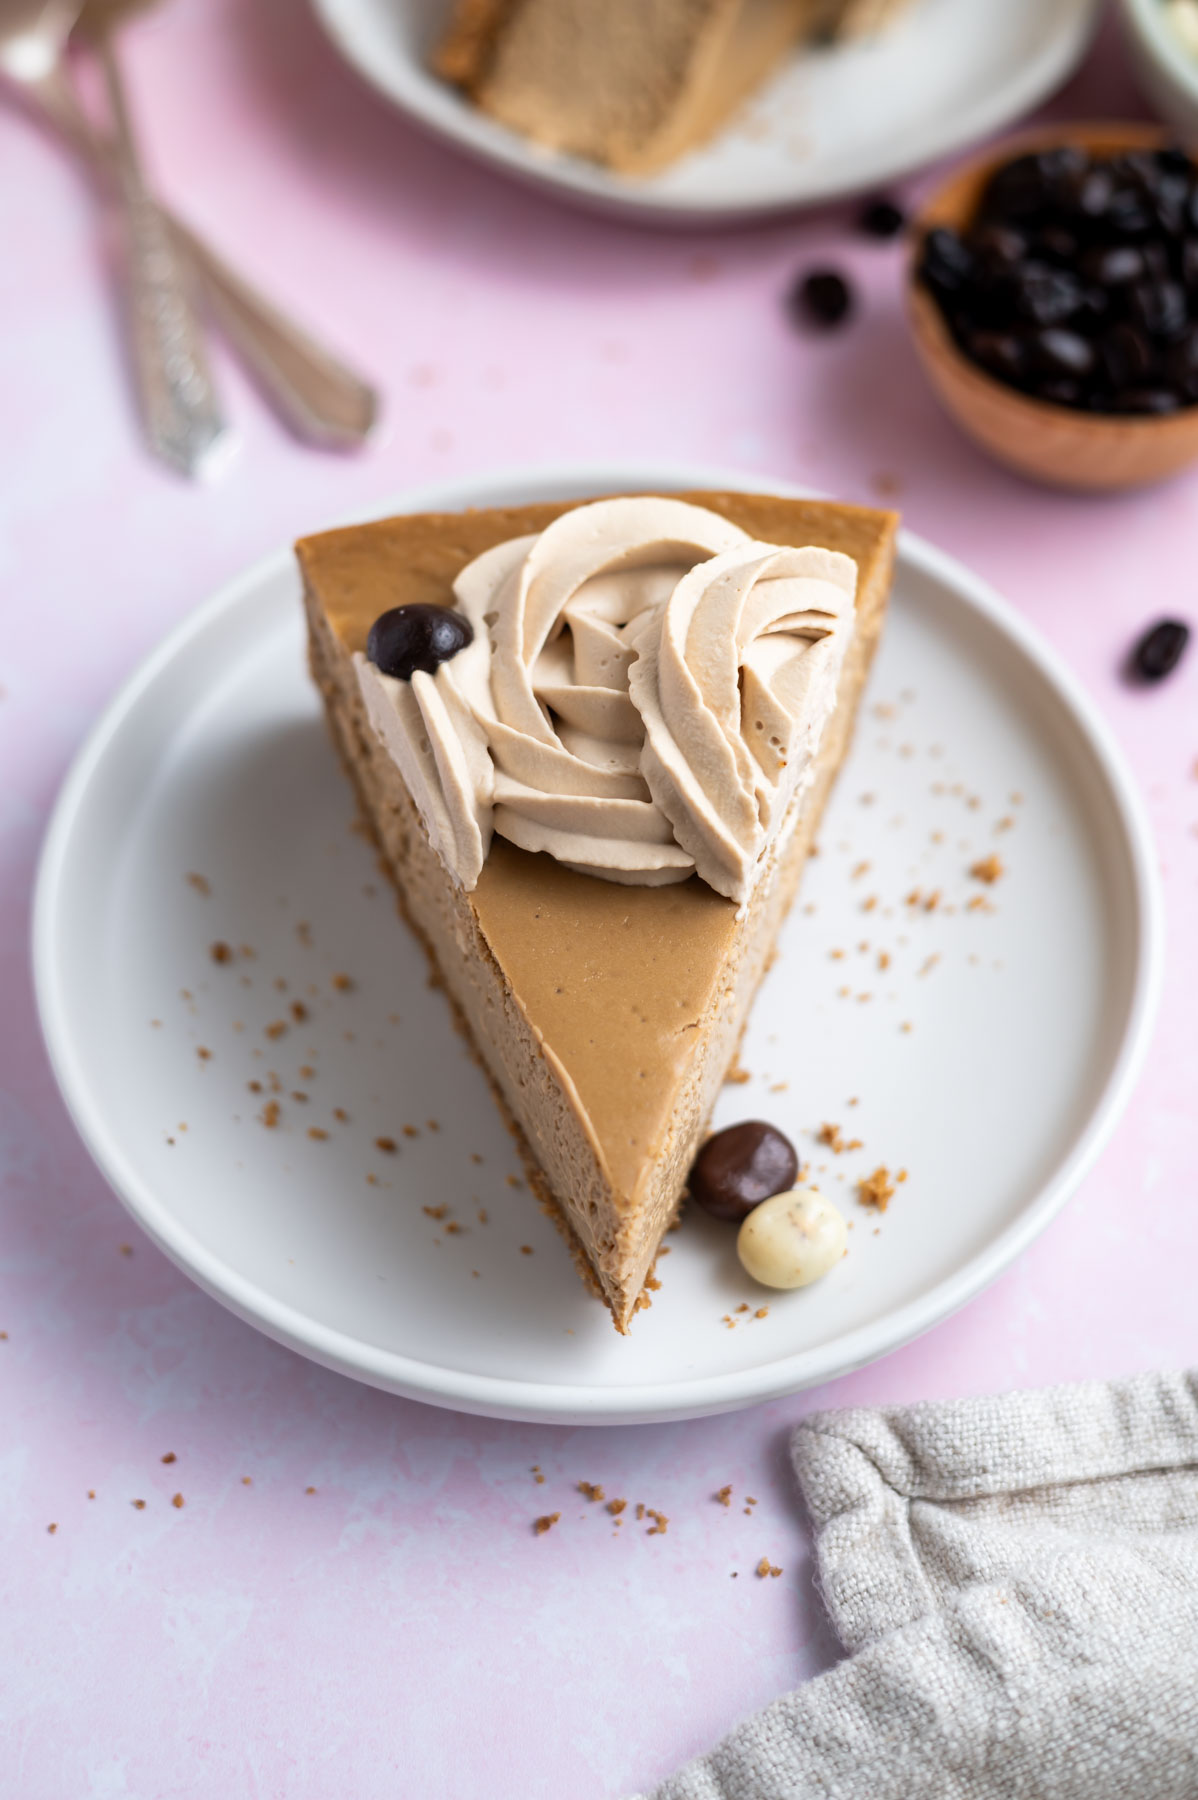
Garnish ideas ~ I used some chocolate covered espresso beans, I buy mine at Trader Joe's. But chocolate curls would also be really pretty as a garnish. Using a salted caramel drizzle would also be delish! You can use the salted caramel from this espresso brownies recipe.
🫙 how to store
Store any leftover espresso cheesecake in the refrigerator for up to 5 days, it will store better in an airtight container or with parchment pressed up against the cut sides. If you place plastic wrap over the top, it will get a little condensation on it.
The coffee filled cheesecake can also be frozen for up to 2 months. You can either chill the cheesecake well; then wrap the whole thing tightly in a double layer in plastic wrap. Or cut the cheesecake into individual slices and chill; then wrap each slice tightly in a double layer of plastic wrap. Allow to defrost in the refrigerator before serving.
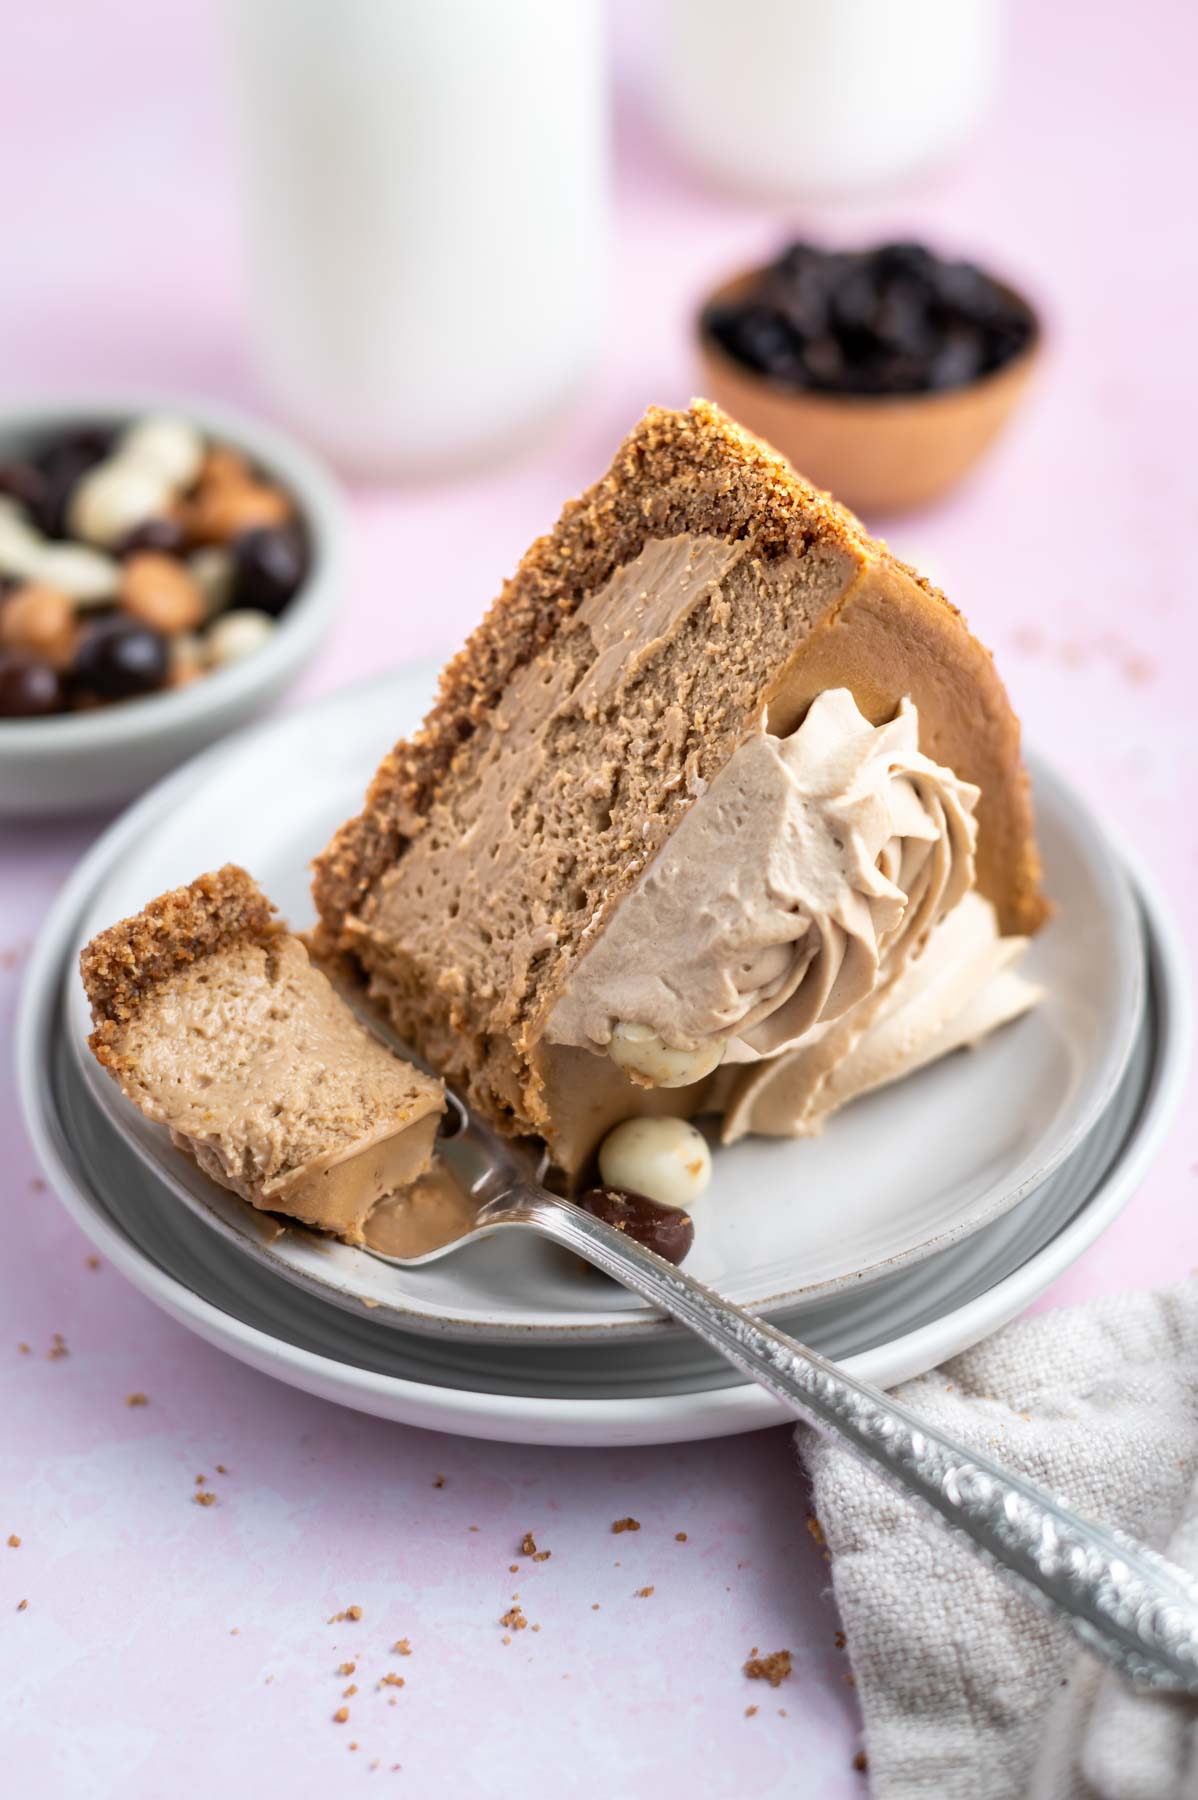
Remember to snap a picture and tag me on Instagram if you make this Espresso Cheesecake. It warms my heart to see you bring these recipes to life! Thank you for being here and happy baking!
☕️ more espresso dessert recipes
- Espresso Browned Butter Toffee Cookies
- Espresso Cake
- One Bowl Espresso Chocolate Chip Cookies
- Mini No Bake Peanut Butter Espresso Cheesecake
- Espresso Brownies
If you make this recipe {or any recipe!} from two sugar bugs please come back and leave a review and a ⭐️⭐️⭐️⭐️⭐️ star rating. I read every comment, and I LOVE hearing from you!
📖 recipe
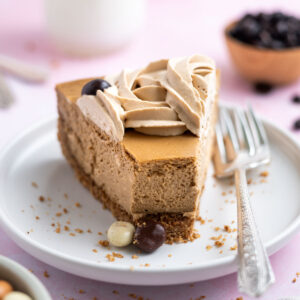
Creamy Espresso Cheesecake
recipe created and tested by:

I highly recommend using weight (metric) measurements when available for more accuracy and the best results.
Please note
When using 2x or 3x ingredients, the grams DO NOT adjust, you will have to manually do that.
Ingredients
espresso graham cracker crust
- 20 full graham cracker sheets crushed 300g
- 2 tablespoons packed brown sugar 25g
- 3 tablespoons instant espresso powder
- ½ cup unsalted butter melted 113g
espresso cheesecake
- three 8 ounce blocks of full fat cream cheese room temperature 681g
- ¾ cup granulated sugar 150g
- 3 tablespoons instant espresso powder
- 2 teaspoons cornstarch
- ¾ cup full fat sour cream room temperature 180g
- 1 tablespoon pure vanilla extract
- 3 large eggs room temperature
espresso whipped cream
- ½ cup heavy whipping cream 120mL
- 2 tablespoons confectioners' sugar 15g
- 1 - 2 teaspoons instant espresso powder
- 1 teaspoon pure vanilla extract
Instructions
- If necessary, adjust the oven racks to have room for a pan of water on the lowest rack and the cheesecake on the center rack. Then preheat the oven to 325°F.
make the graham cracker crust
- Crush the graham crackers (20 full sheets/300g) with the brown sugar (2 packed tablespoons/25g) and instant espresso powder (3 tablespoons) in a food processor or high powered blender and pulse until fine crumbs. (You can also place the graham crackers in a zip top bag and use a rolling pin to crush them). Add the melted butter (½ cup/113g) and pulse another 8-10 times until the butter is fully combined with the crushed graham crackers.
- Press the mixture into the bottom and up the sides of a 9 inch springform pan with a removable bottom. If you want to be able to remove the cheesecake from the bottom before serving, line the pan with a piece of parchment paper. I use the flat bottom of a measuring cup to firmly press the graham cracker crumbs into the bottom and up the sides of the pan. Pre-bake the crust for 8 minutes*. Remove from the oven and allow to cool slightly while you prepare the filling. (leave the oven on)
make the espresso cheesecake
- Using a handheld mixer or stand mixer with the paddle attachment, beat the room temperature cream cheese (three 8 ounce blocks/681g), granulated sugar (¾ cup/150g) and instant espresso powder (3 tablespoons) on medium (speed 6 on a KitchenAid) until the mixture is smooth and creamy, about 2 minutes. Scrape the bowl. Add the cornstarch (2 teaspoons), sour cream (¾ cup/180g) and vanilla (1 tablespoon) and beat another minute, until fully combined. Scrape up and down the bowl. On low (speed 2), add the eggs one at a time, (3 large) beating until just blended. Once the final egg disappears into the batter, stop the mixer use a spatula to make sure the final egg is fully combined and evenly mixed in the batter.
- Pour the cheesecake mixture into the pre-baked graham cracker crust. Smooth the top with an offset spatula, if needed.
- Prepare a large pot of boiling water and once it's boiling, pour about an inch of hot water in a 9x13 or large baking pan (do not use glass!) and place the pan of water on the bottom rack of the oven.
- Bake the cheesecake* in the center of the oven for 50-60 minutes, or until the center is almost set. The cheesecake is done when the center will jiggle slightly if you gently tap the pan. Turn the oven off and leave the door slightly open. Let the cheesecake cool in the oven for 30-60 minutes (with the pan of hot water still in the oven as well). Then move the cheesecake to the counter to cool another 1-2 hours.
- Move the cheesecake to the refrigerator for at least 6 hours and ideally overnight.
make the espresso whipped cream
- Using a handheld or stand mixer with the whisk attachment, whip the cold heavy whipping cream (½ cup/120mL), confectioners' sugar (2 tablespoons/15g), instant espresso powder (1-2 teaspoons) and vanilla (1 teaspoon) on medium-high until stiff peaks form, about 3-4 minutes.
- If needed, use a knife to loosen the chilled cheesecake from the springform pan, then remove the rim. Use a piping bag to pipe the espresso whipped cream on top of the coffee cheesecake {I used a Wilton 1M}. Alternately, you can also use a spoon to dollop the whipped cream on top. Garnish with chocolate covered espresso beans, if desired.
- Slice and serve.
Notes
Nutrition
The nutrition information is based on third-party calculations, is an estimate only and may not be entirely accurate. Actual nutritional values will vary based on brands used and portion sizes.
Michelle says
This is my kind of dessert -- that rich espresso flavor in the crust, paired with espresso creamy cheese filling AND espresso whip! Triple the coffee, perfect for someone like me, who needs coffee all the time!
Tasia says
Thanks Michelle! From one coffee lover to another, this one is perfect for us!
Penynah says
Wonderful recipe! EVERYONE loved it. Perfect balance of dense & creamy. I worried about using so much espresso powder, but it gave an amazing deep, sweet "cappuccino" flavor. Used gluten free Oreo cookies w/ your suggested optional oreo/espresso crust. 1.5 recipes made a 3" deep 8" round cheesecake. My pan was solid (not 2 part springform), so I put the 8" pan in a 10" pan for an easy waterbath. Before lining bottom with parchment, i lined the 8" pan with 2 long, double-layer folded foil which hung over sides to help remove cake after cooling. Baked 80 minutes @ 325° til temp at center read 160°. The espresso whip cream was amazing! I was so nervous making this. I've only made a few cheesecakes- but your instructions were great & it's a fantastic recipe. Thank you for sharing it w/ all of us!! I made this for my son & DIL's engagement luncheon. The 3" depth let me squeak out 16 servings. I will definitely be making it again for other coffee loving friends!!
Tasia says
Hi Penynah, thank you for the kind review! I am so happy this cheesecake was loved and part of such a special occasion!