


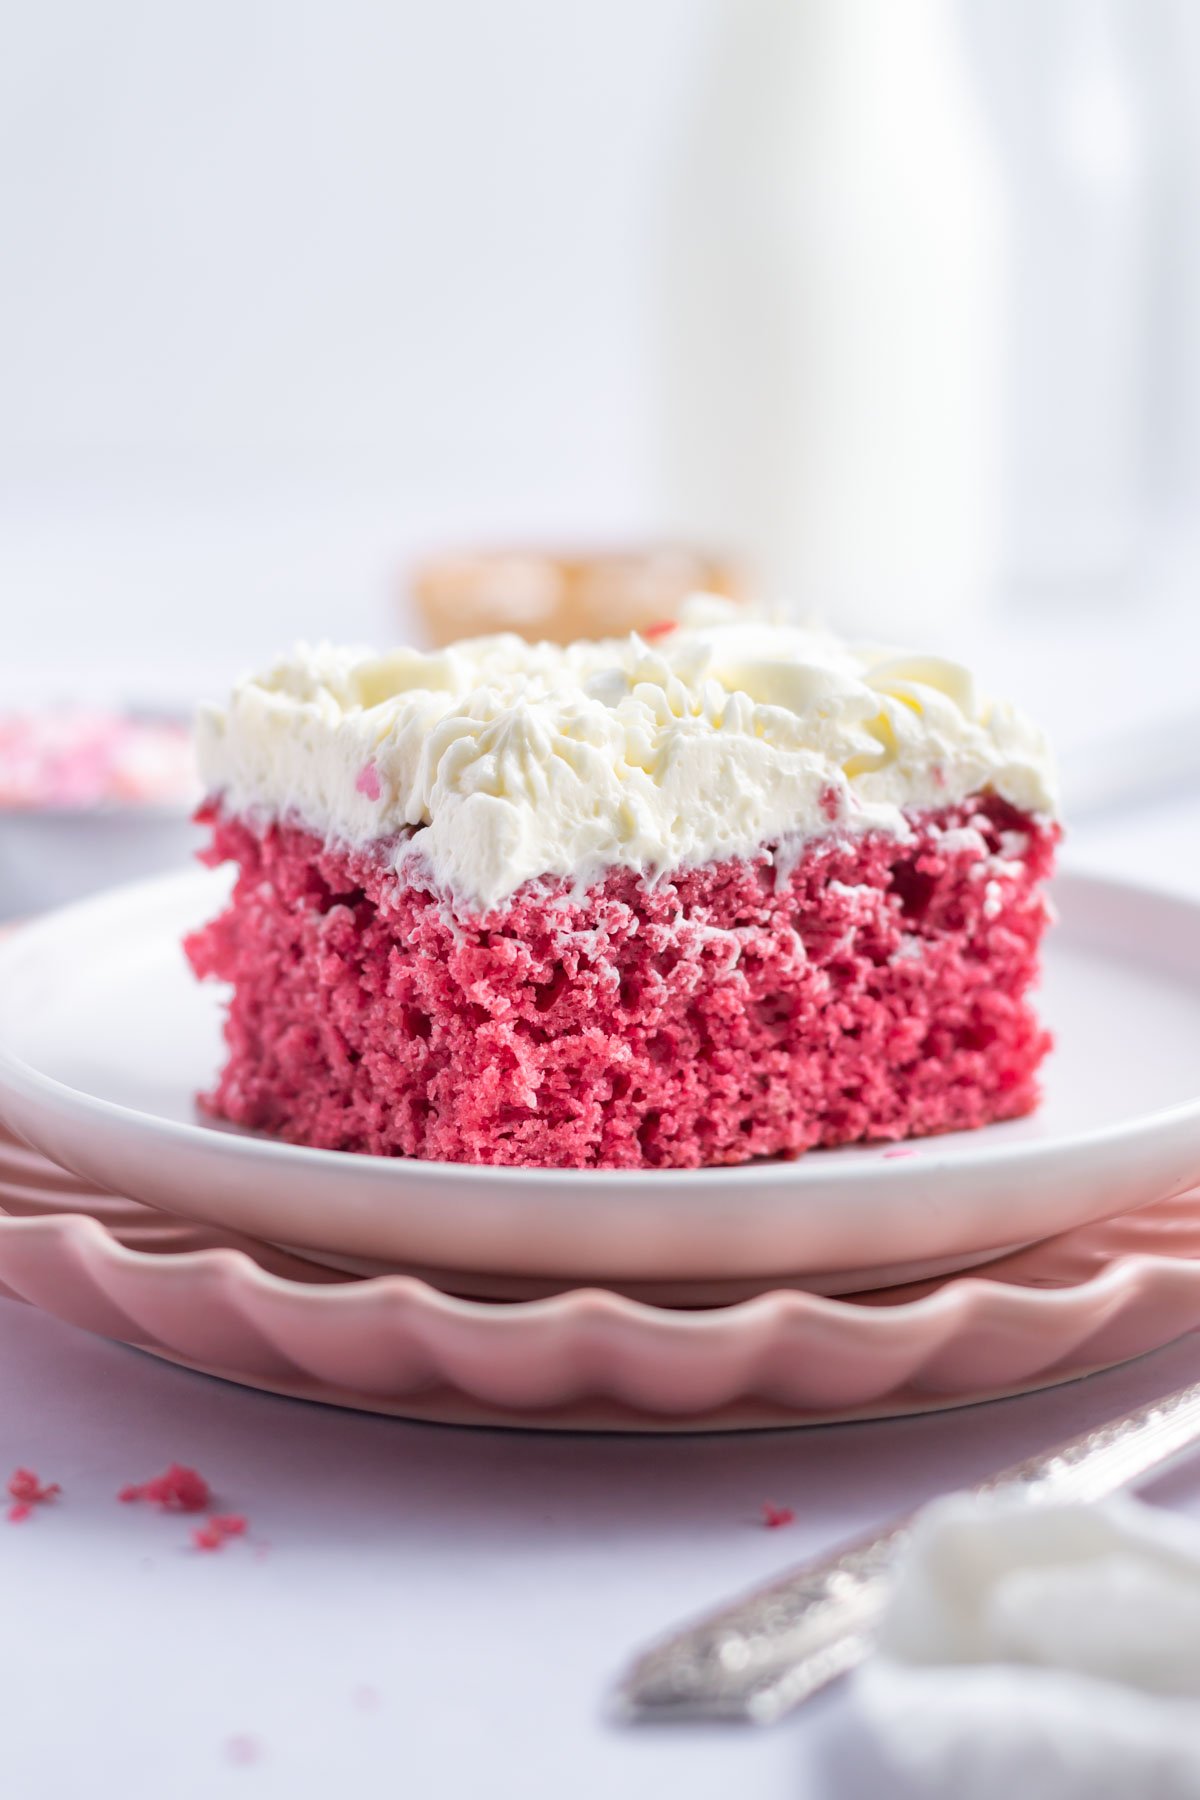
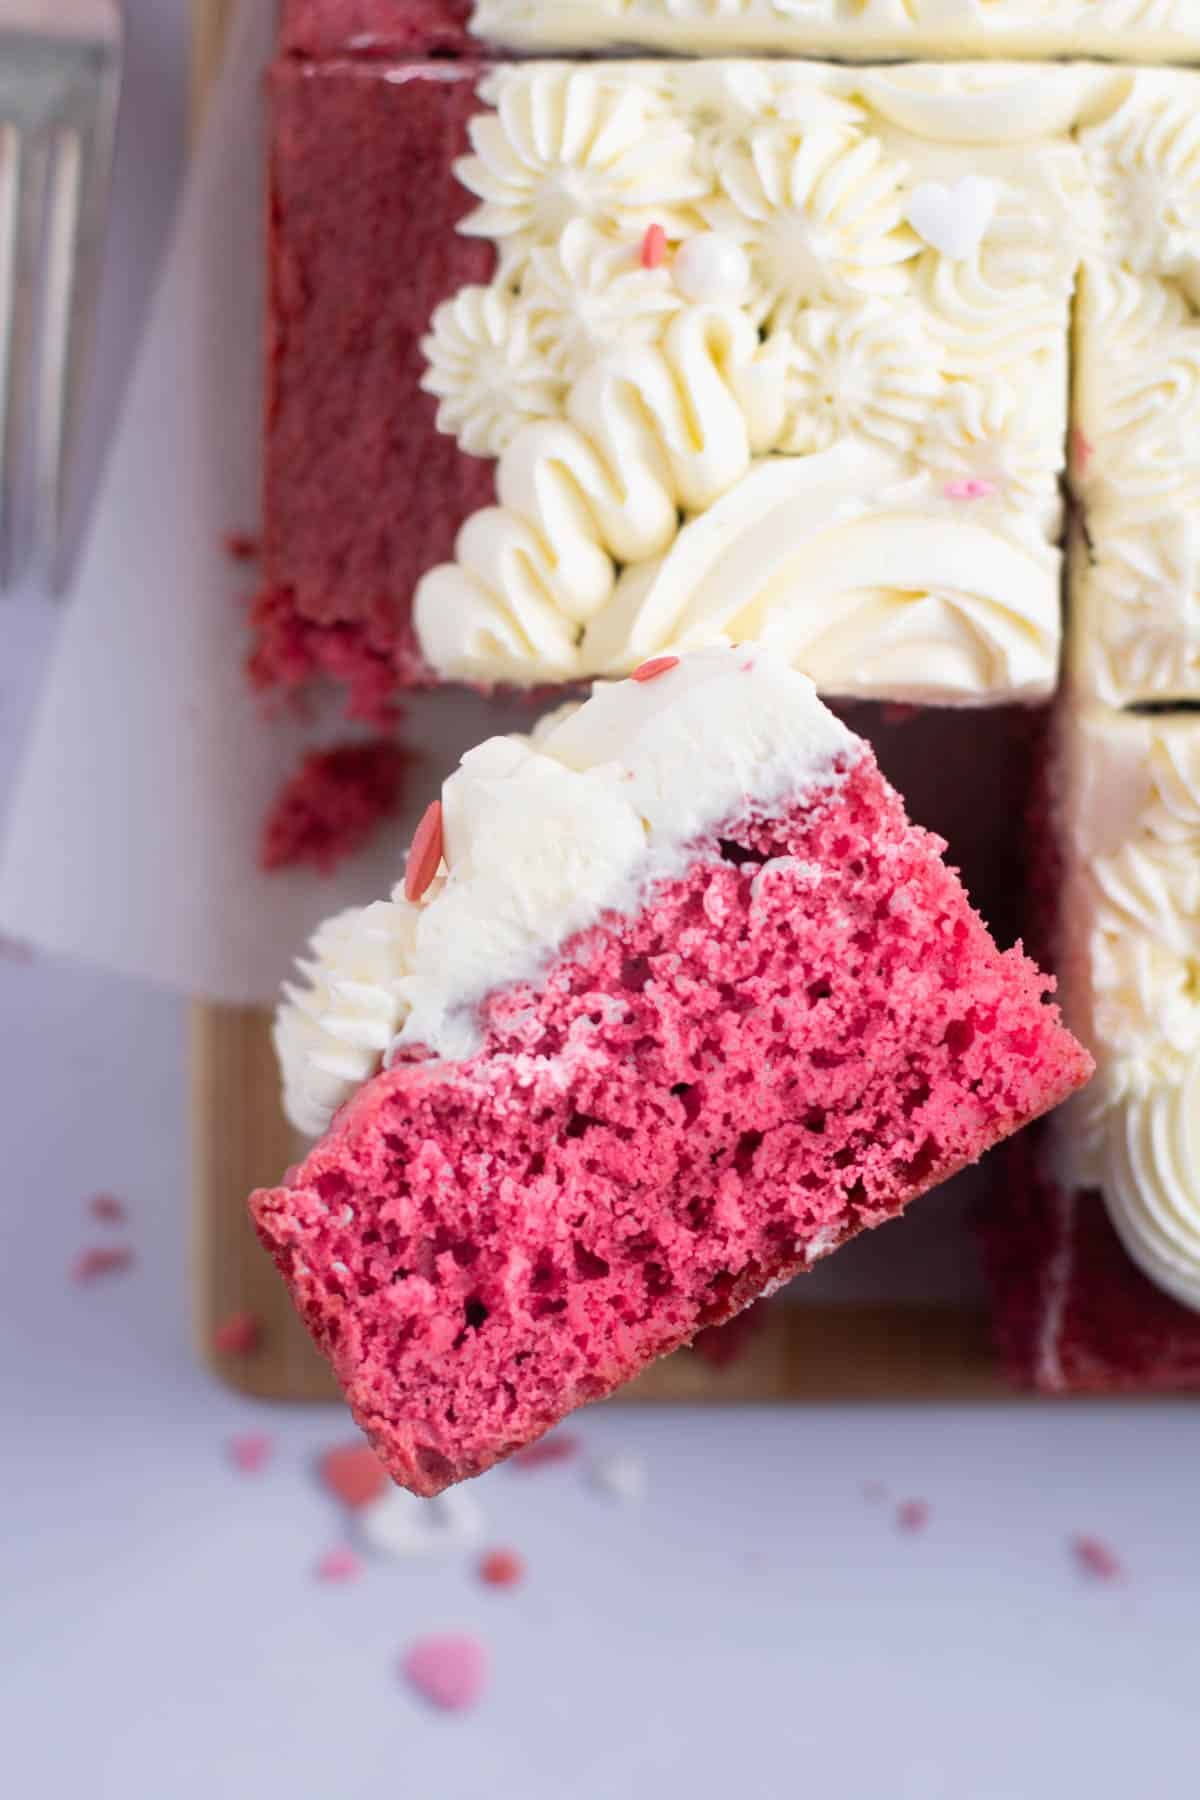
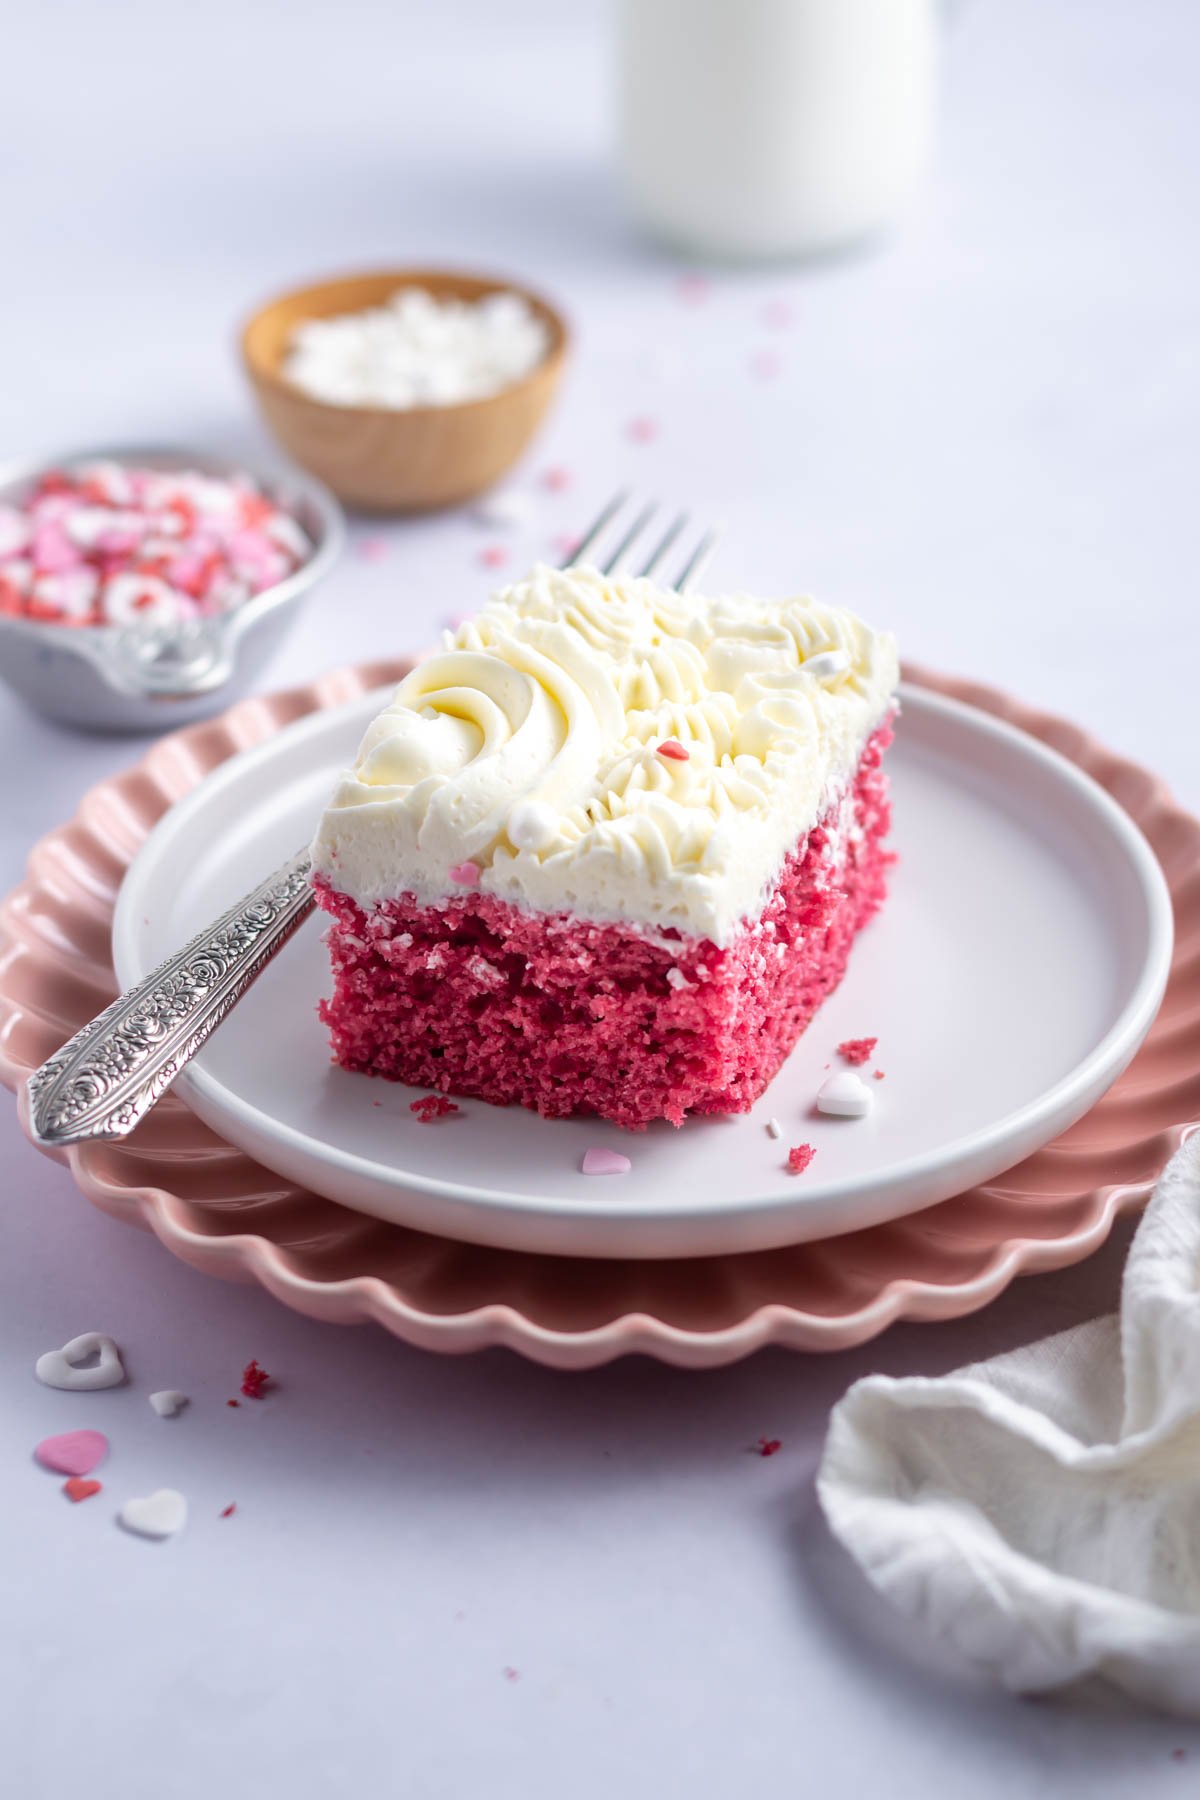
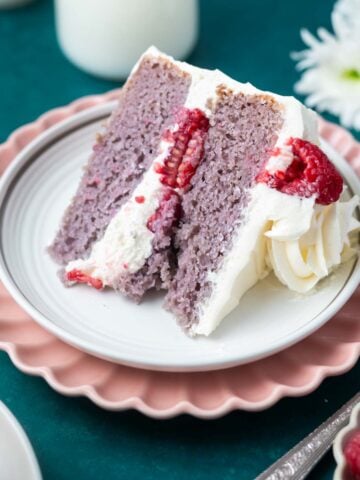
Pink velvet cake is moist and tender with a light cocoa powder flavor. Made with buttermilk and vinegar; it has the velvet texture you expect from red velvet cake, but in a pretty pink cake! Perfect for a Valentines cake or a pink birthday party.
Disclosure | This post may contain affiliate links. As an Amazon Associate I earn from qualifying purchases.
Pink velvet cake came about as a bit of an accident. For little e's fourth birthday, she requested blue velvet cake. I started experimenting with variations of red velvet cake, but subbing out the red with blue.
The funny thing about blue cake though, is that well, it's blue. Or in my case, it was charcoal green and teal.😂 Mr. two sugar bugs flat out said that blue cake was "weird" and I kind of agree. In all the experimenting though, we came to fall in love with this cake; just not the blue color. The sugar bugs and I love pink, so pink velvet cake was born.
My pink velvet cake is frosted with a silky vanilla swiss meringue buttercream for those who prefer a cake without cream cheese frosting.
This post was originally published in June of 2019 and has been updated with helpful information and new photos. I have reduced the amount of frosting, but the recipe remains the same.
💗 why you will love this pink cake
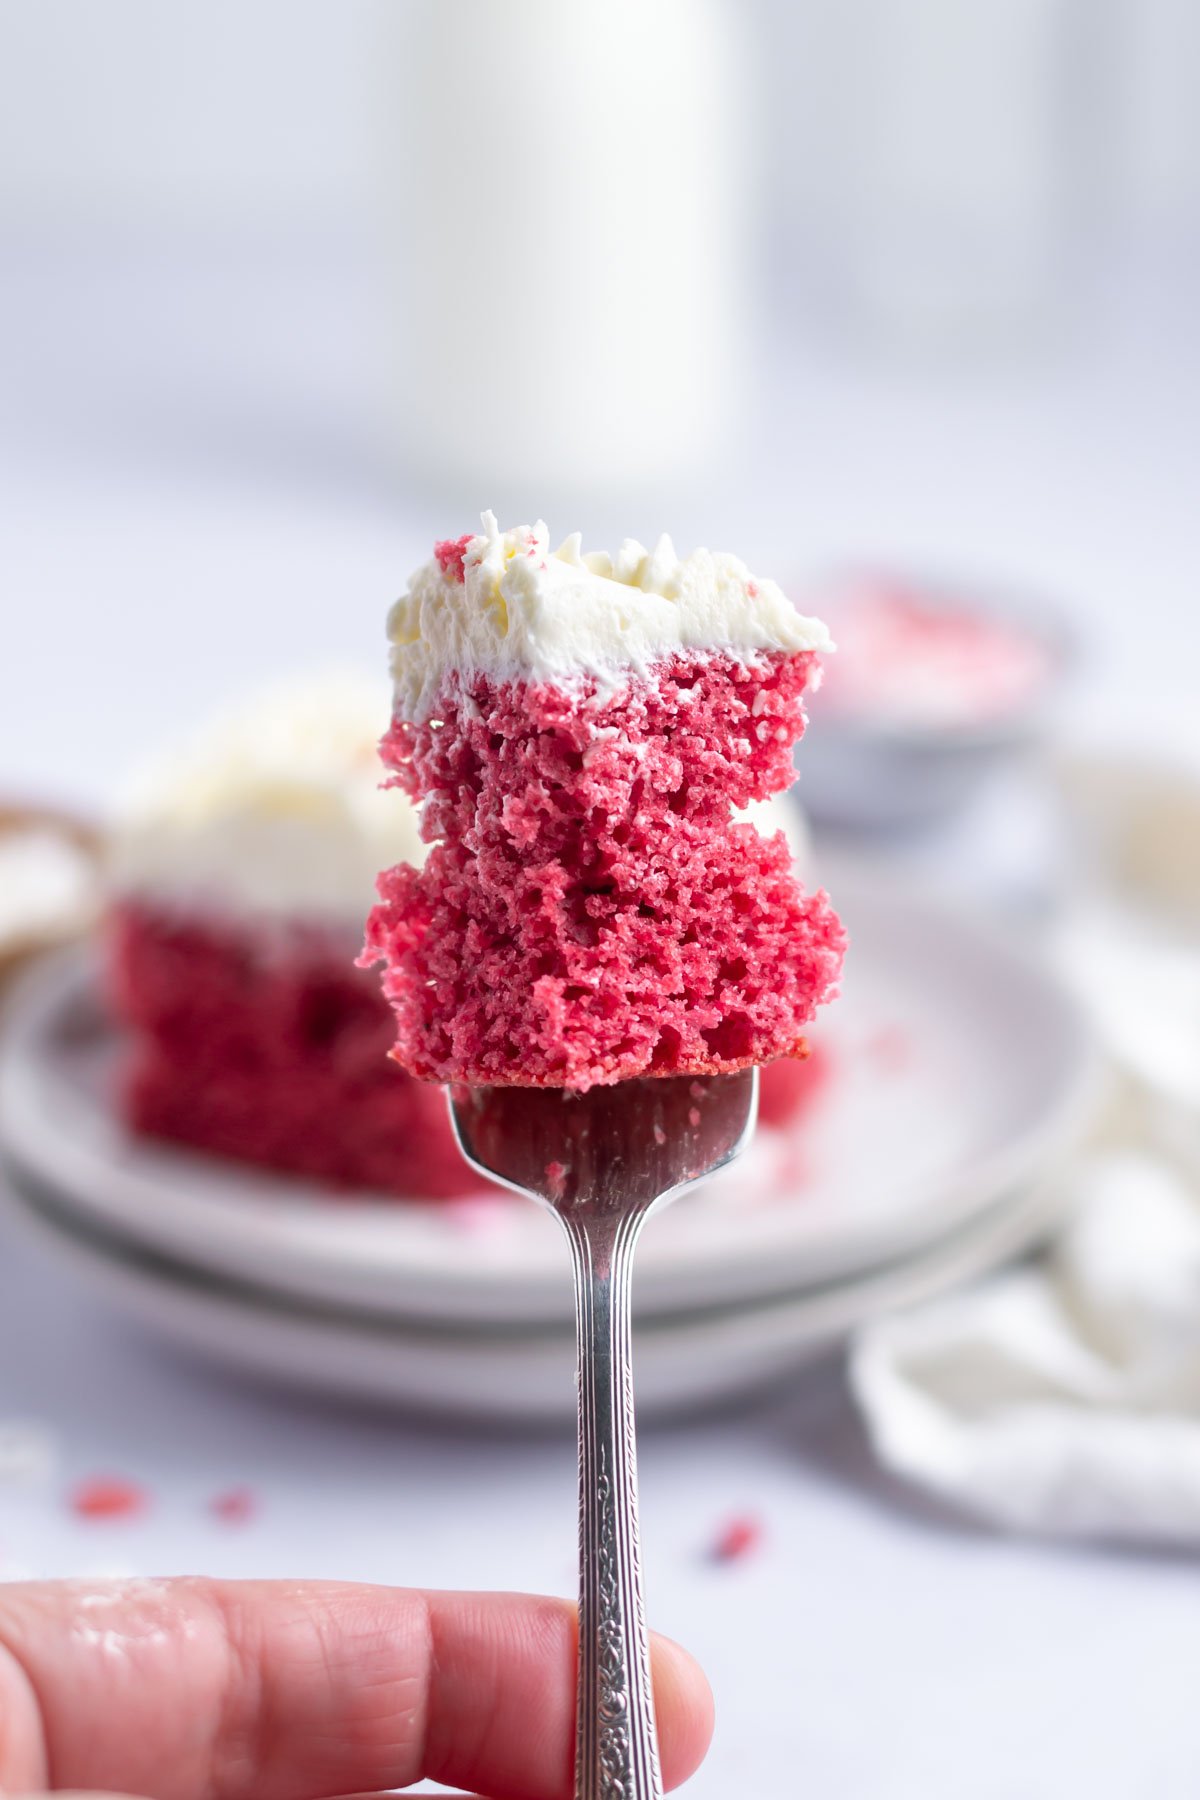
- It has a velvety soft crumb.
- Easy to make from scratch.
- Has a hint of cocoa and a slight tang from the buttermilk.
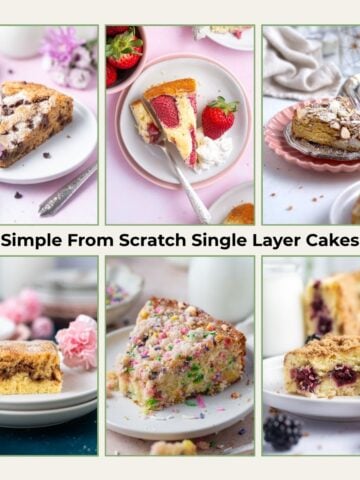
- A single layer sheet cake, but can be made into layer cakes; see the recipe card.
what flavor is pink velvet?
I like to think of pink velvet cake as red velvet's posh younger cousin. It has a very mild chocolate flavor with a moist, soft and tender crumb.
📝 Ingredients needed and substitutions
Please scroll to the printable recipe card at the end of this post for the full list of ingredients and baking directions.

- Cake flour ~ I prefer cake flour because it is lighter than all-purpose flour and creates a light and fluffy cake texture. If you aren't using a kitchen scale, be sure to spoon and level your flour. {Fluff the flour in the container, then spoon it into your measuring cup and level it off with the back of a knife}.
- Cocoa powder ~ unsweetened natural cocoa powder gives us just a hint of cocoa flavor without overpowering the butter and vanilla.
- Baking powder and baking soda ~ provide a little lift to the easy cake.
- Kosher salt ~ if you only have table salt, half the amount used.
- Butter ~ we want the unsalted butter room temperature, so pull it out 1-2 hours prior to making the pink velvet cake. If you only have salted butter, leave the salt out.
- Granulated sugar ~ provides the sweetness to the from scratch cake.
- Pink food color ~ gives the pretty dark pink color. I recommend a concentrated food coloring as you will not need to use as much. I used Colour Mill in raspberry.
- Large eggs ~ 2 large eggs are needed; pull them out when you pull out the butter so they are room temperature.
- Buttermilk ~ I find store bought buttermilk works best, pull it out with the butter and eggs so it is room temperature.
- White vinegar ~ reacts with the baking soda to create tiny bubbles in the cake batter, which gives that fluffy cake texture we all love.
- Vanilla ~ pure vanilla extract is my favorite.
Remember to pin this recipe to Pinterest! Use the button on the recipe card or the share buttons on the side or bottom of this page.
🍰how to make pink velvet cake
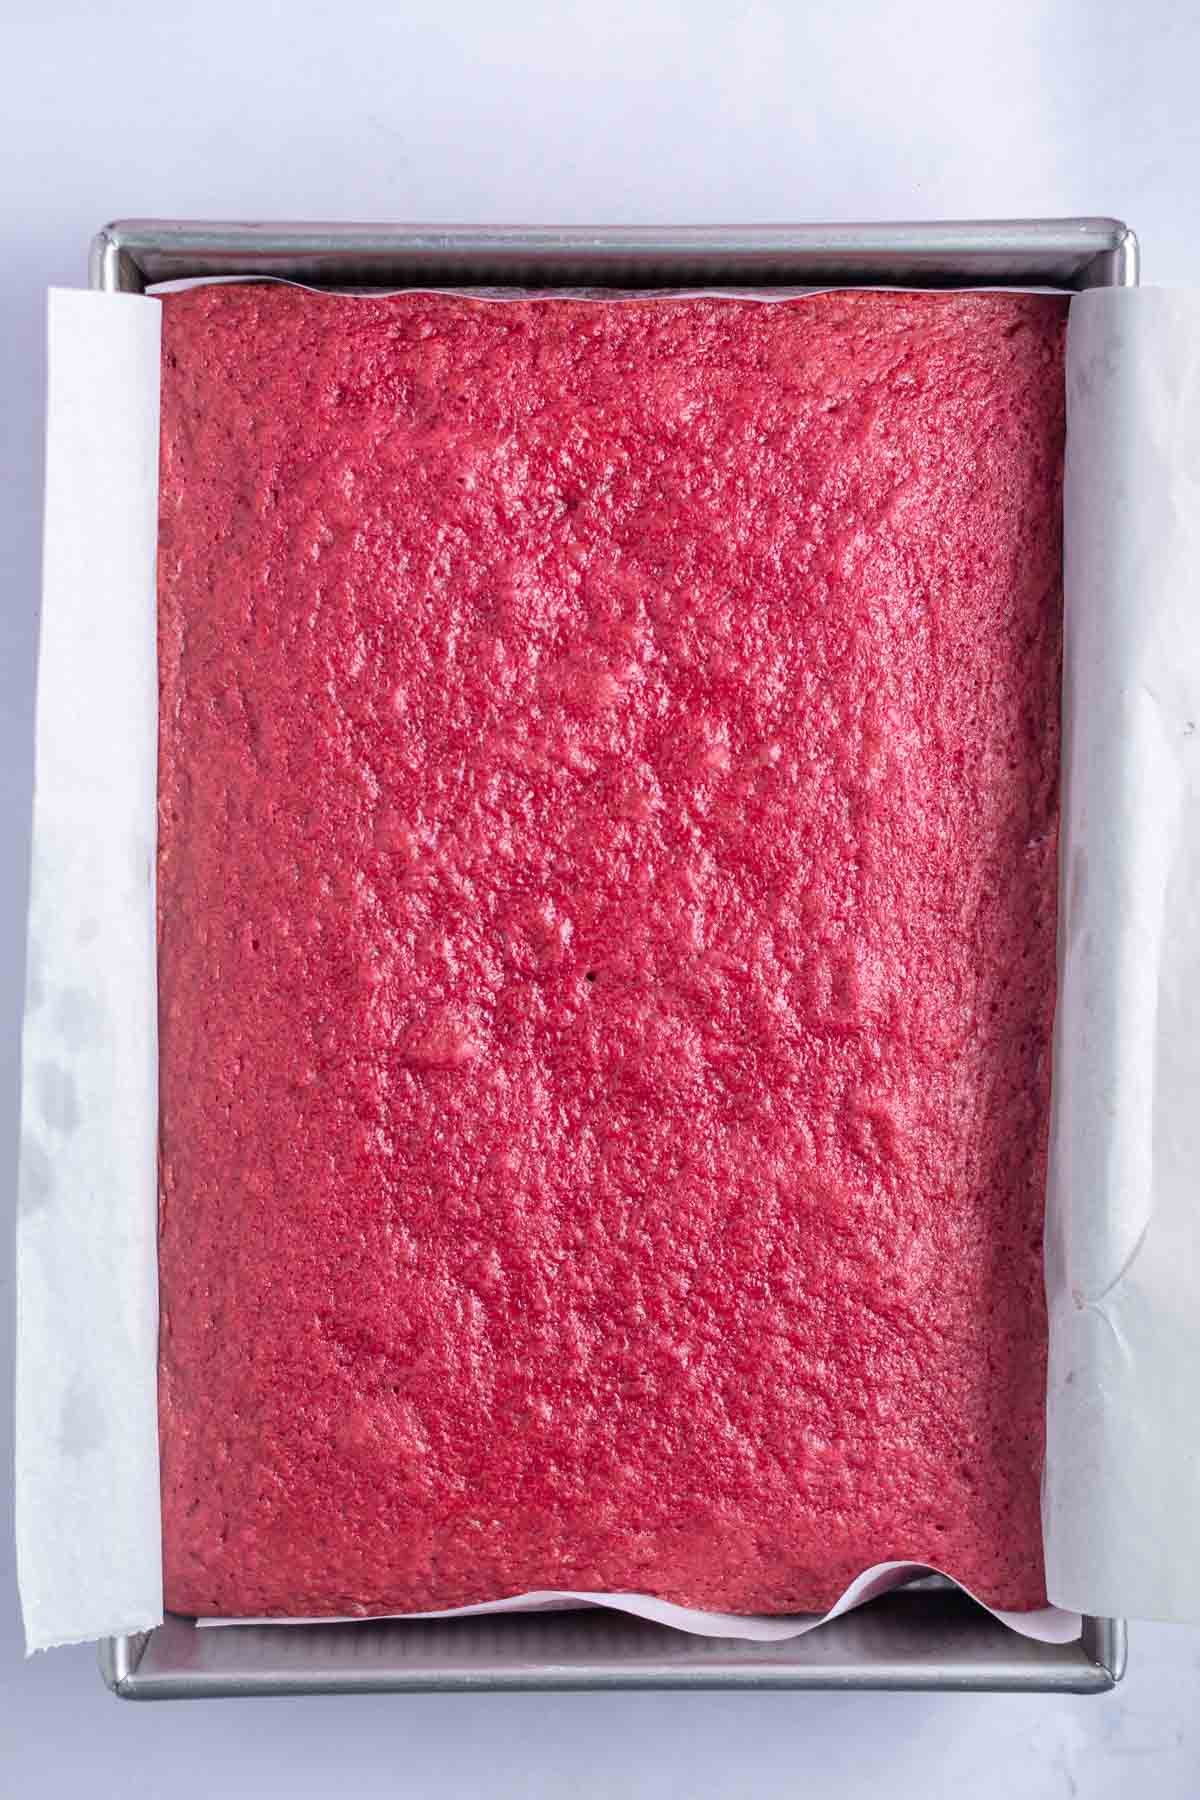
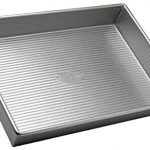
Start by preheating the oven and prepare a 9x13 baking pan with parchment paper.
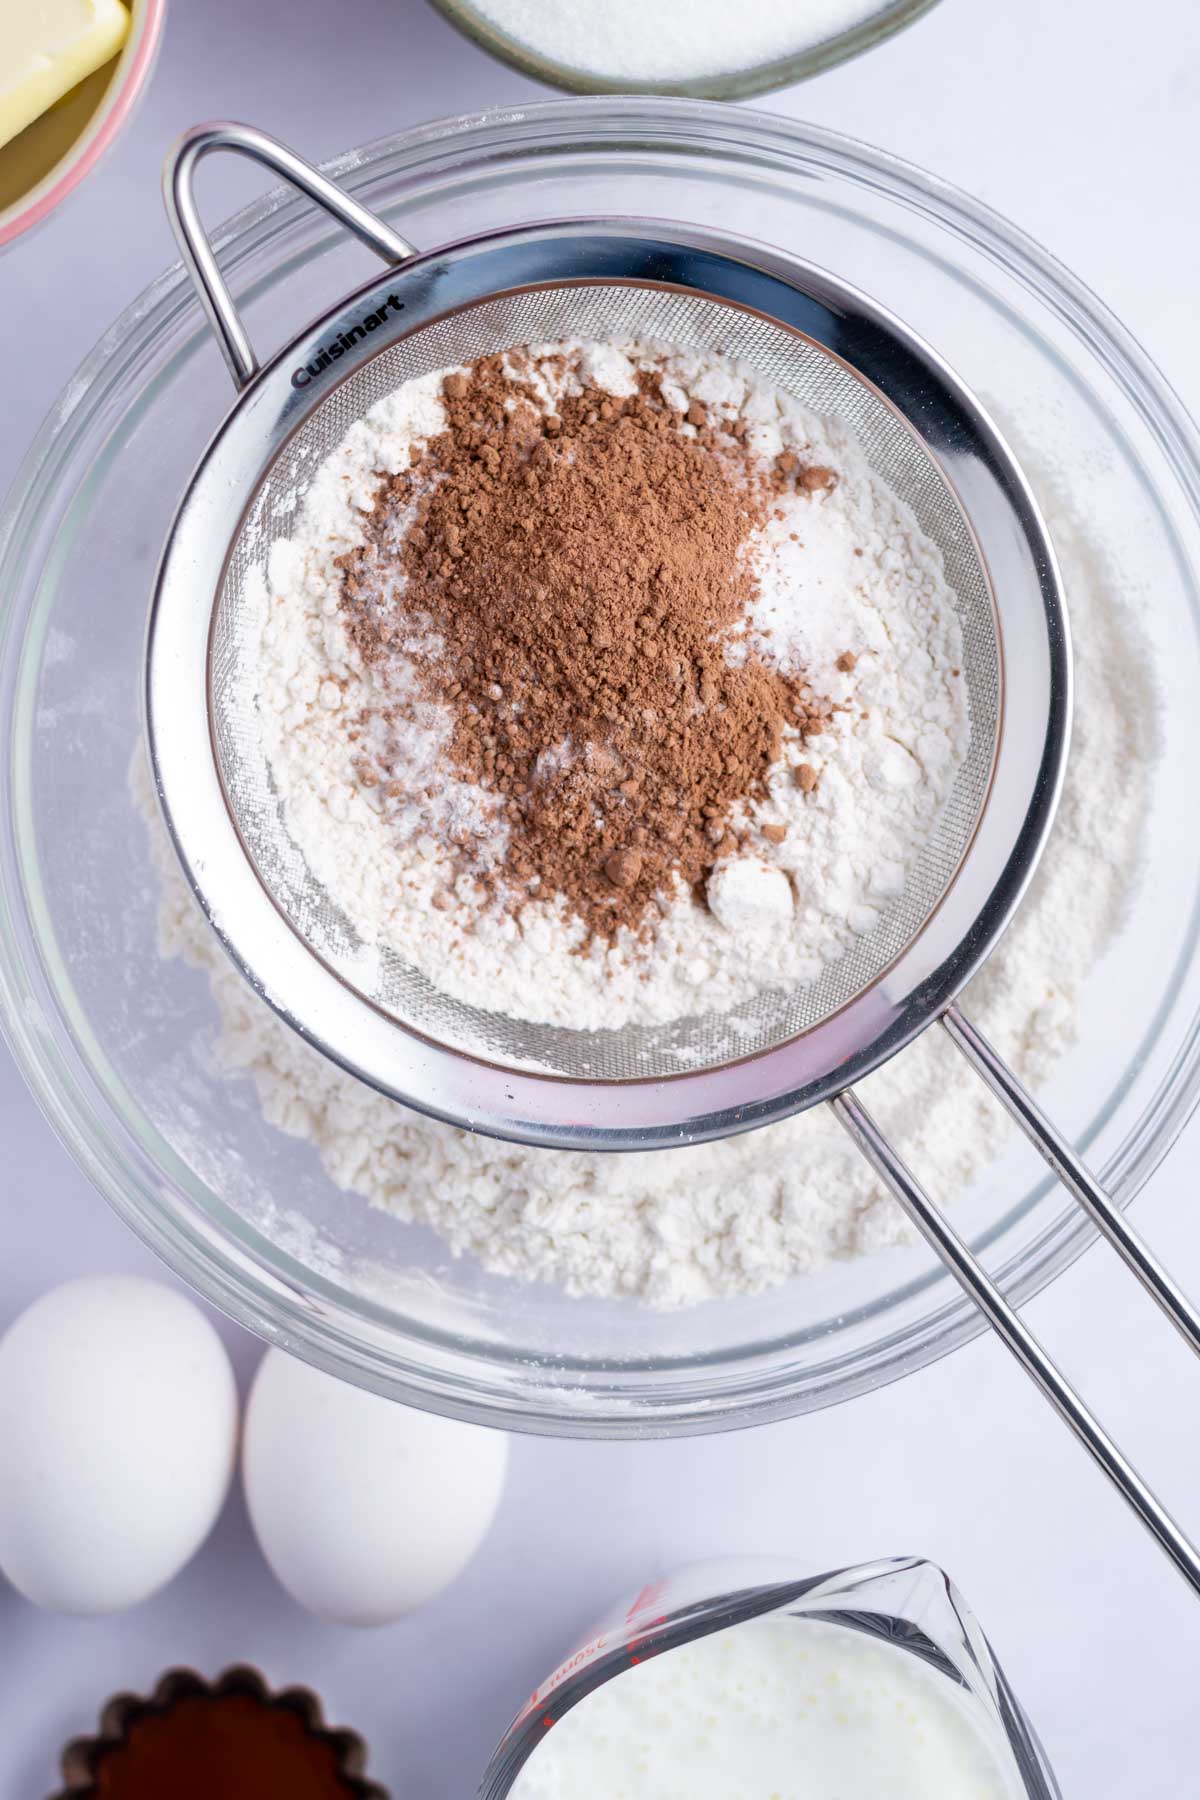
Then sift together the cake flour, cocoa powder, baking powder, baking soda and kosher salt. The kosher salt isn't fine enough to fit through my sifter, so I whisk it in after the others have been sifted.
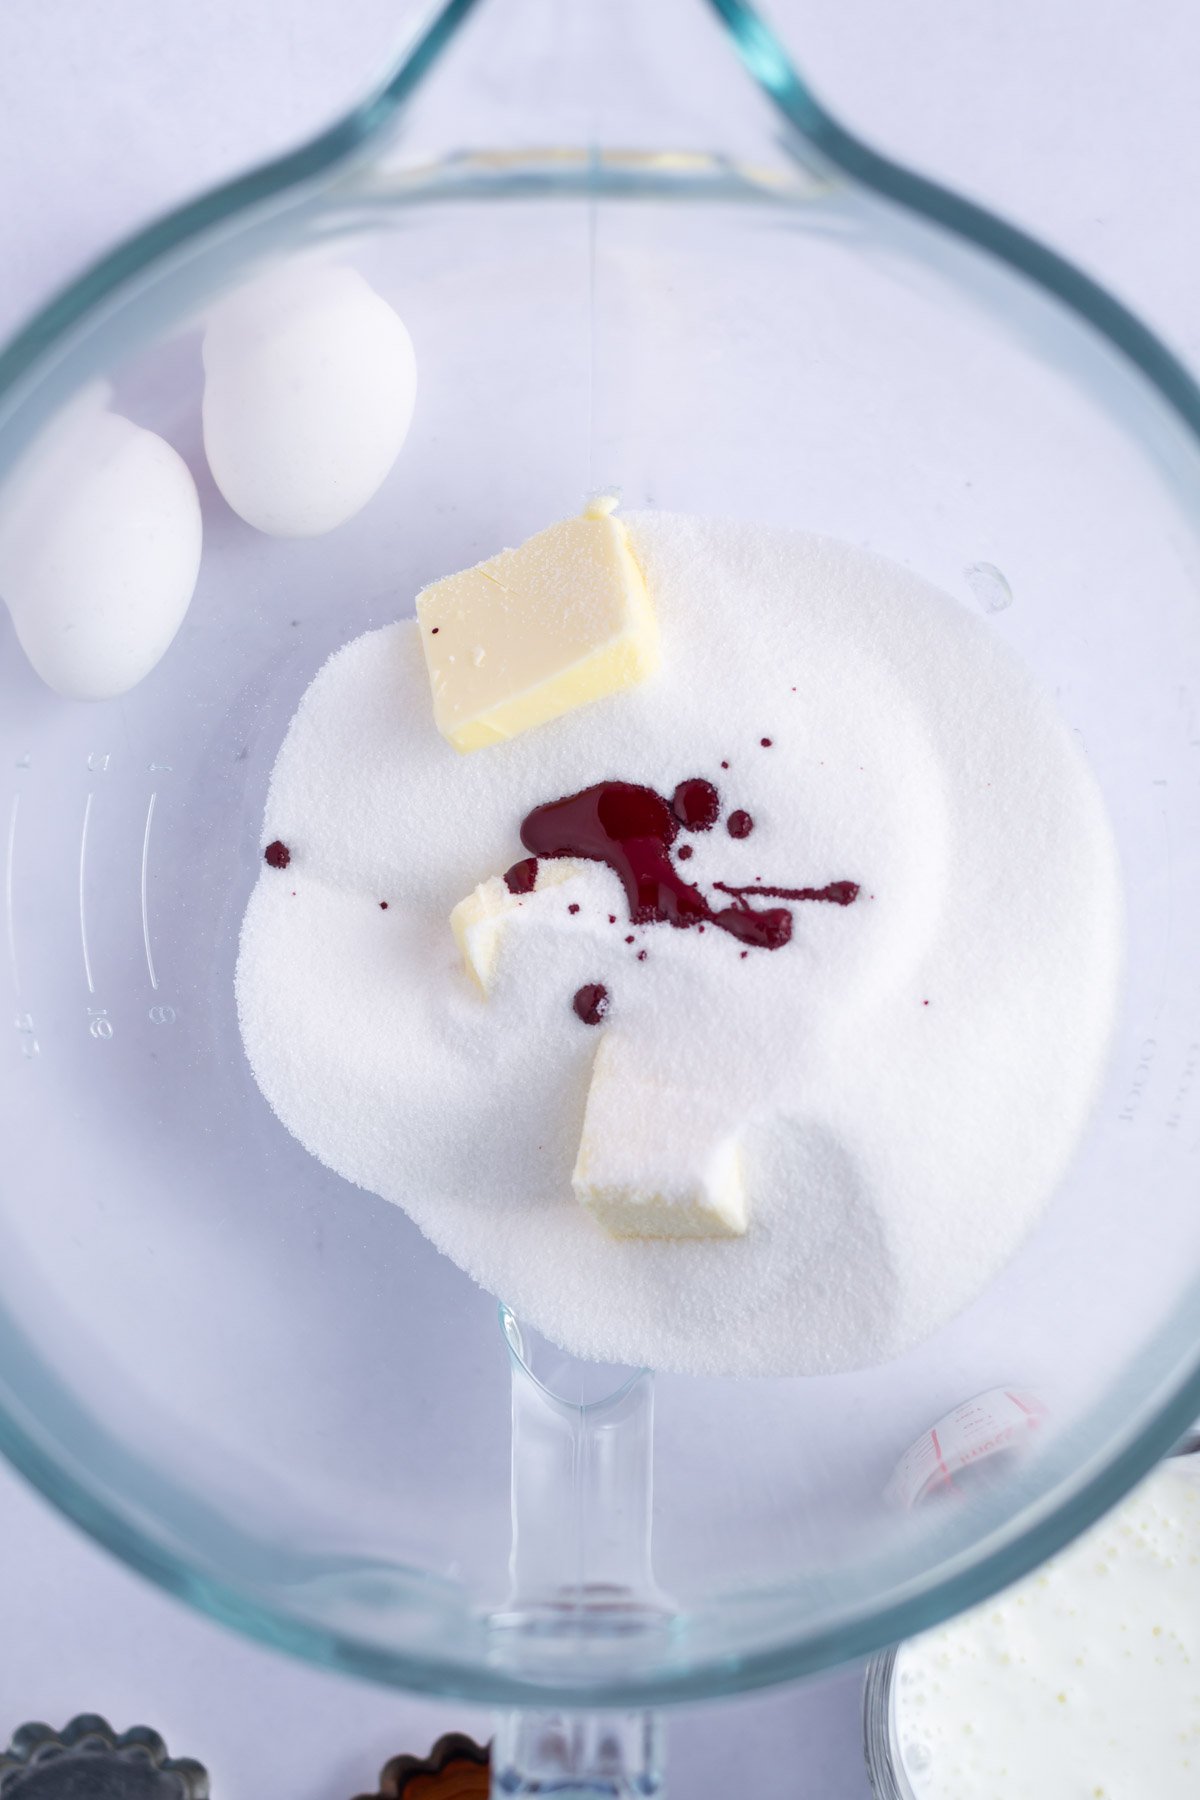
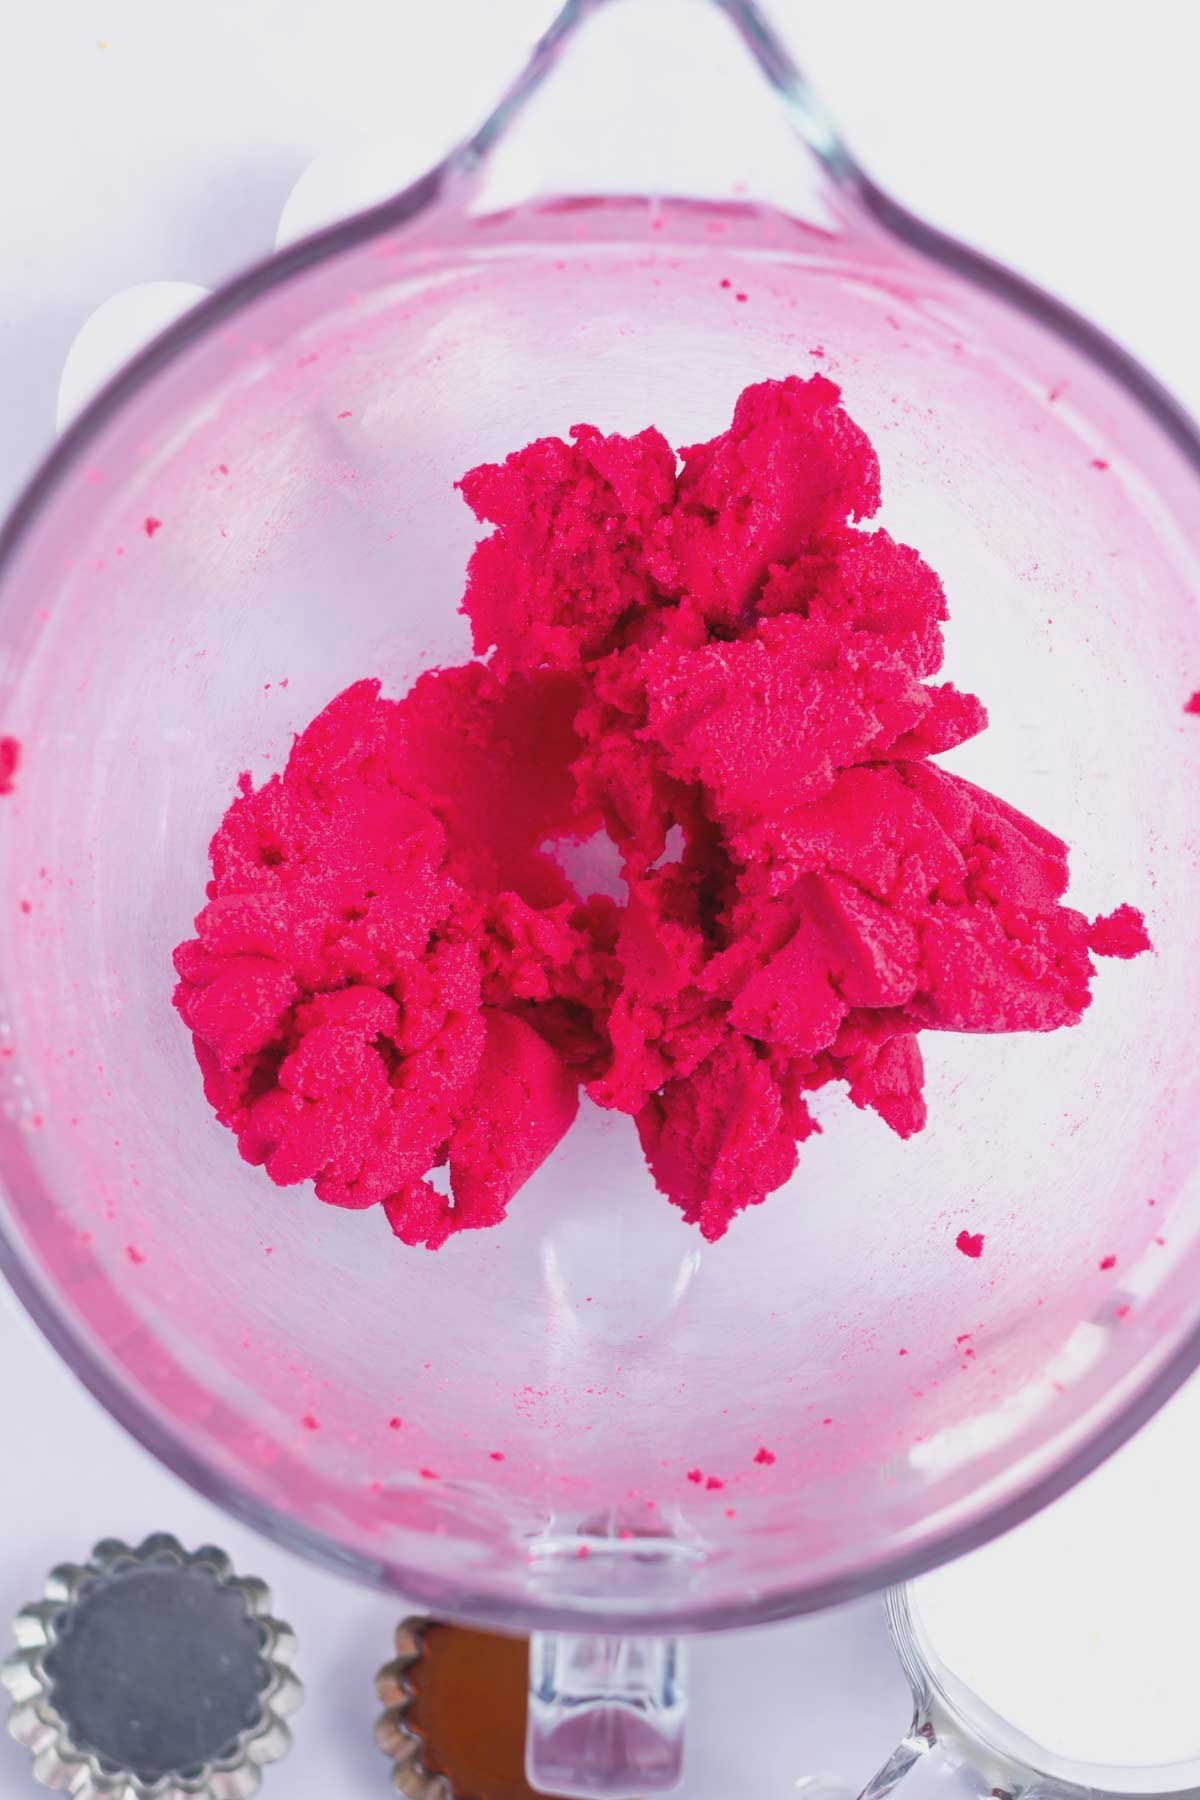
Next, using a stand mixer with the paddle attachment, beat together the unsalted butter, granulated sugar and pink concentrated food coloring. I prefer to start with the color now, as to not overwork the batter while trying to add the color later. The ratio of sugar to butter is high, so this mixture doesn't get light and fluffy and you will mix until well incorporated.
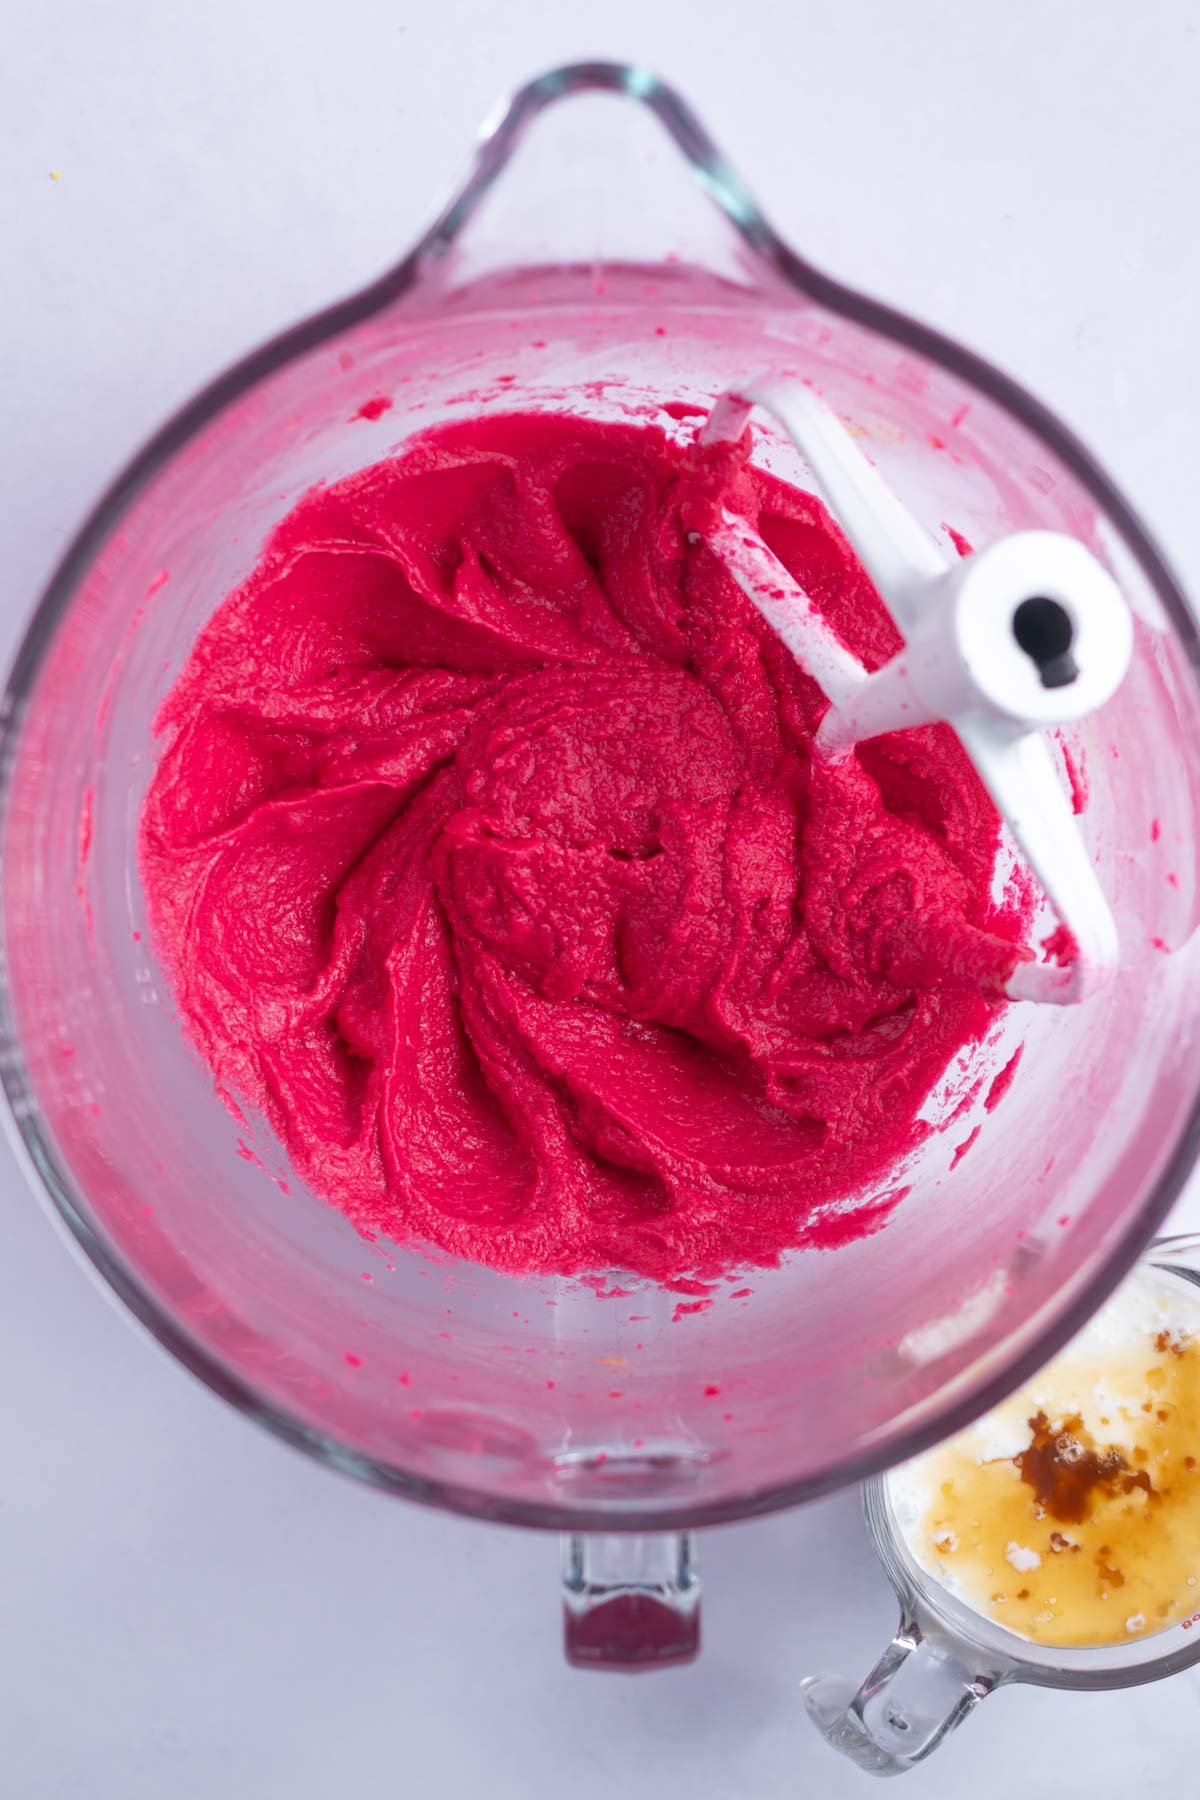
Then you will beat in your eggs one at a time. In a measuring cup mix together the buttermilk, white vinegar and vanilla.
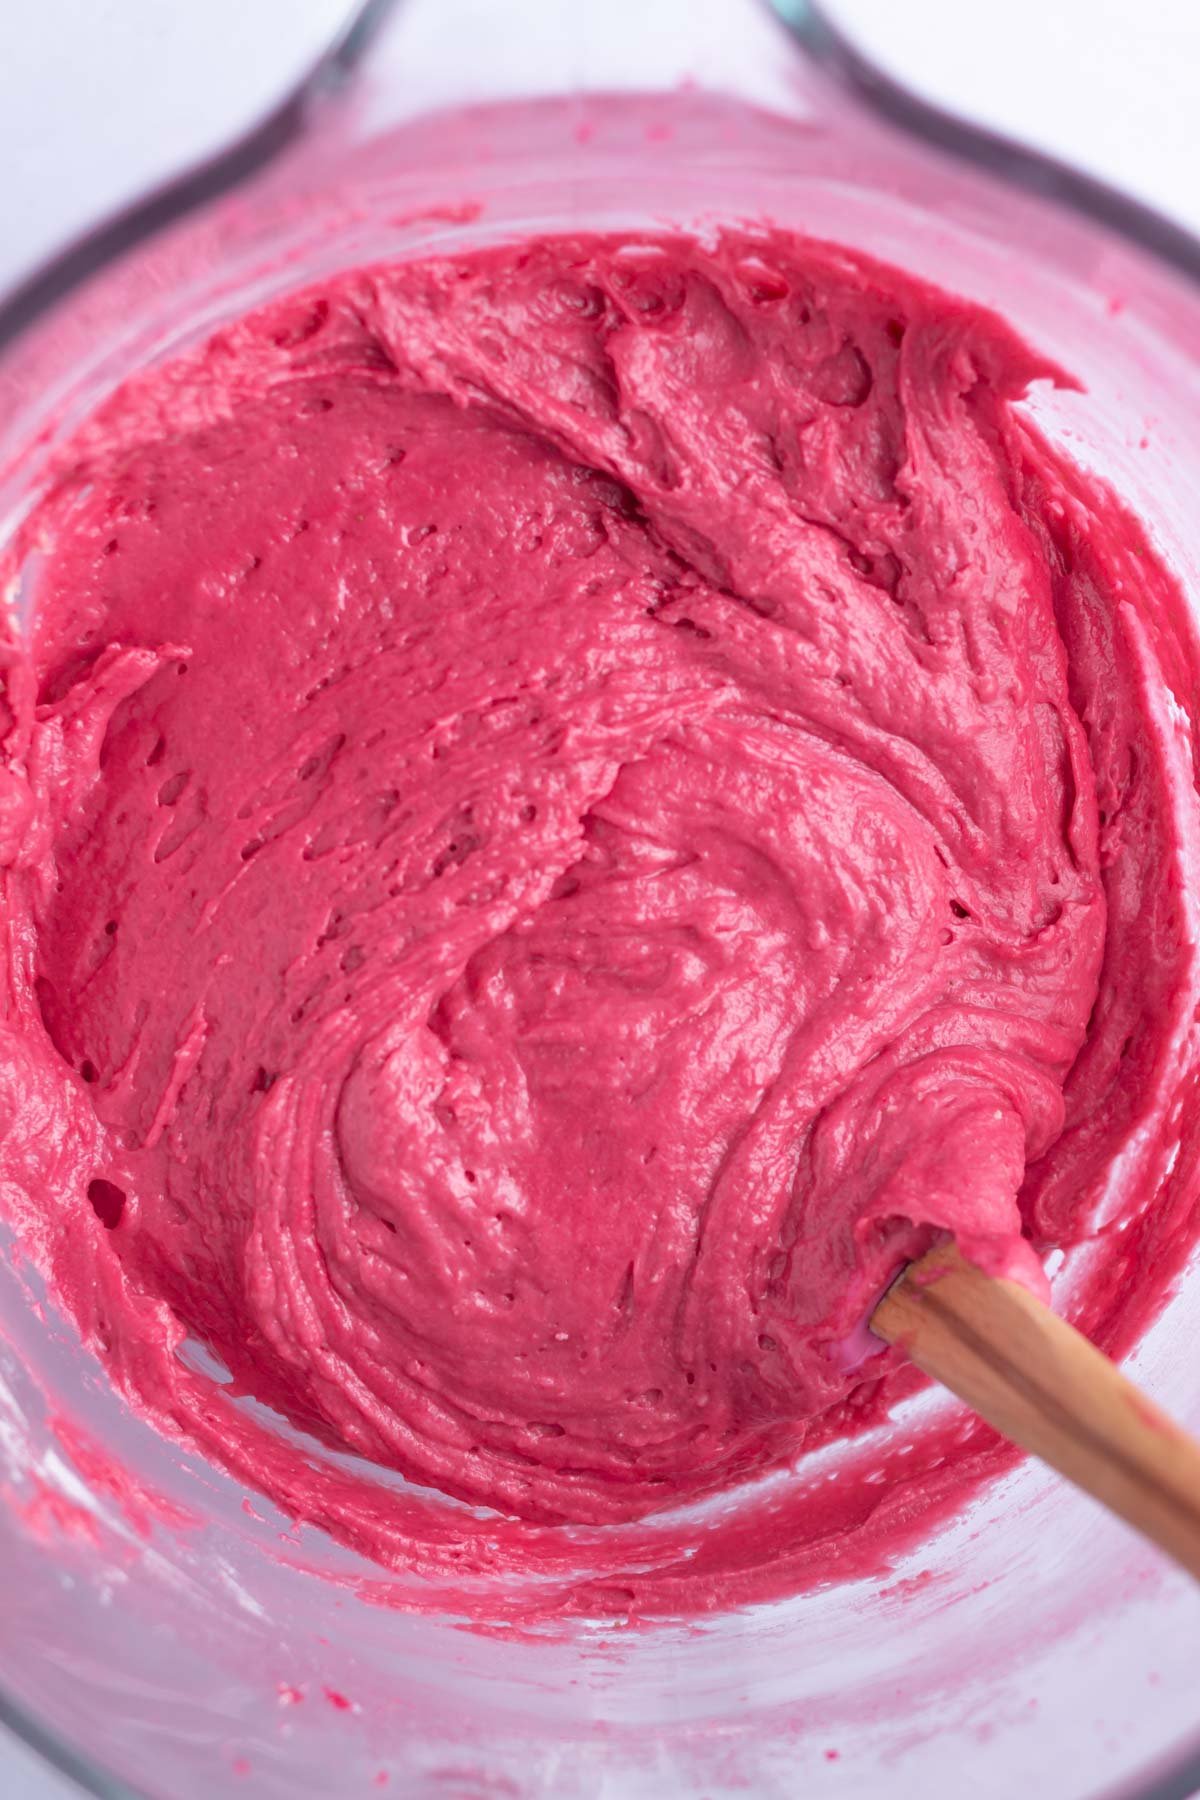
Now alternate adding the dry and wet ingredients. See the recipe card for specifics.

Finally, mix on low until just a few streaks of flour remain. Then use a spatula to finish folding in the dry ingredients as to not overwork the batter.
Pour/spread the cake batter into the prepared baking pan{s} and bake.
👩🏻🍳 tips for the perfect velvet cake
- Use a scale to measure your ingredients for the best results. If you do not have a kitchen scale, see the notes in the ingredient section on how to measure the flour.
- Don’t skip the cake flour; it gives you the best soft and tender pink velvet texture!
- For the perfect velvet flavor, use store bought buttermilk. It will give the cake more flavor and moisture than a homemade version.
- Sift the cocoa powder, flour and leaveners together to eliminate any lumps of cocoa or flour in the cake.
- Don't over mix the cake batter. Use low speed when combining the wet and dry ingredients and mix until everything is j.u.s.t. combined. I usually stop when just a few streaks of dry ingredients remain and use a spatula to finish the mixing.
- The cake batter is thick so an off-set spatula works great to smooth it into the pan.
- Don't over bake the cake. Remember your oven is different than mine and baking times may vary a little. The easy pink velvet cake is done when a toothpick inserted in the center comes out with just a few moist crumbs.
- Allow the cake or cake layers to cool completely before frosting. Otherwise the buttercream will melt off it.
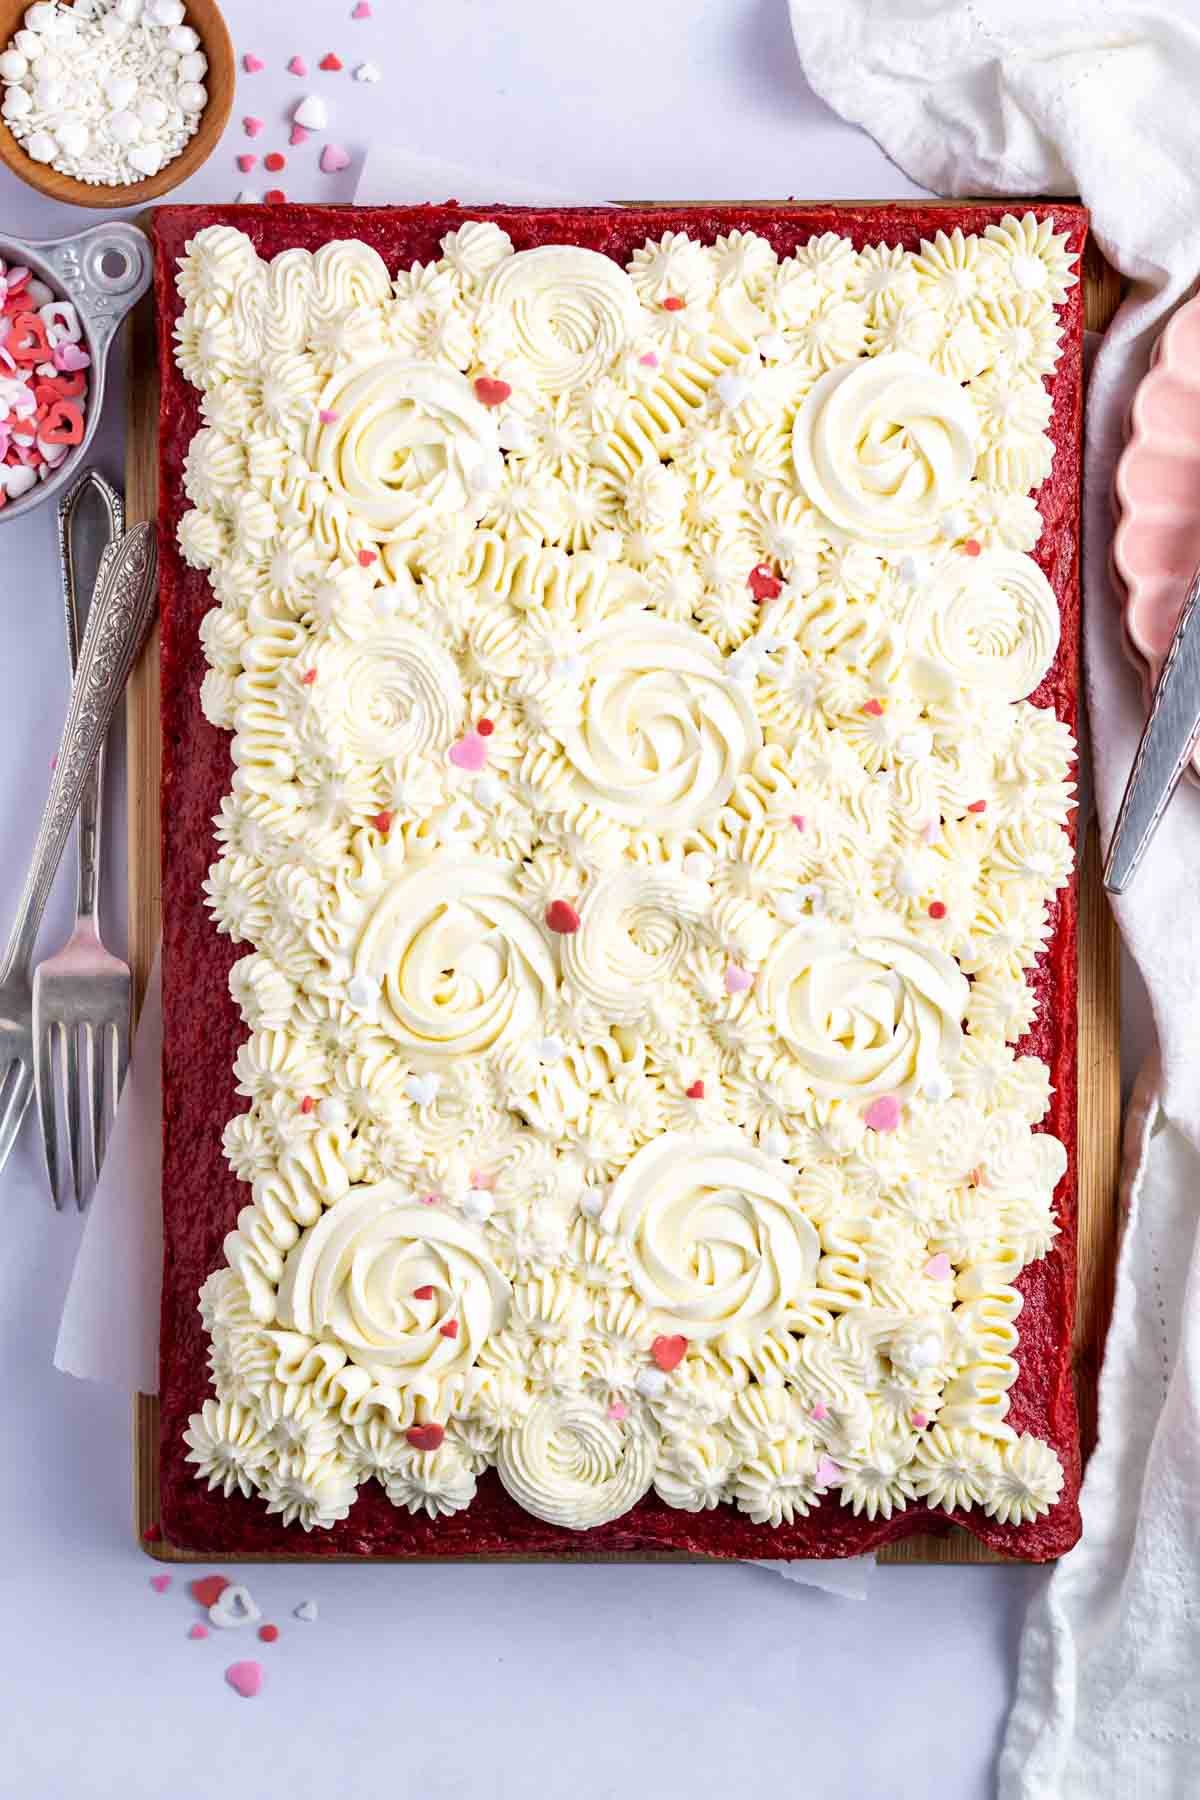
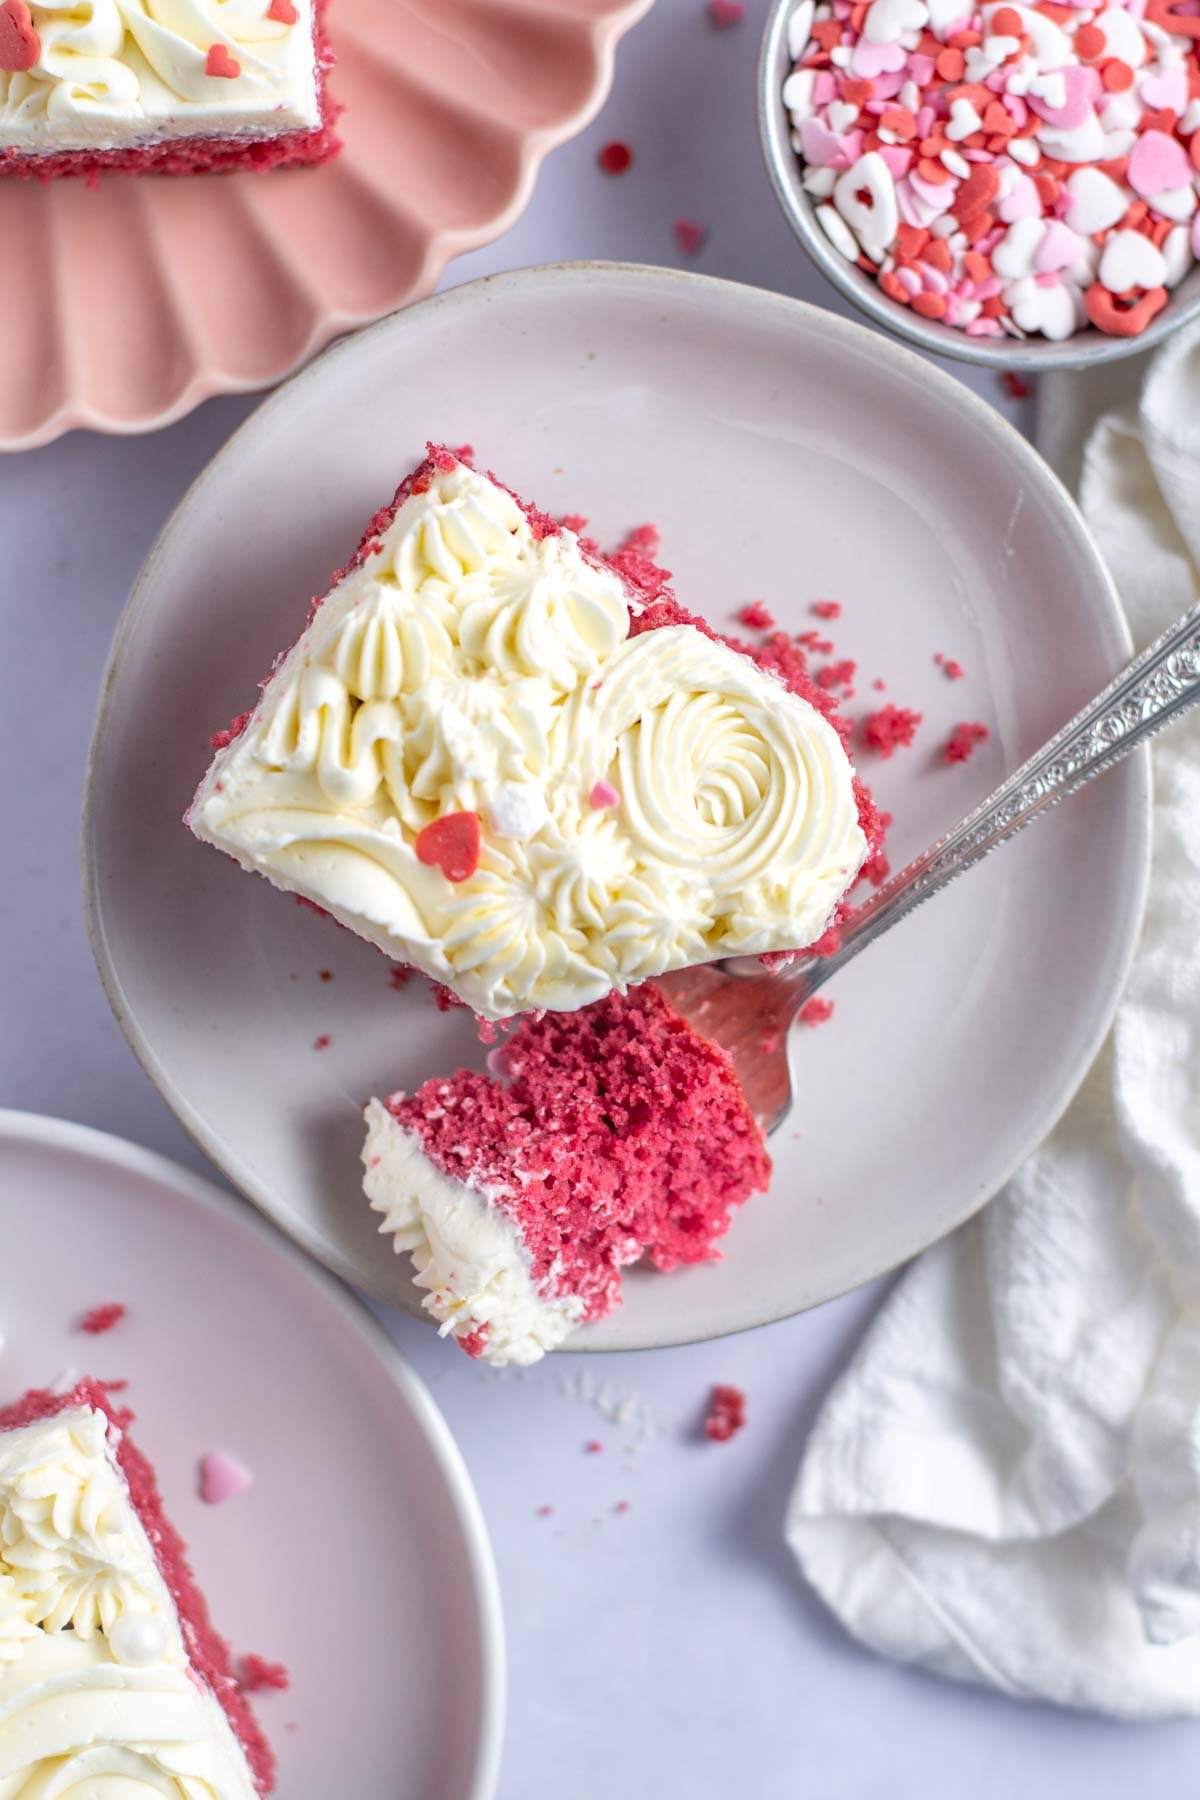
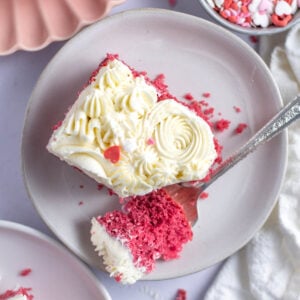
How to decorate a sheet cake
Decorate simply by spreading frosting onto a completely cooled cake. You can use an off-set spatula or spoon to create some texture to the frosting.
You can also dress up a simply frosted cake with a few sprinkles.
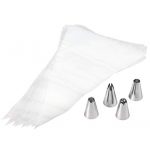
If you are feeling adventurous and want to add some piping to your single layer cake, you can create a pretty design by using a Wilton 1M, Wilton 4B, Wilton 6B, Wilton 104 and Wilton 32. I created the rosettes with the 1M. While this design looks impressive {at least to me!}, it is quite quick to create. The piping took me about 10 minutes for the whole cake.
For more decorating ideas, check out my grapefruit poppy seed cake, lemon white chocolate cake, sugar cookie cake or homemade vanilla snack cake.
💡 frosting variations
I have included my vanilla Swiss meringue buttercream in the recipe card; the silky smooth, not overly sweet frosting is a perfect pair to this pink velvet cake.
Cream cheese frosting: If you prefer a more classic velvet cake with cream cheese frosting, double the frosting recipe from my pumpkin snack cake.
Chocolate frosting: use my small batch chocolate Swiss meringue buttercream. This post also has all the details on how to make the best Swiss meringue buttercream.
American buttercream: double the recipe from my vanilla snack cake for a not-too-sweet version of American buttercream. This buttercream can be dyed pink if you prefer a pink velvet cake with pink frosting!
💬 frequently asked questions
what is the difference between pink velvet and red velvet cake recipes?
In my recipe, pink velvet is made with less cocoa powder and uses pink food coloring instead of red food coloring.
Both cakes also use buttermilk and vinegar, which gives the tender and fluffy velvet texture.
can this cake be baked in other sizes?
Yes! The recipe can be made into a three layer 6-inch cake or a two layer 8-inch cake instead of a 9 x 13 sheet cake. I've tested it all ways and it comes out fabulous whichever one you choose!
The bake times will vary slightly, so start checking the cake around 20 minutes into baking. You could also bake the batter into cupcakes; bake time will likely be between 16-20 minutes.
what makes it a velvet cake?
Pink velvet cake is made with baking soda, vinegar and buttermilk. The chemical reaction of these ingredients creates bubbles which results in a fluffy and smooth cake.
can I use natural food color?
You need to use a strong food color to cancel out the chocolate color of the cocoa powder. I have not tested this recipe with any natural substitutions. Many people swear by beet powder for red velvet cake, which may work, you will need less for the pink cake.
If you don’t want to use food coloring, just leave it out. The cake flavor will stay the same, but it will have a light cocoa hue instead of pink.
how to store
The cake can be stored at room temperature in an airtight container for up to 2 days.
It can also be stored tightly wrapped in the refrigerator for up to 5 days.
The pink velvet cake can be frozen with the frosting for up to 2 months. You can either chill the cake well; then wrap the whole thing tightly in a double layer in plastic wrap. Or cut the cake into individual slices and chill; then wrap each slice tightly in a double layer of plastic wrap. Allow to defrost at room temperature before serving.
This velvet cake tastes best at room temperature.
Remember to snap a picture and tag me @twosugarbugs on Instagram if you make this Pink Velvet Cake. It warms my heart to see you bring these recipes to life! Thank you for being here and happy baking!
more from scratch cakes to try:
- Red Velvet Loaf
- Cookie Butter Cake
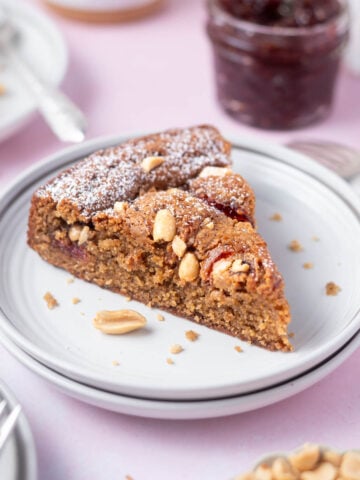
- Raspberry Almond Cake
- Homemade Raspberry Cake
- Italian Almond Cake
- Graham Cracker Cake
If you make this recipe {or any recipe!} from two sugar bugs please come back and leave a review and a ⭐️⭐️⭐️⭐️⭐️ star rating. I read every comment, and I LOVE hearing from you!
Easy Pink Velvet Cake
recipe created and tested by:
I highly recommend using weight (metric) measurements when available for more accuracy and the best results.
Please note
When using 2x or 3x ingredients, the grams DO NOT adjust, you will have to manually do that.
Equipment

Ingredients
- 2 ¾ cups cake flour 316g
- 1 tablespoon natural unsweetened cocoa powder 6g
- 1 teaspoon baking powder
- 1 teaspoon baking soda
- 1 teaspoon kosher salt
- ½ cup unsalted butter room temperature (113g)
- 1 ½ cups granulated sugar 300g
- ¾ - 1 teaspoon pink gel food coloring
- 2 large eggs room temperature
- 1 cup buttermilk room temperature (240mL)
- 1 teaspoon white vinegar
- 1 teaspoon pure vanilla extract
Vanilla Swiss Meringue Buttercream
- 3 large egg whites about 90-100g
- ¾ cup granulated sugar 150g
- ½ teaspoon kosher salt
- ¾ cup unsalted butter room temperature* (170g)
- 1 teaspoon pure vanilla extract
Instructions
for the pink velvet cake
- Preheat your oven to 350° F.
- Prepare a 9 x 13 baking pan (or three 6-inch round baking rounds OR two 8-inch baking rounds); butter the pans, line the bottom of each pan with parchment paper and butter again. If you plan to serve the cake out of the 9 x 13 pan; you can omit the parchment paper. If you wish to move the 9 x 13 cake to a serving platter, use a large enough piece of parchment paper so that you can lift the cake out of the pan once cool. Set aside.
- In a medium bowl, sift together cake flour (2 ¾ cups/316g), cocoa powder (1 tablespoon/6g), baking powder (1 teaspoon), baking soda (1 teaspoon) and kosher salt (1 teaspoon). Set aside.
- In the bowl of a stand mixer fitted with the paddle attachment, cream butter (½ cup/113g), sugar (1 ½ cups/300g) and pink food coloring (¾ teaspoon) on medium-high until well combined, approximately 2-3 minutes. The mixture is thick as there is a high ratio of sugar to butter. Scrape up and down the sides of the bowl and beat in the eggs (2 large) one at a time.
- In a measuring cup mix together the buttermilk (1 cup/240mL), white vinegar (1 teaspoon) and vanilla (1 teaspoon).
- With the mixer on low, add the flour mixture and buttermilk mixture in alternating additions, beginning and ending with the dry. I break mine into ⅓ dry, ½ wet, ⅓ dry, ½ wet and final ⅓ dry. Stop and scrape the sides of the bowl before the second addition of wet ingredients. Assess to see if you want to add more pink coloring. If you do, add it with the second addition of wet ingredients. Stop with just a few streaks of flour remaining and use a spatula to fold the final flour; be careful not to over mix your batter.
- If making a 9 x 13 cake, evenly spread the batter in your prepared pan and bake for 25-35 minutes or until the cake is baked through. To test, insert a toothpick or cake tester in the center of the cake; if it comes out with just a few moist crumbs, it is done. Cool cake in the pan placed on a wire rack until completely cooled. I like to chill the cake for 30 minutes in the refrigerator prior to lifting the parchment out of the pan. Chilling the cake gives it more stability so it doesn't fold when pulling it out of the pan.
- For a layer cake, divide your batter equally between the three prepared 6-inch rounds OR two prepared 8-inch rounds and bake 25-35 minutes or until the cakes are baked through. To test, insert a toothpick or cake tester in the center of the cake; if it comes out with a few moist crumbs, it is done. Cool cake in pans placed on a wire rack for 10-15 minutes before turning them onto the wire rack to cool completely.
for the vanilla Swiss meringue buttercream
- 1. Wipe the bowl and whisk of your stand mixer with vinegar or lemon juice to make sure it is grease free or your egg whites may not stiffen.
- 2. Whisk egg whites (3 large/90-100g), sugar (¾ cup/150g) and kosher salt (½ teaspoon) in the bowl of your stand mixer. Whisk and heat mixture over a saucepan of simmering water until hot to touch, sugar is fully dissolved (you should not feel any granules when rubbed between your fingers) and it’s a bit frothy, approximately 3 minutes. (If you want to use a thermometer, 160°F is what you are going for).
- 3. Remove the bowl from the saucepan and wipe the bottom dry. Place on your stand mixer and whisk on medium-high (8 on a Kitchen Aid stand mixer) until the mixture is cool and the meringue holds a stiff peak (the bottom of your bowl should also be mostly cooled), approximately 10-15 minutes.
- 4. Switch to the paddle attachment, reduce the speed to medium (4-6 on a Kitchen Aid stand mixer), and add the butter (¾ cup/170g), one tablespoon at a time, letting the butter fully incorporate before adding more. ** Once all butter is incorporated, scrape down sides of the bowl and add vanilla extract (1 teaspoon) and whip on high (8-10 on a Kitchen Aid) until a thick, whipped consistency is reached, about 5 minutes.
Notes
Nutrition
The nutrition information is based on third-party calculations, is an estimate only and may not be entirely accurate. Actual nutritional values will vary based on brands used and portion sizes.
Recipe shared with Weekend Potluck, Full Plate Thursday, and Meal Plan Monday
Kathleen says
Ooh this looks so yummy Tasia and I love the way you decorated a simple 9x13 sheet cake! Brilliant!
Tasia says
Thank you Kathleen! I have been having fun trying different decorating techniques on sheet cakes.😊
Miz Helen says
We will love your Pink Velvet Cake, it looks delicious and perfect for the season. I am pinning this one! Hope you are having a fantastic week and thanks so much for sharing your awesome post with us at Full Plate Thursday!
Miz Helen
Tasia says
Thank you Miz Helen! I hope you enjoy it as much as we do!! Thank you for having me at Full Plate Thursday and I look forward to participating again.
Michelle says
This was such a delicious, fluffy and moist velvet cake! Super easy to whip up, and pretty in pink for Valentine's Day!
Tasia says
Aww, so happy you enjoyed it! Thanks for coming back to comment.
Michelle says
First batch I forgot the baking soda they had the most beautiful pink like in her pictures a little dense. Second batch I remembered the baking soda they turned a muddy pink less dense but they fell the first time I went to check them at 16 minutes and now the tips are sticky.
Tasia says
Hi Michelle, I'm sorry the pink didn't shine through as well for you. I find different brands of coloring give different shades of pink. Colour Mill is what I used to get this really vibrant pink {I've also used ChefMaster and Americolor, but need more food coloring from those brands to get a good shade of pink}. From your comment, it sounds like you baked this cake into cupcakes. Sinking cakes can happen for a multitude of reasons; the oven temperature might be off, the batter could have been over mixed or the baking soda could no longer be active. The sticky tops can be pretty common on cupcakes, it's the sugar reacting with the moisture in the air.
Lise Bonin says
Hi Tasia, I’d love to know which Colour Mill Pink your used for this beautiful cake. They seem to have at least 6 different pinks. You’re absolutely correct that the Americolor Deep Pink just doesn’t work here. Want to make sure I get the right pink this time. Thanks for the recipe and your help here as well!
Lise
Tasia says
Hi Lise, I used Colour Mill in raspberry for this cake.
Donna Phillips Andrews says
Mine didn't come out pink, it is brown
Tasia says
Hi Donna, I suspect you needed more pink food coloring. Was your batter as vibrant as the batter in the photos before baking? It's crazy, but that little bit of cocoa powder can really tone down the pink.
Cheryl Hankinson says
This looks awesome!! Pinning to make for Valentin’s Day. Thank you for a very thorough, tested recipe!
Tasia says
Hi Cheryl, thank you for the kind comment! We love this cake. My one recommendation is to make sure you use enough pink food coloring; I've had people tell me their cake isn't as vibrant. If you don't use enough, the cake will have a slightly brown hue from the cocoa powder.