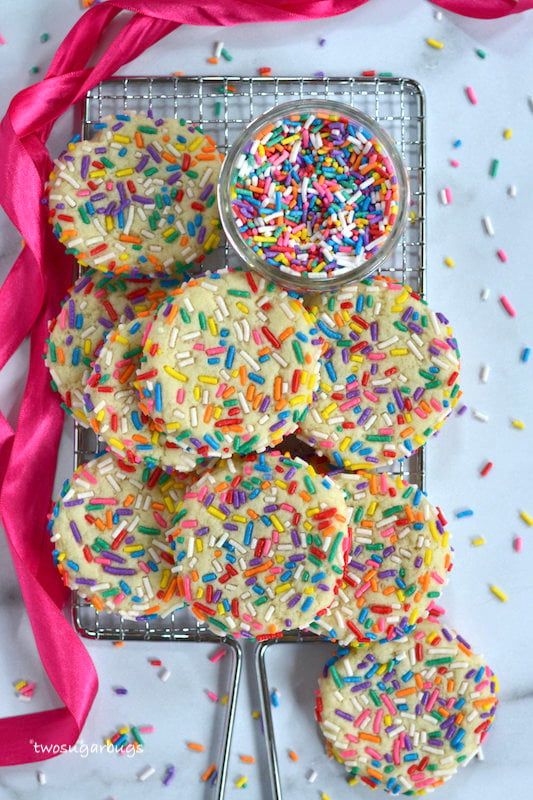
This EASY sprinkle cookies recipe creates soft, chewy, sprinkle covered sugar cookies!! Better than any bakery cookie and ready in about 30 minutes!
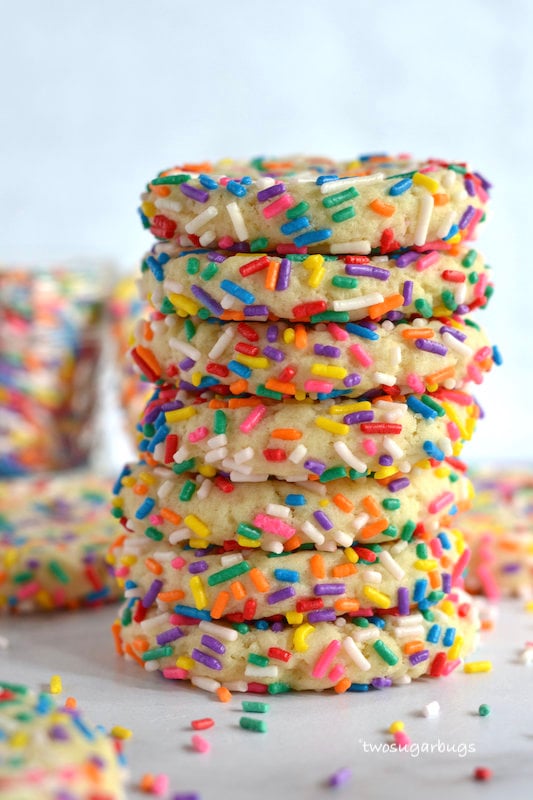
My love for sugar cookies runs far and deep. Give me a buttercream sugar cookie and I am one happy camper. Hand me one of these sprinkle cookies and my inner child is jumping for joy!
Perfect for any occasion; just change the sprinkle colors and you have a cookie ready for game day, baby showers, Valentine's Day, Easter or Christmas. The possibilities are endless!
Disclosure | This post may contain affiliate links. As an Amazon Associate I earn from qualifying purchases.
This easy recipe uses COLD butter and cream cheese and requires NO CHILL time. Soft, chewy, sprinkle filled cookies with the slightest tang from the cream cheese. Buttery and not overly sweet (thank you cream cheese!) with a bit of firmness to the outside and a melt-in-your-mouth softness on the inside. They are ready in about 30 minutes, does it get any better than this??
WHAT KIND OF SPRINKLES SHOULD I USE FOR SPRINKLE COOKIES?
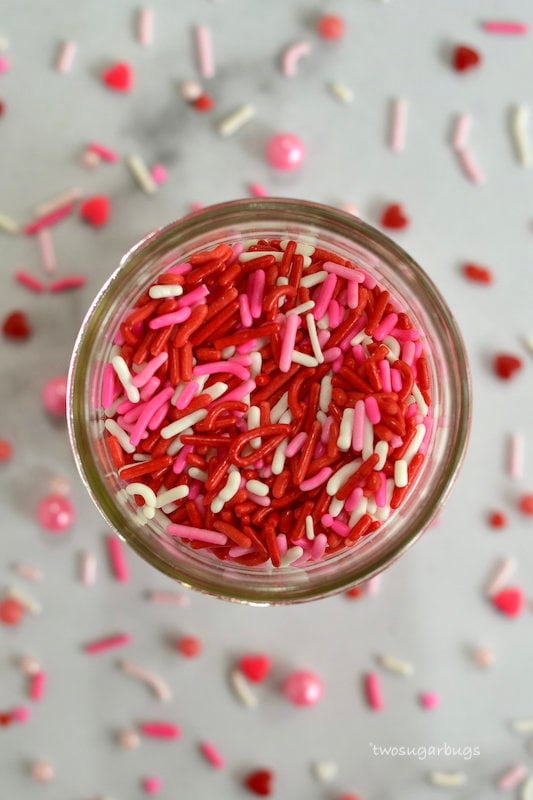
I prefer the "jimmies" variety of sprinkles for this recipe. They are soft and colorful sugar strands and can typically be found in a variety of colors. Sprinkles can be purchased in many stores; Michaels, Target, Walmart, Amazon and even my local grocery market carry them.
Nonpareils are the tiny, round balls. I find them to be too hard and crunchy for this cookie. If you love the nonpareils, give it a whirl and leave me a comment below with how you like them!
DO THE SPRINKLES MELT IN THE OVEN?
The sprinkles will melt slightly in the oven. When the cookies cool, the sprinkles firm back up, but will be adhered to the cookie.
HOW TO MAKE SPRINKLE COOKIES
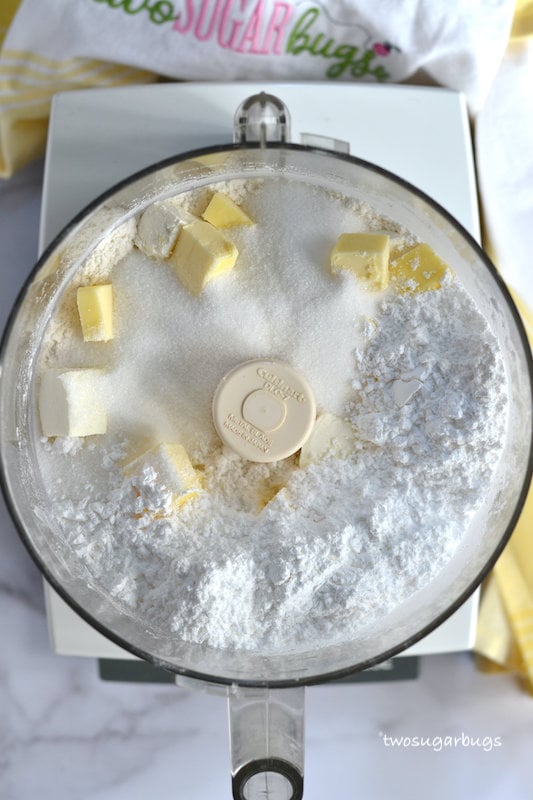
Start by preheating the oven to 375° F and preparing your baking pan with parchment paper or a silicone baking mat. Next combine the flour, baking soda, baking powder and salt in the bowl of a food processor and pulse to combine.
Then add the cubed COLD butter, COLD cream cheese and the granulated and powdered sugars. Pulse until the mixture becomes sandy in texture.
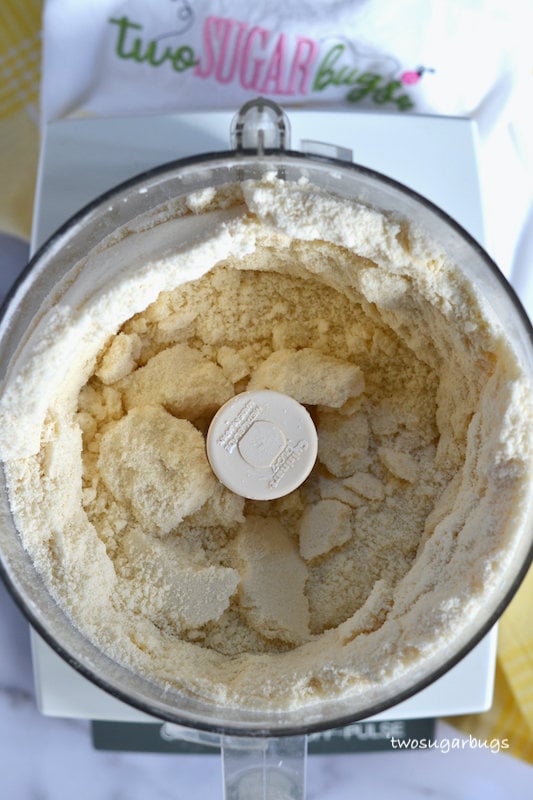
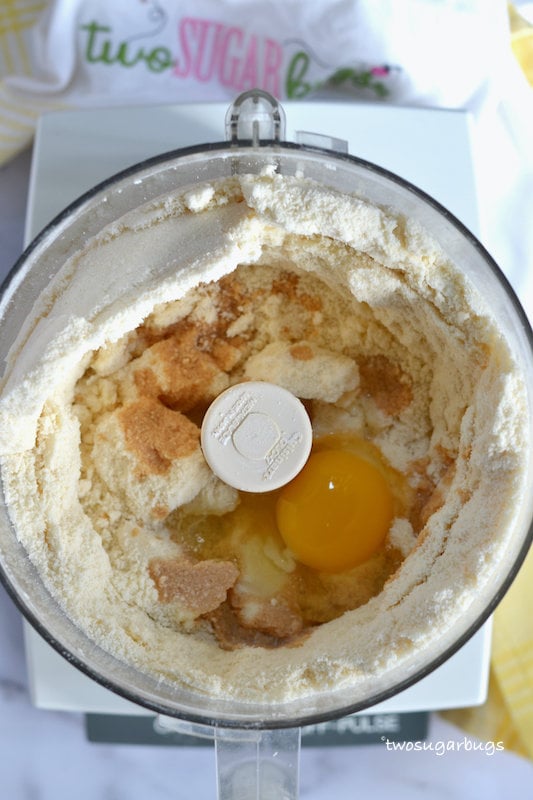
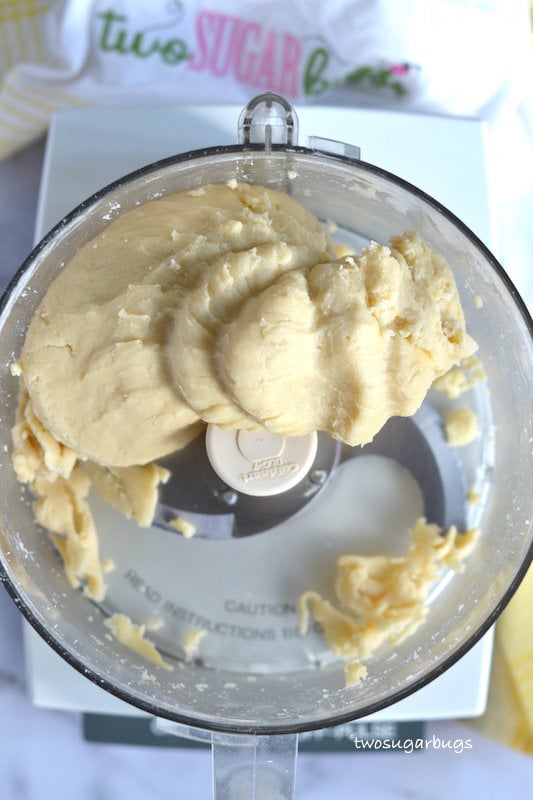
Add the egg and vanilla and blend until the dough comes together.
Then roll the dough into 1 ½ inch balls and roll the balls in sprinkles. I use a cookie scoop, like this one, to get uniform sized balls.
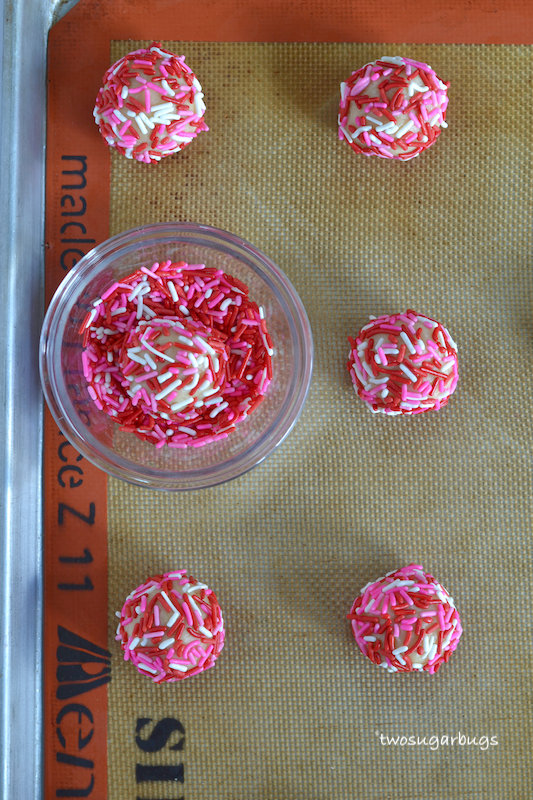
Next place the sprinkle covered dough balls onto the prepared baking pans, spacing 1-2 inches apart. Use the bottom of a measuring cup or glass to flatten the cookie dough to ¼ - ½ inch tall.
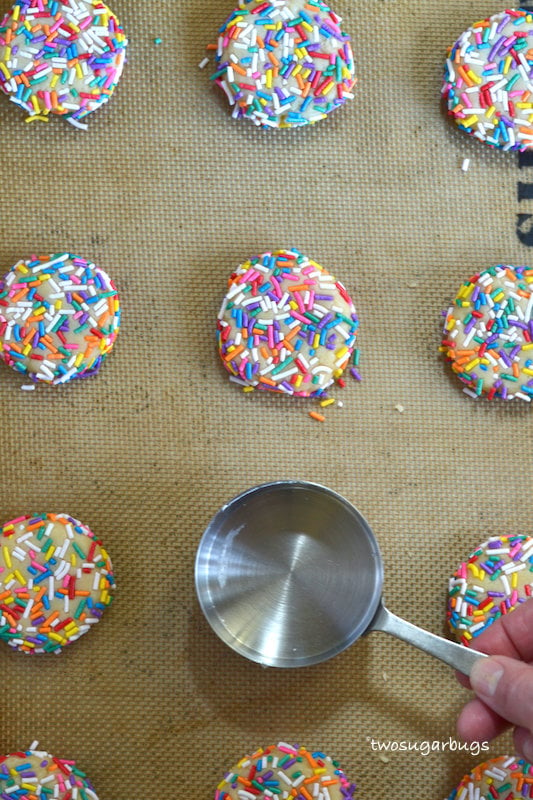
Finally, bake the cookies for 8-10 minutes. They will look slightly under baked. DO NOT over bake!! To keep the cookies soft and chewy we want the centers slightly underdone. They will continue cooking as they cool and the centers will firm up.
*If the cookies appear puffy, use the bottom of a glass to lightly press them down while they are cooling on the pan. Allow the cookies to rest on the pan for 2 minutes and then carefully move to a wire rack to cool completely.
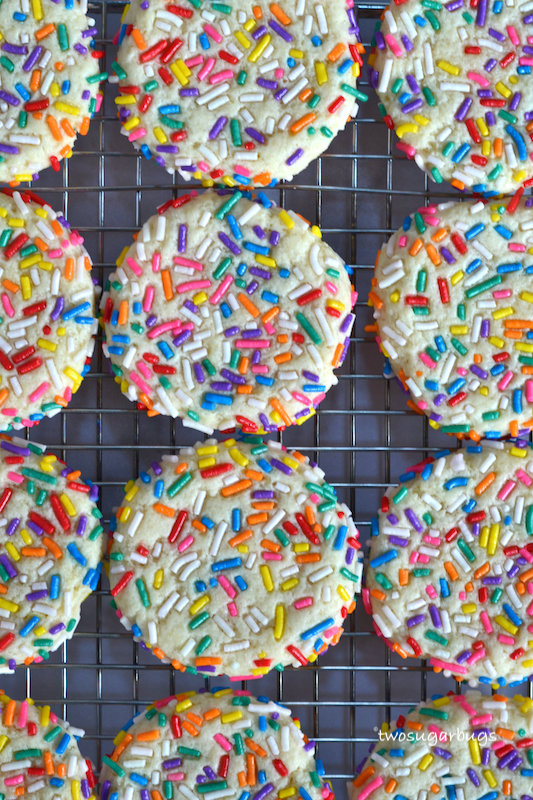
HOW DO YOU GET THE SPRINKLES TO STICK TO THE COOKIES?
After scooping the dough into 1 ½ inch balls, roll them briefly in the palm of your hands. The warmth of your hands softens the dough and makes it slightly tacky, which helps the dough accept the sprinkles.
I also recommend working one cookie at a time. Scoop the dough, roll it in your hands, then roll in the sprinkles. Repeat until all the dough is used.
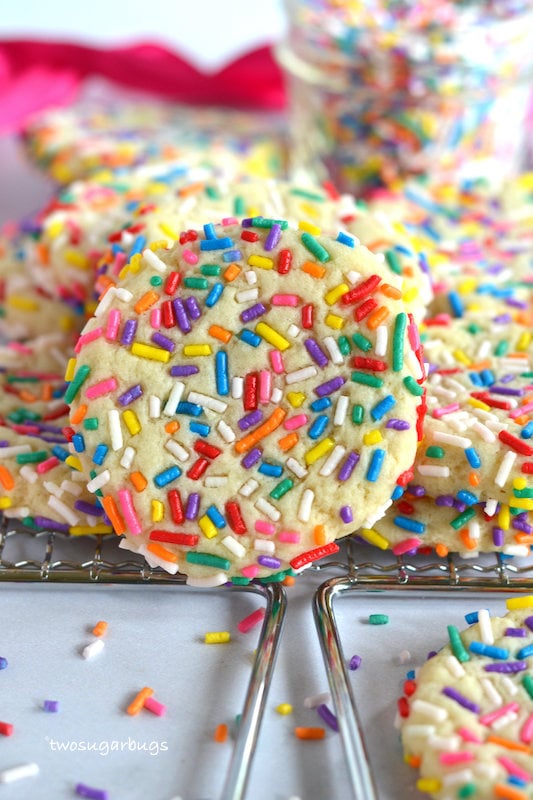
Next time you are craving a sprinkle filled sugar cookie just skip the bakery and bake up a batch of these happy cookies!
MORE COOKIE RECIPES TO TRY
- Chocolate Confetti Cookies
- Always Perfect Sugar Cookies
- Funfetti Cookies {From Scratch}
- Sugar Cookie Bars
To pin this recipe, you can use the button on the recipe card or the share buttons on the side or bottom of the page. Come follow me on Pinterest and Instagram to see all the things that inspire me. Thank you for being here and happy baking!
Recipe shared with Meal Plan Monday, Full Plate Thursday and Weekend Potluck
Sprinkle Cookies
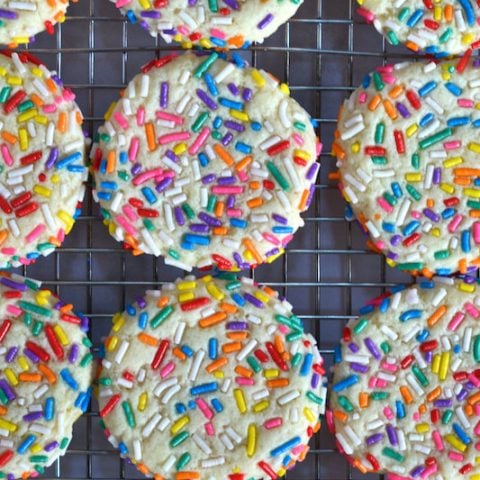
This EASY cookie recipe creates the best soft, chewy, sprinkle covered sugar cookies!! No need to bring your butter and cream cheese to room temperature and NO CHILL time. Better than any bakery cookie and ready in about 30 minutes!
Ingredients
- 2 ½ cups all-purpose flour
- ½ teaspoon baking soda
- ½ teaspoon baking powder
- ¾ teaspoon salt*
- ½ cup unsalted butter, cubed
- ½ cup (4 ounces) cream cheese
- ½ cup granulated sugar
- ¾ cup powdered sugar
- 1 large egg
- 2 teaspoons pure vanilla extract
- 1 cup jimmies sprinkles
Instructions
- Preheat oven to 375°. Prepare baking pans with silicone baking mats or parchment paper. Set aside.
- Place flour, baking soda, baking powder and salt in the bowl of your food processor. Pulse a few times to blend.
- Add the COLD butter cubes and COLD cream cheese as well as the granulated and powdered sugars to the flour mixture. Pulse until the mixture becomes sandy in texture.
- Add the egg and vanilla and blend until the dough comes together.
- Roll the dough into 1 ½ tablespoon balls and then roll into sprinkles.
- Place the cookies on the prepared baking pan, spacing 1-2 inches apart. Use the bottom of a glass to flatten the cookies to between ¼ and ½ inch tall.
- Bake for 8-10 minutes until they look slightly under baked.
- Allow to rest for 2 minutes on the baking pan. If the cookies appear puffy, use the bottom of a glass to lightly press them down while they are cooling. Then transfer to a wire rack to cool completely.
Notes
Cookies will stay fresh covered at room temperature for up to 1 week. They also freeze well for up to 3 months.
*I bake with kosher salt, if using table salt start with half the amount listed and adjust to your taste.
Recommended Products
As an Amazon Associate and member of other affiliate programs, I earn from qualifying purchases.
-
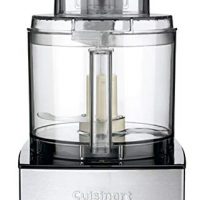
 Cuisinart DFP-14BCNY 14-Cup Food Processor, Brushed Stainless Steel
 -
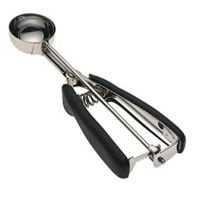
 OXO Good Grips Medium Cookie Scoop
 -
 USA Pan Bakeware Half Sheet Pan, Warp Resistant Nonstick Baking Pan, Made in the USA from Aluminized Steel
 -
 Silpat Premium Non-Stick Silicone Baking Mat, Half Sheet Size, 11-⅝" x 16-½"
 -
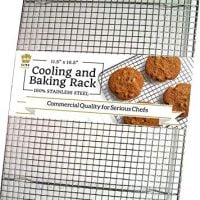
 Ultra Cuisine 100% Stainless Steel Wire Cooling Rack for Baking fits Half Sheet Pans Cool Cookies, Cakes, Breads - Oven Safe for Cooking, Roasting, Grilling - Heavy Duty Commercial Quality
Nutrition Information:
Yield:
24Serving Size:
1Amount Per Serving: Calories: 157Total Fat: 6gSaturated Fat: 3gTrans Fat: 0gUnsaturated Fat: 3gCholesterol: 19mgSodium: 110mgCarbohydrates: 23gFiber: 0gSugar: 12gProtein: 2g
The nutrition information is an estimate and may not be entirely accurate.


Katherine | Love In My Oven says
Sprinkle cookies!!! How fun, Tasia!! I'm pinning these so I can make these with the kiddos some time. They love anything with sprinkles, we often put them in our pancakes haha! Yum!
Tasia says
My girls love sprinkles on just about everything too! Your kids will have so much fun making and eating them! Thanks Katherine!
Jennifer says
Delicious! Thank you for sharing. I have been trying to find a sugar cookie recipe for a long time that I liked. They were so easy to make. I used my ninja and it worked perfect!!
Tasia says
Hi Jennifer, thank you so much for coming back to leave a comment! It makes me happy to hear you enjoyed this cookie recipe and I'm glad that it worked perfect in your ninja!
Leanne says
Sprinkle cookies always make me smile! And these are loaded with sprinkles. Love that you can change up the sprinkles so these cookies are perfect for any occasion. And who doesn't love a good sugar cookie, right?!
Tasia says
Thank you Leanne! They always make me smile too!
Christie says
These cookies are sooo cute and fun! I love this idea Tasia
Tasia says
Thank you Christie! I hope you enjoy them!
Miz Helen says
Awesome cookies, can't wait to try them! Hope you are having a great week and thanks so much for sharing with us at Full Plate Thursday and sure hope you will come back soon!
Miz Helen
Tasia says
Thank you Miz Helen! I always enjoy all the incredible recipes shared at Full Plate Thursday. I hope you enjoy this recipe!
Eveline says
I don’t have a food processor, would these work in a mixer?
Tasia says
Hi Eveline! I've not tested the recipe with a mixer, but I imagine it would work. I would let the butter and cream cheese soften a bit and you may have to chill the dough for a short while (maybe 30 minutes or so) until it's a consistency you can work with. I would follow a typical cookie method - cream the butter/cream cheese/sugars, add the egg/extract, followed by the dry ingredients. Good luck, you'll have to let me know how it goes!
April says
These were so delicious! The dough was sticky so I had to use a lot of flour to roll into balls but they were so fluffy and beautiful and yummy! Definitely will make again!
Tasia says
Yay! Thank you for coming back to share a comment April! I am so happy you enjoyed them and were able to work around your dough being sticky!
Ltmp says
Can I use spreadable cream cheese or just block?
Tasia says
I have not tested this recipe with spreadable cream cheese. My gut says it may not lend the correct structure to these cookies as spreadable cream cheese is manufactured differently and doesn't tend to bake with the same results.
Leslie says
Hi. Can I use a blender instead of the food processor?
Thanks!
Tasia says
Hi Leslie, I honestly don't think a blender will do the trick here. I have not tested this recipe without a food processor, but have a couple ideas you could try. For the first one, follow the directions, but mix the first ingredients well in a large bowl. Then cut in the butter and cream cheese as if making a pie dough, but work them in until the dough is more like wet sand. Then add the egg and vanilla and mix until the dough is cohesively together. For the second one, you could use a stand mixer. I would let the butter and cream cheese soften a bit and you may have to chill the dough for a short while (maybe 30 minutes or so) until it’s a consistency you can work with. I would follow a typical cookie method – cream the butter/cream cheese/sugars, add the egg/extract, followed by the dry ingredients. Good luck, you’ll have to let me know how it goes!
Arlene says
I have a smaller food processor and split the recipe into 2 half recipes to make the full recipe. A large egg is about 1/4 cup. I mixed it and split it to 1/8 cup. Worked fine and the cookies came out great.
Tasia says
Thank you so much for coming back to leave a comment Arlene! I love that you were able to adapt the recipe to work with your smaller food processor.
Johnna says
LOVE THIS RECIPE! So super easy with a food processor. Quick easy and super cute. They looked so festive on my holiday cookie tray,
Tasia says
Yay, your comment made my morning Johnna! So happy you love the recipe!! Thank you for taking the time to come back and comment and leave a review. I truly appreciate it!!
Tally says
I never have made a recipe without adding milk before and it came out super easy and delicious! Thank you for posting this ^-^
Tasia says
Thank you for making the sprinkle cookies and coming back to comment on your results! It makes my heart happy to know you found them delicious!
Tara says
Are these firm but chewy? I like a little “chewy bite” to my cookie before the soft chewy center. That’s what these look like but wanted to ask first.
Thanks,
Tara
Tara says
Are these cookies firm but chewy? I like a “chewy bite” to my cookie before the soft chewy center. These look like they would be that way but wanted to ask.
Thanks,
Tara
Tasia says
Hi Tara! Yes, I find these cookies to cool and be quite firm and stable, but they definitely have a soft and chewy bite when you eat one. Hopefully that makes sense and answers your question!
Carole Waldman says
These were so easy to make and they are delicious!
Tasia says
Hi Carole, thank you! I appreciate you coming back to leave a review and I'm glad you love them!
Bunny says
These were simple to make. Pretty to look at. But…..sadly I do not care for the taste at all. Not sweet enough for a cookie. Didn’t care for the cream cheese addition, added a strange taste. 🤷♀️
Tasia says
Hi Bunny, thank you for trying this recipe. I am sorry to hear that the flavor and texture weren't what you were hoping for.
Katey says
Amazing, these came out absolutely perfect. The texture and taste are both great. They were totally worth my having to go to multiple stores to find Christmas colored jimmies, lol. I am already planning on making a second batch since the first one is destined for holiday cookie trays and I haven't gotten to eat nearly enough of them myself!
Thank you for the clear but simple instructions and the ingredient ratios that are so simple to remember (and only a few measuring cups and spoons to wash!) My only *tiny* criticism is I missed the note about kosher vs table salt until after I had measured the first step ingredients into my food processor (but luckily before I blended them so I was able to 'pinch' out some of the excess table salt.) I believe table salt is the standard for baking because the finer grains distribute more evenly.
Tasia says
Hi Katey, so happy to hear you love these cookies! They are an absolute favorite at my house {and I also hit two different stores to find my Christmas jimmies this year}. I prefer kosher salt in my baking as it has a slightly milder, less harsh taste and doesn't seem to overpower the other flavors like table salt can. Thank you for the kind review and happy baking!
Lauren says
I can’t lie, I jumped right into the recipe not knowing it was with a food processor! I used my Kitchenaid mixer with the whisk at first then switched to the paddle as it started to come together. So good and such a hit! They were gone within two days, needless to say I’m making more this weekend! I’m sure they’re even better with the food processor and I’ll try again once I get one! But fret not those who also don’t have one!
Tasia says
Hi Lauren, I am so glad that you loved the cookies and that it worked just fine with your mixer! Thank you for coming back to leave a comment and share your different technique.
Sandi says
The only recipe from this blog I didn’t enjoy. They tasted like flour and sprinkles in a processed, unpleasant way.
Tasia says
Hi Sandi,I am sorry these cookies didn't taste like you expected. Thank you for trying them.
Elizabeth says
These cookies are DELICIOUS! I should have read the instructions better because I didn’t realize you needed a food processor. 😅 However, I saved it by sticking the mixture in the microwave for 30 seconds and the butter/cream cheese softened perfectly for the mixers to blend it together. This will be on my regular cookie rotation! Thank you for the recipe! ☺️
Tasia says
Hi Elizabeth, thank you for making these sprinkle cookies. I am so happy to hear you loved them! And great work around to the food processor. 🙂
Elizabeth says
DELICIOUS! Made these for ice cream sandwiches and they taste like grocery store cookies but I used all organic ingredients so I can pretend they’re healthy.
Perfect for the ice cream sandwiches because they’re so soft they don’t make the ice cream squeeze out when you bite them.
Love!
Tasia says
Hi Elizabeth, I am so happy to hear you love these sprinkle cookies. Brilliant idea to use them for ice cream sandwiches!
Sheila Z Haynes says
This is the perfect recipe! The cookies turned out nice and tender. I used 1 tsp vanilla and 1 tsp almond flavoring.
Tasia says
Hi Sheila, thank you for the kind review! I am so happy to hear you loved these sprinkle cookies, adding almond extract is a favorite of mine too!
Sarah says
My husband doesn't ever rave about ANYTHING I bake, he is not much of a dessert guy at all... he said these are "the best cookie he has ever had" and claims they are "the perfect texture that every cookie should be"... so that's saying something! I agree, they are VERY good, so soft and chewy and they stay that way for many days.
Tasia says
Aww, thank you for this kind review Sarah! You just made my afternoon. I'm so happy to hear that even your biggest critic loved this cookie recipe! Thank you for making them and sharing!
Hope says
I love these cookies!! I’m trying to get a jump start on prepping some dough for cookie boxes this year- I know you mention they freeze well after being baked… do you think they could be frozen after rolling in Jimmies/before baking?
Tasia says
Hi Hope, I am so happy to hear you love these cookies! They are a favorite at my house too! I have never frozen the dough prior to baking; in theory it should work, but I am reluctant to tell you it does without having done it myself. If I were to try it, I would roll them in jimmies and flatten them before freezing. I do feel confident that you could bake them, let them cool completely and store them in an airtight container or zip top bag in the freezer. They should still be amazing in a month {yikes, Christmas is coming fast!} Happy baking!
Natalie says
Hi if I want to make the dough in advance and cook a few days later would you recommend freezing the dough or storing in fridge?
Tasia says
Hi Natalie, I have never refrigerated or frozen the dough prior to baking; in theory it should work, but I am reluctant to tell you it does without having done it myself. If I were to try it, I would roll the cookie dough in jimmies and flatten them before freezing. I tend to prefer freezing over refrigerating as it seems to keep the dough fresher. I do feel confident that you could bake them, let them cool completely and store them in an airtight container or zip top bag in the freezer, then pull them out to defrost when you are ready to serve them. Happy baking!
Tiff says
This recipe is one of my favorites I have found. I was nervous putting everything in the food processor but it turned out so perfect. They remind me of lofthouse cookies! So soft and delicious. Kid and husband approved. This is my go-to cookie for holidays, just change the color sprinkles.
Tasia says
Hi Tiff! Thank you for sharing this kind review. I am so happy to hear you and your family love these sprinkle cookies!
Jody says
These cookies were fabulous and so easy. My new go to cookie recipe !! Thank you !!
Tasia says
Hi Jody. Yay!! I am so happy to hear you love this cookie recipe. It's a favorite of ours too! Thank you for coming back to leave a review, I appreciate it and it's super helpful for others.
Tiffany says
These cookies are absolutely amazing!! So easy to make with the food processor and my daughter had a blast rolling the dough in the sprinkles.
Also, I am soy and dairy free so I used SF & DF sour cream in place of the cream cheese and SF & DF butter. Still turned out incredibly delicious!
Tasia says
Hi Tiffany, I am so happy you were able to make this cookie recipe and that you loved them! Thank you for sharing your success with substitutions, I am sure that will be helpful to someone else.