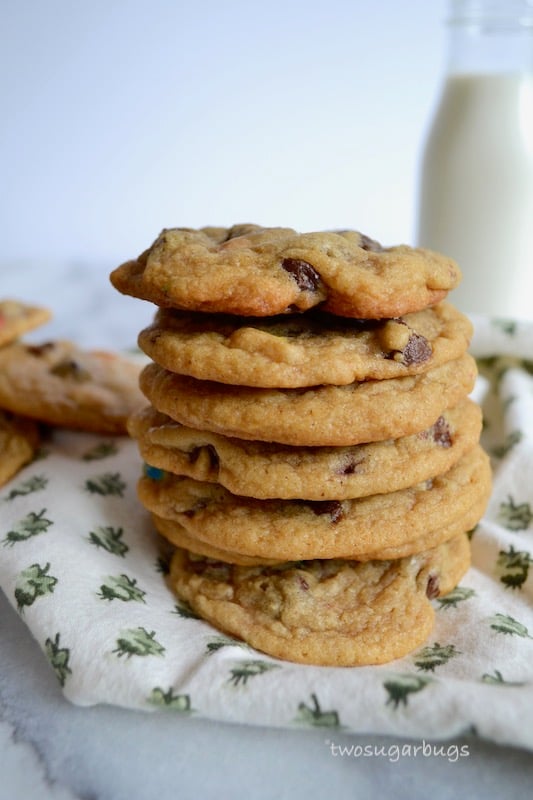
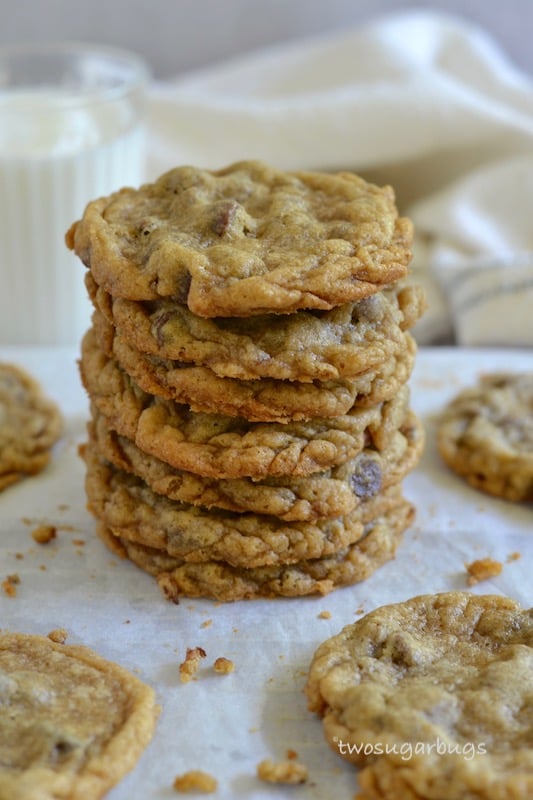
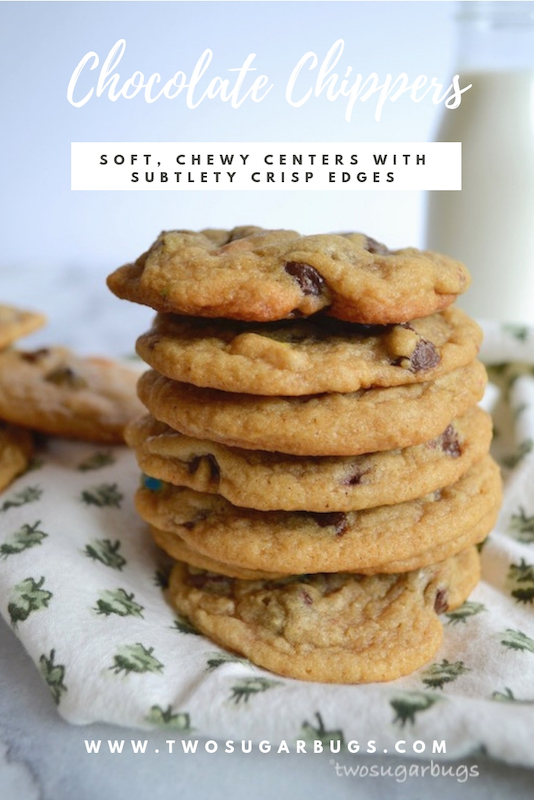
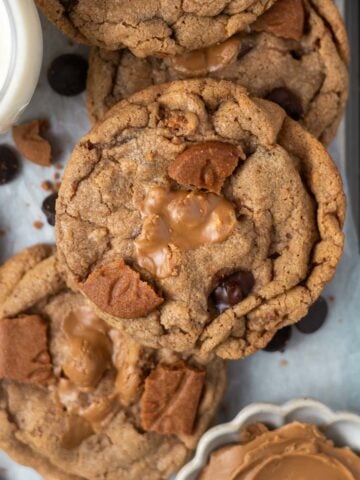
The iconic cookie ~ chocolate chip cookies {aka~chocolate chippers} with a soft and chewy center and subtlety crisp edges.
The chocolate chip cookie is a true classic with many devoted lovers of it, yet just as many opinions on the variety of ways it can be conceived. There seems to be no end on what recipe style is best ~ soft, thick, thin, chewy, crunchy or crispy. Some prefer them with nuts. Maybe you like them as big bakery cookies or maybe mom made them like small lumps. Whatever your choice, it's hard to find someone who is not a chocolate chip cookie fan.
Disclosure | This post contains affiliate links. The price you pay as a consumer does not change, but I may make a small commission based on your purchase. As an Amazon Associate I earn from qualifying purchases.
I'm pretty sure chocolate chip cookies were the first thing I really learned how to bake. The cookies I made in my early years were nothing like the beauties I am happy to share with you today.
The recipe I am sharing is a variation on a highly guarded family recipe. After much time and effort, I perfected the family recipe into my perfect chocolate chipper recipe. I can guarantee that my sister would stop speaking to me if I actually shared the original recipe.🙁
These are my family's favorite chocolate chip cookies. Otherwise known as chocolate chippers.
The truth of the matter is that I have been tinkering with and putting my own spin on this recipe for years now. One ingredient from the family recipe has become almost impossible to find so I had to figure out a way to still create amazing and delicious chocolate chip cookies without it.
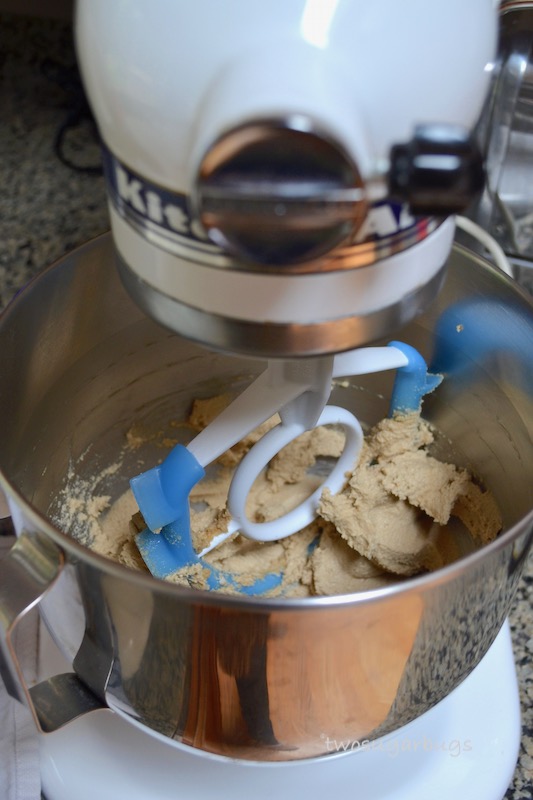
This chocolate chip recipe starts with your usual suspects: room temperature butter, granulated sugar and brown sugar. You cream them together until they get light, fluffy and happily united. I use my Kitchen Aid mixer; she's a workhorse and has been going strong for 20+ years now, but I have found something new to help her work smarter too.😊
Disclosure | SideSwipe provided me with one of their mixing blades, however all thoughts and opinions shared here are 100% my own.
Have you seen a SideSwipe paddle? This thing is AMAZING!! I met Felicia from SideSwipe through Instagram and she was kind enough to send me a SideSwipe mixer blade to use and I have fallen in love with it.💗 The blade is designed with alternating angled fins, which create light and airy creaming and pretty much eliminate the need to stop and scrape down your bowl during the mixing process. How did I get by all these years without it?? I love that her husband designed it after watching her having to continually stop the mixing process and scrape the bowl and he wanted to make the process more efficient. I'm guessing he really just wanted the cookies to come more quickly!😉 The SideSwipe can be used for all your mixing needs that would normally require the traditional paddle attachment. It's a great product that will save you time when using your KitchenAid mixer.
Now that you've gotten your butter and sugars all fluffy, you'll add your eggs and vanilla. Then add your flour, baking soda, salt and cornstarch. One of the things I have tinkered with in this recipe is the flour. For a short time I was using a combination of all-purpose flour and cake flour to get a softer and chewier cookie, but not everyone keeps cake flour in their pantry. I needed something easier. I have found adding cornstarch to the all-purpose flour is an easy way to get the same soft and chewy chocolate chip cookie. Finally you add your chocolate chips and then give the dough a little time to chill in the refrigerator - approximately 1 hour.
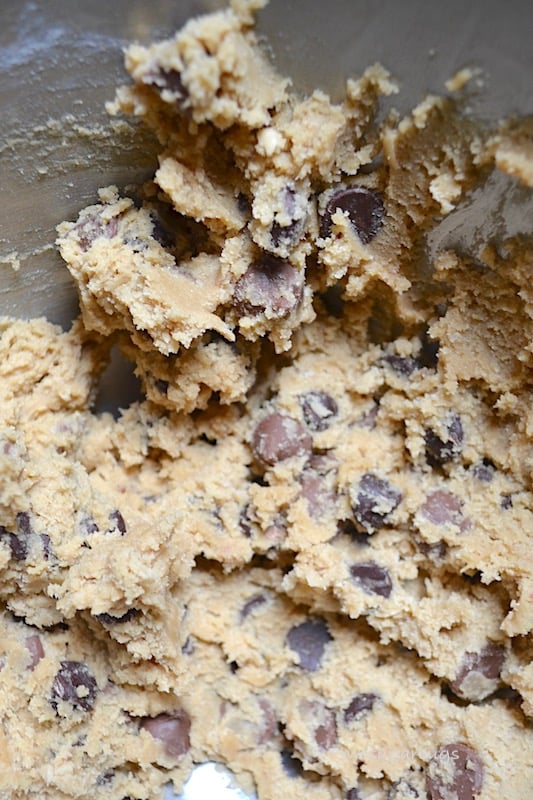
These chocolate chippers are slightly thick with a soft and chewy center and barely crisp edges. A perfect cookie, if you ask me. The ratio of brown sugar to granulated sugar is 2:1 and using dark brown sugar adds an incredible depth of flavor. You can use whatever type of chocolate chips you like, but I highly suggest using two different types of chocolate. My favorite is half semi-sweet chocolate chips and half milk chocolate and peanut butter chips. Semi-sweet and milk chocolate or semi-sweet and M&M's are two other combinations that I frequently use.
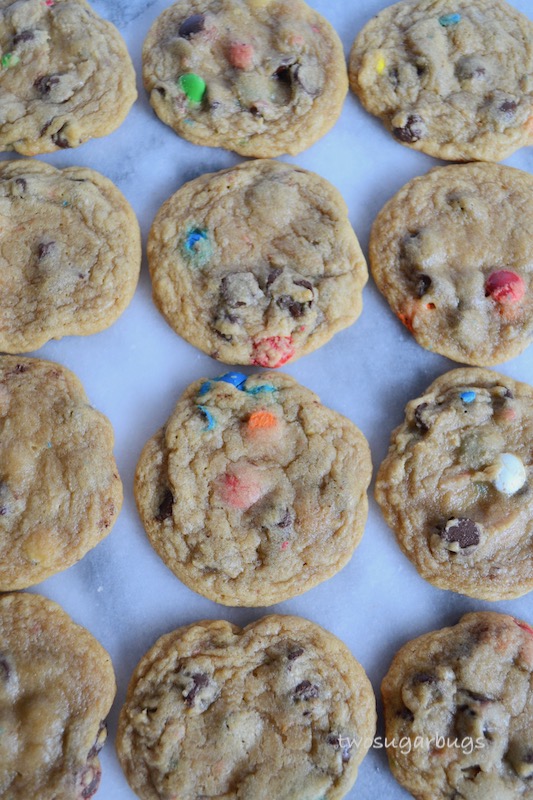
Honestly, I always have a batch of these chocolate chippers in my freezer. I bake them and cool them, then layer them in an airtight container and tuck them away. You can let them thaw on the counter for 5-10 minutes or just eat them ice cold. I like to let mine warm to room temperature, but everyone else in my family is a bit impatient and can't wait that long, so they eat them straight from the freezer.
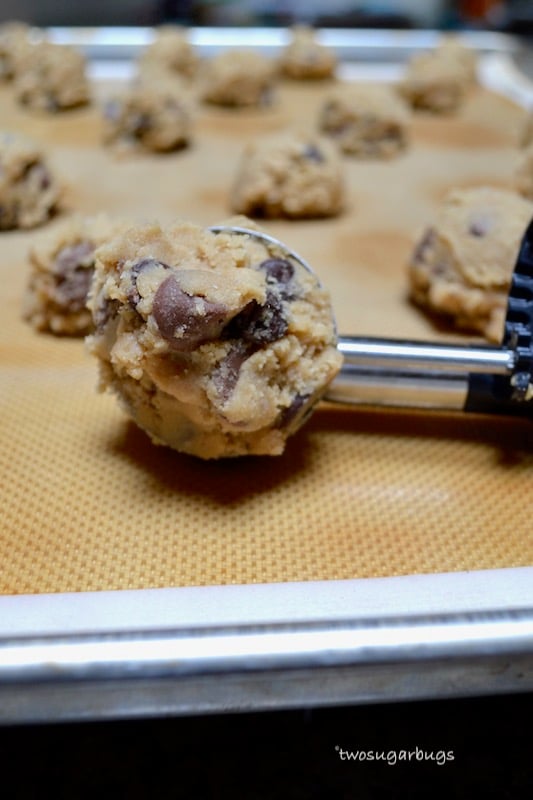
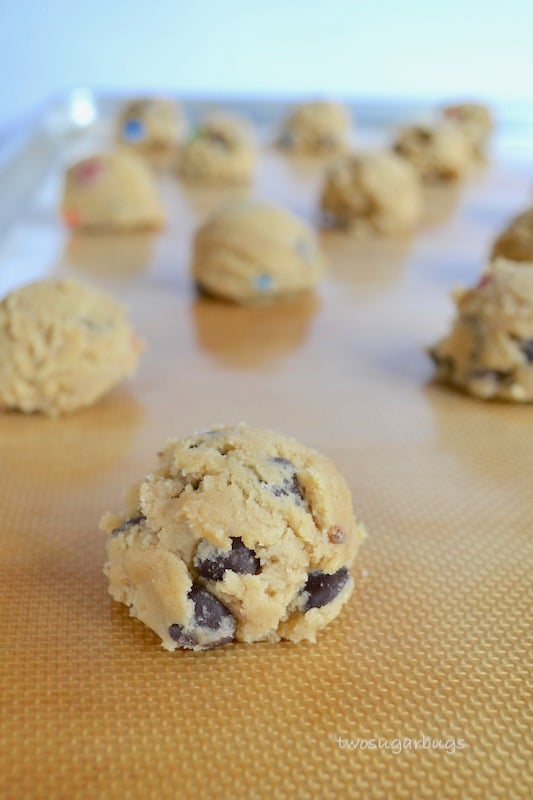
This recipe can also be prepared up to the point of portioning your dough and then freezing the dough balls. If doing this, I recommend portioning your dough and chilling it for about an hour in the refrigerator before placing the cold and solid dough balls into a zip top plastic bag for the freezer. Alternately, you can place the cold and solid dough balls in an airtight container. Just pull the dough out of the freezer as you preheat the oven - I check them at the same time interval, but they may end up needing a minute or two more to bake.
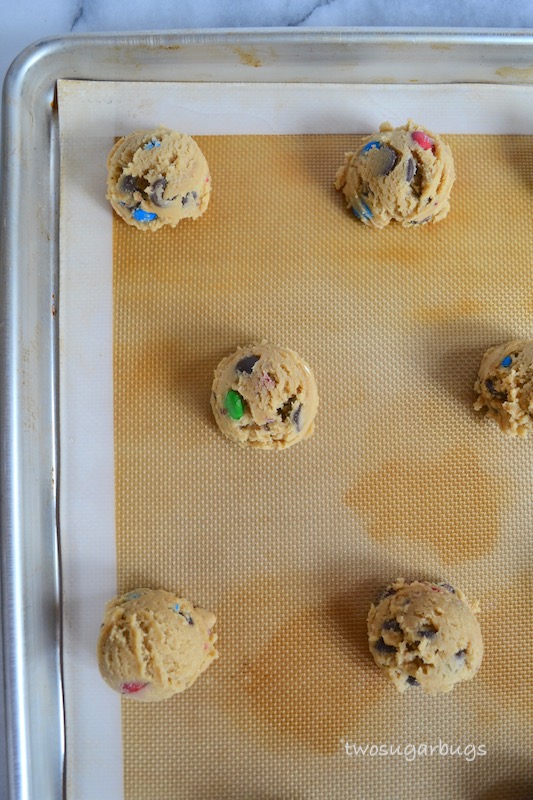
Your chocolate chippers will bake the best on a silicone baking mat or parchment paper. I use a cookie scoop to create the cookie dough balls. They'll look very soft and slightly underdone when you pull them out of the oven. You'll let them rest on the baking pan for 5 minutes before moving to a cooling rack to cool completely.
I have tested this recipe multiple times and my mom and dad say they can't taste a difference between my recipe and the secret family recipe. Mr. Two Sugar Bugs reported recently that he actually prefers this newer version. In any case, if you are looking for a chocolate chip cookie recipe that everyone is going to ask you for ~ this is it!
OTHER COOKIE RECIPES TO TRY
- Always Perfect Sugar Cookies
- Chocolate Confetti Cookies
- Soft and Chewy Oatmeal Coconut Chocolate Chip Cookies

Chocolate Chippers
Ingredients
- 2 ½ cups all-purpose flour
- 1 teaspoon baking soda
- 2 teaspoons cornstarch
- 1 teaspoon salt
- ¾ cup unsalted butter room temperature
- 1 cup dark brown sugar firmly packed (I prefer dark brown, but light brown works too)
- ½ cup granulated sugar
- 2 eggs
- 1 ½ teaspoons pure vanilla extract
- 6 ounces semi-sweet chocolate chips*
- 6 ounces milk chocolate chips*
Instructions
- In a medium size bowl, whisk flour, baking soda, cornstarch and salt. Set aside.
- Cream butter and both sugars on medium high with a stand mixer fitted with the paddle attachment, or a hand mixer, until light and fluffy. Approximately 3-5 minutes.
- Scrape down your bowl and add the eggs and vanilla. Mix until well combined.
- With the mixer on low, add the flour mixture and blend until just combined.
- Fold in the chocolate chips.
- Cover and chill at least one hour and up to 2 days.
- Preheat oven to 350°F
- Prepare baking sheets with a silpat liner or parchment paper.
- Using a cookie scoop (approximately 2 tablespoons of dough), place cookie dough on prepared baking sheet, spacing about 2 inches apart.
- Bake 11-14 minutes, until edges are lightly browned. They will look slightly underdone in the centers. Allow to cool on the pan for 5 minutes and then transfer to a cooling rack to cool completely.
Notes
DID YOU MAKE THIS RECIPE?
Be sure to tag @twosugarbugs on Instagram and hashtag it #twosugarbugs


Letscurry says
Tasia
These look amazing and I'm so glad you have detailed how to freeze them. I'm definitely taking a tip or a two from this post of yours.
Thanks for an amazing recipe. The stack looks perfect.
Have a lovely weekend.
Tasia says
Thank you Hasin! I am glad this post was helpful! Hope you have a wonderful weekend as well!
Barbara says
We tested a zillion chocolate chip cookie recipes during the pandemic and your recipe is the one we keep coming back to. Thank you for sharing your family's favorite as it's become ours too.
Tasia says
Aww, thank you for the kind comment Barbara! I appreciate you baking my recipes and coming back to share.
Ruth Franklin says
this is a very good recipe I will make it again and again. although I only used one type of milk chocolate chips 🙂
Tasia says
Aww, I am so happy to hear you love this recipe Ruth! Thank you for coming back to leave a review.
Douglas says
These are the best chocolate chip cookies ever and I’ve tried a lot.
Tasia says
Aww, I love that! Thank you for making them, I am happy you love them as much as we do!