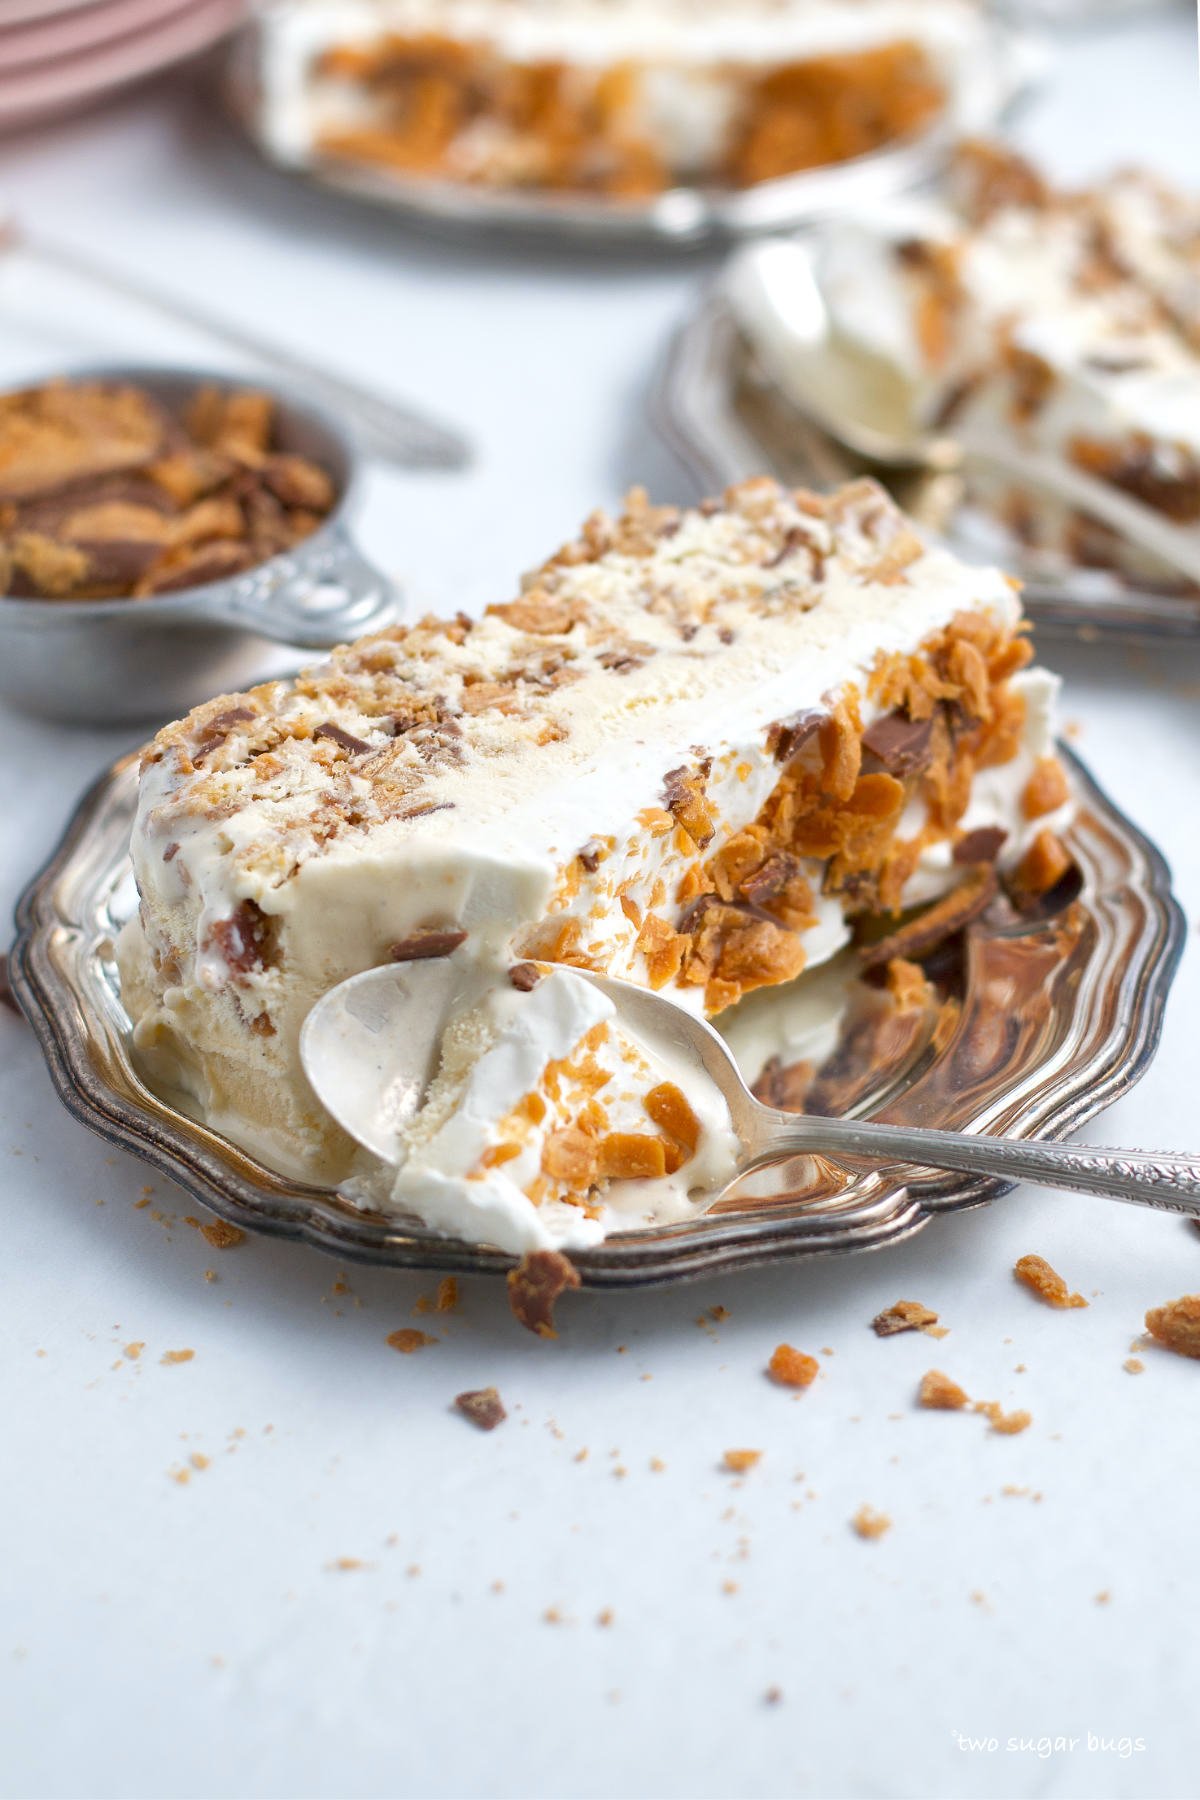
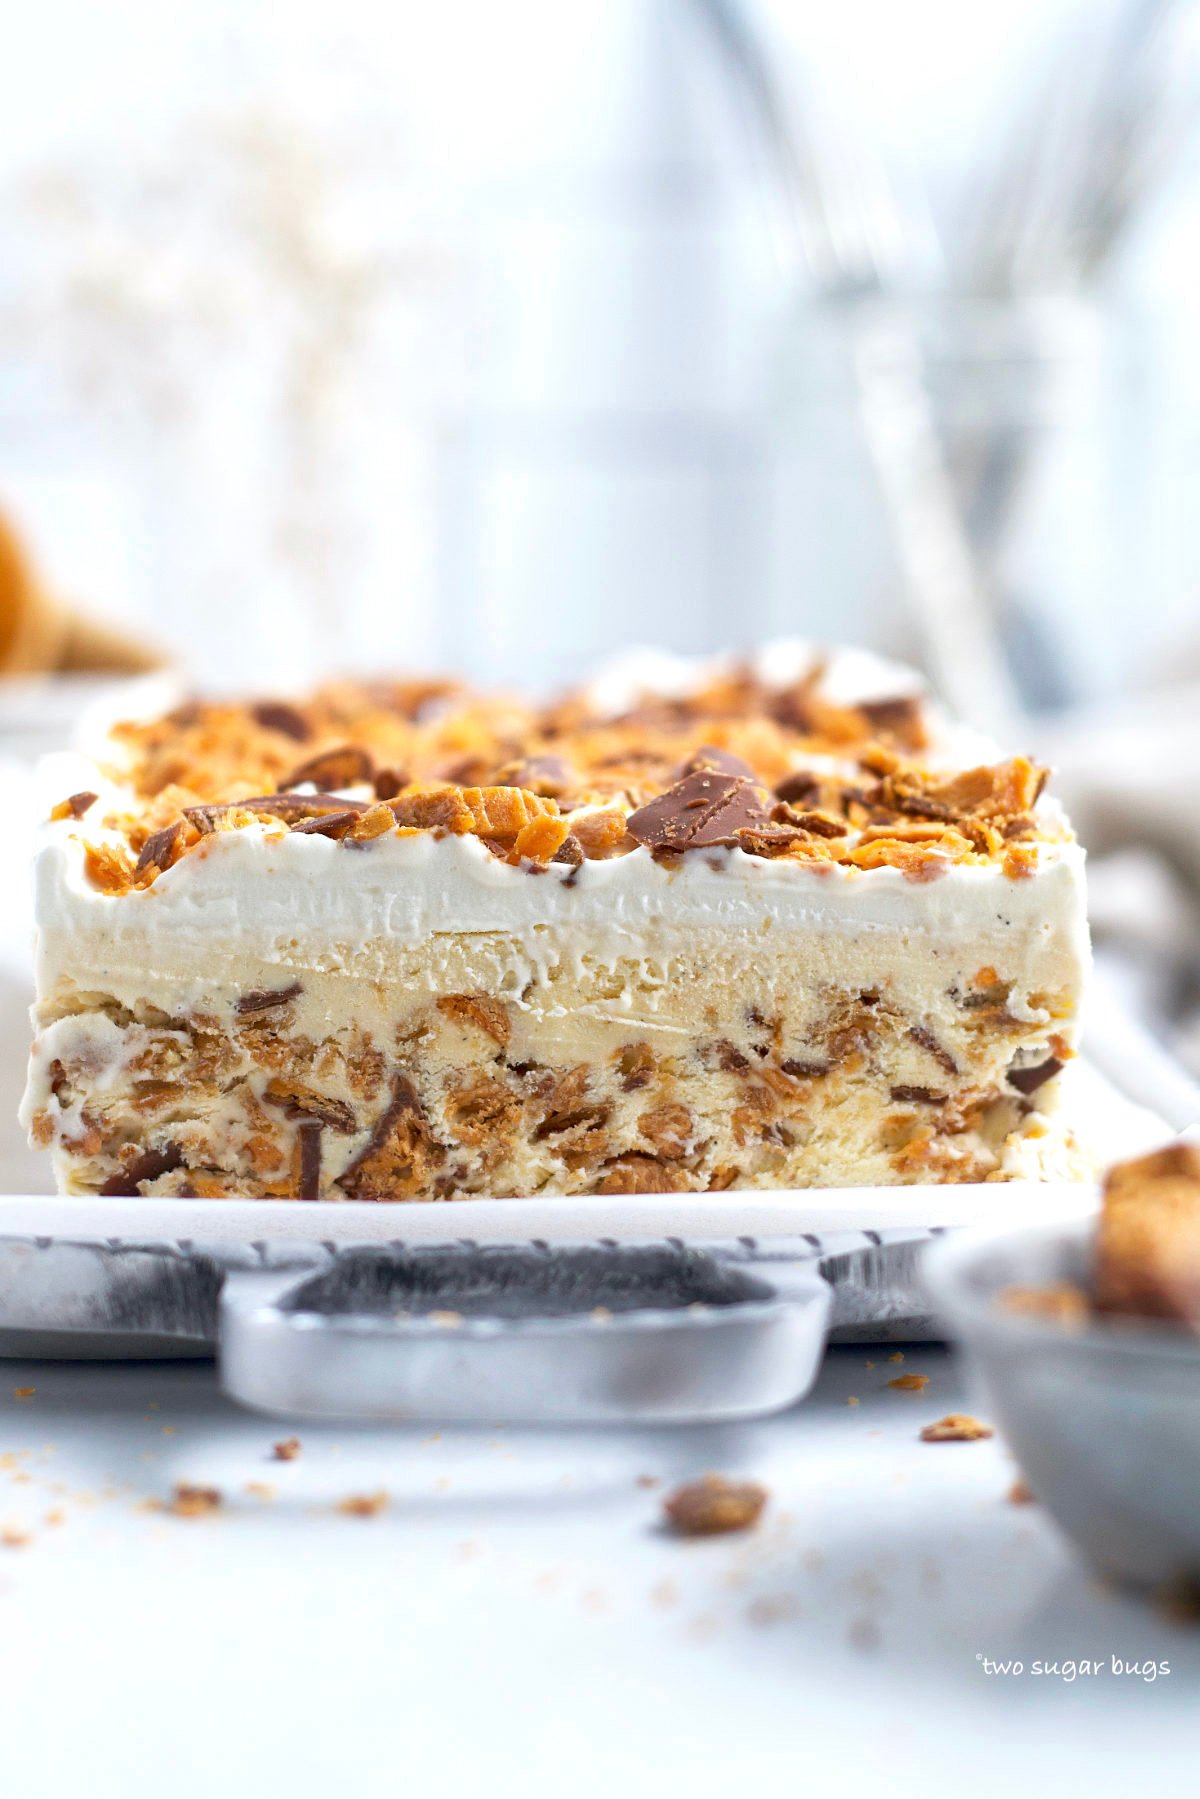
This Butterfinger ice cream cake is an easy no bake dessert! You'll love this layered recipe using vanilla ice cream, Butterfinger candy bars, ice cream cones and a homemade whipped cream frosting.
Disclosure | This post may contain affiliate links. As an Amazon Associate I earn from qualifying purchases.
I'm back with another recipe this week to celebrate National Ice Cream day. This Butterfinger ice cream cake is a layered ice cream cake recipe and it couldn't be easier to make.
While Butterfingers are not my favorite candy bar, it is my go-to flavor whenever I order a Blizzard from Dairy Queen. So it seems only fitting to use them in this ice cream dessert.
If you are looking for other candy bar inspired desserts be sure to check out my Milky Way Cake, Twix Cake, chocolate coconut bites and caramel and brown sugar shortbread.
why you'll love this ice cream cake
- A no bake recipe; perfect for the warm weather or when you need a dessert that doesn't take up precious oven space.
- Quick recipe ~ this Butterfinger dessert cake takes about 15 minutes of prep time.
- Ice cream, sugar cones, Butterfinger candy bars and whipped cream; what's not to love?! Use your favorite store bought ice cream or use the no-churn vanilla from this brownie batter ice cream.
- Tastes like a Dairy Queen blizzard, but better!
butterfinger cake ingredients
Please scroll to the printable recipe card at the end of this post for the full list of ingredients and baking directions.
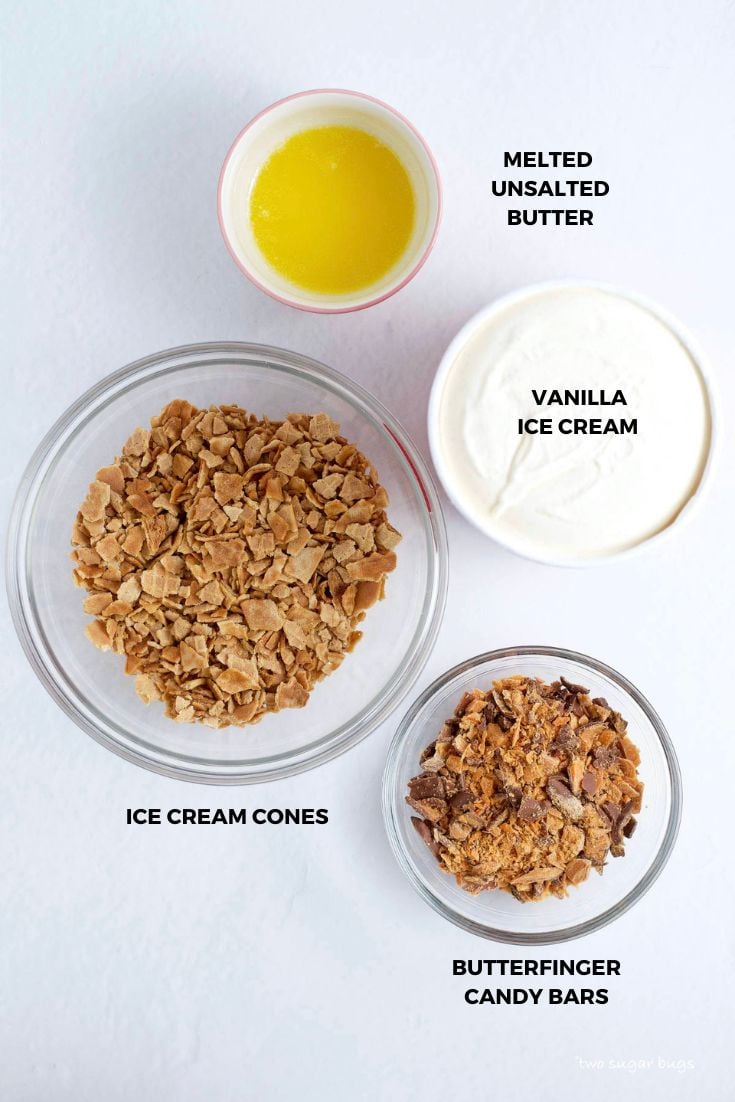
- Ice cream cones ~ I use store bought sugar cones. Waffle cones can be substituted. I've not tested using gluten-free sugar cones, but I feel confident they should be a fine substitute.
- Butterfinger candy bars ~ buy whatever size candy bars you prefer. I give you the weight amount needed in the recipe card at the bottom of this post.
- Unsalted butter ~ melted for the "cake" layer. Salted butter can be substituted.
- Vanilla ice cream ~ use your favorite brand. A homemade ice cream can also be used. If you prefer chocolate ice cream go ahead and use that.
- Heavy whipping cream {not shown} ~ for the whipped cream frosting layer.
- Sugar {not shown} ~ granulated or confectioners' sugar can be used for the whipped cream. You can also eliminate it, if you prefer.
- Vanilla ~ just a hint for the whipped cream.
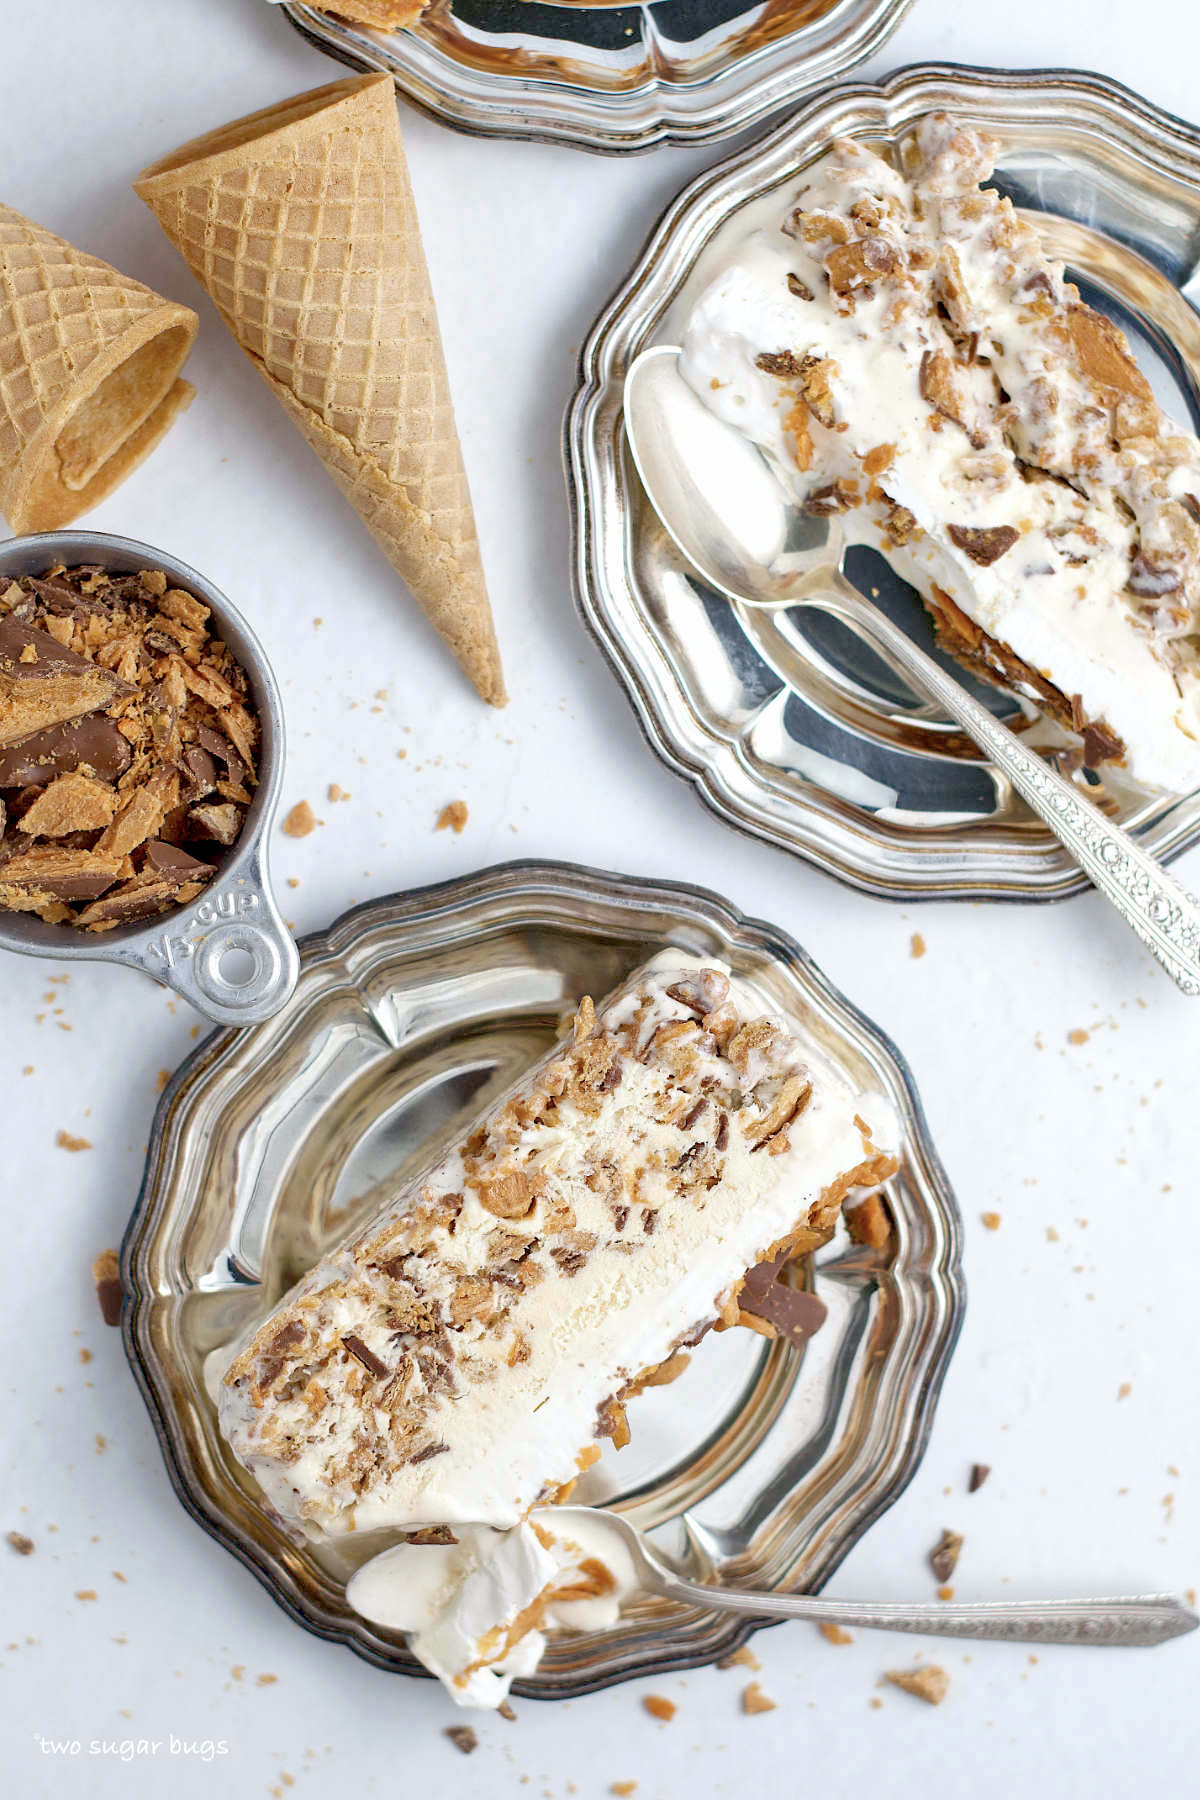
how to make this no bake butterfinger cake
Start by melting the butter and set aside. Prepare a loaf pan by lining with parchment paper or plastic wrap, leaving an overhang on the sides.
Place the ice cream in a bowl {this is my favorite set to use} and let sit on the counter to soften.
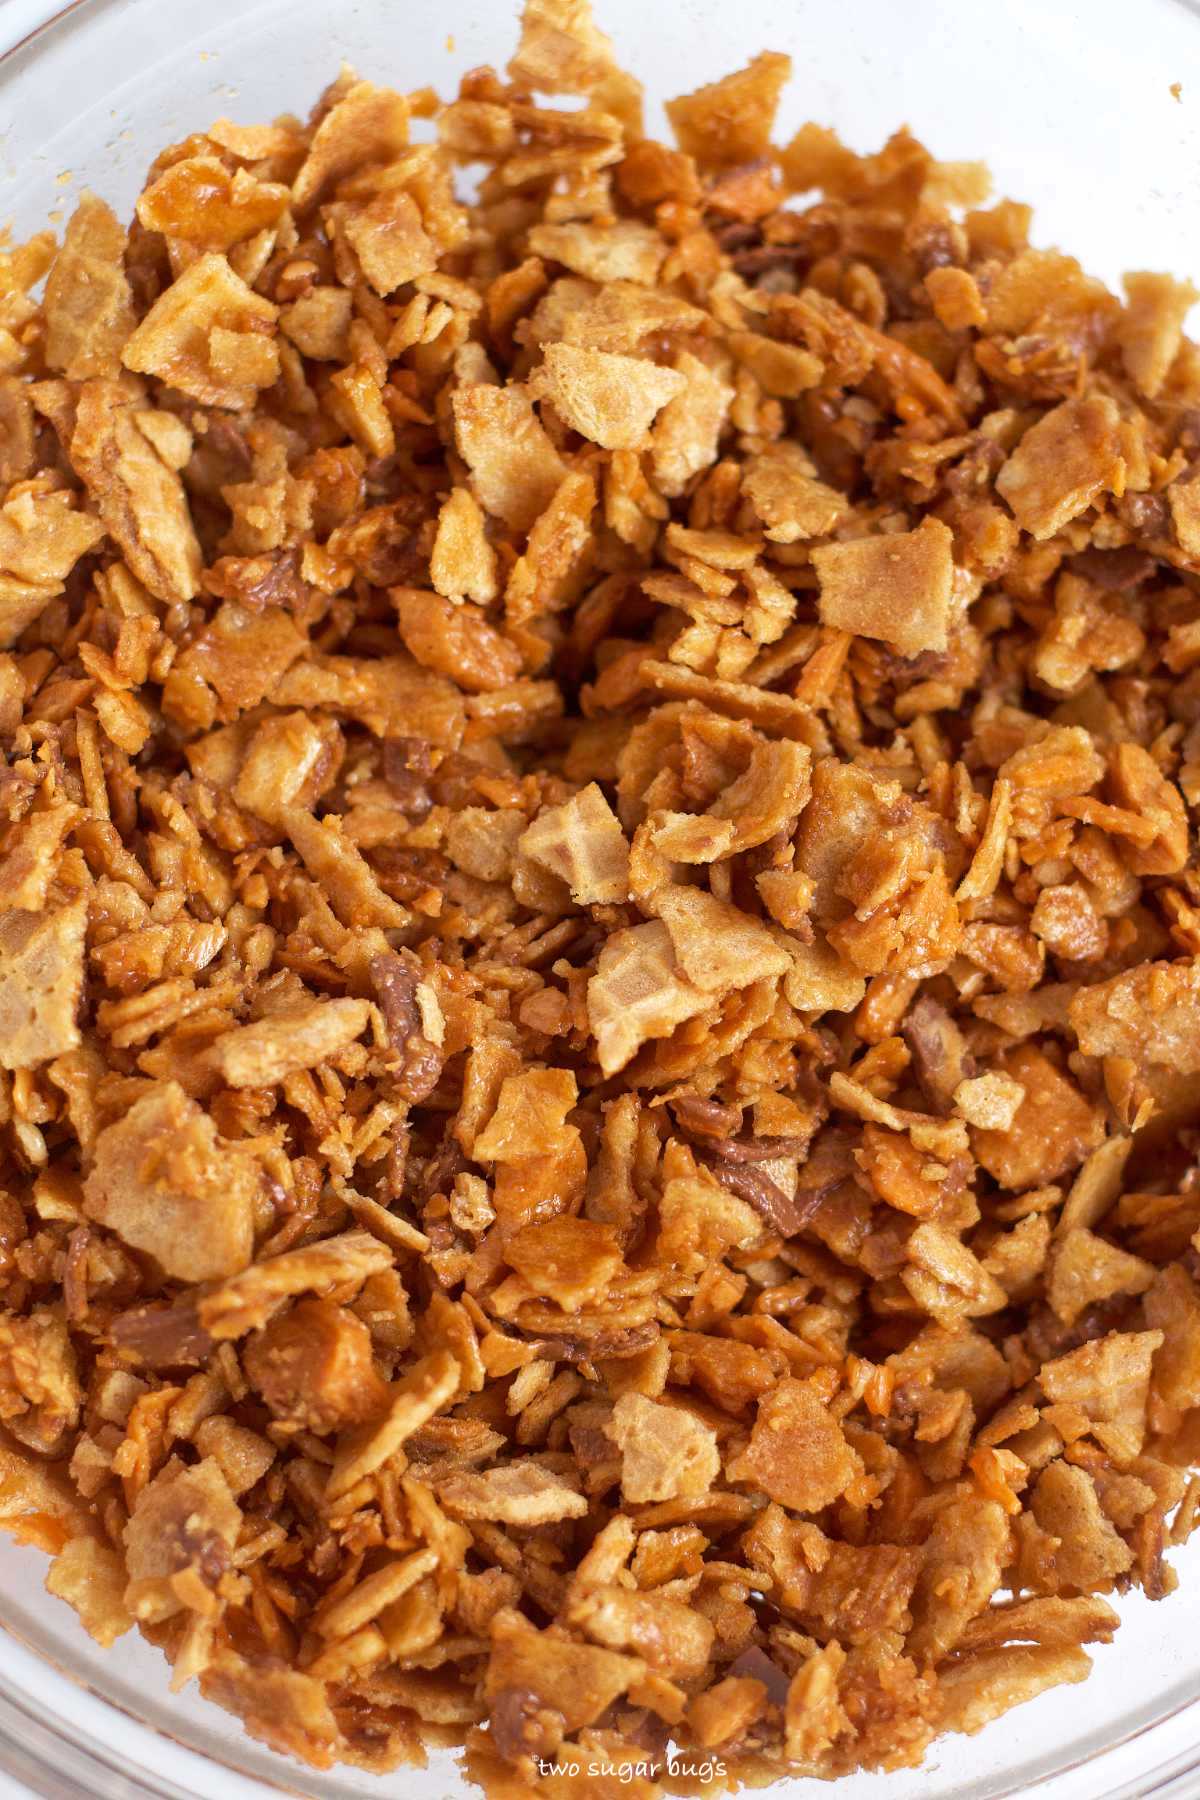
Next place the ice cream cones in another bowl and break them into smaller pieces {I use my hands}. The tips of the cones take a little encouraging to crush. Chop six of the fun size Butterfingers and toss together with the crushed cones. Then add the melted butter and stir to combine.
Now take ⅓ of the crushed cone mixture and press into the bottom of the prepared loaf pan.
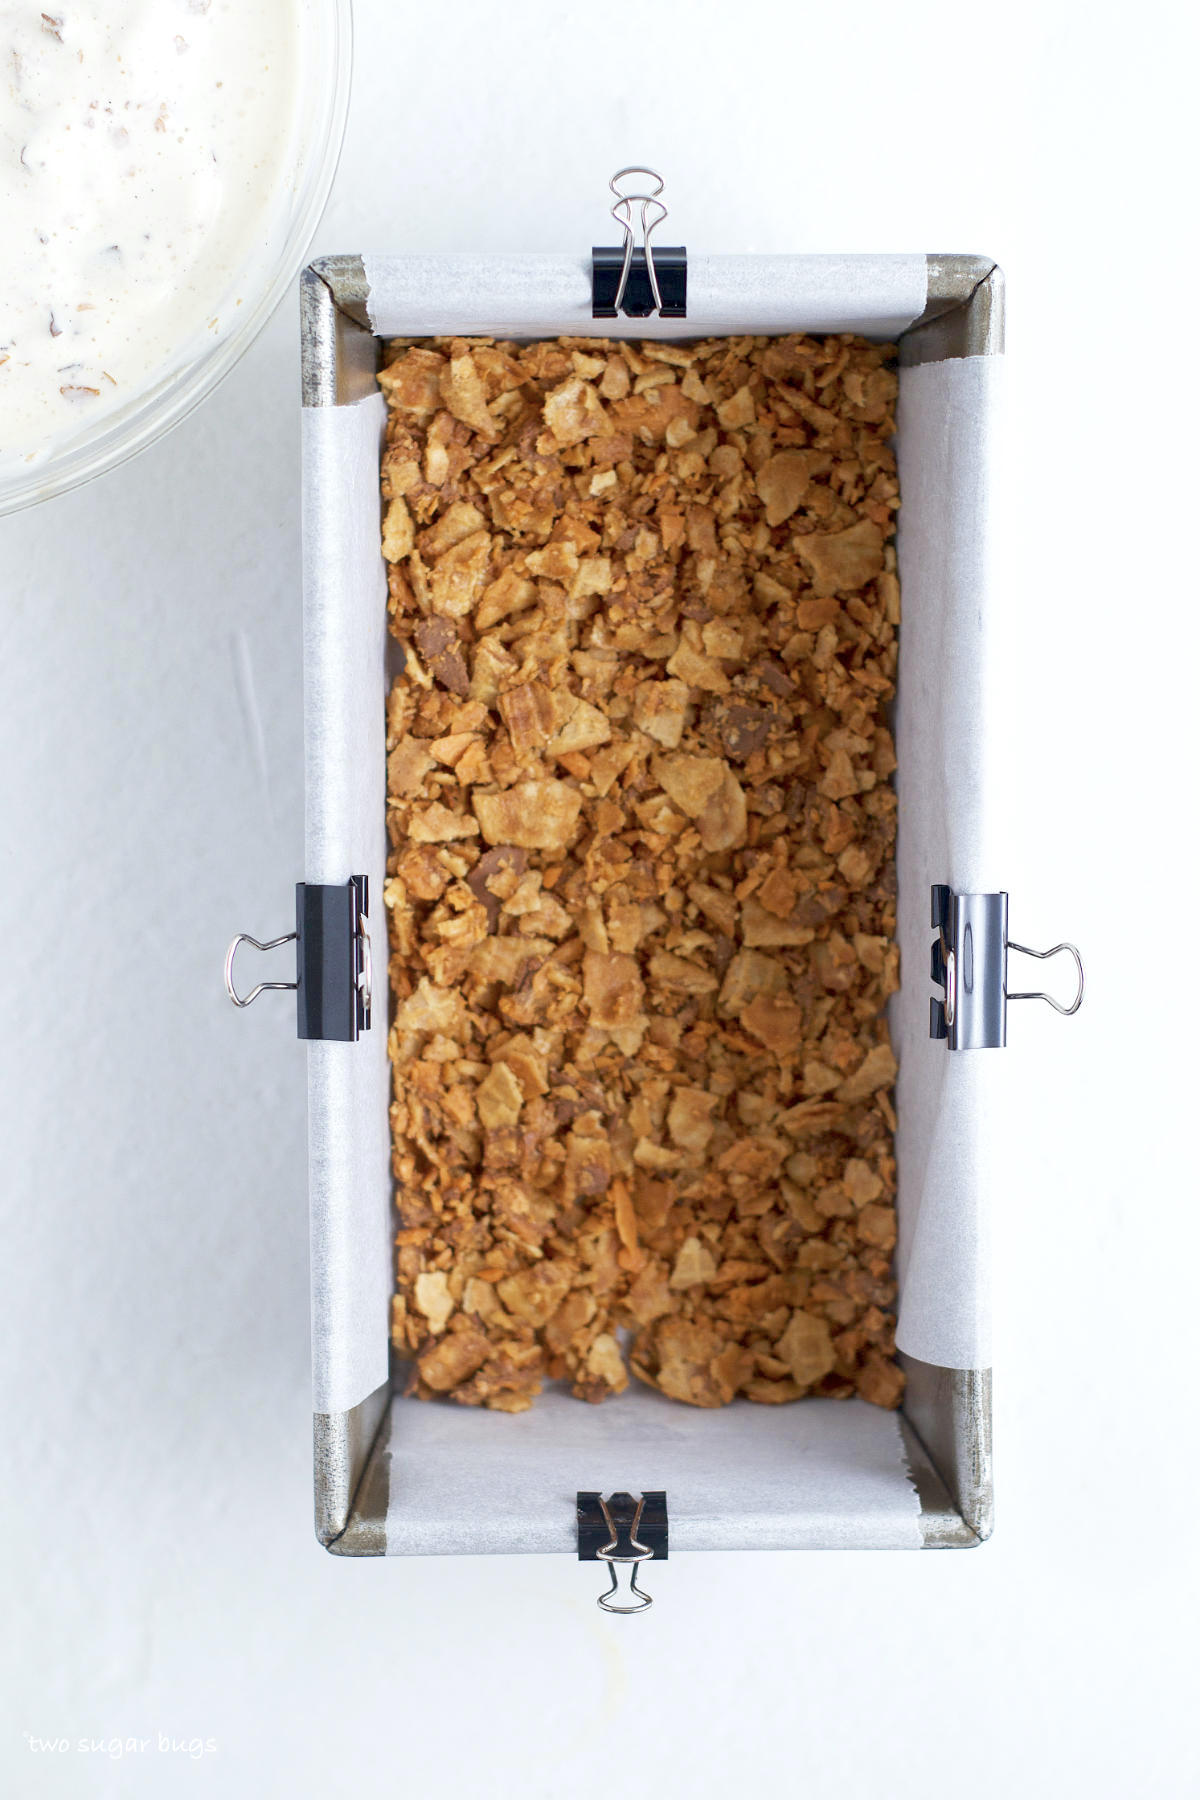
Then place the loaf pan in the freezer for 5 minutes while you prepare the ice cream.
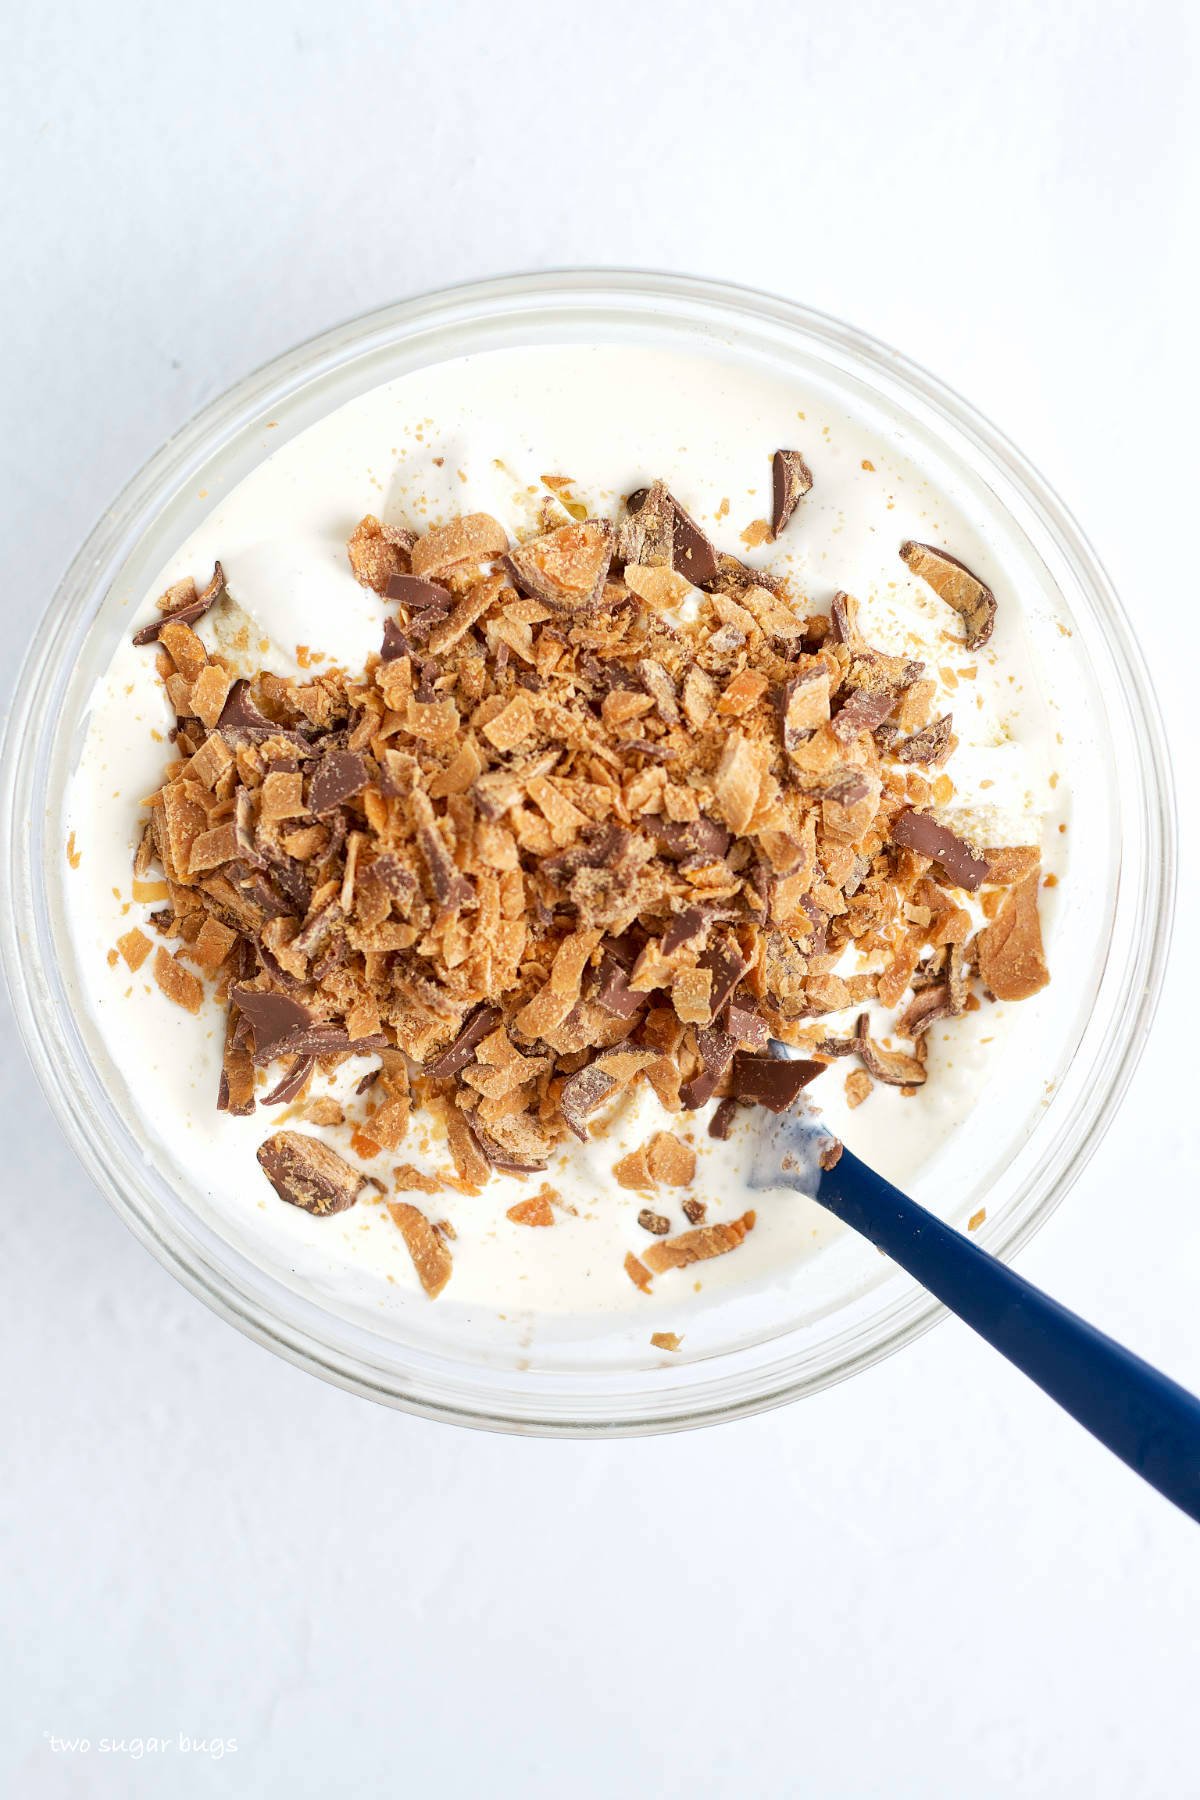
Chop six more fun size Butterfingers and mix into the softened ice cream.
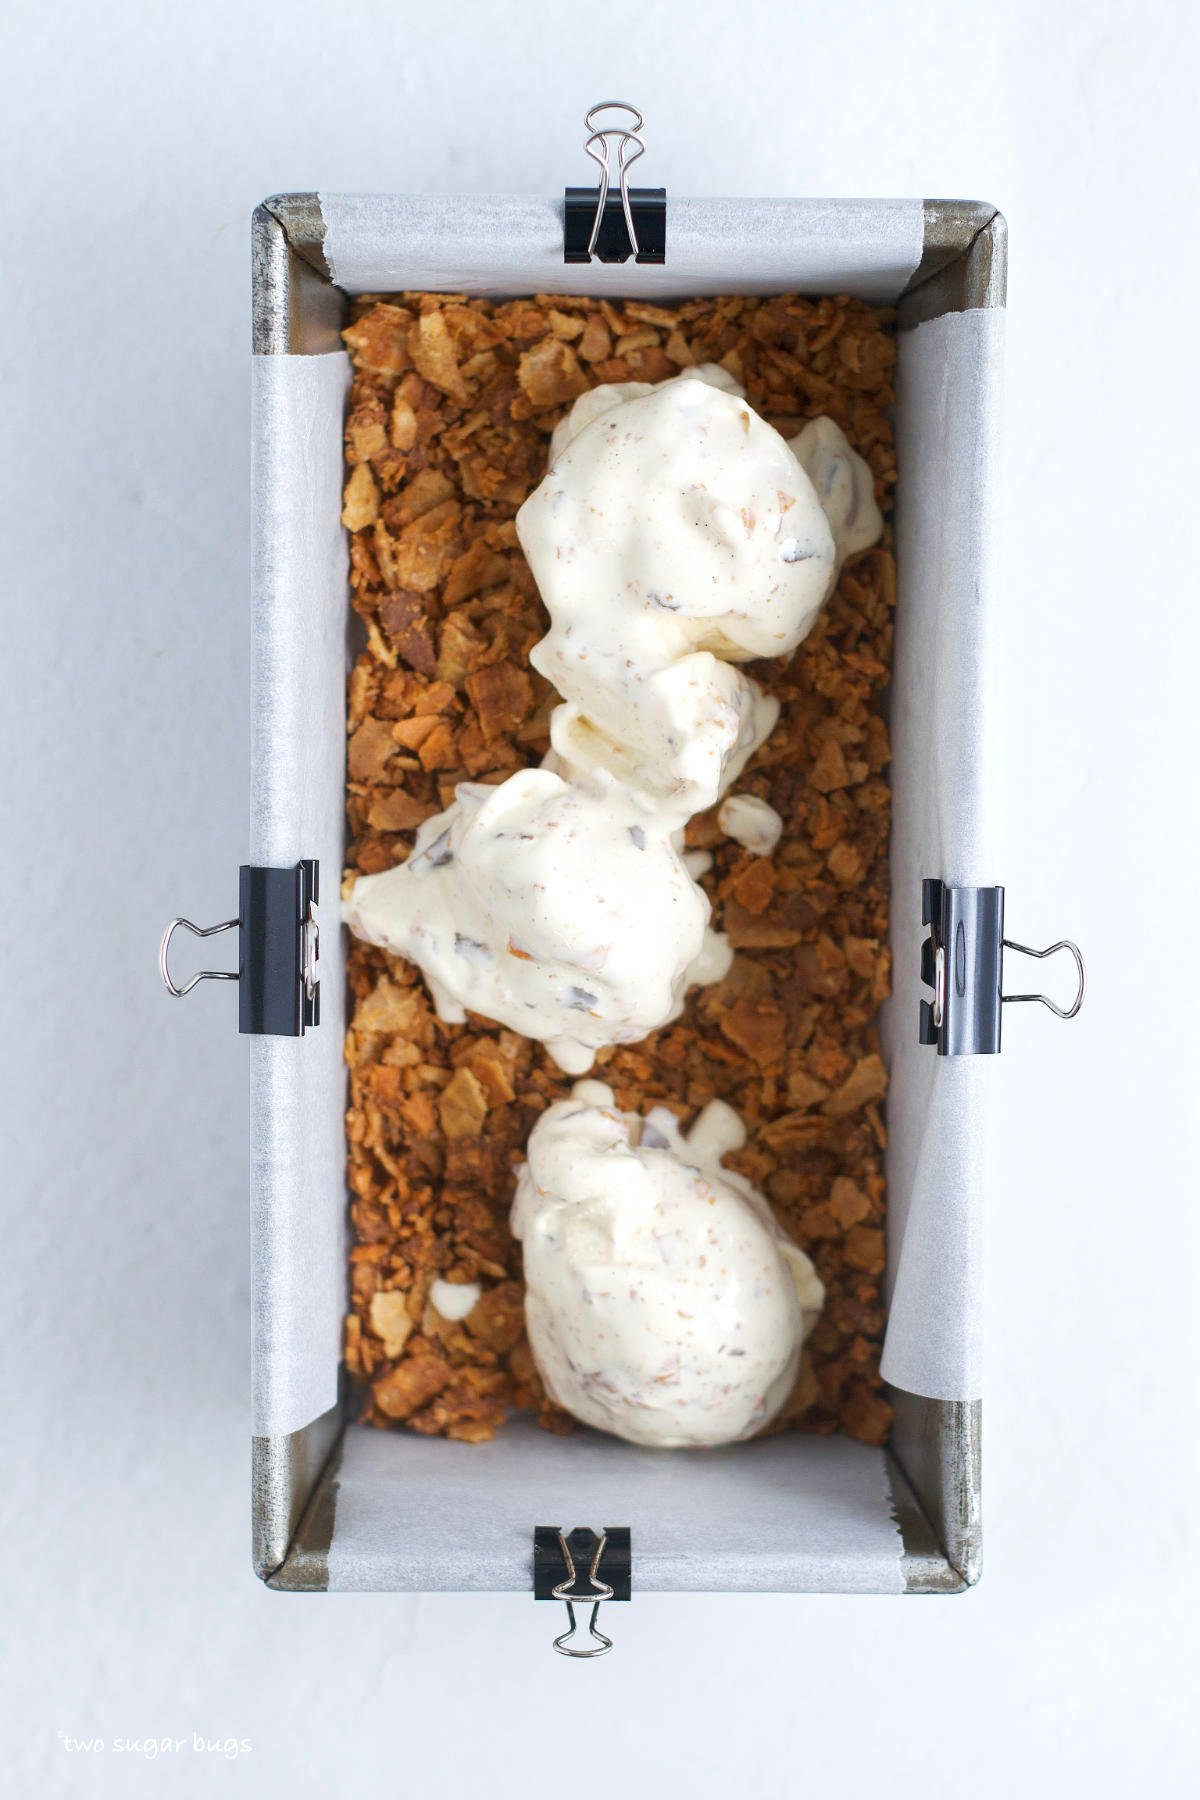
Take ⅓ of the ice cream and spread it over the chilled cones in the loaf pan. Be gentle as you want to leave the cones on the bottom and not mix the two layers. Continue layering the Butterfinger mixture and the ice cream until you have three layers. Then cover the loaf pan and place in the freezer.
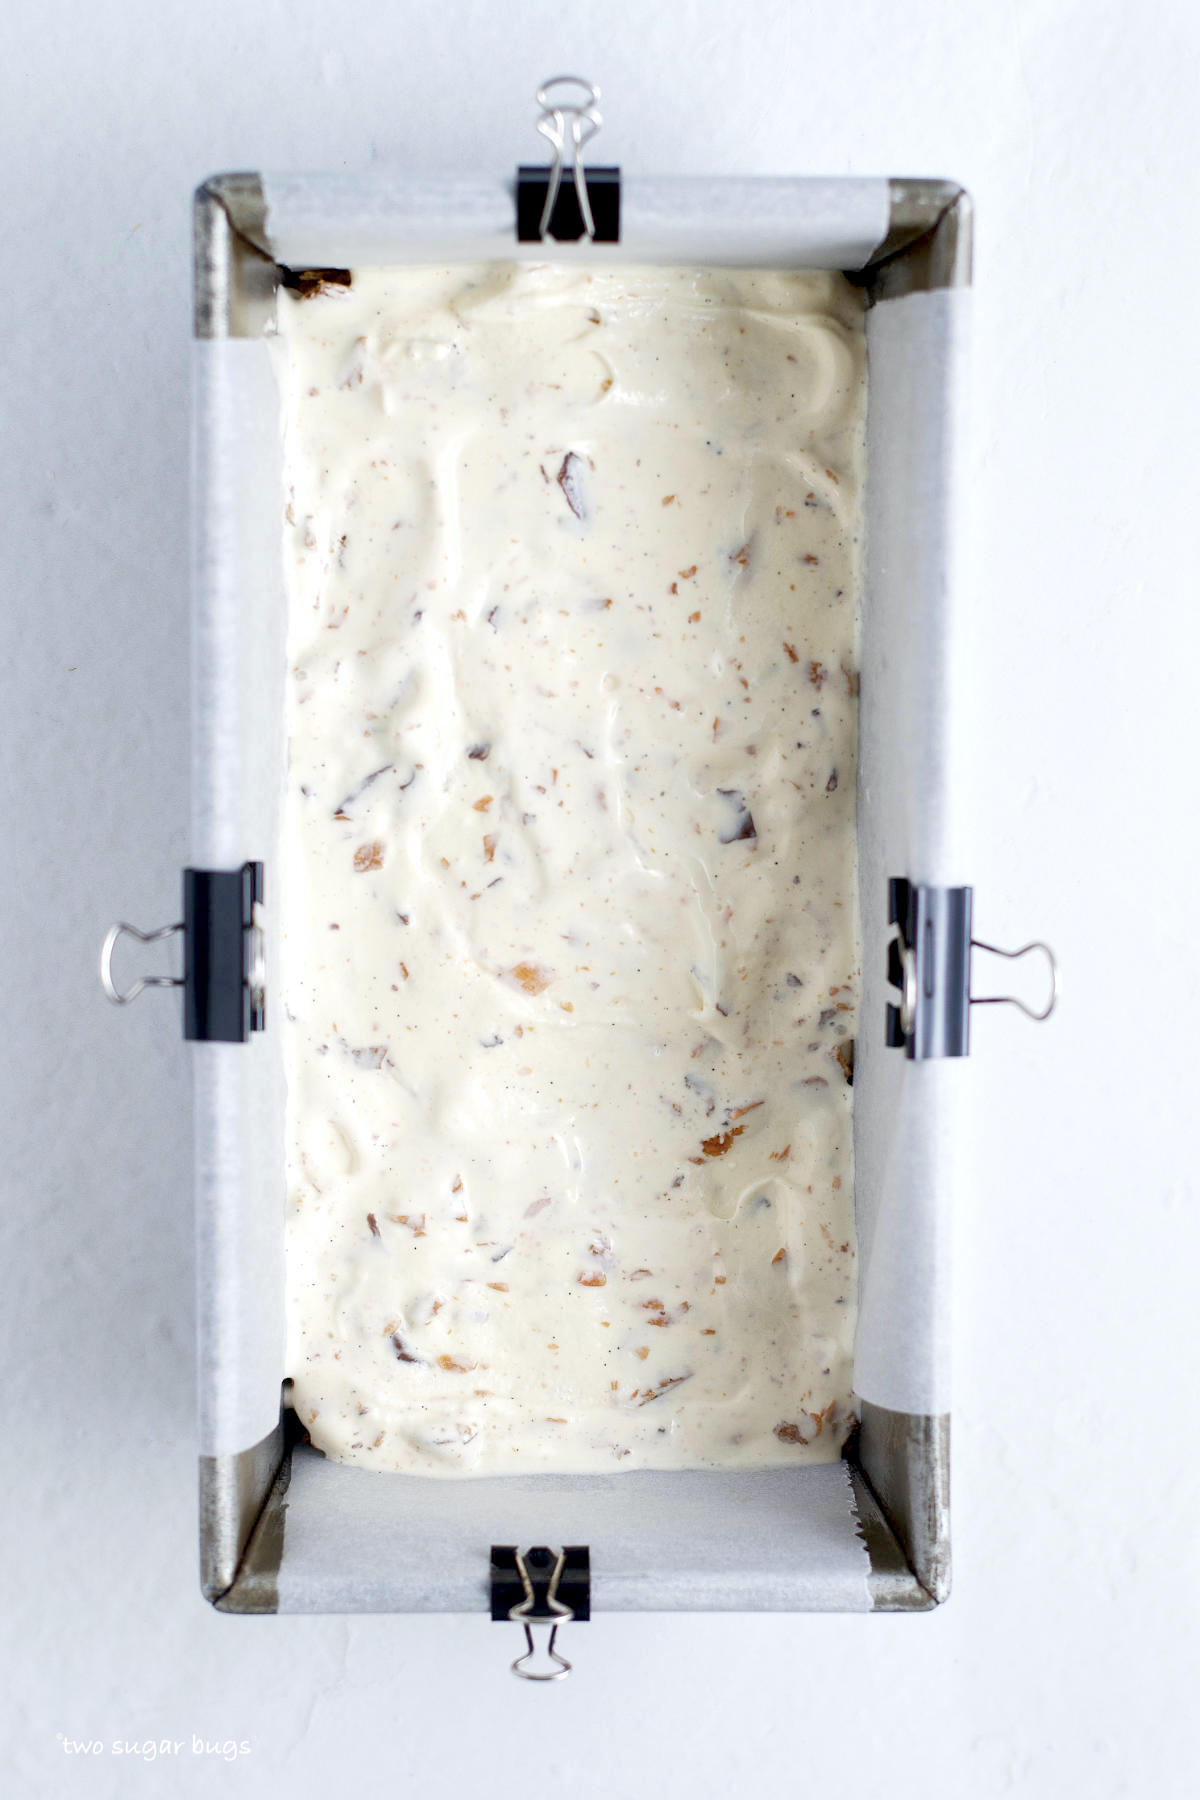
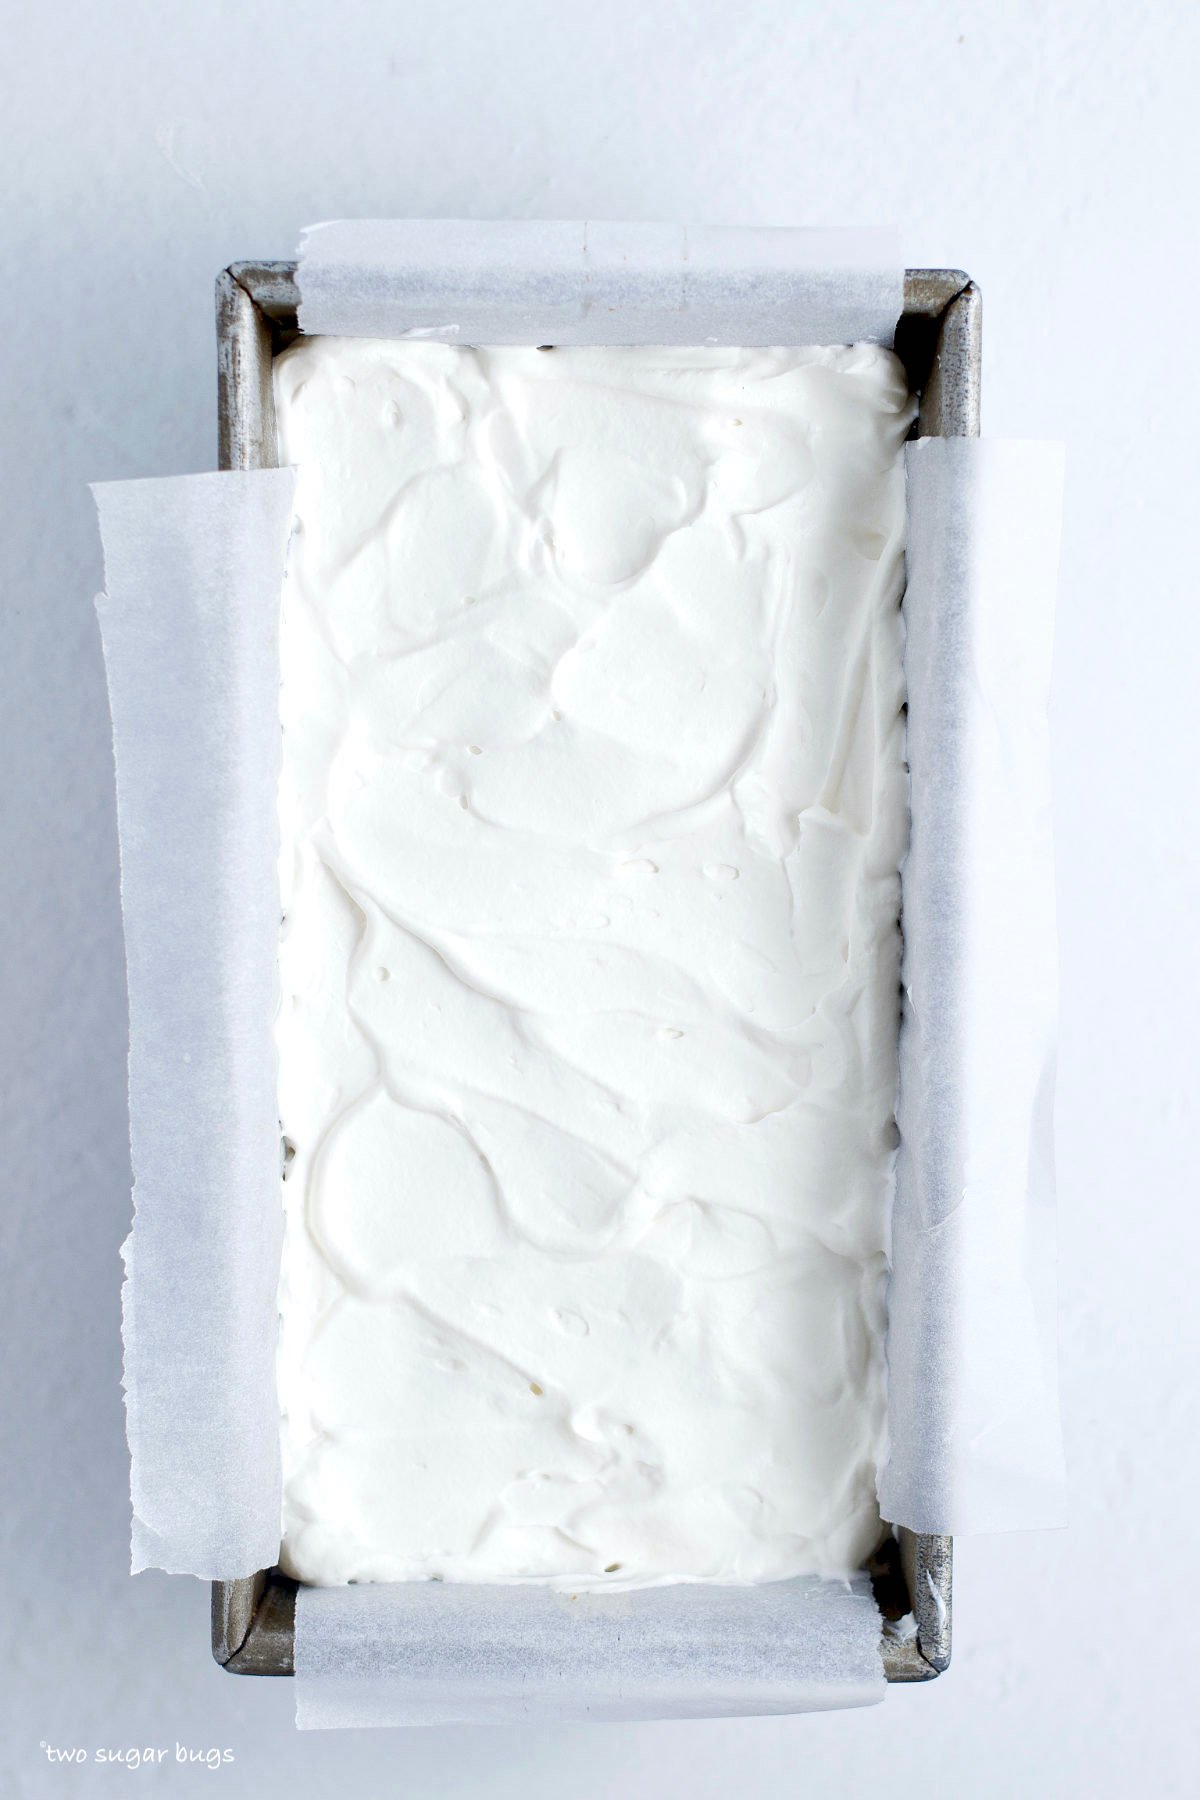
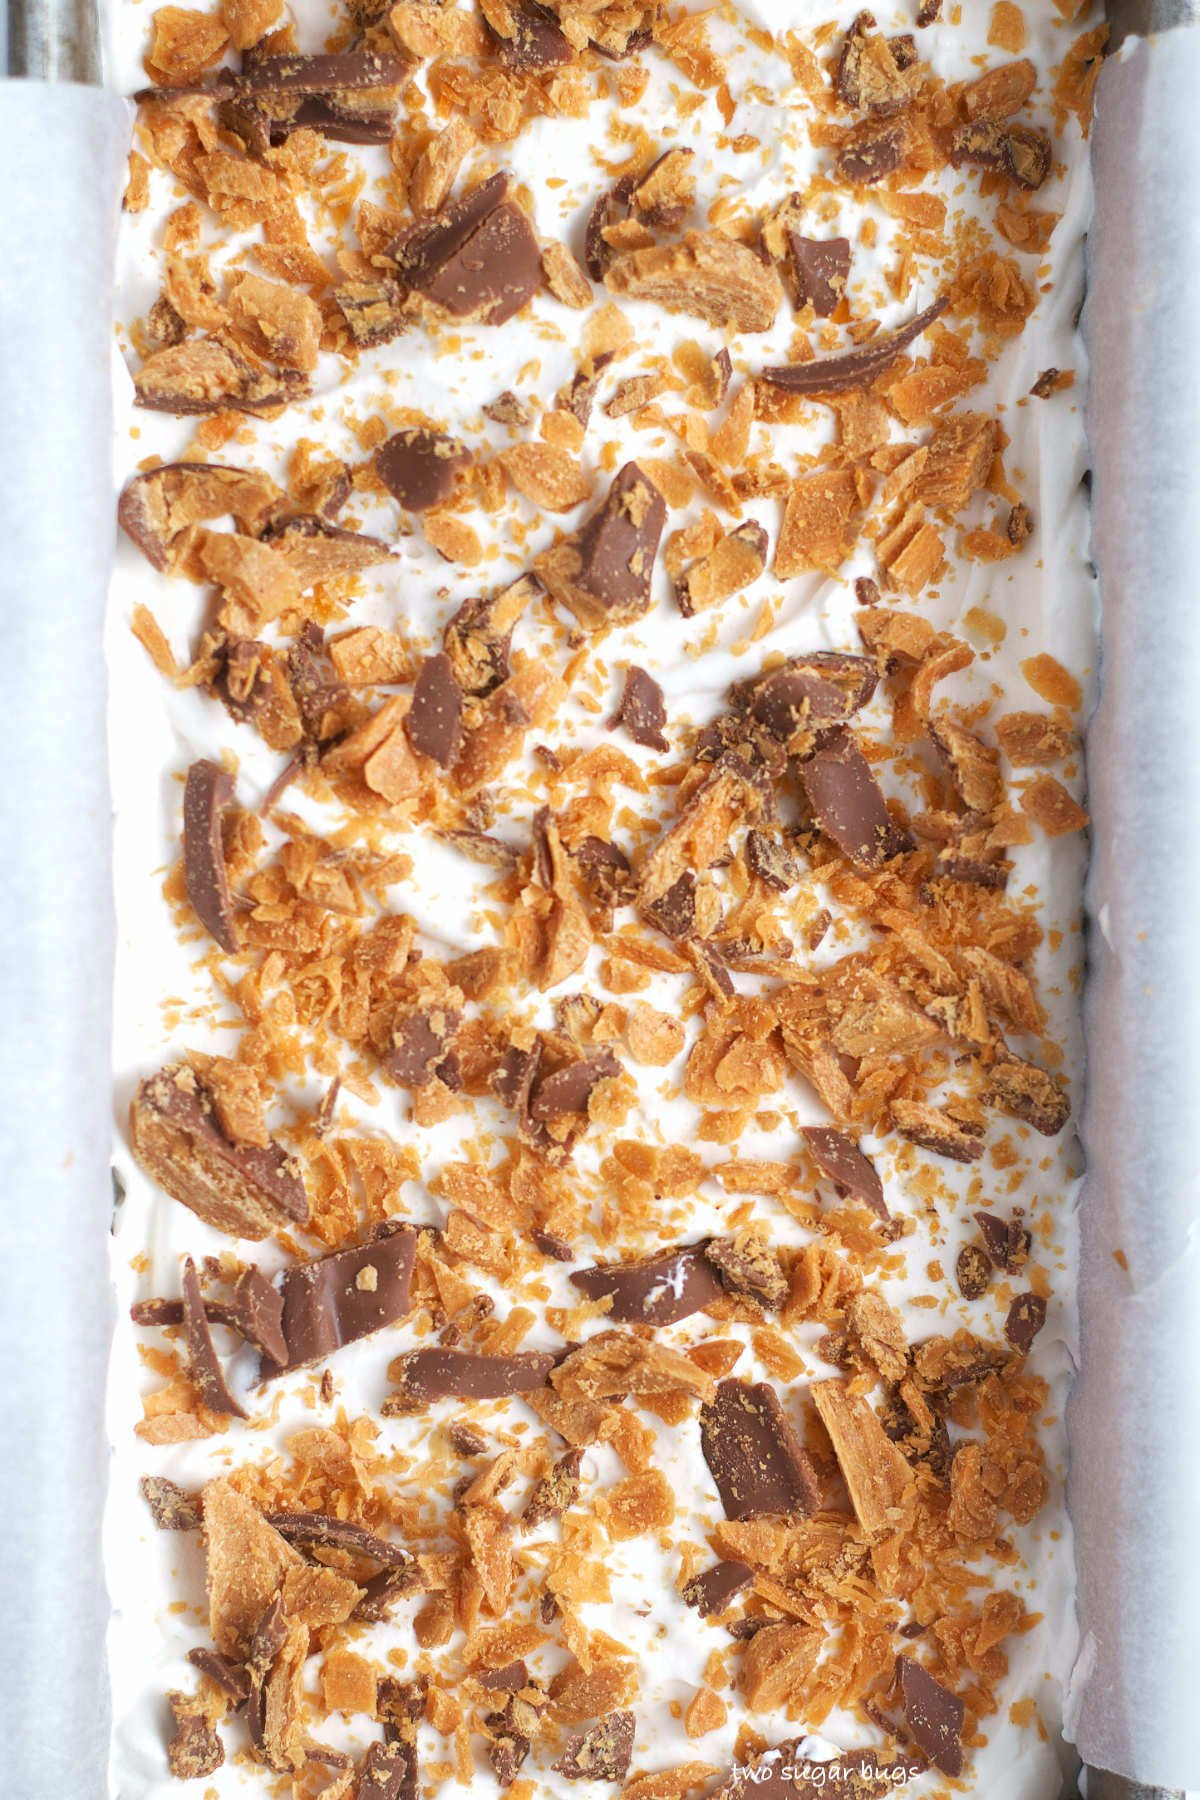
Finally make the whipped cream frosting. Then spoon the whipped cream over the top and garnish with 2-3 fun size Butterfingers, chopped into small pieces. Freeze for 6-8 hours to allow all the layers to firm up together.
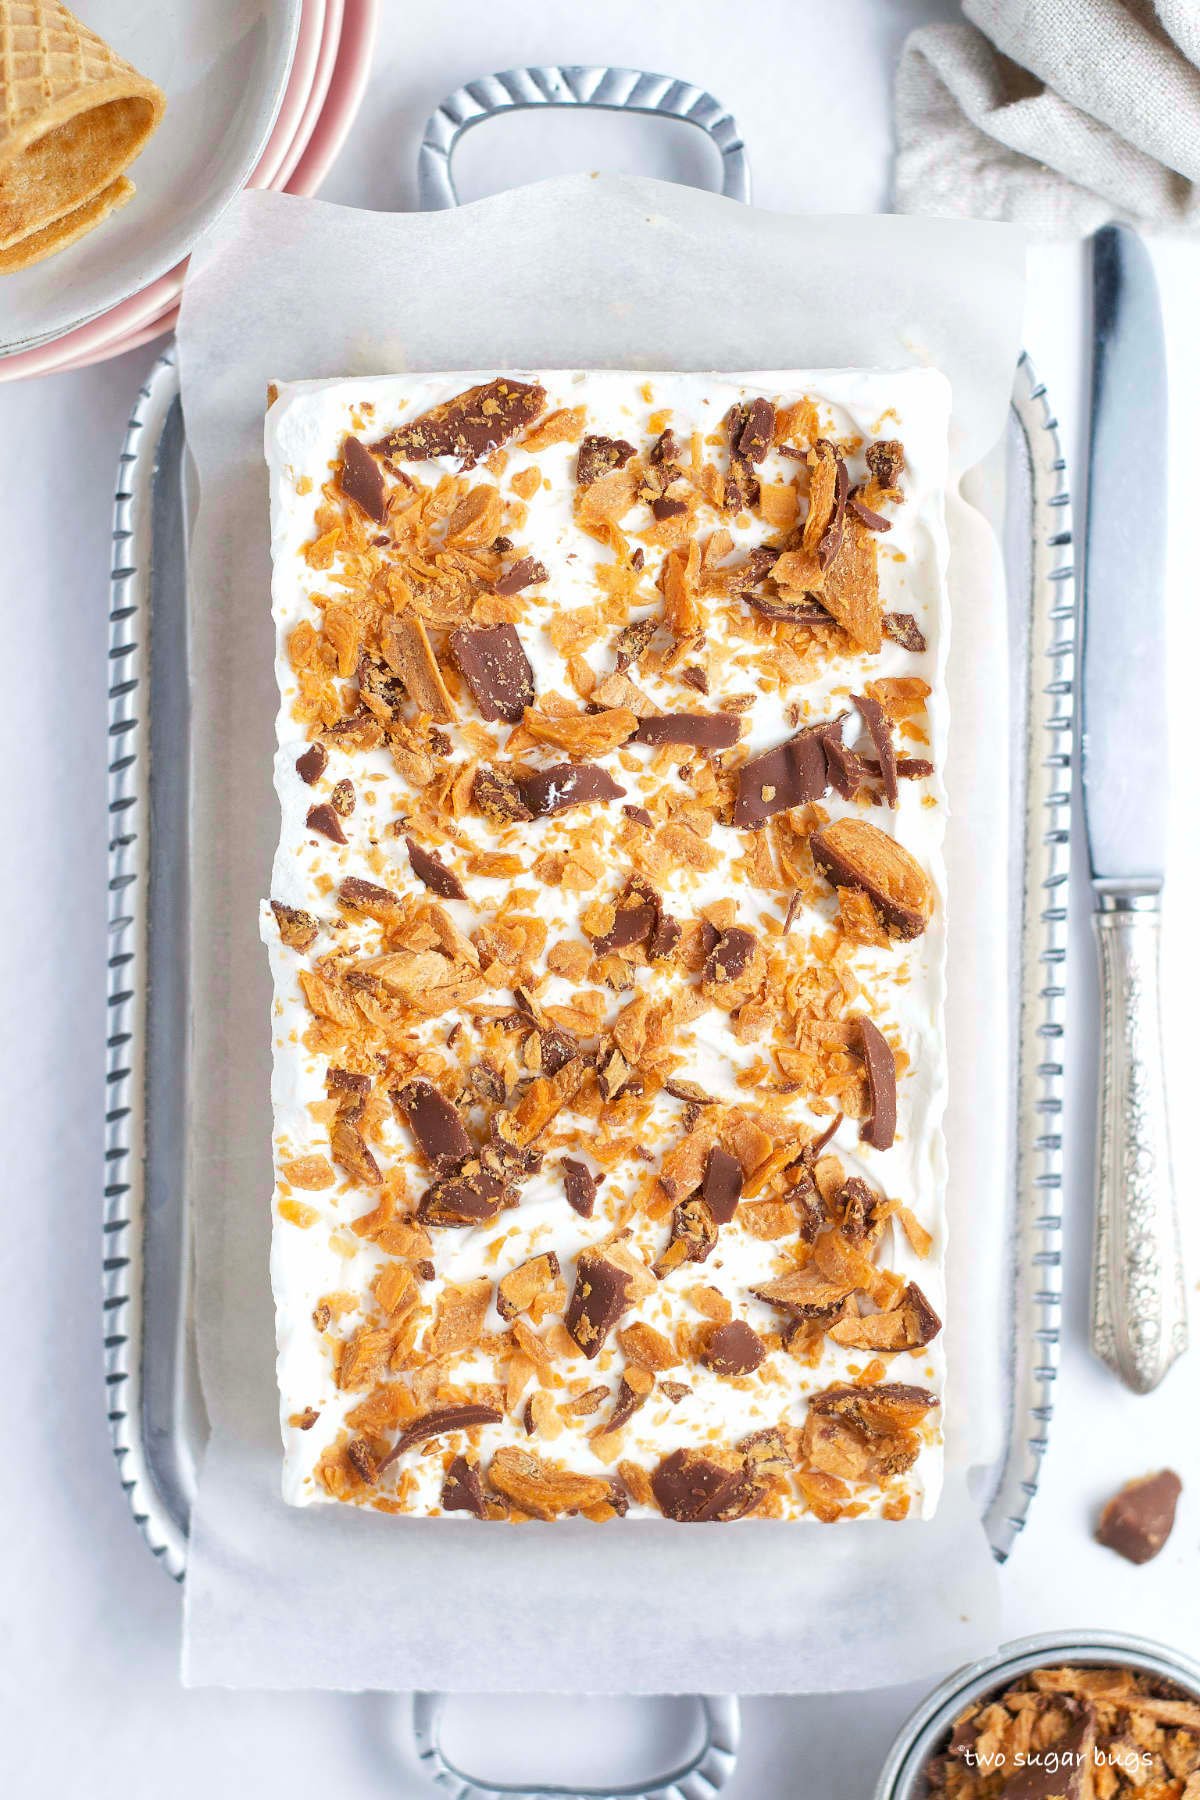
When you are ready to serve, use the parchment or plastic wrap overhang and pull the ice cream cake out of the pan.
tips for making this diy butterfinger dessert cake
- Be sure to line your loaf pan with parchment paper, plastic wrap or aluminum foil. This lets you lift the cake out of the pan when you are ready to slice and serve it.
- Use a metal loaf pan for the best results. Metal freezes the ice cream better than a glass pan.
- Plan for the freezing time; it takes 6-8 hours for this Butterfinger ice cream cake to freeze completely.
- Try to not let the ice cream get too melted when softening. It only needs about 5 minutes on the counter.
- When it's time to serve, you may need to run a knife along the edge of the pan; between the parchment paper and the pan so it will release.
how to store
The Butterfinger ice cream cake needs to be stored in the freezer. It can be left in the loaf pan and covered tightly with plastic wrap for up to one week.
If you would like to keep it the absolute freshest, remove the Butterfinger cake from the pan and tightly wrap with plastic wrap. Then place the wrapped cake in an airtight container or zip top bag.
is this butterfinger ice cream cake gluten free?
The recipe as written is not, but if you substitute gluten free sugar cones it would be. Original flavor Butterfingers are a gluten free candy, so be sure to use that variety.
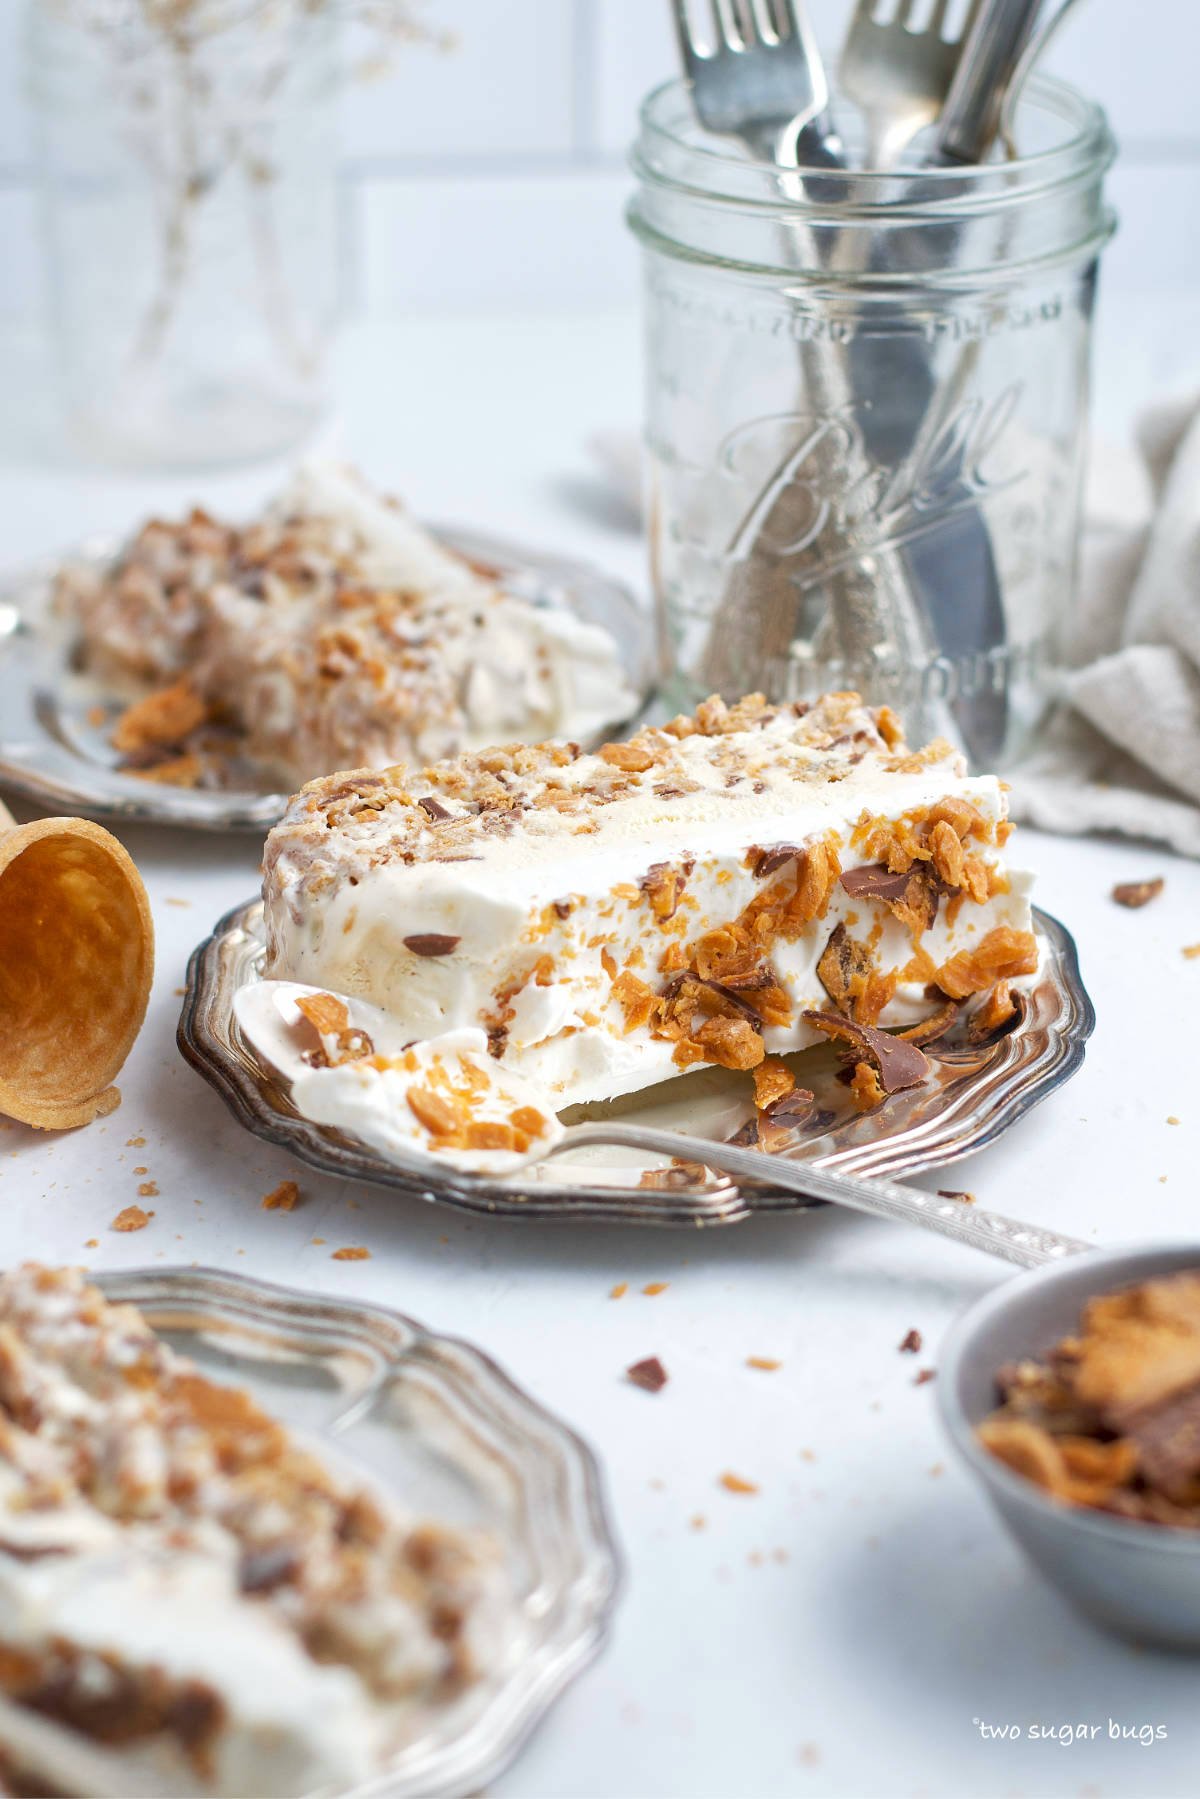
Remember to snap a picture and tag me on Instagram if you make this Butterfinger Ice Cream Cake. It warms my heart to see you bring these recipes to life! Thank you for being here and happy baking!
more layered recipes to try
- Shortbread Brownies
- Lemon White Chocolate Cake
- Cookie Butter Bars
- Double Chocolate Oat Bottom Brownies
- Butterscotch Mixed Nut Bars
If you make this recipe {or any recipe!} from two sugar bugs please come back and leave a review and a ⭐️⭐️⭐️⭐️⭐️ star rating. I read every comment, and I LOVE hearing from you!
Butterfinger Ice Cream Cake
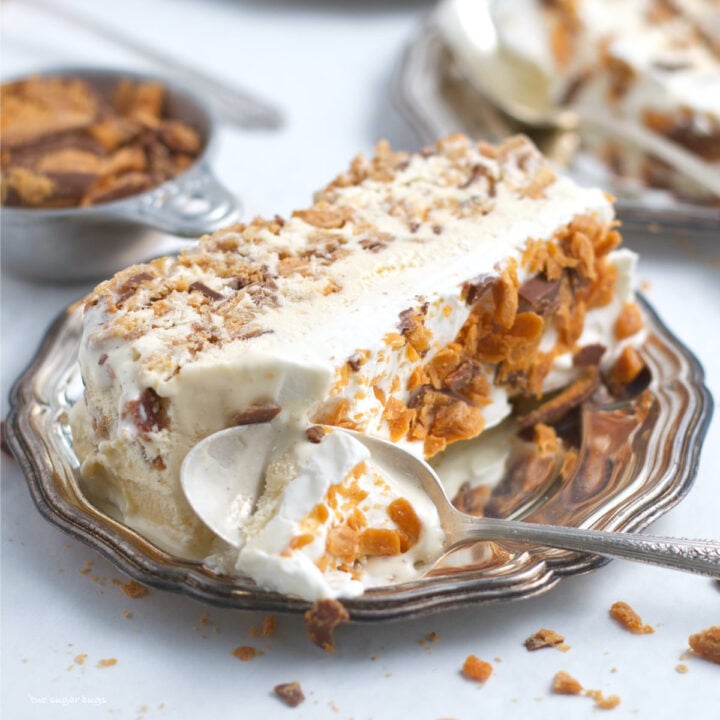
Butterfinger ice cream cake; an easy no bake dessert! This recipe uses ice cream, Butterfingers, sugar cones and a whipped cream frosting.
Ingredients
Sugar cone “cake” layer
- ¼ cup unsalted butter, melted (57g)
- 10 sugar cones, crushed (130g)
- 6 fun size Butterfinger candy bars, chopped (110.5g)
Butterfinger ice cream layer
- 4 ½ cups vanilla ice cream (660g)
- 6 fun size Butterfinger candy bars, chopped (110.5g)
whipped cream frosting
- ½ cup heavy whipping cream
- 1 tablespoon granulated or confectioners’ sugar
- ¼ teaspoon pure vanilla extract
- 2 - 3 fun size Butterfinger candy bars, chopped for garnish
Instructions
- Melt the butter (¼ cup/57g) and set aside. Prepare a loaf pan by lining with parchment paper or plastic wrap, leaving an overhang on the sides.
- Place the ice cream in a bowl and let sit on the counter to soften.
- Place ice cream cones (10 cones/130g) in another bowl and break them into smaller pieces (I use my hands). The tips of the cones take a little encouraging to crush. Chop six of the fun size Butterfingers (110.5g) and toss together with the crushed cones. Then add the melted butter and stir to combine.
- Take ⅓ of the crushed cone mixture and press into the bottom of the prepared loaf pan. Place in the freezer for 5 minutes while you prepare the ice cream.
- Chop six more fun size Butterfingers (110.5g) and mix into the softened ice cream.
- Take ⅓ of the ice cream and spread it over the chilled cones in the loaf pan. Be gentle as you want to leave the cones on the bottom and not mix the two layers. Top with ⅓ of the crushed cones, followed by ⅓ of the ice cream and the final ⅓ of cones. Place remaining ⅓ of ice cream on top and cover the loaf pan and place in the freezer. None of this needs to be exact!
- To make the whip cream frosting: whip the heavy cream (½ cup/120mL), sugar (1 tablespoon, granulated OR confectioners’) and vanilla extract (¼ teaspoon) on medium high (using a hand or stand mixer) until stiff peaks, about 4 minutes.
- Spoon the whipped cream over the top and garnish with 2-3 fun size Butterfingers, chopped into small pieces.
- Freeze for 6-8 hours to allow all the layers to firm up together. When you are ready to serve, use the parchment or plastic wrap overhang and pull the ice cream cake out of the pan. You may need to run a knife along the edge of the pan (between the pan and the parchment paper) to release the cake from the pan.
Notes
I use fun size candy bars as they are easy to get at my local market. Any size Butterfinger bars will work, you need about 331g in total.
Waffle cones will also work, just use the same amount of weight measurement (130g). I've not tested this with gluten free sugar cones, but feel confident they should work as a fine substitute.
Chocolate (or any other flavor of your choice) can be substituted for the vanilla ice cream.
The Butterfinger ice cream cake needs to be stored in the freezer. It can be left in the loaf pan and covered tightly with plastic wrap for up to one week.
If you would like to keep it the absolute freshest, remove the Butterfinger cake from the pan and tightly wrap with plastic wrap. Then place the wrapped cake in an airtight container or zip top bag.
Nutrition Information:
Yield:
12Serving Size:
1Amount Per Serving: Calories: 444Total Fat: 22gSaturated Fat: 12gTrans Fat: 0gUnsaturated Fat: 8gCholesterol: 45mgSodium: 200mgCarbohydrates: 58gFiber: 2gSugar: 35gProtein: 6g
The nutrition information is an estimate only and may not be entirely accurate.





Ben | Havocinthekitchen says
Butterfinger is one of my favourite candy bars, so I am definitely saying YES to this luscious and elegant dessert! Loving the use of waffle cones here, too.
Tasia says
Yay! Thank you Ben, you'll love this one!
2pots2cook says
So beautiful photos! Perfect refreshing dessert for the heat wave!
Tasia says
Thank you Davorka! This ice cream cake is perfect for the hot weather!
Michelle says
What a fun dessert! My boys would love it! So many textures going on here.. yum!
Tasia says
Thank you Michelle! It's definitely kid approved!
Sharon Grunfelder says
Wish I could’ve posted a picture.. I used a pampered chef ice cream cake mold .. everyone raved about it.. it was delicious and picture perfect!
Tasia says
Hi Sharon, thank you for coming to leave a review. I wish I could see a picture too - you could always email me :-). I'm so happy to hear it was so loved!
Kristin says
This turned out really delicious and will make it again sometime! I made it for my brother for his birthday since his favorite candy bar is butterfinger.
Tasia says
Hi Kristin, thank you for making this ice cream cake and coming back to leave a review. I'm so happy to hear it was loved!